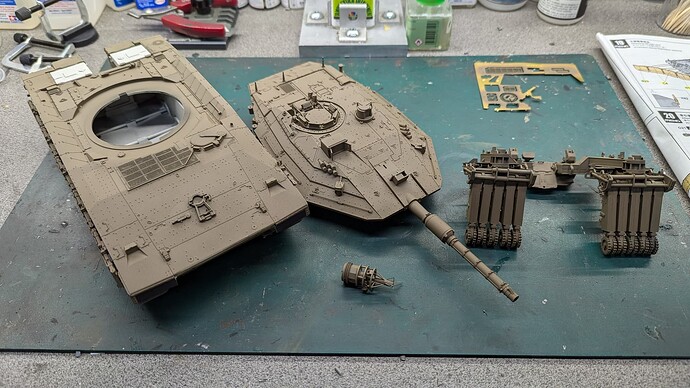
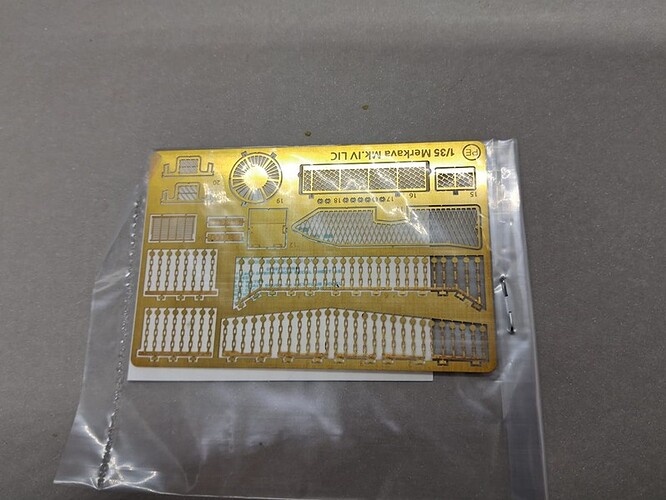
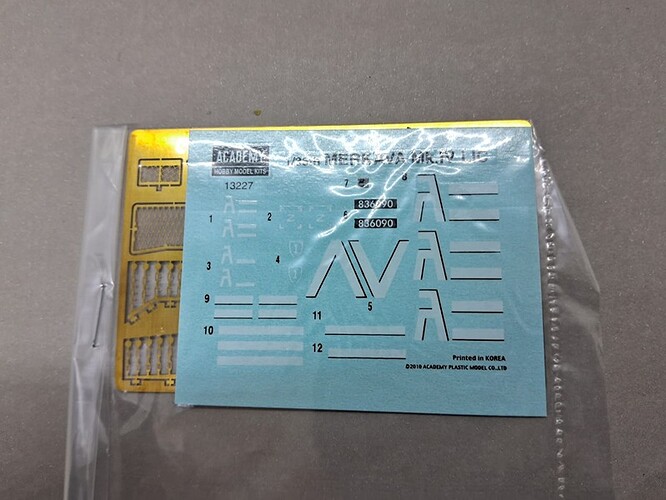
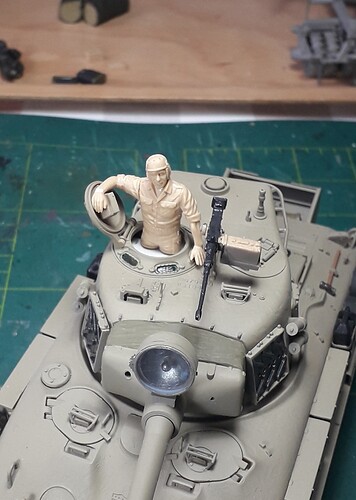
Still off work, so after a couple of honey-do’s, I got some more work done here. I pinned the turret and rear hull bin for strength, then did the headlights and splash guard and added more fender boxes.
 IMG_4463 by Russel Baer, on Flickr
 IMG_4462 by Russel Baer, on Flickr
 IMG_4461 by Russel Baer, on Flickr
I need to start on the dozer assembly soon so I can finish the upper glacis bits.
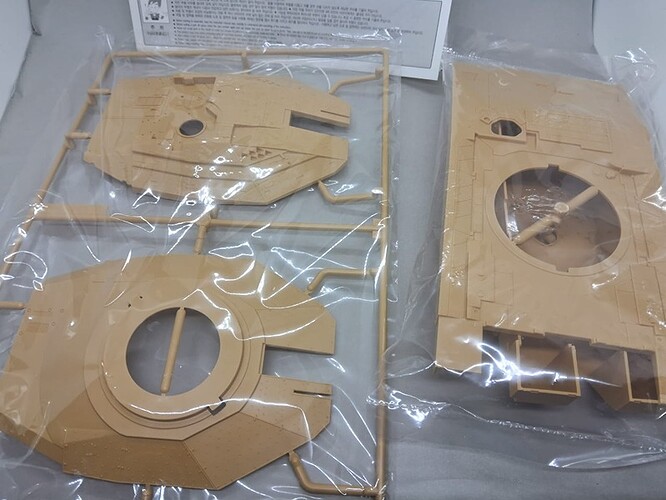
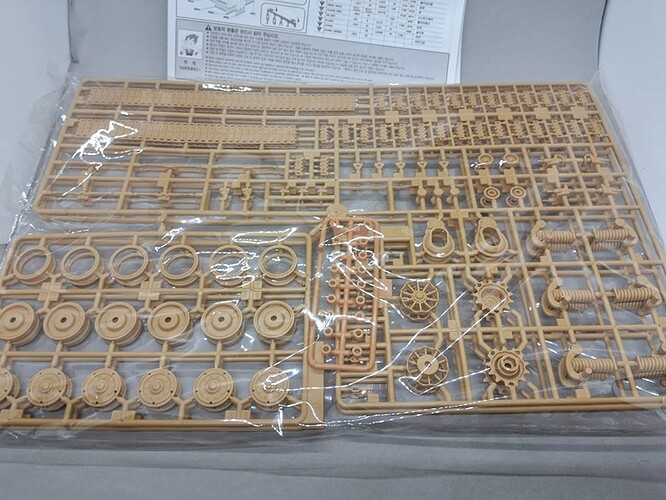
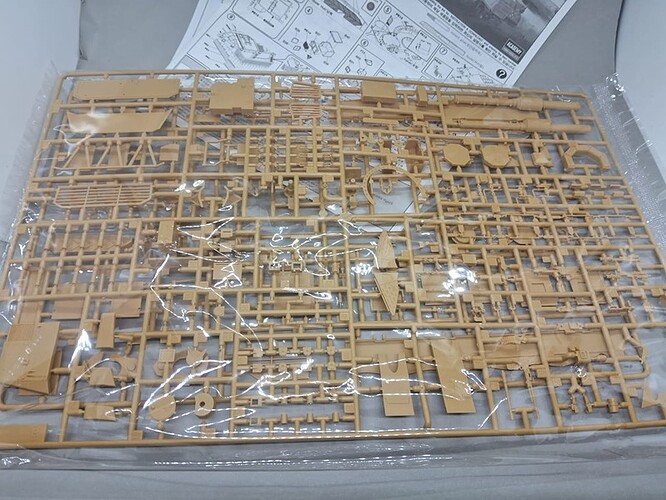
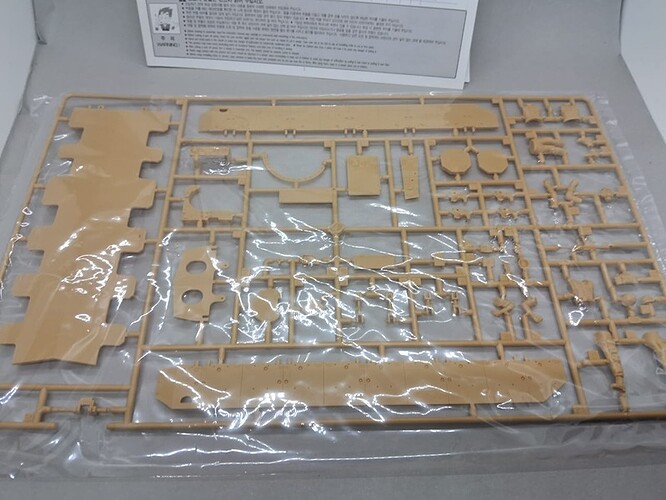
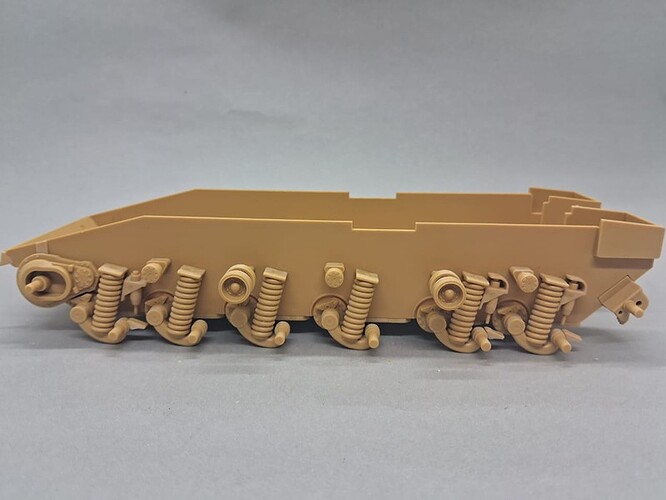
I advanced my merkava with the installation of the tracks and the hull for the tracks these are not the easiest to assemble I normally build my models out of the box
That Merk looks good … I like the colour tone as well …
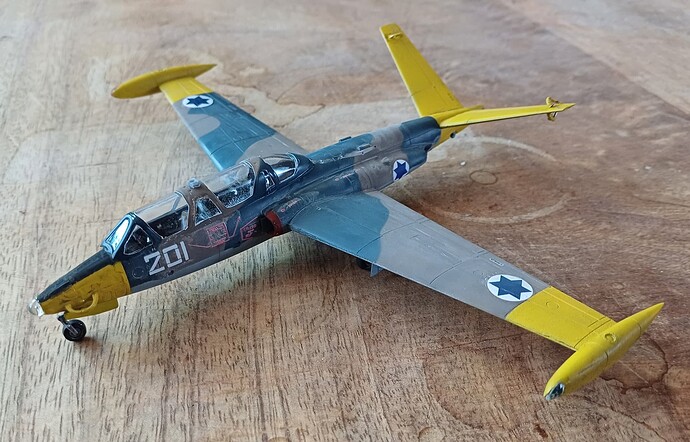
Instead another usual suspect or obvious choice I opted for this…
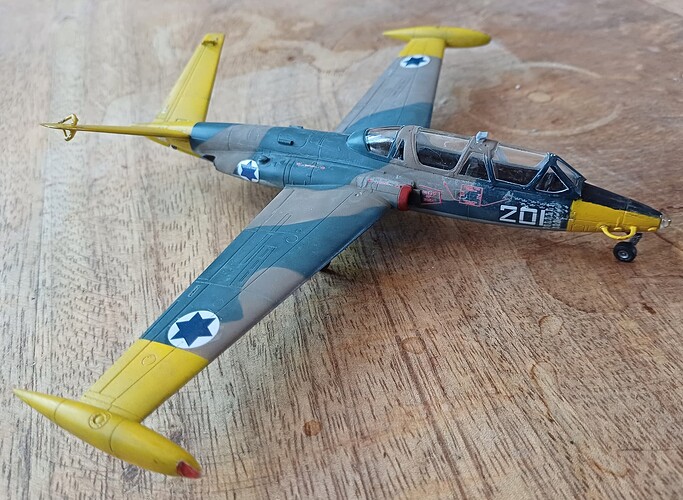
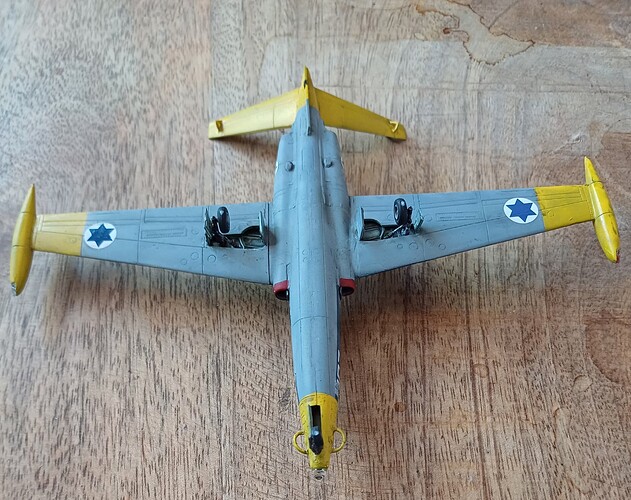
I like the camouflage with the bright yellow added to it…
I’ve been adding parts as I have an hour here and there, mostly on the hull. The turret is also taking shape, going a little faster since it’s mostly from the Trax conversion.
I didn’t particularly like the Eduard etched splash board so I re-did it in .020" plastic.
 IMG_4470 by Russel Baer, on Flickr
 IMG_4471 by Russel Baer, on Flickr
The printed tracks are perfect for spares, and since SC3D included so many extras I still have two complete runs and a couple dozen extras.
Wanna laugh? I spent about 30 minutes adding the IDF mods to the driver’s hatch, then found a very nice ready-to-go hatch in the conversion parts. Oh well.
 IMG_4475 - Copy by Russel Baer, on Flickr
Turret stuff:
 IMG_4476 - Copy by Russel Baer, on Flickr
 IMG_4474 - Copy by Russel Baer, on Flickr
The turret is going together pretty quick, all I’m adding are the two electrical lines to the lights. Everything else is from the Tamiya kit or the conversion.
This little in-between-builds-build is coming along nicely.
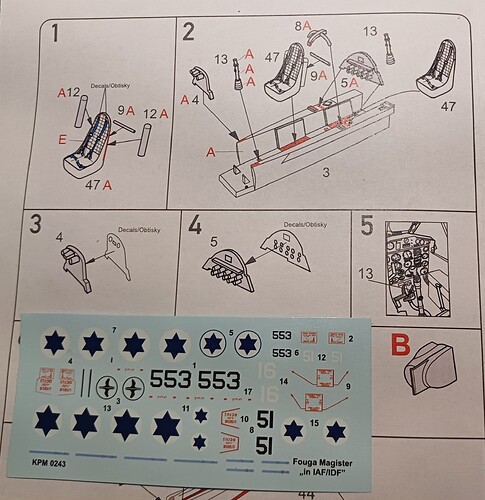
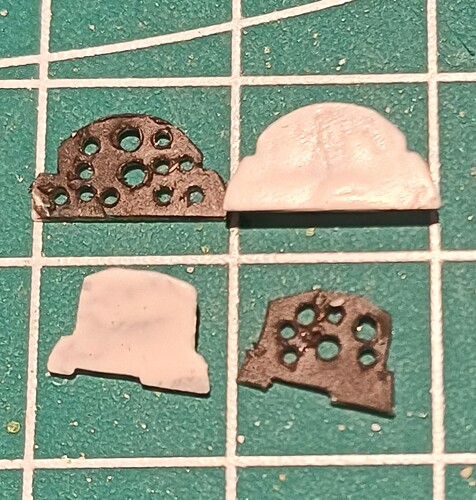
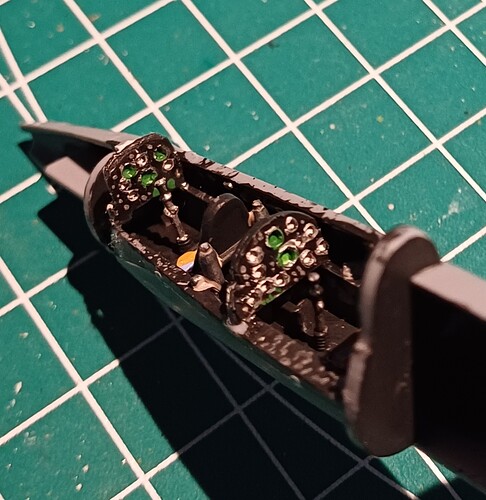
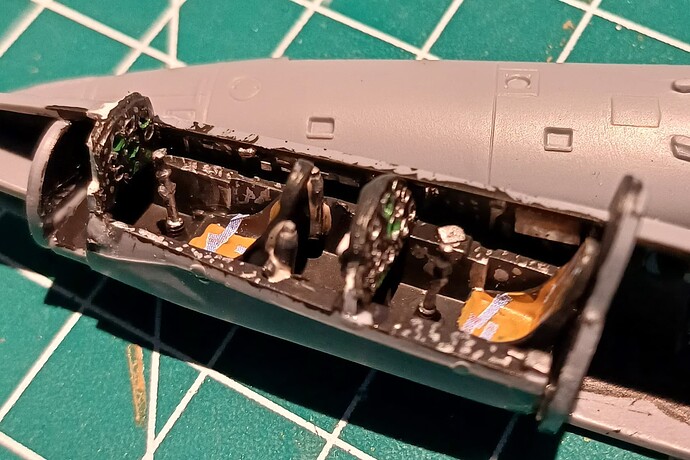
According to the instructions there are decals for the instrument panel…
But that decalsheet doesnt have them so…
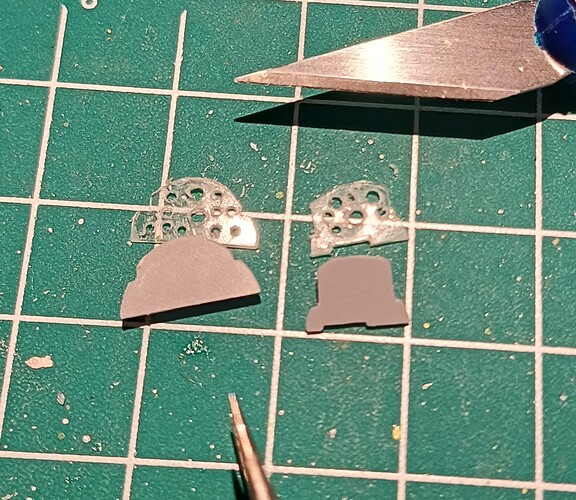
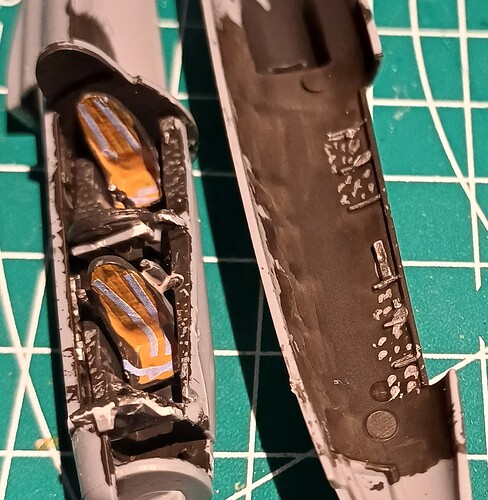
And then the cockpit looks like this…
Wings are glued on to the fuselage halves, which haven’t been glued together yet because I first need to get some weights to put in that tiny nose…
Funny kit again, same kind of plastic as that SeaOtter I did… and again no marking for where to place something. No numbers on the sprue so you have to check the instruction sheet to find your parts. Good thing it doesn’t have that many parts.
But I do love the shape of this littleplane ![]()
It’s a jigsaw puzzle. Very therapeutic.
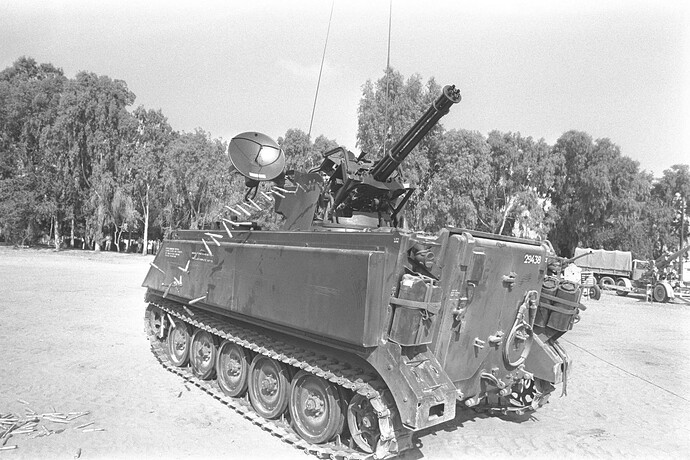
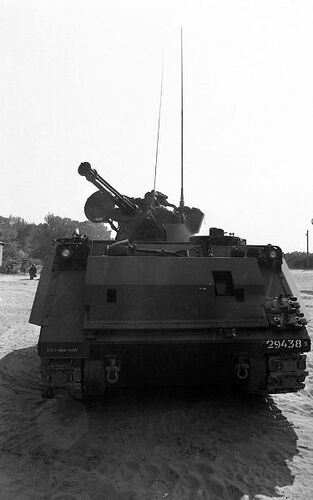
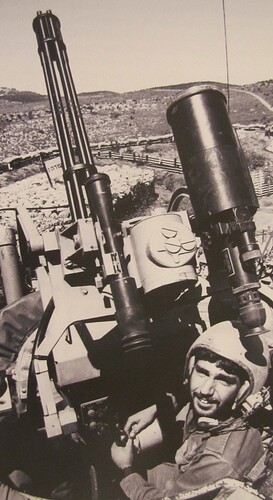
It is possible to use the 1/72 Esci kit of the M163 for an Israeli vehicle. It seems Israel is using a modernized version now, but I guess they used the standard vehicle earlier?
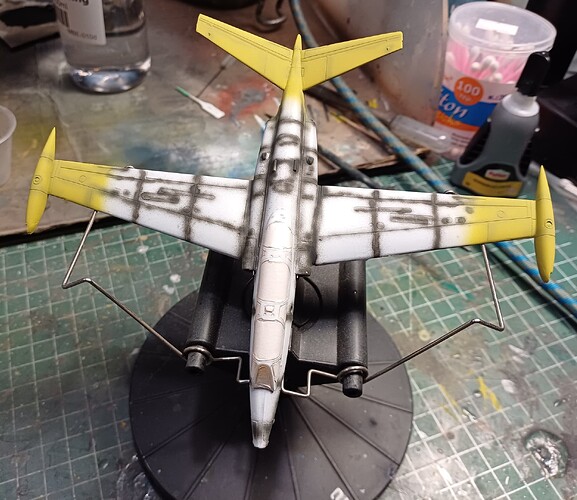
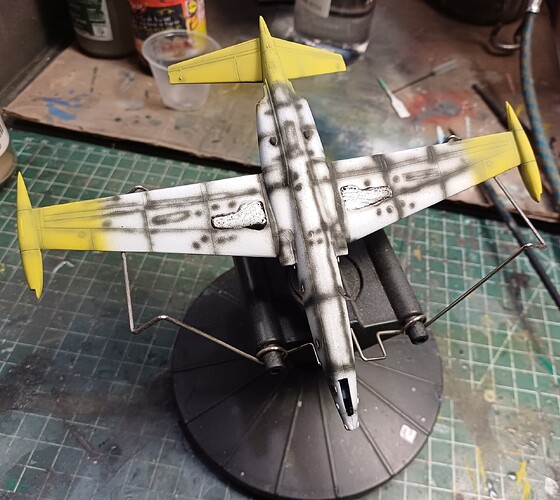
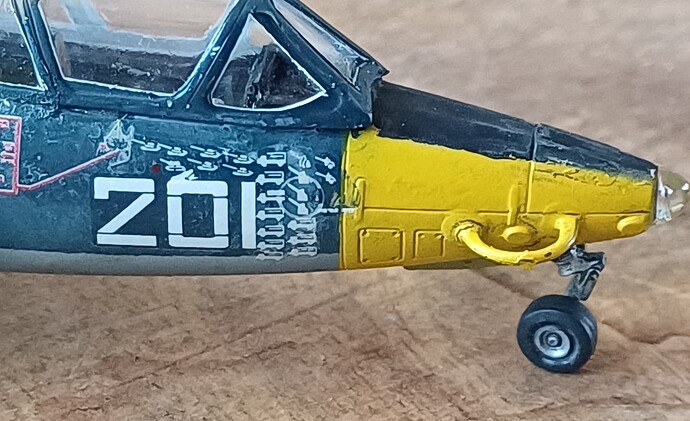
As you can see I added lead inside the nose… and primer, pre-shadow and first bit of colour to the outside…
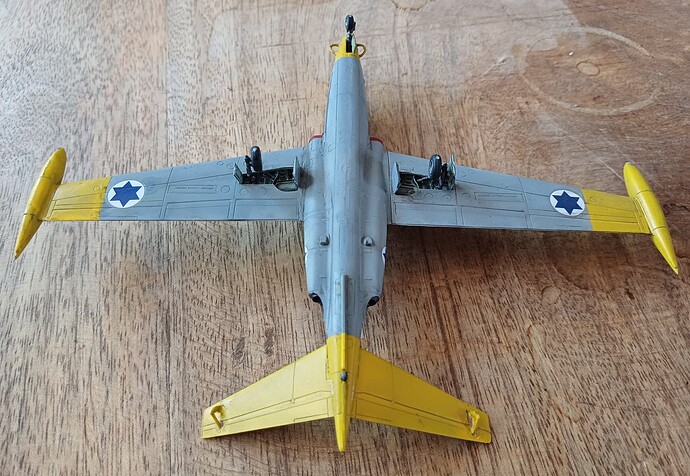
First coat of yellow was XF4, followed by a coat of X8… And then I used AK-RC 289 RAF Sea Medium Grey for the underside and AK-RC 091 Tarngrau and AK -RC 258 Dark Sea Blue for the top…
More great work here!
On another note, I haven’t really worked with awards since the new site came on line, but I gather that they’re becoming common now. If anyone here wants to take a crack at one for this campaign, let us know and we’ll see if we can cobble one together.
Michael ![]()
![]()
Hi all!
A bit late, but here we go! This is my chosen one for this campaign.
And first steps:
More progress coming soon.
Thanks a lot, Nikos! Excellent pictures. What would the color be? The picture below looks like the Israeli sand color, but the top ones look much darker.
What color should I use?
Typical IDF color for late 70s early 80s
Made some progress, whilst fighting the tracks for the M50.
I made the glass for the searchlight, added the .50 and fixed a commander.
Now on to the finishing paintingjob!
