Looks great man. That’s a serious comment to build accuracy.
![]()
I feel if you can finish all those, you’ll need one of these:
Looks great man. That’s a serious comment to build accuracy.
![]()
I feel if you can finish all those, you’ll need one of these:
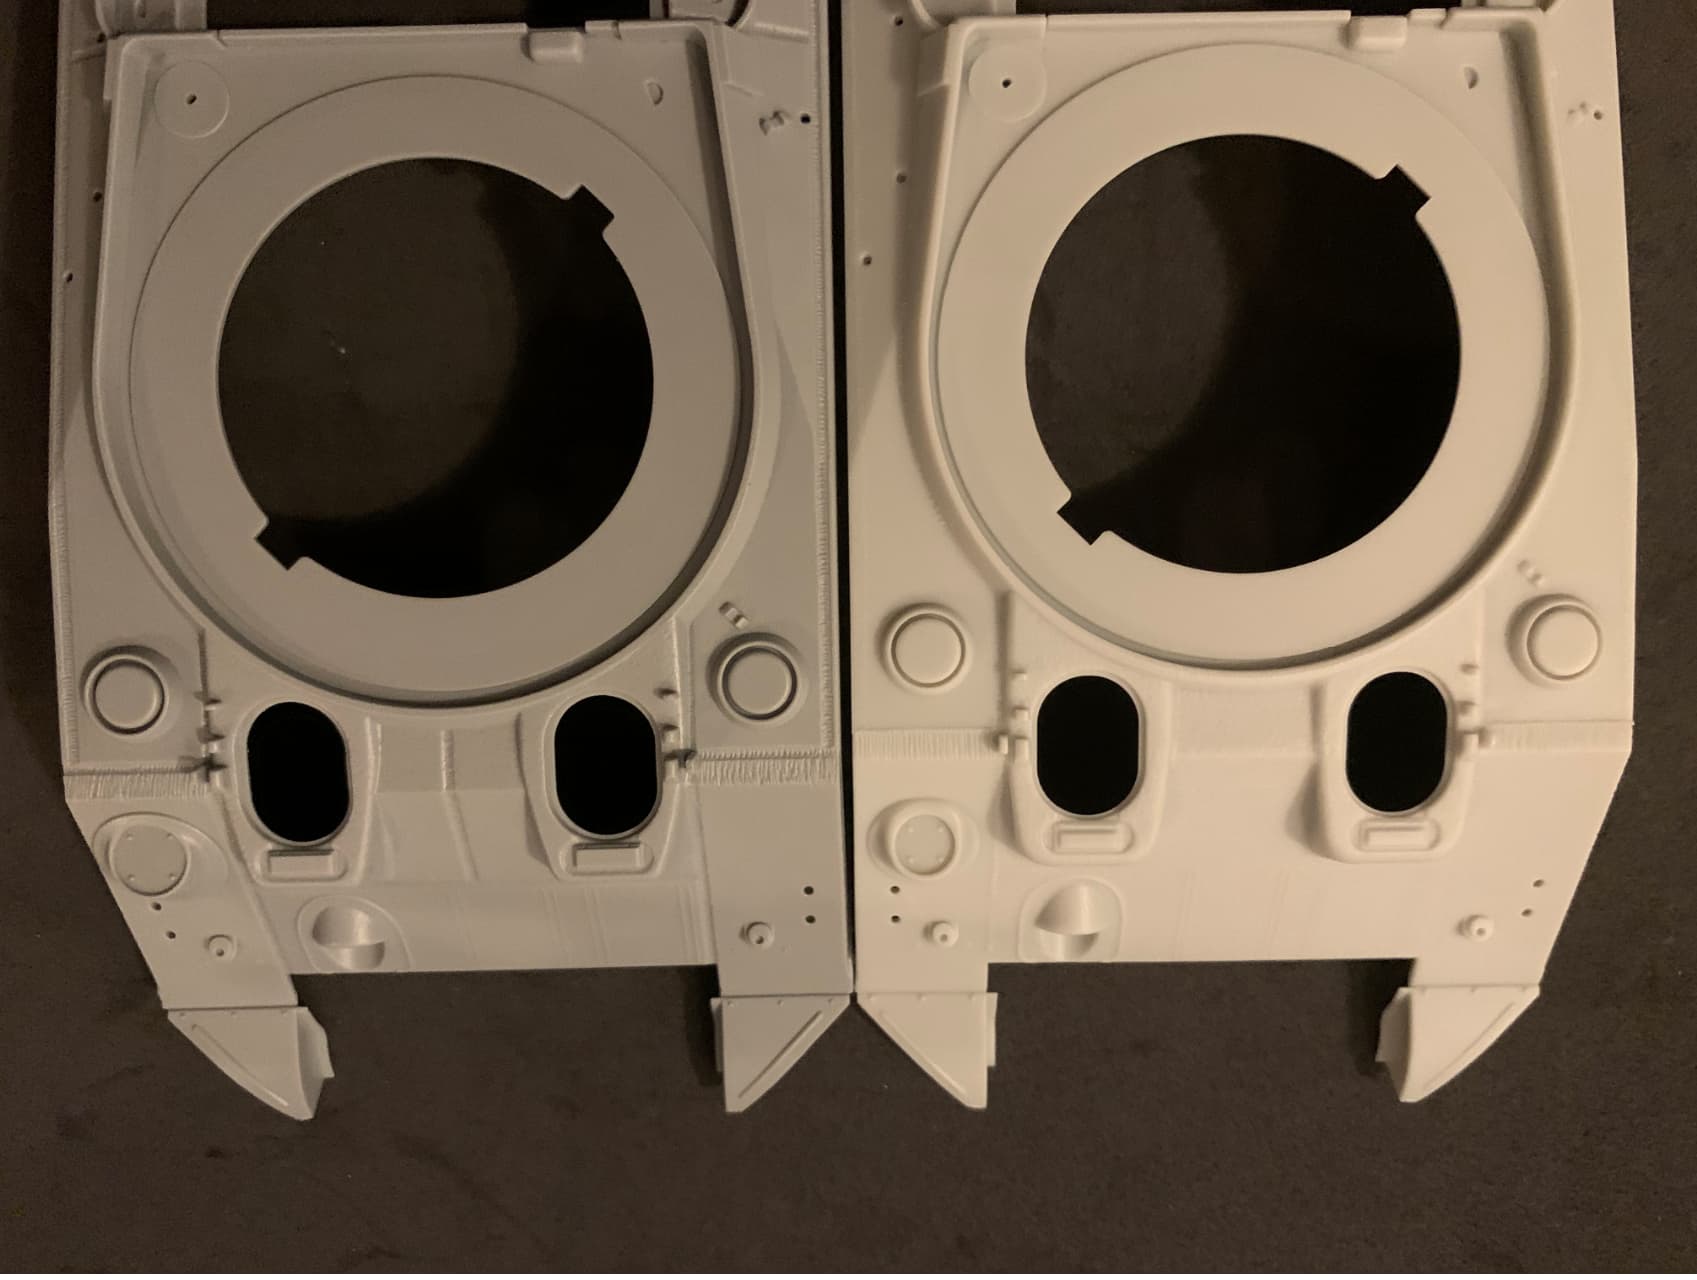
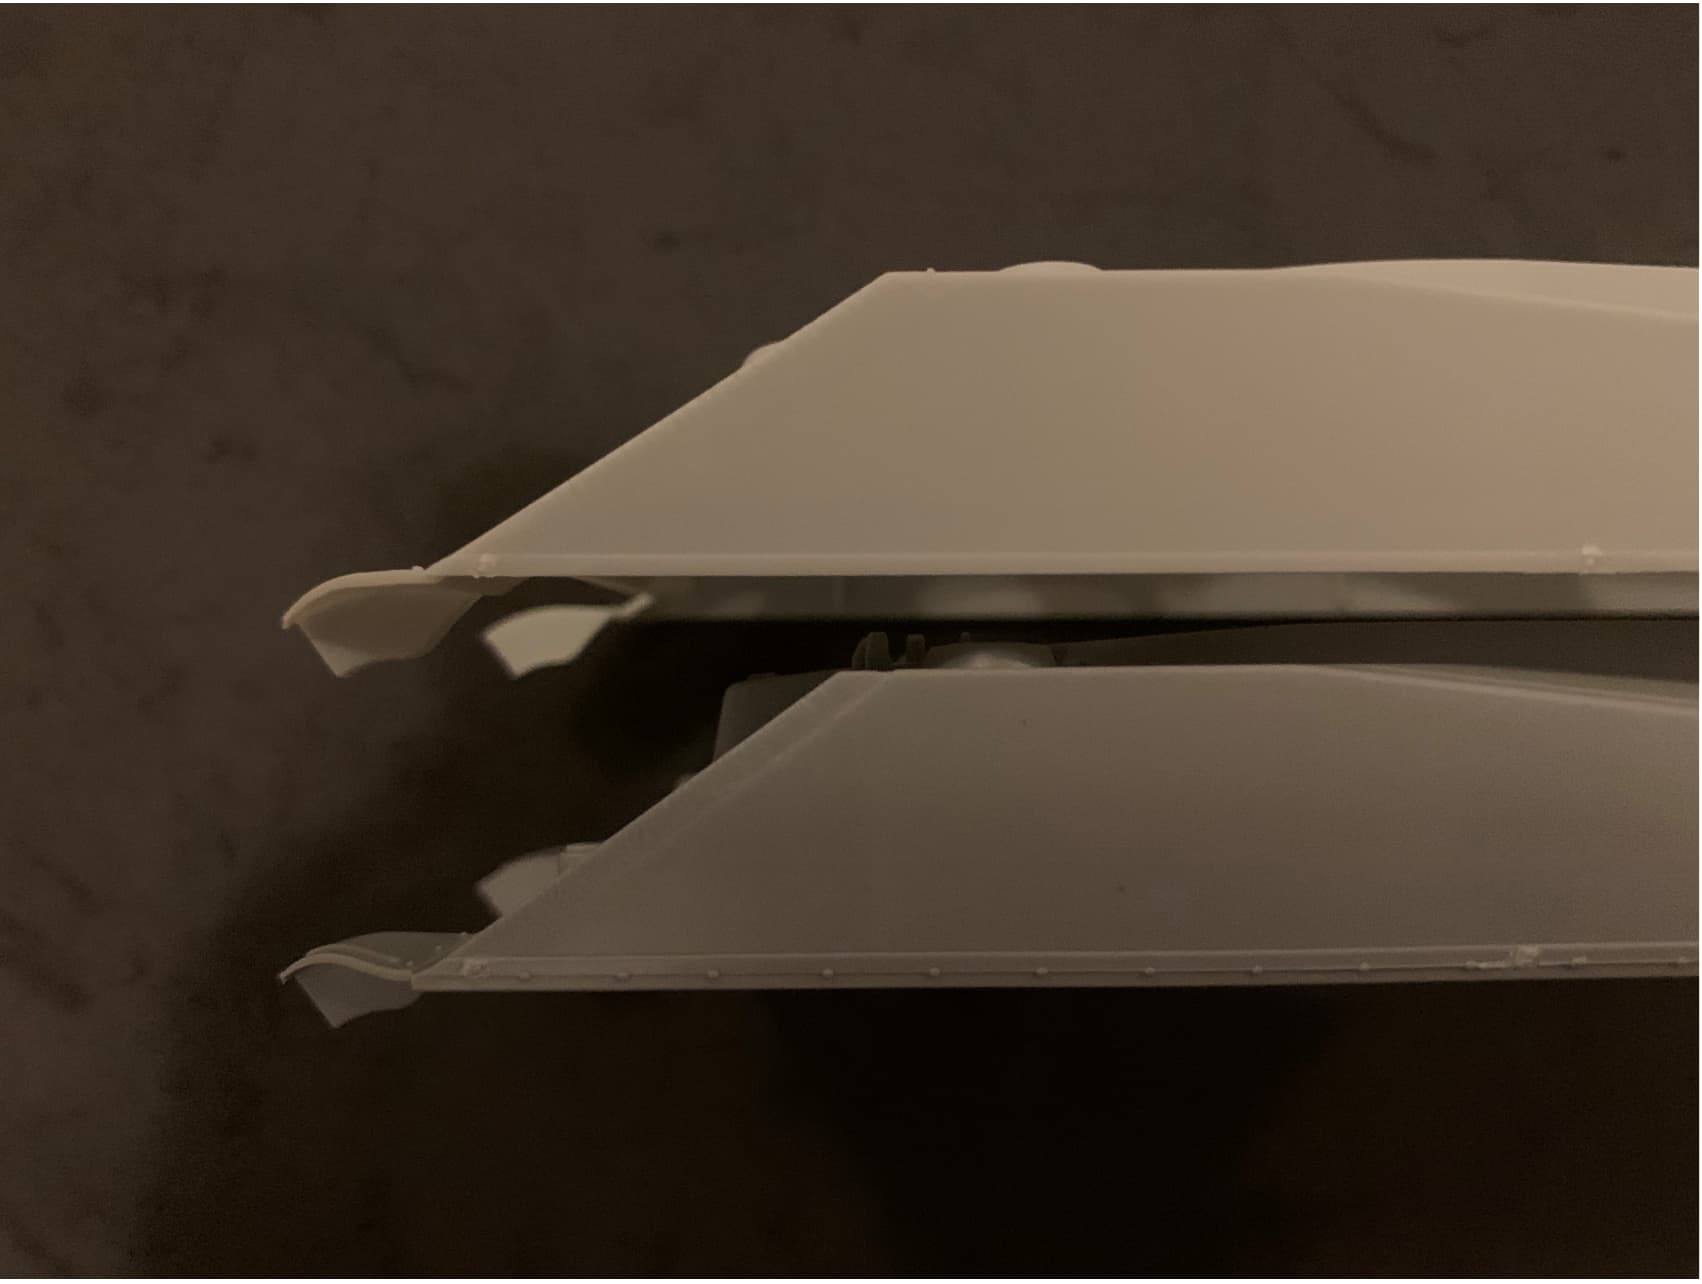
I never noticed that there are upper hull differences differences in the Dragon M4A4 kits.
I’m sure the Sherman fans have always known this. Even the glacis is at a slightly steeper angle.
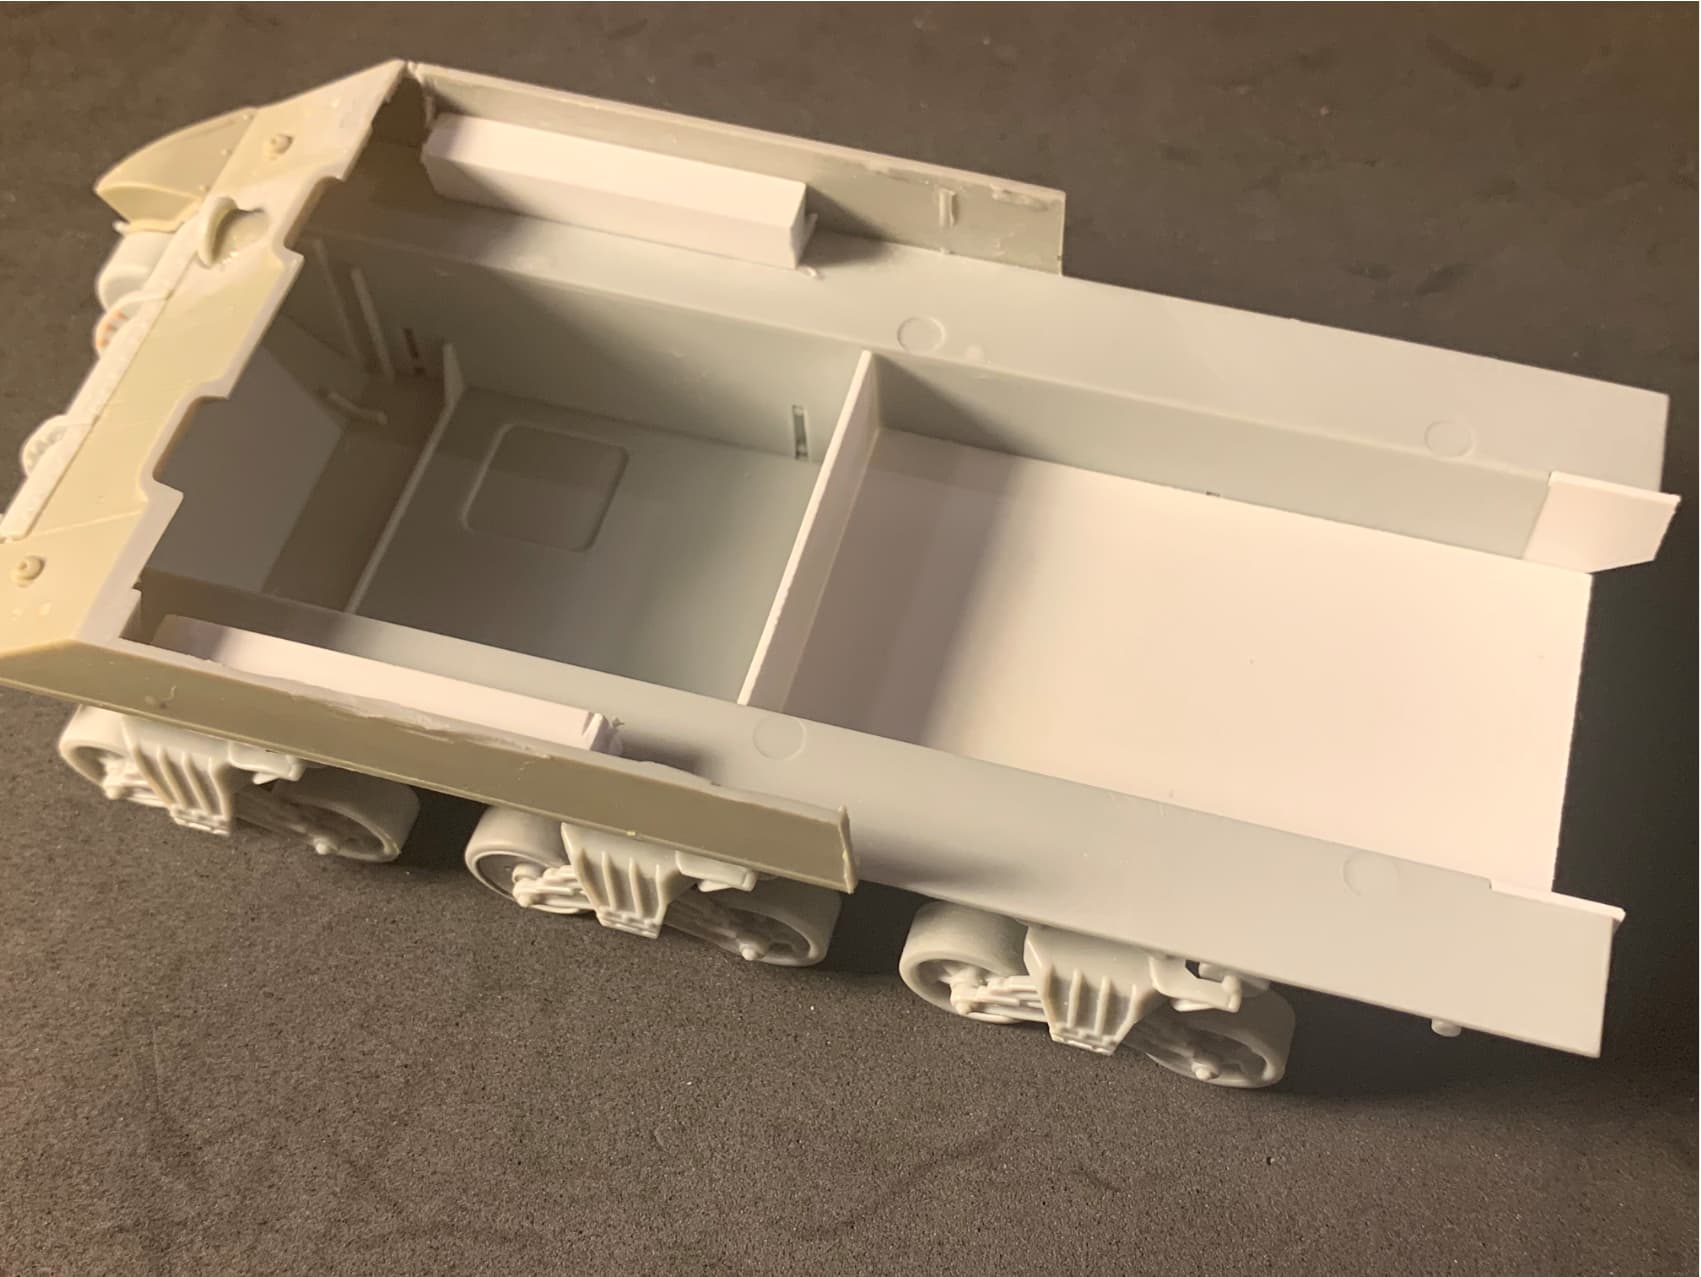
I started on the second version simply because with a lack of measurements of any kind, I need to know how far out to extend the hull sides with the HVSS track installed. It seems the IDF knew they would eventually make this upgrade and planned for it ahead of time.
The Cummins engined M50 retained the higher deck to accommodate the engine. No need to lop the top off of this one, although all of the detail has to go. I’ve filled in the divot underneath the bow MG opening with my favorite filler for large jobs - CA, hit with accelerator. Took all of ten seconds.
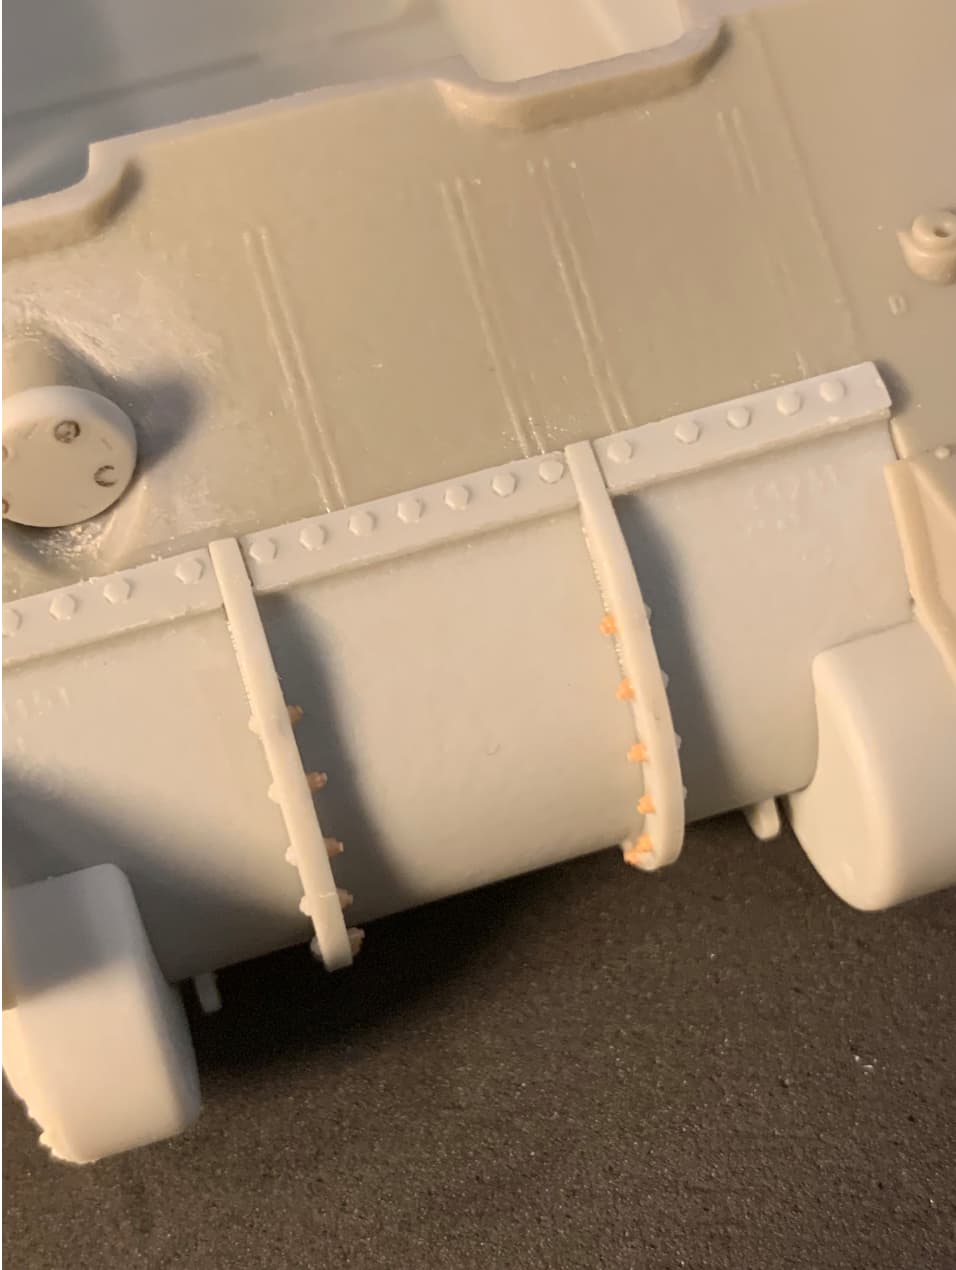
I sort of got waylaid by some other builds but now it’s back to these gins. I decided to fill in the holes on the flanges and replace the nut and bolt detail on the inboard portion of each flange. Unfortunately no castle nuts are available in my stash, so I resorted to my favorite standby - road wheel nuts and bolts, of which I have an almost endless supply:
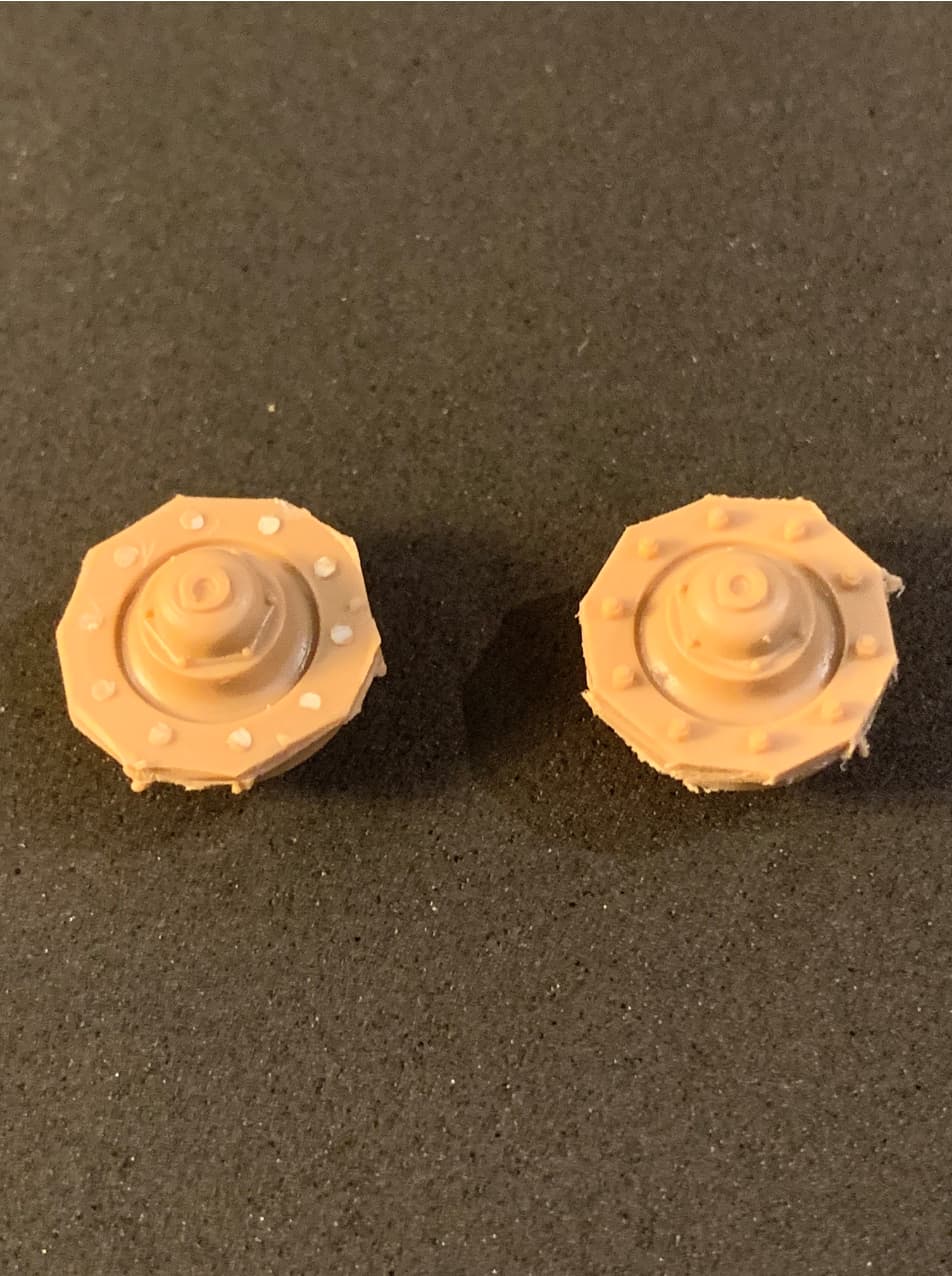
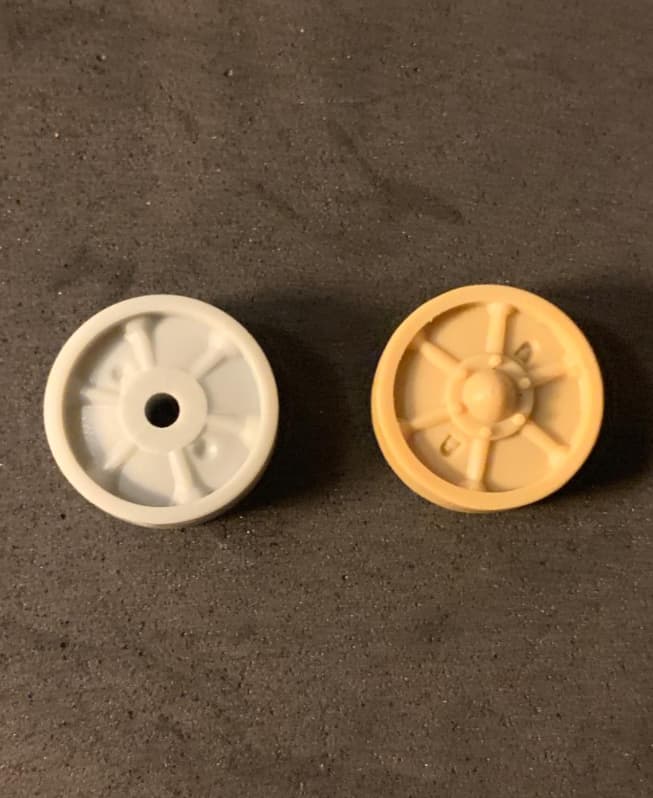
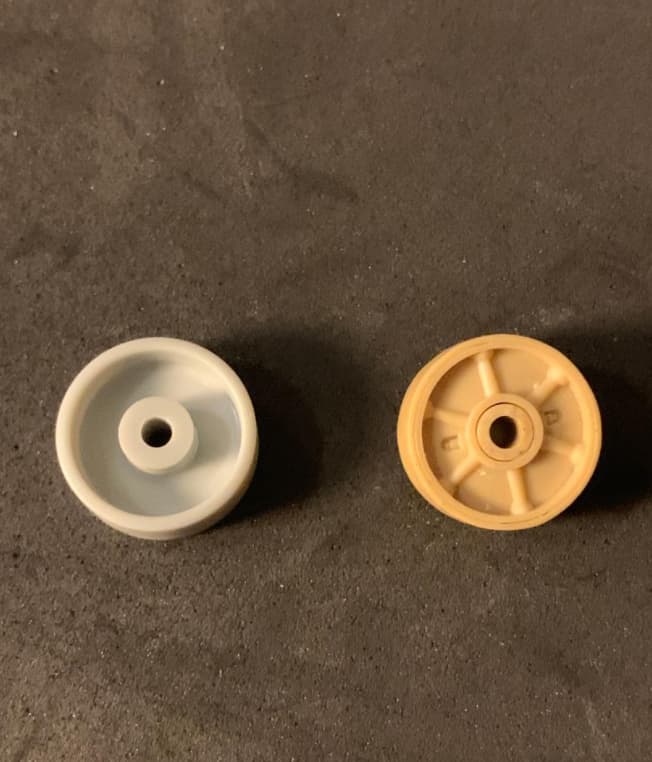
I decided to replace the Dragon idlers. I don’t even remember which kit they’re from, but the detail looks sharper to me:
Plus the replacements have the added bonus of details on the back side:
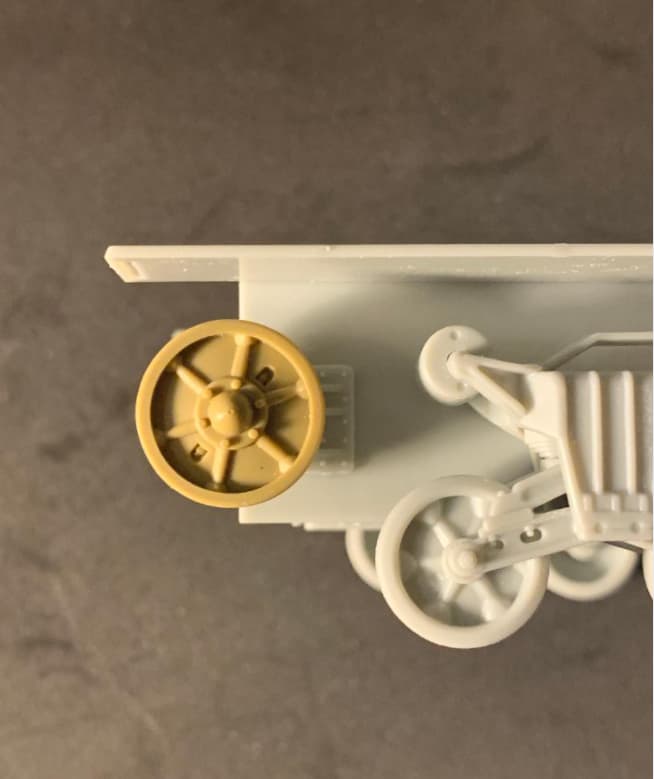
I moved the idler mounts quite a bit farther forward, as seen in photos. Everything has to be eyeballed pretty much. I’m not worried I’m off a few scale inches - the idler is designed to move after all. I put just enough cement on the mounts to keep them in place. That way I can remove them if necessary on final assembly of the tracks to make sure they have exactly the right amount of tension.
Definitely looks better than the kit idlers Robert
Yes definitely better detail
Fighting compartment started. A little progress is still progress:
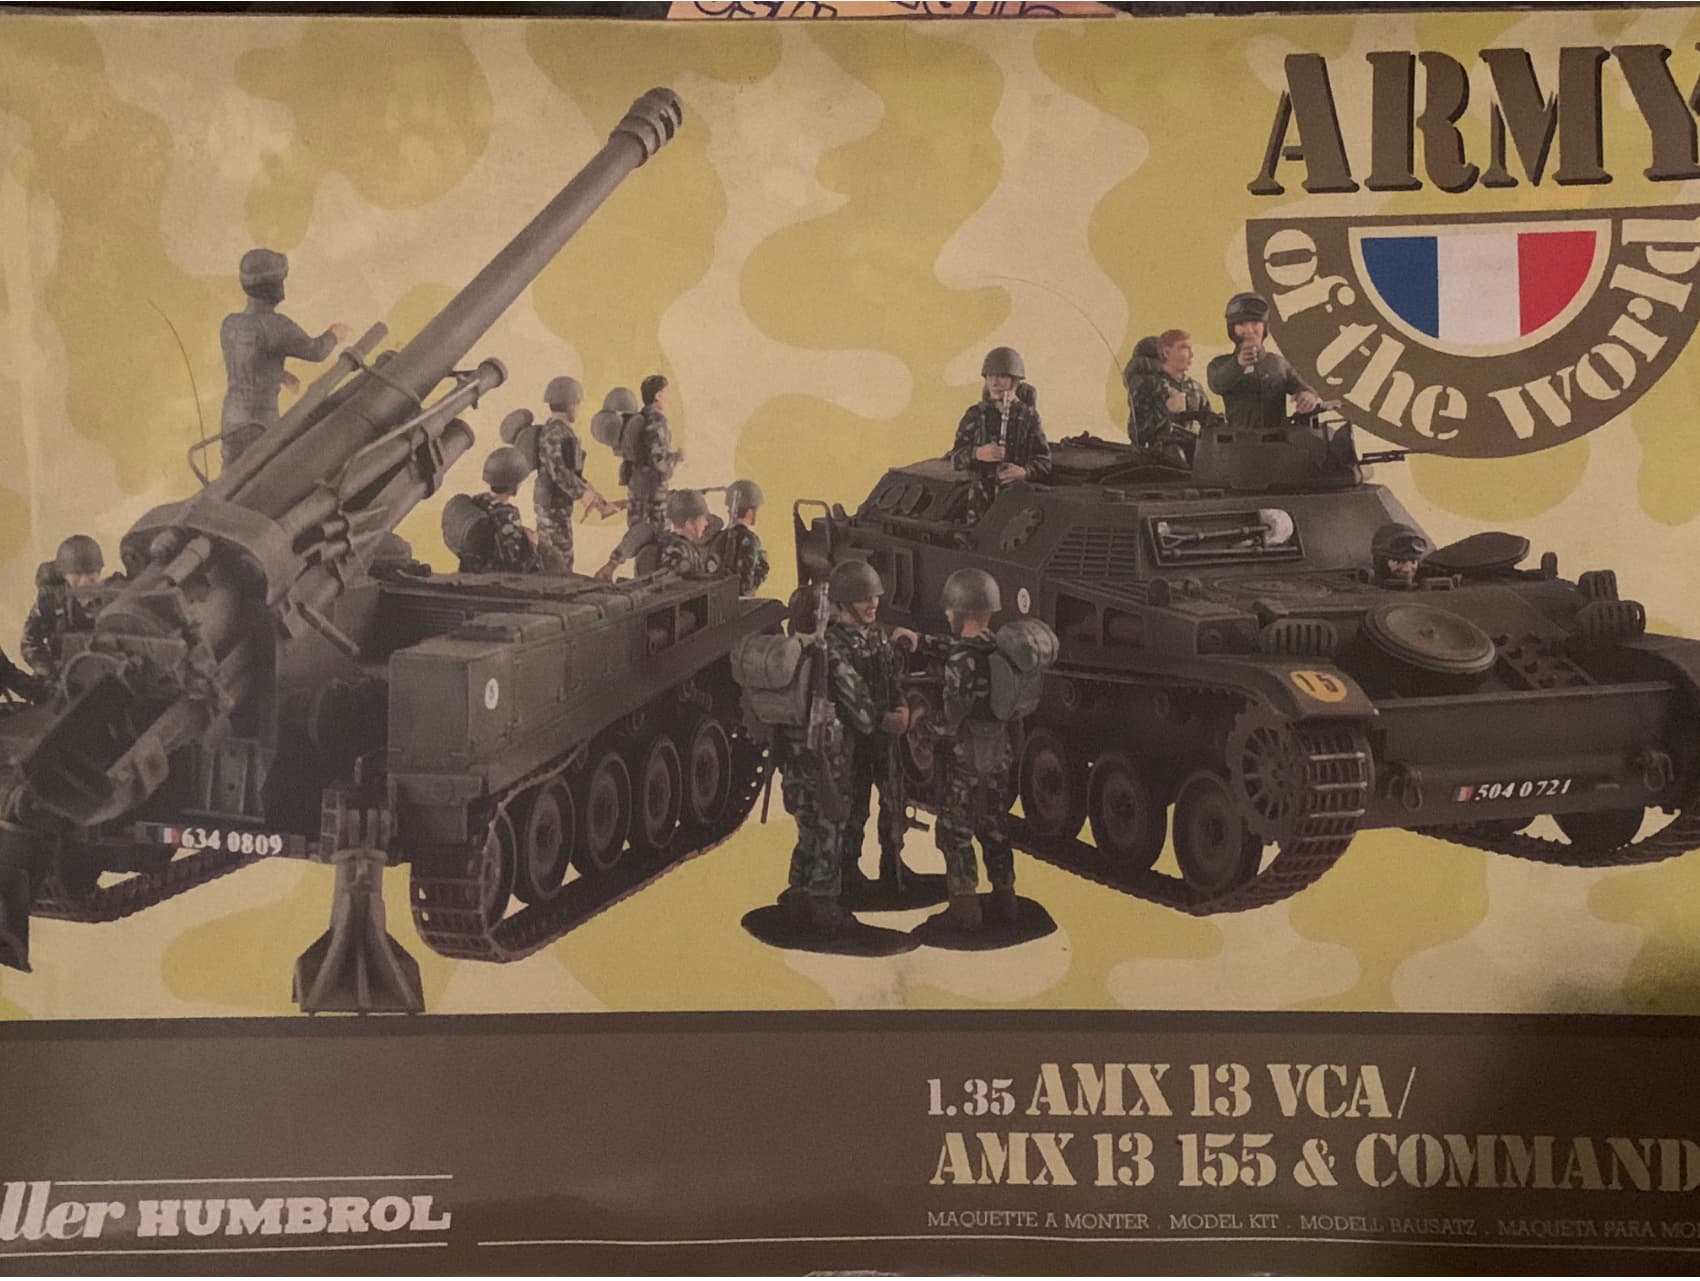
Time to start working on one of the two guns I purchased for this project - the Heller 155mm SPG.
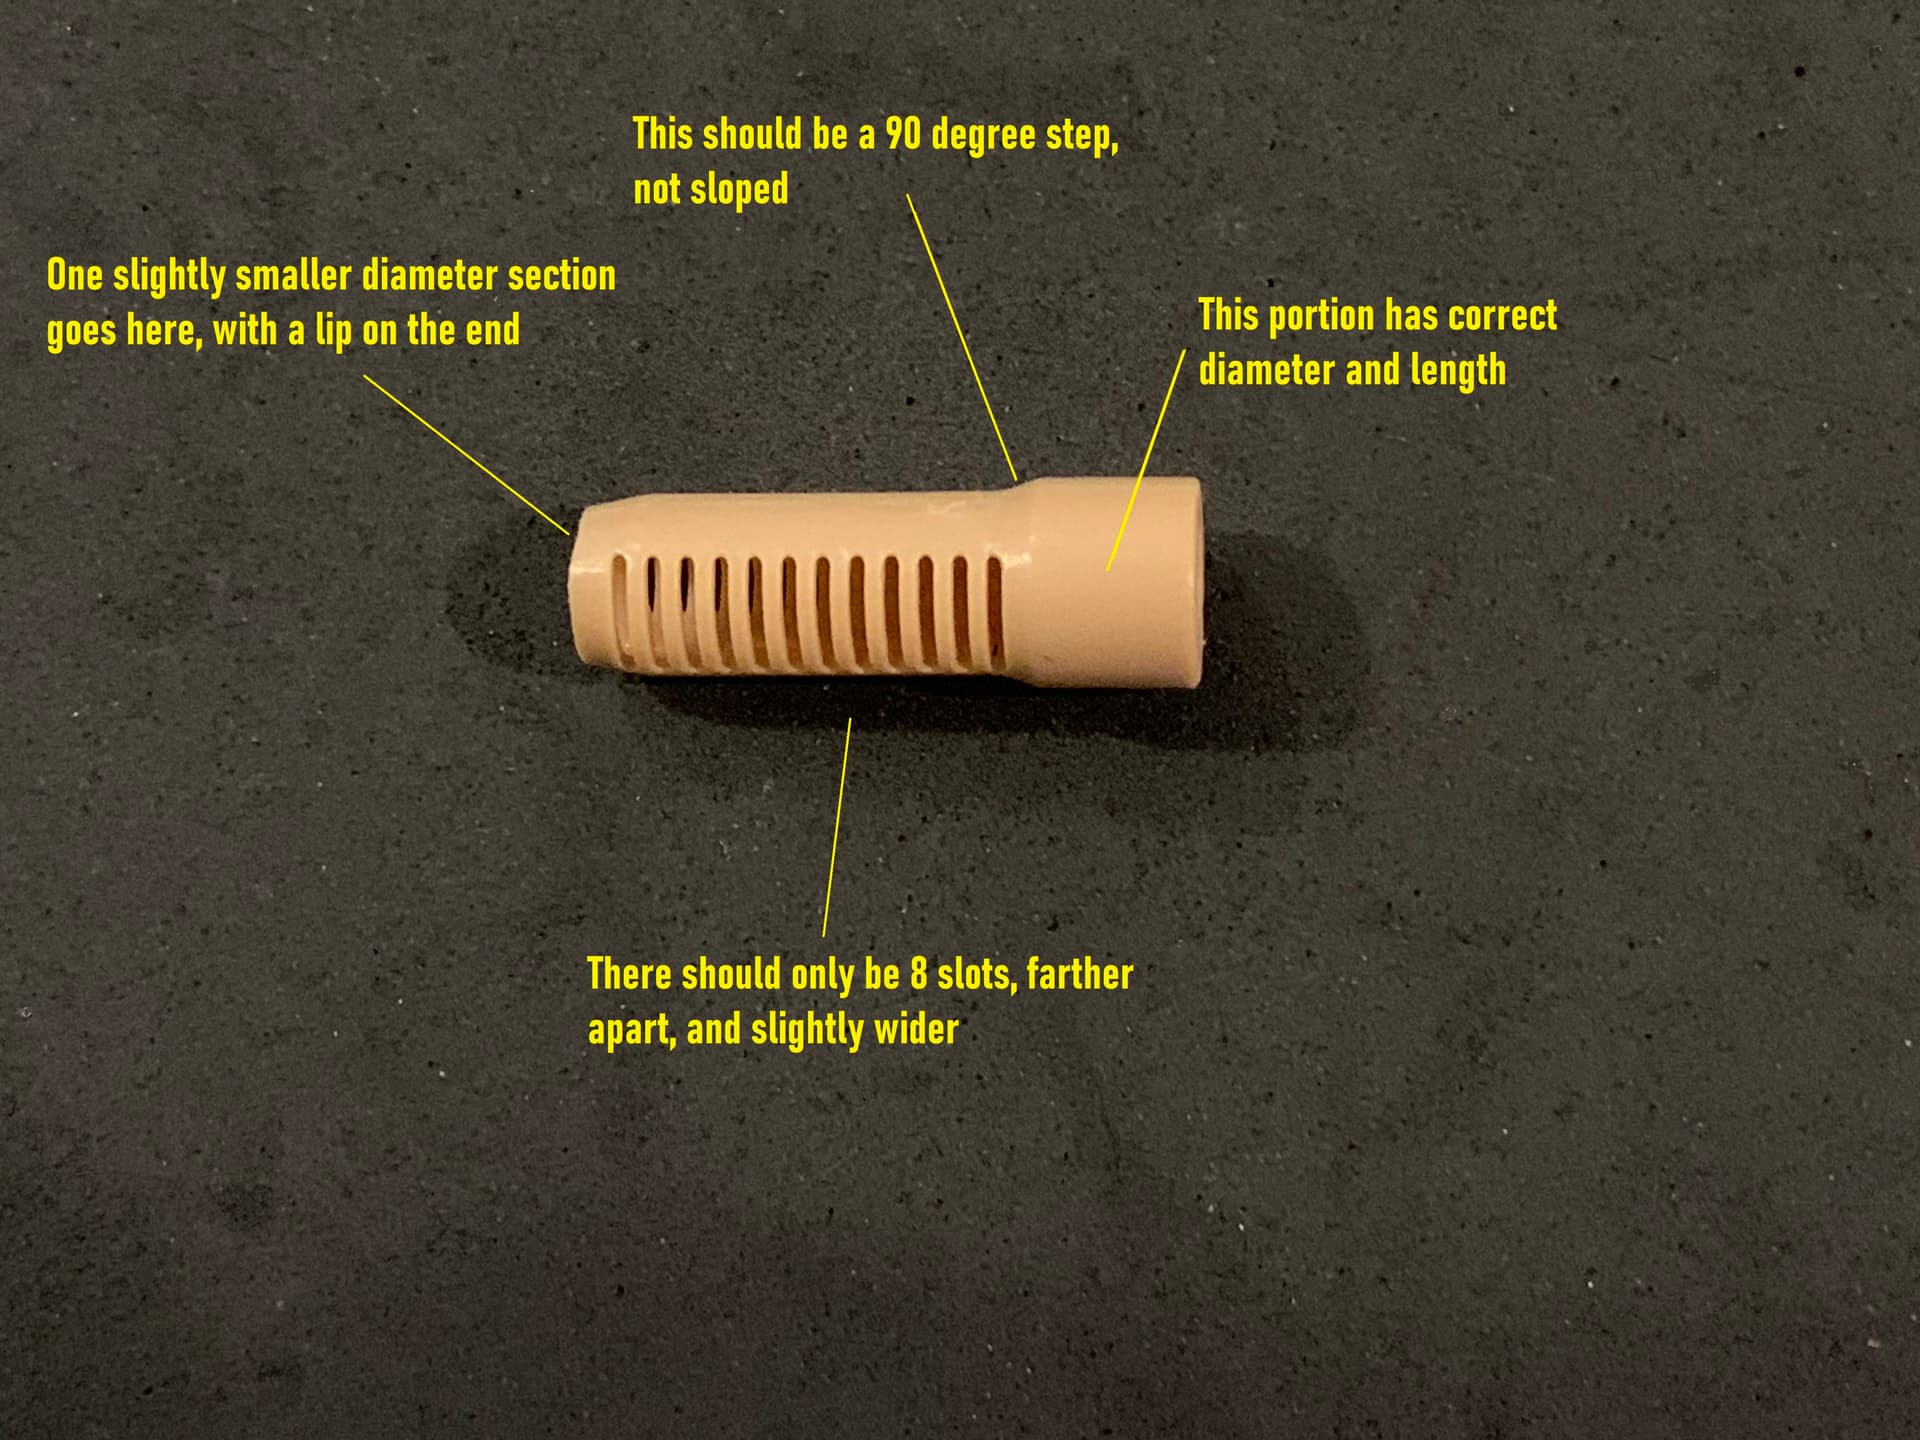
If I can’t fabricate the muzzle brake any better than my attempts thus far, I may have to resort to using this one off another kit:
it’s the right length, but unfortunately has too many slots. If I shorten it to have the correct number of slots then it’s well, too short. Either way, it’ll look better than this ridiculous looking brake that came in the old AEF Designs kit: (and which I just noticed has an incorrect number of slots.)
That’s a nice job on that build there Robert.
Looking good, that’s going to be a beast. Too bad about the muzzle break.
But it would be easy to model in 3D. Send me one good pic and overall dimension (1/35 or 1:1) and I’ll see what I can do. Got the time now I’m semi-retired…
That is very kind of you. A teammate of mine was going to give it a try but I haven’t heard from him in weeks. I’ll have to check his progress. In all likelihood I’ll end up sending you some dimensions.
Such a great subject and topic. Following. Really impressive work thus far.
3D printing might provide many solutions in sourcing out parts and details.
3D printing is definitely an option. I’m meeting the aforementioned teammate in Colorado Springs this weekend. It’s always a good opportunity to head to Colpar’s Hobbies in Aurora. For anyone who is ever in the Denver area it’s worth the trip.
Should the 3D experiment fail I do have a back up plan.
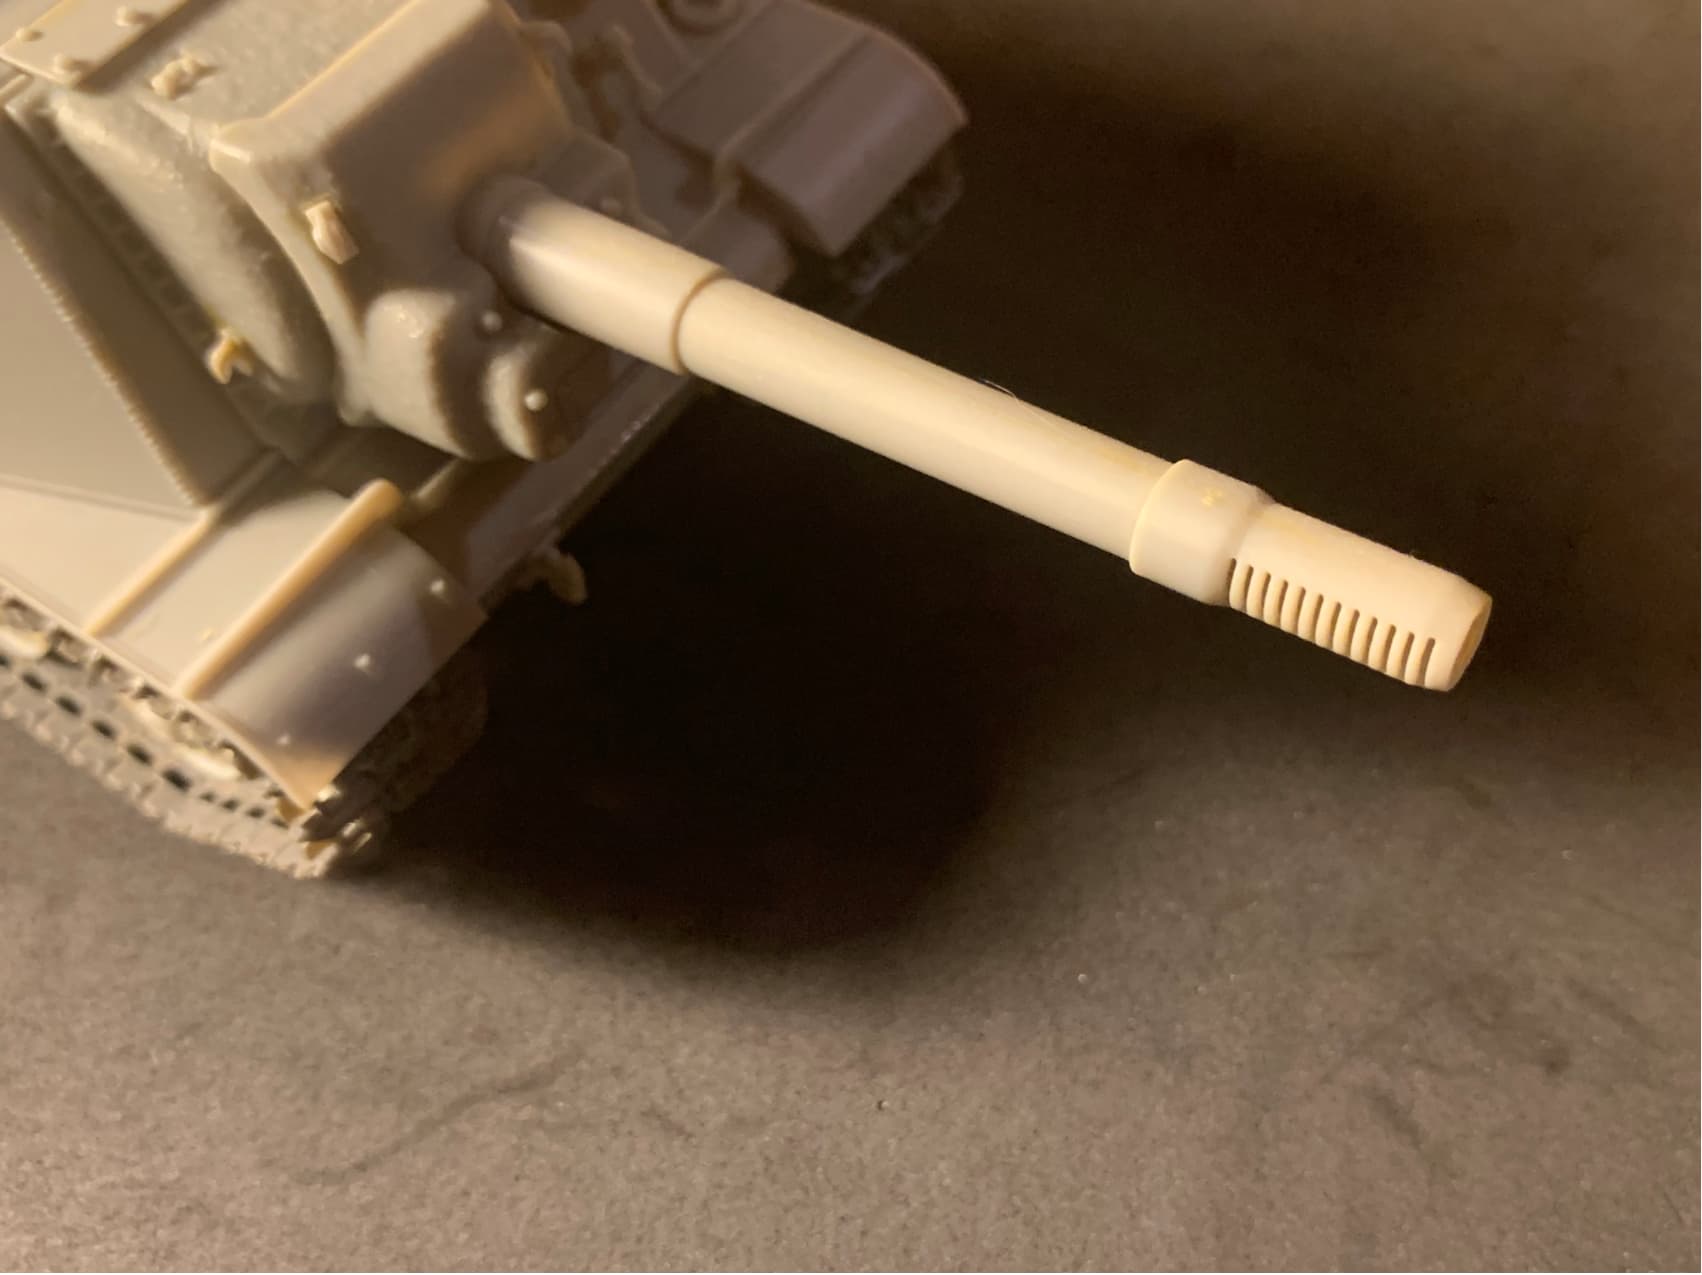
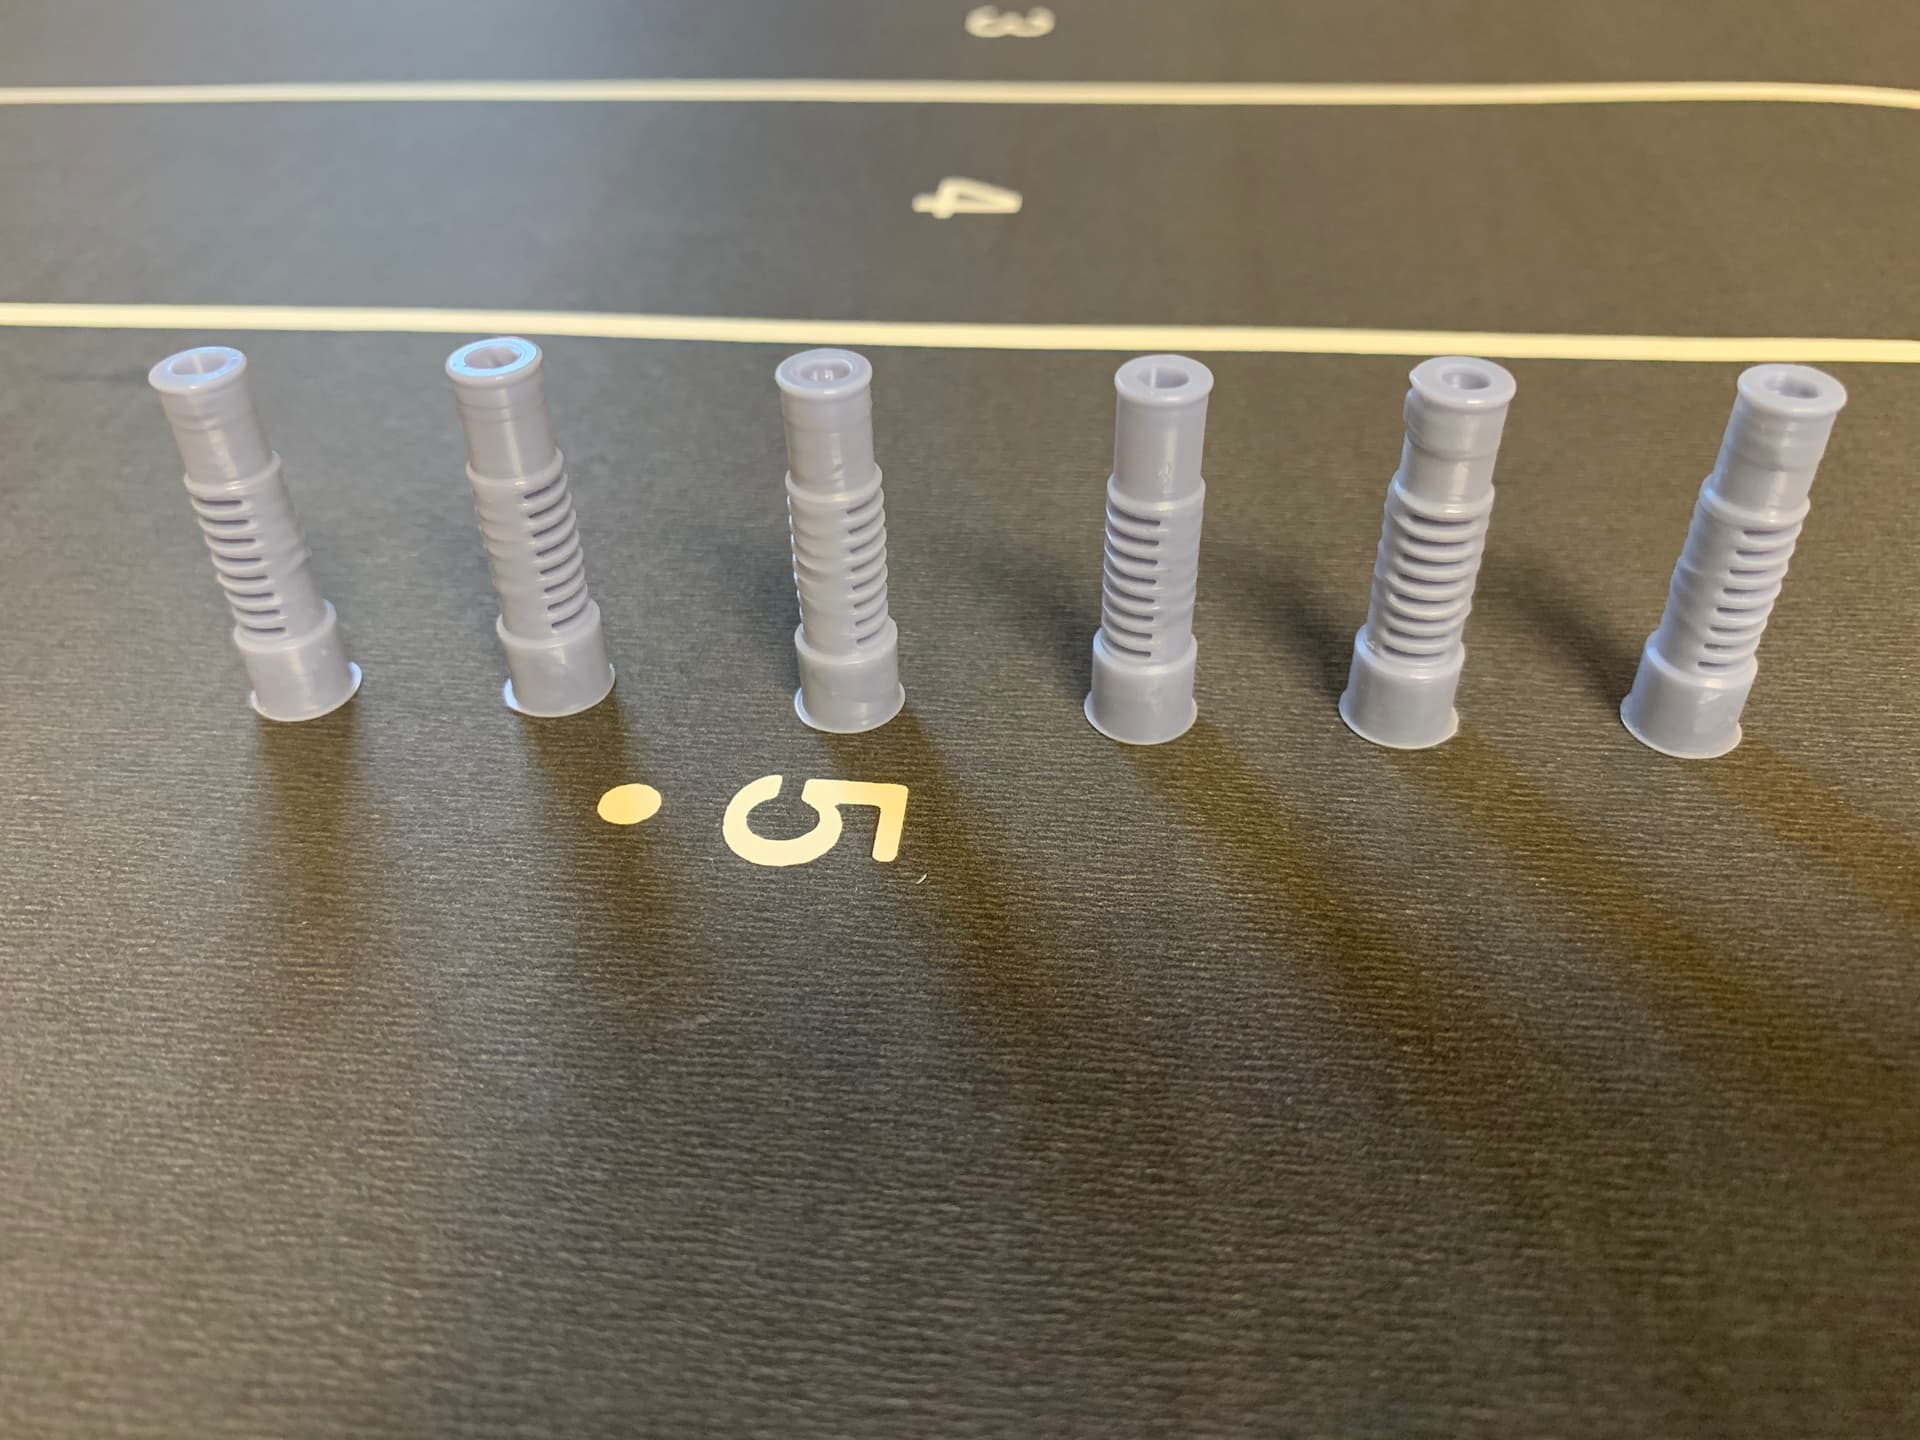
I took a chance and purchased this hoping the muzzle brake might work:
And it turns out it does have some potential. So after assembling the gun portion of the Heller SPG (which needs a lot of work, more later) it was time to see what I might have to resort to.
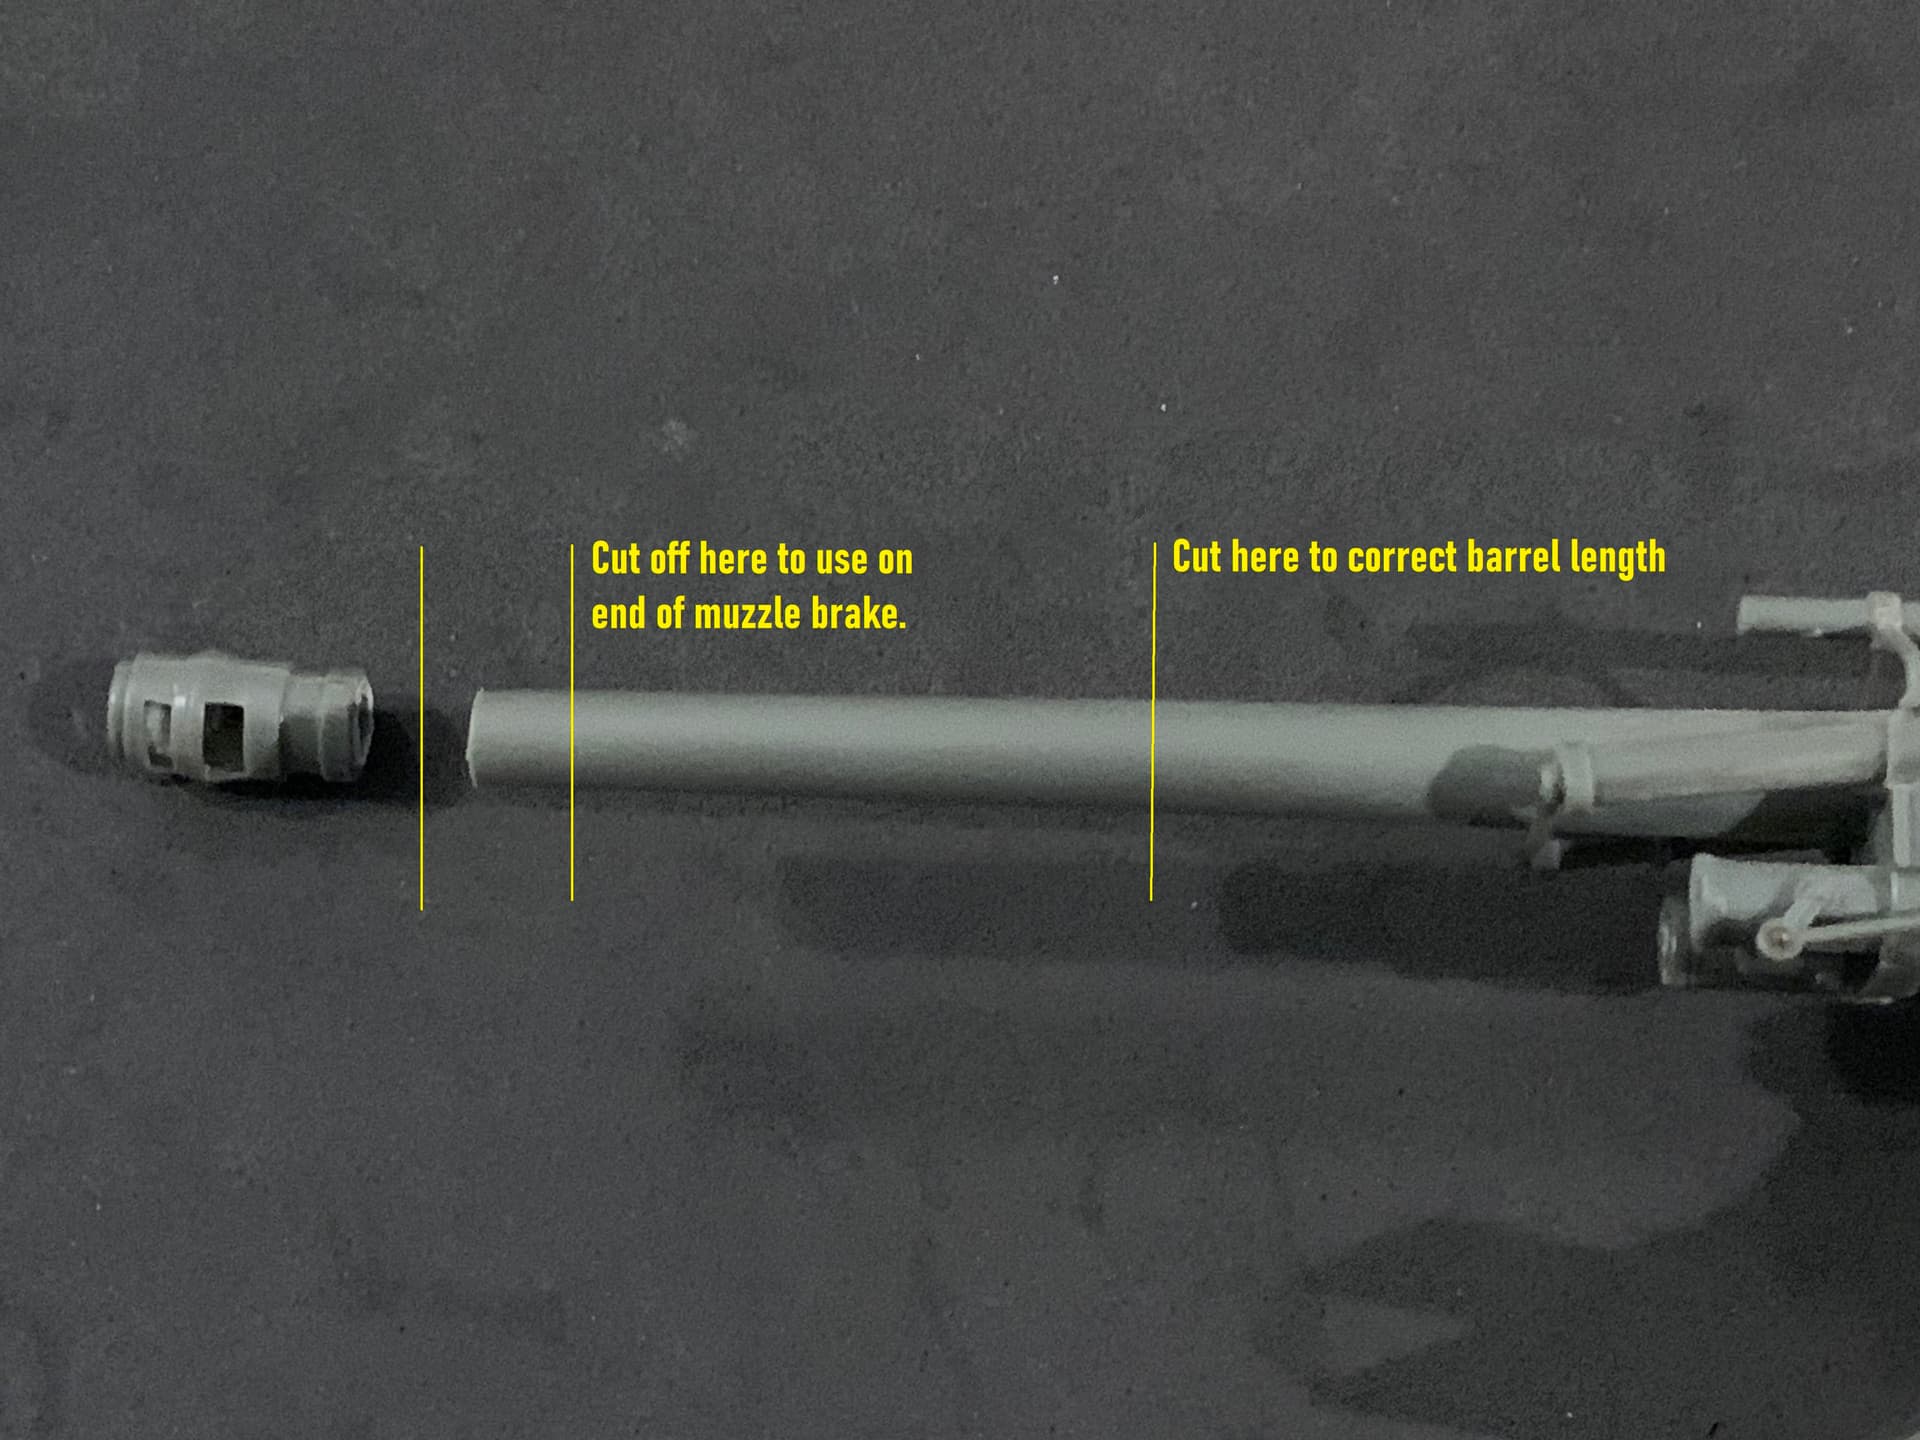
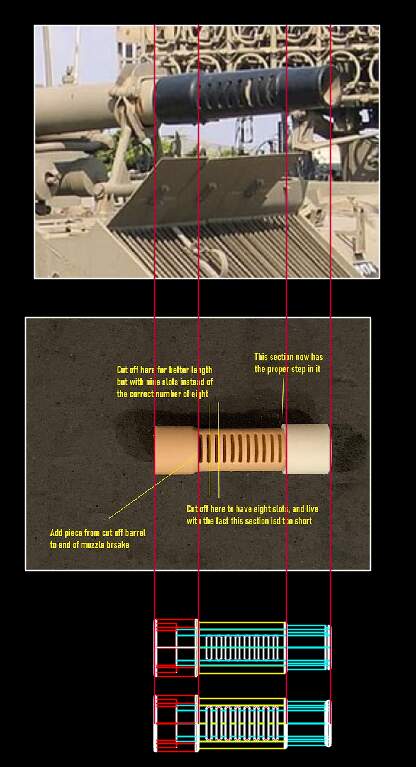
Here’s what needs to be done to the barrel first:
Here’s the muzzle from the kit:
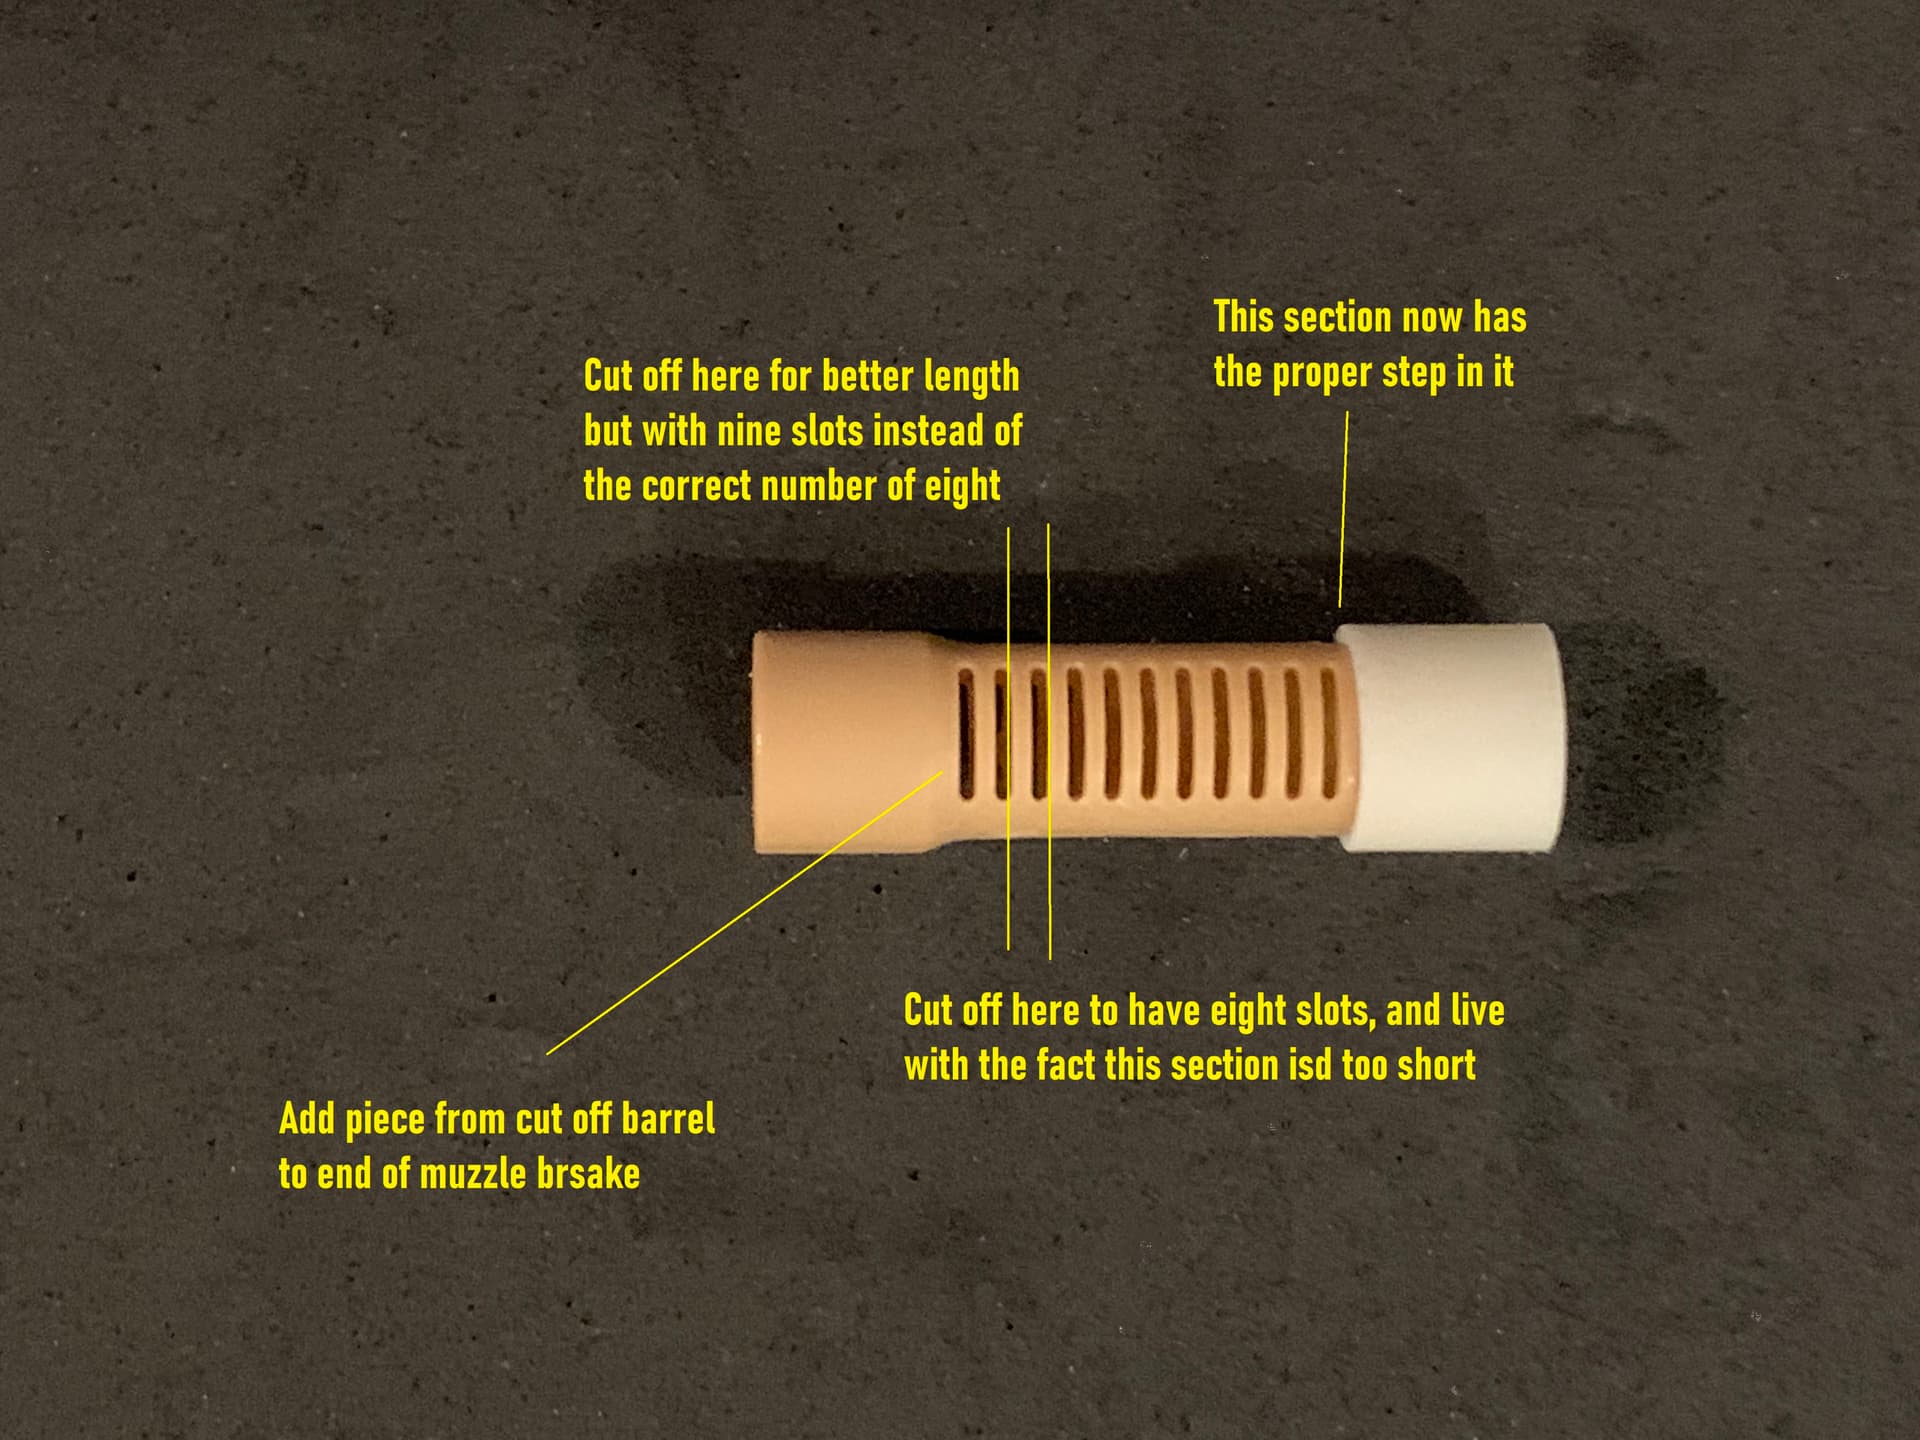
And here’s what needs to be done to get pretty close. Better at least than the ridiculous looking one supplied in the AEF Designs kit above, which only had seven slots anyway.
Most of the dimensions are at least correct. So armed with a micrometer my friend will see if he can design and print something a little better.
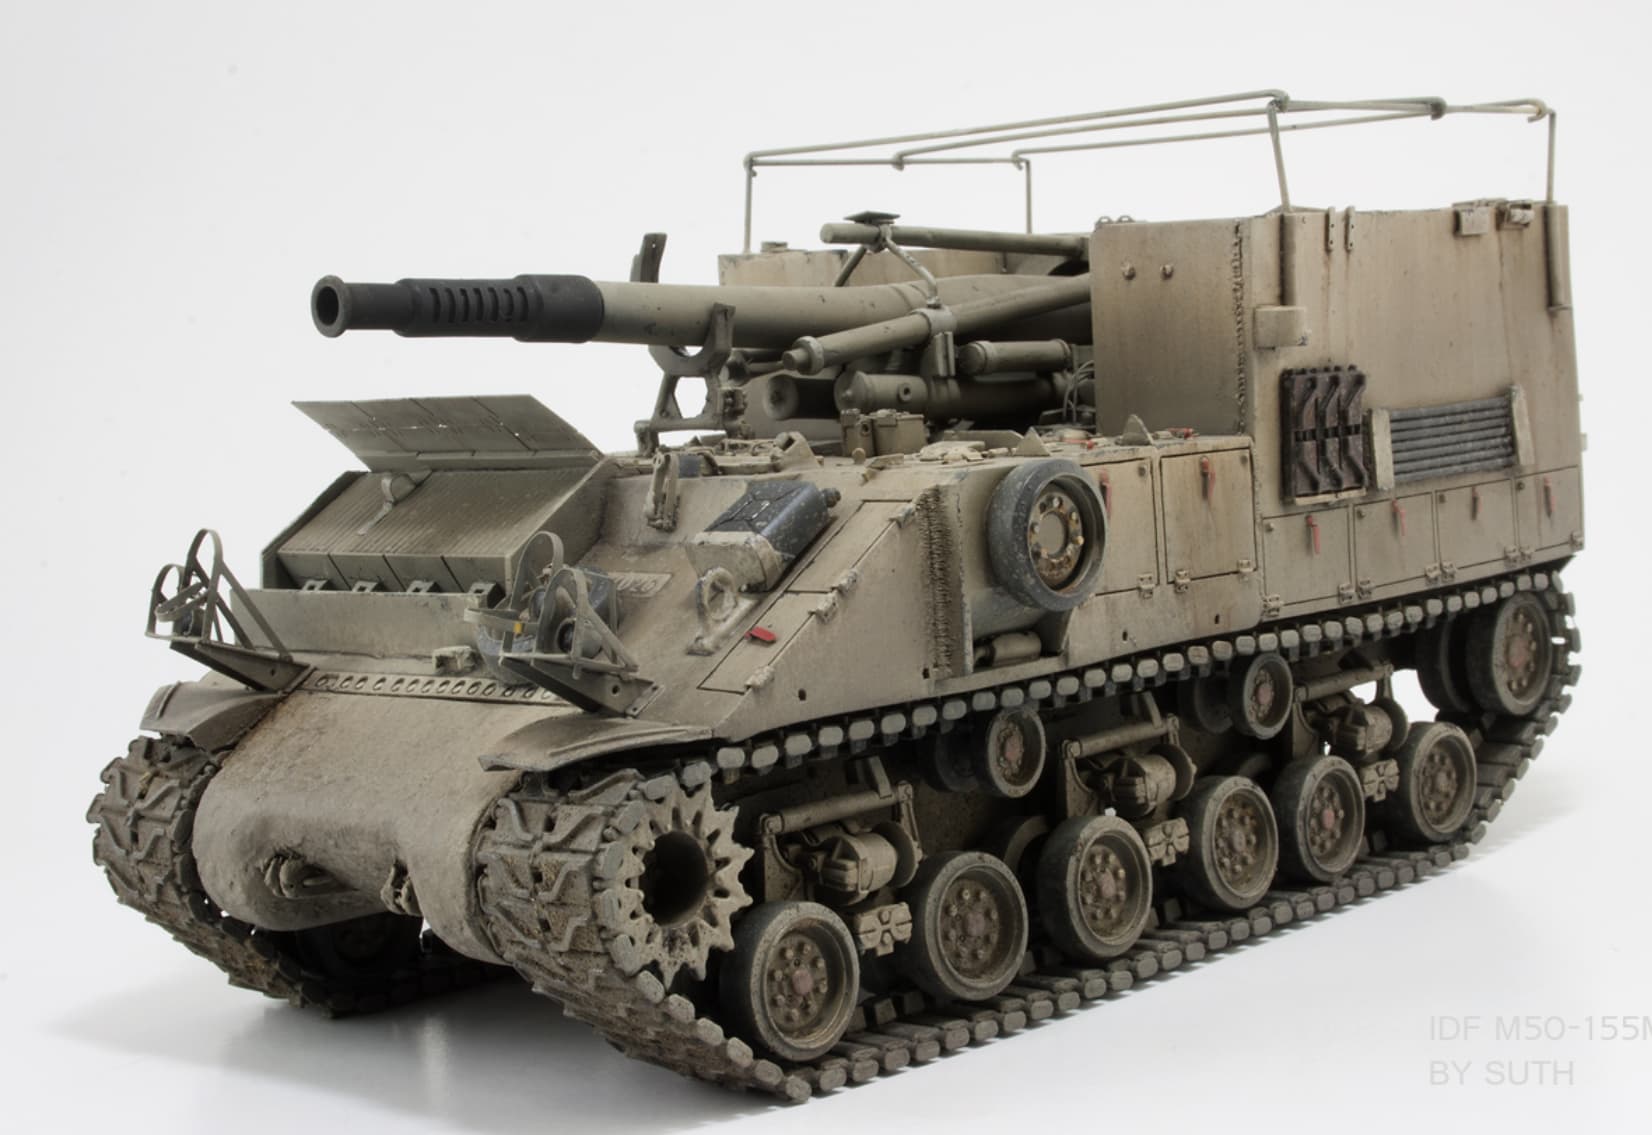
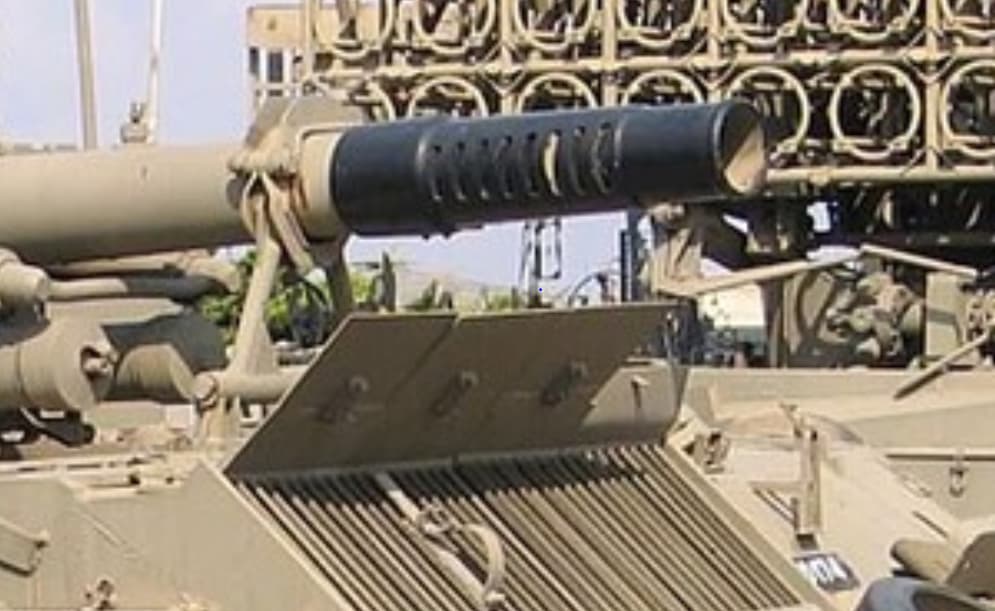
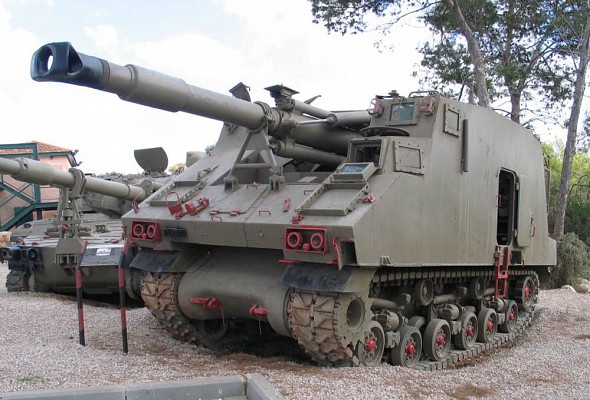
Here’s what I’m shooting for:
Great subject and great scratch building,
Cheers,
Ralph
No worries man, glad to help.
Ah… The Springs in the Fall.
Brown and more Brown. Dont miss it. LOL
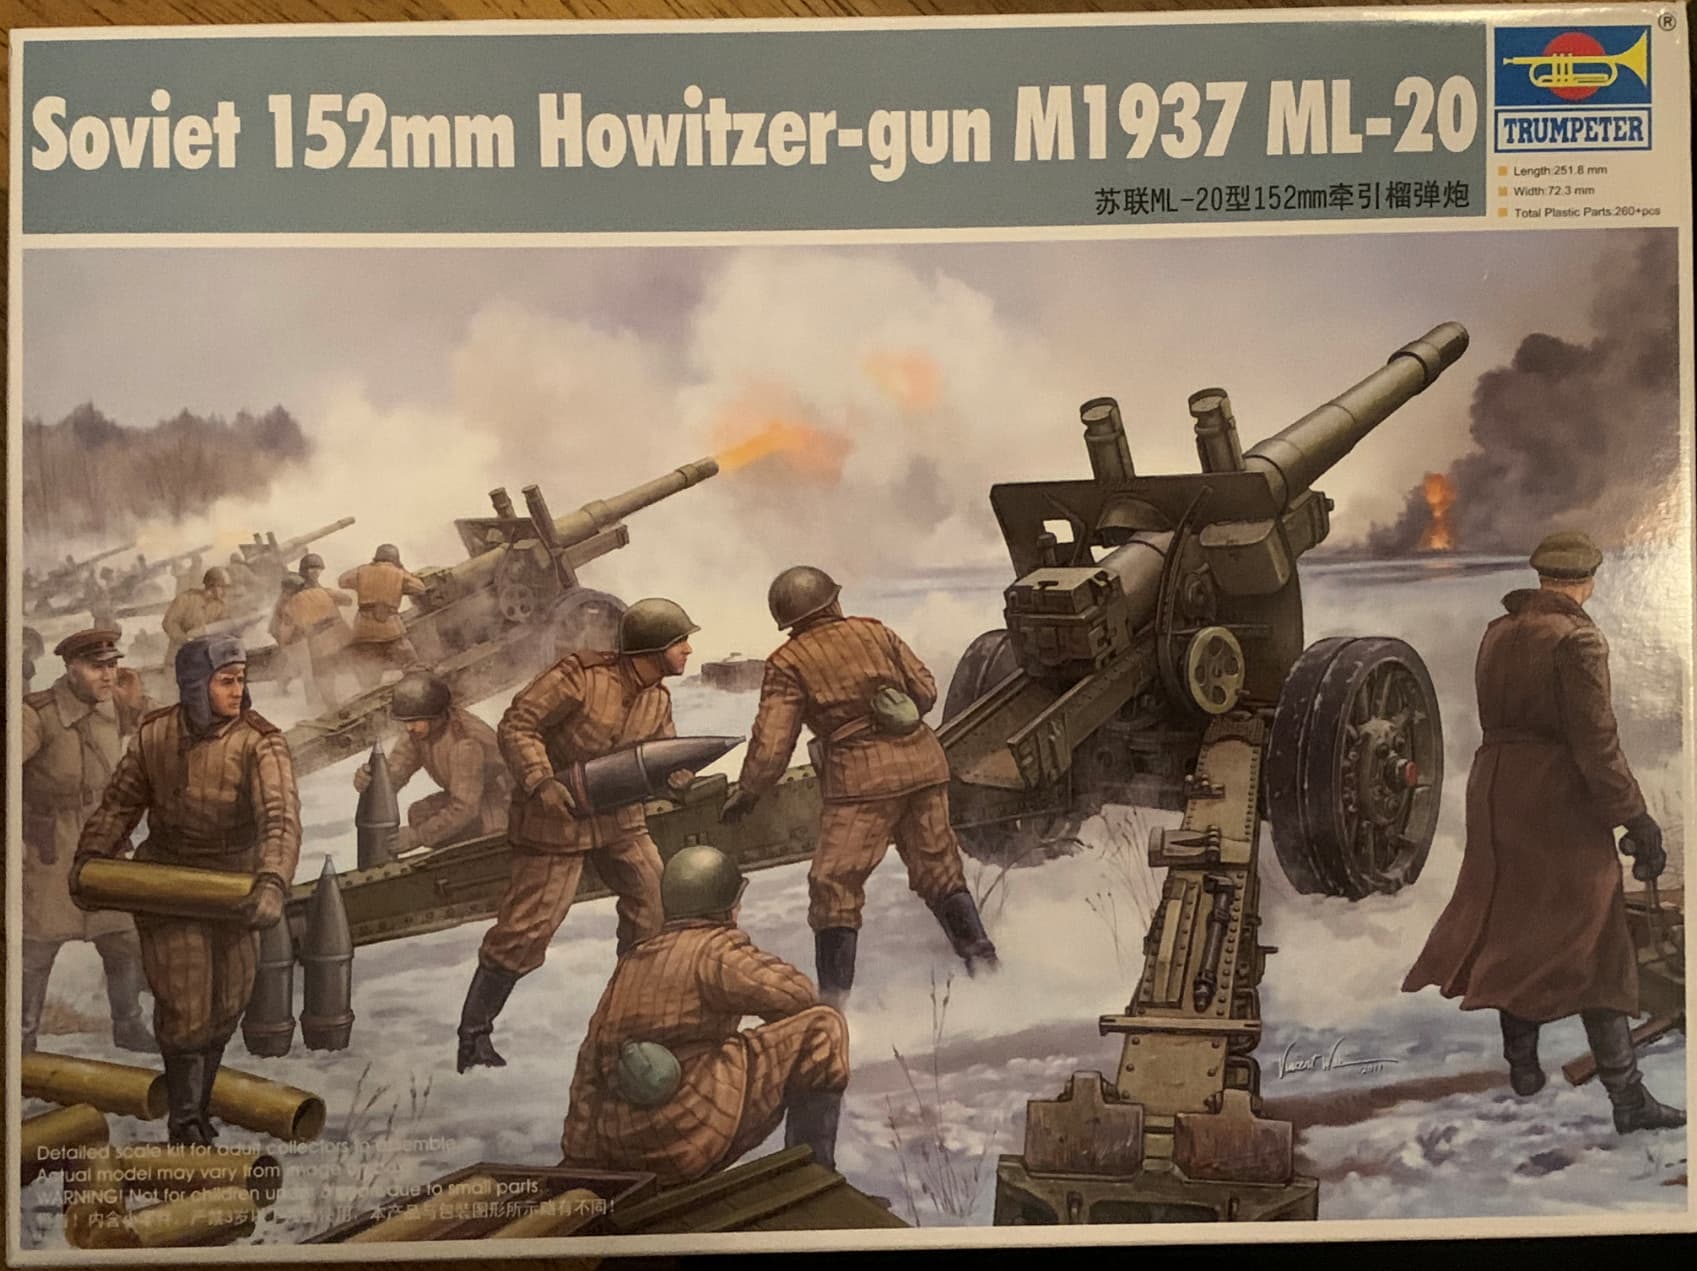
If your meeting with your bud does not work out, can try one of these.
Hard to tell exactly from the pic of the real thing. Its got that slight angle and alittle blurry w/ a hard zoom.
TJ
My friend came through - he brought the micrometer. I dropped the ball and forgot the parts!
I’ll get a battery for mine and send you measurements. Thanks!
Finally took measurements which I’ll send to you, Neo. Meanwhile I’m adding a few tools to my own toolbox. Not as cool as yours, but it’s getting there.
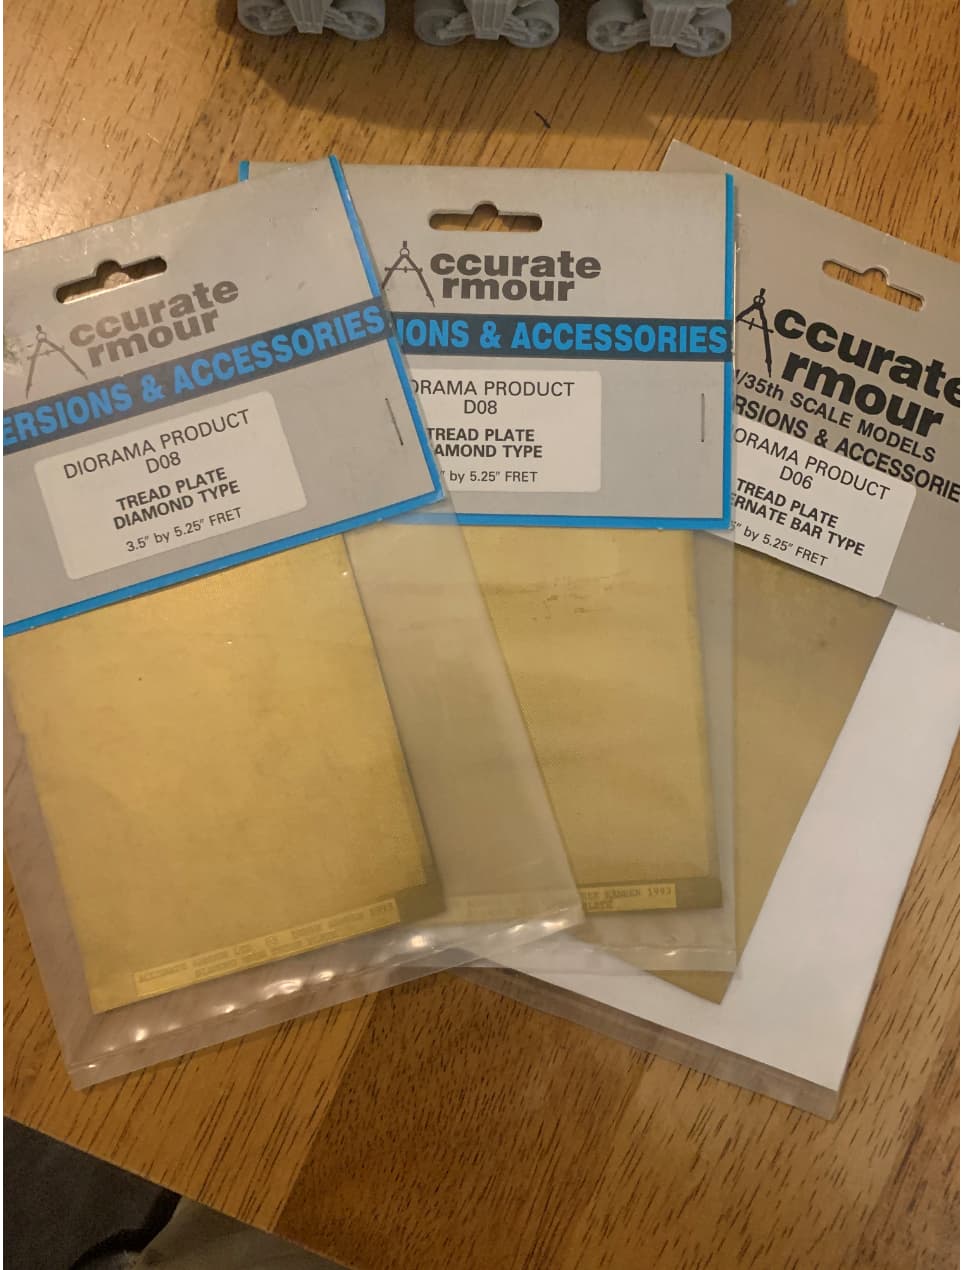
I got my yearly order form Accurate-Armour, which includes this:
Now I can continue with the fighting compartment. Photos show that both kinds of treadplste are used in one vehicle. A little pricey, but it’ll be worth it.
That’s cool, look great.
What app did you use to make that?