Nice progress and esp. with the stone work!
1 Like
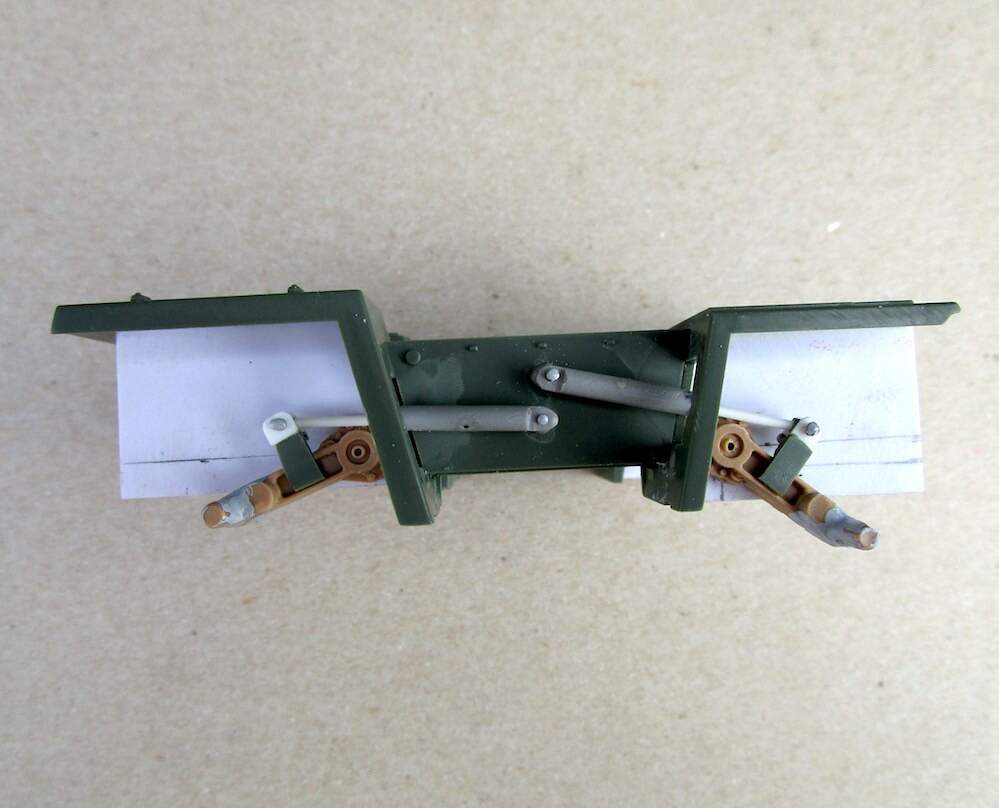
Installed the hydraulic cylinders for the road wheel arms on one side (RH) this morning. They articulate

7 Likes
Thanks for the positive feedback kosprueone, it’s much appreciated,  .
.
Great work on your articulation of the road wheel arms, a very nice touch,  .
.
Cheers,  ,
,
G
1 Like
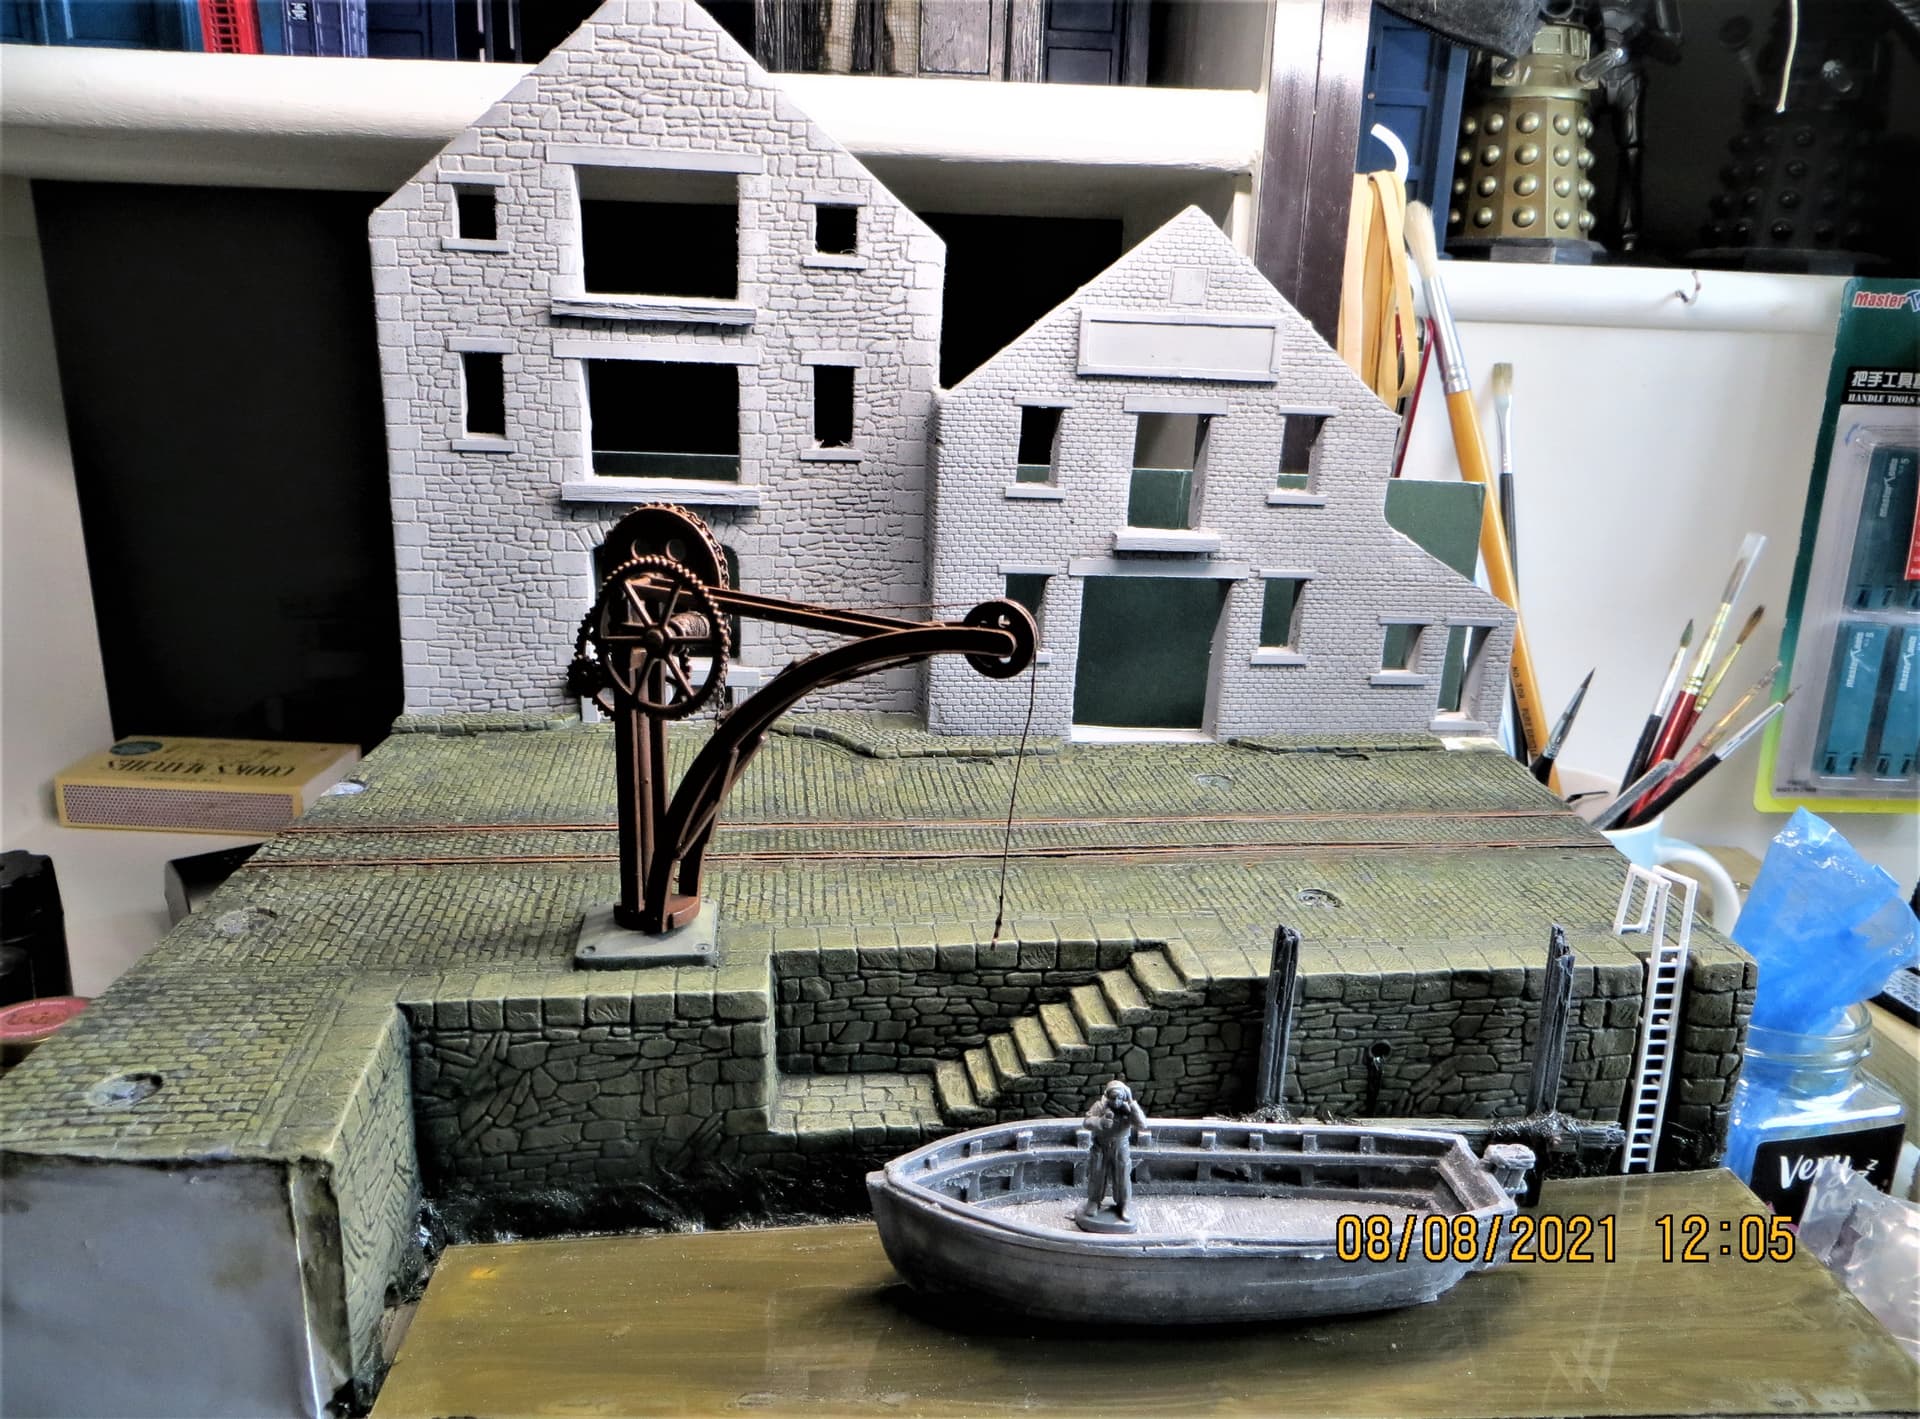
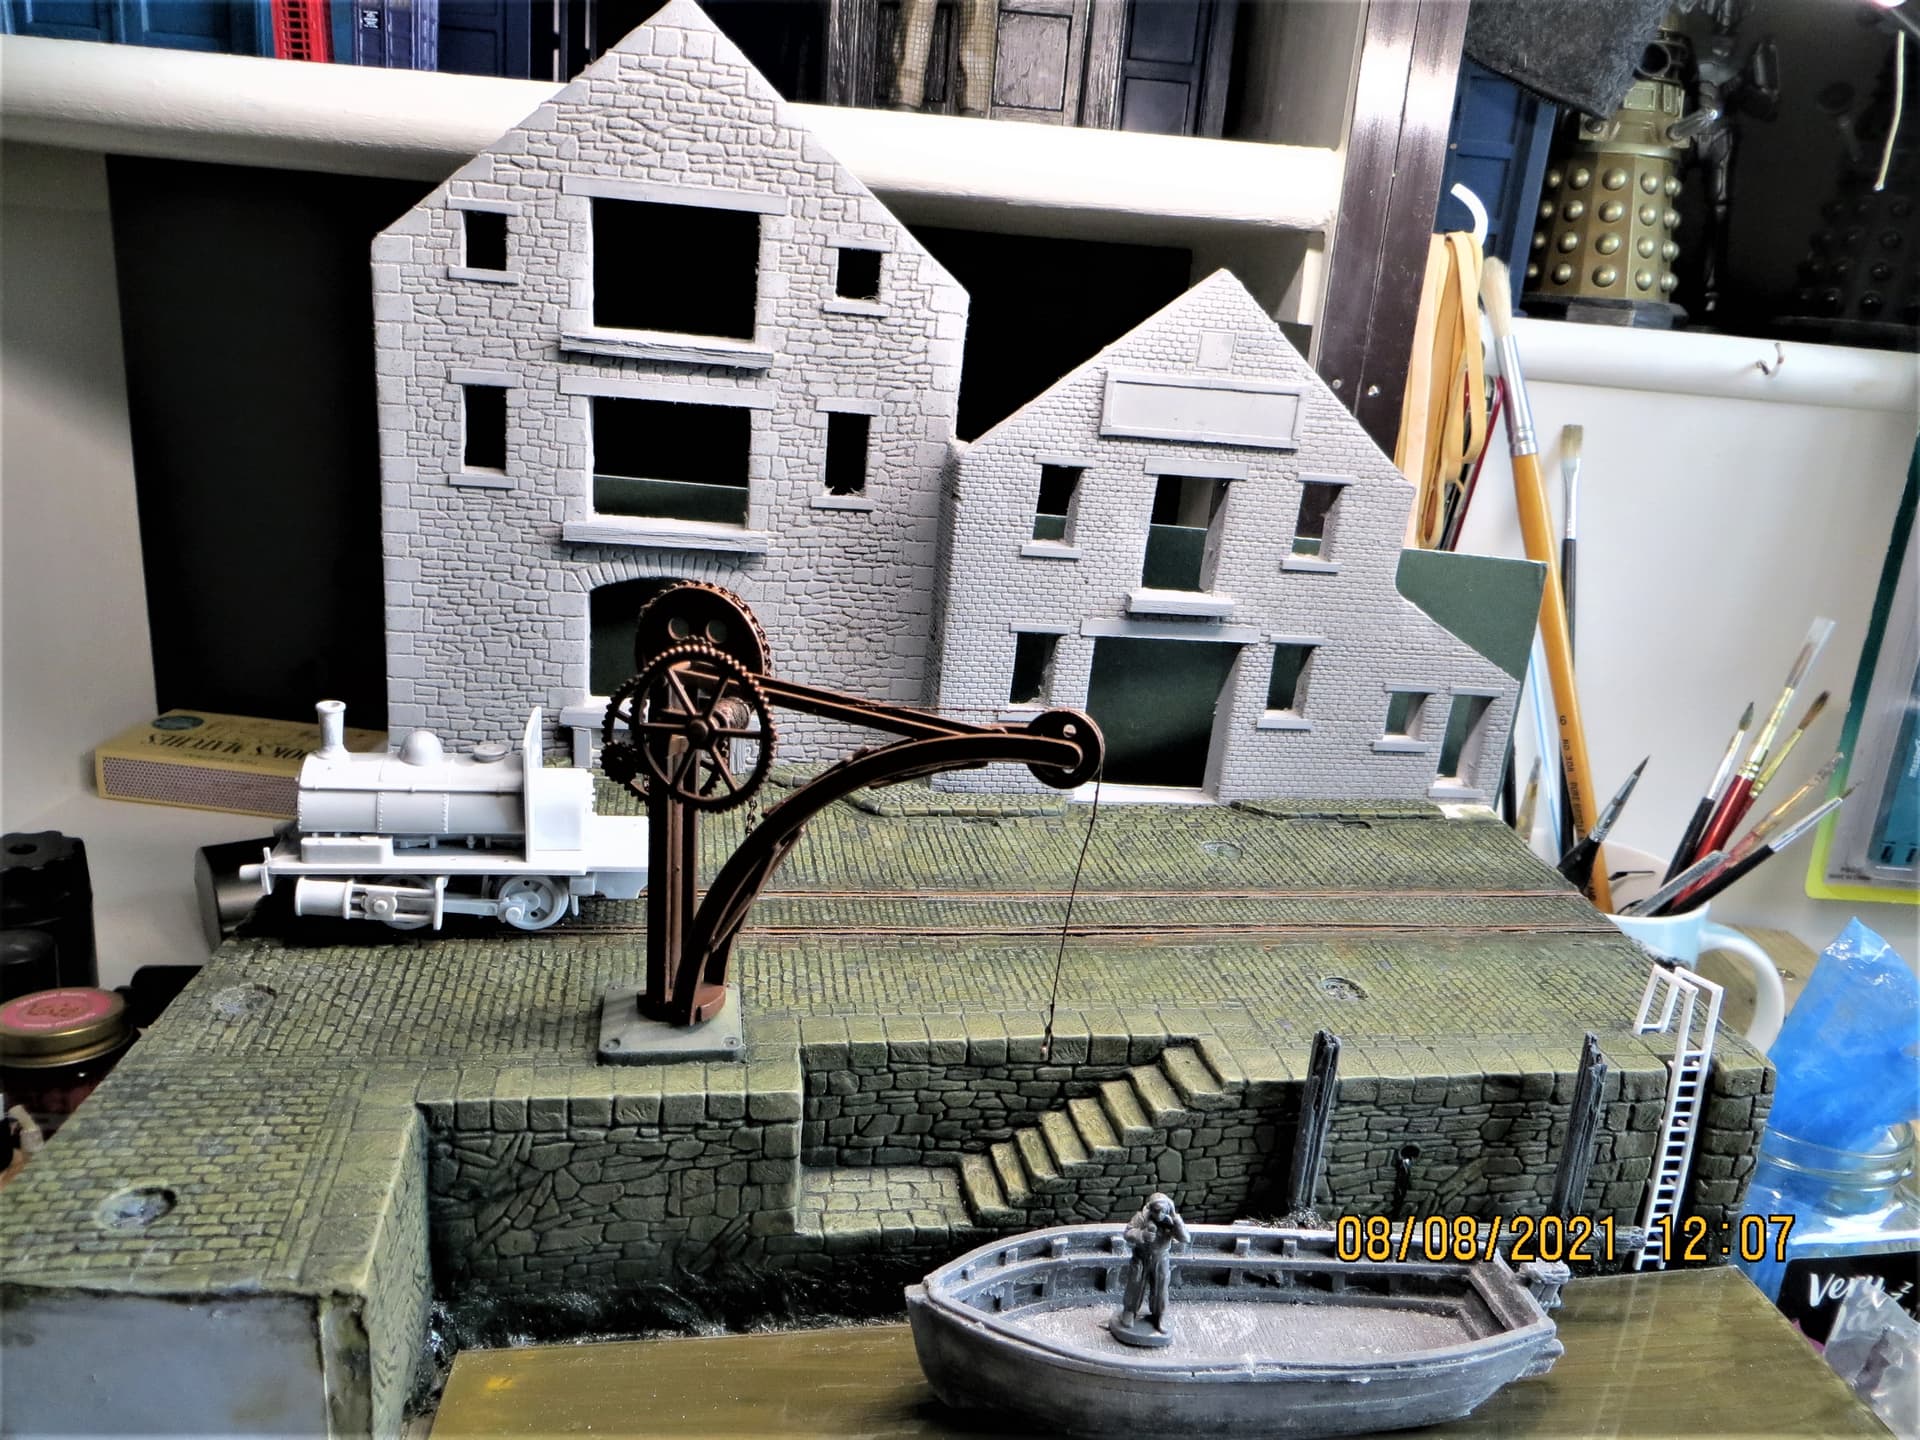
Hi all,
I have been struggling with the building façades,  , I made a bad call when I decided to represent the smaller building as ‘brick’, it really did my head in, especially as I struggled, without success, to keep the ‘brickwork’ regular,
  .
.
Anyway, yesterday was a bad weather day, so I bit the bullet and decided to finish off both the ‘stone and brickwork’, 9hrs later I’d pretty much finished,  …rod and back spring to mind,
  .
.
This morning I added a few features, e.g. lintels and cills, bump rails and signage, and then gave it an undercoat so that I could see where I still need to do some tidying up, .
There’s some filling to do, and I still need to do doors, windows, and scribe some texture on the ‘stonework’. I also need to add partial roofing, rainwater goods…and that’s before painting…geeze,  .
.
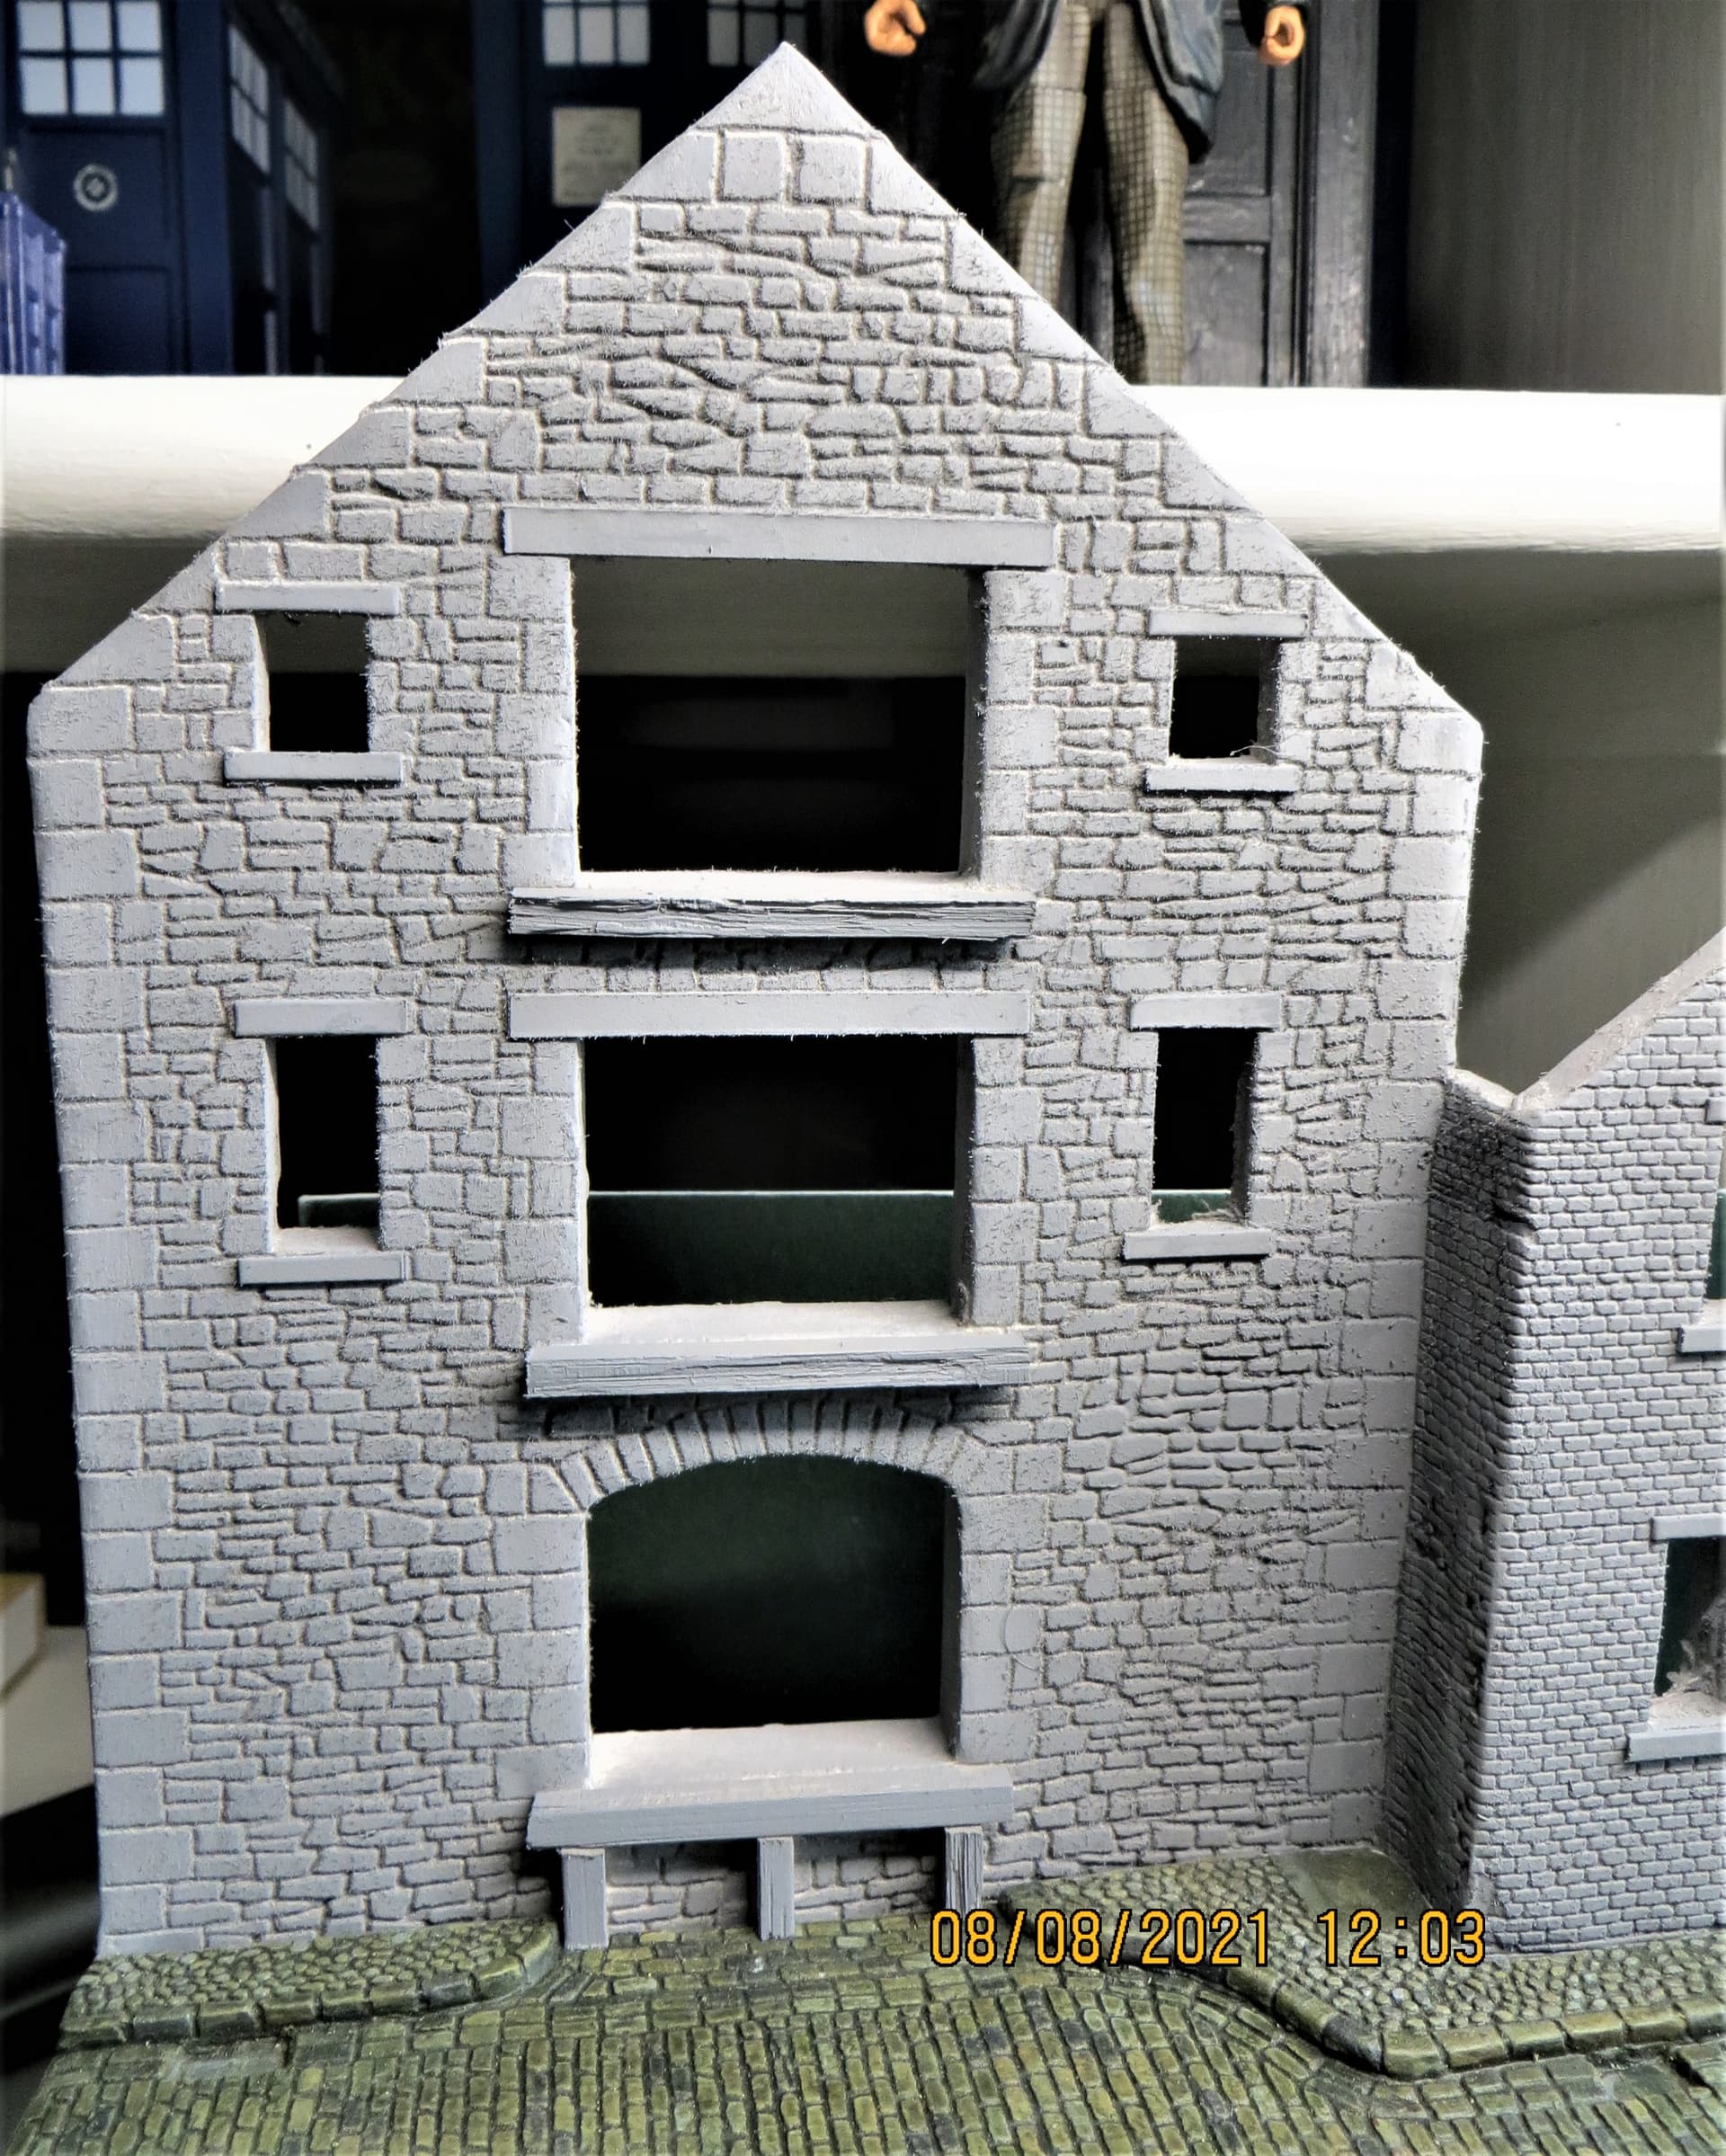
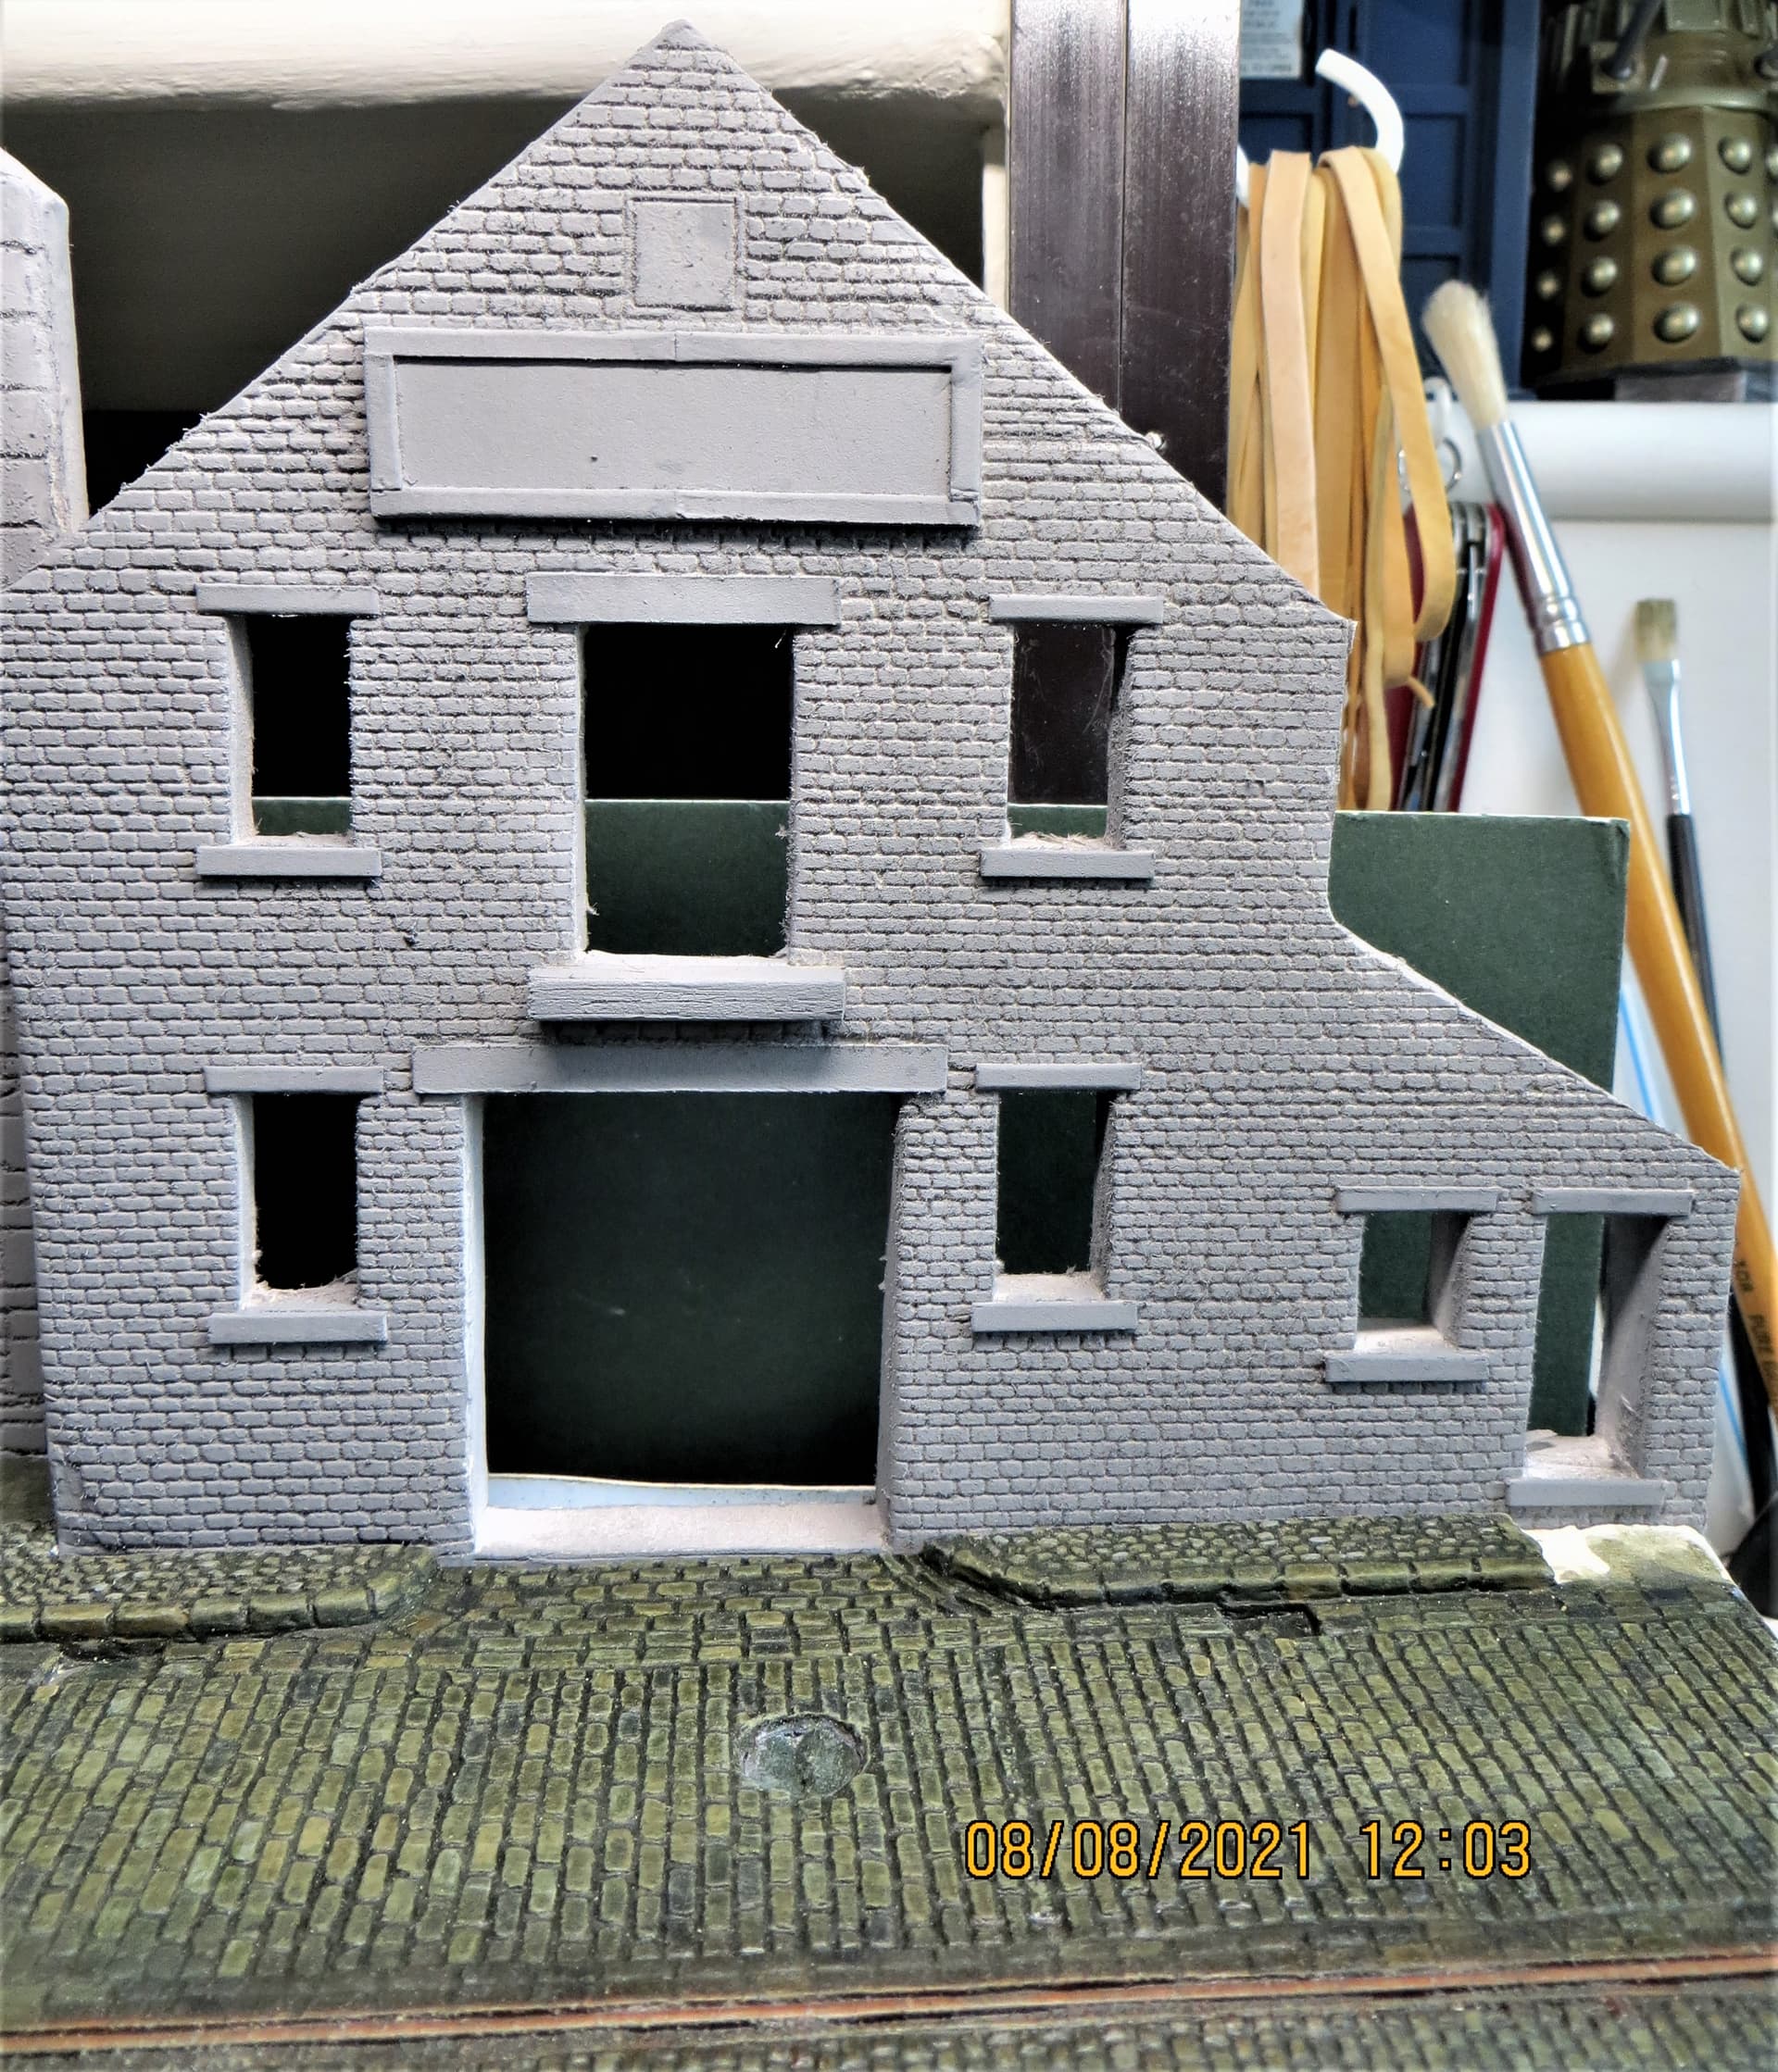
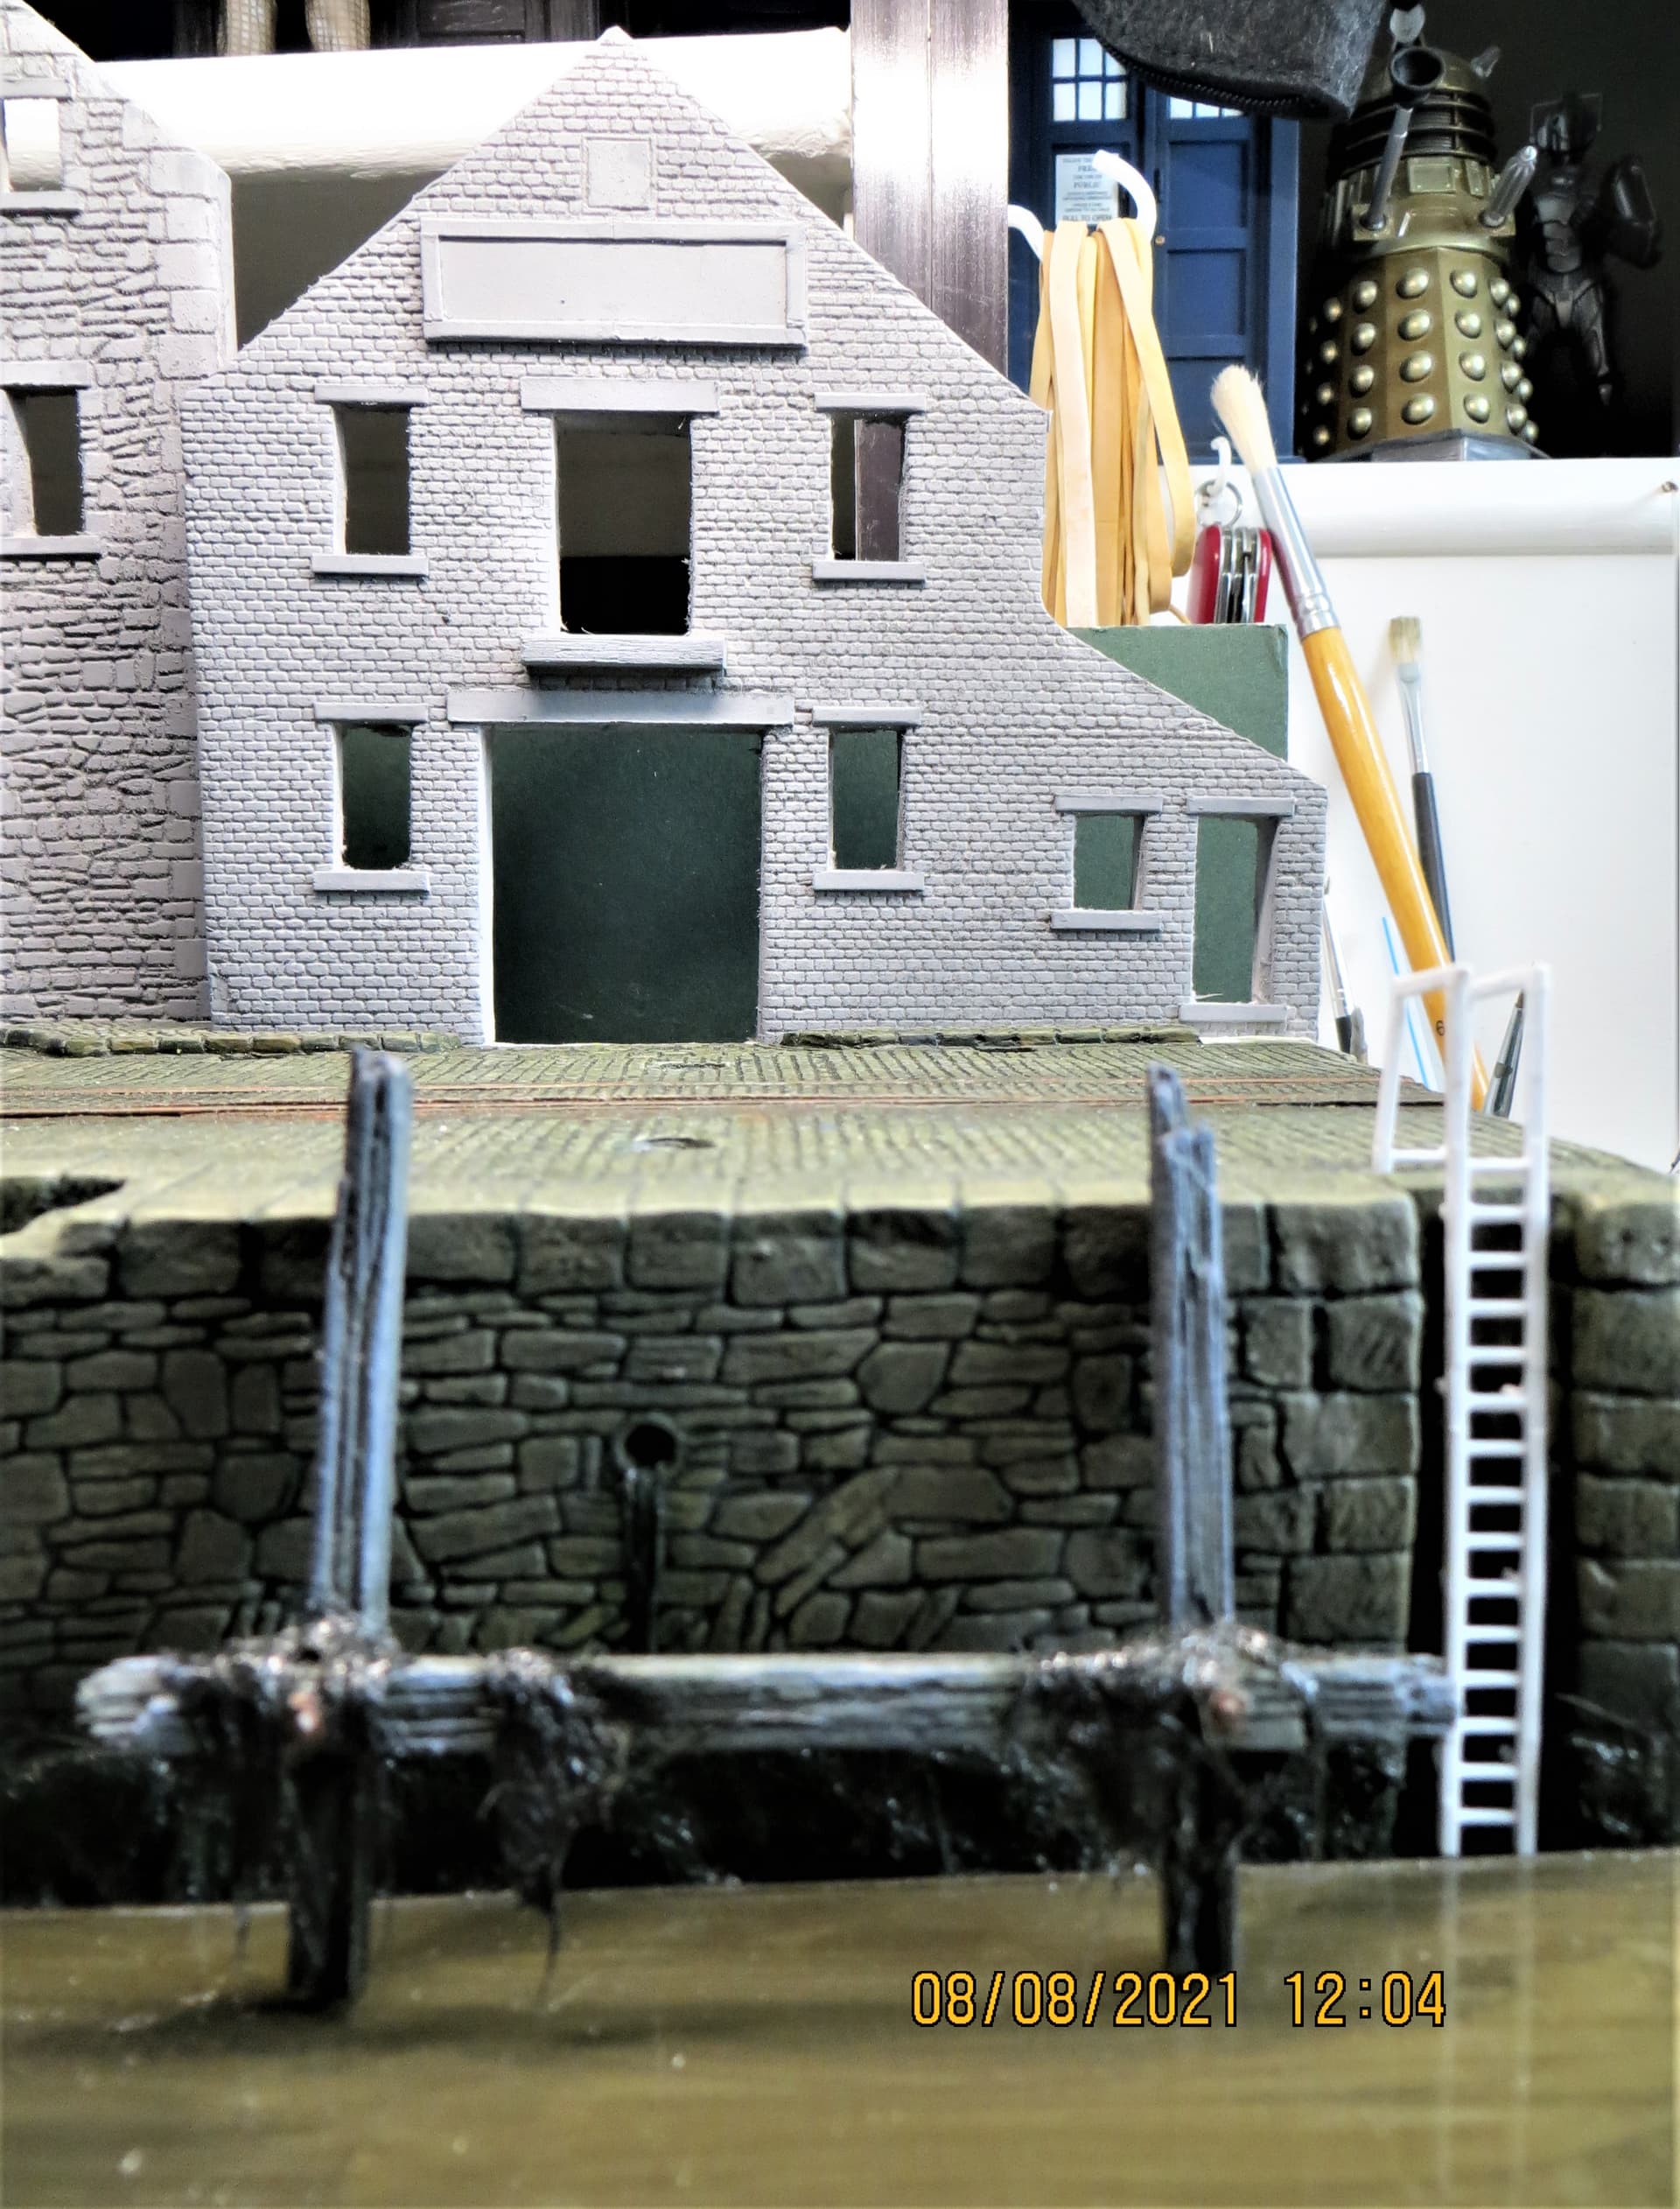
Also a few images with some of the other elements loosely positioned, the crane ias only undercoated with ‘rust’, I want to try chipping, not done it before, so will add an overcoat of colour in the next few days.
Cheers, ,
G
8 Likes
I will join in with this pair of flat cars to start. The last time I worked on a railroad model I was a teenager, so this should be interesting 
Growing up less than a mile from where the B&M Conway and Farmington branches split, the B&M has always been a favorite of mine. I don’t have a layout, but that shouldn’t stop me from modeling some equipment from one of my favorite roads
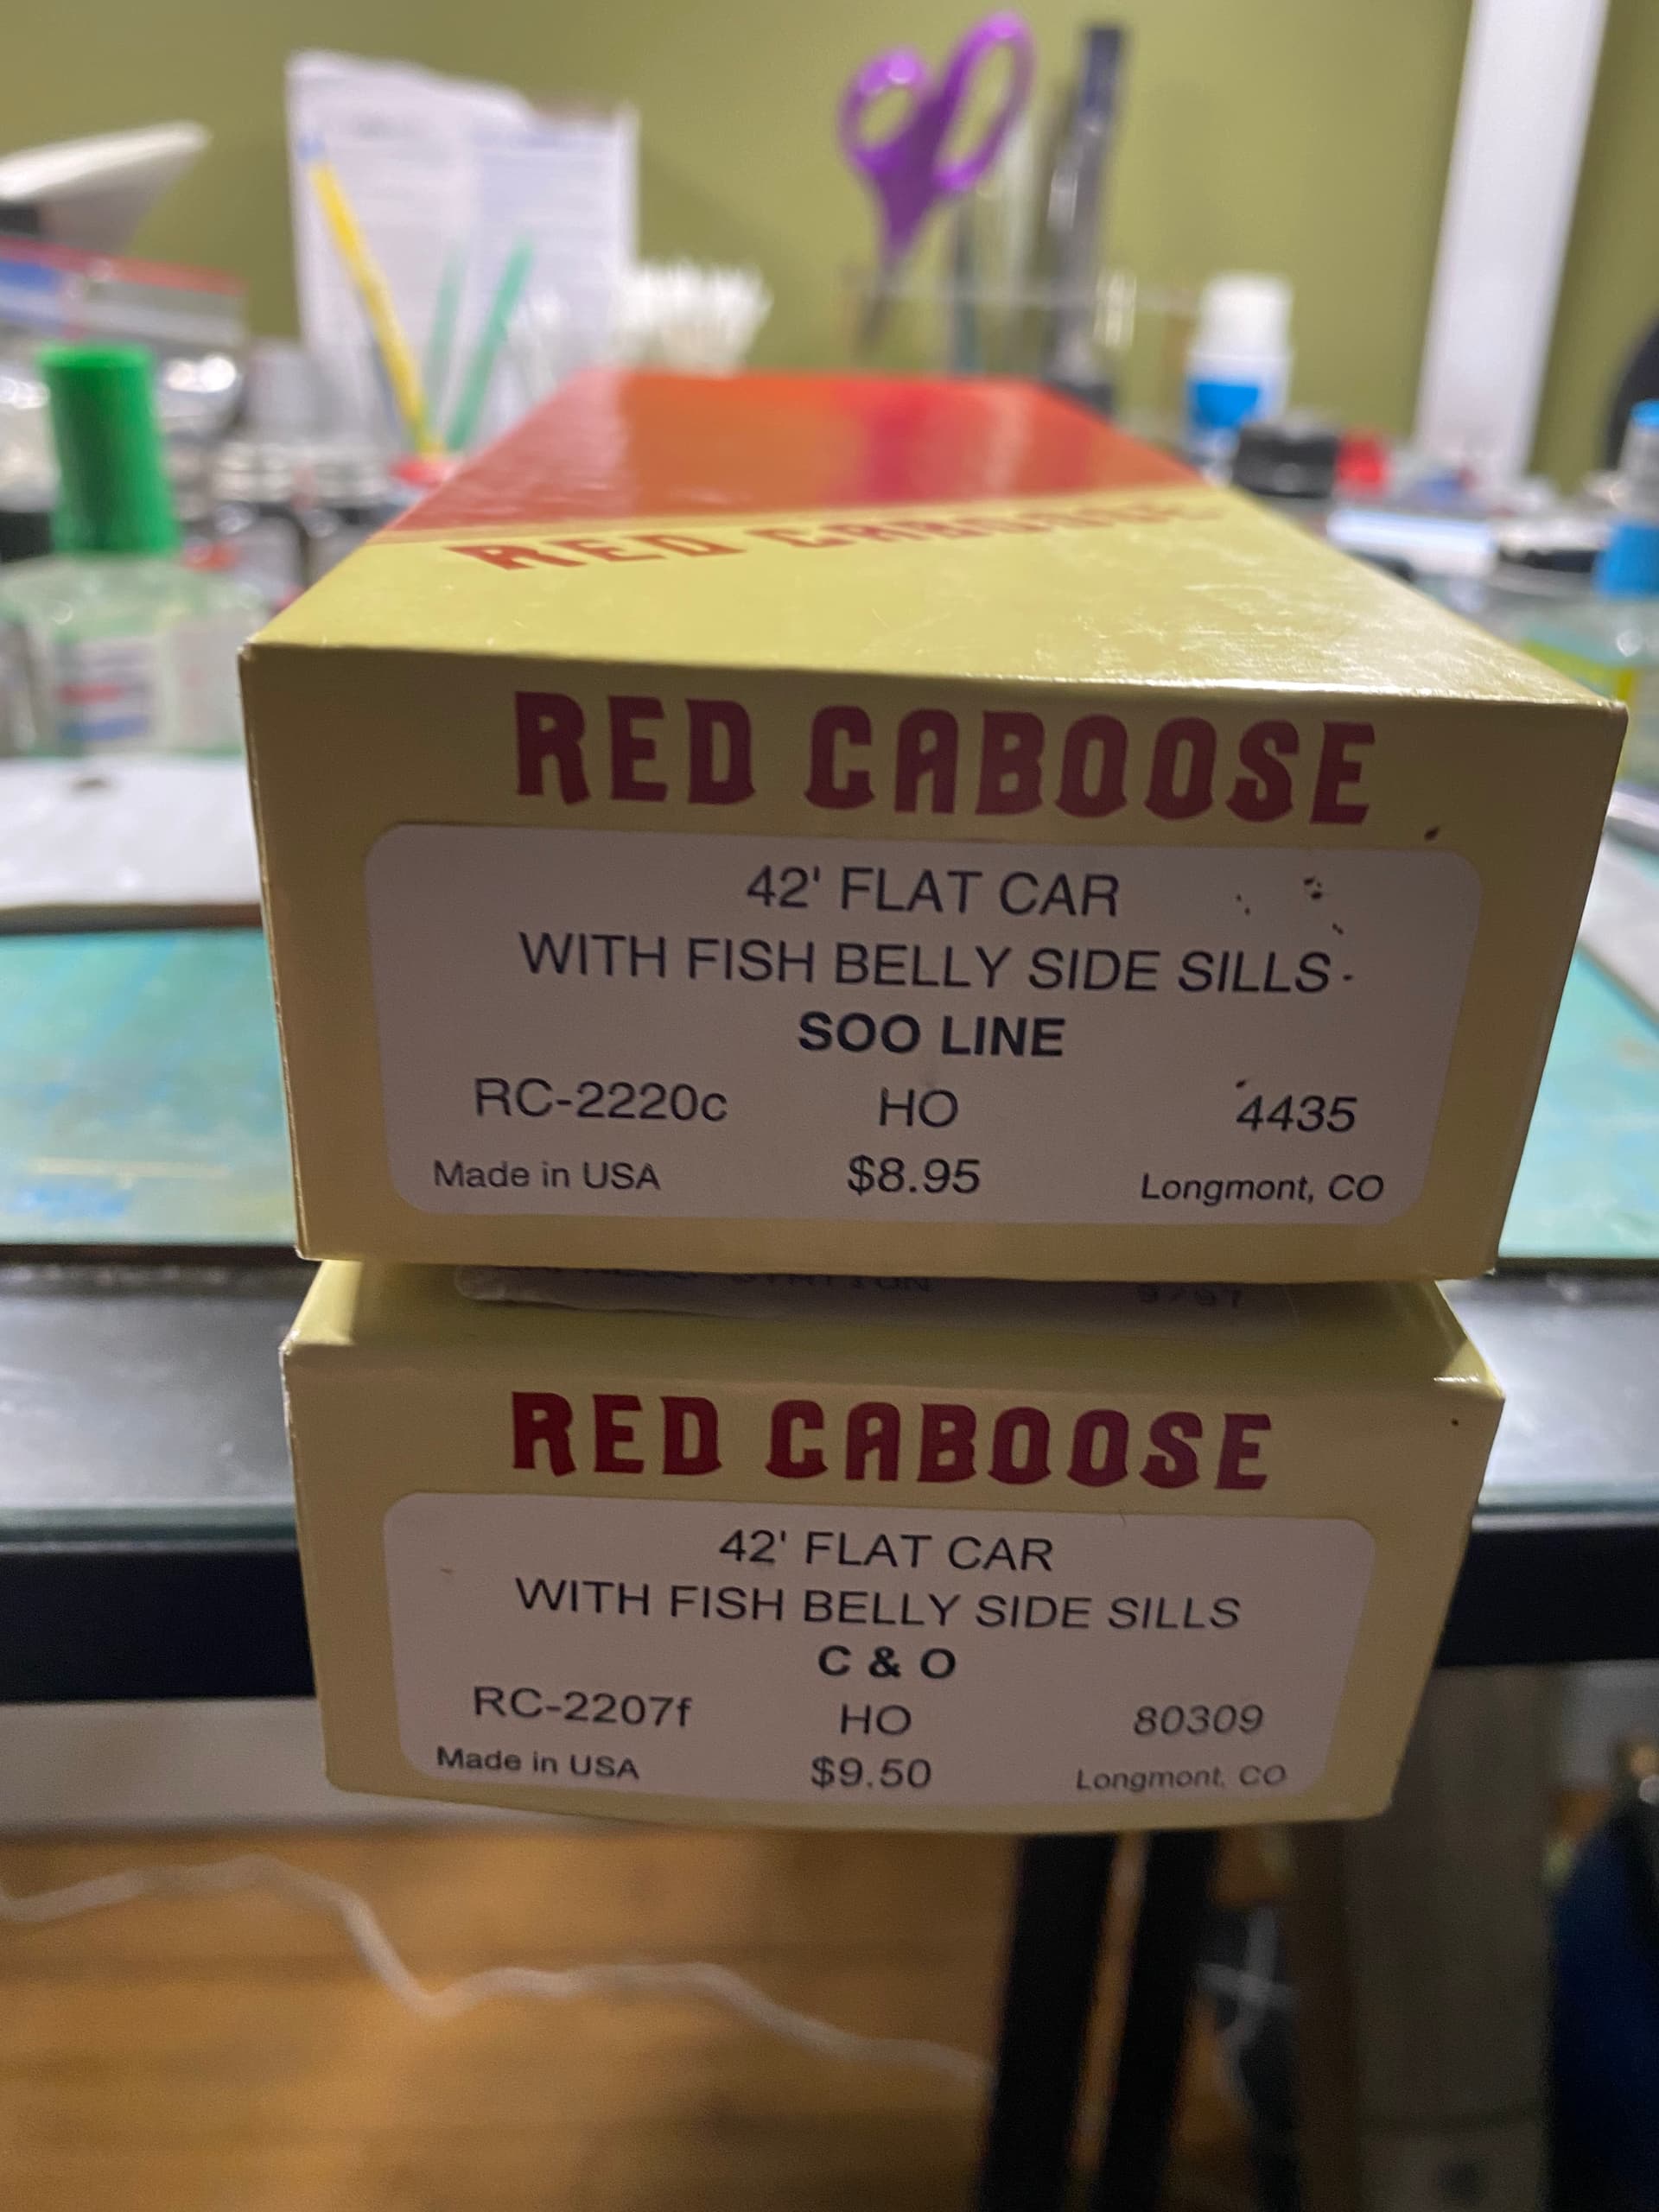
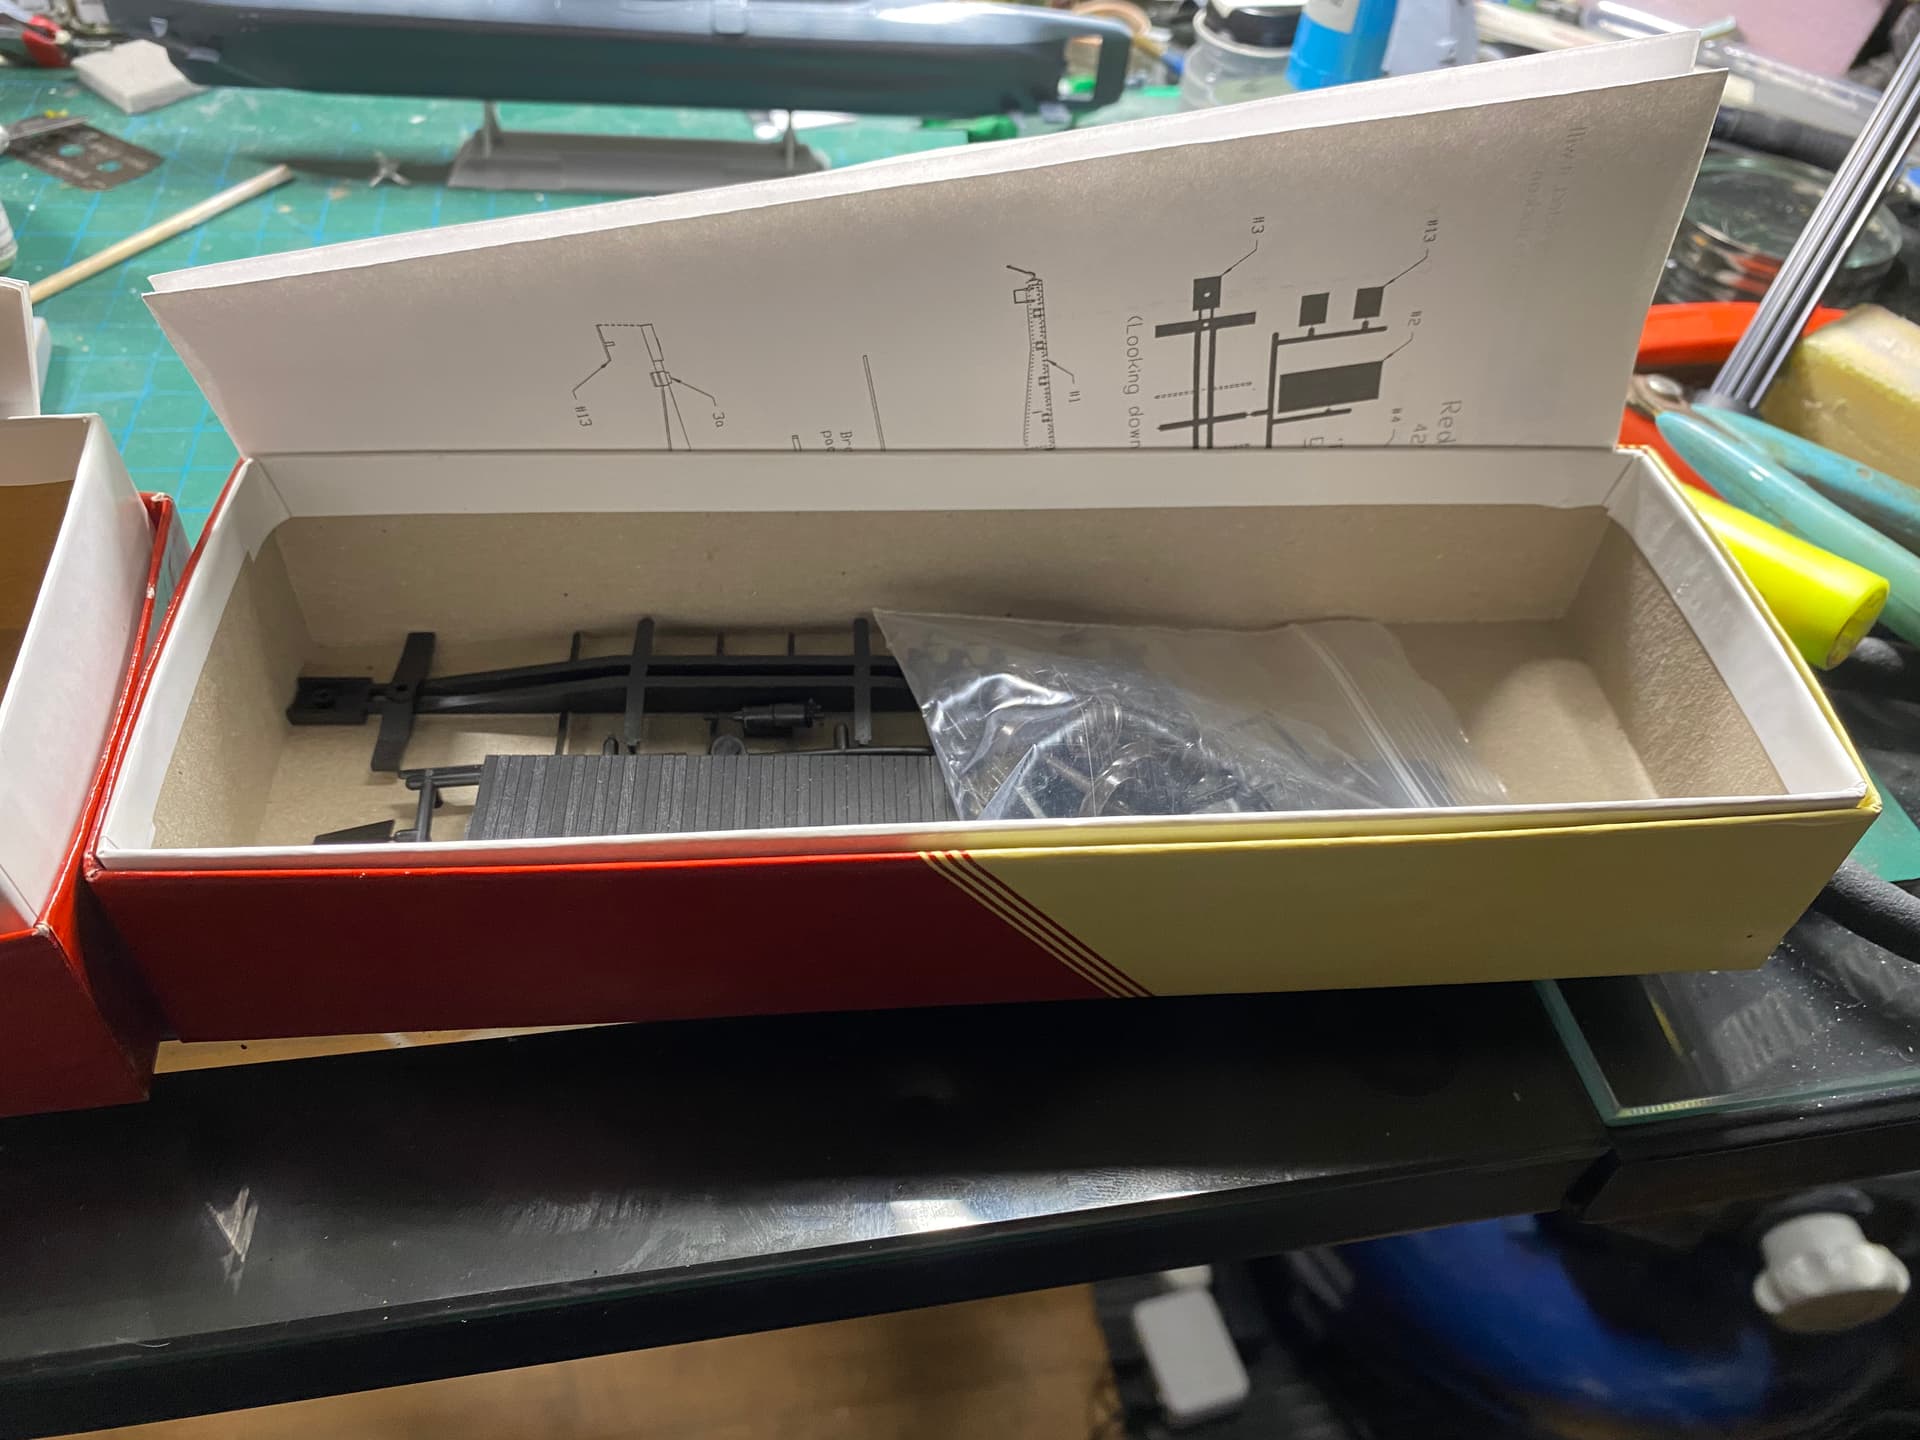
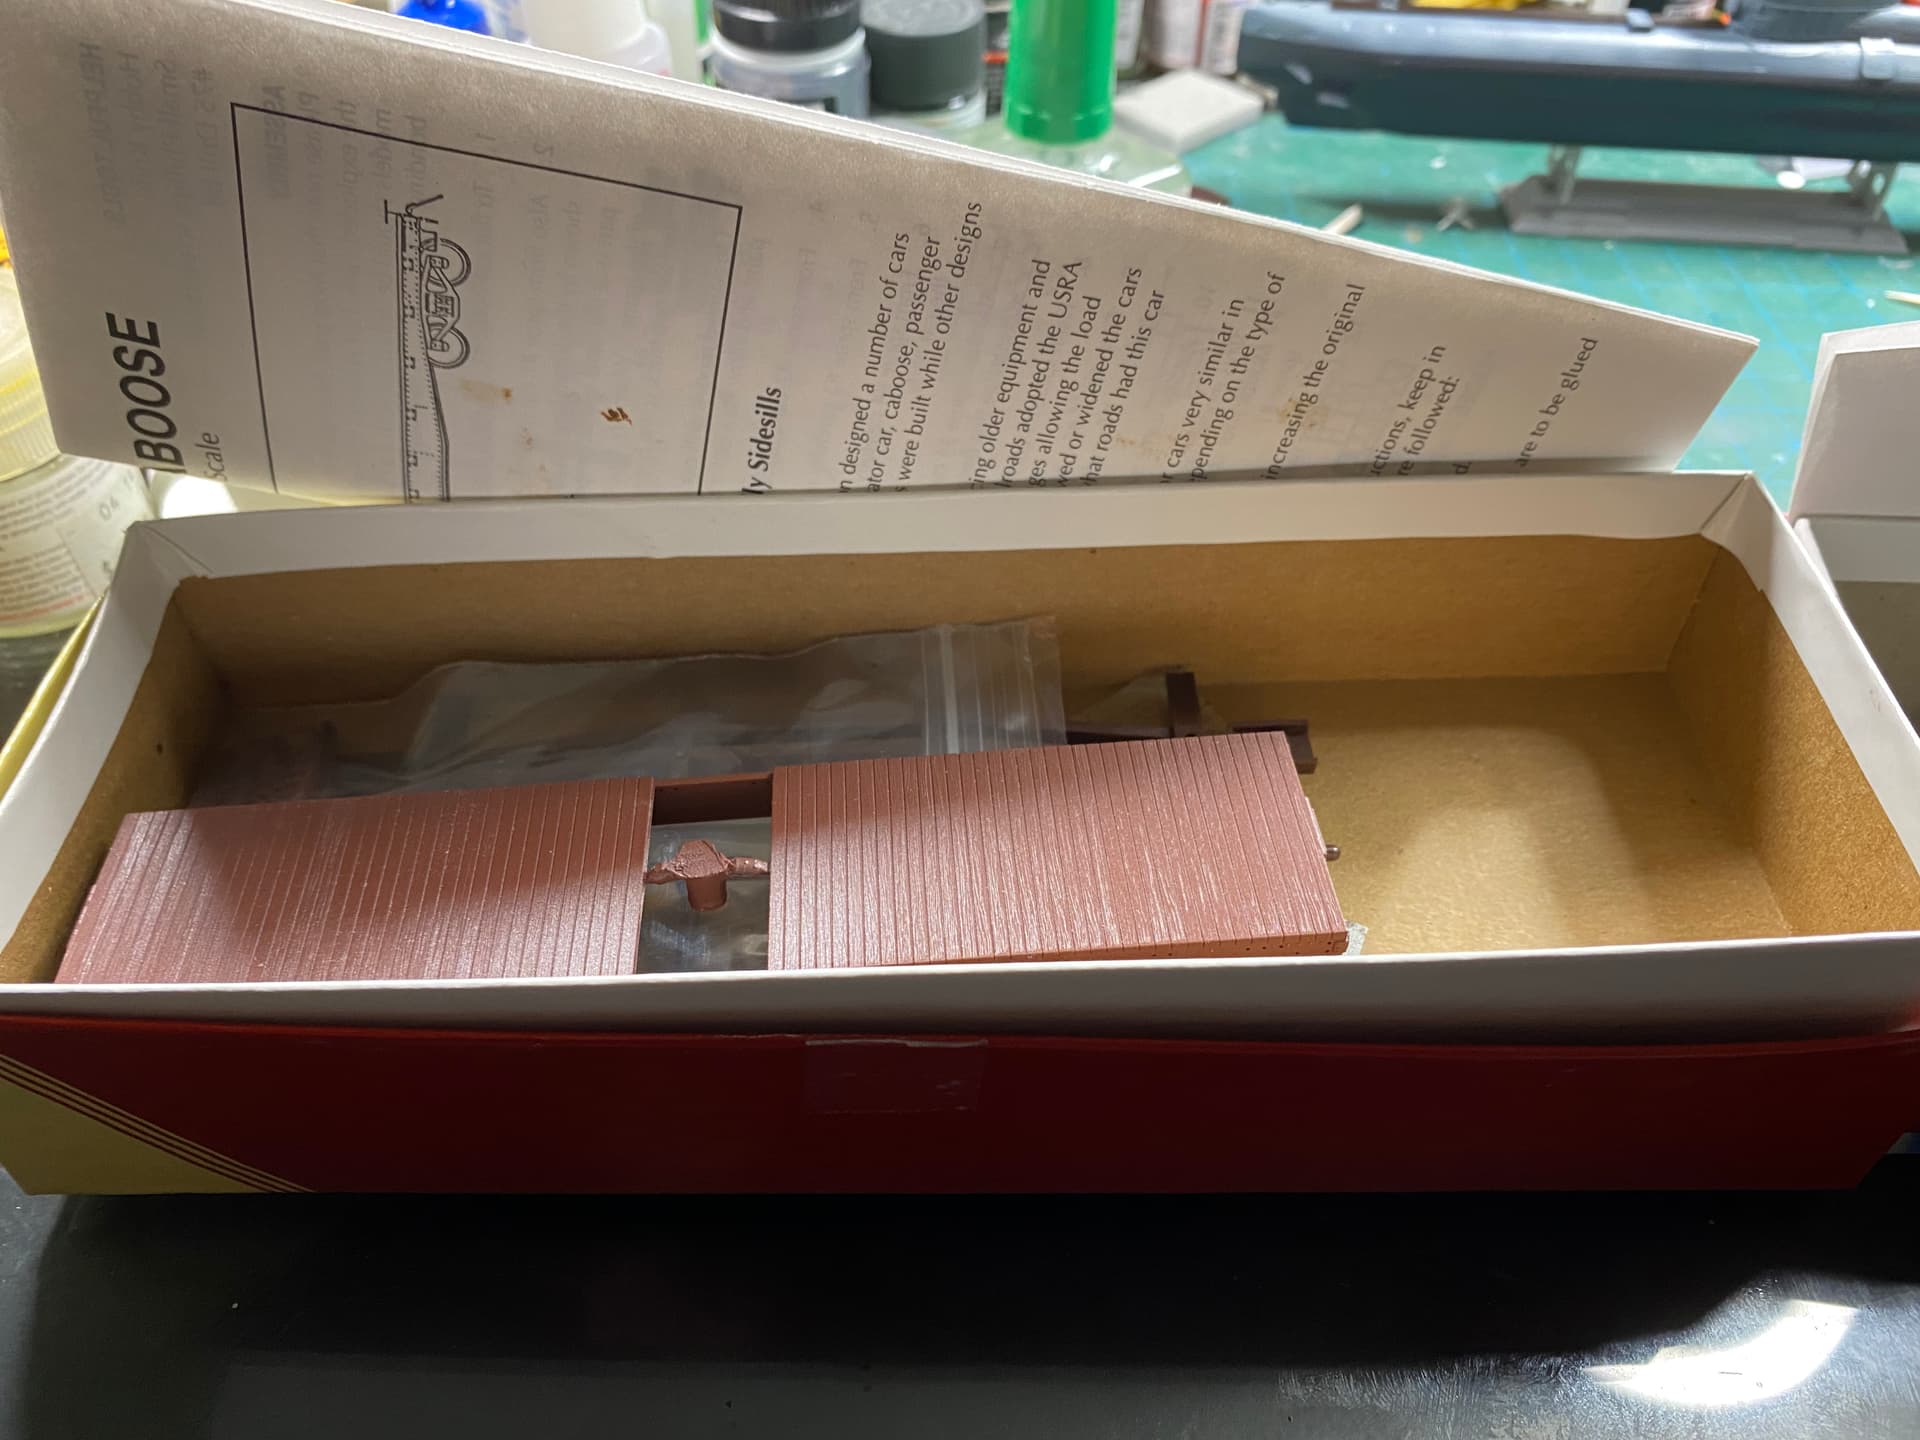
These cars are a decent representation of the 42’ 1 1/2 general purpose flat cars built in the early 1920’s by Magor for the B&M.
6 Likes
When you explained the brick mental block a few days ago I got what you meant but didn’t fully visualize the sheer scale of the dilemma G.
Now I have seen it there is really no other word for it … Sublime. That is attention to detail going well above and beyond. Both building fronts are the show stoppers here, without doubt some of the best total scratch building of a building front I have seen.
I think both you and Erik @DIOWORK have easily done the best brick work I have seen to date. Truly superb 
The scene as a whole is going to be exceptional and I really can’t wait for the next update
4 Likes
Ernie, very welcome to come join us. Looking forward to your flat cars.
G, I feel your pain. Somebody’s probably already mentioned it but Green Stuff World makes a rolling pin of brick, stone, cobblestones,. I think they have several scales. If they don’t, thinking of seeing some for HO, maybe Juweella?
1 Like
Should that be mental block, or brick John,  .
.
Thanks for the kind feedback, though I’m not in agreement about being up there with Eric, but it’s nice of you to say so, .
G
Agony Fred, agony, . I think next time that I might plump for the easier route, and see if anything commercial is available, .
G
Hi all,
An inclement weather day, so decided to have a go at painting brickwork. Not yet tried brickwork in any scale, 1/35th or 1/72nd/76th, so not sure what the best approach is.
Decided to give an overall coat of ‘cream’ coloured acrylic, on top of this I’ve tried picking out individual bricks in various ‘brownish’ oil paint, and then I’m giving it a thin wash of acrylic ‘reddish brown’. The top layer hopefully blends the bricks whilst letting a hint of the ‘cream’ through as the mortar, .
The picture below is an attempt to show the three layers:
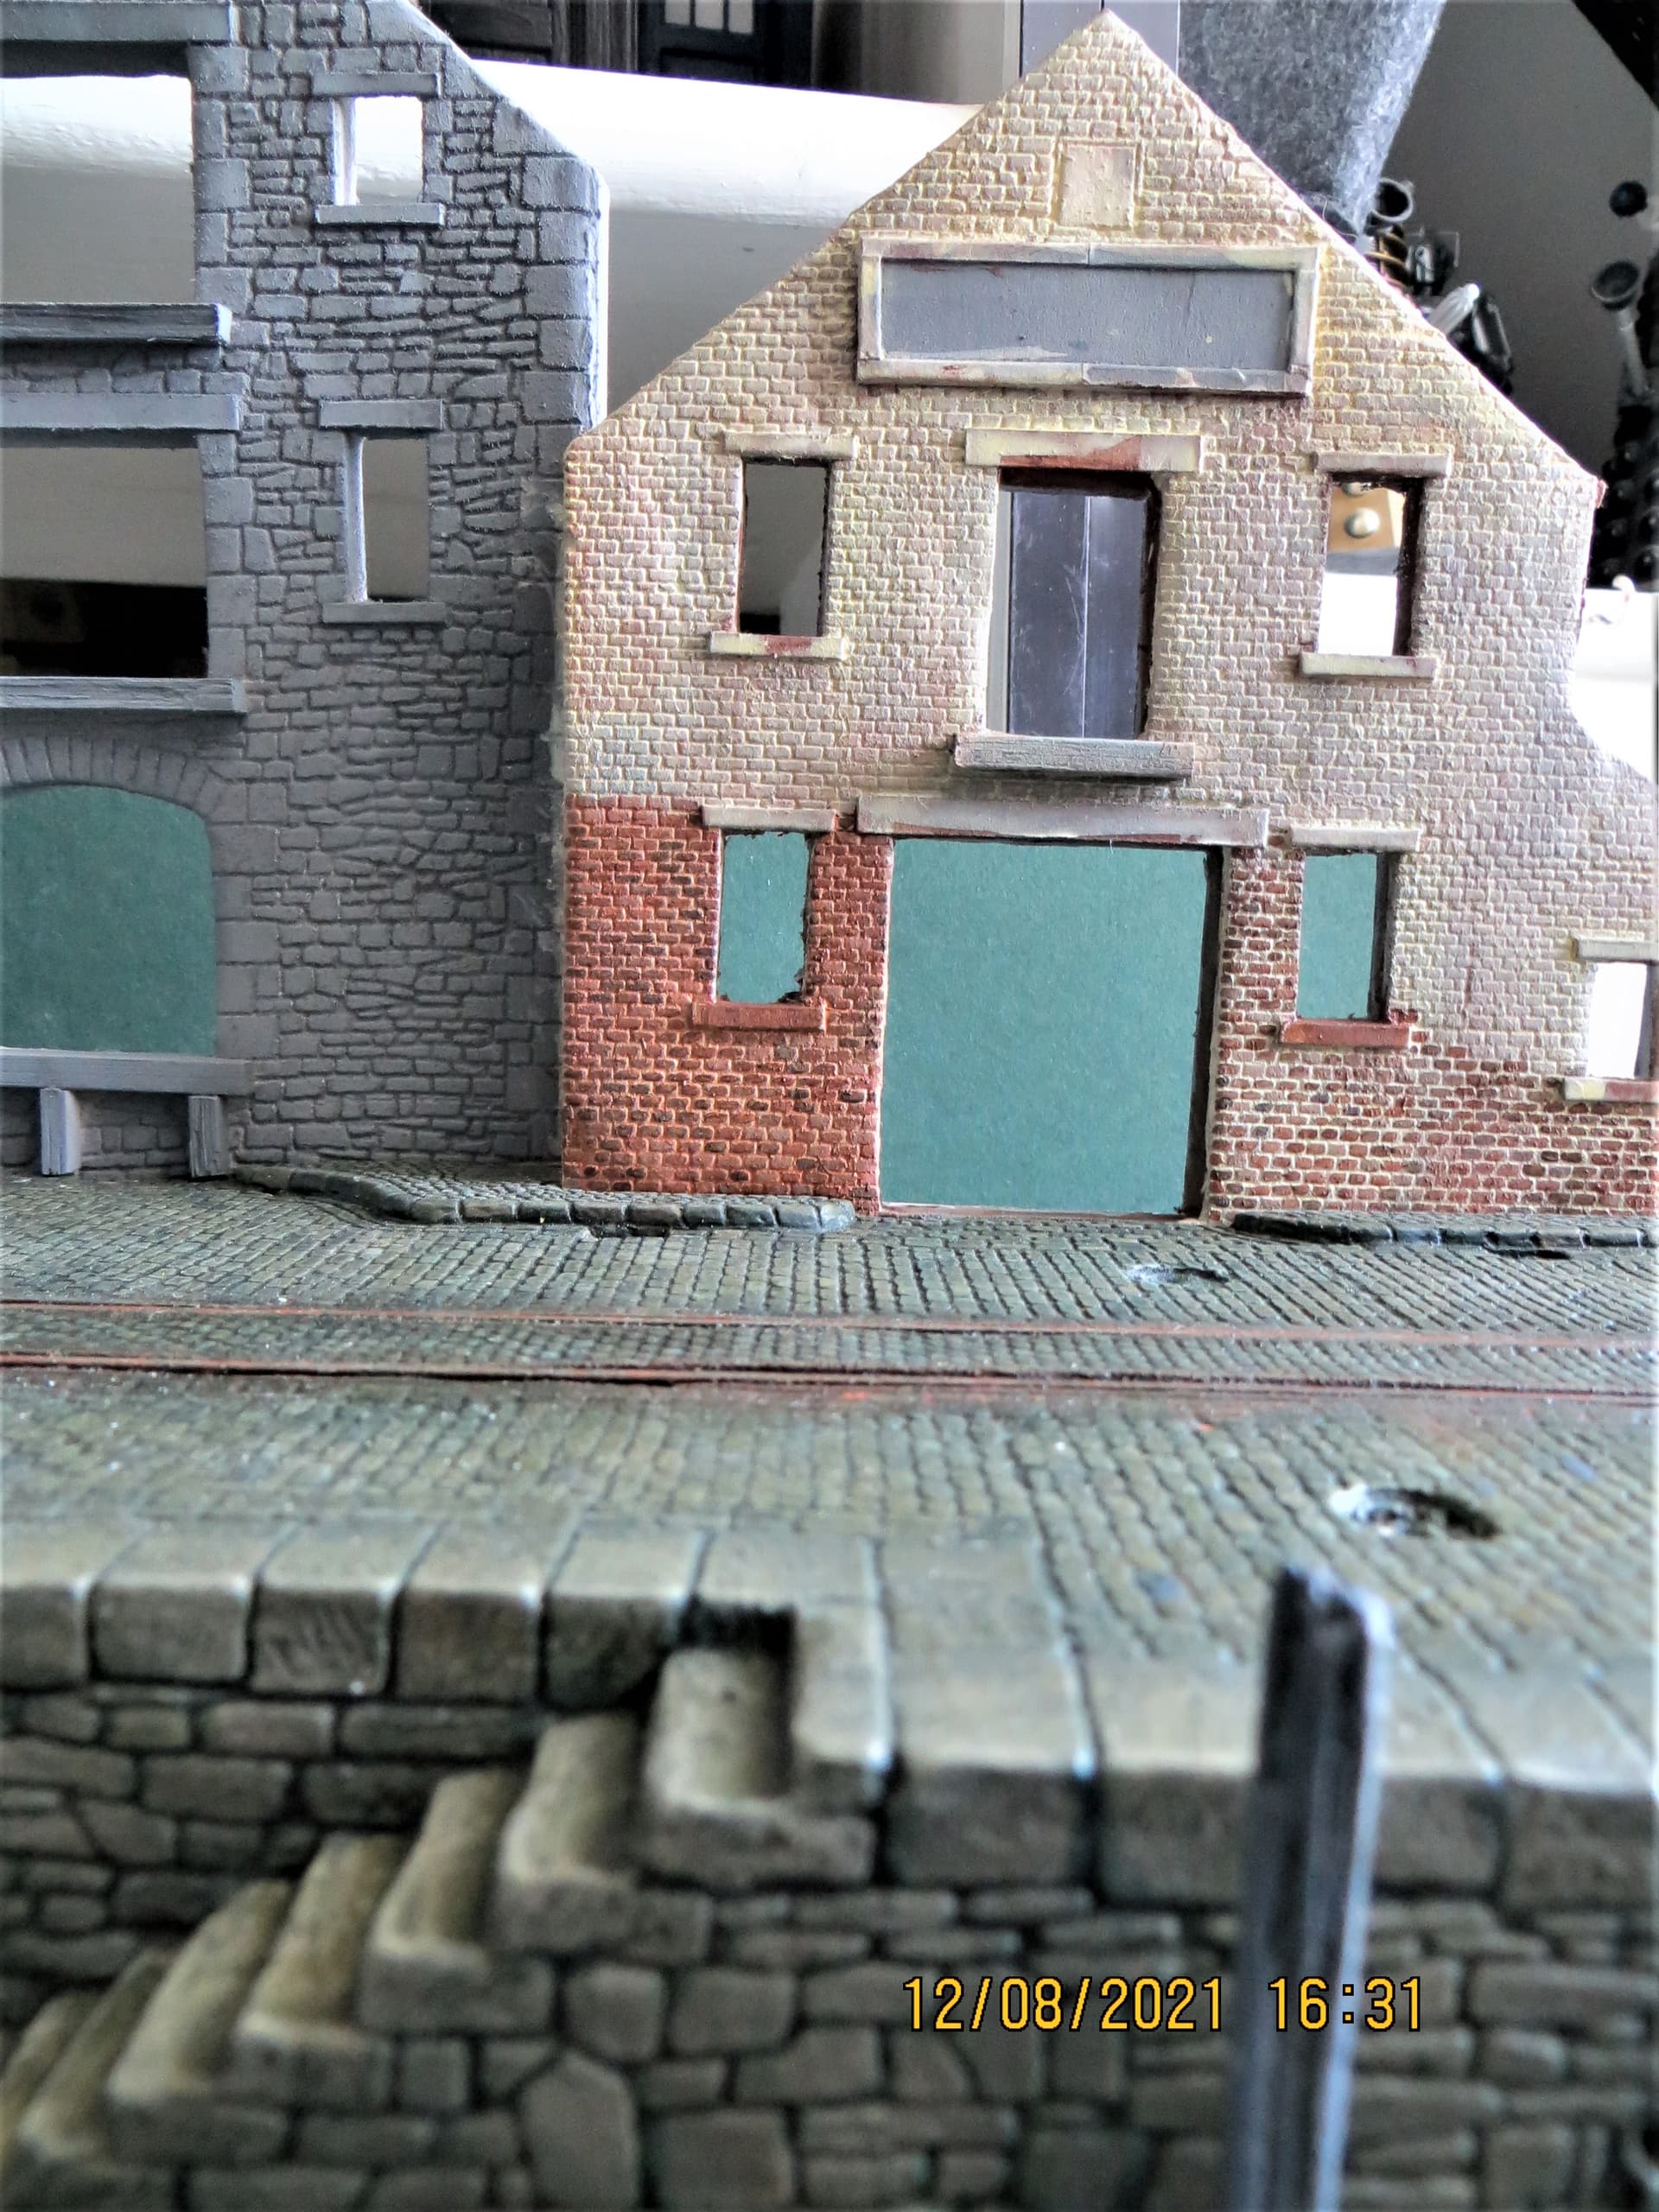
Any opinions/suggestions/thoughts welcome as I’m sure there are other, better approaches out there, .
Cheers, ,
G
5 Likes
I have the rolling pins for 1 kind of brick and 2 kinds of cobblestone. I tried it on extruded polystyrene and it makes a nice if faint imprint. Hopefully soon I will be able to experiment with a few alternate materials and paint them to see what kind of results I get.
3 Likes
I’d be interested to see how your rolling pin tests pan out Phil, .
G .
1 Like
I’ll see if I can find some time this weekend.
Polystyrene may be a bit too hard for a roller, you might have better luck with Foamboard or Compressed Foamed PVC (Expanded PVC foam board). This thread shows what can be done with it:
I have a little experience with this having had a go at a wargaming structure. I found it didn’t retain paint well, but that was in the context of the wear such objects receive; it should not be a problem for dioramas. There is also the fact I didn’t do any surface preparation and used really cheap and nasty aerosol paint.
Regards,
M
2 Likes
Thanks, M.
I plan to test and show results on the extruded polystyrene (just painting it to show what it looks like), foam board, and resin putty. If there is another spreadable material that it might work on, I’d love to know, but I don’t know what that would be. Most of those are aware of are too soft and I’m not sure how to time it so that it’s not too soft to be just muck, but not too hard to be unimpressionable. Maybe someone will have a suggestion?
1 Like
Great effort G. The finished section with the wash looks nice as you can still see the tonal variation on individual bricks and the mortar shows throughout so it’s there… Lovely work and the contrast will look very nice next to the stone facade of the one next door…
On a side note when I was driving back from the coffee, I stopped to let the hound out and unbeknownst to moi, I had a hole in my combats, and the bandage(cam net ) damn well dropped out of my pocket along with my work locker keys … DOH !!!
So, I’ve been slowly working on this. Amazing how much a full-time job slows down my build schedule. All the assemblies are done. I have not attached the doors or overhead rails as I think most of the weathering will be easier before that is done. But all the paint is on it - it’s glossy because I’m going to be adding some pin washes to it. I beat up the interior some but left the outside in tact as far as paint goes. I’ll fade the exterior with some oil paints but not a lot. It’s been a fun build - I’d like to do another one.
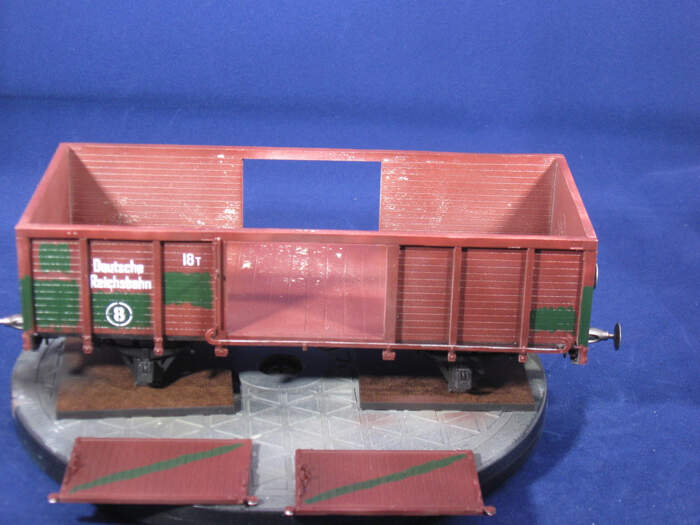
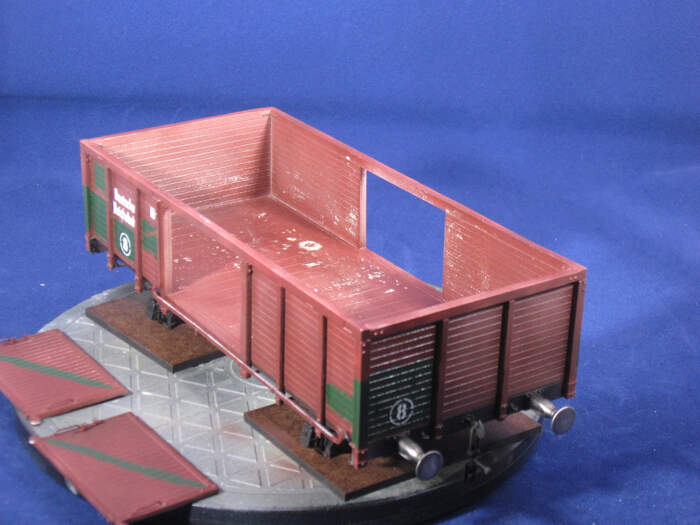
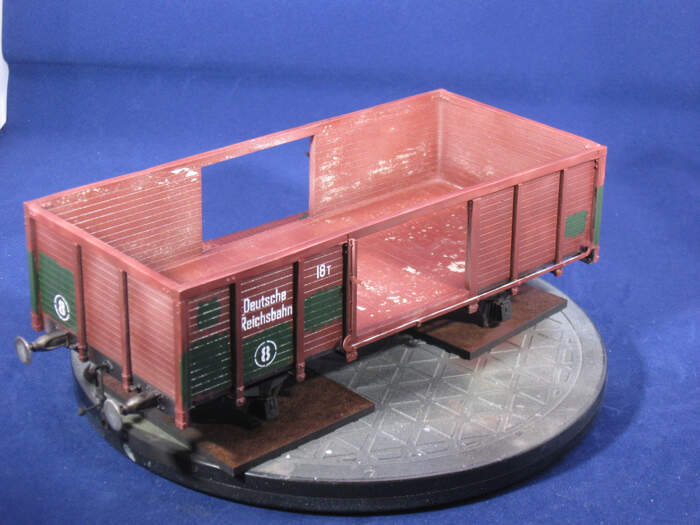
I’ve decided to fill it with 200l fuel drums. I have the 8 that came with the kit but will source another dozen or so.
I also plan to weather it with some dust.
5 Likes
Thanks for the positive feedback John, much appreciated, .
A bit of a bummer losing the bandage, though probably not as much of one as losing your keys, .
G
Nice job on the wagon thus far Phil, looking forward to seeing it fully weathered, .
G