This is getting technical, sheesh! ![]()
Love It!
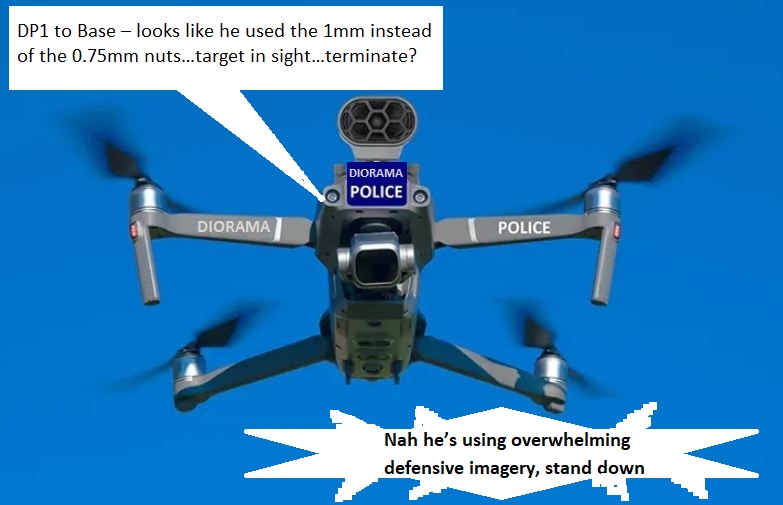
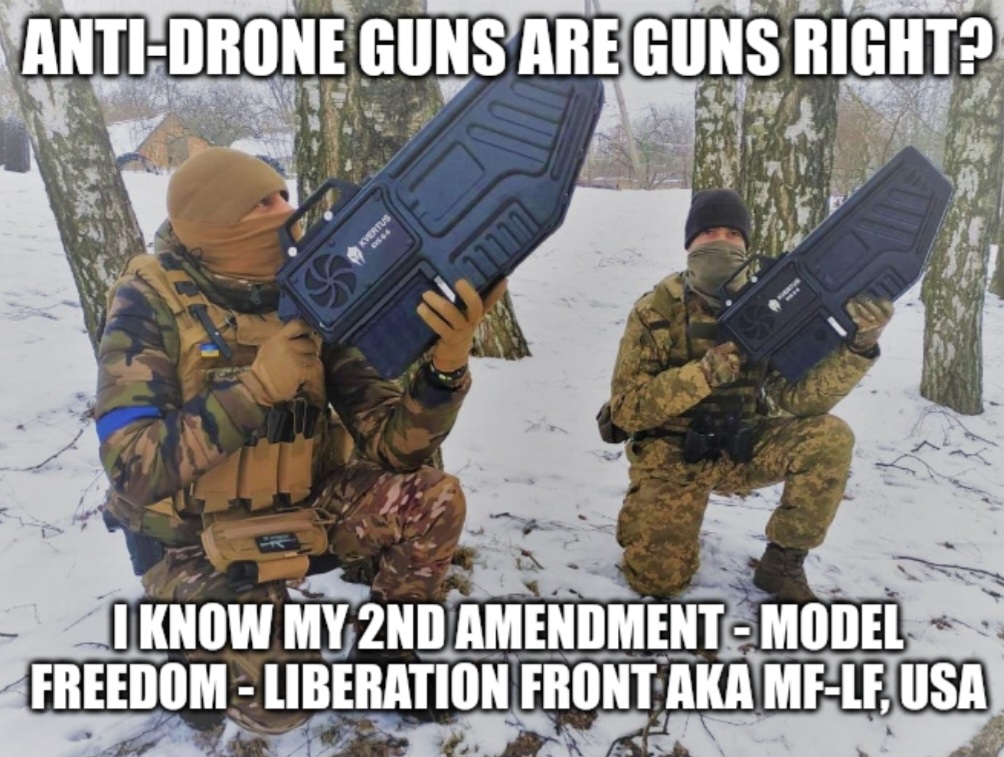
Panzer & Diorama Polezi with drones!
LOL! ![]()
![]()
![]()
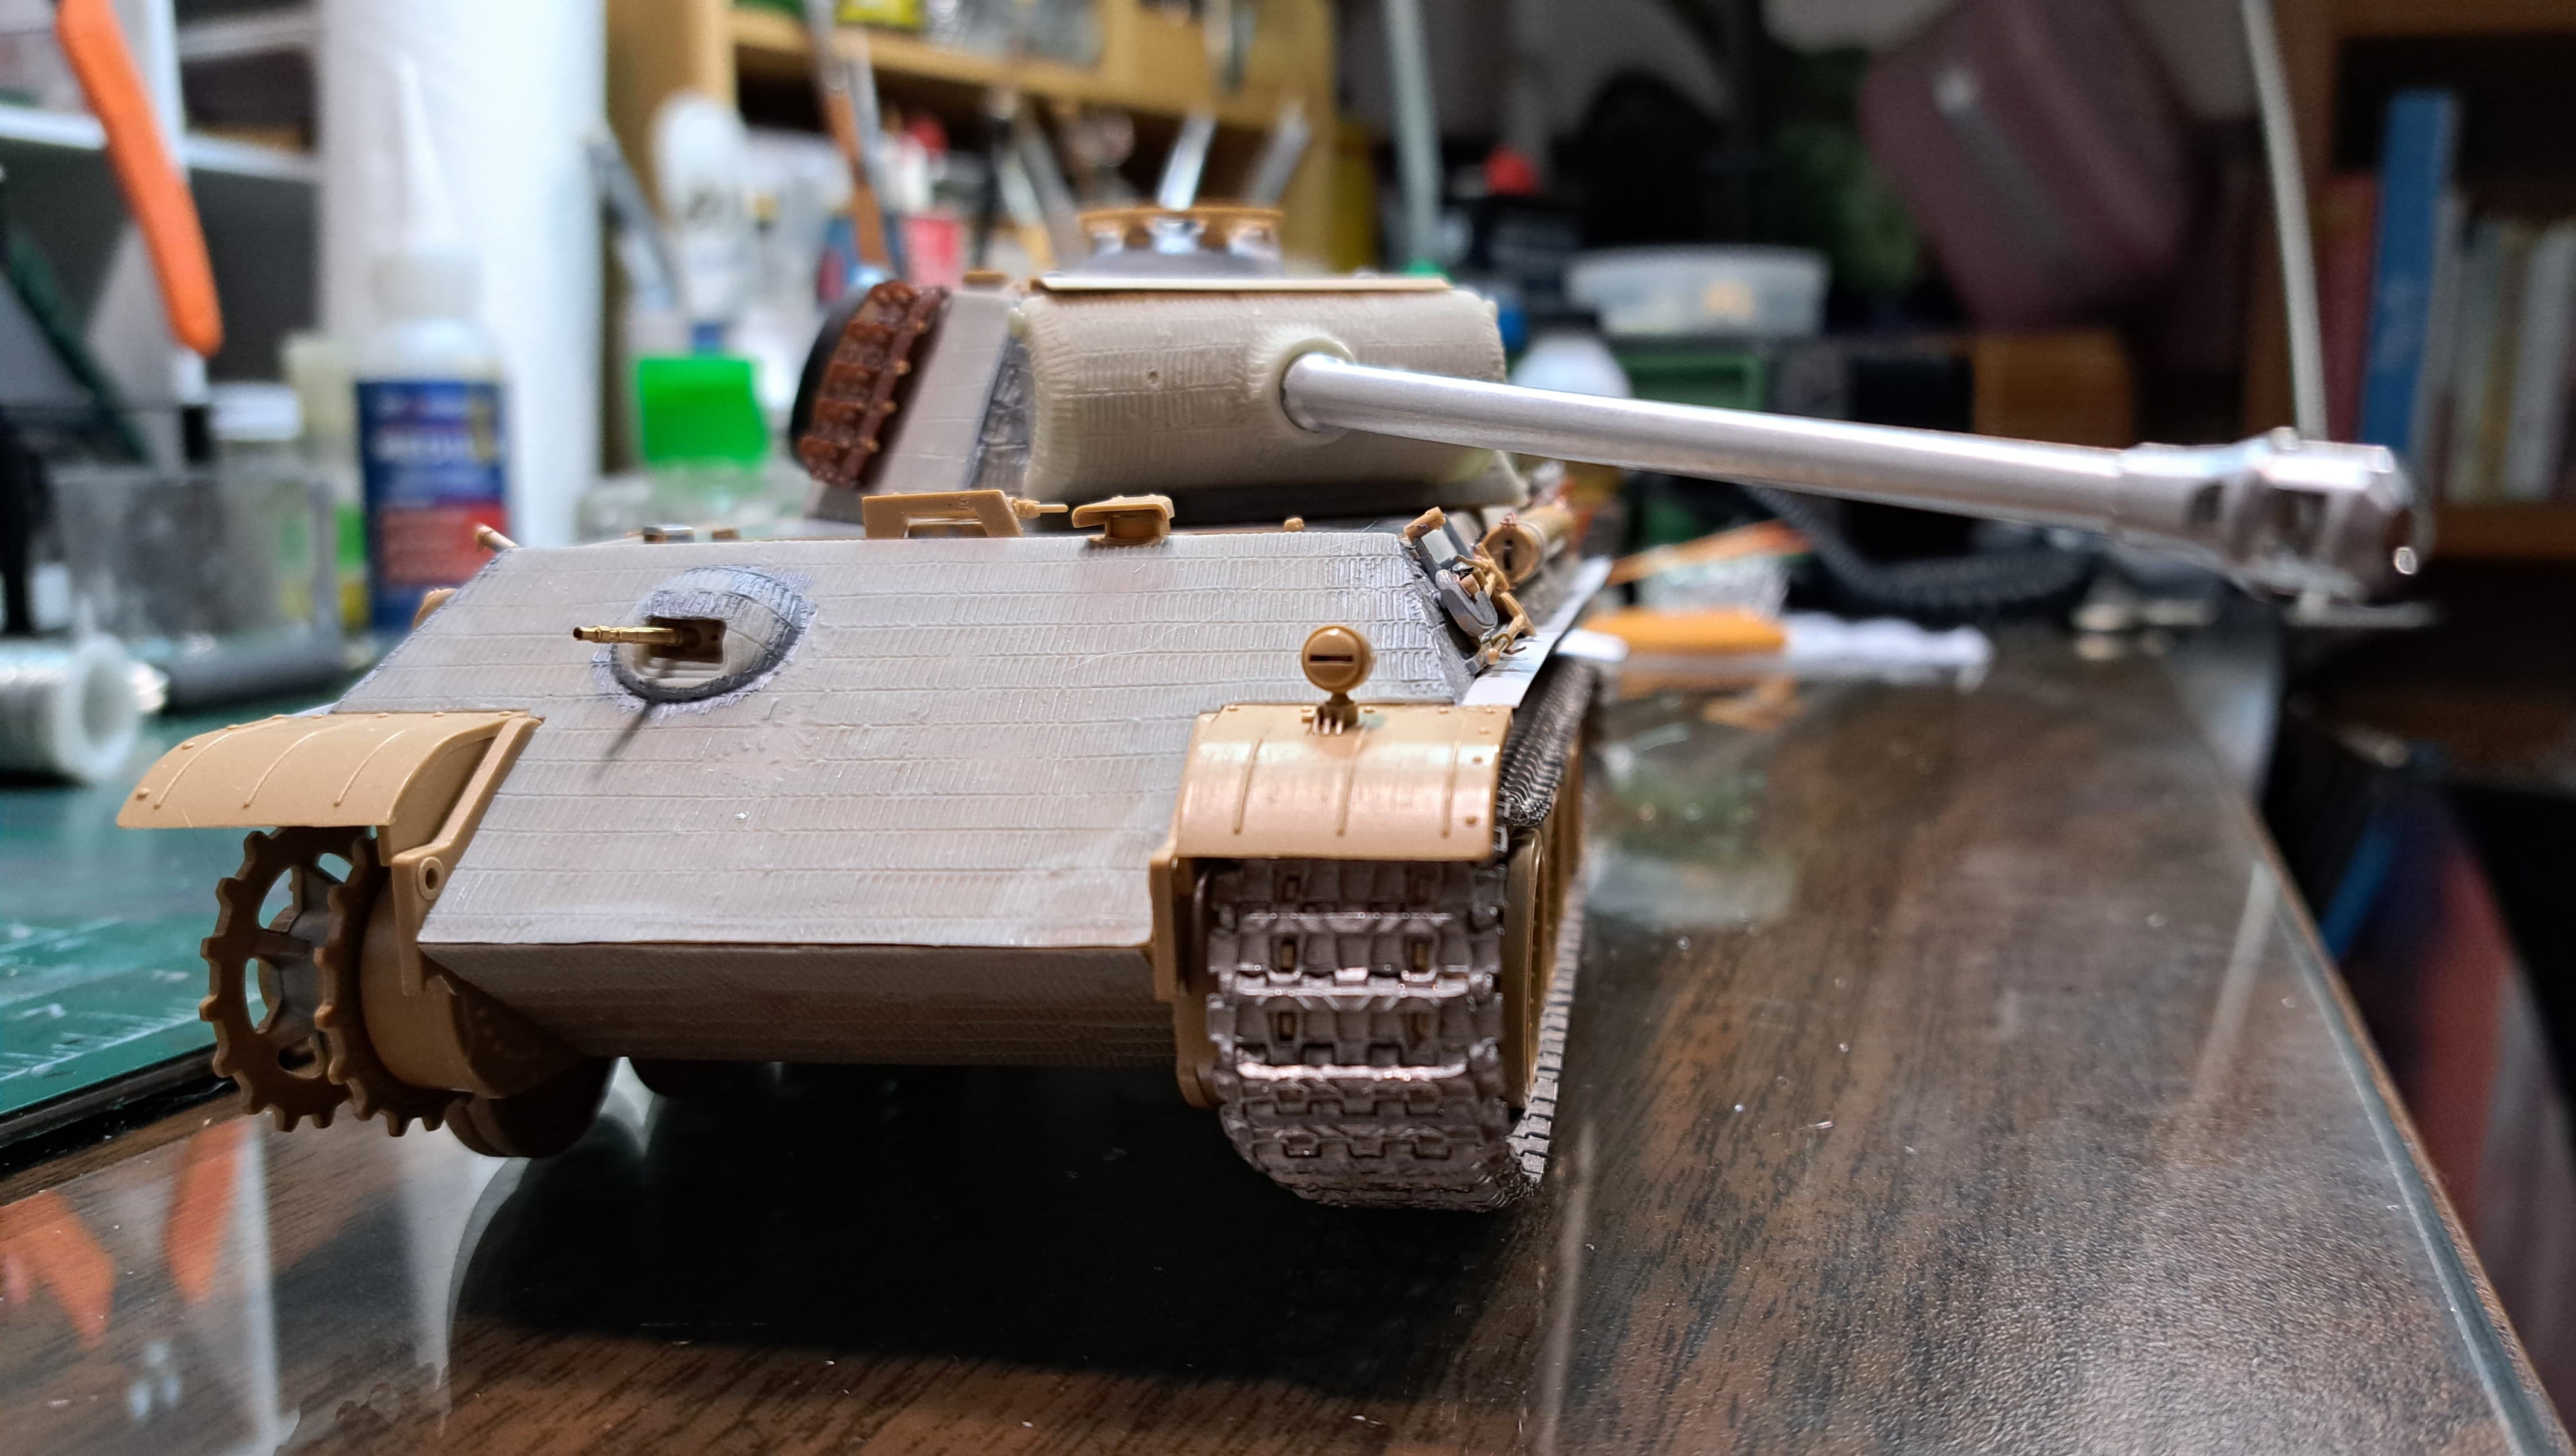
Added Aber brass MG34 for bow MG.
Made fiddle bits to wrap right side tools.
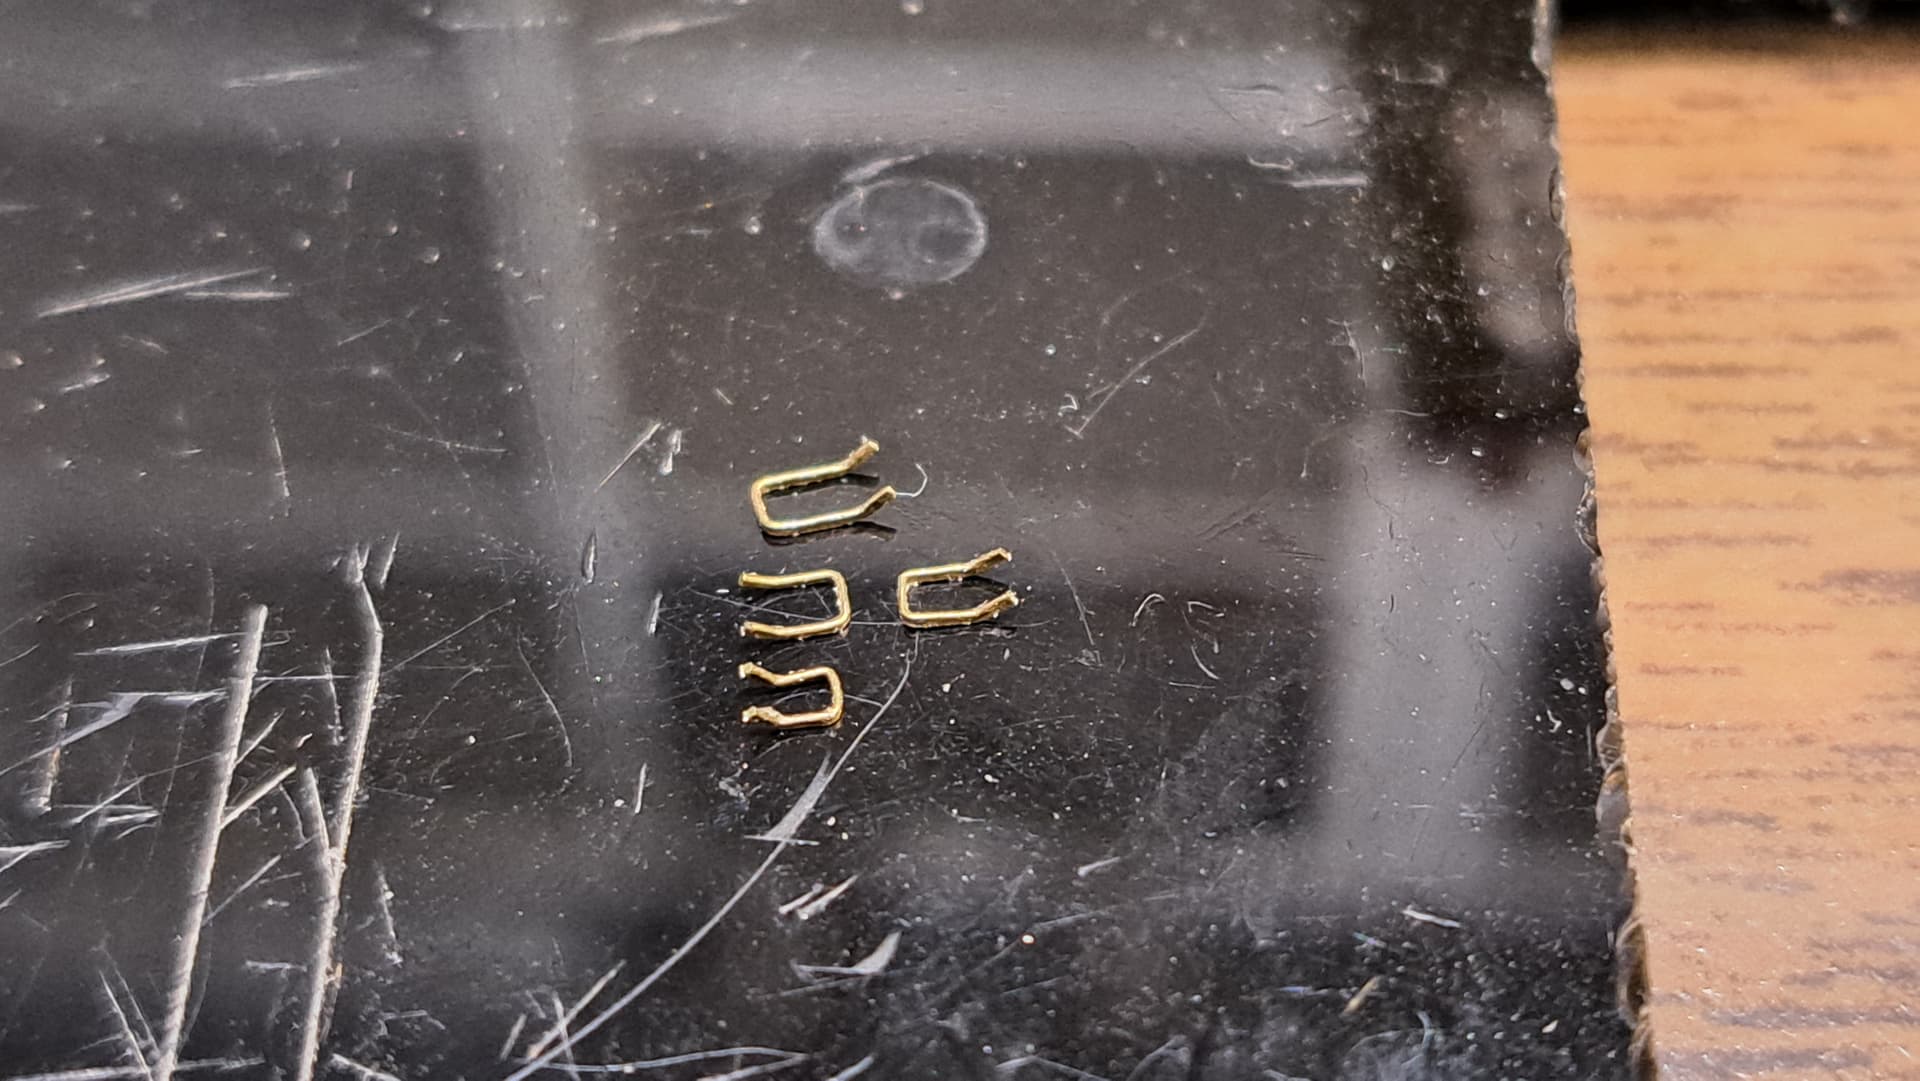
Installed

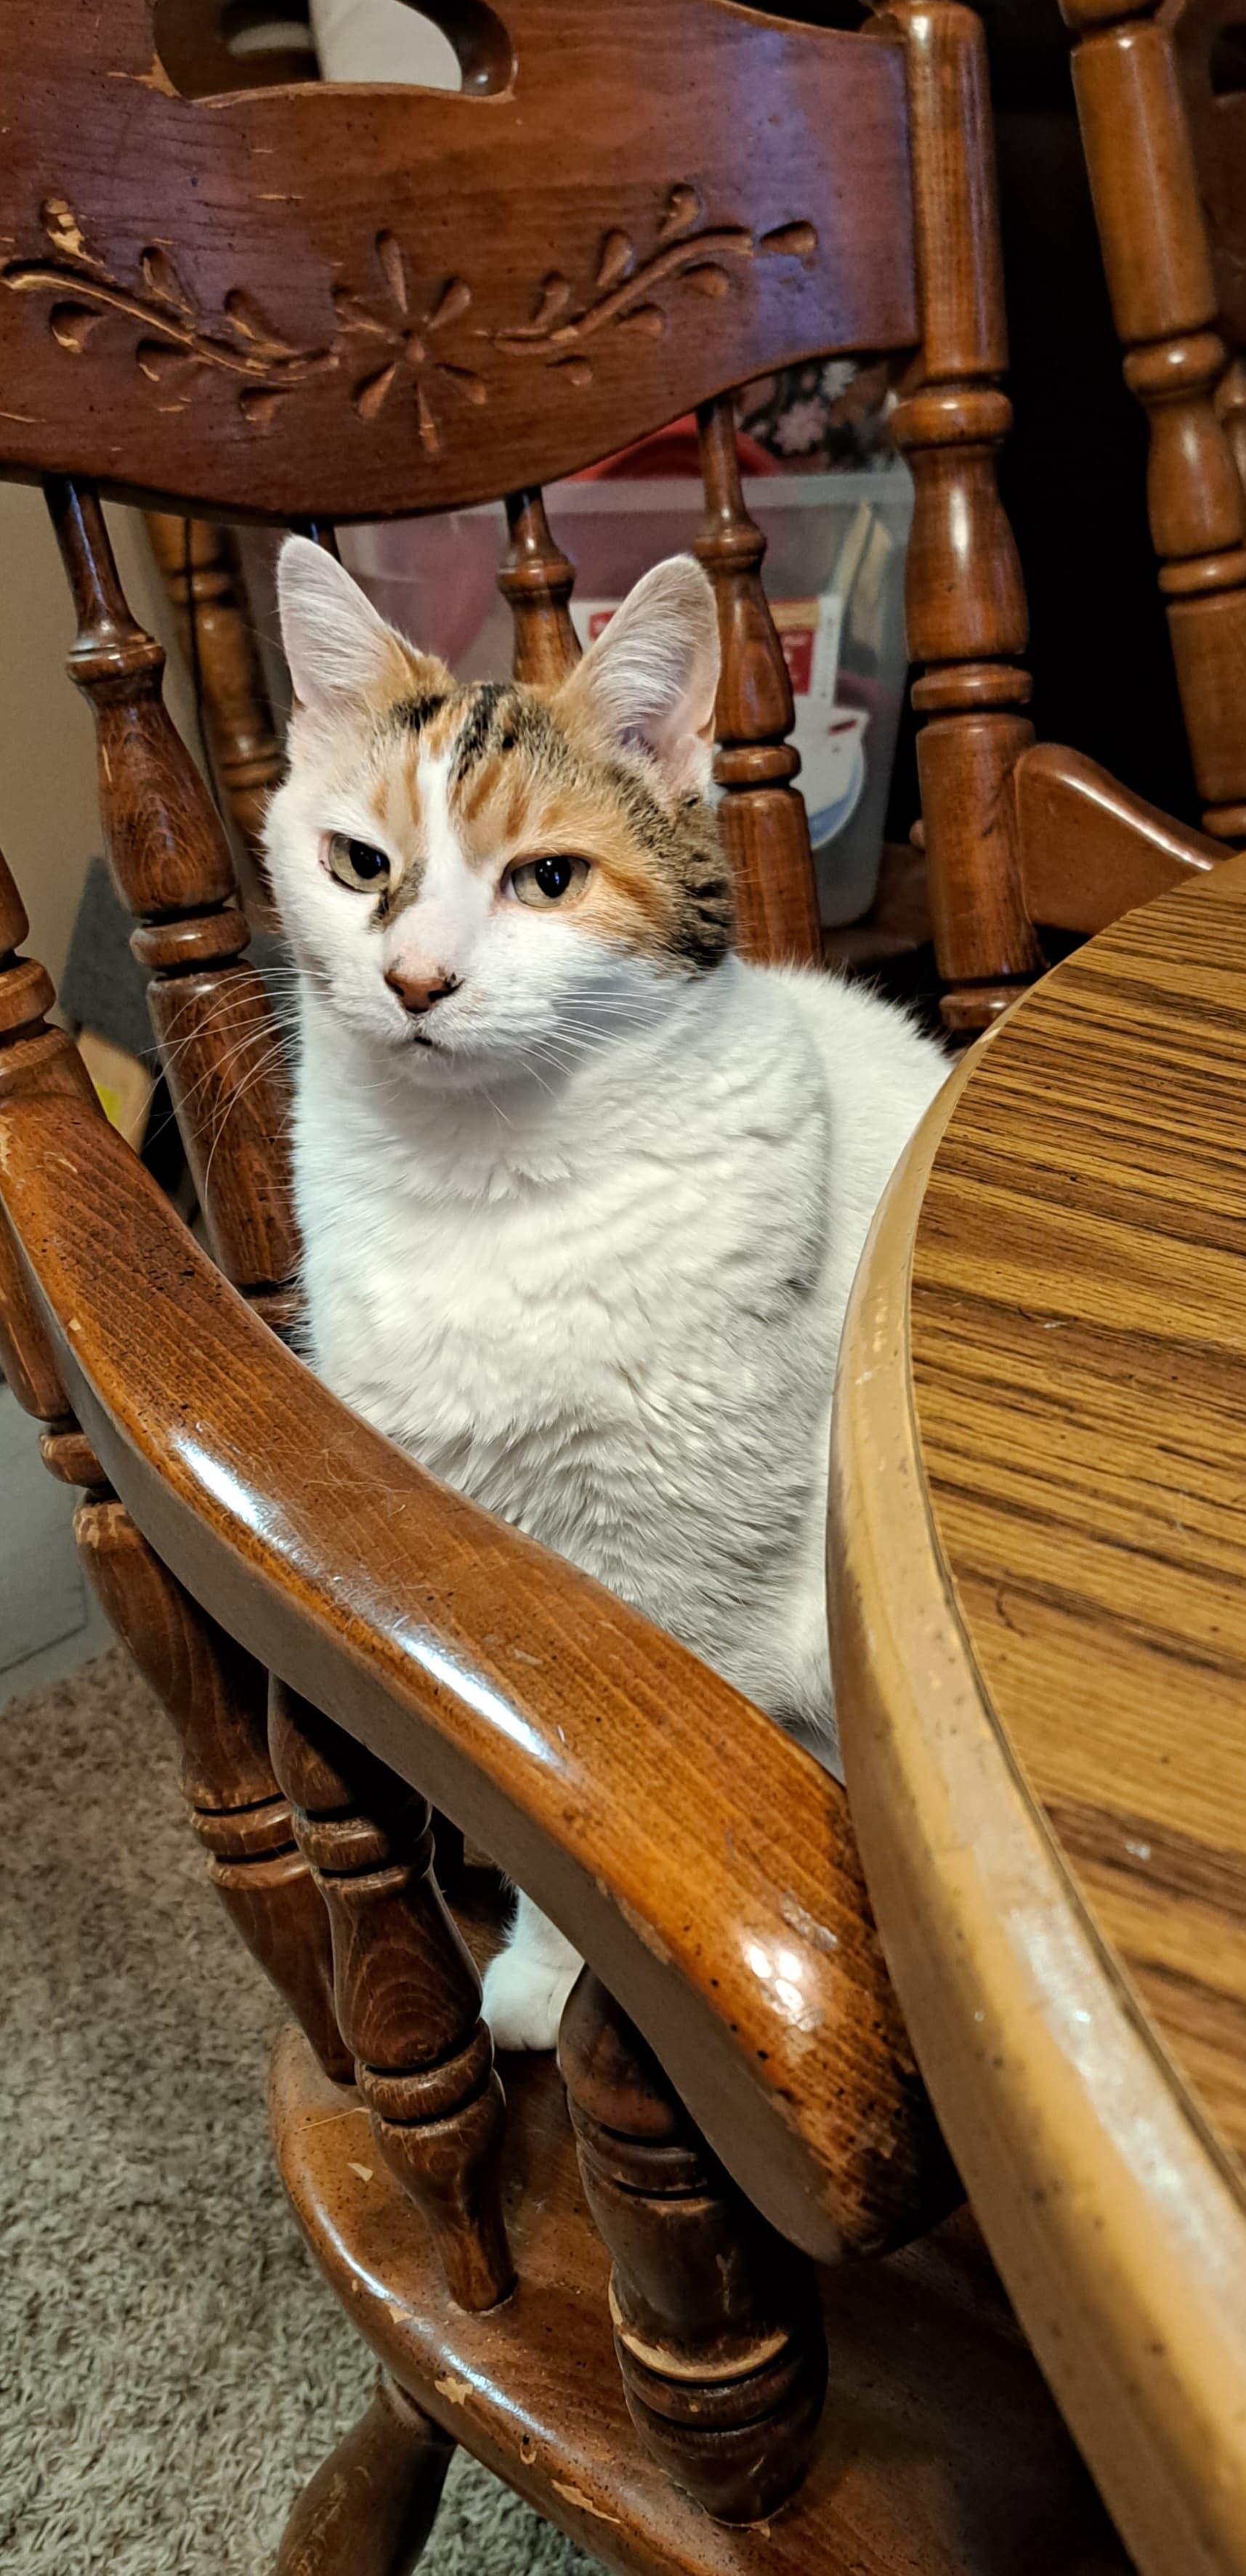
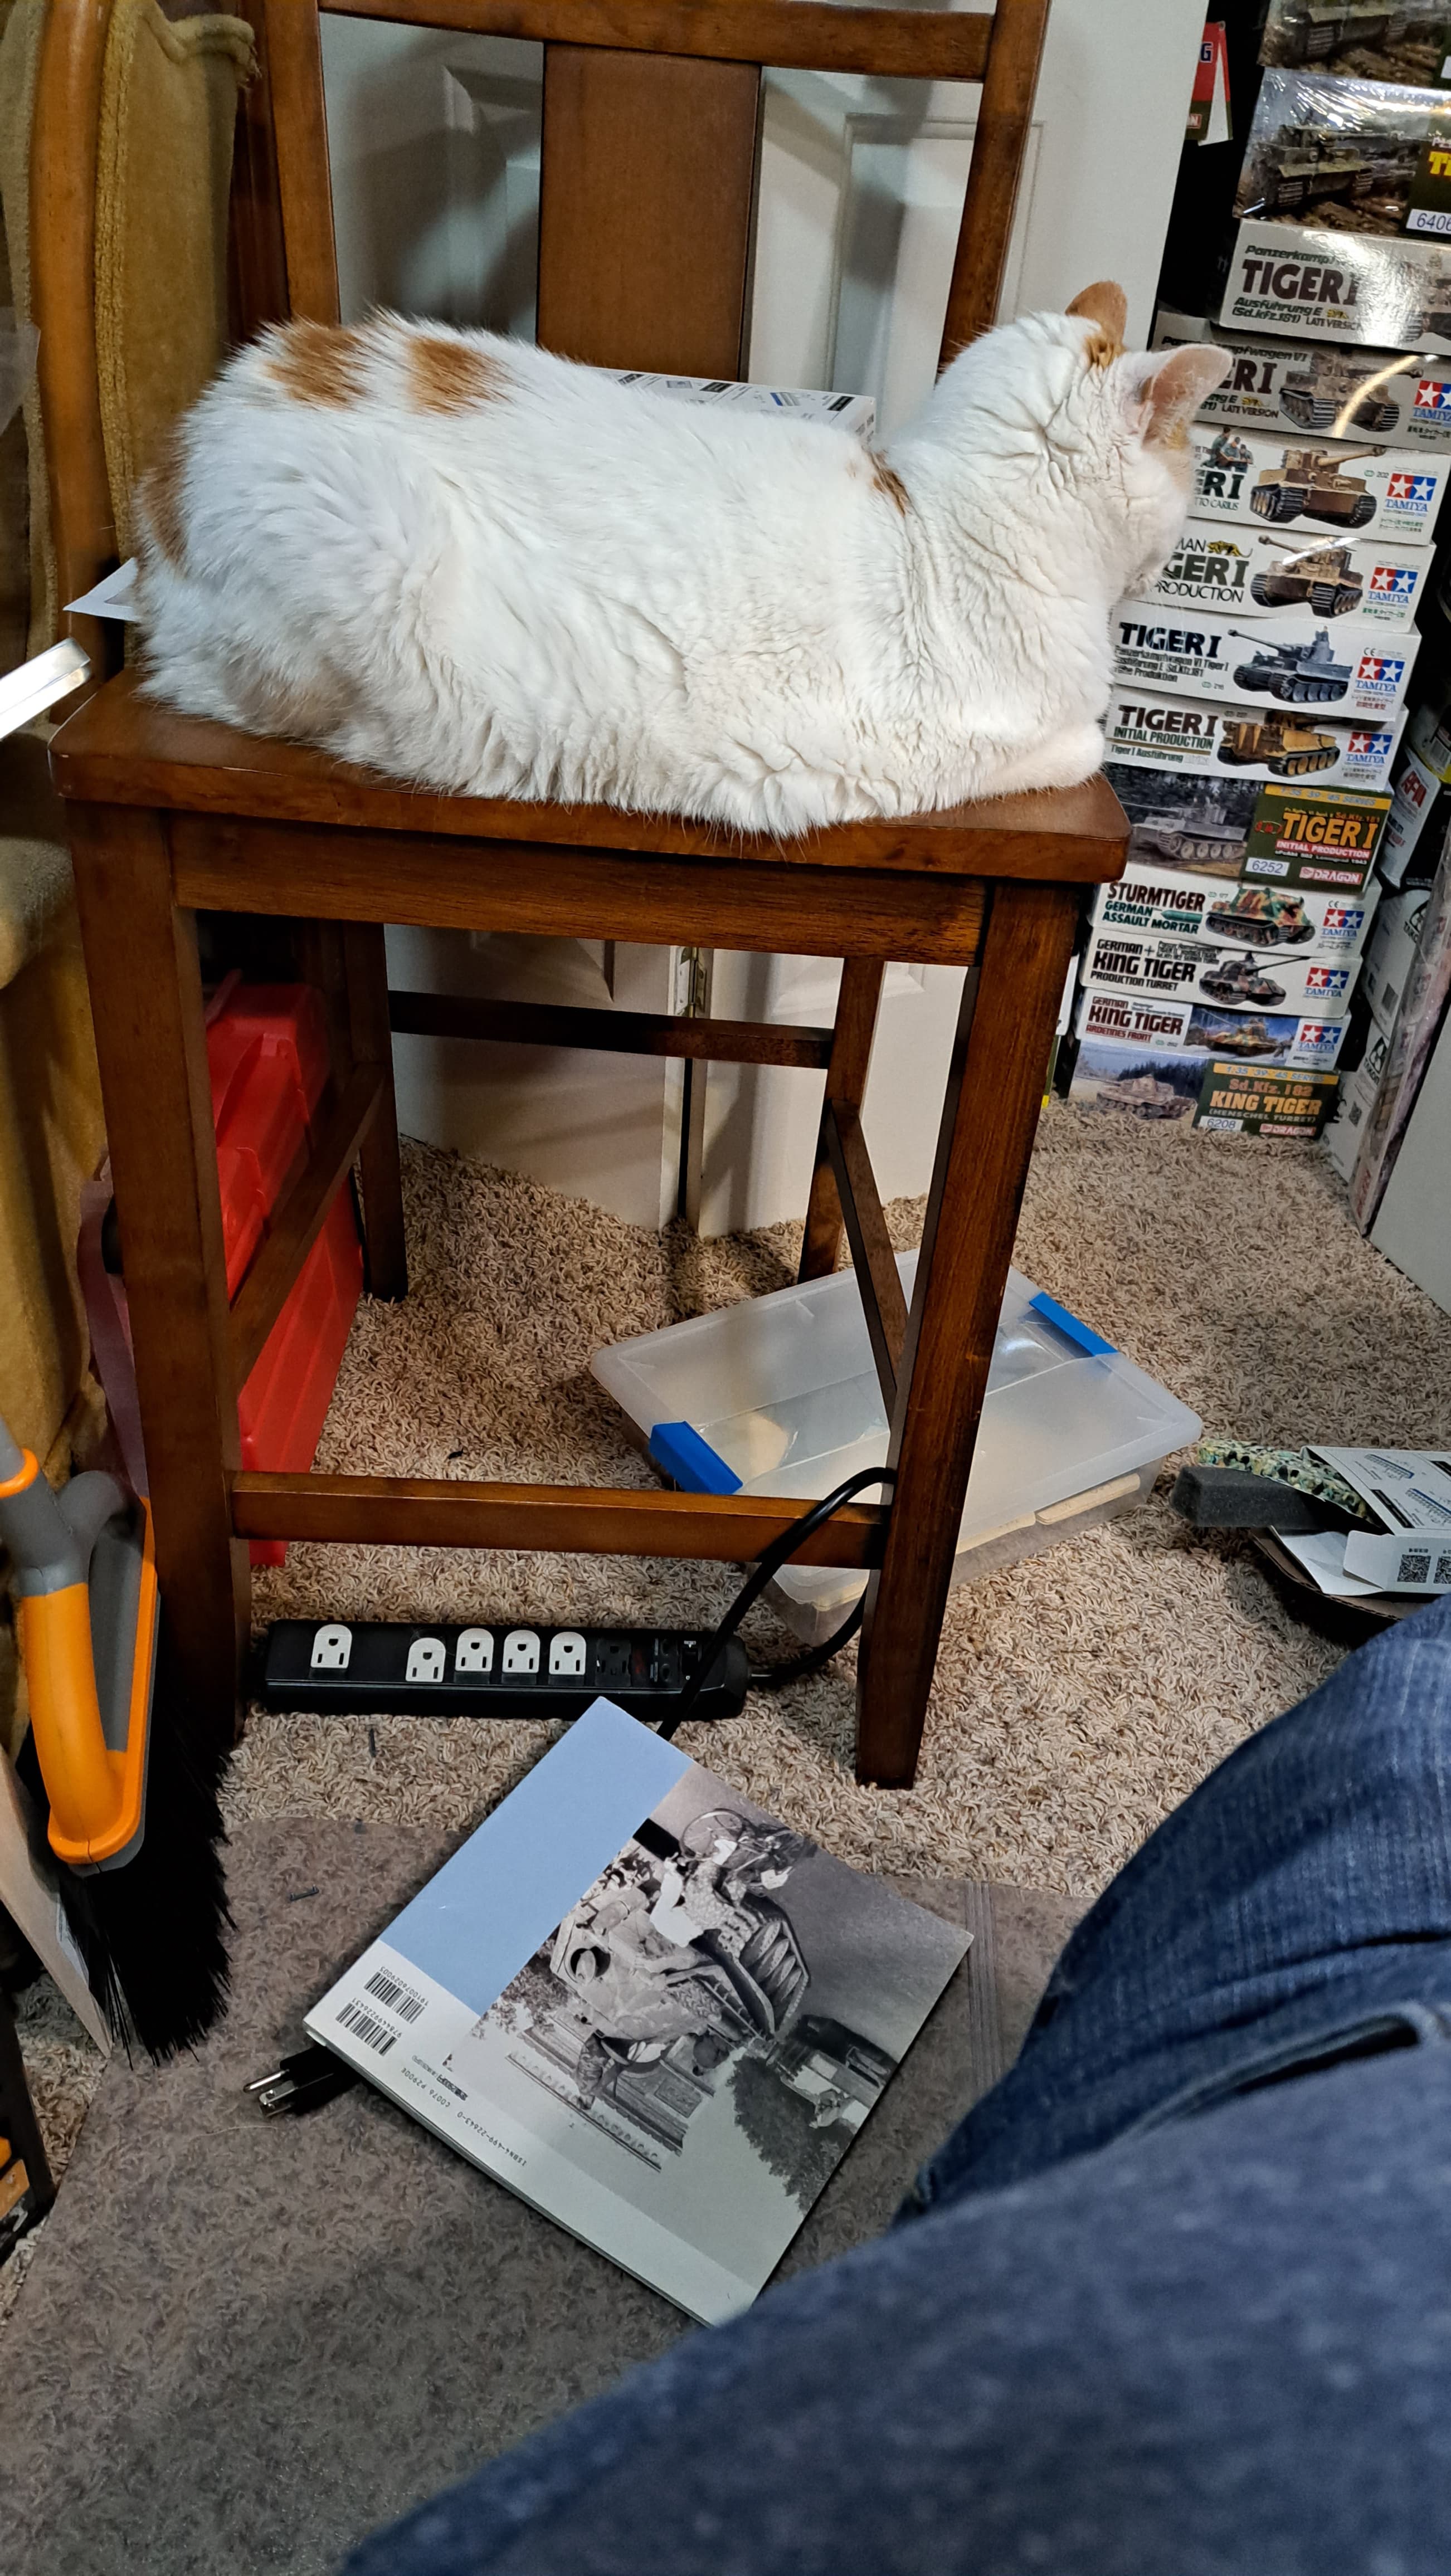
Kali, the shot caller has had enough hobby time for today.
Steve, yes indeed! There’s a lot of silly stupidity in this thread, probably because I exercise my stupidity…regularly!
![]()

LOL! Too funny! RoFL ![]()
Speaking of fun, @BillM Bill Morrison’s thoughts inspired me to pull my Italeri Panther A out and see what’s actually in the box. I’ve thought about what Bill M mentioned and the context. I believe Bill has an excellent point an Italeri Panther kit can be a fun, rewarding model build.
So let’s side track just for a bit while the pliable resin zimmerit re-cures on the Tamiya Panther G above. I’d like to take a brief look at “Project Dumpster Fire”.
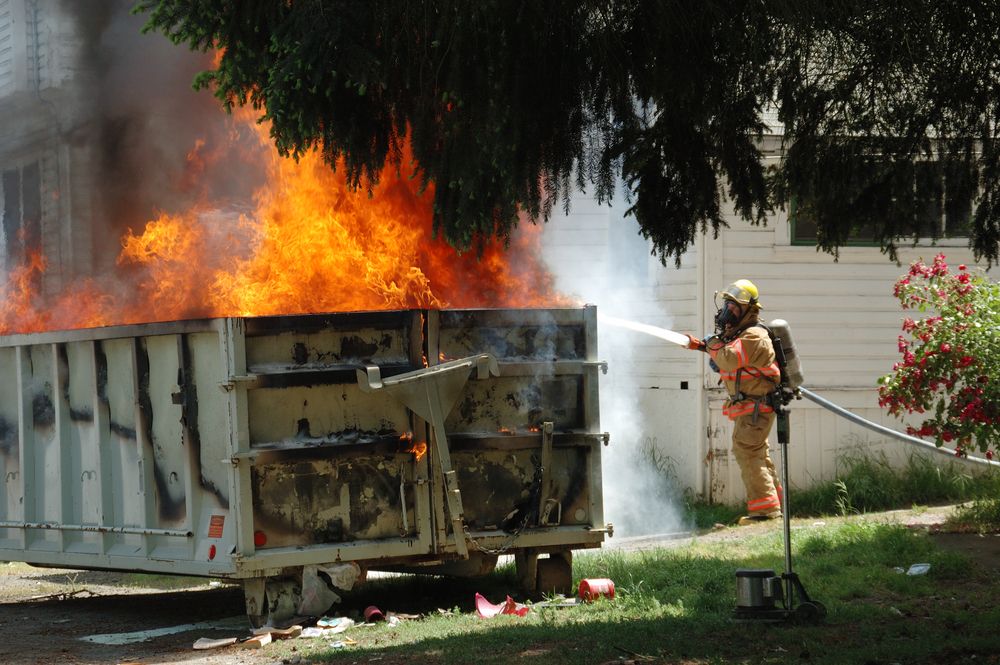
Couldn’t resist, wink.
I’m joking, goal is humor not to upset anyone just for the record. I think the Italeri Panther kit is worth building. (I mostly get rid of kits I don’t consider worth build time.)
It might be sometime next year, ideally after doing a Meng Panther D but I hope to build this kit soon. I hope a Meng build will provide additional unused parts for bashing.
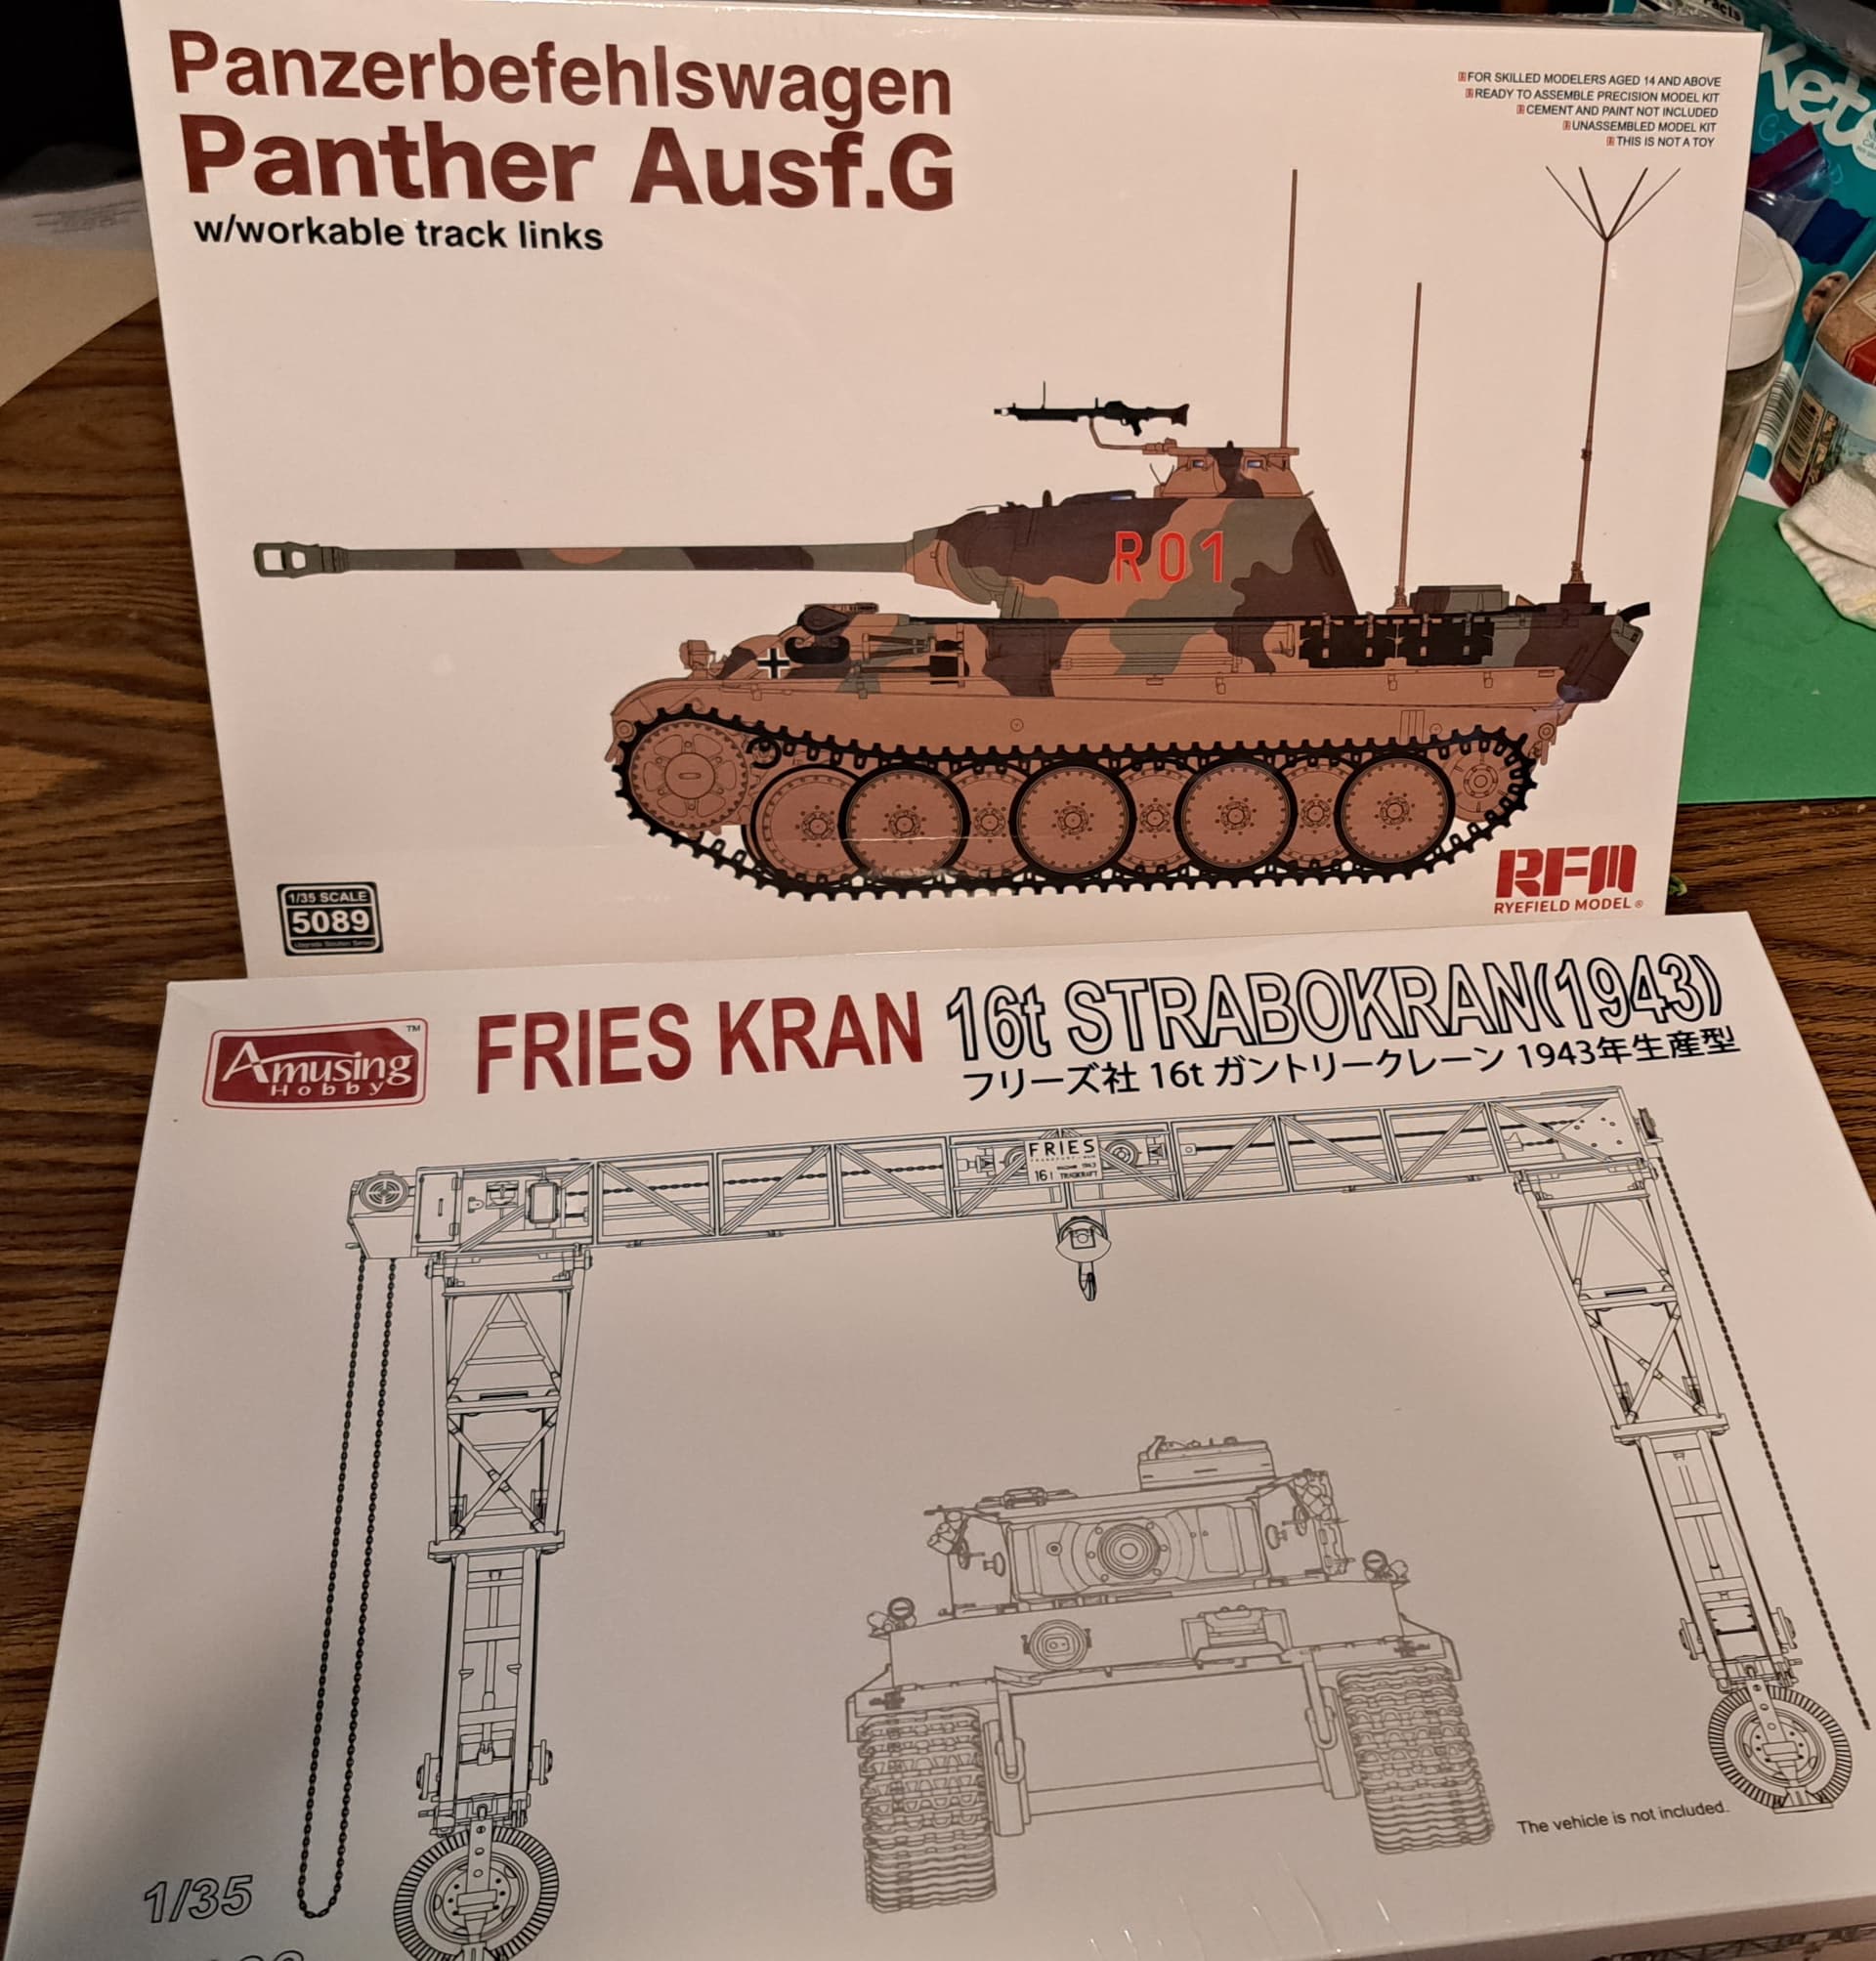
What it is…

What’s in the box? Not what I expected…
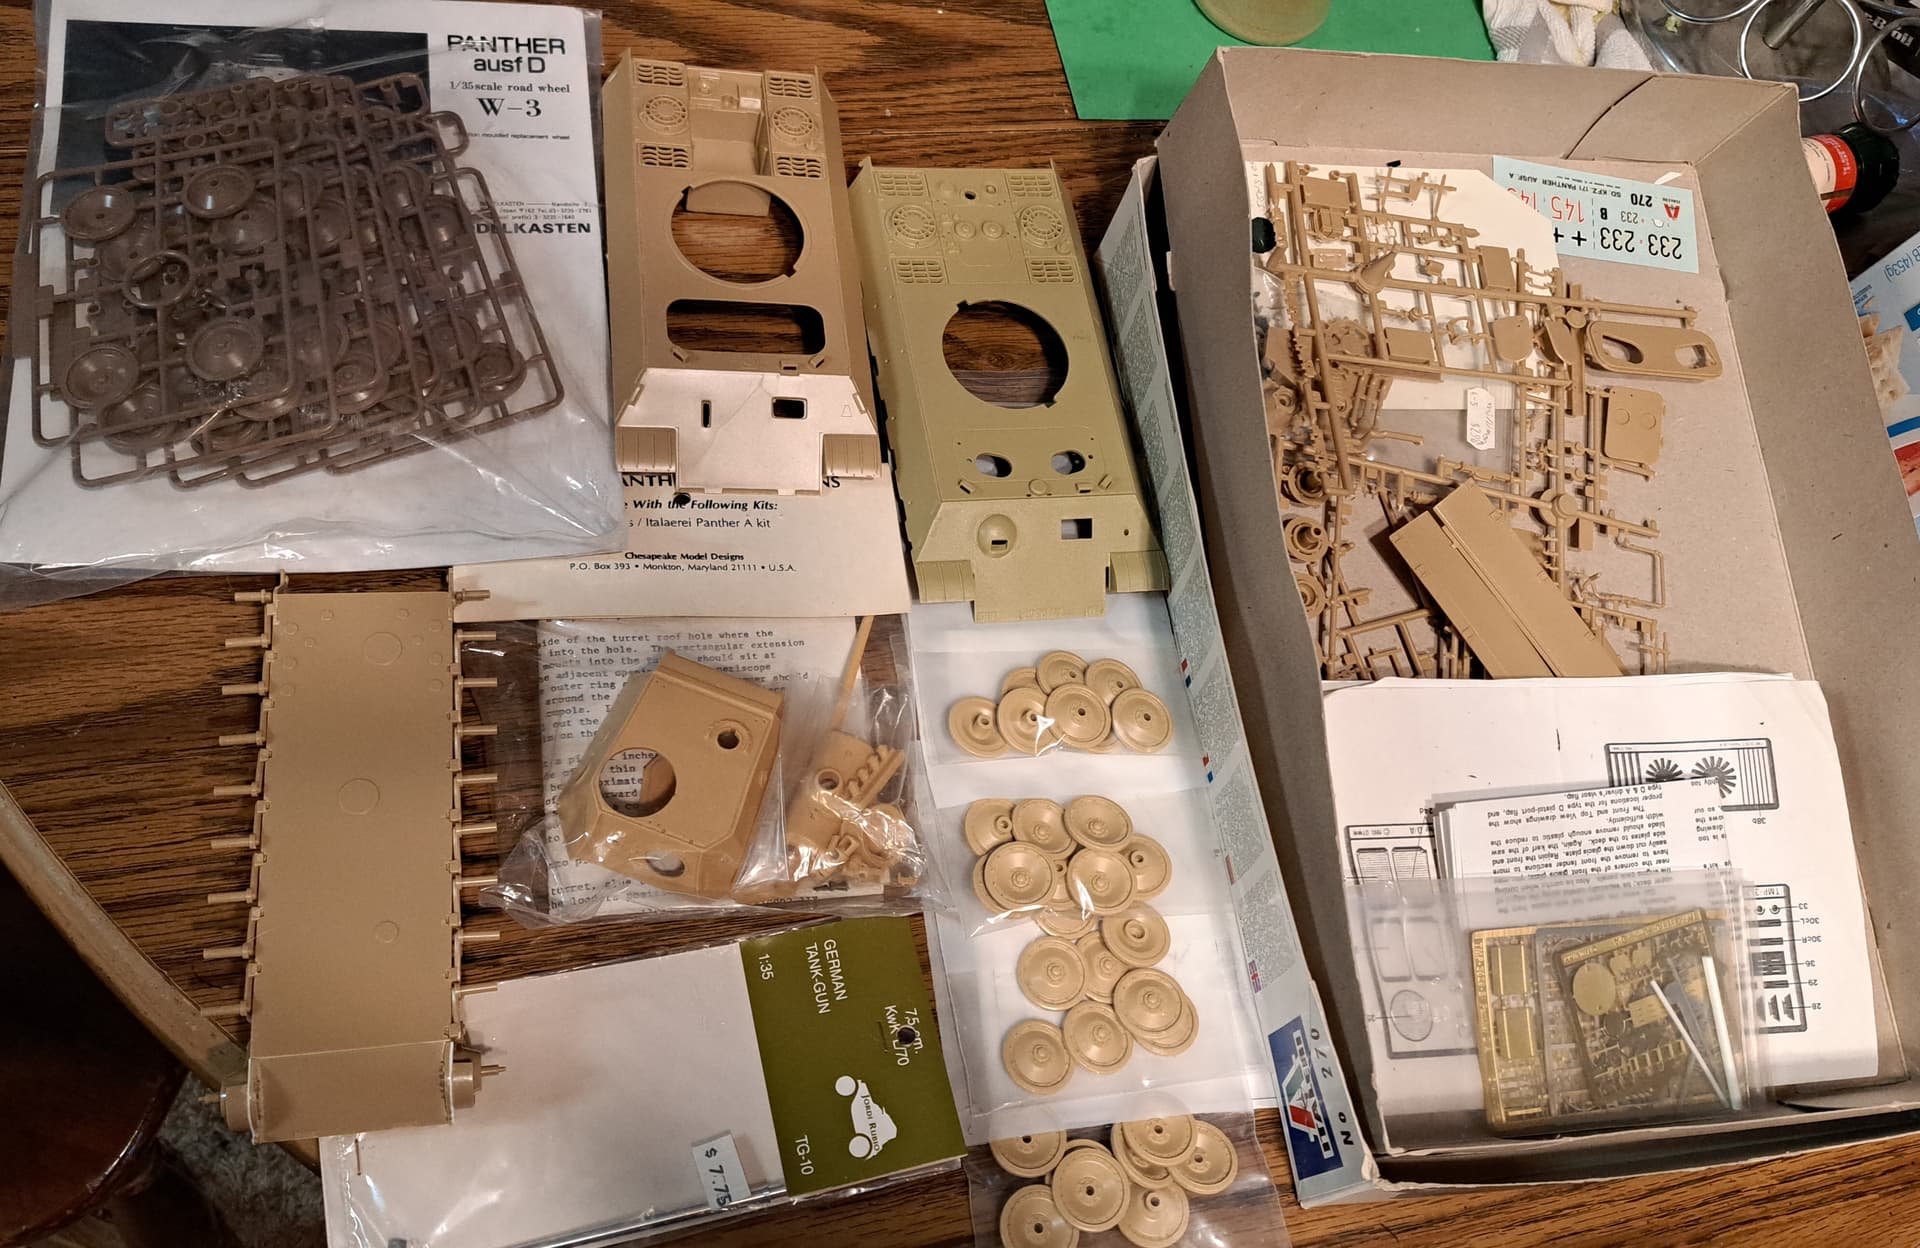
Woot!
Another Collection of junk from the 1990’s!
Plus the very unwelcomed discovery 1997 Armor_Buff started the kit and pitched all the parts, he didn’t think cut the mustard. Kit zimmerit, kit wheels & kit tracks and so on = trashed.
2023 me forgot about that.
Kit wheels reworked, cutting tires to lower profile & removing bolts to make a Panther D. Thankfully, this can also go in the trash most likely.
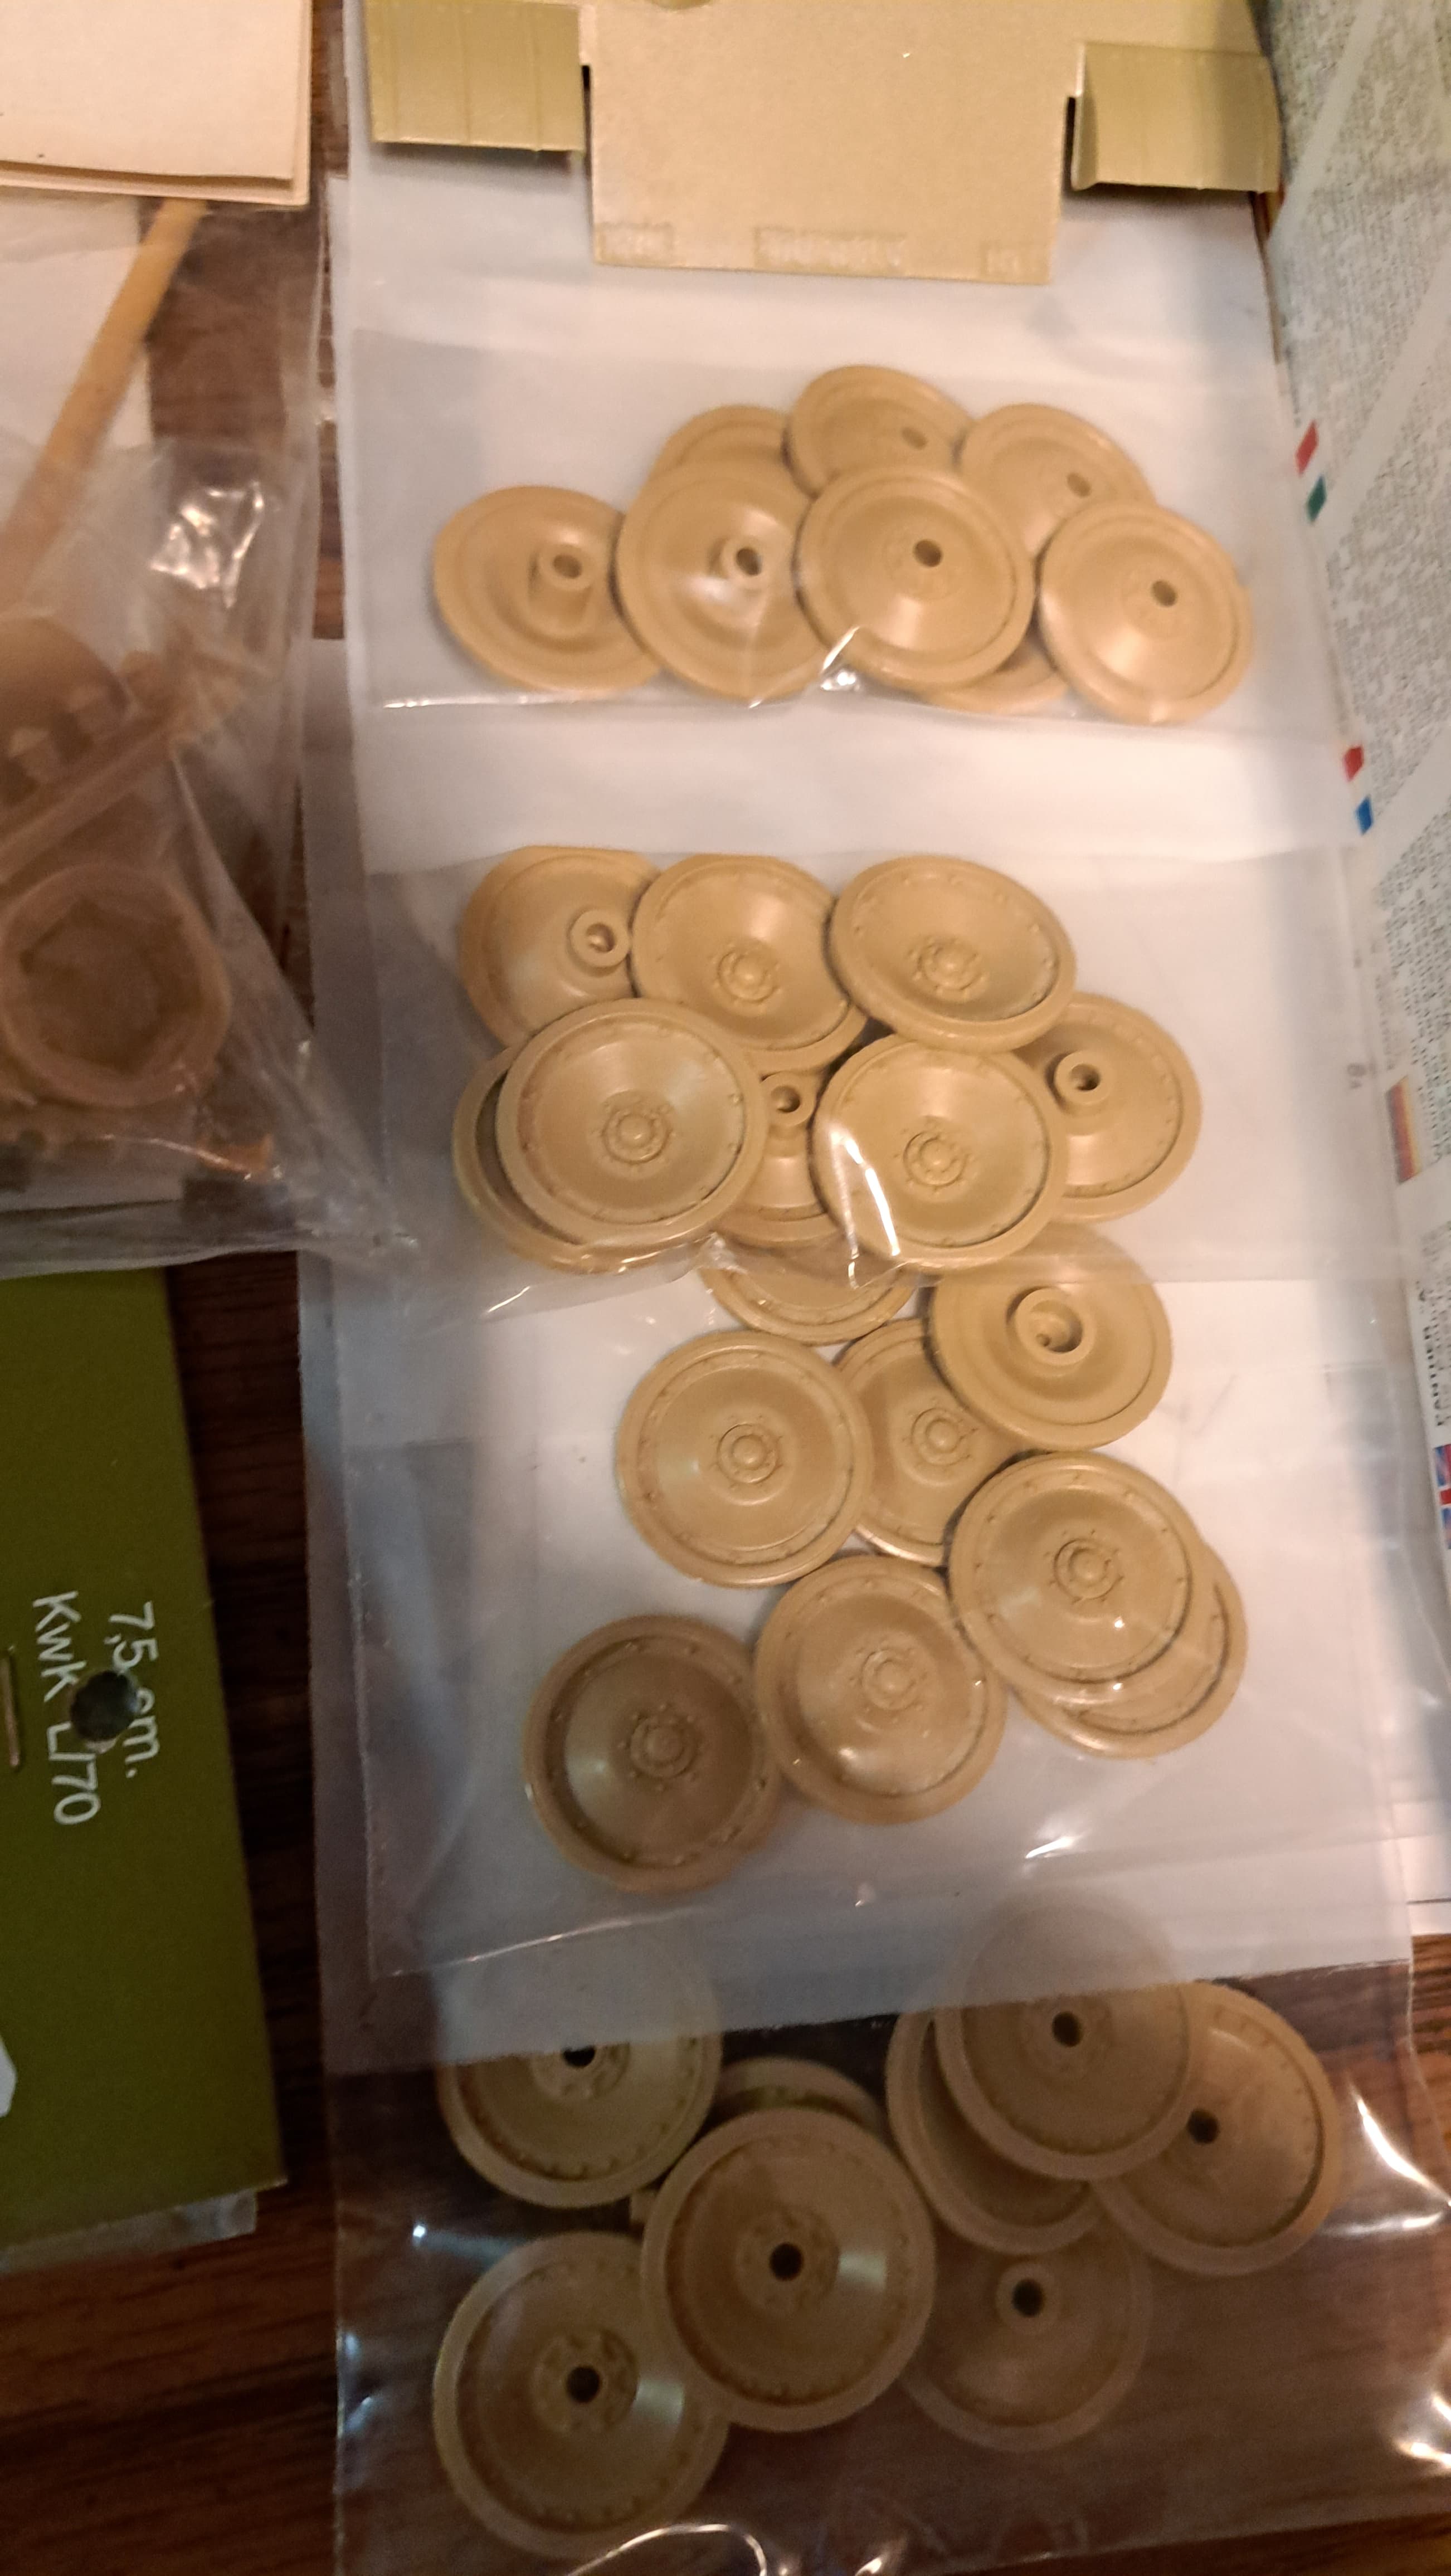
Model-Kasten to the rescue!
Panther D wheel set! Woot!

More good news!
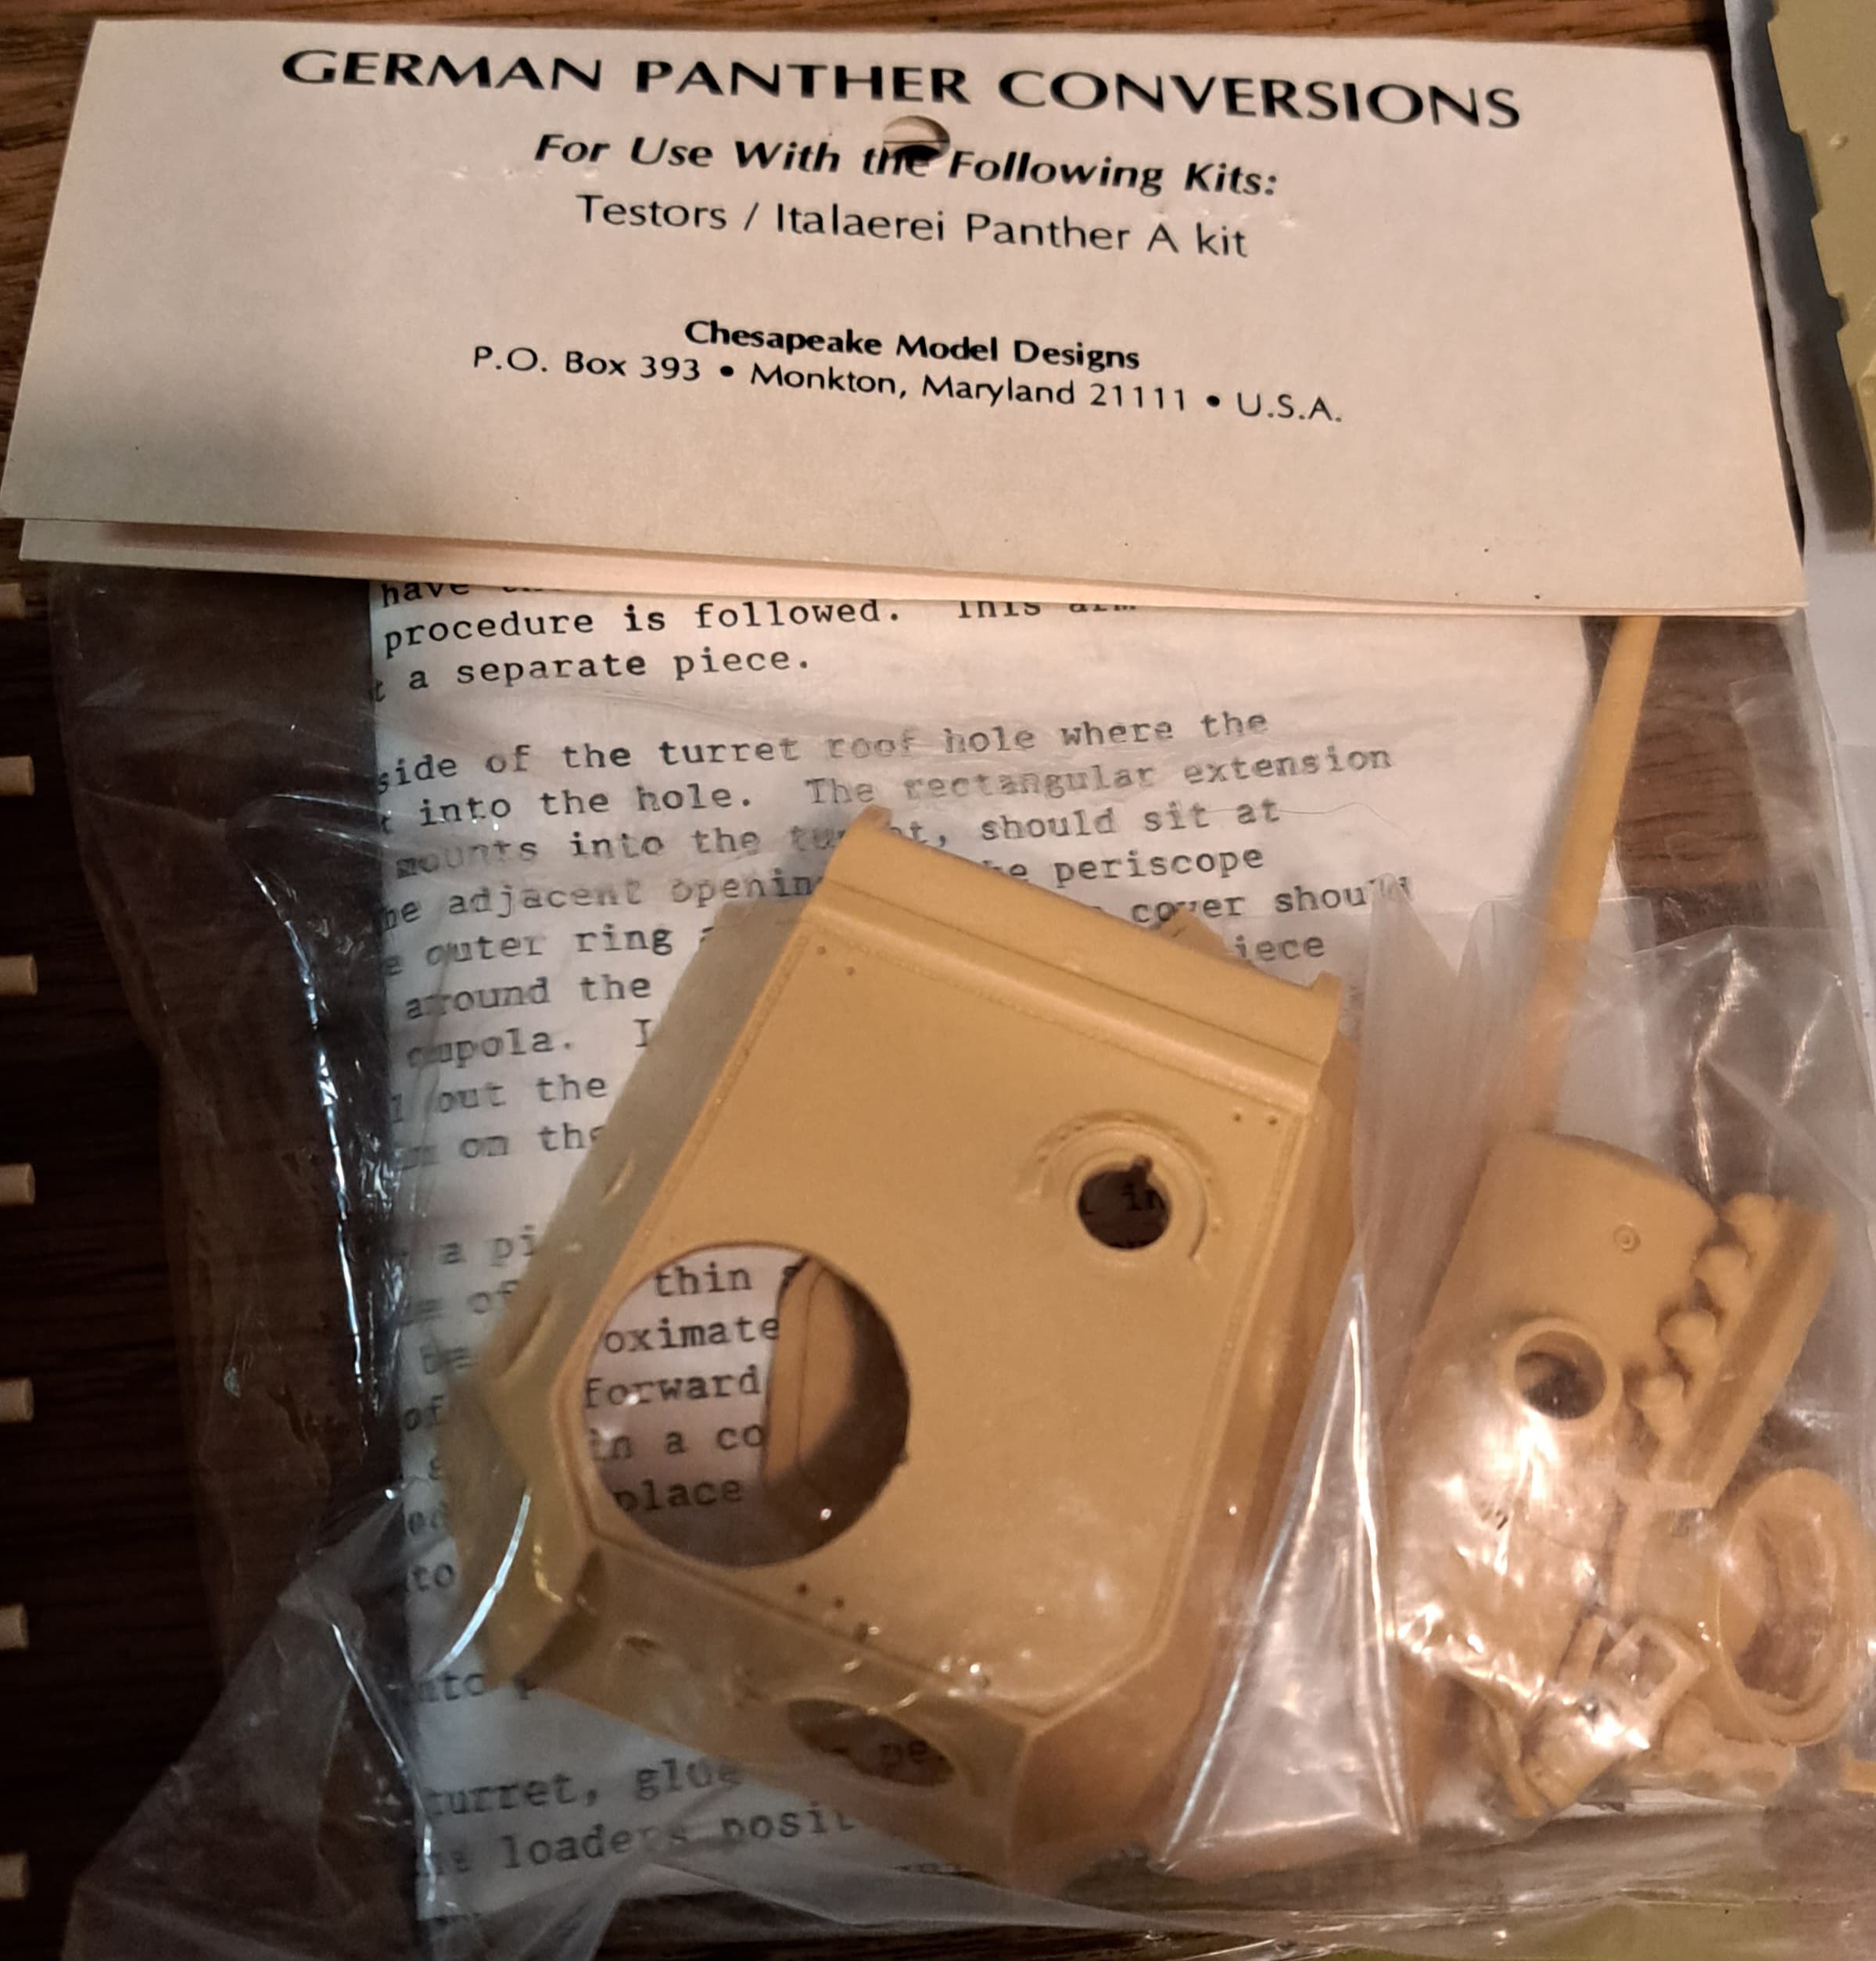
Chesapeake Model Design resin Panther D turret. This very kit was used by the A/D turret master maker for CMD.
Cavalier Zimmerit for Italeri Panther kit.
Looks like this will have Zimmerit

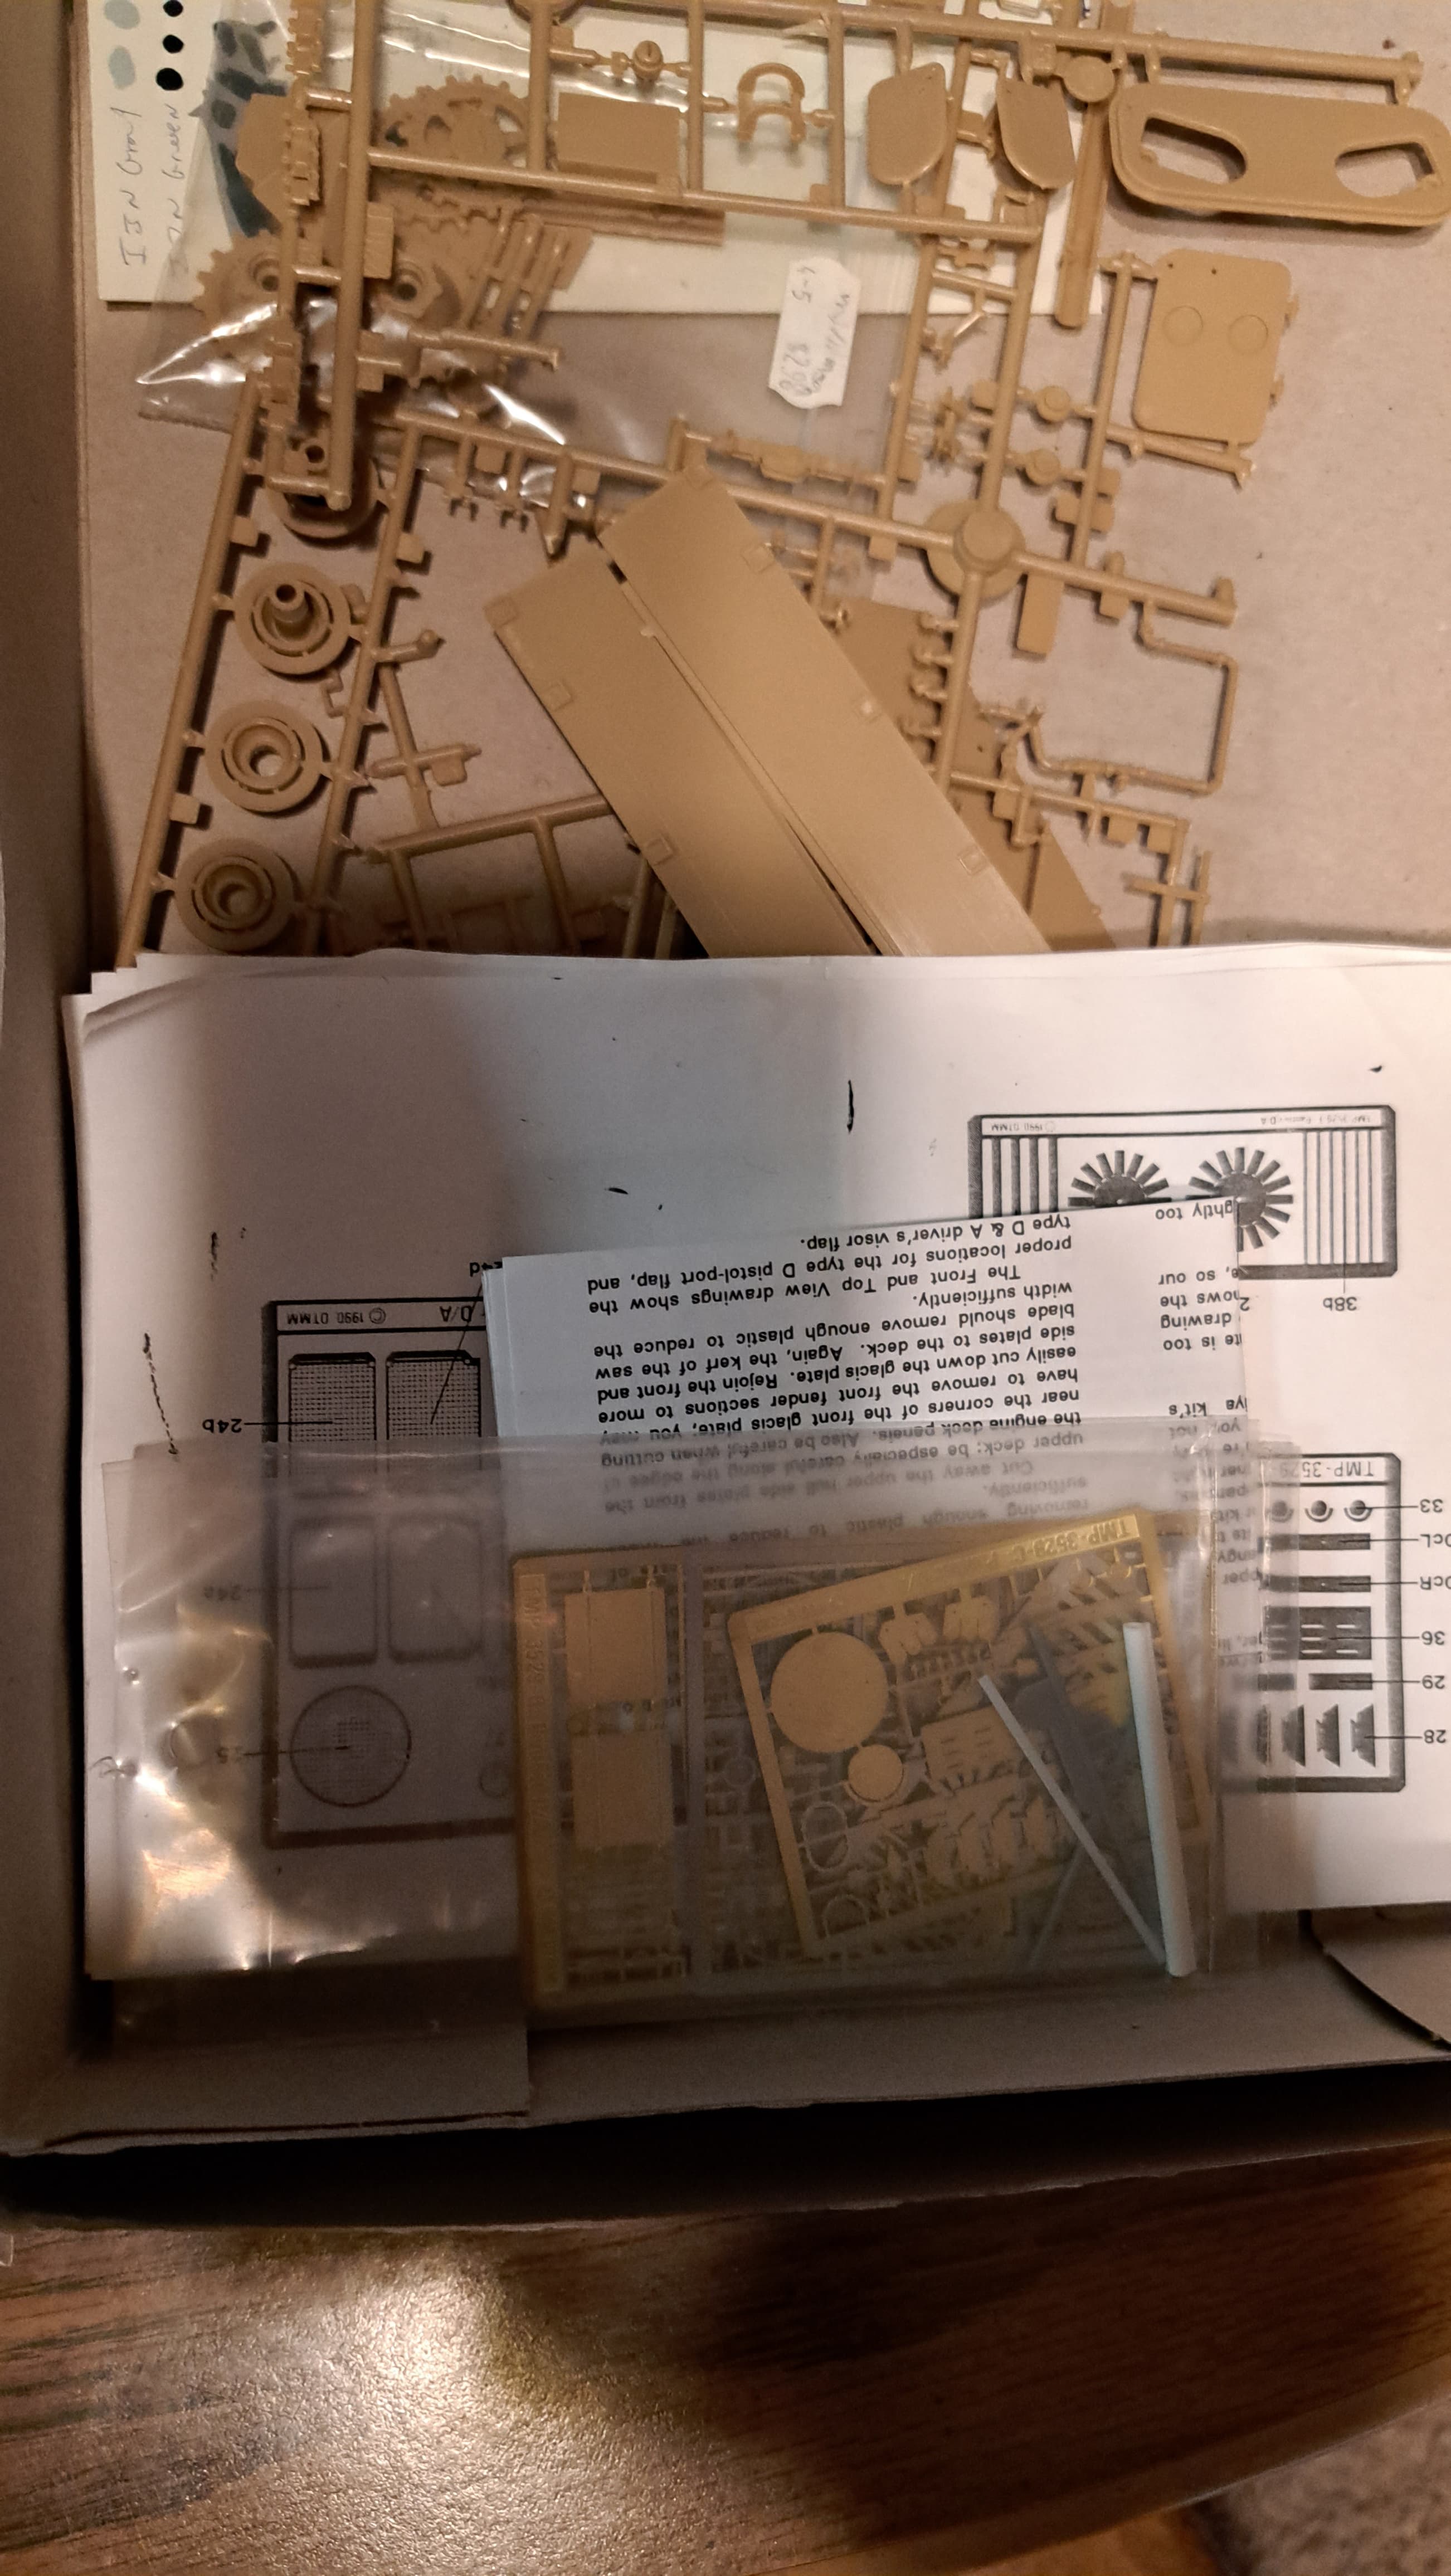
Fiddle bits like On the Mark PE & Jordi Rubio gun barrel are present.
The original ~1960’s Tamiya Panther A upper hull beside the 1993 Italeri A upper hull.
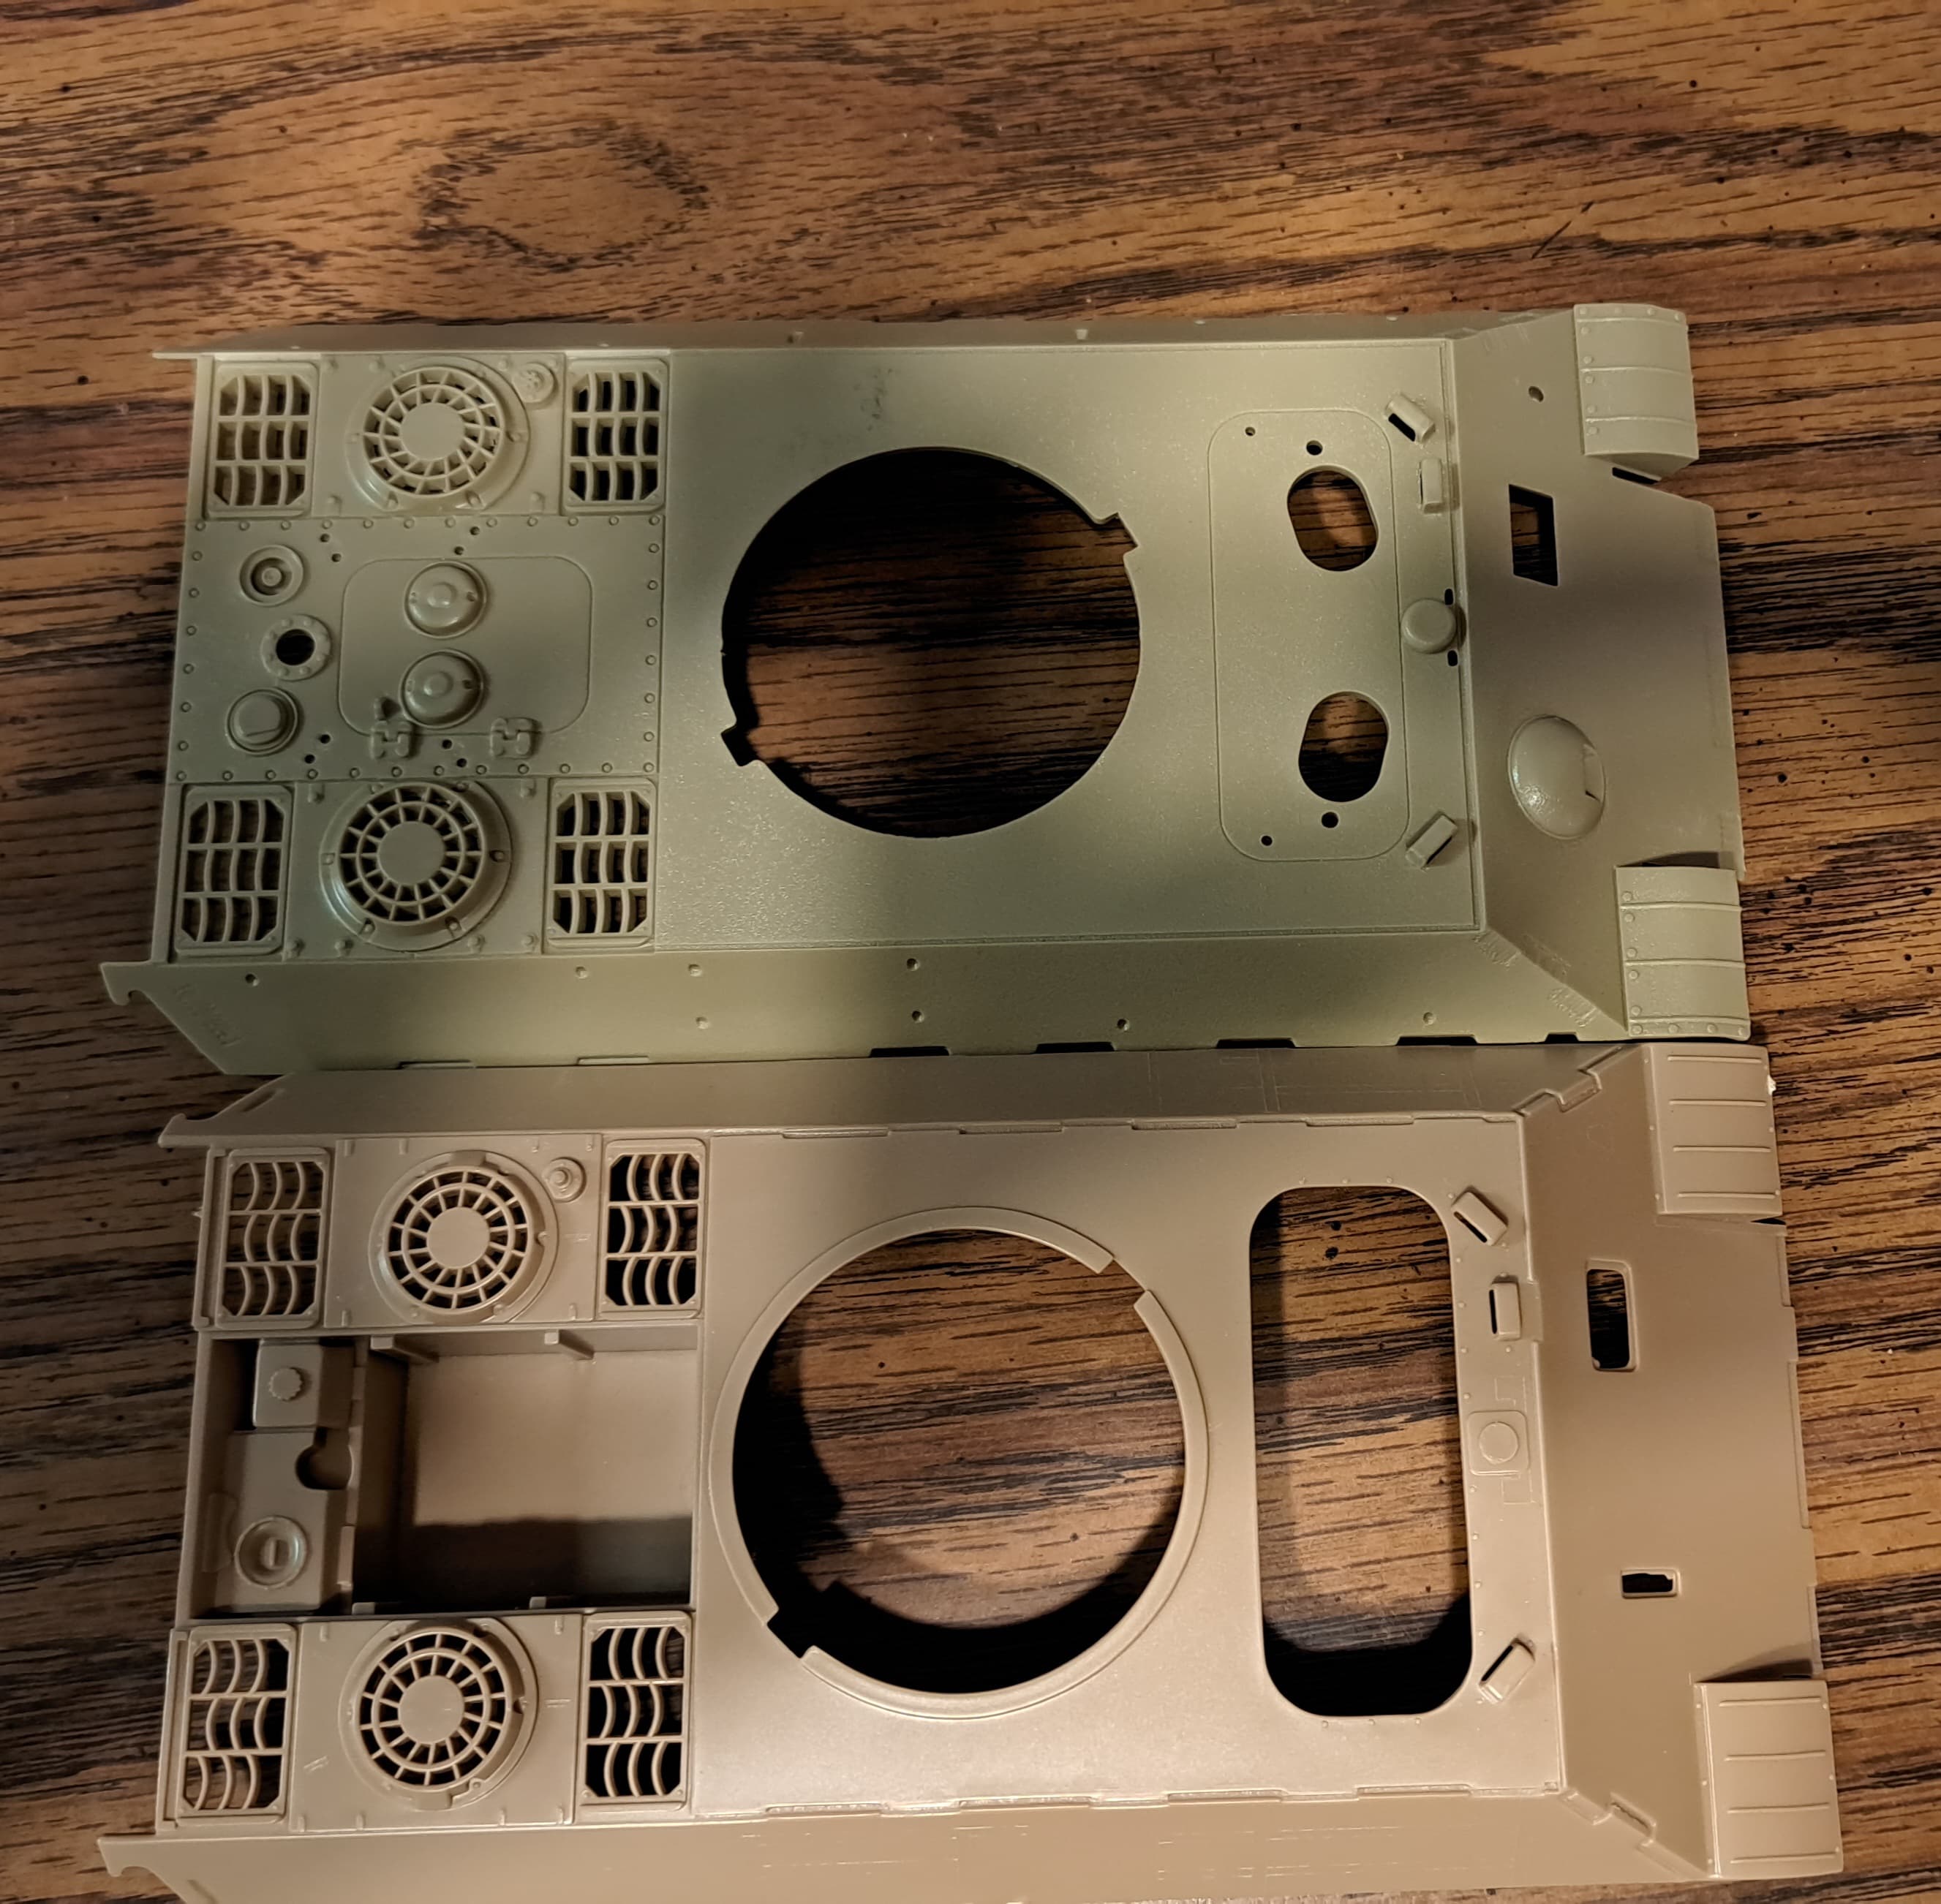
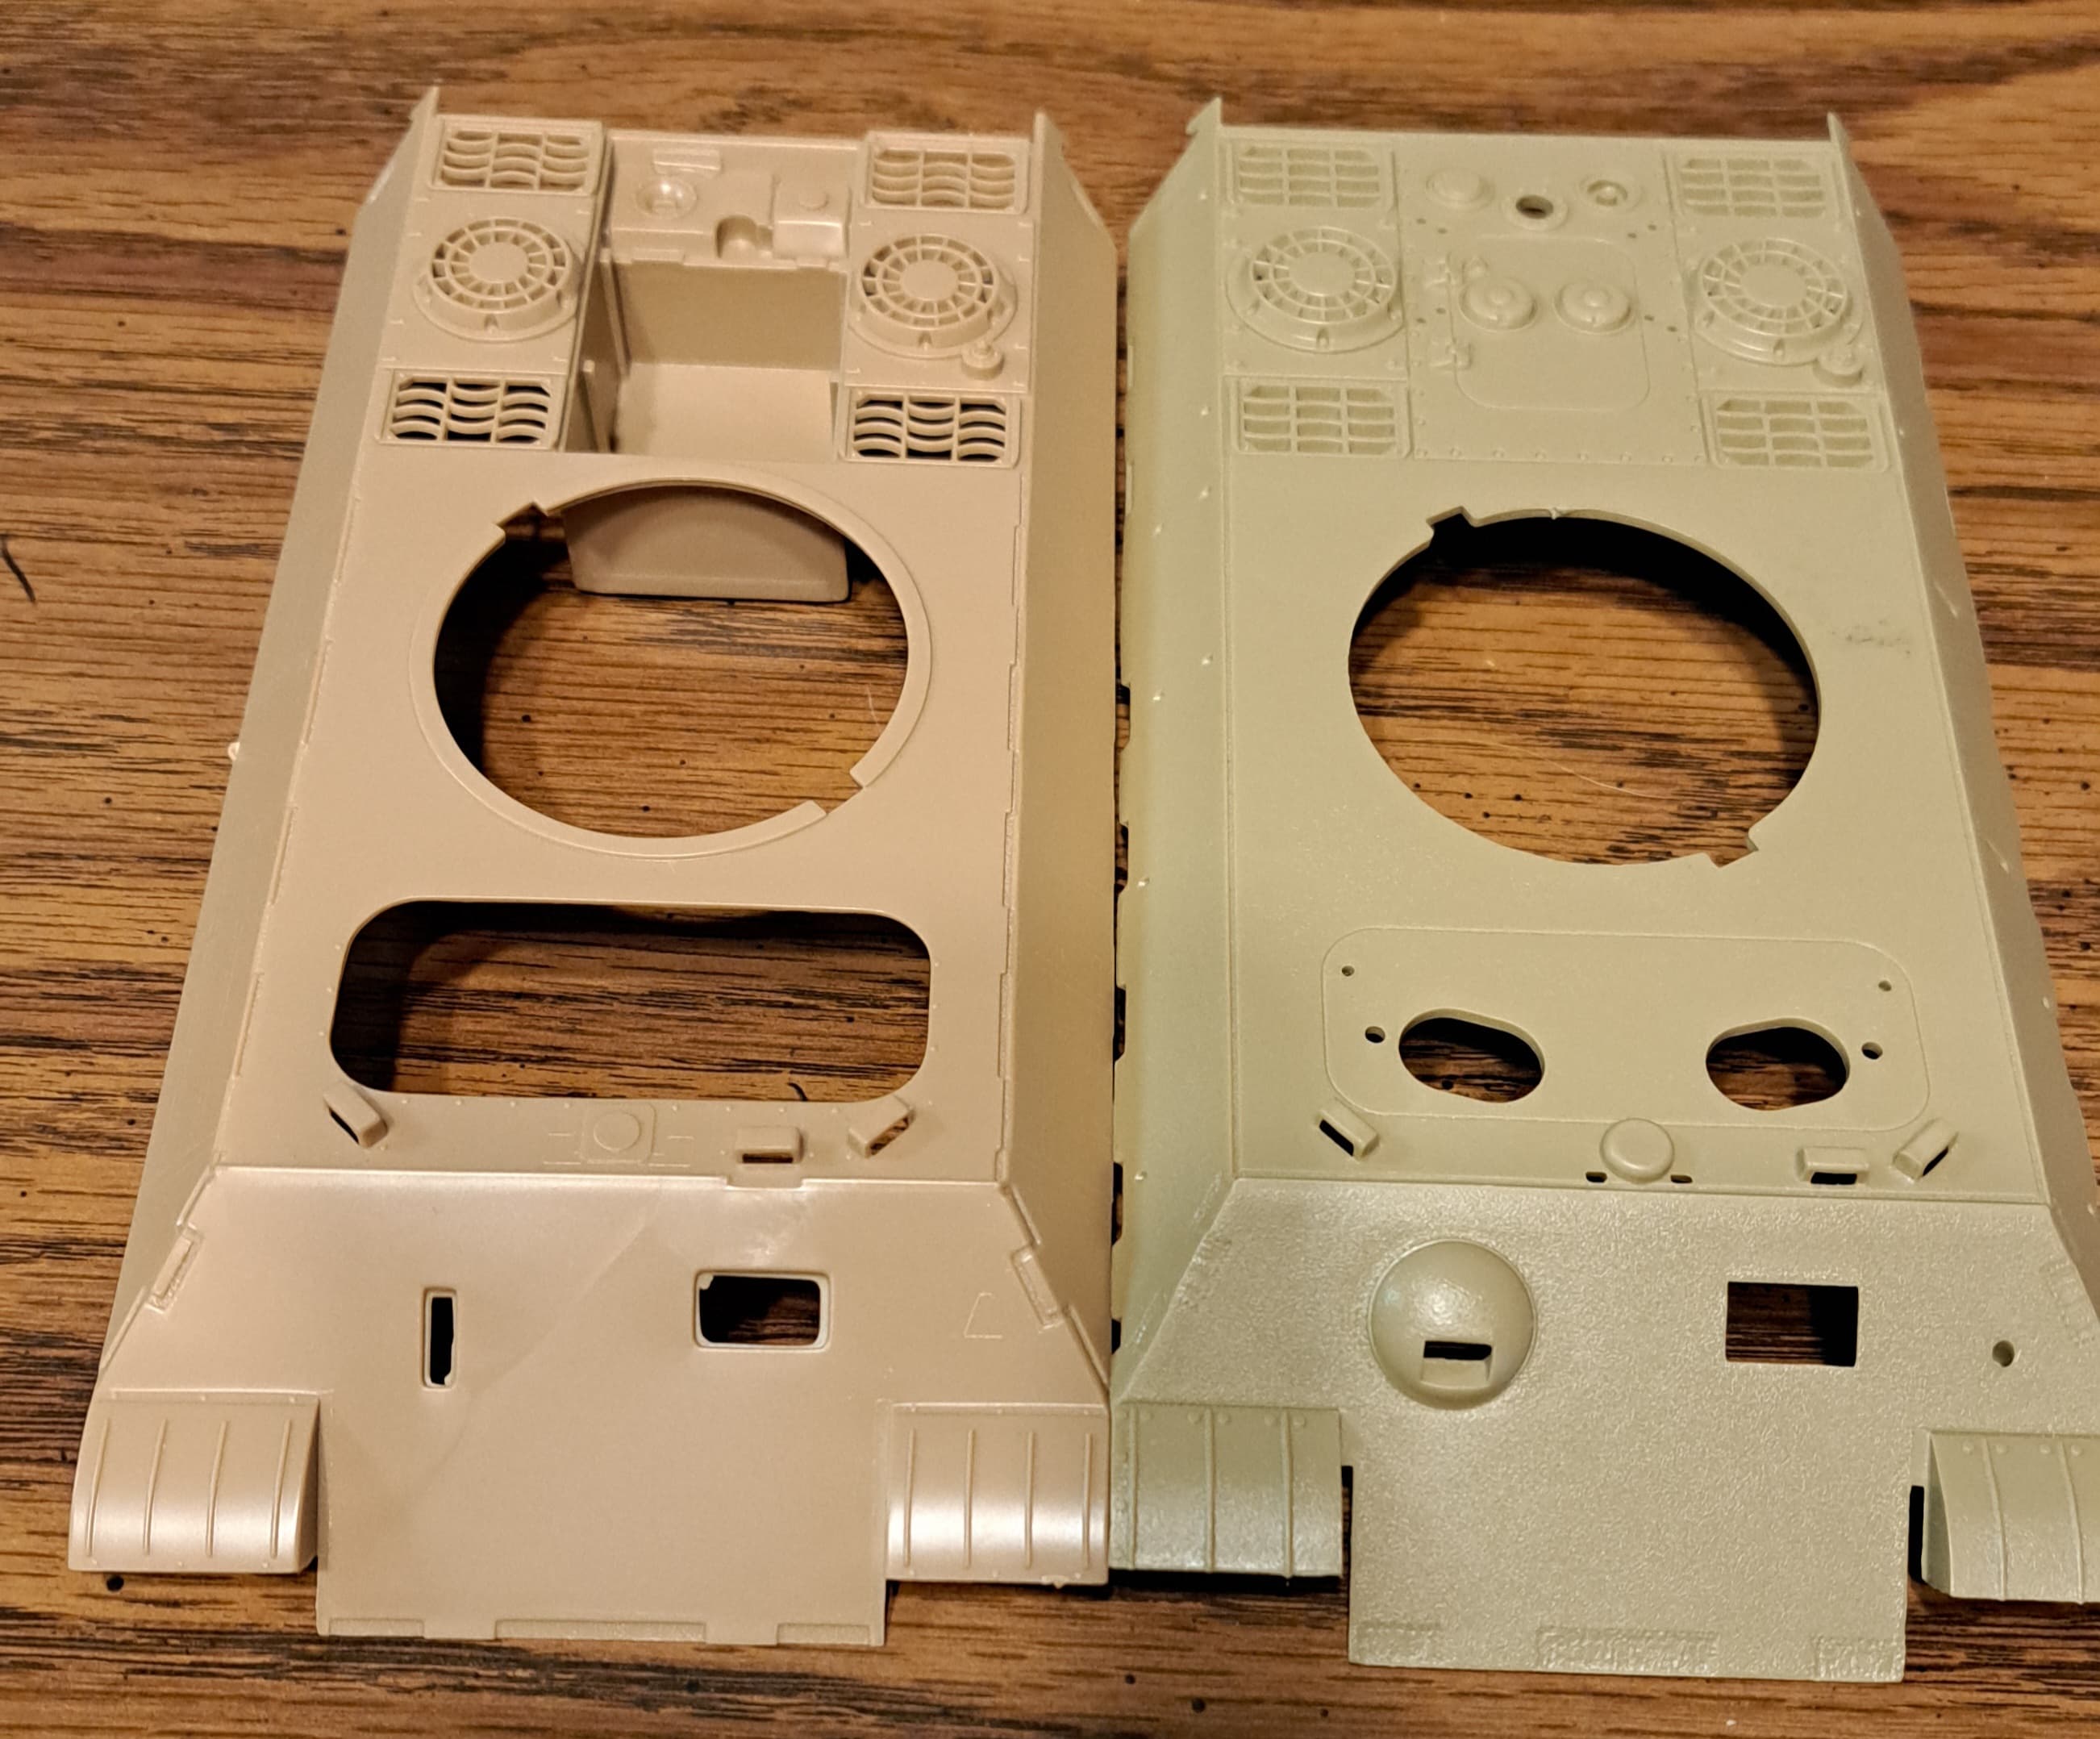
Tamiya’s old hull fits on top of the Italeri one.
Thought that was an interesting comparison.
So what work was done?
Basic research, installing torsion bar suspension, re-working kit wheels and detailing the nose of the lower hull.

I have to revise the years model statistics from 6 finished, 8 in process, zero shelf queens to 6 finished, 8 in process, 1 shelf queen.
Links to quality Italeri Panther builds or reviews are appreciated as I have brush up on what’s what with this kit.
Thank you for your time.
Edit - blaming this on Kali Kat getting her paws on my card.
The early Tamiya panther is very close to 1/32nd scale if not exactly.
Greg, that’s good to know. I’ve never scaled the old Tamiya Panther A. Thank you!
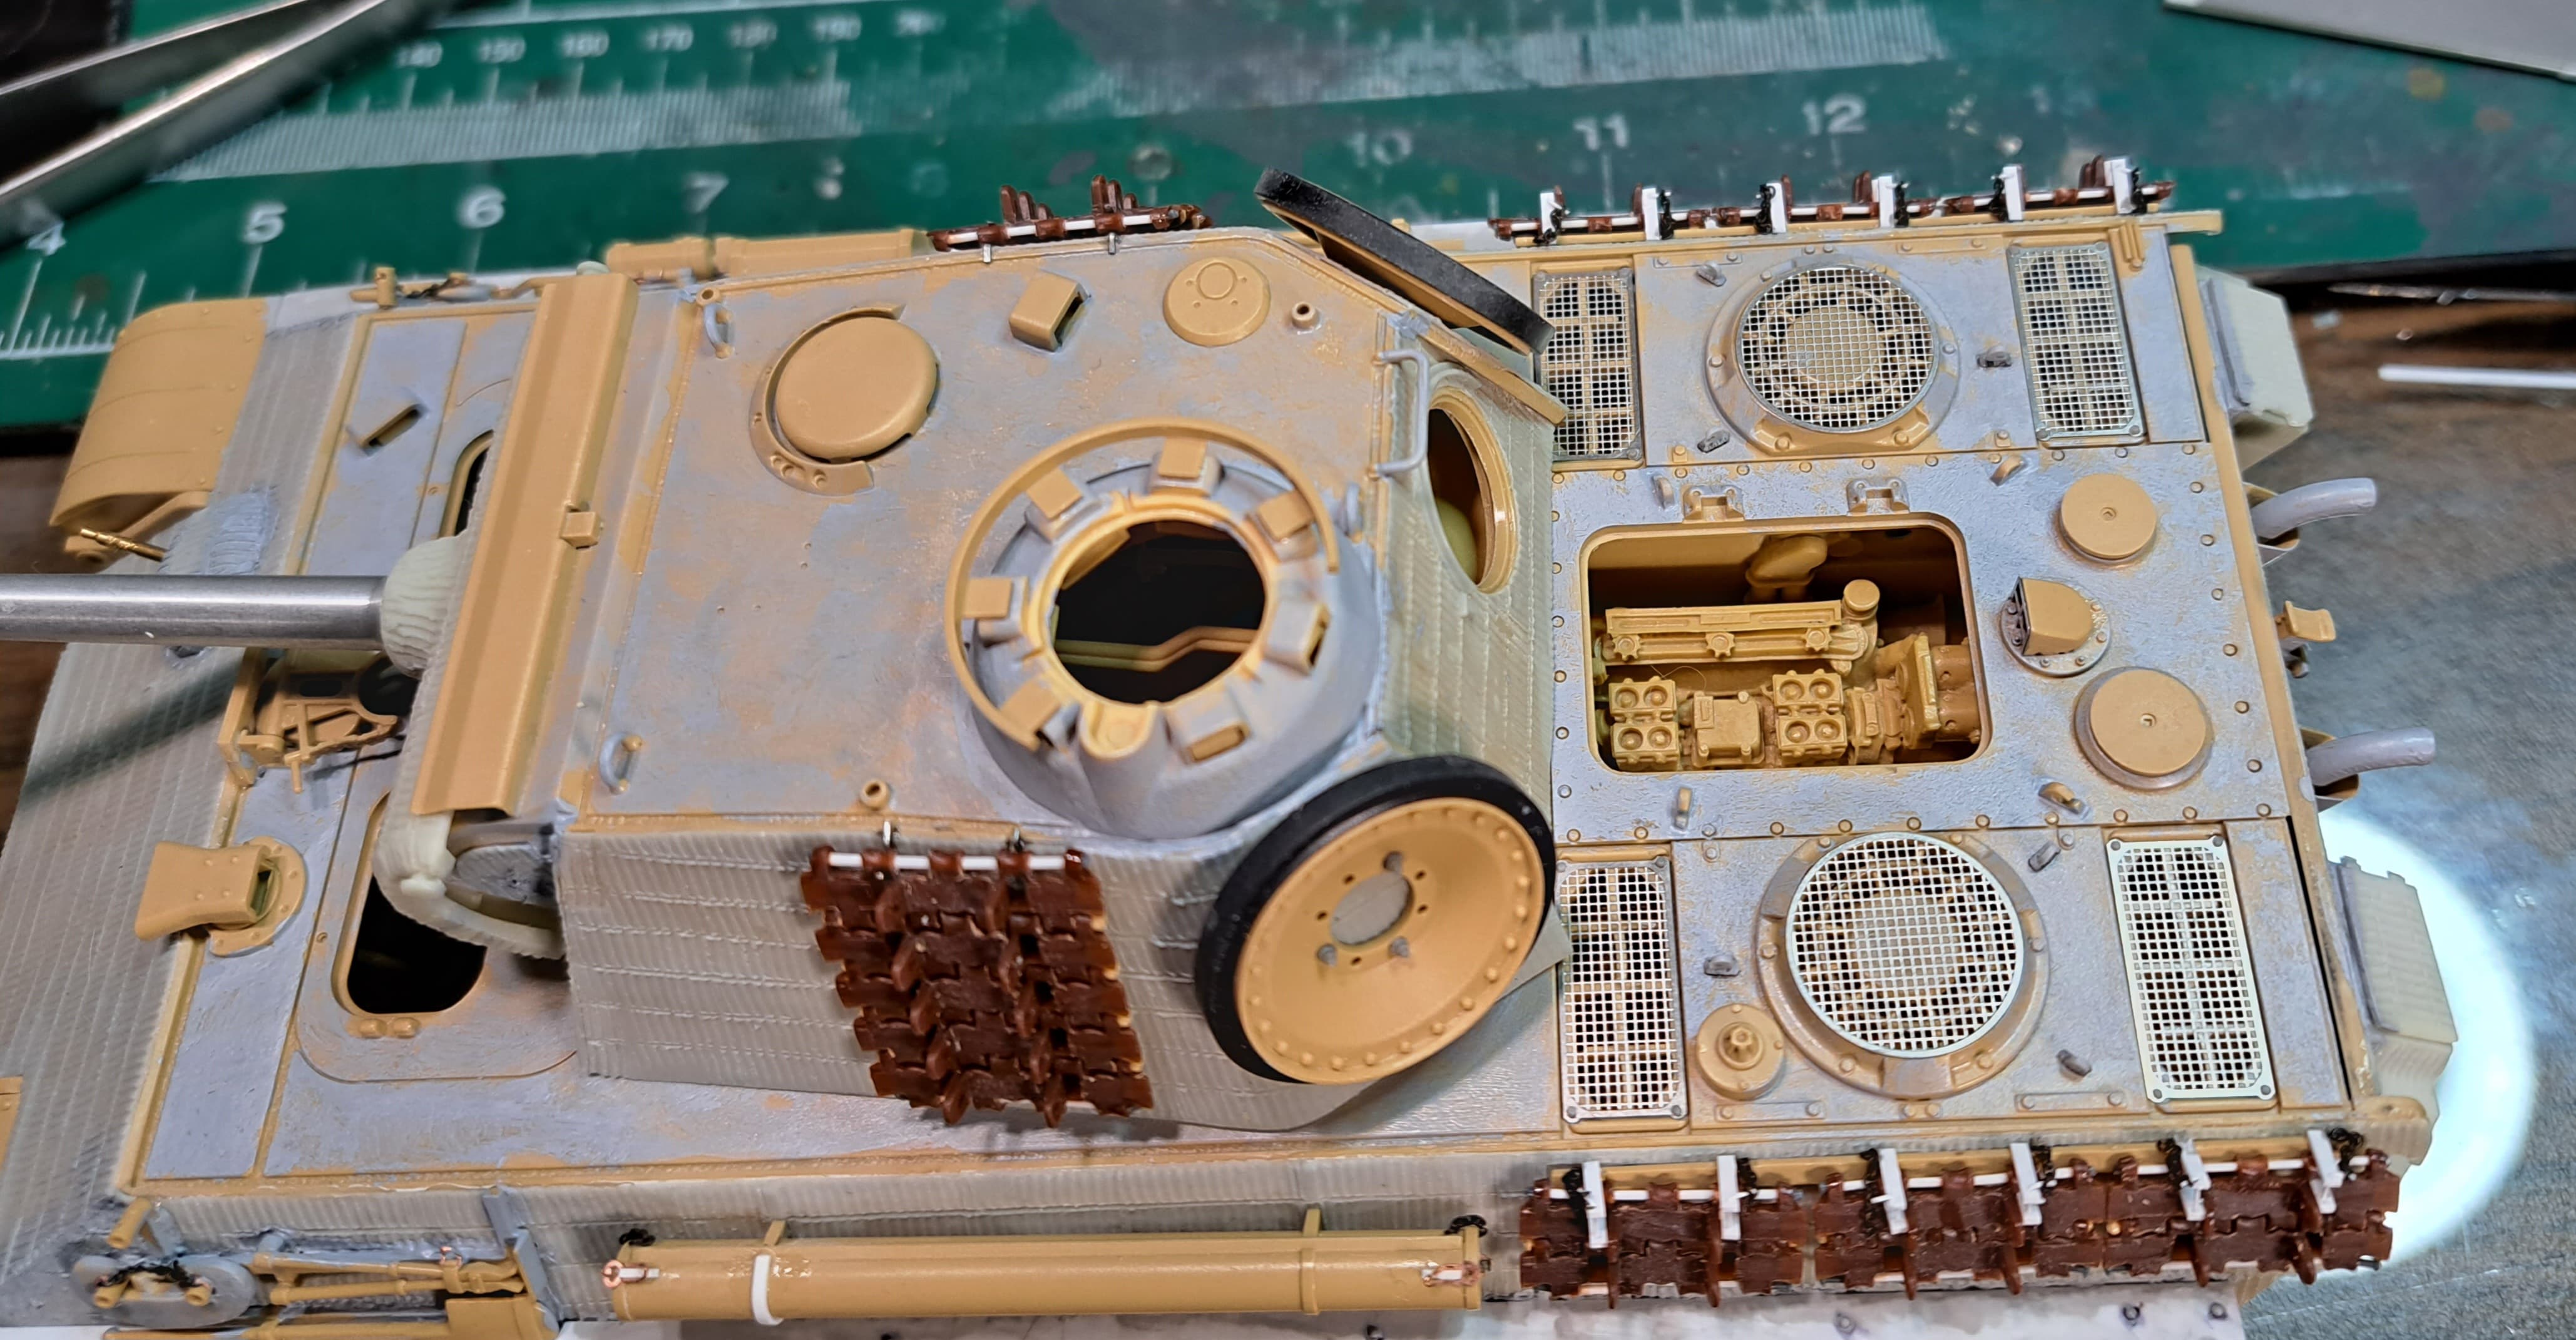
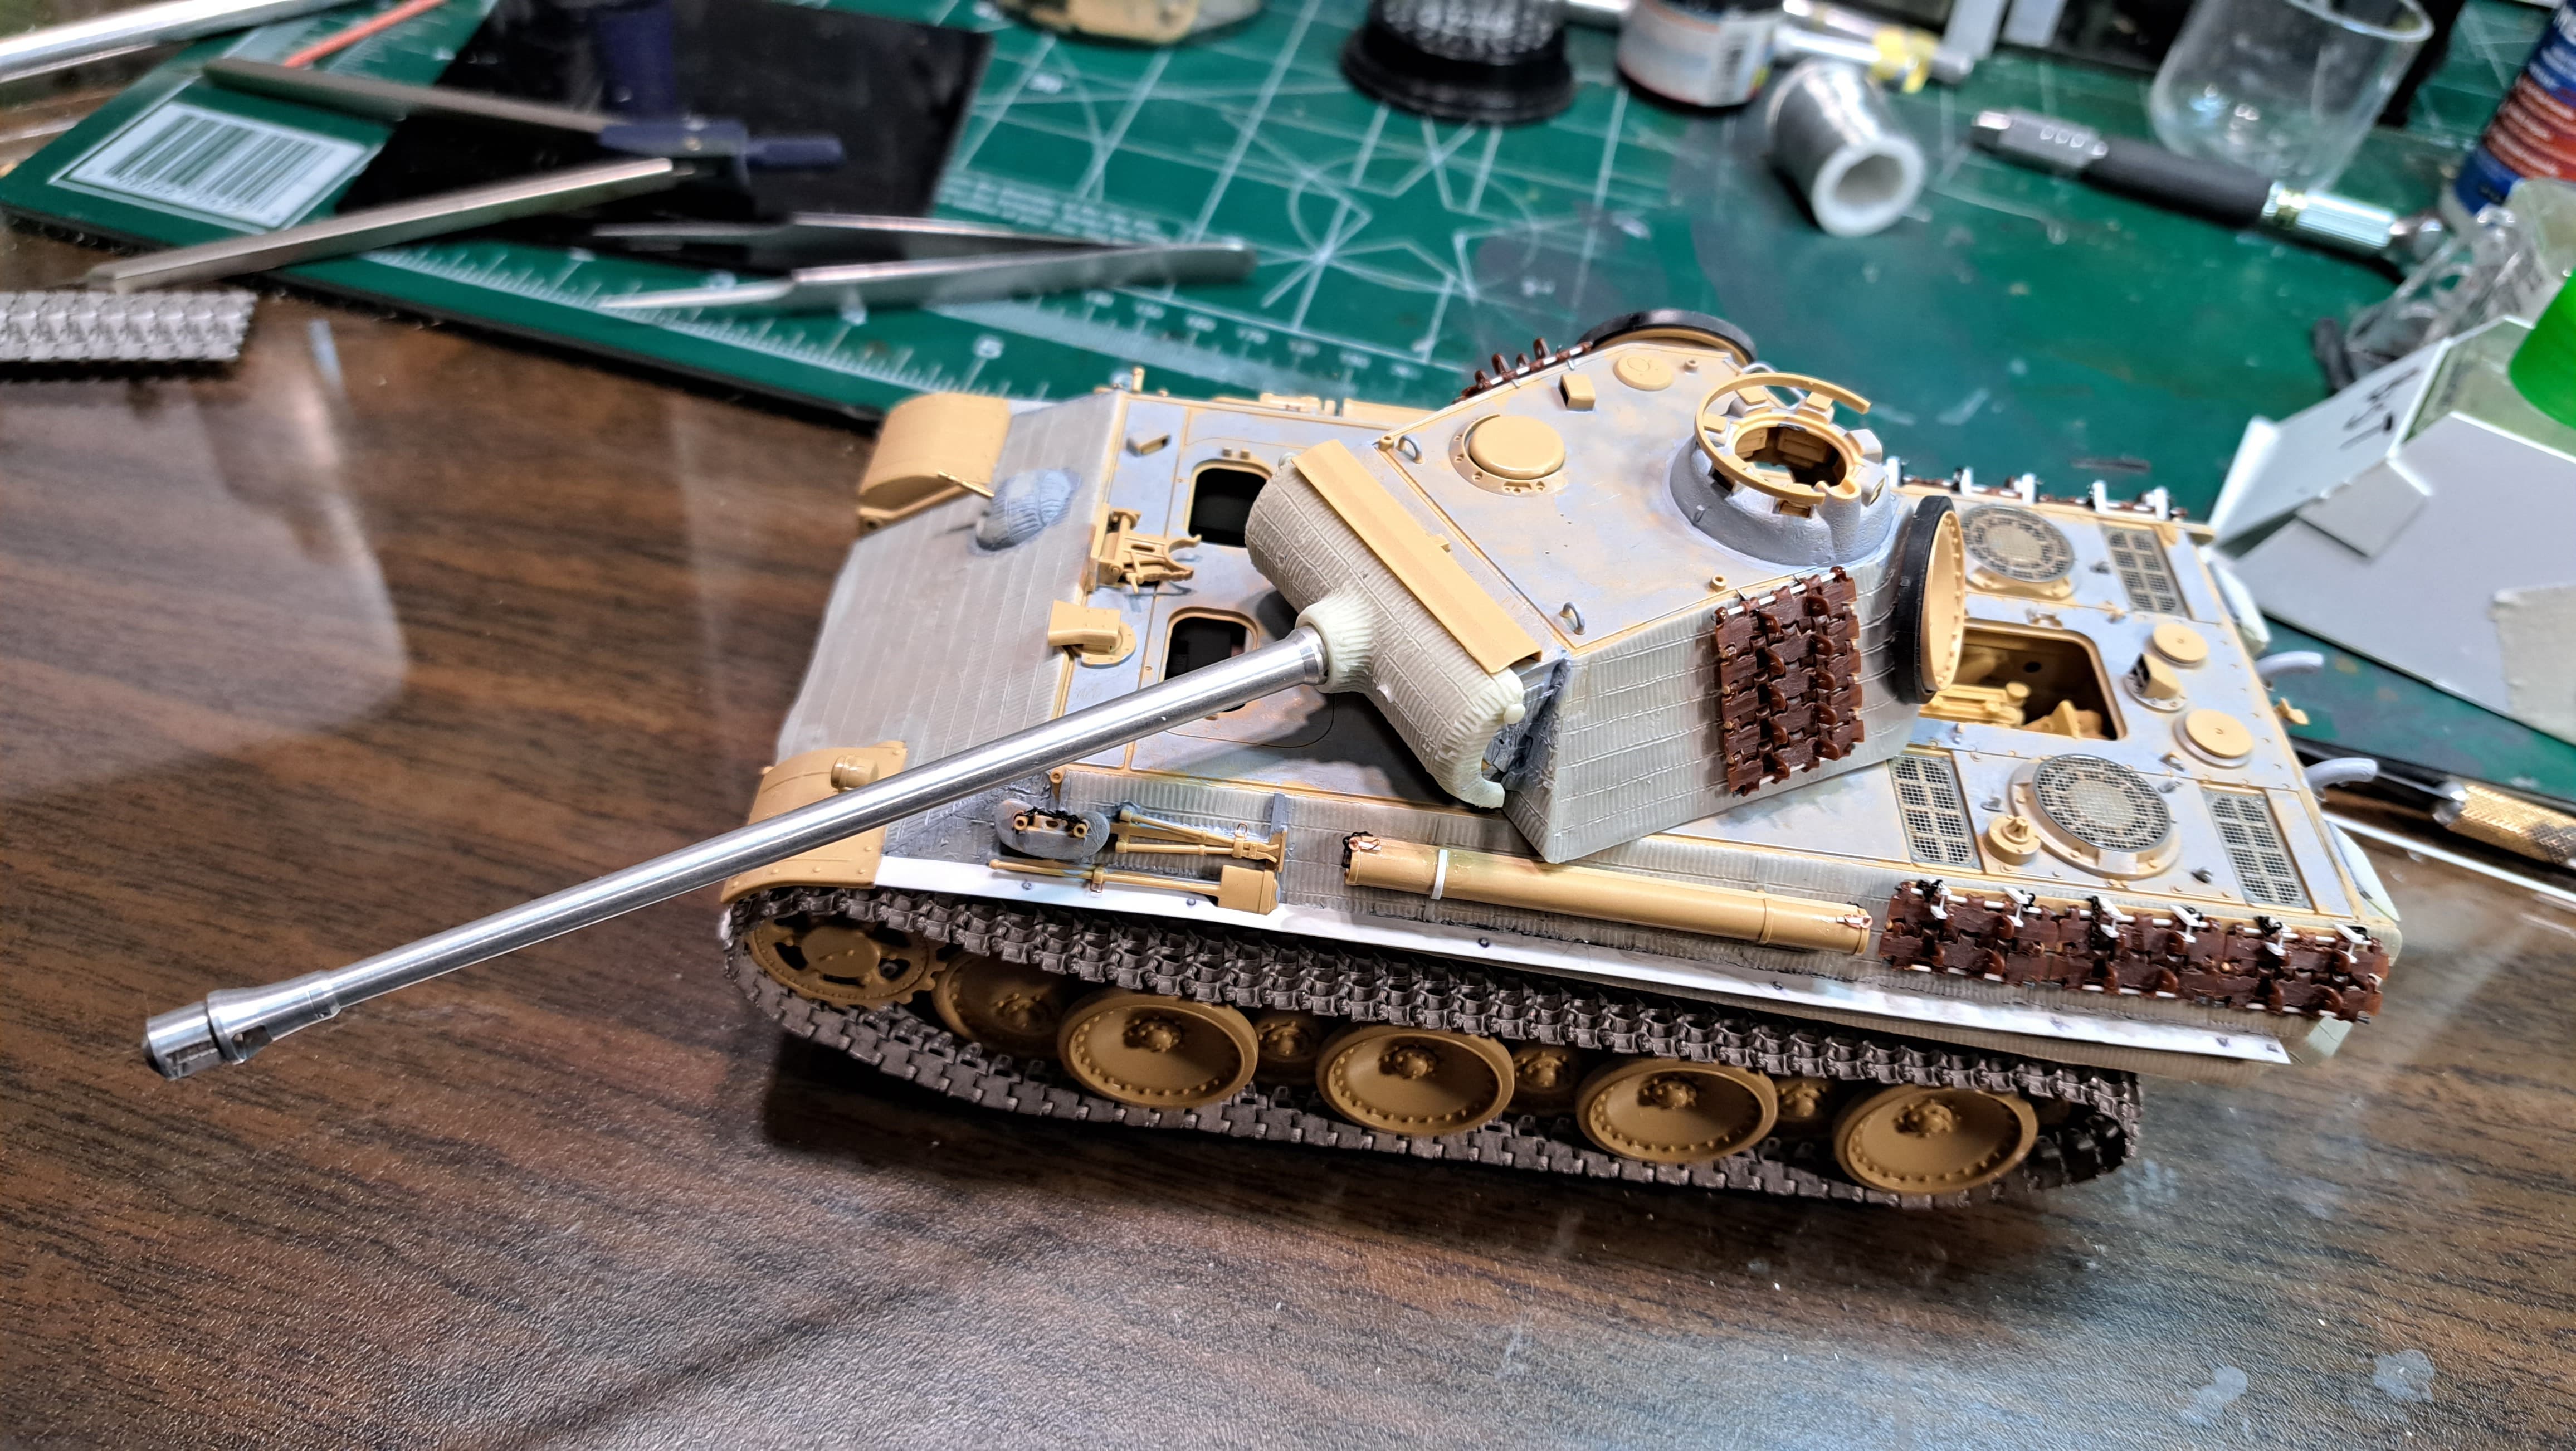
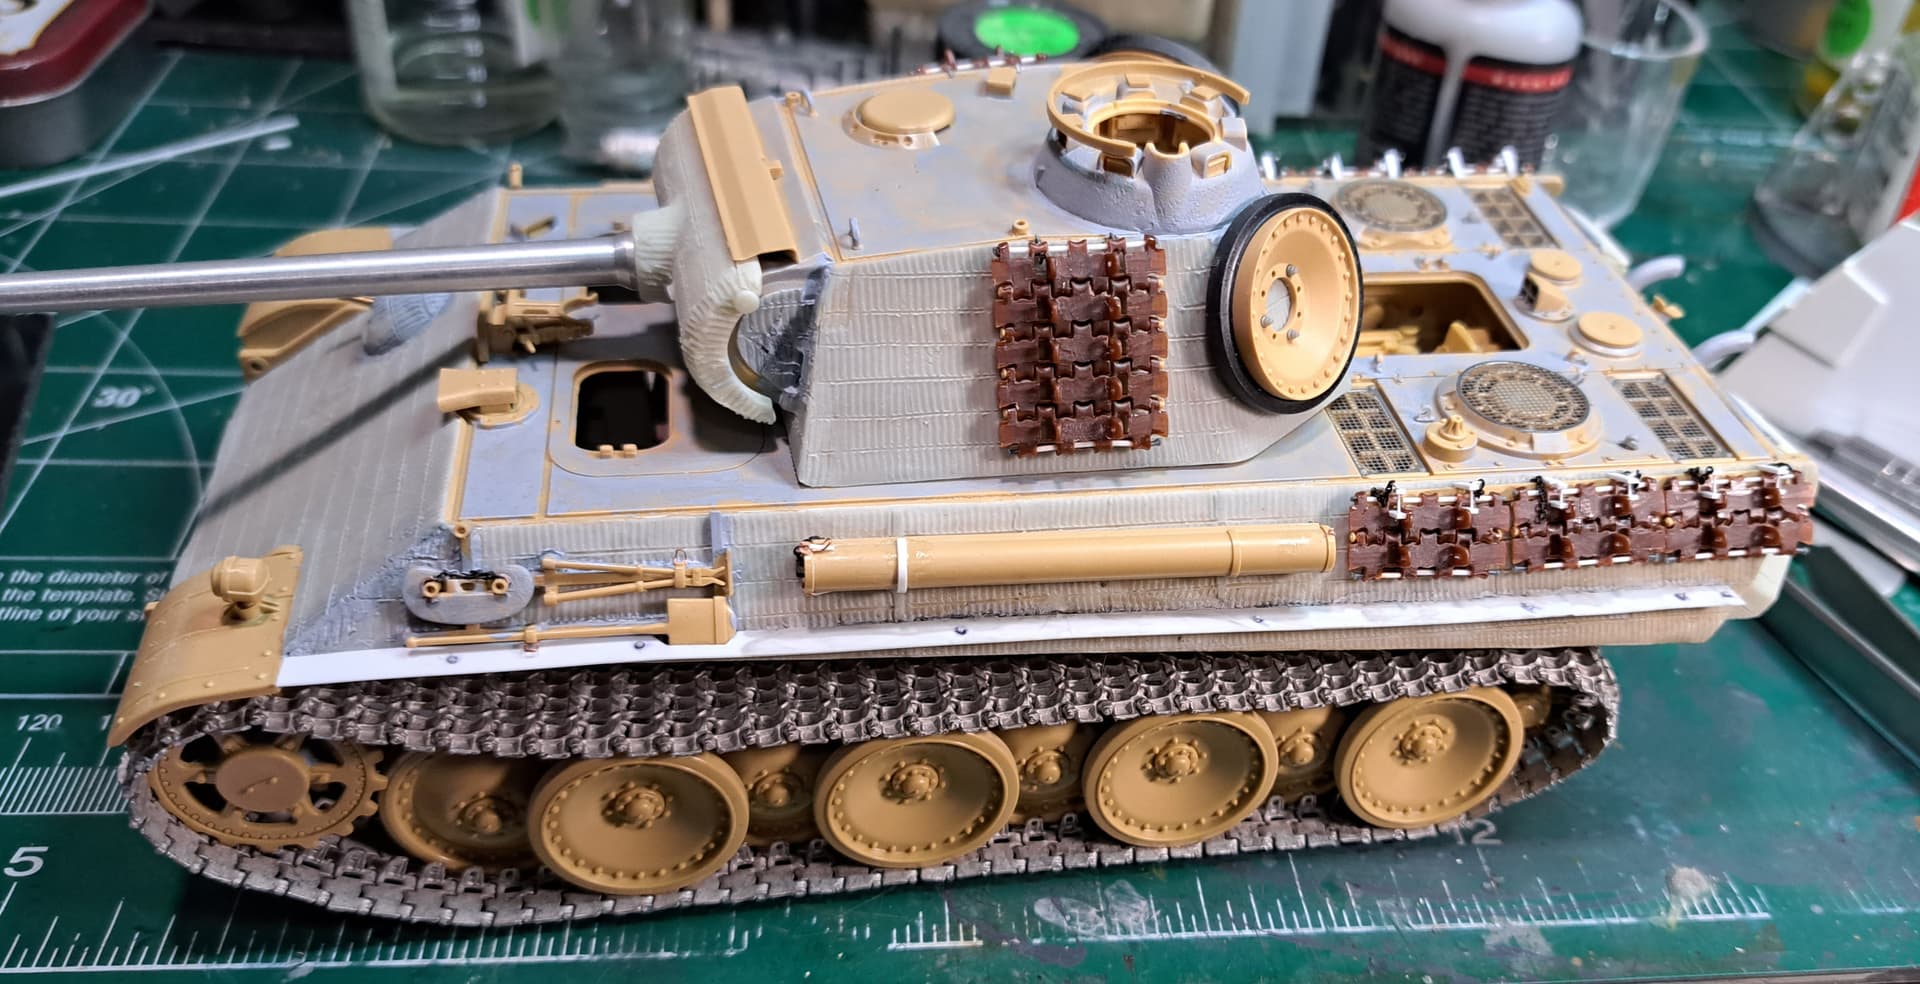
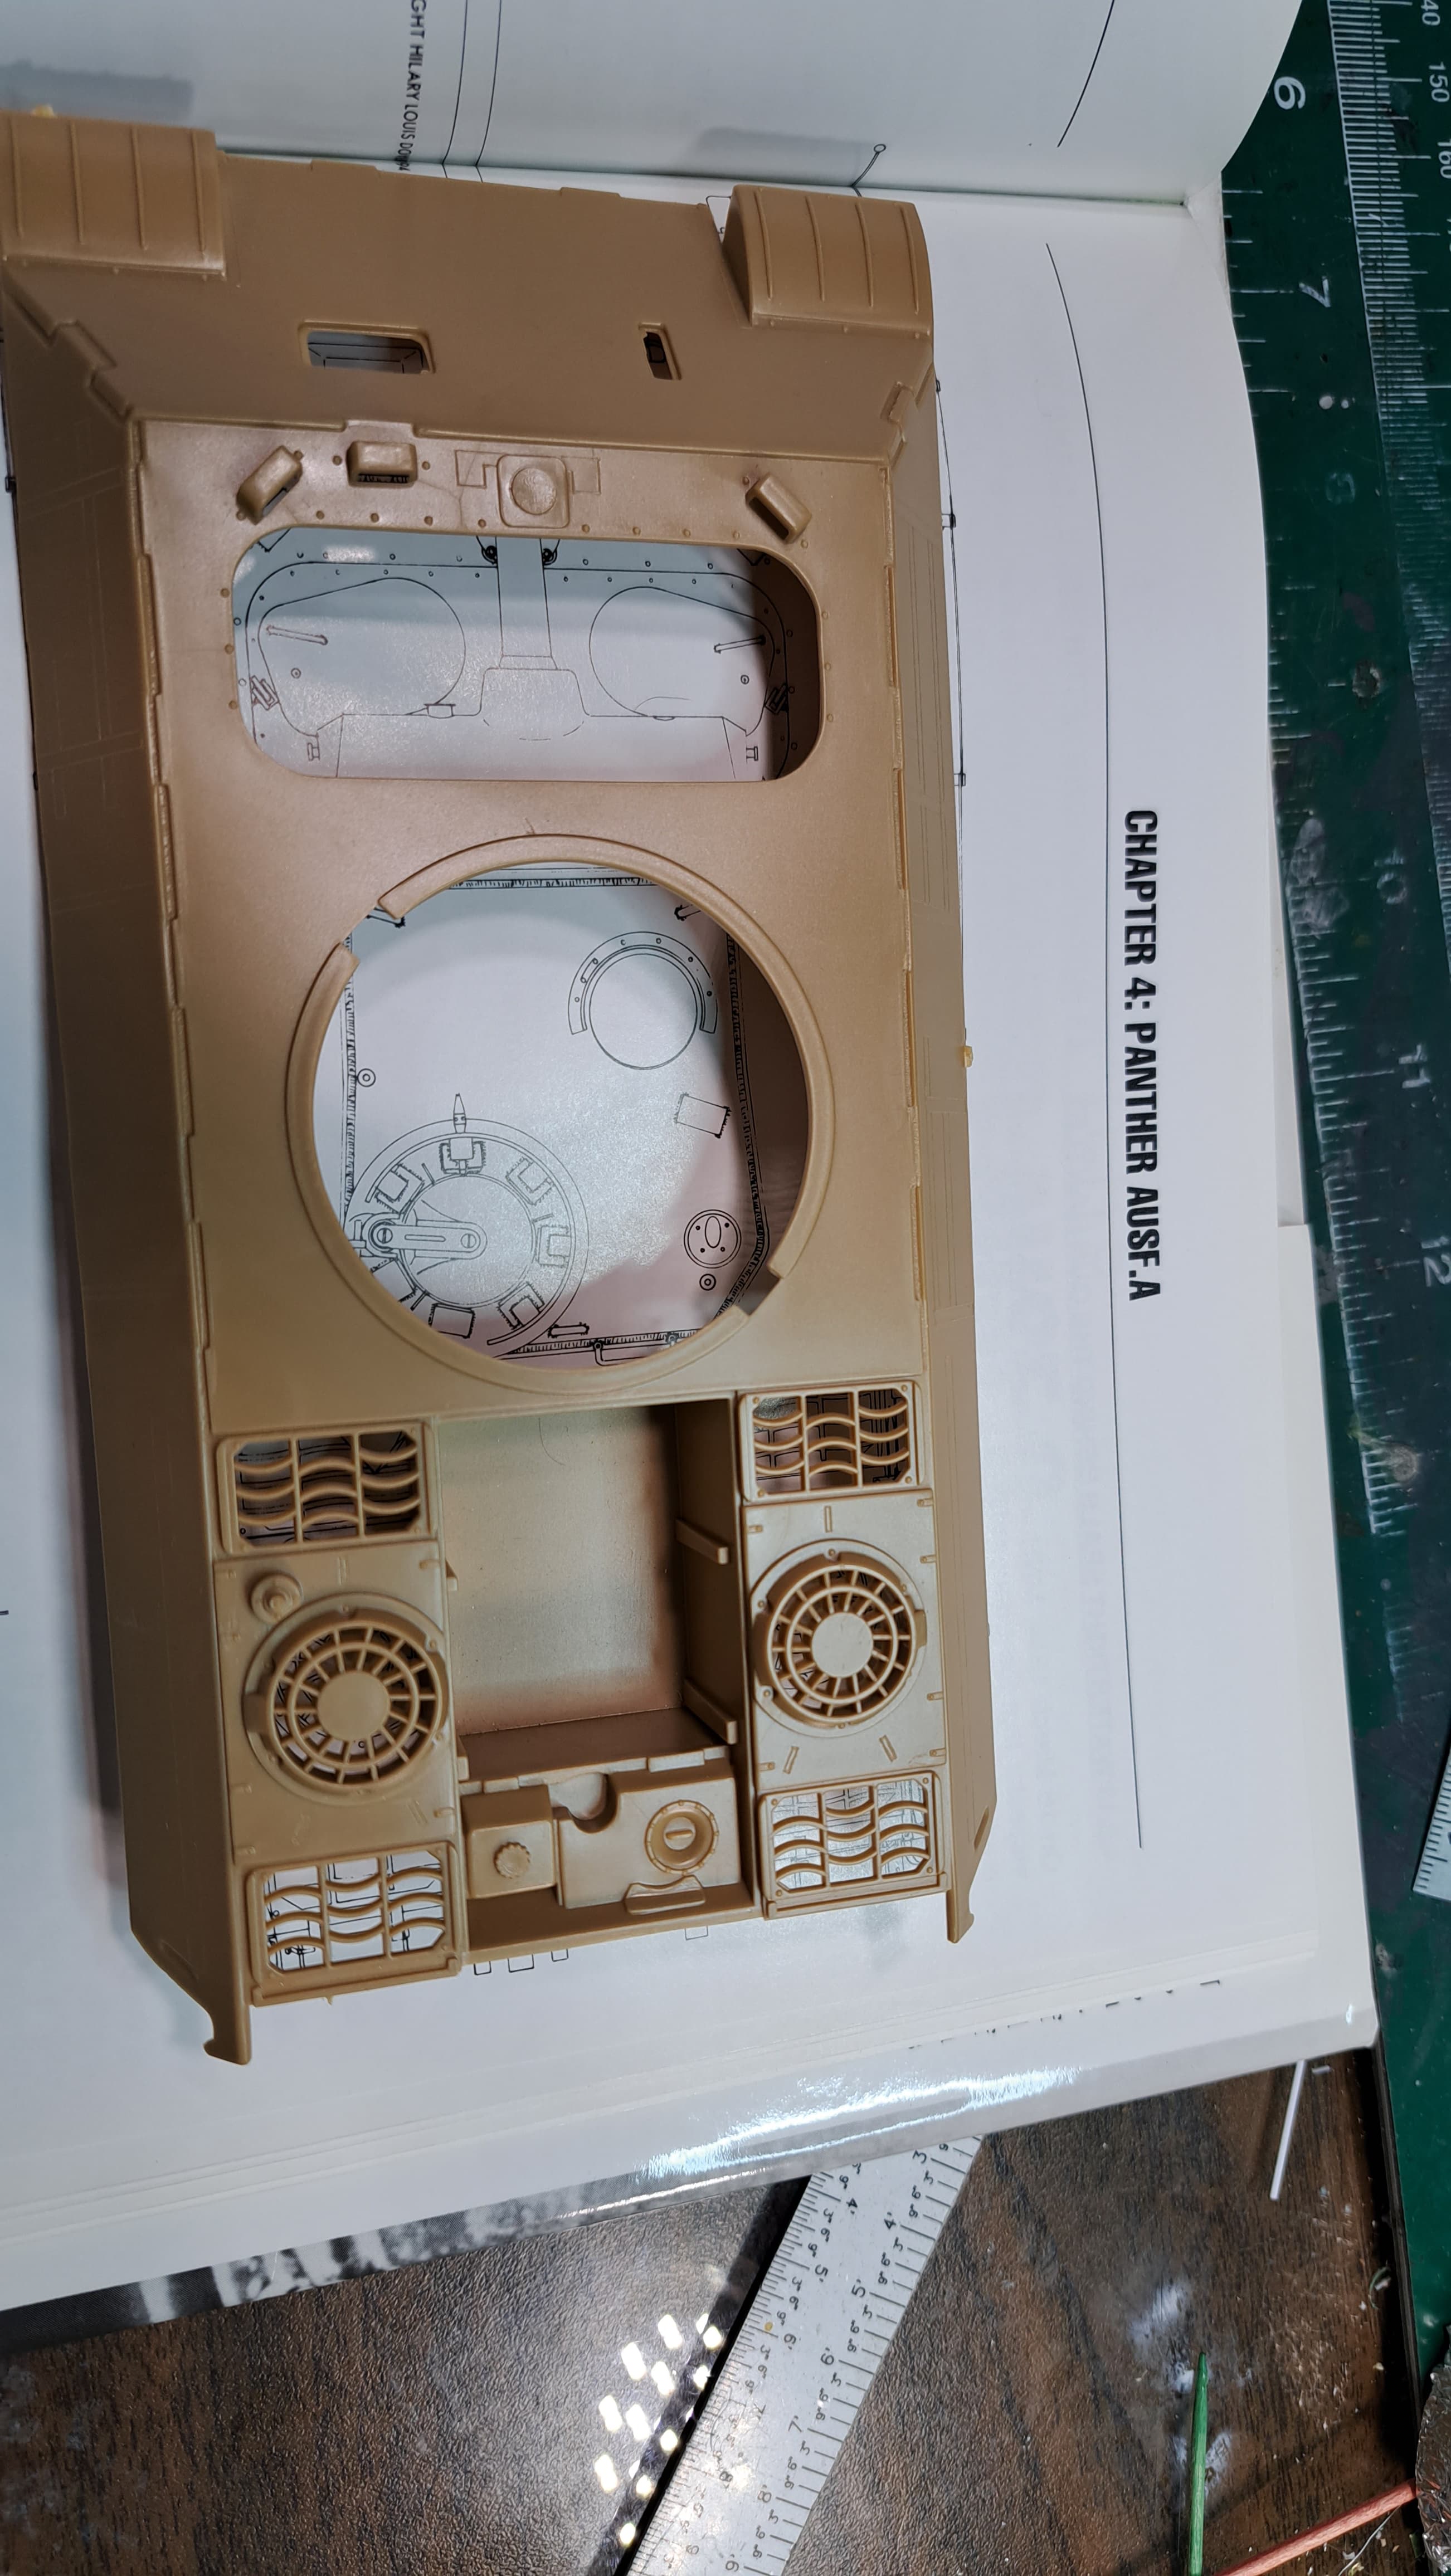
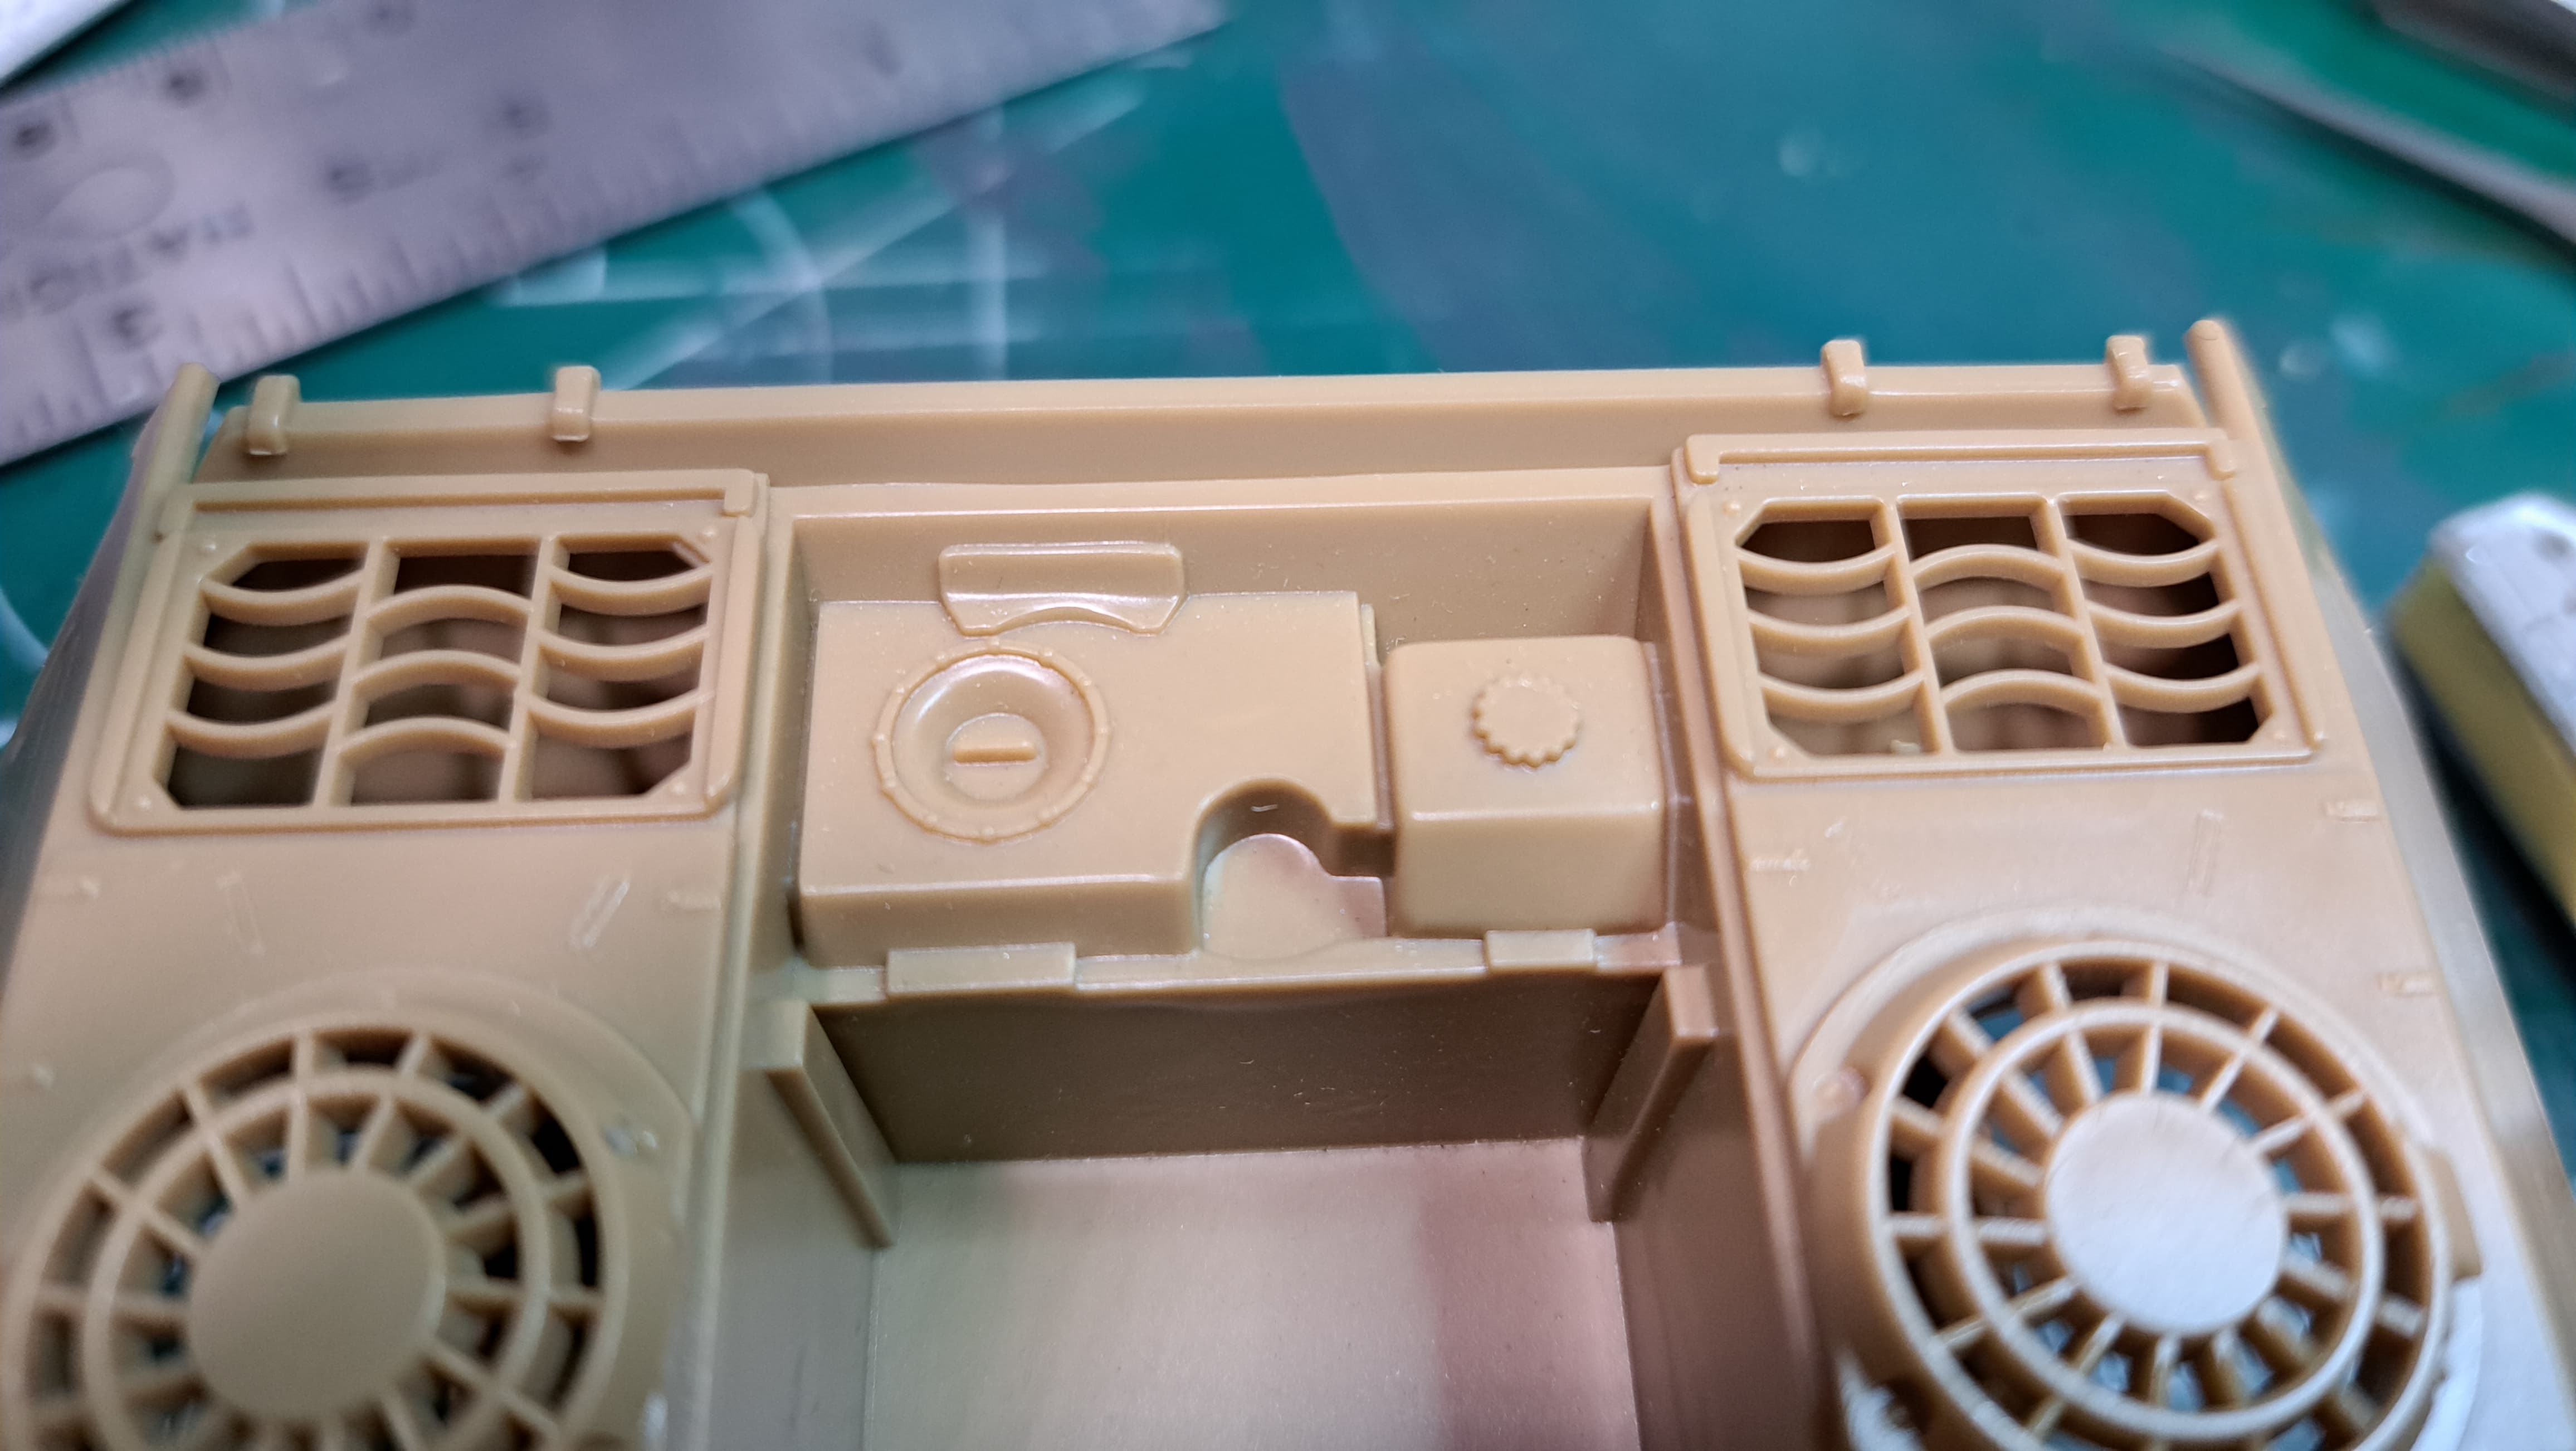
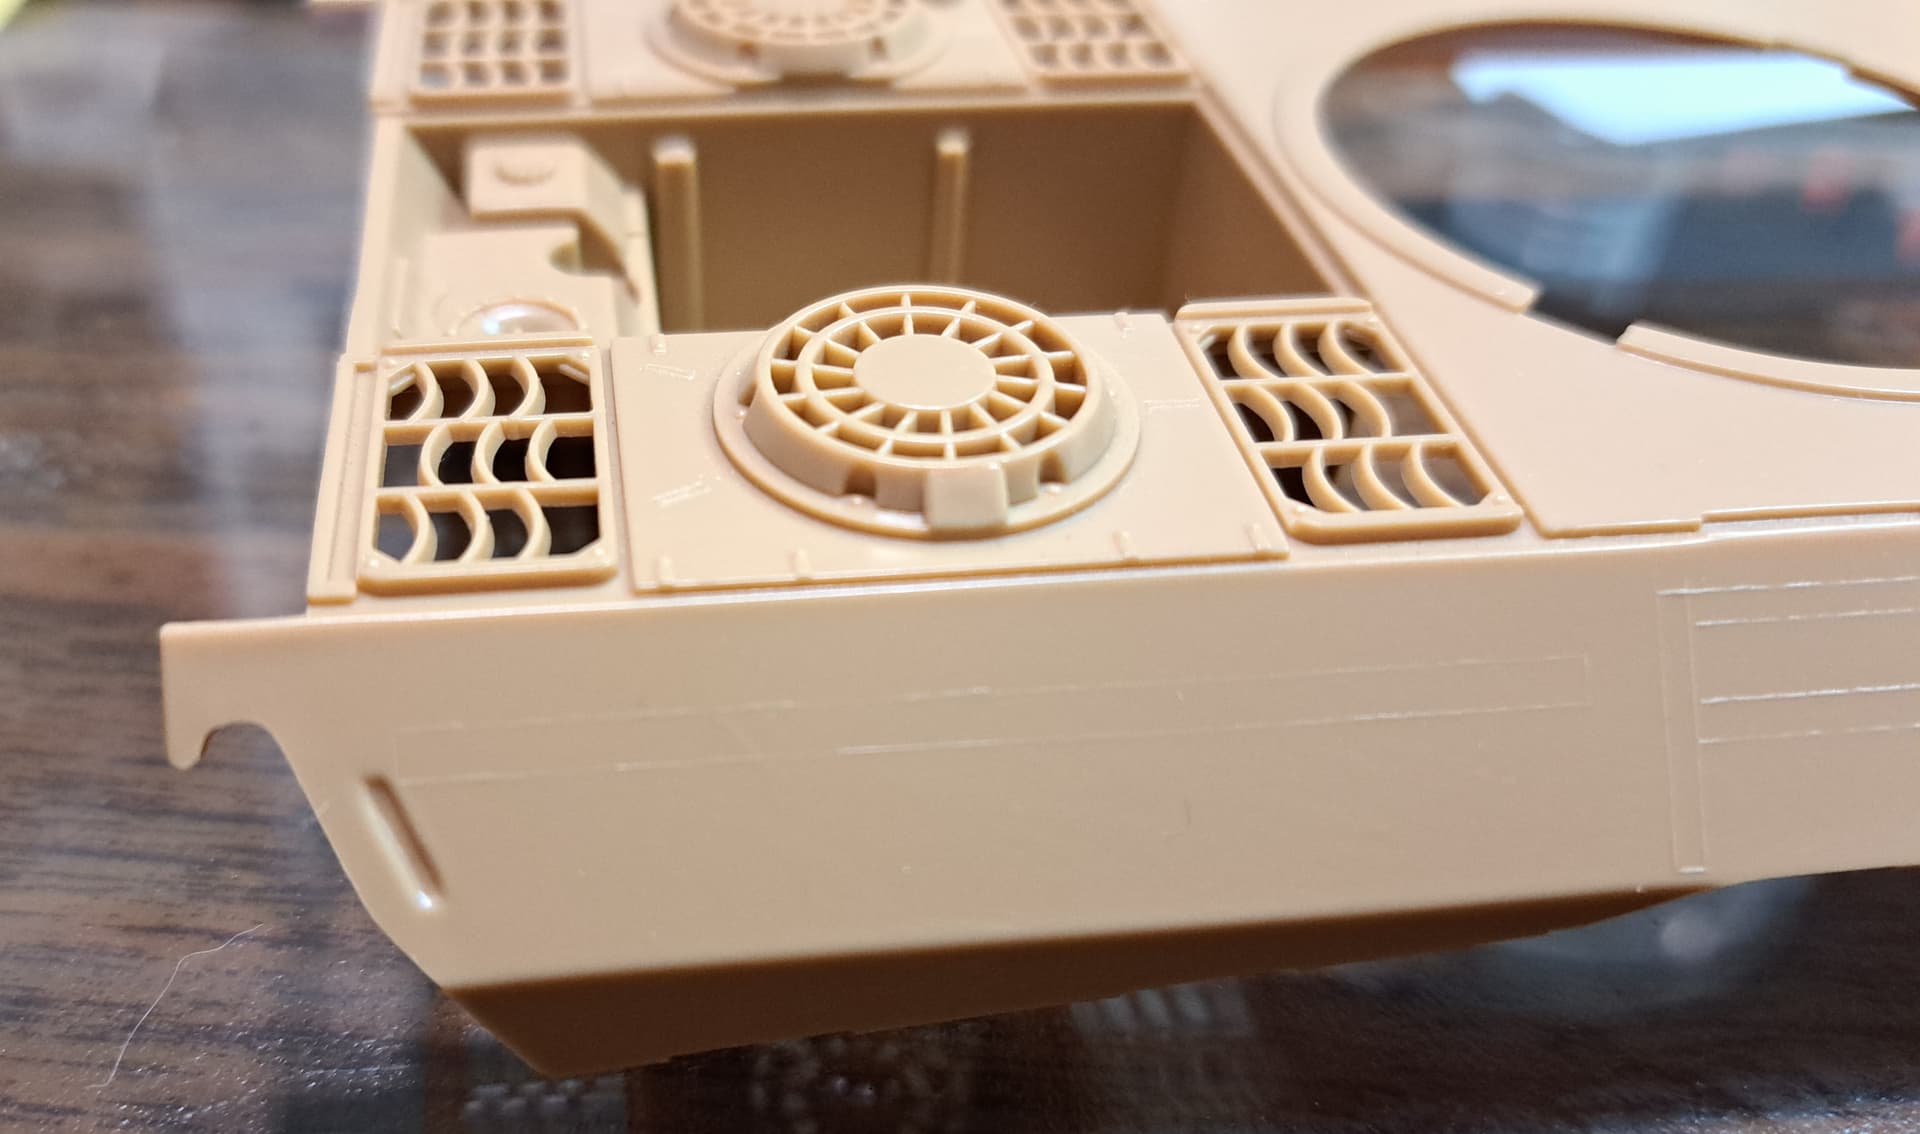
Time to tweak the engine deck on the Tamiya Panther G.

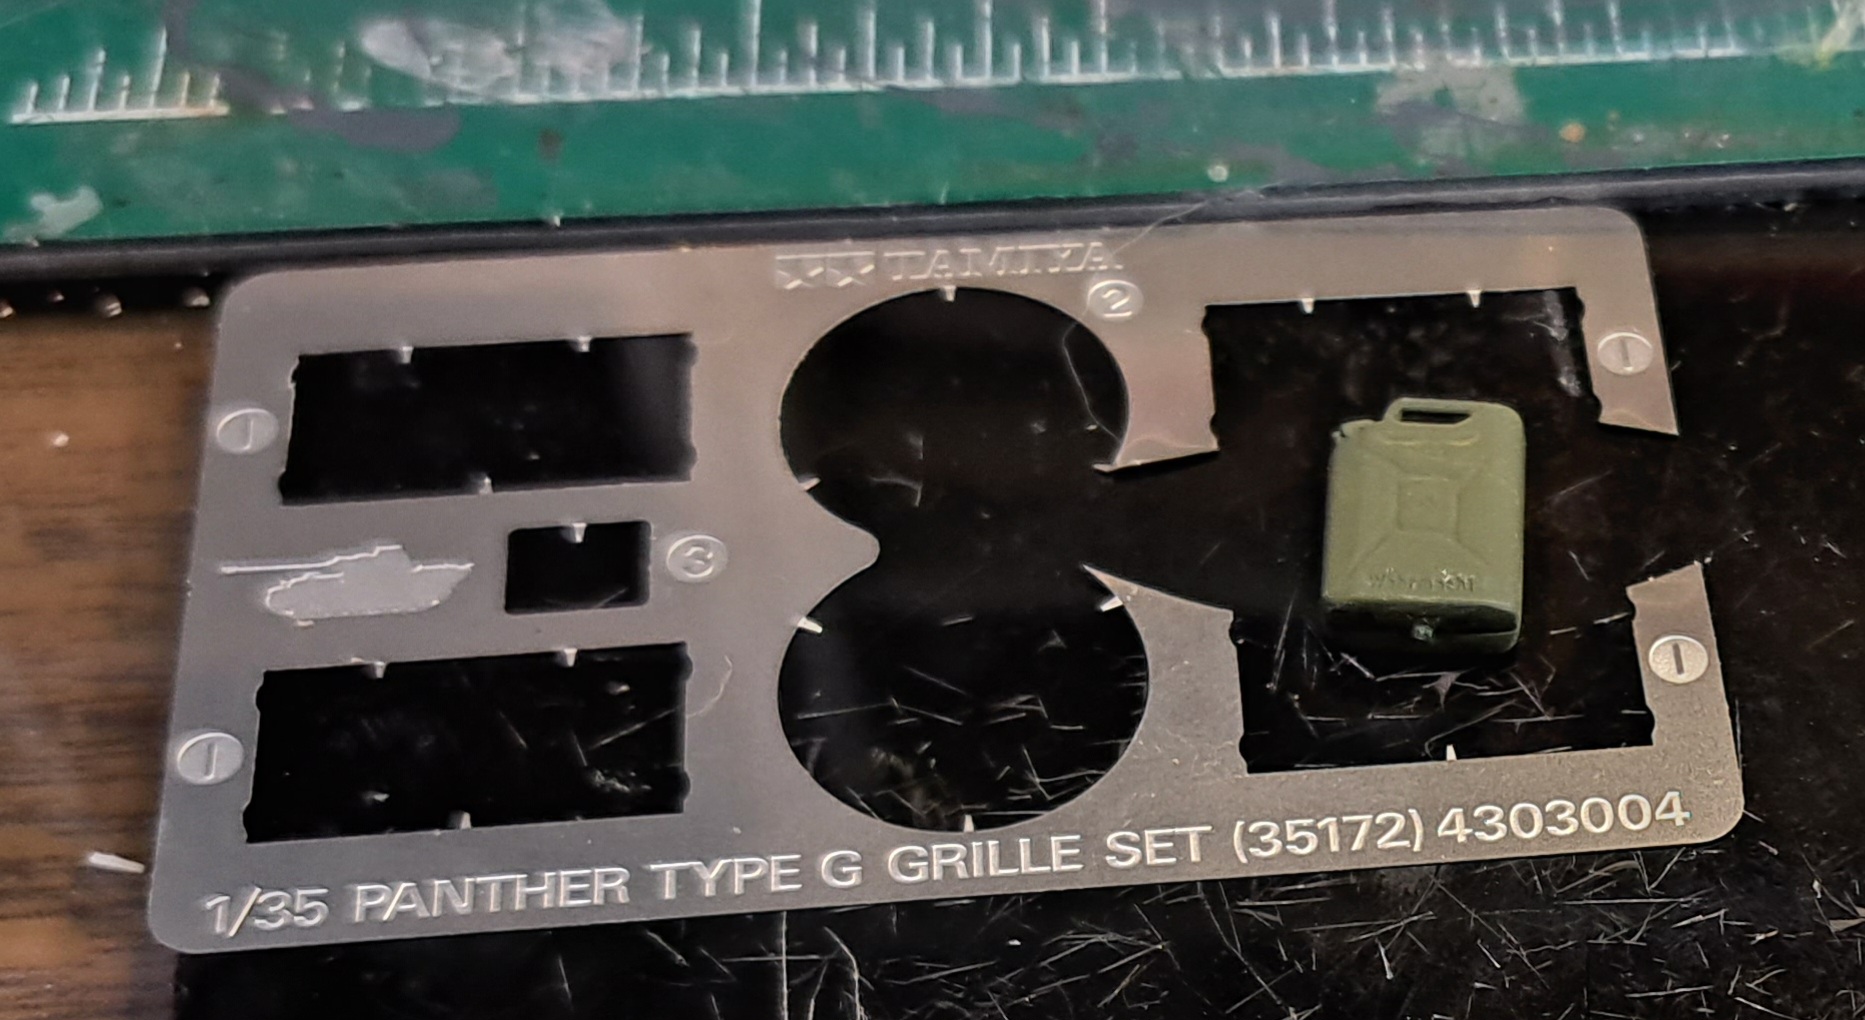
Adding Tamiya’s Panther PE & Tiger Model Design small lift hooks.
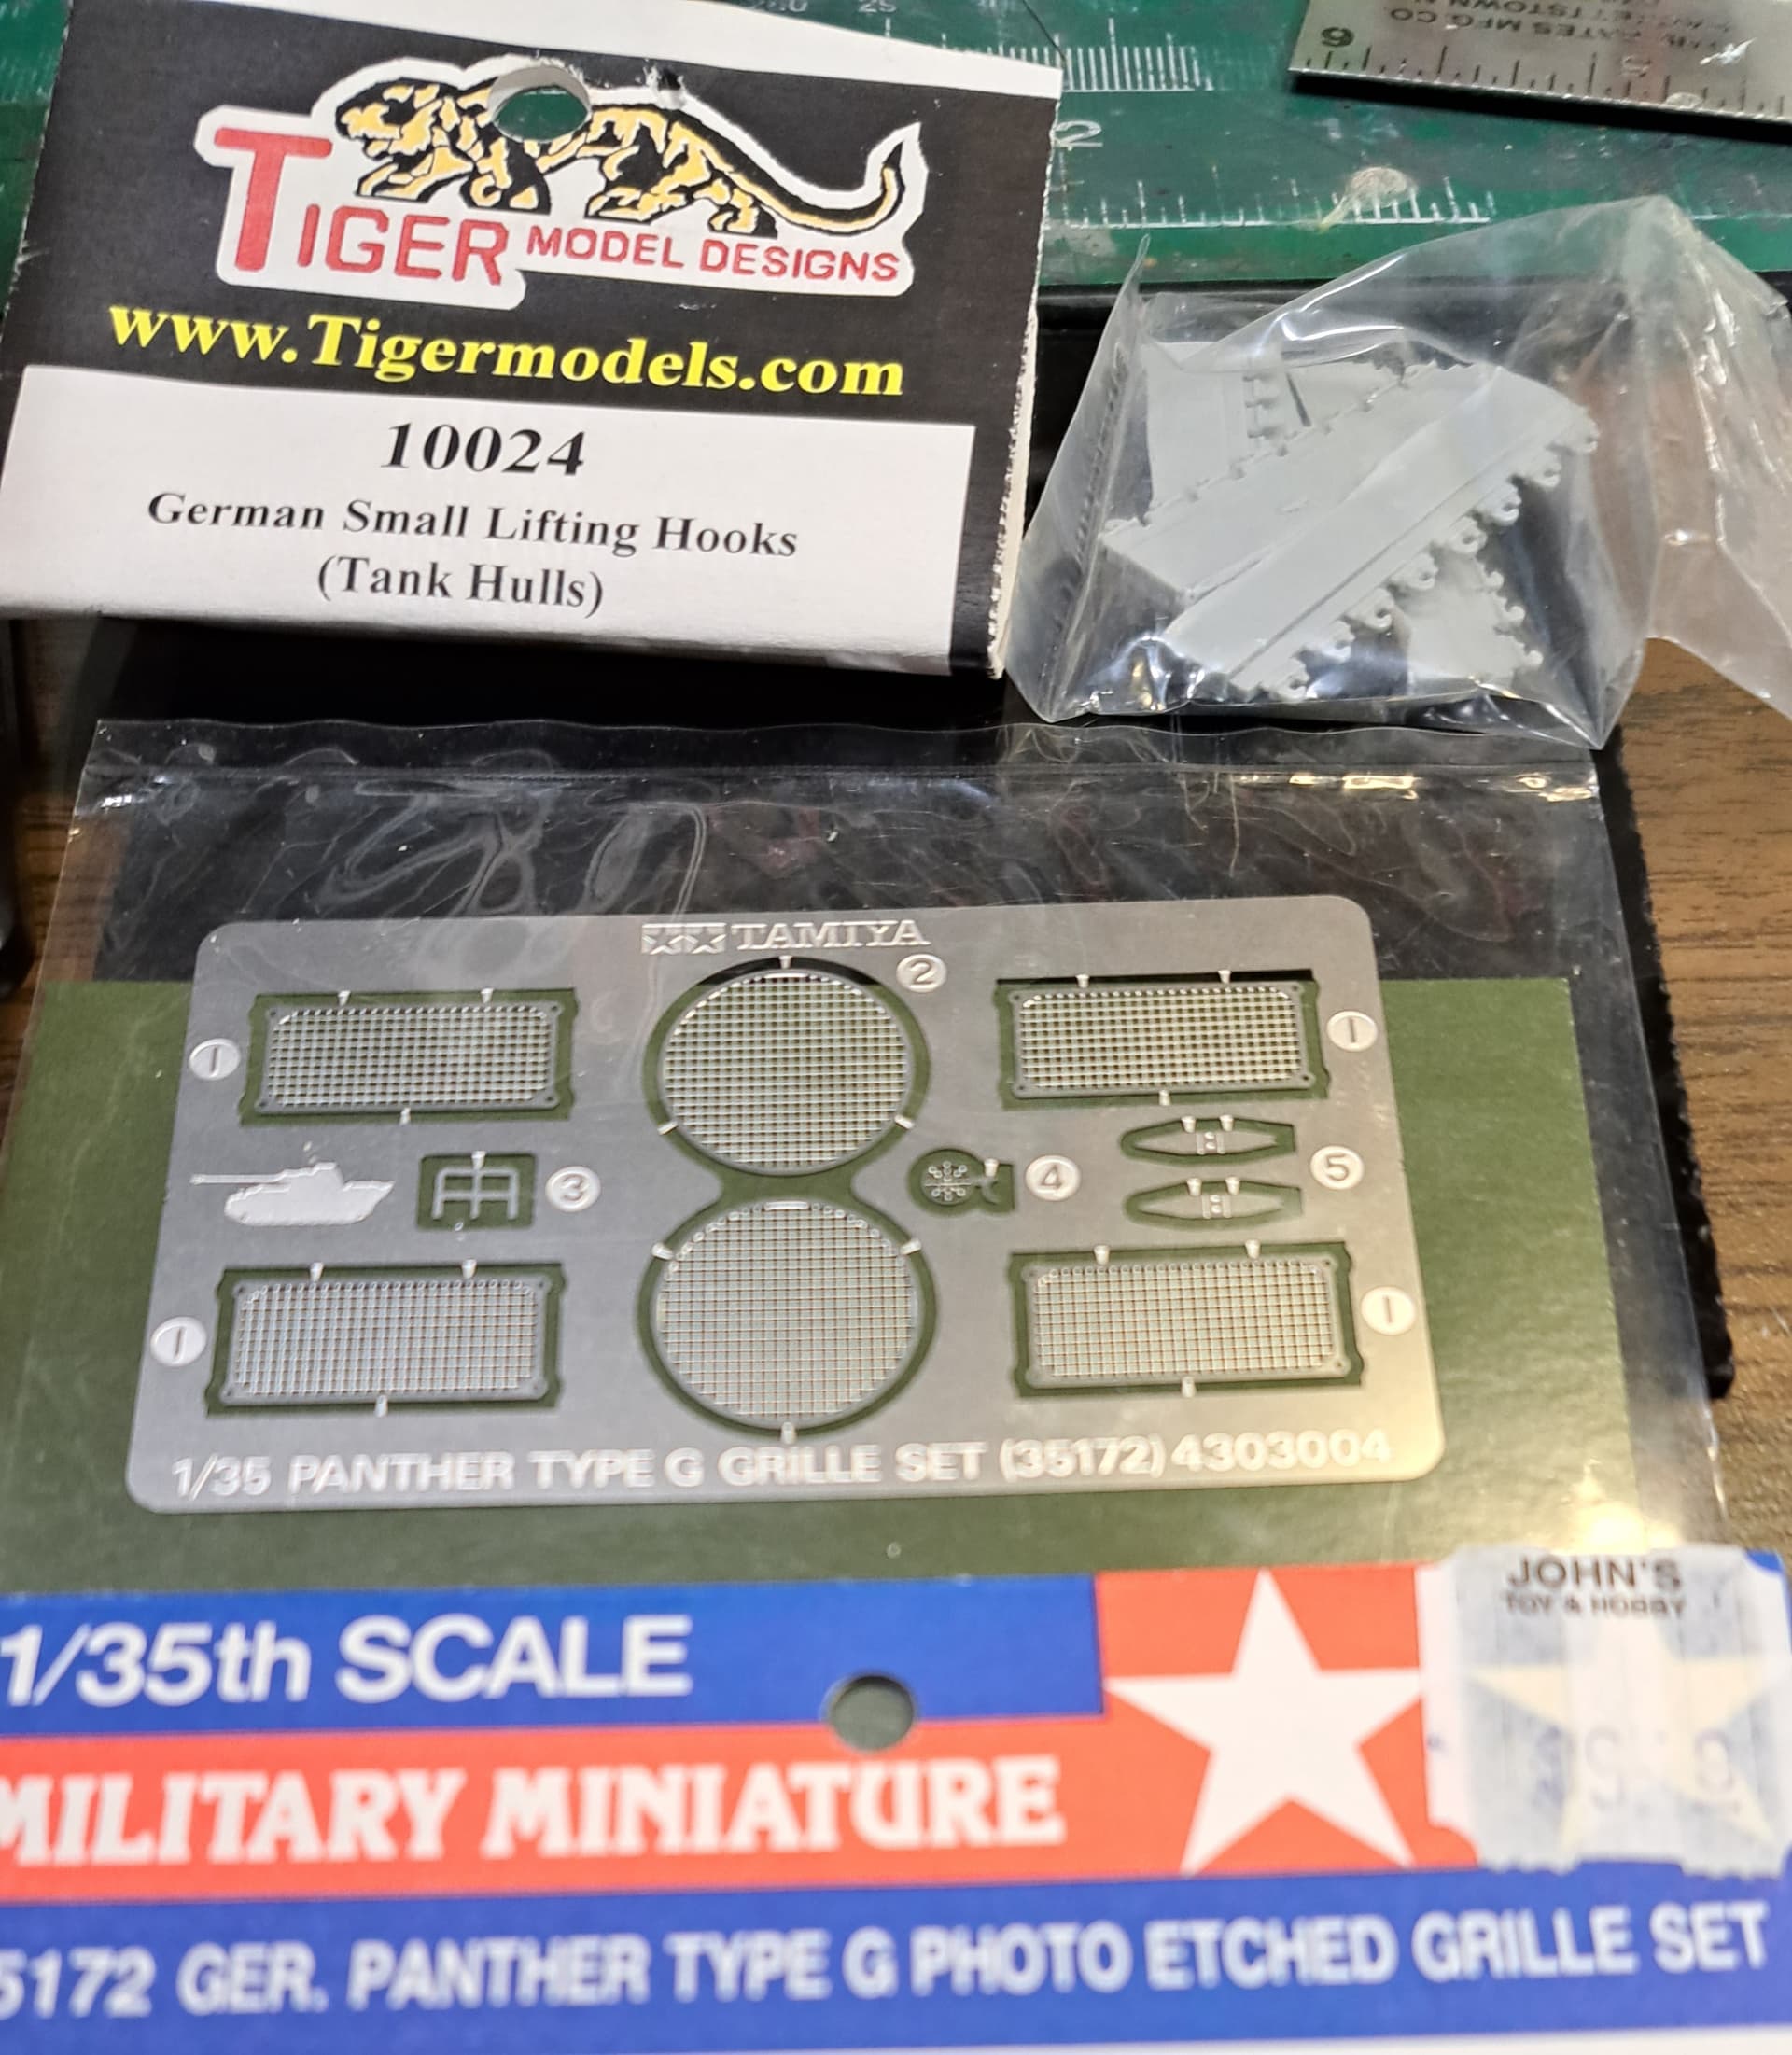
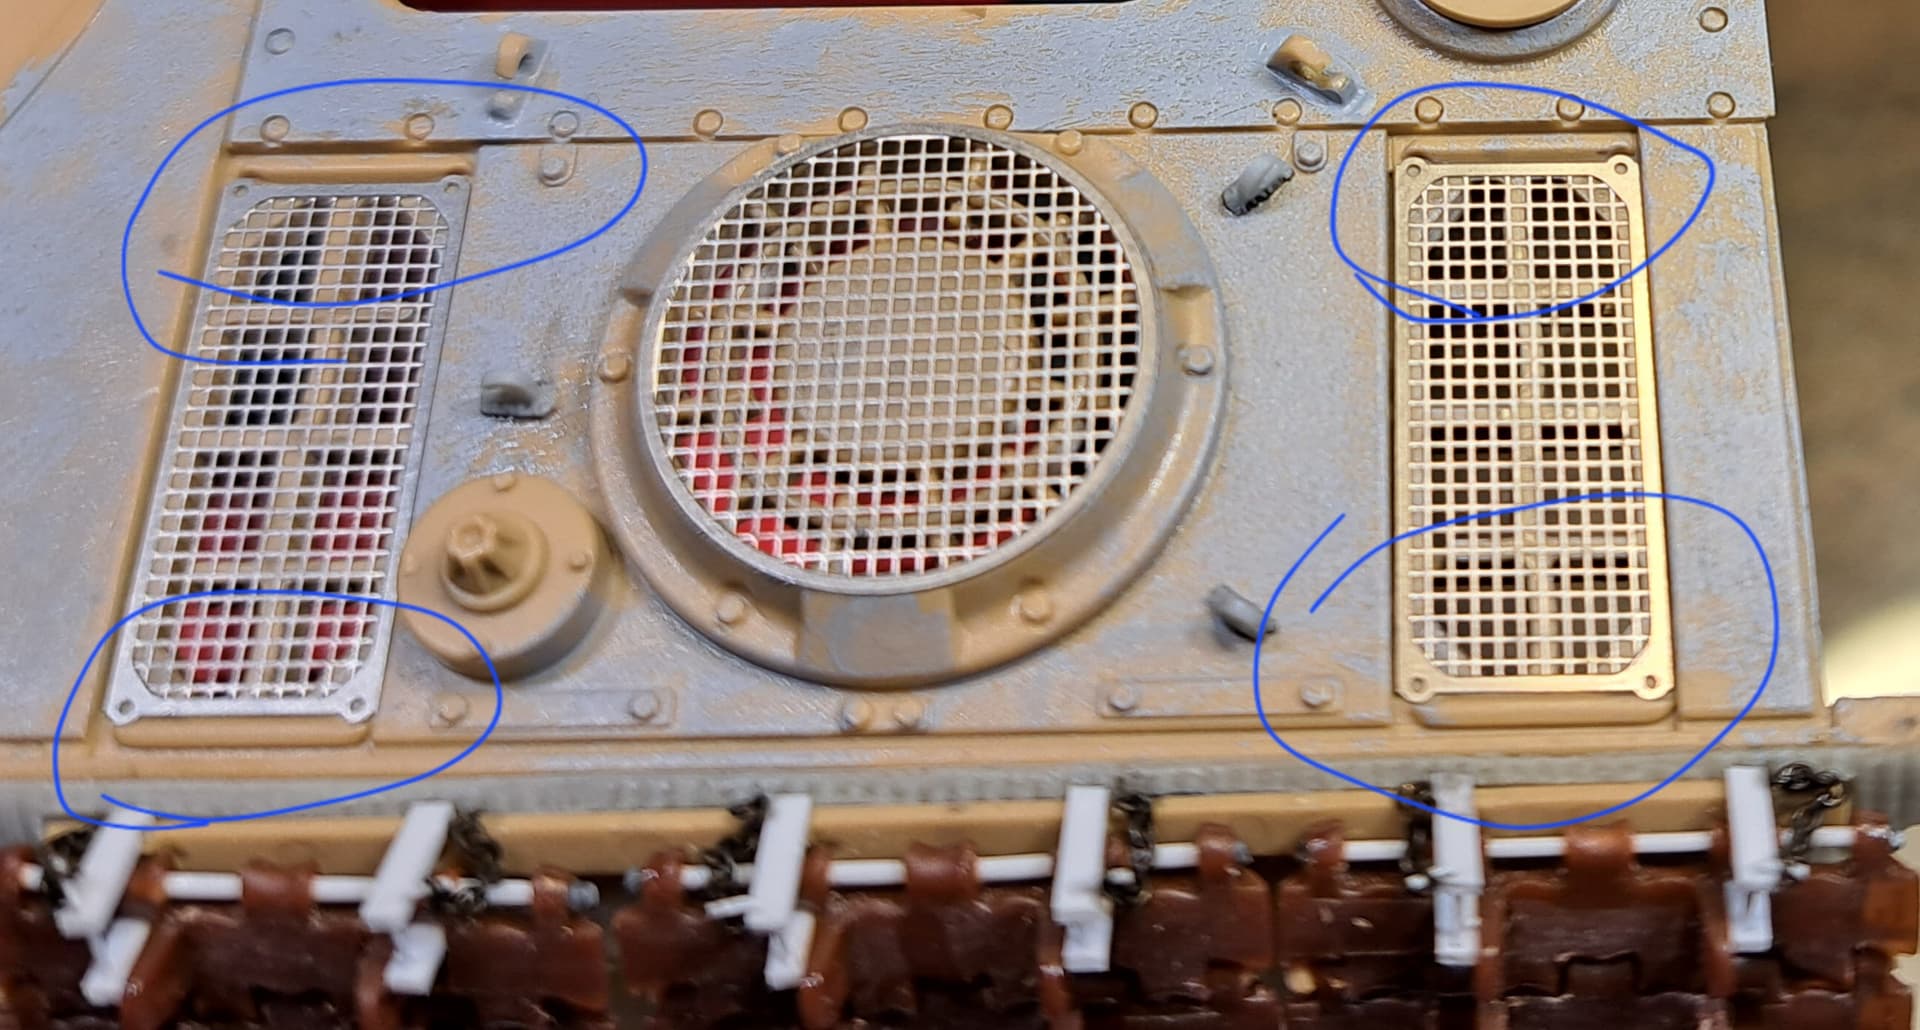
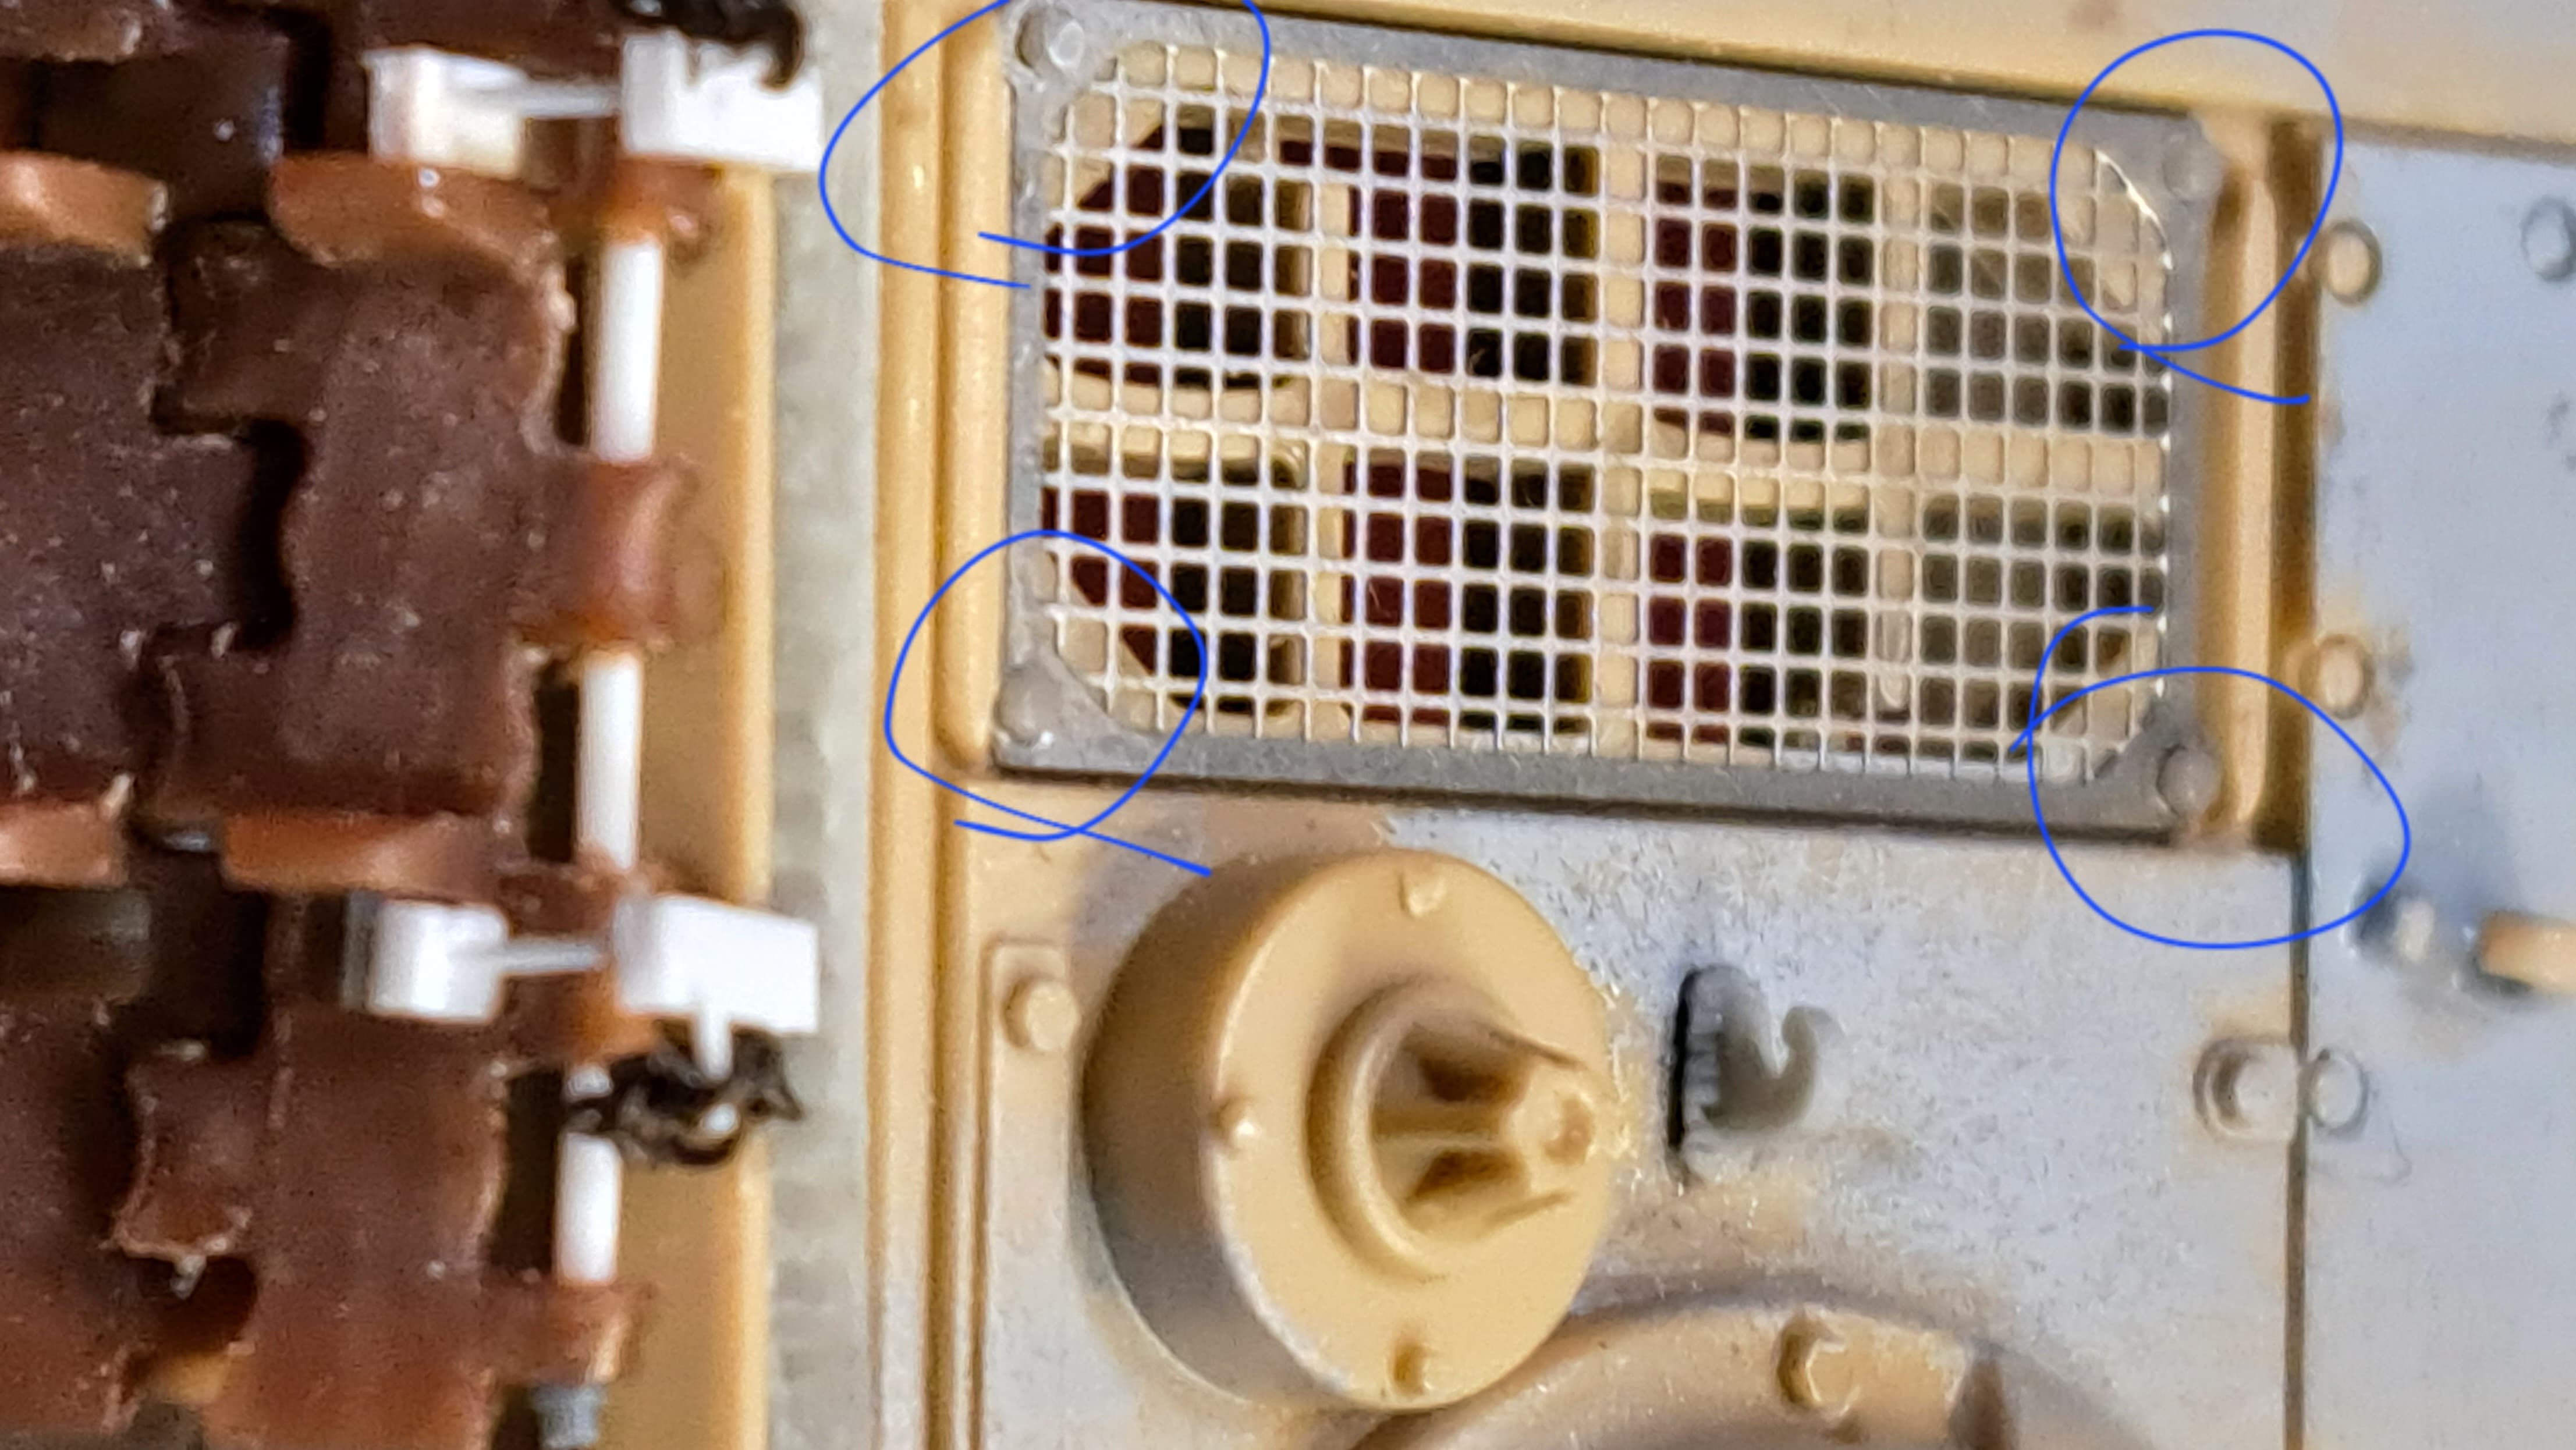
With screens, small grill (blue) and six small lift hooks.
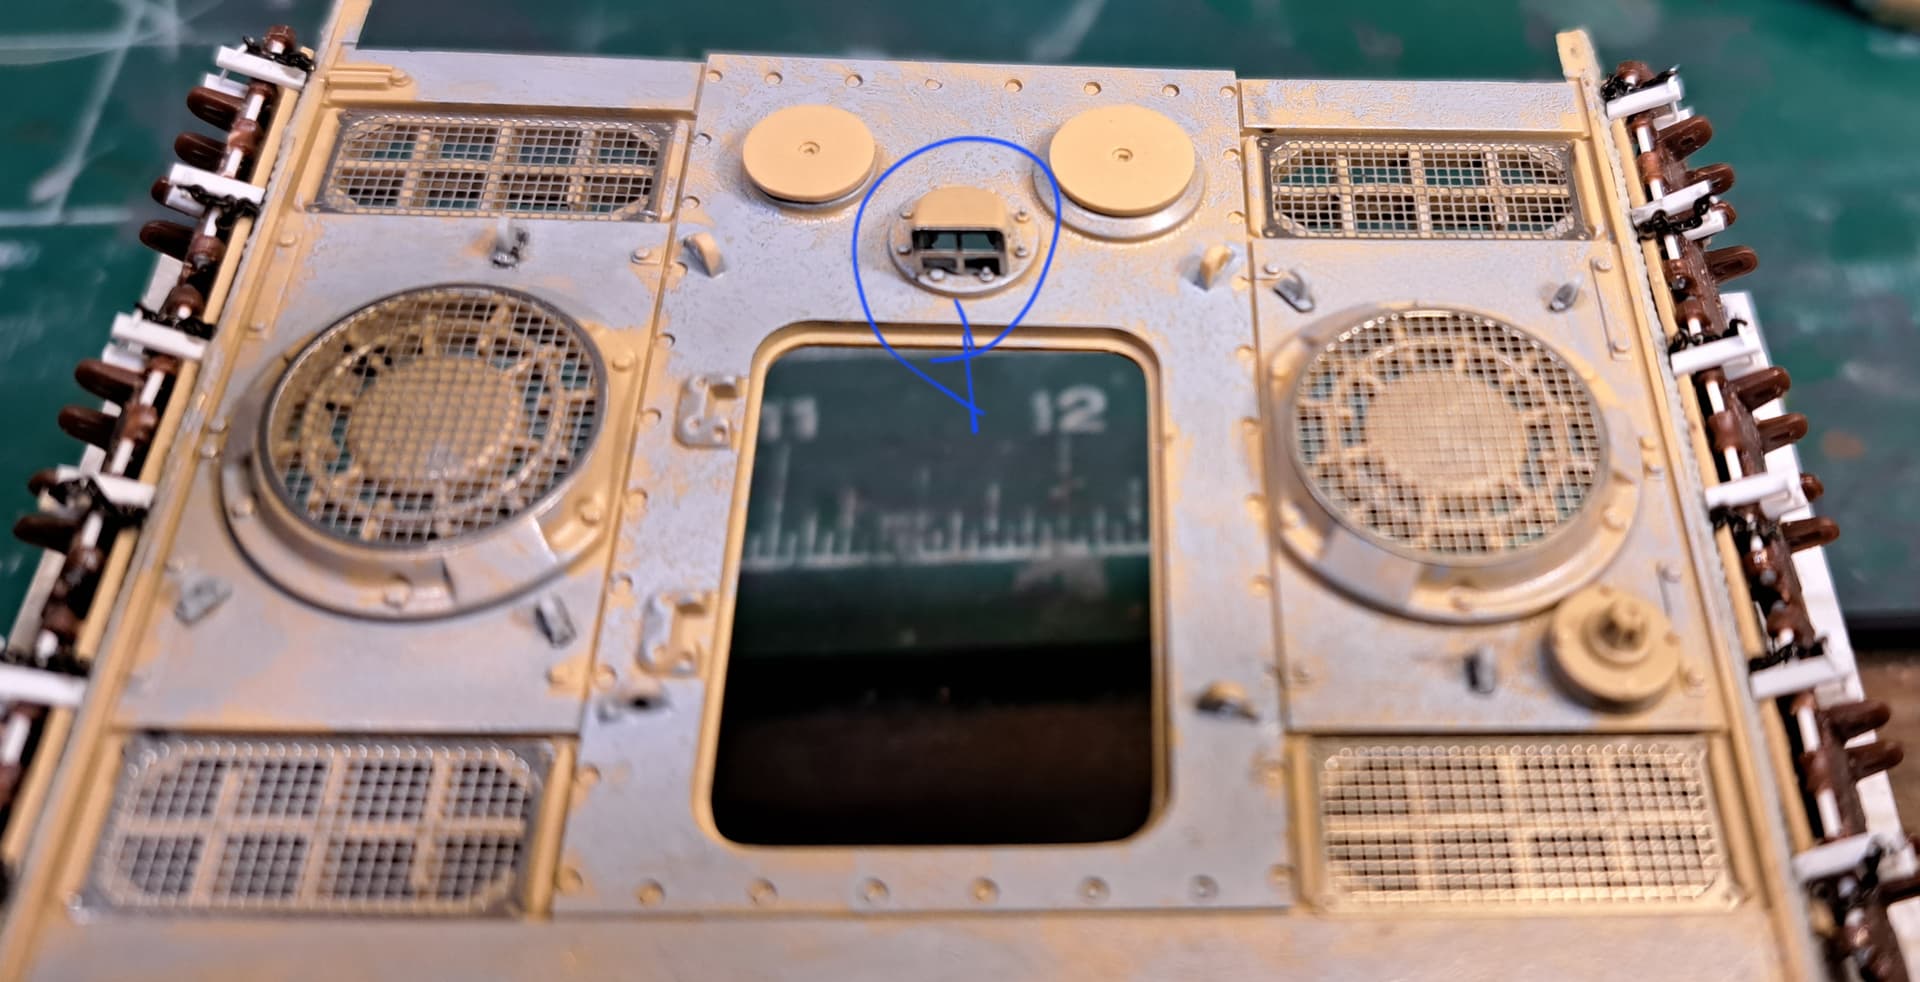
The screens don’t just lay there, they need to be secured.
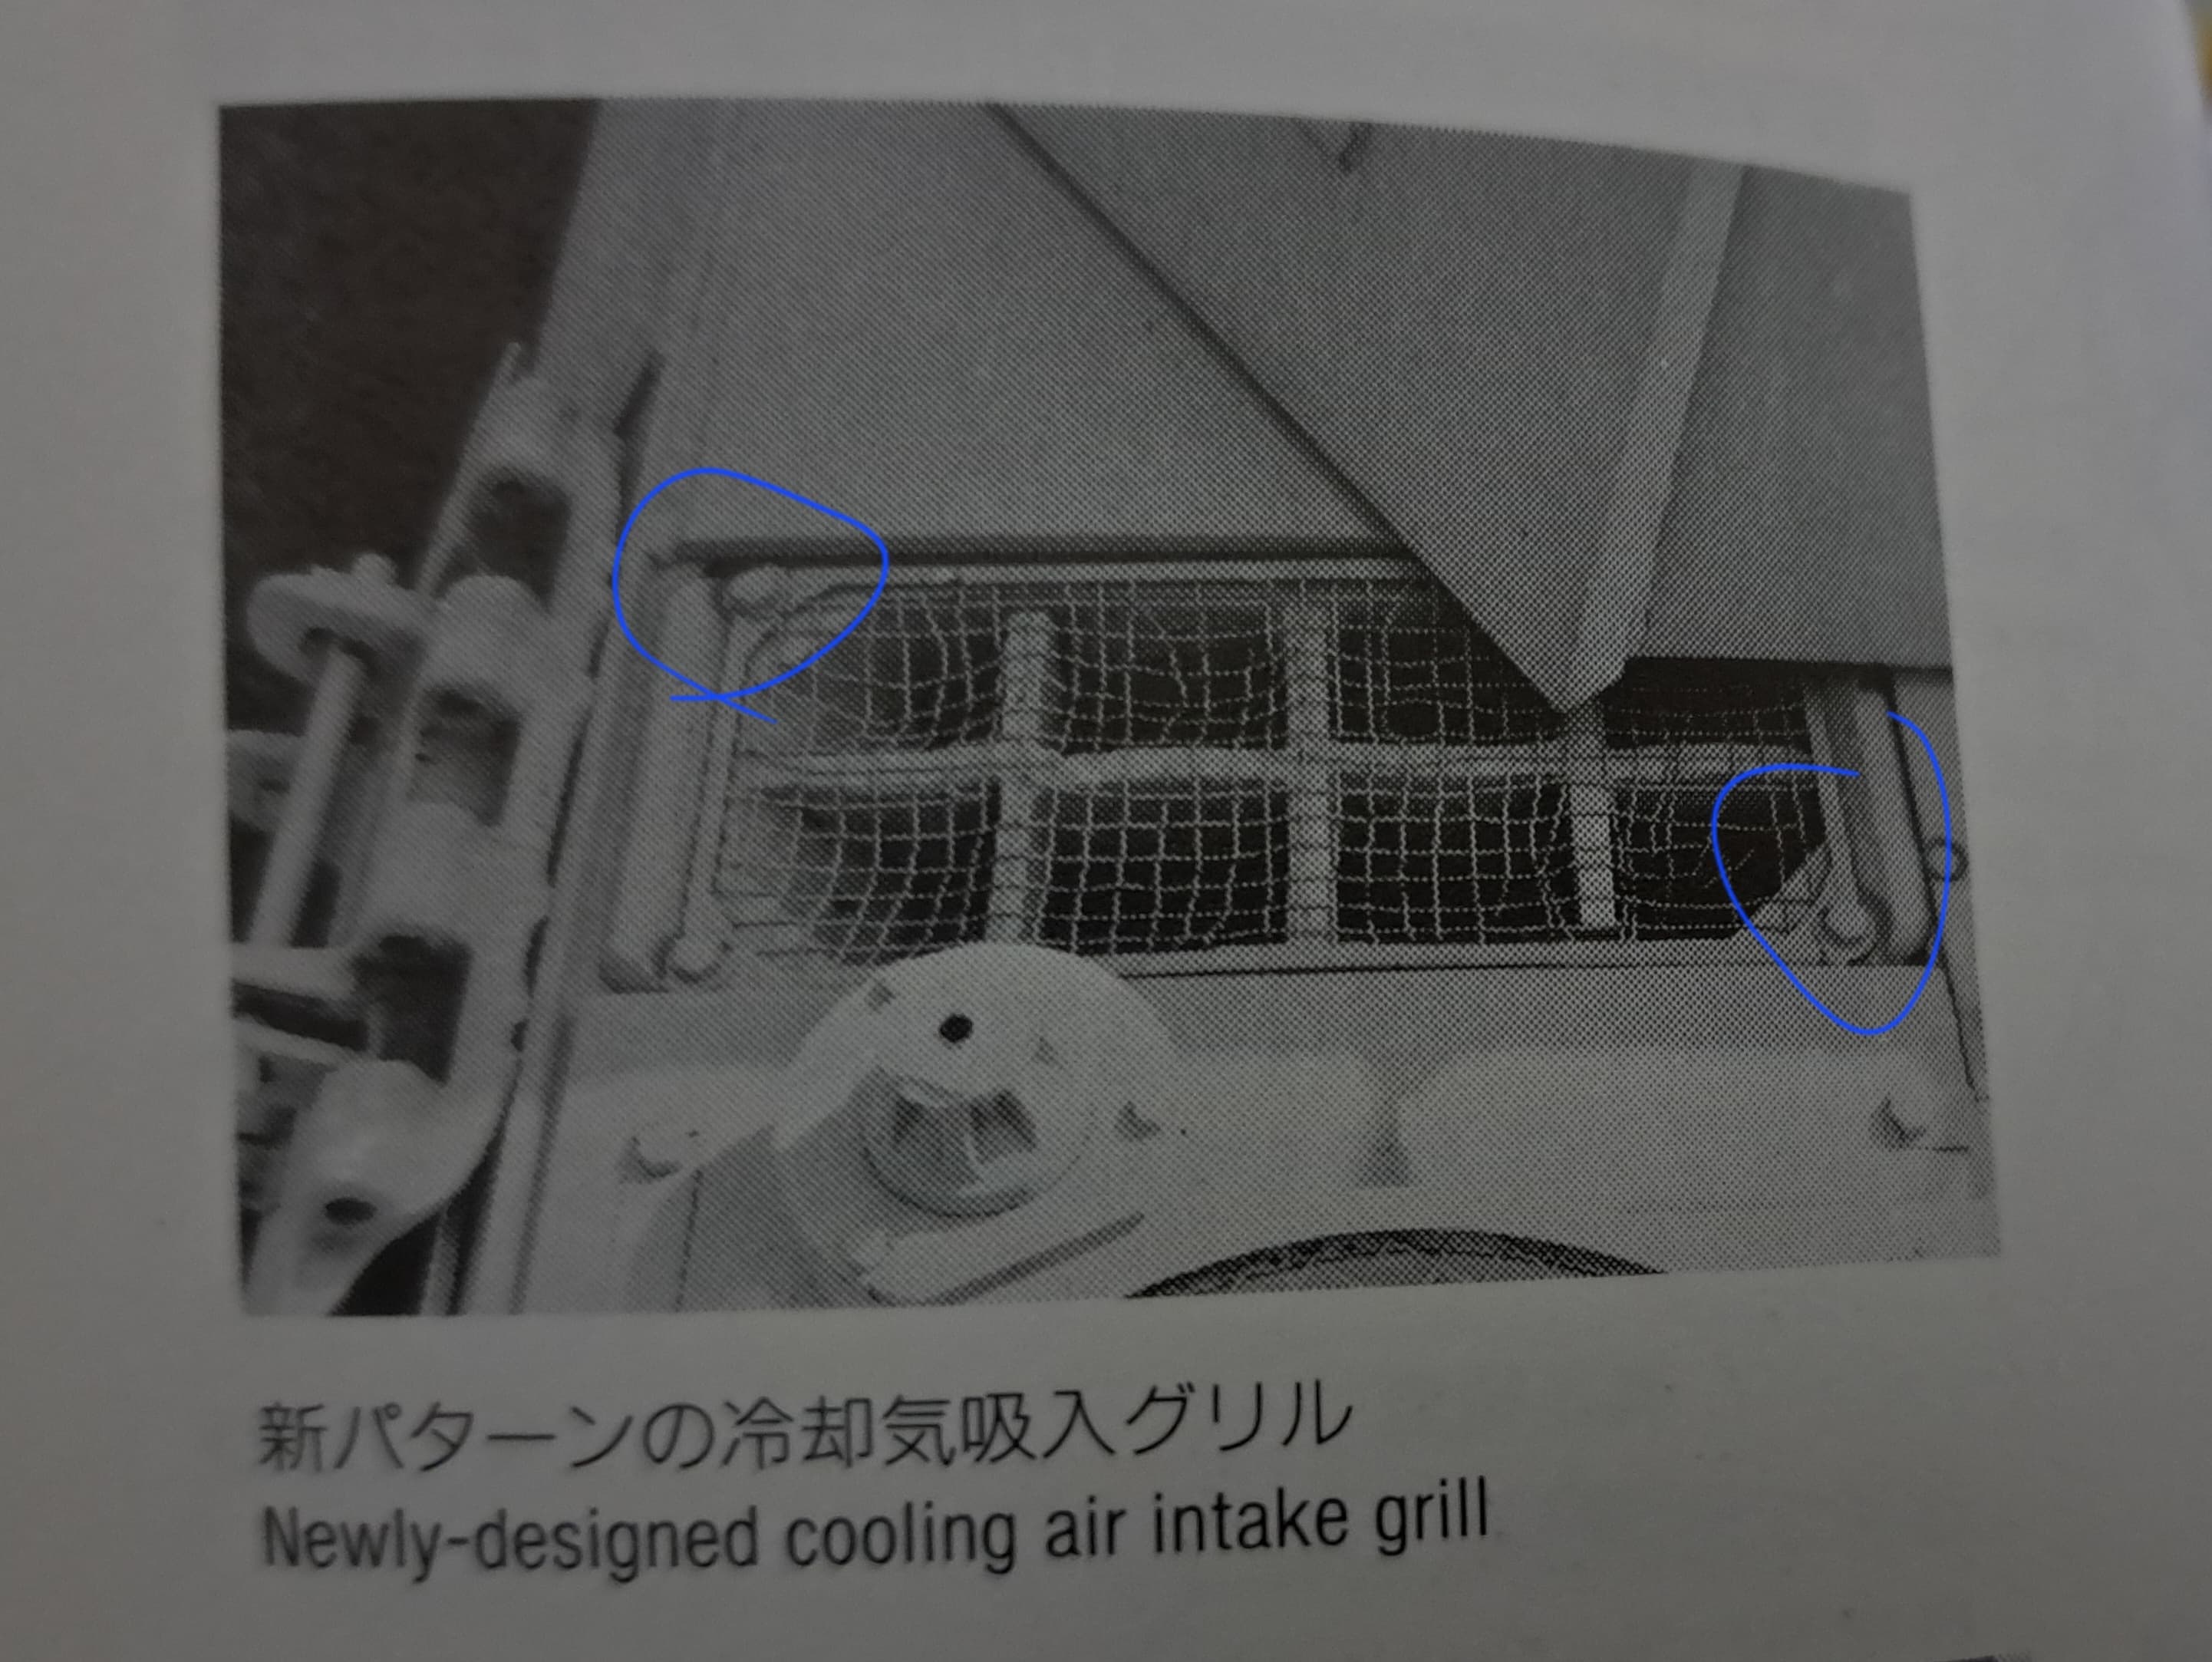
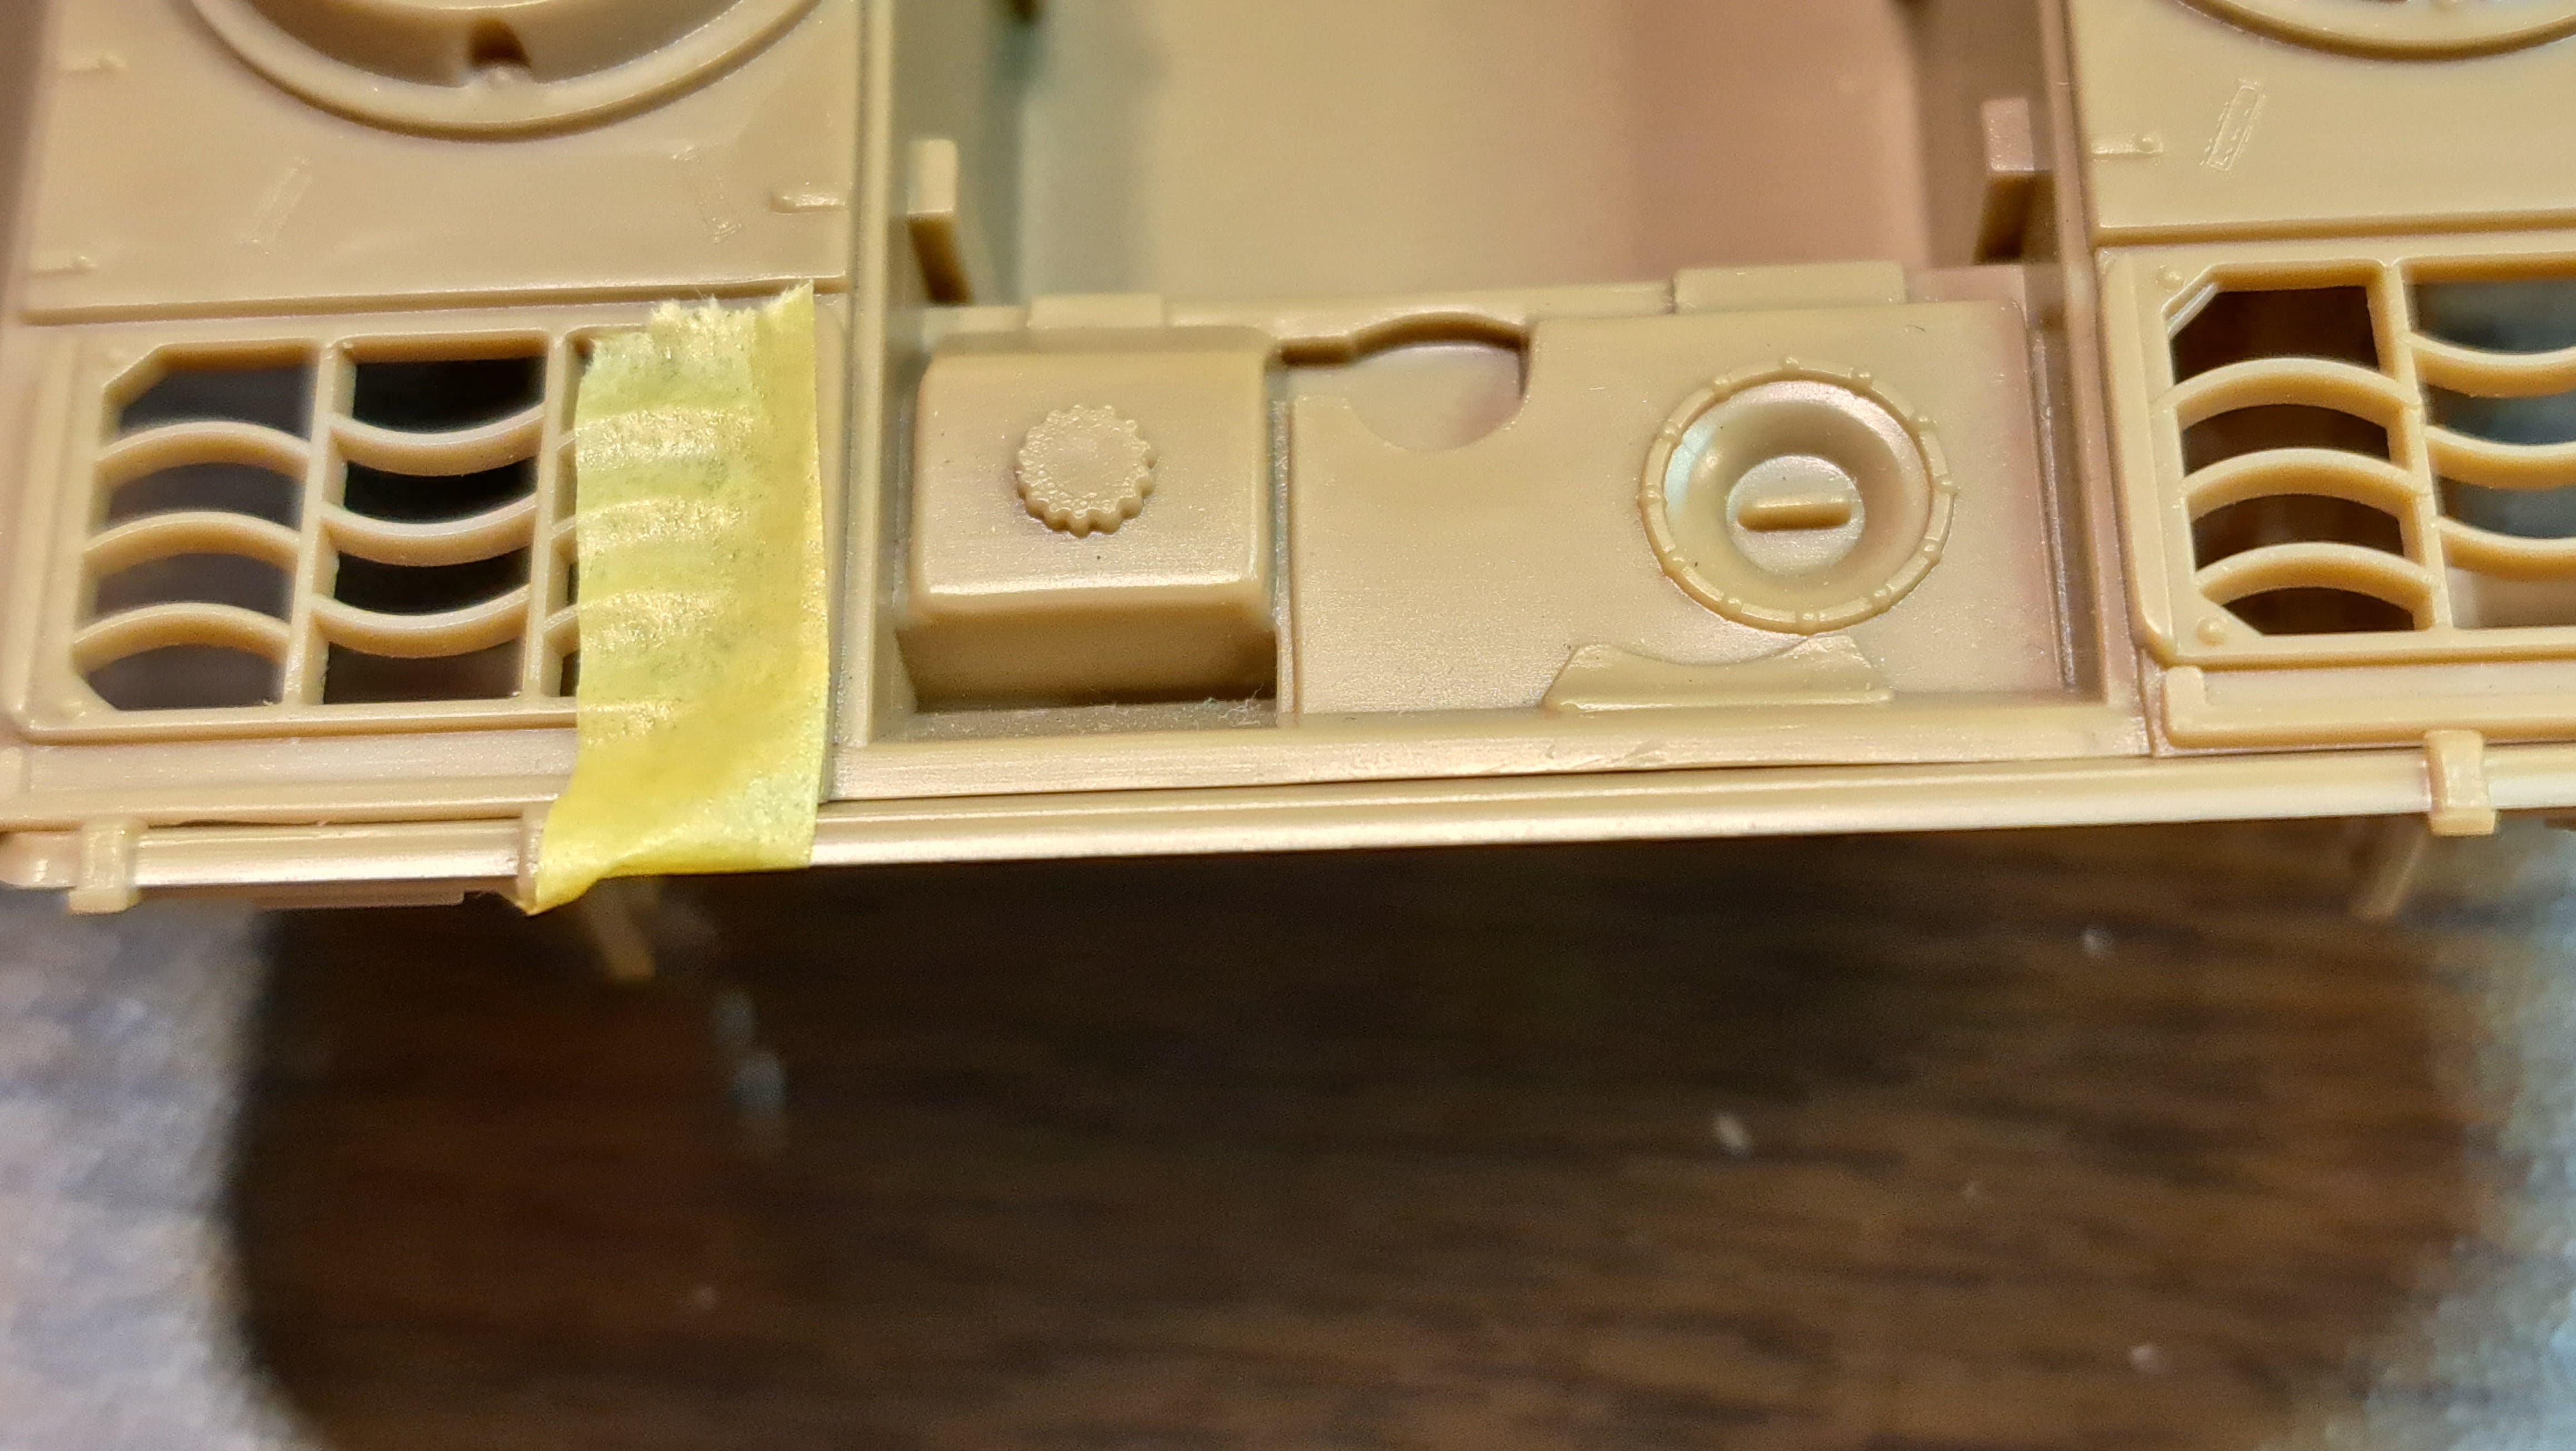
Achtung Panzer #4 Panther to the rescue. Attachment bolt circled in blue. The small Meng .8mm bolt seems a good choice.
Added bolts.
Bored Kali Kat said it was time for us to watch TV and impatiently pushed Actung #4 reference off in the floor.
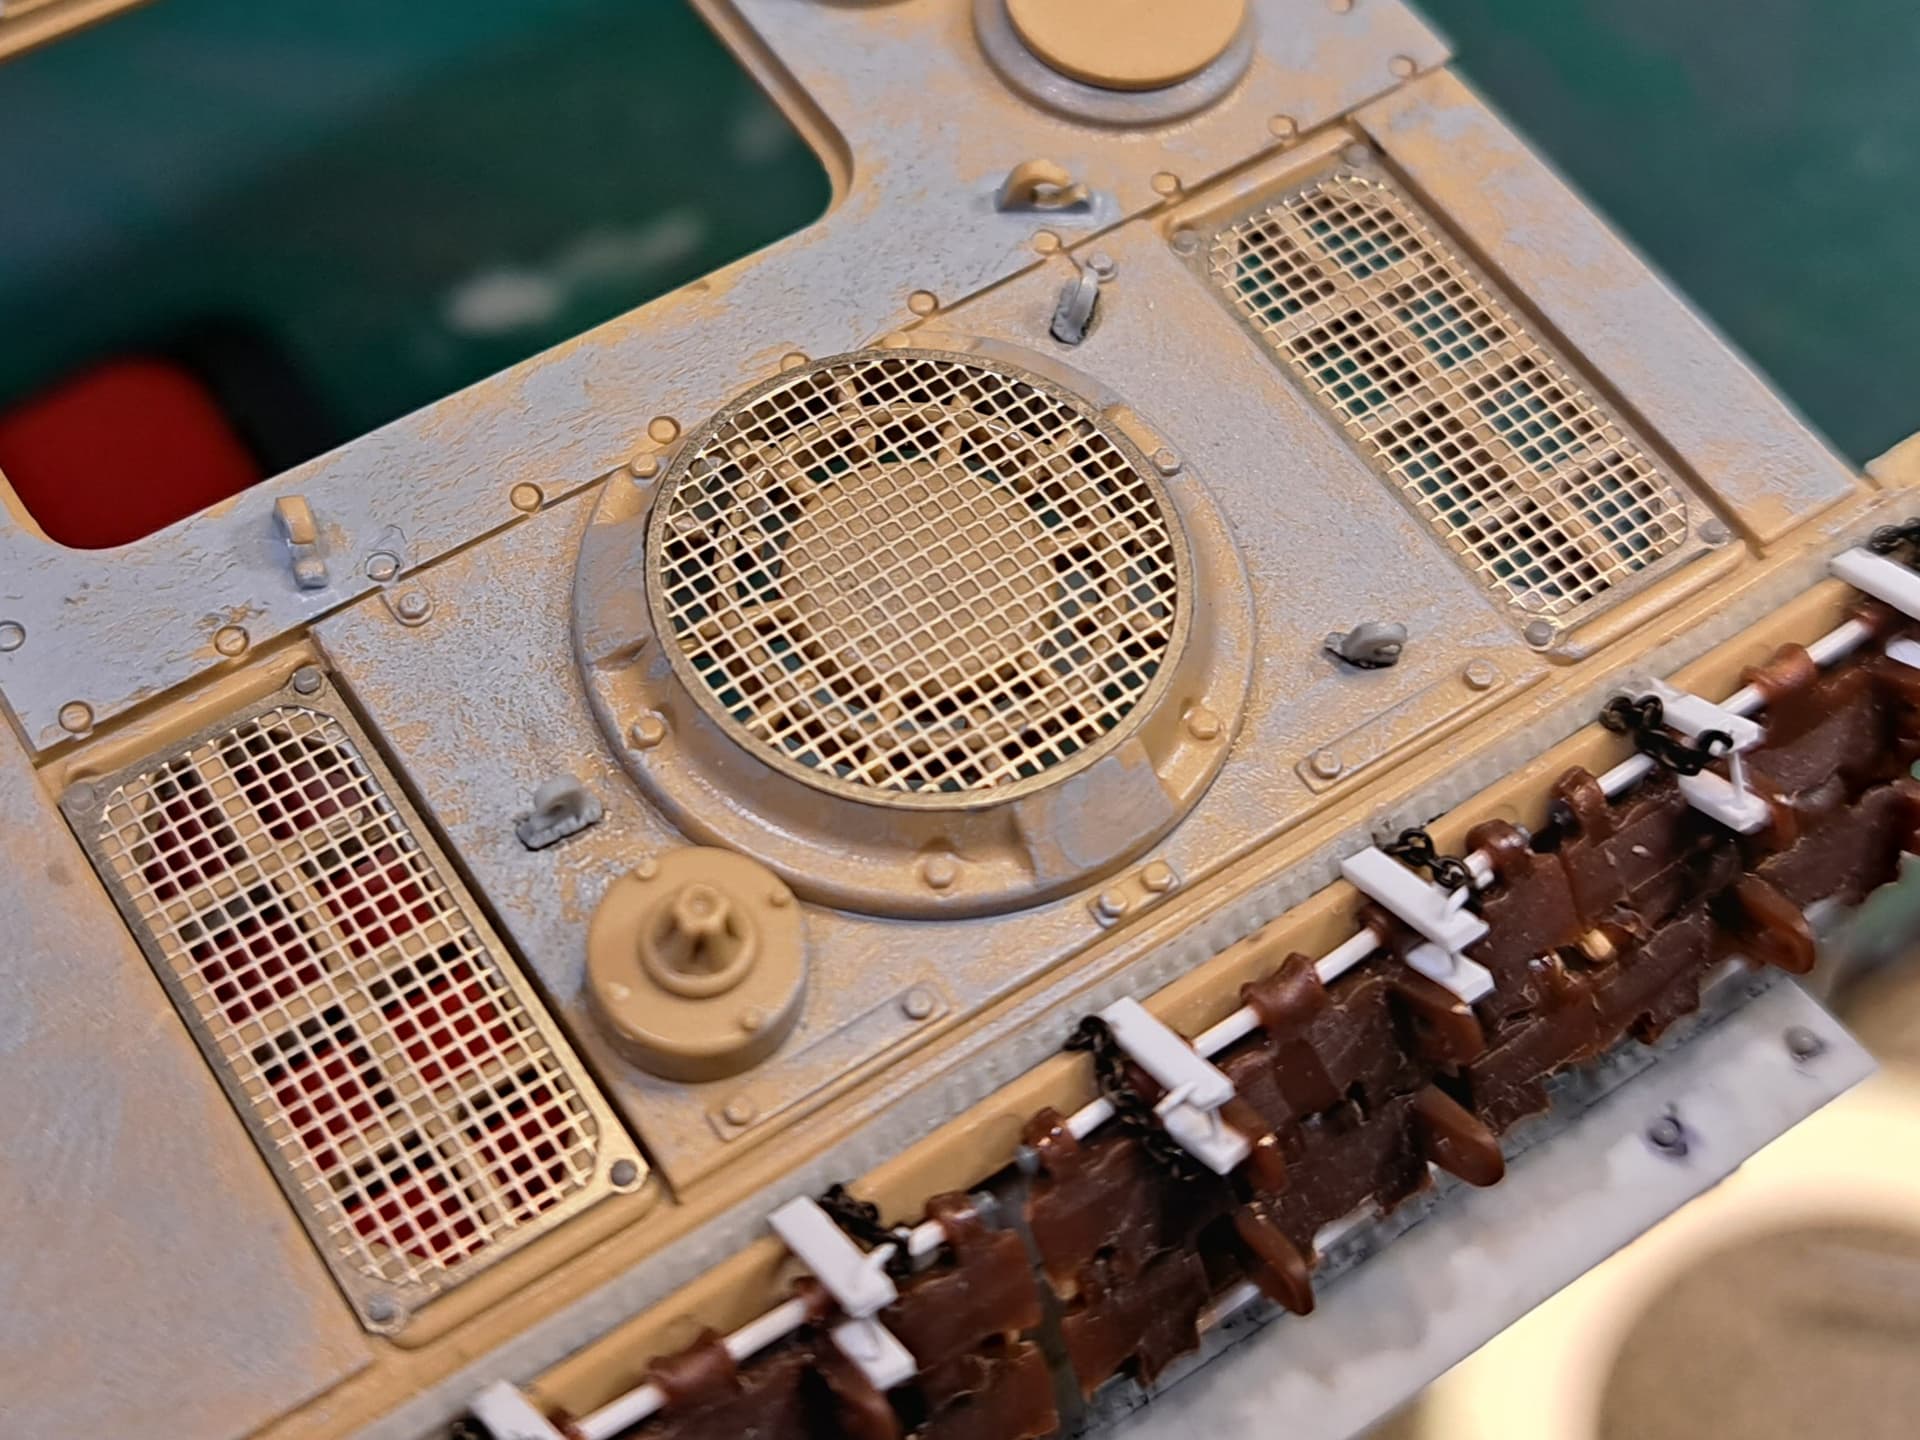
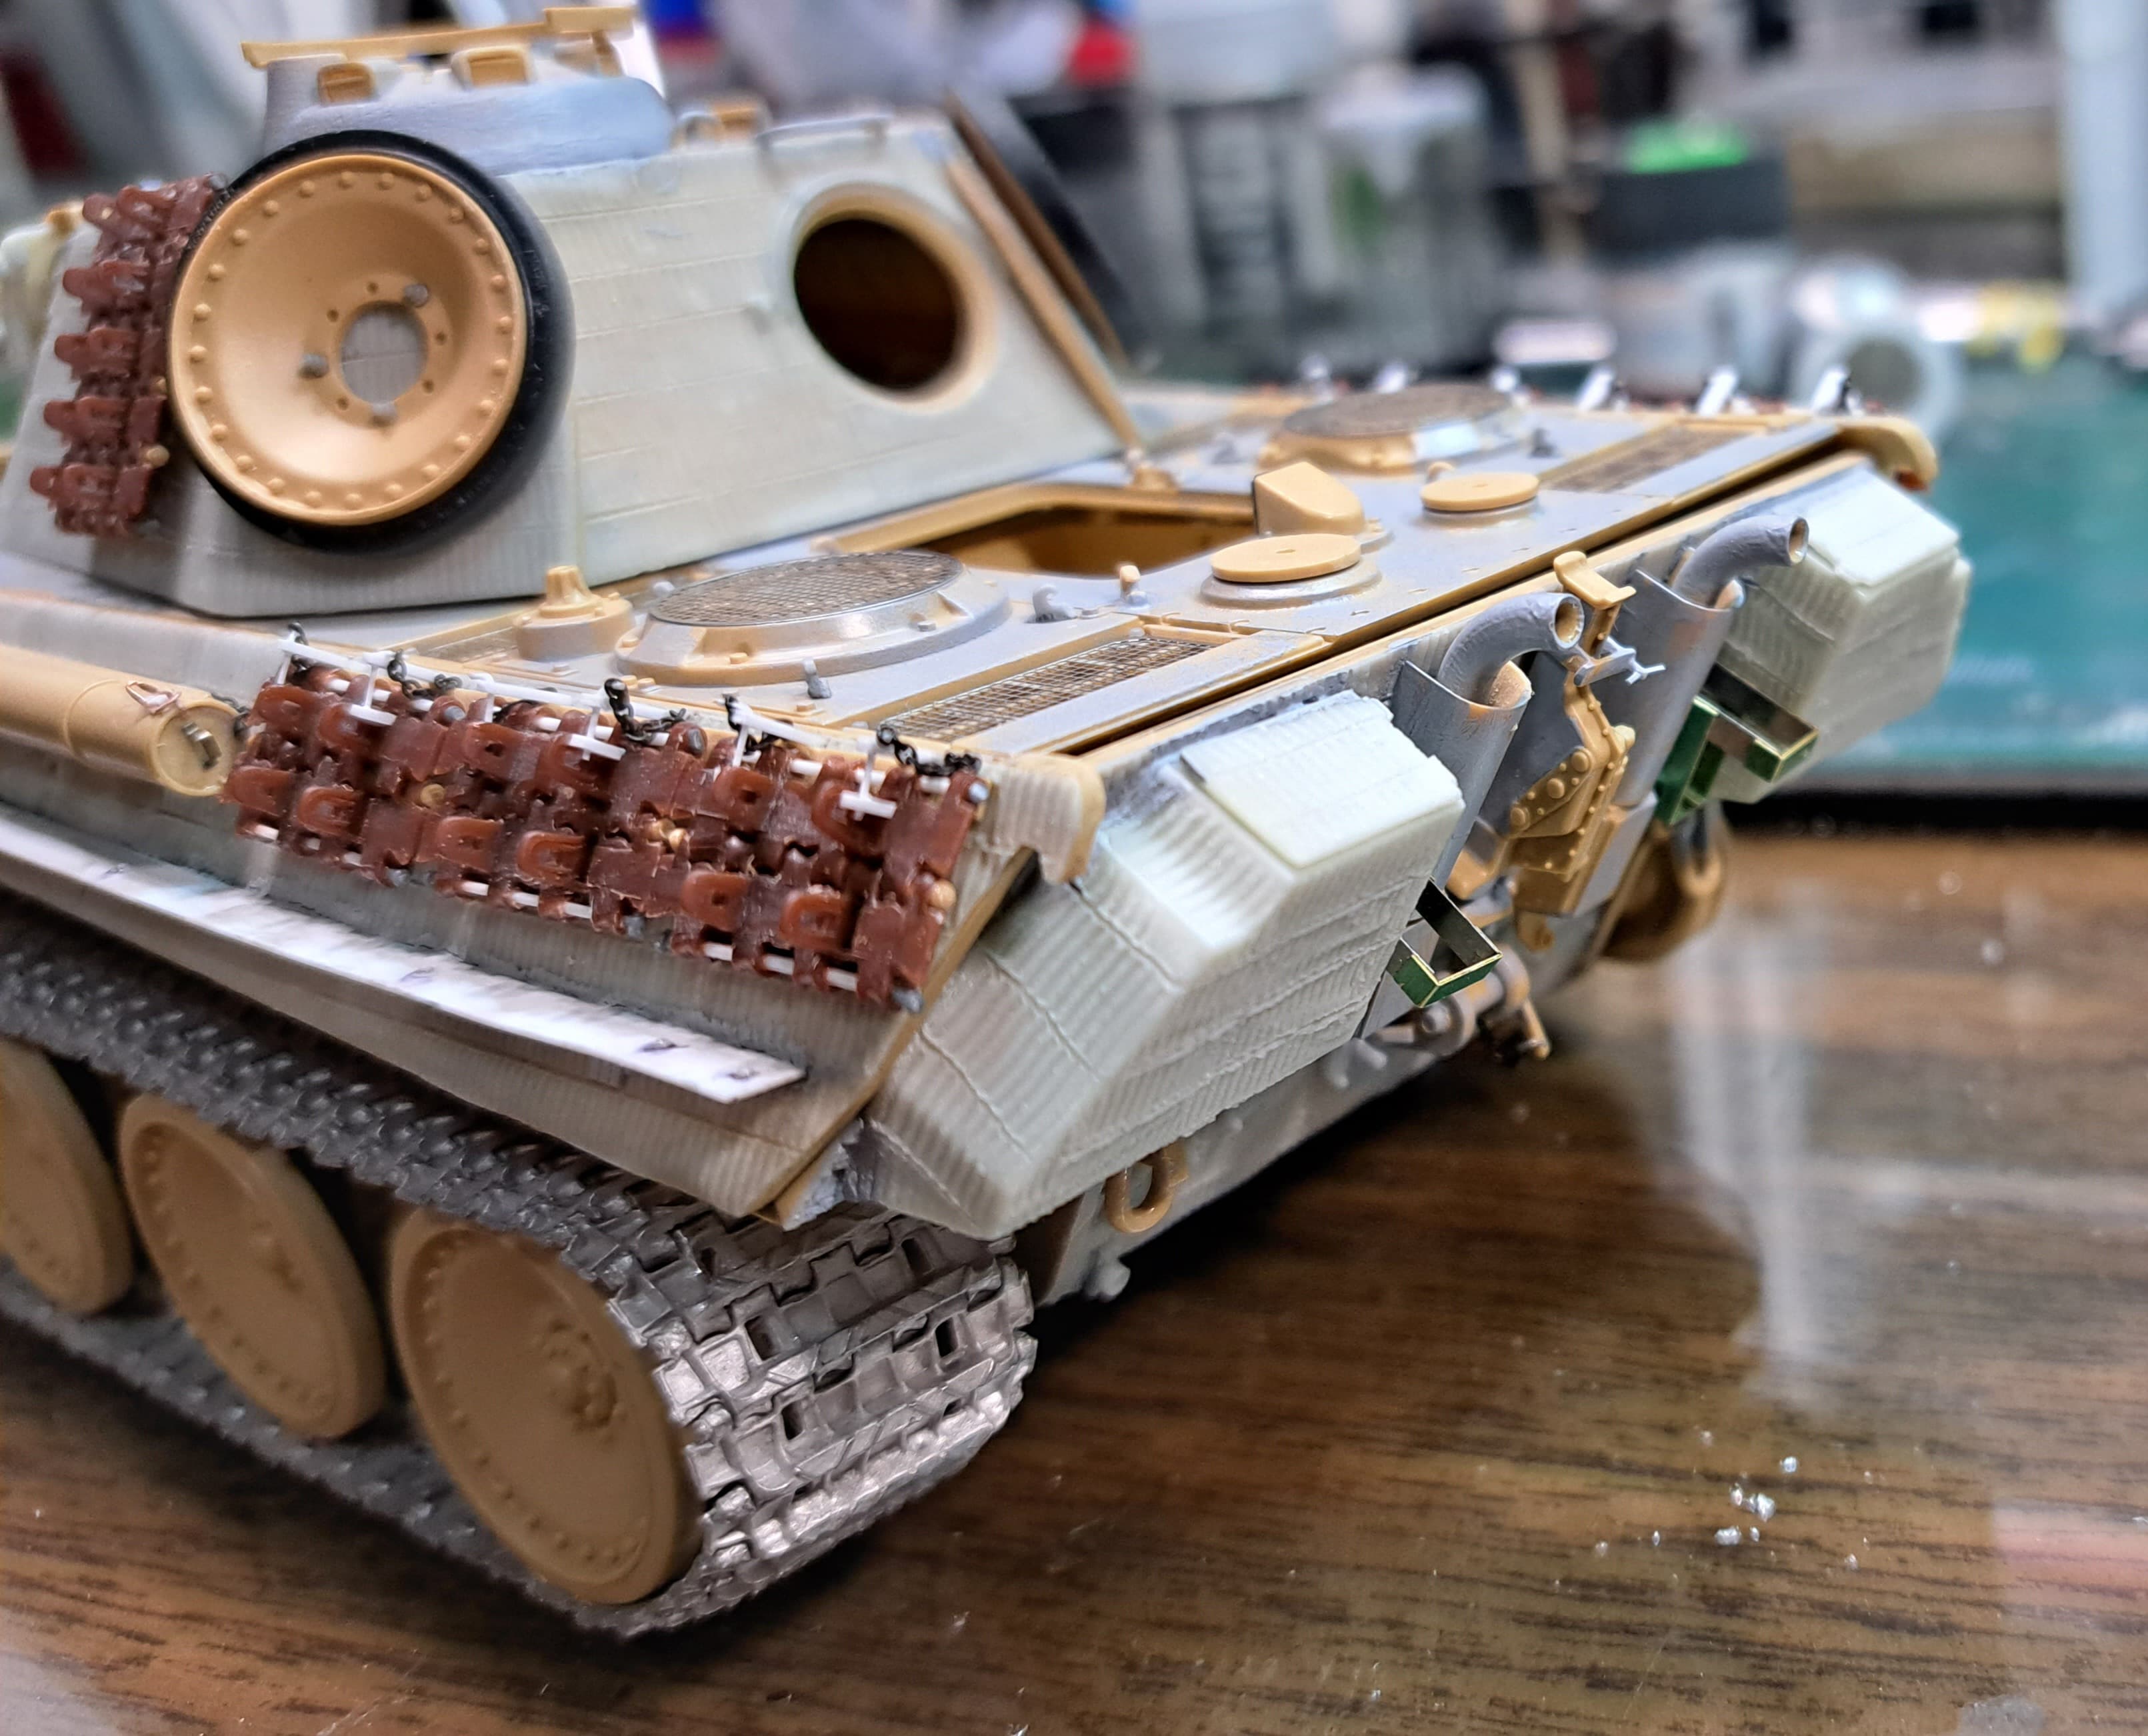
Engine deck with details.
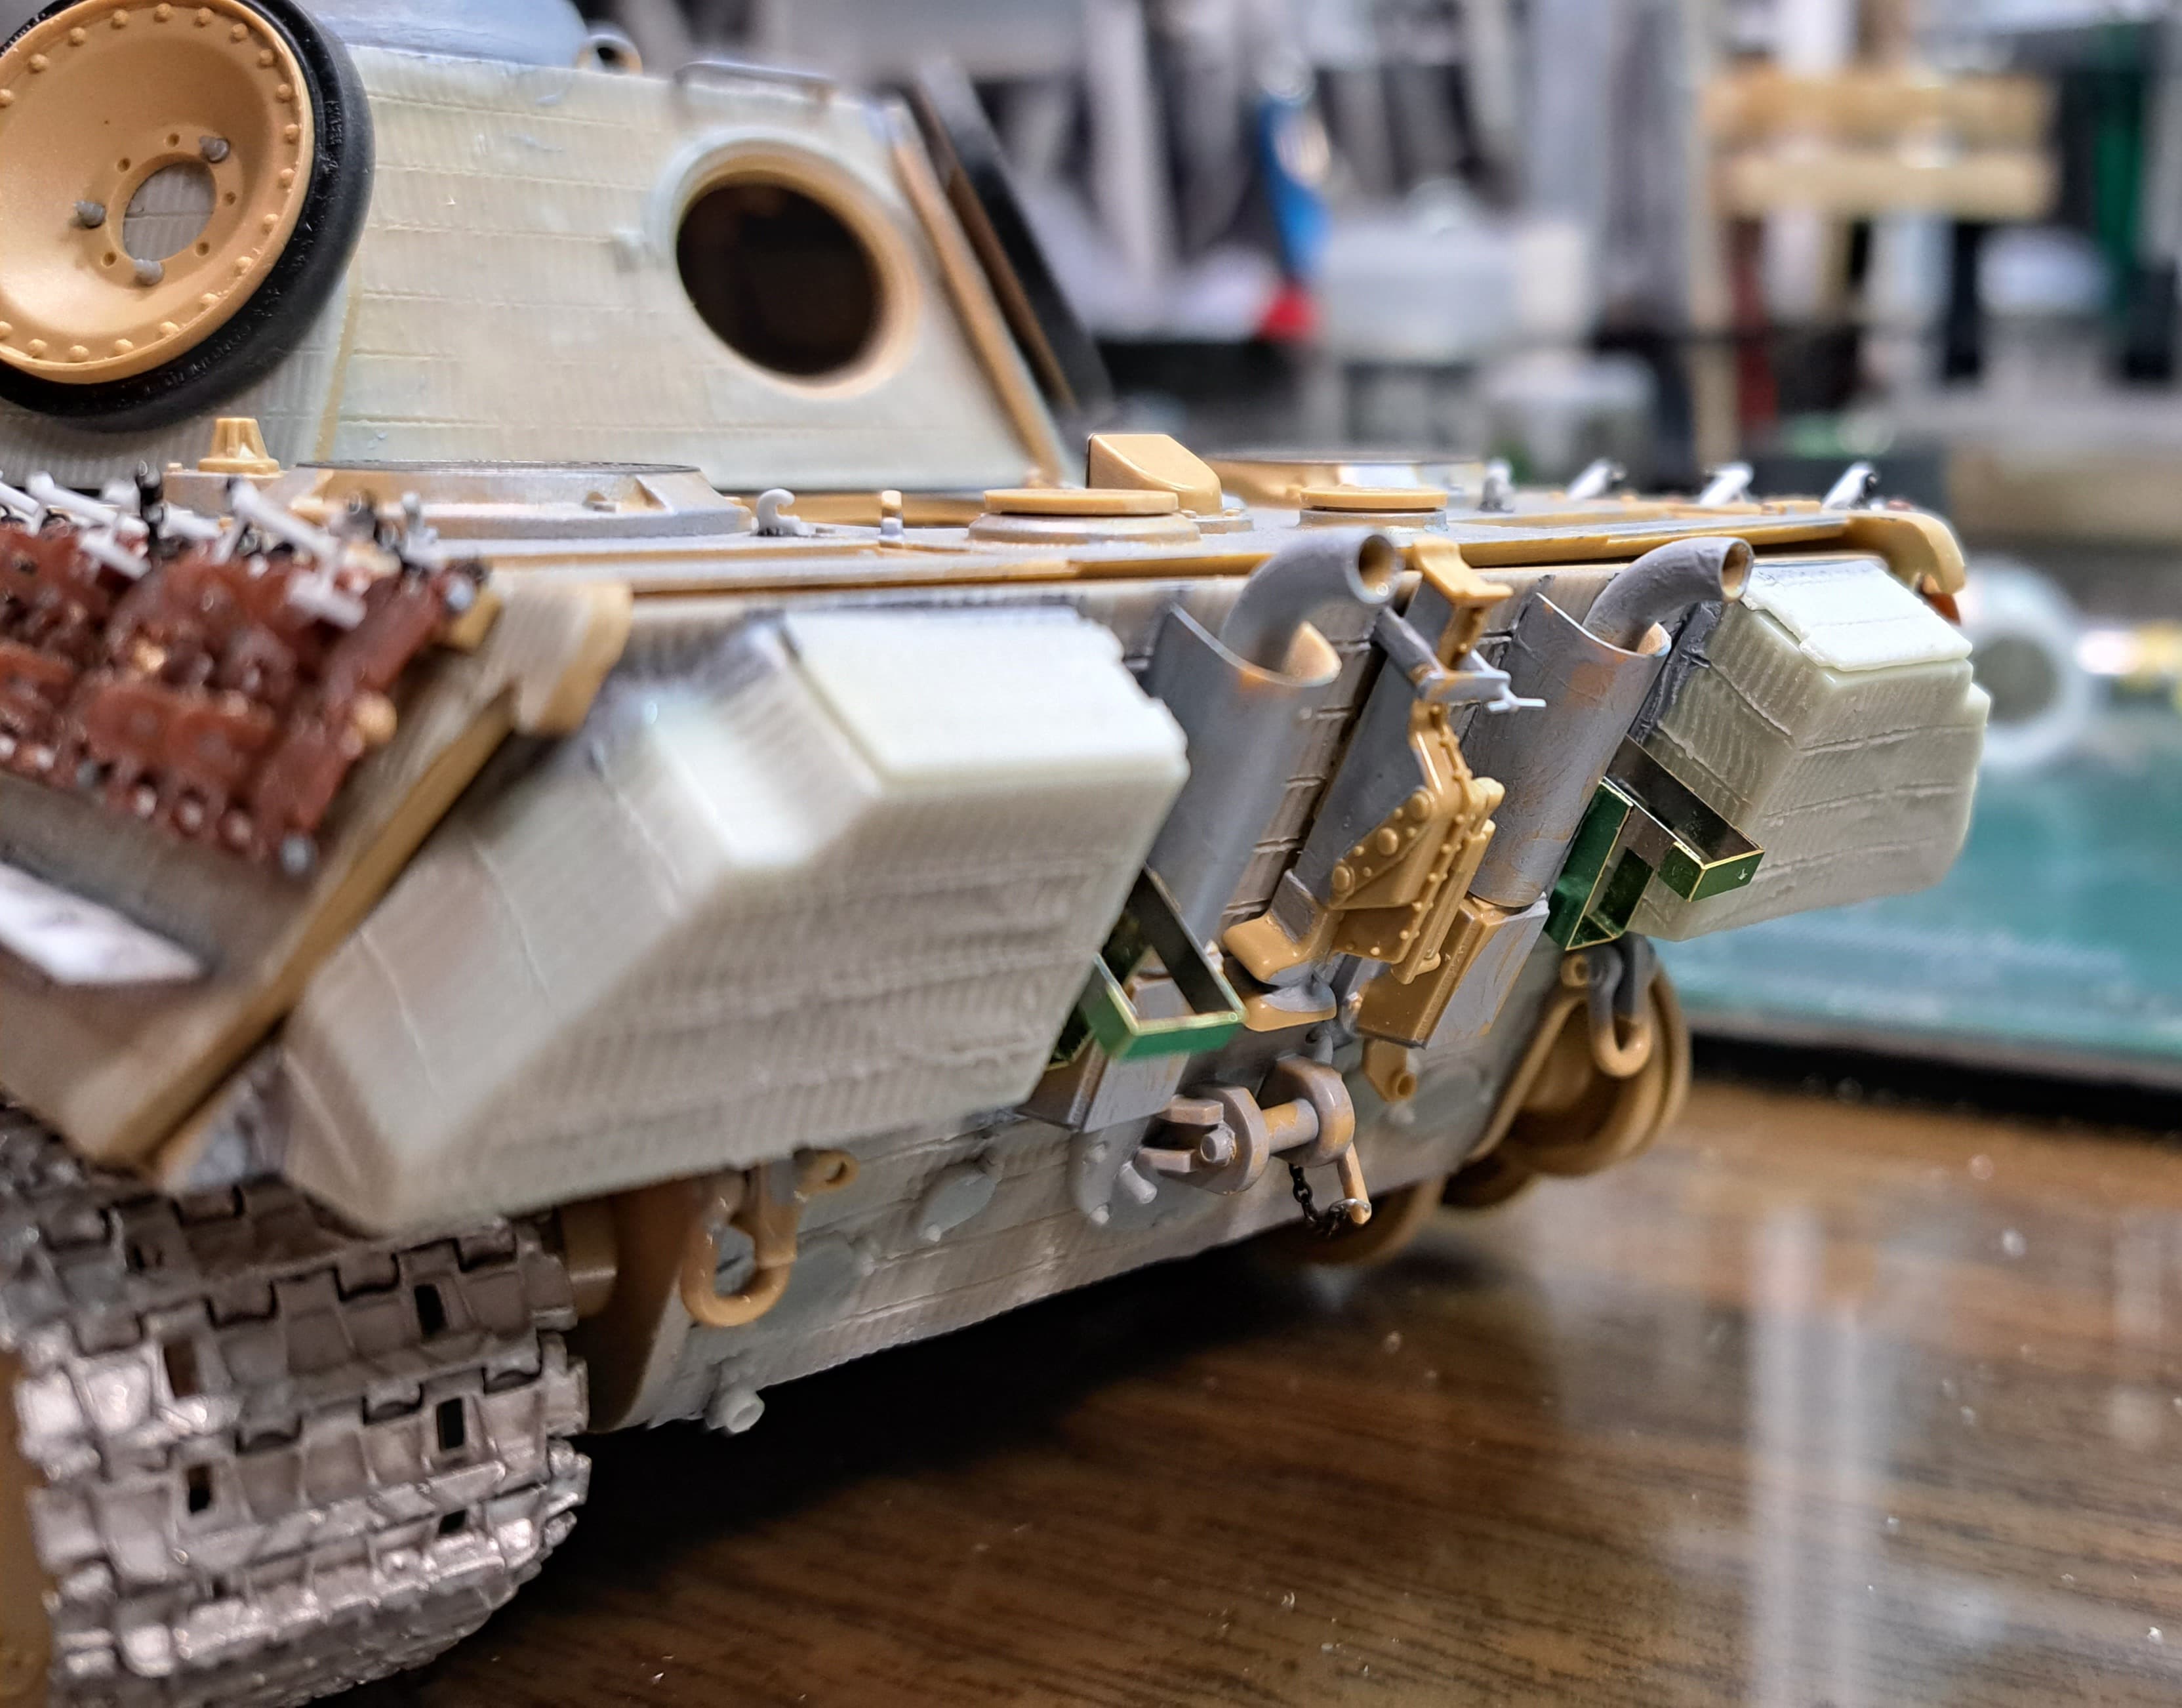
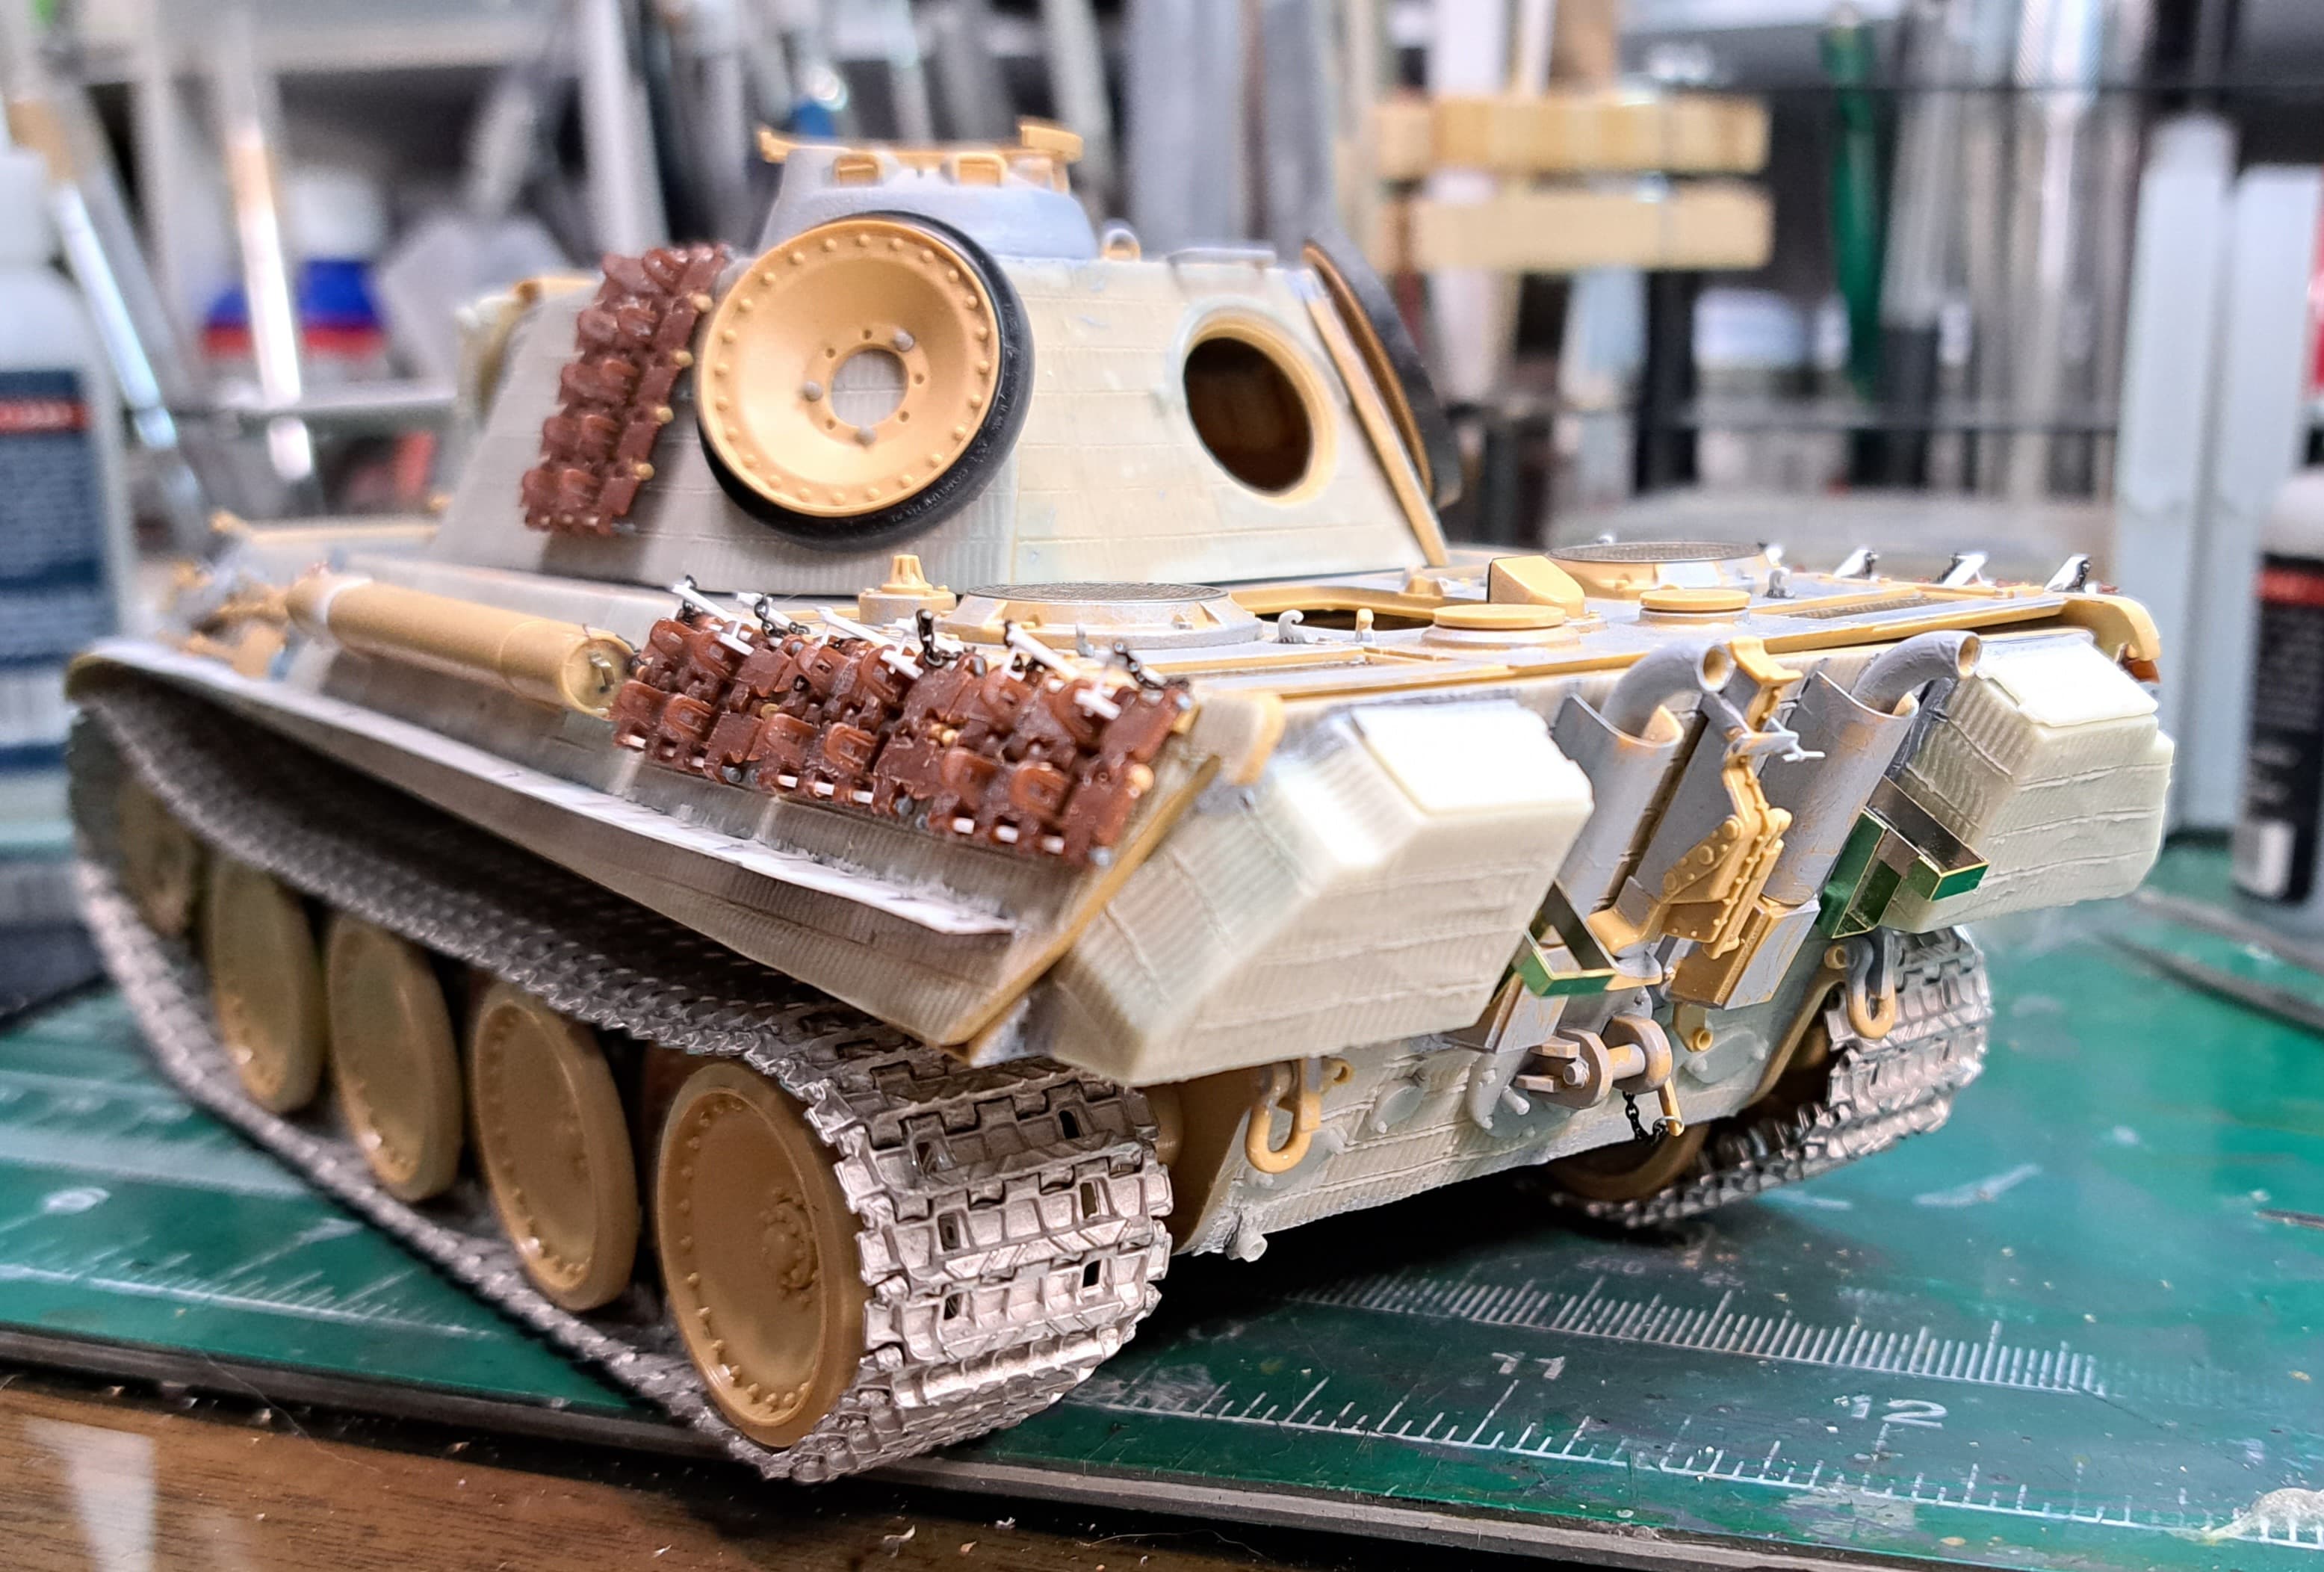
It appears common that 116th Panzer Division Panther’s had a pair of rear mounted Jerry Cans. I assume, these were field world shop made out of whatever was available with an according degree of variation.
My first try with the scrap Tamiya photo etch fret was a total fail. I wasn’t able to get a smooth cut in the area with lettering.
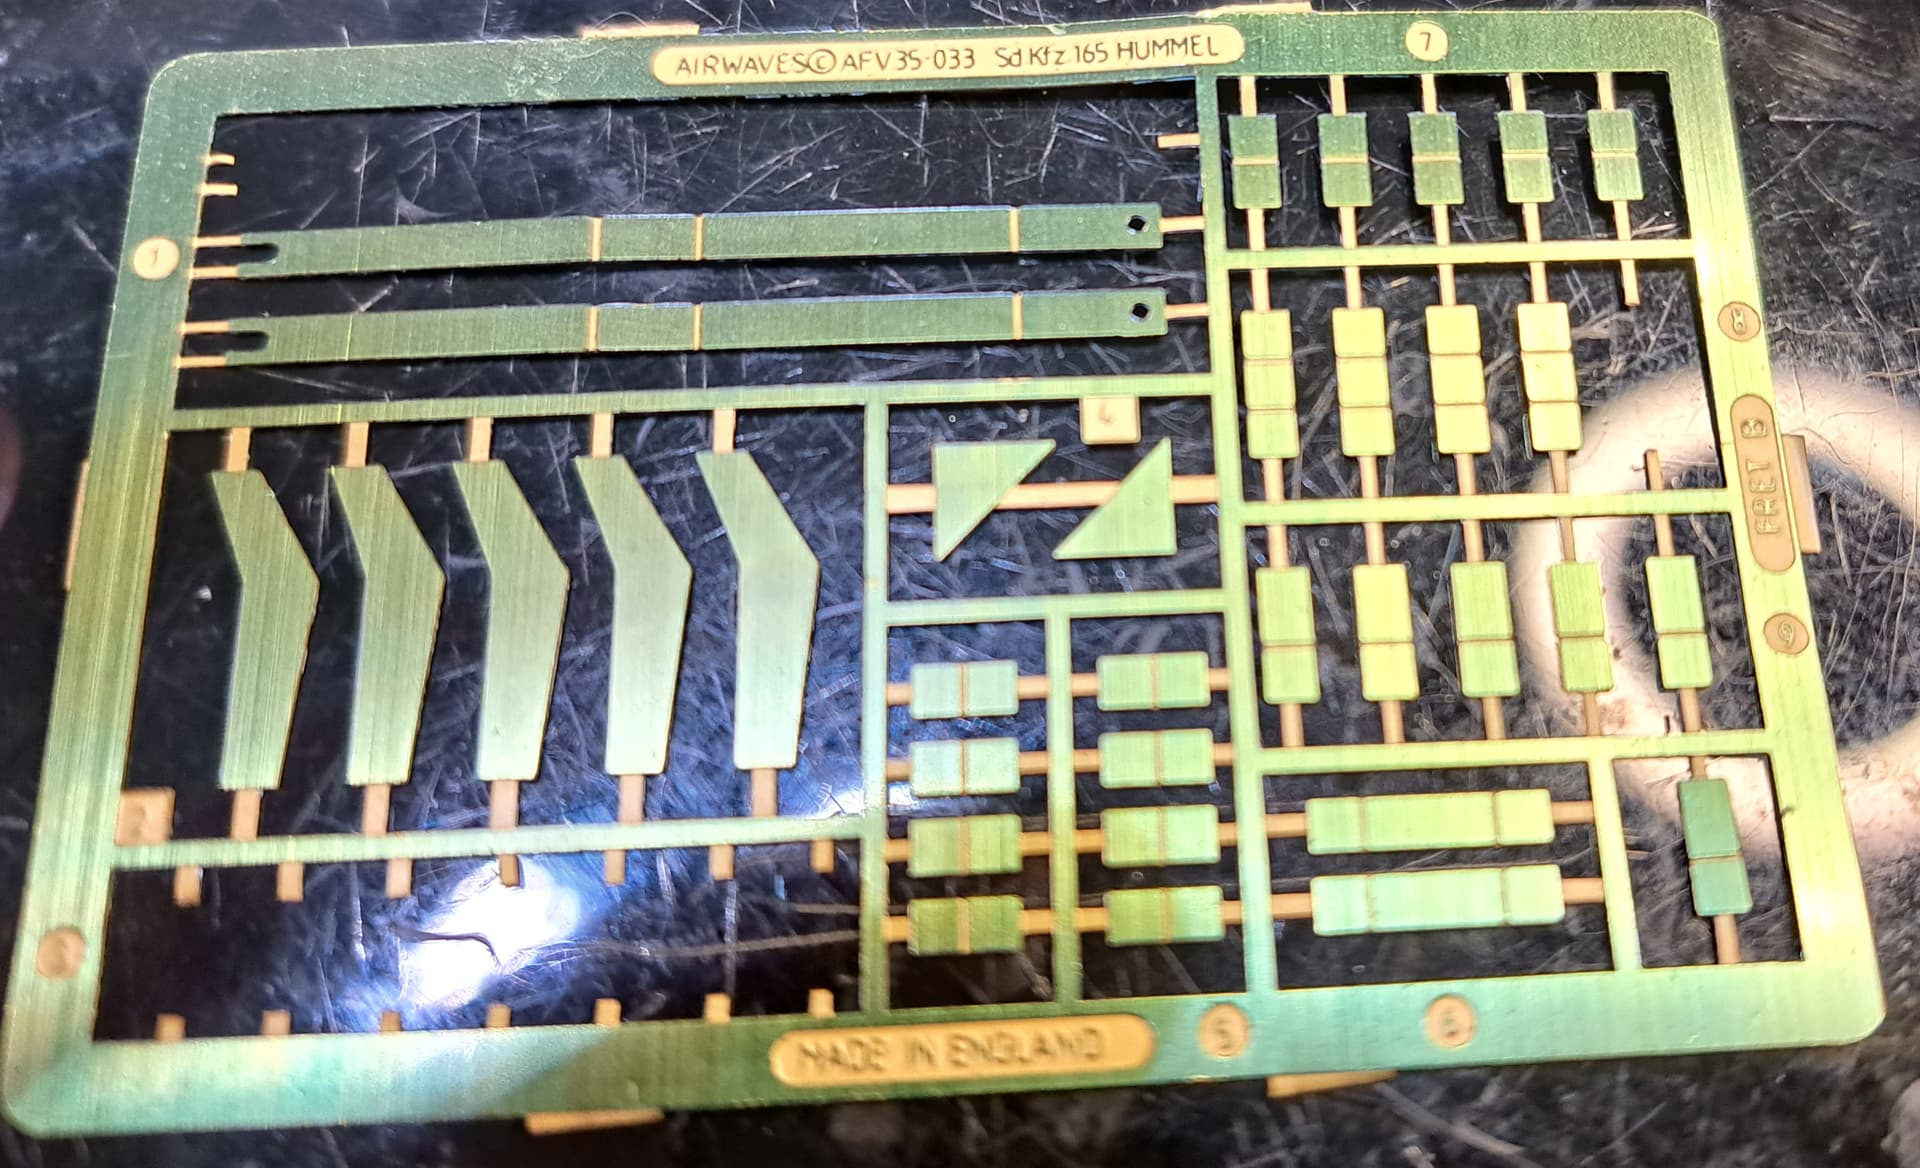
In the scrap photo etch found a nice fret from Airwaves of England. I always liked Airwaves PE as in age before PE benders Airwaves etch a very nice notch that allow precise bending with flat nose pliers & tweezers.
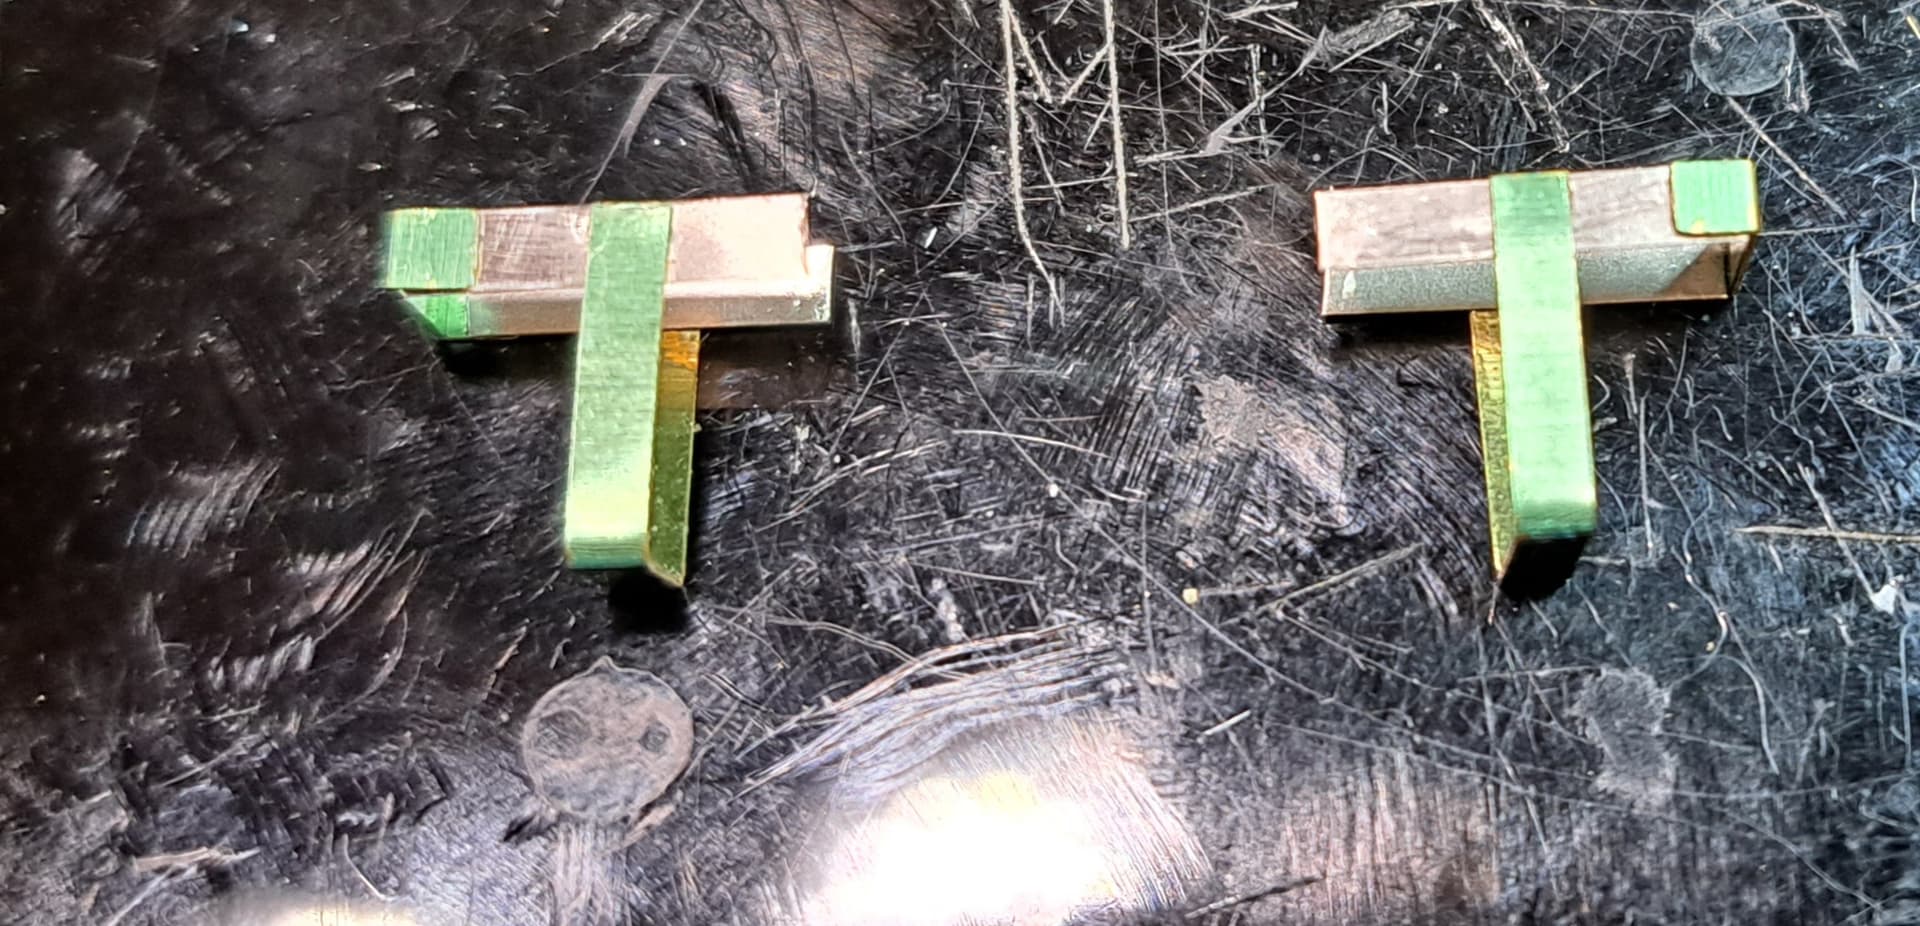
Chop, bend & file plus super glue.
The real question would a jerry can fit.
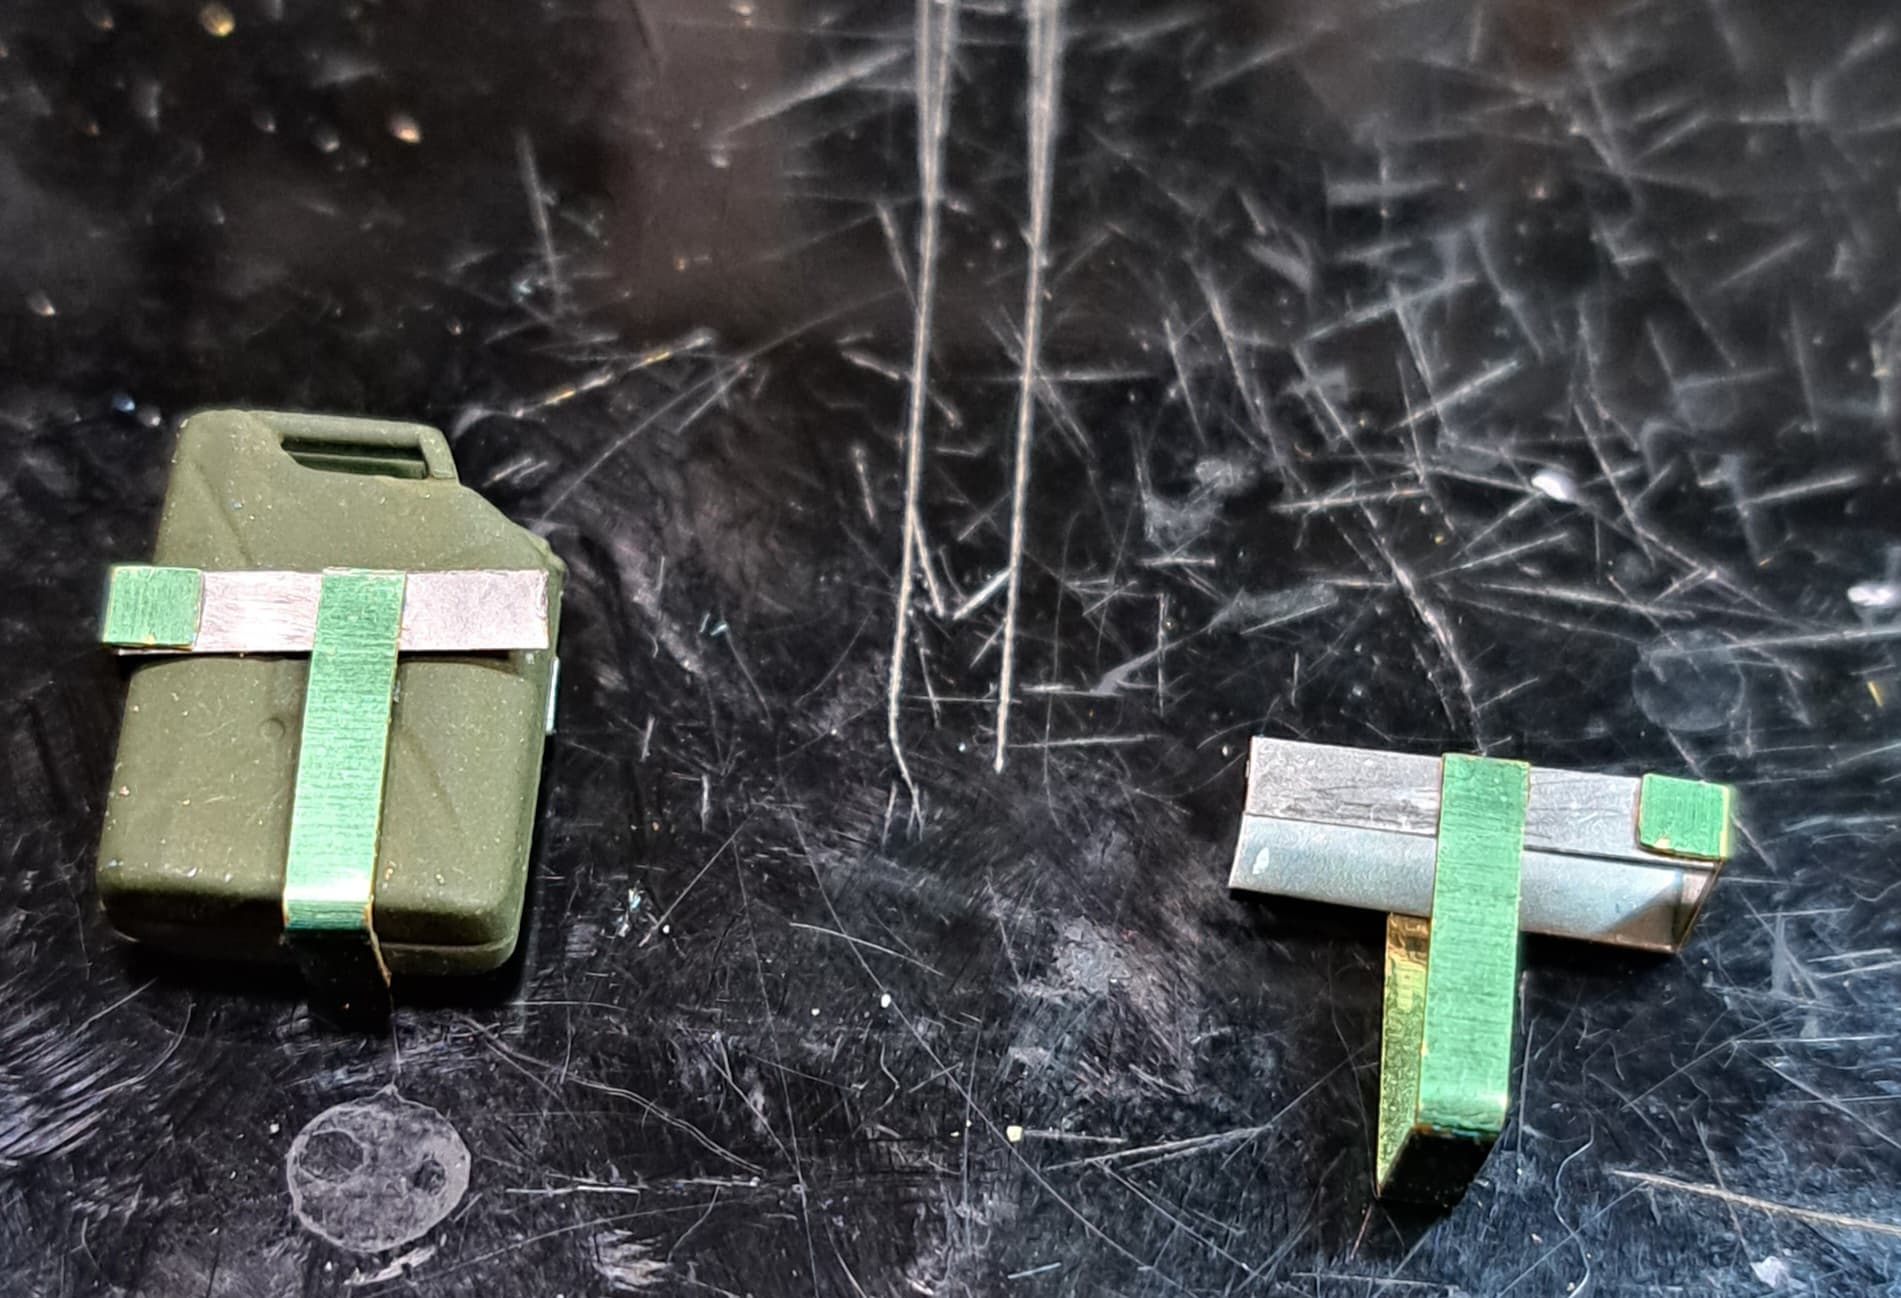
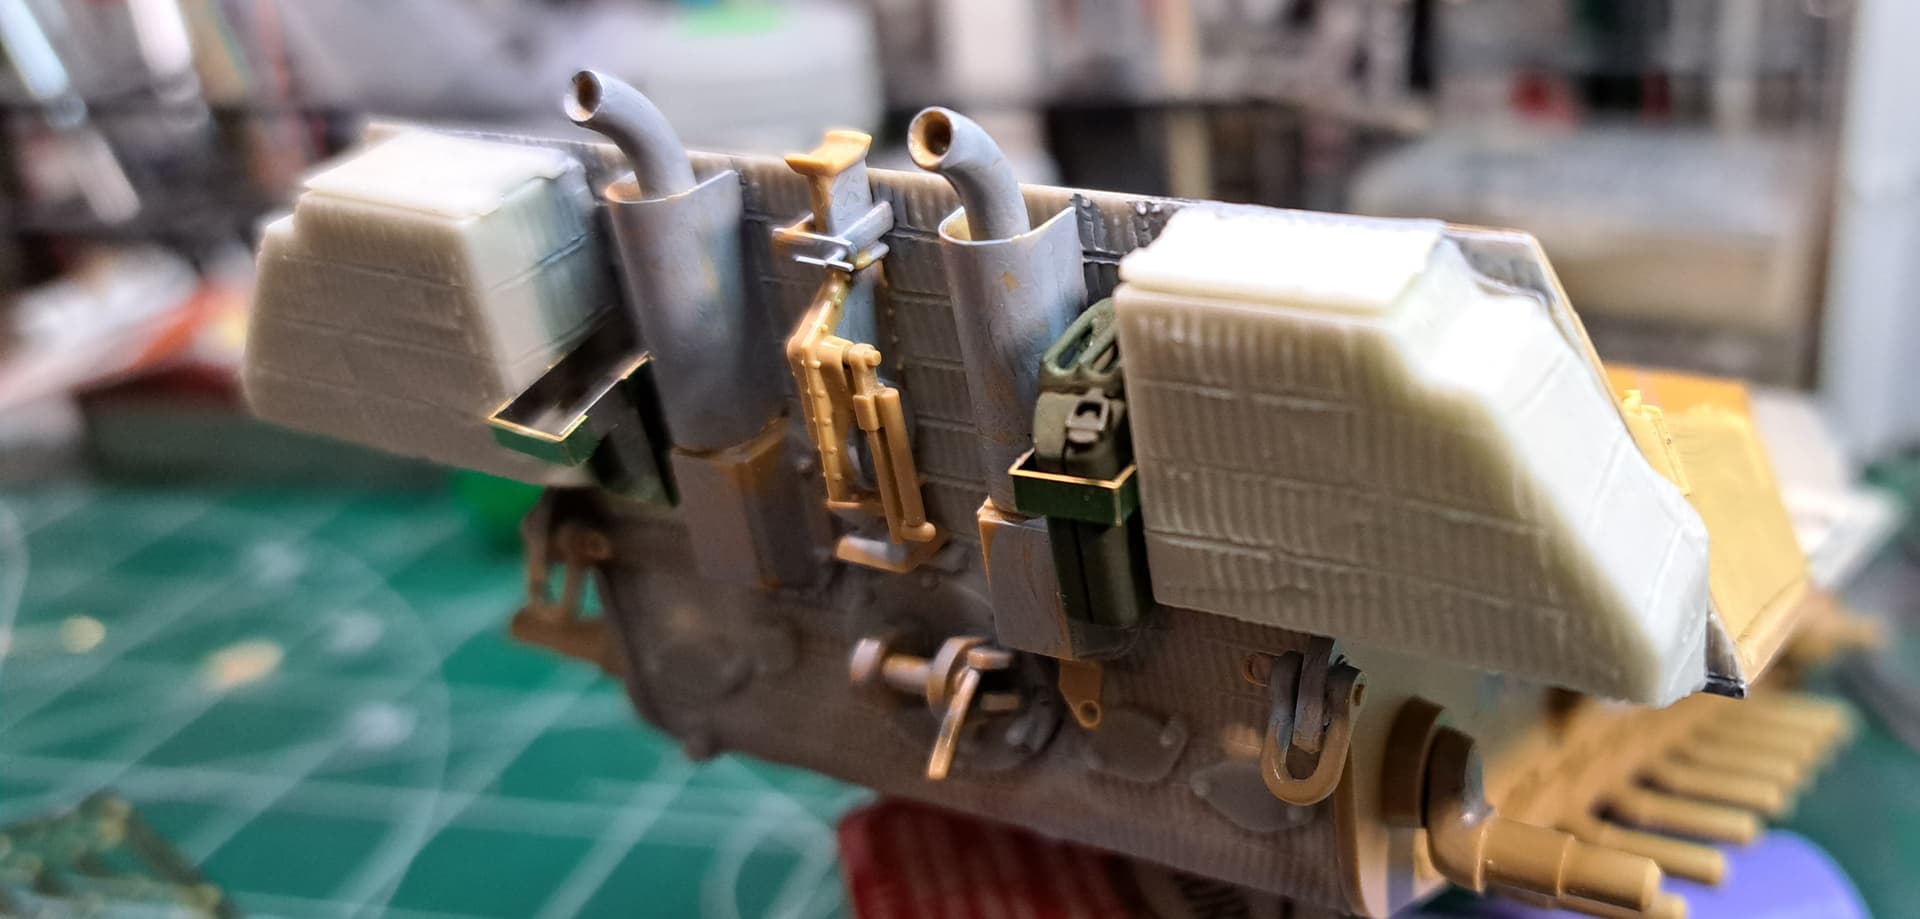
Installed, cans fit on both sides.
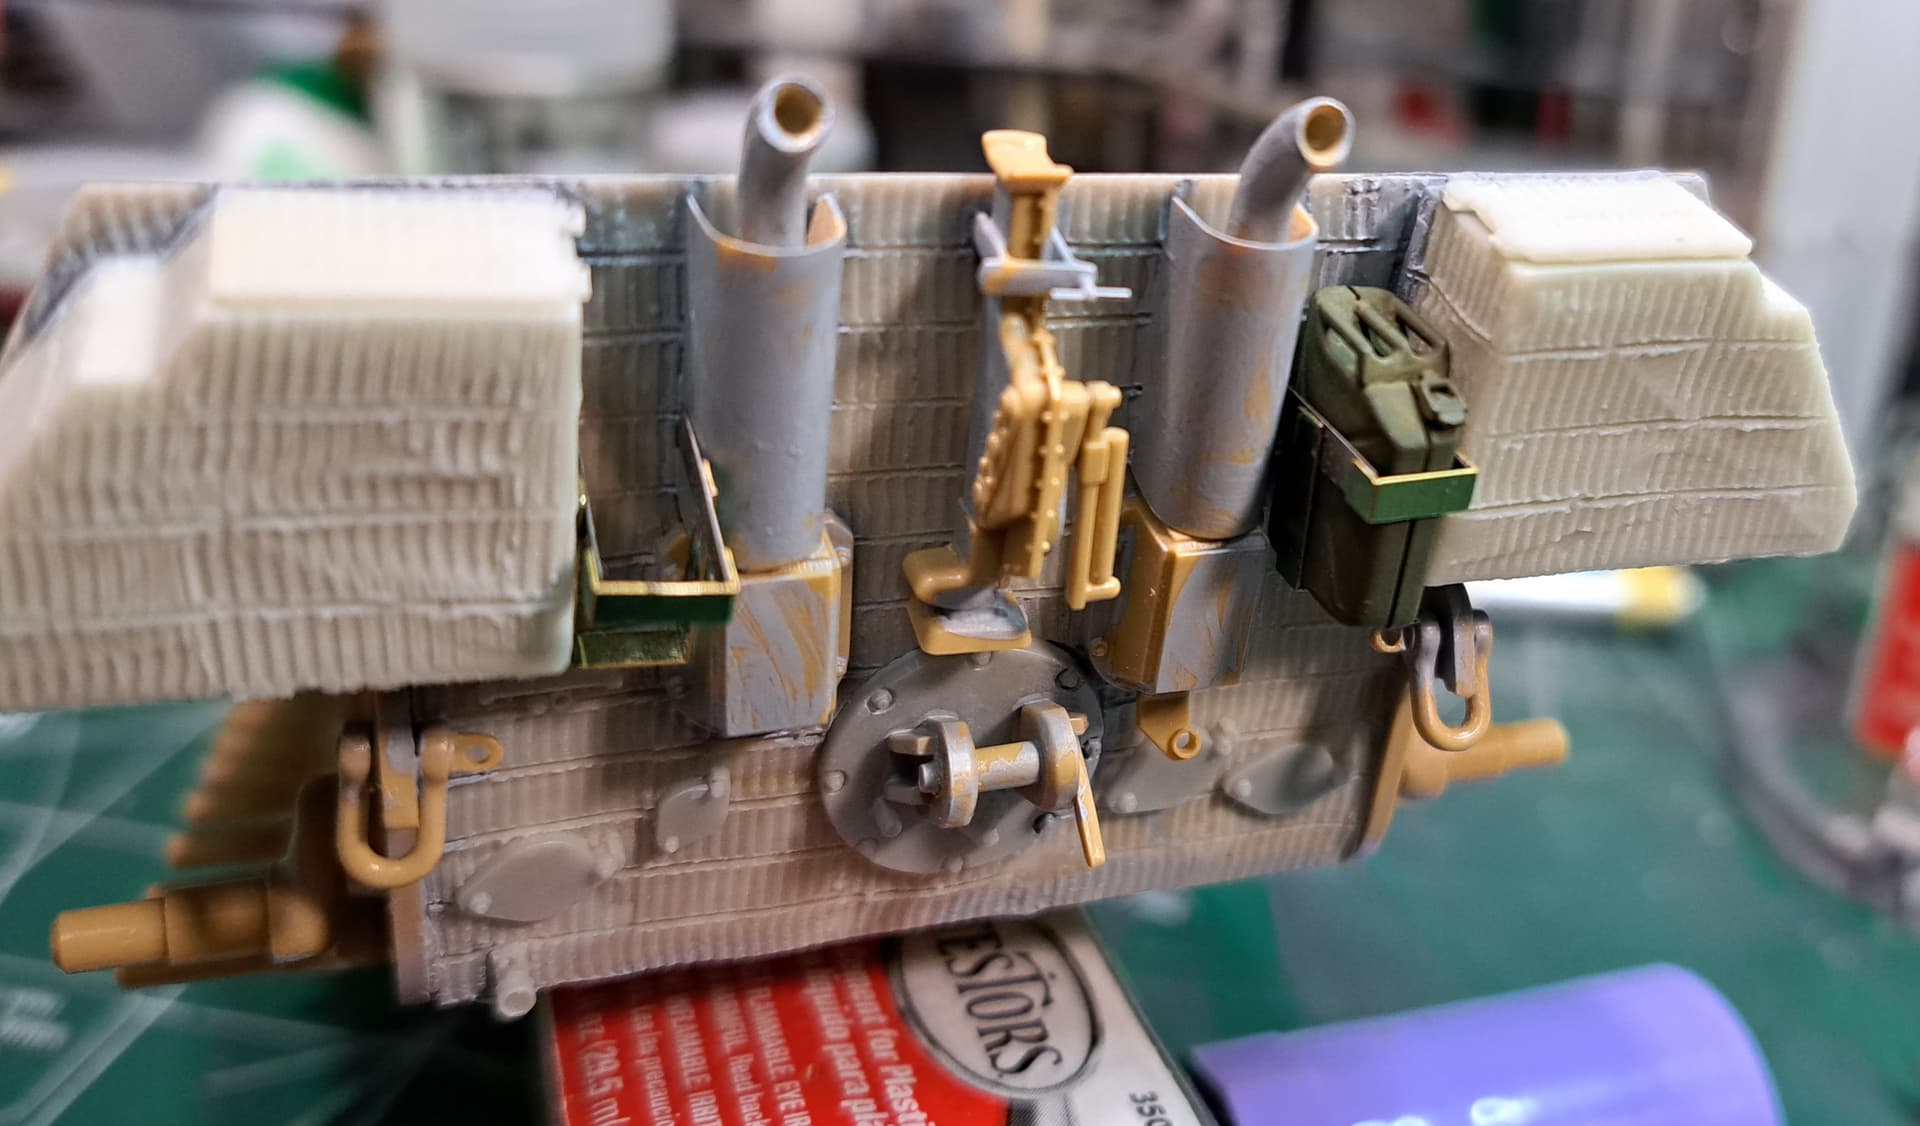
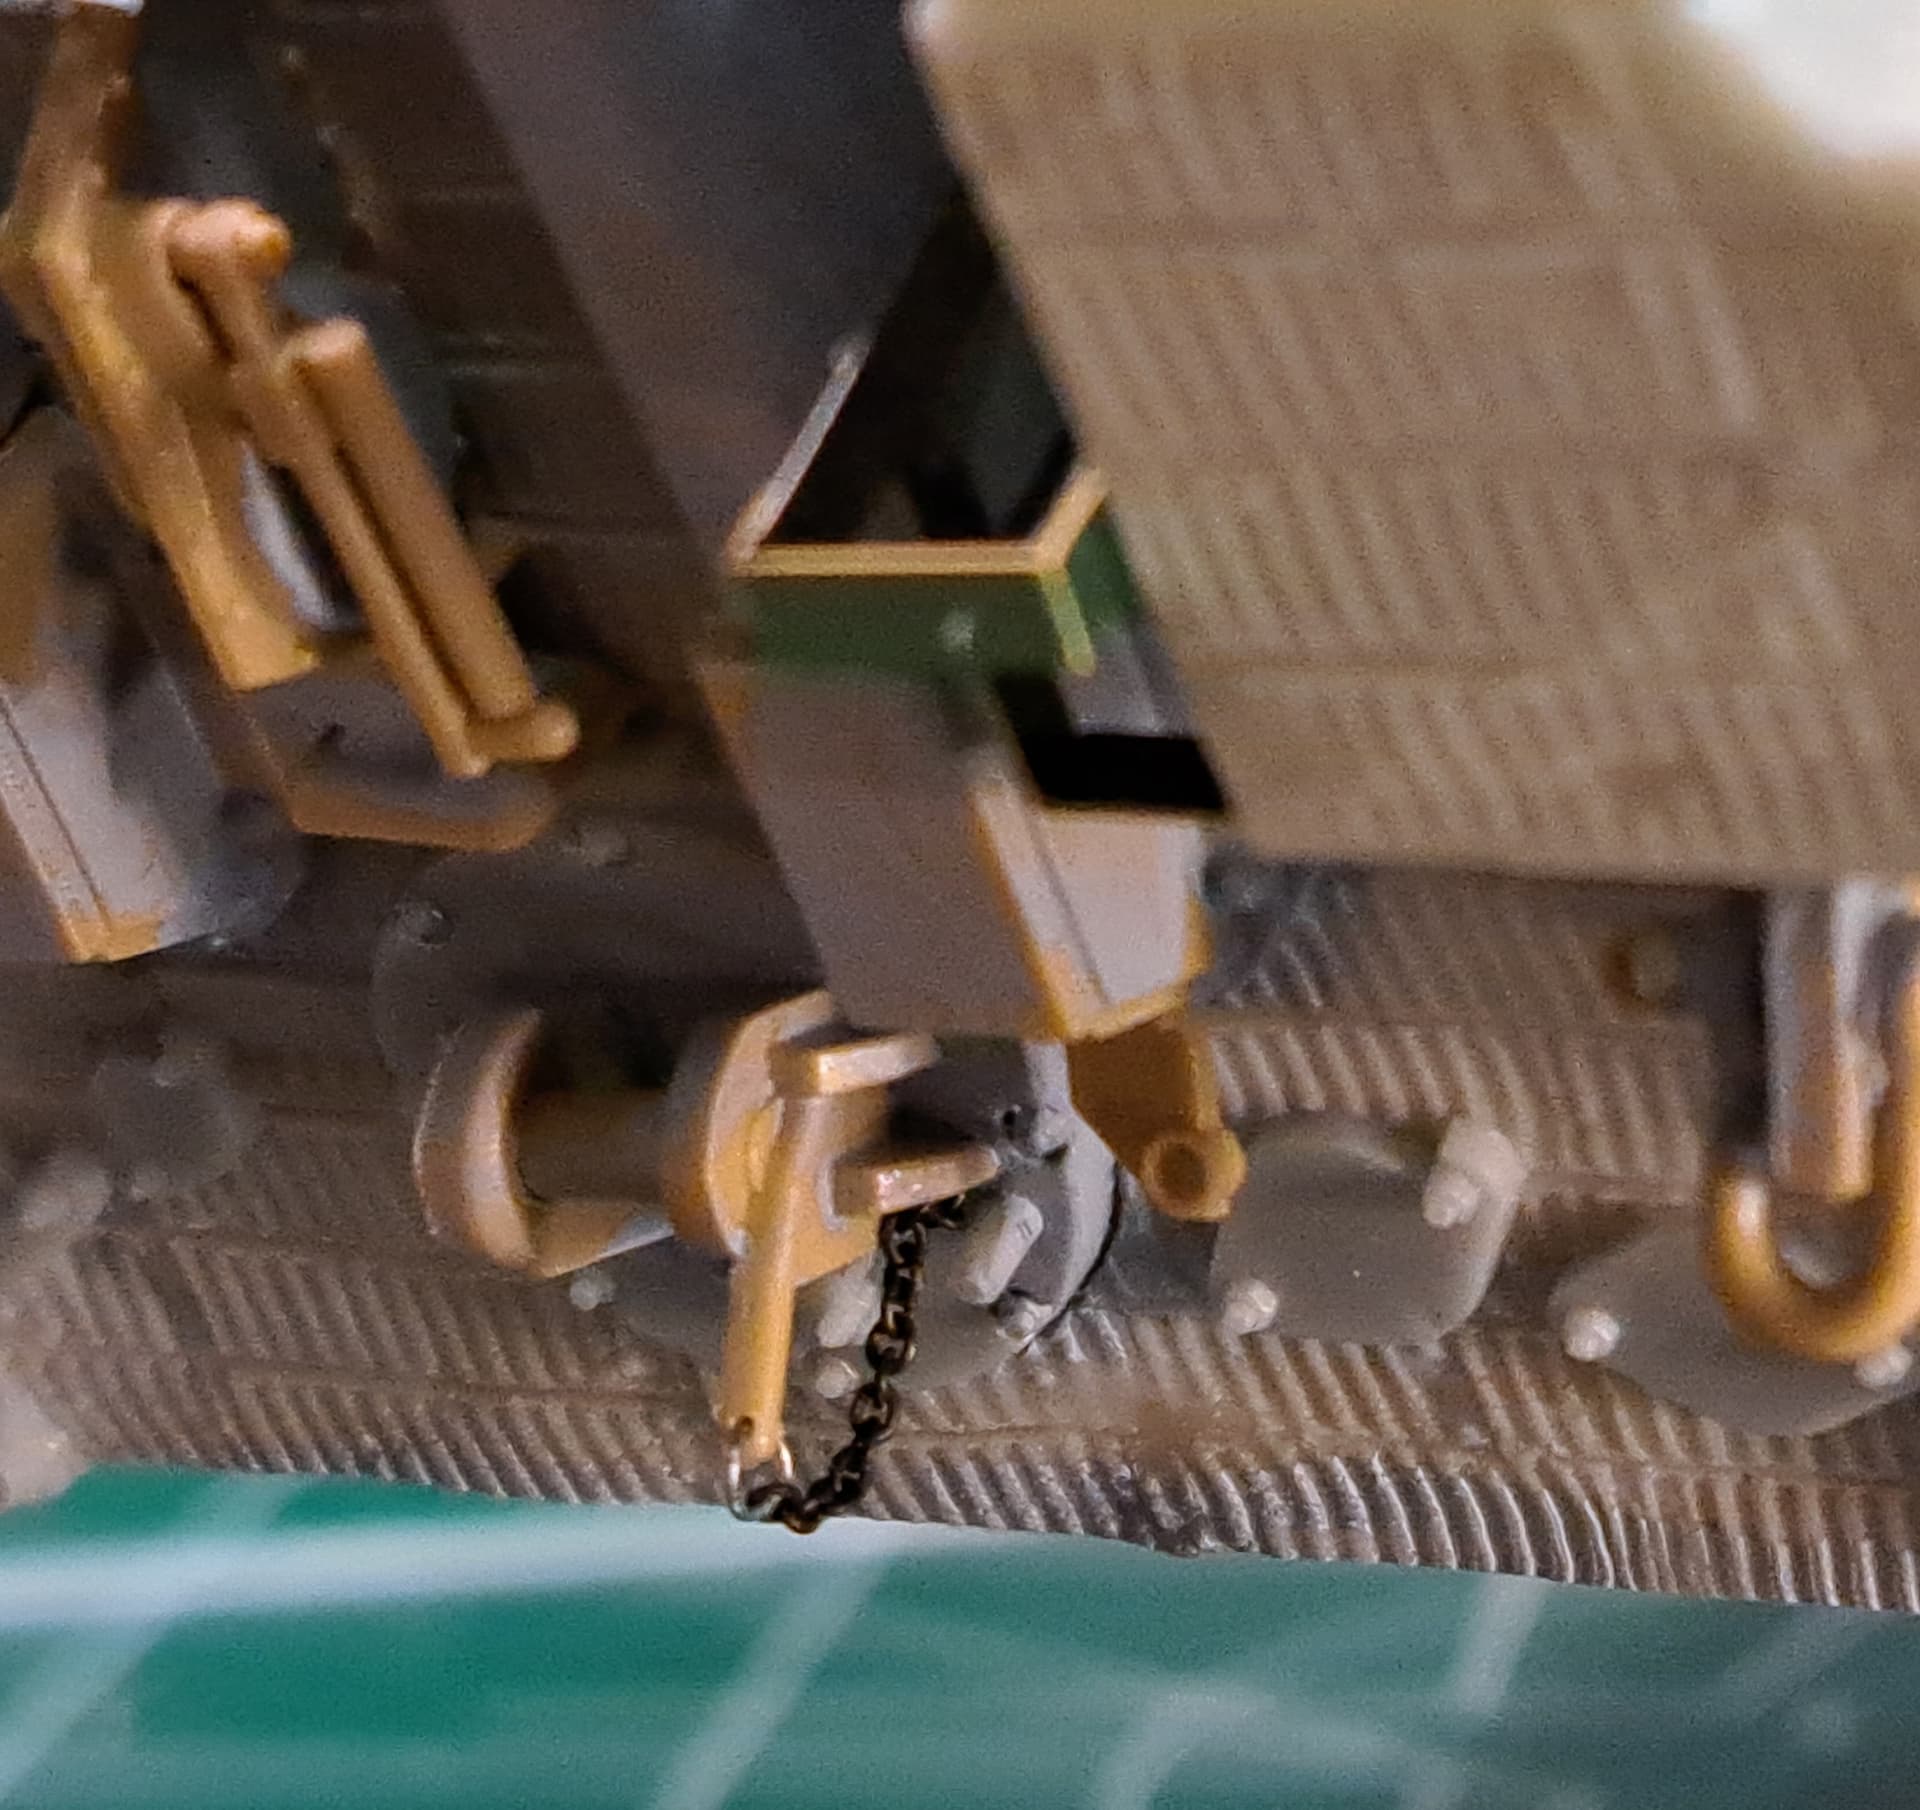
Added chain for tow pinnacle.
Decided to test fit…

The RFM tracks are very fragile, a total of five sets of pins broke during test fit. RFM’s 96 links on the box should probably be 86 link as the run appears about ten links too long.
This set of RFM tracks can work for this model. However, I think there’s a high price to pay in annoyance with this specific project. Previously shelved the model for 25 years so I’m making a command decision (lol) to reduced the annoyance factor.
Anyway what’s a stash of aftermarket parts for if not to have options to make projects go more smoothly. ![]()
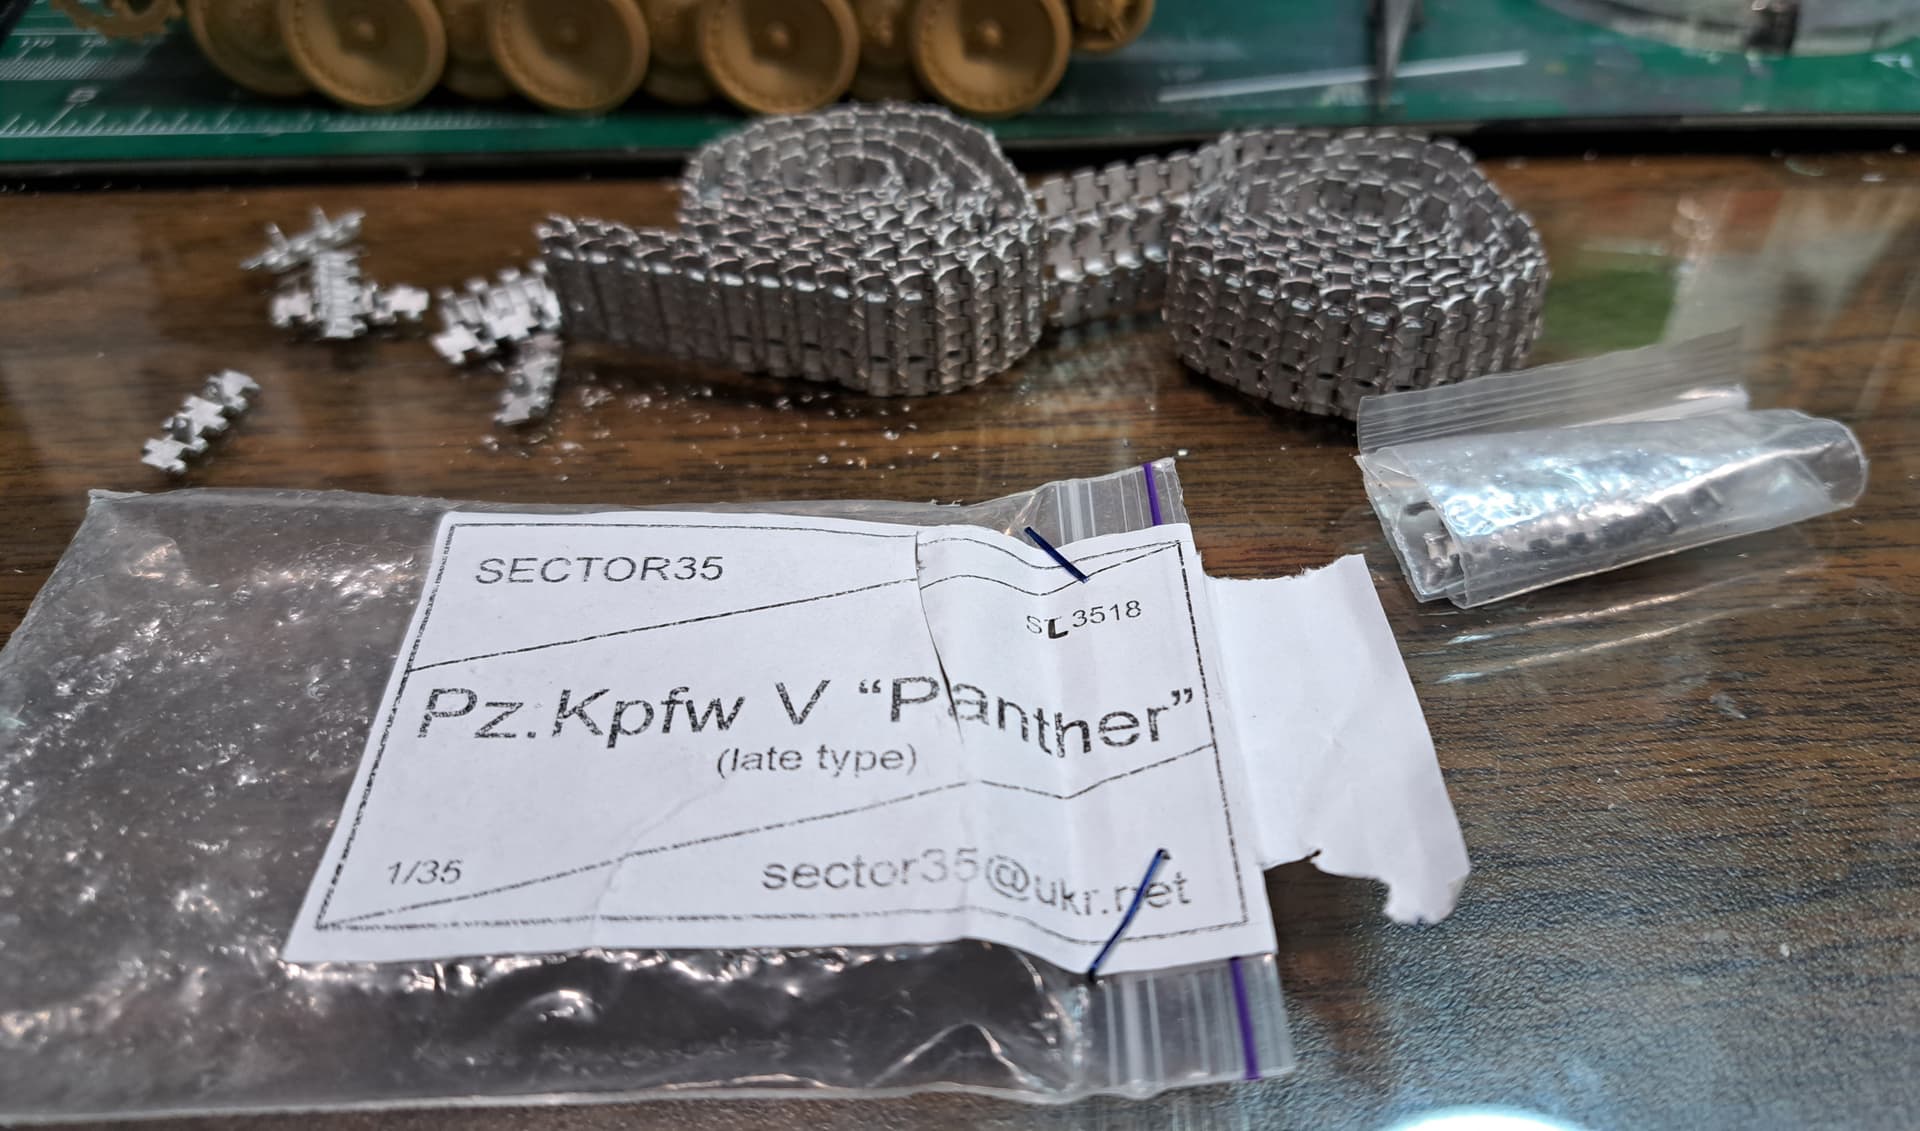
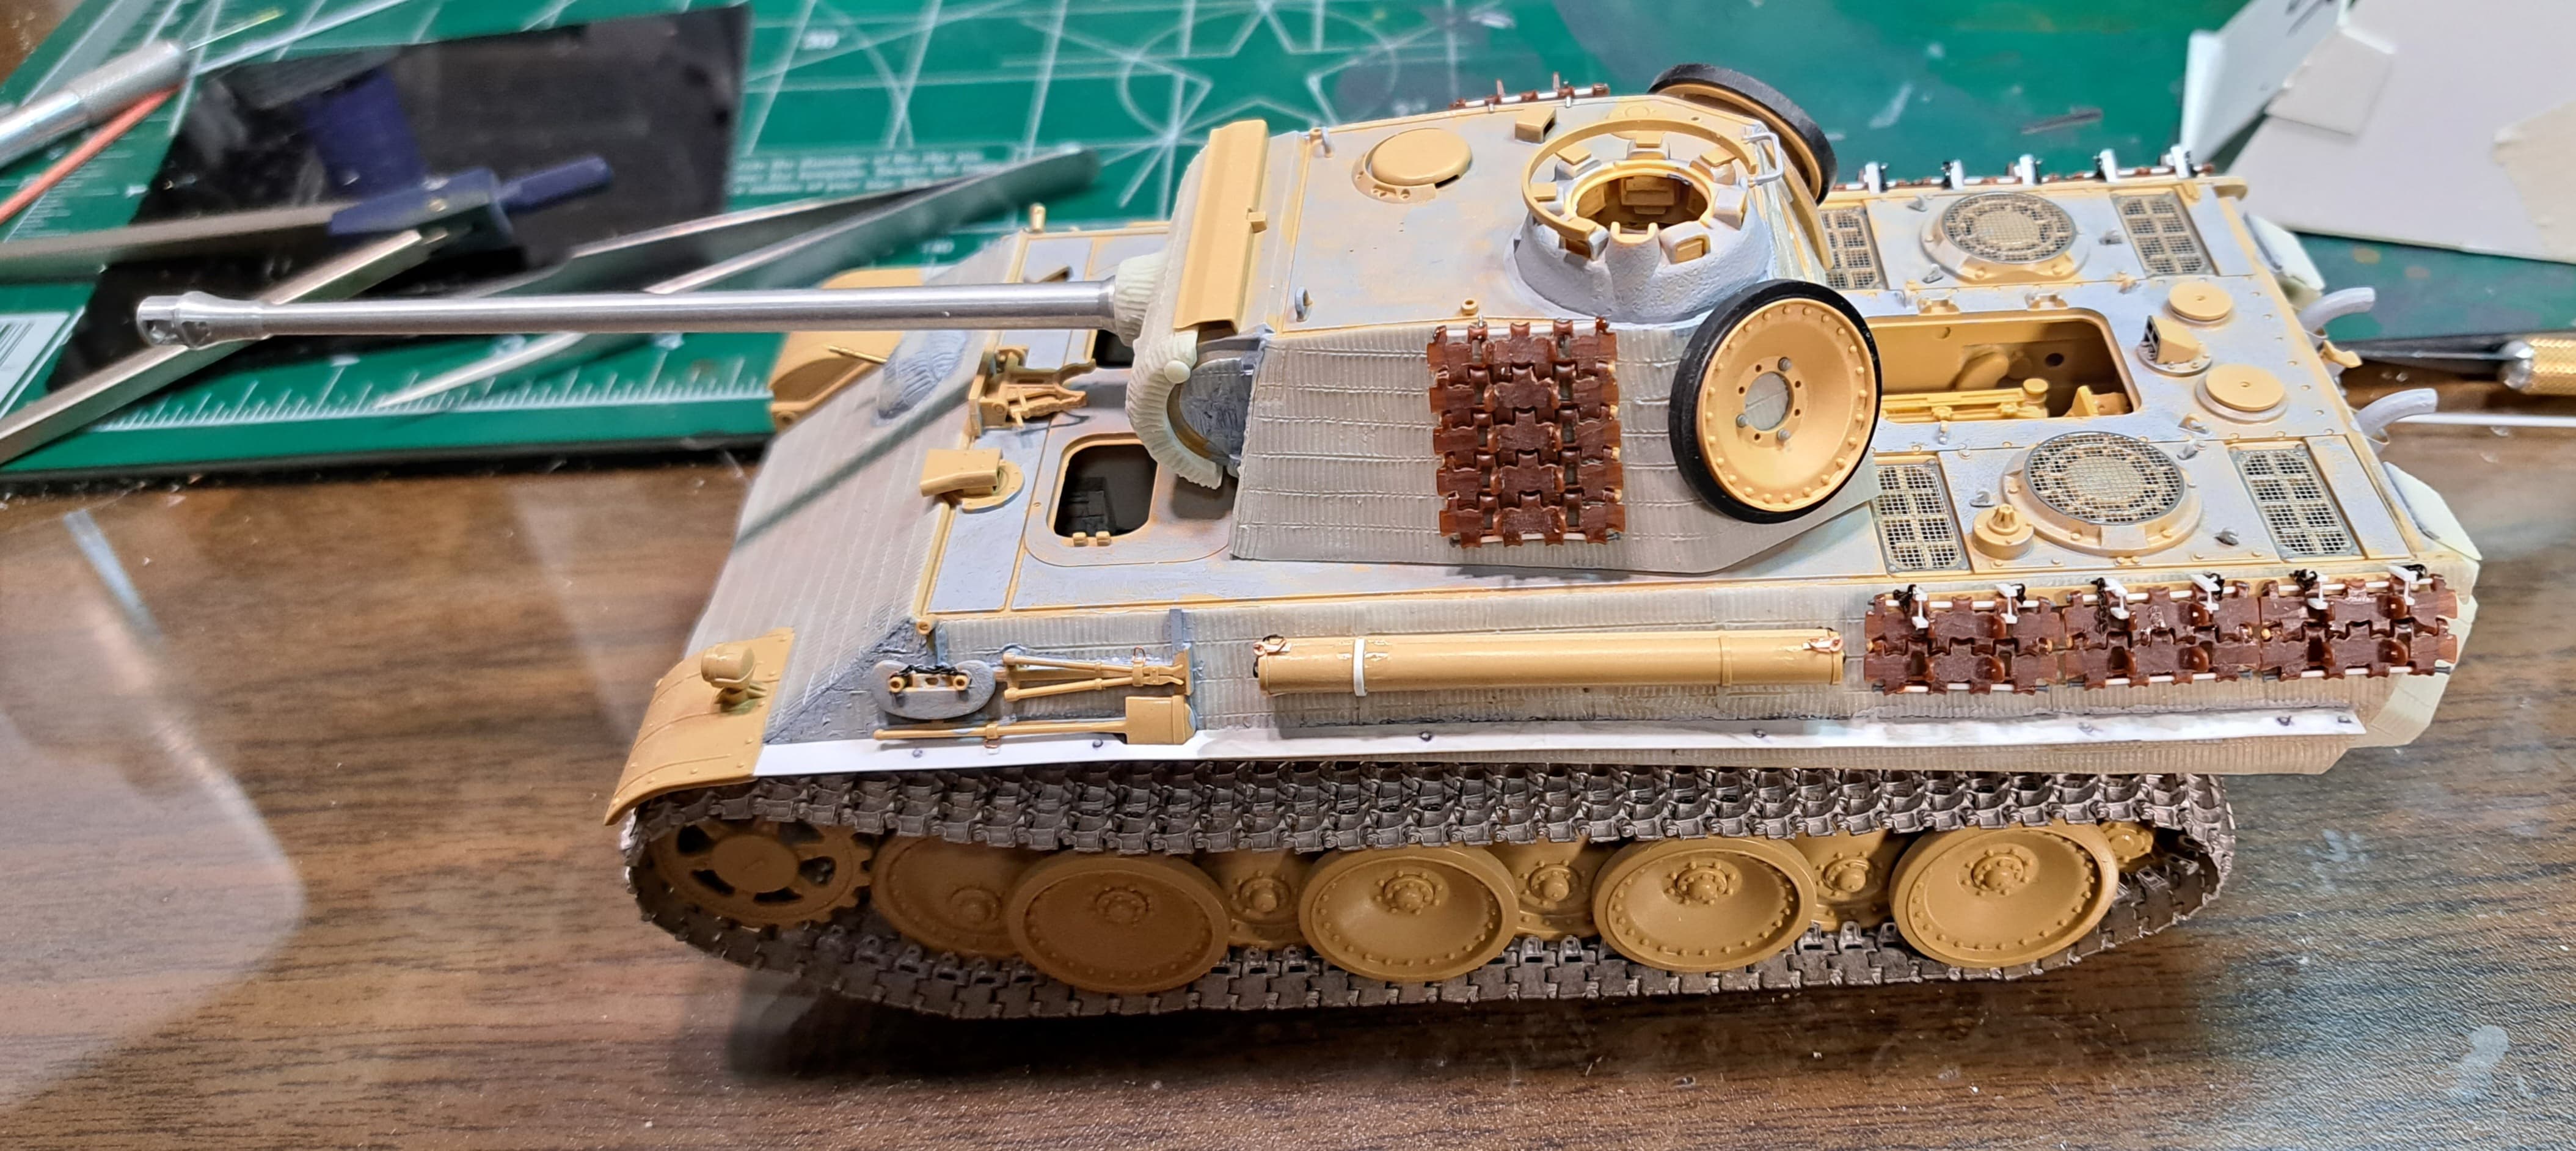
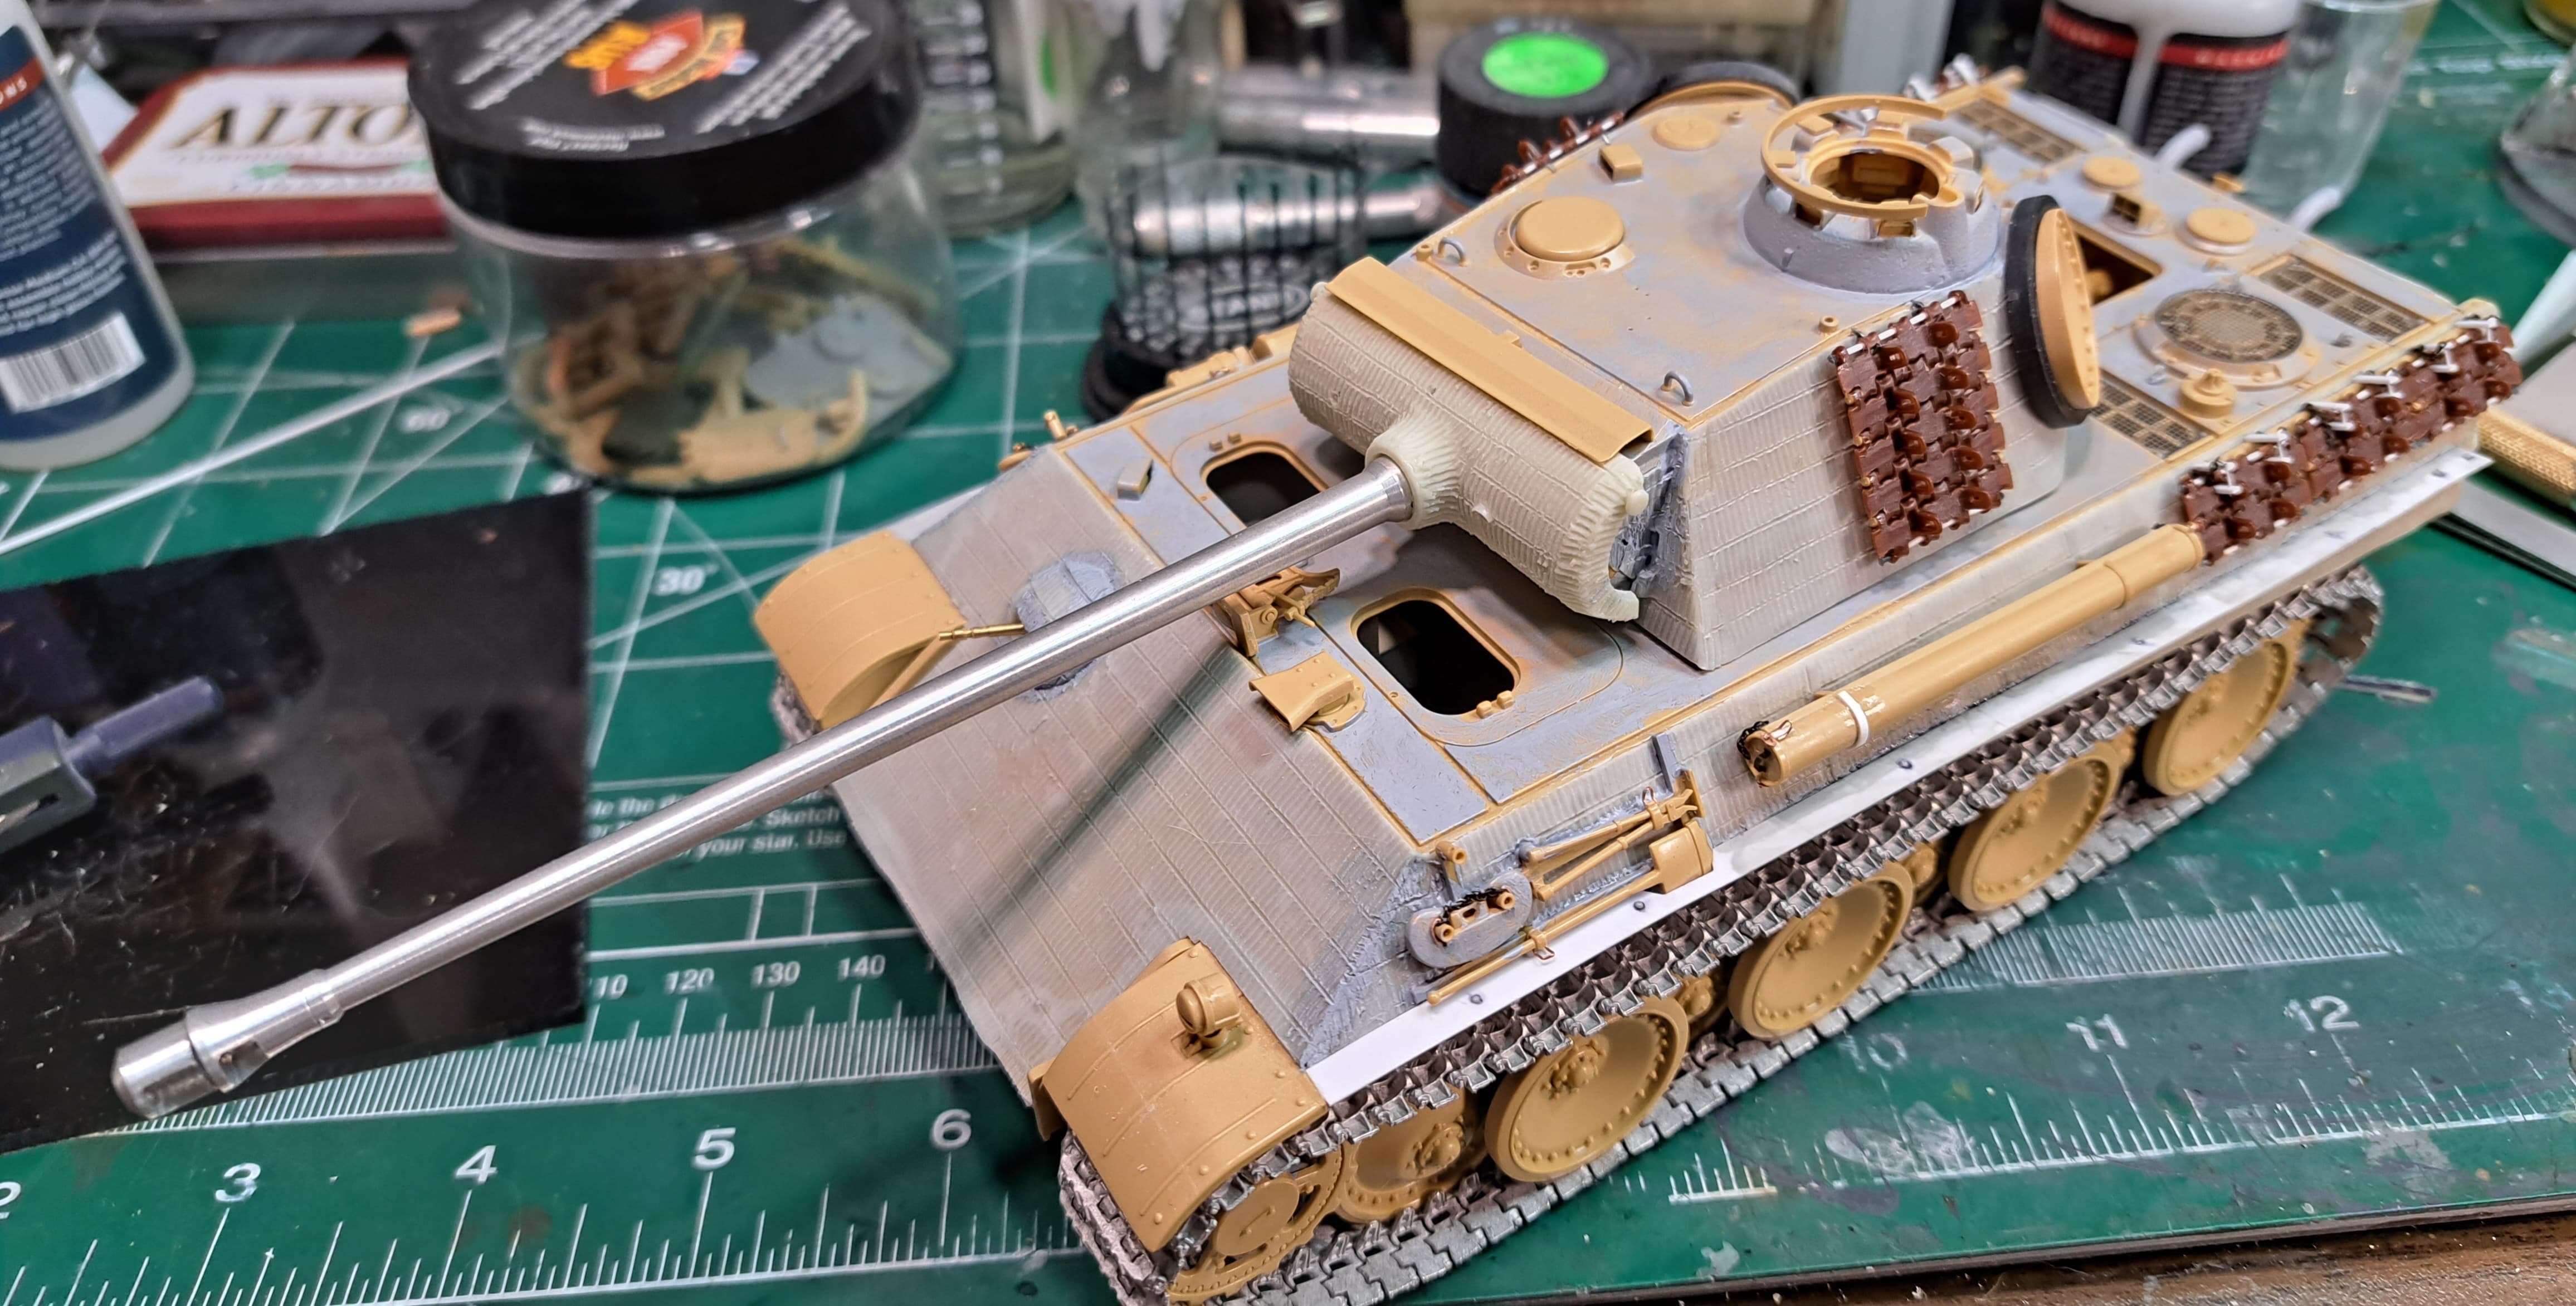
Sector35 makes an excellent set of pre-assembled working white metal Panther A/G tracks. These will replace the RFM’s as the Sector35’s far more durable. Minor clean up of casting nubs is needed on a few links. Total time ~5 minutes.
Sector35 also makes Panther D tracks.
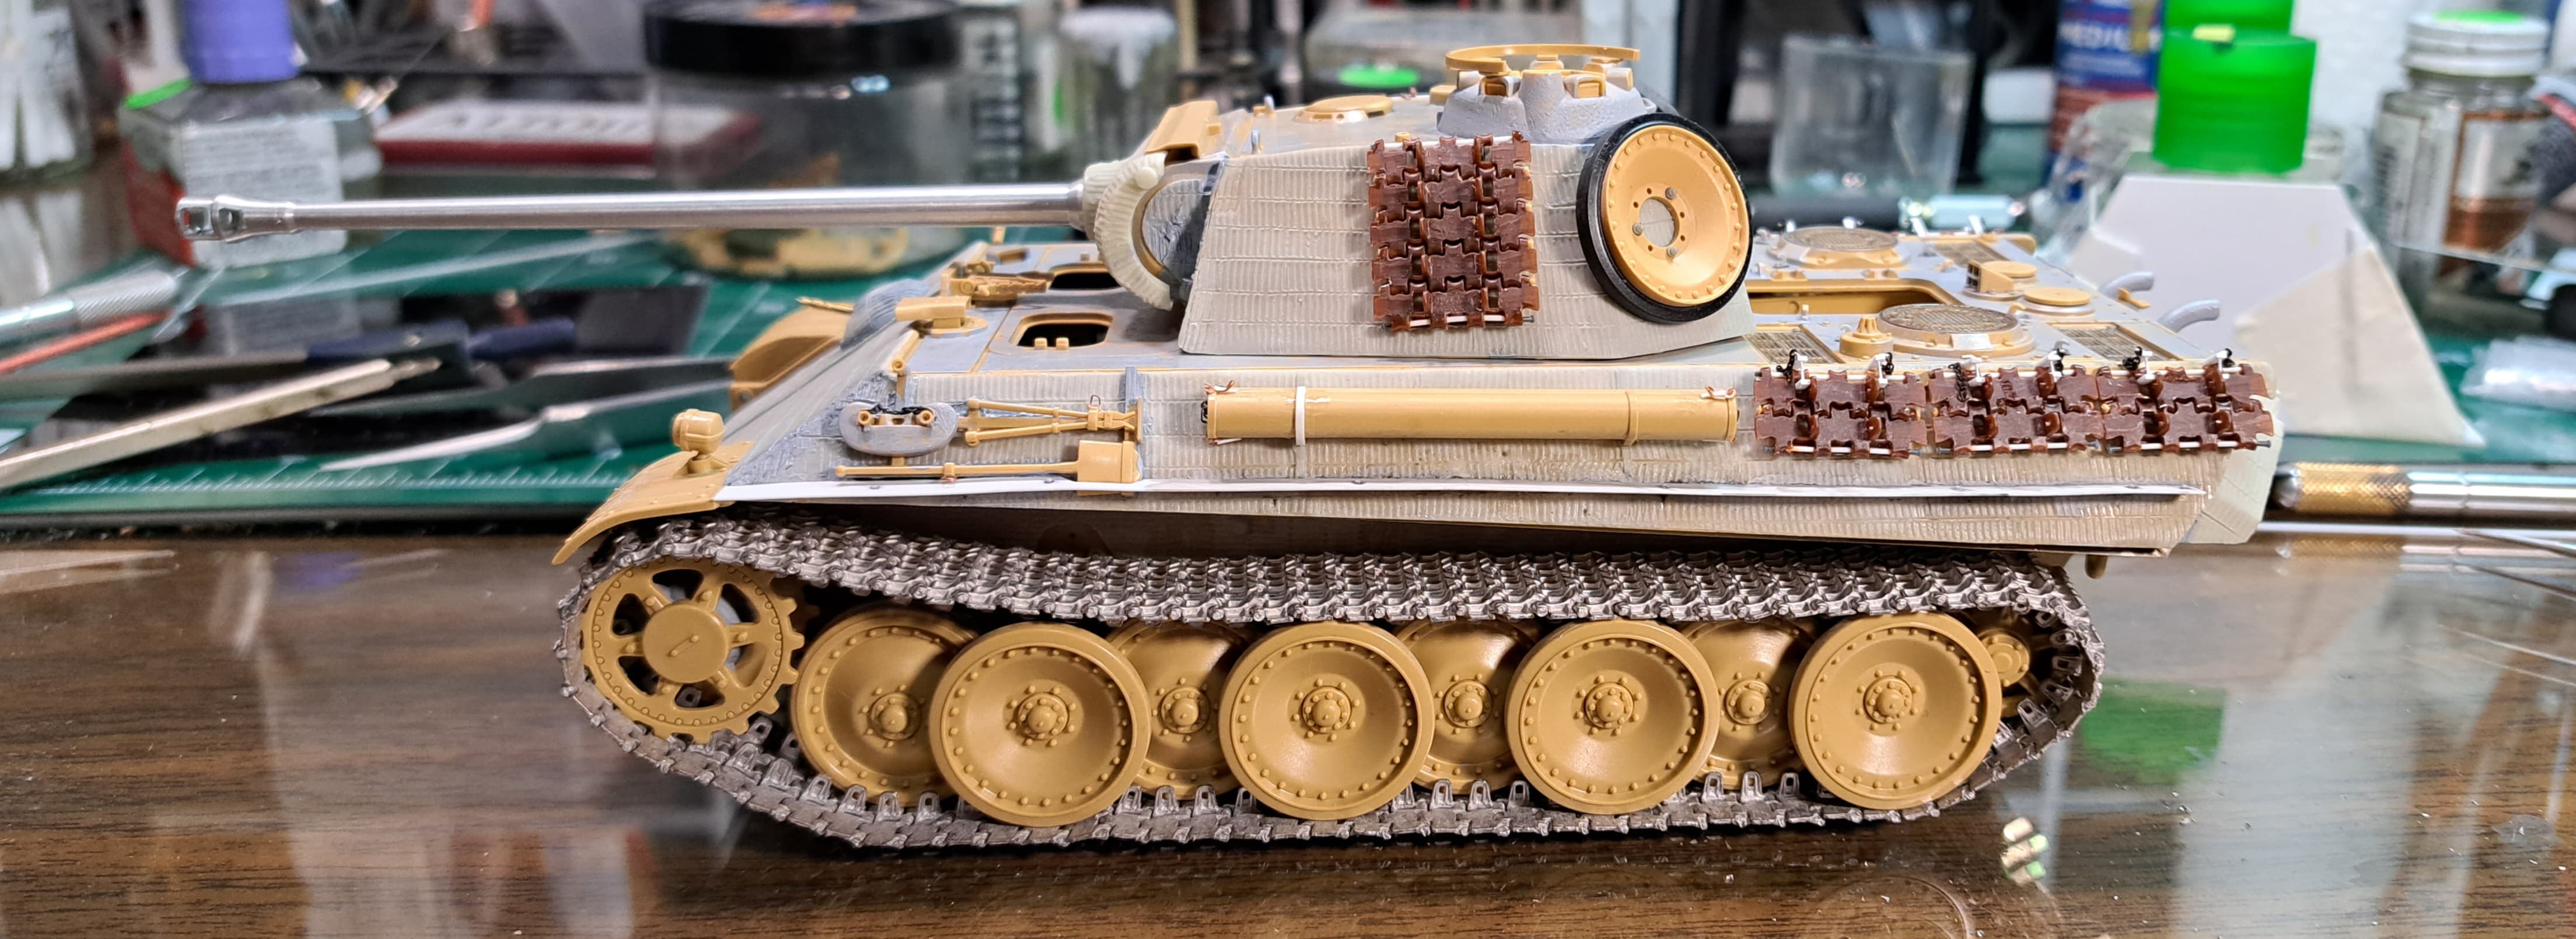
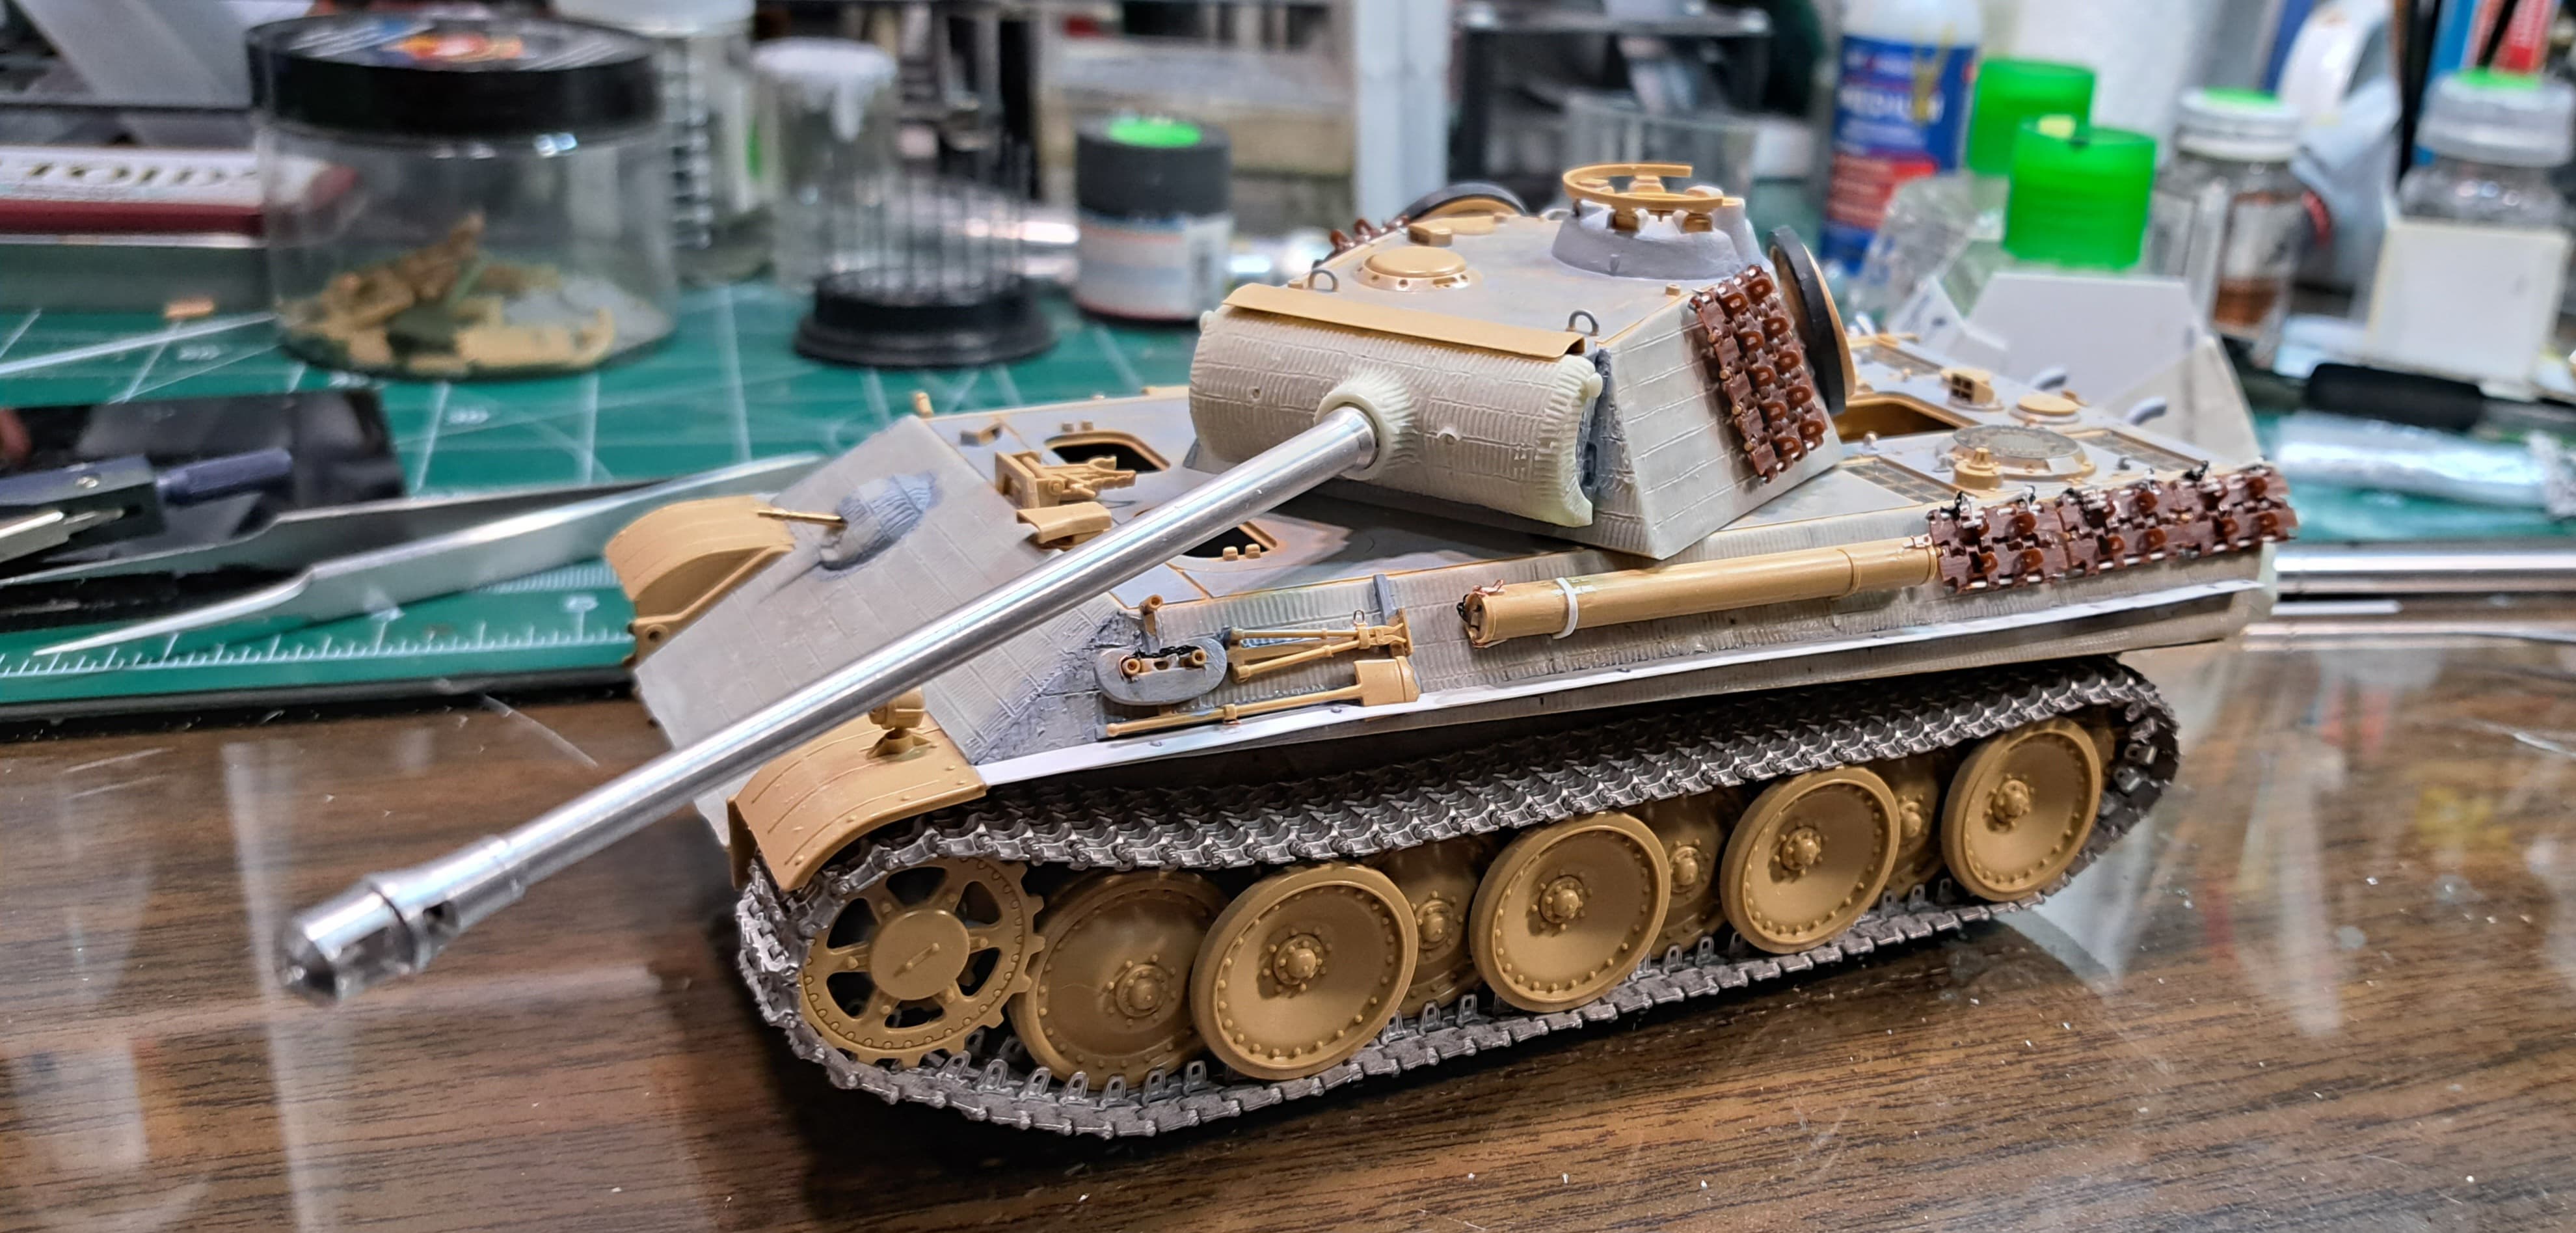
Definitely going Sector35’s on this Tamiya Panther G.
The RFM’s won’t go to waste. The Tamiya JagdPanther in the stash needs a nice set of aftermarket tracks. Perfect match.
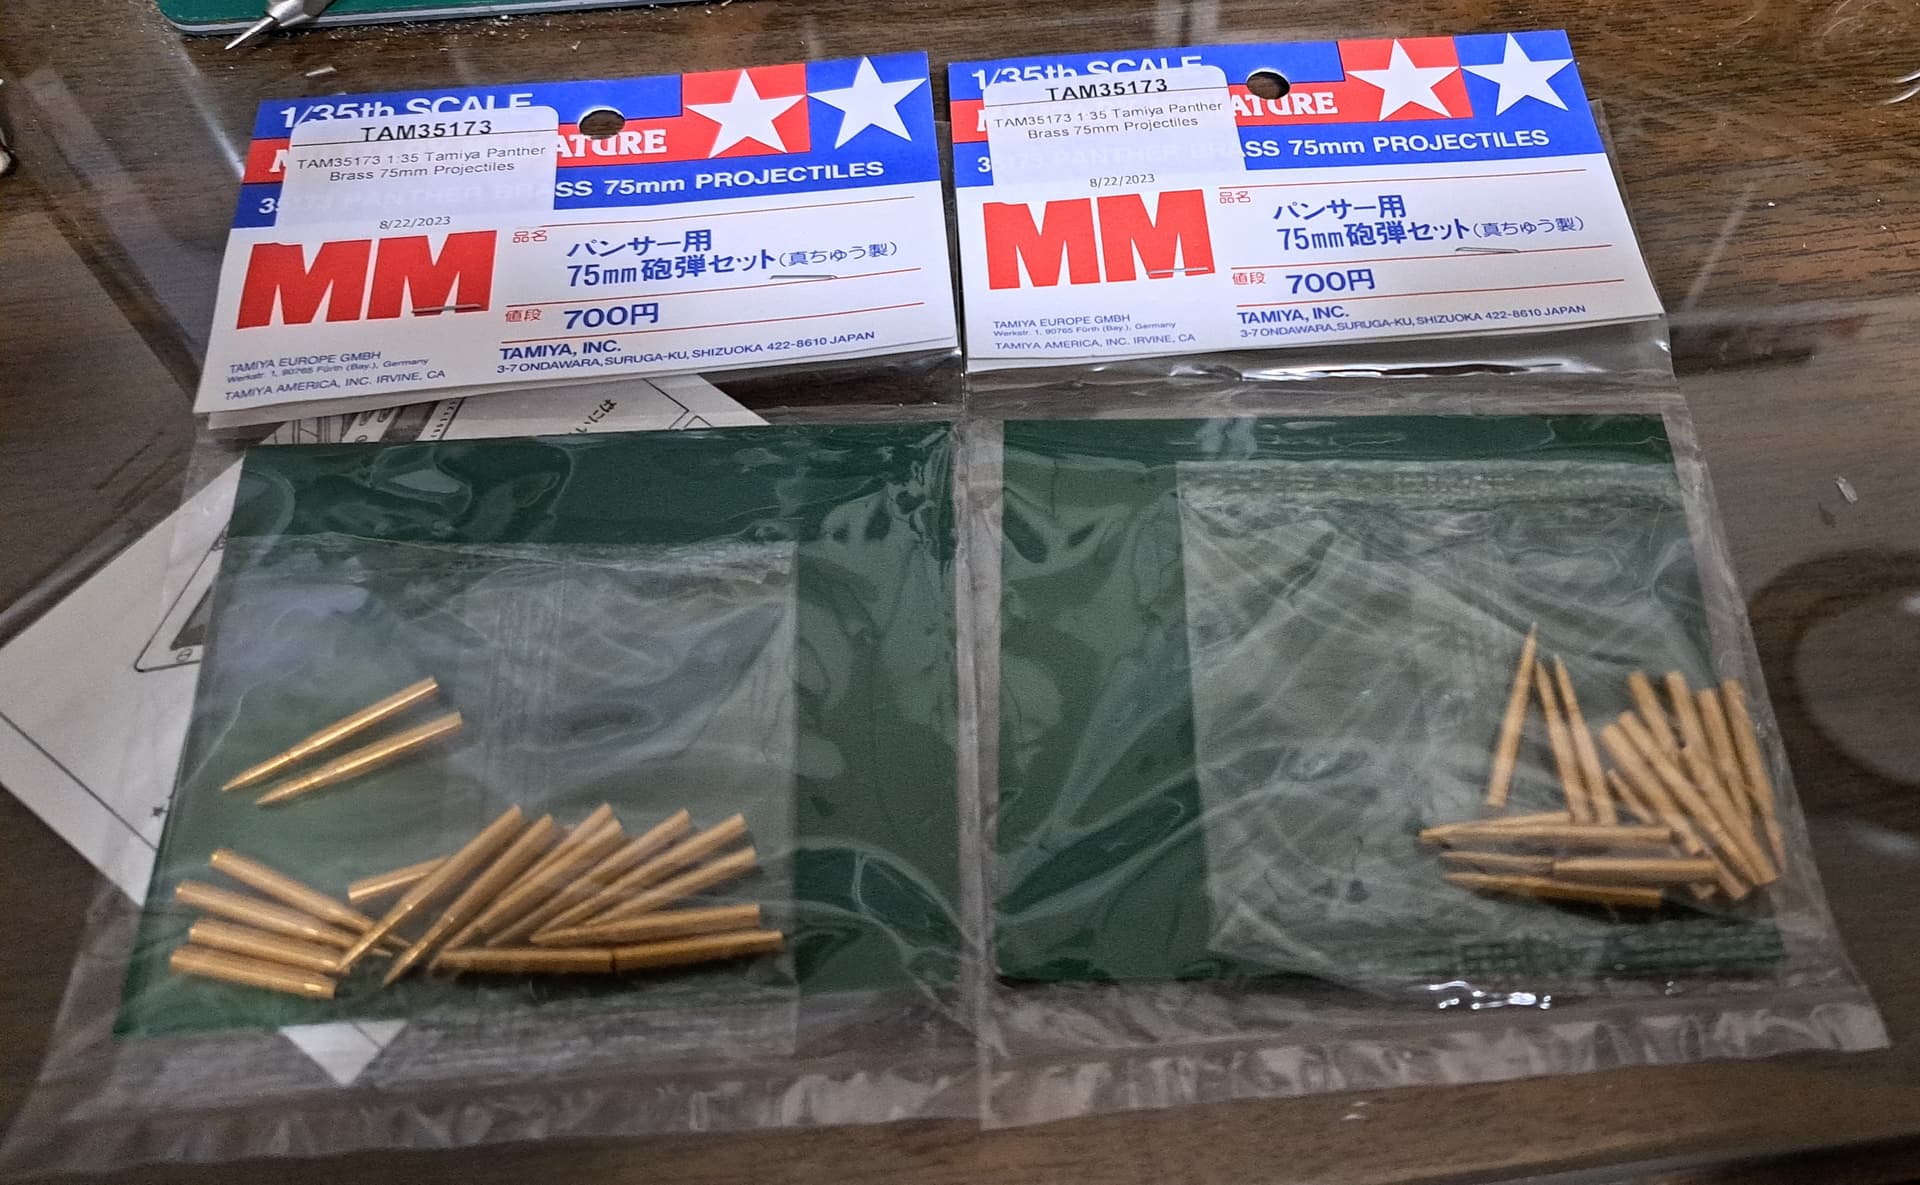
Finding the Sector35’s tracks yesterday inspired inventory of the aftermarket parts today. The misplaced Tamiya brass ammo for the build was located.
More good Panther news, the resin goo has almost fully cured. I think this is a good point to table the build for a few weeks before continuing.
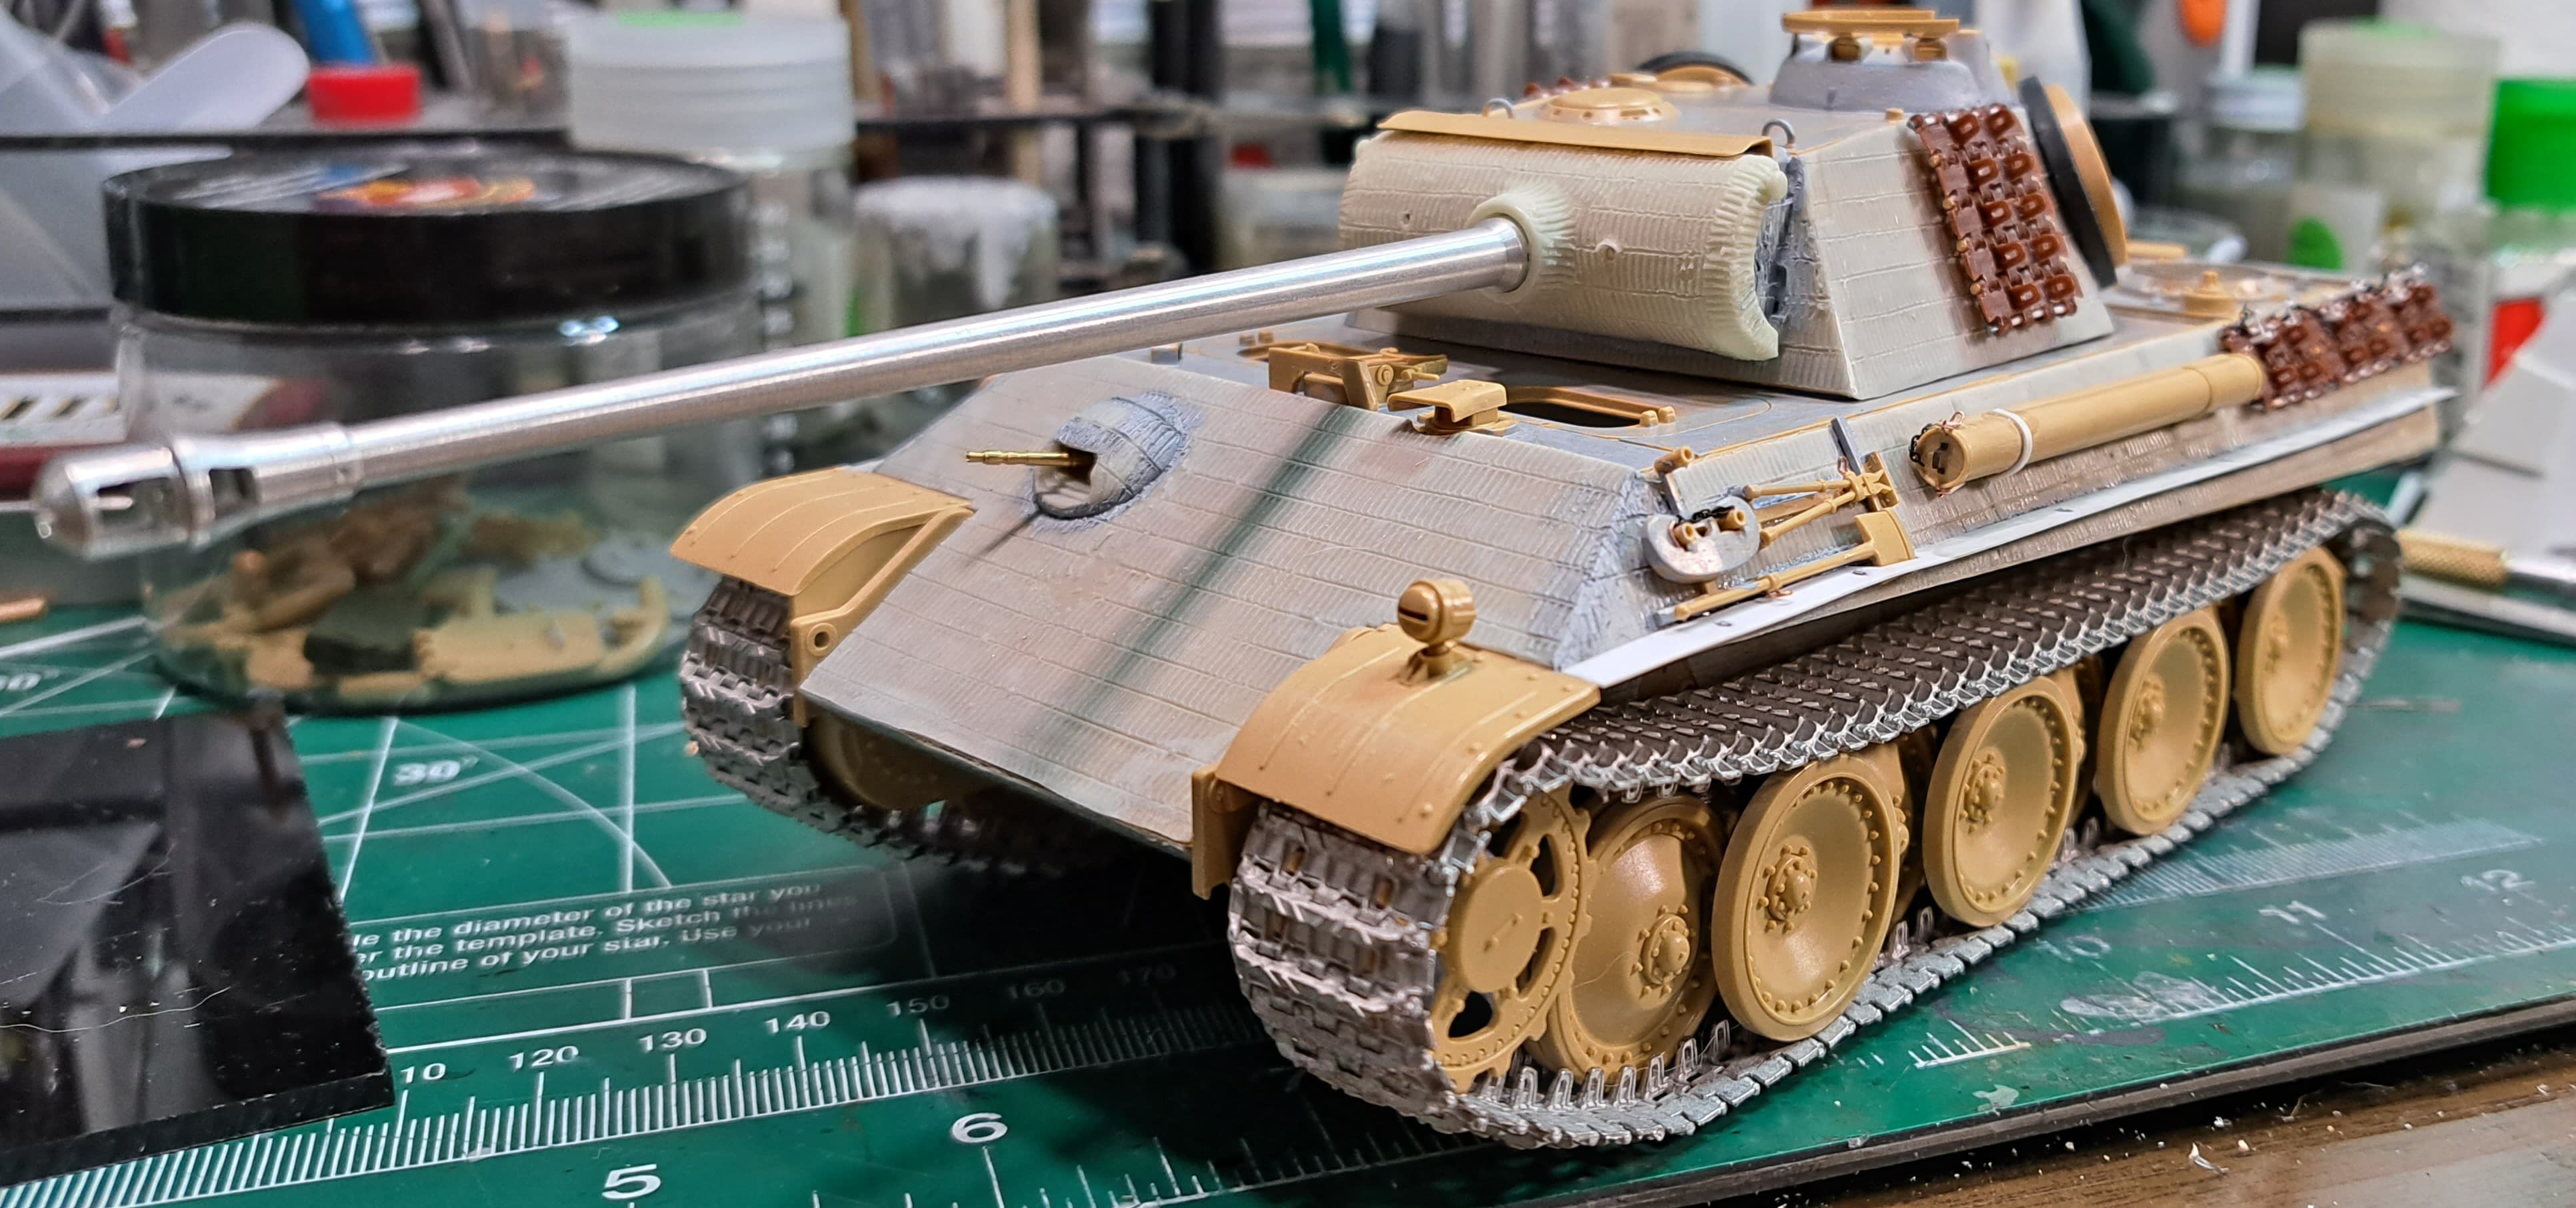
With both tracks on, I’m pleased with how the Tamiya Panther G has progressed.
Will return to the Dragon Kursk Panther D as its campaign wraps soon.
Edit, thanks Tim! ![]()
Beautiful work again – er I hope you meant Panther D if it’s Kursk…anyhow am I the only one to notice your avatar has morphed from Spock to Number 6? Nice, somewhere they must be streaming The Prisoner but I’ve yet to track it down. I am not a Number etc…alas I think we all are now.
Tim, thank you. I think Tamiya made an excellent kit with their 1990’s era Panther G. It has good bones, the dimensions seem good so the model is a joy to tweak.
Spock had to visit vulcan for the seven year scratch or whatever it’s called. I like The Prisoner and need #6’s Iron Will of determination to grind out a project.
There’s an Italeri Panther that’s triggered my OCD. I have consulted the Holy Book of Armaments and the necessary scriptures.
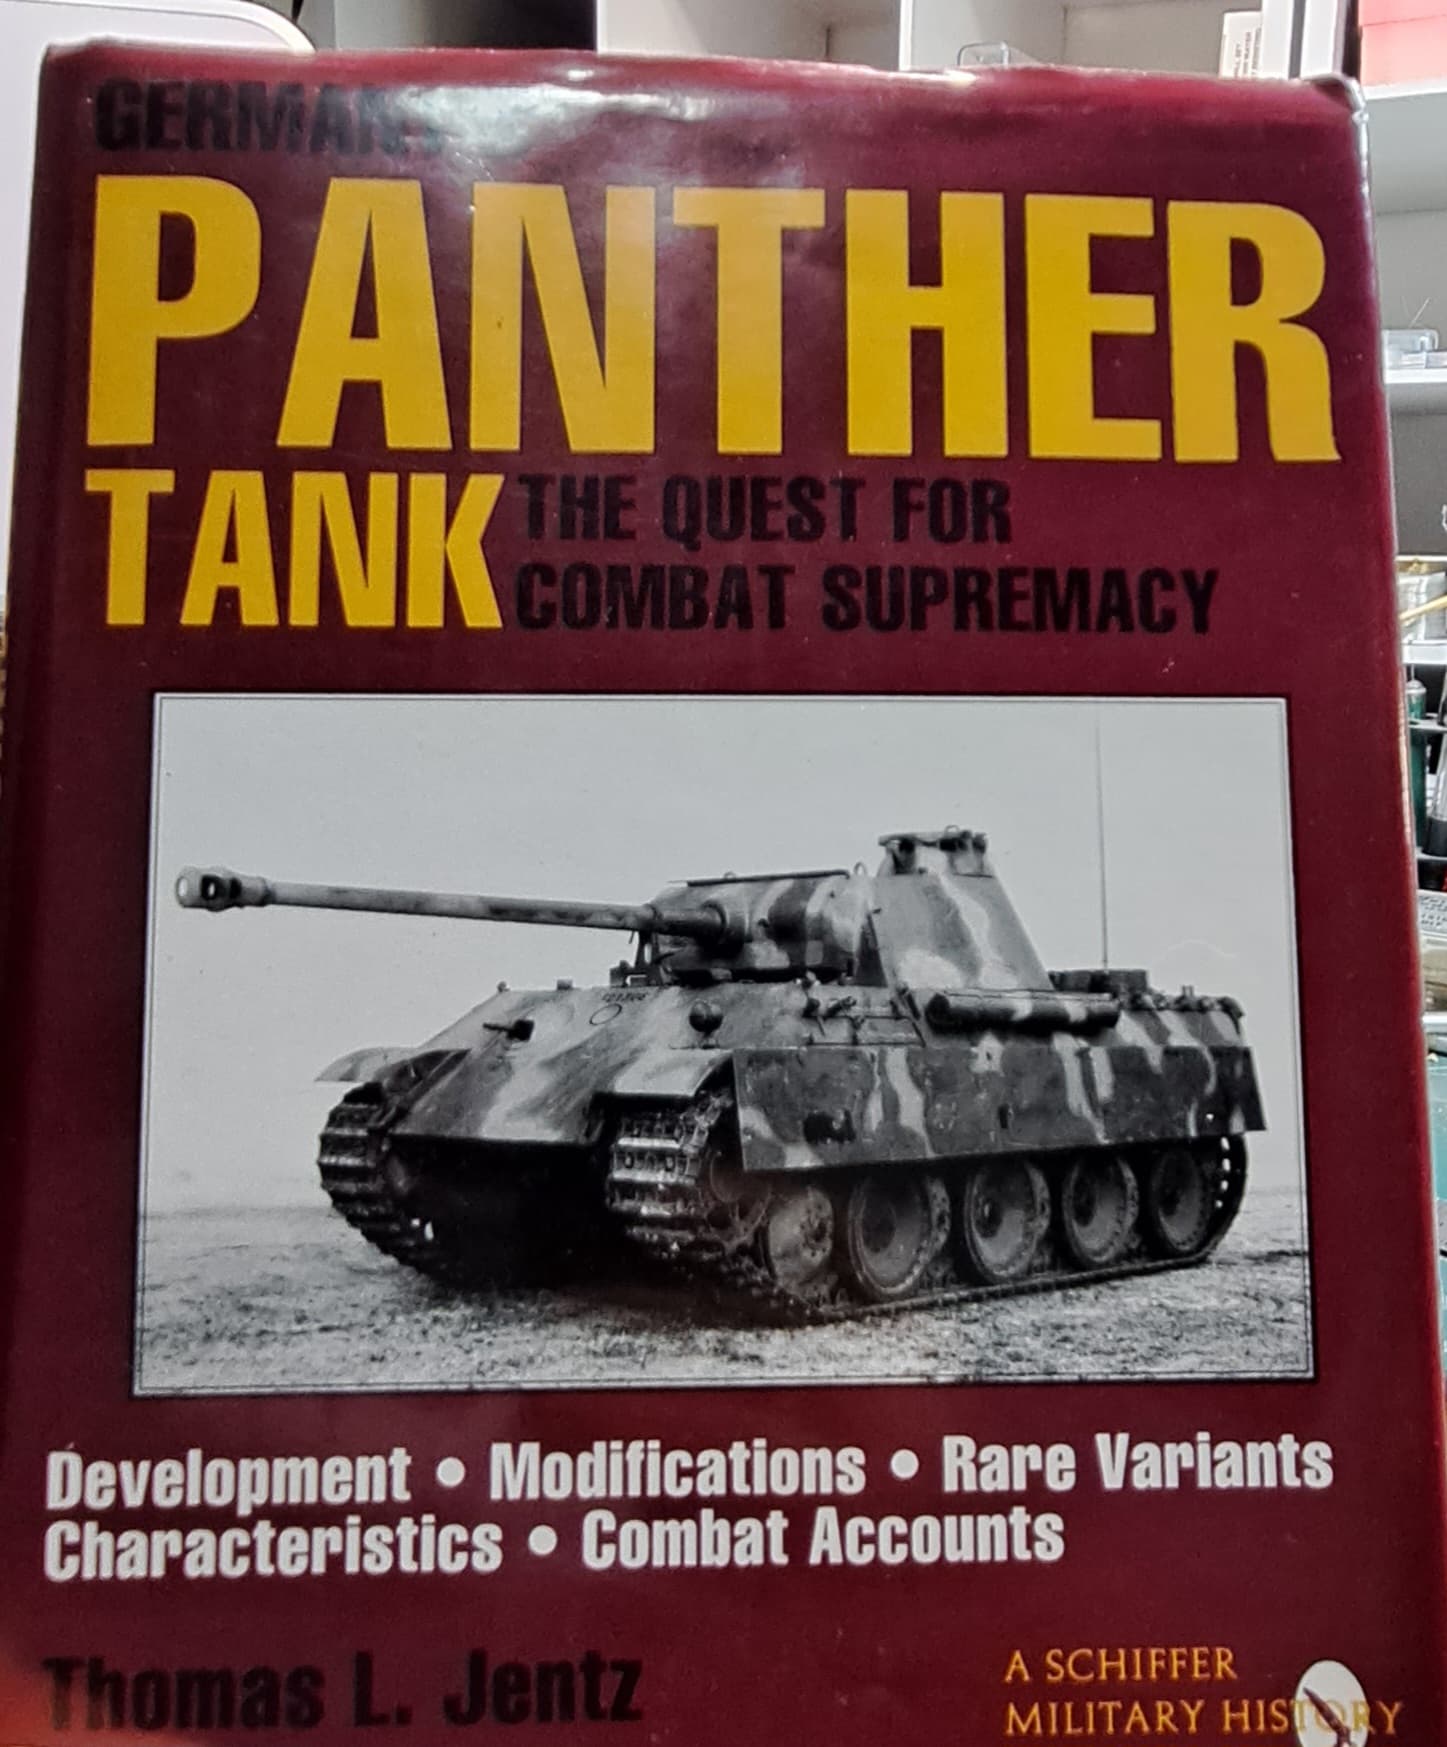
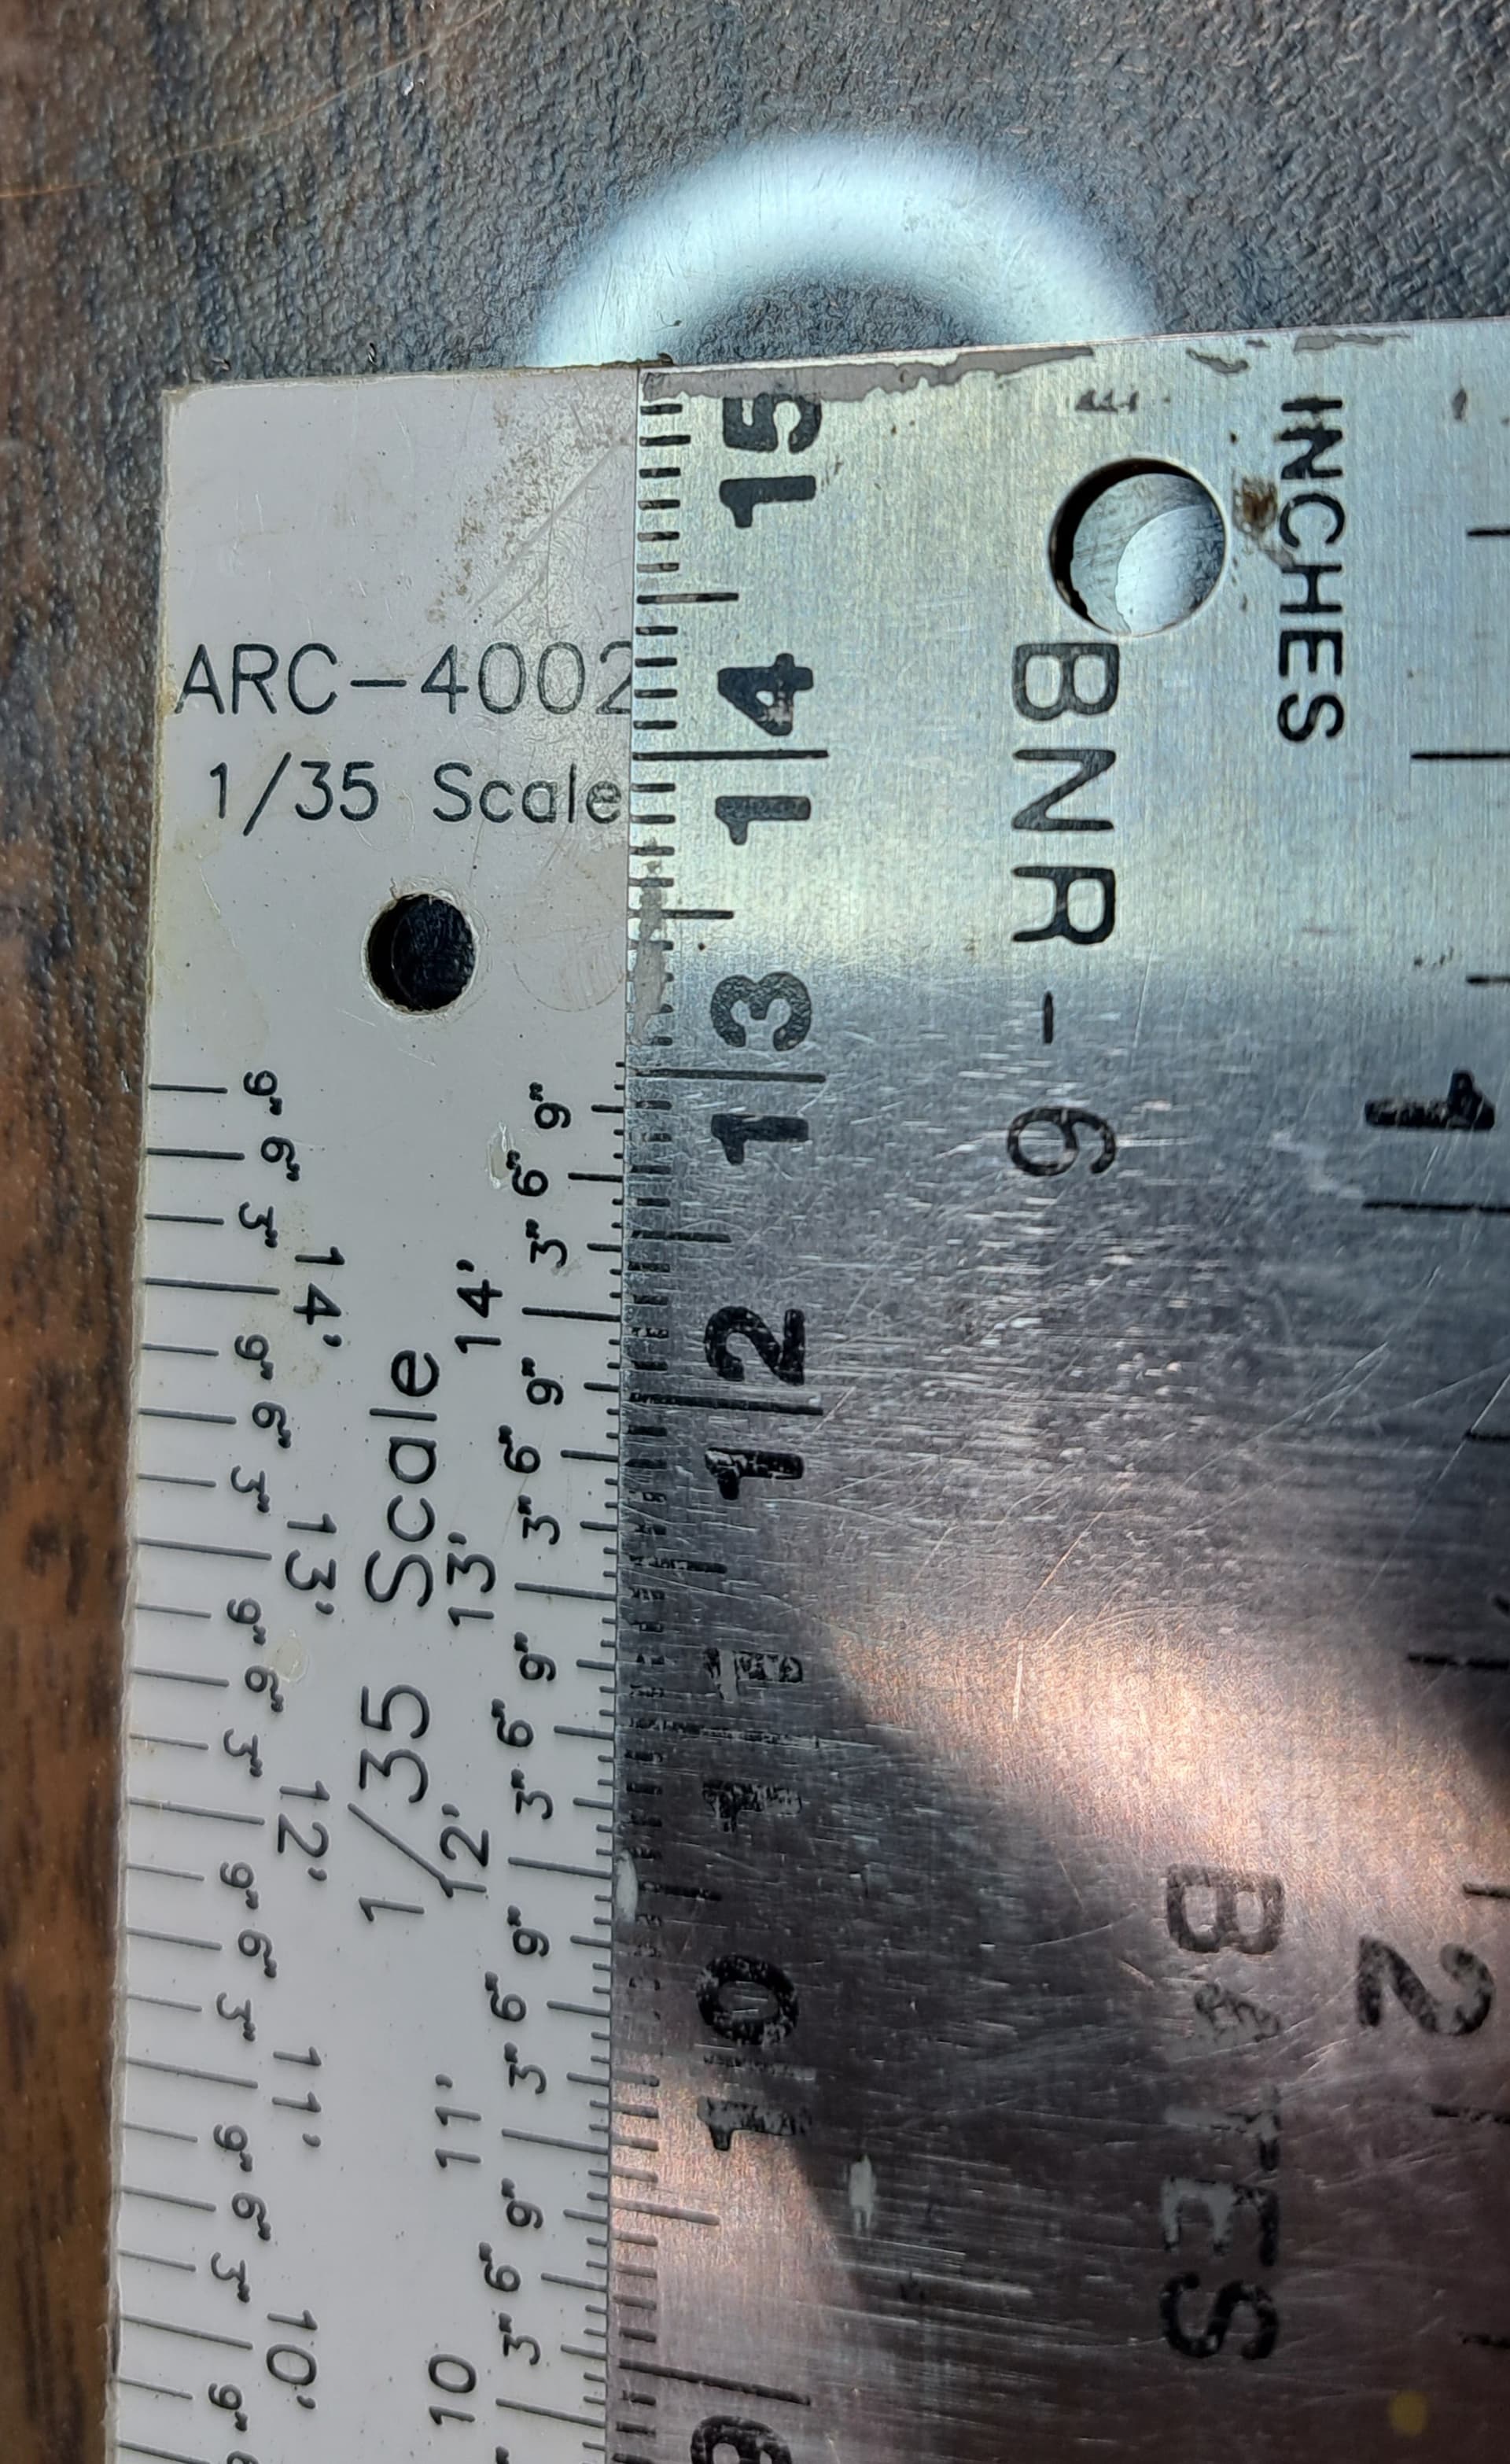
A santified relic of the most revered Armor Research Company (ARC) a 1/35 scale ruler will illuminate the quest for information. It can be supplemented with both new school and old school measurements as needed.
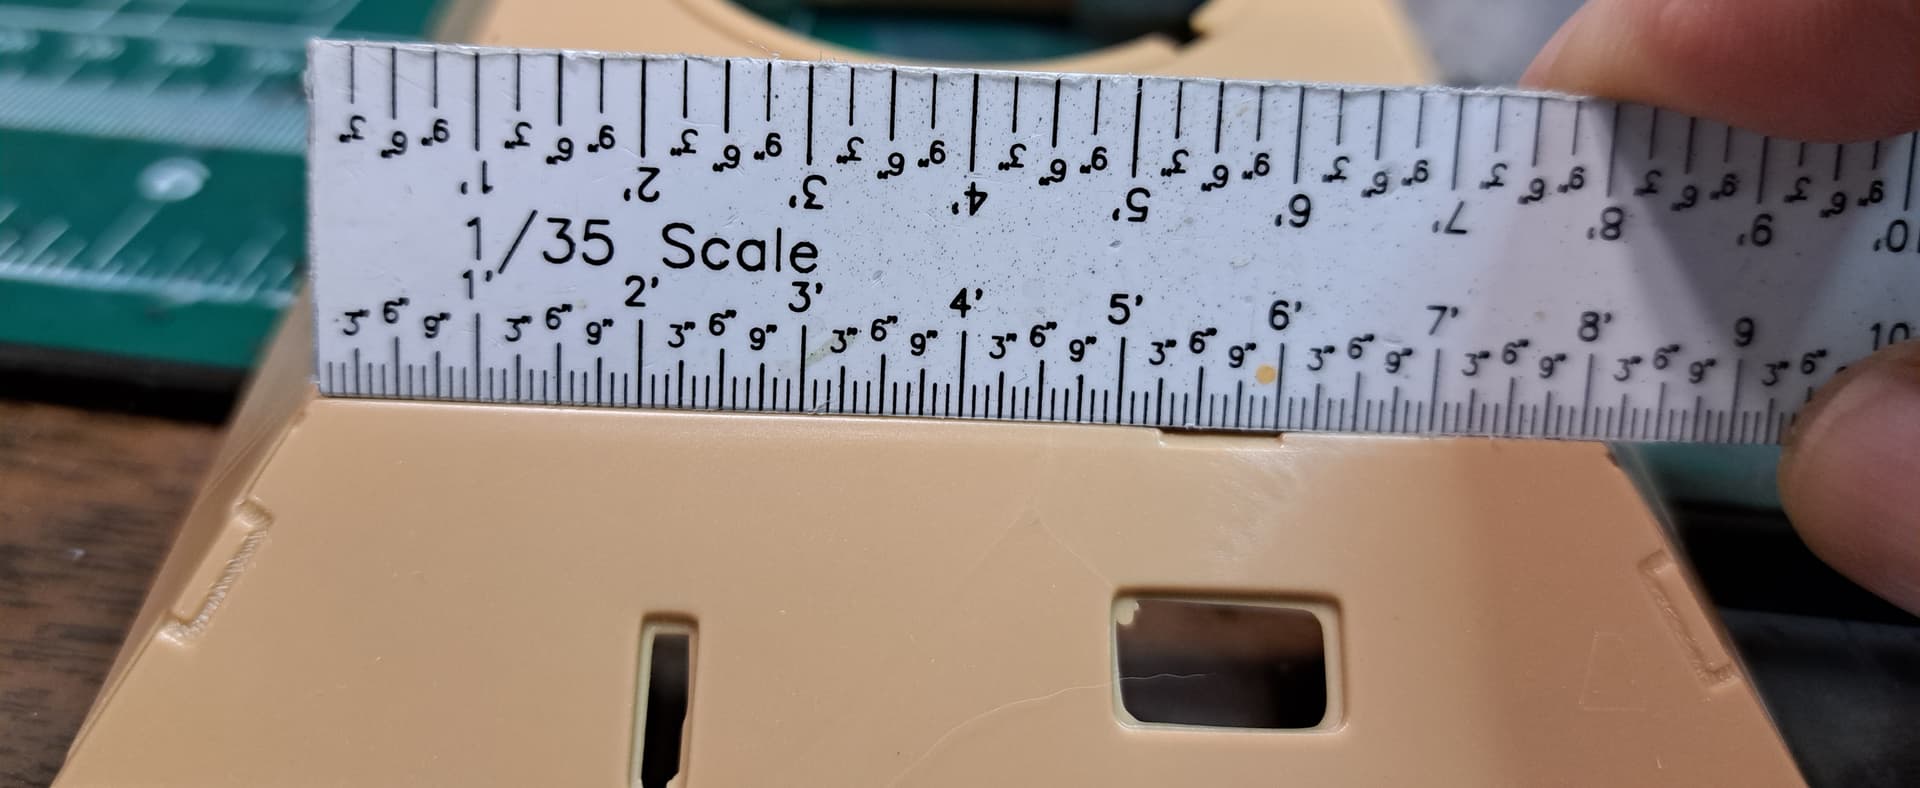
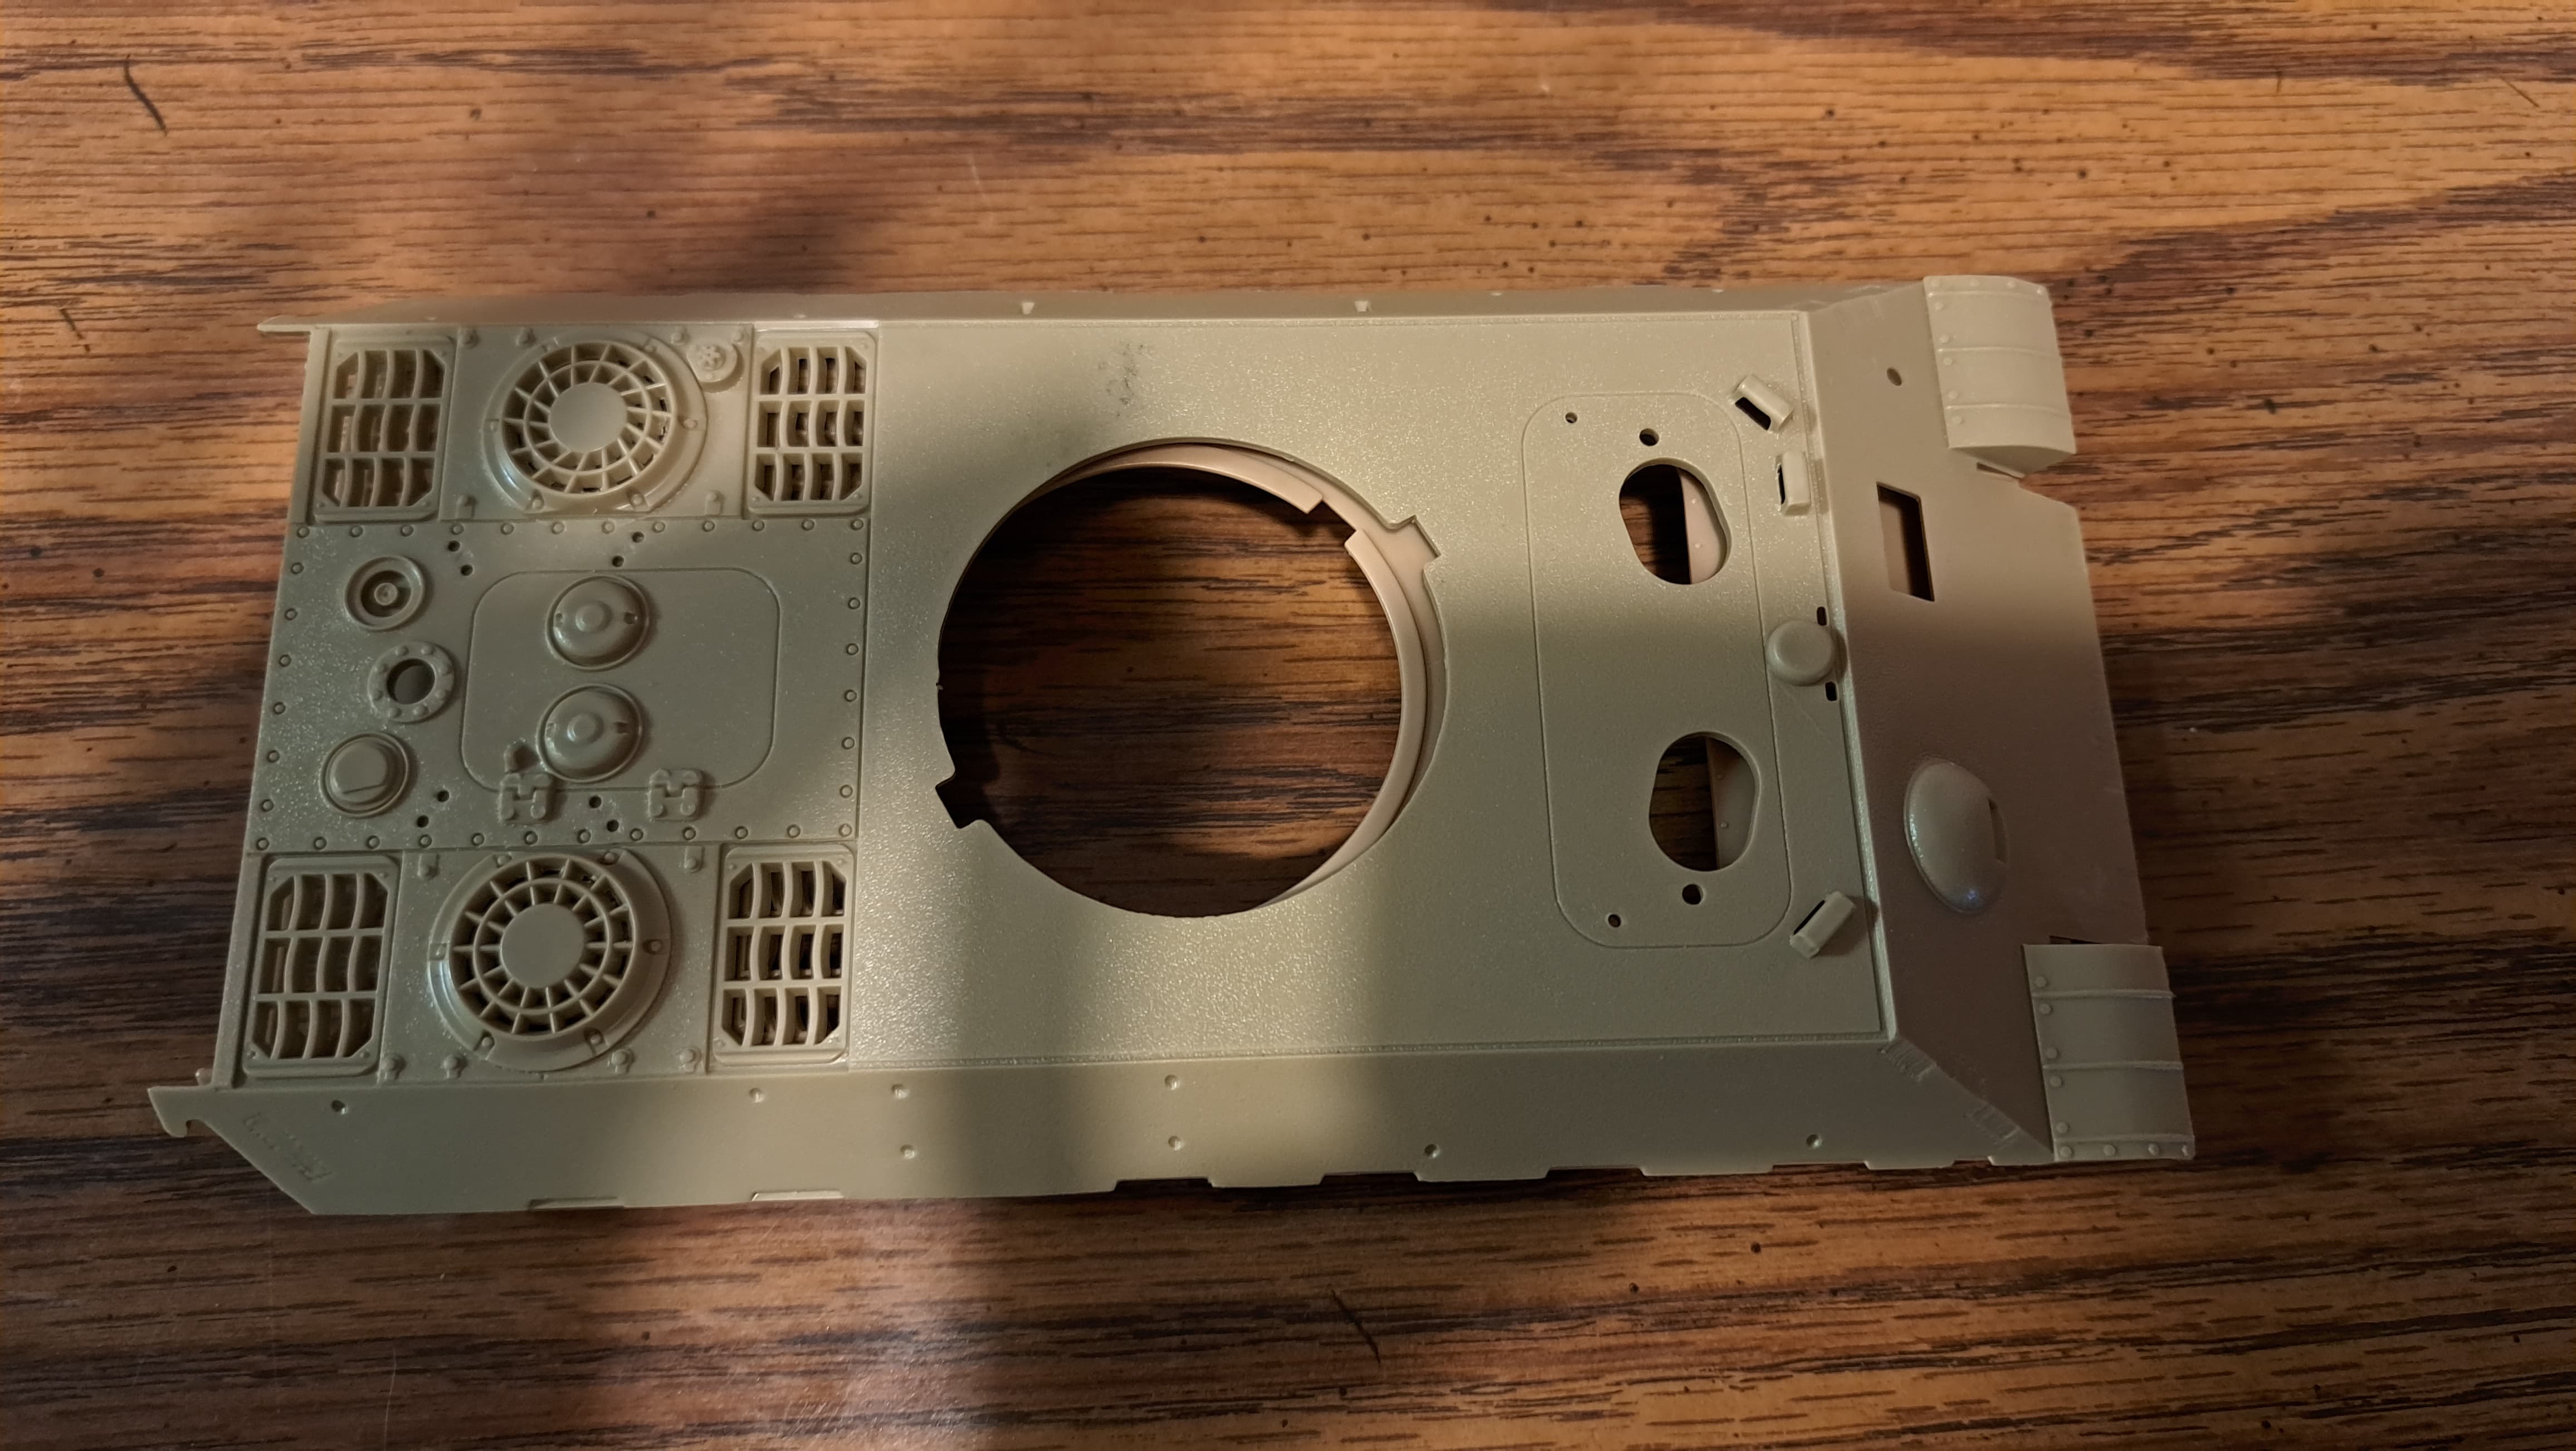
I did several basic checks of the Italeri upper hull vs line drawing in the above book for a Panther A. I wouldn’t claim any real precision just a basic check. I fould what appeared to several items off ~1 scale inch which was easily within the margin of error.
I find this noteworthy, 10 foot 5 inches front edge of the upper hull to egine deck for the kit.
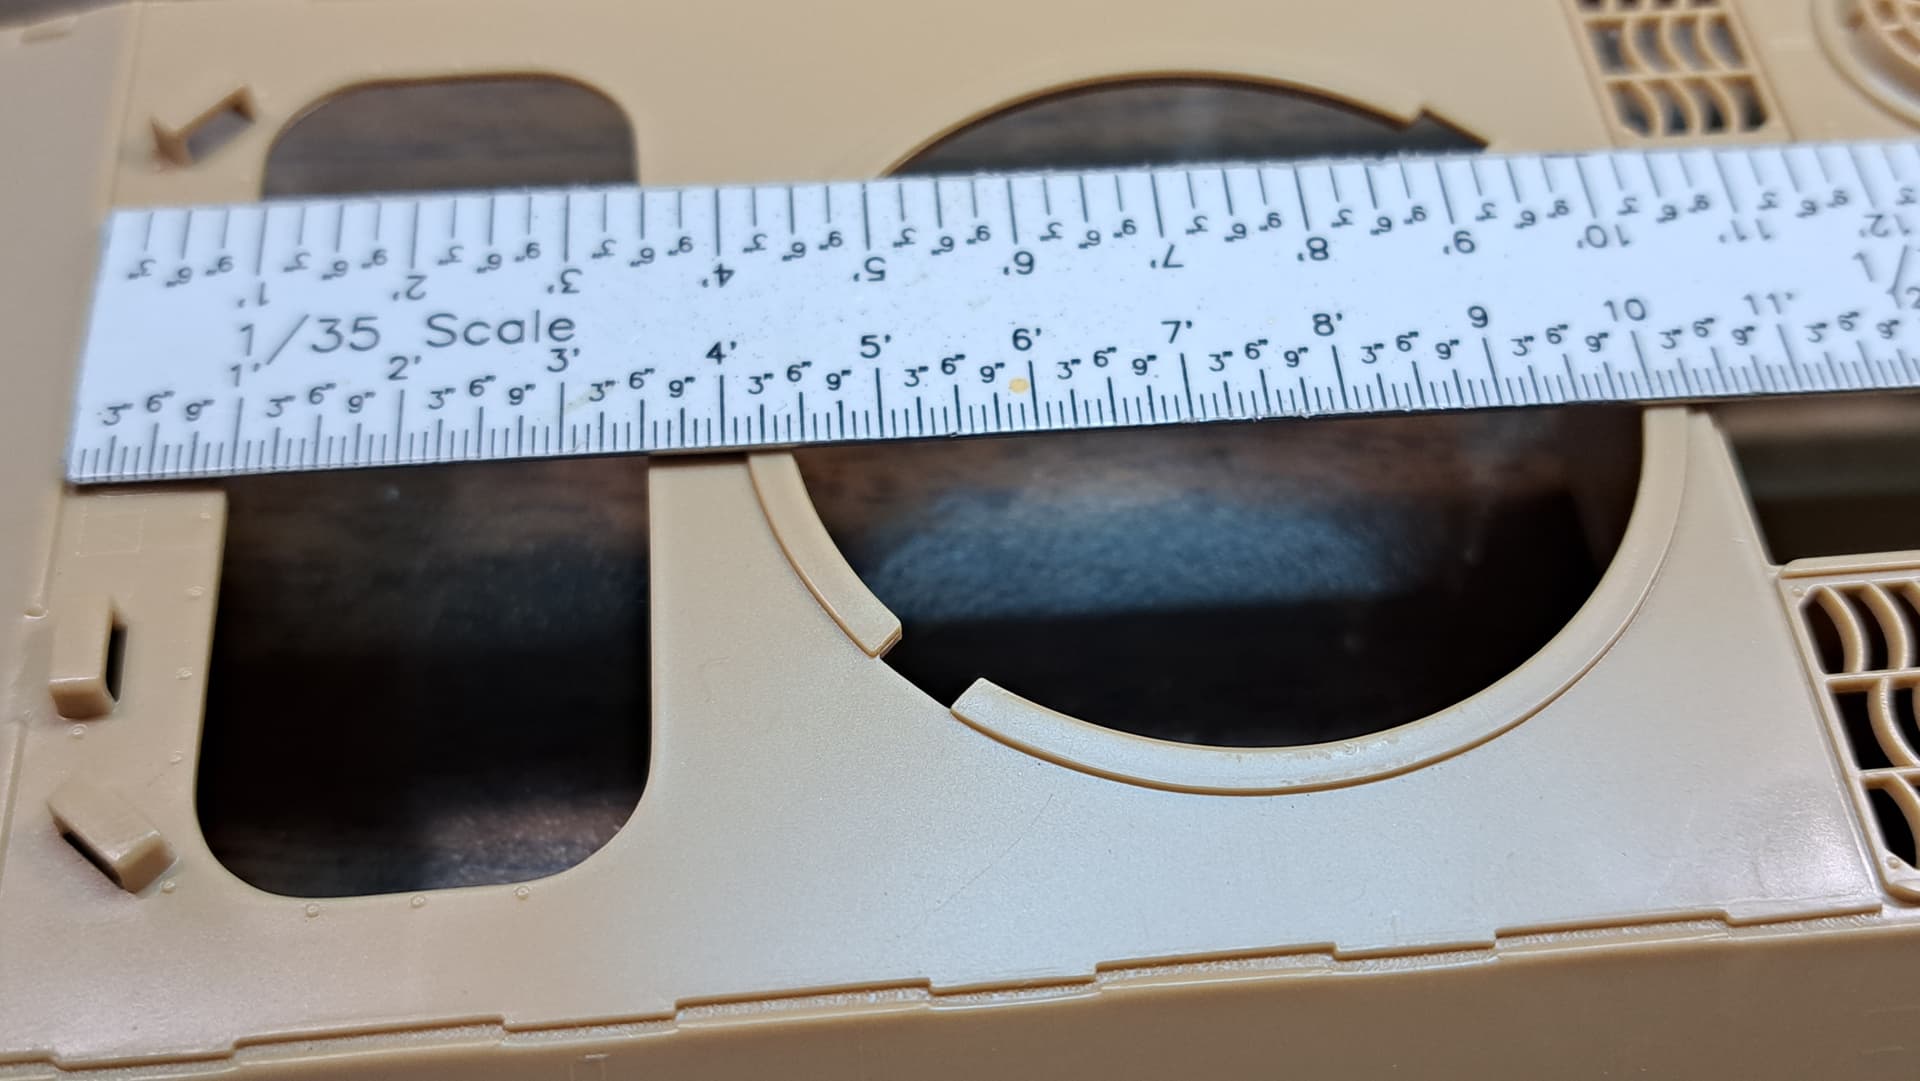
On the line drawning I found 10 feet 10 inches. 5 scale inches is a big discrepancy.

How much is 5 scale incles?
~4mm aka ~1/6 of an inch.
That’s a pretty visible error.
Overall to me the Italeri upper hull didn’t look that bad on dimensions.
Checked the torsion arms vs an old Dragon Panther D and they both pretty much agree with each other. I didn’t dig beyond that.
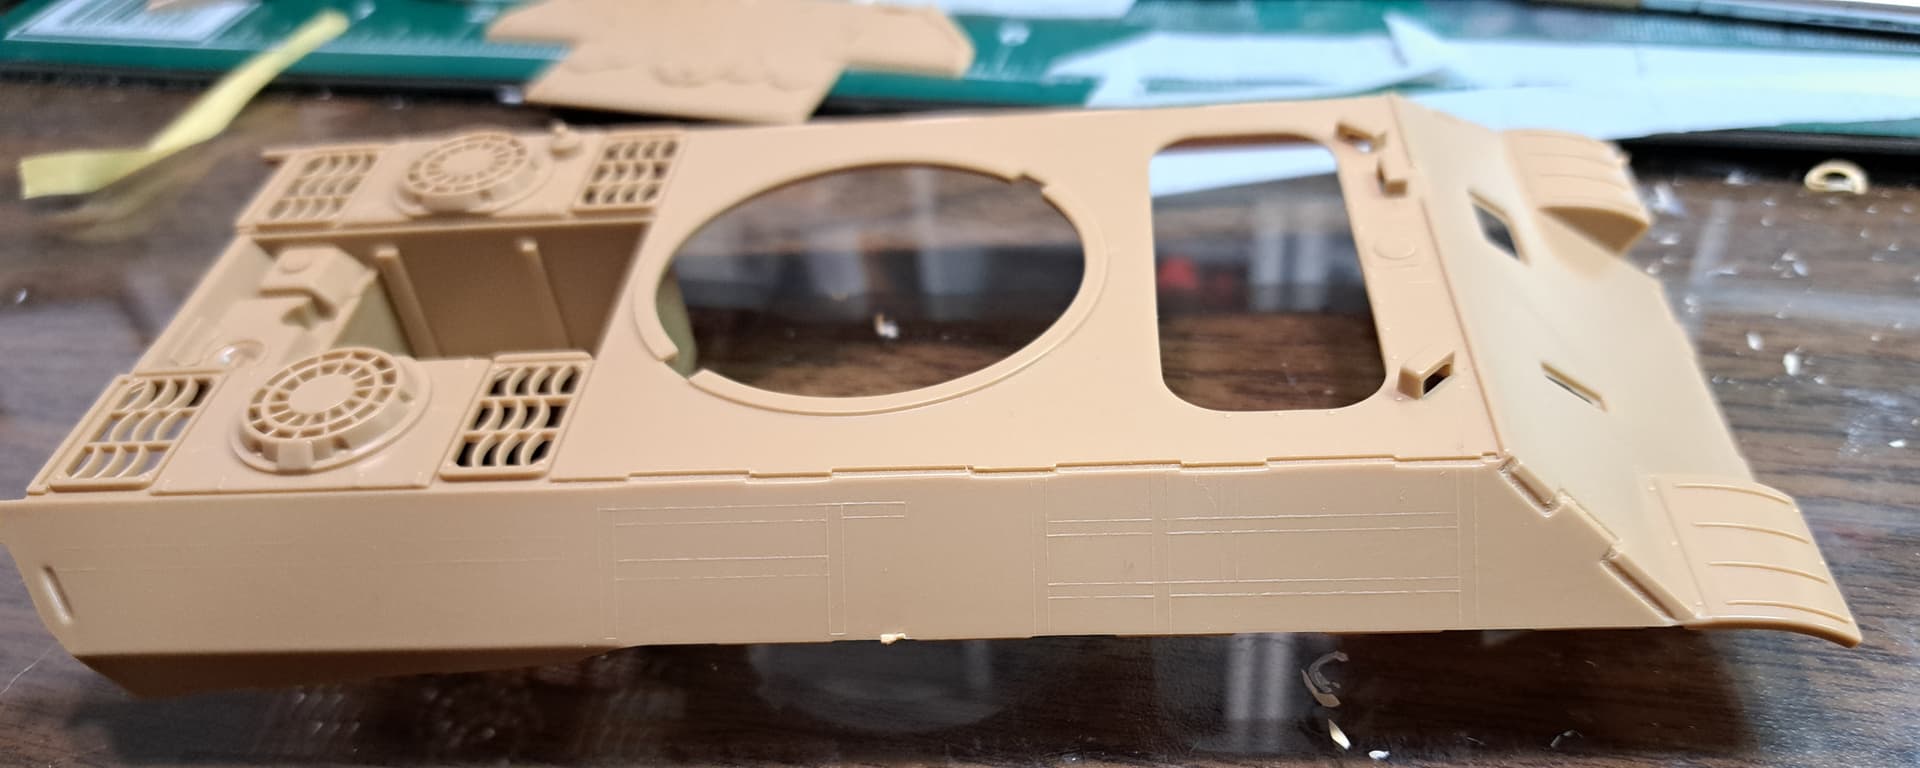
Decided to test fit…taped the front and rear plate in place after clean parts up. Italeri mold quality isn’t pretty.

Wow
More tape
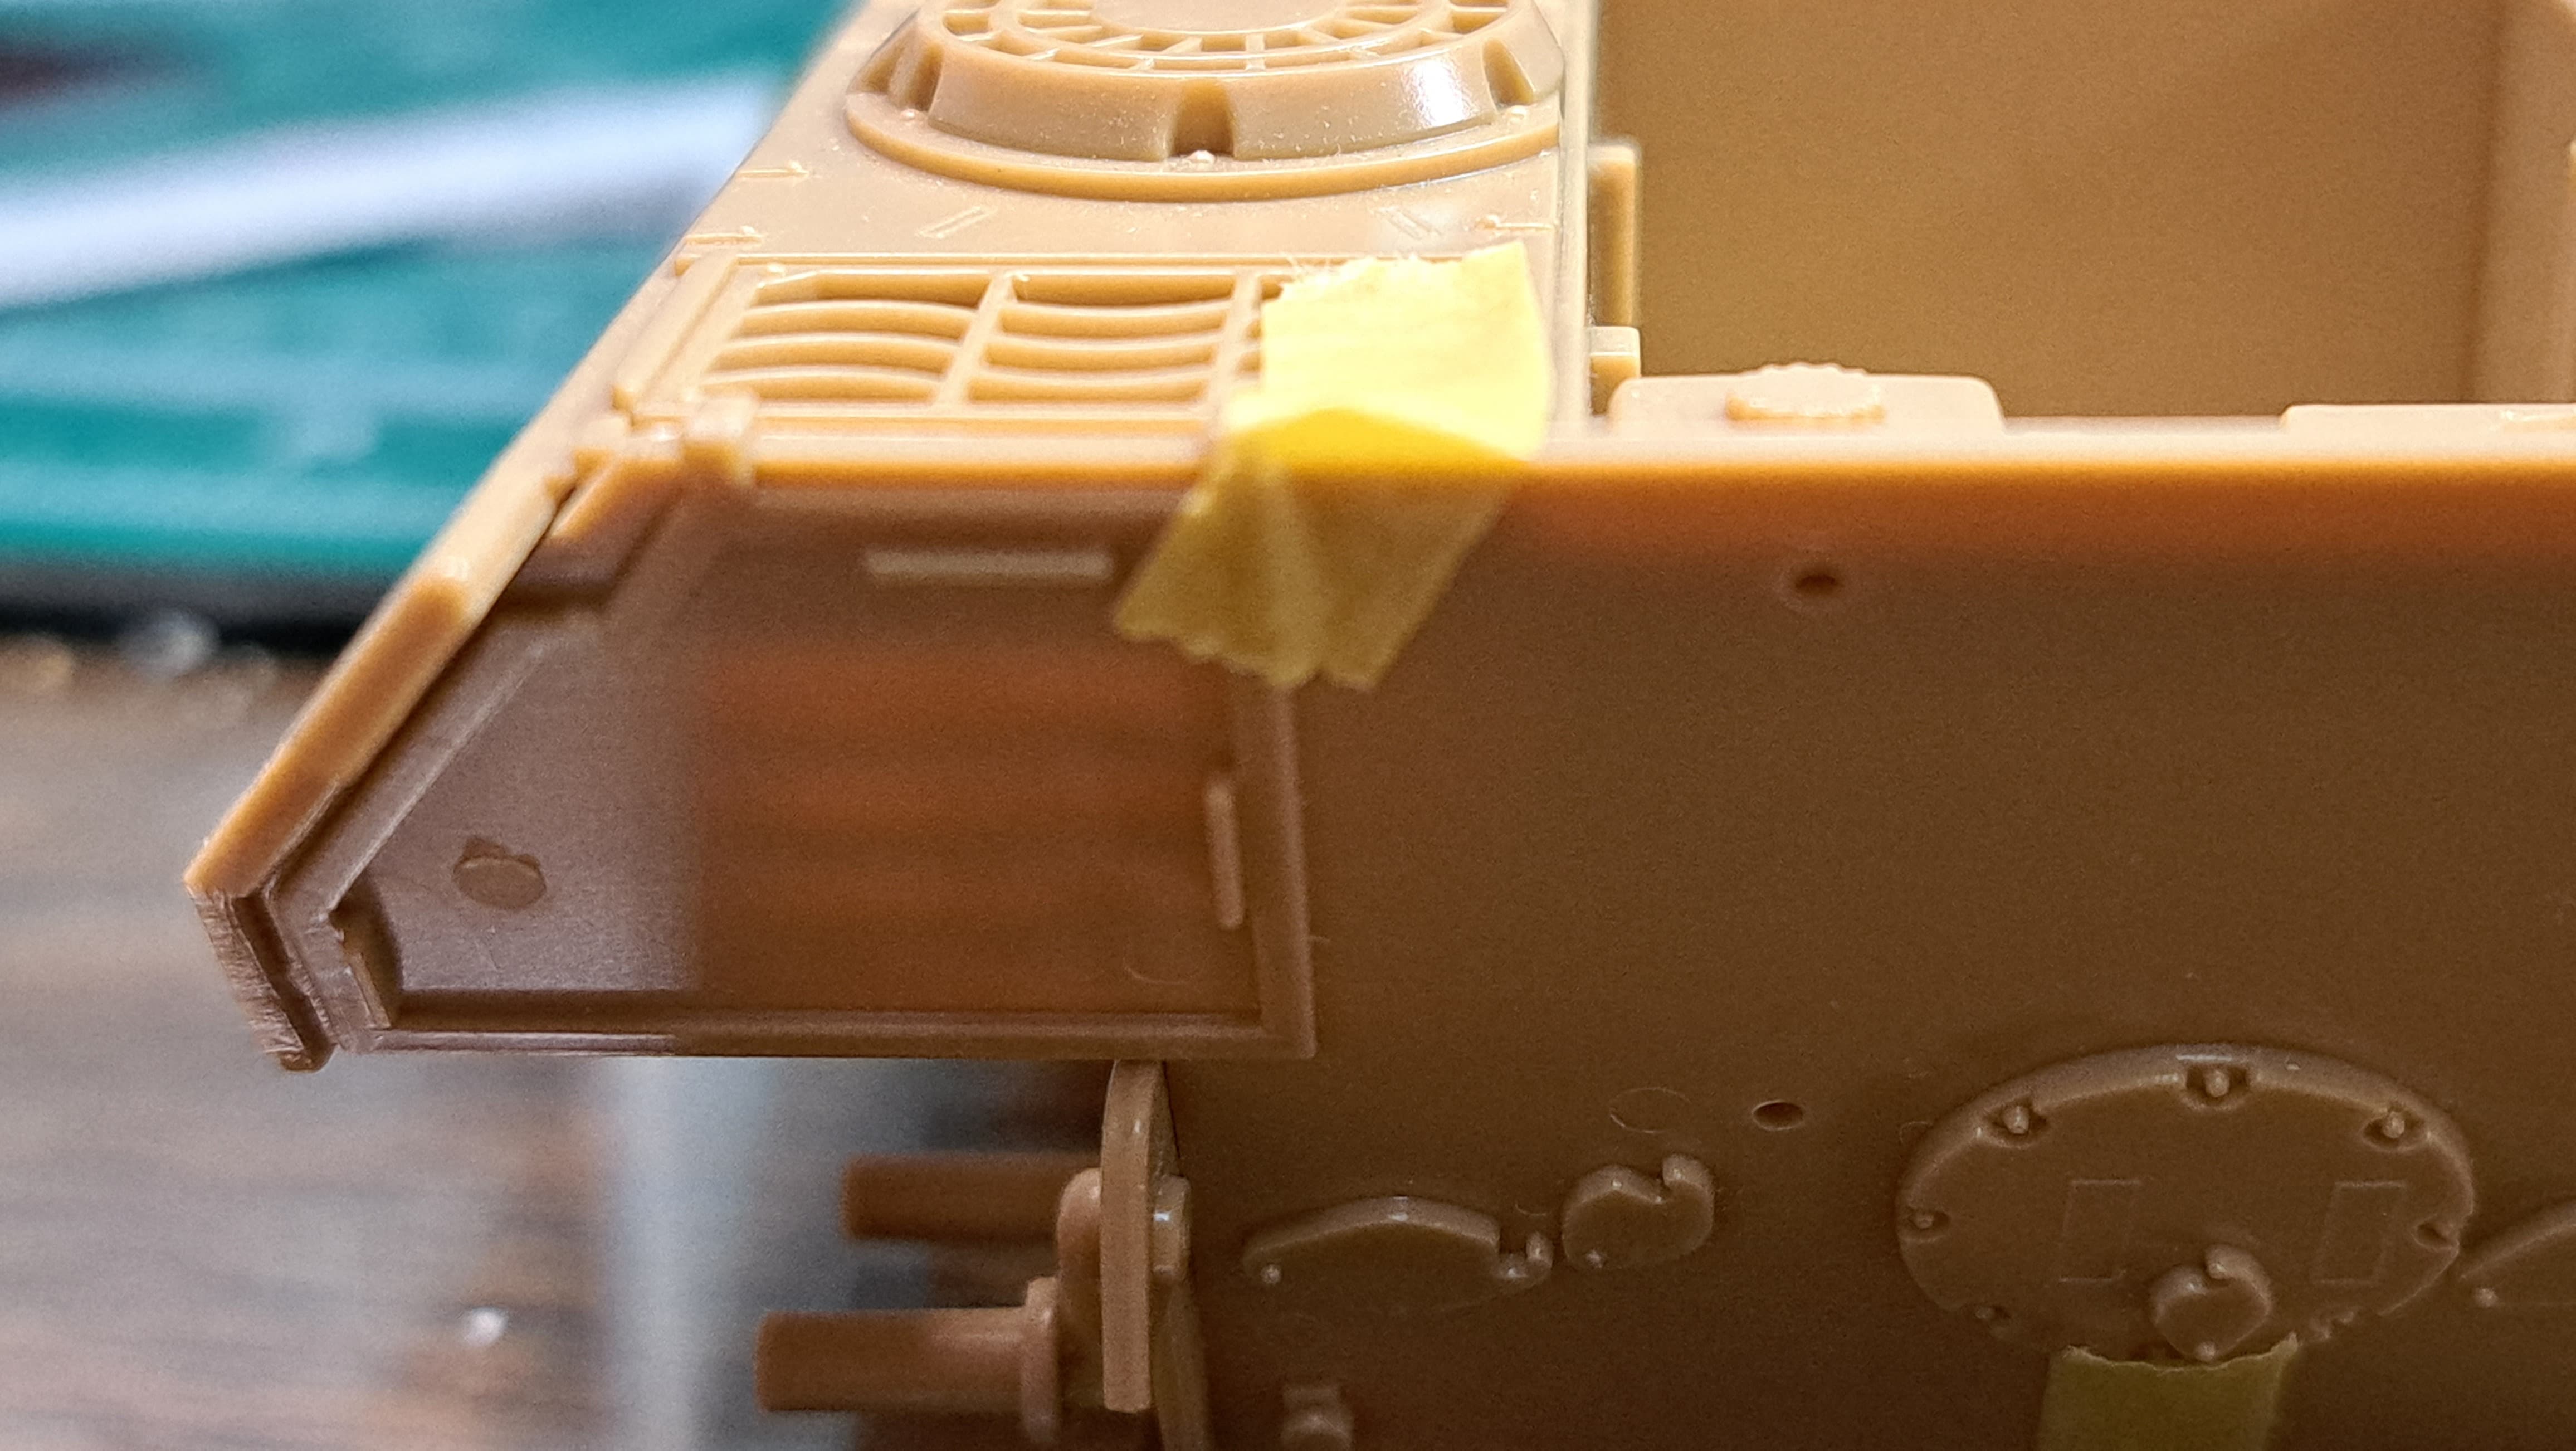
Fit is exactly as I recall from building one in 1993. Of course a lot of what we see or don’t see depends on us as the observer.

Anyway, that was fun little tangent.
Good luck with this build Wade. This old dog is going to need all the bells and whistles you can muster.
Thank you, Matt. It should clean out a fat stack of old aftermarket parts!
Dragon Panther D…will wait briefly.
Goal, cobble together something similar to this Panther D w/zimmerit from probably in France, autumn 1943.
Source German Tanks & Fighting Vehicles of World War Two for discussion only. source Achtung Panzer #4 Panther for discussion only.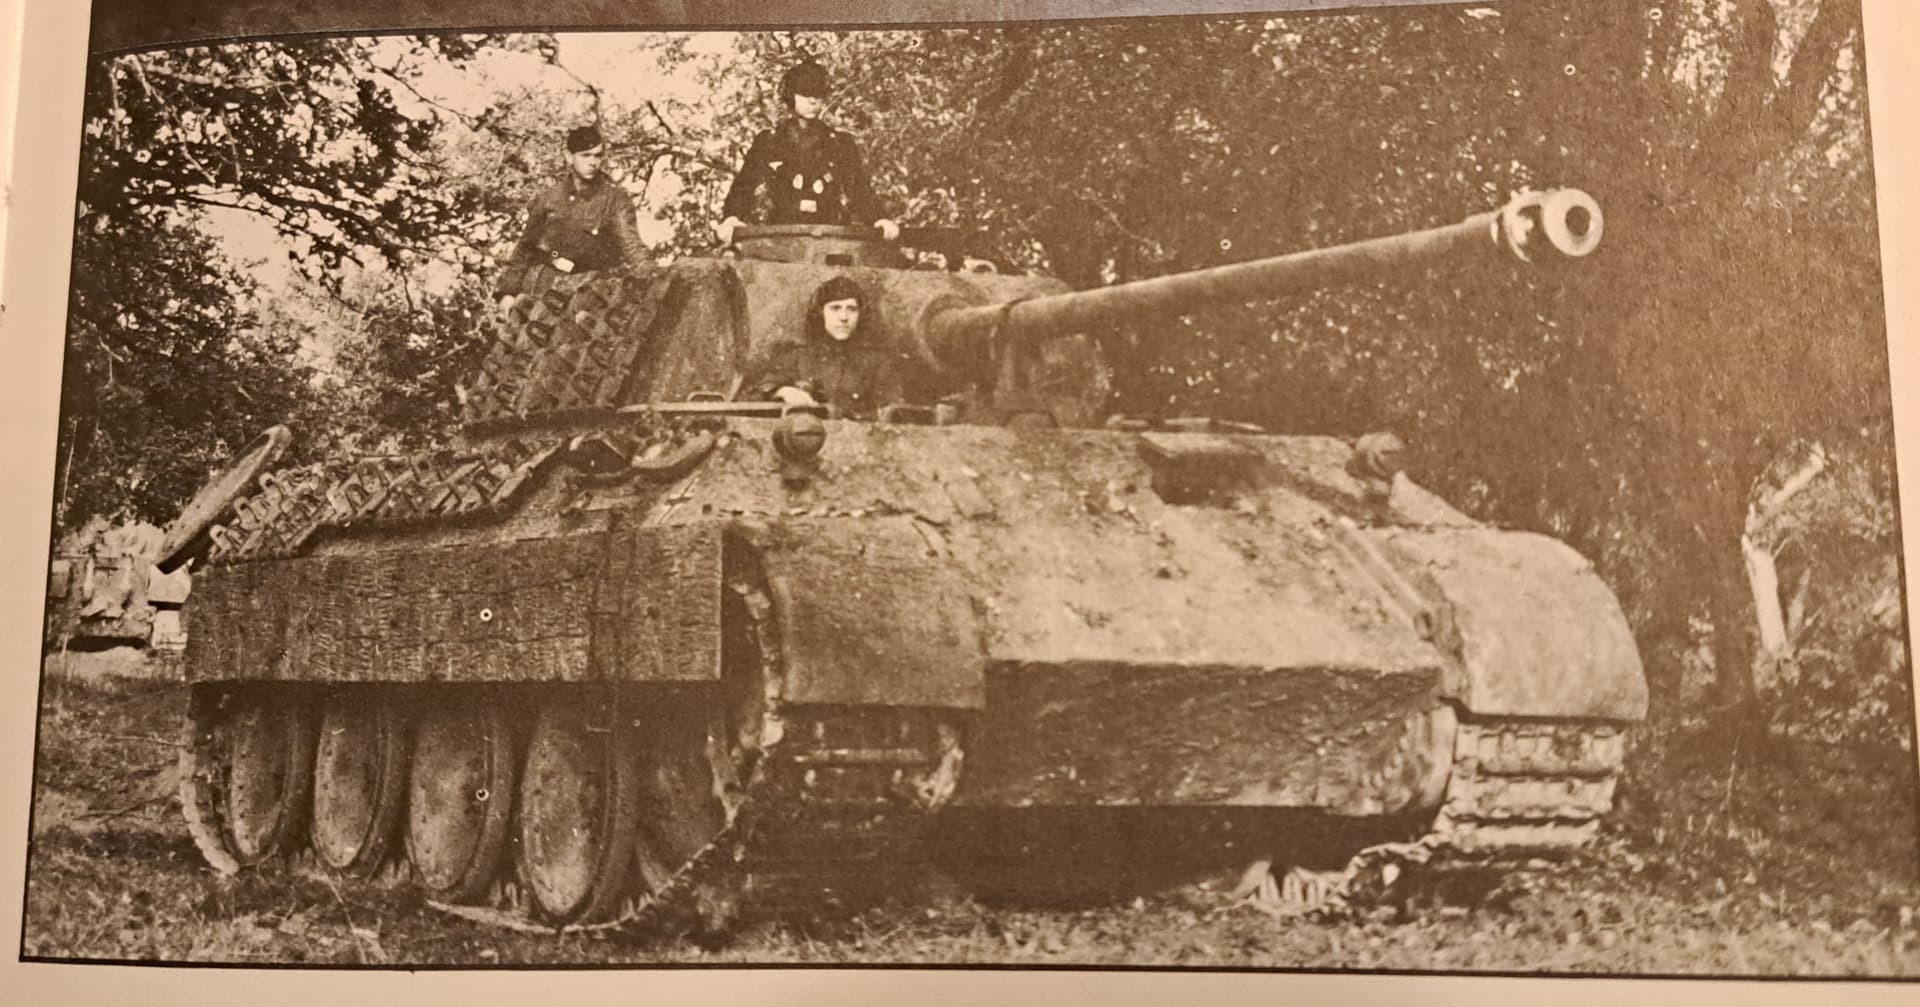

The tank has horizontal pattern zimmerit but I’ll be using use the more common vertical pattern with squares on Cavalier Zimmerit sheet.
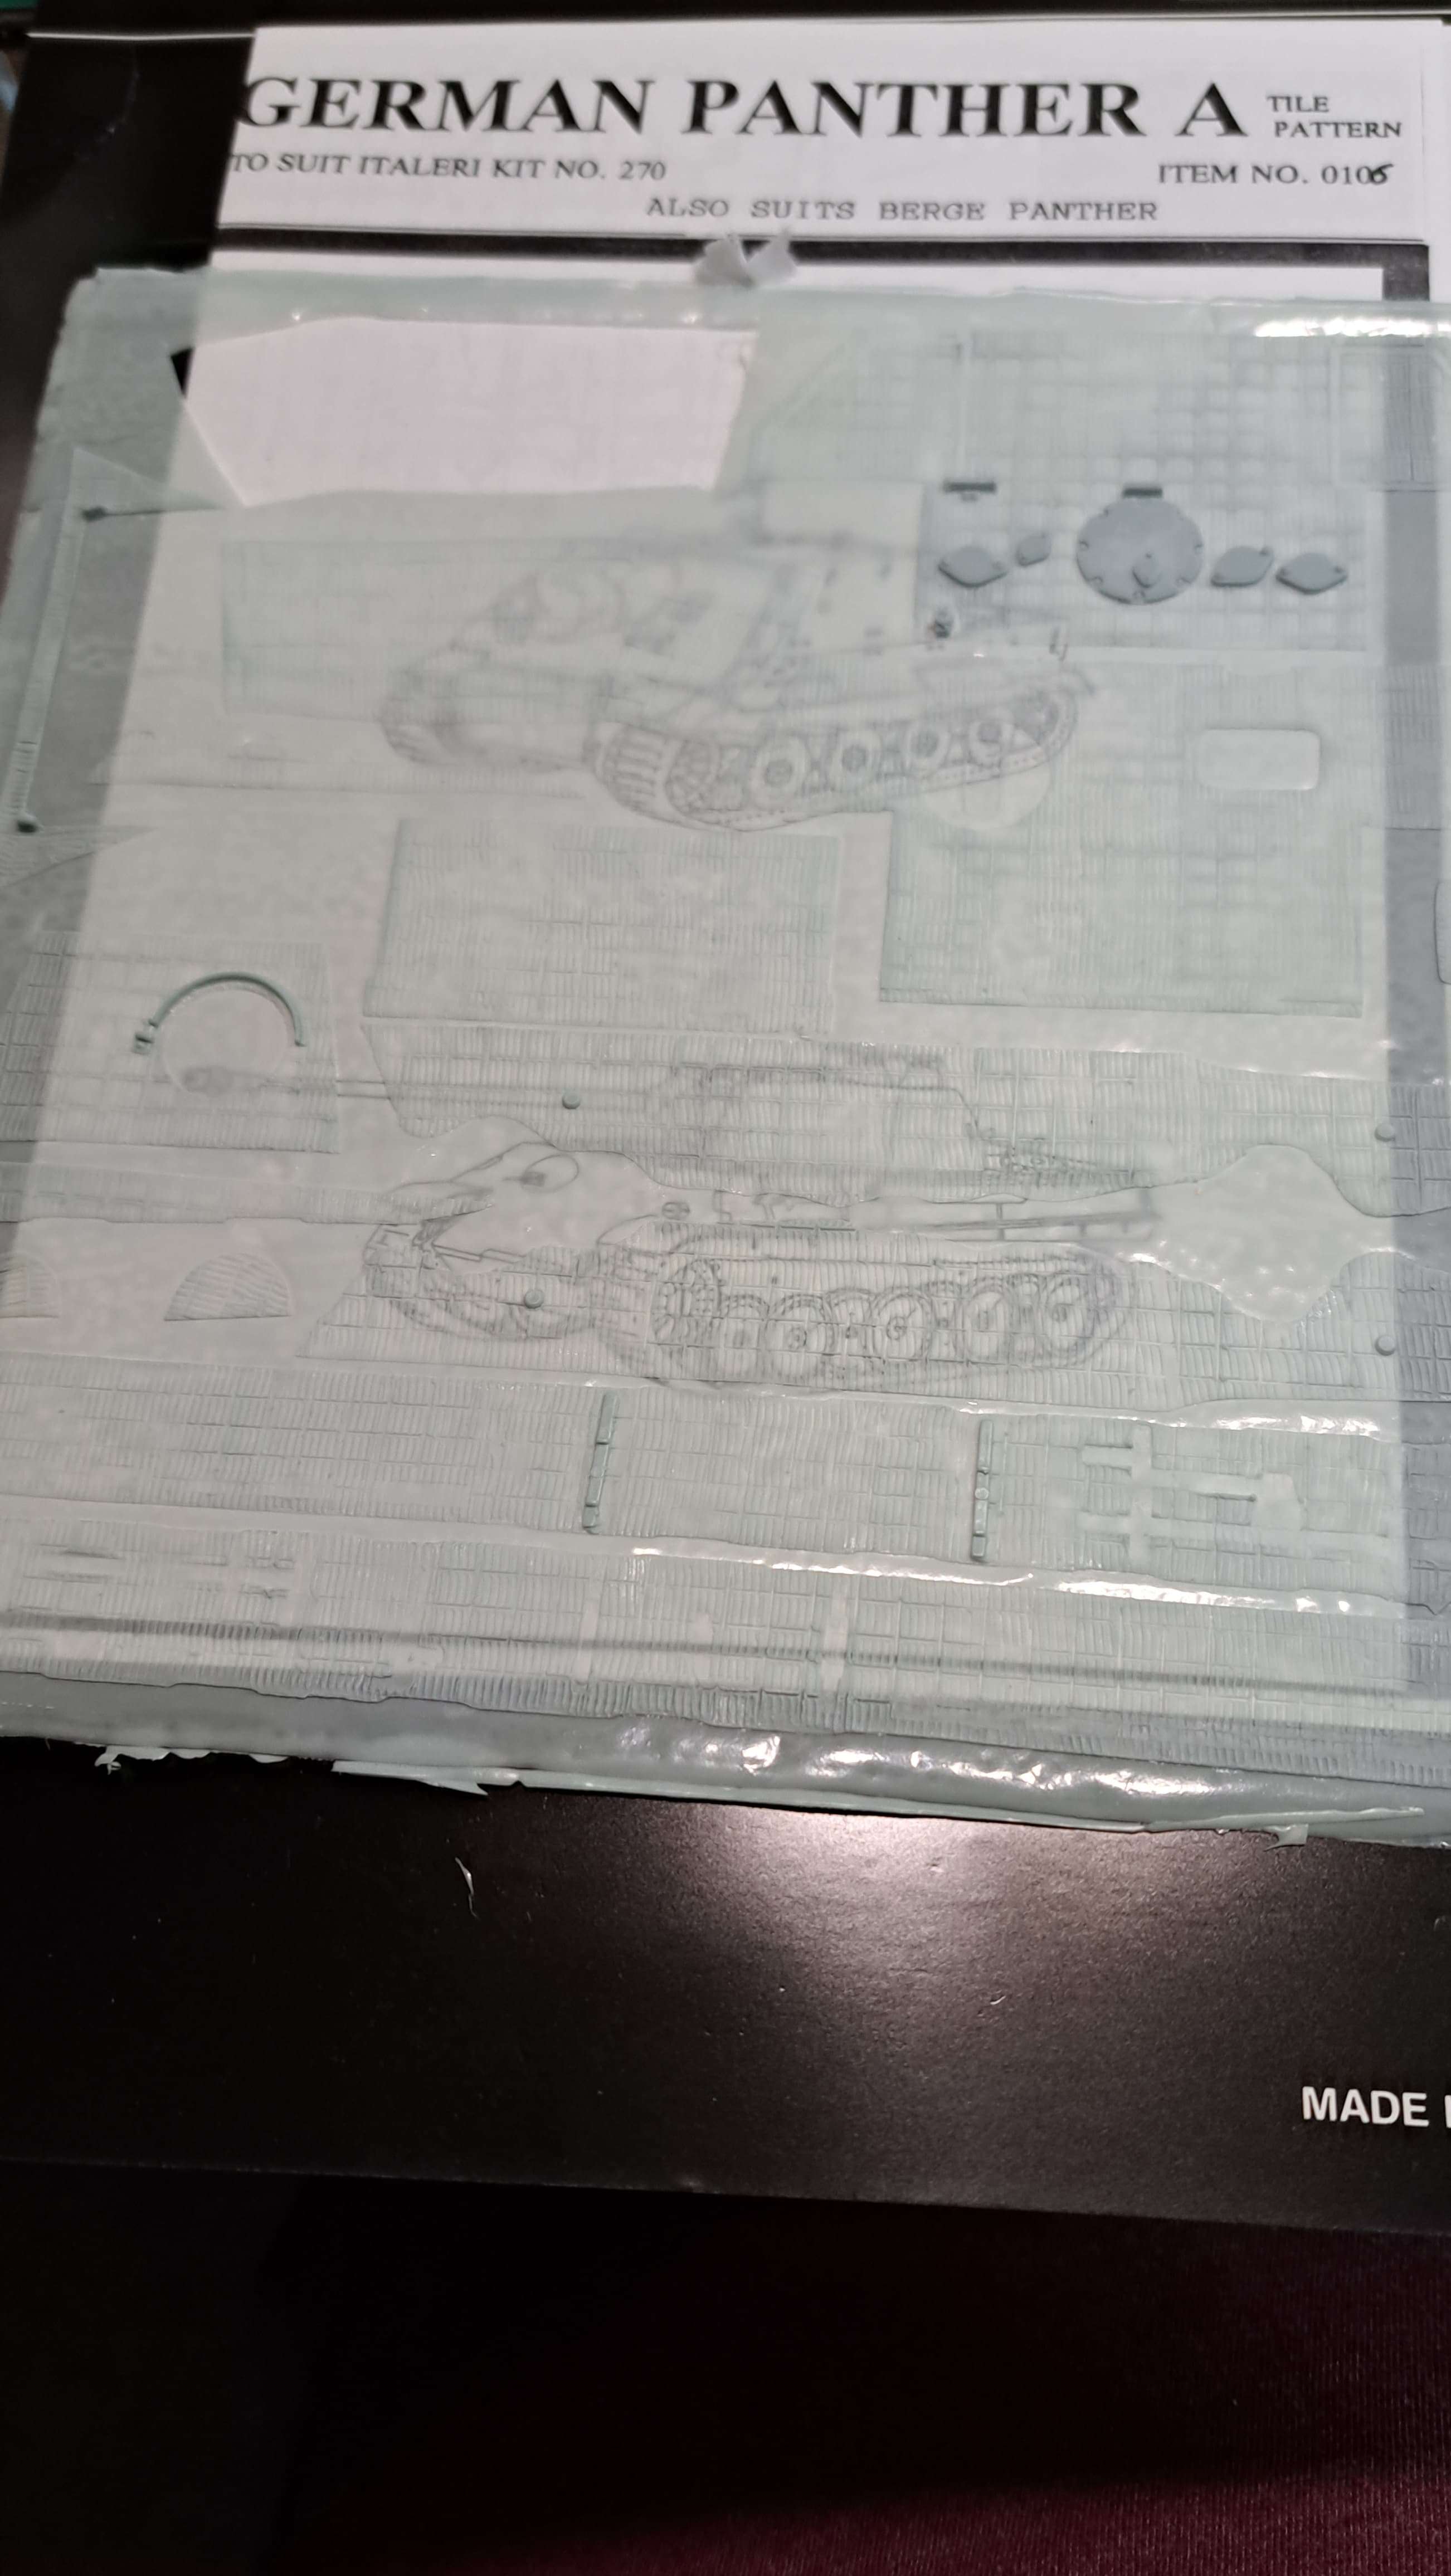
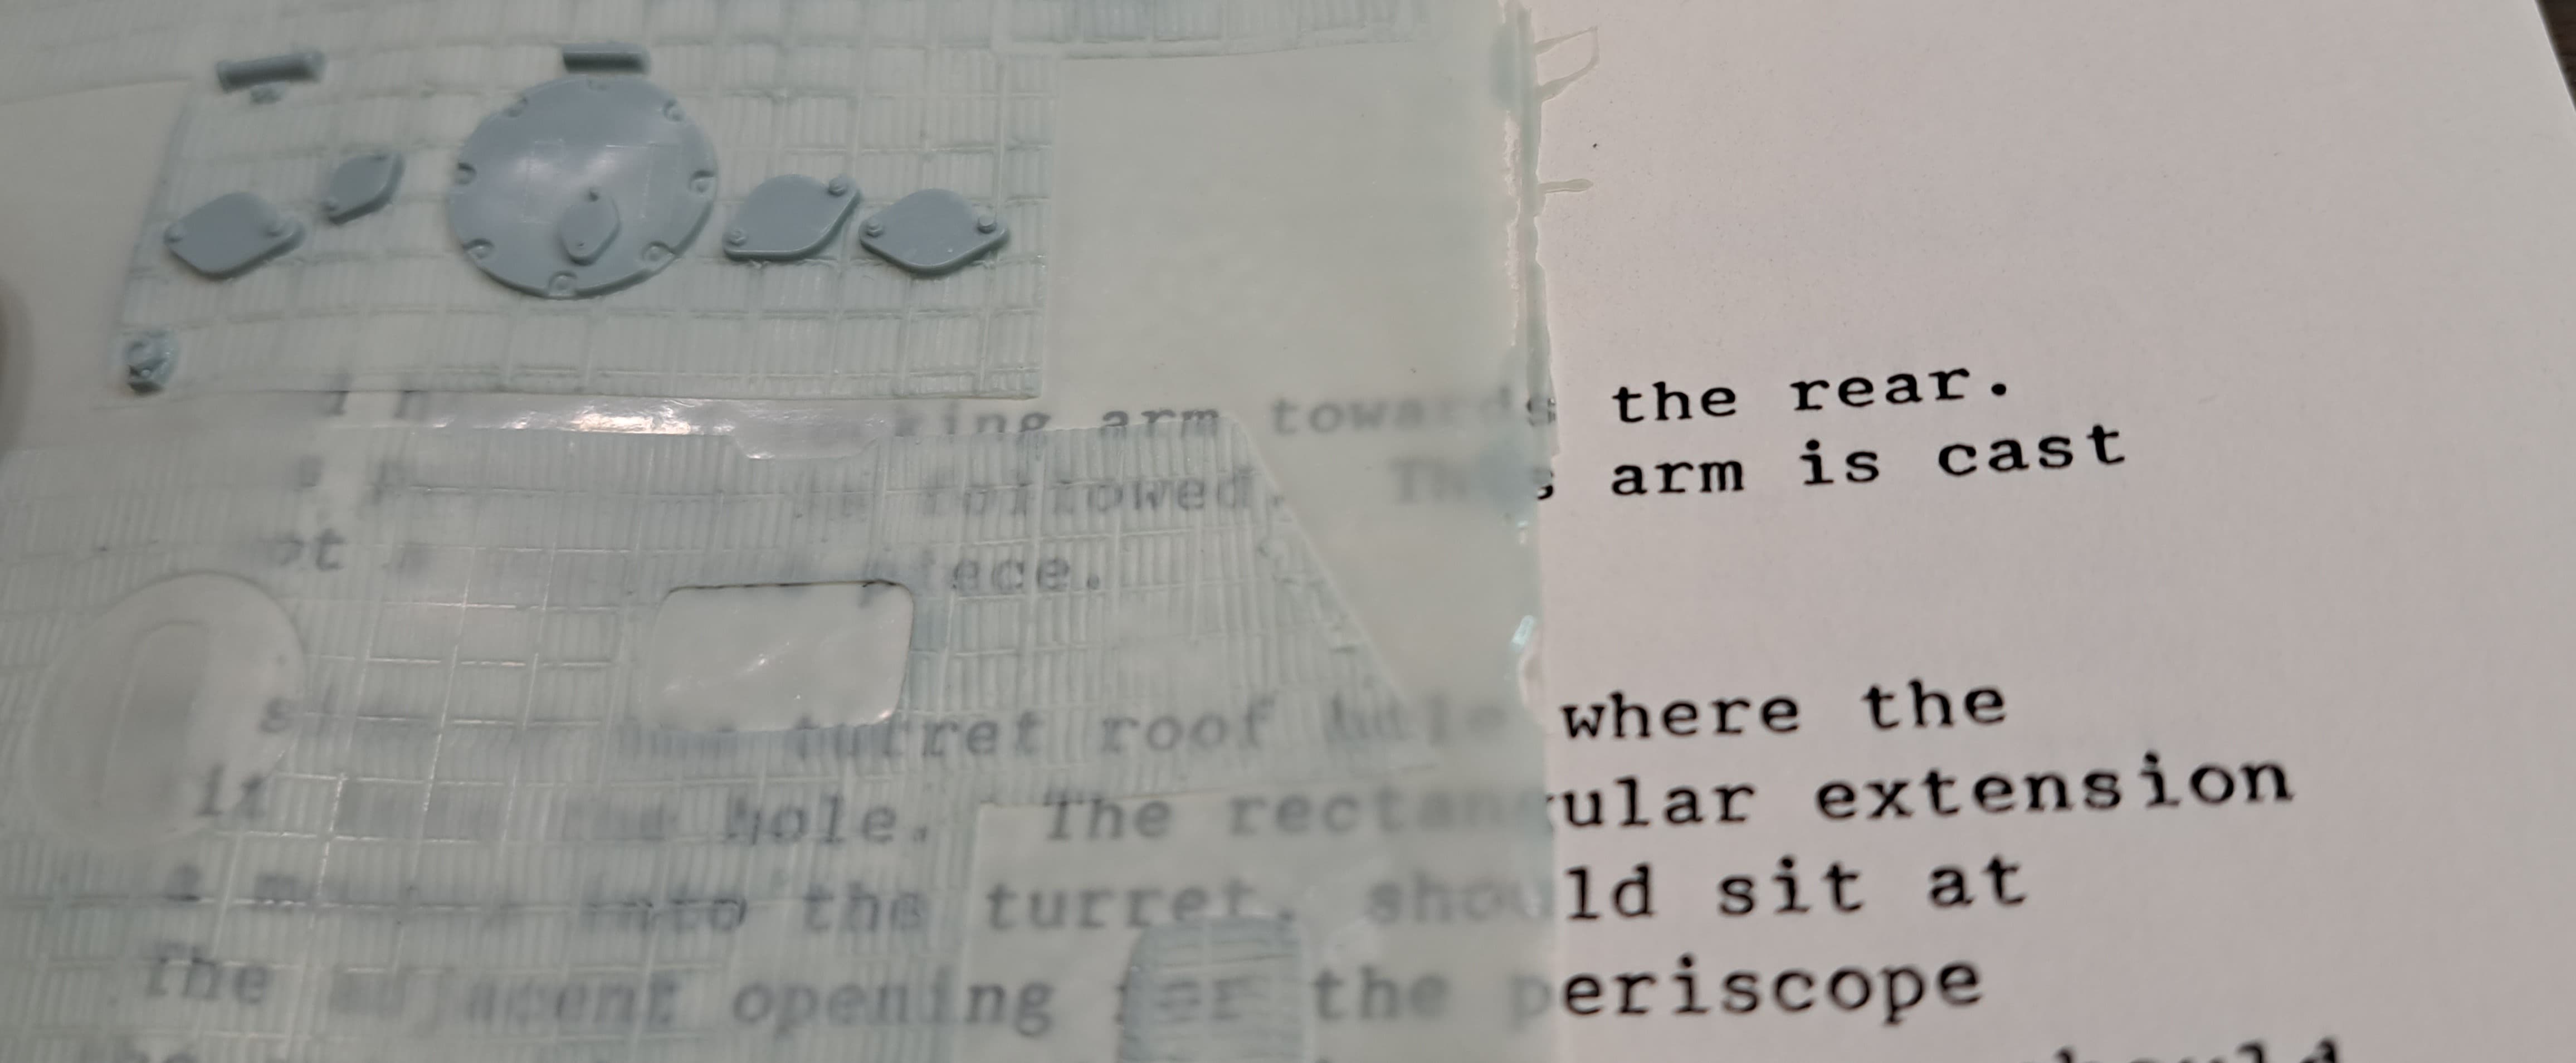
Probably the very last sheet of Cavalier Zimmerit I purchased. The layer is thinner, doesn’t have the acetate sheet and was glued to the instructions. How thin? It’s easy to read through it.
Luckily there’s a Chesapeake Model Design resin Panther D turret for the project. CMD had an excellent reputation back in the day. The resin quality is outstanding!
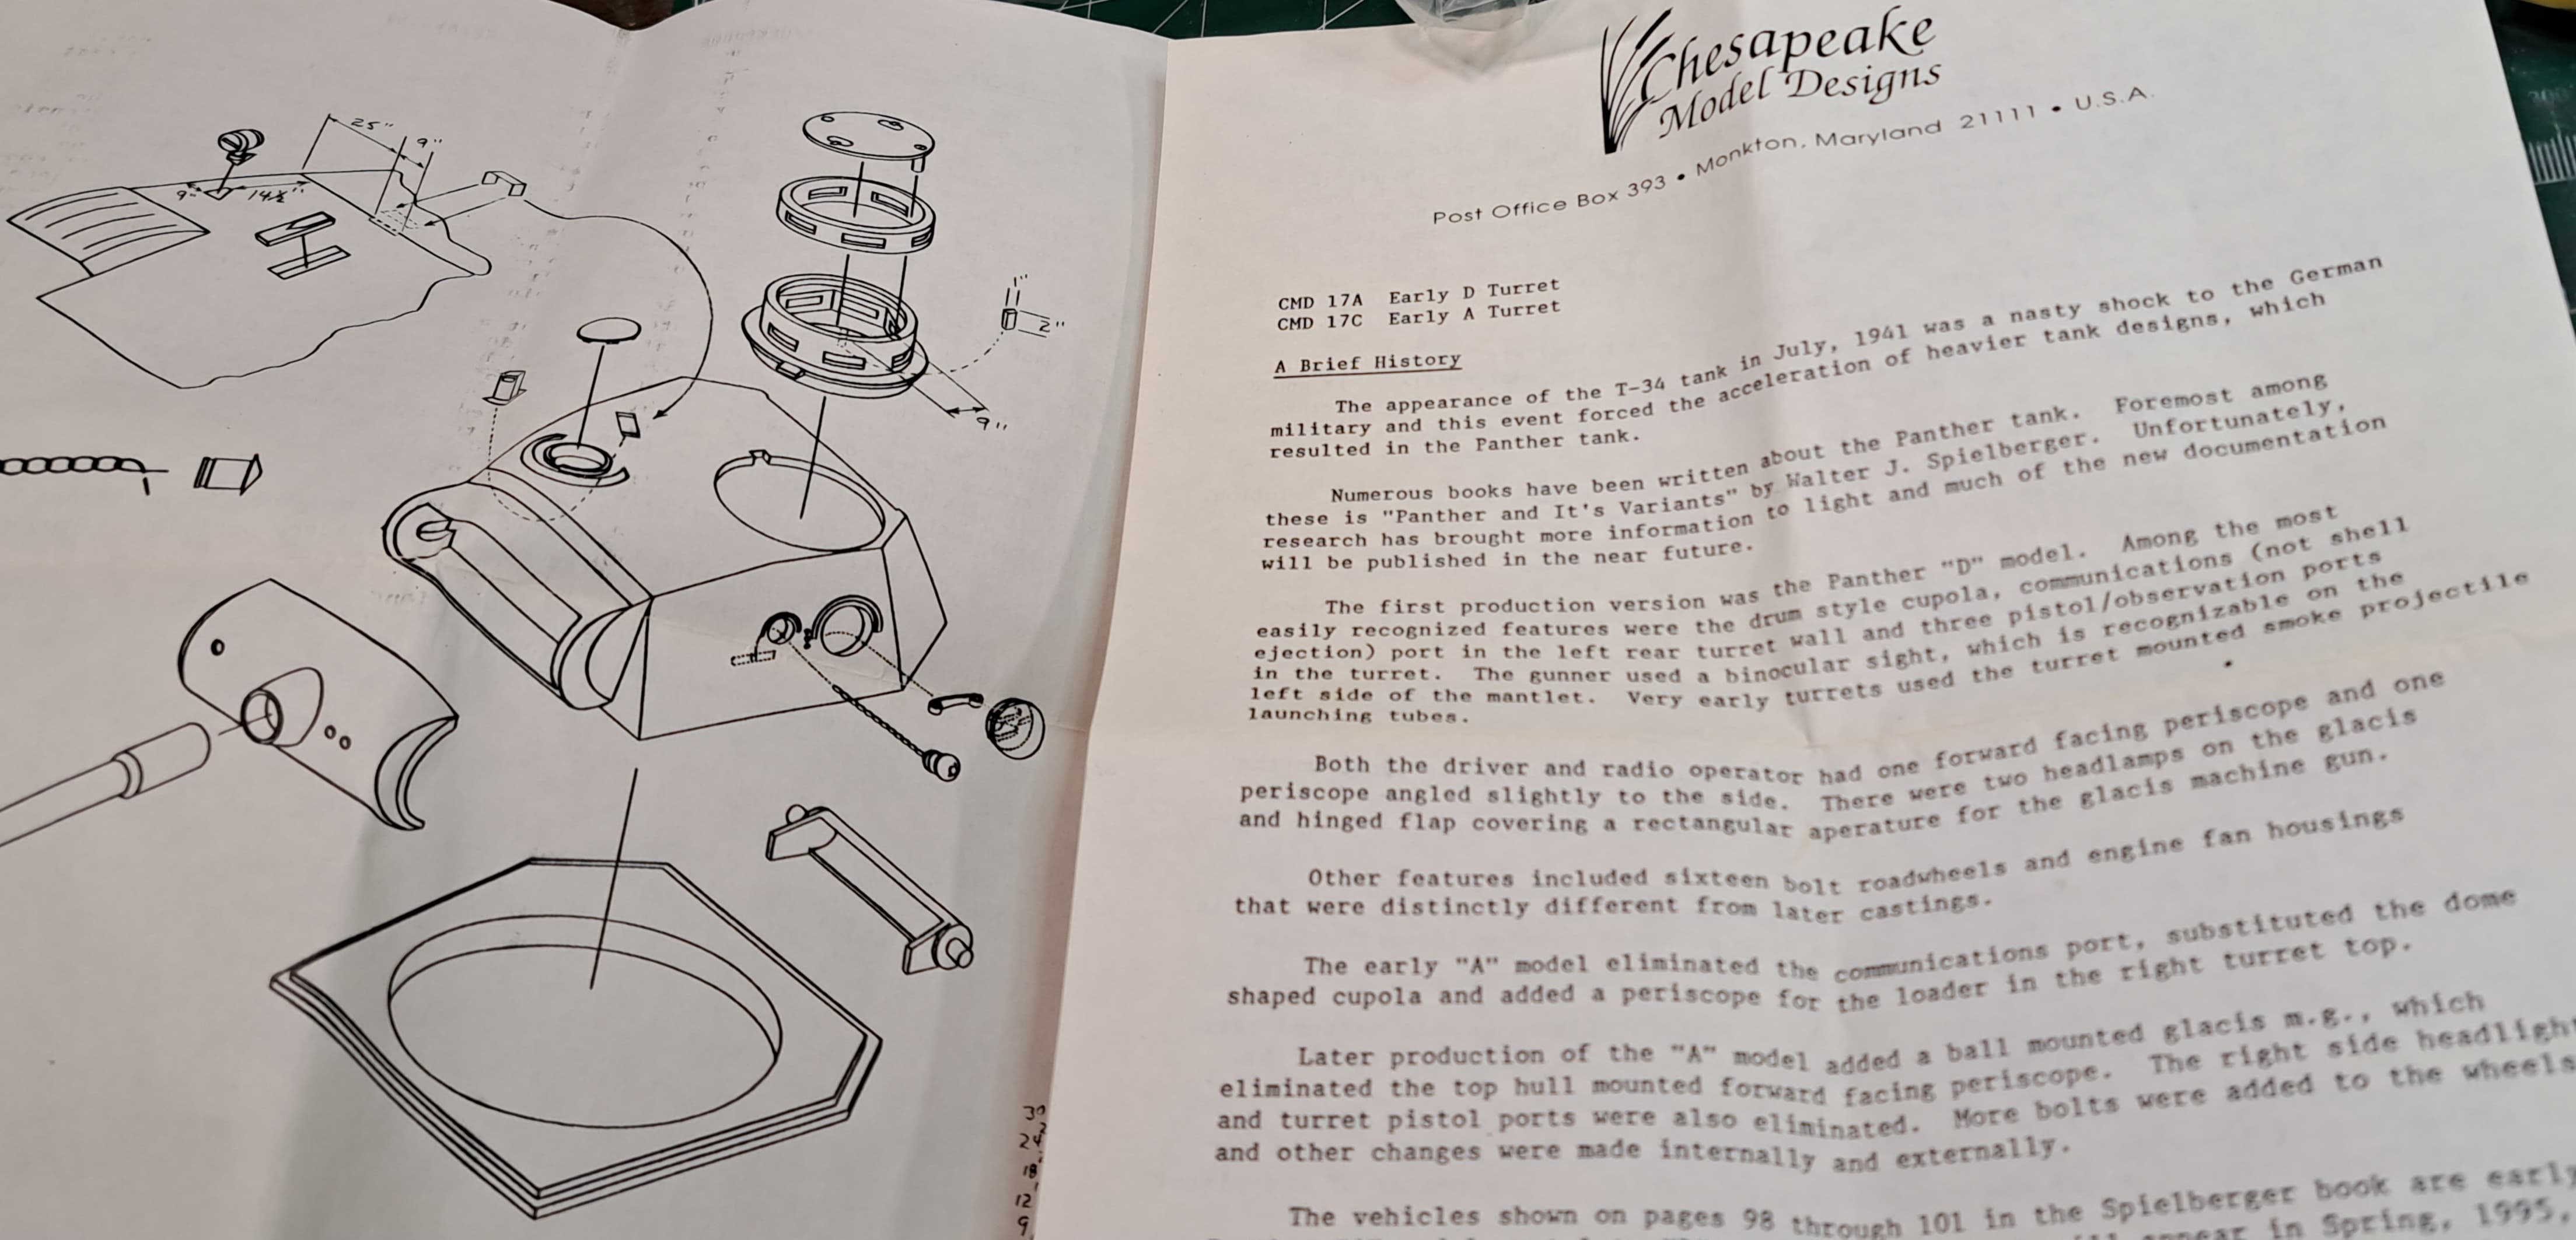
Chesapeake Model Design had some interesting comments on the Italeri kit.
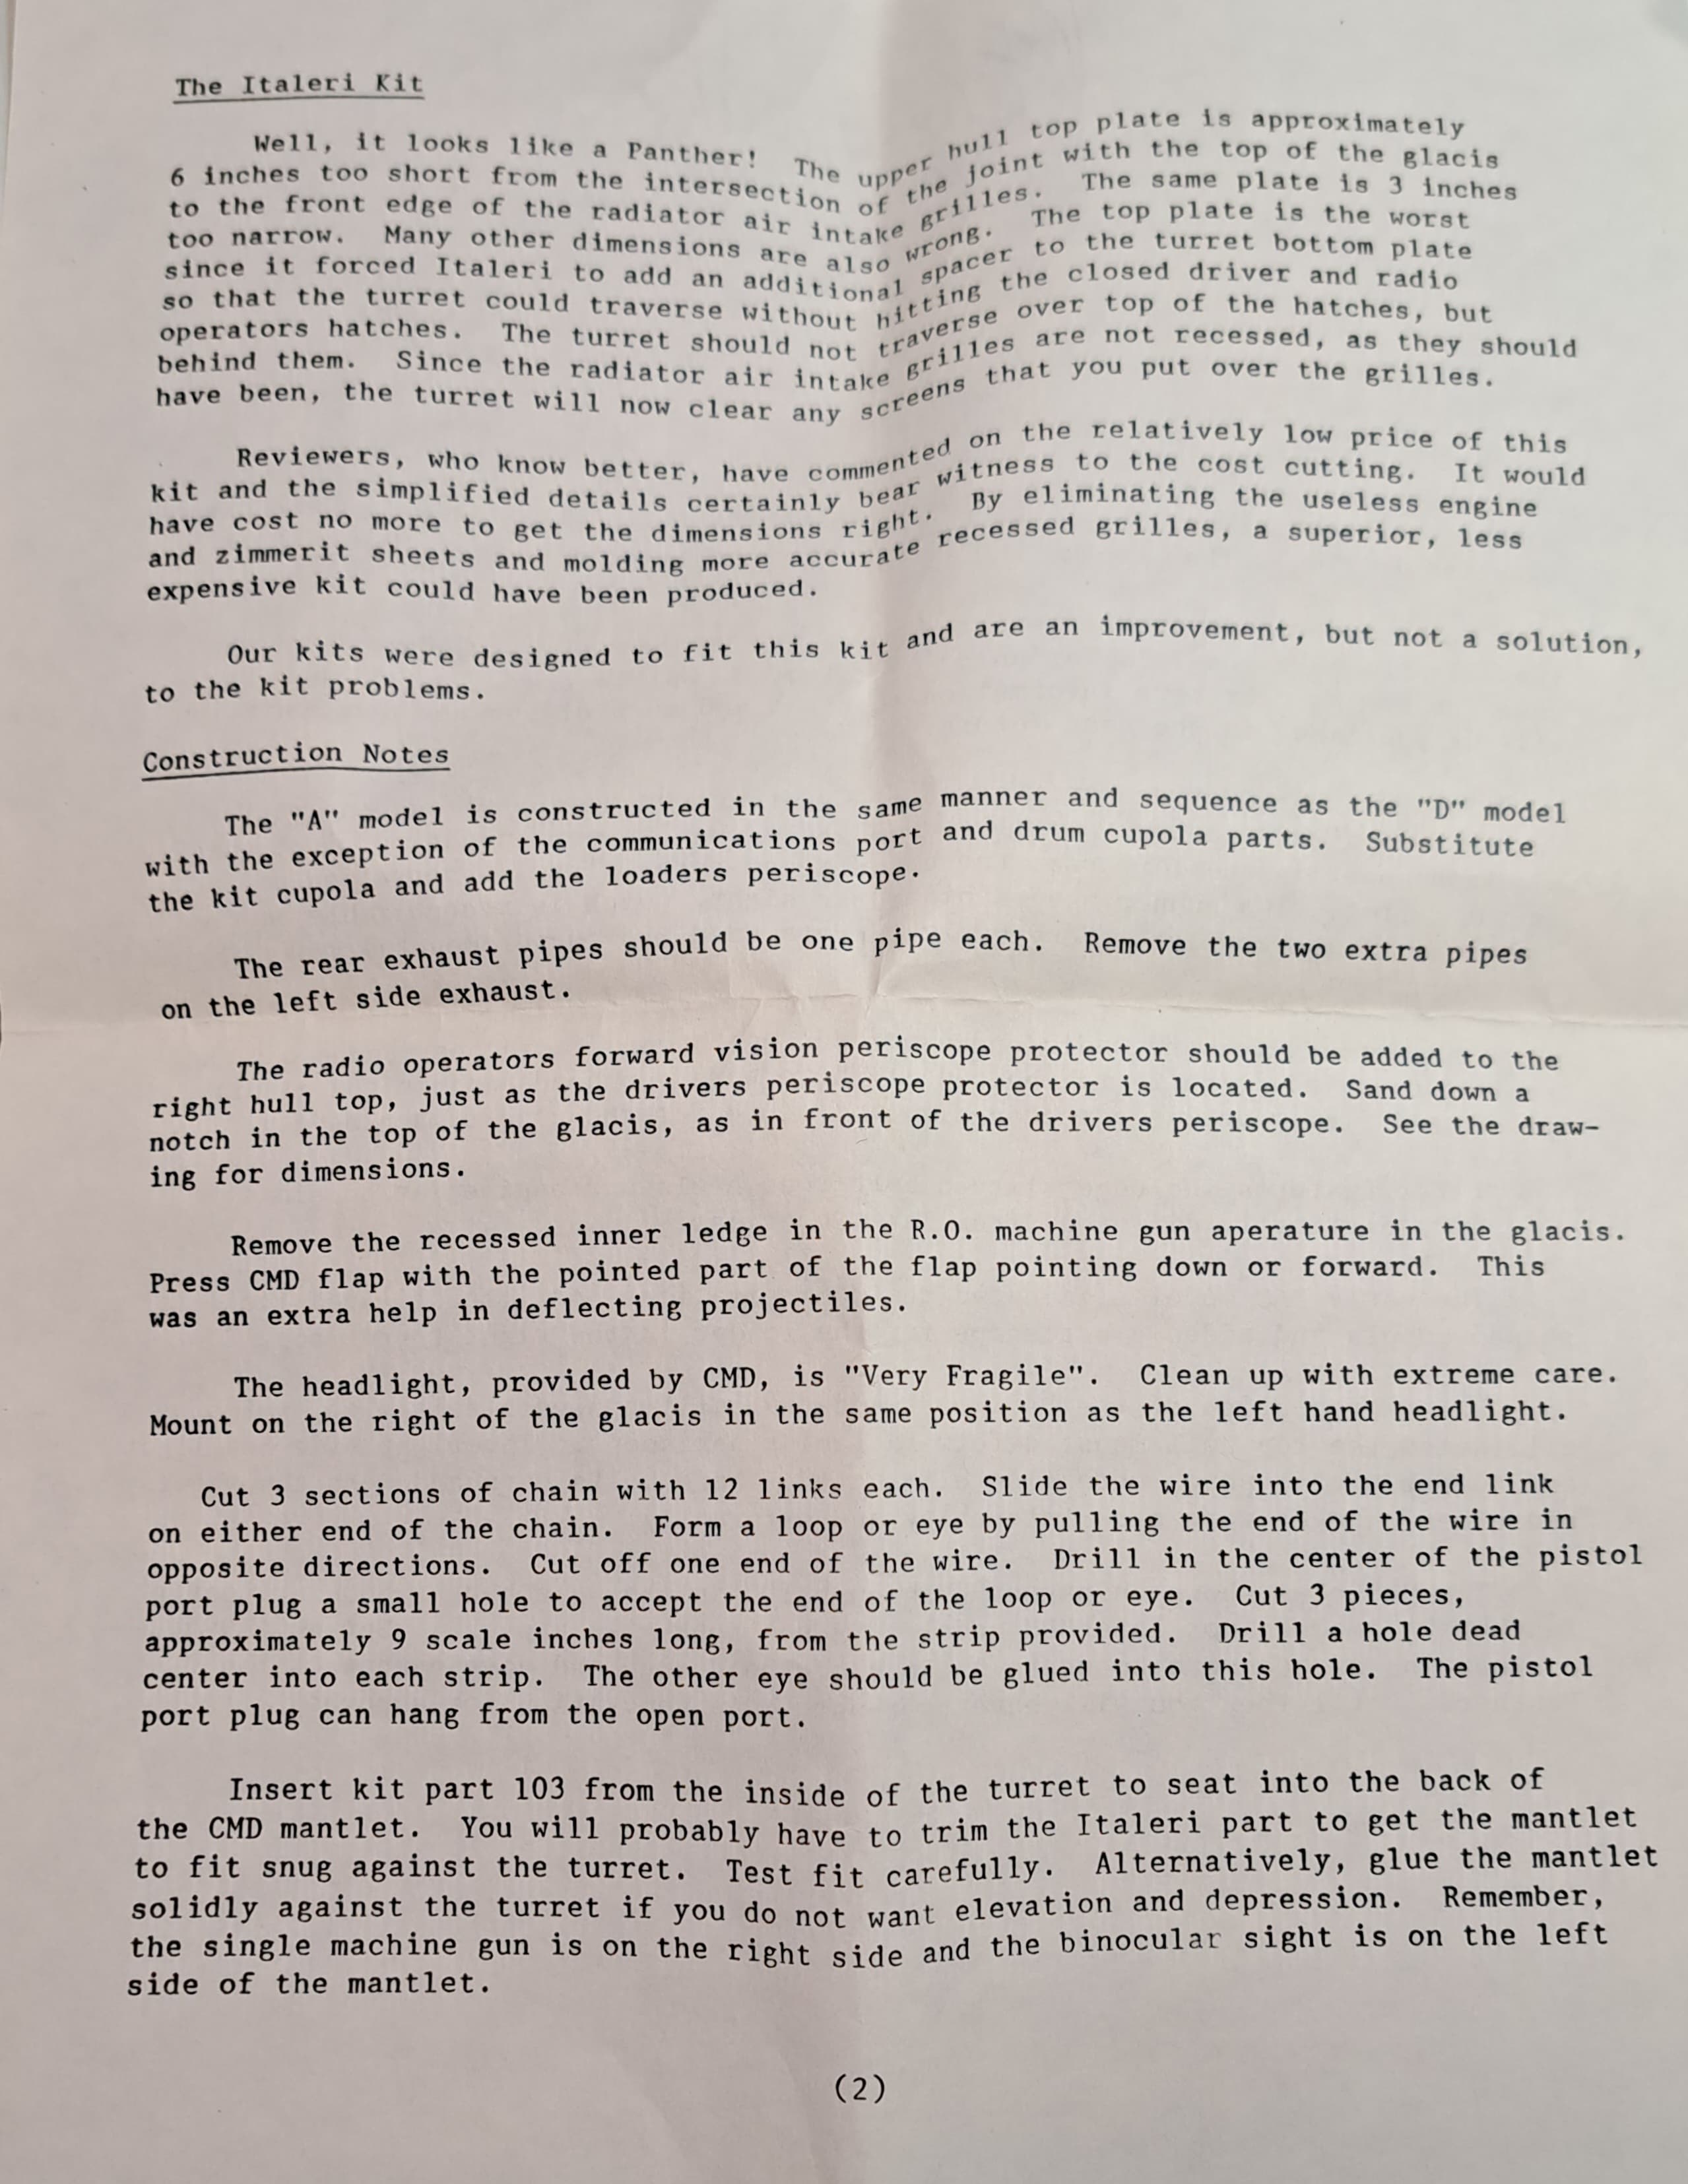
The CMD parts.
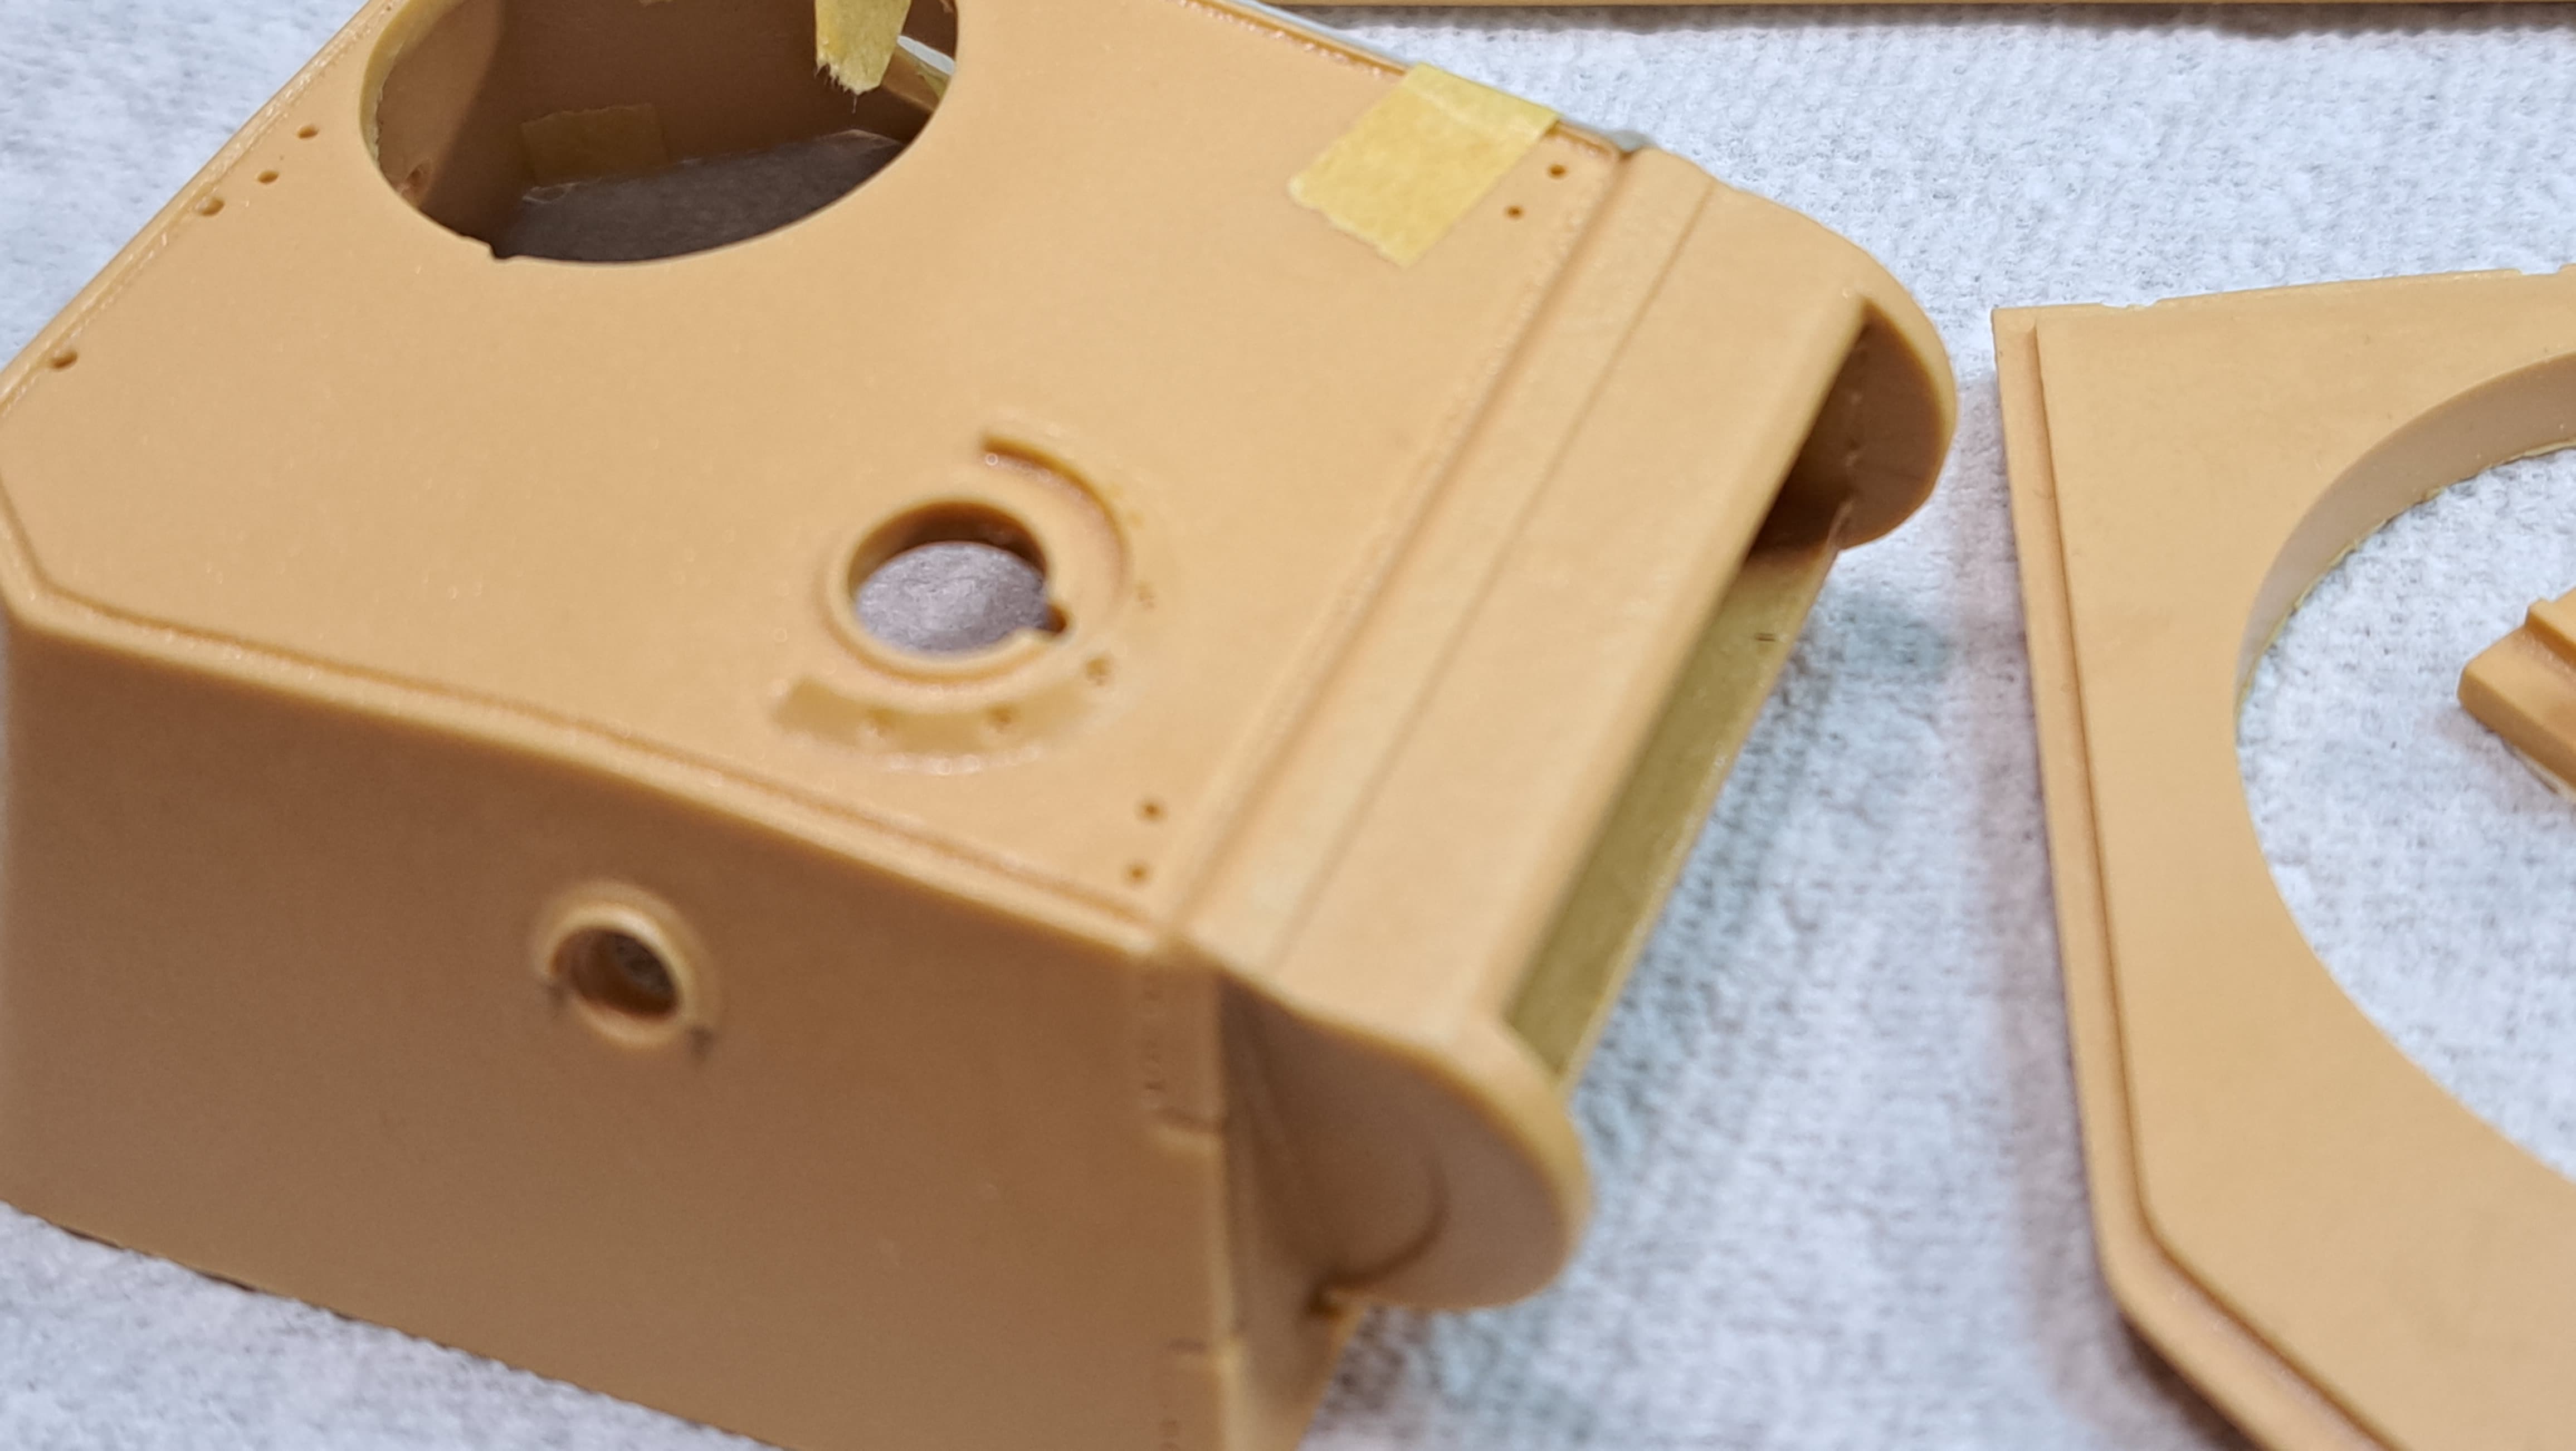
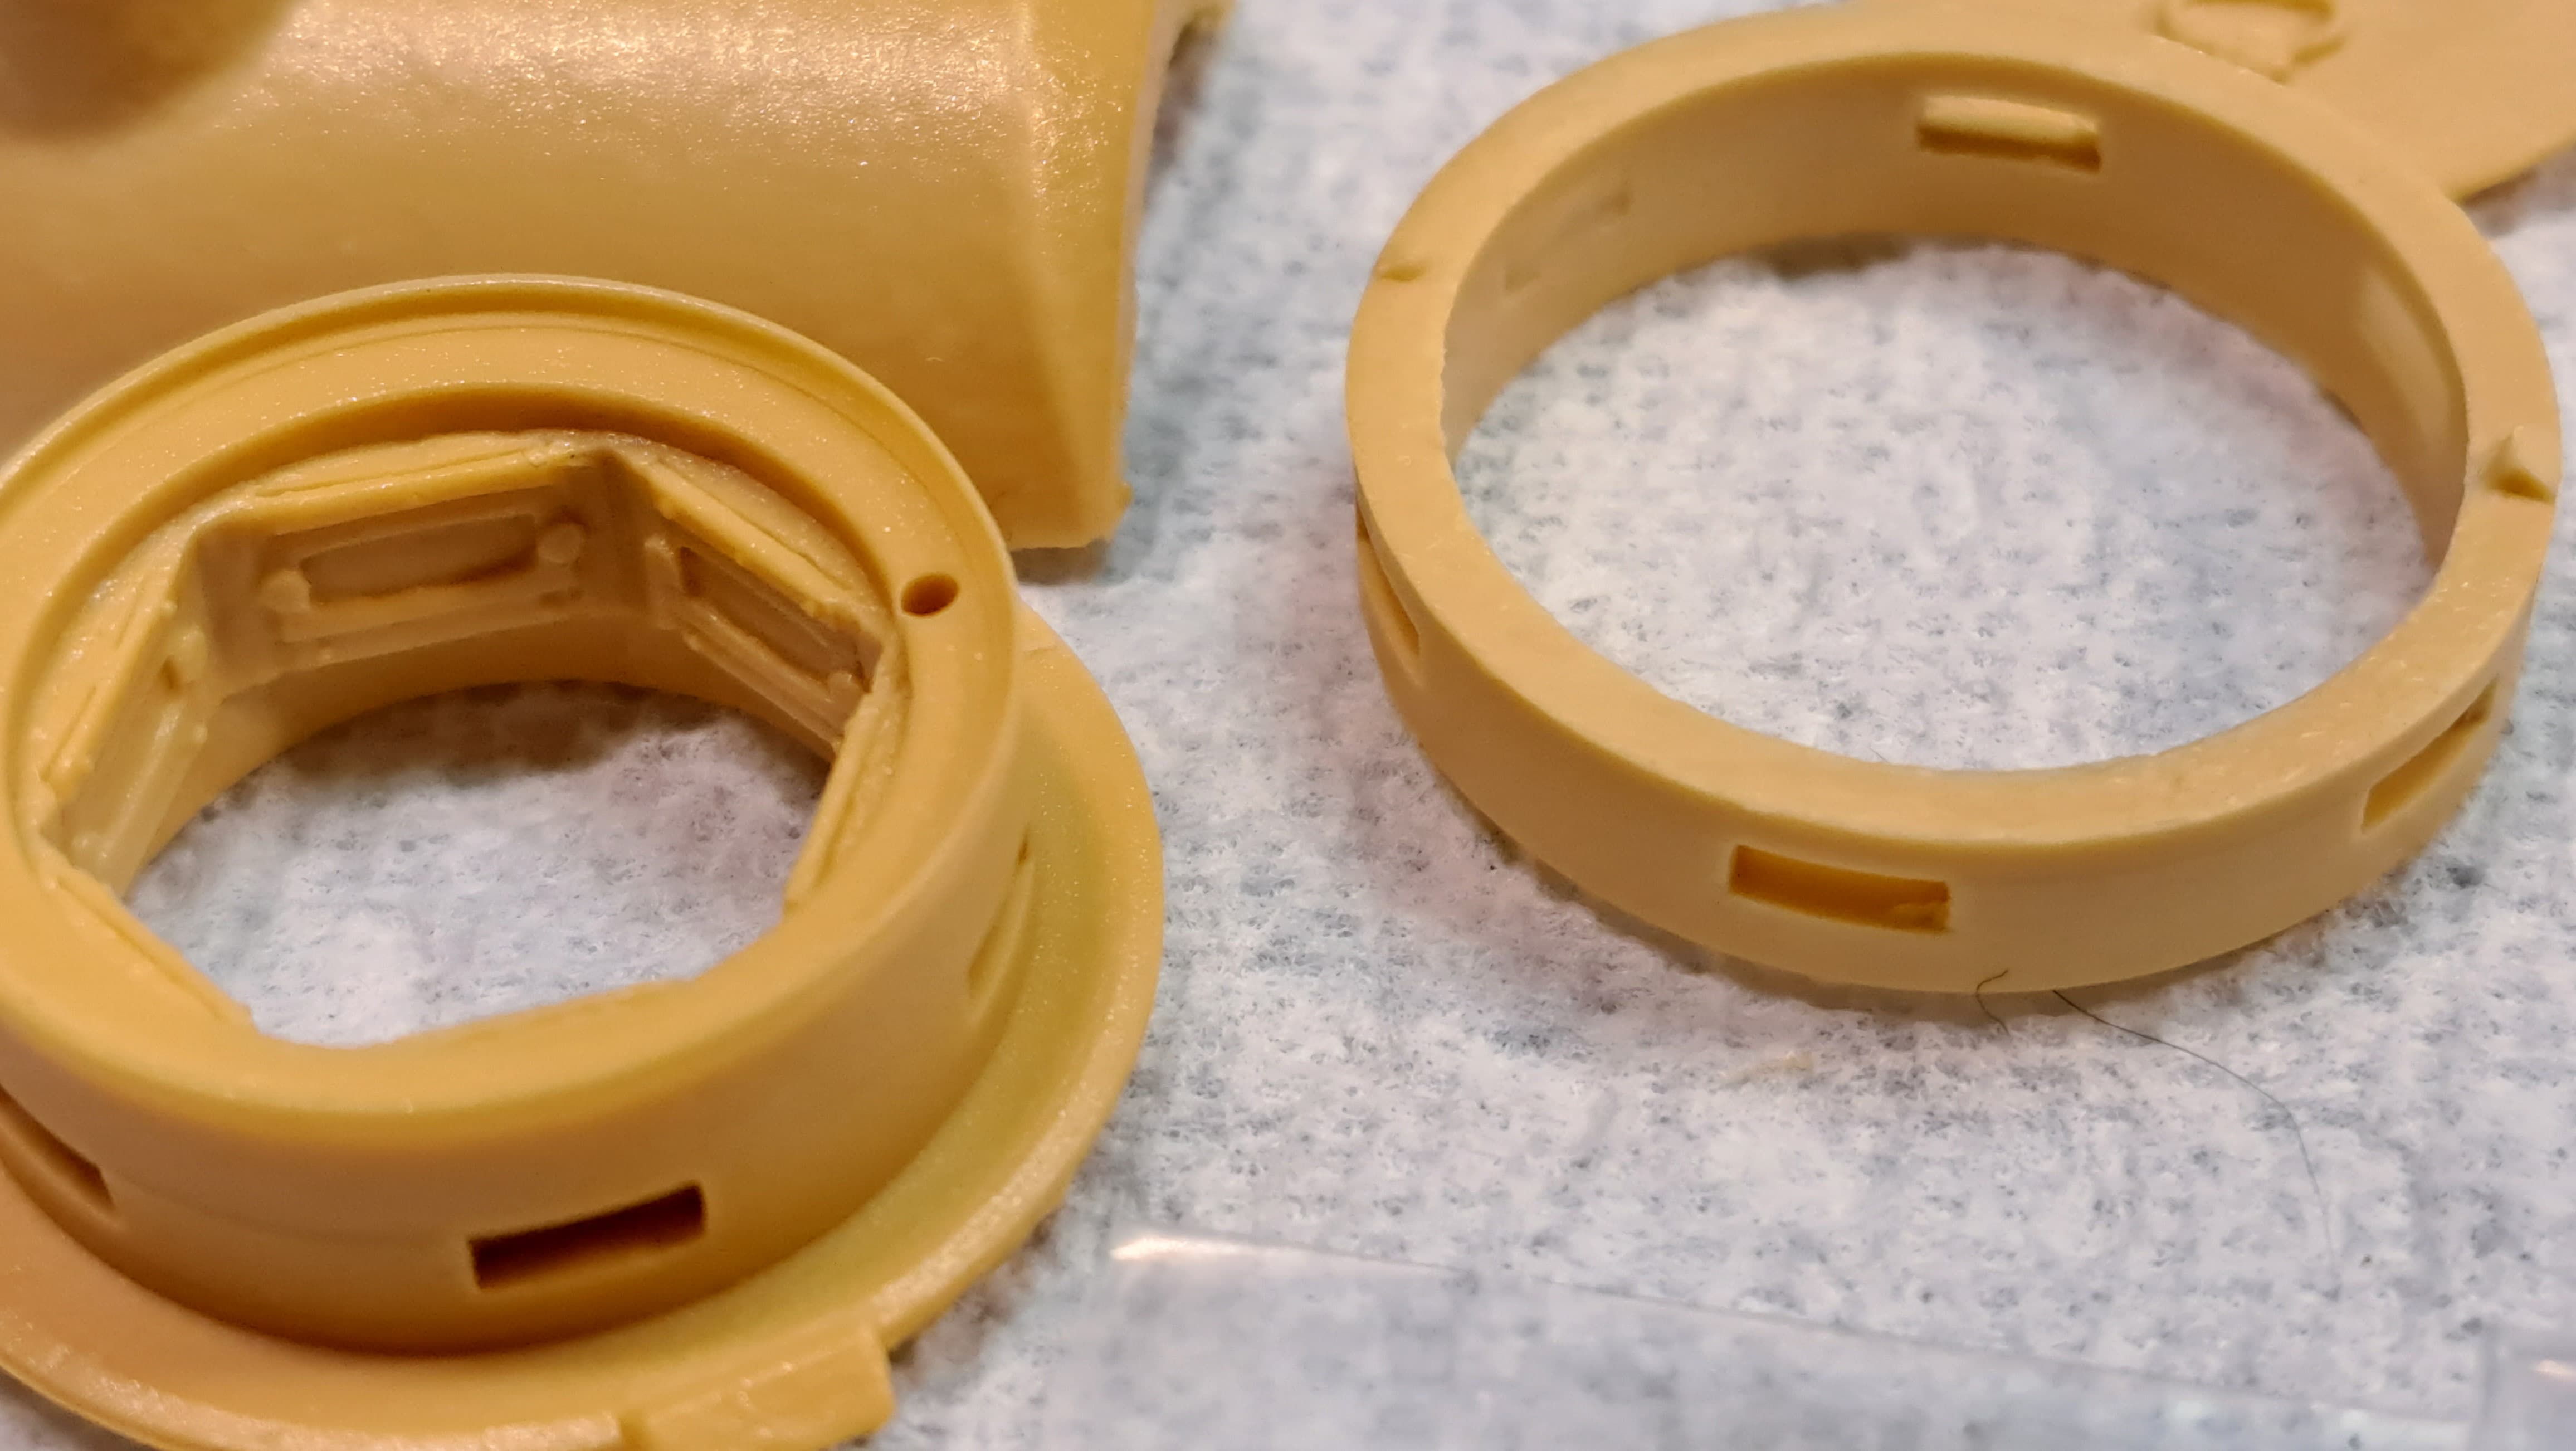
Talking with the CMD master maker for this kit, he mentioned he’d done what was possible to improve the turret. There are dimensional errors in the Italeri Panther turret. I think it’s off ~2mm or so based on prior discussion. I’d check but no longer have the parts.
This takes me to my first area of concern, will the Cavalier Zimmerit work with the revised turret? On prior projects, Cavalier parts were slightly over sized and easy to trim to fit. Need to know if they are too small for the CMD turret.
Test fit.
No trimming, exact fit.
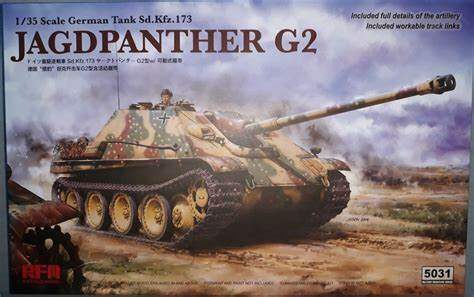
I’m looking at all this Zimmerit; I’m truly curious to add it to my RFM Jagdpanther G2 that’s on my stash.
Reyneir,
I think the G2 misses the zimmerit window by 2 or 3 months. That’s a really cool hassle free factor for the RFM G2 JagdPanther.
Production start for the JagdPanther G2 was either December 1944 or January 1945. Zimmerit would have been discontinued at the factory in September 1944 and field applications were discontinued in October 1944.
Sadly, Cavalier is out of business.
ATAK makes nice zimmerit sets. I have several but haven’t installed one yet. ATAK appears to need to be thinned down as the sheet is a bit thick so I’d always favored the older Cavalier Zimmerit sets.
I don’t know enough about JagdPanther’s to know if its possible to adapt a G1 zimmerit set for a G2 if one just wanted to do one.
FWIW - ATAK zimmerit & a choice Dragon JagdPanther G1 would make for a sweet looking build ![]()
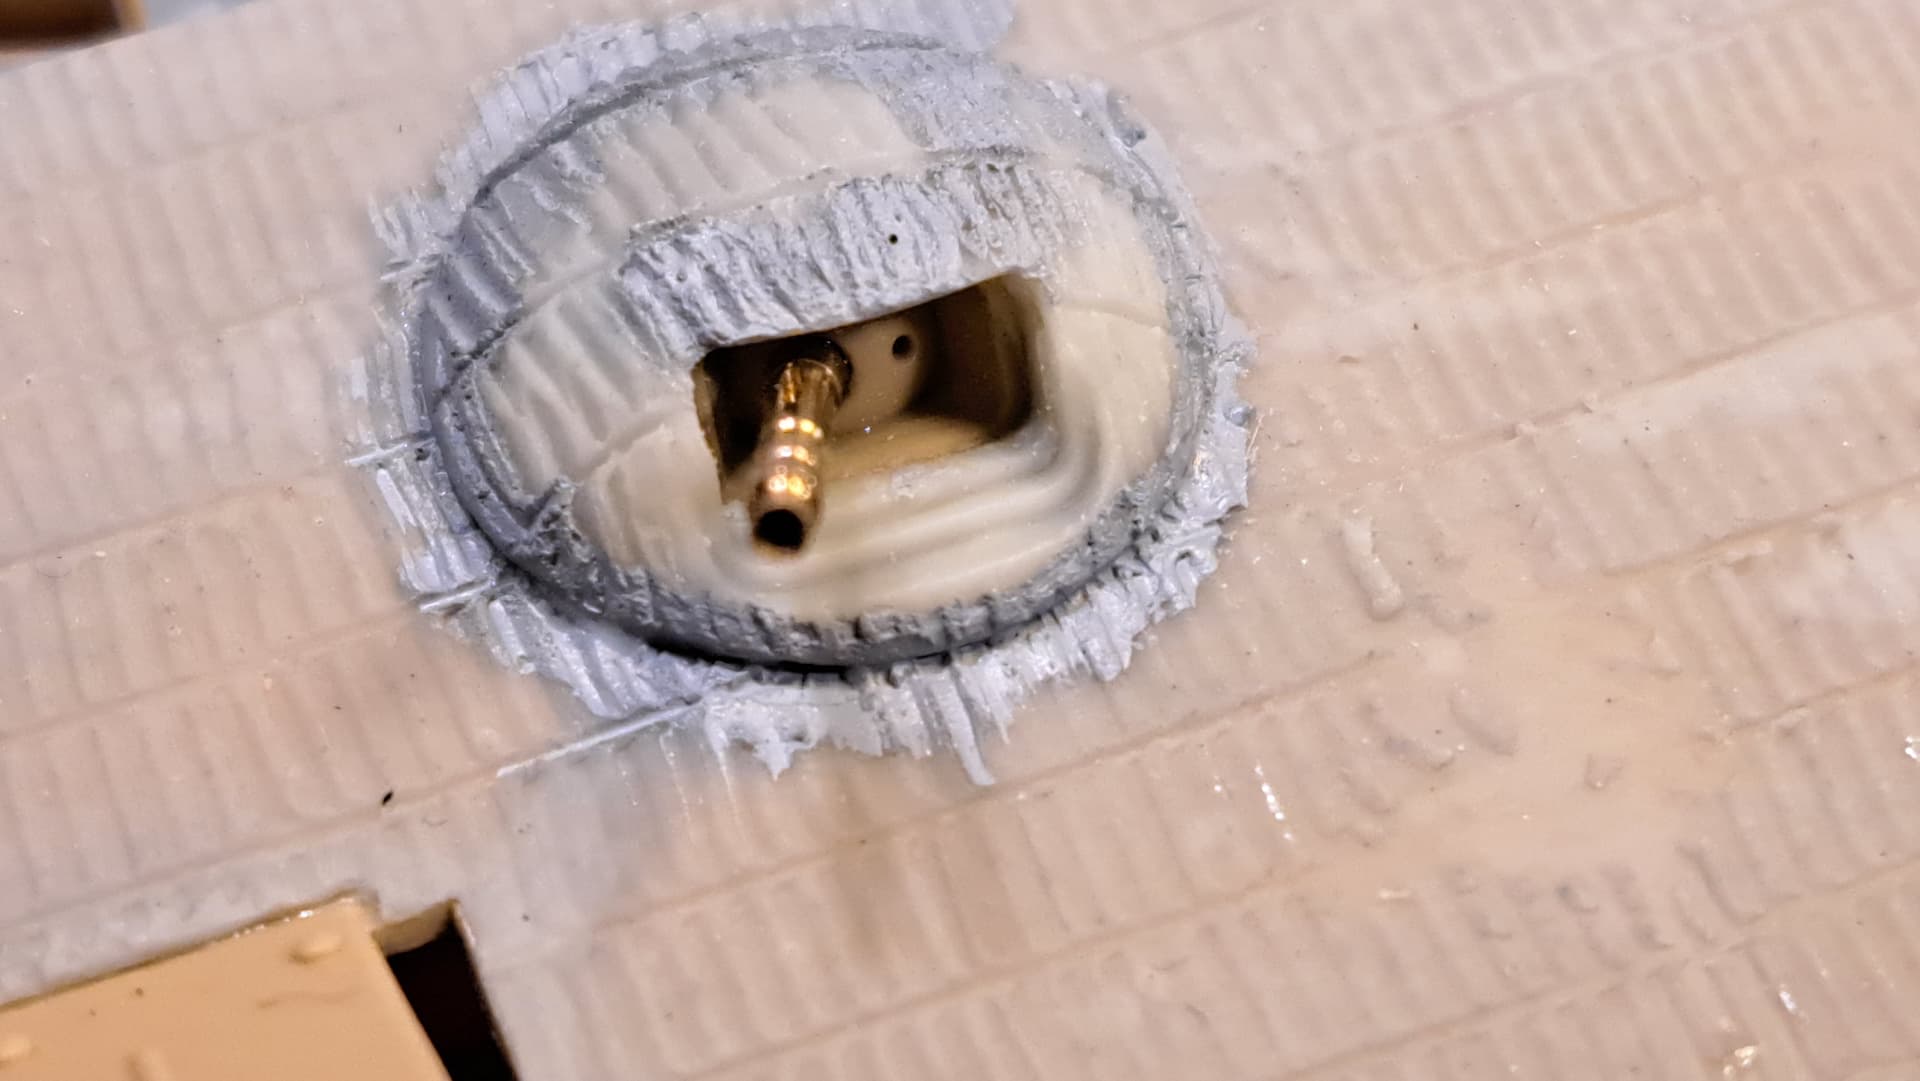
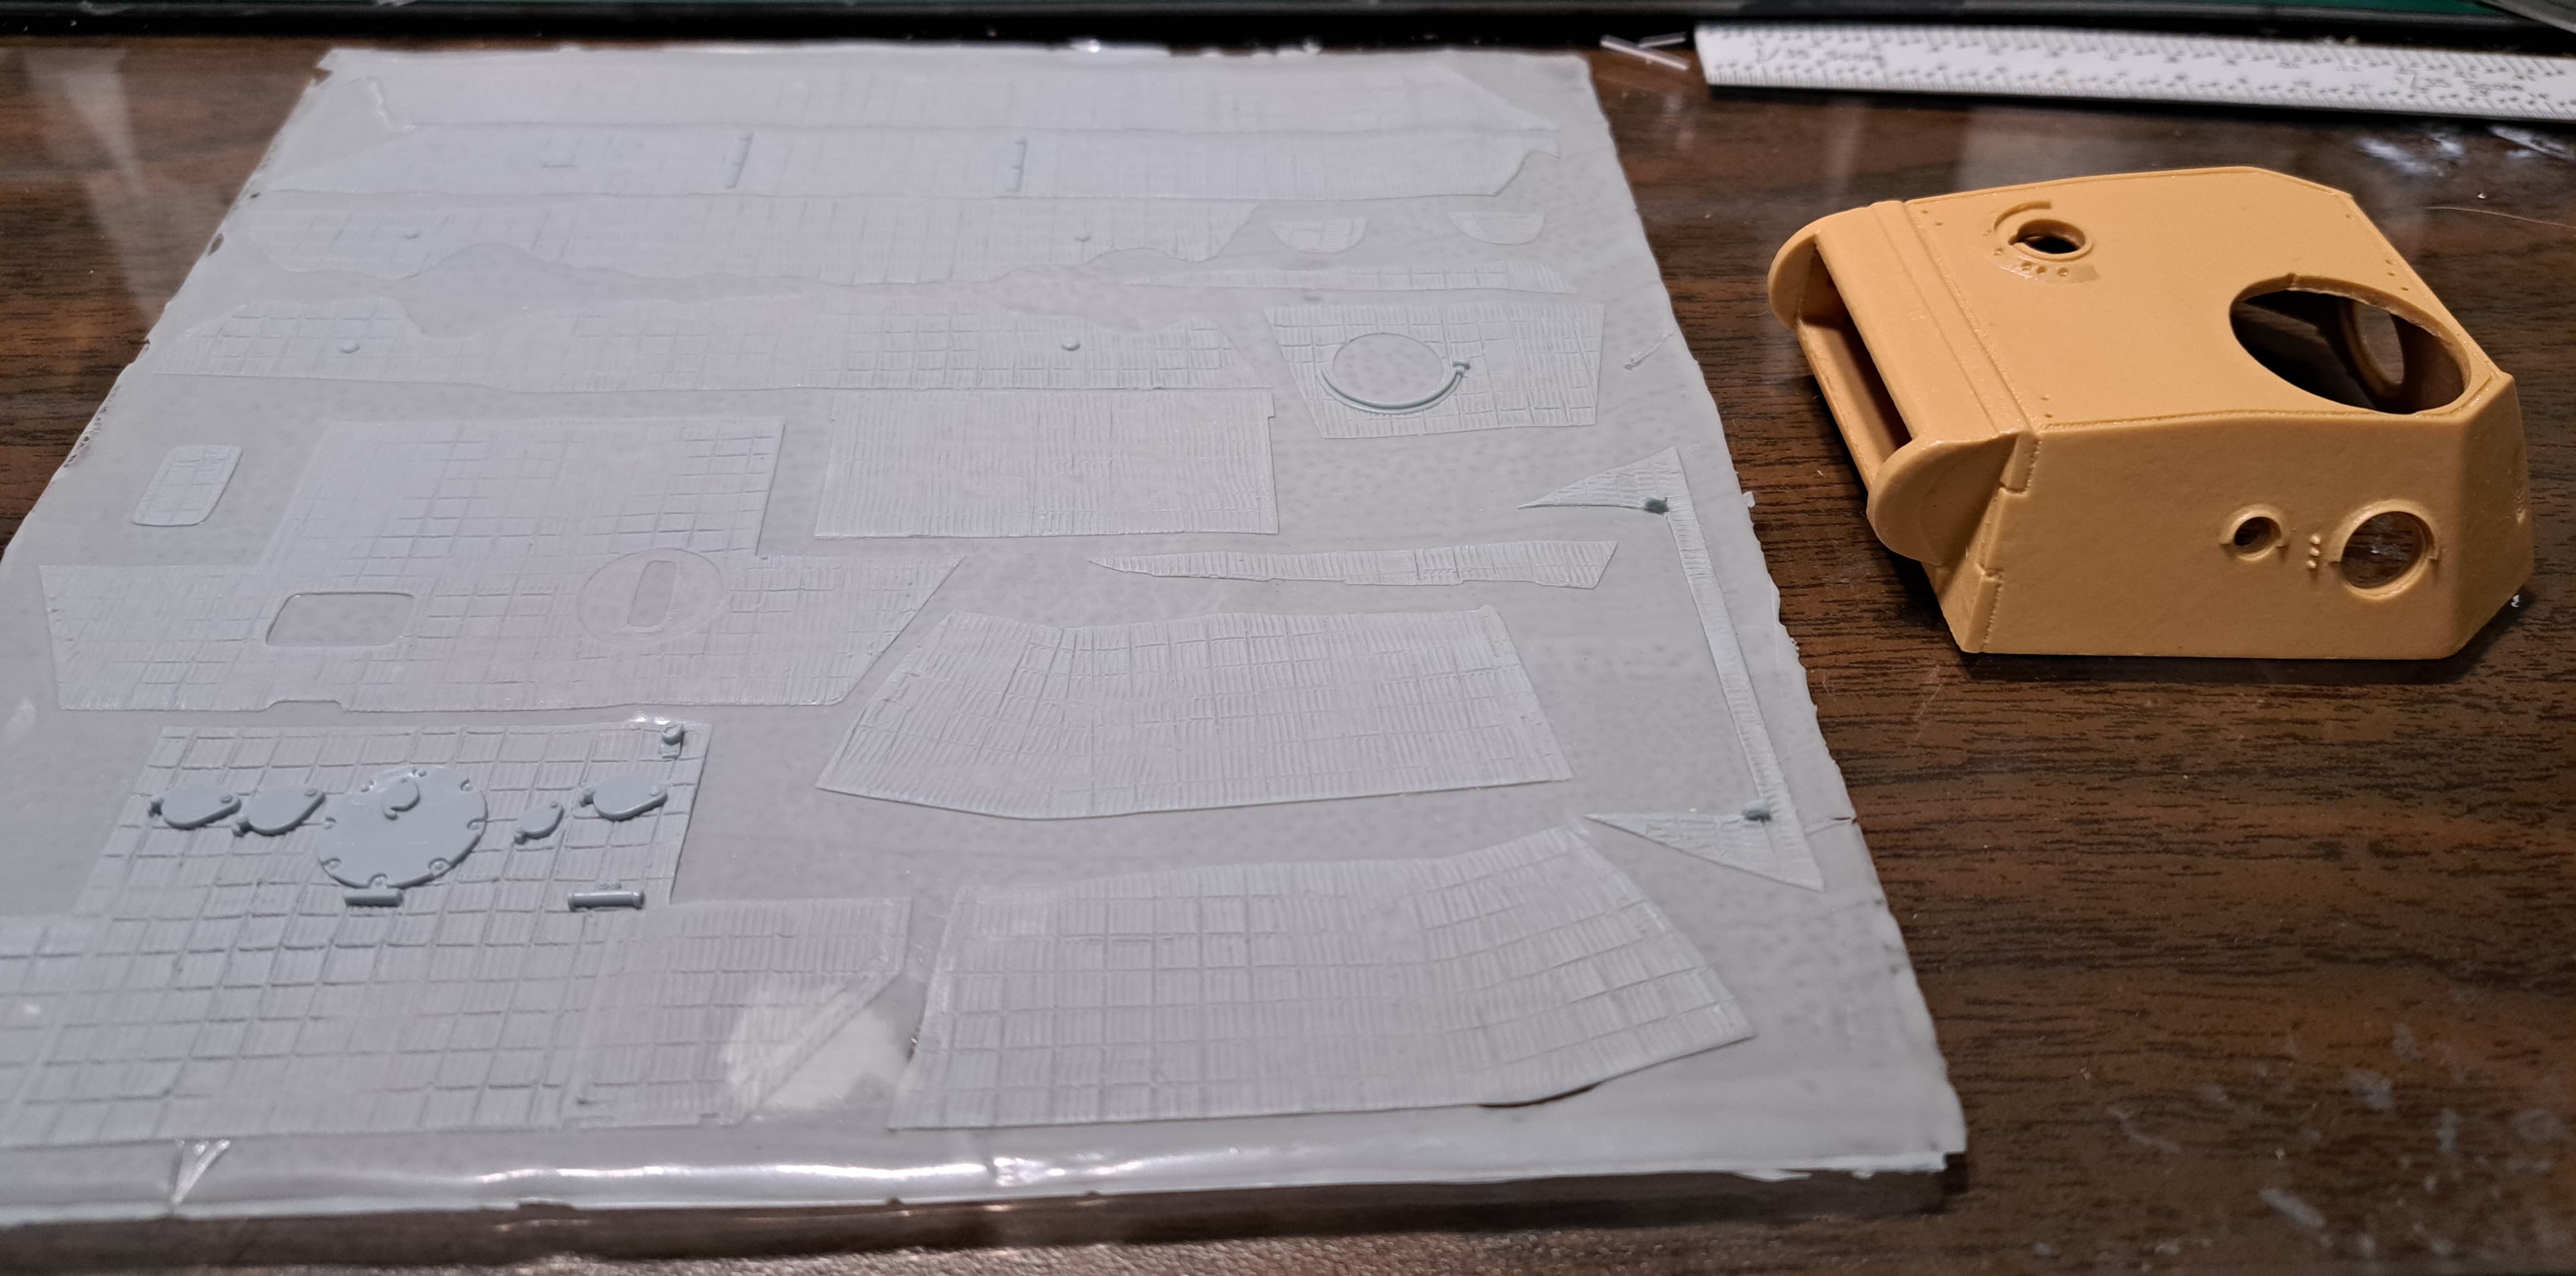
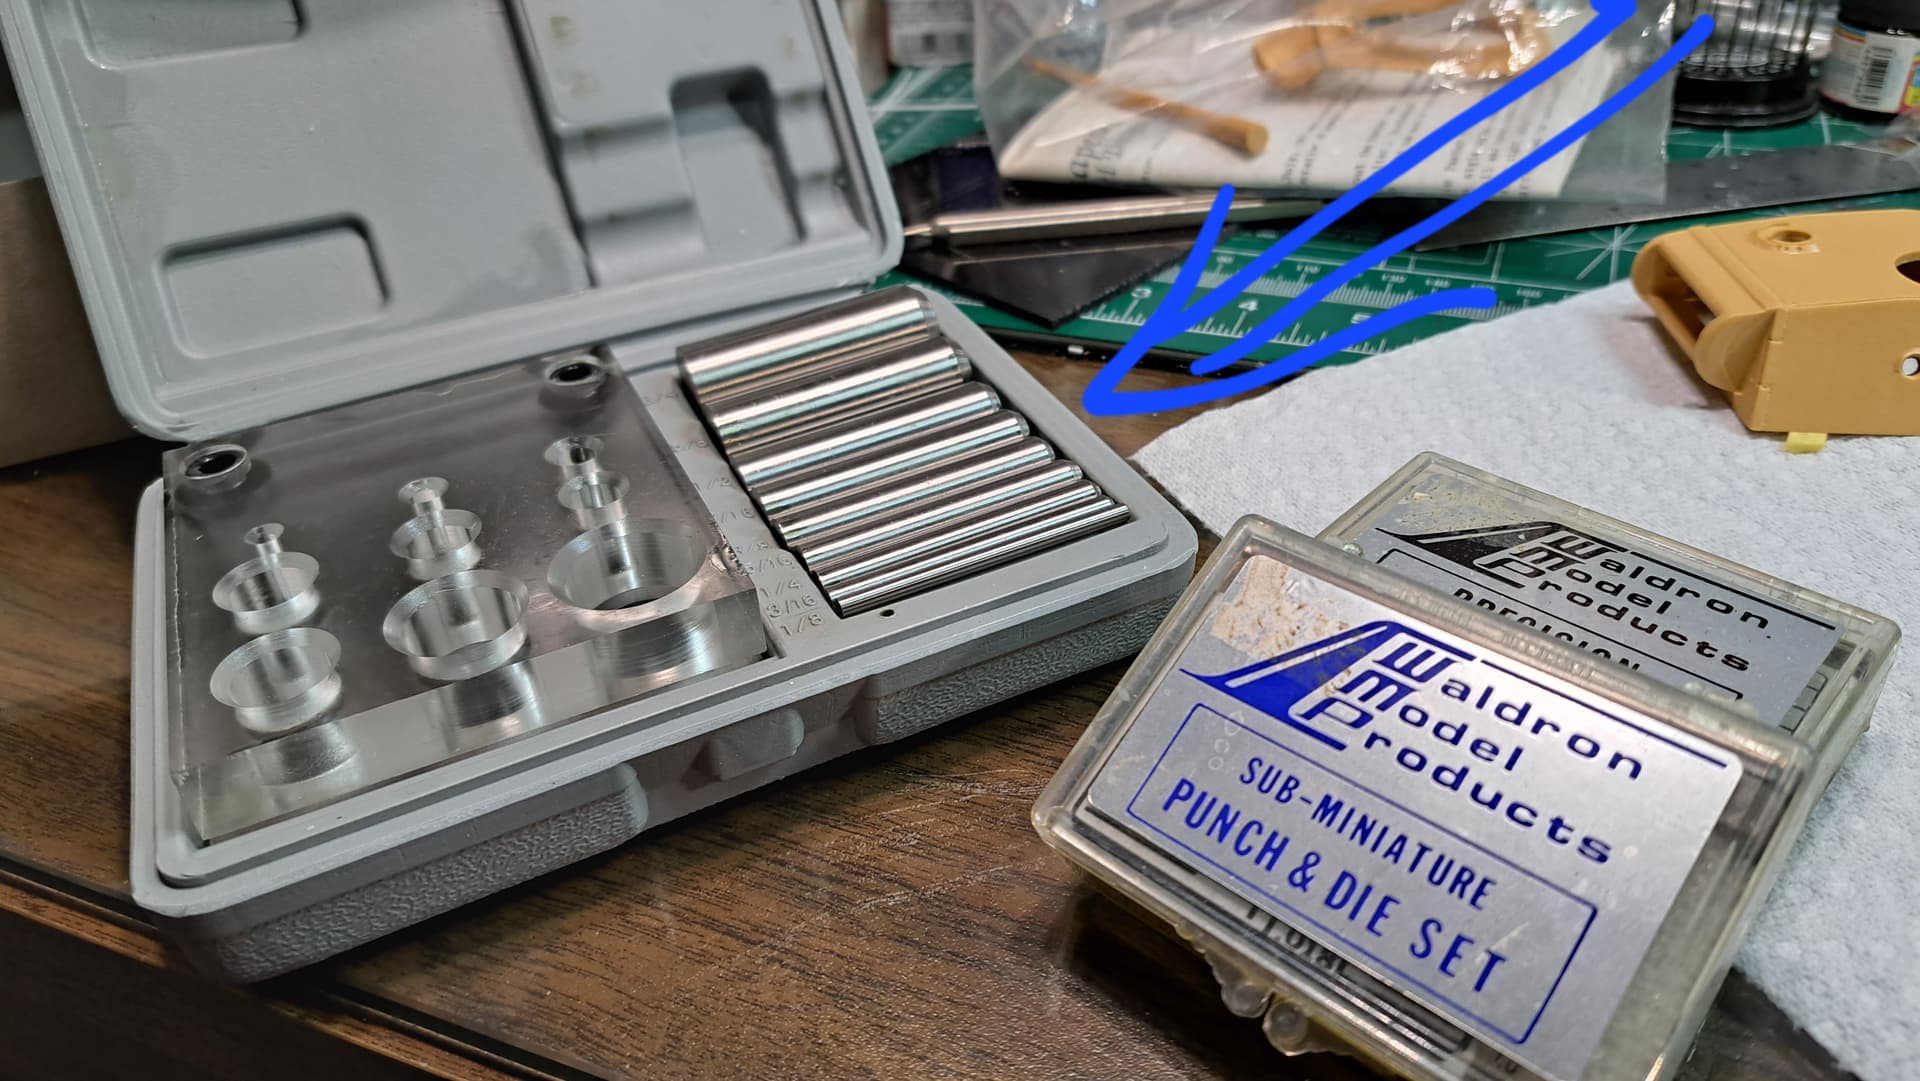
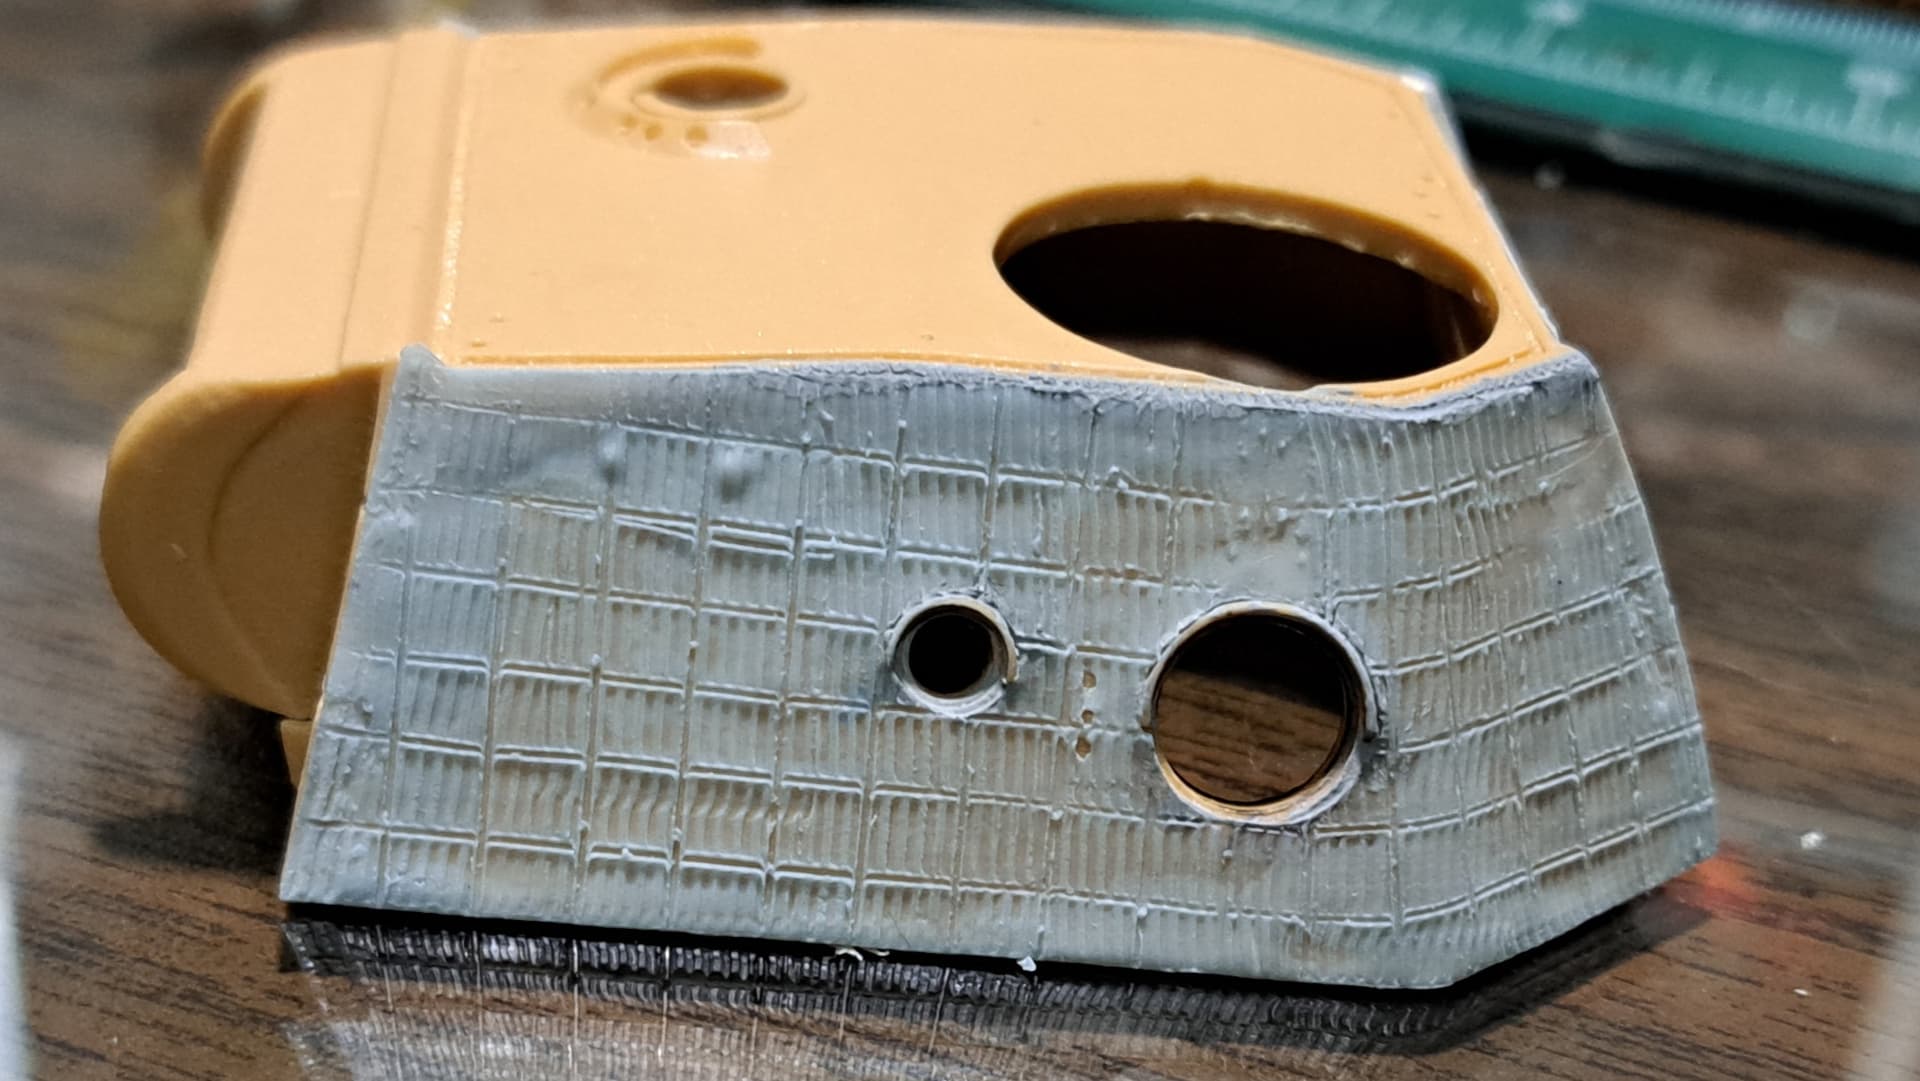
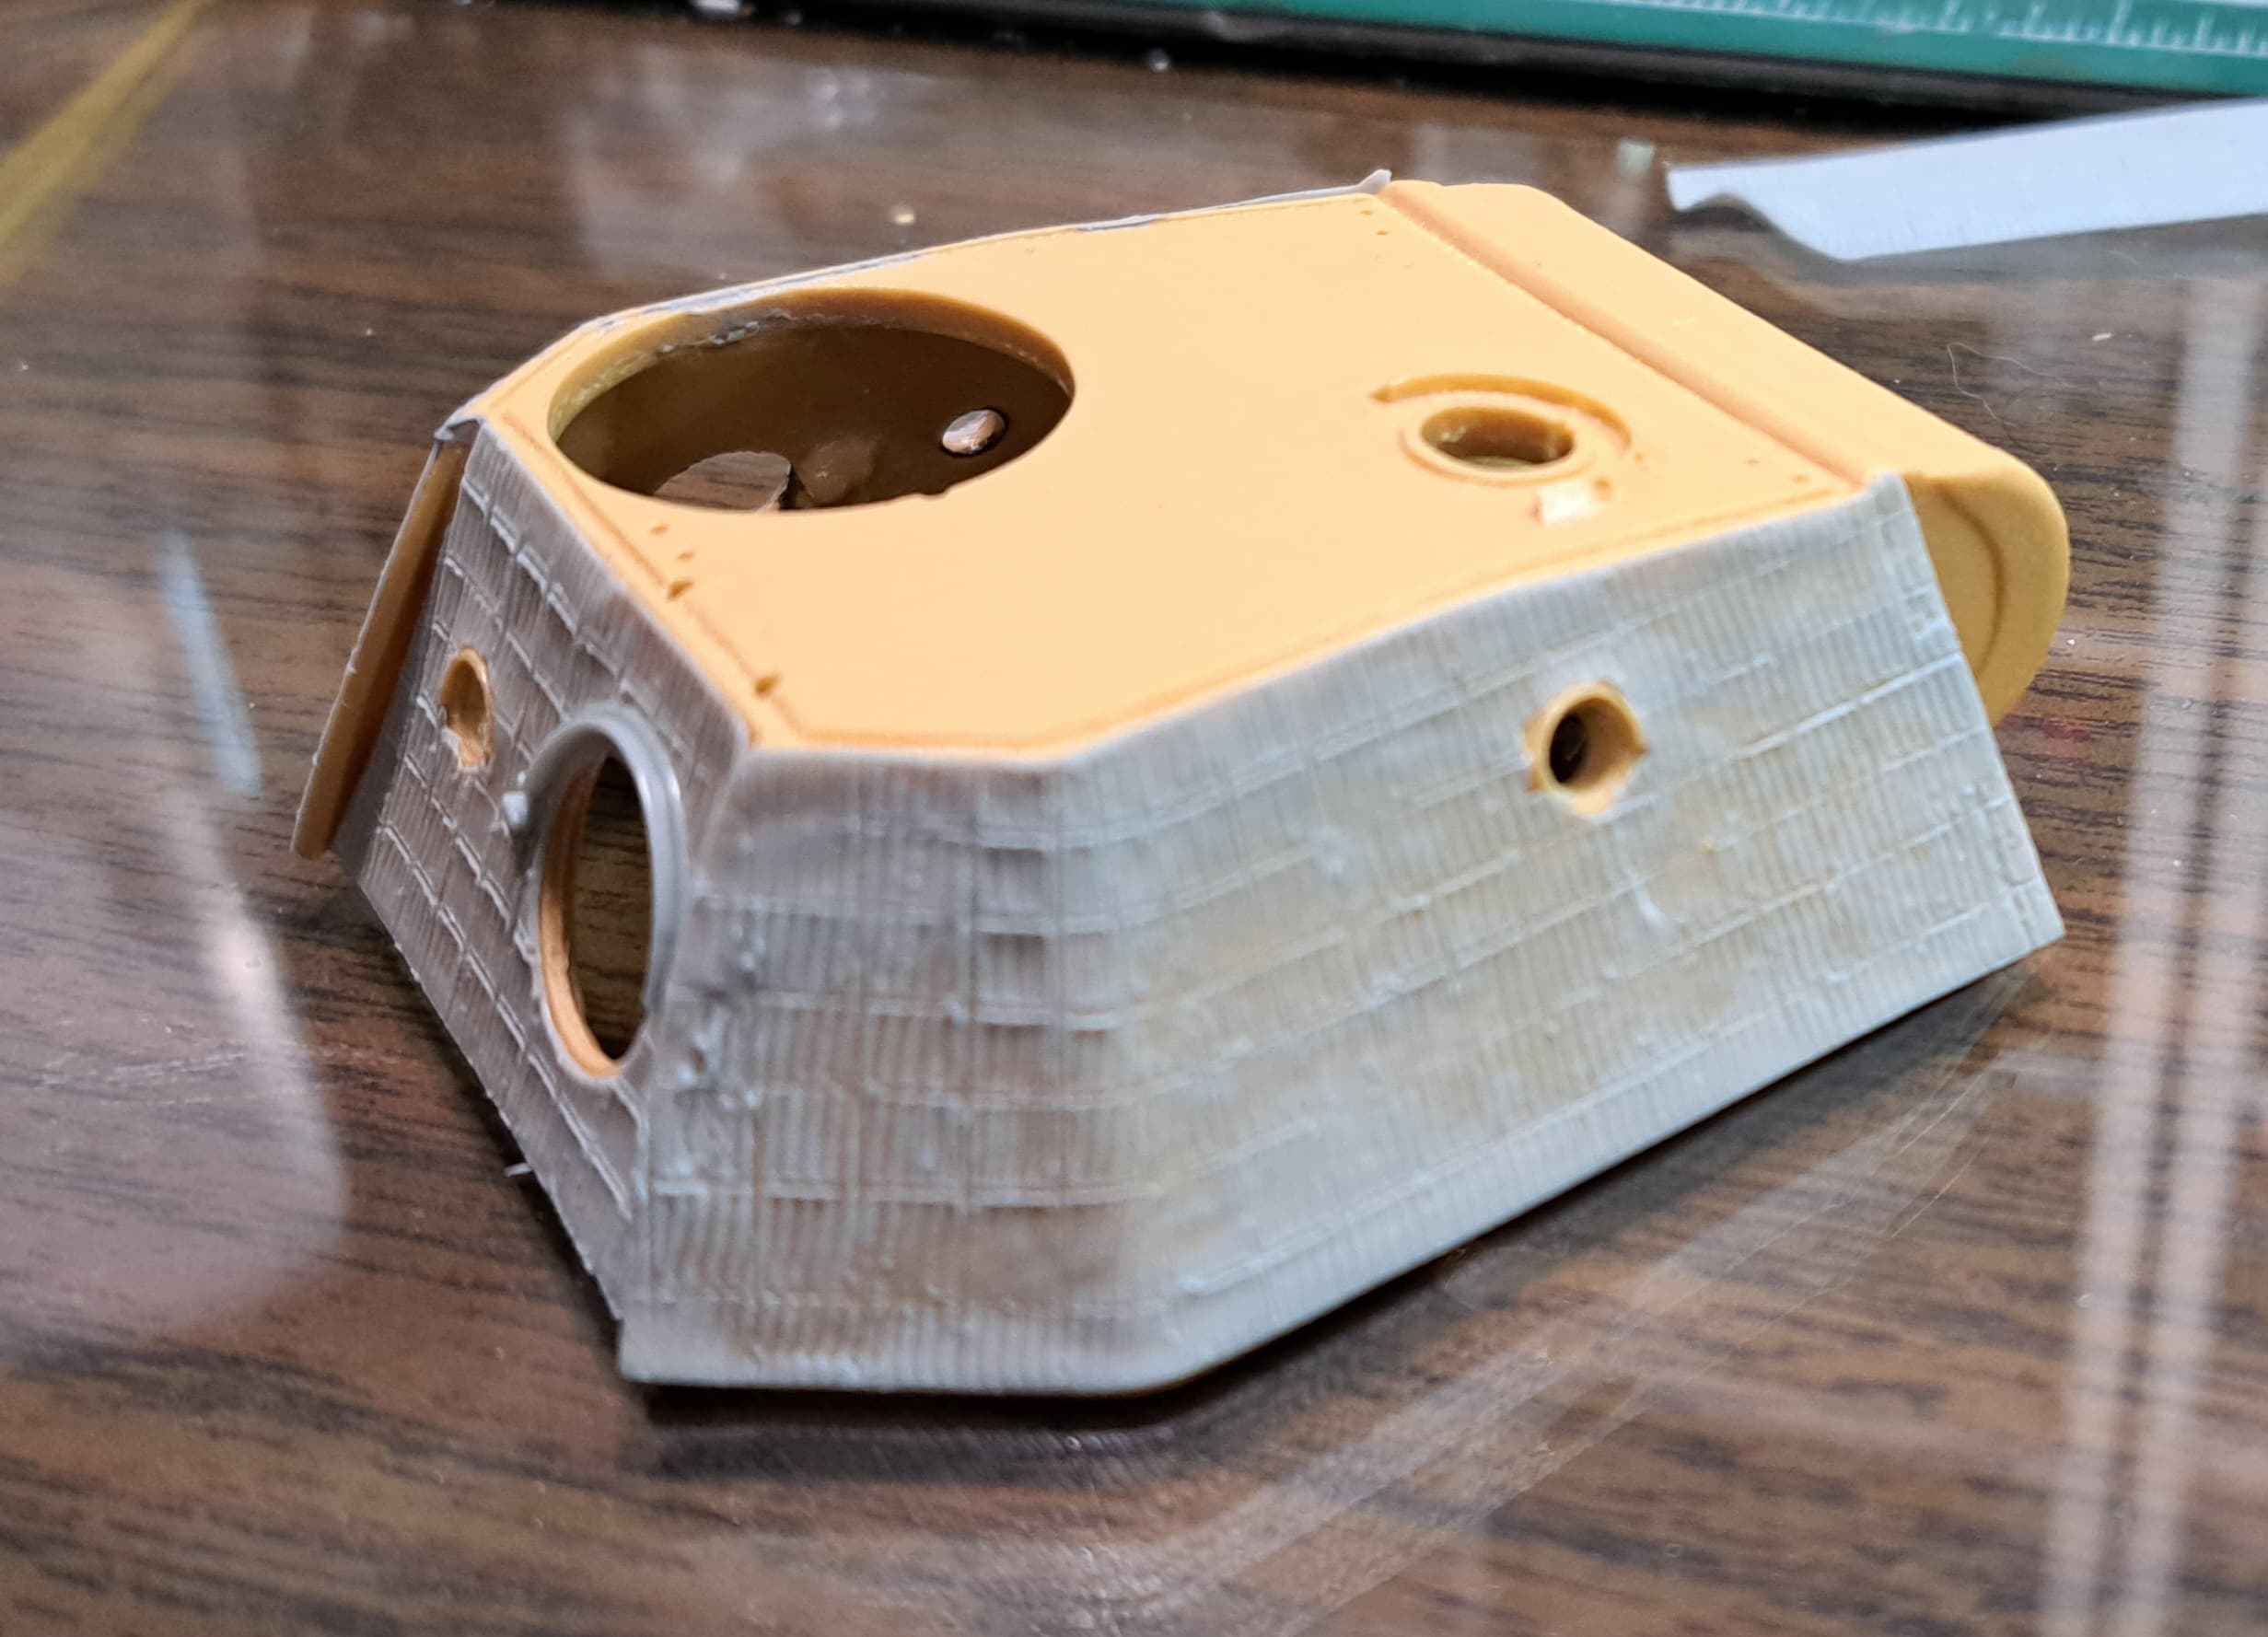
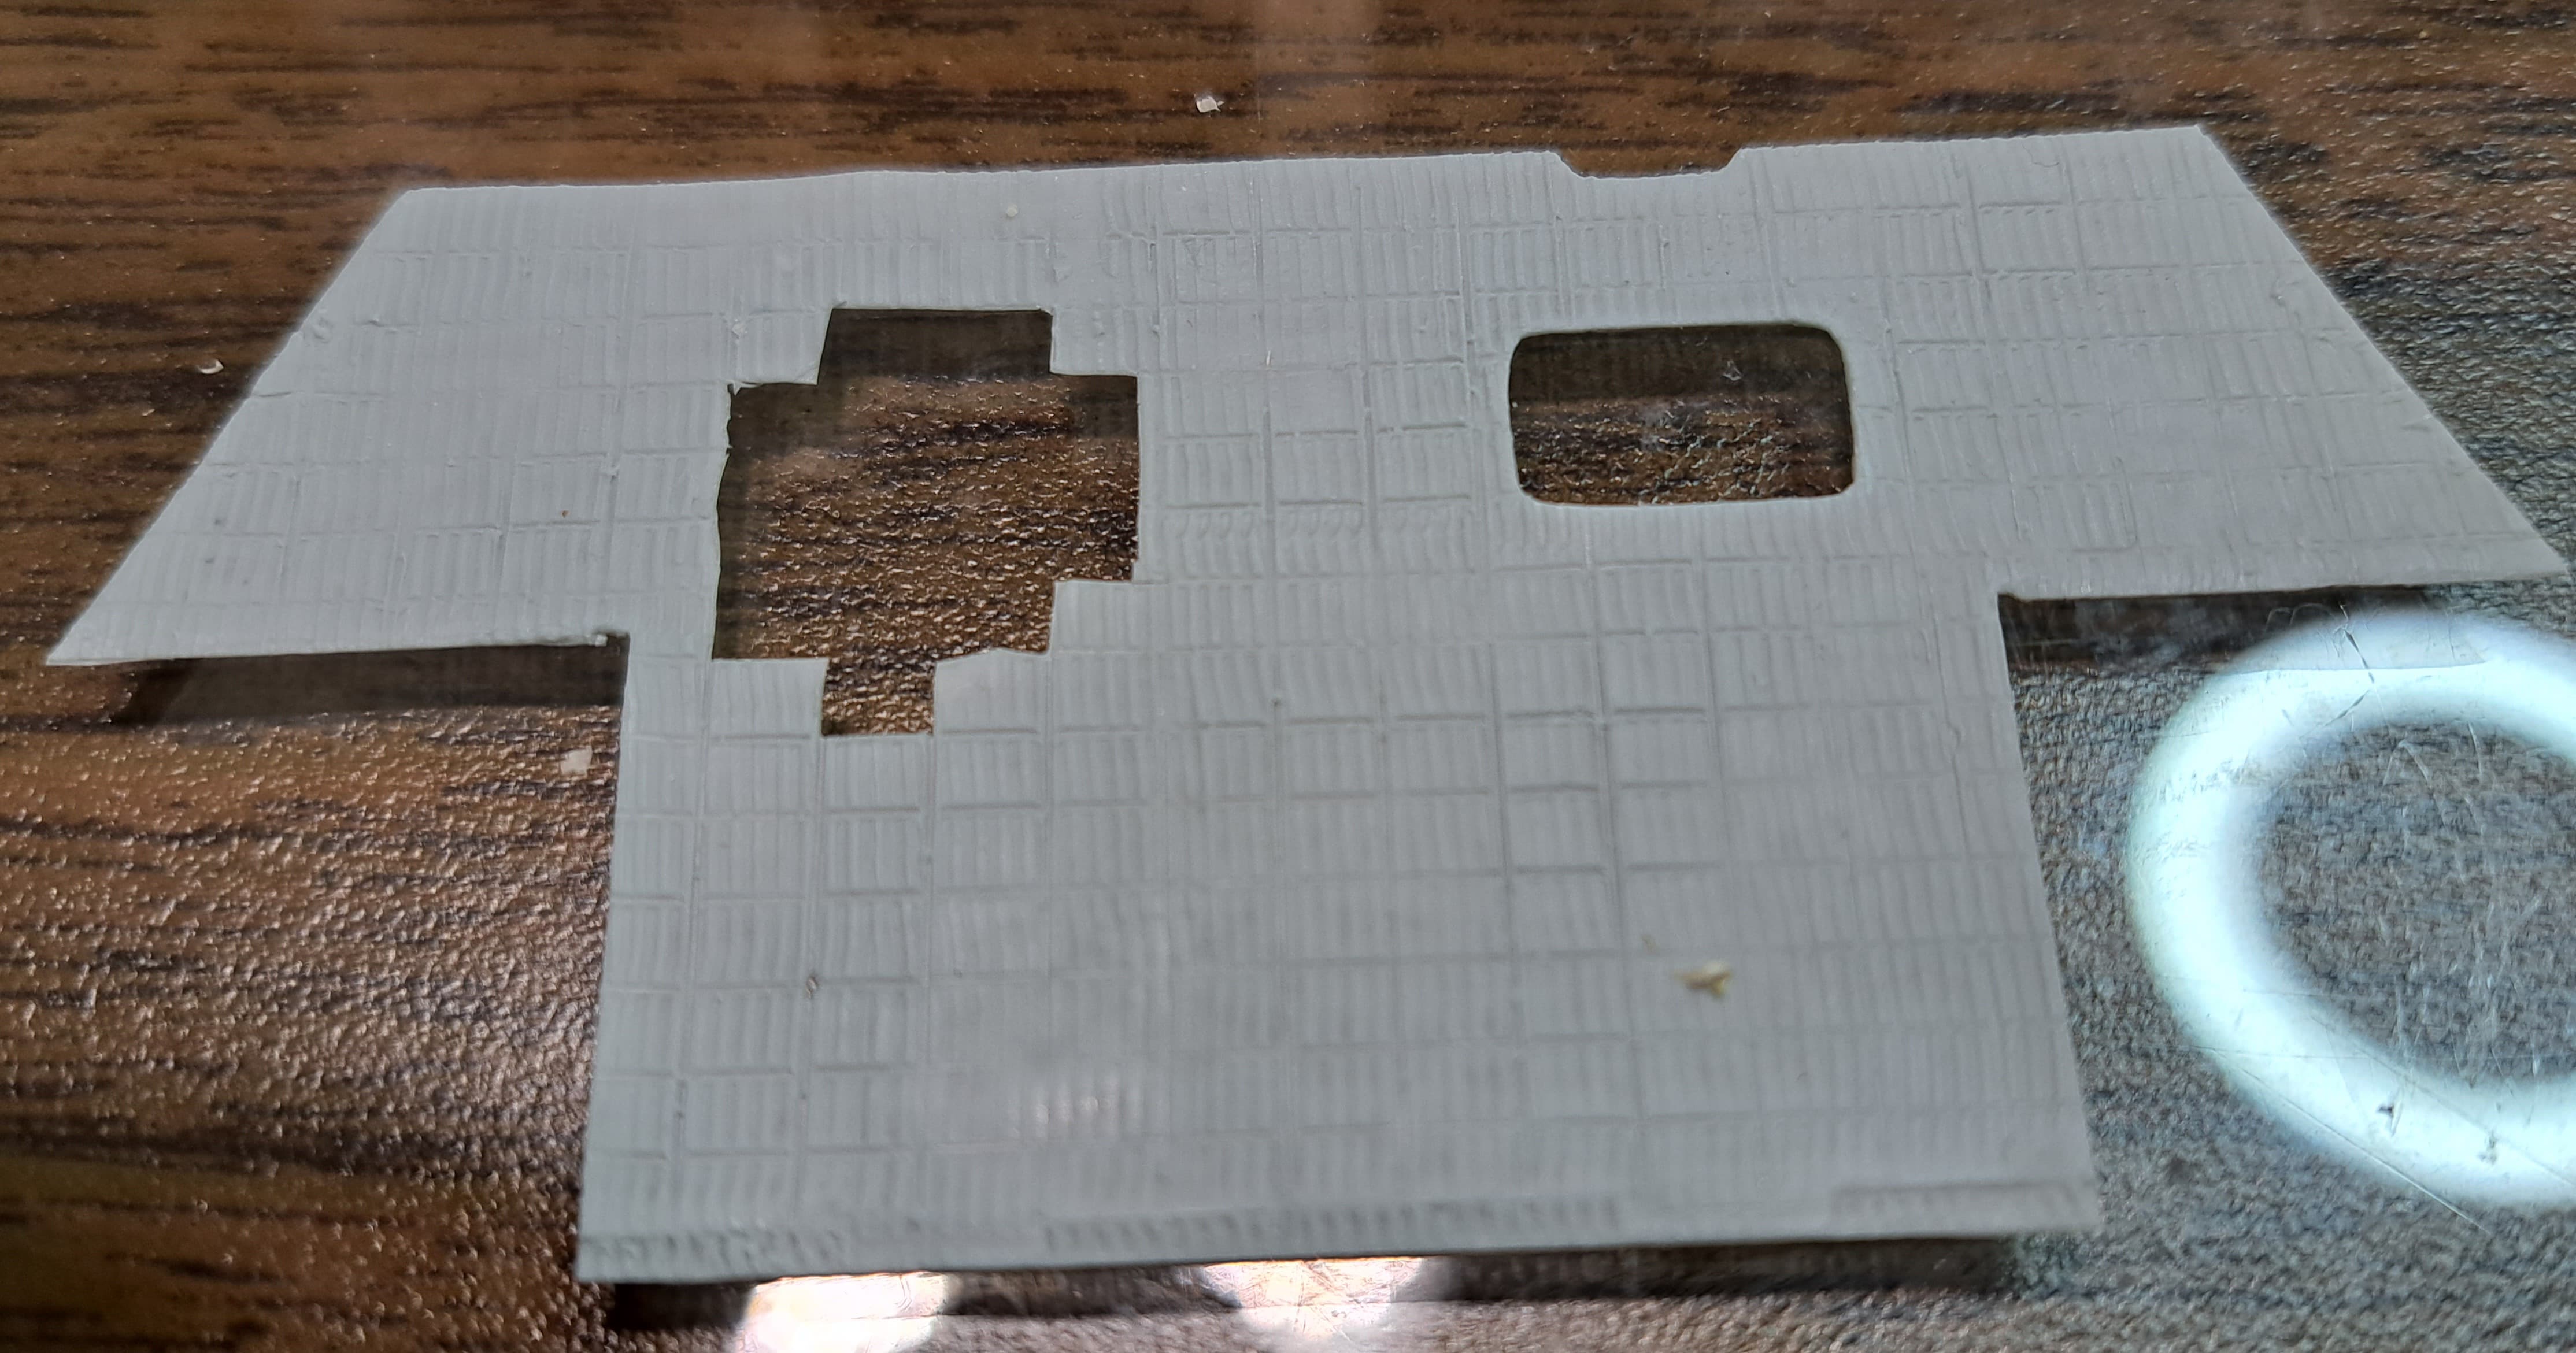
Remember this?

Applied to punch and die sets.
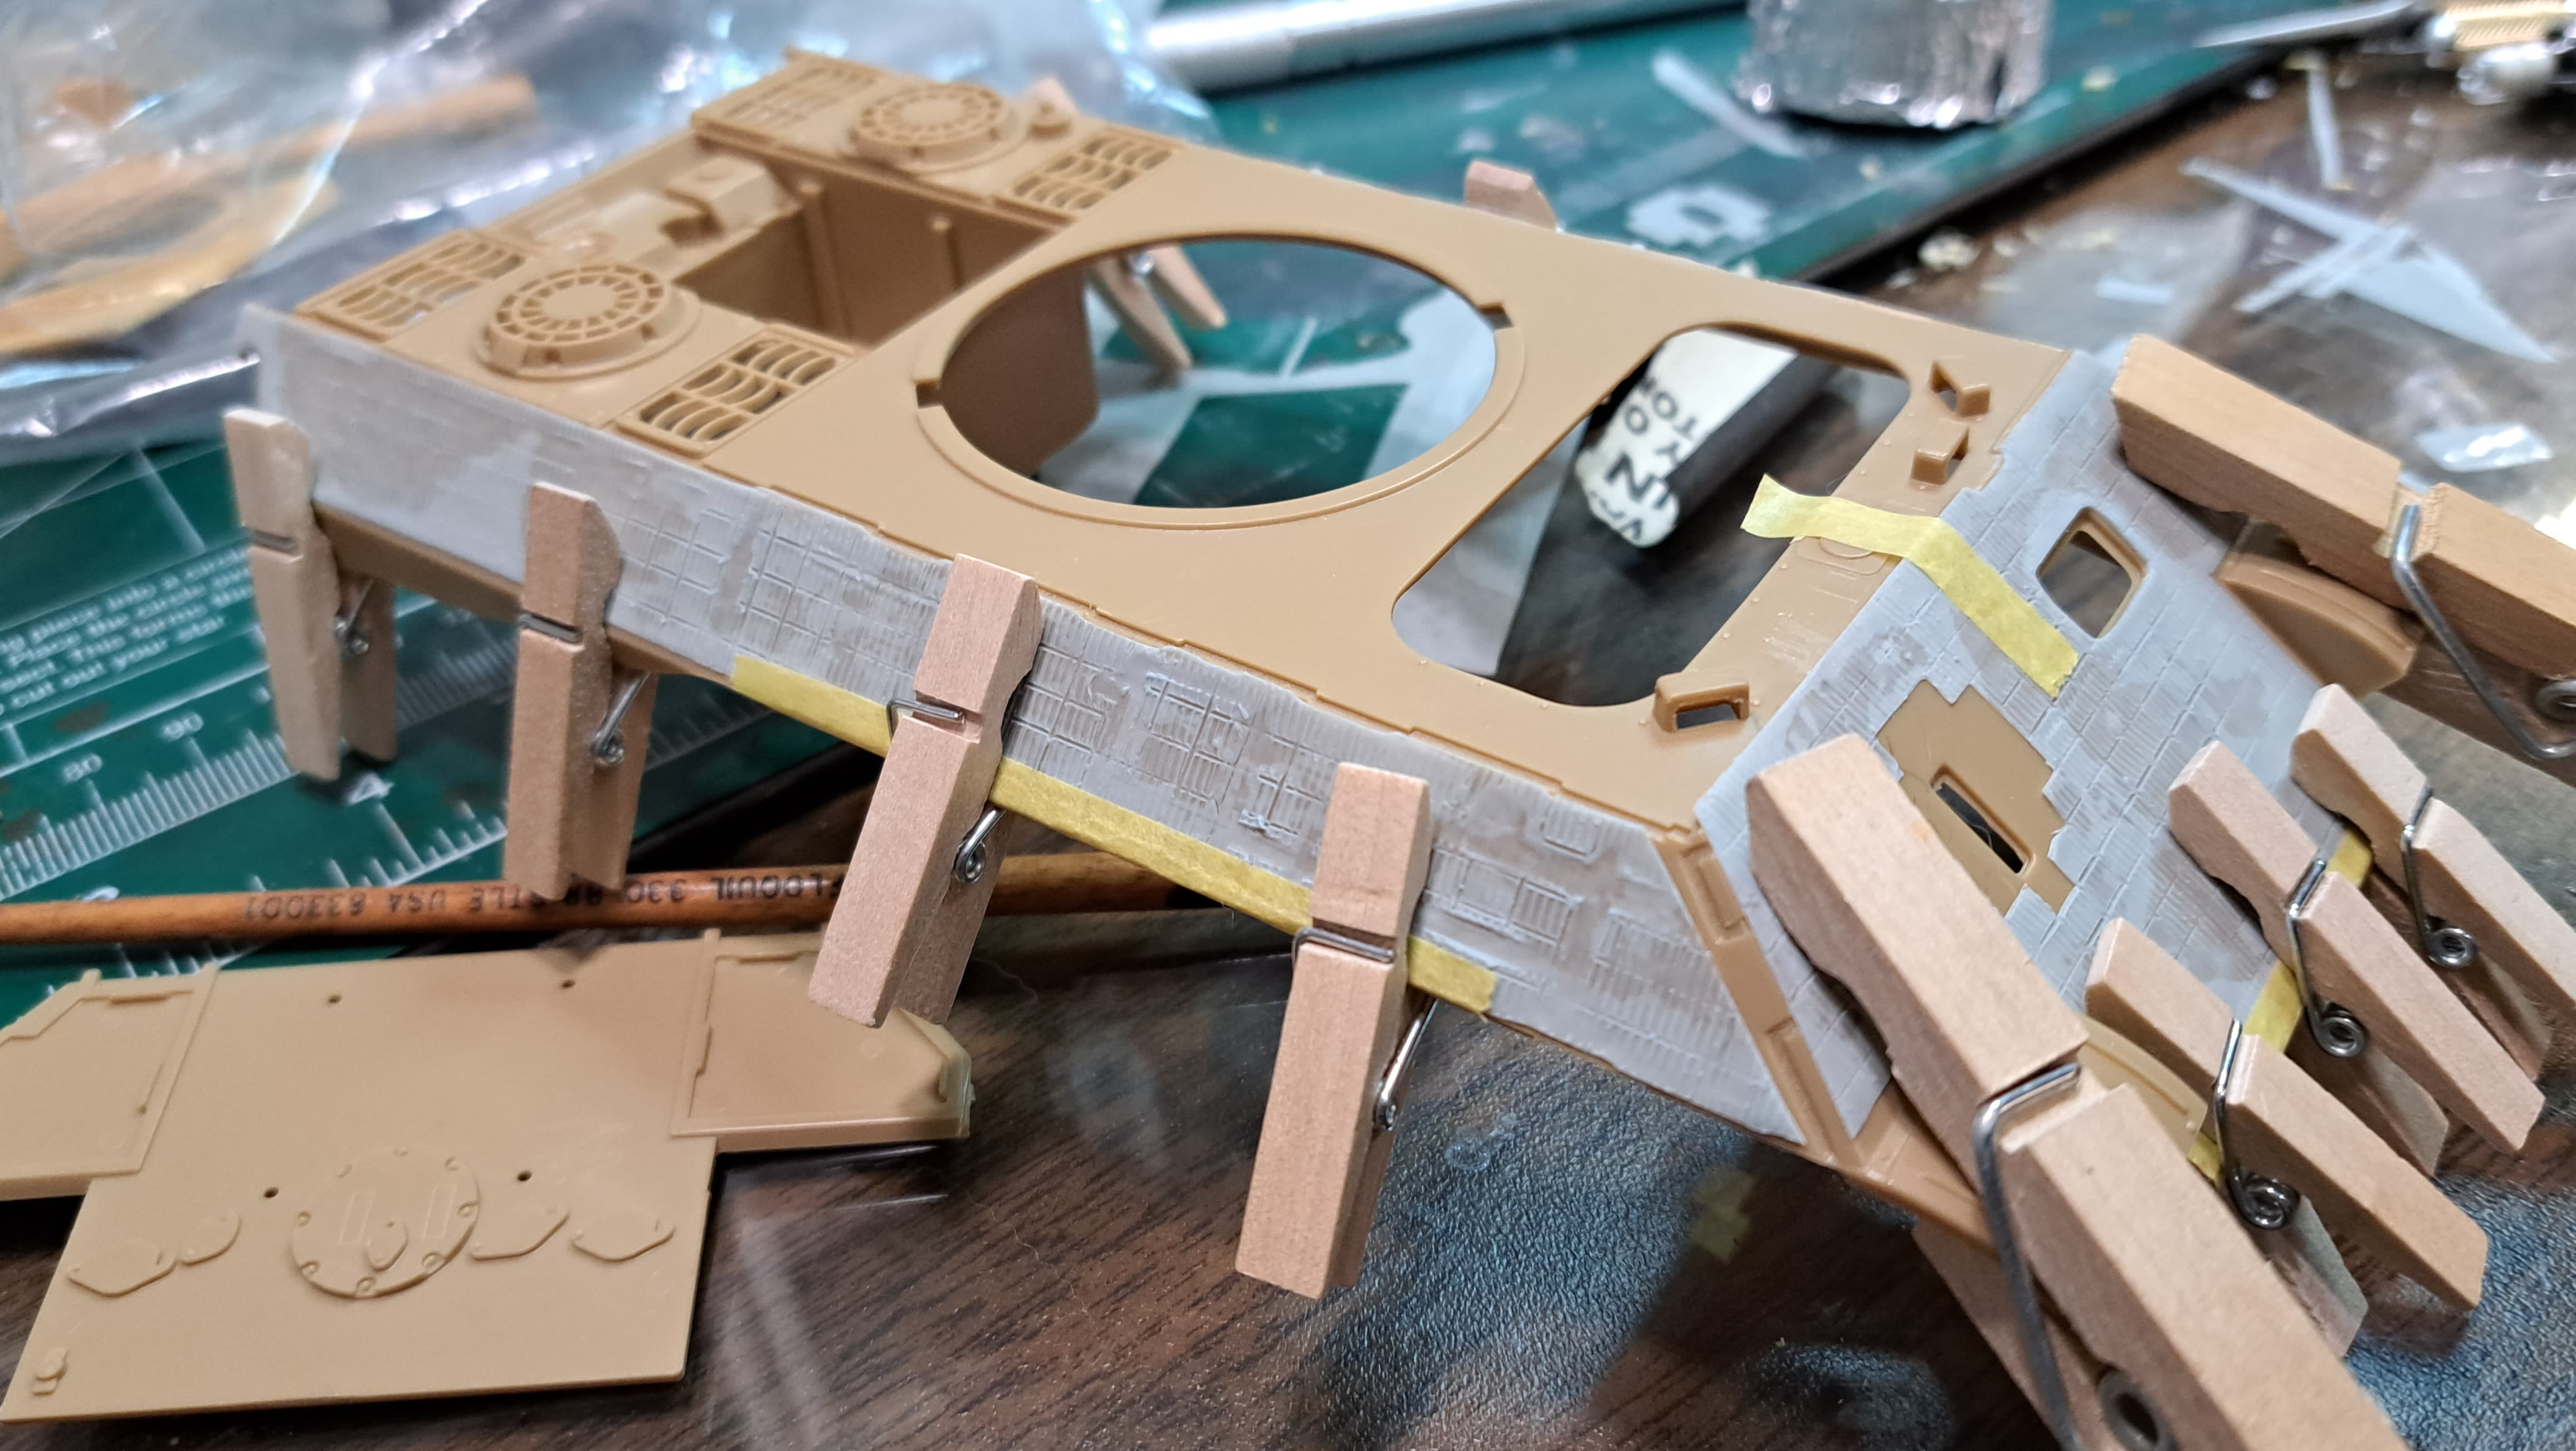
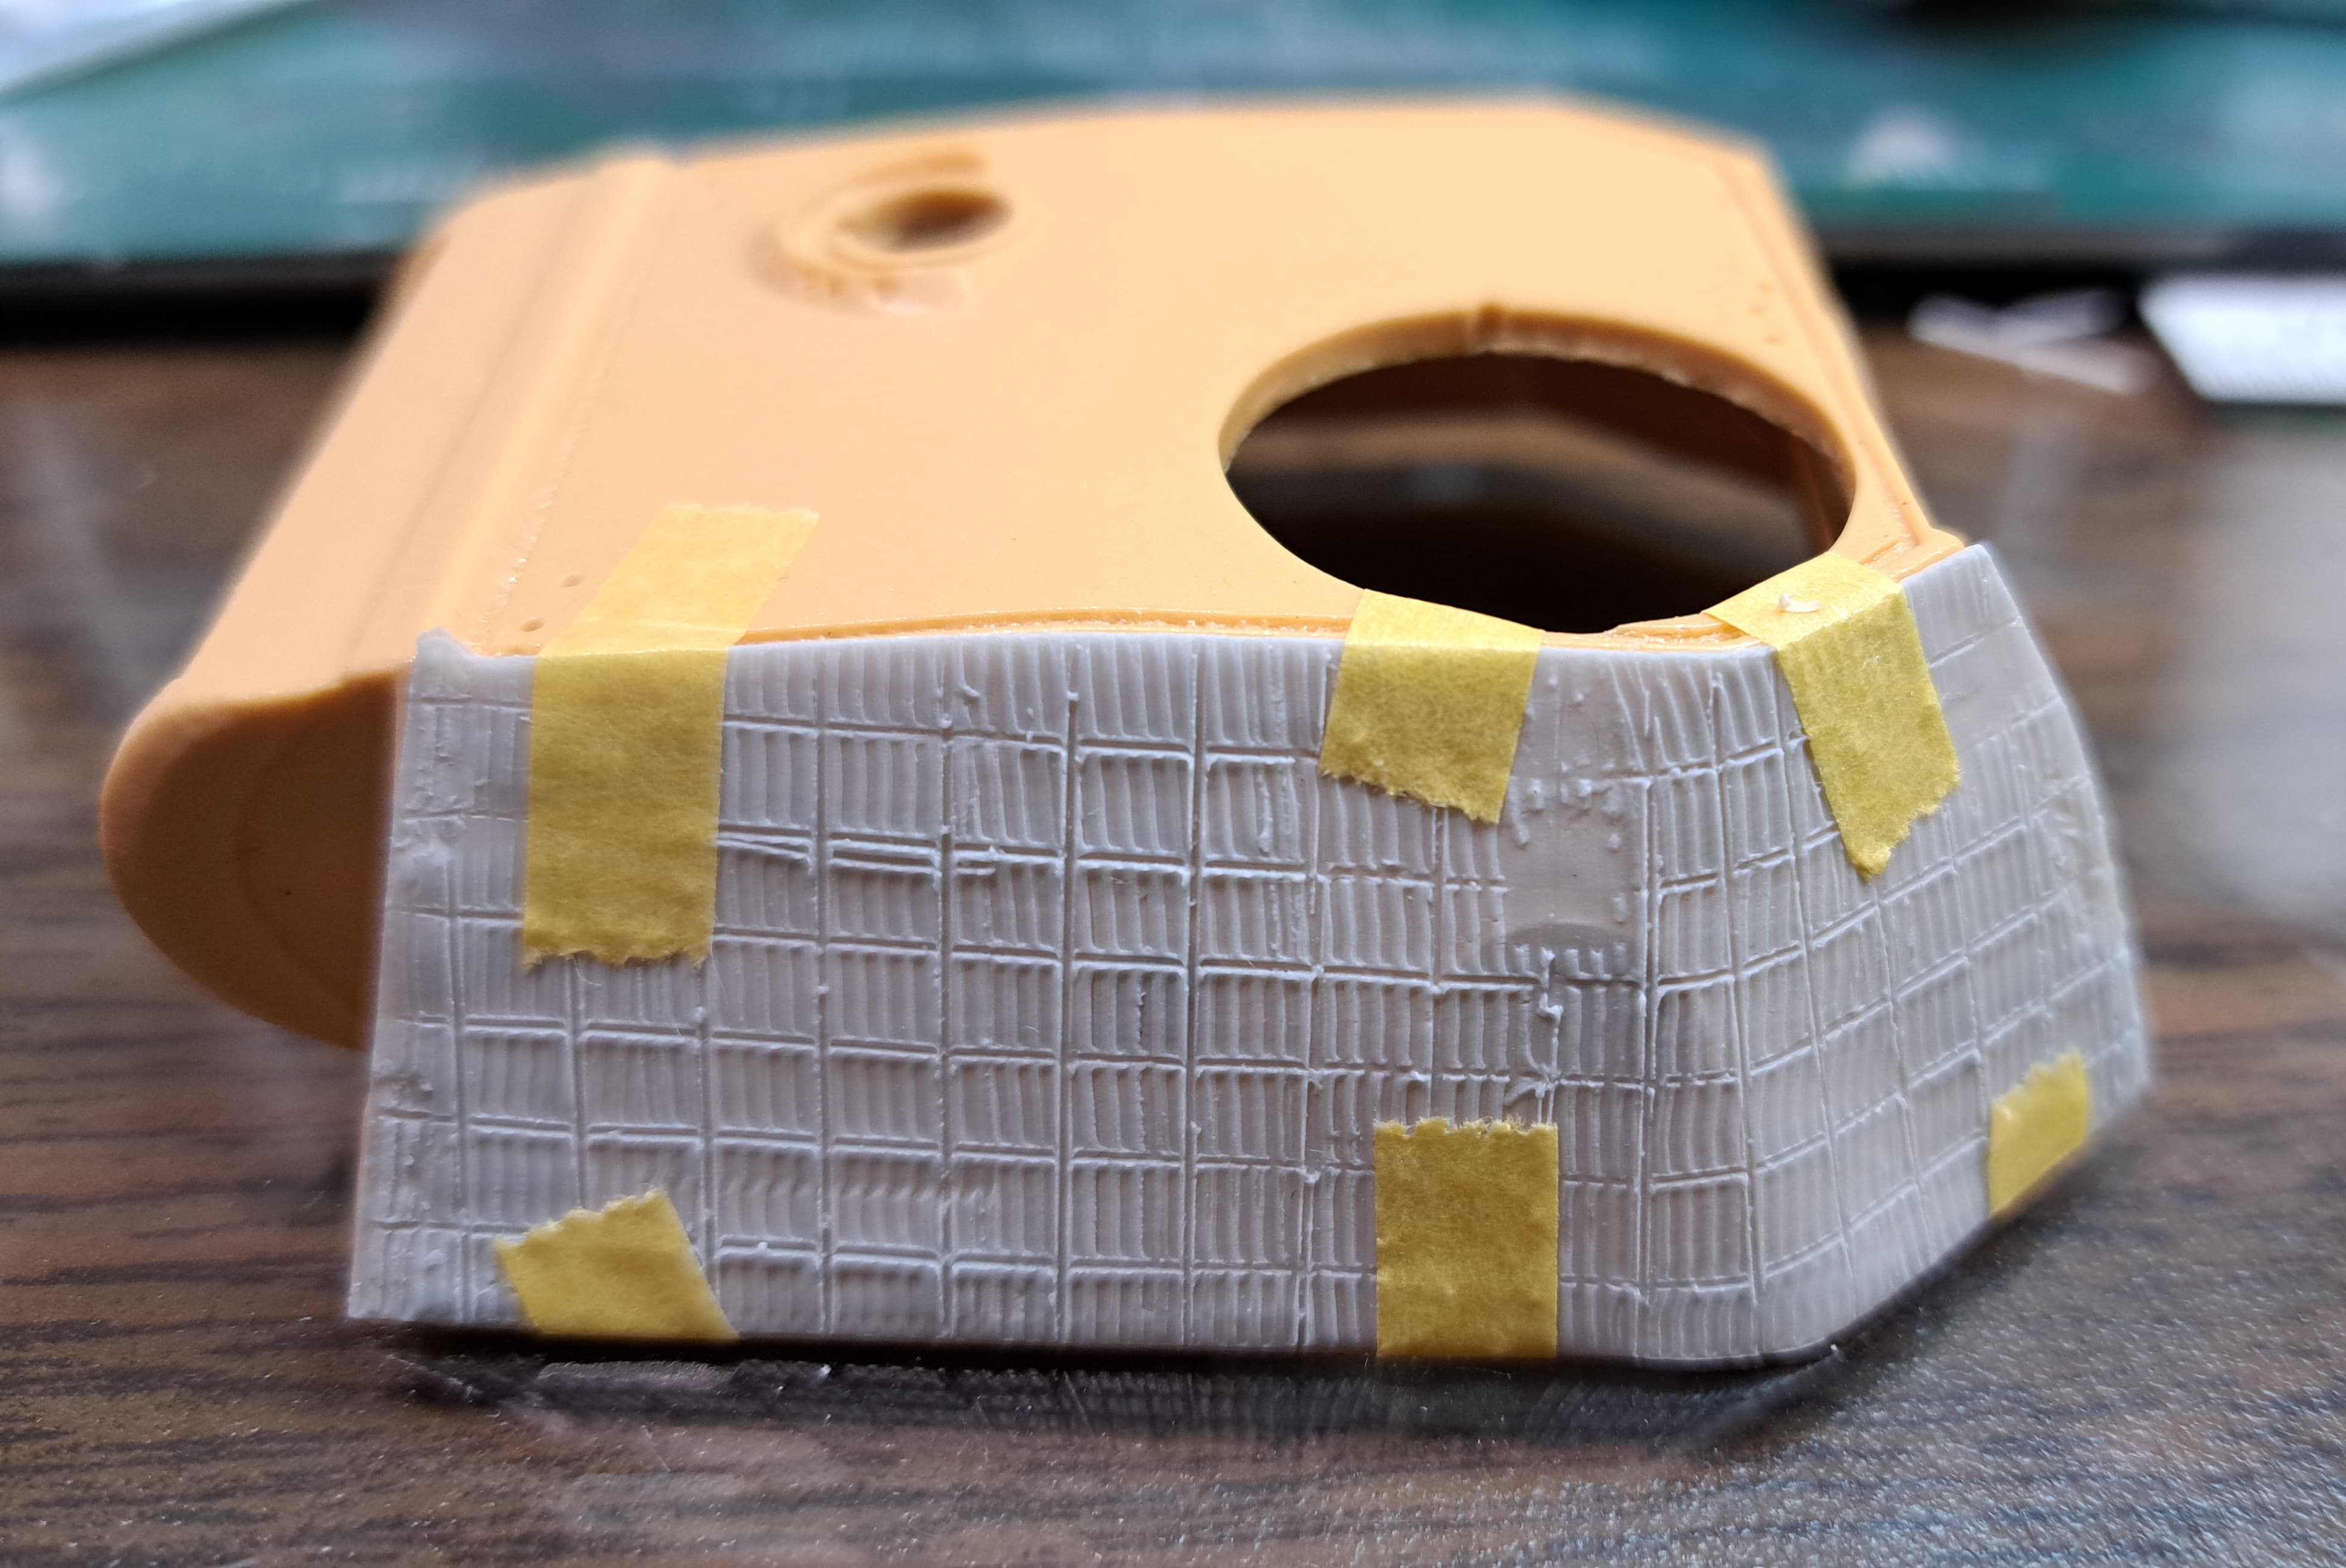
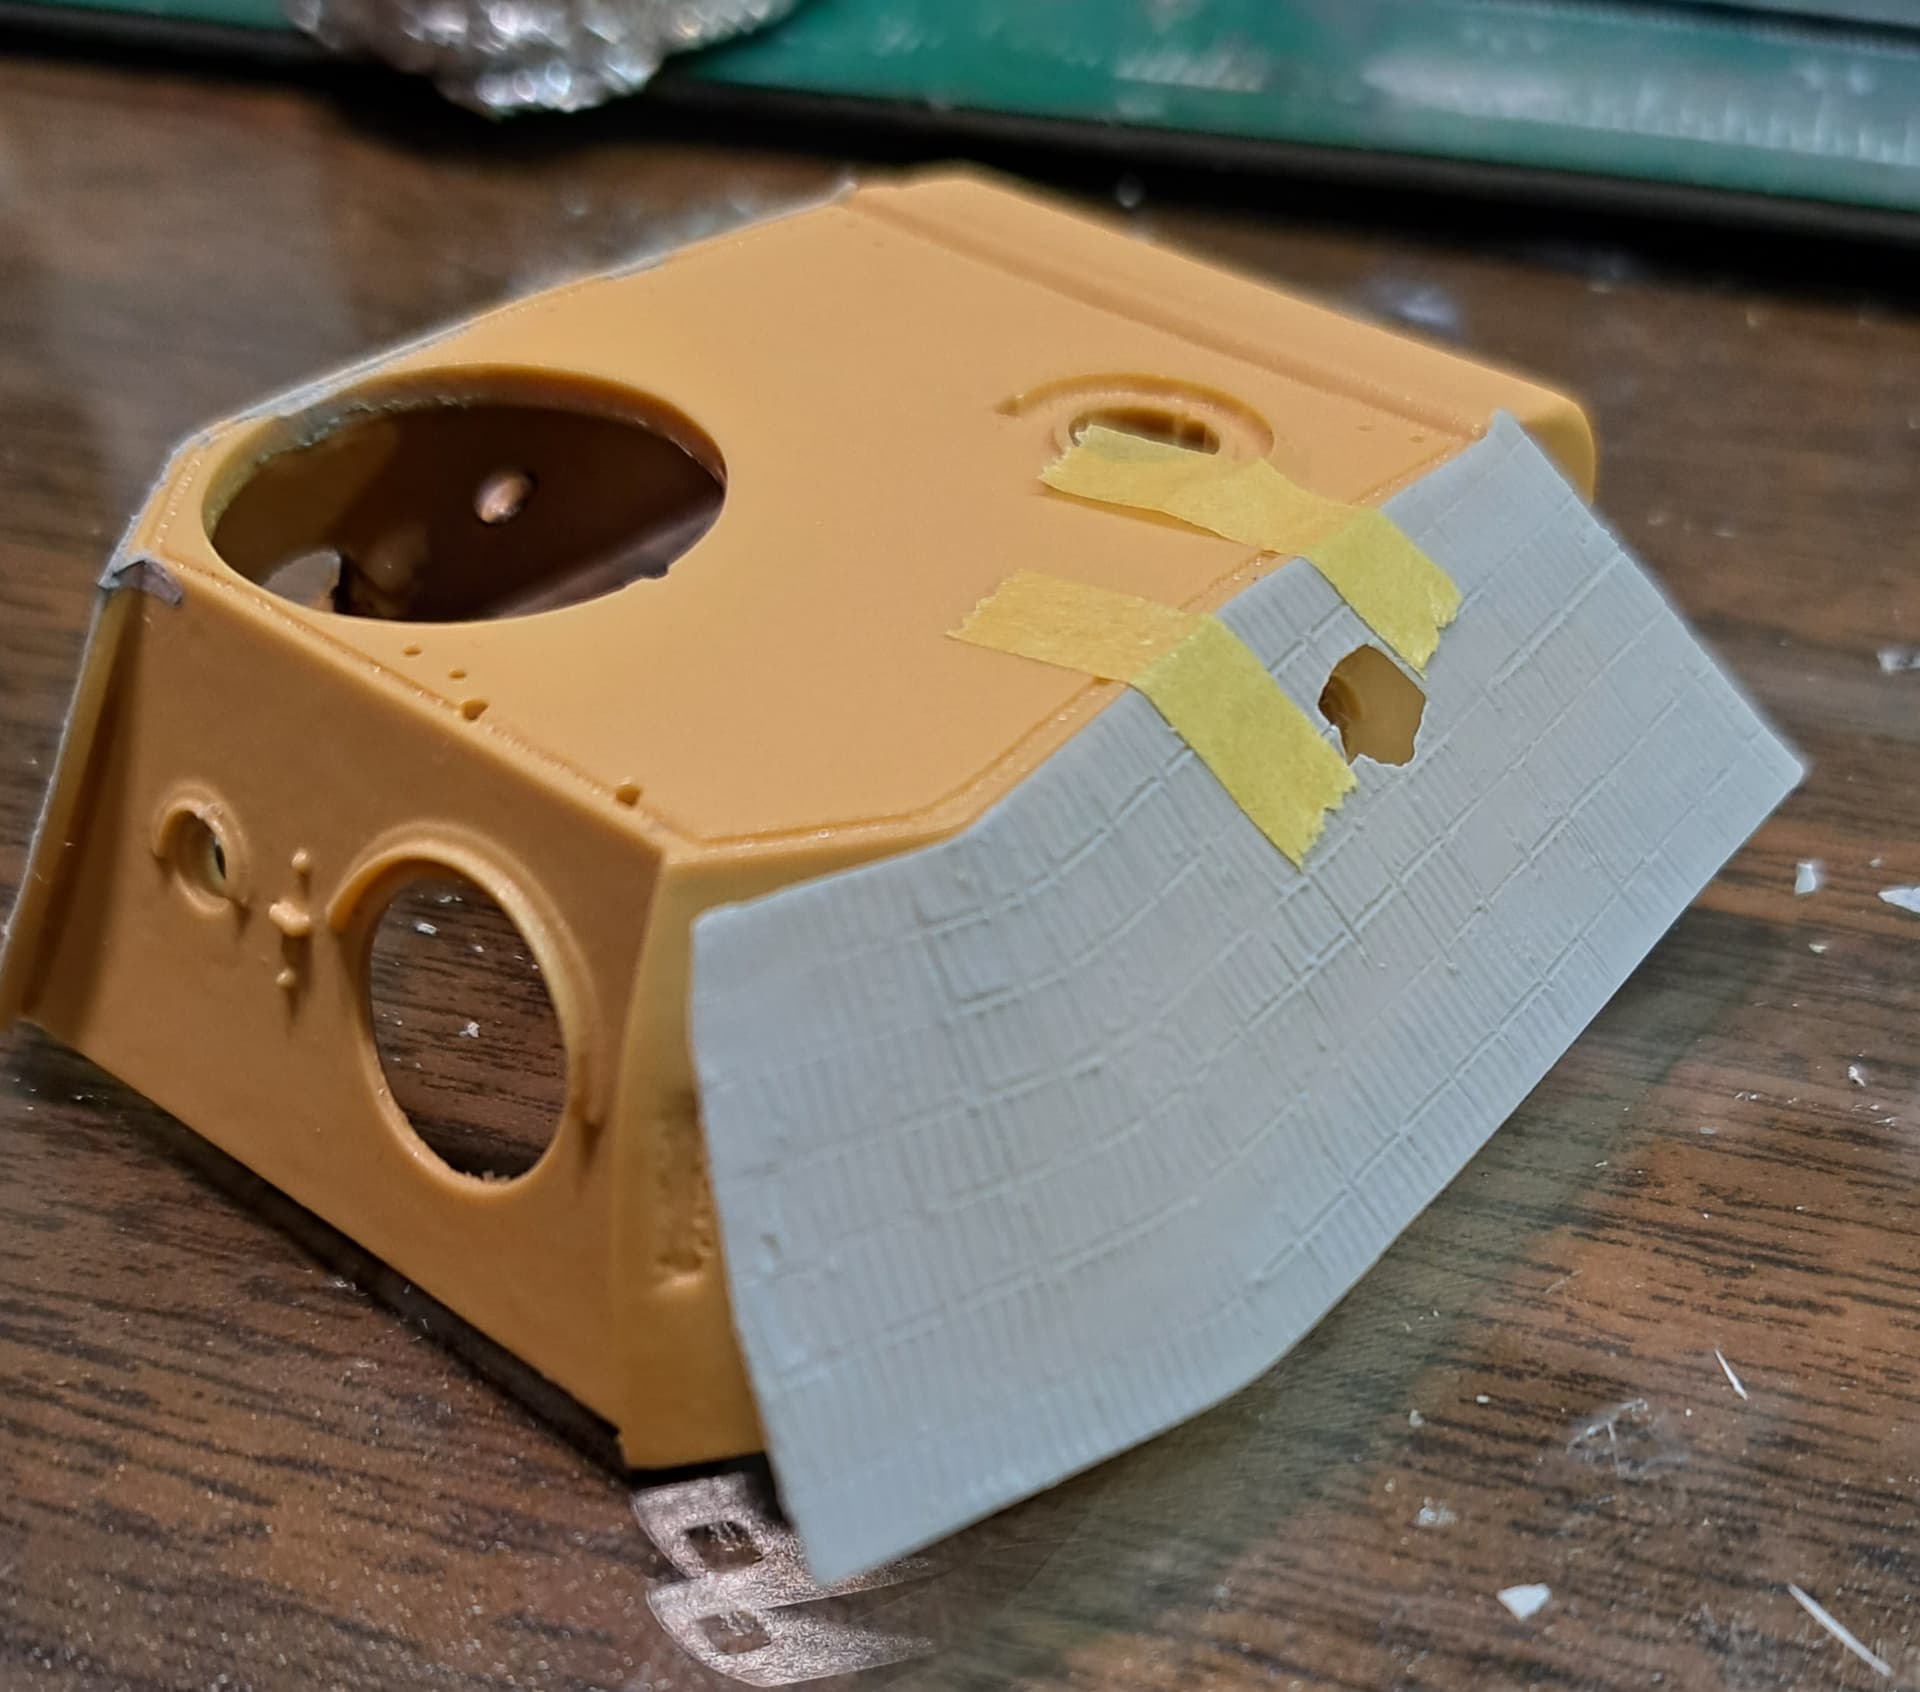
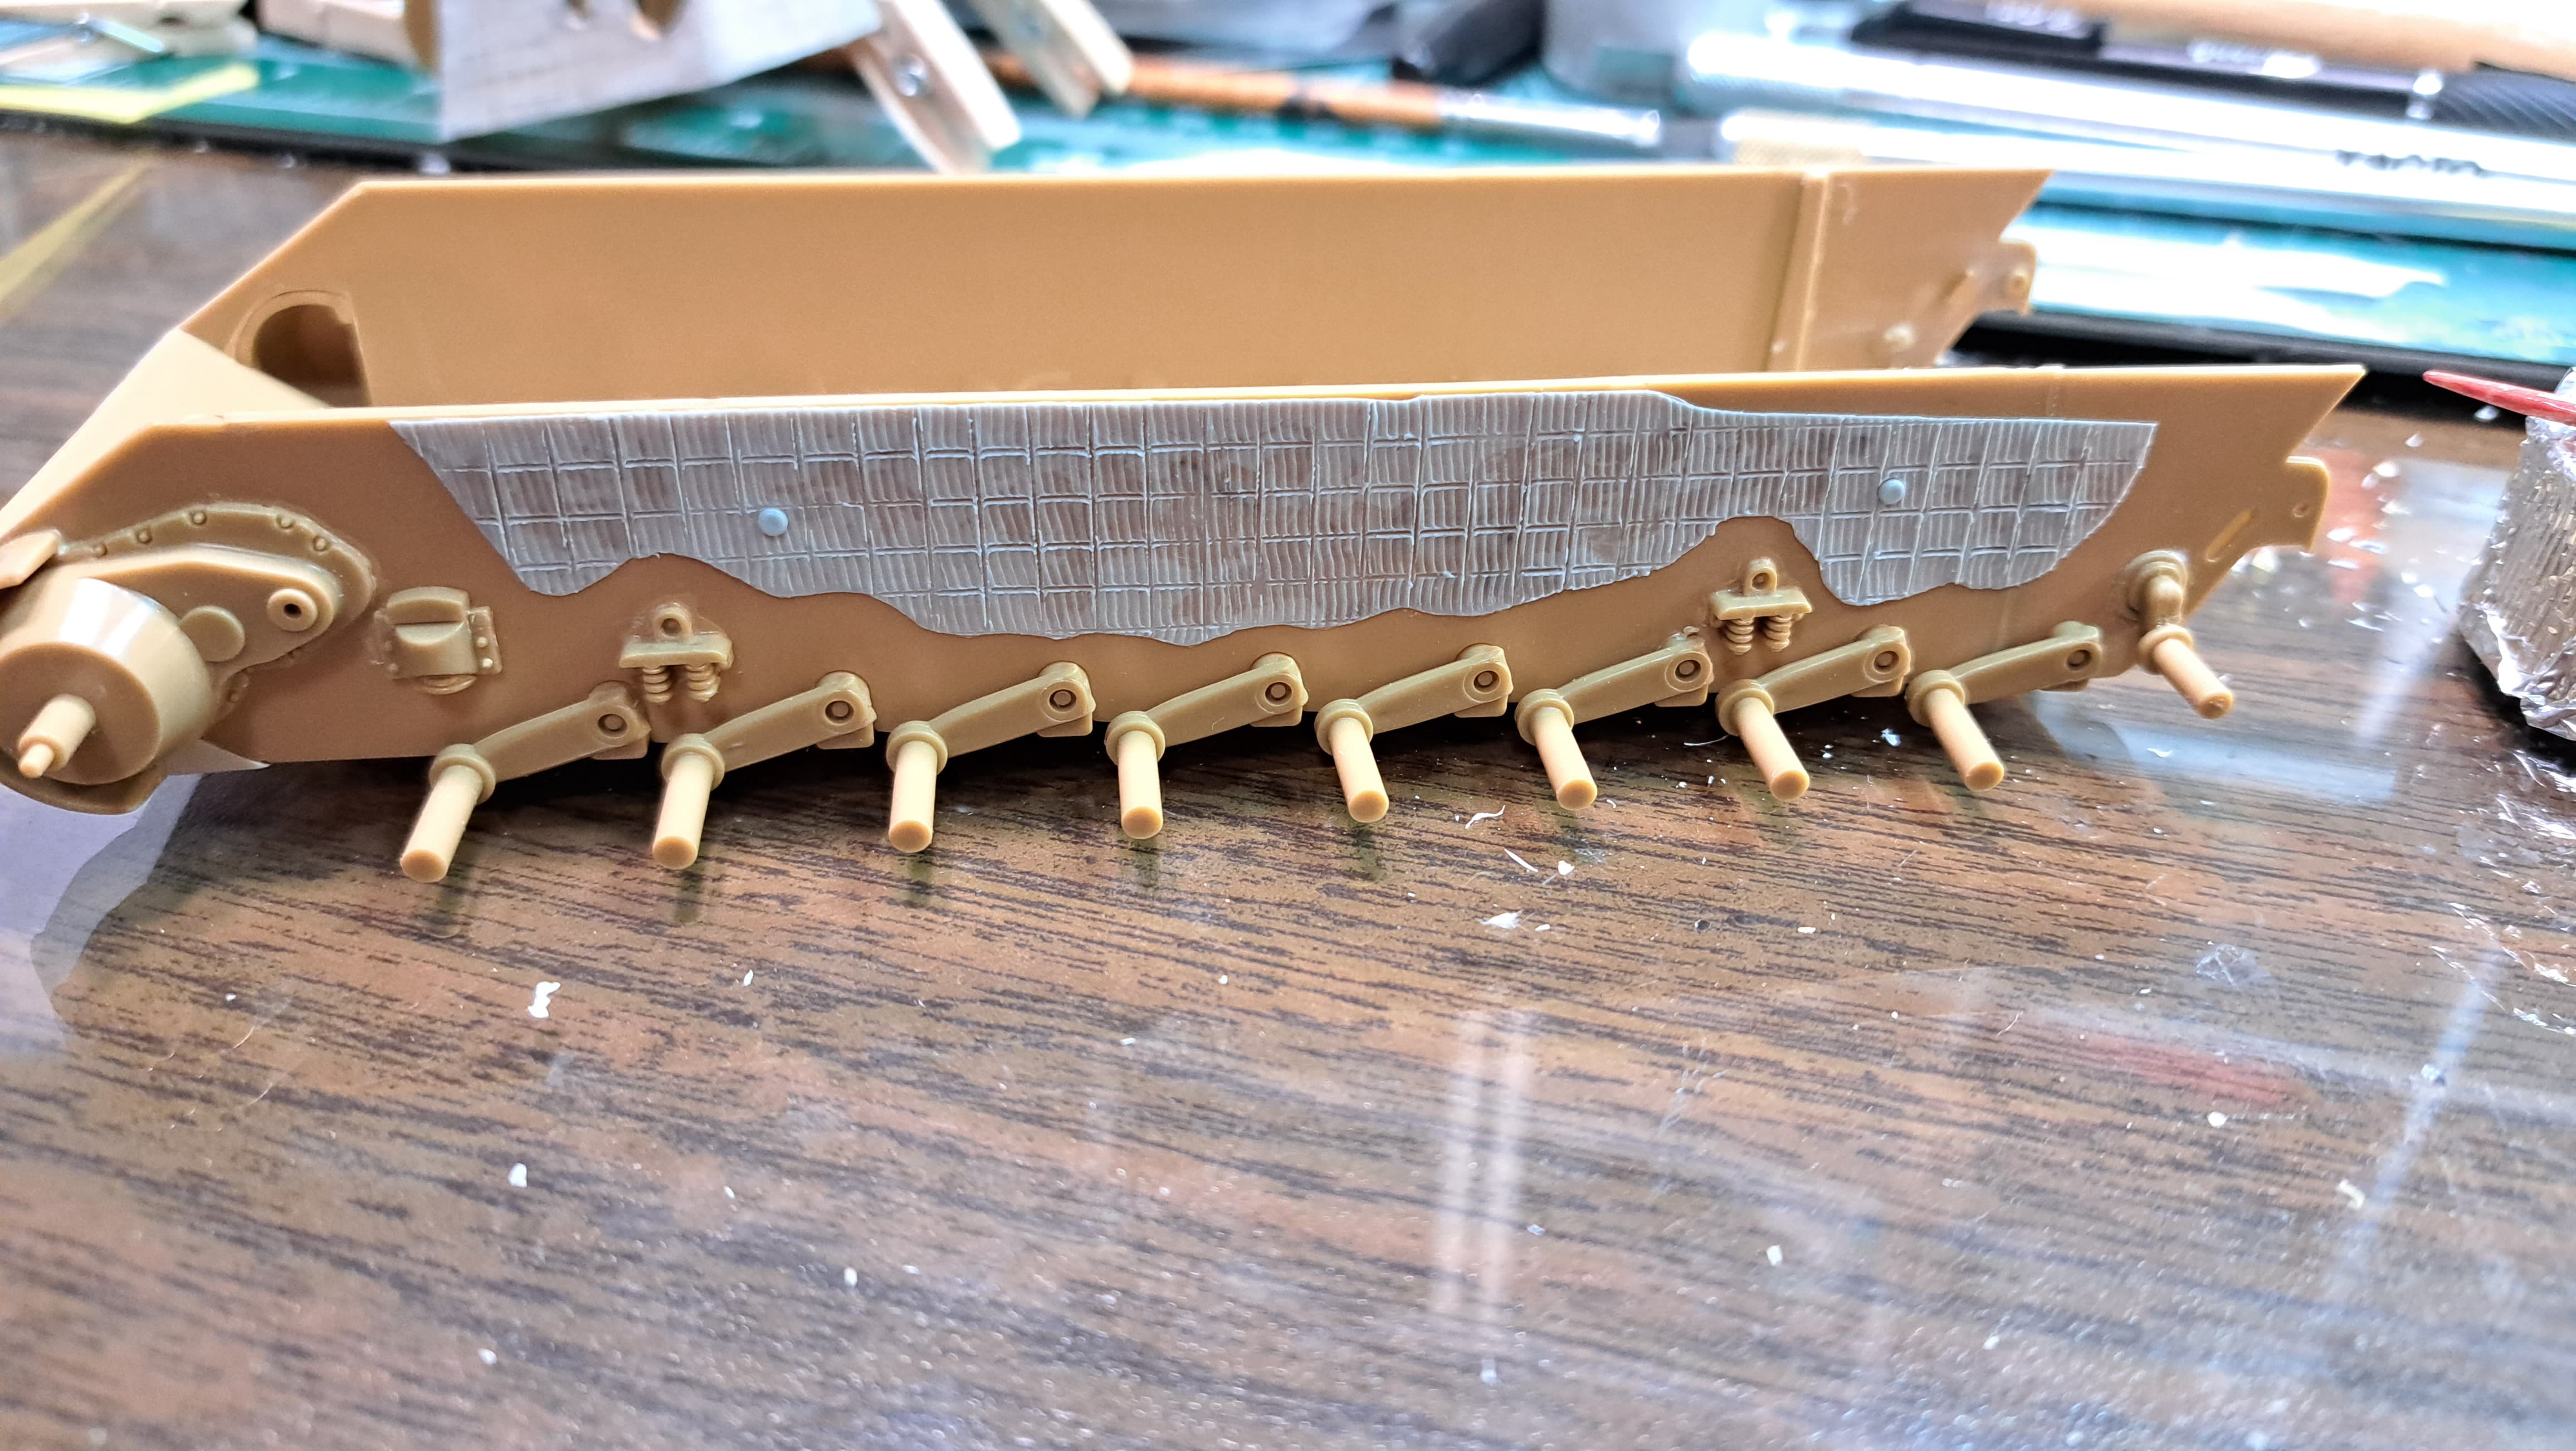
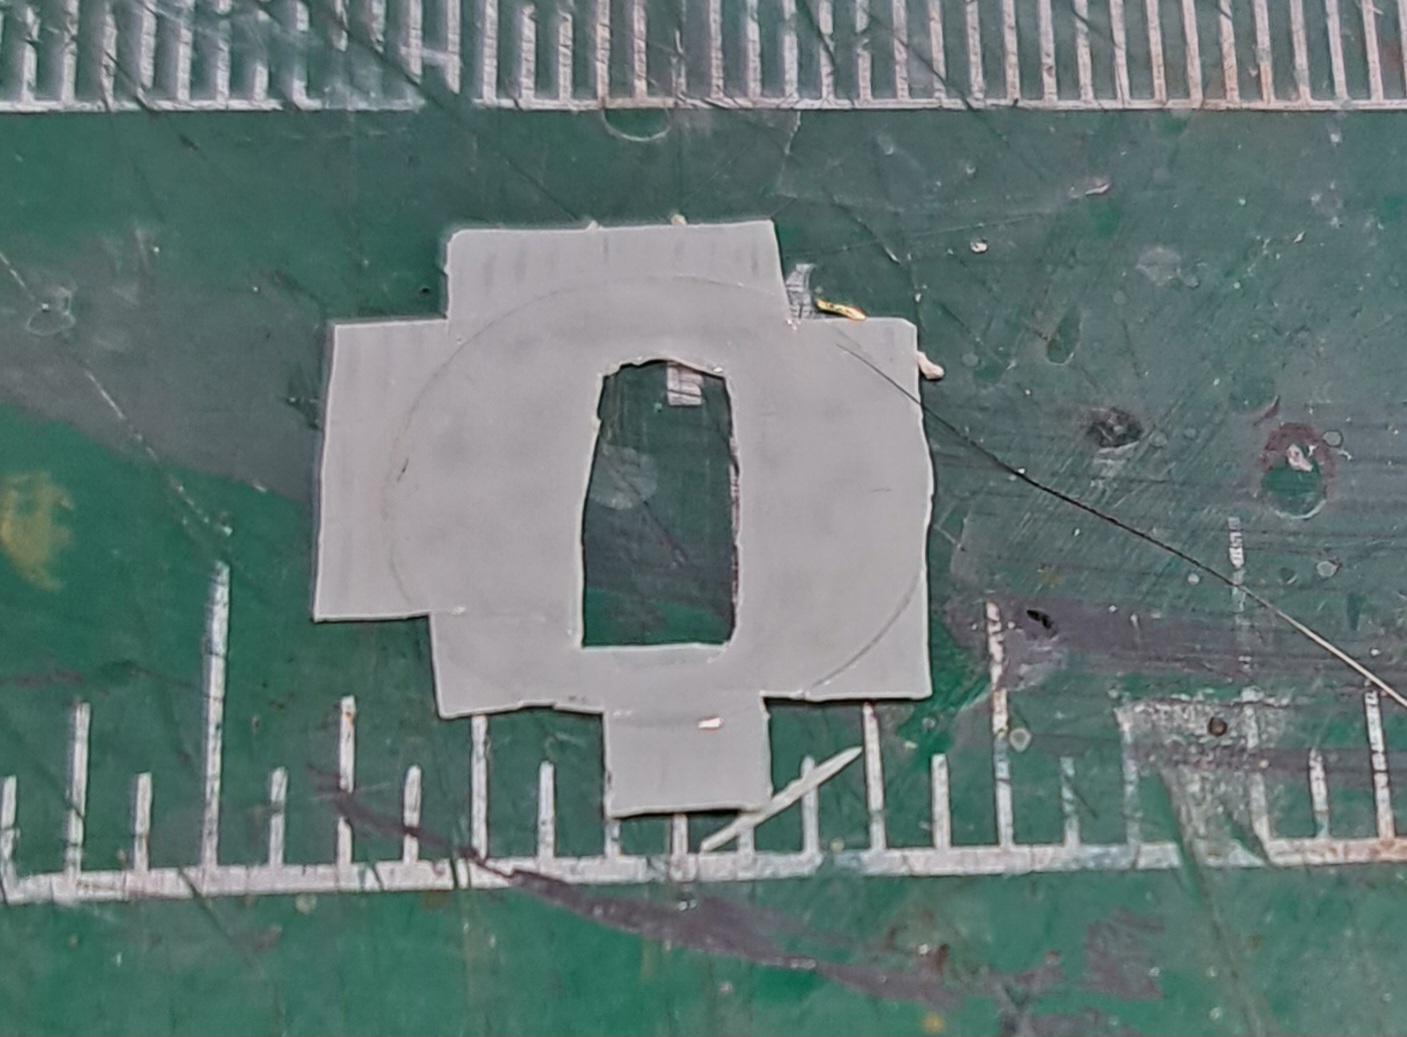
The zimmerit needs a big round hole in the side. Taped in place and marked.

After the big punch and die set.
Unfortunately I left my 5 minute Devcon Epoxy in Carolina. Decided to use StarBond Super Glue despite instructions saying not to use CA because it sets to fast to allow alignment.
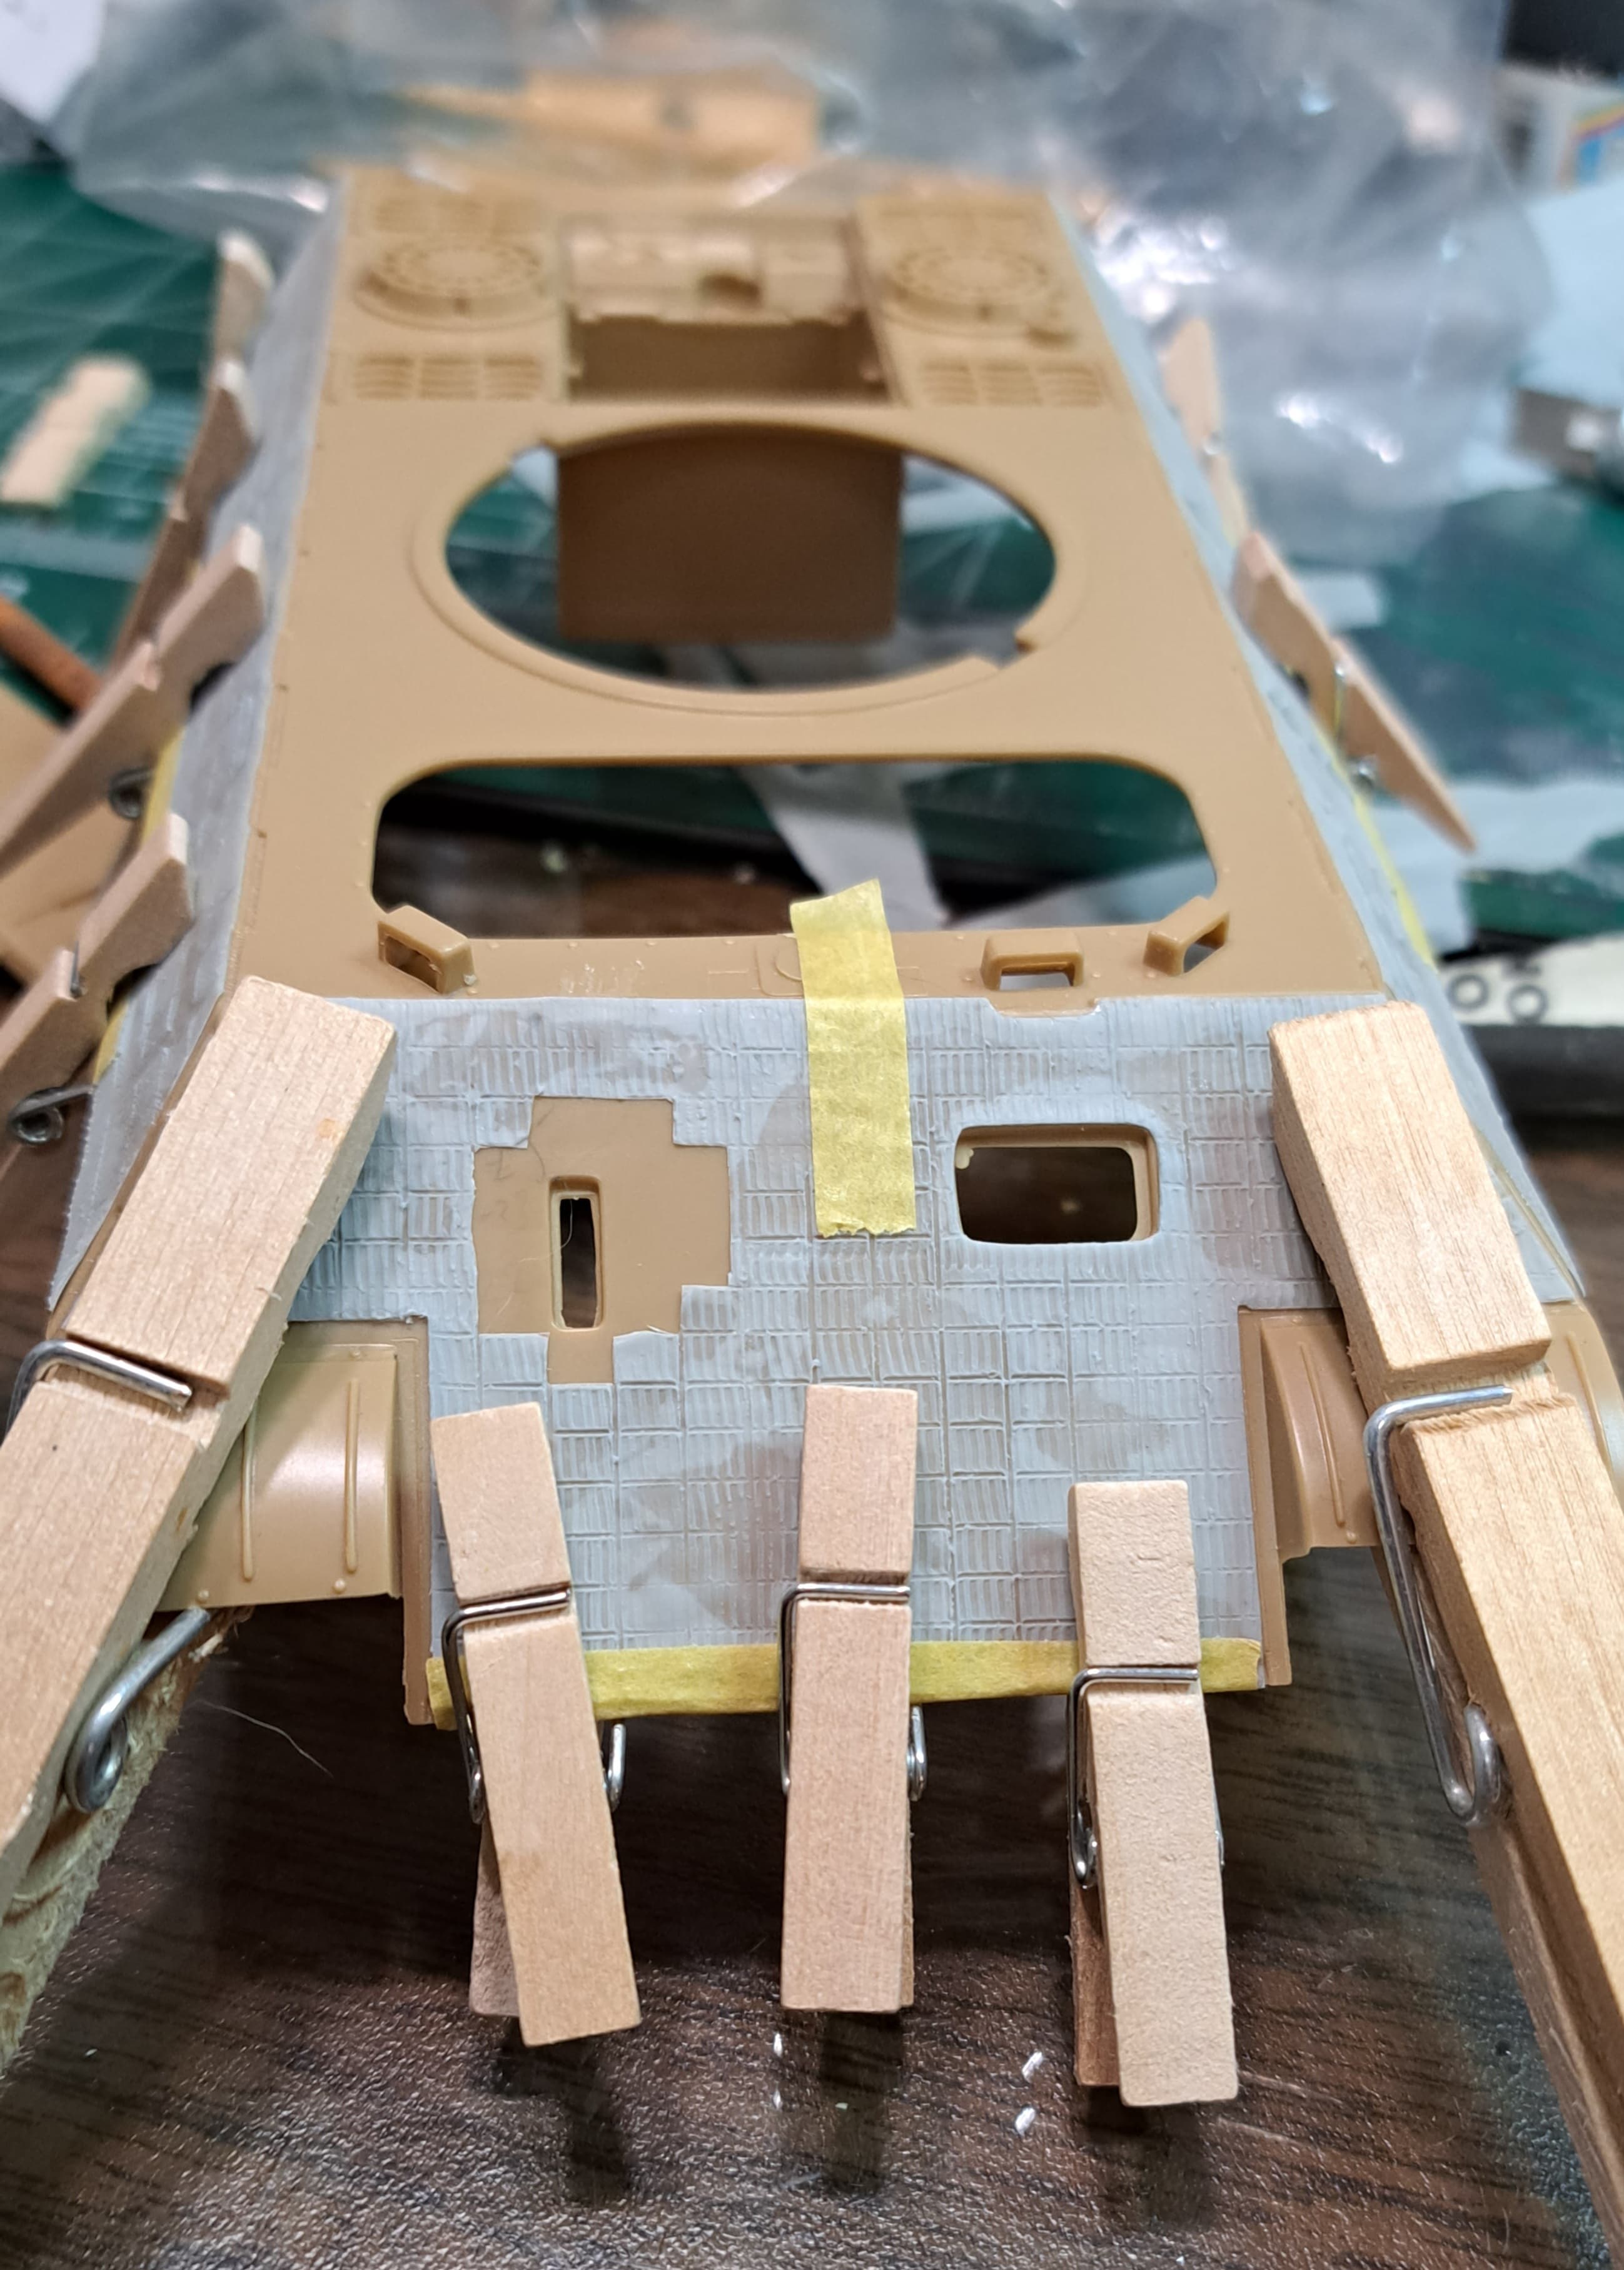
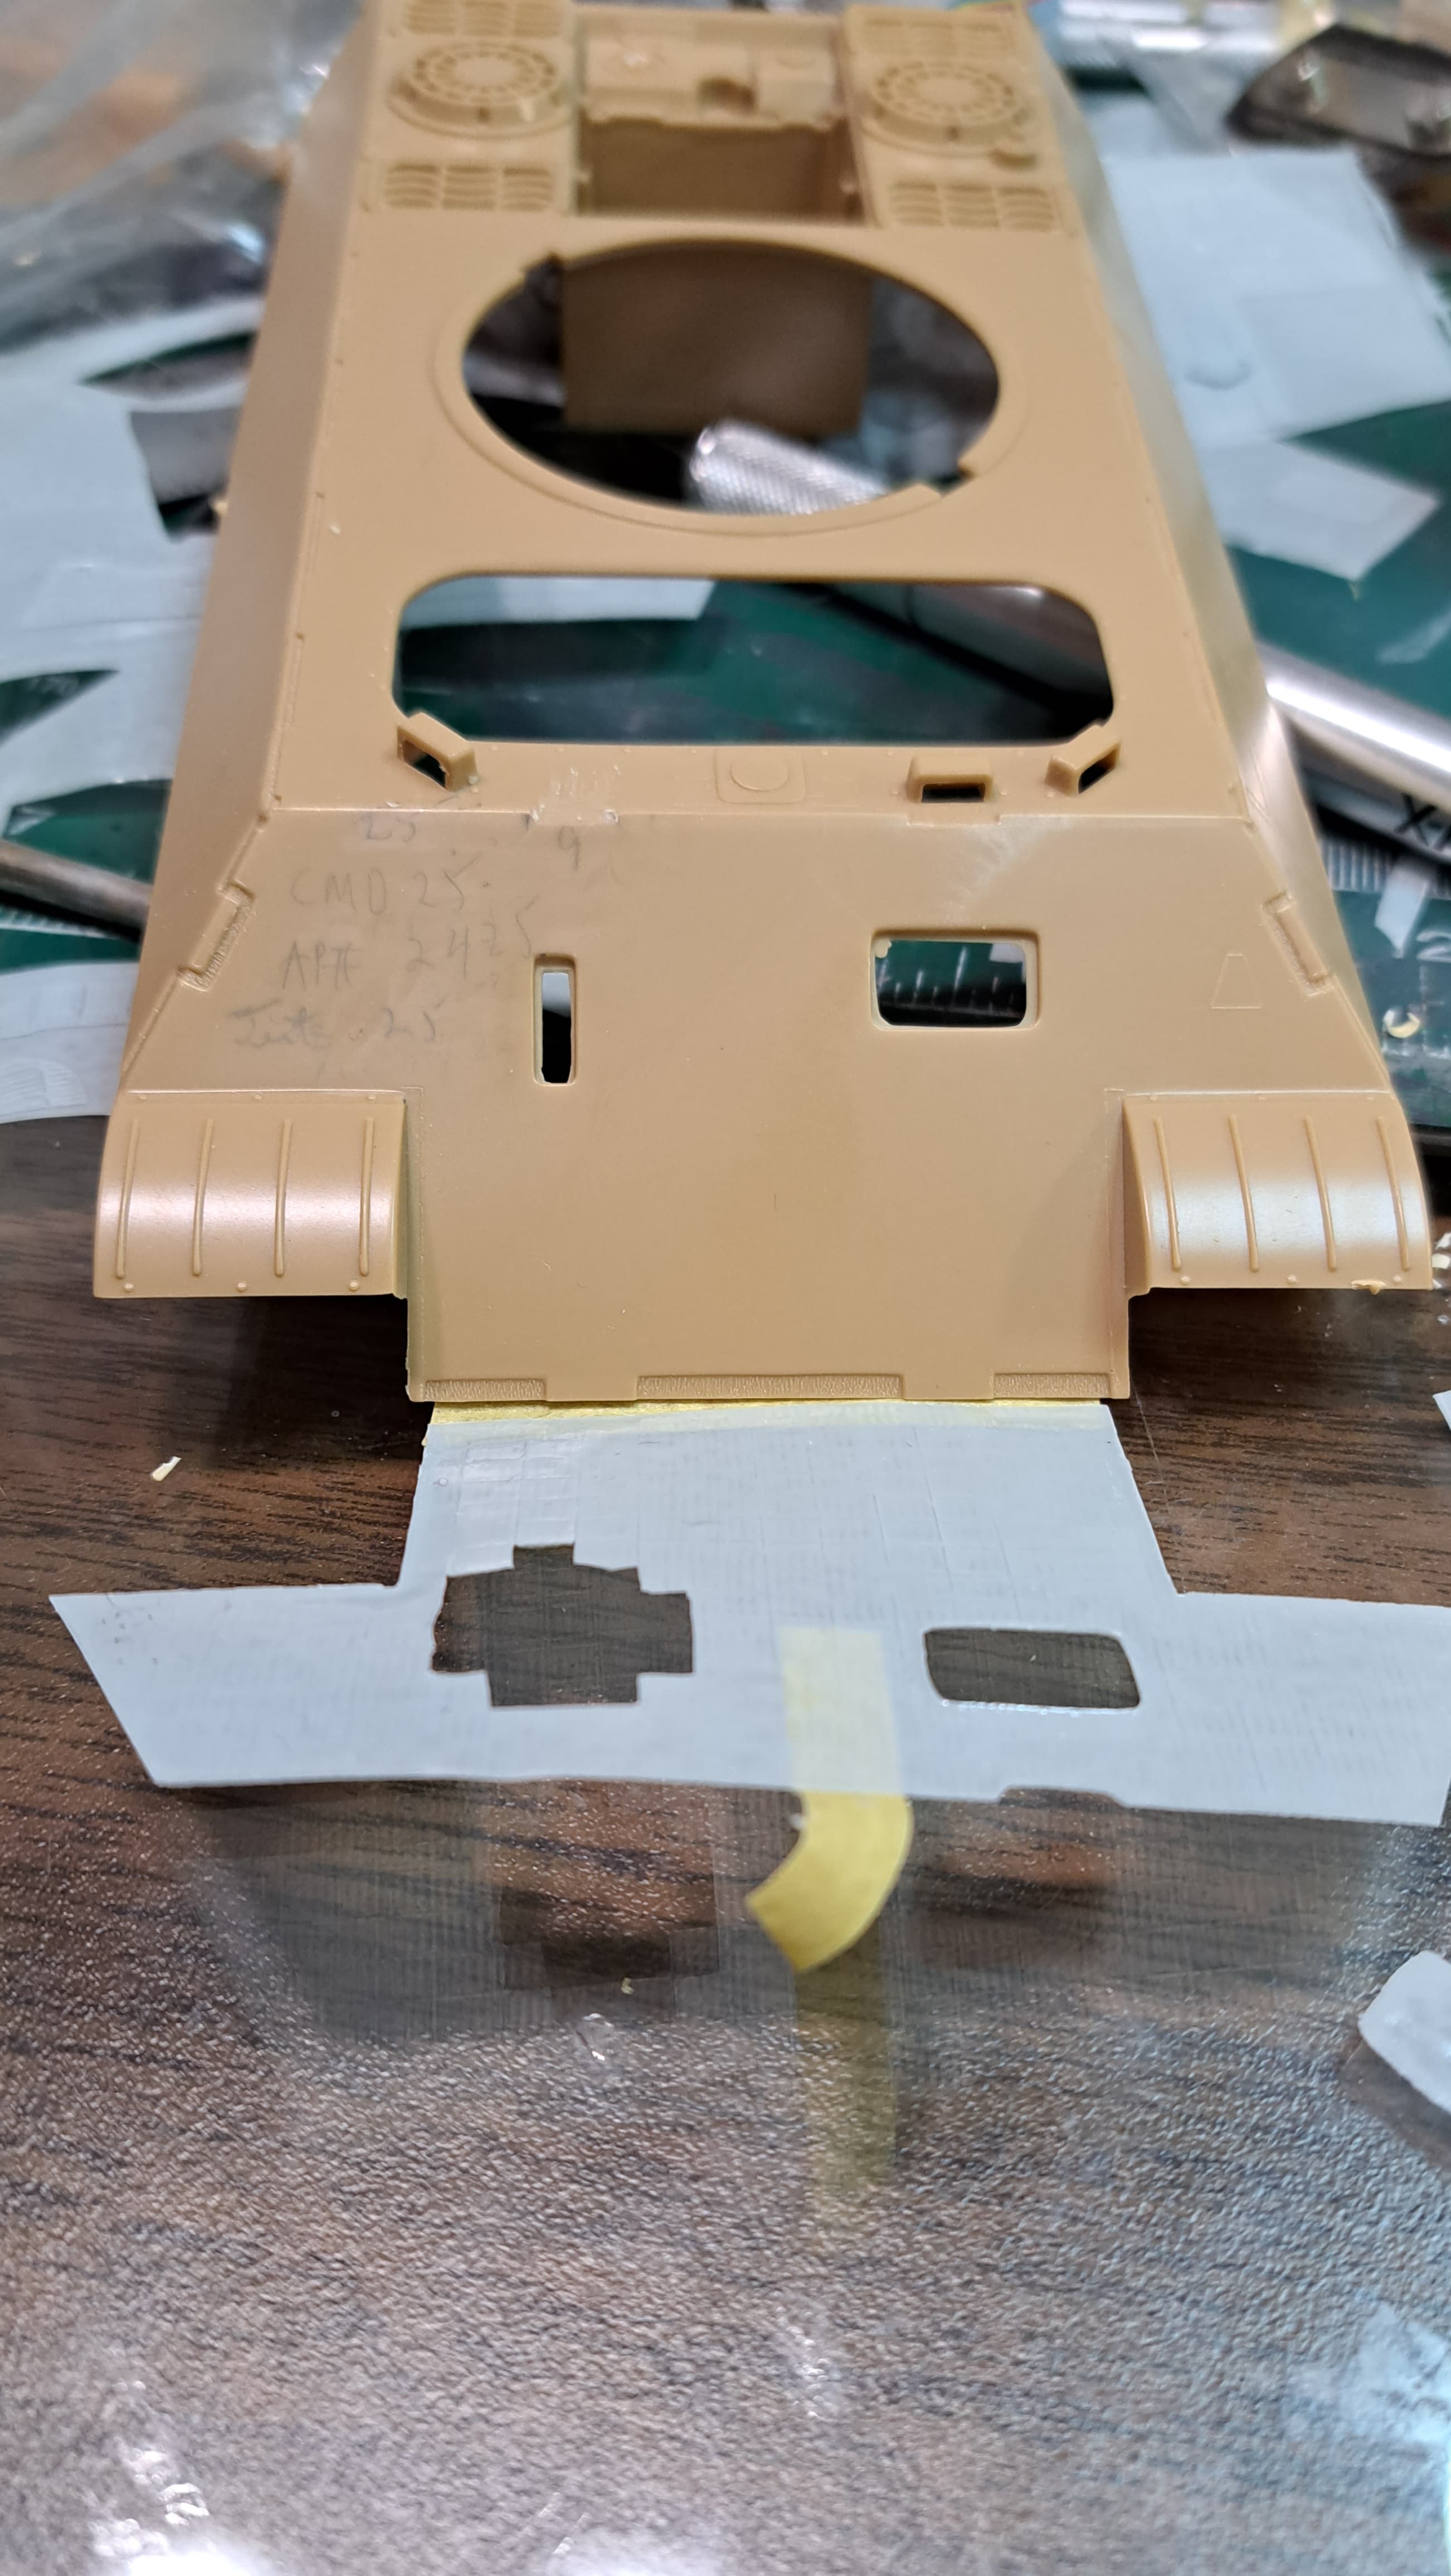
Align, clamp in place, tape top edge and mark hole with black marker.
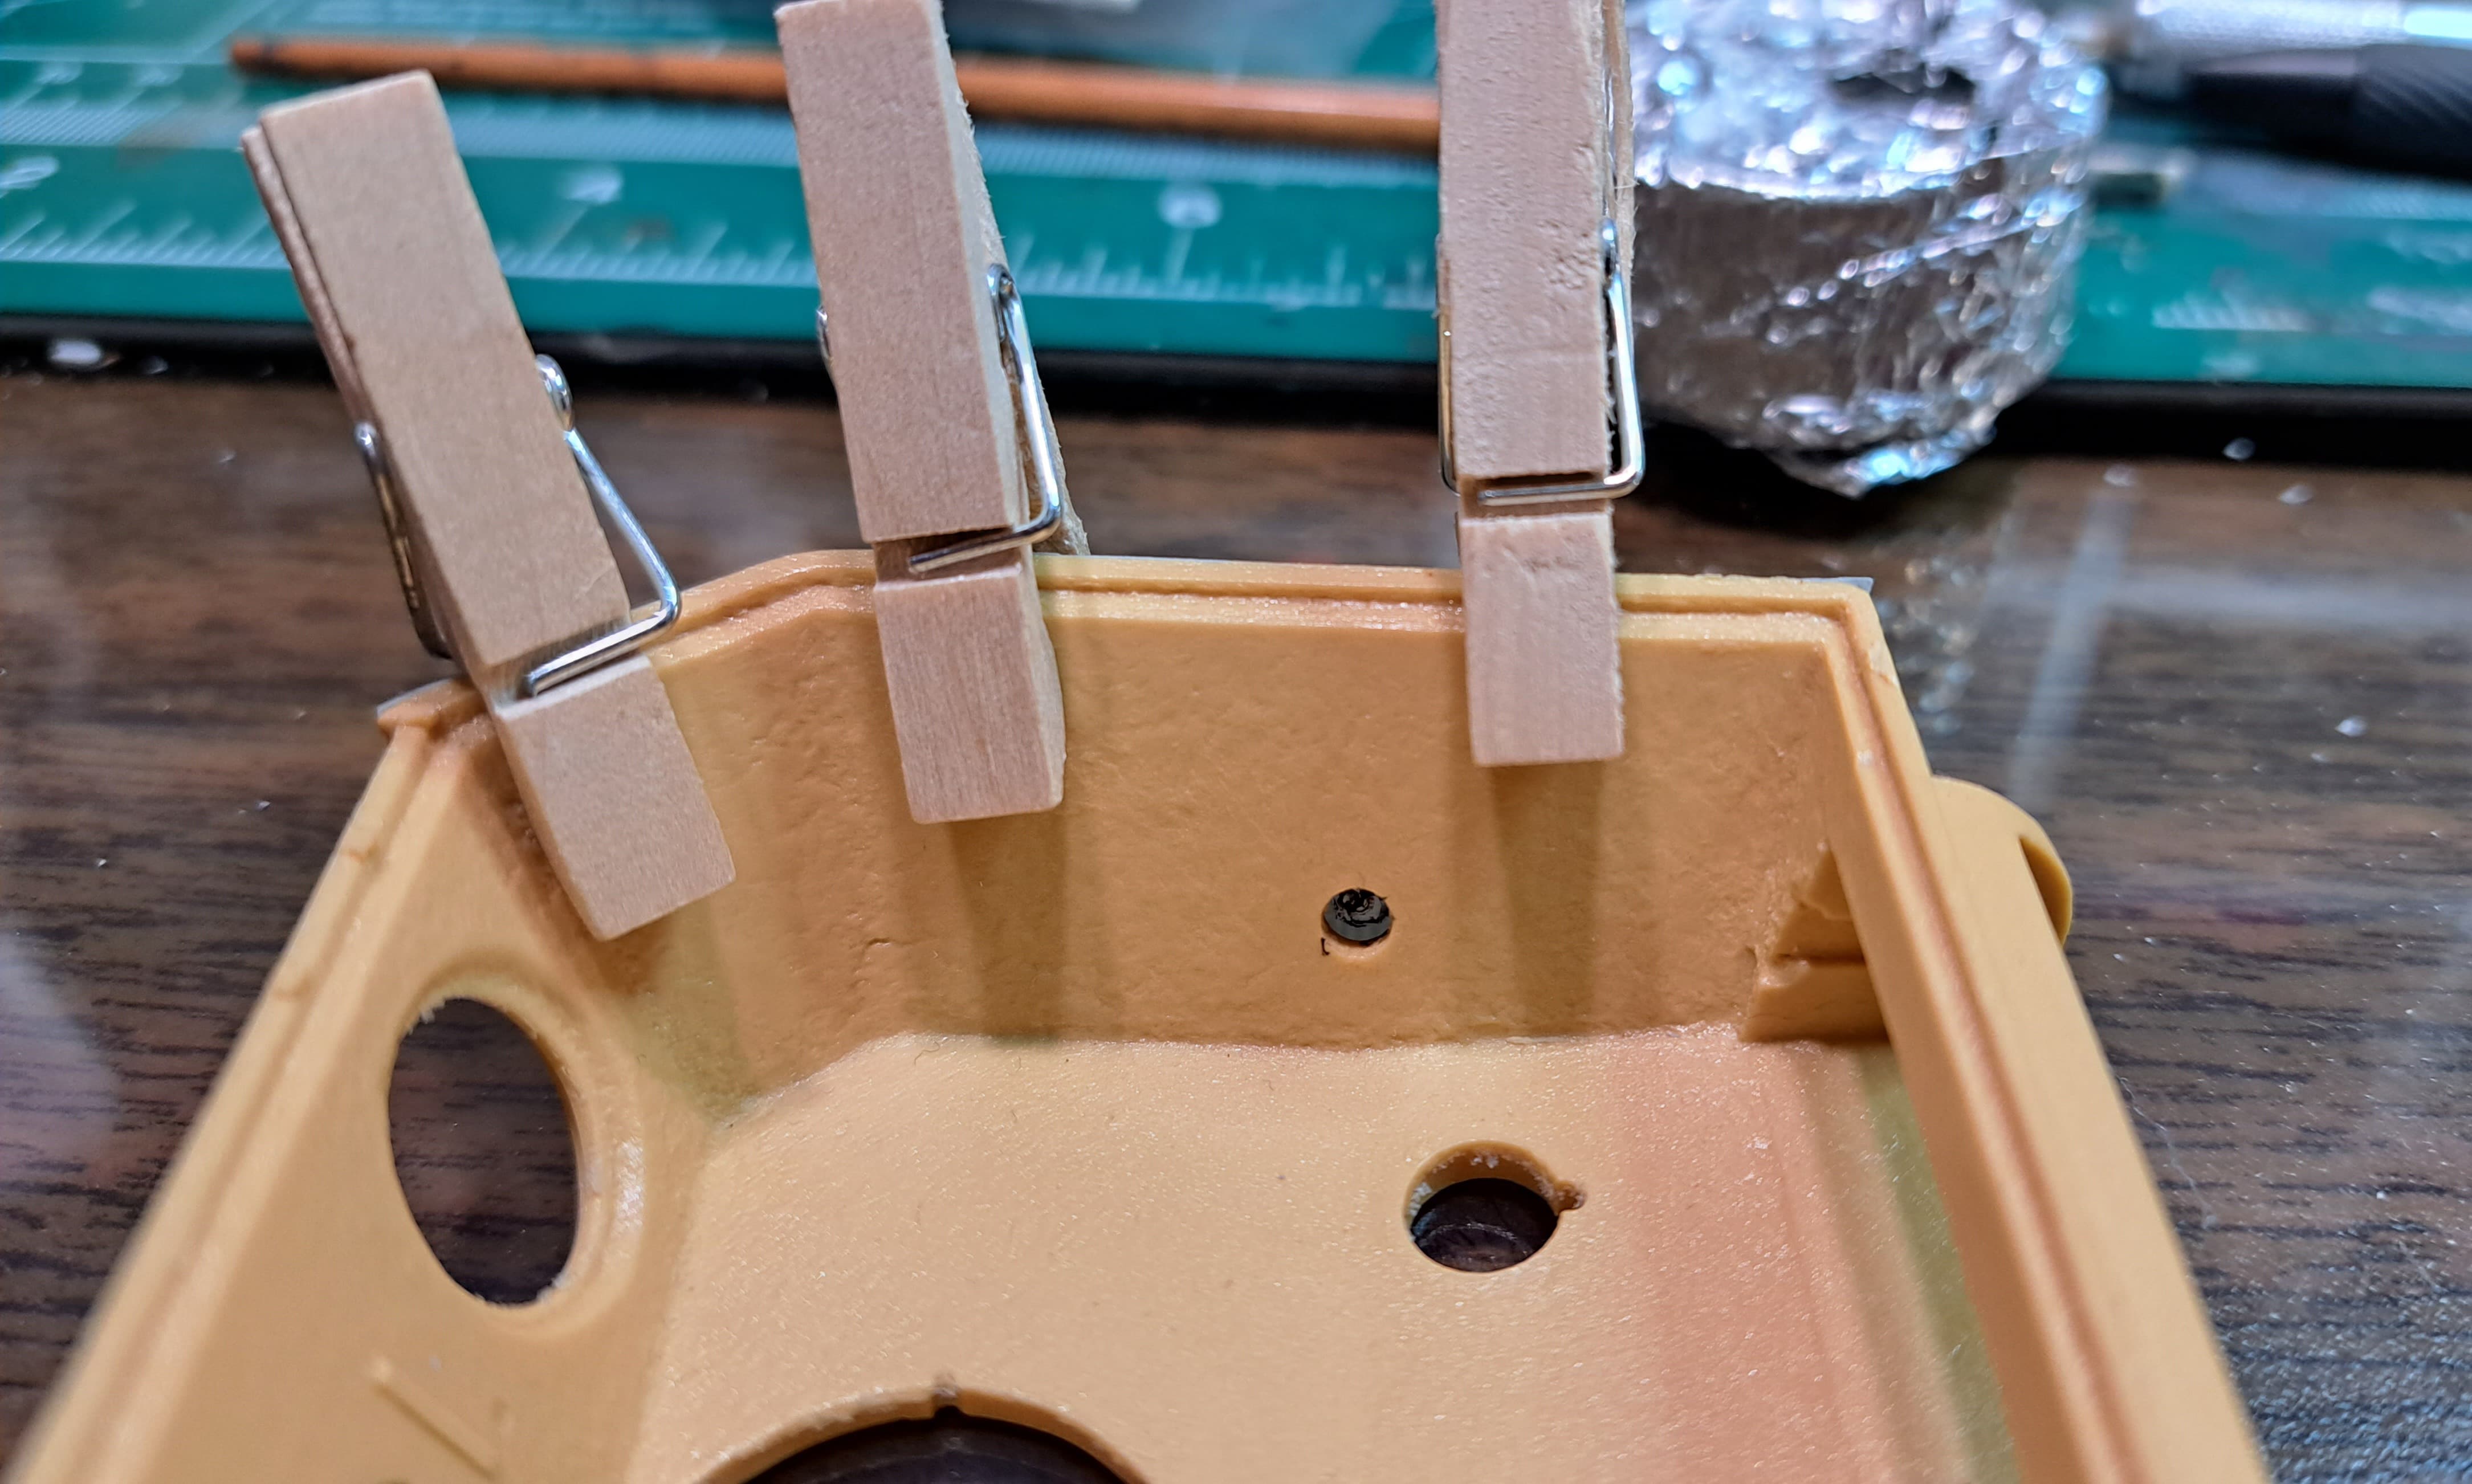

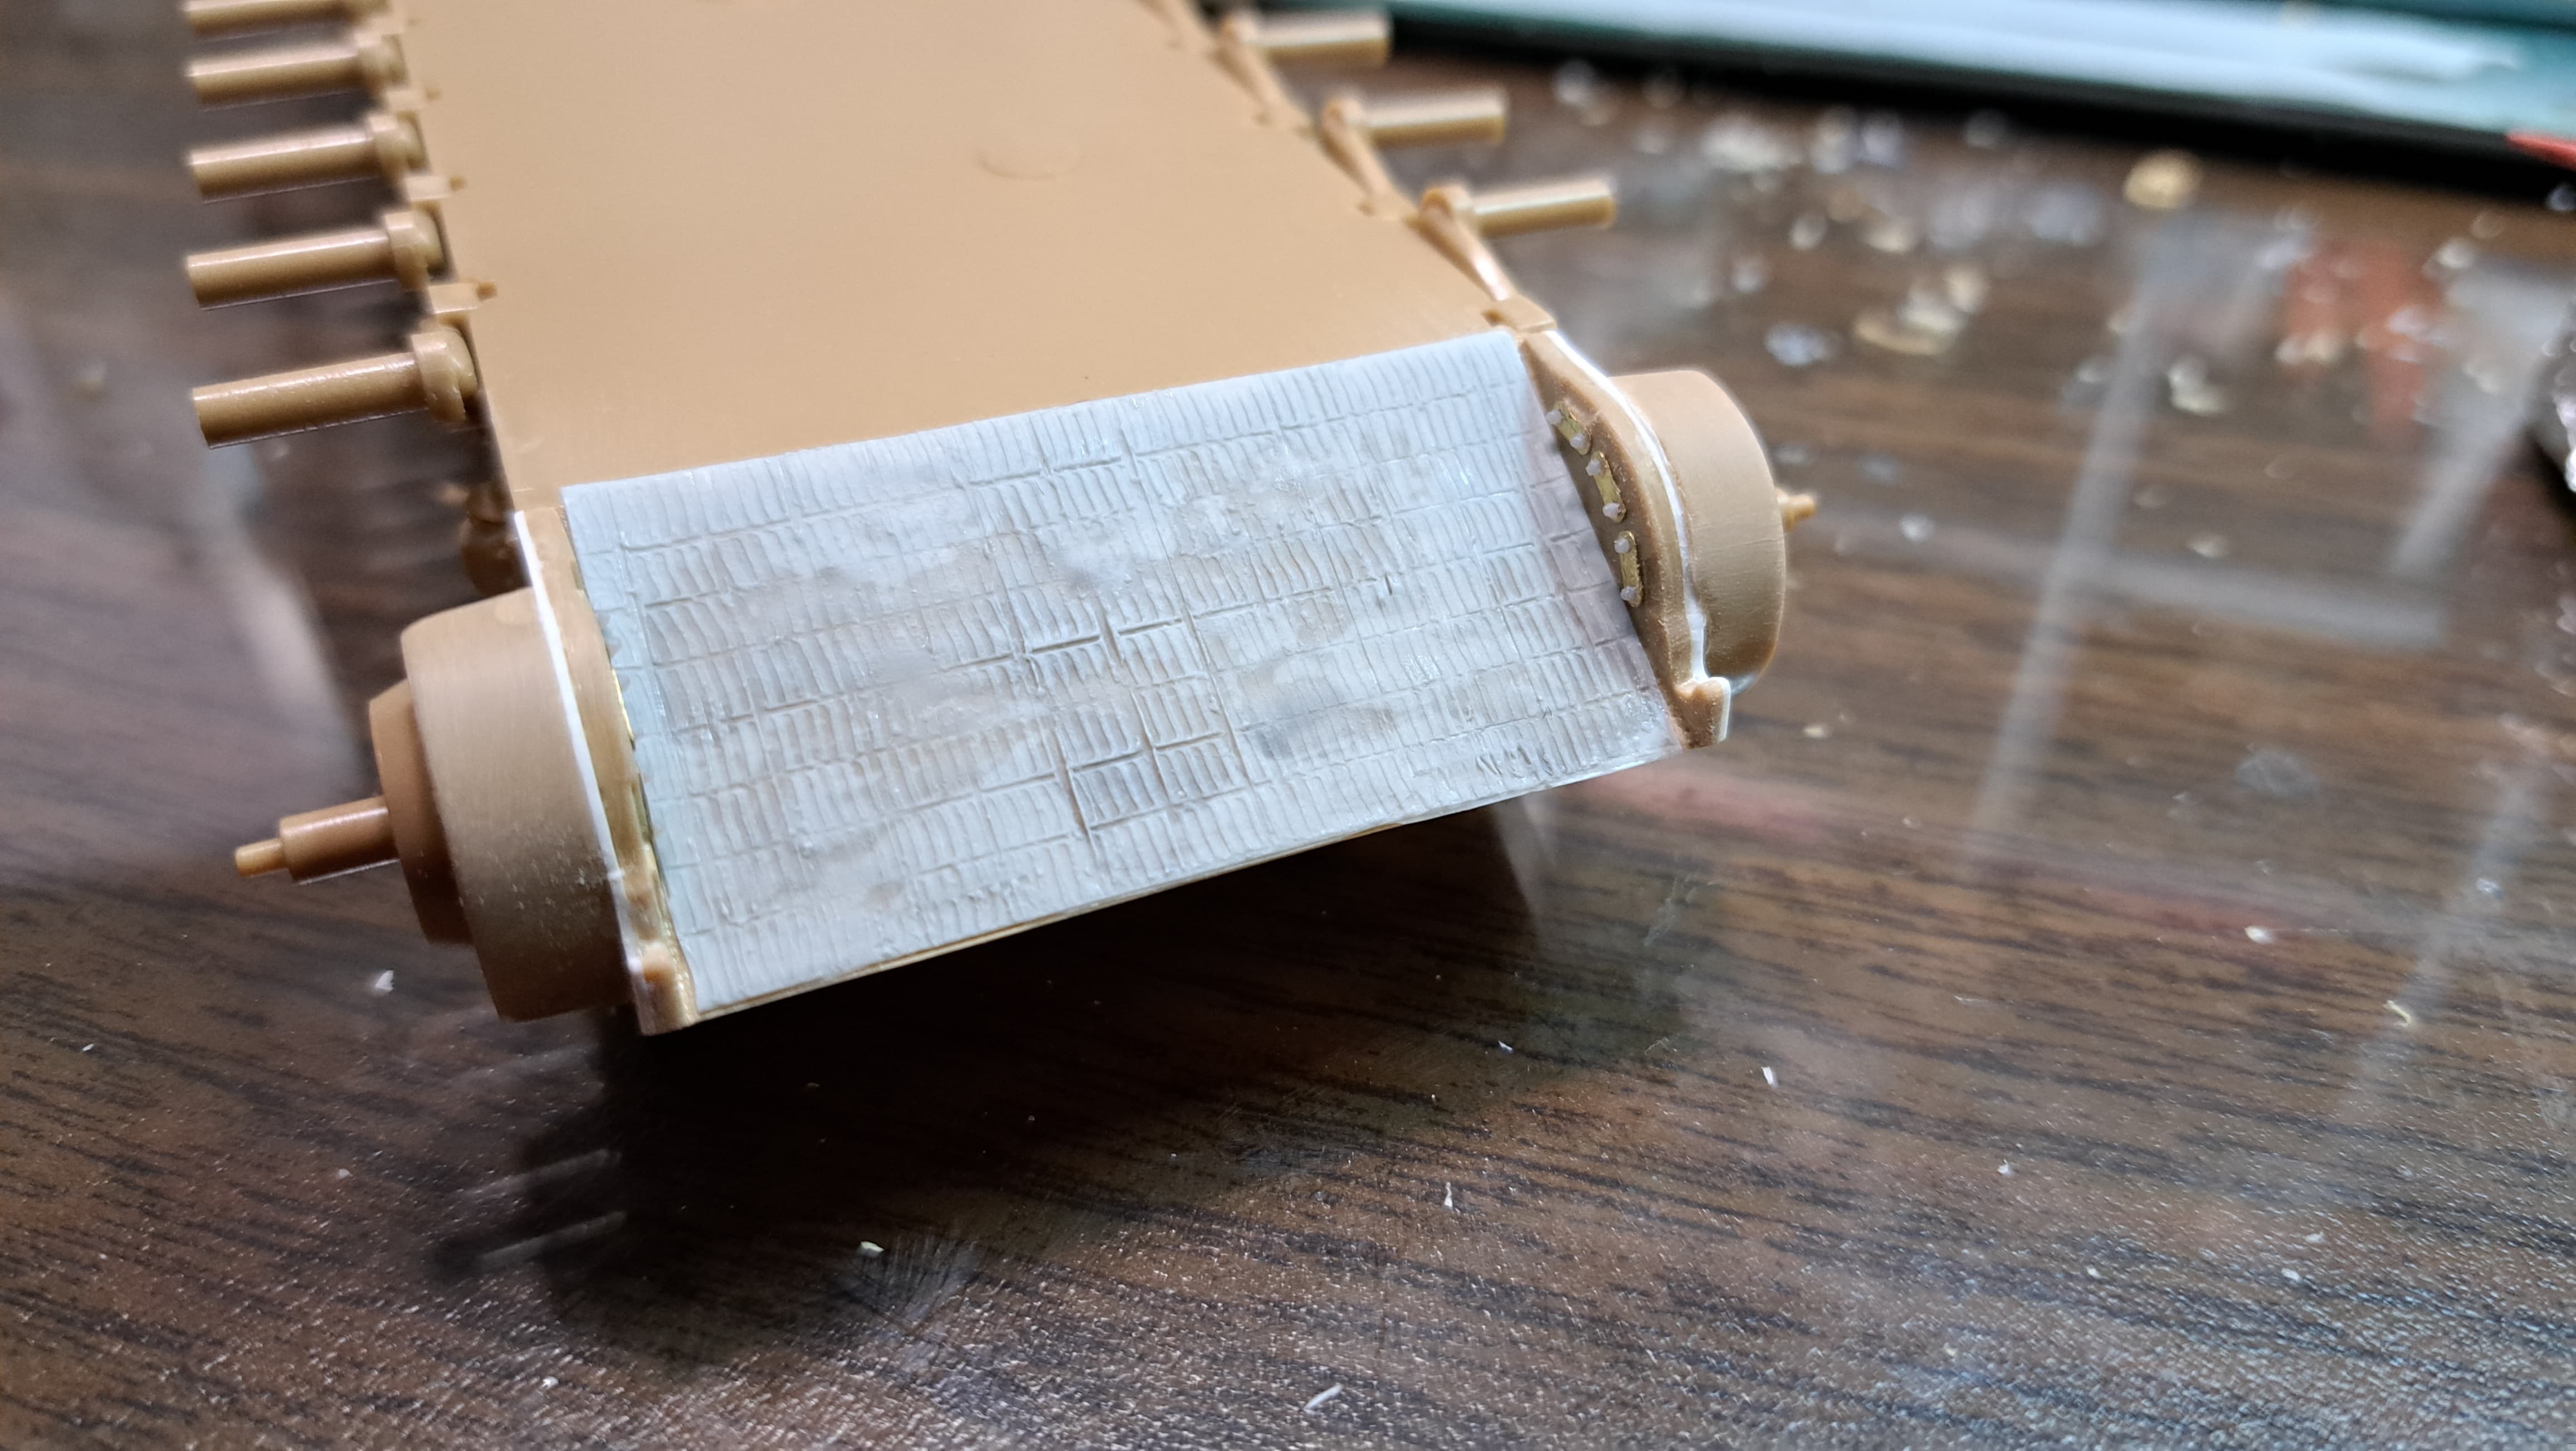
#11 blade to make hole in the area.marked in black. Trim to shape.
Remove the little clothes pins. The tape acts as a hinge keeping alignment. Apply StarBond and clamp in place.
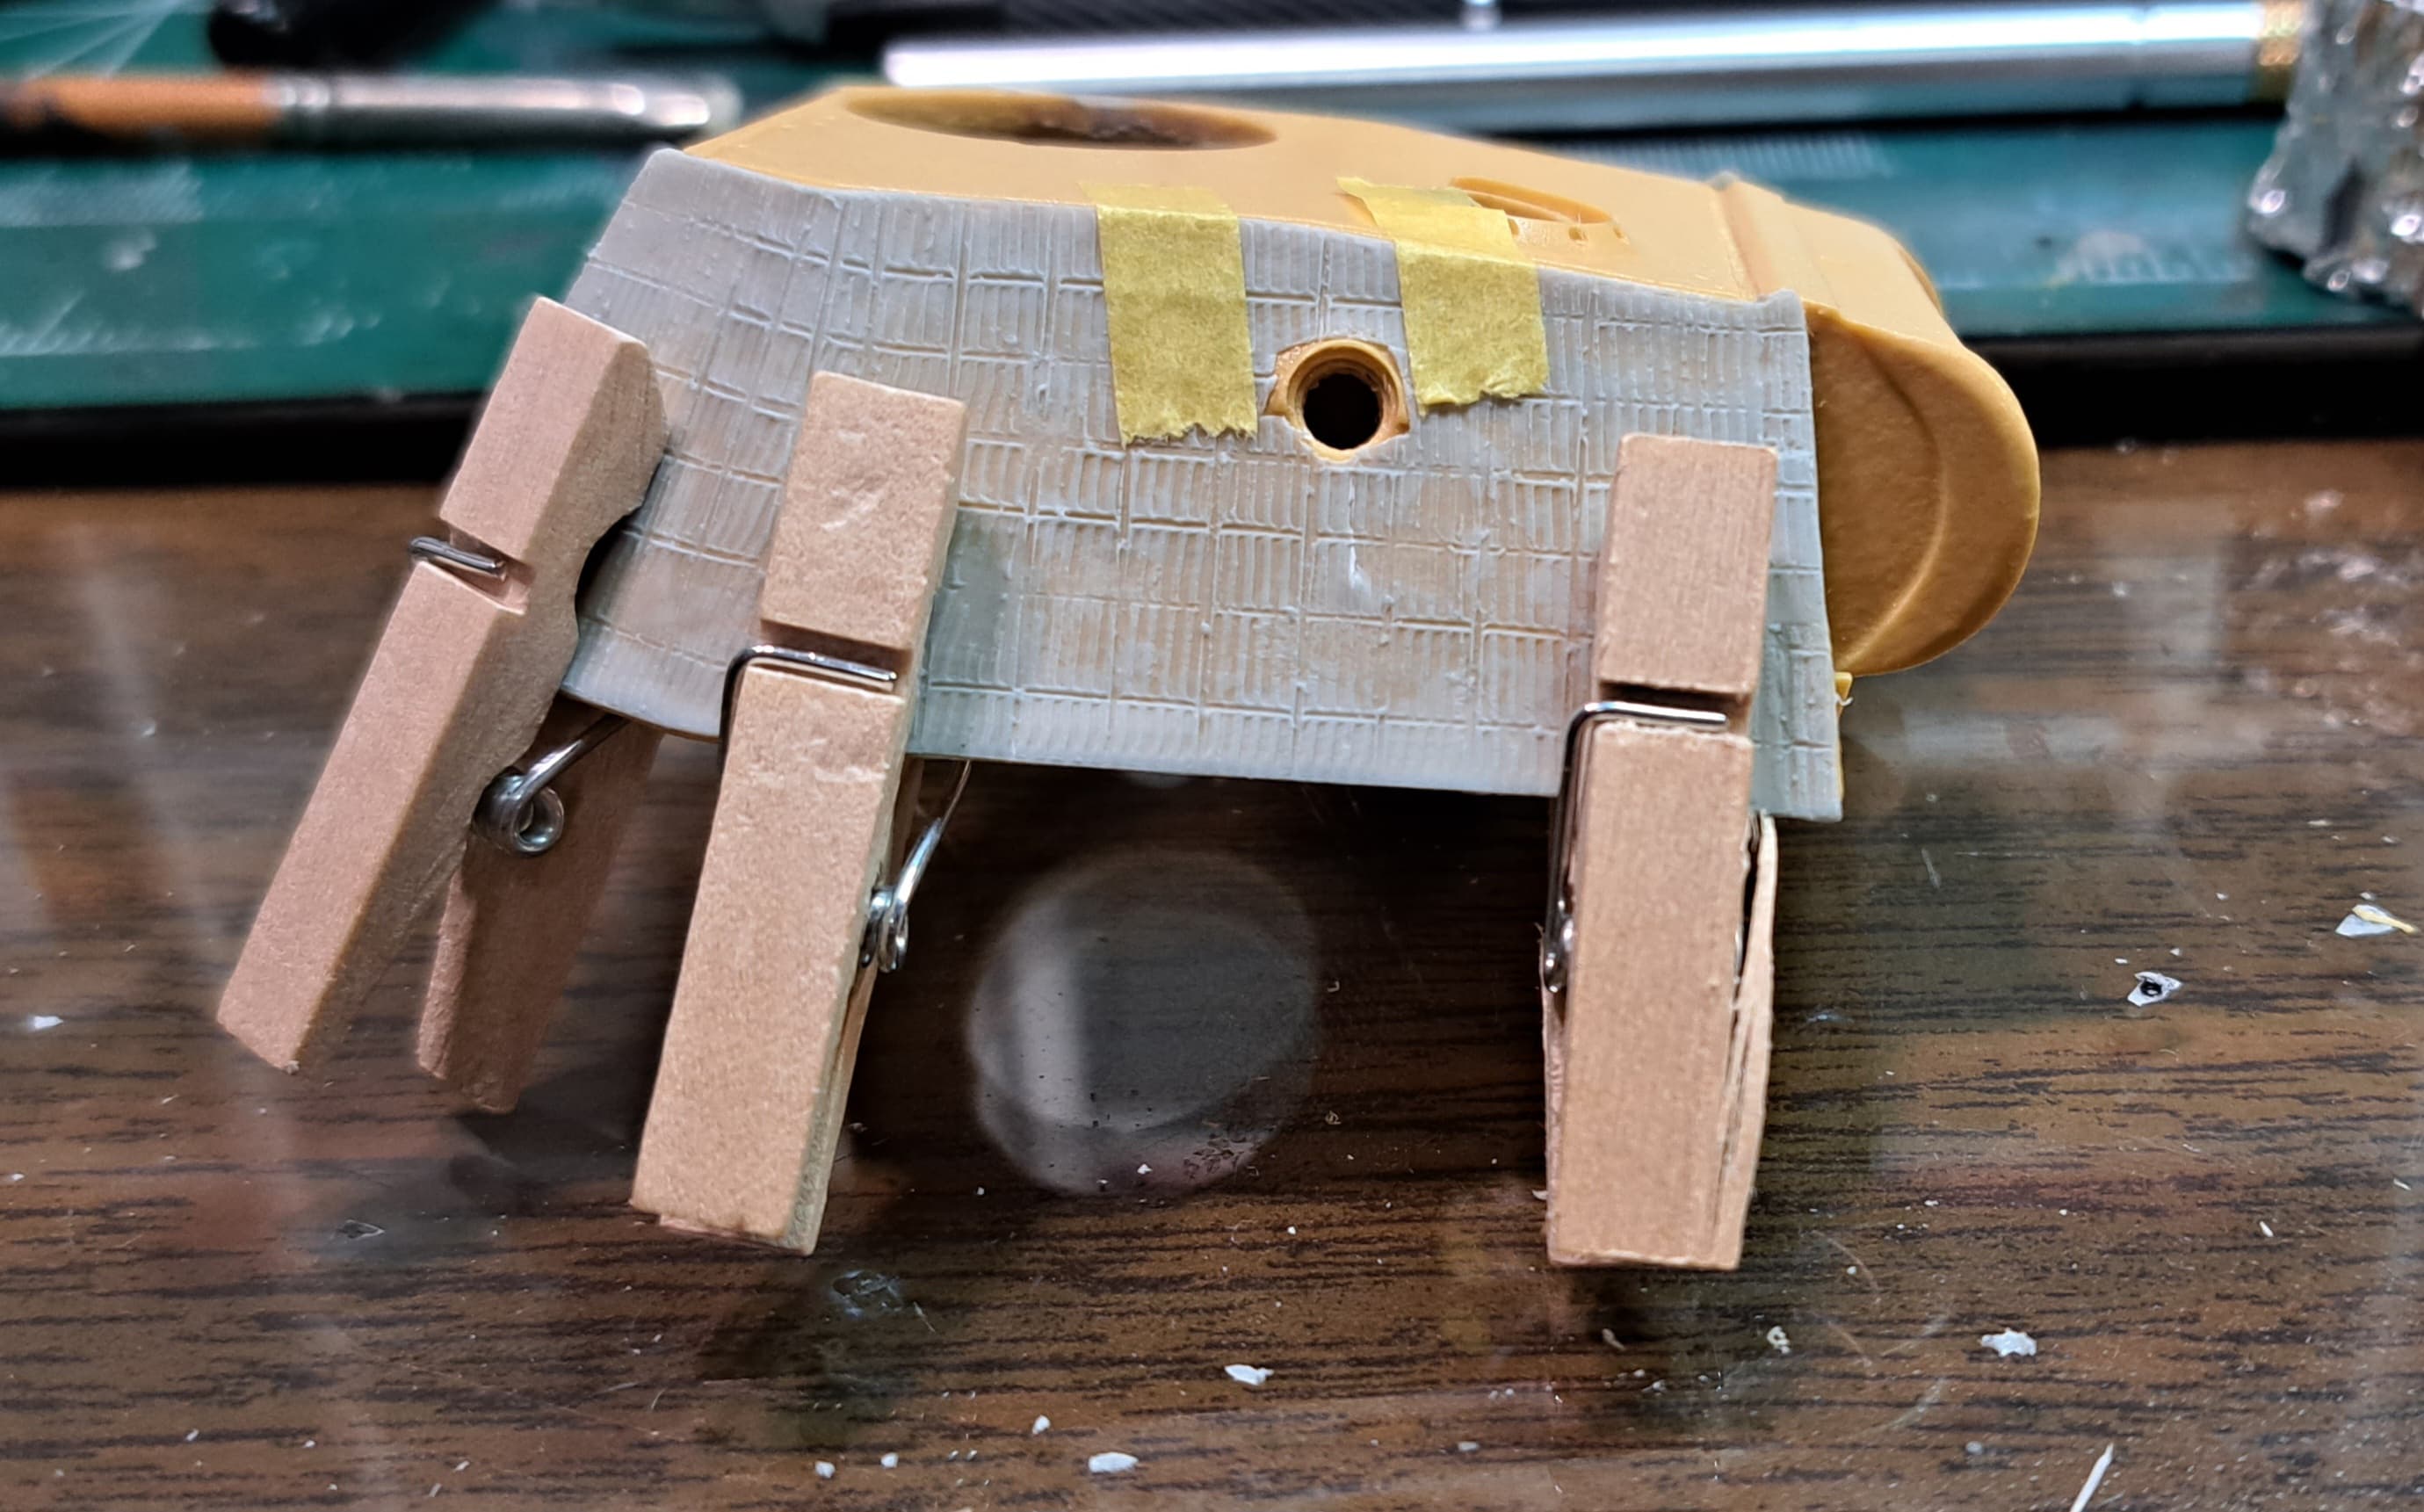
This worked surprisingly well and was fast.

Amazing zimmerit Wade! Well played!
Thank you Matt, there’s a couple of pit falls with using the wrong Zimmerit but hopefully that can be mostly worked around.
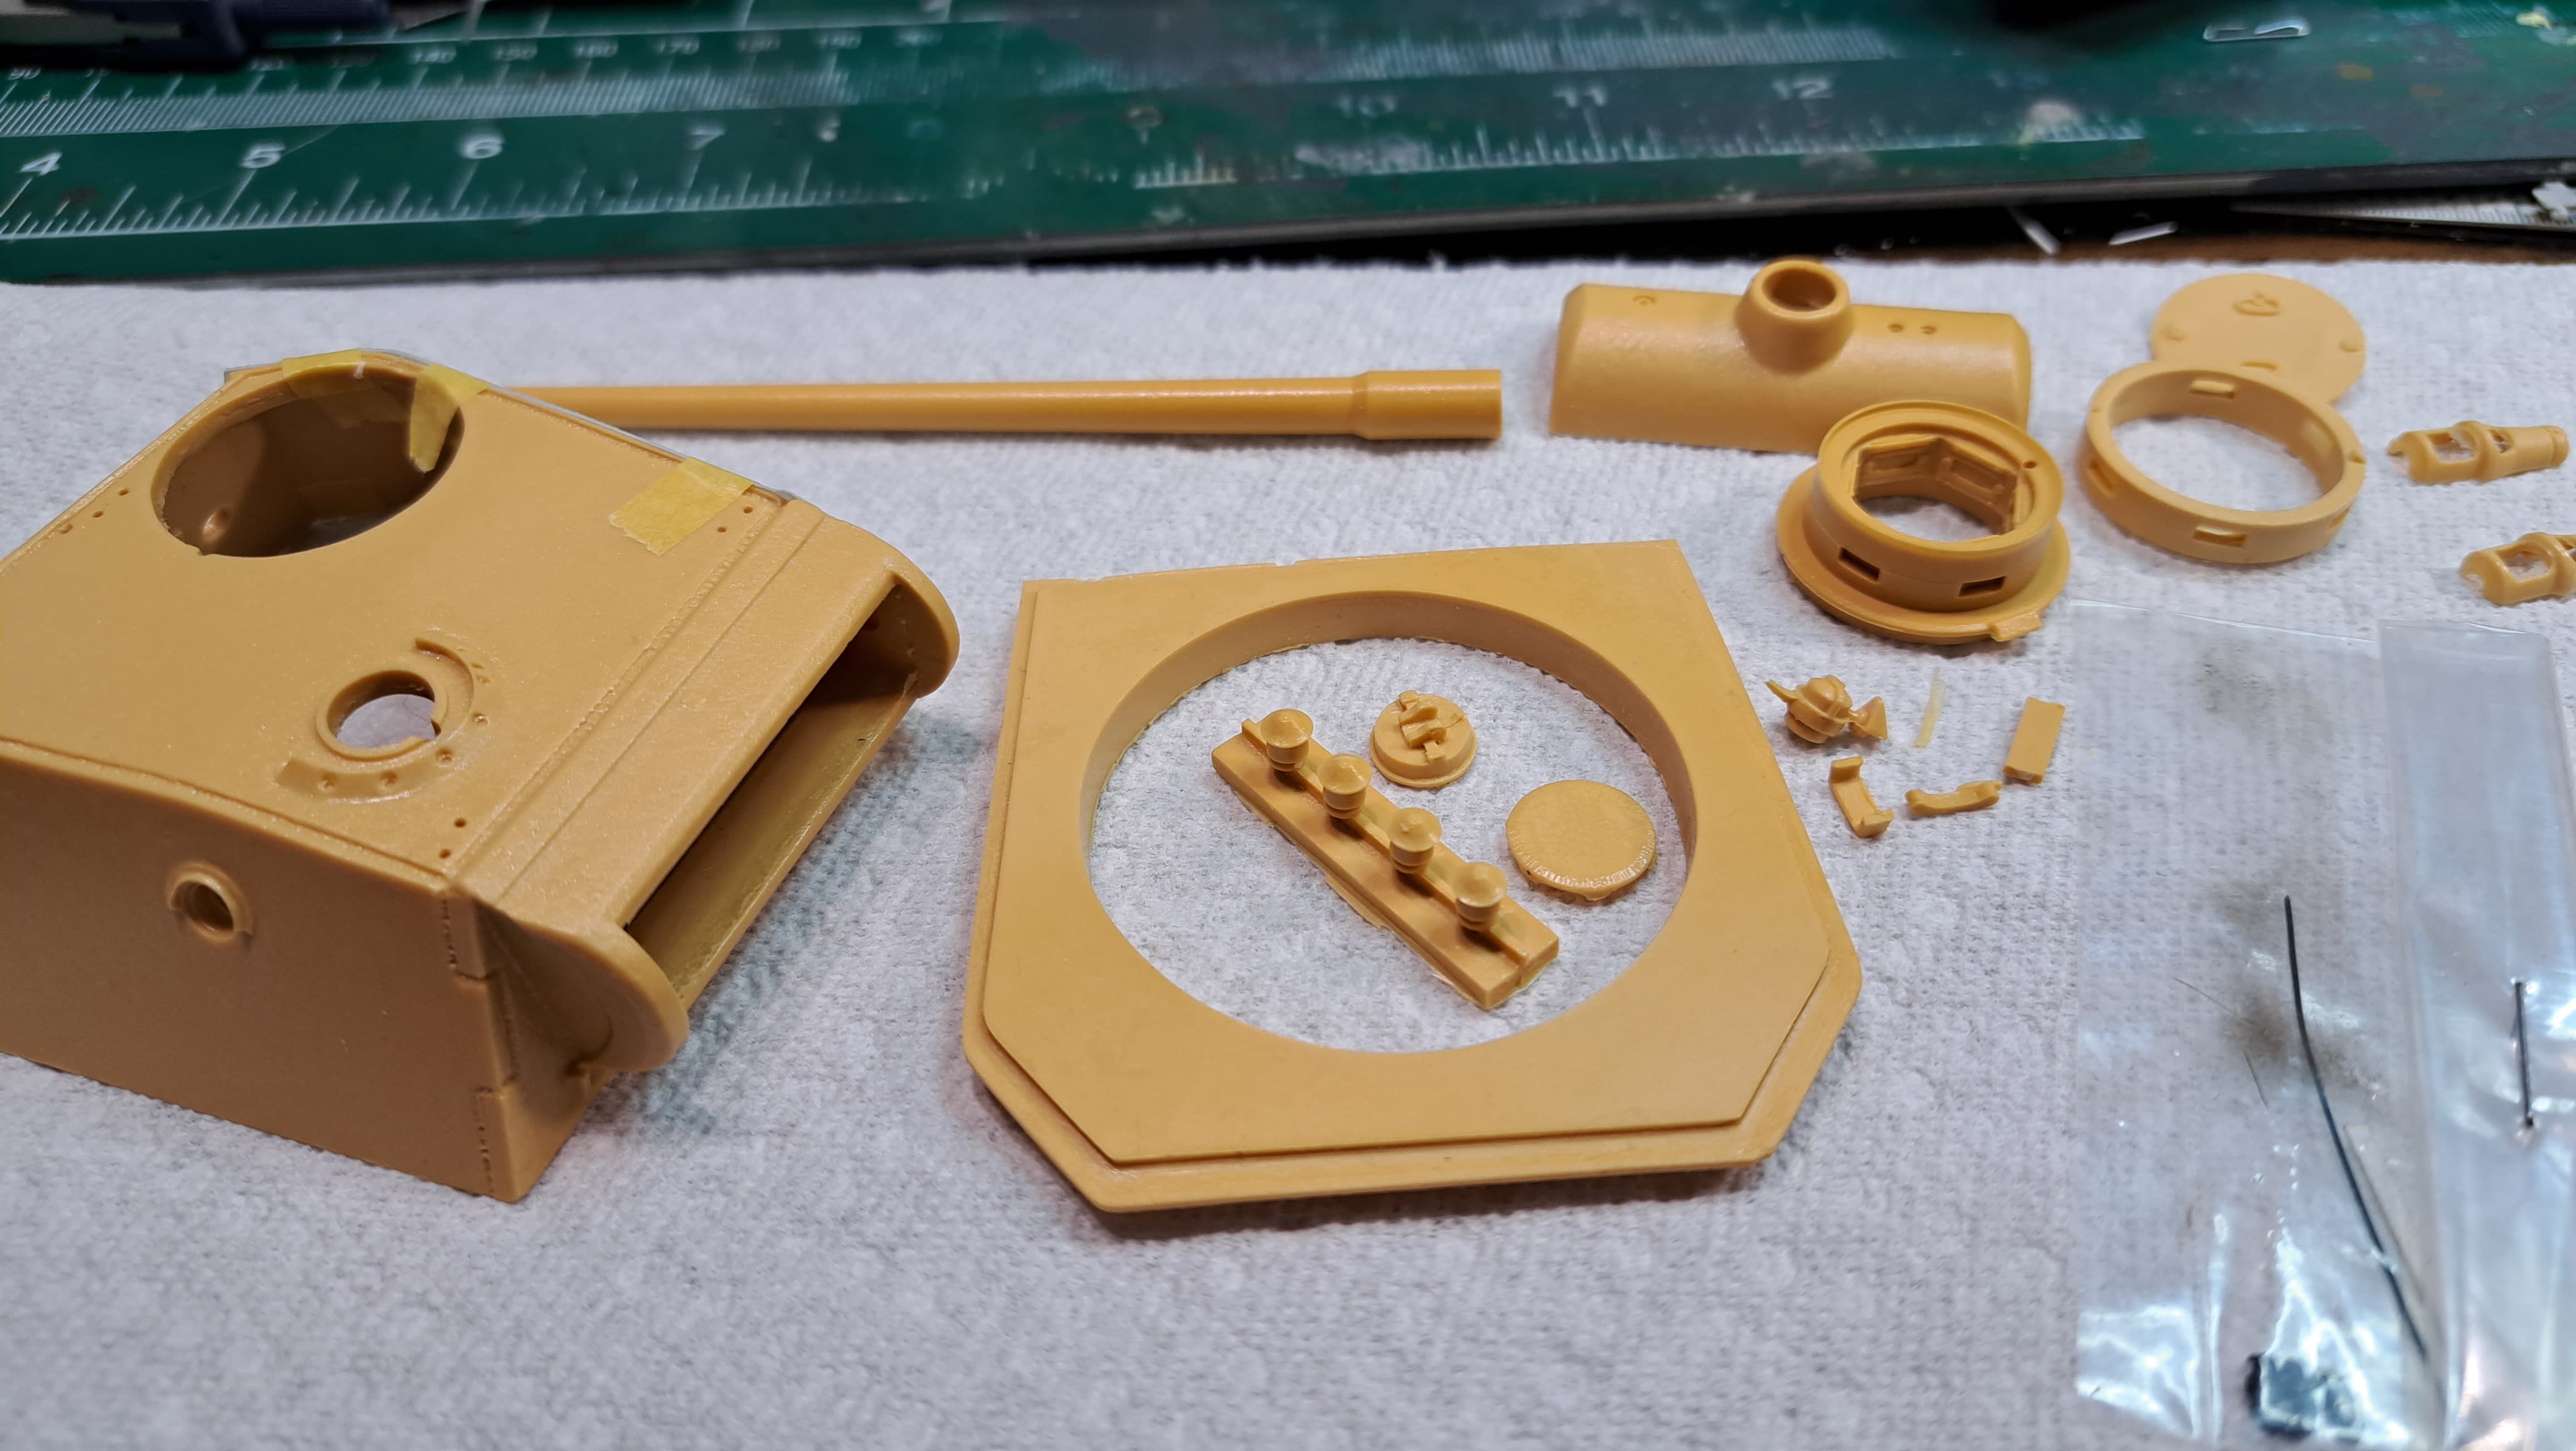
My plan is to bury everything Italeri made under aftermarket when possible.
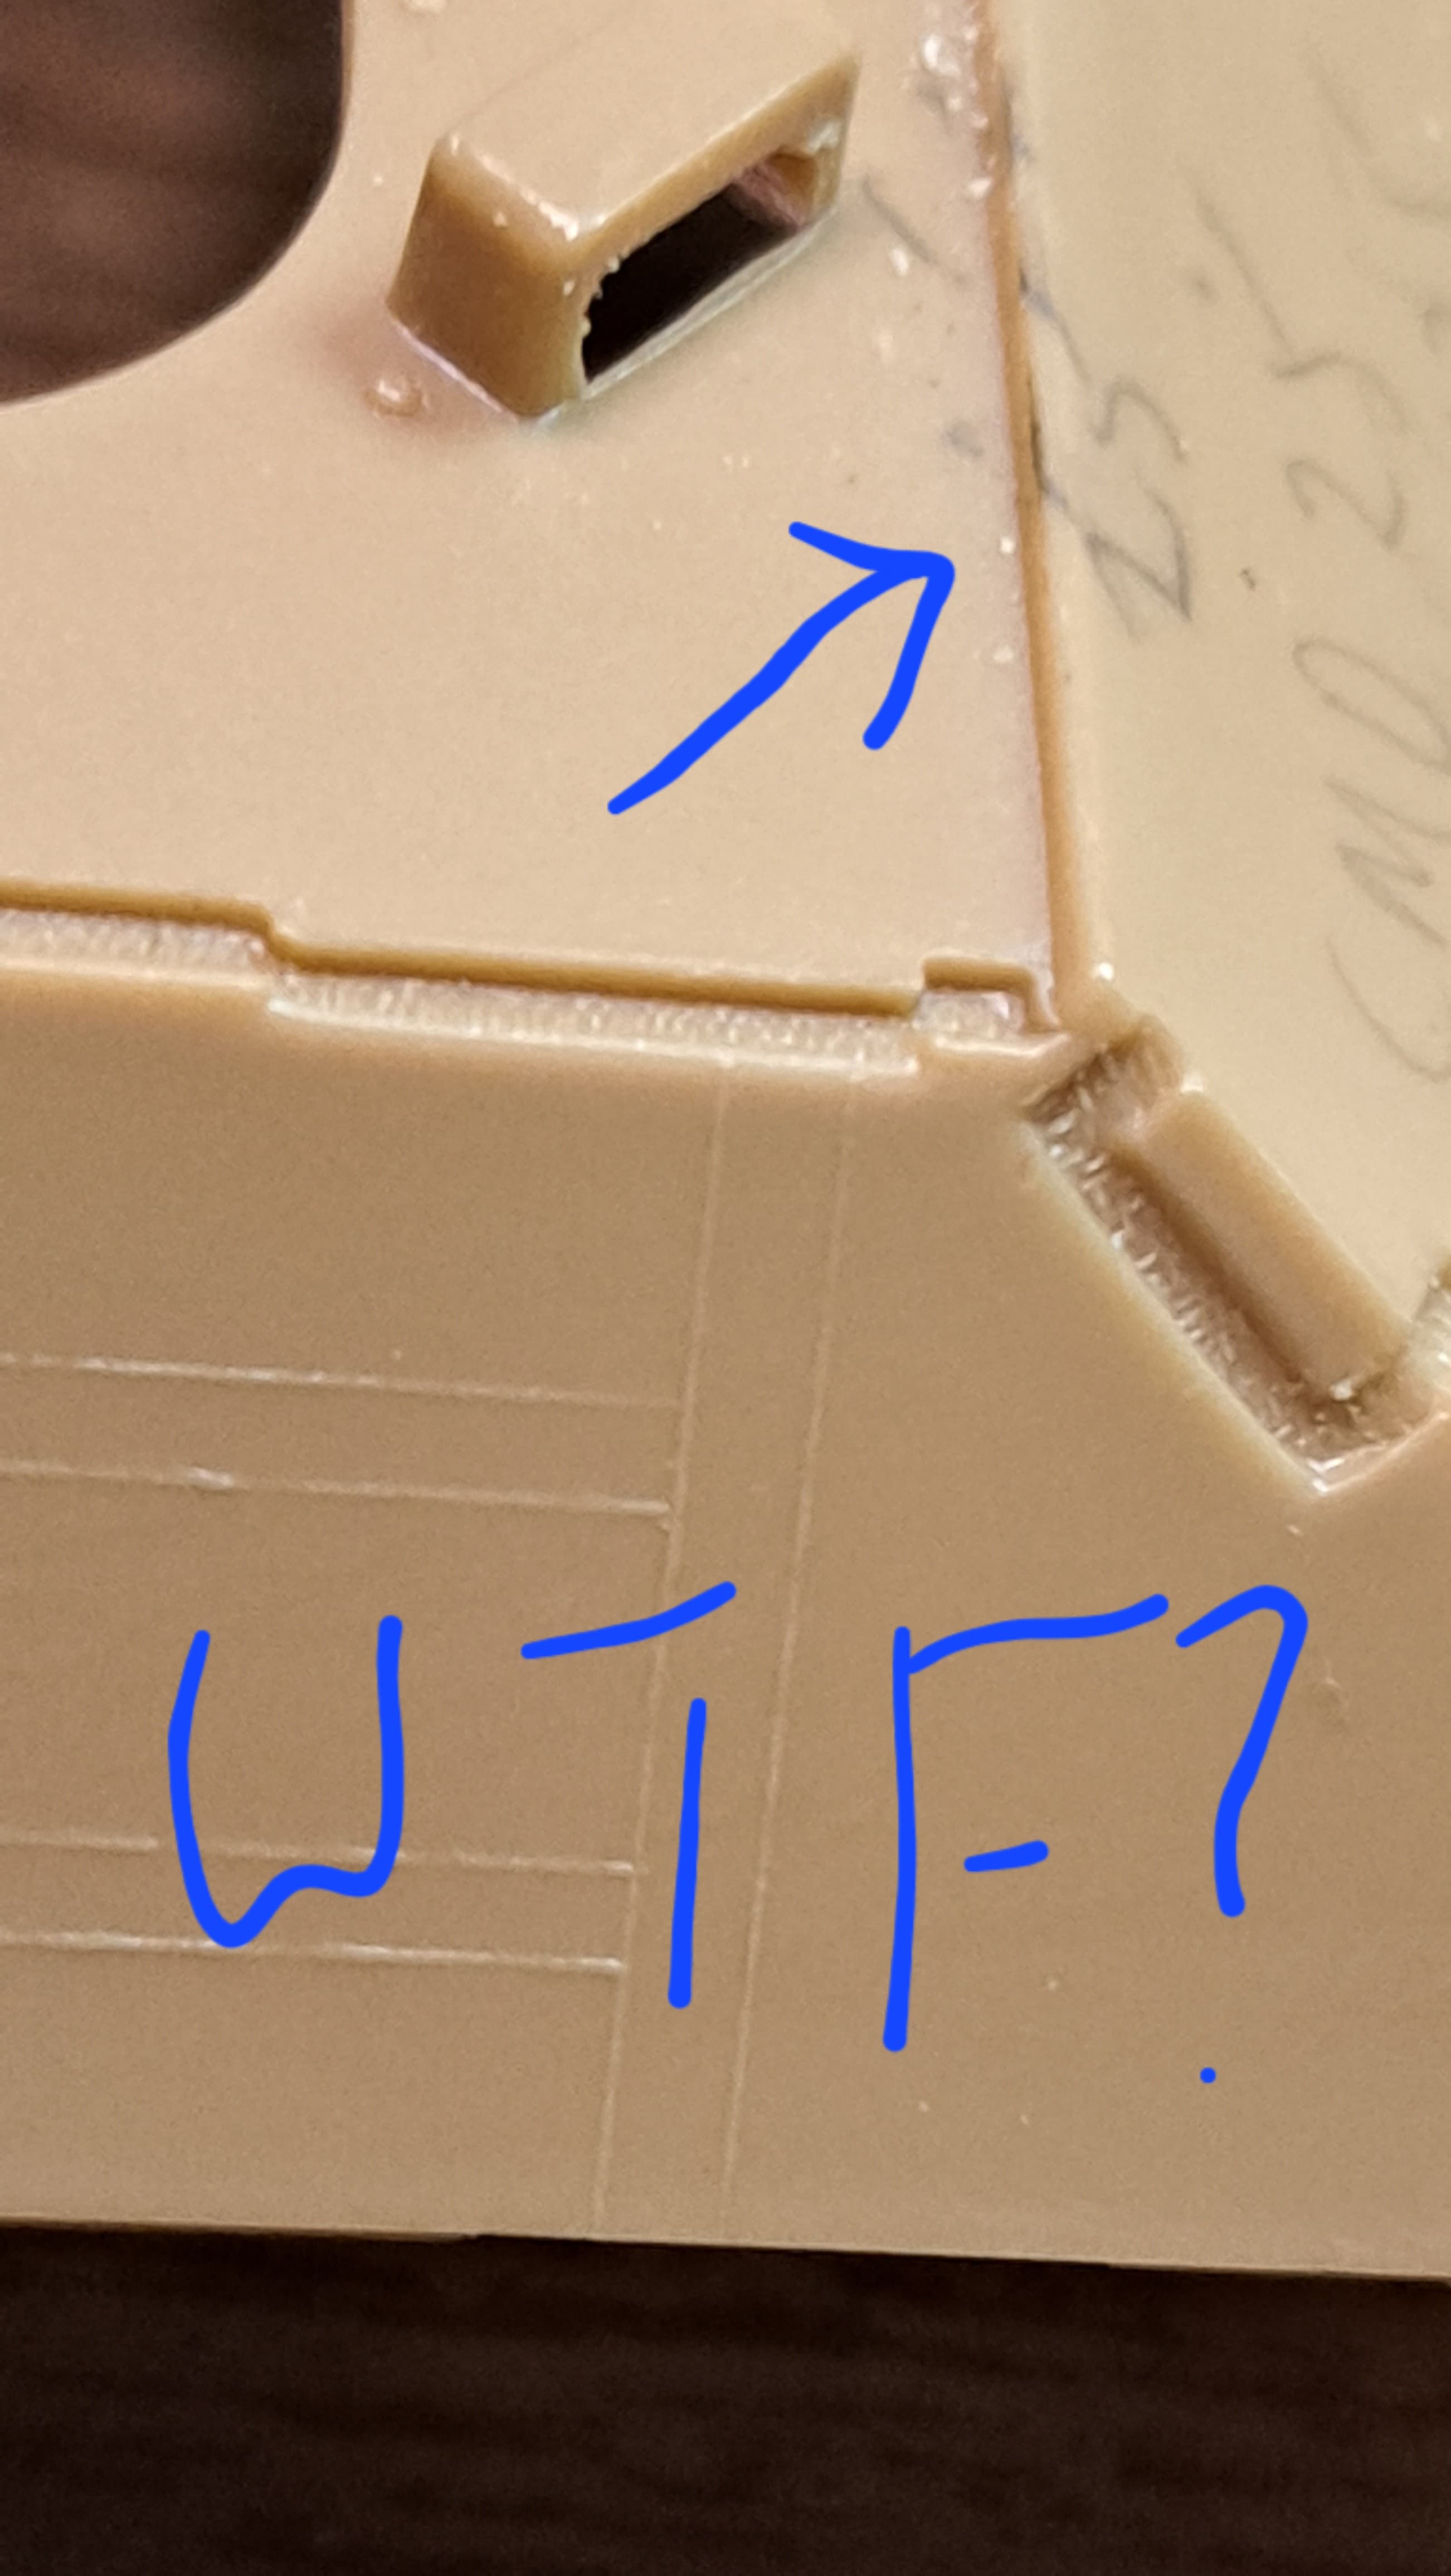
I know someone will think that’s too harsh etc. Stuff like weld interlock details that more closely resemble sink marks are a key reason for that plan.
The missing upper hull top to glacis weld is understandable as that was common in the 1990’s on all sorts of kits. The tool rack outlines scream amateur hour in Bologna. That’s a sad fall from grace (imo) for a company that once kicked Tamiya’s butt in the 70’s to early 80’s with an excellent (for their time) Pz IV, M47, Leo I, Leo II, Opel Blitz, Jerry Can’s etc.
$1 raffle ticket ![]() at least it was almost free.
at least it was almost free.
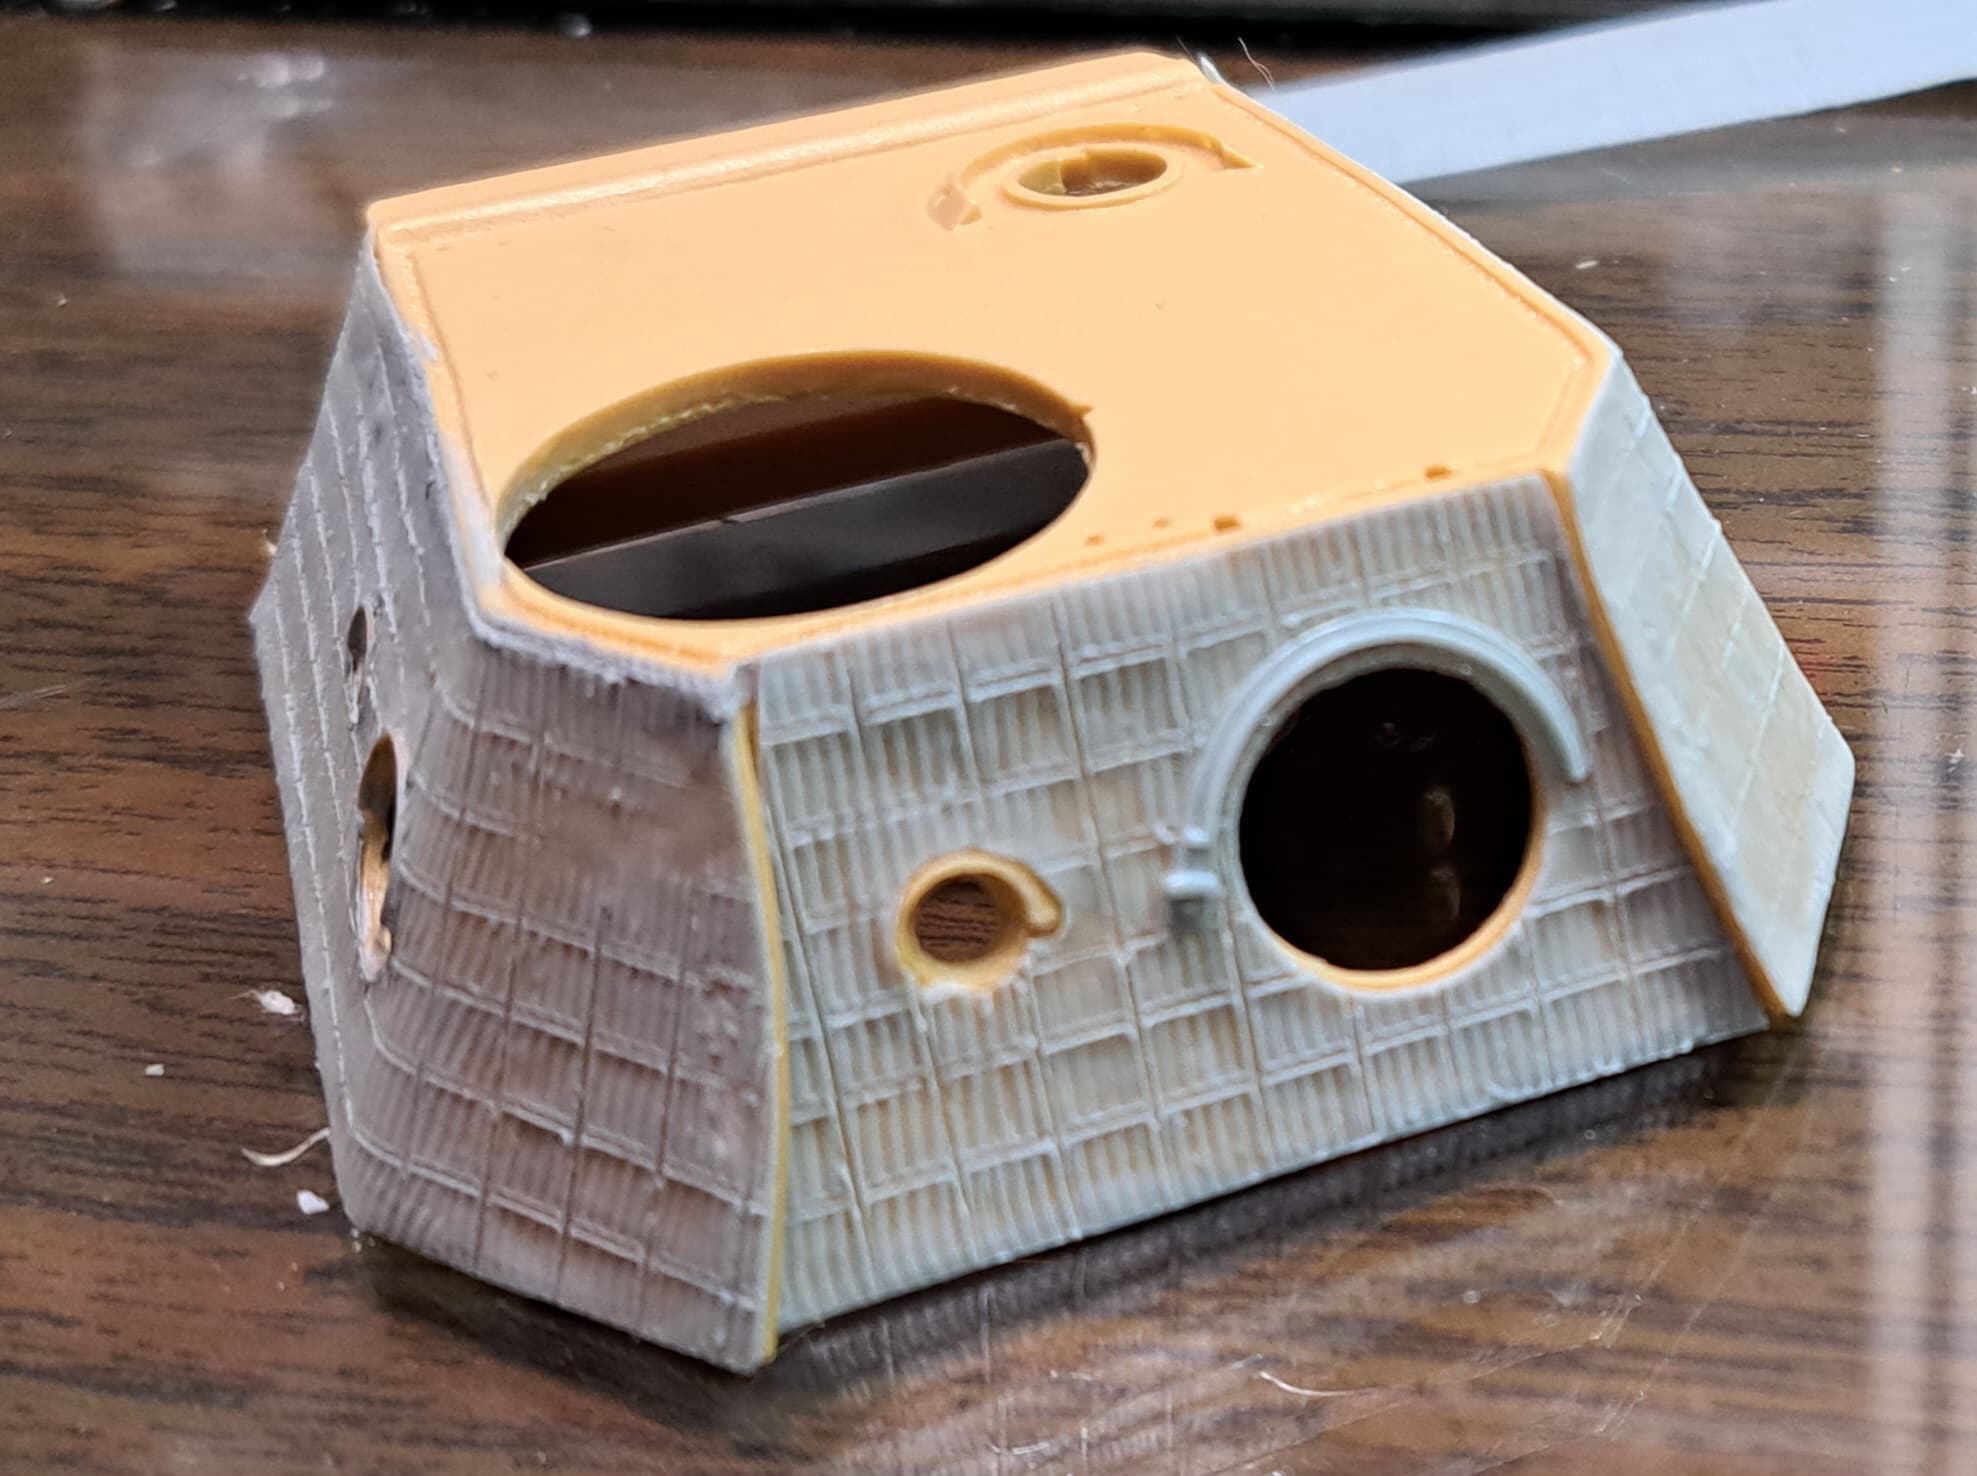
As D model per CMD instructions & reference a forward facing radio operator periscope needs added. CMD says 25 scale inches from edge and 9 scale inches wide for the slot.

Basically, I trust CMD but per Ronald Regean, verified via AP#4 & Jentz & Doyle.
The ball mount ausf A MG mount pattern needs to go for the ausf D.
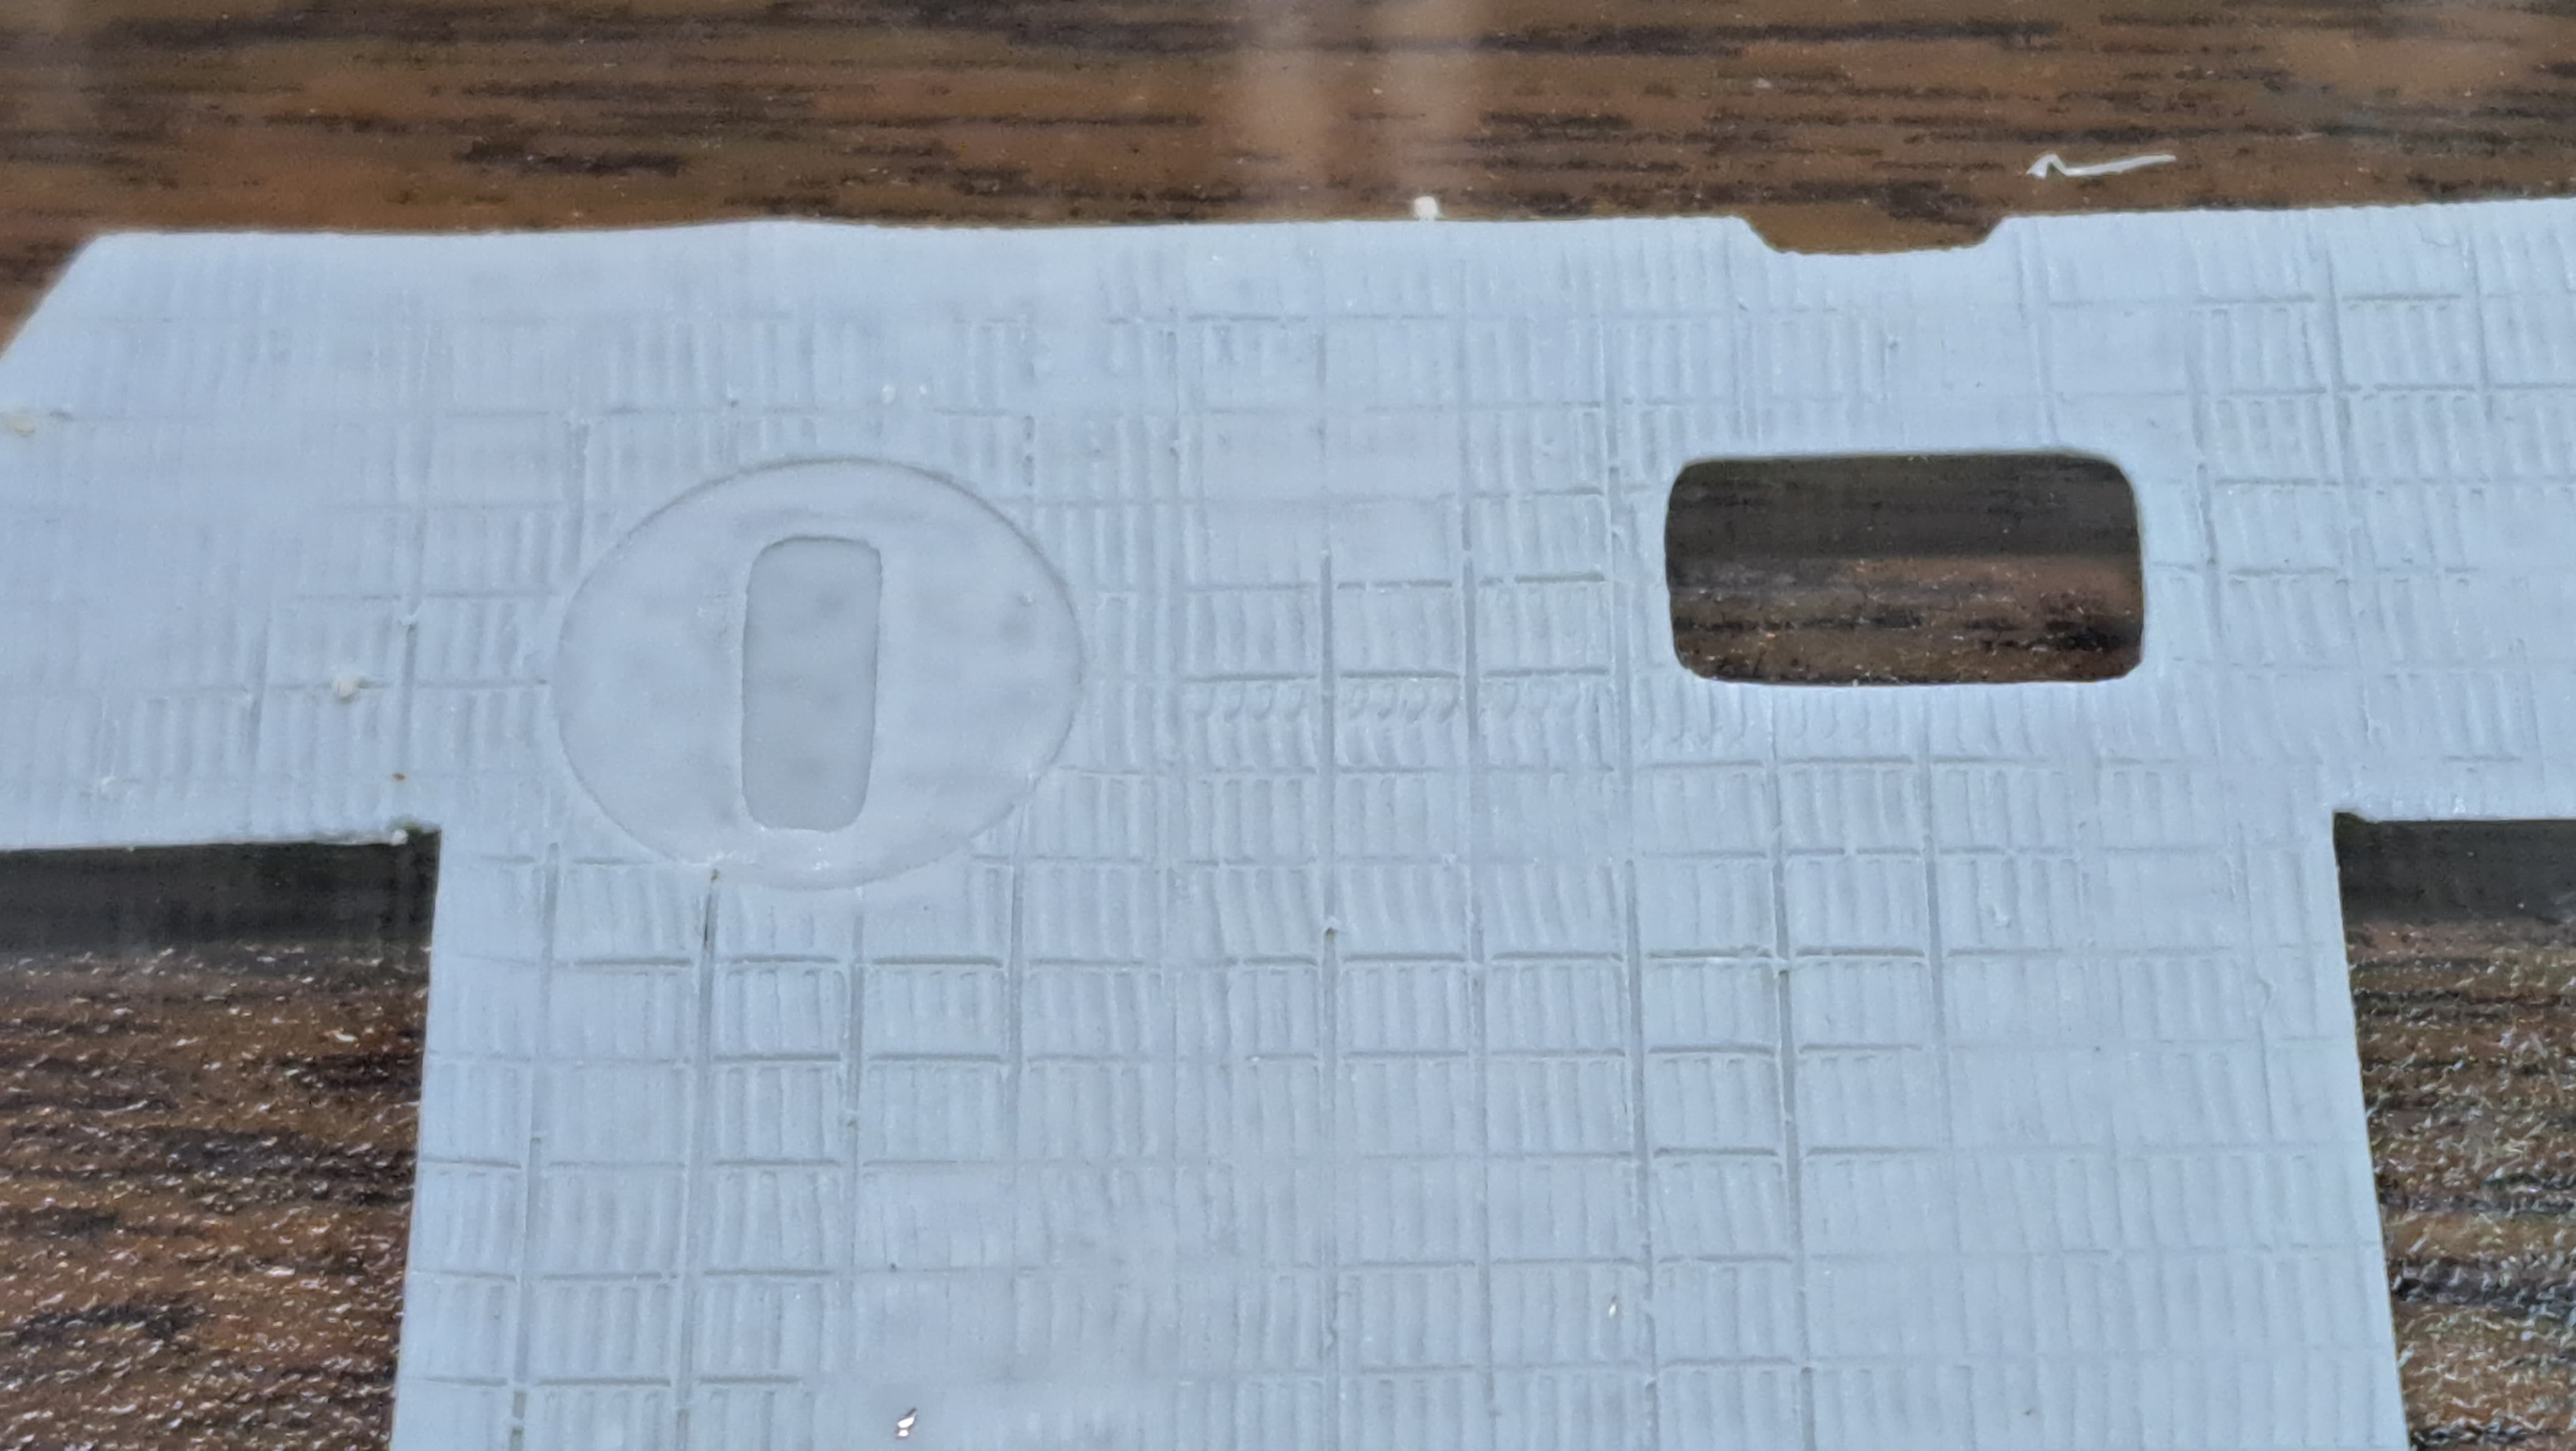
Hopefully a more irregular pattern will be easier to blend.
Saving this as it’s a good pattern for the zimmerit patch.
Alignment. Ouch!
It’s too narrow on the lower part of the glacis. Probably have to patch those two areas also.

StarBond time.
Had enough CA for now