Linked because it’s Panther related.
how-tough-is-meng-s-jagdpanther-upper-hull-to-build
My available hobby time today was spent test fitting a Meng JagdPanther upper hull. When I pulled the Meng kit from the stash, I was excited and started wanting to build the kit.
Upper hull fits very well but the parts clean up drained enthusiasm for starting another kit right now.
YMMV
2 Likes
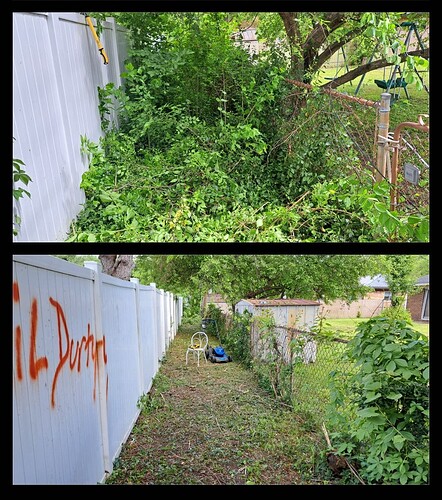
Yesterday’s priority, cleaning behind ~110 foot long fence…
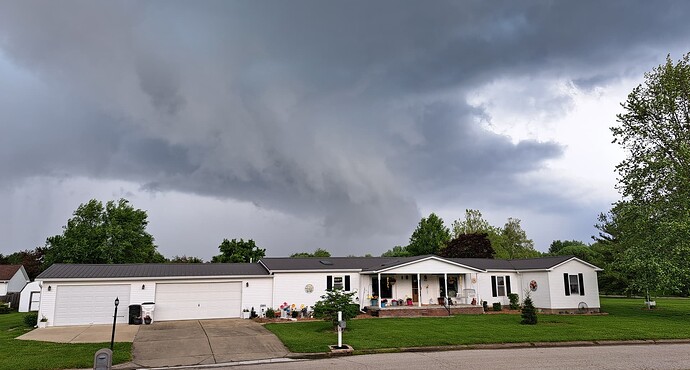
…since it was tagged by a worthless meth-head…have more to do etc but today the weather didn’t play nice…
So hobby time!
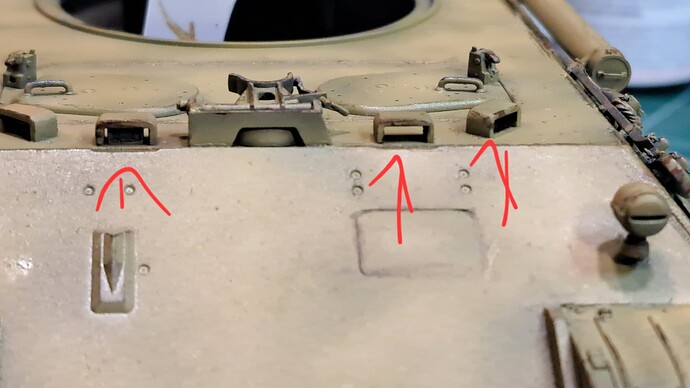
One problem spreading a model build out over 22 years, is forgetting stuff…like the driver hull periscopes.
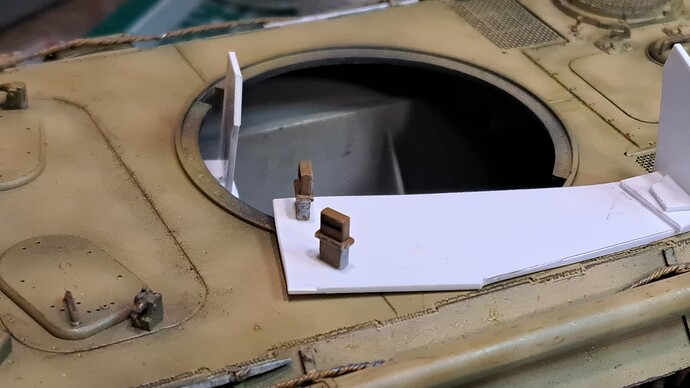
Dr. Porsche engineered a device to solve this manufacturing issue: Vorrichtung zur Befestigung eines Periskops or as it’s know in Wade’s World, periscope attachment device.
Don’t laugh too hard at this stupidity, both periscopes went in to place on the first attempt.
BTW - that fat stash proved invaluable again! I pulled another Dragon Panther D kit. Used the hull to align the periscopes on sheet styrene. It also allowed practice inserting the periscopes.
Tracks snapped right in place with the ends joined on the sprocket. Tracks are a bit loose due to poor planning over the 22 year build, but fit the sprocket & suspension very well. The idlers are fixed in place by kit design.
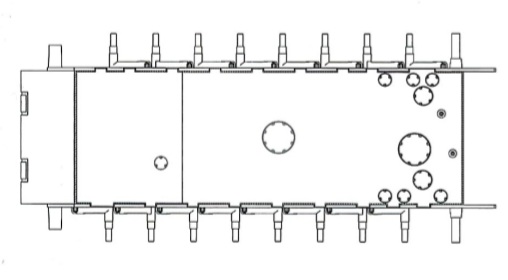
I cemented the idlers in place in 2002 for some reason, so cheating the idler back a half mm wasn’t possible this time.
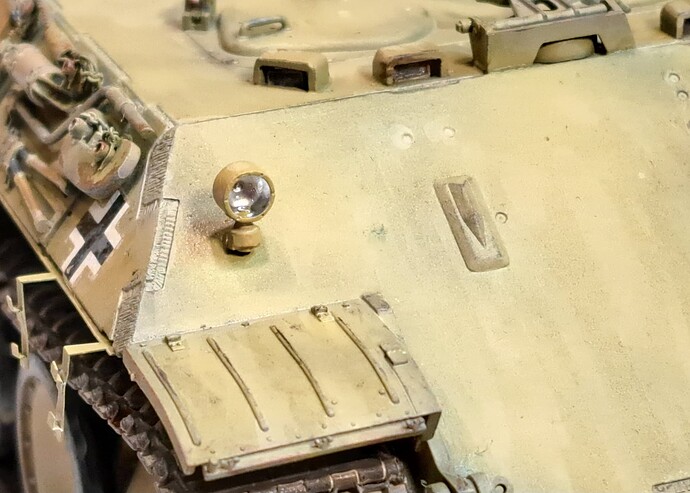
Added the second headlight similar to the Italeri Panther D build.
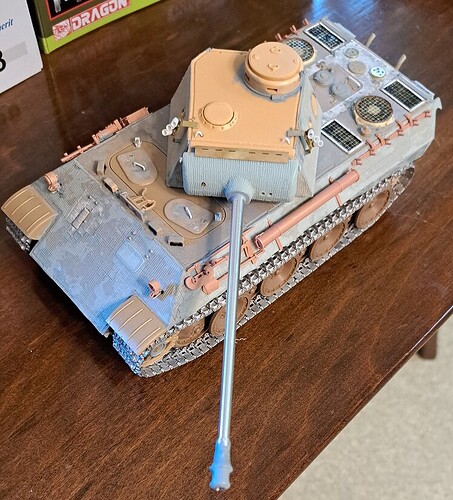
Turret test fit.
13 Likes
Picking the right skirts for an old Dragon Panther D can be challenging…so many skirts are just pain ugly…like the junk in the kit.
…however sometimes you just find the right item…

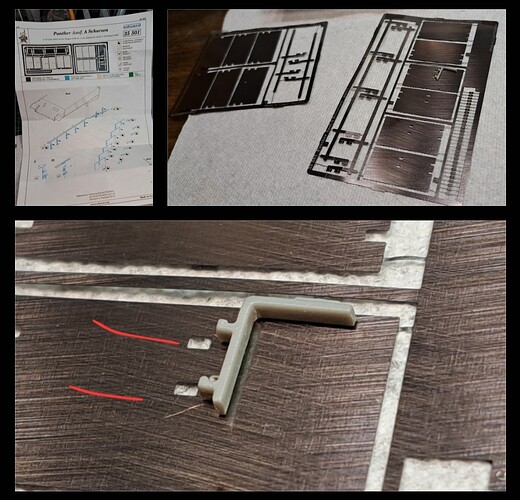
Eduard’s Panther A PE skirt kit looks like the right one for this project. Since Panther D & A used the same hull, it’s my understanding the skirts were basically the same.
Forget the idea of using the kit hangs with the PE skirt without modifications. The spacing is different. Somebody didn’t do their research.
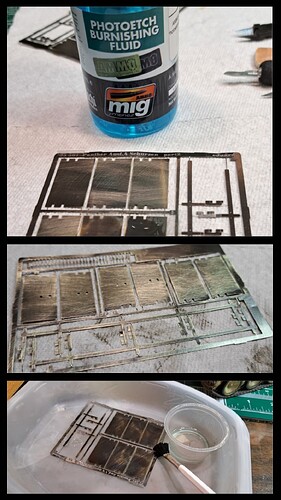
Anyway with so much PE, paint will flake somewhere so Mig PE Burnishing Fluid to reduce risk. Lightly sanded the PE as prep. Only took a few cc’s thanks to the pippette, brush and an old plastic frozen dinner tray.
When dry I think this will make for a better surface to paint after the PE is bent to shape.
8 Likes
Added the PE skirt brackets and a couple of skirts. Still have several PE retainer clips to add.
14 Likes
It looks amazing, Wade. Really good attention to detail. 
2 Likes
Reynier, thank you. Much appreciated!
1 Like
Added, pin washes, painted broken headlight, streaking & drybrushing…has to cure before touch ups & flat coat.
13 Likes
Wade, You are assembling kits fast enough that soon you will have the same storage issue Robin has.
3 Likes
Greg, hopefully momentum keeps flowing.
I may end up with half of these models stored in copier boxes. Robin would probably say, it would be wise to ditch the bases due space restrictions etc.
This Panther D will #5 of #12 built waiting on paint & finishing. There’s still a big backlog waiting…
4 Likes
Great build and nice to see a stalled project get finished to such a high standard with such great detailing 
2 Likes
You’re really finishing the snots out of this one Wade, this is one bad boy. Looks phenomenal.
2 Likes
@Johnnych01 & @SSGToms , thank you! This one has been a consistent 2 steps forward 1 step back.
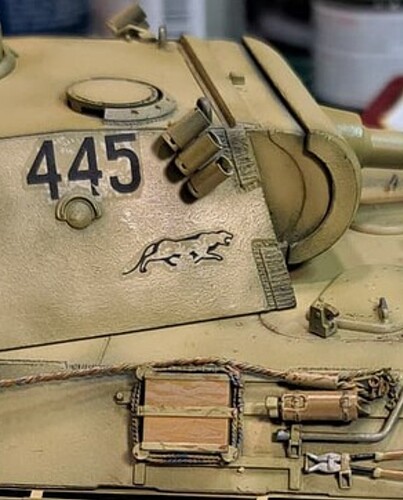
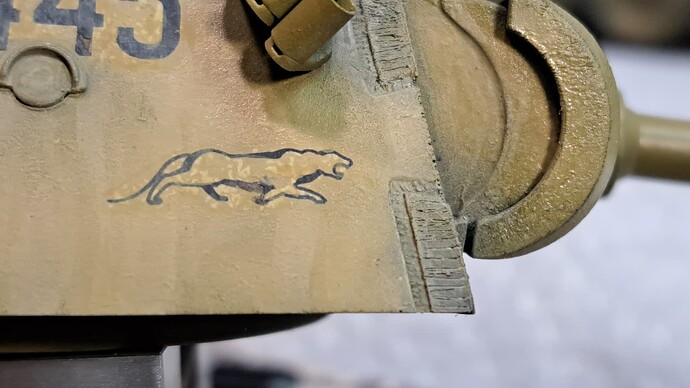
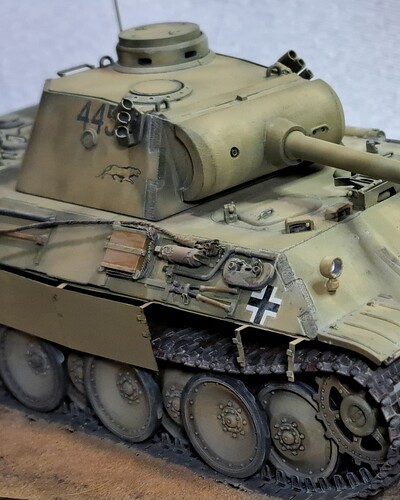
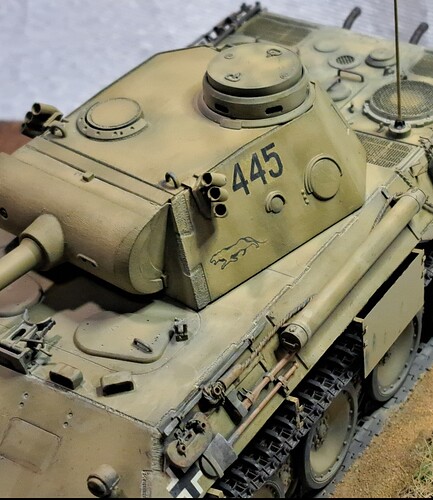
I can’t recall having issue with Dragon decals but four of the eight decals started to disintegrating. These two being the worst with part of the 4 and the stalking Panther losing his underside and leg.
Today being touch up day, ended the procrastinate on decal repairs. Tamiya rubber black paint thinned 50/50 w/X20A using 10/0 and 20/0 brush.
It is what it is…

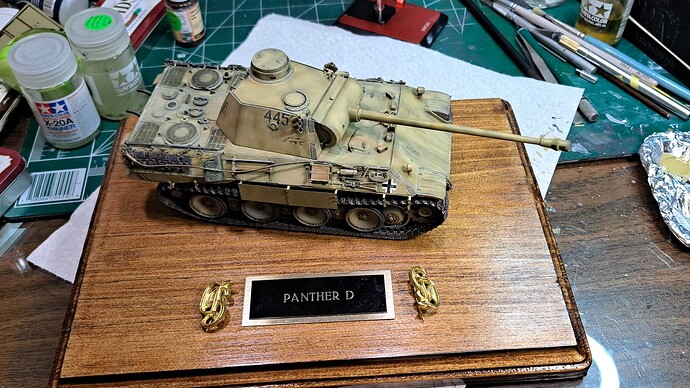
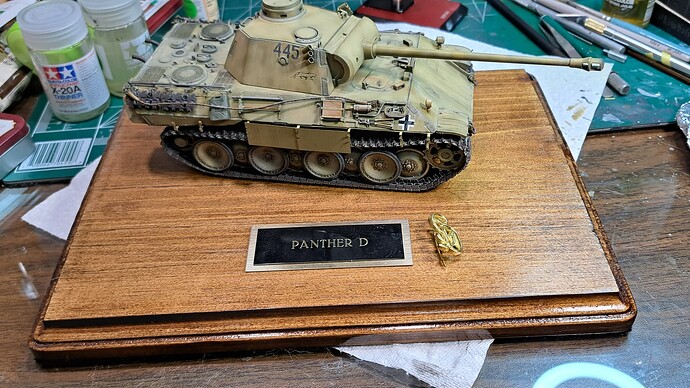
After that, decided to scrap the idea of doing ground work and just slap this thing on a base with a GD emblem for Gross Deutschland and call it done this morning.
The Panther D won’t sit level on the base, it rocked back and forth like Van Halen in their heyday. I want to say GD and it sure wasn’t Gross Deutschland.
The model sits level and square on a glass desk top.
Practically nothing went right during the build for this Panther D but it does sit square.
That’s almost funny!
Will flat coat late this evening. Have to ponder ground work again.
11 Likes
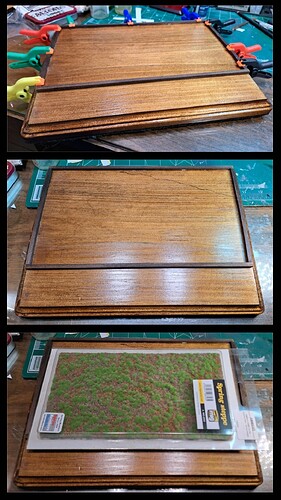
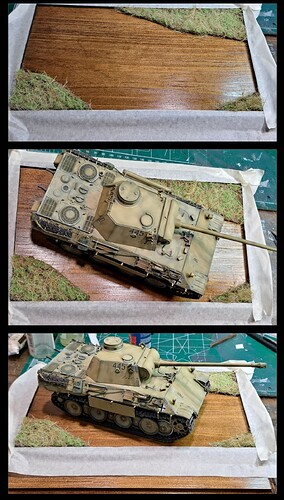
The base proved very warped so clamped trim strips in place. Mig’s Spring Steppe for the groundwork mat.
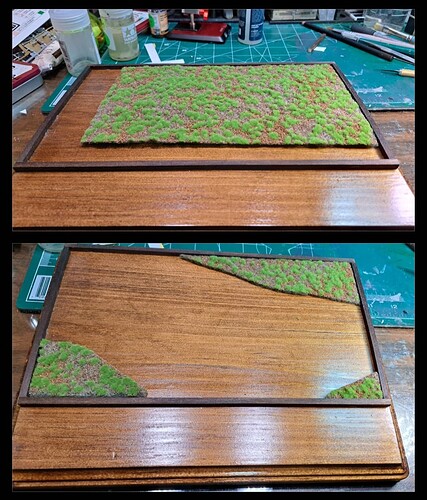
Trimmed for three corners.
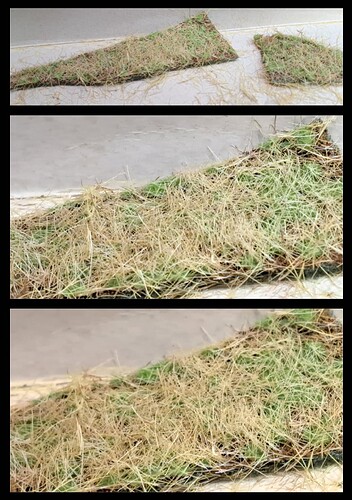
Sprayed turf with home brew ballast freeze, 7mm & 12mm static grass applied with static grass applicator.
Mock up w/tank
5 Likes
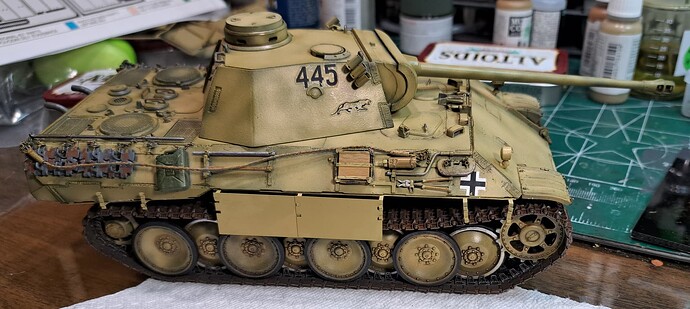
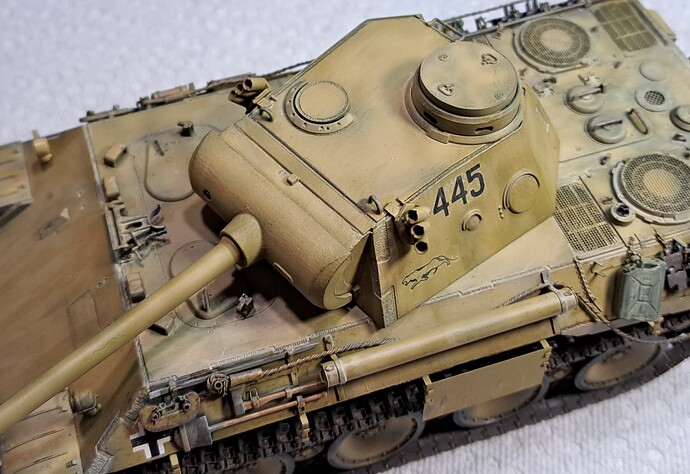
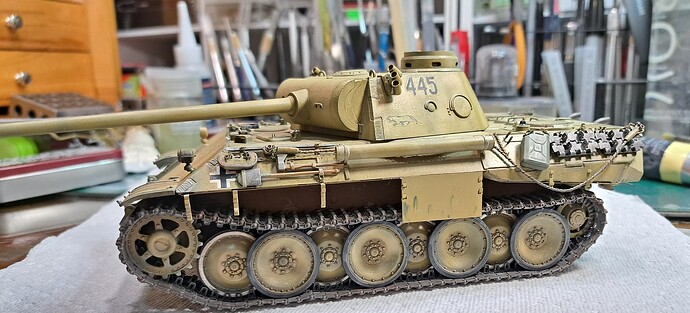
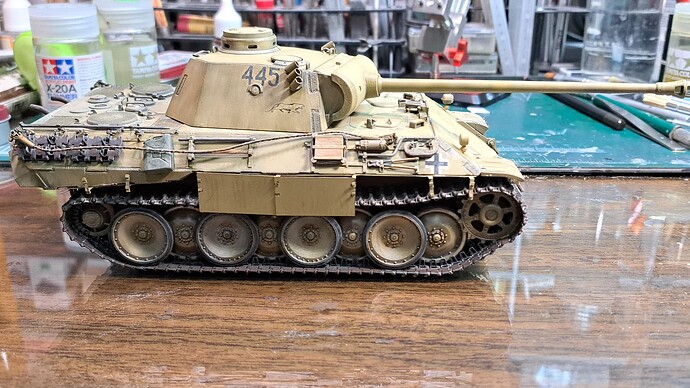
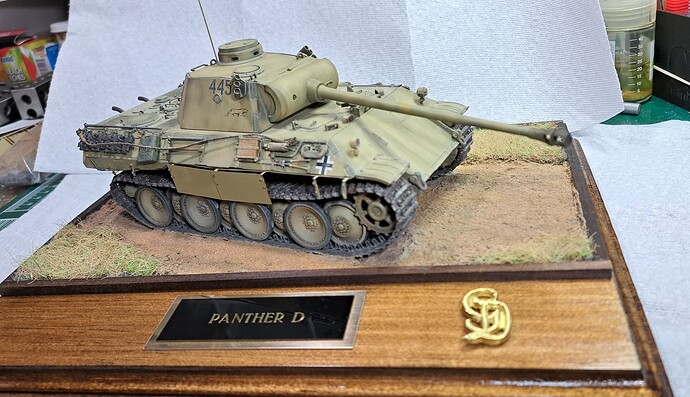
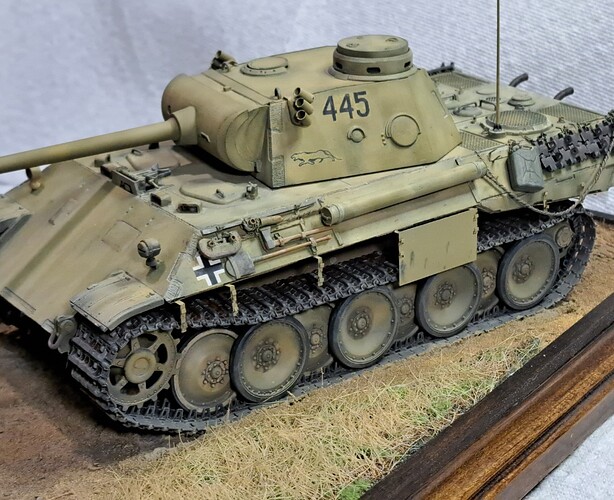
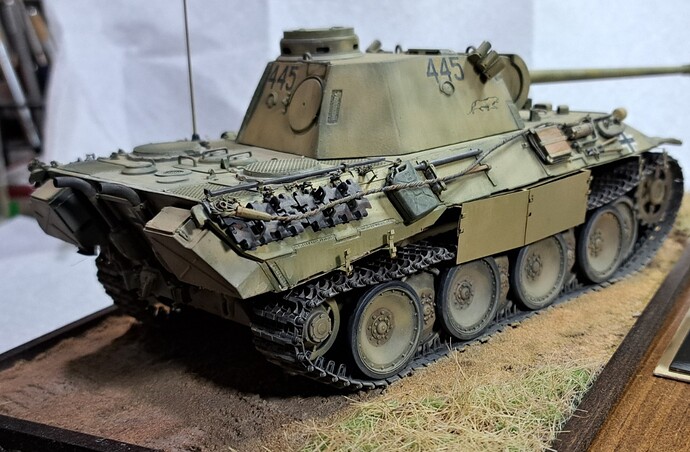
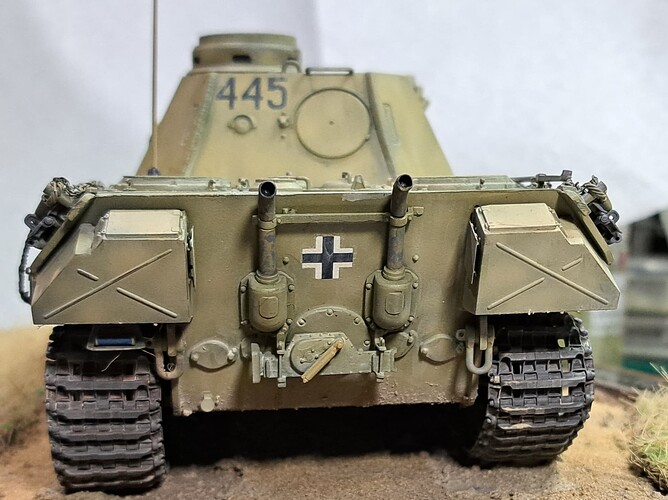
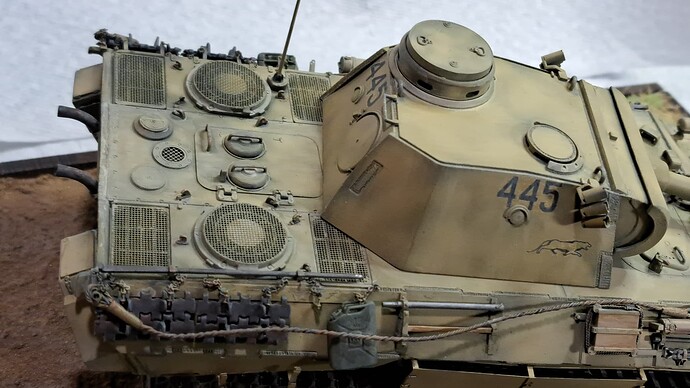
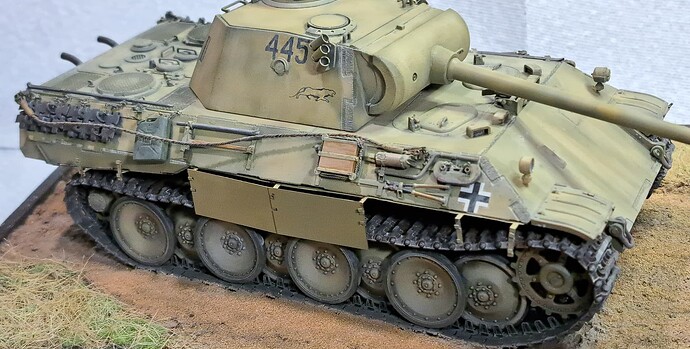
Started in 2002, completed today in 2024, 1/35 Dragon #6164 Panther D.
Panther 445 of Panzergrenadier Division Gross Deutschland as I imagined it in approximately August 1943.
My first Panther completion since 1993.
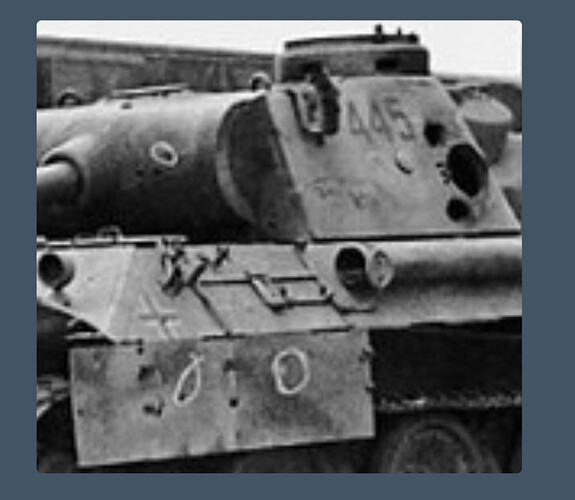
Edit - Link to pictures of “445” August 1943 on Mikes Researh_panthers-at-kursk-1943
16 Likes
Nice job resurrecting this build; it turned out great! In your opinion, was it worth it?
2 Likes
Thank you, Colin. I’m very happy to have this one on the display shelf. For me there’s a great deal of satisfaction pushing this one over the finish line.
The answer to “was it worth it” is complex and nuanced for this specific Panther D build. The answer is also probably self-indulgent & self-absorbed so many may want to skip this post. Basically, the model build phase had an ugliness to it that taints my feelings toward it.
In 2002, this build triggered a series of nasty blow ups with several close friends that proved slow to resolve. Accuracy and details were our life’s blood in those days, the purest of serious AMS at it’s very worse.
Due to that sad event, this build could NEVER be worth it. I regret that happened, as did they. Slowly, that healed.
Going forward, I decided to say screw extreme accuracy and to hell with serious research. I quit with my hair splitting, Panzer Police seriousness for the most part ~95% of it anyway.
Over the years, various concerned citizens (half dozen) in real life and via the interwebs, contacted me about the various accuracy issues and problems in this Panther D build. I’m always happy to listen and learn from their expertise. On the next, Panther D build, I hope to incorporate some of what I’ve learned and do better.
On the paint side, this model proved very much worthwhile as I tested several new to me techniques.
-
Different method of track finishing
-
Light washes & dark highlights
-
Edge highlights w/weathering pencils
-
Static grass applicator
-
Attaching model to the base with a screw
-
Periscope glass highlight w/pencils
-
Base paint Floquil Dunkelgelb but all touch ups with several other brands and colors of Dunkelgelb
-
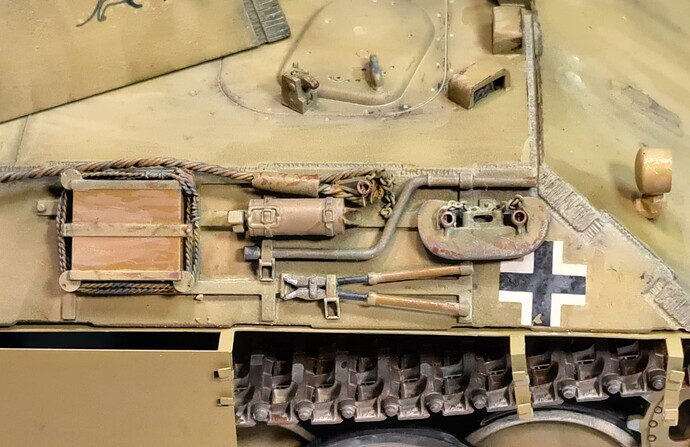
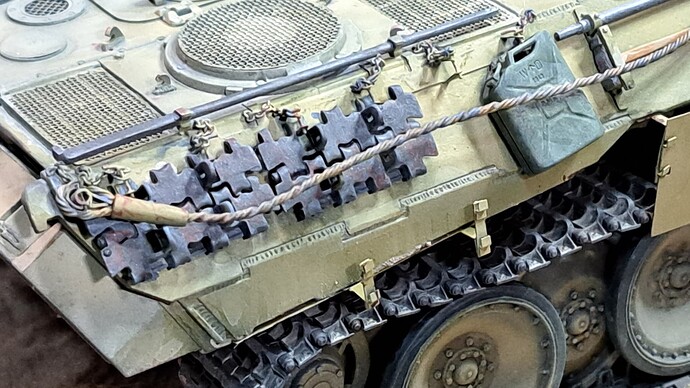
My first attempt at weathering tank tools
-
My first use of QuickTracks snap together tracks.
-
My first scratch wire twisted tow cables
-
Oil dots done with enamels instead
-
Rust free exhaust pipe painting
Overall, despite the rough patch this model was worth it. I learned the most from this Panther D build that I’ve learned from a model build.
4 Likes
@TankGrrl thank you, I appreciate the kind words.
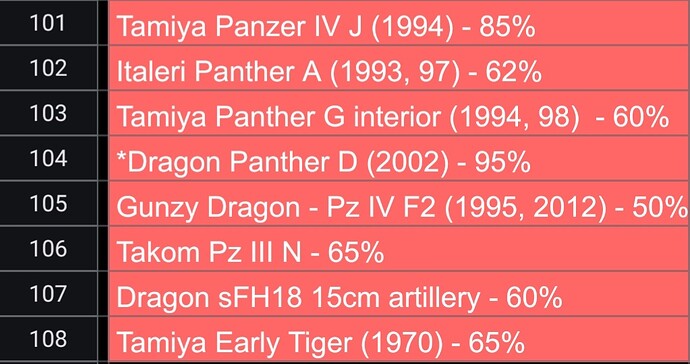
Of you’re ancient projects which two are closest to completion?
Quiet the group of Panther kits on hand! Dragon #6602 looks especially outstanding, like a flashback to their heyday. I hadn’t bought a Dragon kit in ages until that one. The Takom, Meng & RFM all seem like fum promising builds too.
1 Like
Anna, sounds like two very interesting builds pending. Wishing you the best on wrapping them when the time suits. The starship sounds fascinating with the enhancements, I recall the Yesterday’s Enterprise episode.
Likewise, the JGSDF Type 10. Faced the color quandary, with a Tamiya JGSDF Type 90 in the late 1990’s. Suitable colors proved challenging. Luckily, a friend had Ground Power color pictures. We settled on Floquil Military French Khaki and something as close as we could sort.
New or old looking forward to seeing more of your work. The WSS figure is looking great!
1 Like
Shooting for twelve completed models to wrap 2024. On paper the smart call would be wrapping one of the other painted models like the 15cm artillery piece or the Meng Leopard 1A3.
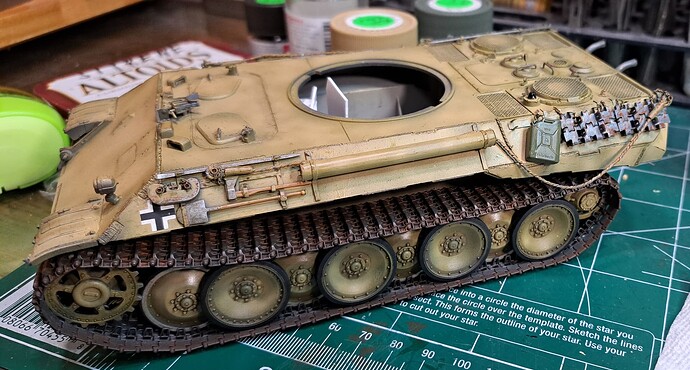
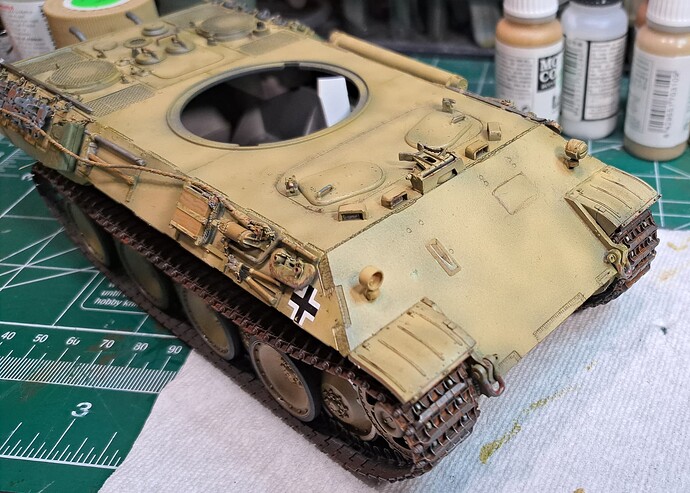
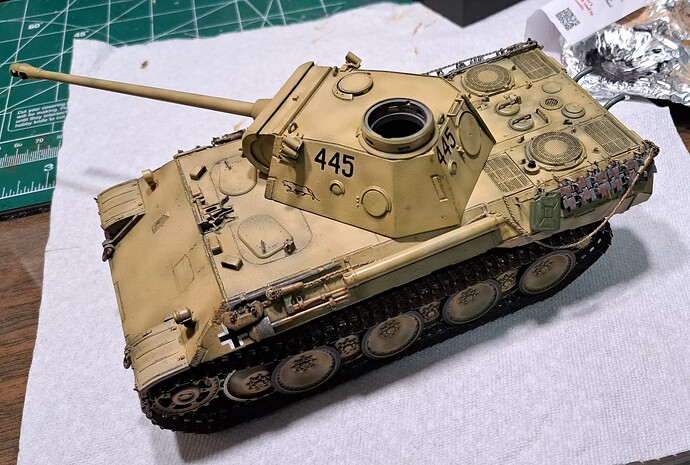
My enthusiasm says…this 1997 started alley cat  is the perfect choice…so the Italeri Panther D build is back on the bench.
Status in Feb 2024 per post ~ #306
Status today.
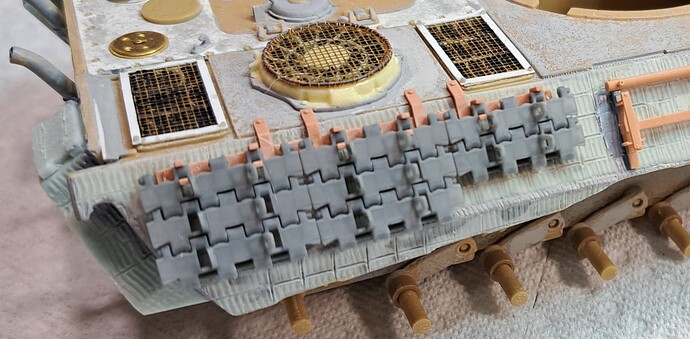
Looks like spare track, chains for the spare track pins & pins will be first order of business.
Since this build has been something of a red headed step child, a new experimental finishing technique that’s made a little ripples on YouTube will be attempted…unconfirmed rumor says this makes the finish pop and color more vibrant 
In any case, it’s red enough Stalin approved.
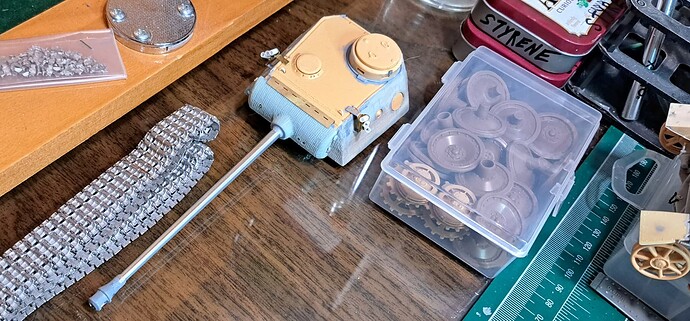
Edit - Disassembly for finishing
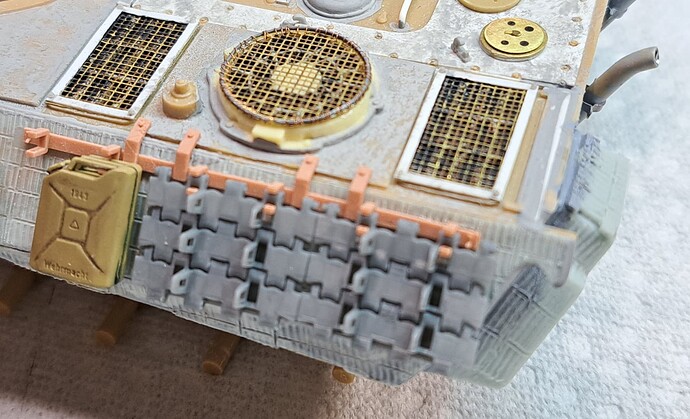
The extra QuickTrack links fit the Heavy Hobby spare track rack perfectly! Expect this to be difficult like it was with the other Panther’s in this thread.
Tomorrow hopefully the chains & pins plus some painting…
6 Likes
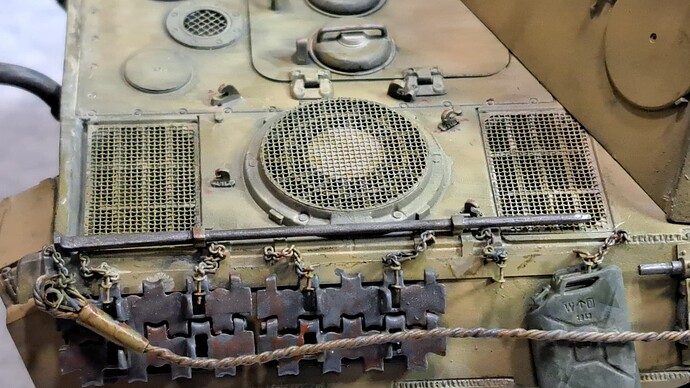
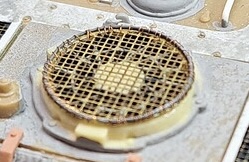
Wade did you stitch / sew the mesh on this grill to a hand formed wire ring?!?!??!
Bravo…… that would have taken some serious patience and perseverance!!

3 Likes
