Hi, I have some things for your project to sale
Feel free to look.
Barrel is a must since Italeri is wrong.
Regards
Hi, I have some things for your project to sale
Feel free to look.
Barrel is a must since Italeri is wrong.
Regards
Thank you for your offering. However, I’m going to build the kit out of the box. Because I’m currently working on my skills for model making. Like removing seam lines, test fitting etc. I’m not focussing on making the best or most accurate kit.
Besides, I’m proud of myself already with all the amount of work I’ve done. And getting this far.
Also, I currently don’t have the finances to spend a lot on the hobby.
Thanks again, but I’m afraid I have to refuse.
Saturday 14 October 2023; Update on the current state of the project:
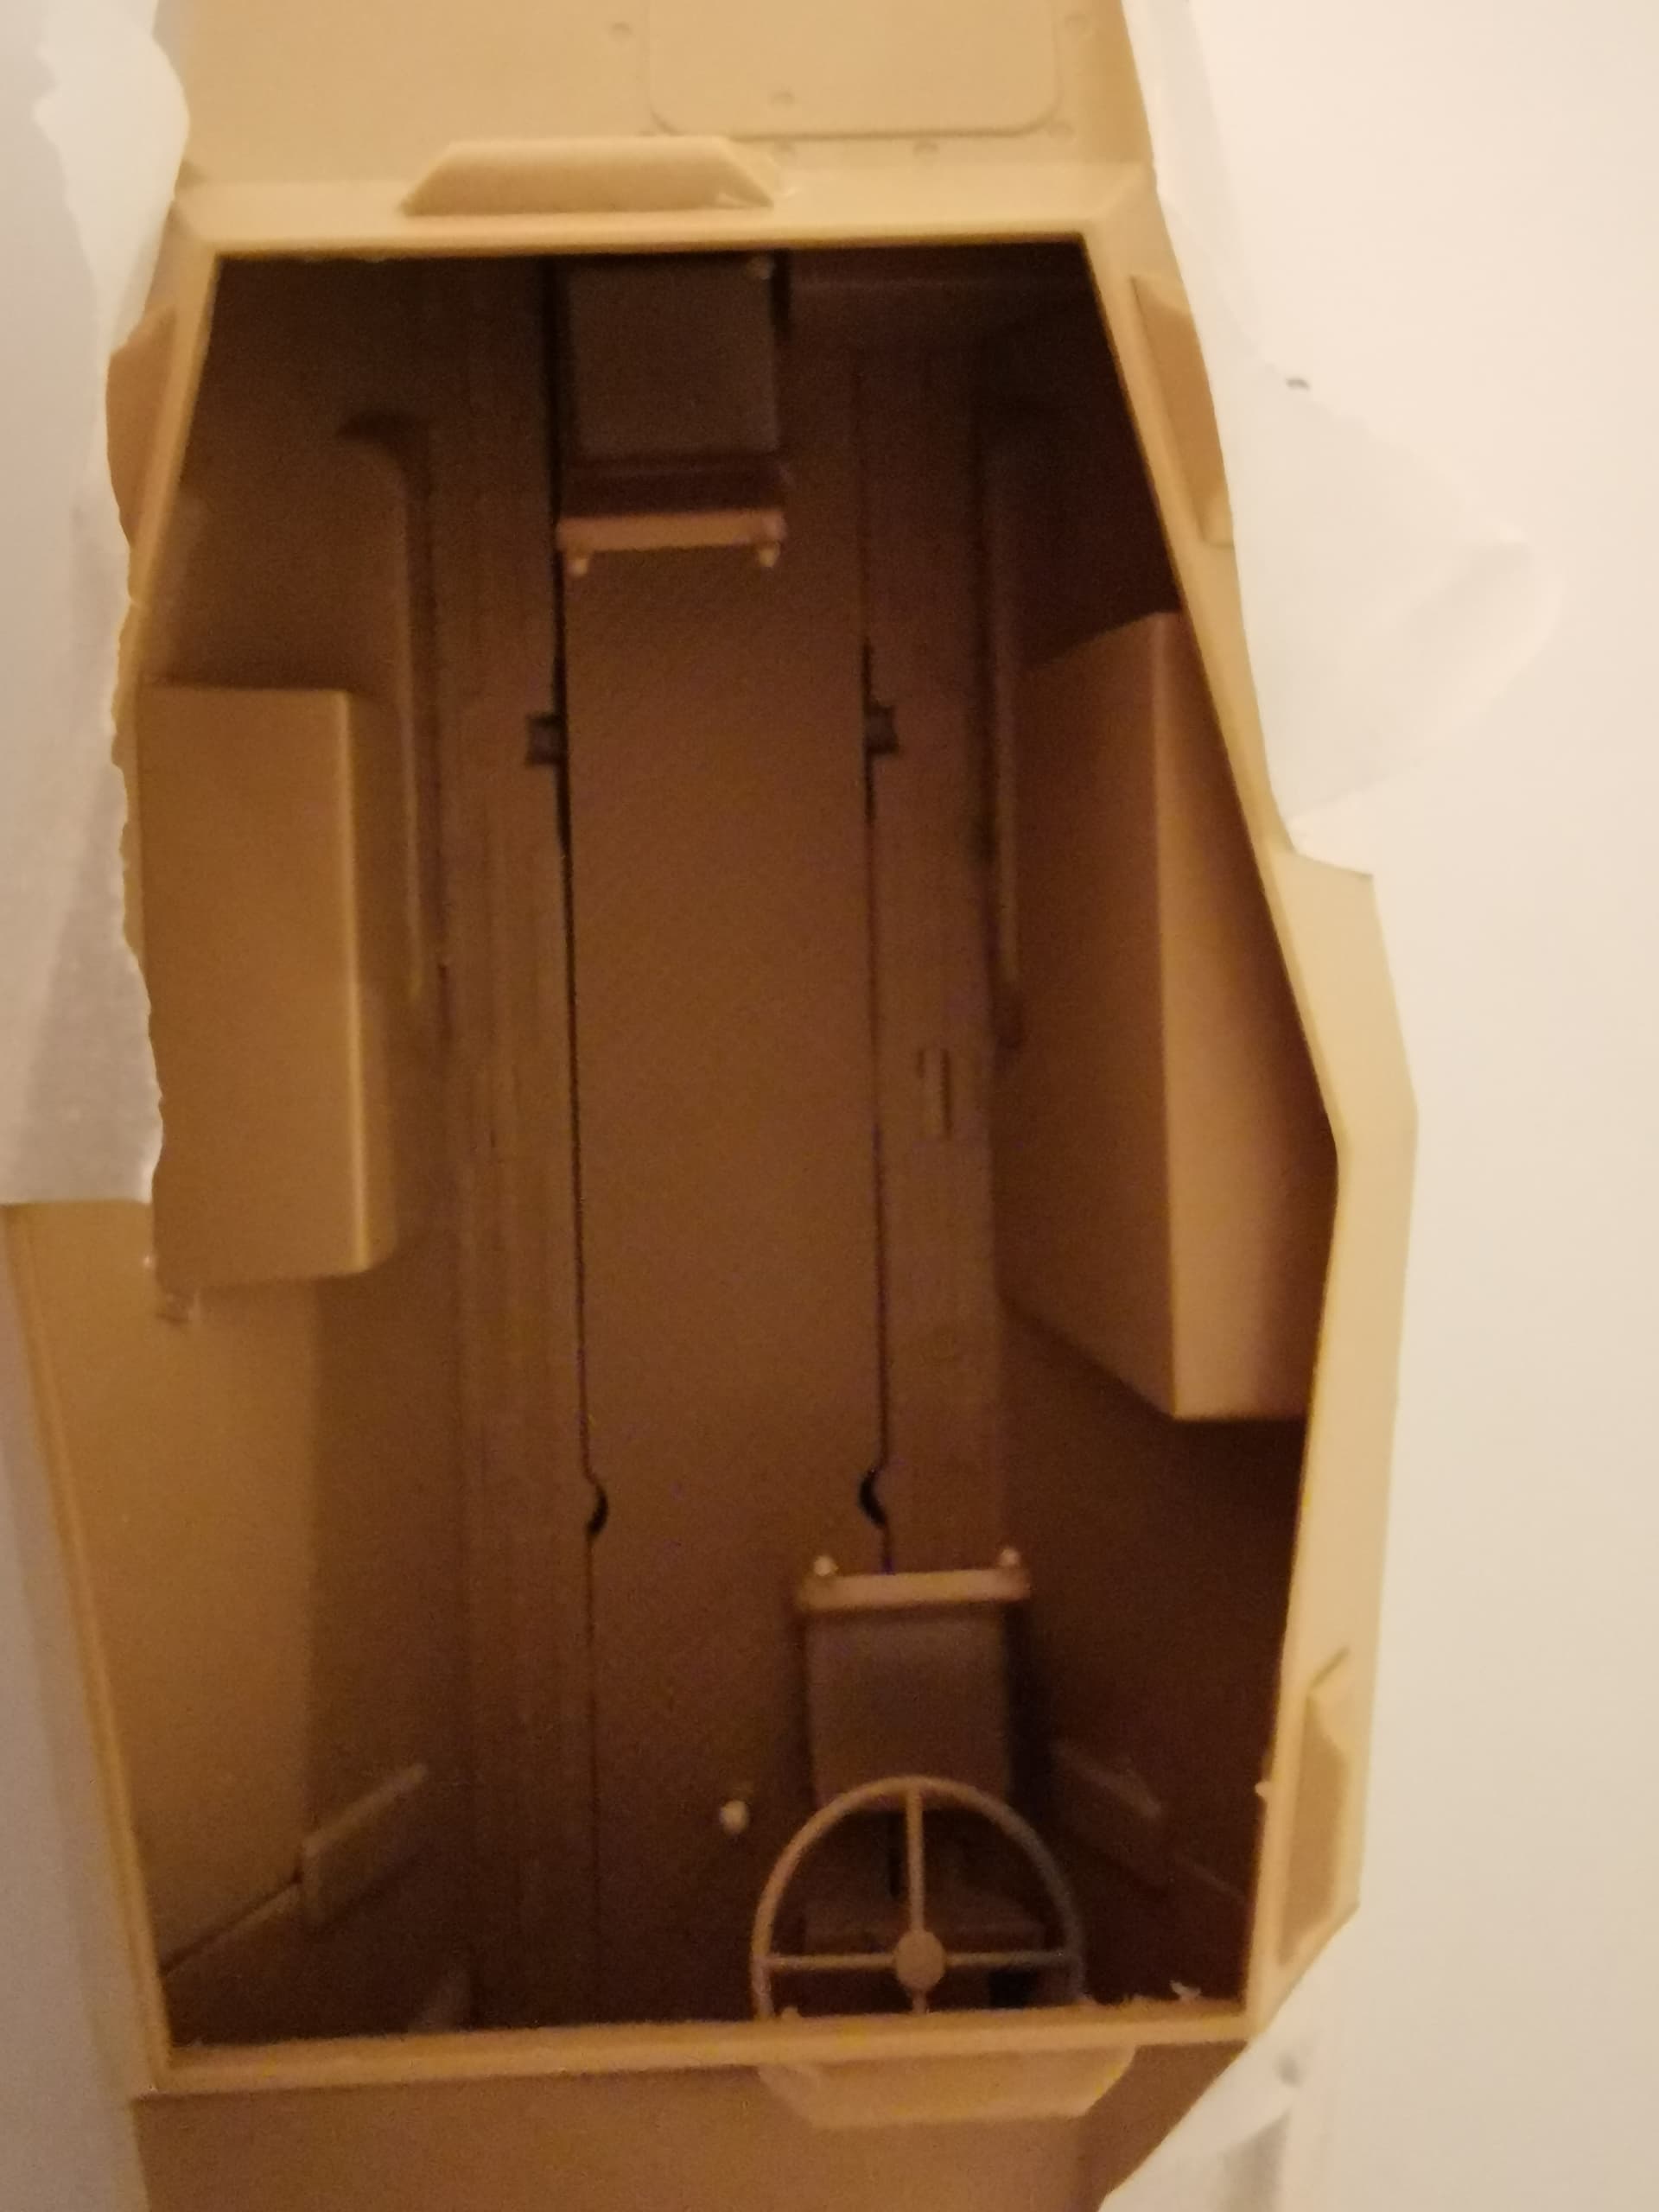
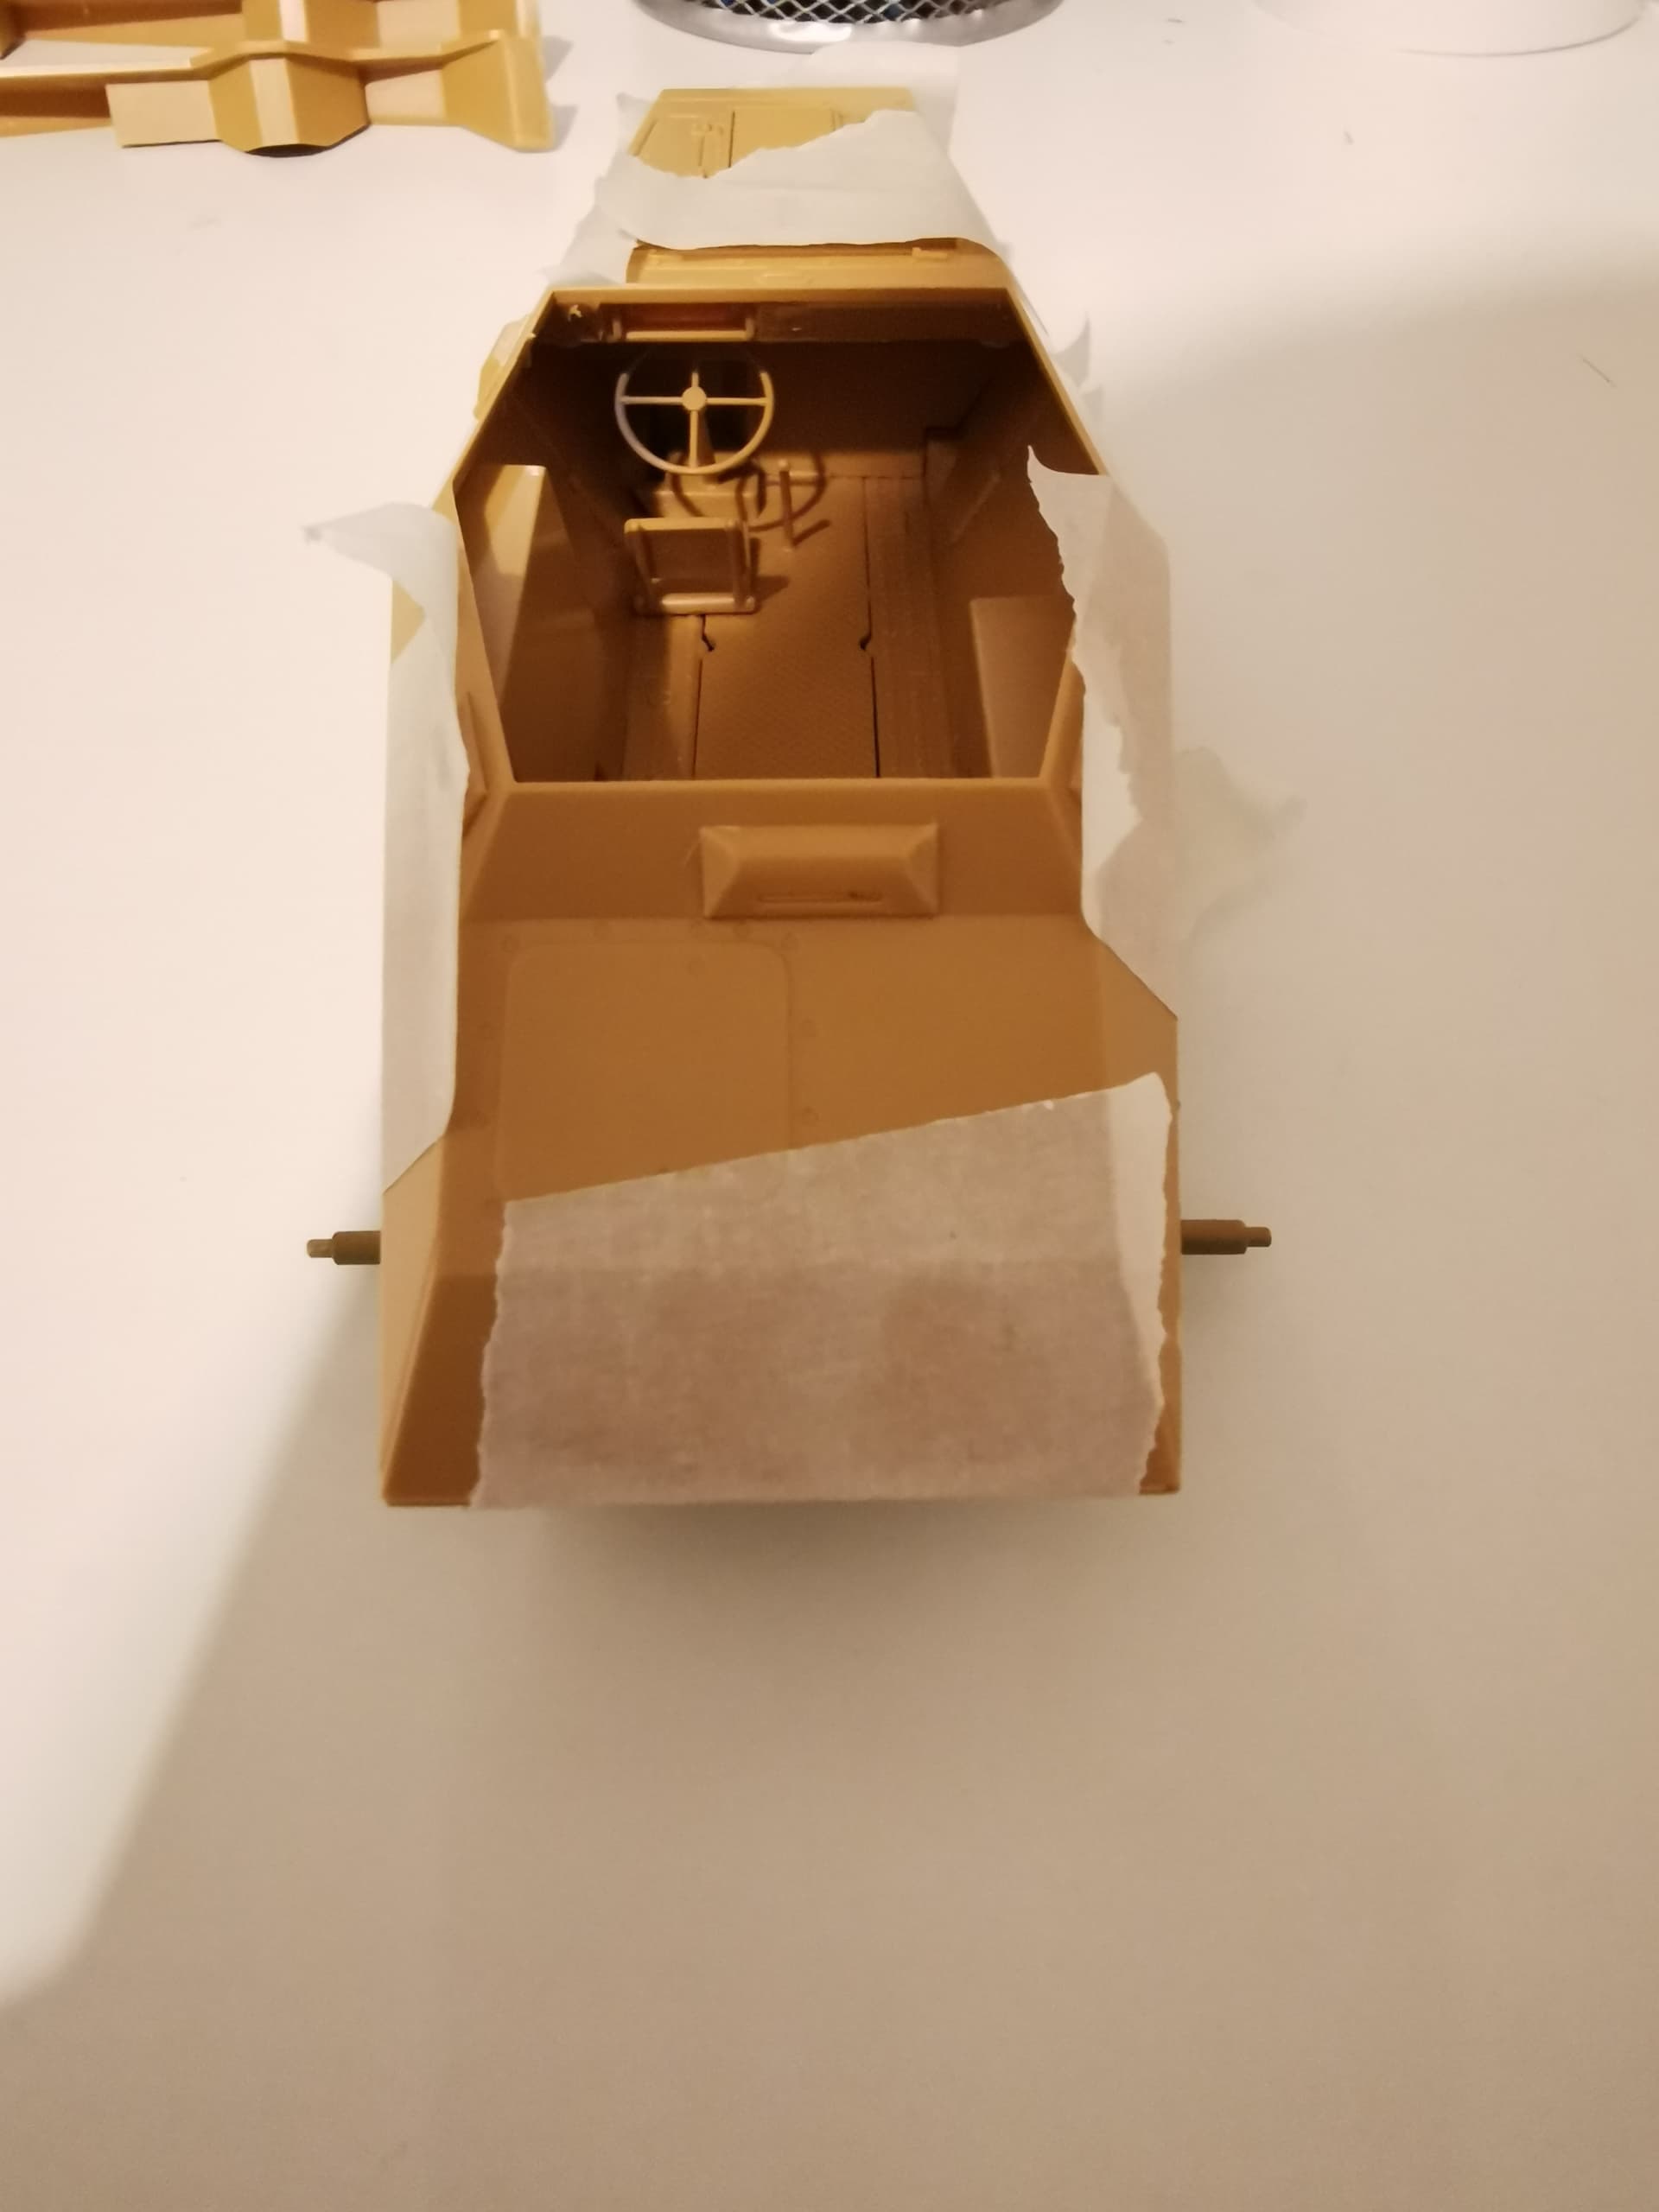
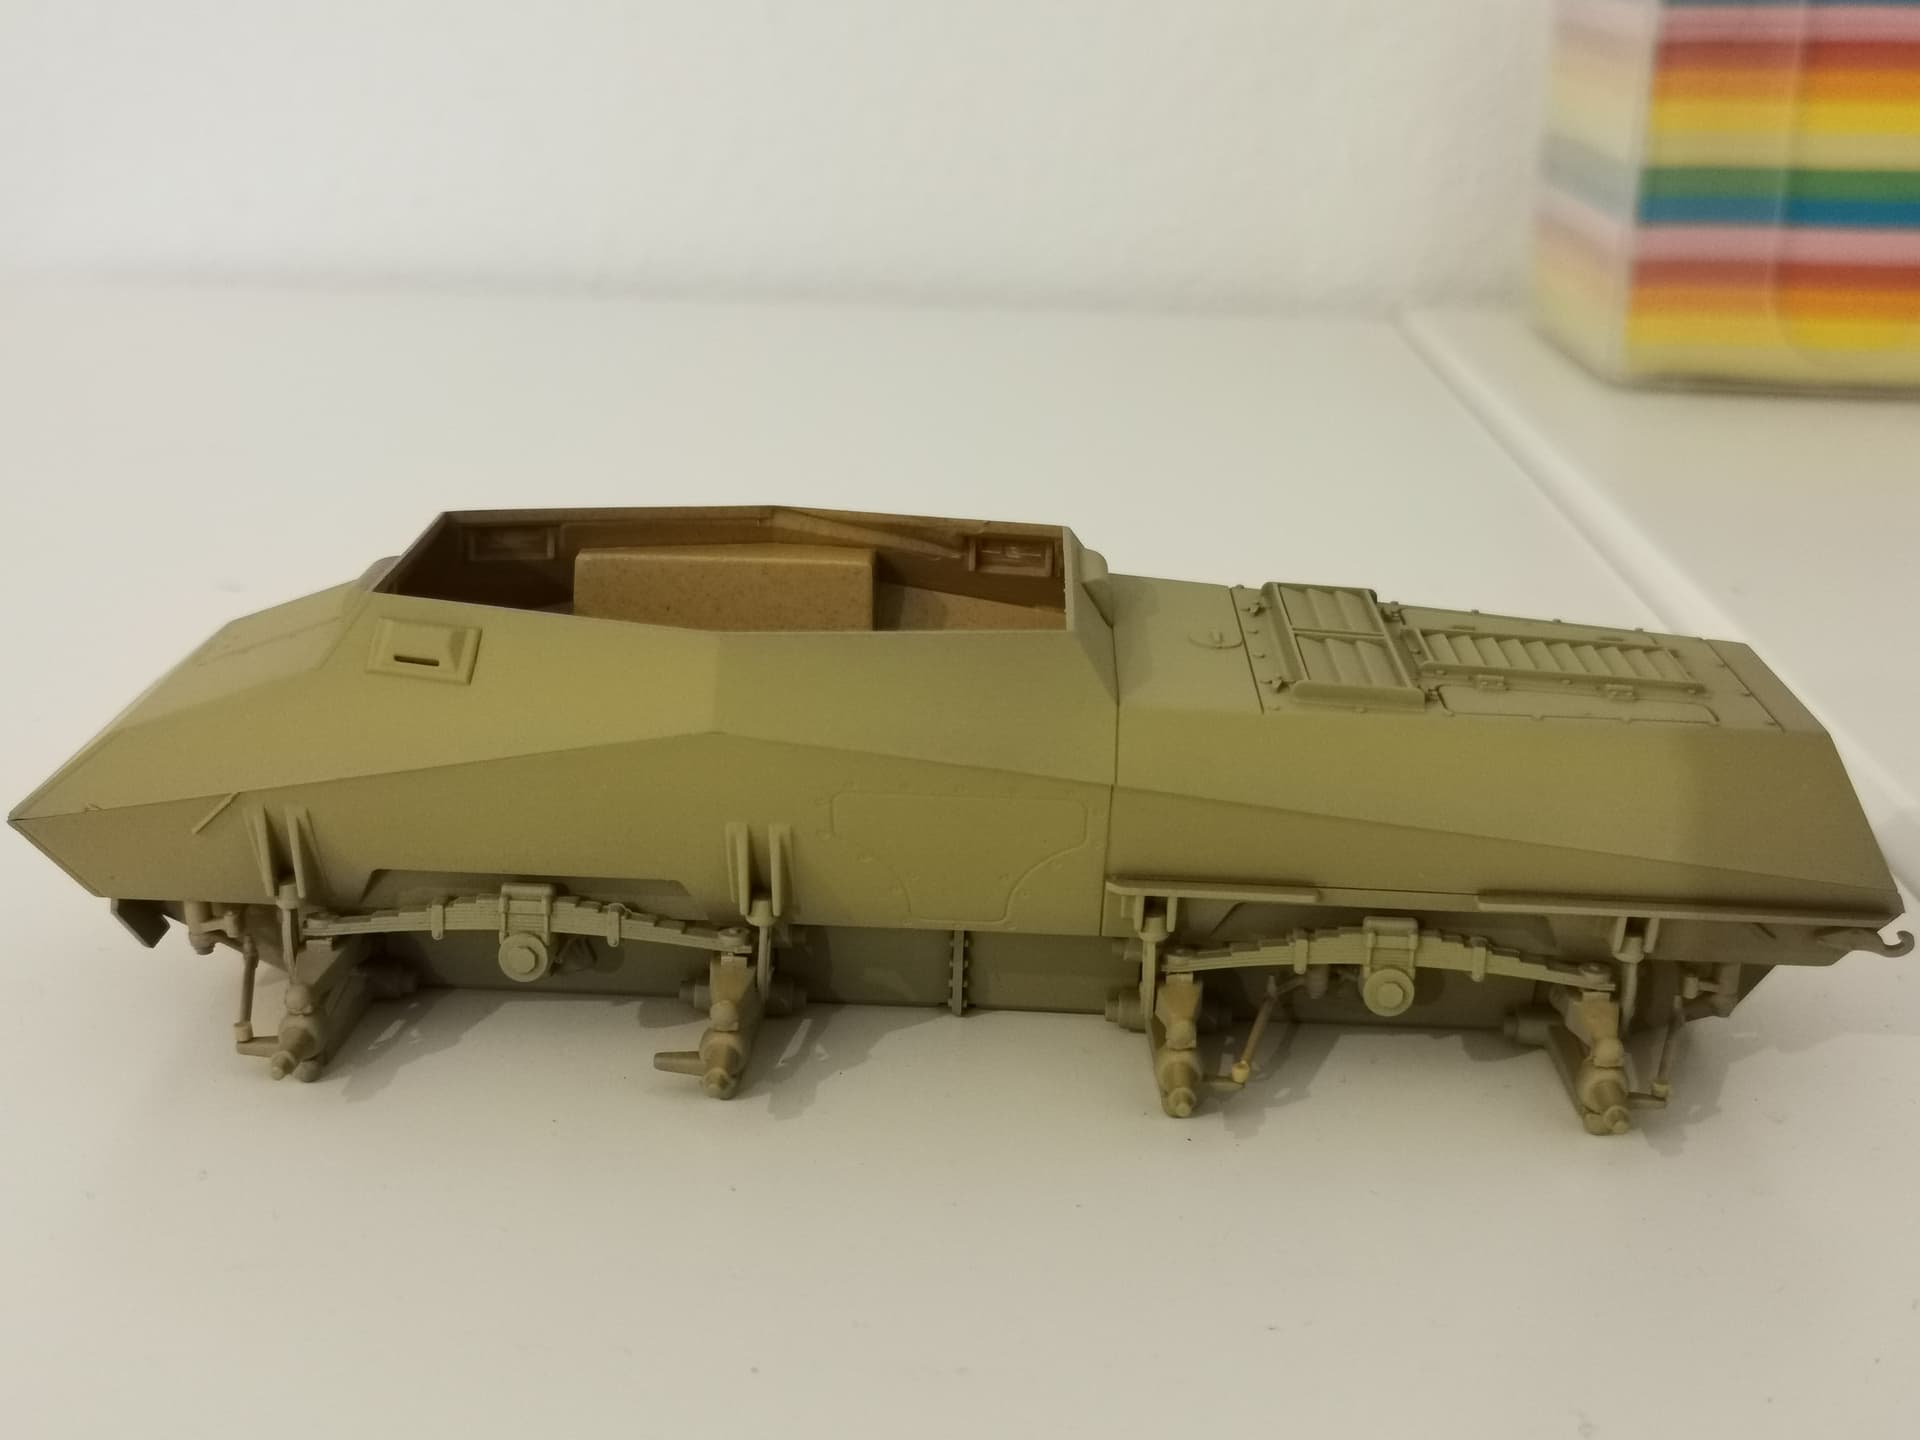
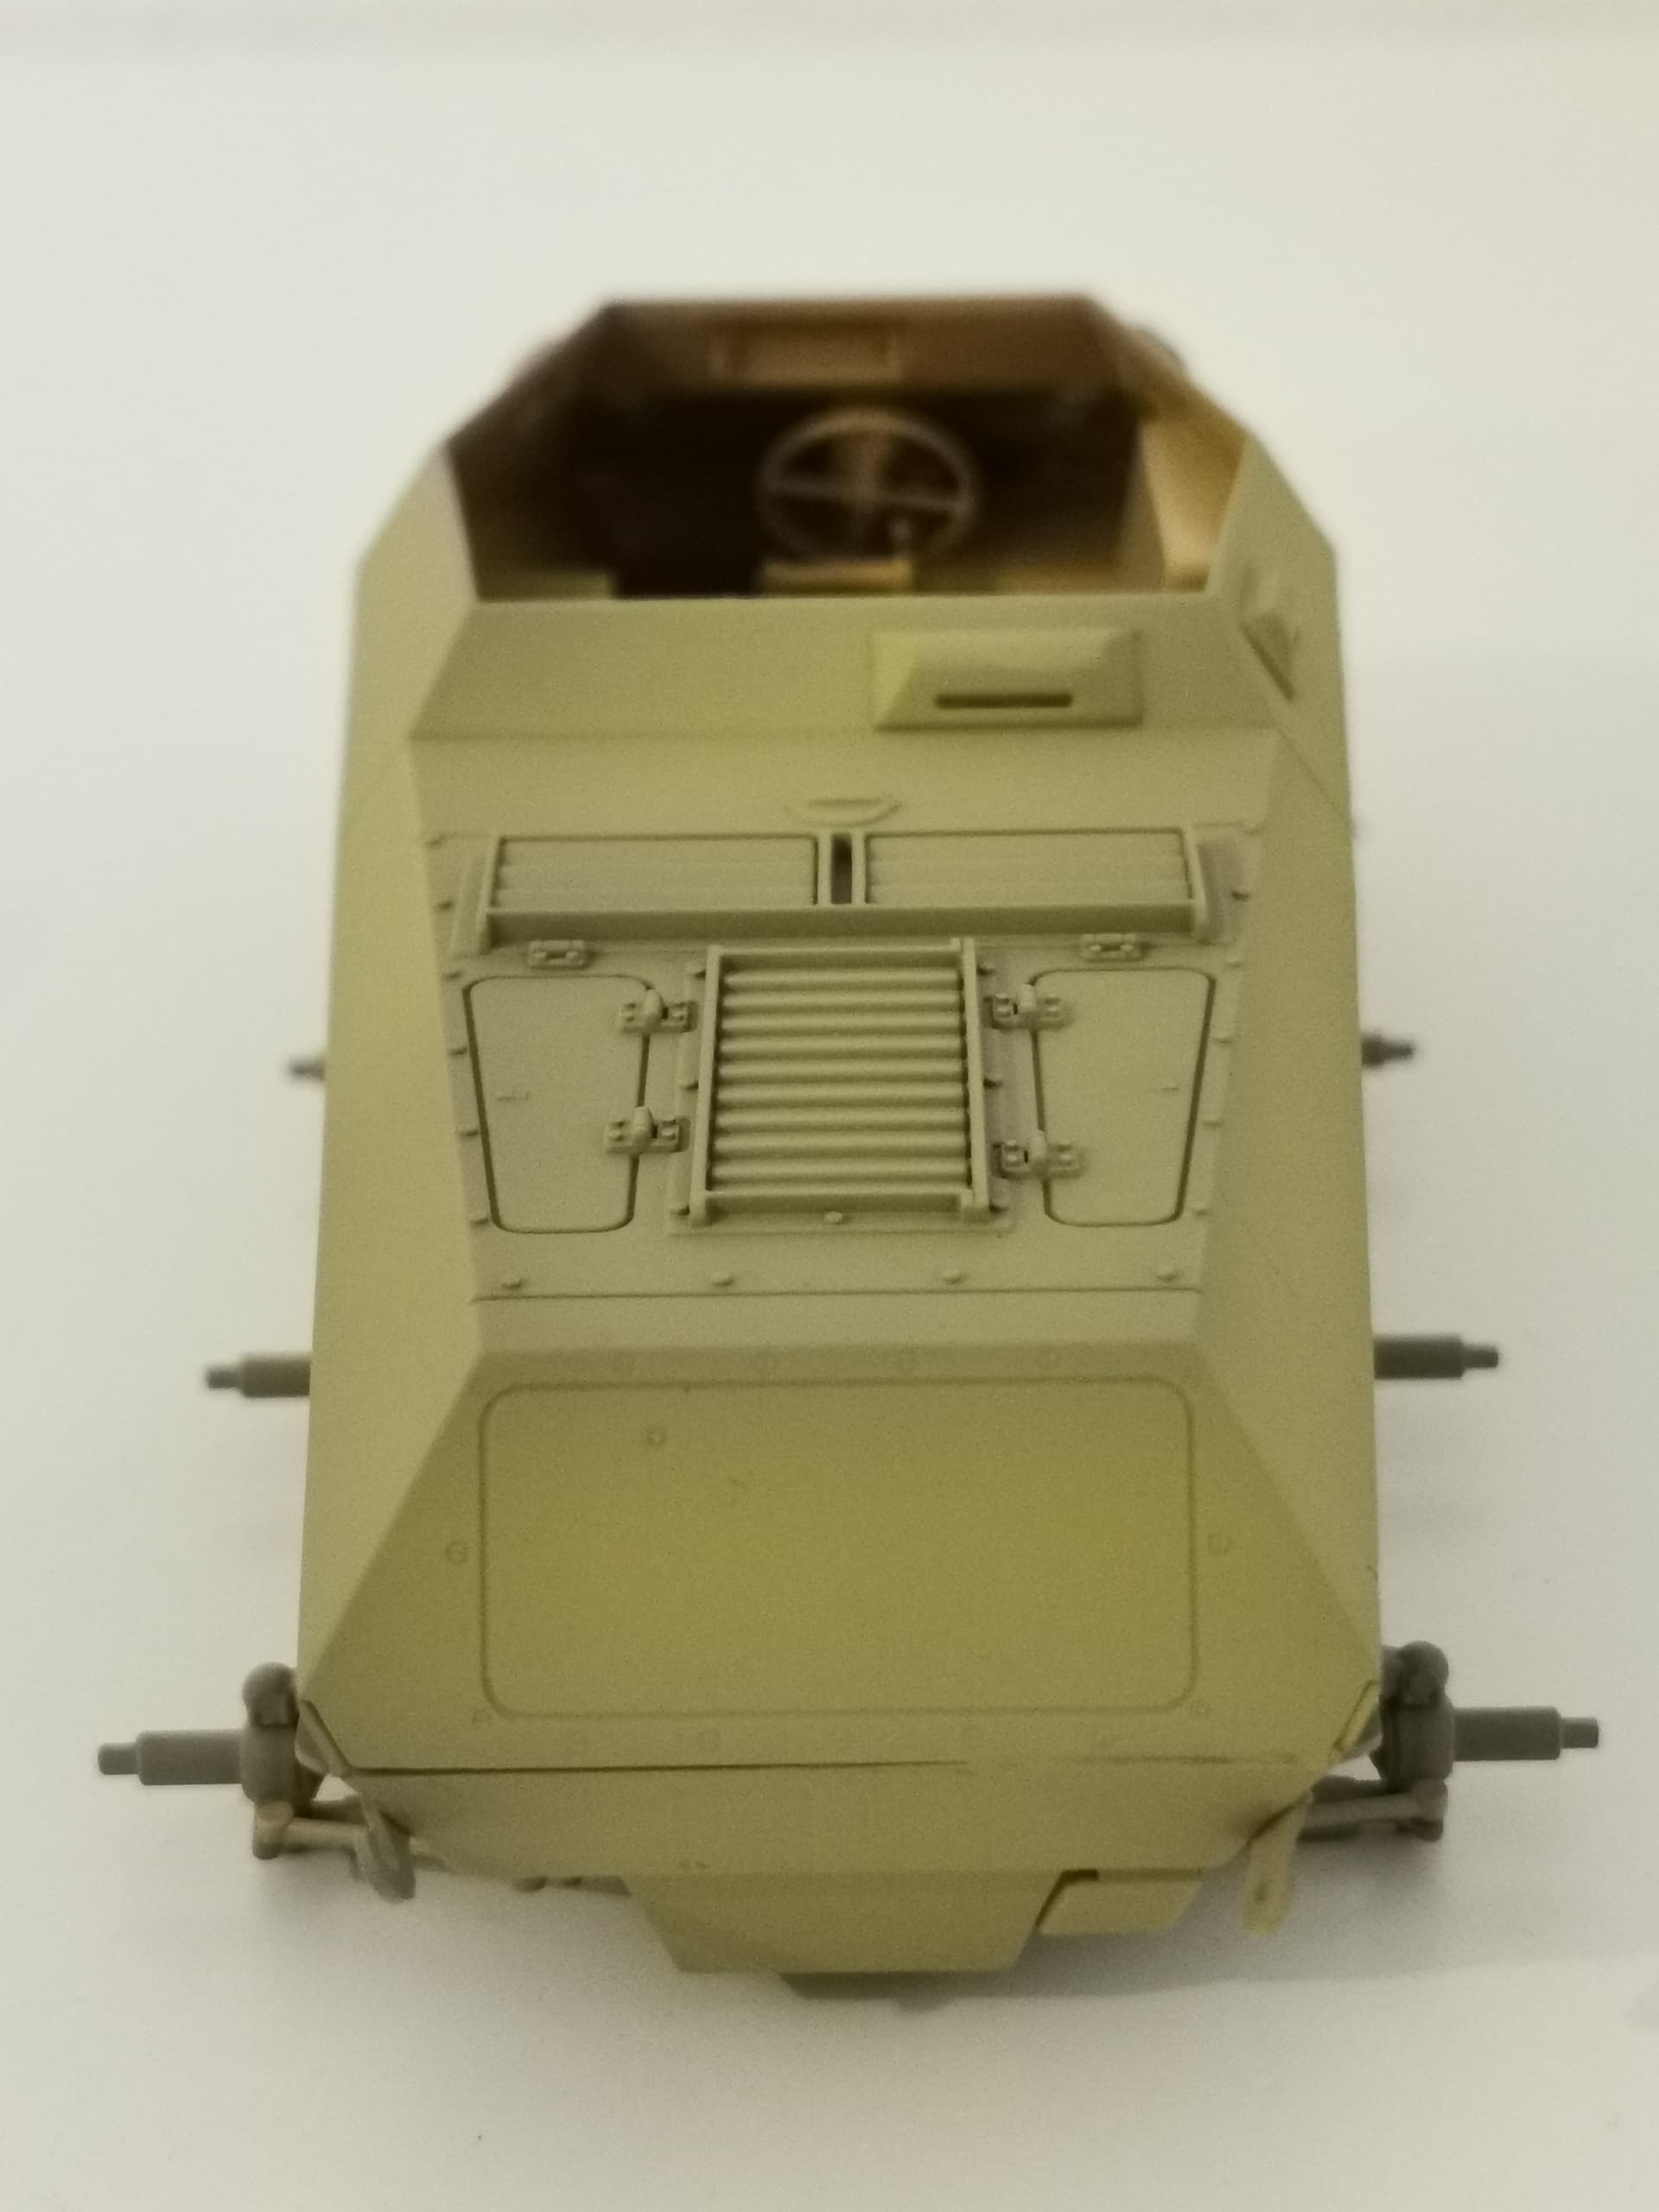
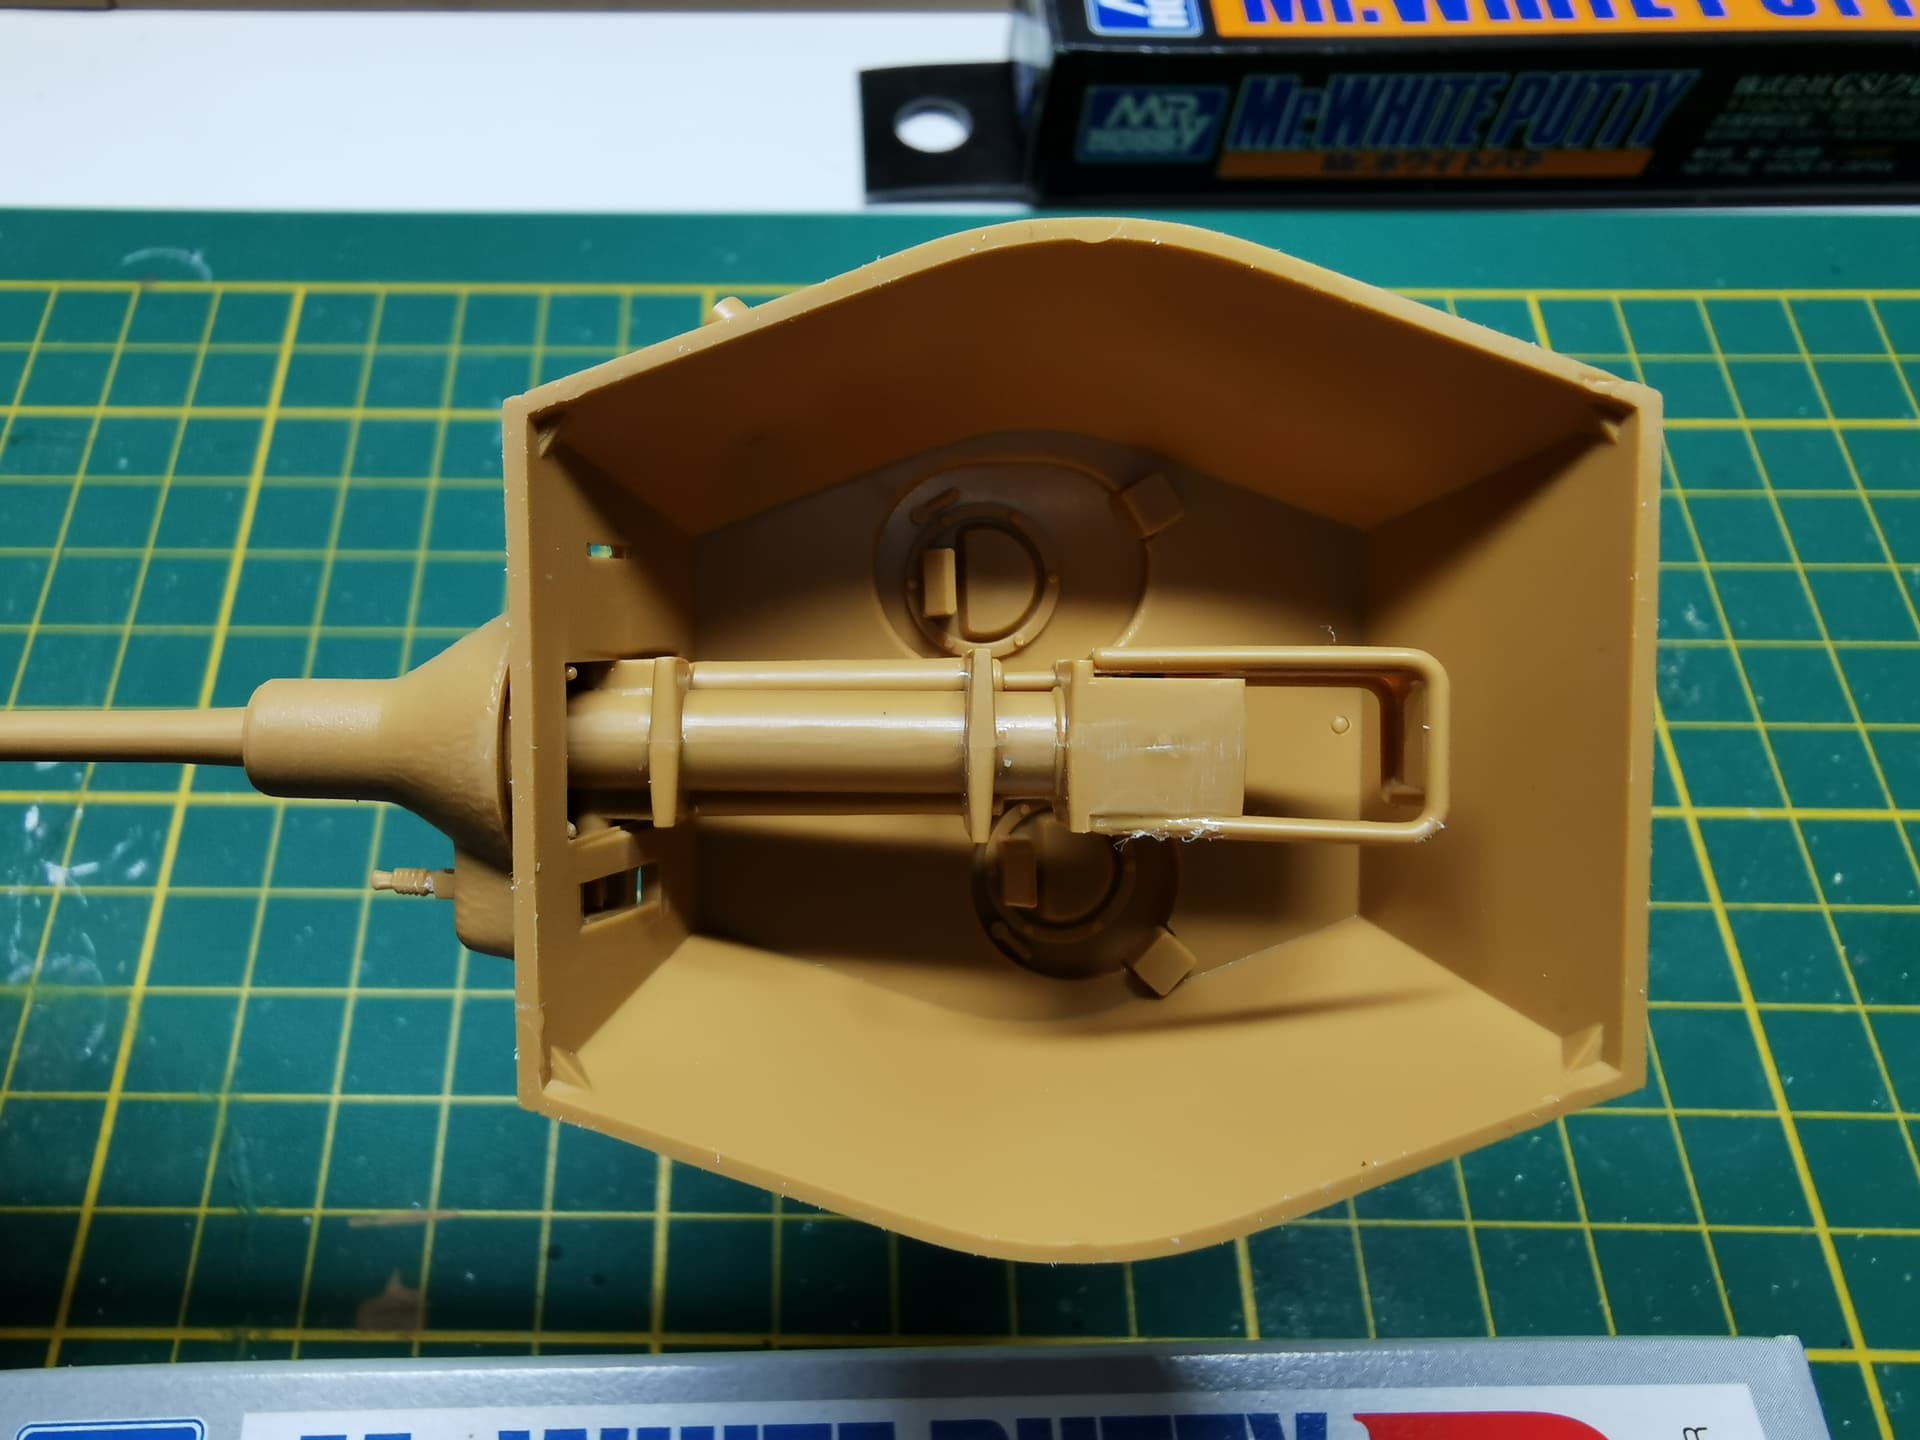
I have worked on the interior of the kit. However, I didn’t had the right paint to paint the interior properly. So I decided to just build it and leave it unpainted. I’m building the hatches closed, so it won’t be visible. No problems there. You might think why did I build the interior in the first place? Well, at least I learned a little about how the interior looked like in the actual vehicle. At least I hope so. ![]()
![]()
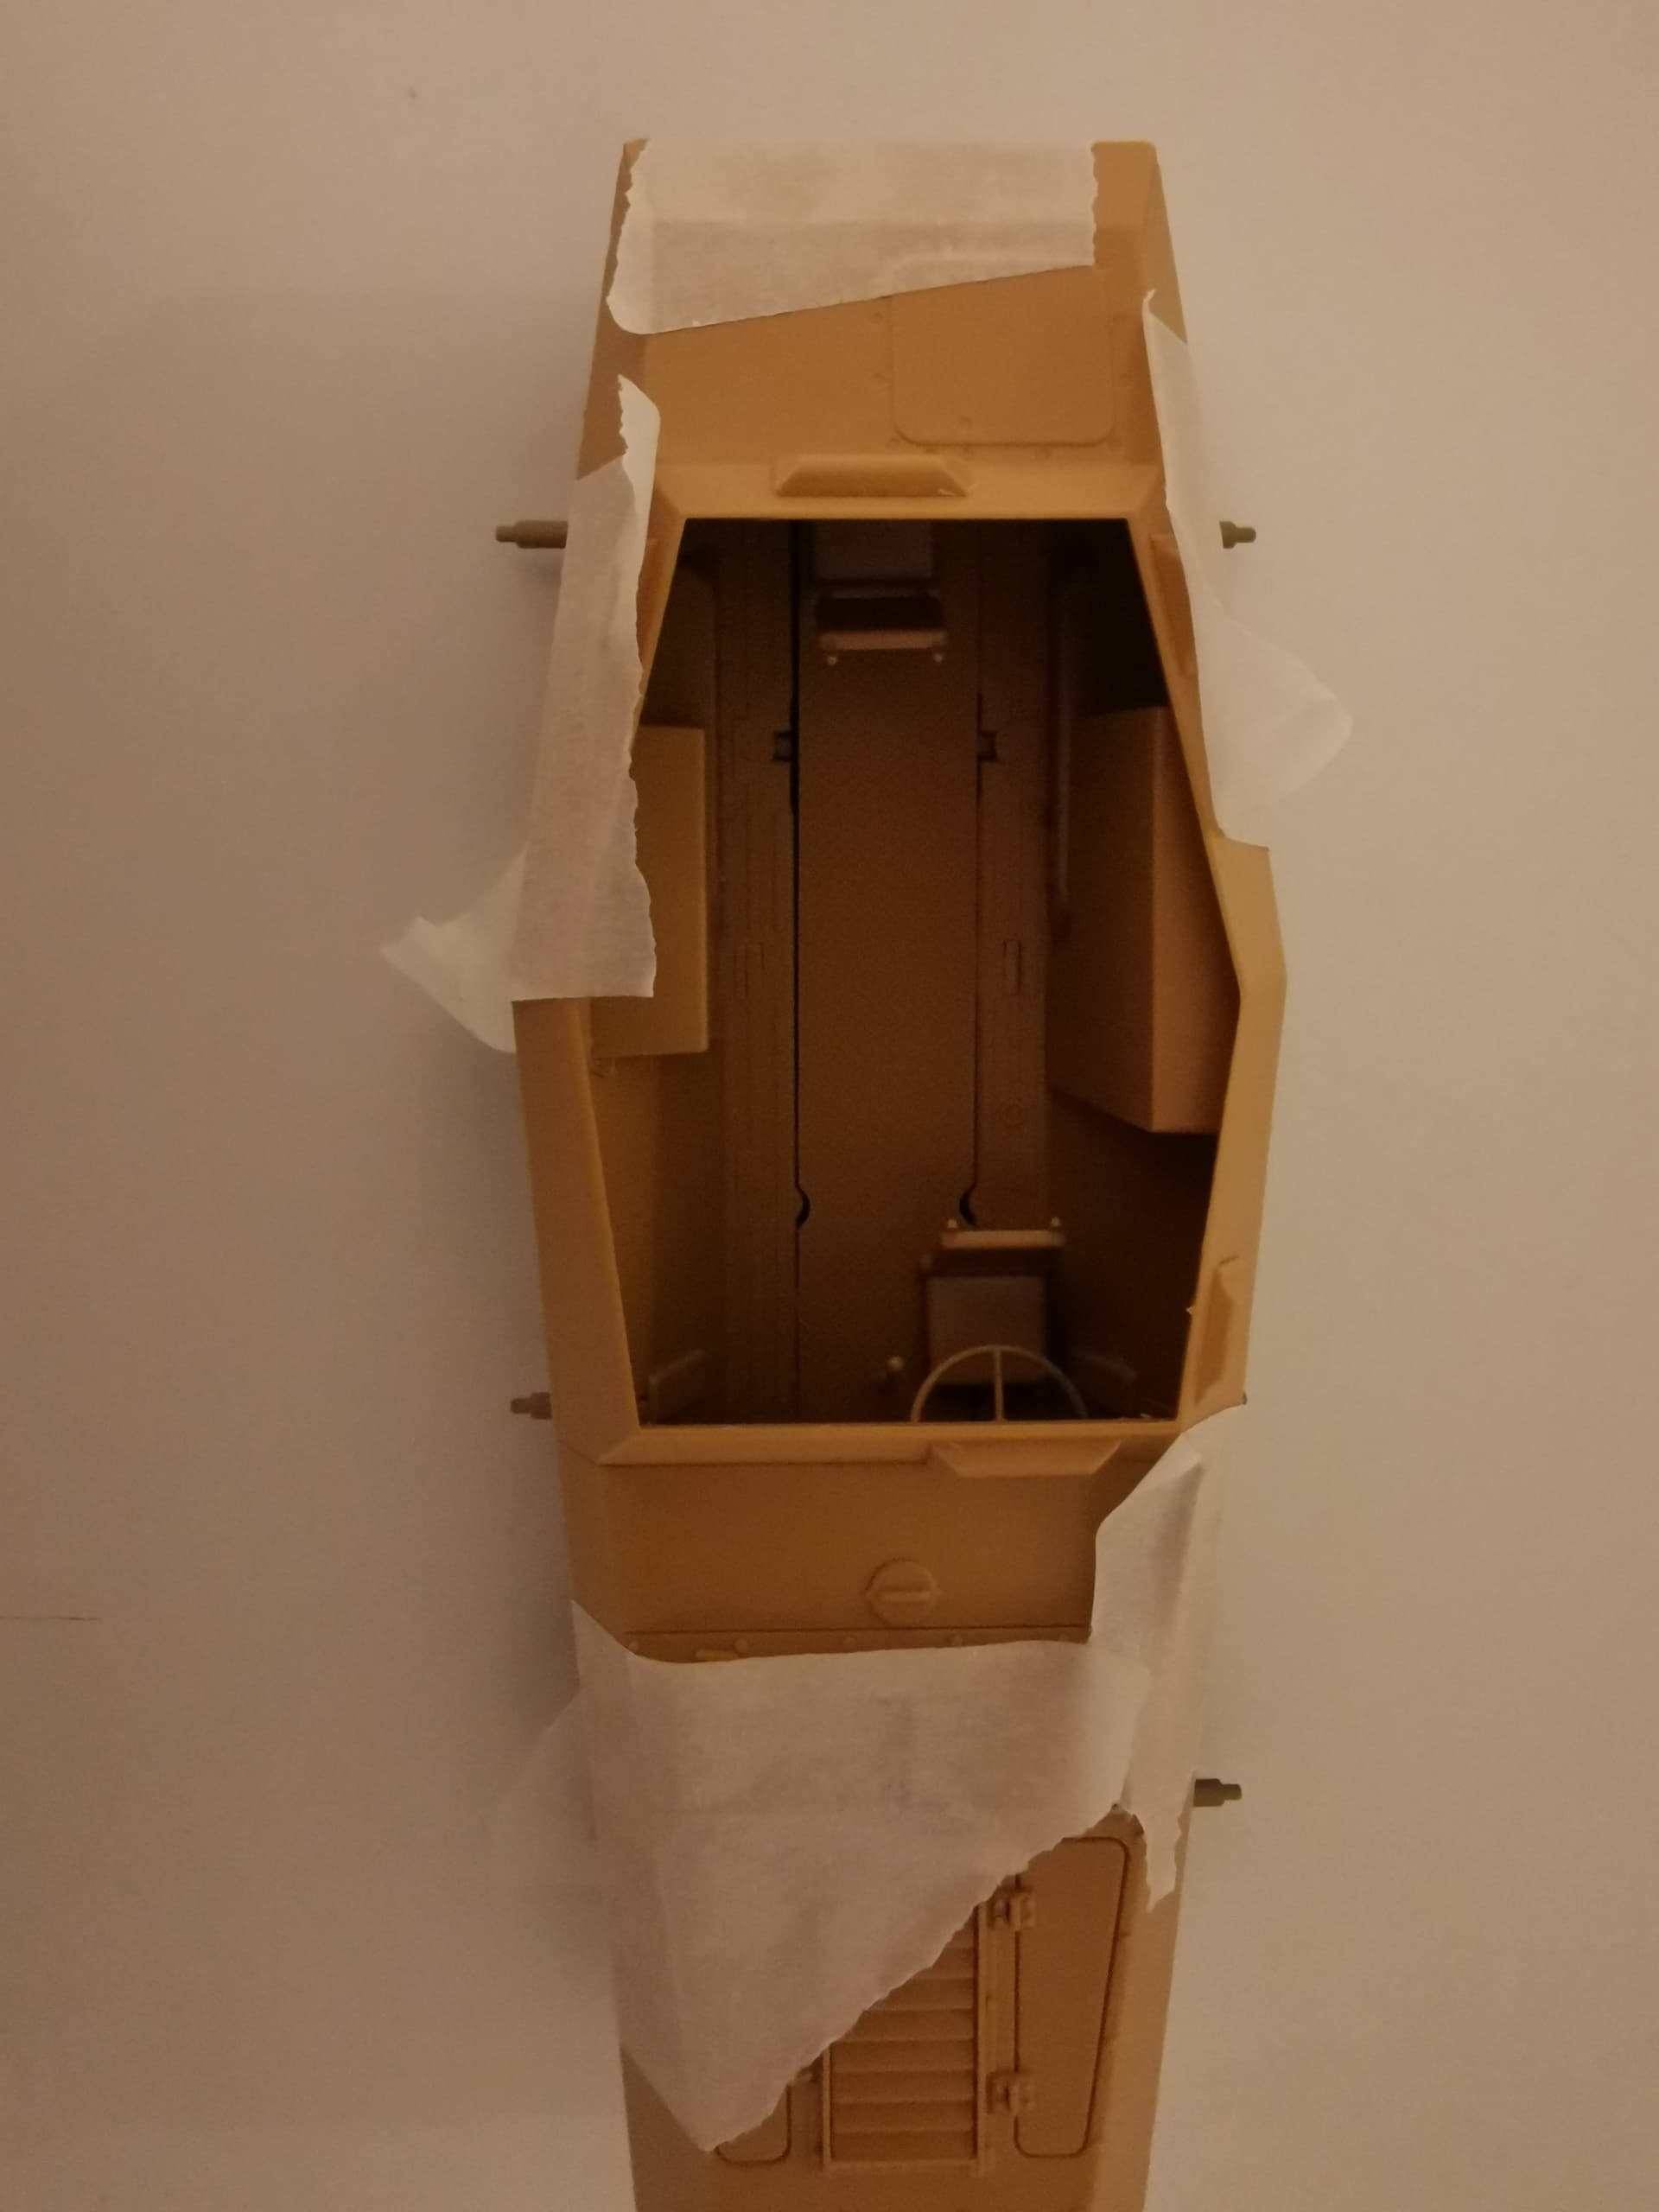
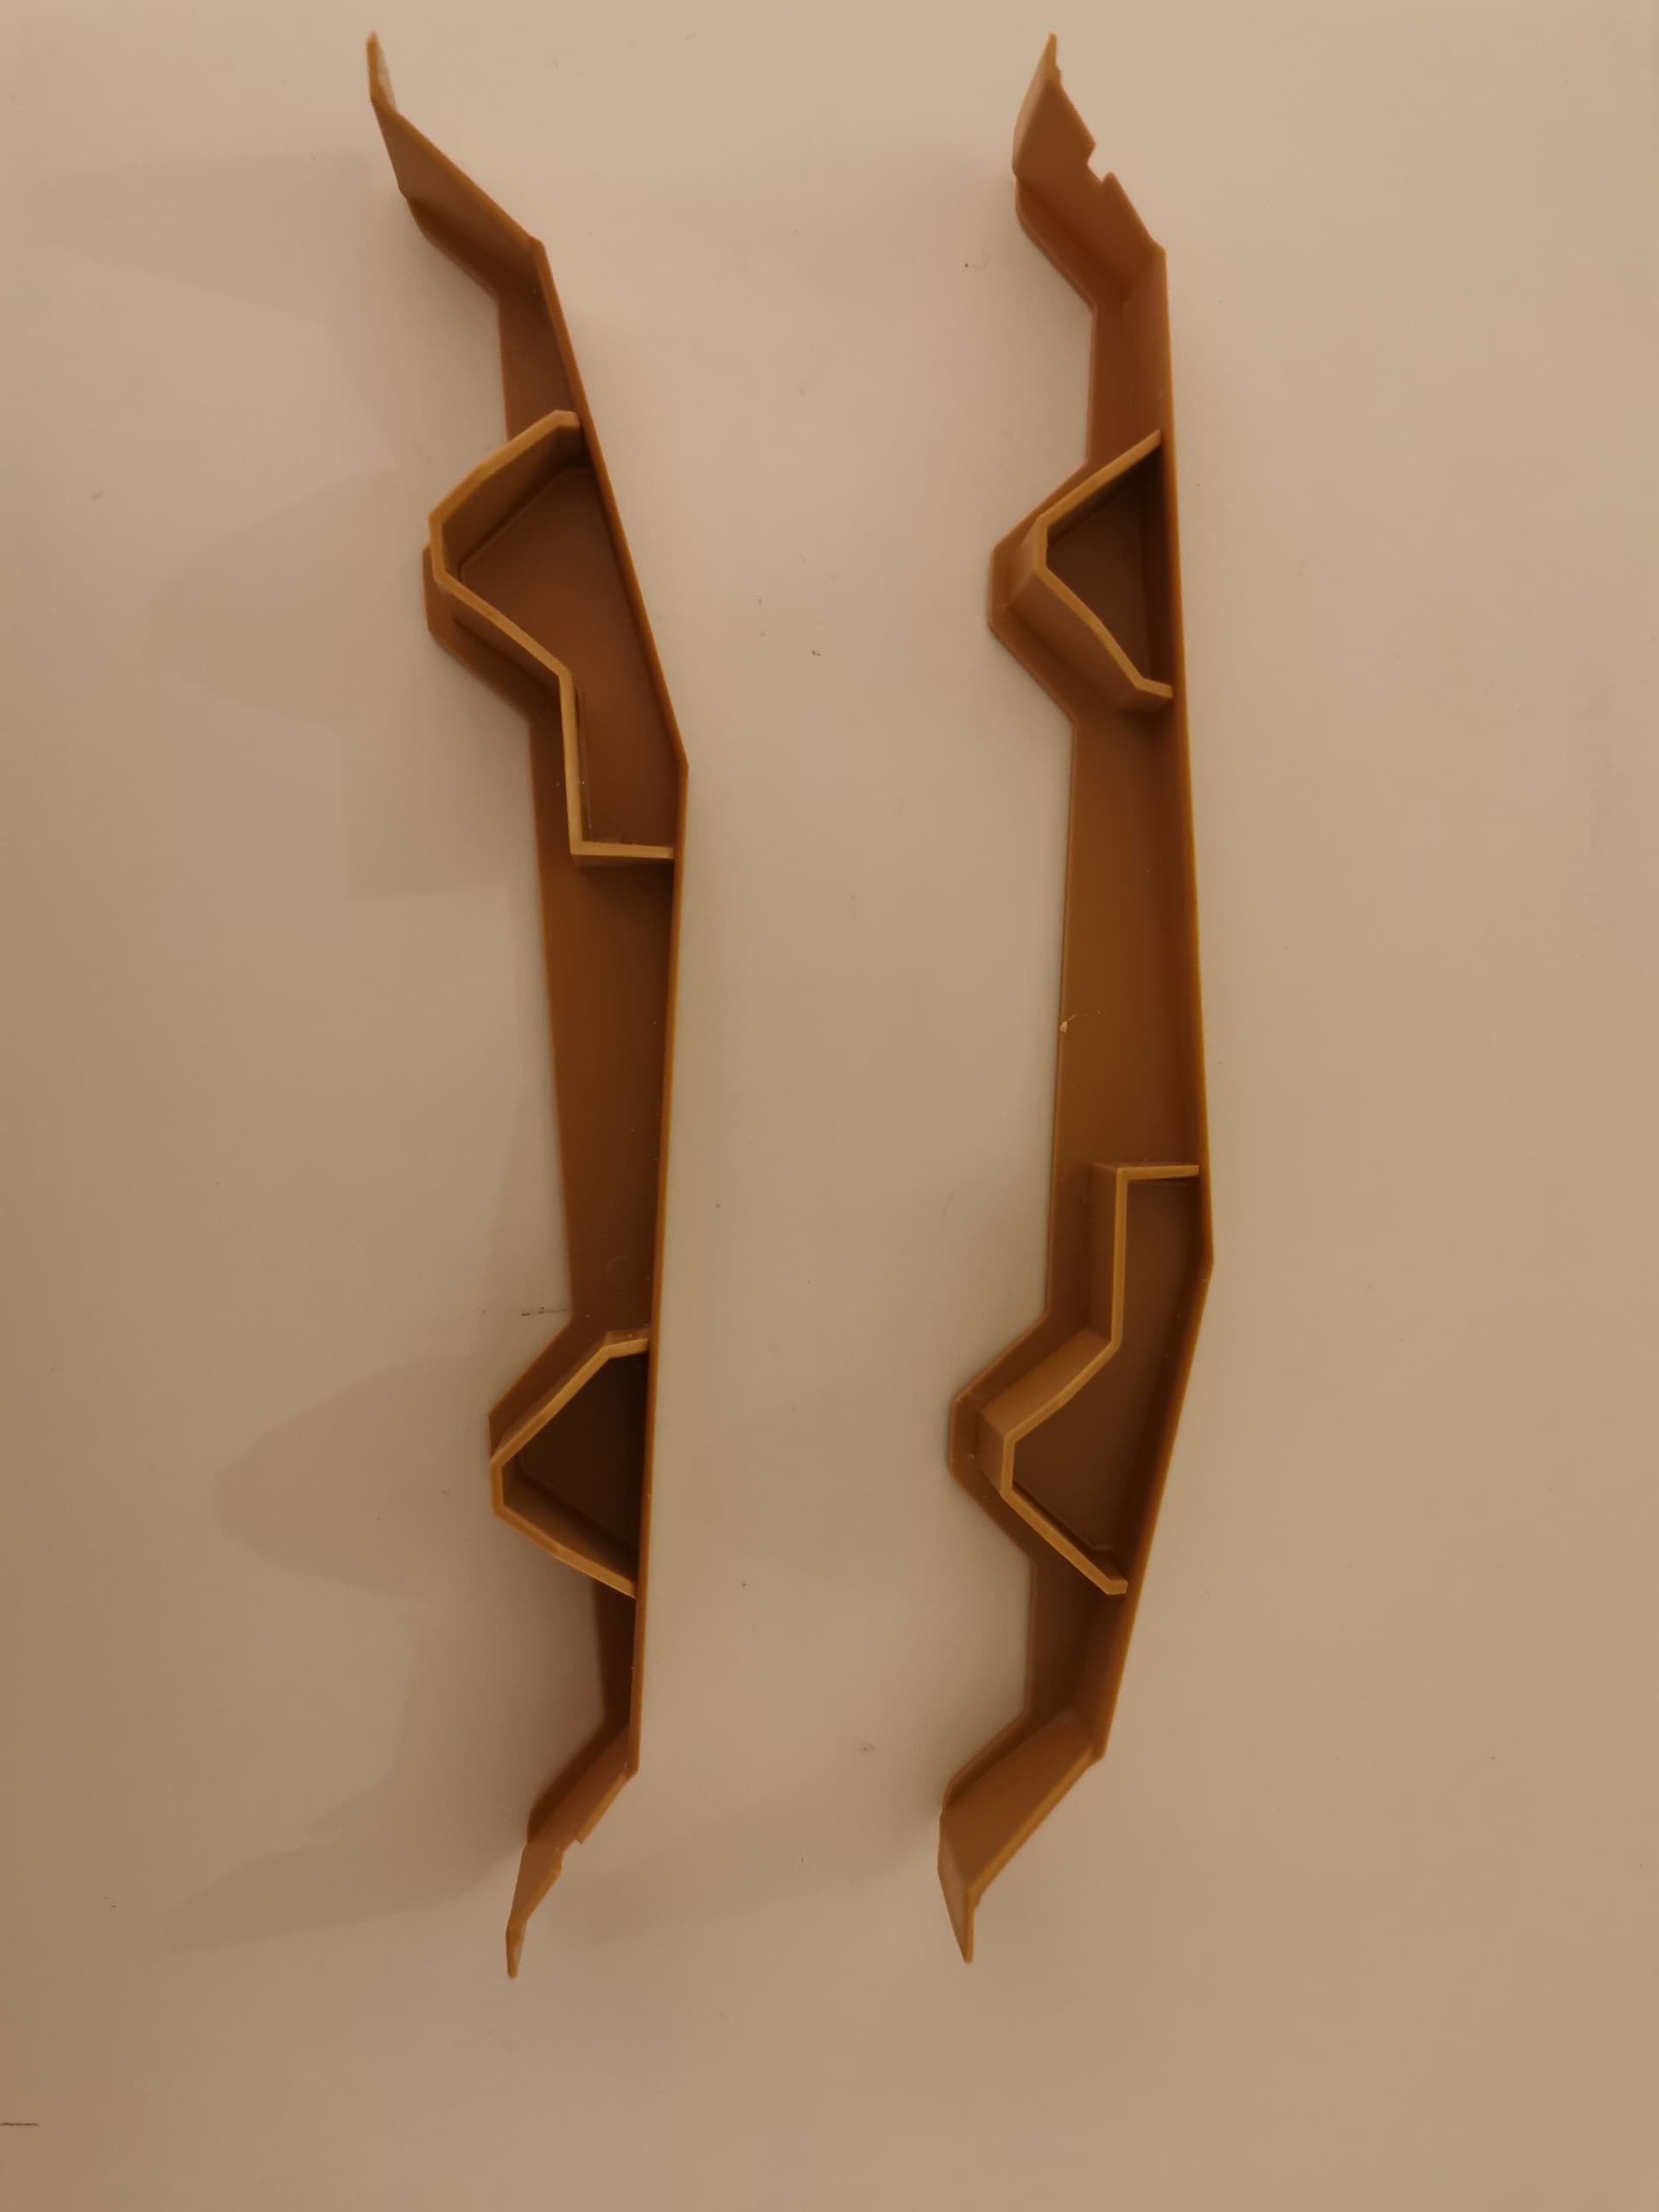
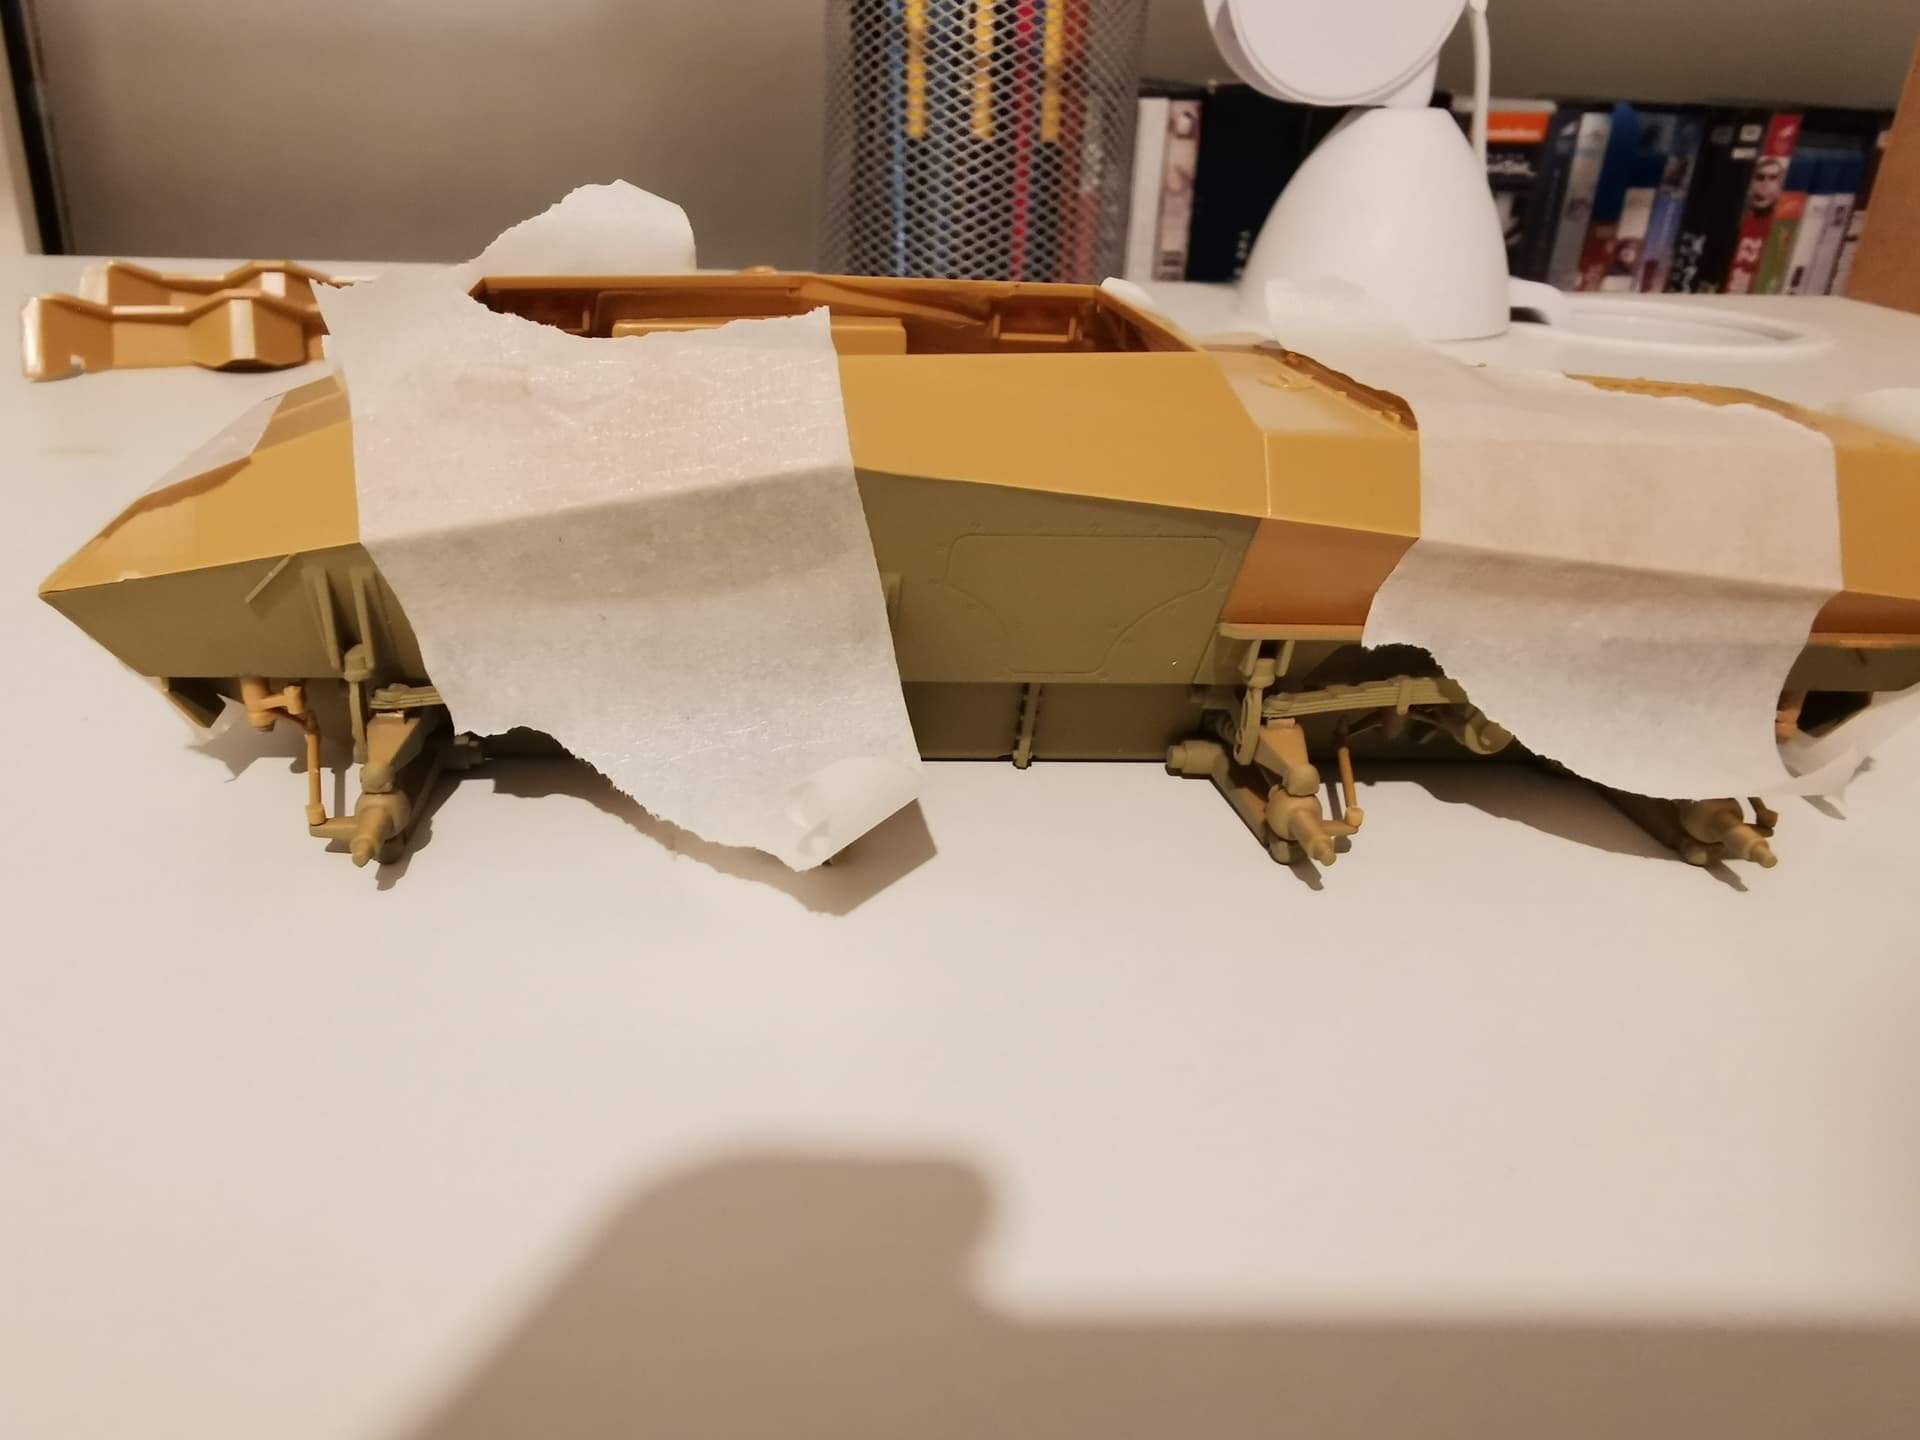
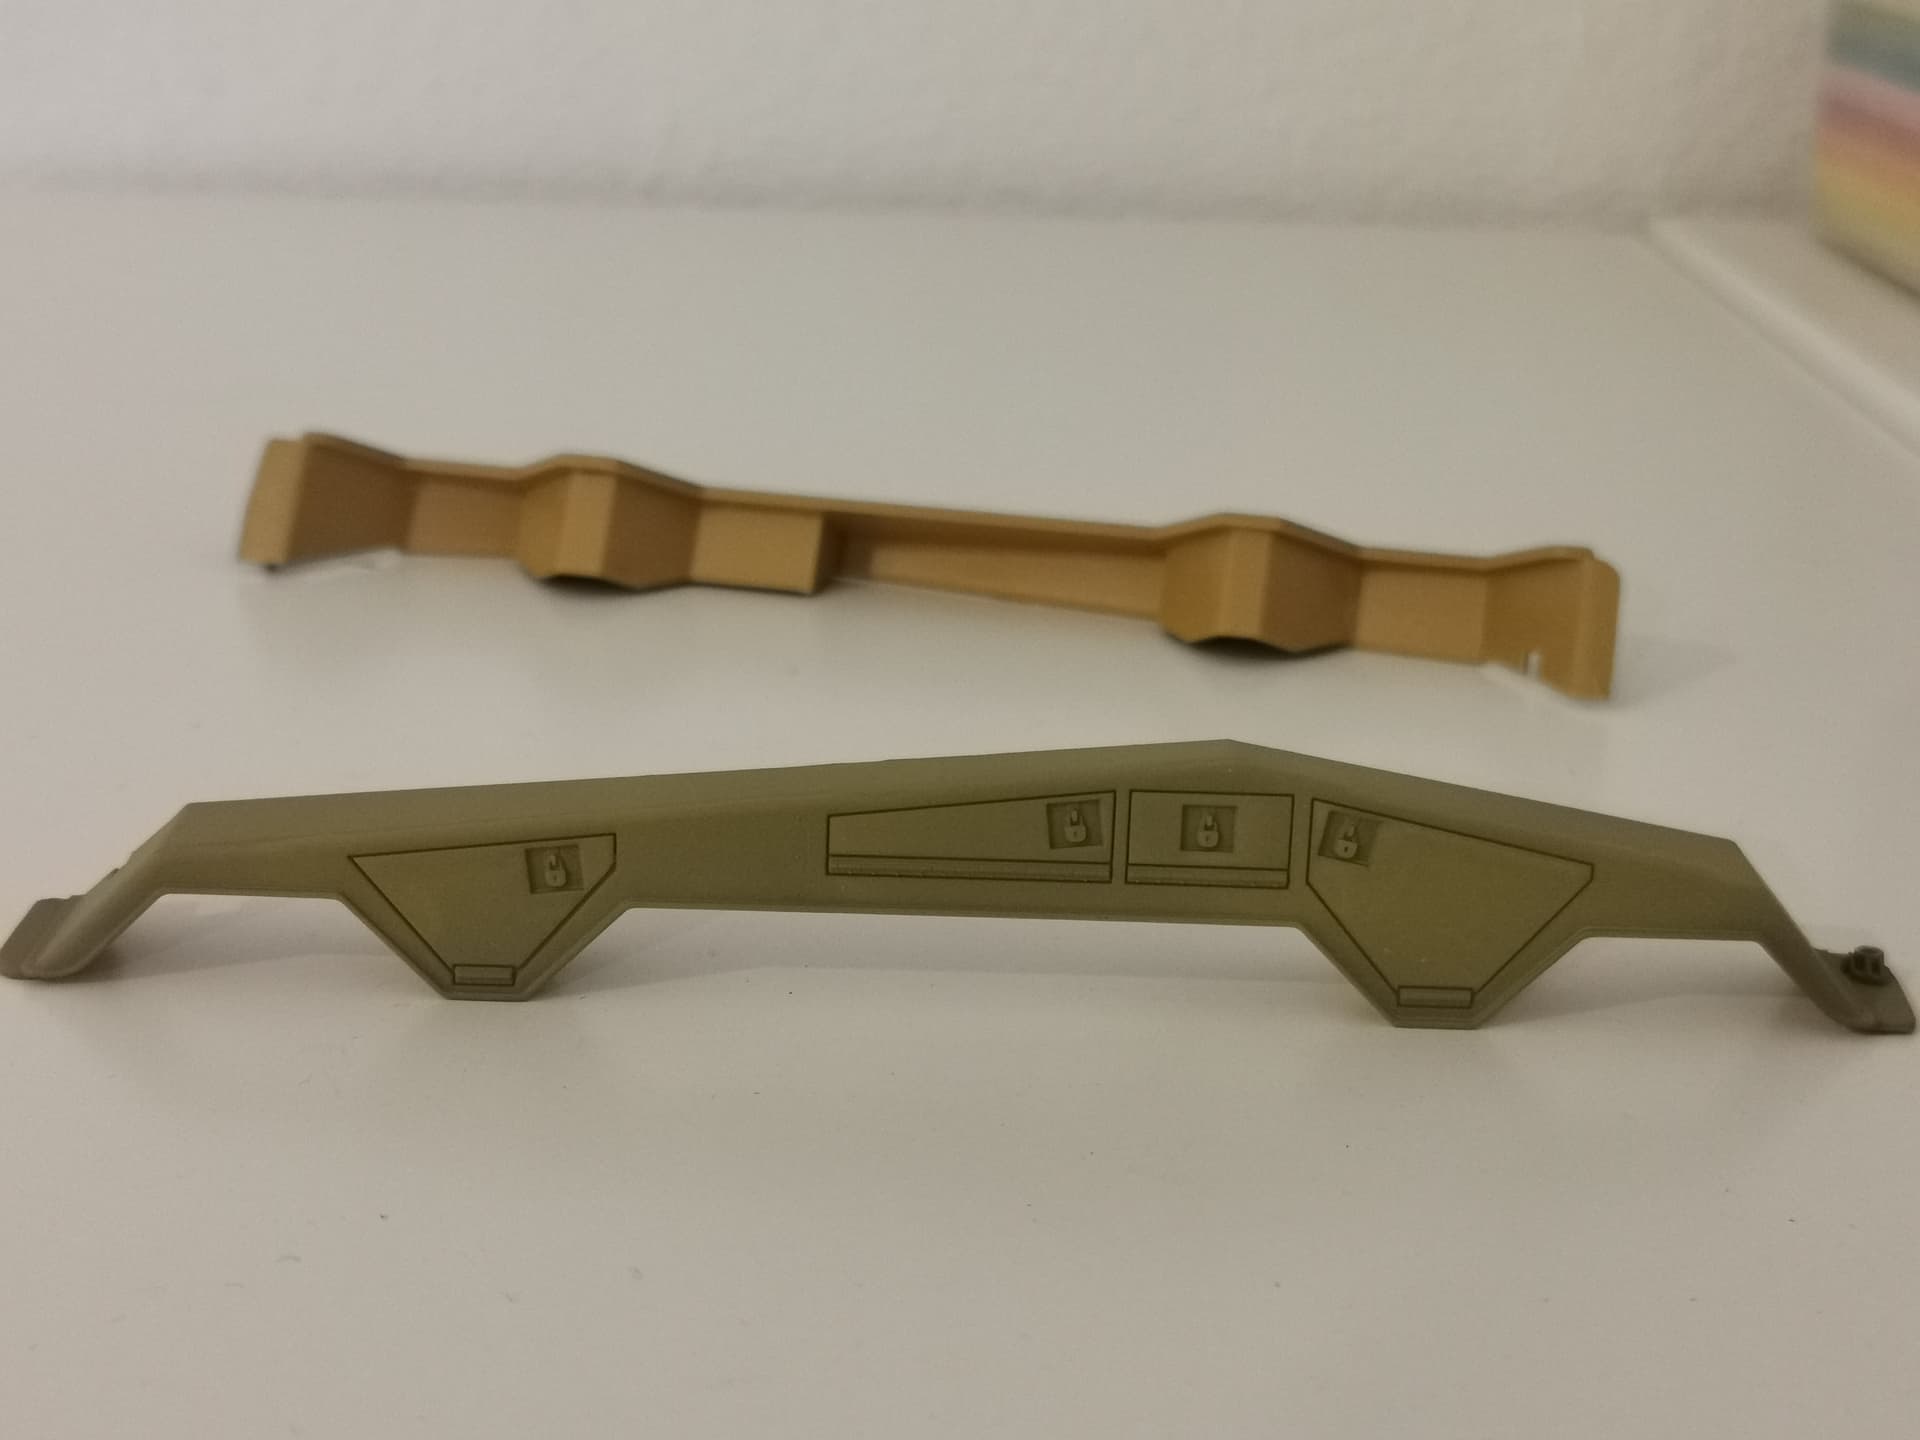
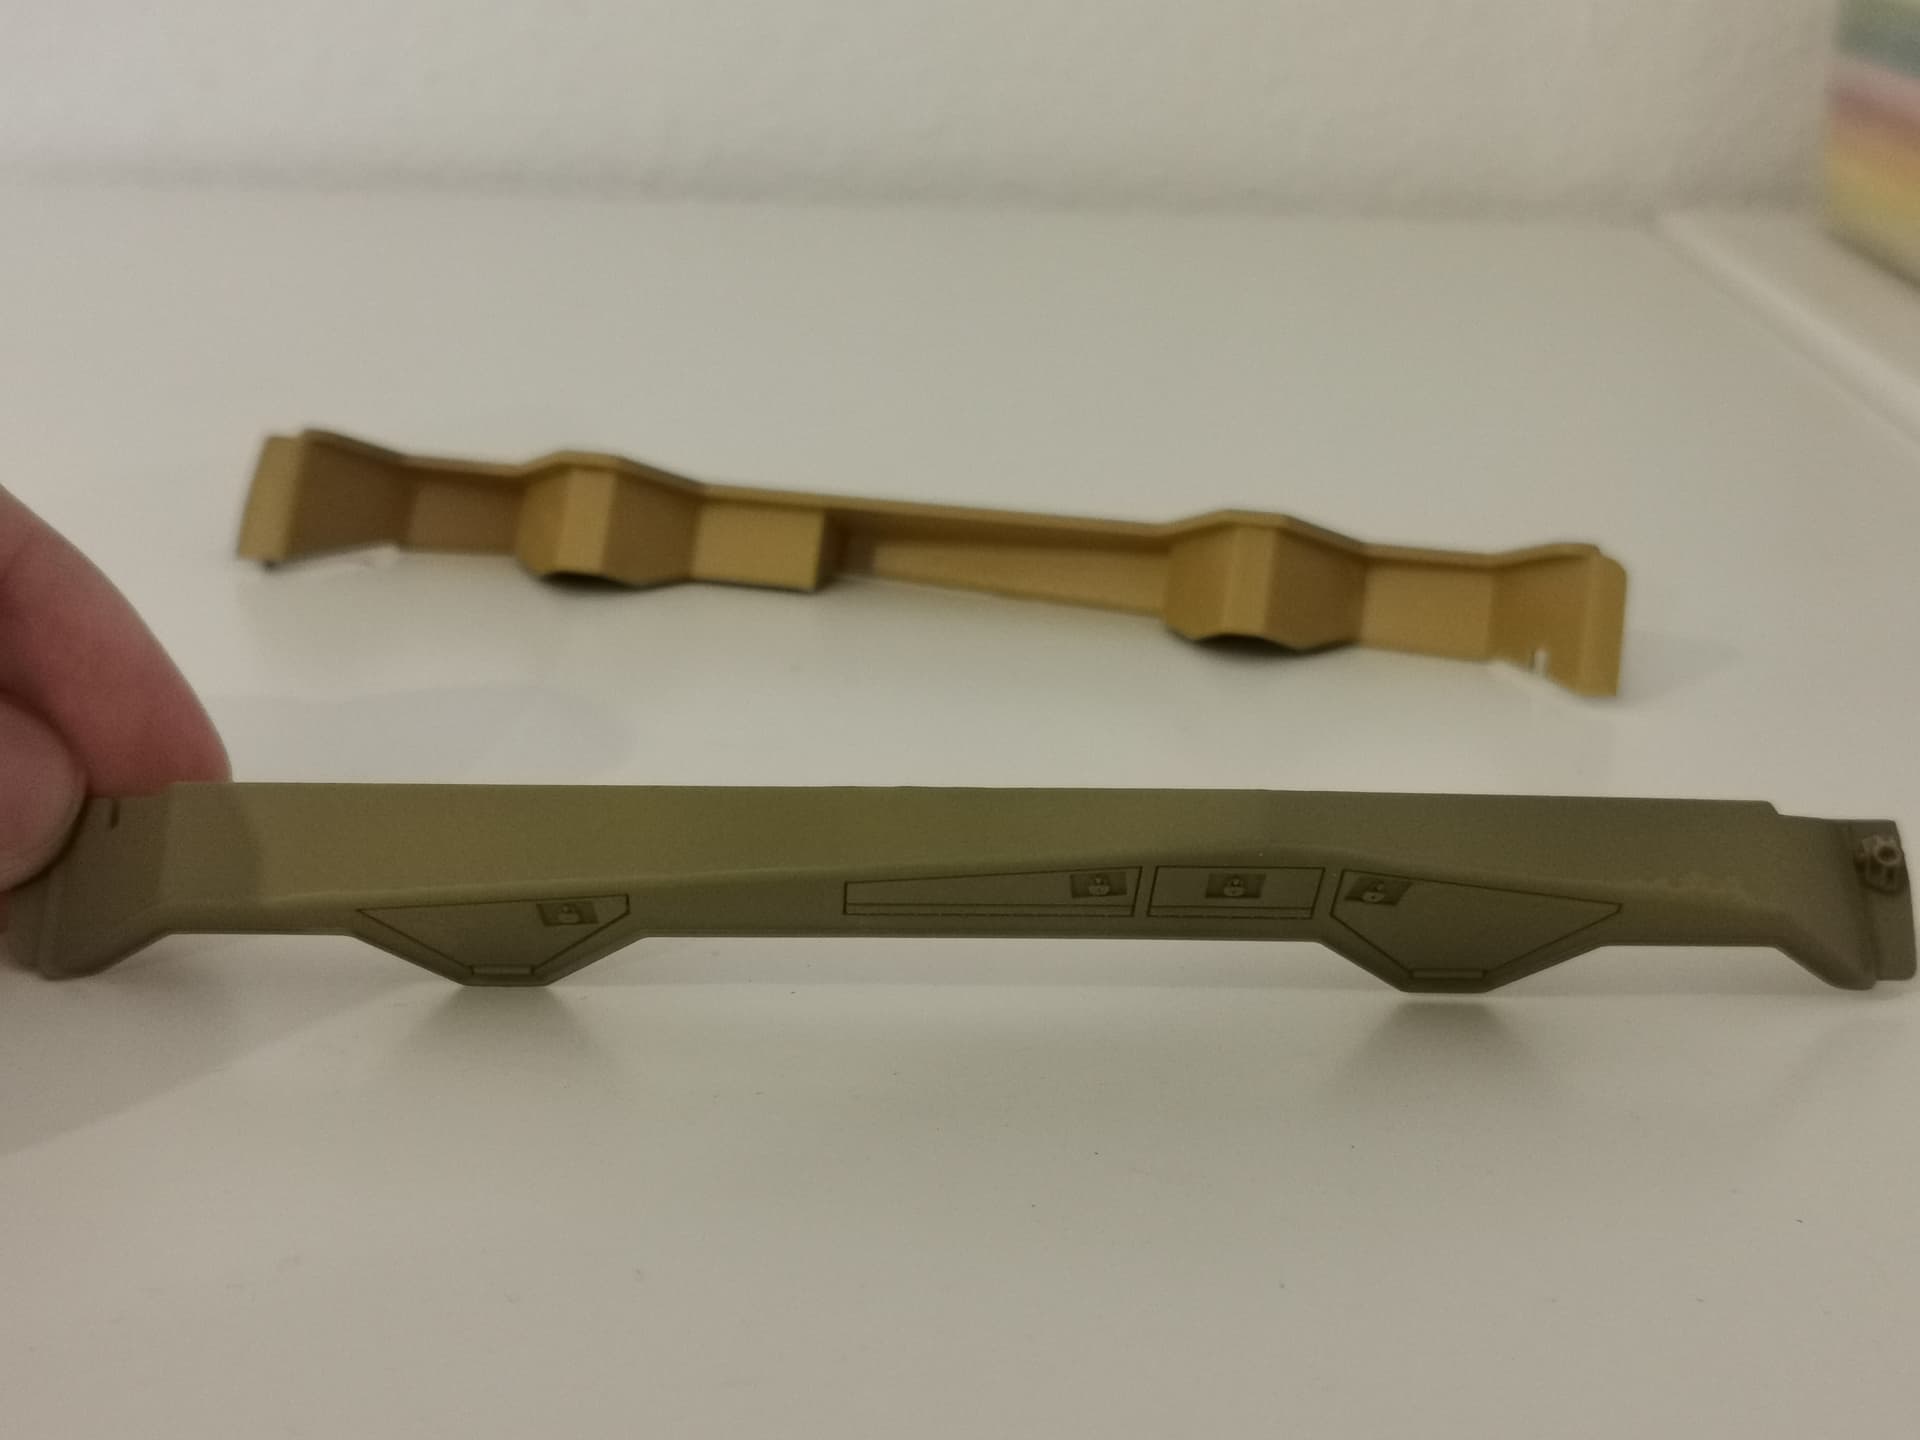
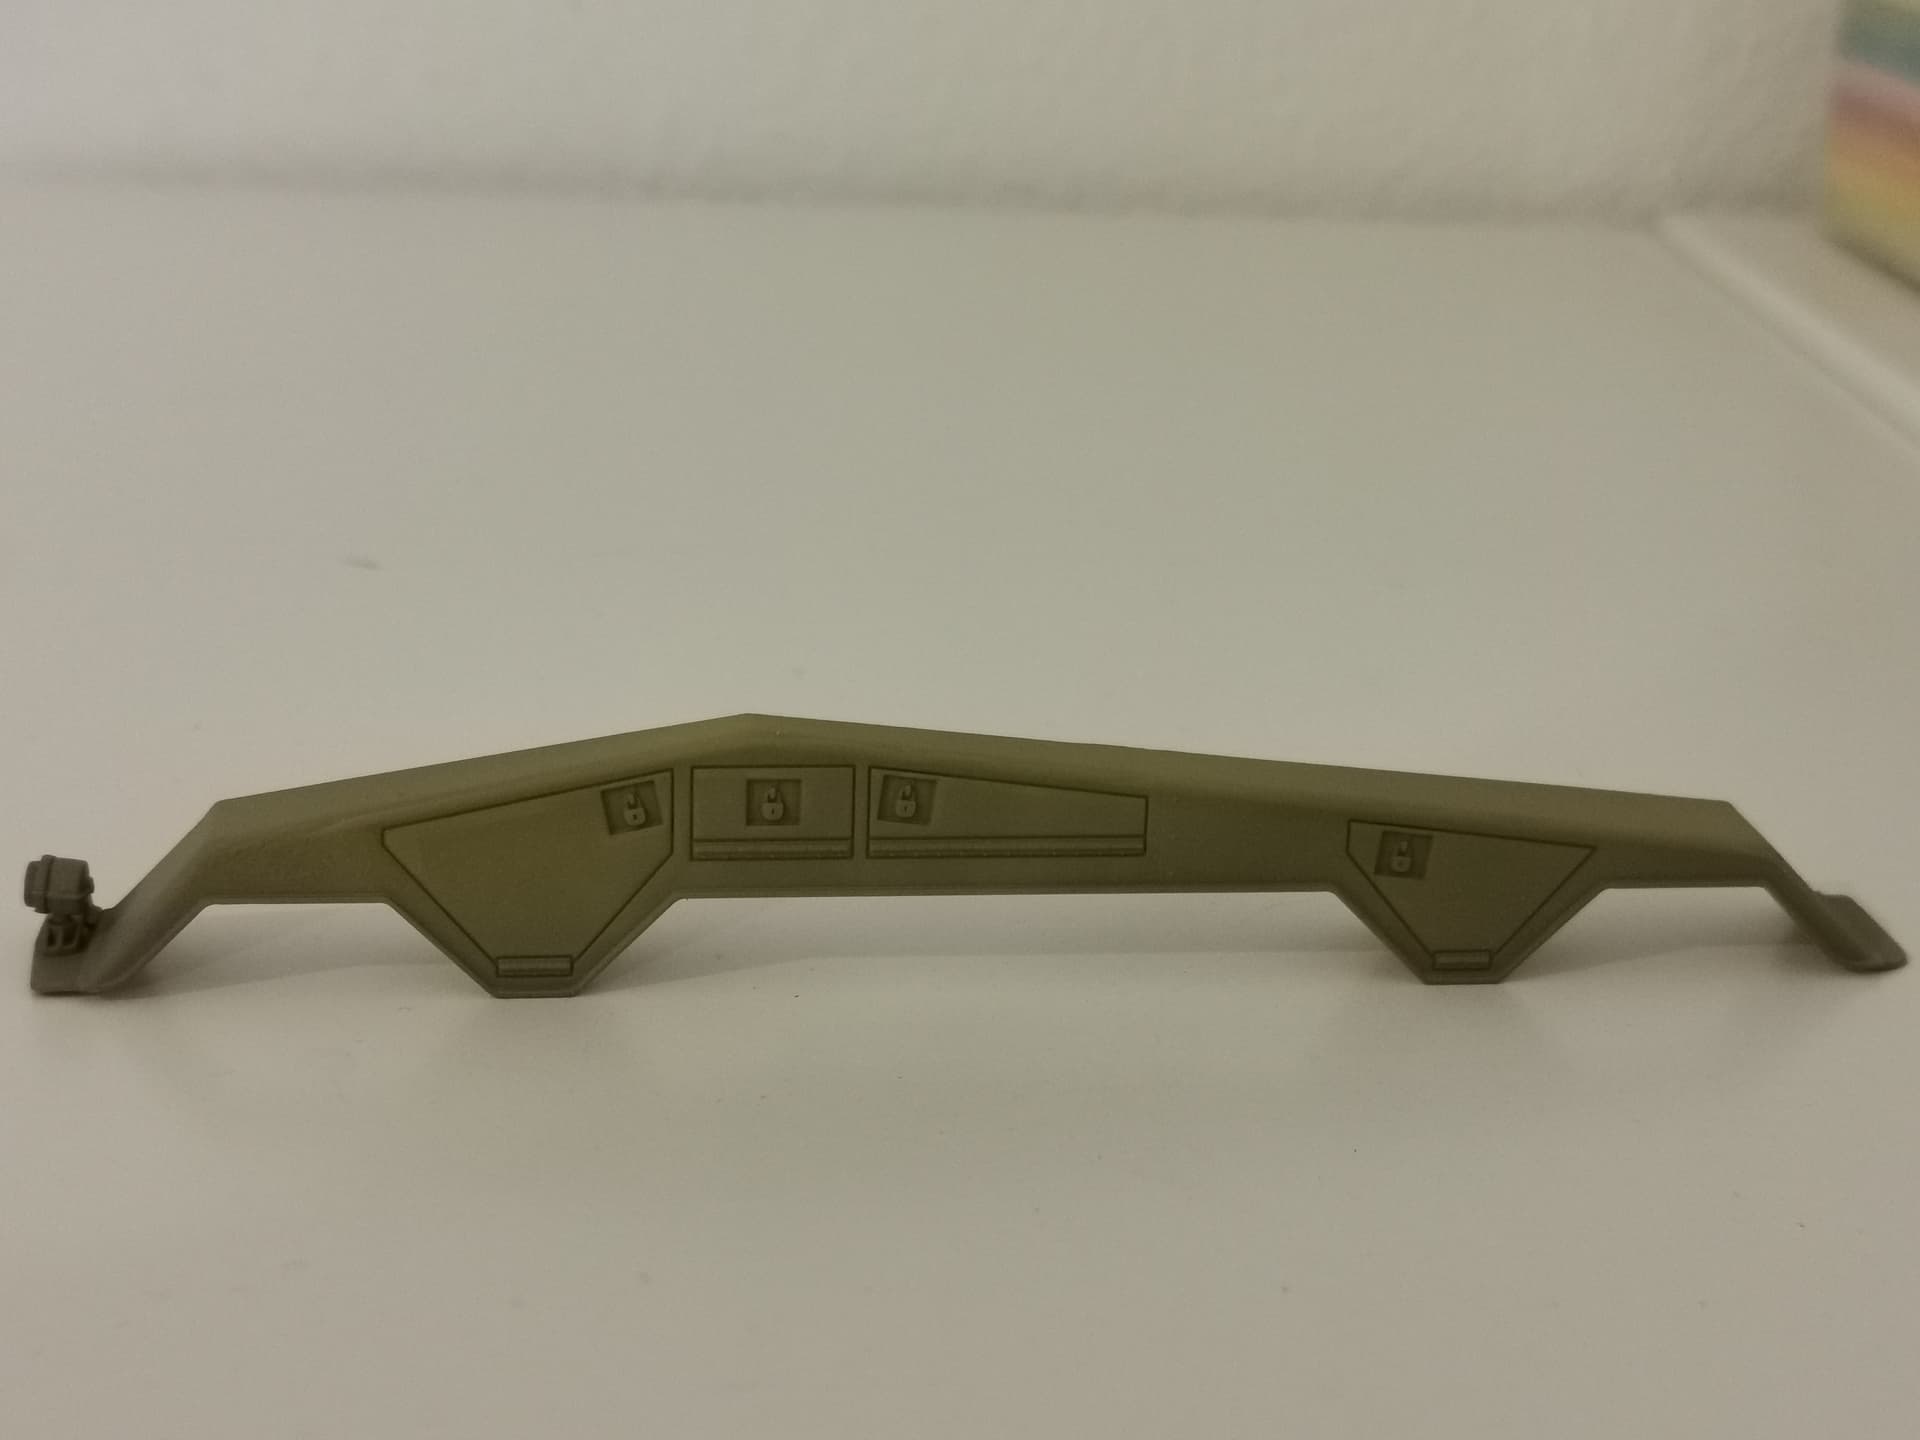
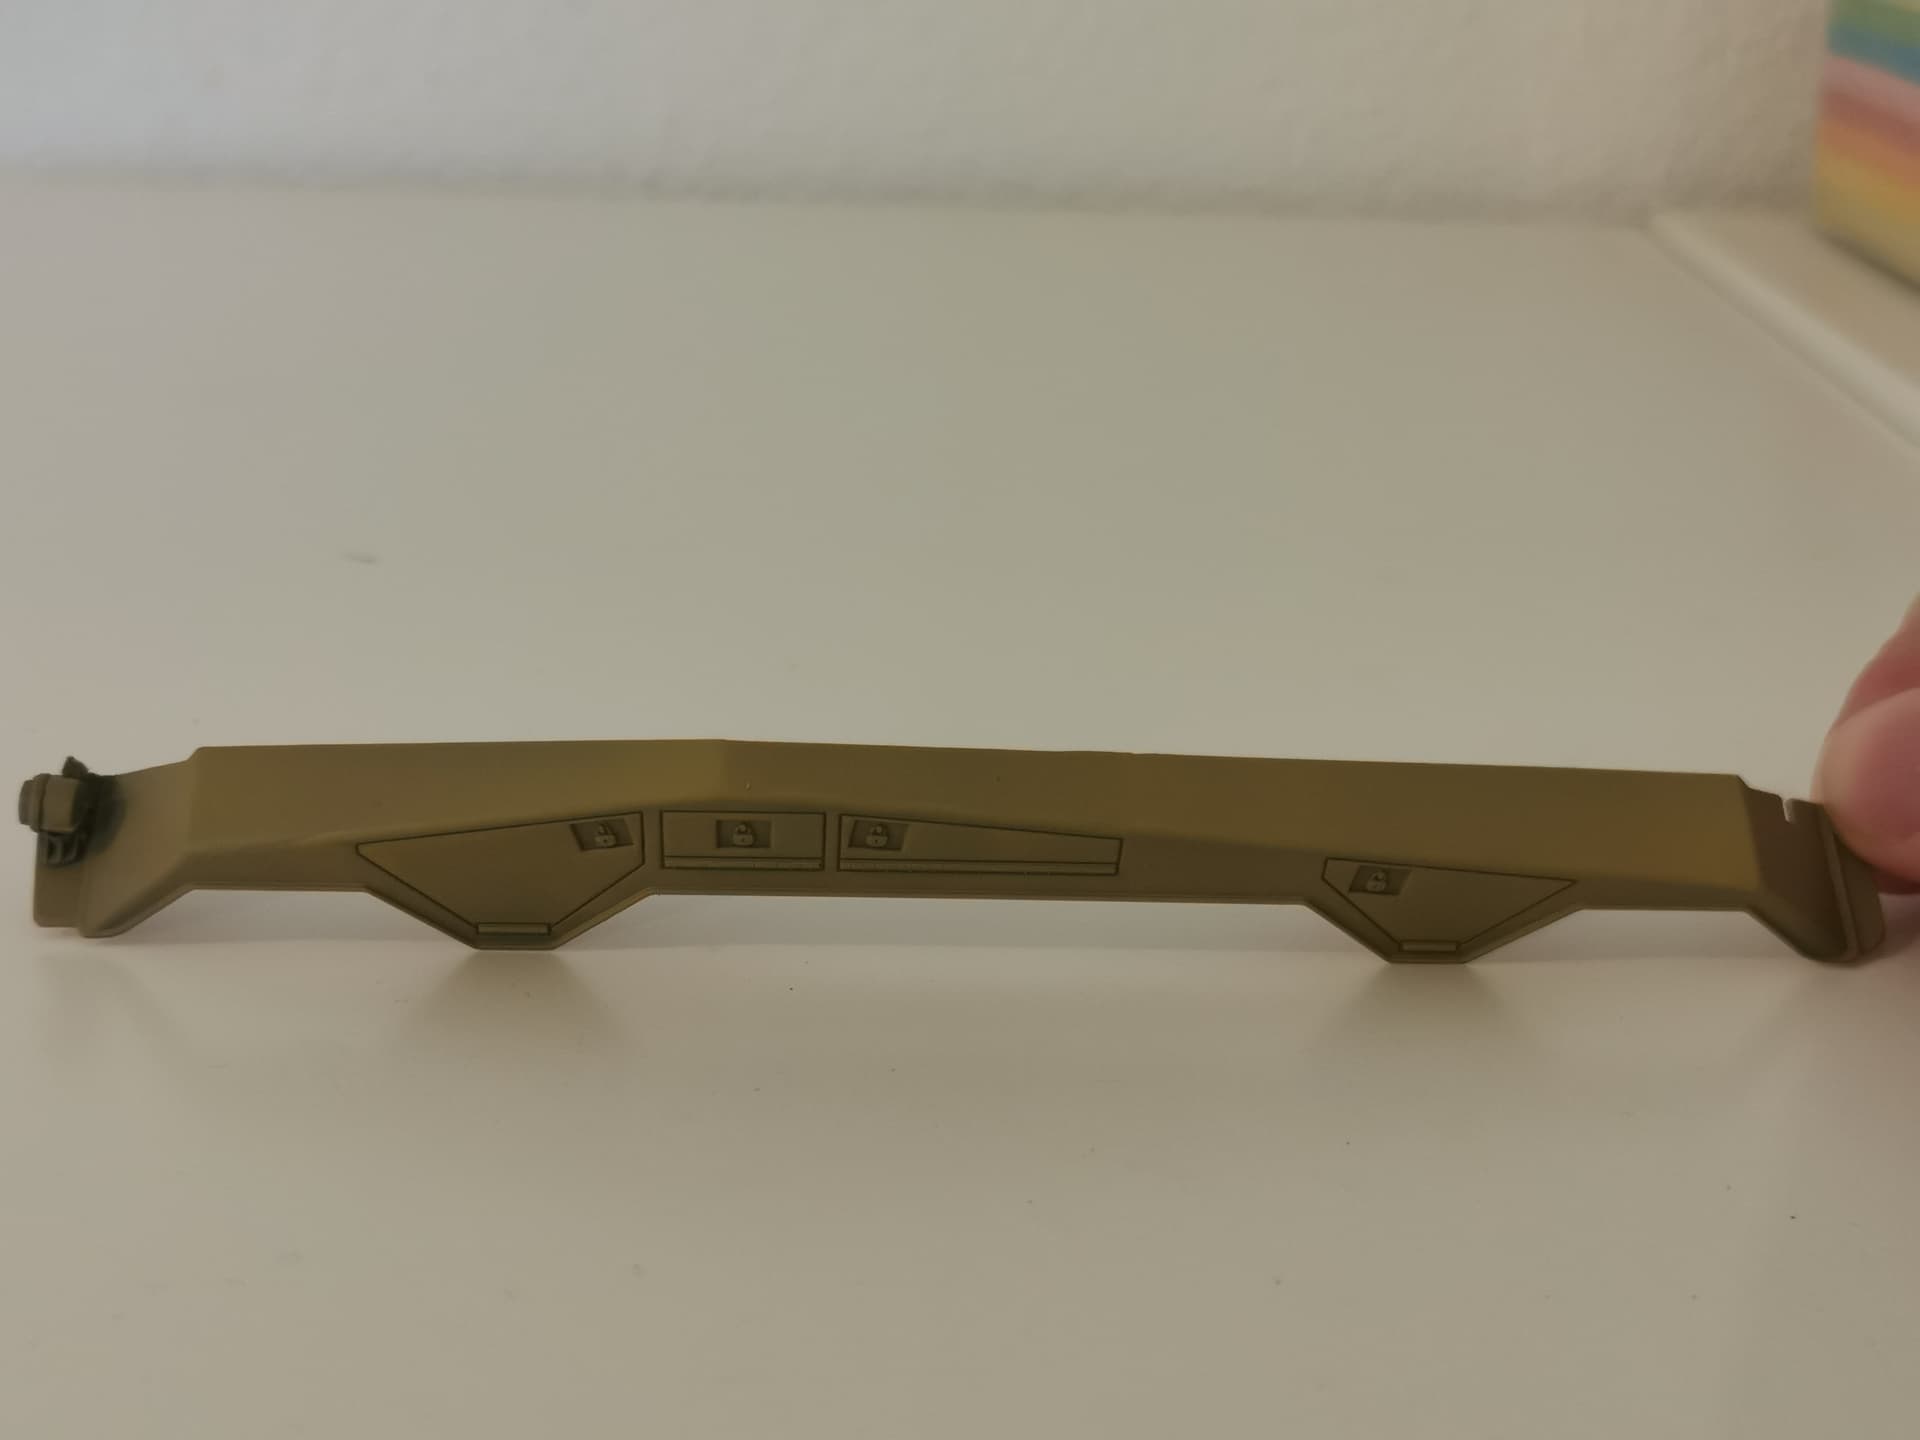
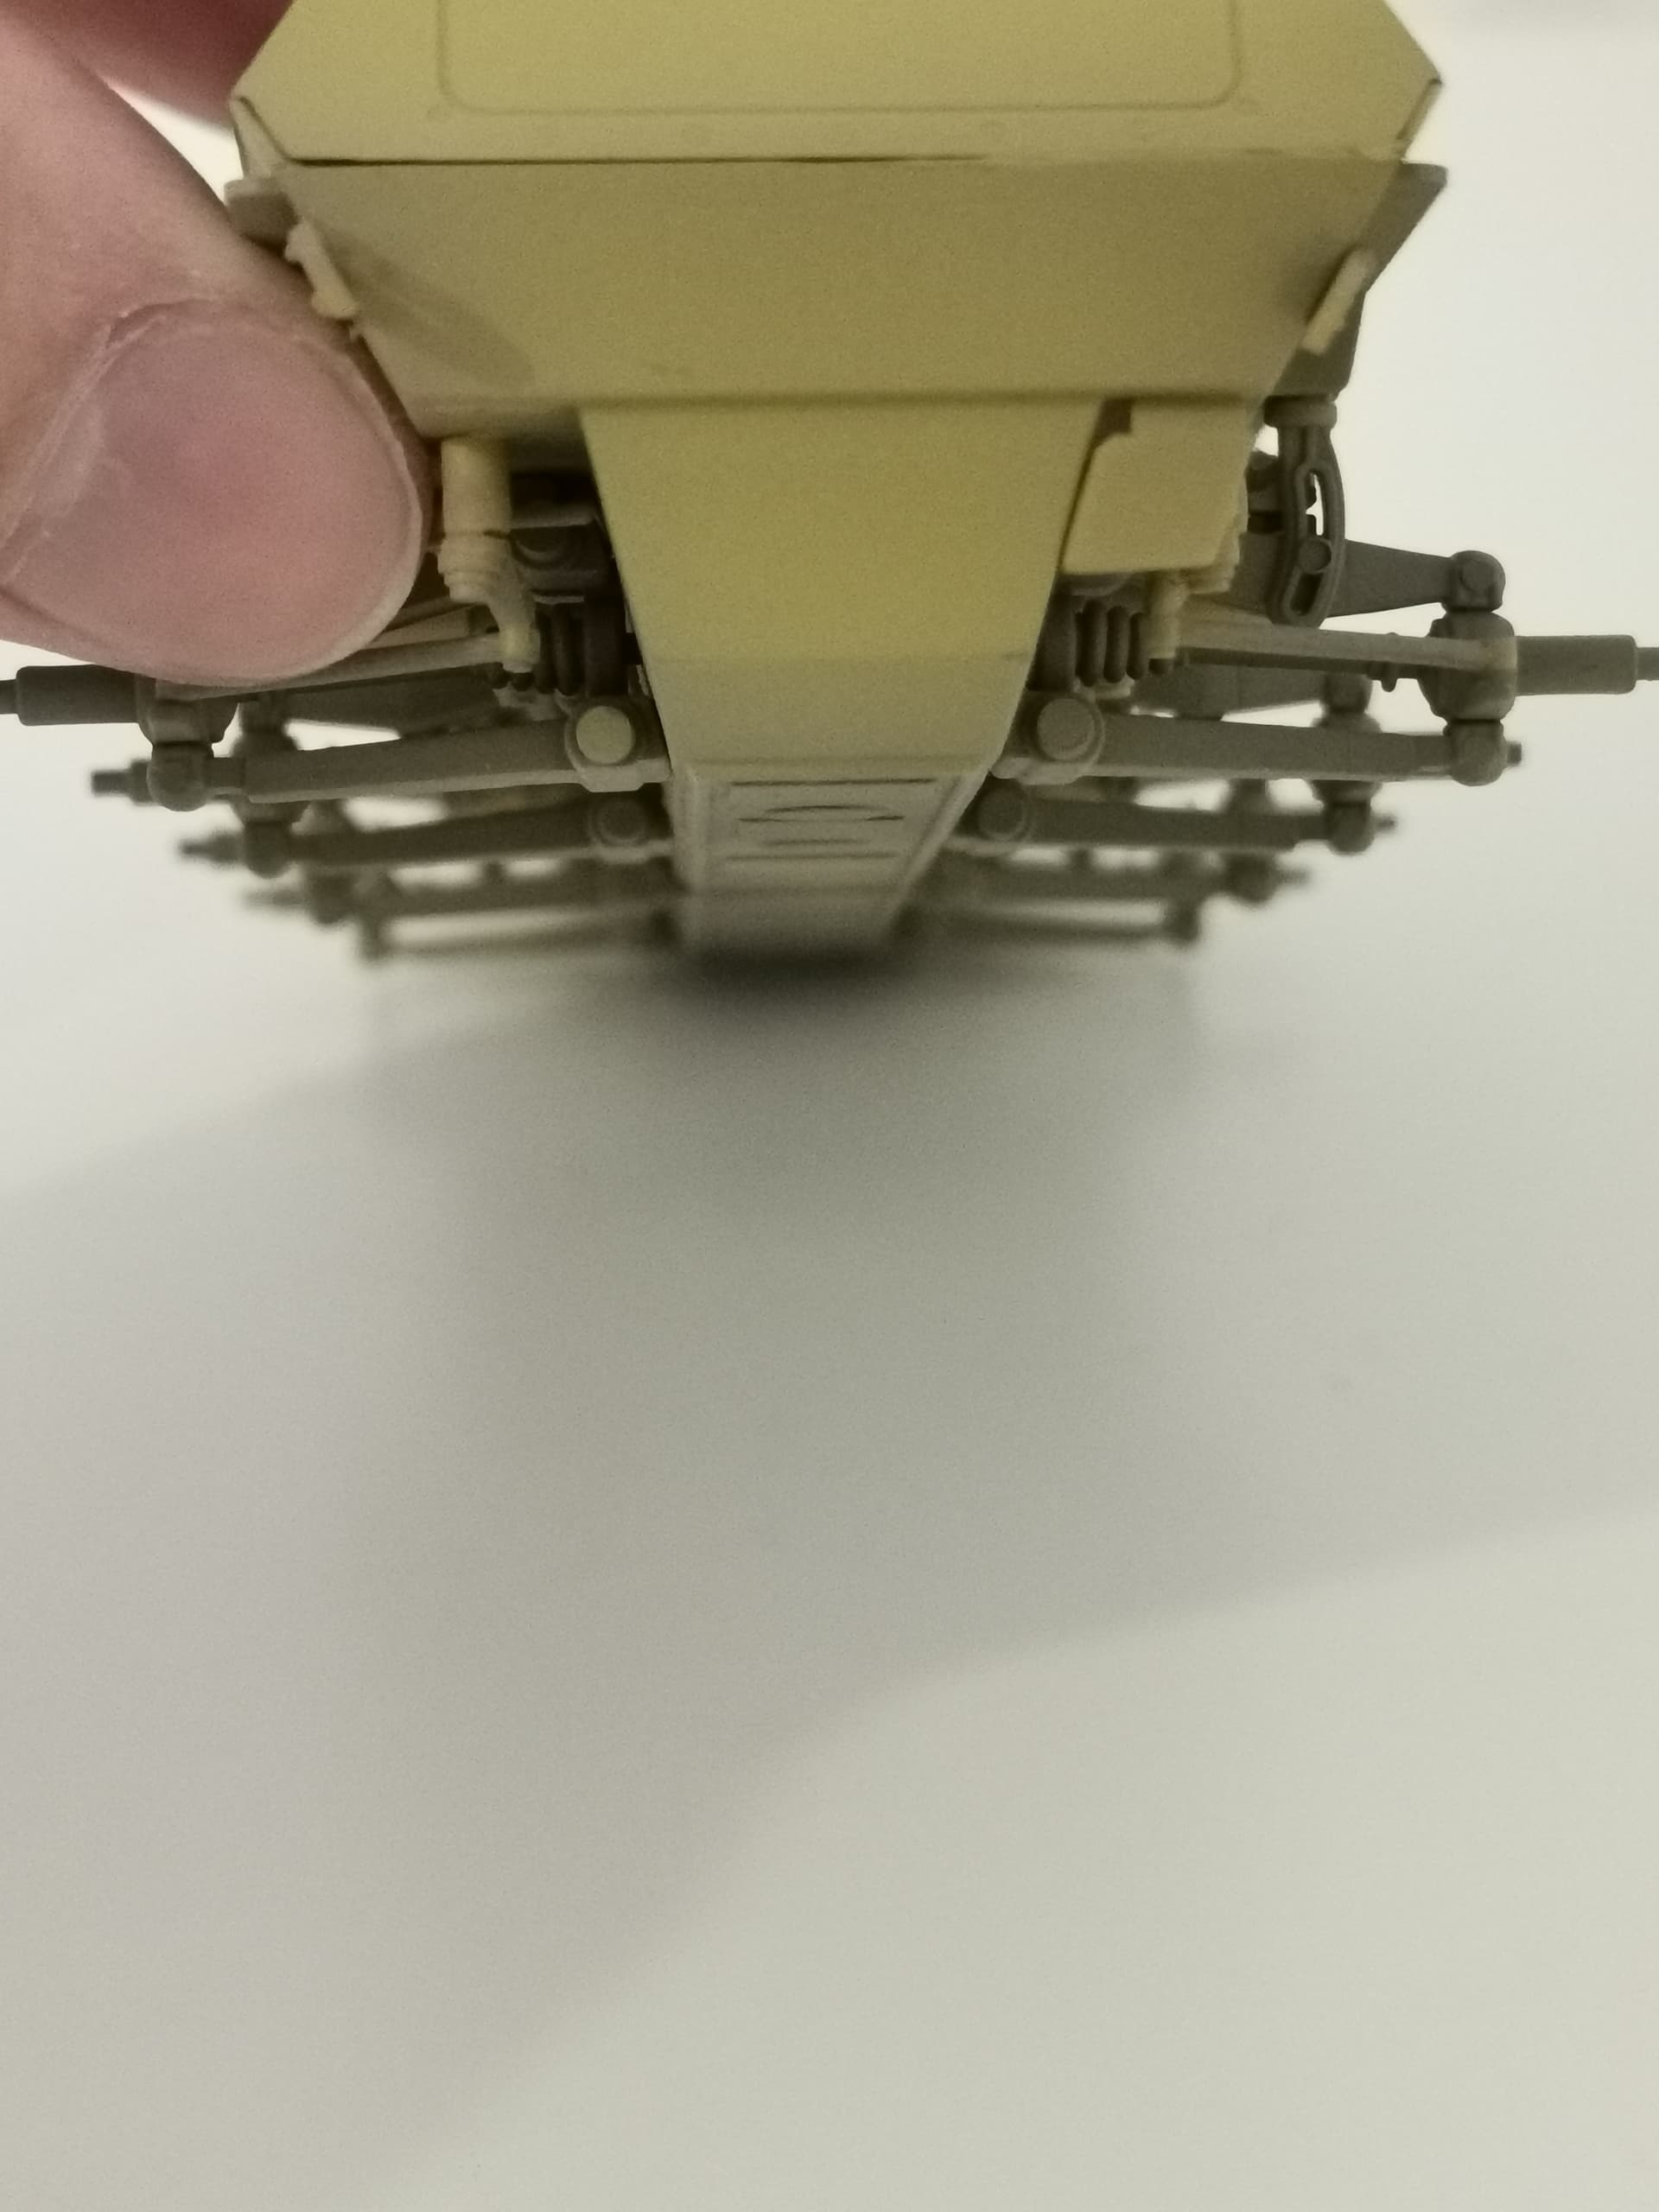
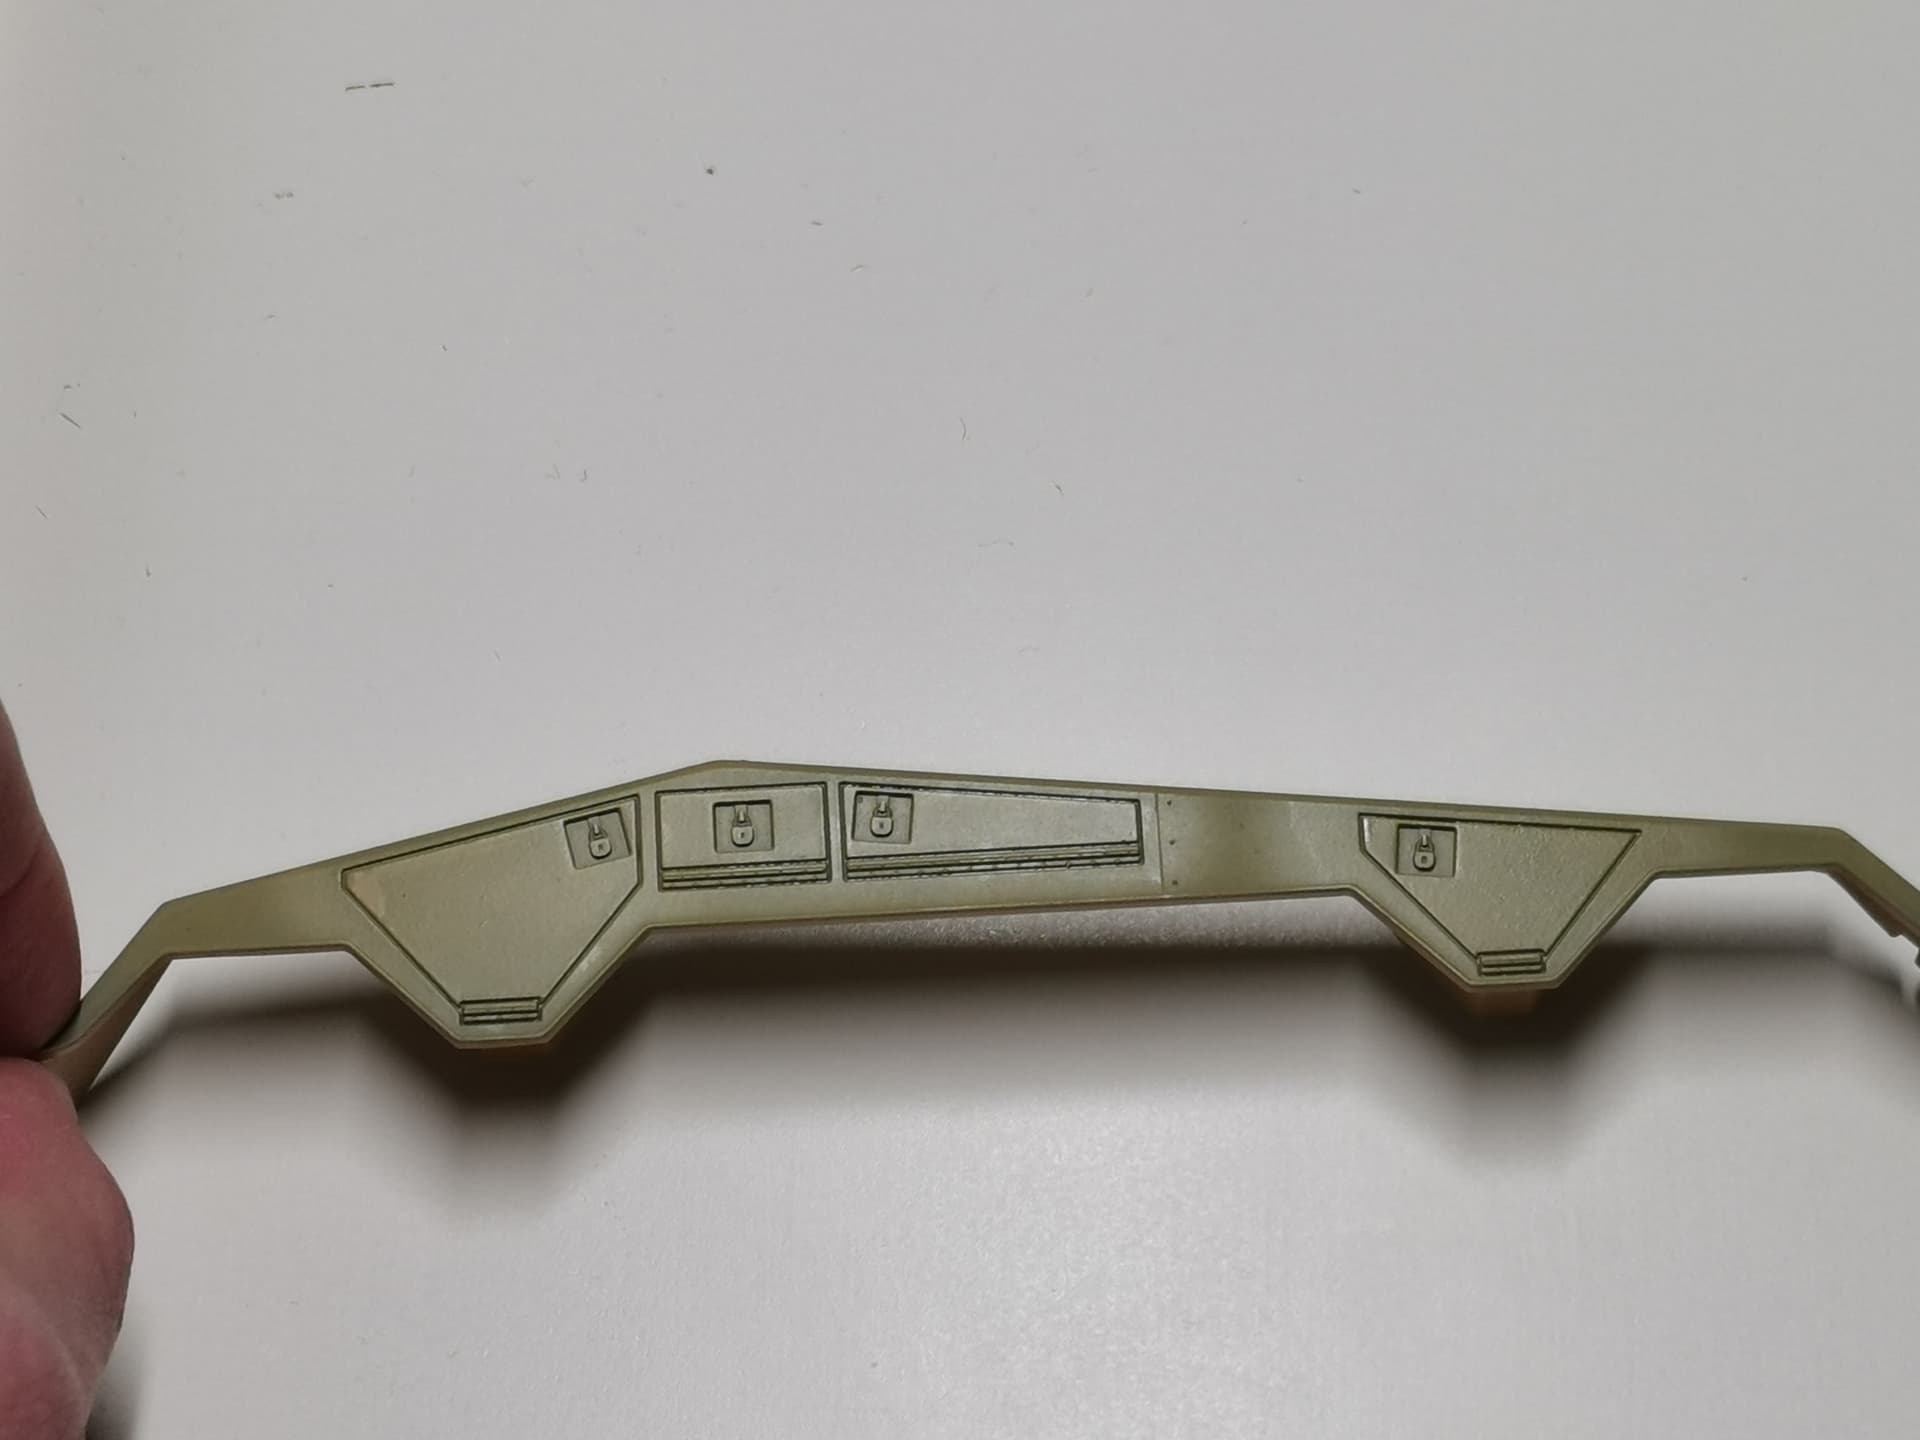
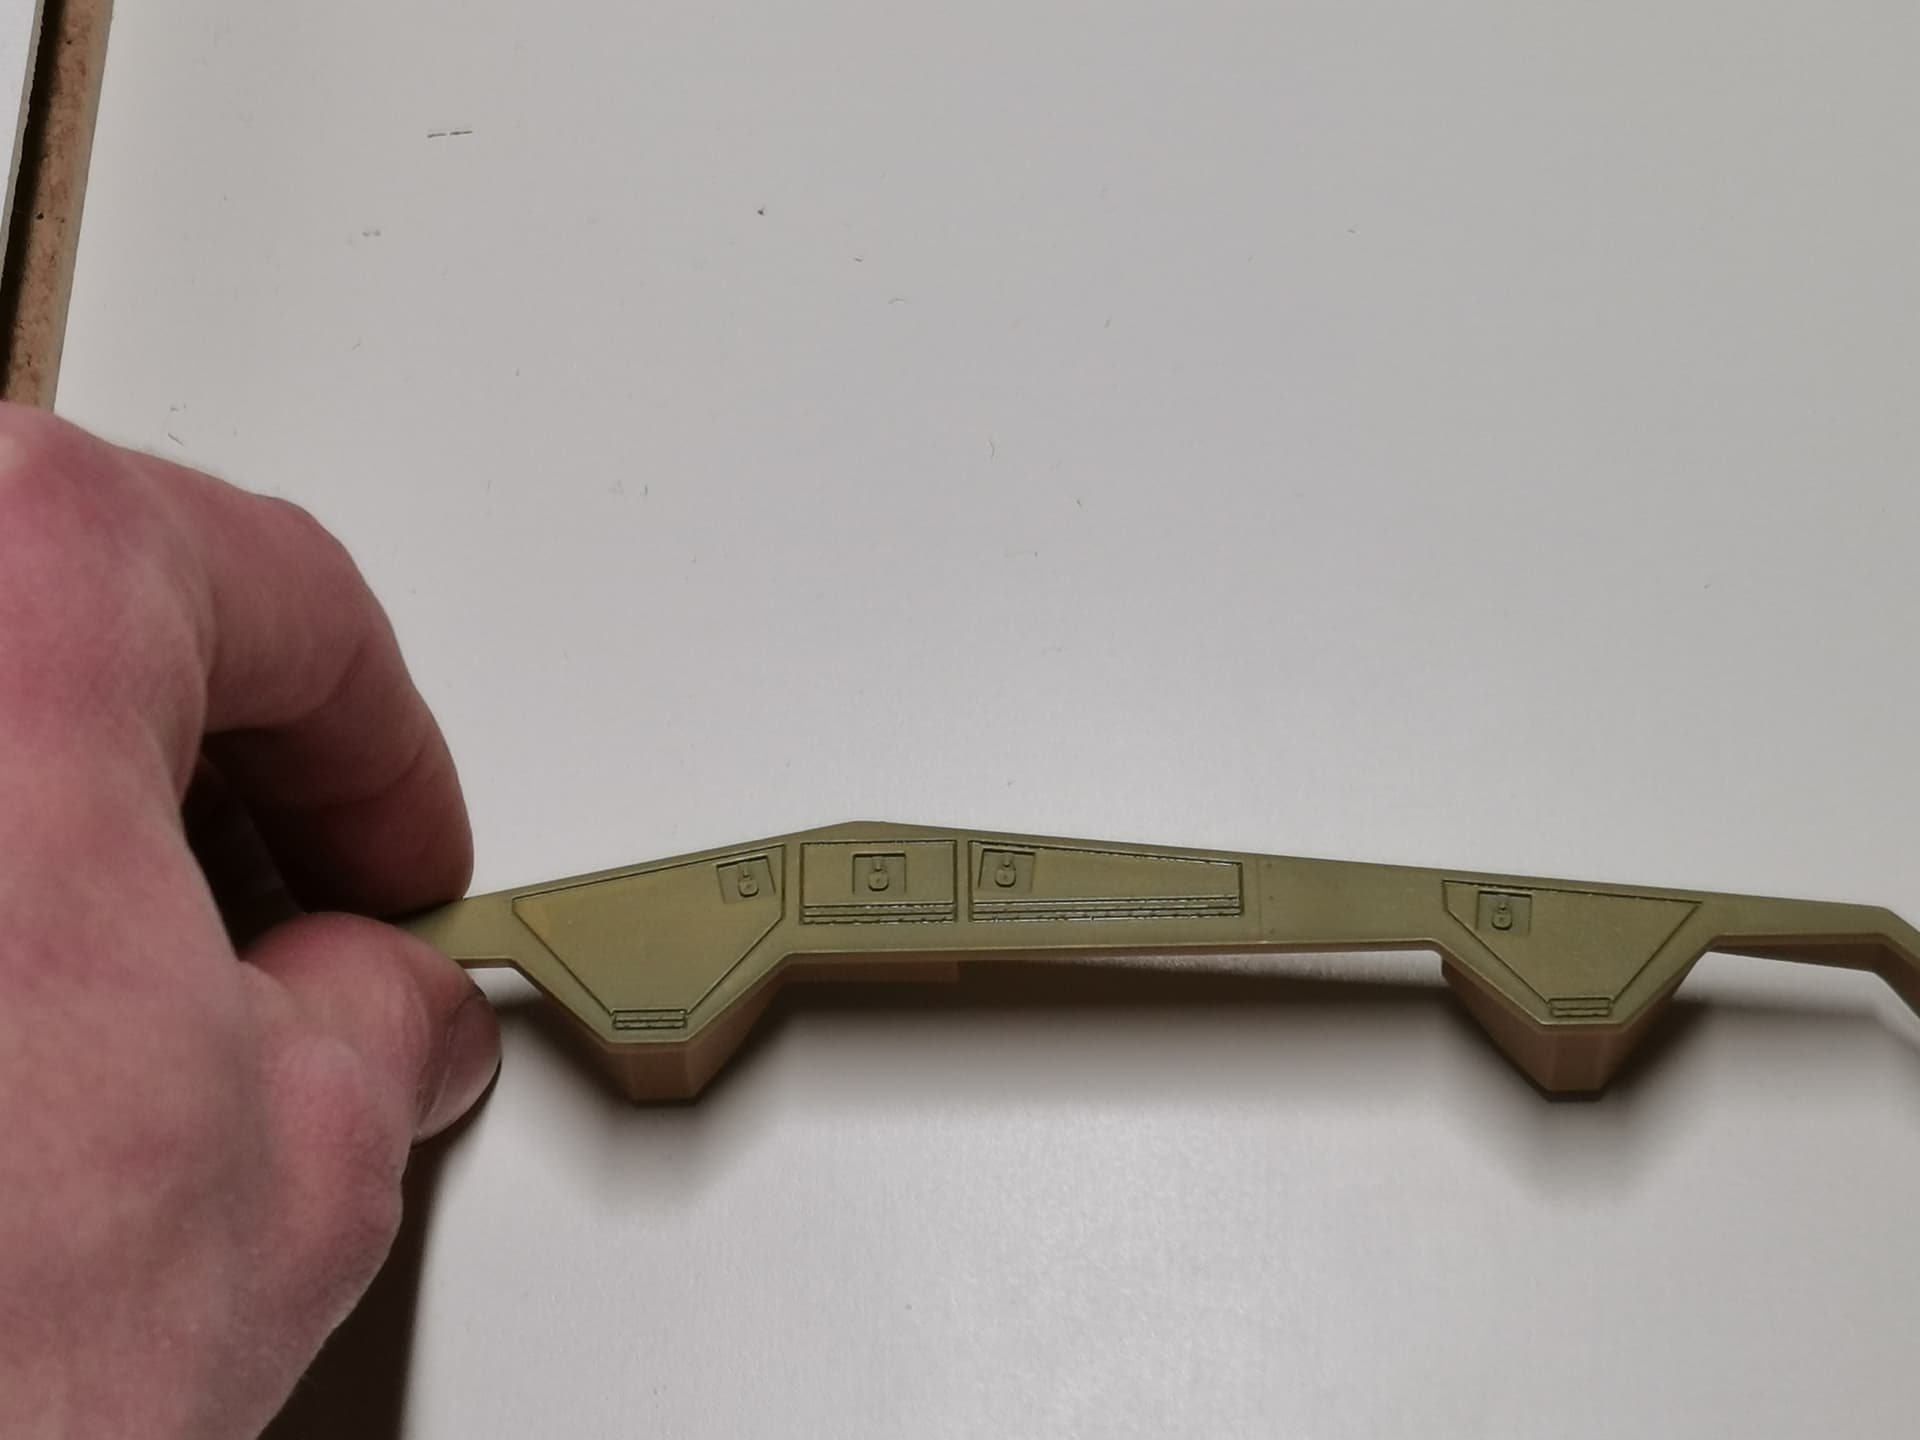
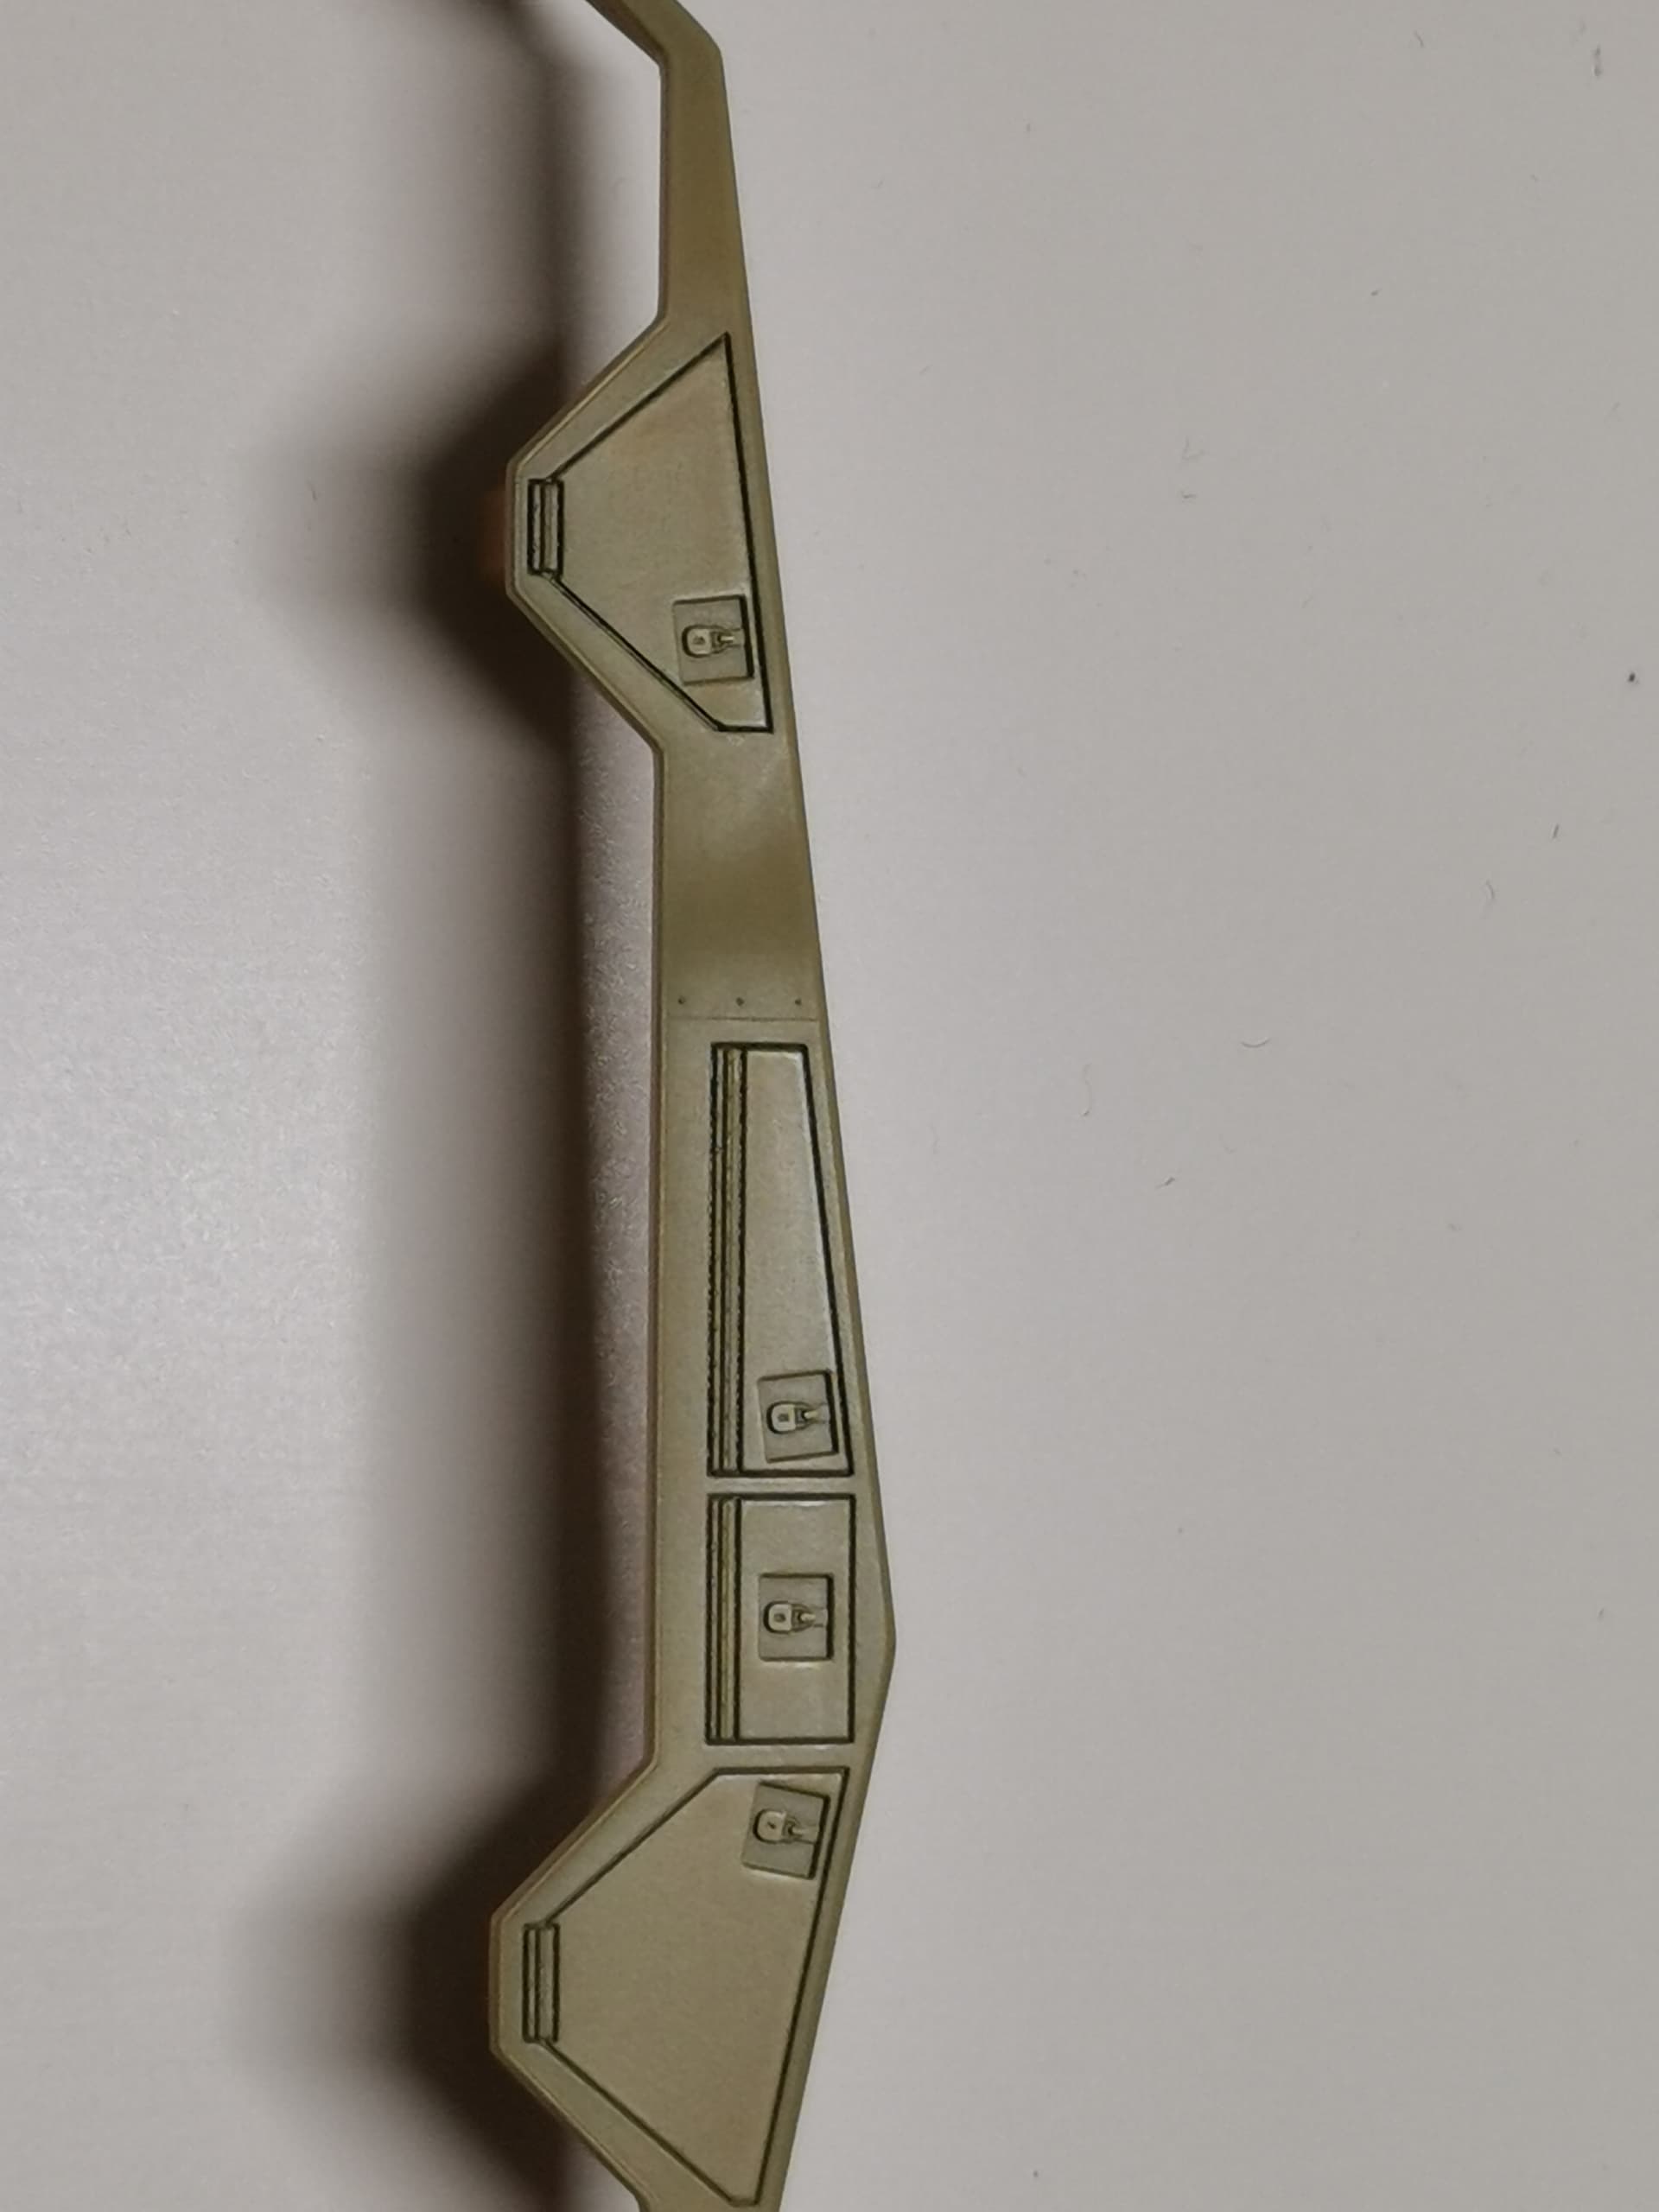
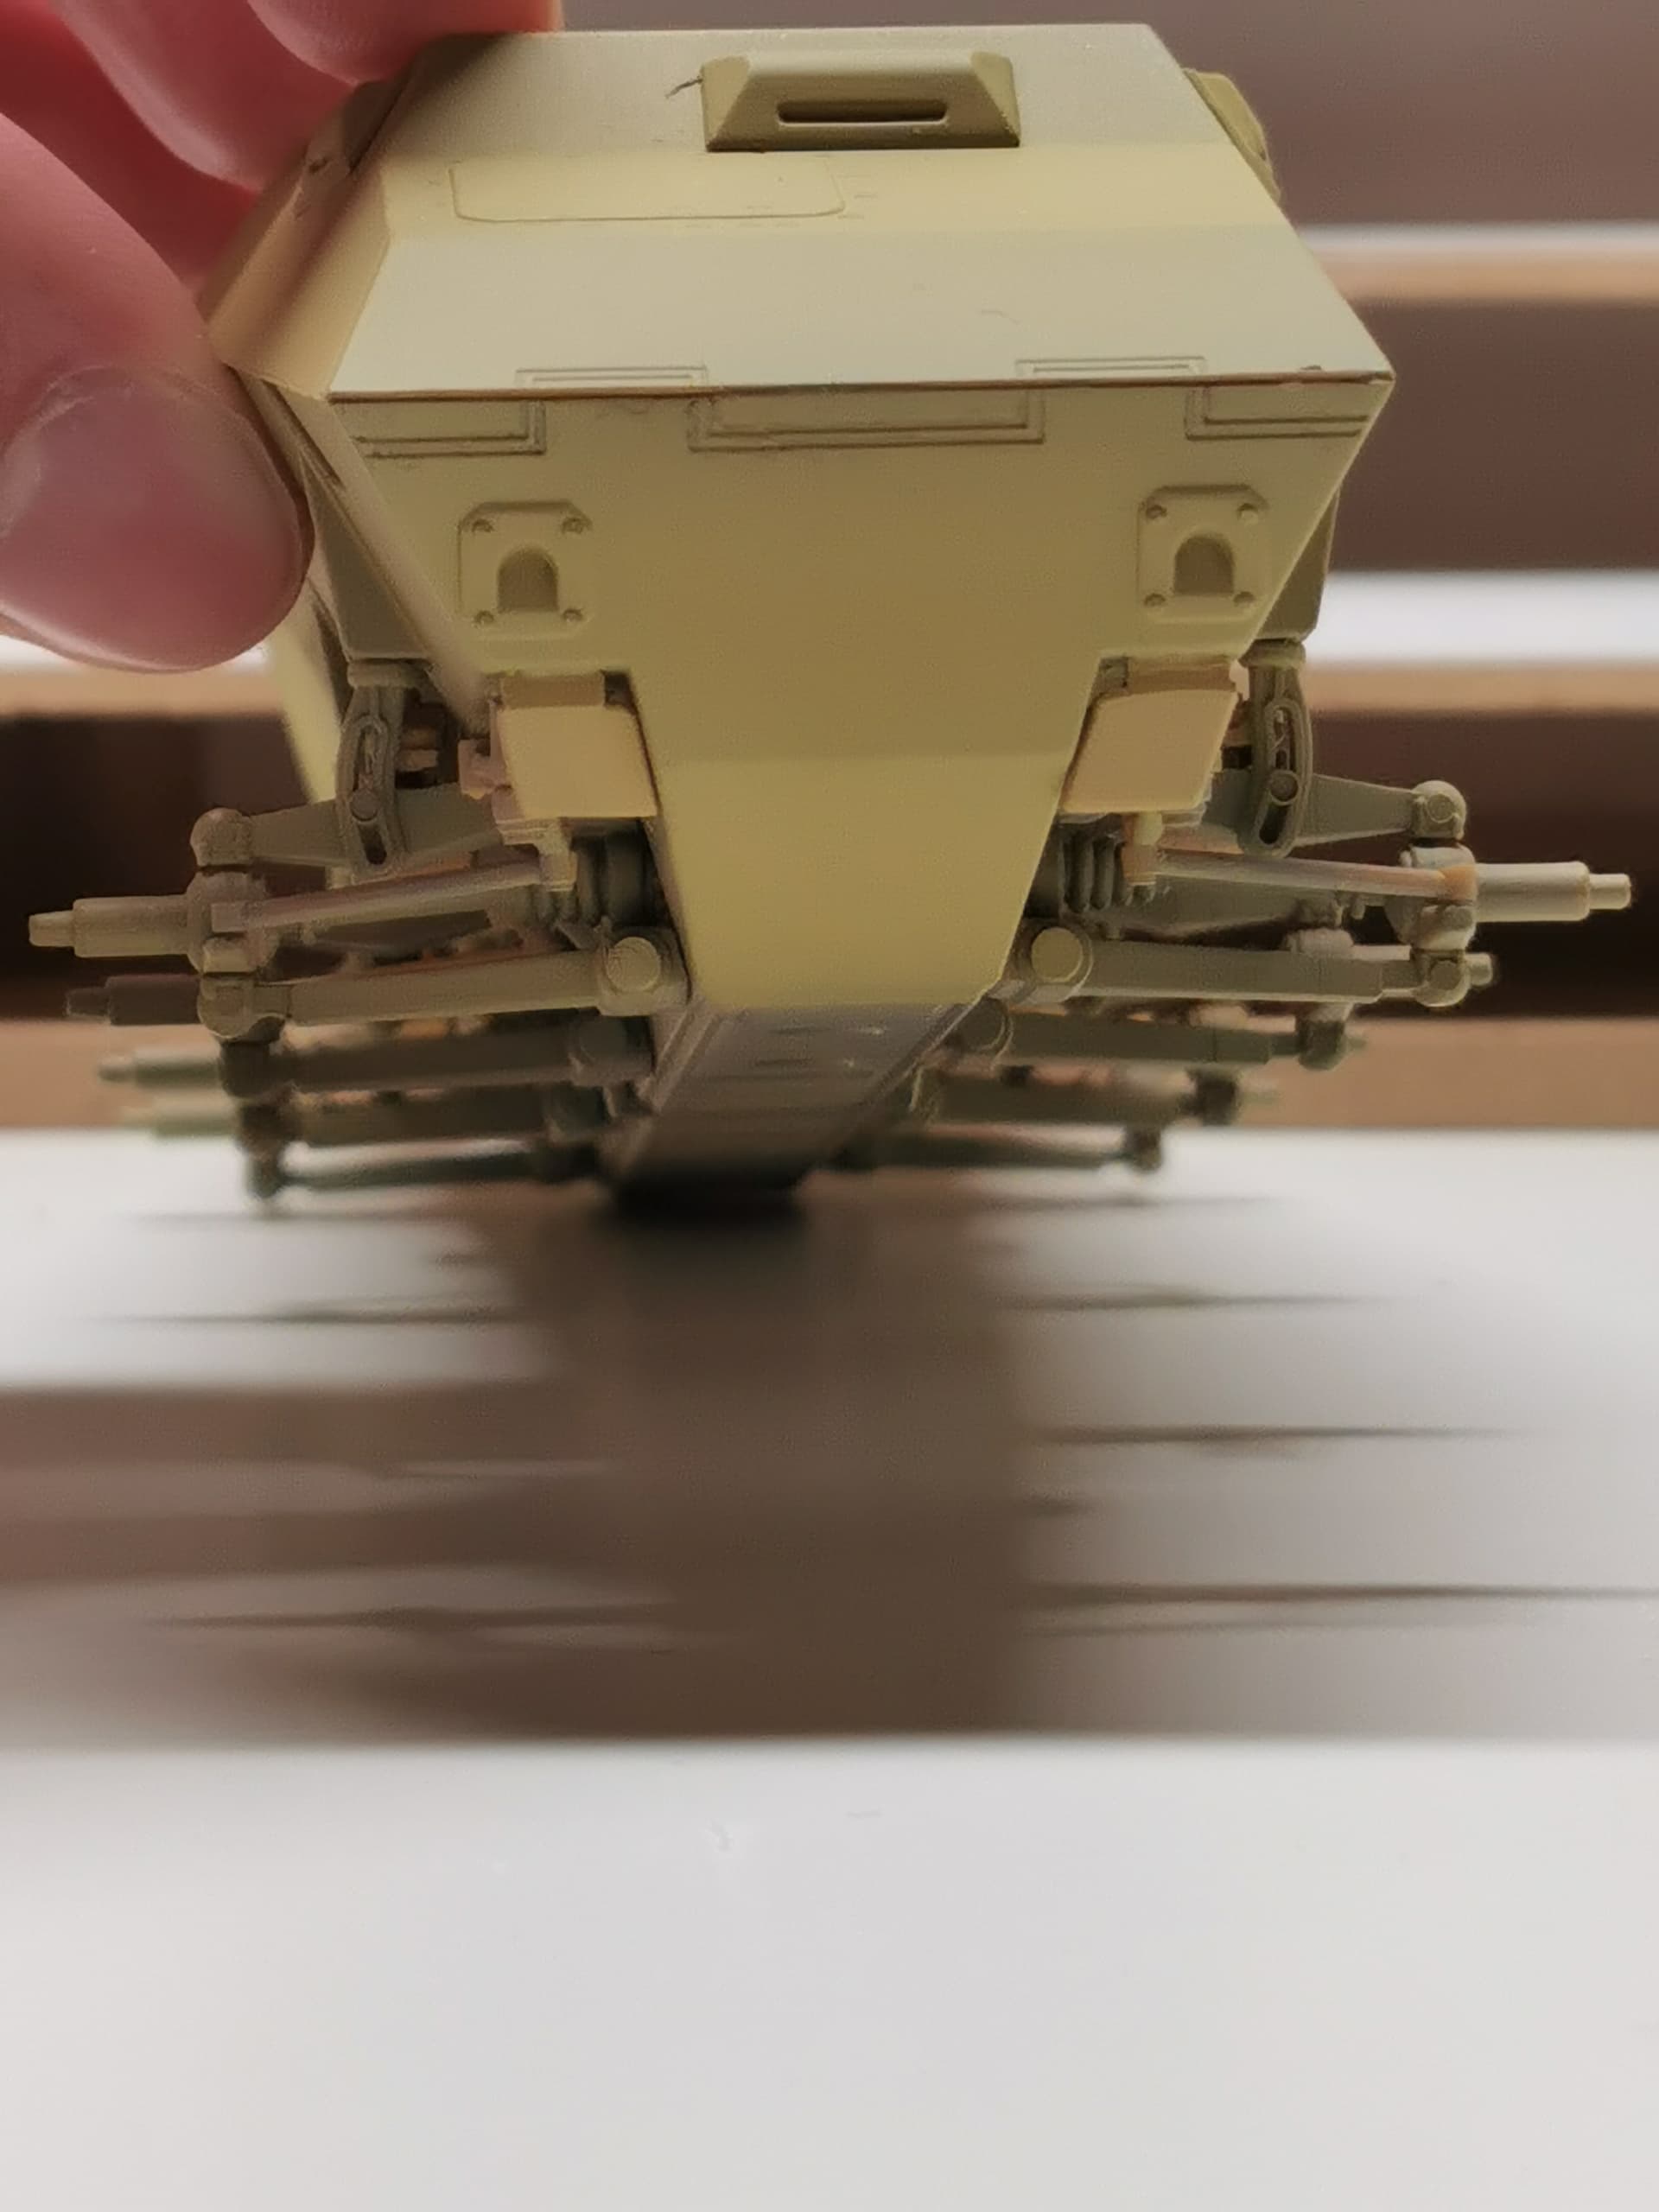
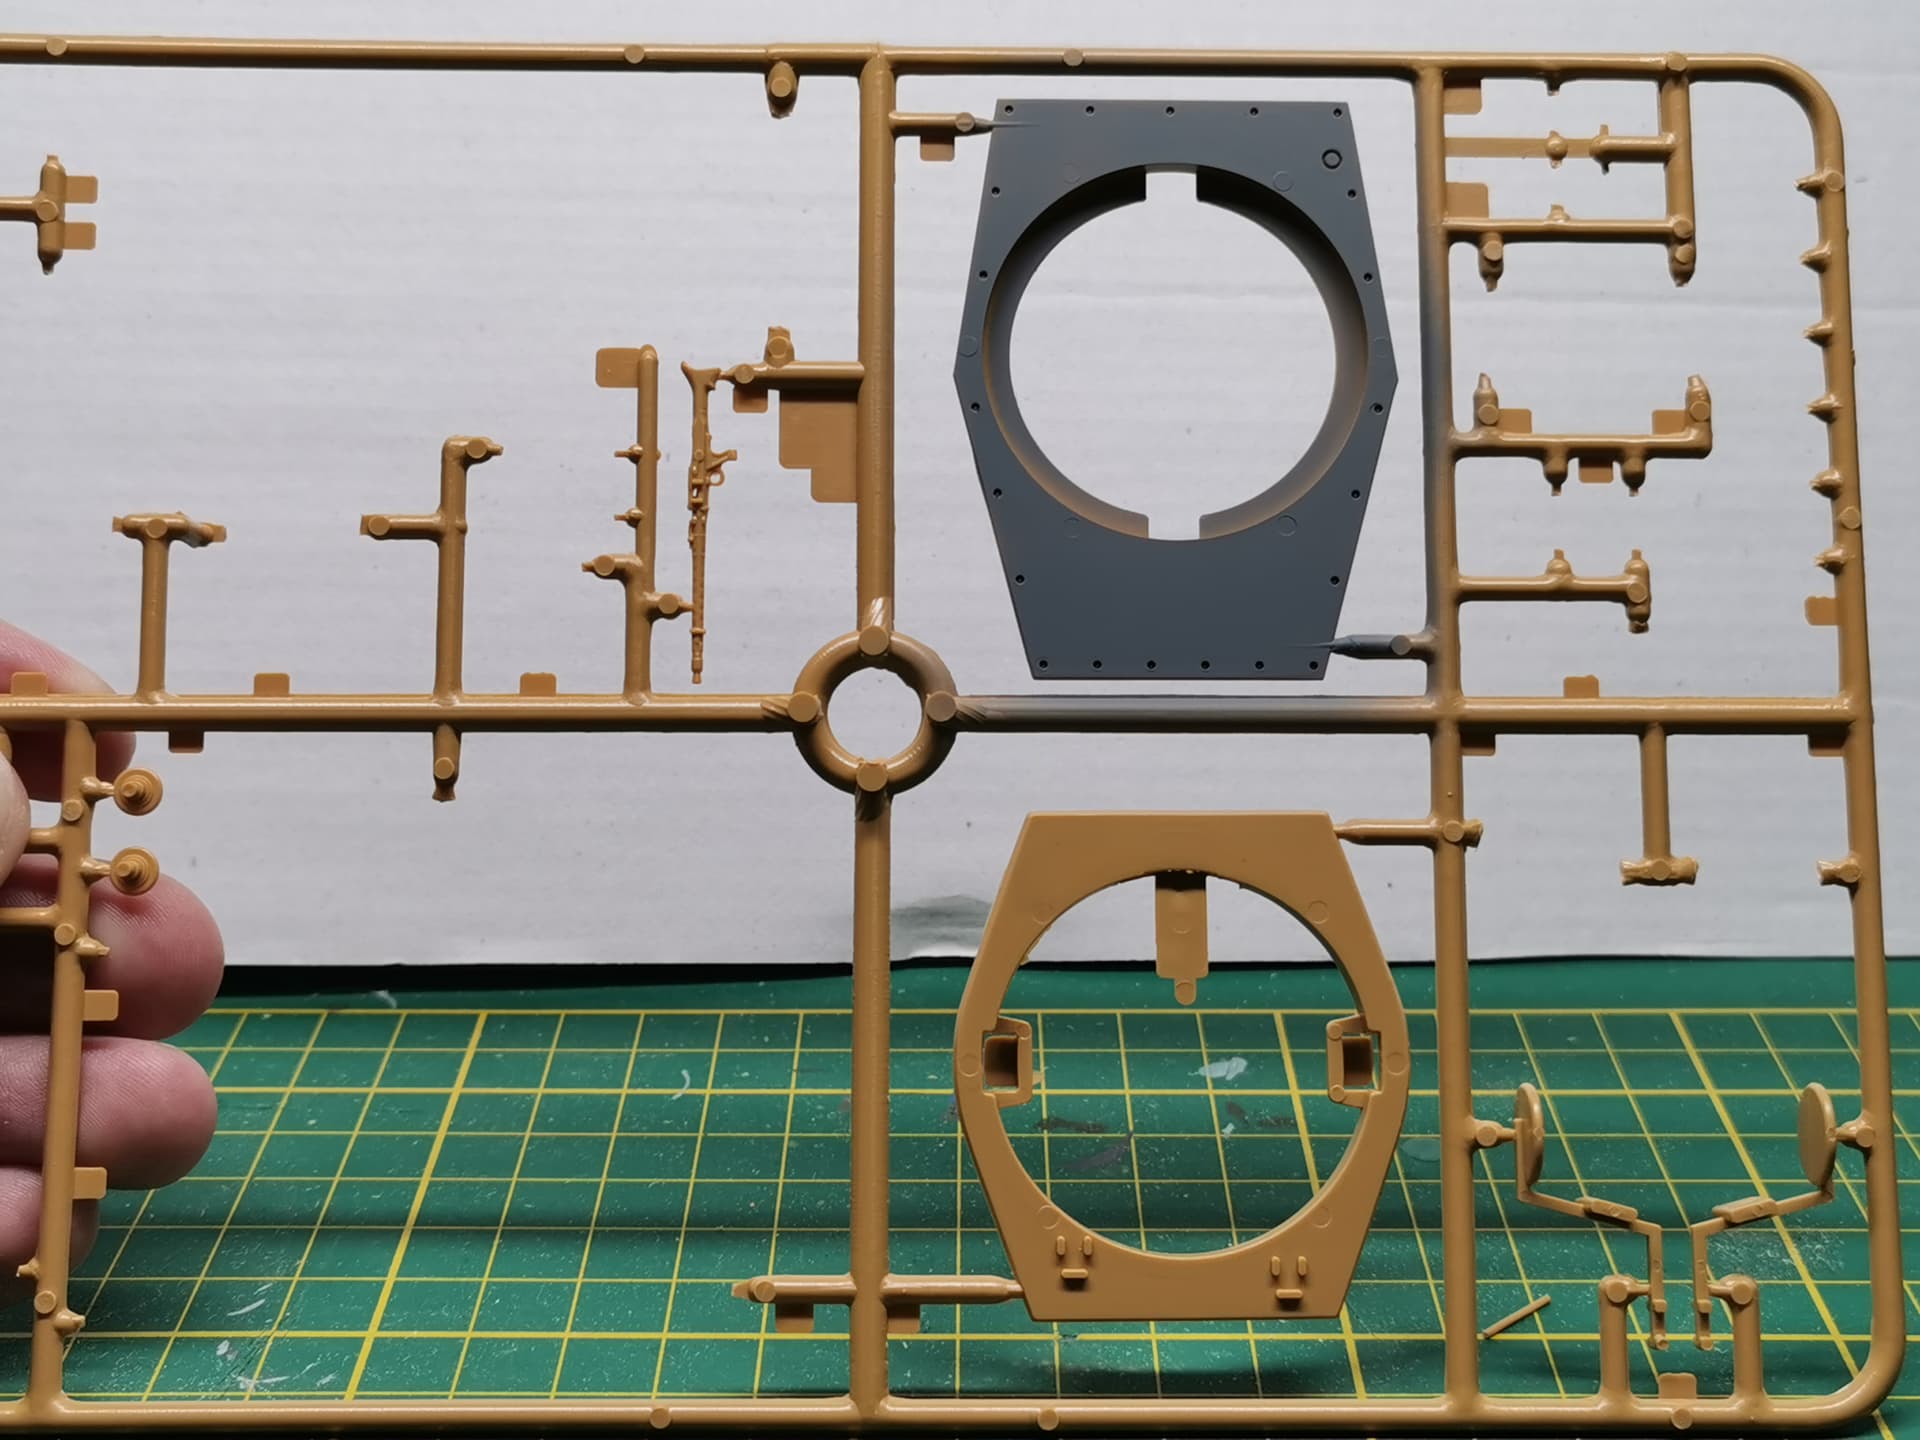
I’ve constructed the sidefenders I believe. I don’t know the name of these parts. But I’ve constructed them. The two parts inside were a little to big to fit with the indicators inside of the parts. But I don’t see problems there. I’ve checked the instructions and to my knowledge shouldn’t give any problems. ![]()
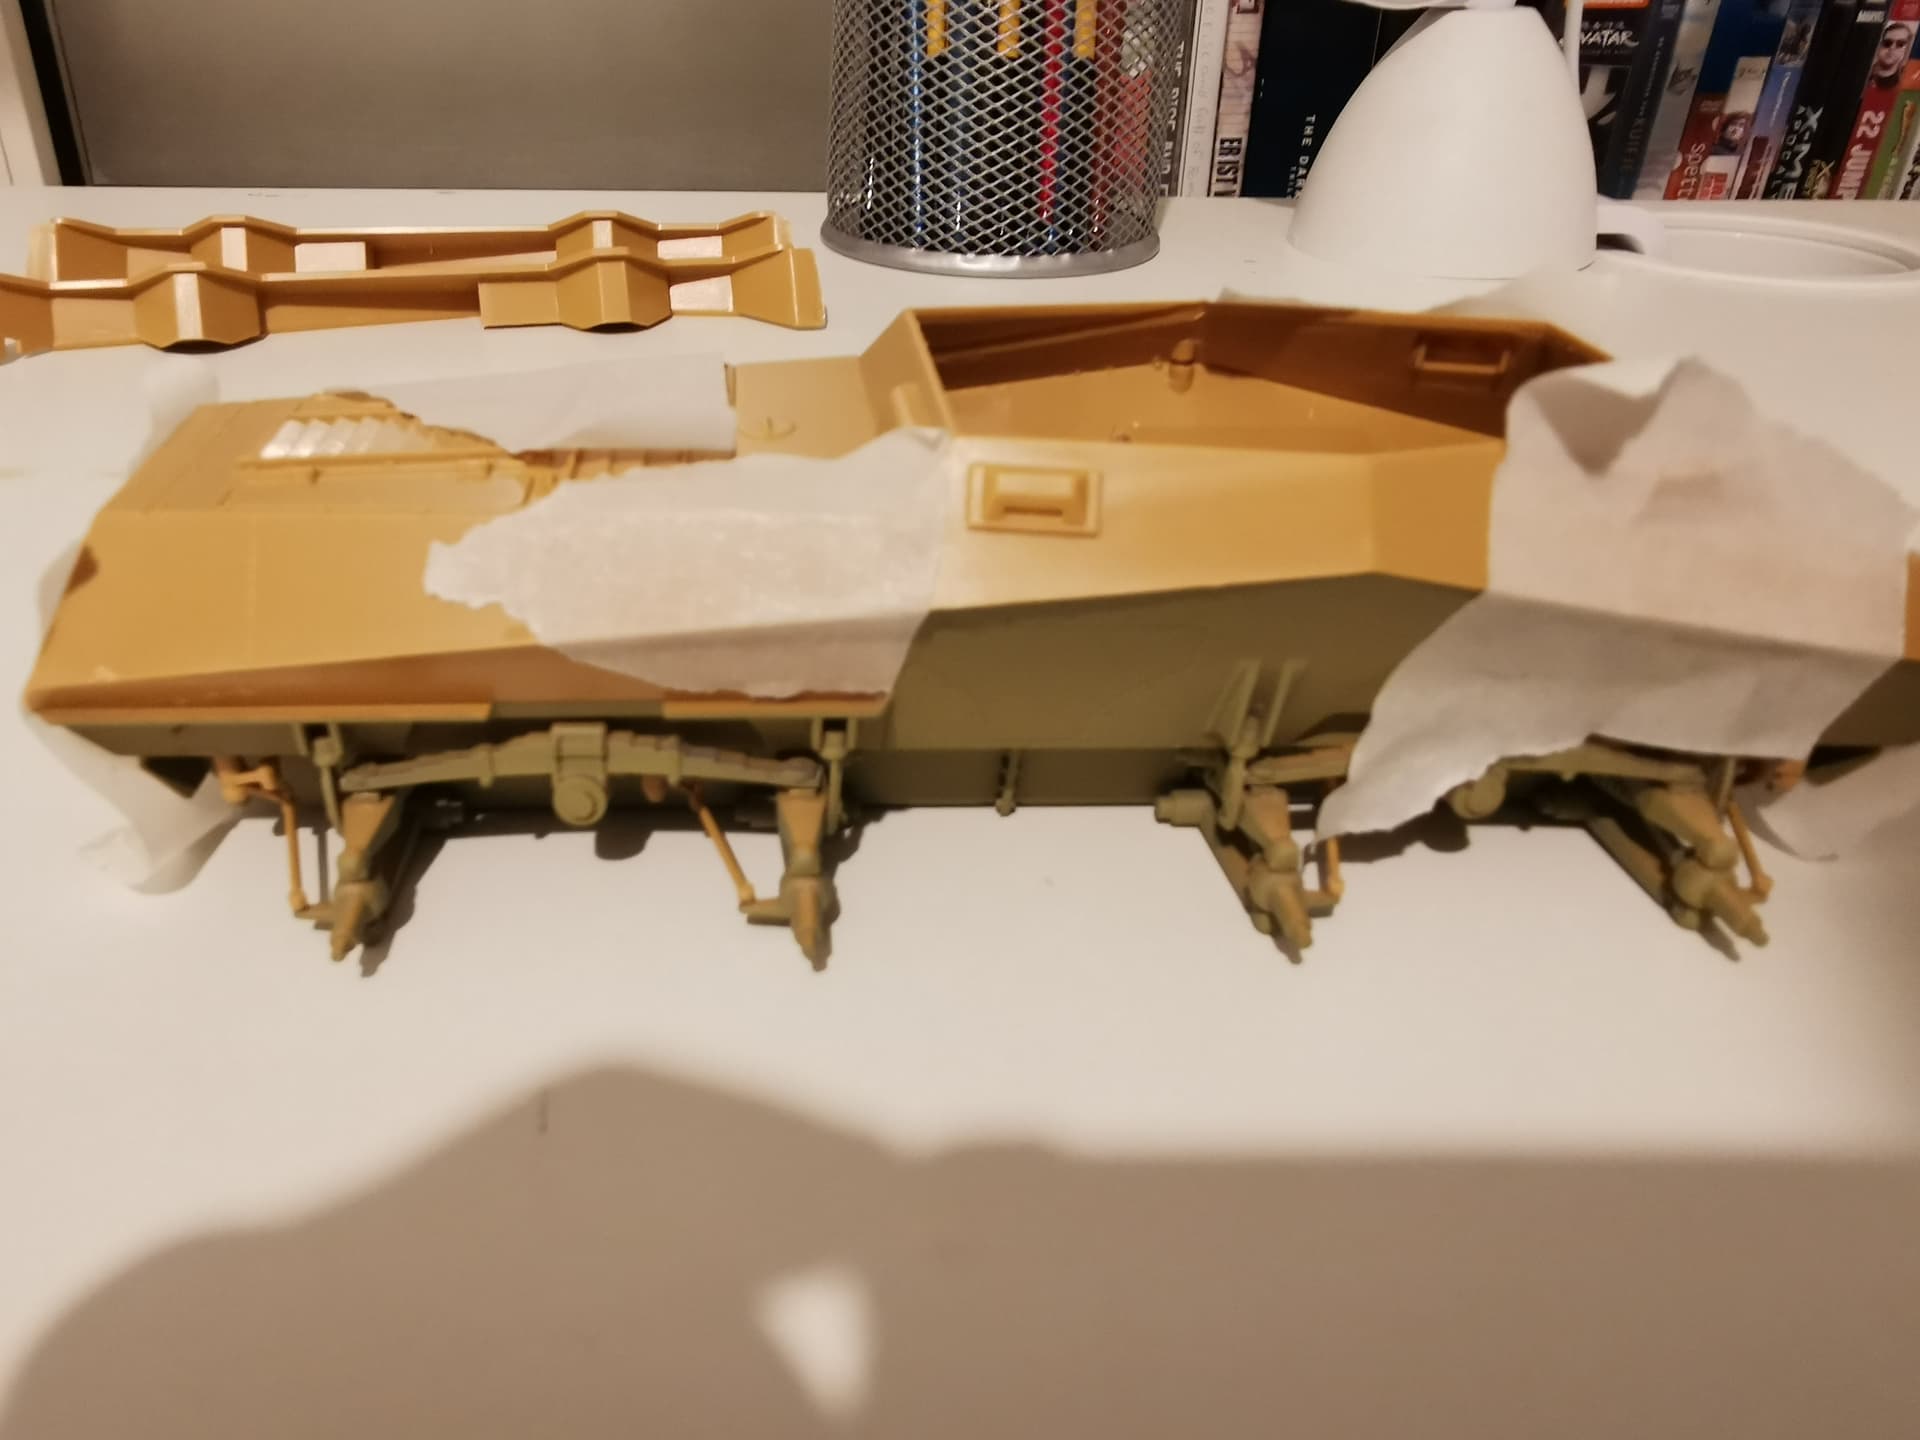
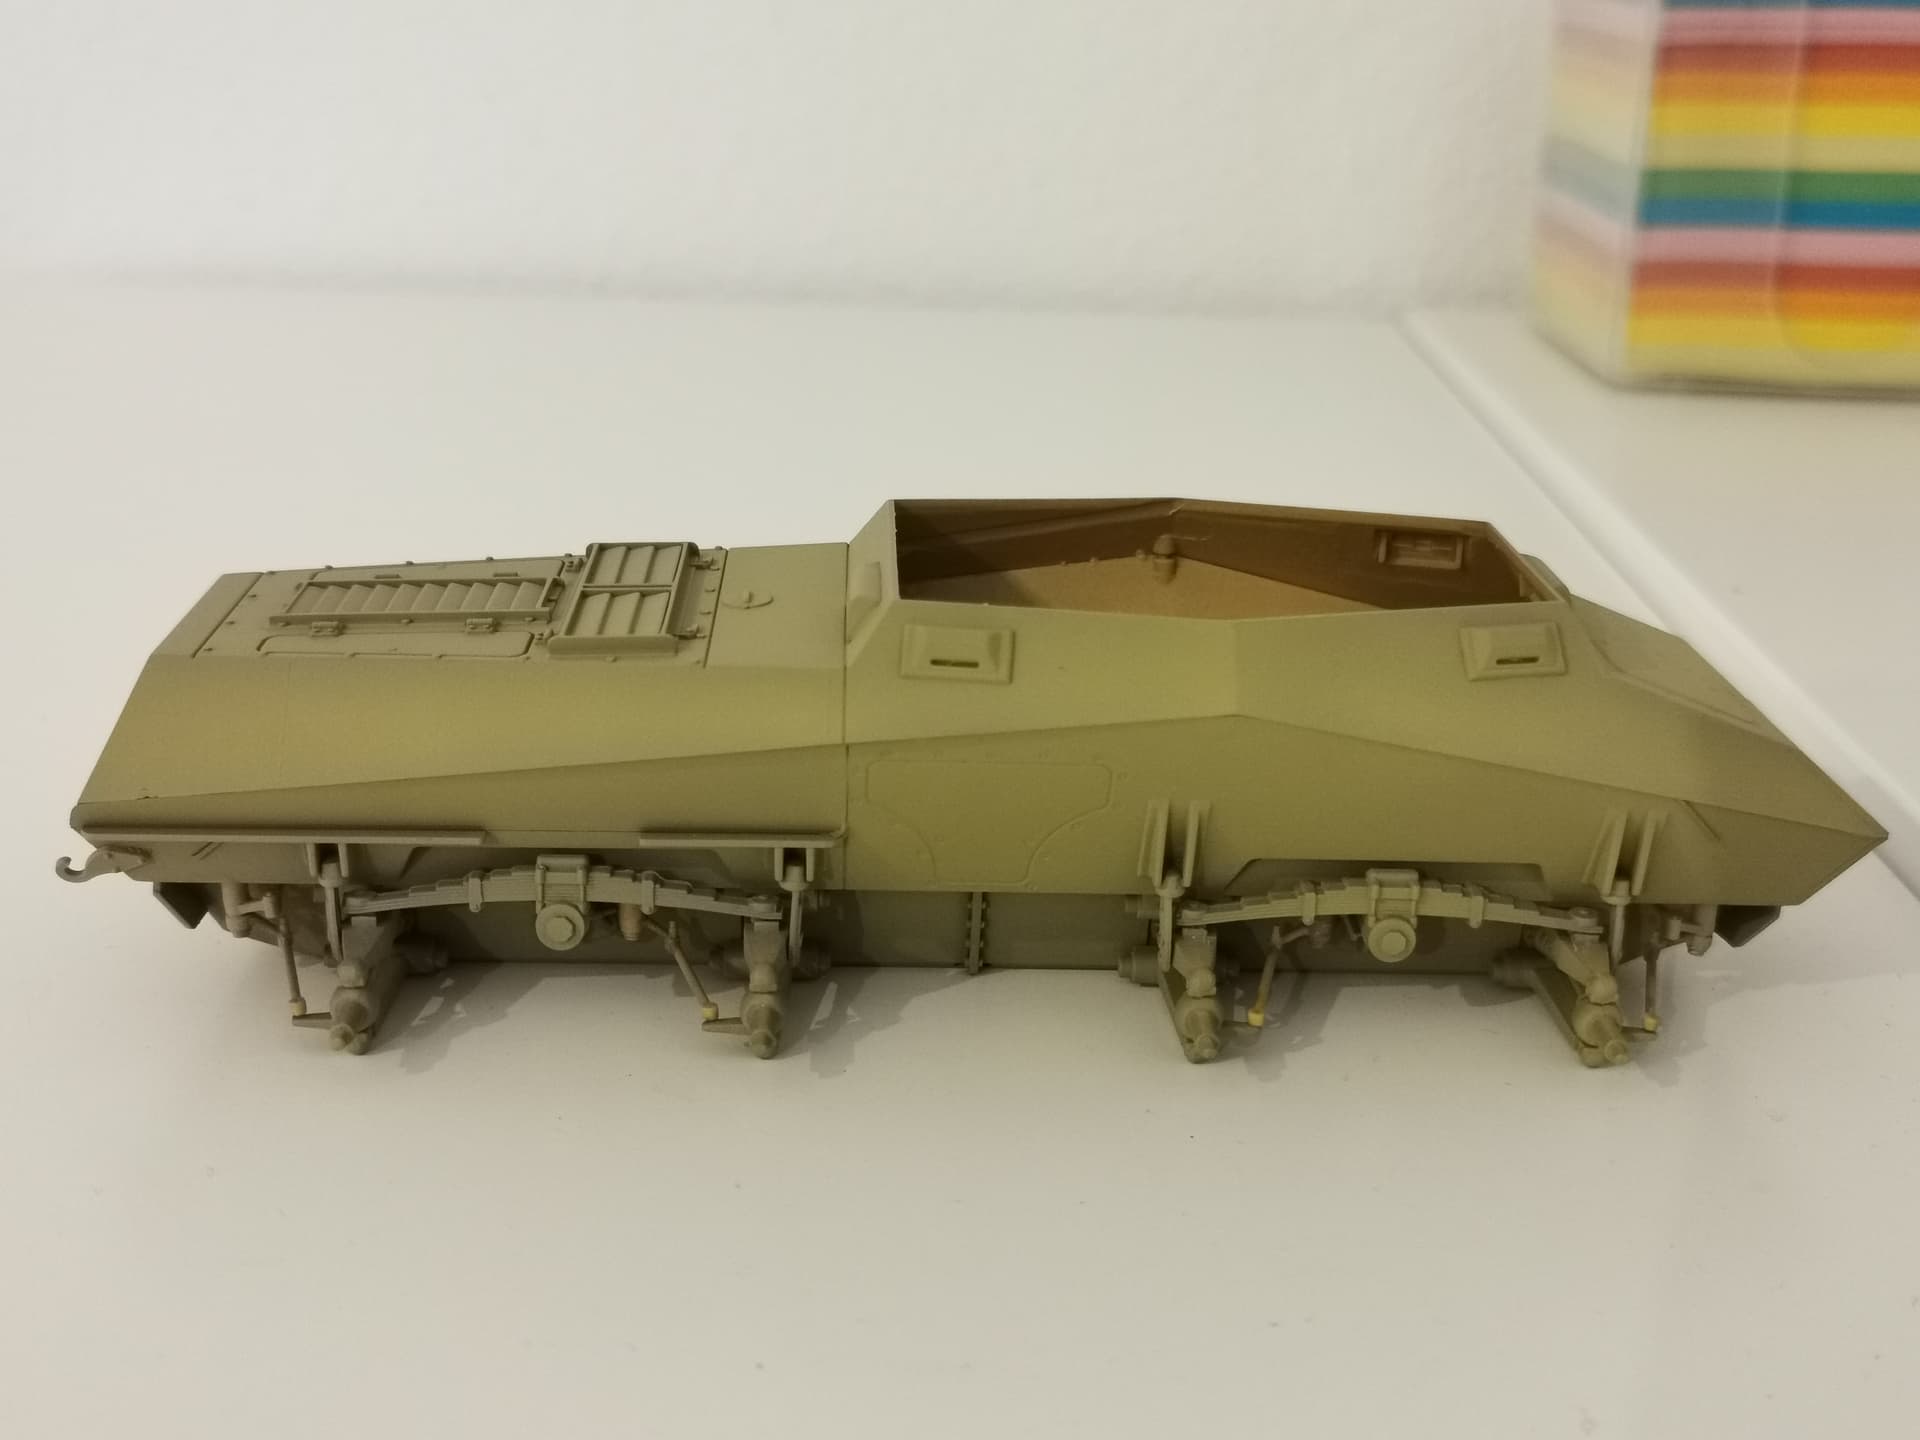
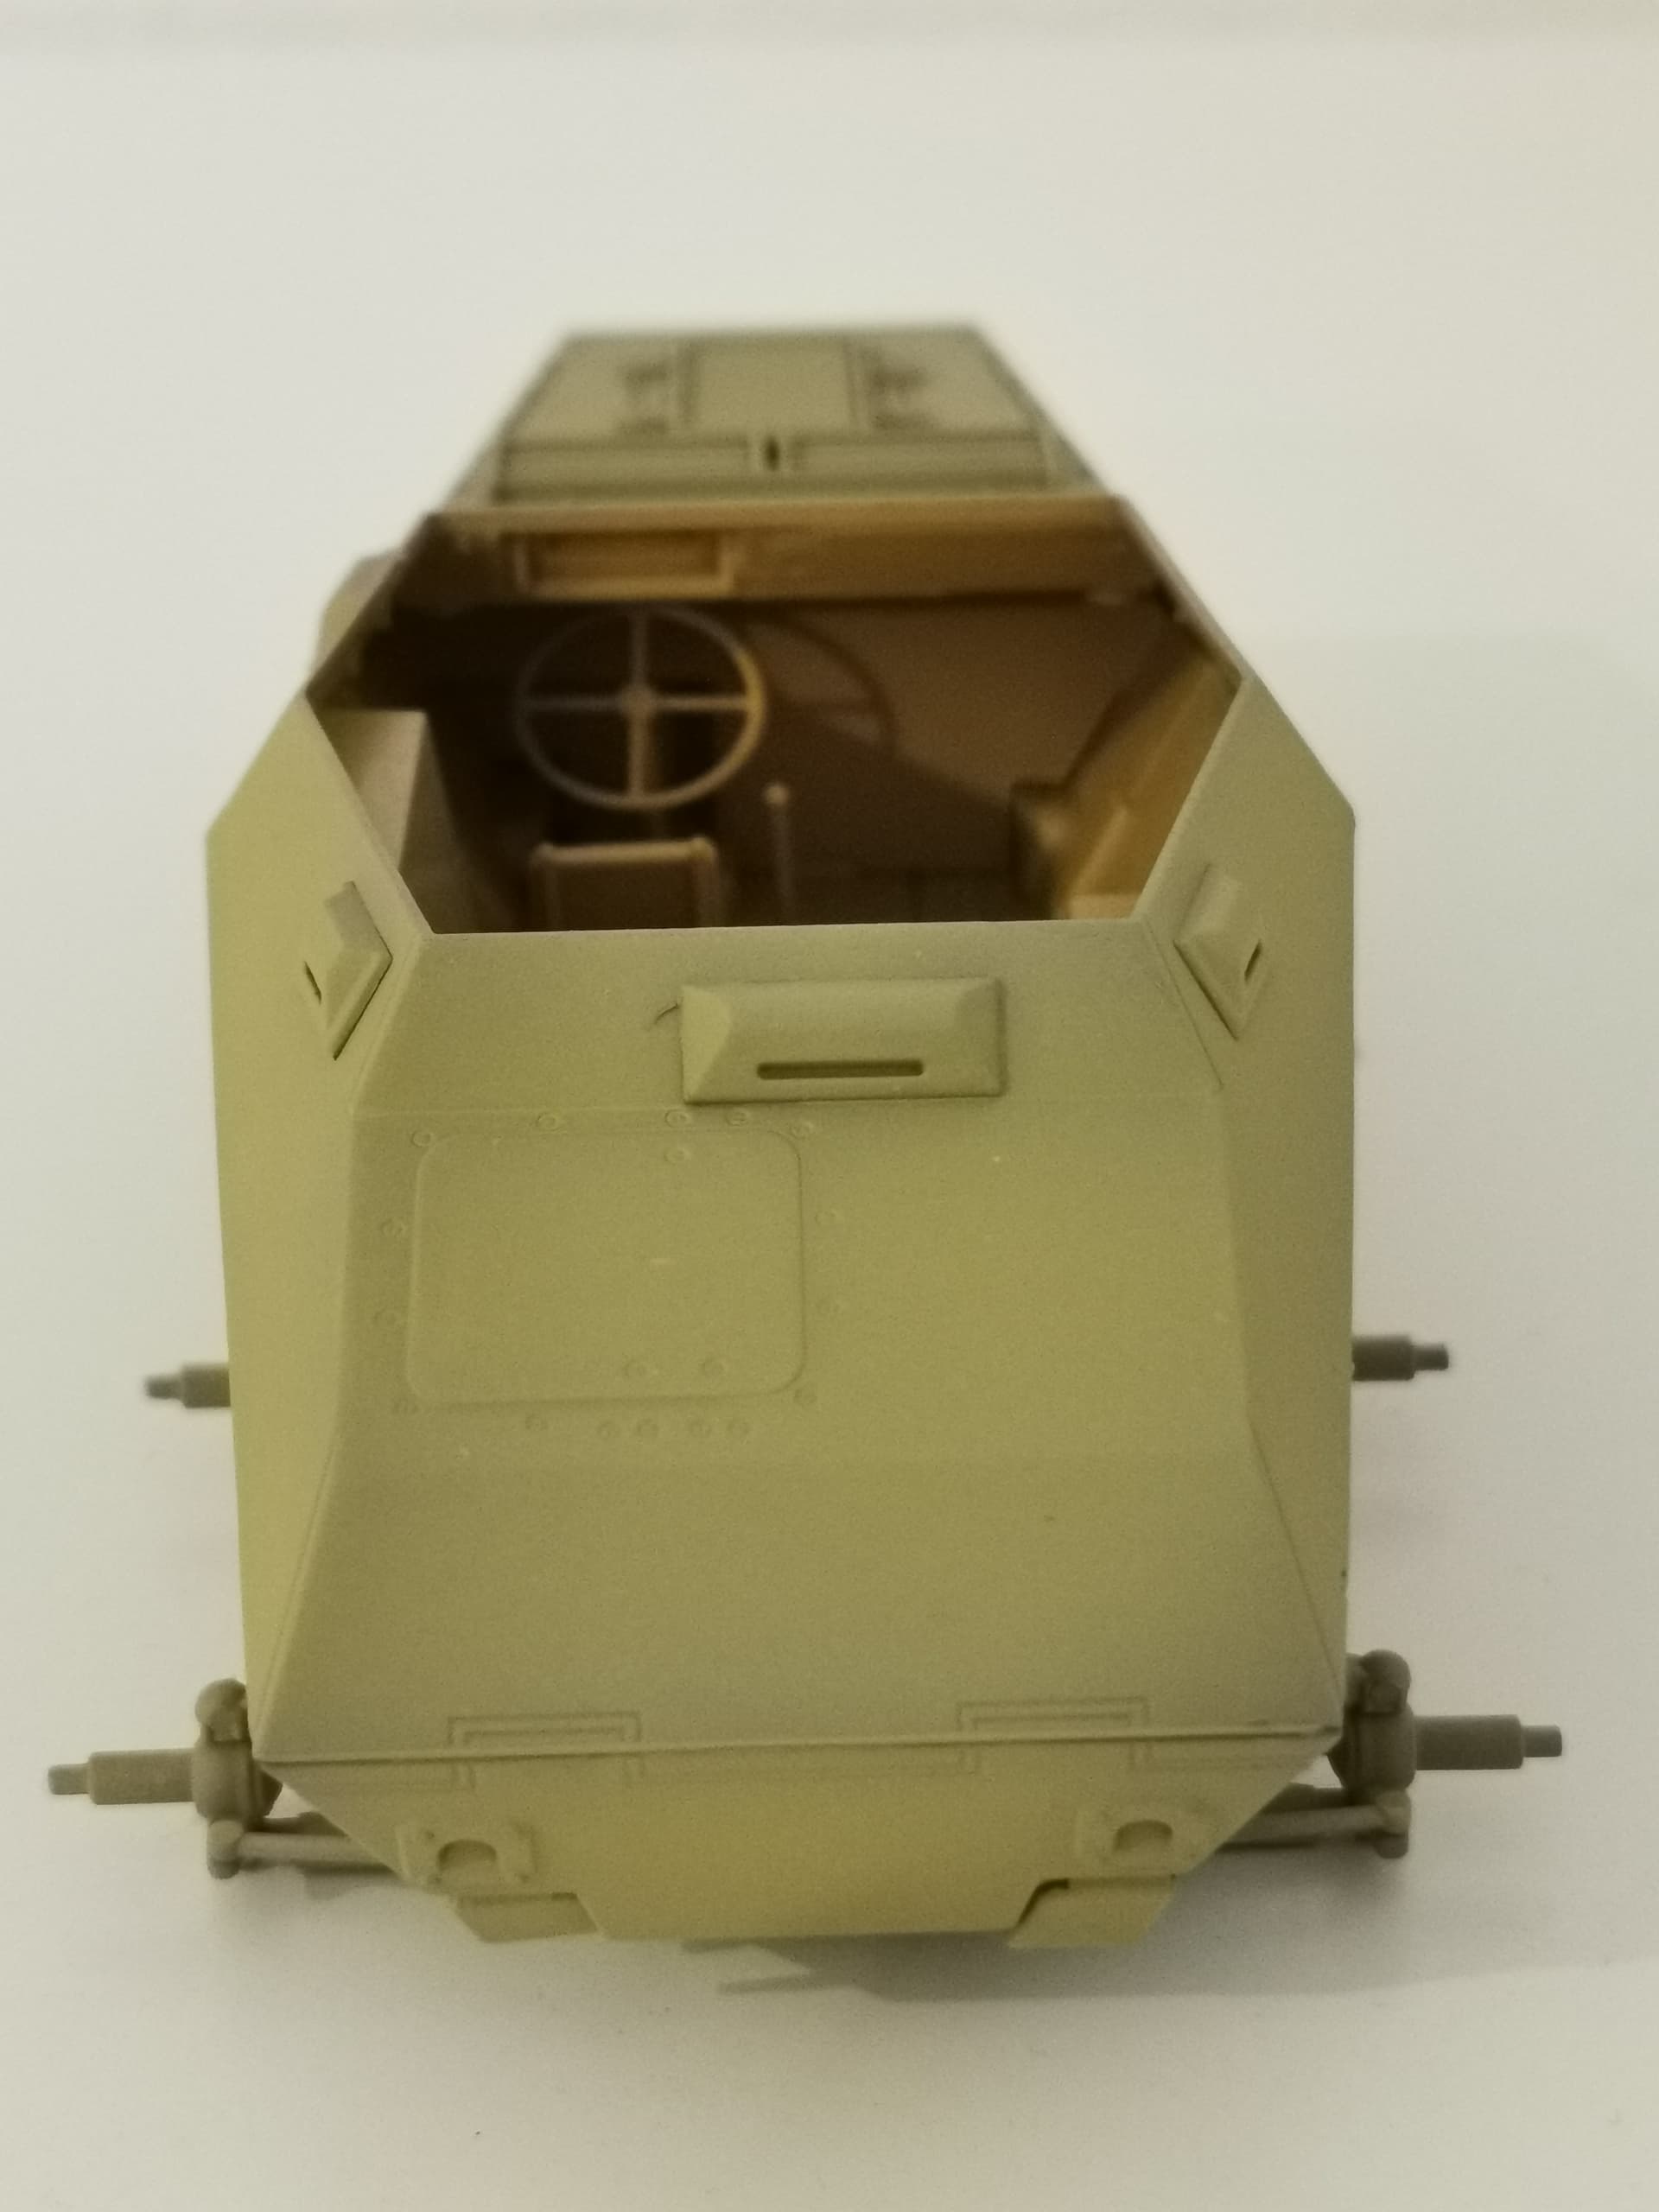
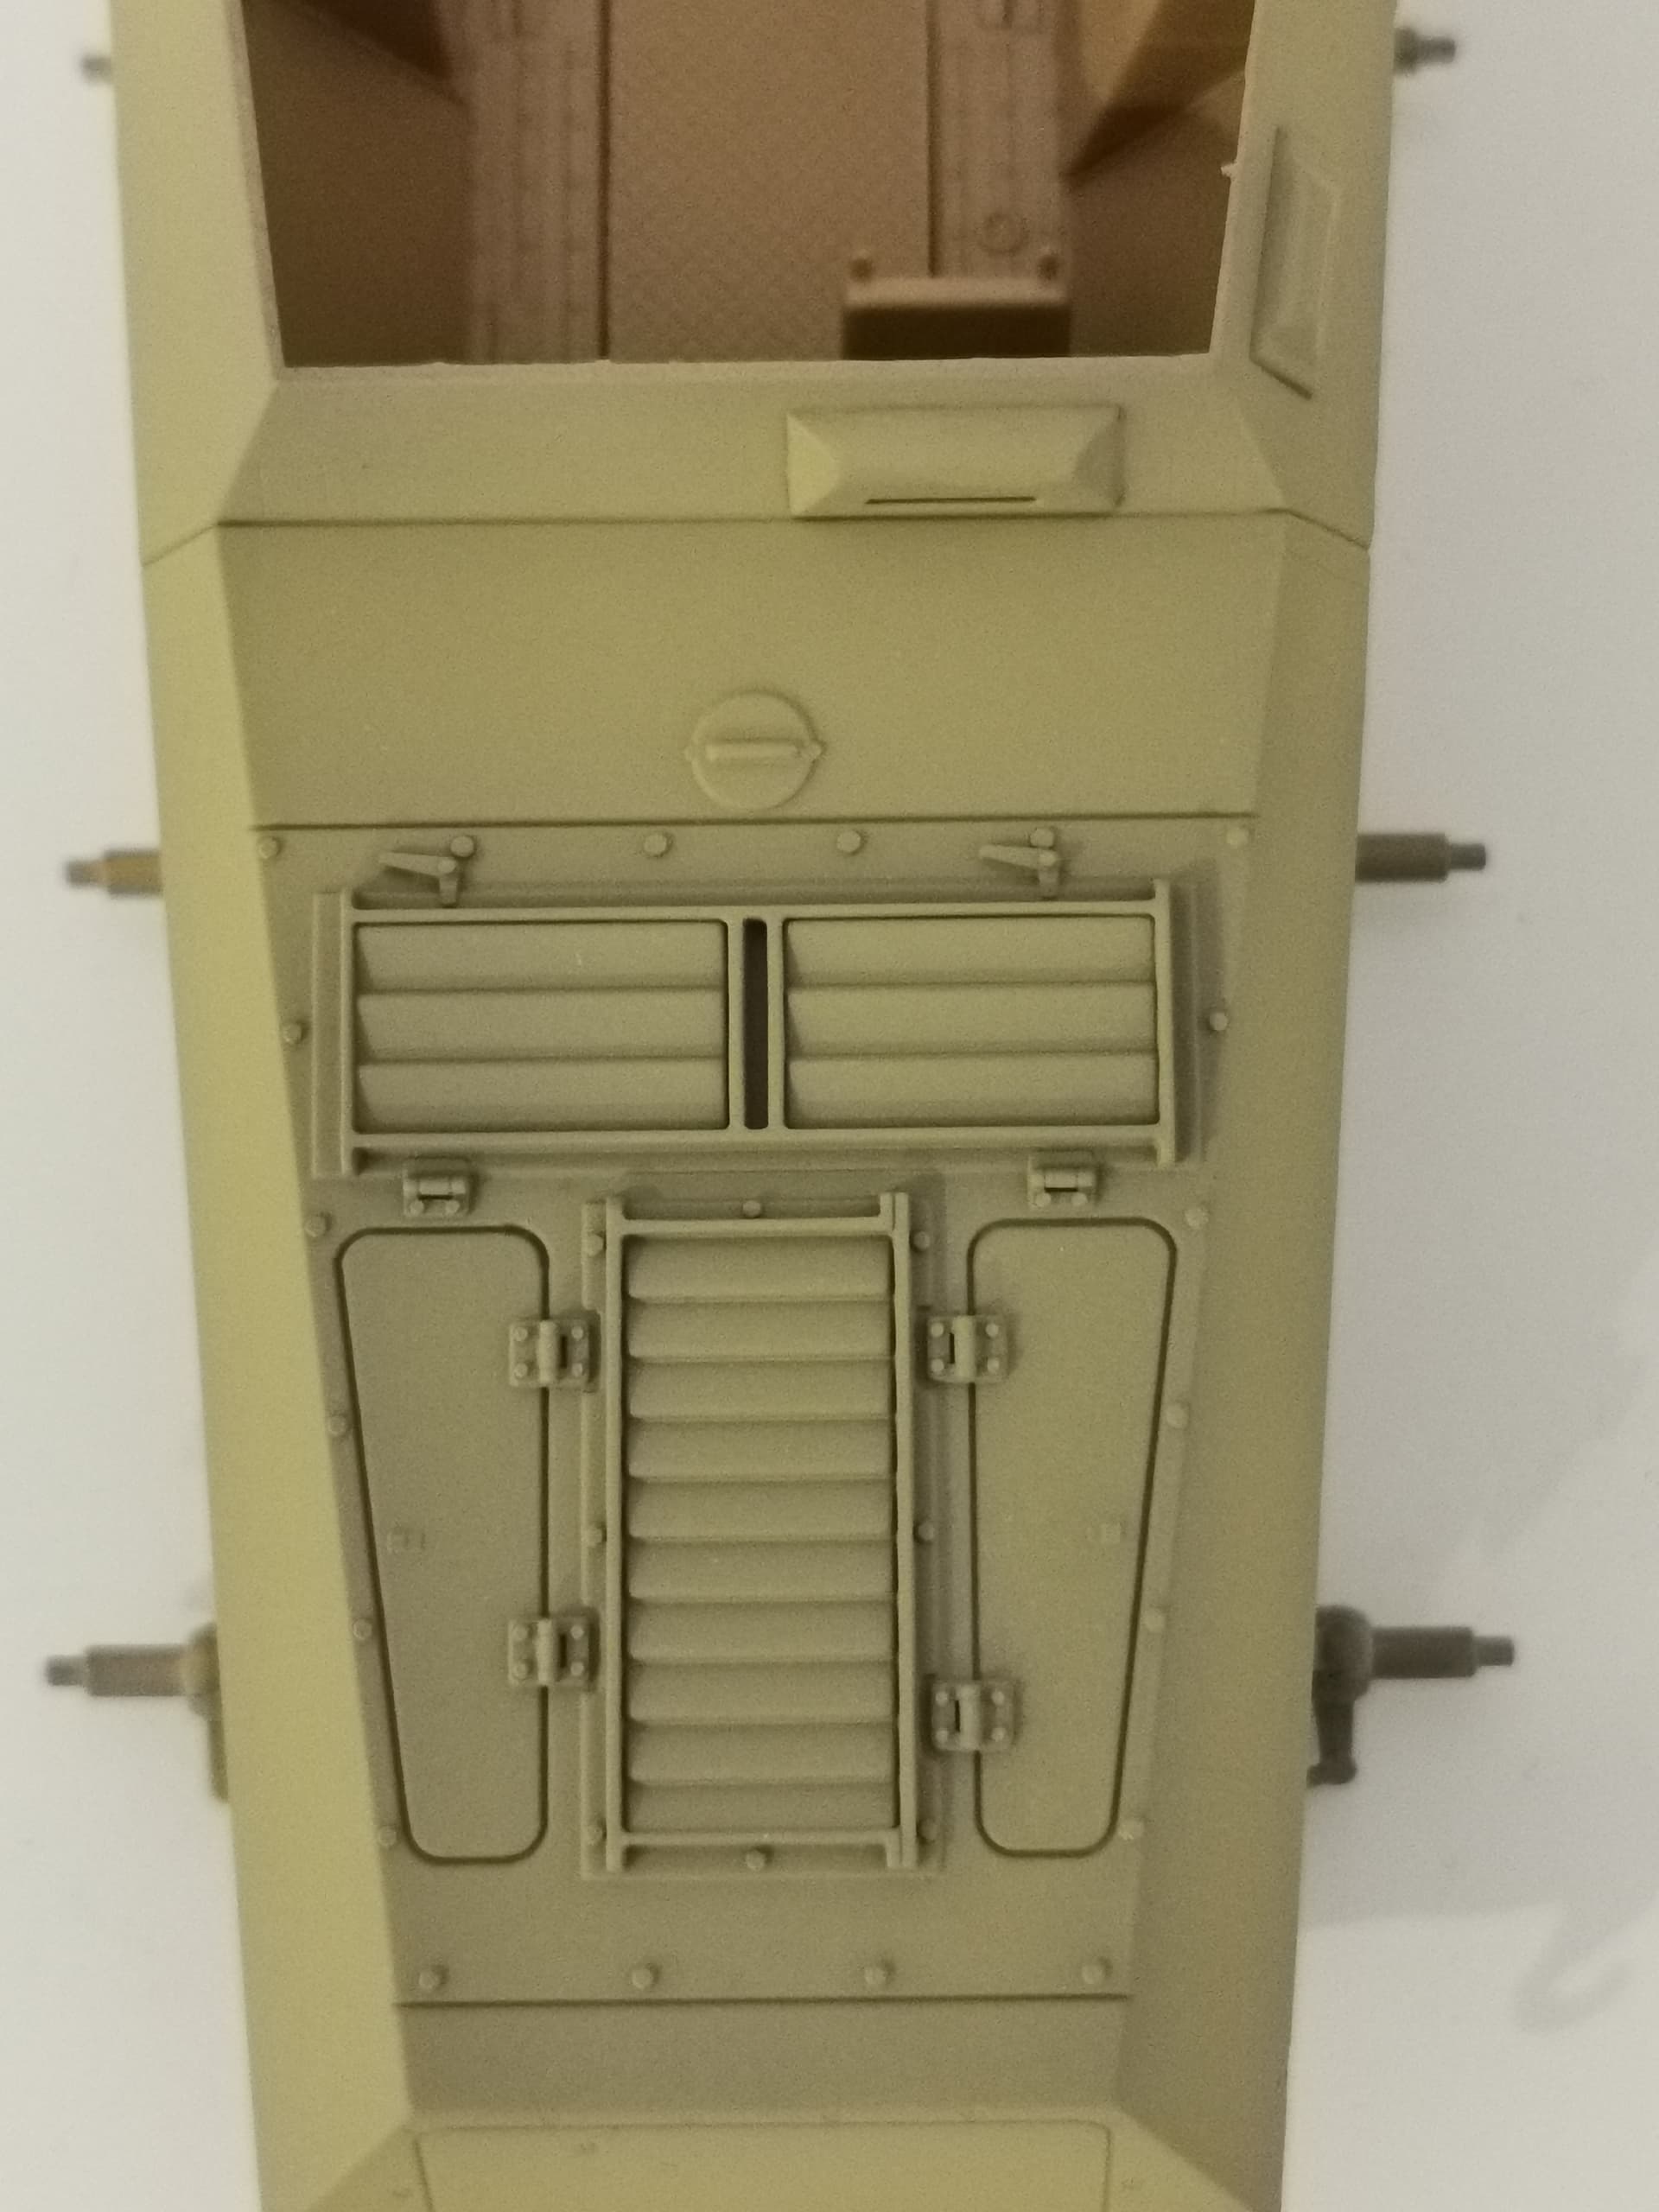
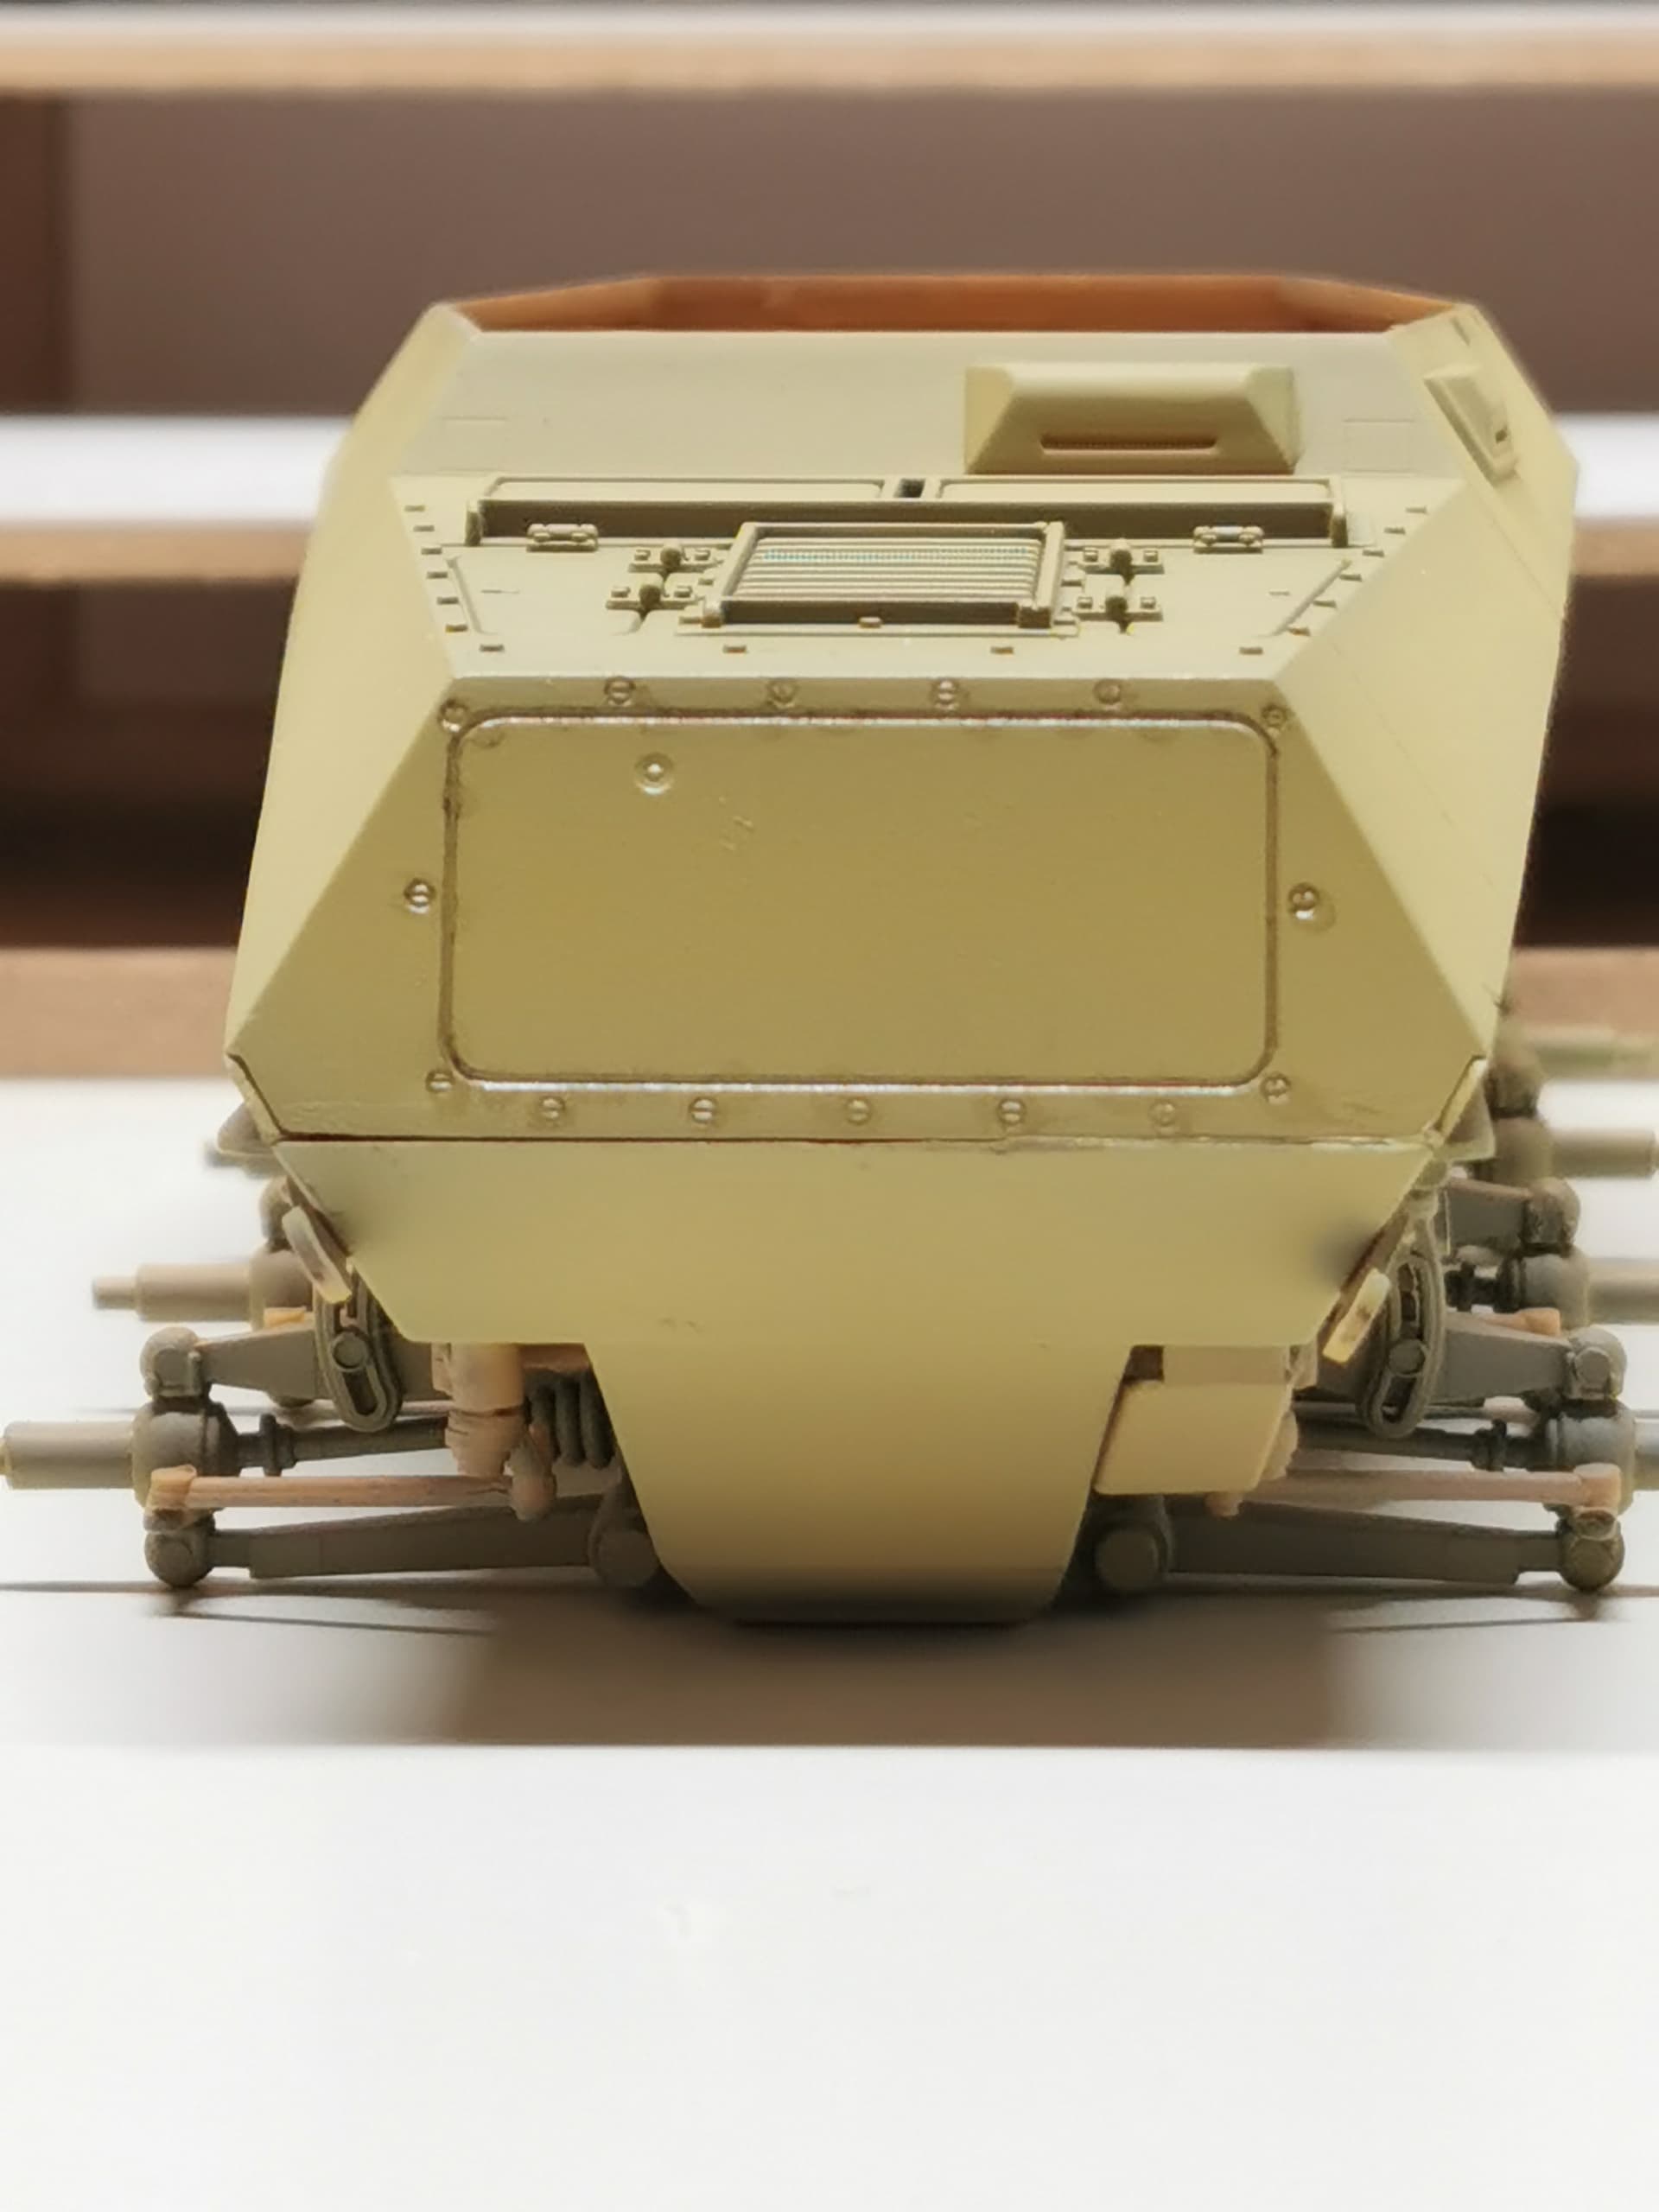
Next I installed the vision slits in the upper structure and installed the upper structure on the lower hull. The upper structure is a little to big in some areas. And doesn’t make it look like one piece. But I’m not sure what to do about it. Is it even visible after installing those two sidefender parts? ![]()
This result costed me a near day of work. And I’m tired, but it was worth it. And I’ve a really satisfied feeling. ![]()
That’s excellent progress ![]()
I think you’re doing very well with this build.
Thank you.
I’m also discovering a lot and I’m still learning everyday.
Also thanks to you.
We have all been there! Keep up the good work.
Ken
Upper hull should overlap the lower hull for a few mm in the real vehicle, so don´t worry about it.
You can obtain a decent replica for the gun with a zis 3 gun and a bit of milling on drill machine
Are you able to refresh my memory?
I’ve not been working on the project and keeping this topic up to date at the same time for some weeks now.
And now that I’m in the middle of a movement for the first time in my life to my own place.
Moving out of my parents house.
I just can’t keep up with the project and/or keep this topic up to date at the same time.
For the first time in a long time, I’m able to provide you with an update on the project again.
There is an gap between the last update of the progress made.
And the current post of progress, but I’m not going to update that.
Because I want to move on, making progress is more important to me than looking back.
And try to fix some gap in the update, which will consume some valuable time and brain power.
So I won’t.
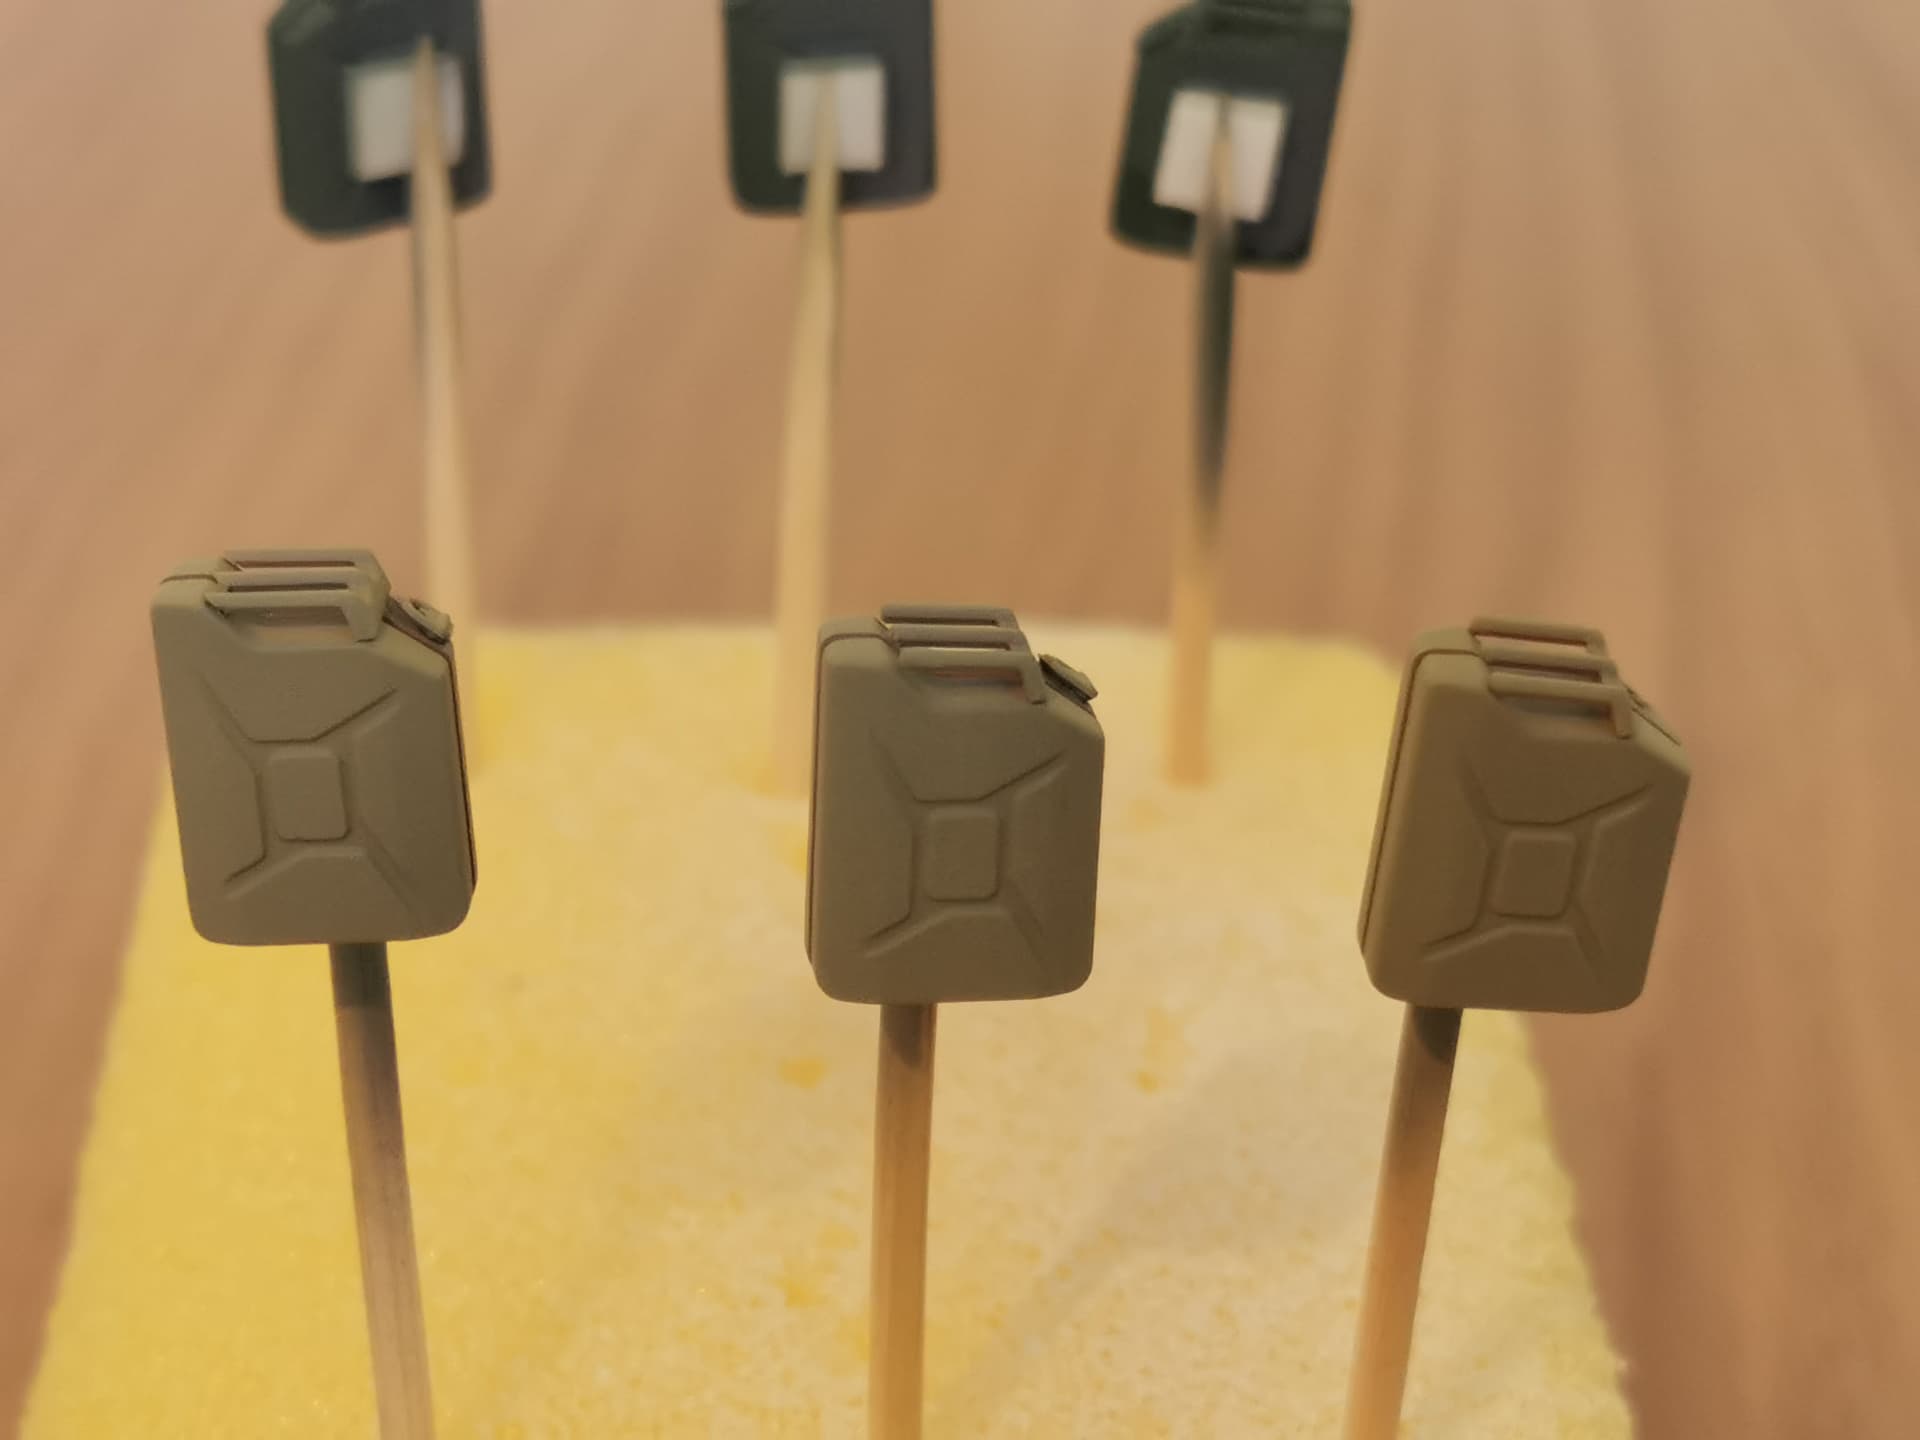
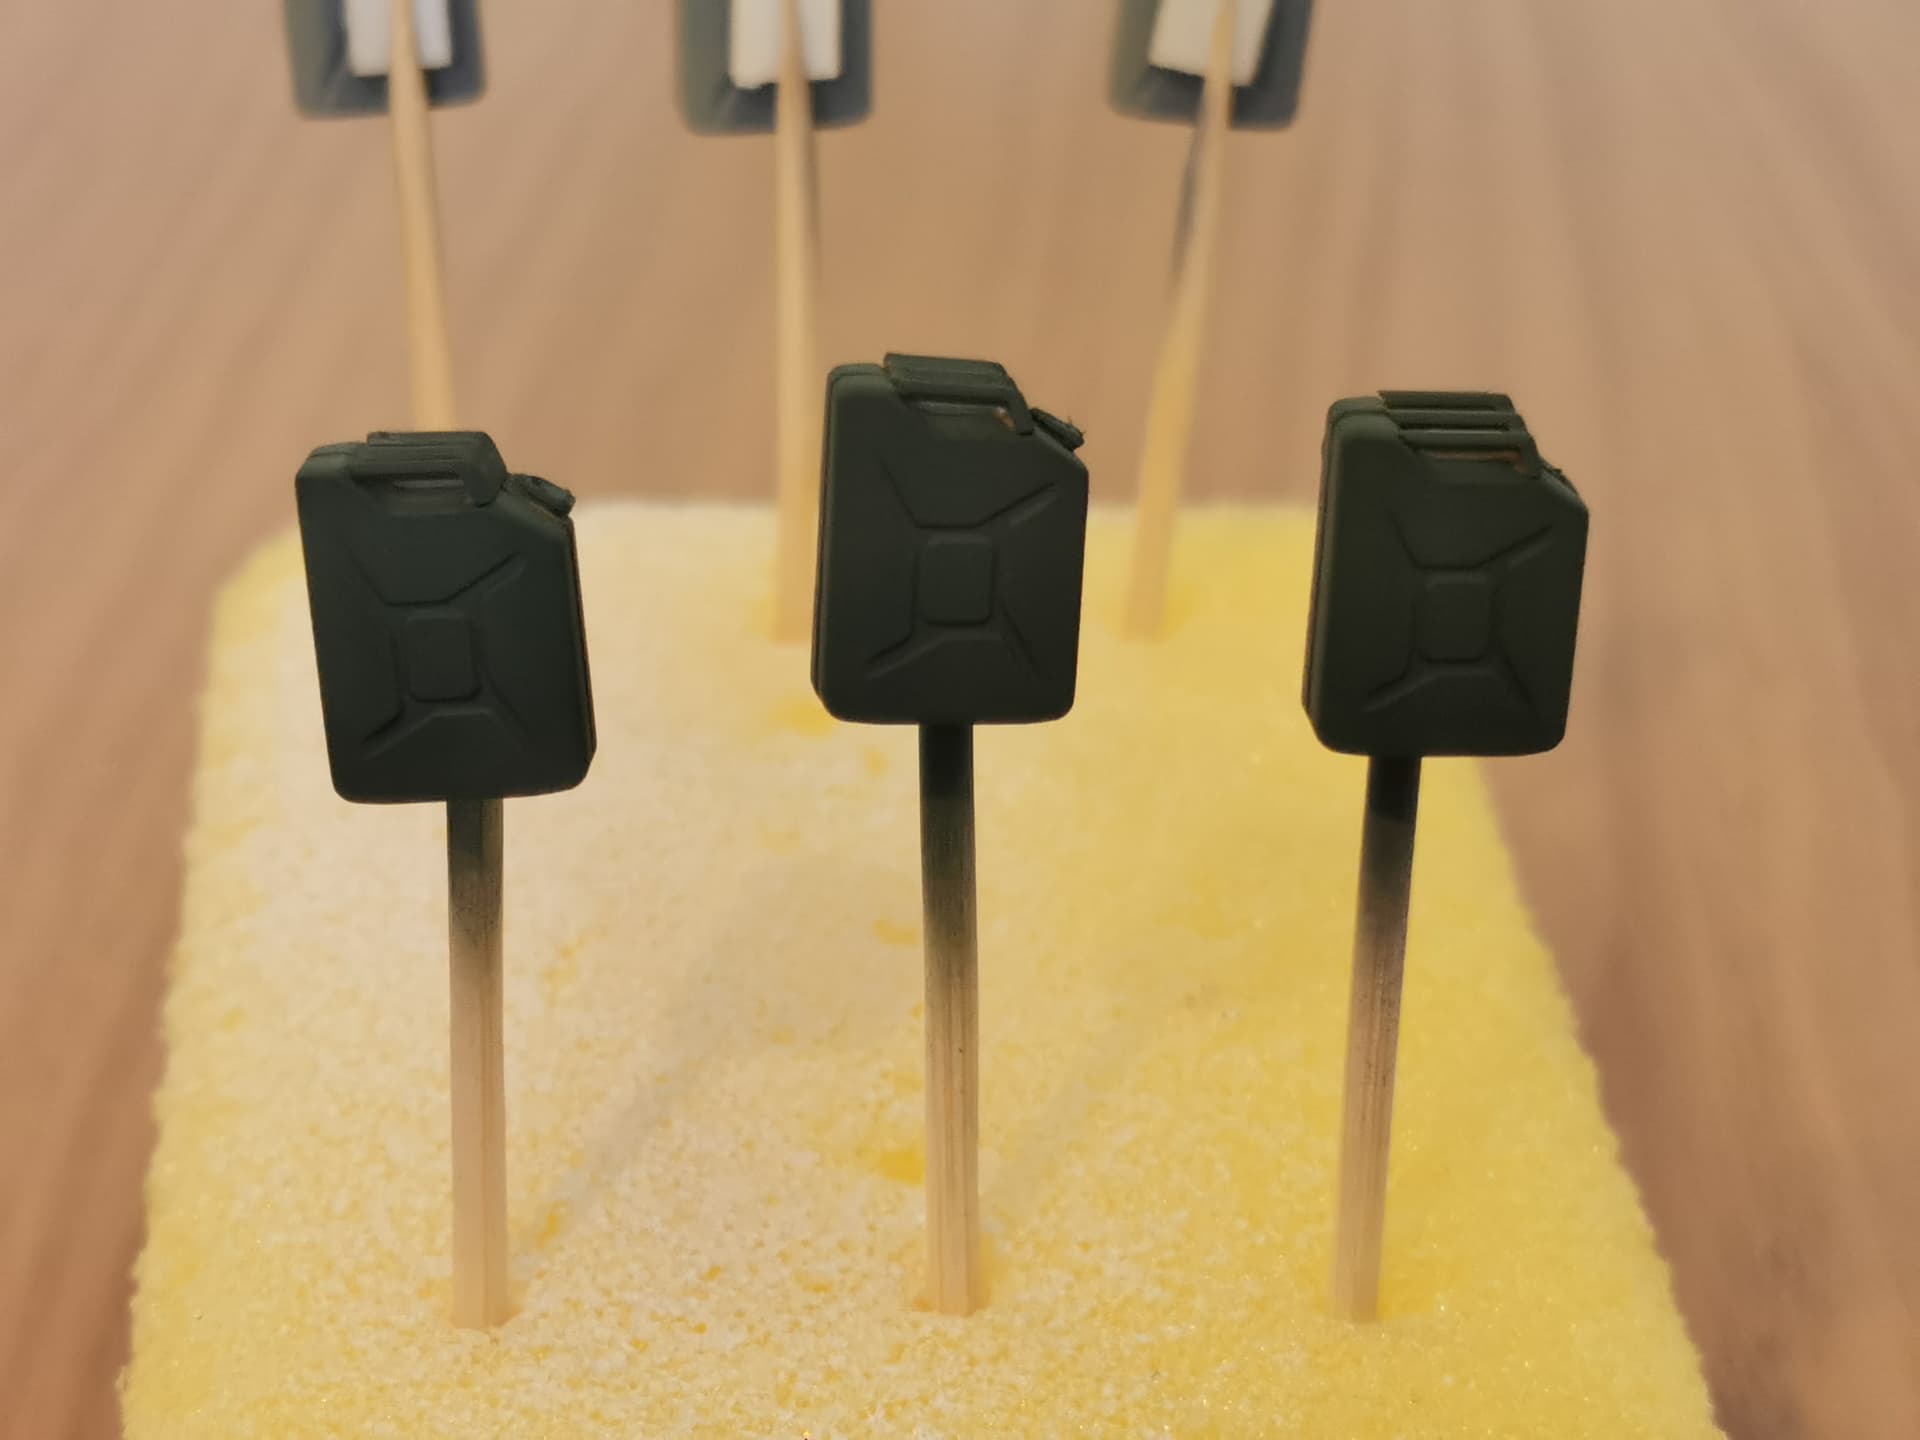
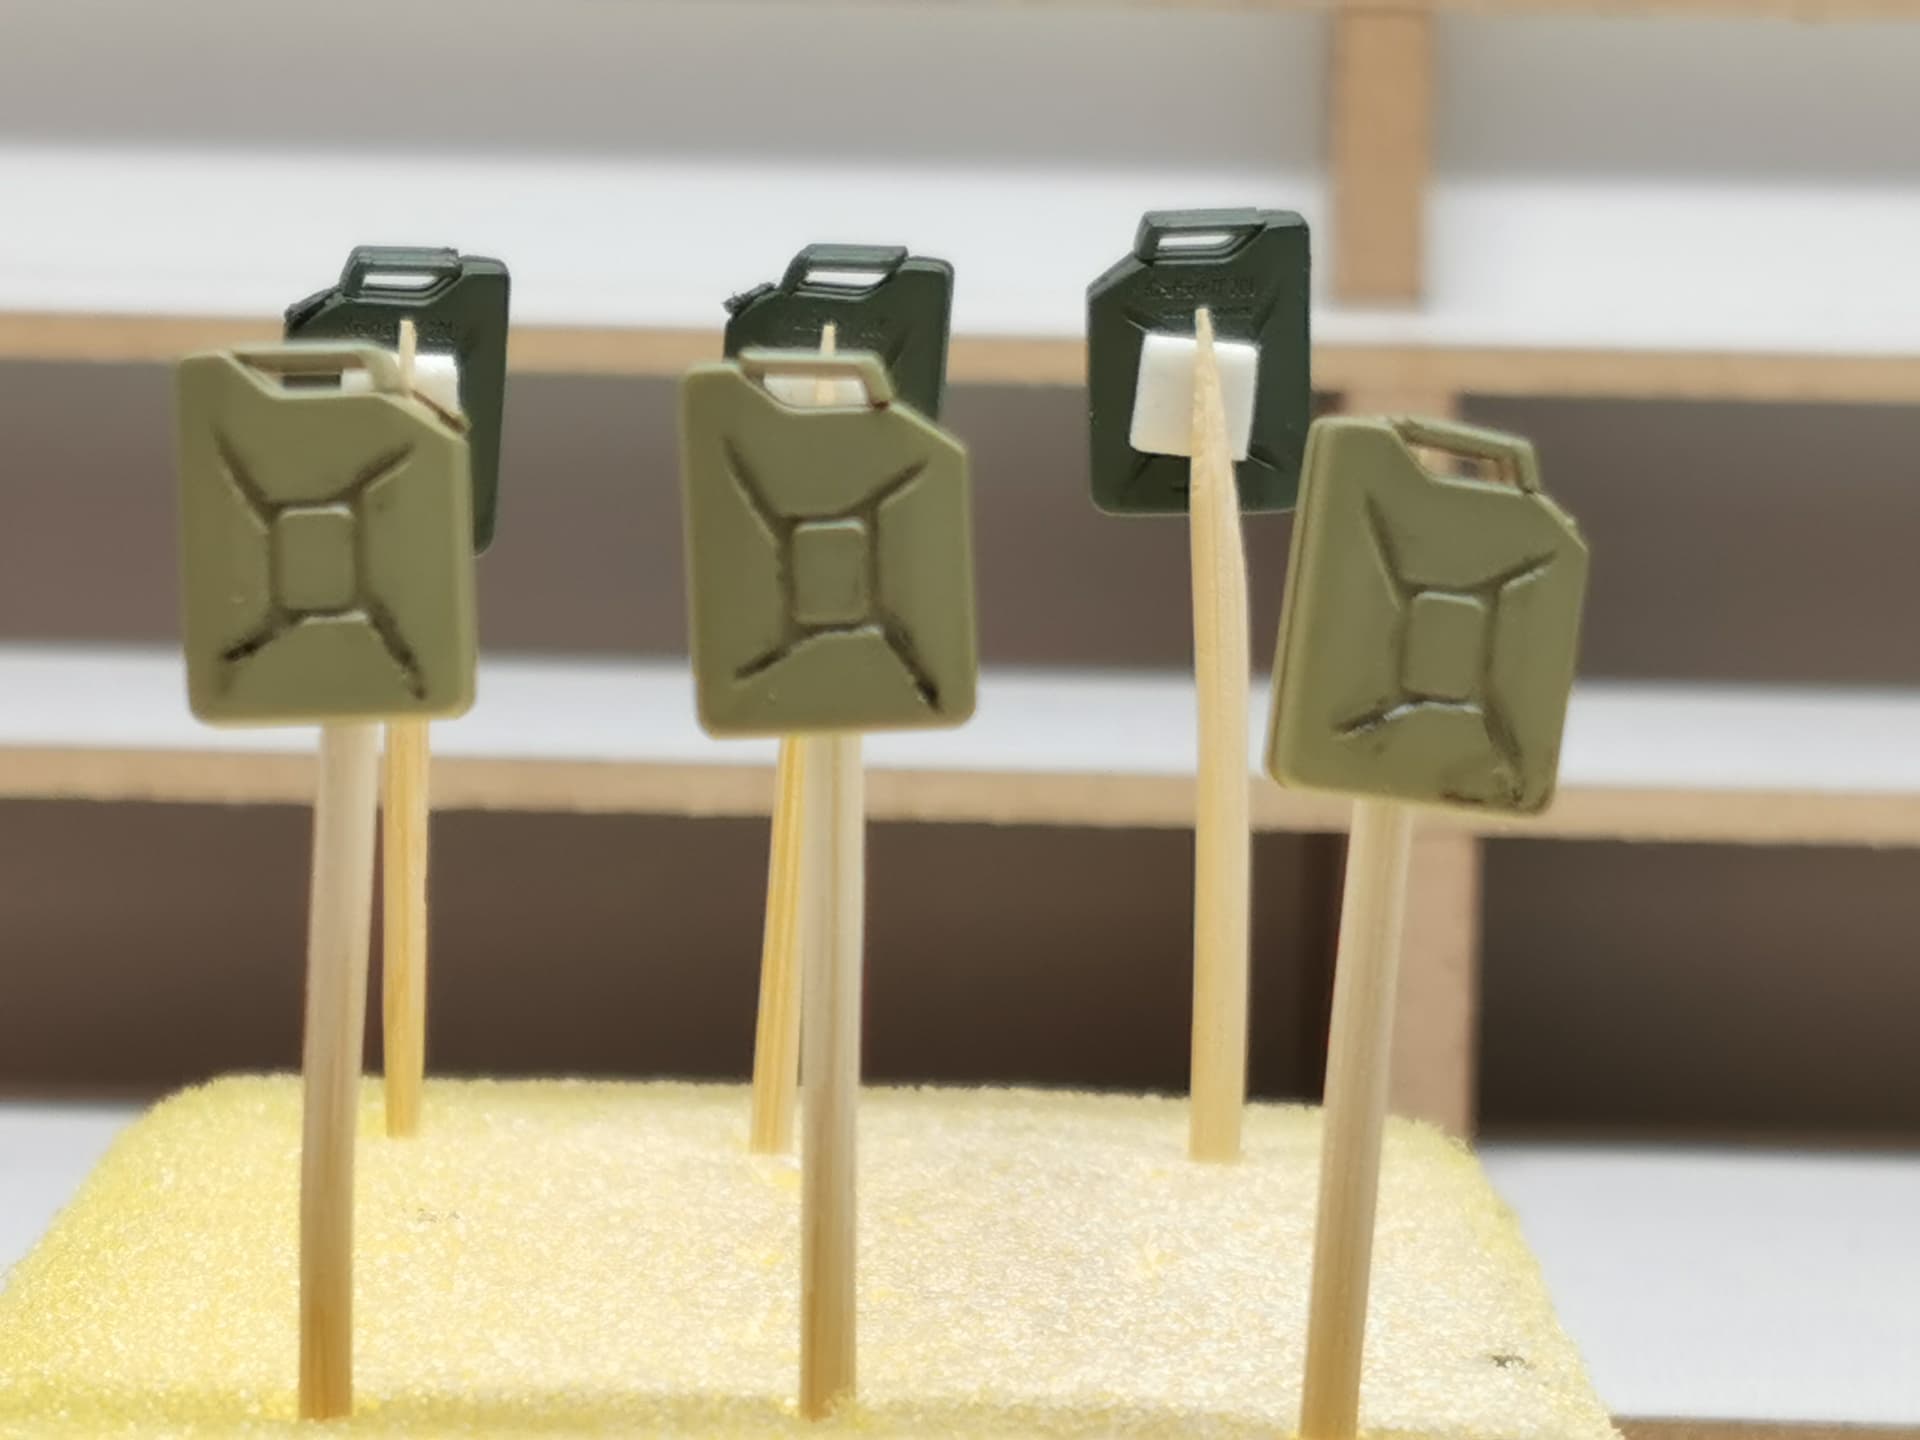
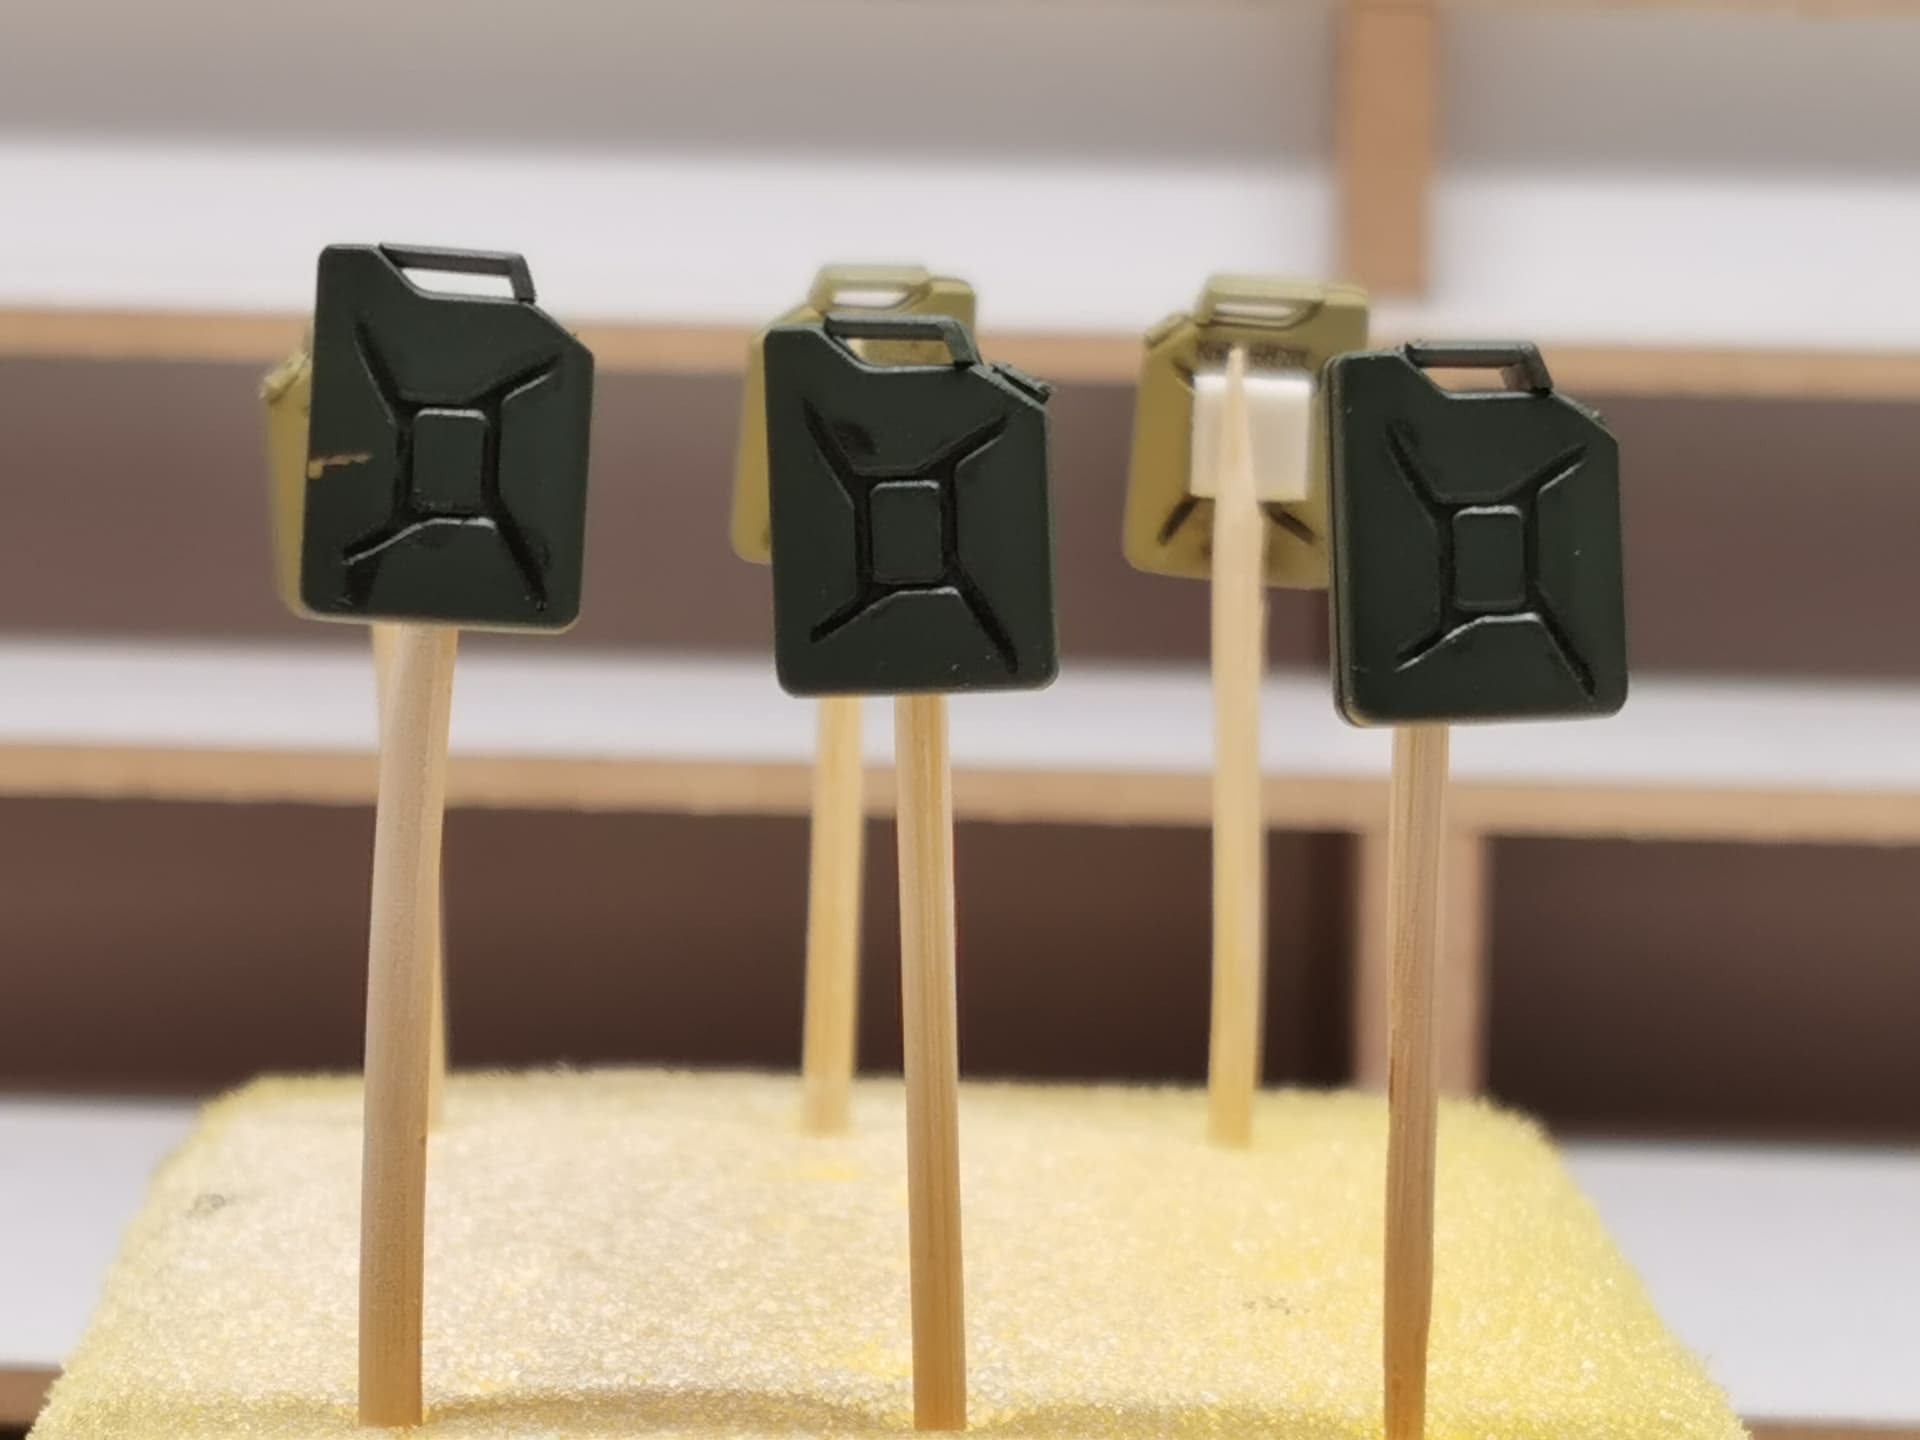
I have airbrushed the Jerry cans in their colors yesterday.
And I still have to weather them.
I’m going to start simple and easy by putting a wash in the details of the front of the Jerry cans.
But that has still to come.
I’m aware that my phot quality isn’t the best.
And that there’s a lot of room for improvement, but I’m finding it more important to practice my scale modeling projects than improving the quality of my pictures.
That will be something that comes later on the list.
I have used two different colors for the Jerry cans, listening to your suggestions made earlier.
I’ve only done two colors, because it was to much work to do all different colors.
Compared to the size of the work.
And it would take up to much valuable time, I would be spending more time with changing colors than actually spraying the Jerry cans themselves.
I’m having a problem with my H&S AB, because there is leakage in the front of the airbrush at the location of the O-Ring.
I’m suspecting the O-Ring is warn and that it doesn’t seal properly anymore.
But, I’ve used another airbrush I have that does work.
I just don’t have the time or resources to fix it, I’m finding it more important to keep going with the projects.
Hope you’ve a wonderfull day and feel free to follow the project again. I do my best to keep it updated.
Don’t get caught up in the purist click it will drive you crazy and could lead you into abandoning your project. Keep in mind they only produce a 100 or so of these vehicles. I plan on building the dragon Puma with KG von Bohm with 2nd PZ Div. in the Ardennes. A few pictures out there and documentation. I have “Scouts Out” and it’s a good picture reference book on overall German Reconnaissance Battalions. I never had plans to read it cover to cover. It’s kinda boring and there are better reads on those reconnaissance units. Good luck with your project and follow through.
KG von Bohm. I see a 233 with the short barrel 75 there.
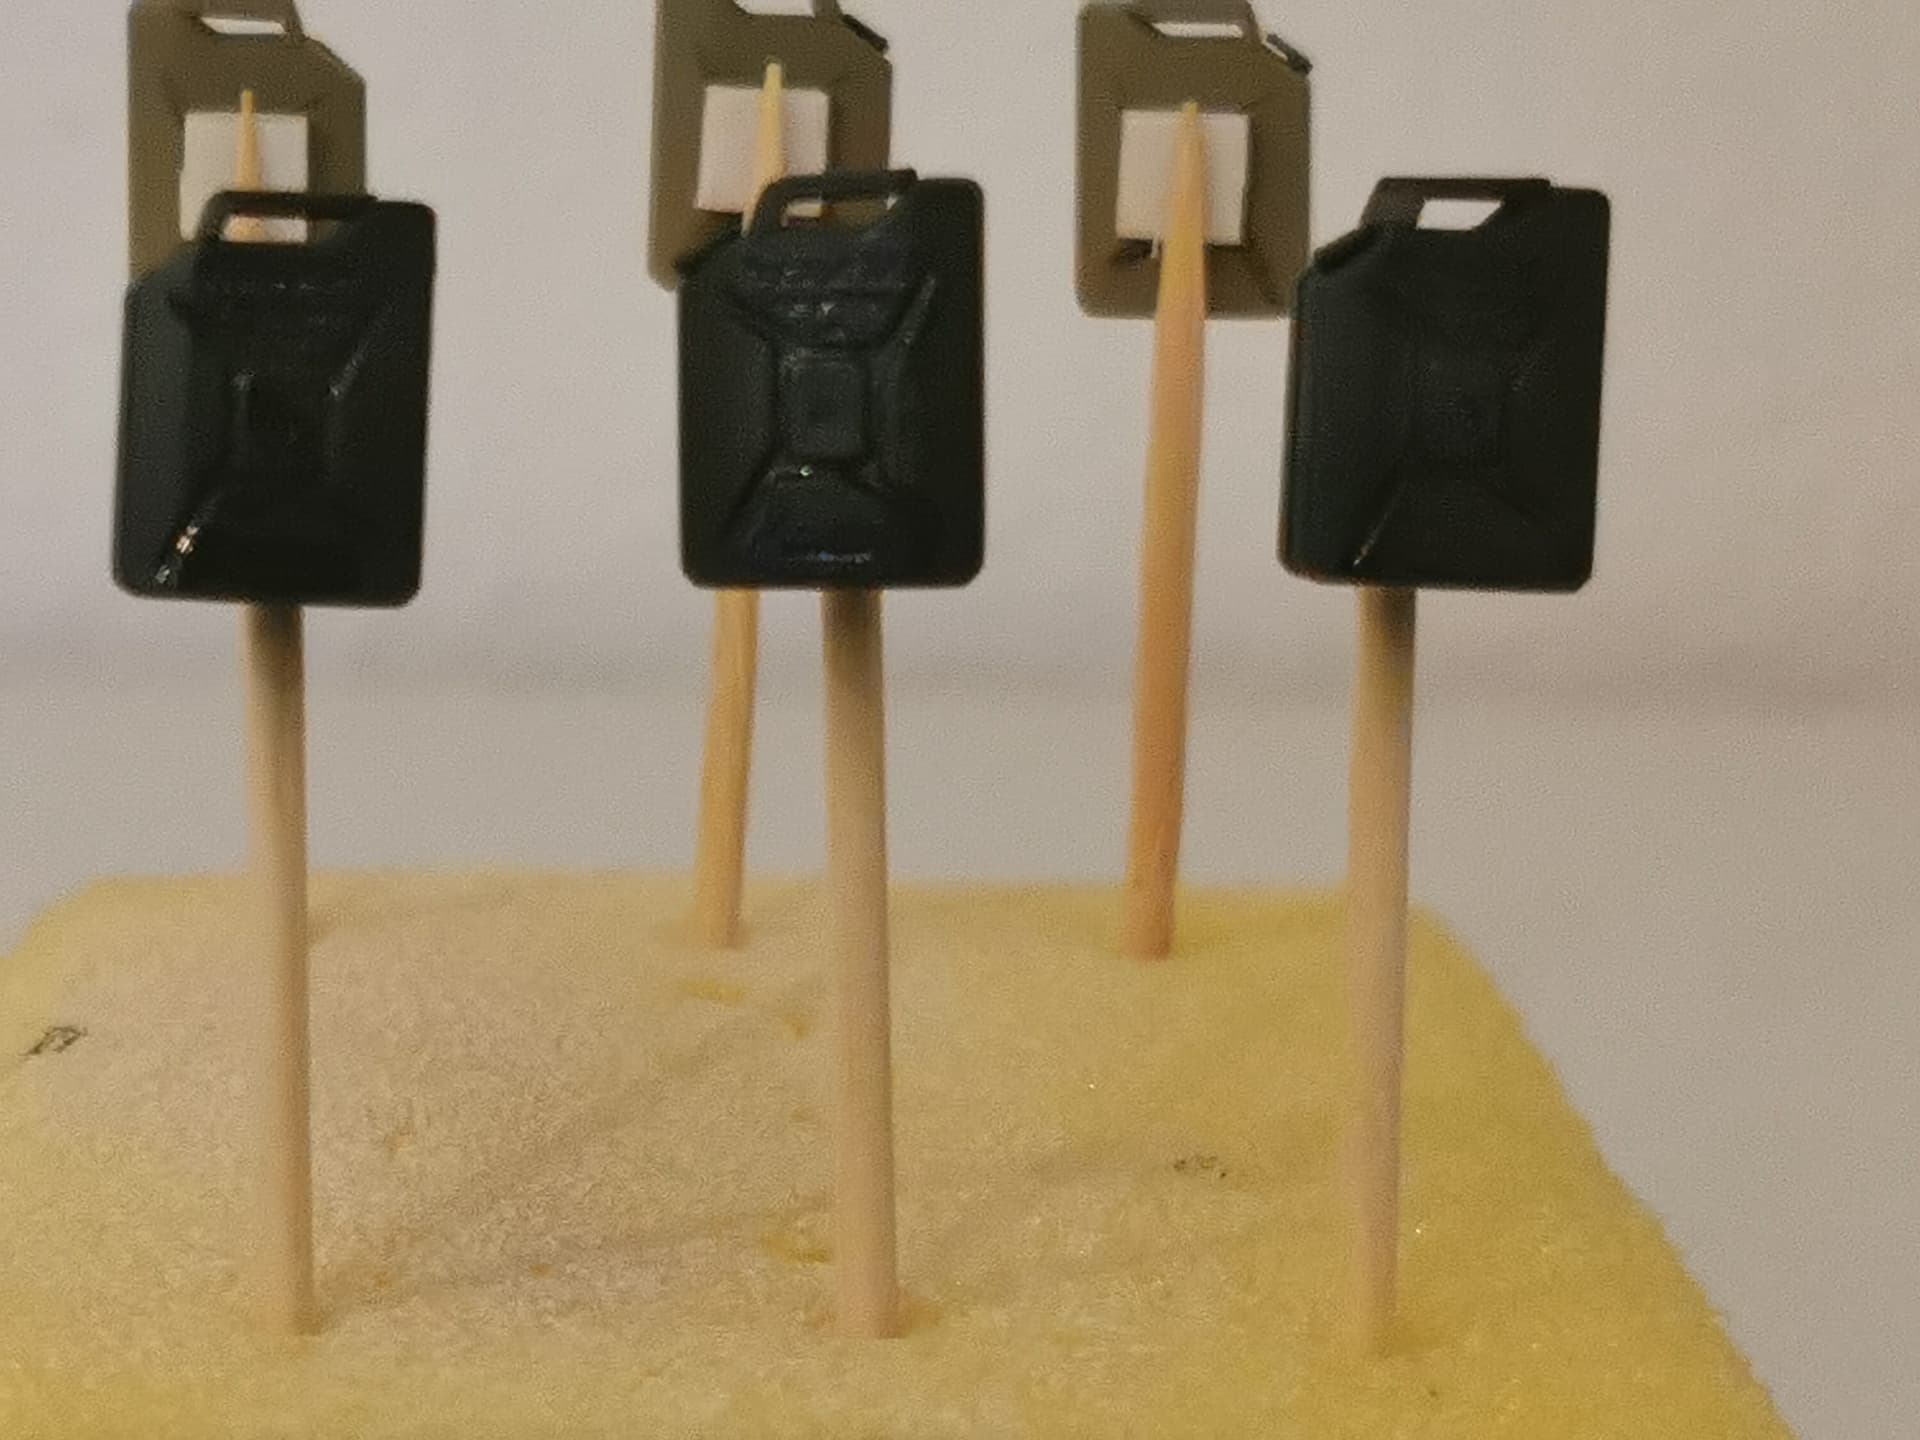
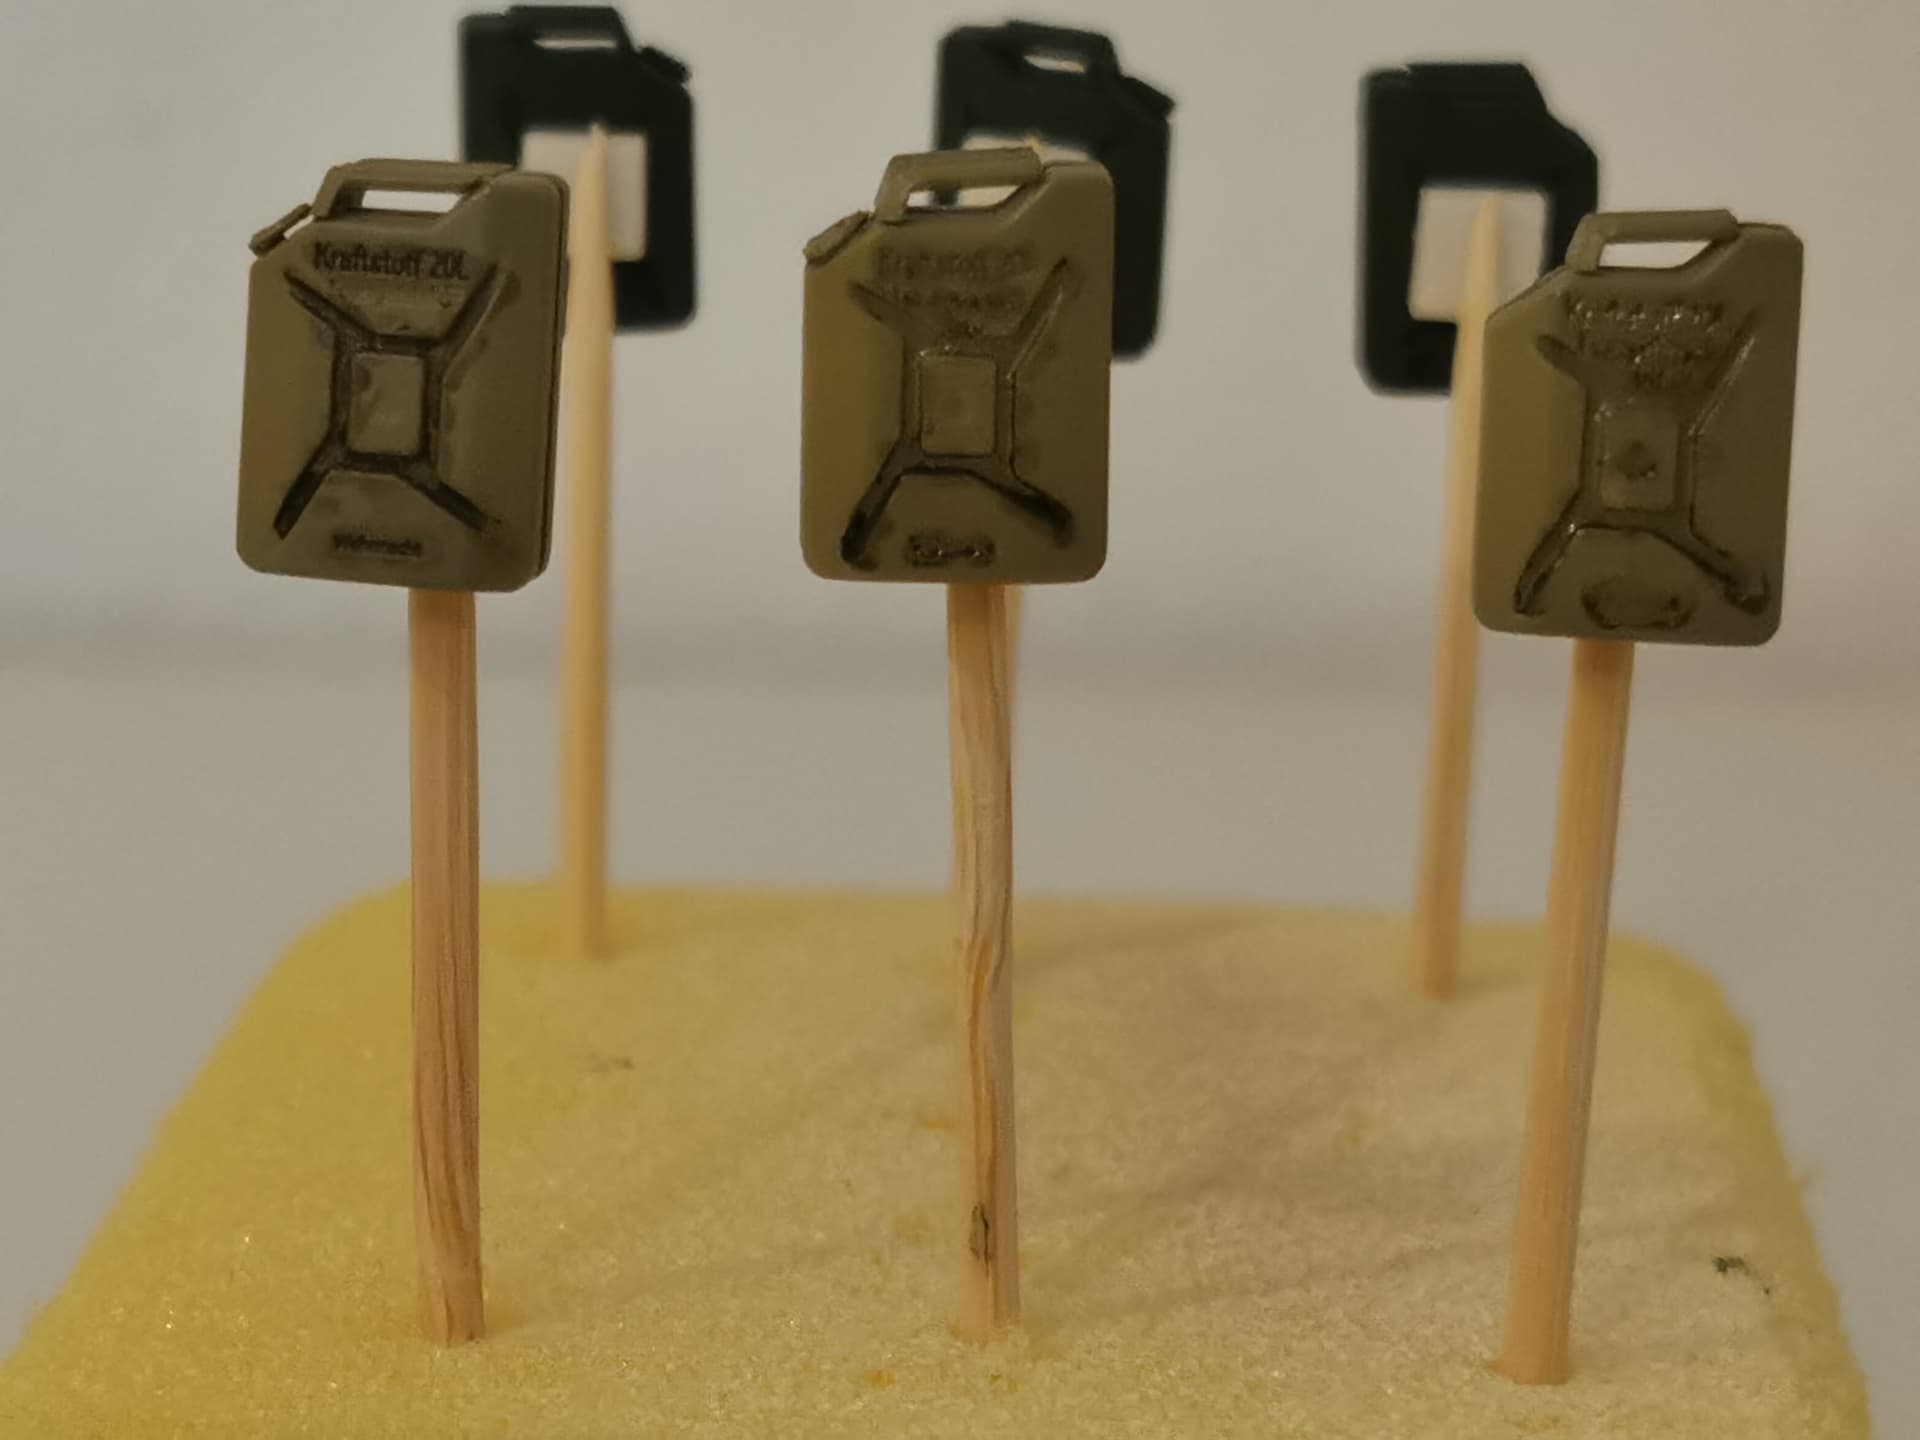
I have airbrushed my Jerry Cans other sides.
After that, I put on a few coats of gloss varnish in order to prepare the cans for the MIG Enamel Afrika Korps wash I was planning to use on the cans.
To bring out the details that had been tempered somwhat by the painting process.
I’am aware that the photo quality isn’t looking good.
But, it was the best I could do with my current new conditions.
Since I did not had any additional lighting or power sockets near my working place to use.
I also don’t have the knowledge necessary to operate the advanced functions of my smartphone camera and smartphone camera app.
If you know sources for smartphone photography or have any tips for video’s to get more knowledge and improve my photo quality.
I would love to hear so.
Video’s have my preference, since it is faster and easier and time saving in comparison with reading articles on the internet.
Another question I have is, is the wash supposed to look like this?
Because, in my mind it would be more striking.
Bringing the details right in front of you.
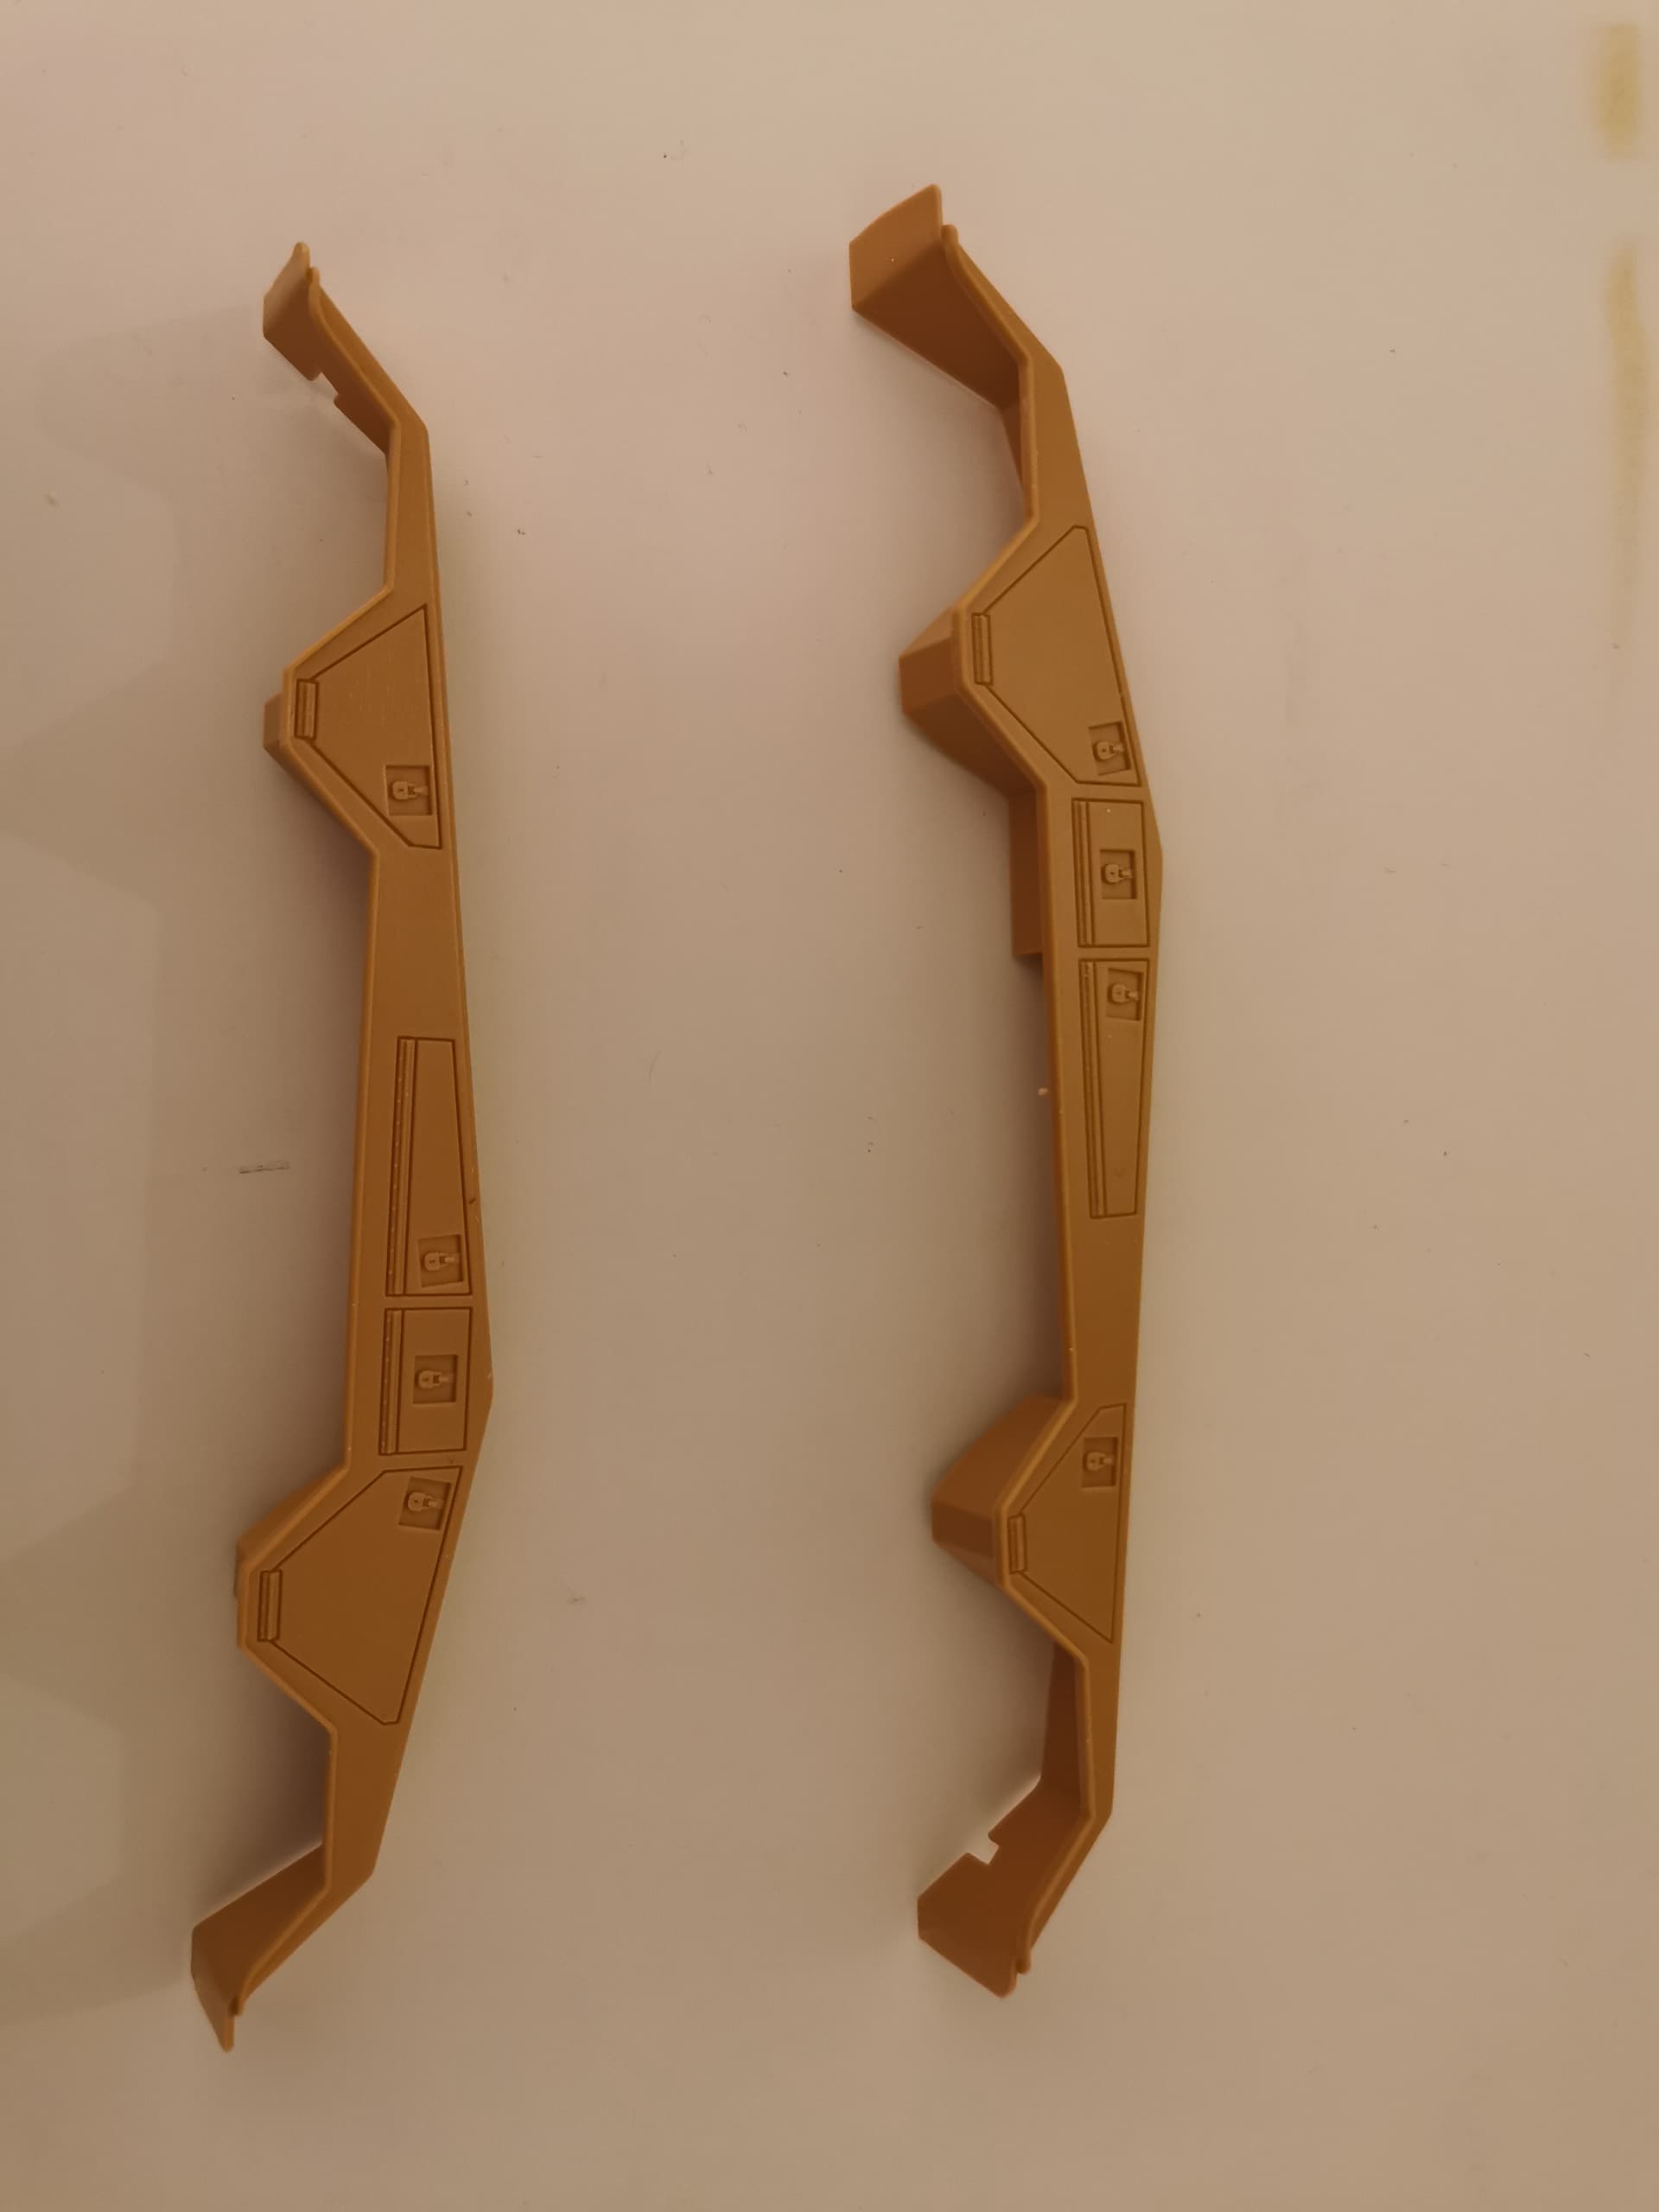
I have also airbrushed these parts.
When I was airbrushing them, I thought they wouldn’t turn out so well.
But when I was looking at them today, they actually turned out to be really nicely looking.
If I look closely, than I notice some imperfections.
But from some more distance, it looks good.
I’am planning to put a gloss coat over the side of the part, to also use the wash on the cabinets? On the side of the part.
To bring out the details as well.
Or would this part not need the same treatment as the Jerry cans?
Doesn’t need the side of the parts a wash as well?
Some repairs of parts fallen of during the painting process also need to be done.
But, I’ve discovered I have to take everything one tiny step at a time.
And switch between zooming in on one particular part of the project.
And zooming out to see the greater picture of the project.
Without getting absorped in either one of them.
And that’s extremely difficult.
Do you have any tips or suggestions for me that might help?
The hull turned out great.
Greater than I expected when I was painting it.
When do I need to get close with my airbrush with painting and when do I need to get further away?
When can I spray ‘broader’ and when do I need to spray ‘closer’?
If you can tell me something about this, that would be great.
If it is easier to just put everything from questions here in this update in seperate topics here. Just say so, and I will do that after some time. Slowly but steadily.
How do you look at this blurry pictures?
Do you use some sort of equipment for this?
How do you do that?
No, no special equipment that I know of. Sometimes you can search the internet, or books, to find a clearer version of the photo. Scanning equipment varies a lot, so it is possible to find different copies of the same photo with very different levels of detail resolution.
Sometimes you can find a different photo of the same vehicle, that was taken by a different person, that has better detail.
And sometimes that one blurry photo is all there is! At that point, you have to make some educated guesses, based on your interpretation of what you see.
Sometimes it helps to look at photos of other vehicles of the same type, or the same unit, and see if there is a trend to do a certain thing; for example paint and markings, stowage and jerry cans, placement of gear and camouflage, etc.
And even with all that, you just reach a point where you say that is the closest you can get, based on the references you have. You make up your mind and build your model your way.
Thats why when you look at the other models on this site, or anywhere else, they all look different, even when people are building the exact same thing. Each one is their interpretation of the subject, based on what they see in the references they have.
Ken
Thank you for the information Ken.
I’ve applied a matt varnish over the wash of the Jerry cans.
But, after watching one and a part of MIG Video’s.
I’ve learned that I’m not supposed to put a matt varnish over the washes.
And that only removing the excess of wash with the enamel odourless thinner of MIG is enough.
Unfortunately, I can’t change it now.
But I’m going to try it with the other parts.
I’ve first applied a satin varnish of a couple of light coats to the cabinets of the fenders.
And then applied the wash within the creases and deeper details of the cabinets.
To bring out some details that would otherwise be flat, due to the painting process.
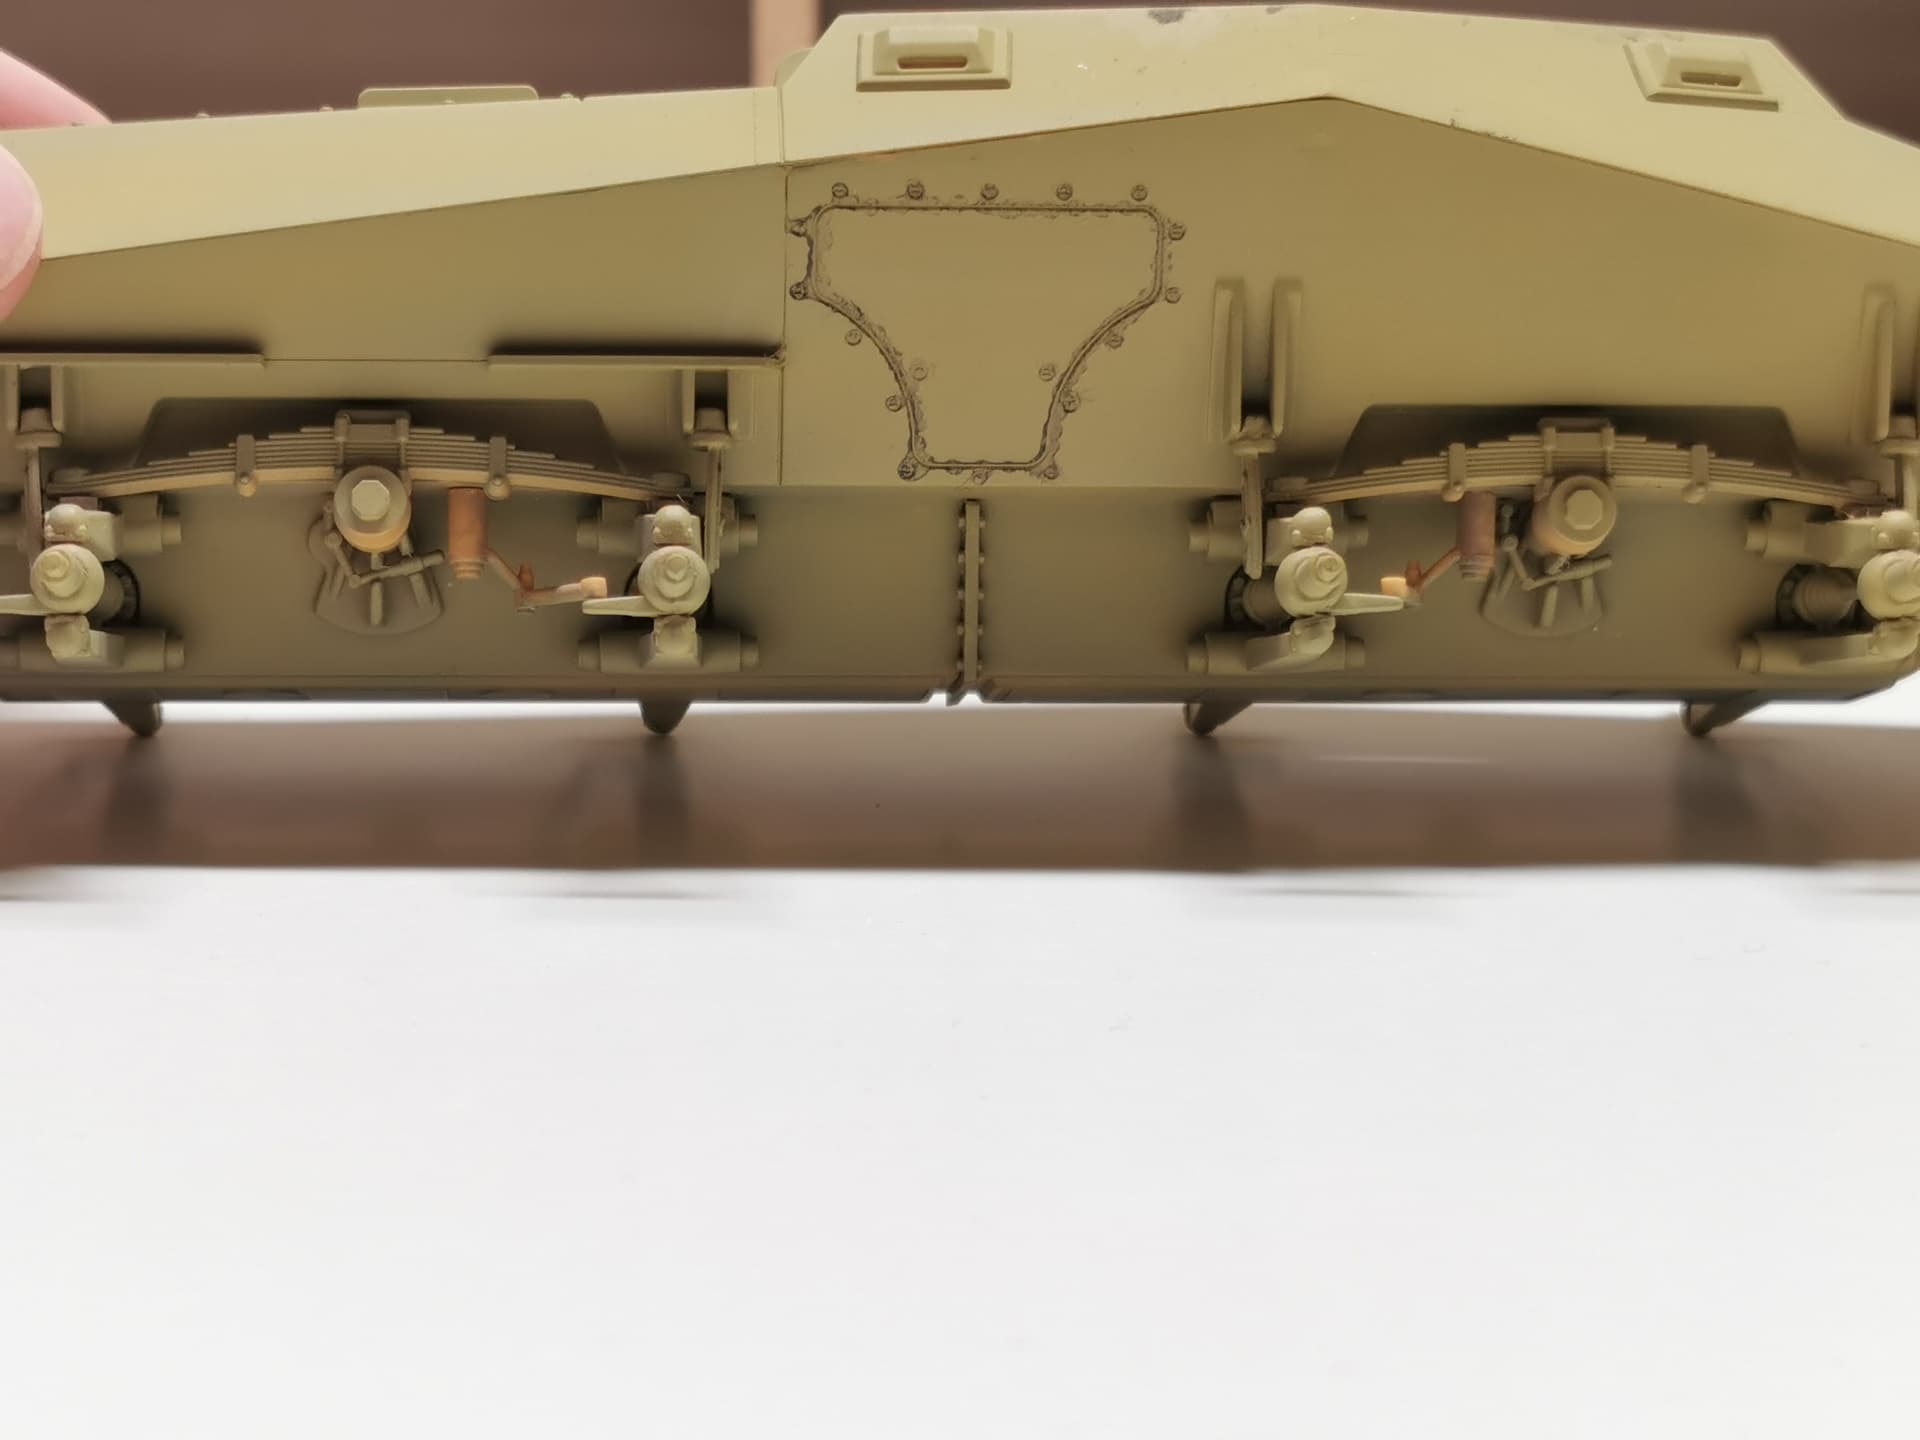
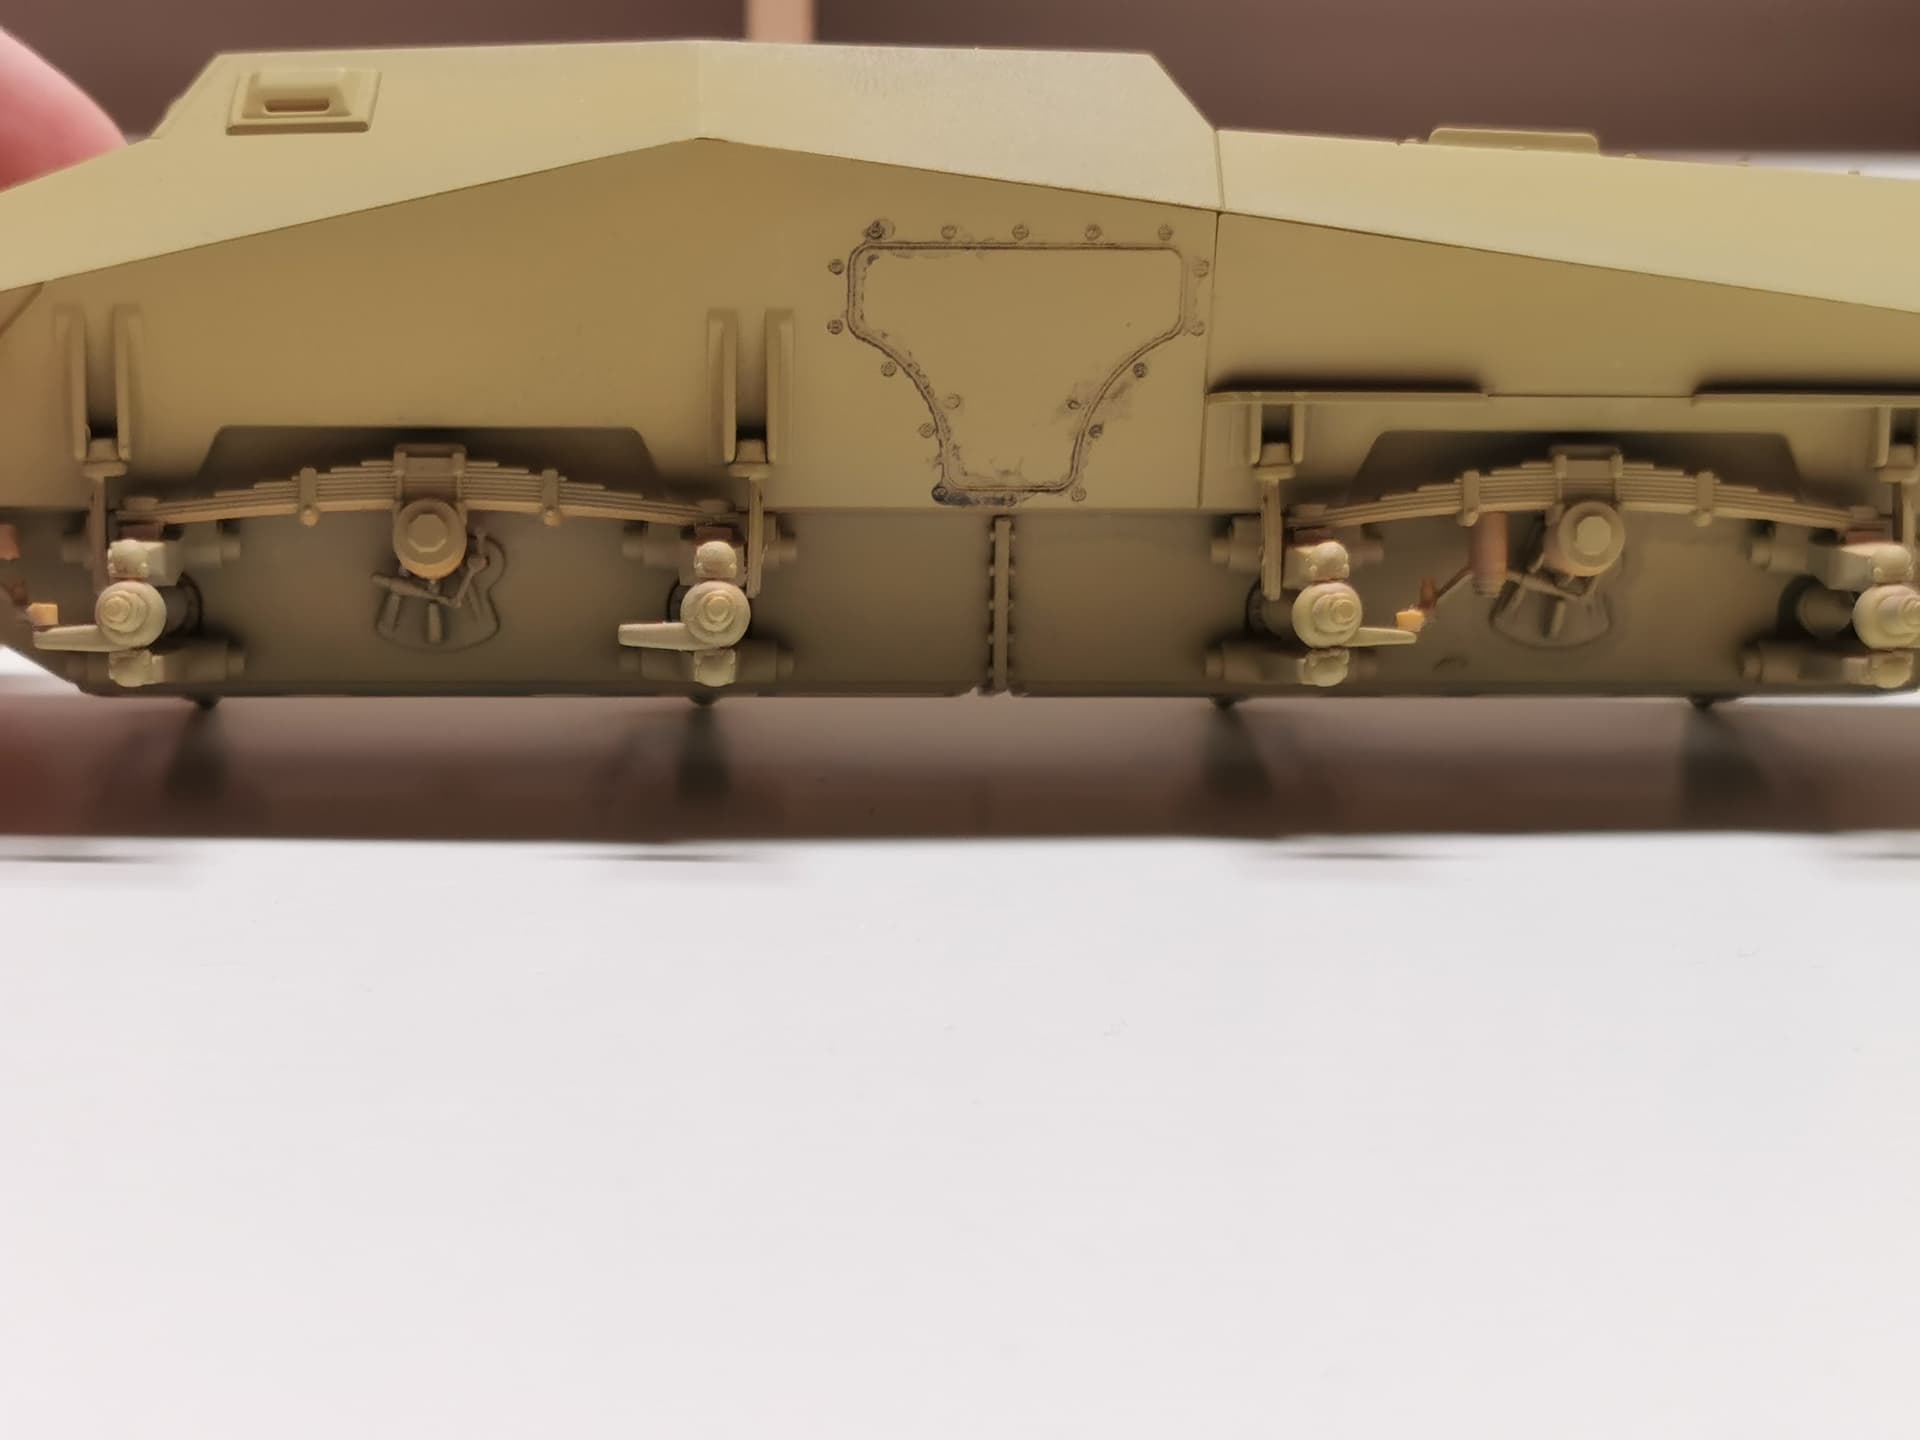
I’ve improved the paint job of the hull.
I’ve applied a satin varnish to the parts where I wanted to apply the wash.
And after I applied the satin varnish.
I’ve applied the wash to the details.
I didn’t had the odourless thinner to remove the excess wash at the time of doing this.
But, I’ve order 2 bottles of it of 35 ml to do this anyway.
One to clean my brushes in, one to remove the excess wash.
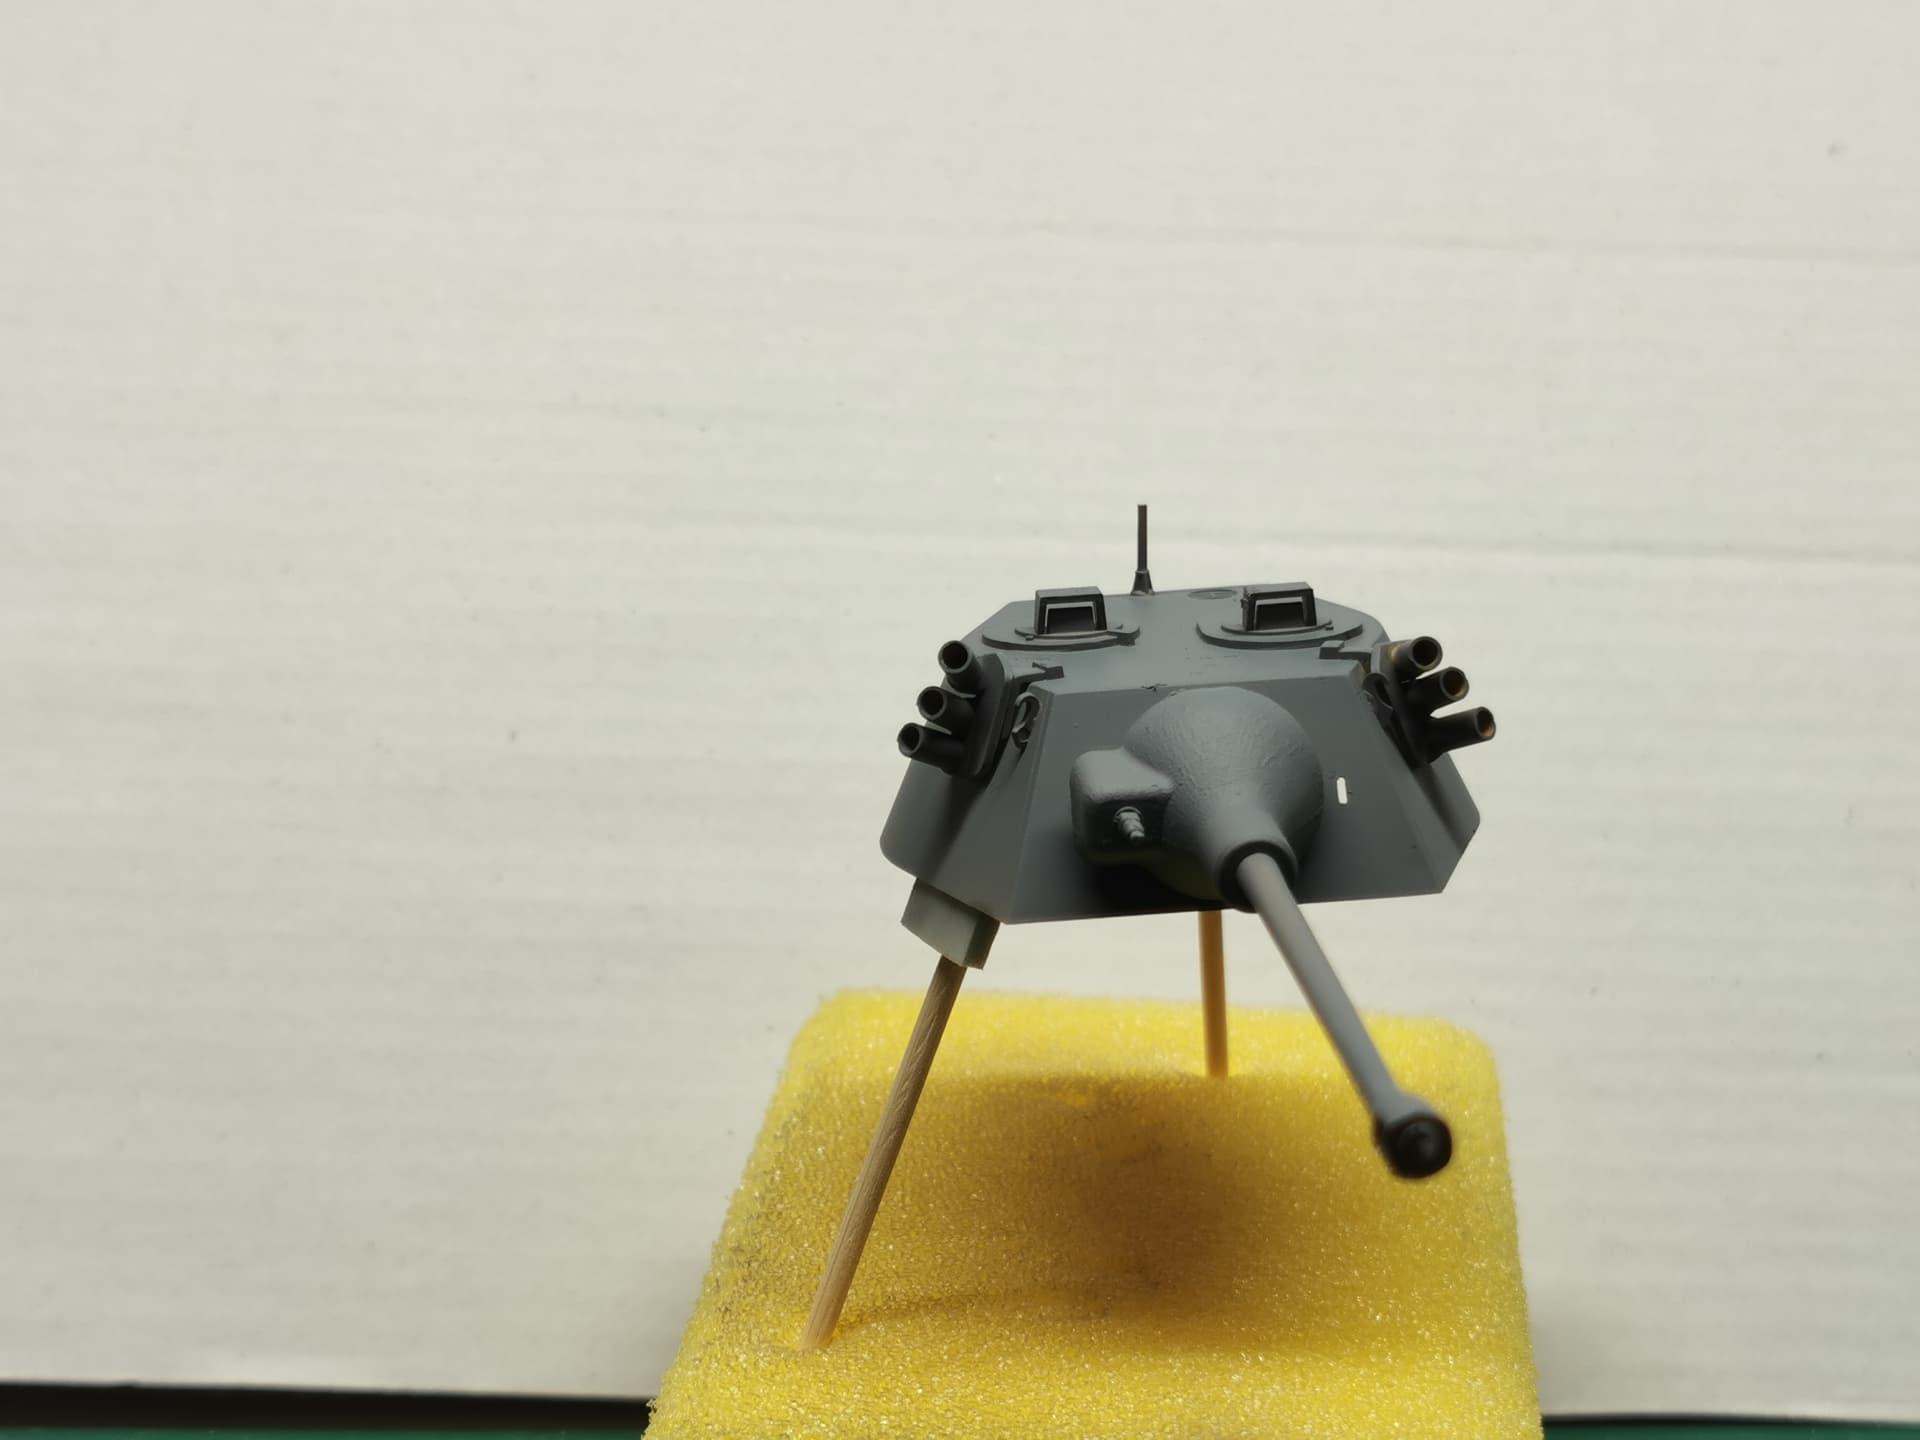
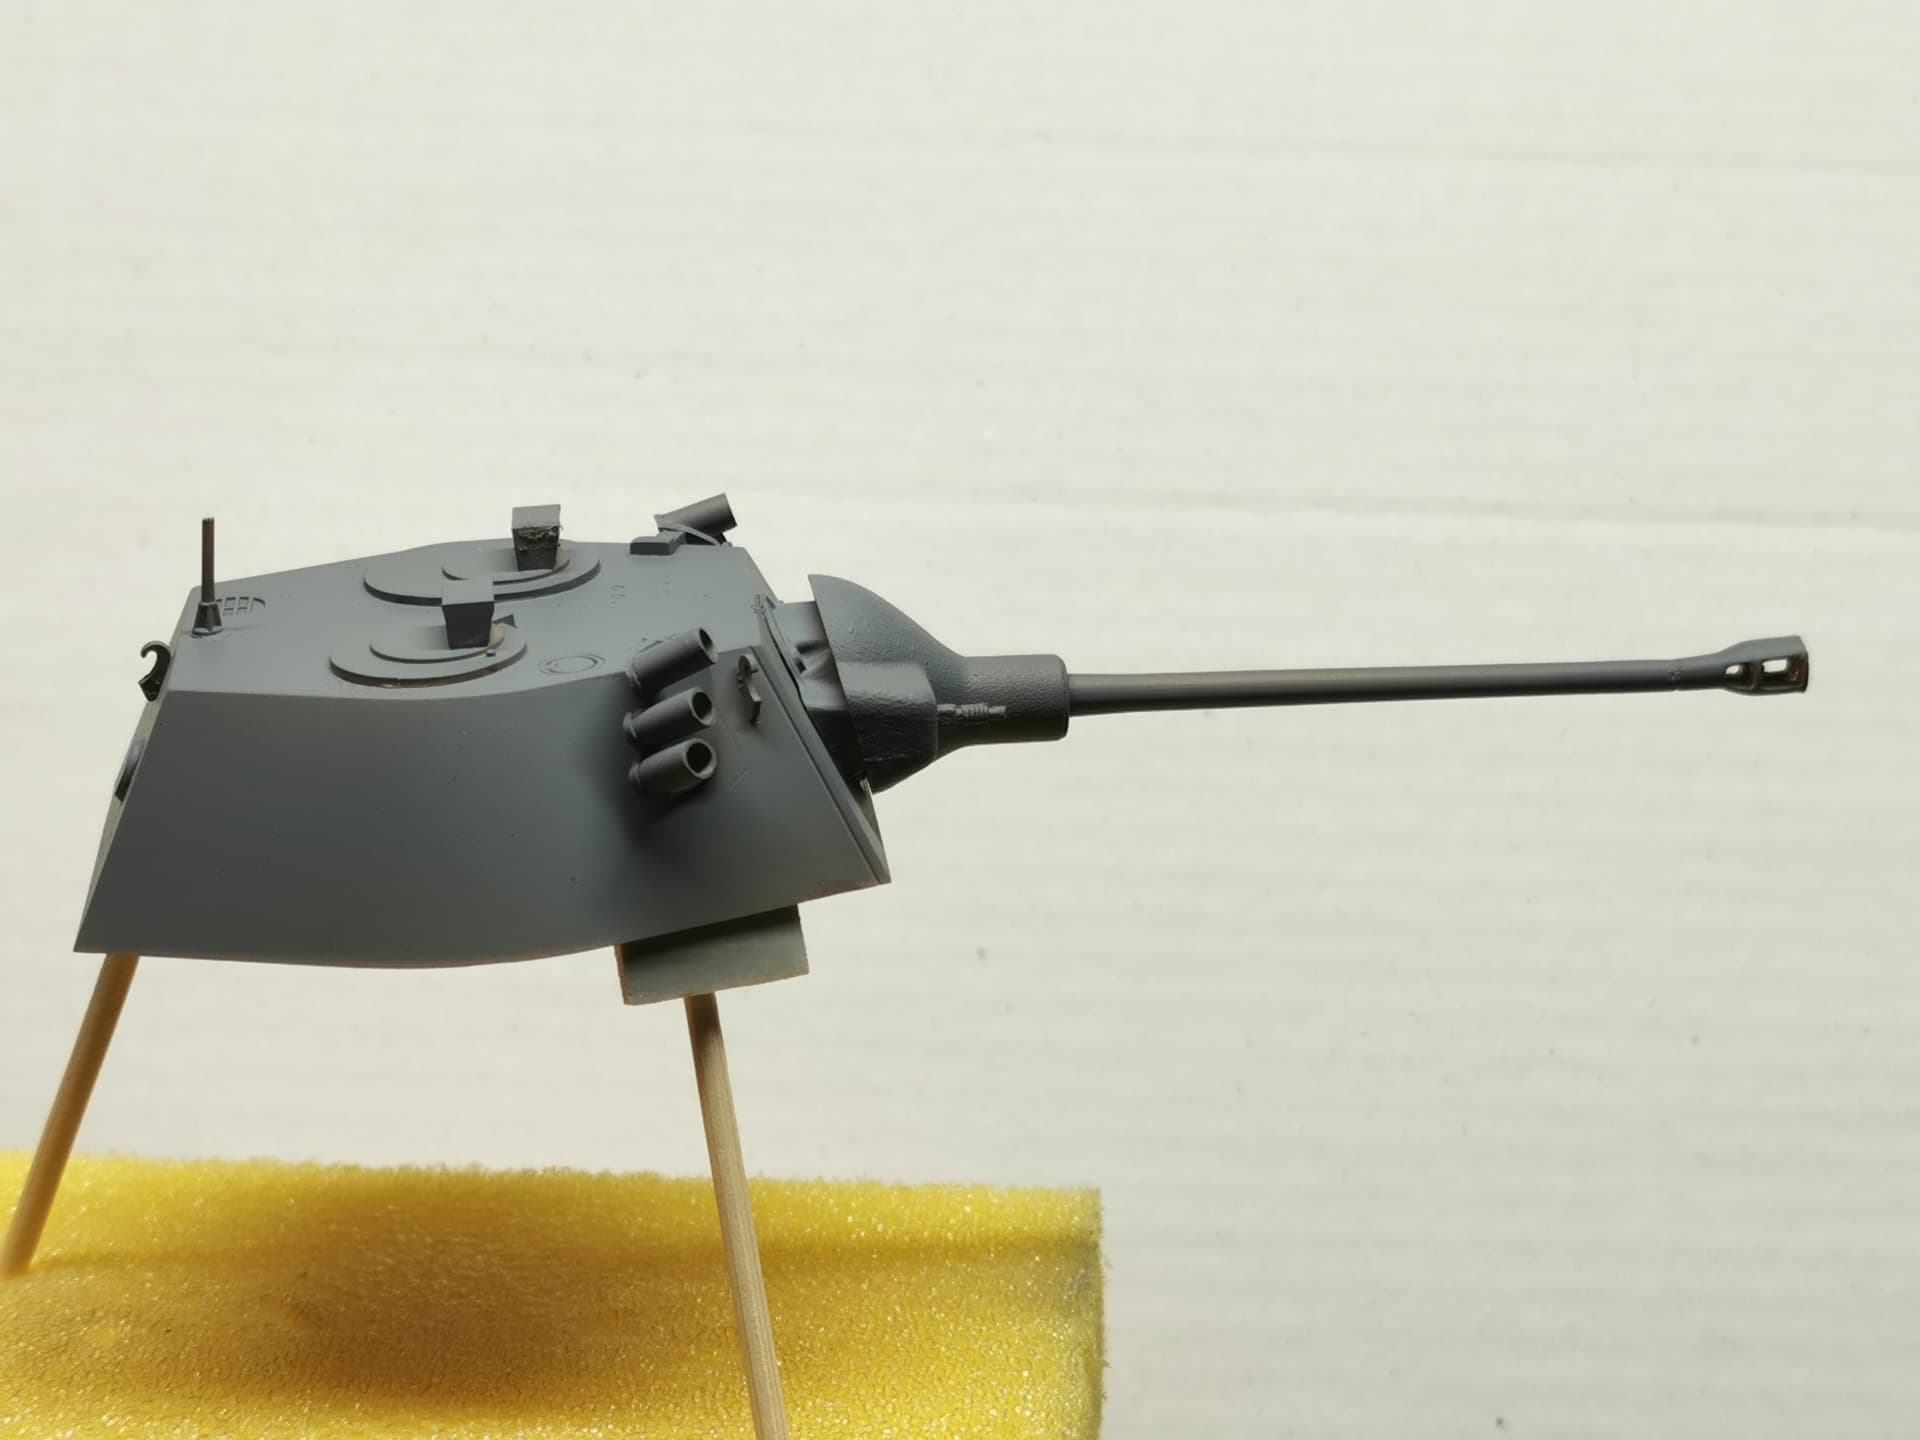
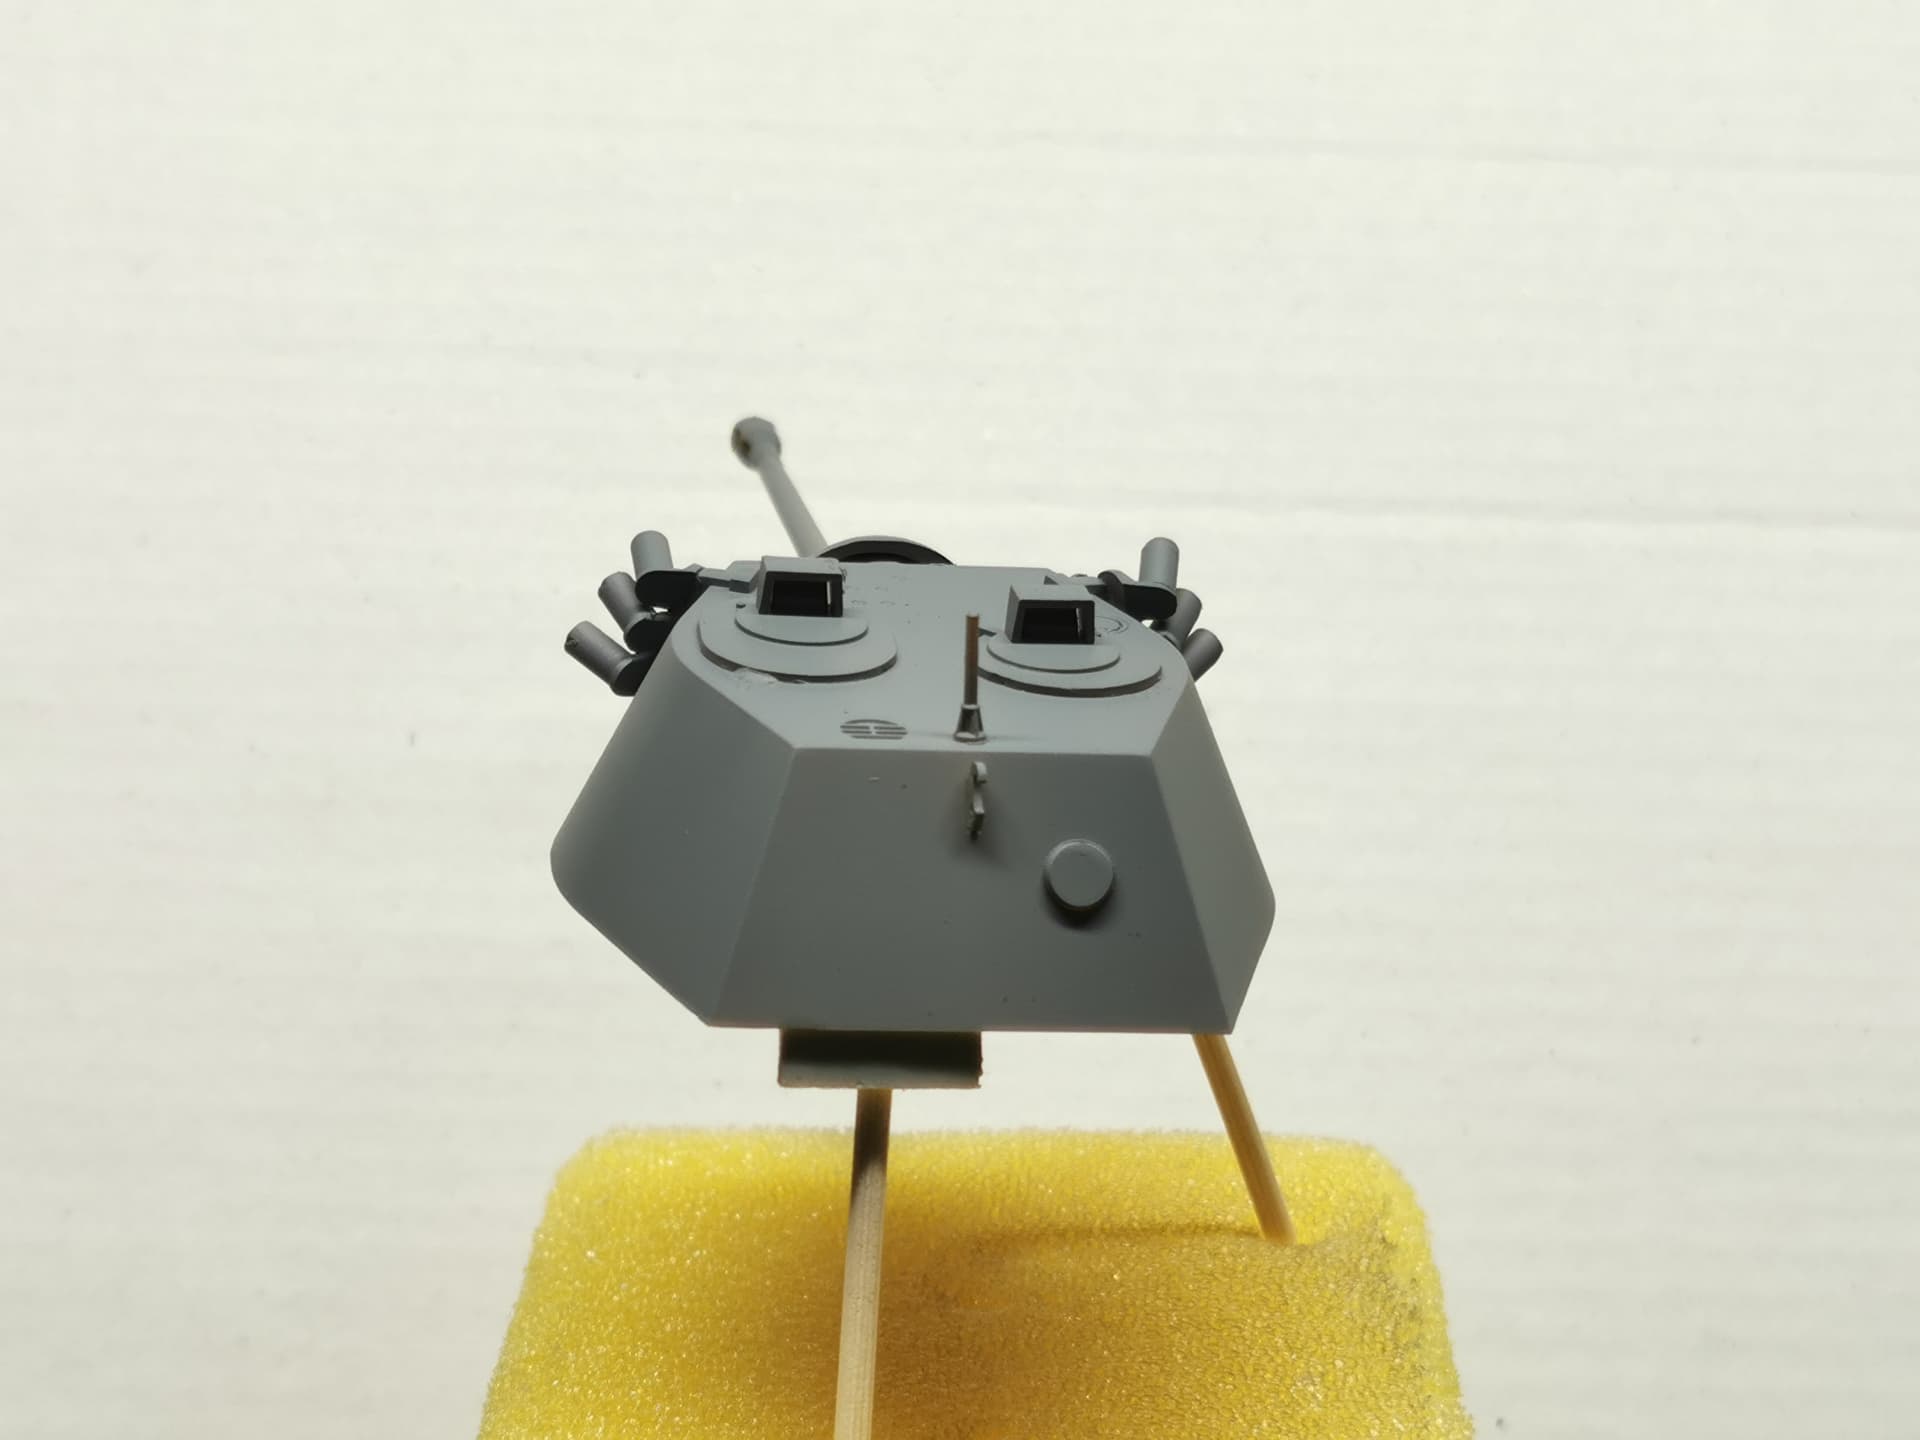
Today I’m going to work on the turret of the project.
Because I’m not able to prime parts first, because of the weather outside.
But, I’m hoping to do this later this week.
I’m getting so close to the completion of my project.
And I hope I will complete it soon.
But, if you have any other suggestions on what I could try to do.
I’m open to hear it.
Have a great time and thanks for reading and looking.
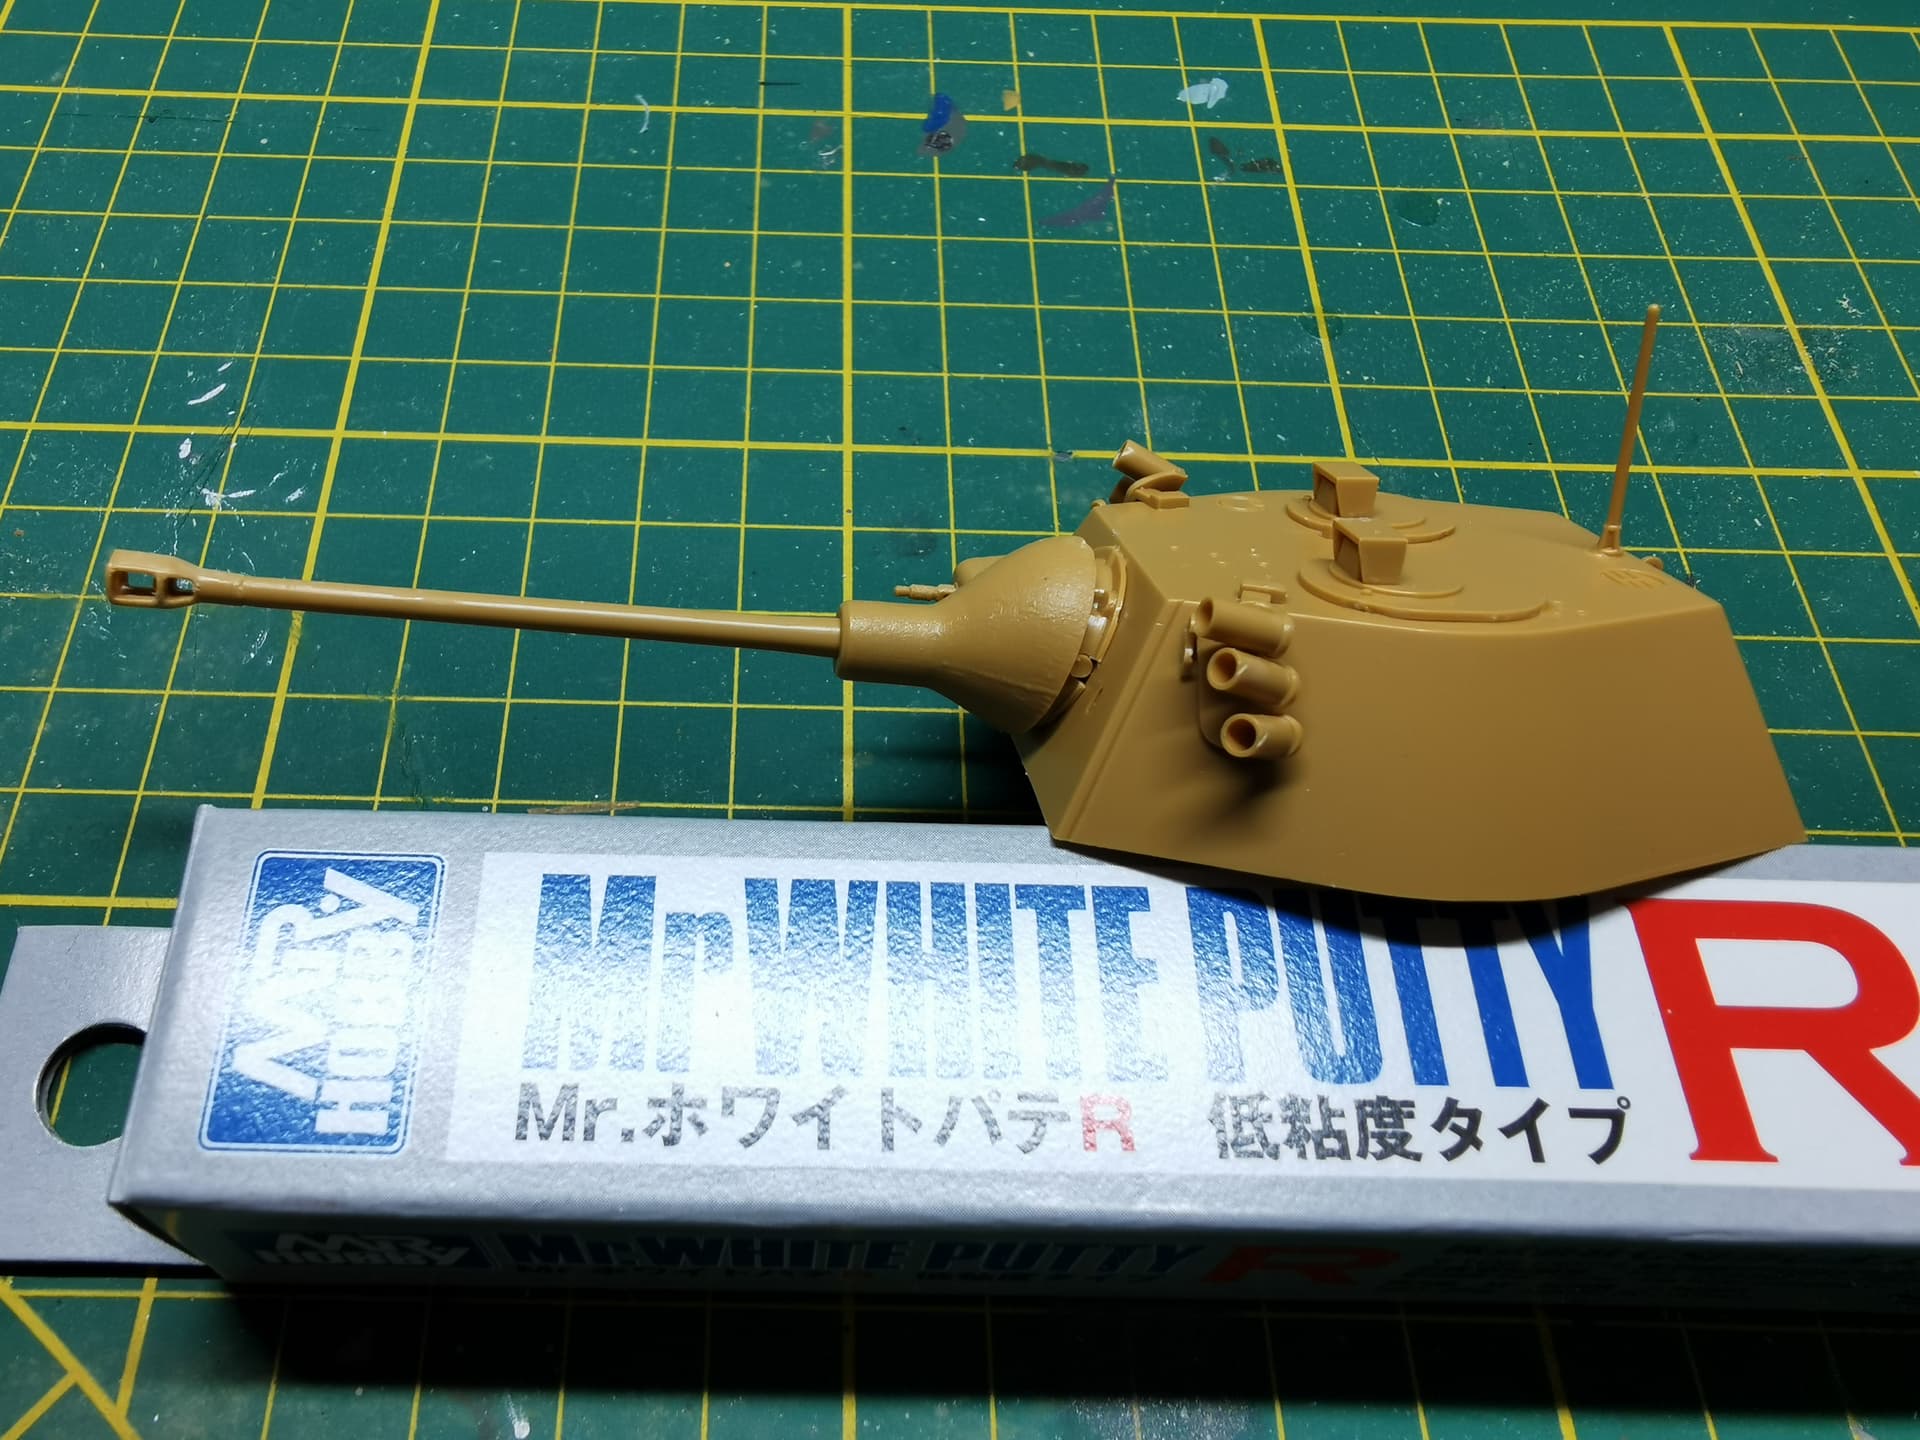
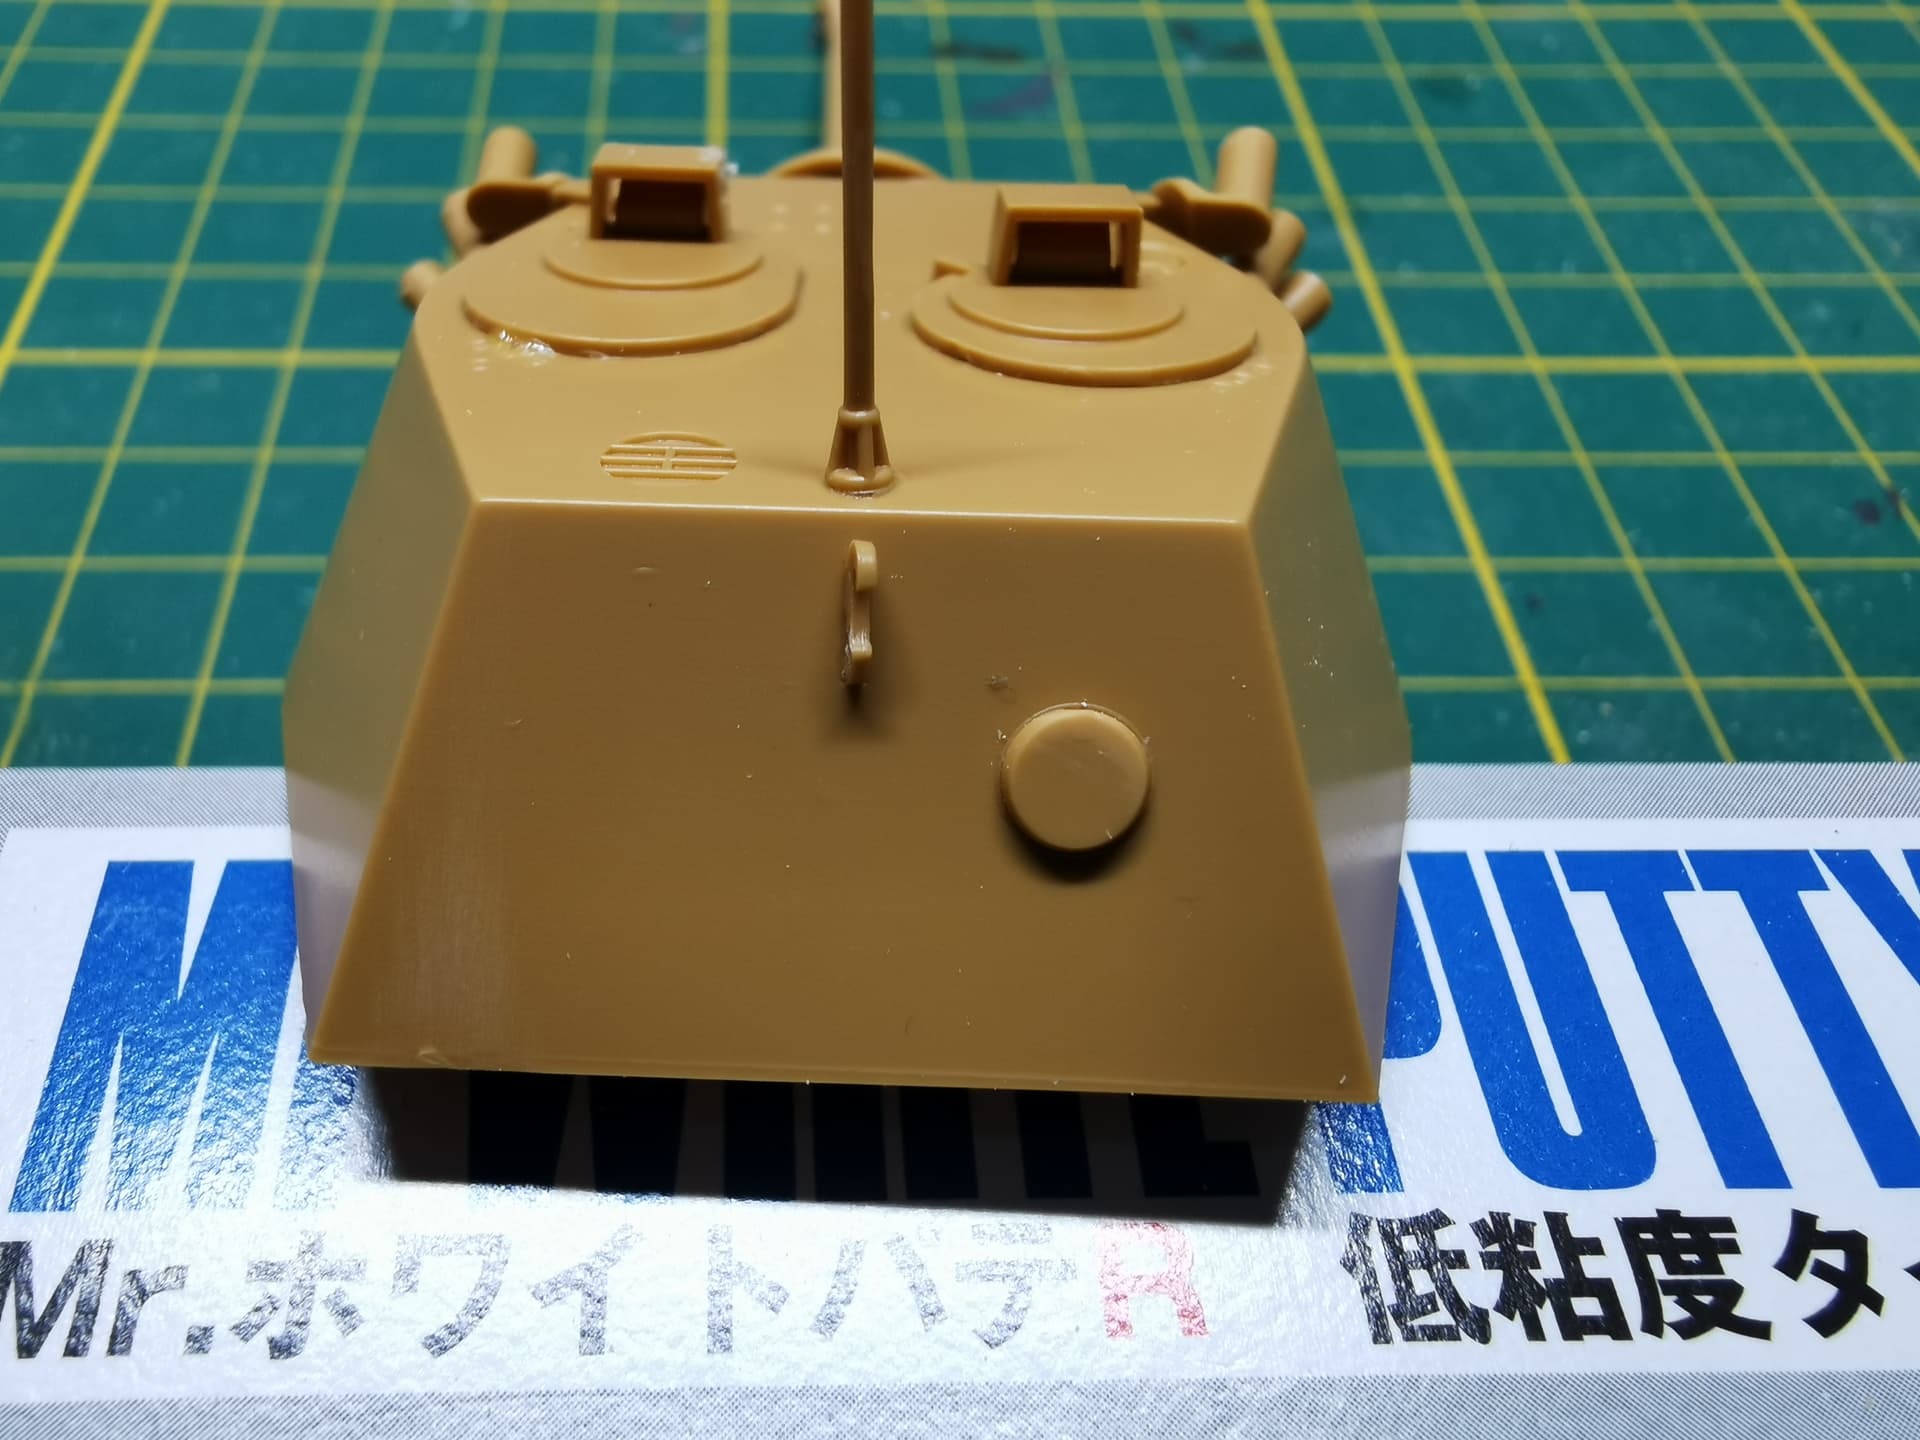
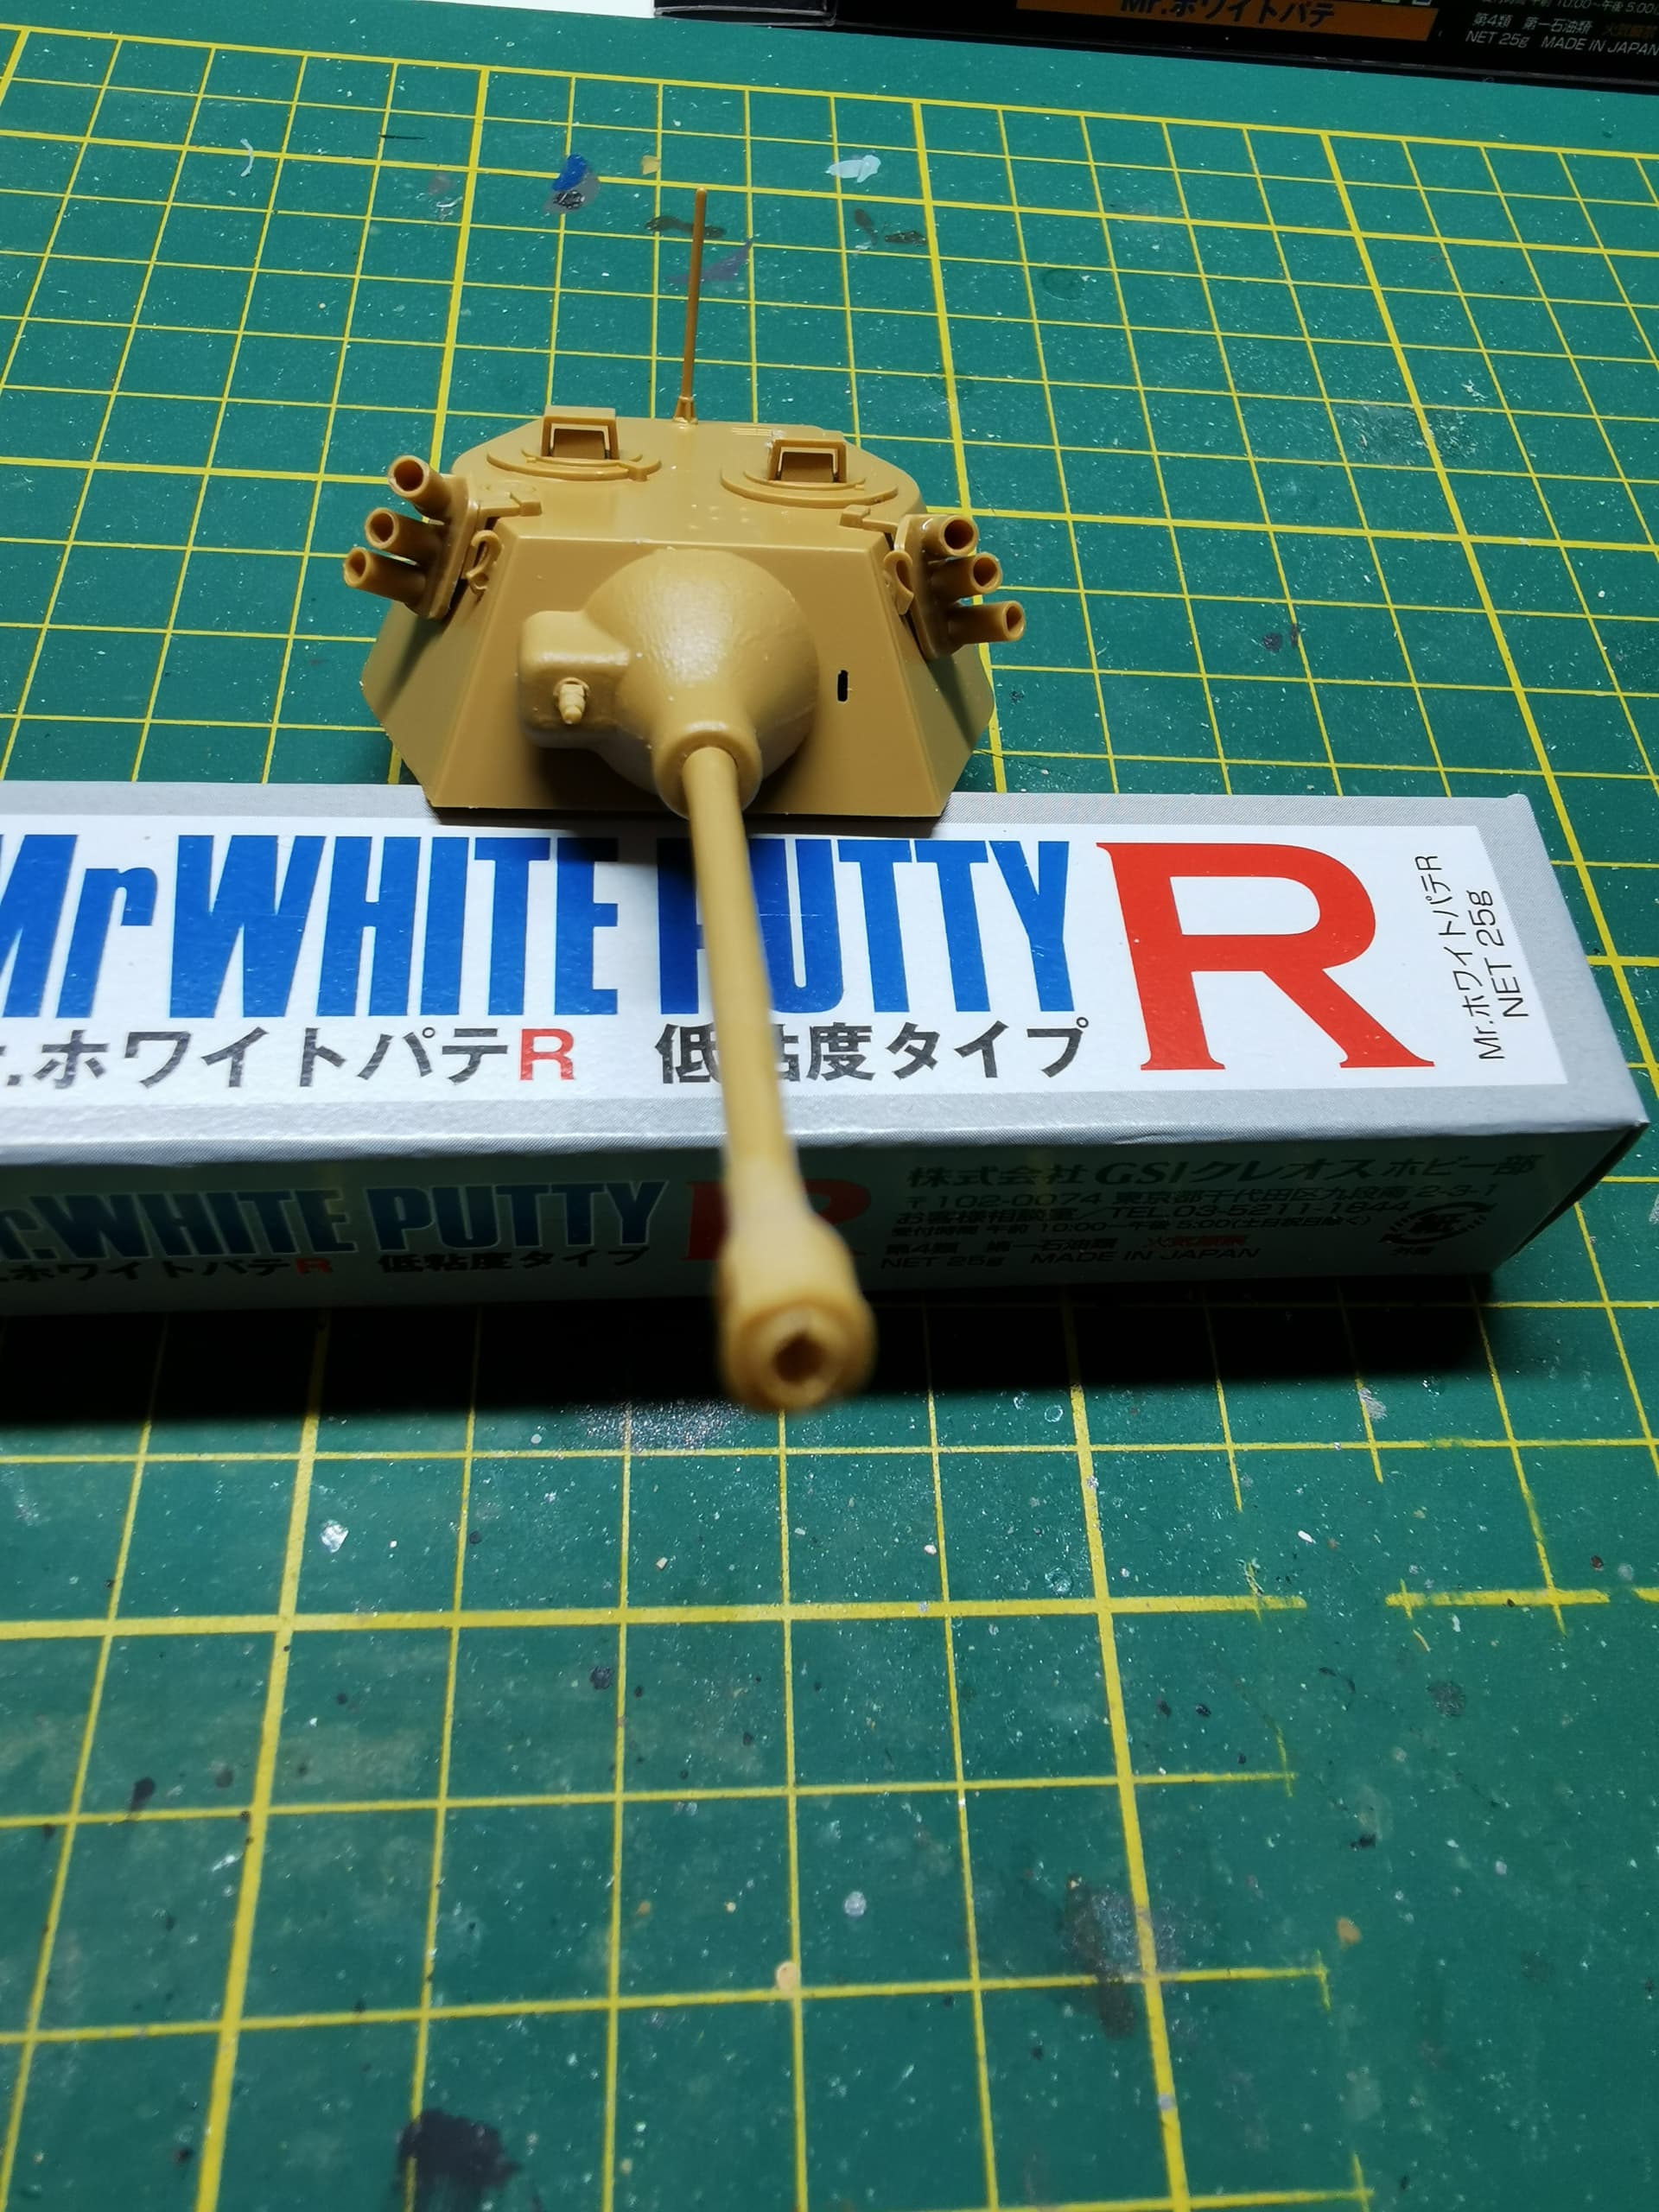
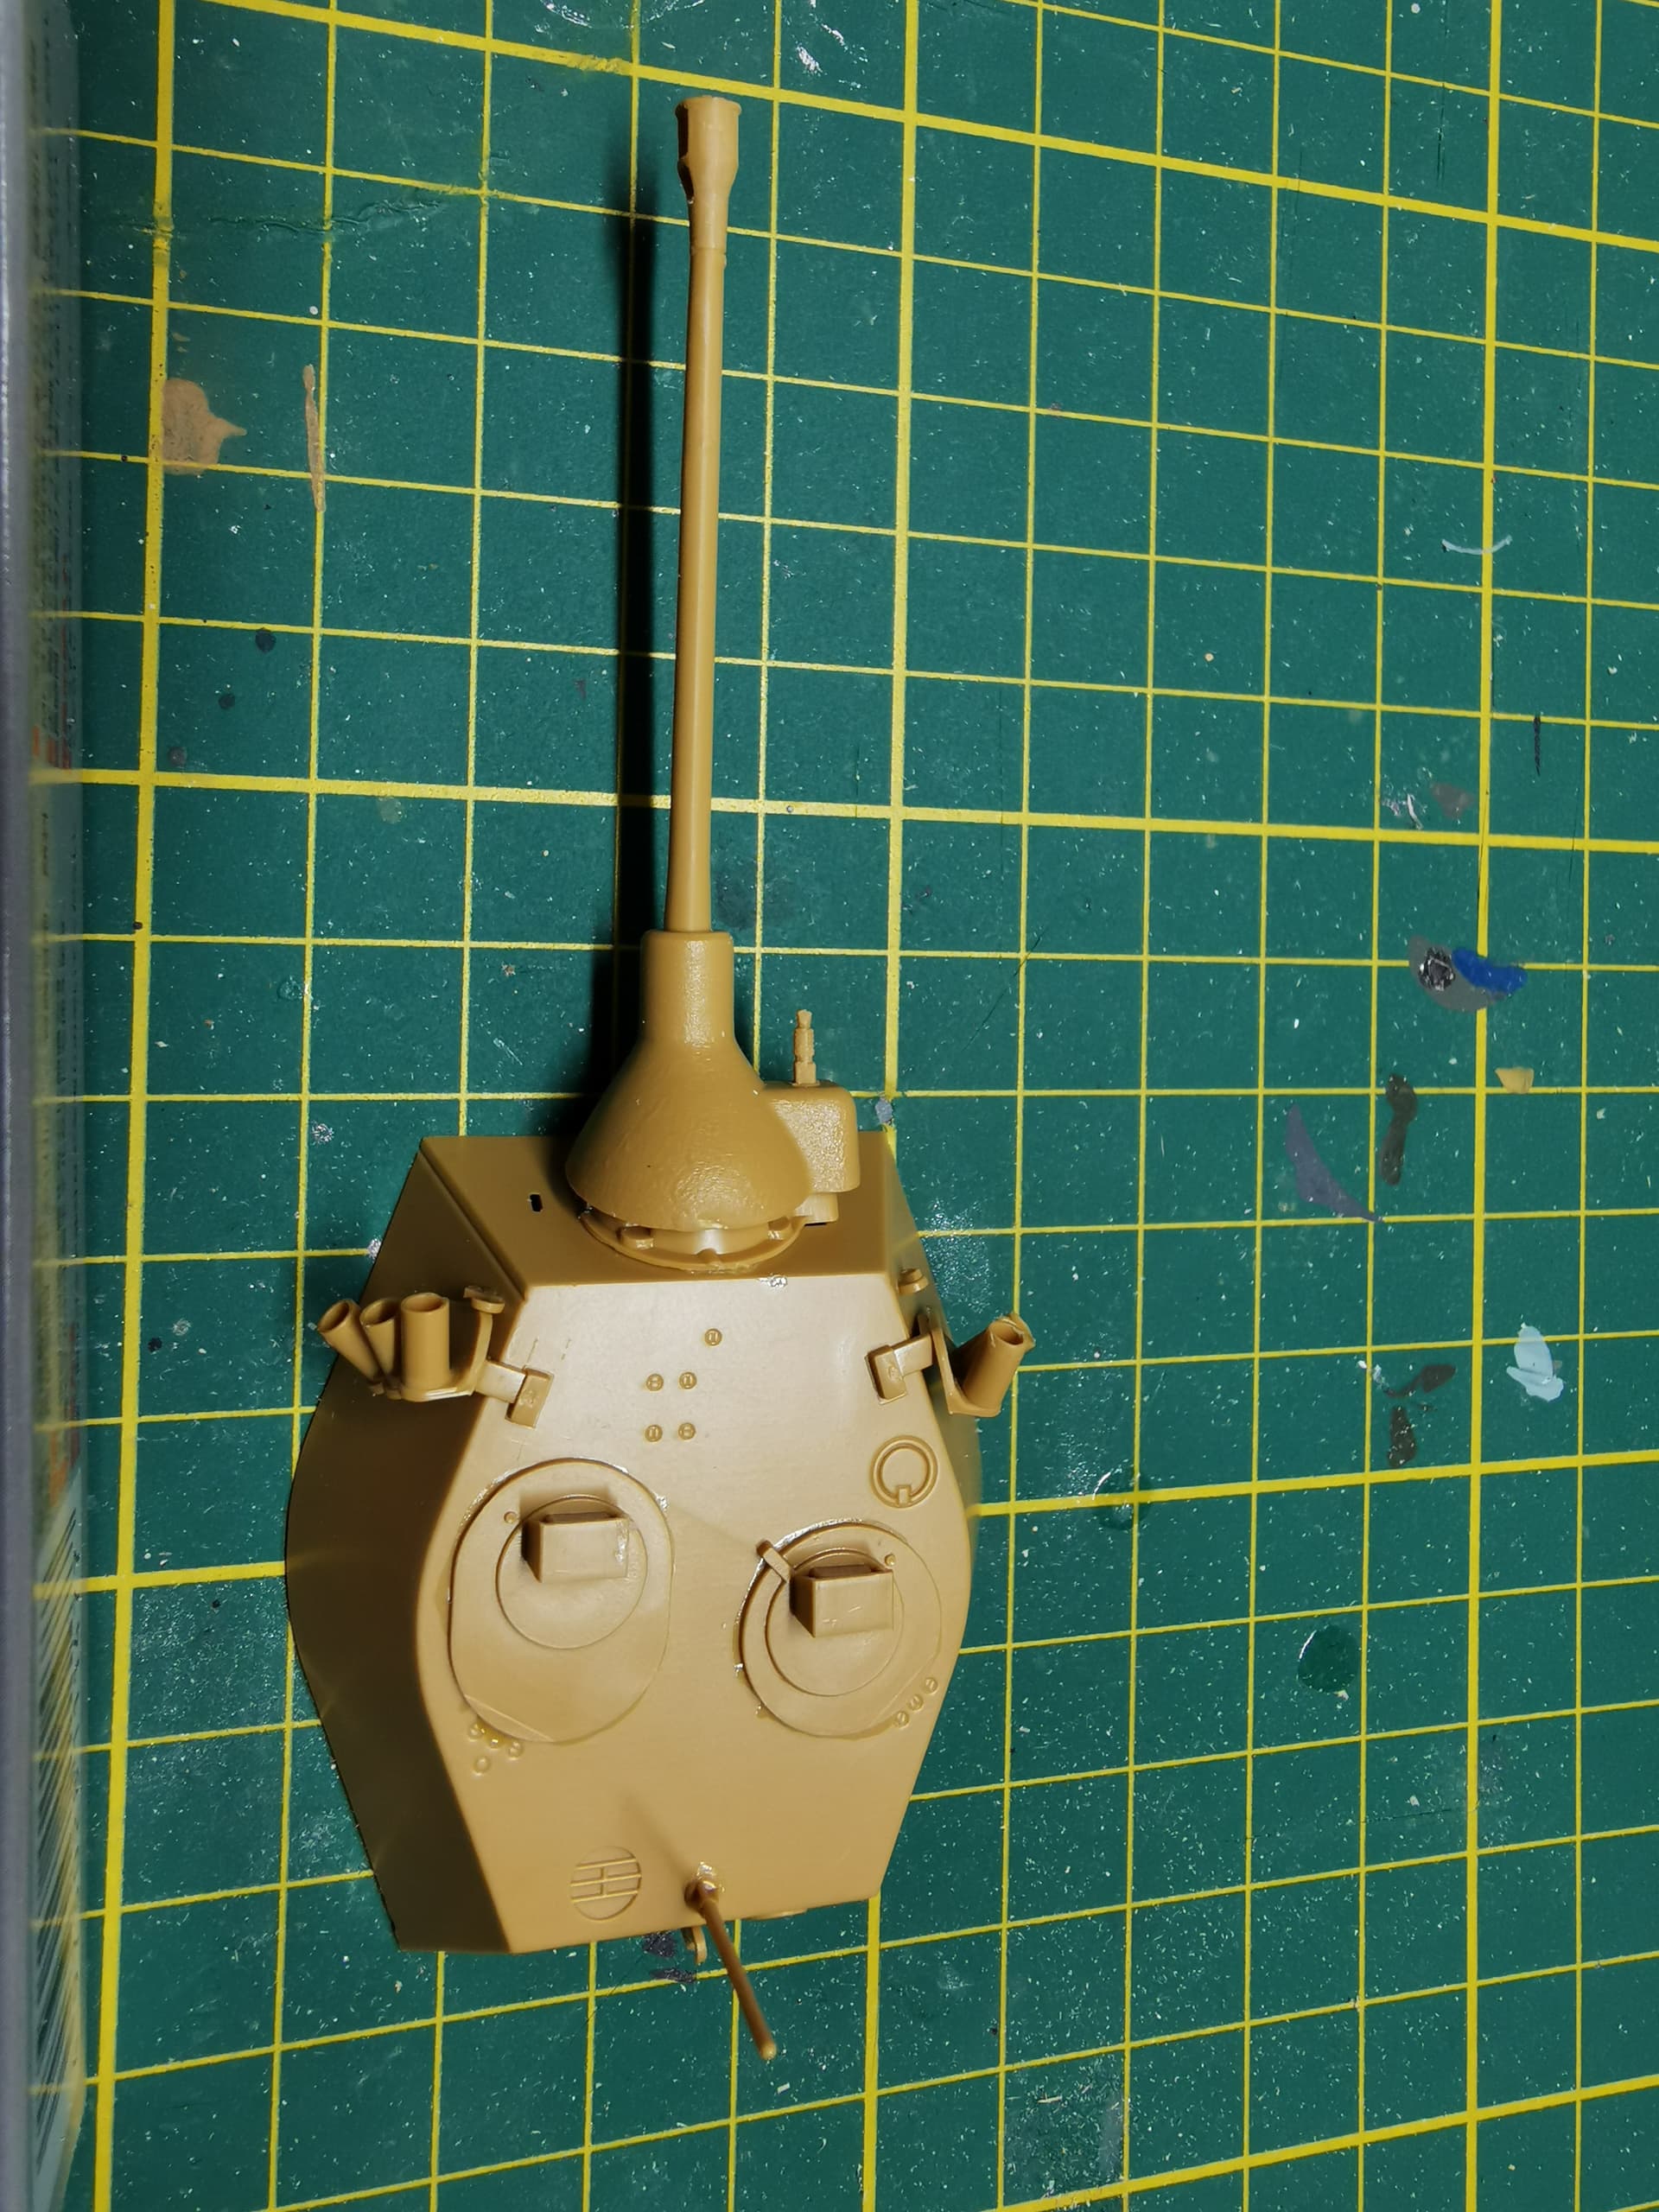
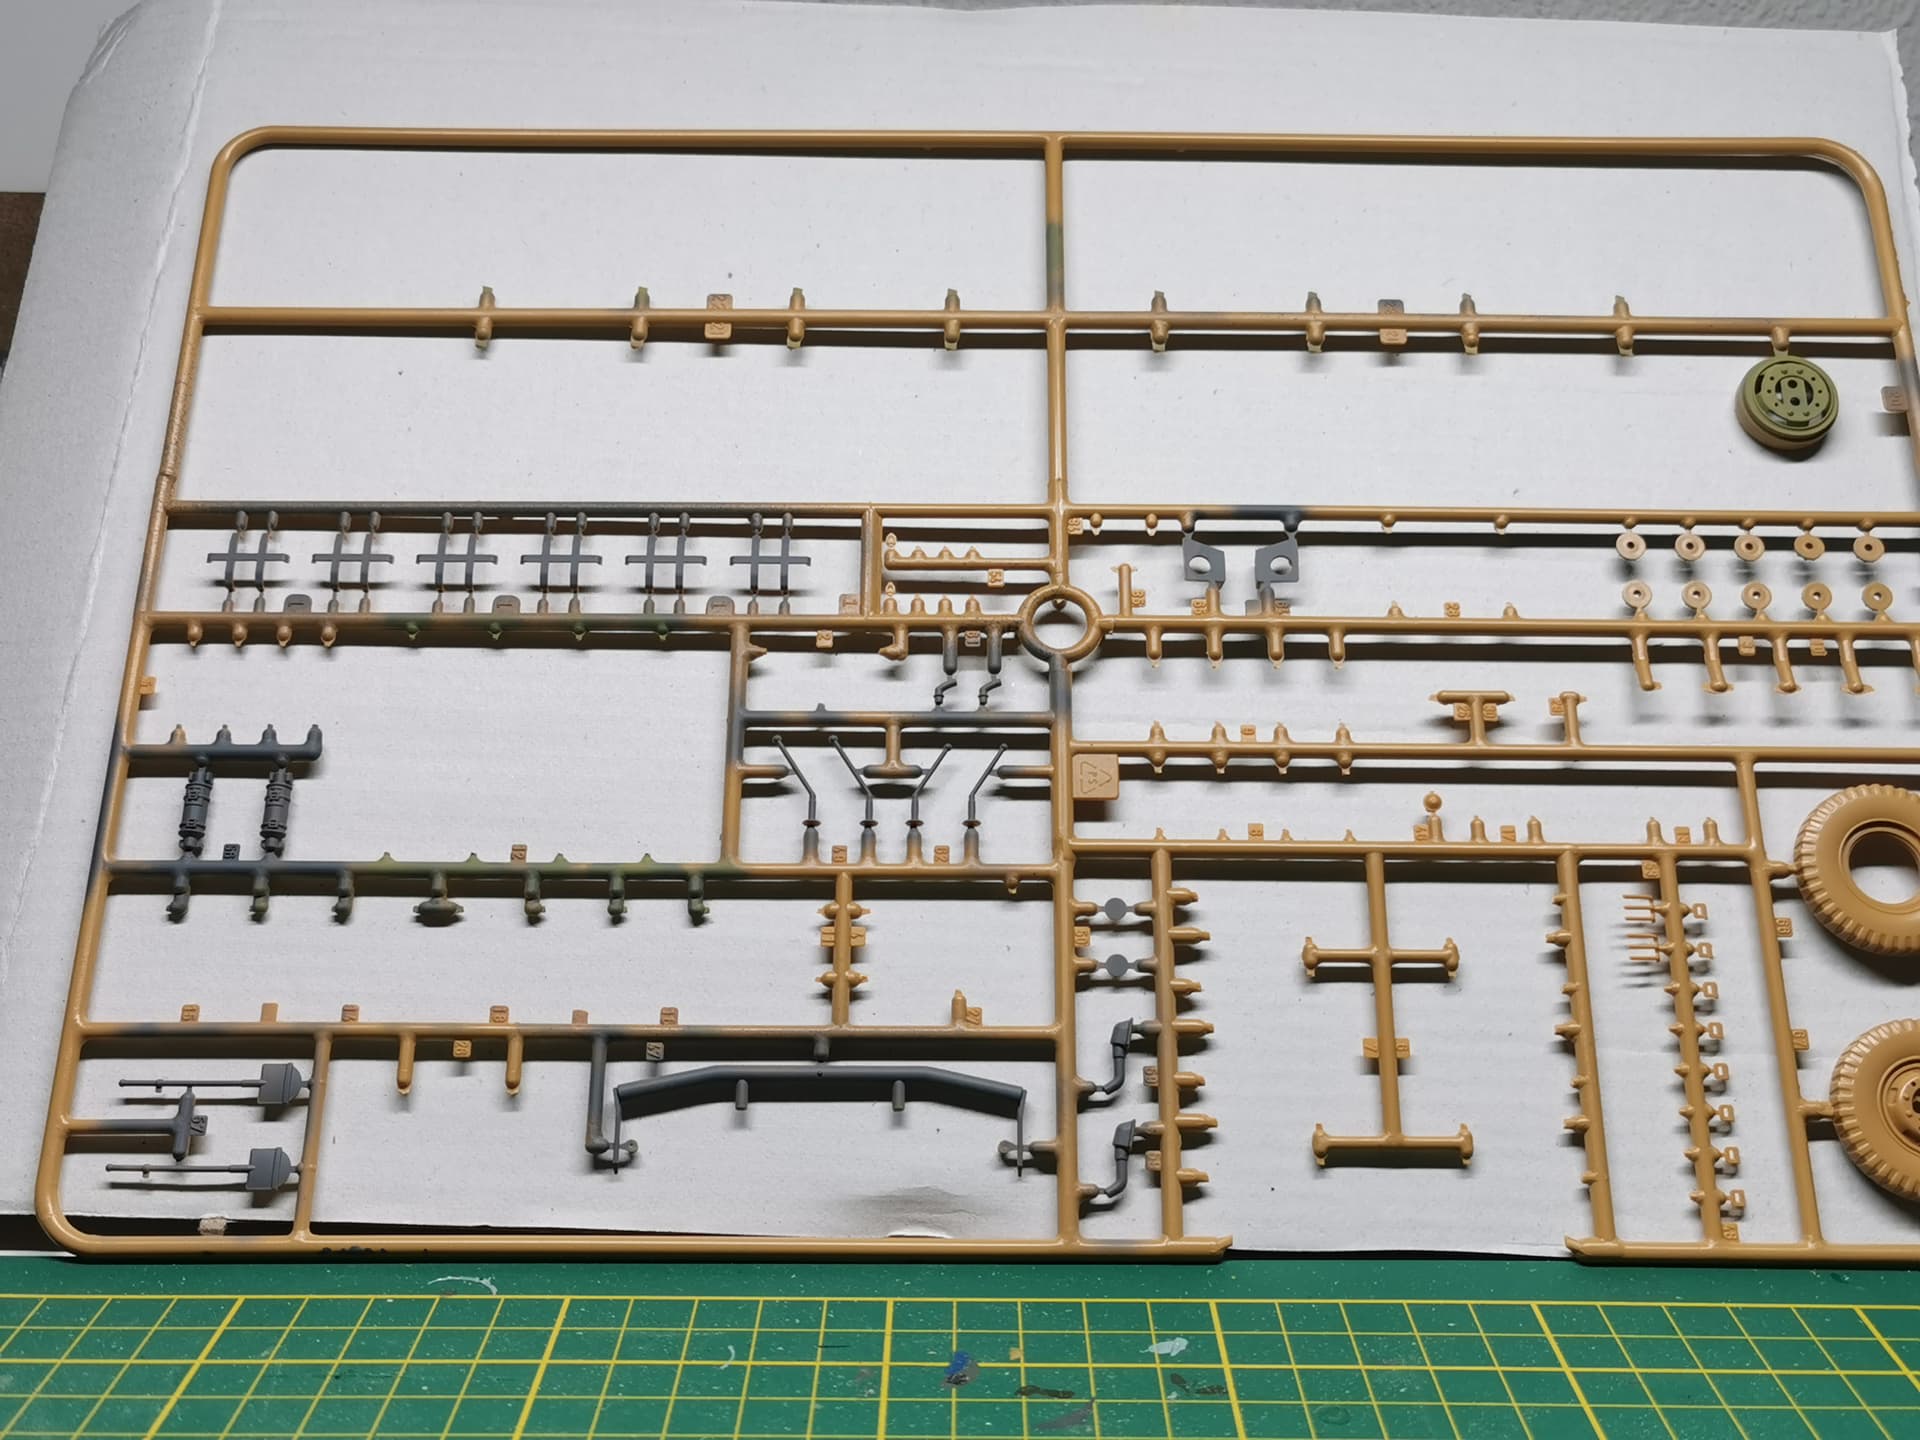
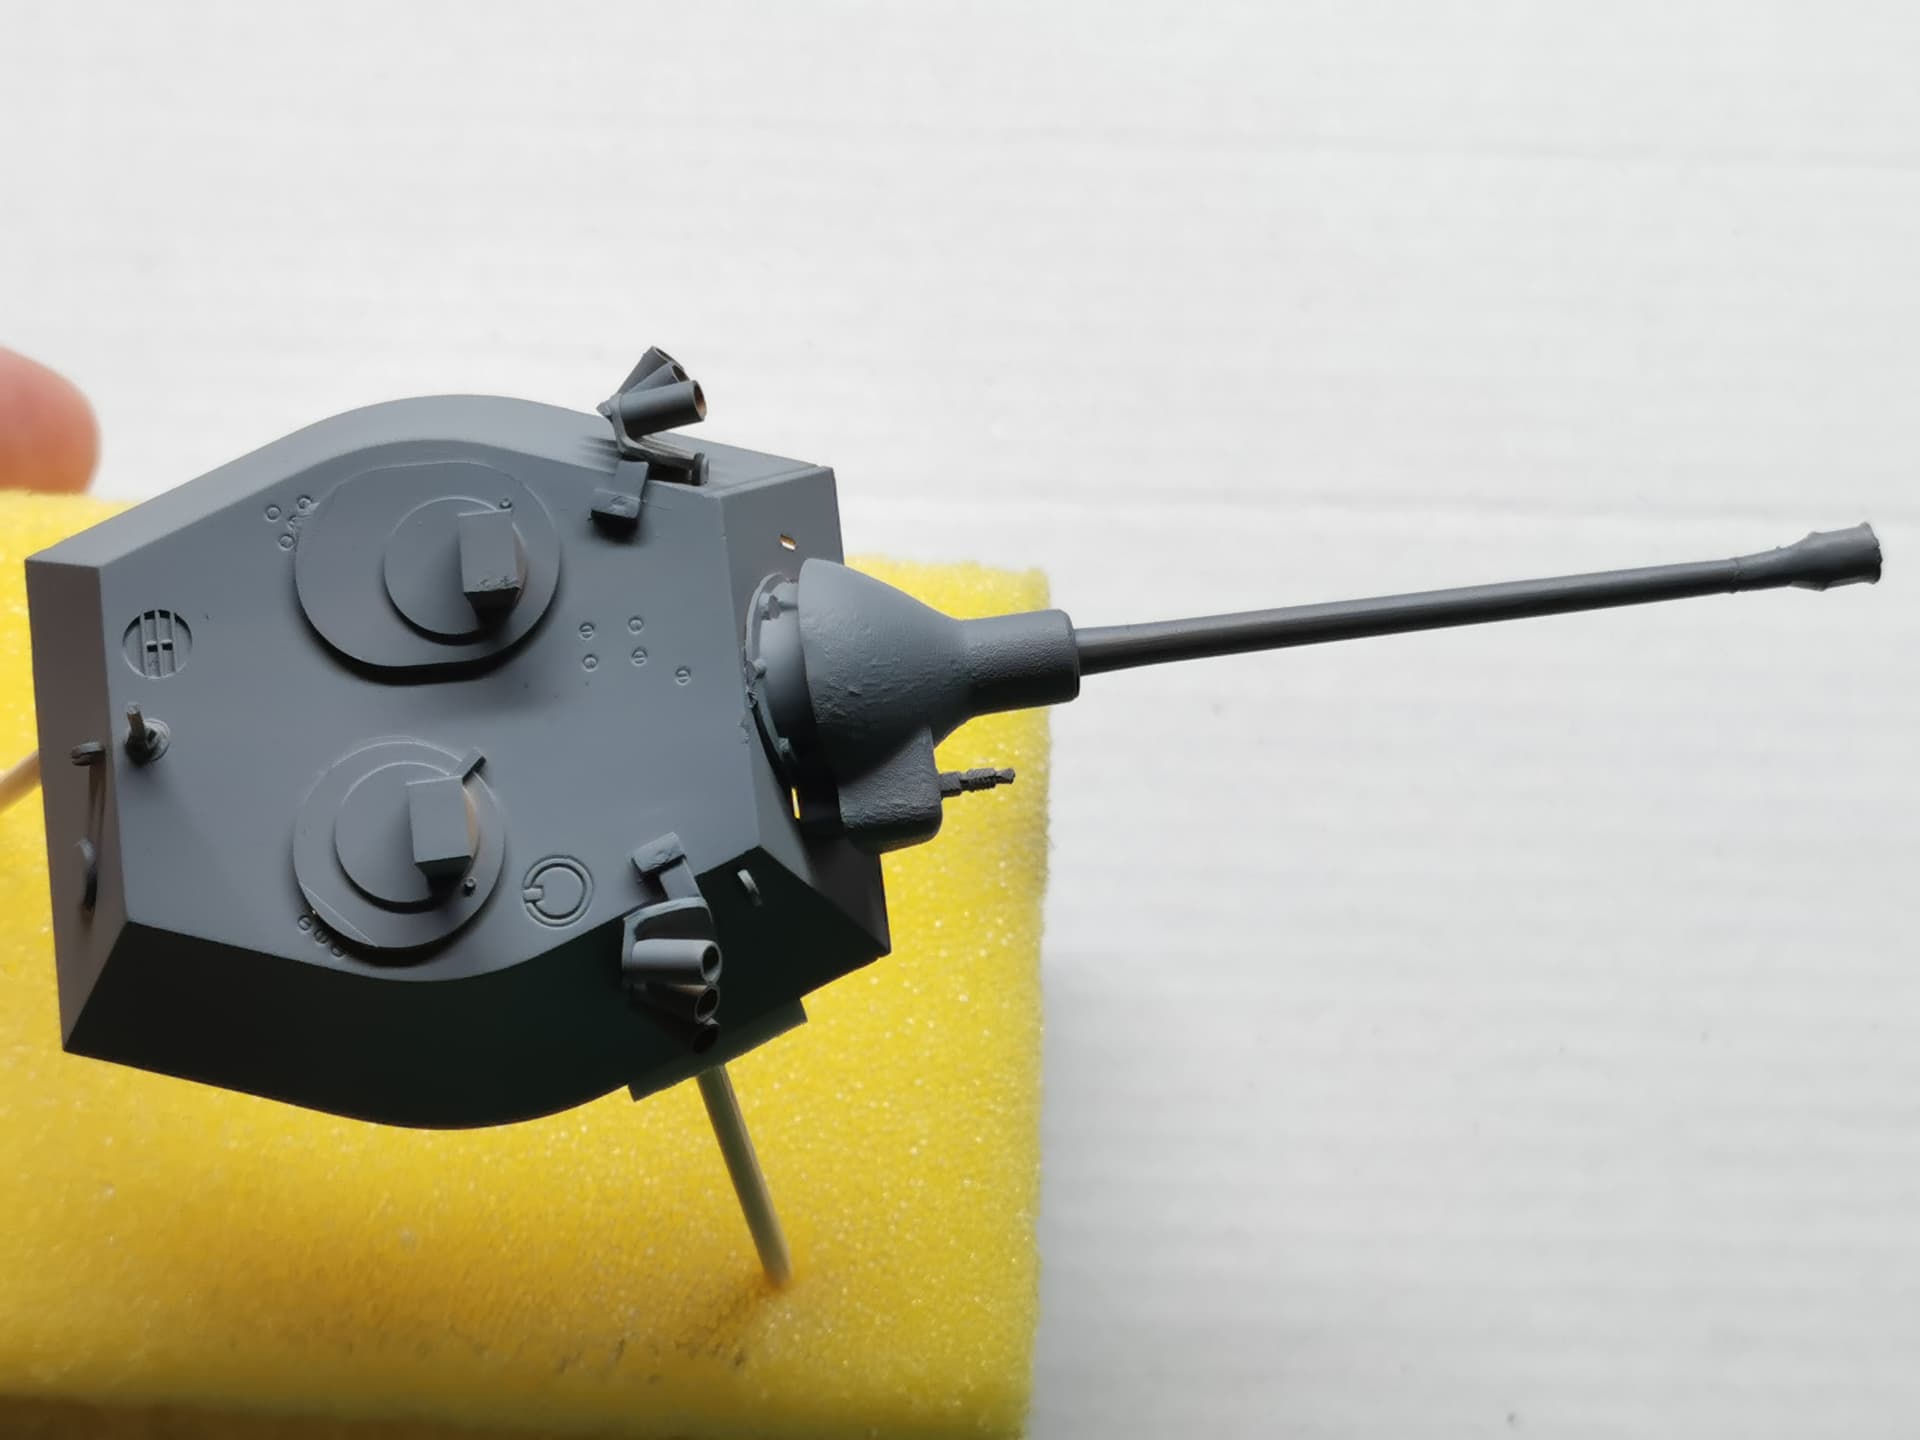
Not much to say really, pretty straightforward with the assembly. Except for the fact the instructions aren’t always as clear. And the quality of the instructions isn’t always as good.
I’ve done the best I could to get rid of the seamlines at the gun barrel and the muzzle break. Sanded them a lot. Hopefully it looks good and you don’t really notice a seamline anymore.
Other than that, not much else to say.