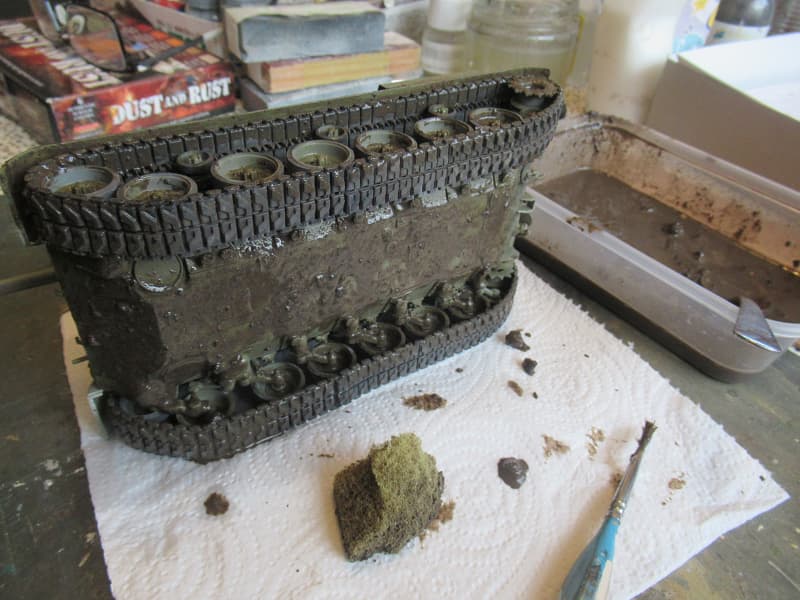
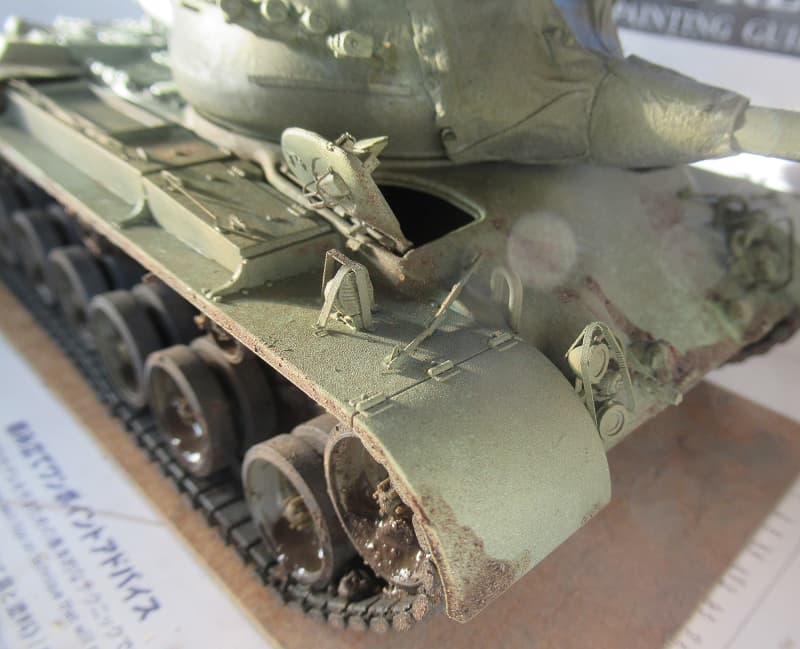
The final salt stage completed, about to start on the muddy underside and running gear. Brushing off the salt can knock off PE parts to a dribble of warm water from the tap washed it all away.
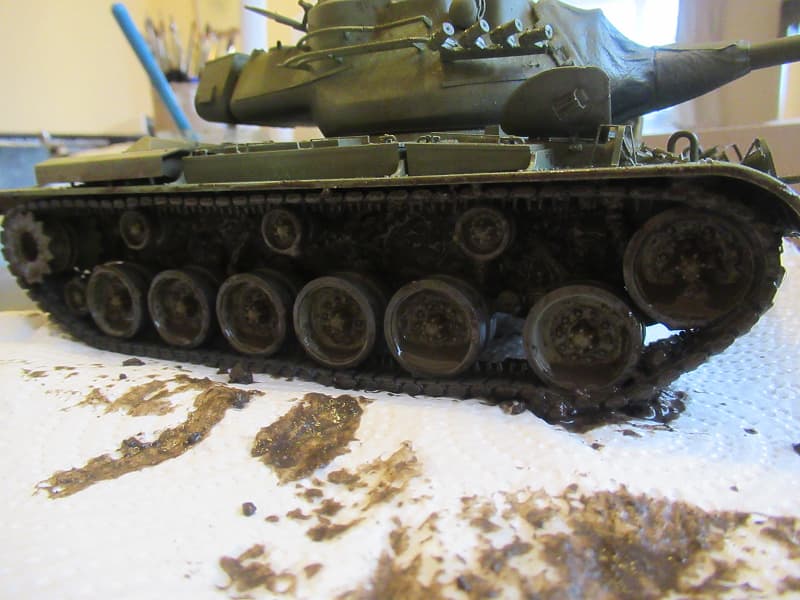
now that is dry, time to mix up some garden soil with PVA glue, working it into the running gear and hull suspension. idlers and sprockets.
4 Likes
leave that lot to dry for 48 hours and I’ll be left with hard, dry cracked mud, well it’s just what it is isn’t it…
5 Likes
the mud mixed with PVA glue has dried as expected and I’m happy with the result so far, the longer I leave it, the more dried and cracked it’ll get before I interfere with it.
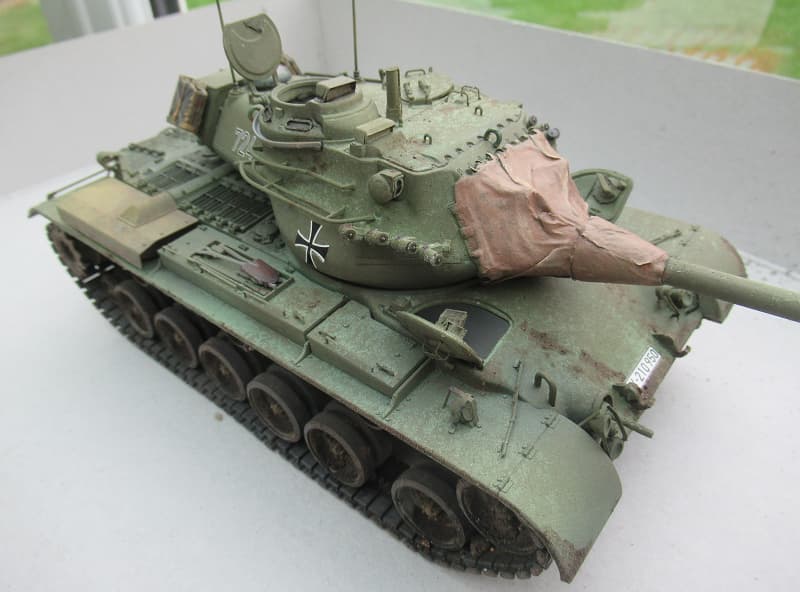
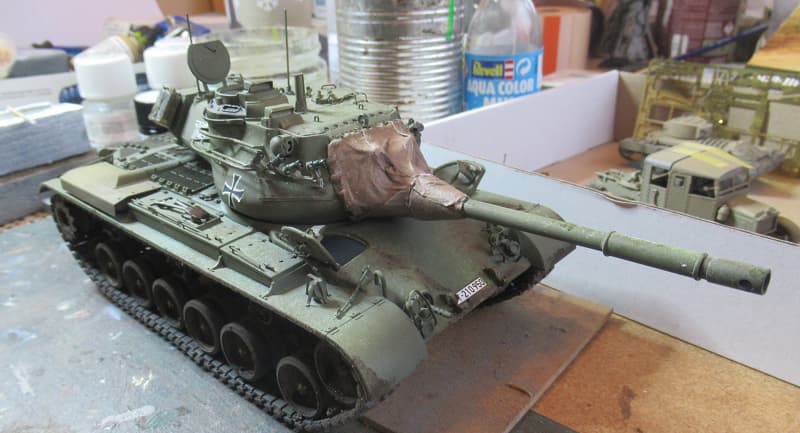
time for some basic work on the jerry cans mounted either side of the turret Bustle.
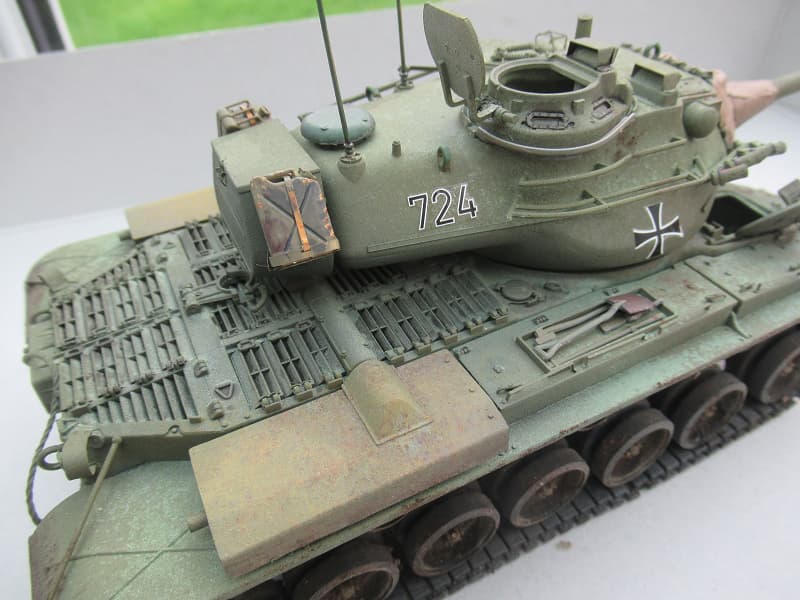
they need far more work to get them to blend in their wear and tear.
it’s getting nearer to where I want it to be.
7 Likes
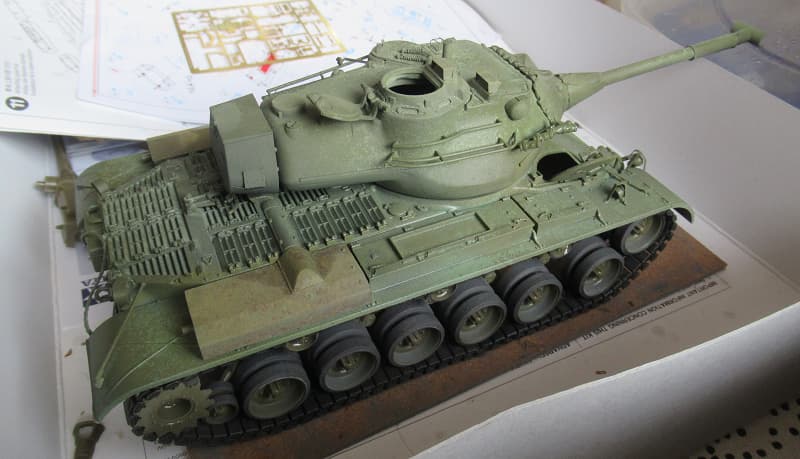
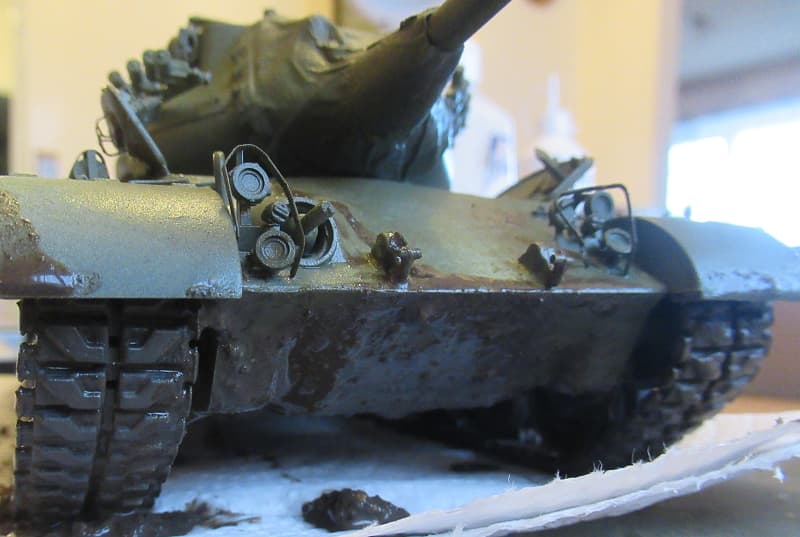
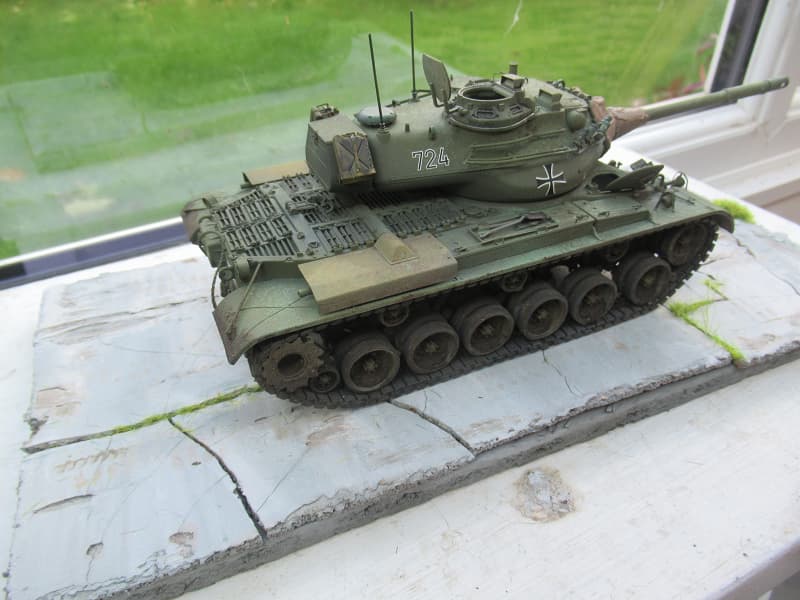
All looking good; just one thing: the smoke dischargers need to be adjusted so they’re vertical - yours are sort of horizontal. See the pic below:
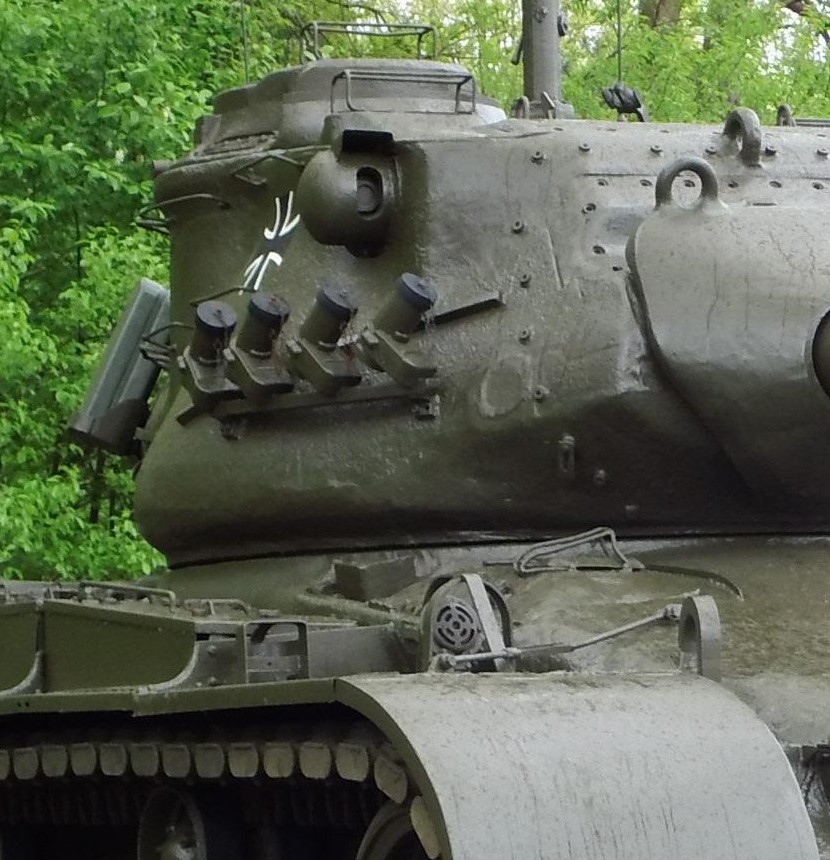
You may be able to gently prise them off and readjust; hope this helps.
3 Likes
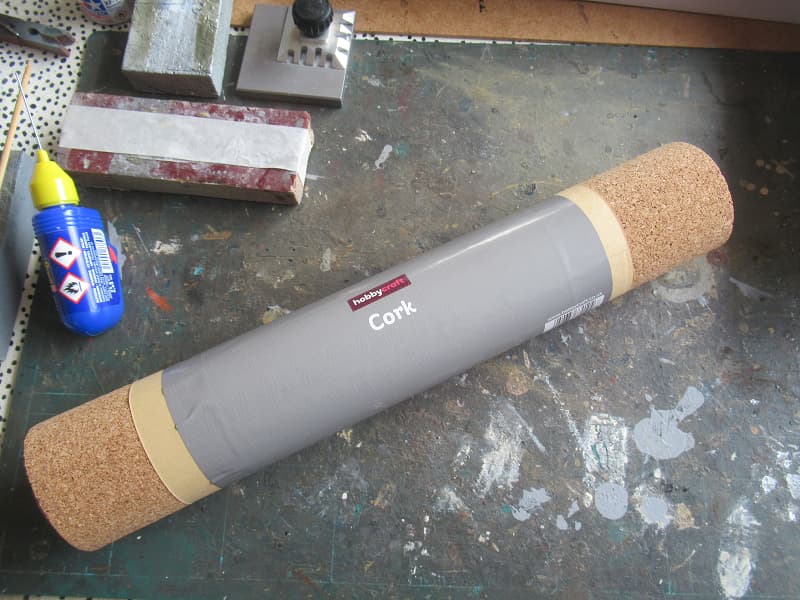
Brilliant view, I need to remove those and clean them up and correct their orientation, Thanks Boots. I’ll be making the base soon taking some tips from “night shift” on youtube, using Cork.
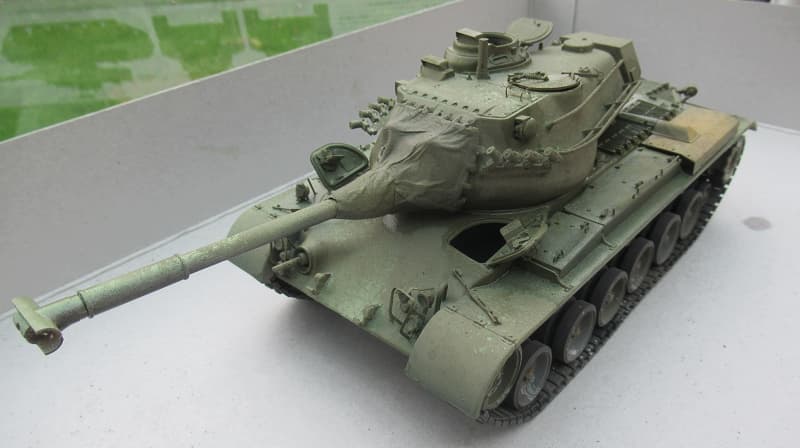
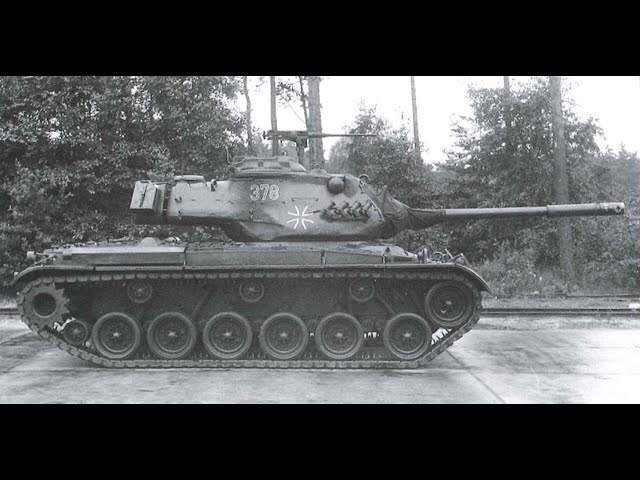
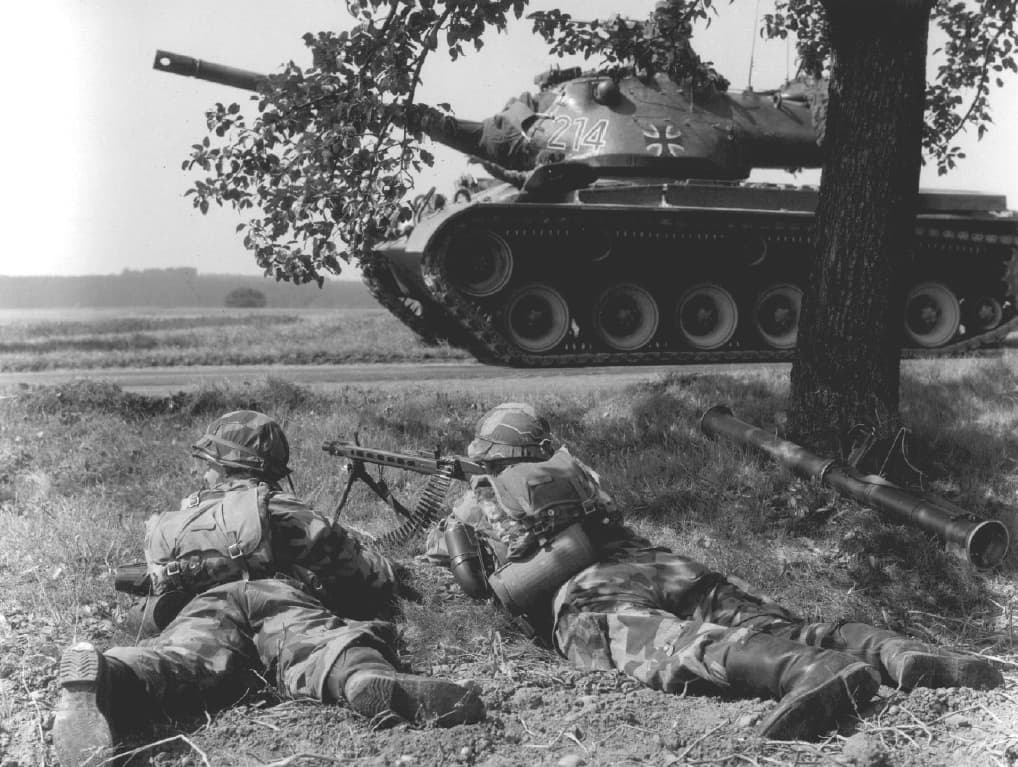
I’m afraid I forgot to mention it, but I feel that the “T” shaped muzzle-brake wasn’t appropriate for the Bundeswehr version; perhaps the kit instructions were less than clear, but as far as I know the Germans used the “straight” version of gun barrel (with just the aperture at the end). It may not be possible of course to change this now.
Anyway, good luck with it all.
1 Like
It’s not on the box top artwork sure, I need to do some searching, maybe ask Arny LOL, also I need to see if my intended exhaust discharge would lead to those diesl colour stains.
1 Like
Lucky I kept it, I’m sure it’s not too late for a correction, I’ll be putting some more time in on this shortly.
3 Likes
Well done Sprocket; it’ll make all the difference - honest!
3 Likes
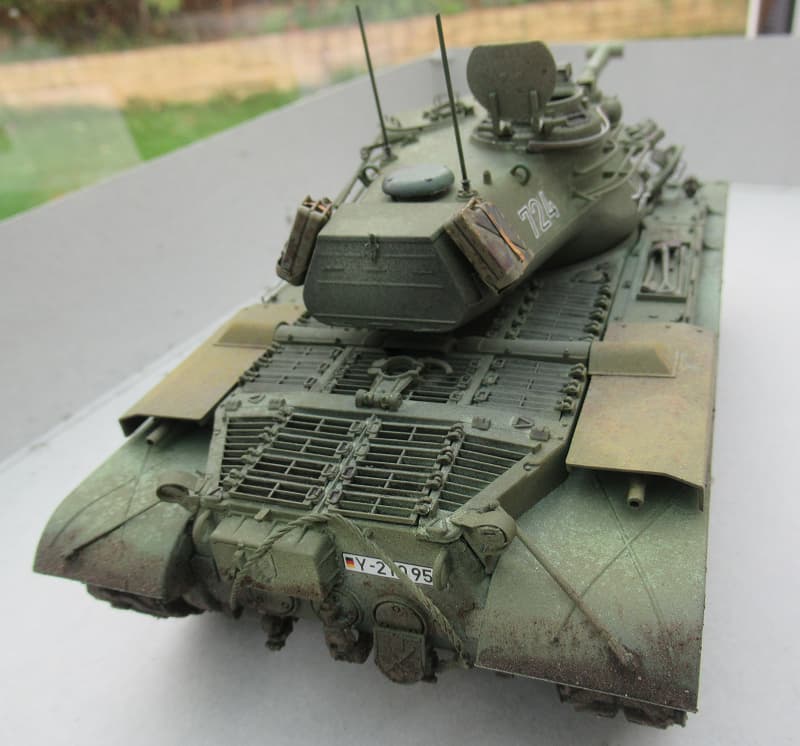
The German style Muzzle break fitted and the smoke dischargers re-orientated, shame really, I really liked that T shaped one, so iconic for the time, still it was inaccurate for a German one so it had to go.
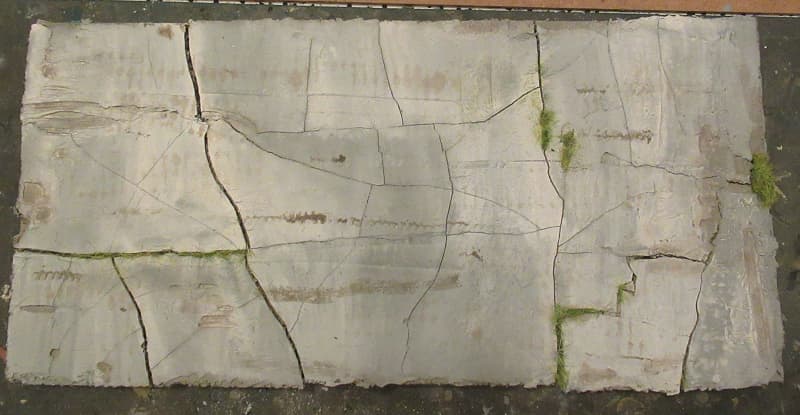
started on the base, the cork cut to size and given the first coat of tile grout, I’ll keep applying layers and letting them dry till it’s crack-able.
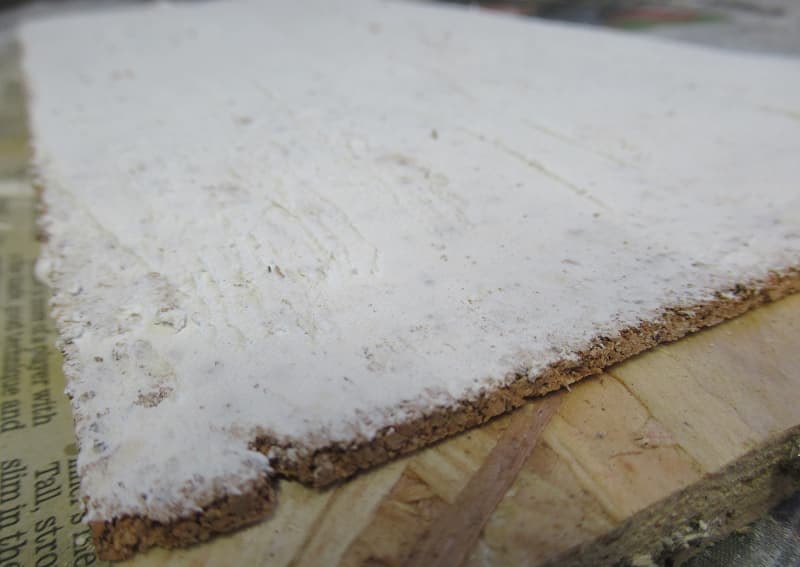
5 Likes
Muzzle brake looks good.
3 Likes
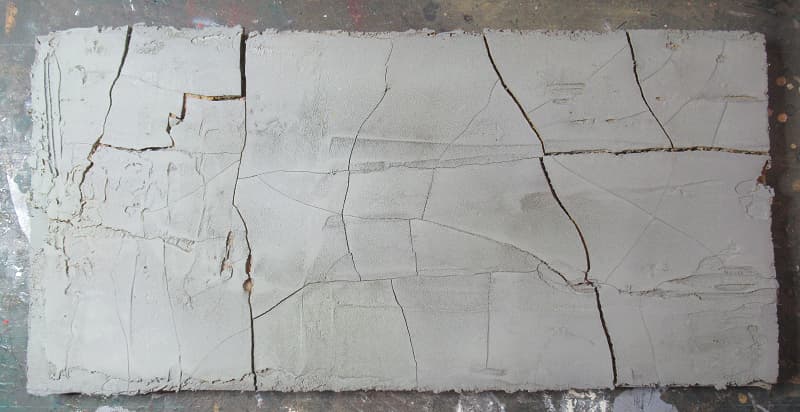
the base cracked concrete track airbrushed in velejo cement colour, it’s far too uniform so far, needs a lot of time and effort to weather some variation to it.
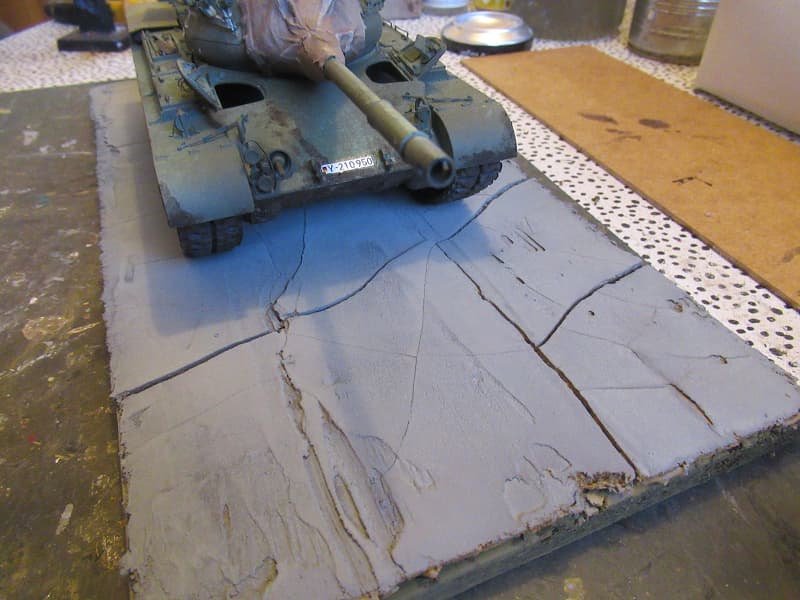
I’ll have grass and weeds growing up through the cracks, along with track and tire marks and rain marks on the broken and cracked areas of Concrete.
I’d better get Cracking on.
3 Likes
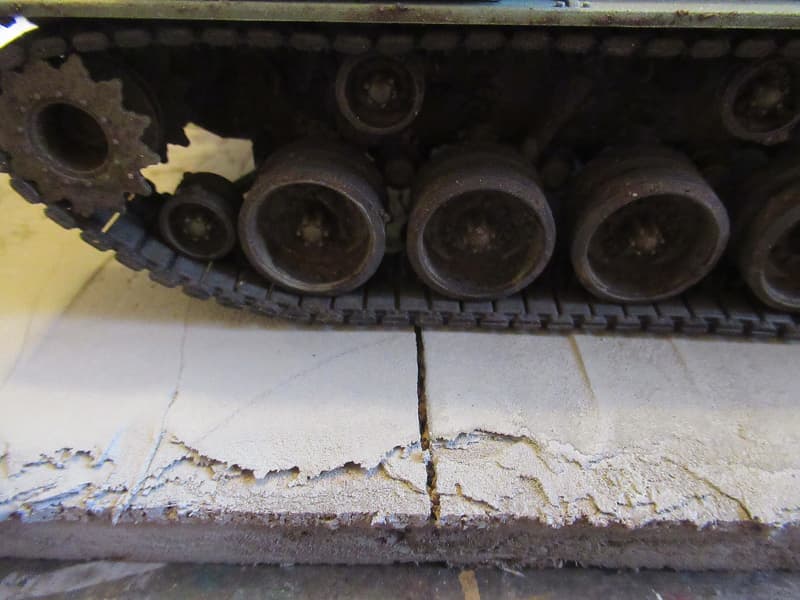
first grass tutf growing up through the crack.
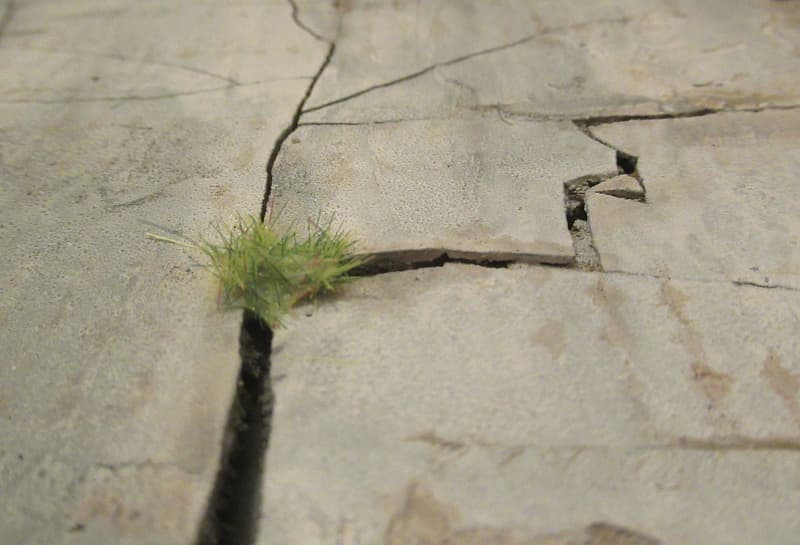
using washes to add some variation of tone to the concrete surface
8 Likes
so far so good, long way to go still, the base looks bare and there is plenty of space for some Diorama Mischief.
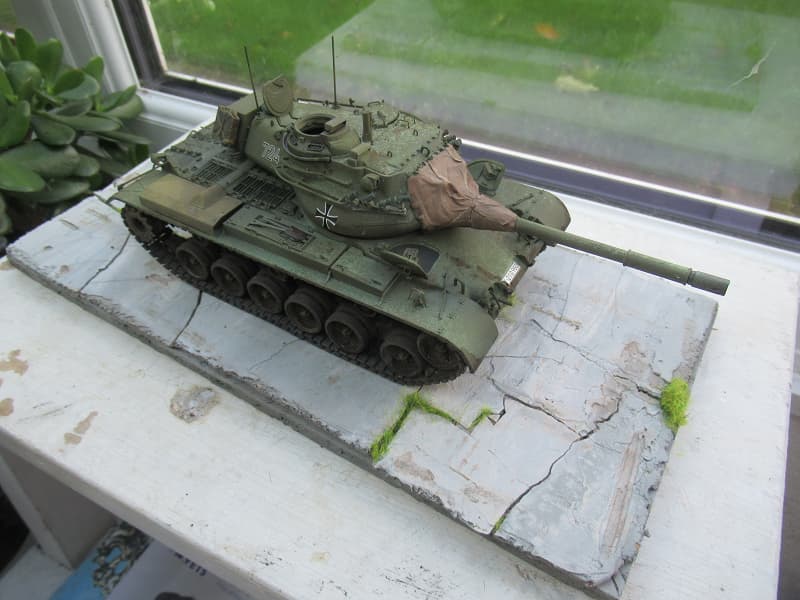
I’m thinking some oil drums and white mine tape, a flattened oil drum and a NATO exercise marshal with a white arm band looking less than happy.
11 Likes
Nice, but surprised there are no expansion joints in the concrete, tends to prevent big odd shaped cracks like that?
Mal
1 Like
but Mal, where’s the fun in that?
1 Like
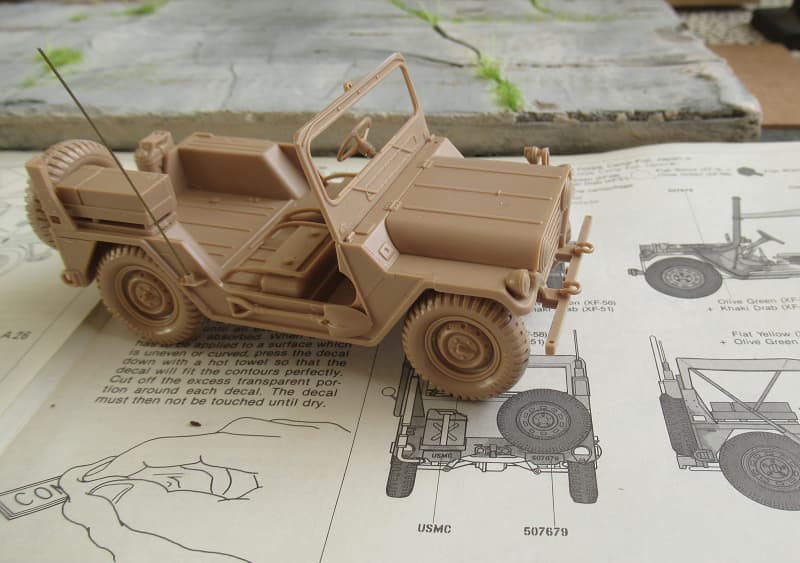
there is enough space on the ground for a second vehicle, an MP Mutt maybe. Unsure if these were around when the Germans were using M47s
2 Likes
There’s fun in concrete cracks?
Missed that totally…
Mal
1 Like