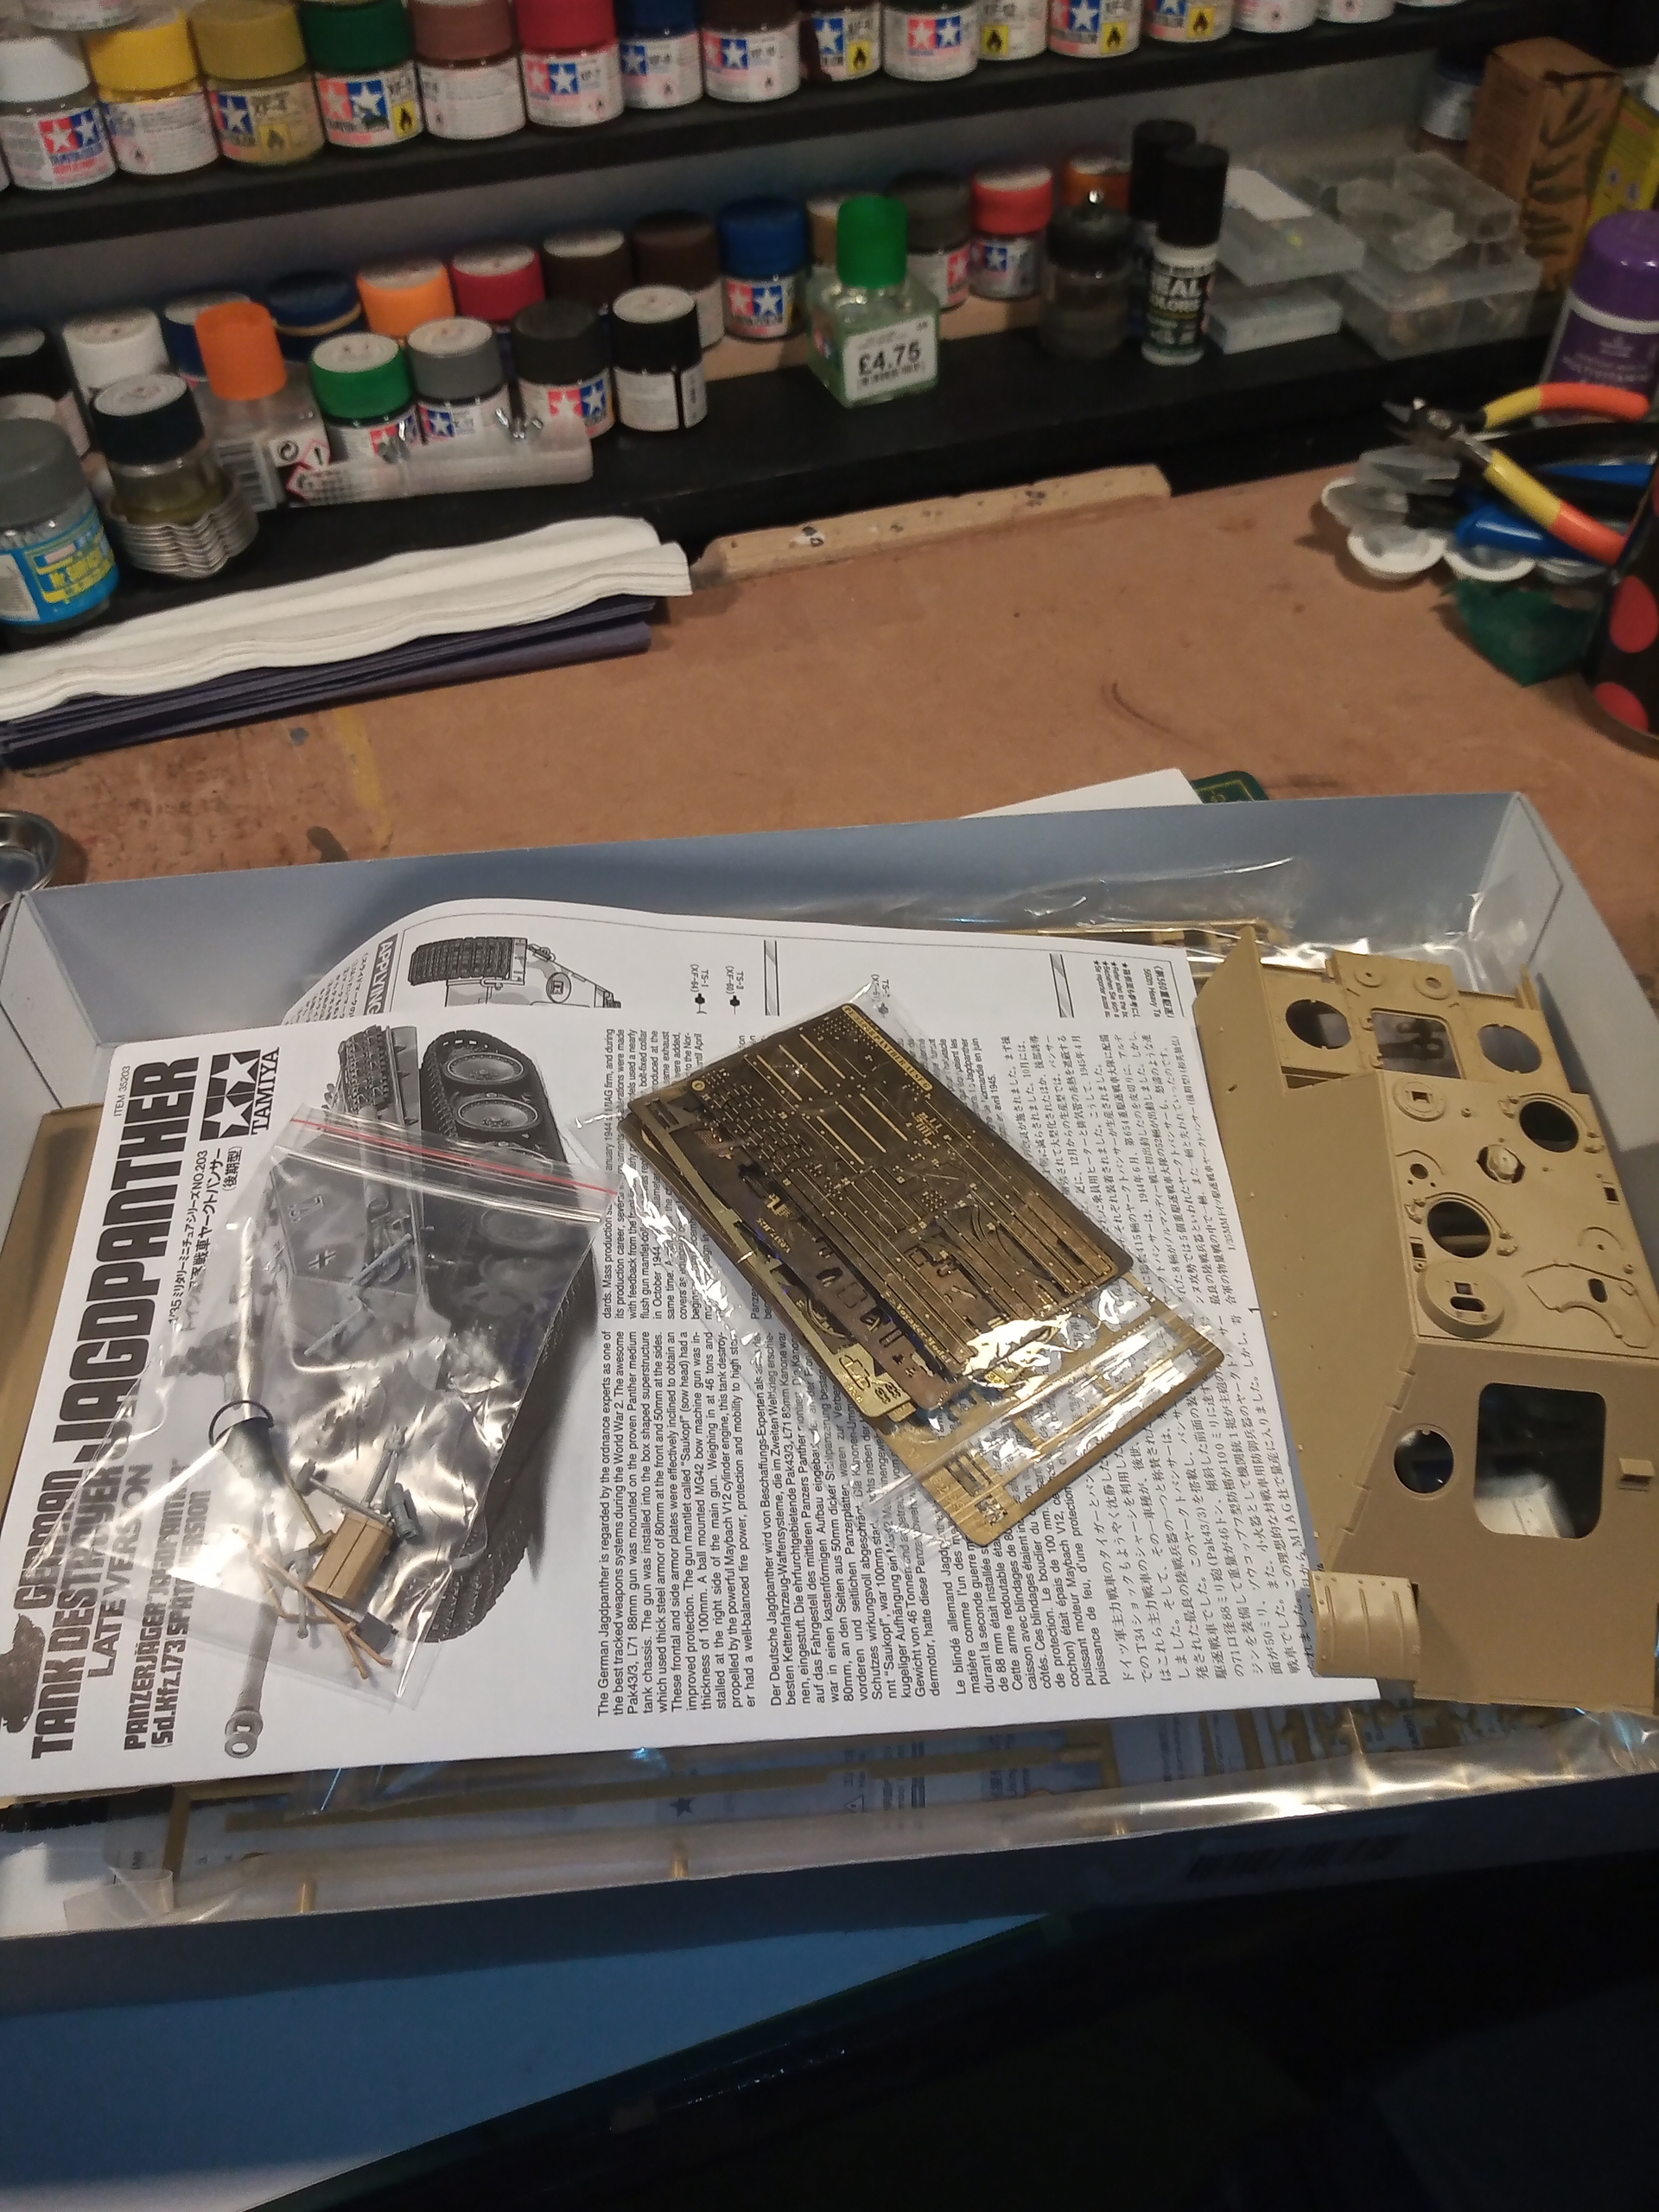
I have lots of spare PE from other Jagdpanther and Panther G builds plus various individual tools. I intend to do a later version with the tools on the casemate rear panel.
Cheers mate, just working my way through all the spare PE to find out what can used and what kit parts to get rid of. At least one front mudguard will be going and will replace the thin side running boards with PE ones I have … not sure on side plates yet .
The build won’t strictly follow the kit instructions as I have built this kit a few times so know the ins and put, plus I am also referencing online instructions for the various PE spares I’m using.
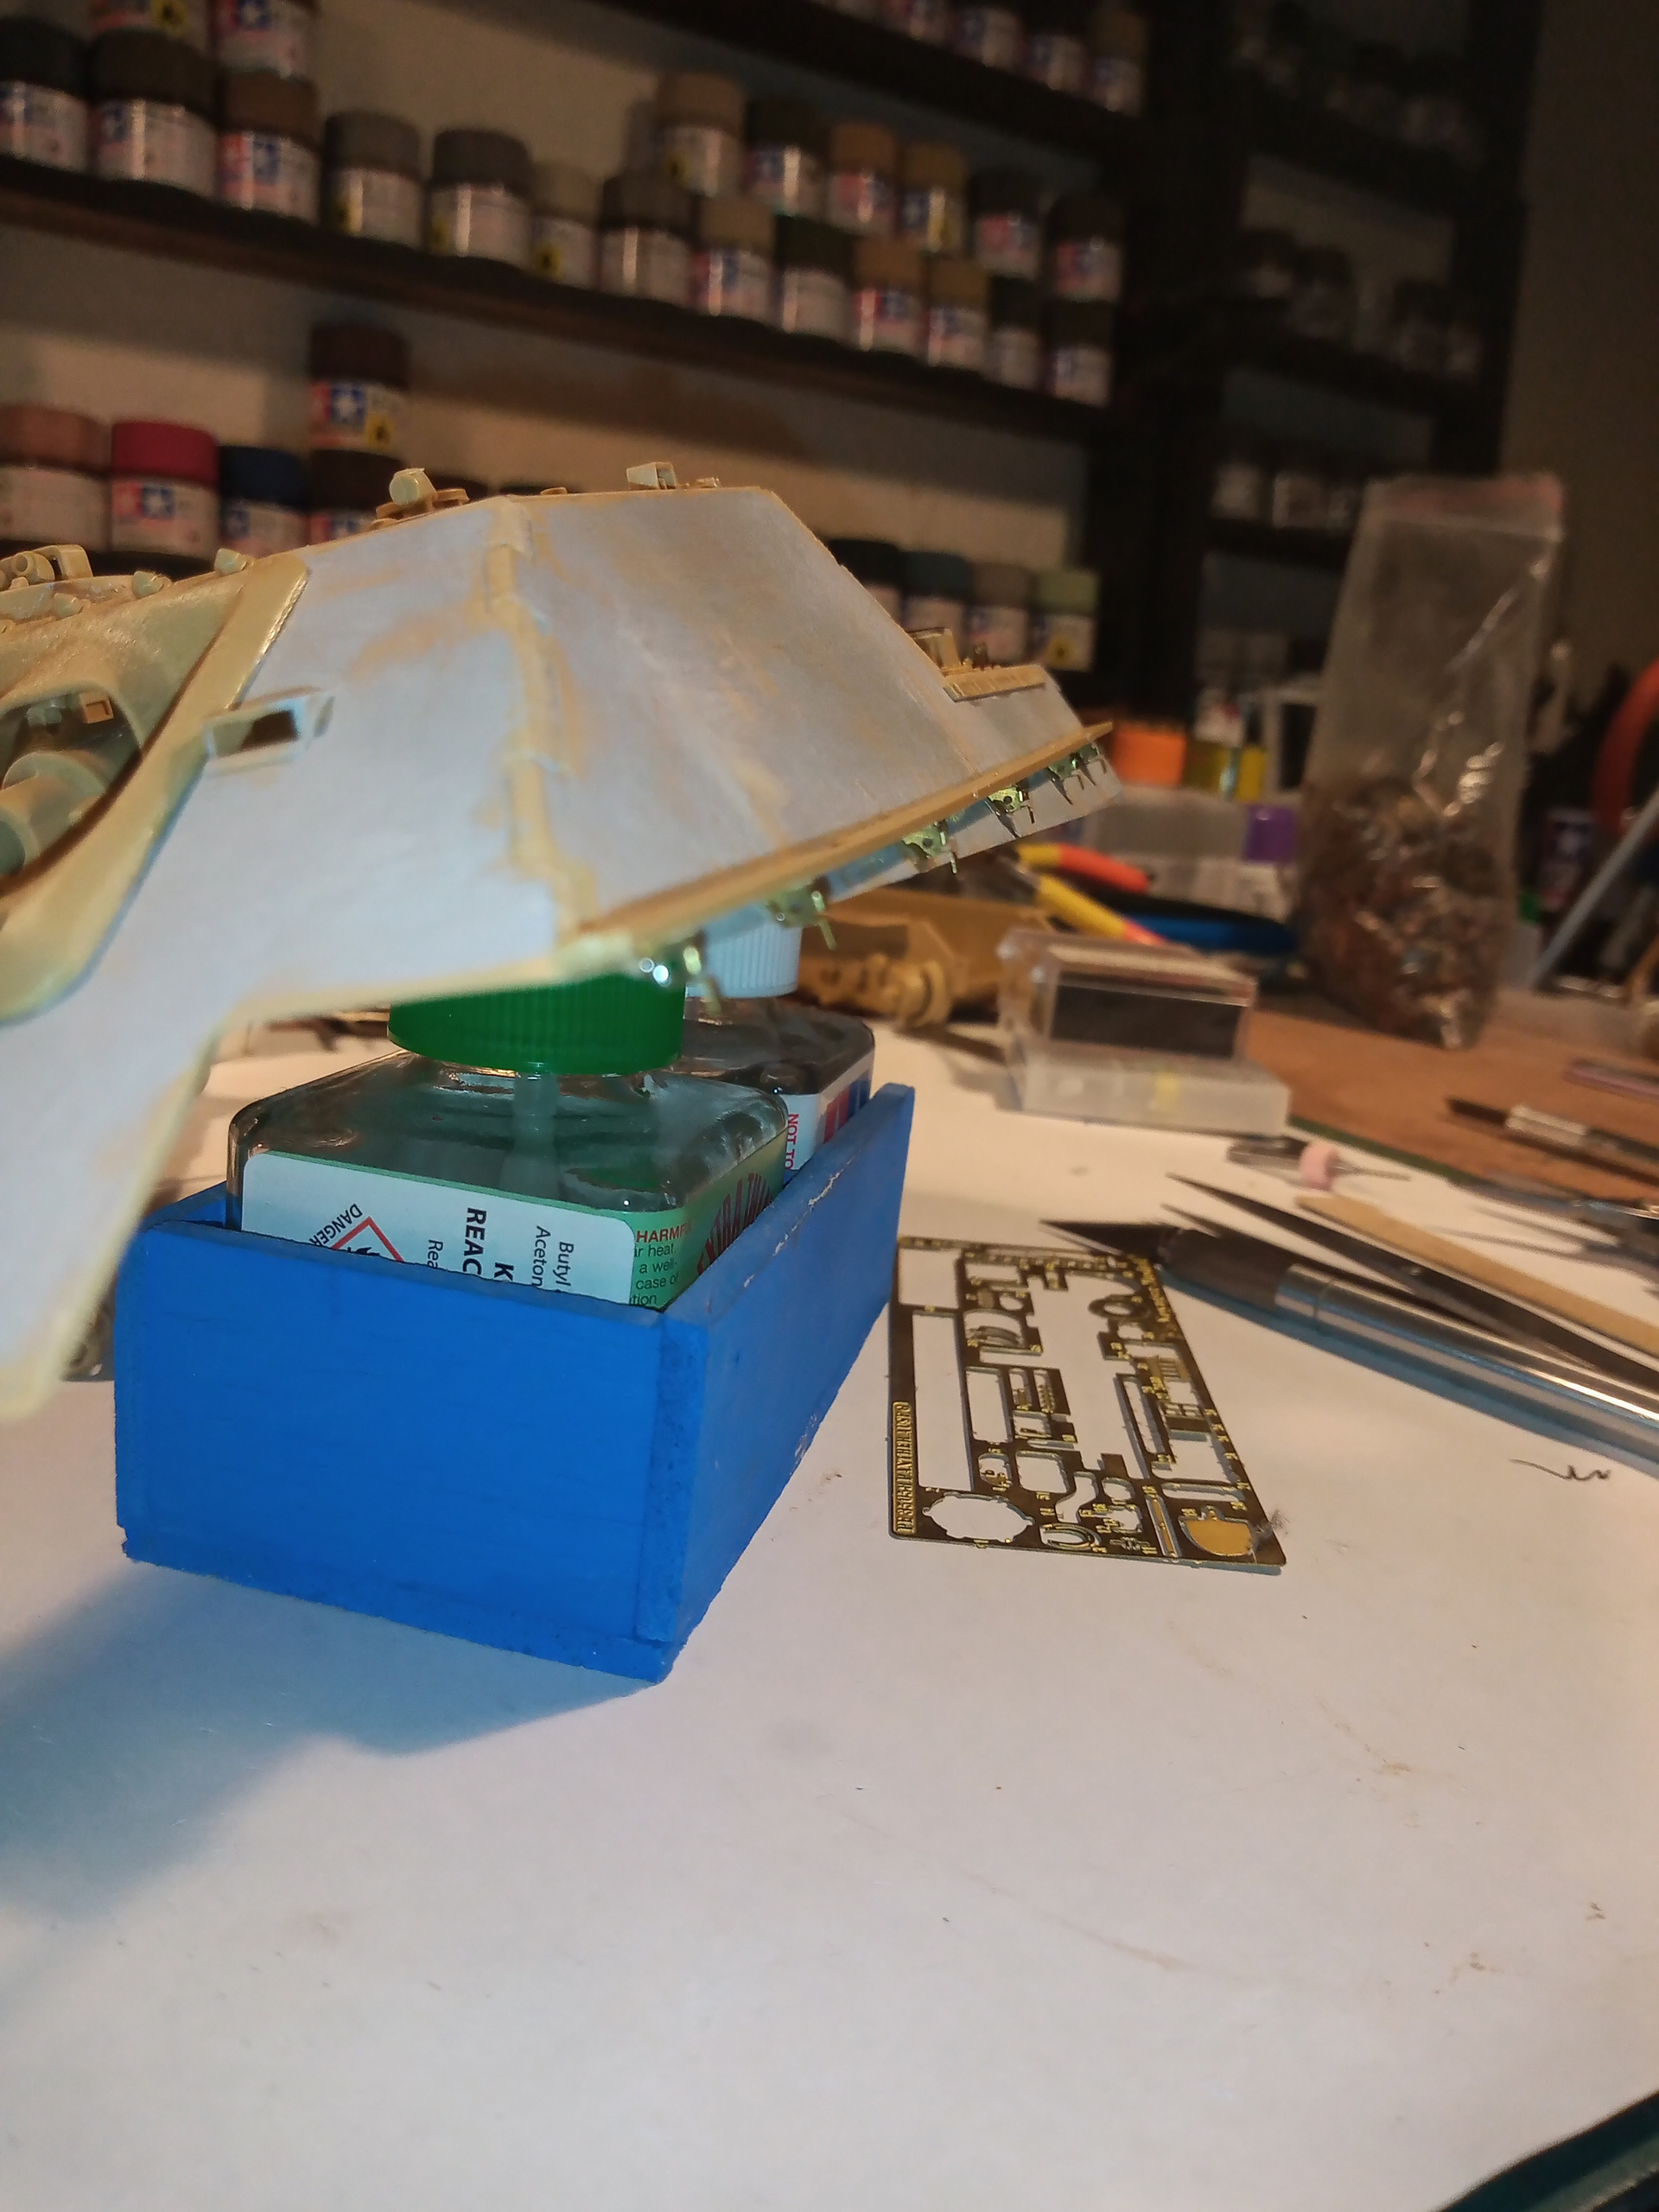
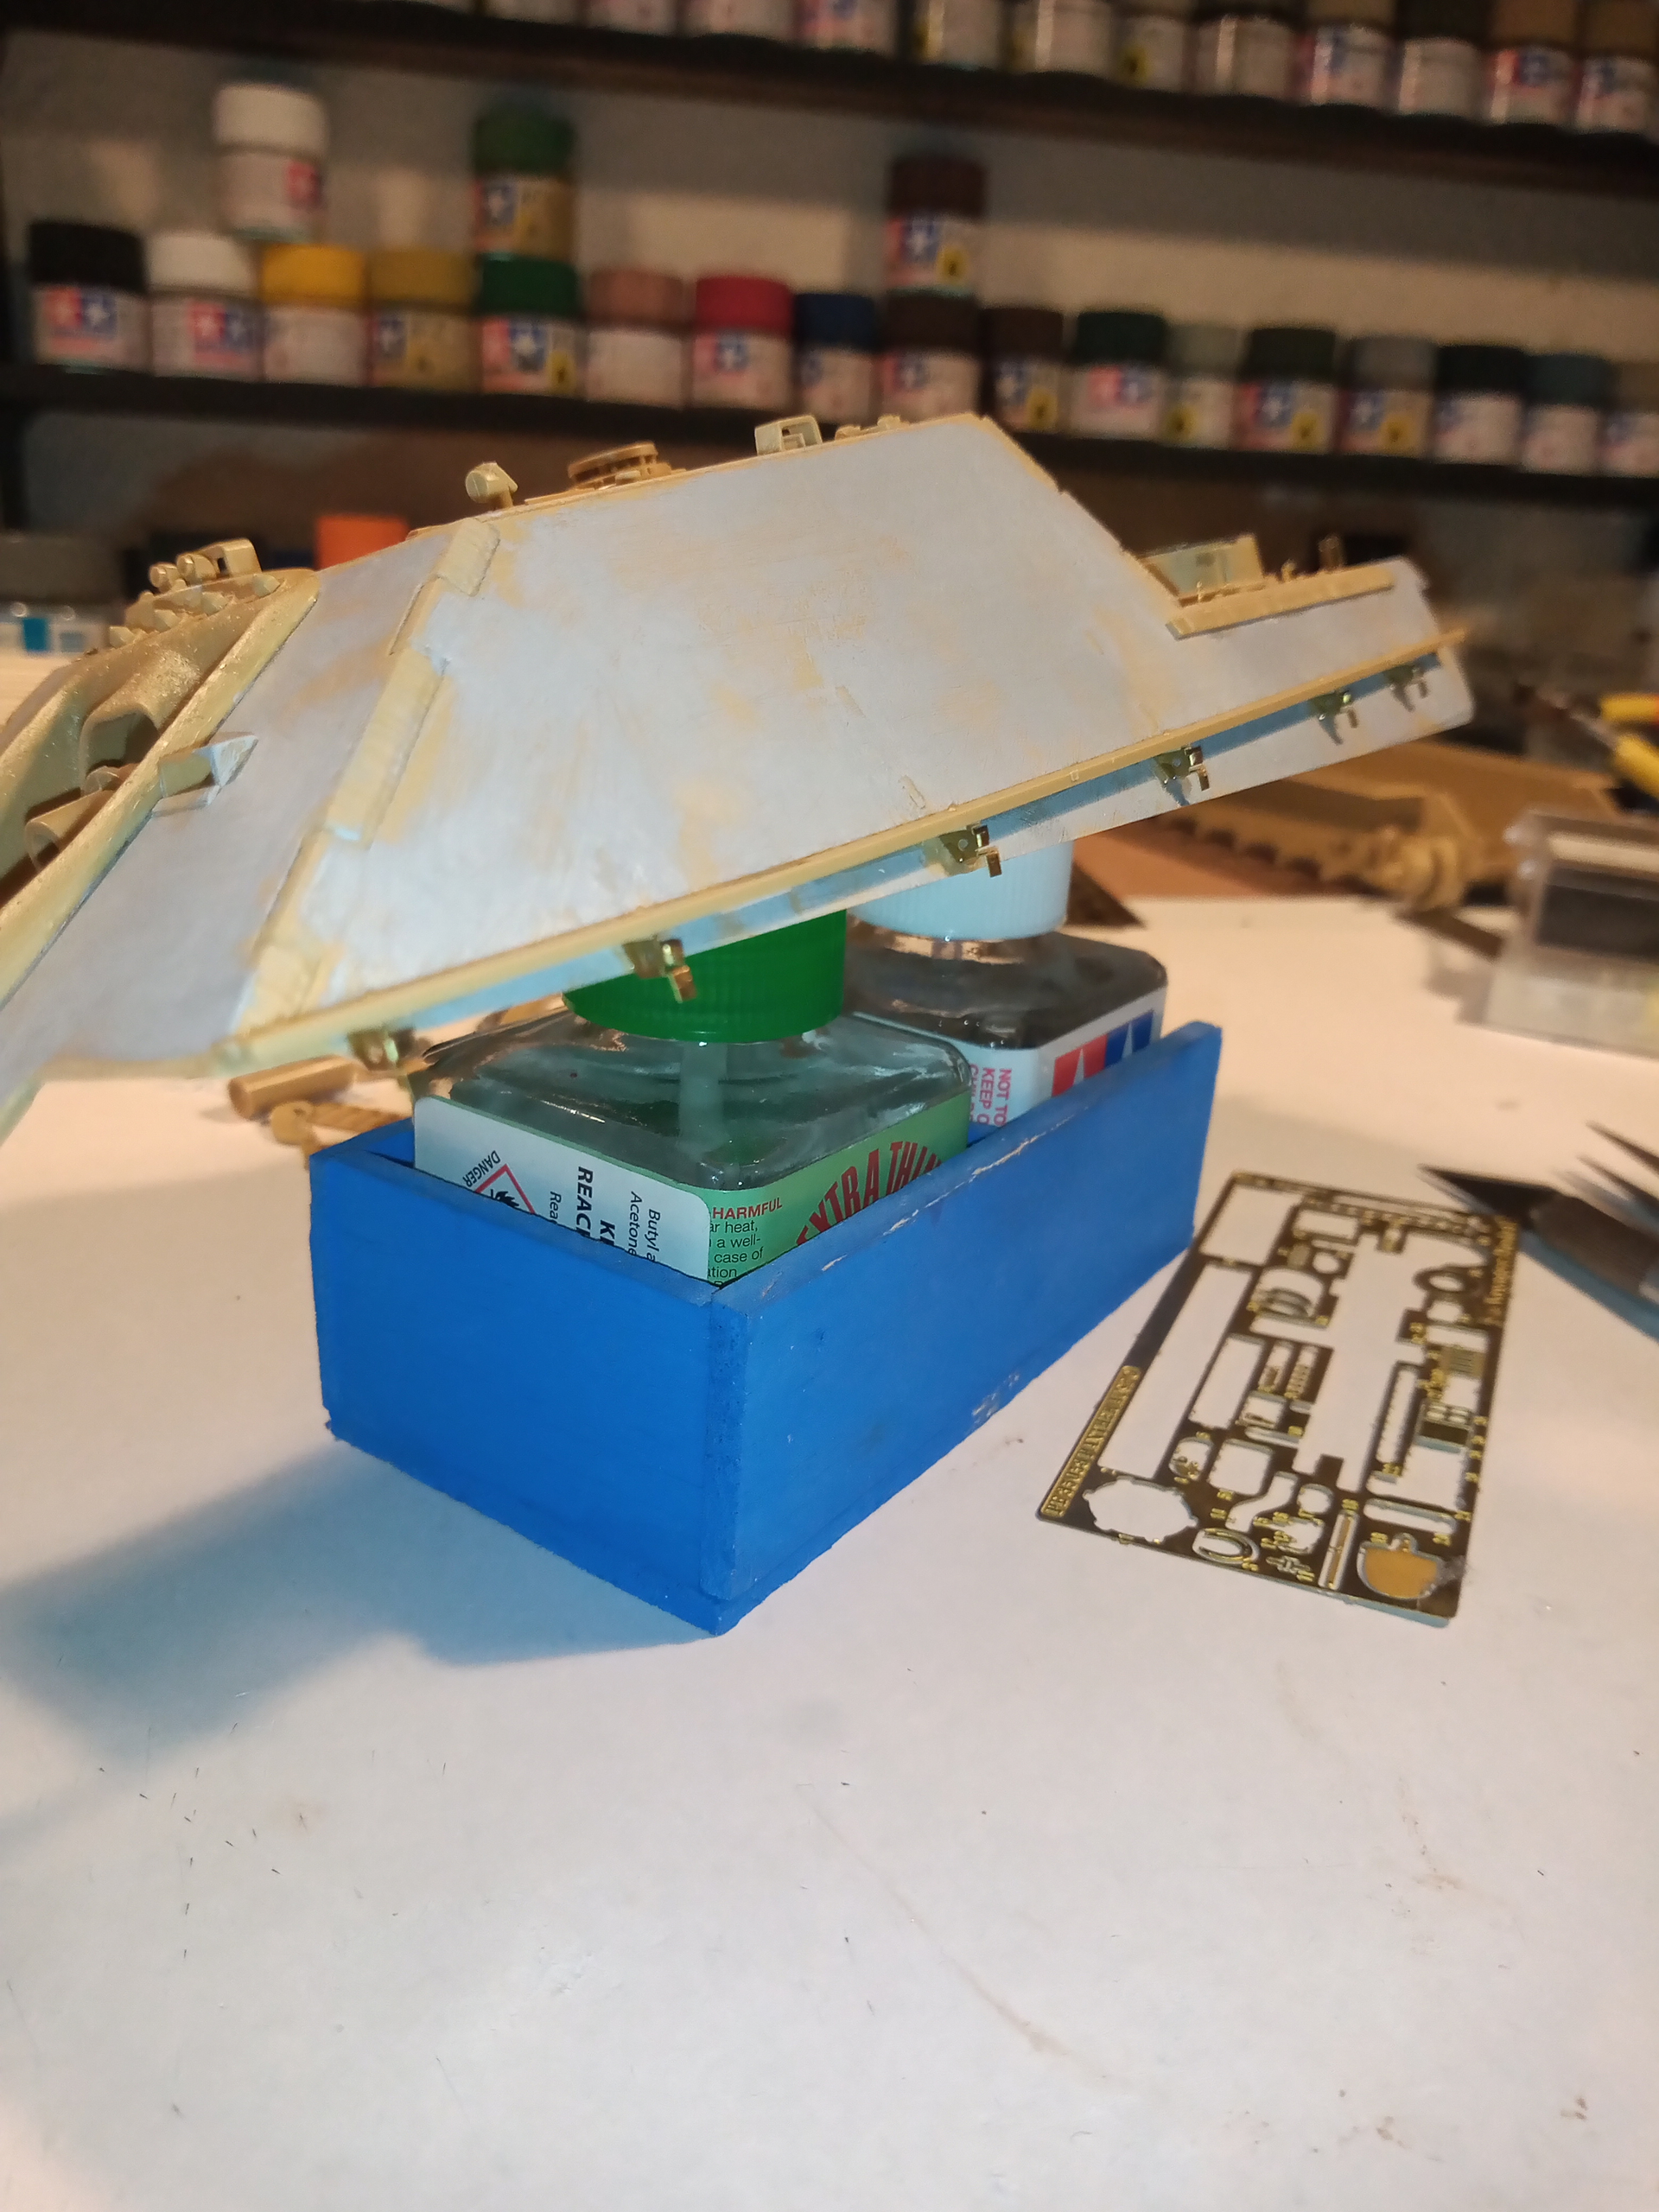
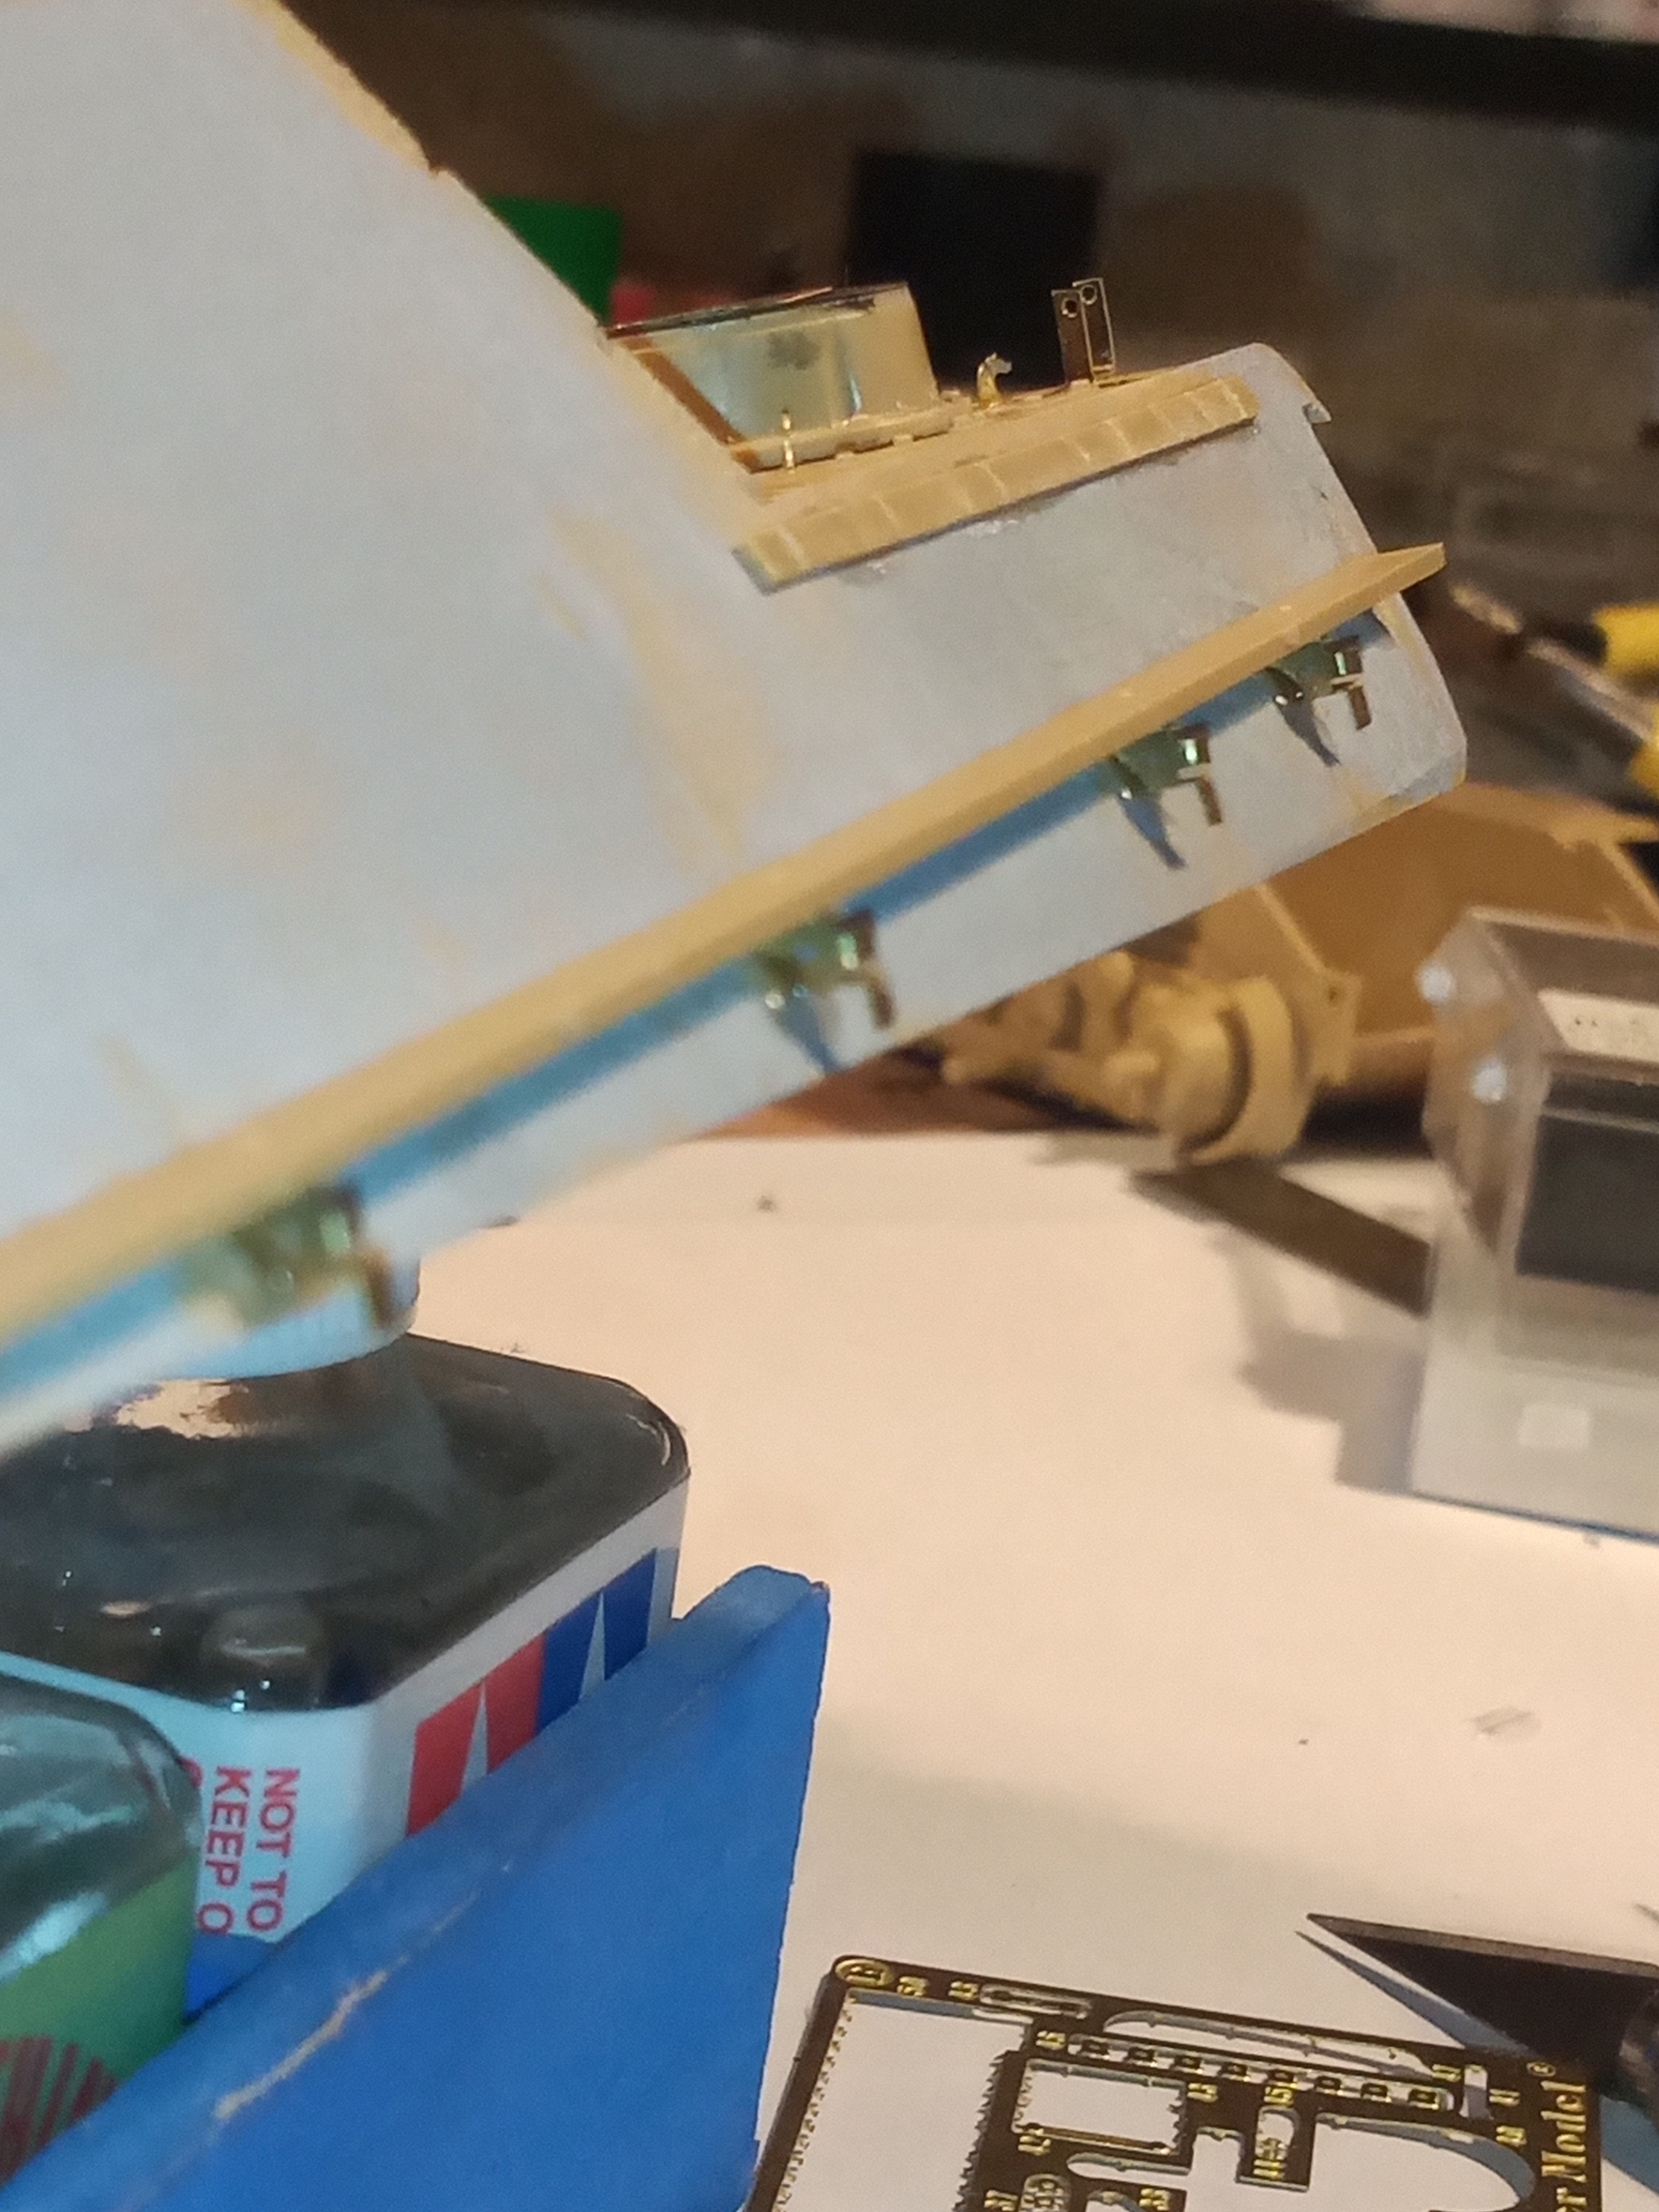
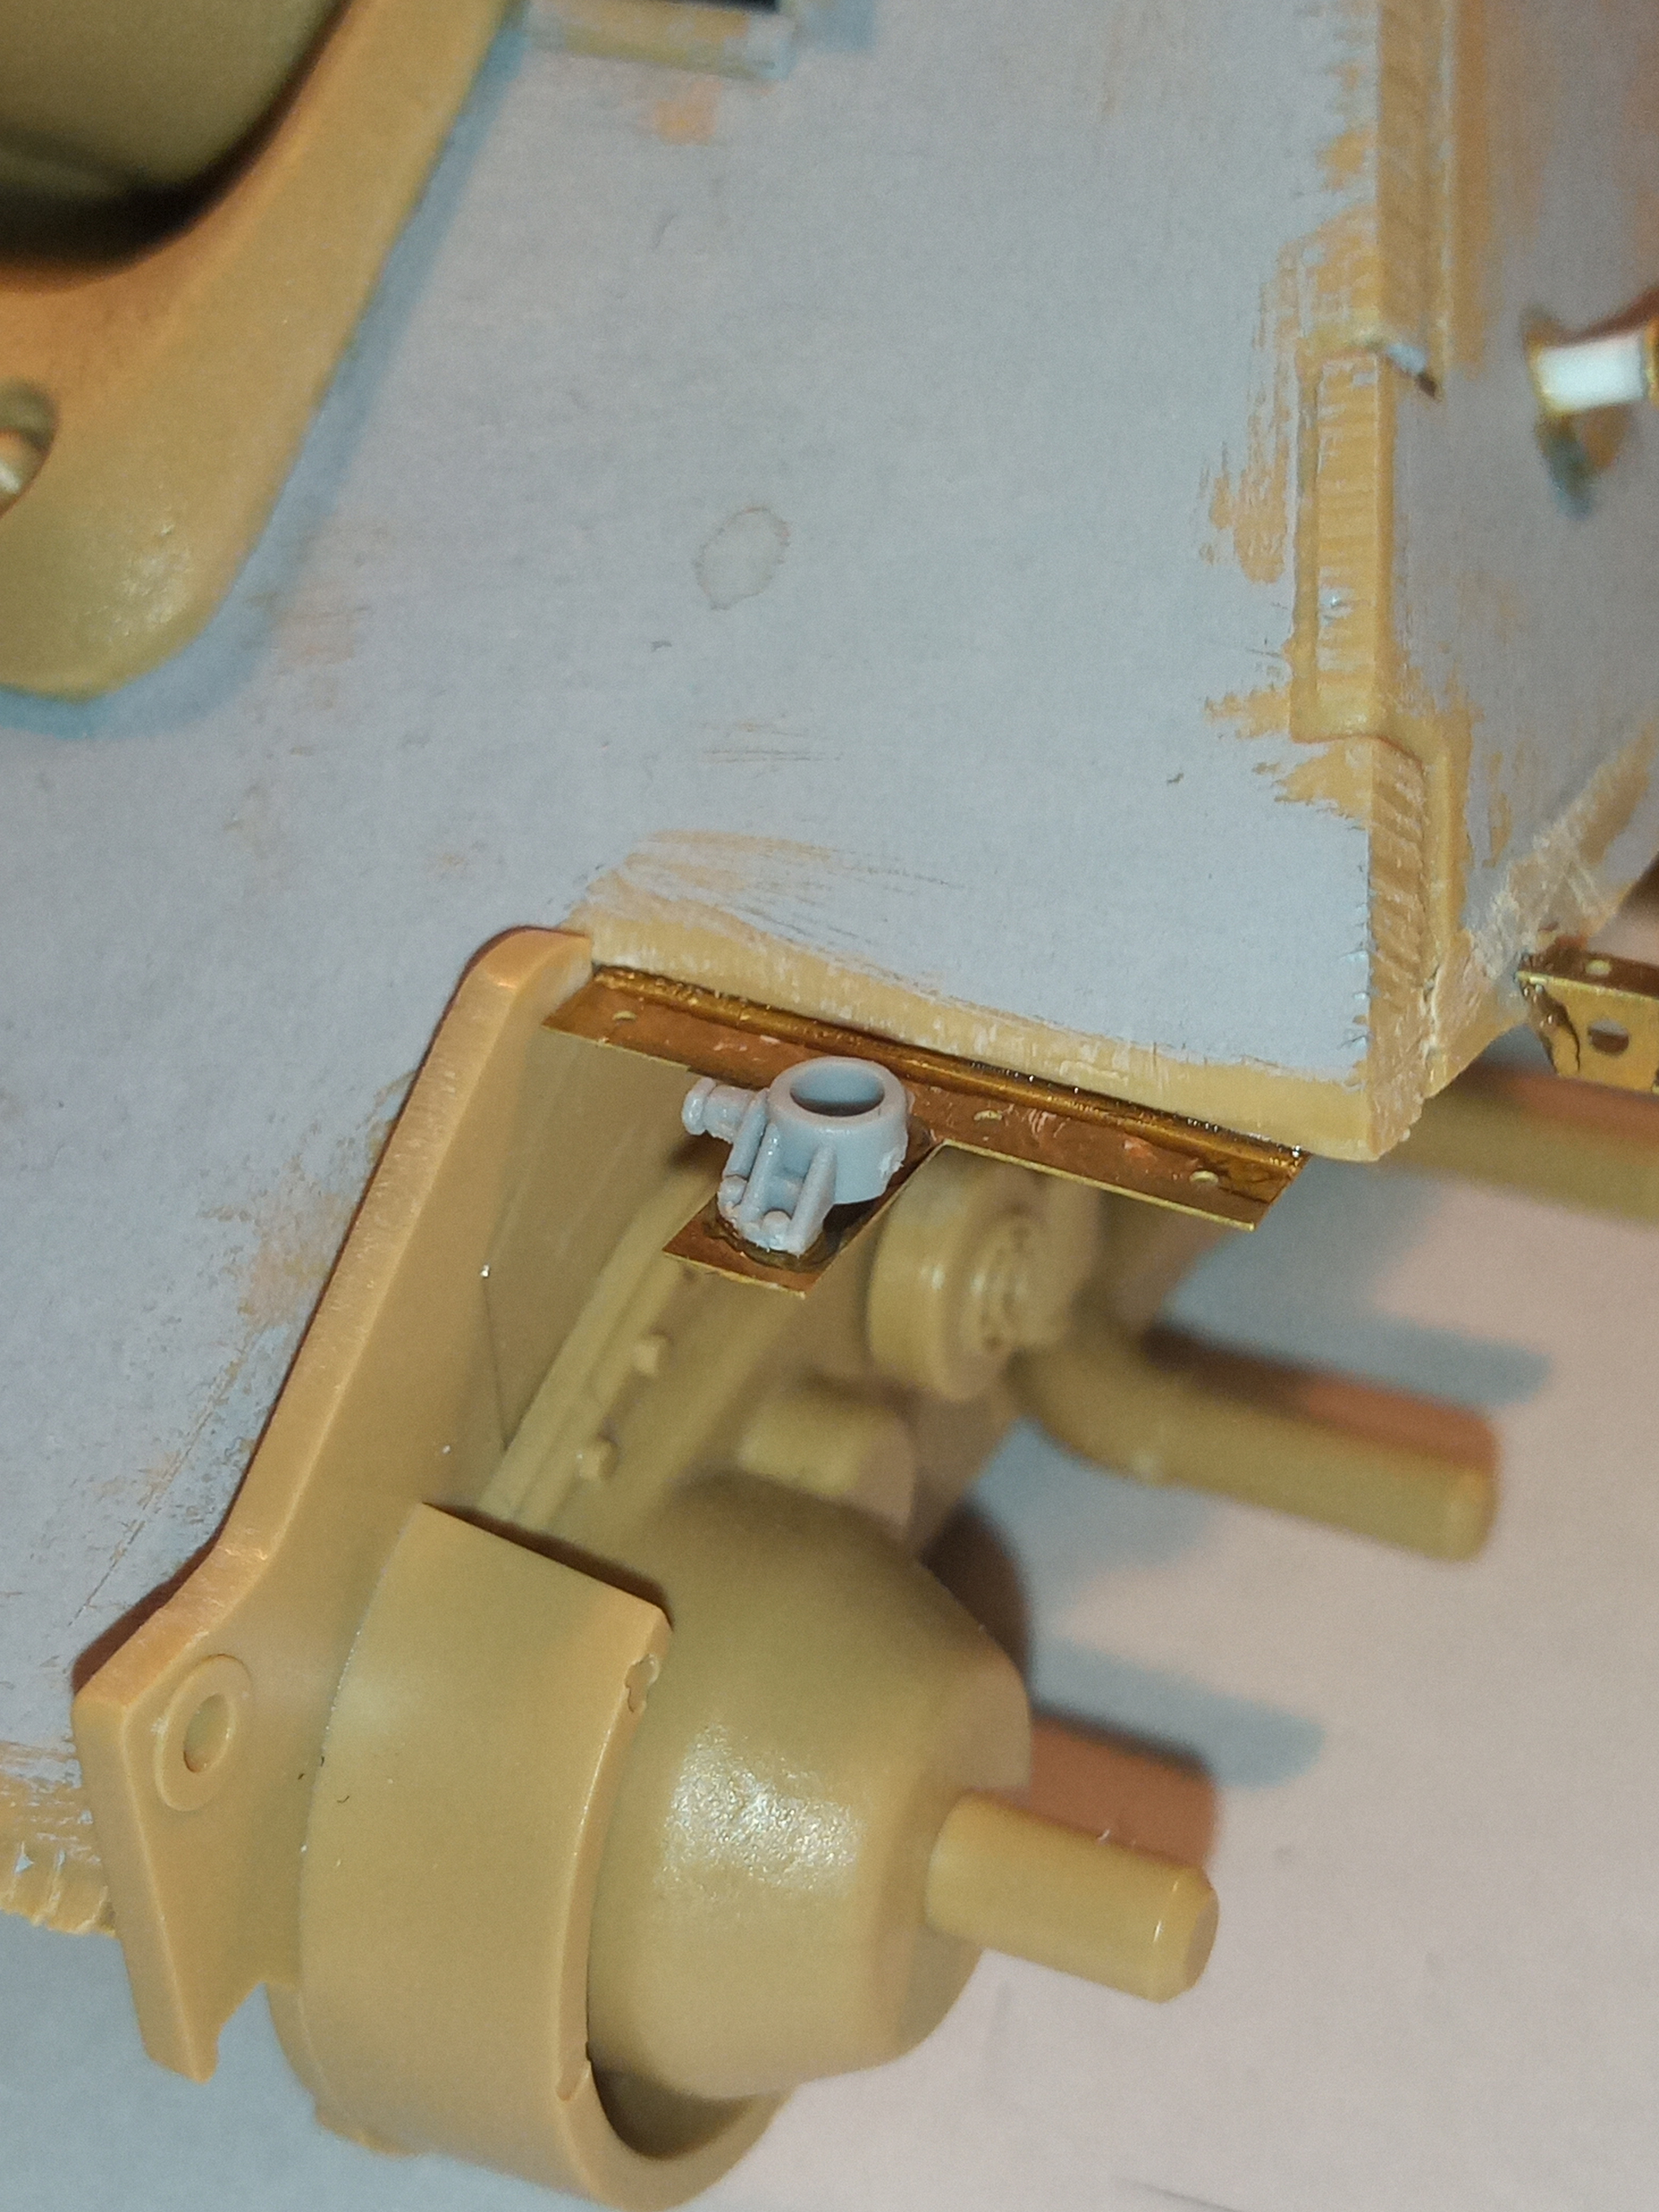
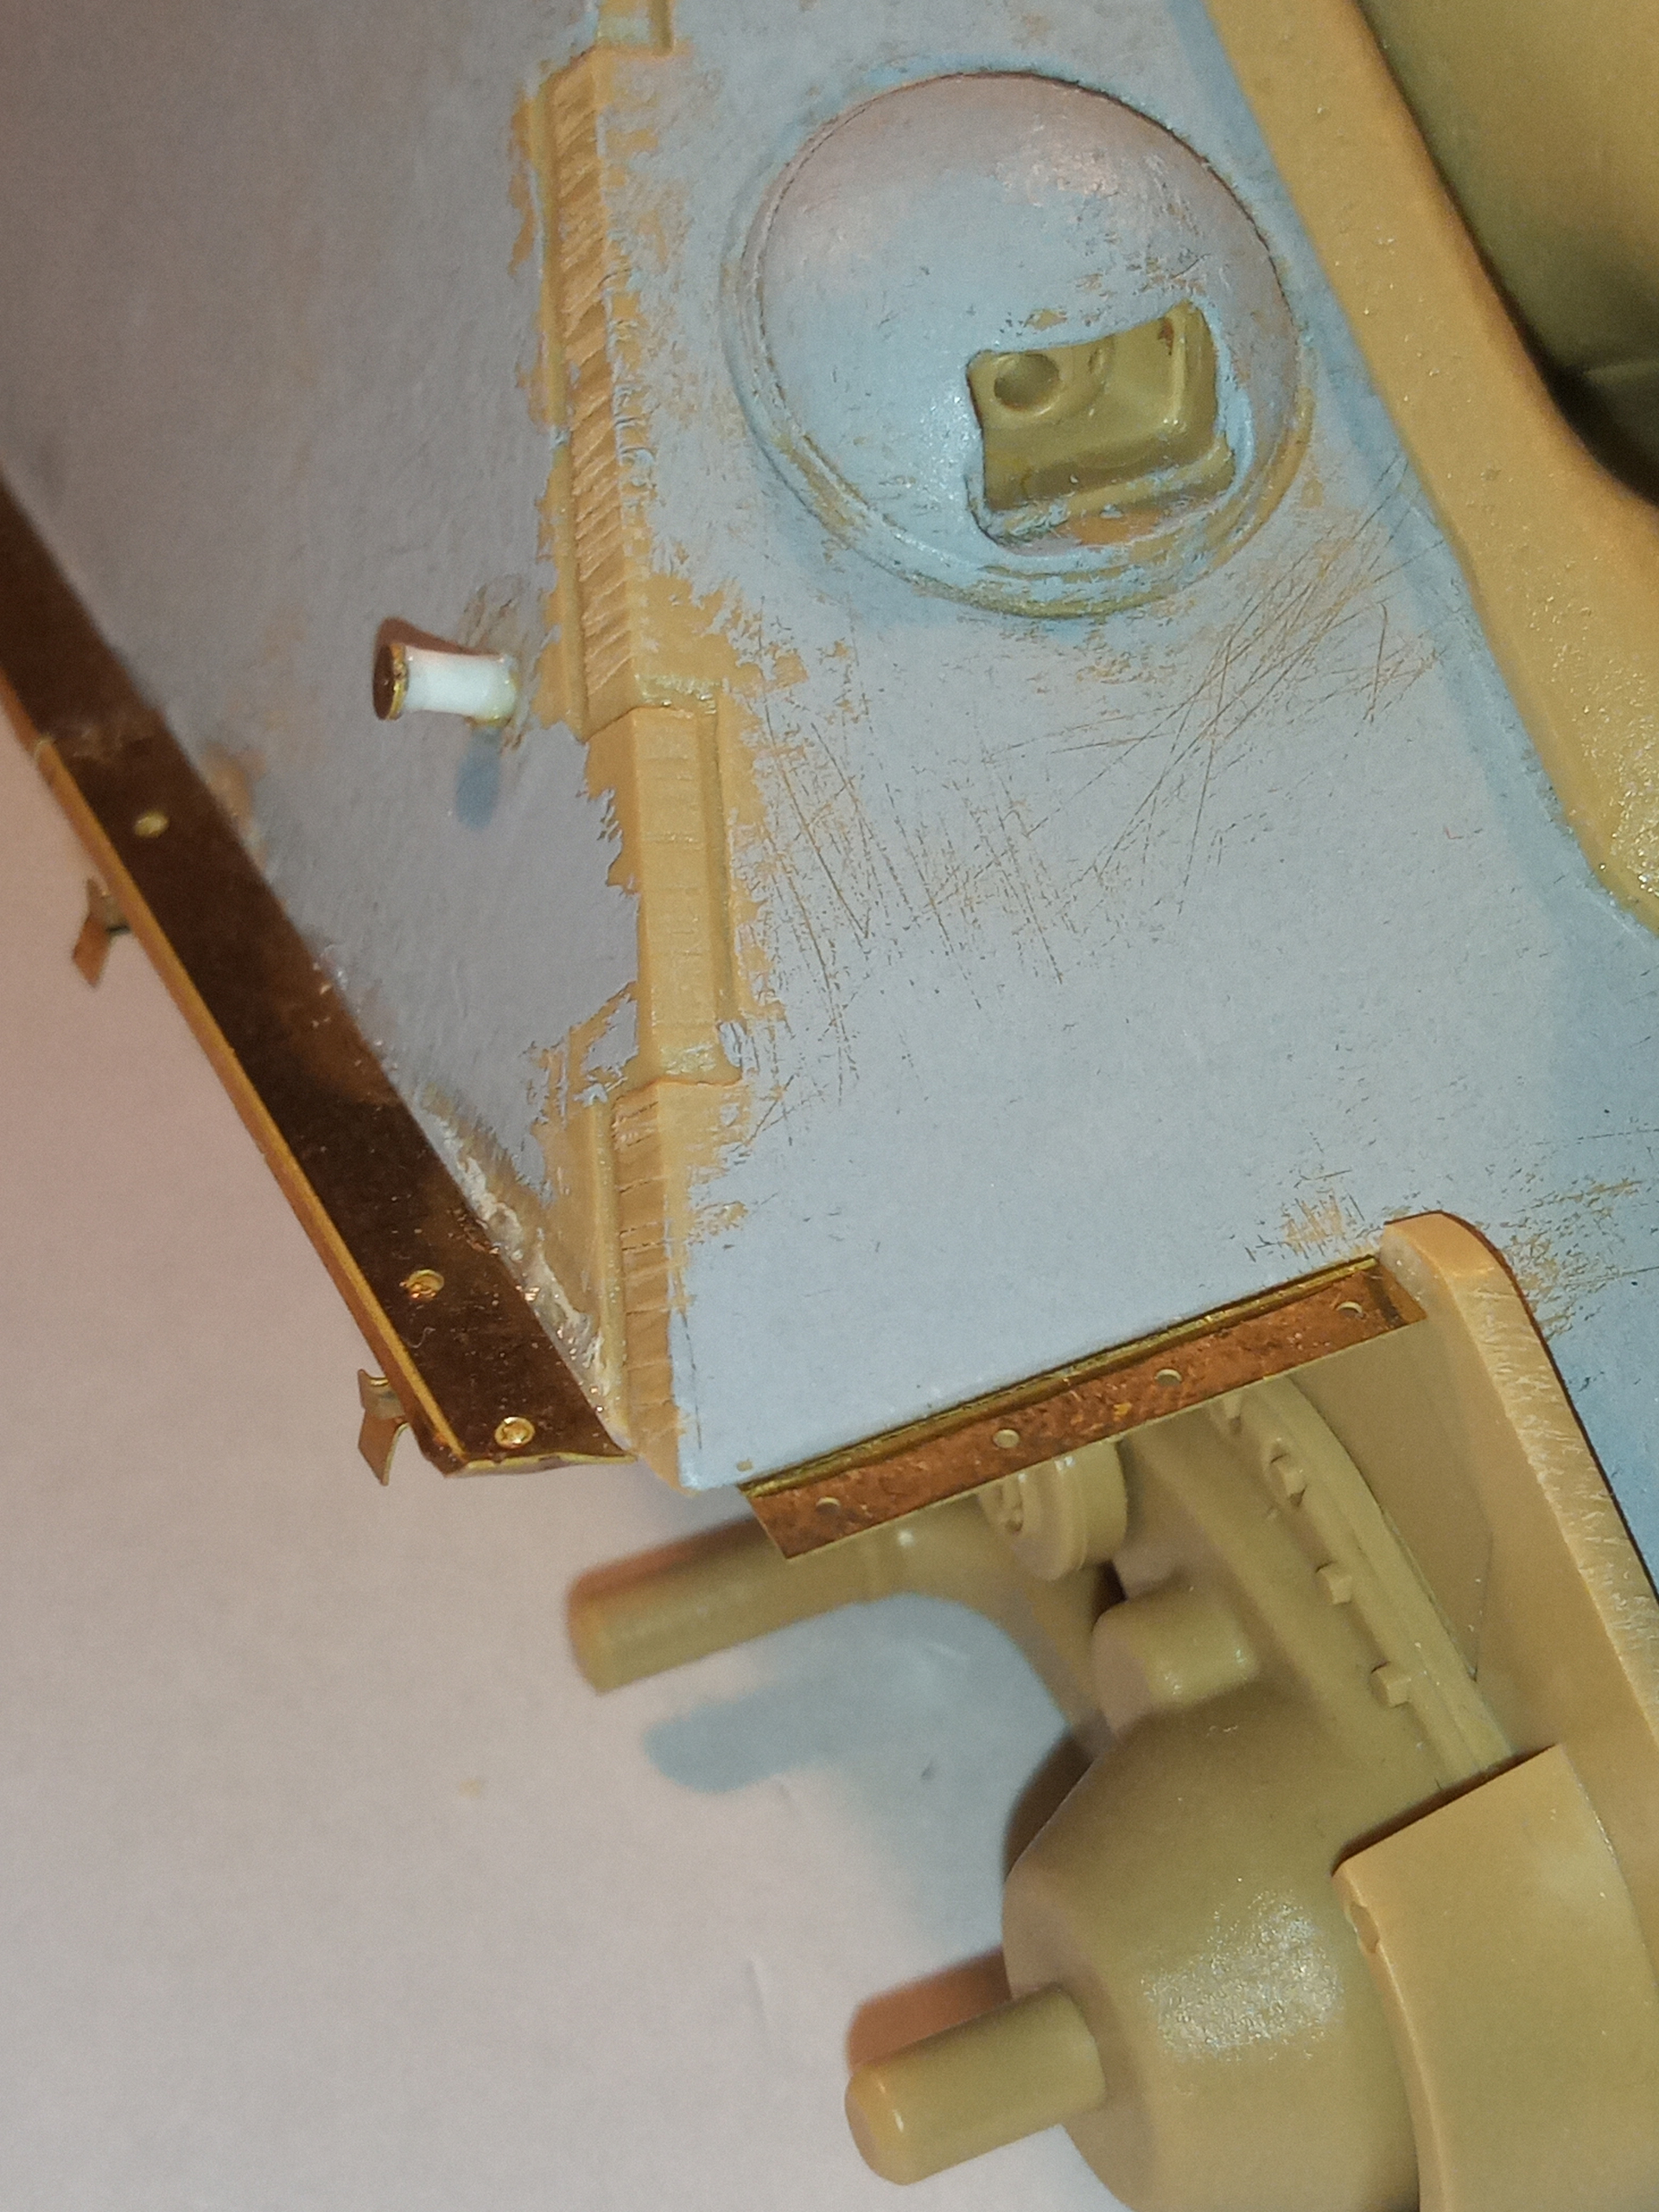
To start with, I have removed the front RH mudguard which will be left off, but have the PE support piece put in place. I may remove the LH one, and replace with it with the PE one, if I can salvage the light connection from the kit part.
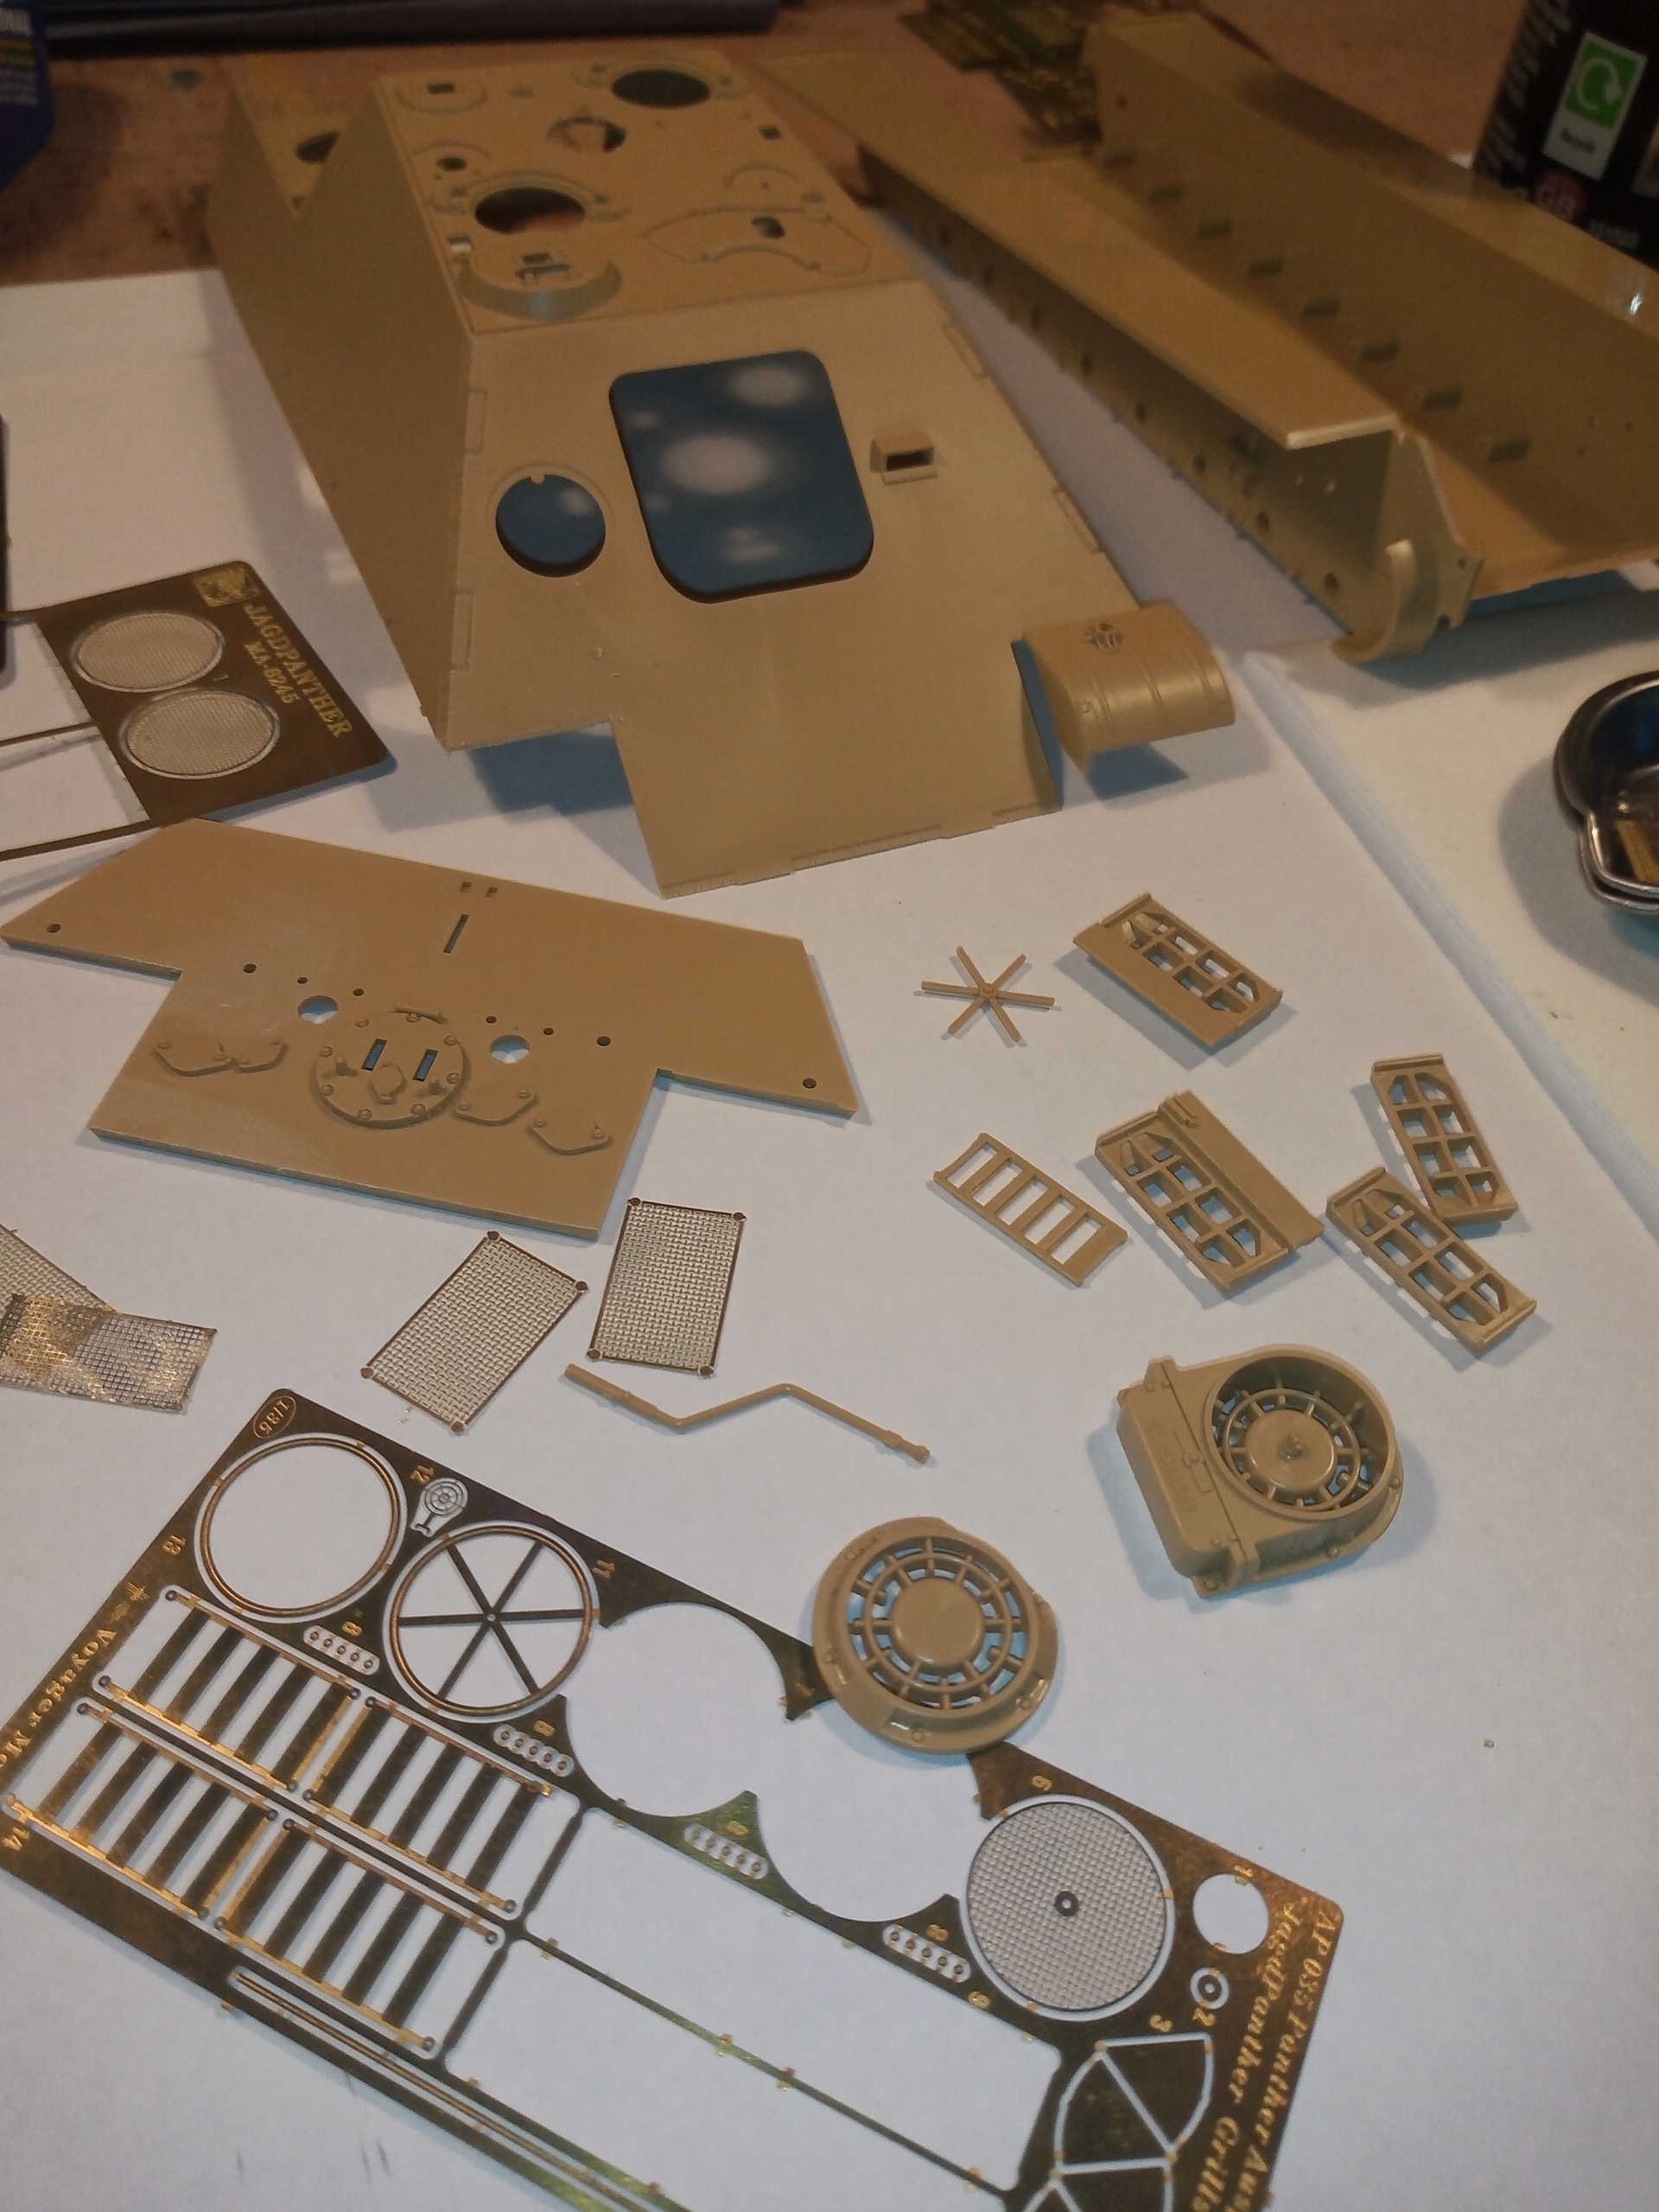
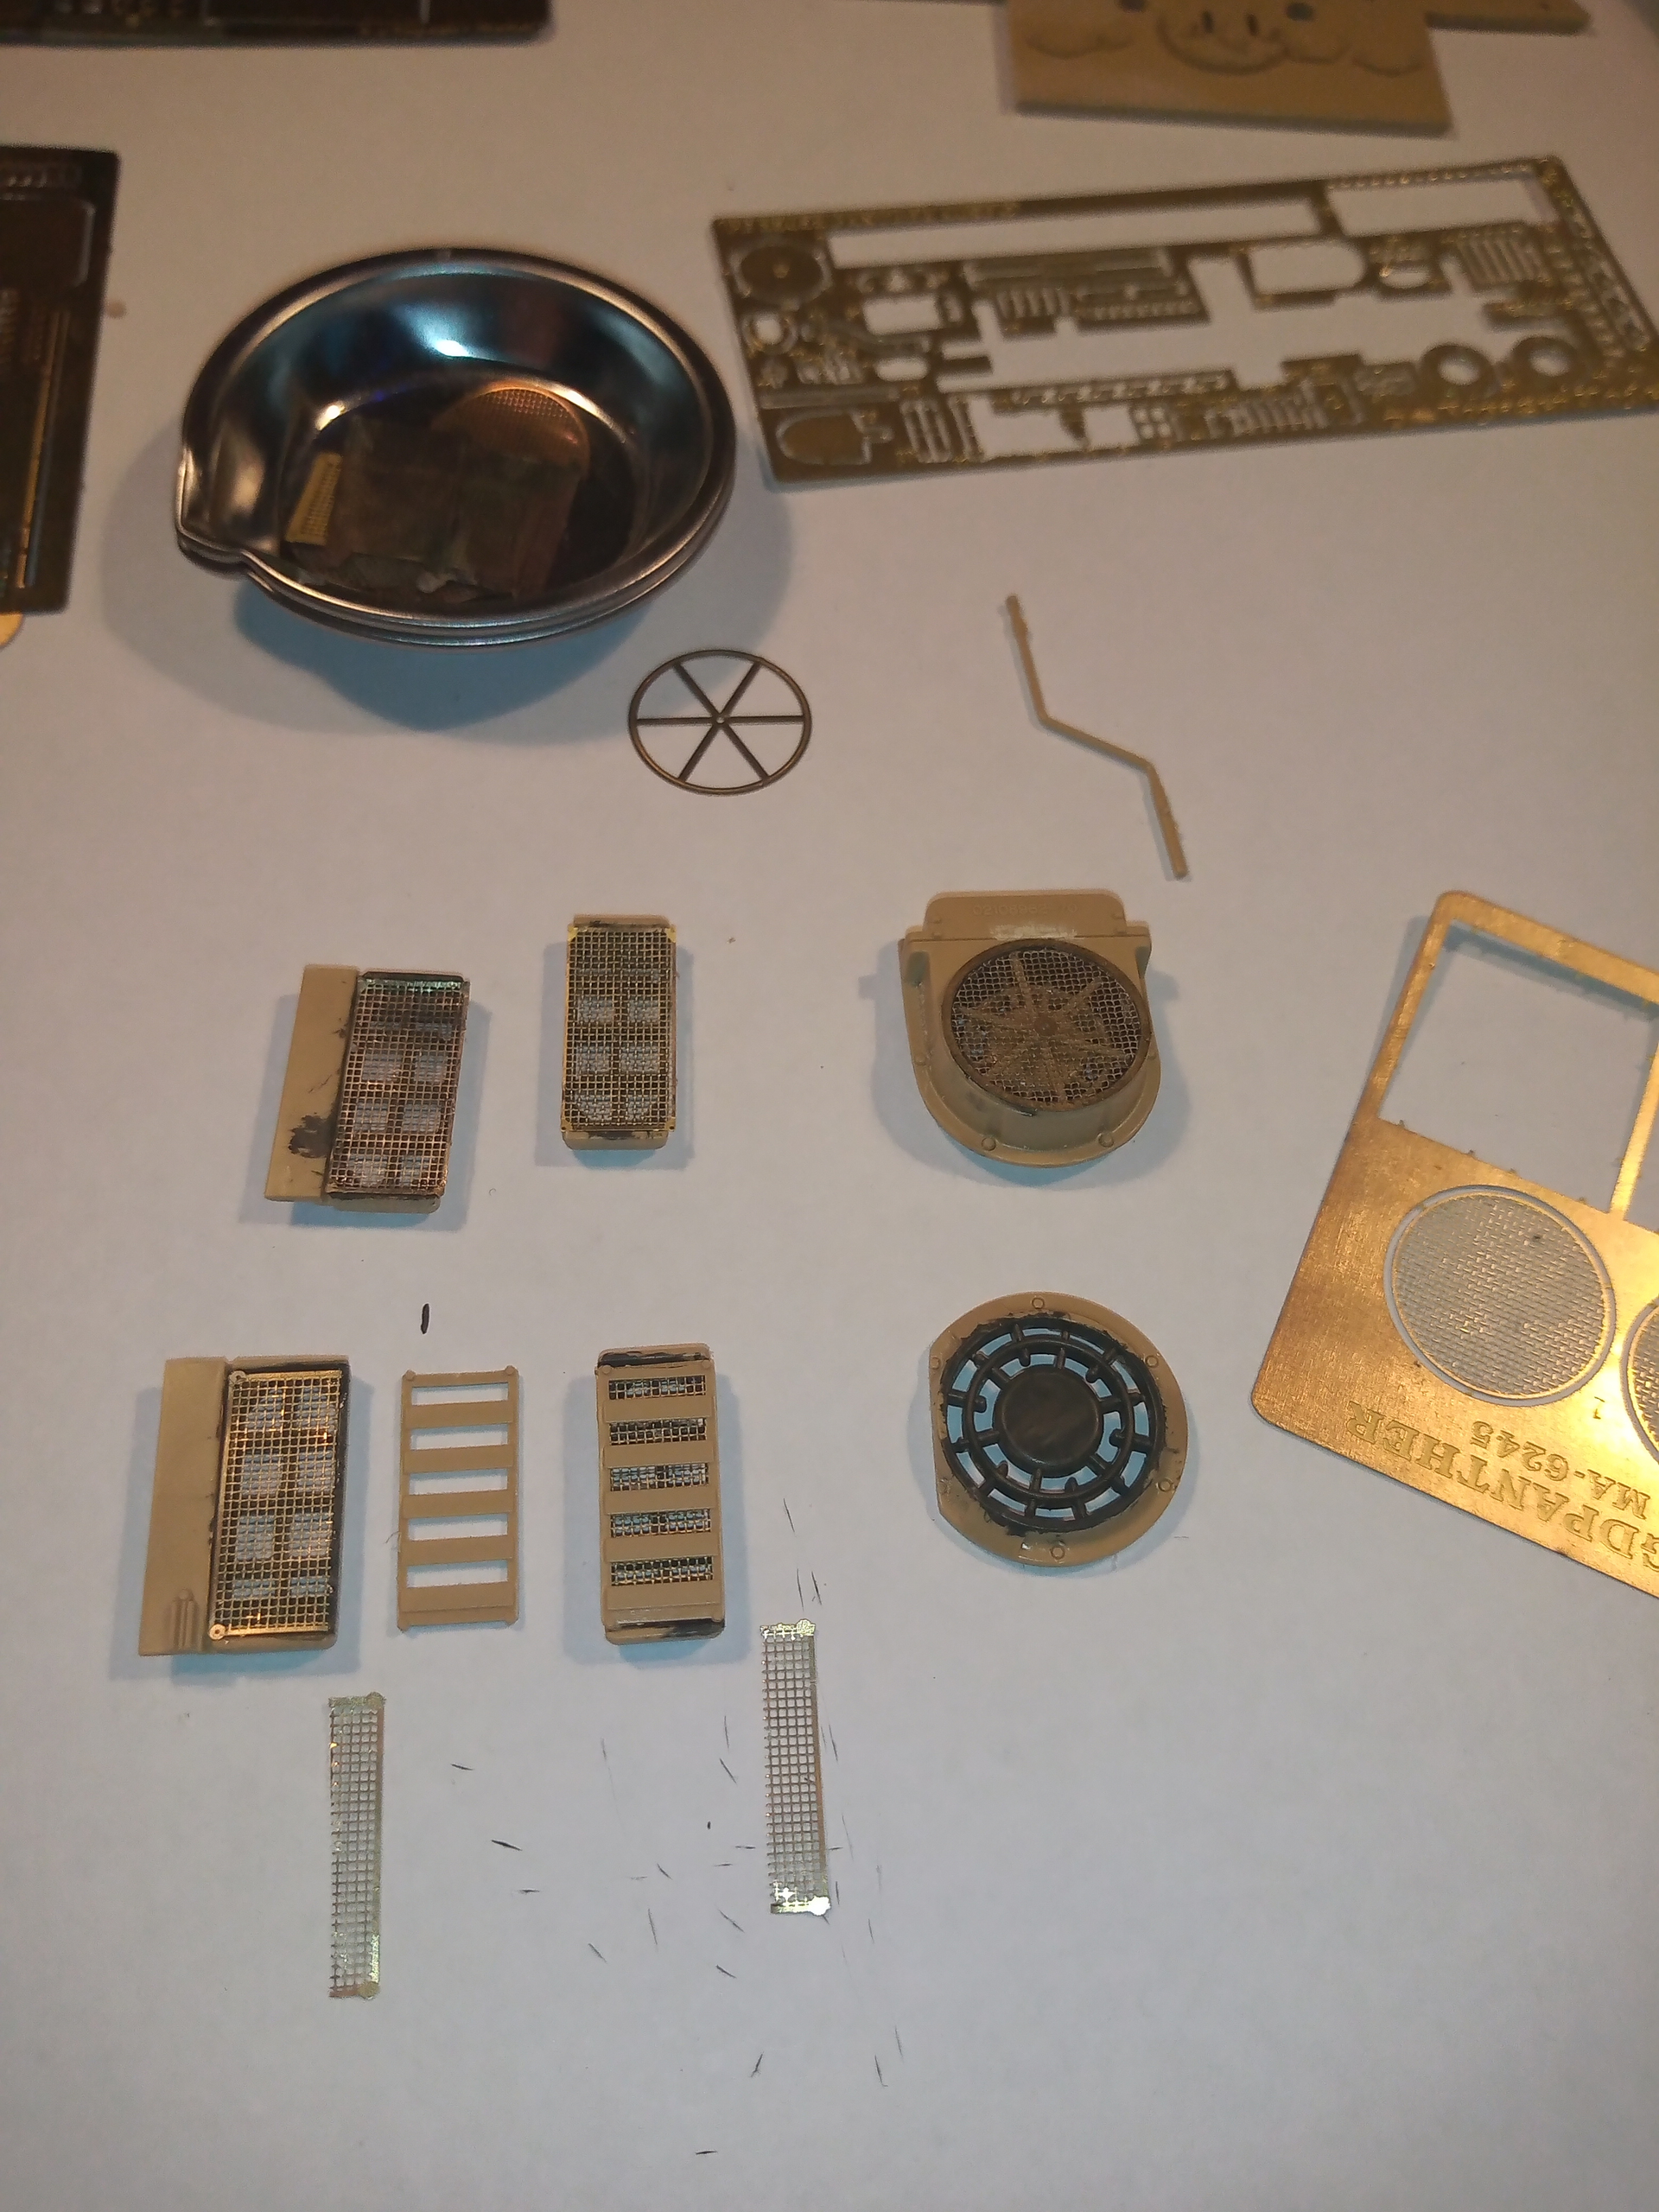
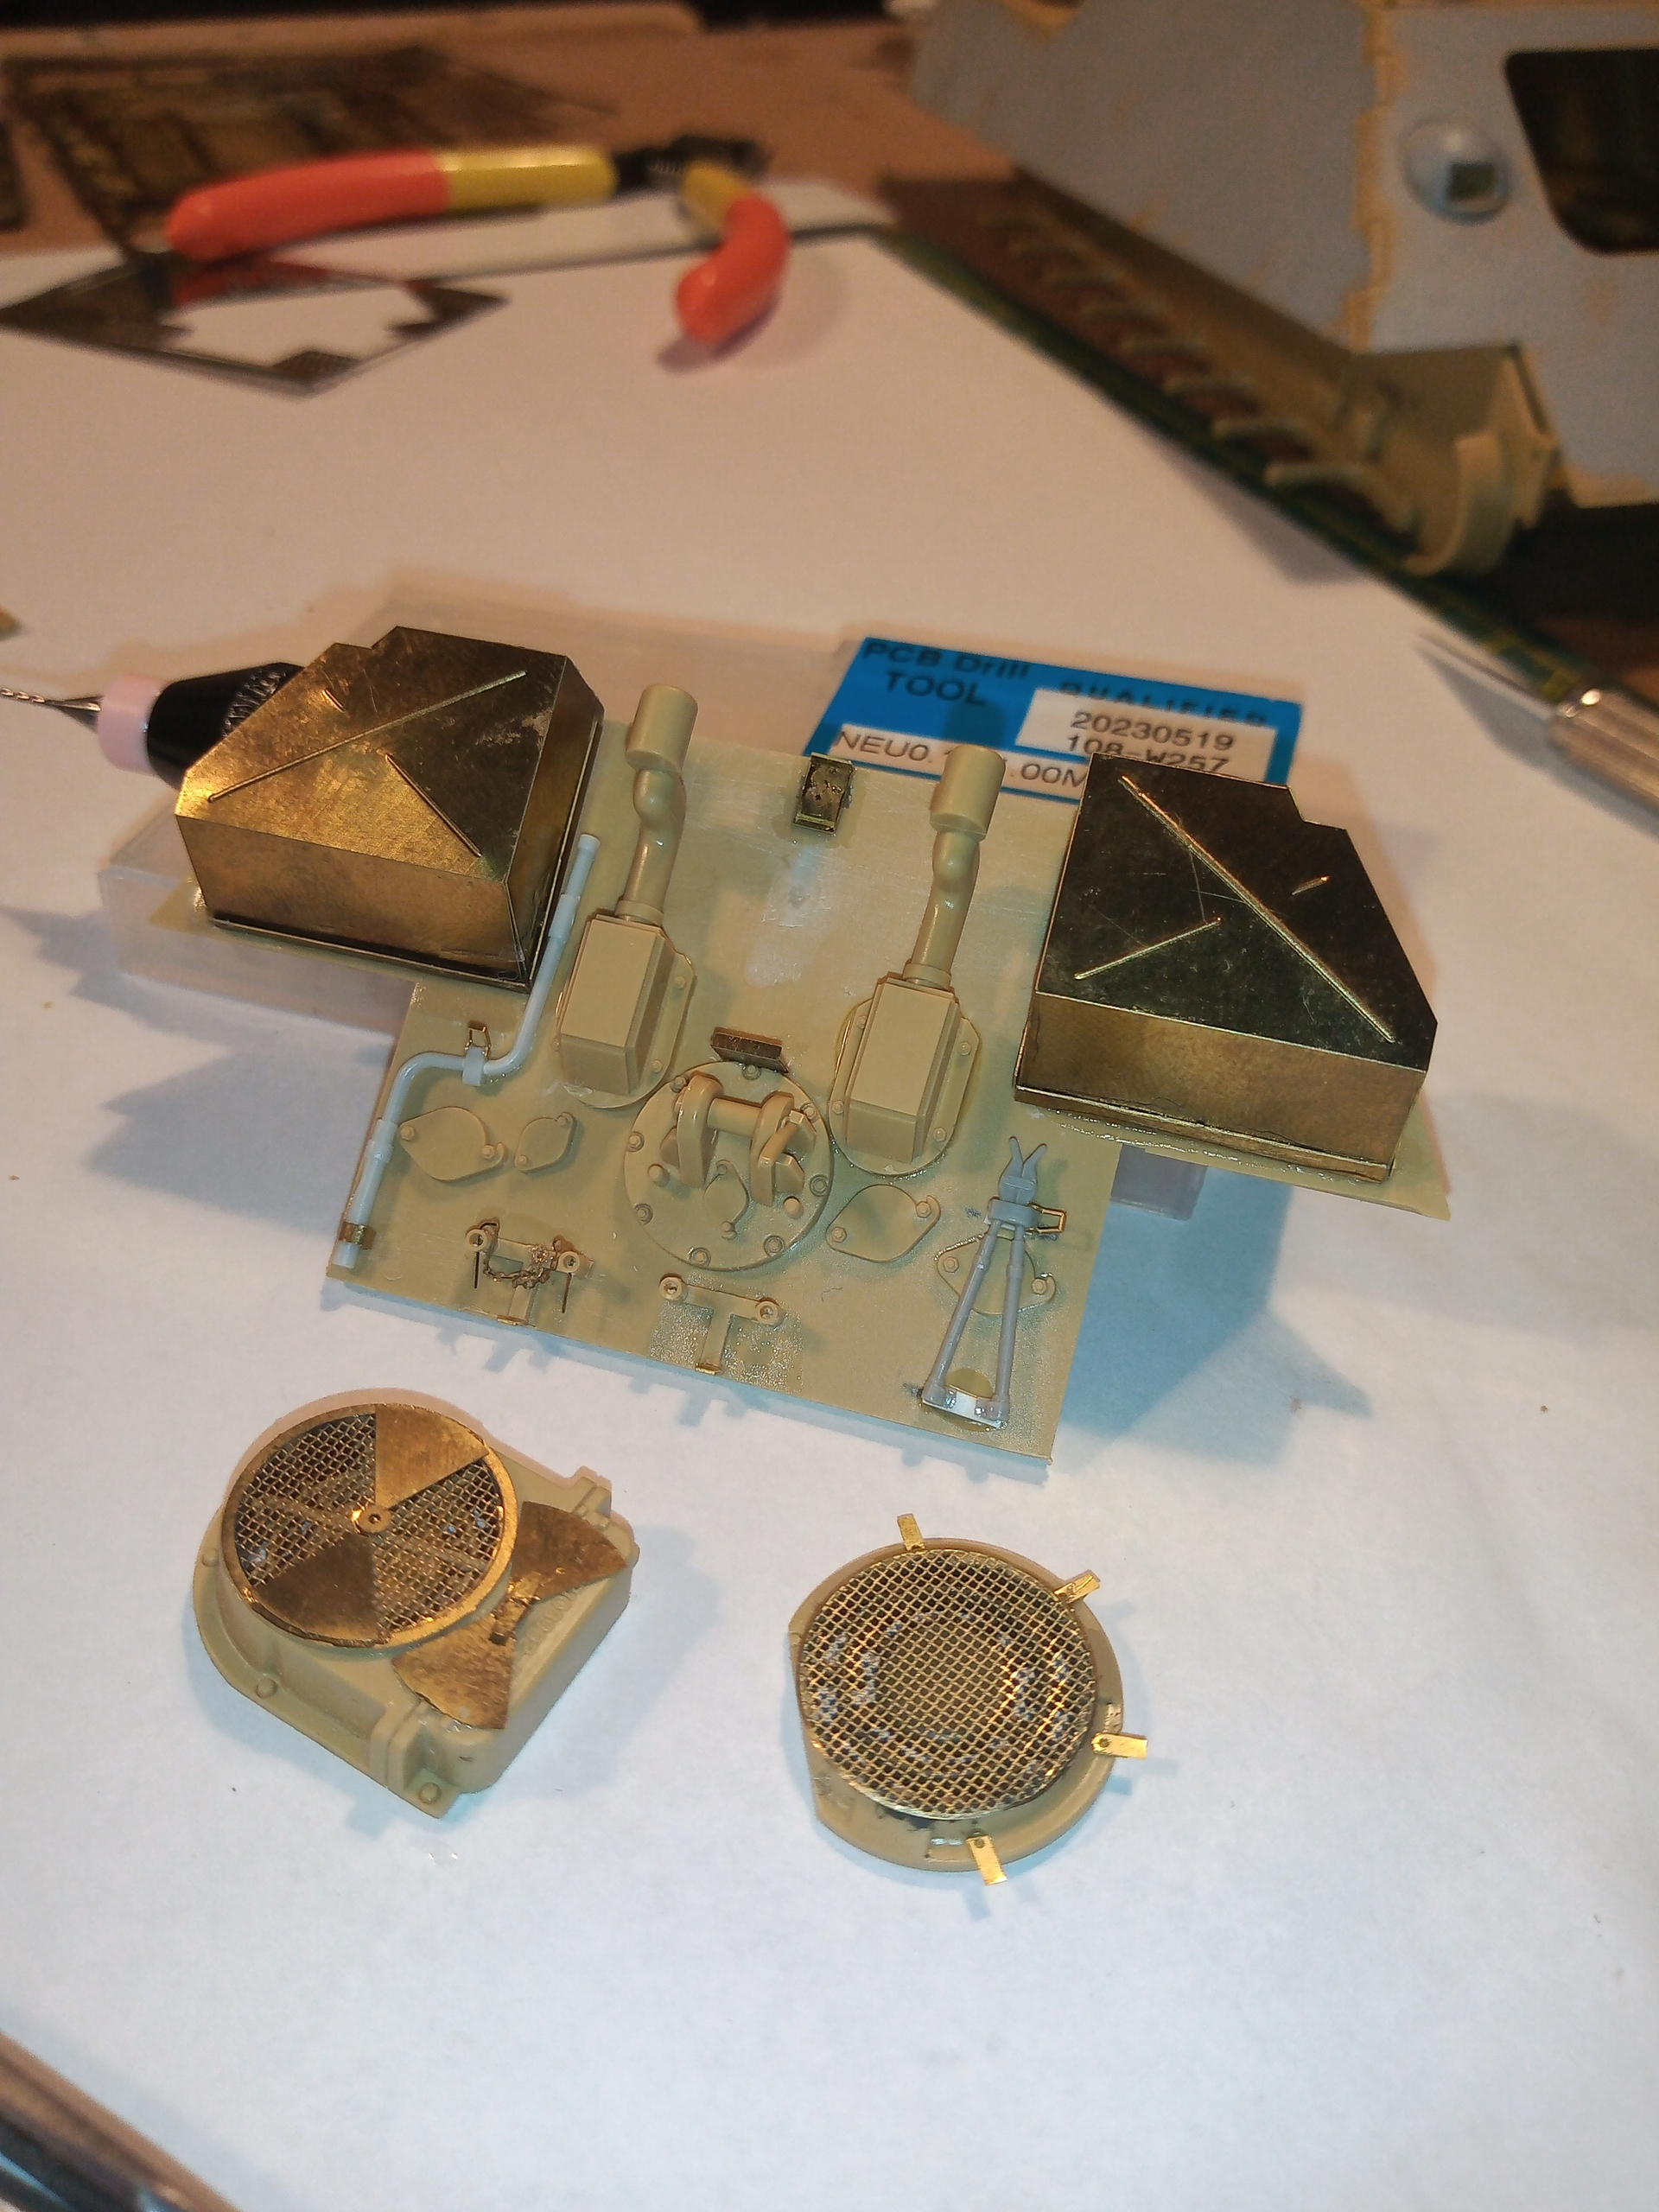
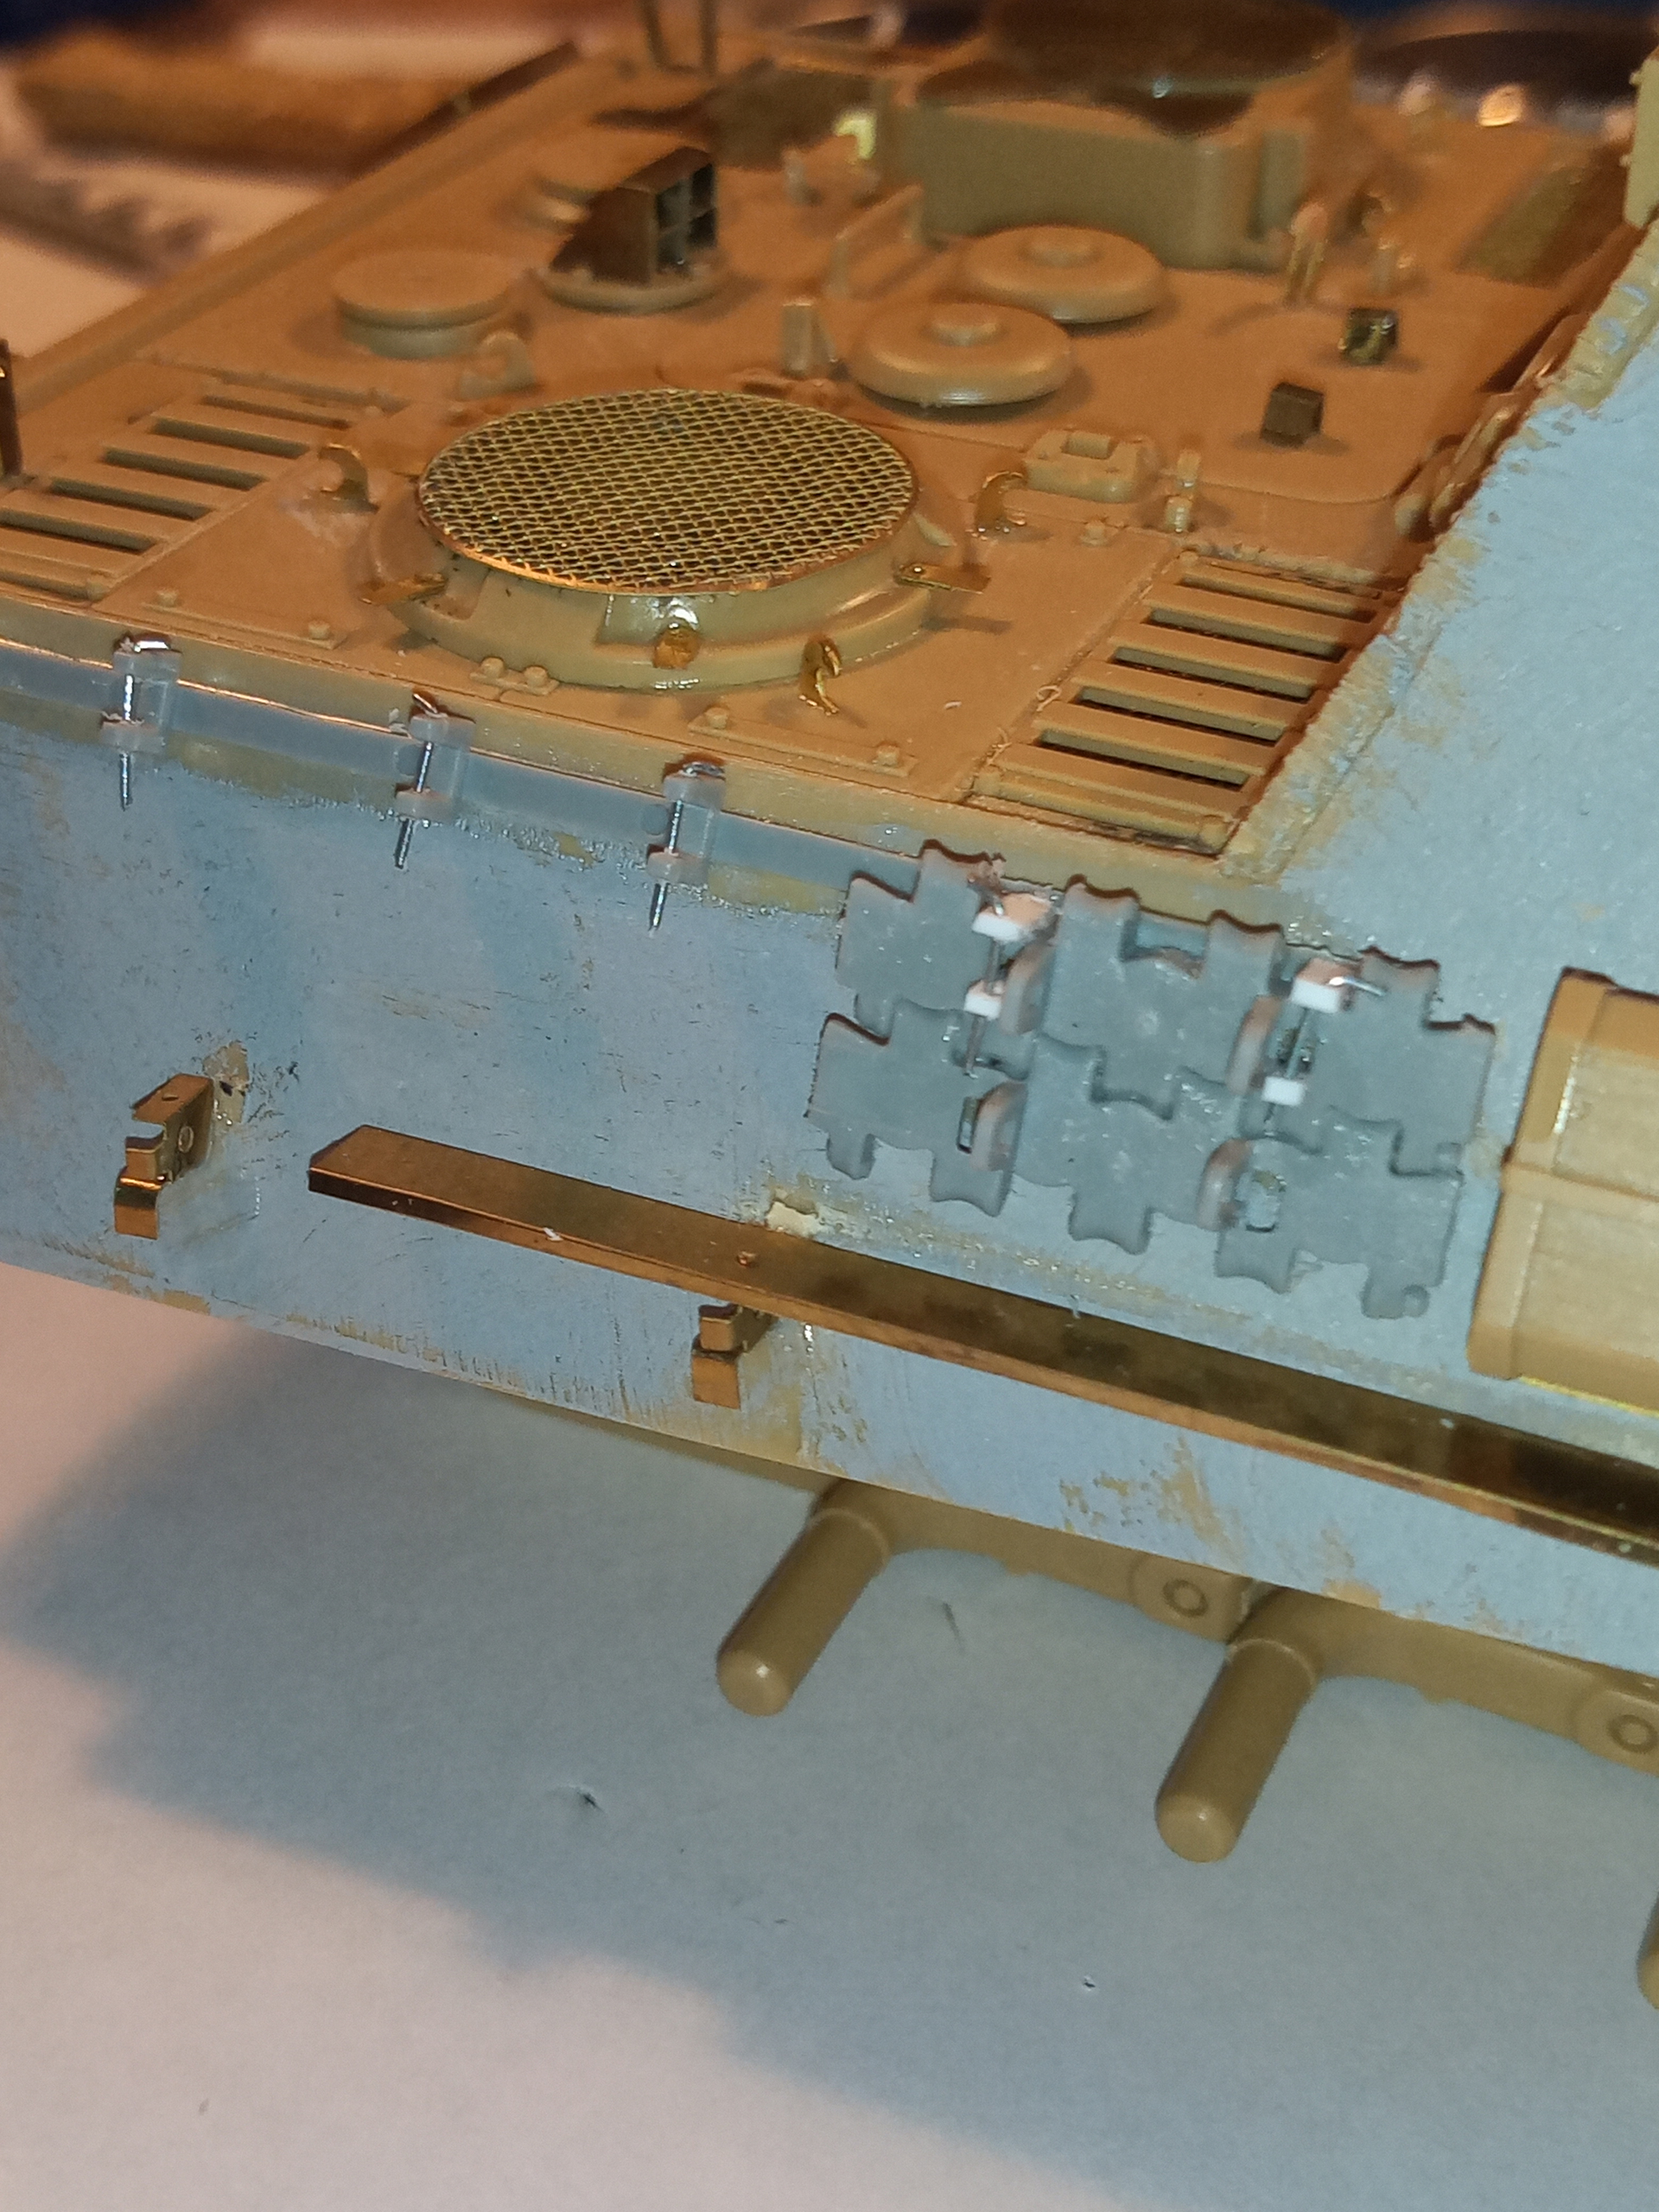
Am also starting on the engine grills and the mesh.
I only have 2 of the thinner mesh grills, which will go on the LHS grills, and I will cut and reshape the wider mesh covers I have to use on the RH grills and have the slatted covers fitted on top of those to hide my surgery on them - will do pics to show the process as I do it.
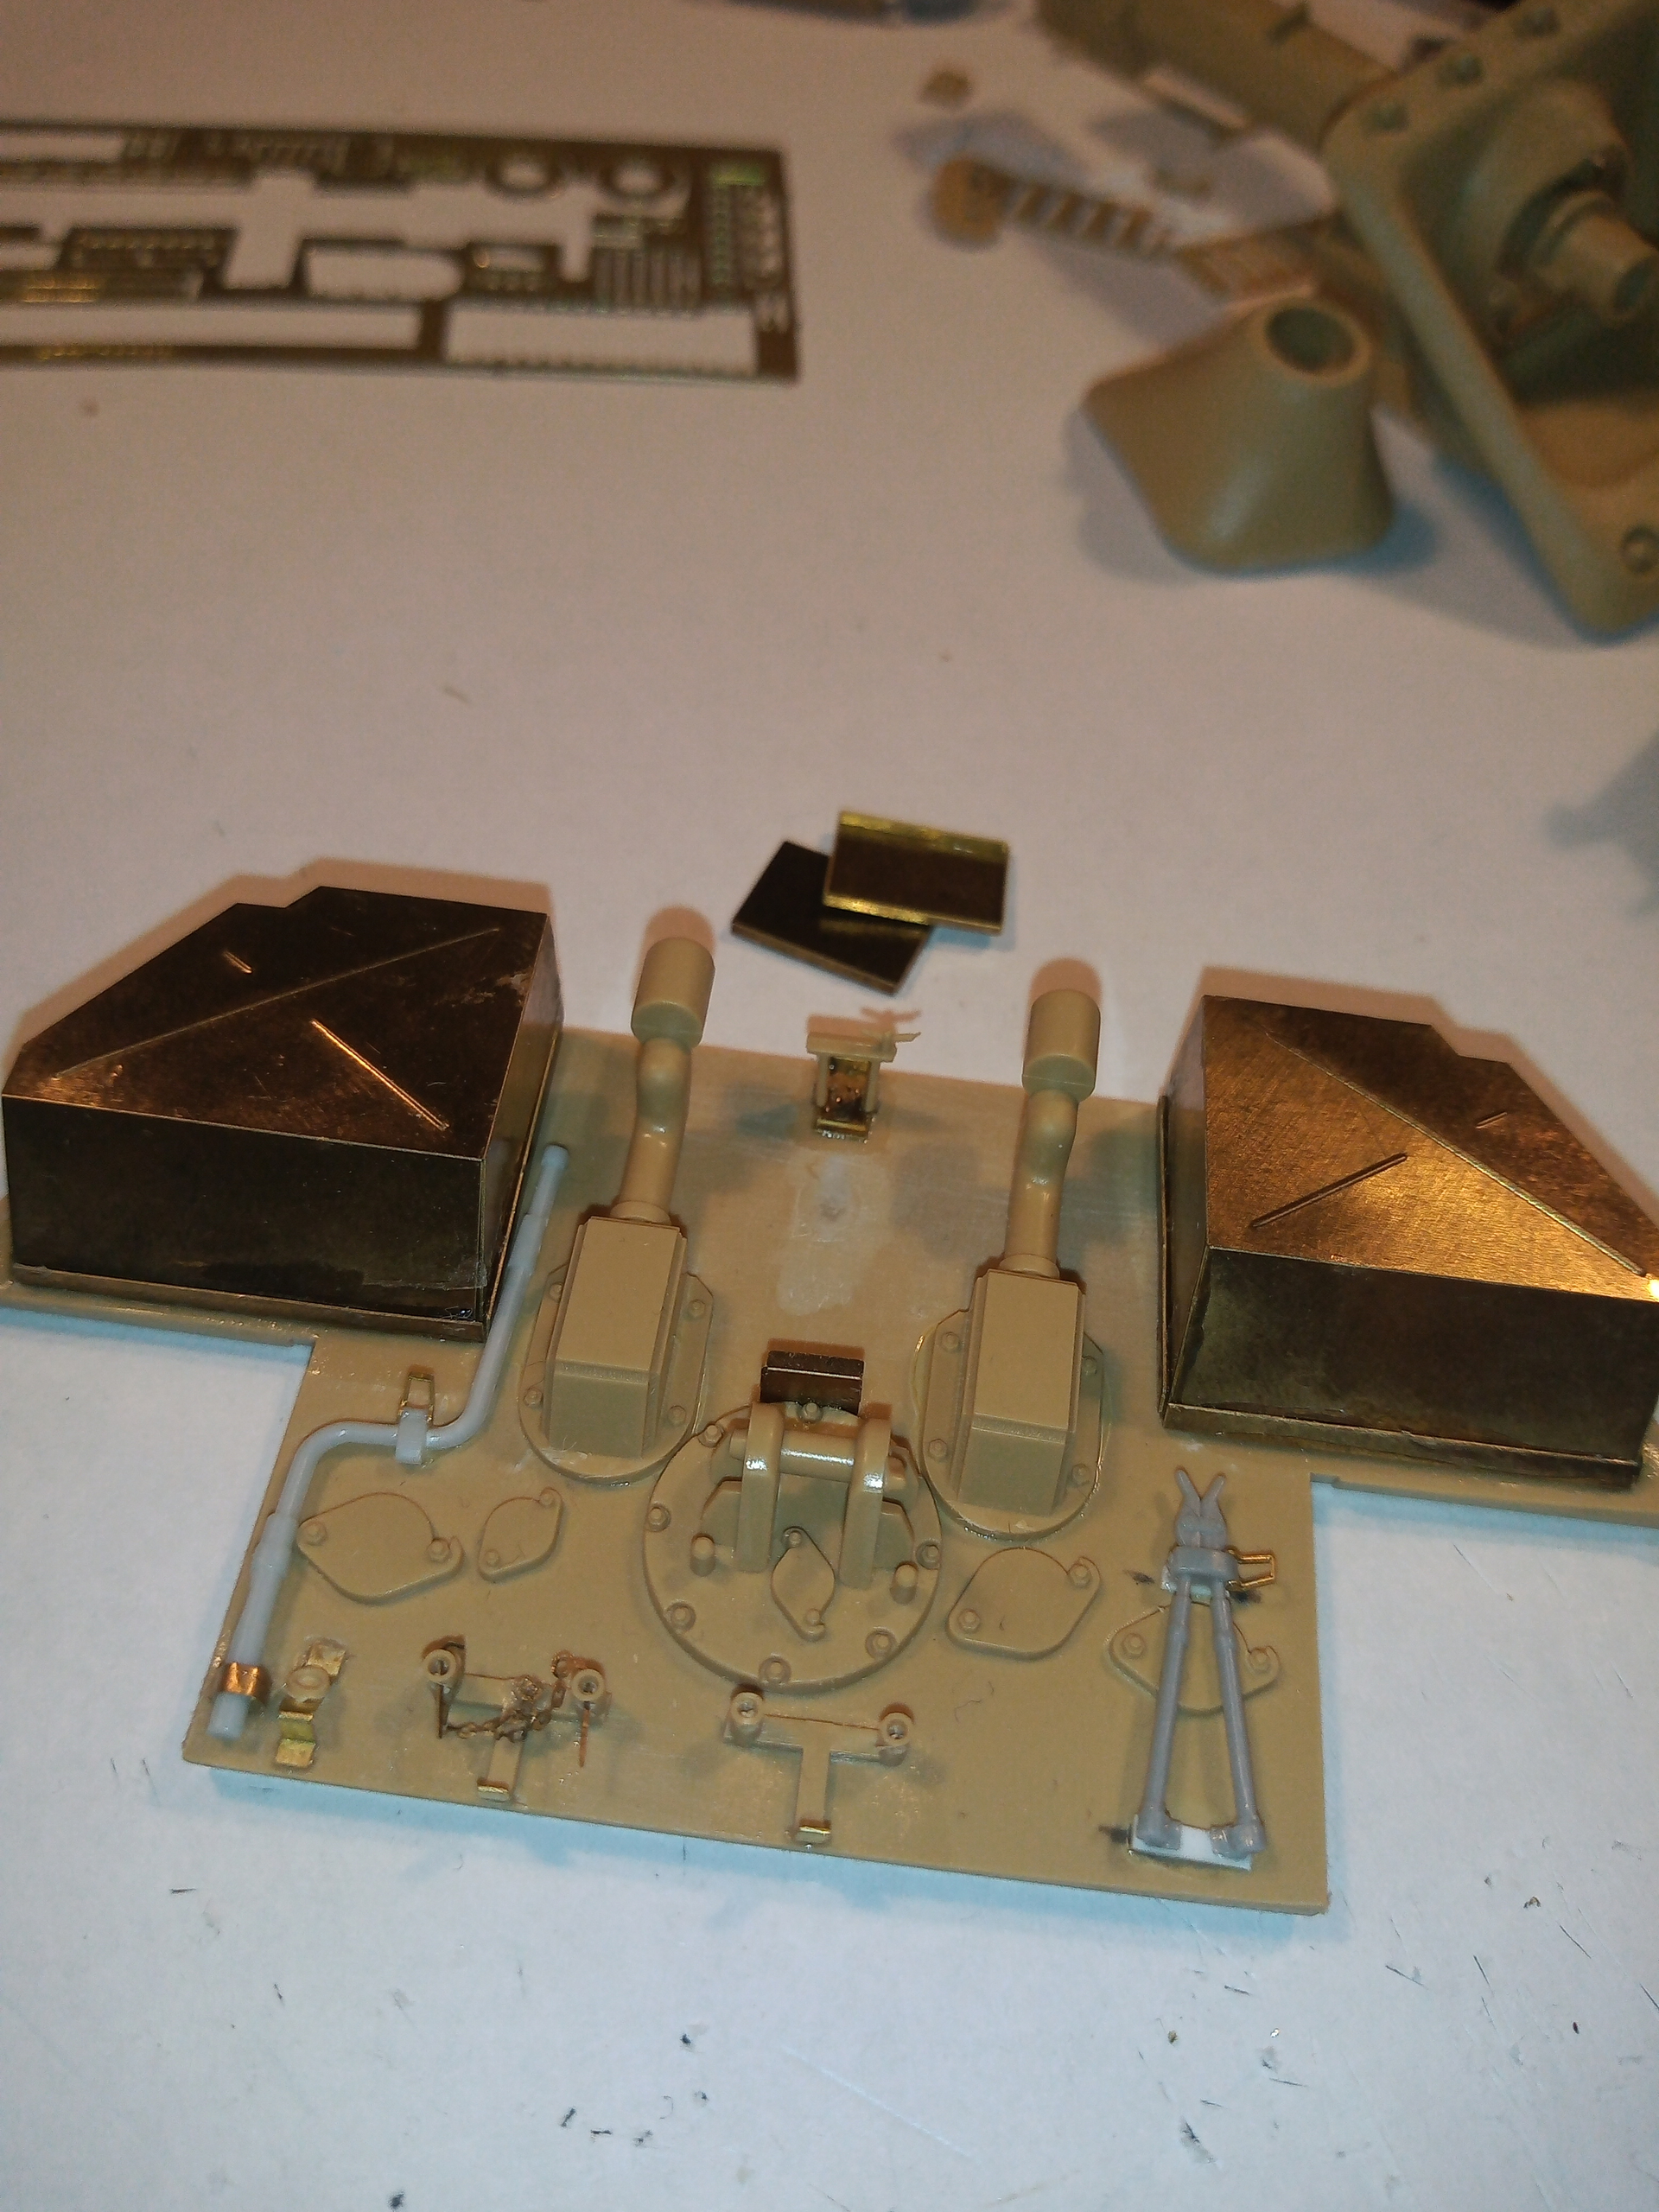
Did some work on the engine vents and air intake grills…
The finished results. You can see where I had to cut away some of the old Panther PE screens to make them fit the thinner Jagdpanther ones. … But any surgery will be hidden by the slotted vents that go on top.
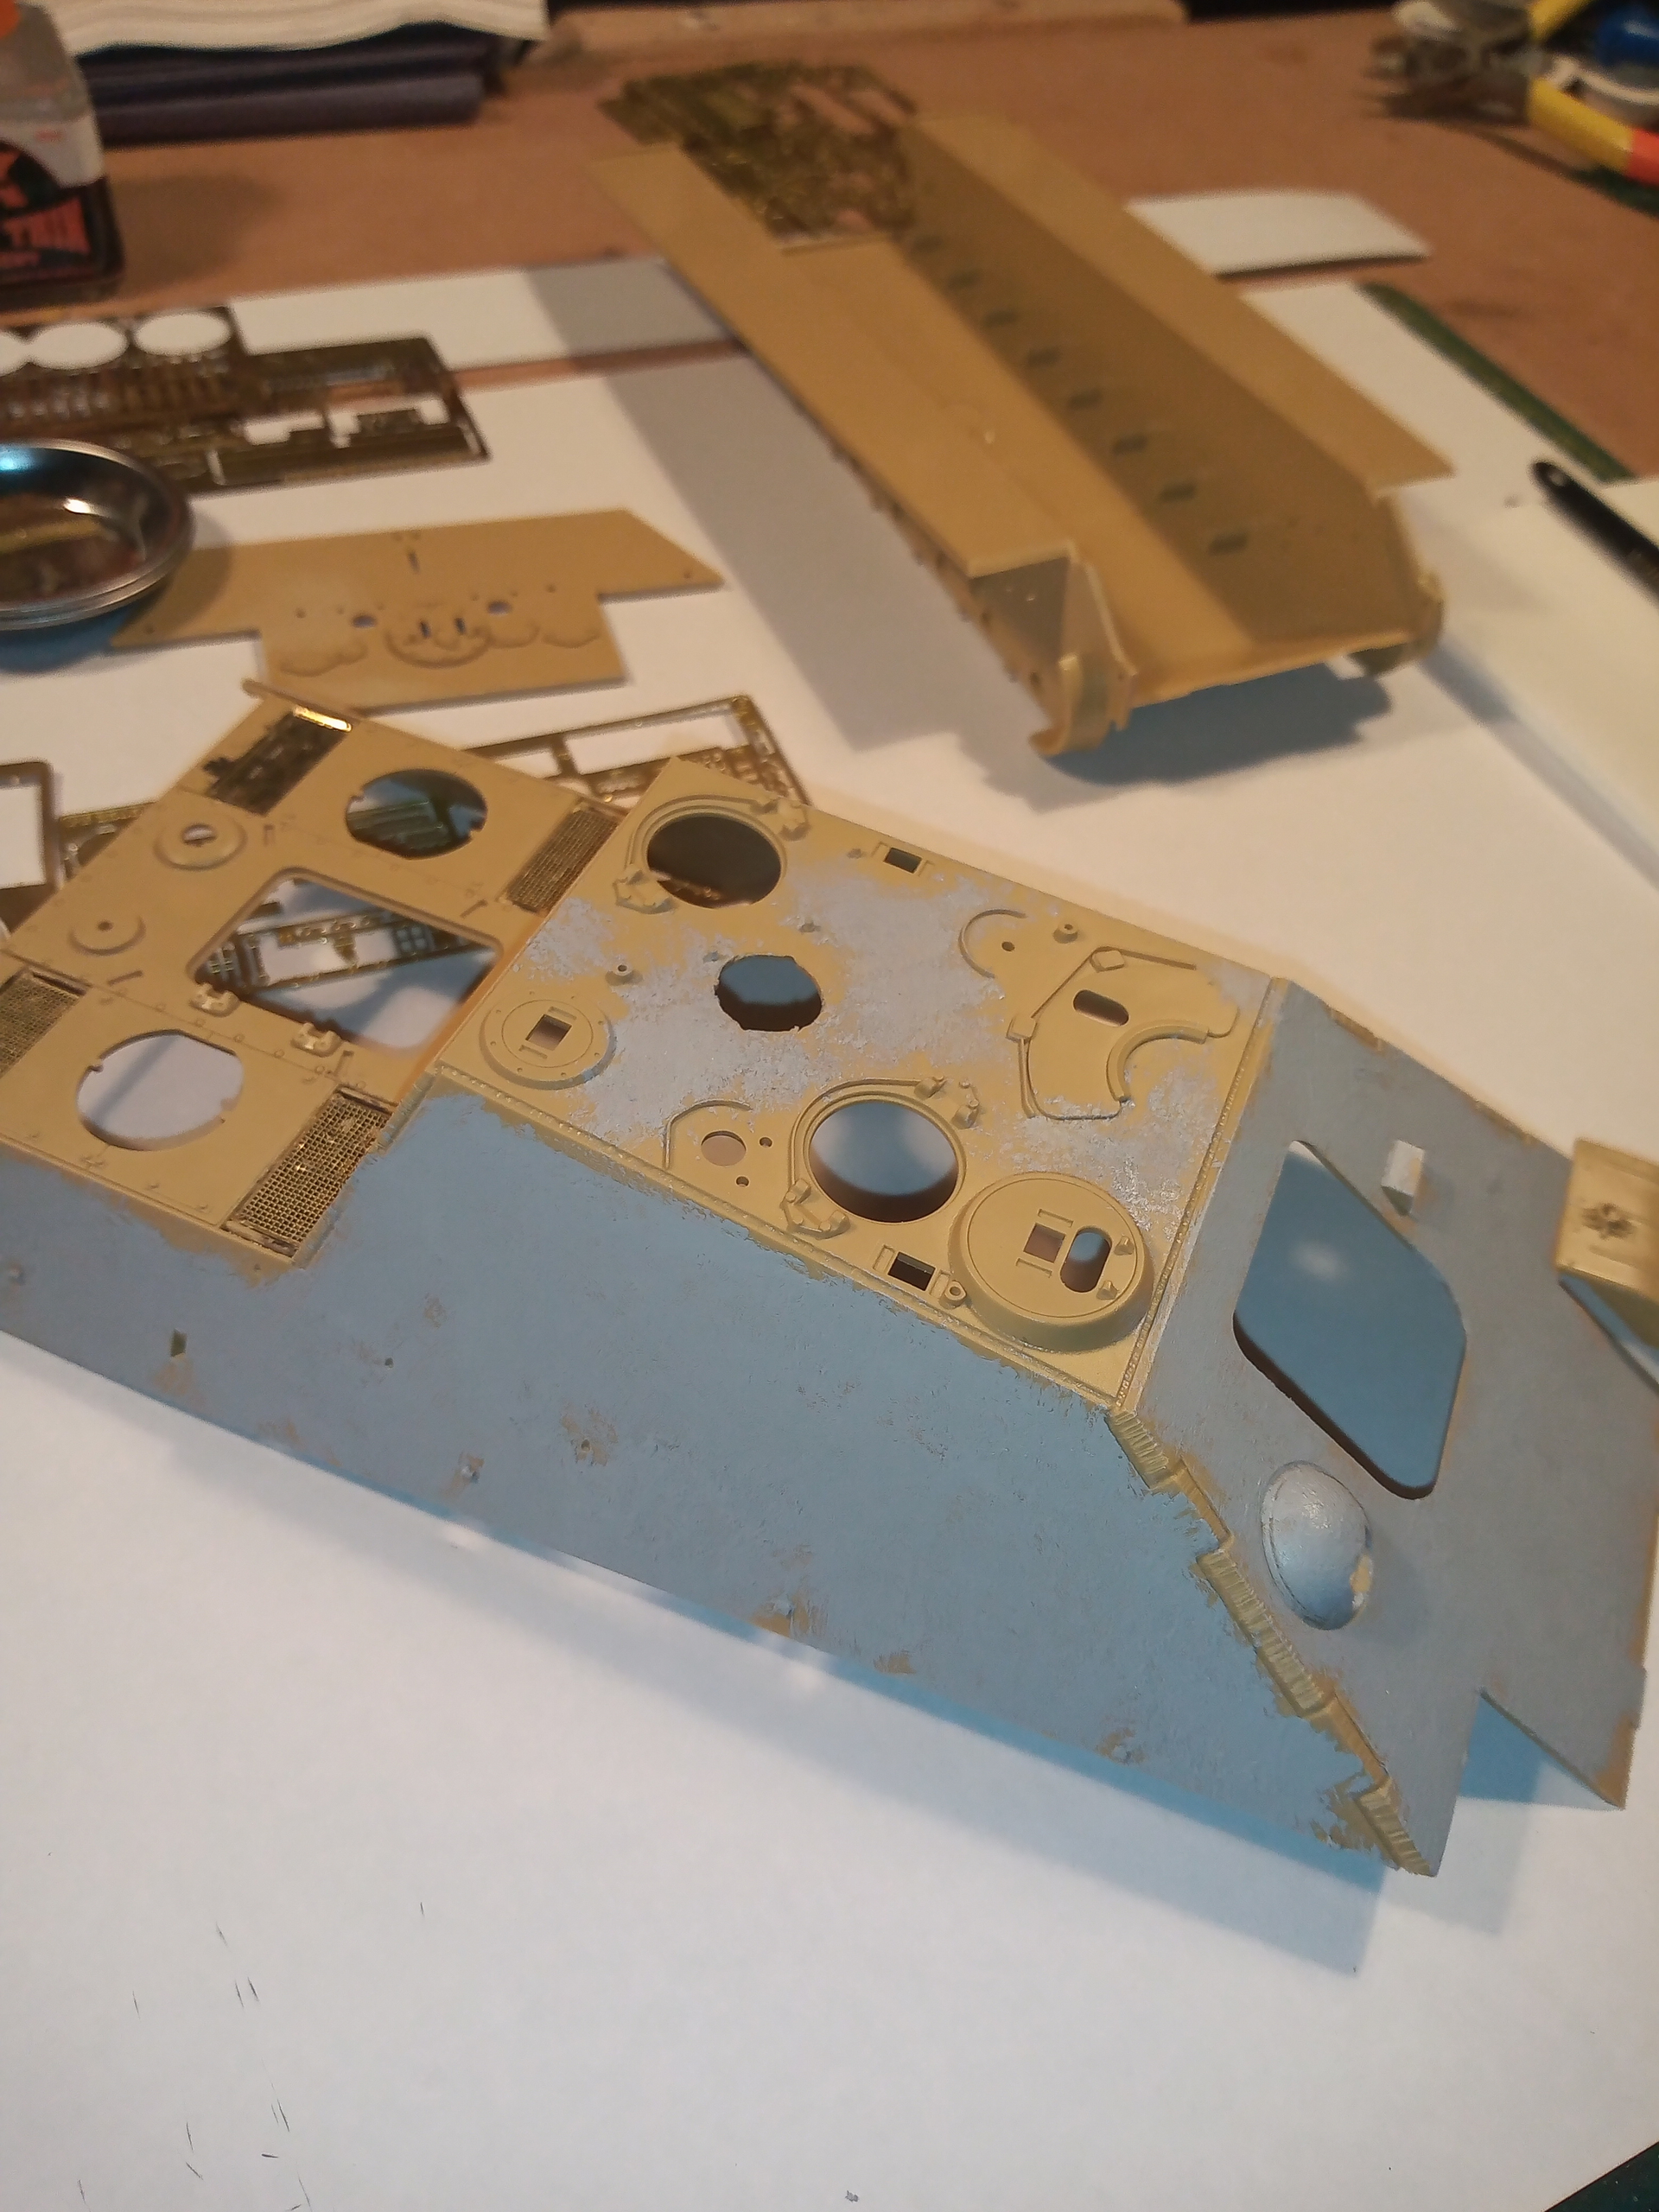
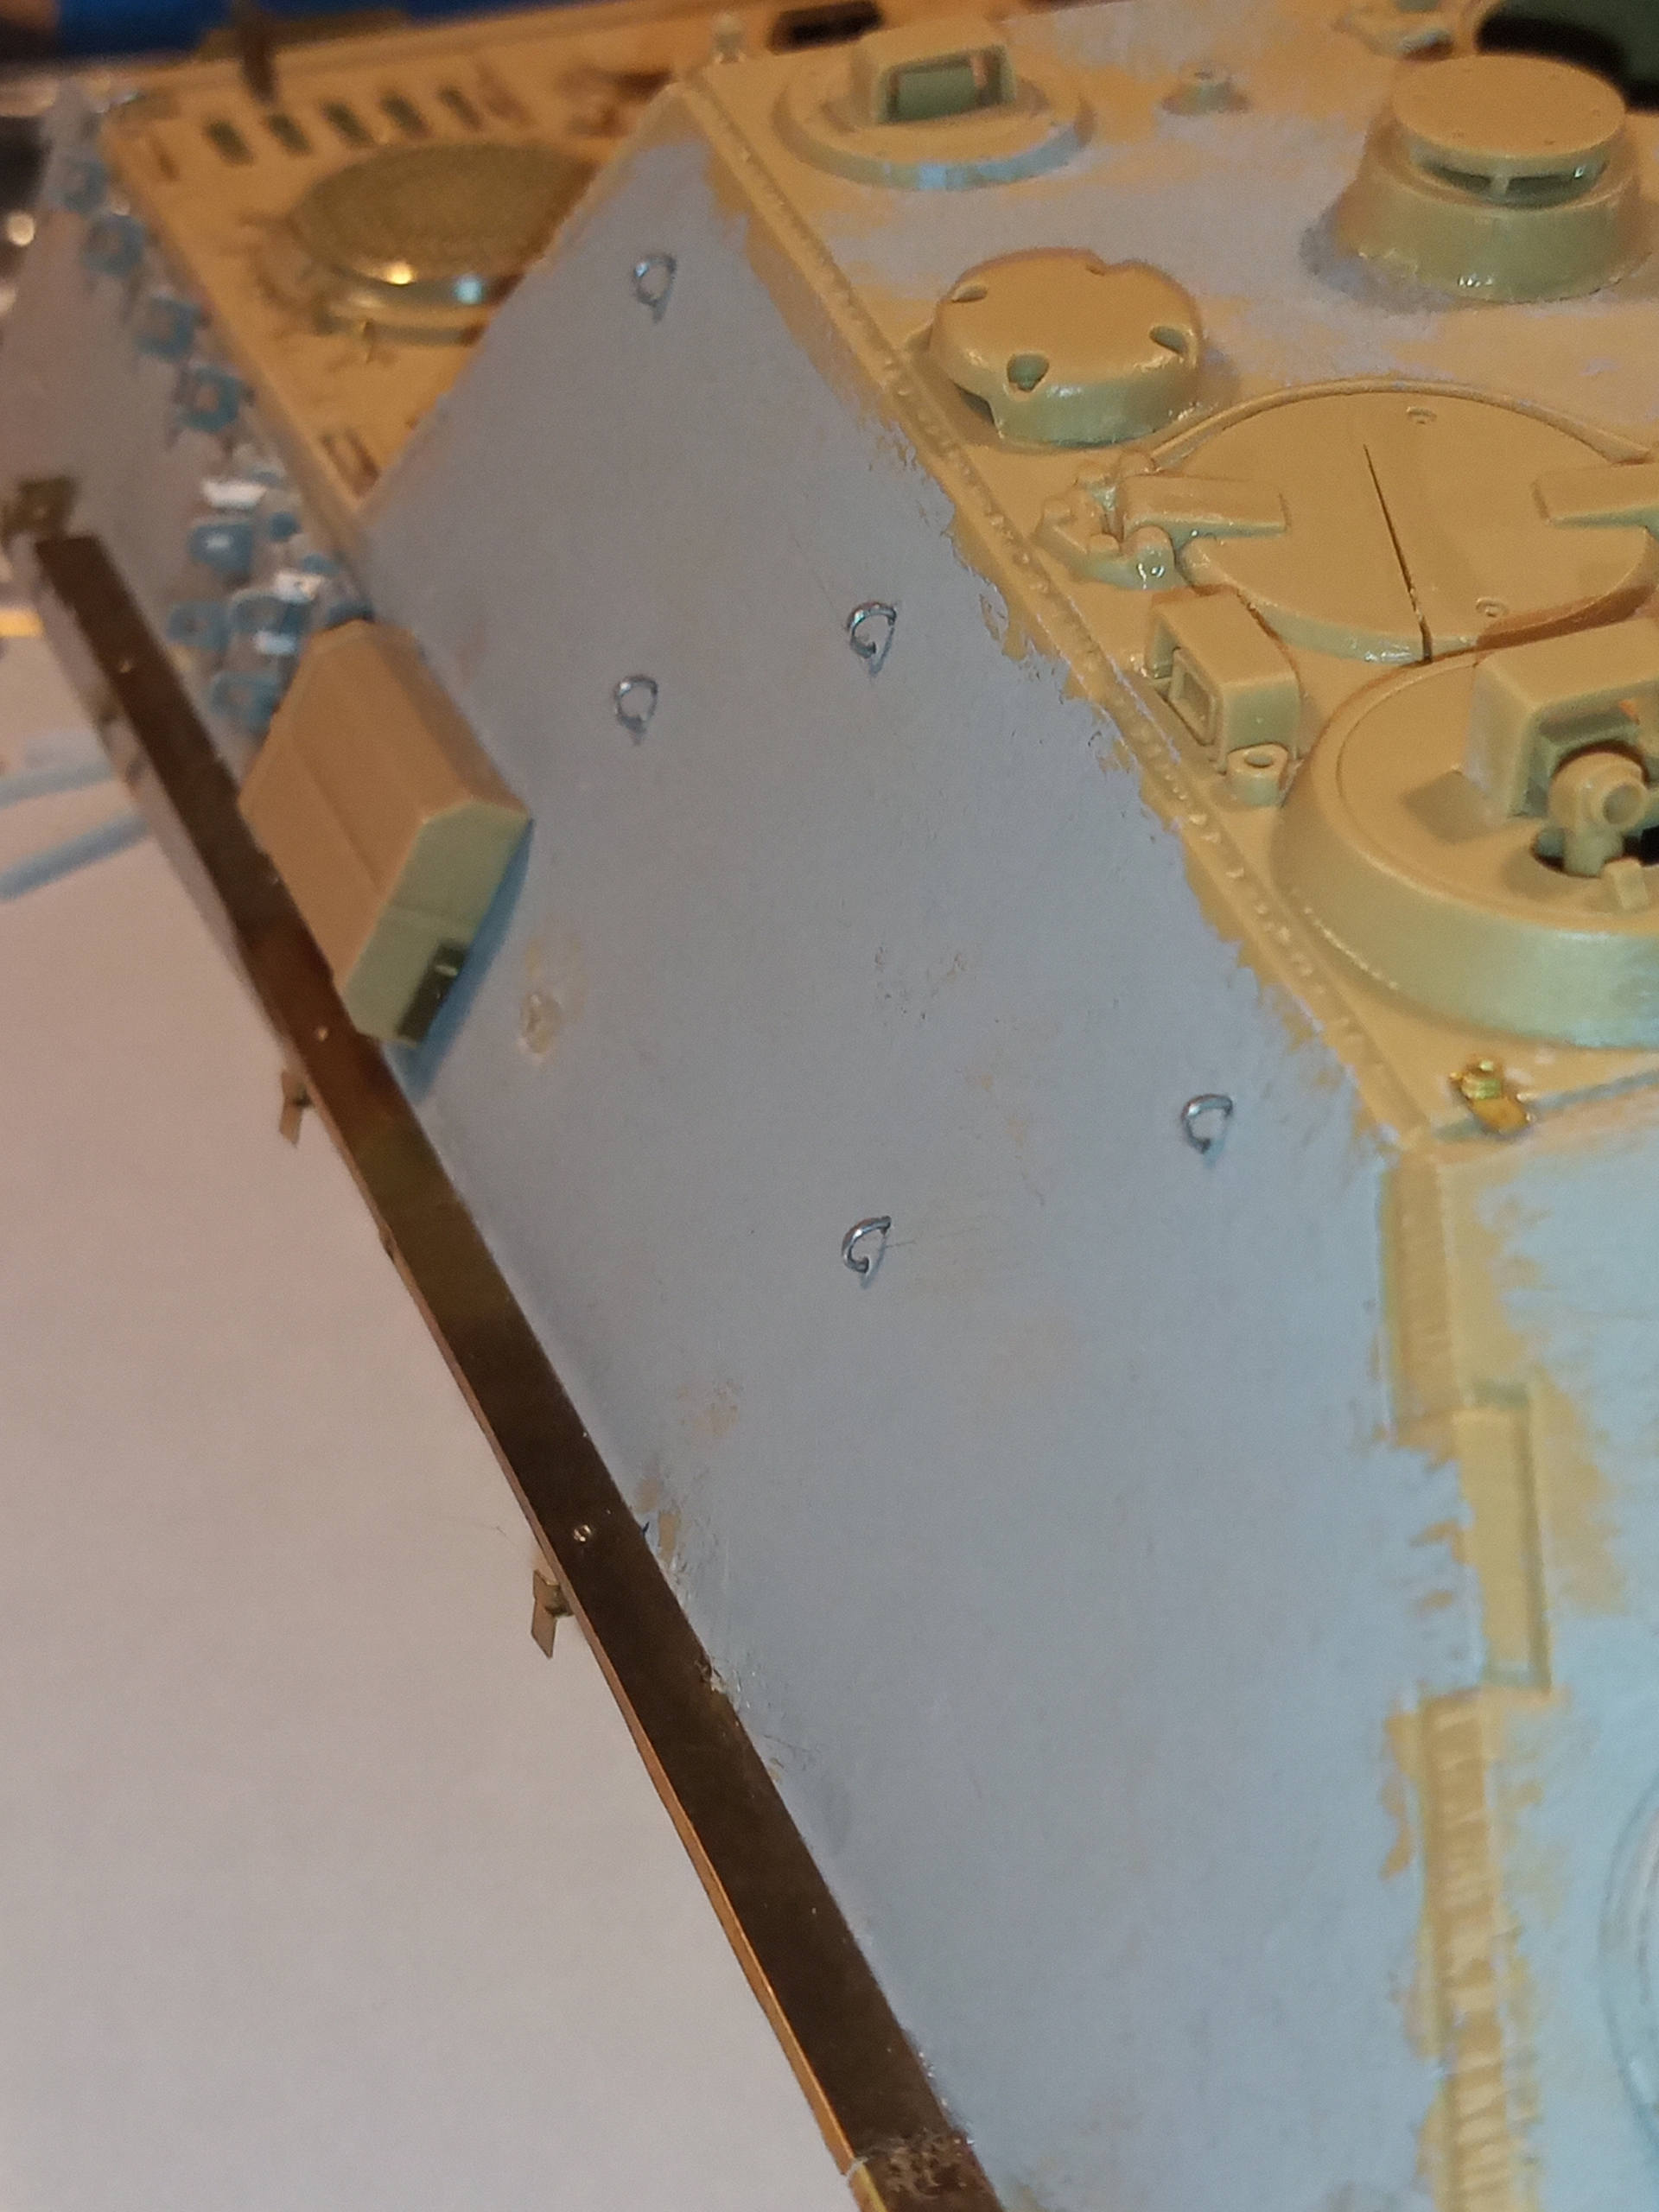
I have used some Mr Surfacer 500 on the armoured flat surfaces to give it the appearance of some texture. I know the plates were pretty smooth, so I will be sanding it right back so it just leaves a hint of roughness……
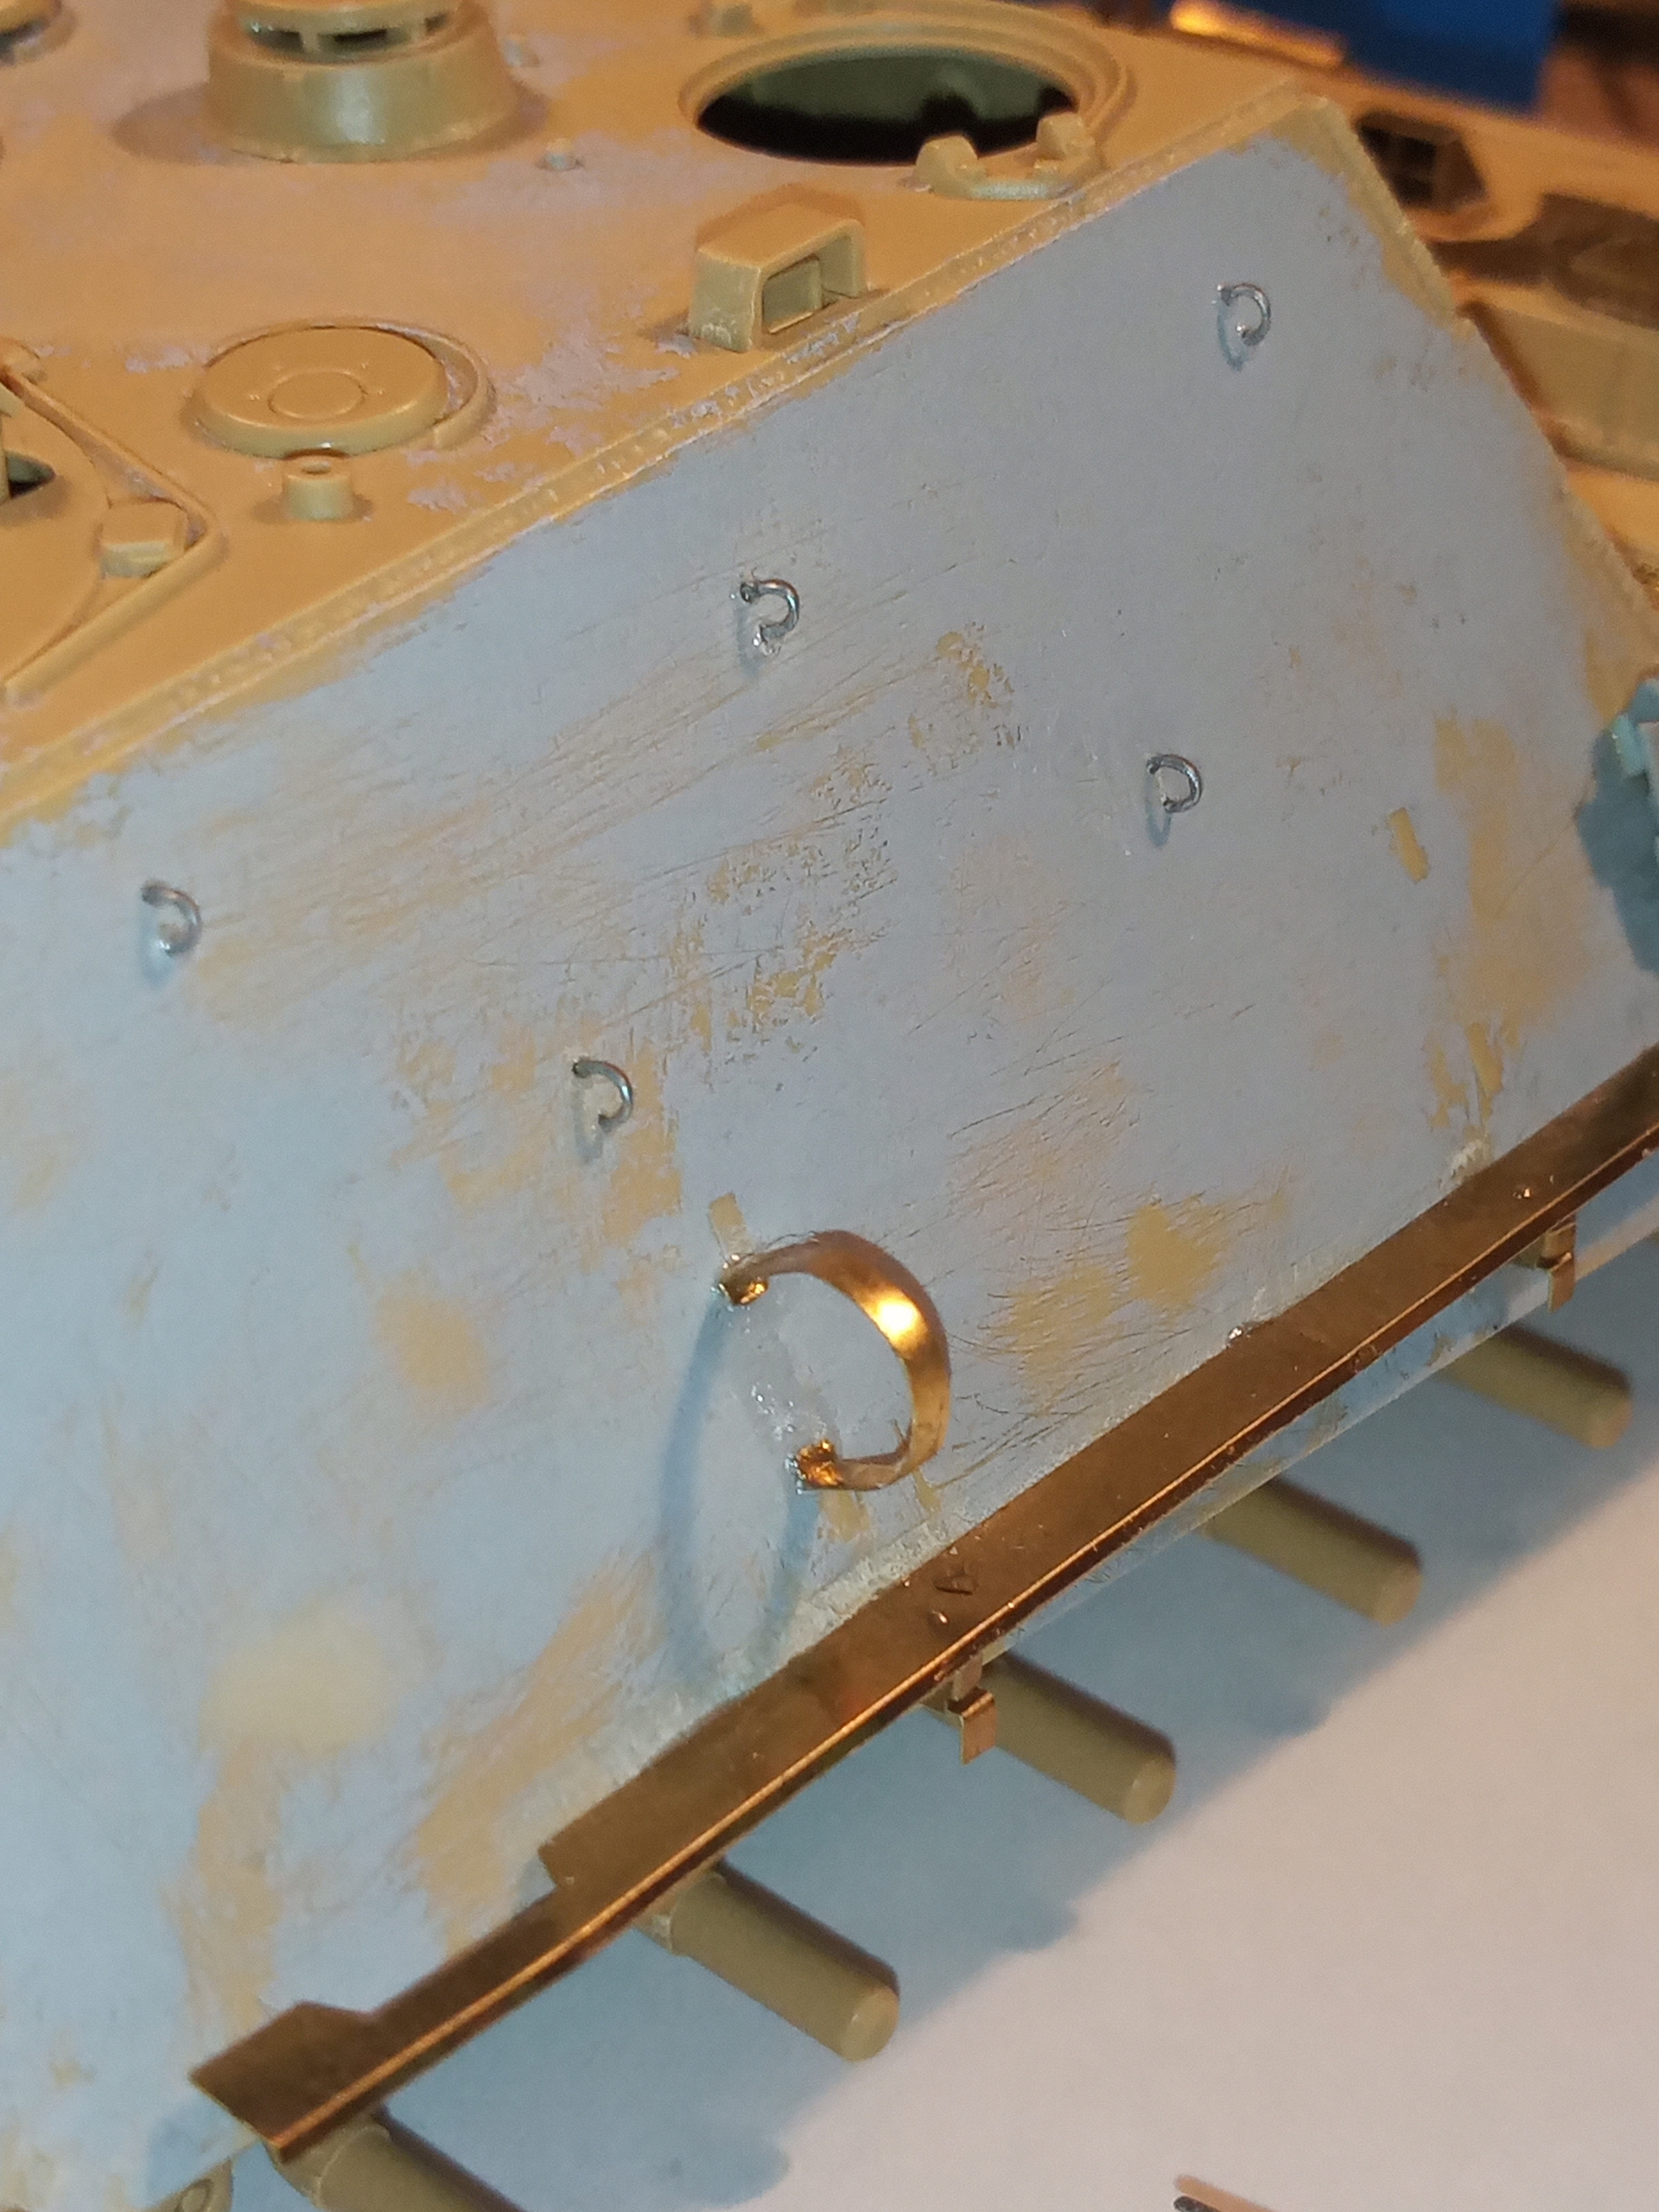
Have also decided to remove the LH mudguard to show some more damage, as I found a spare headlight mount so I can use that on the PE mudguard support in the image above with some electric cable going into the hull.
A bit more time consuming was going through the various PE spare frets looking for usable brackets and handles and other bits to use. Luckily I have found most that I will need so should only need to scratch a few parts here and there, such as the jack support and engine deck securing hook etc.
2 decades in armor modelling and I just discovered this wonderful product a few months ago. I’m not sure how it slipped past me. I had seen it online but always assumed it was just a primer for ones airbrush.
I bought some Mr Surfacer 500 and have used it to fill some gaps, but I see many use it to alter the look of their surfaces, usually armor plate. Do you apply with a brush and then sand it down to find the right depth and texture? I really like what you’ve done with it here.
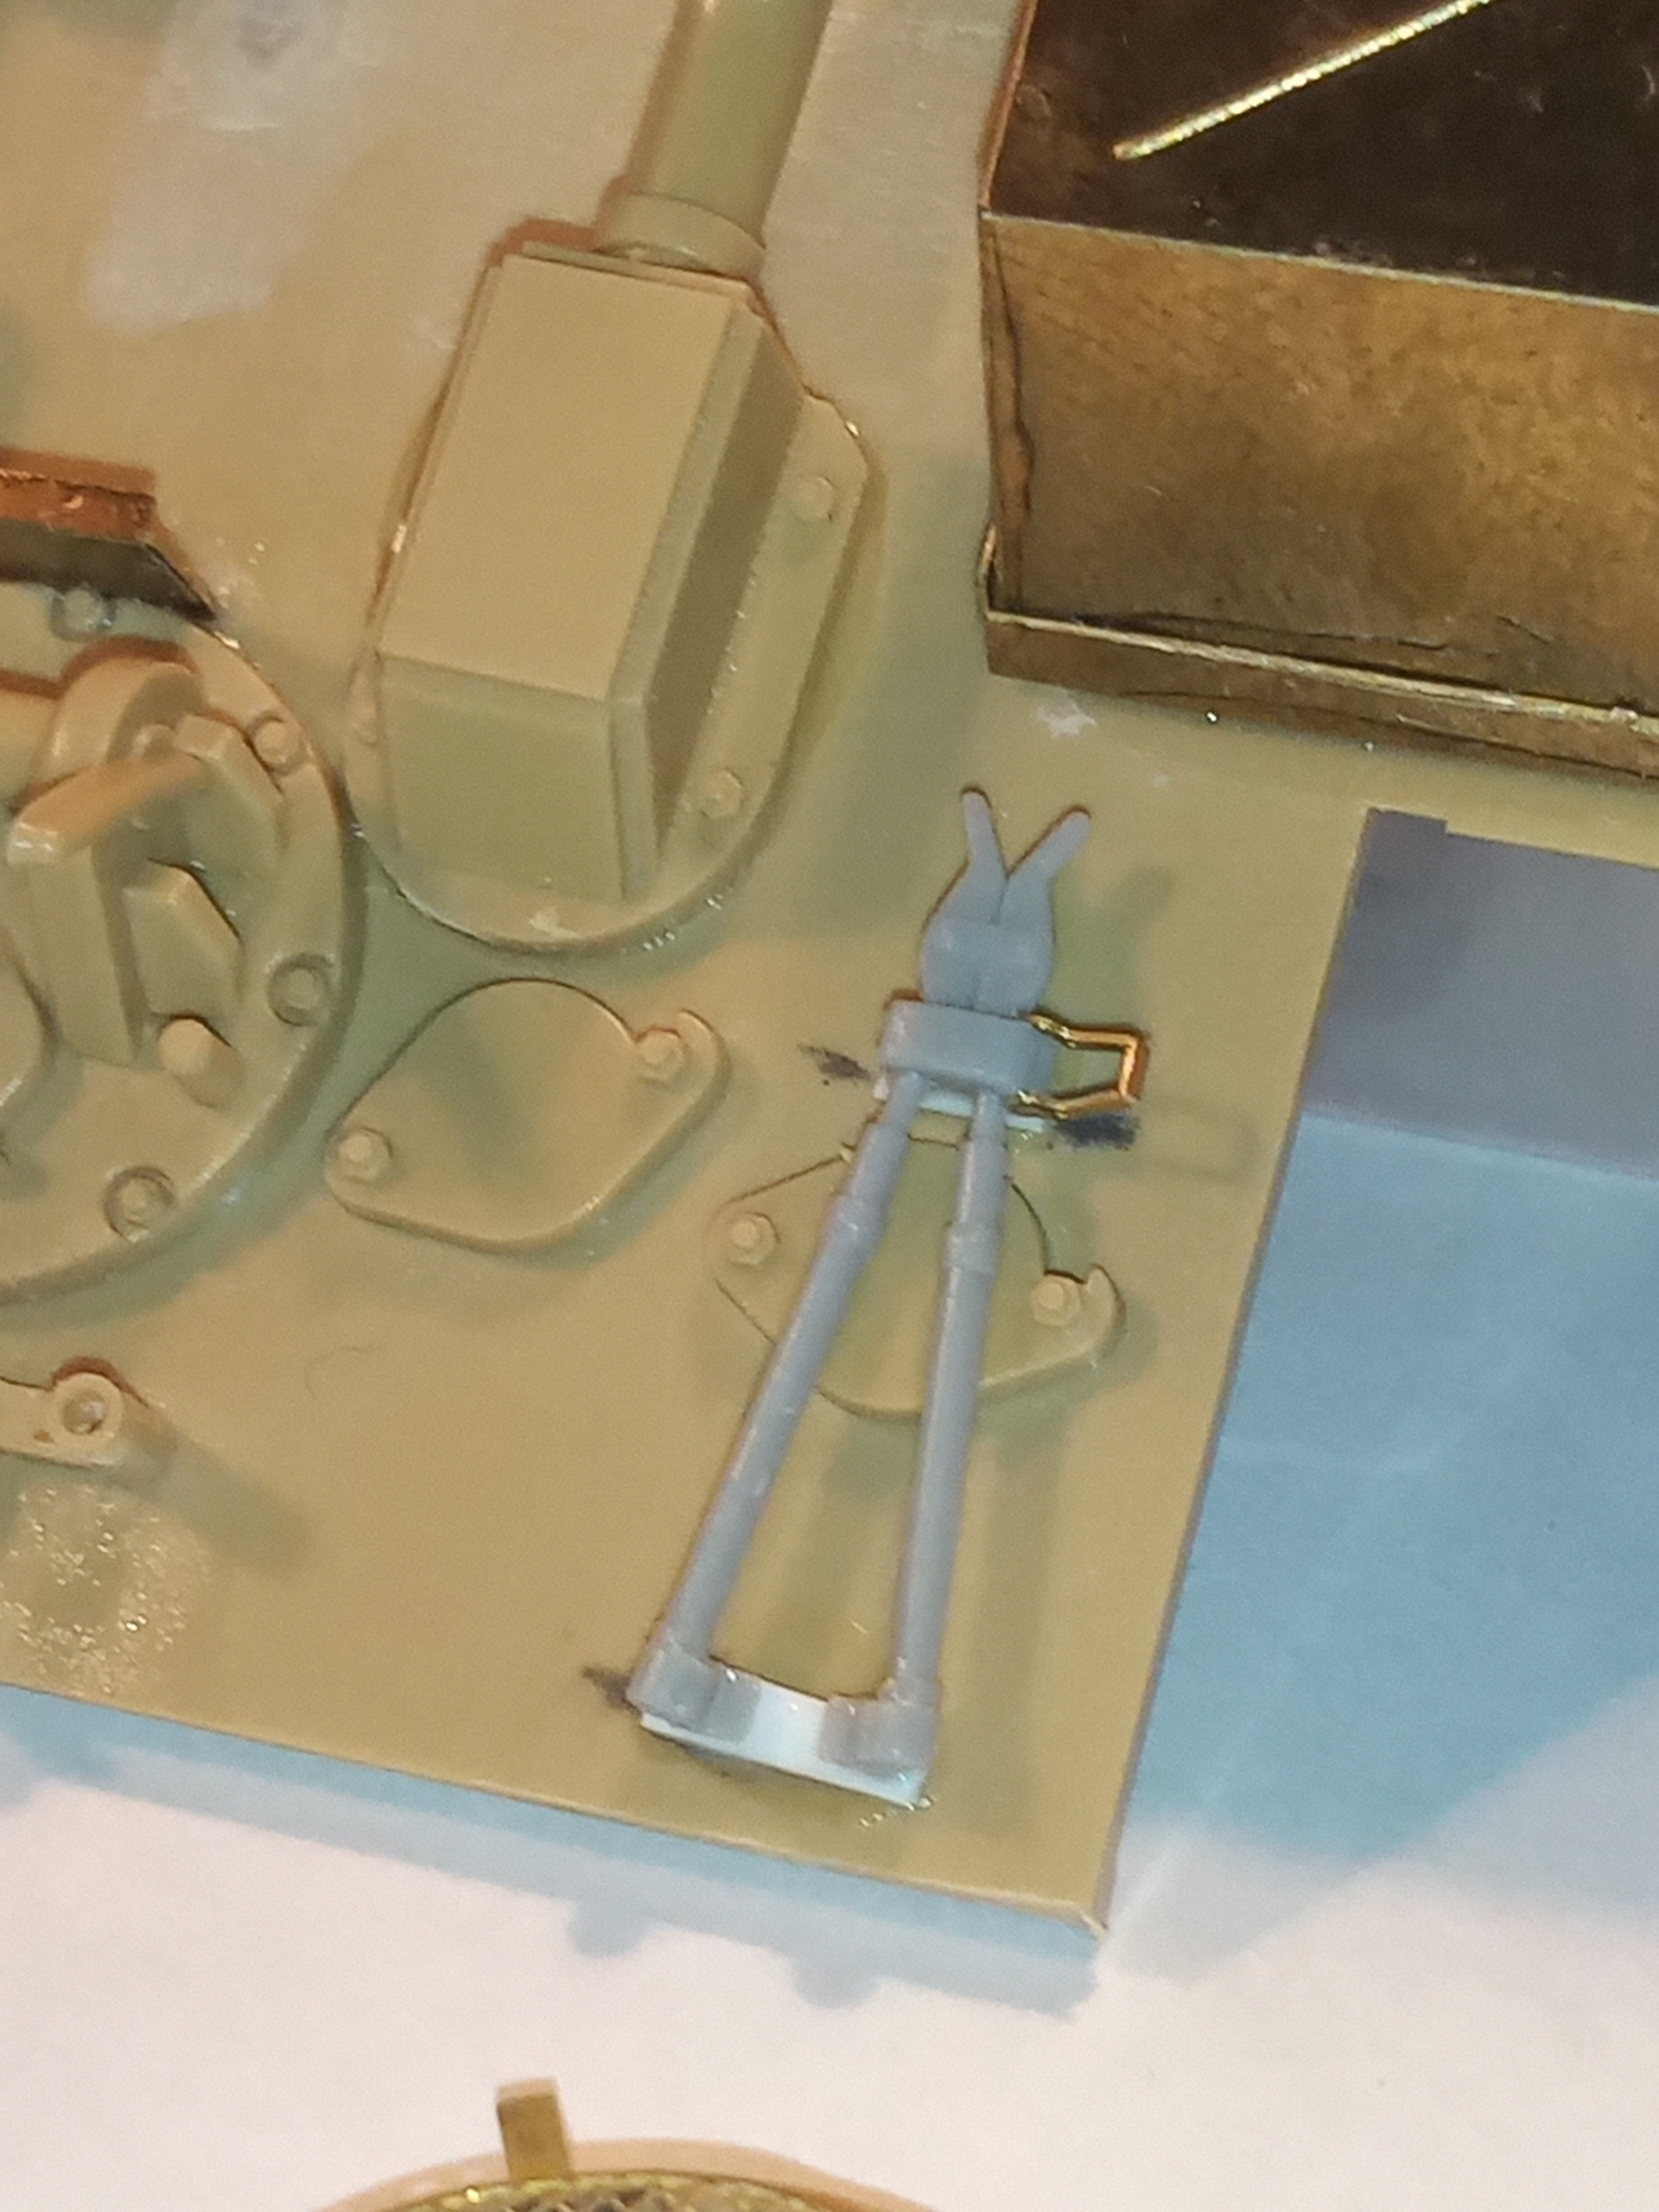
Still have to add the securing clamp at the top onto the PE plate. ( This is all from spare/scrap PE and repurposed) Jack will eventually lay on rear decks.
Wire cutter with plastic strips under the mounting brackets to give it some height and a PE handle fitted.
Will be doing some surgery on the spare link hangers … removing the kit part for the track link mounts and replacing with plastic strip with a hole drilled for the securing pins.
Building the gun up now, and will then get that in place and start on the thin running boards along the length of the hull. Plan is to use the kit plastic parts as a guide for the PE side skirt brackets, and then pull off the kit plastic strips and replace some areas with the PE strips but as damaged areas with some ripped away etc …
With the thin running board temporarily soft glued in place, I was able to get the 6 side plate mounting brackets in place, and all in a nice straight line.
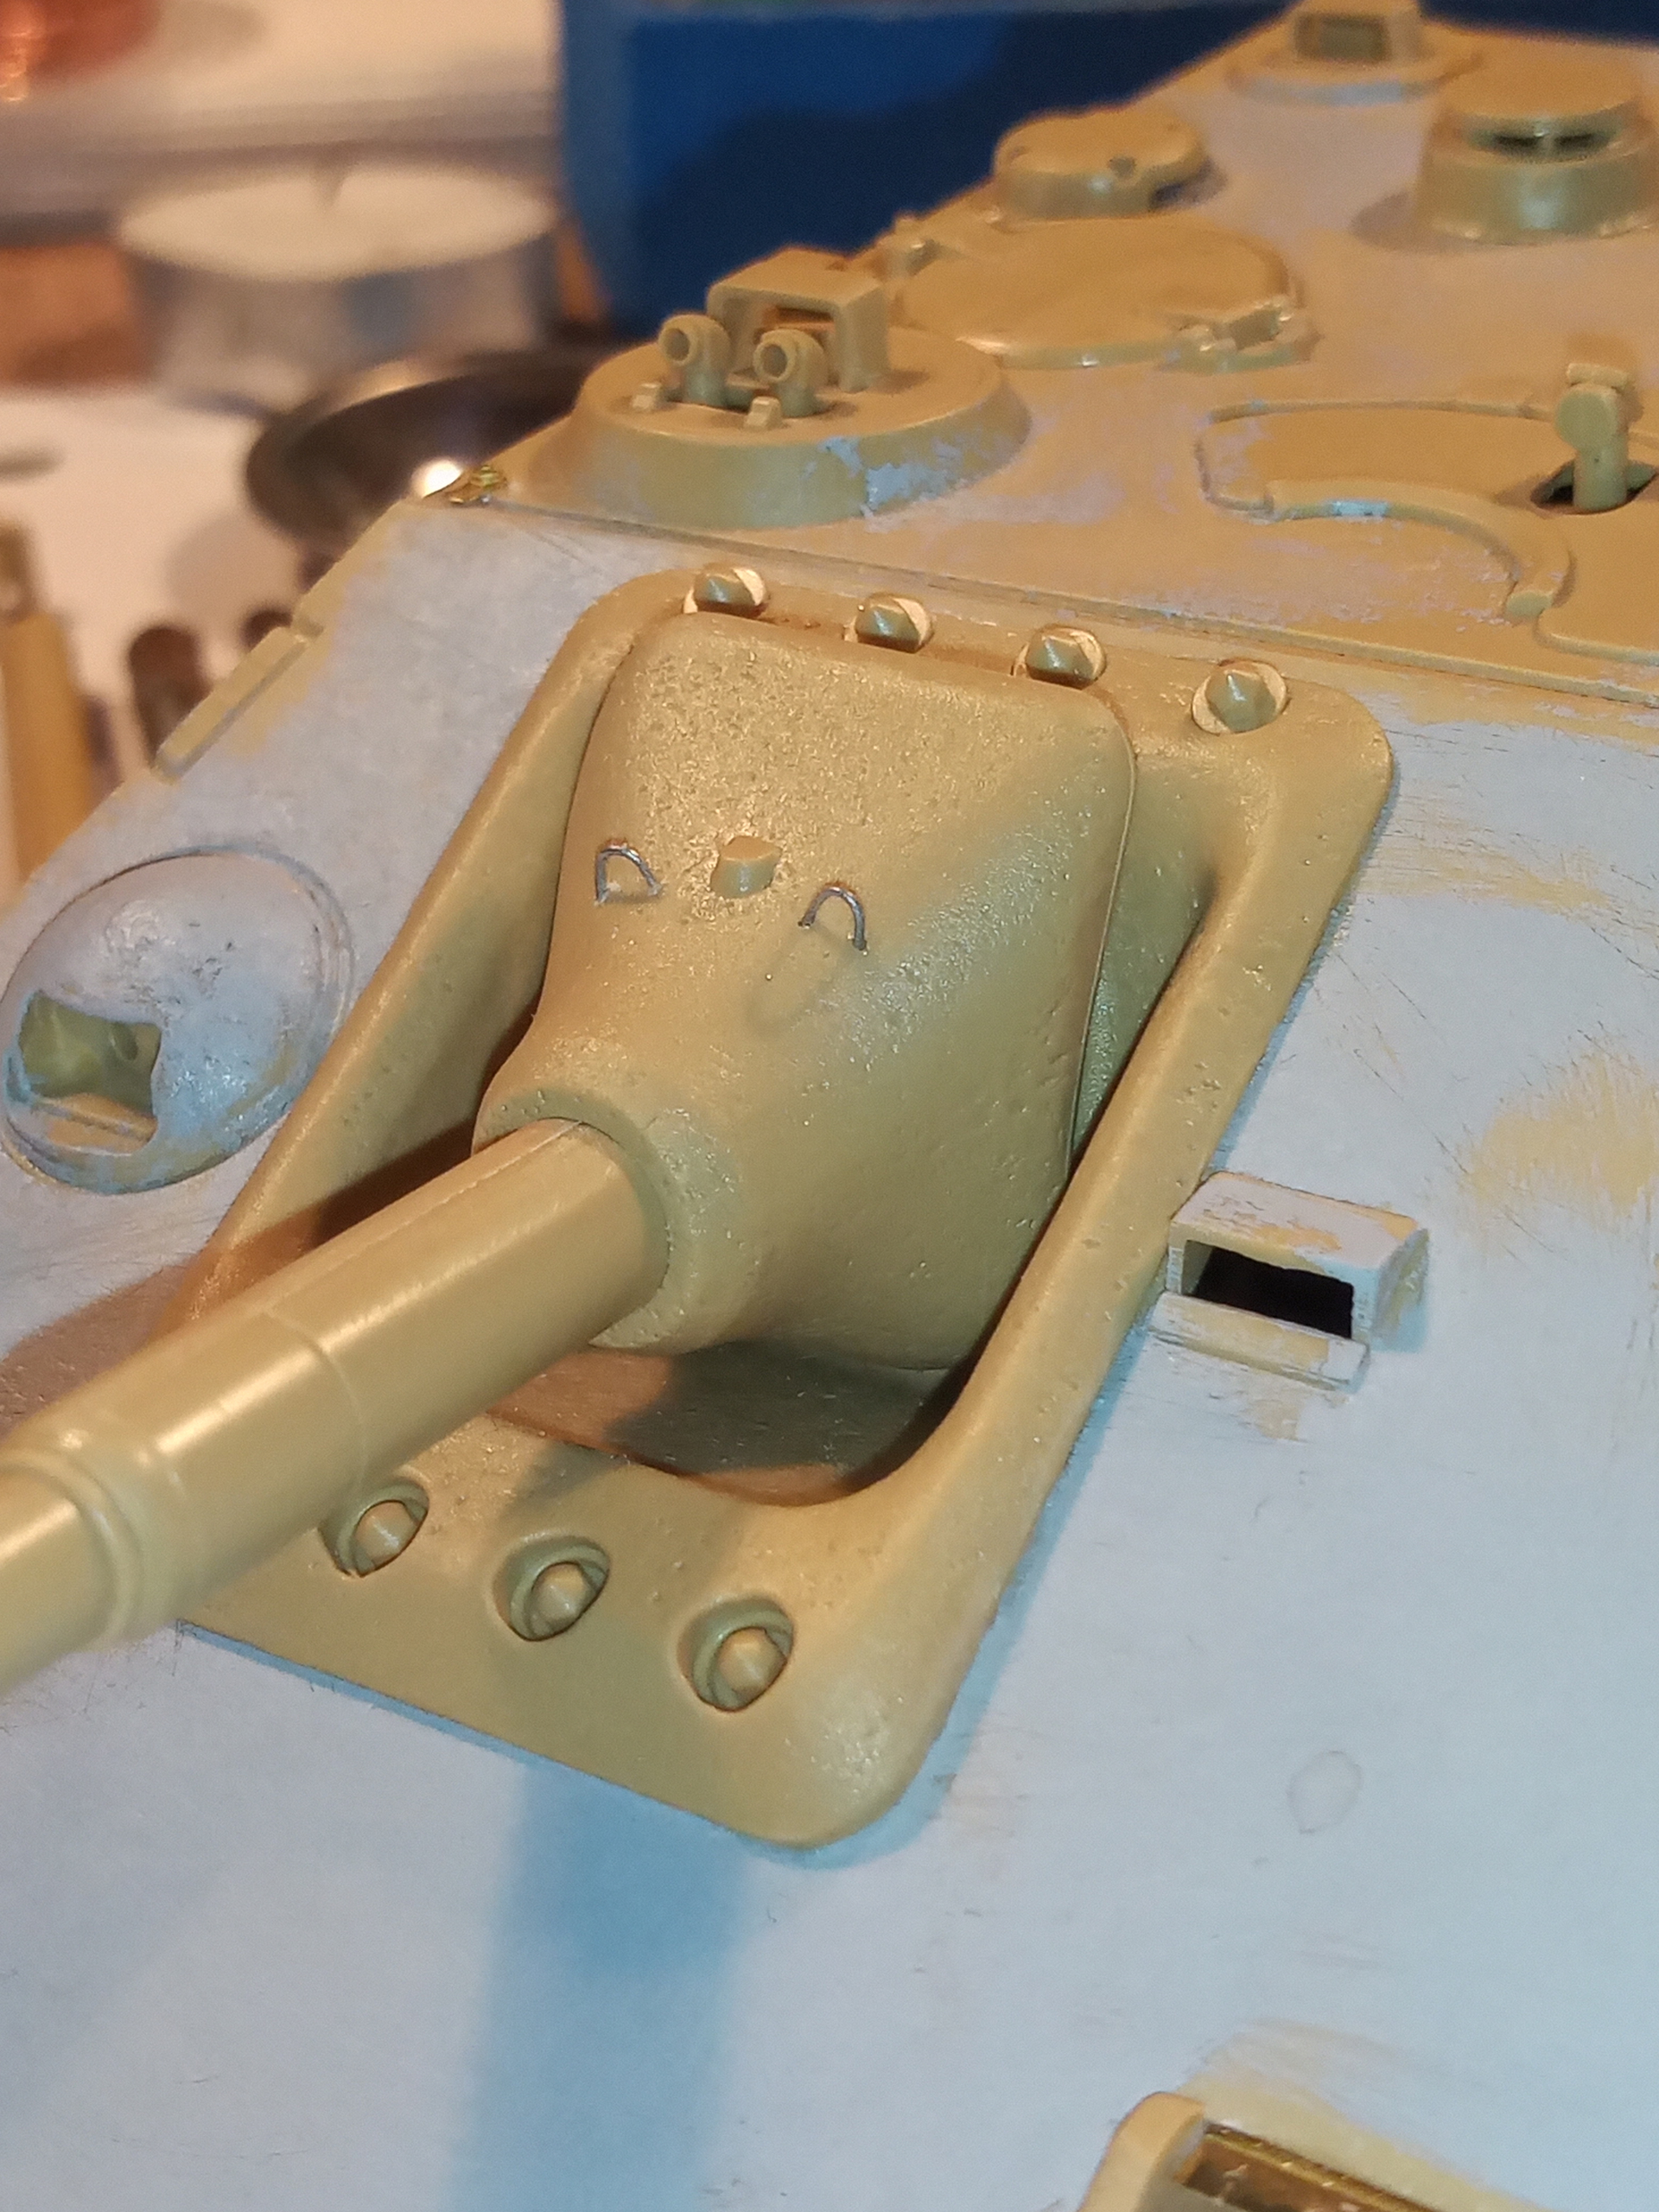
Have also added some field applied cam mounting points to the muzzle and Manley which I have seen on reference images online. They all vary in location and style so used a bit of artist licence… drilled fixing holes first, then used .4mm gauge wire.