Dear members
I’m new here and I’m relatively new to using PE. I can’t figure out how to attach PE fenders using aftermarket resin brackets for PE fenders. How do I do this? I’ve prepped the PE by cleaning, filing, and slightly expanding the holes for the resin bolts, but I have no idea how to attach the resin brackets to the casemate. I’ve removed the molded ones. So the bolts face outboard? Do I alternate bolts out and flat ones with holes. The instructions are silent. Please help.
4 Likes
Pictures of the parts and test fitting maybe helpful.
Assuming everything thing fits together correctly, my first thought is with a quality super glue, like StarBond. If the positioning and adjustment is tricky maybe a slow super glue or 5 minute epoxy to allow time to position the parts.
1 Like
First thing to do is like kit building do your research. There’s plenty to read searching Google and tons of videos you can watch on YouTube.
Consider a bending tool, I have a Tamiya bending tool pliers for some parts and the large DSPIAE tool for just about everything else.
PE can be made from many metals but brass or steel are all I have seen so far.
Brass PE is fragile and if you bend it wrongly, the act of bending it back and rebending can be enough to snap the part, so I generally anneal it over a tea candle flame to make it more pliable. Don’t anneal painted PE or PE grilles, the fine metal in the grille will like be destroyed…
Glue them in place using superglue, I use a glue looper to apply the glue or sometimes acupuncture needles because they are so fine. lightly sand the side that will be stuck to aid the glue gripping well. Some people like to etch the side that shows with a metal etch to aid primer prior to gluing.
For larger more complex parts I am learning how to solder so I can produce a piece that is stronger.
1 Like
In addition to Mark’s advice, above, use the PE parts to measure and layout the locations for the resin mounting parts. There are usually slight differences between the designs and dimensions on PE parts and the molded-on kit parts, so make the locations of the replacement resin details match the PE even if they’re slightly different from where the molded-on kit details were located. Take the extra time dry-fit the new parts and mark the critical locations (positions and glue points) using a mechanical pencil on the model.
If you’re patient enough to allow the adhesive to set overnight, two-part epoxy will give you better bonds between the resin and the plastic and the resin and the PE. Epoxy also gives you more “working time” to adjust the fit of all of the new parts. The thing to keep in mind is that epoxy cures using an exothermic process, so very small amounts (either small drops or layers spread thin) take extra time to cure since they lack the mass to create significant heat as they cure. Keep the assemblies put together with epoxy in a warm, dust-free area and give them overnight to cure.
You can cut small strips of blue painter’s tape (use a piece of glass and an X-acto knife) to hold the PE or resin parts in place as the adhesive sets.
You can mix very small amounts of epoxy if you squeeze out a small (dime-sized) dollops of each of the resin and hardener on opposites sides of the bottom of a recycled plastic pudding or fruit cup. Don’t let the two touch.
Dip smaller drops of each of these using a toothpick (cocktail stick) and mix on the bottom of a second recycled plastic cup. It’s best to use two different toothpicks for this purpose, one for the hardener and one for the resin, so as to not cross-contaminate the “source dollops.”
In this way, you can mix and use very small amounts of the epoxy. The two “source dollops” on the first cup will remain usable for days (if not weeks if kept dust-free) and will not “dry out.”
For “light duty” non-mechanically critical PE assemblies, an alternate adhesive is artist acrylic gel medium, either gloss or matt. This is plenty strong enough to hold small, light parts that will not be stressed either as they’re being assembled or once on the model. The advantages are long working time and easy clean up with a brush moistened with ordinary water. Again, as with epoxy, this adhesive needs to cure overnight to reach maximum strength, but it has a lot of flex and “shock” resistance, so small PE parts don’t tend to fly-away into the great workroom void if they get bumped off the model.
2 Likes
Gentlemen: thank you for your expert advice. I’m back to modeling after forty years. The fitting process and what materials are very important, yes, but what is confusing me is that my PE kit instructed me to shave off the kit fender attachments which I did. I got resin brackets to glue or epoxy on, but no instruction as to how they go on in terms of whether the one with protruding bolts gets attached to upper first, or does the other one with two holes go first? The picture I’m attaching is from the kit and it shows them alternating one next to the other. How could this be? Wouldn’t they all have bolts out to fit into the PE fender holes? I reamed the holes out a hair and filed. The picture of the upper with shaved brackets is my build, but you can clearly see the kit photo has the fenders staggered with one bracket holes open and the next one with bolts out. I thought all would be bolts out and the other half would snap on once the fenders were in place? Hope I, making sense as this is holding up my whole project. Thanks
DProcessing: IMG_2782.jpeg…
Processing: IMG_0426.png…
1 Like
Your pics are not showing since you hit the Reply button too quickly. Let the picture load fully and show up in the box to the right before hitting Reply.
1 Like
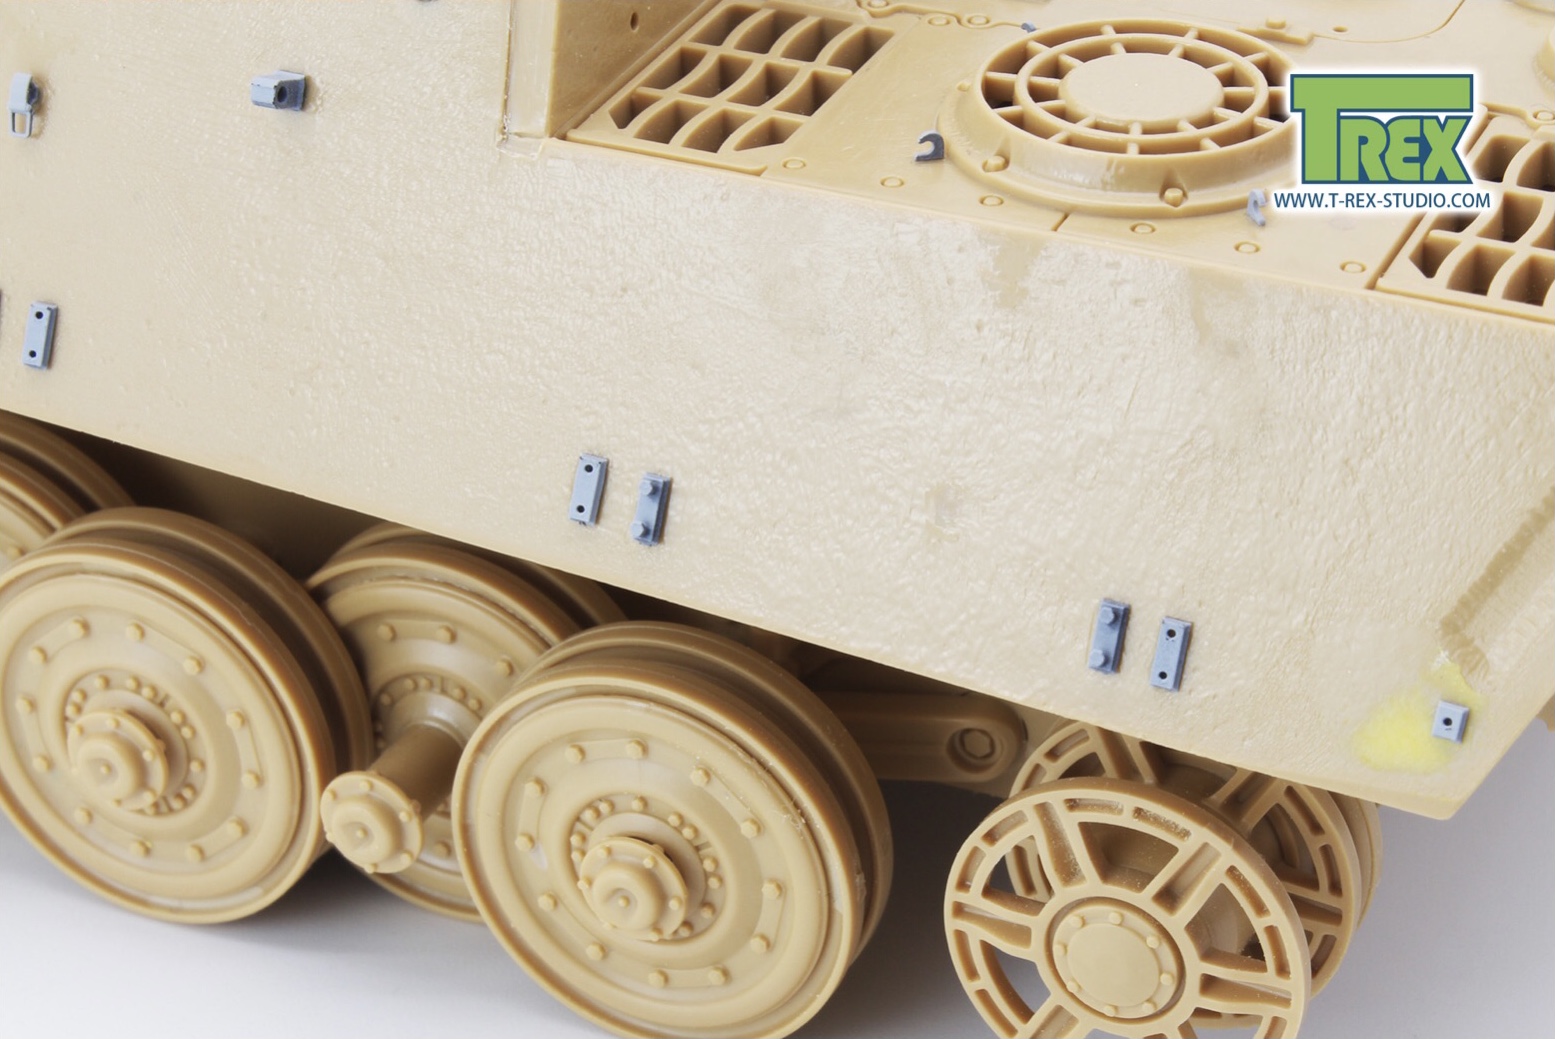
Sorry. Only this one is really important. It’s from the kit box. Question is shouldn’t every bracket be “bolts outboard” instead of staggered one with holes inboard and the adjacent with bolts outboard? The PE fenders all have holes so they should get hung up. The flat brackets I suppose either glue on or snap on.
Man, this system says all my pics are too large. They’re just the TRex 1/35 fender/sideskirt resin brackets. Half have two bolts. Half have just holes. I don’t know how to crop the picture smaller.
1 Like
This is what I’m confused about. Why aren’t all the bracket bolts facing outboard?
1 Like
I’m not familiar with the AM set from Trex, but I’d guess that you have the option of parts WITH bolts and parts WITHOUT to use depending on how you want to show the model.
IF the mounts with the bolt detail fit the PE fender holes, then those would be ones that you use with the fenders. The mounts without the bolts would then be the ones used to show the tank without the fenders (or mixing the two with partial fenders - some sections present and some missing).
Alternatively, does the AM set provide separate bolt head details? If so, then those might be the parts used with the PE fenders and the mounts with the holes.
On the real tank, the holes in the fenders were keyhole shaped so that the bolts just had to be loosened up enough to allow the fenders to be lifted up allowing the bolt heads (with the bolts still screwed partially in the mounts) to slip out of the fenders and the fenders to be removed. The bolts remained in the mounts to prevent lose.
2 Likes
I think I see your problem… If you use PE fenders, you do not need brackets underneath, they will only be in the way (that is why they said to remove them). If there are no fenders or a fender section is missing, then you put the brackets there as then they would be visible, and fenders in a combat situation got damaged, lost or removed. Your choice if you want bolts or no bolts.
1 Like
Thank you. I thought it might be something obvious but it took you and others to point out what was right in front of my face!
1 Like
Thank you for that explanation. I tried to secure the resin nuts to the outside of the PE fender straps. Nothing doing. Way too small and ungainly. They stuck to everything but the model