Hi all
this is my new project. I wanted an easy model after some more complex ones I recently built.
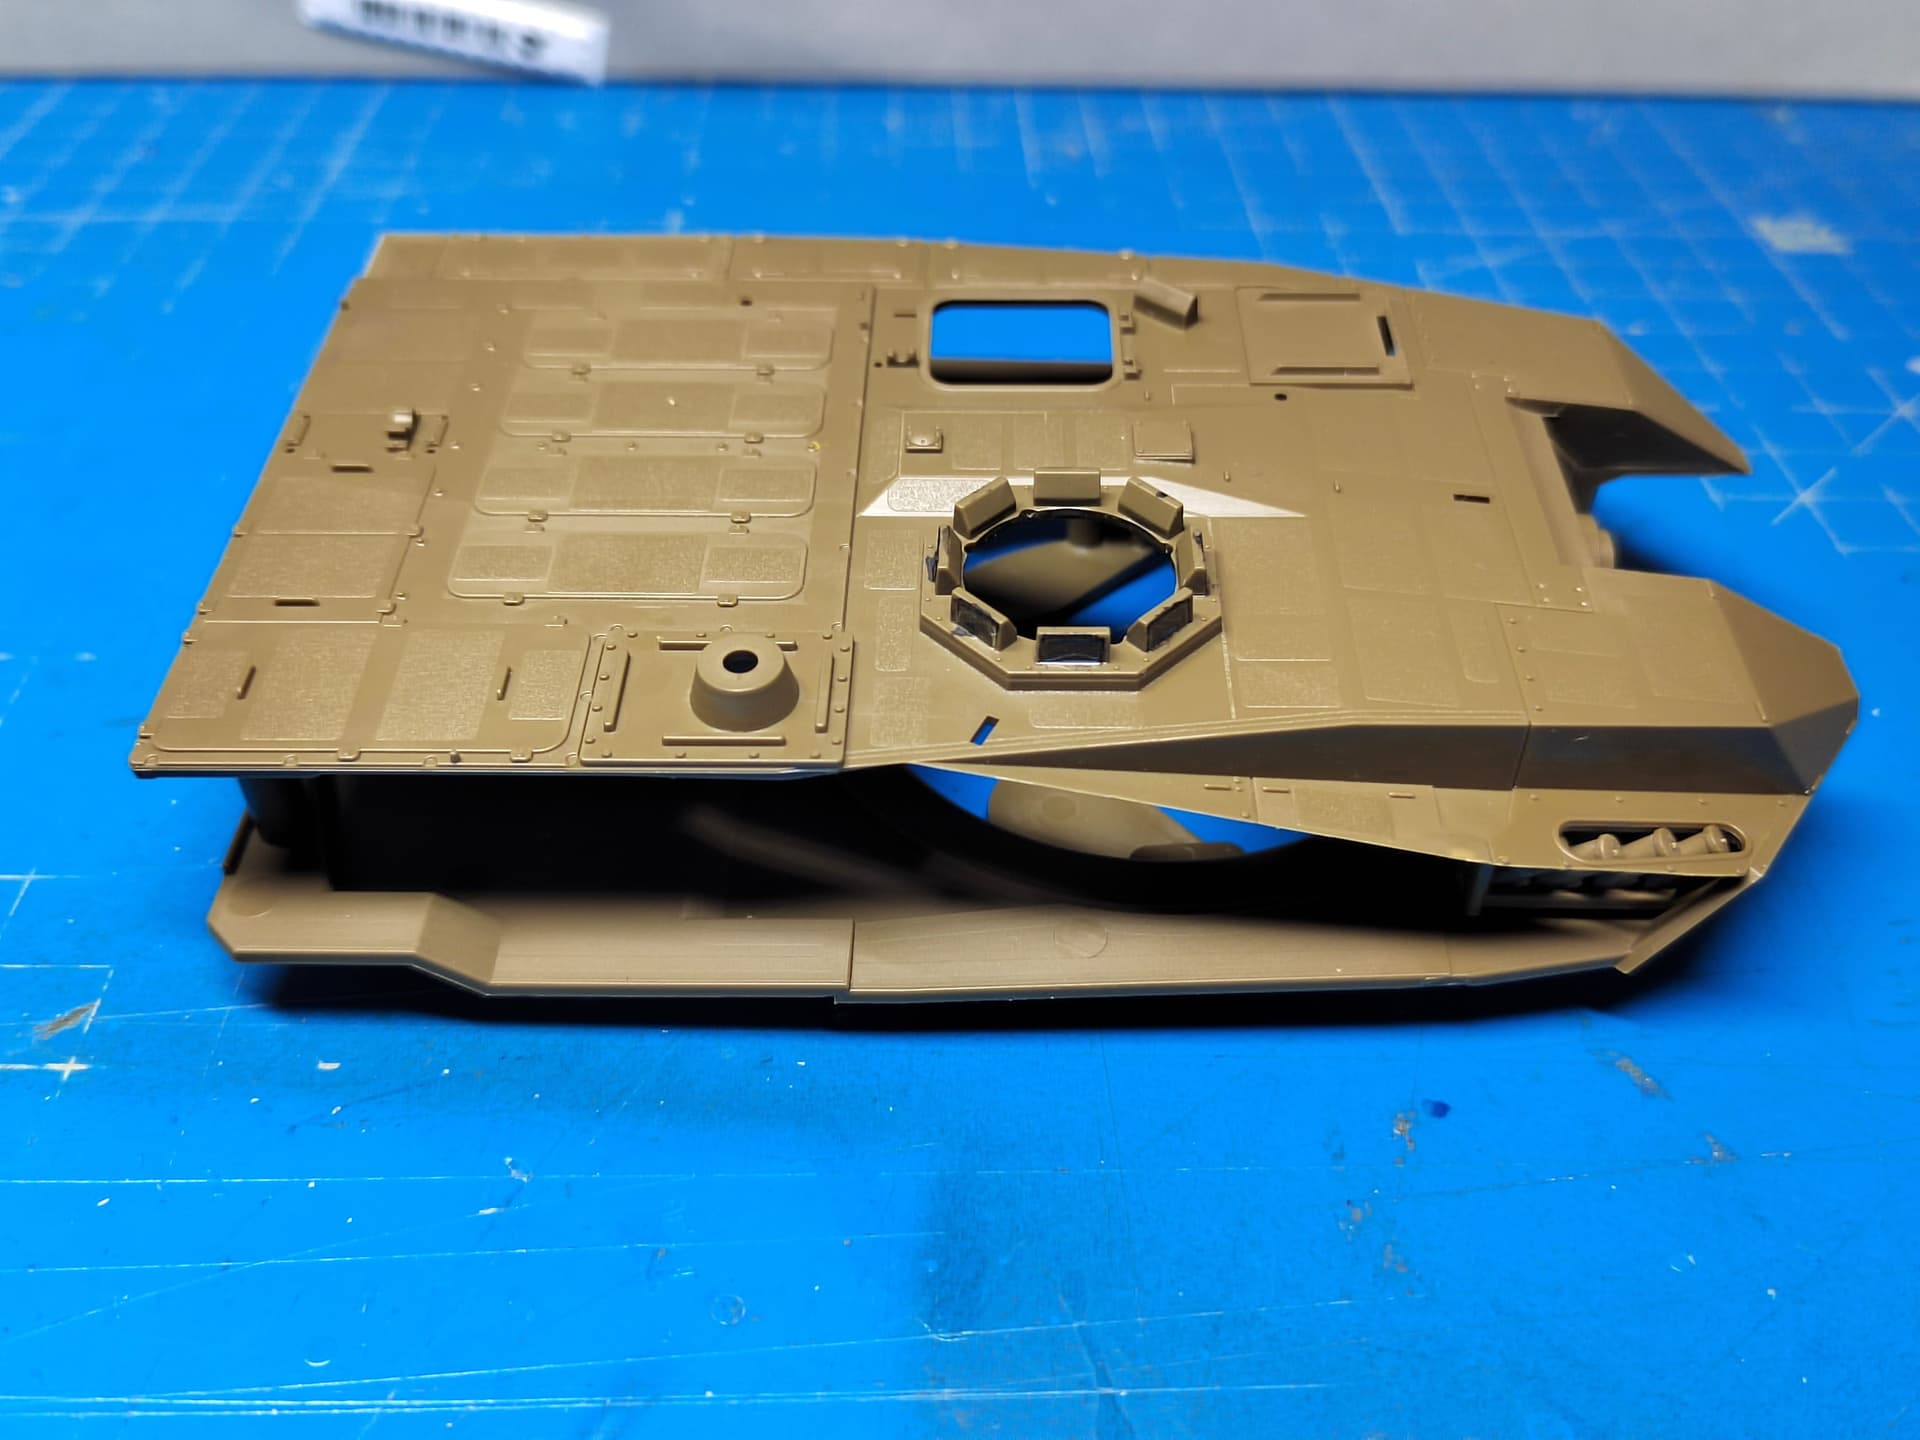
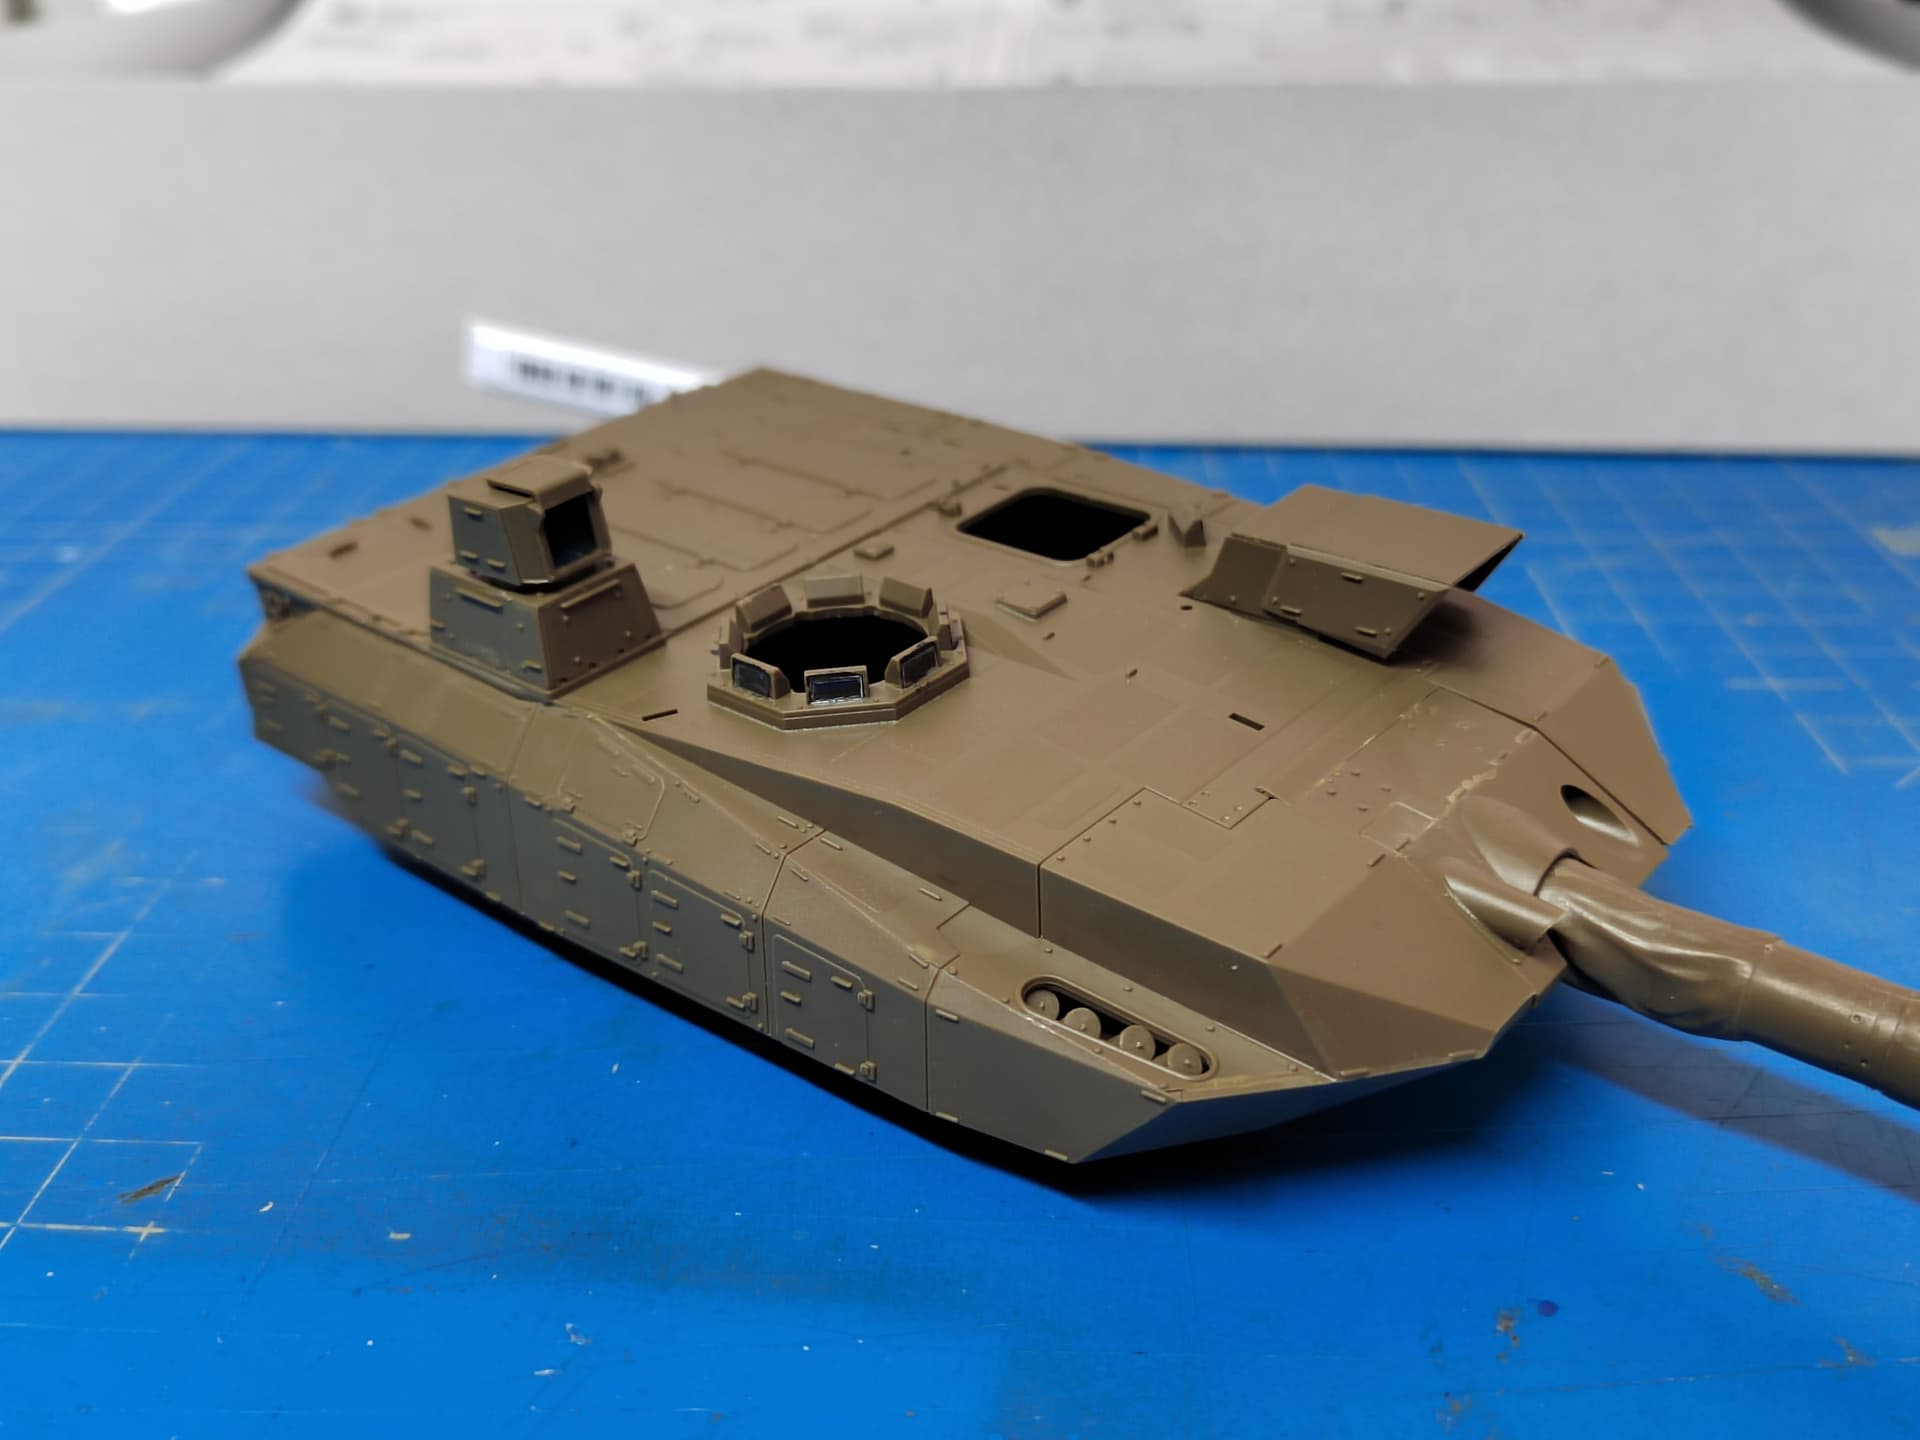
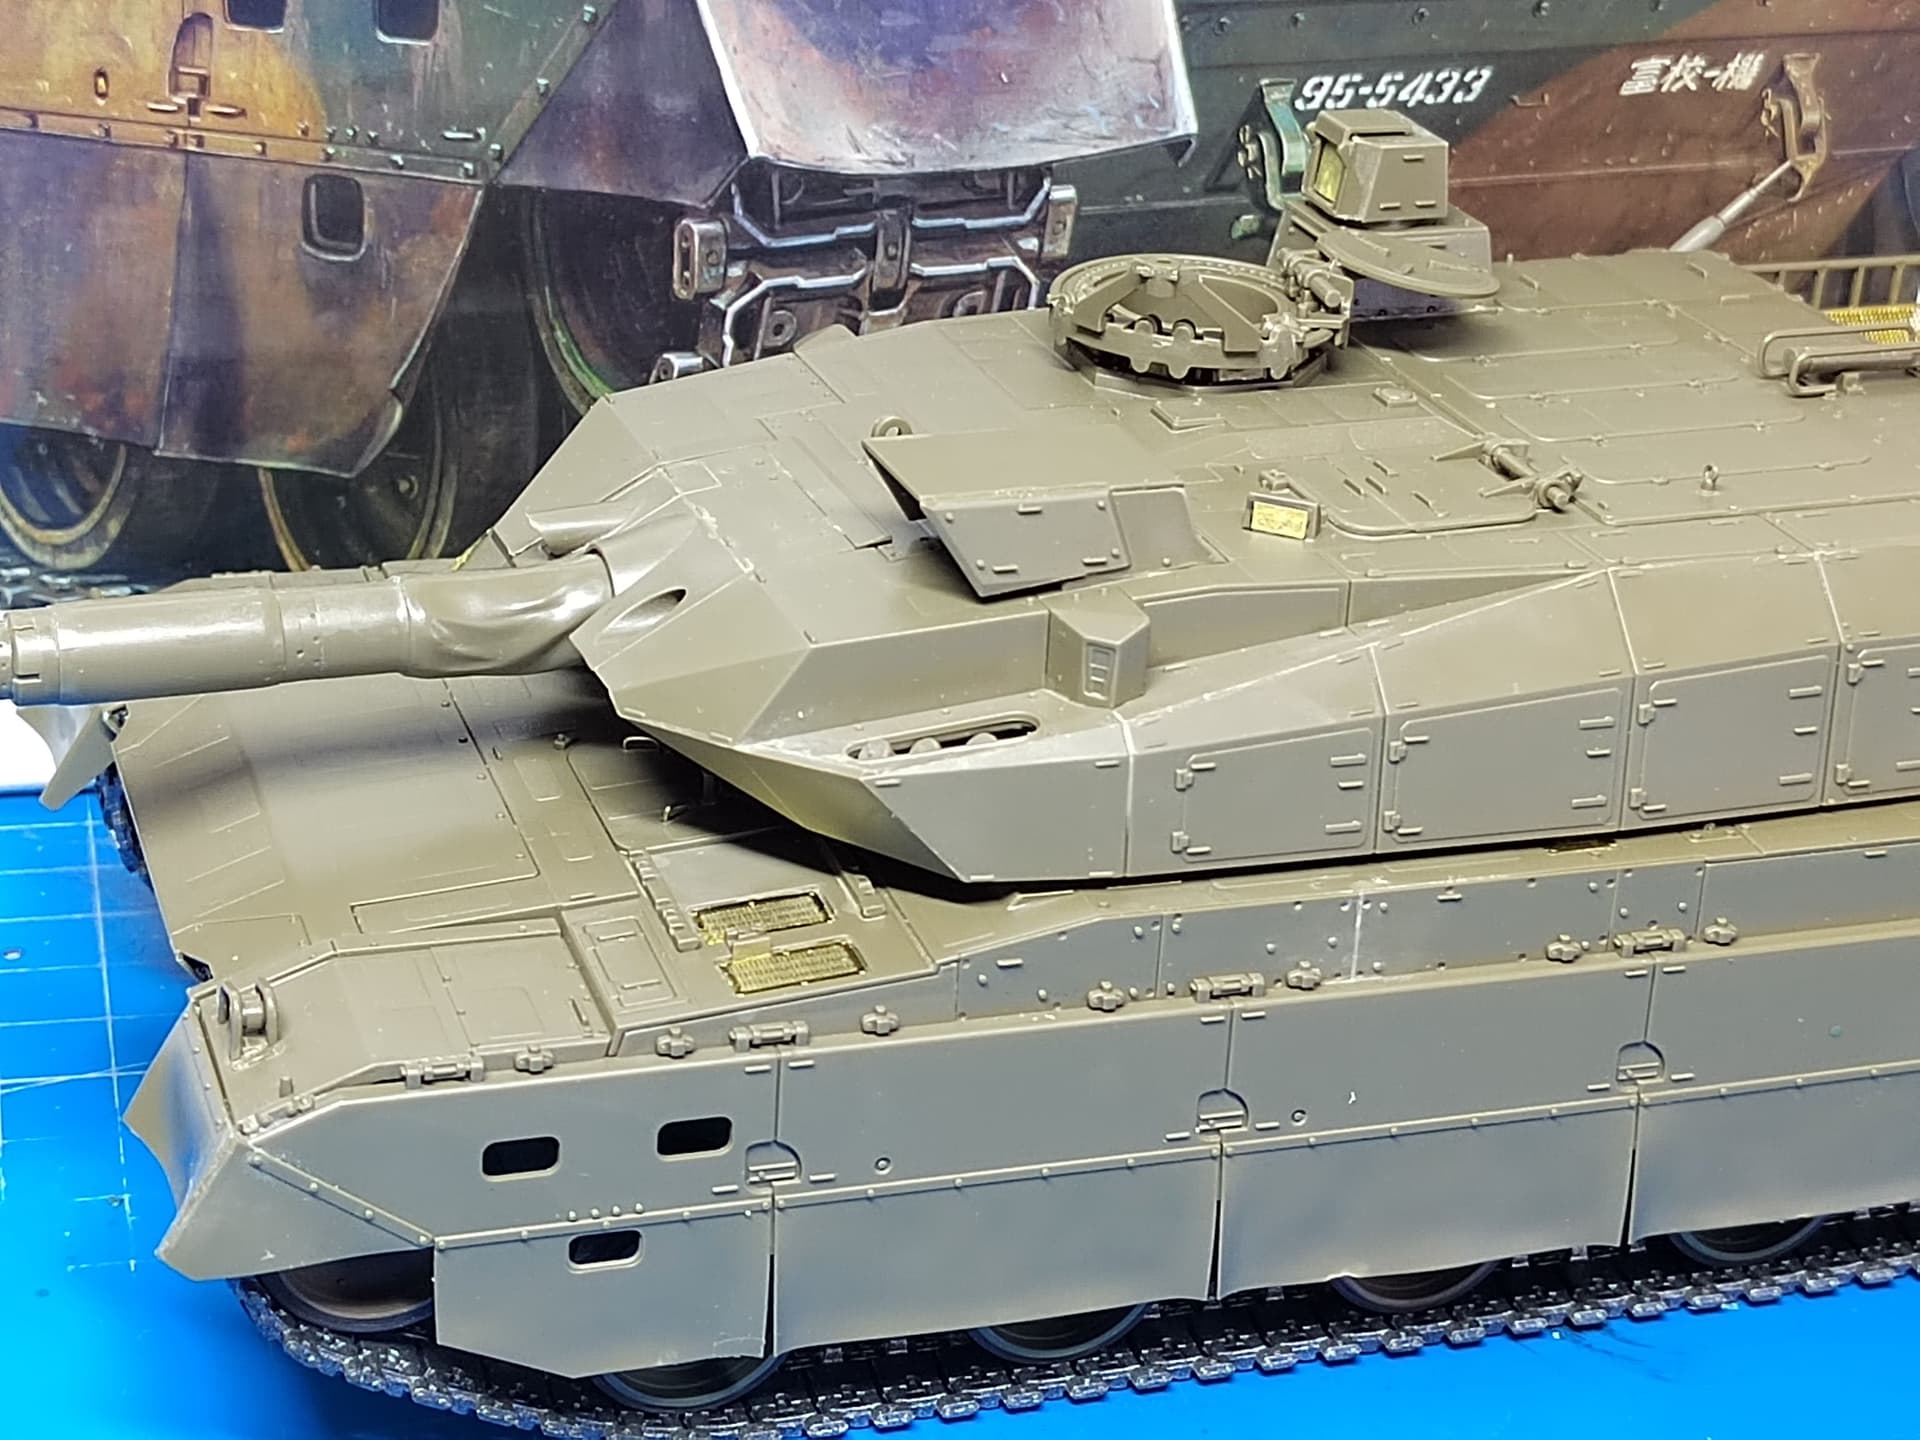
No surprise with this one. The quality is Tamiya standard that means nice cast, good level of detail, some may be a bit simplified though. The fit is good so far.
The lows are the clear sheet of plastic for the clear parts and the nylon mesh for the turret bustle basket. So I decided to buy a PE set from ET model. This one just includes the mesh parts.
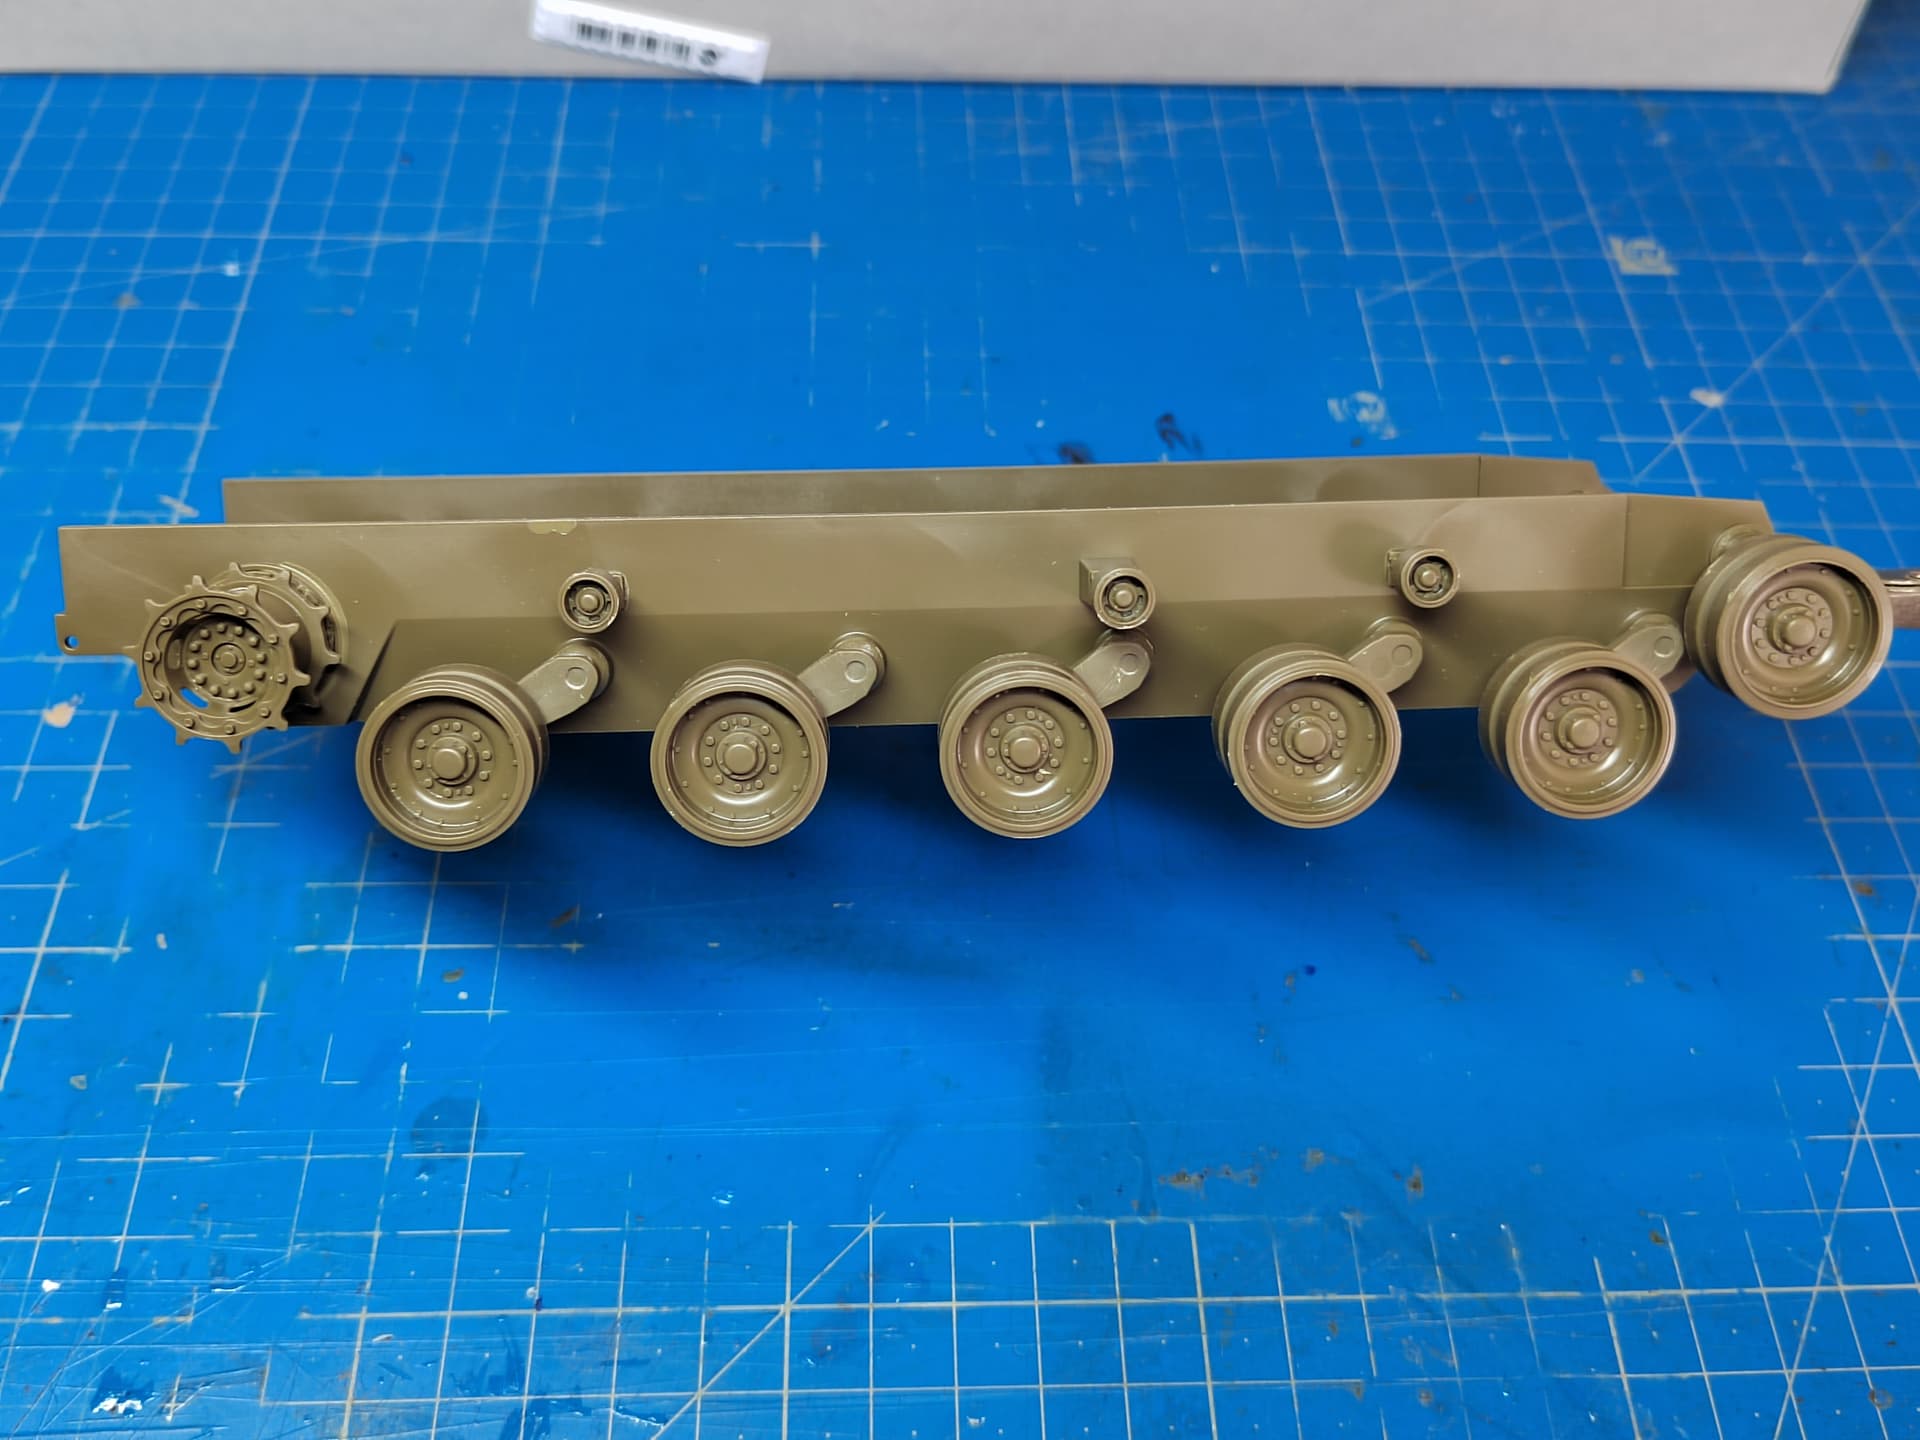
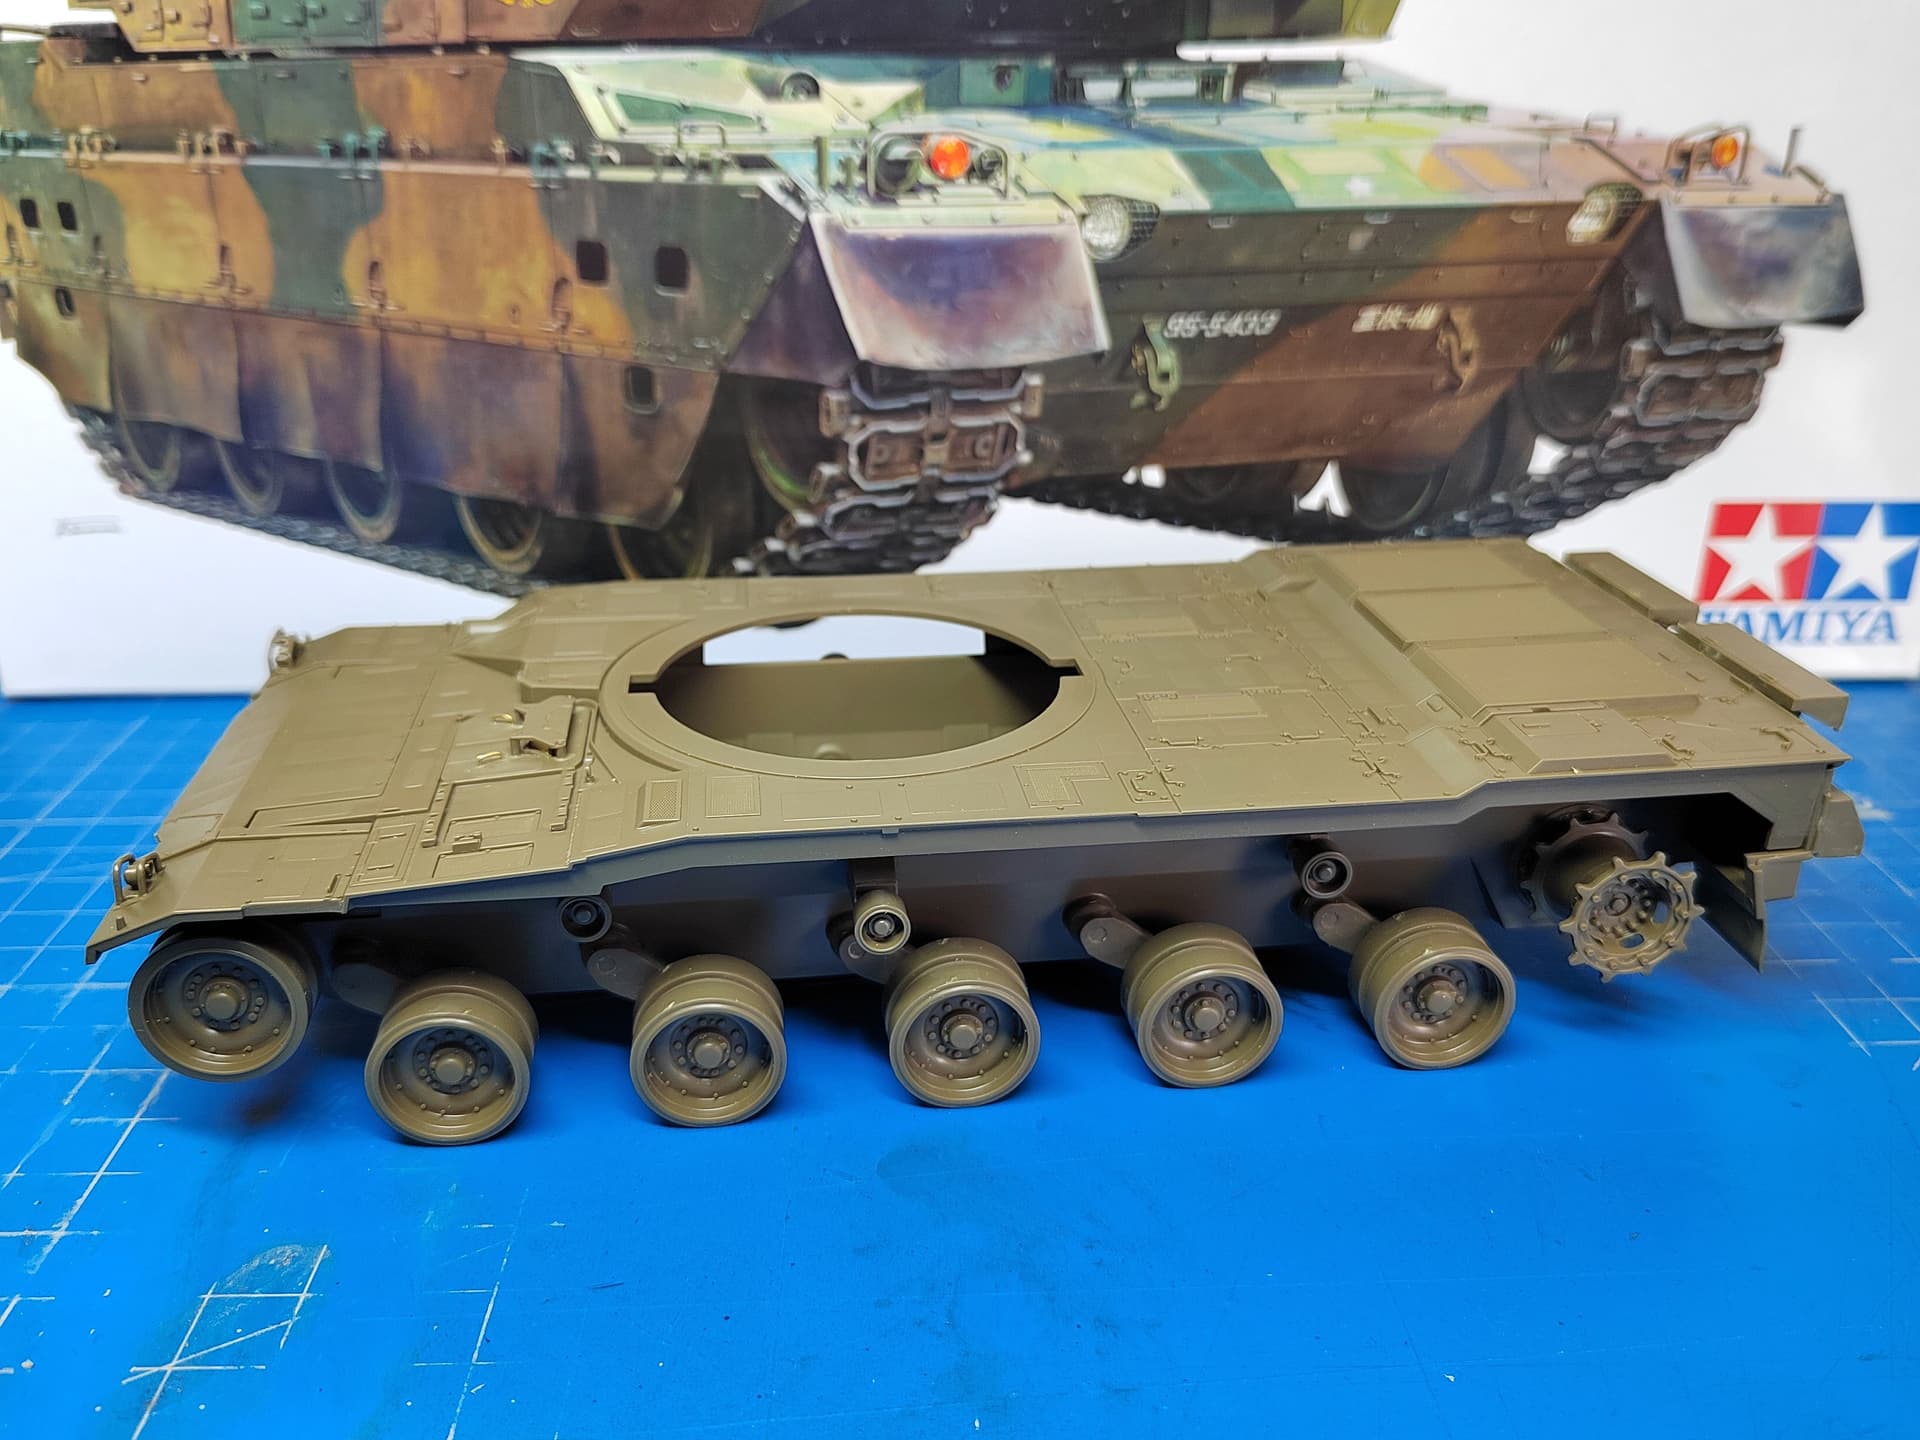
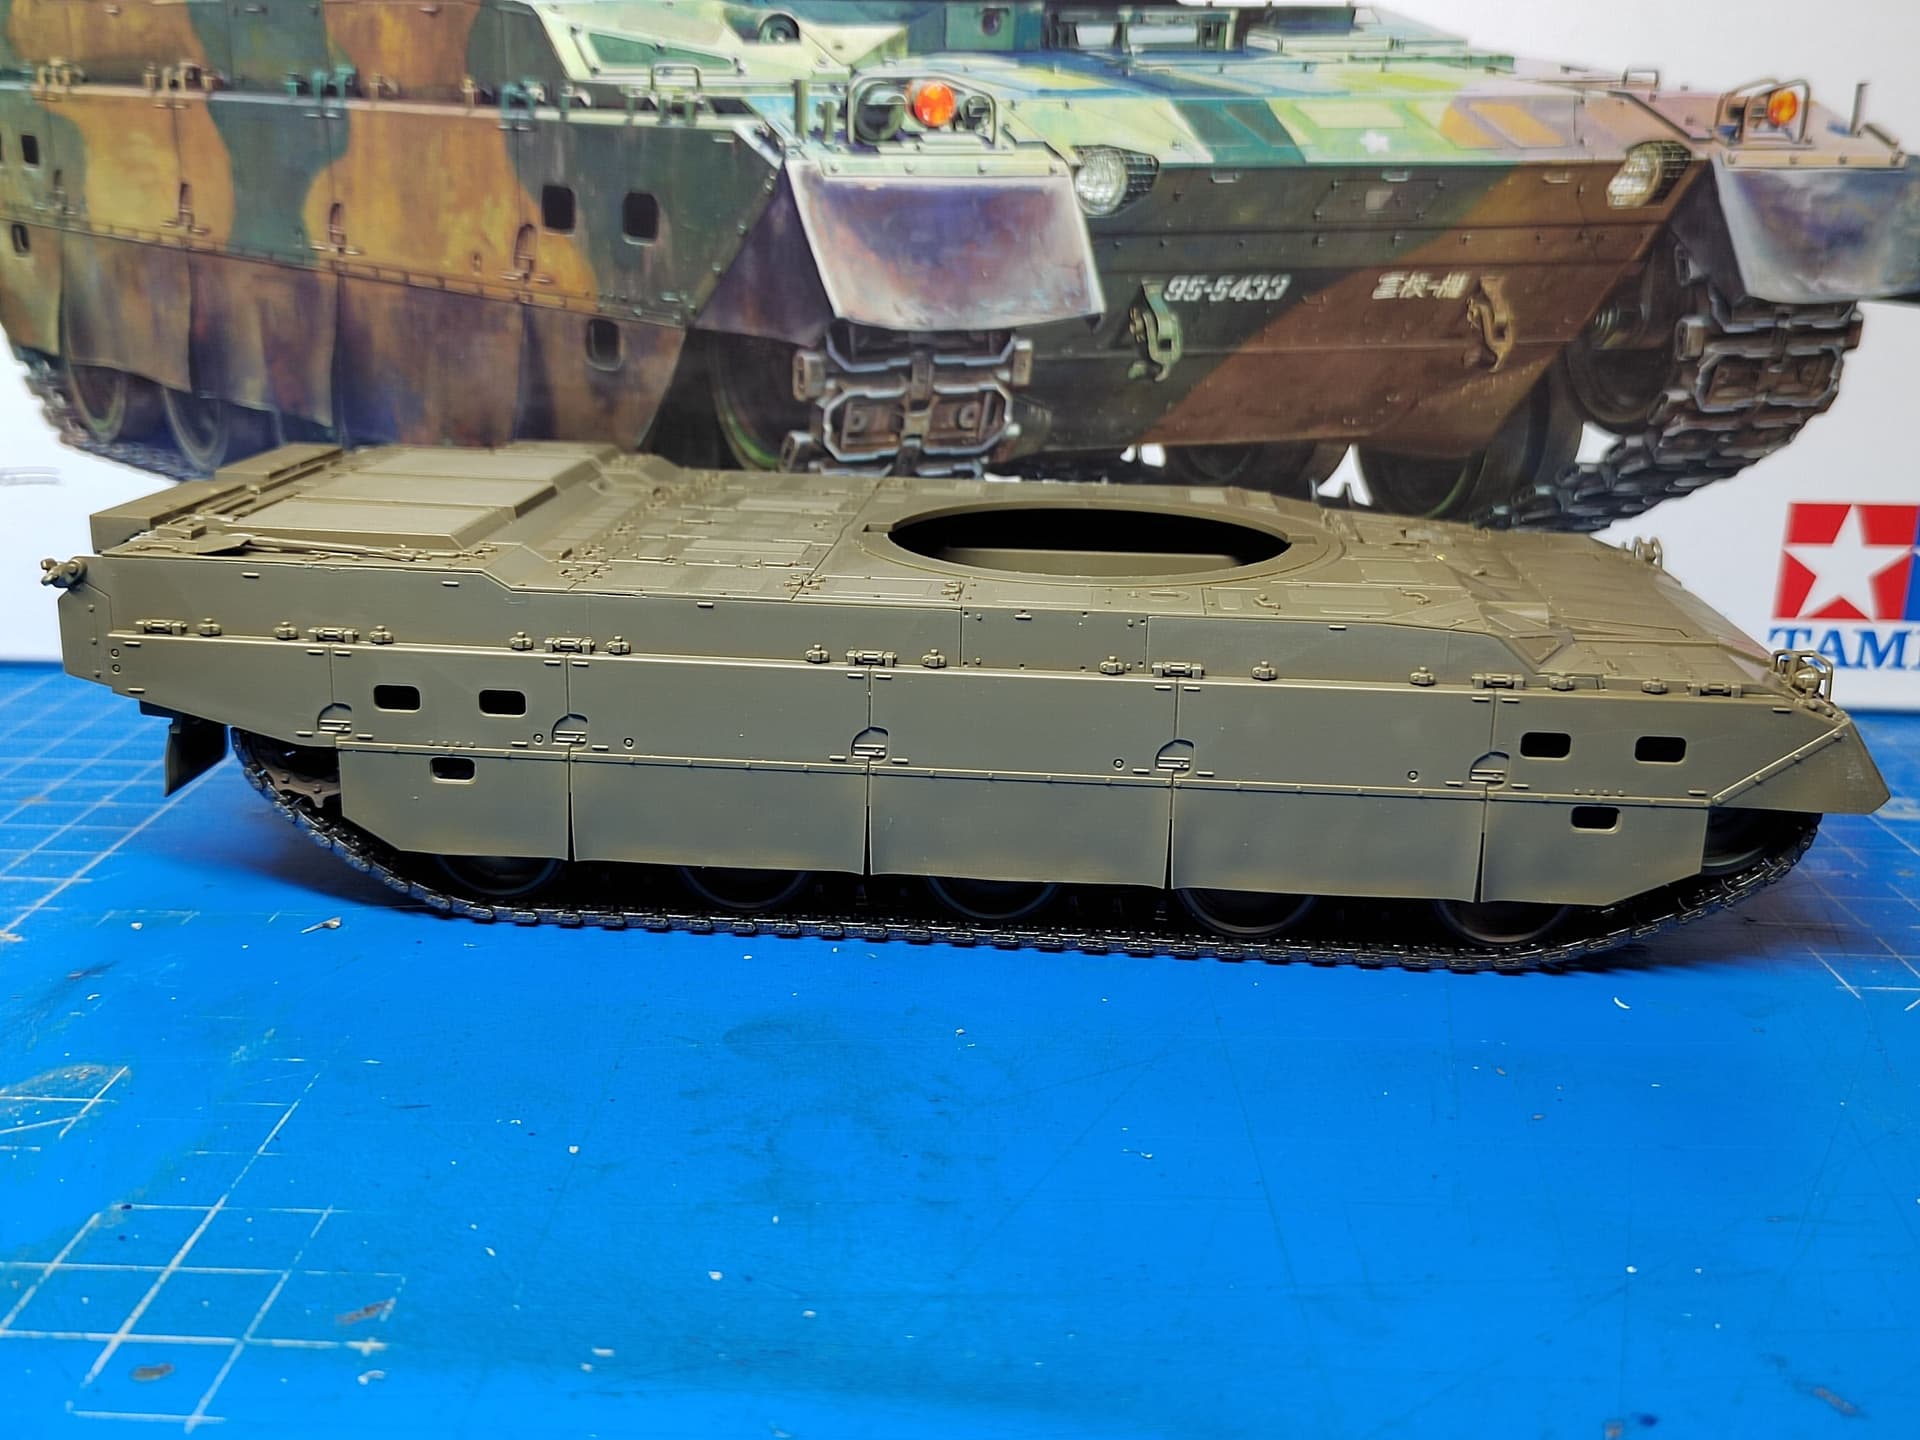
Within a couple of hours I managed to assemble the running gear. The tracks are the usual vinyl band type you can glue with standard cement. Good enough for what you see at the end. I looked for replacement ones but the price was deterrent.
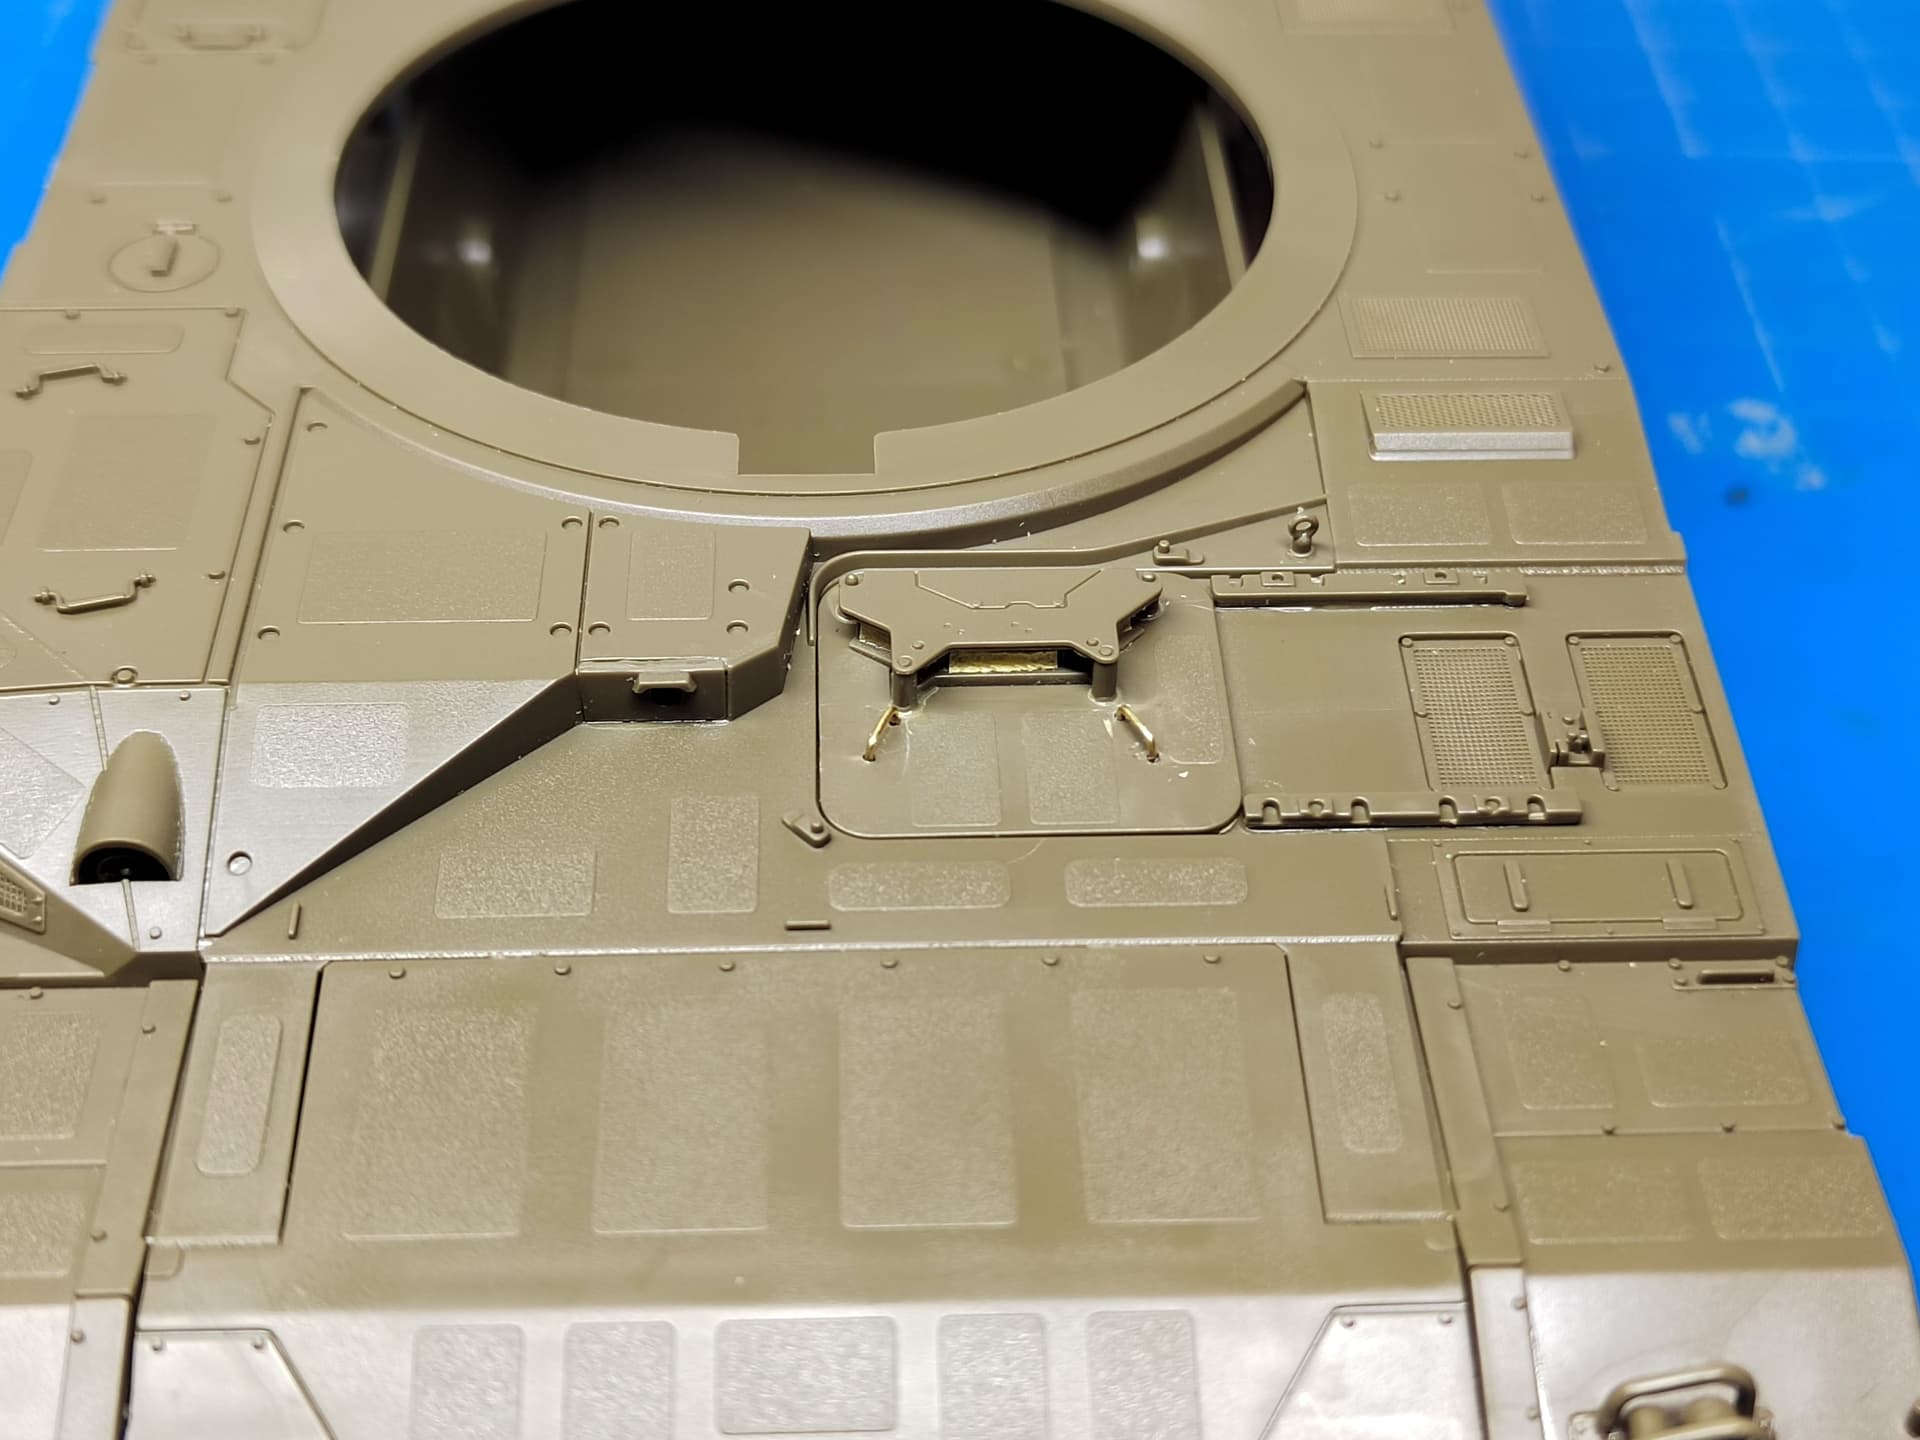
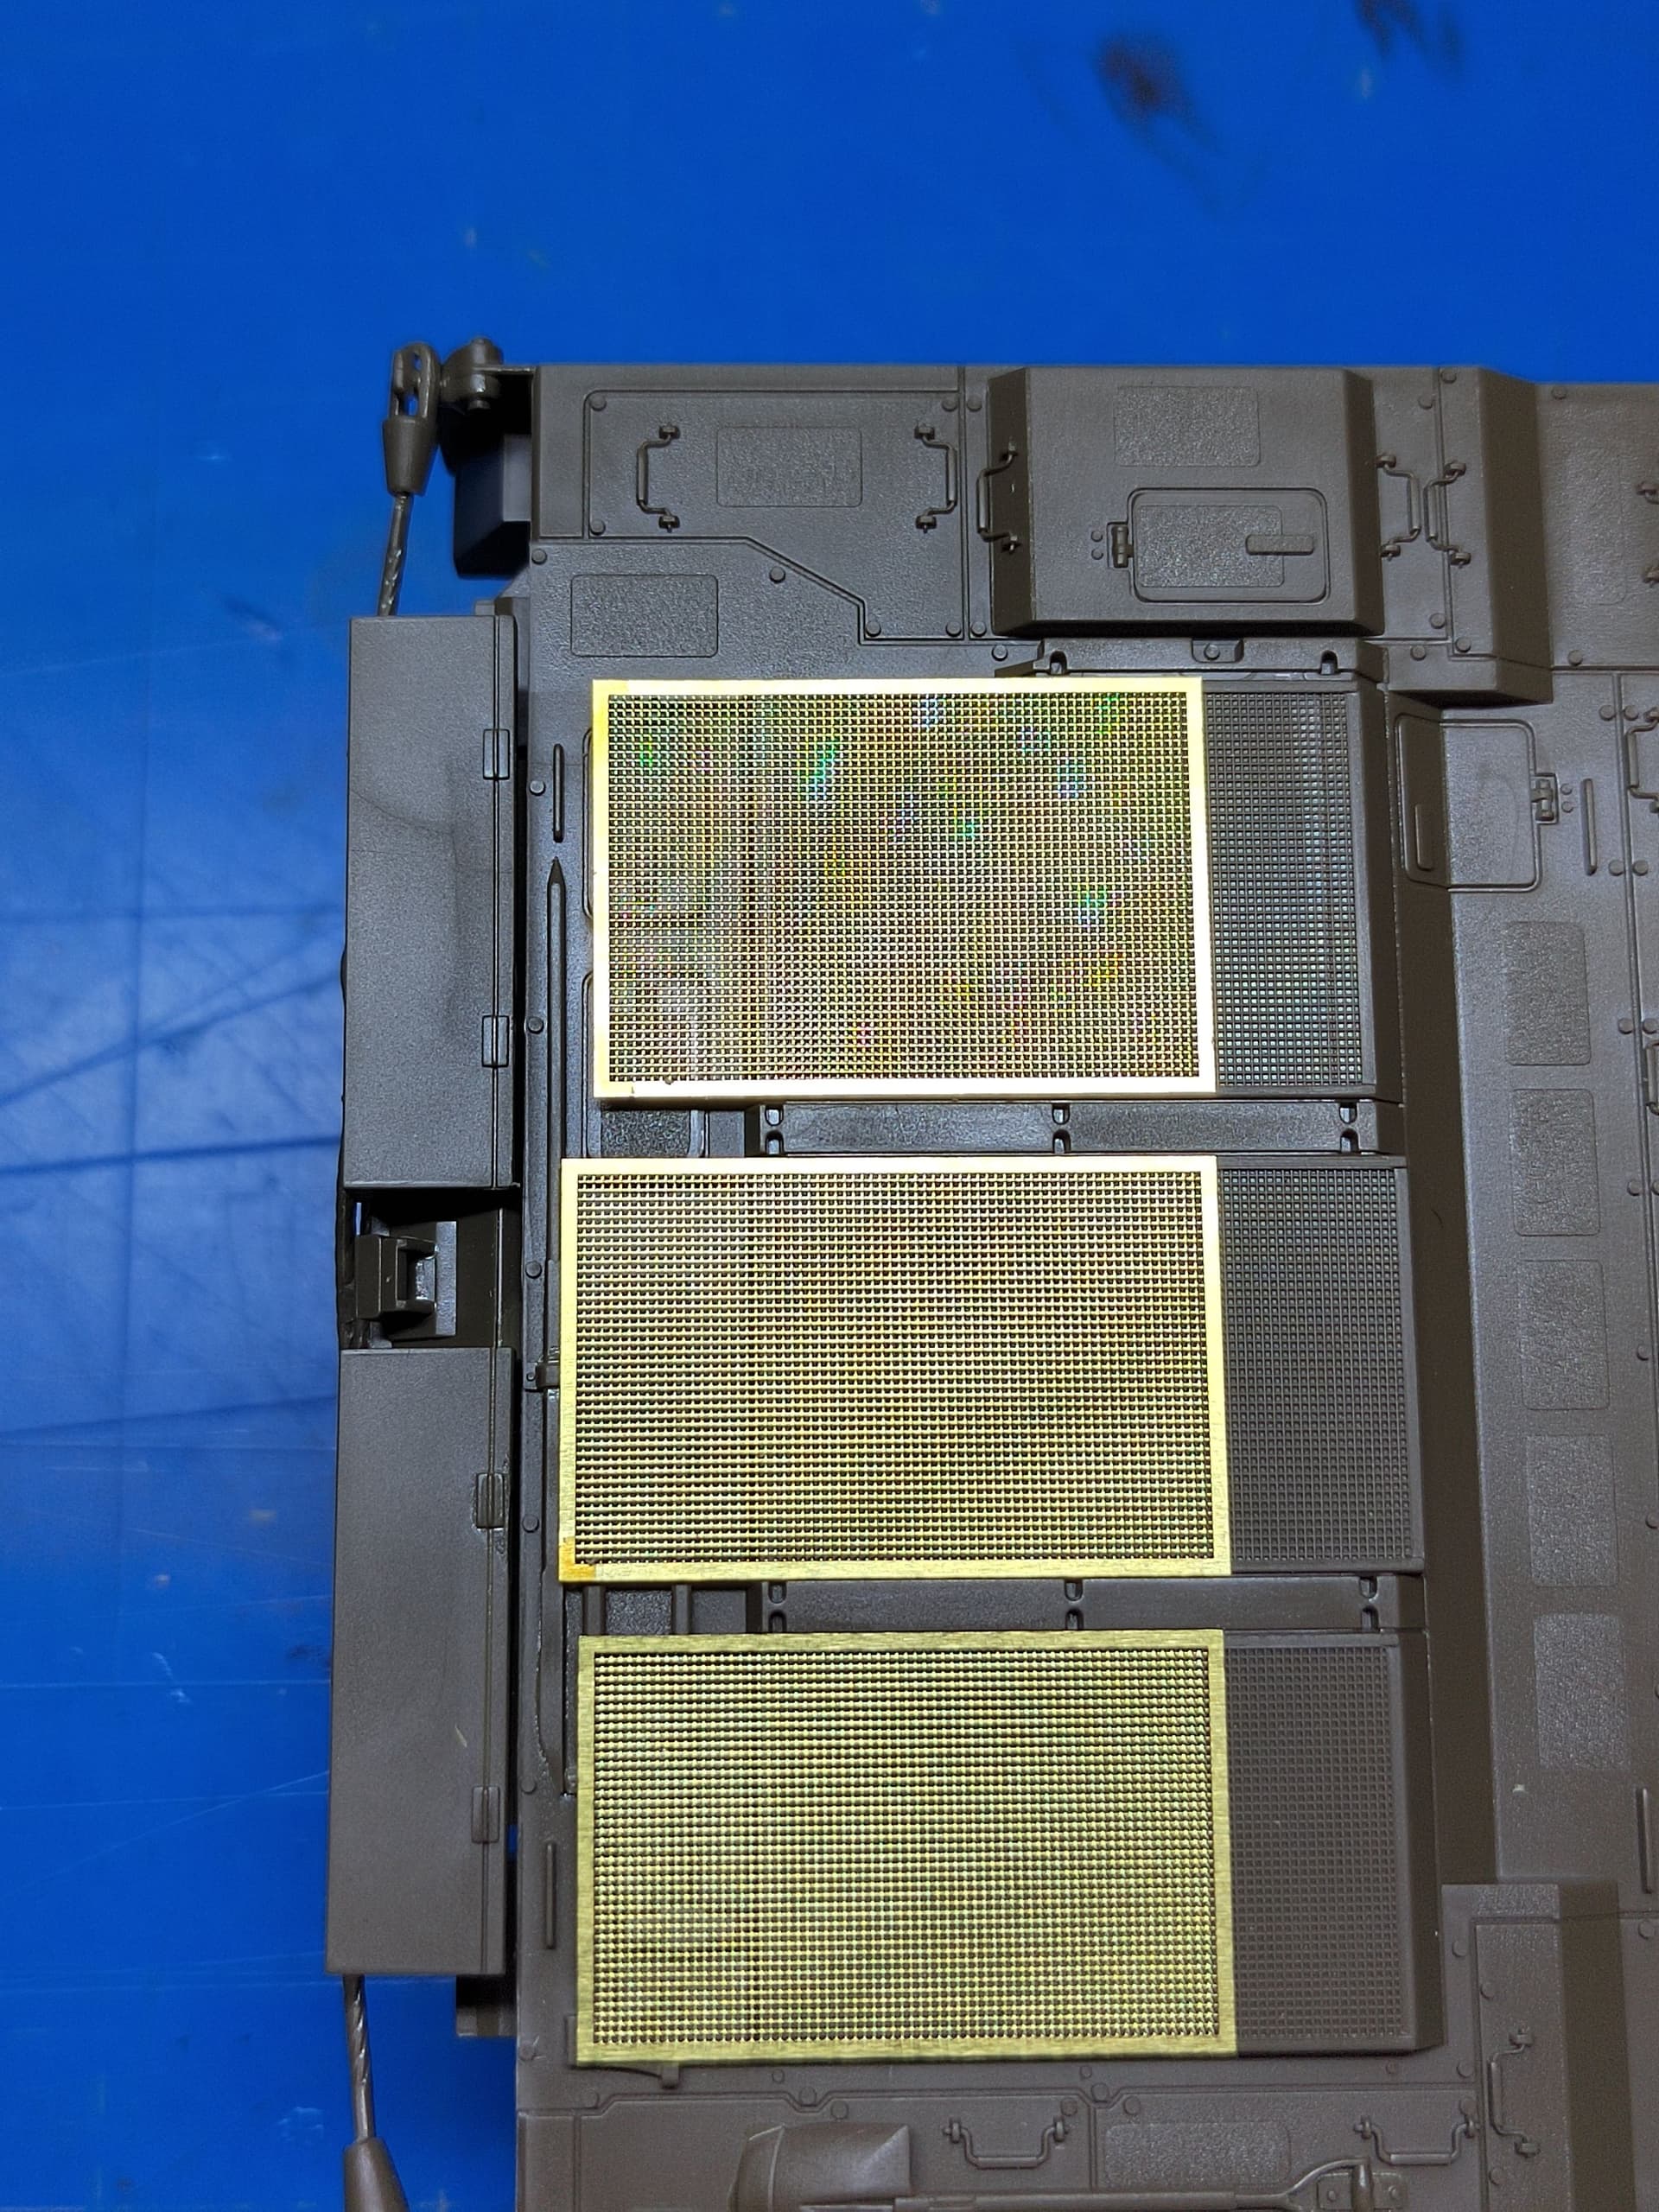
How I managed to win the struggle against the nylon mesh
Place a drop of CA on a hard surface
Dab a small part of the mesh in the CA drop
Use airbrush or lungs to blow away the CA from the openings in the mesh
Ensure good ventilation and use something worthless as “target” for the
spray of CA created by step 3.
This creates a “rigid” mesh that doesn’t disintegrate when cutting it to shape.
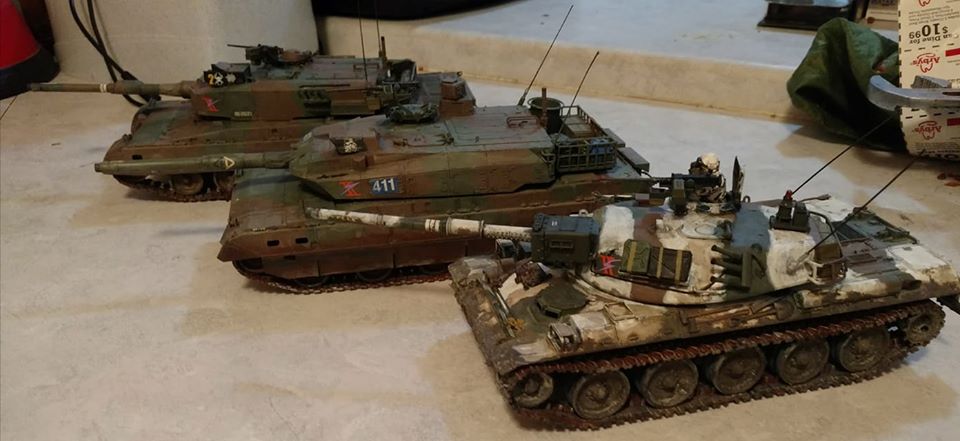
I built this a while ago- as usual for Tamiya it was a very enjoyable build- and it looks pretty cool all finished up in the JGSDF scheme. Best of luck with the build Olivier!
To cut the mesh I usually put masking tape over it and draw the outlines of the part needed. Then I cut it with a sharp blade.
However I save your CA glue tip.
I made some progress lately.
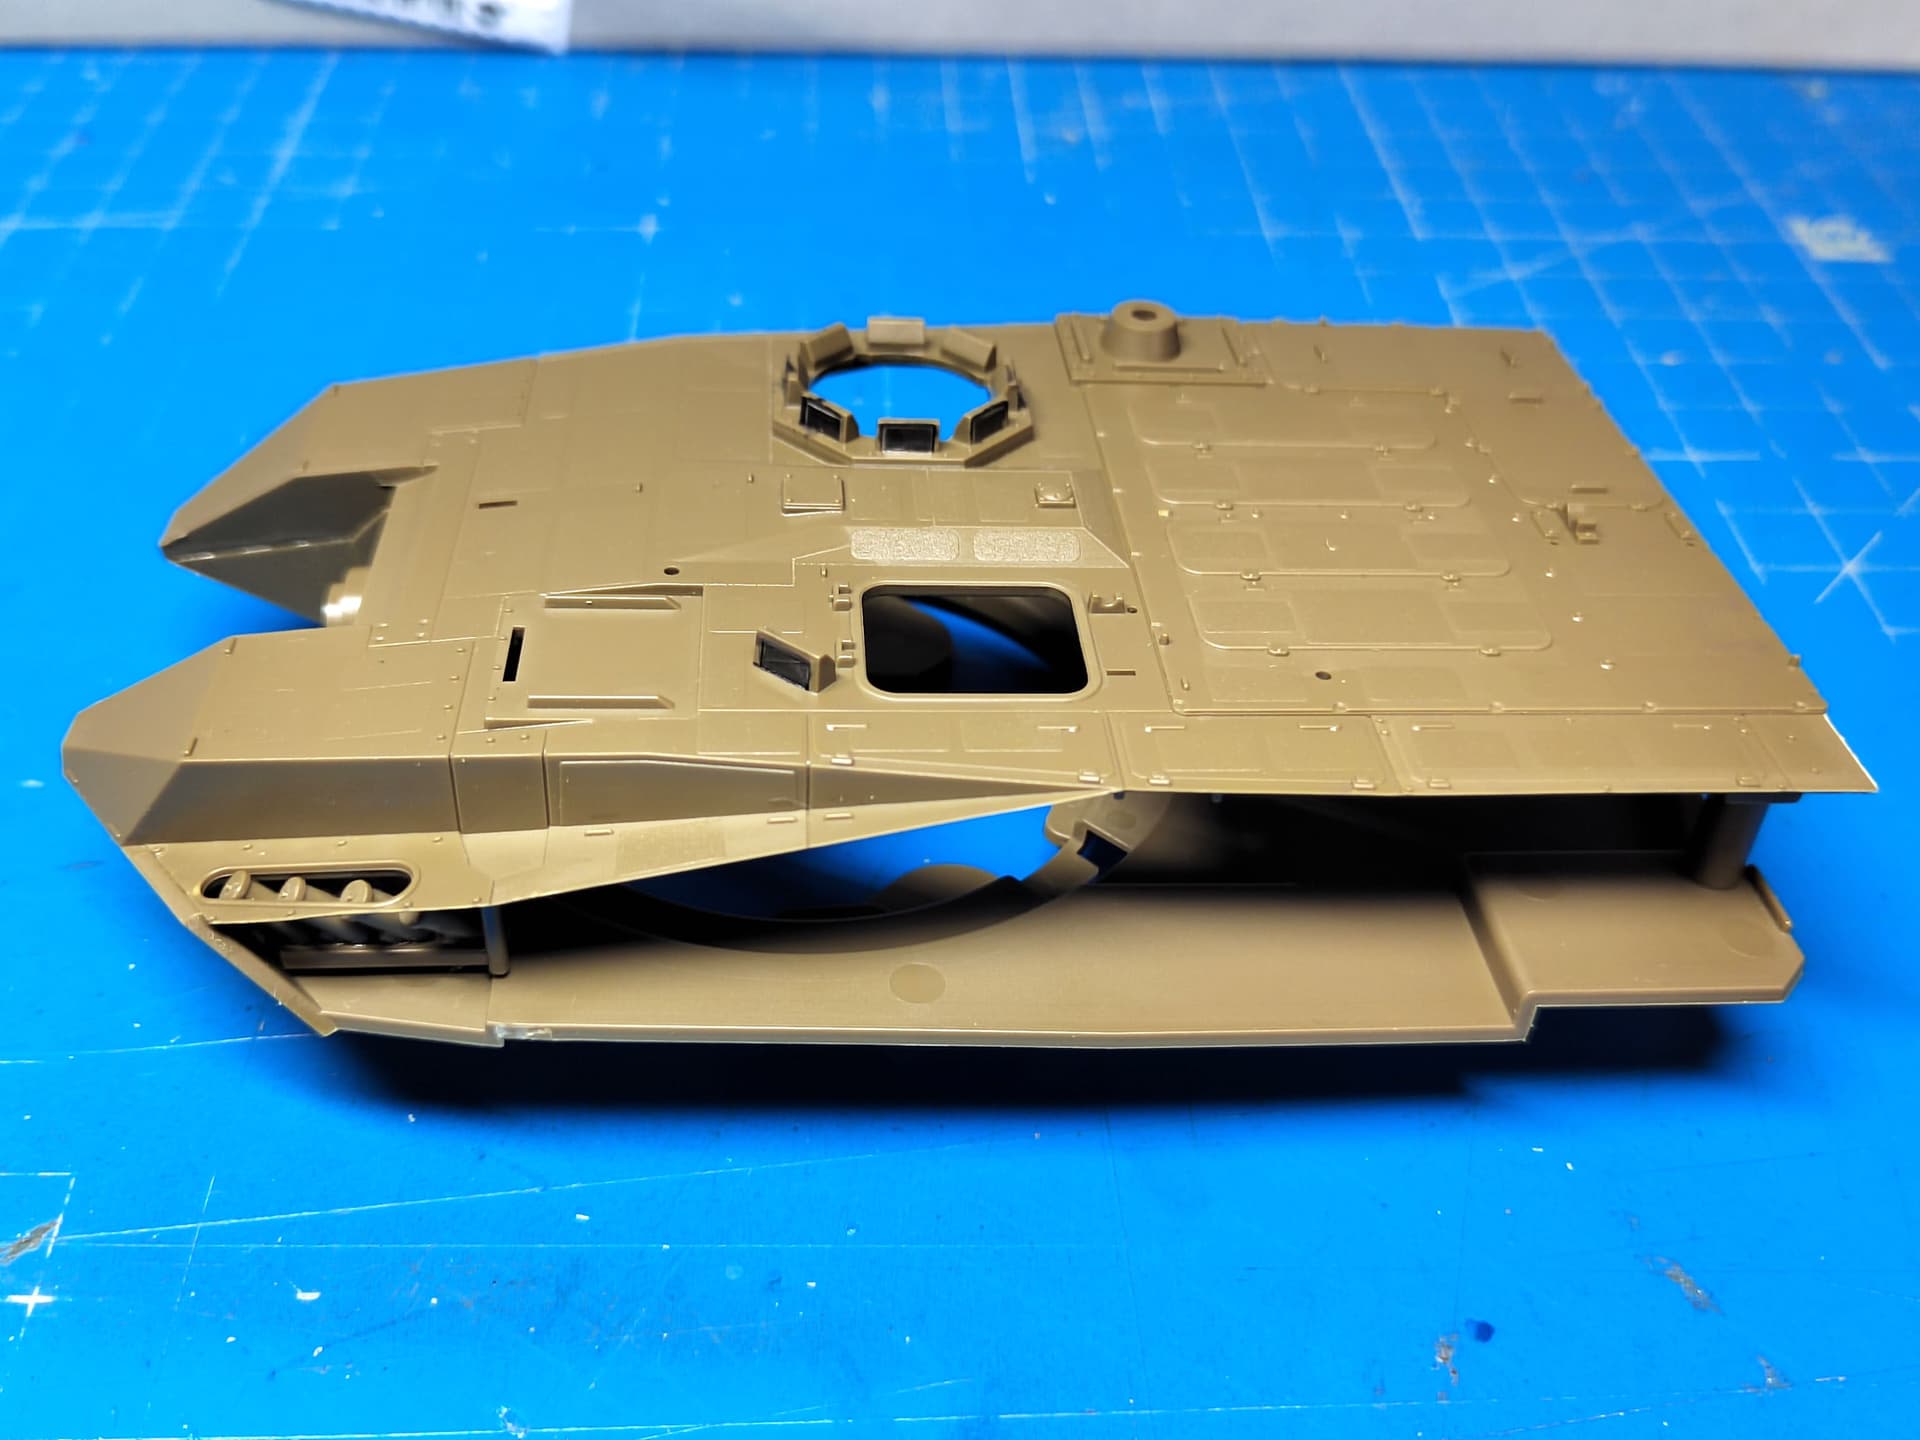
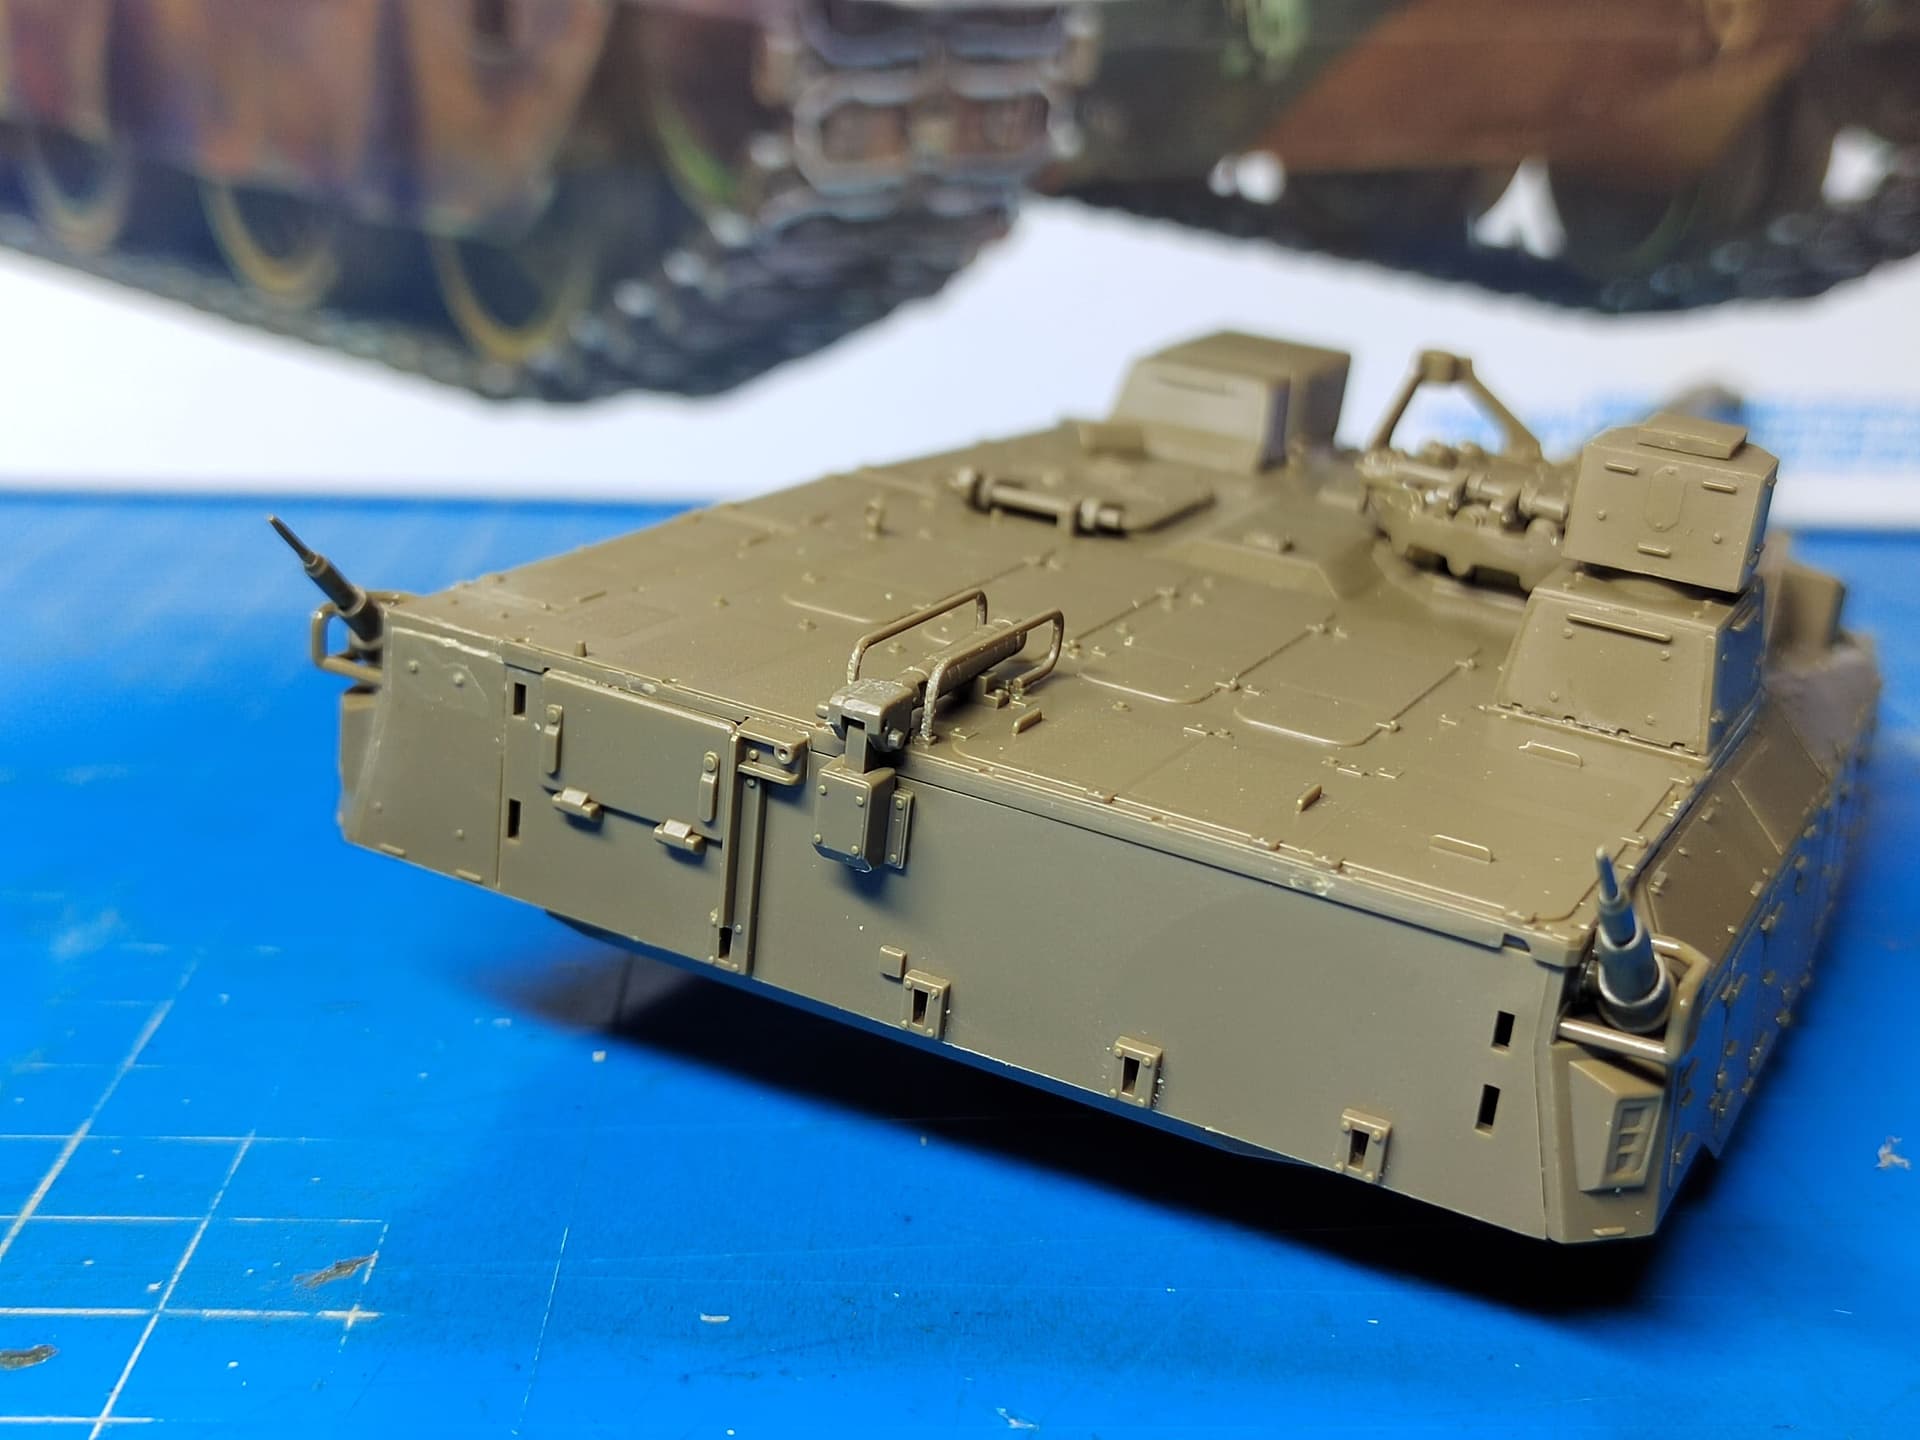
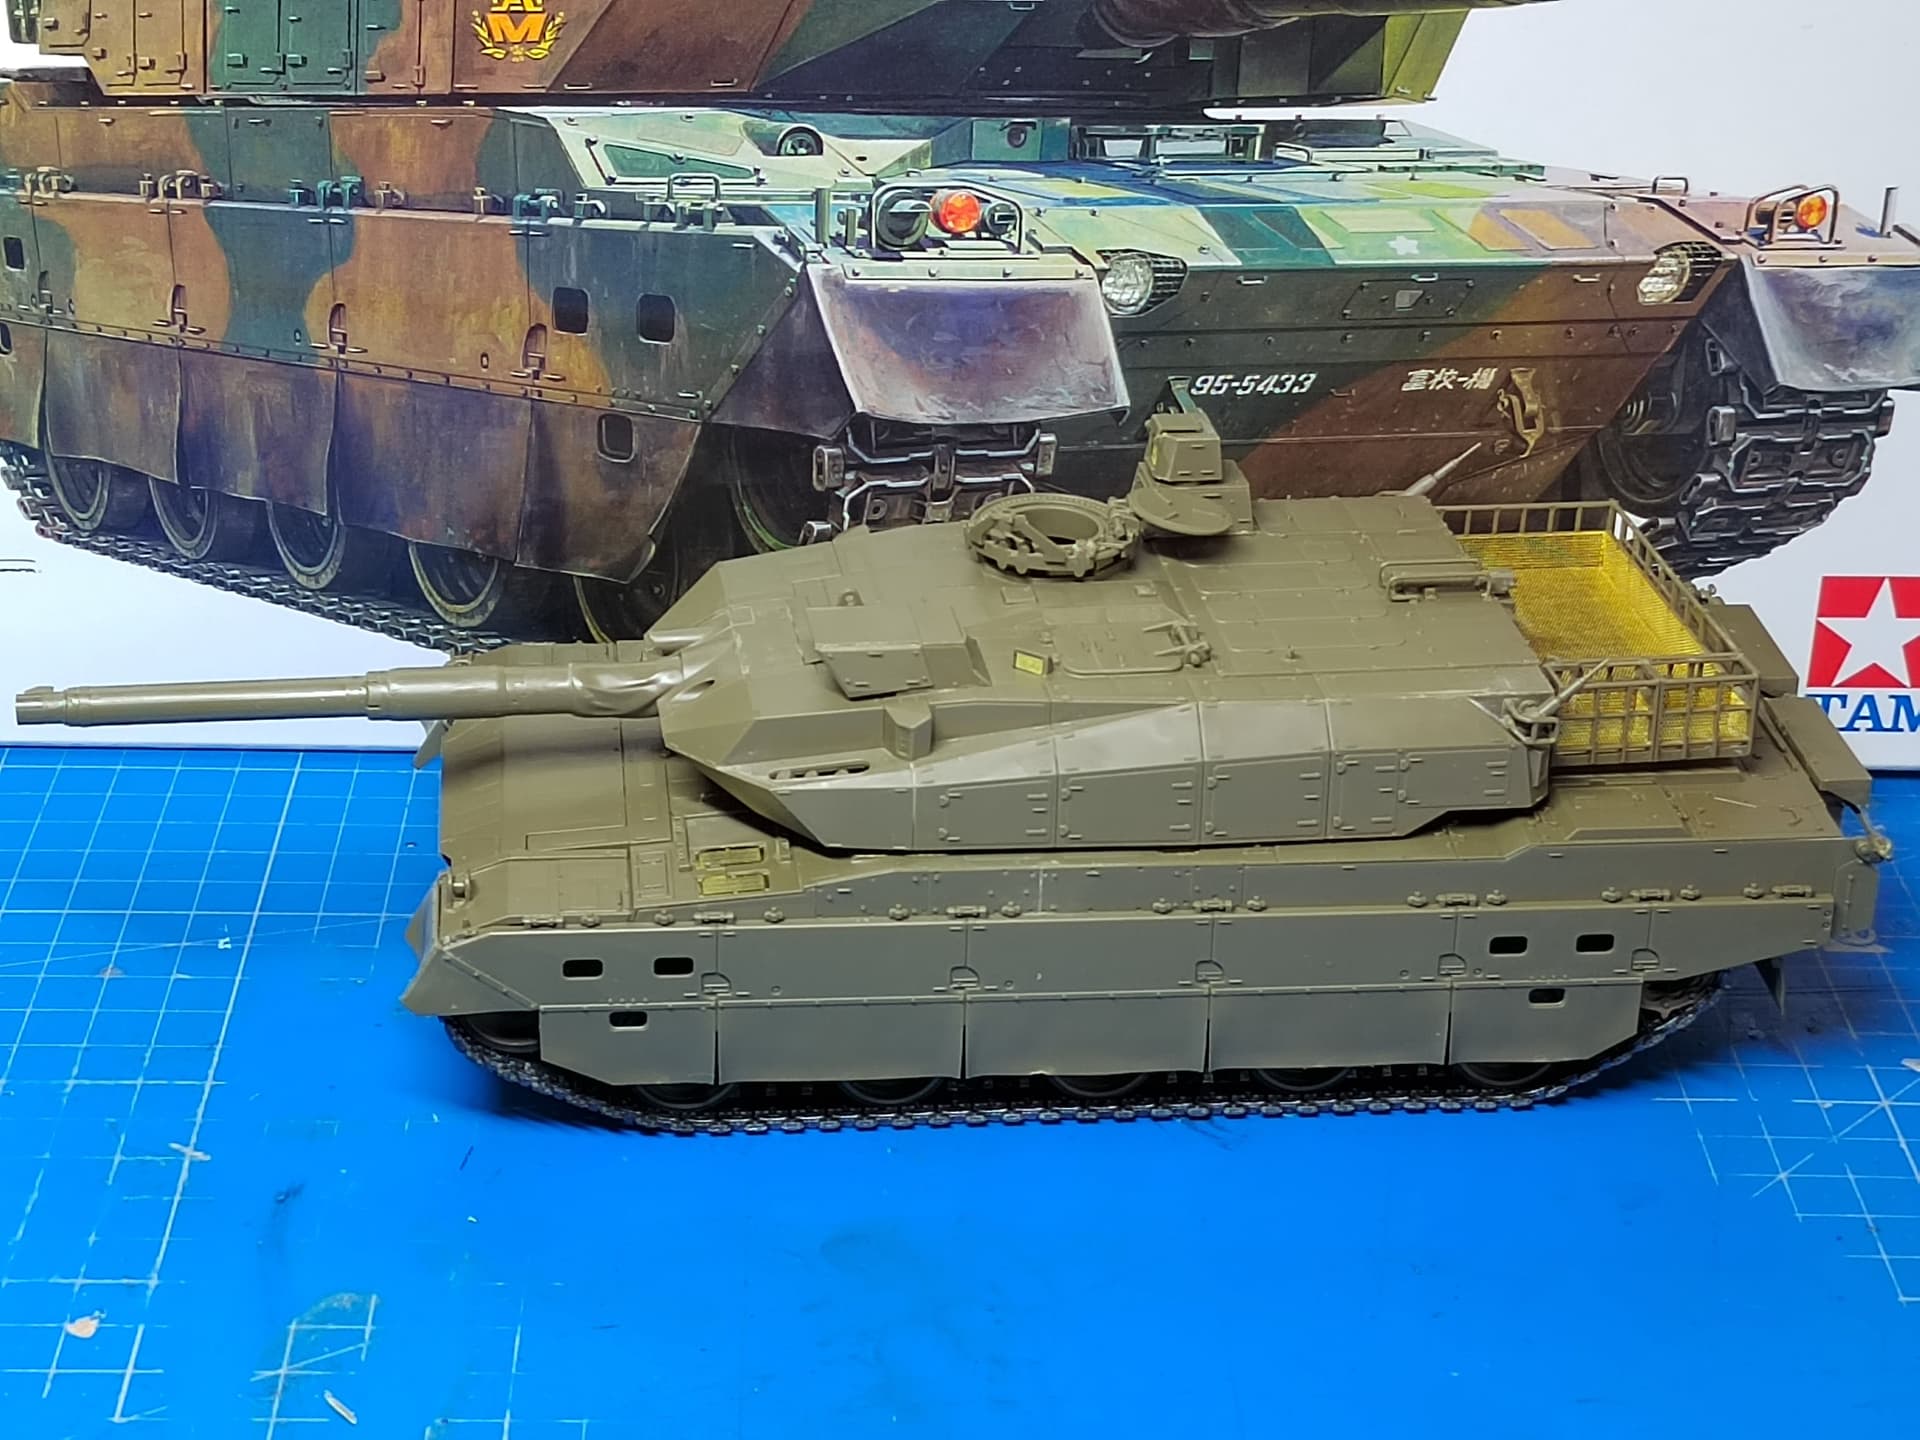
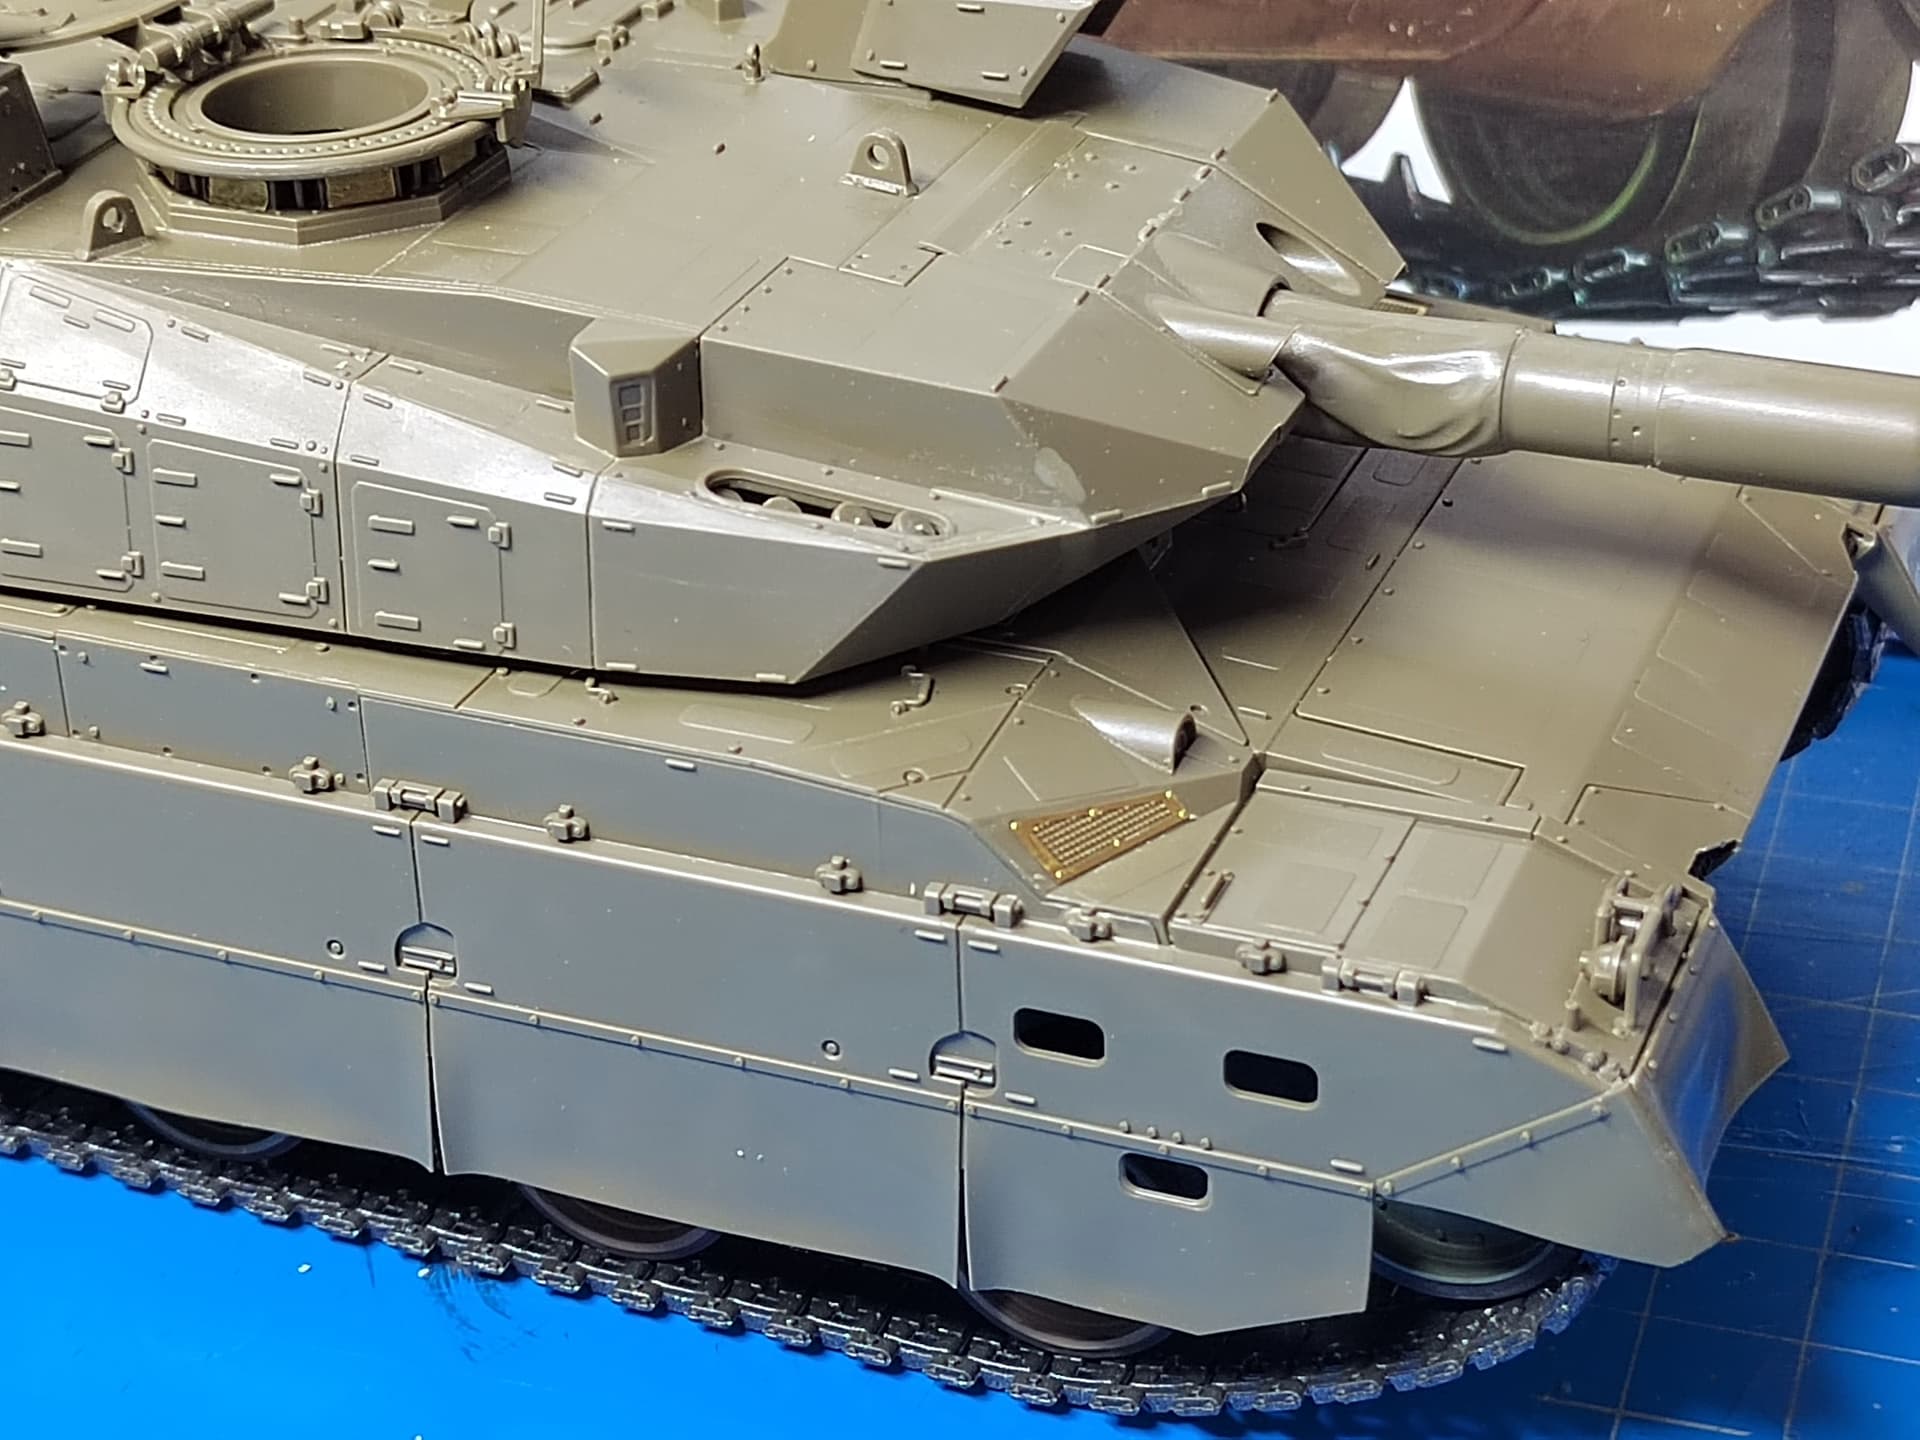
Unlike what the instructions tell I didn’t added the details and the skirts to the upper hull. I just glued the both hull halves together after having built the front part with the headlights protections. I used @Uncle-Heavy CA glue trick for stiffening the nylon mesh and it was easy.
Not really active with the updates however I did work on the model.
The turret is still missing the bustle basket because I’m waiting for the delivery of the ET model grilles by French postal service (9 days since they departed Poland).
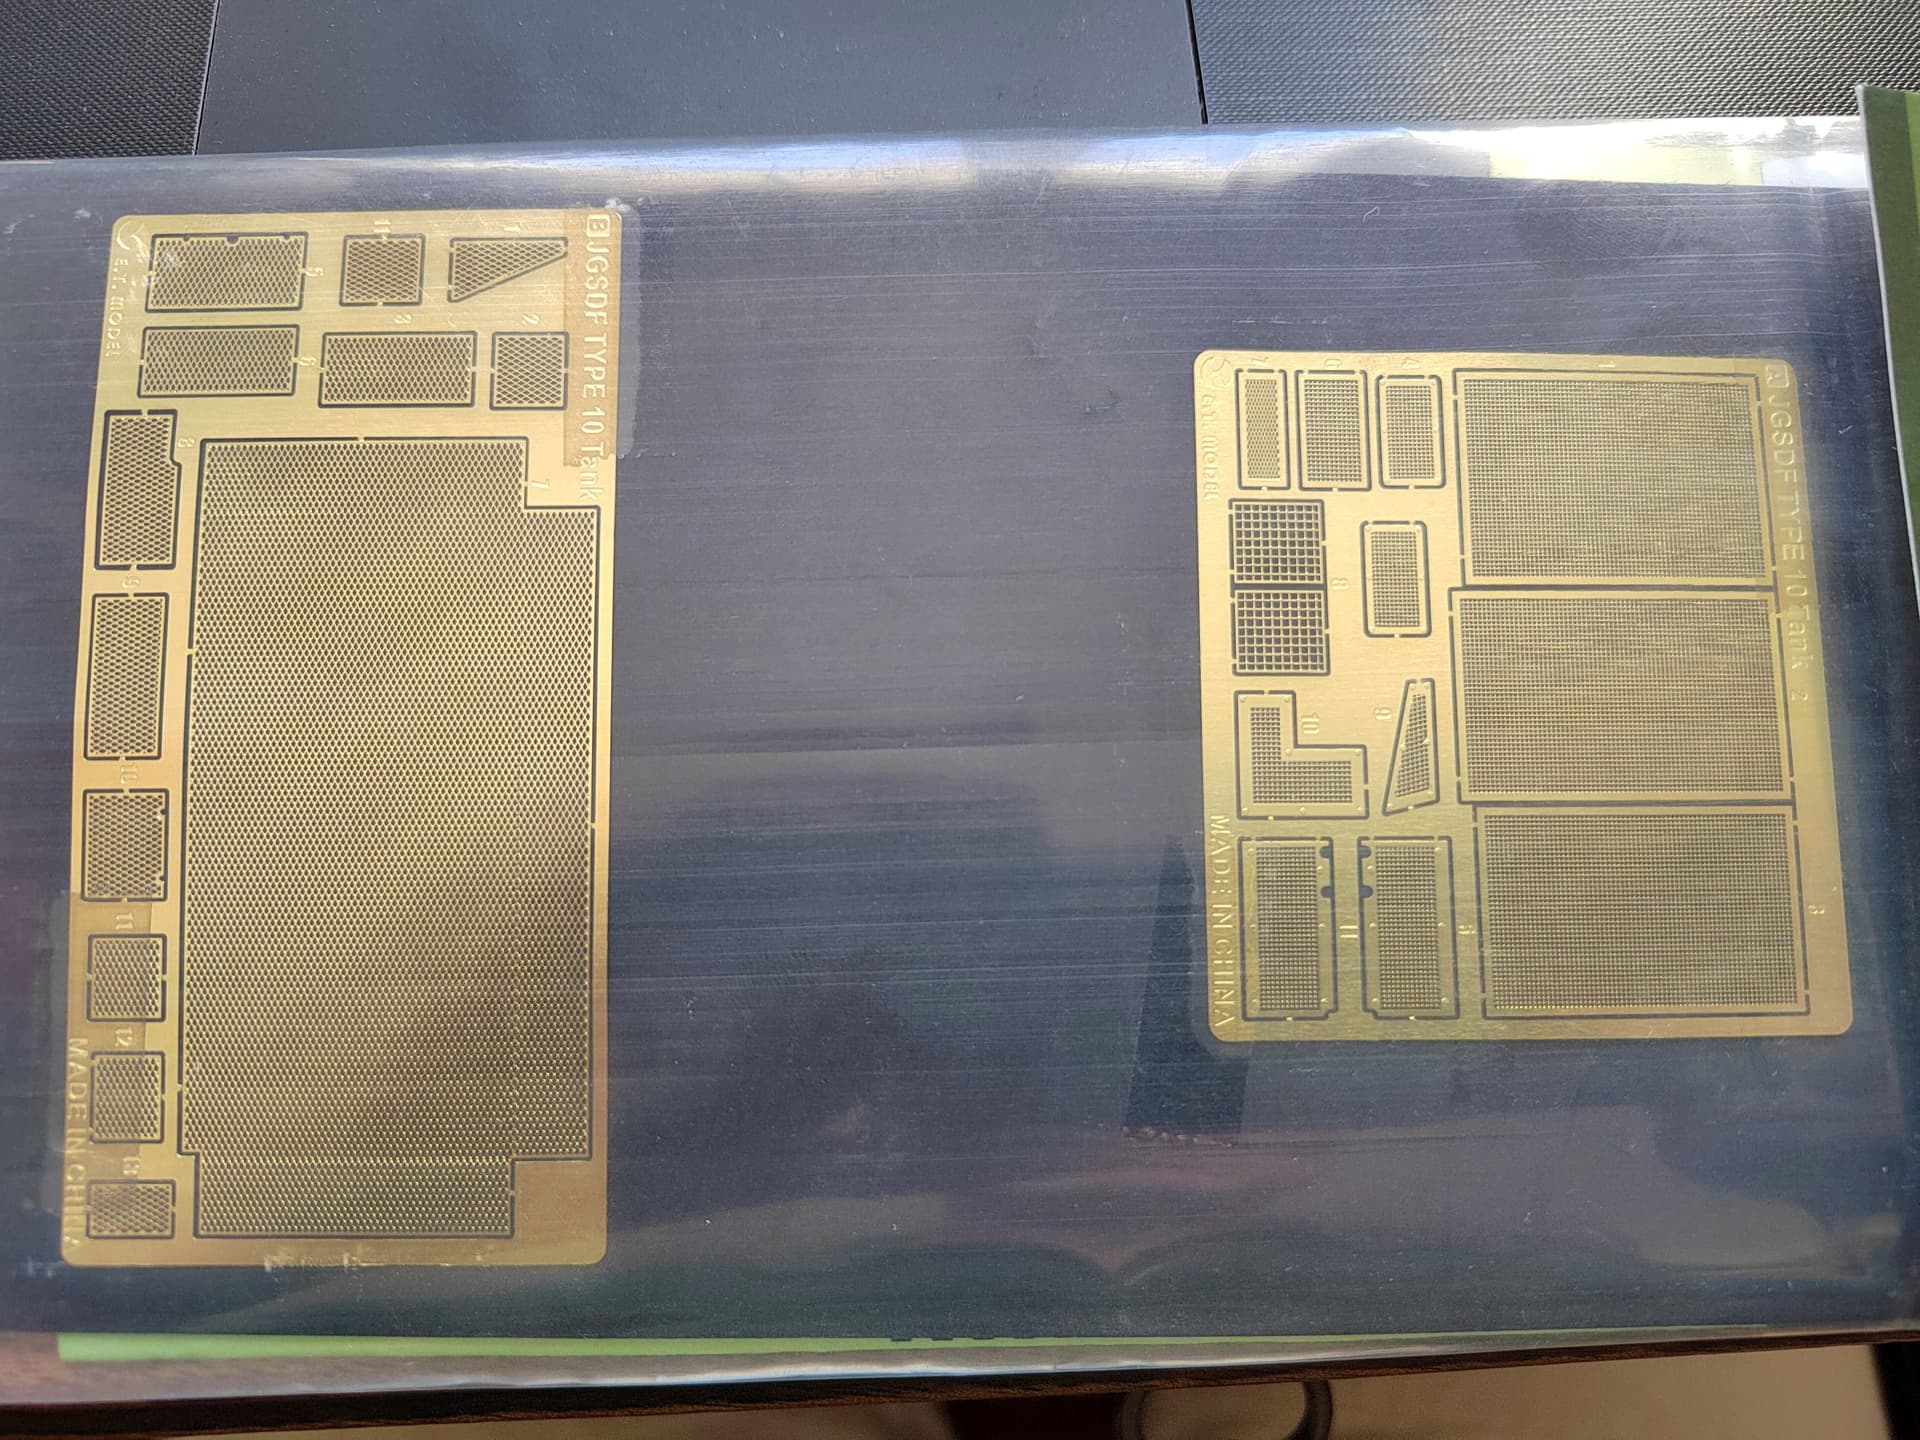
I finally got the photoetched parts set today.
There are more parts than expected. ET model give you the bustle rack grilles and the engine deck ones which was advertised at Scalemates plus all the small grilles all over the hull and the headlights grilles. I fear the latter come too late to be useful though.
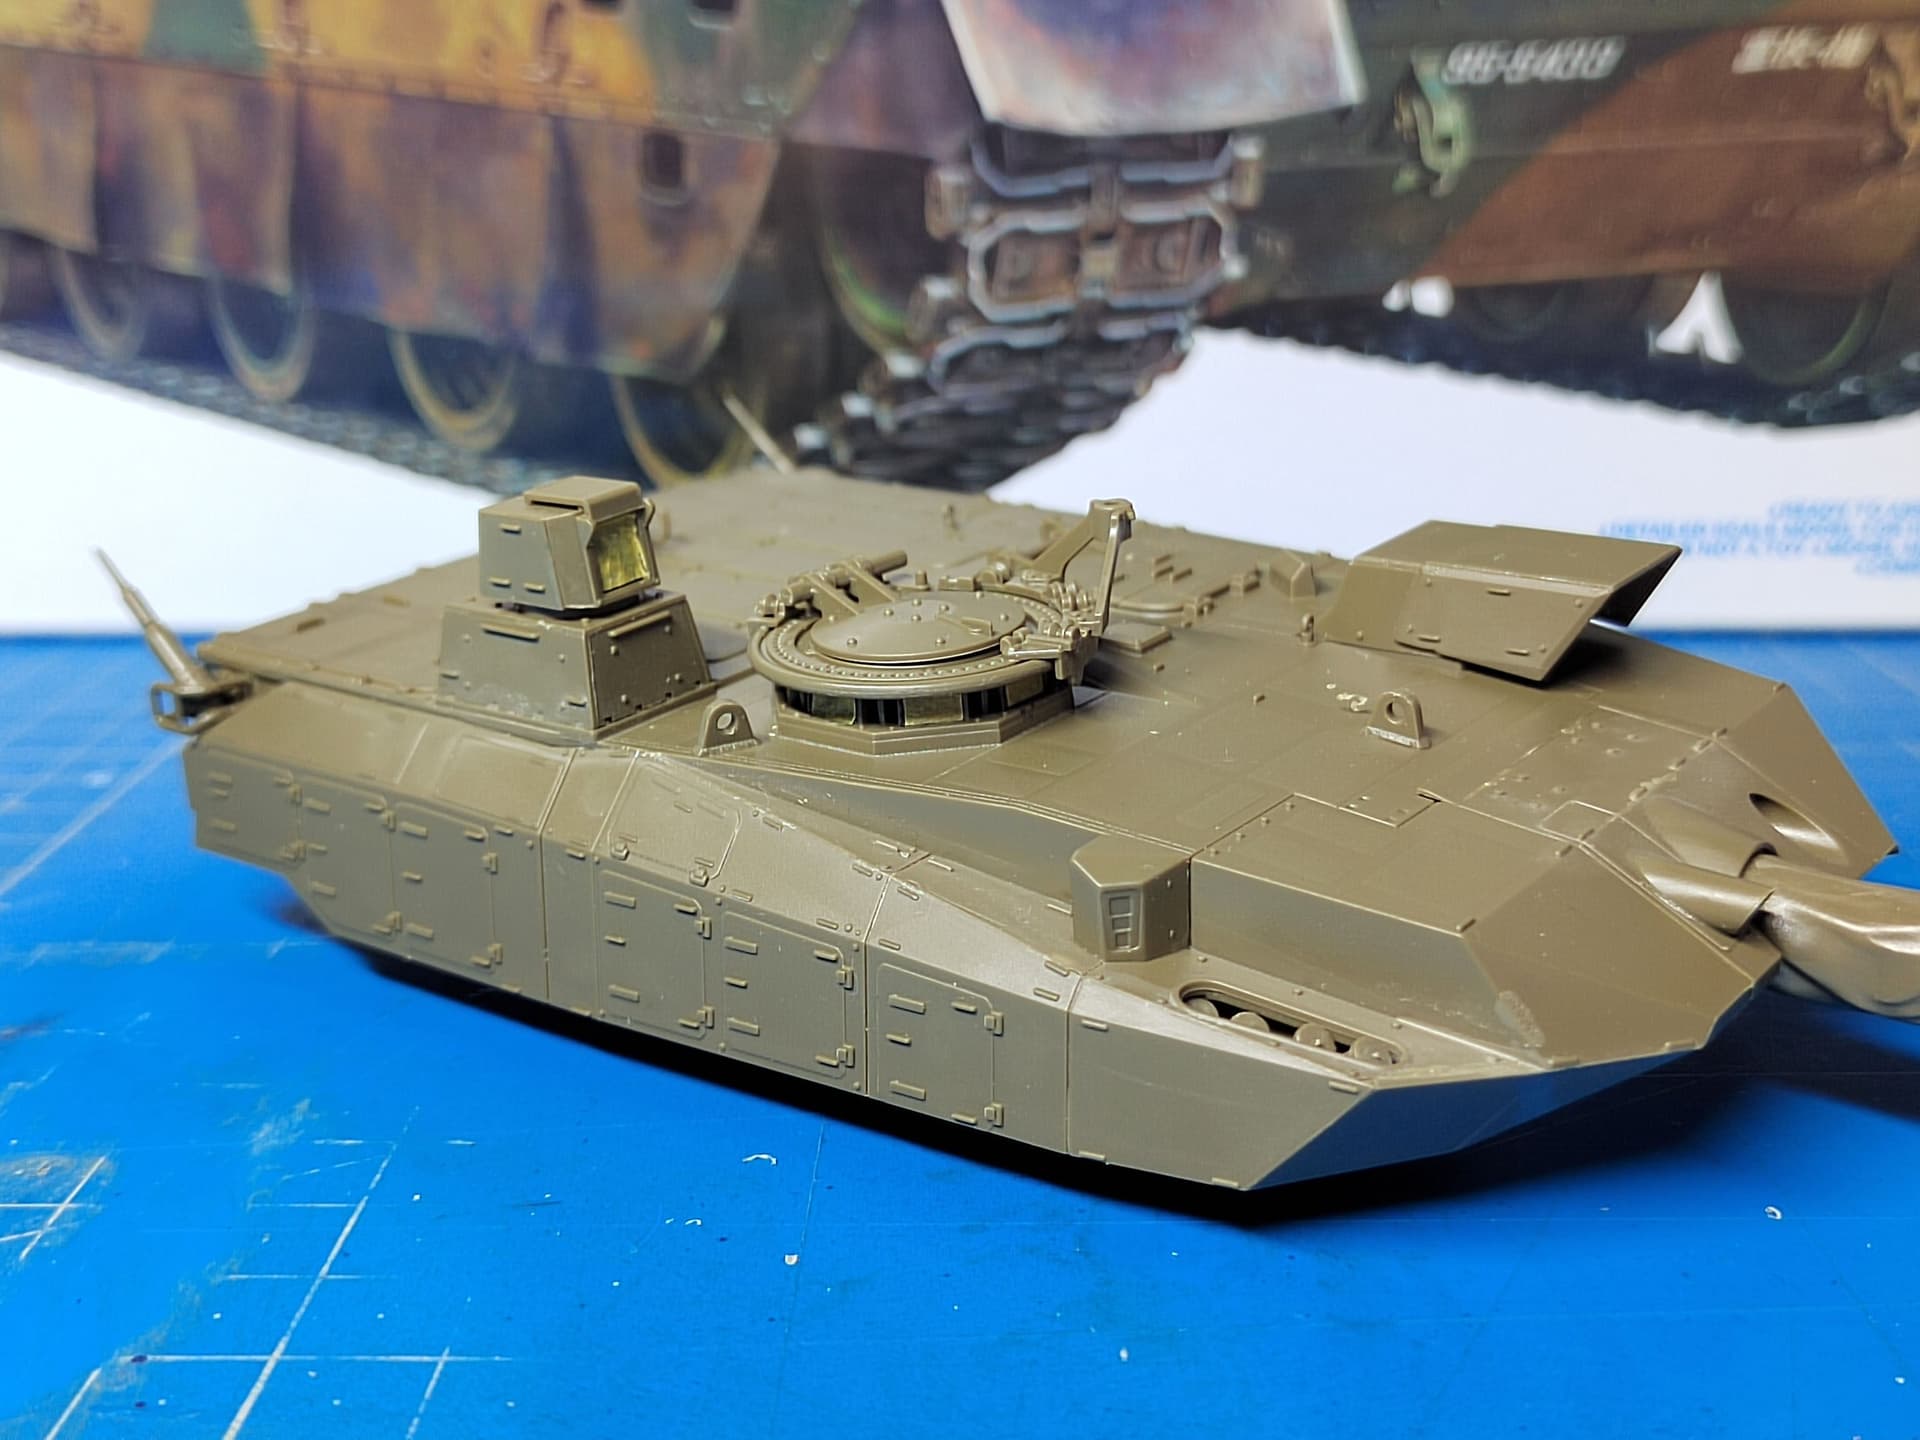
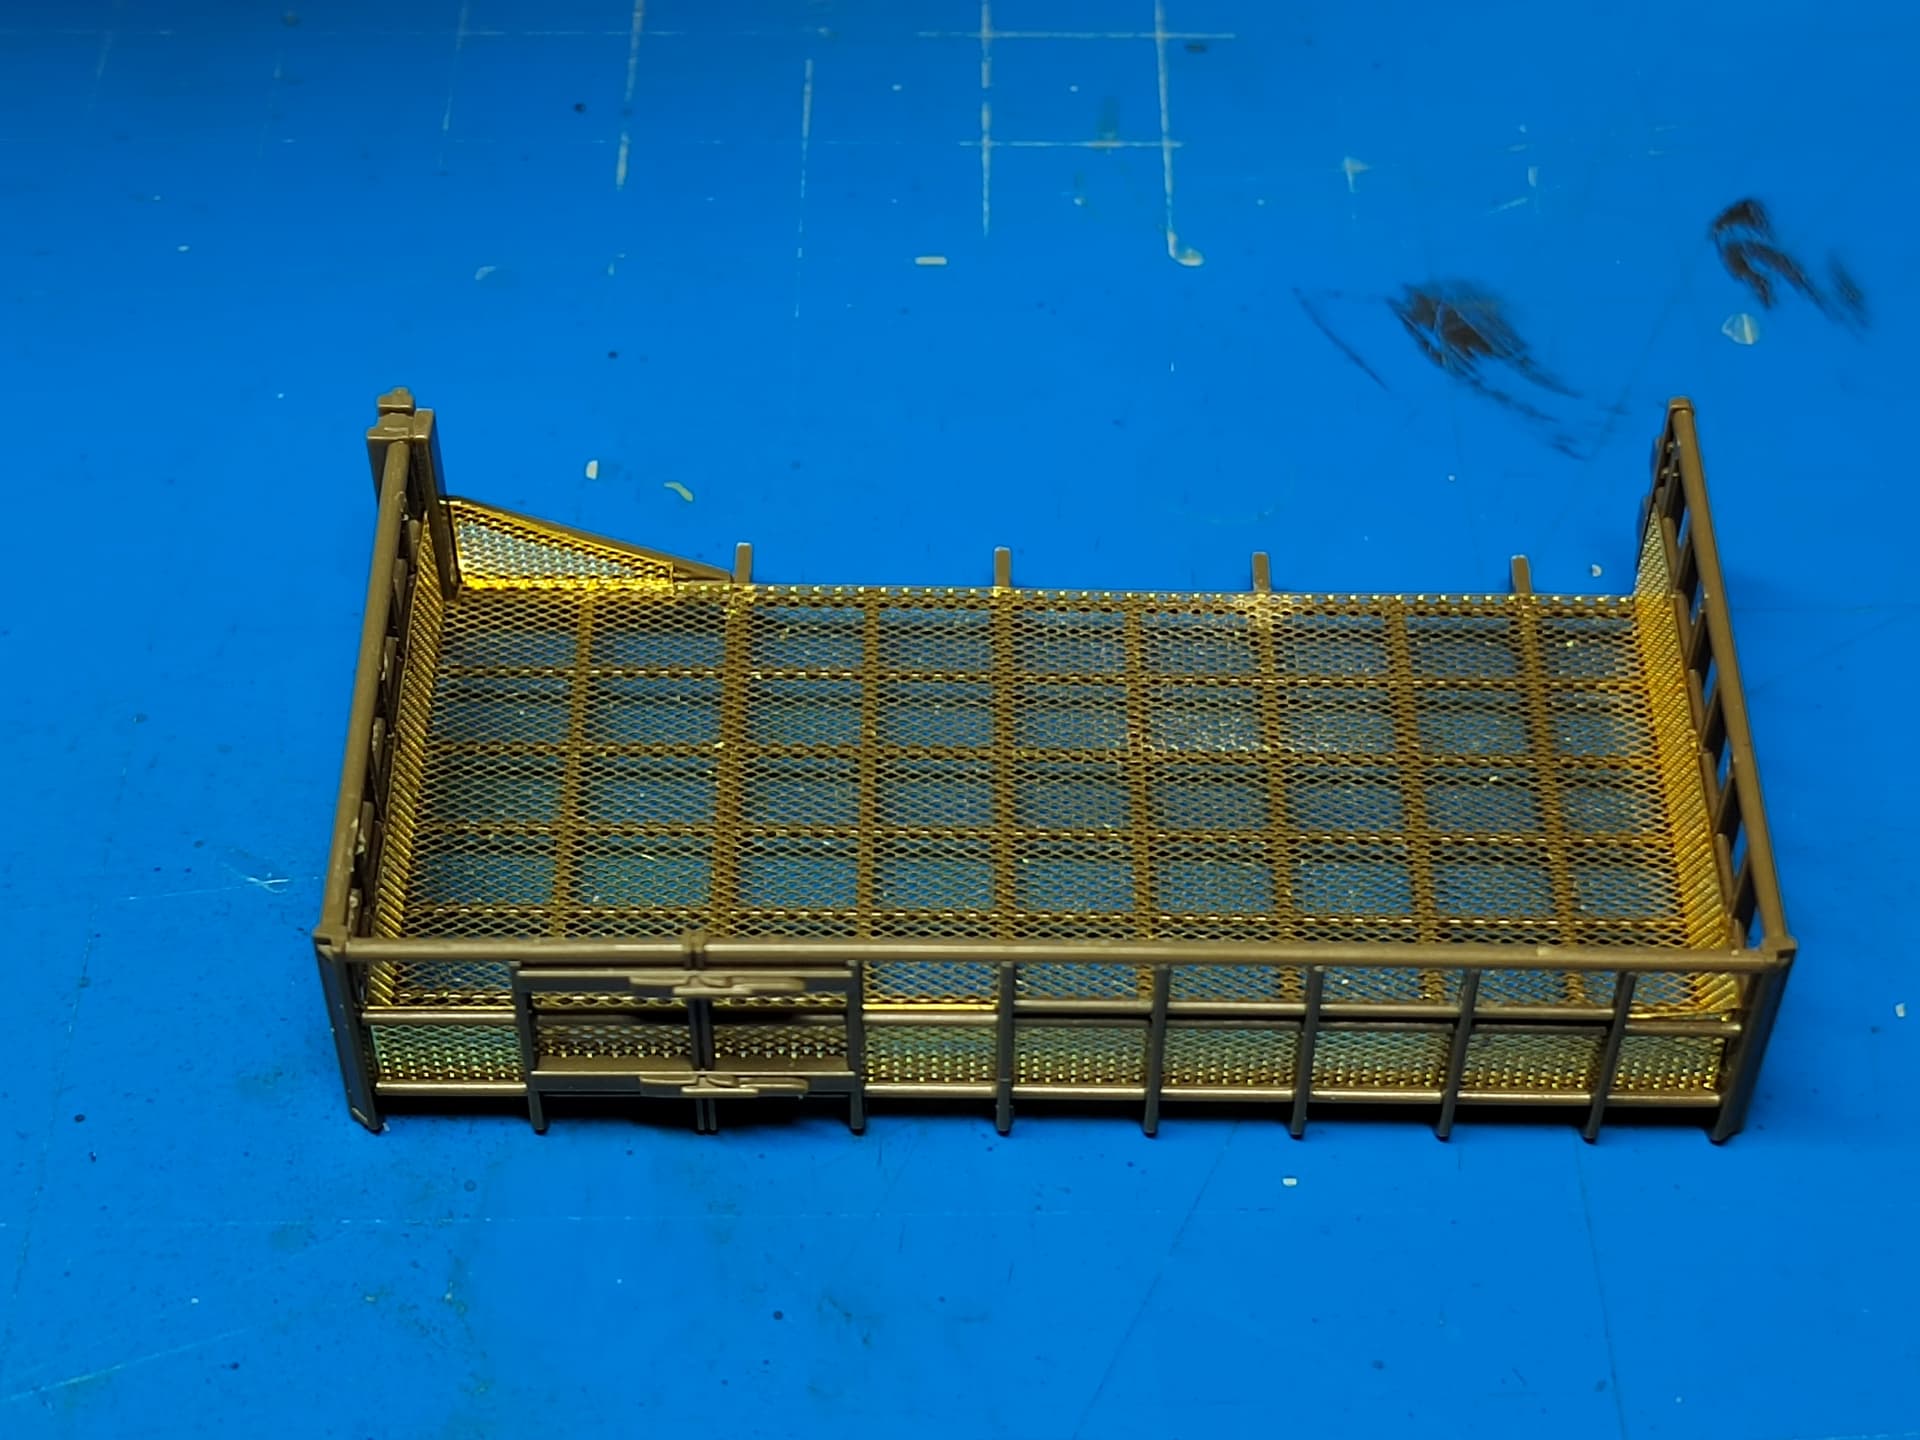
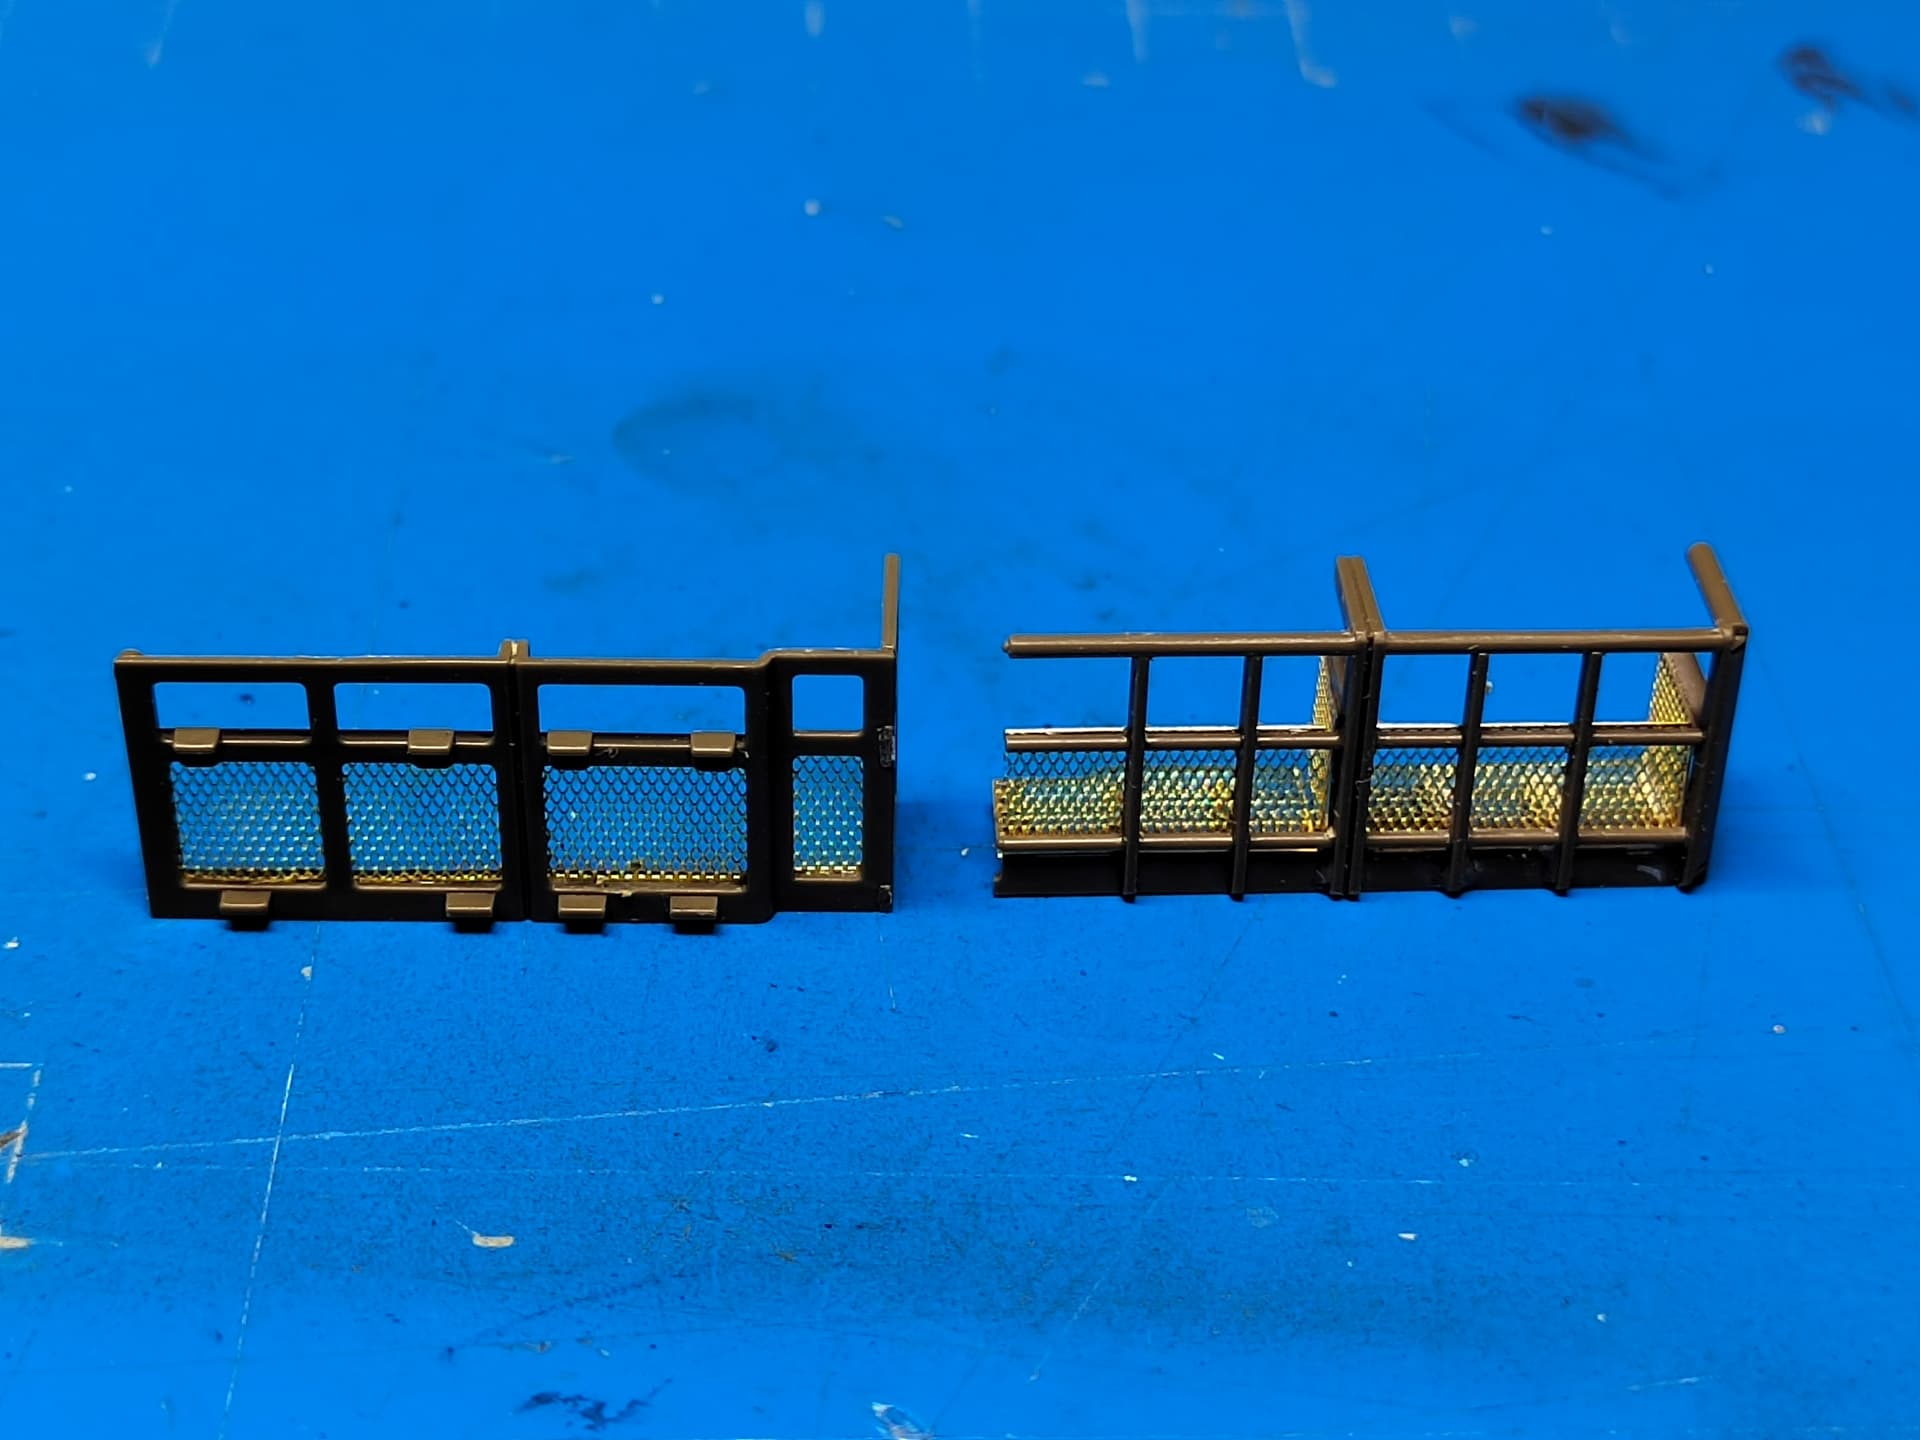
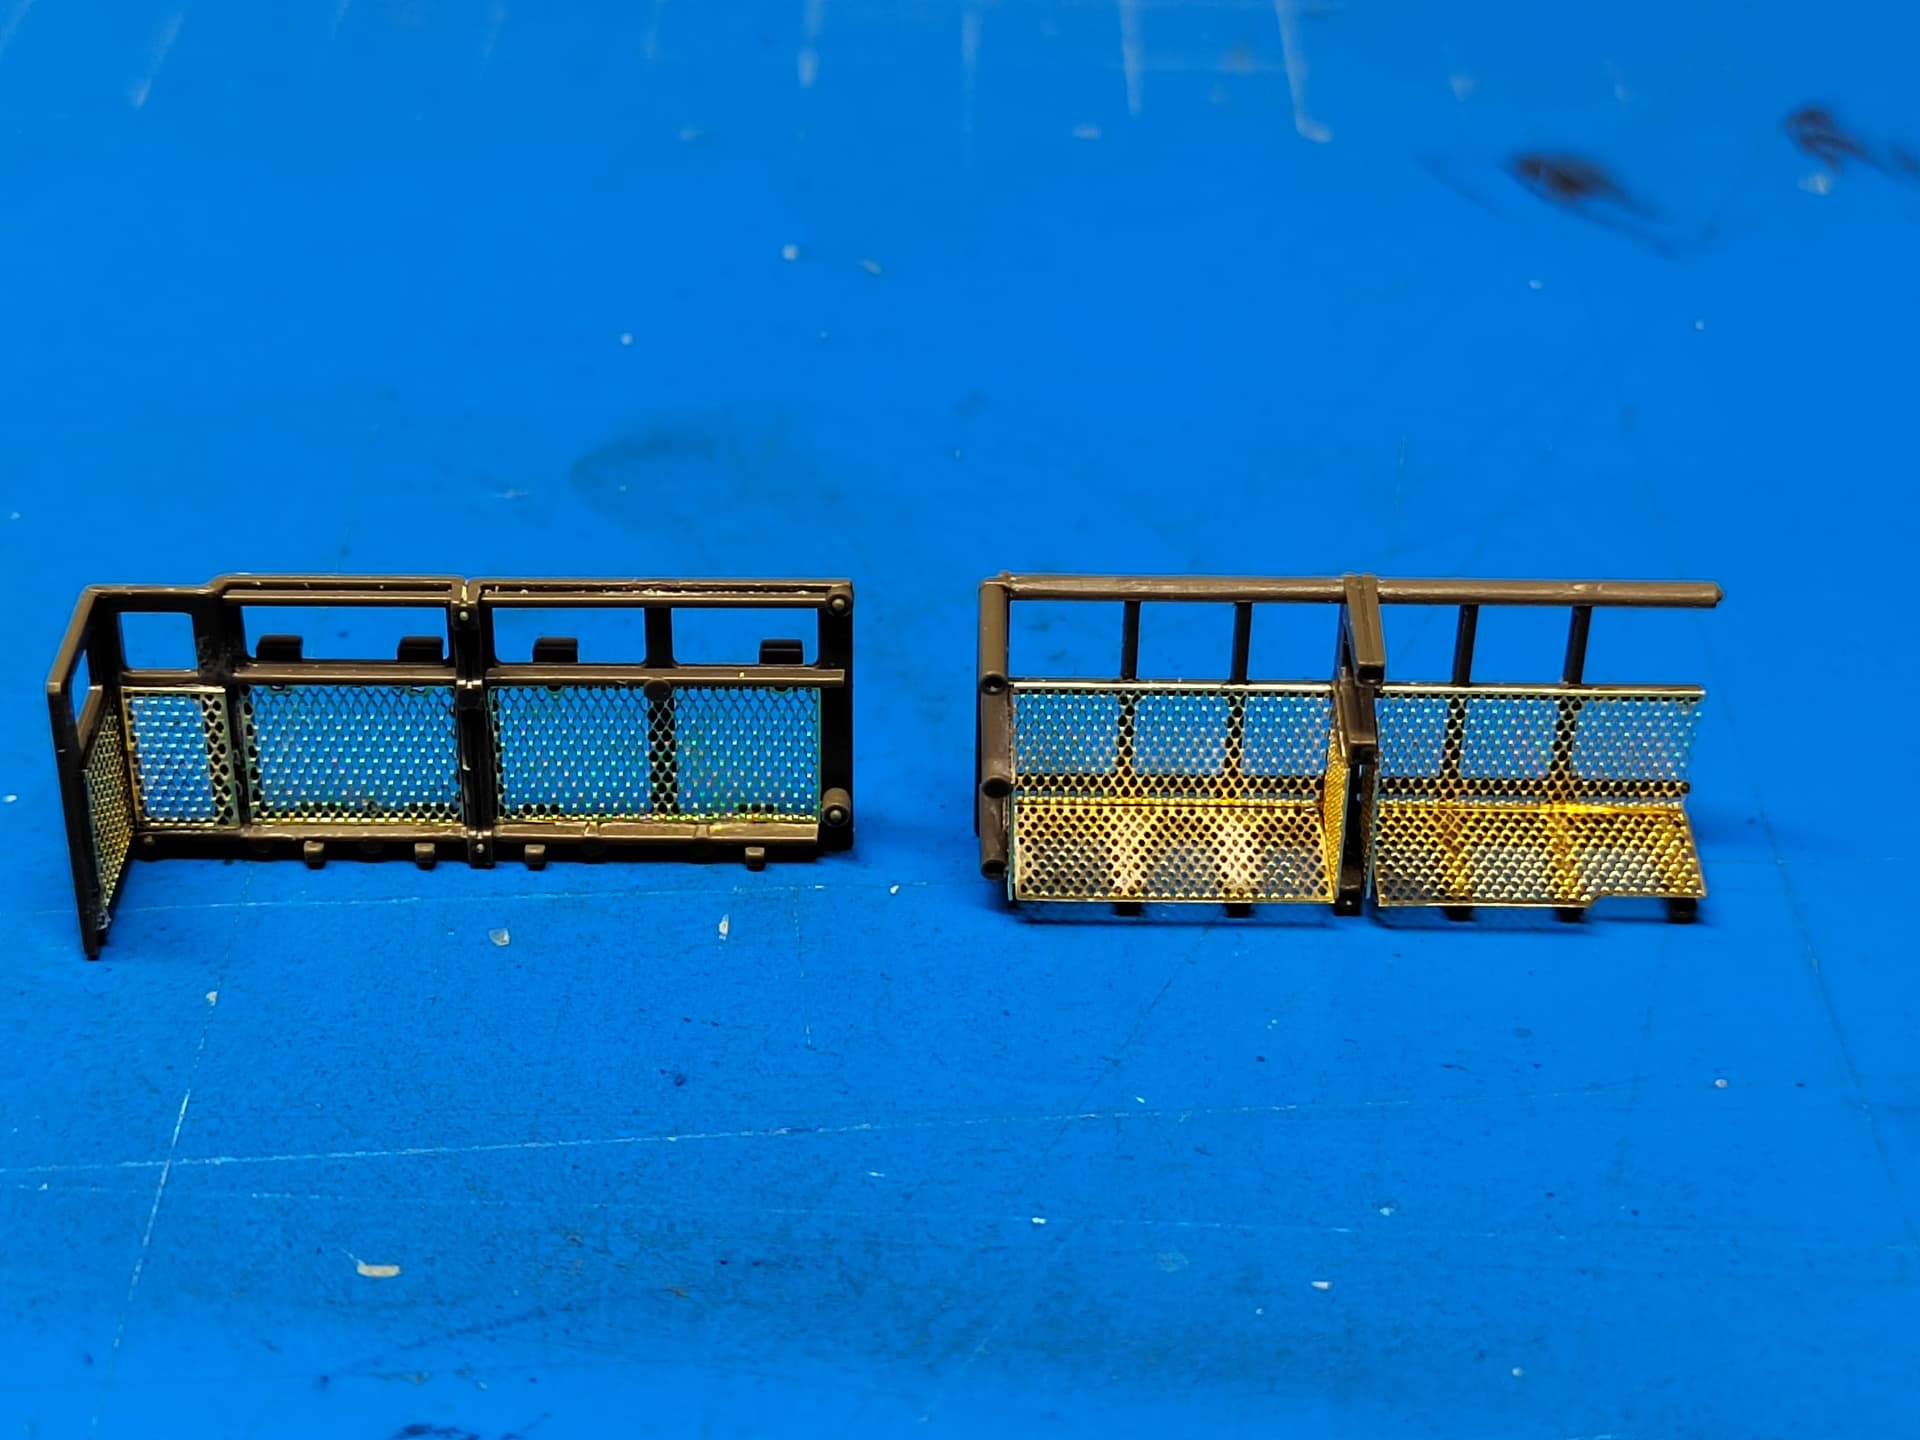
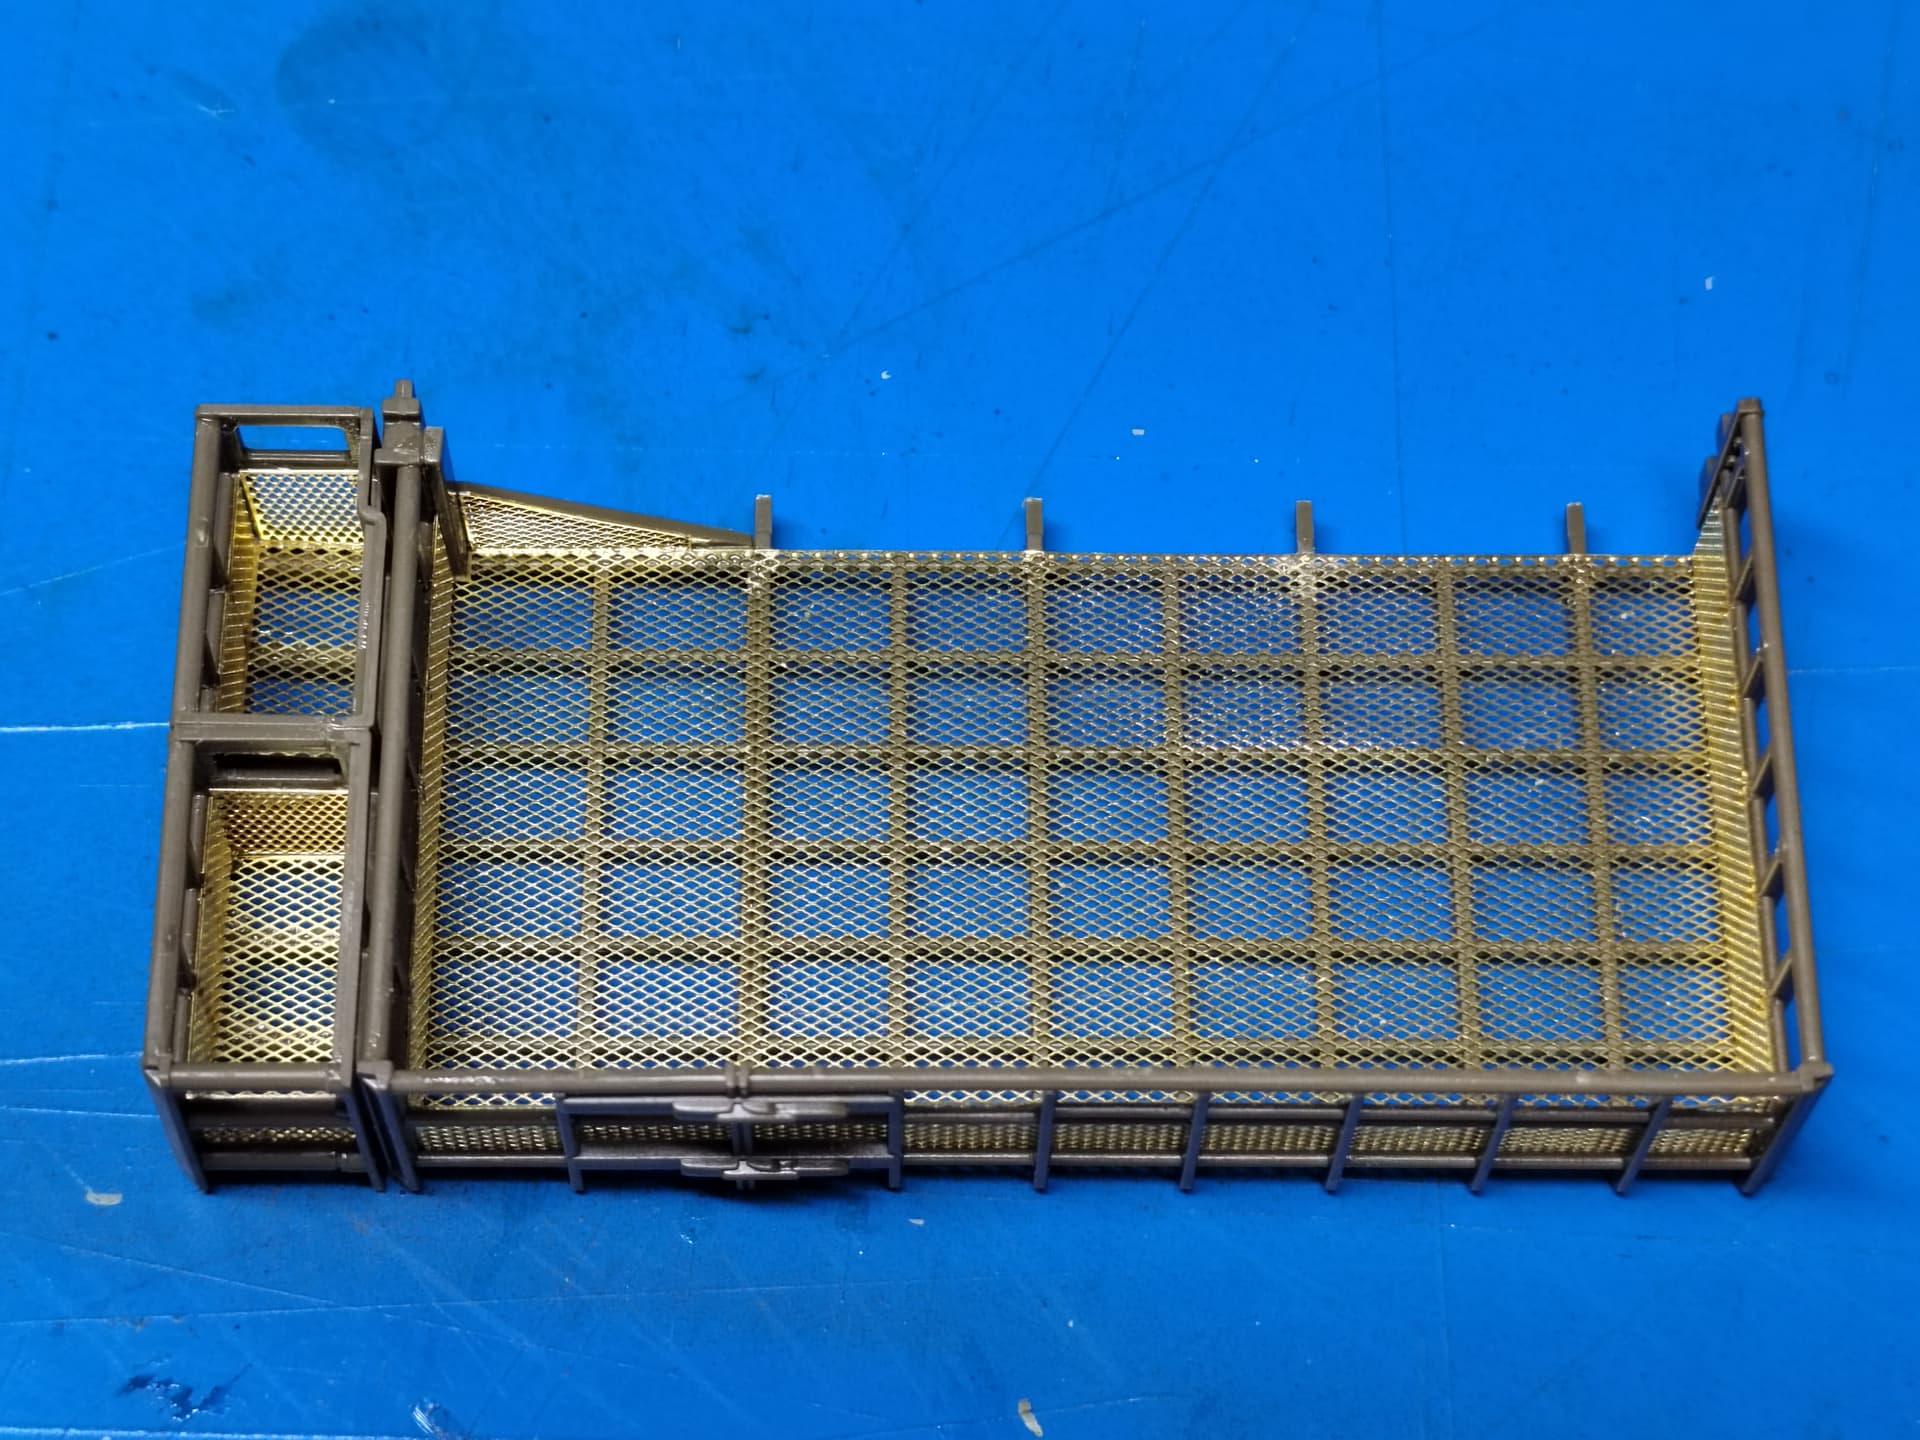
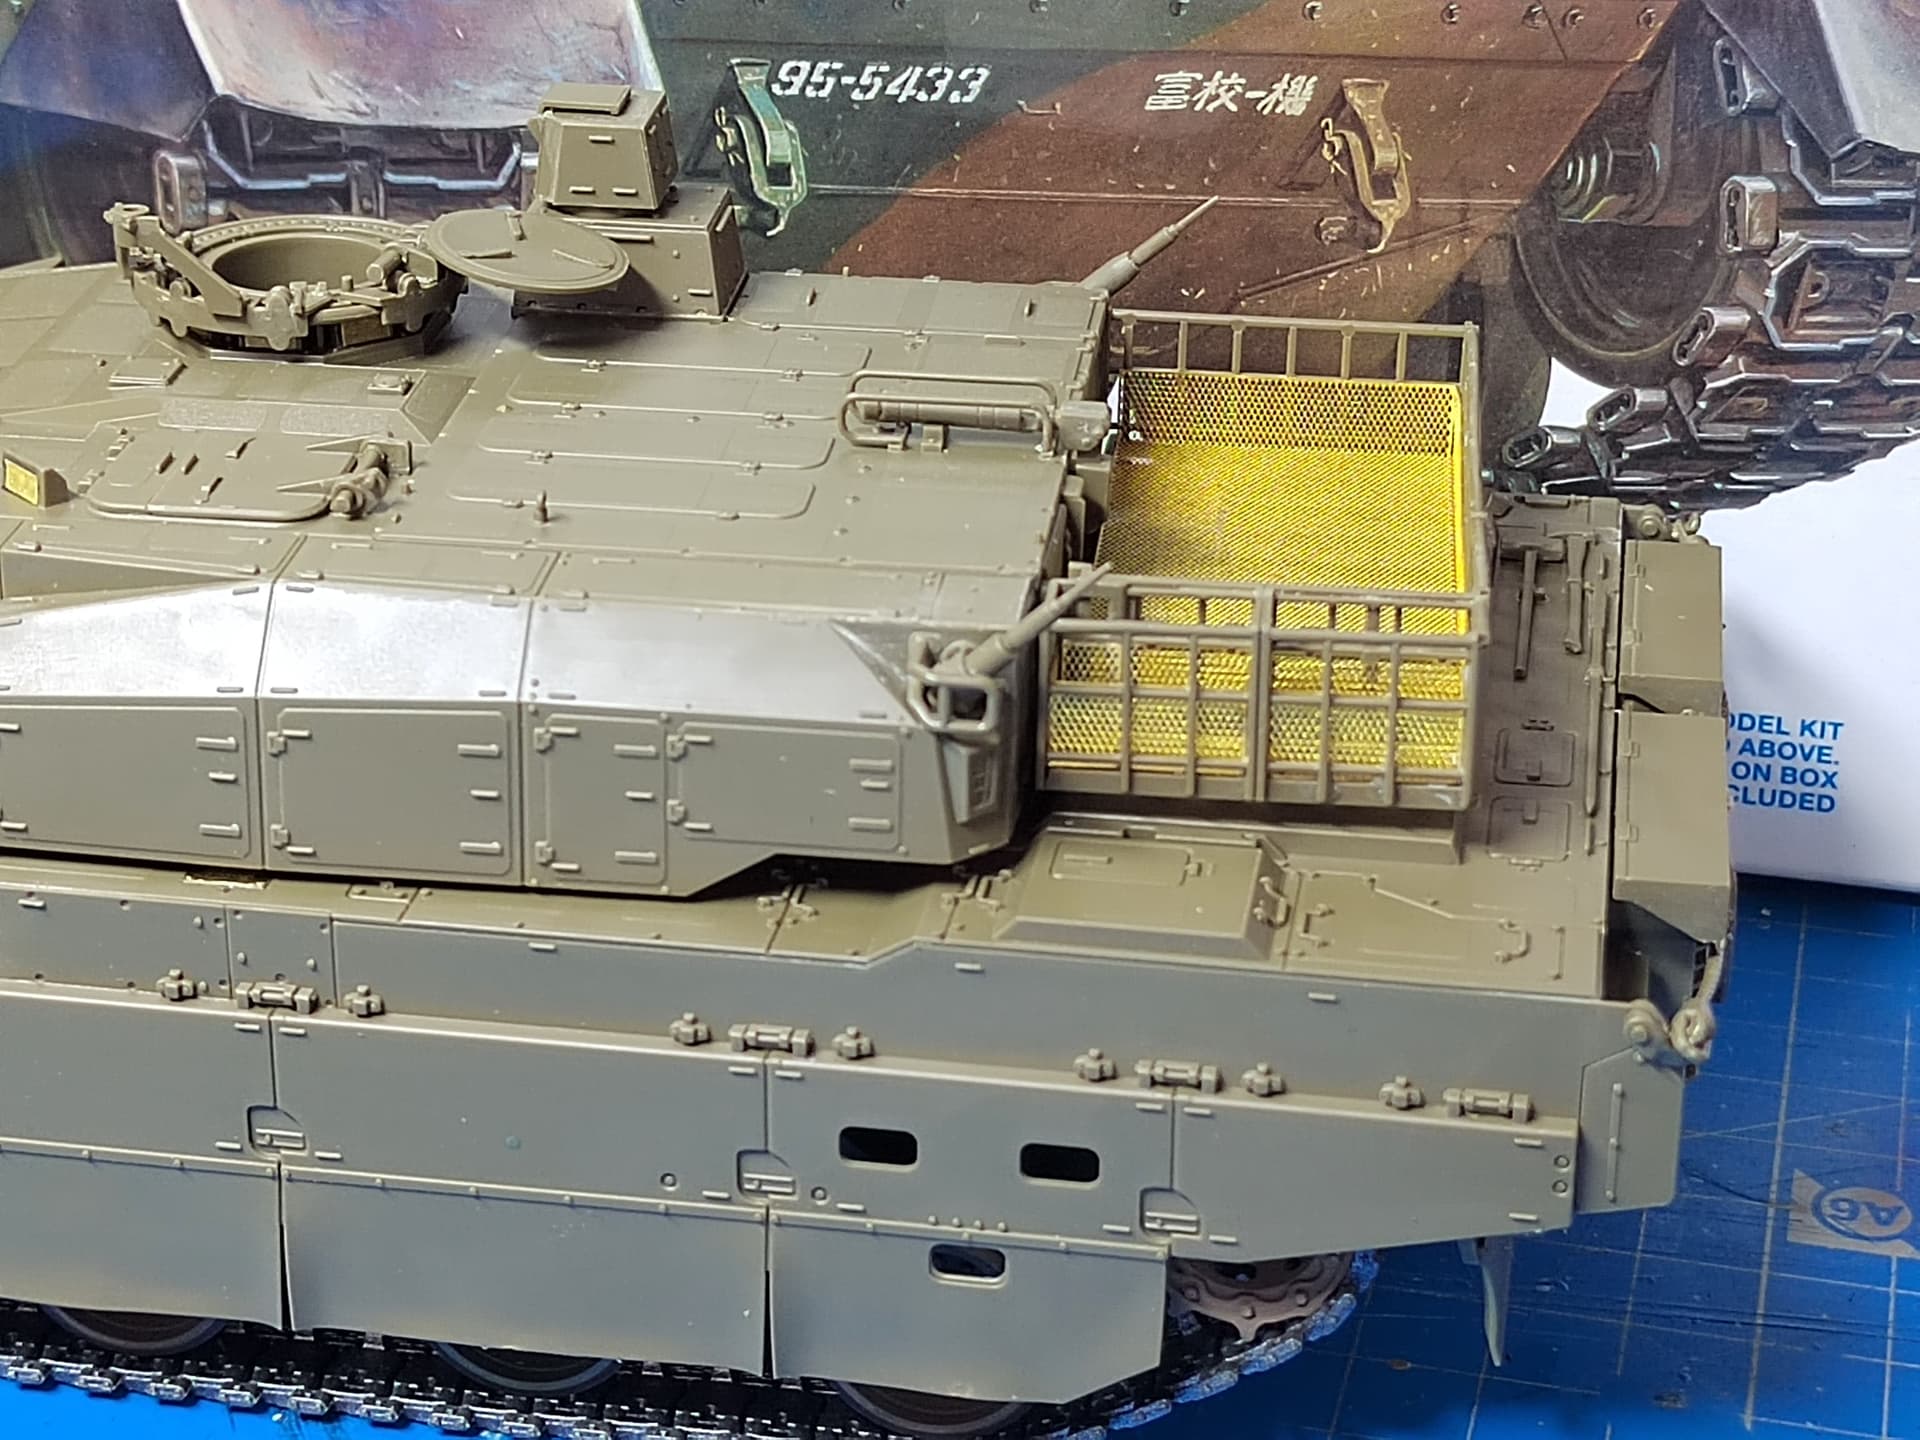
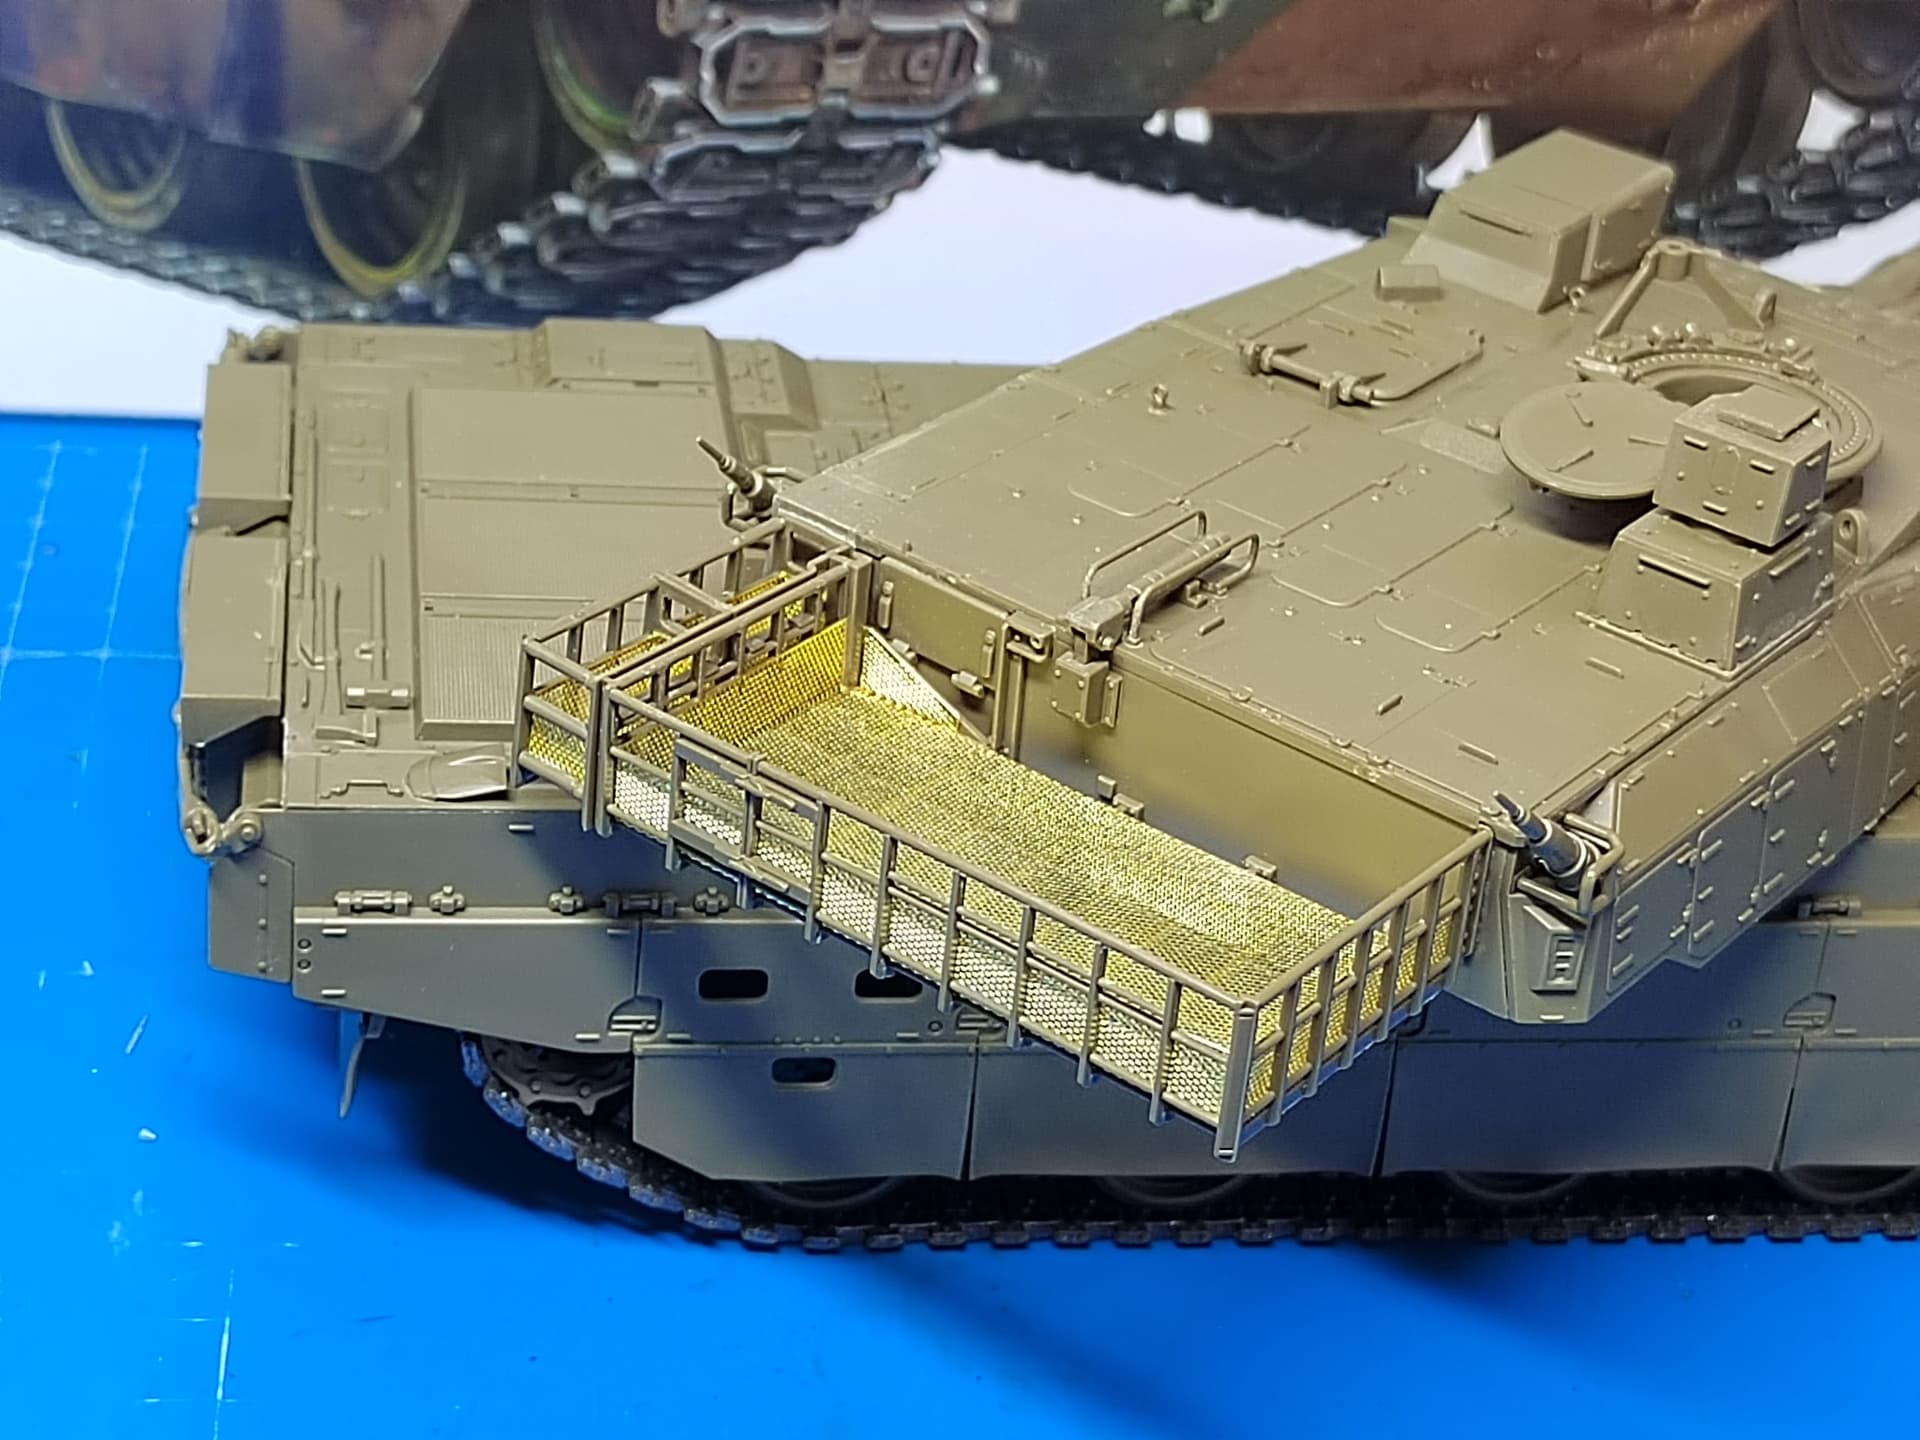
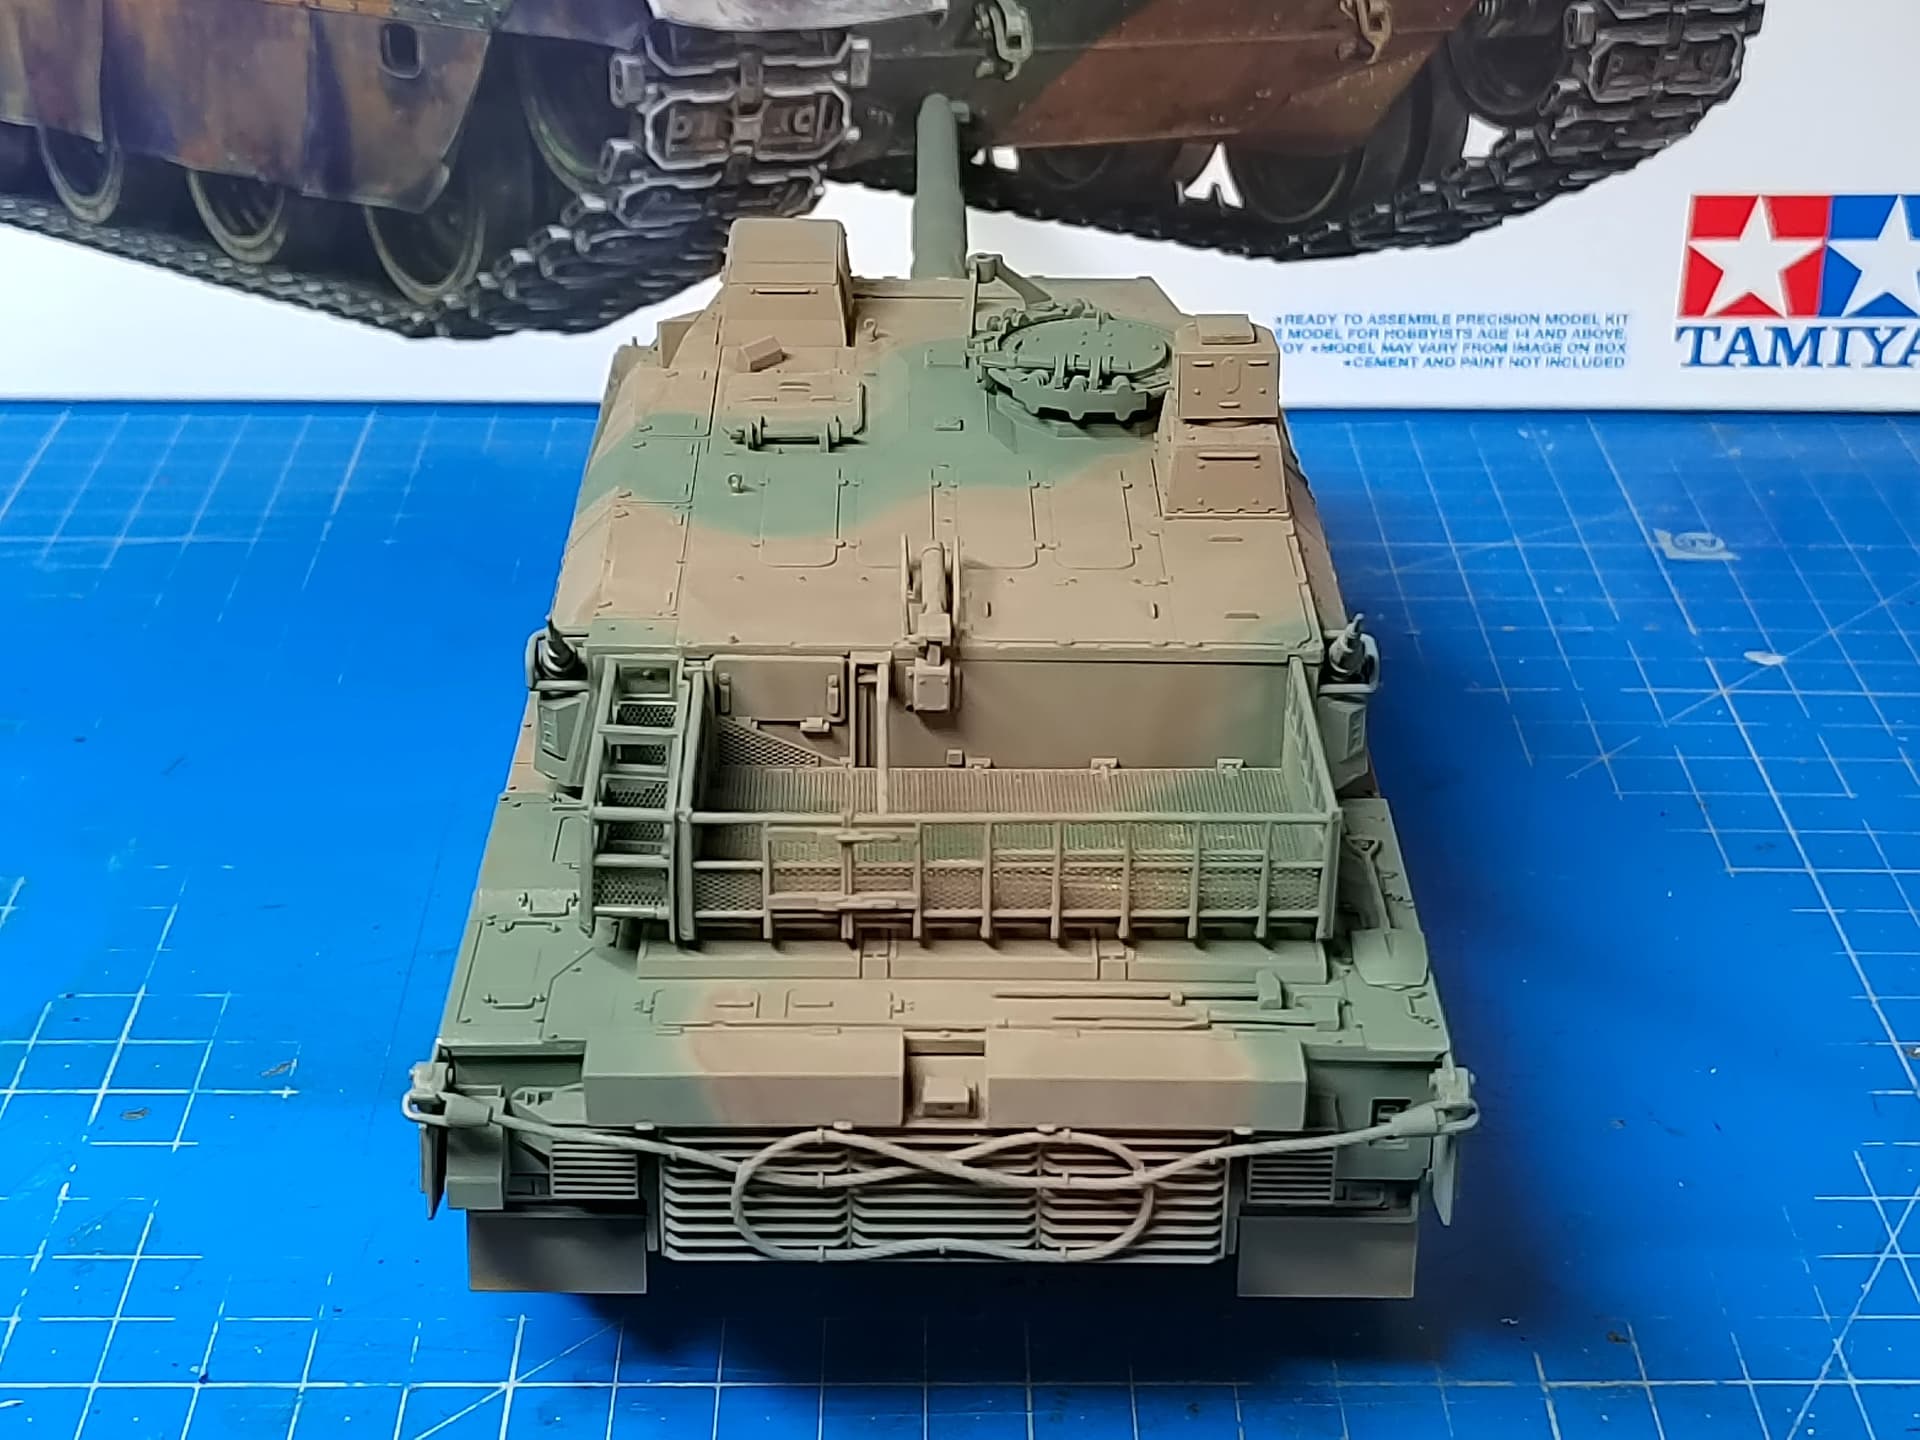
I managed to tackle the bustle rack. First I assembled the plastic frame of the main rack and both halves of the side rack.
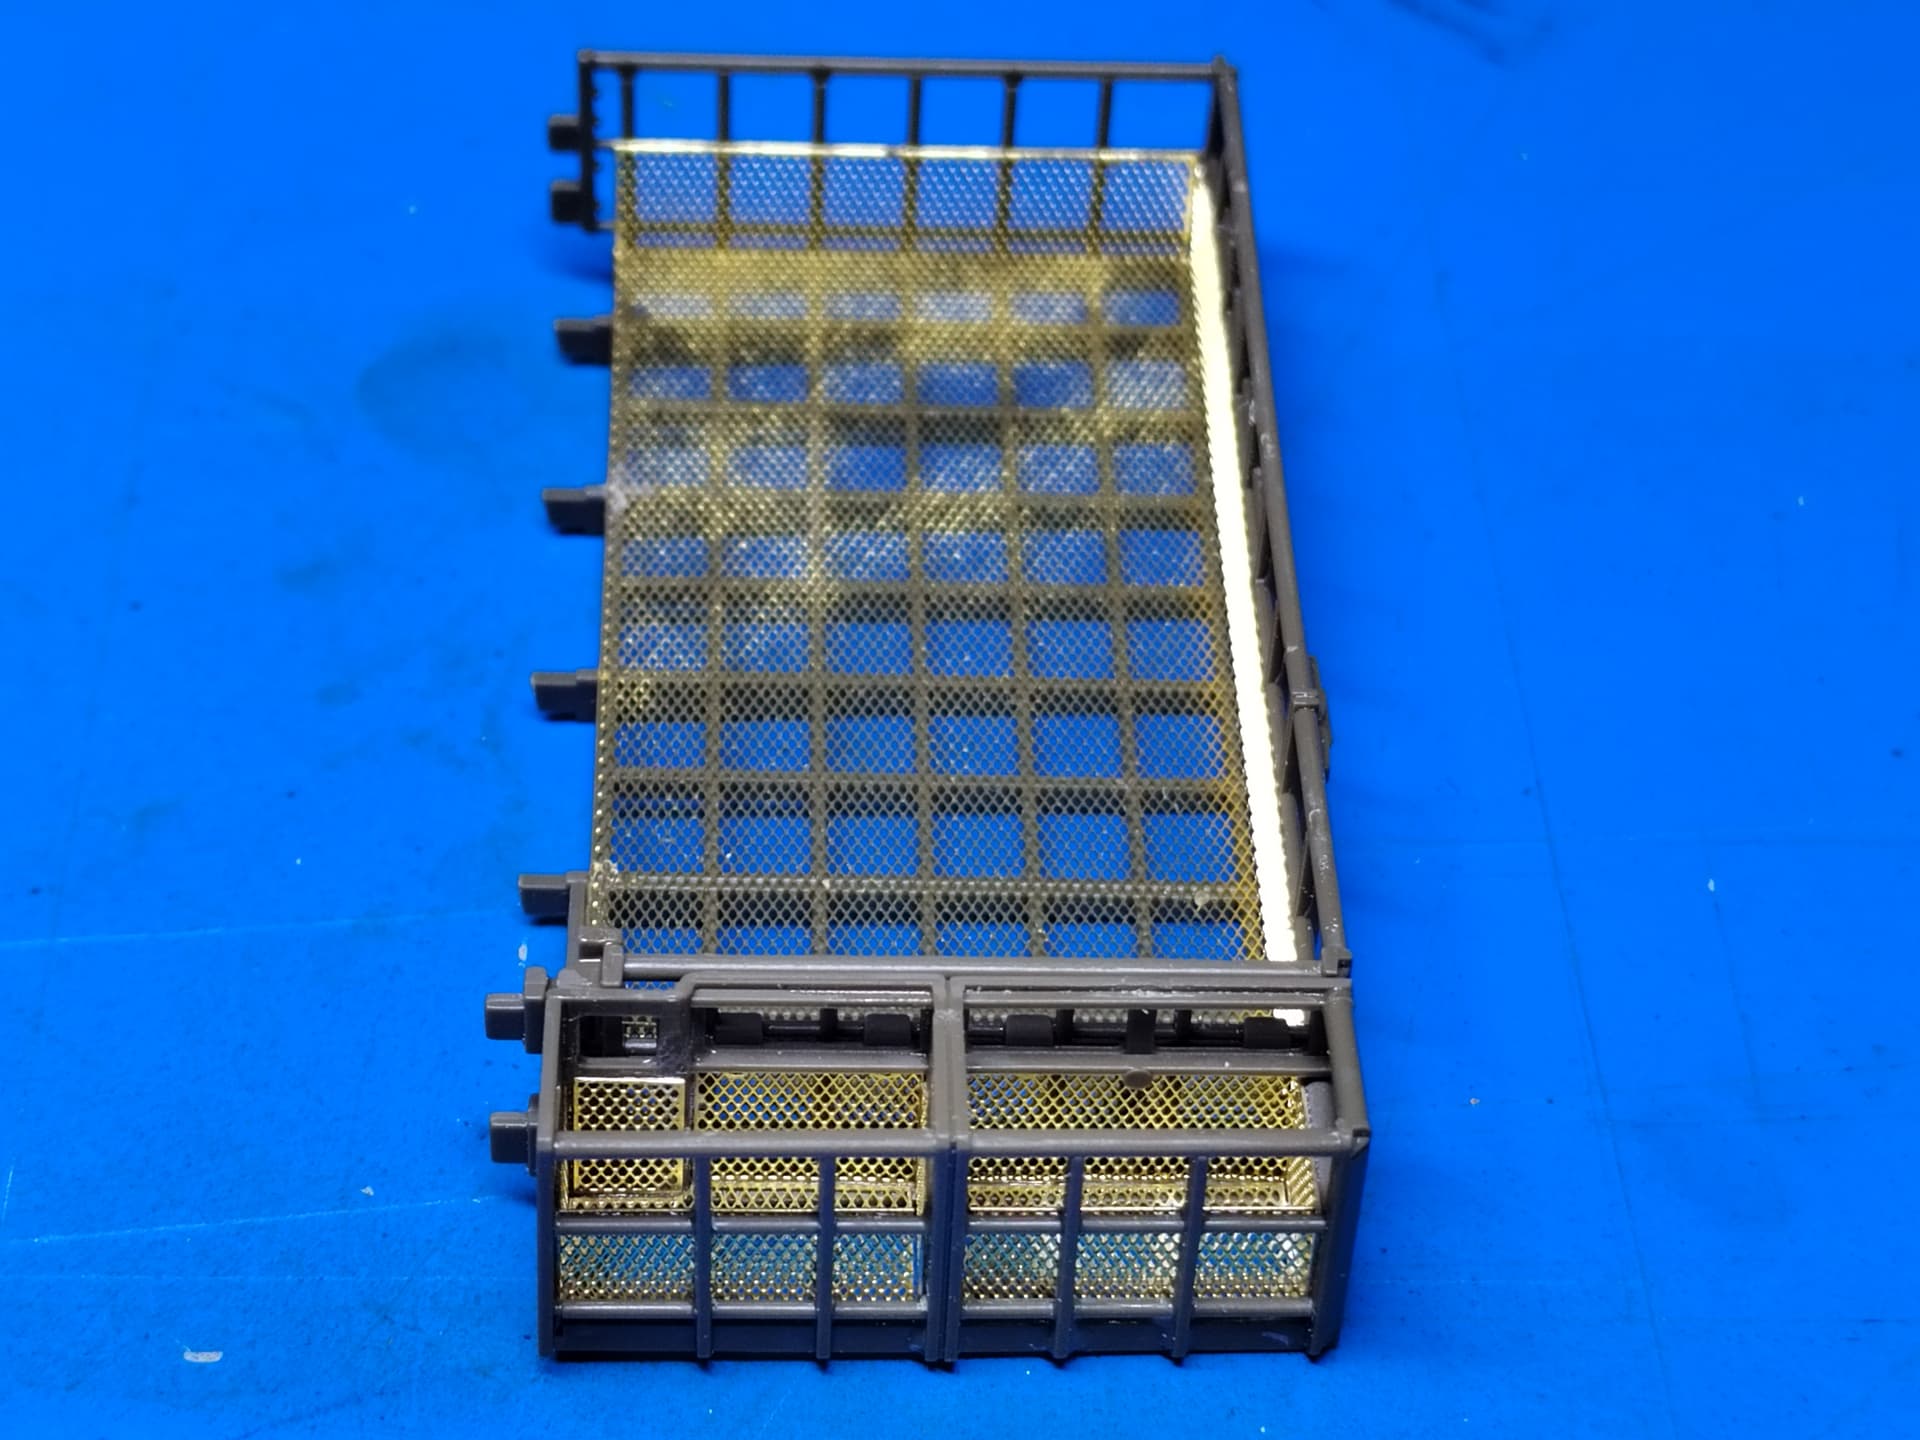
Then I shaped the main rack mesh which was easy.
For the side rack, ET have you build the complete rack then build the kind of cages for the both compartments and then fit them inside. I really don’t know how you can do this.
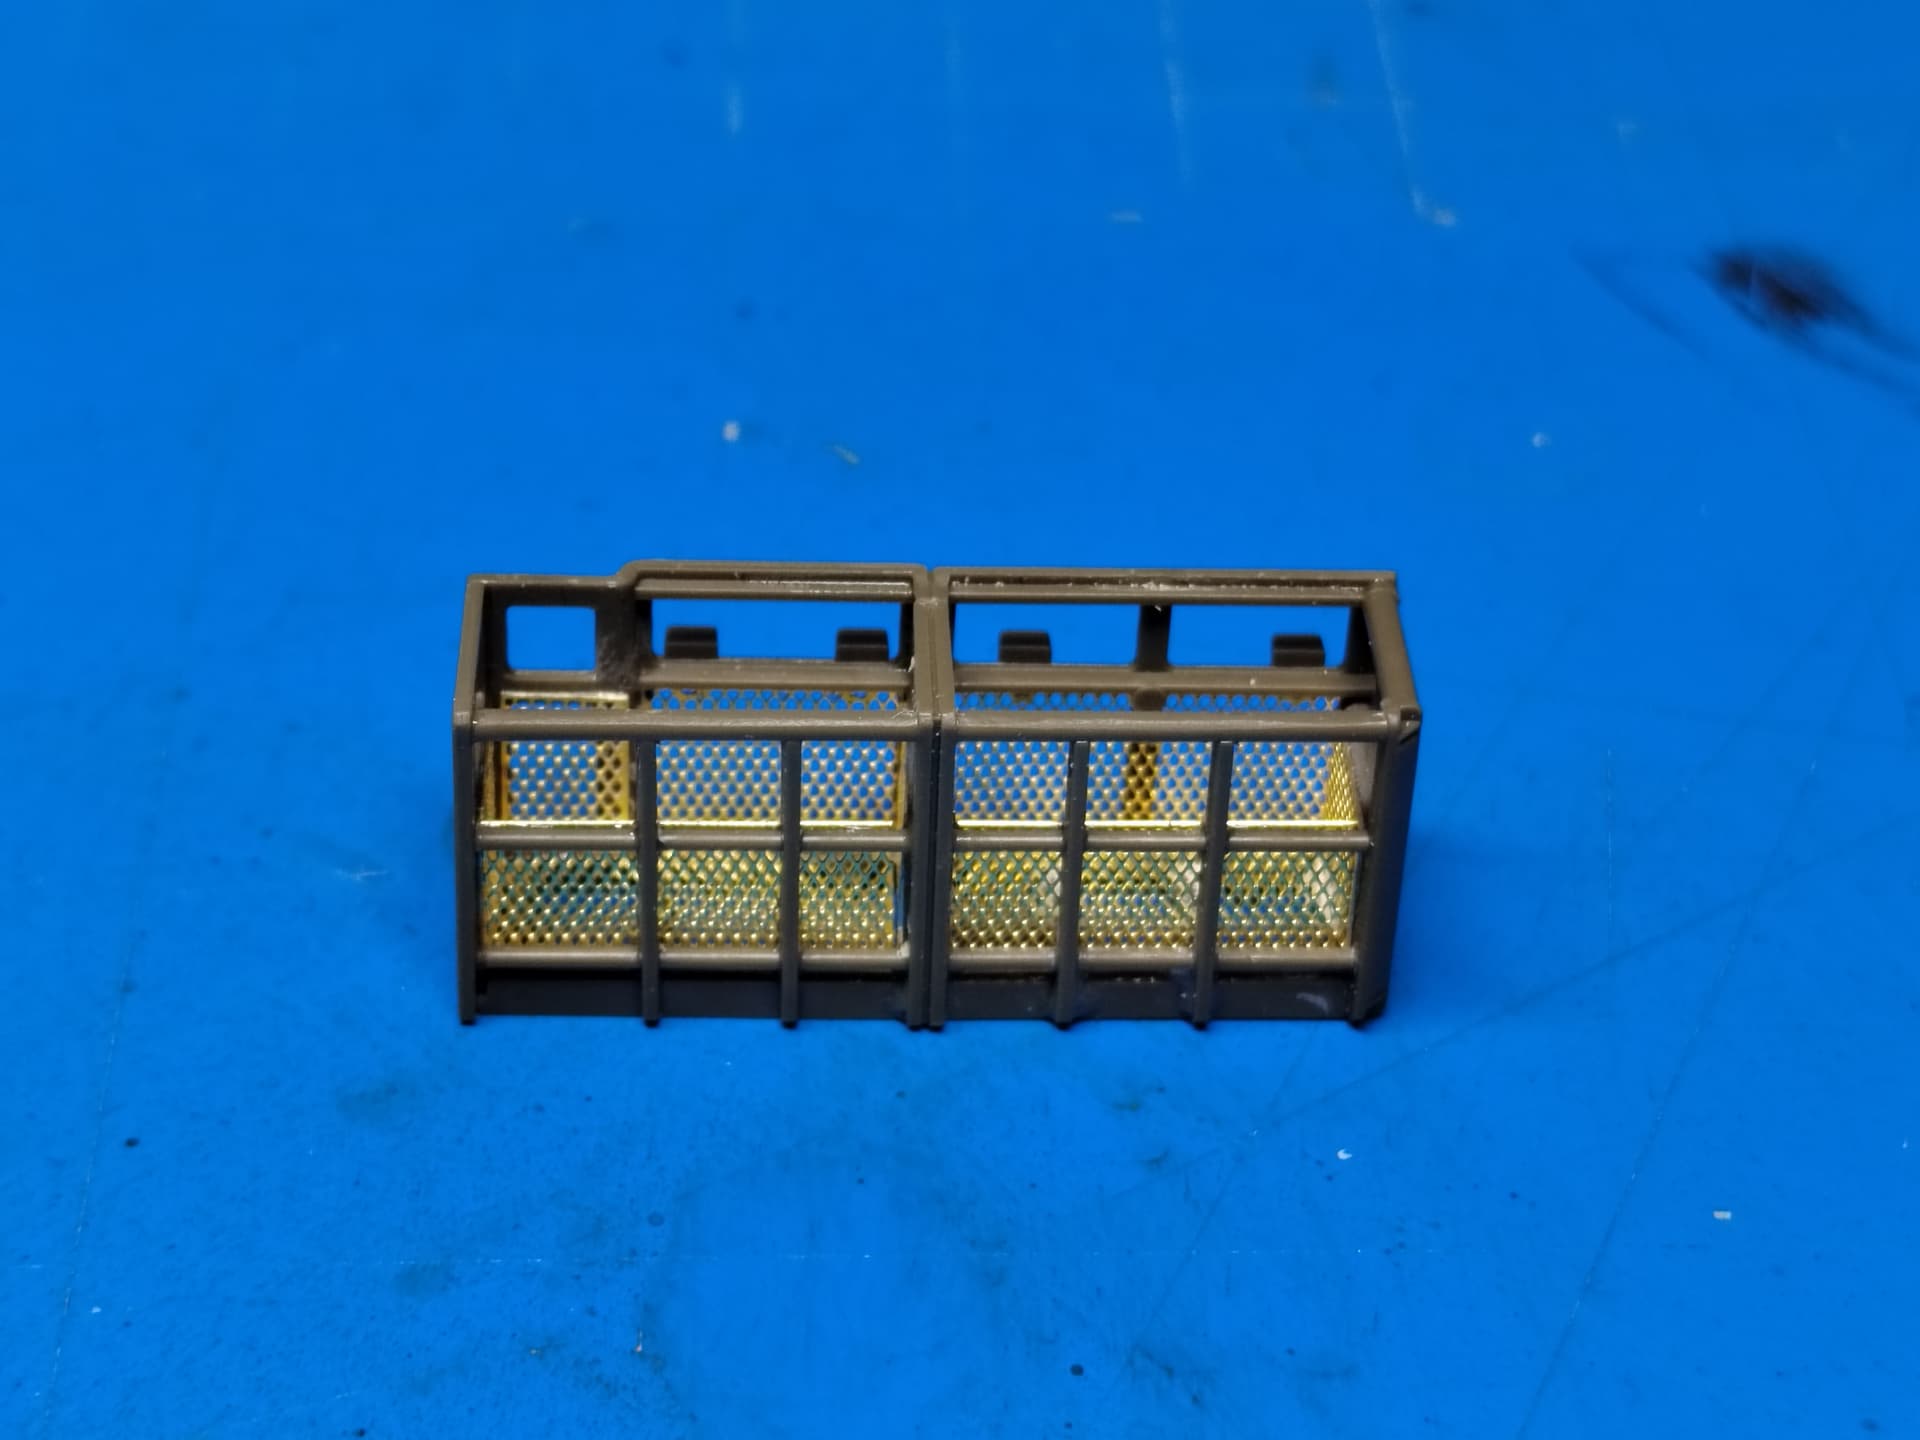
So I decided to do it my way. I glued the various parts inside each semi rack as shown by the pictures. I just left apart the large parts at the rear of the rack. Then I inserted those parts after having trim their vertical edges.
Finally I assembled the both semi racks together and glue the side rack to the main one.
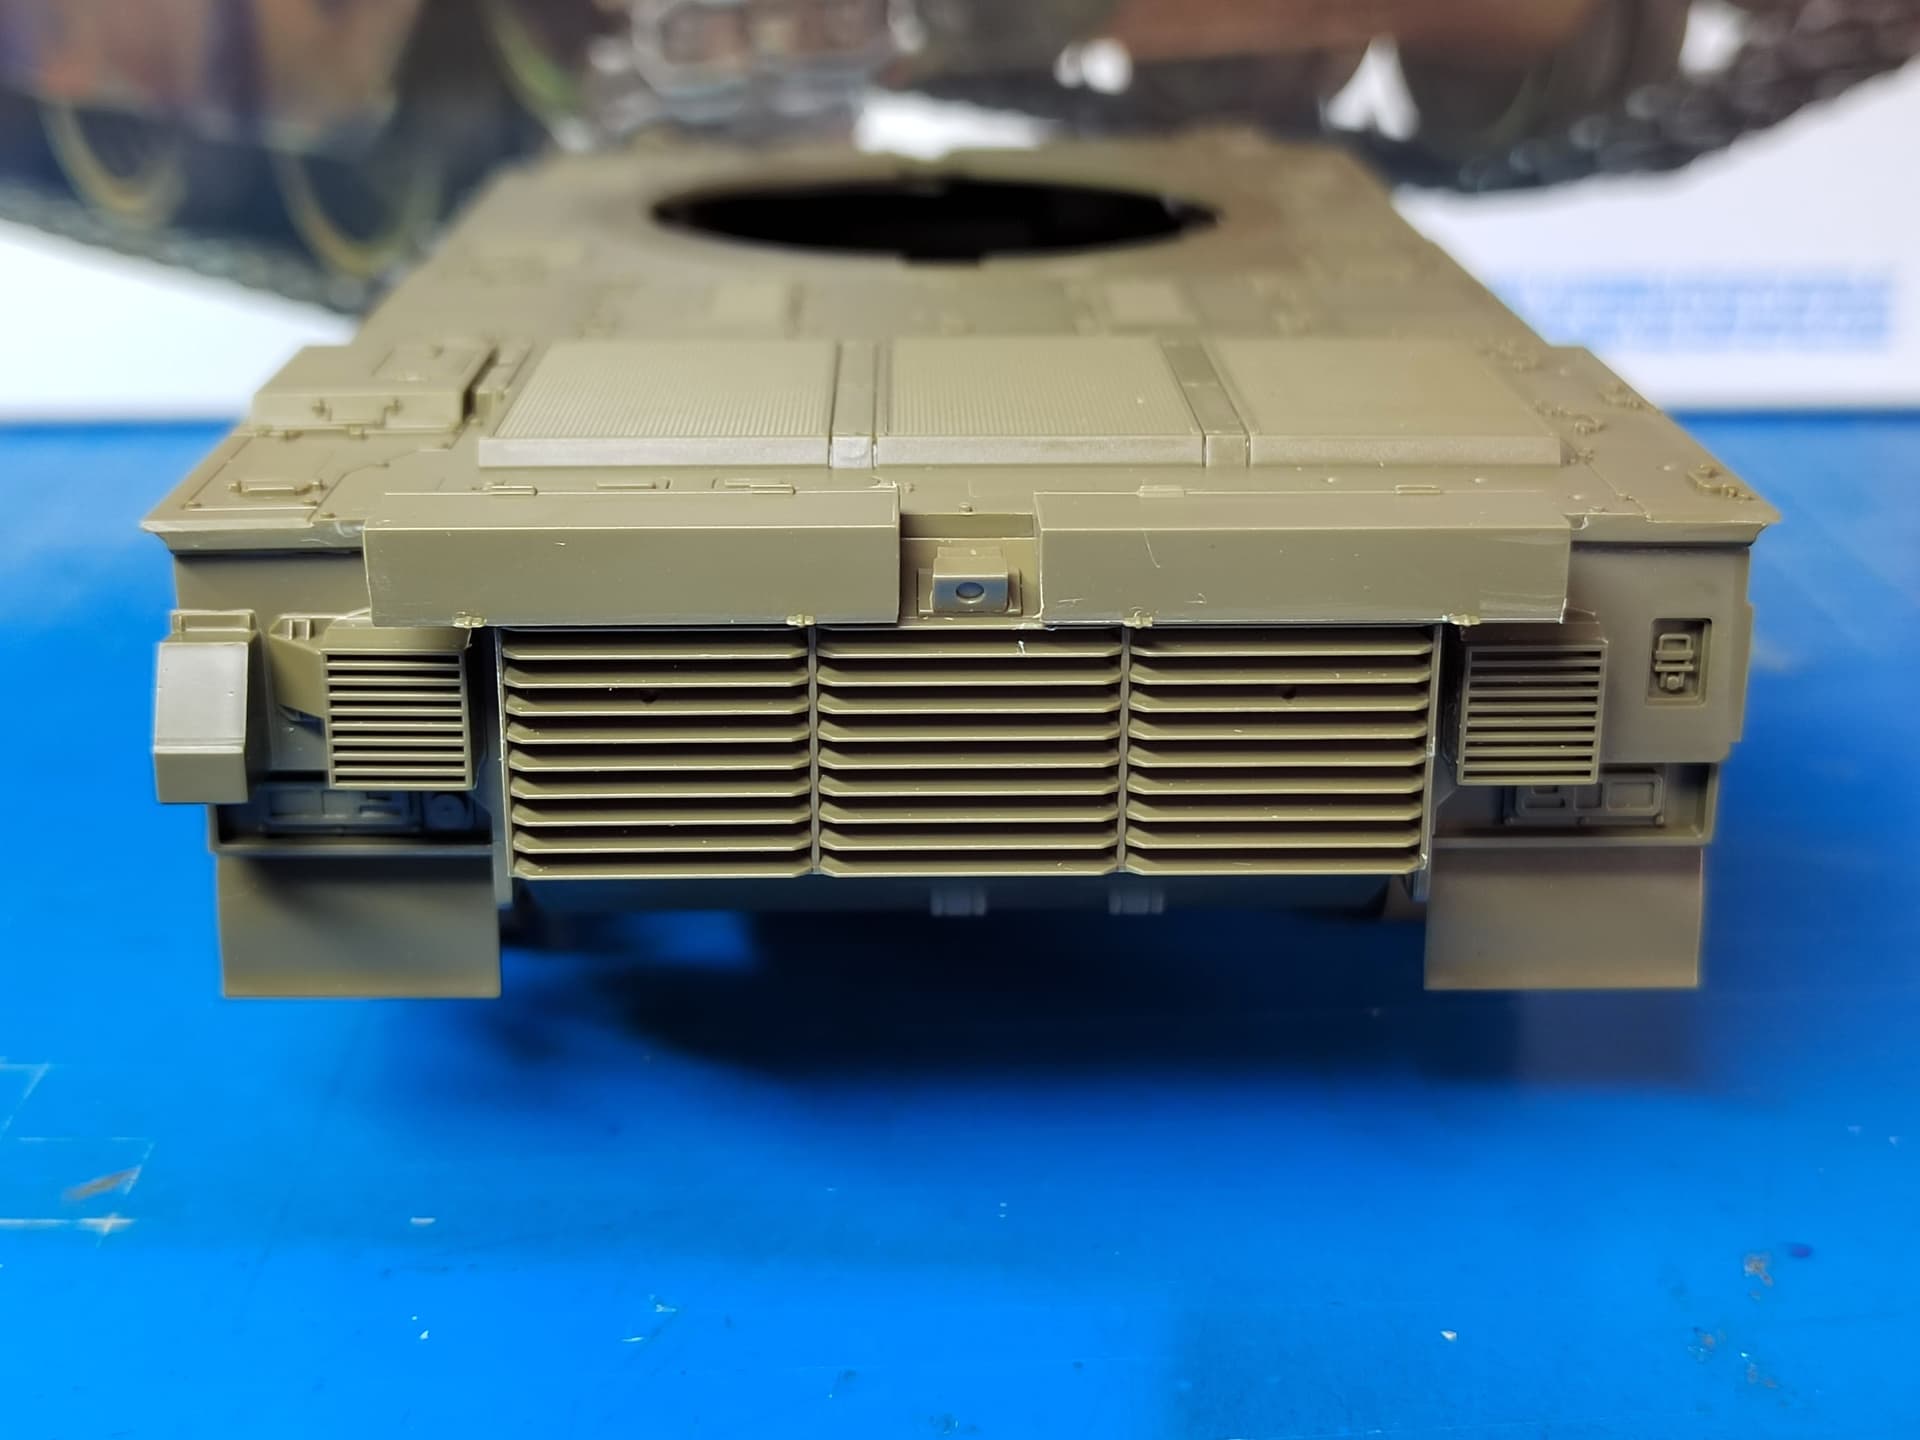
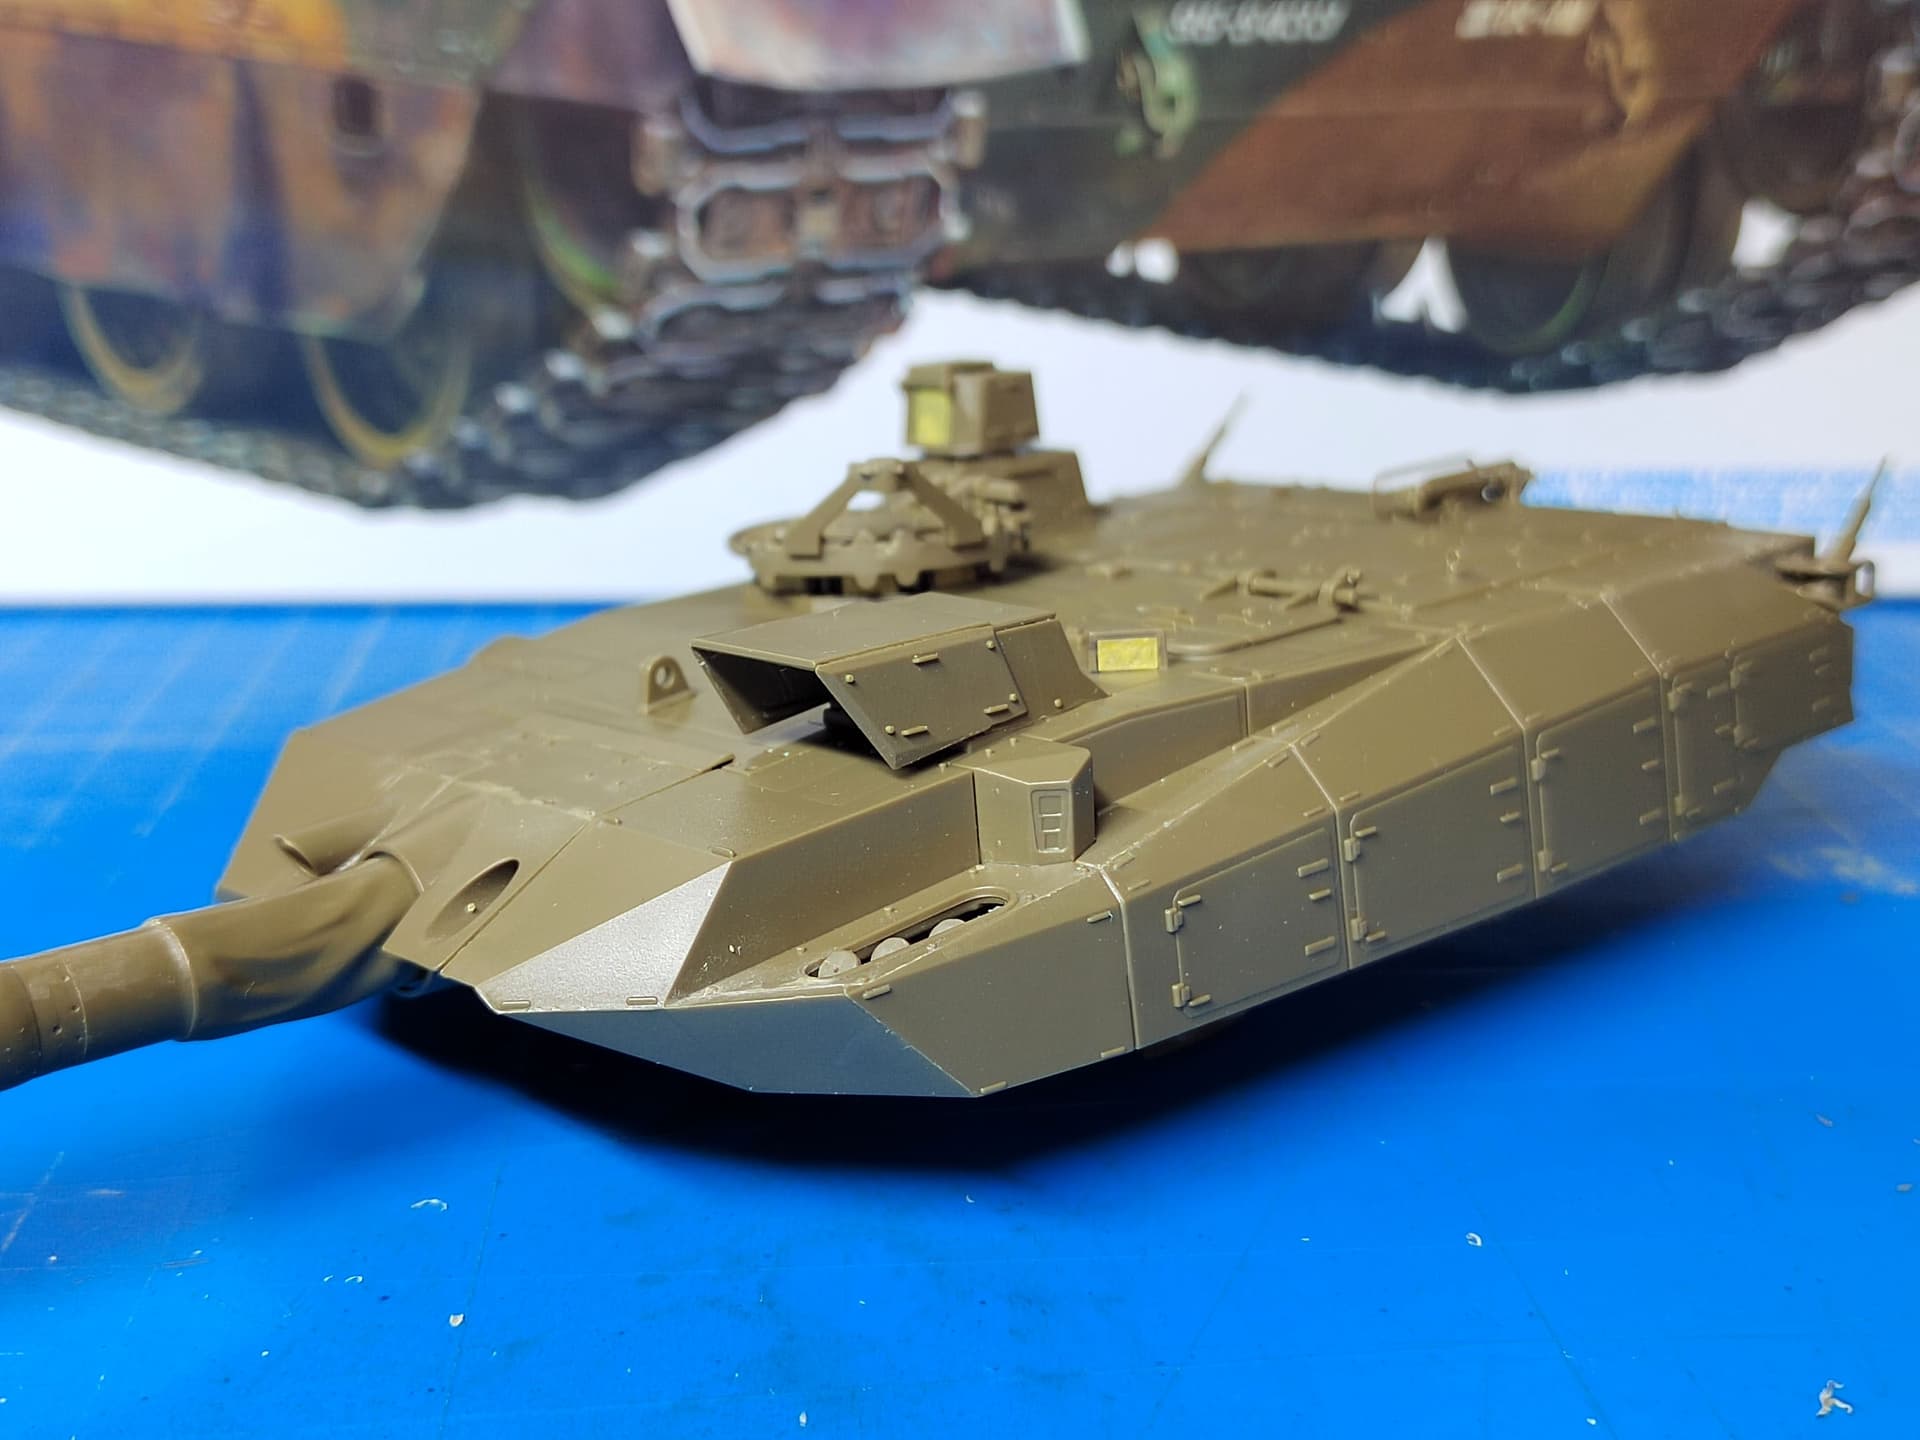
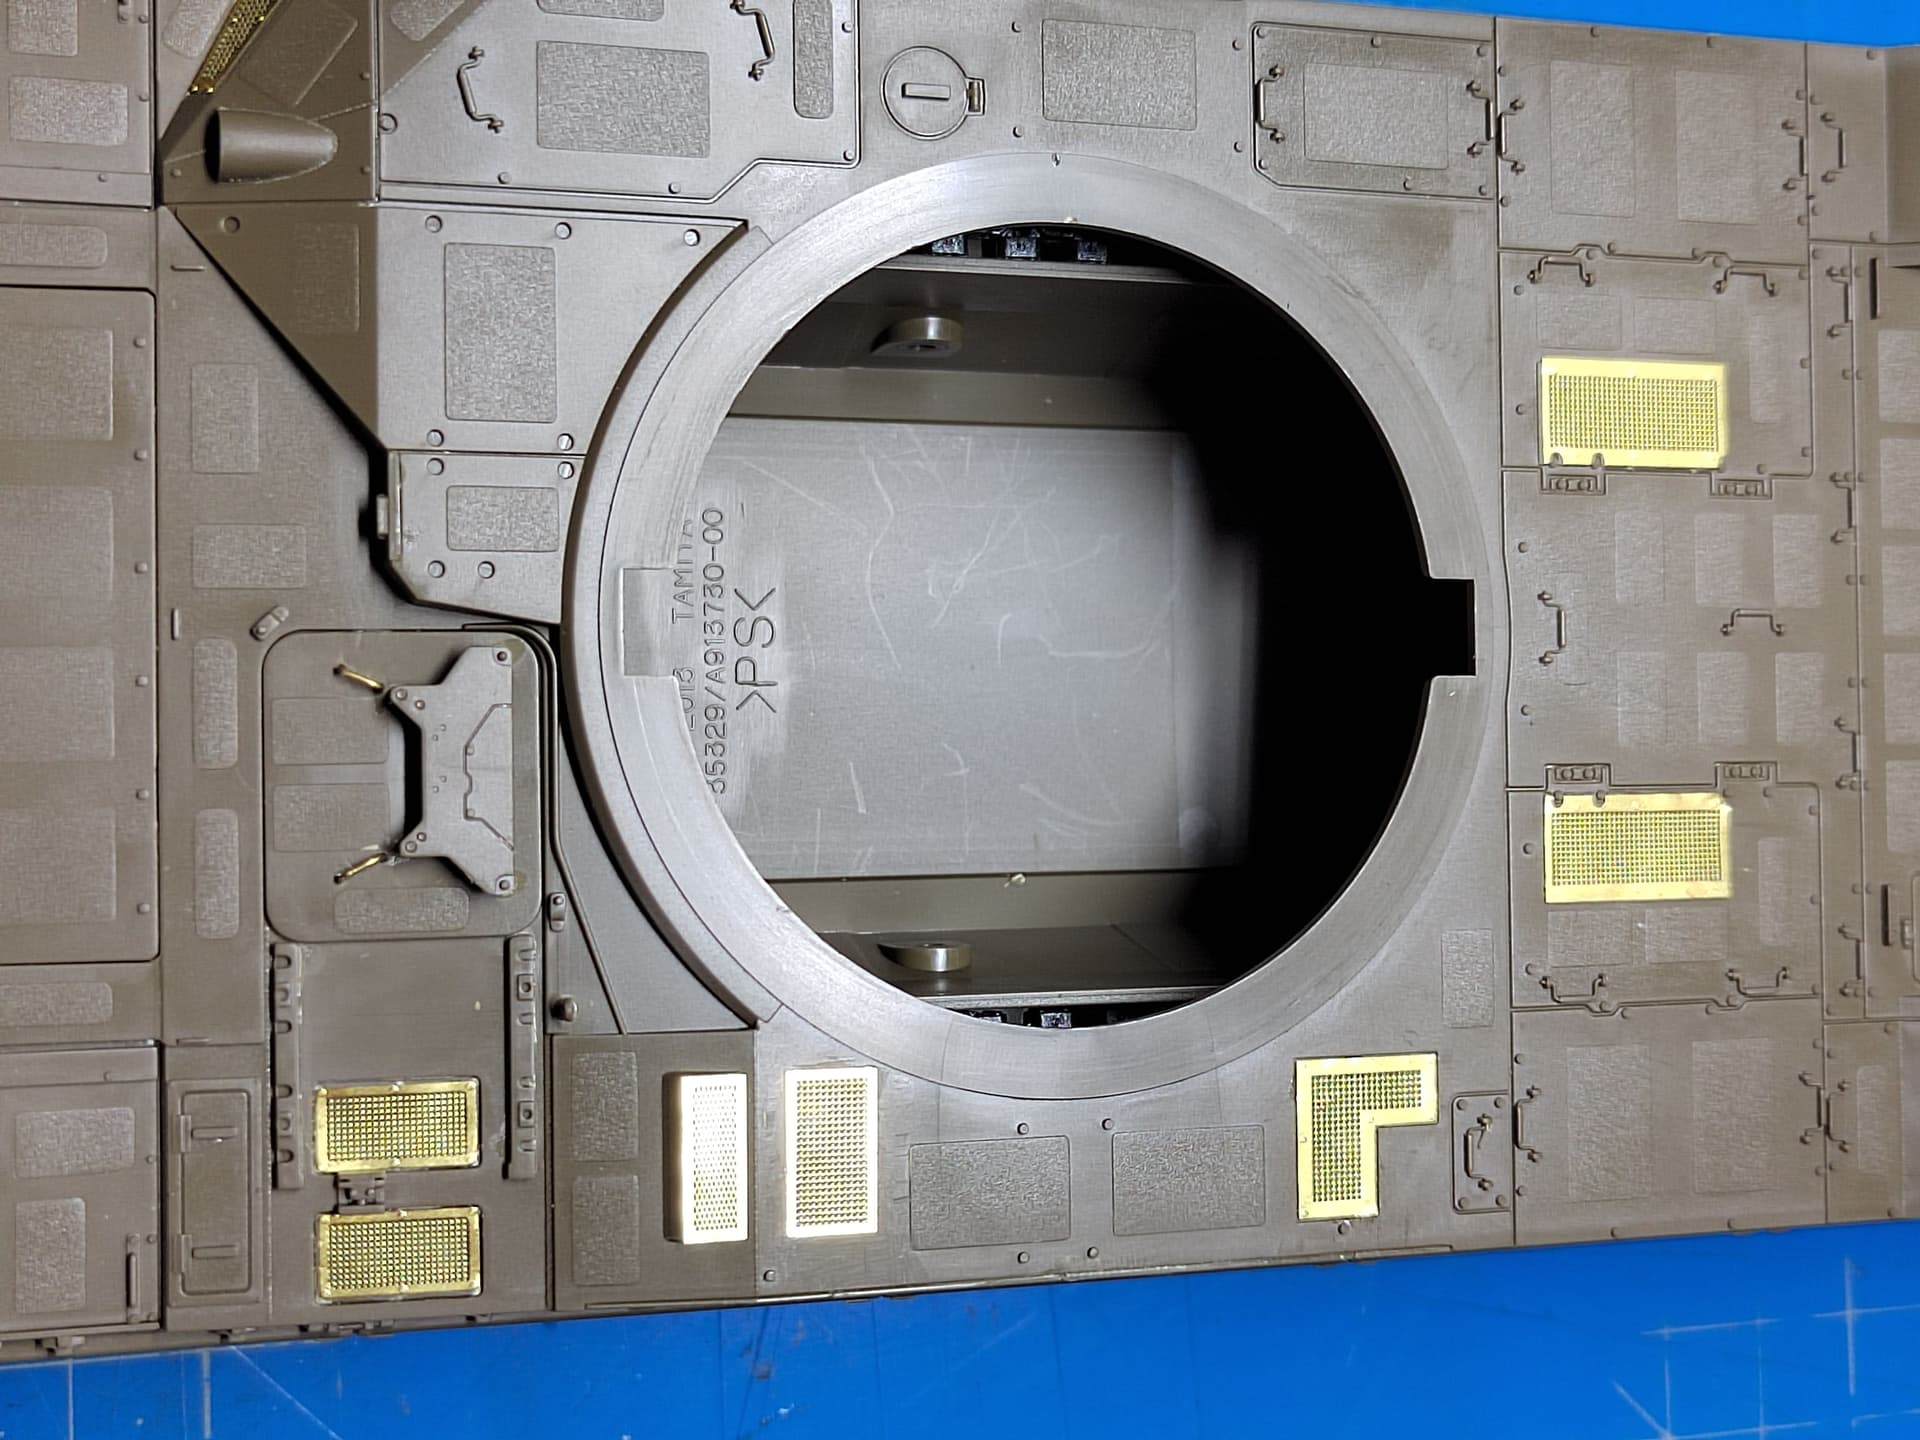
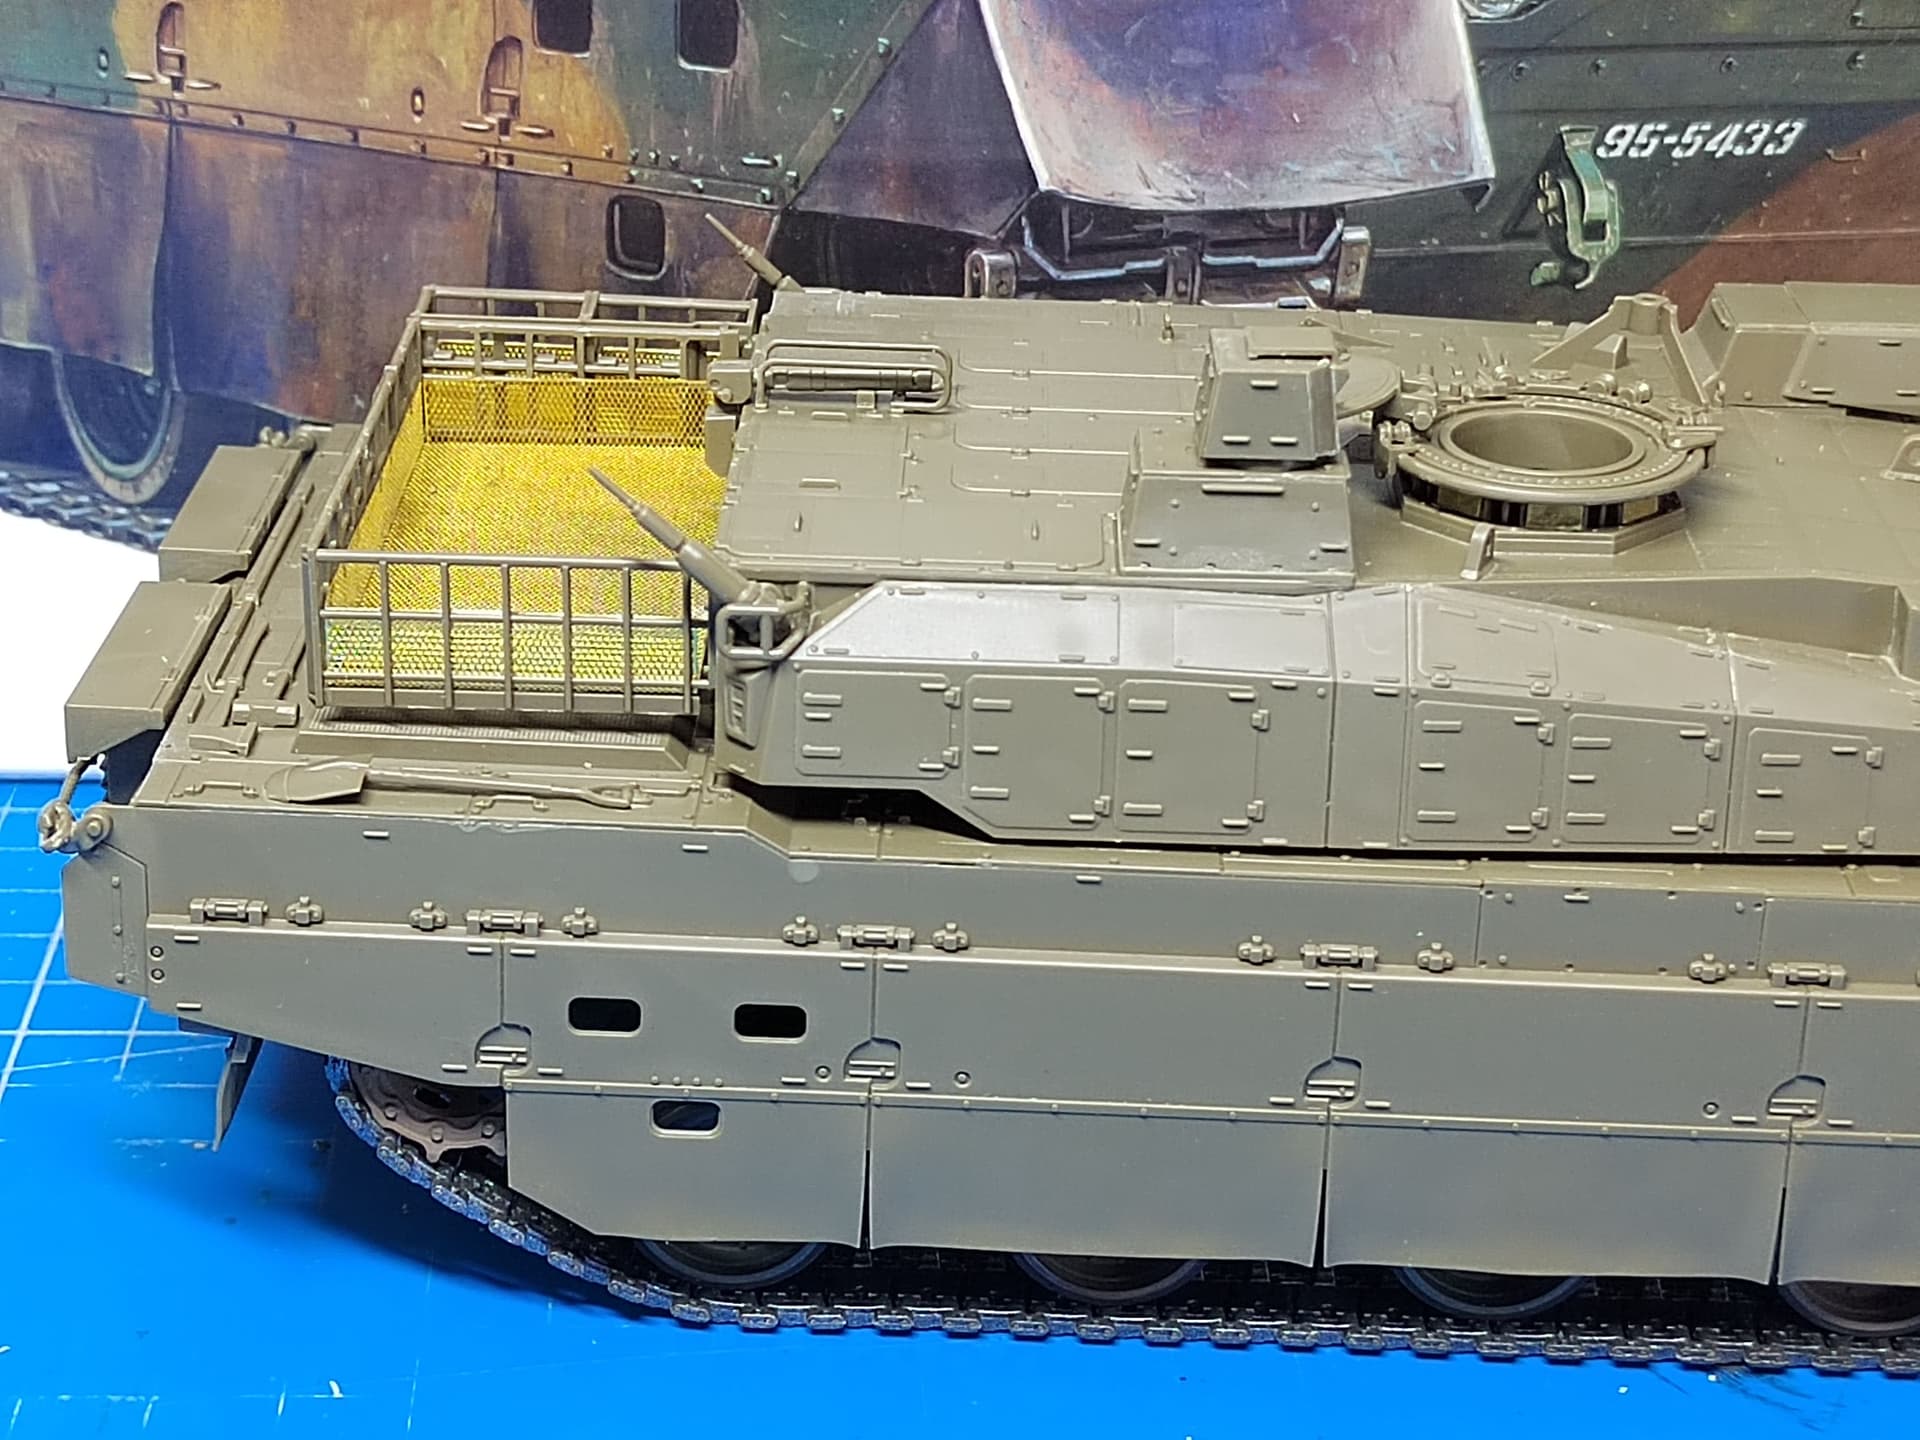
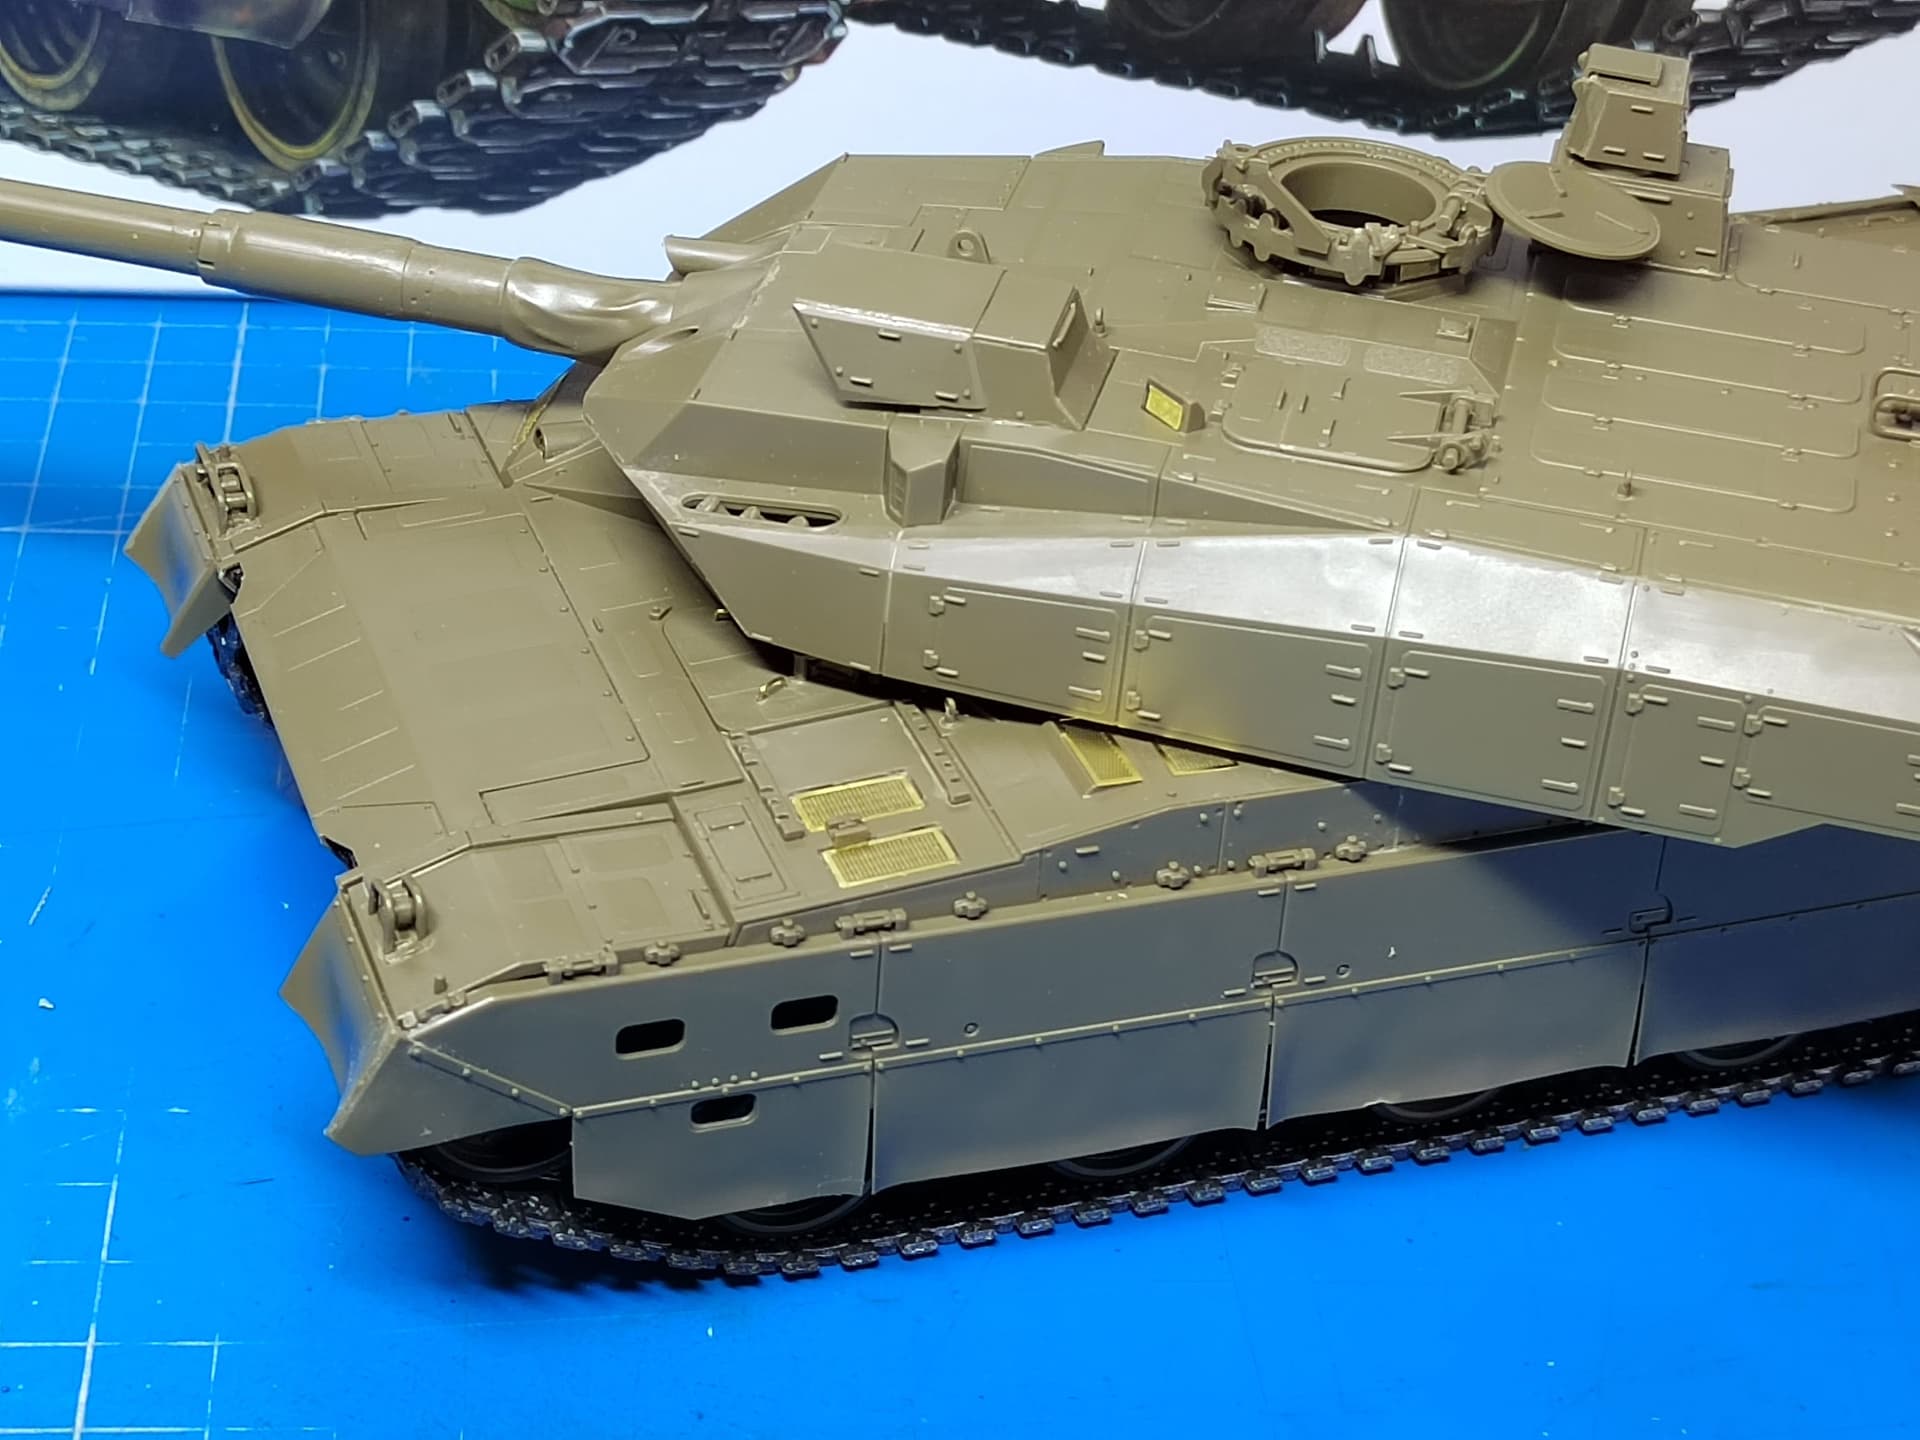
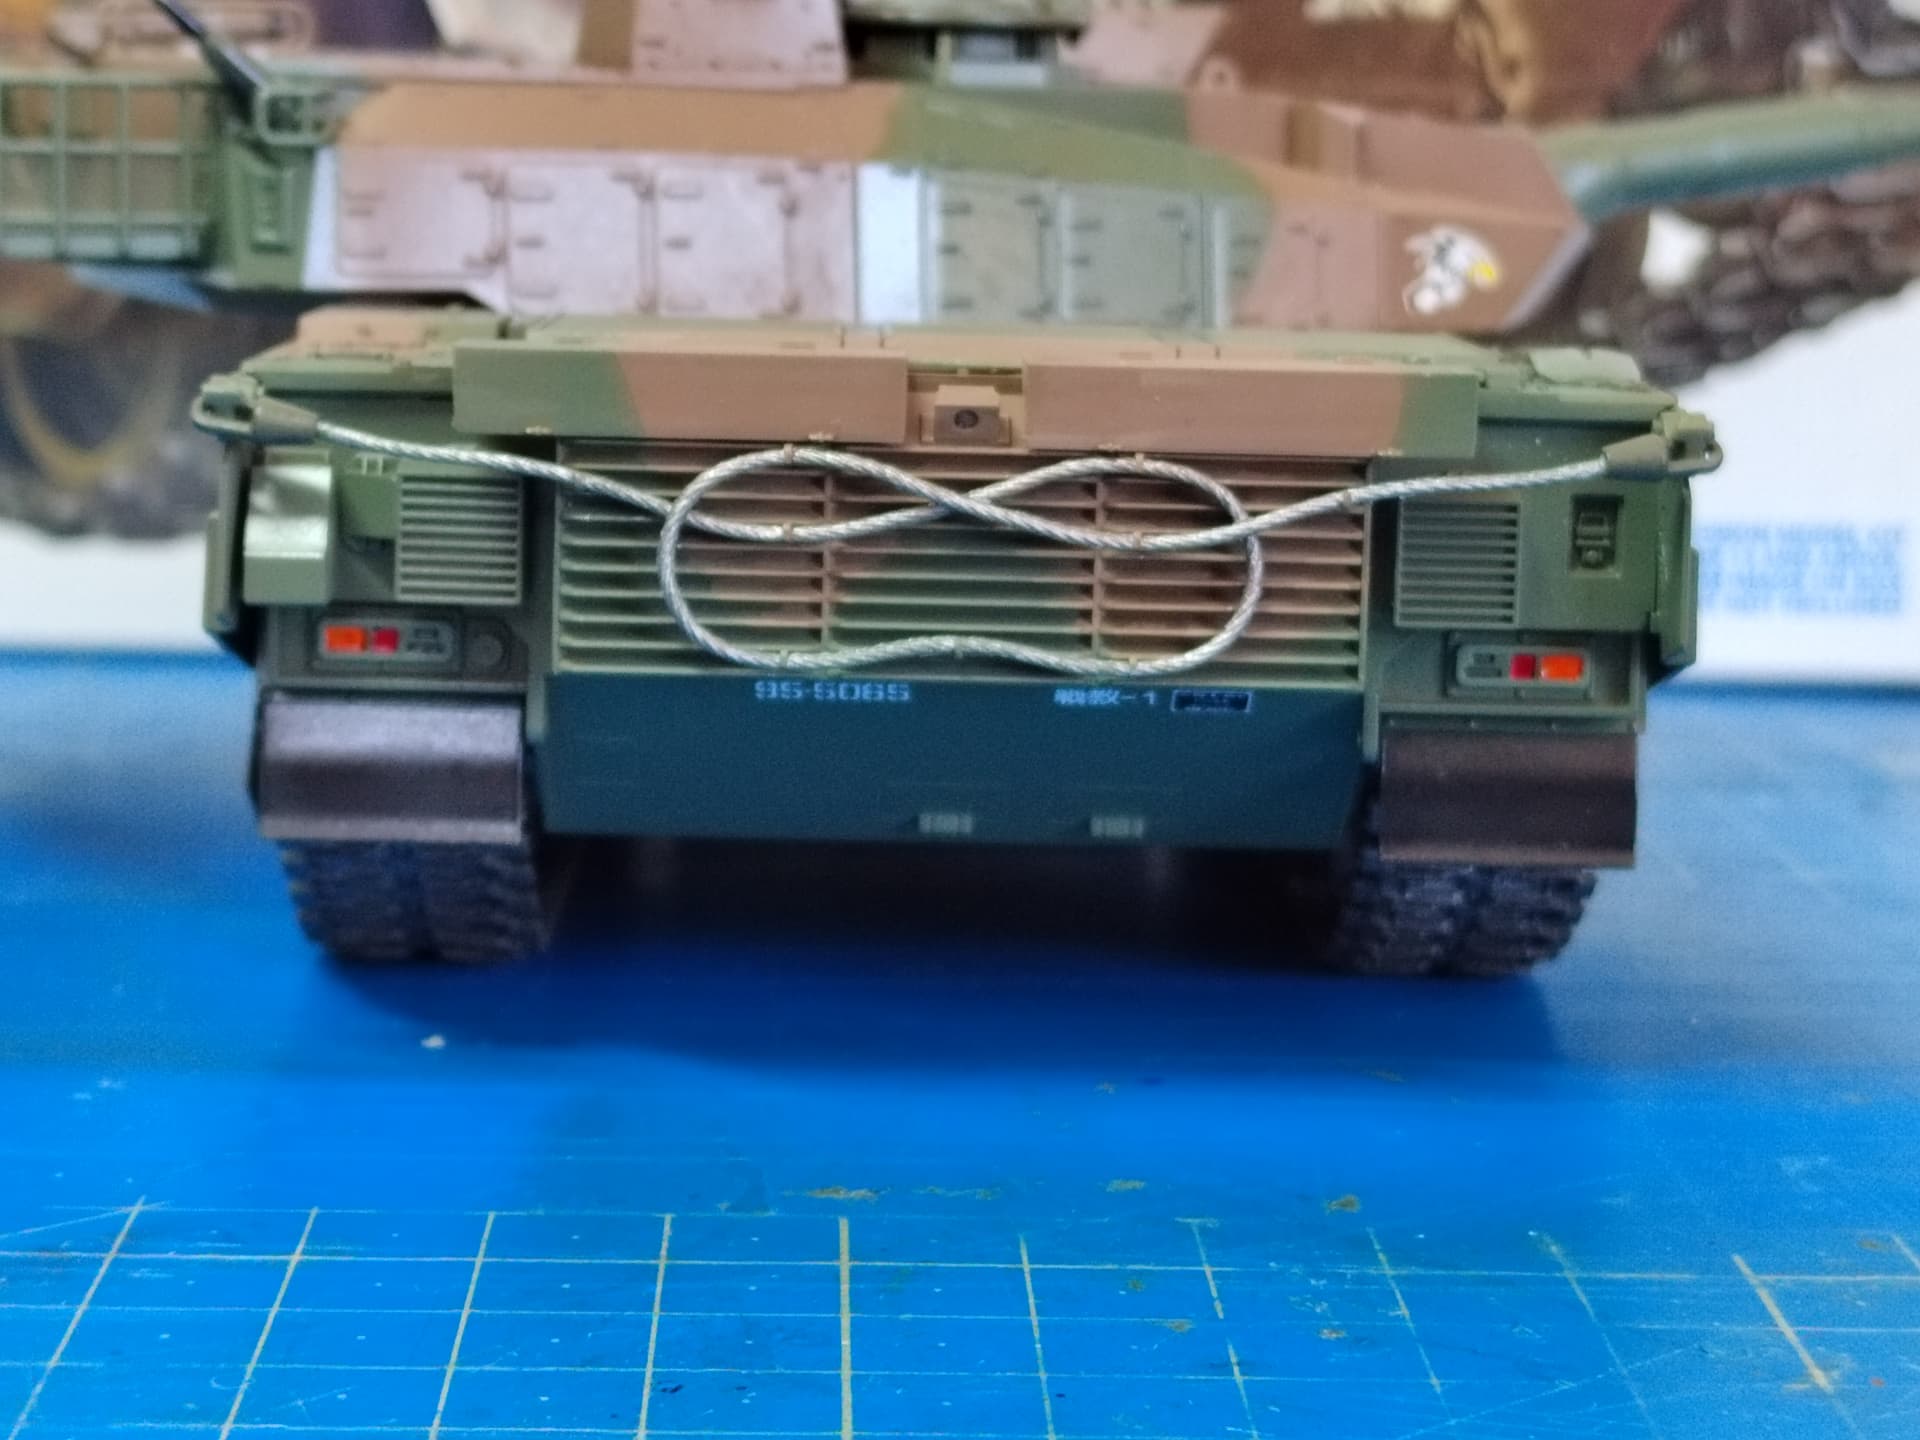
I replaced the various grilles all over the hull with those in the ET set. For most of the grilles you need to delete first the round shaped bolt heads which is not a real issue.
The big issue is the engine deck grilles are too wide. You can’t use them from the set. Note that the long edges are raised so you can’t glue the grilles without having a weird space under the short edges. I tried to cut the PE long edges but unfortunately the mesh parts are too narrow. Finally I didn’t use the grilles.
Concerning the other grilles most of them are hidden under the turret so the only interest of this PE set is the bustle rack grilles.
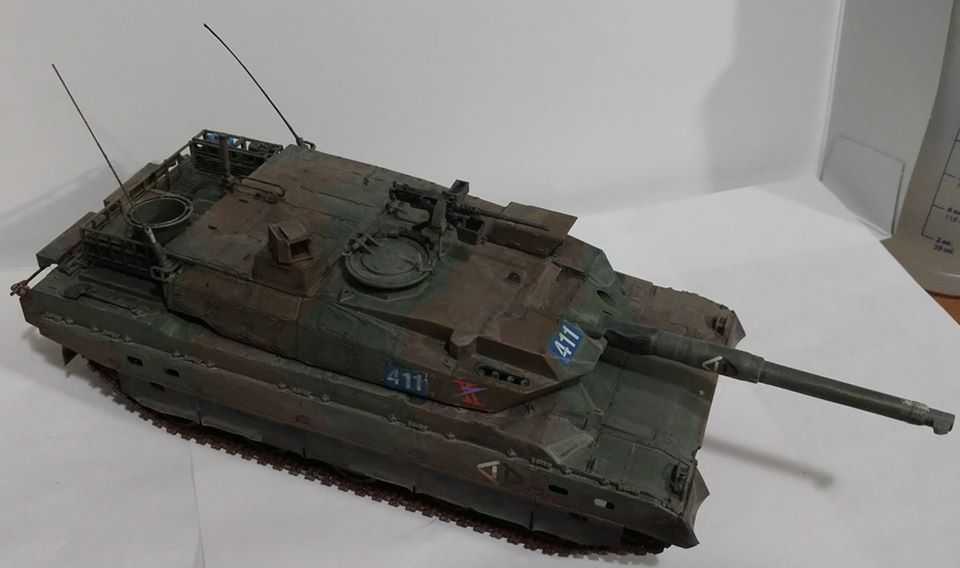
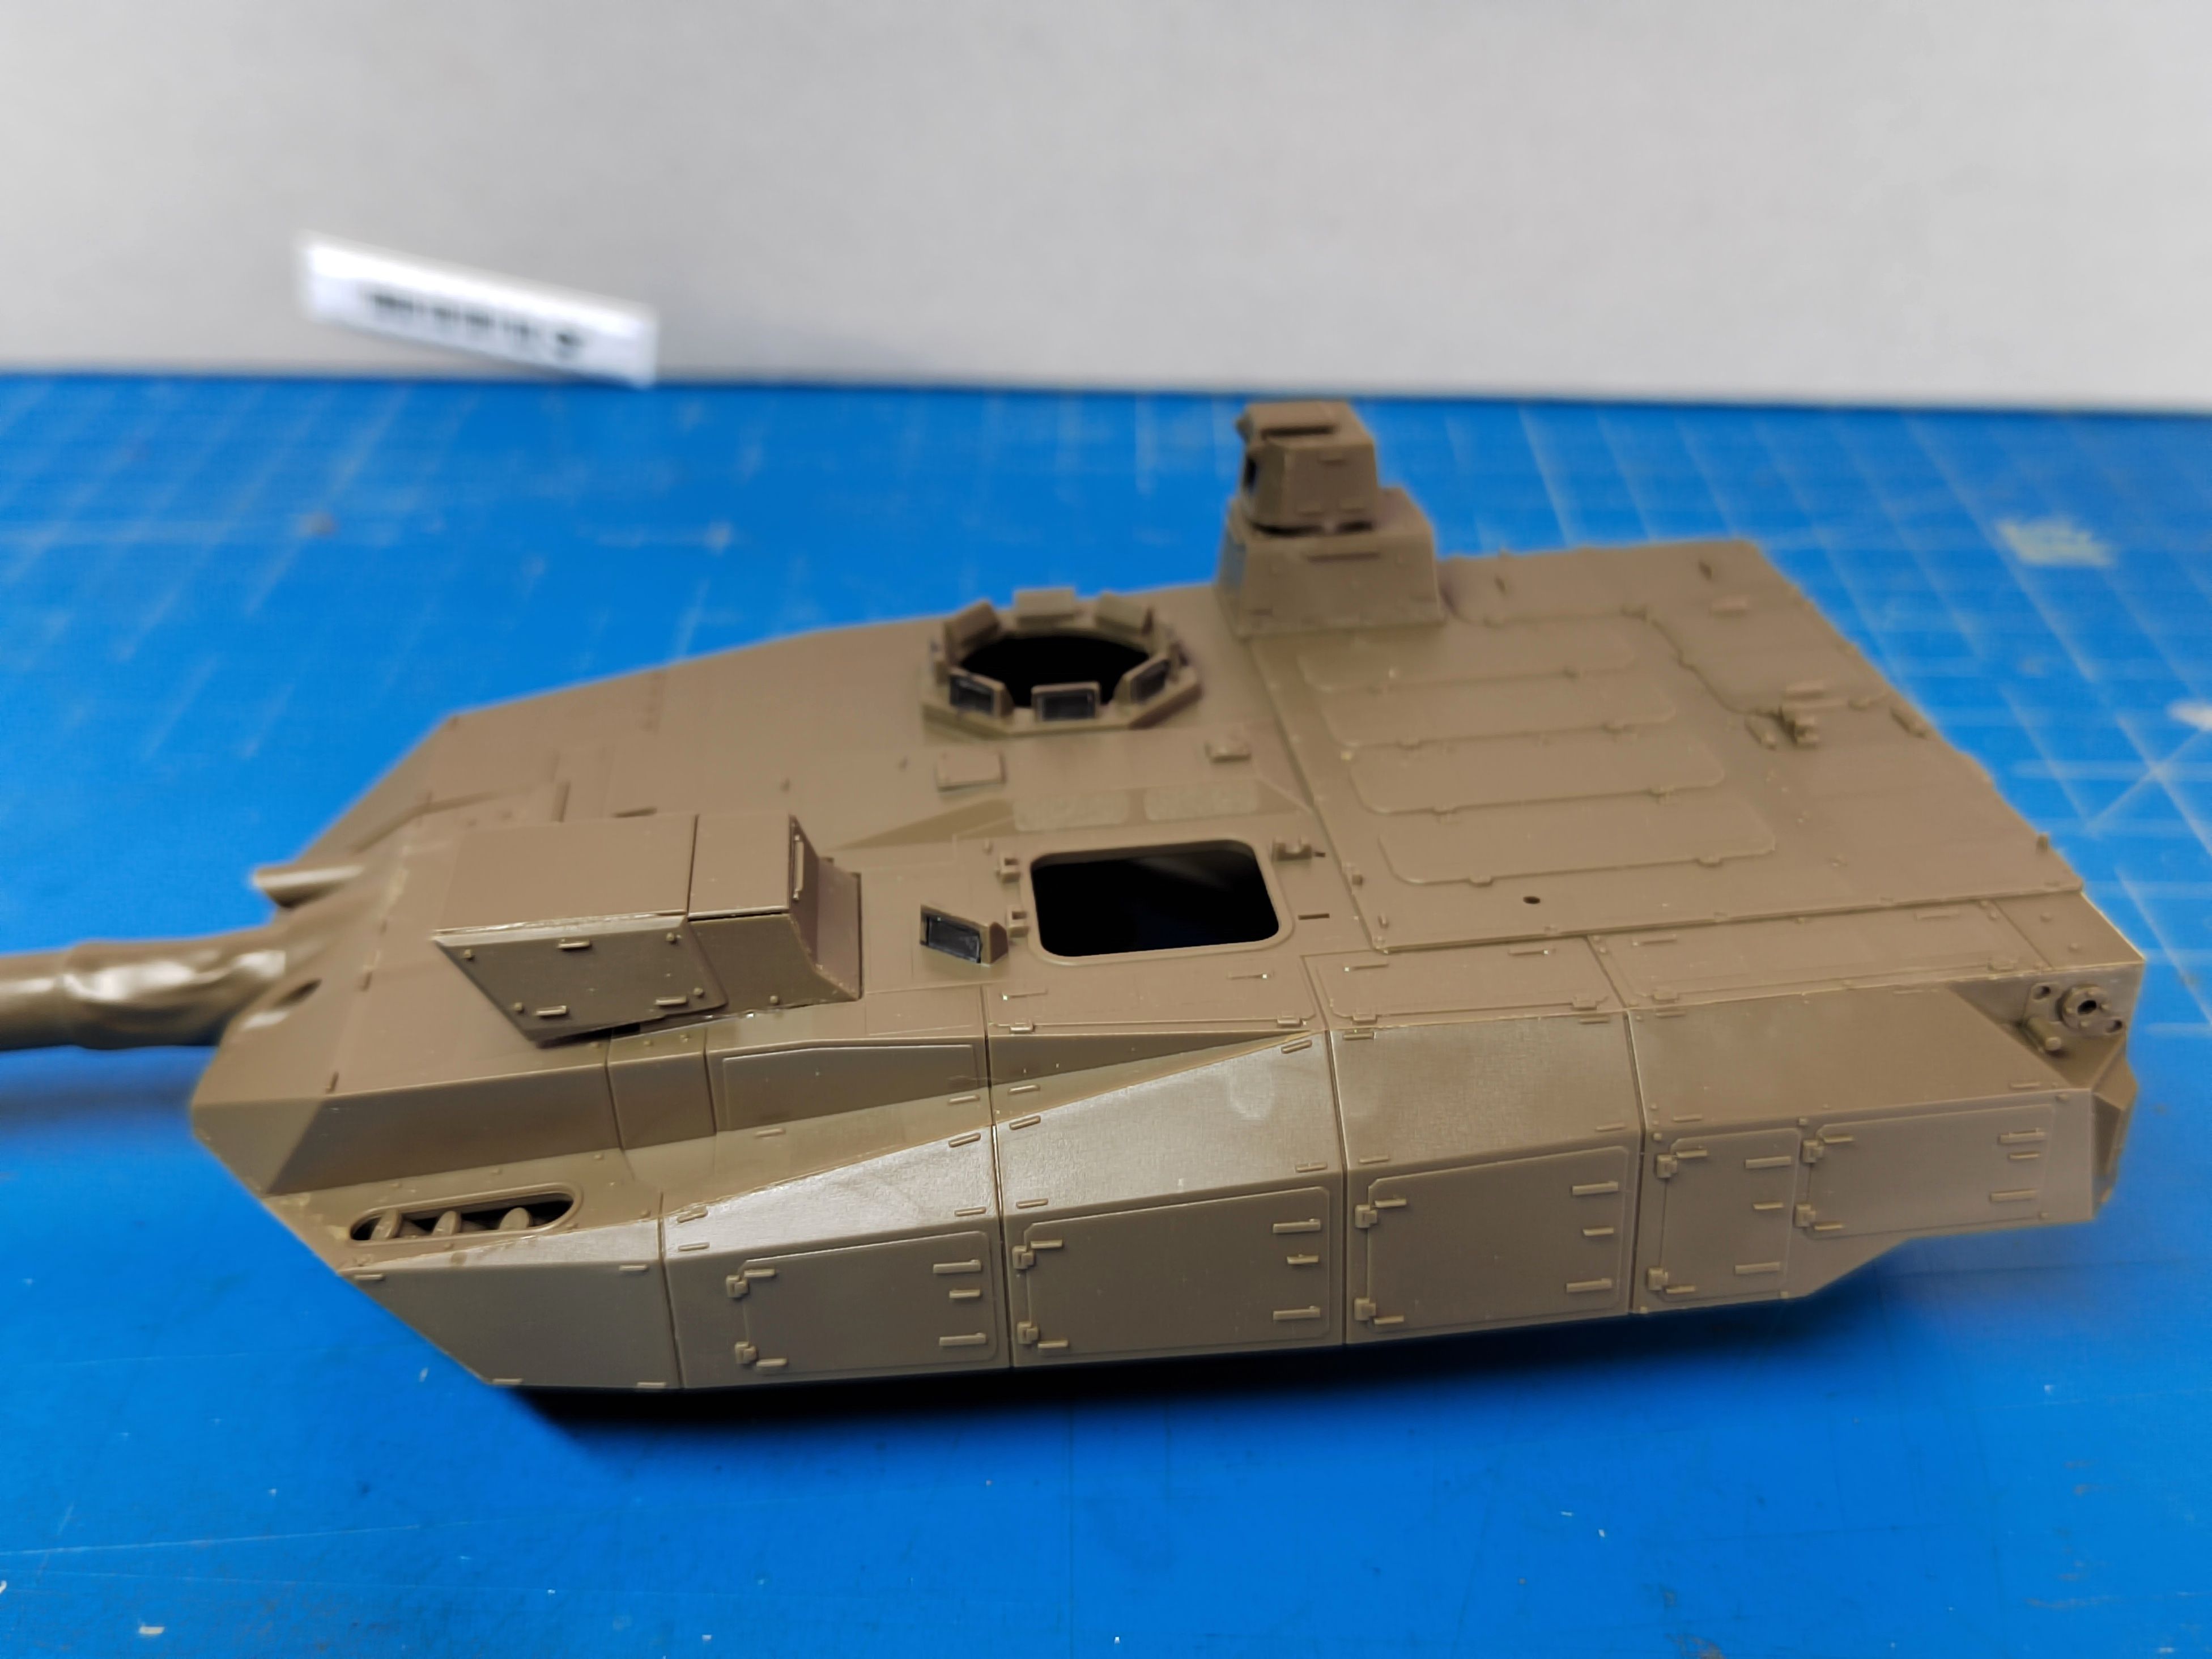
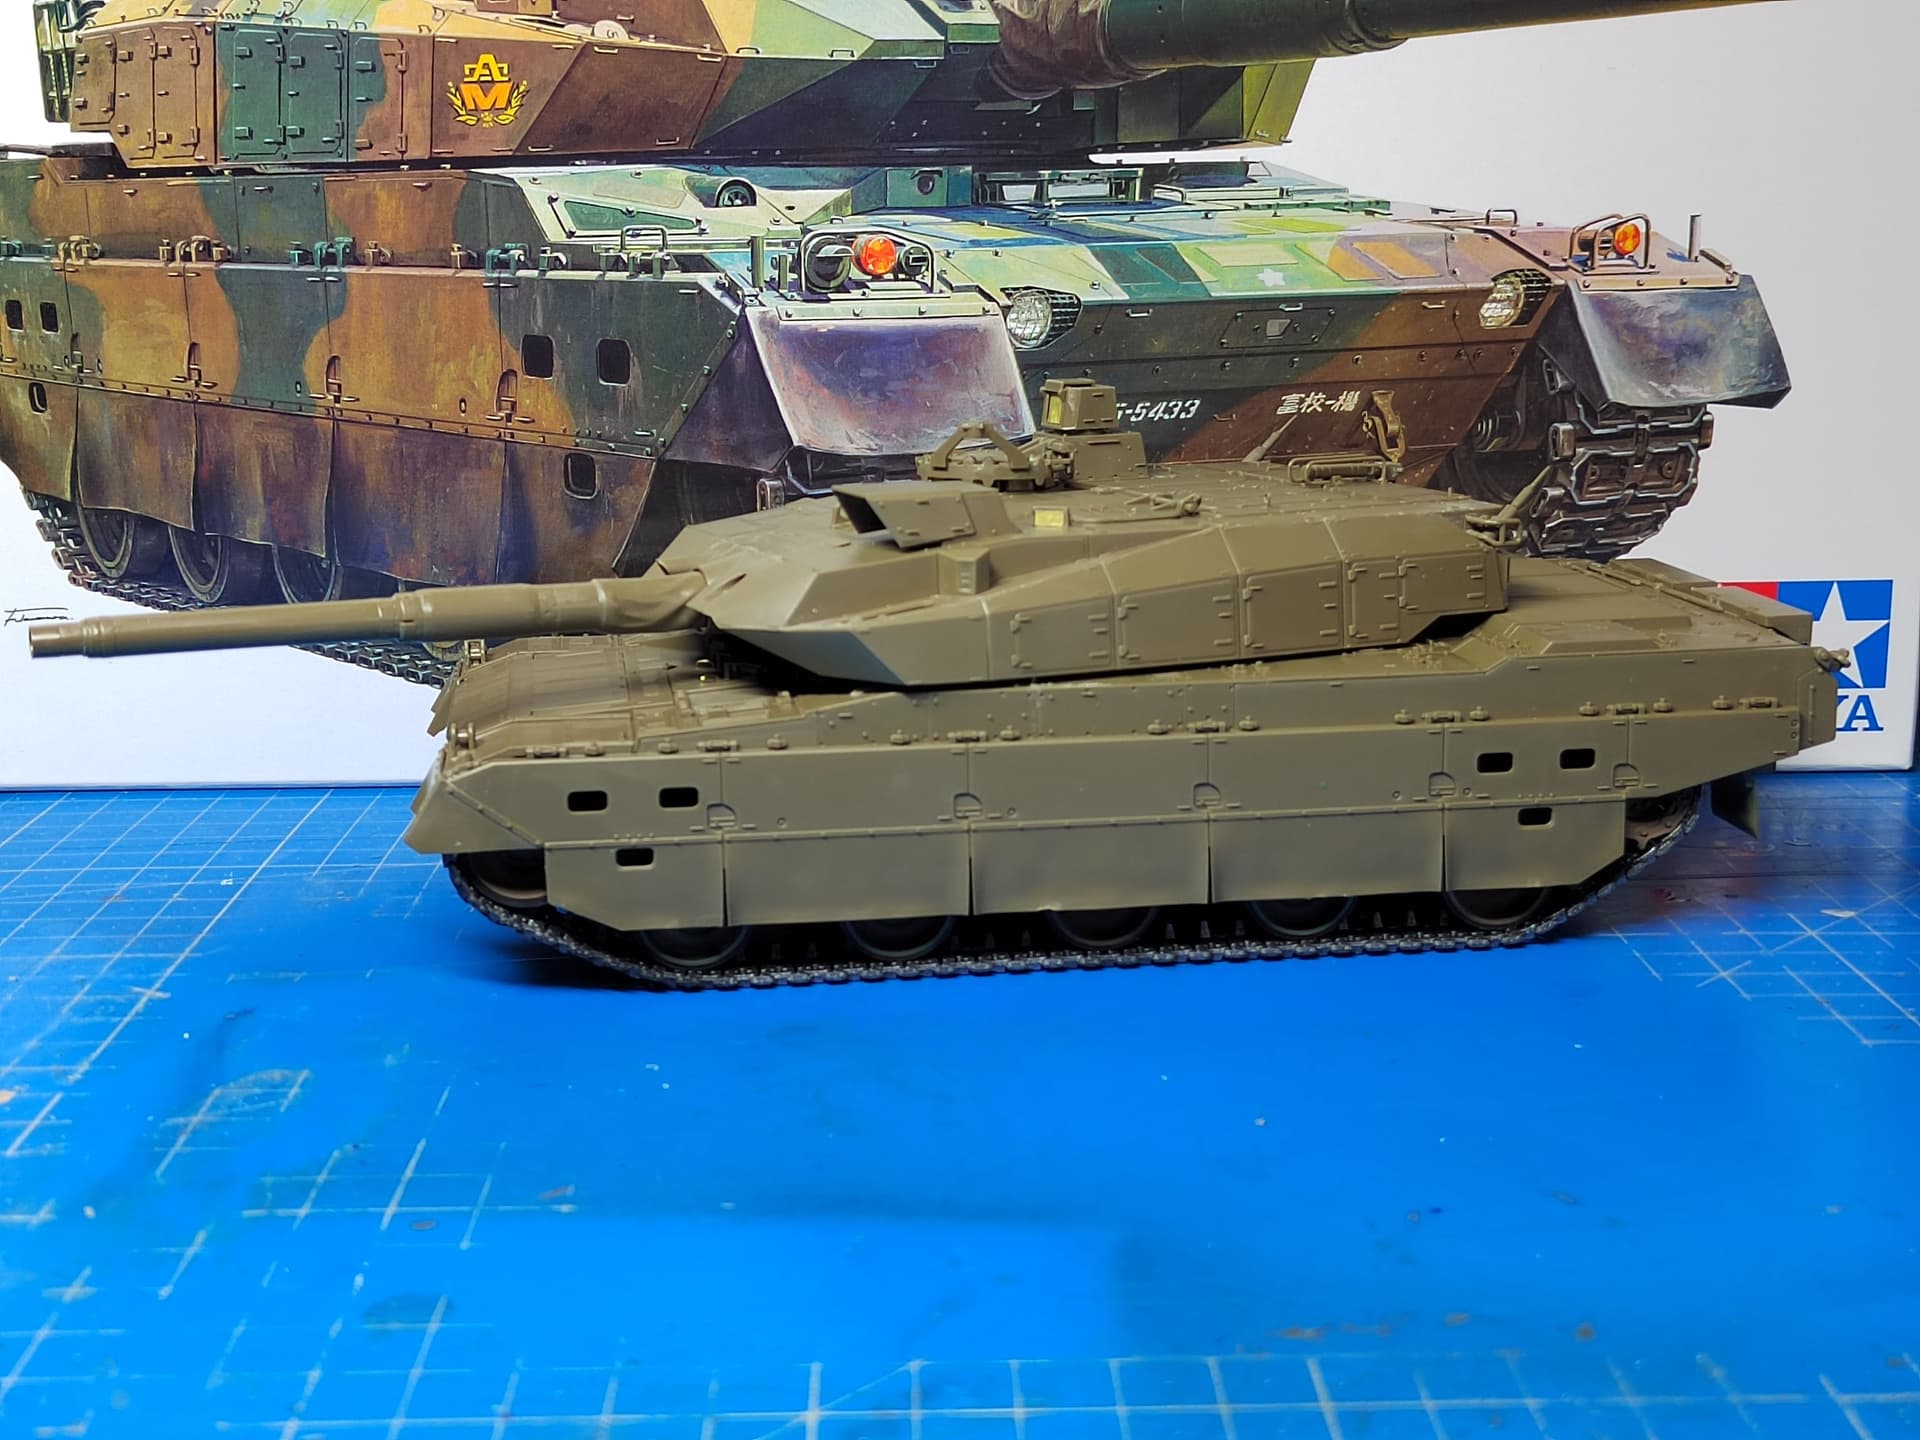
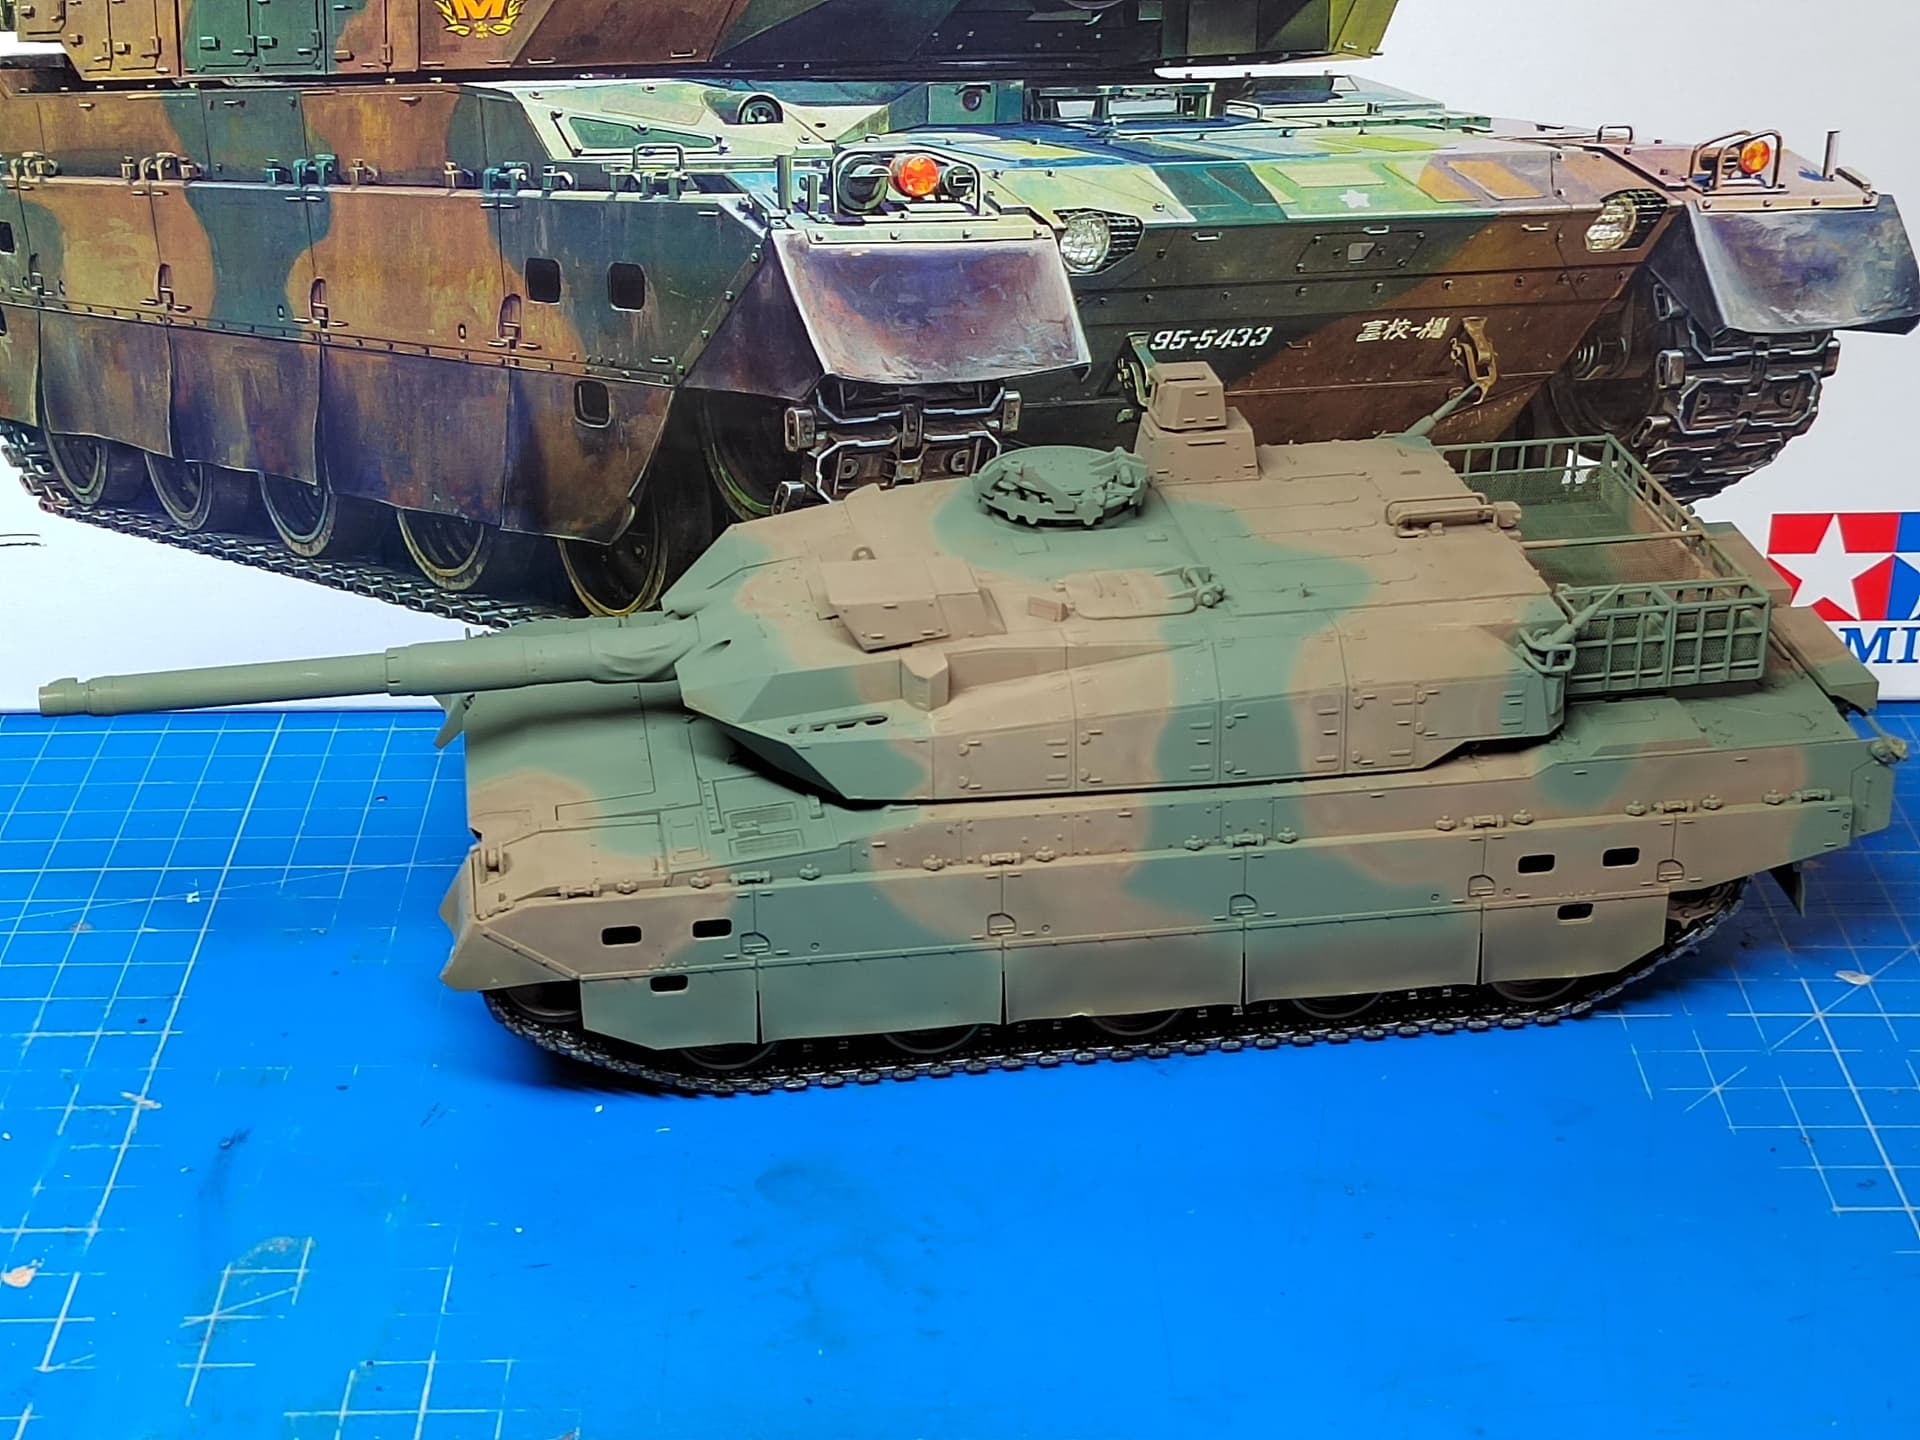
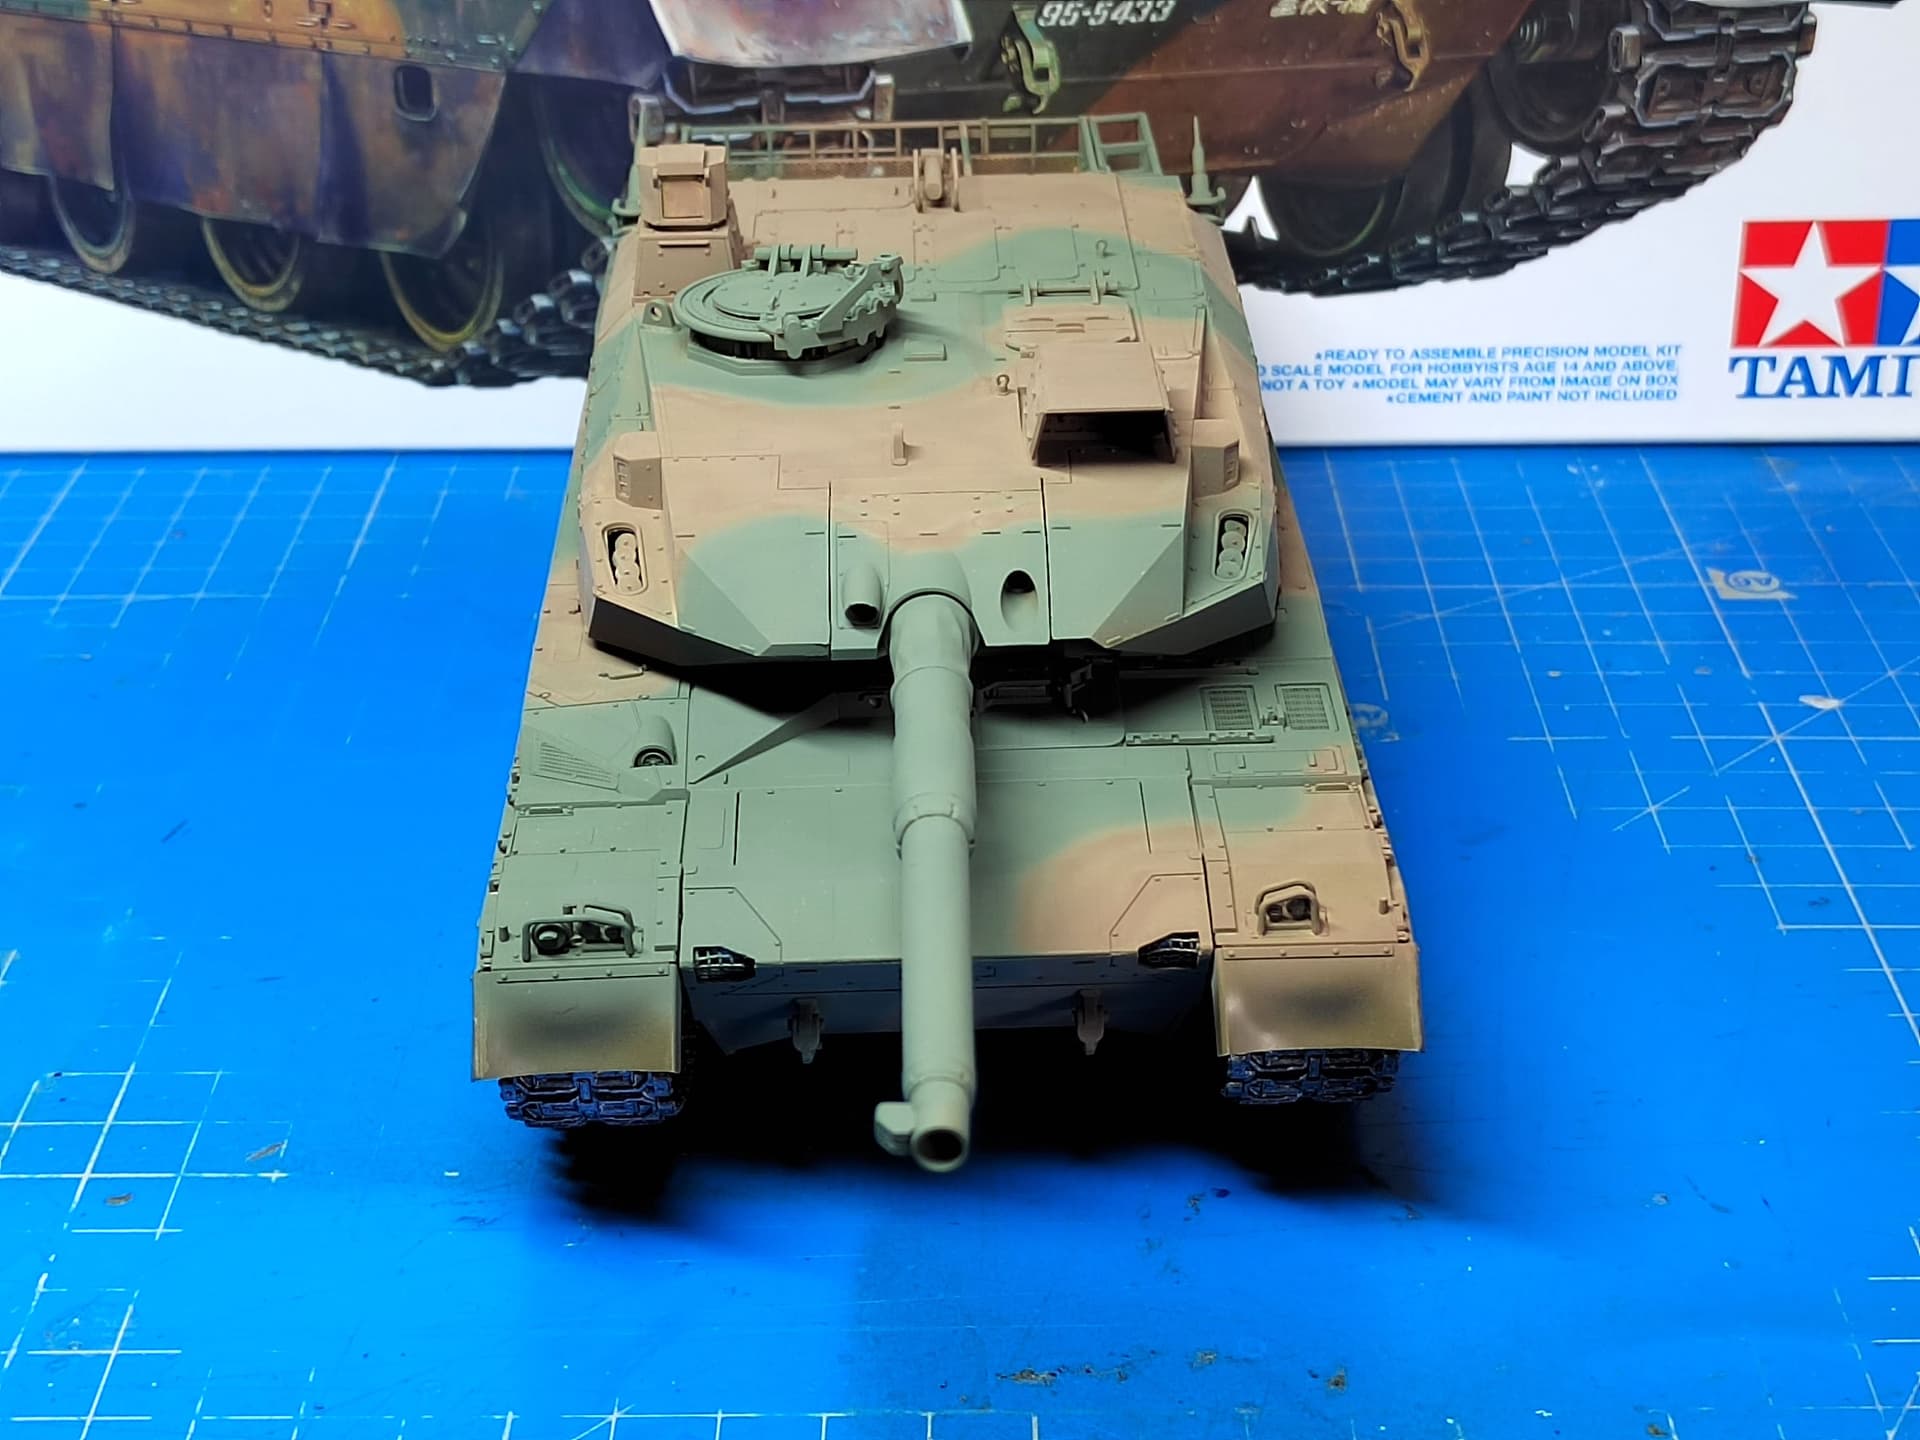
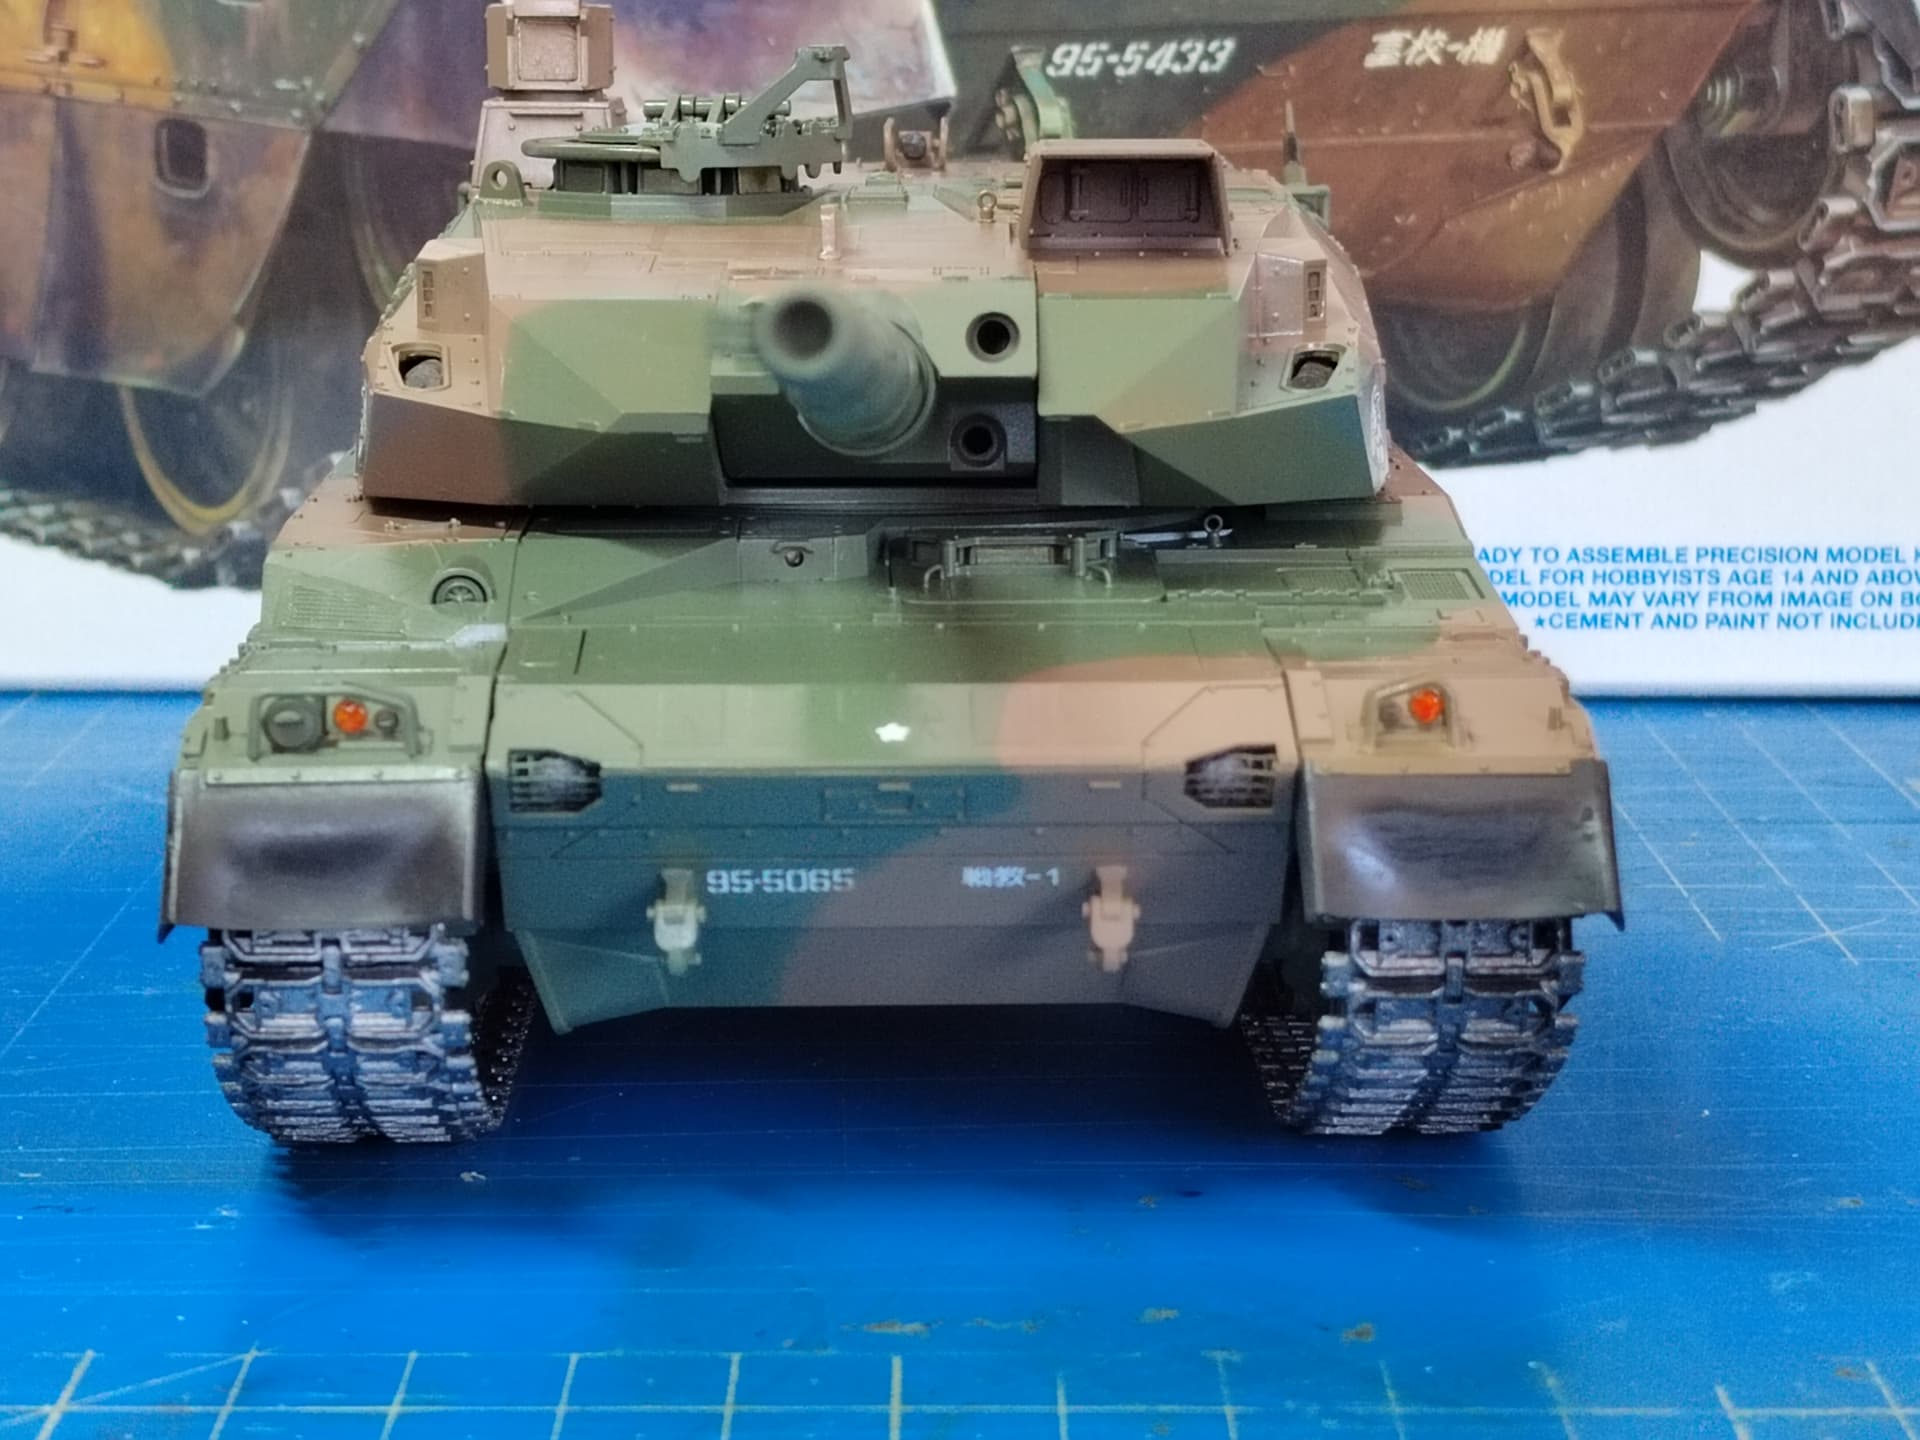
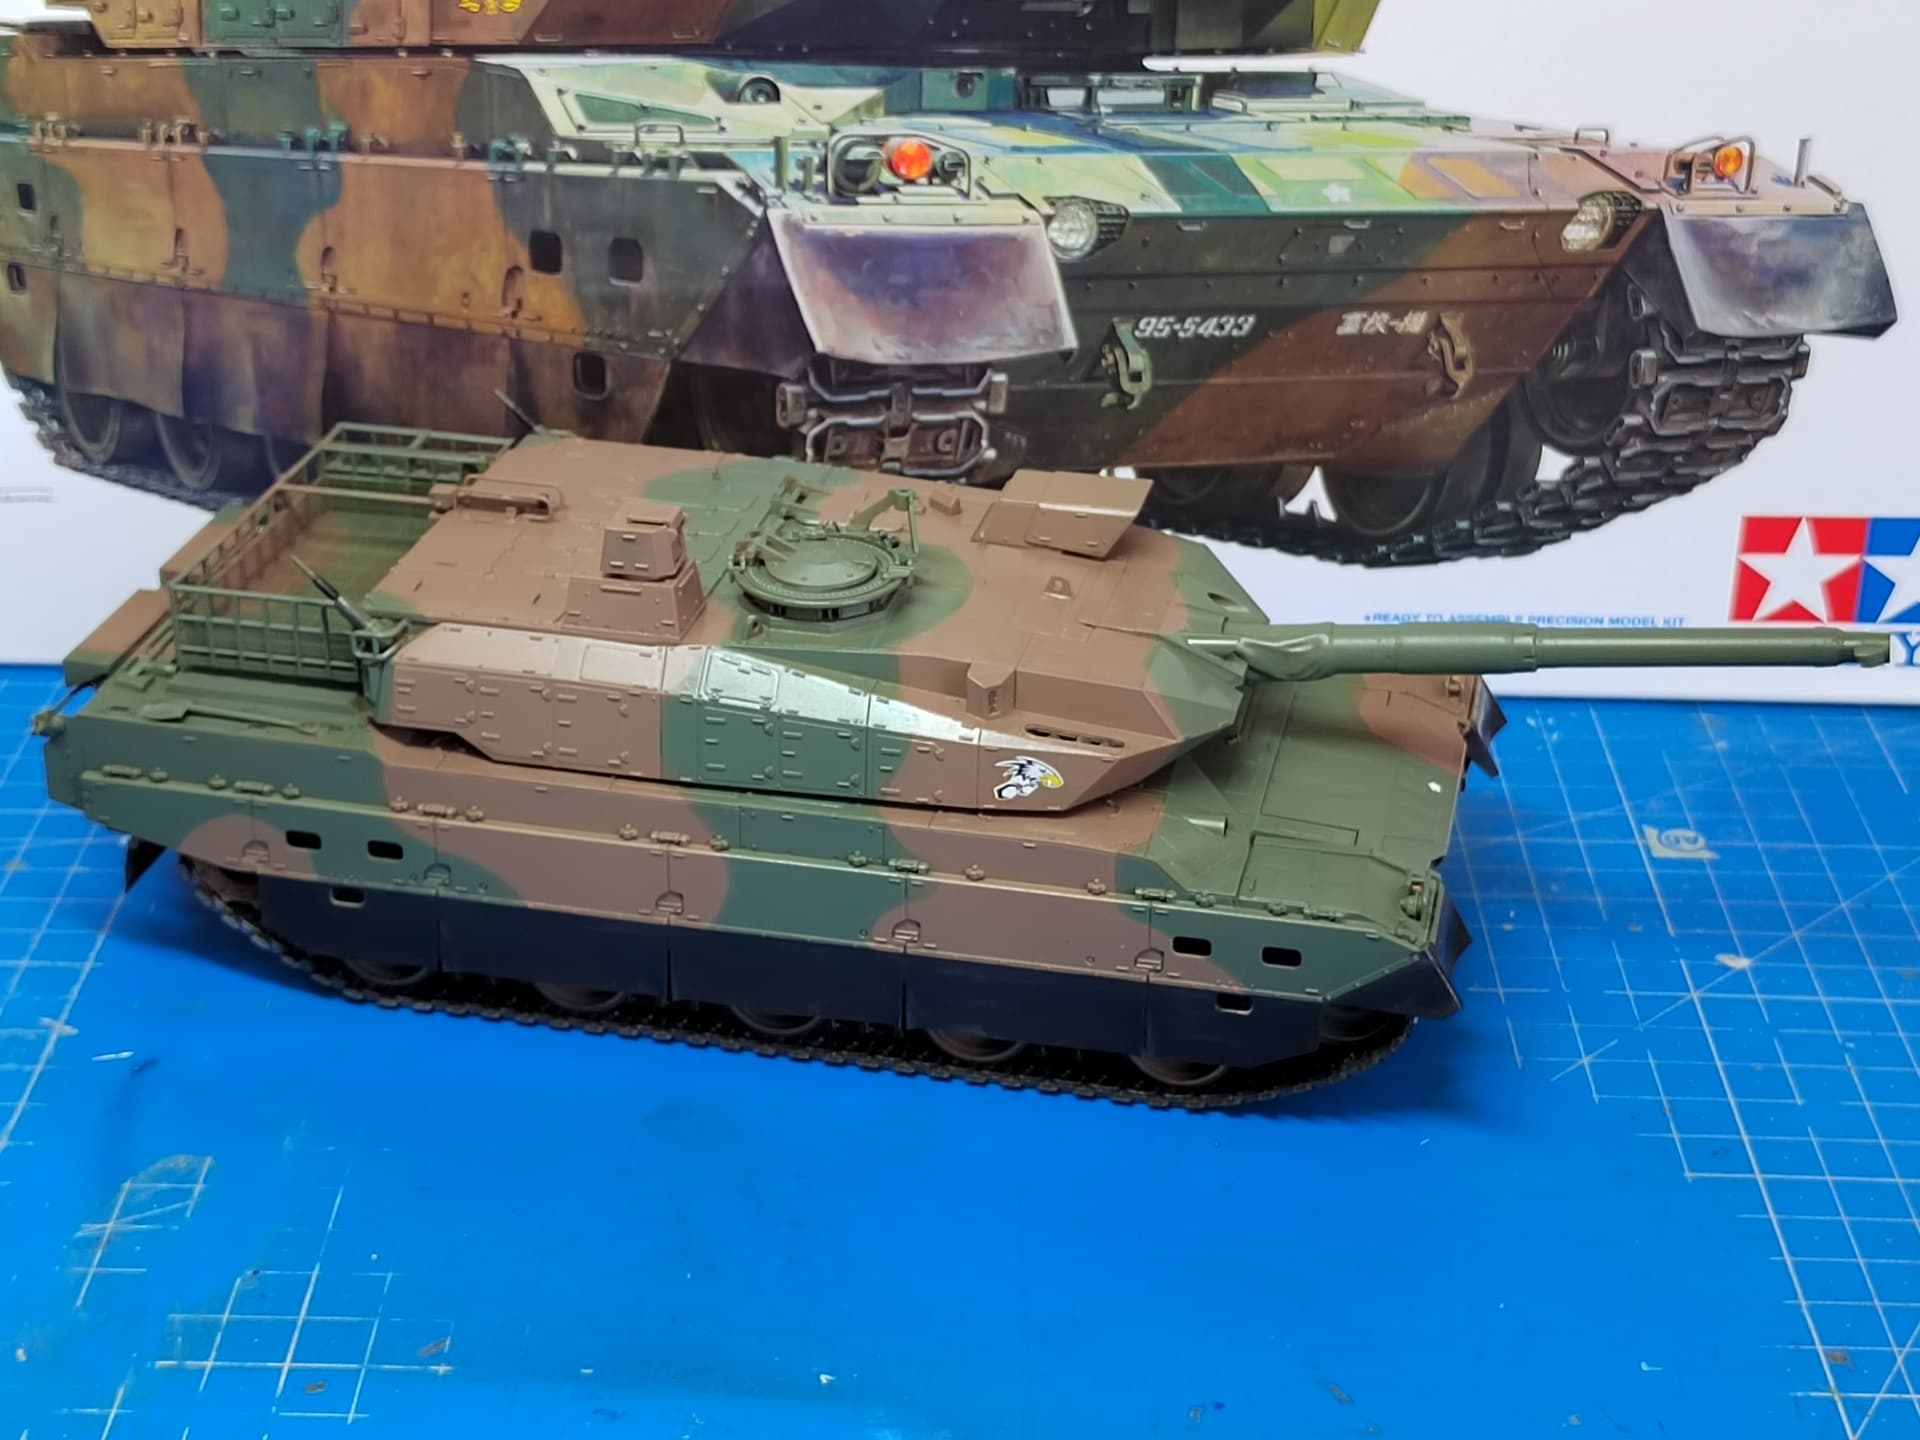
Basic camo job done. As usual I used the Tamiya JGSDF set of paints XF-72 and XF-73.
Next step is either the application of the gloss varnish before the decals application or the painting of the various details.
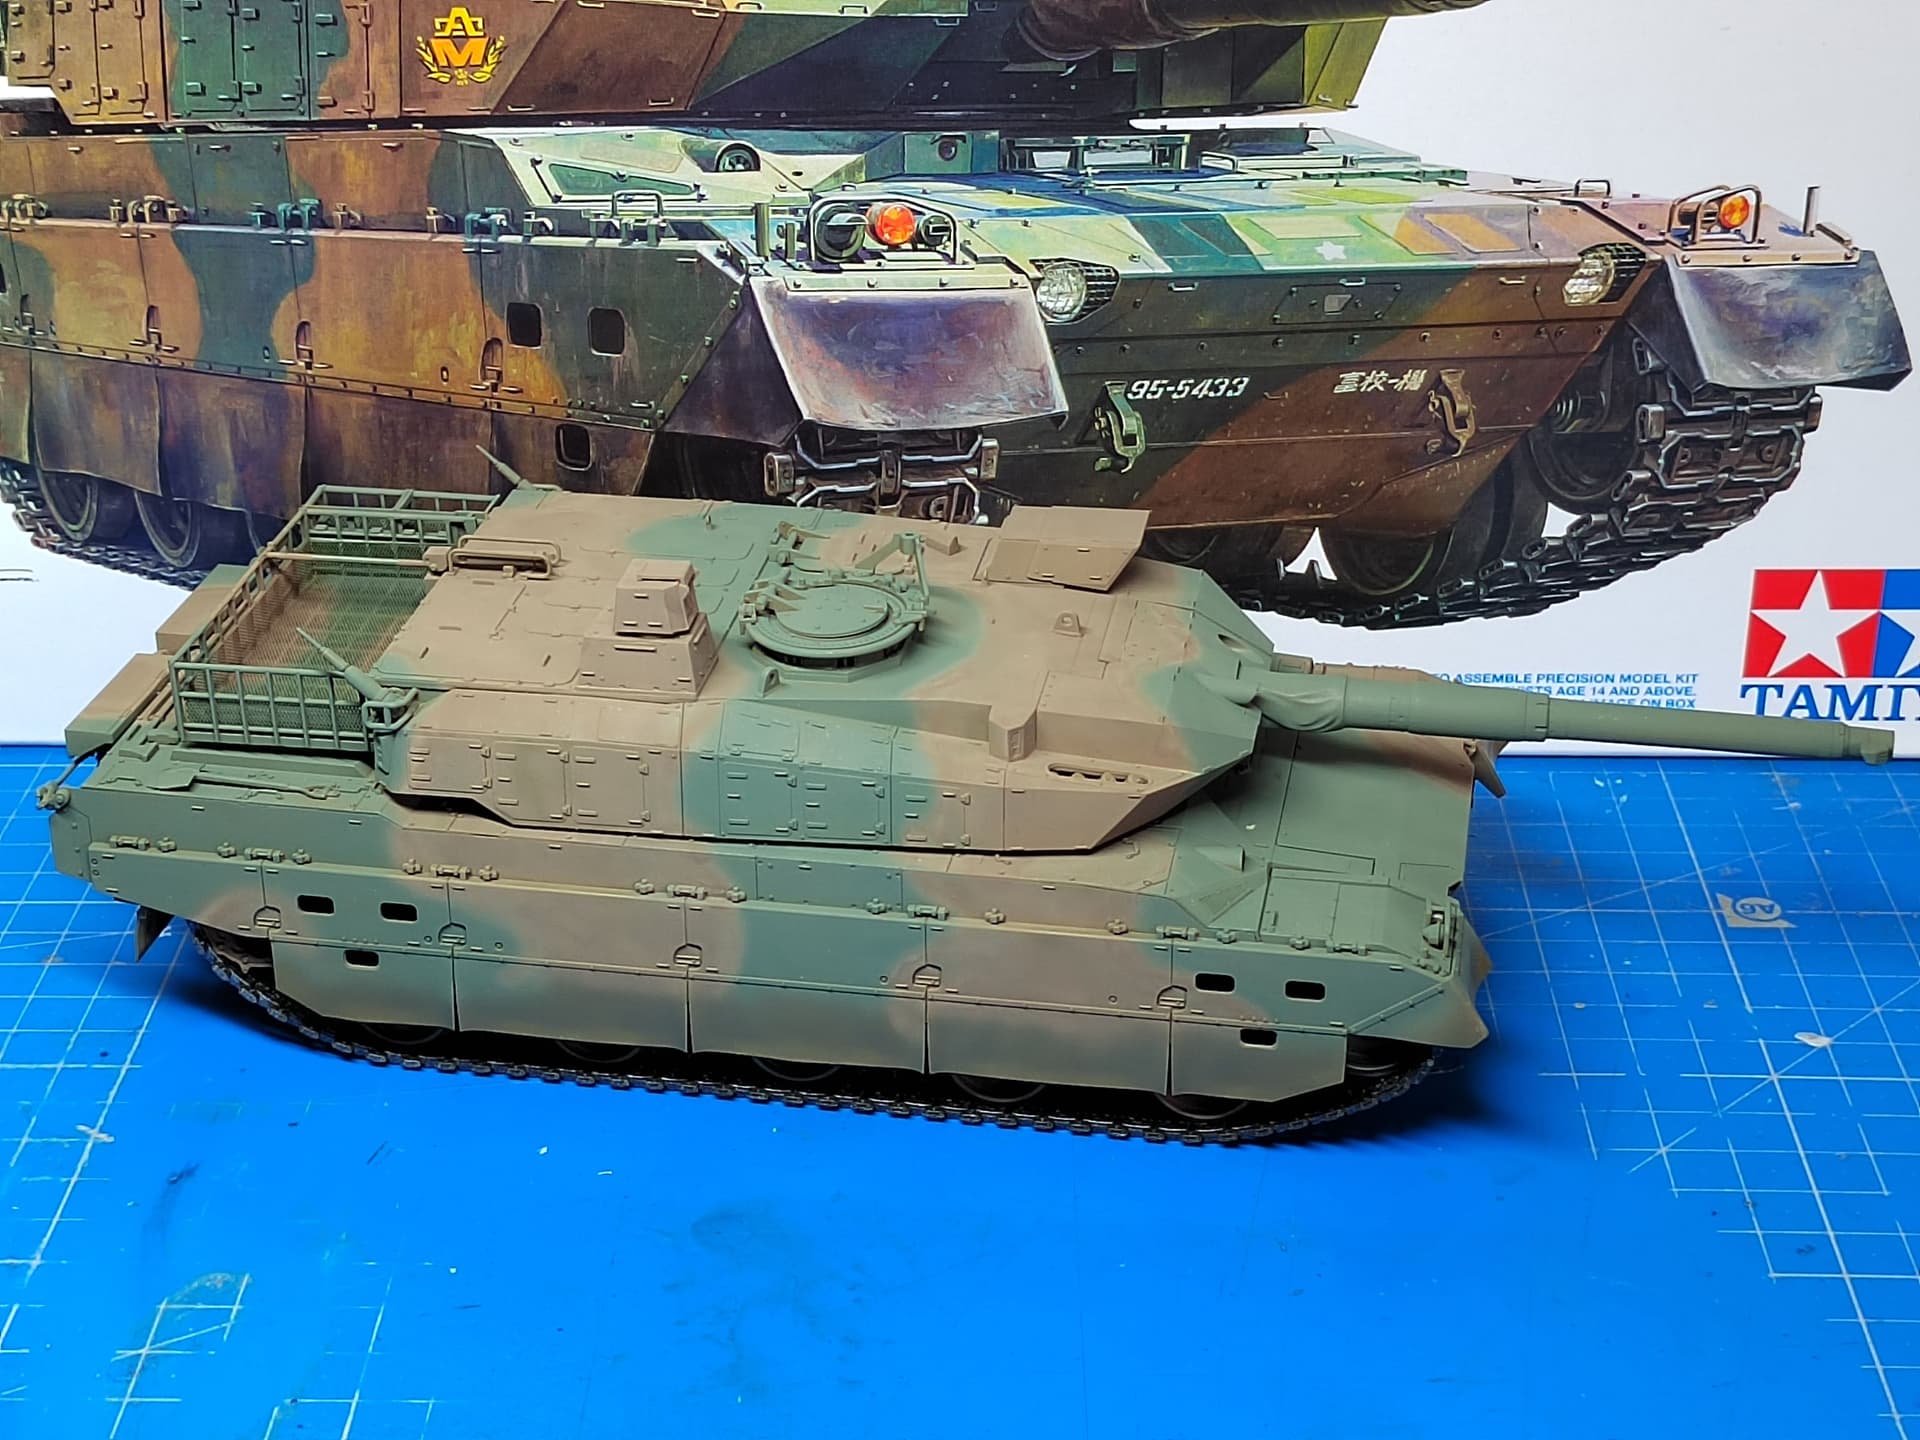
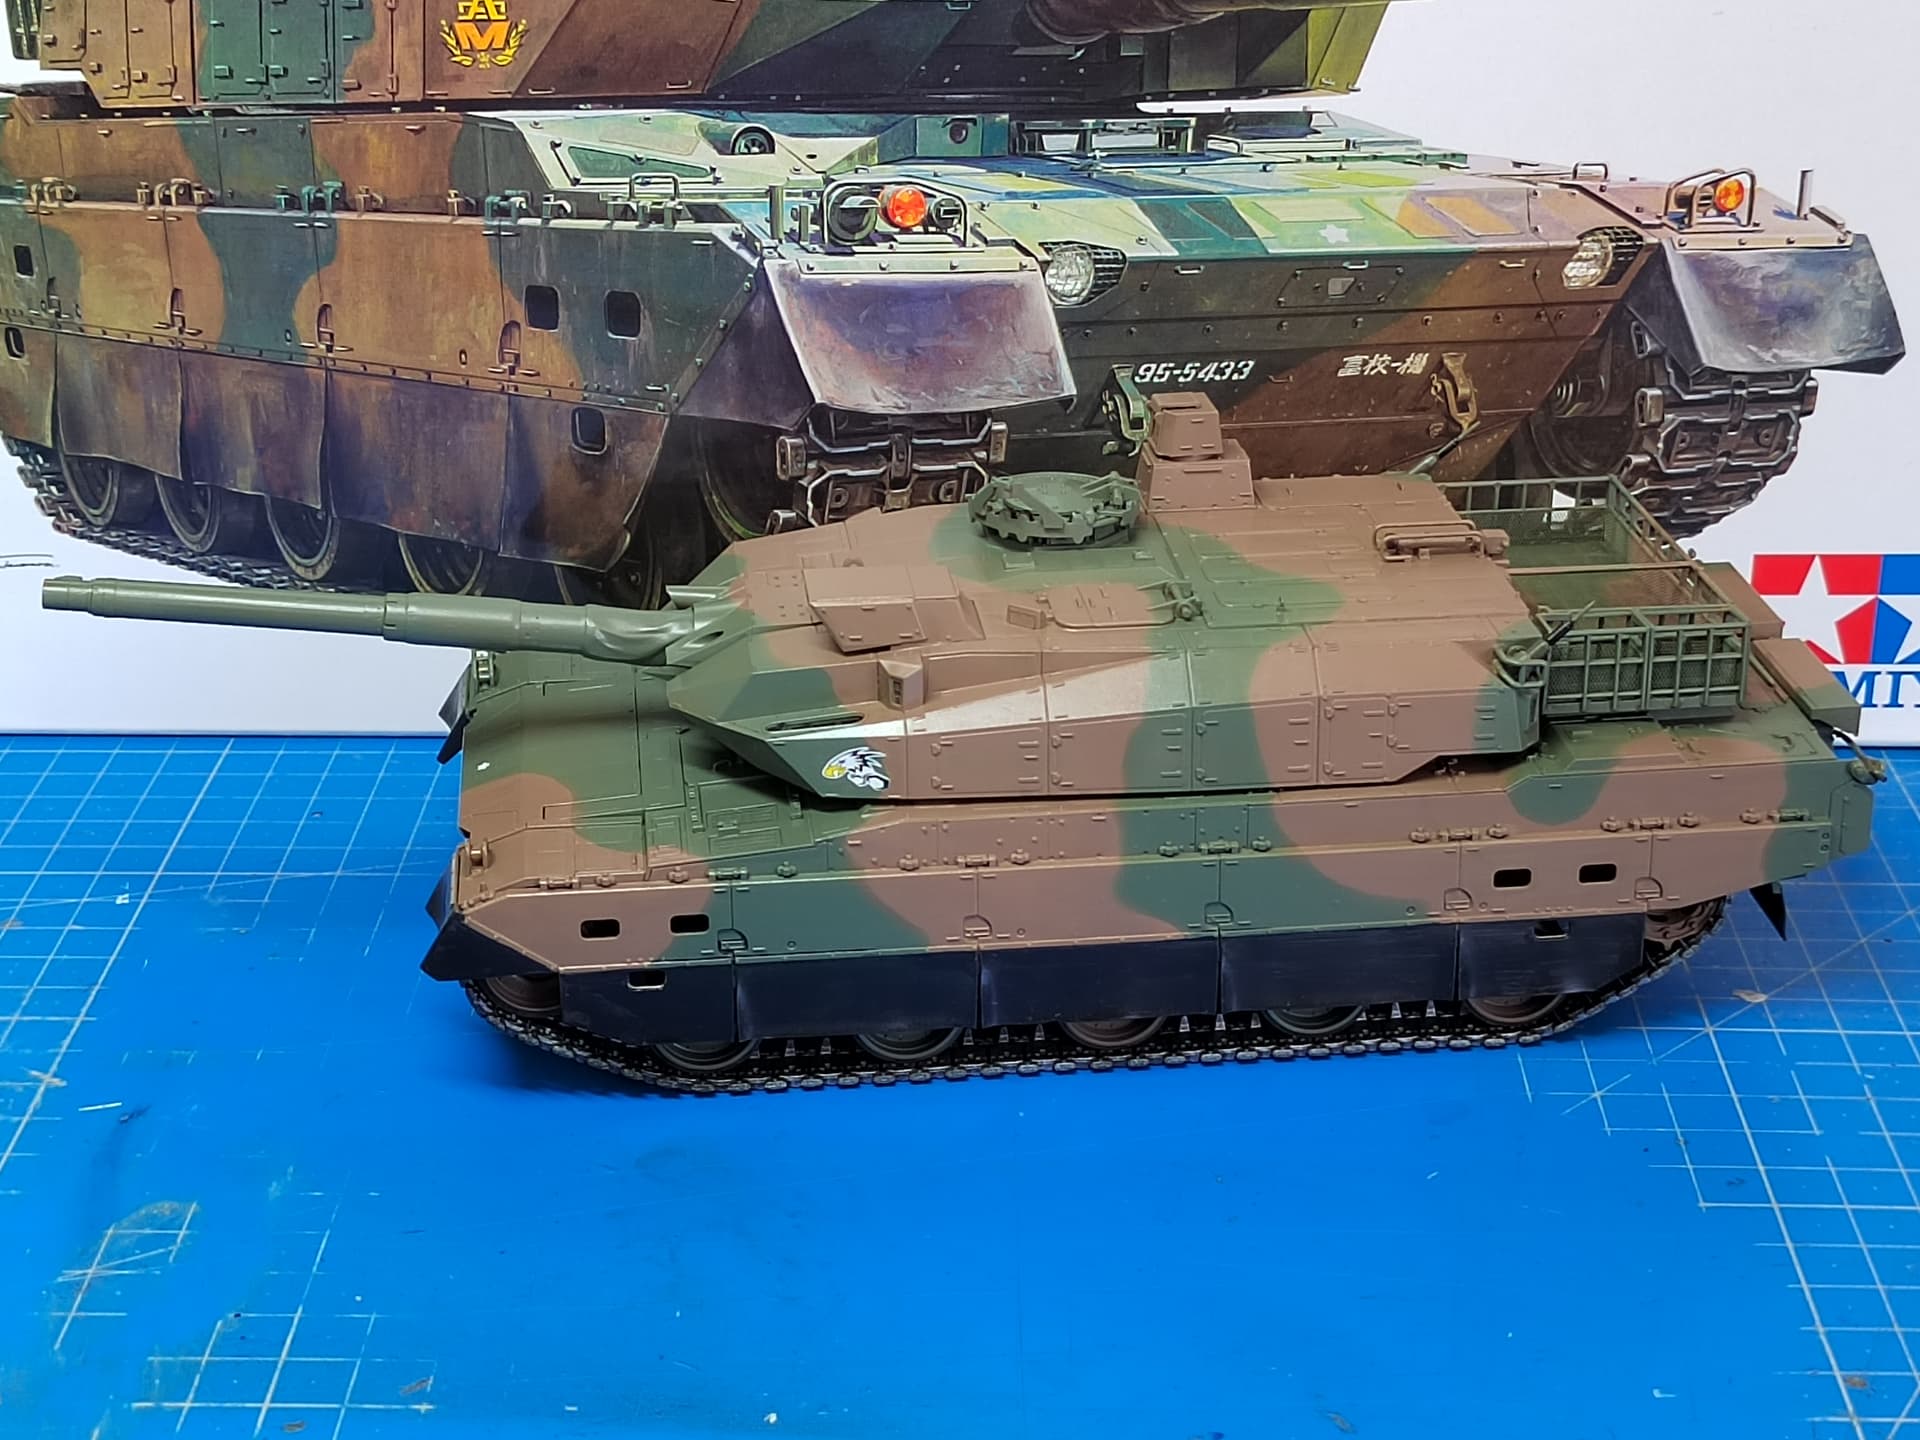
The paint is on. When I applied the gloss varnish prior to the decals application I noticed that some brown spots were lighter probably because I opened a new bottle. So I had to paint again all the brown areas.
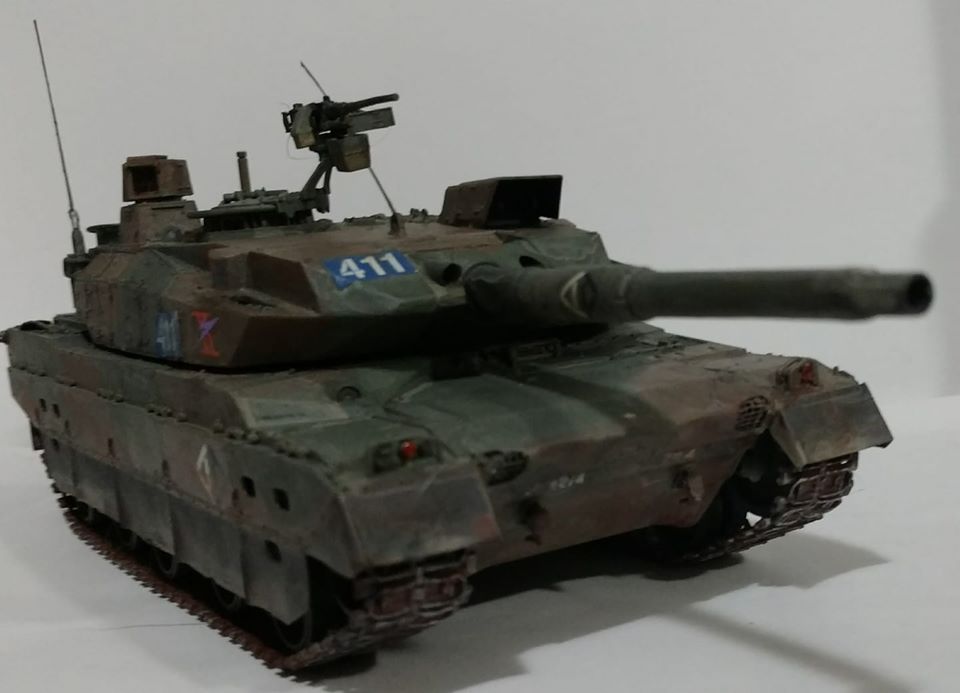
The decals have been applied. Now I’m waiting for the varnish to be fully dry before I begin the weathering.
Q: What is the difference between model builders and other people?
A: When other people have dirty things they wash them,
when model builders have clean models they wash them …