Well guys, coming as a surprise to no one, this model is getting bigger and chunkier:
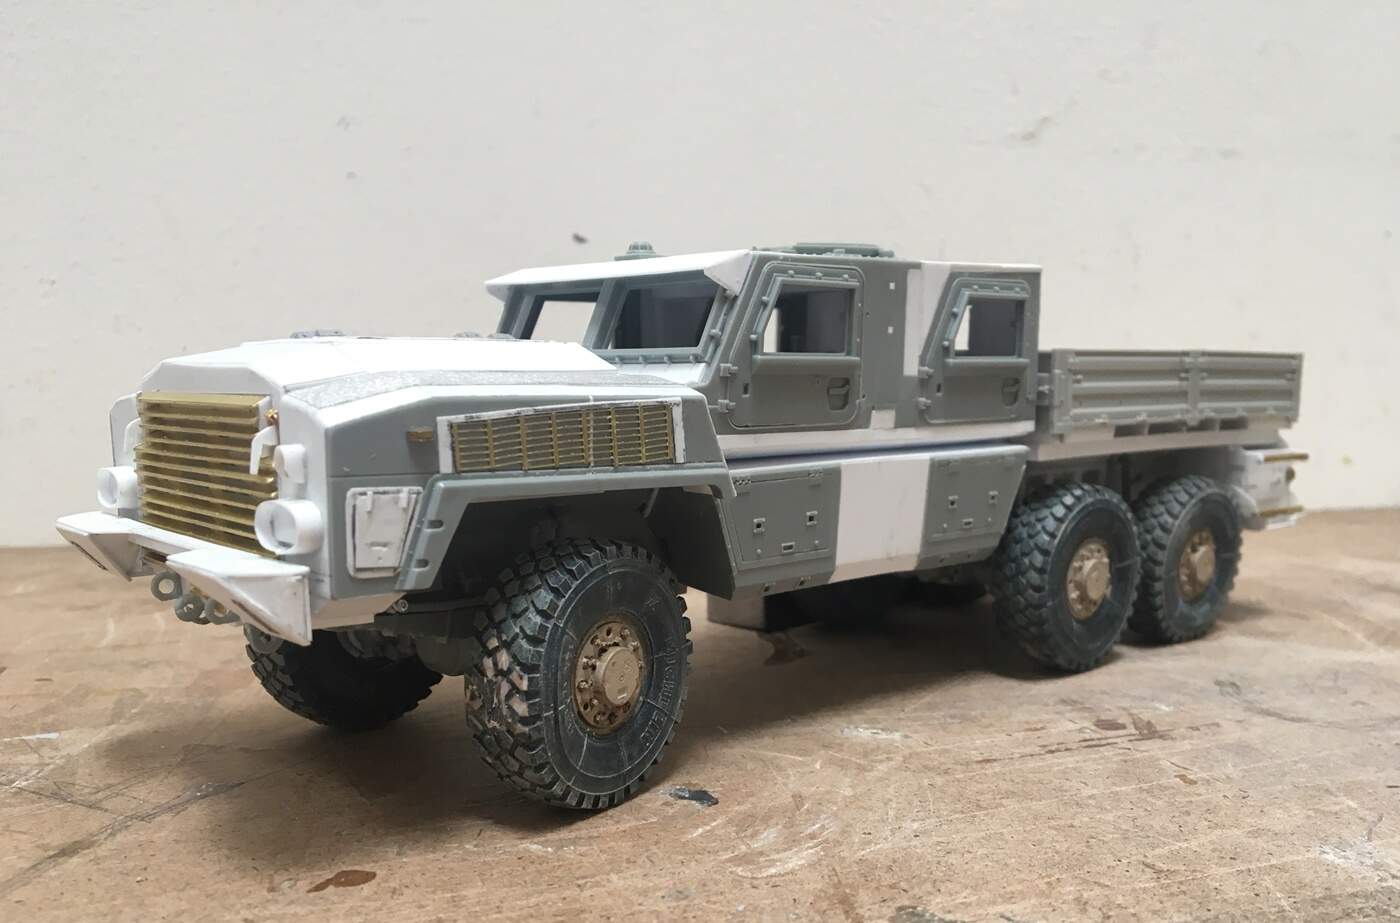
And despite the apparently simple and straightforward design, it is neither.
Take the bed for example. While the deck and siderails come from the M1083 kit, they have been cut up and reworked to fit this. And, the area below the bed-deck, is like the cab, and does not sit on typical frame rails. So, in went a tiered substructure to attach to the frame/hull, and to function as out riggers, which support the bed-deck which sits outside the basic hull.
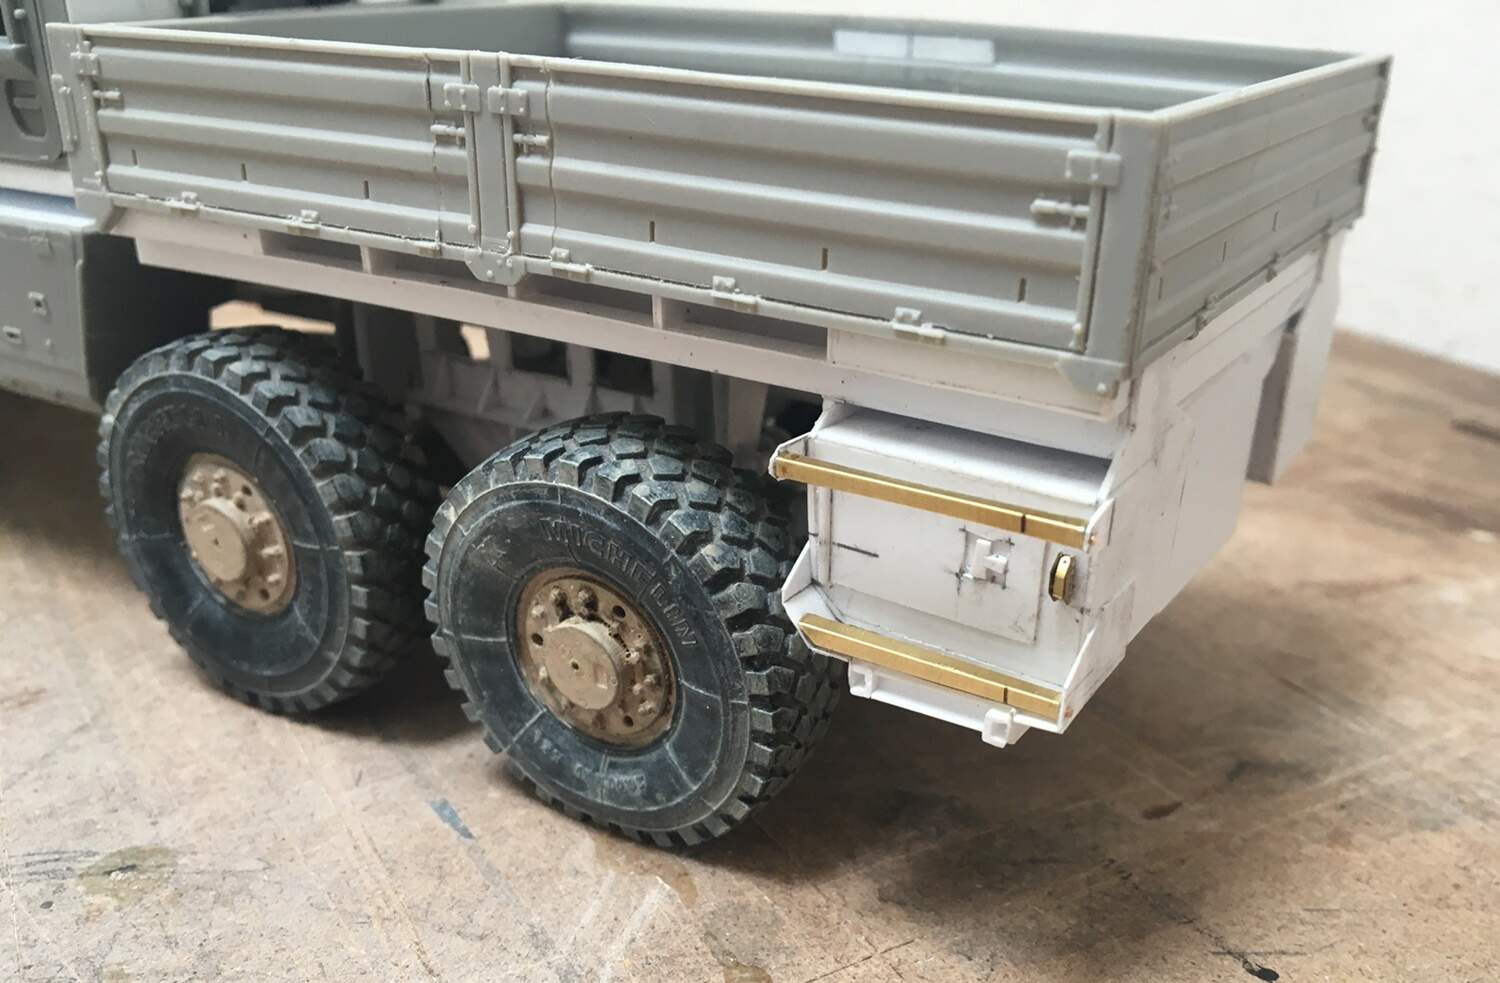
And that little box - one on each side, but mercifully, only this side gets those minty steps…After making the boxes, I added the separate brackets made of .010" sheet, and inserted those PE square tube steps, another joyous task. In fact, looking at this pic, I can see I need to try and trim a tiny bit off the channel on the lower right… ![]()
Of course, all of this had to be done with the bed glued to the hull - the problem you ask? well, the truck is big, and each of the parts are small and relatively weak. So, measuring and installing these parts became a real exercise in patience.
I conceded several points to the model/real thing - that is, some of the parts require some pretty unique geometry, and my representations are merely close - and those little “T” shaped grabs - well, they could be more precise - but, they’re not.
This area has become in some ways just as tedious as the hood to make.
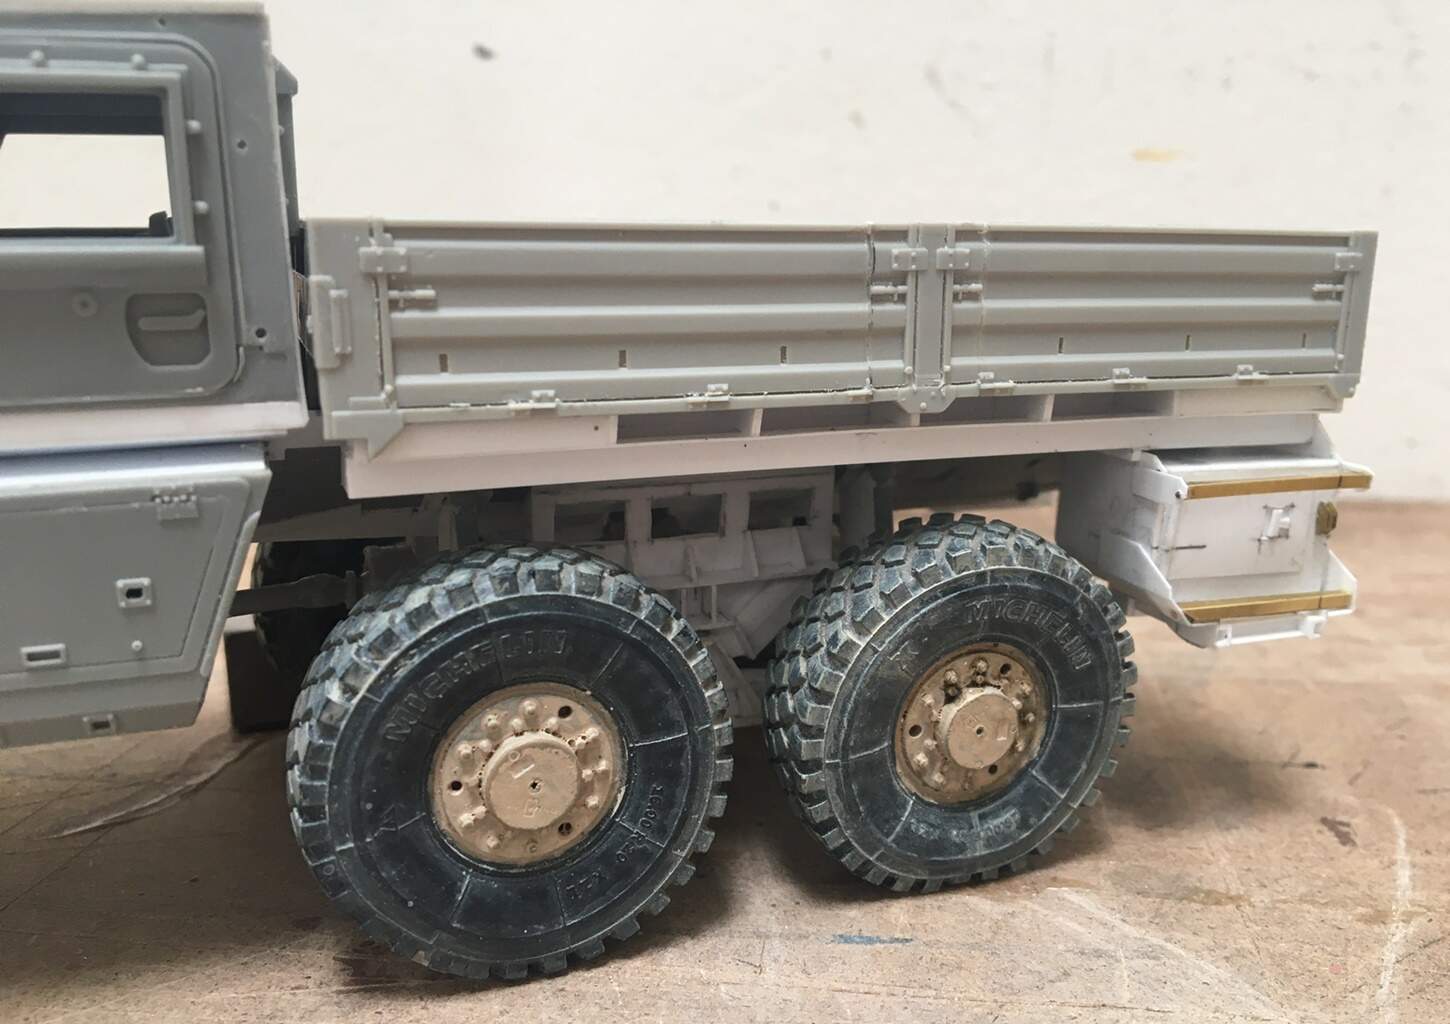
In the photo above you can see how the bedrails were cut up.
I sectioned out the center post and installed them to the modified bed. Then cut the respective sides so they fit this bed length and matched the centerline - again, how hard could that be? Well, in addition to cutting them perpendicular to the base at the correct location, the blade thickness and any wobble/irregular edge resulting from the cut minimized, so that when glued together the surfaces looks more lor less uniform.
I still need to add a tiny piece of styrene to represent the the top of the third hinge on the left bedrail…oh, not to worry, there are lots of these little fixes to come…perfect.
And the rear. There is still a lot to add back here:

I just got sick of working on it, so concluded this was a good time for some progress pictures!
I’ll finish adding the fundamental parts to the rear, make some tool boxes for the other side, and then, get on with various details and a lot of bolt heads.
Ok, on we go, and thanks for having a look.
Cheers
Nick