No. The two fuselage side and single underneath brakes were standard on all the single seater AD variants. The side ones were deleted on the AD-2, AD-3, & AD-4 and all AD-5 variants that had crew seating in the aft fuselage.
1 Like
Thanks guys, life in general & modeling in particular continue to teach me lessons in humility. I had “assumed” that any kit maker doing a Skyraider would do a Korean War version. That is when this bird was in its glory, front line equipment and a real maid of all work. Yes, they fought in Viet Nam also but they were decidedly past their prime.
Back in the mid 80s when Monogram was doing very well I remember hearing that a spokesman had declared WW2 kits was basically dead and that those kits were not selling. Monogram would engineer no more of them and concentrate on the fast sellers which were modern jets.
That seems so silly now and you have to wonder if that might have been a path to destruction for that fine old company.
Their chosing to make a post Korean War Skyraider might have been part of that line of thought.
My error was thinking that kit makers thought the way I did and then operating on that assumption. I can’t build it as an earlier version as there were many changes, some can be easily, back dated others not easily such as the added fuselage length & the different tail shape if I even know which model had those. The Ginter book just arrived today so I will find out.
No matter, I will build it out of the box minus the “slicks” under the wing. I like the pure shape of the bird better anyway.
Here’s hoping someone does a nice Korean War appropriate version.
Paul
2 Likes
The postwar AD-6 and Korean War AD-4B are quite similar in appearance. The -4B introduced the outboard wing pylons seen on AD-6. The -4 introduced the 4 x 20mm cannon armament. The armor plates seen on the fuselage of the AD-6 were first added during Korea onto the different variants serving there. Antennas, a fixed pilot seat, and the inboard/centerline wing pylons are the biggest visual differences. The rudder and tail hook under fuselage area changed shape earlier, but the later rudders could be found on earlier aircraft due to battle damage replacements.
Yes it would be nice to see a new tool Korean War AD kit, but one that is affordable above all.
2 Likes
Thanks for the summation of the differences. In my case, due to the tariffs & the processing charges it makes a proper decal set beyond economic reason. I’m stuck building it with what was in the box or putting it up on the shelf for some unspecified future date.
I will put a 1/48 Korean War vintage AD on my short list of types to look out for along with a decent Banshee & a F-11 Tiger. I’m still amazed that latter jet has never had a decent kit. It’s drop dead gorgeous and the Blue Angels flew it for a number of years. I remember my first El Toro airshow seeing them perform with these wonderful Tigers. What a thrill!
Paul
2 Likes
The F11F Tiger… a long overlooked subject. Aside from the ancient Lindberg kit and the expensive short run FM kit, us modelers have certainly been neglected for the type. El Toro air shows?! You must have lived in the same general area as I did back then. Although the first time I went to a show there was the first year that the Blues started flying Skyhawks in the mid 70’s… I would love to have seen them flying Tigers and Phantoms…
1 Like
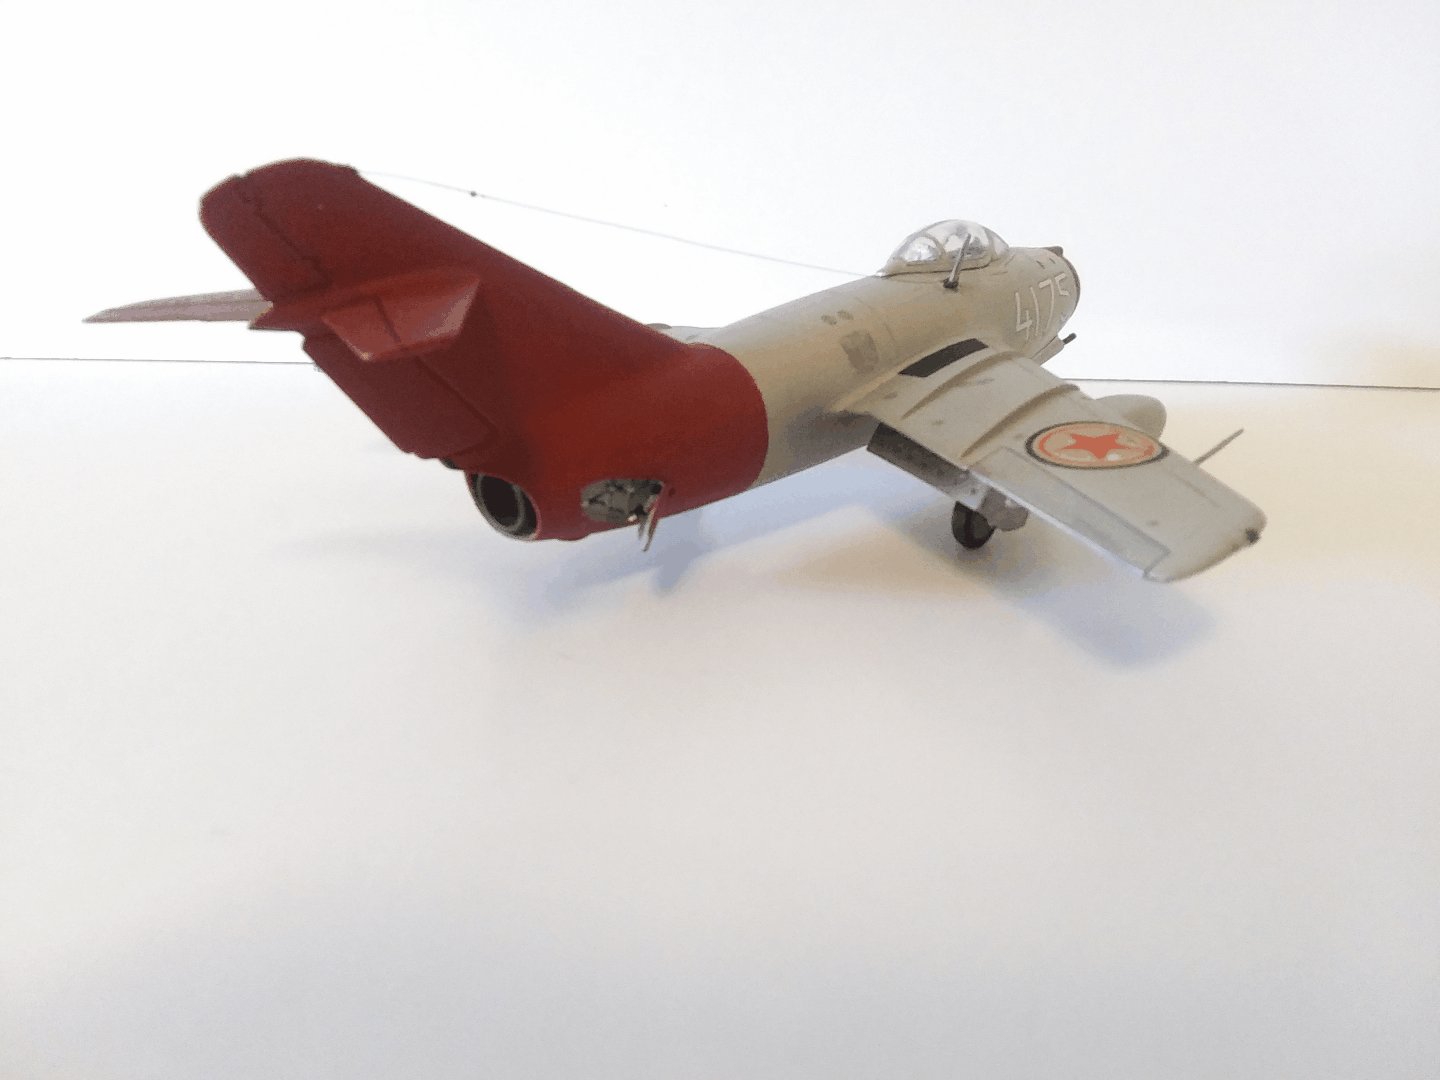
The Monogram Mig-15 was a simple build, though the kit I had was missing a couple of parts.
I had to scratch build an instrument panel and nose cone light, but other than that it went together well.
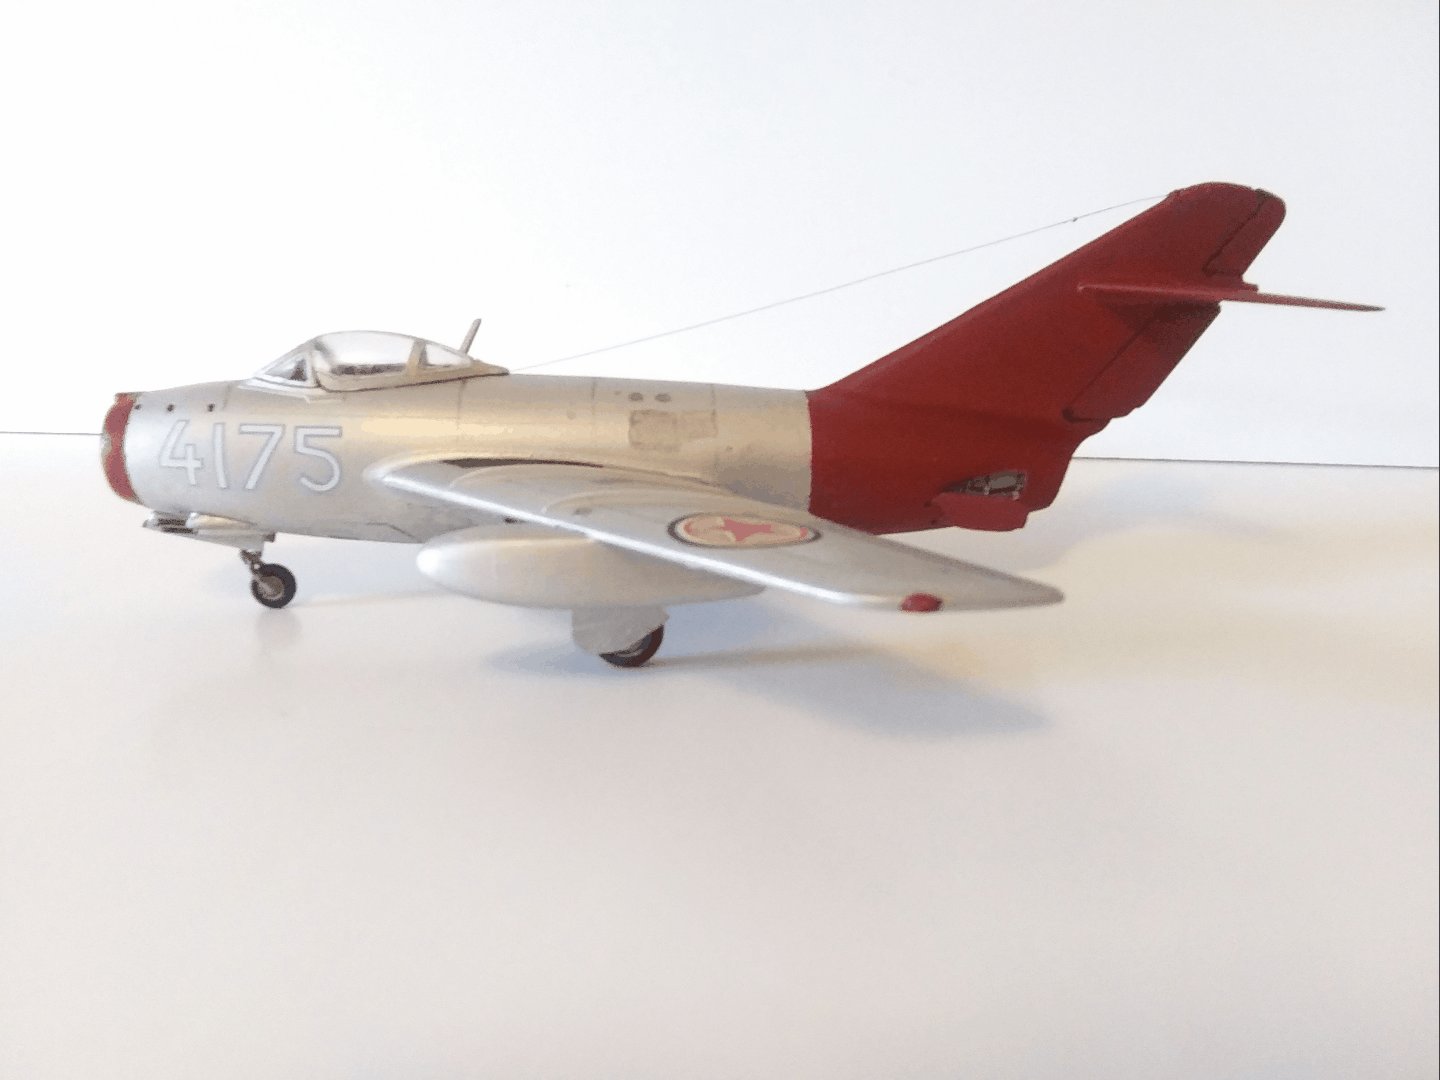
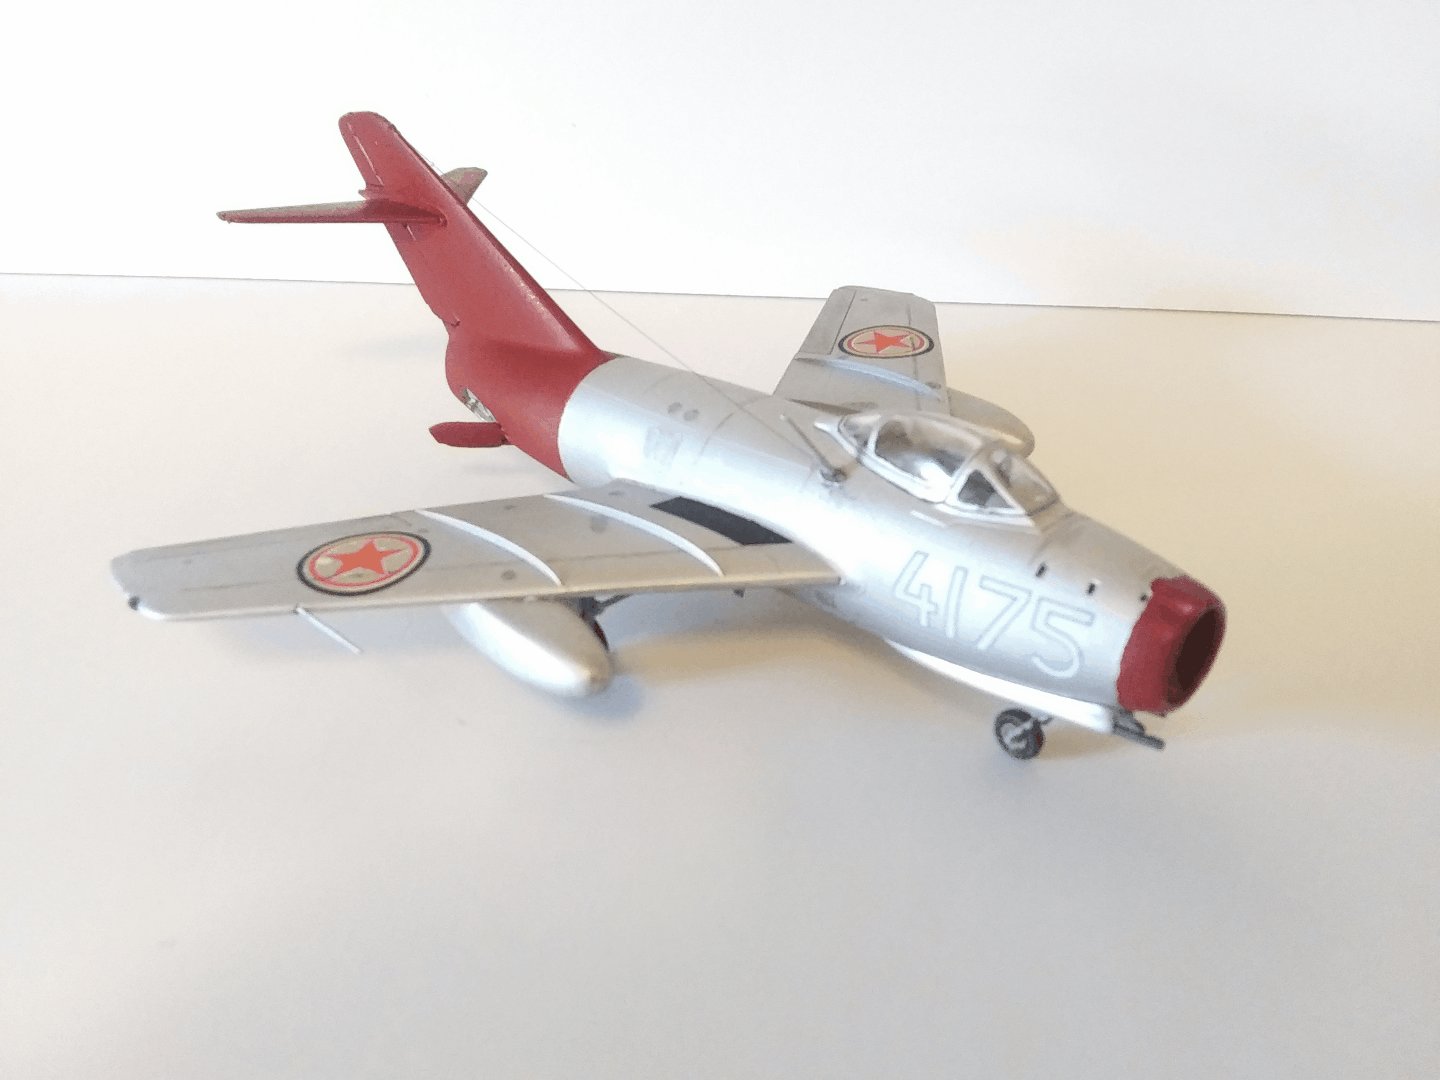
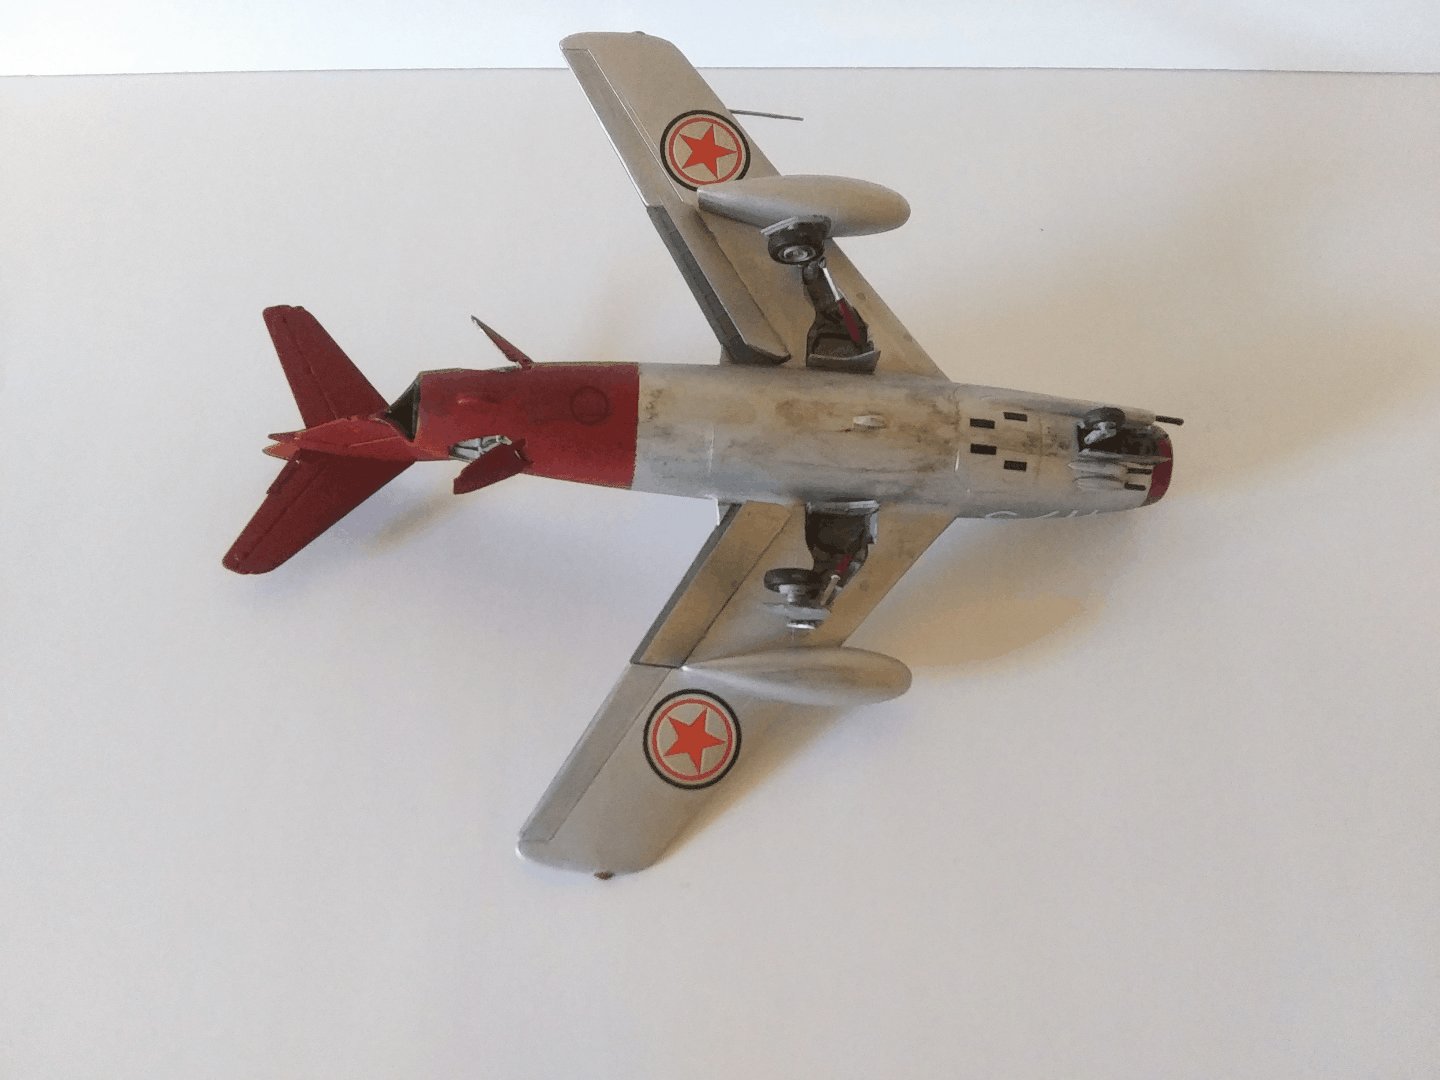
The kit was painted with Krylon Silver paint and Testor’s Italian Red, the pit with Modelmaster Light Sea Grey. The dullcoat sprayed on at the end brought about the dull finish. The decals were sprayed with Decal Bonder to prevent the splintering of old decals, but they seemed to behave well otherwise. The red of the insignia did not match the red of the body, but it’s not something I was concerned about. Detailing was done by pencil and Monroe’s weathering powder.
Overall, an interesting build, though not matching the refinement of newer kits.


Please pardon the poor photography.
Thanks for looking and running this GB!
Gary
6 Likes
![]() Nicely done Nork(Soviet) “Red Tail”. The Monogram kit does look the part, even if it has been surpassed by newer kits of the same subject!
Nicely done Nork(Soviet) “Red Tail”. The Monogram kit does look the part, even if it has been surpassed by newer kits of the same subject! ![]()
![]()
3 Likes
Yes it might not be as flashy as a newer kit but it definitely looks like a Mig!! Nice work ![]()
1 Like
Hi Everyone,
Joe, Paul, really nice finish on your birds! Looks like the MiG-15 seems to be the popular subject.
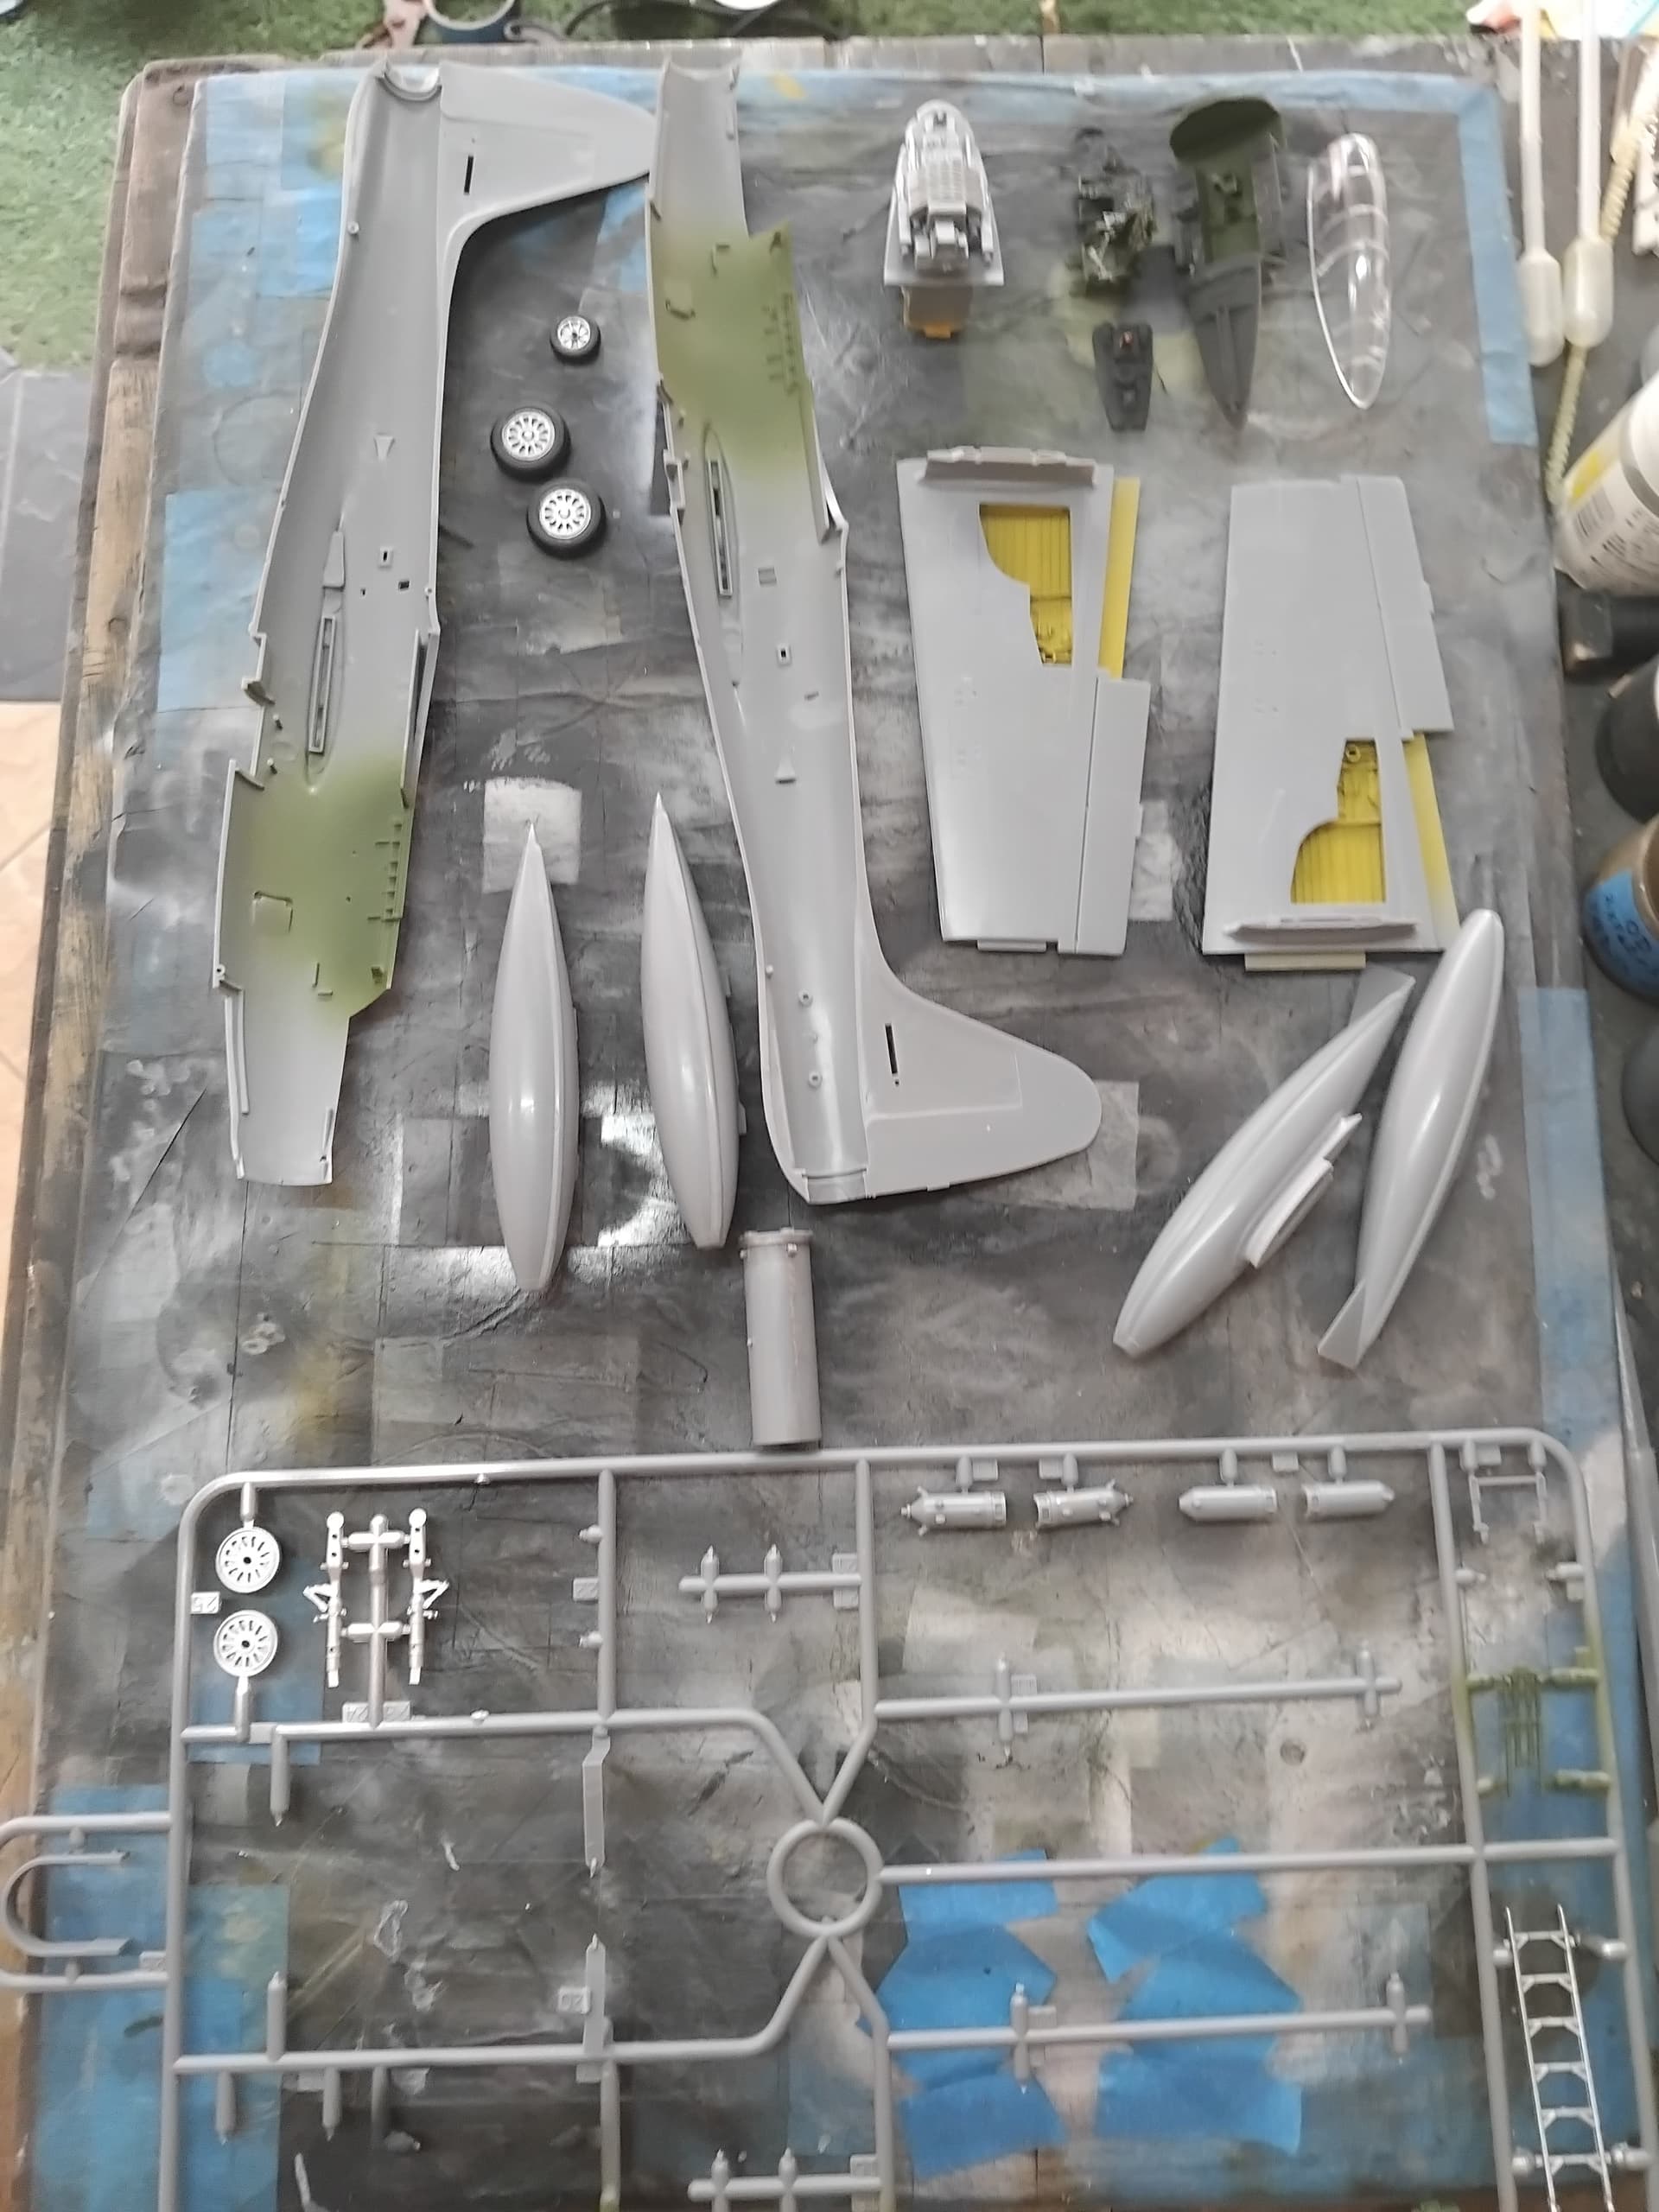
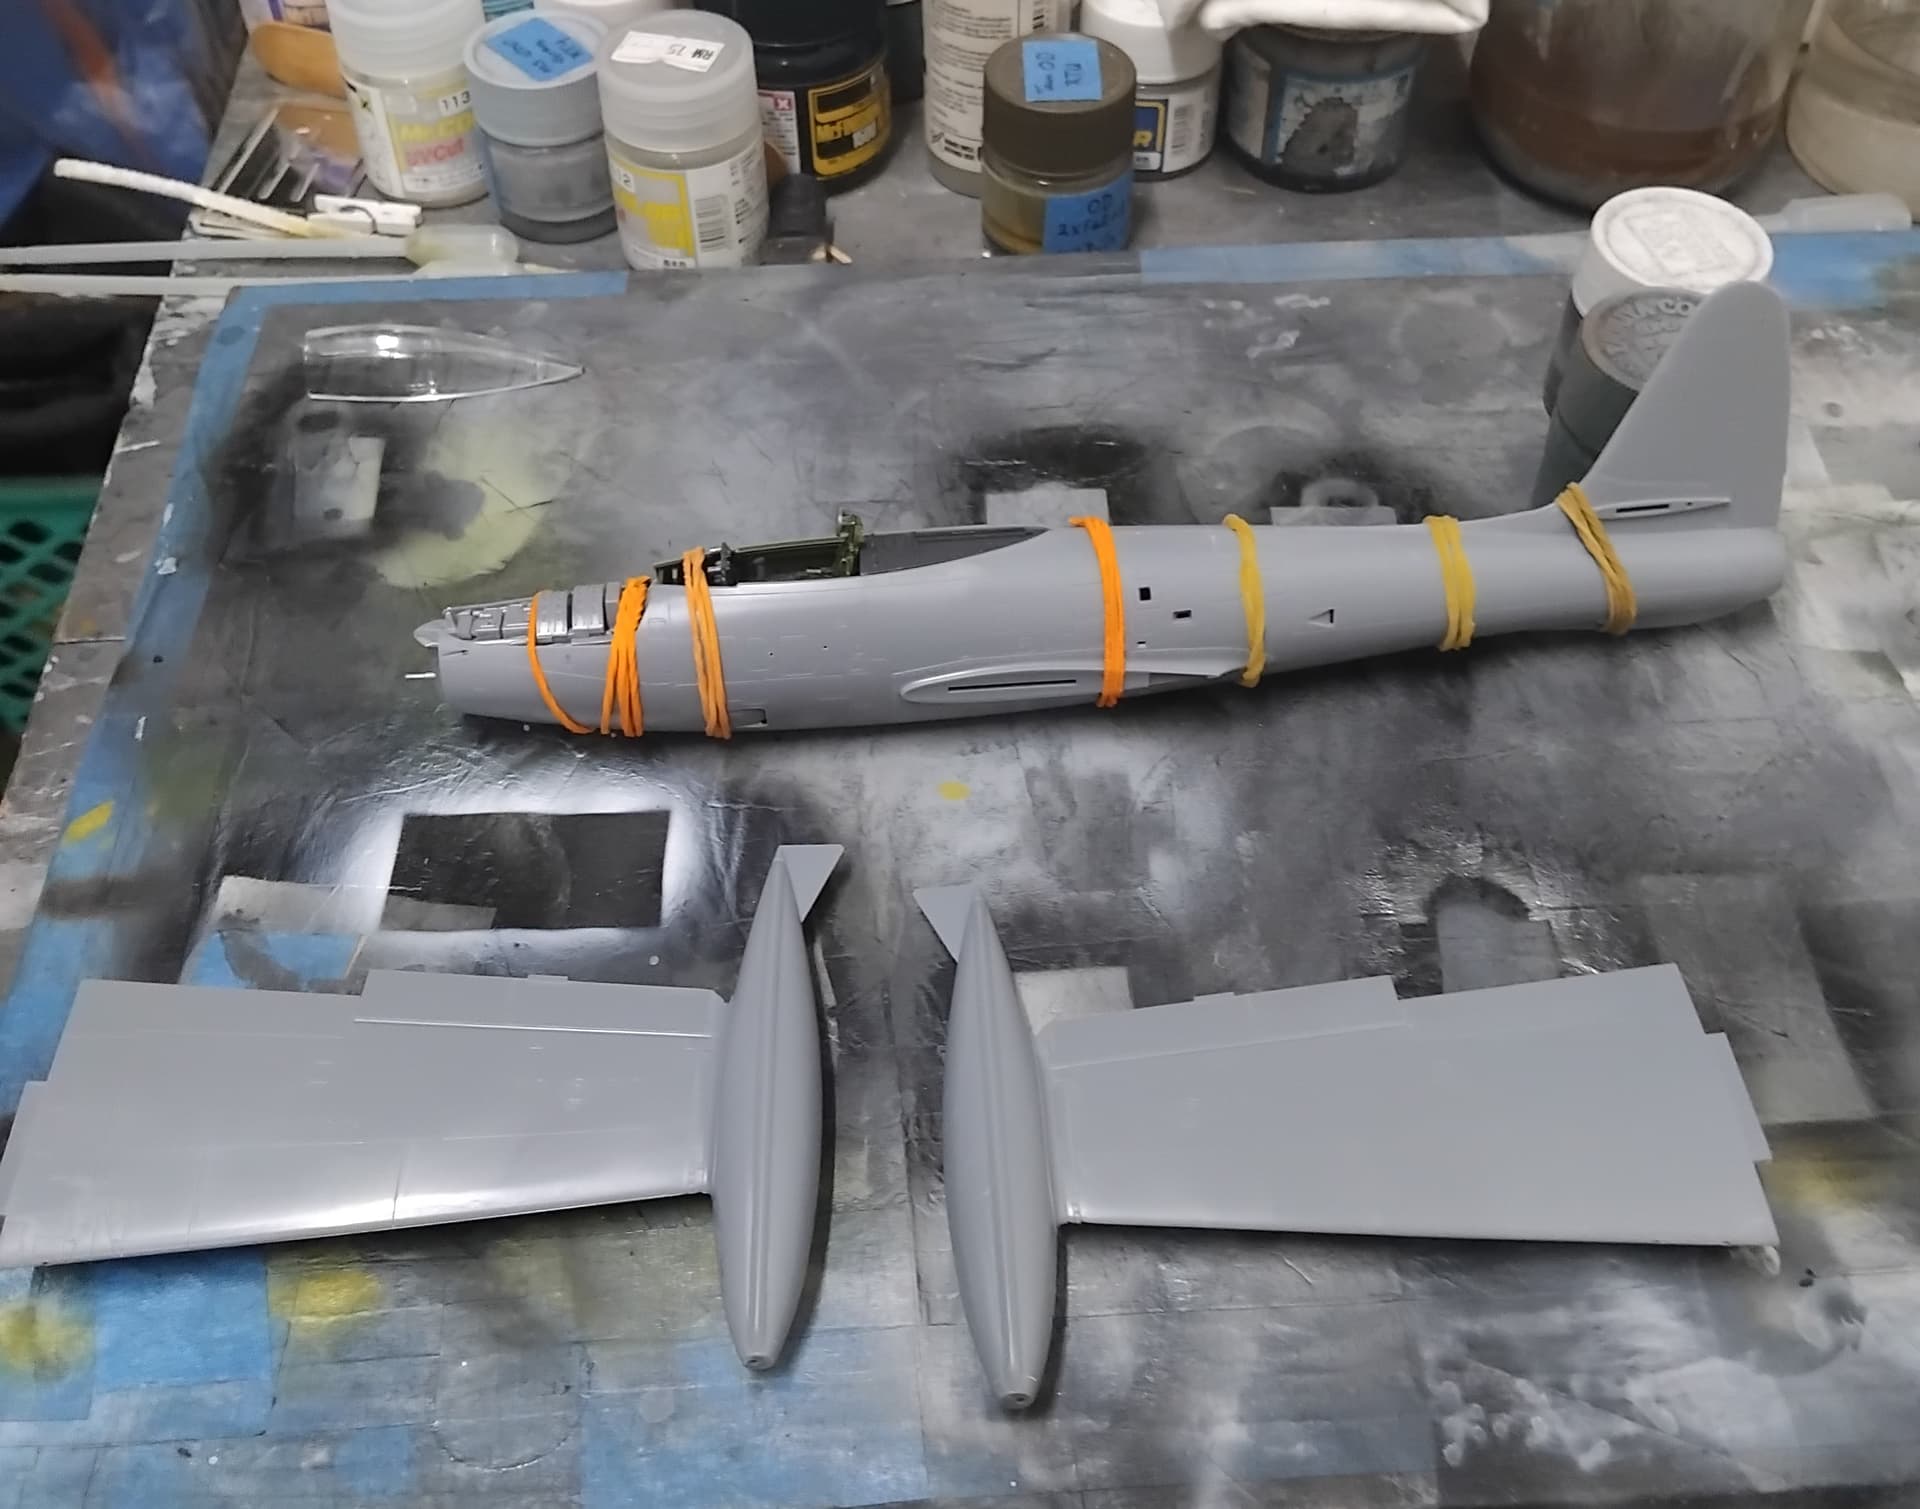
Tamiya’s F-84G kit is a pretty good one! I constructed it pretty much out of the box, with the exception of the ejection seat (Quickboost, at a really inexpensive price) mainly because I really didn’t want to use up the photoetch belts in my spares box. While sort of following the instructions I proceeded to paint the interior parts per the instructions and build up sub-assemblies. I decided early on to close up the front, so I didn’t bother with the really nicely molded gun bay. In a very quick amount of time, I had most of the sub-assemblies completed and ready for further assembly.
The sub-assemblies.
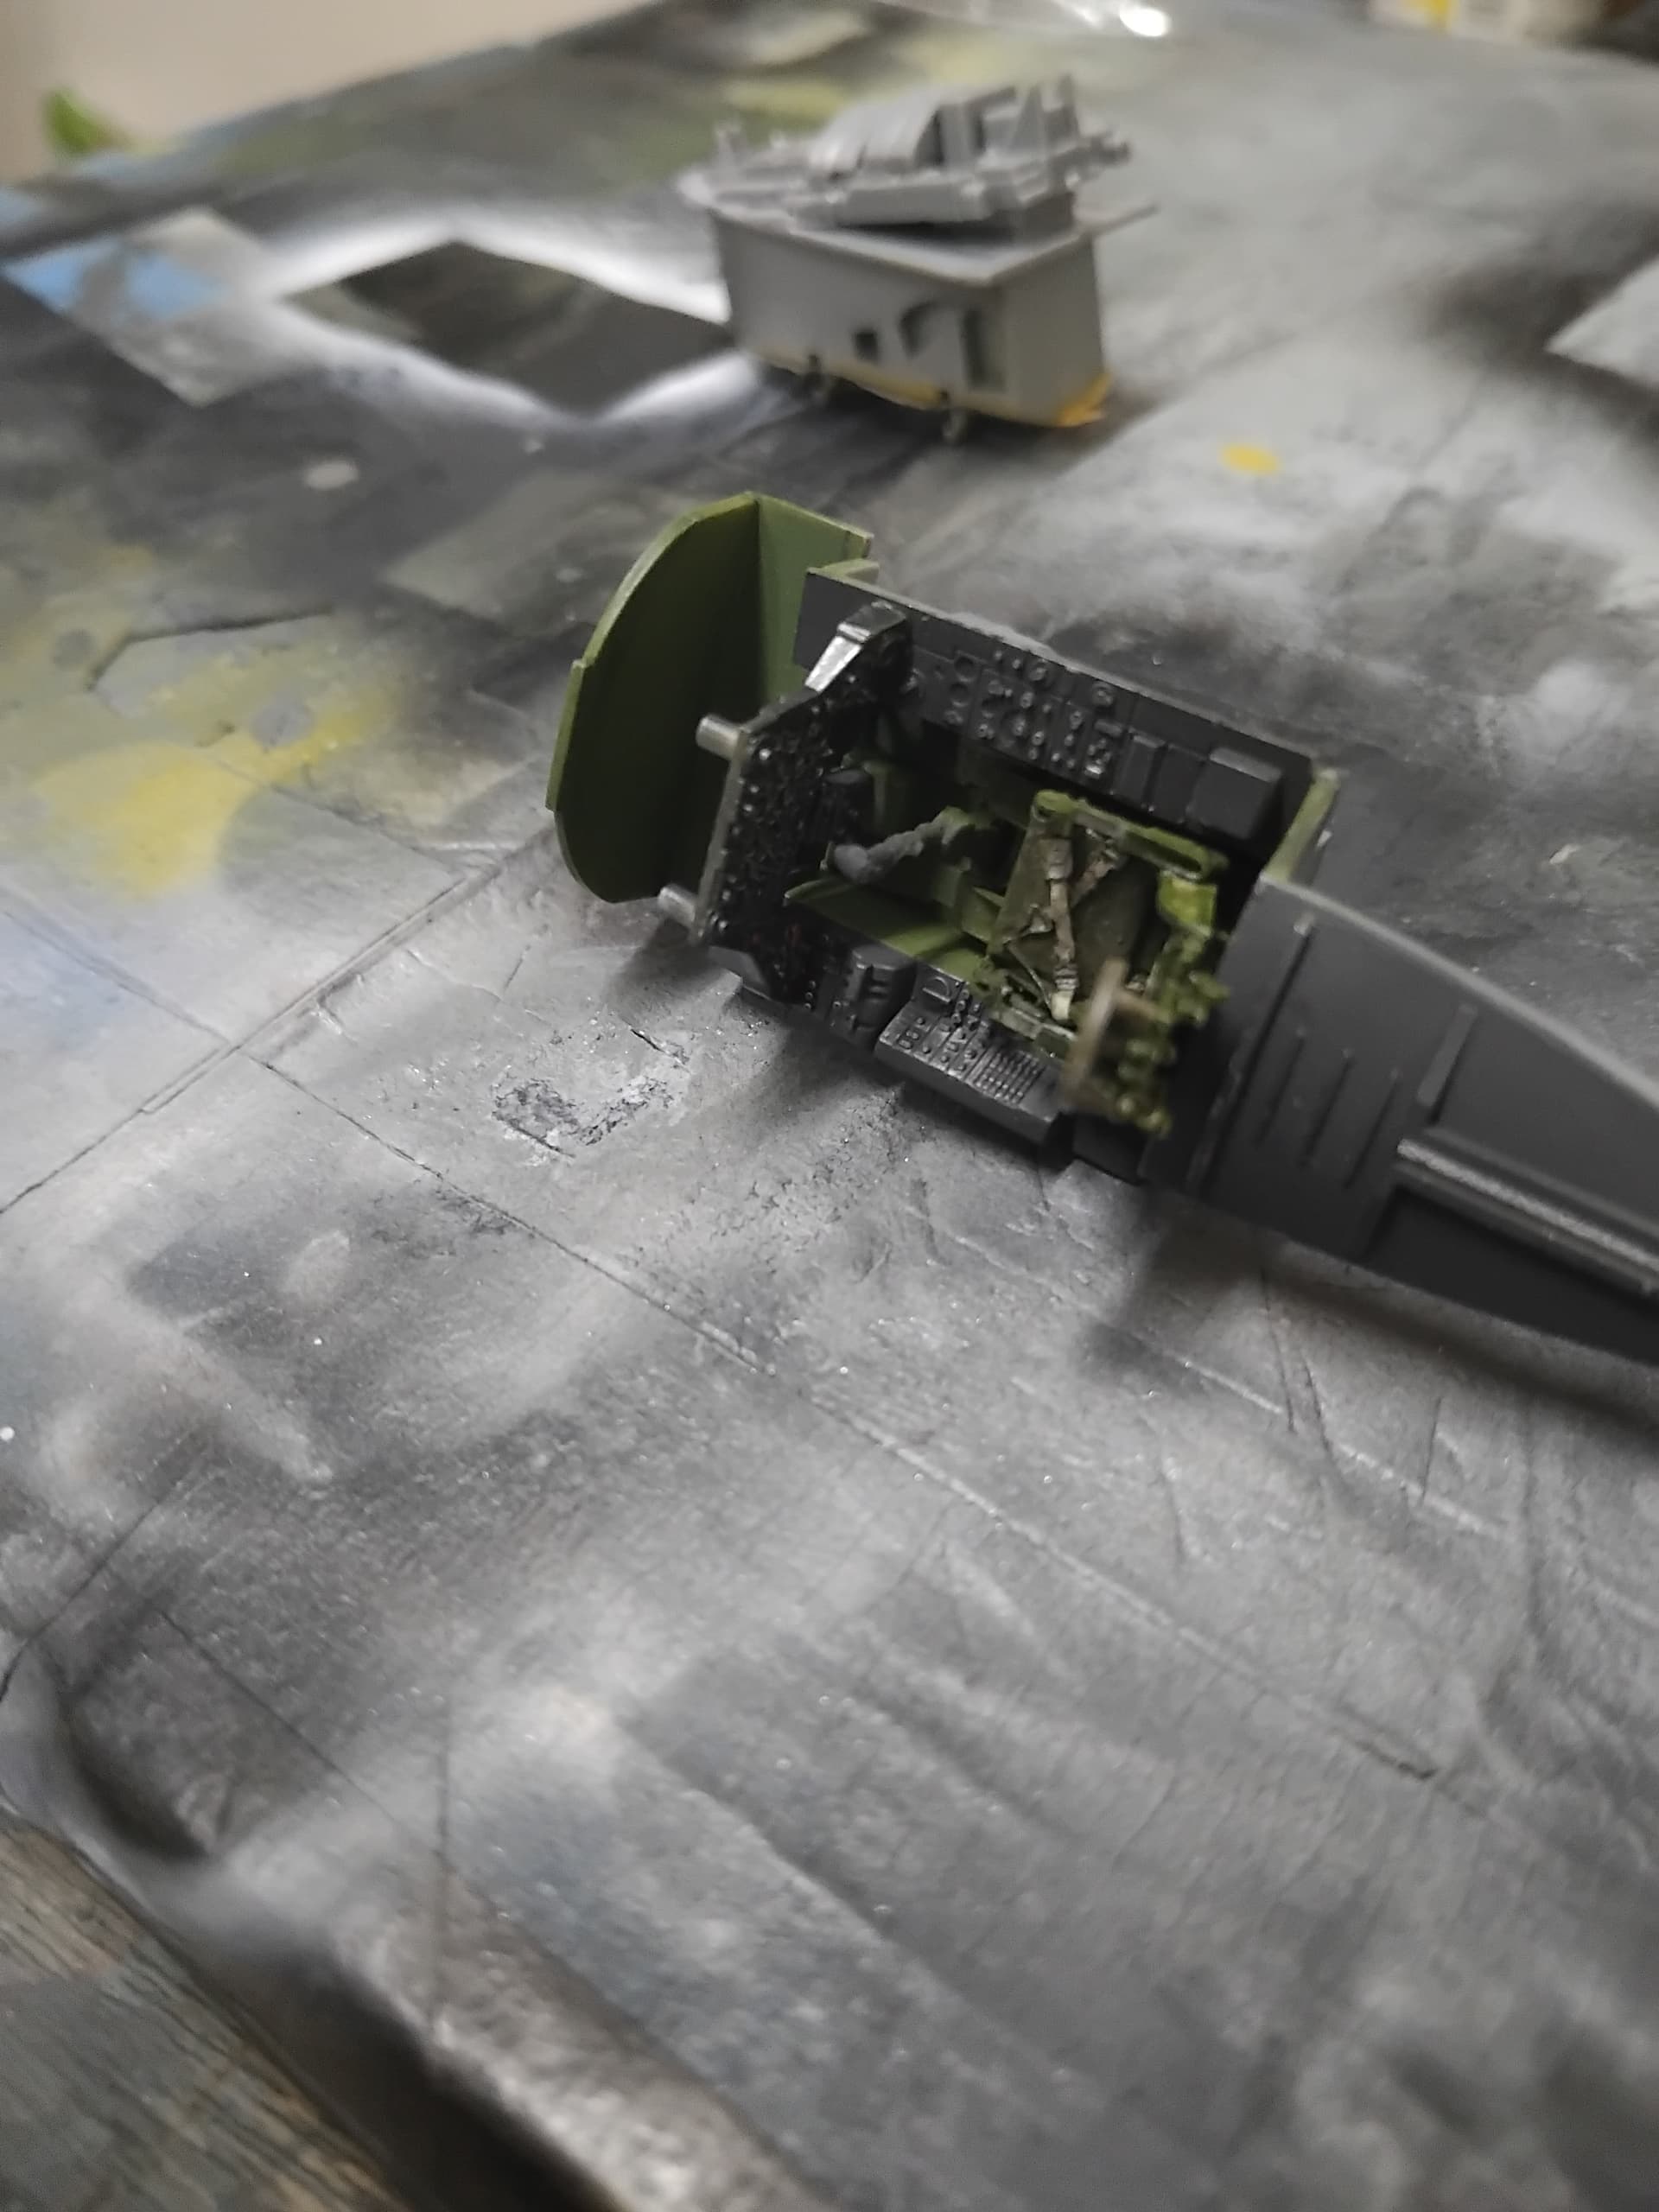
The cockpit detail, which went together nicely, though the decal for the instrument panel laid down off the mark, and stuck and refused to move. So I wound up having to hand paint a lot of the detail on the right side. It turned out ok.
One of the really nice touches to the kit was the inclusion of a ball baring that is secured with the kit parts, so my tackle box didn’t have to take a hit on the weights department.
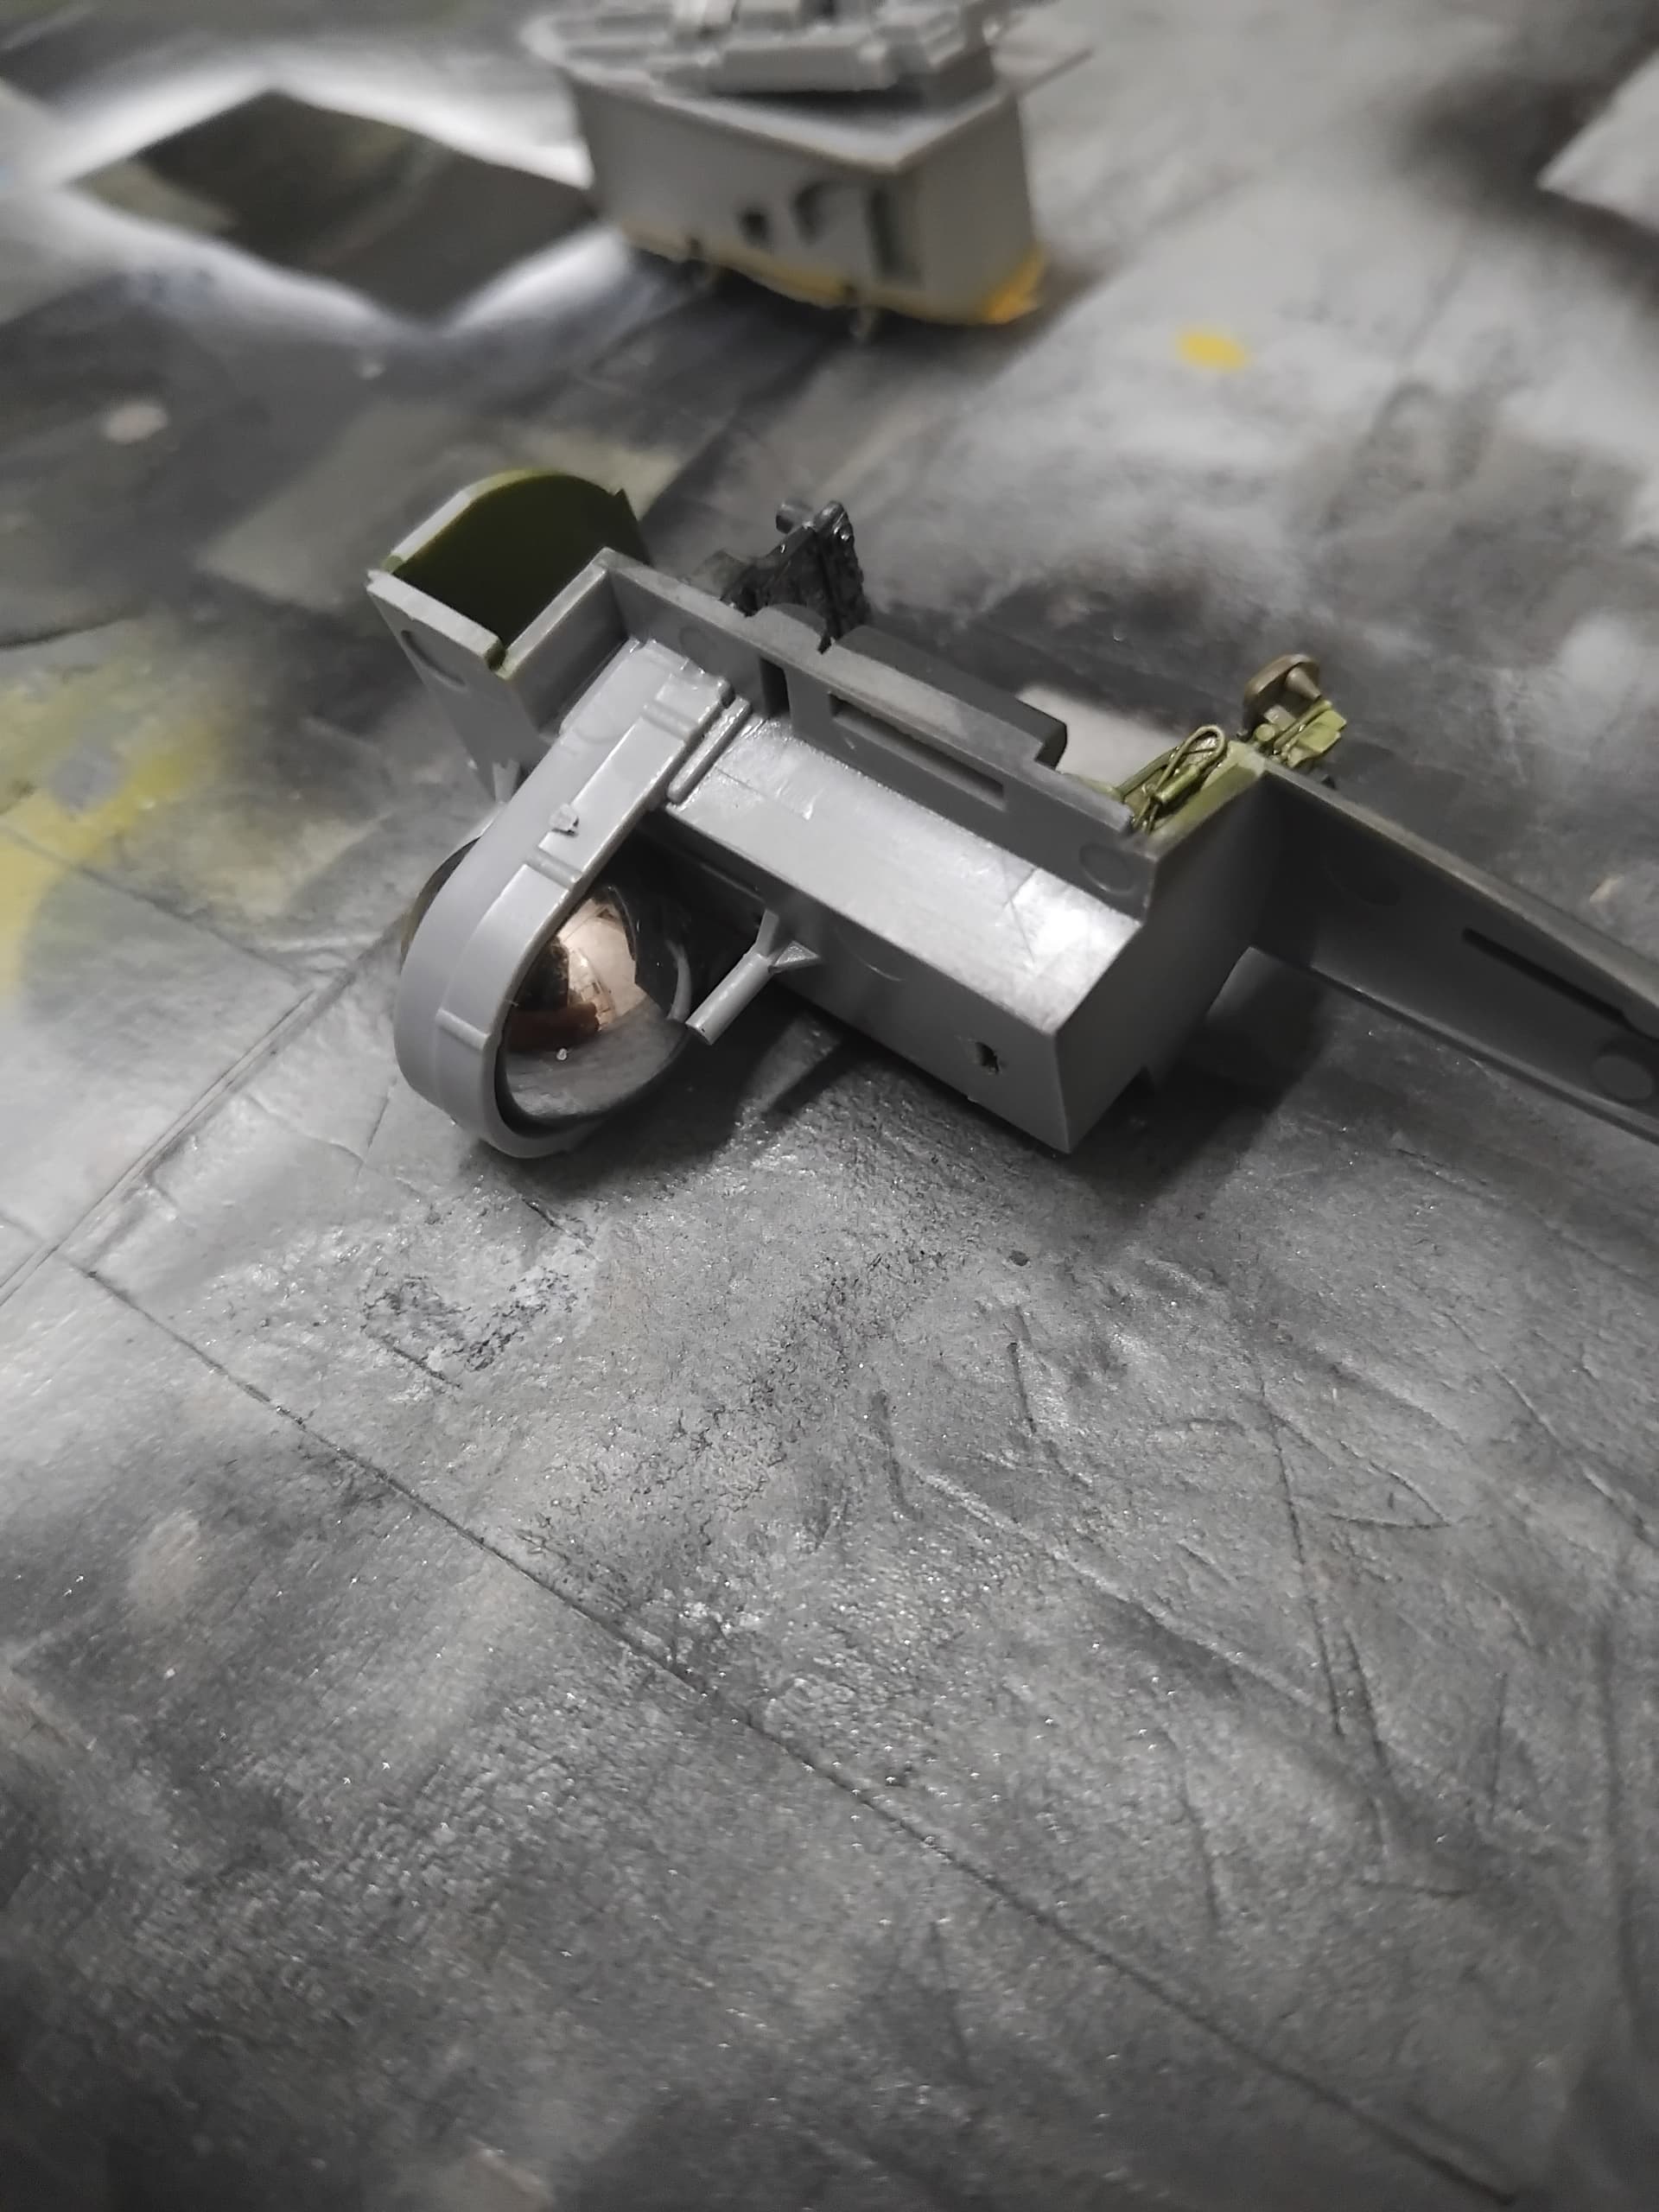
The engine sub assembly was painted with stainless on the inside.

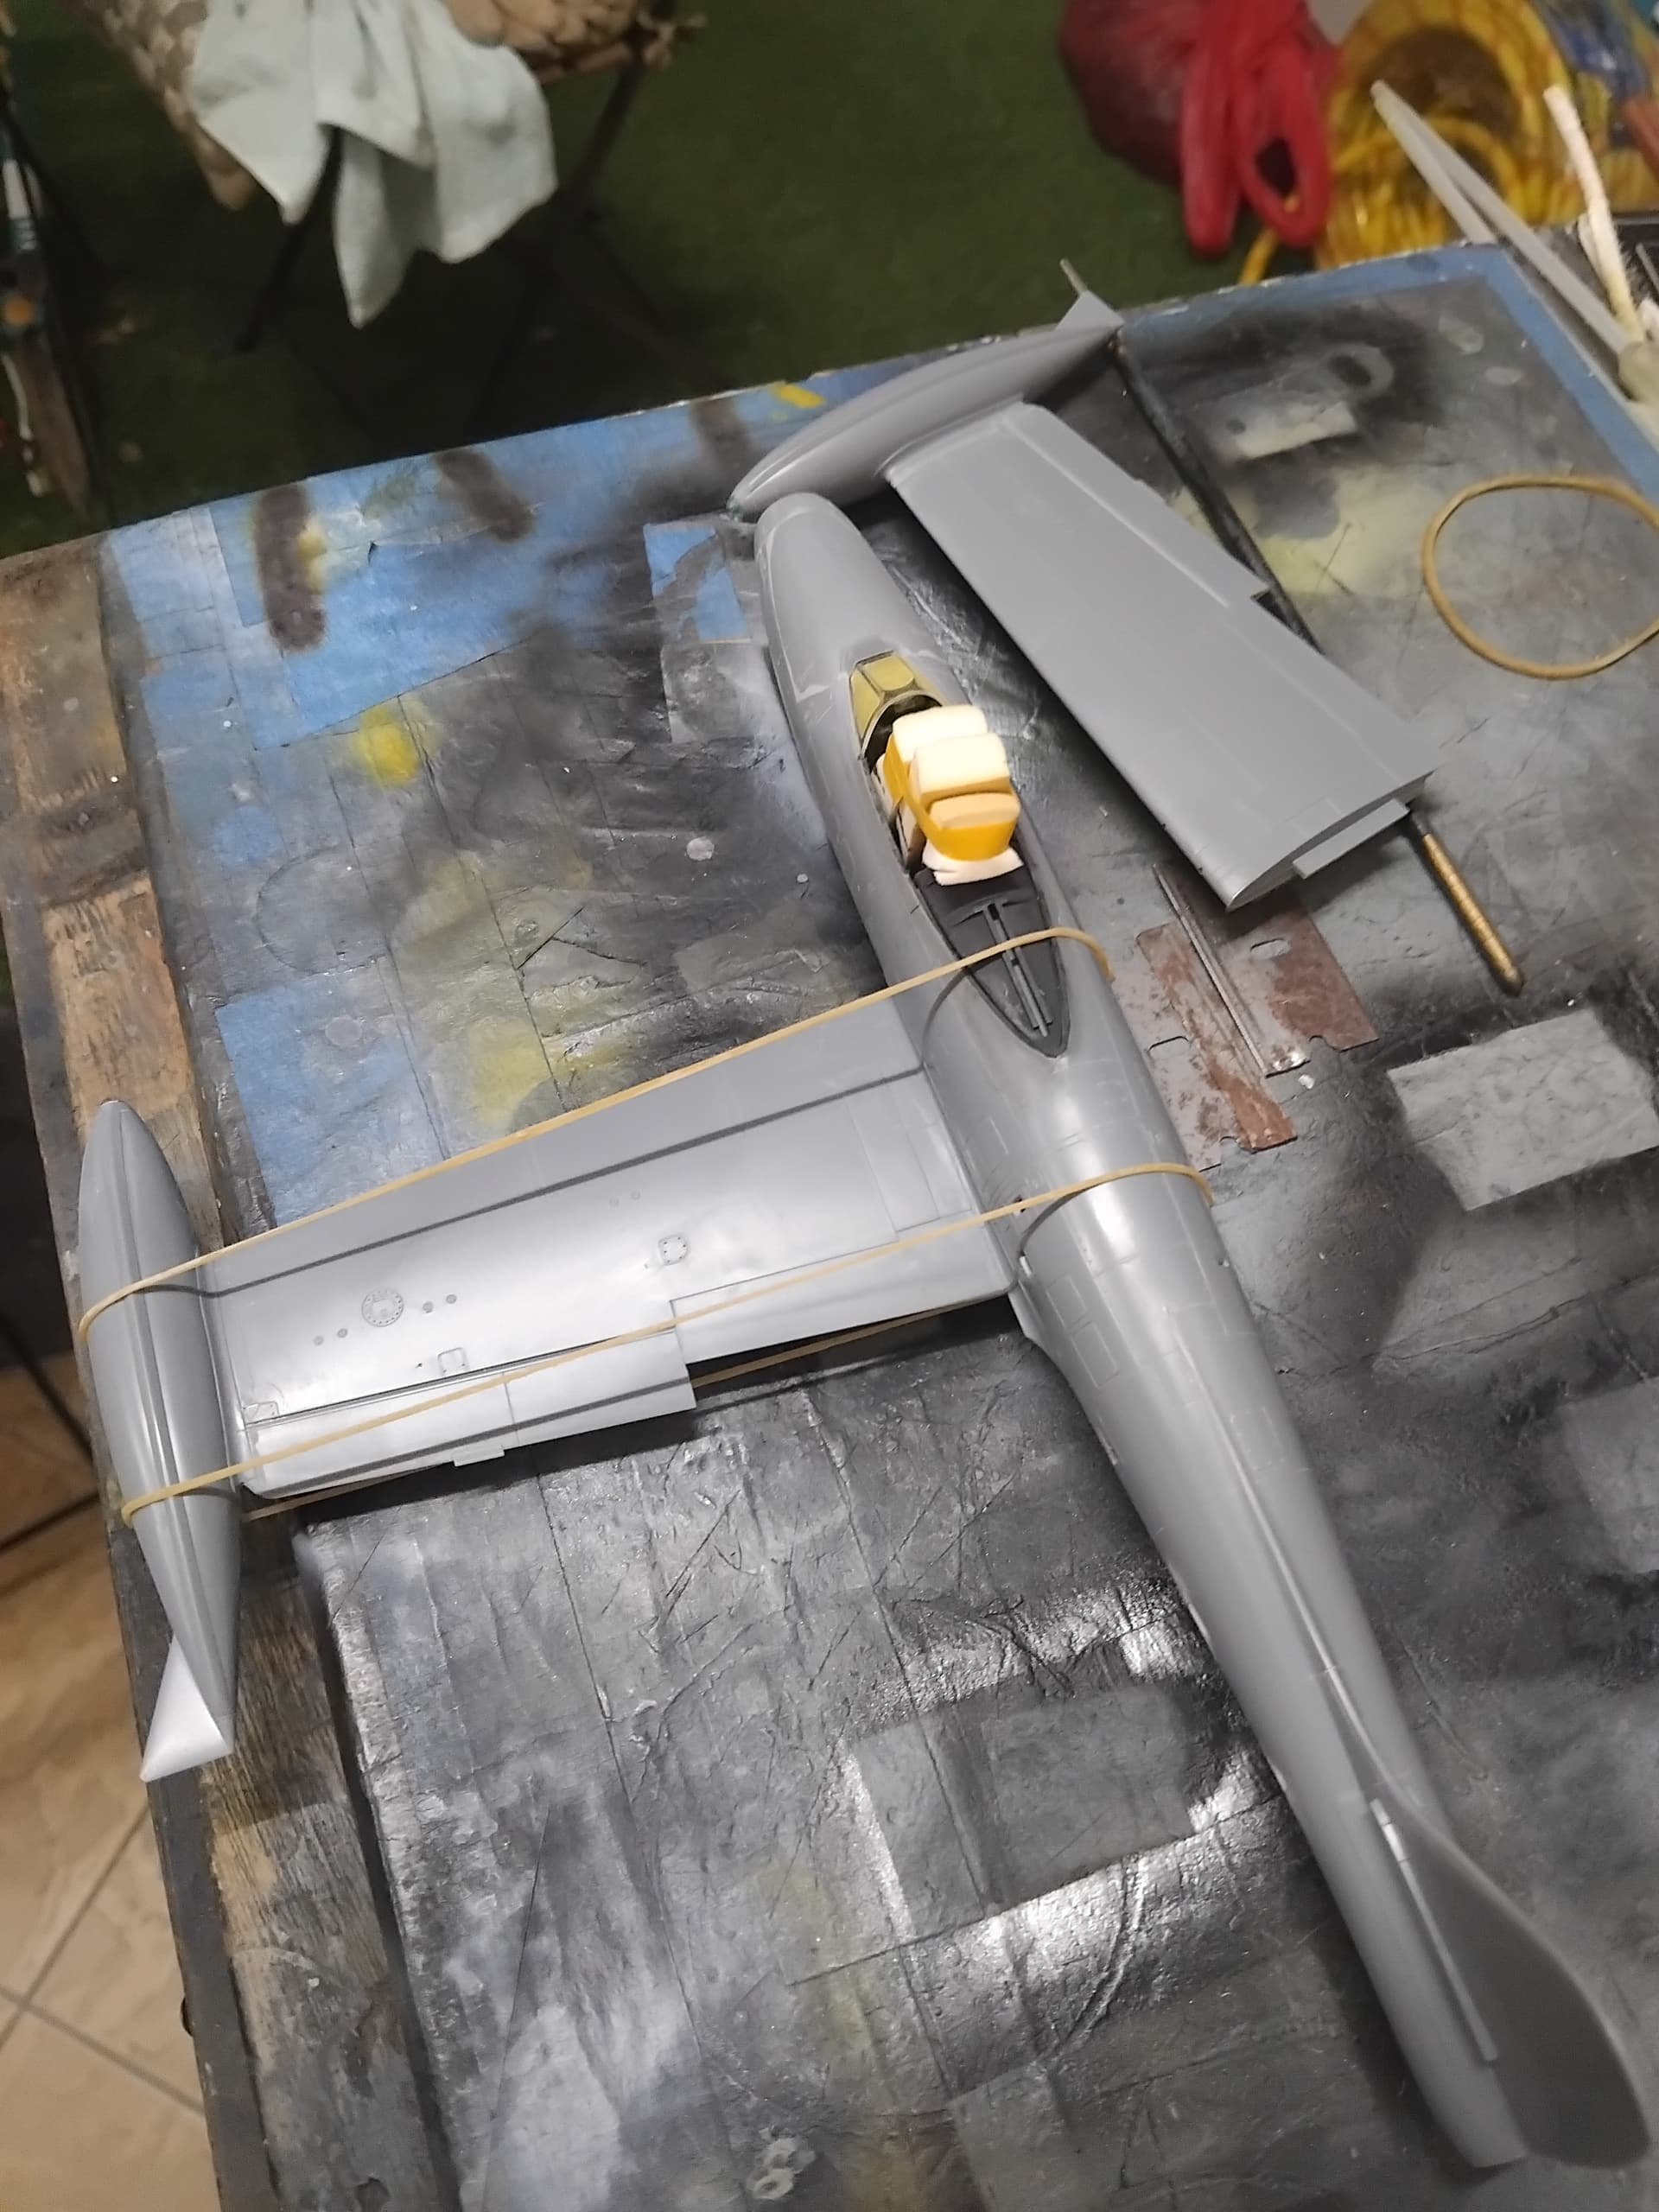
The interior assemblies were then glued into the right half of the fuselage taking care to ensure proper alignment with the left side of the fuselage.
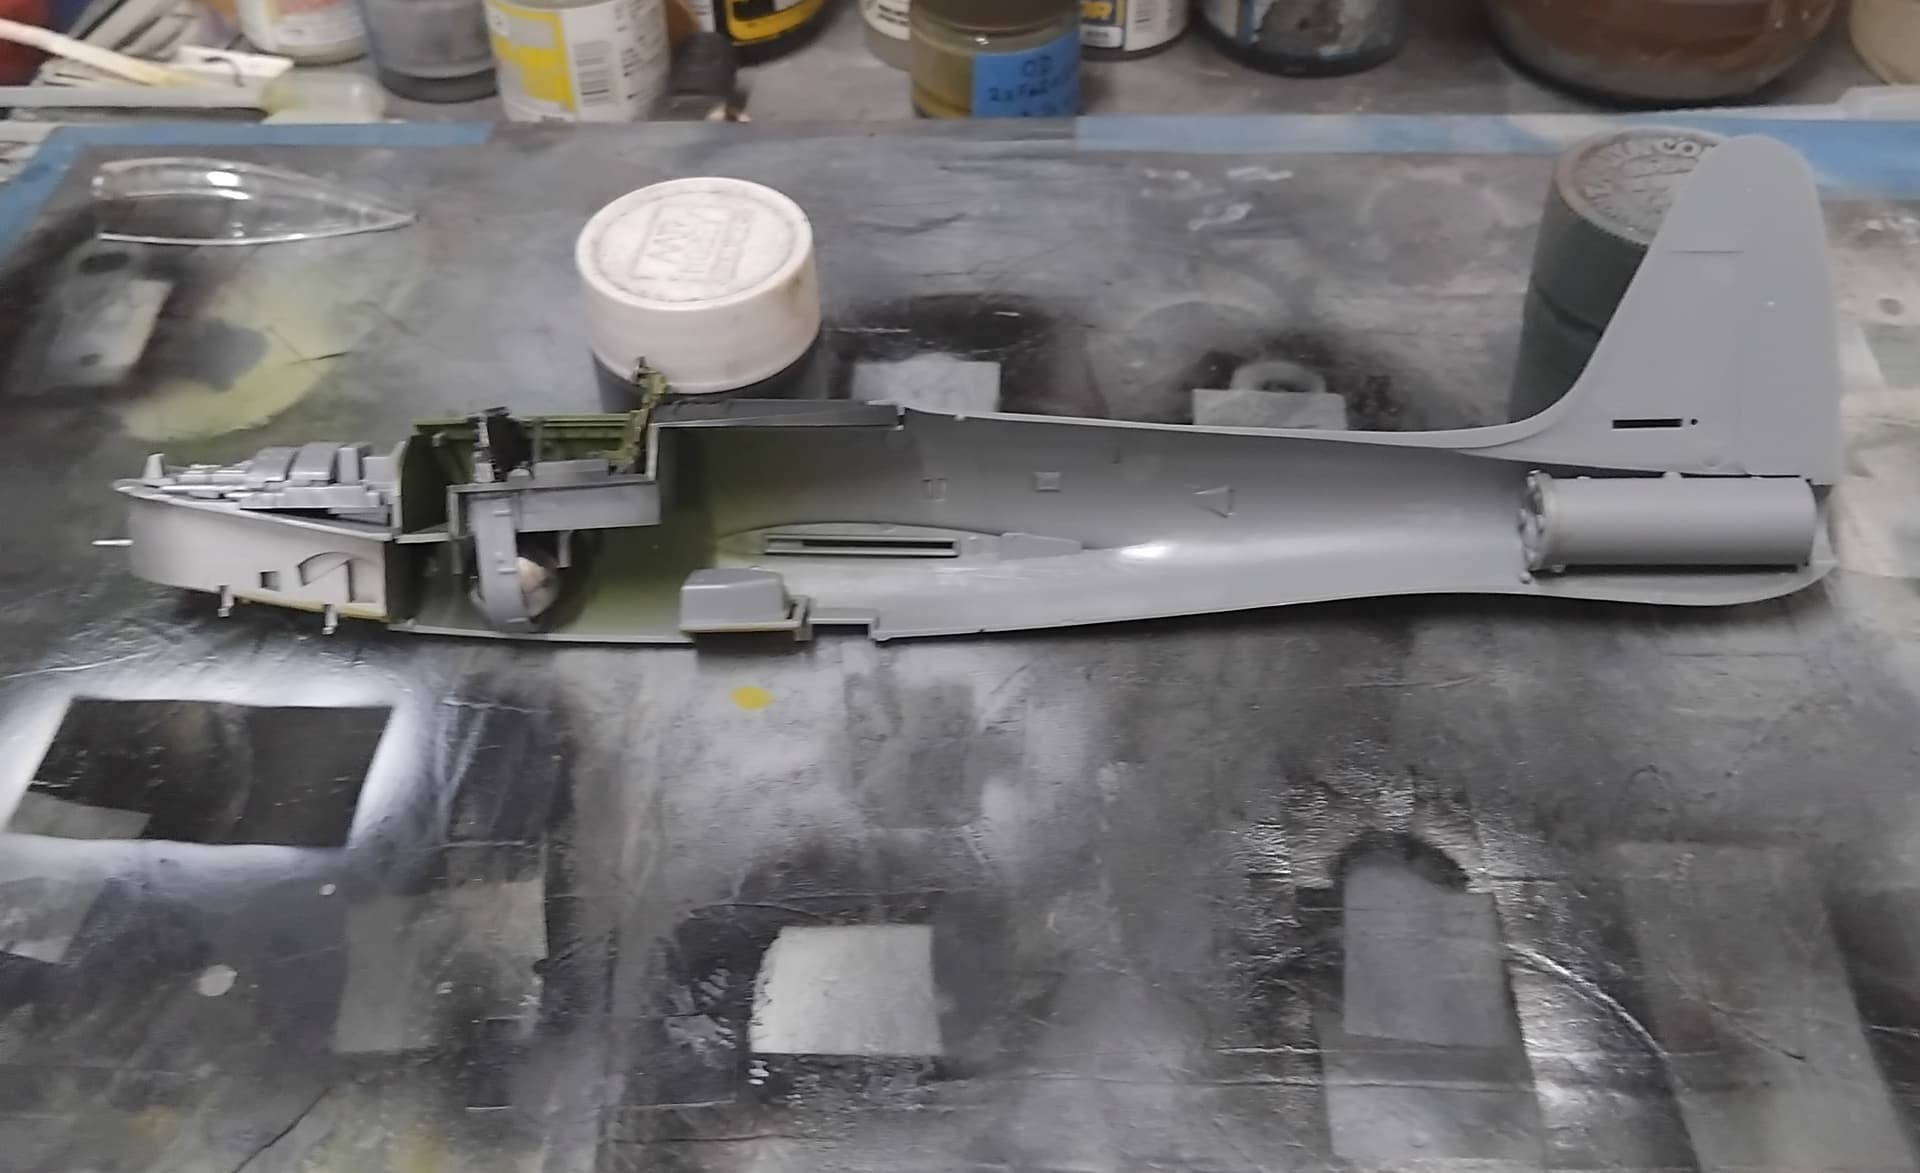
Confident with the alignment it was time to close the fuselage up!

While the glue was drying on the fuselage, I took the opportunity to attach the wing tip fuel tanks, which fit almost perfect.
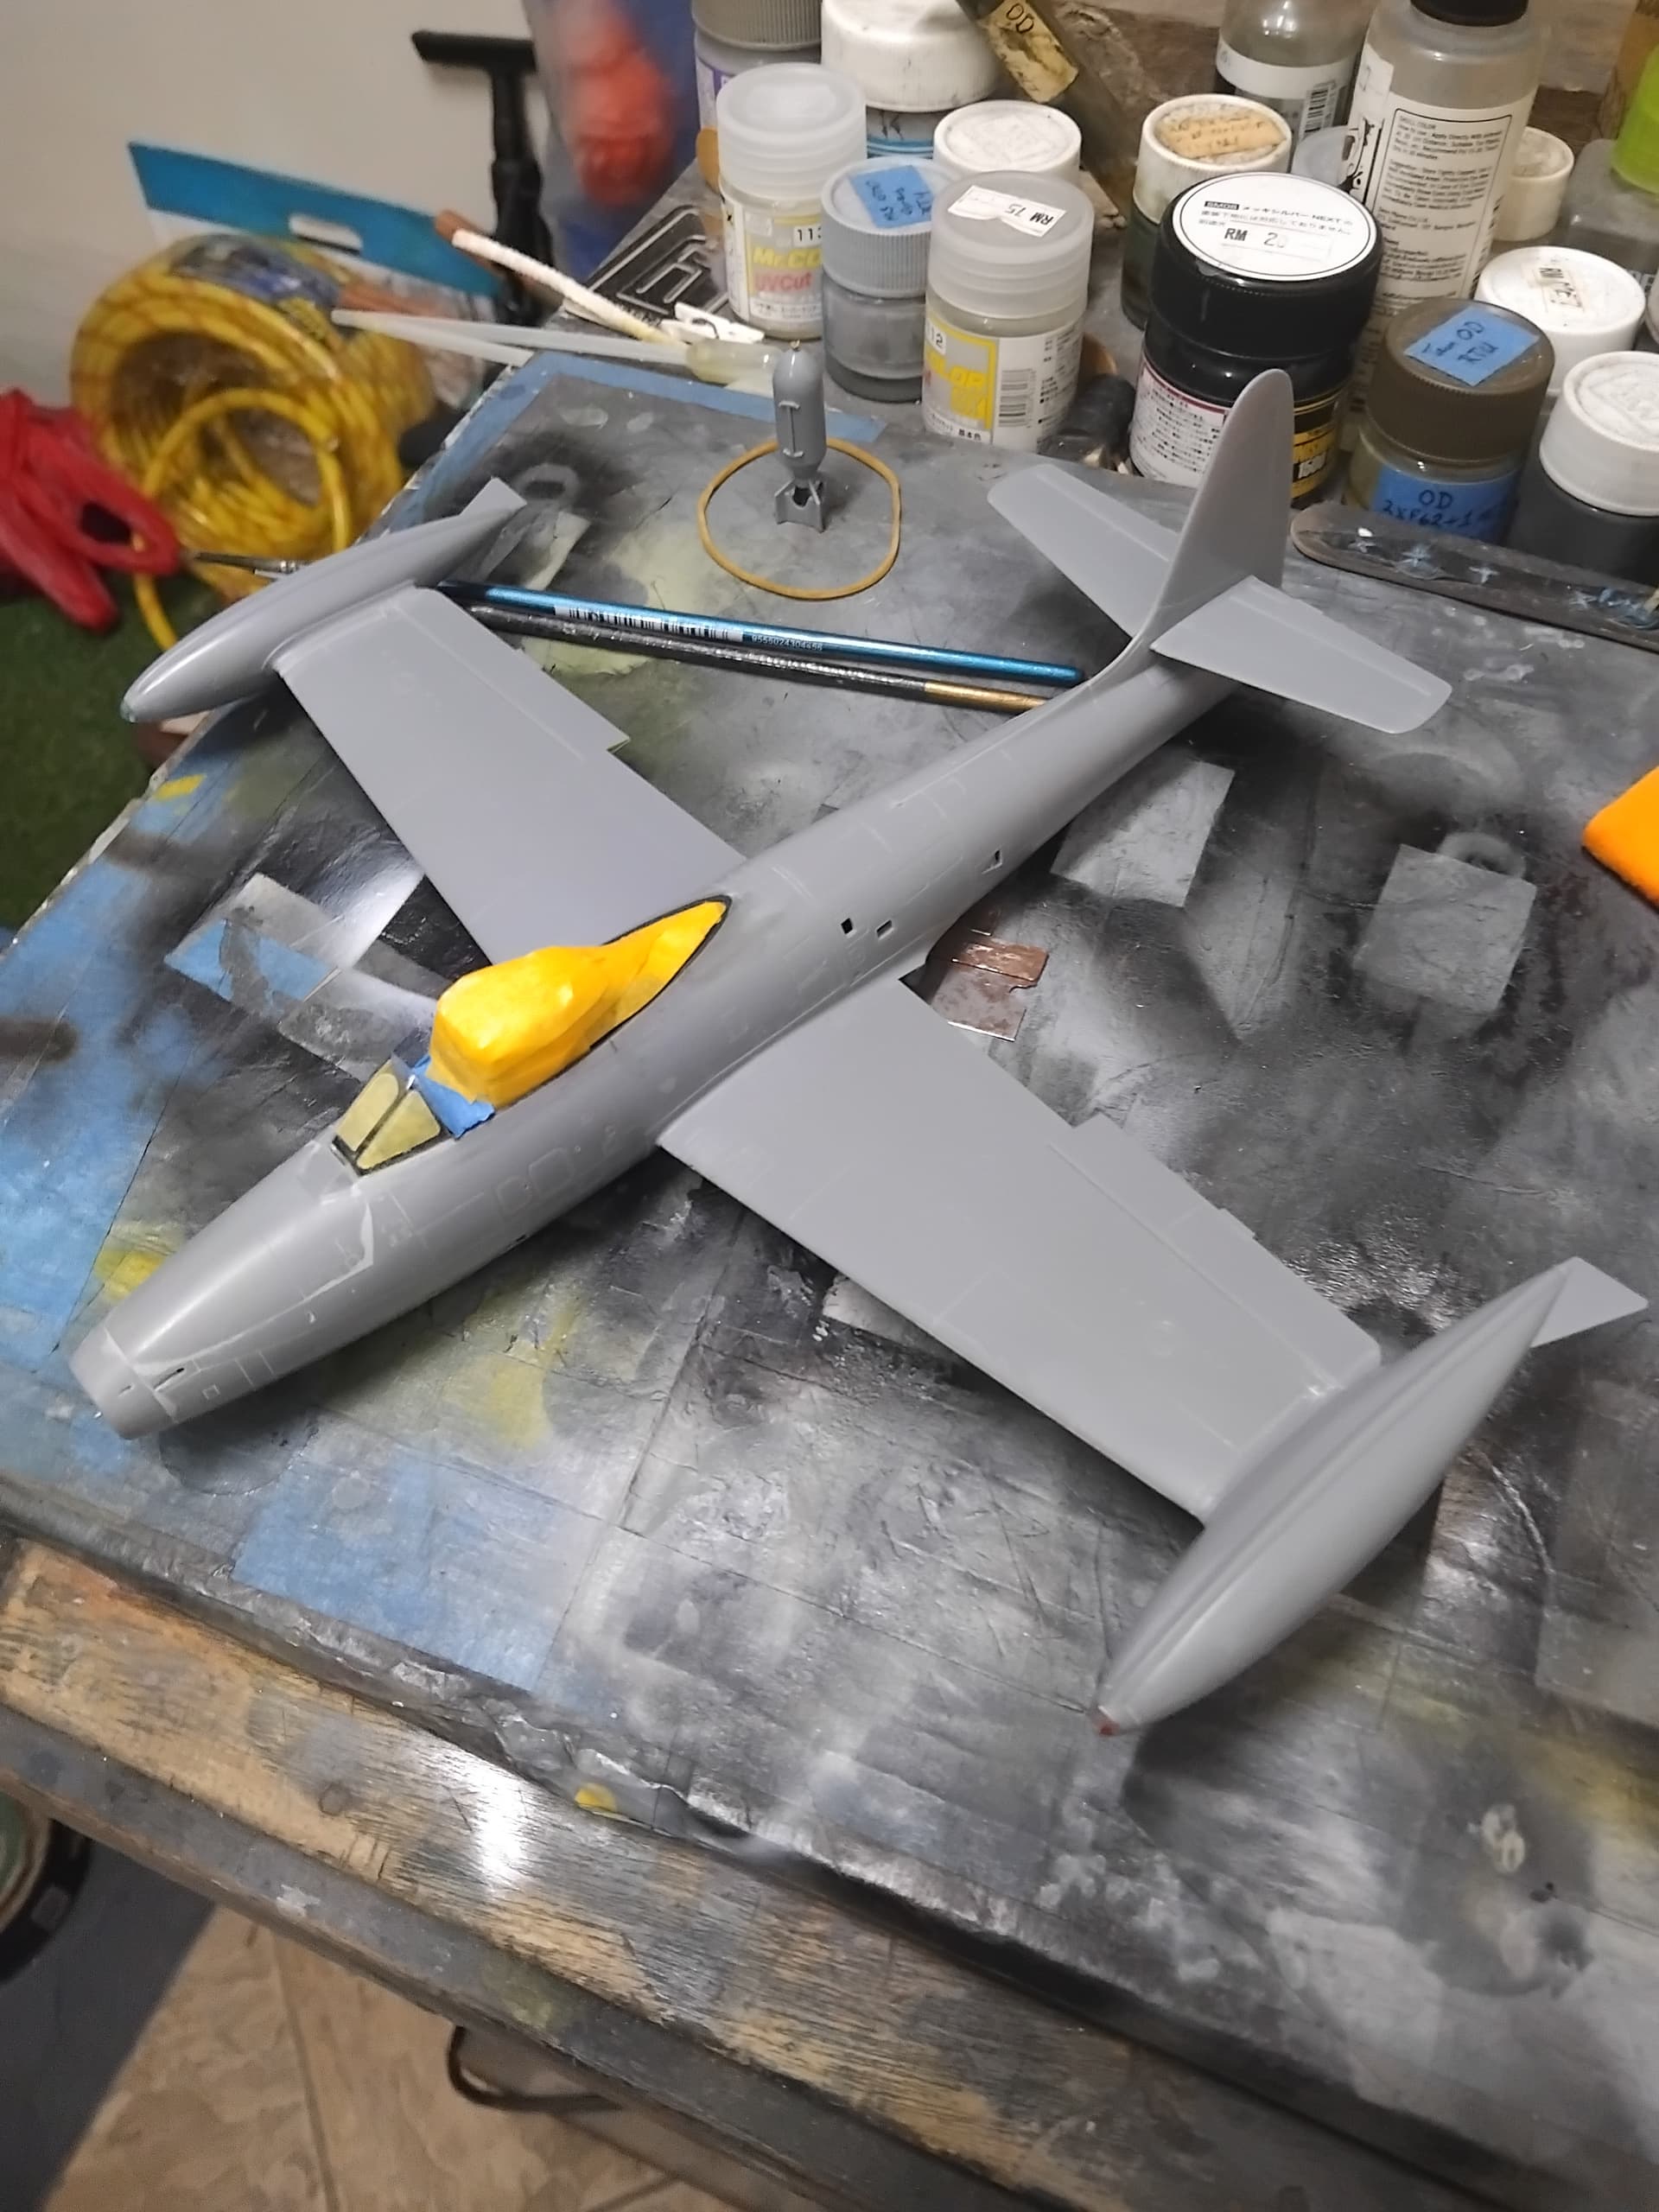
With things looking pretty good, it was time to attach the wings! The fit was snug, so I opted to attach them one by one over a two-day period.
With the wings secure, the tail stabilizers were added. Additionally, the canopy was masked using an Eduard mask set, and the windscreen attached with the back of the cockpit masked for painting.
The bird got the Mark I optic review looking for any seams that were missed during the construction. Since this will be a natural metal finish, the whole bird got a coat of Tamiya gloss black (thinned 1:4 with leveling thinner).
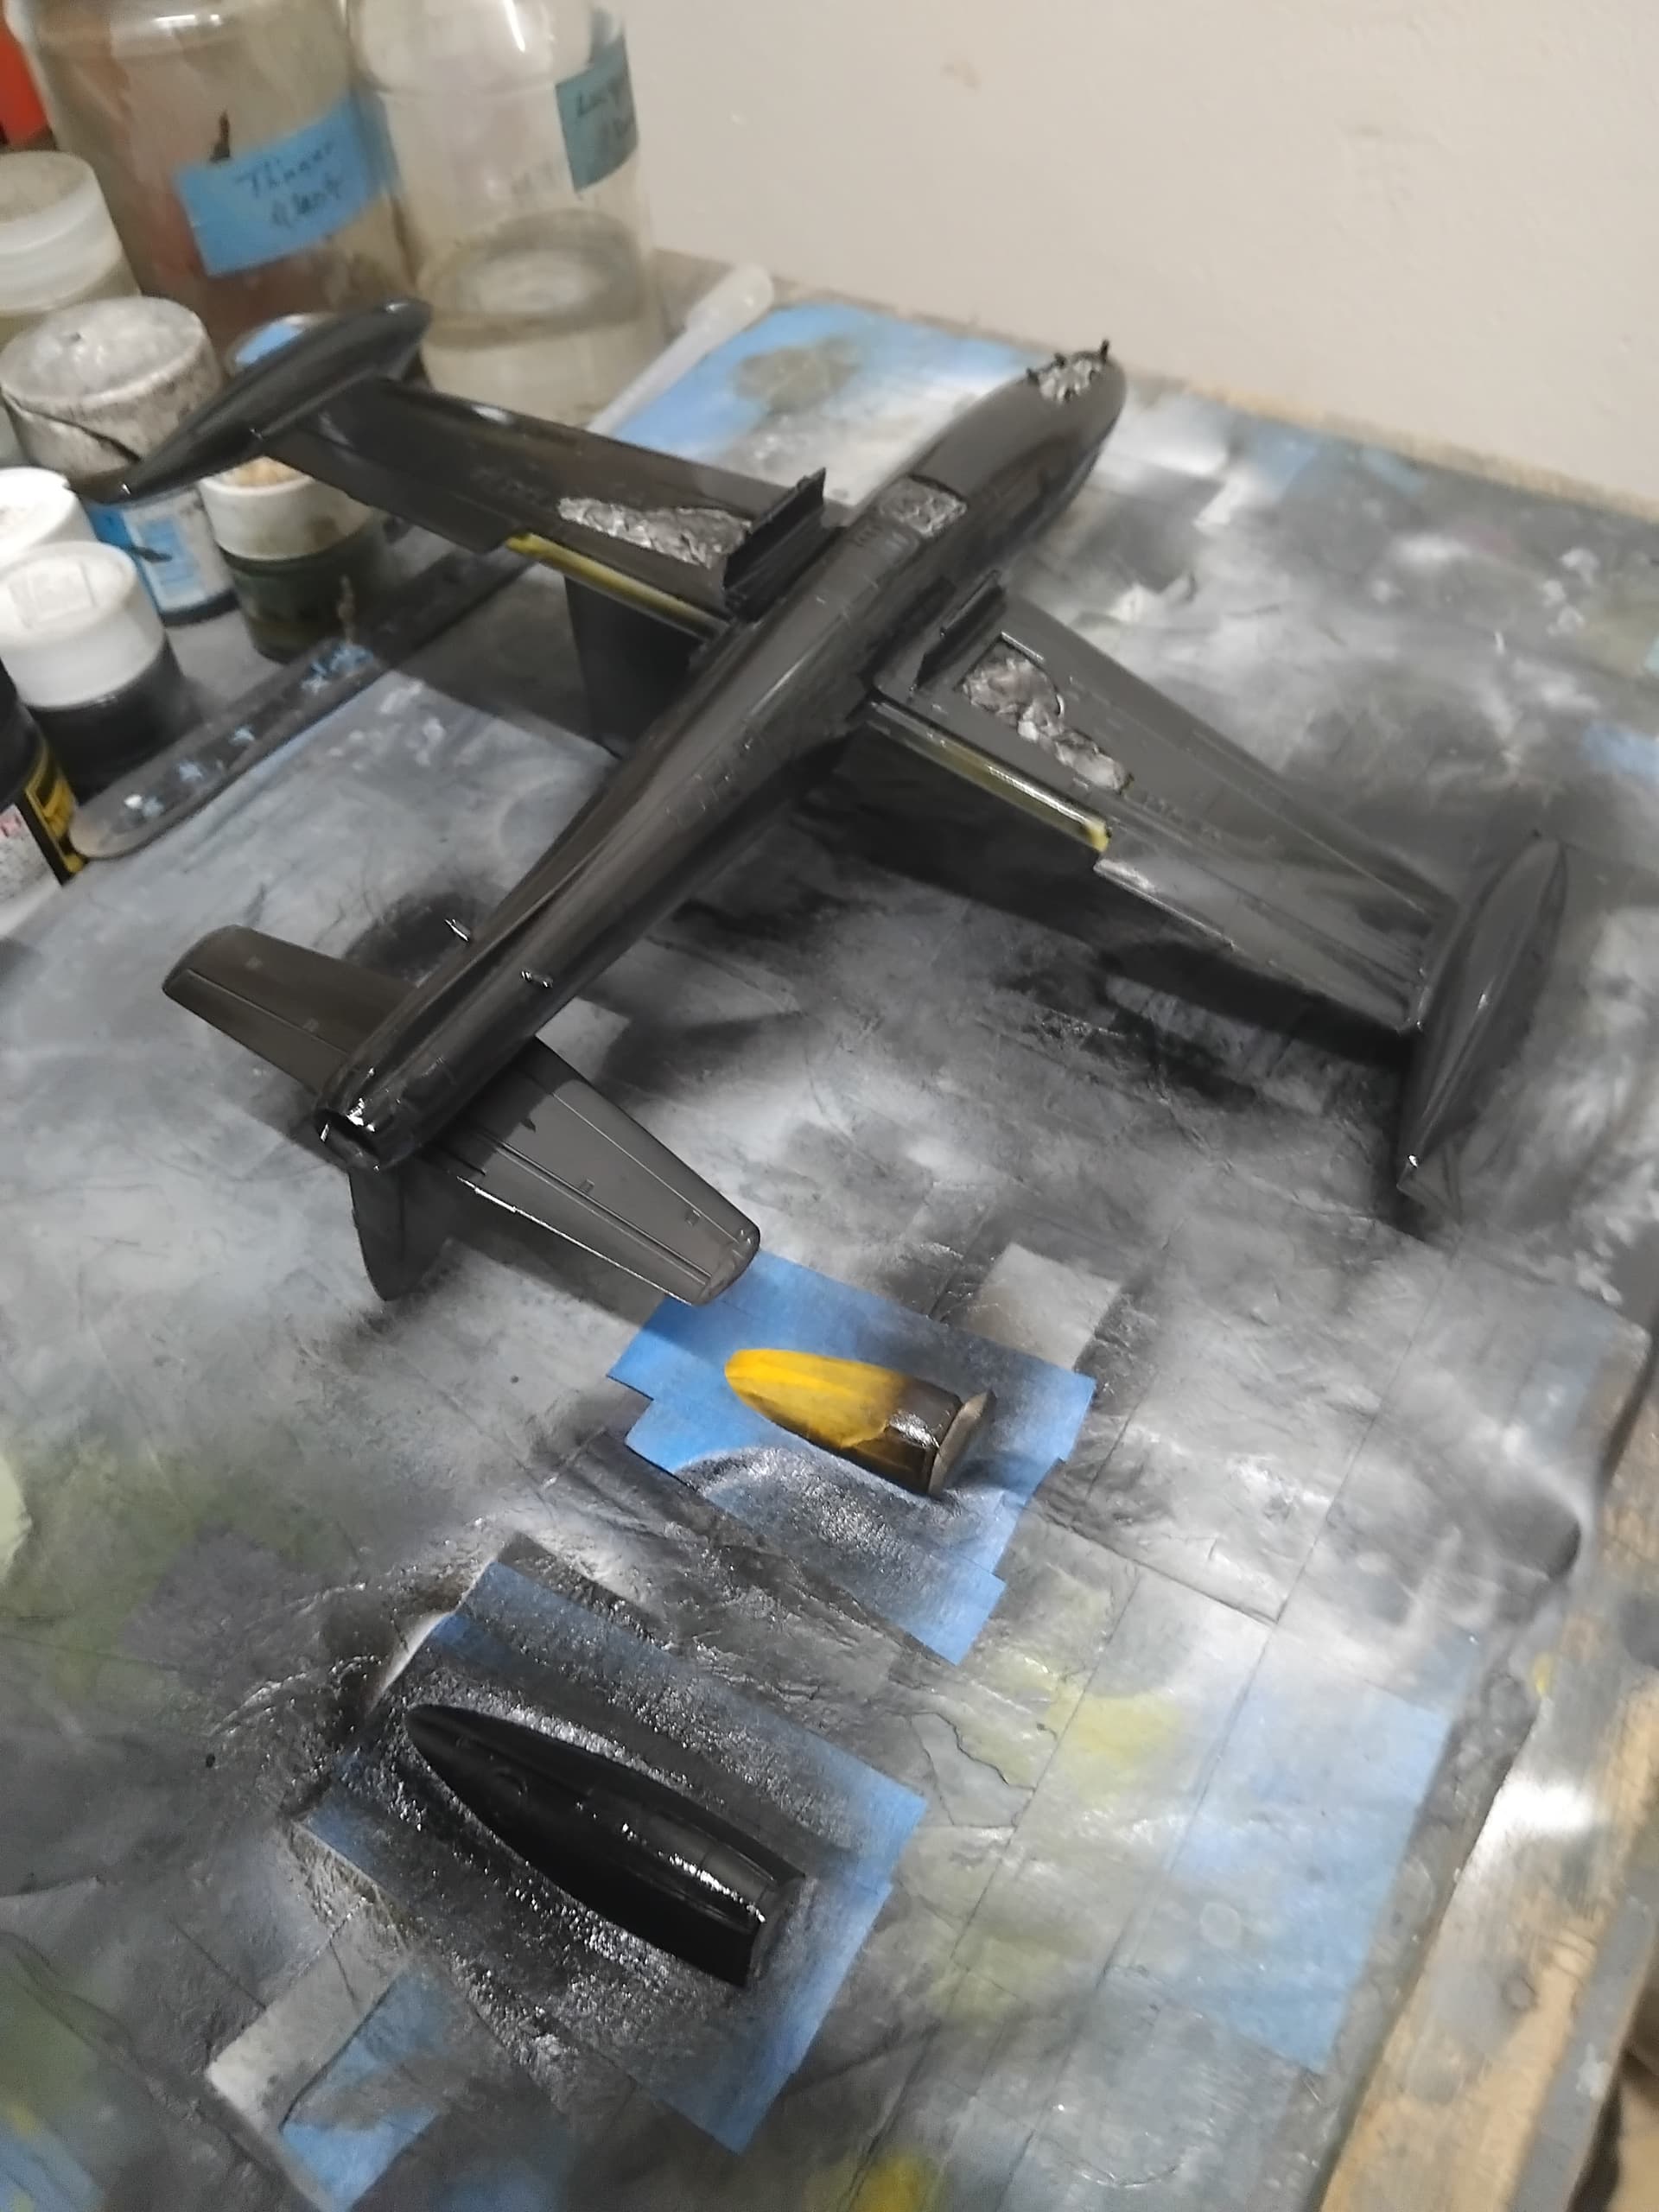
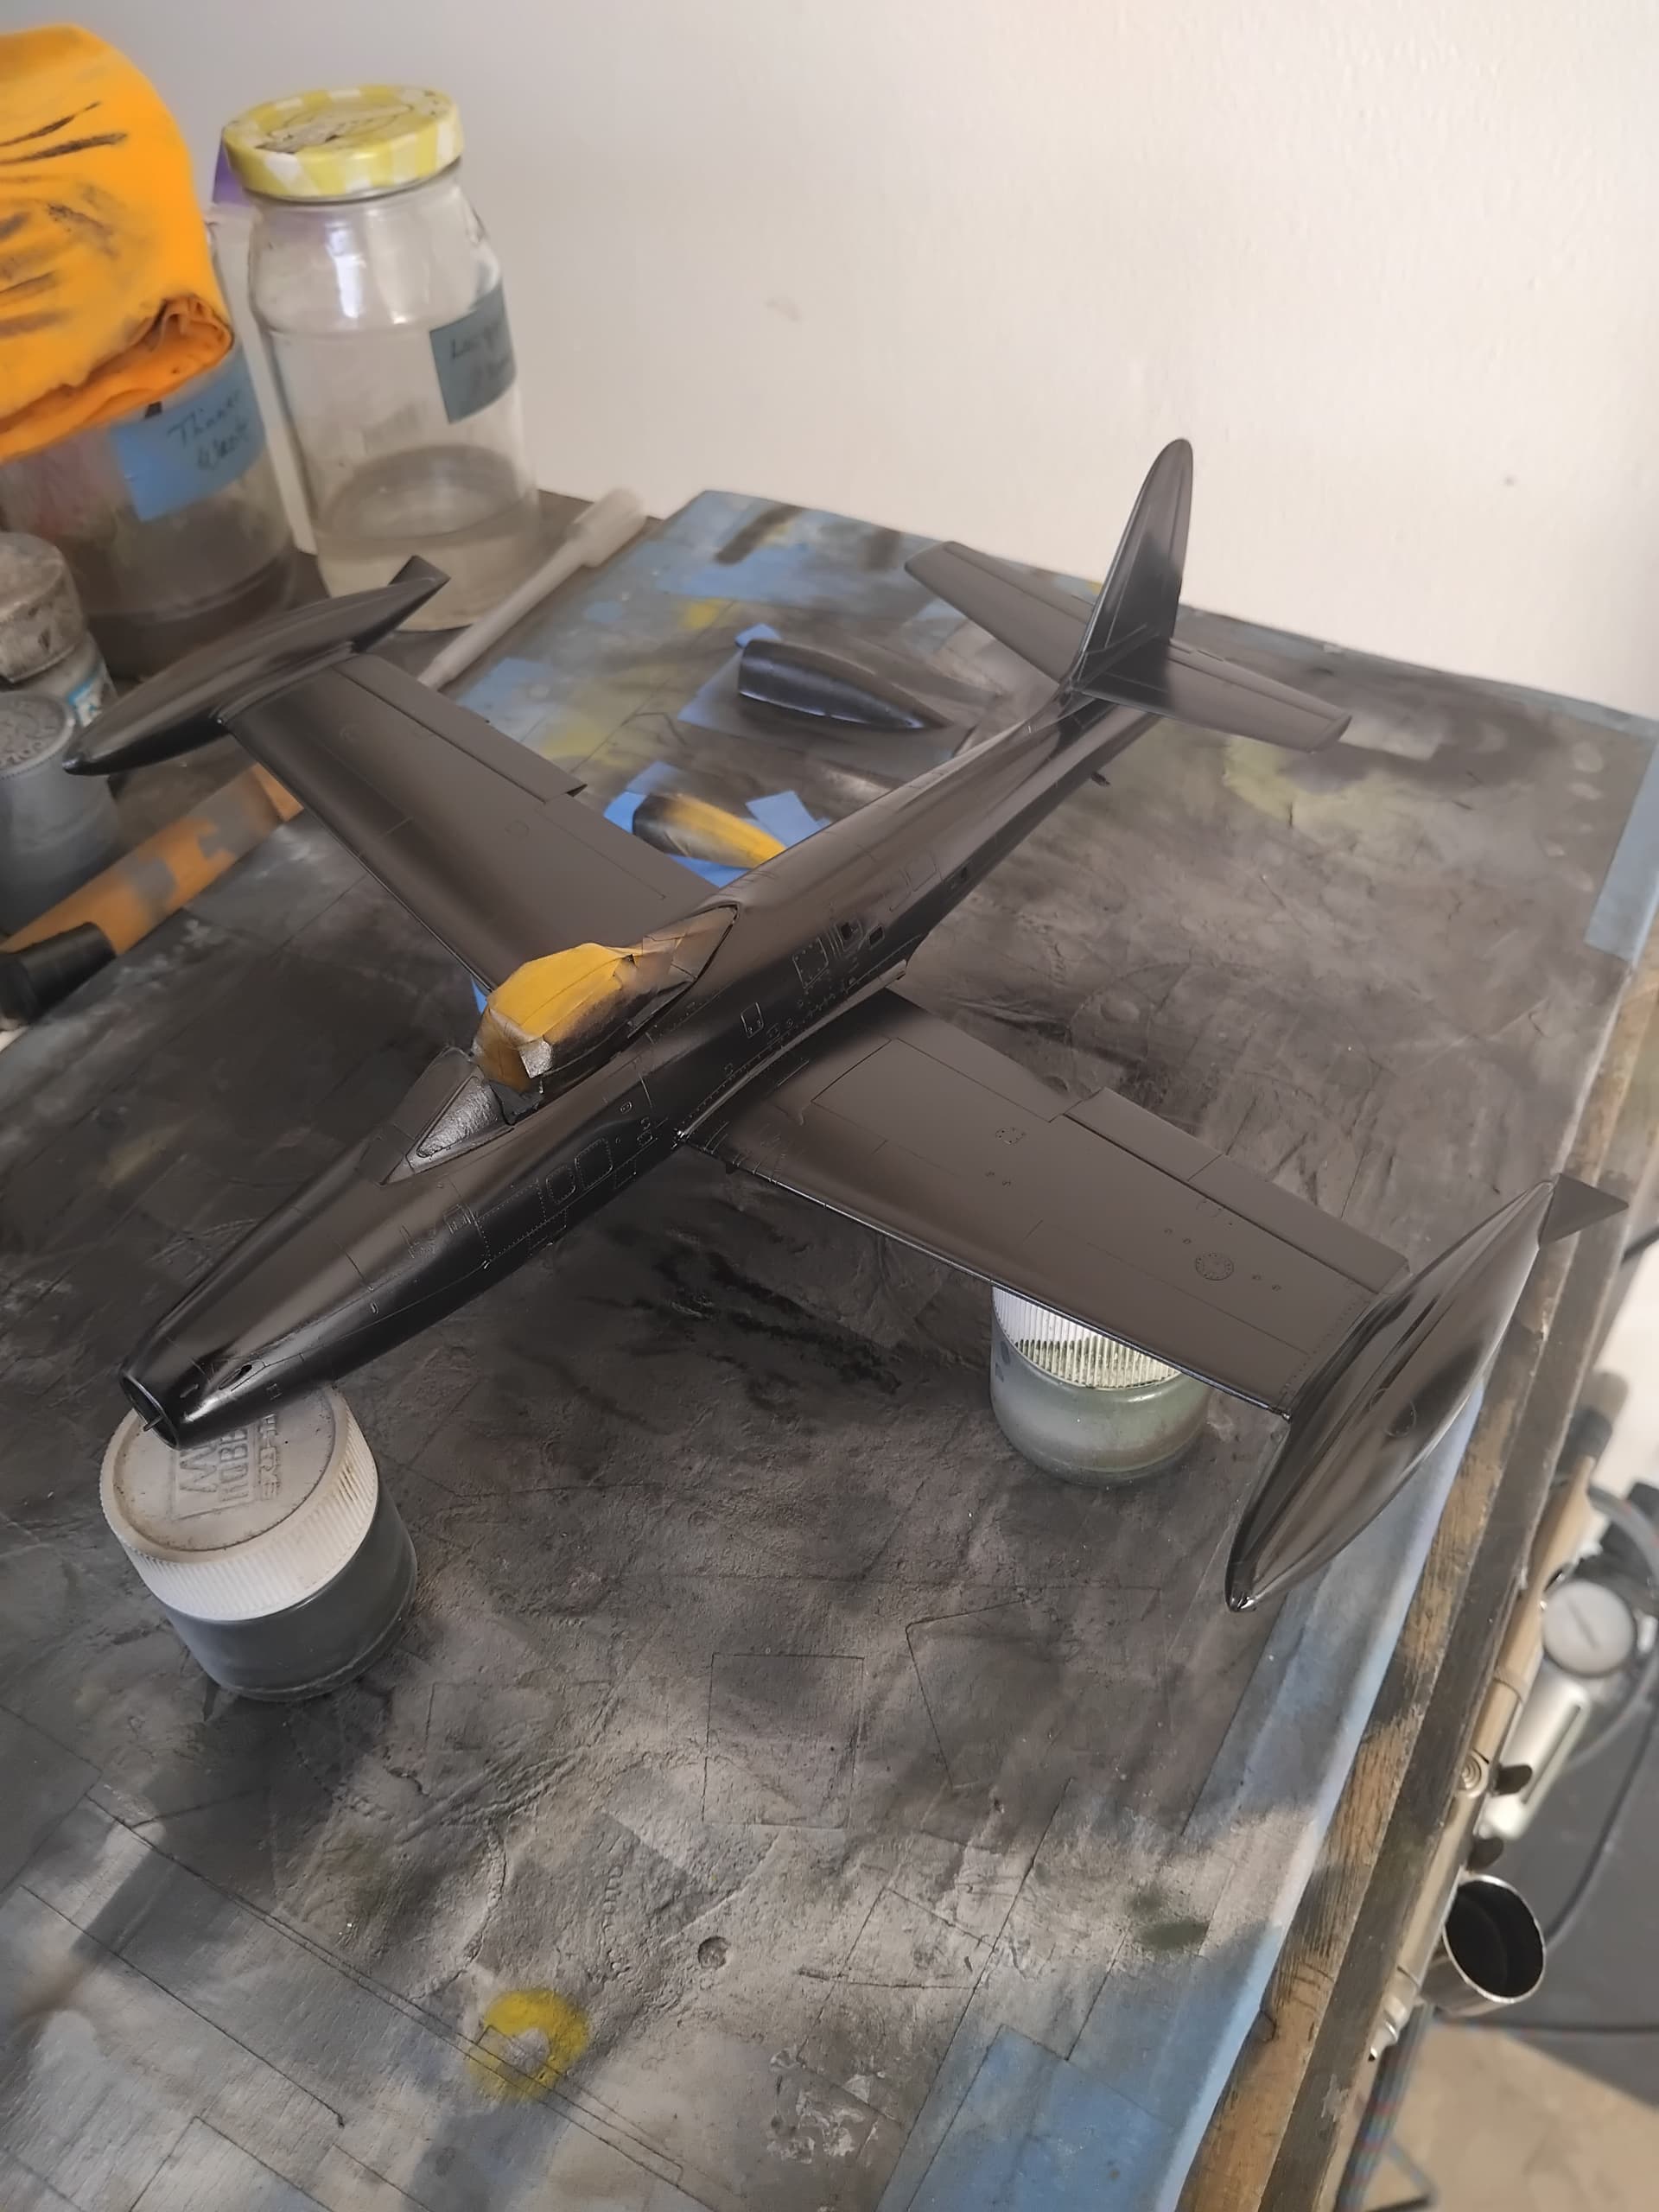
I figured that since the subject served in Korea, I intend to try to add some different tinted panels on the build to give a sense of wear, though not overly done! Should be interesting and will allow me to get out of my comfort zone.
Till next time be safe, drain your compressor, wash your hands with soap and water and most of all have fun!
2 Likes