Welcome to the Official Korea, the Forgotten War Campaign on the new KitMaker/Aeroscale forums! This campaign will run until May 2, 2021. Post your campaign related discussion and pictures here. It’s been a great campaign so far!
Michael 
Welcome to the Official Korea, the Forgotten War Campaign on the new KitMaker/Aeroscale forums! This campaign will run until May 2, 2021. Post your campaign related discussion and pictures here. It’s been a great campaign so far!
Michael
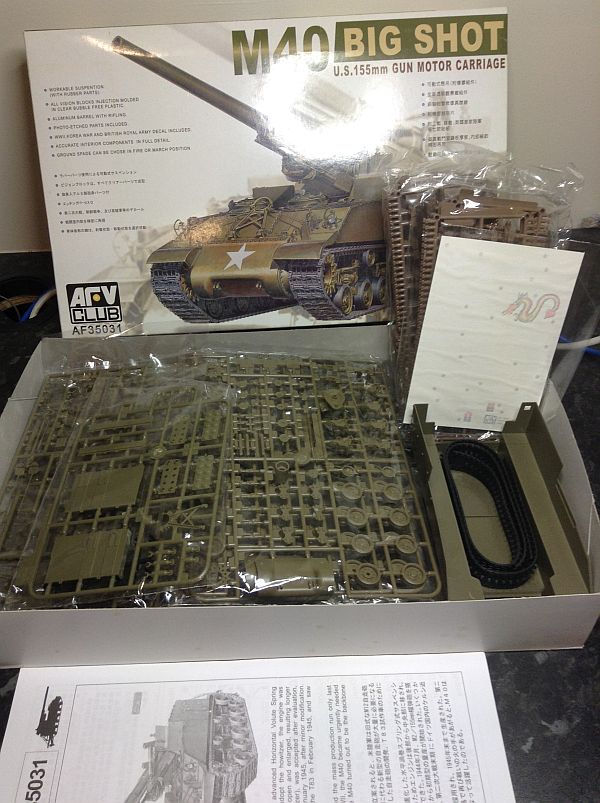
I’ve decided on my build - AFV Club’s M40:

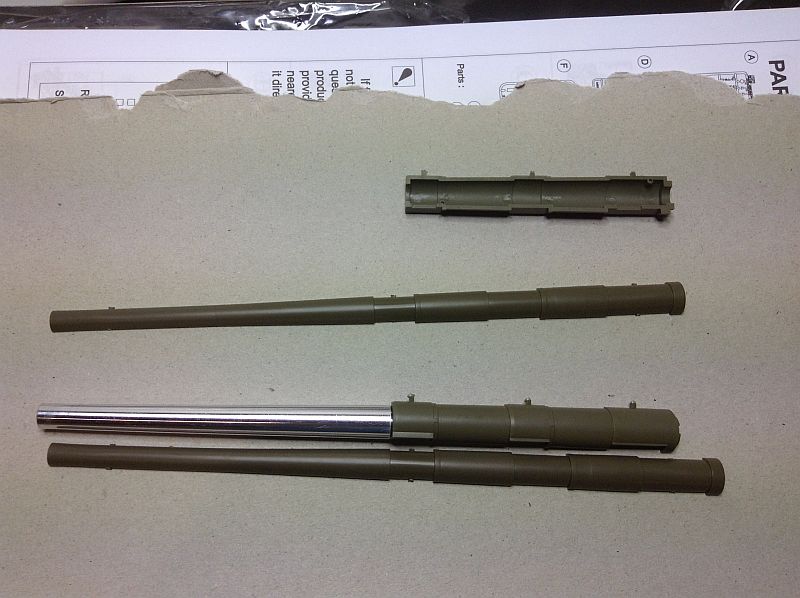
Anyone familiar with reviews of this kit and the older Long Tom kit will know about the barrel length being considerably shorter than it should be. A friend has the Tamiya kit of the M40 and he bought the metal barrel for that. He gave me the Tamiya Plastic one. I intended to use it as a guide to fix the AFV Club one, but after comparison and reference to Tankograd 6030 on Heavy Self-propelled artillery, it may be better to scratch build the cradle and use the Tamiya one. The comparison shows not only is the AFV Club one too long, it is too wide, lacks the slight flare on the barrel end and the barrel opening is too small and shallow:
AFV Club should probably have done the M43 8 Inch armed version, using their standard artillery piece for the required part. It was a lot rarer vehicle, but a much better option for an OOB build…
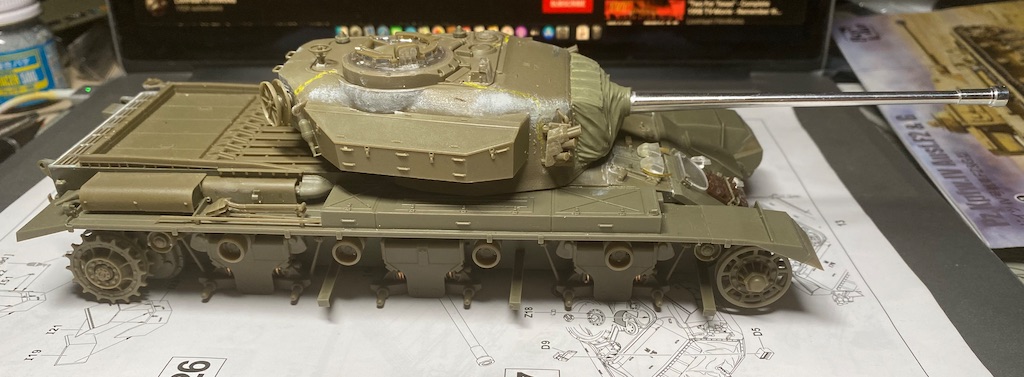
Looking good Damian. Nice little details added I see.
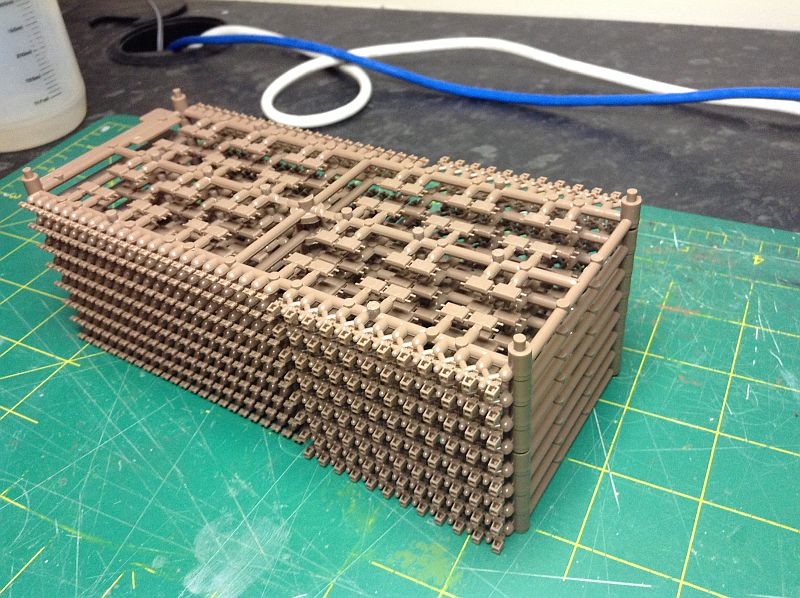
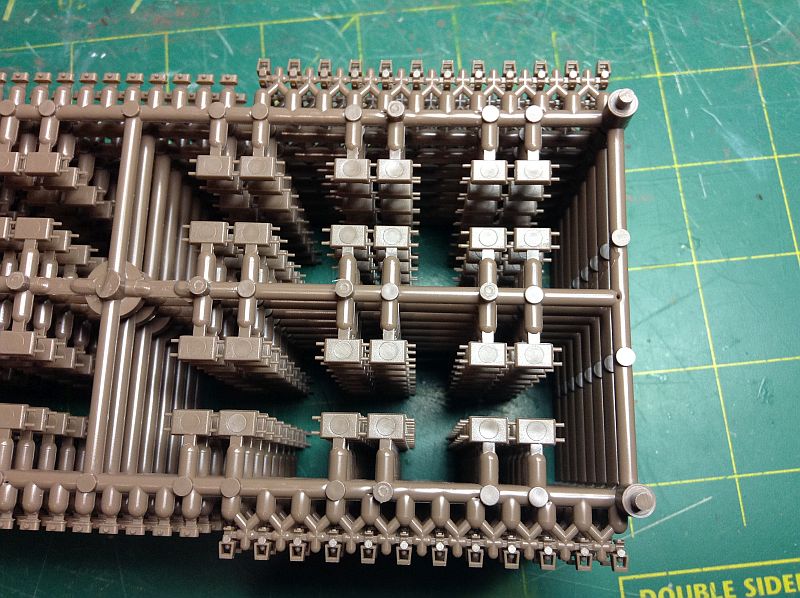
Okay. I made a start. Here are the AFV Club T-80 type tracks. Thought I would tackle the horrible task first. They nicely stack in the purpose built Sprue receptacles.:
but they have not so nice knock out marks and sink marks…
…necessitating much putty and the death of my tube of same… cue Freddy Mercury and the boys “Another One bites the Dust”…
Nope…no…no way…Runs Away Screaming
These would drive me to AM tracks and I am someone who HATES spending money on AM tracks.
@McRunty Well Rory - these are AM tracks. The kit comes with T-66 rubber bands which are only good for WW2 and shortly thereafter… I do a lot of scratch built detail for most of my builds, so I’m used to tedious and longer term build time. My options?..
Kaizen do a set. All the pieces are vinyl (not keen on vinyl to begin with) which you assemble by pushing the brass pin through the first pad, into the second pad but trapping the guide horn in between, then adding the end connectors.:
Or RFM/MIG which go together like Bronco tracks - skeletal frame, trapped between track pads, guide horns trapped between links and secured by end connectors, all parts moulded with multiple attachment points on the sprue - I’d say the amount of time for clean up would be about the same as the AFV Club ones, at half the price…
Or Fruils, which being metal sag when they shouldn’t for live tracks and have end connectors attached so they are poor representations around the sprocket and idler, and cost more than the base kit plus the AFV Club track set on their own.
… or Dragon’s DS set… errrrggggghhhhh, we all know about DS tracks by now…
Wow, those tracks will test the sanity of everybody - even just looking at them.  I am sure it will be worth it in the end though.
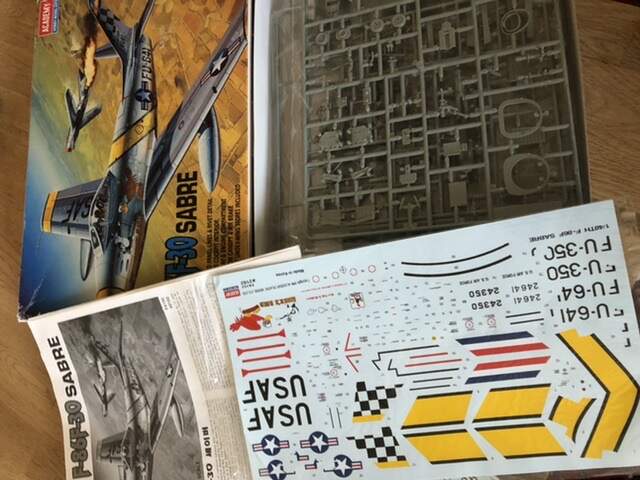
I have decided to build the F-86F-30 Sabre for this campaign. It is the Academy kit which allows to show of the engine and gun bays. I will probably make a diorama with it at some point.
I will try to up my game a bit for the natural metal finish. I have purchase the Ammo complete set for this. Let’s see what I get out of it. 
More to follow in a couple of weeks when I get started.
Looking forward to seeing this one Jesper. The Natural Metal finish is nice and a little (a lot!) tougher to get right…
Exactly, Peter.
And the decals are the old style, so need a lot of force and solvent to get to settle. I have a number of alternative decals though, but want to try the kit decals as I love the yellow ID markings and cartoon characters.
I have it all painted!
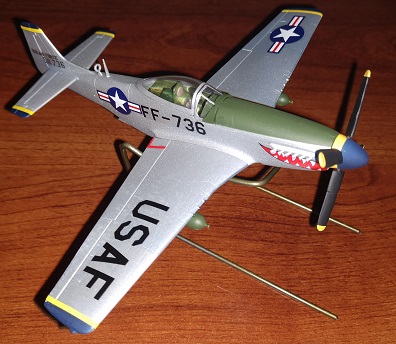
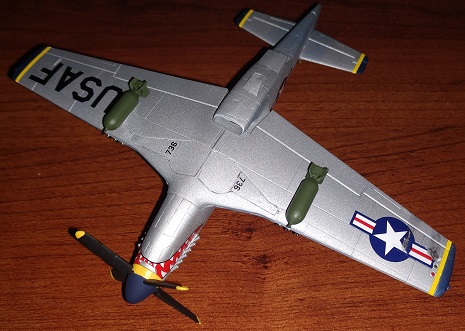
I decided to mount just a couple of bombs because they are less era specific so it’ll match the WWII tanks I will display it with a bit better.
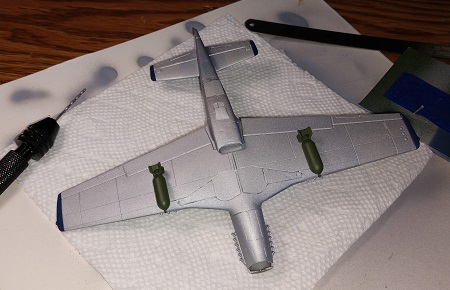
I then got the rest of the parts on and I am ready for the decals.
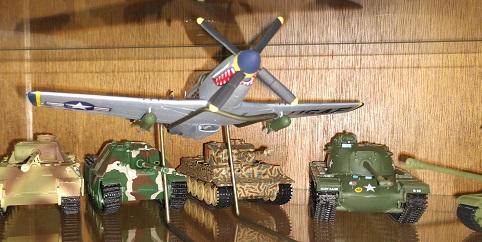
It’s wheels are up because it’ll be patrolling above a few axis tanks to make sure they behave themselves on my shelf.
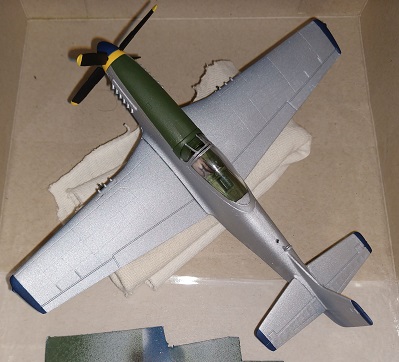
I can’t seem to get the gallery site to work today so I will look to upload these to there later, but for now here they are. I have this one all done and displayed in my little ‘tank museum’ on my shelf. I have a more elegant stand in mind but that also involves my AH-64 so I won’t be getting around to that for quite some time. One of the decals on the bottom of the wing didn’t want to behave for me so I ‘shot it’ a couple of times to teach it a lesson.
Very cool build, David.
Congrats on finishing! 
Nicely done David. Looks great,
Oh Gosh, I really got to get cracking on my F3D. The parts are washed and ready to start painting. 
Looking great 
I think the gallery on the old site is essentially dead and probably won’t be revived. Images of finished models uploaded here will qualify if we have a way to award ribbons on this new site. Nice work, Diggs!
Michael 
Michael, duly noted. Hope you solve a way to award ribbons in the future. It is a nice feature and appreciated by many modelers.
Some progress, A rogues’ gallery of pilots.
in the cockpit. I’m trying to replicate the dark green “poopy suits” that Marines wore in Korea. And amazingly enough the BN has a chart board on his lap. The other two are from an A-7A for Mud Movers and the guy in blue at the end is Neil Anderson, the Chief Test pilot at General Dynamics for the YF-16 in the Display / Demo build.