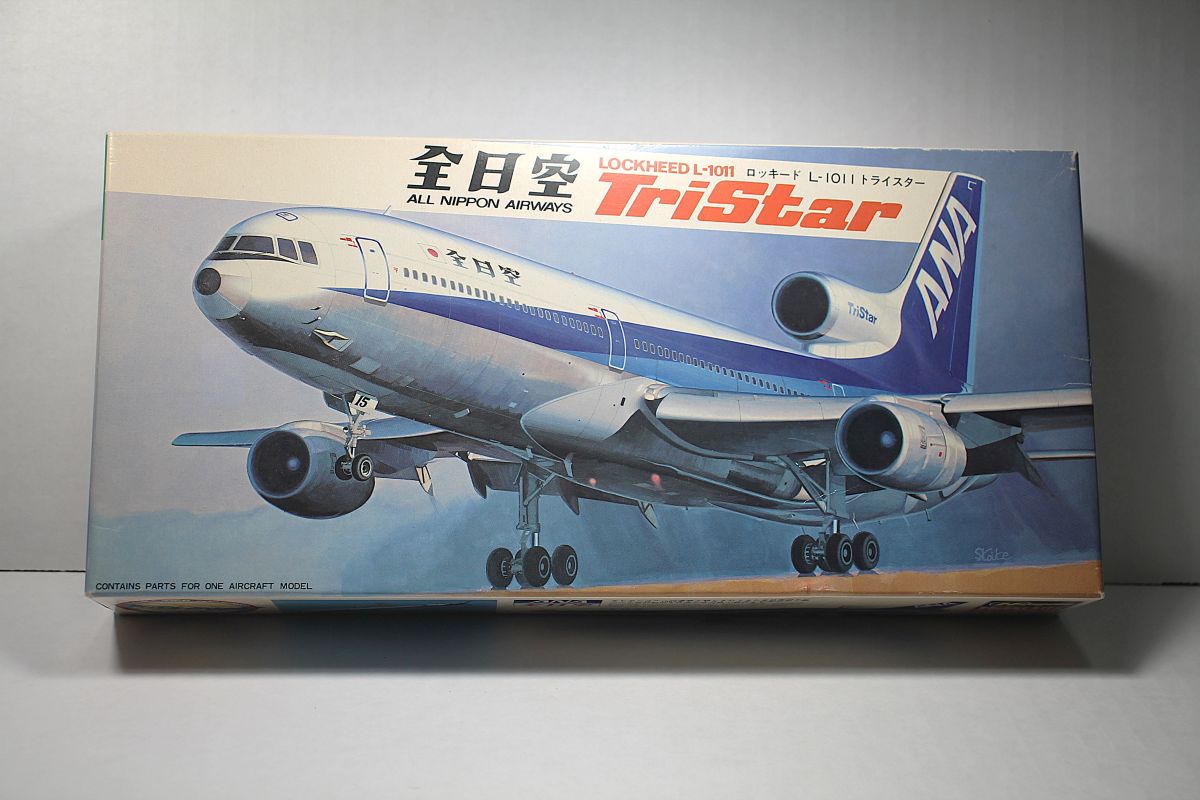
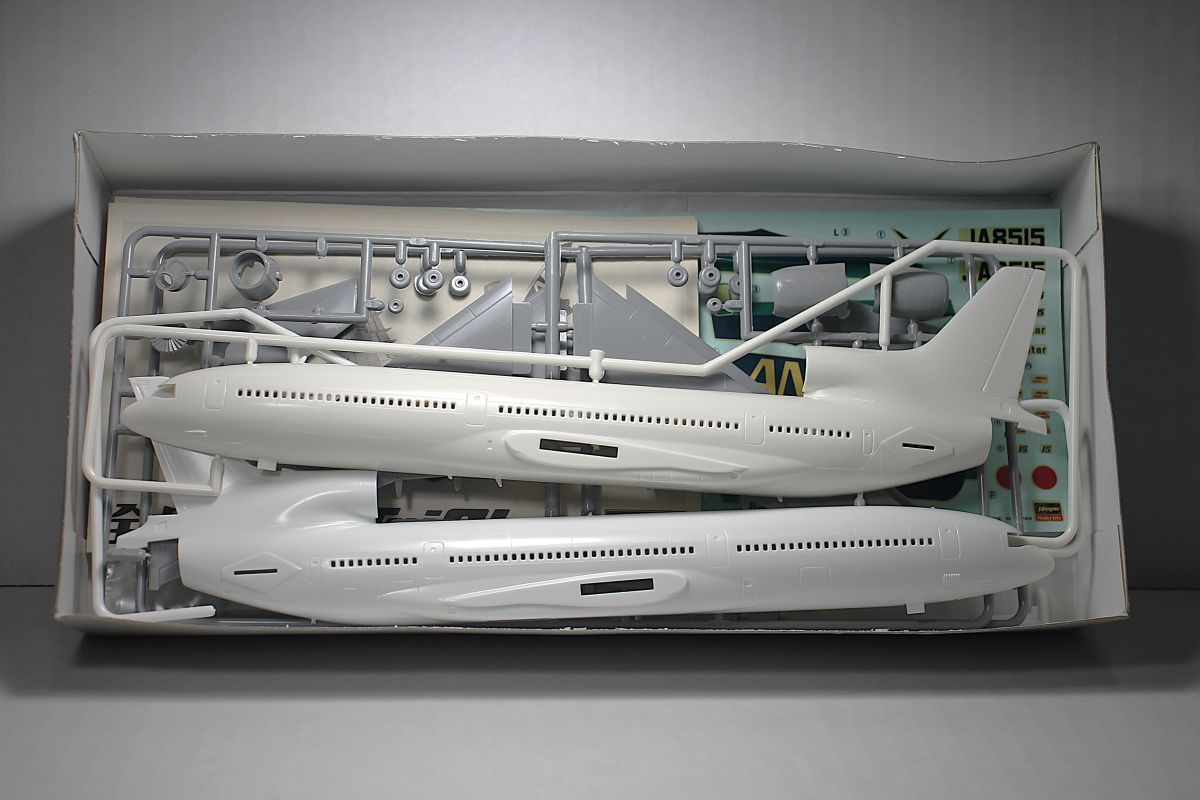
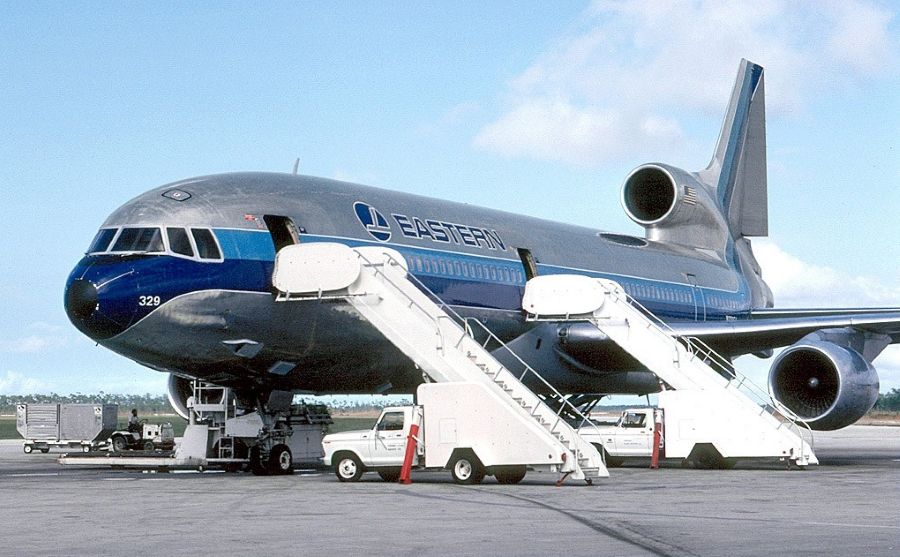
I am starting a Lockheed Tristar L-1011-1 similar to the one I flew on to the Bahamas in 1983. I am using the 1/200 Hasegawa kit and will be ordering Eastern Airlines aftermarket decals.
6 Likes
Make sure you fasten the port engine well .
2 Likes
That was an MD-11F NOT an L1011-1. 
Oops ! My bad.
1 Like
Also an MD-10 lost a left engine in 1979, American Airlines flight 191 lost all 271 occupants at O’Hare. An Eastern L-1011 did have an event over the Atlantic and made it back to Miami 2 months before I flew in an L-1011. It returned in Miami, I flew an Eastern L-1011 from Hartford to Miami 2 months after that crash. I never even realized it till reading about it later.
1 Like
I started with the nose weight. Hasegawa gives you a weight, a bulkhead in 2 pieces that is 4 grams in weight. I googled it and came up with nose weight should be 5 to 10 grams, so I added a fishing weight to the bulkhead and it came out as 10 grams. That’s what I am going with.

3 Likes
Will be following this build with interest. I have the same kit started but alas my short attention span was stronger that the kit’s appeal..
3 Likes
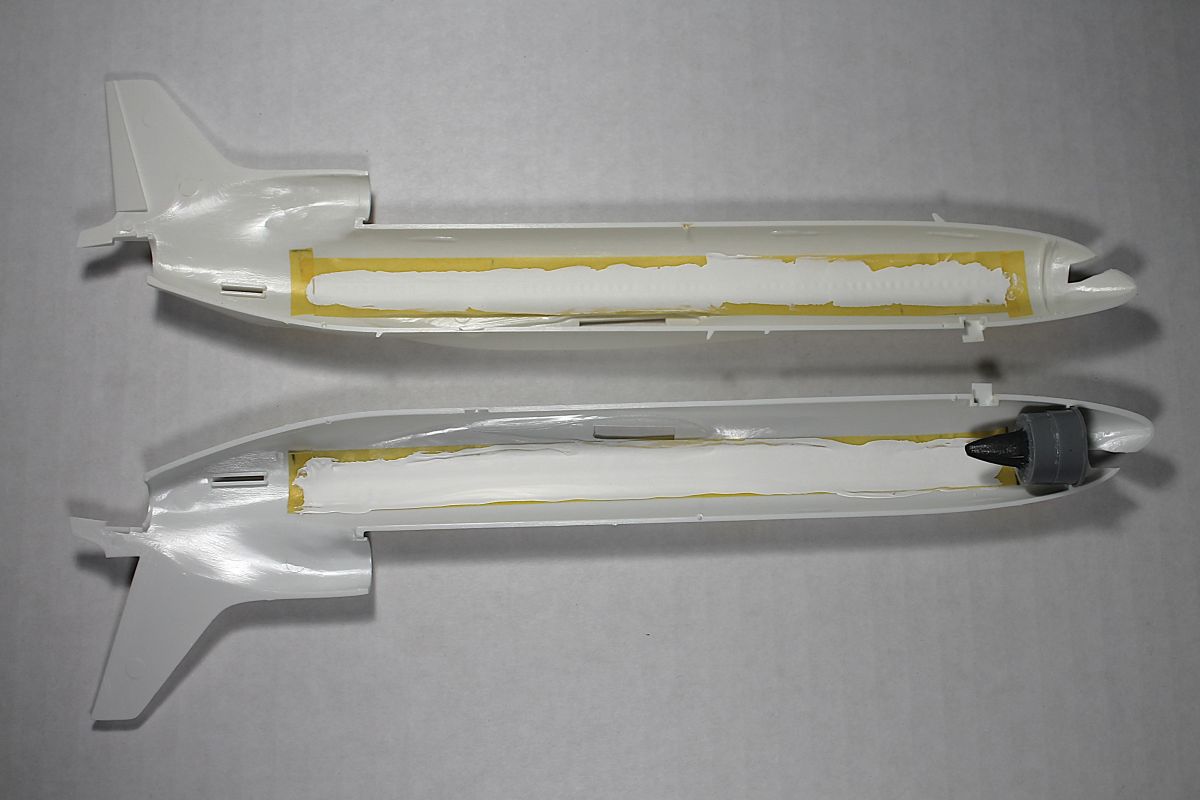
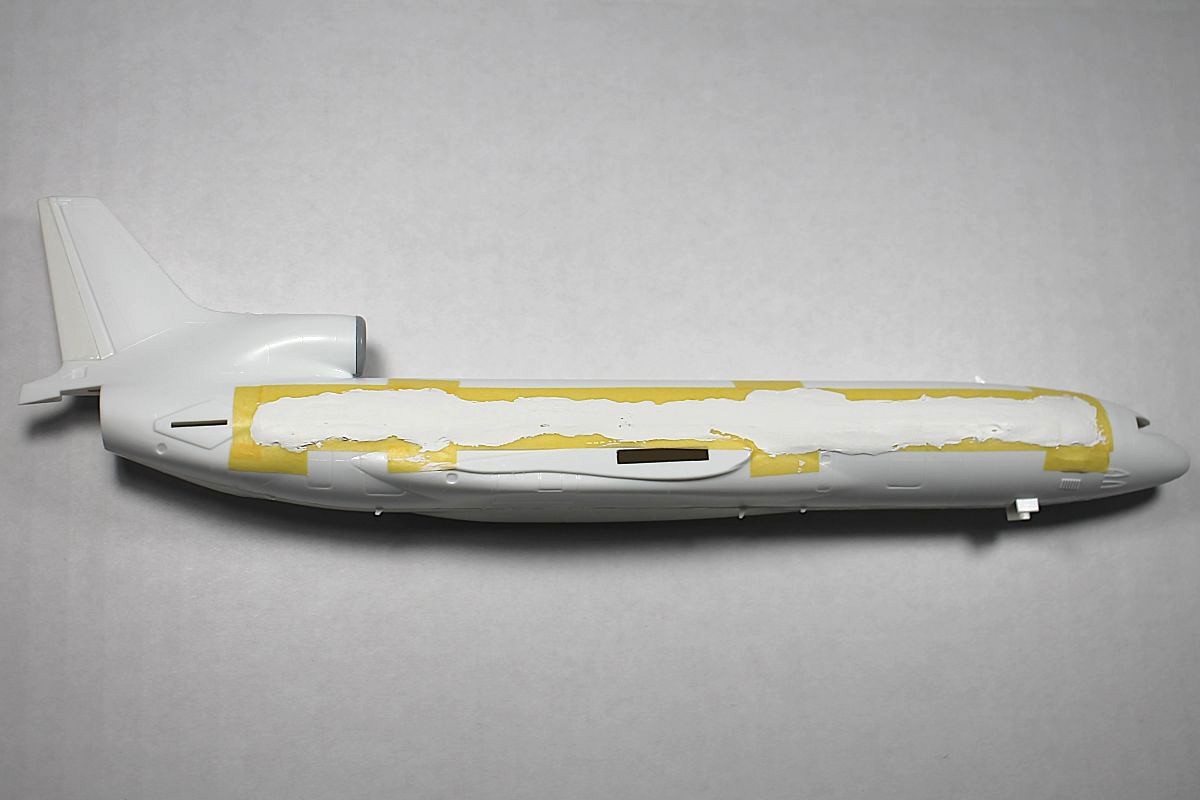
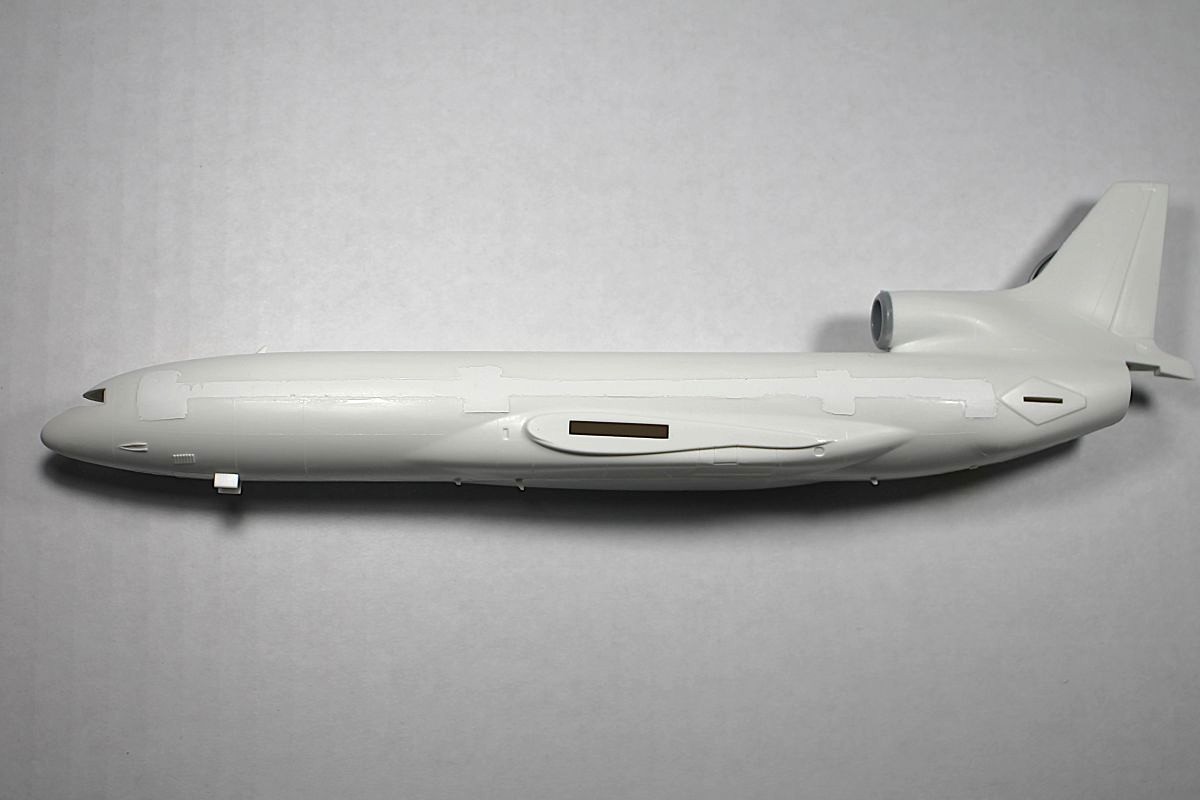
I have the 2 fuselage halves glued up. I taped the perimeter and applied putty, waited 24 hours then started sanding the left side. When I got almost to the plastic I stopped and removed the tape and now will continue “gingerly” to sand until the putty is flush with the plastic.
2 Likes
I sanded the putty smooth to the contour of the fuselage, I had about 12 pinholes. I puttied those and had 2 pinholes, one above the leading edge in a window and one above the mid wing in a window. I just filled those and will hopefully complete the left side tomorrow then start sanding the right side.

1 Like
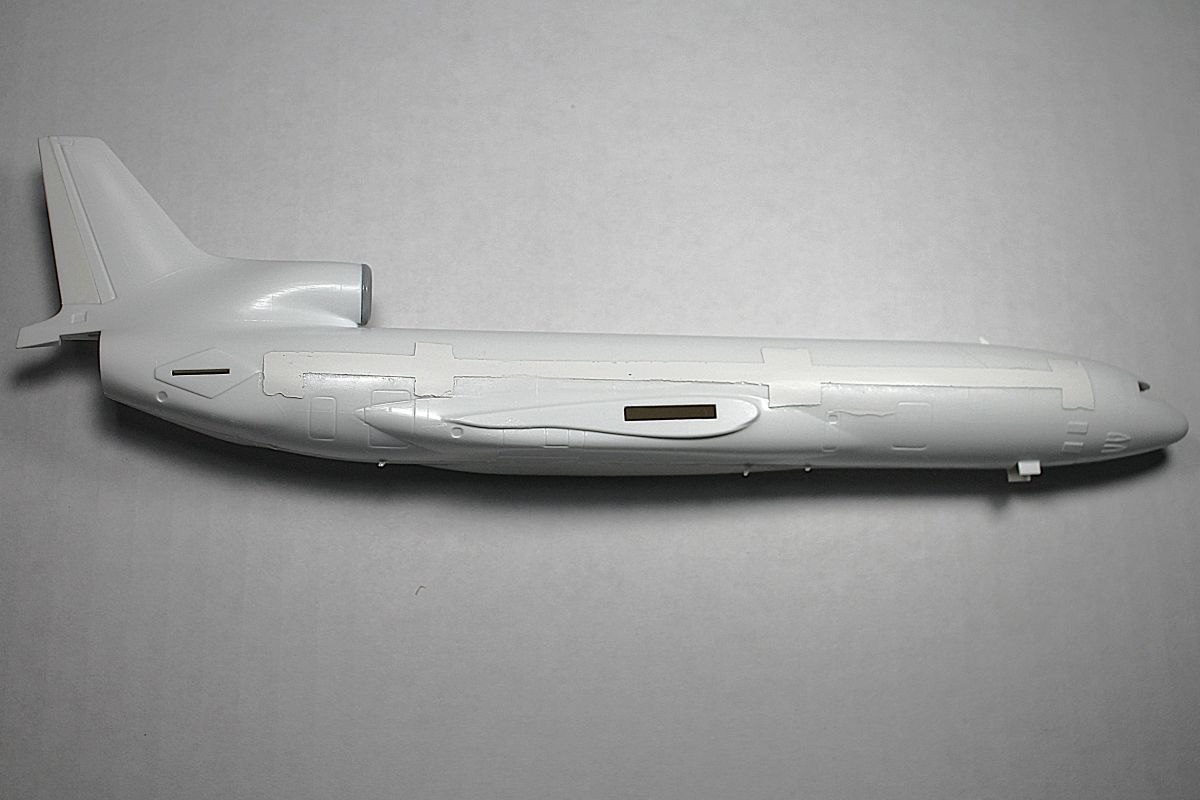
The left side is done, I started the right side. I have it sanded to the tape then removed the tape. I’ll finish sanding it to the fuselage contour tomorrow.
1 Like
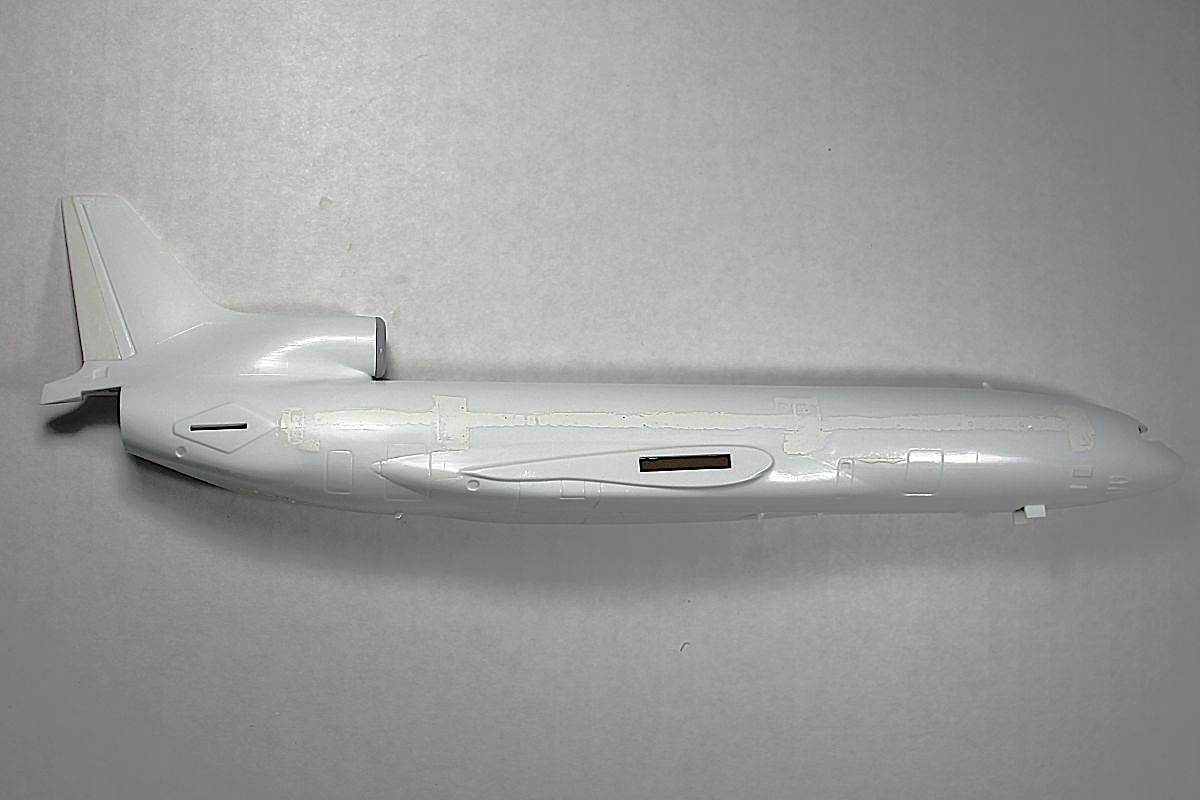
The right side is sanded down but has 2 dozen pin holes that need more putty. This is starting to get old. Why didn’t they make these with NO WINDOW HOLES? I have ordered another 1/200 plane but NOT a Hasegawa and NOT an airliner. I have a 1/200 DML B-52G, that will be a relief from all this foolish puttying.
2 Likes
I just sanded the pinholes in the right and left sides. It looks as if I have almost reached the end. I have to fill 3 pinholes on the left side and 4 on the right side.
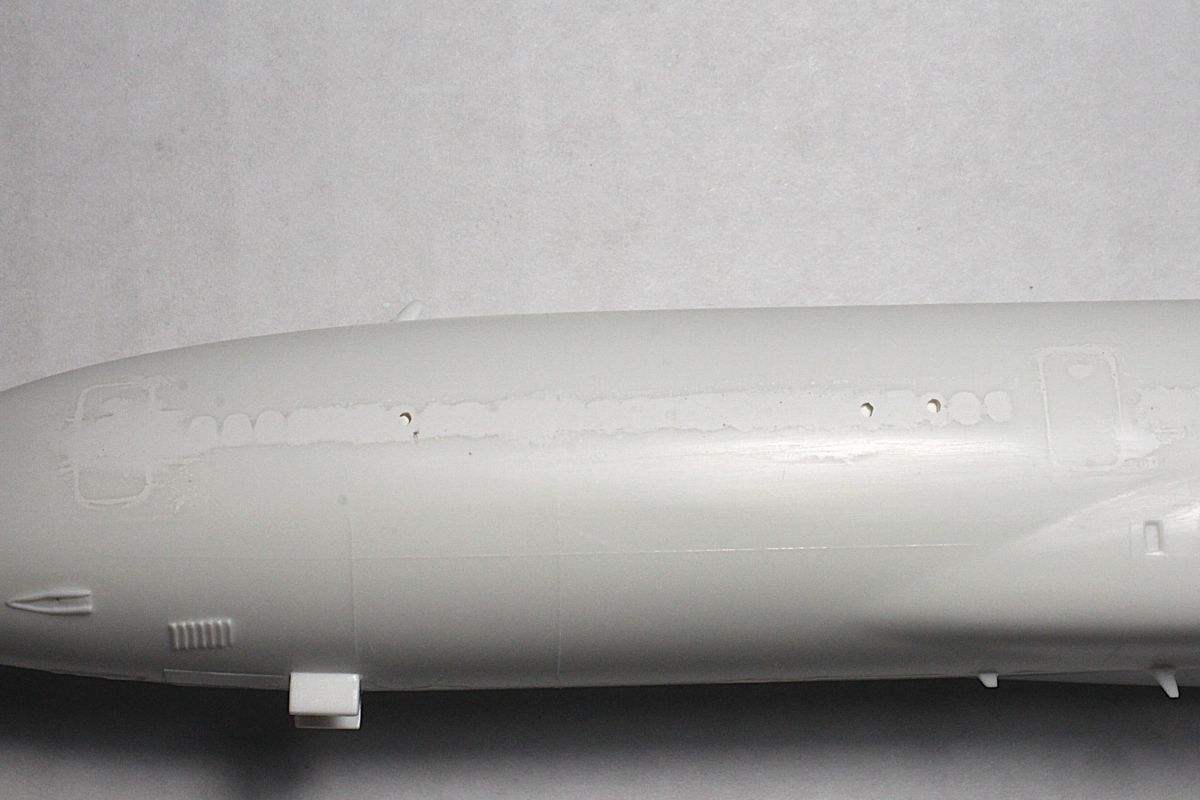
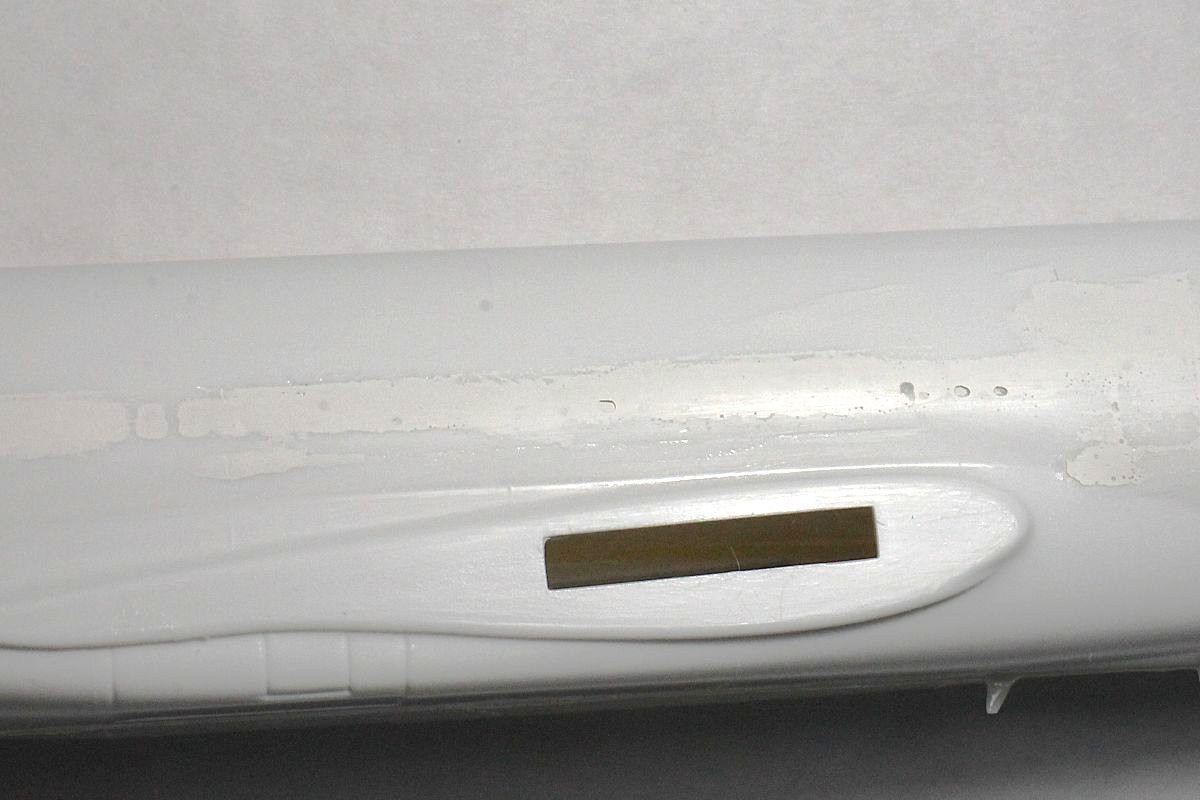
1 Like
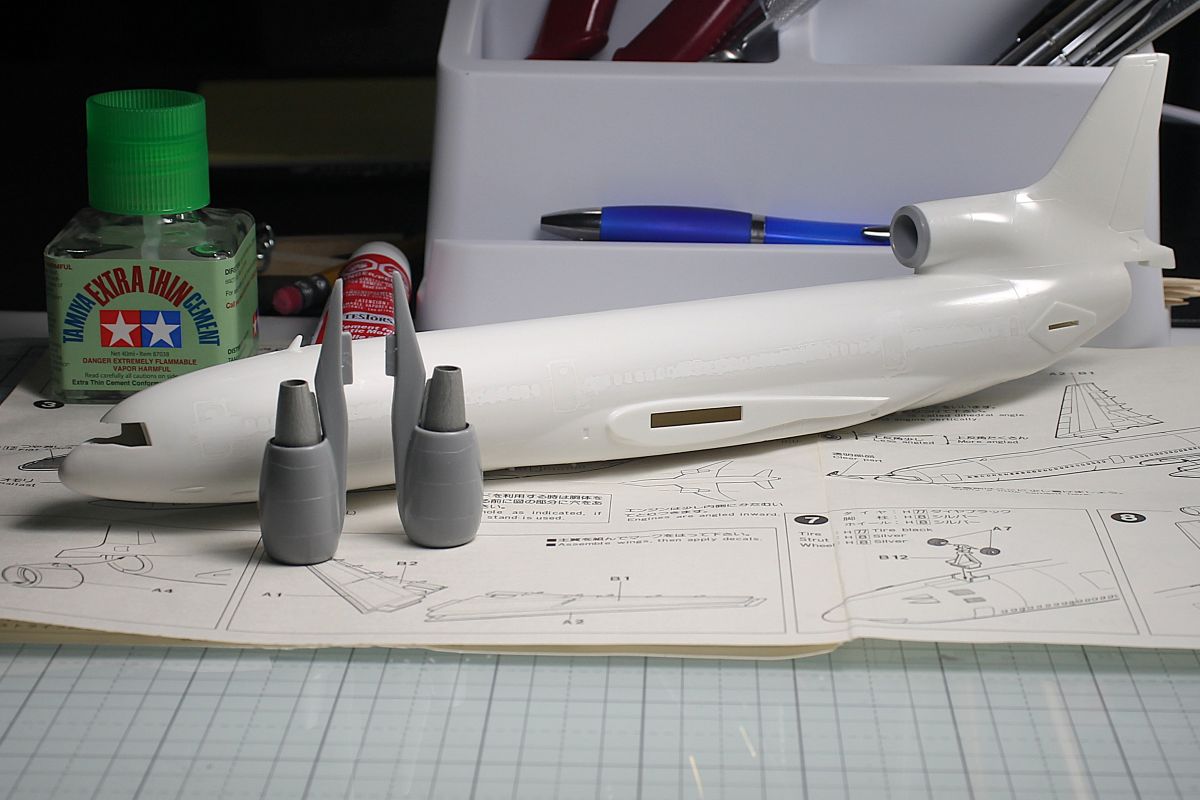
The windows did not work out. I could break the super thin putty with my thumb nail. So I switched to Tamiya Putty Basic Type, gray. I used it years ago and do not remember it having porosity problems like I have been having with the white stuff. If this does not work maybe Mr. Surfacer or Mr Hammer!
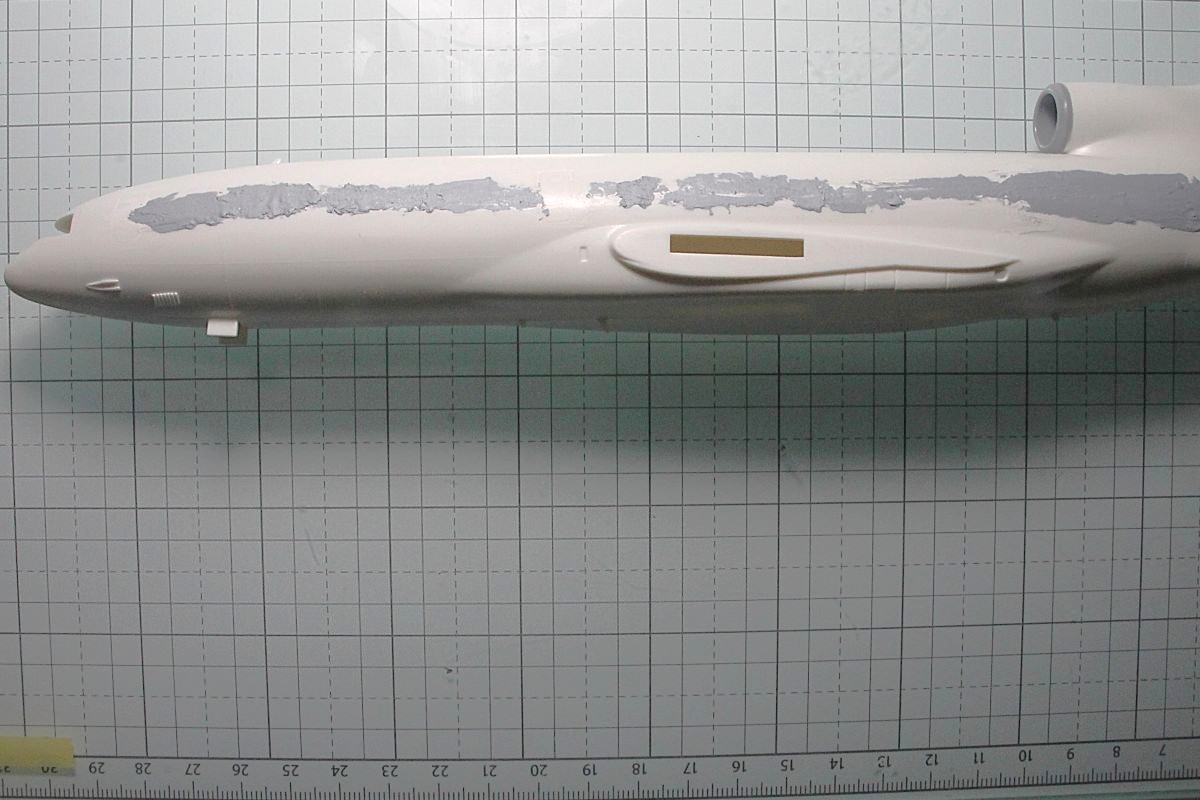
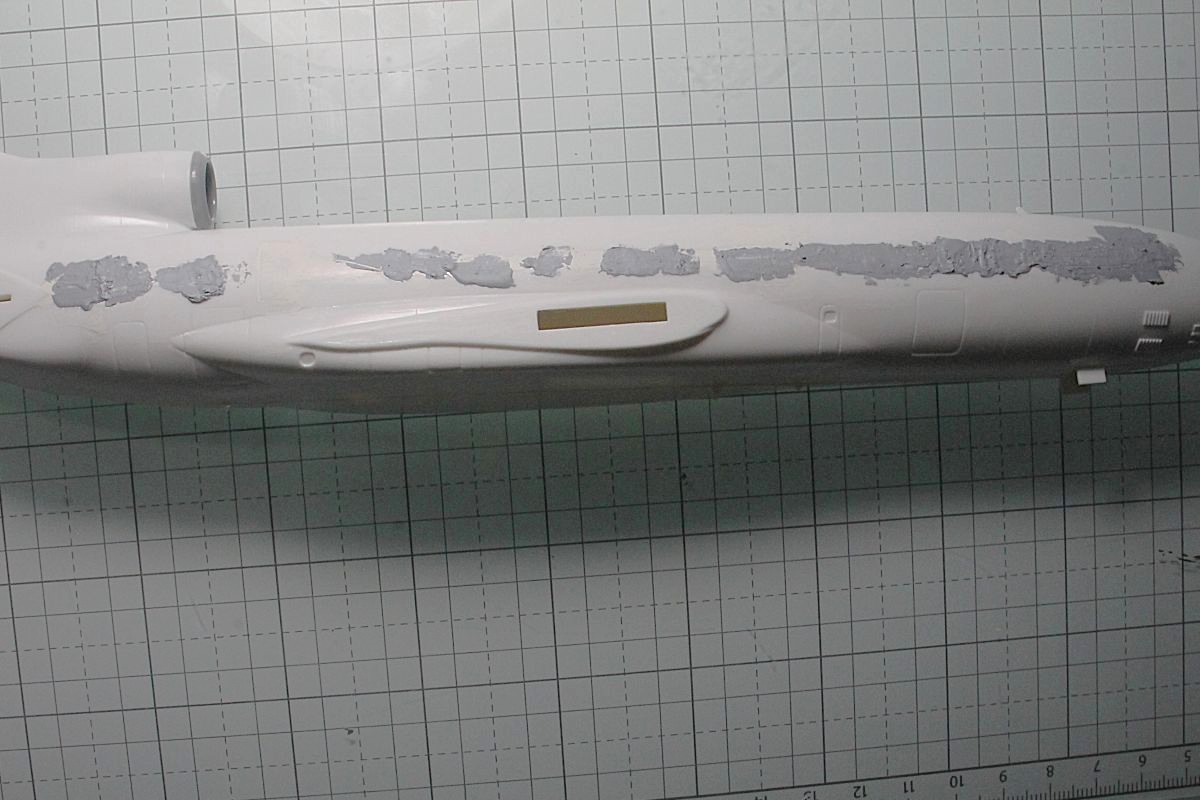
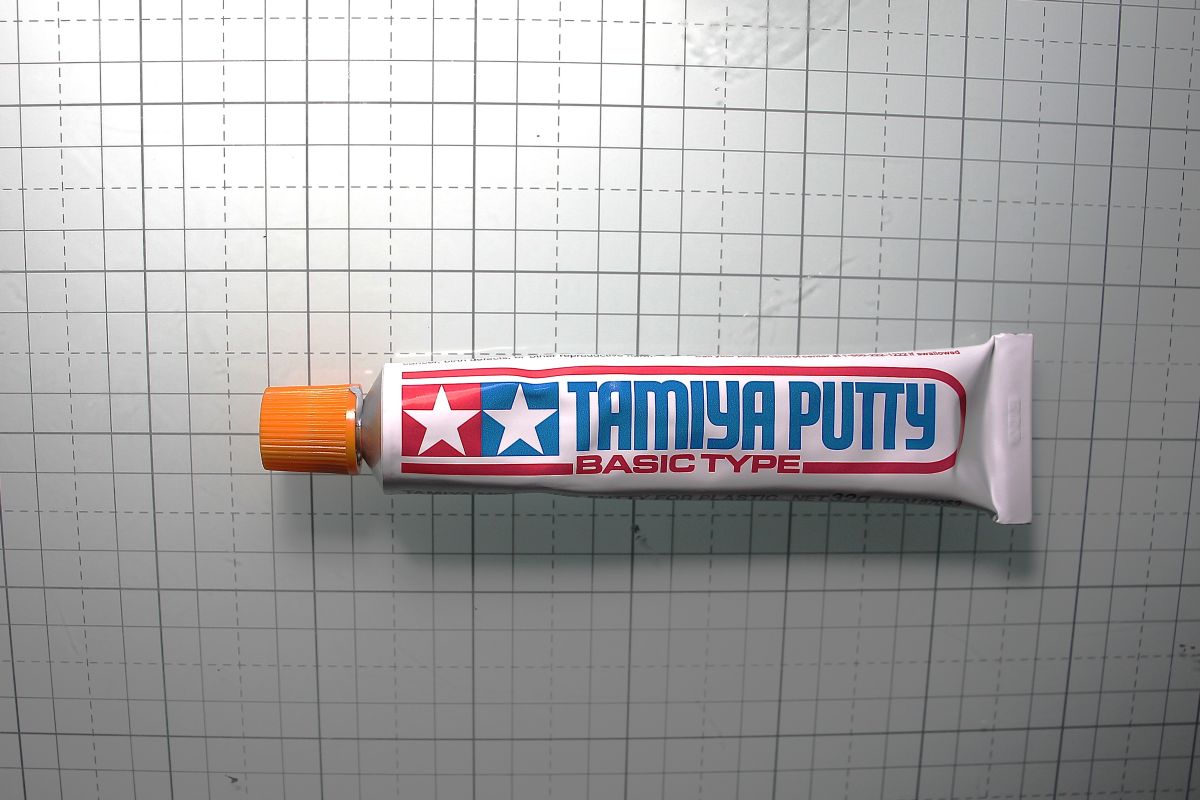
1 Like
Sanded and a few more holes and some seams are too thick to sand down so I added putty to the "low side " of the seam.
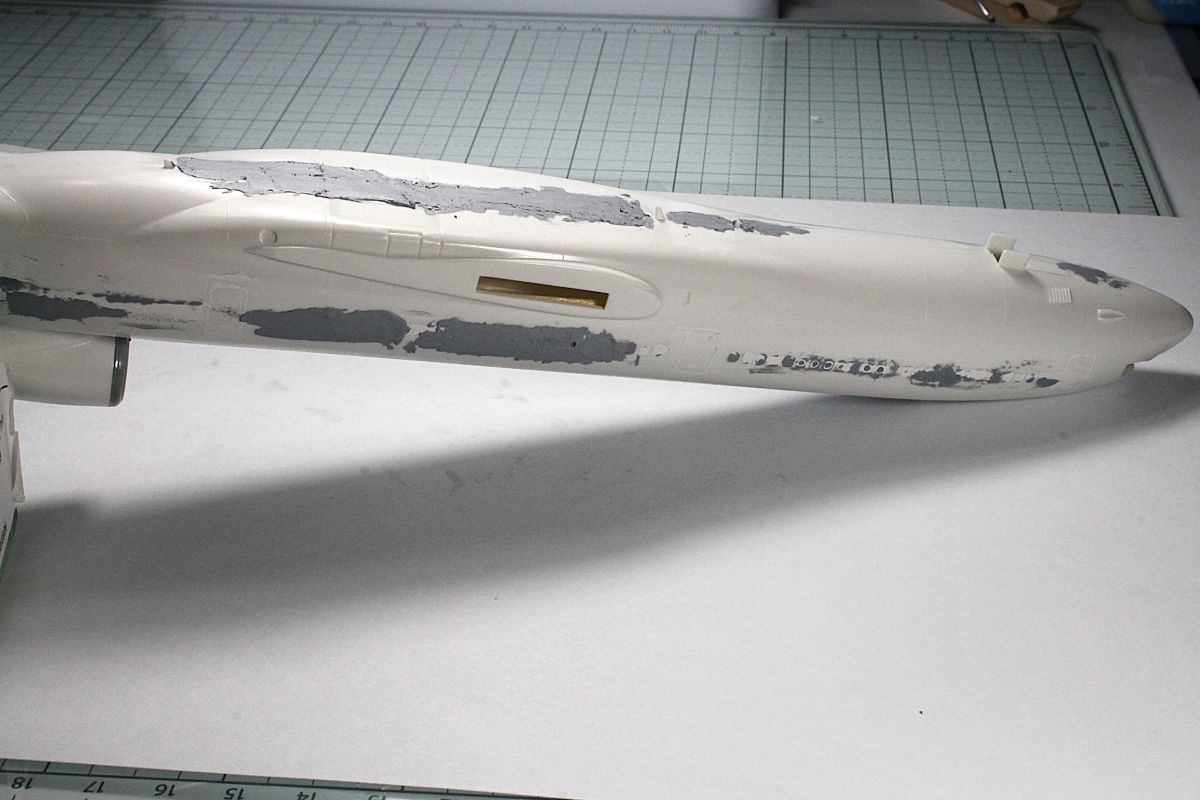
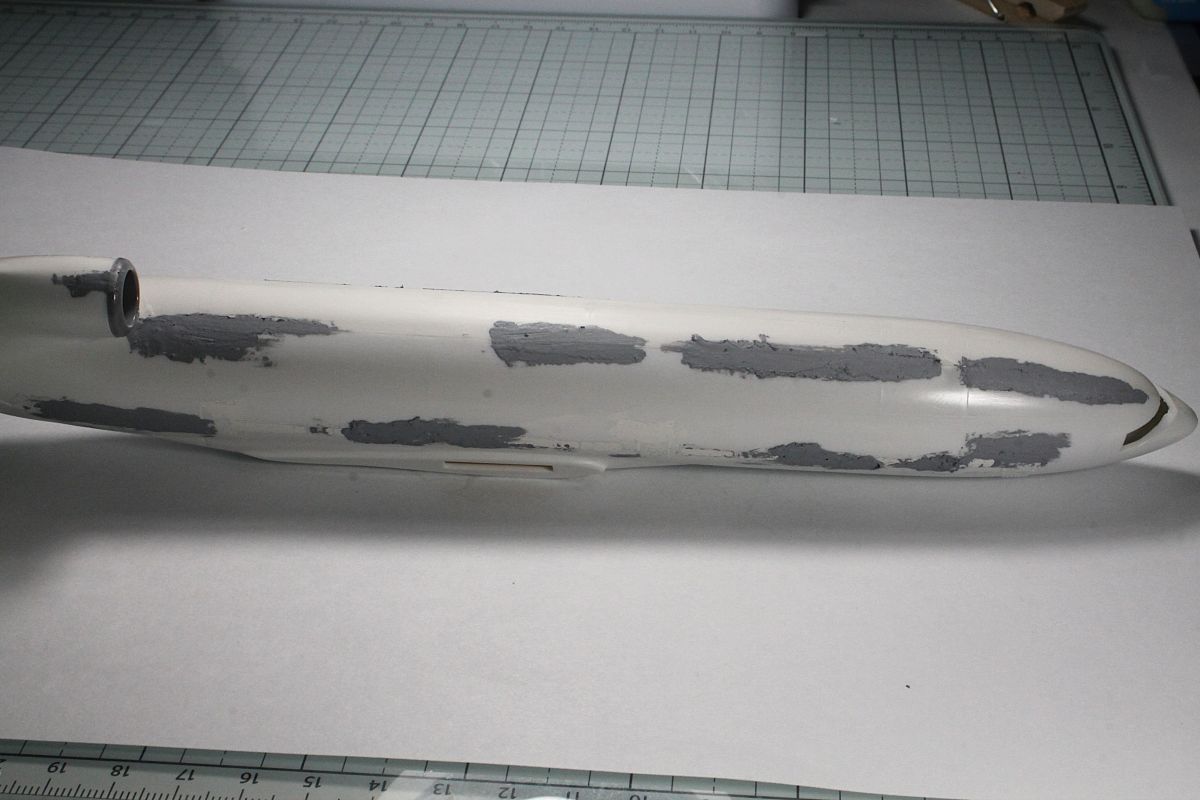
Only 3 hole to fix on the left side and 10 to fix on the right side. This is a “top shelf” kit, going up on the “top shelf” of the “closet of doom” for a while until I can figure out what my next step is.
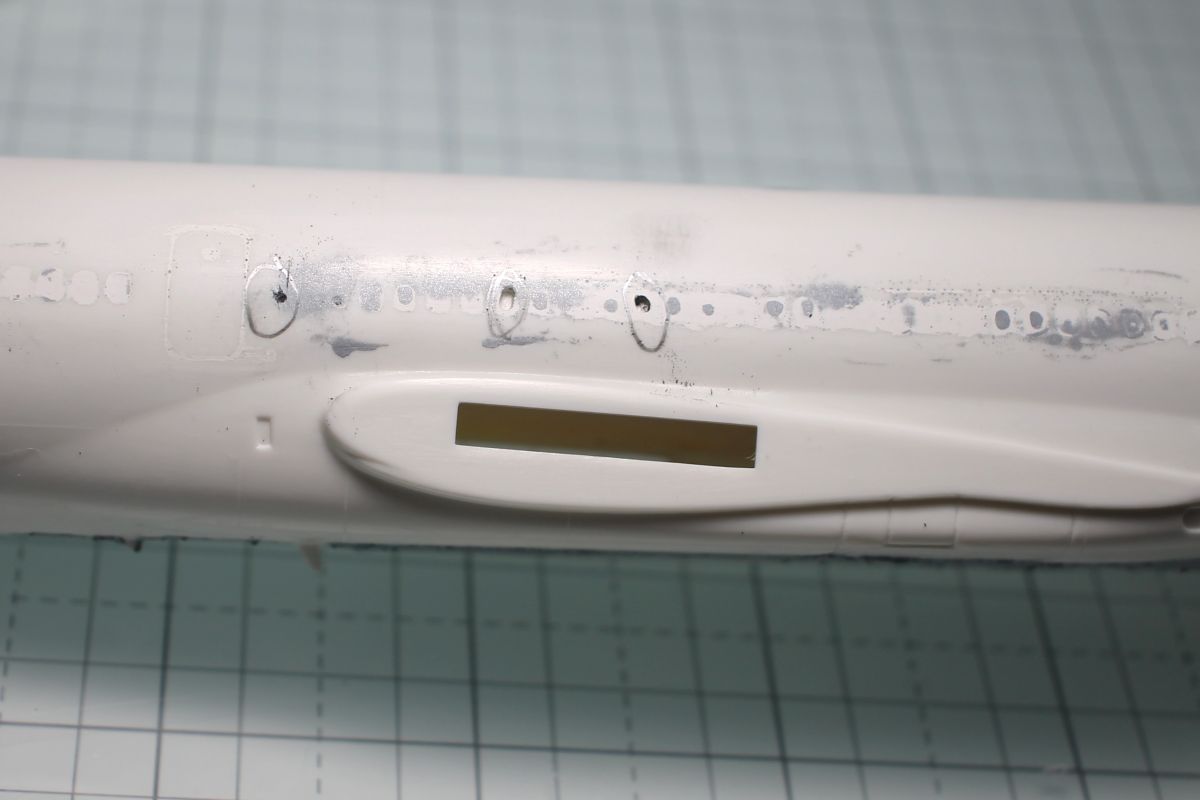

@ John (Hazegray)
Late suggestion, but have you tried using Black CA for filling seams and such? HTH
For example: VMS Flexy 5K Black (CM10-BK)
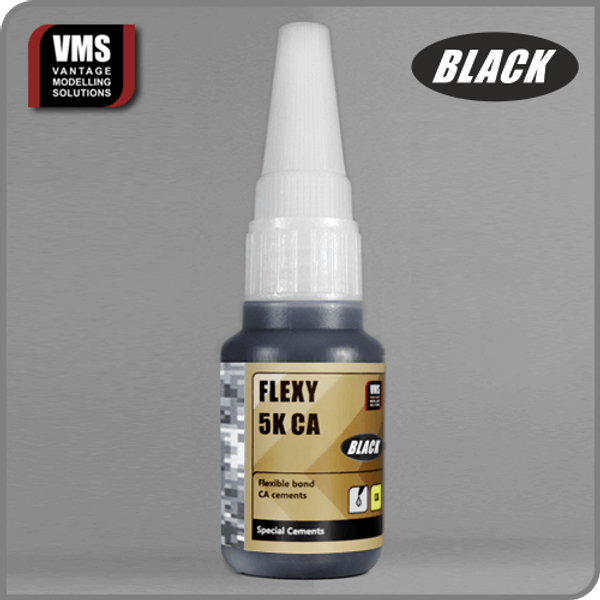
—mike 
1 Like
Also, did you blank off the back sides of the windows with styrene or something? It appears that your filler putty keeps falling or pushing into the openings, thus creating new voids. A backing on the inside of the fuselage will prevent this and make the whole process much easier.
1 Like
I first filled the widows inside the fuselage halves, let them dry then glued fuselage halves then did outside. Is that Black CA as hard as regular CA or easier to sand. May be the “cure”.