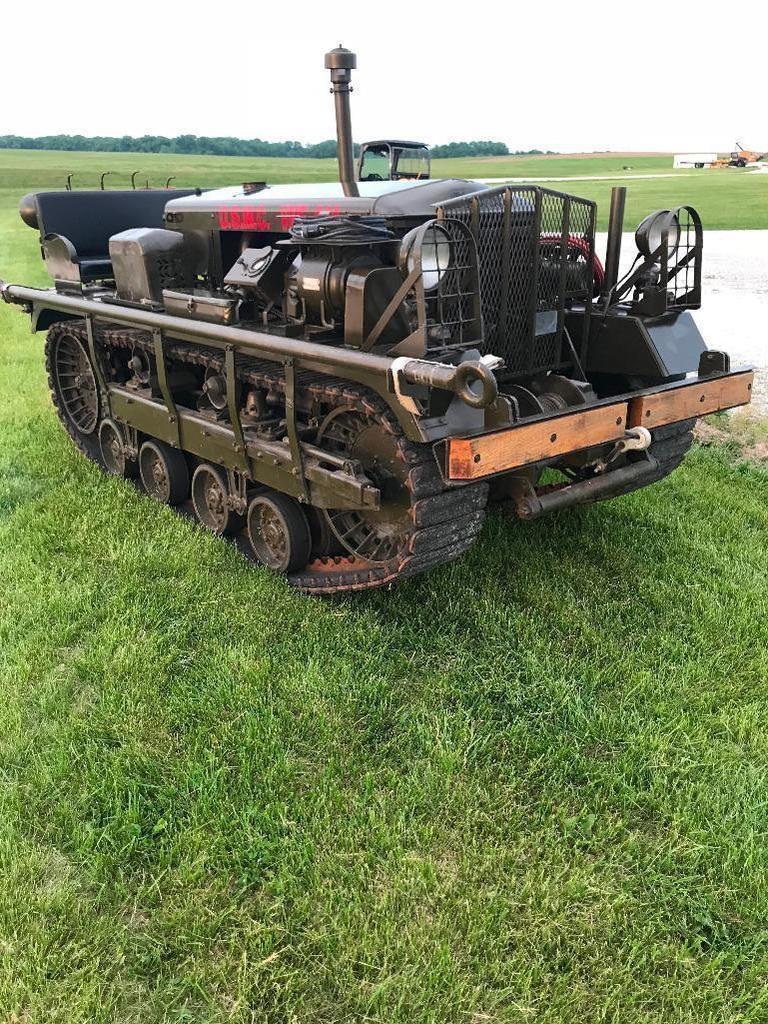
The problem? First off, no kit of the F2 fuel trailer exists in 1/48. Second - the M2 High Speed Tractor is available, but the two available 3D printed versions don’t quite do it for me, as nice as they might be. There’s a resin one from a Russian company (Ot Vinta) that is very nice, but I have been unable to find it.
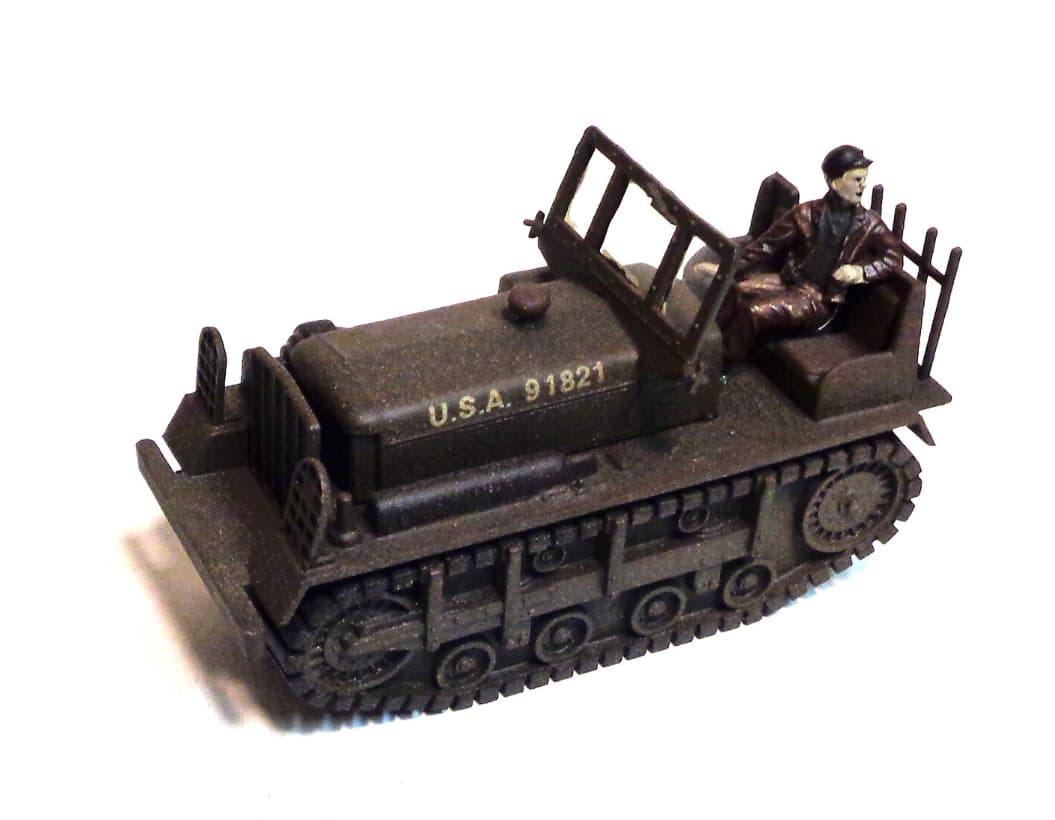
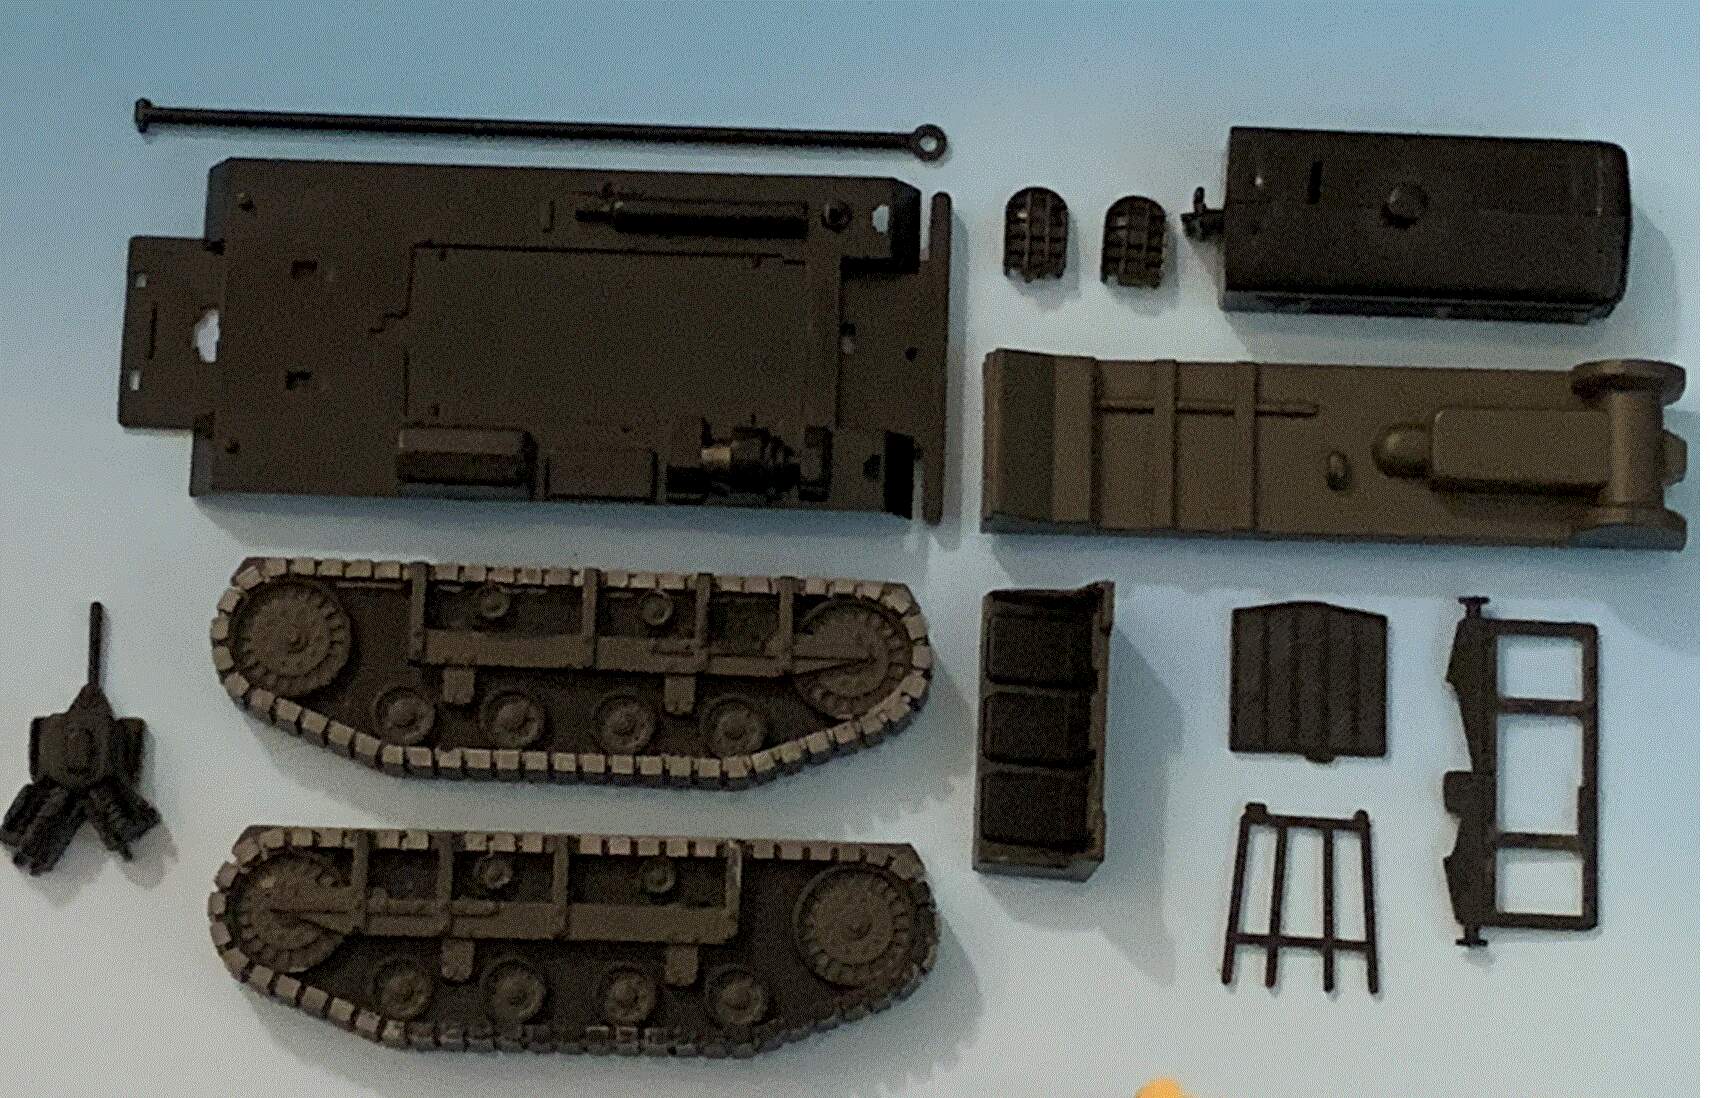
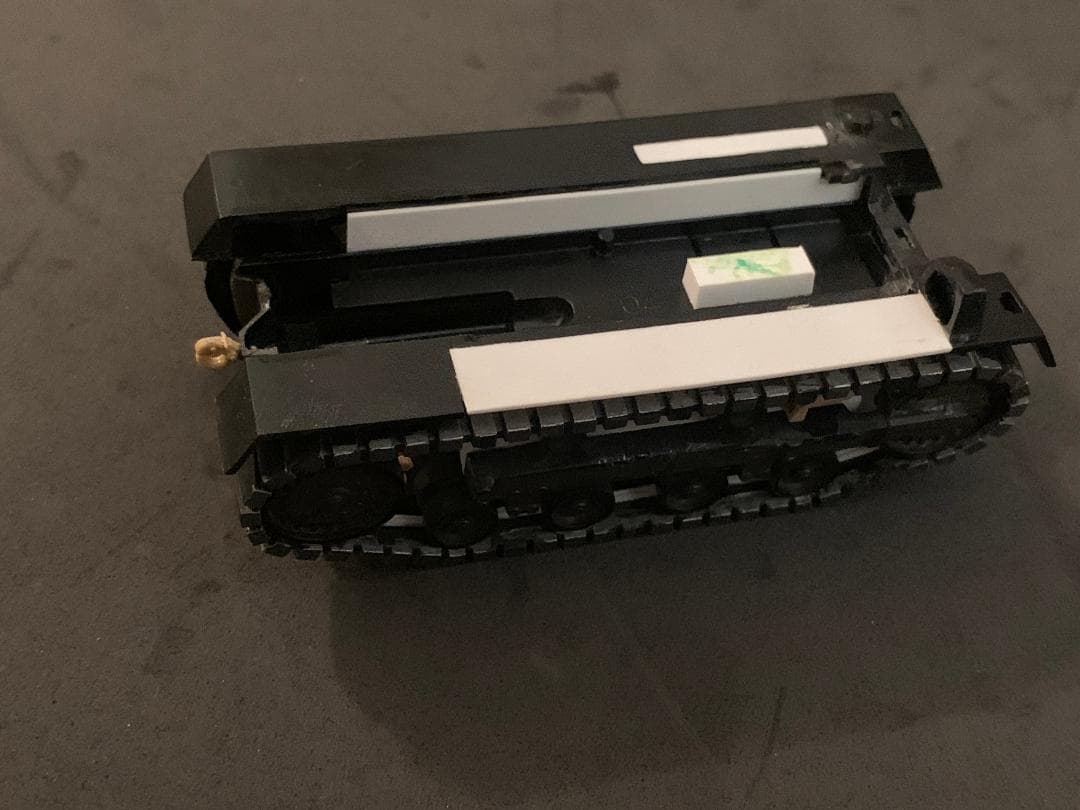
So that leaves me with one final option: The Monogram Cletrac (Cleveland Tractor) that came in some boxings of their 1/48 B-24 kit. Kurt Laughlin was kind enough to send me one, partially assembled, so I thought it might be fun to see what I could do with it. The challenge is to make this:
Yes, there is one by Mauve that may be better, but I couldn’t find one in time.
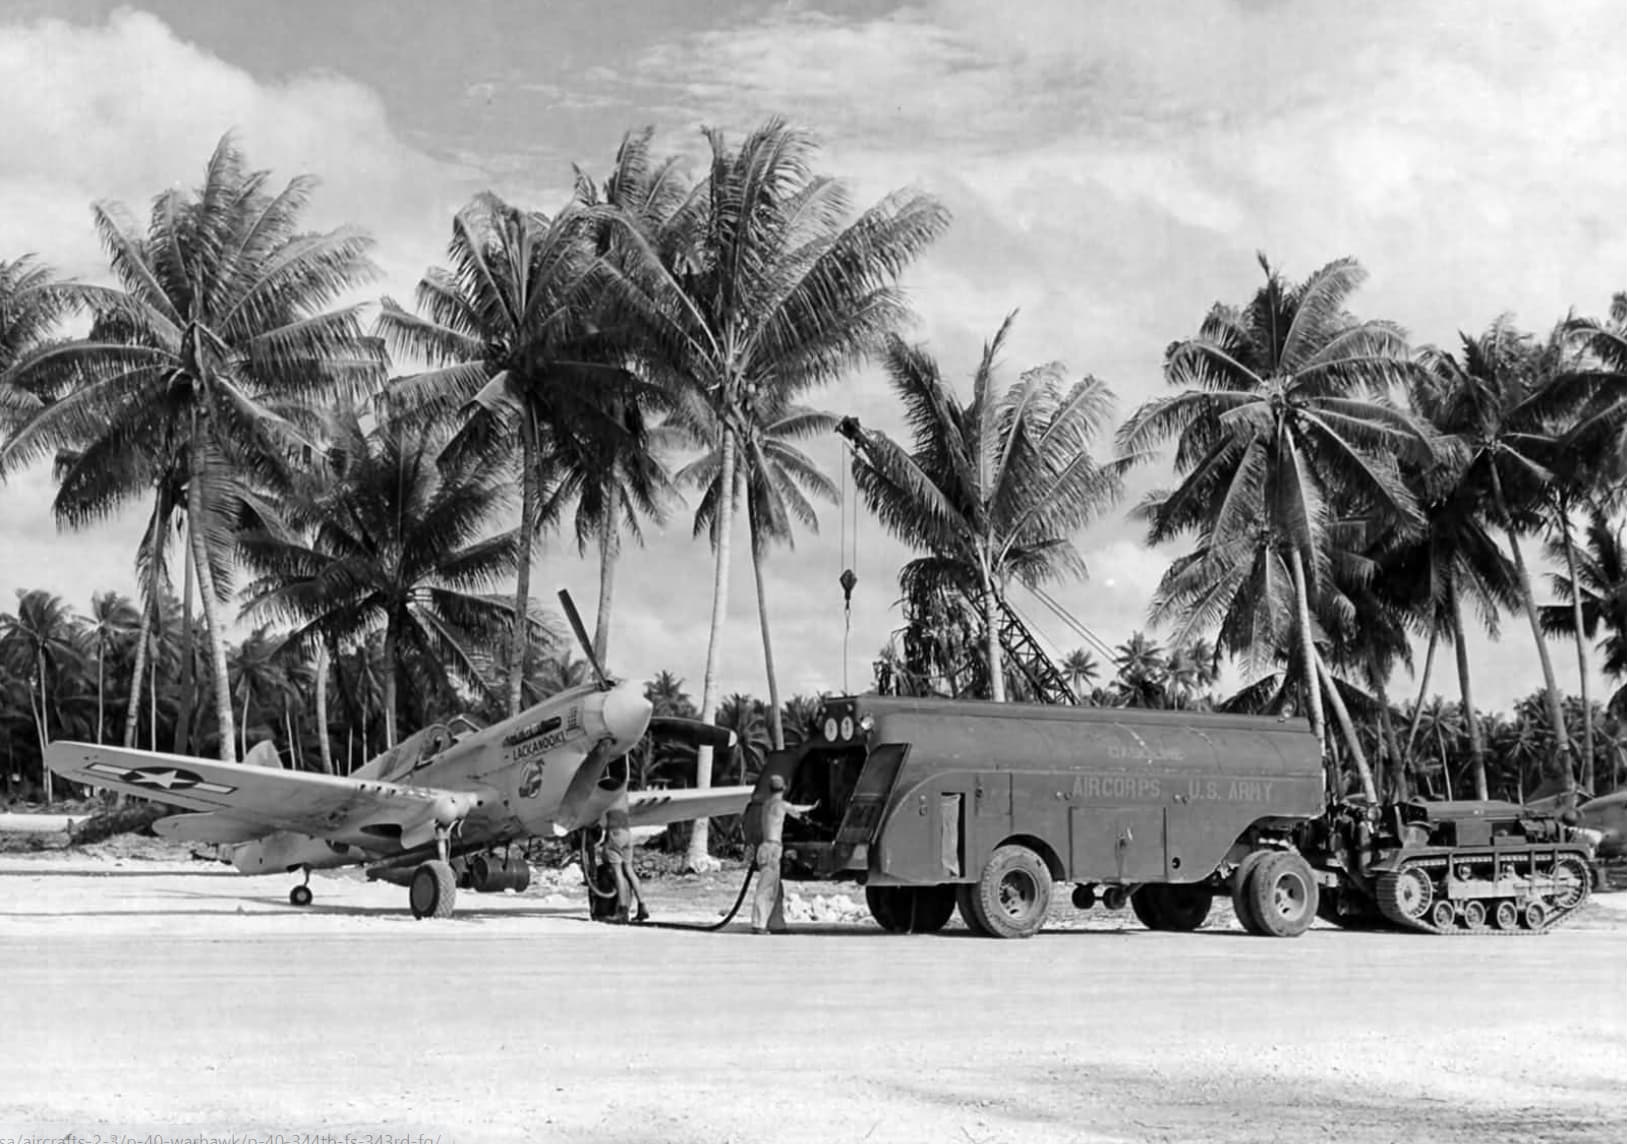
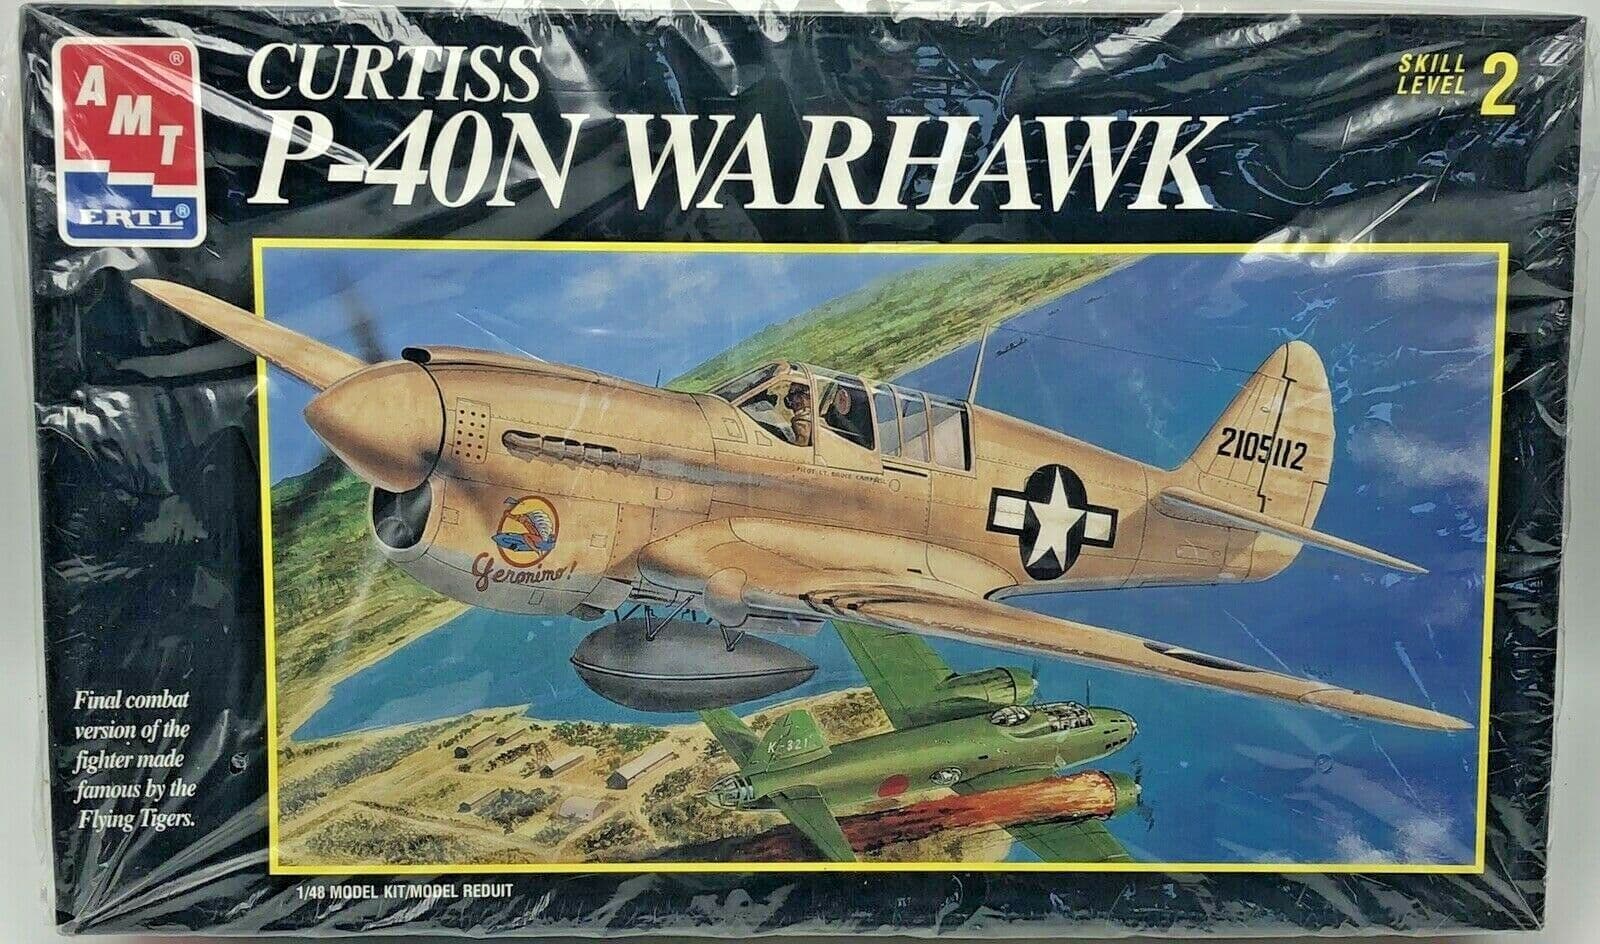
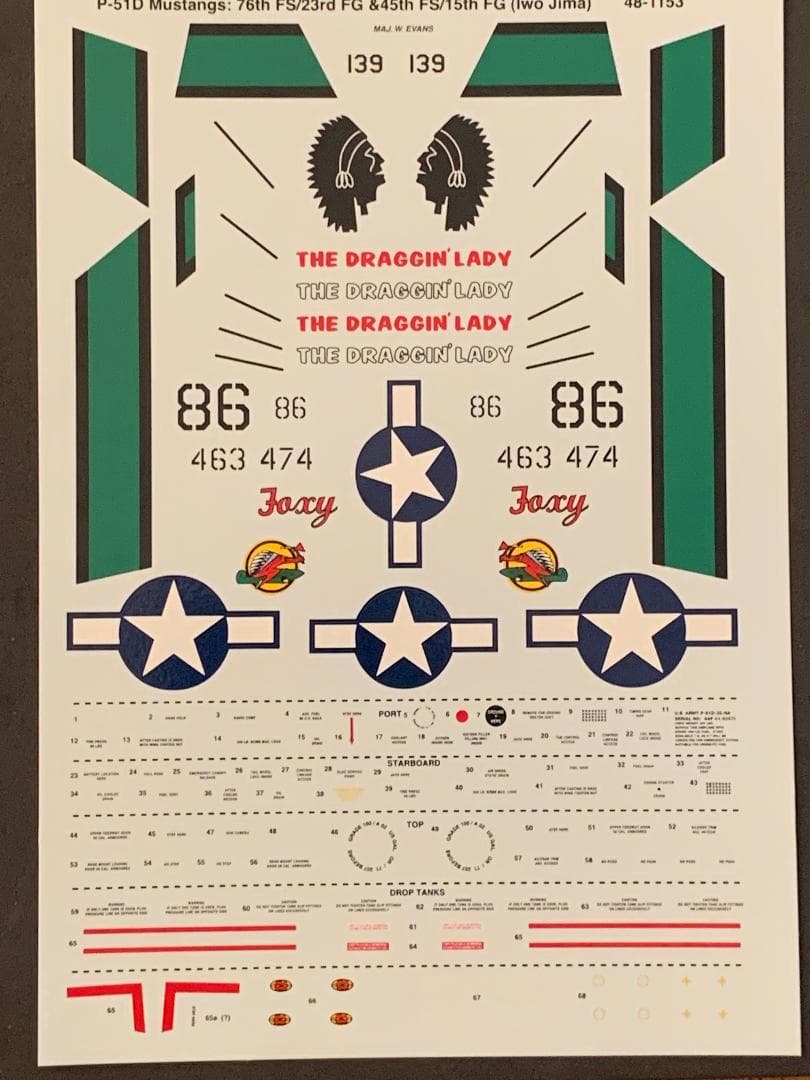
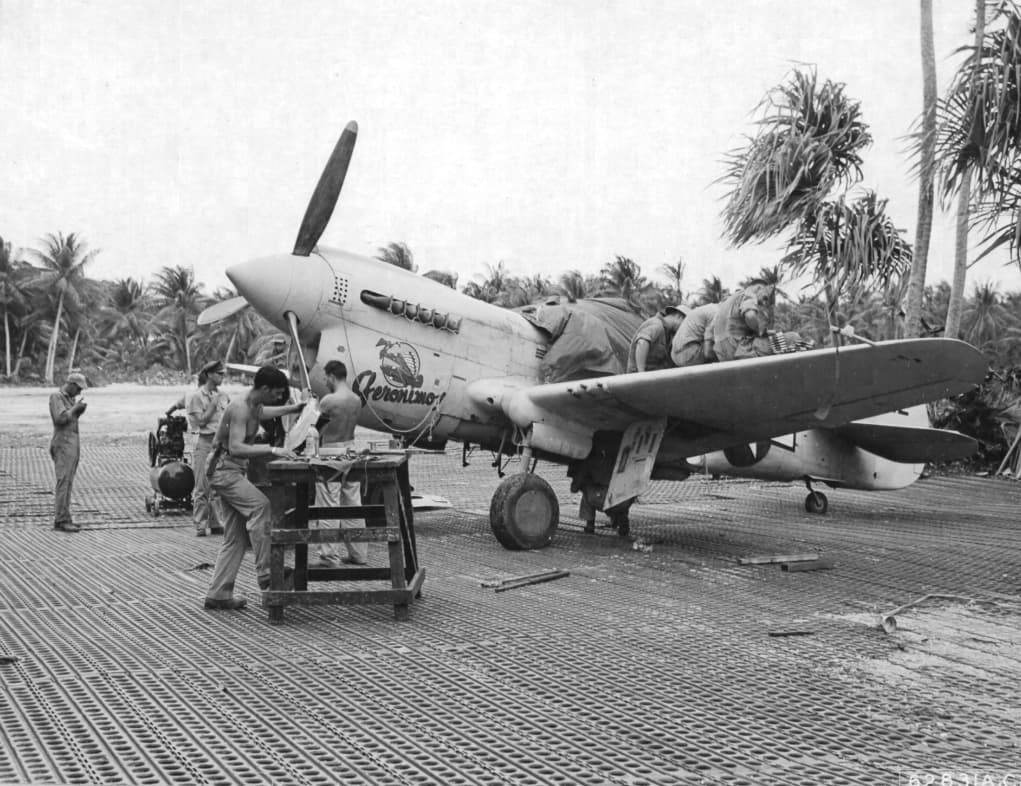
The AMT kit isn’t horrid, but it’s not a shake the box kit by any means. Lackanooki was so name as it belonged to the 45th Fighter Squadron, 15th Fighter Group. Their squadron logo was a Native American sitting atop a cartoon-like P-40 waving a tomahawk.
The individual aircraft all had Native American sounding names - hence the Geronimo kit.
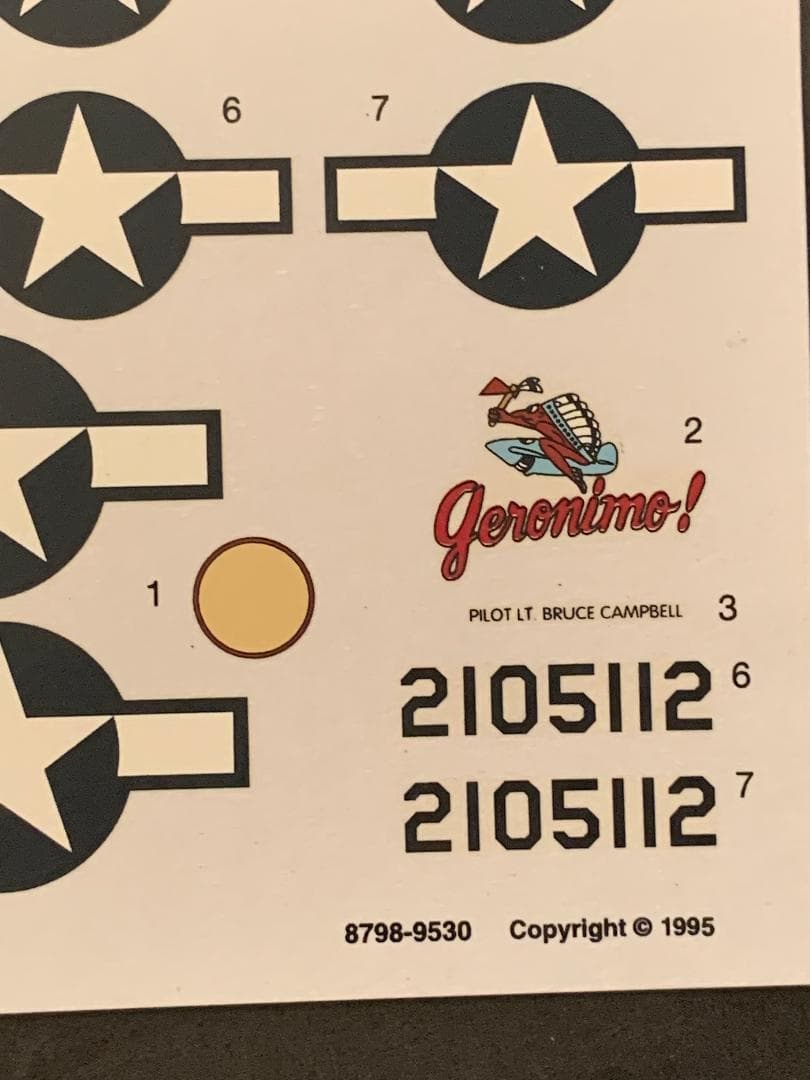
The AMT kit only had the nose art for the port side, and it didn’t even look well done.
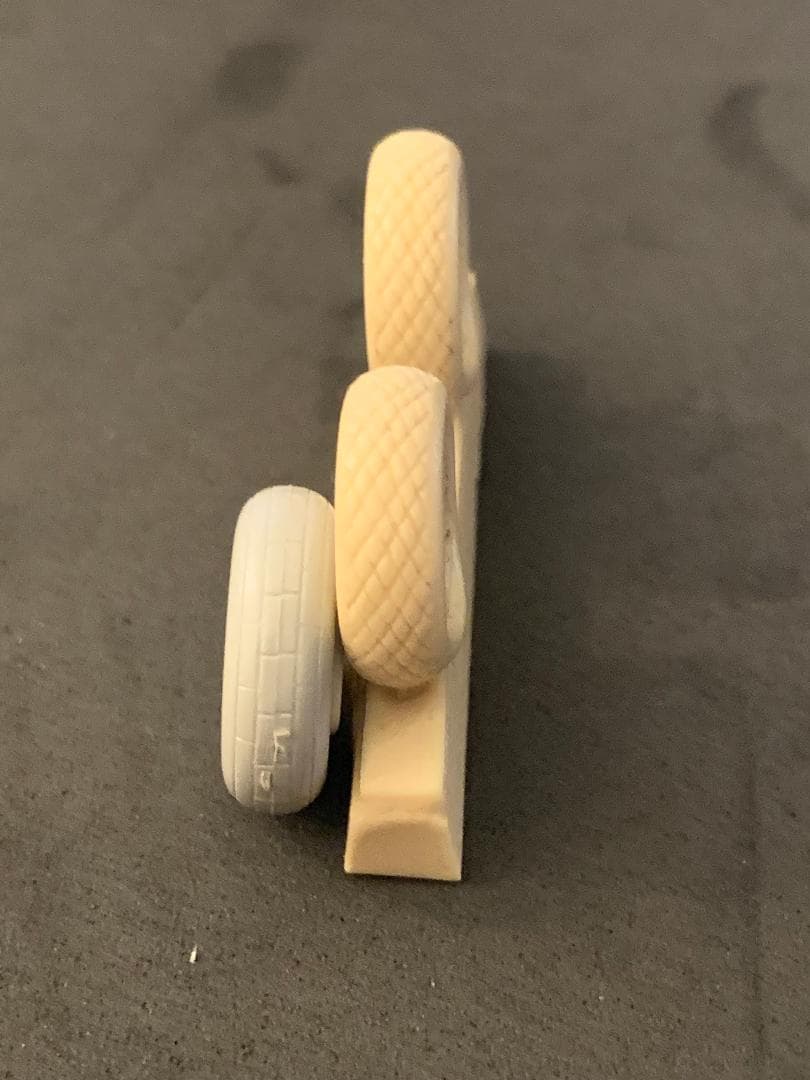
Fortunately I found a decal sheet that had nose art for both sides (mirror images) on of all things, a P-51 from the same squadron. After purchasing diamond tread tires and a few other odds and ends, I think I’m about ready to give it a go.
A tracked vehicle, a wheeled vehicle, and a wingy thing. A little sump’n sump’n fer airybody.
So where to start?
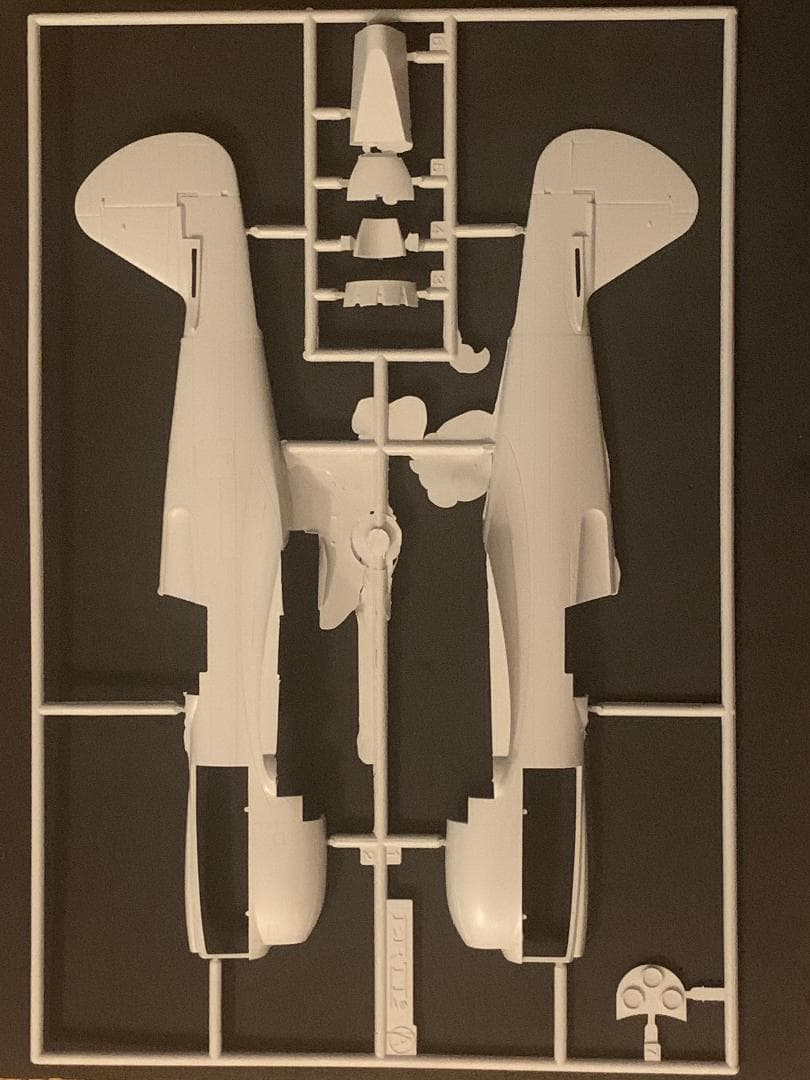
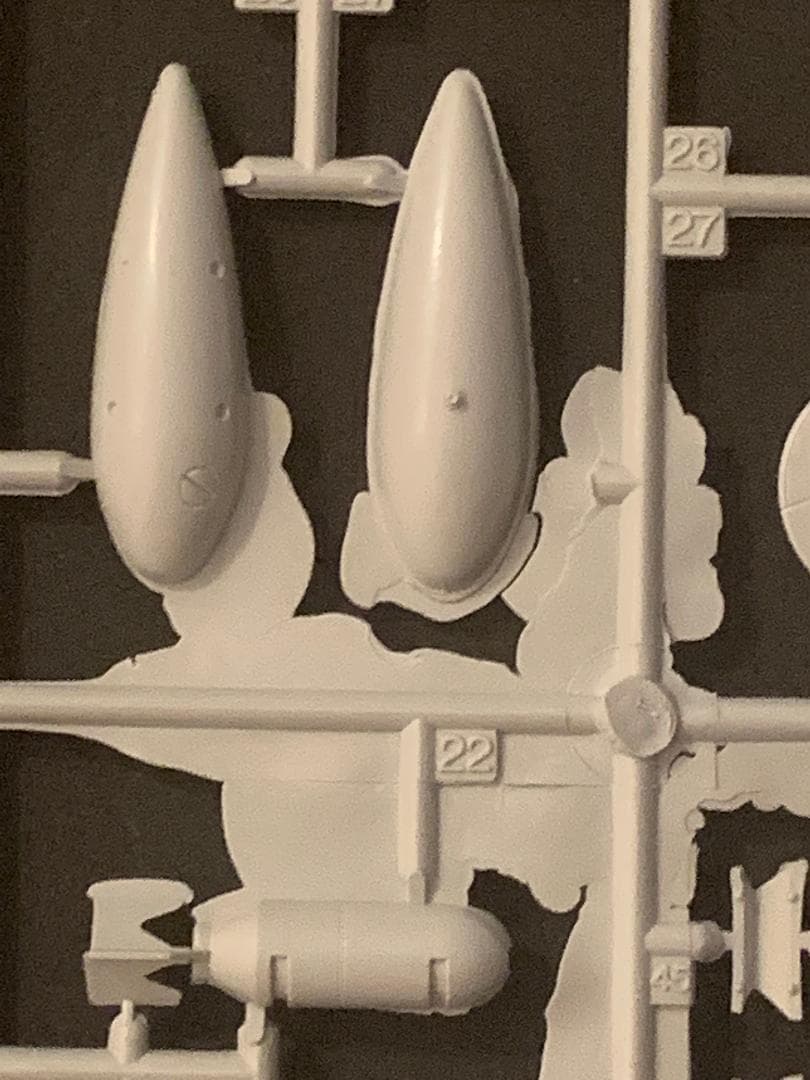
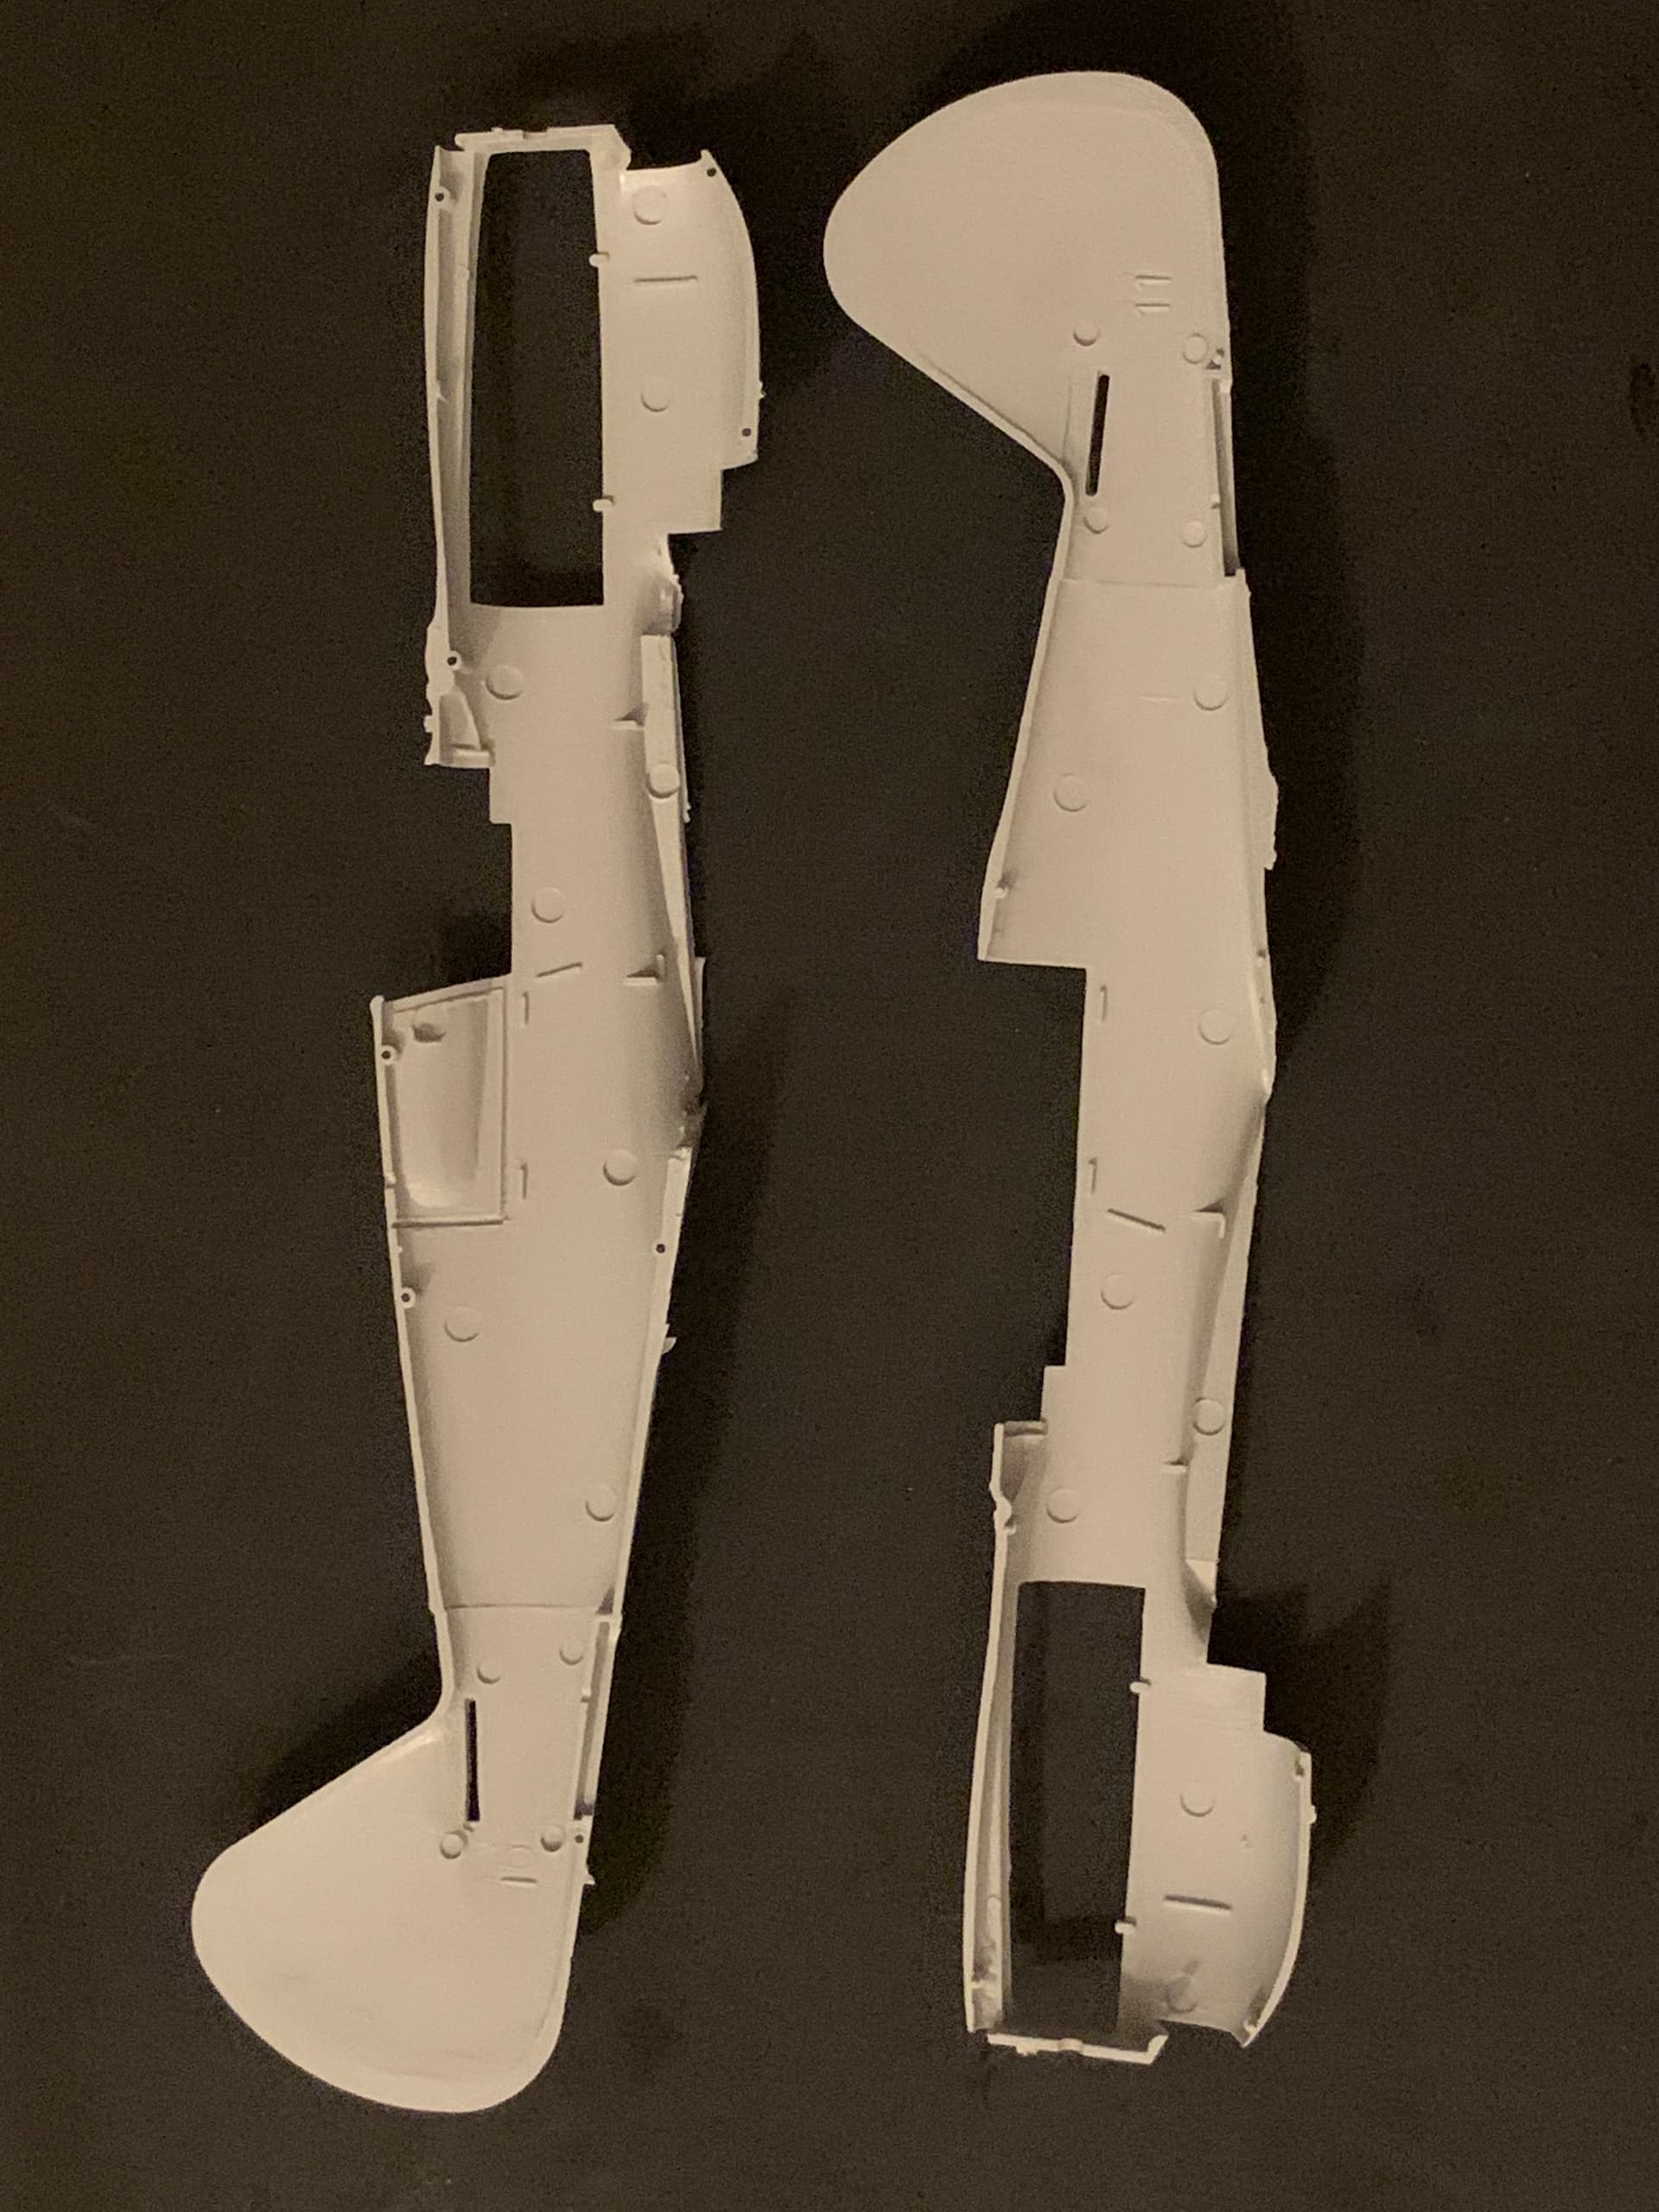
After looking at the AMT kit it looks as if it may need the most work. I’ve never seen a kit with this much flash before - and remember - I’ve built East German kits!
No matter what the genre I hate overly thick parts. I’d rather a part have incorrect detail than be too thick. At least with incorrect detail most people don’t even know. But overly thick parts stick out like, well, you know the one about the speedo…
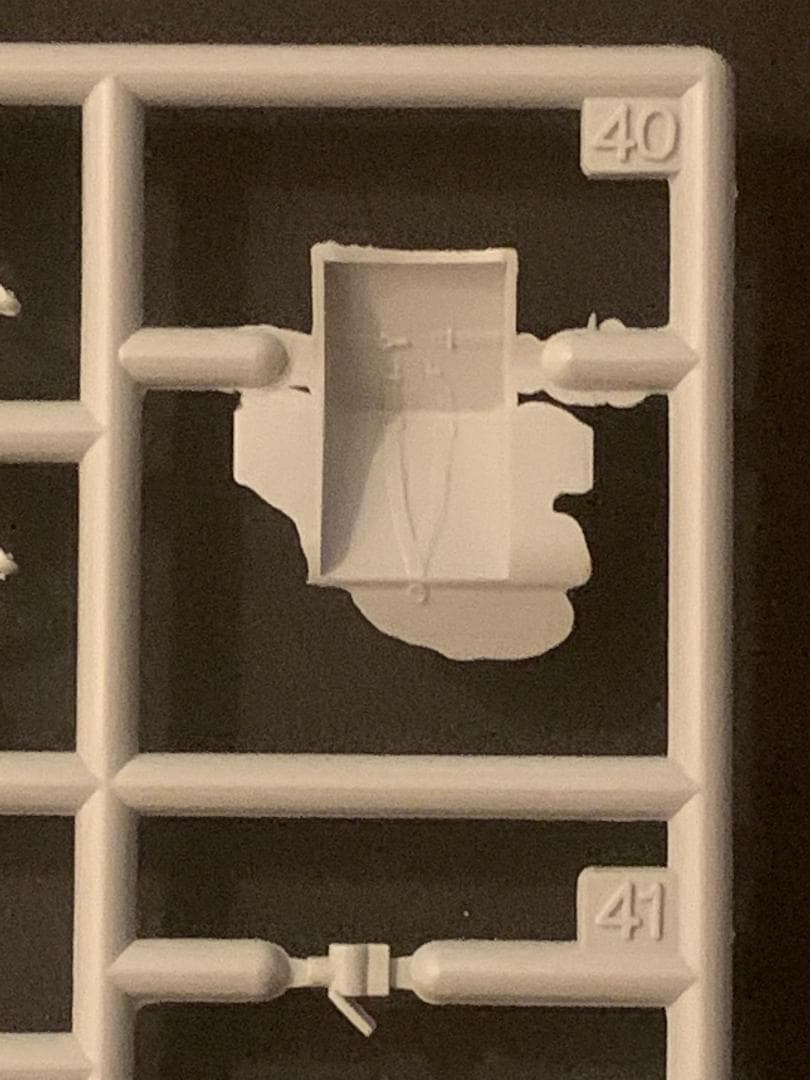
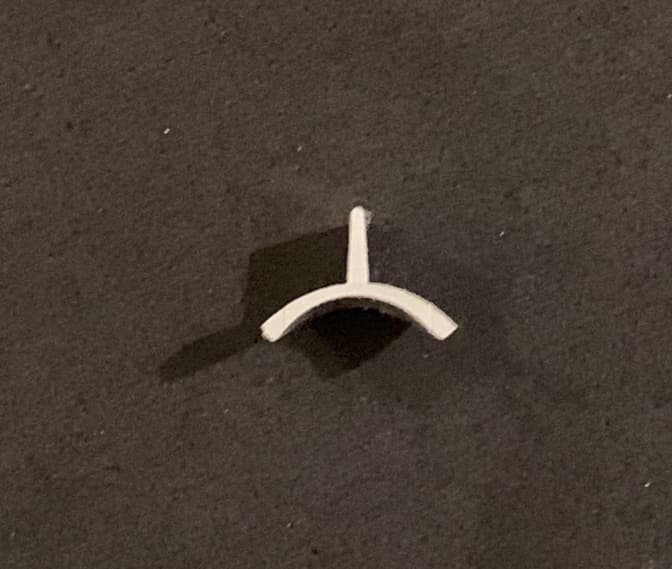
While I was on a thinning spree I thinned out the cowl flaps. For comparison you can see the one on the left is unfinished. This makes a huge difference IMO.
Although I have to be careful here. The South Pacific planes were originally OD mottled with dark green. At some point the 45th Fighter Squadron repainted their planes to match the coral color of the island. In looking at photos you can see where they simply put tape over the stenciled data and then sprayed the new color over it. It left patches of OD with black stenciling on the tan aircraft. Would look horrible to a judge at a contest, but thankfully I don’t build for them.
I don’t know about epic, but it should keep me out of the strip clubs for a while.
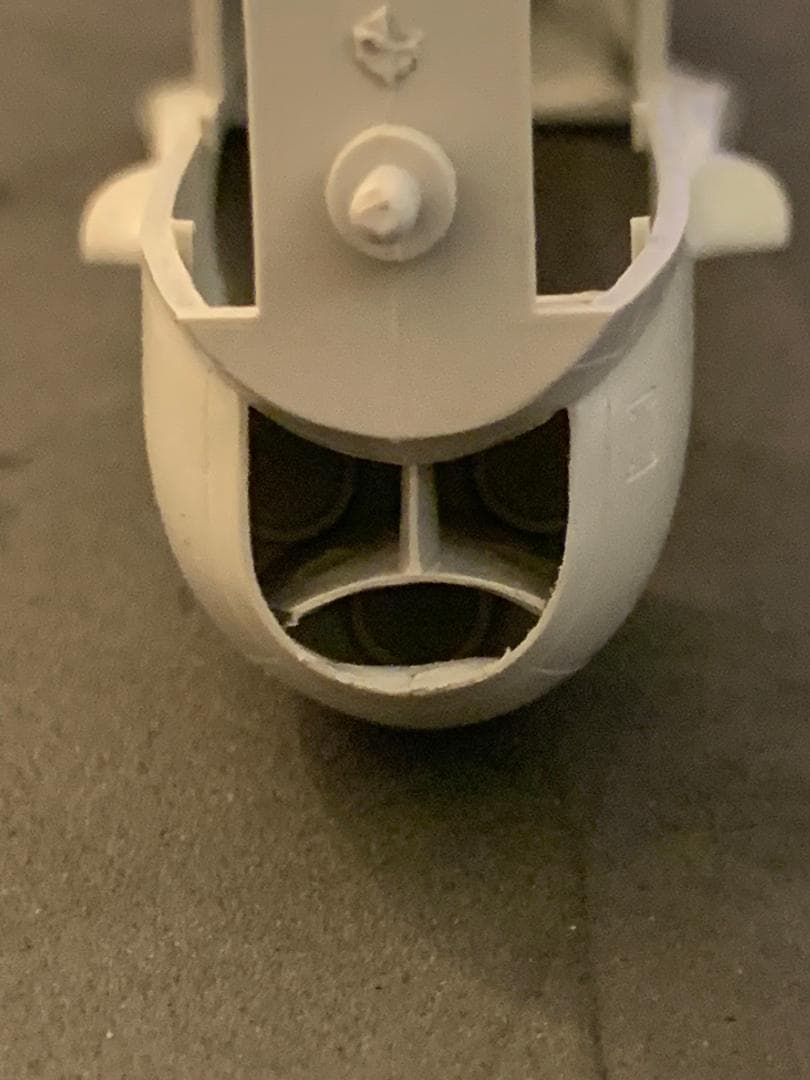
AMT apparently planned on releasing the N model at a later date when they tooled earlier versions. You have to remove part of the fuselage behind the cockpit. There are molded in guides to help you make the cuts. We’re having fun already!
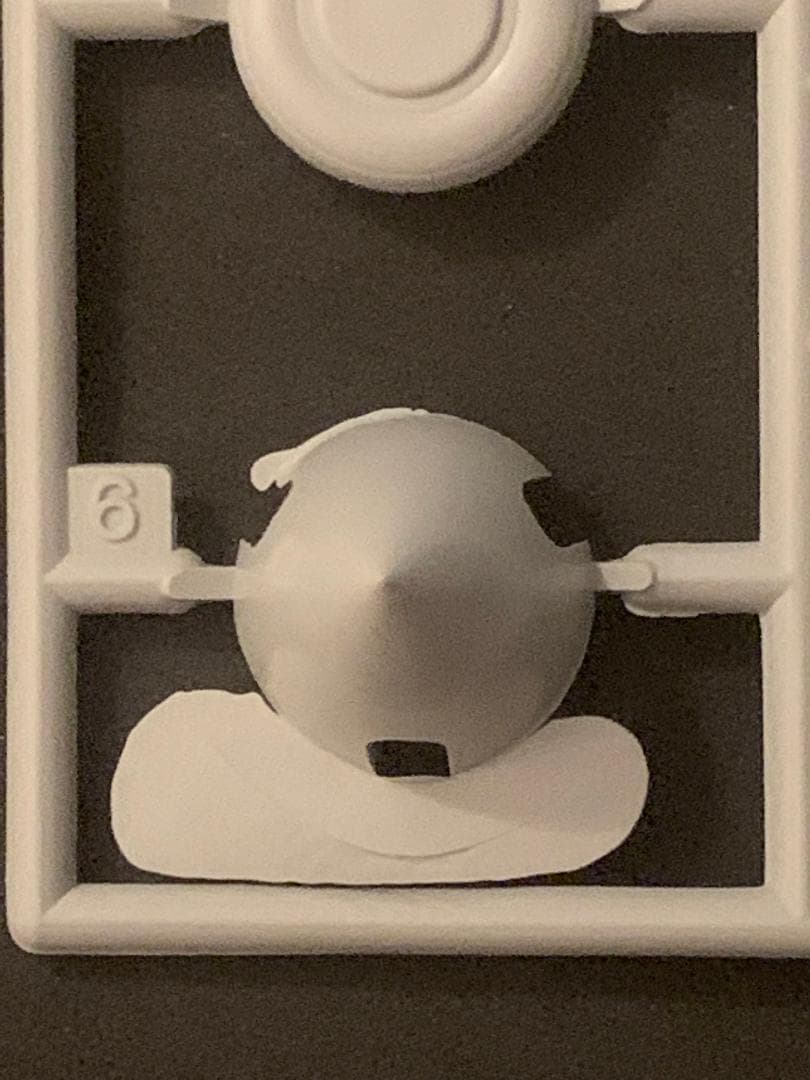
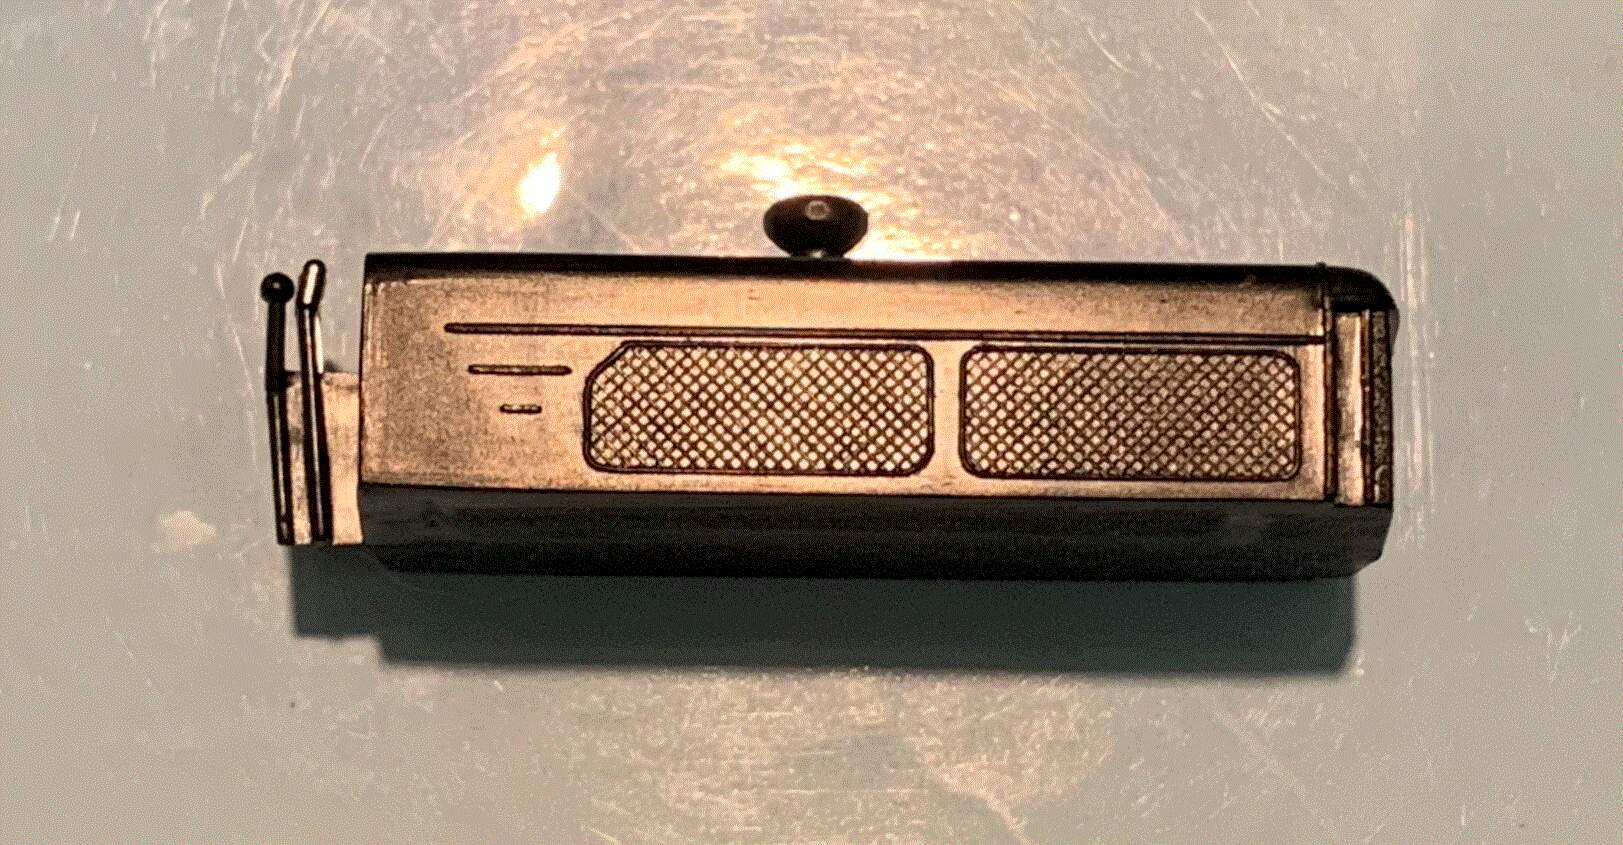
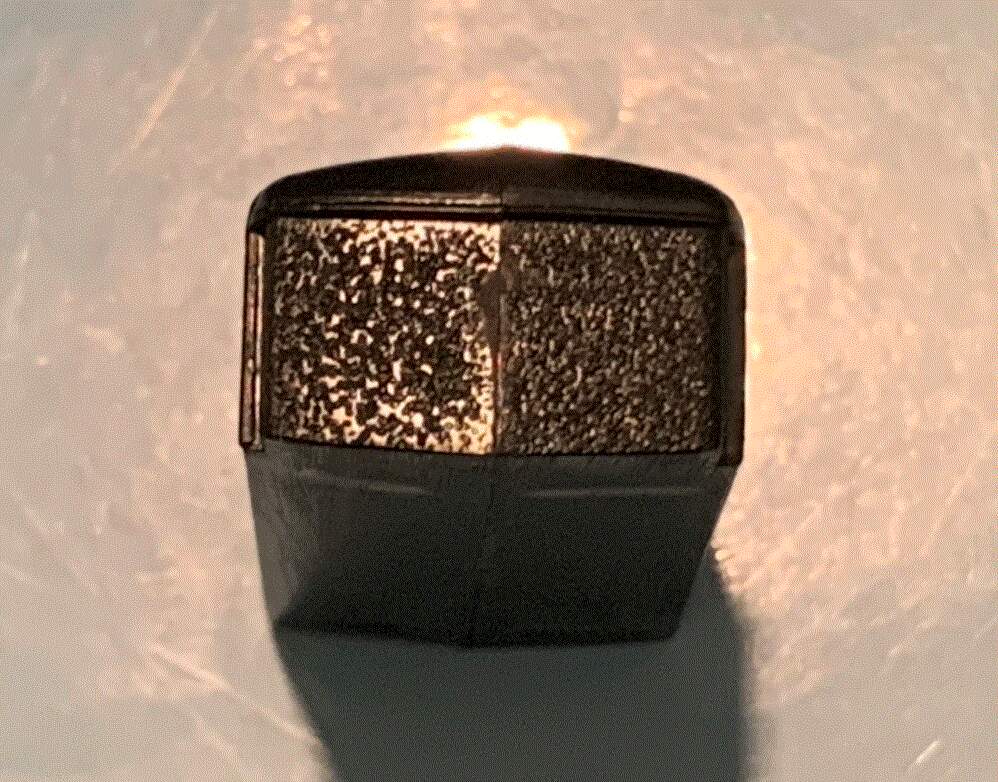
The mesh detail in front of the radiator isn’t too bad. Dry brushing probably brings out some very nice detail. But nothing beats PE here. The brush guards/headlight combo is pretty sad in comparison.
I’m pondering that. There will be three. Thought of using painted feathers, but I’ll ask now - what do you guys use?
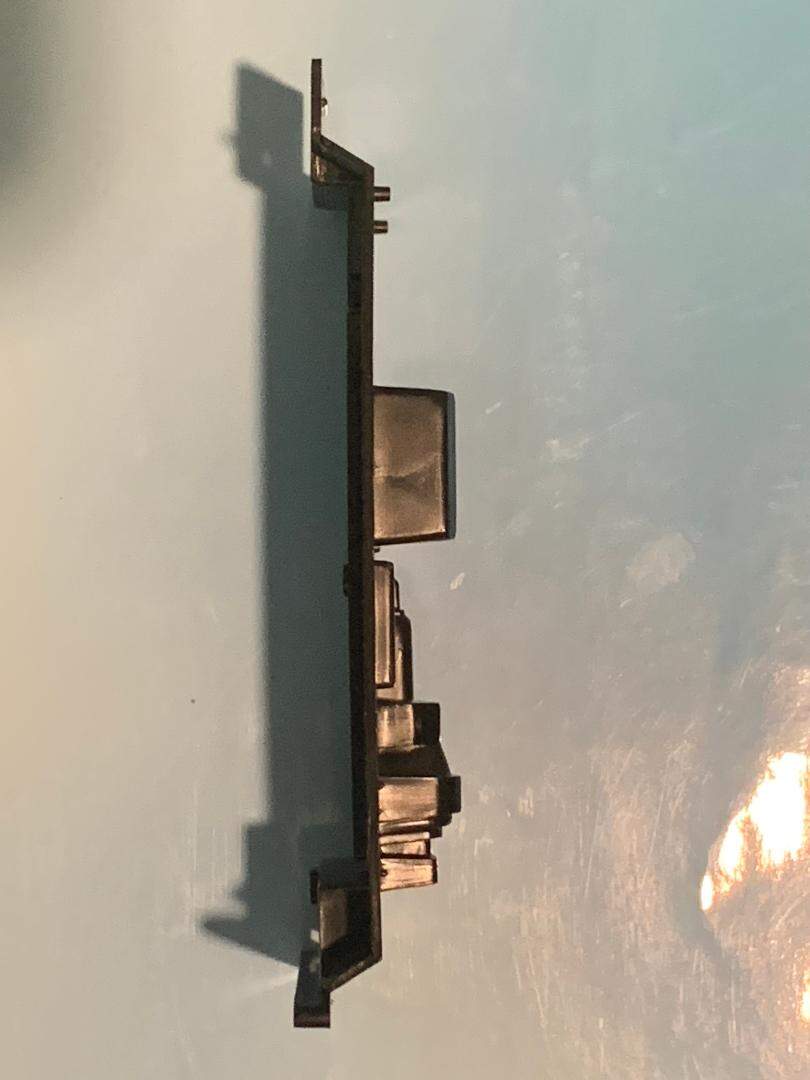
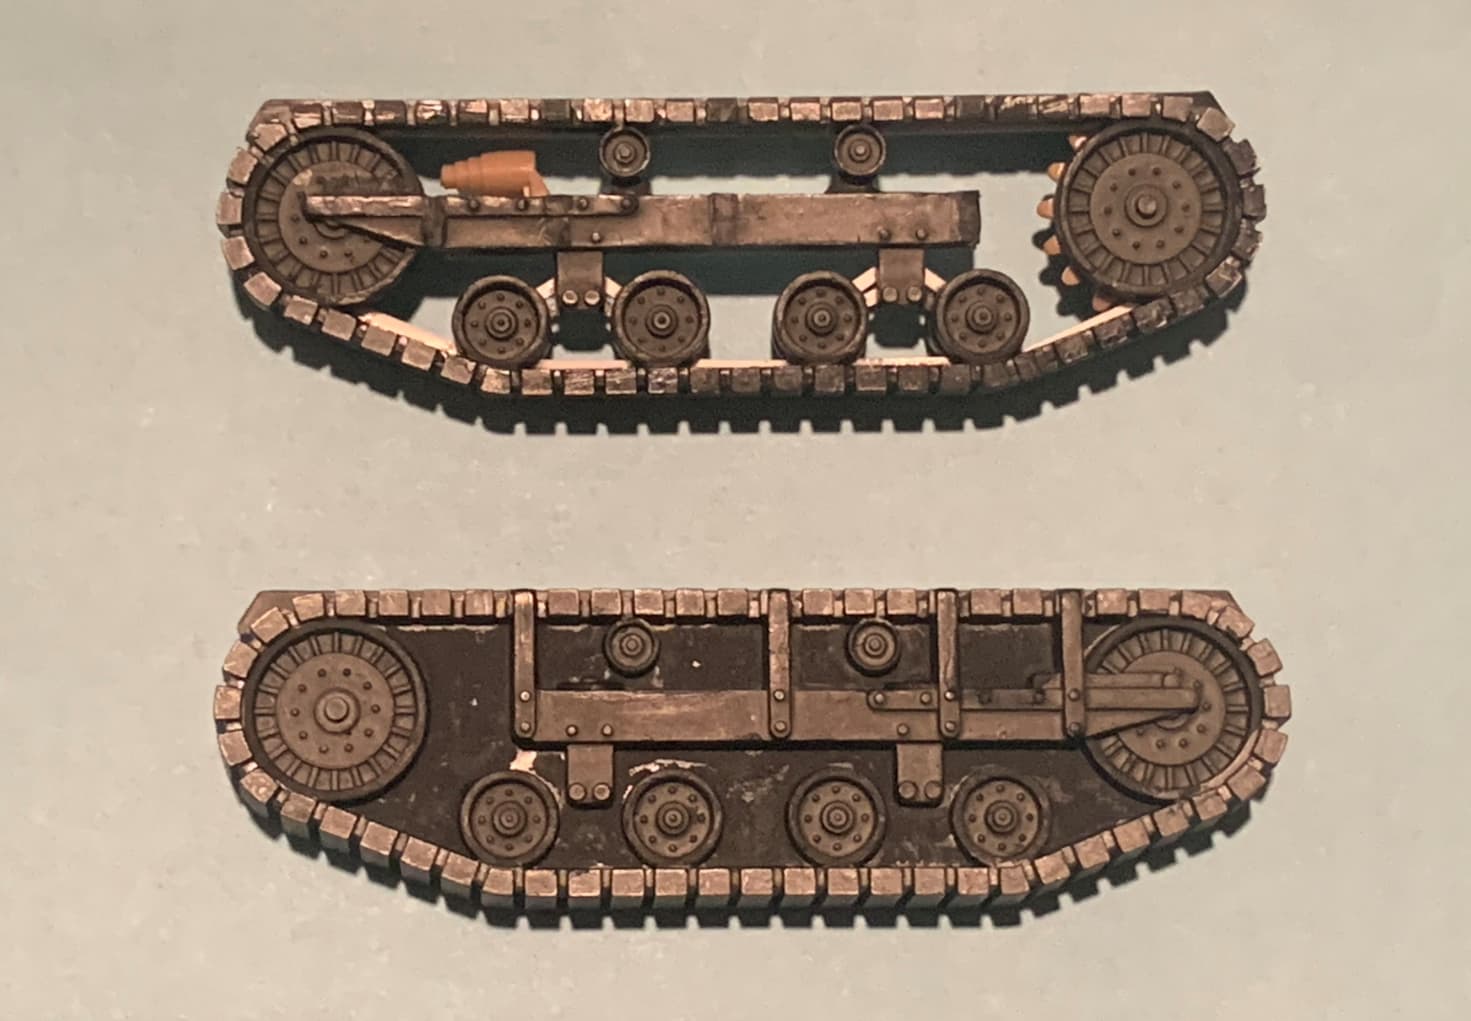
So moving on with the Cletrac - just basic modeling skills to start - I wish I had taken photos showing how severe the drafting was on the track units. (I just looked again, you can see it in the other photos I posted) They tilted over quite a bit. A little sanding fixed the bottom. The track pads around the ends had to be file individually. I wasn’t too concerned about getting the top completely flat as it won’t be seen as much.
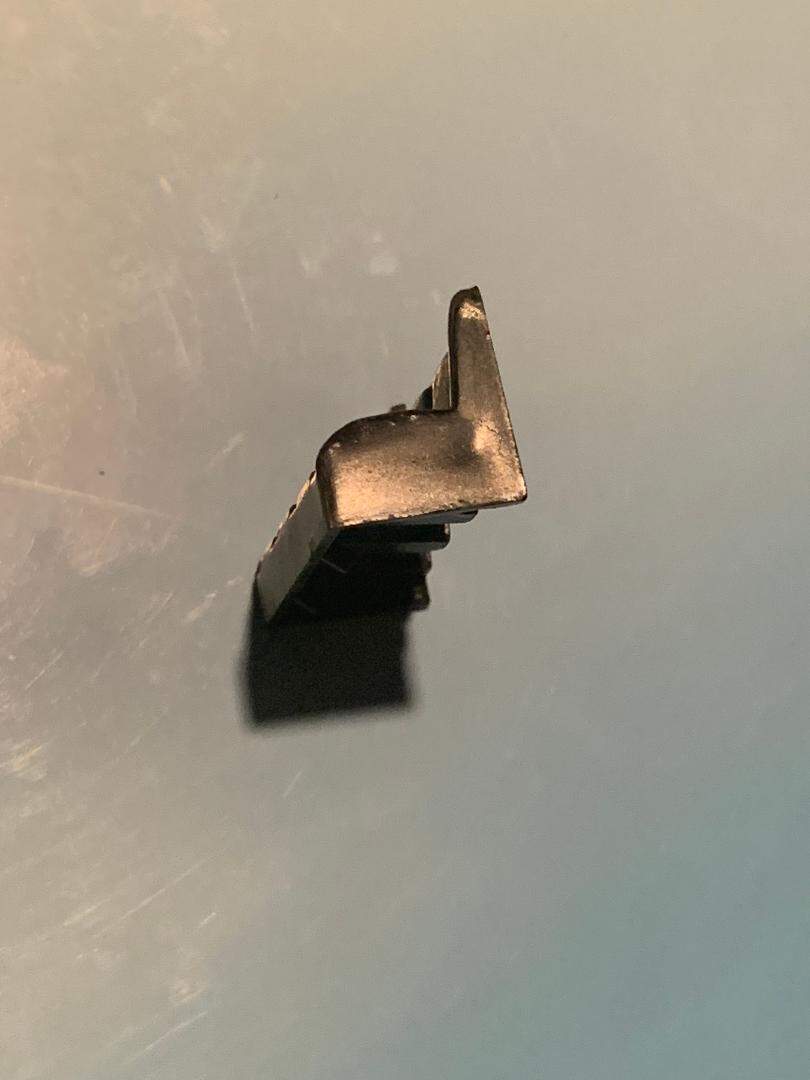
I cut off the battery cover and sanded it so the sides are now perpendicular. No more drafting left there either if you compare it to the original kit piece photo.
I filled in four rather large sinkholes on the hood. The trick here was not to lose the lip near the front while sanding. It is supposed to be there. Also need to maintain a straight line along the center of the top when sanding on either side of of the “roof” shape.
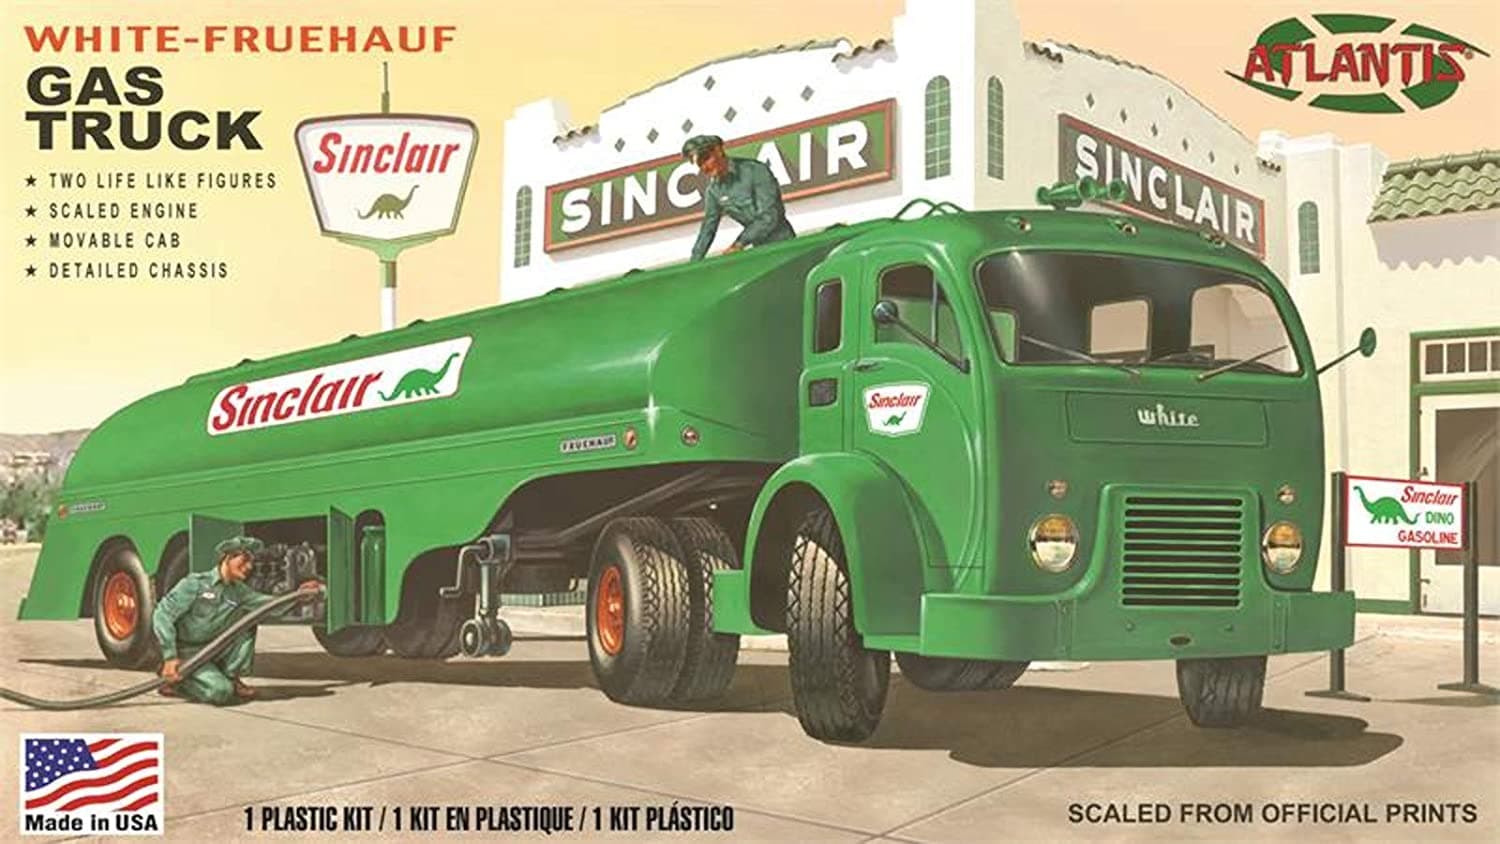
I realized something interesting. Both the White 3000 cab in the Atlantis fuel tanker kit, and the M2 High Speed Tractor, were powered by flathead six cylinder petrol engines.
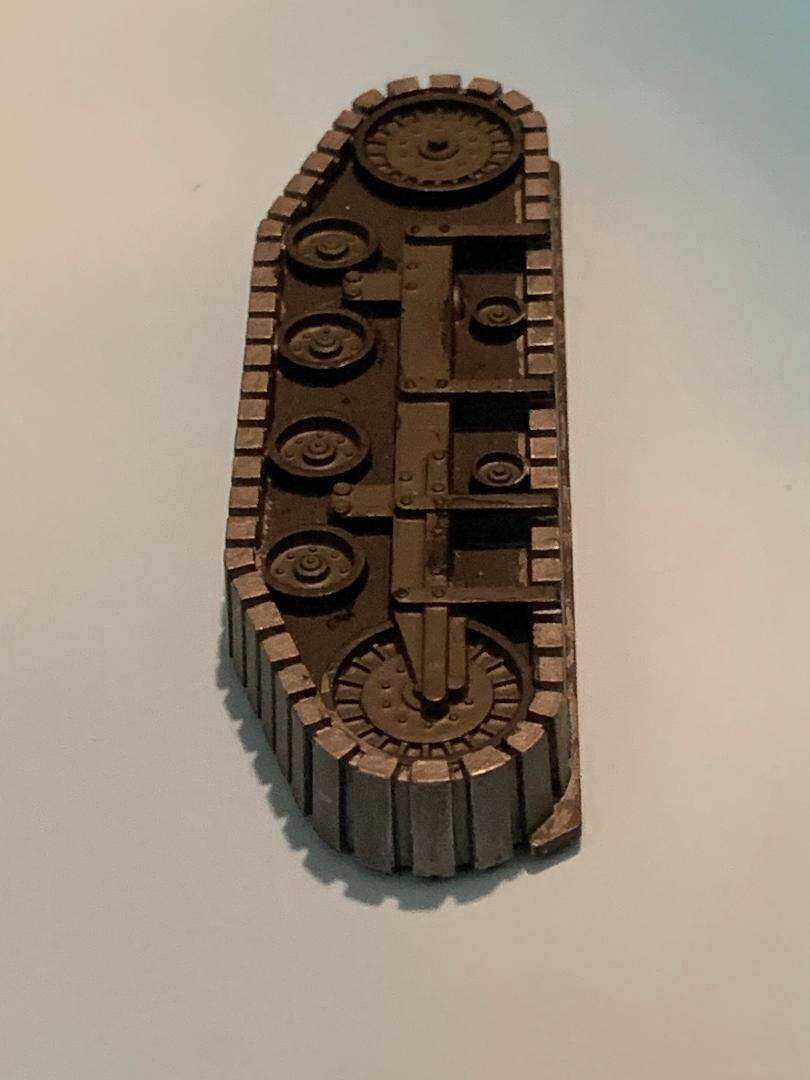
Track units coming along nicely. After removing the excess plastic I added the guides, sprocket, inner road wheels, a volute spring, and suspension for the road wheels. Still a little way to go…
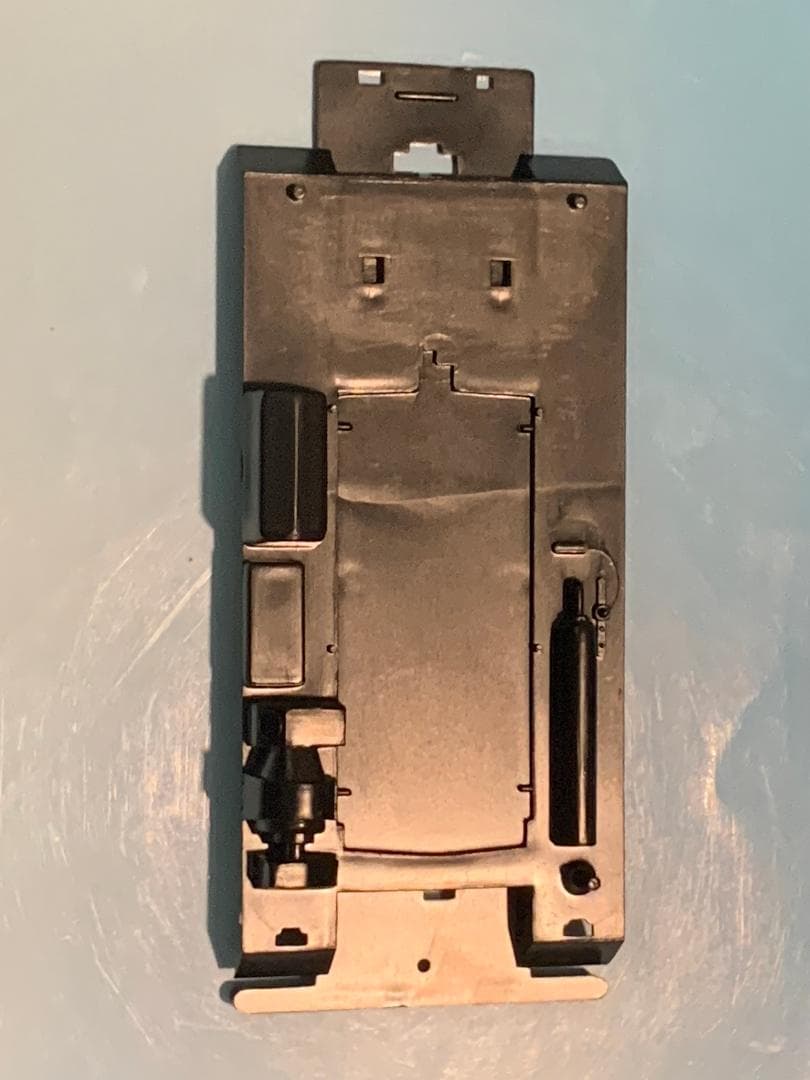
I removed a huge amount of plastic from the chassis, added sidewalls to alleviate the “see through” effect" and added a towing pintle from a Tamiya 1/35 HMMWV.
Splinded job carving the trecks and running gear out! I was curious how you would tackle that, really wasn’t any other way for it rite? This and your other projects are turning out to be a real “gas” man
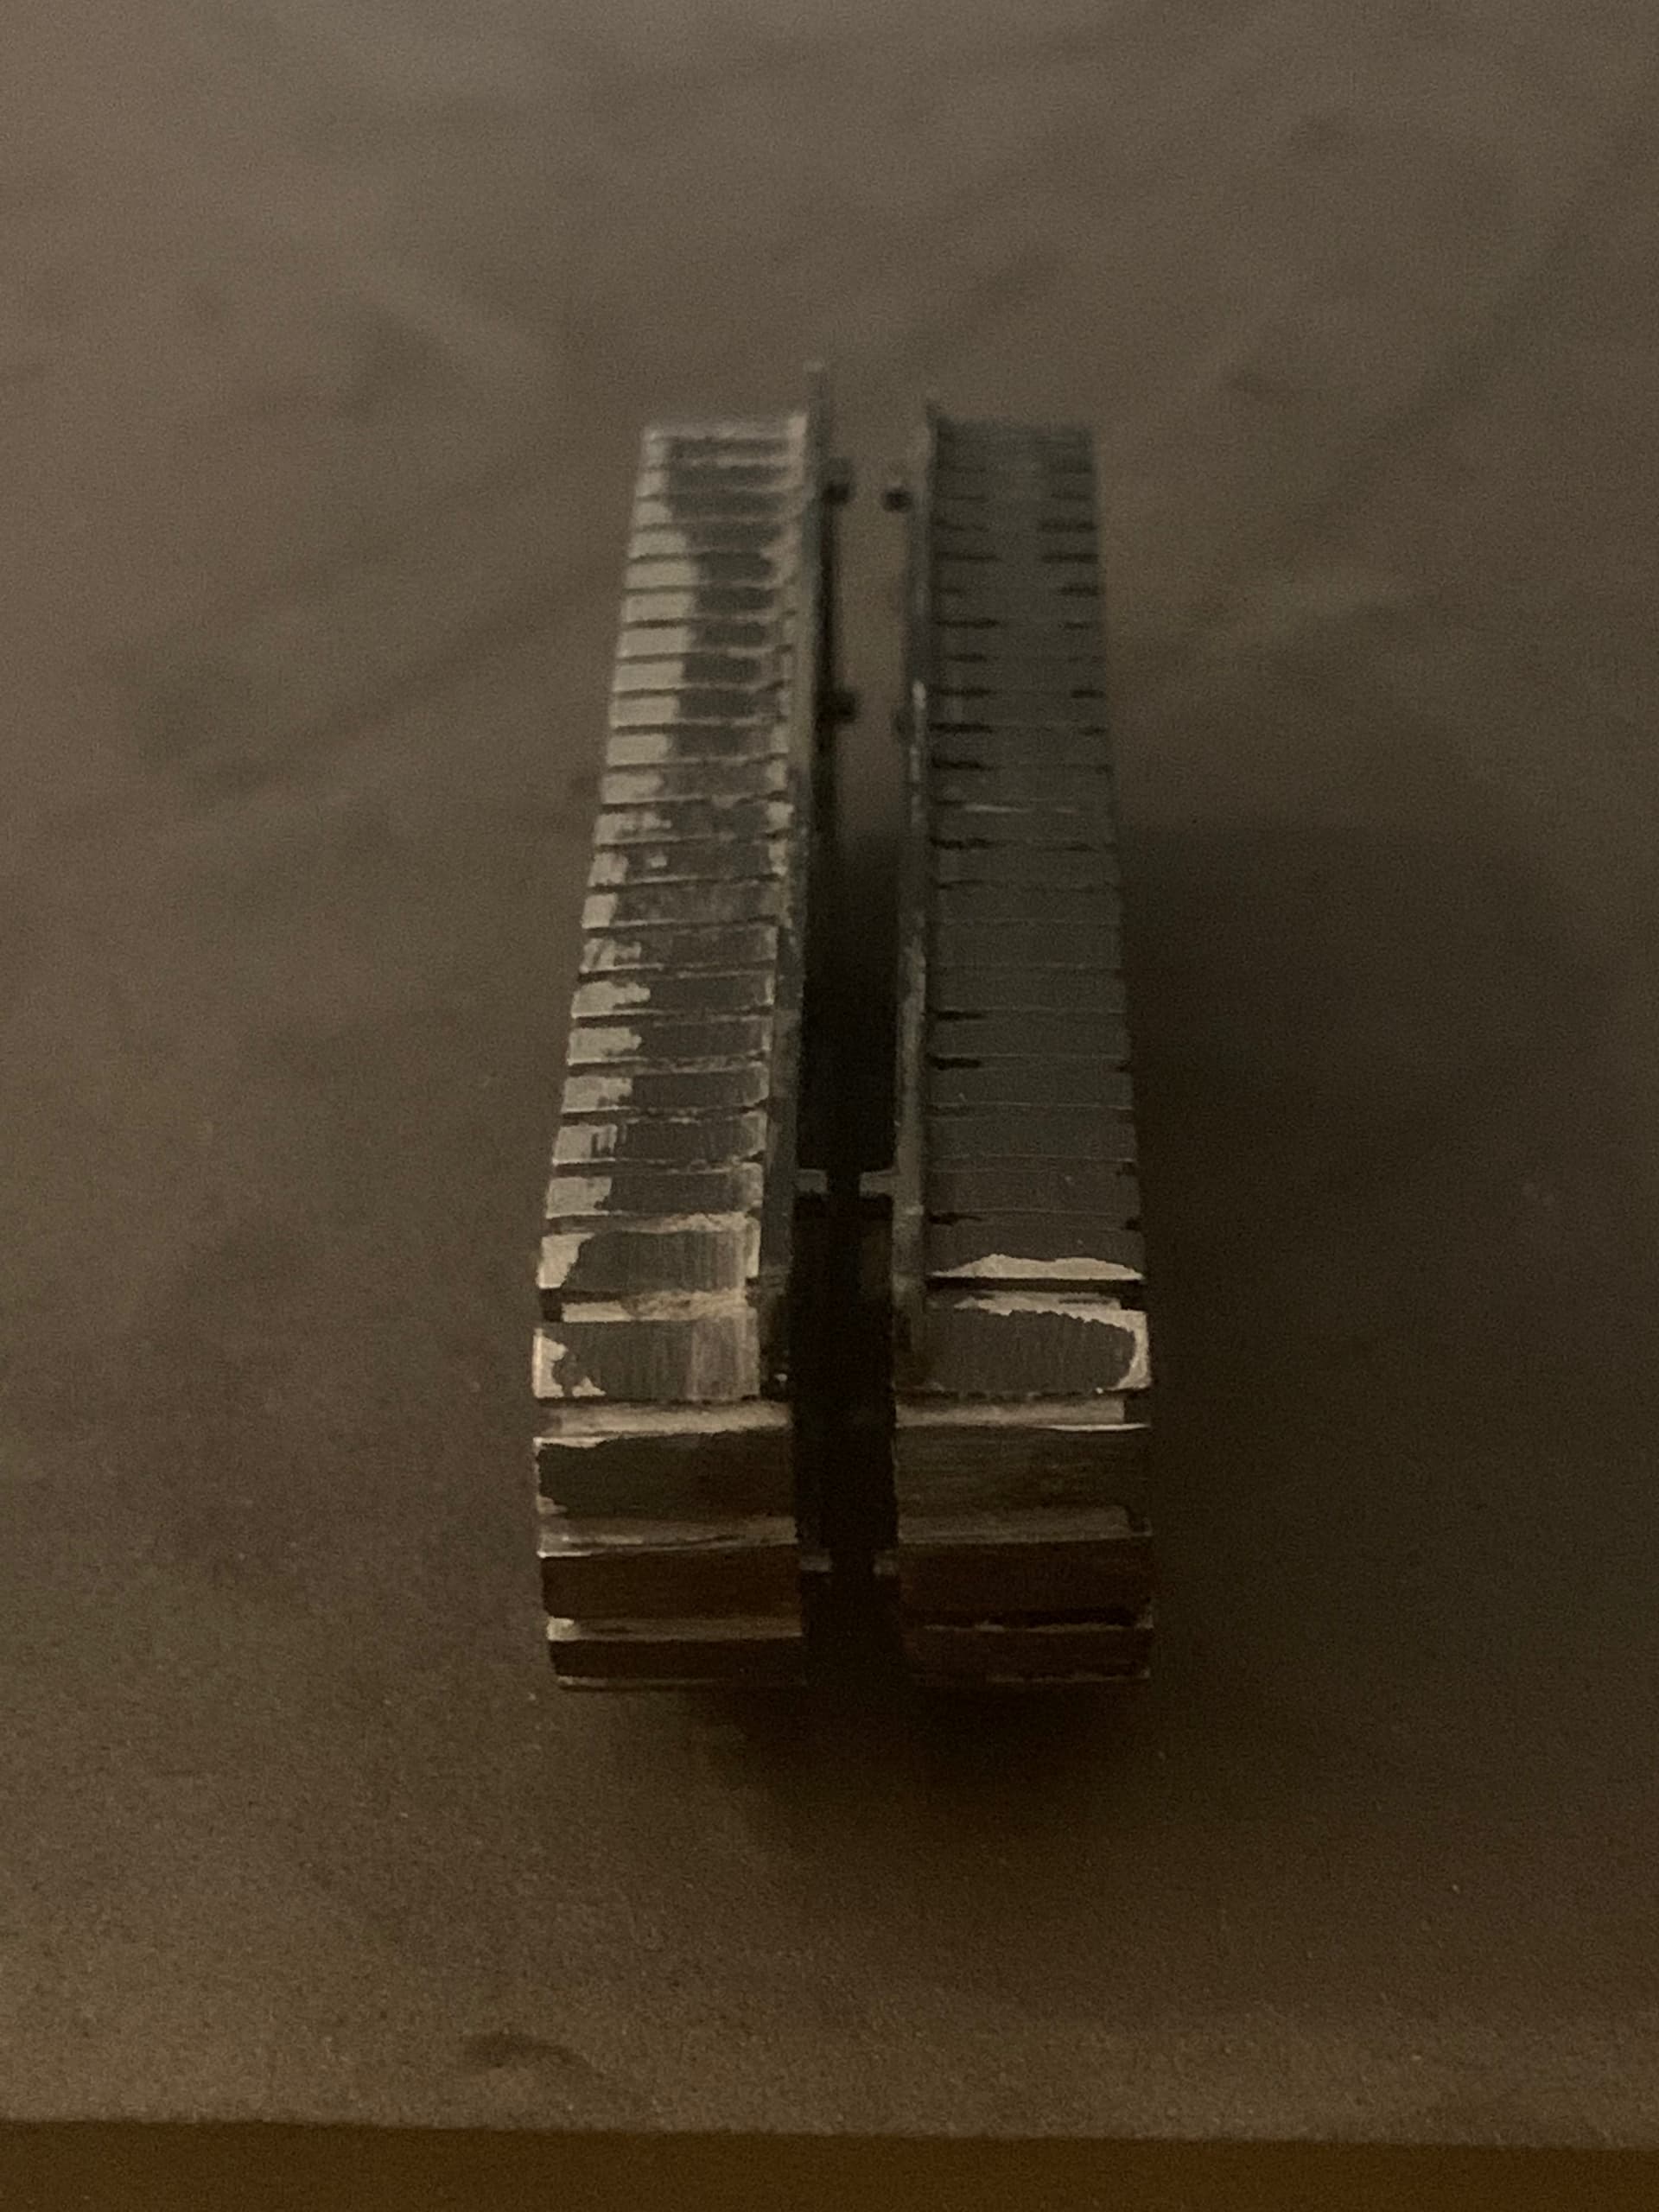
No, other than scratching them, which I gave serious thought to. The track is still way too thick. If I thin it, it will eat away at the inner portion as the inner portion is far thinner than the outer due to that drafting issue. I could have just cut out the road wheels, idlers and drive wheels and started over. The cutting out went fairly quickly though.
If I were to do it I’d do it the prototypical way - a cross section of inner tube stretched over the wheels to replicate the rubber band track, with individual grousers cut from Evergreen and Gorilla glued to it all the way around. Bolt head detail for each grouser on the inside portion of the rubber band track. It would work, but it would be a lot of work.
I suppose in place of the section of inner tube I could heat form a long strip of styrene all the way around the wheels. and cement it in place. Then add grousers.
Alli things considered that sounds like a hefty time investment that would look great I’m sure but is it (heres that word again) feasible, I’d be more inclined to mill down a slight lip on the outer edge of the track hopeing to replicate track blocks or grousers/cleats, I don’t envy you the task either way you go but those traks are bodacious thick . . . hmm what to do what to do. Question is how deep do you go? All eyes are on you lol. Good luck with it!
P.S.-there’s always mud or will you be on PSP?
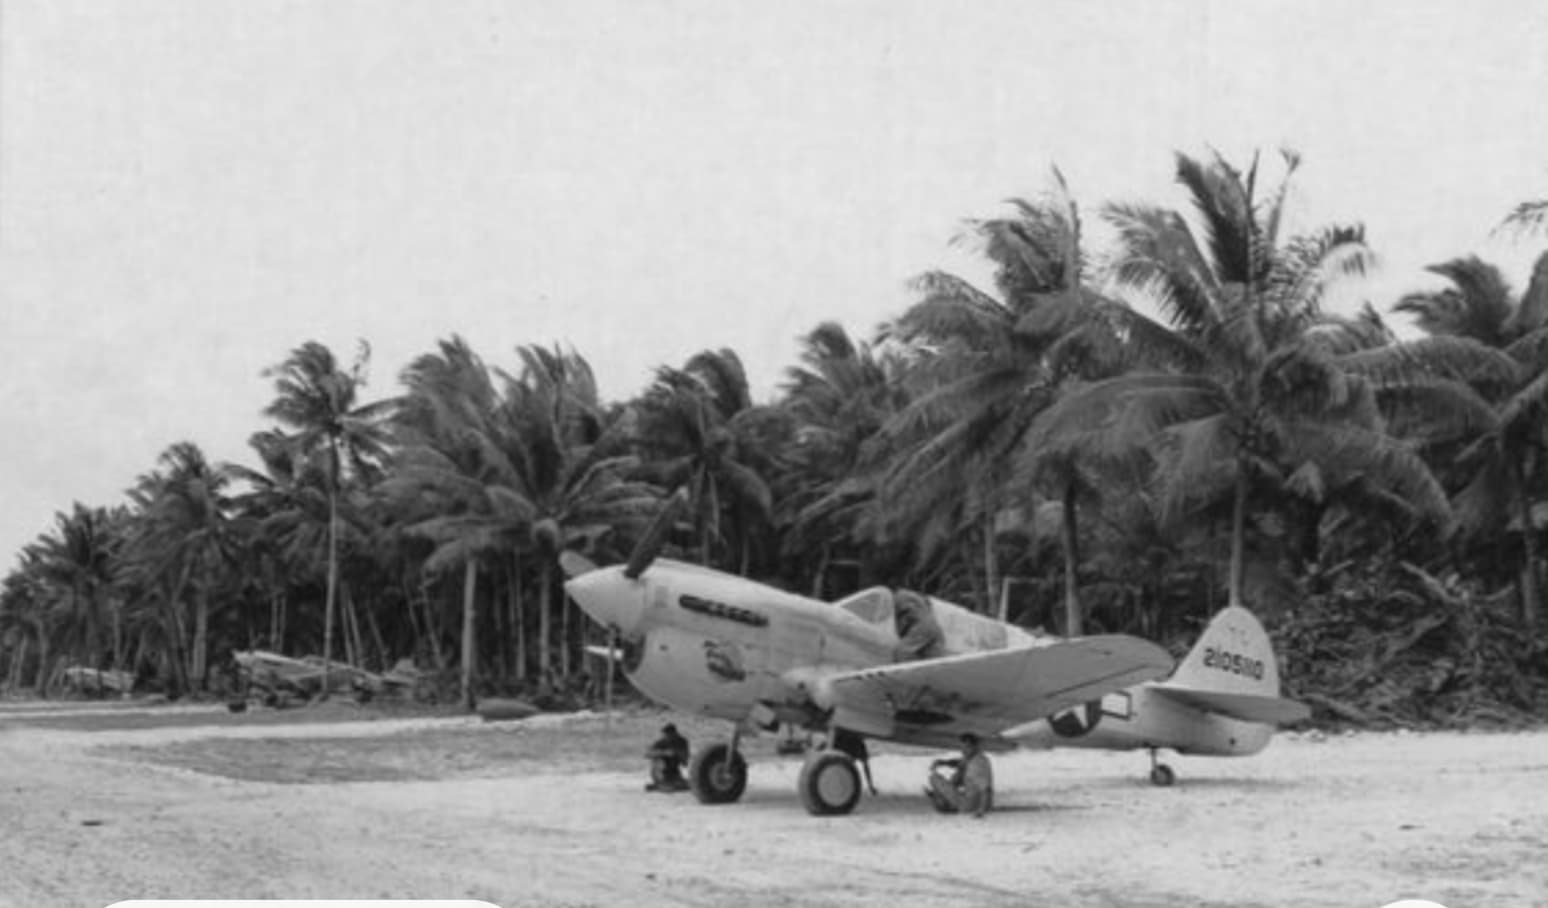
I actually have a milling attachment for my Dremel and briefly considered milling it on the inside, then adding bolt detail. Ultimately I decided it’s going to look far better than it did, so I’ll just have to live with that small inaccuracy. From the photos I have, I’m going to go with crushed coral parking ramps. There’s probably just sand around them. However, on the same airfield there is indeed PSP, just not where Lackanooki is parked, and I want to replicate that photo as closely as I can. It looks like between each parking spot is another area for each plane’s other items - certainly a drop tank at least.
Whew! I’m honestly glad you’ve made that choice, it was getting to be too much sugar for a nickle. Over-all it shouldn’t detract from your presentation.
I’ve never heard that expression. But one I have heard is, “I don’t know if the juice is worth the squeeze.”
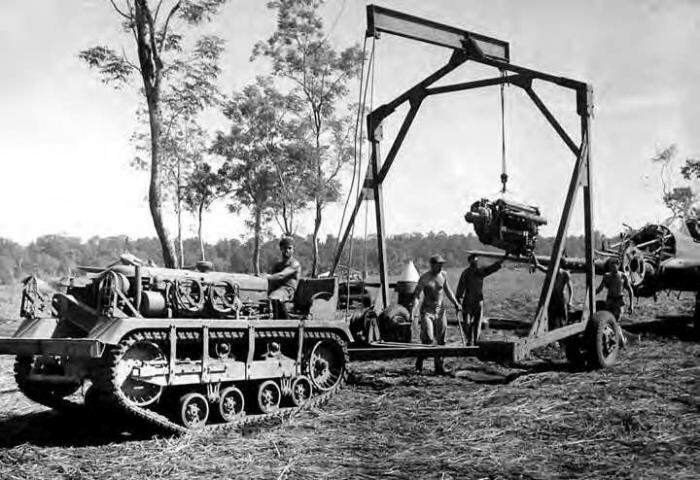
It’s funny - when Kurt sent me the tractor he told me it was very toy-like and might be okay in the background. And he was right. The problem is it’s pretty much the centerpiece of the diorama. That kit is ancient, yet I’ve never seen one at a contest or featured in a magazine. It was quite the workhorse during the war. I’m surprised it hasn’t been given more attention.
There’s also the fact that I ask myself, WWSPD? What would Shep Paine do? He used to do great stuff for Monogram. I still have many of those inserts they put in their kits. He’d add a few bits and bobs, and although it wouldn’t be close to being totally accurate, you’d be convinced that it was. Remember the water pump he made from a truck differential?
So in tribute to him, I’m using as much of the base kit as I can.
I’ve removed about 75% of the plastic from the hood and replaced the radiator area with one from the Atlantis kit. Bonus - fan on inside of radiator will be visible: