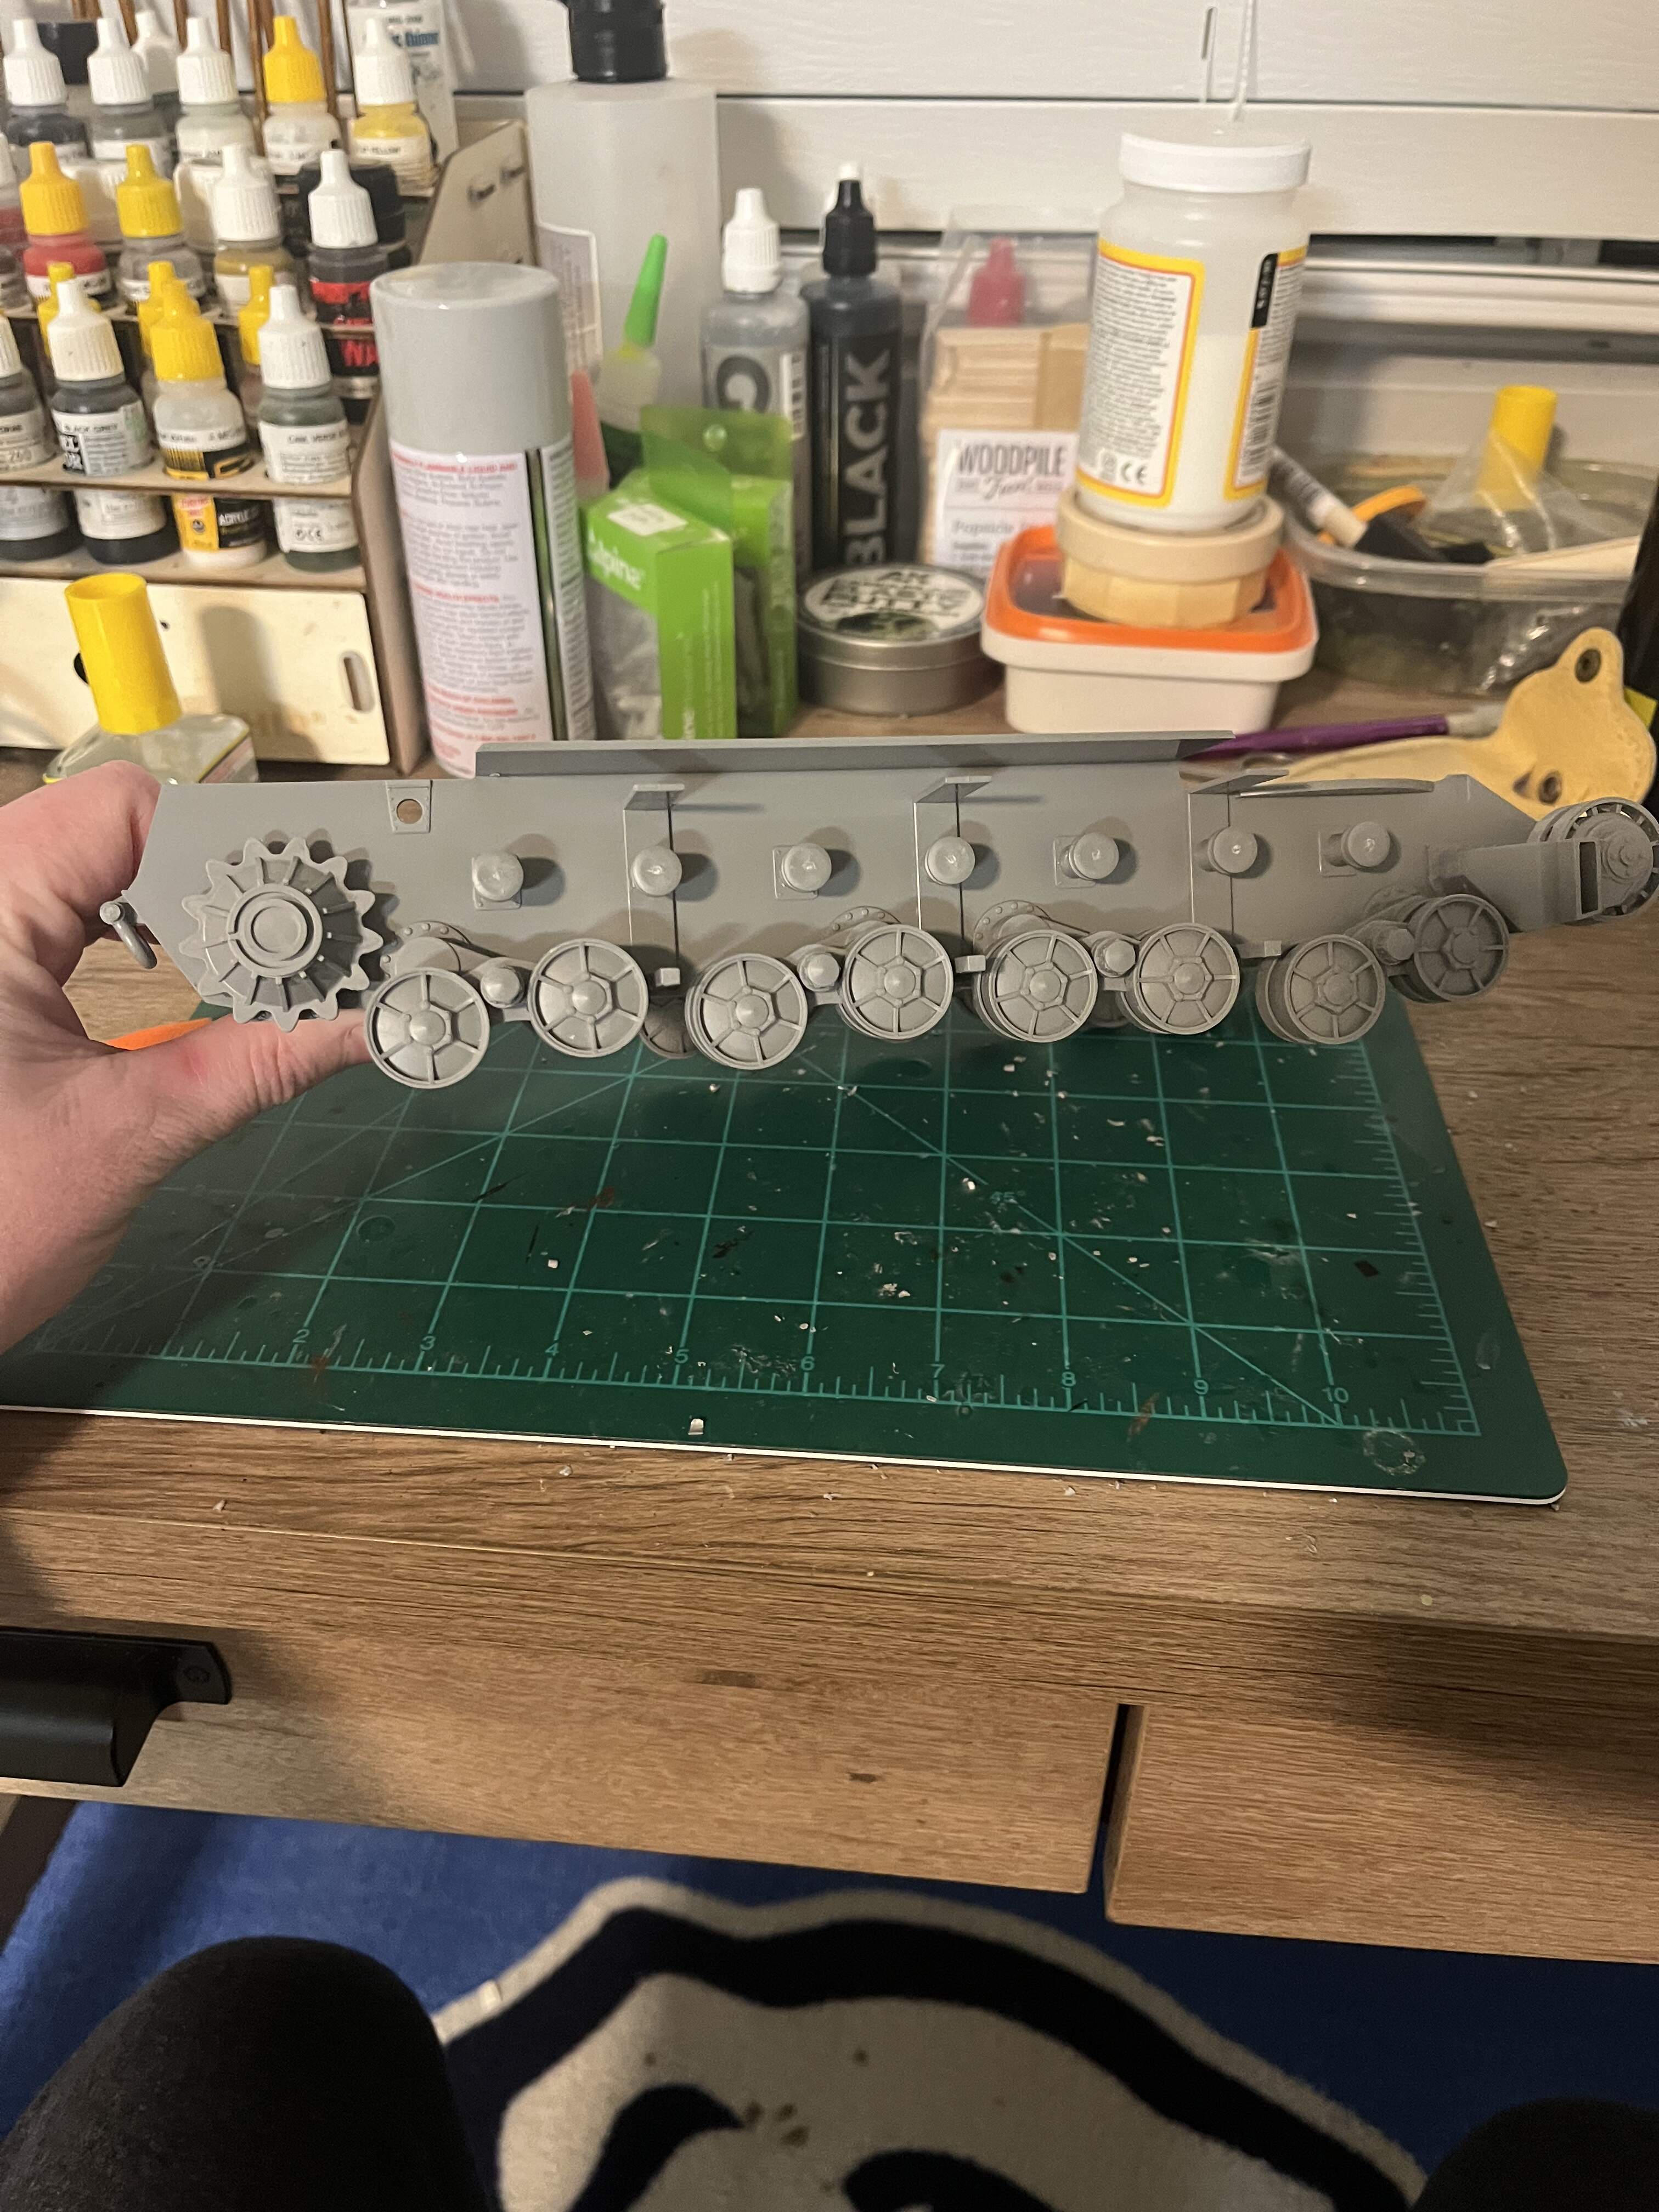
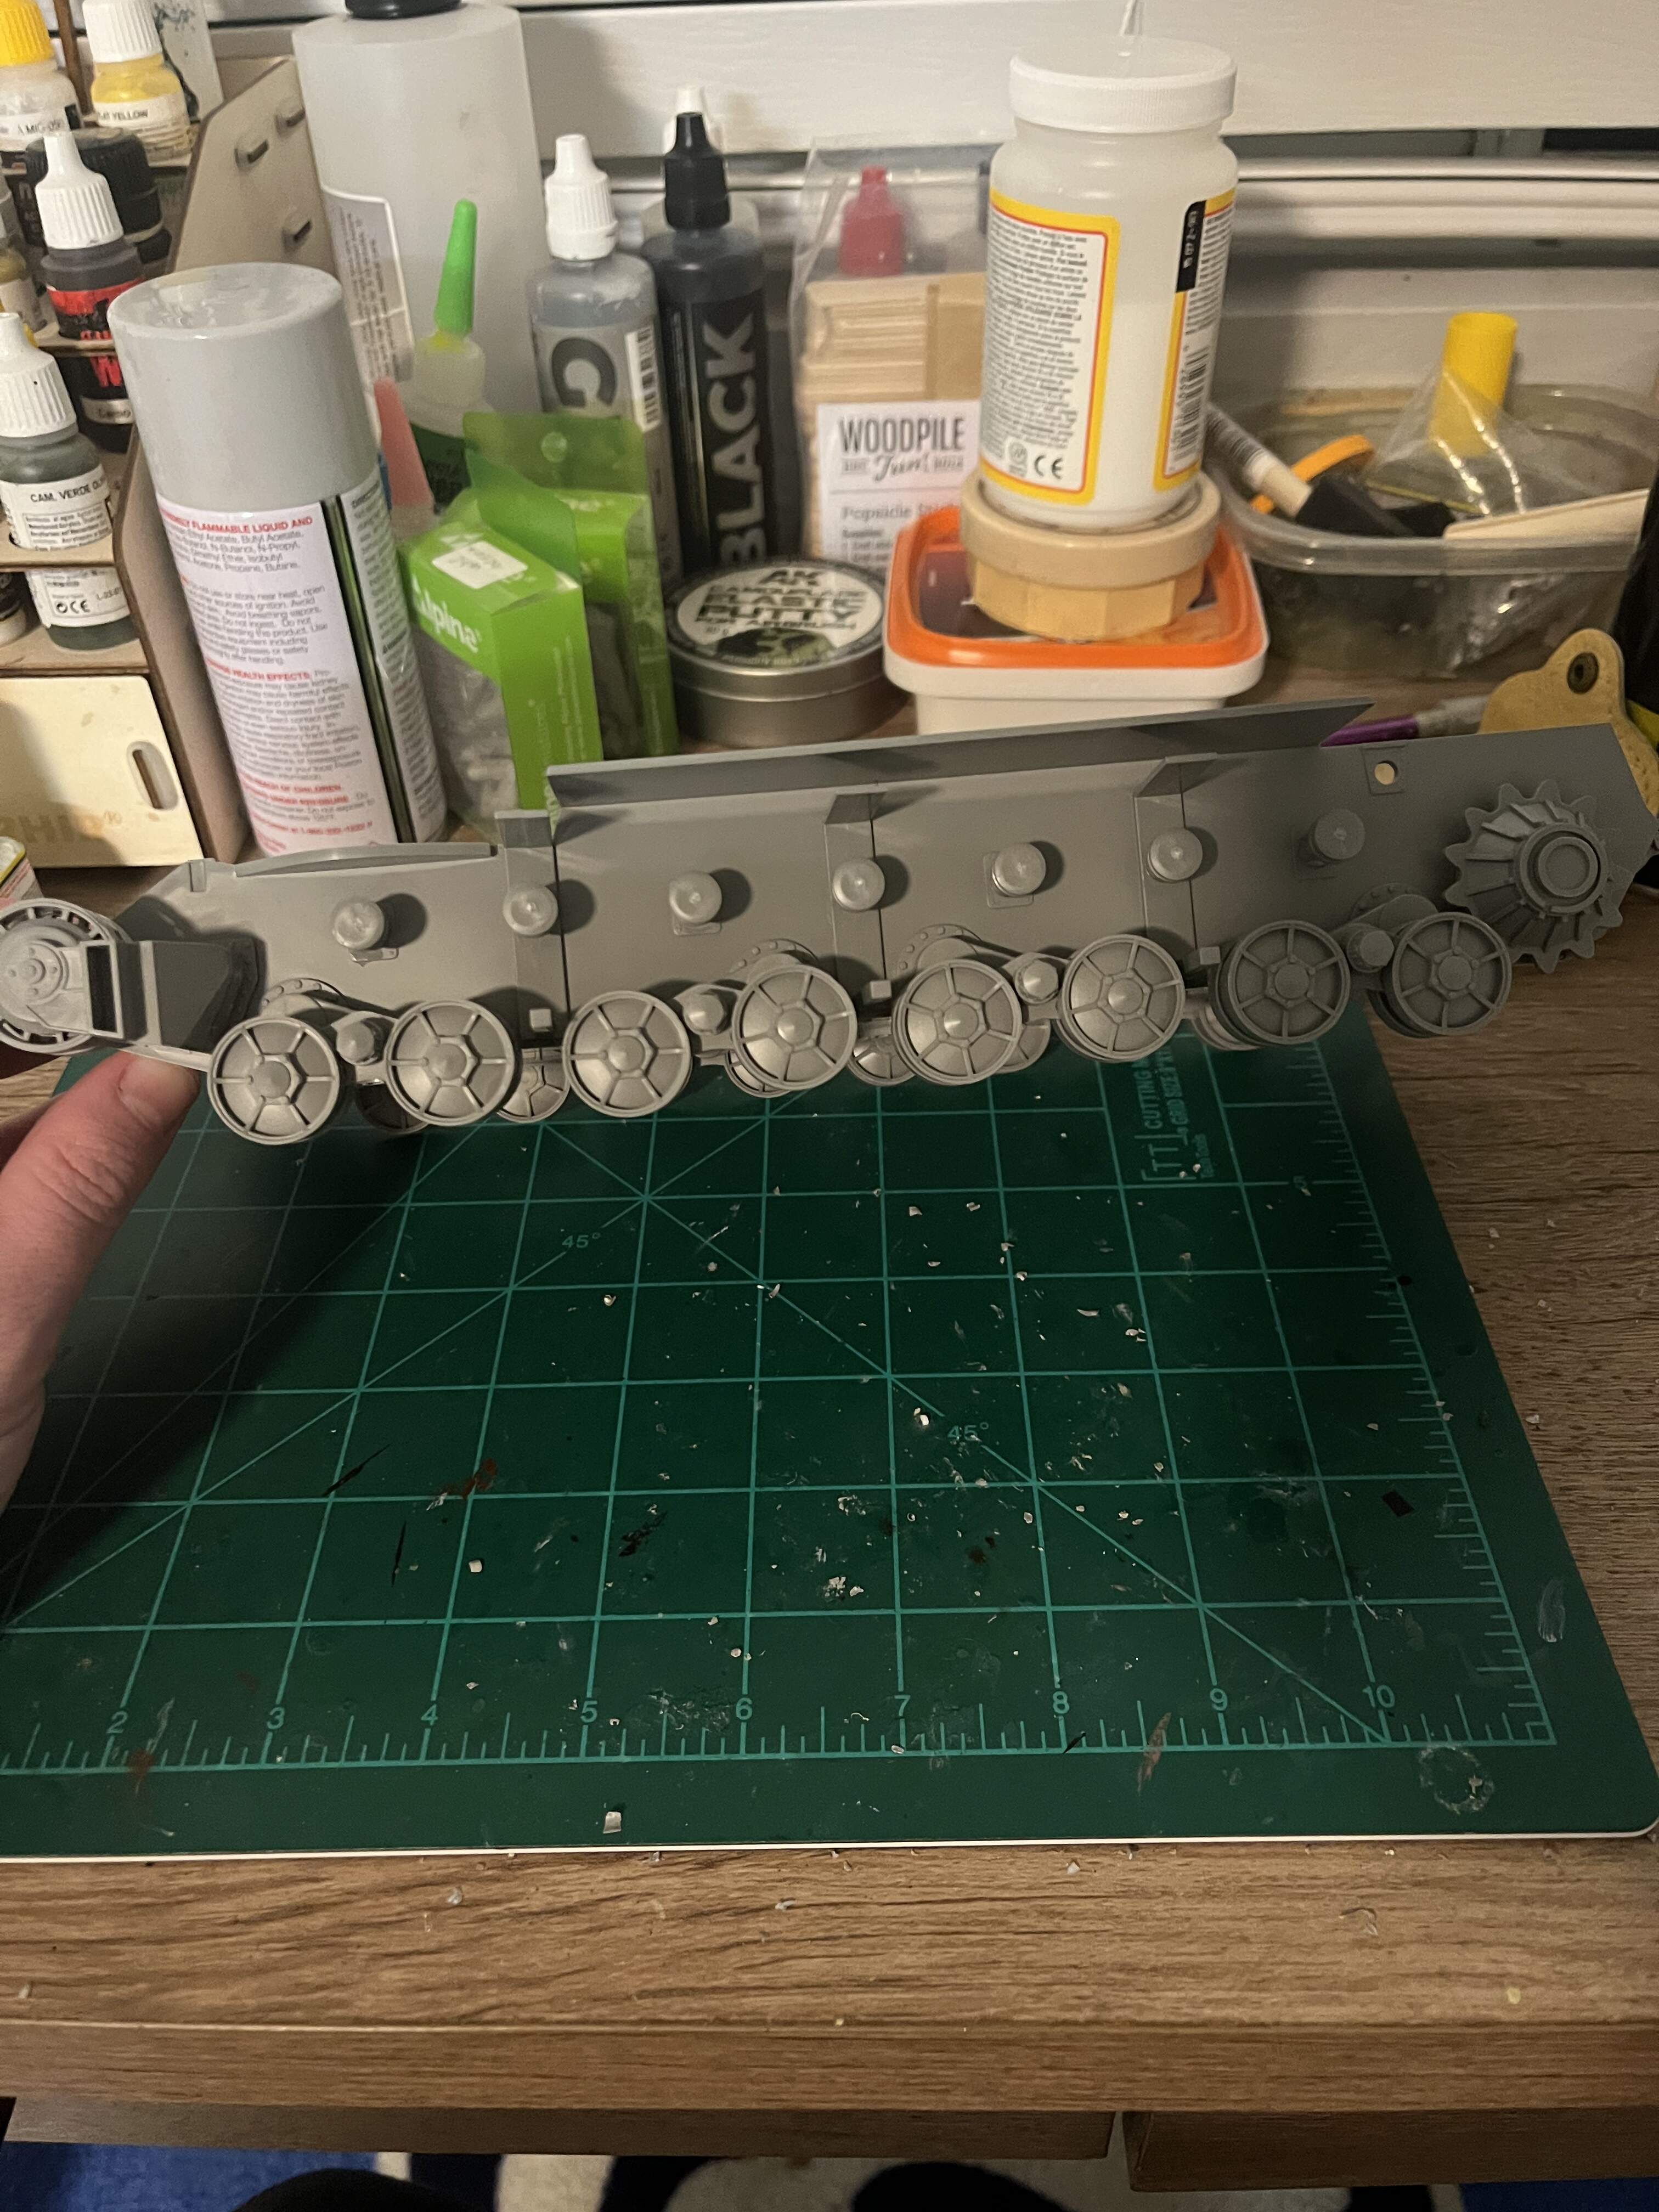
Last night is tatted on step one of the Takom 150 Ton 0-I super heavy tank. It took me about 2.5 hours to complete split between last night and this afternoon. The kit has been easy so far the bogies went together easily and with minimal glue, I’m hoping this helps with track building in the next step. Next up will be building the individual tracks they are are made in three pieces which isn’t exactly thrilling but I think it’ll be unique and different from my previous experience with magic track. After this I’m thinking of painting the wheels and the lower hull because the tracks become covered by the upper hull and side armor.


6 Likes
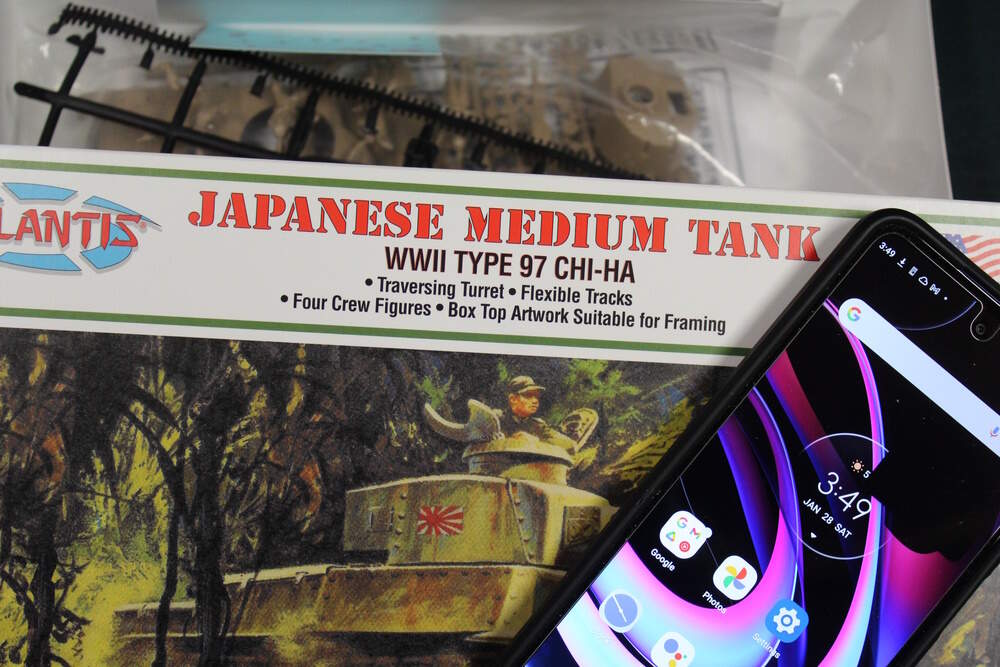
Paint for the Mountain Gun arrived and most parts are drying (Gunze Sangyo Mr Color C-527, Flat Khaki IJA).
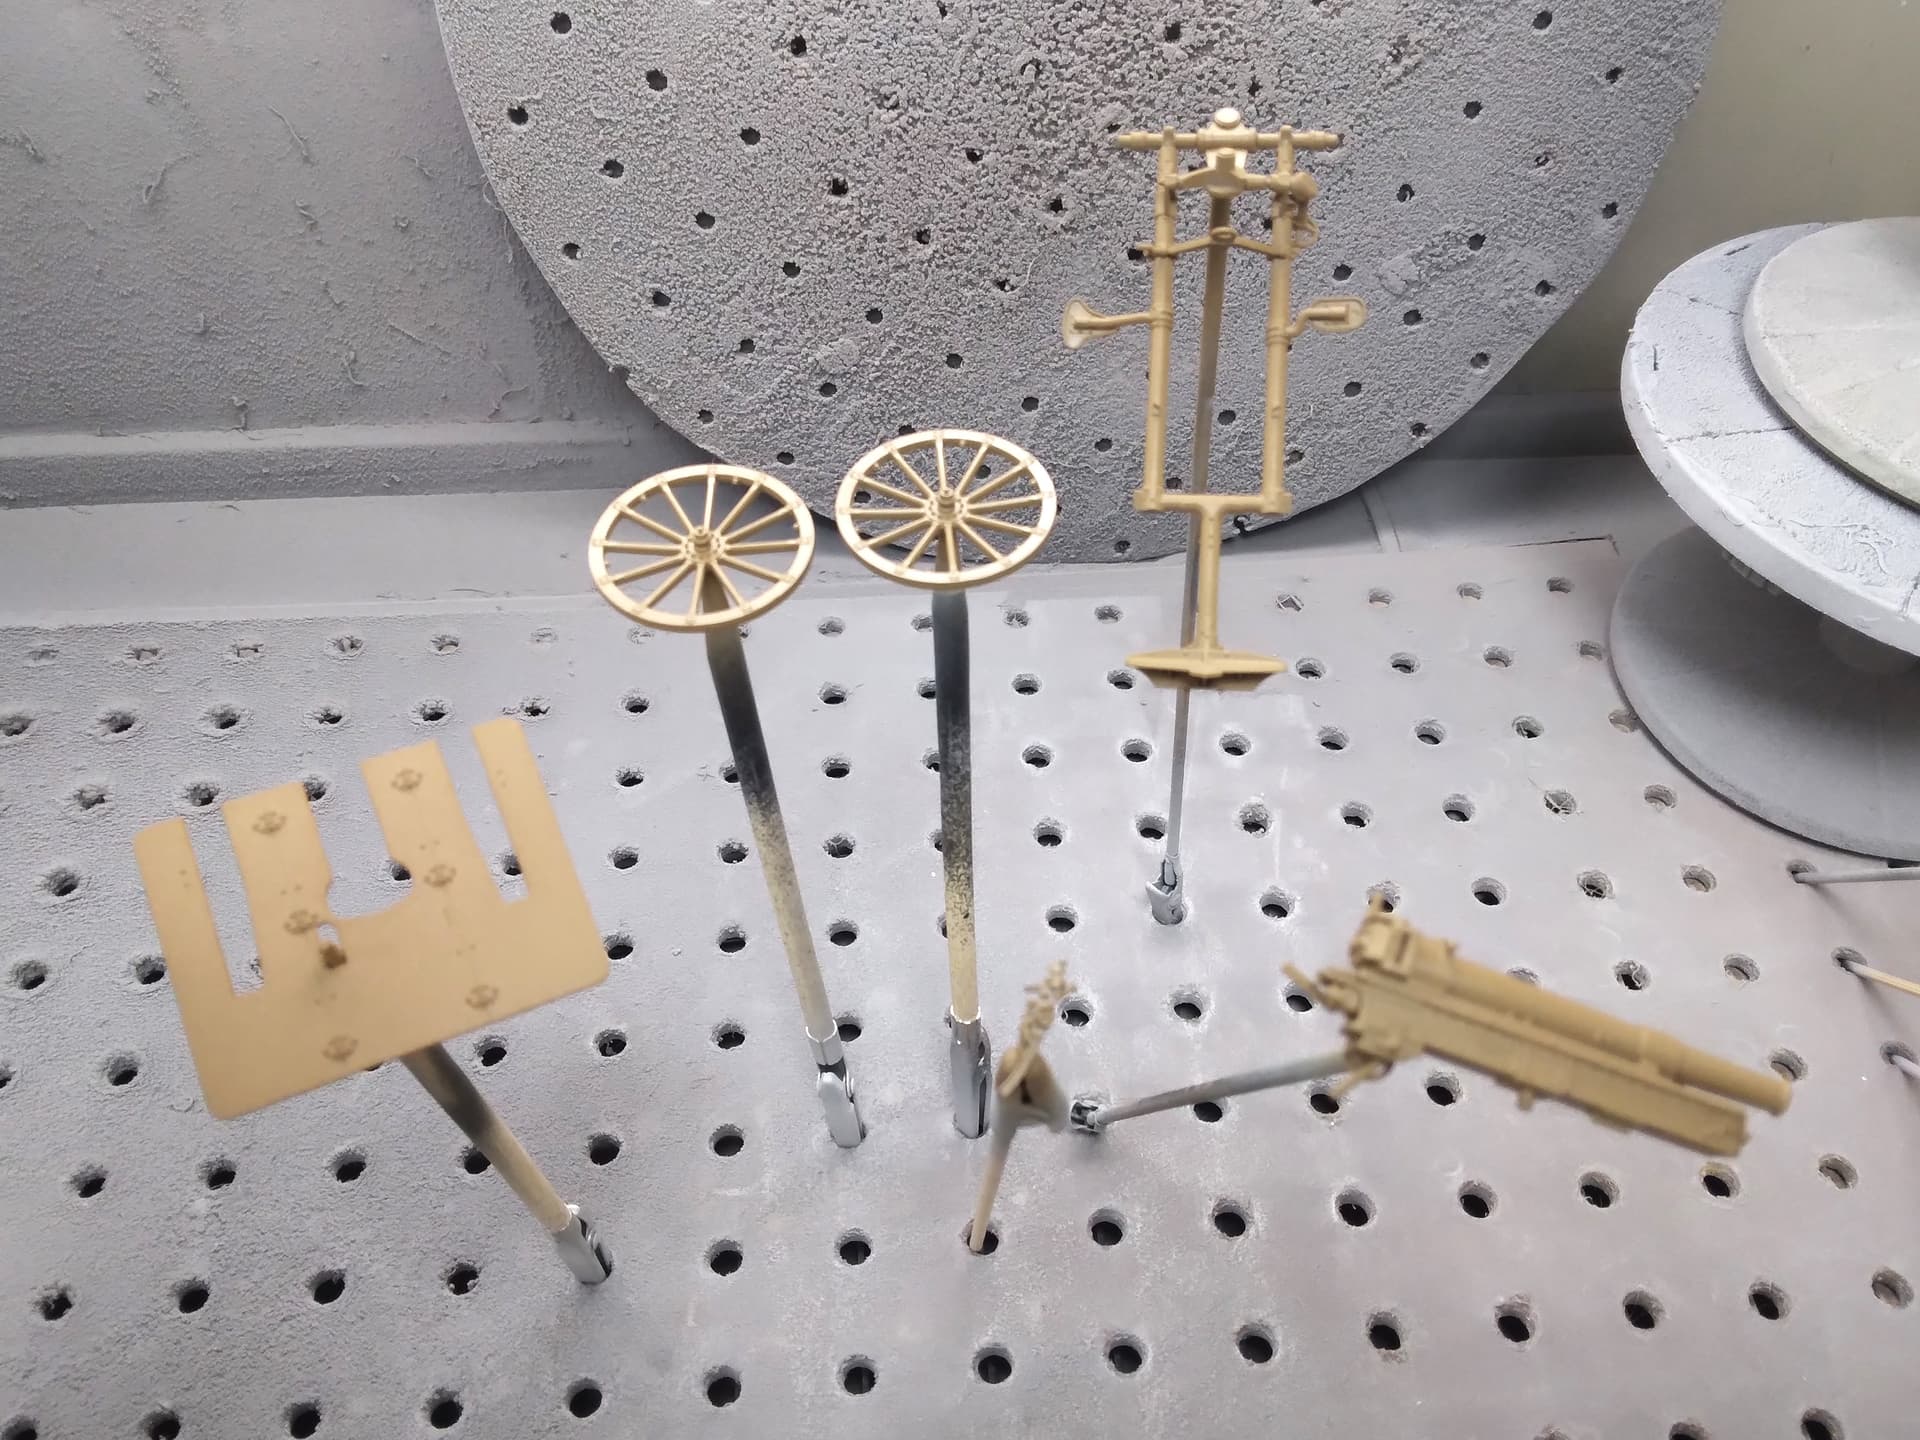
Detail painting on the individual assemblies will probably happen tomorrow.
Paint for the figures (still not sure if I’ll build them yet) is held up by Royal Mail’s hacking.
Mike
4 Likes
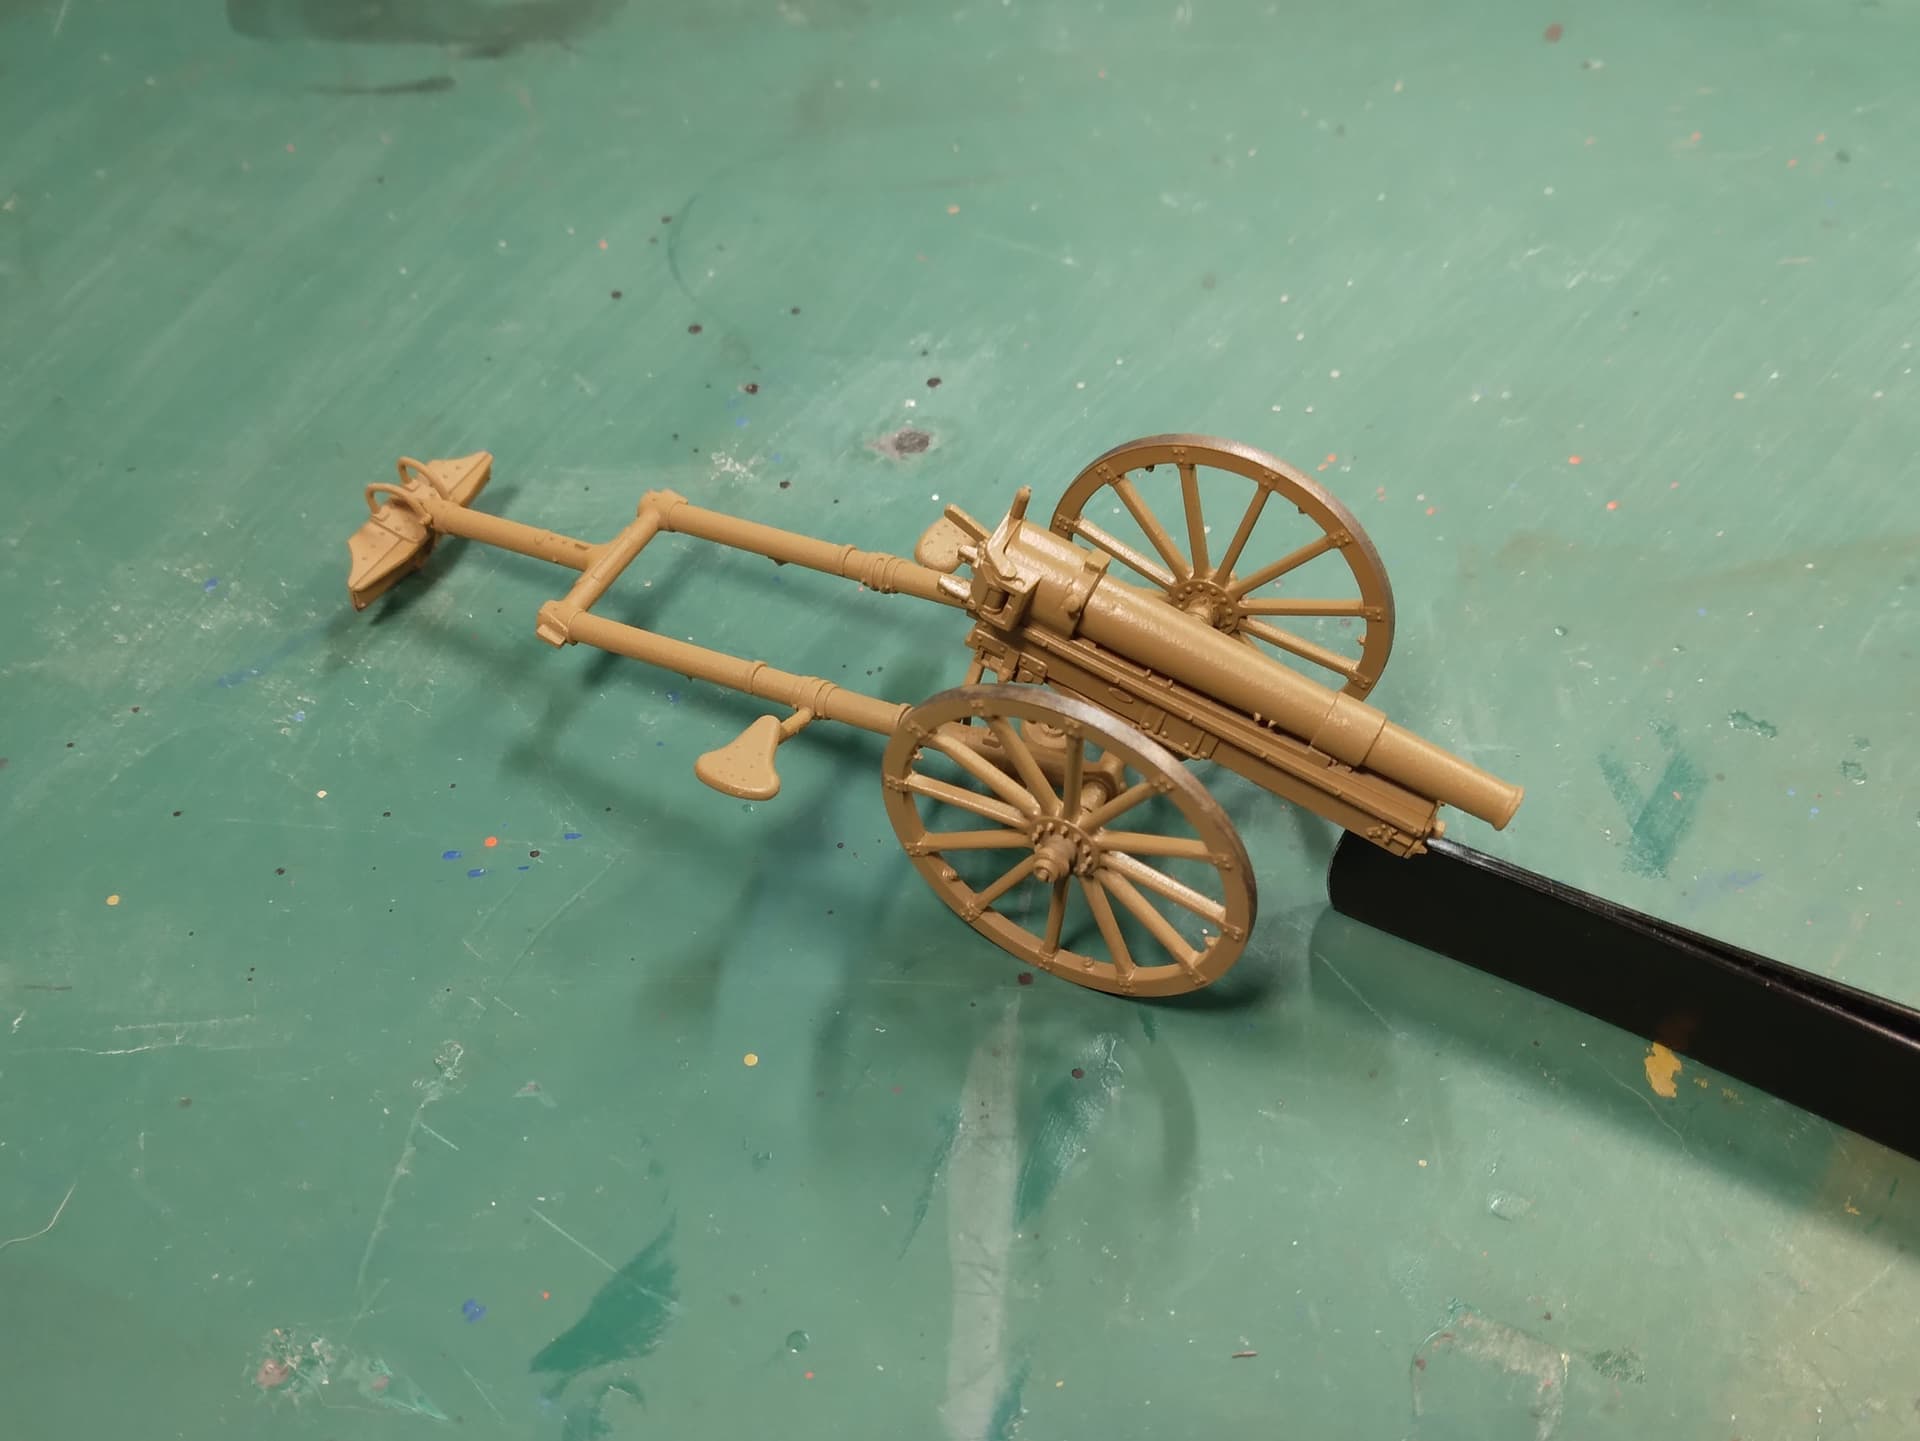
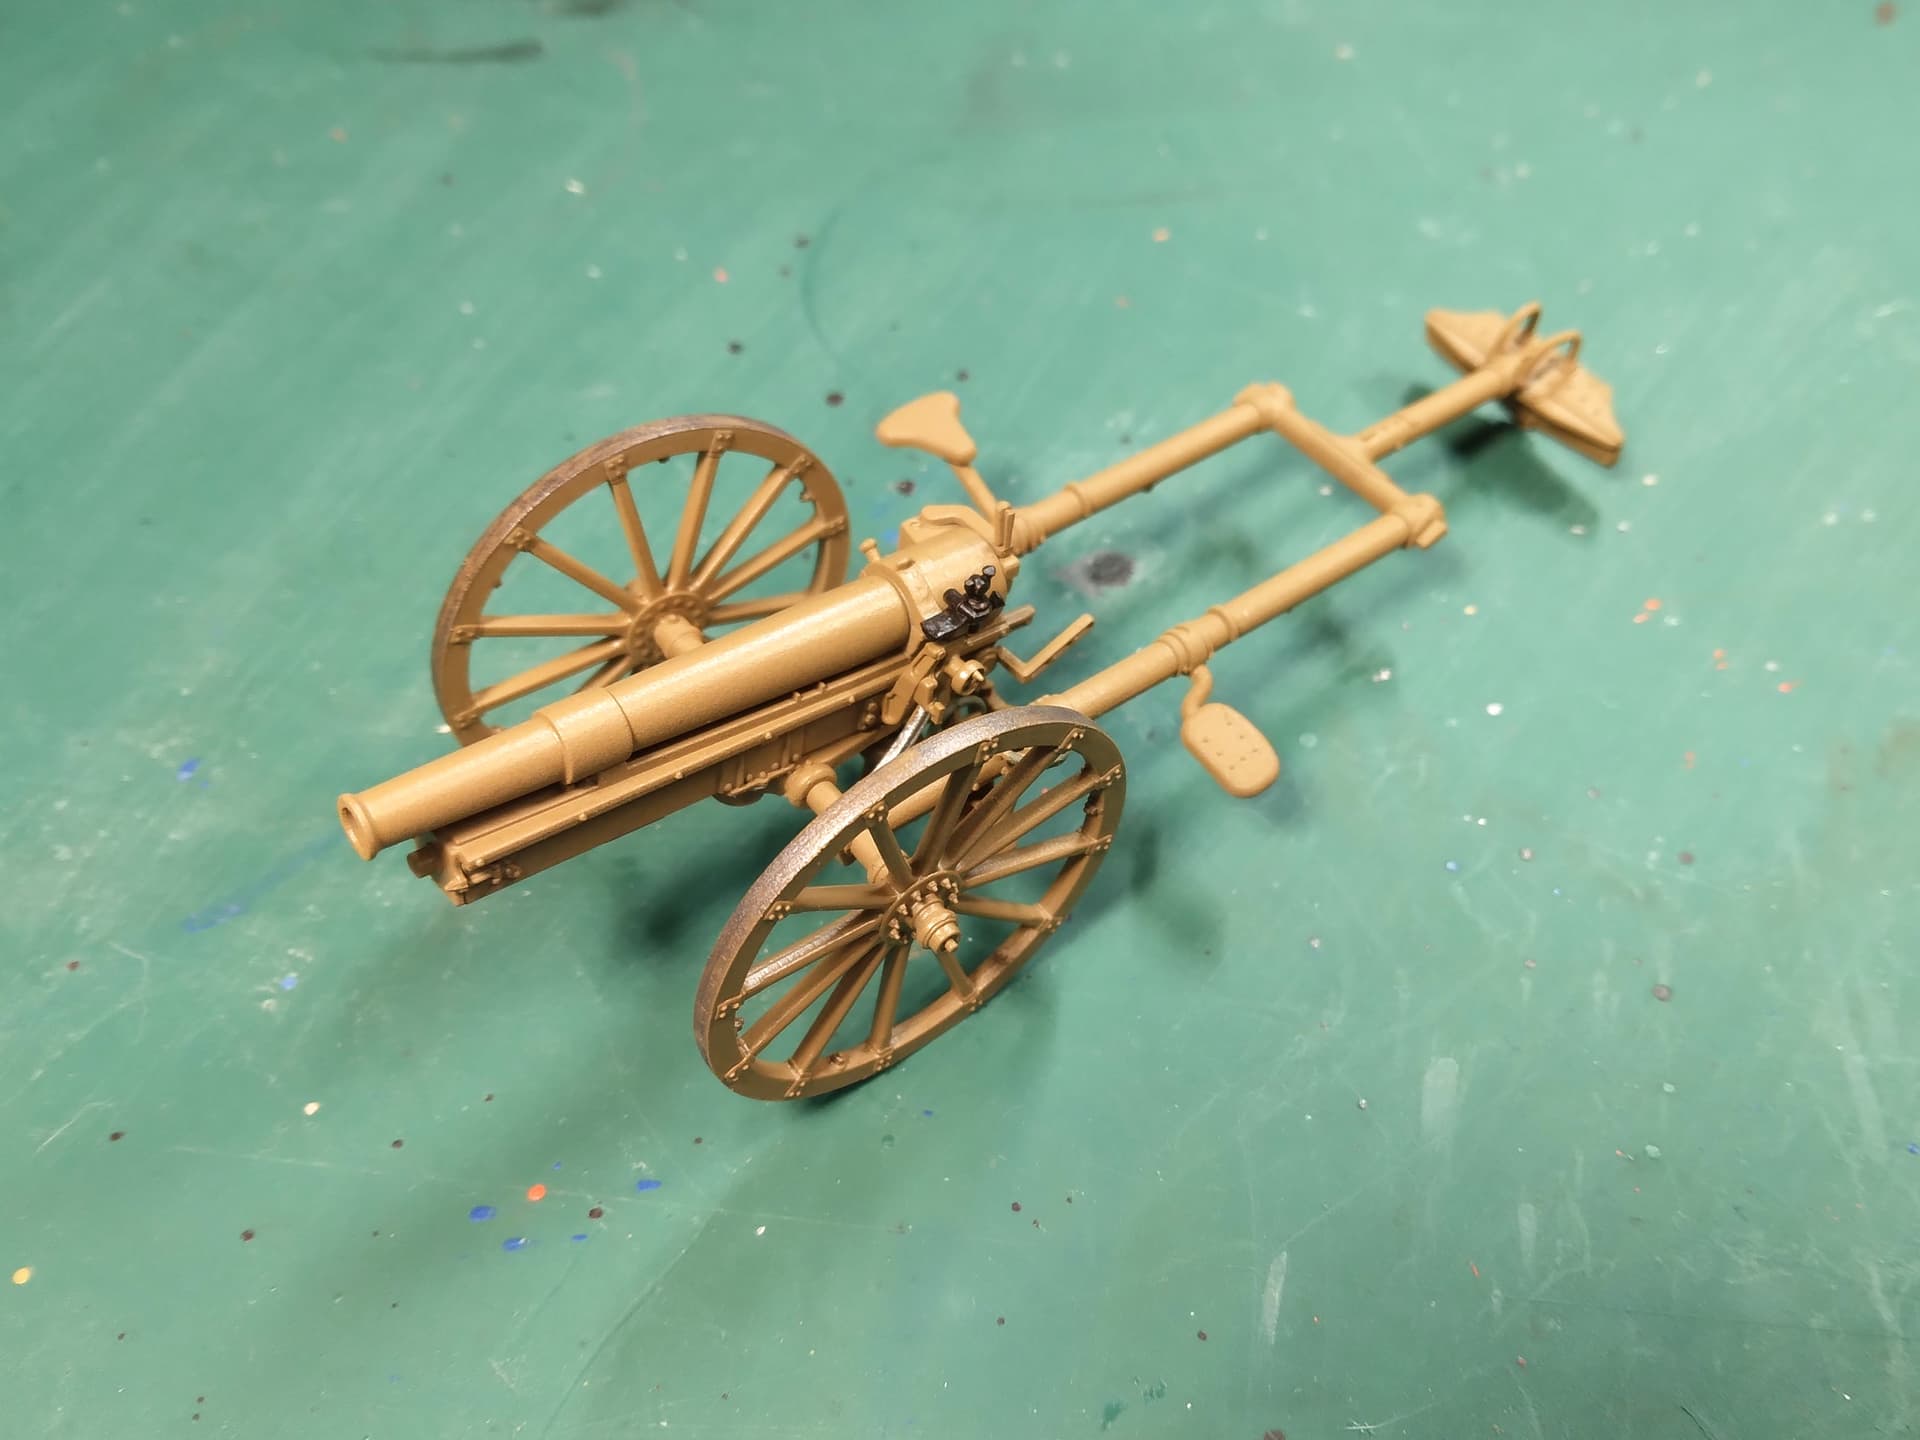
Today I did the detail painting (though there’s not much of that) to the mountain gun. The sight mechanism hasn’t been installed, but it’s ready. I’ll install the sight before I attach the back of the gun to the trails…more than likely I’ll adjust its elevation to the sitting figure (which I may or may not paint [still]).
Mike
6 Likes
looking really good there Mike.
I see Fine Molds also makes a long barrel to artillery piece. It comes with spoke wheels like this one, or pneumatic tires. The spoke wheel one has a crew. I think I’m going to have to get it.
1 Like
It’s a nice, simple kit that goes together well. The figures have seams in the folds of the uniform which makes it a pain to clean up. The paint for the figures is still sitting in England so I don’t know how that’s going to pan out.
Mike
That’s a neat little mountain gun. Was this used in WW2? With wooden artilery wheels it lokks like something out of an earler period.
Paul
1 Like
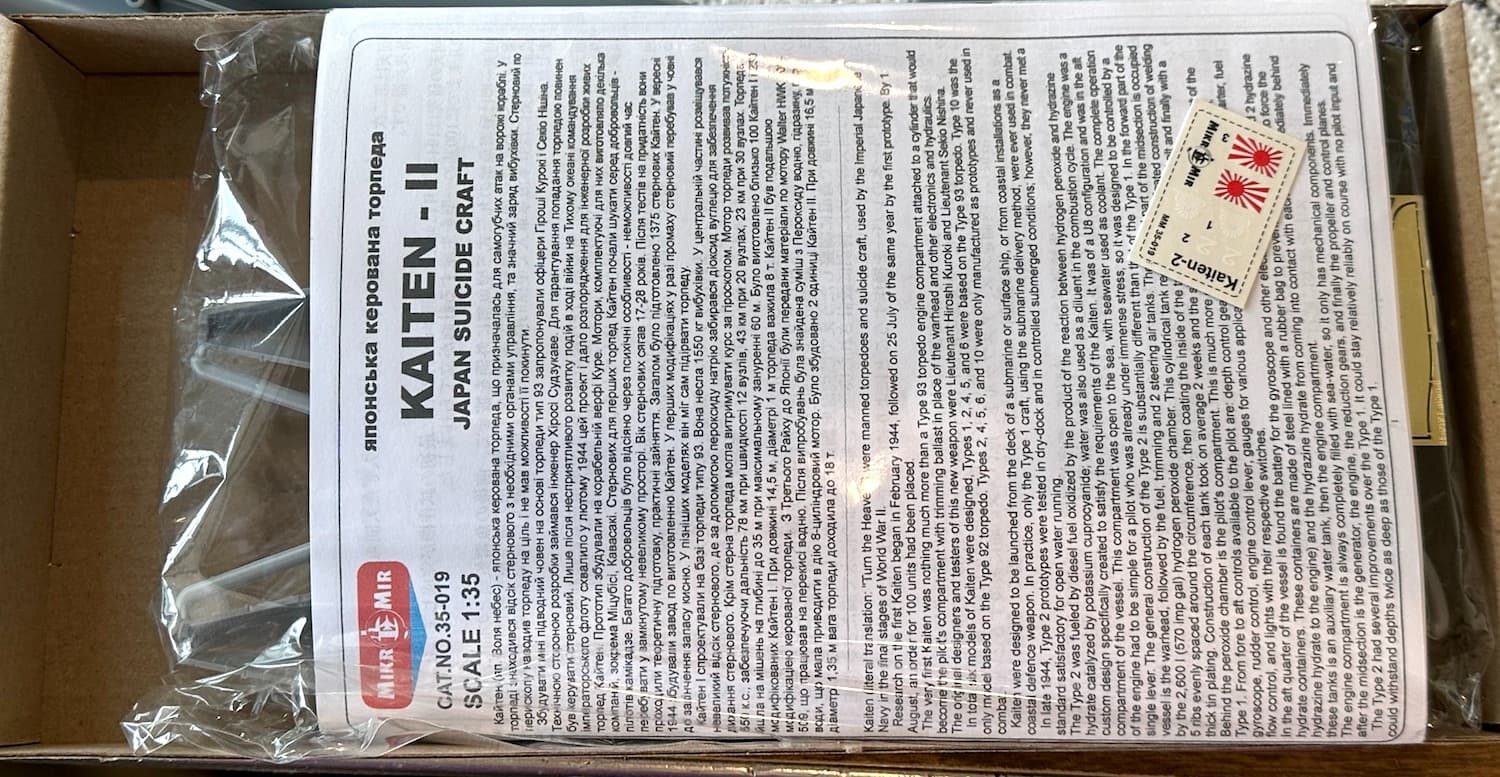
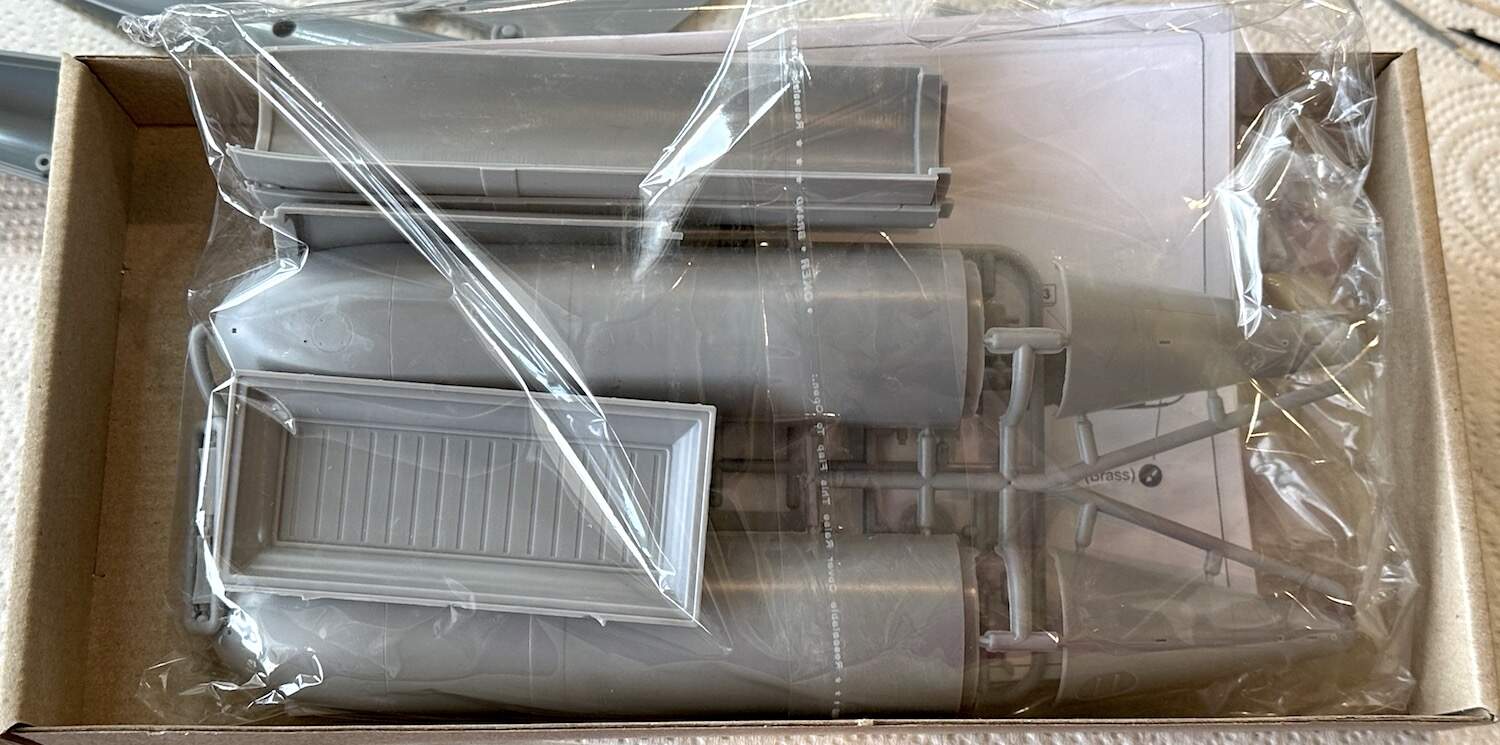
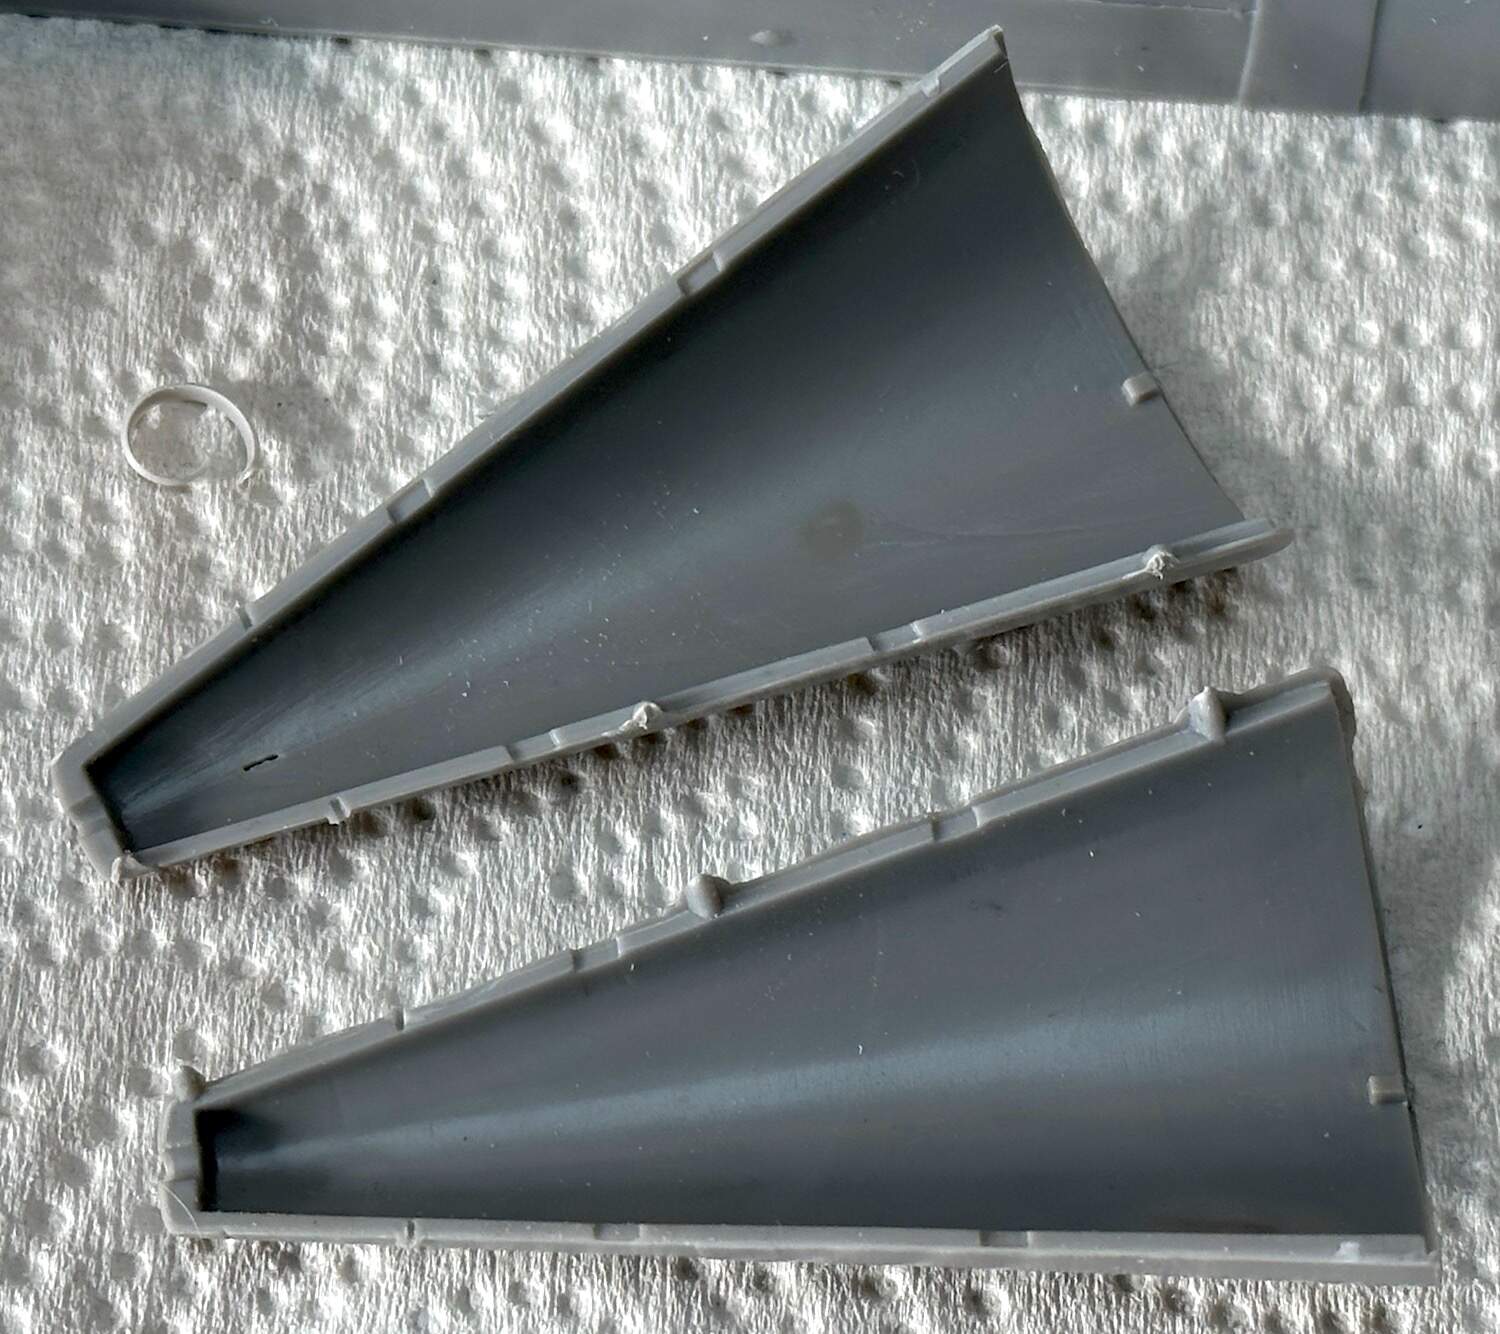
The Mikr-Mir Kaiten II arrived and I got a start on it. It is a limited run kit with plenty of thick sprue attachment points mostly right on the mating surfaces. The plastic is soft & easy to work with.
I had not realized that this Kamikazi sub was not used in combat. Only one was built and it gave plenty of trouble leading to the project being abandoned. Happily, the sole Kaiten II is preserved in a museum.

Paul
7 Likes
6 Likes
Will be following your build with interest. I keep looking at some of Mikro Mirs kits and I’m often tempted. They do a pretty interesting range of mini-subs and torpedoes.
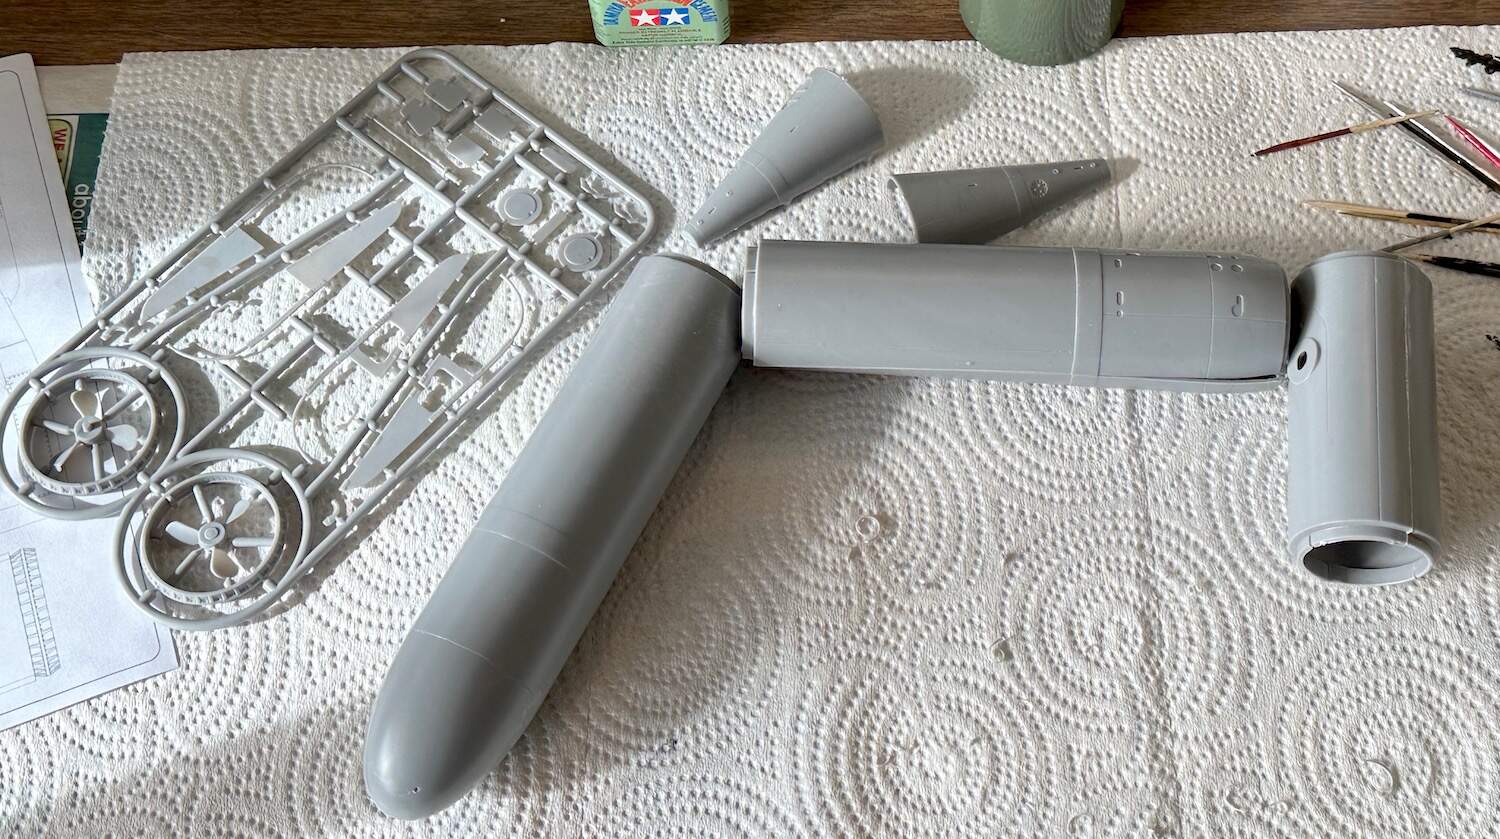
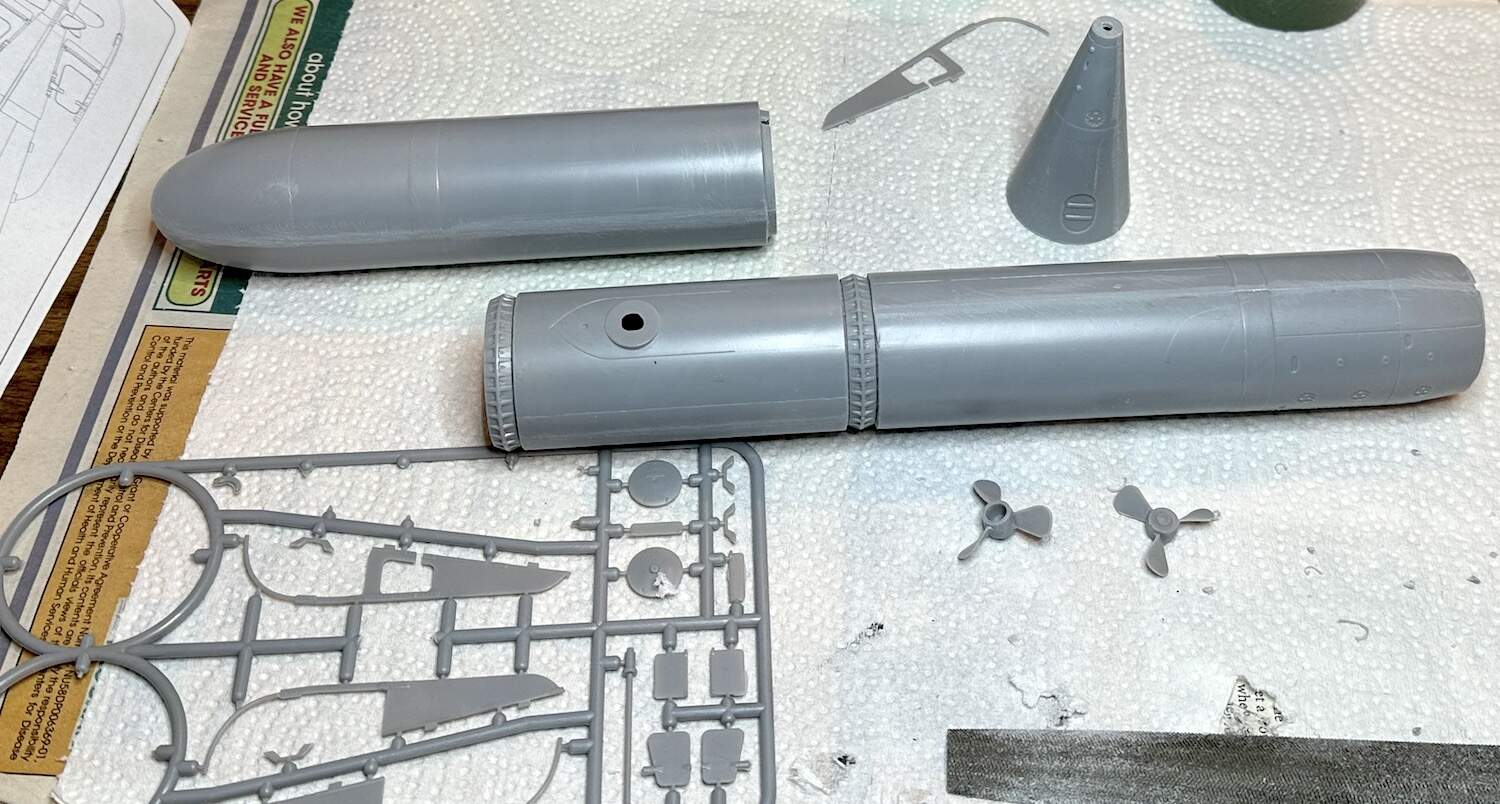
Very interesting model Paul. Nice choice for something out of the ordinary. No other sub looked more like a cigar case than this one. Those sectioned bands really do look like where the parts would screw apart.
Yes, it was. It was a general purpose Infantry support gun.
Mike
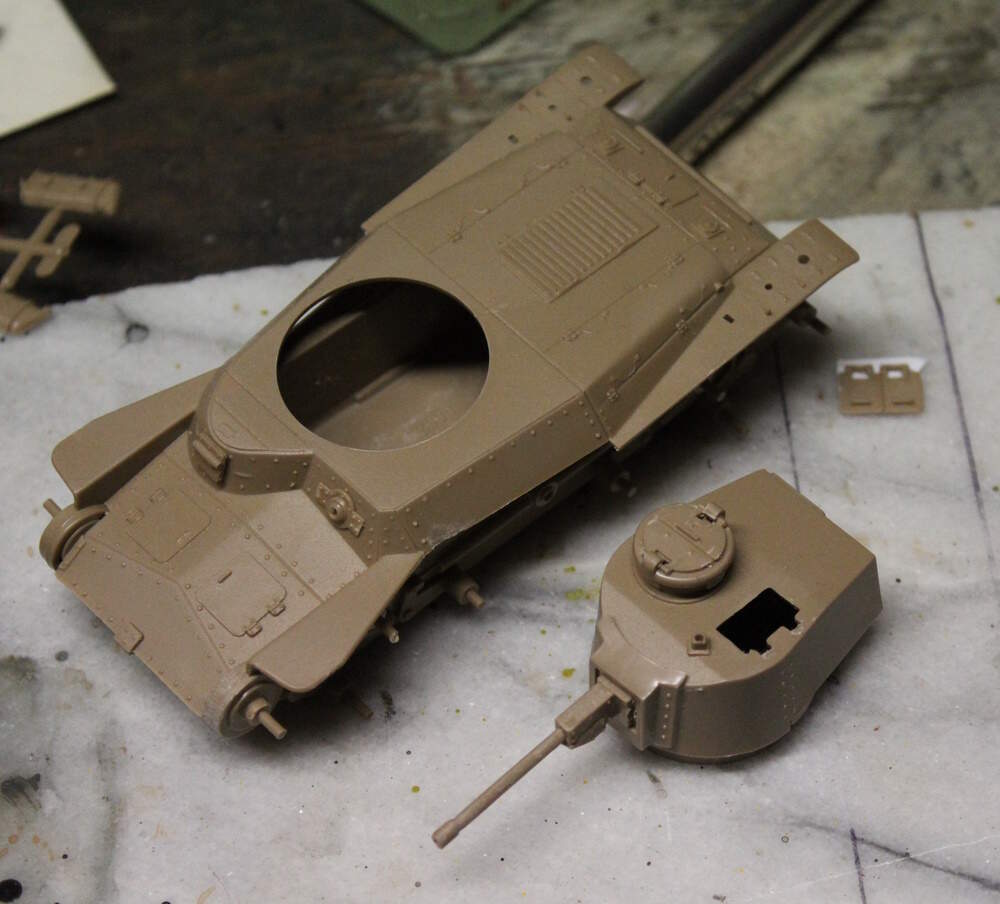
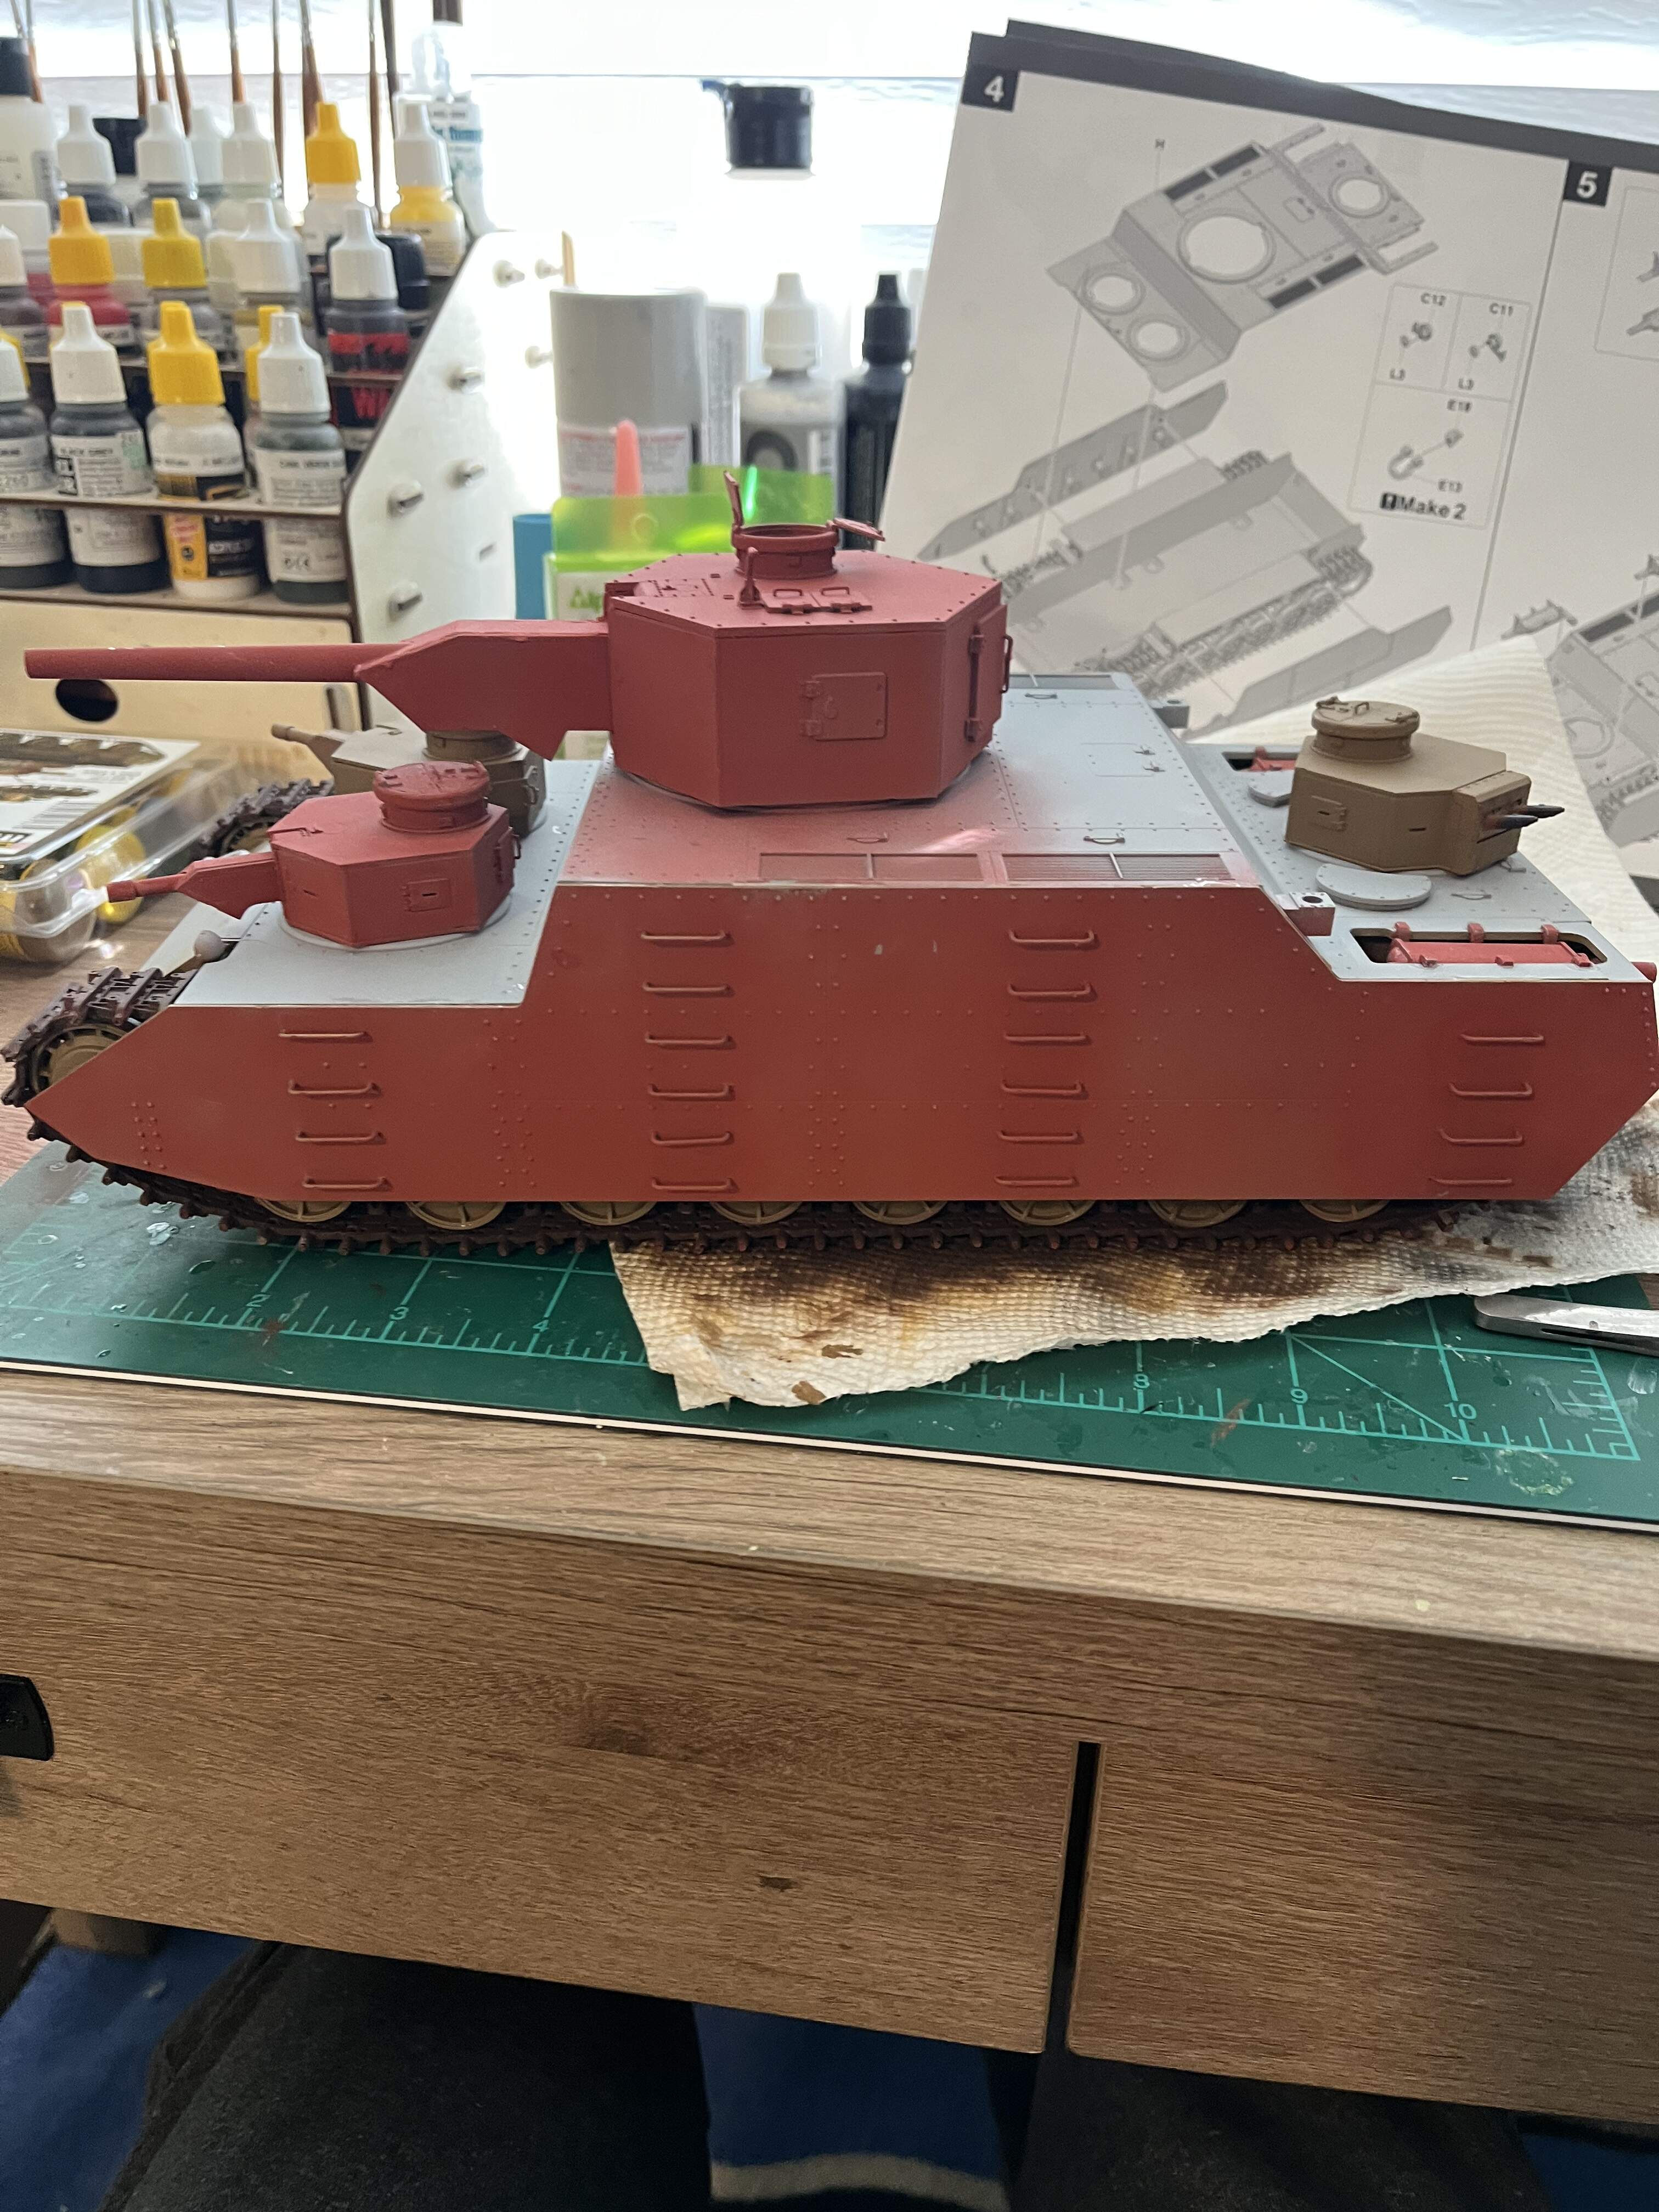
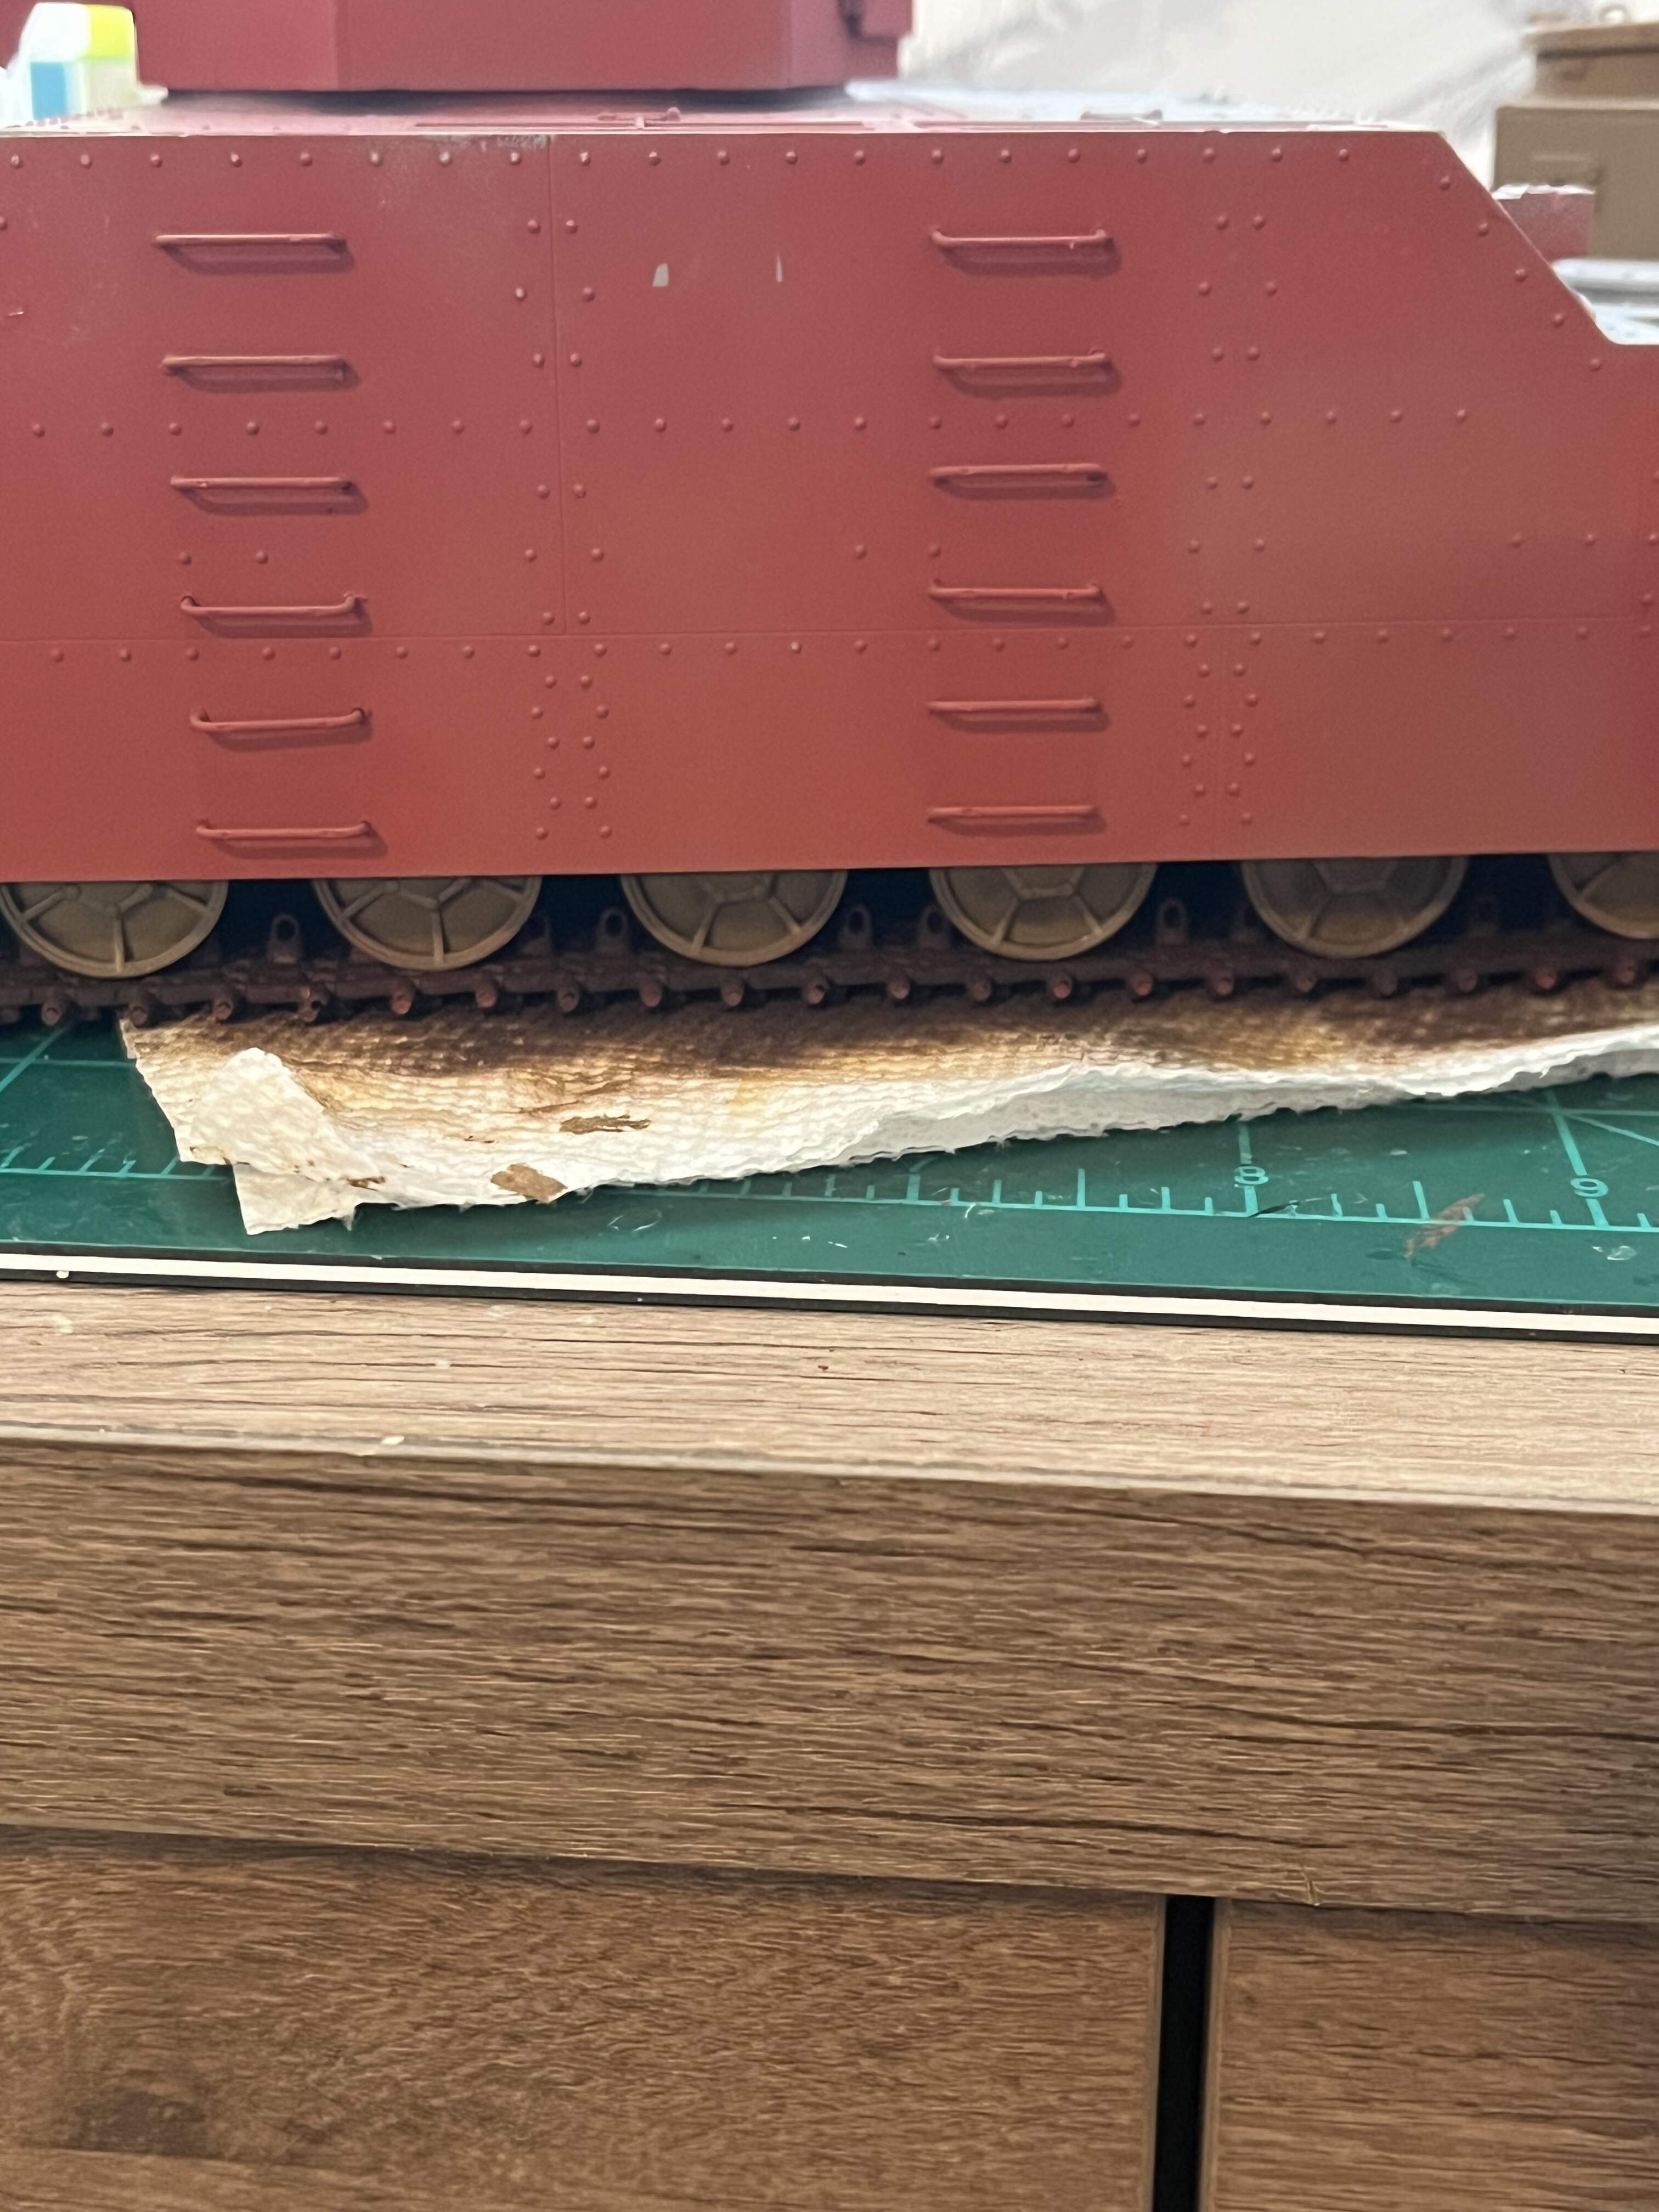
Sorry for the lack of participation it’s been a long two weeks but I’ve still managed to work on this build. The tracks, I’ll be honest I’ve never wanted to chuck a kit at the wall more than when i was working on these three piece tracks. Unfortunately they aren’t as easy going as i had hoped for. Nonetheless i was able to get it done. I built the entire kit within four days which was fun. If i was to do it again I’d start in reverse and build the tracks and bogies last. The last week i was able to prime the entire kit with ak interactive red oxide and Tamiya’s grey primer, this was primarily for the metal pieces but also included the entire upper hull. After priming i started painting the lower hull, track and wheels, they received a coat of ammo Mig khaki from the ammo Mig Japanese afv set. Here’s my progress so far:
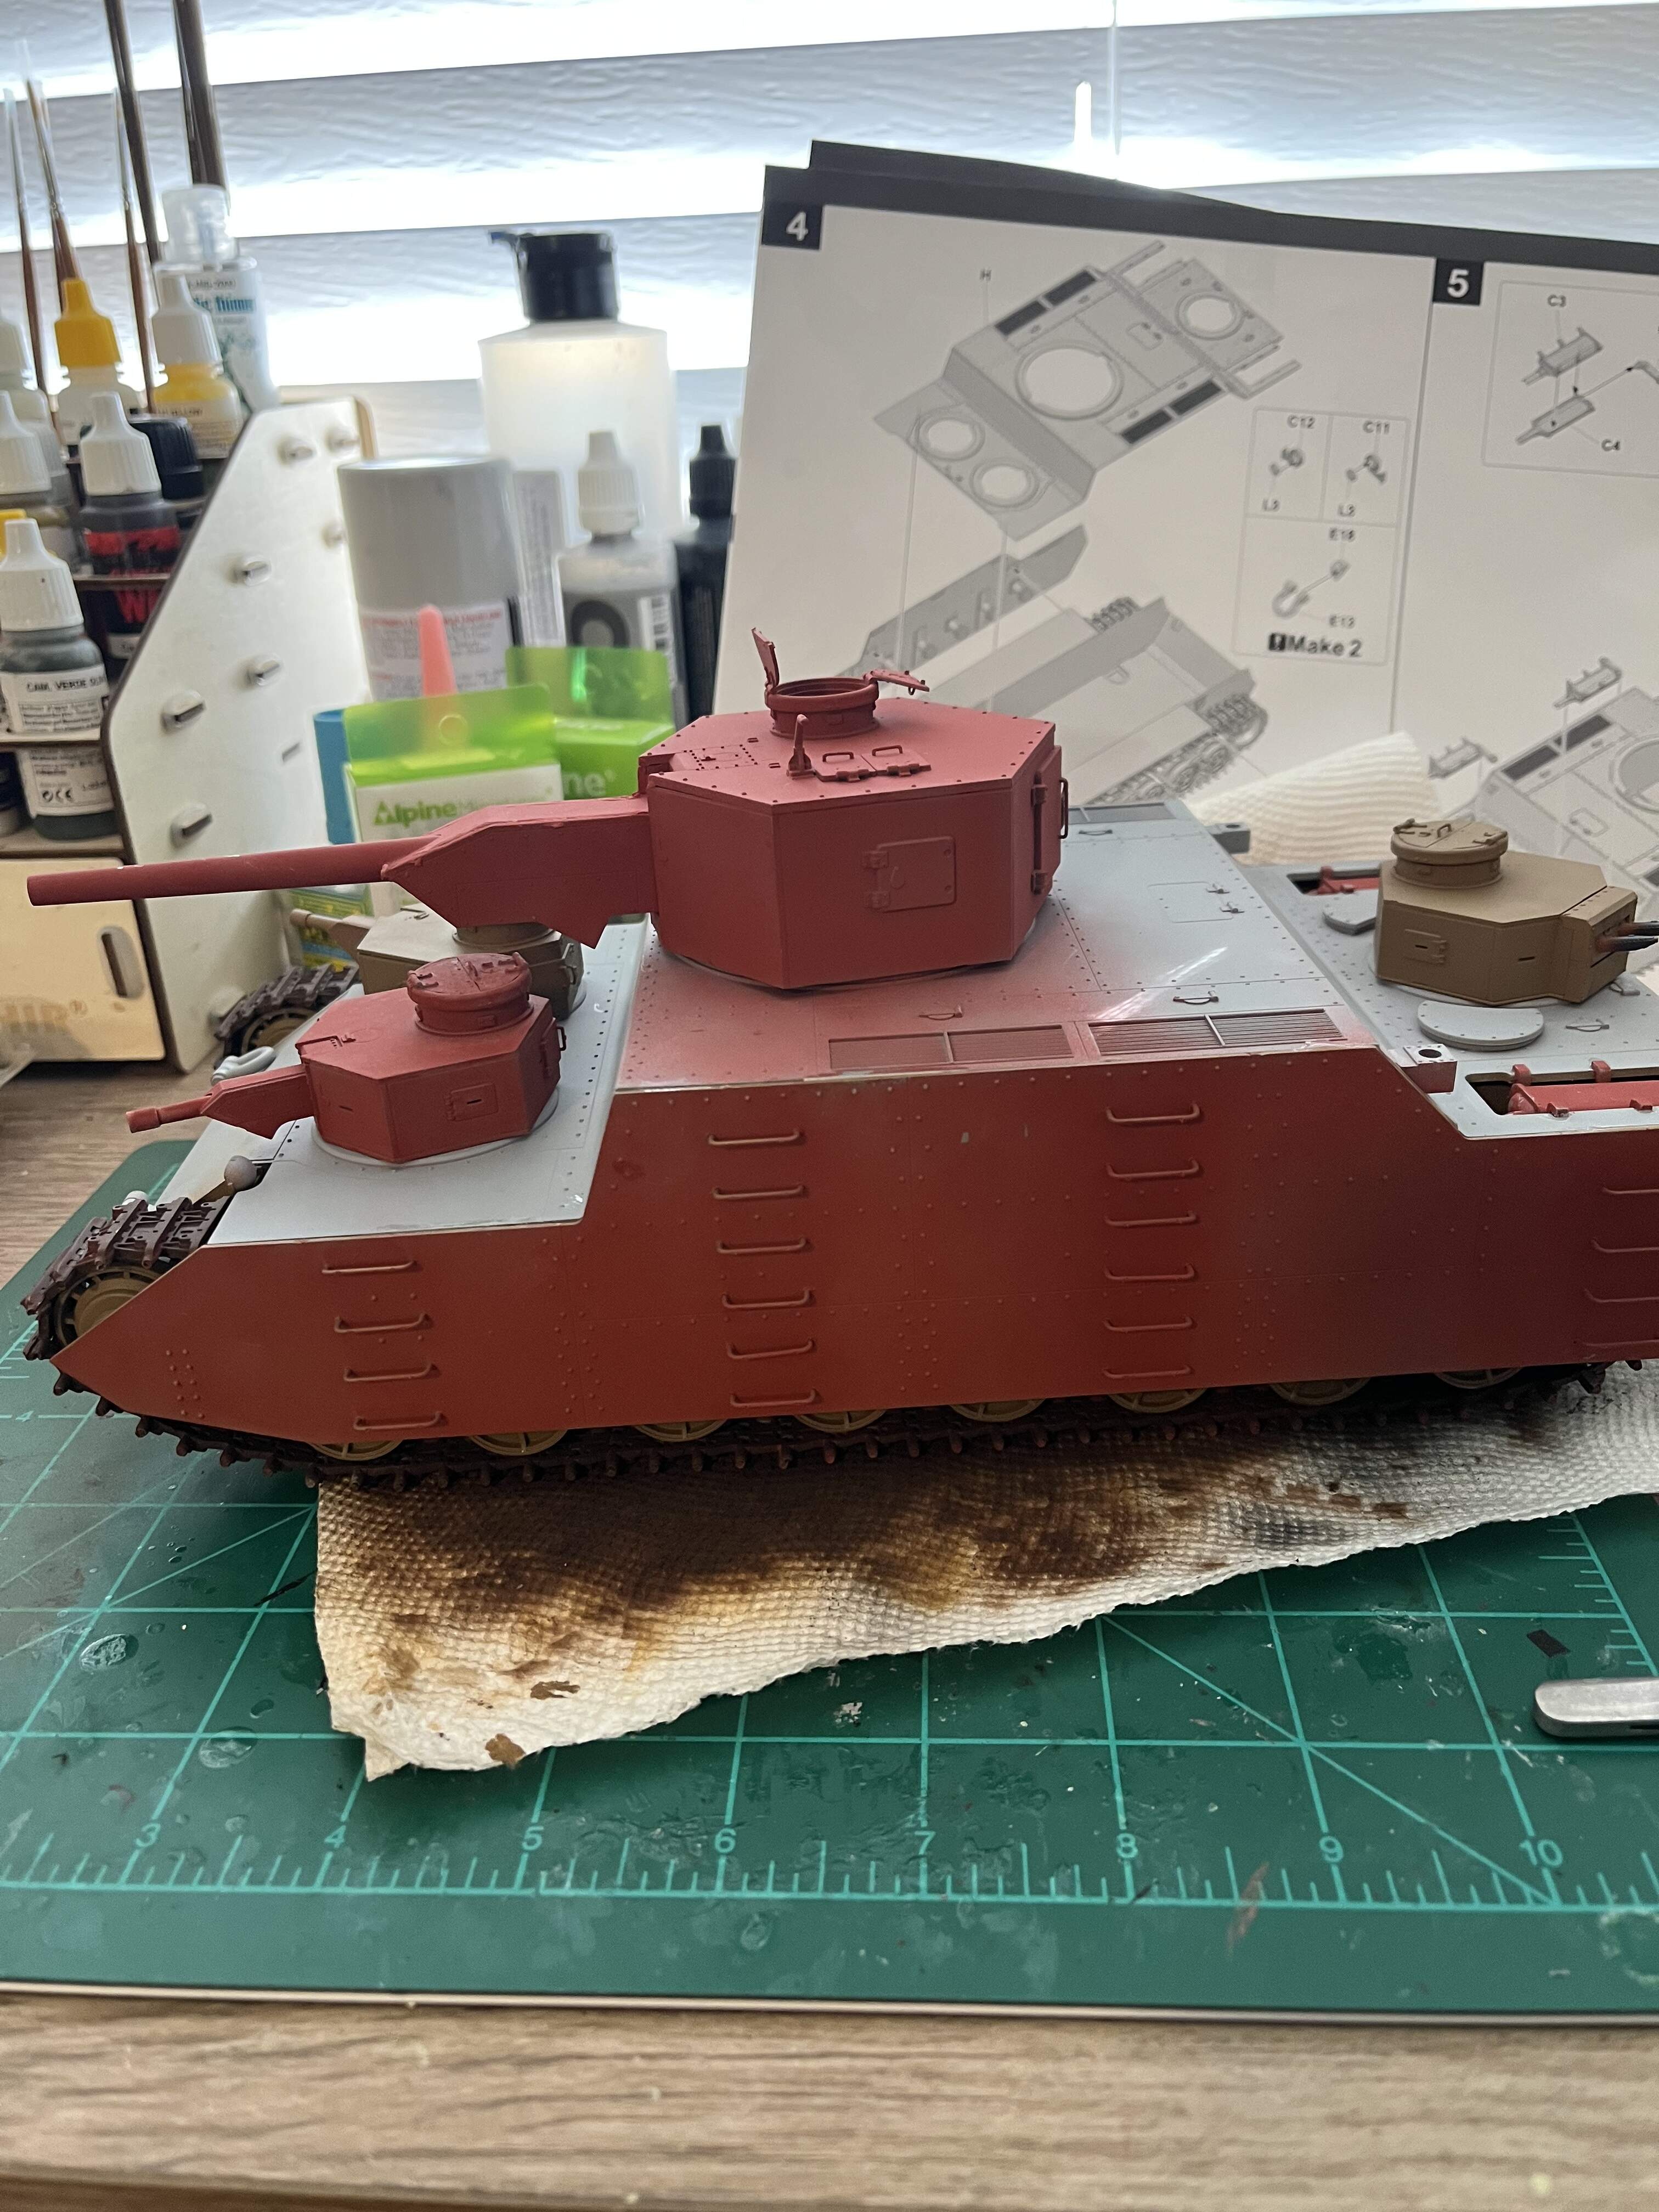

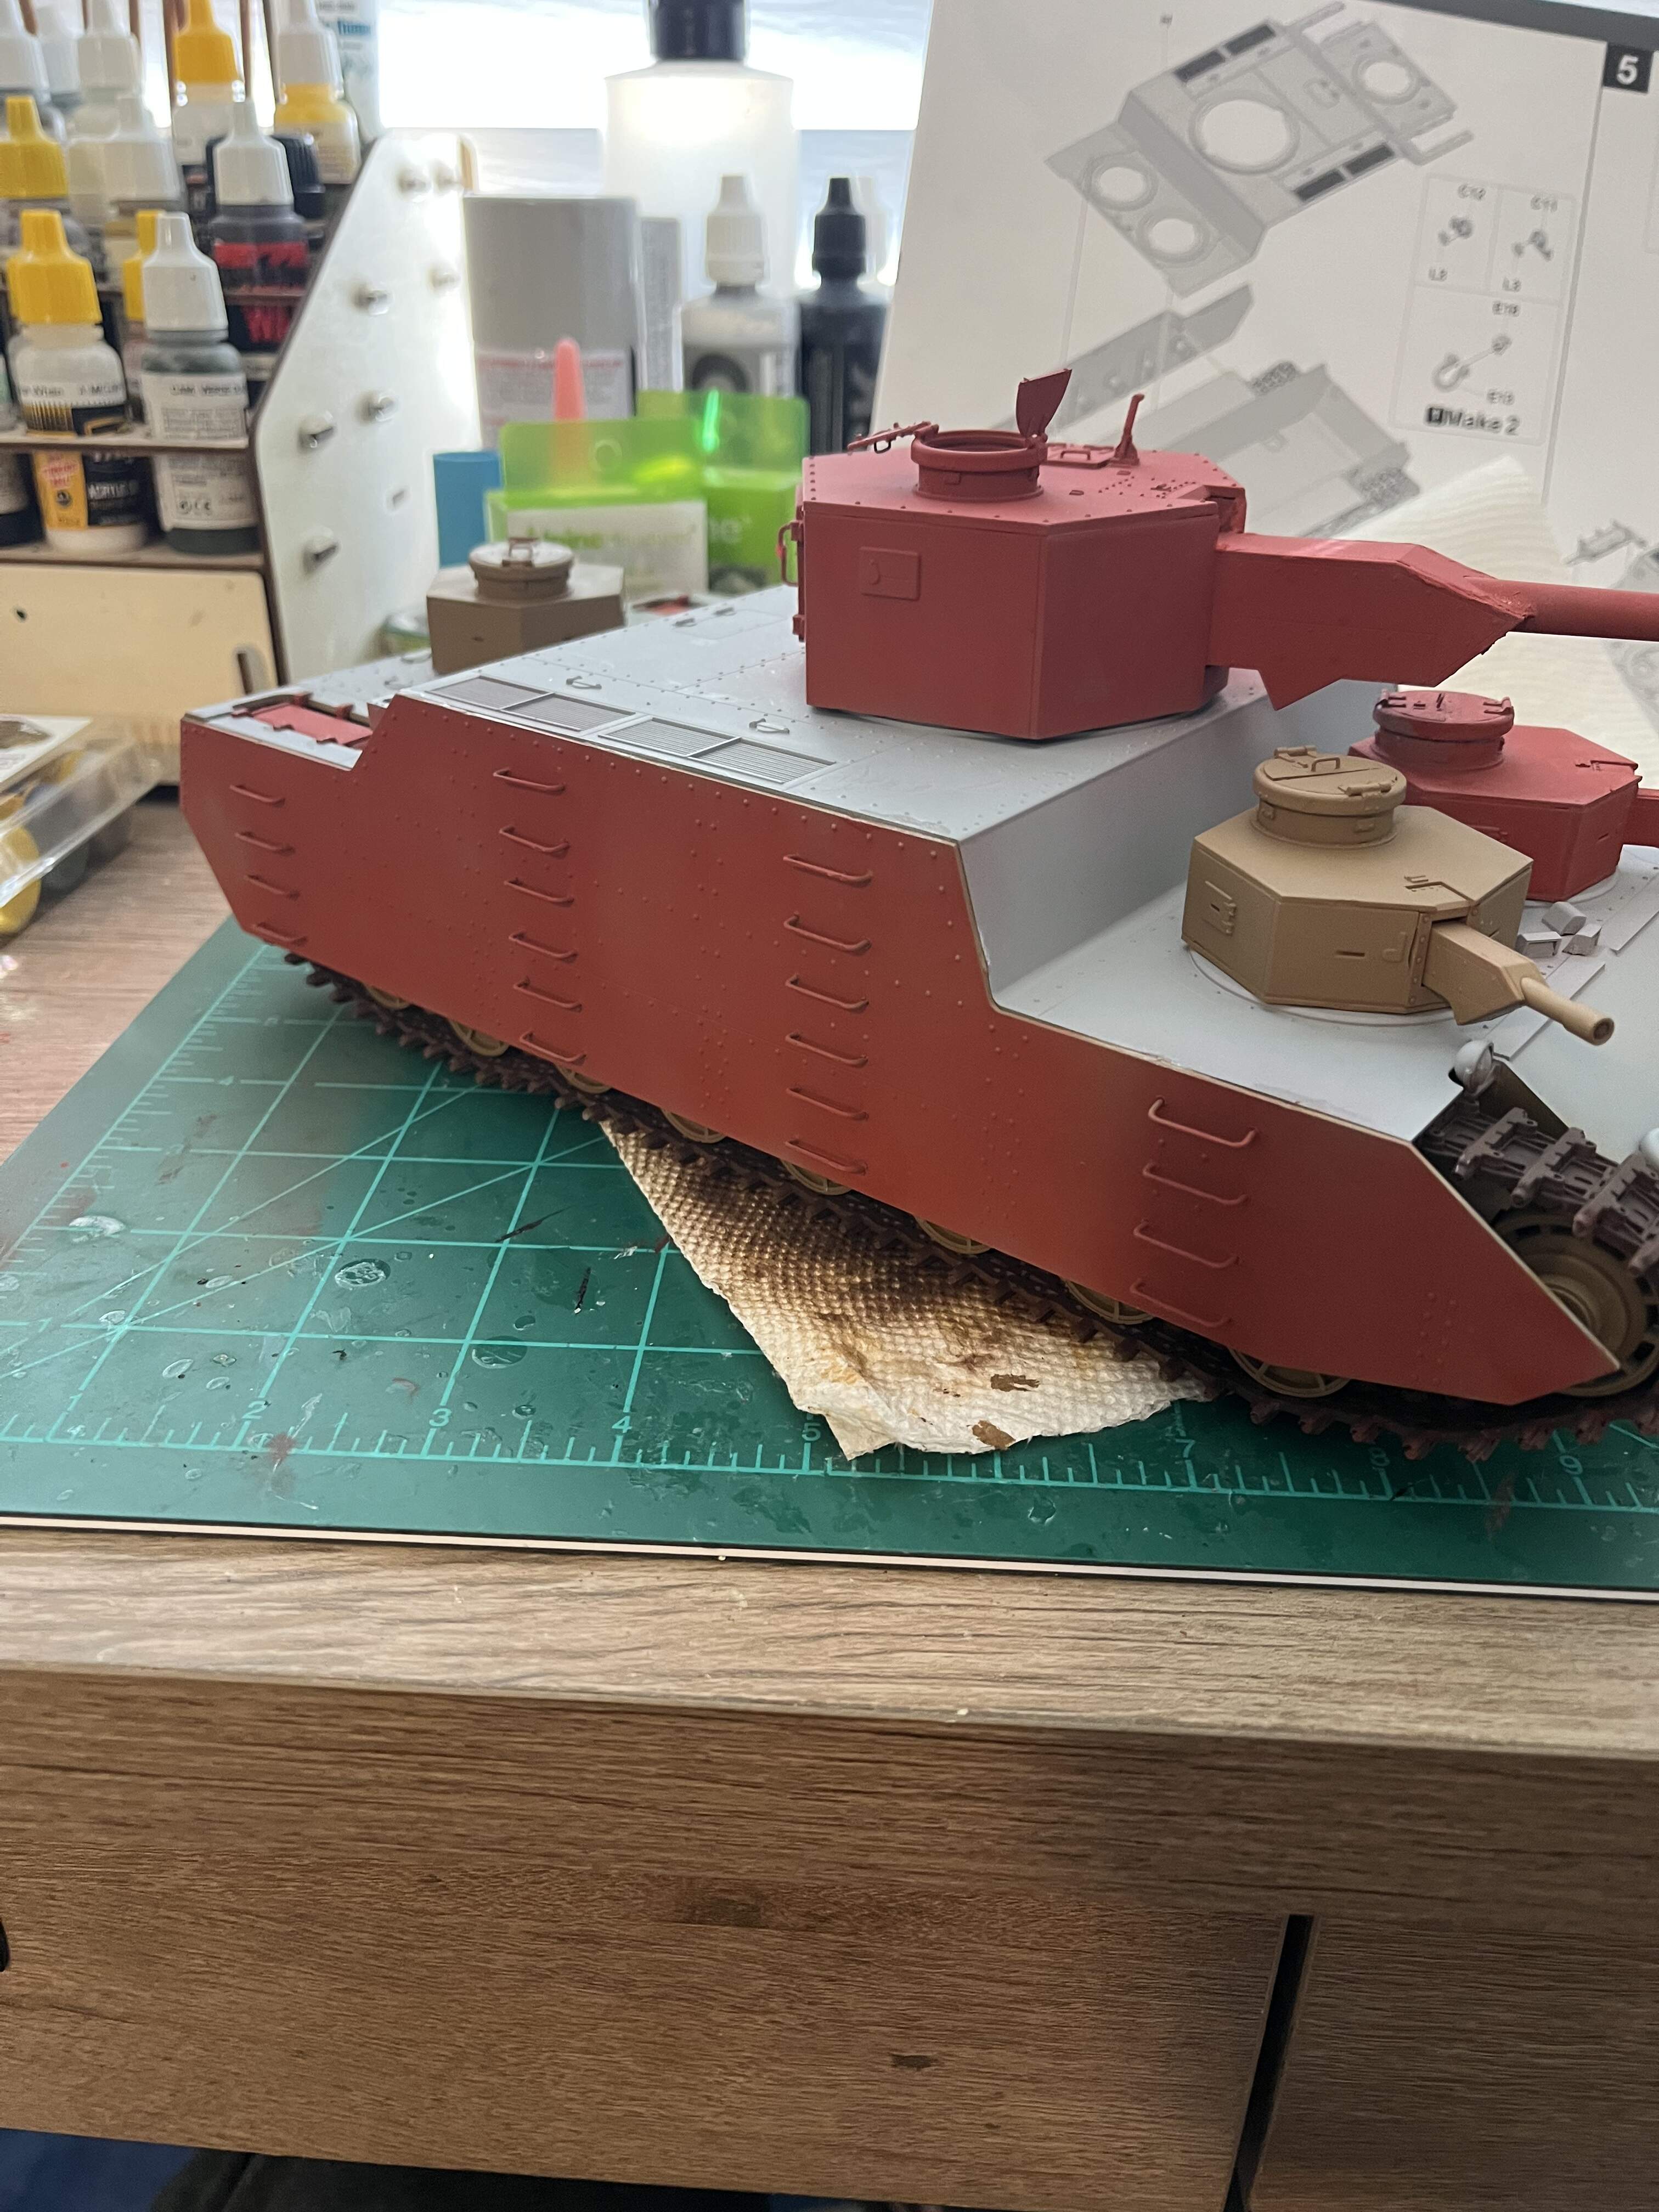
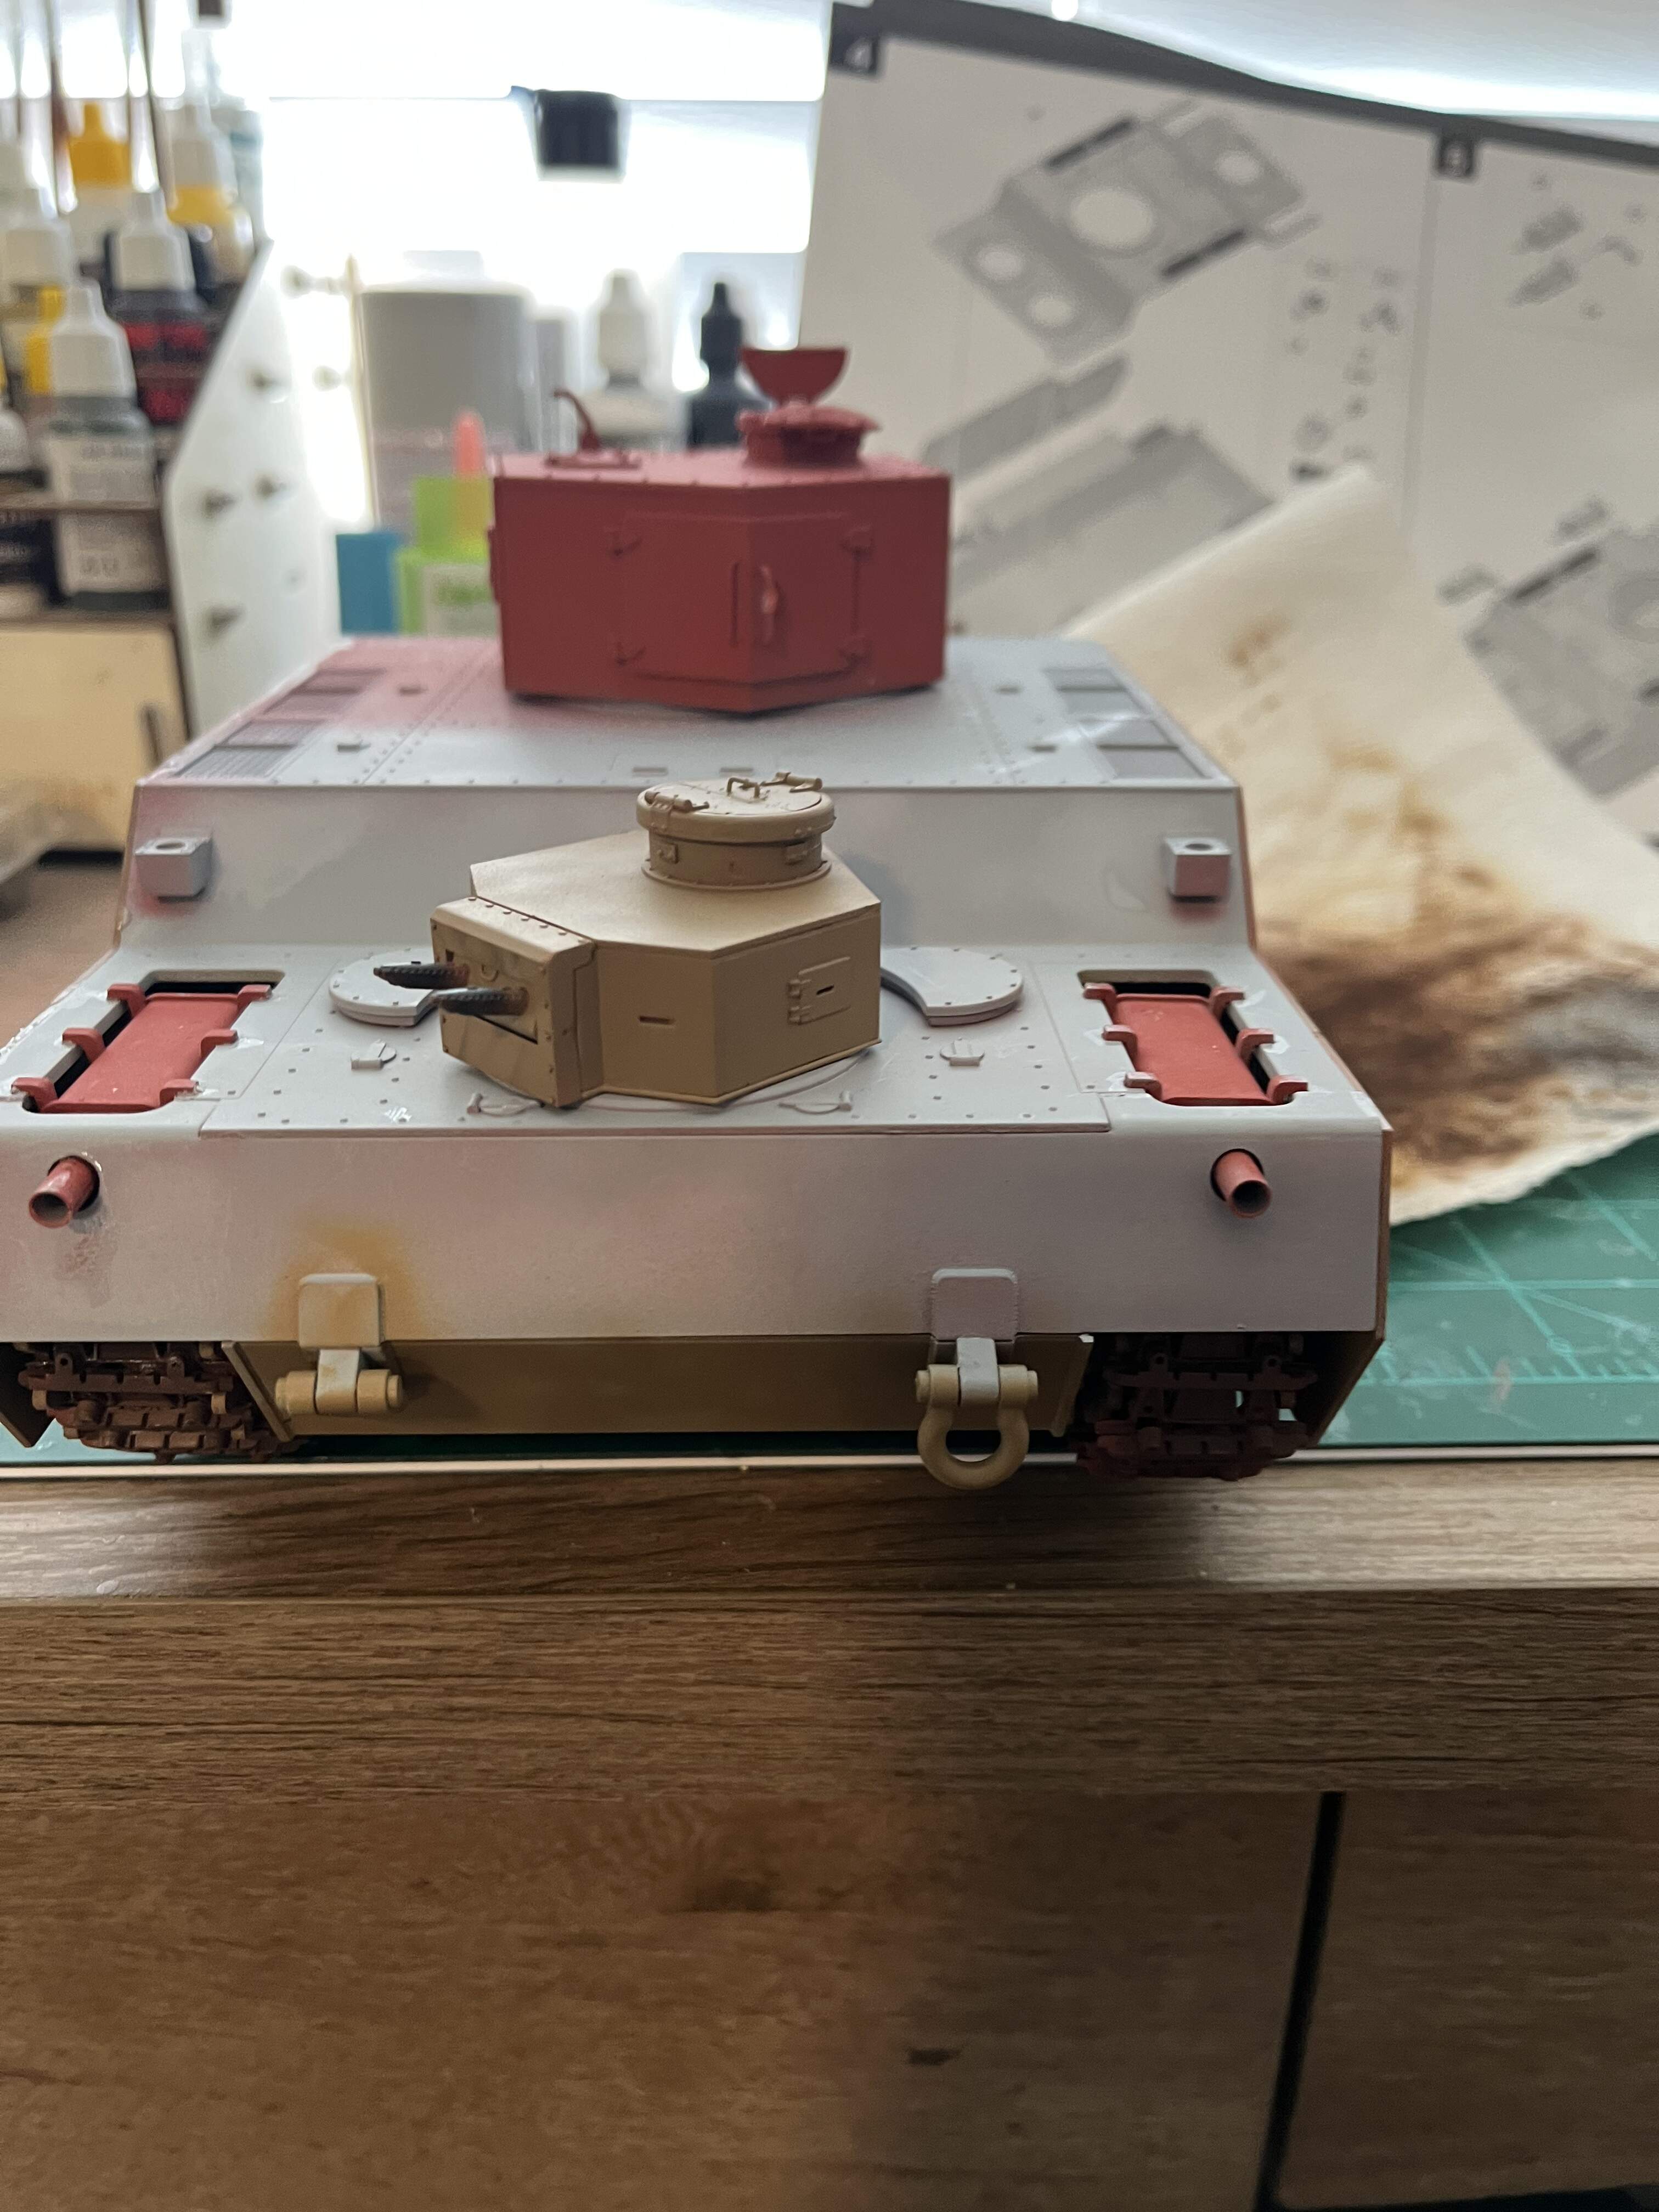
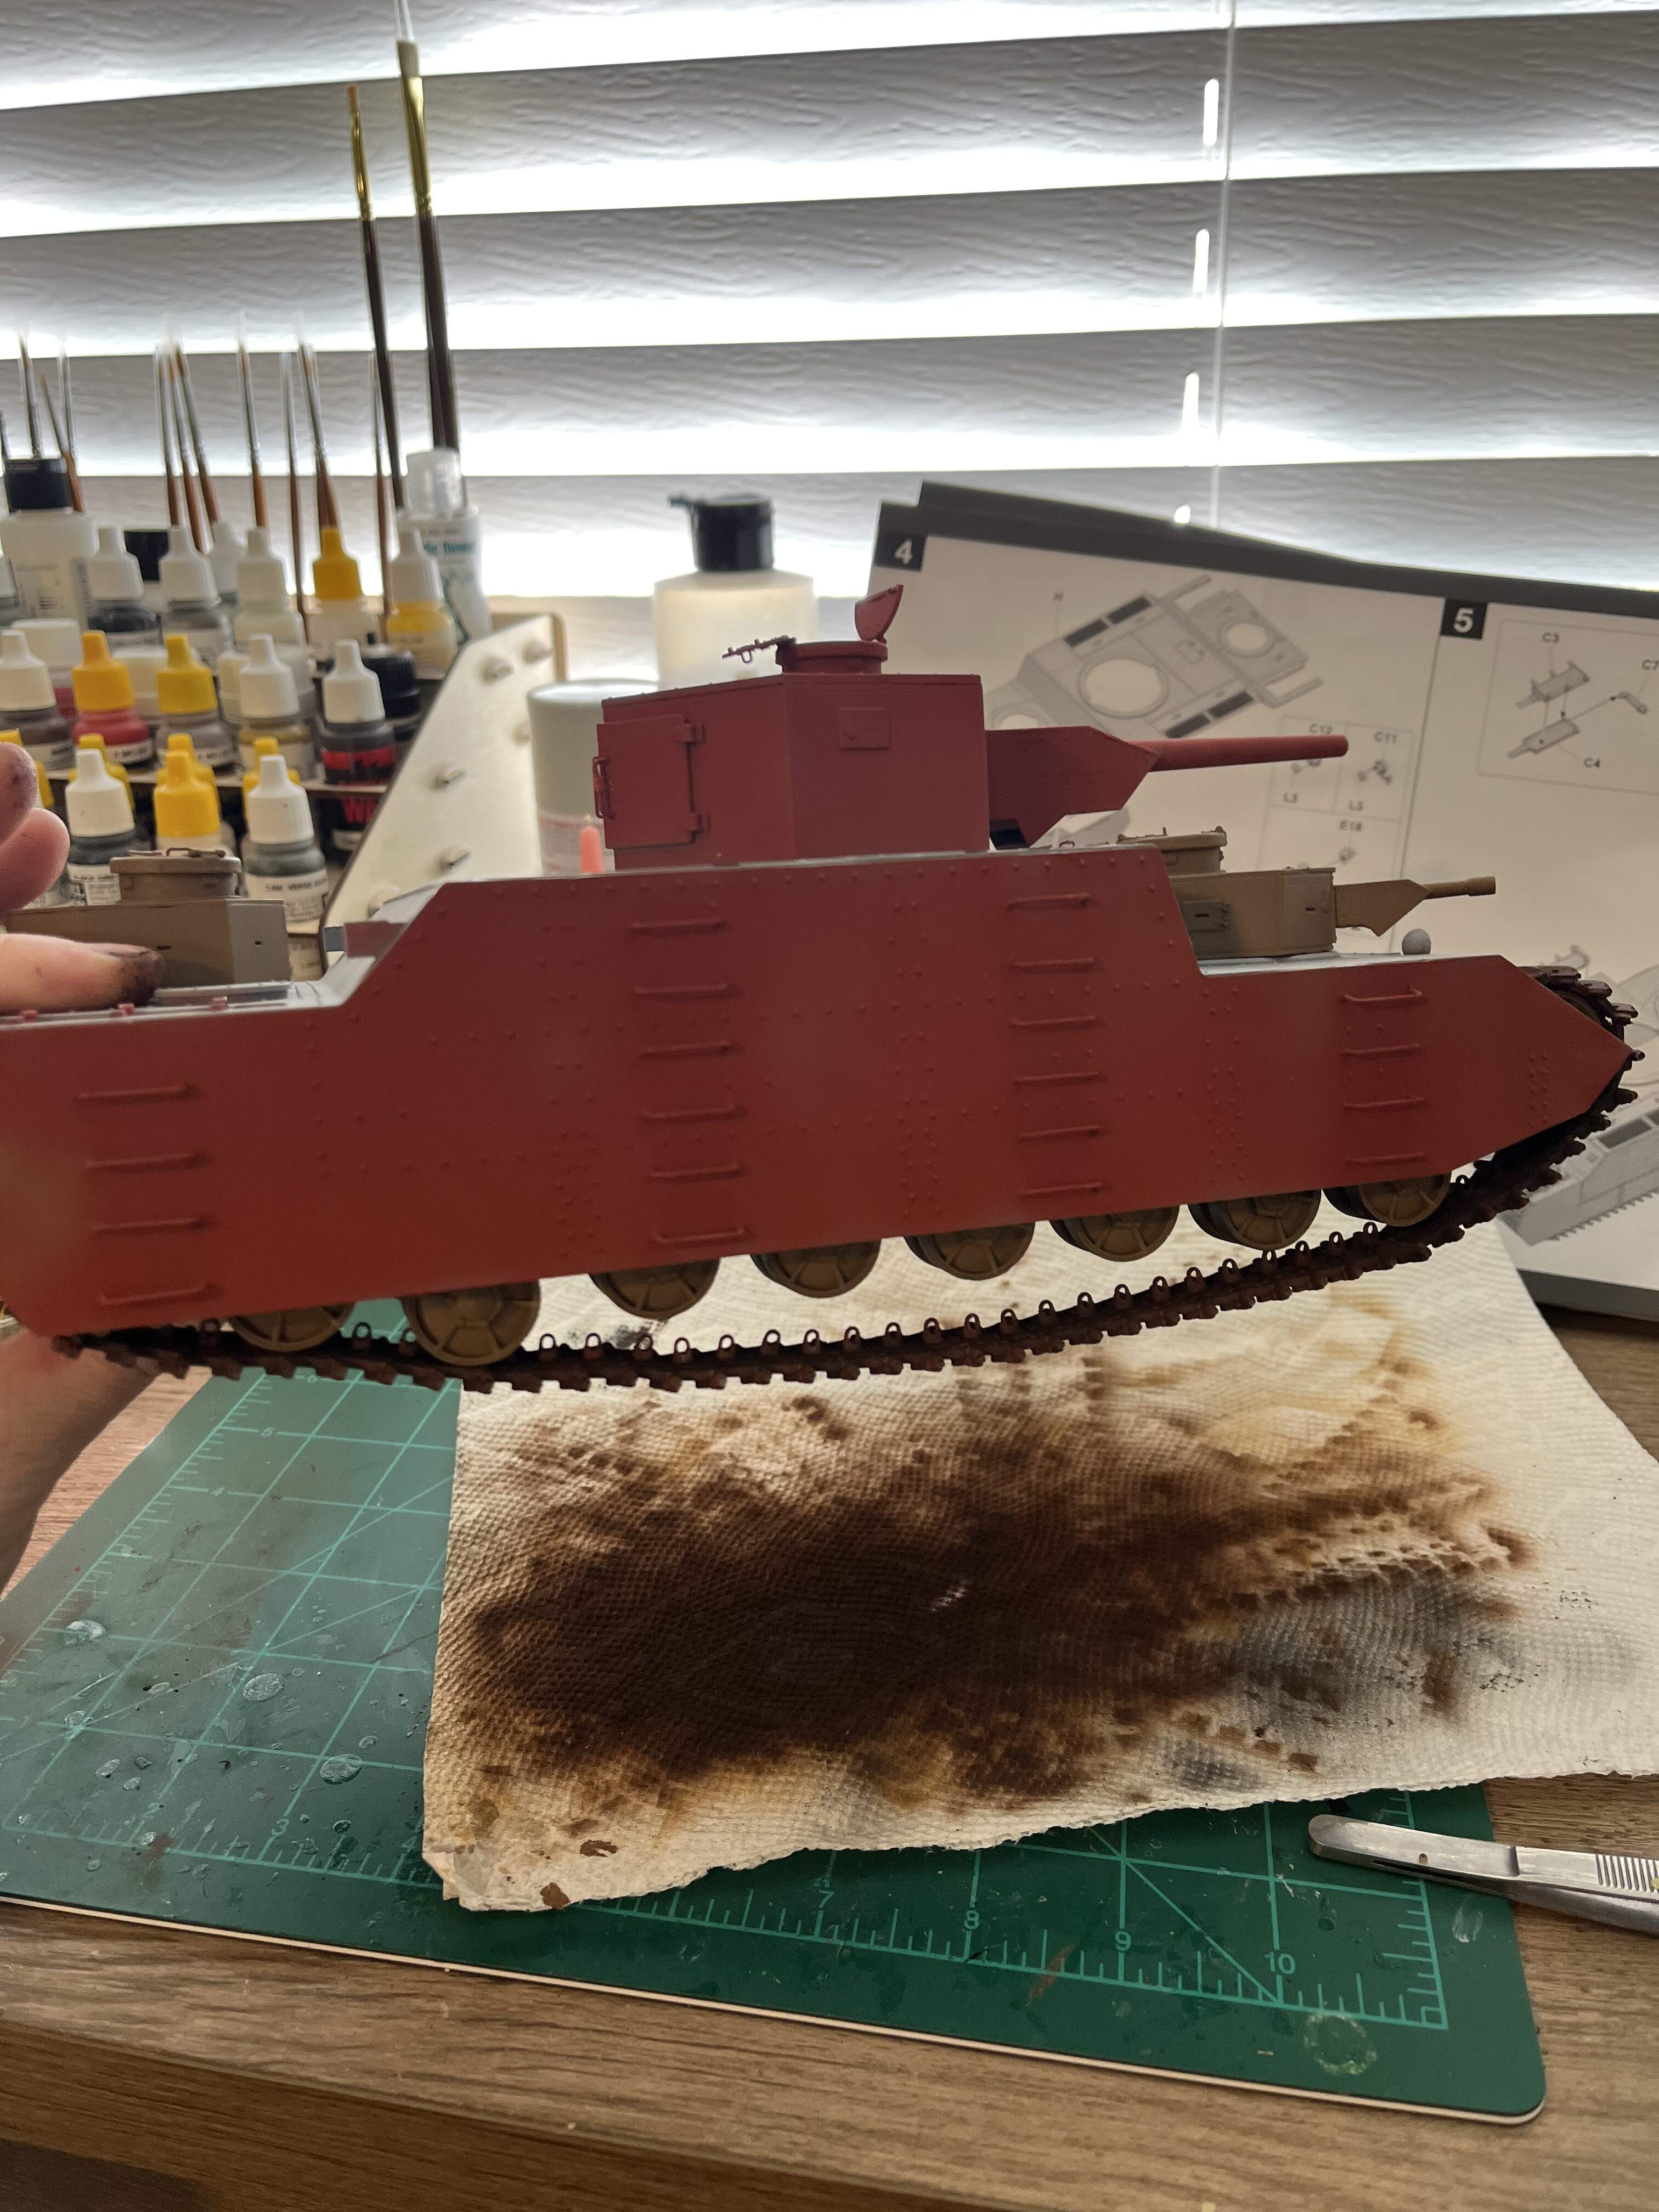
7 Likes
Wow, what a beast. An angular beast. With more hand holds than a railroad box car!
2 Likes
@JPTRR absolutely it was 80 handrails for both sides combined. The Japanese had some weird shaped turrets on this one. Very unique
Got frustrated with the paint job on my Elefant not going to plan. Darn dust in the paint job.
So I’m gonna crack this one open and put the Elefant away for a bit to calm down

4 Likes
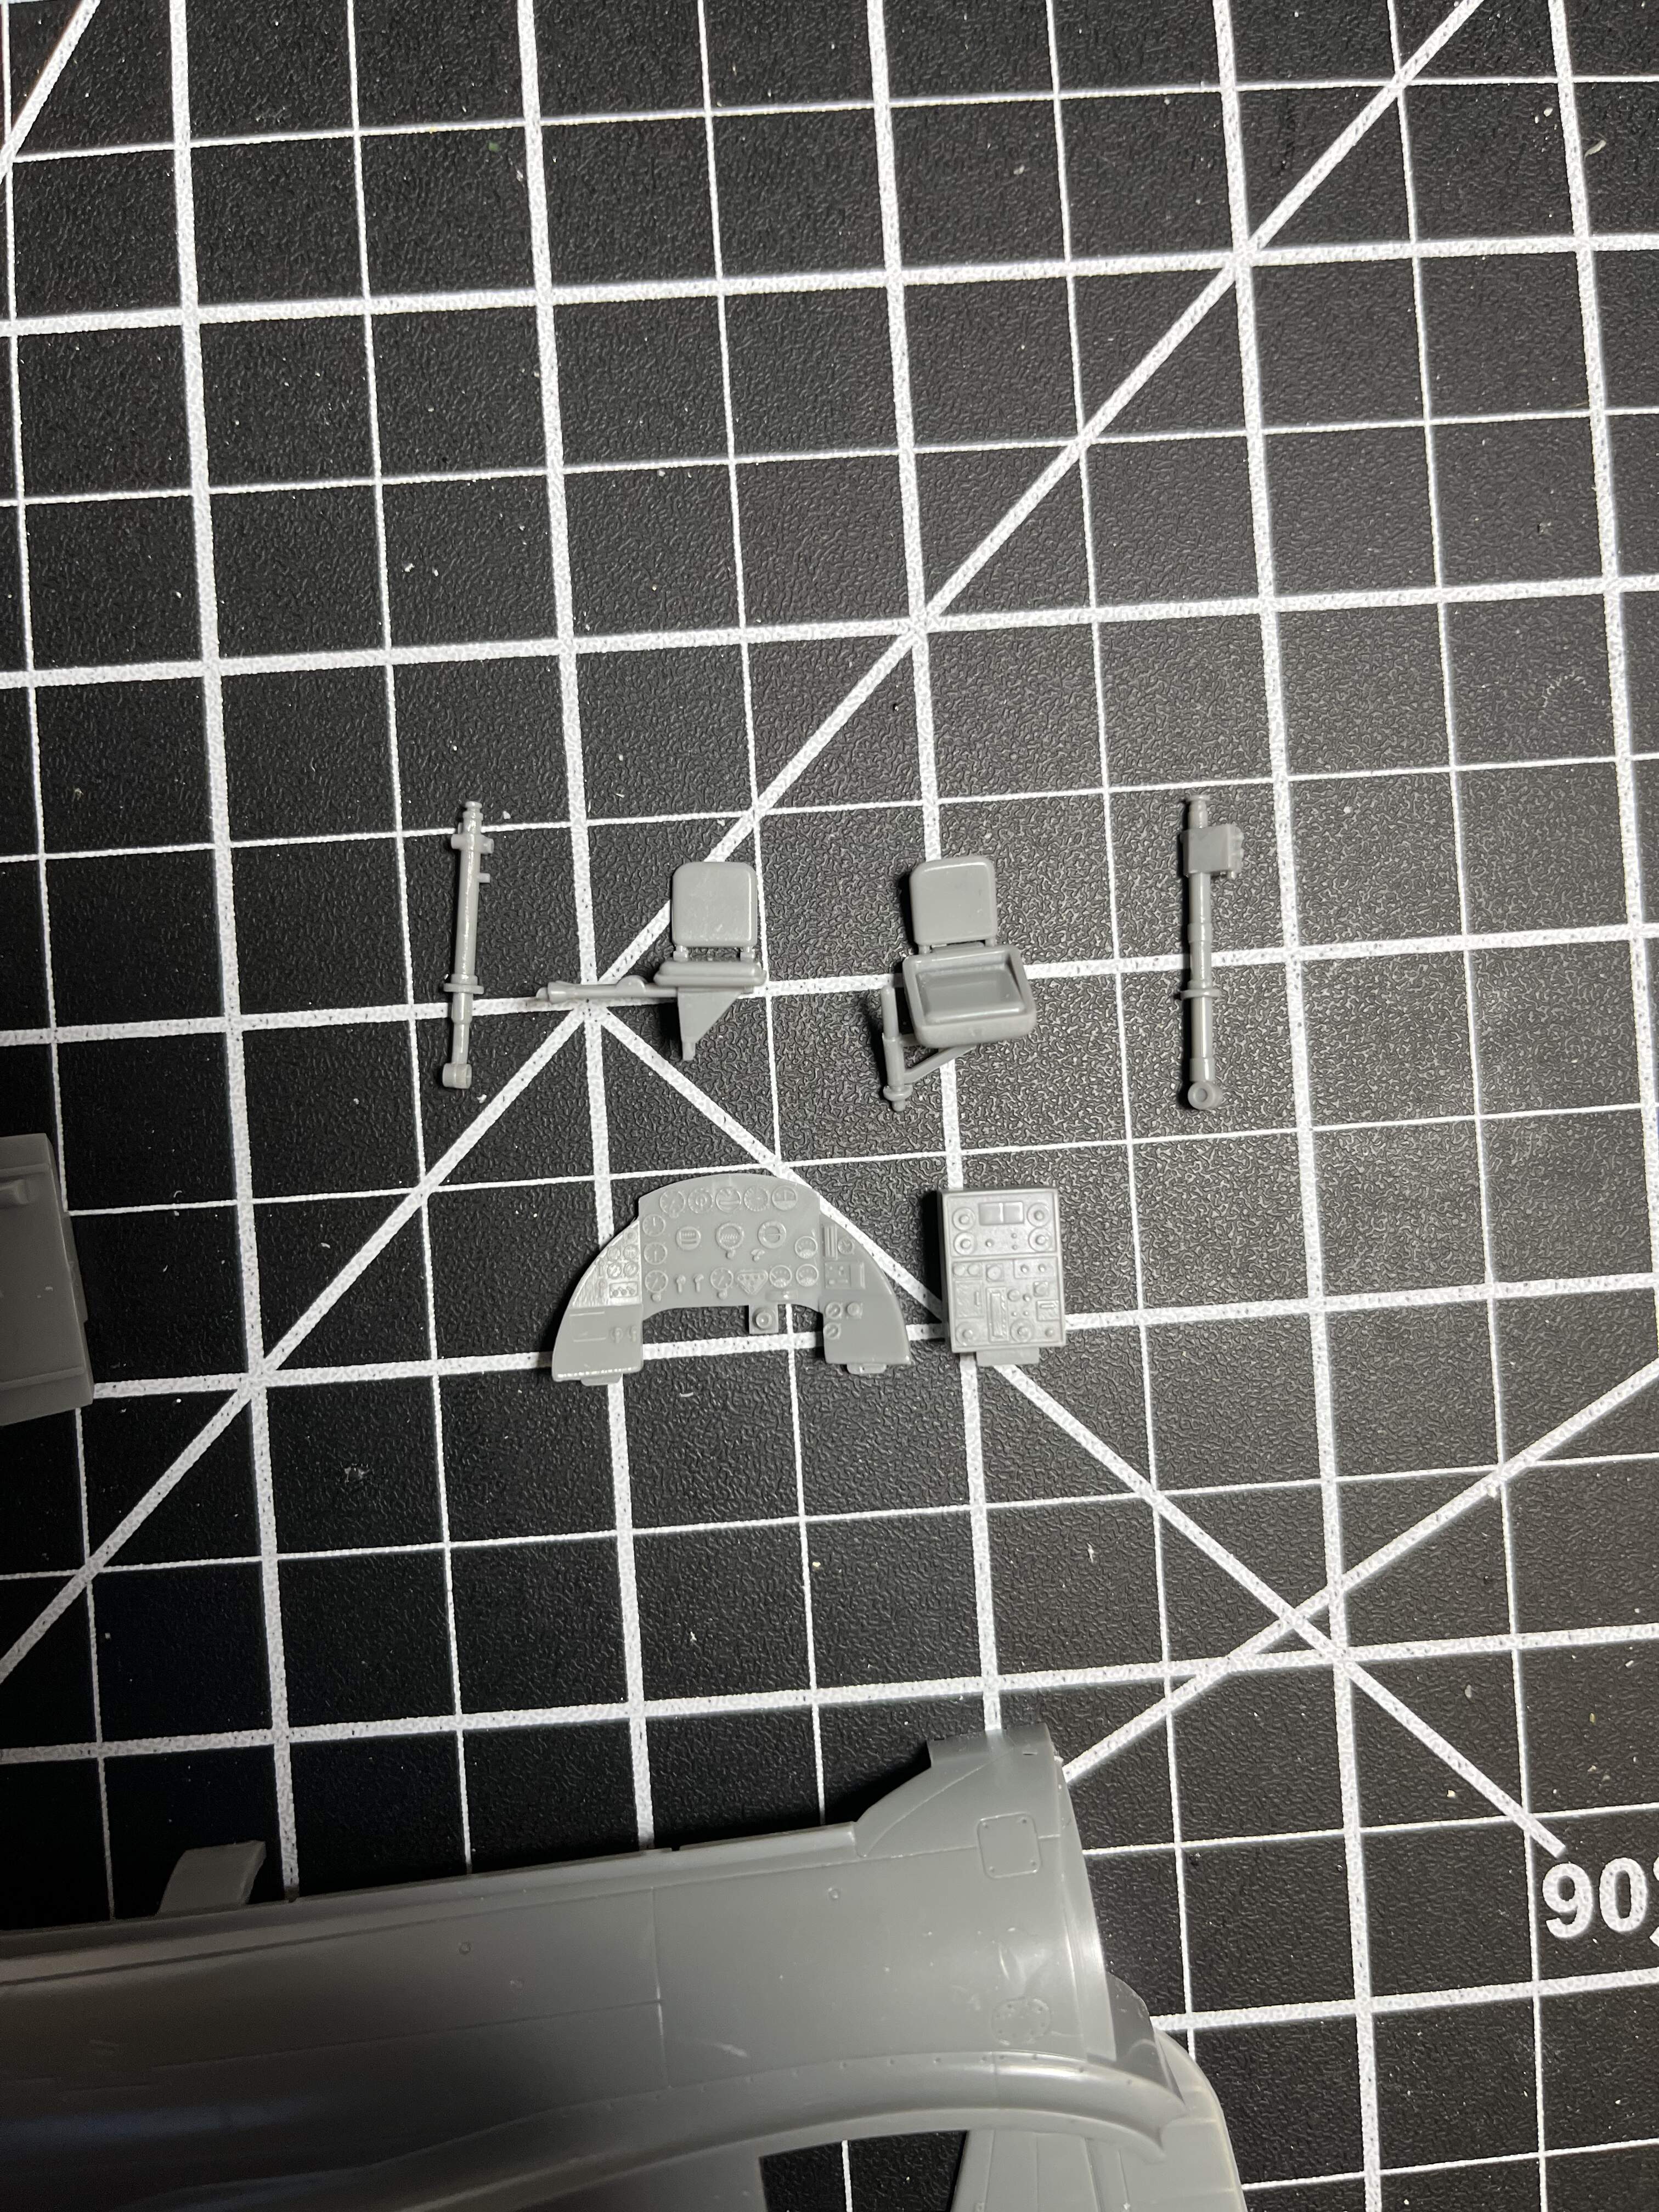
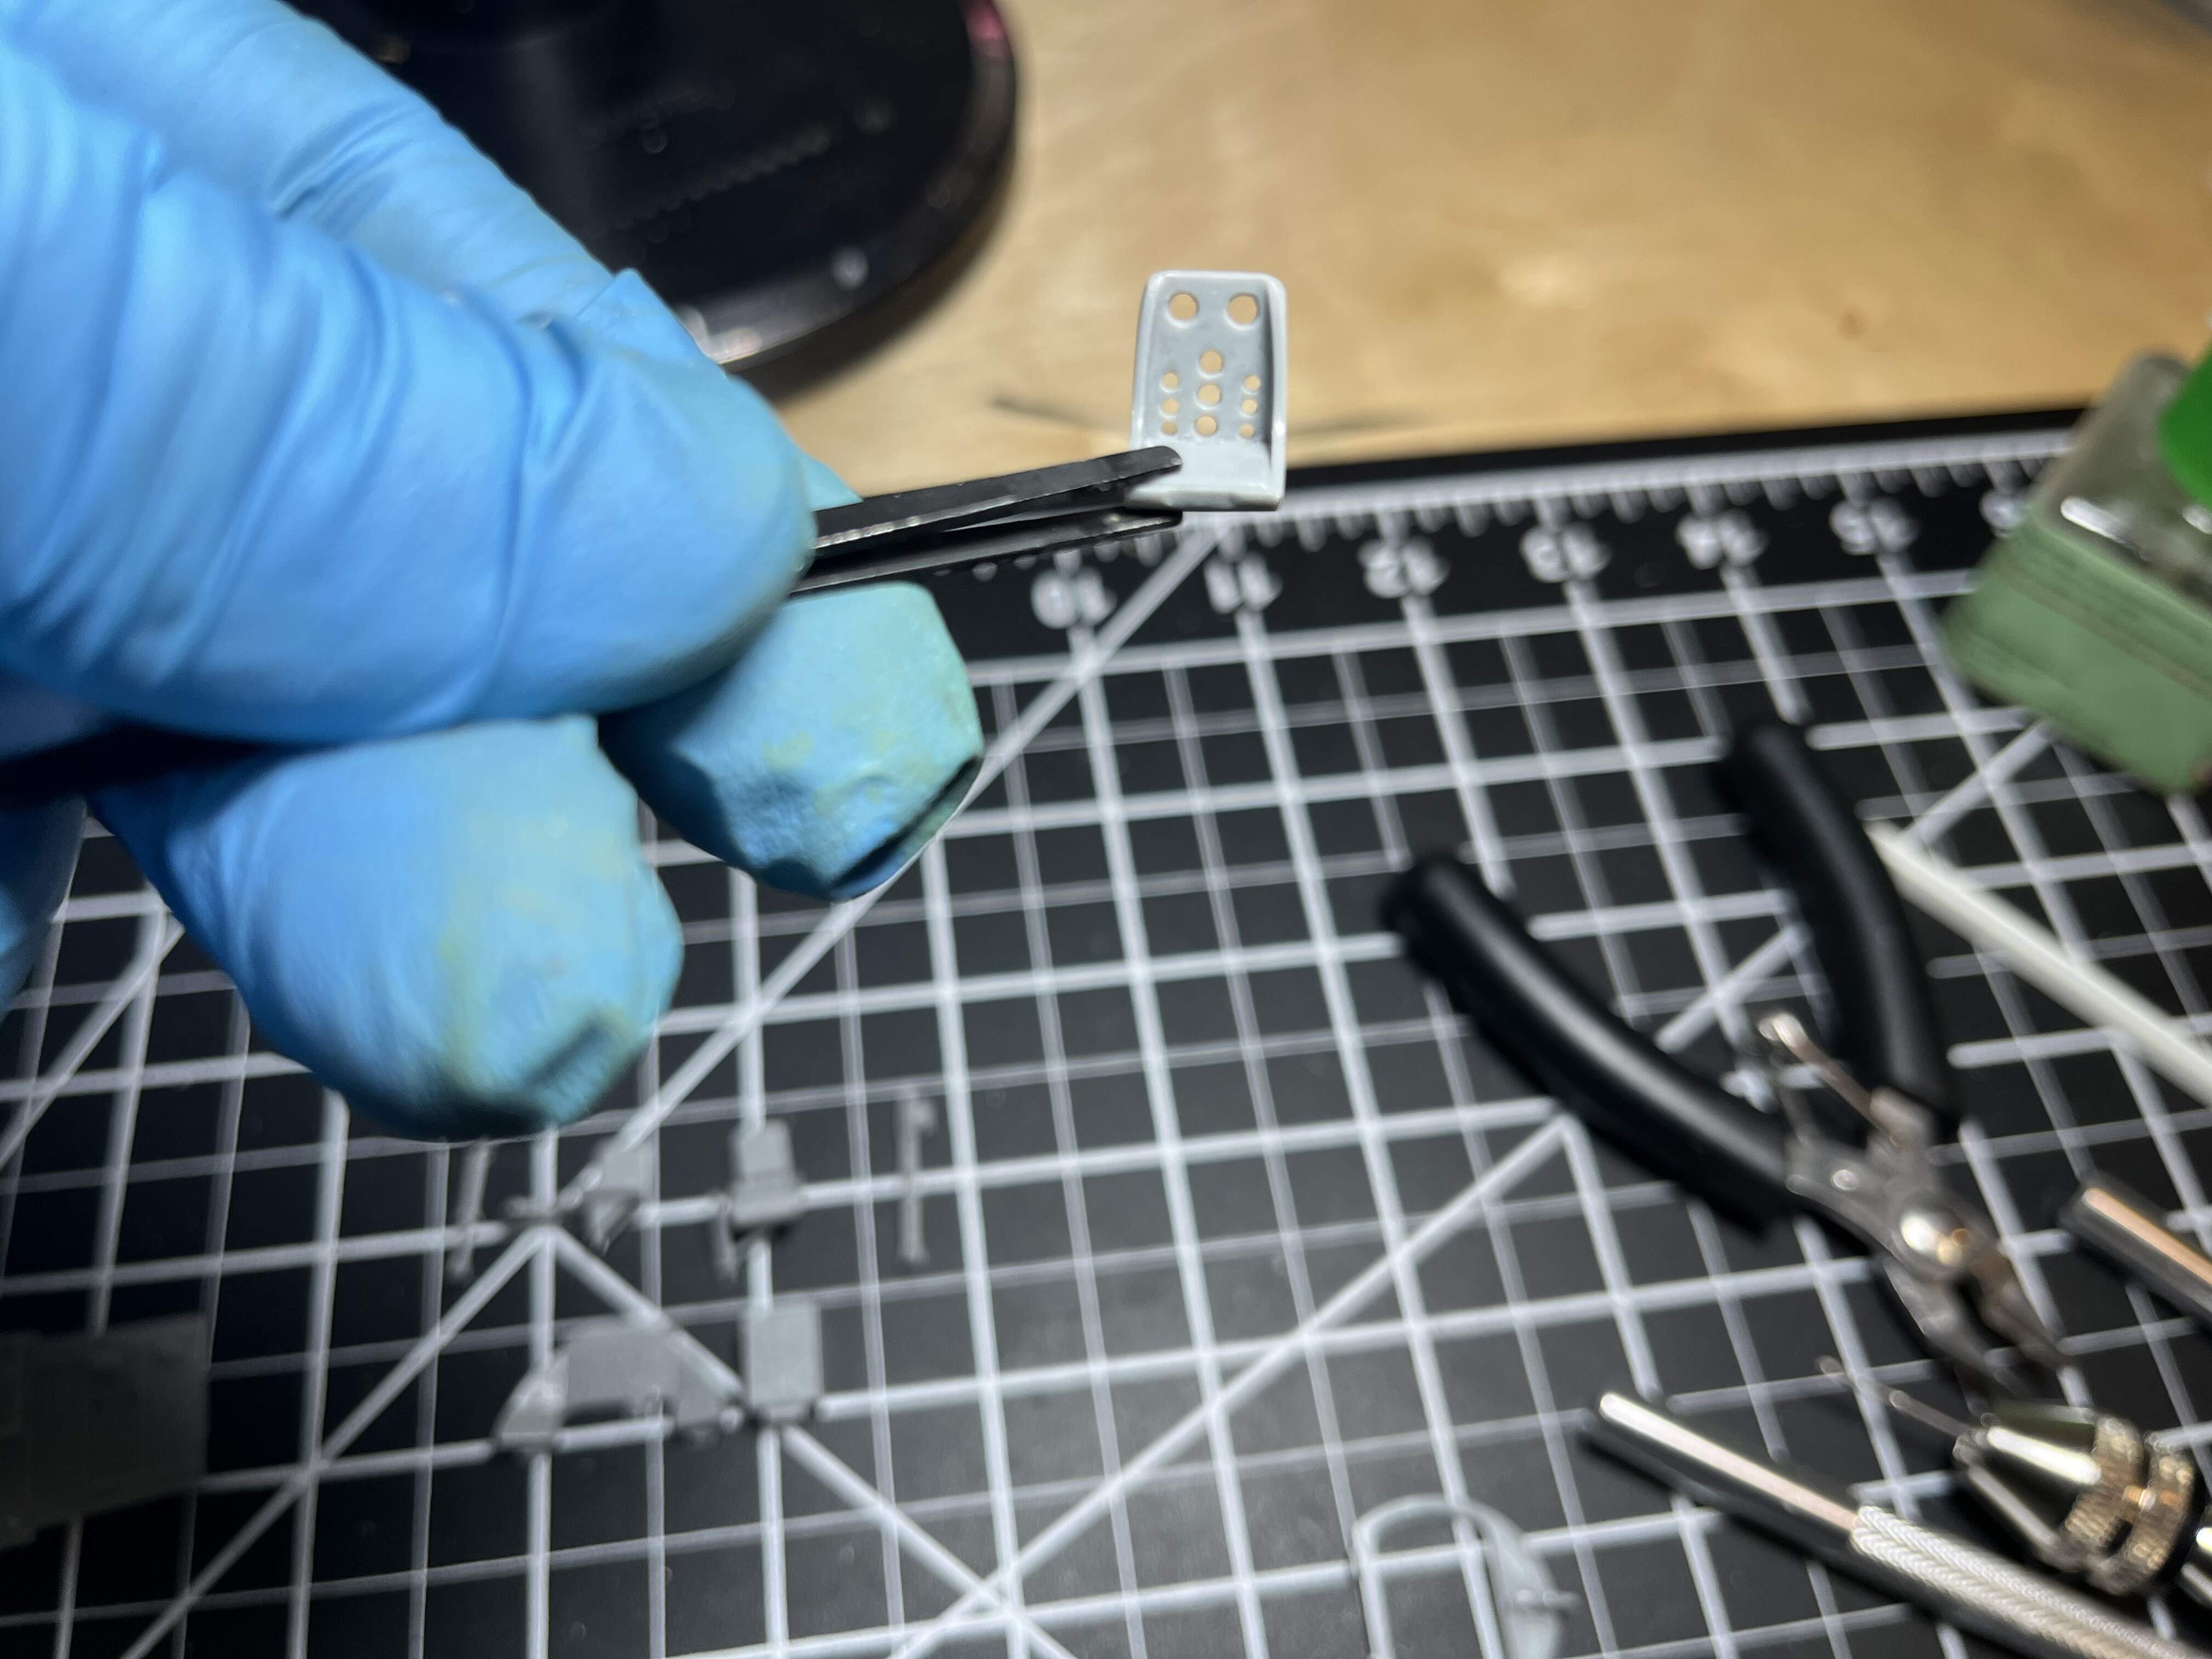
Got all the cockpit parts cutout. Gonna rinse them off and then let them dry before I hit them with some primer and Japanese interior green
Kit is really nice, OOB only thing I’ve done is drill out the seat holes. I was wondering if the bulk head holes should be drill out too.
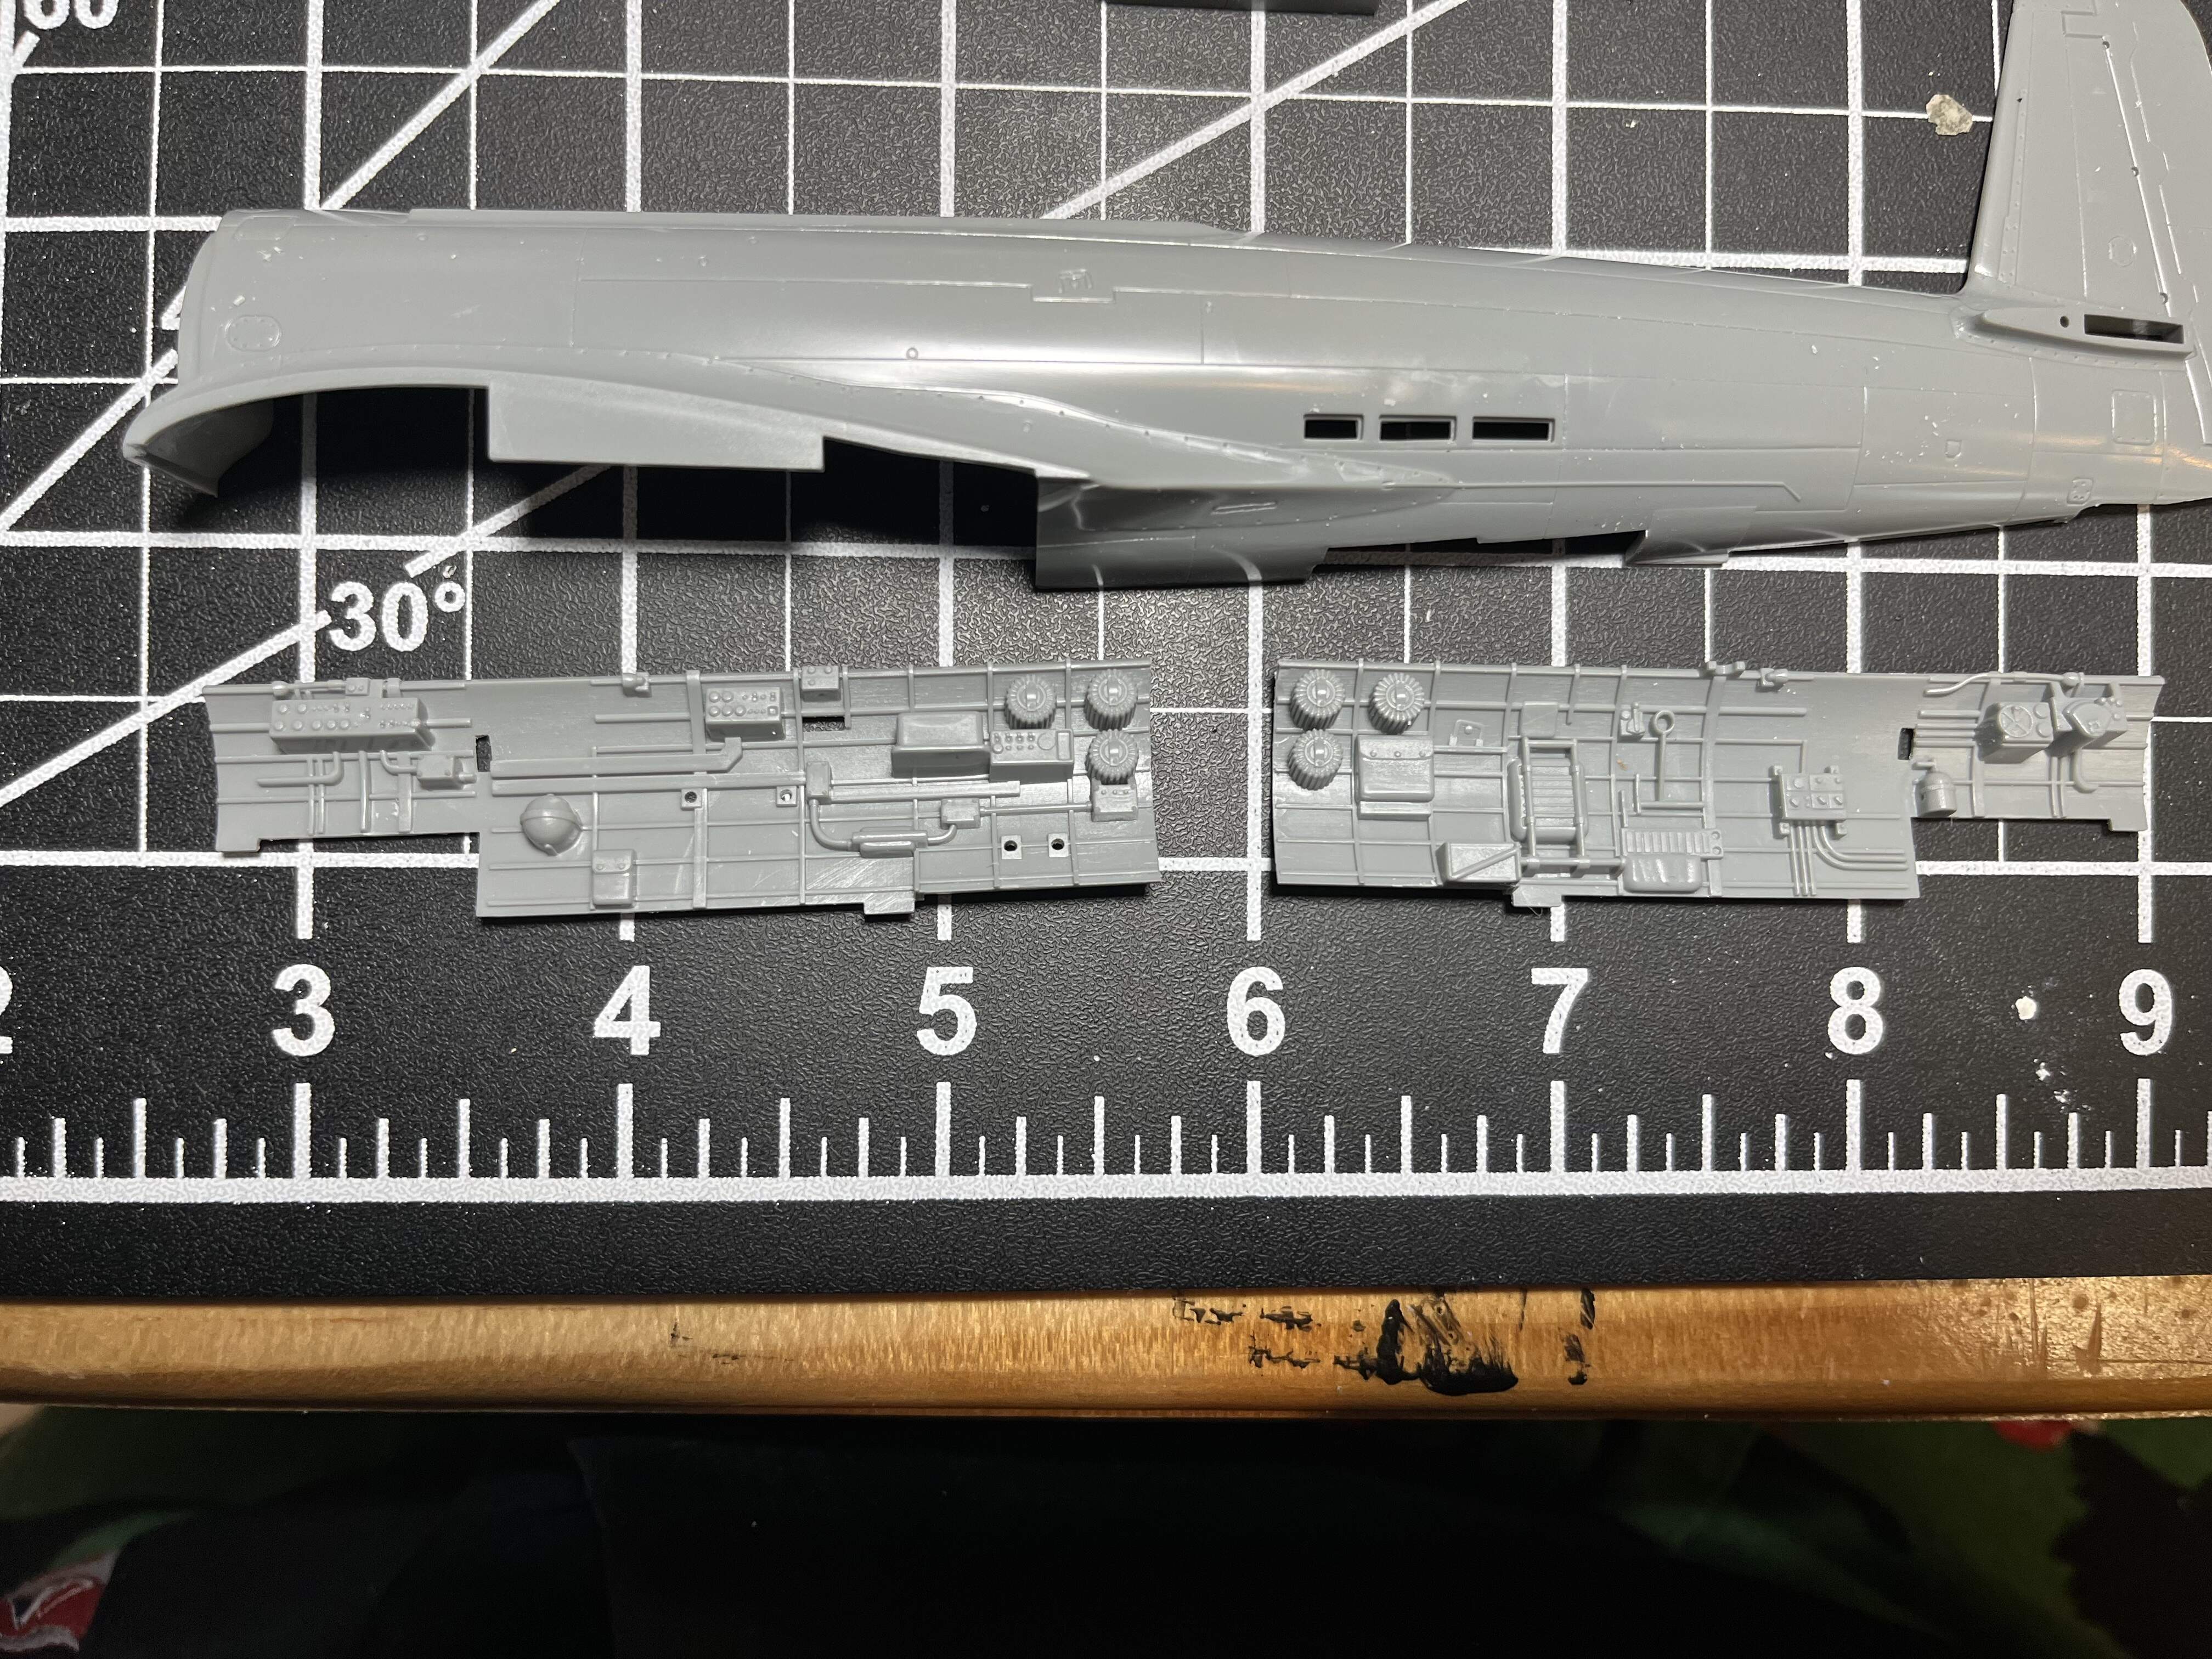

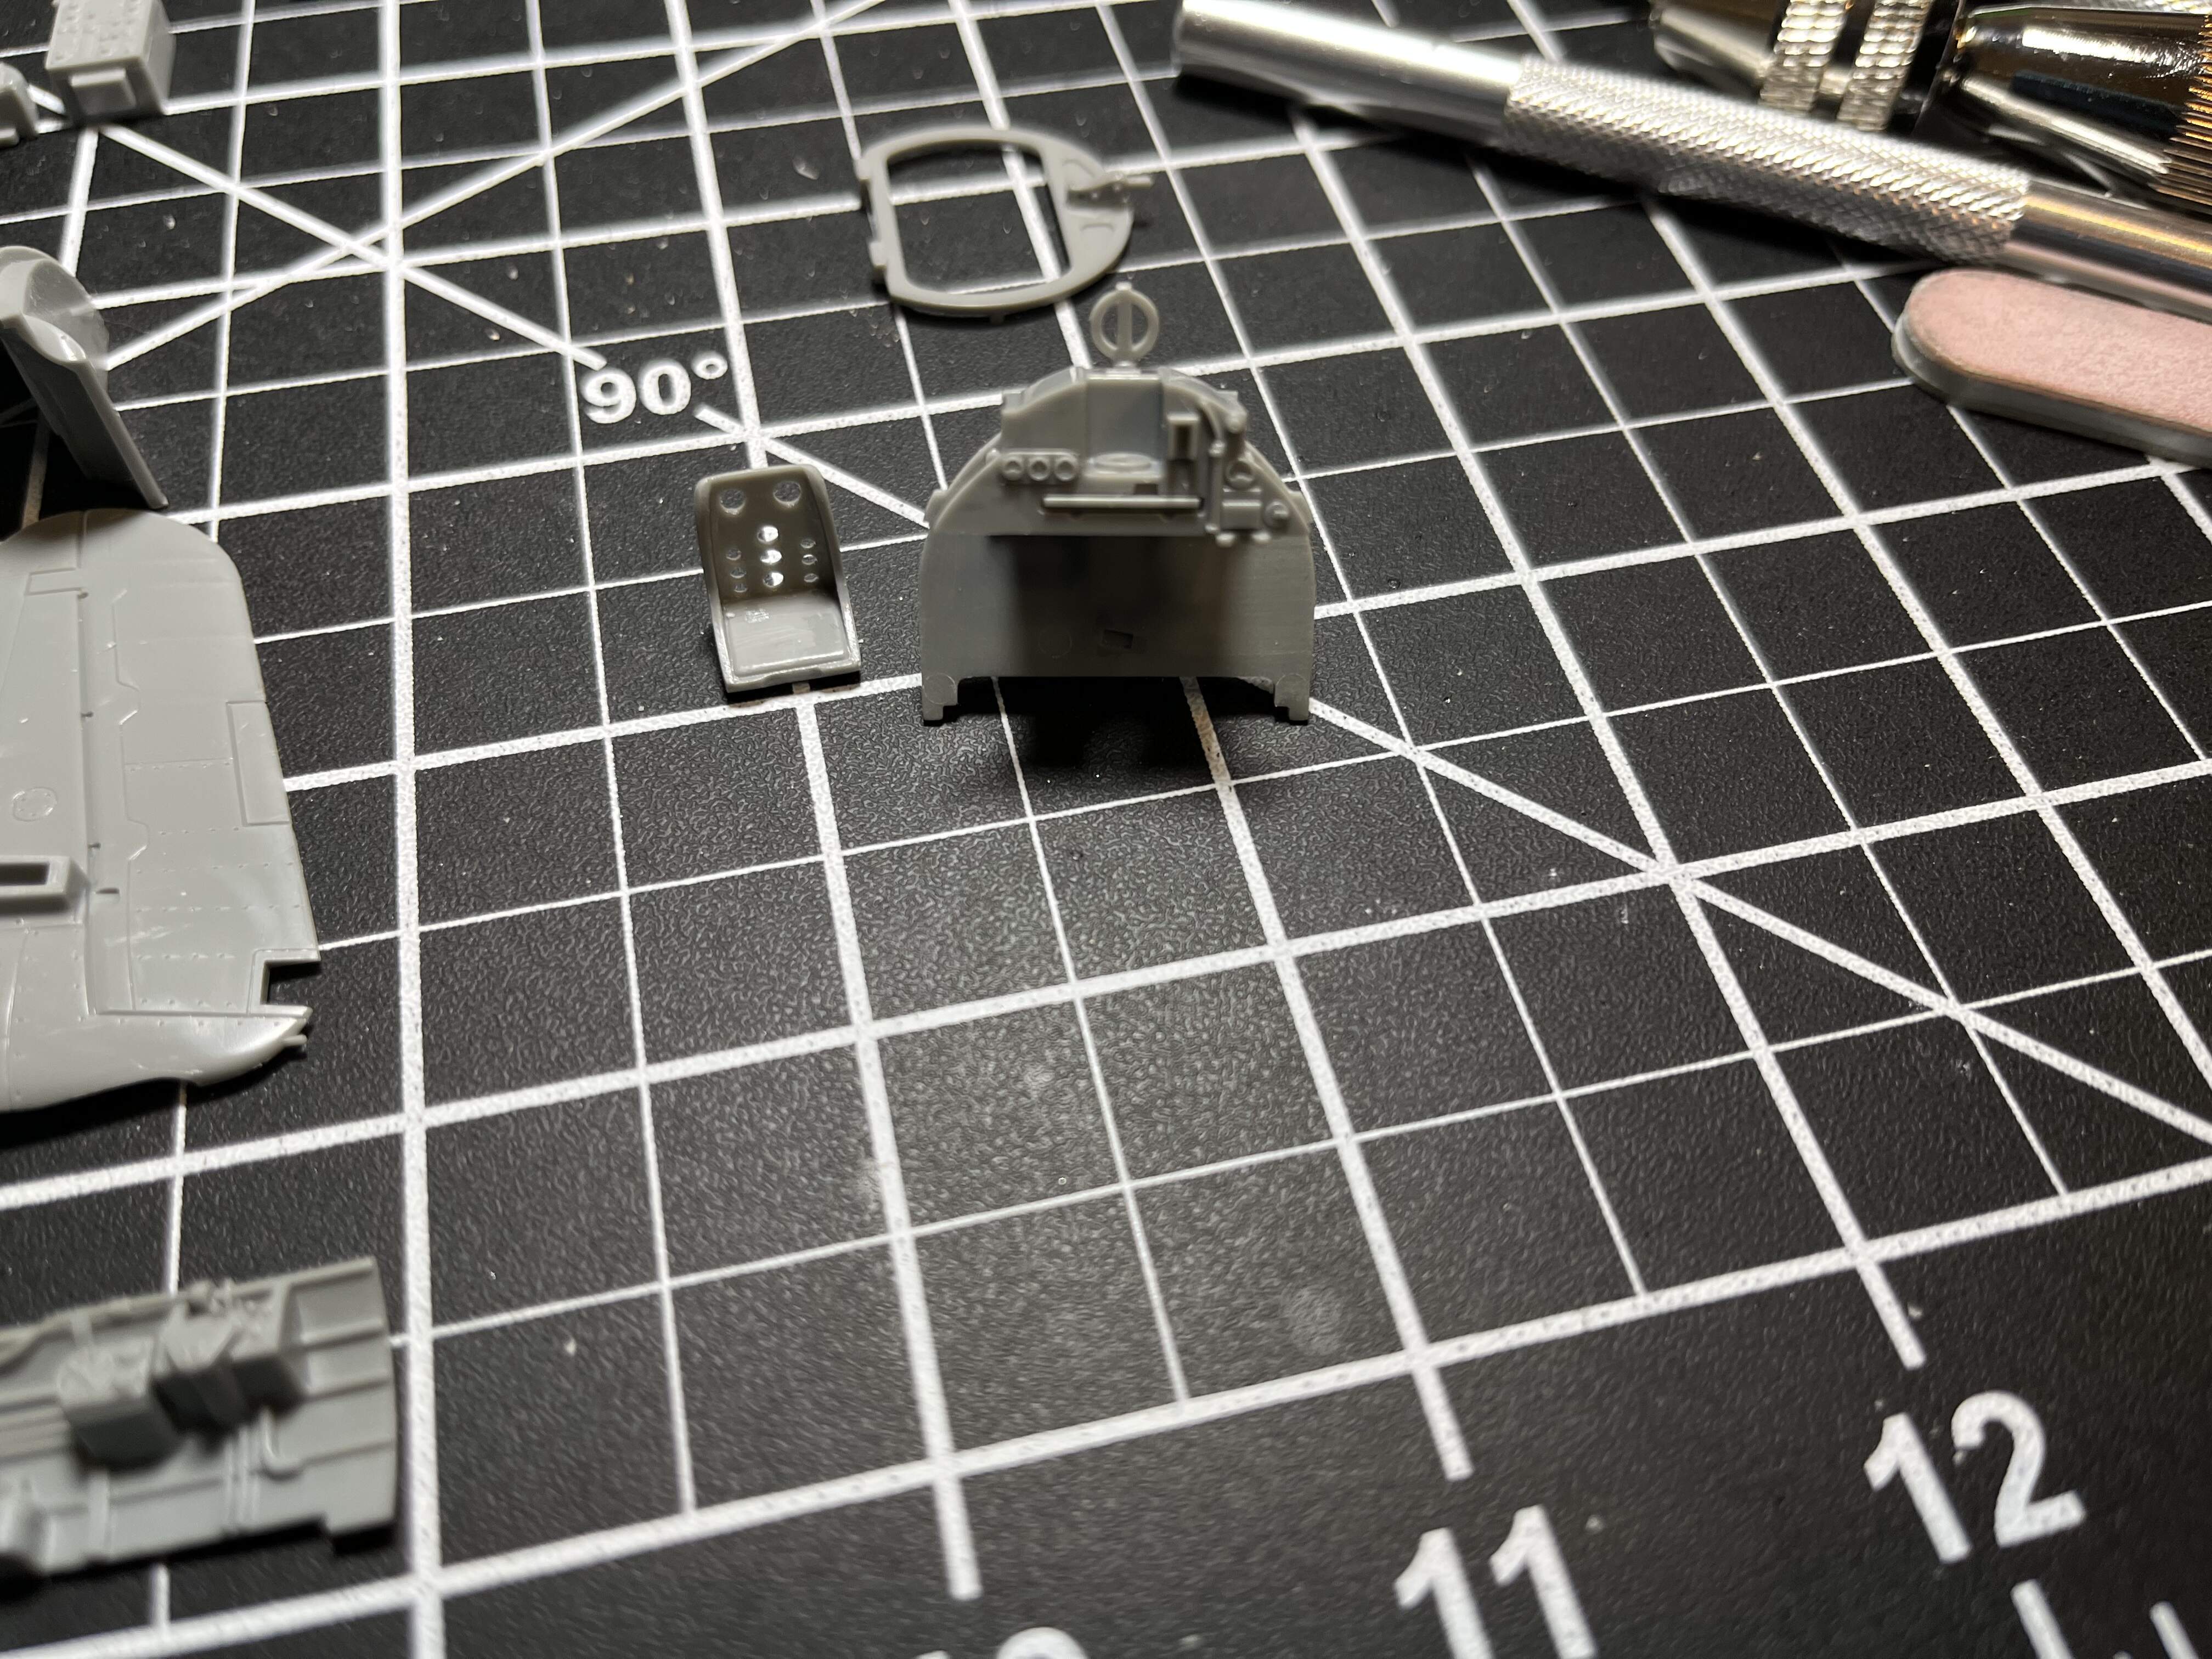
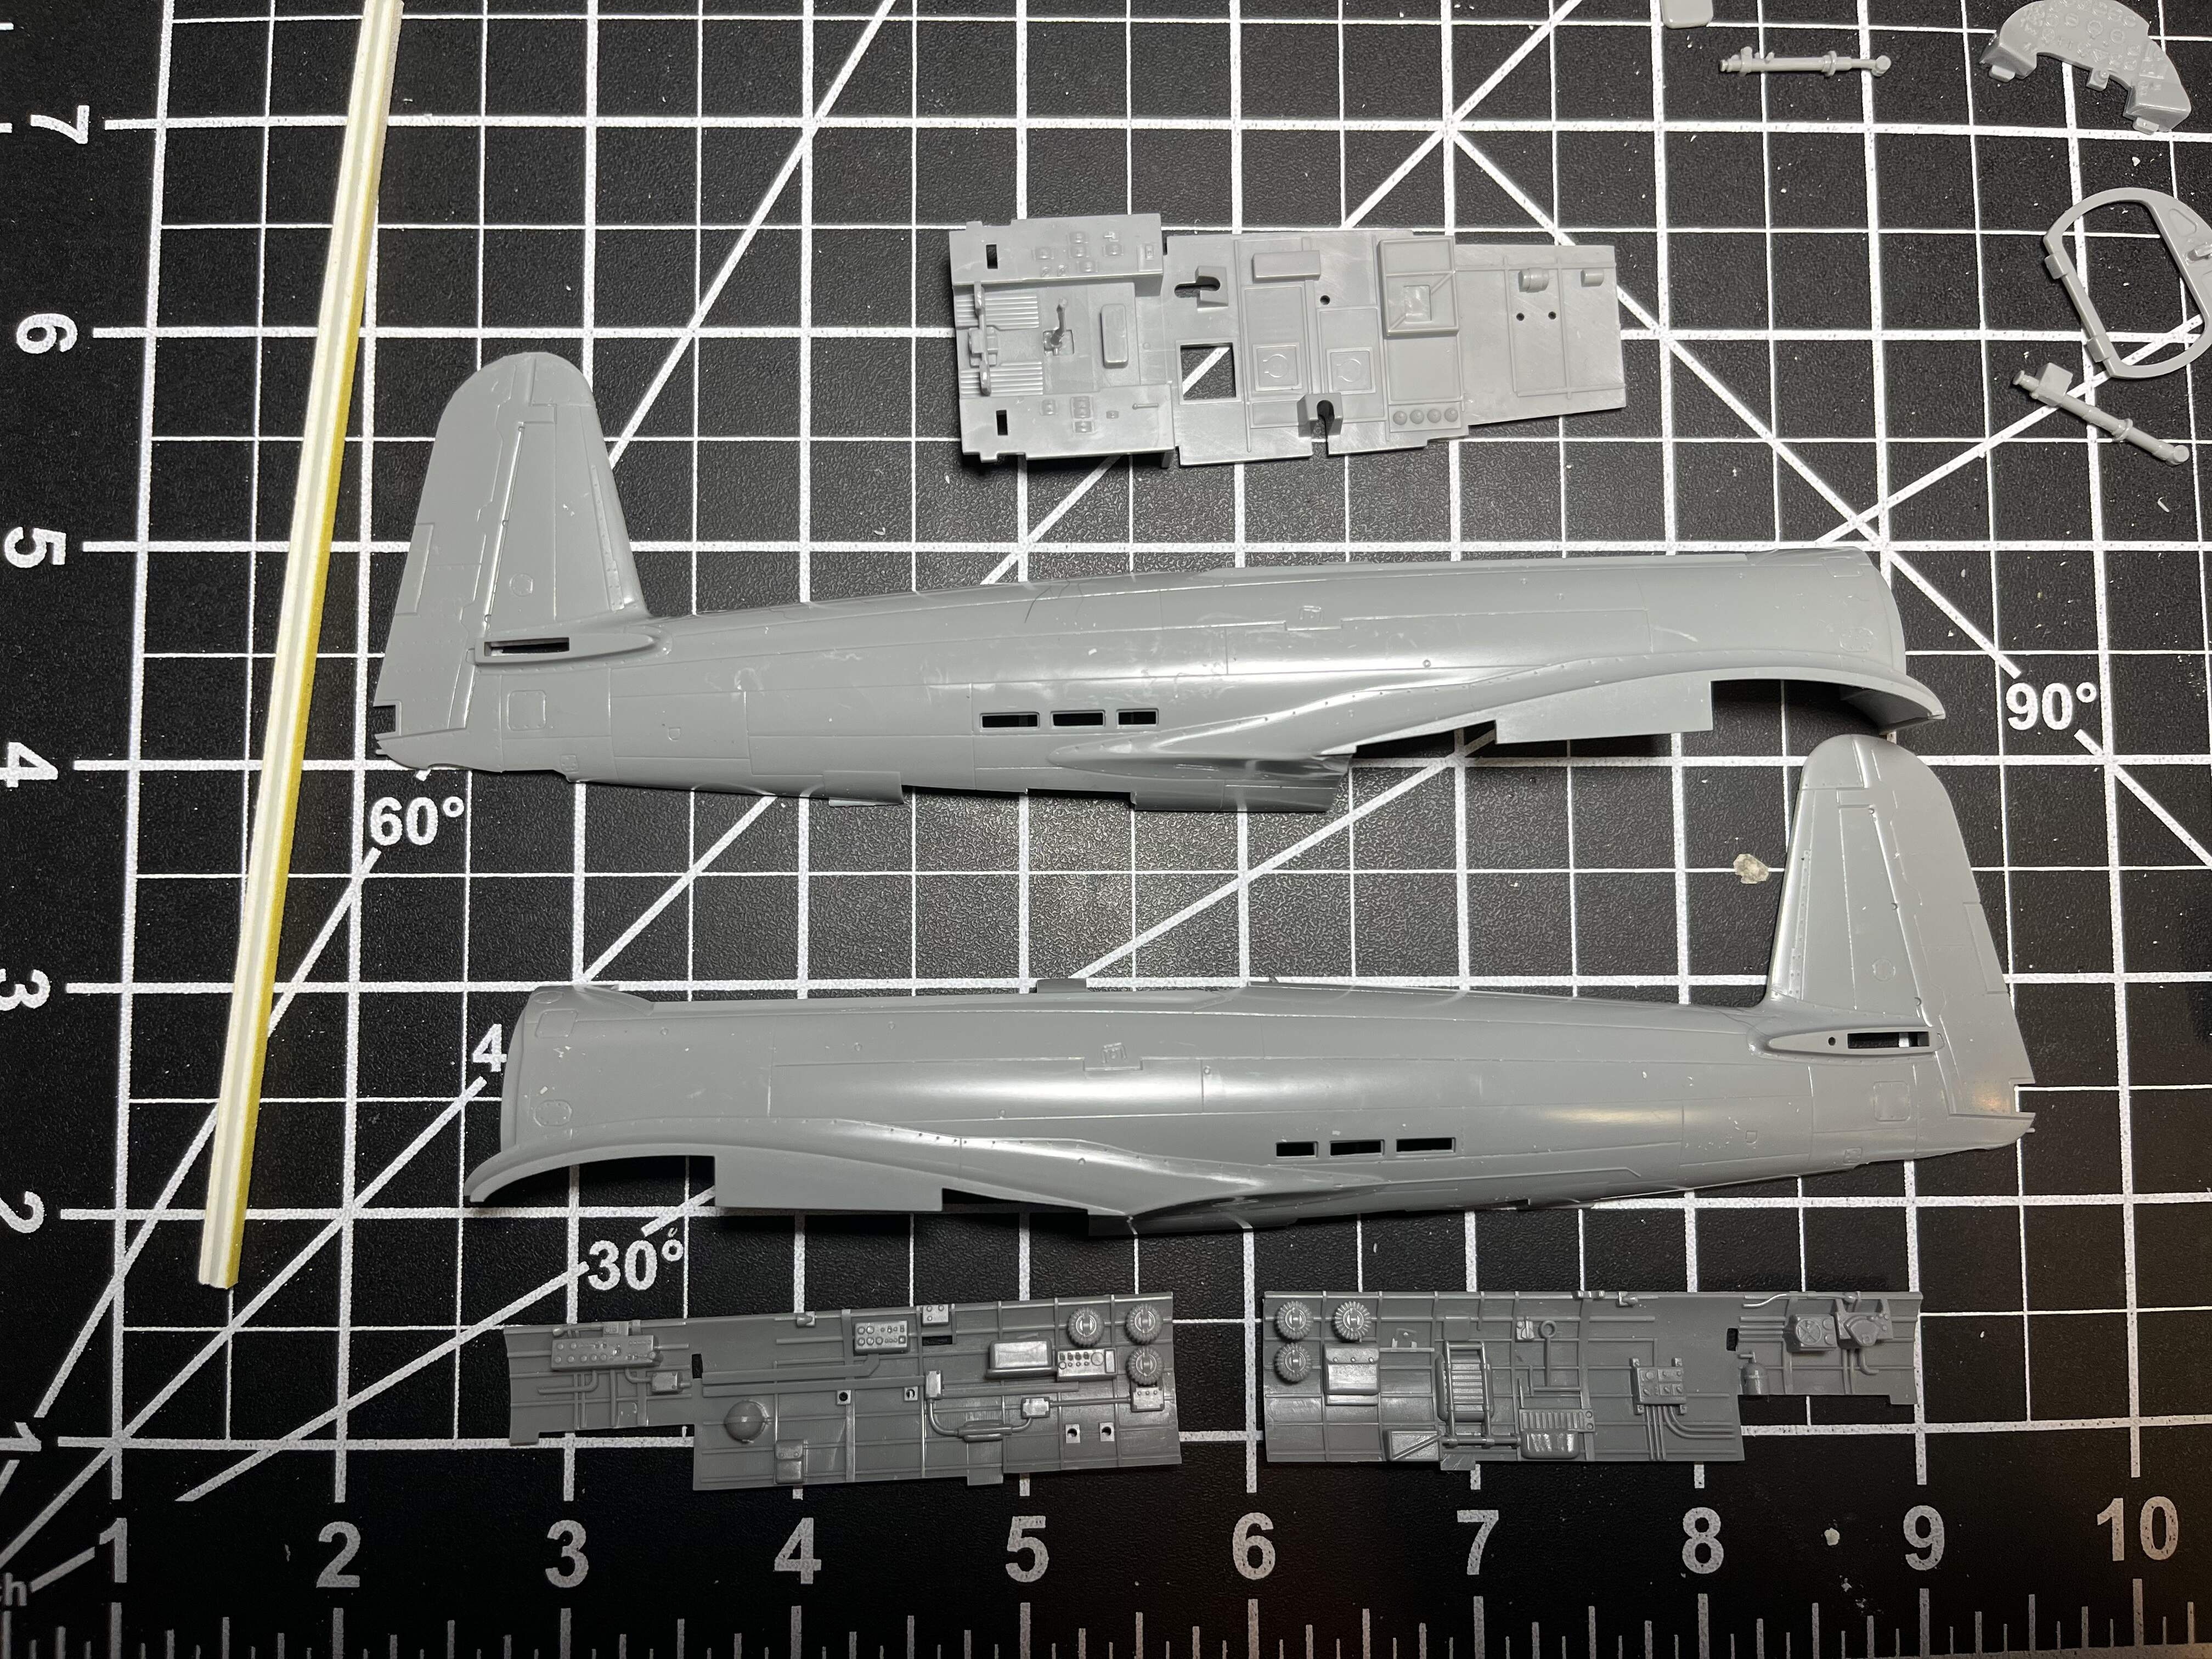
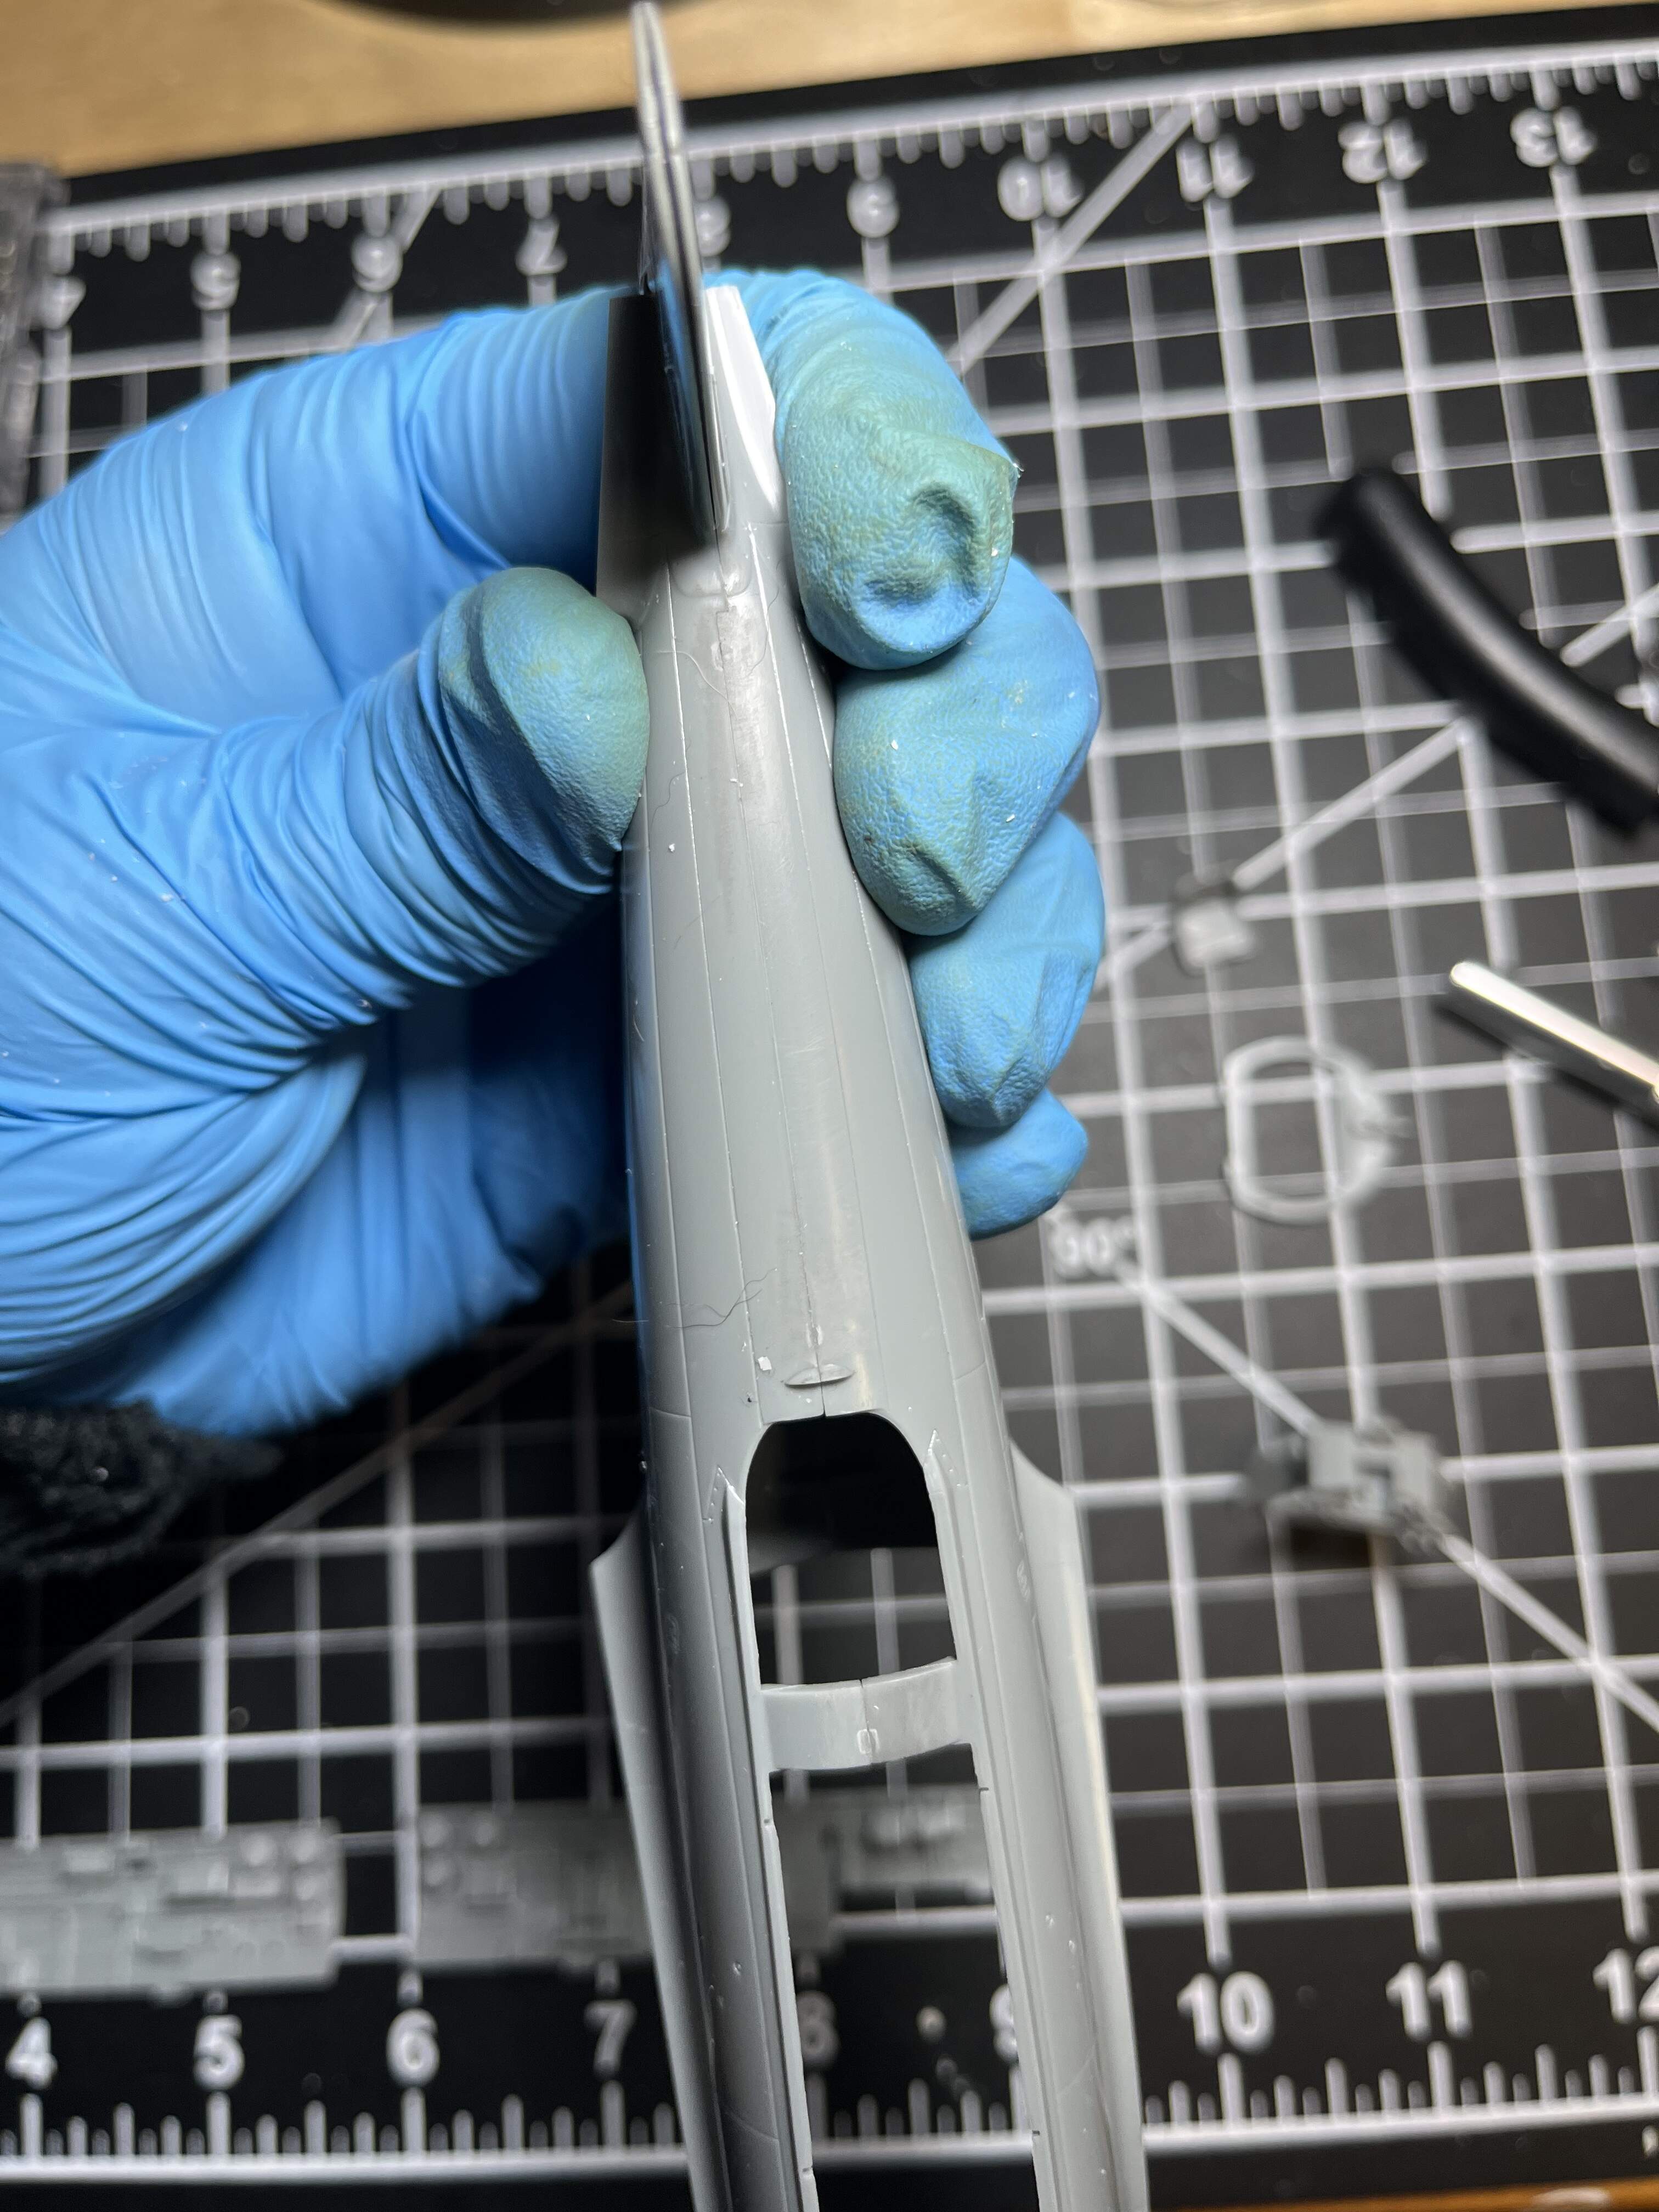
I think this will be a nice straight forward build. Fueslage halves are a near perfect fit!

9 Likes
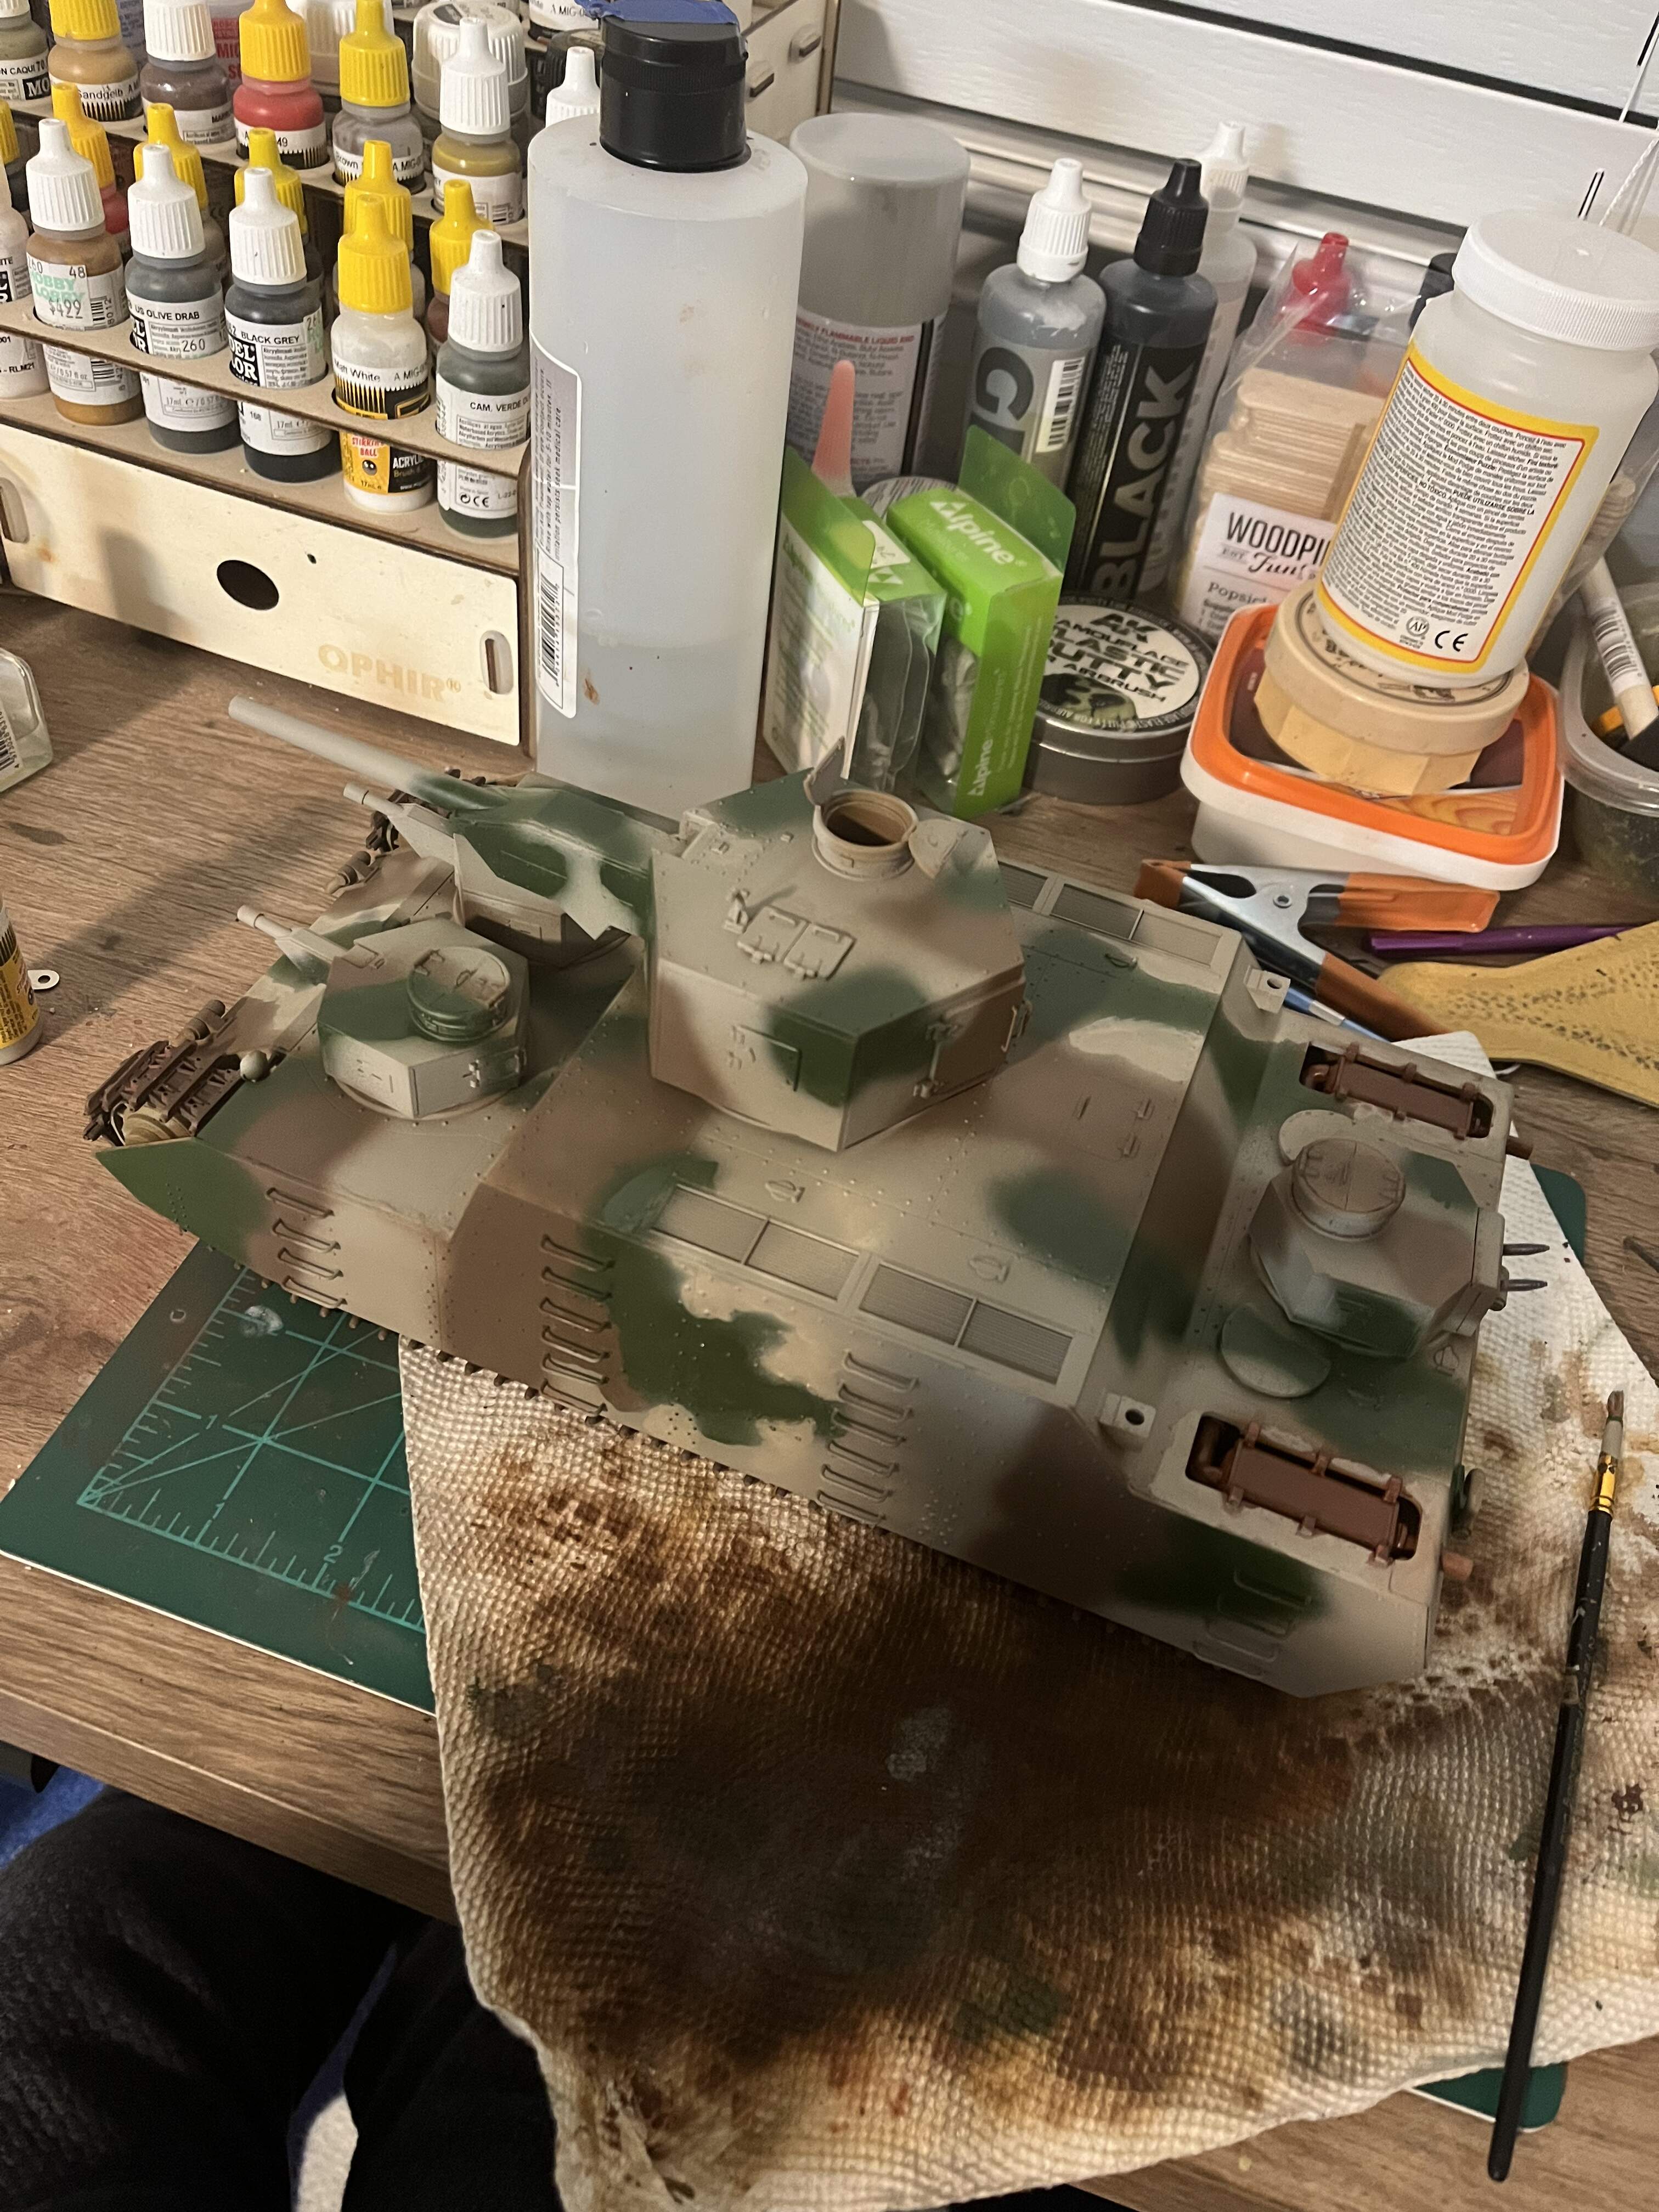
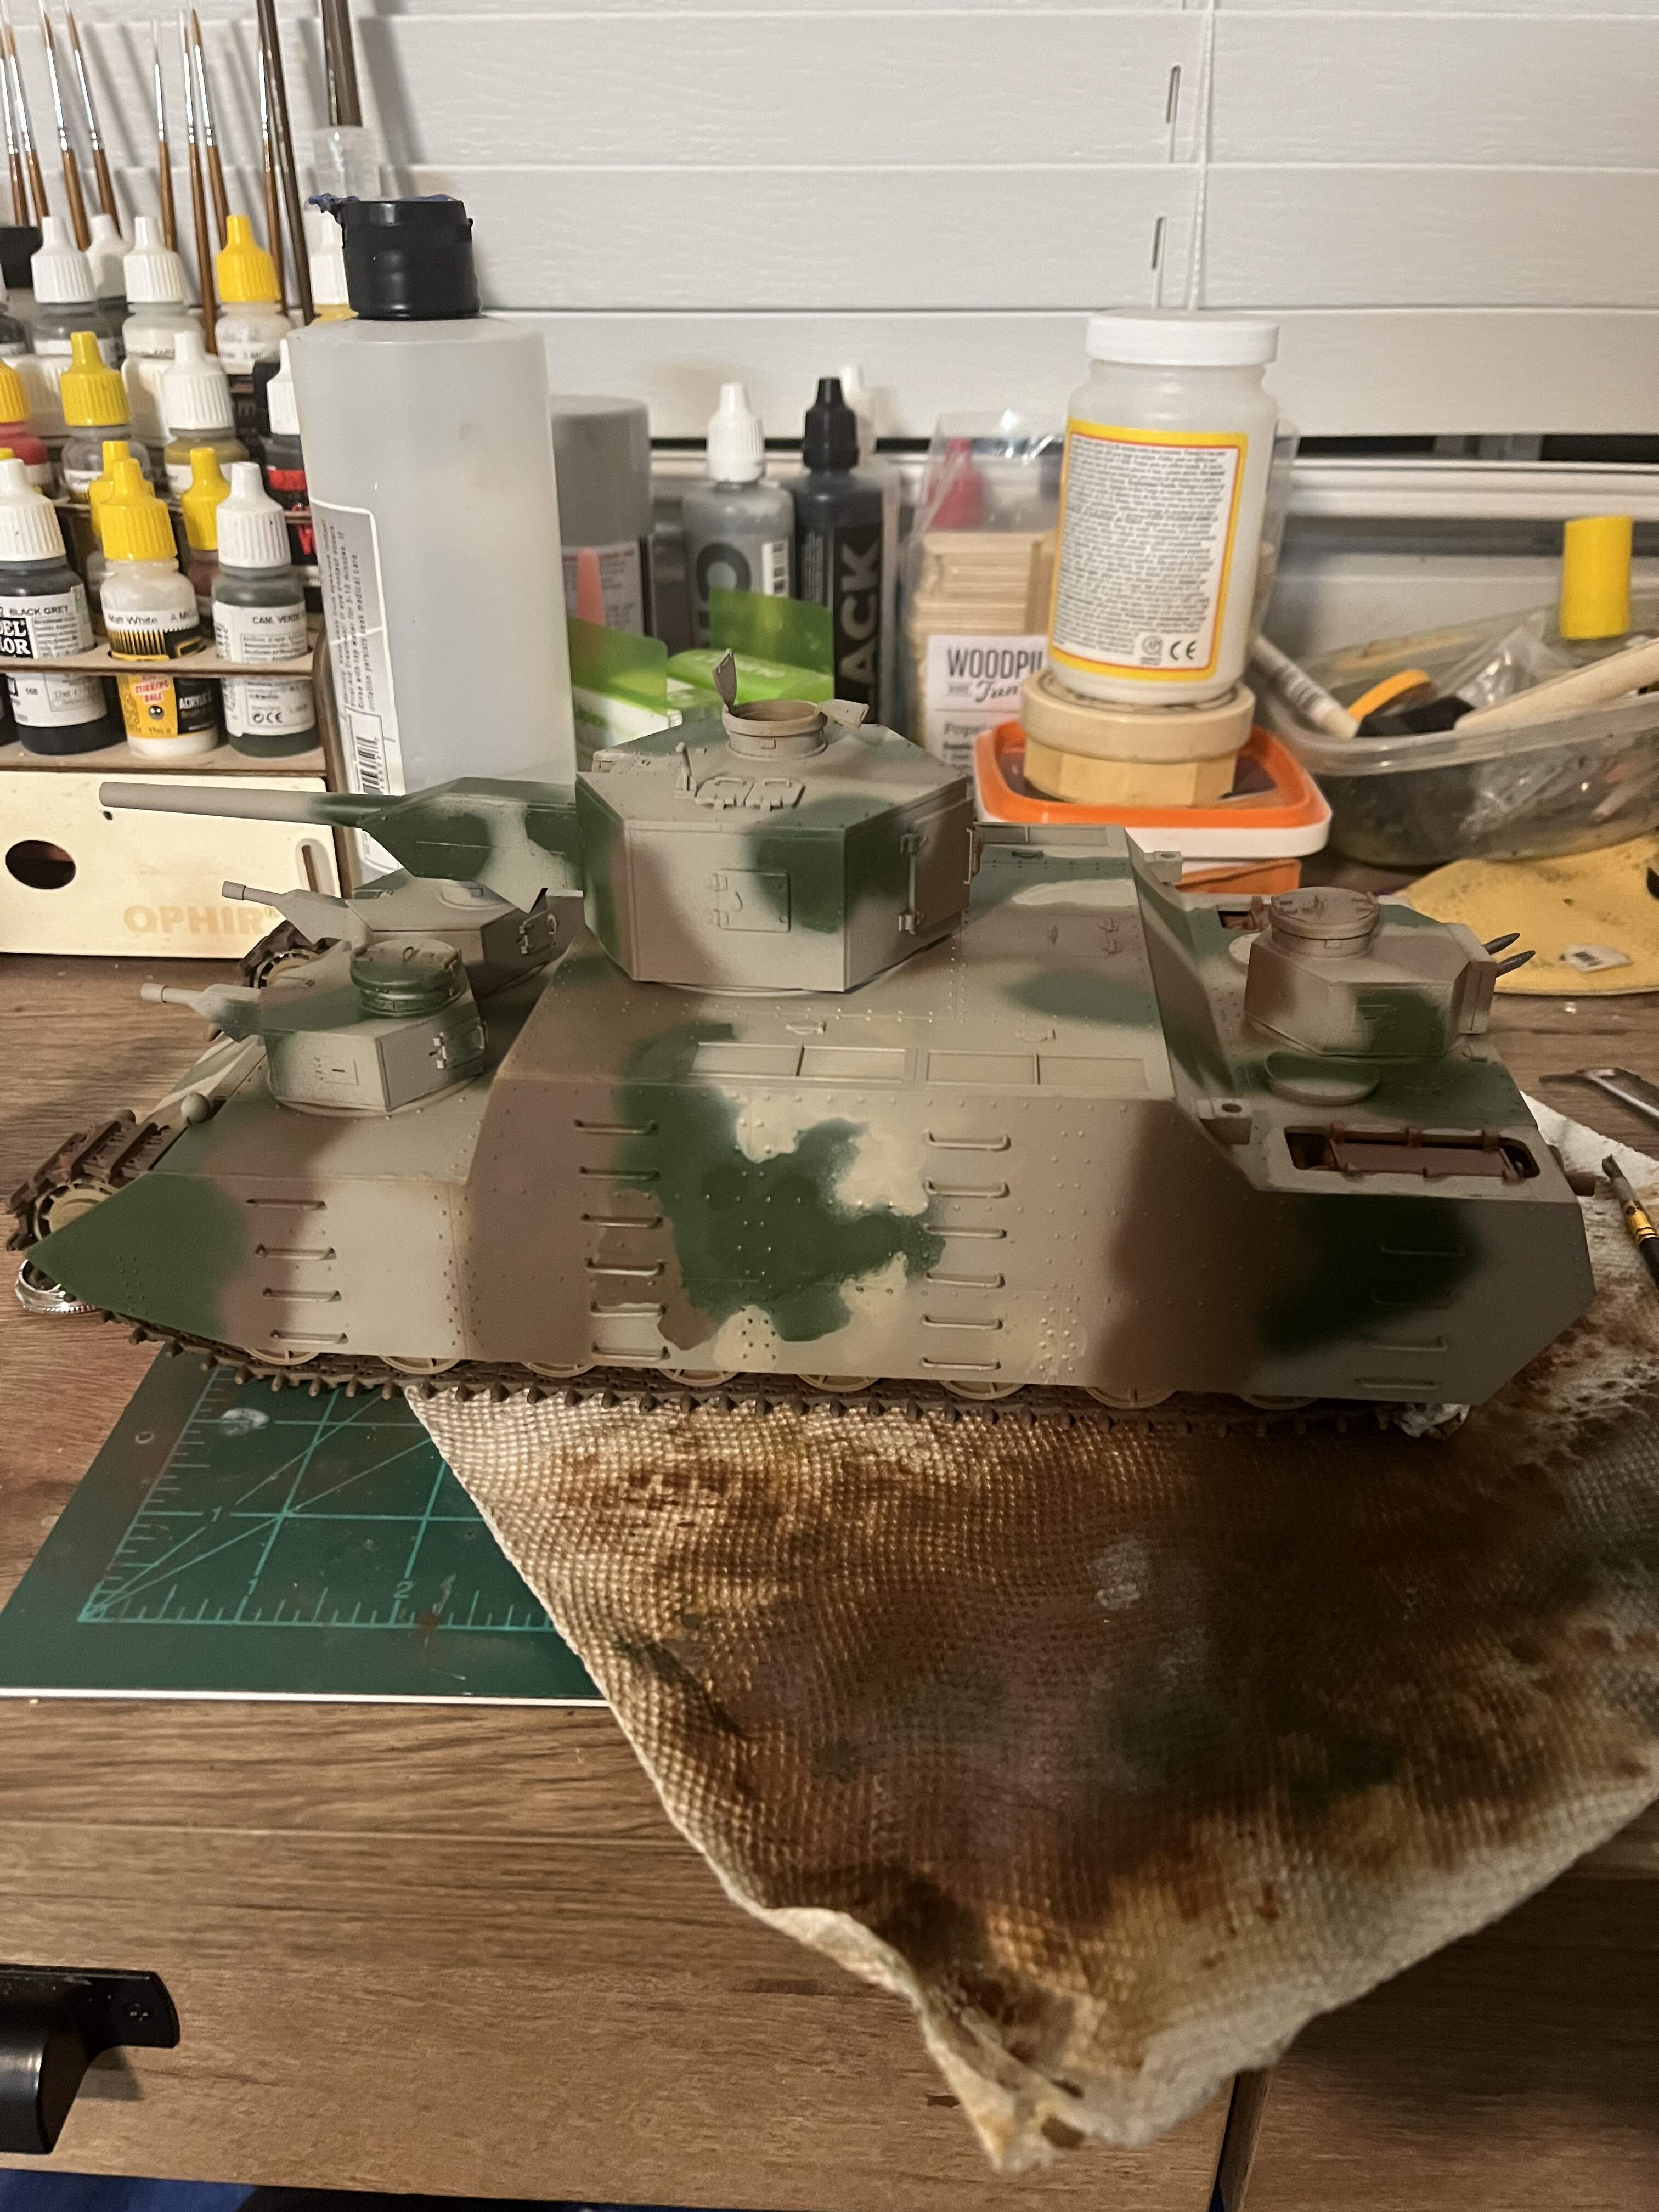
My camo pattern is complete on this beast, my original plan was to use ammo migs early war camo set and it looked okay. I feel like the brown and the khaki almost blended to well so i went with the second scheme that called for a dust base color. I like how this turned out and after some washes I think it’ll buff out. It does look a bit like a Finnish camo though. Tell me what you guys think!
10 Likes
Me like. That is one ugly tank design but your model redeems it. The camo is splendid. Is it for Khalkhin Gol or China?
2 Likes