Thank you! I really appreciate it! I saw the top drawings book the other day at I think HLJ. It looks like it has the rivet drawings! Now to to find it for a reasonable price lol, or live with the lack of rivets.
It’s super easy to find B5N rivet diagrams online but not so much for the B6N
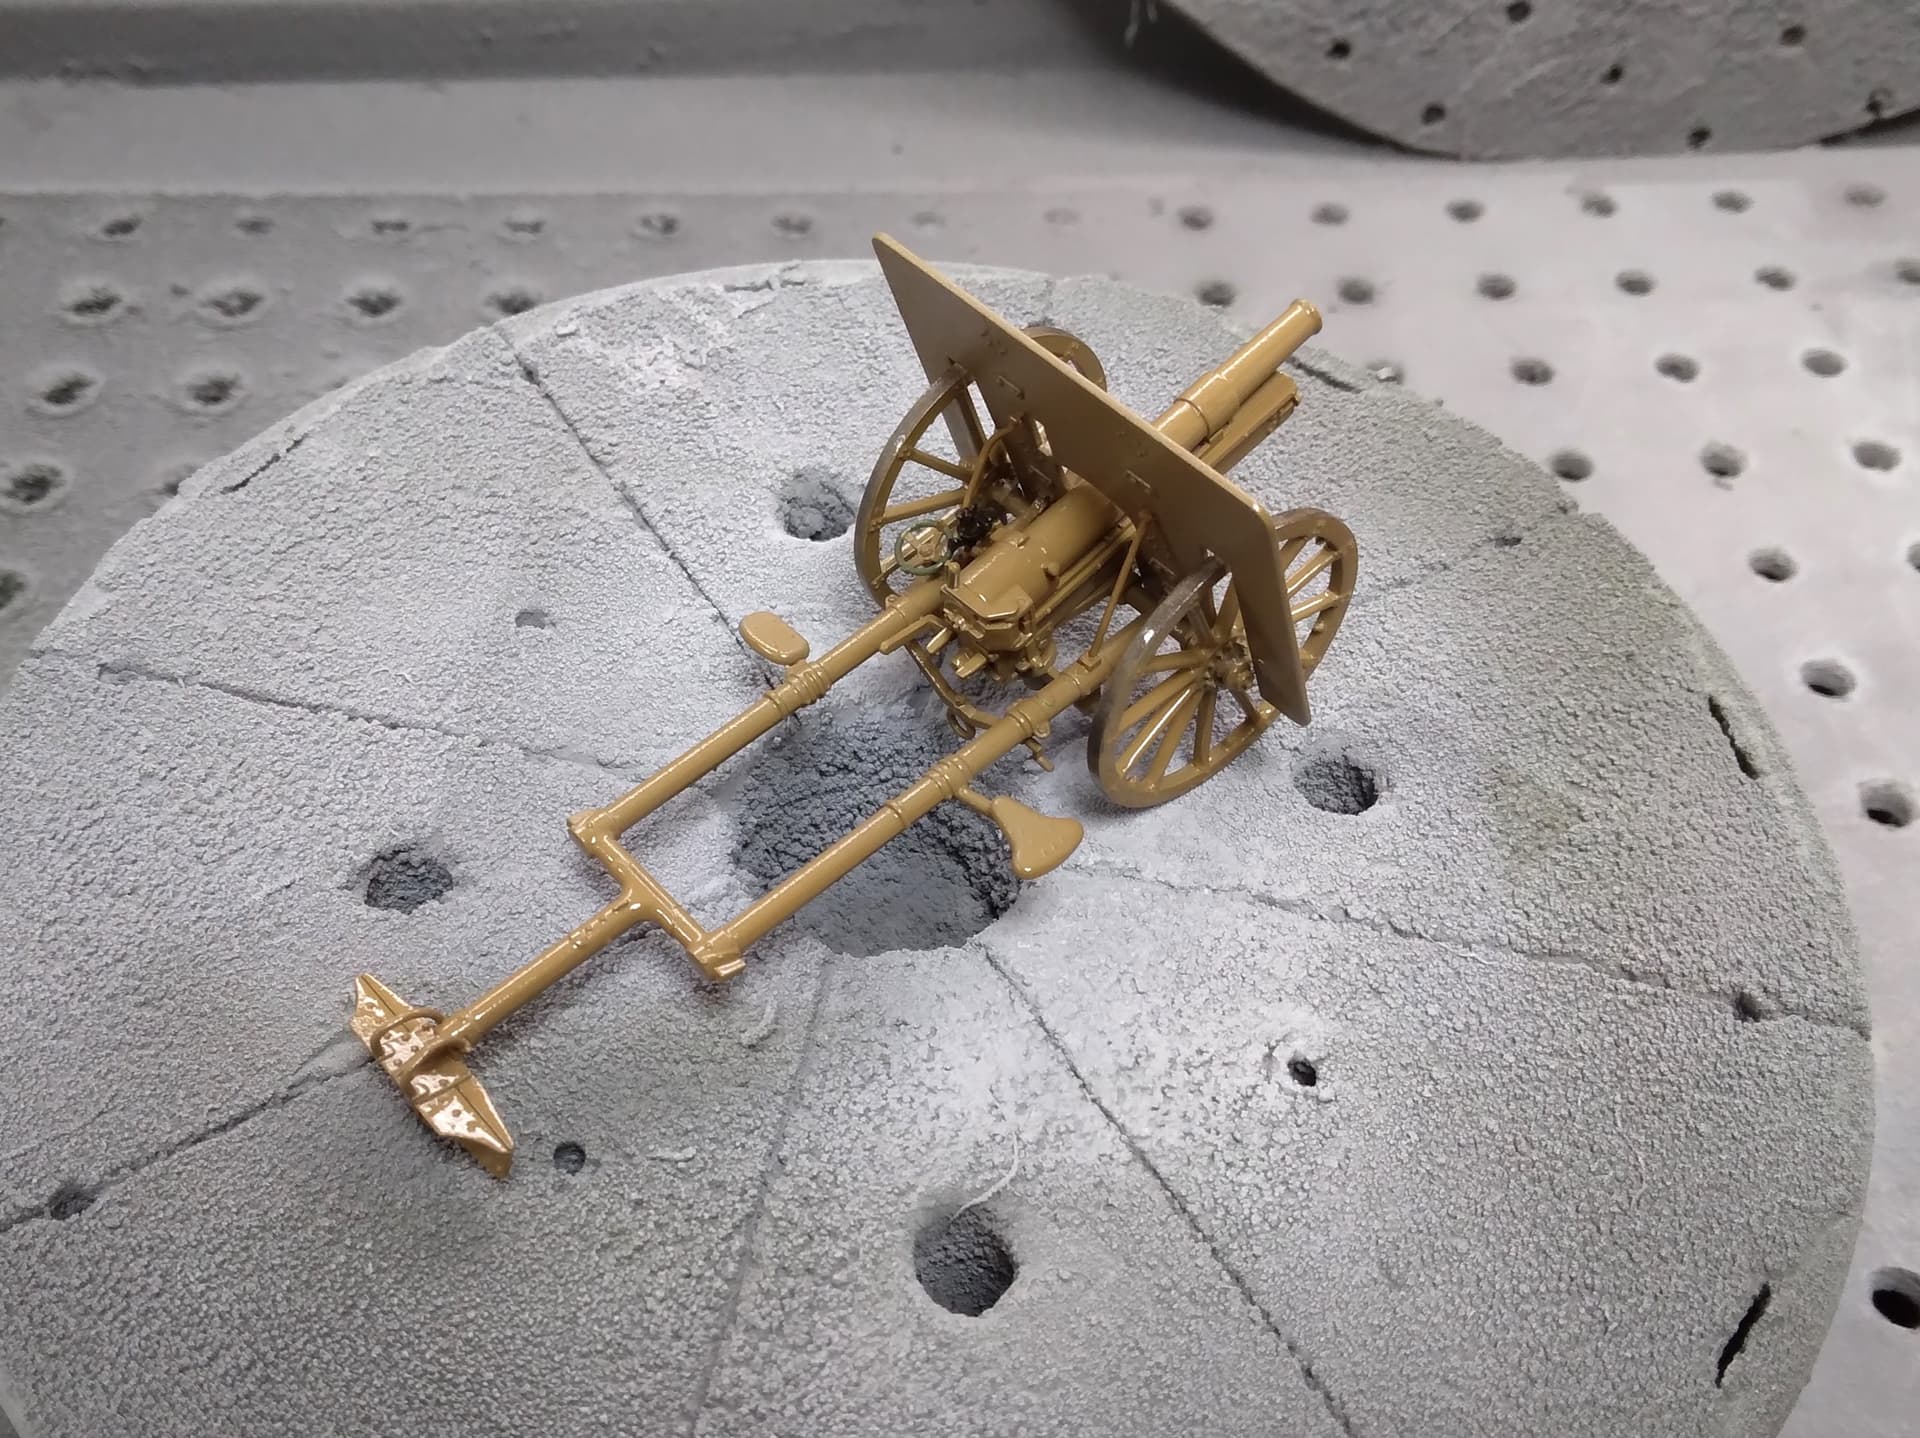
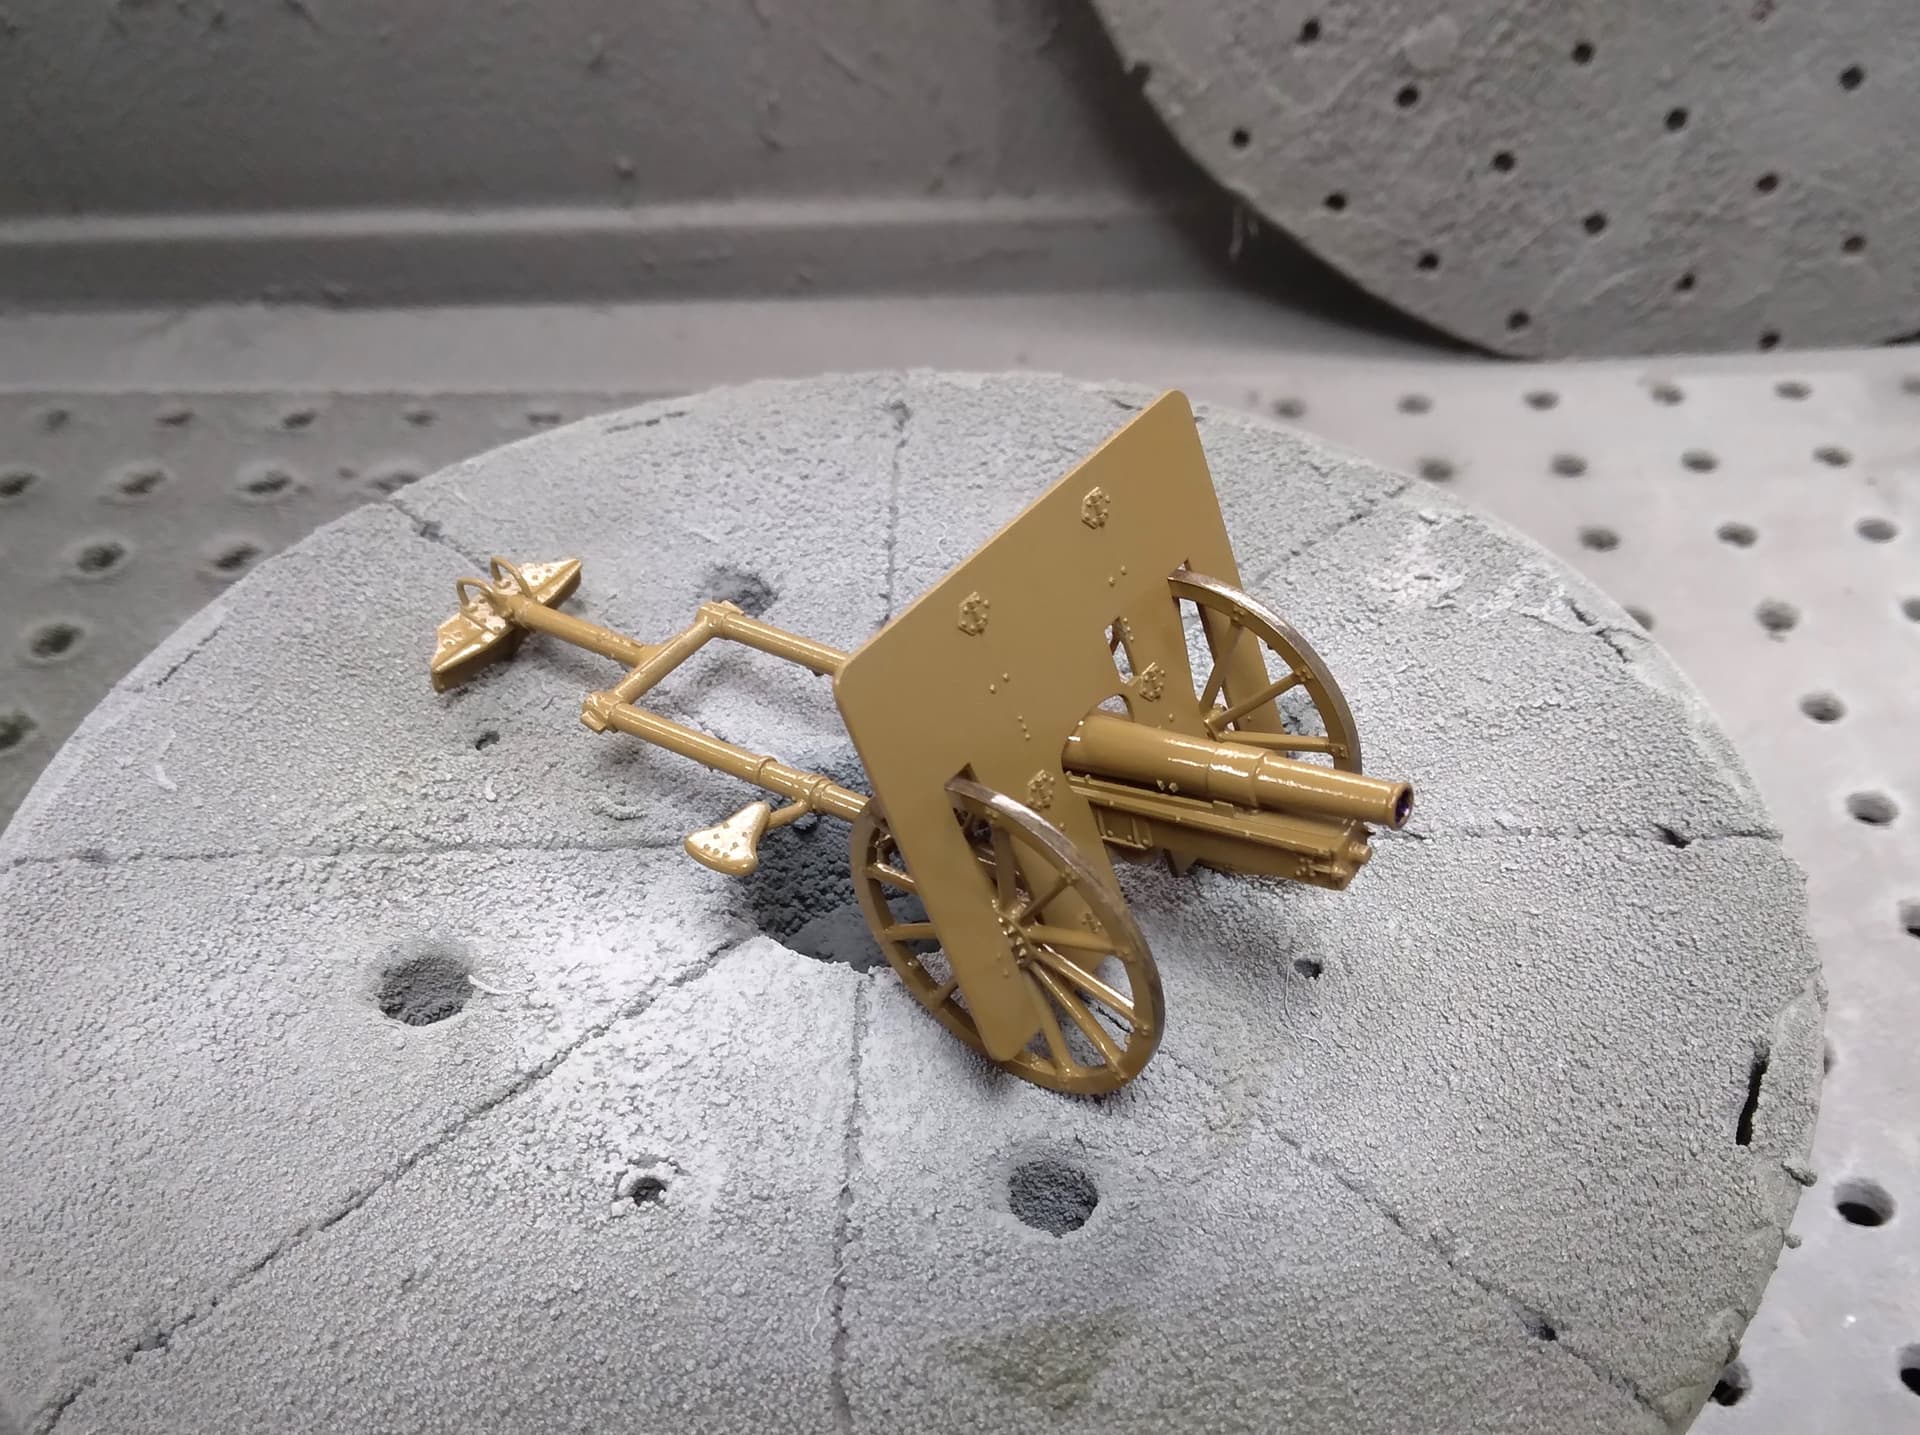
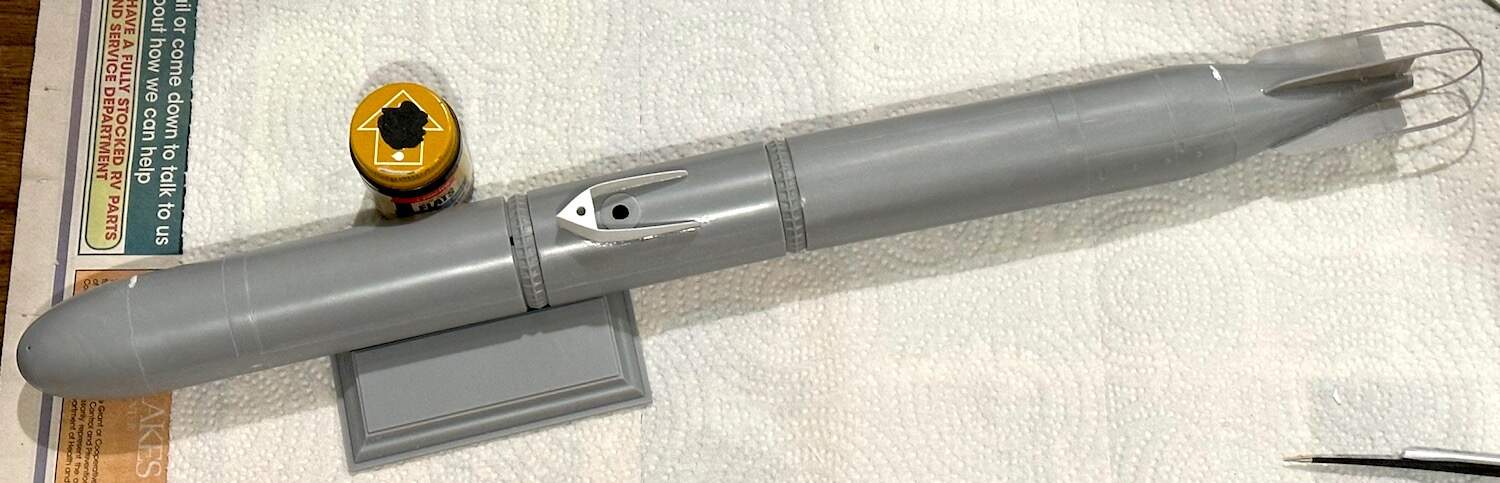
I did a little more work on the Kaiten II over the weekend. The seams will need lots of work. Some of it was done using the thin solvent glue which pulled the soft plastic in to fill some areas. Others are needing putty. I spent hours on the tail section this past weekend. It seems very simple, not many parts but all needed a lot of fitting. This is a limited run kit so this is to be expected.
There’s a Kagero book out there with decals and masks, common for them. Also from what I can glean is there’s some folks in Russia and Ukraine that are restoring/storing historical aircraft and the Tenzan is one of them.
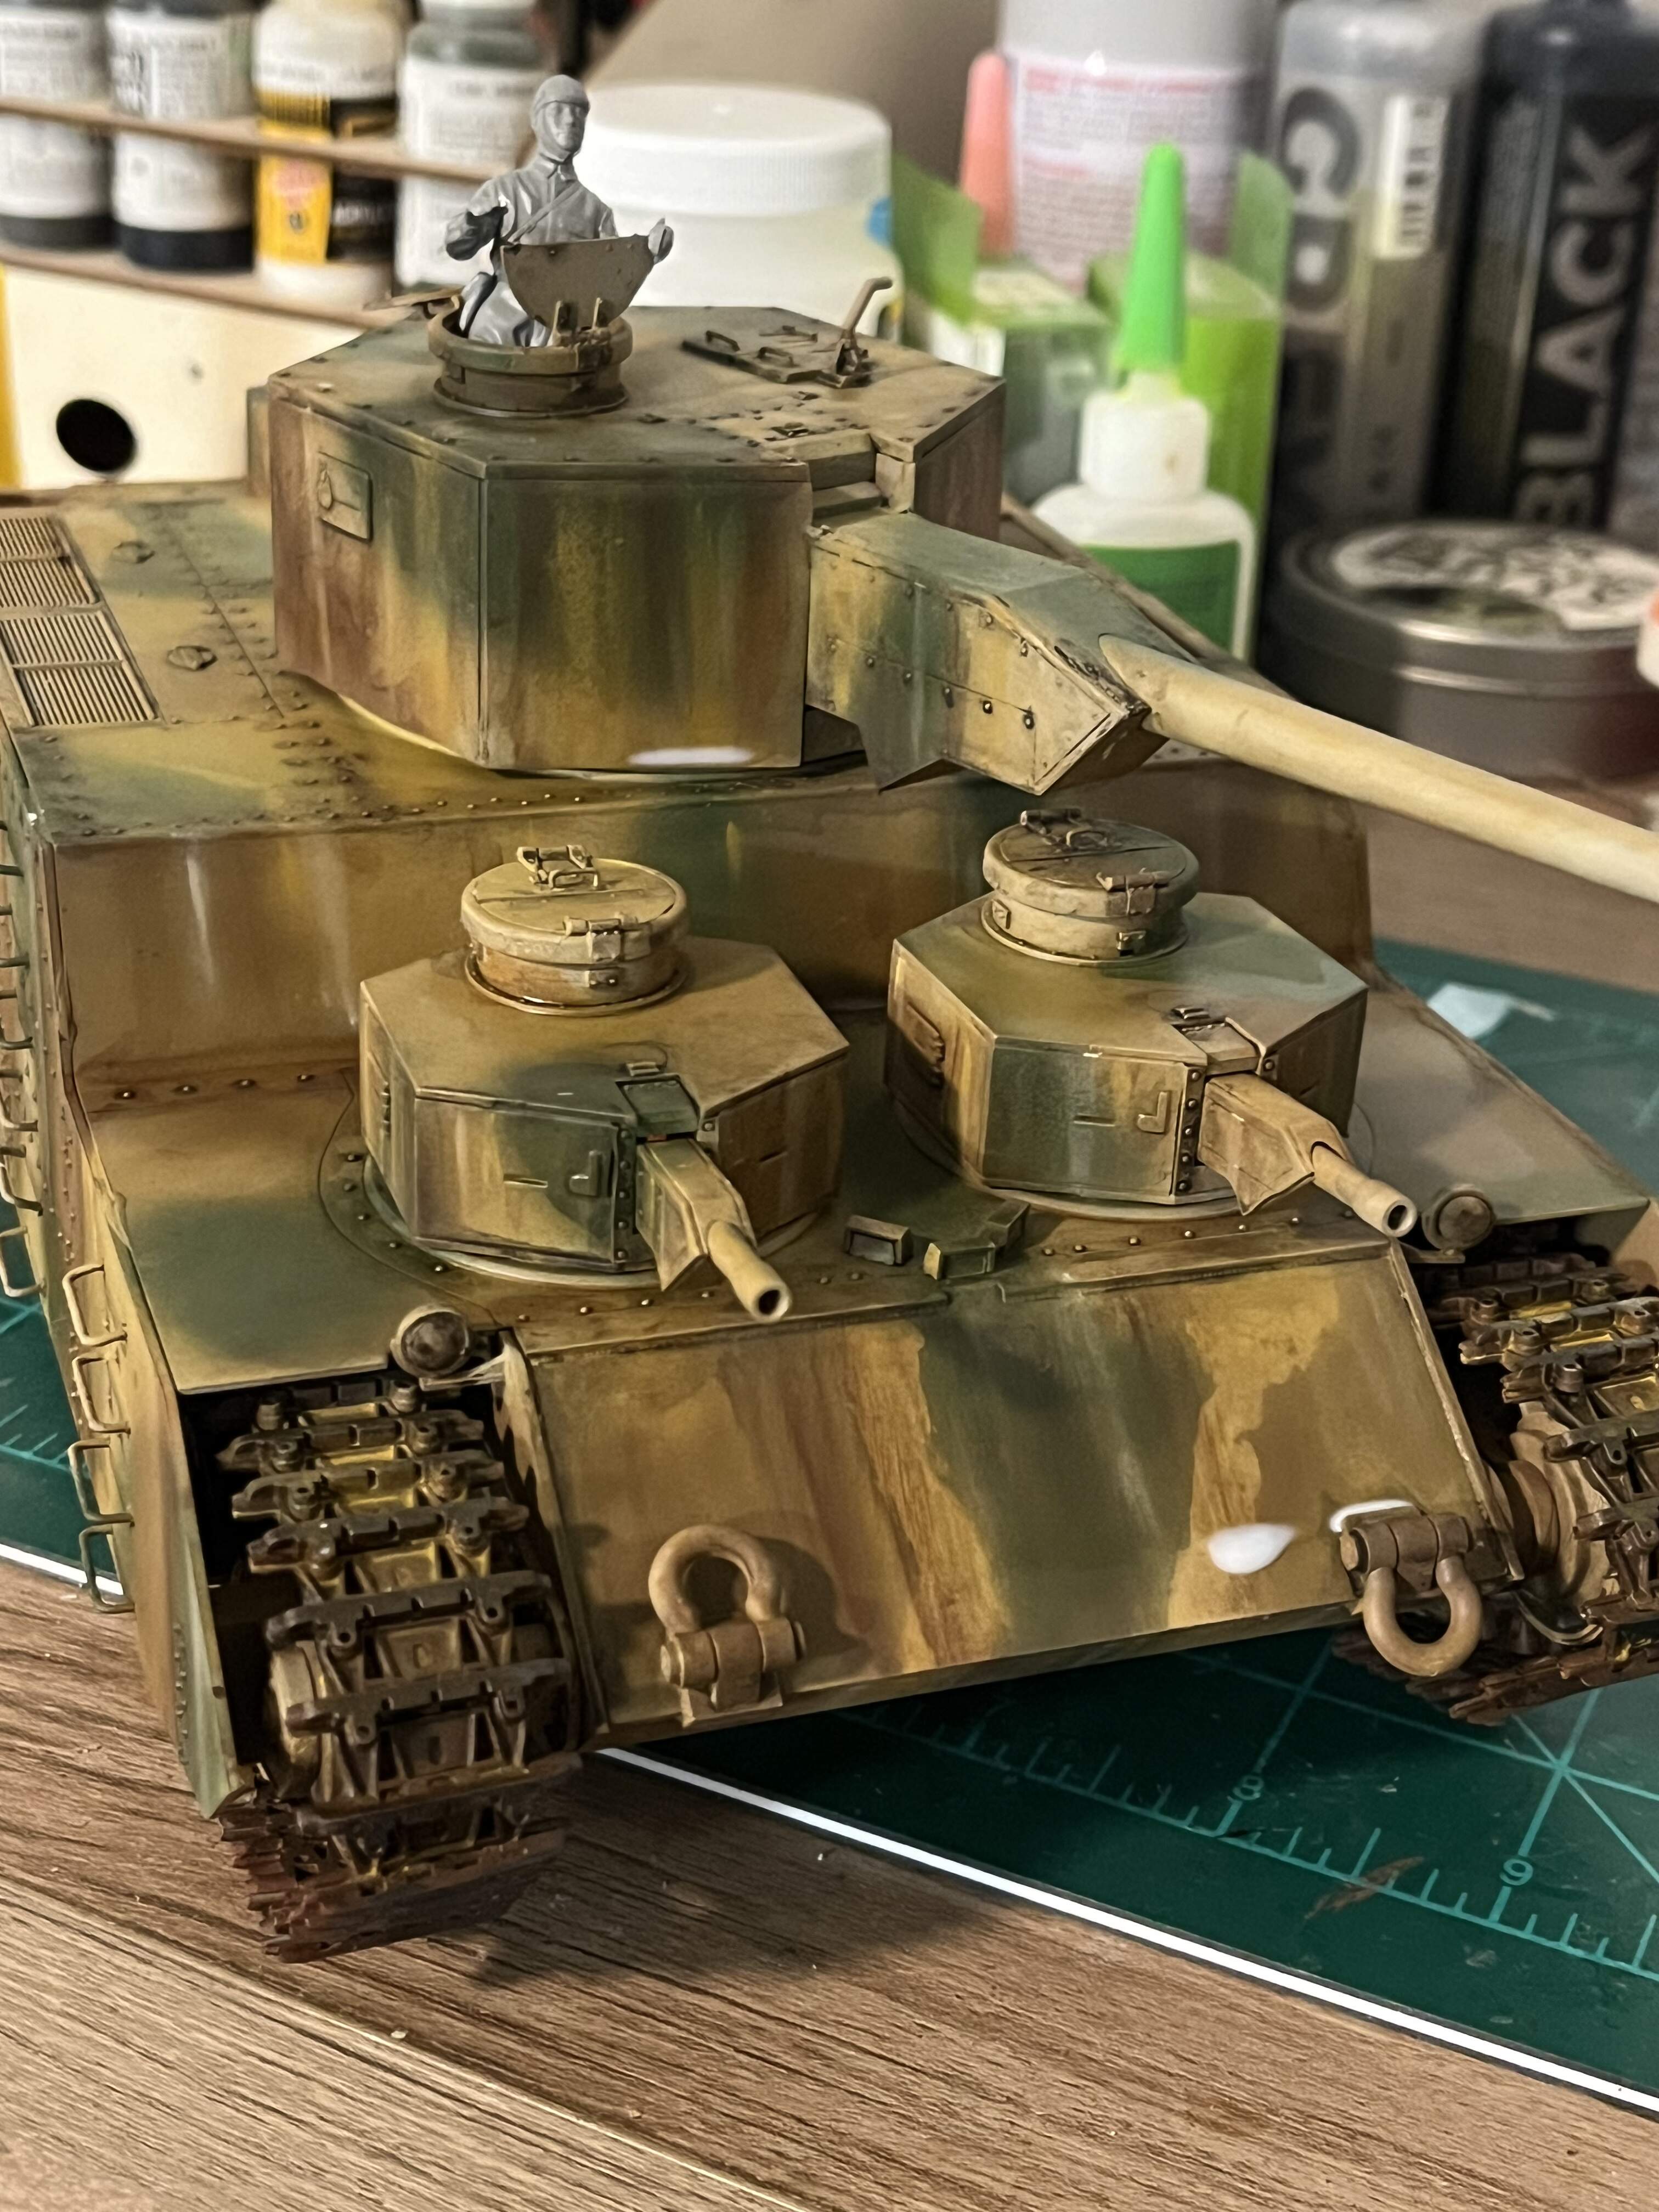
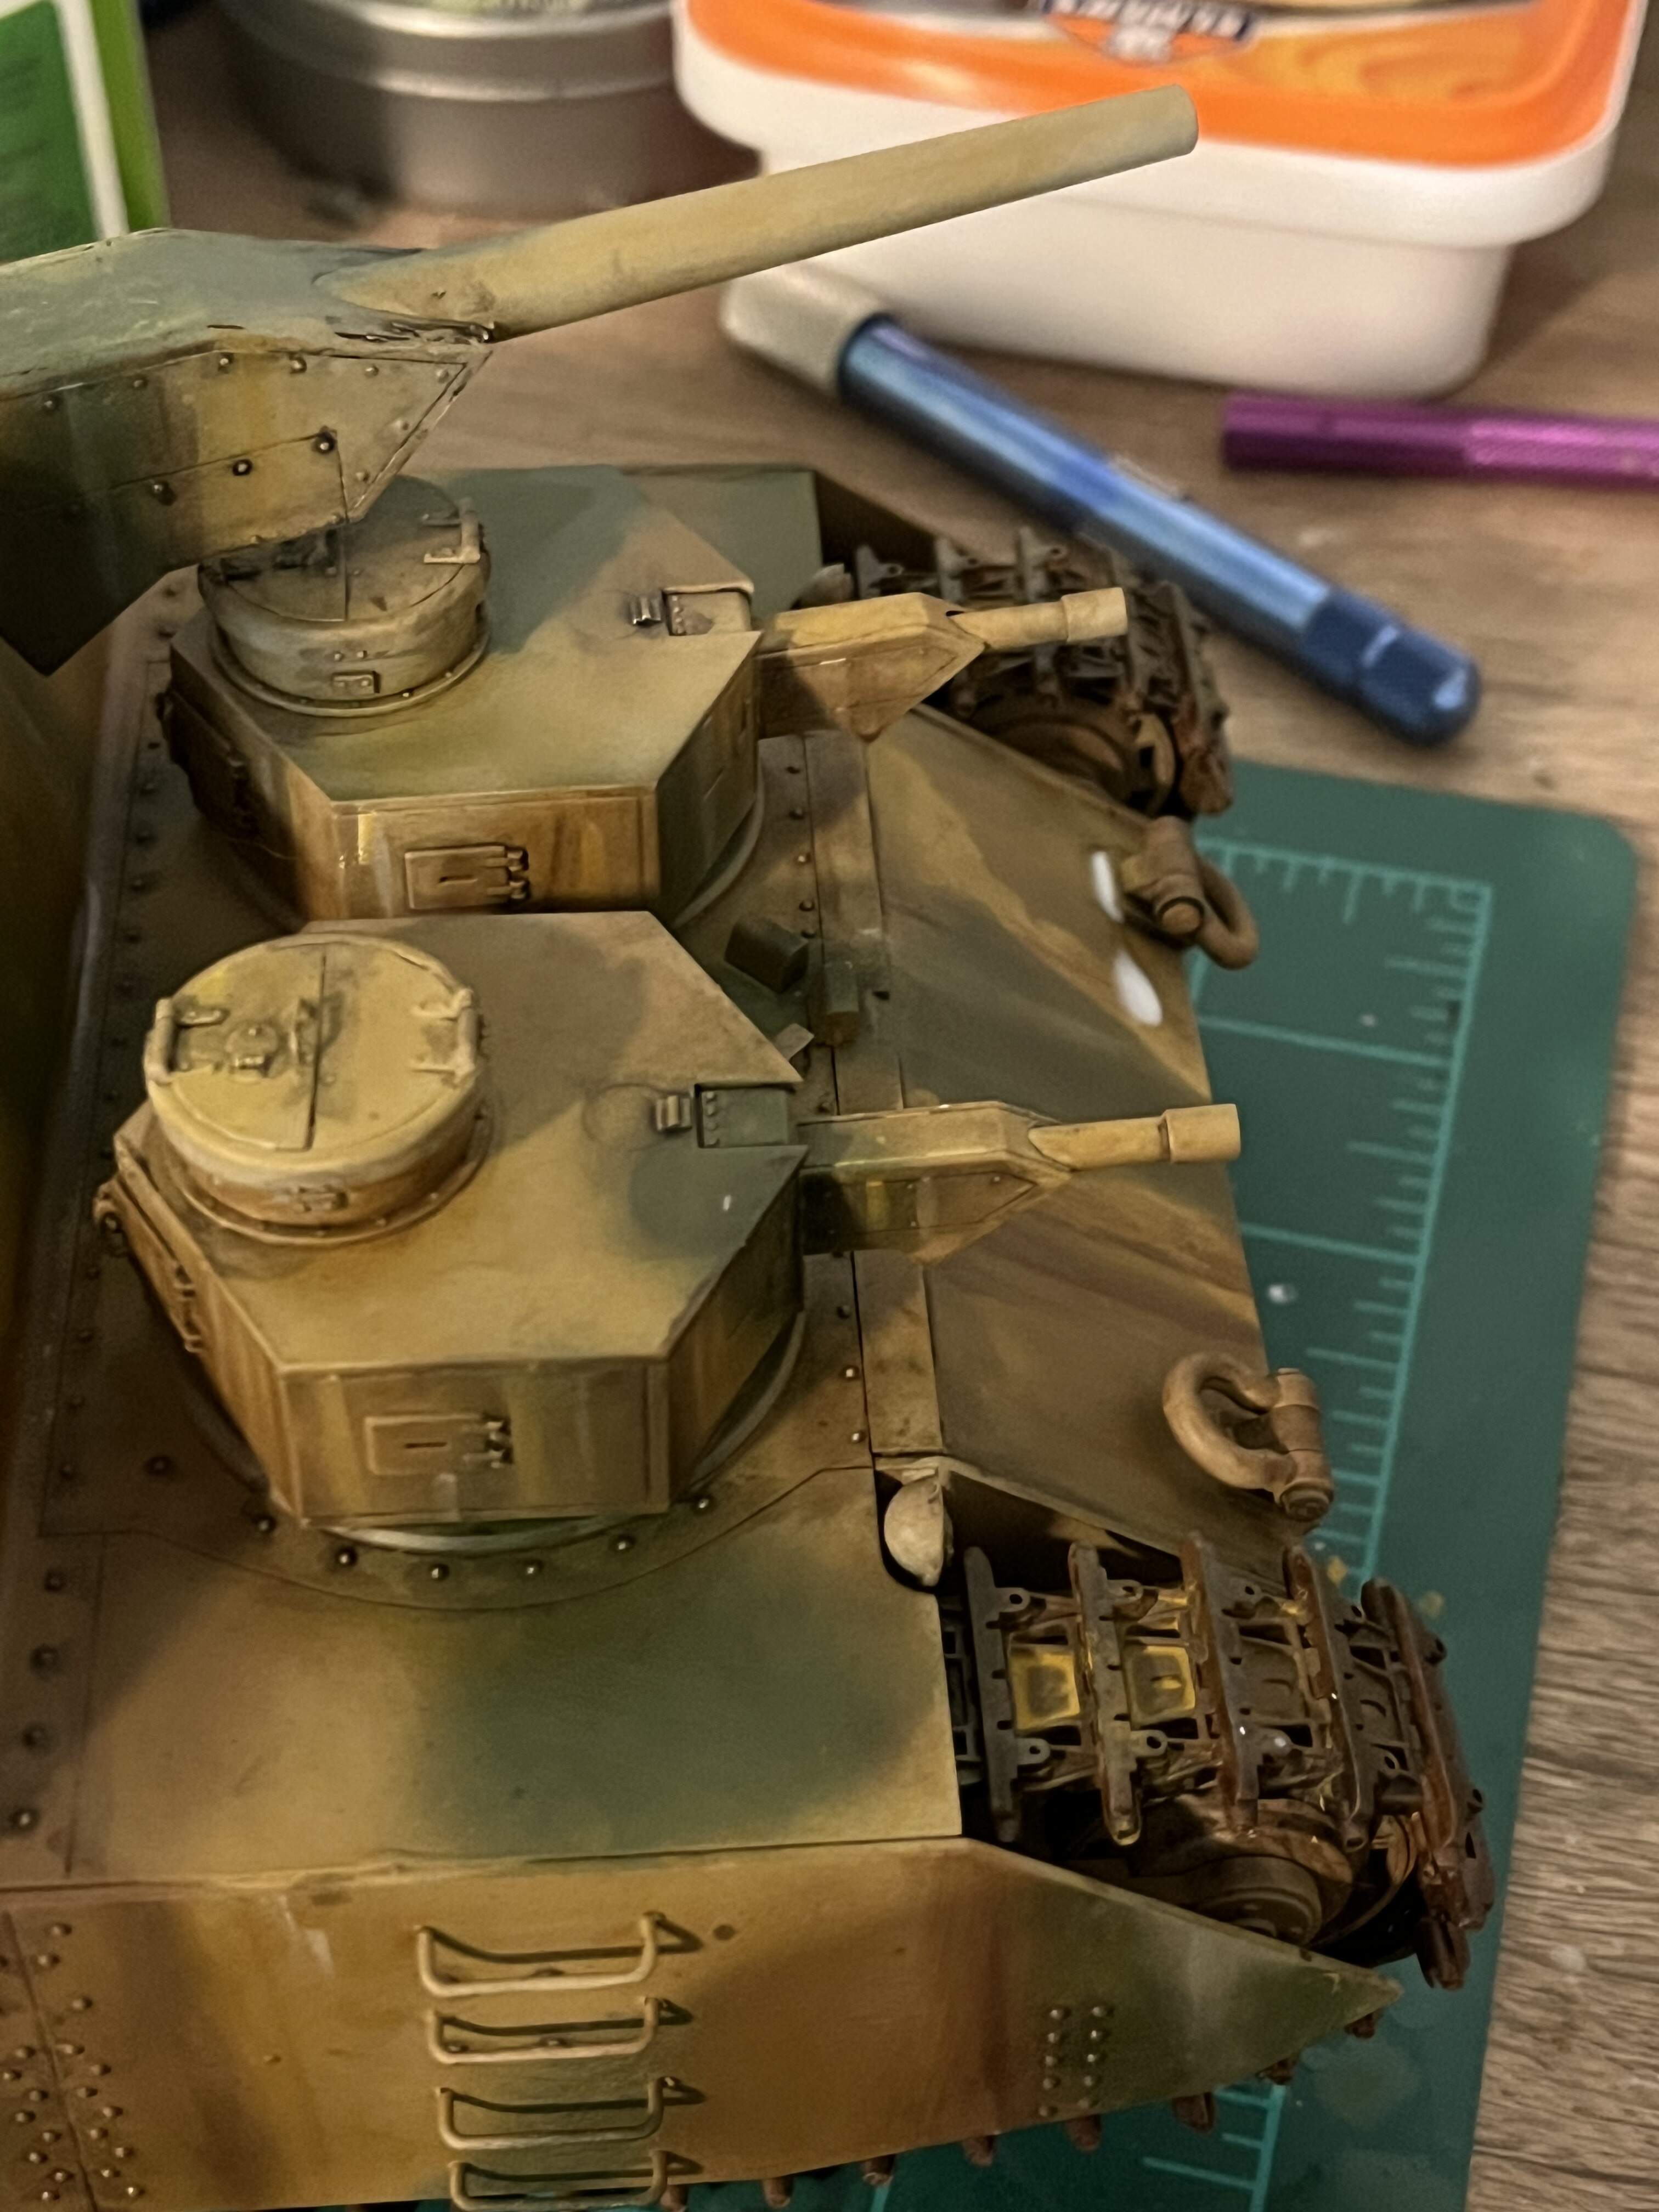
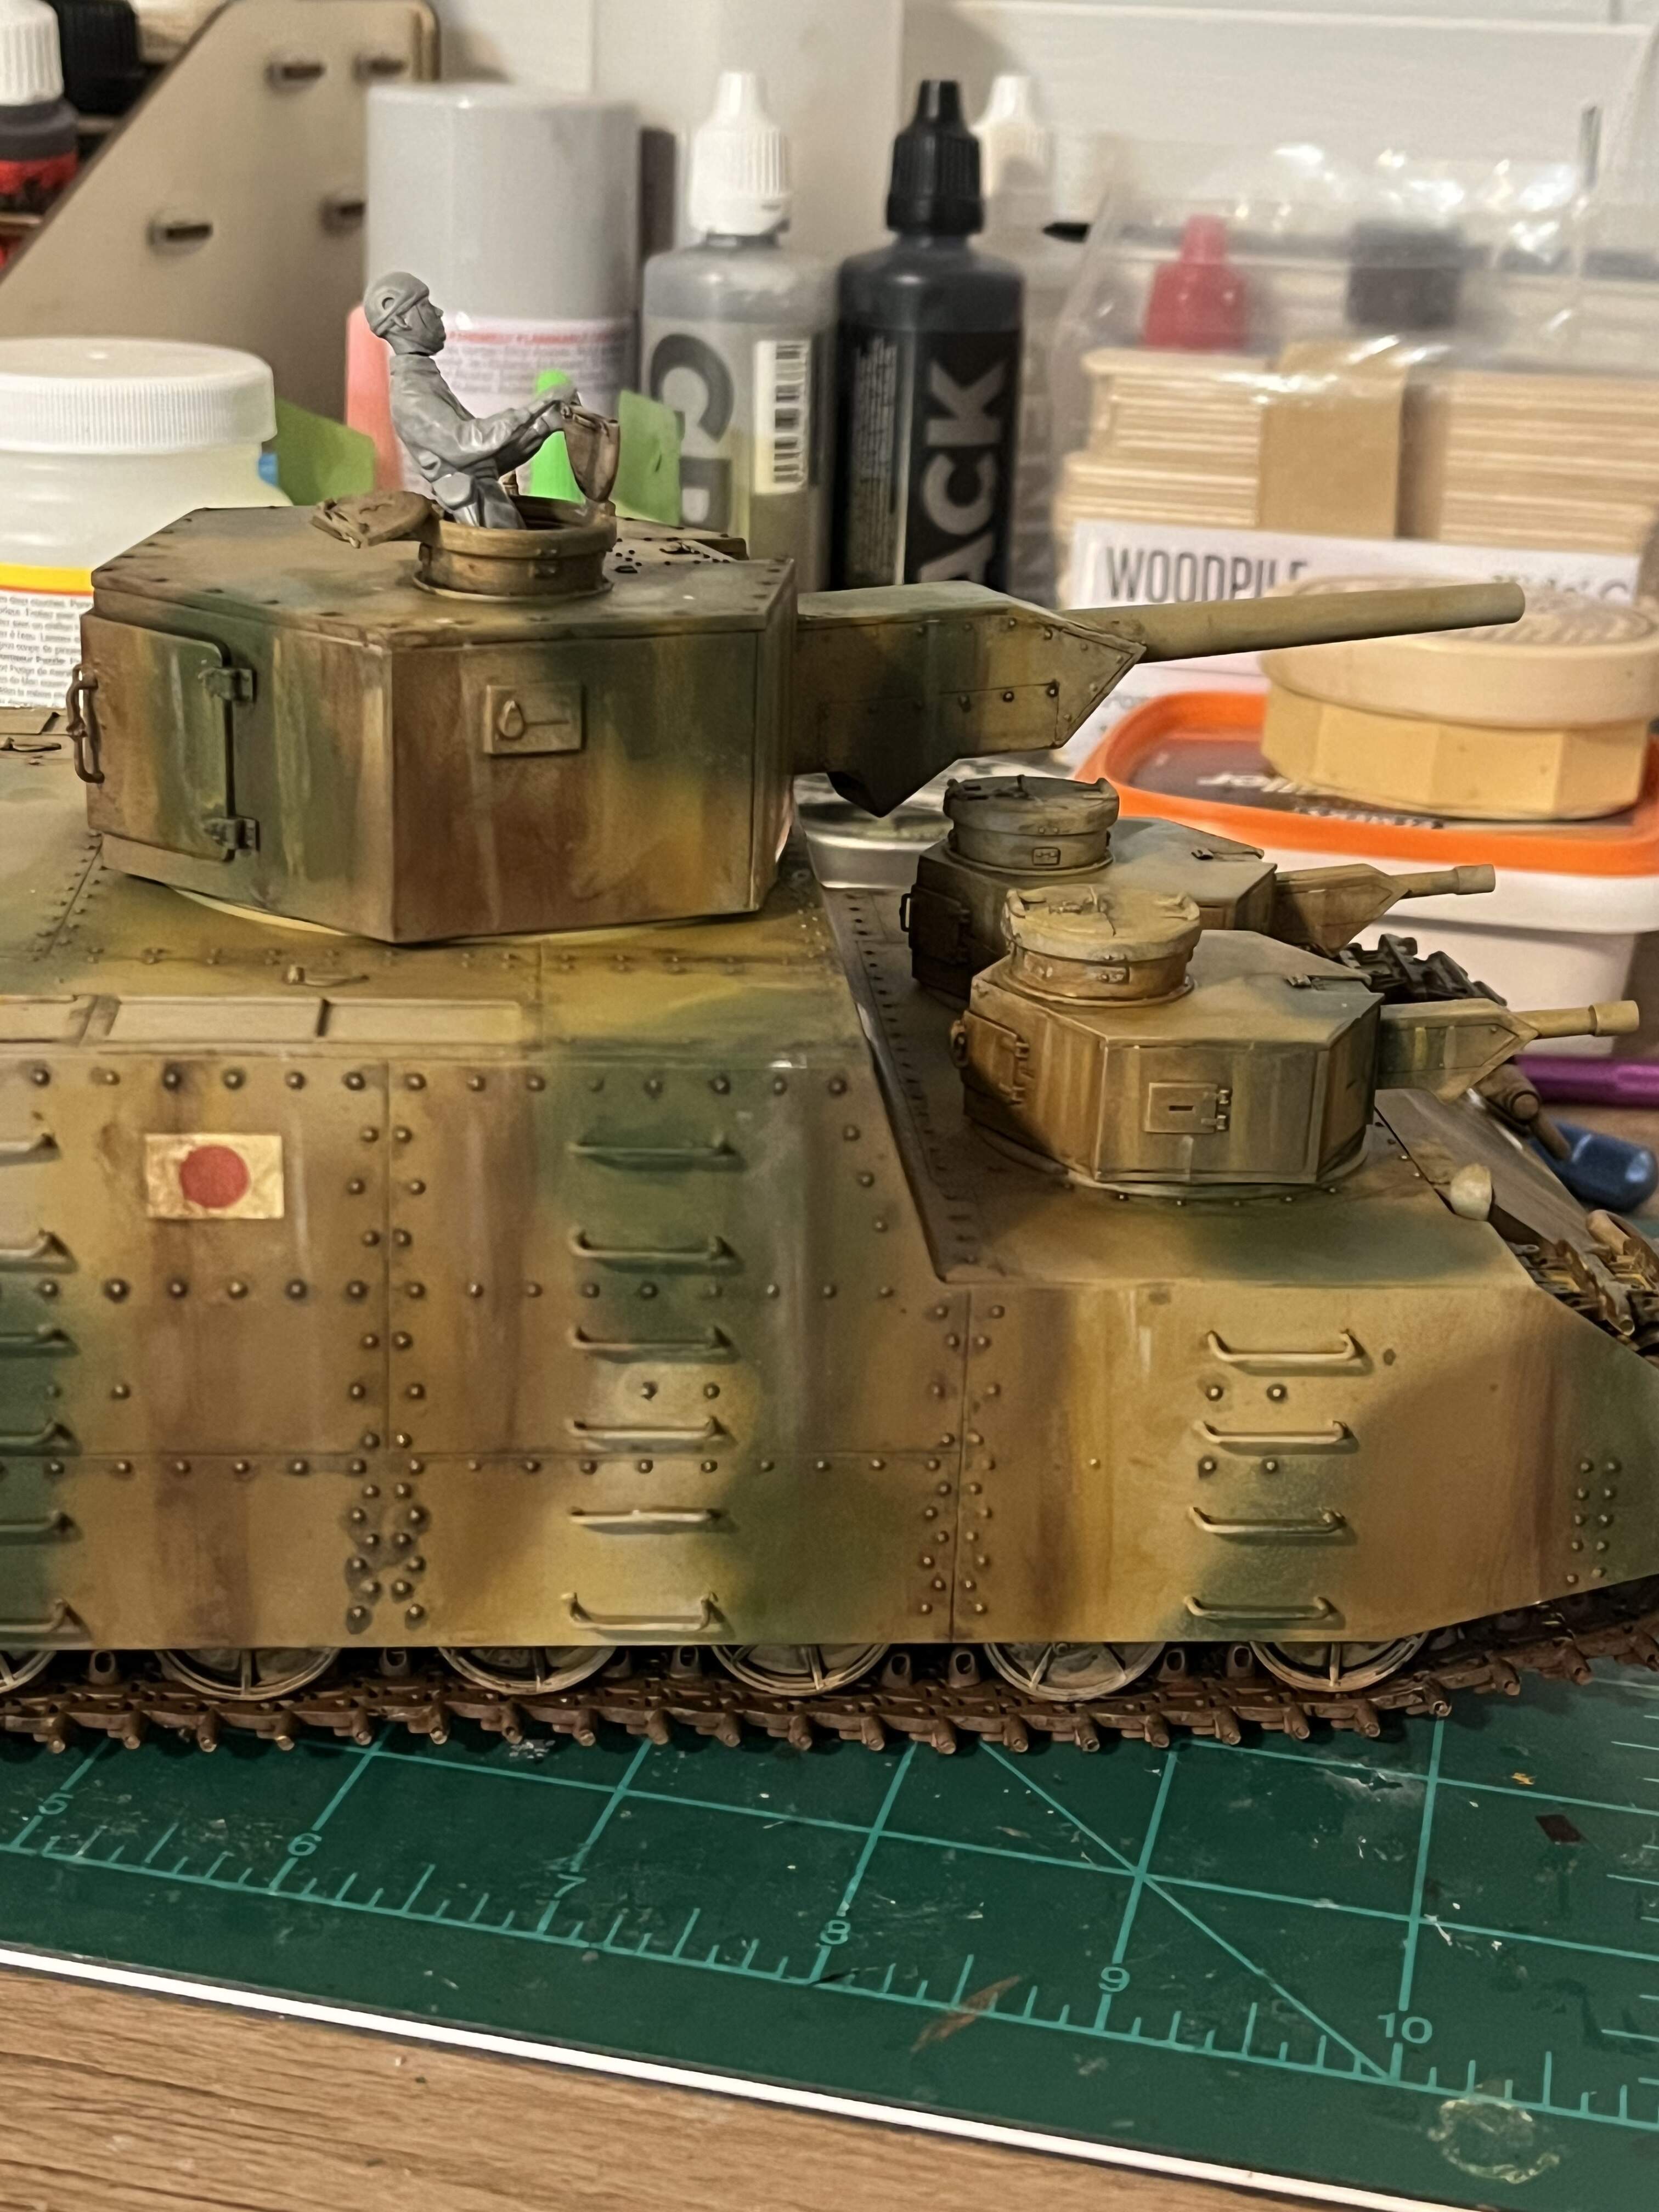
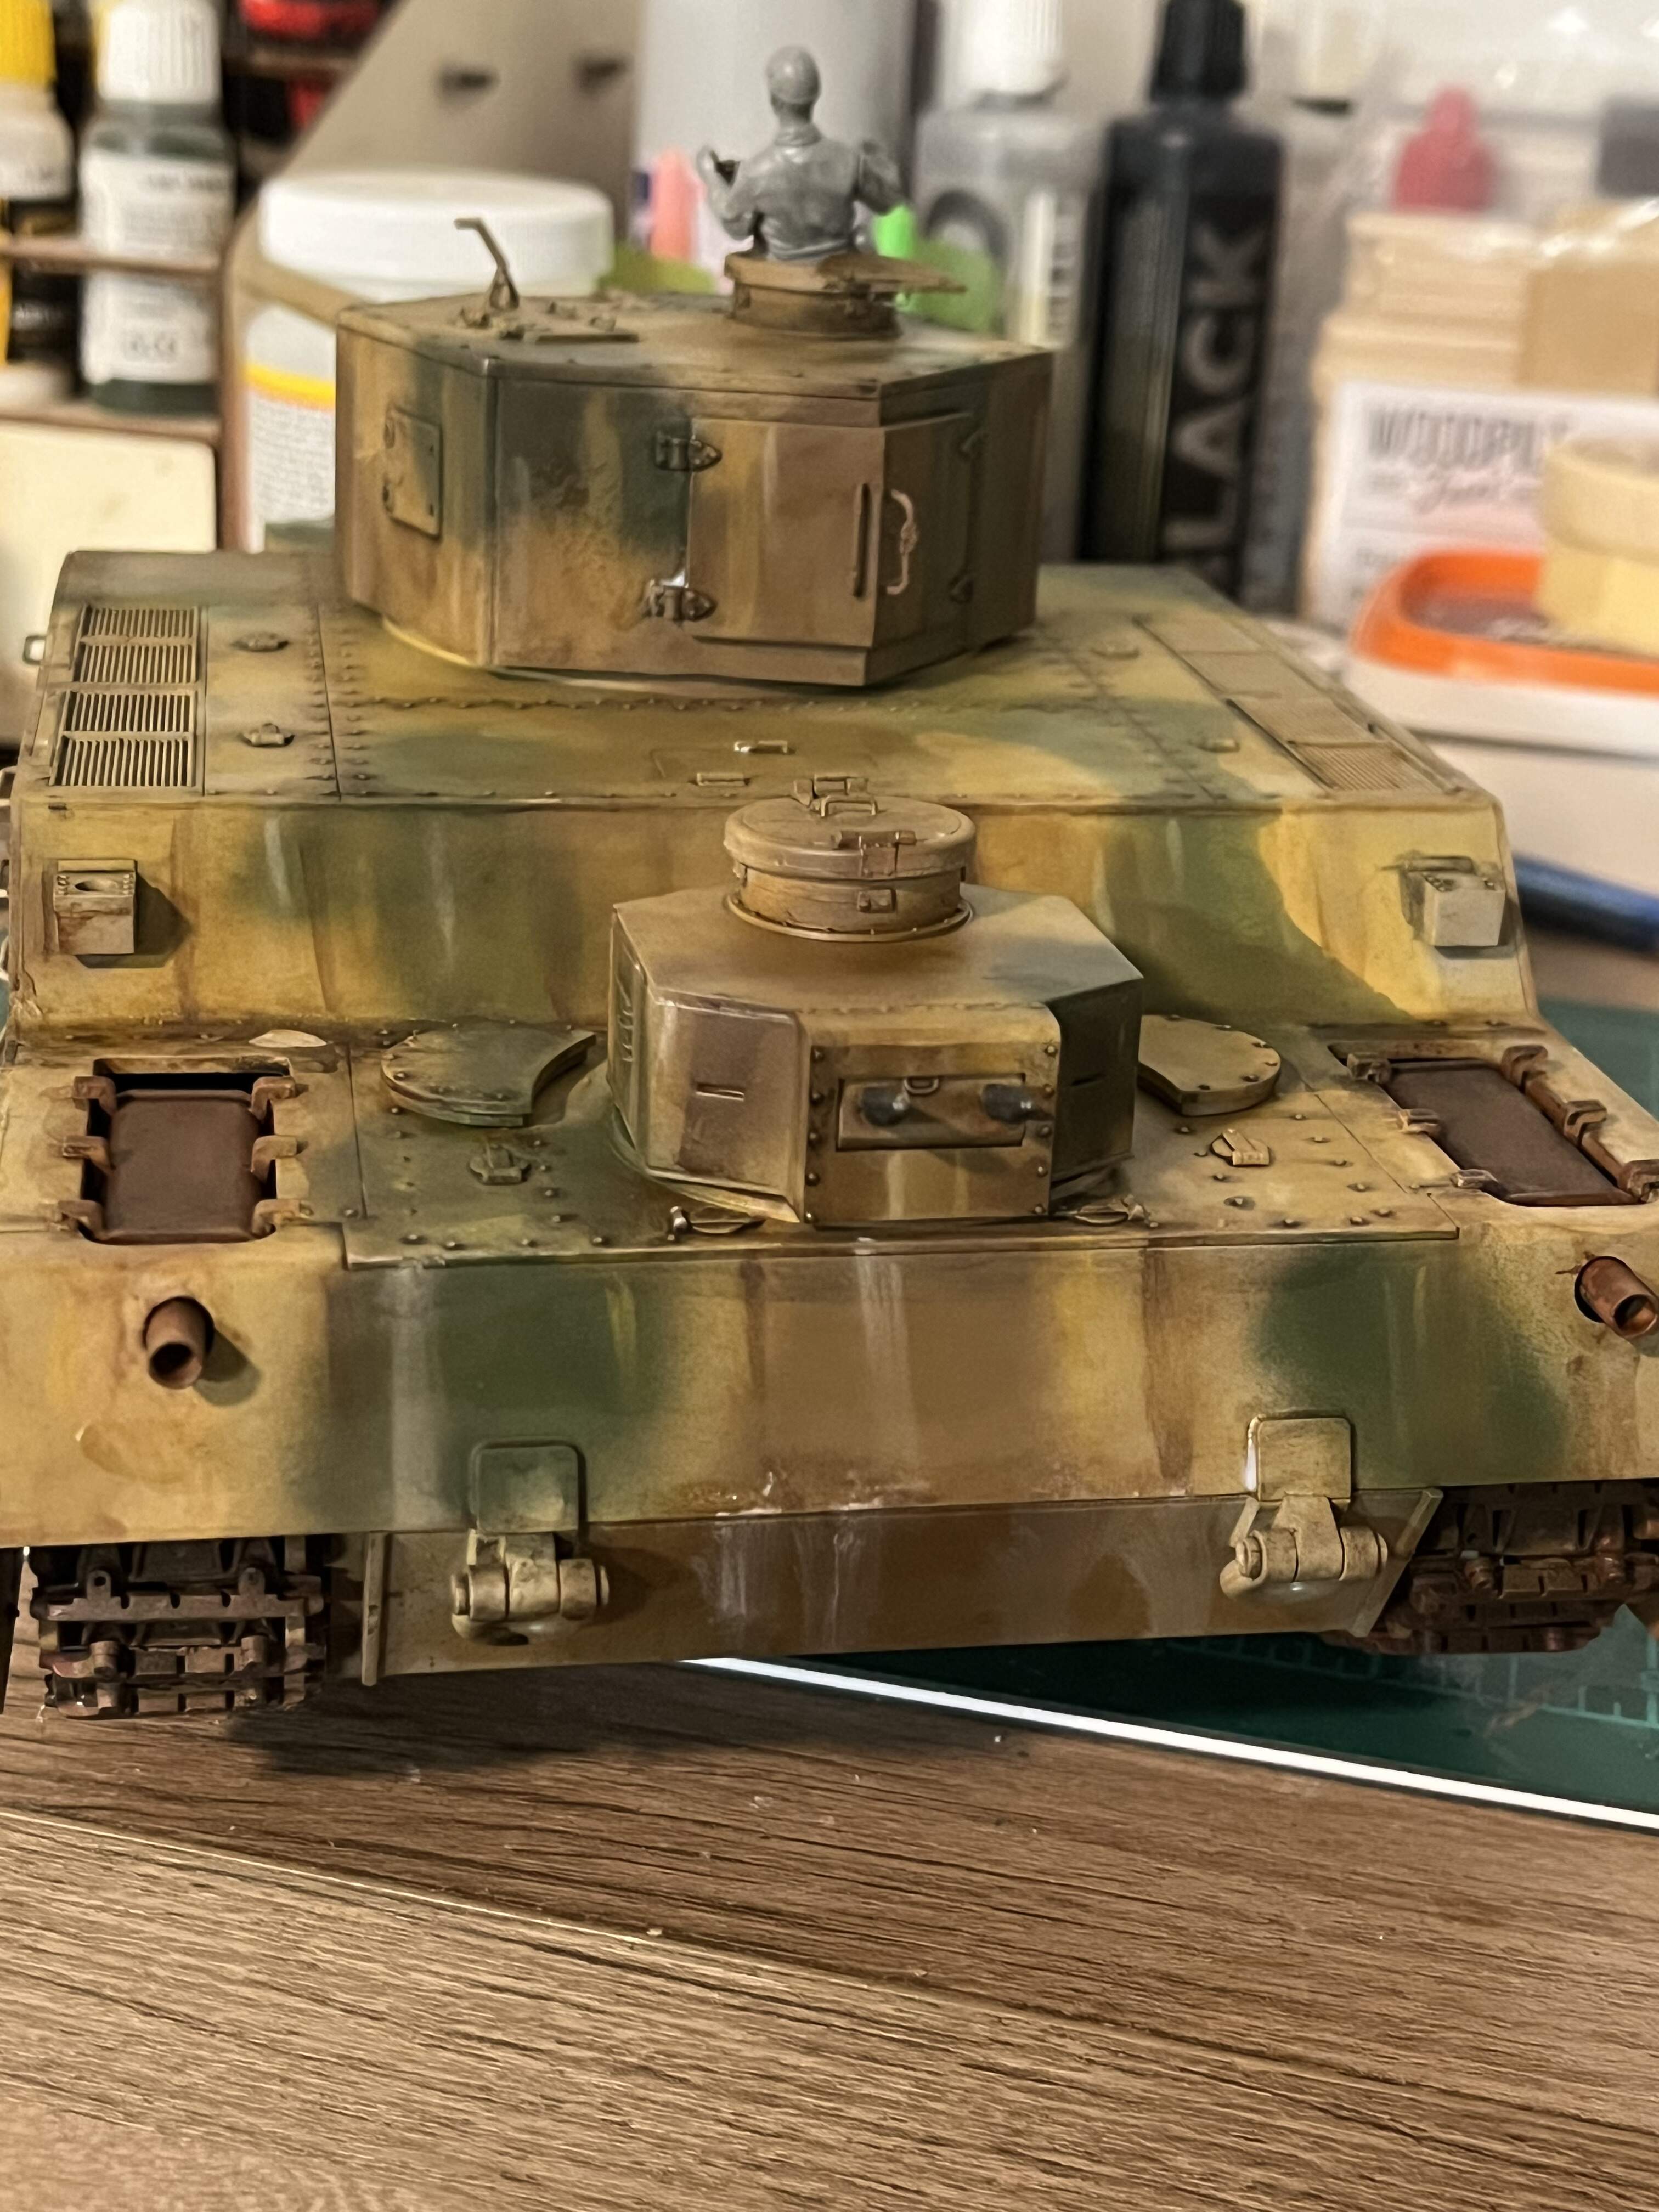
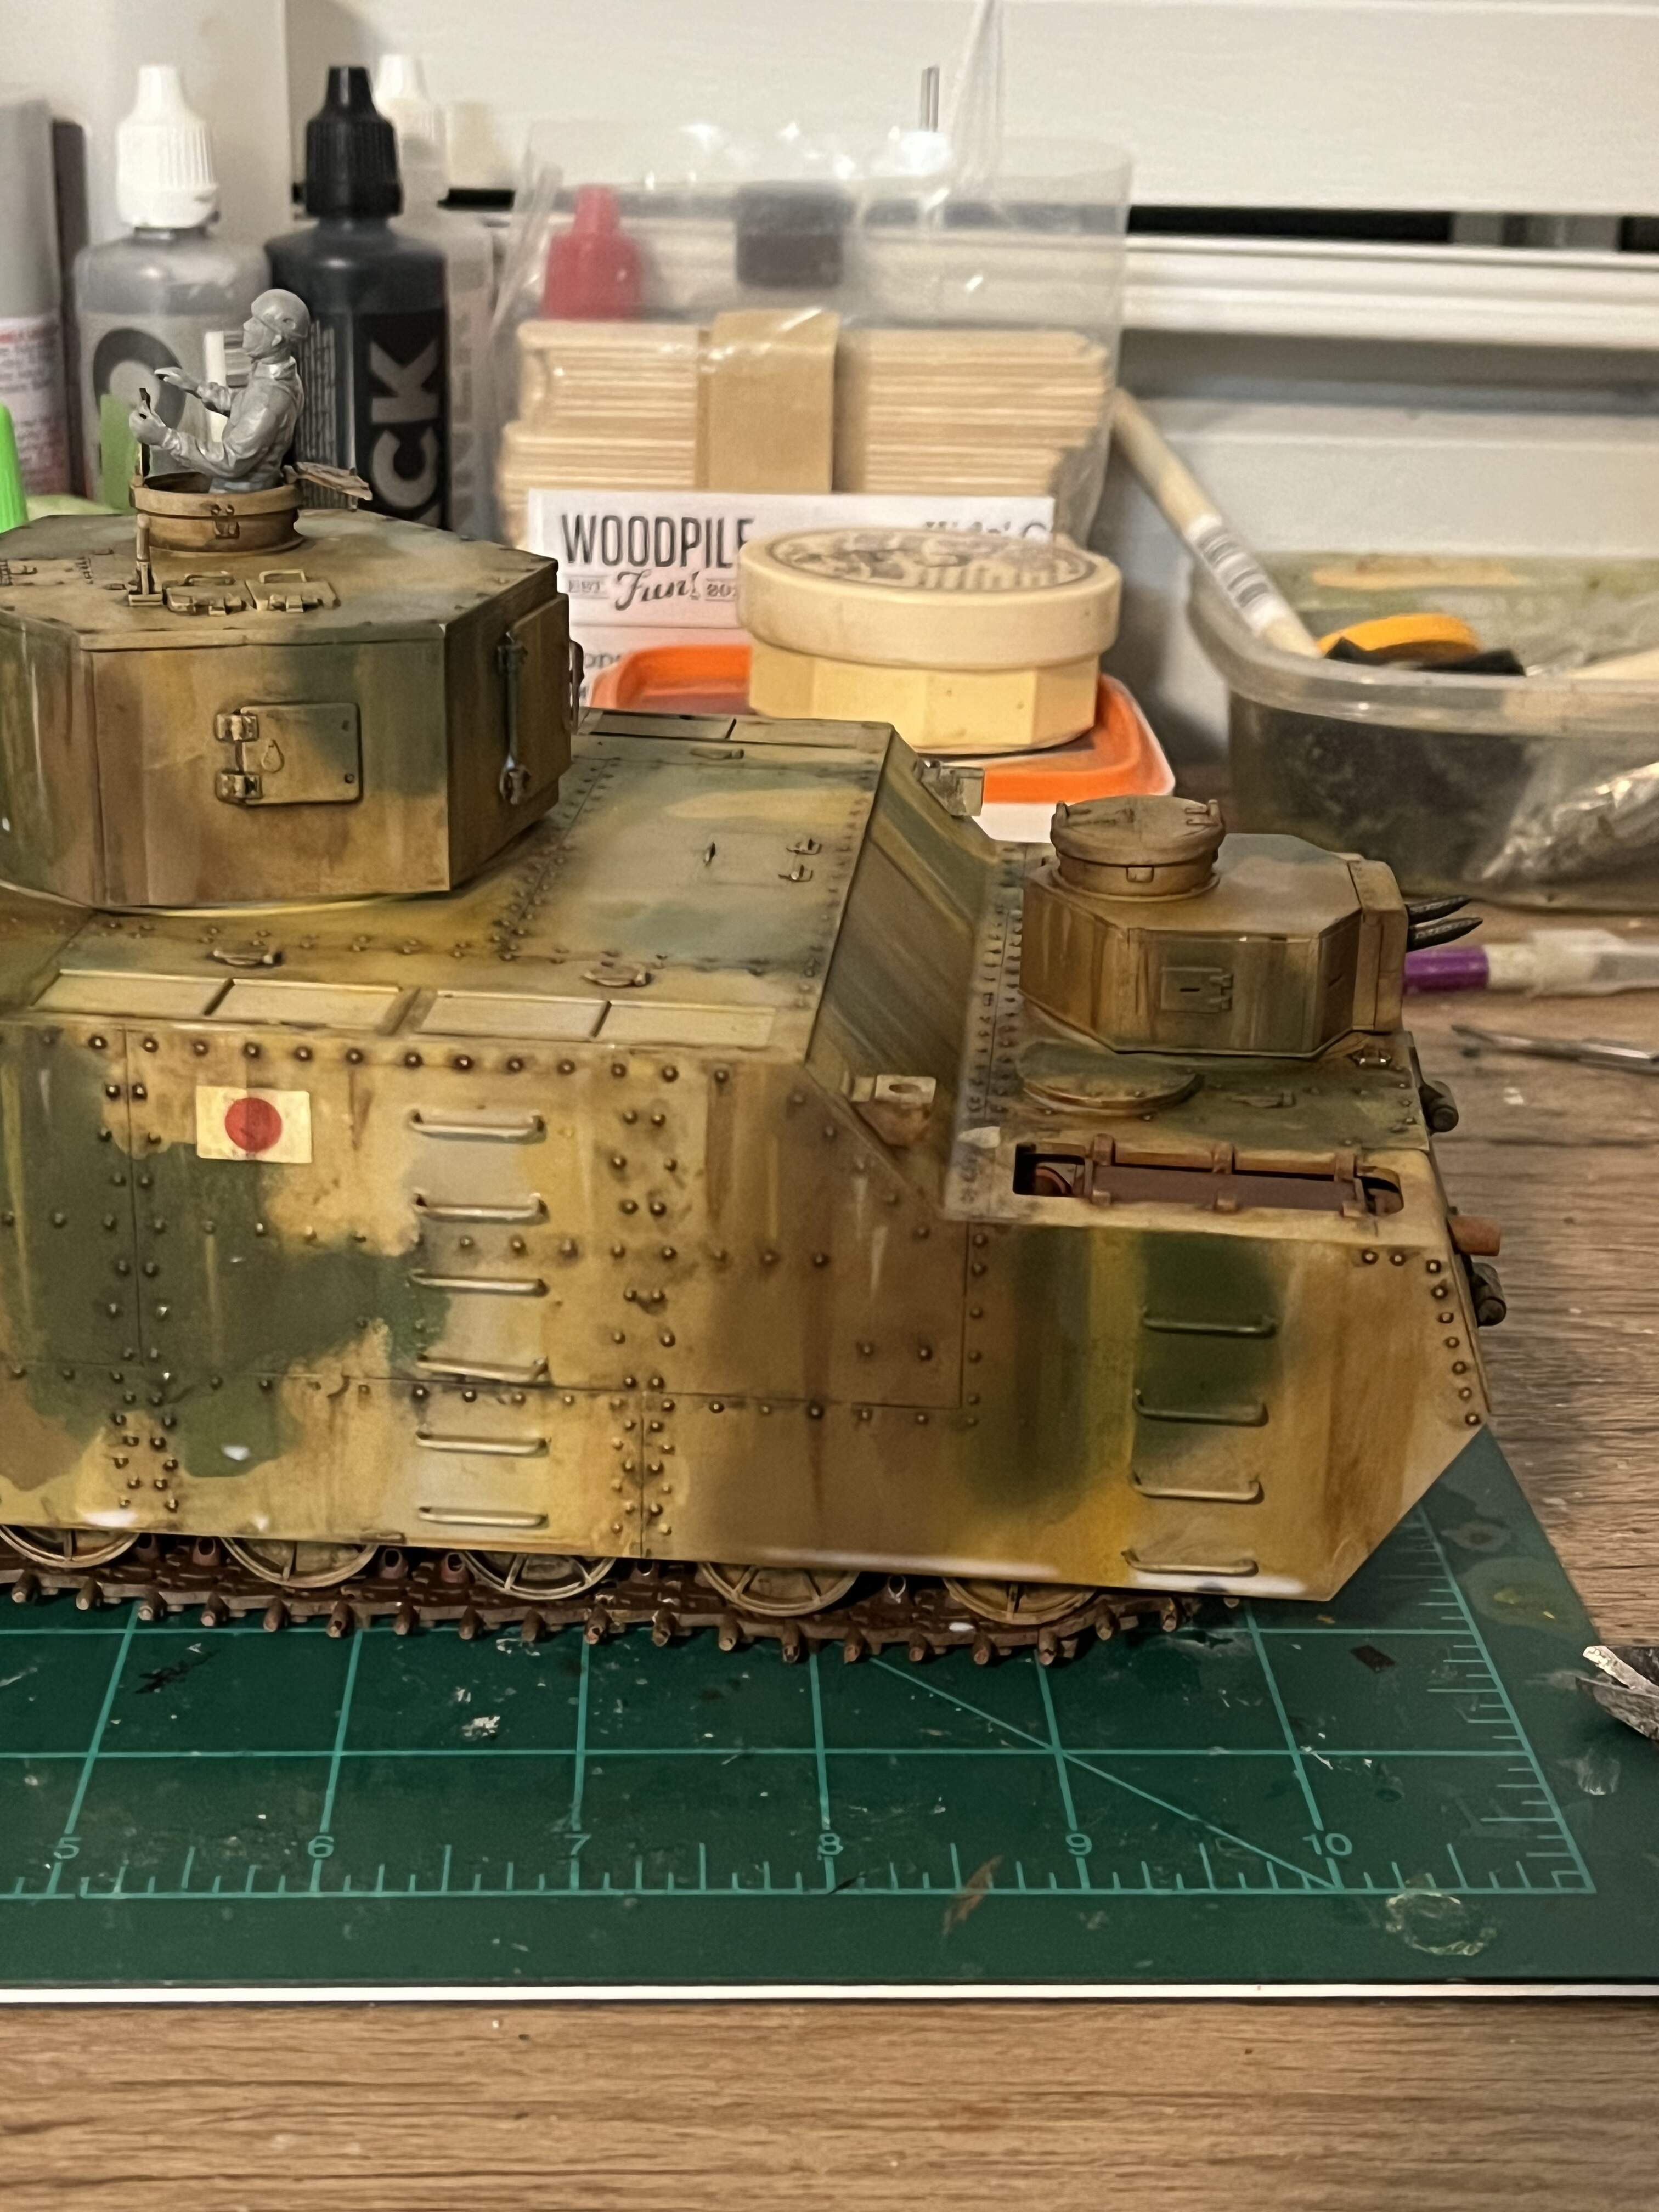
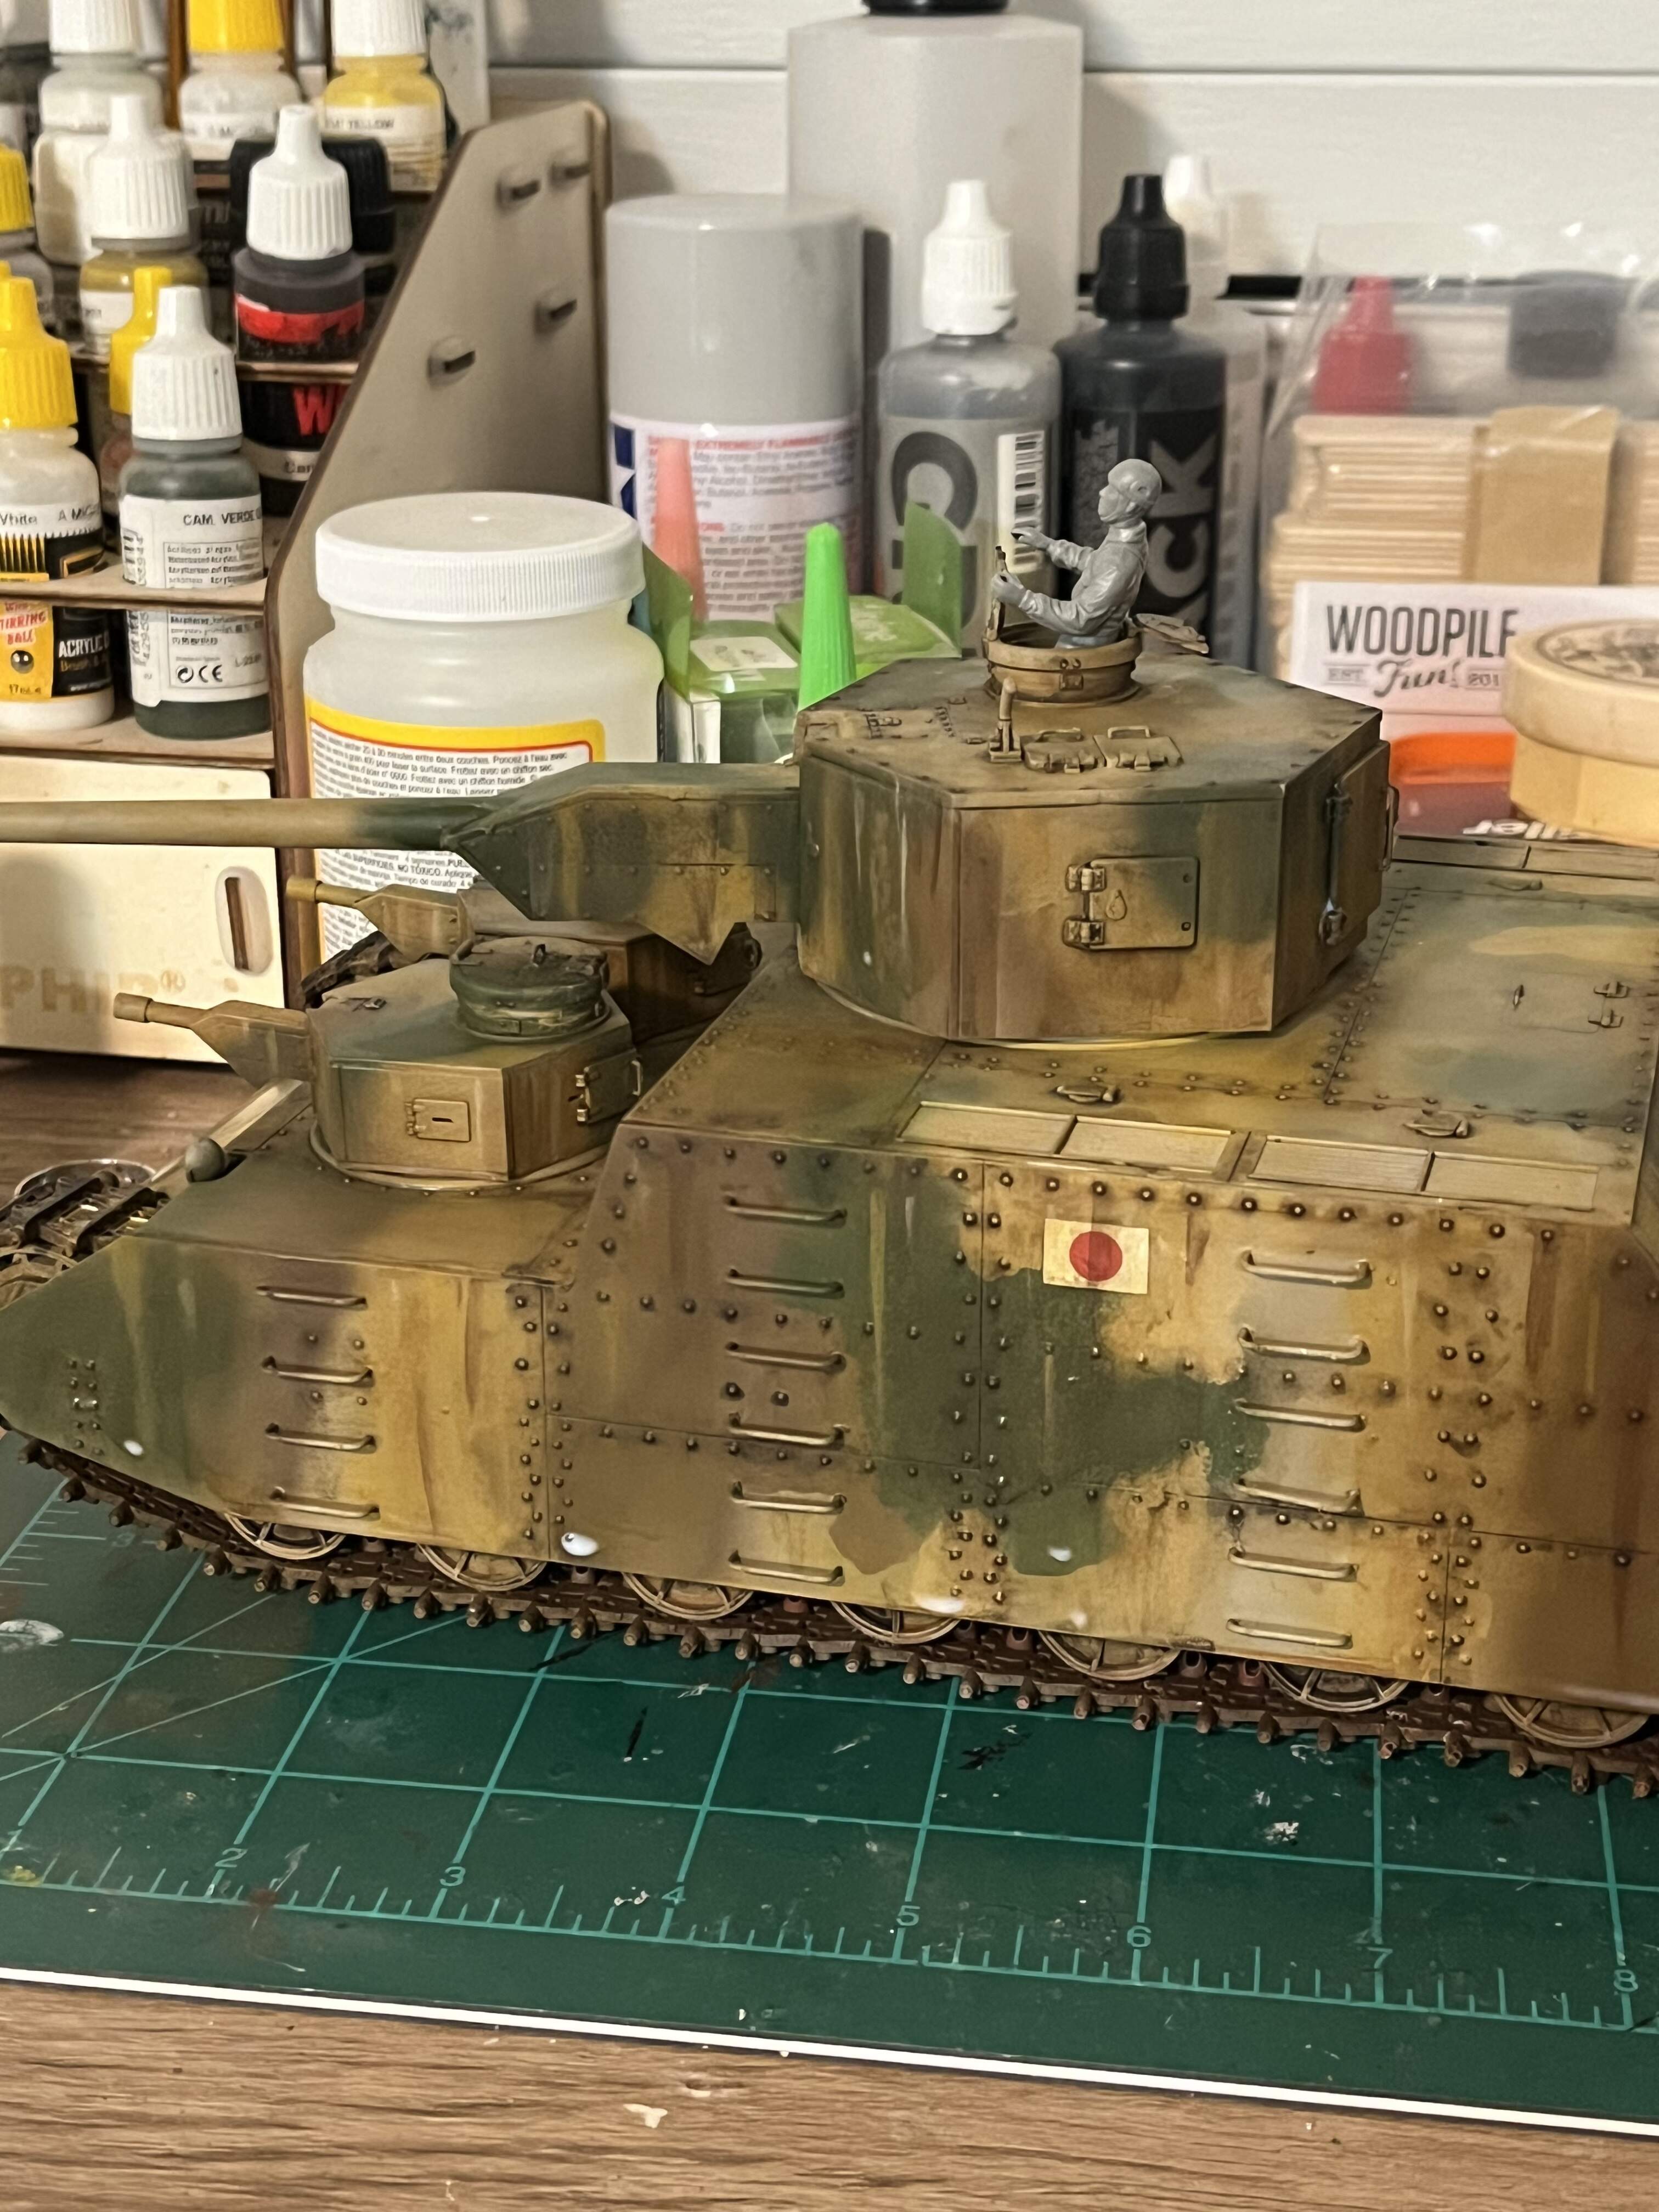
I’m calling this beast complete. I finished my weathering on her today and added streaking and some track finishes. I used oil paints and did a highlight and shadow on the whole kit, used ochre, lemon yellow and white for the highlights and ochre with burnt umber for the shadow. For streaming i used ammo migs streaking grime along with oil paint colors ochre and white. The tracks were finished with ammo migs track wash and then a few coats of ochre mixed with naphtha.
I will paint the figure at a later time as i need to see what colors i need for him. Will probably have a painting rodeo with a few other figures in coming weeks.
@hudson29@McRunty thank you gentlemen it was a heck of a build and a different paint job. Wasn’t sure if i was going to like the camo scheme at the end but luckily the oil paints and filters did their job.
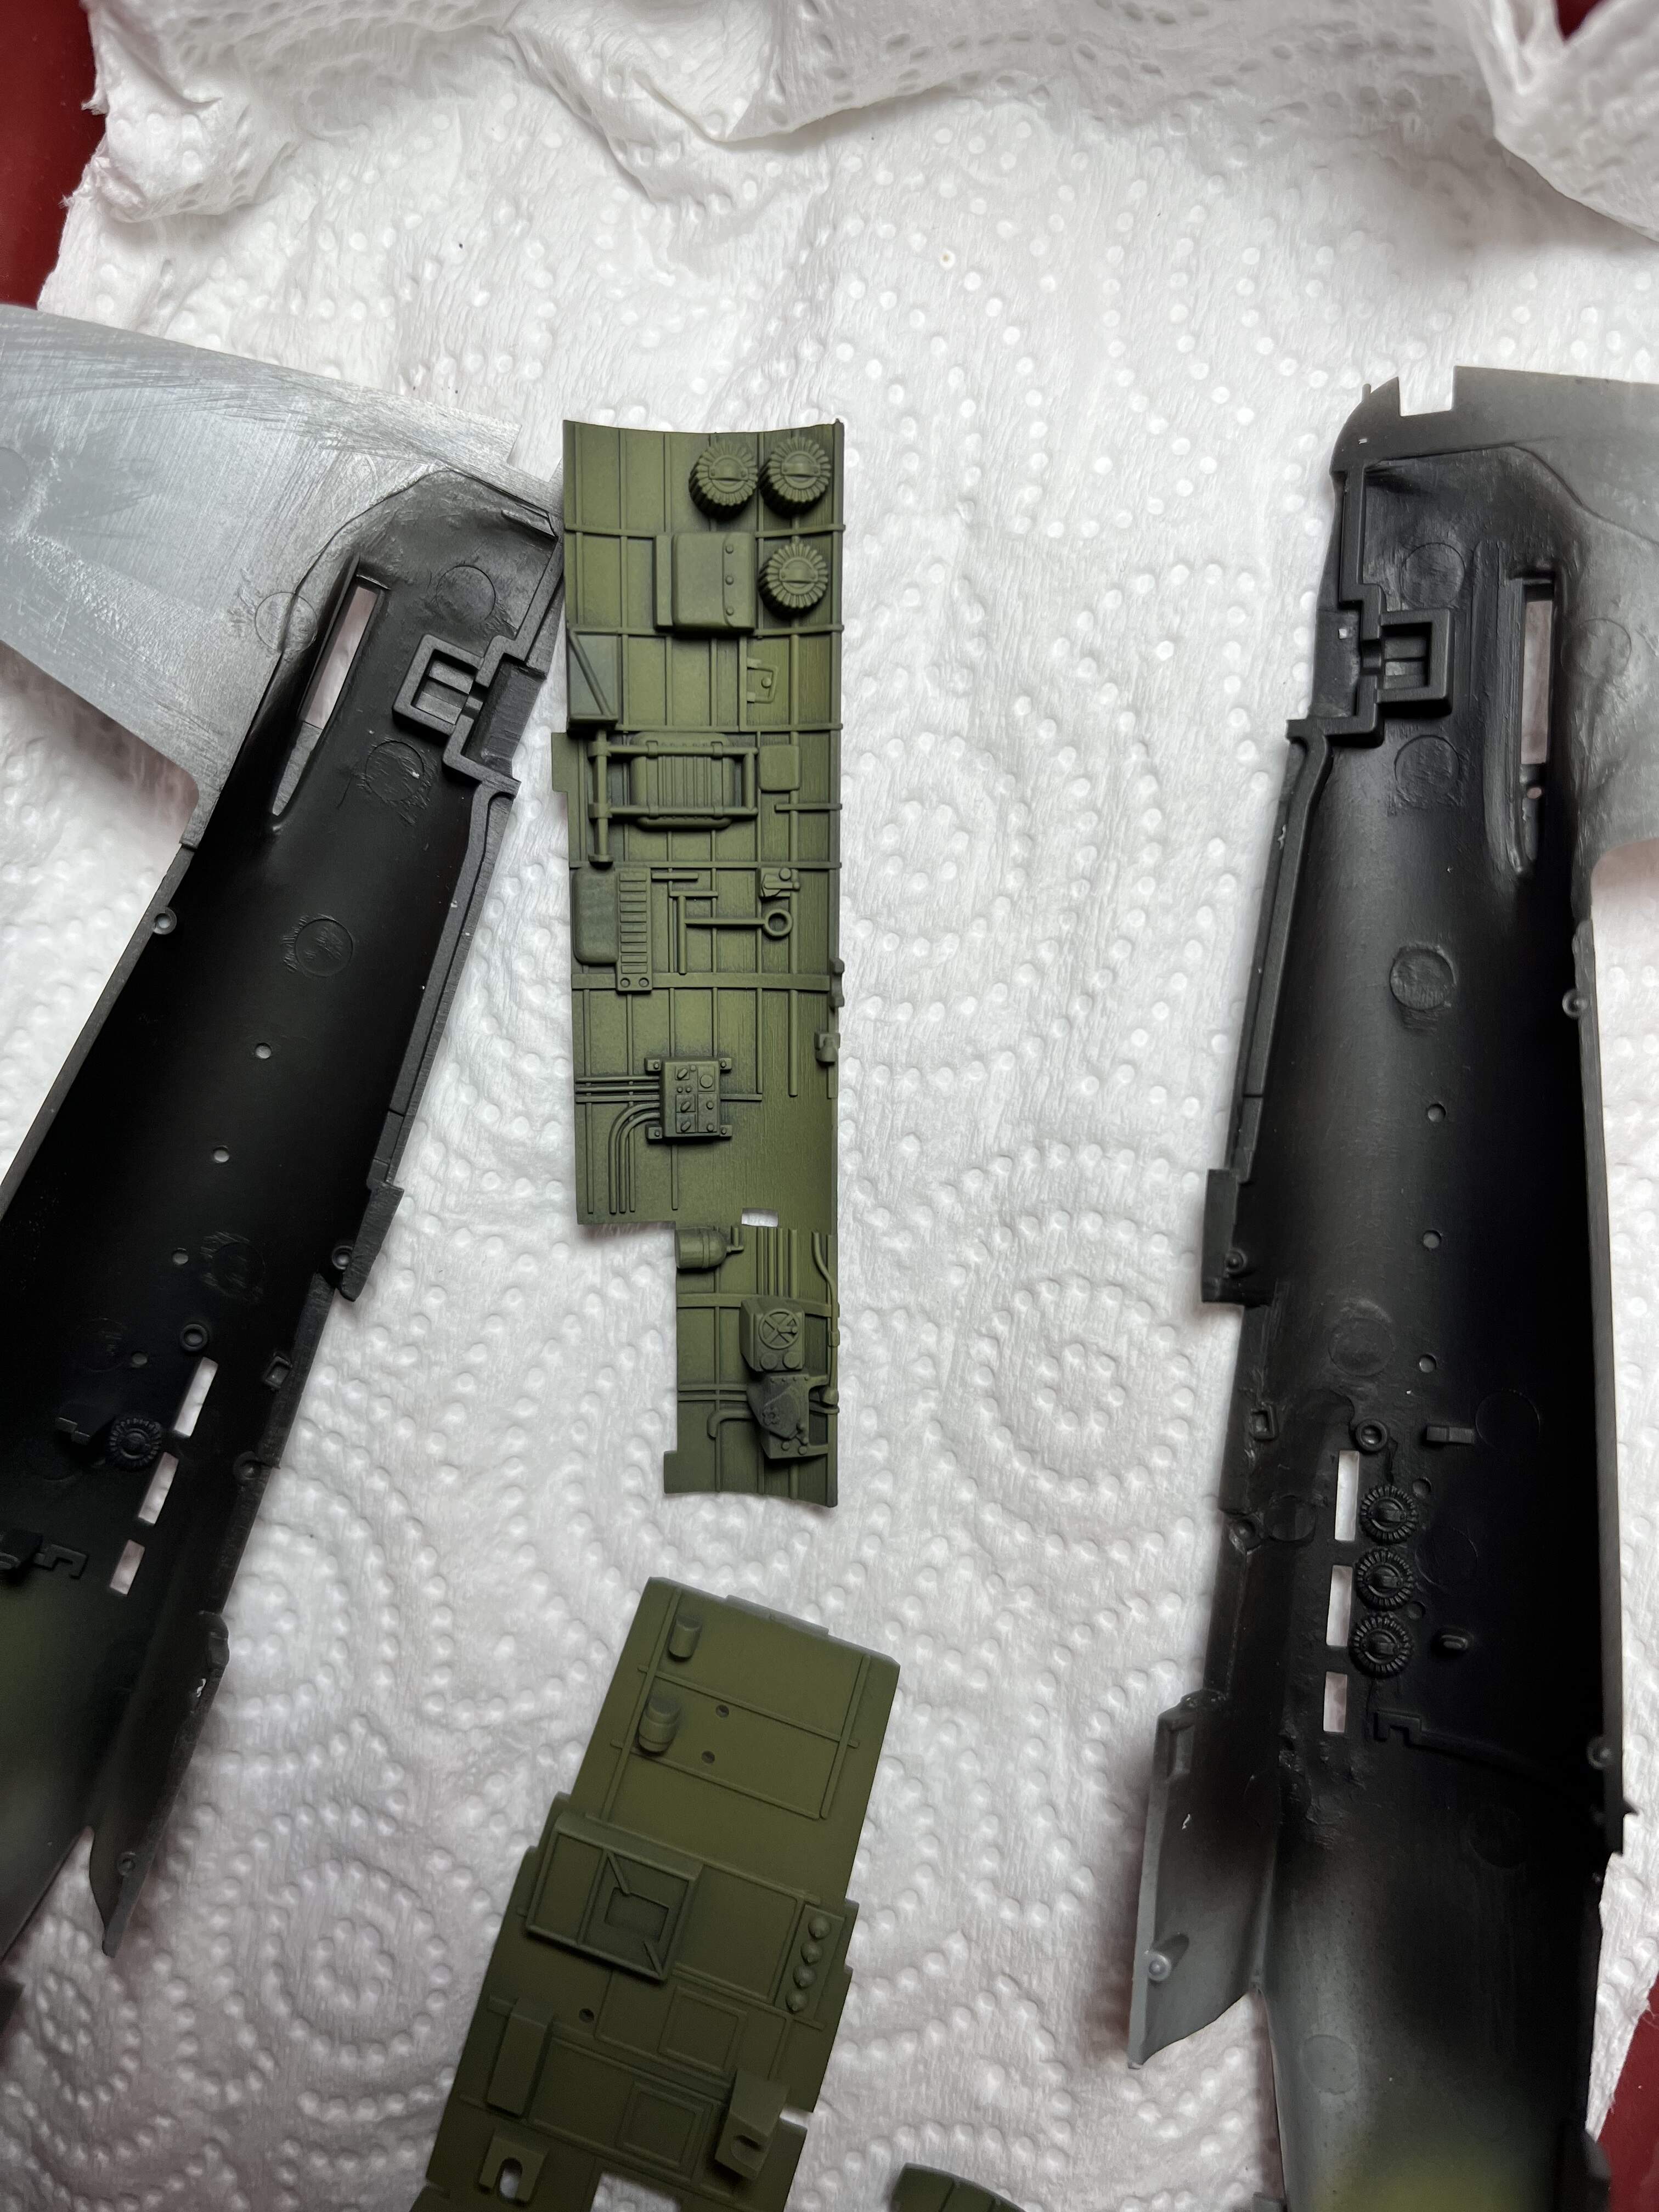
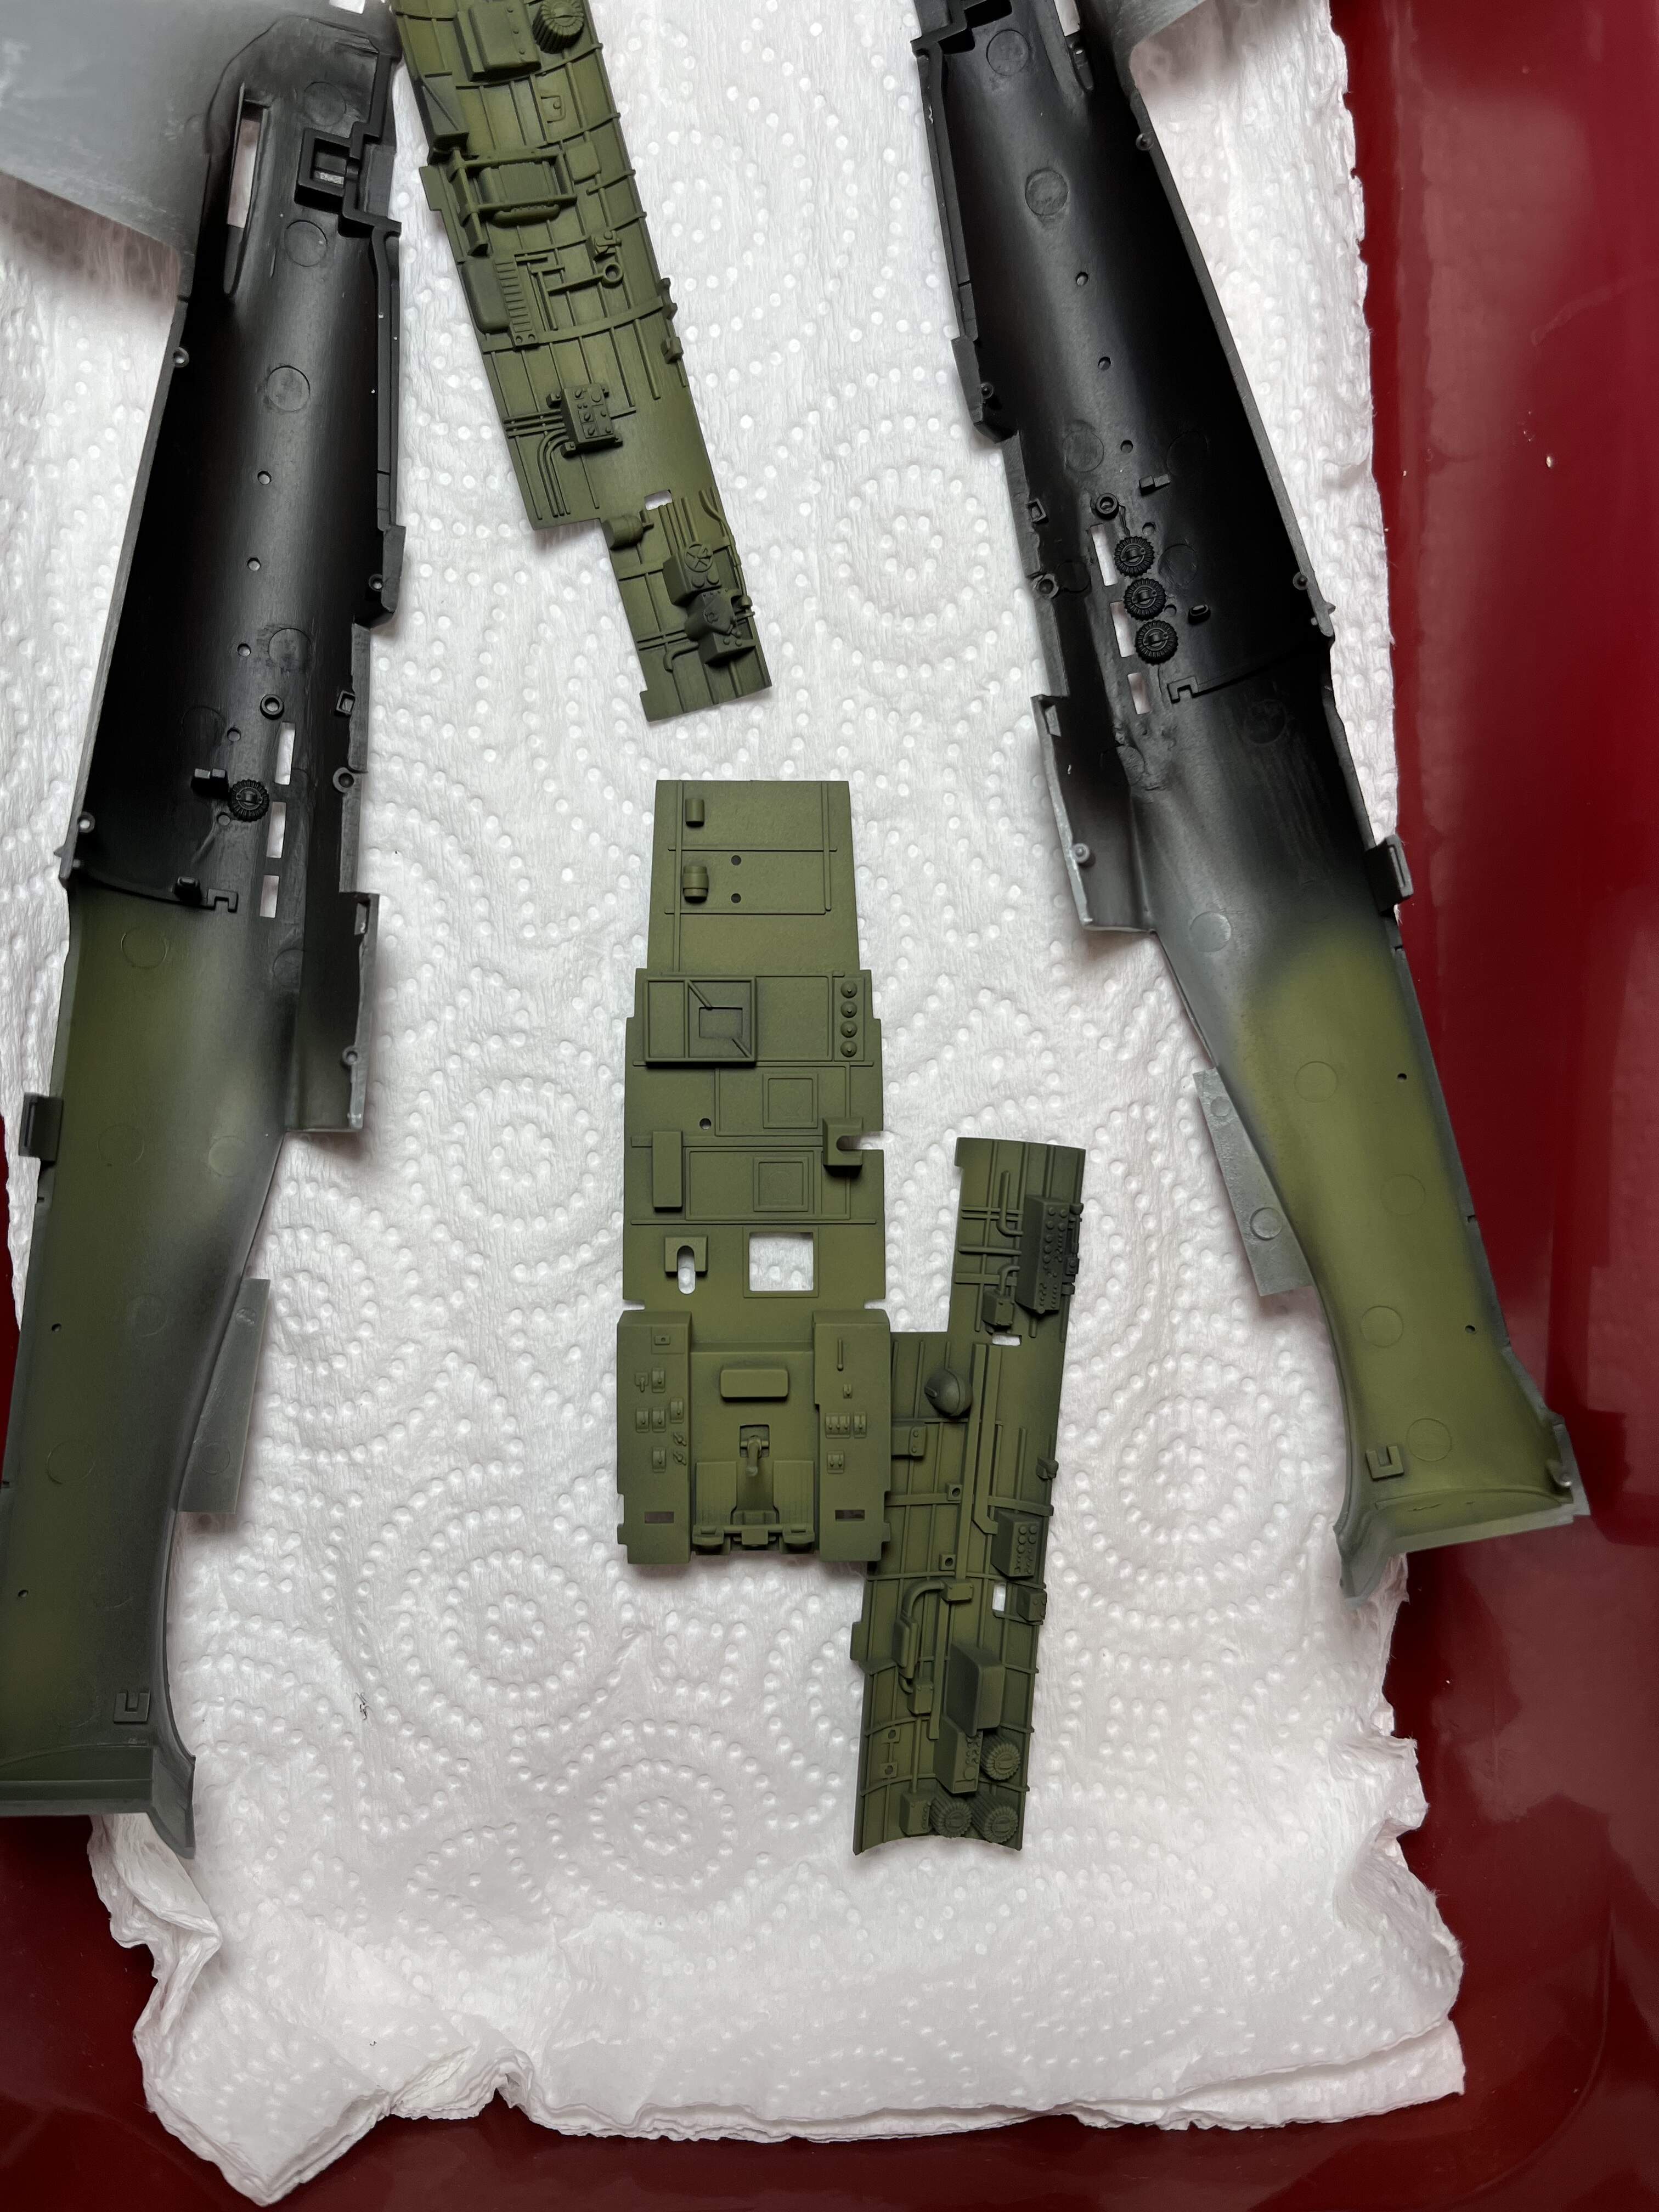
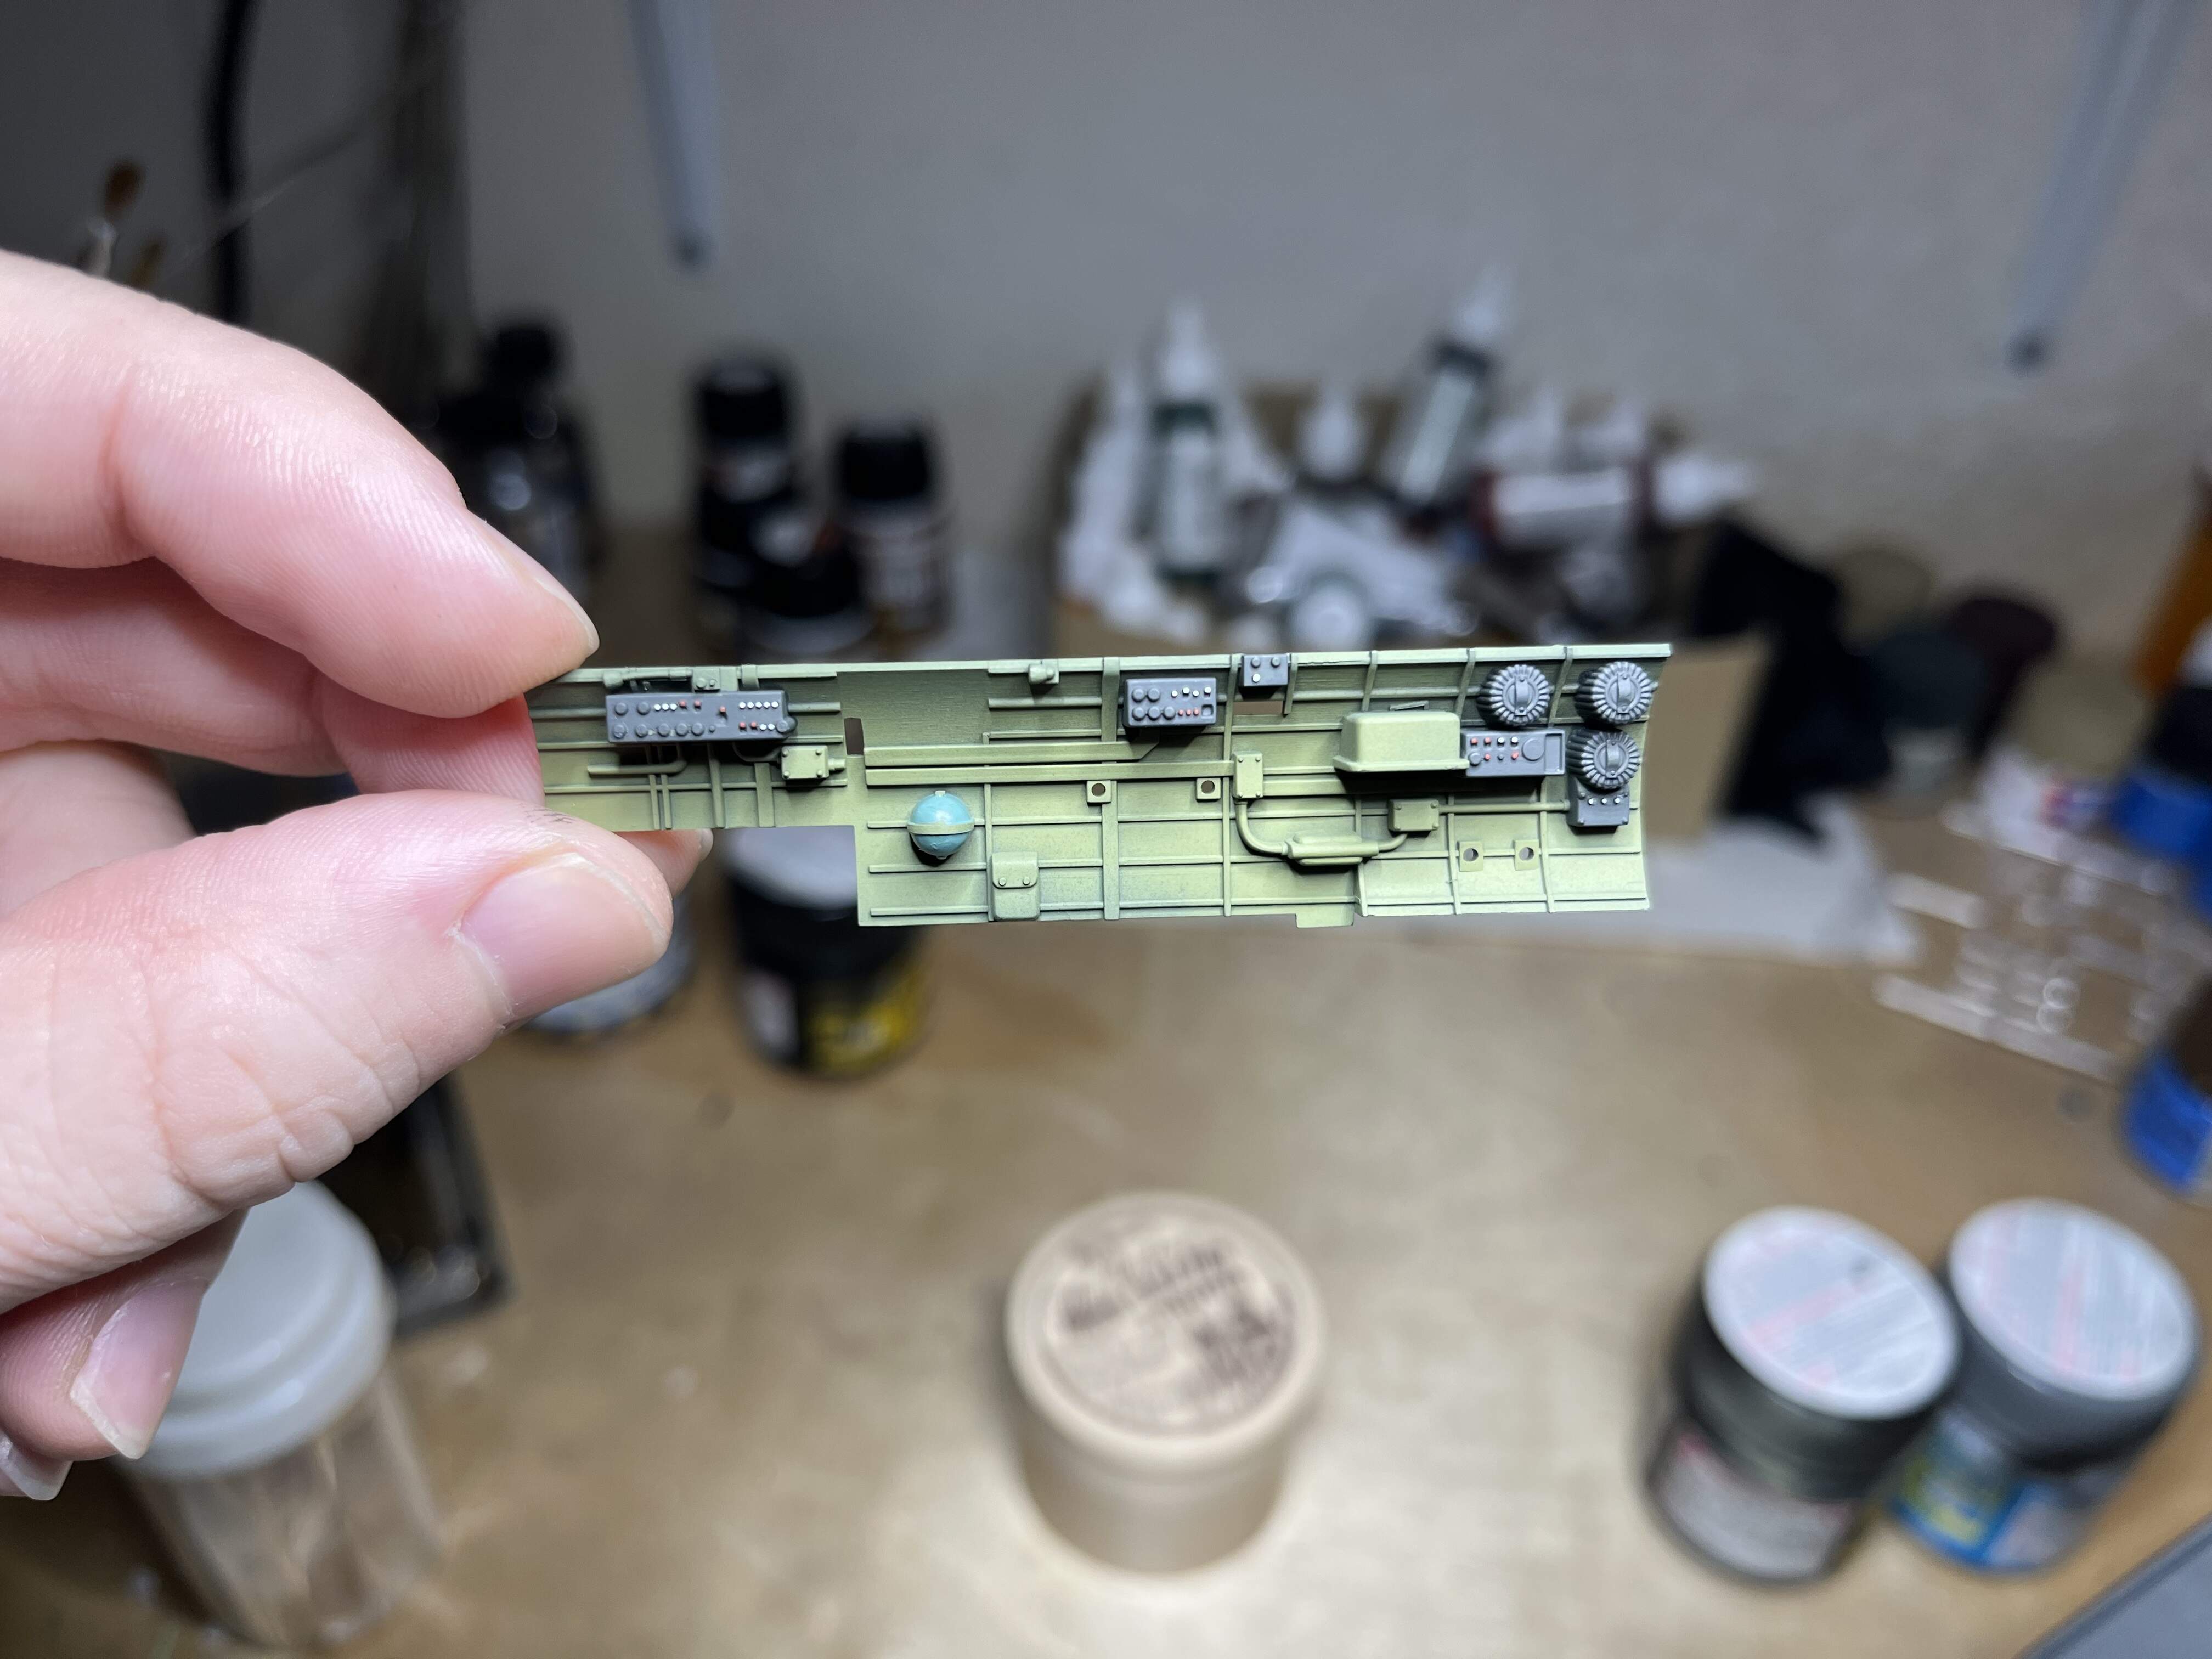
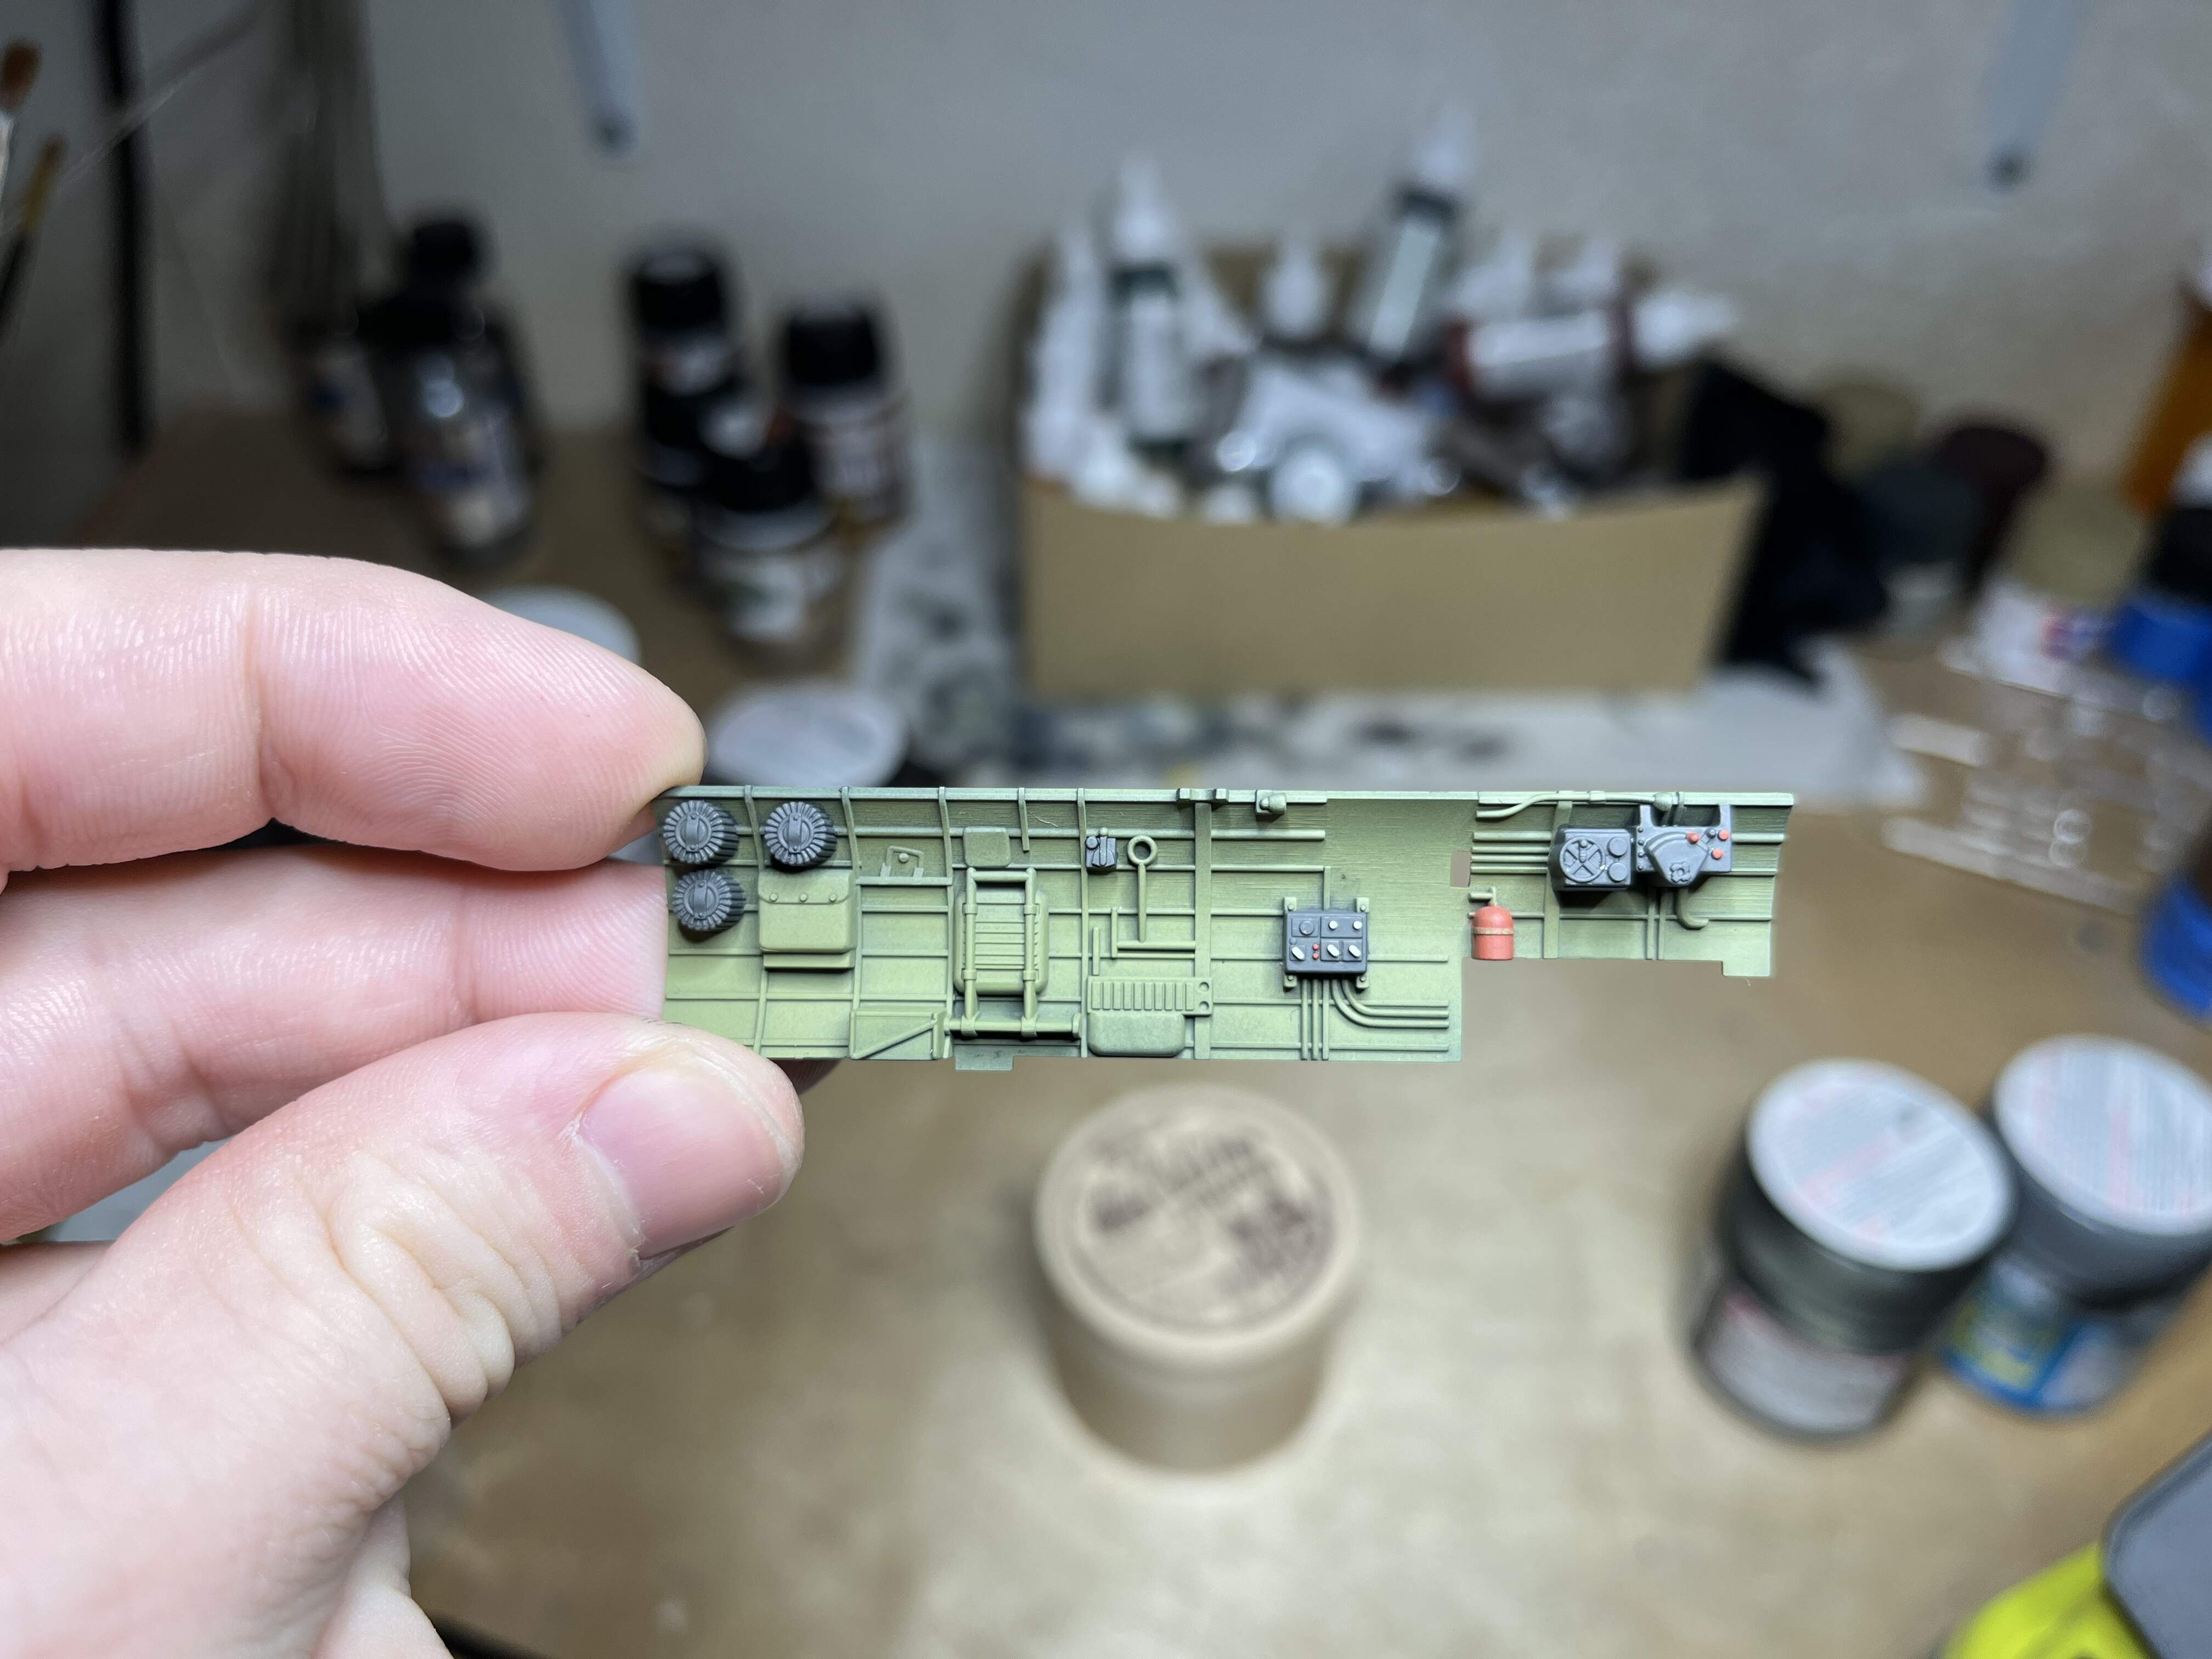
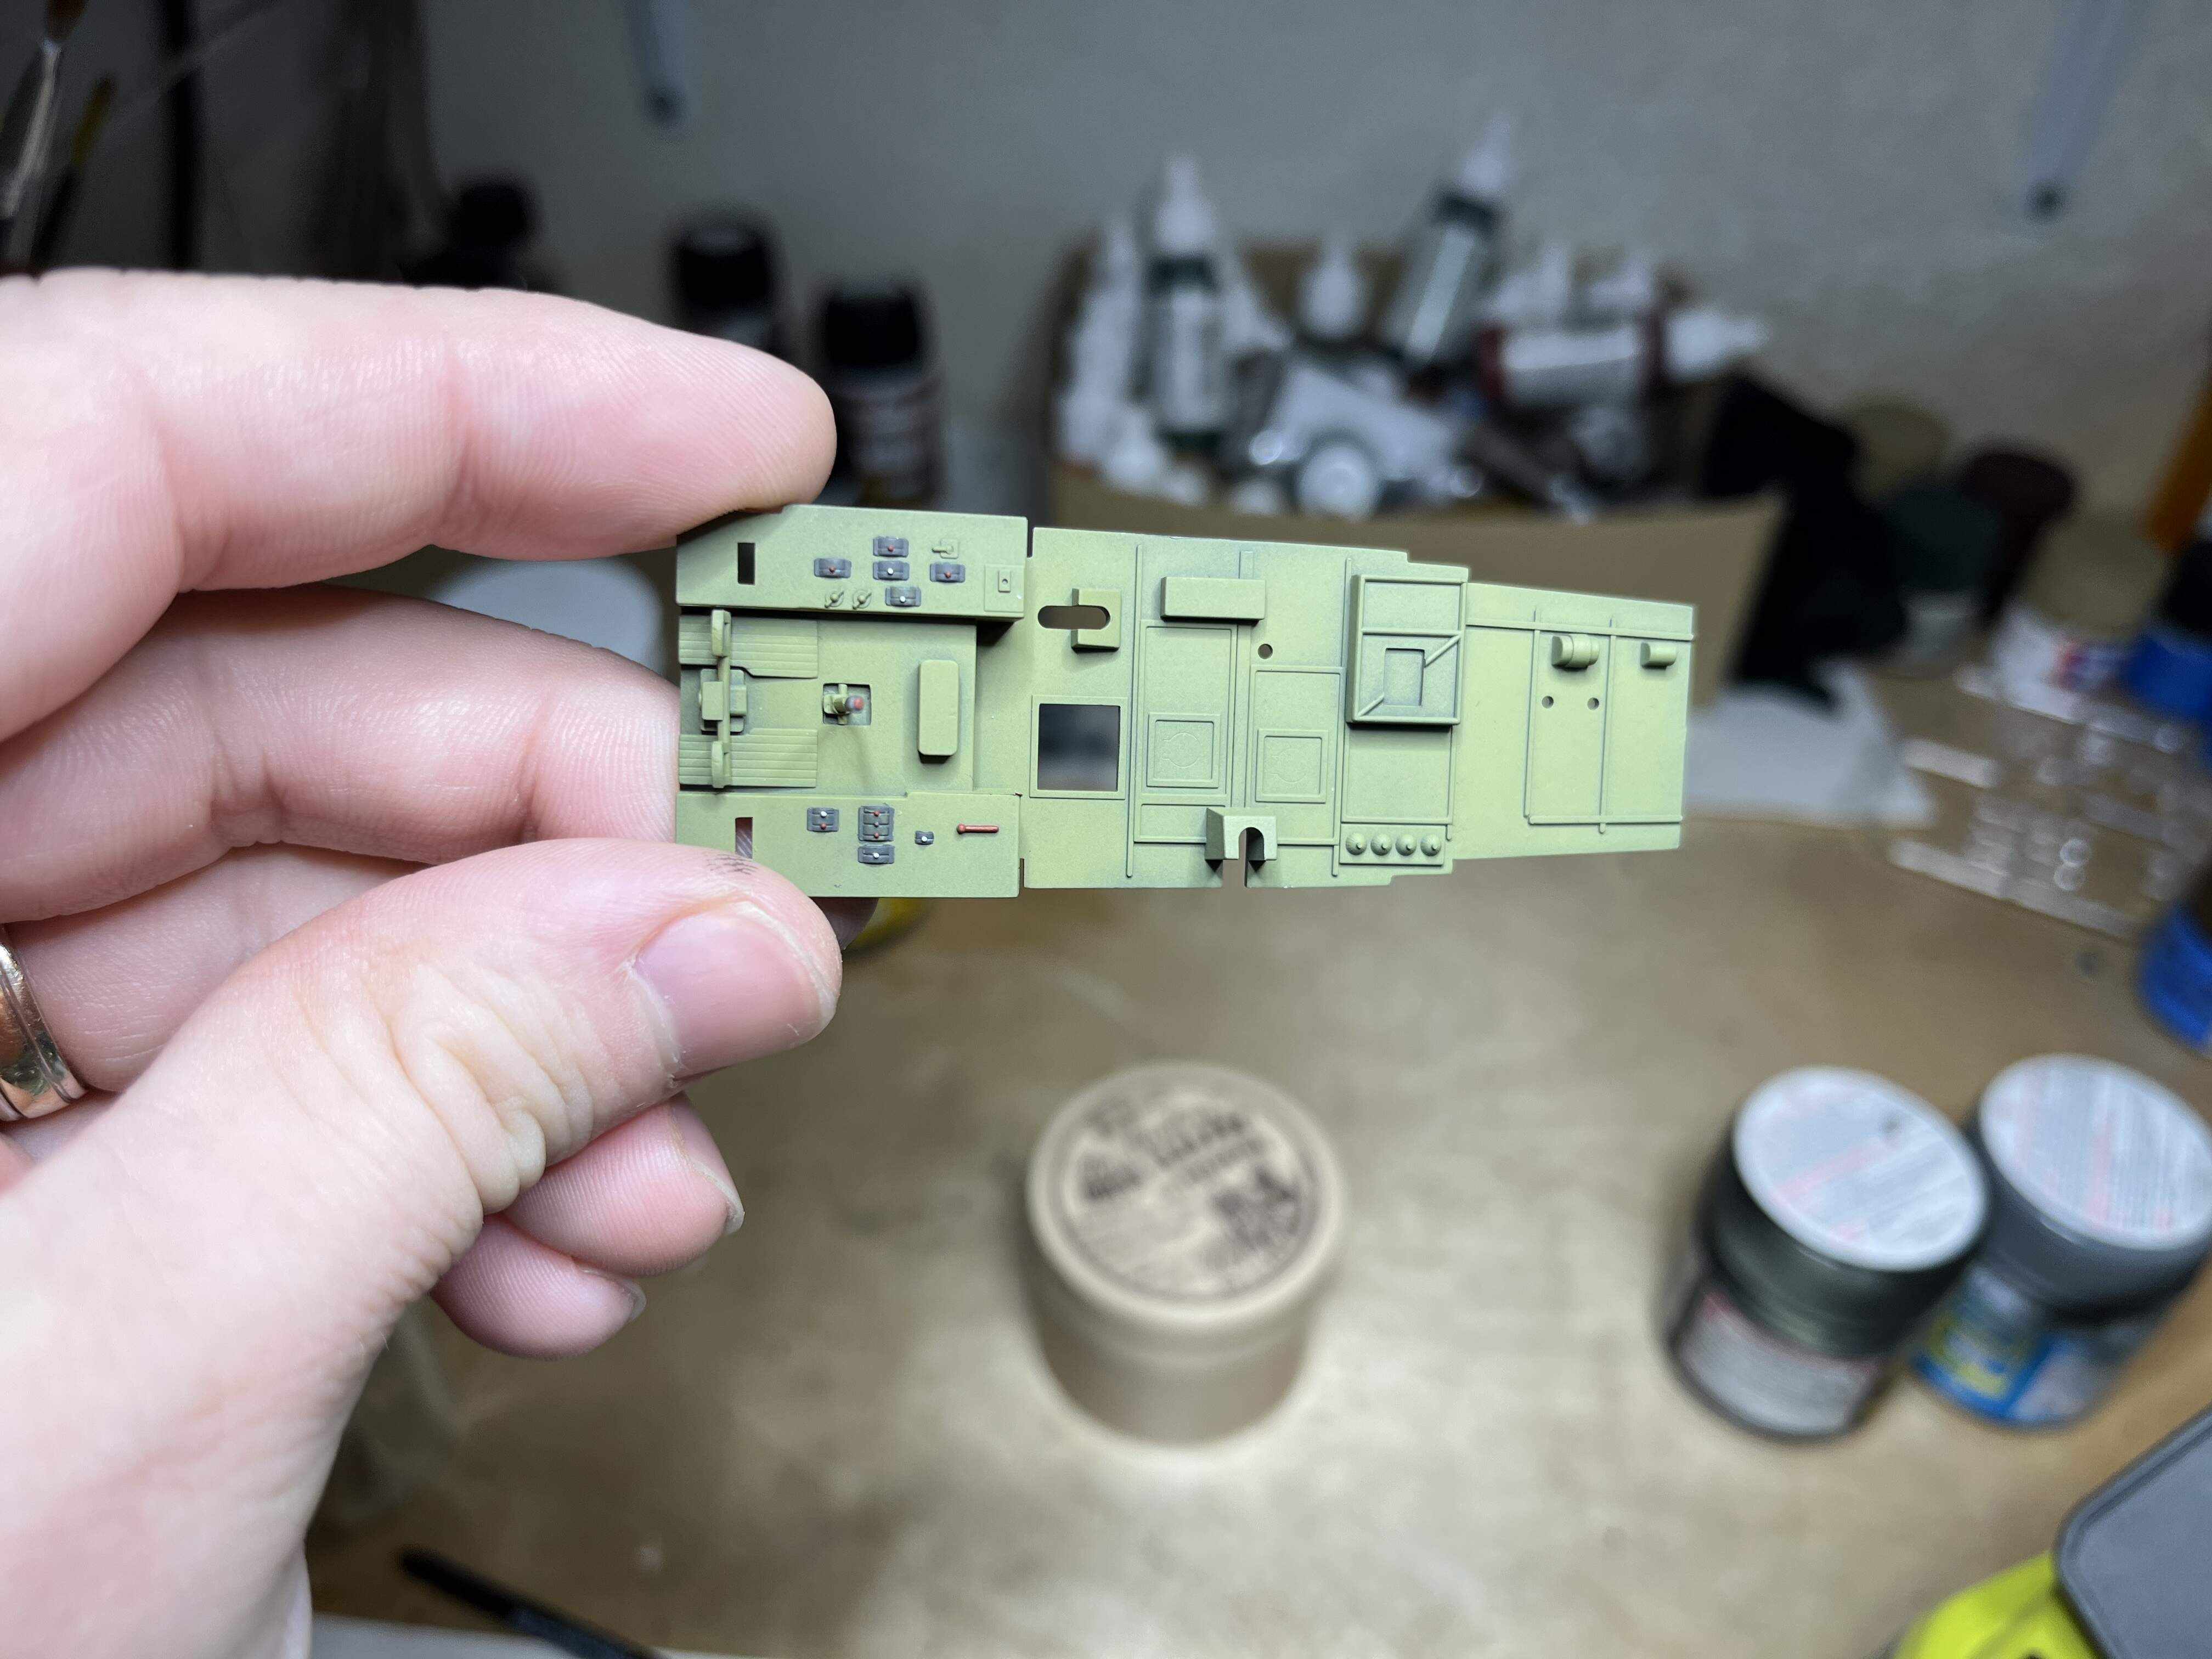
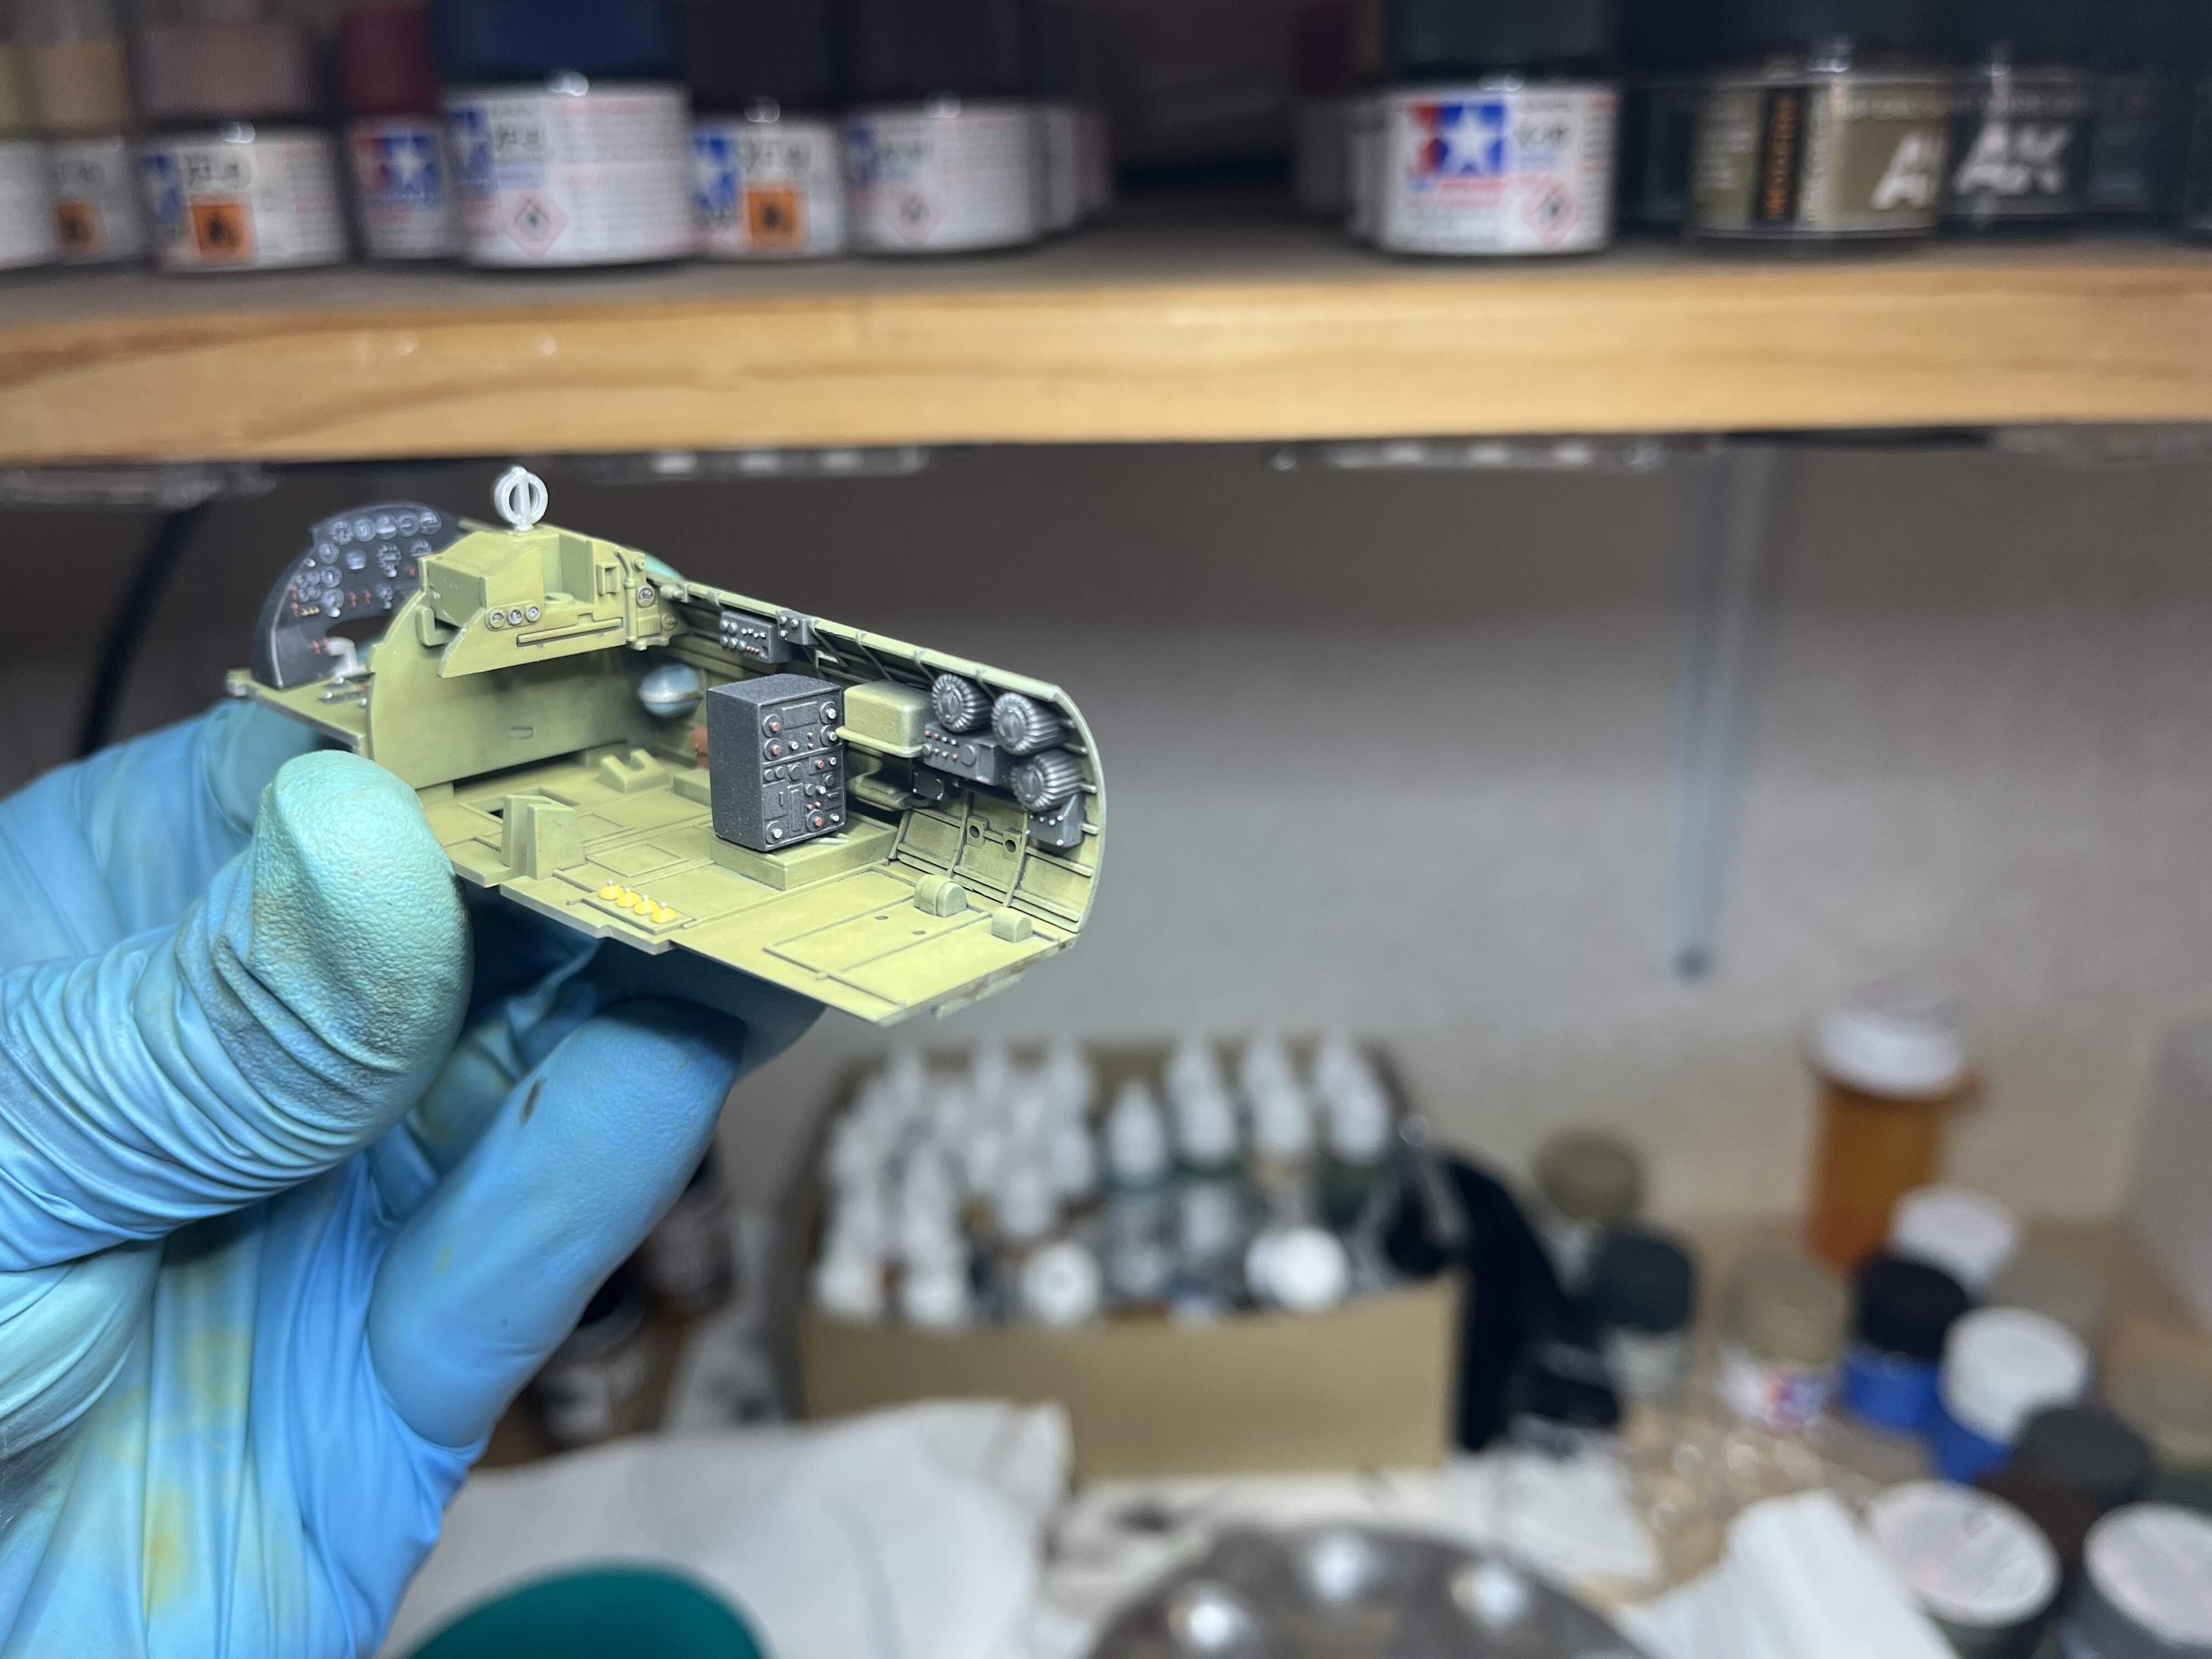
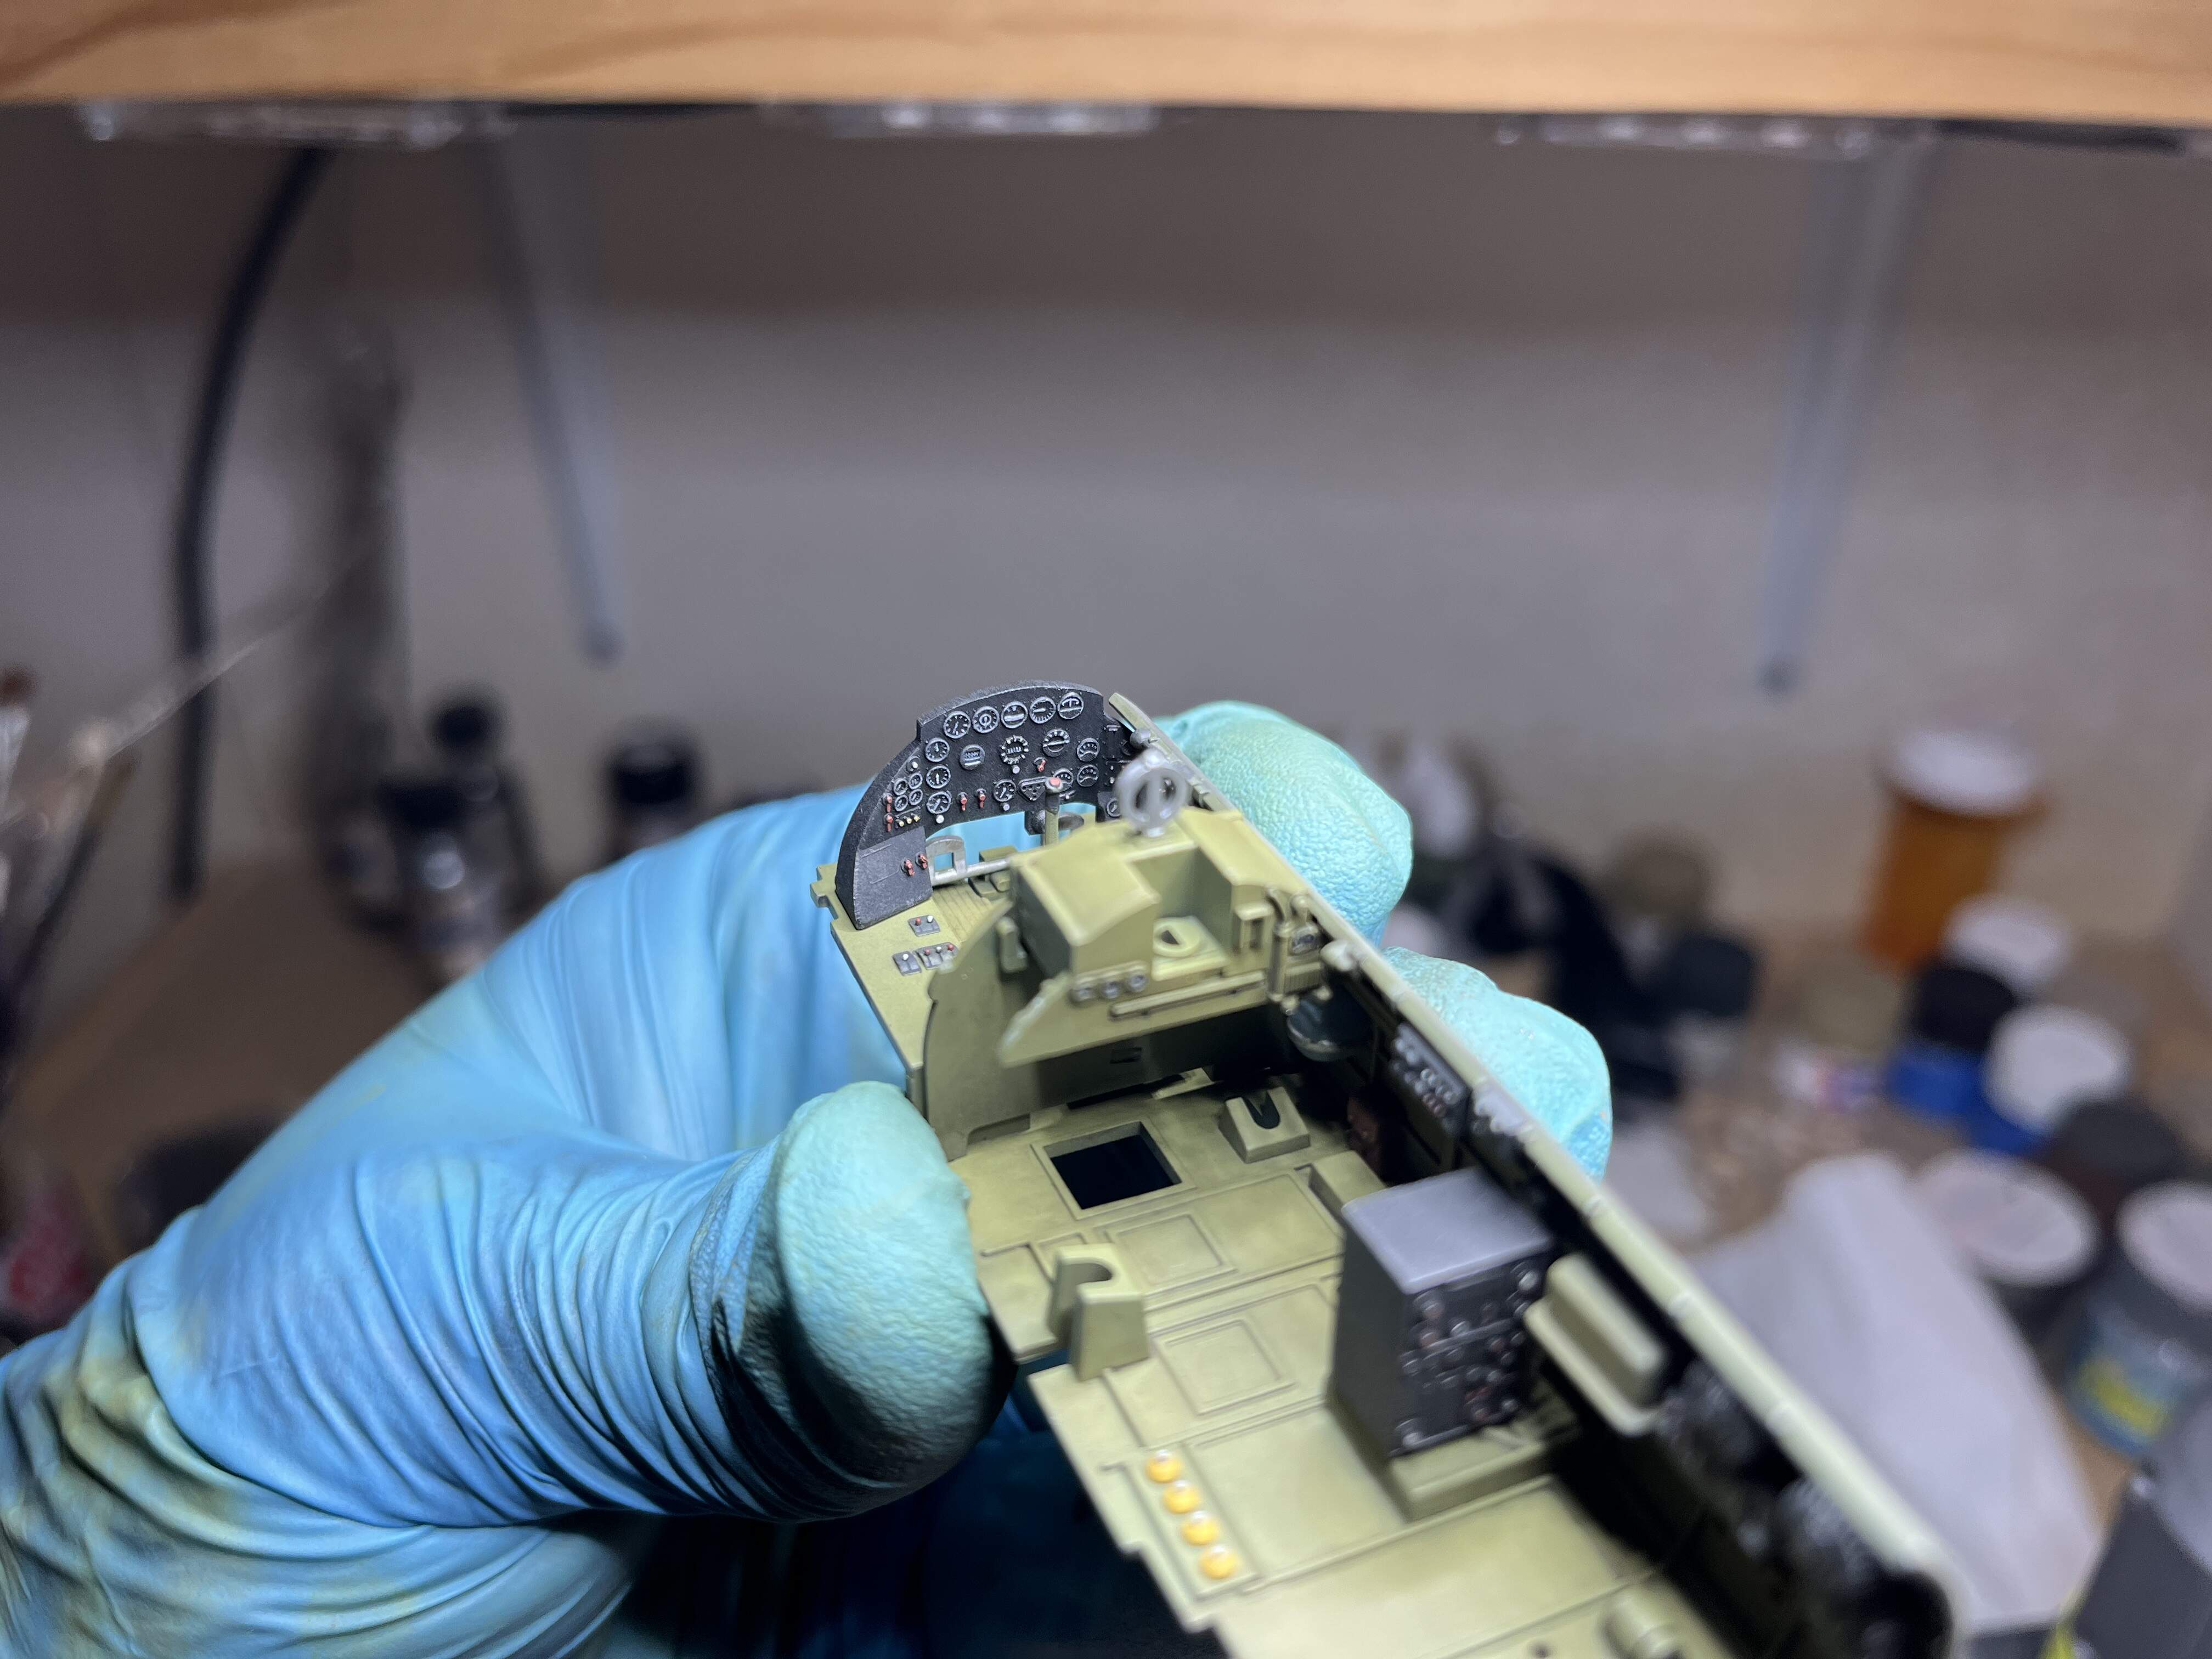
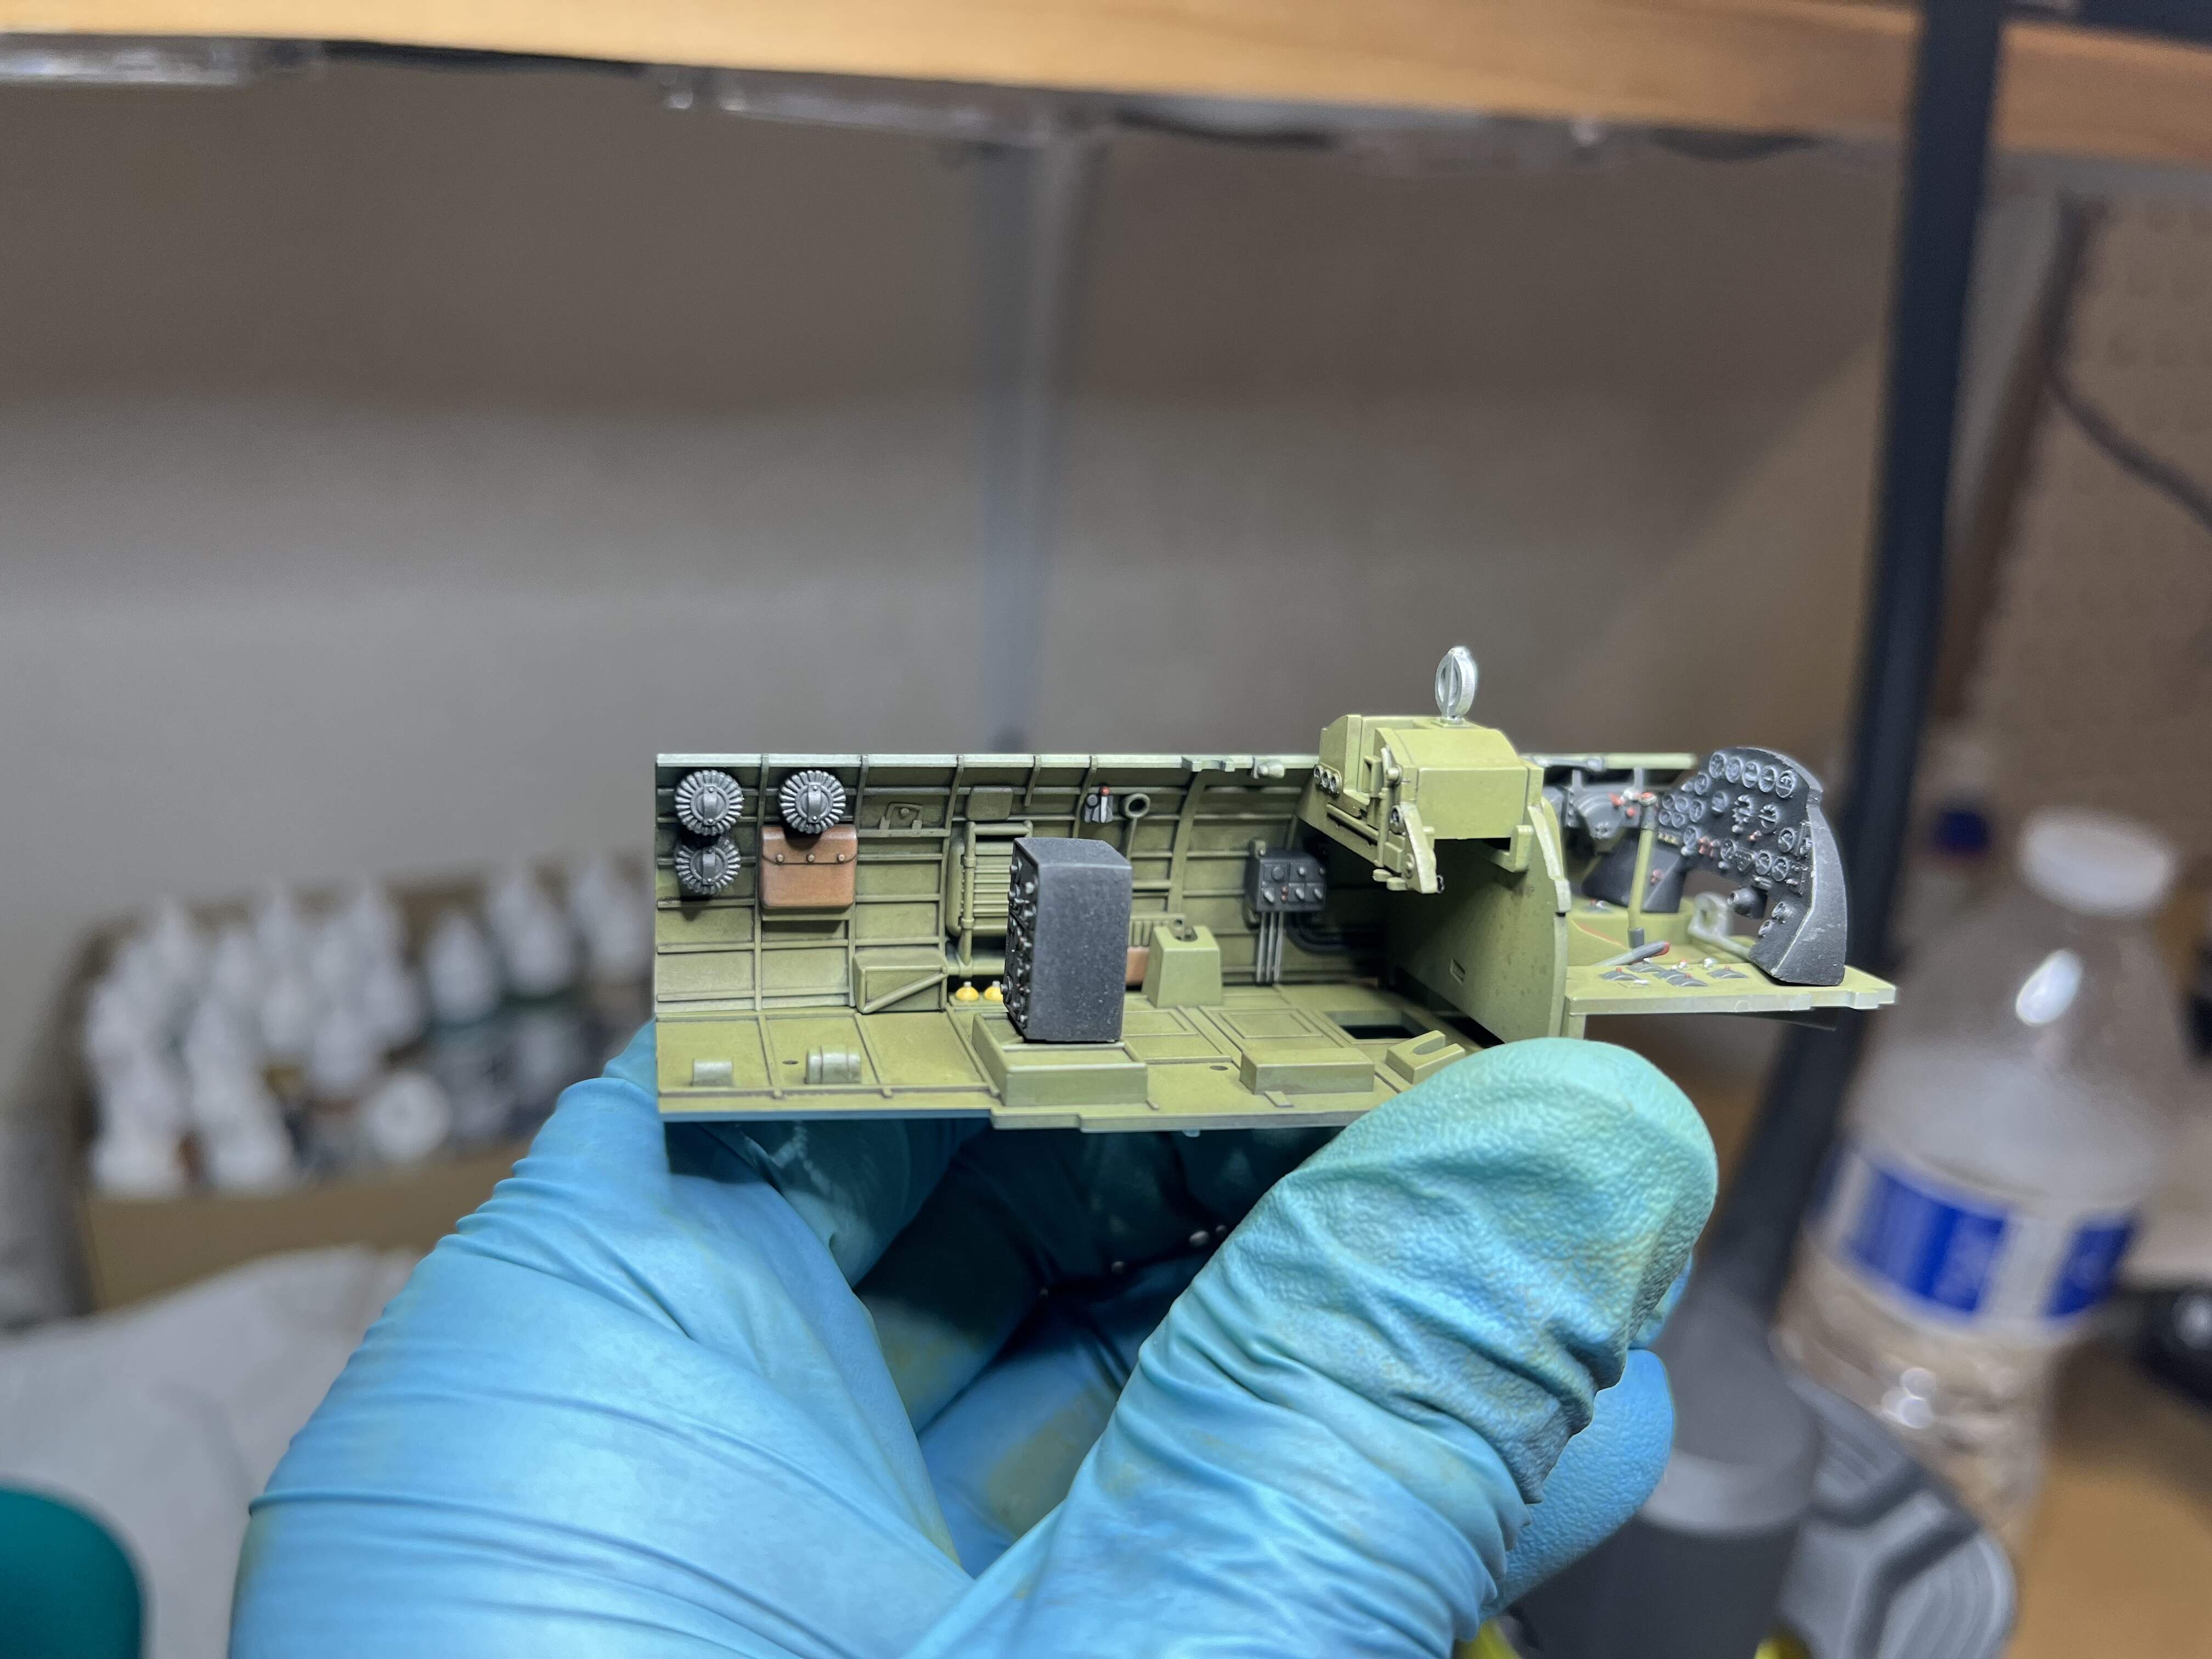
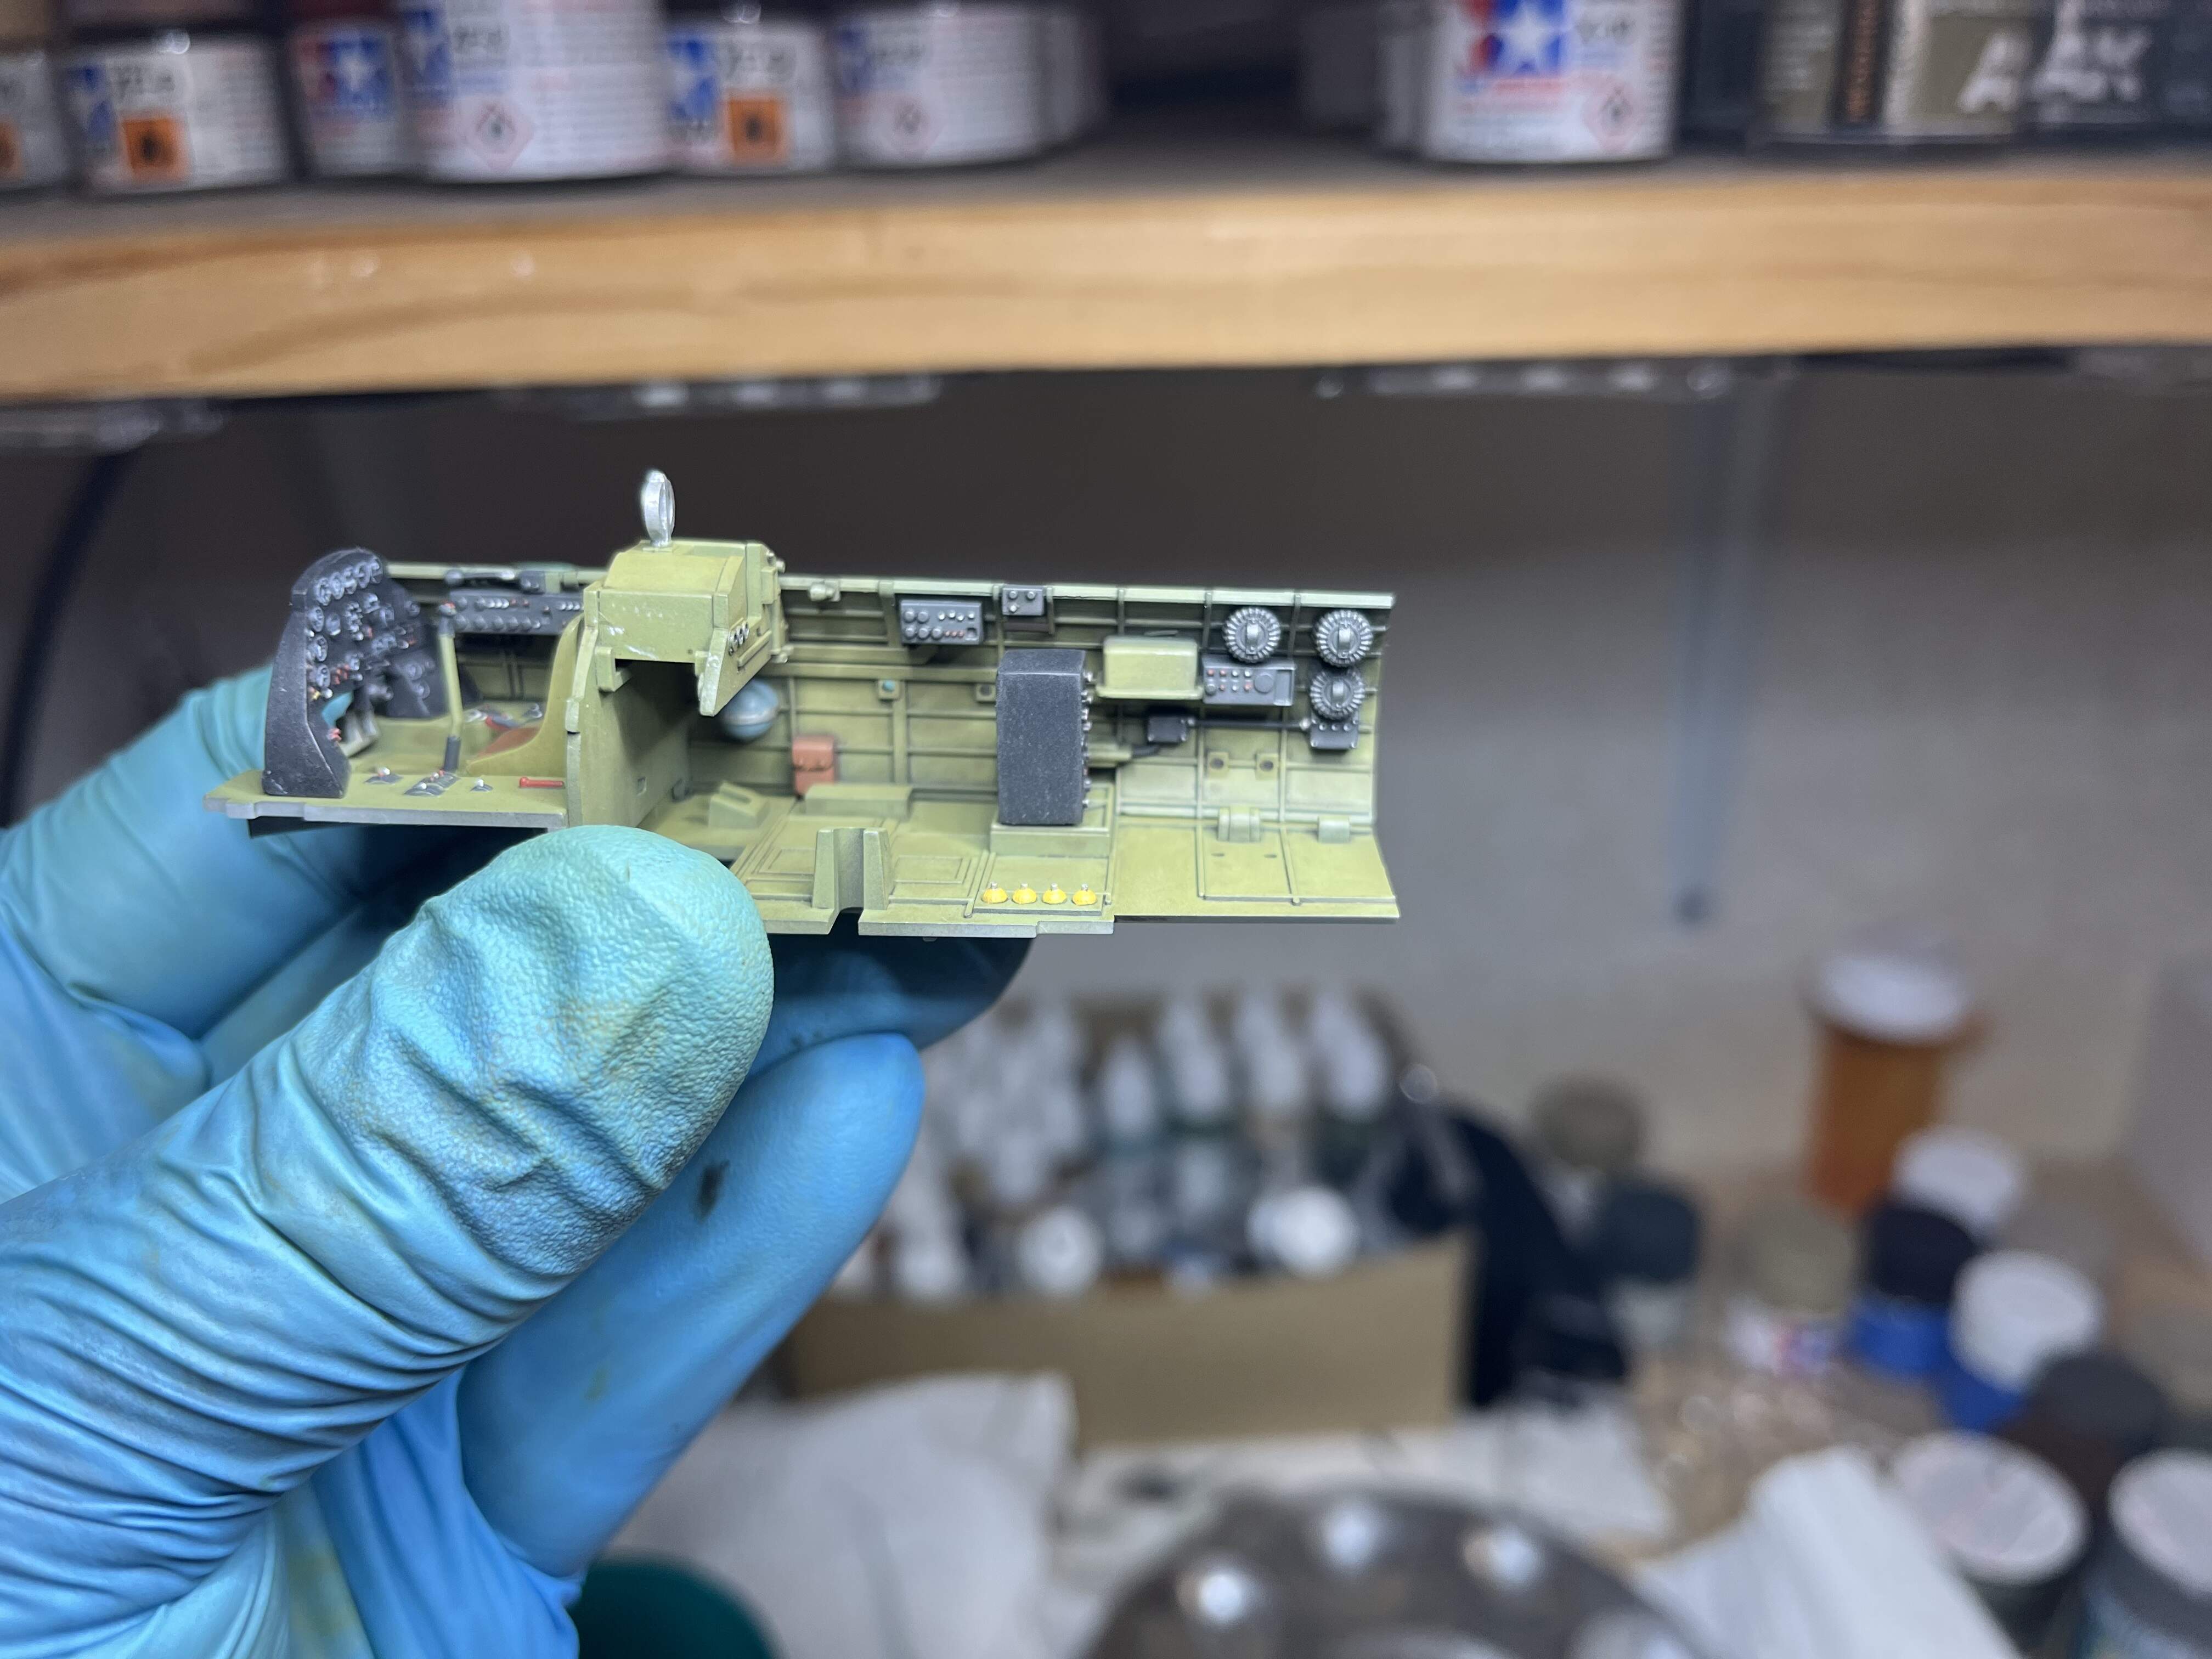
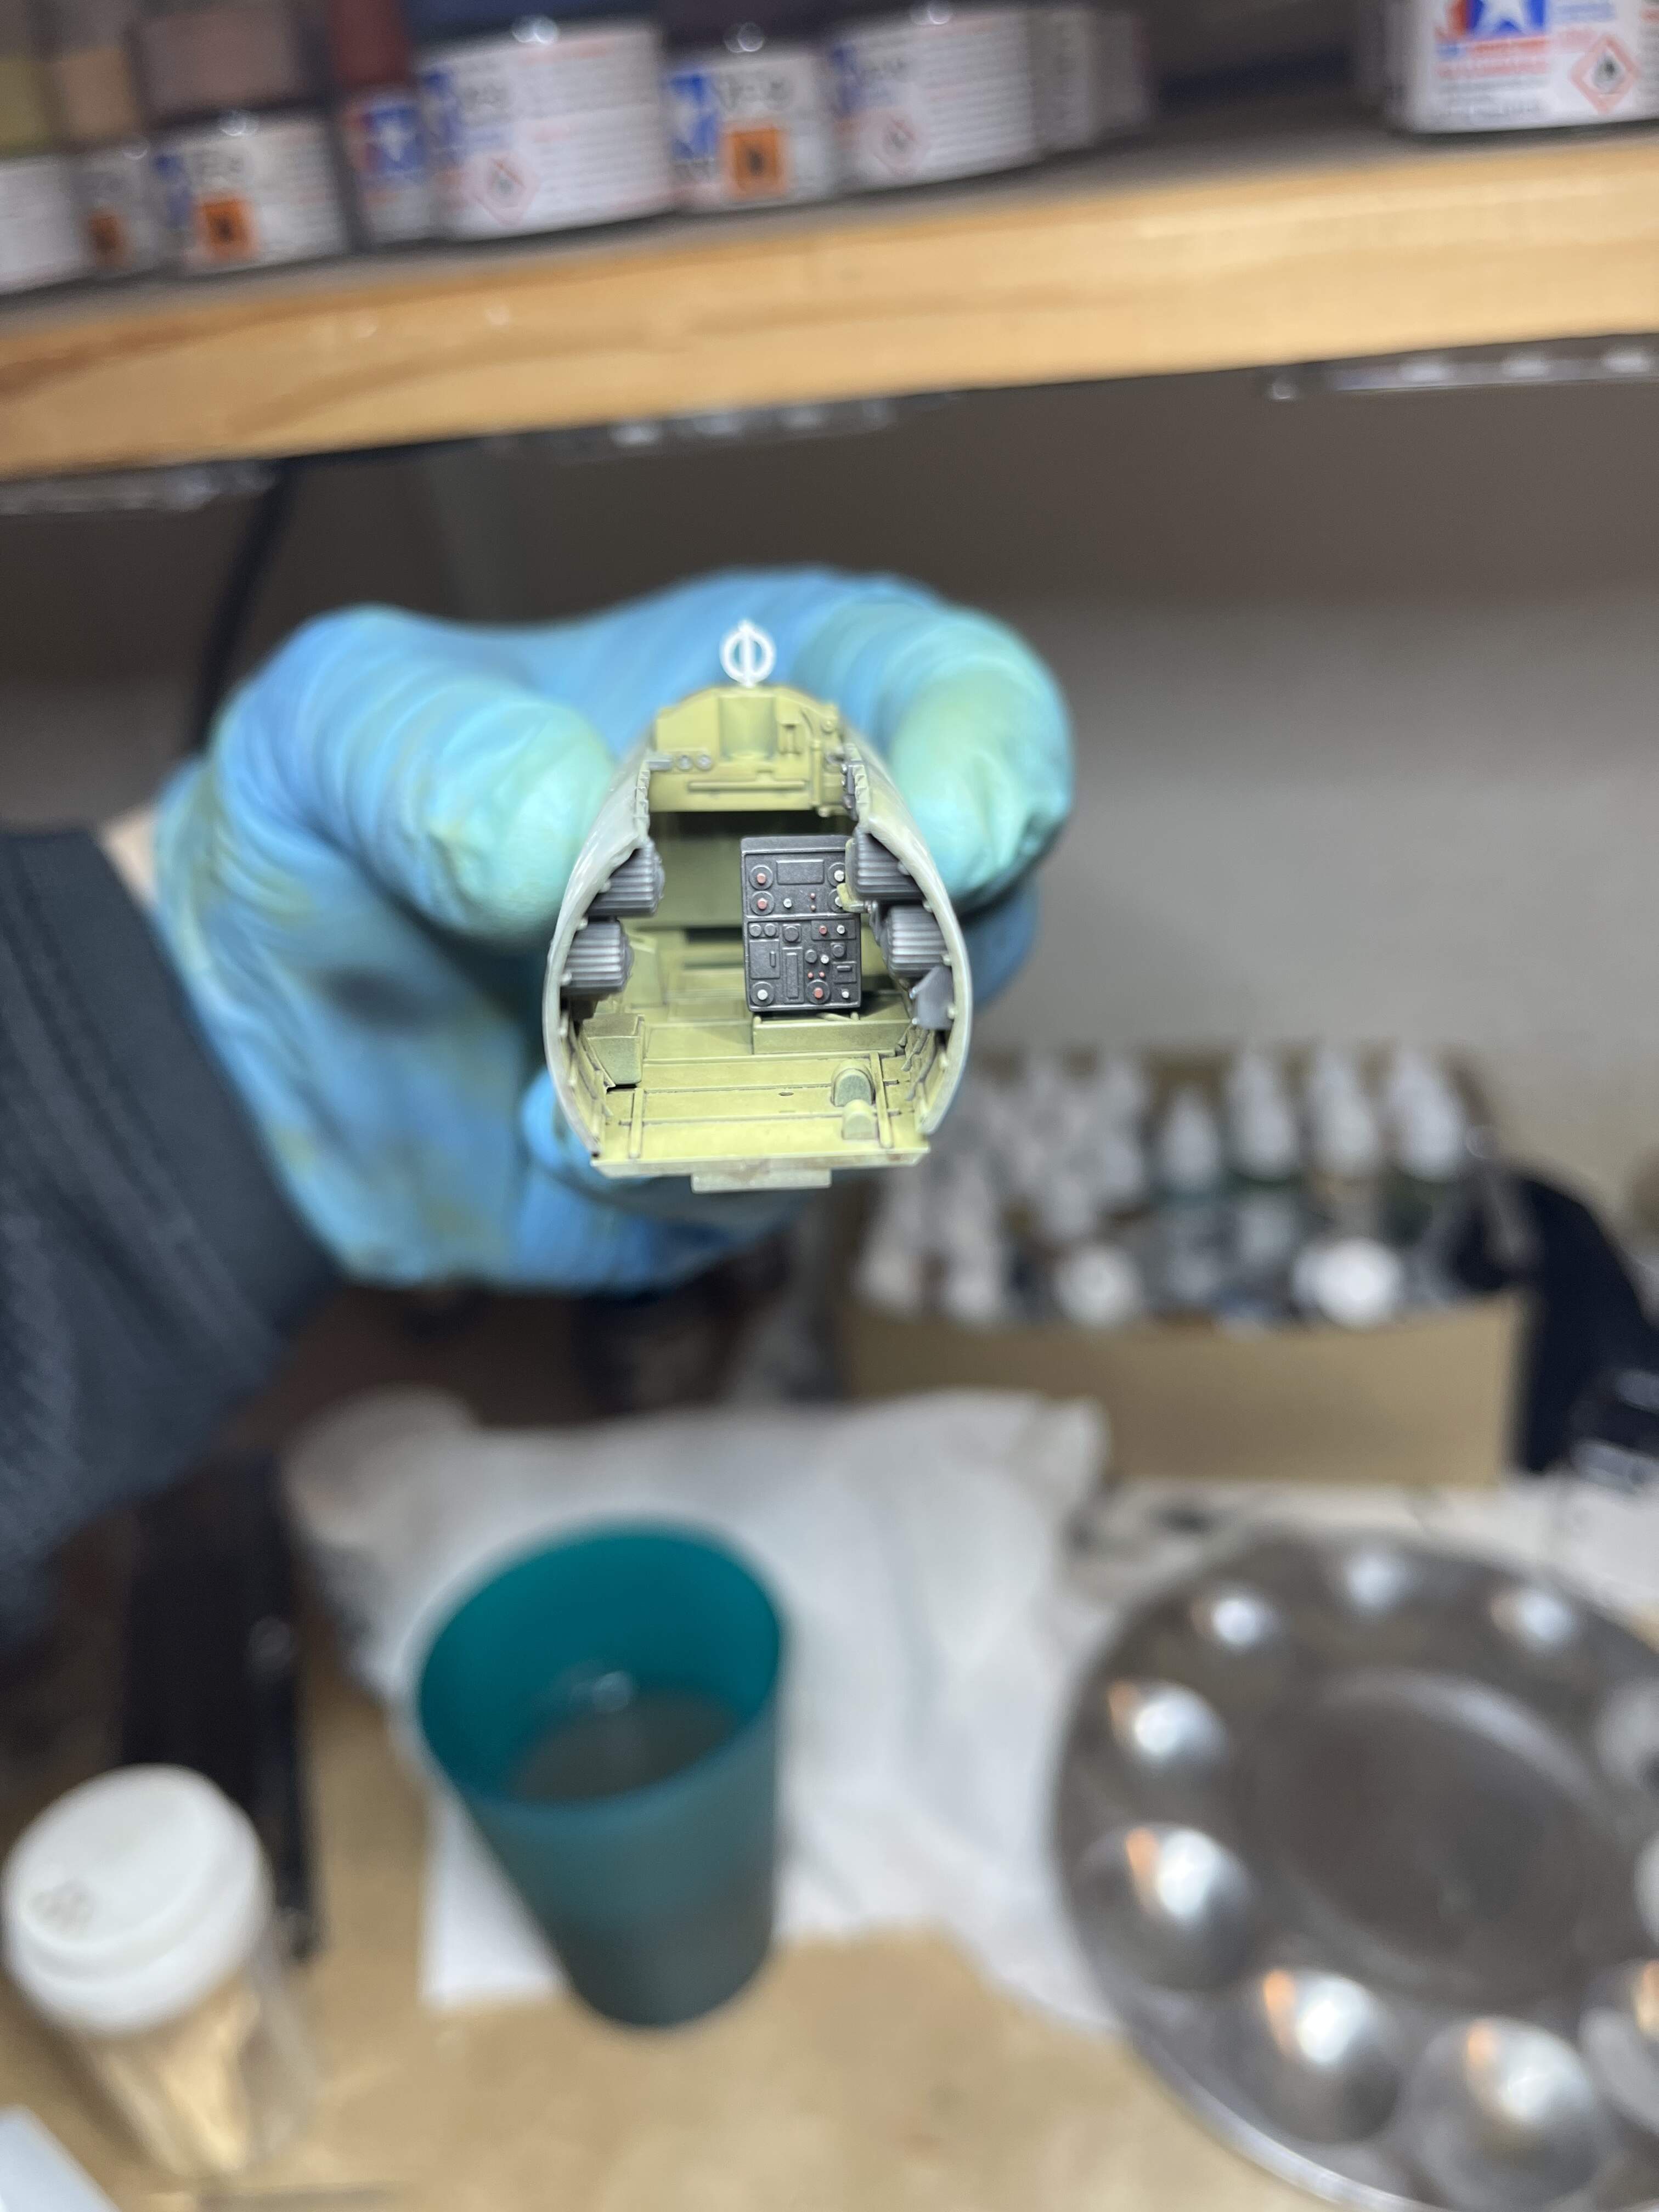
Got the cockpit base color down. Given that all B6N were made by Nakajima I went with a custom Nakajima interior green made from 6 parts XF-4 yellow green, 1 part XF-58 olive green, 1 part XF-24 dark grey
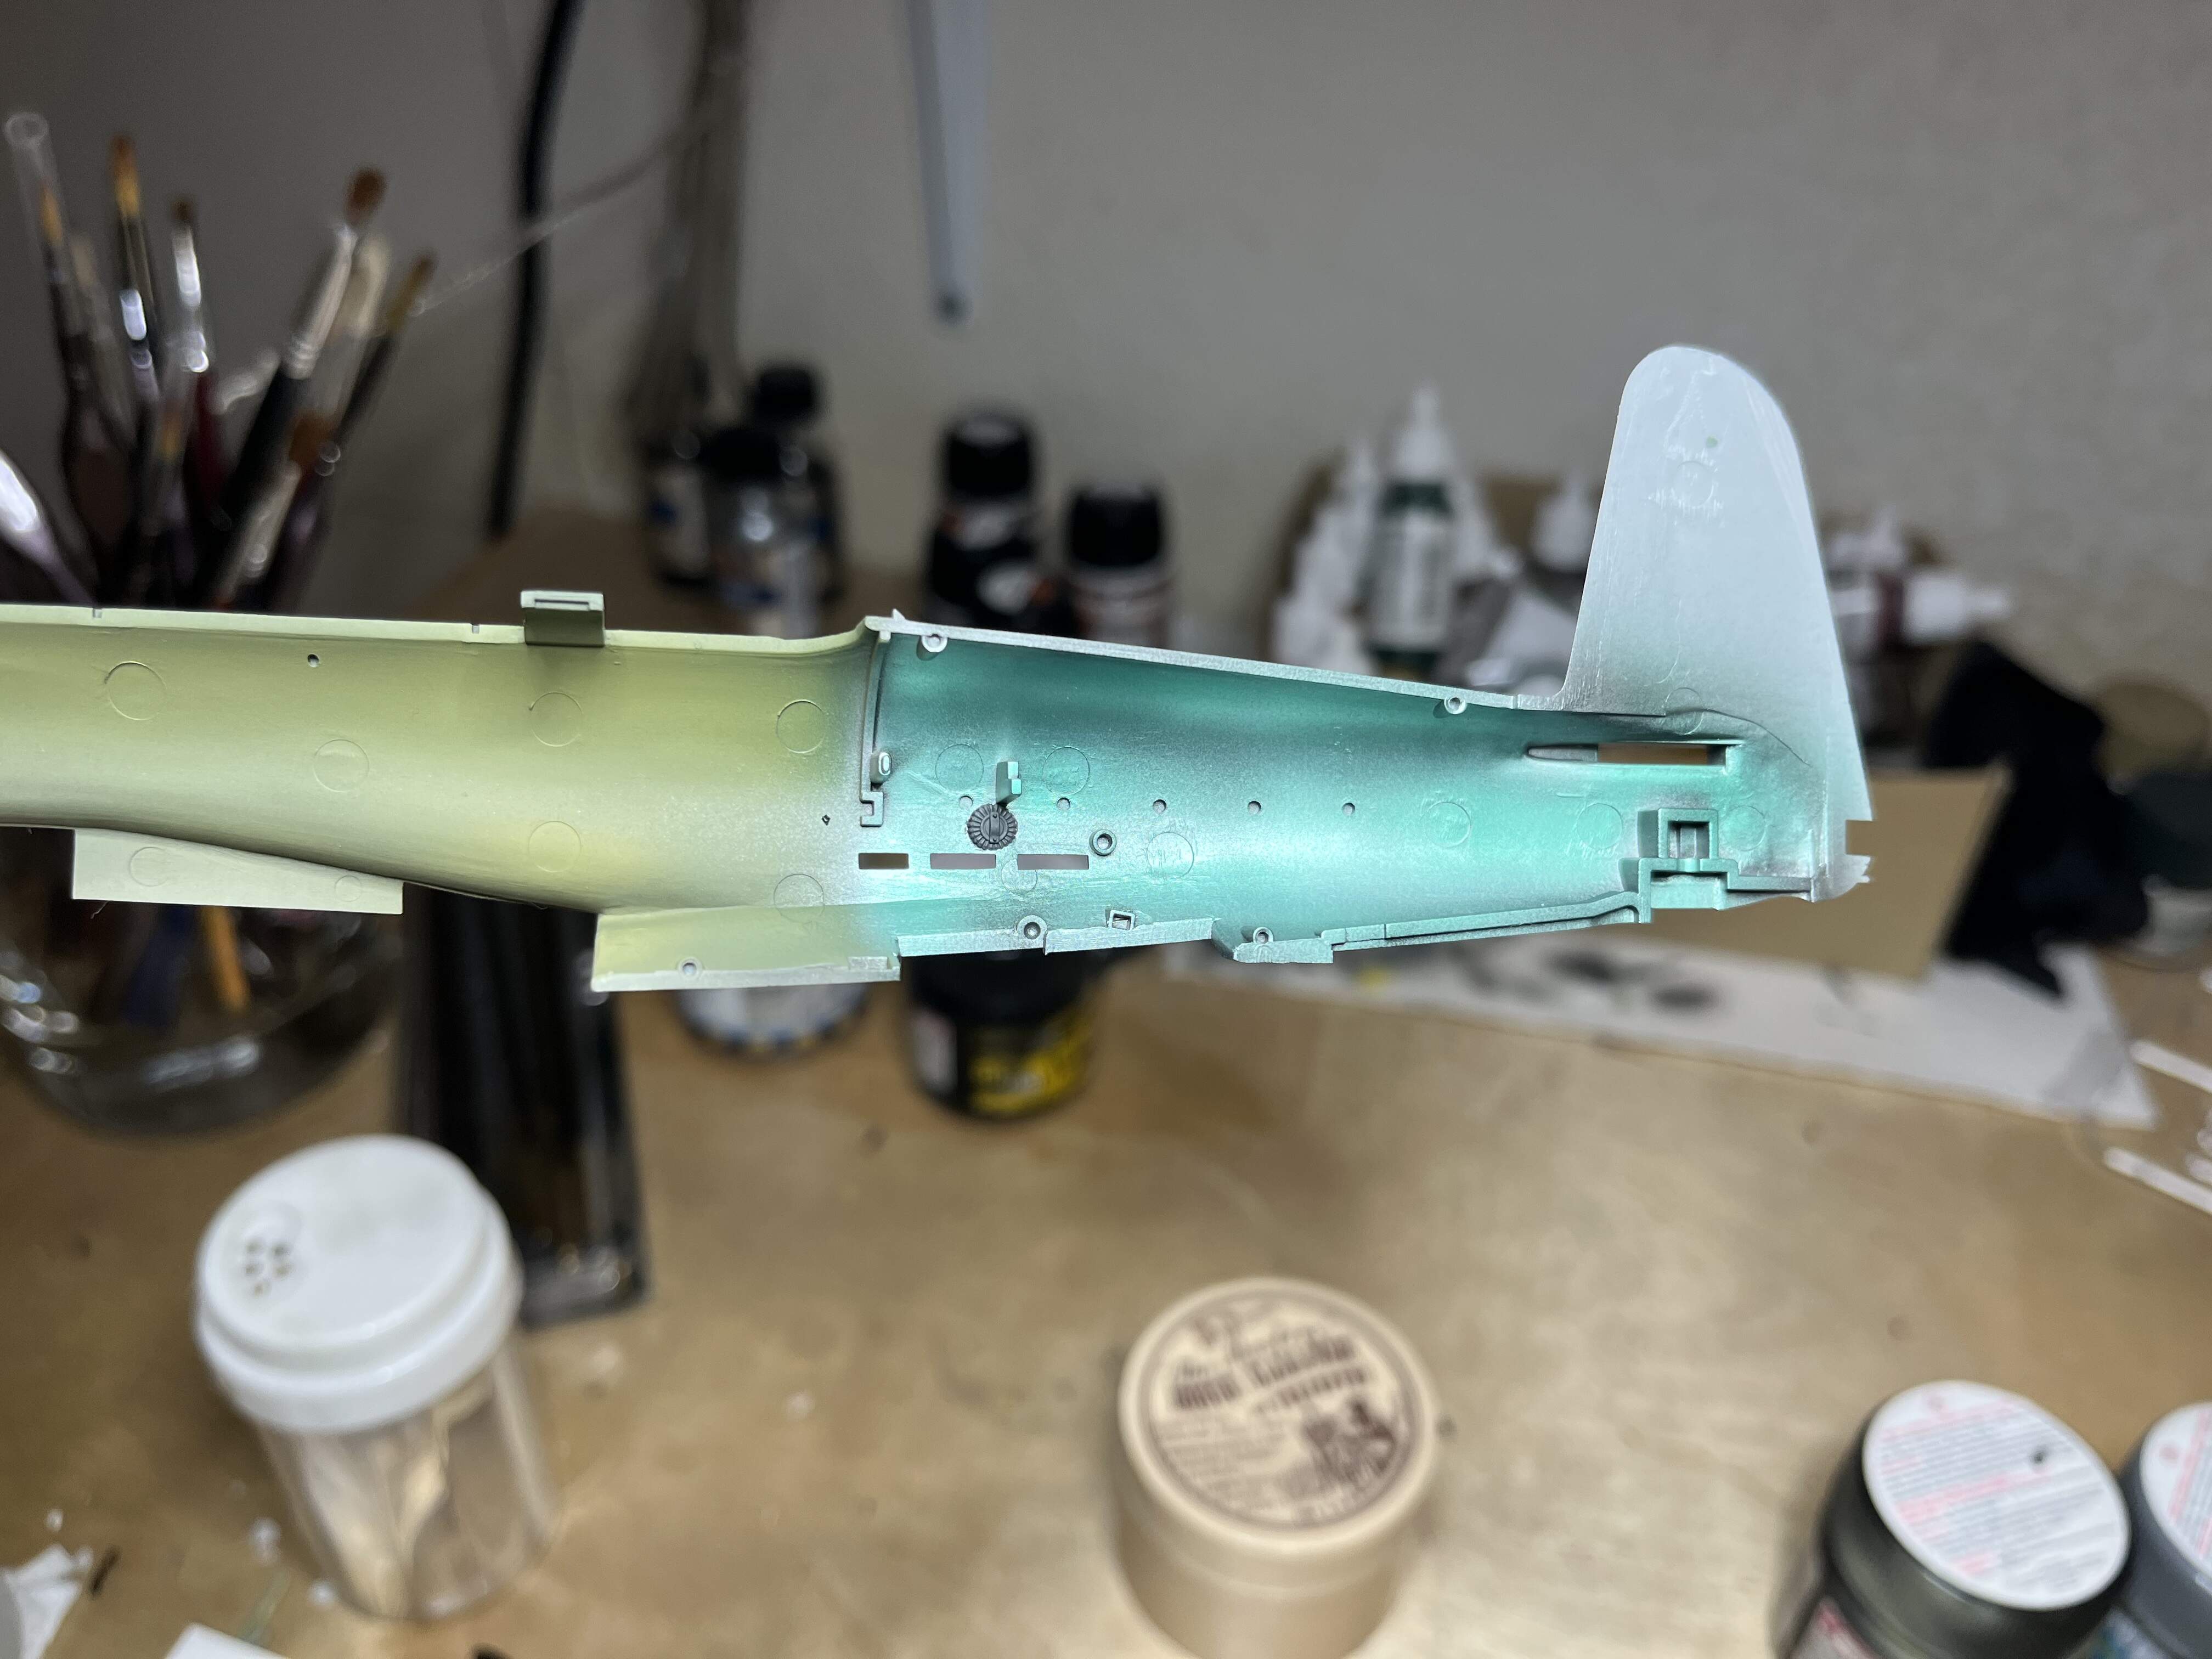
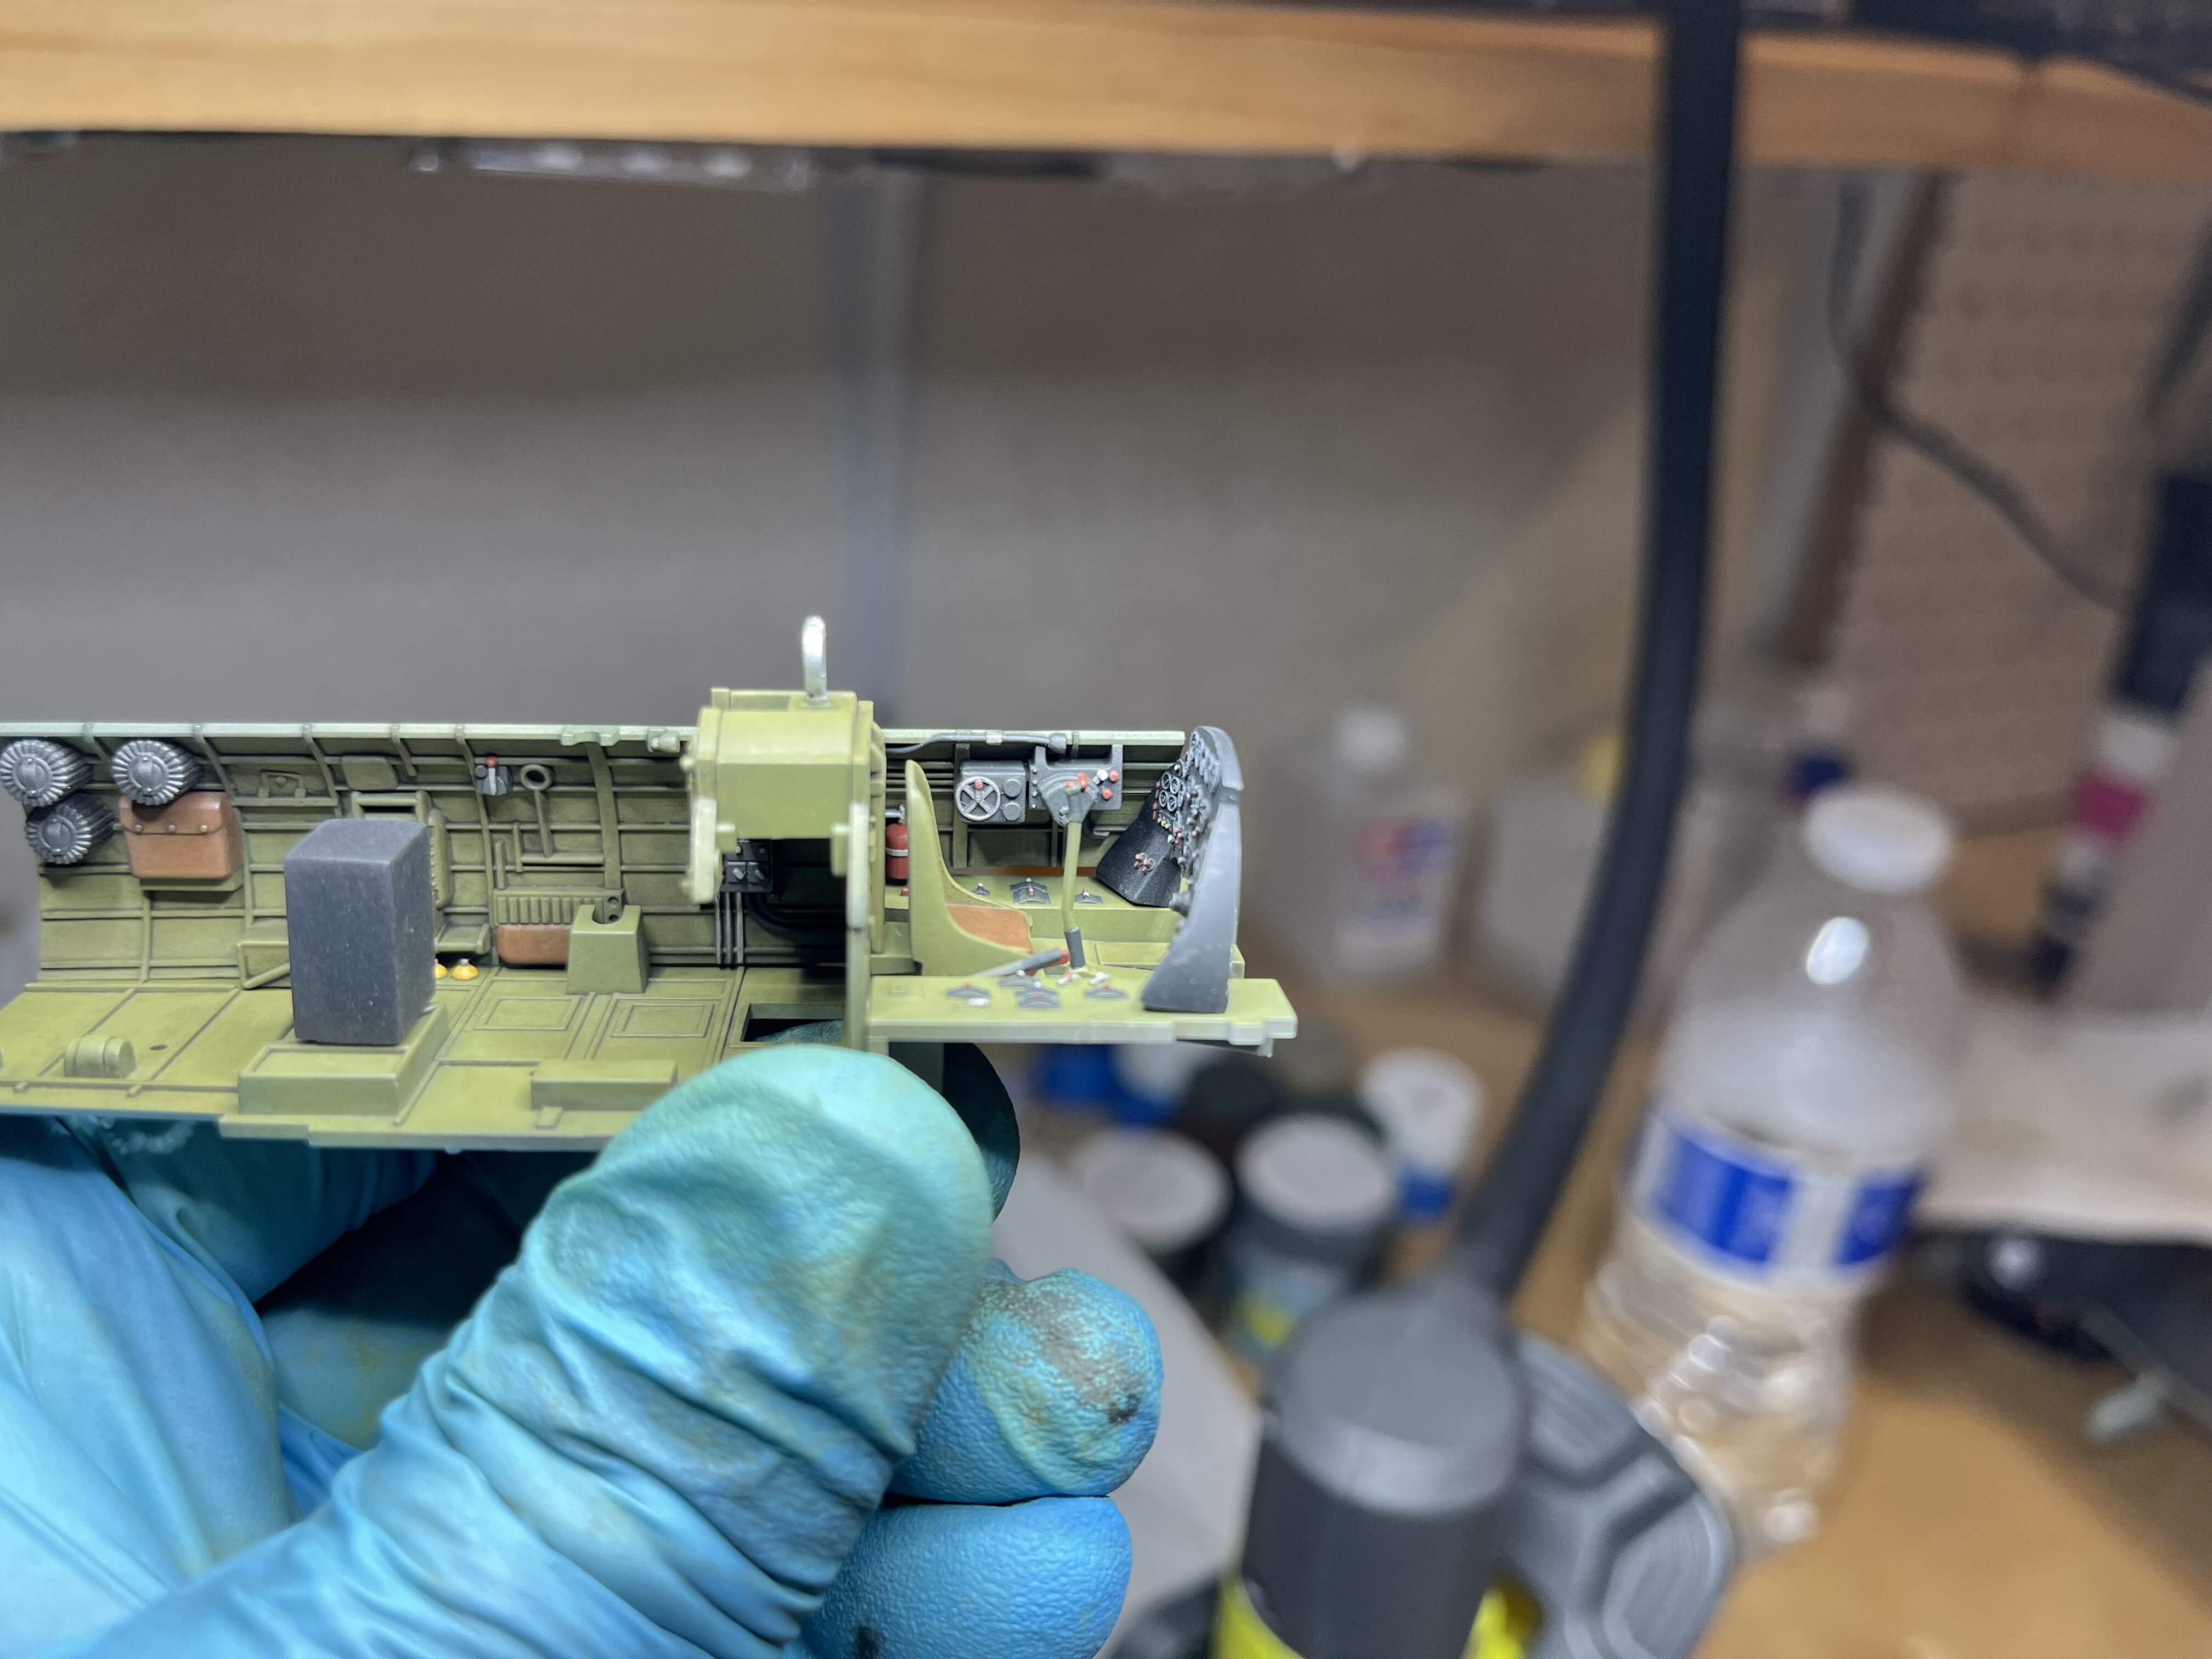
Started detail painting the interior bits. Not many color photos of this bird exist. I think only 1 survived the war intact. So I’ve taken a bit of artistic license about which dials and switches are which. I also tried my hand at the Aotake coating. It won’t be seen in the fuselage but I’ll need it for the wheel wheels and flaps
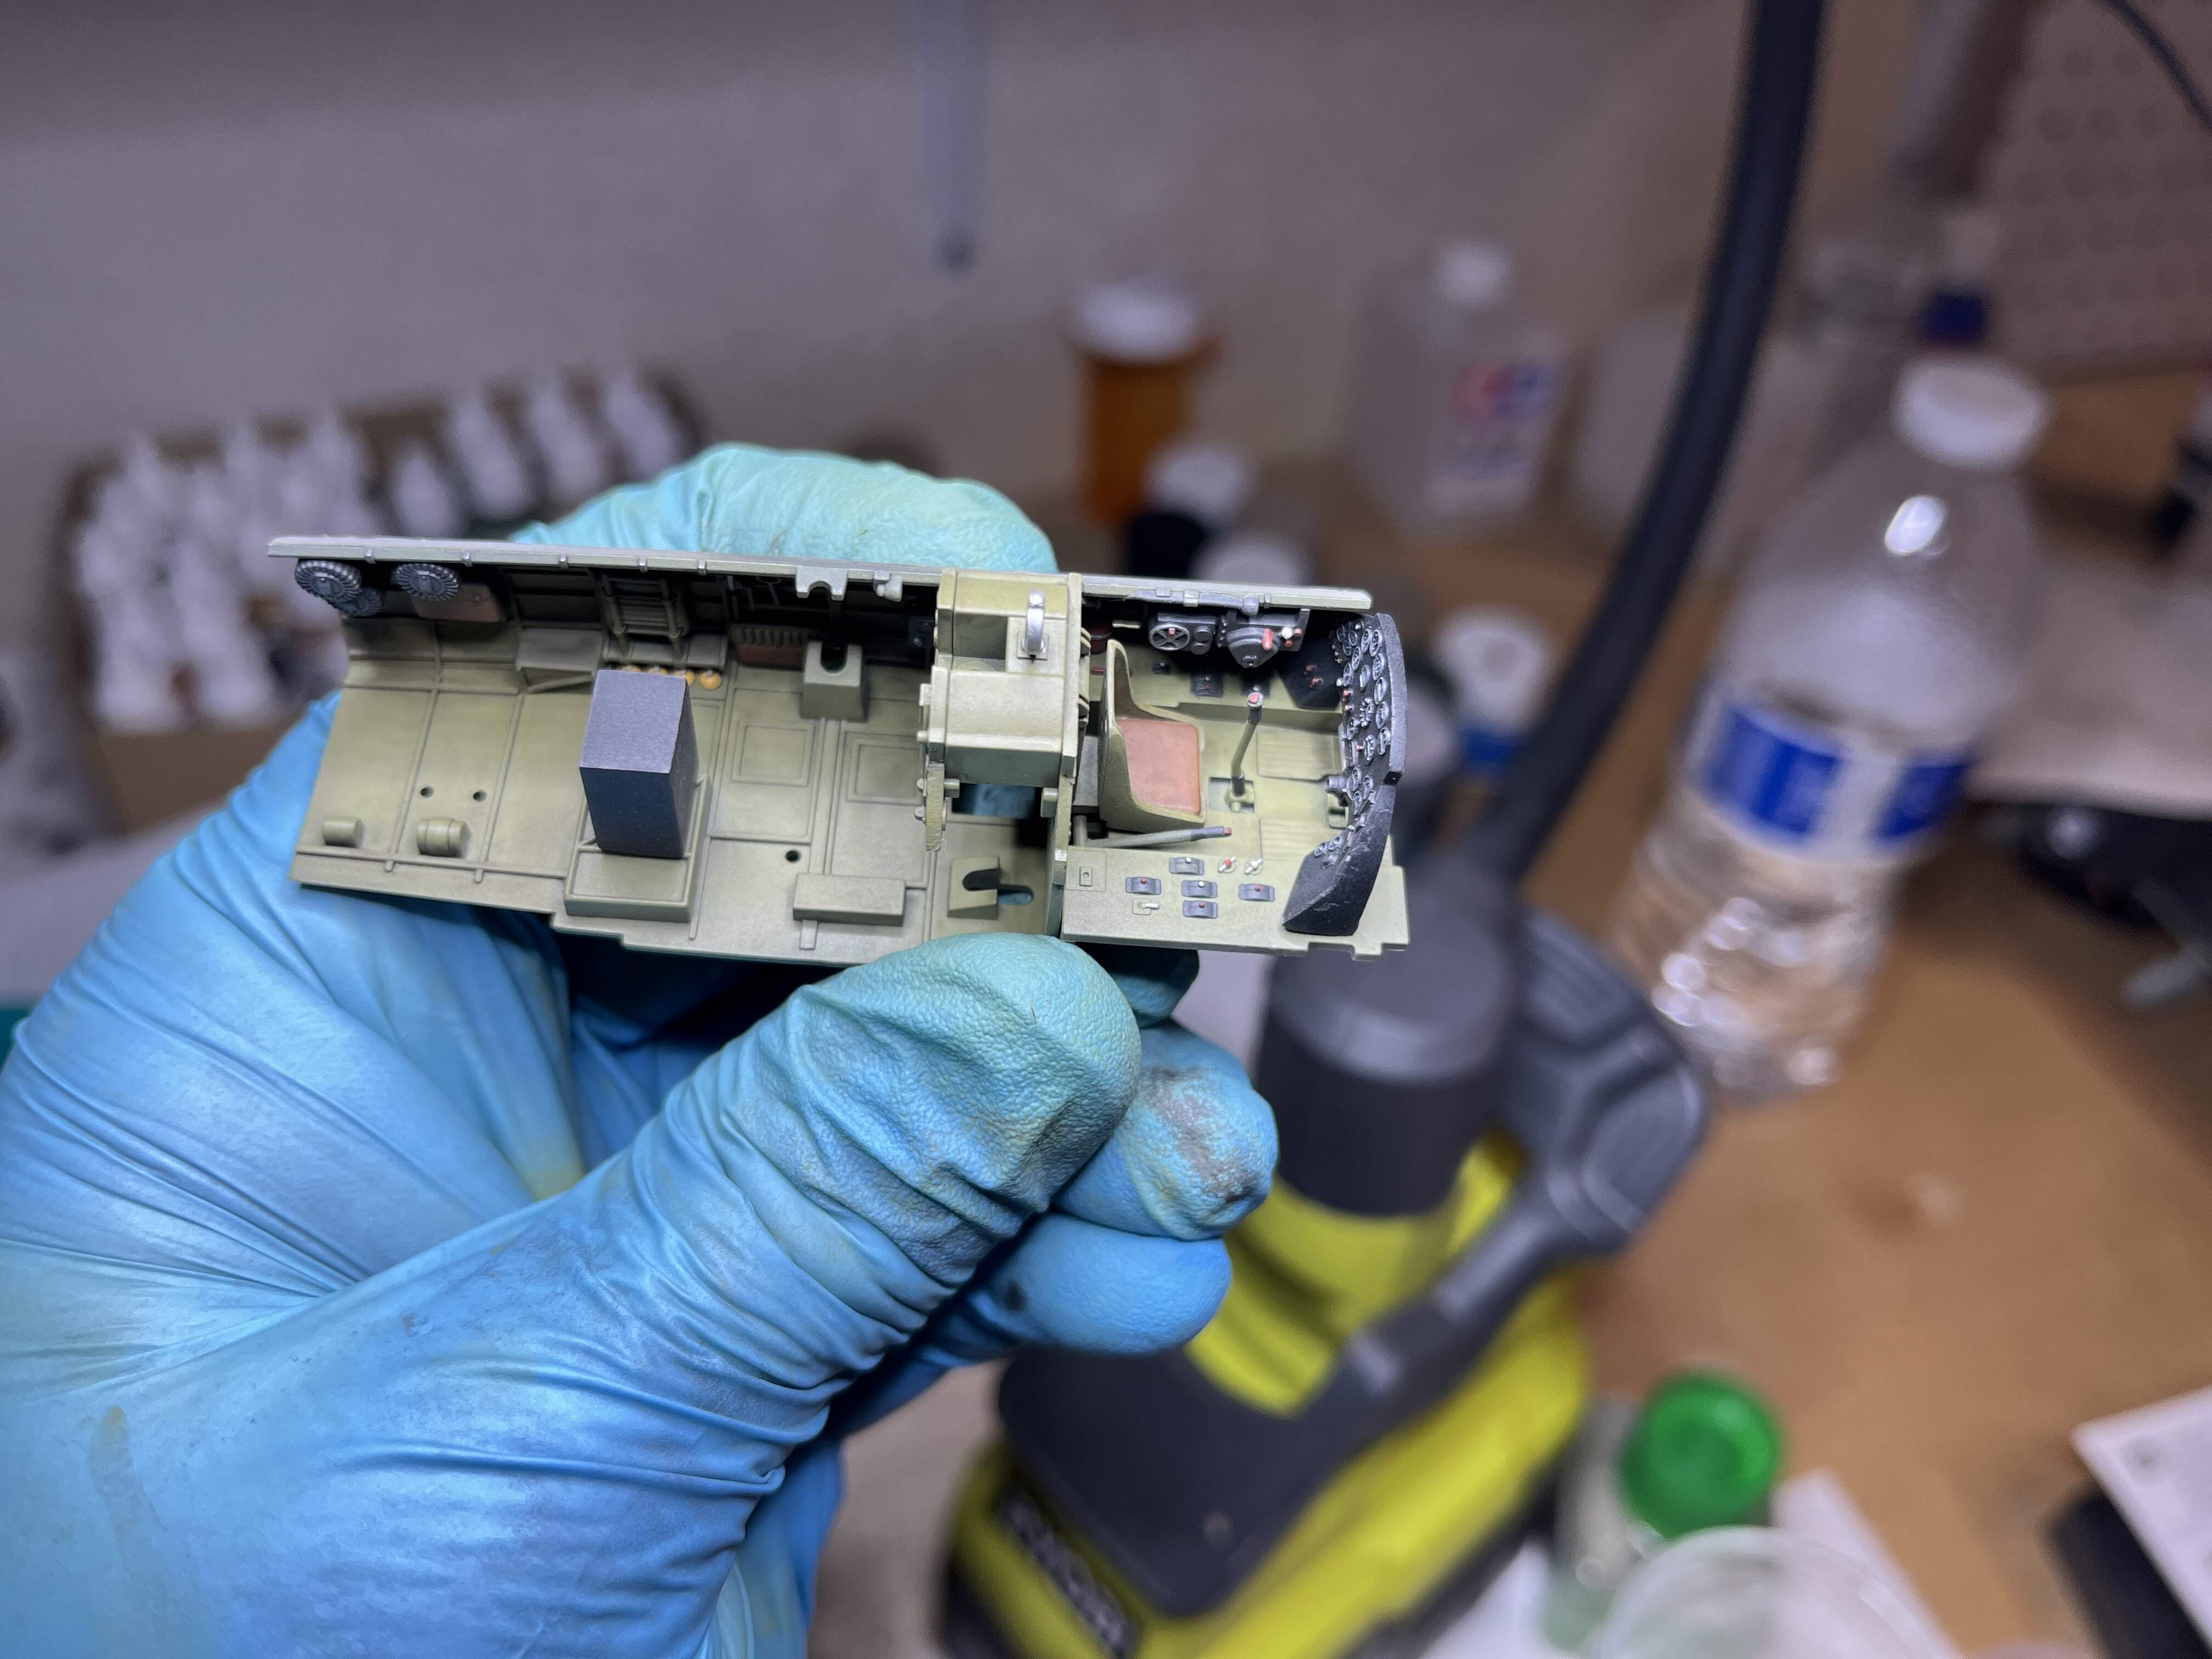
Up next is painting the leather and steel bits, then decaling the instrument panel and painting the radio (which I forgot to paint). Then weathering via washes, dry brushes and light chipping
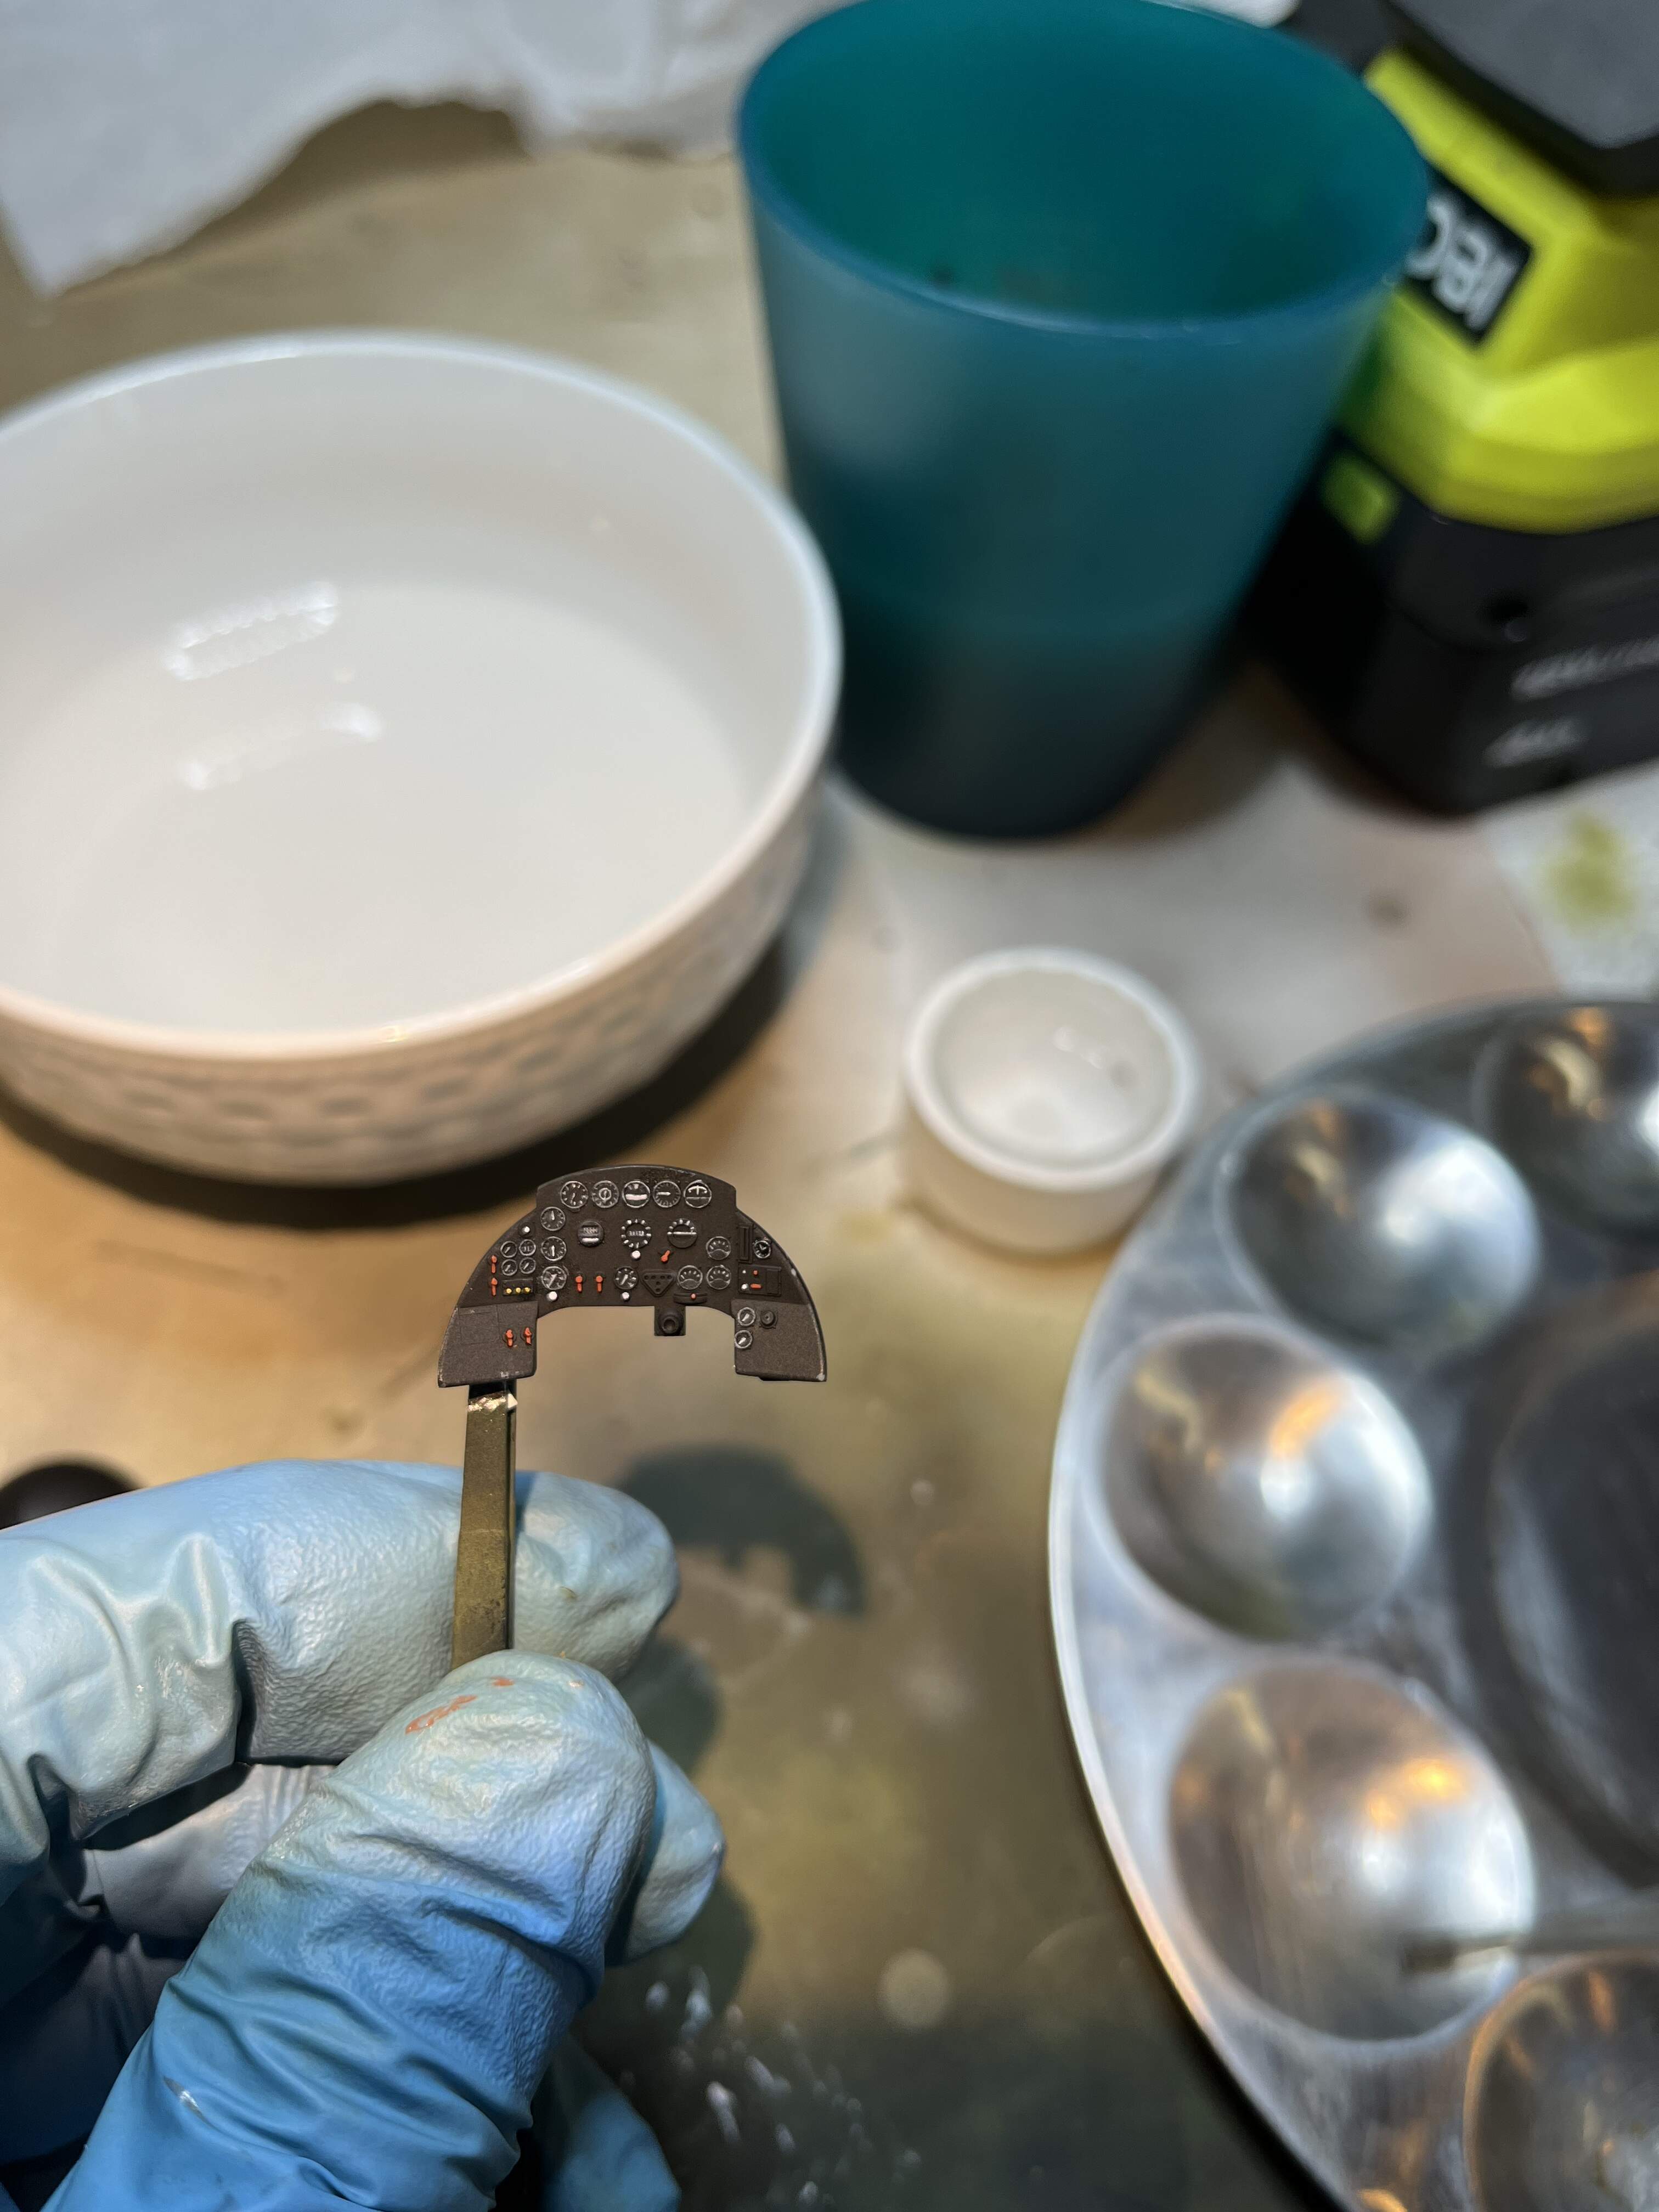
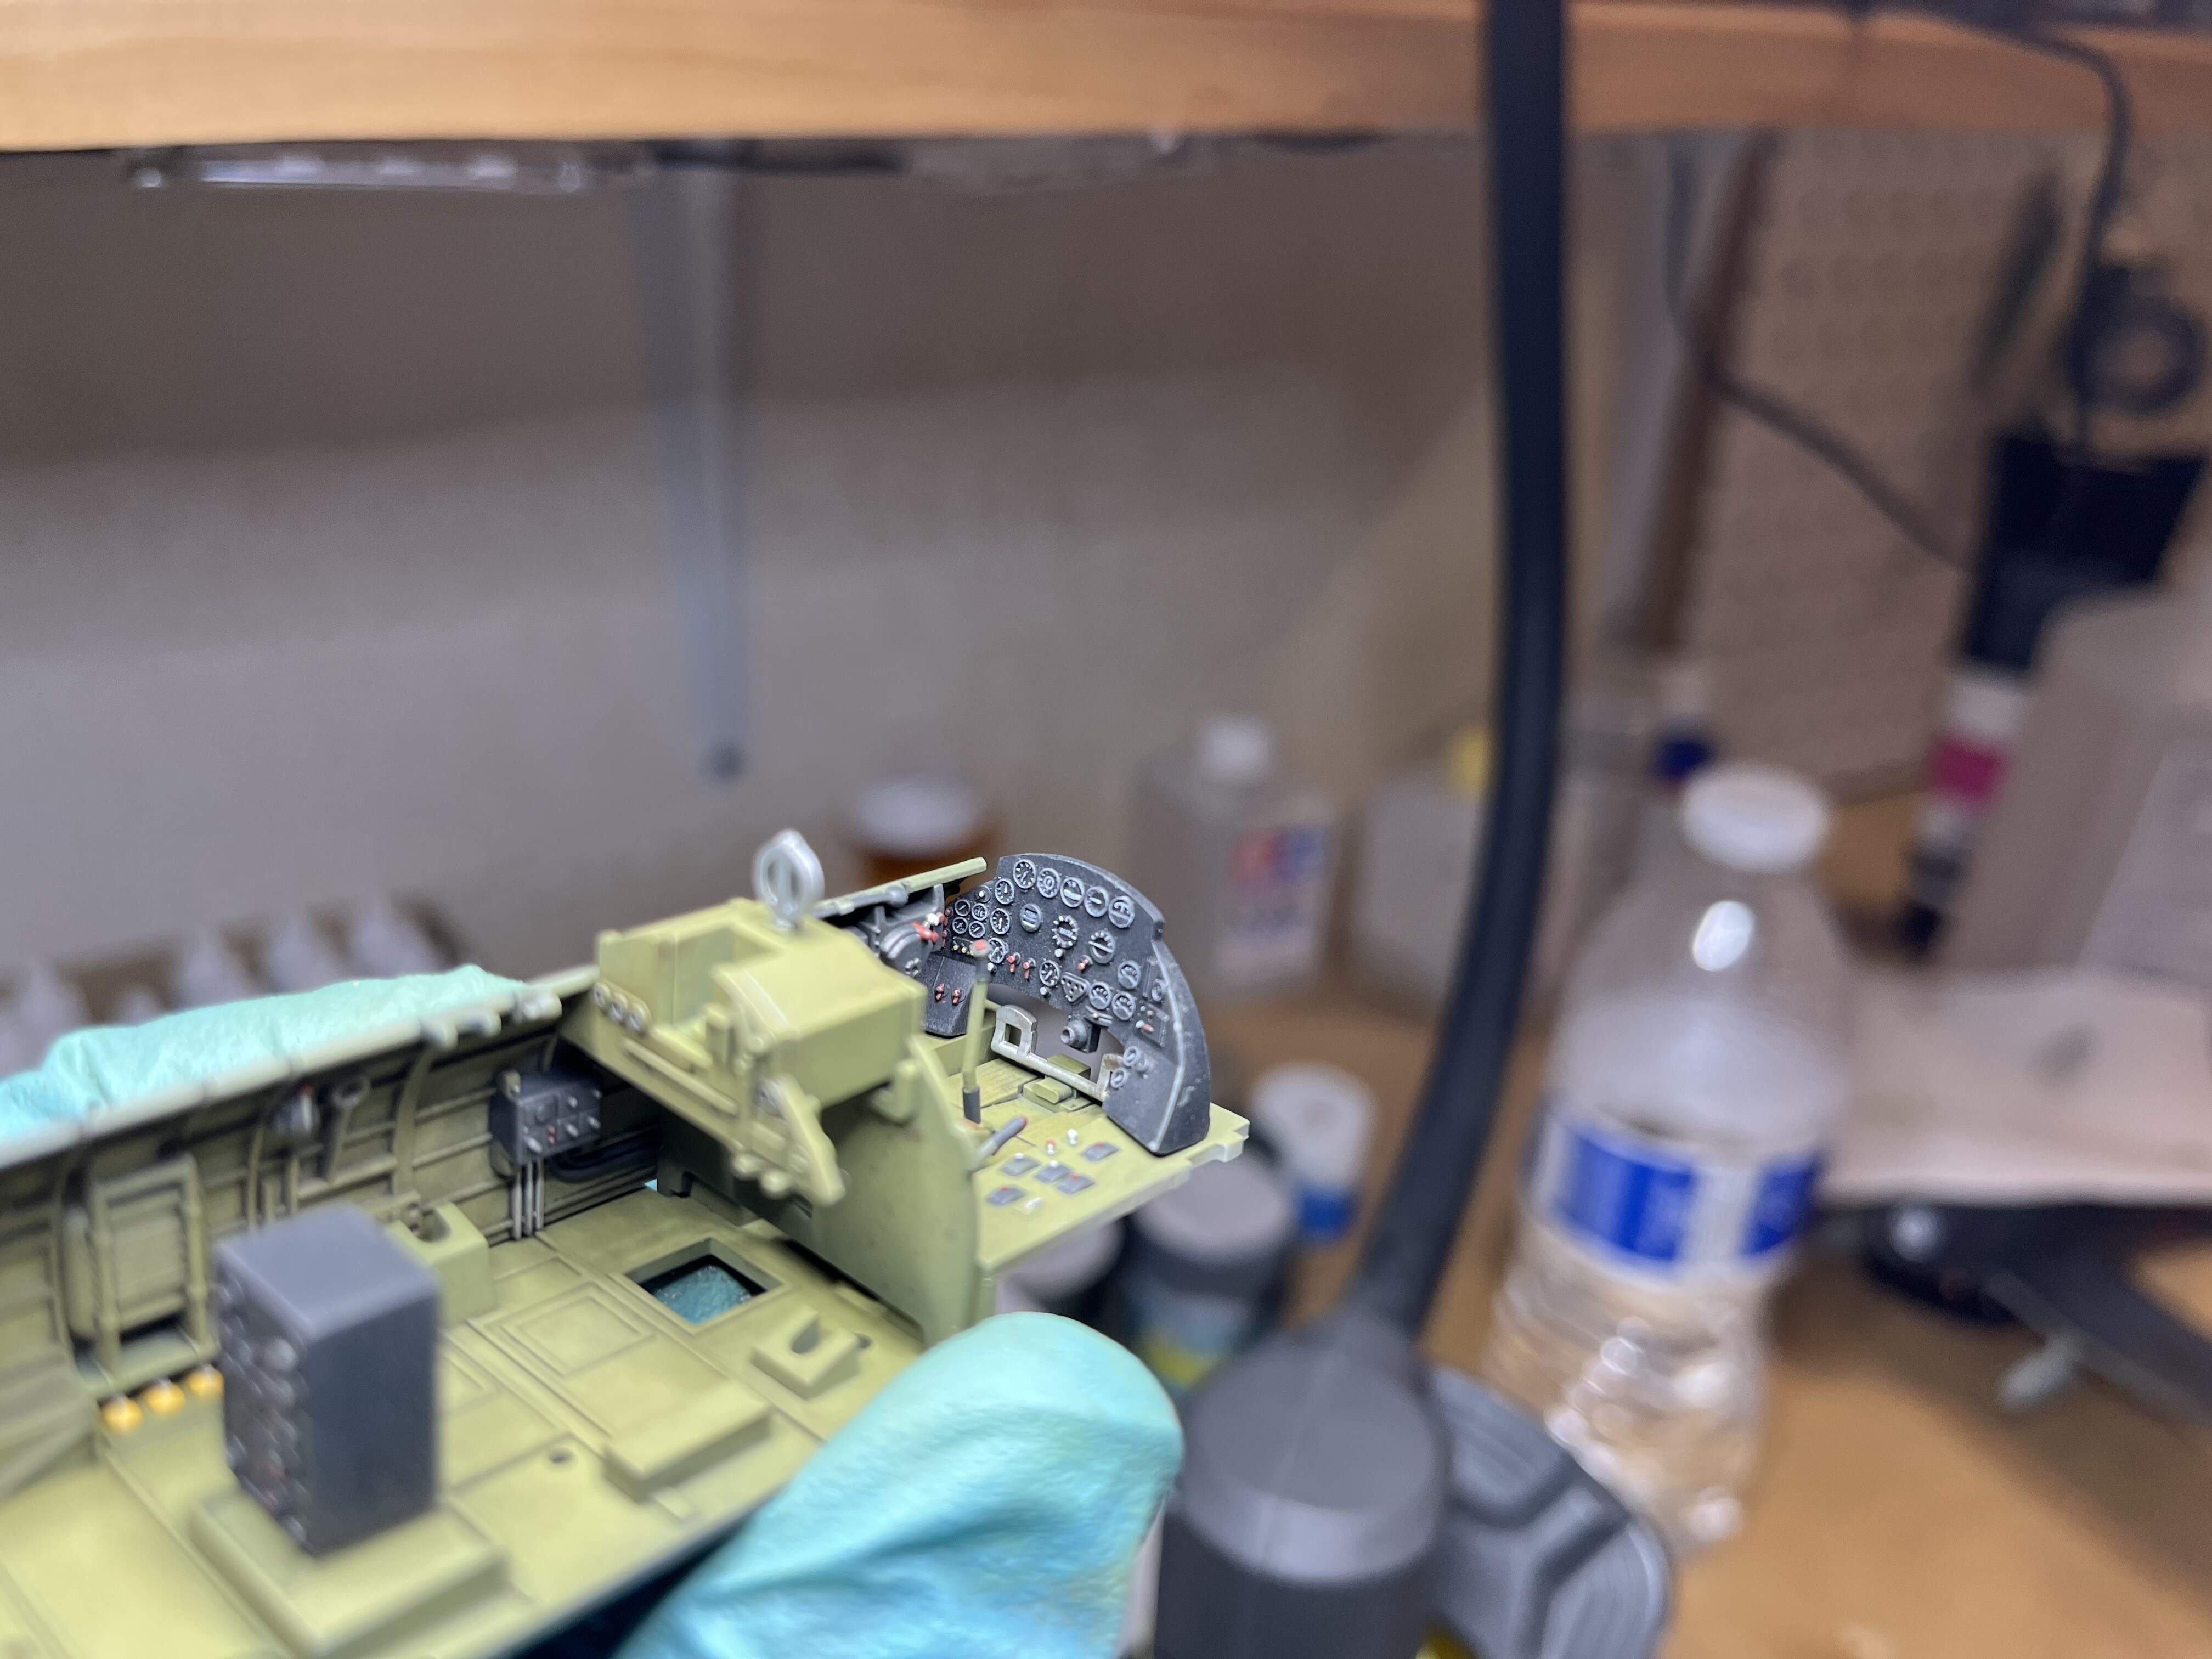
Instrument panel done. It came with decals but they were very thick. Thankfully the IP had lots of raised detail i picked out with oils. Not as perfect as I hoped but good enough given the canopy will be closed
Just waiting for oils on the bombadiers IP to dry so I can pick out the dials with white. Then I plan to spray gloss, do a wash, then clear flat and a bit of chipping and dry brush. Should have it buttoned up today
Yes, you did very well here. Your painting precision is admirable. Its often hard to imagine just how tiny these details are. Great job on a beautiful bird!
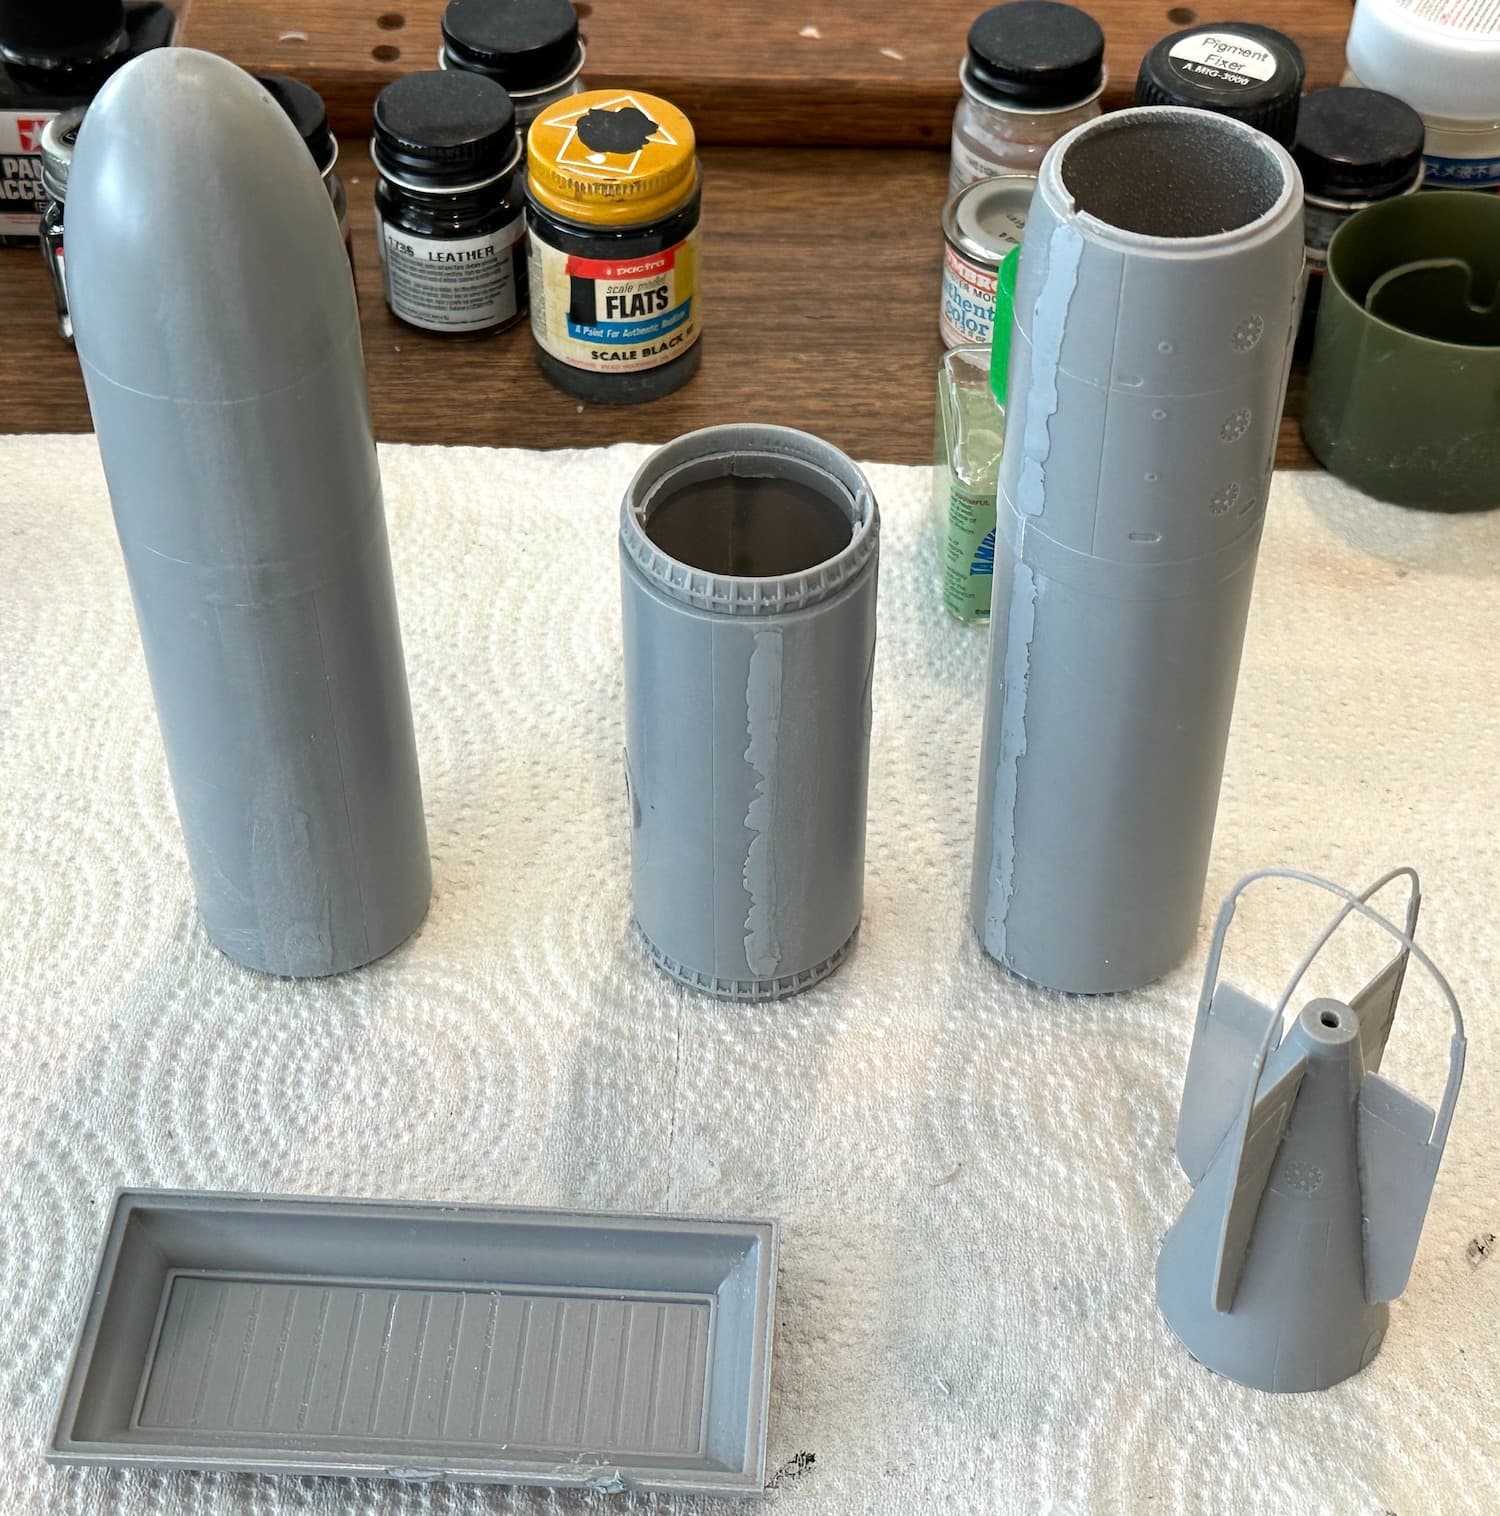
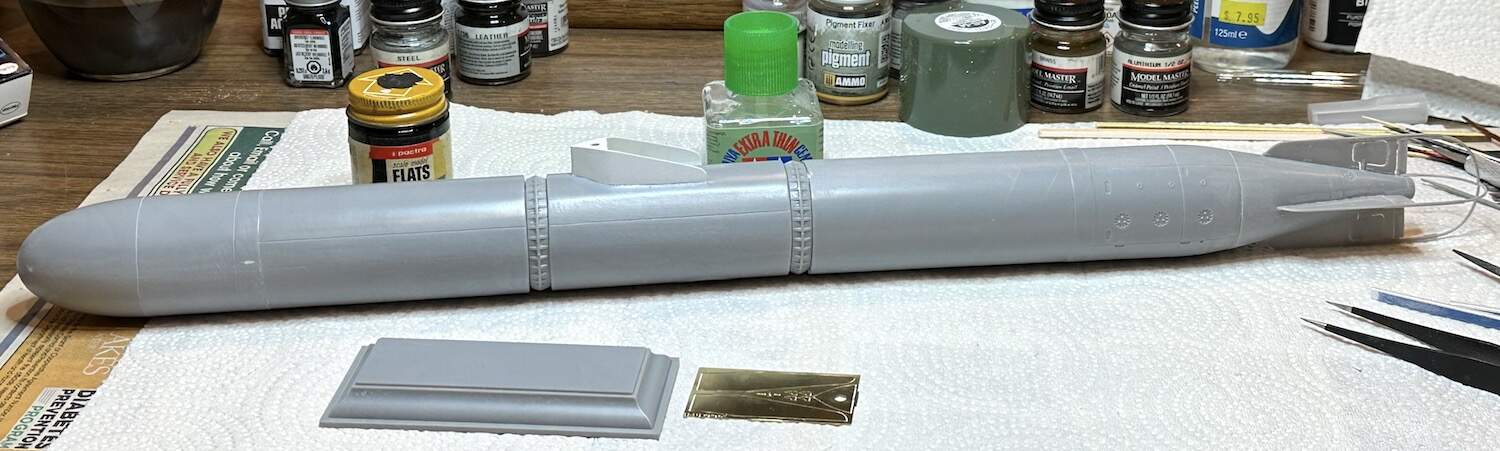
I got some more work done on the Kaiten II over the weekend. Most of the time has been spent fitting the parts together trying to keep the seams small. Just the same, this model needed putty and sanding, sometimes in multiple applications. As the process went on I decided to try rescribing some of the panel lines. This did not come out as well as I had hoped. My lines wiggled here and there and then they needed putty & sanding themselves. I think some sort of flexible “guide” for the scribing tool might have been helpful. We’ll see how it looks after the primer goes on.
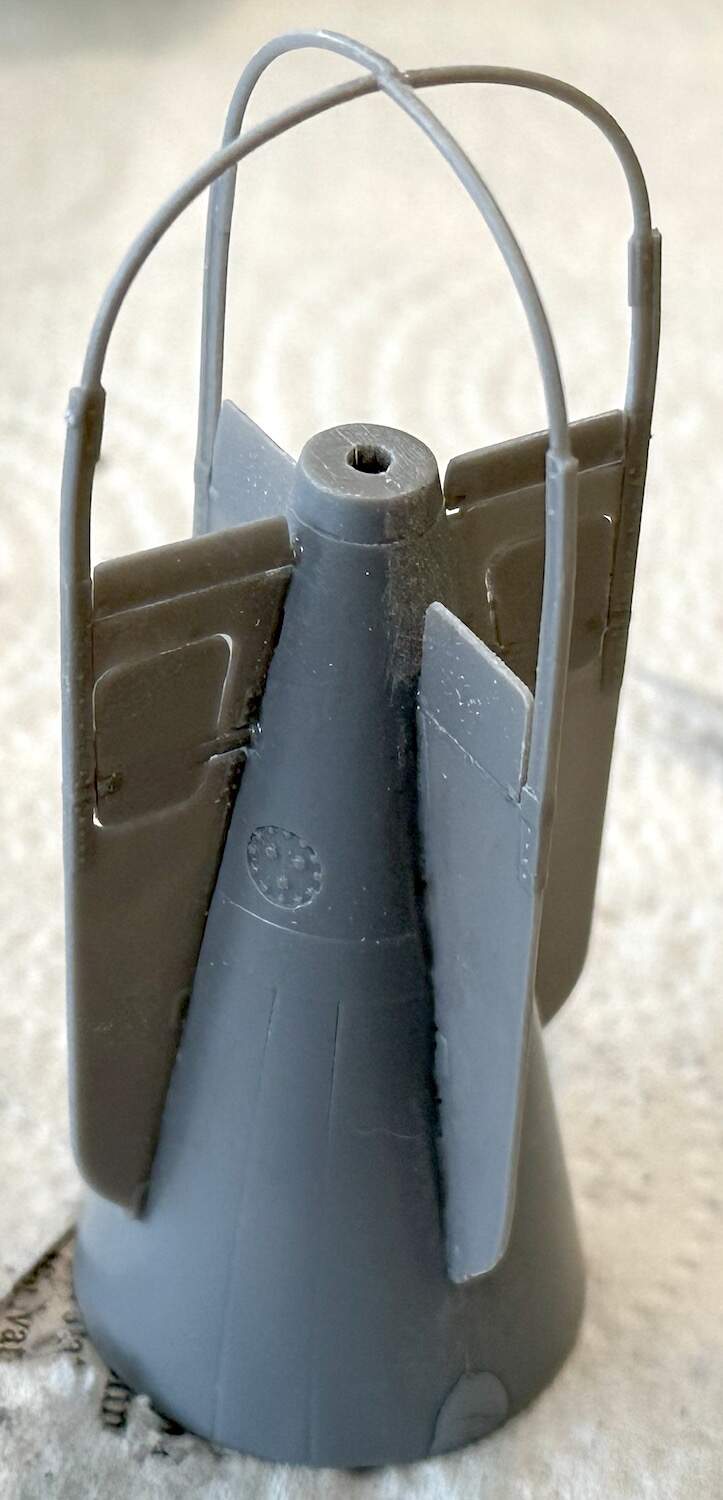
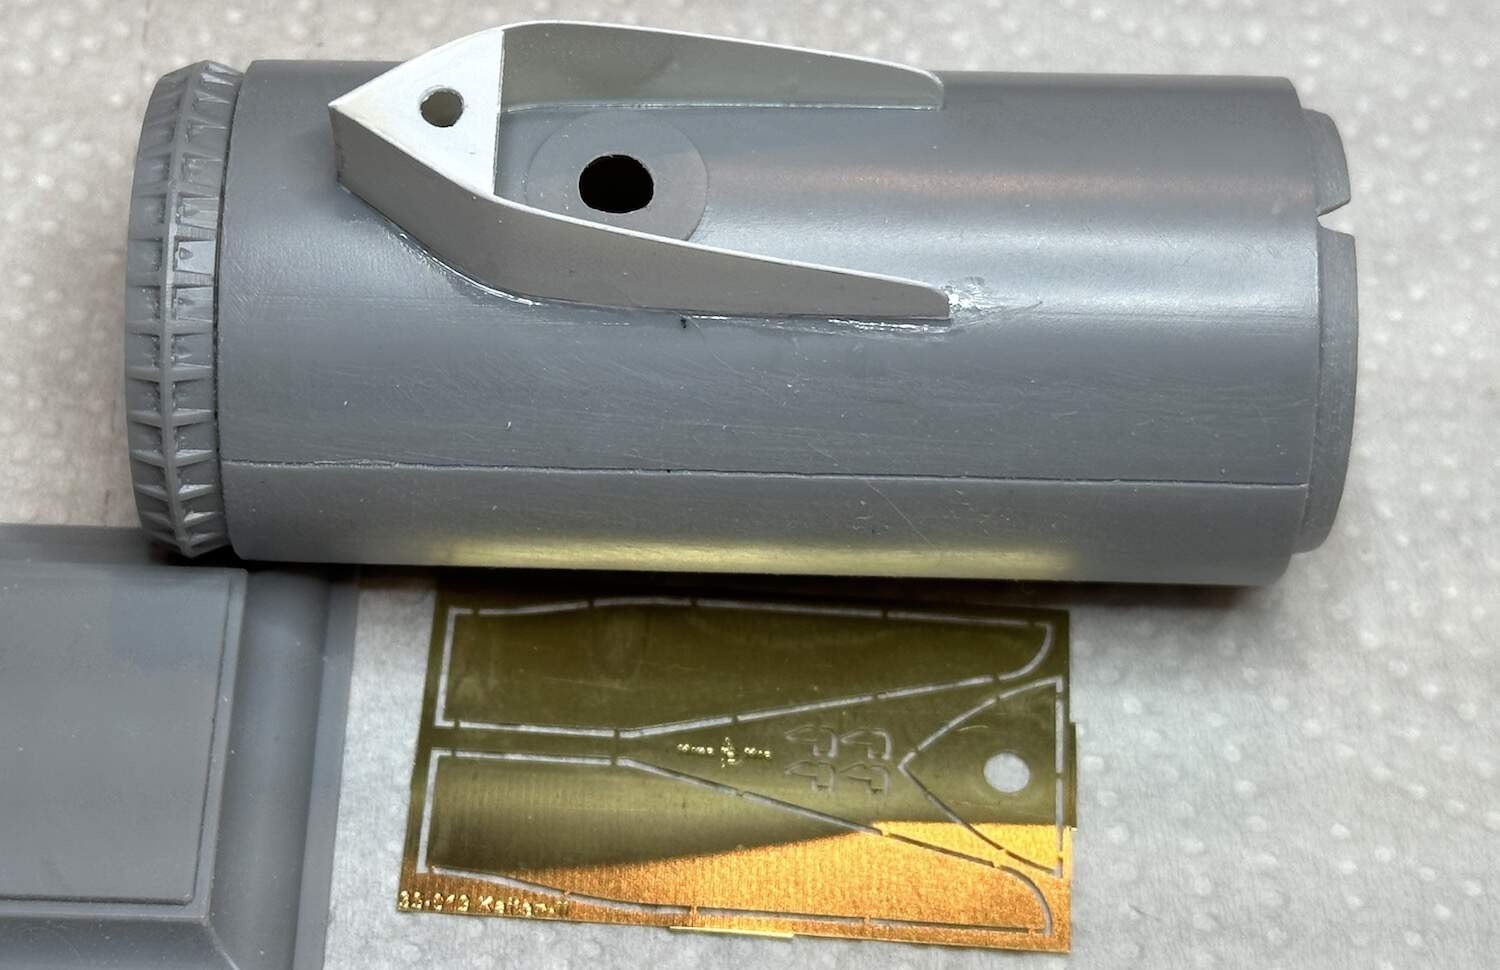
The other major project was the sail or fairing on top of the hull. The kit provided these parts in PE but that had me worried right from the get-go. I like PE details for vents & louvers and such add on parts that are basically 2D. This is replicating a sheet metal structure that would have been welded up. Certainly PE would work but my skills were not really at a point where I thought I could build an assembly that would look good and be structurally sound.
I have been thinking this over ever since the start of the project a few weeks ago. I decided to build the sail out of .010 plastic card using the PE parts as a template. Using a sharp pencil and scissors the parts took just a short time to make and then were sanded together to make sure the were the same left to right.
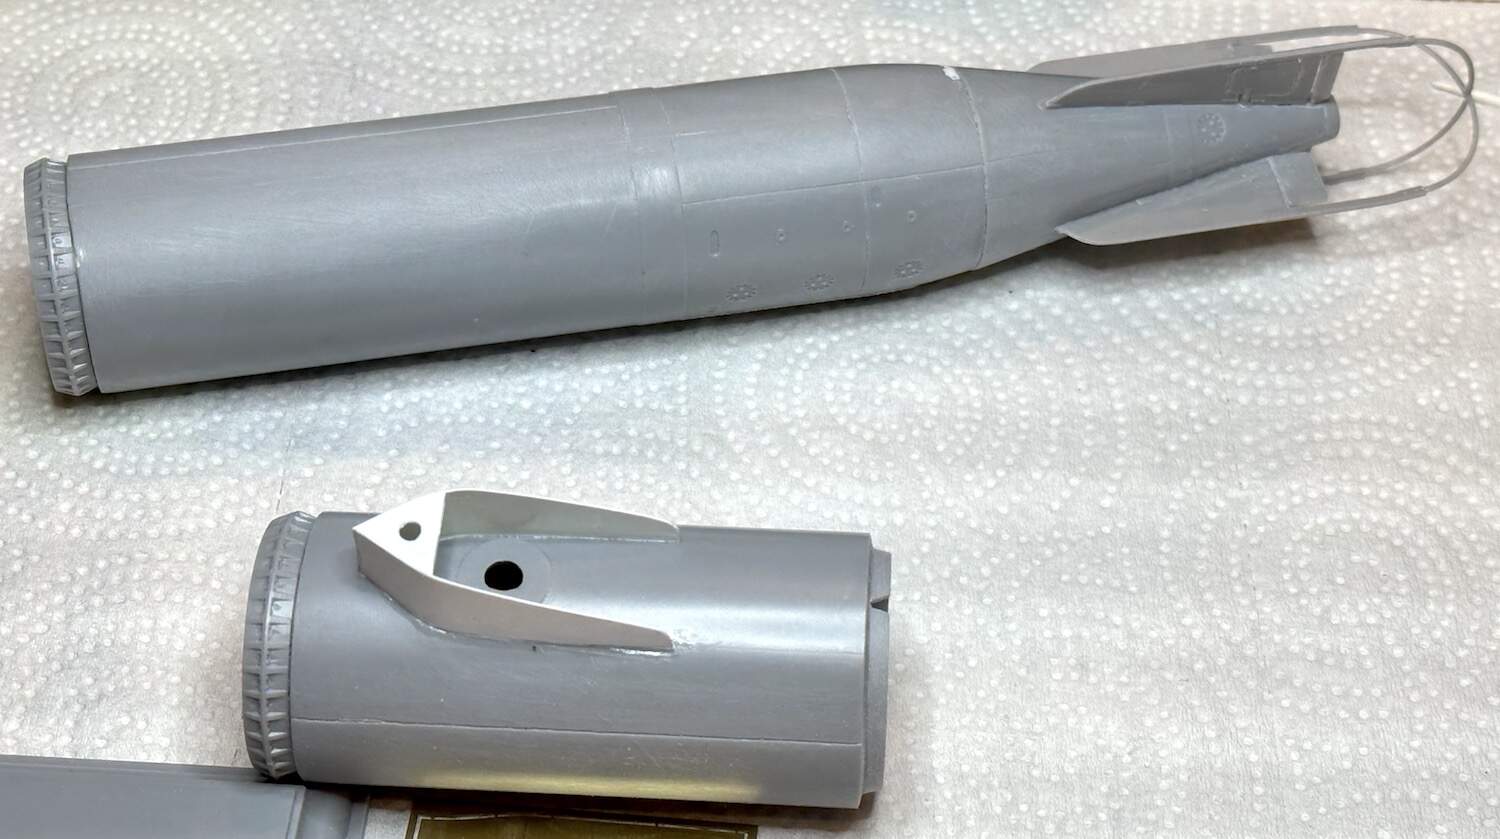
The tricky bit was fitting them to the lines provided as a guide in the hull. This really needed three or four arms but with a bit of time and the slow acting liquid cement it actually came out rather well. The top piece is a stiffener and it worked the same way on this model as it would have on the real assembly. What resulted is a nice looking & strong structure that should cleanup well and look like it belongs.
The photos below are as it is now, waiting for the putty to dry & for some sanding. The last two show the major three parts of the model fit together to check for alignment & gaps.