Good looking Kaiten
Arrived from Sprue bros off the Hasegawa sale, now I can fix up my mistake on the Jill with the glue spill!

5 Likes
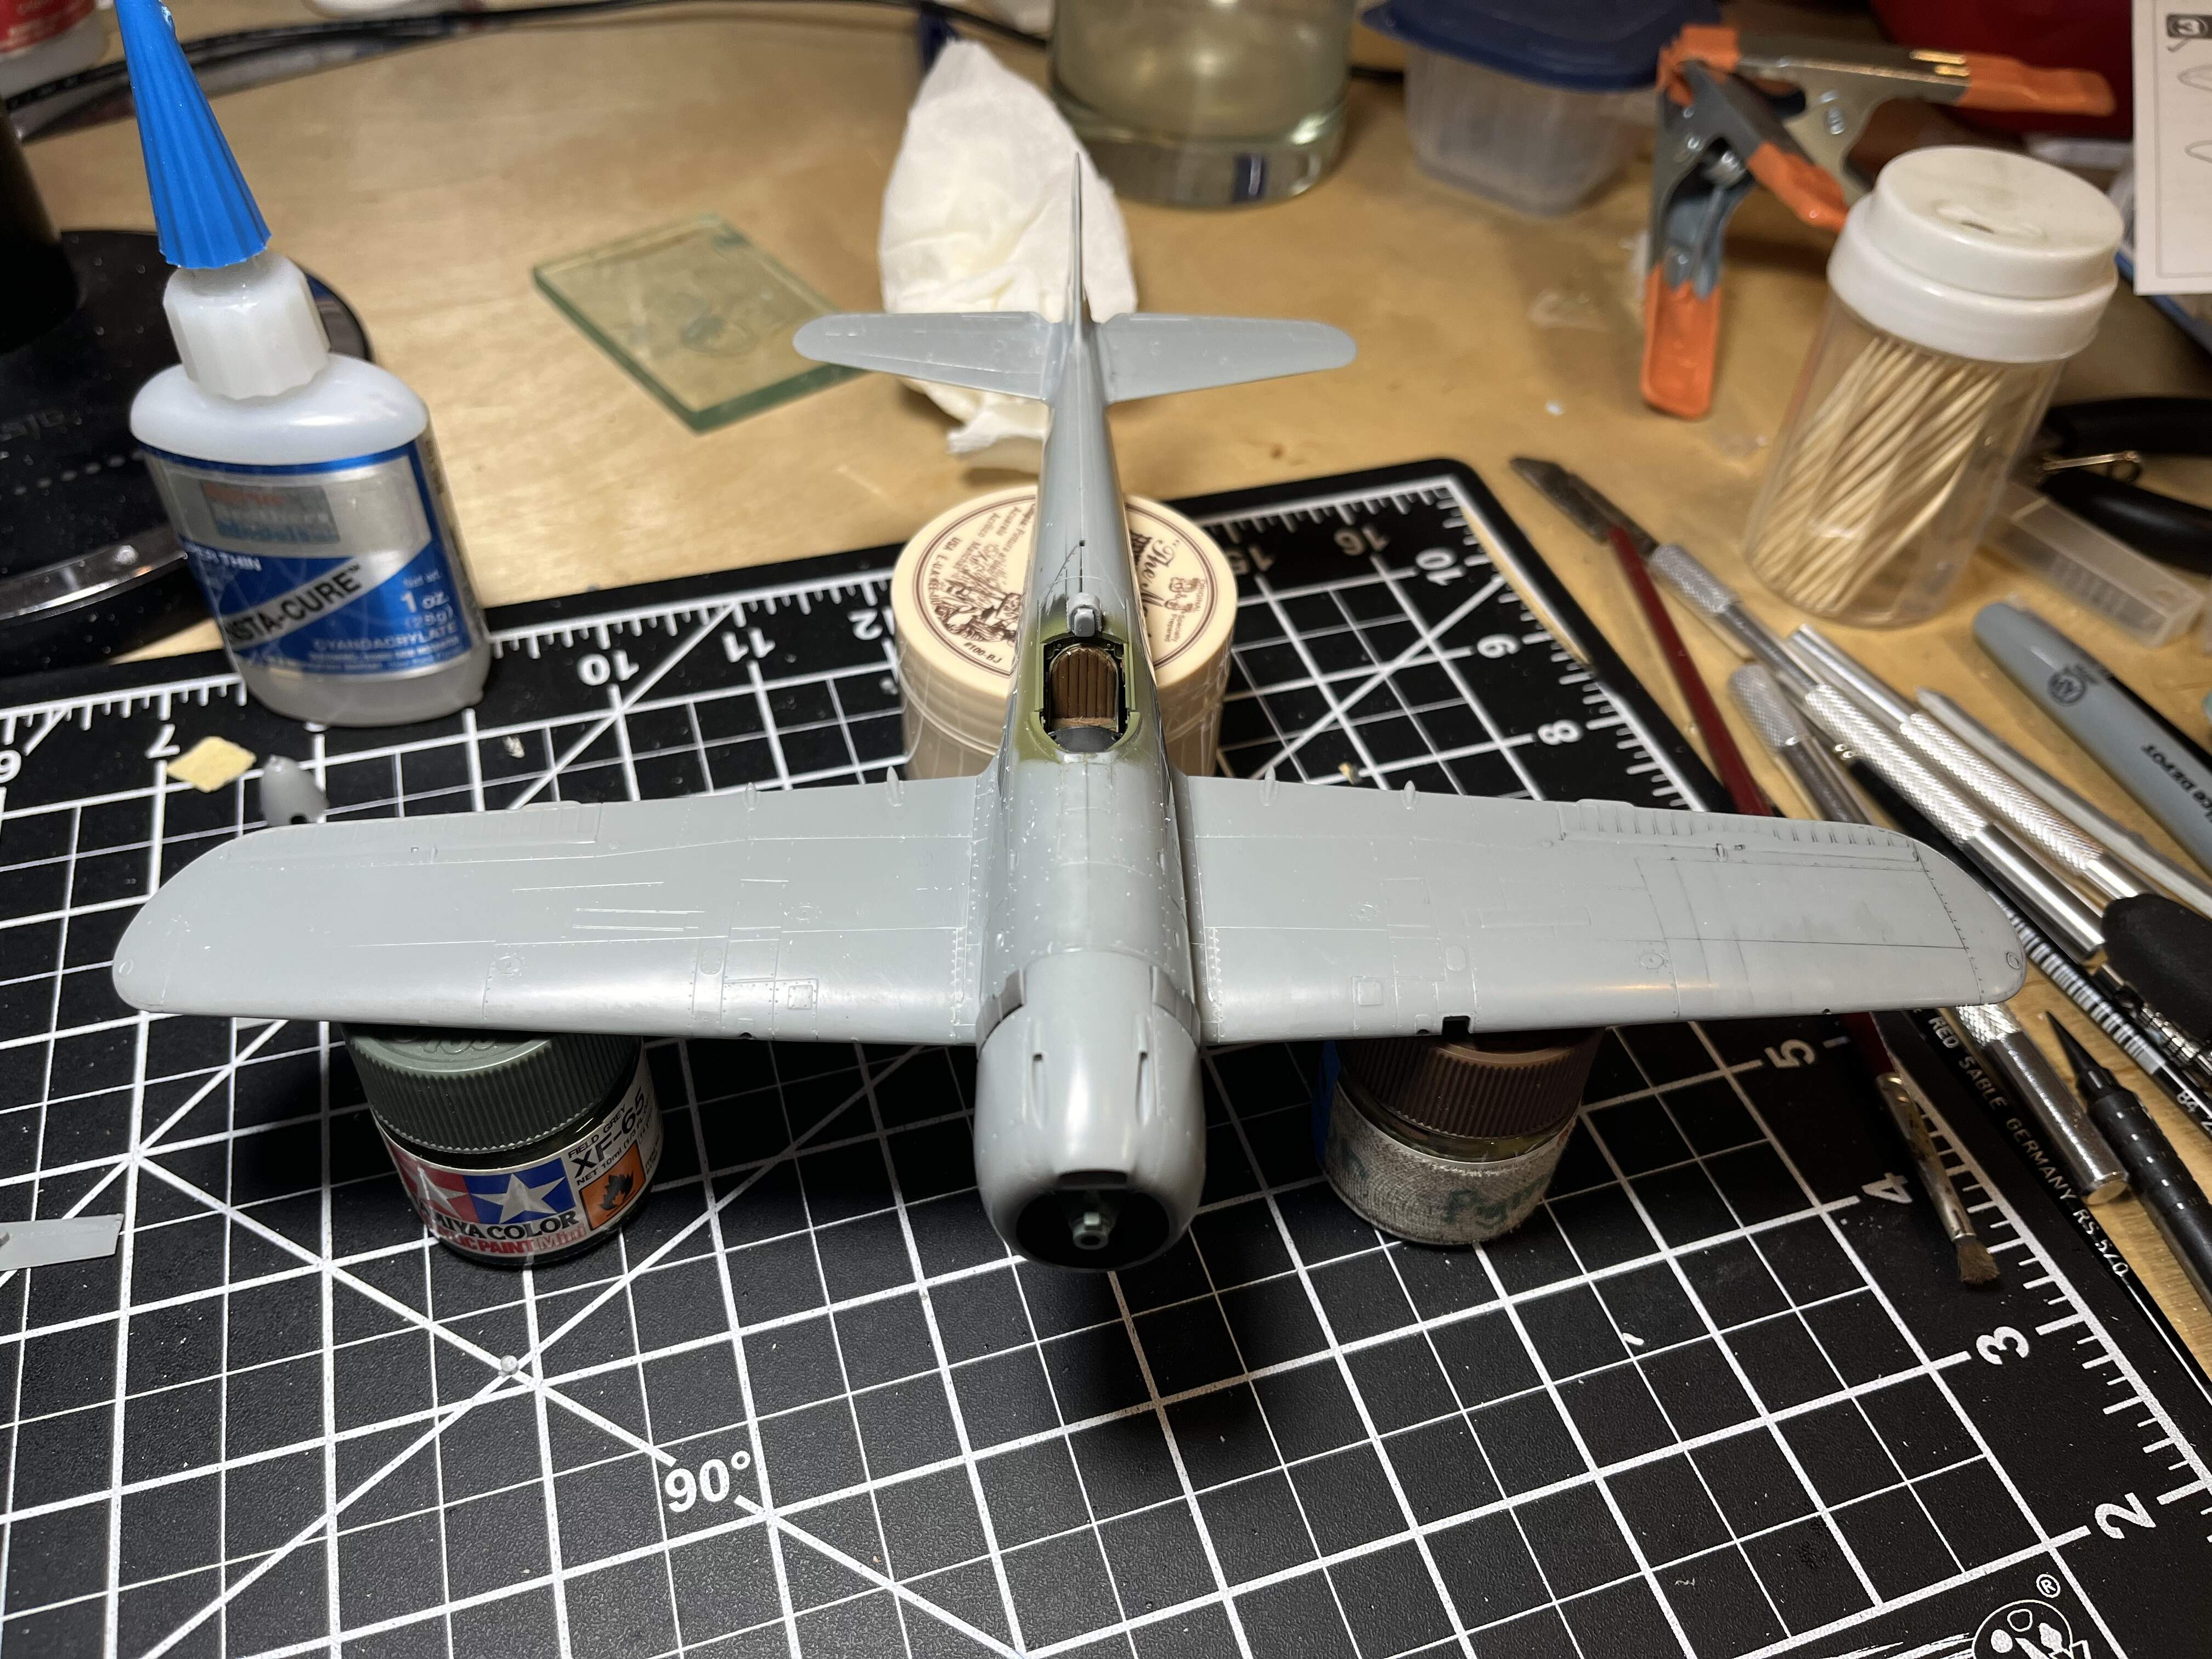
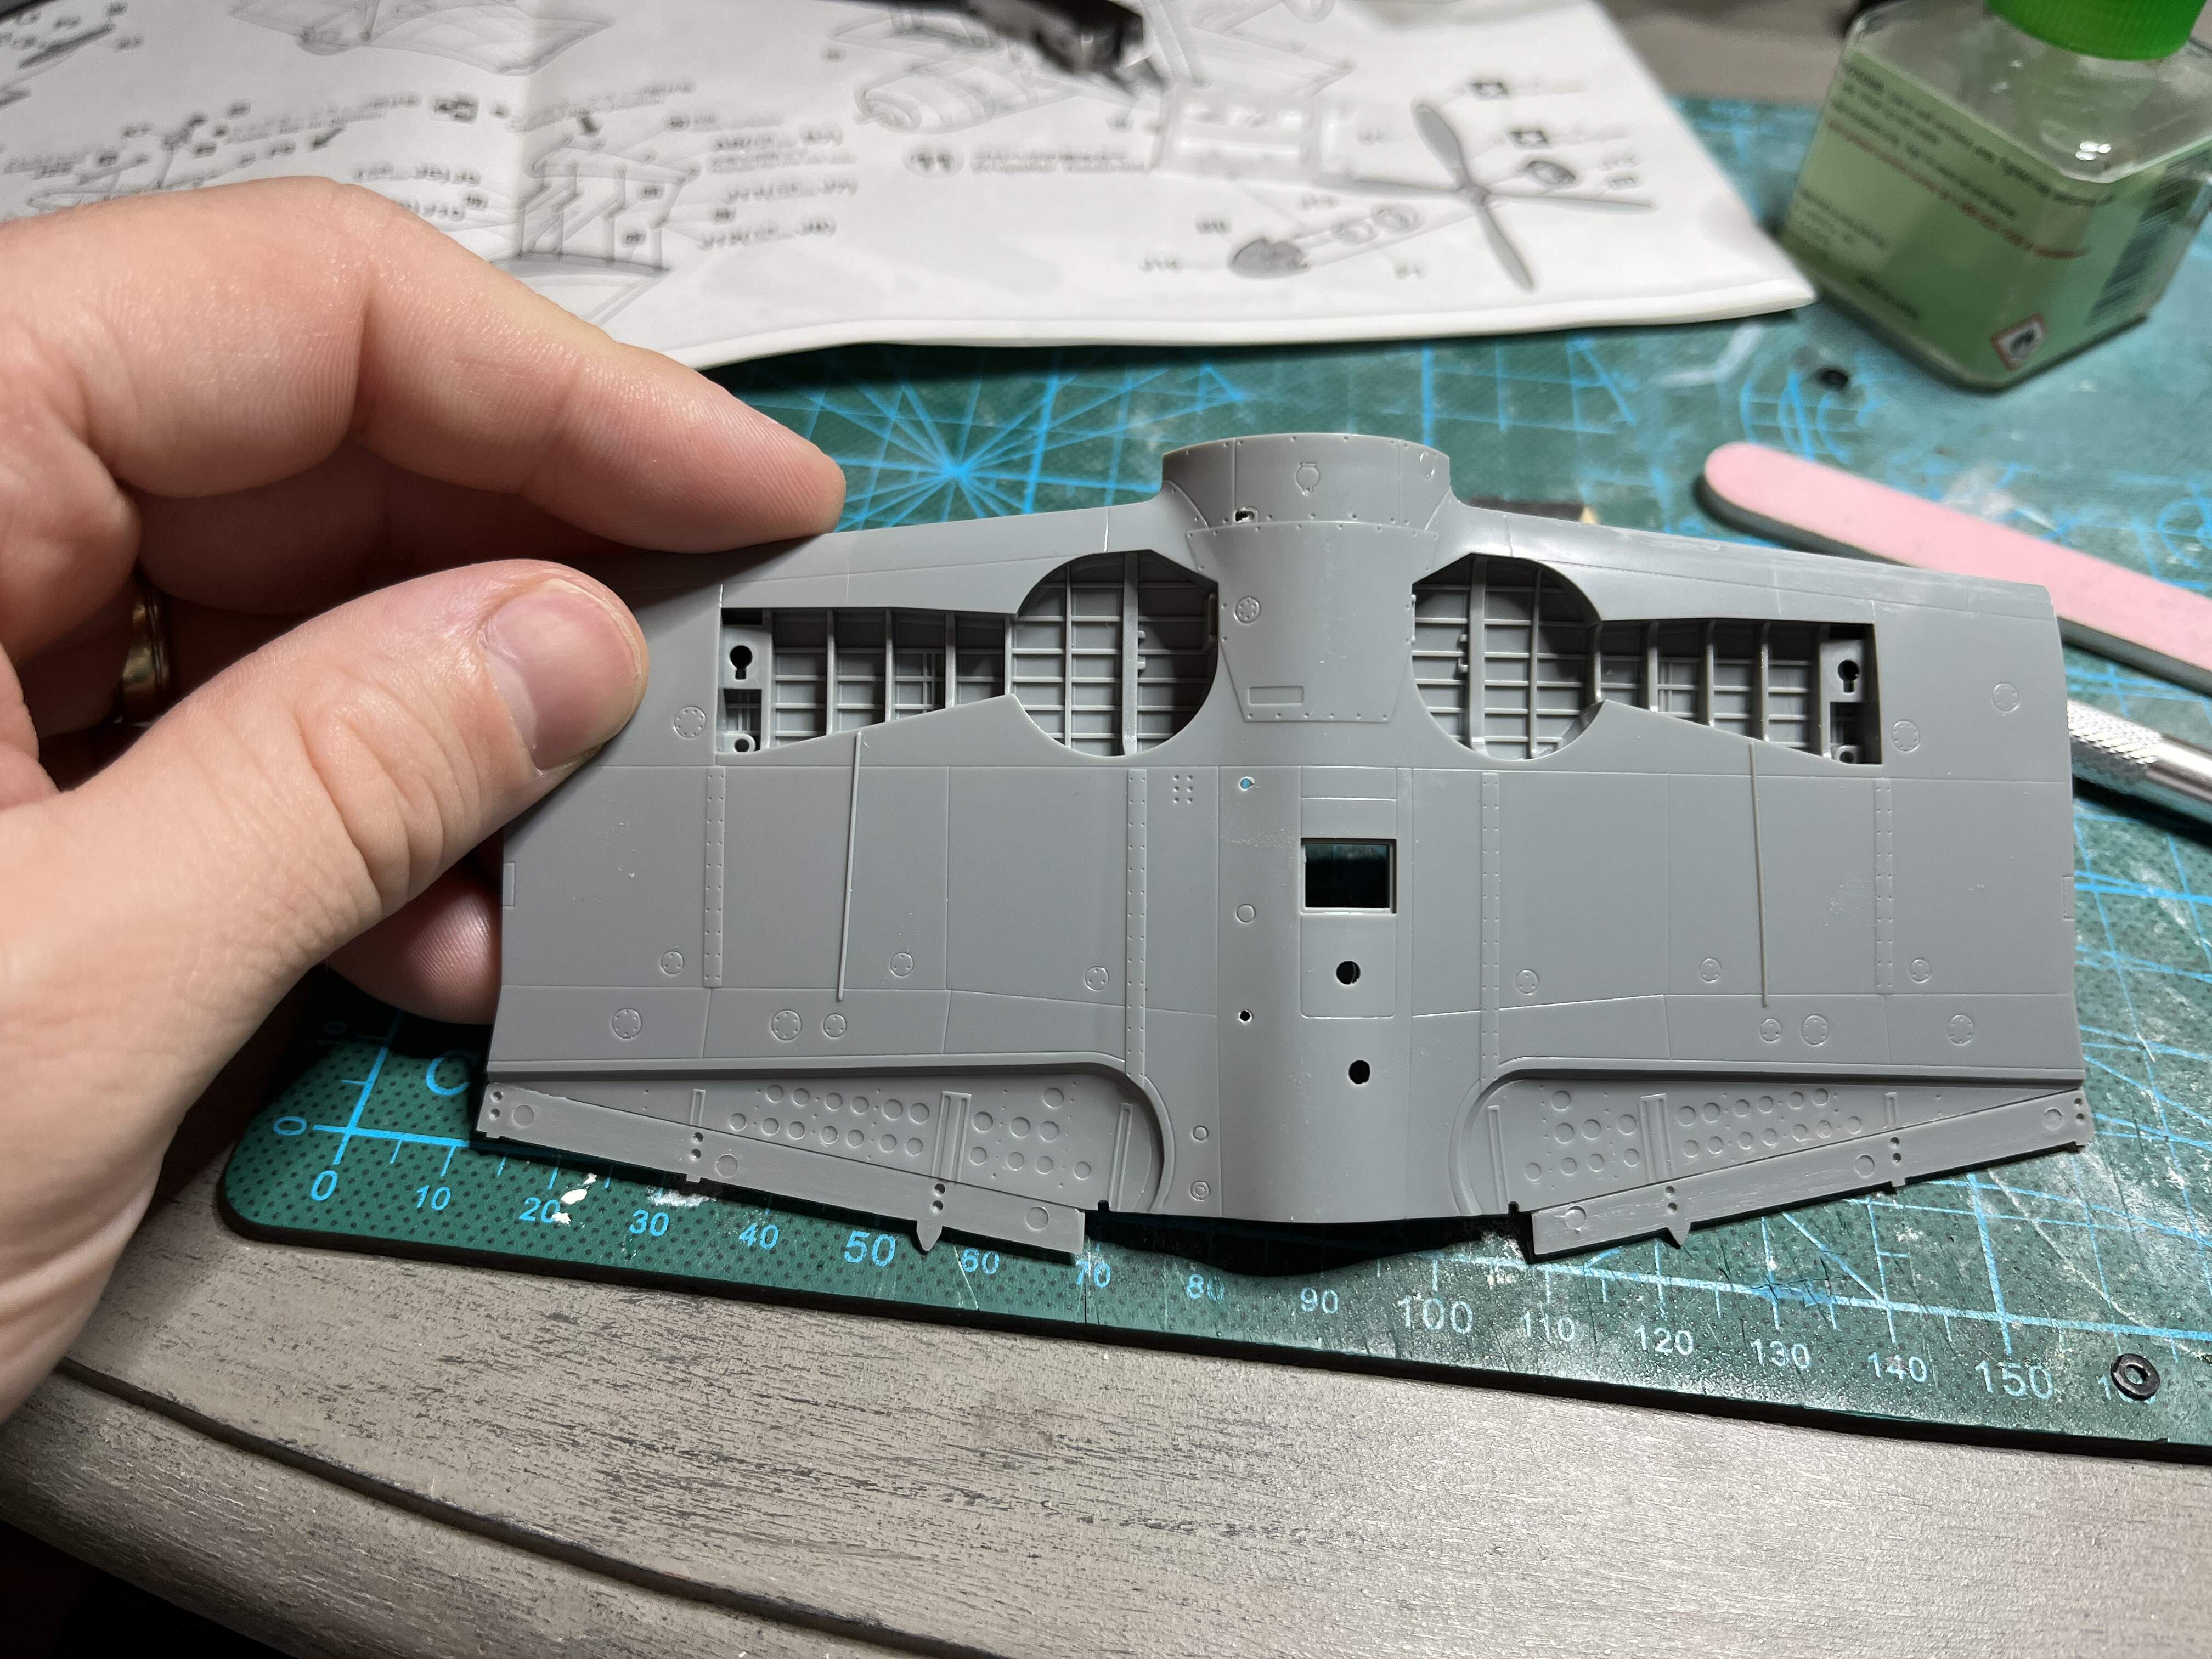
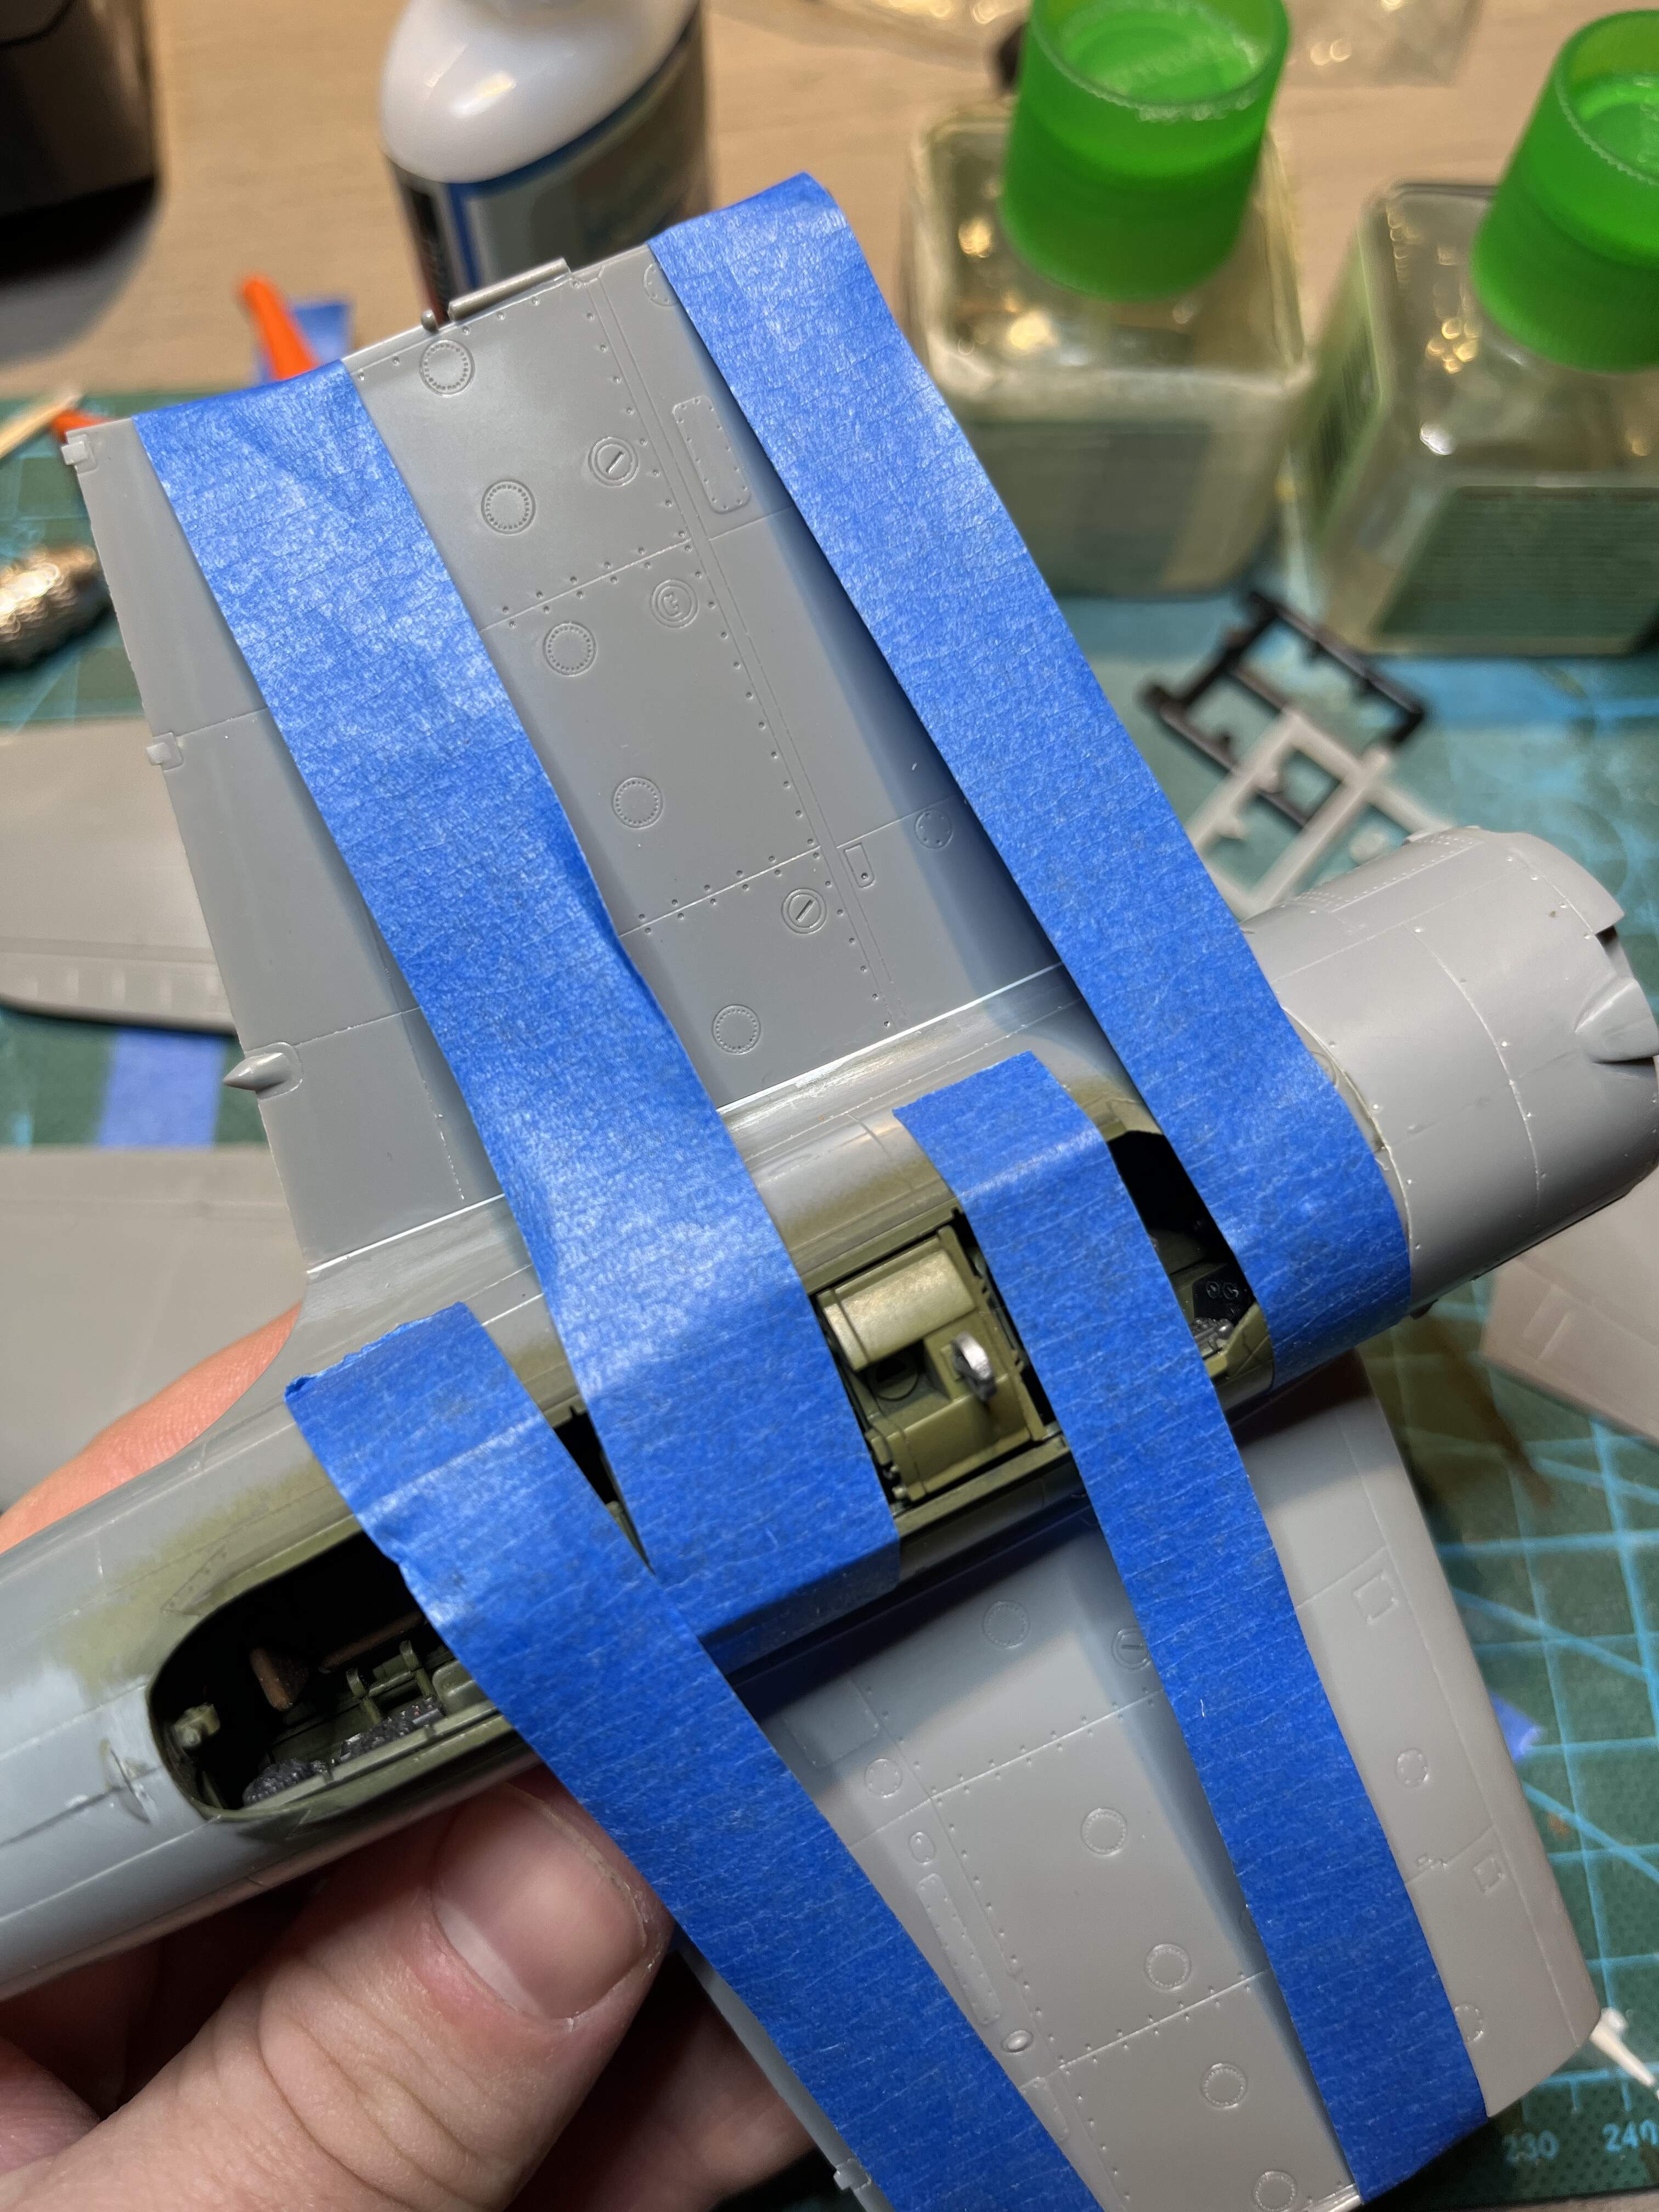
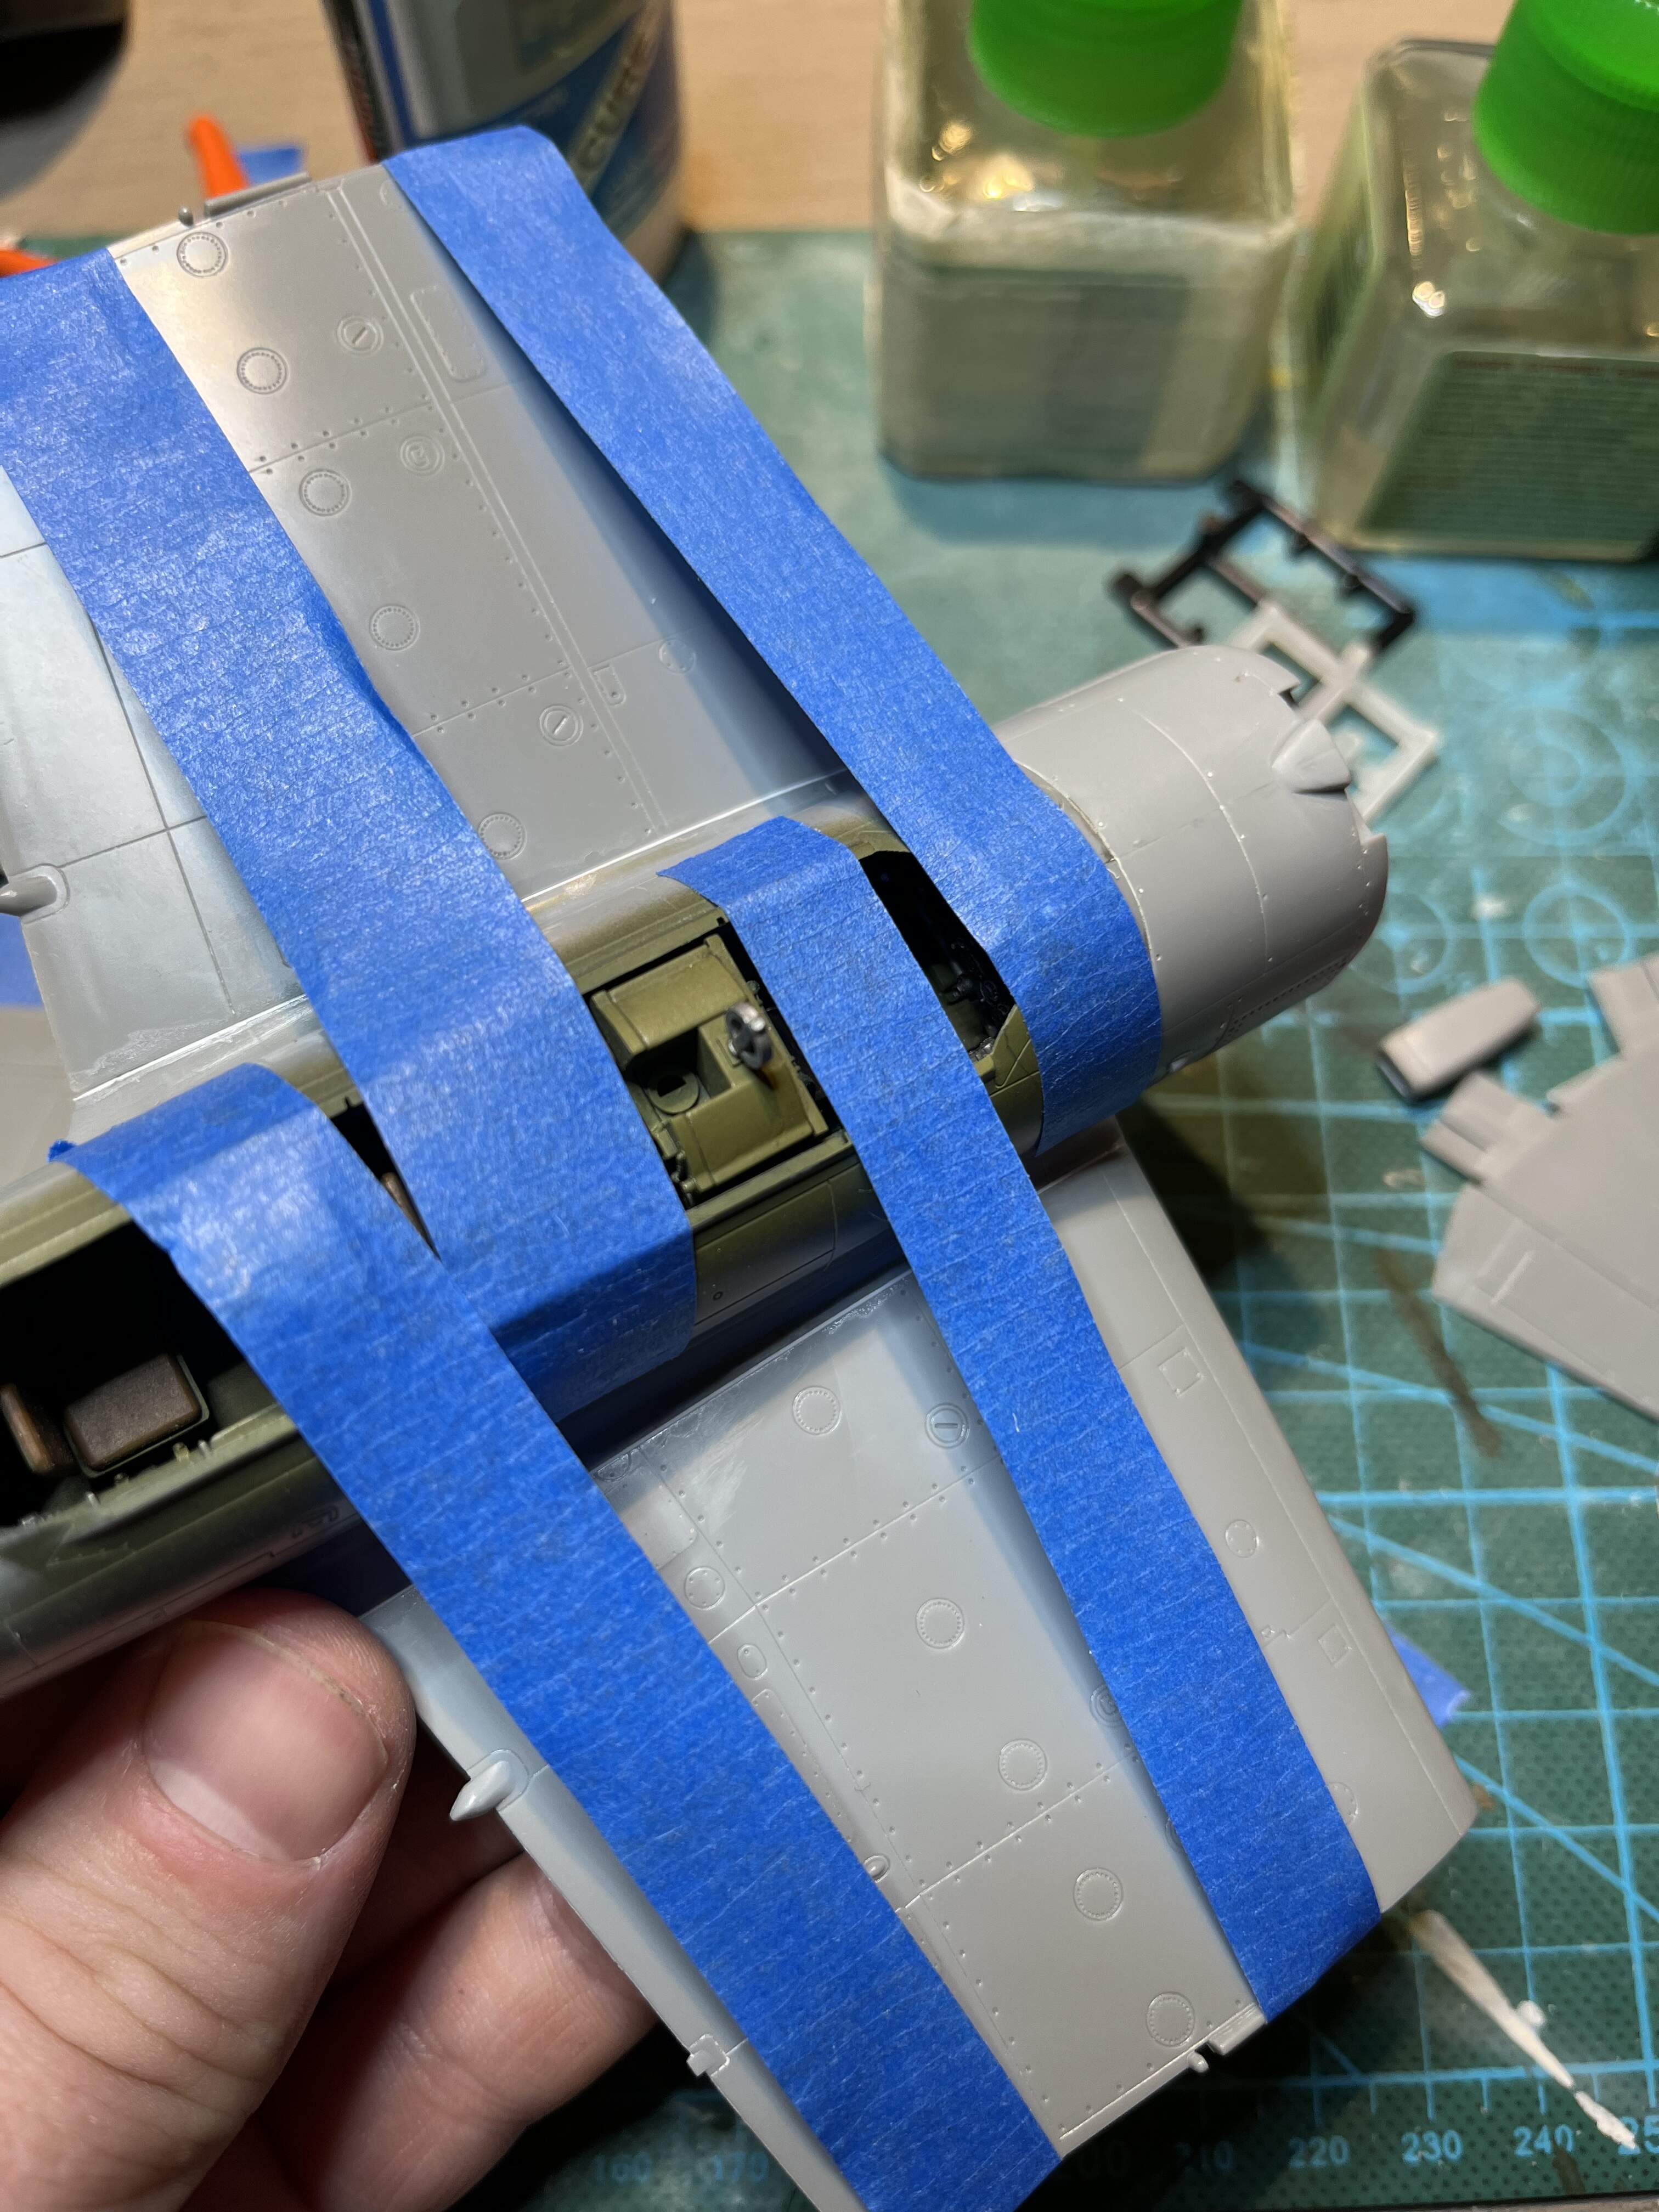
Sand and then rescribed the fueslage center line seams. Then attached the fueslage to the wings. The wings fit quite well!

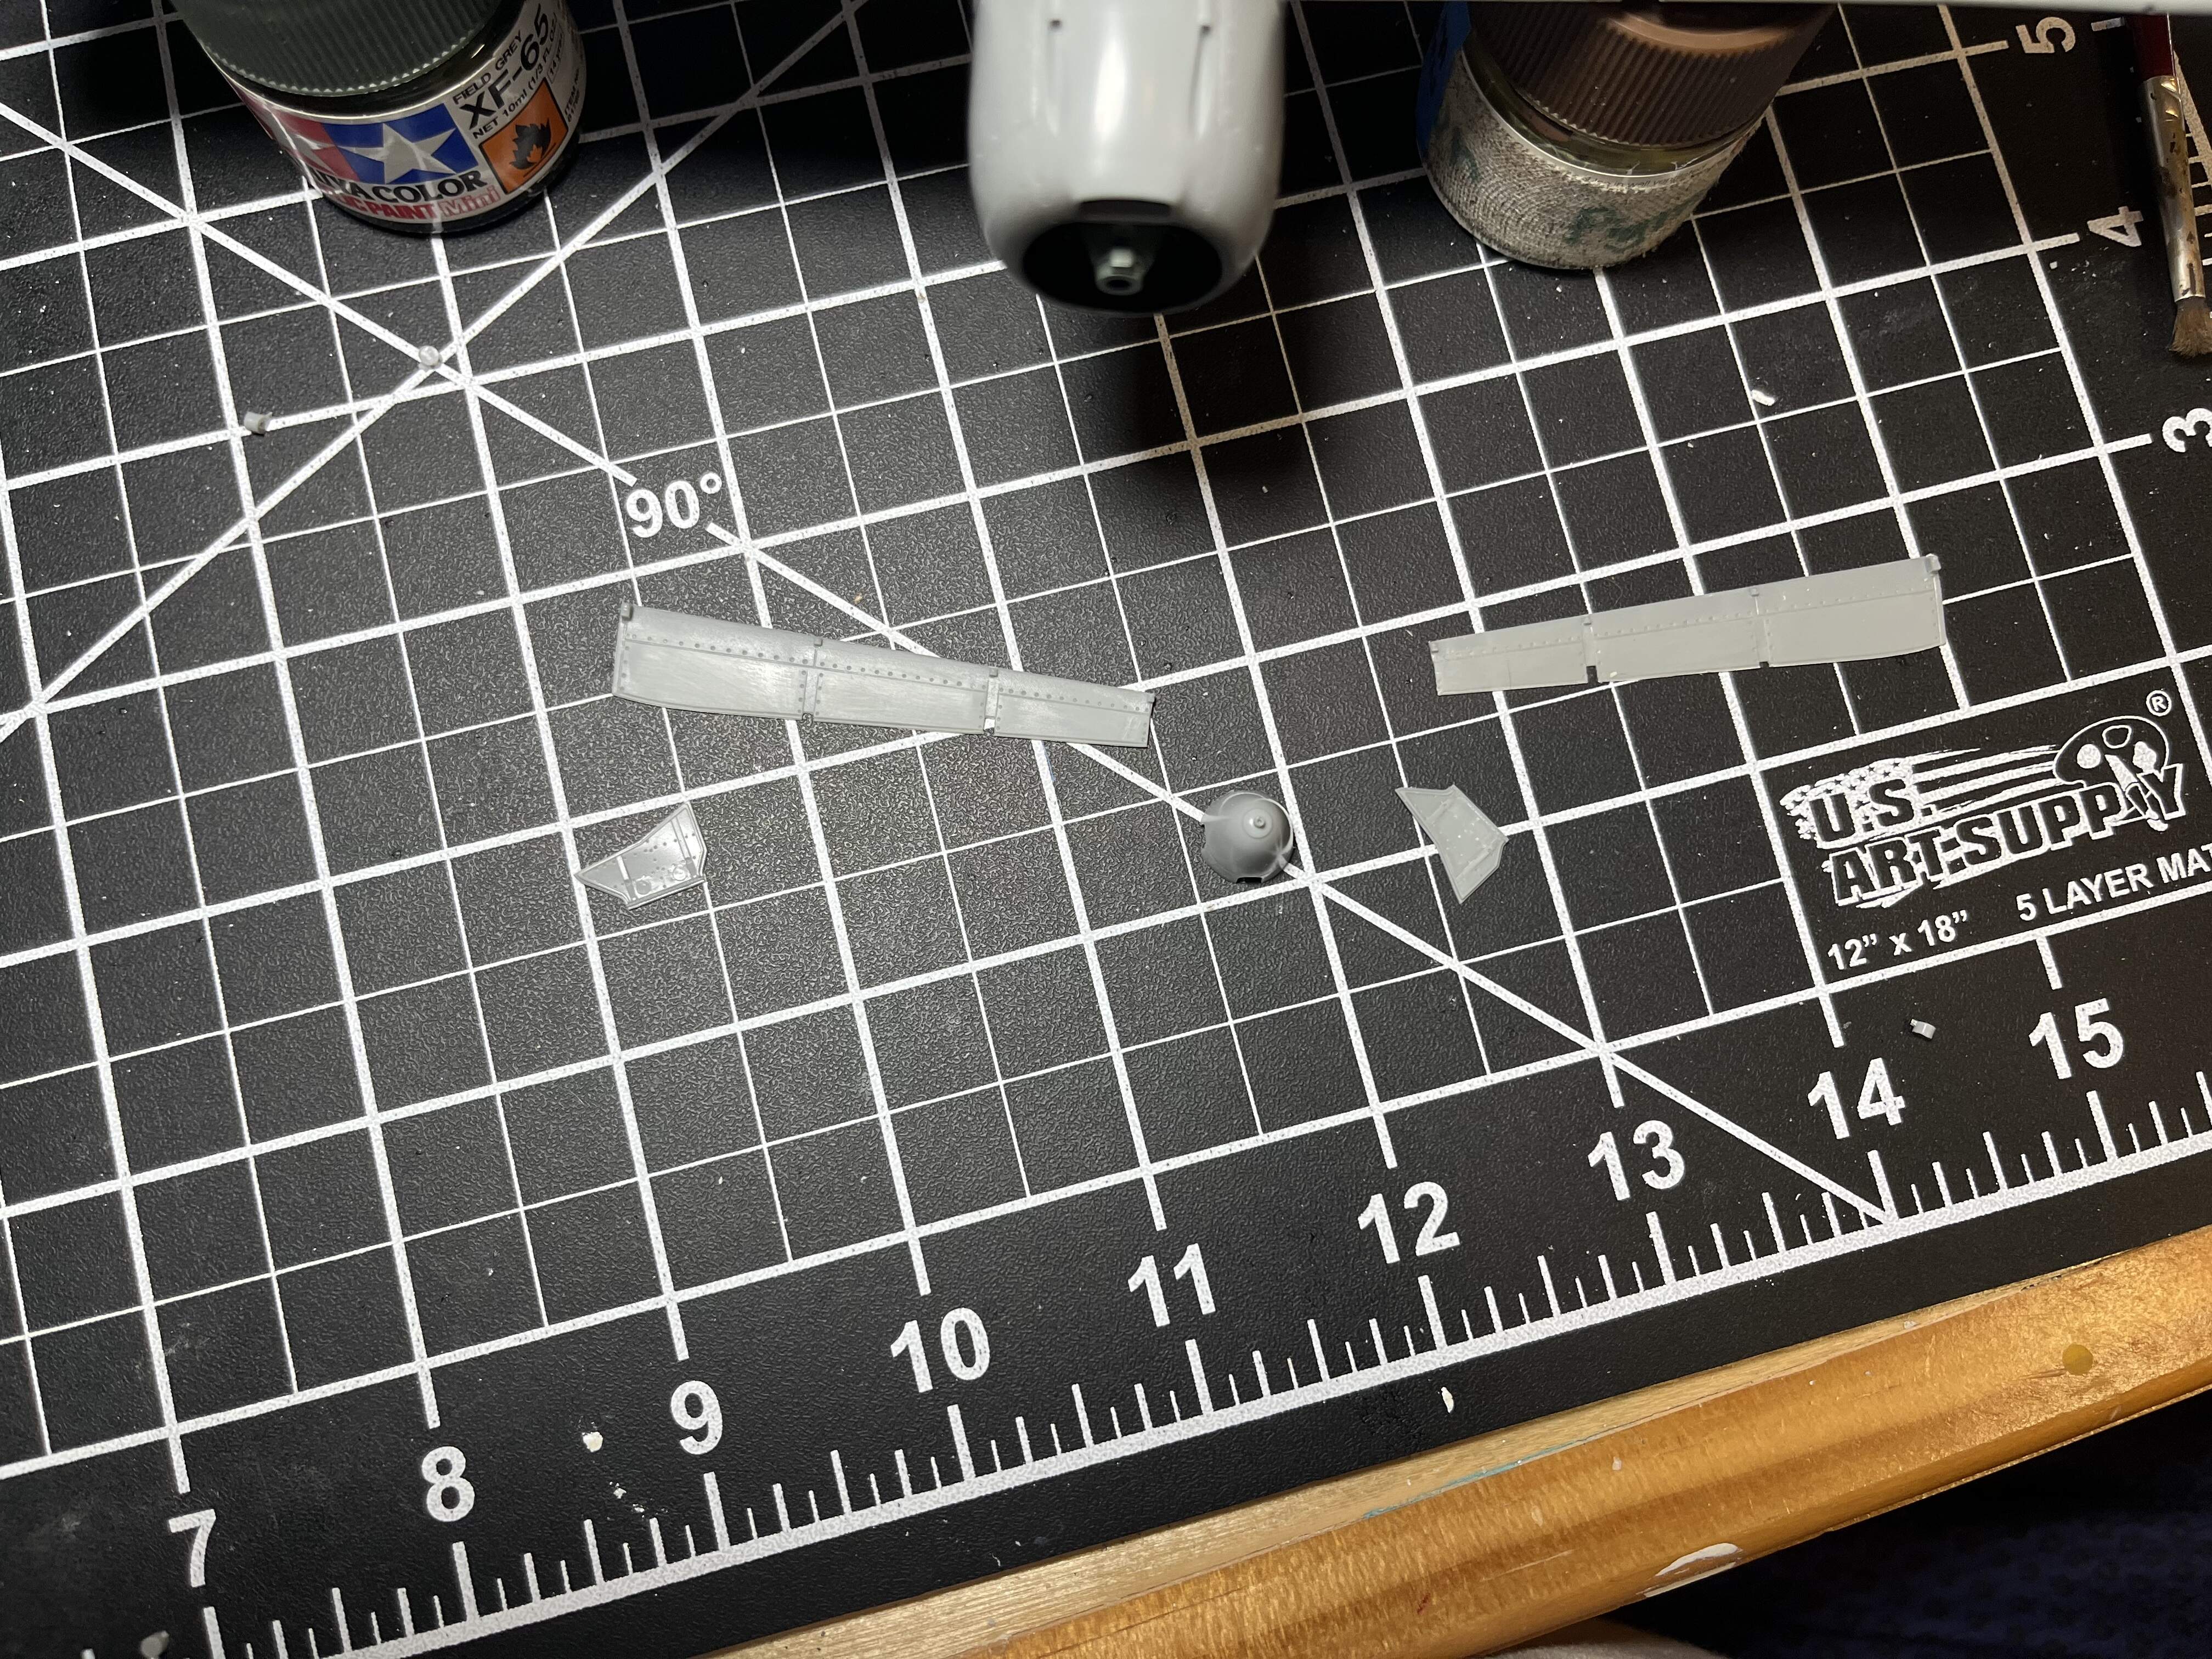
I also got a lot of the other parts cut out and cleaned up. Landing gear, drop tanks, vertical stab and horizontal stabs also cut out
8 Likes
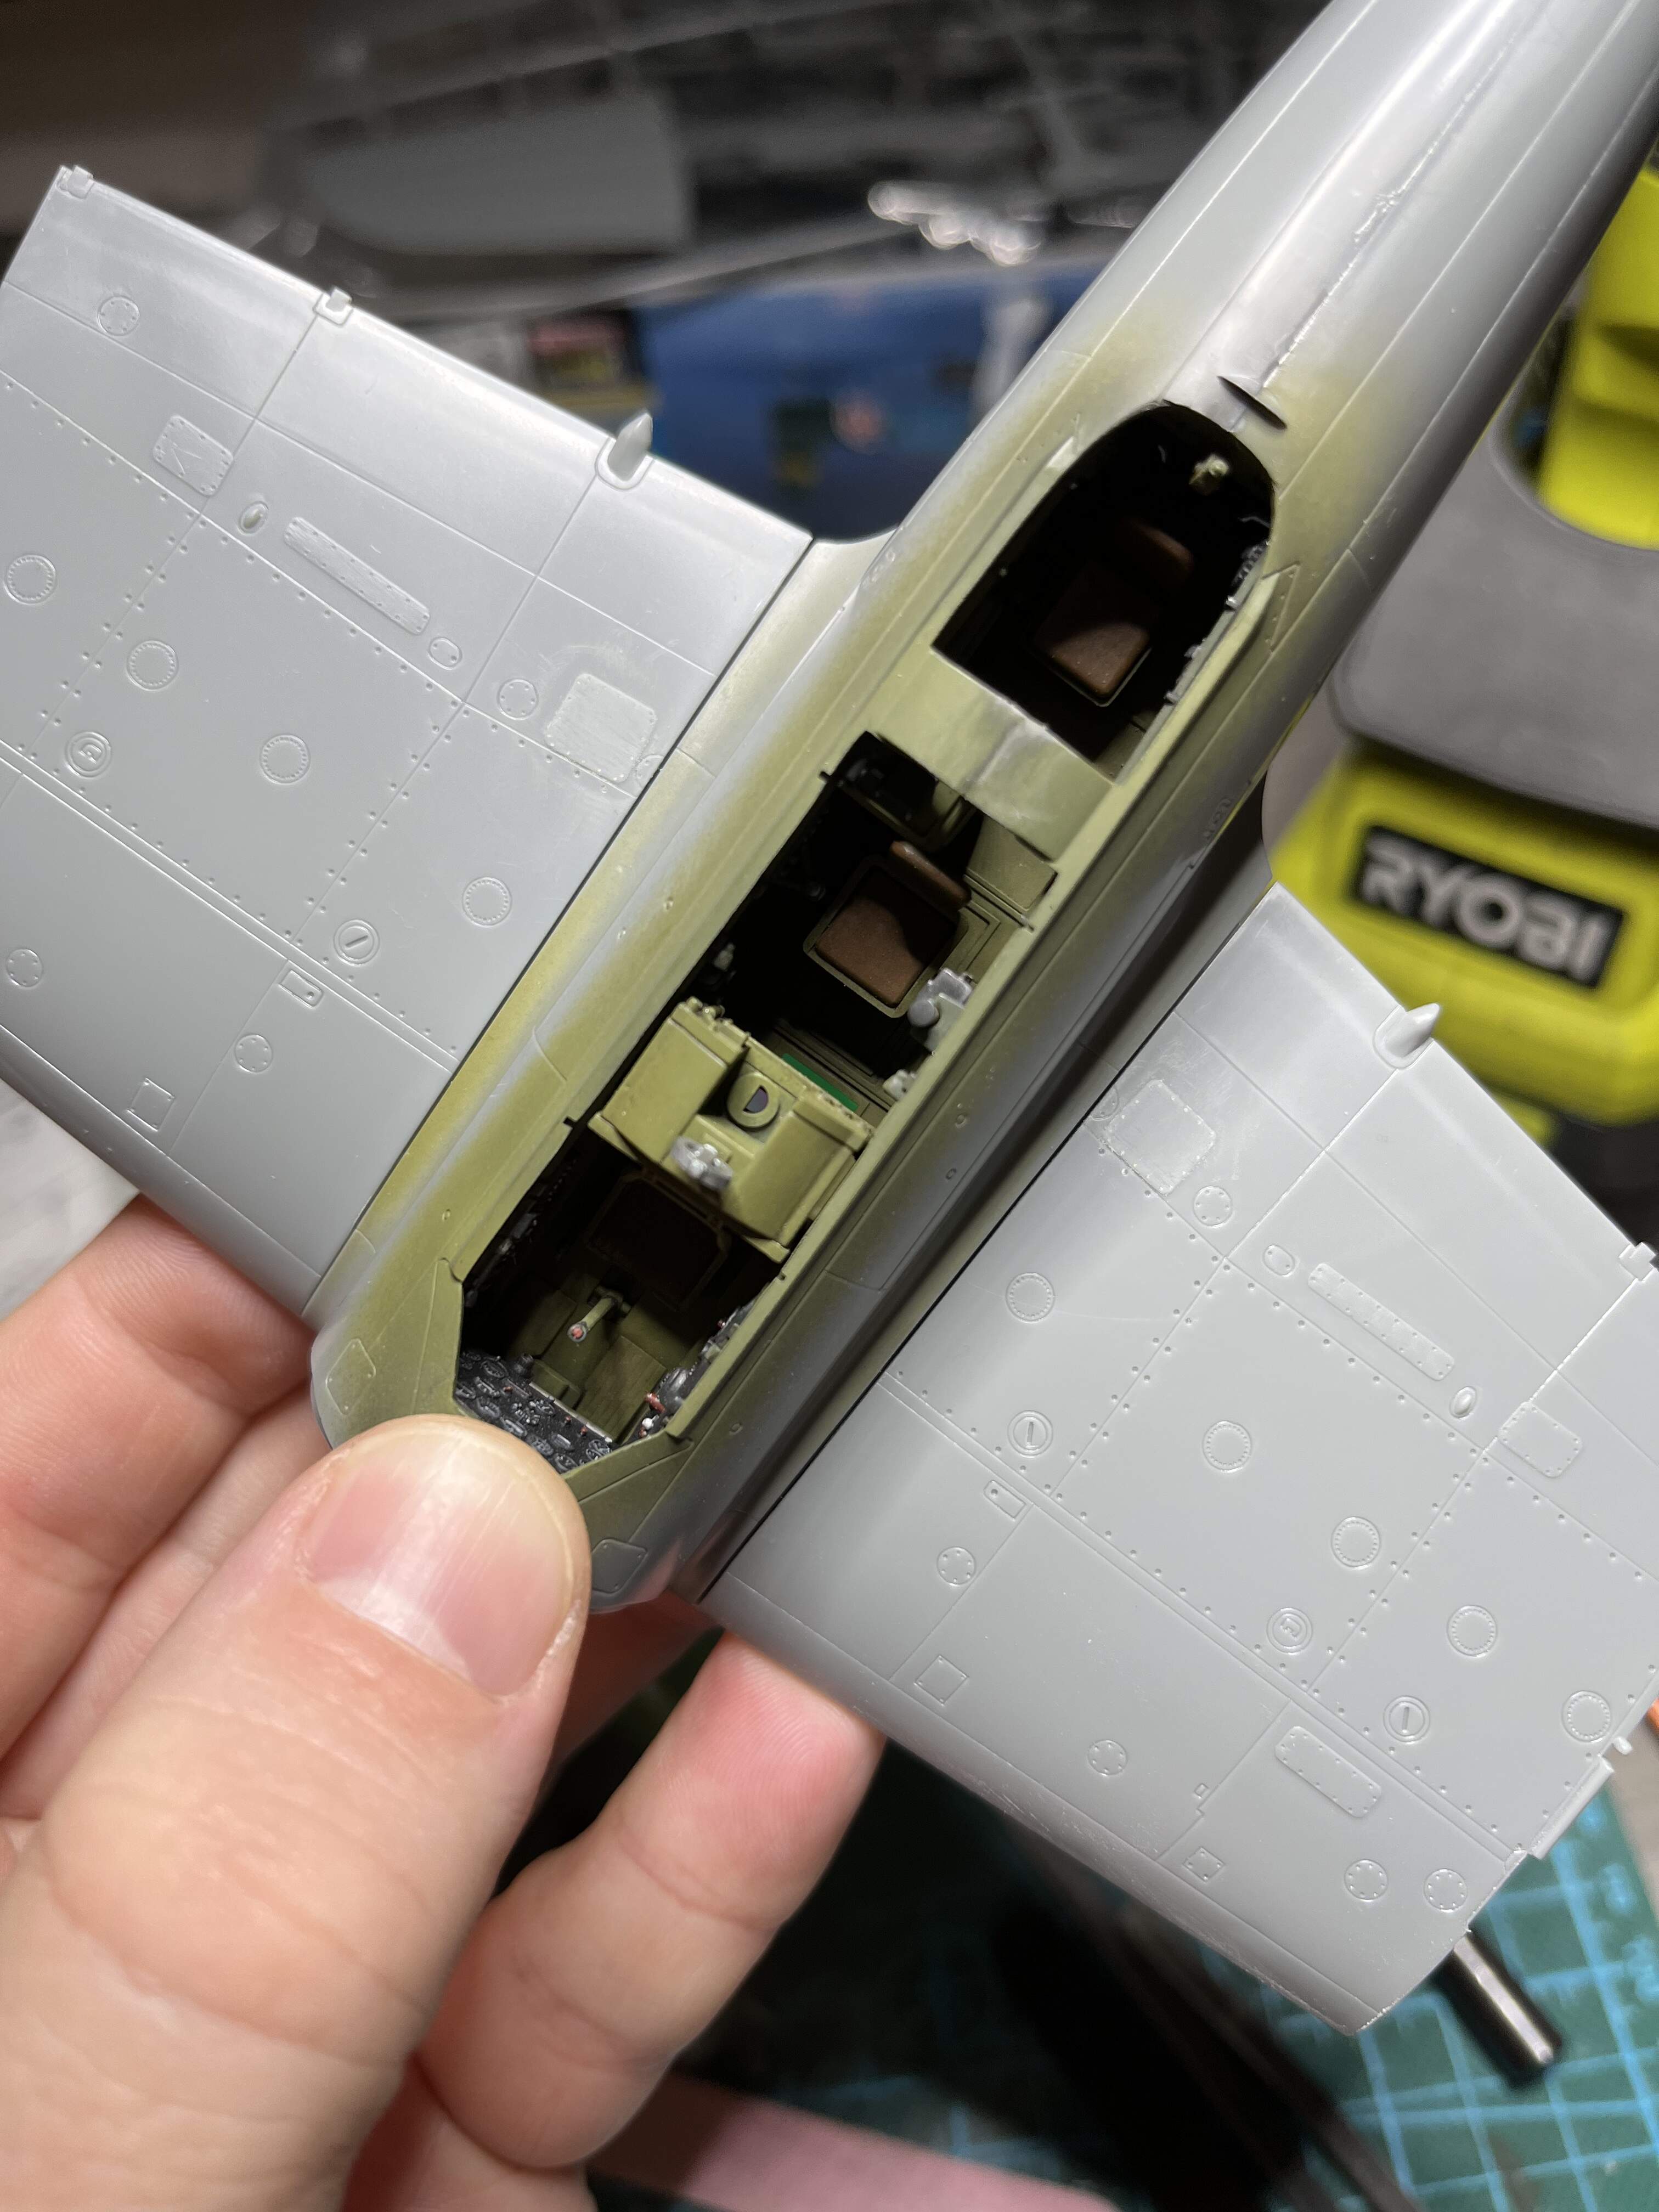
Hayate more or less ready for paint!
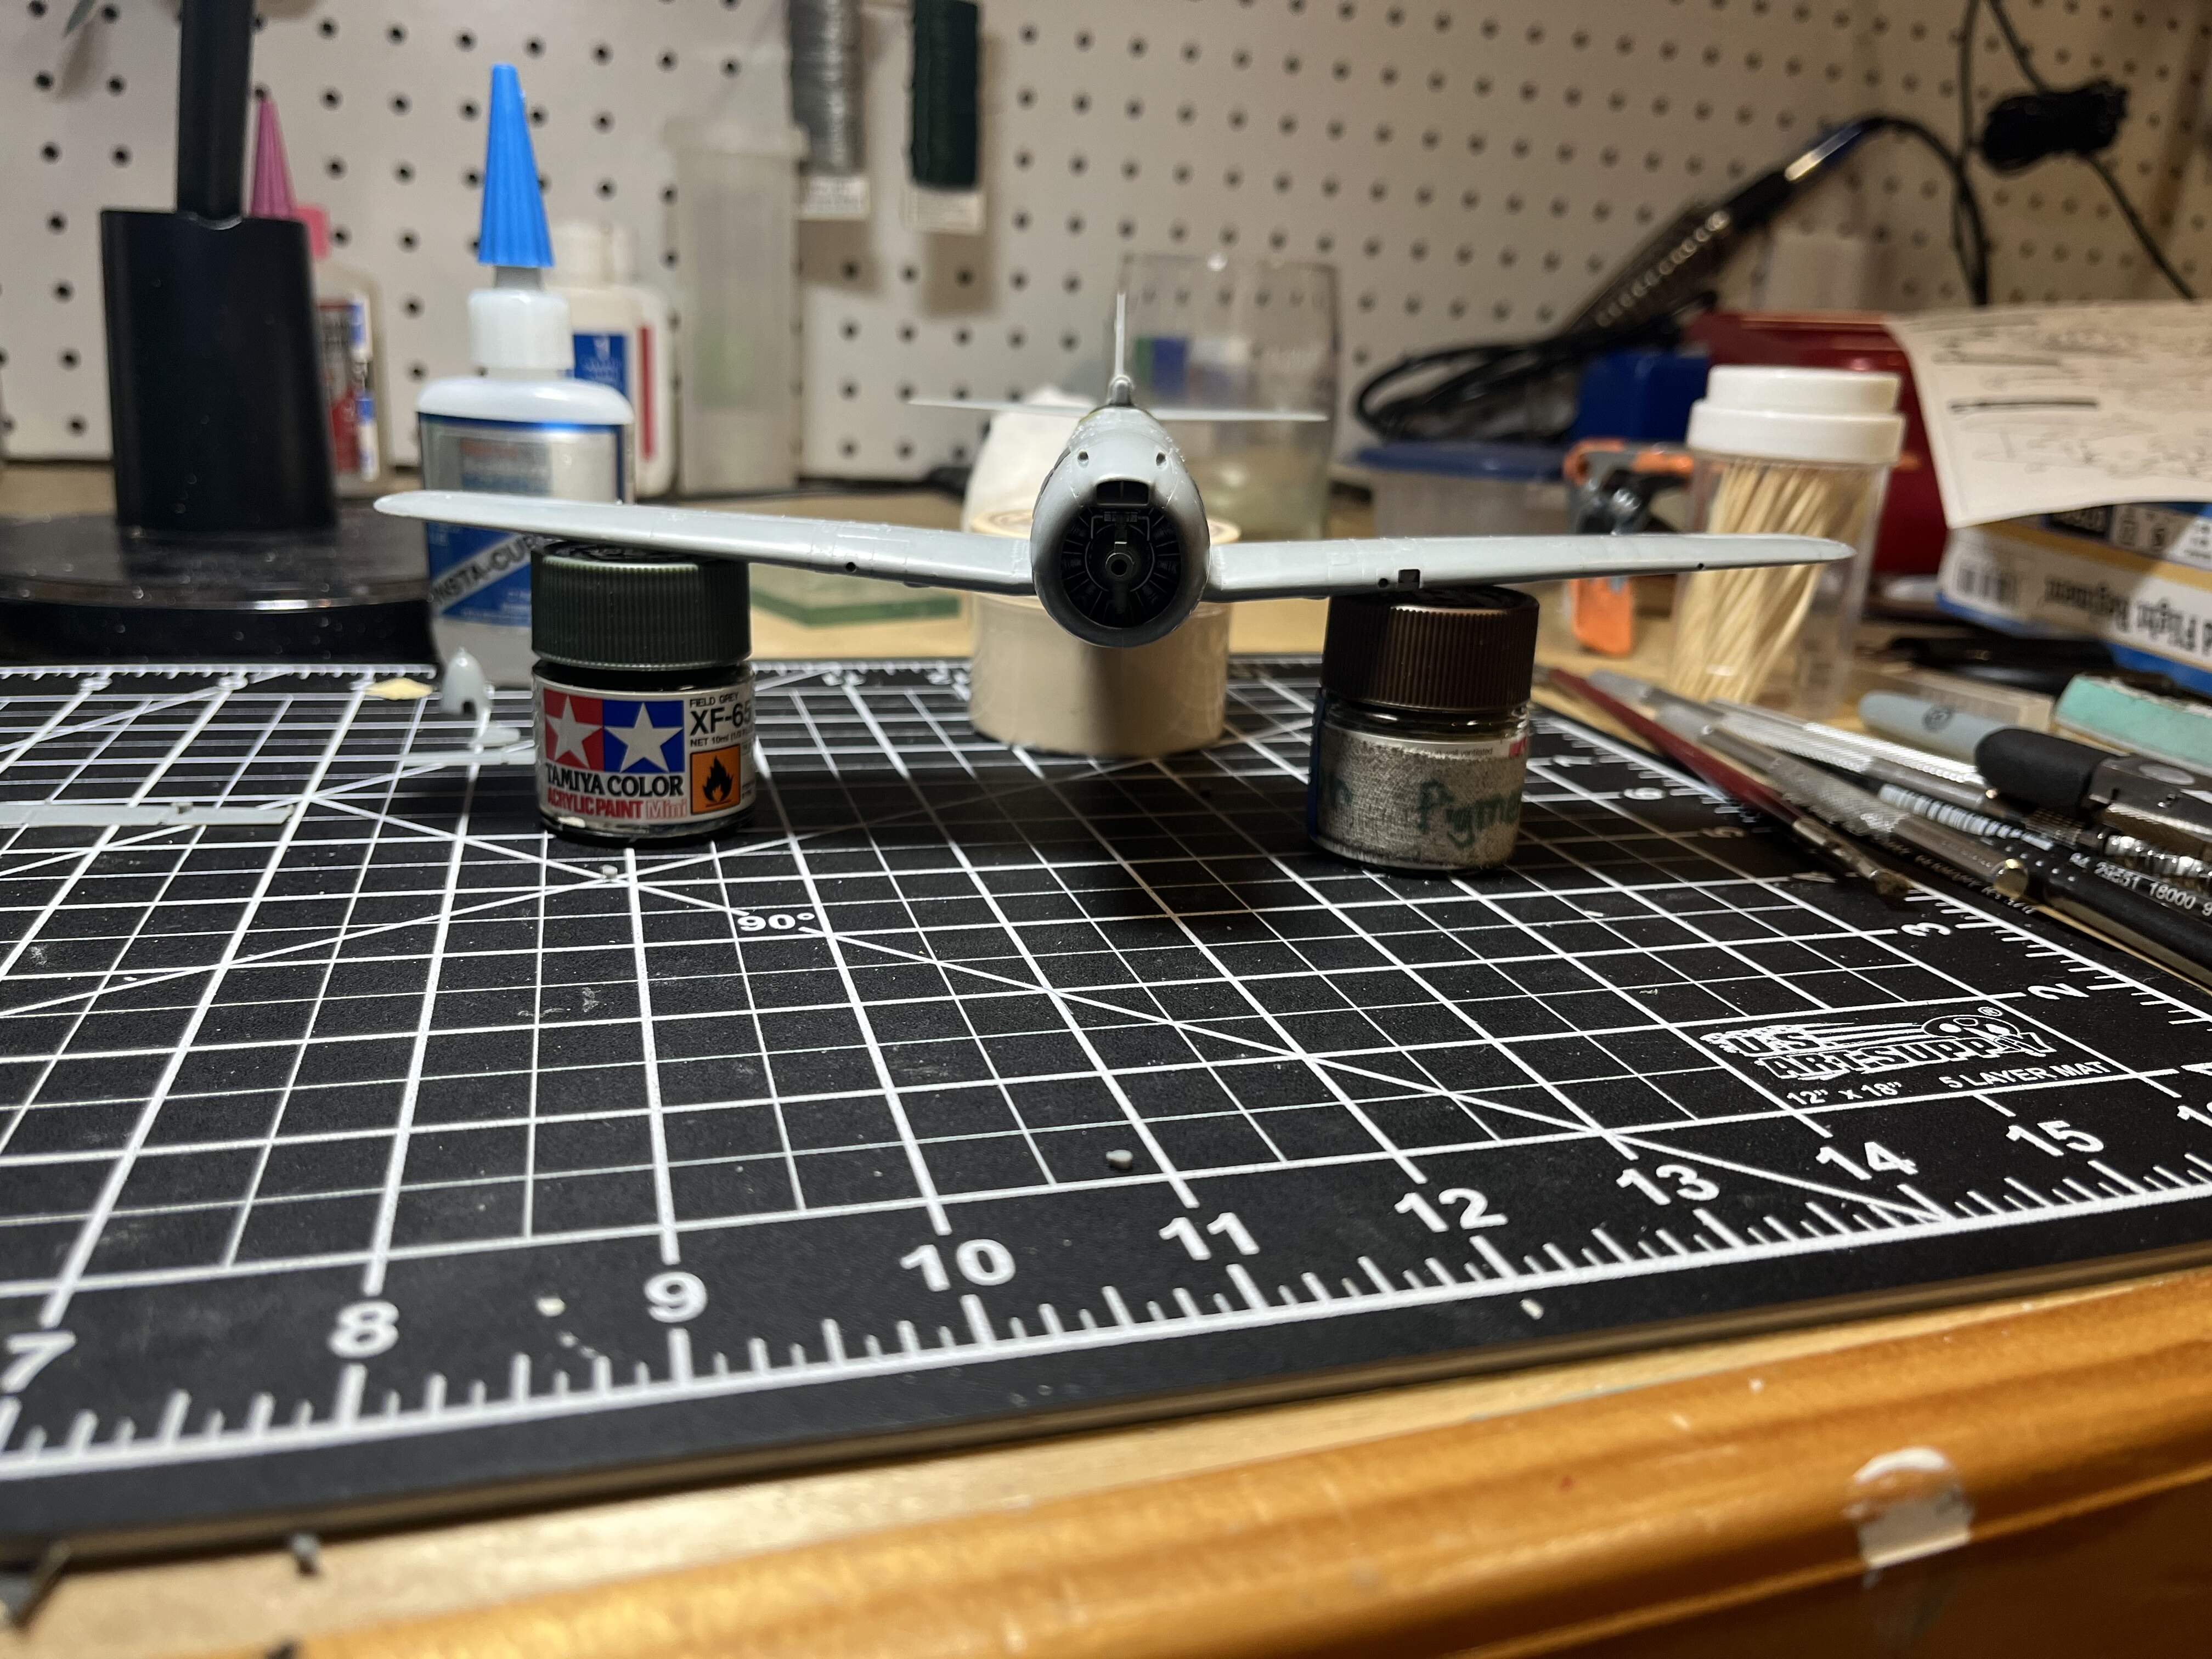
Need to remove the pin marks from one of the landing gear doors. And then cut out a few small pieces for the gear. The cowl is just tacked on for now. The exhaust won’t be possible to add after it’s attached
I also have to complete pretty much everything in this step
But a lot of it is stuff I am 99% sure I’ll
Break off during paint. I will add the tail and navigational lights. They are supplied as tiny clear parts. I think I’ll add them, paint over then hit them with silver followed by the correct clear color. I don’t see myself being able to attach them after painting without making a mess
8 Likes
Hey all,
I went a little light for this campaign since I have a lot on the bench at the moment. Since this is a kit that will fi into a larger kit I figured why not.
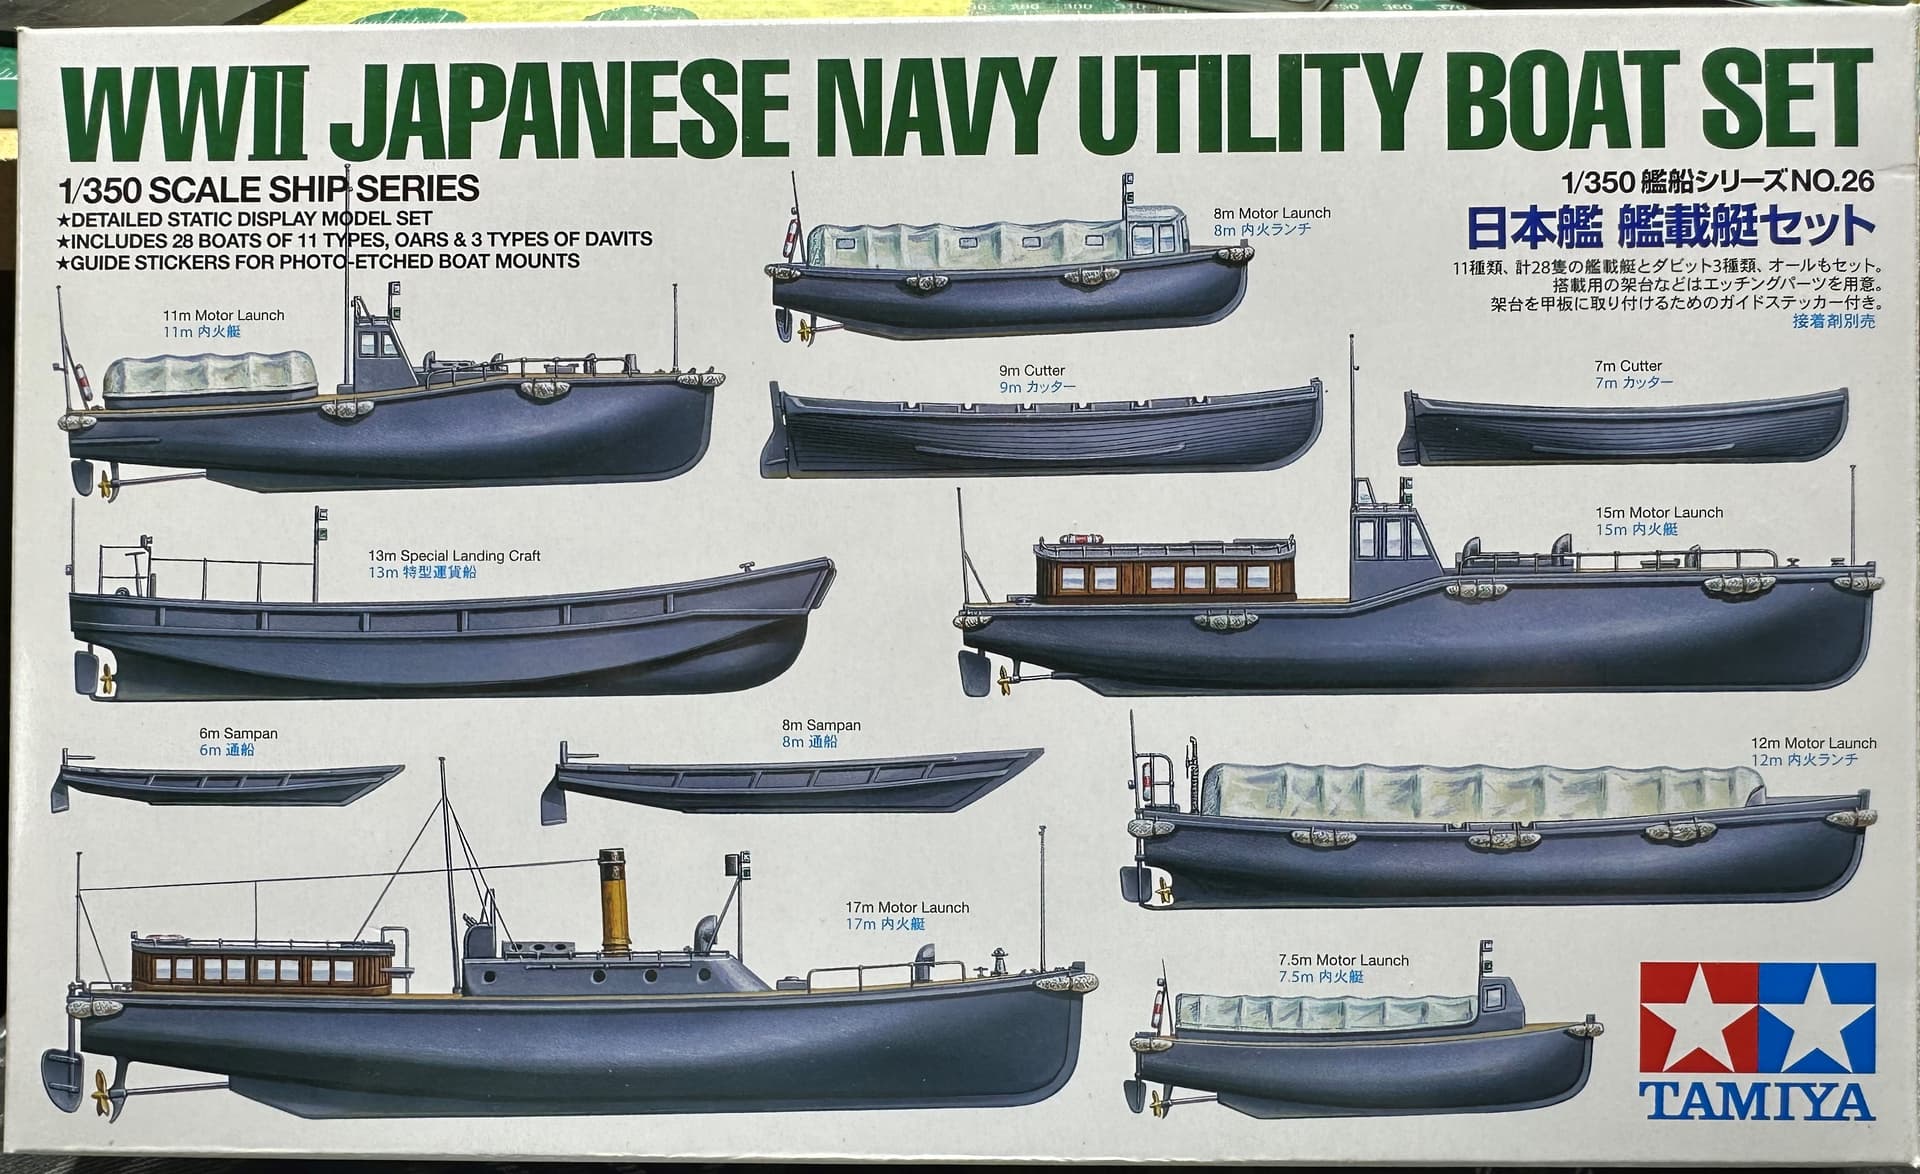
I decided to build the IJN 17m Motor Launch, or better known as the 17m Motor Pinnacle - Ceremonial Barge
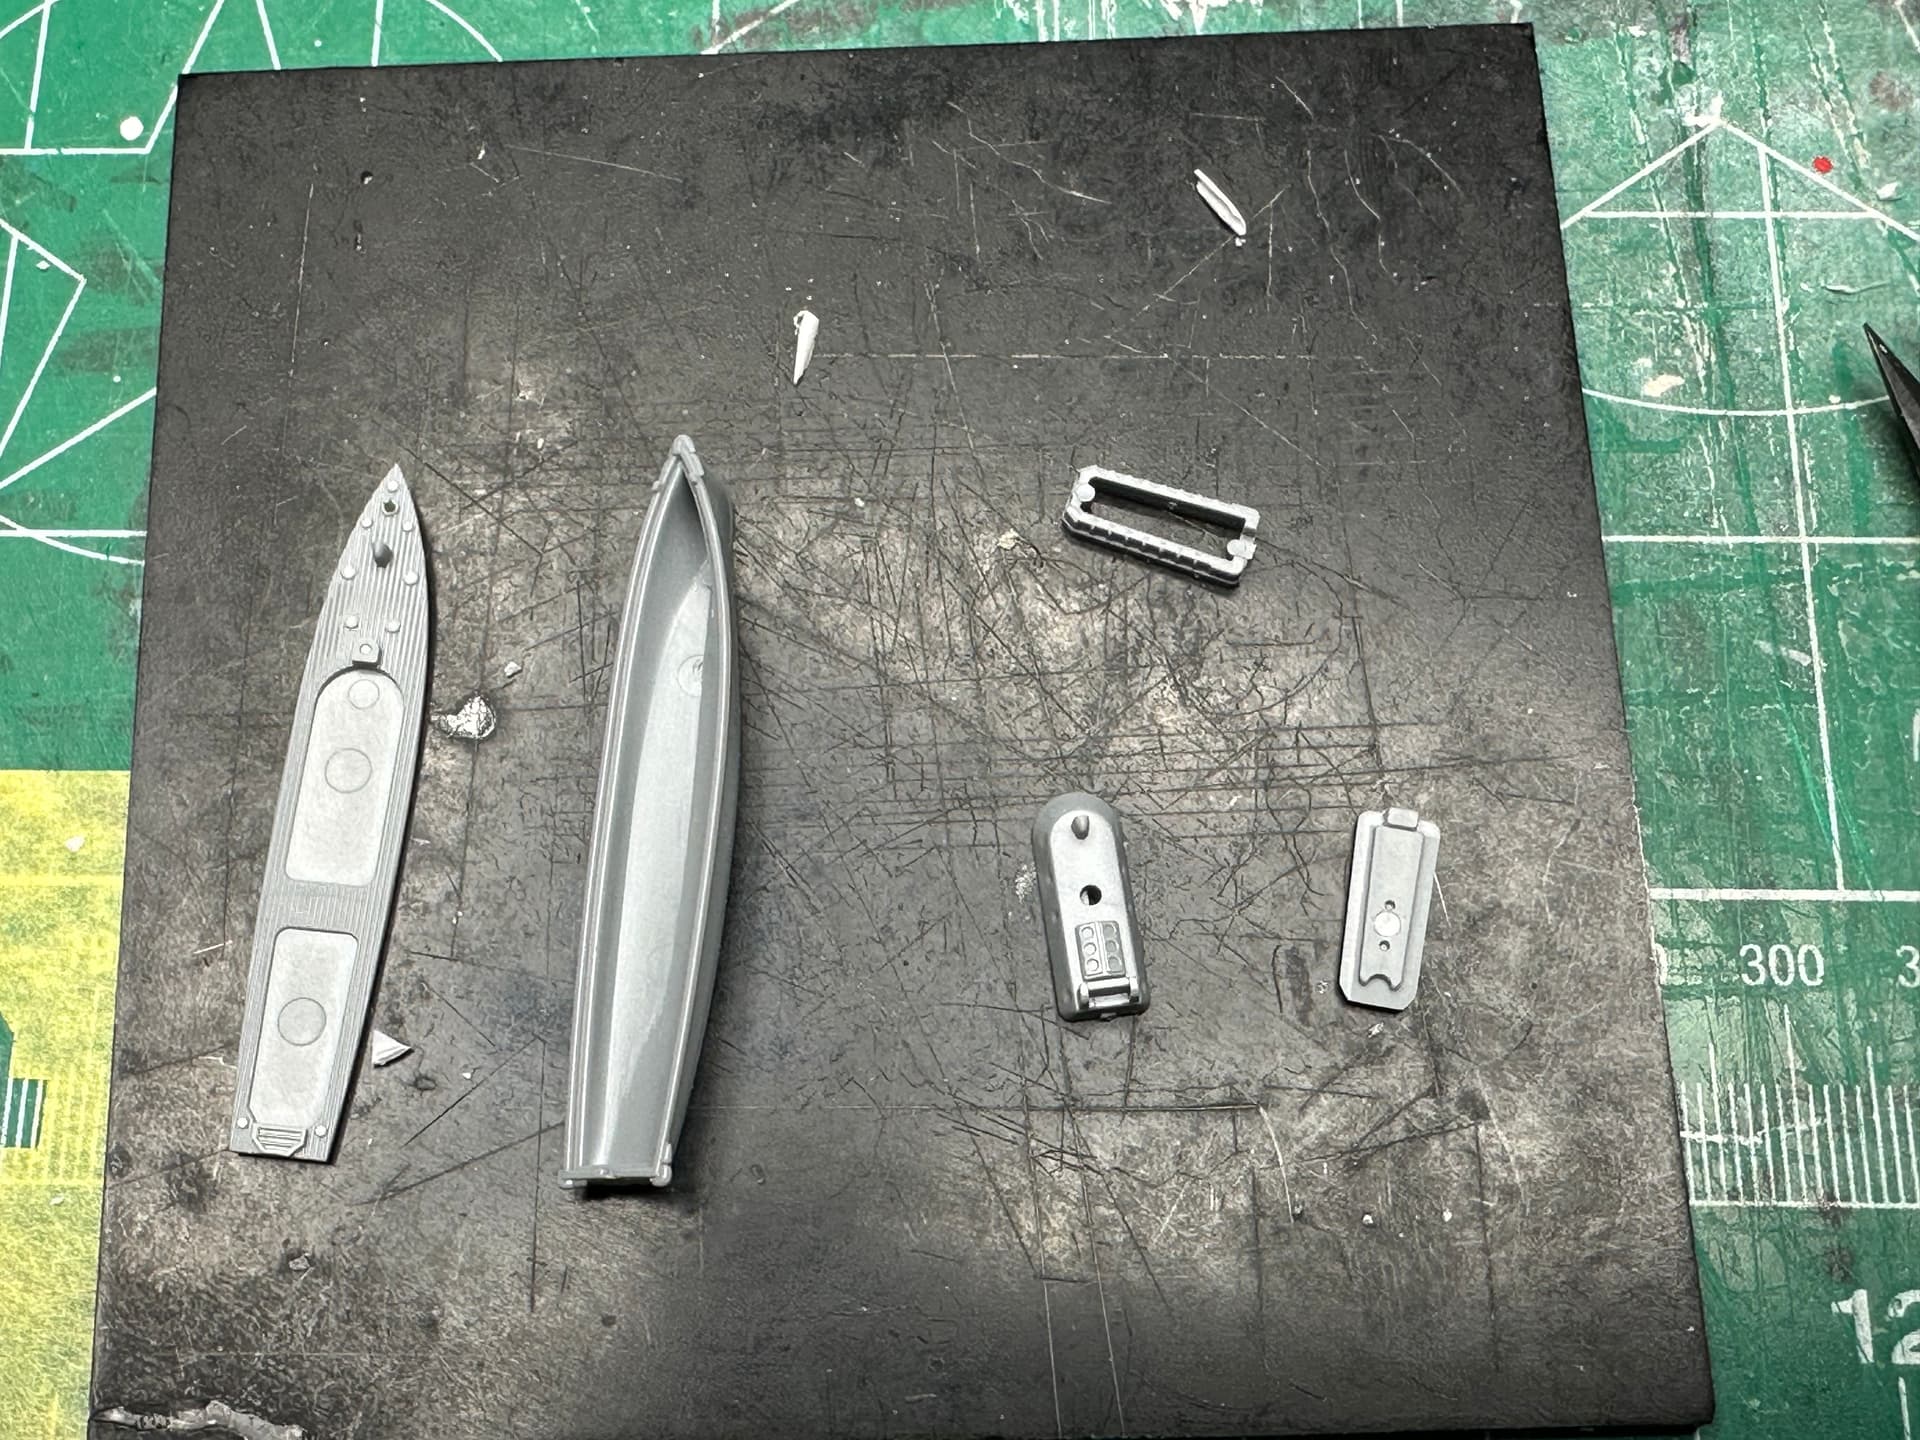
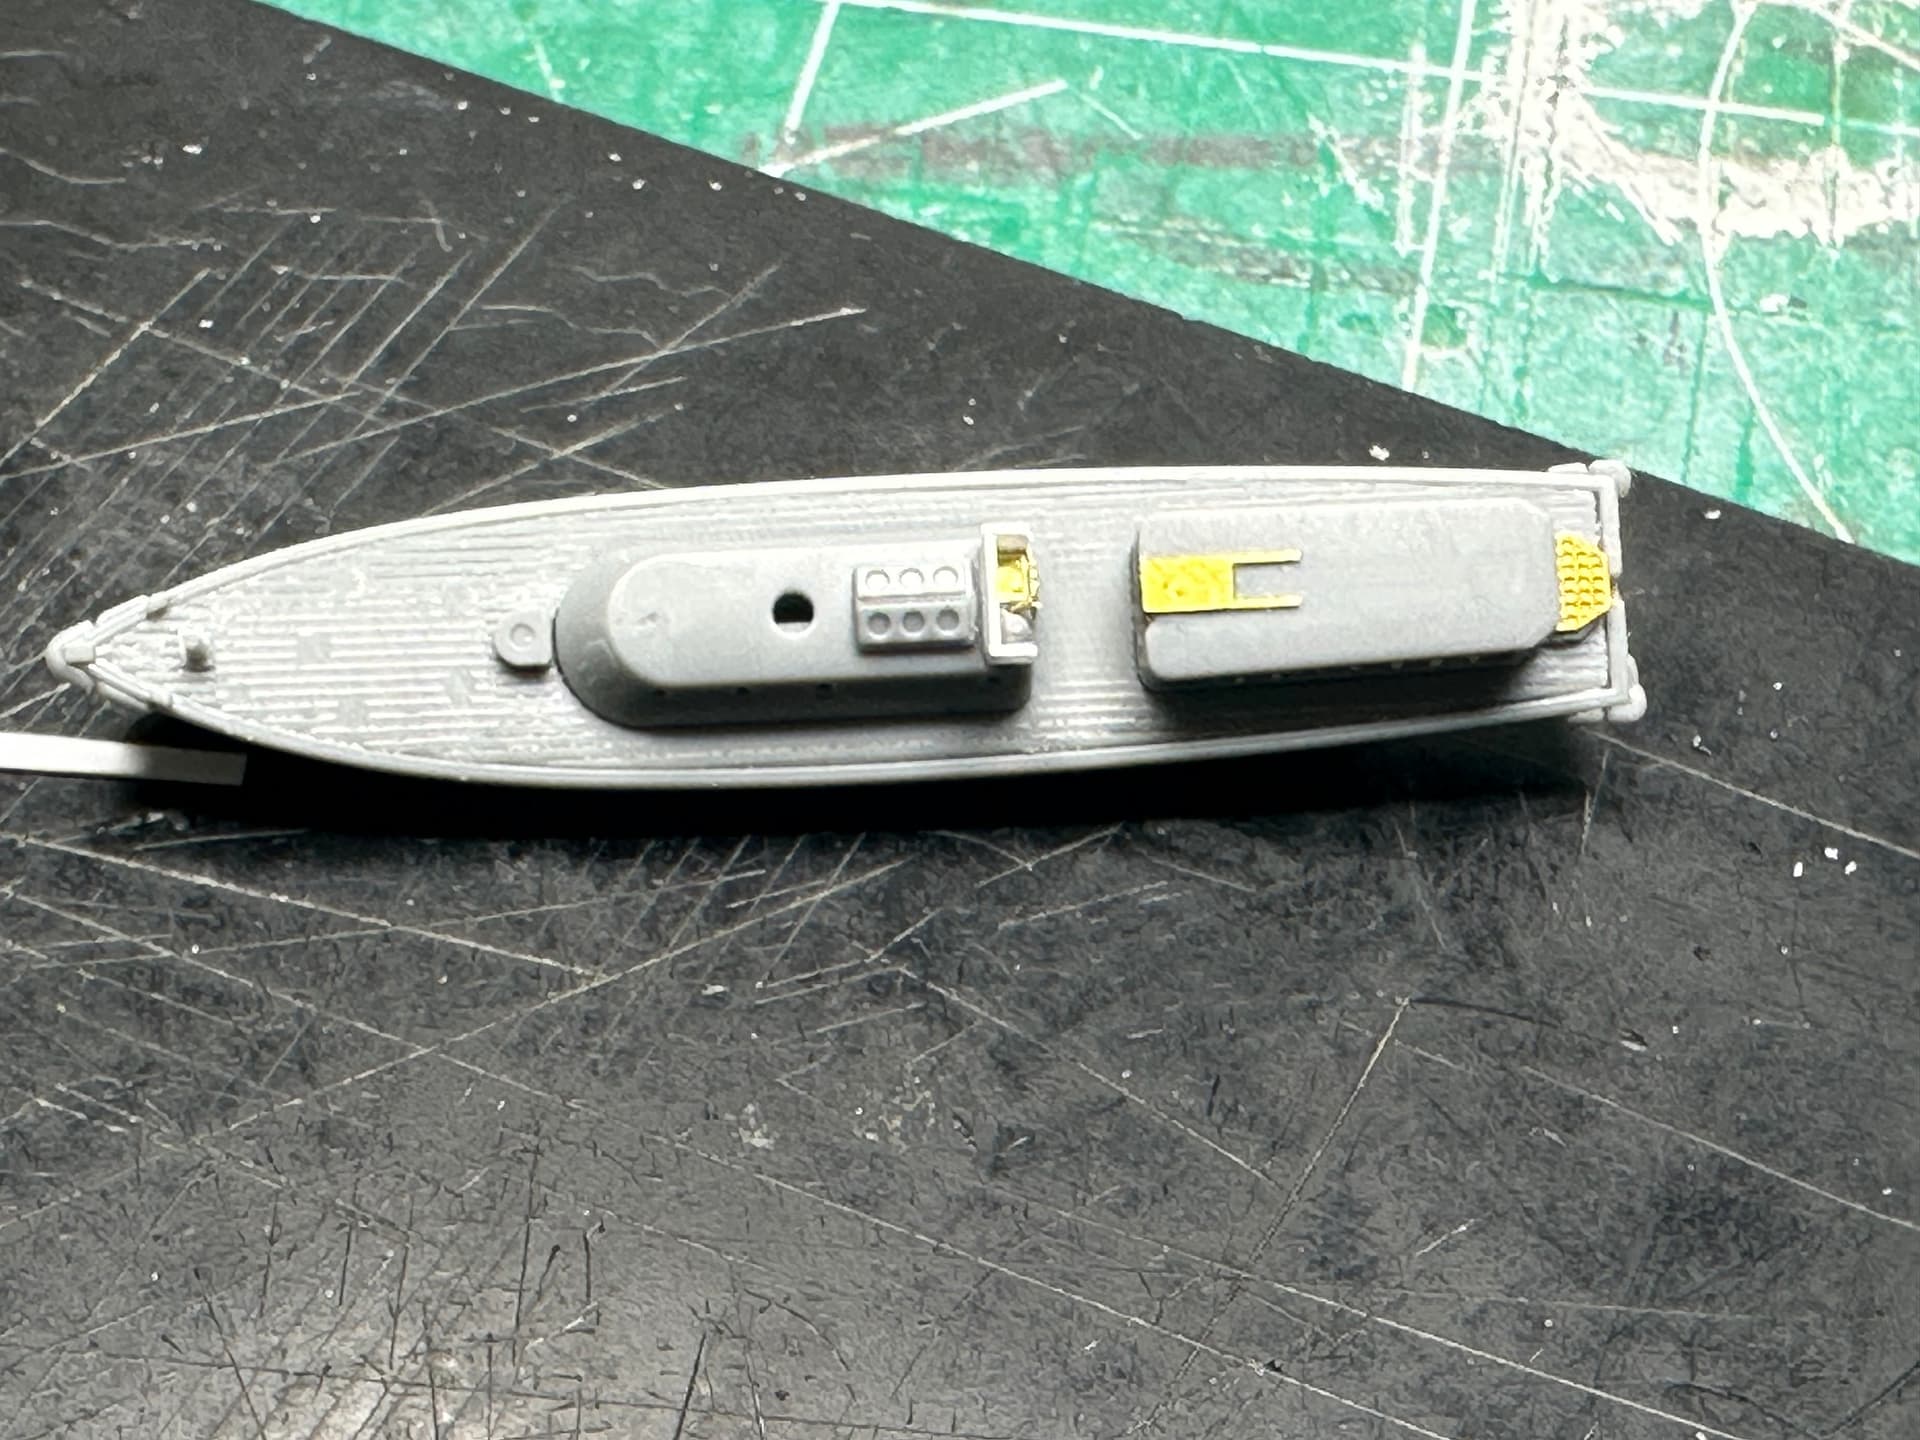
The parts are pretty basic and few, so to spruce this up I used 3d printed vents from Black Cat, PE from Big Boy Blue, a 3d printed search light from Very Fire., and a generic produced wooden deck

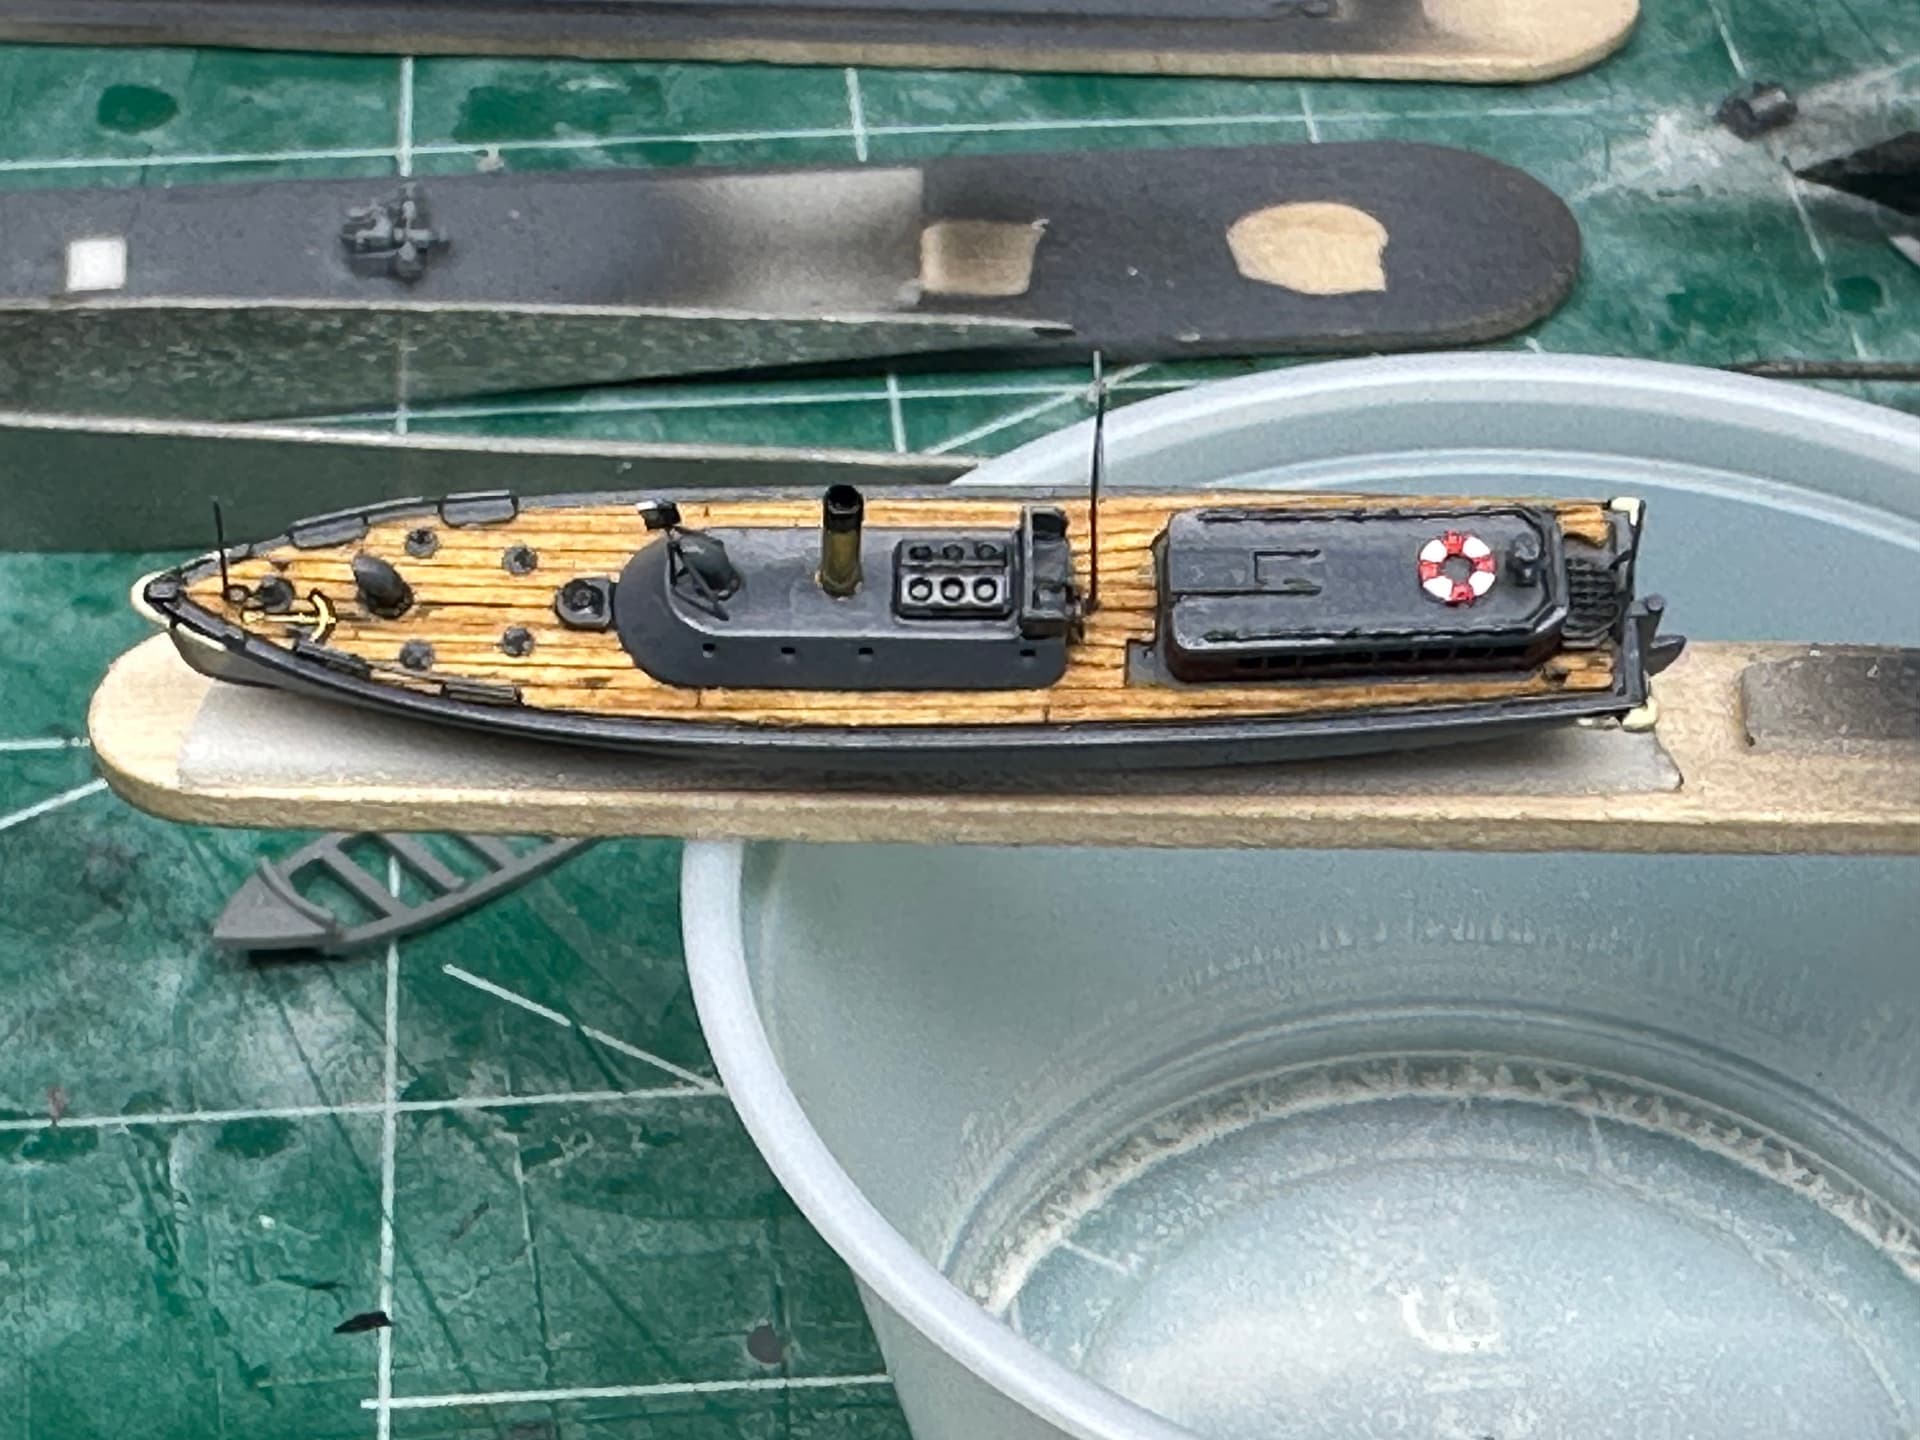
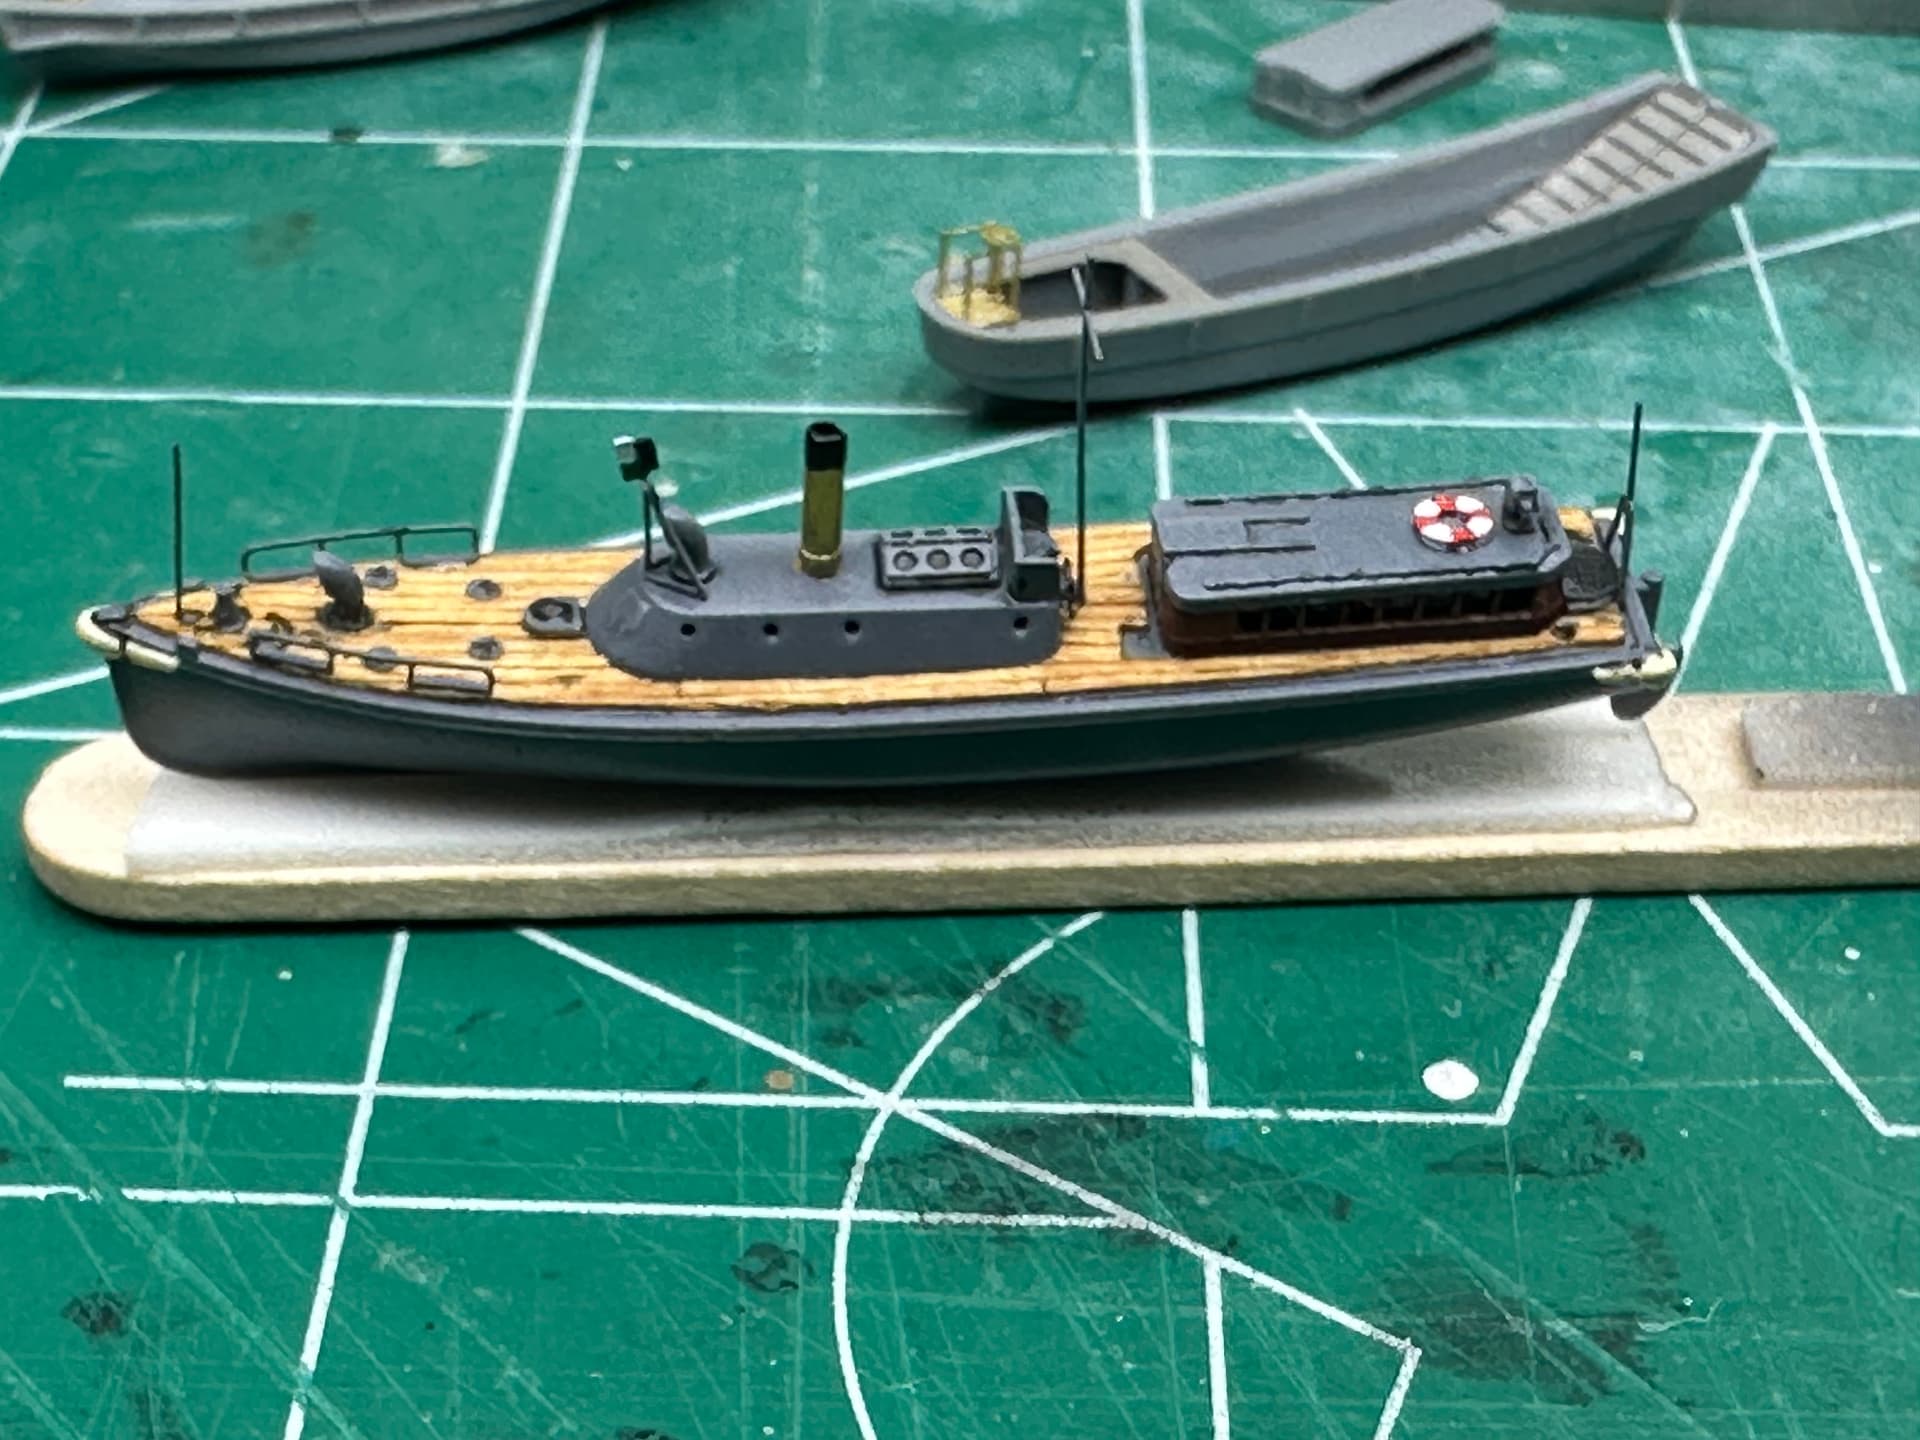
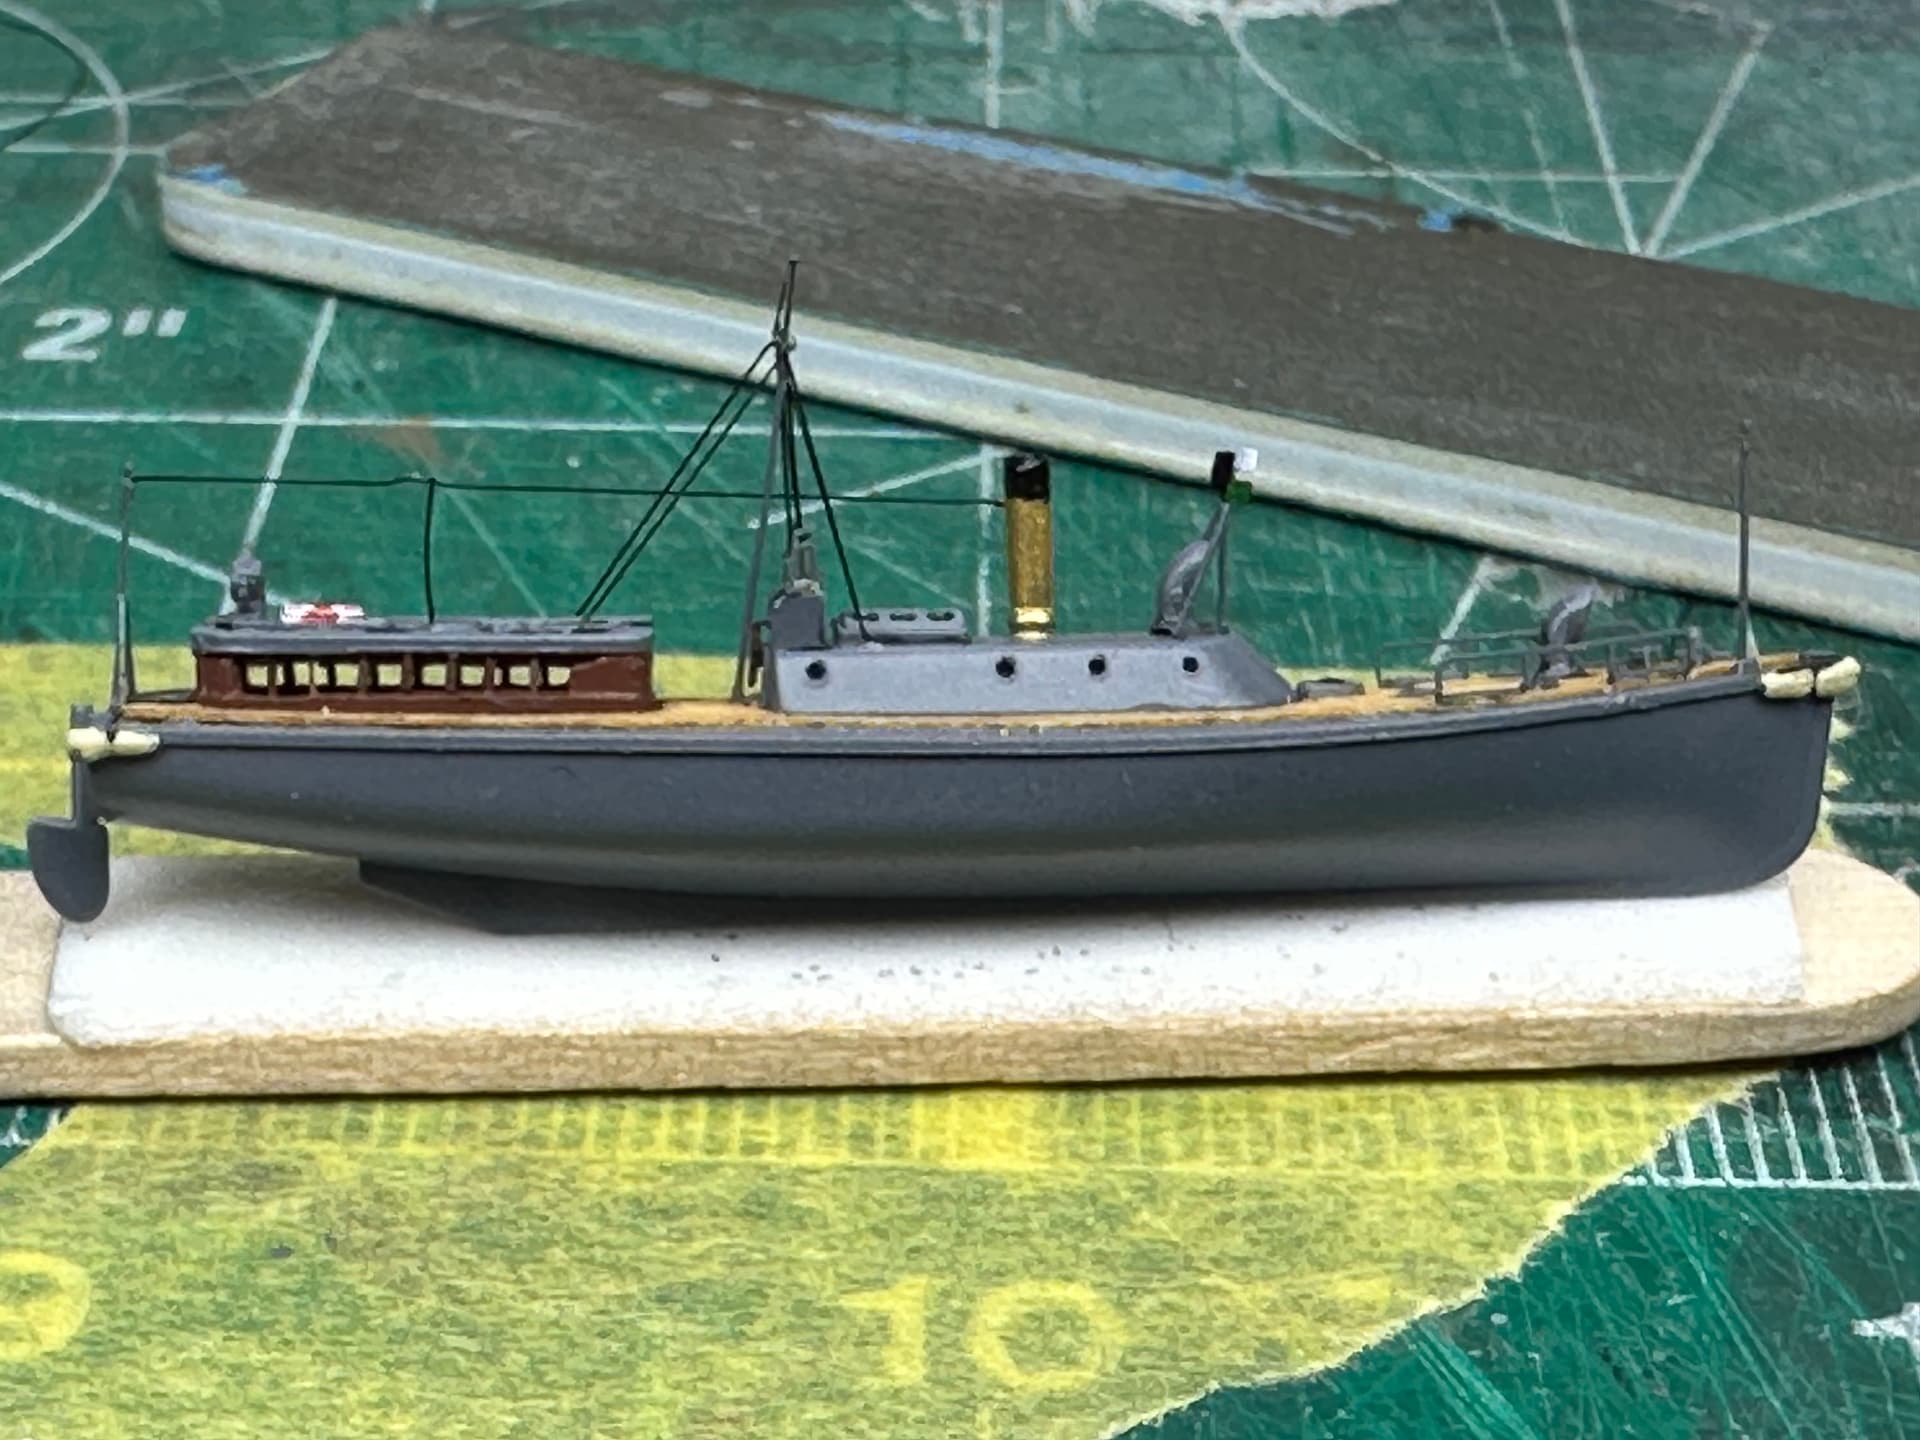
Paint used was Tamiya Lacquer Sasebo Arsenal Grey, slightly weathered and rigged with Infini Model Fine Rigging.
I hope you like and that this qualifies.
Thanks for looking.
David
12 Likes
Great work in tiny package.
I think its a great build of such a small boat. The overall effect is very realistic.
Paul
if you already have an existing line why cover it up just to put it back. i used the seam when building mine
Joe
Perhaps I should be clearer l. I did not fully fill and rescribe the center line seams. Rather I used the existing center line as a guide, used some dynamo tape and deepened the seam. I did this primarily for 3 reasons
-
the center like seam wasn’t perfect, there a bit of glue squeeze out, left over sprue attachment scars, etc. the sanding to remove these made the seam shallow
-
seams and panel lines don’t look the same in my eye, so I wanted to scribe the panel line to make it look like the rest
-
for some reason hasegawa added a panel line to the bottom parallel with the center line but slightly offset. This needed removing which removed the bottom seam
So what I did was scribe/deepen the center line seams, then sand, then rescribe the center line slightly
know how it feels. had to order another tamiya ki 84 kit because i lost the rear canopy;
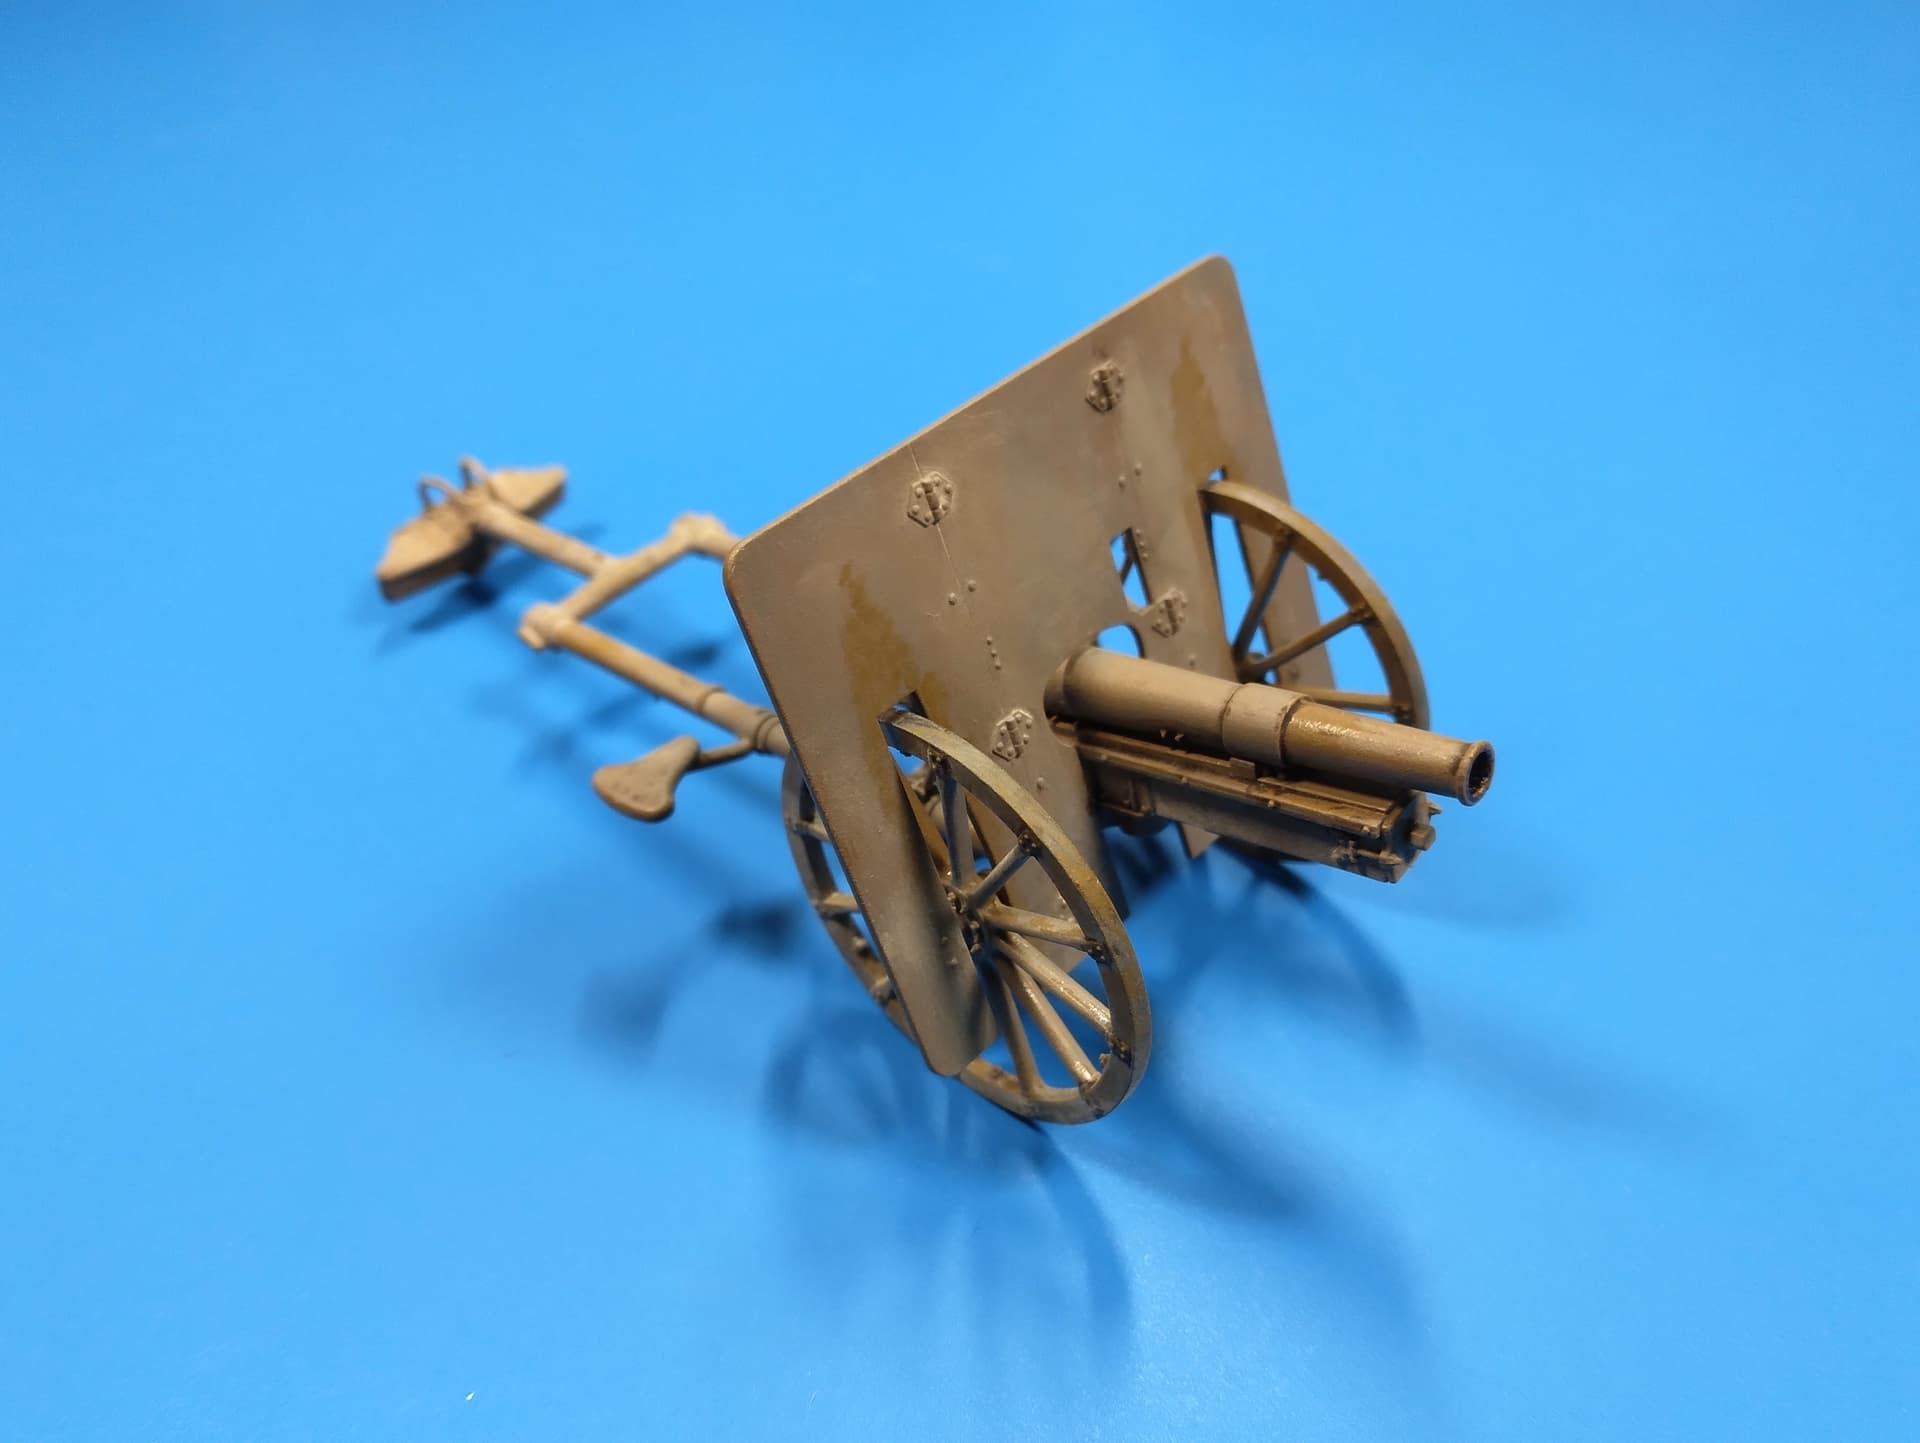
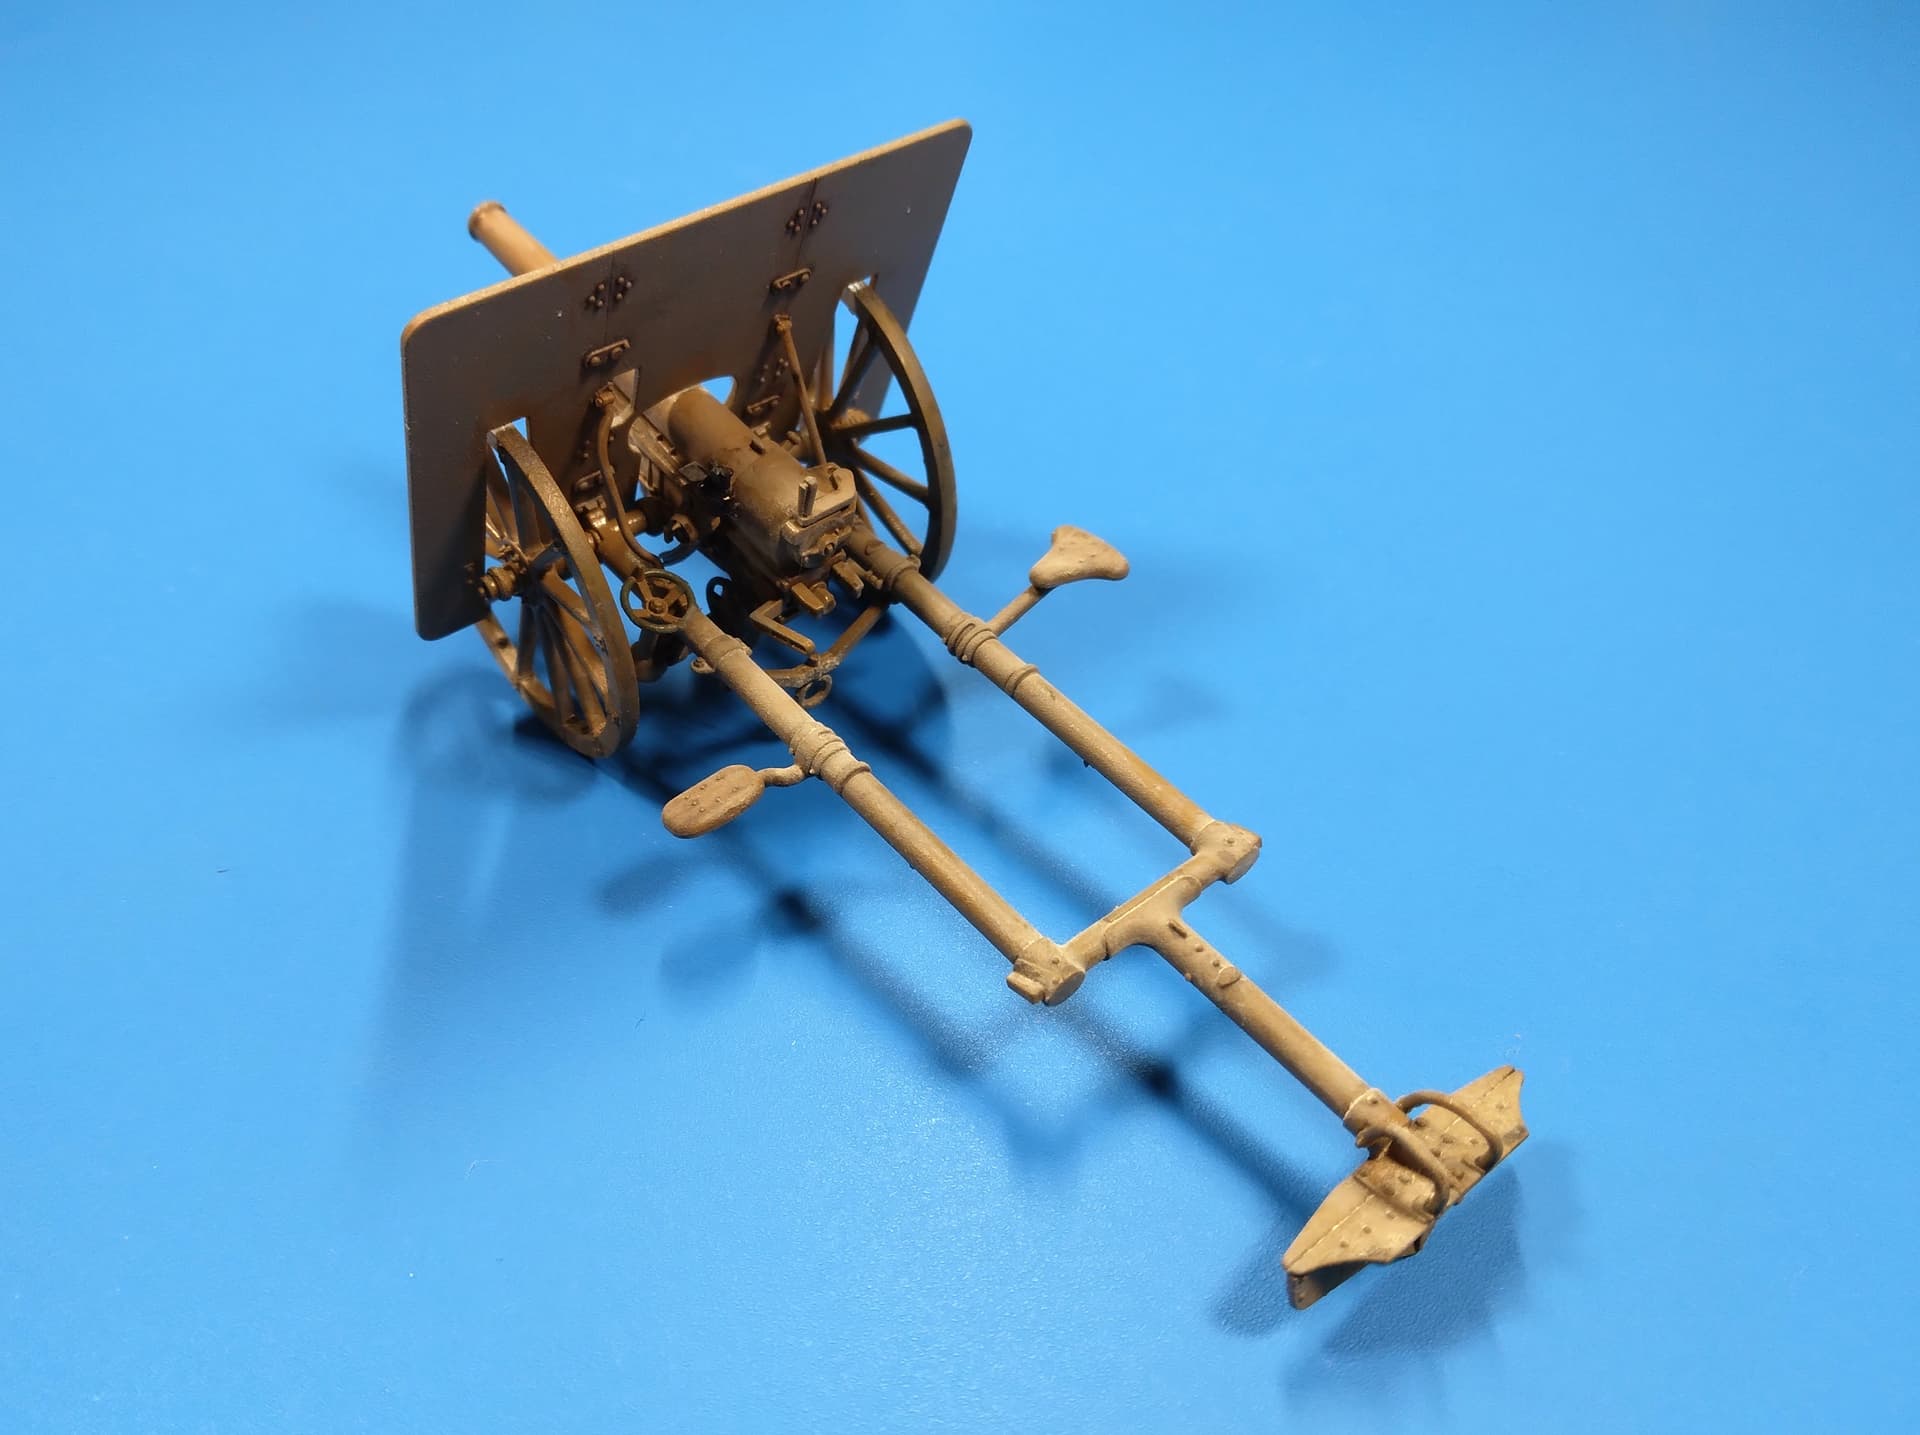
Not much else to do with the little mountain gun, so I’m calling it done. I’m not a figgie kind of guy (yet).

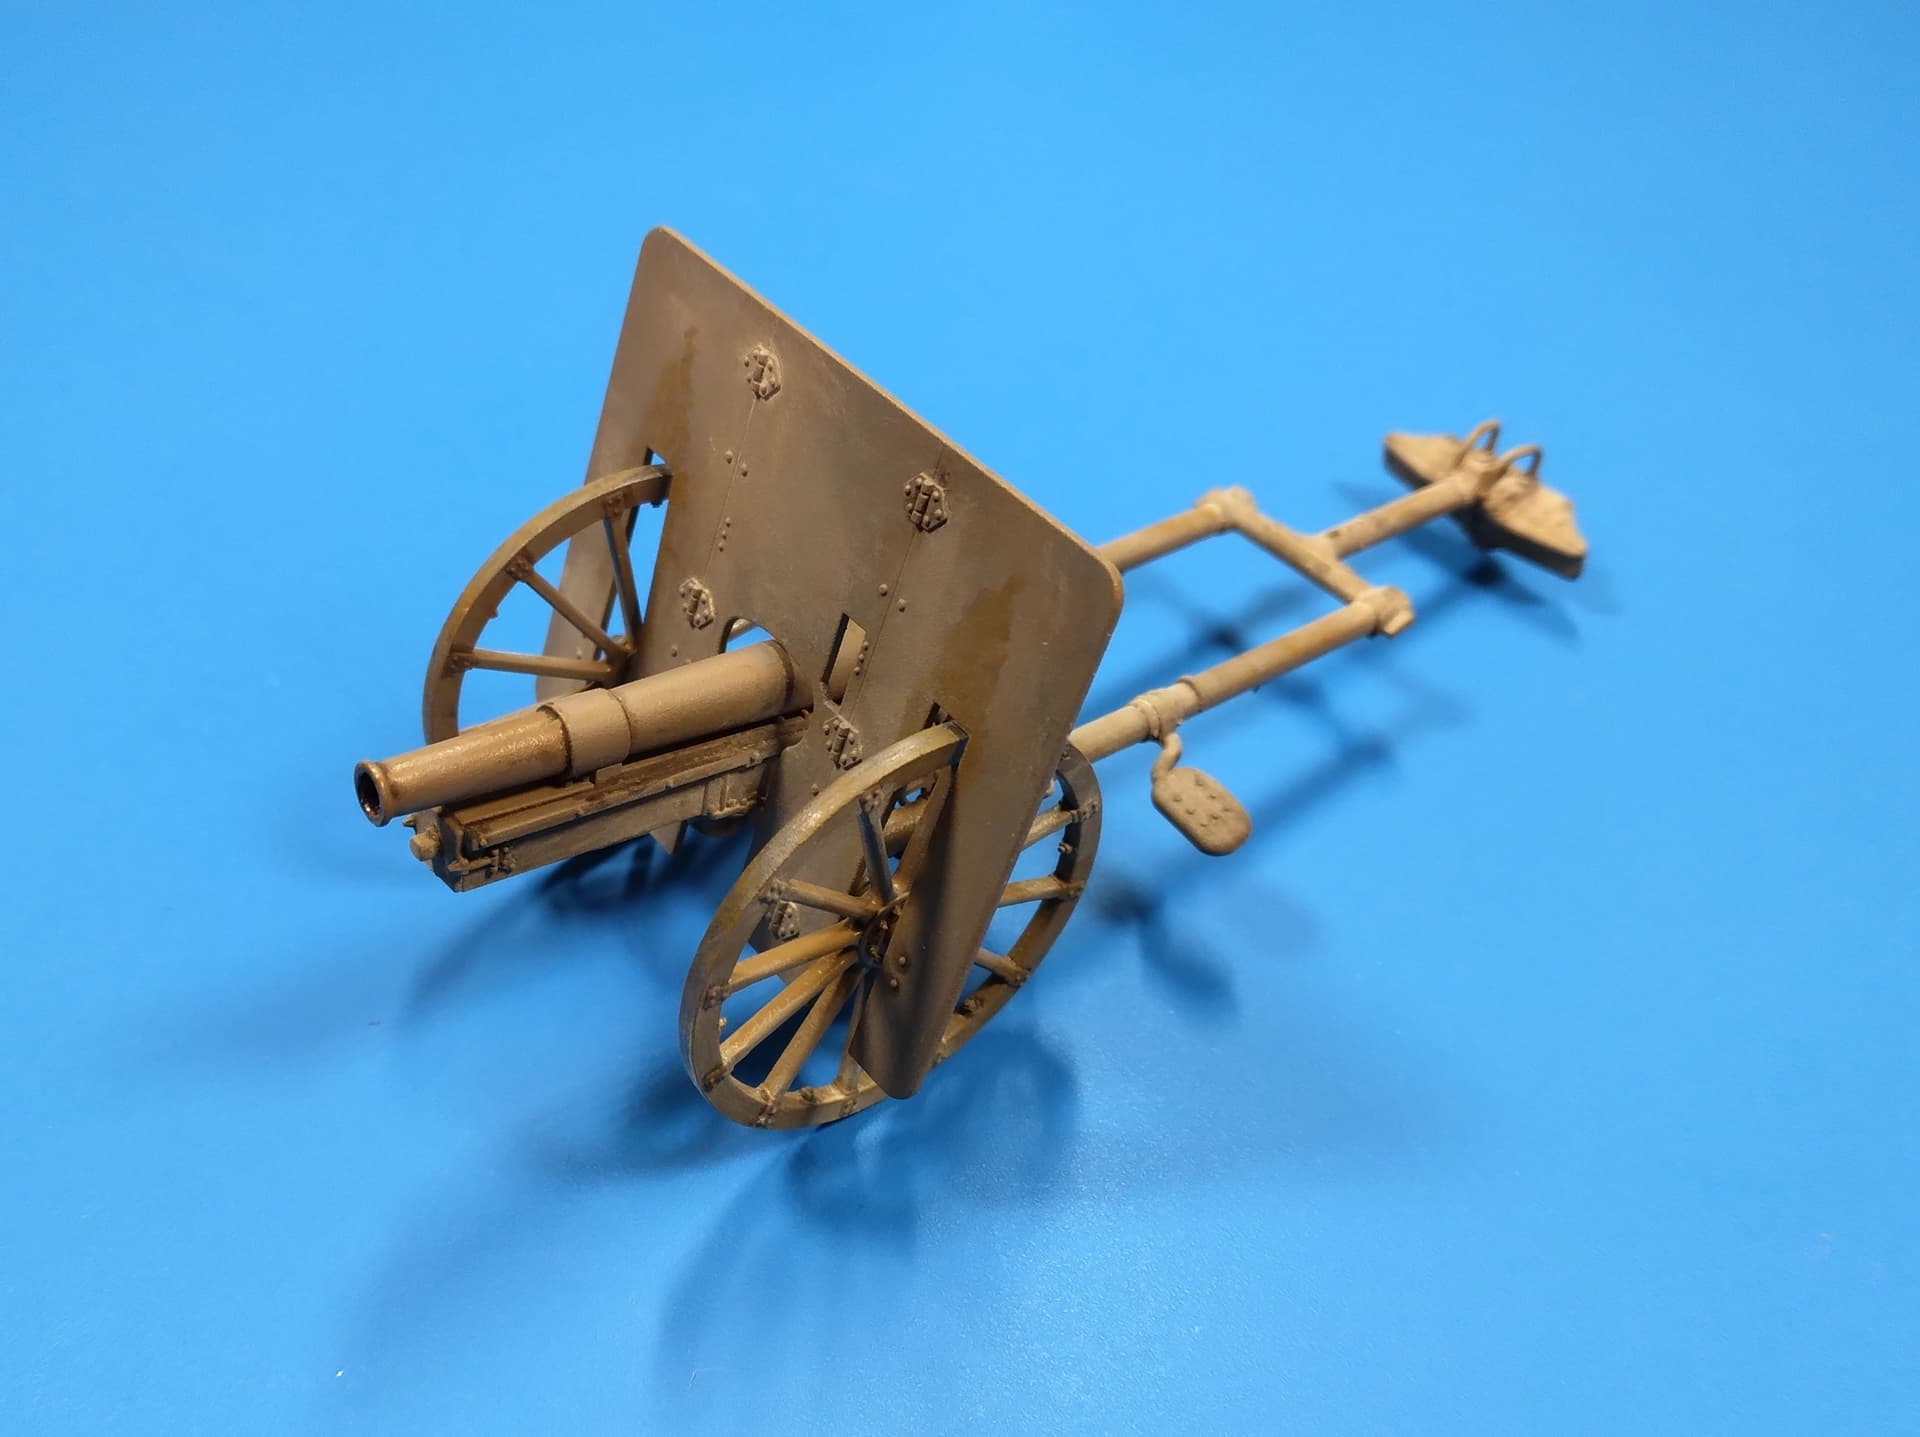
Mike
12 Likes
Awesome to see another floaty thing in the campaign. Looks great!!
1 Like
Pinnace? You’re lucky some autocorrect AI didn’t change it to “17cm motorised P-n-s”…
![]()
Cheers,
M
You are referring to Pinochle cards… I assume… ![]()
An awful lot of really nice work going on here Mead … keep it up ![]()
Thank you!! Appreciate it!
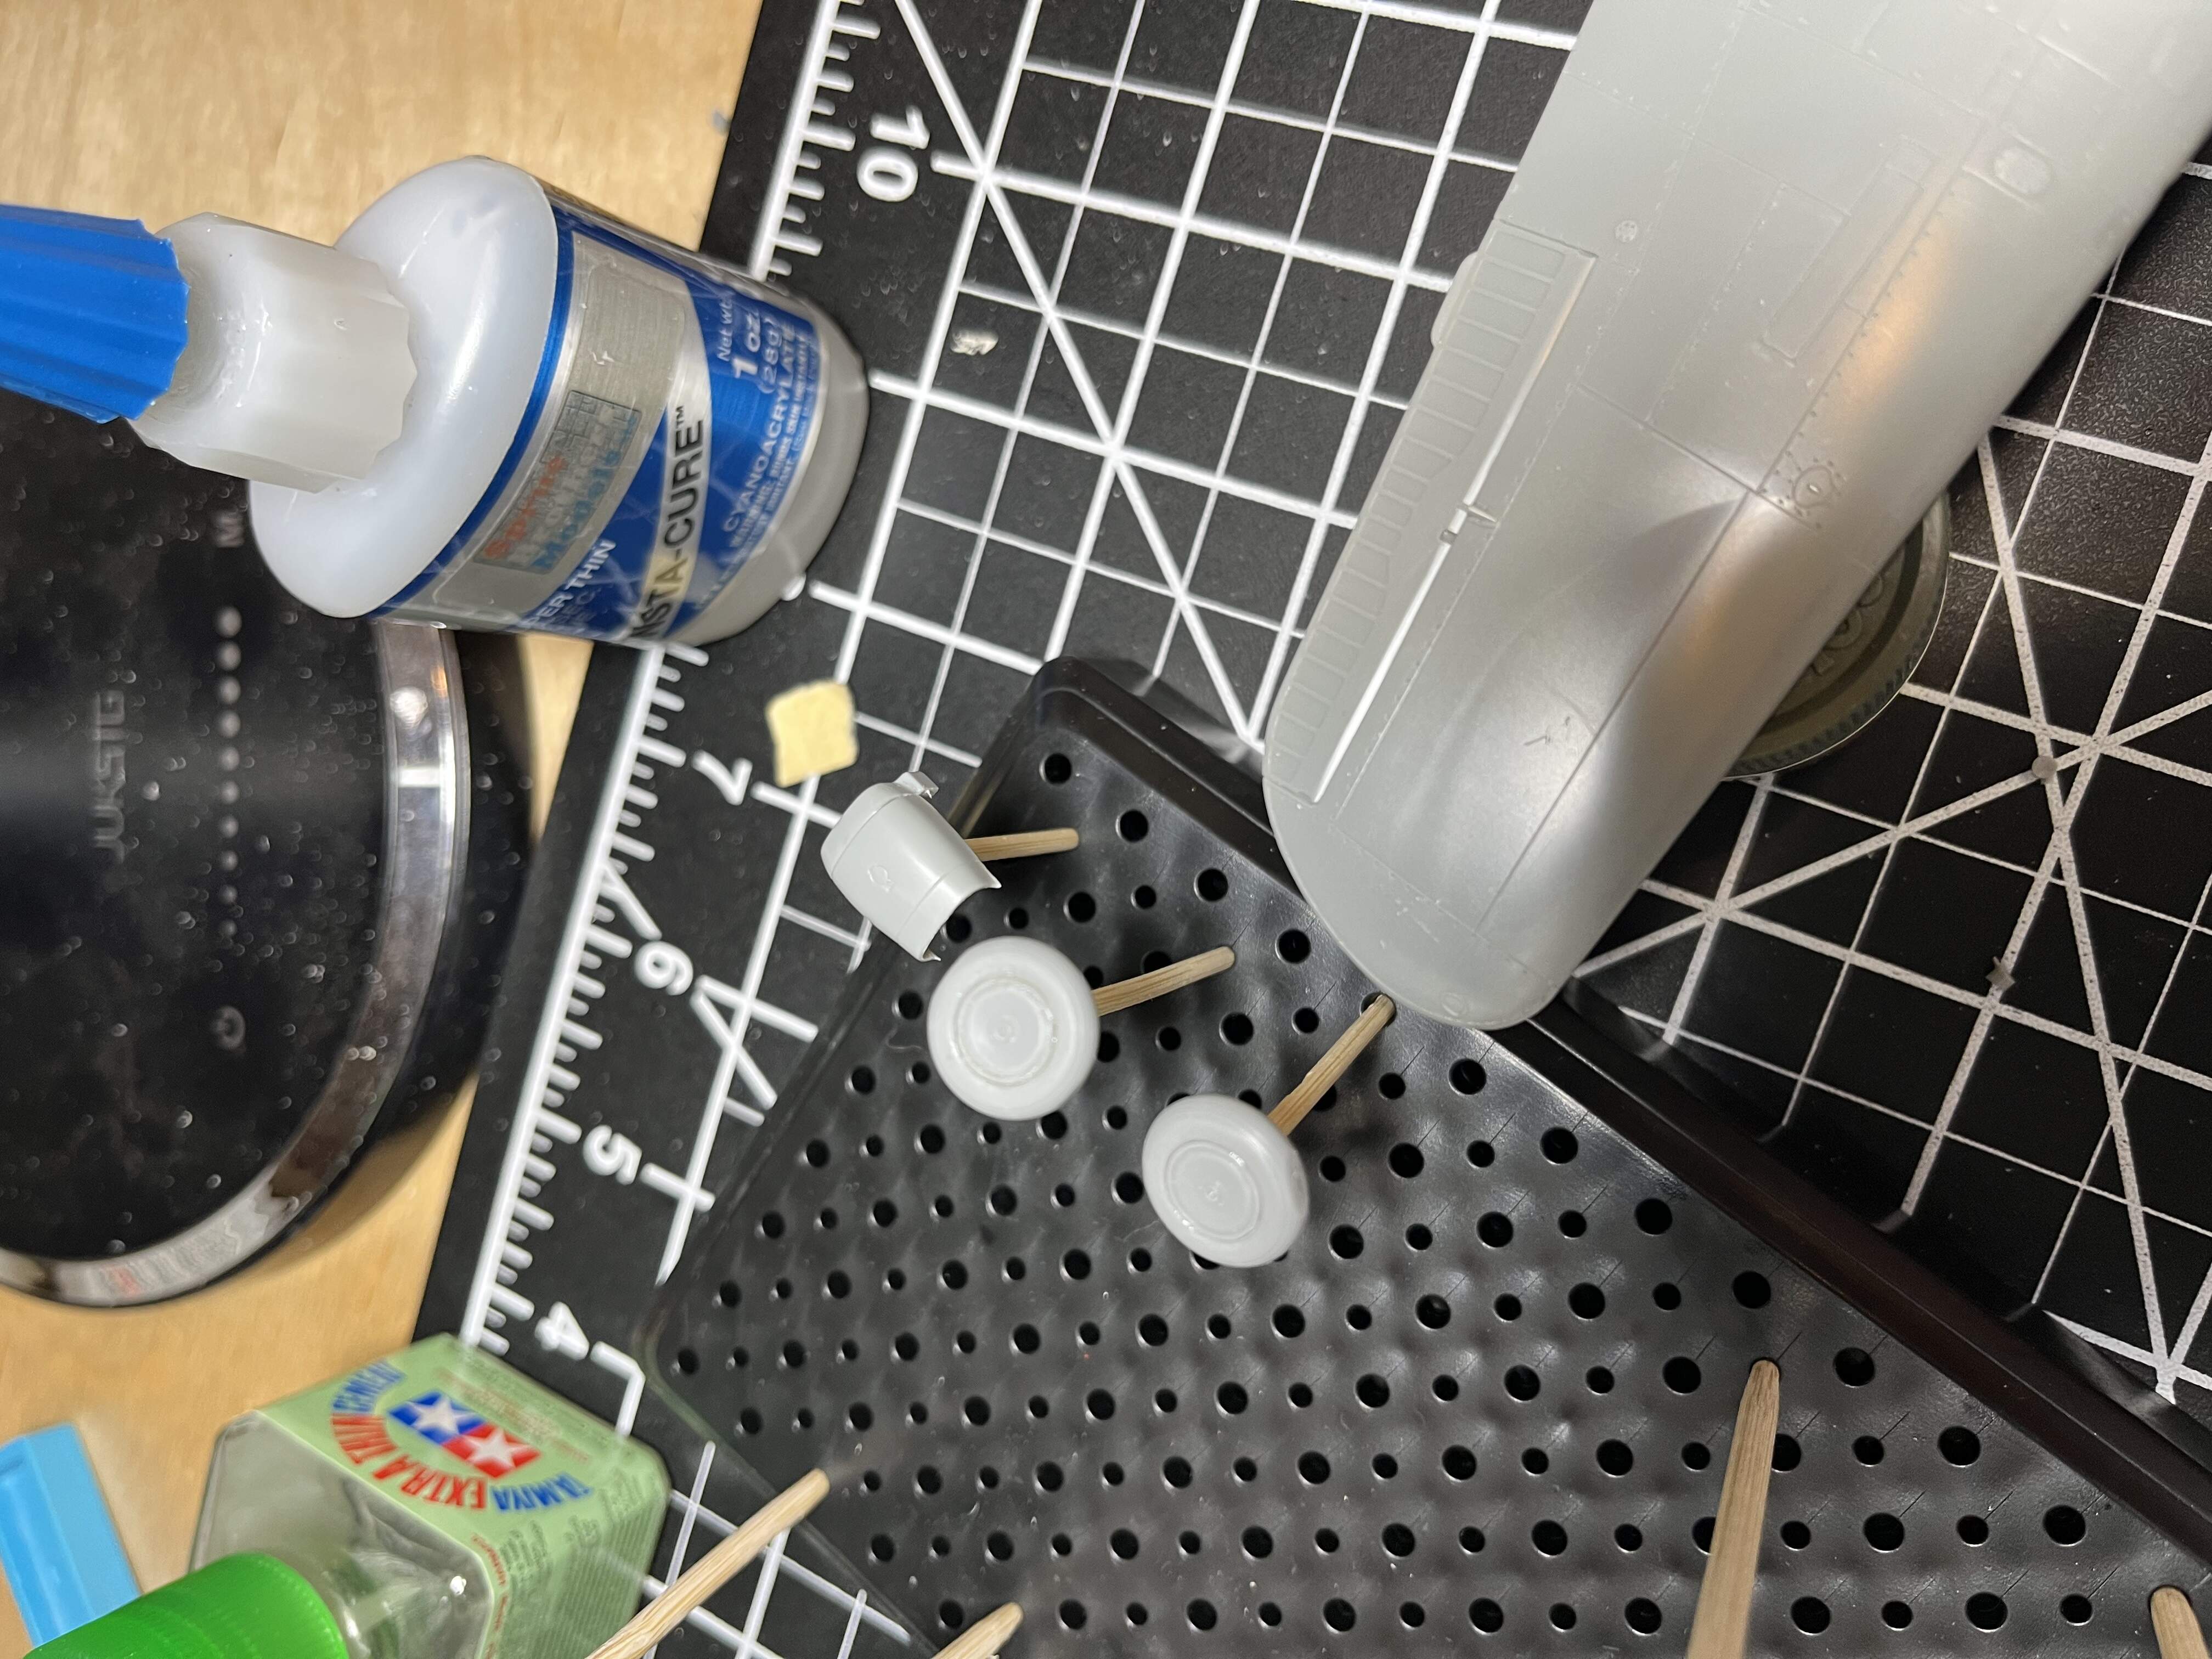
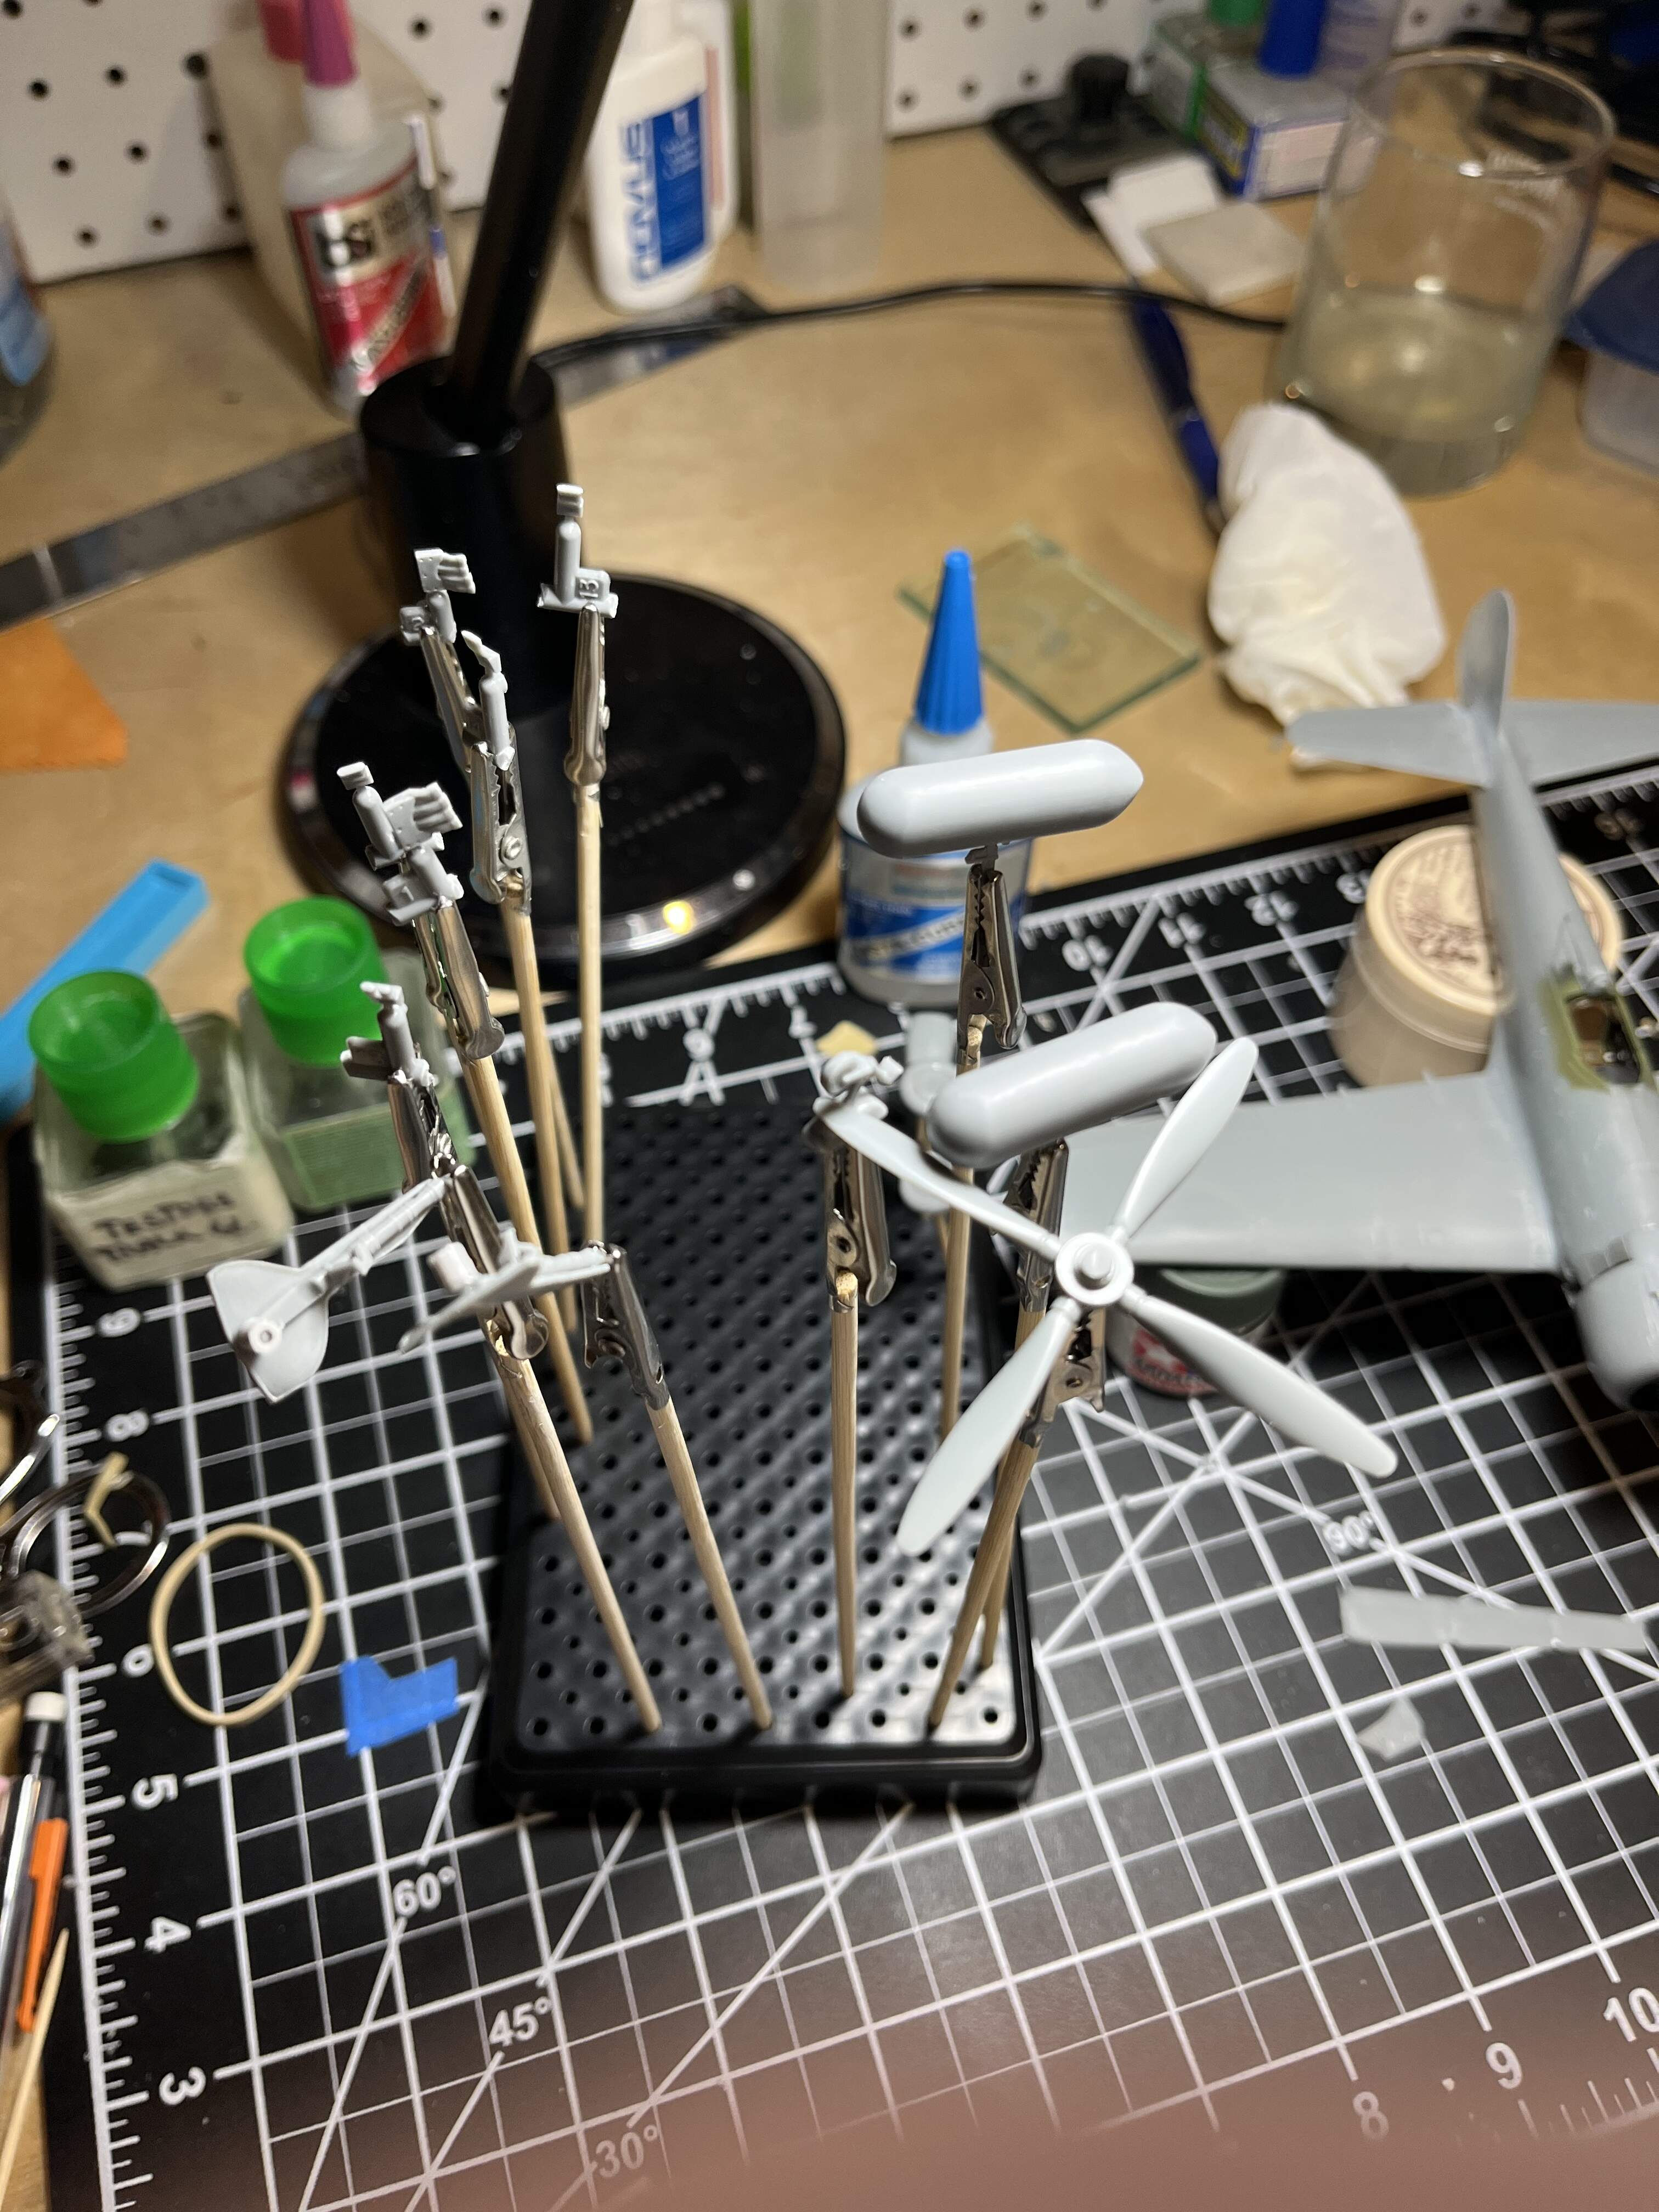
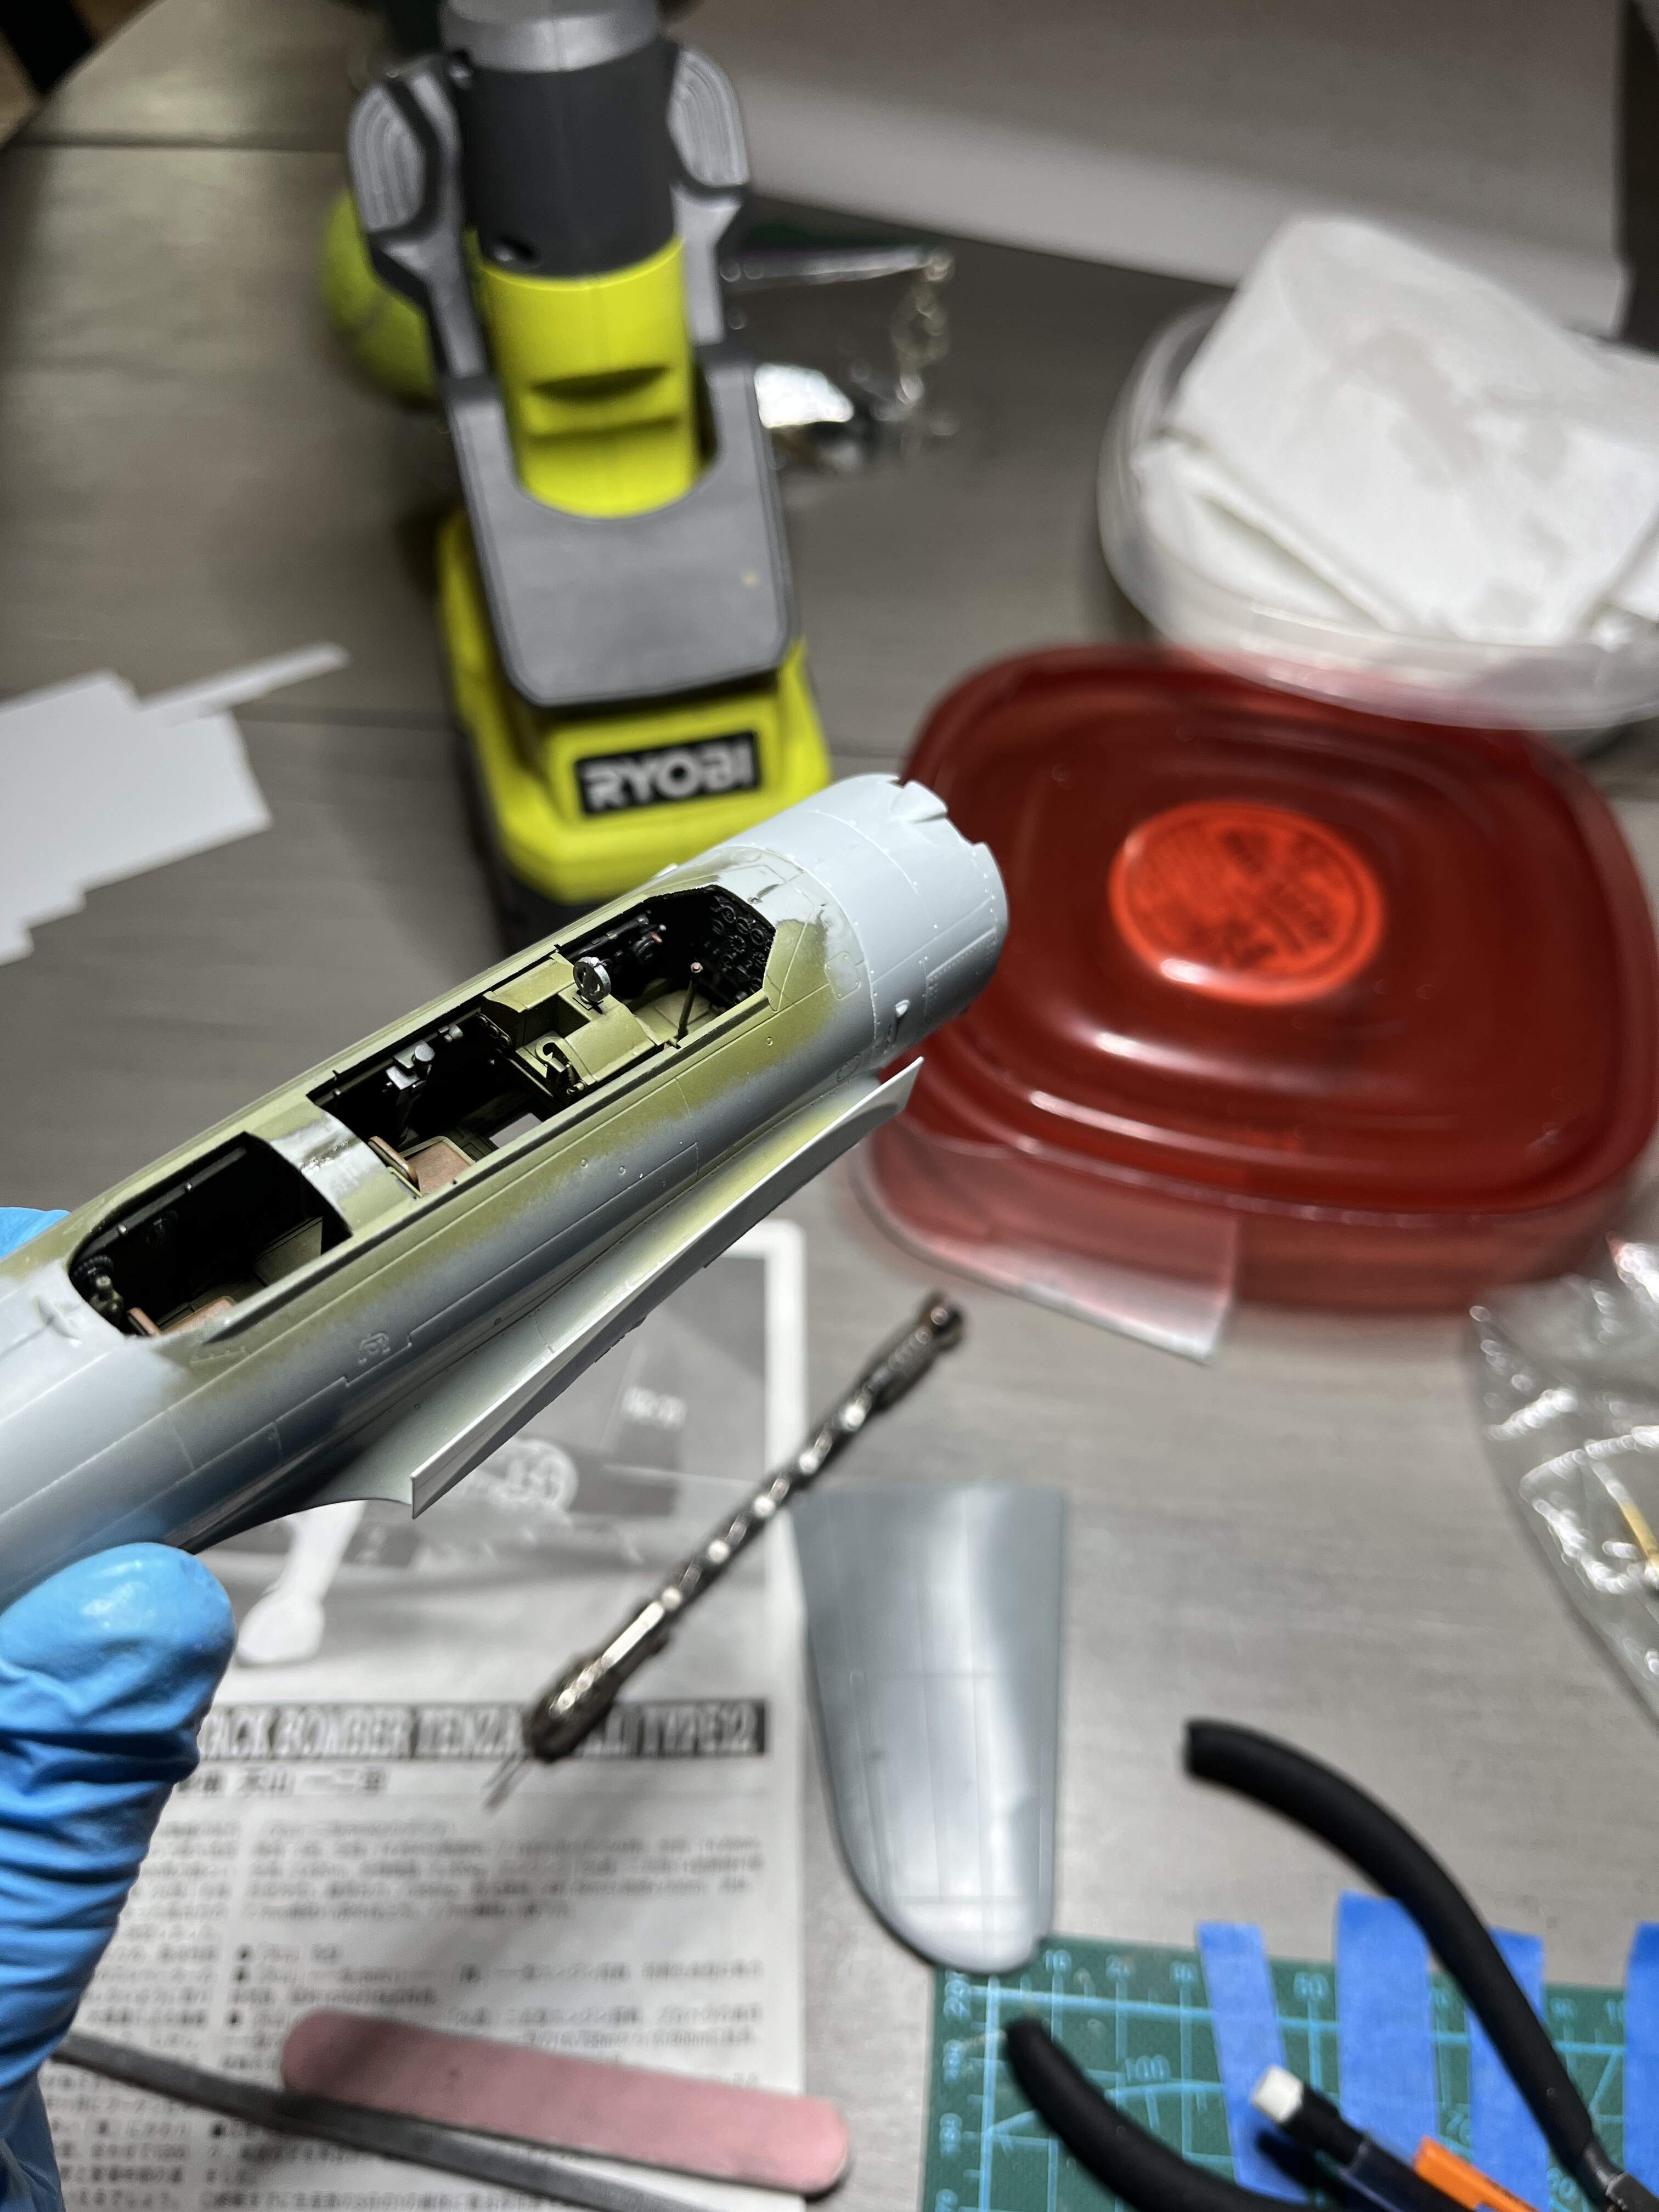
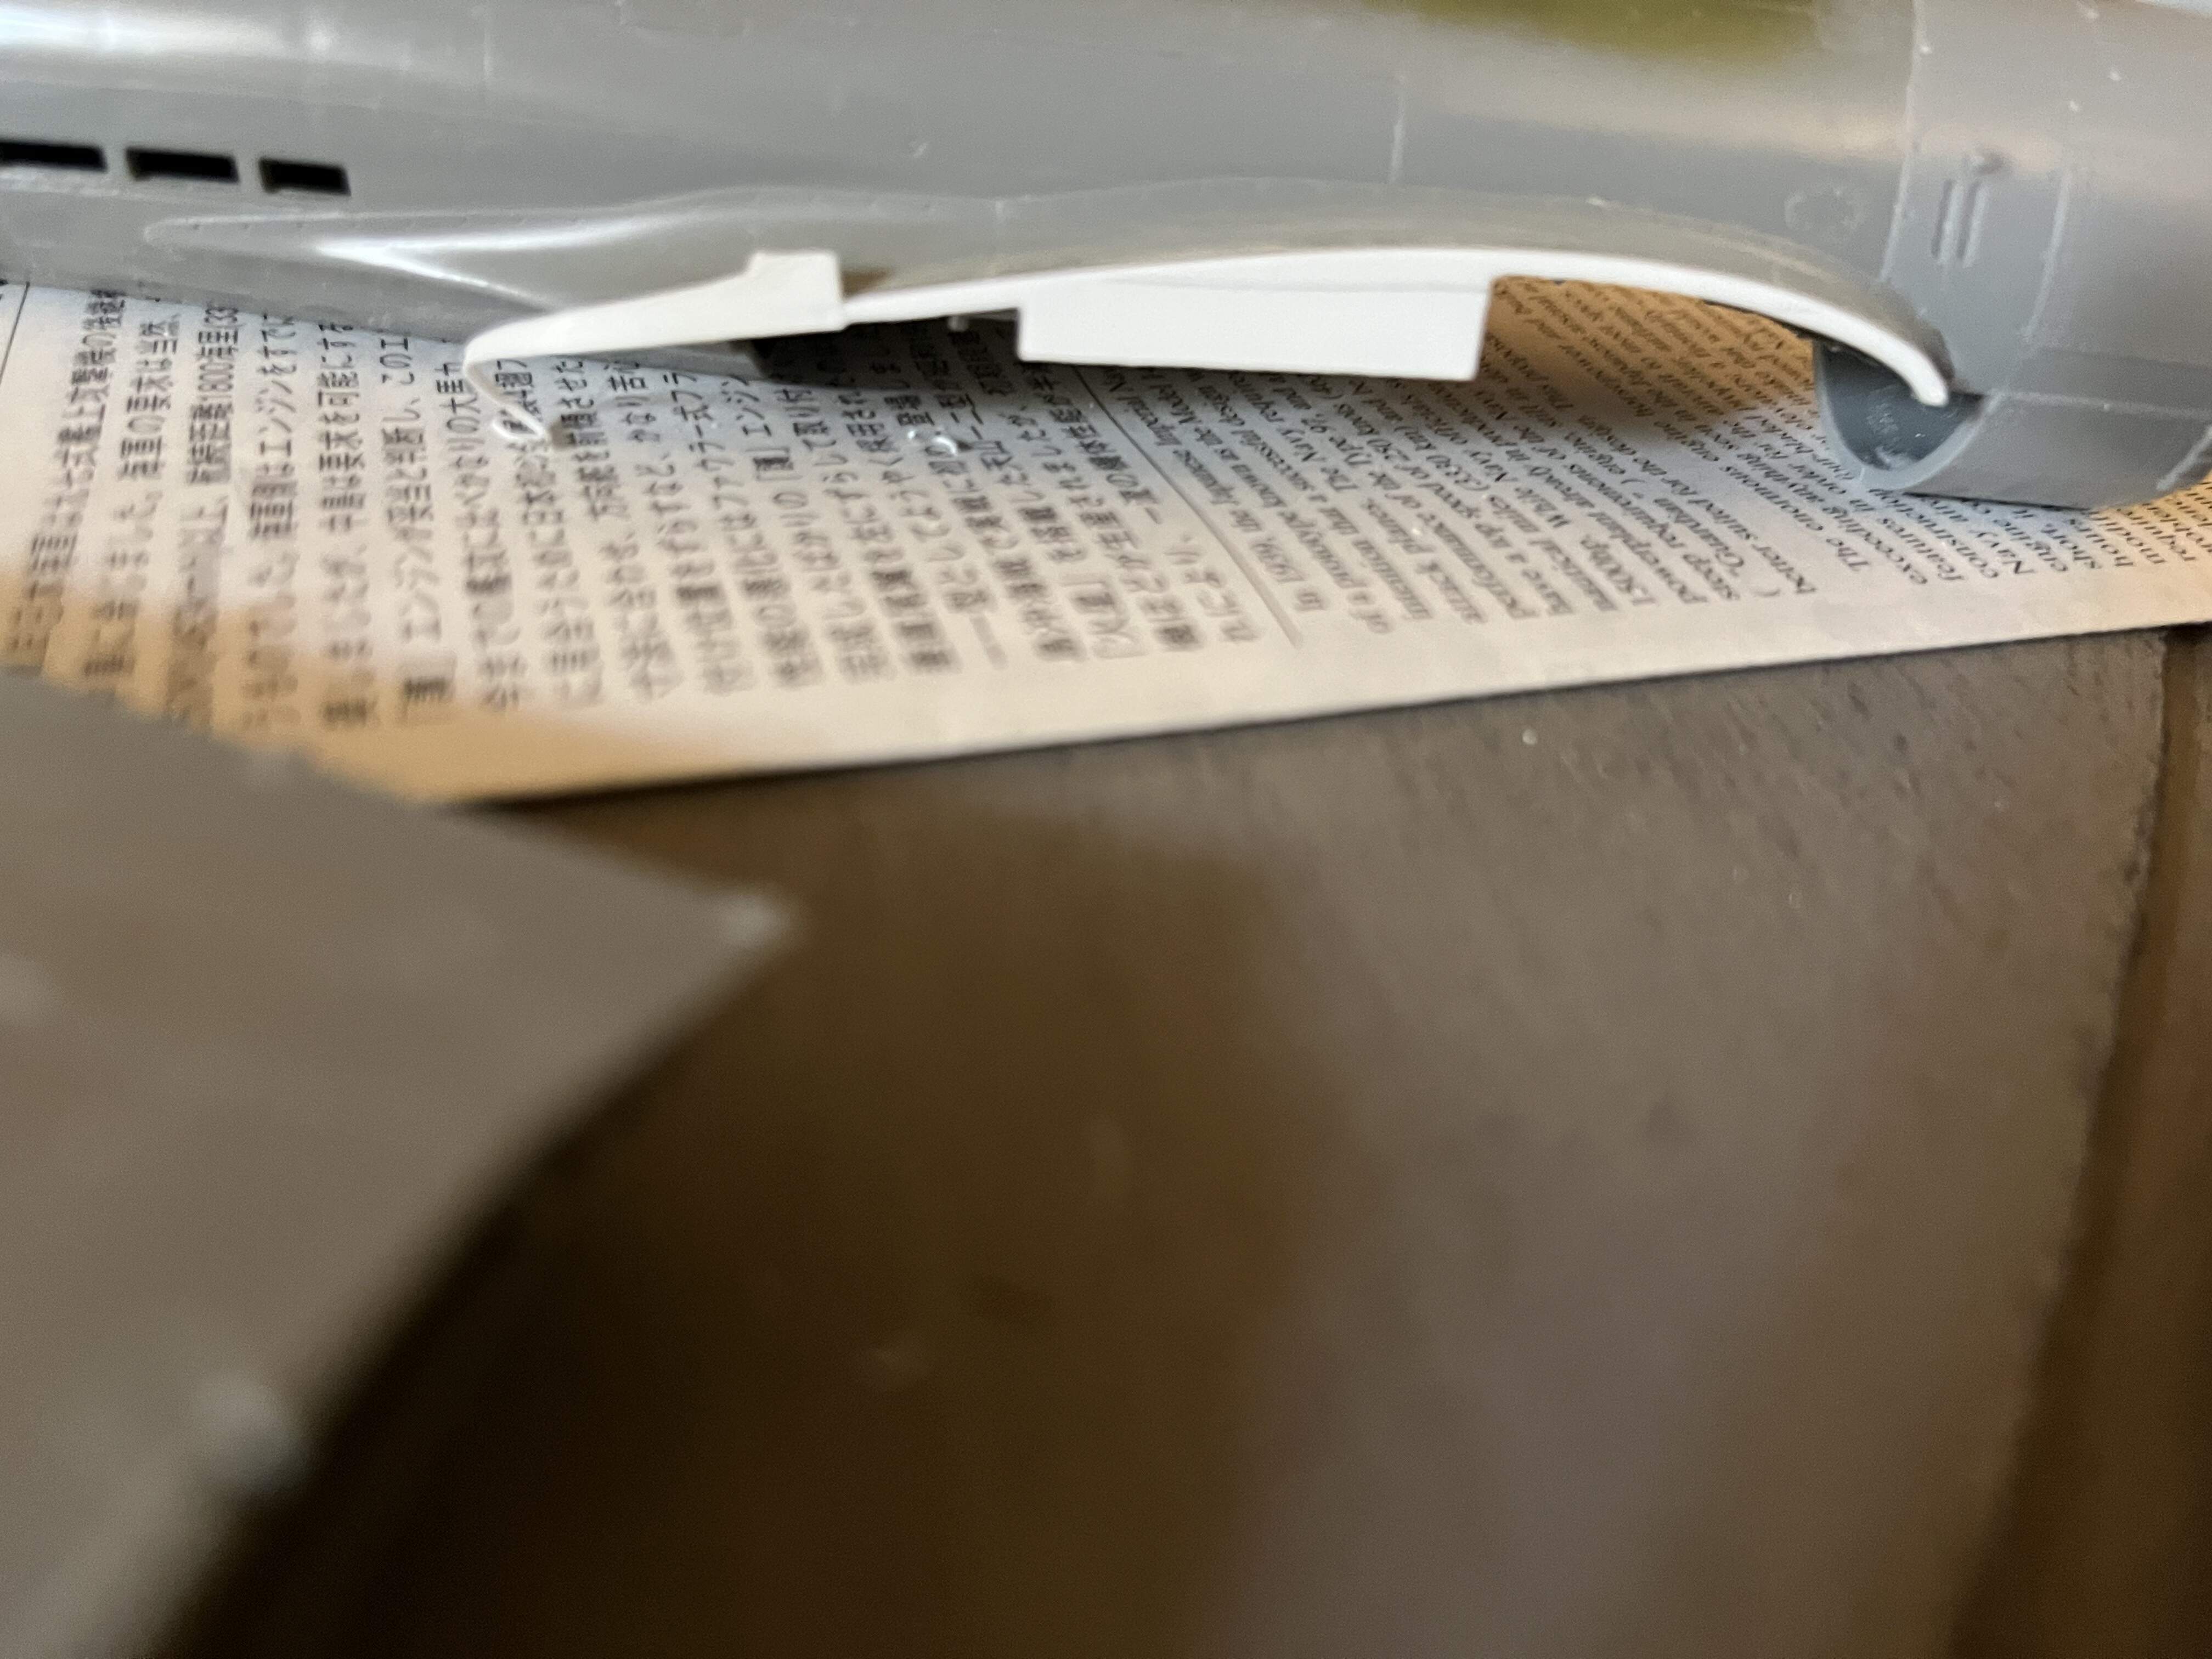
Question for all. I’ve really enjoyed the Ki-84, it is just about ready for paint. But I have a hang up before I can do that. The kit came with 4 wingtip navigation lights, and two for the tail. These were on the clear sprue, nearly microscopic, and brittle. I only managed to get one on cleanly
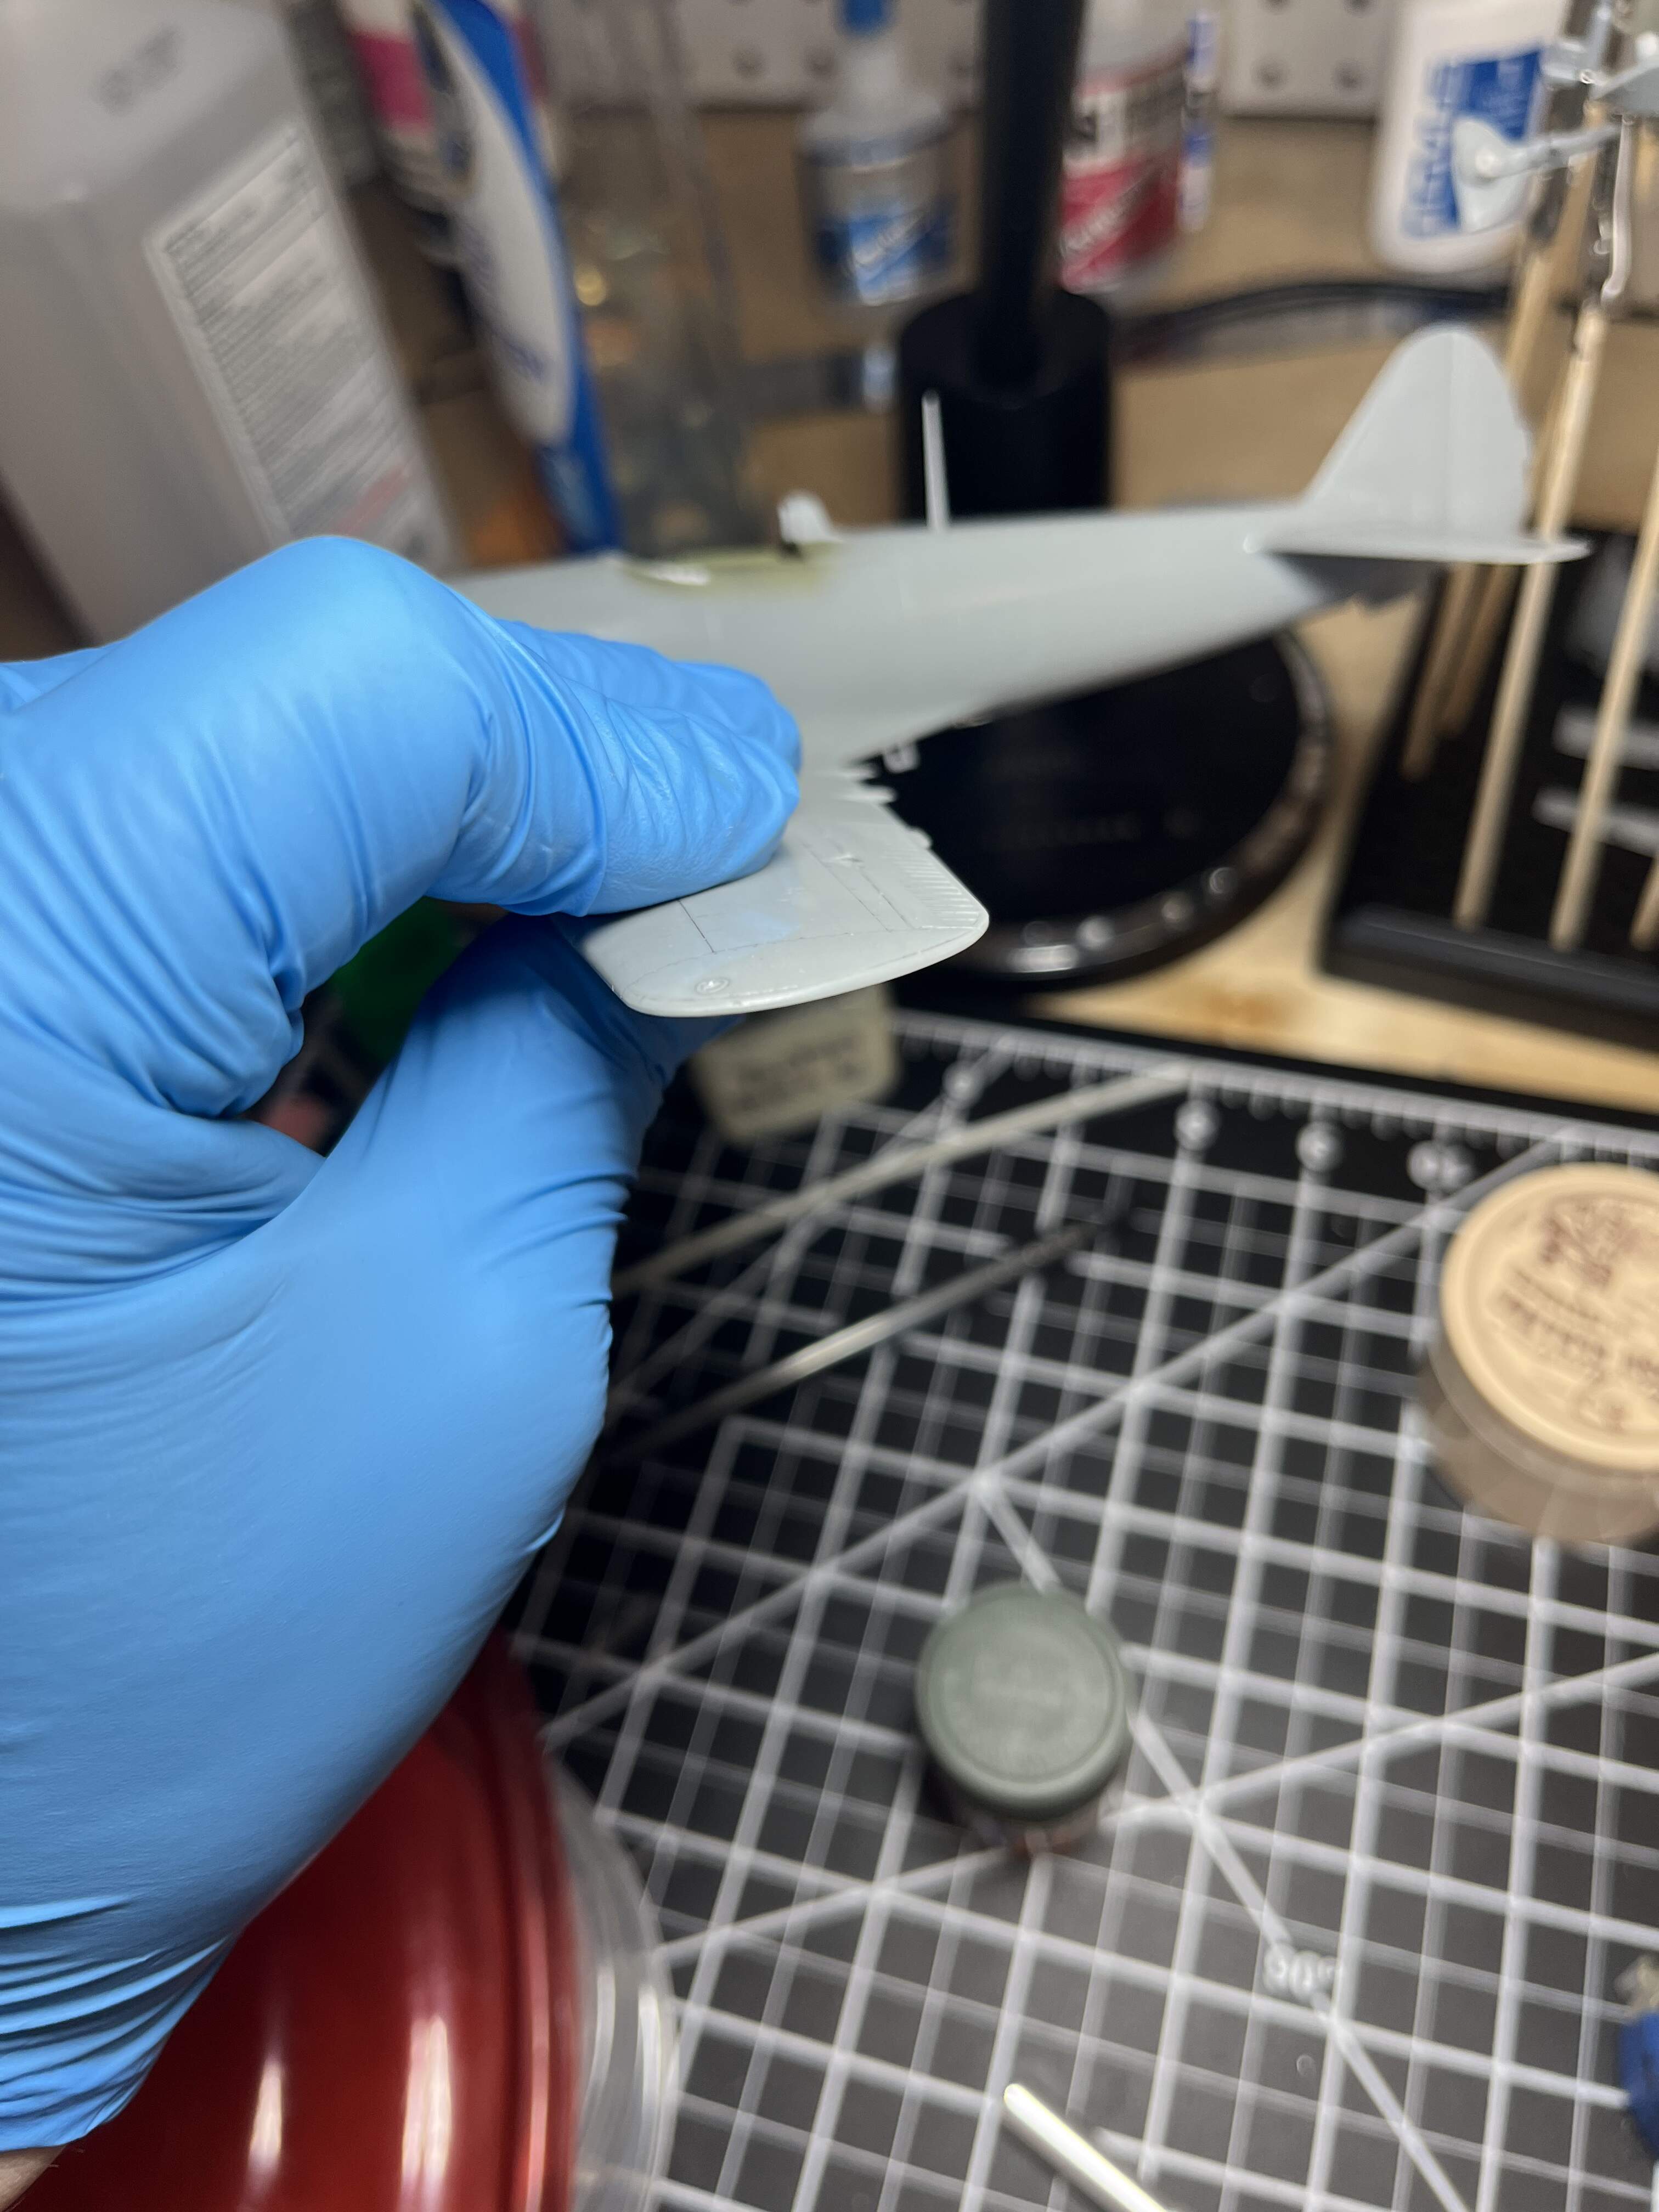
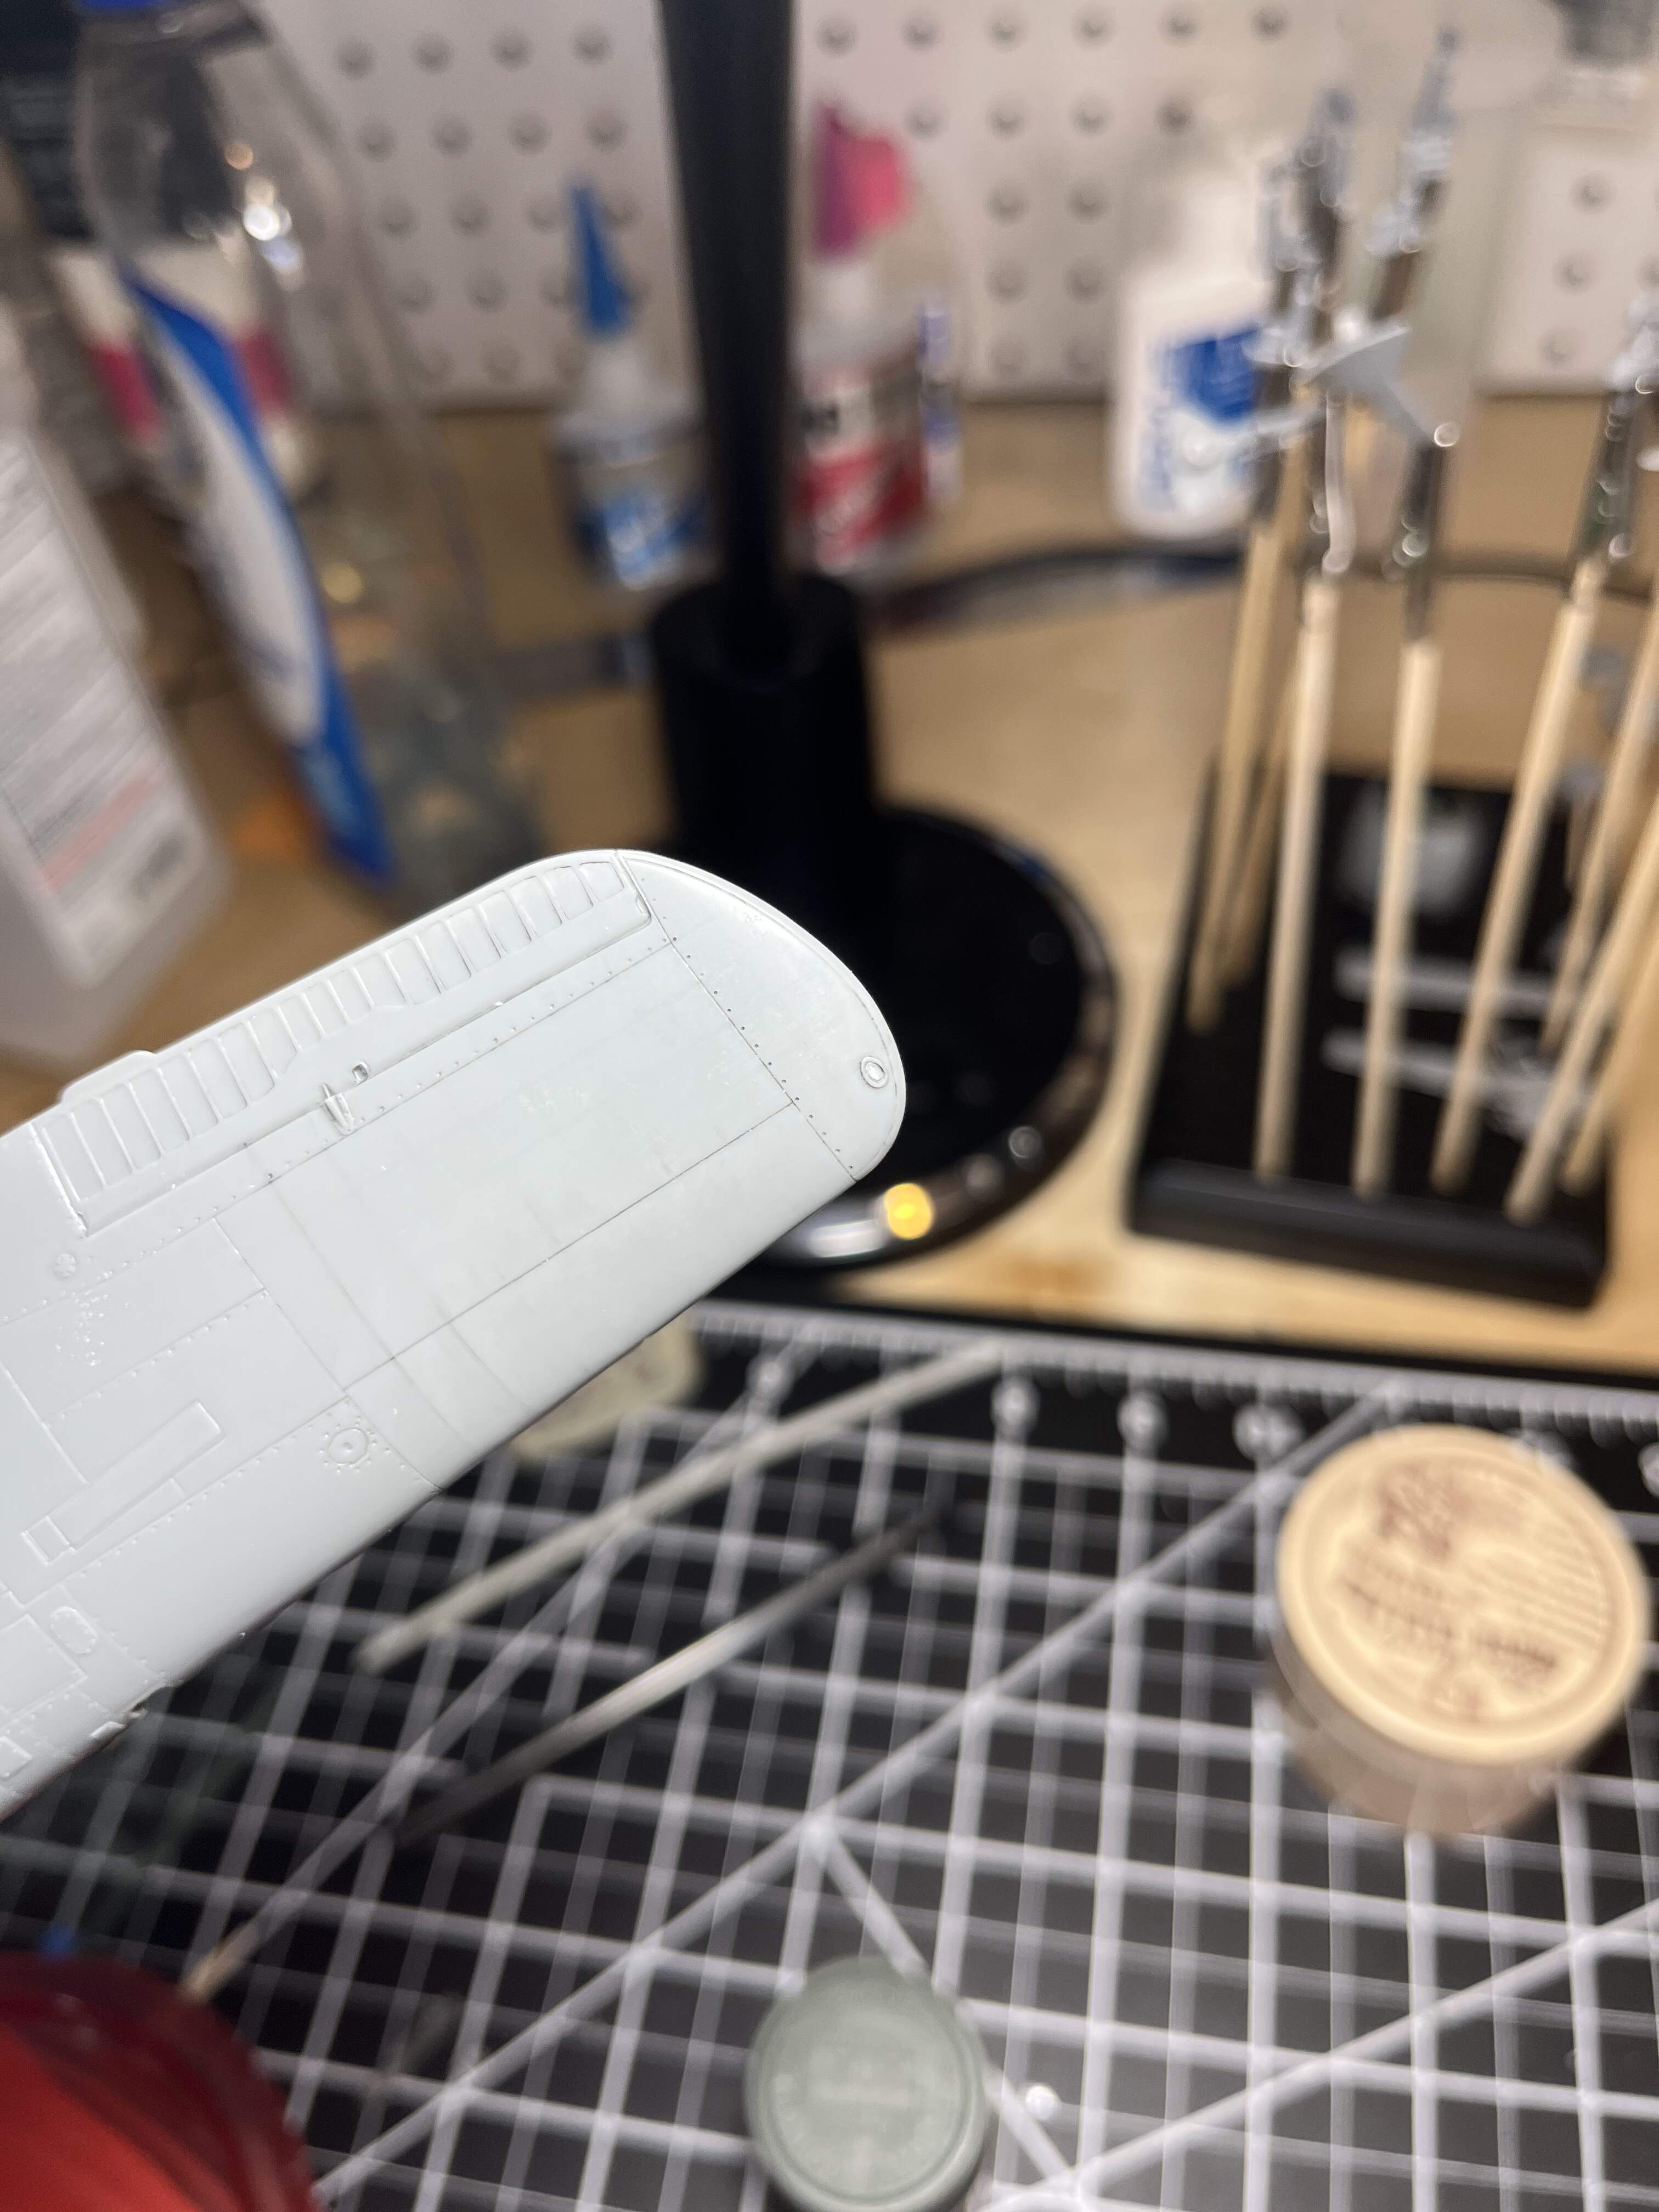
I got three others on, but broke small pieces off and the two tail lights were so small that they may as well not have included them. This is my first time experiencing this. Normally they are just molded on. I prefer that as these were so tiny I had to glue them on first. Then I’ll paint them silver followed by the proper clear red or green. Anyway, on the tail I’ll need to fill the spot for them with something looking remotely light shaped

Any suggestions? I was thinking milliput molded to shape or thick super glue allowed to get tacky and then shaped
6 Likes
I would try a few thin layers of superglue and let it build up to a bubble shape
3 Likes
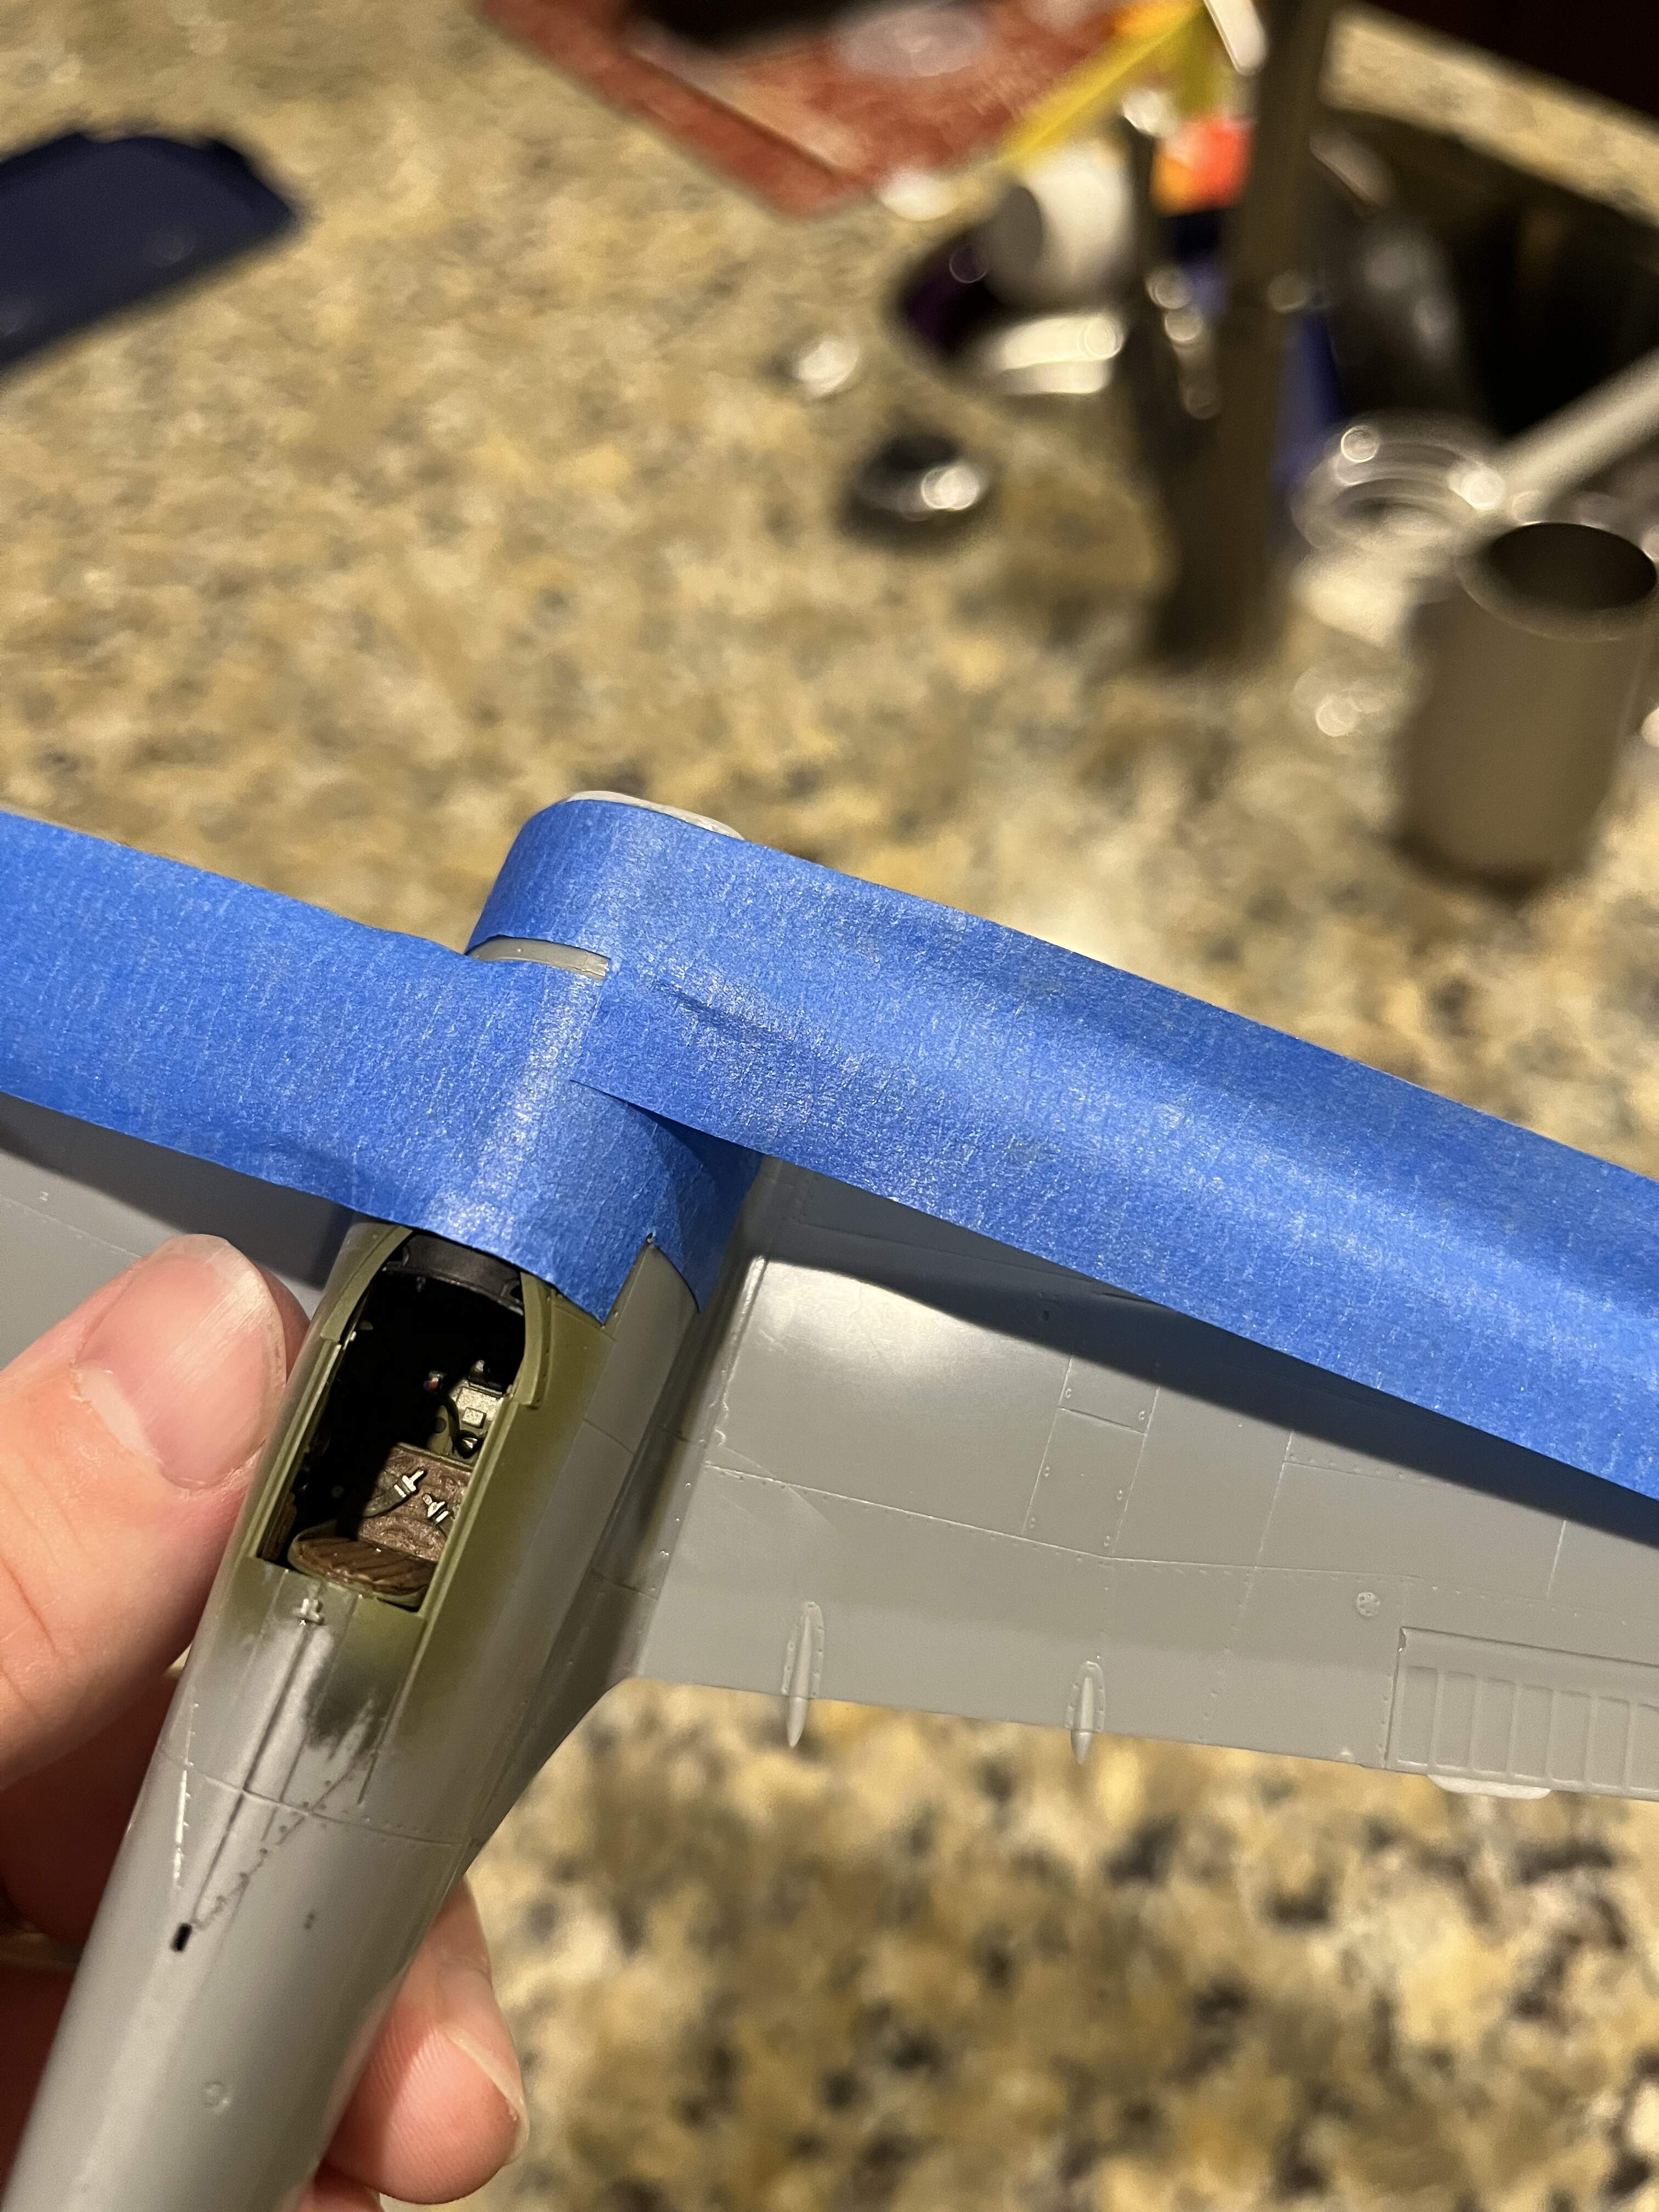
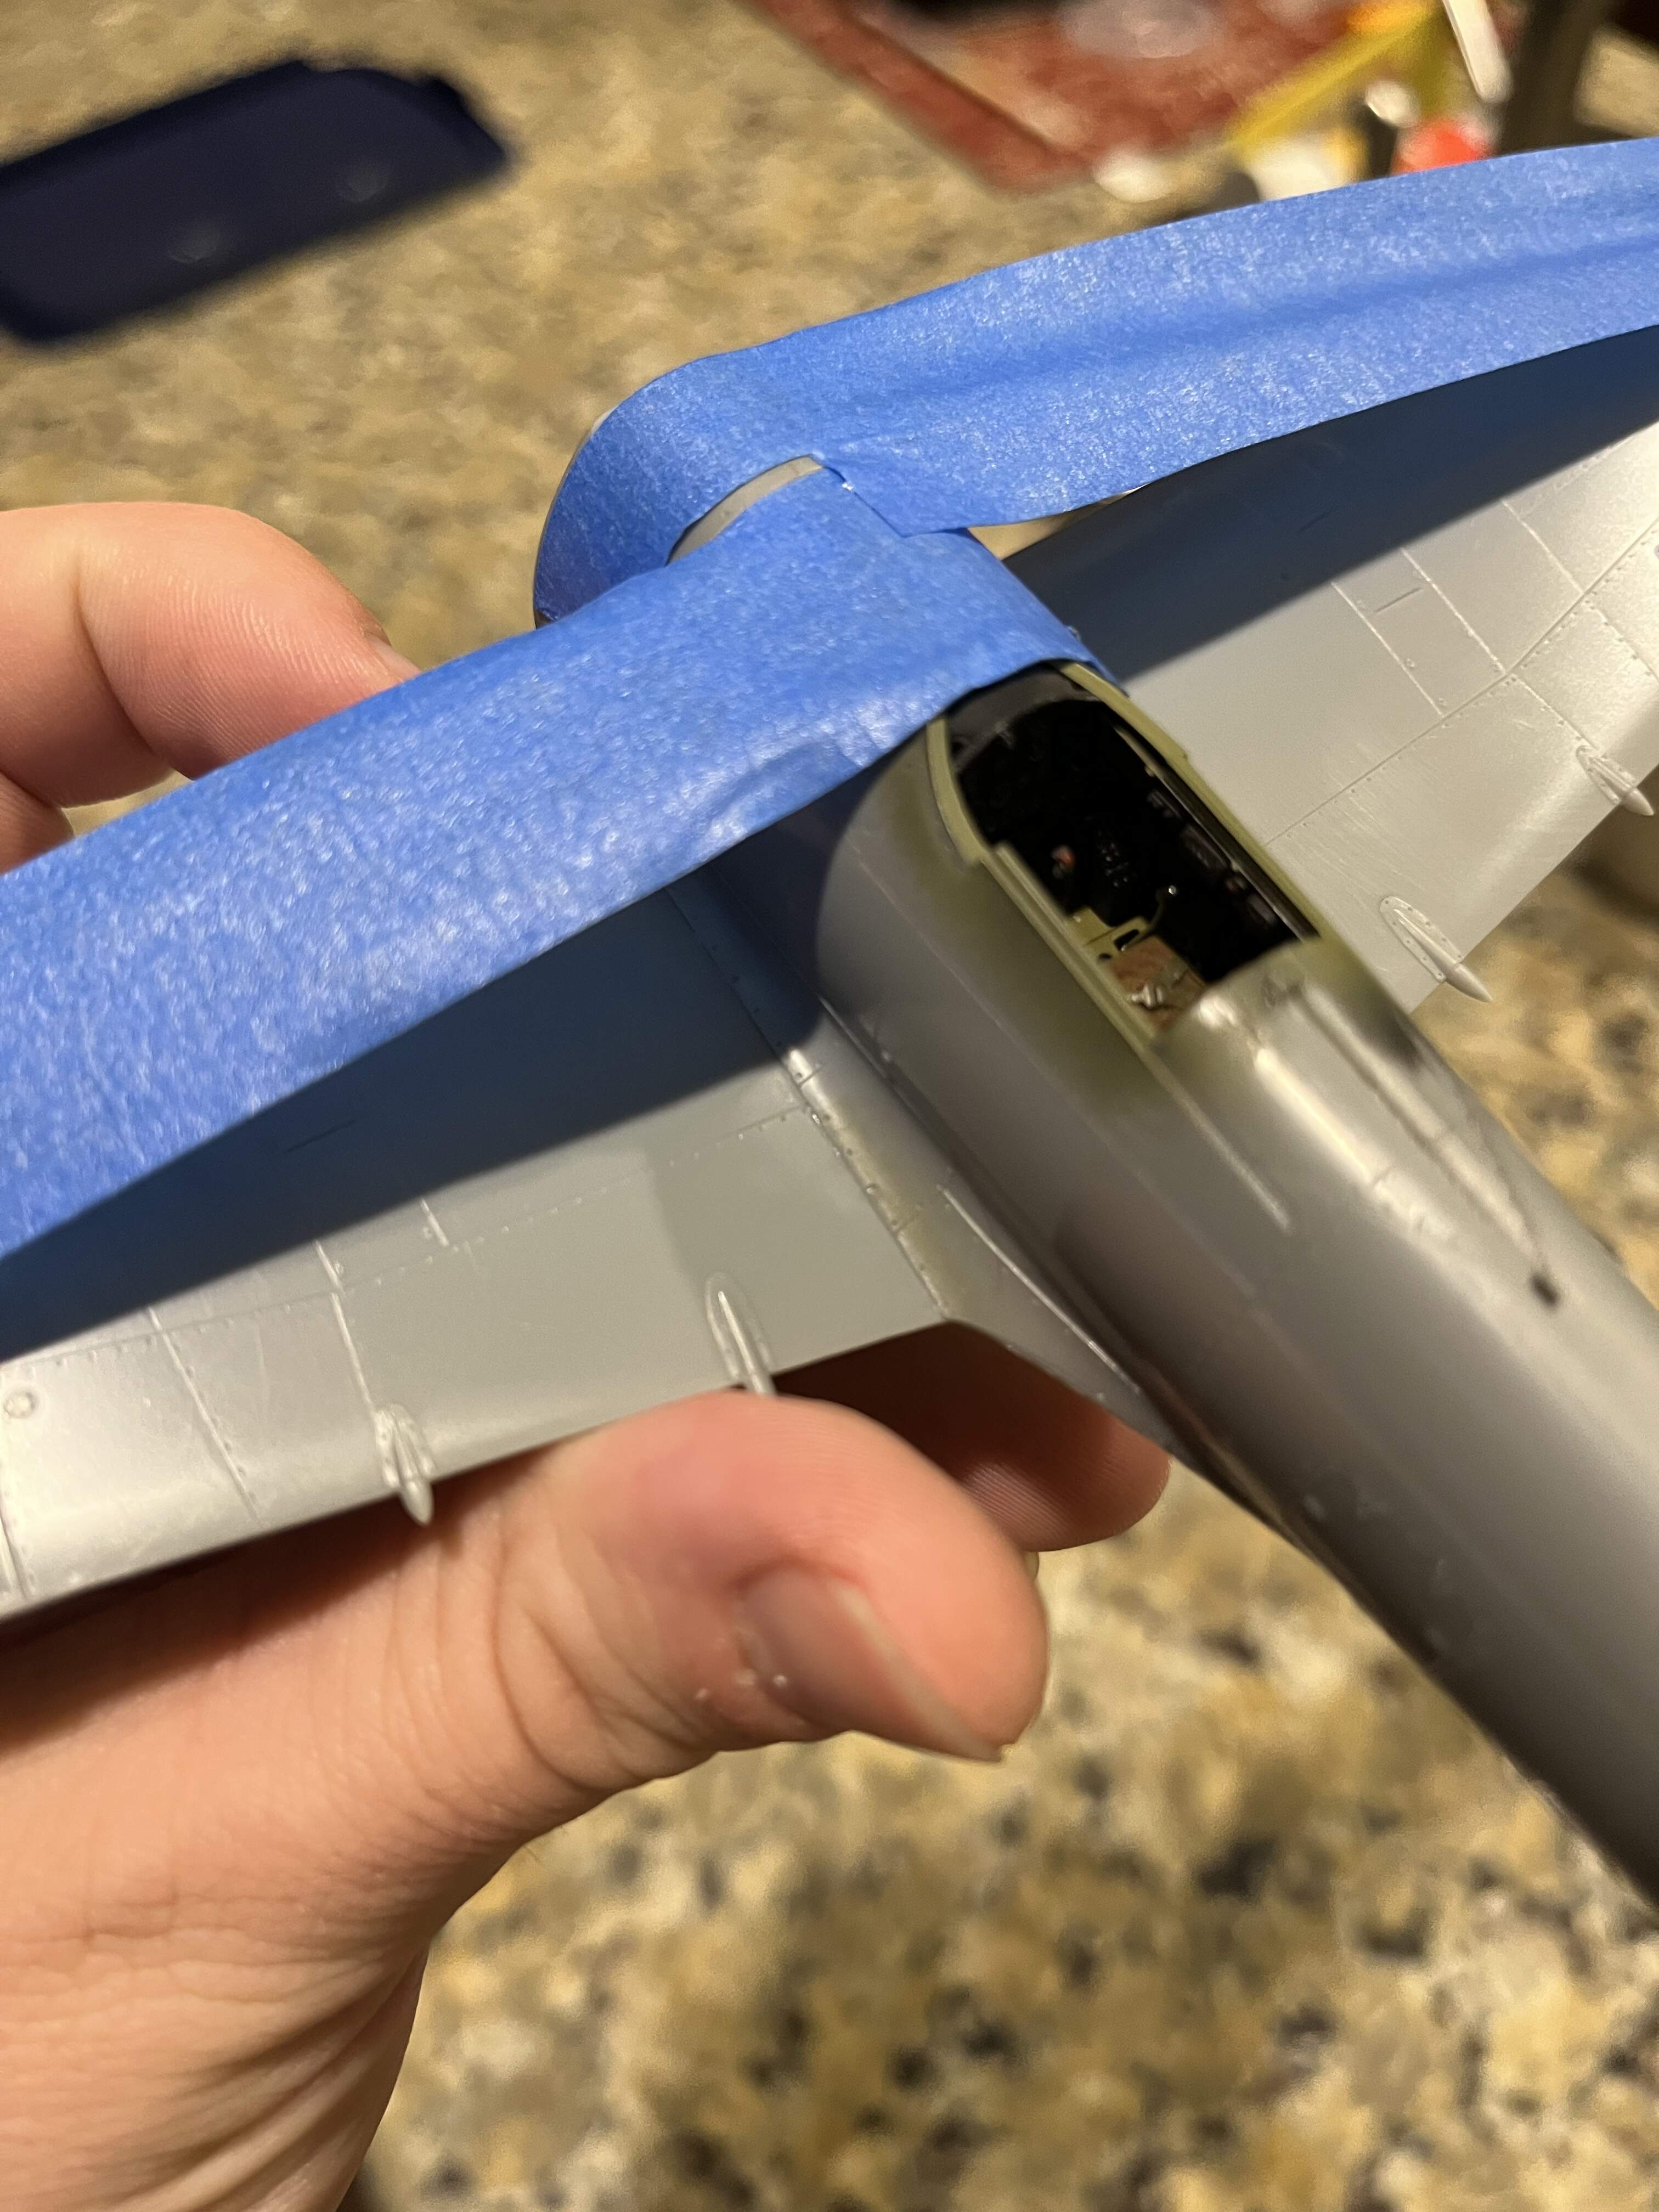
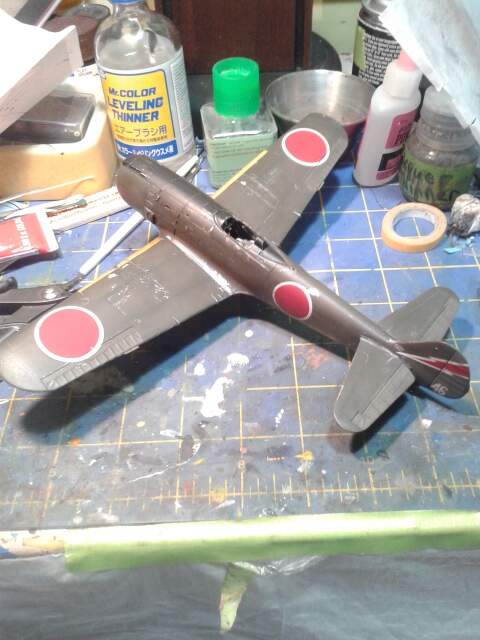
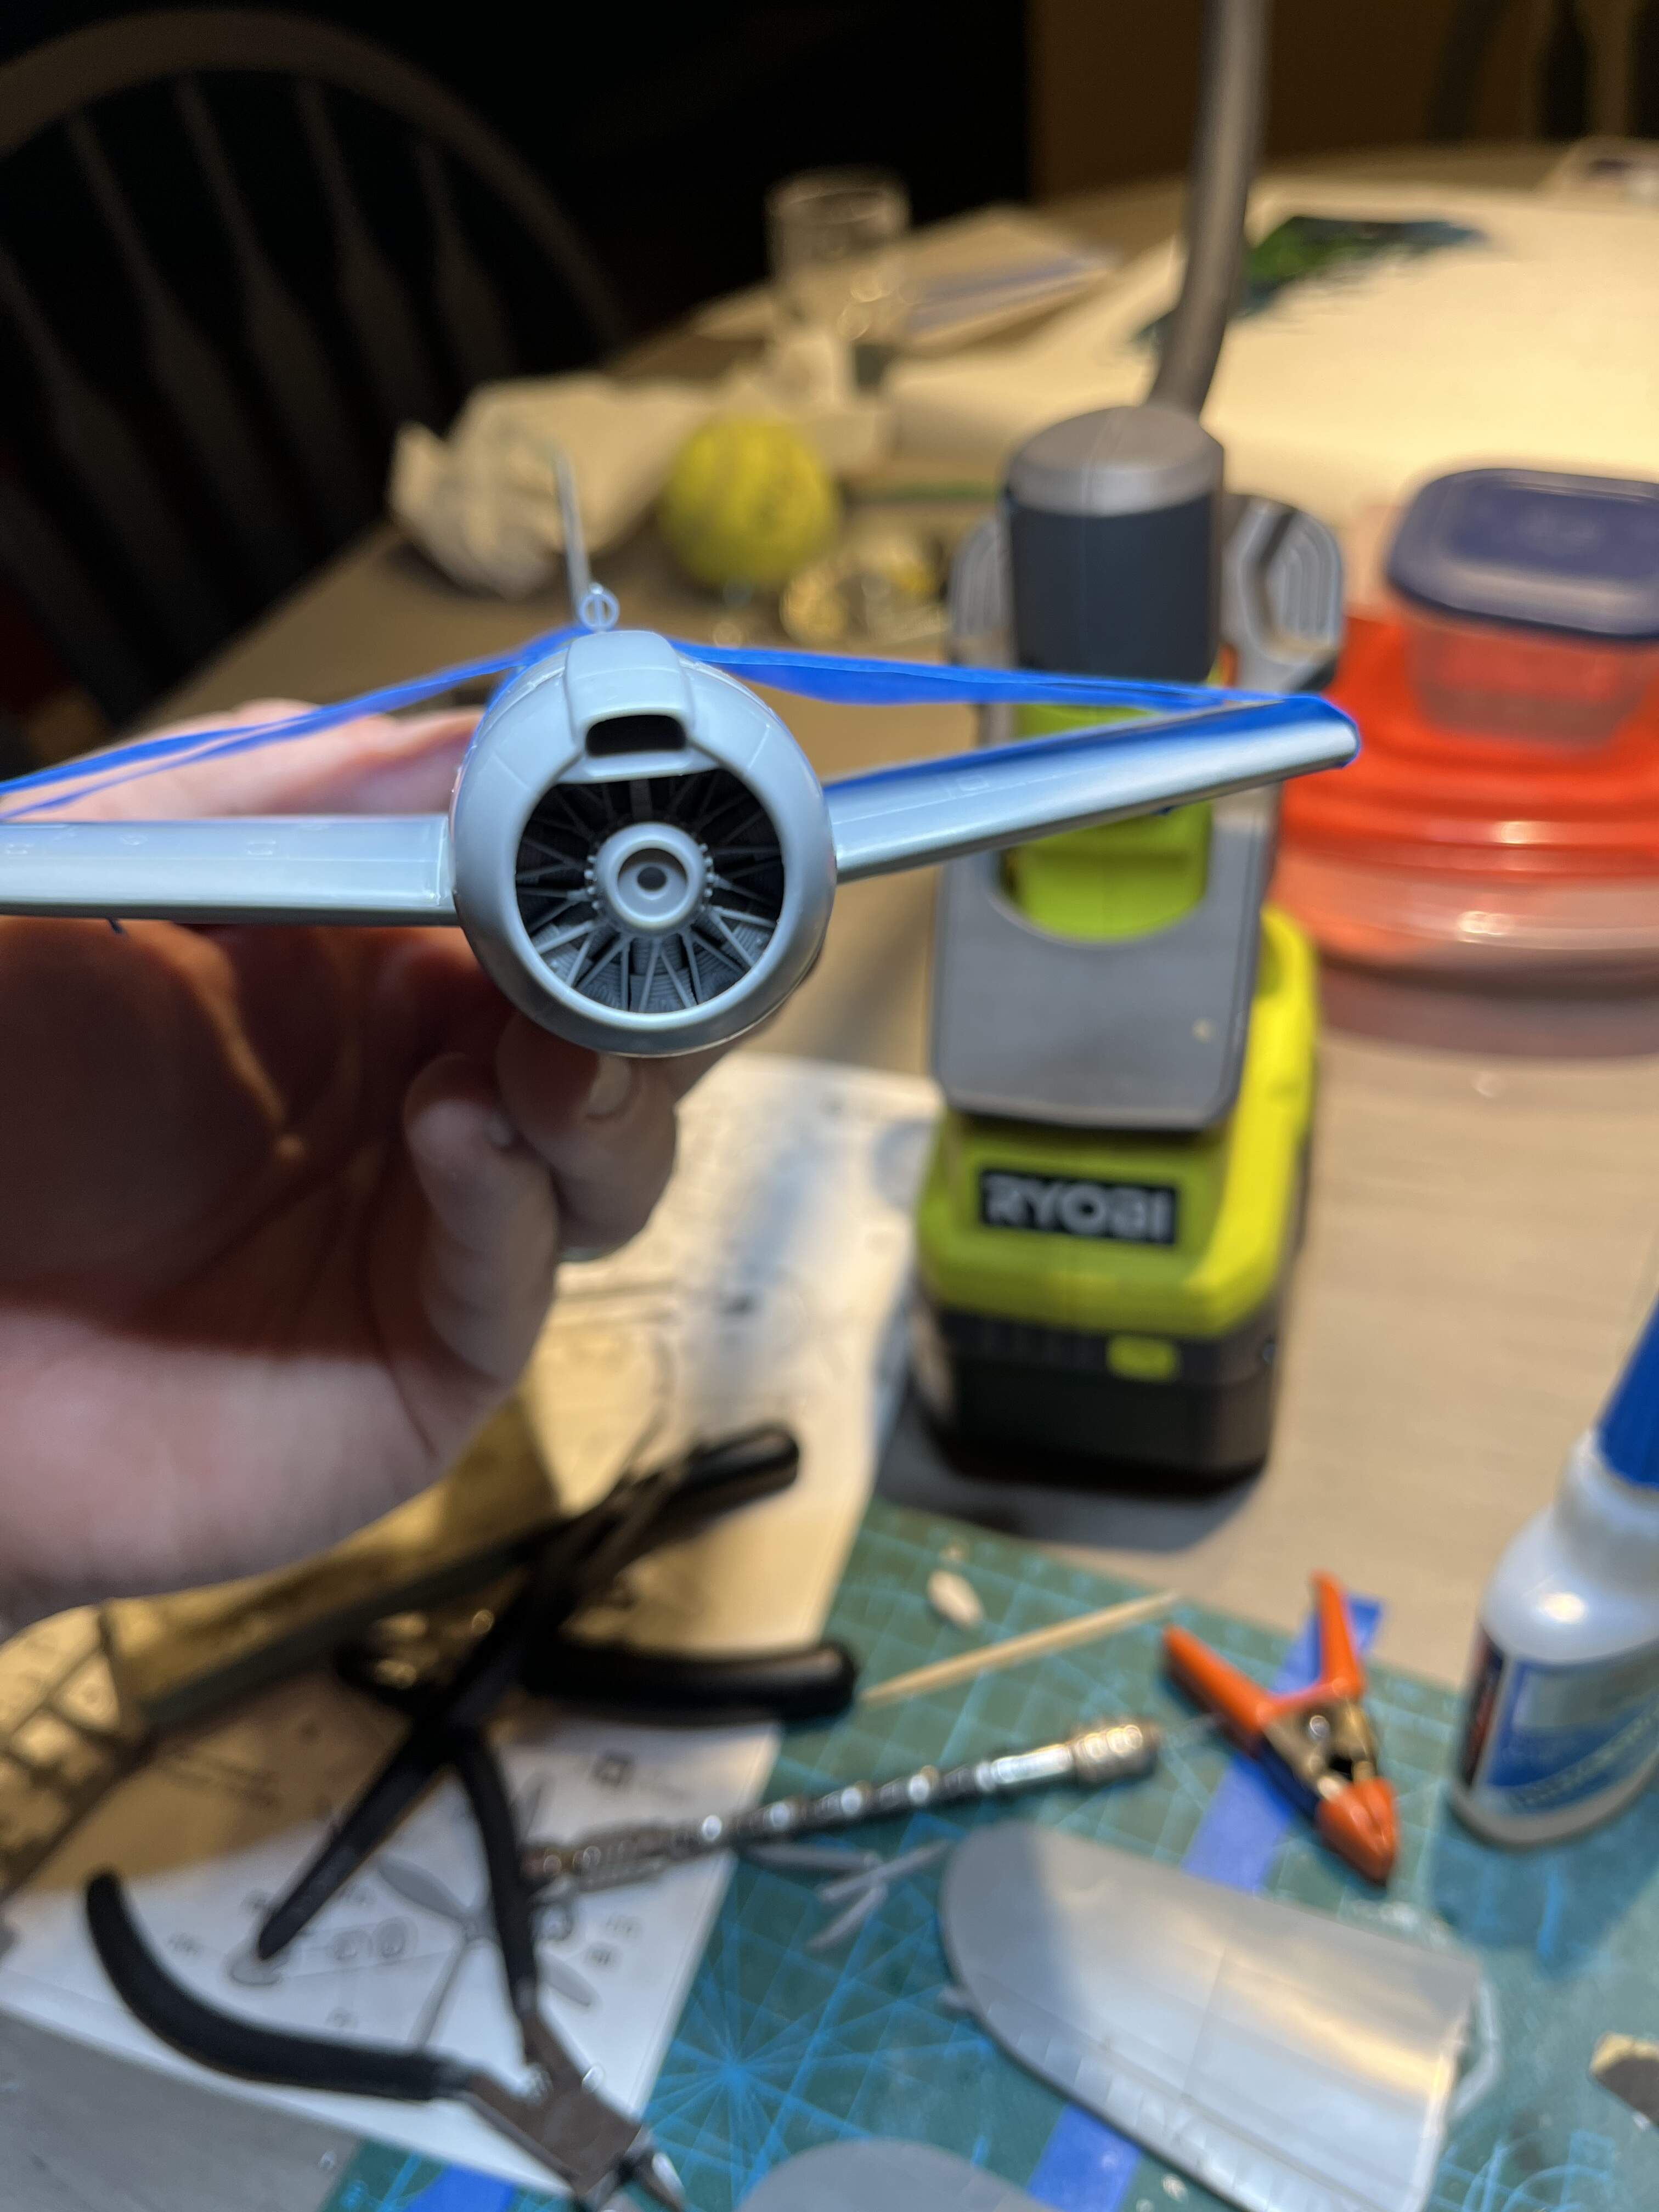
And just like that all was well in the land of Jill!
But a new problem arises. Either the wing root fit is terrible or this bird has crazy dihedral. Gonna take some thinking
6 Likes
Your making a jill and a frank mead?
After a while of my frank just sitting on the bench i finally got a bunch of work done. finished painting and weathering. just have to vac form copy of the rear cockpit and i can do final assembly. Oh, and i still need to paint the prop.
6 Likes
Looking great!!
Yes I am, I started off the campaign doing the Jill and then spilled glue all over the lower wing section… almost tossed the kit but others encouraged me to cool off and keep it. About a week later sprue bros had 20% off hasegawa so I bought a a second jill kit for the lower wing and cowl. The Frank is waiting for me to finish the Jill so I can paint them together. The finishes will be different, the frank will get the more olive too coat and the Jill the dark green, but painting together will allow me to prime, base coat metallic and paint all the markings together.
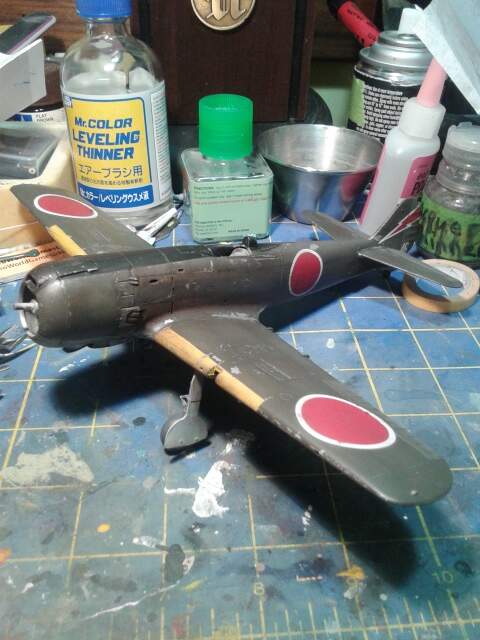
Fixed the wing root issue with some .01” sheet styrene shims

Also cut out most of the other parts like engine, torpedo, and wing sections.
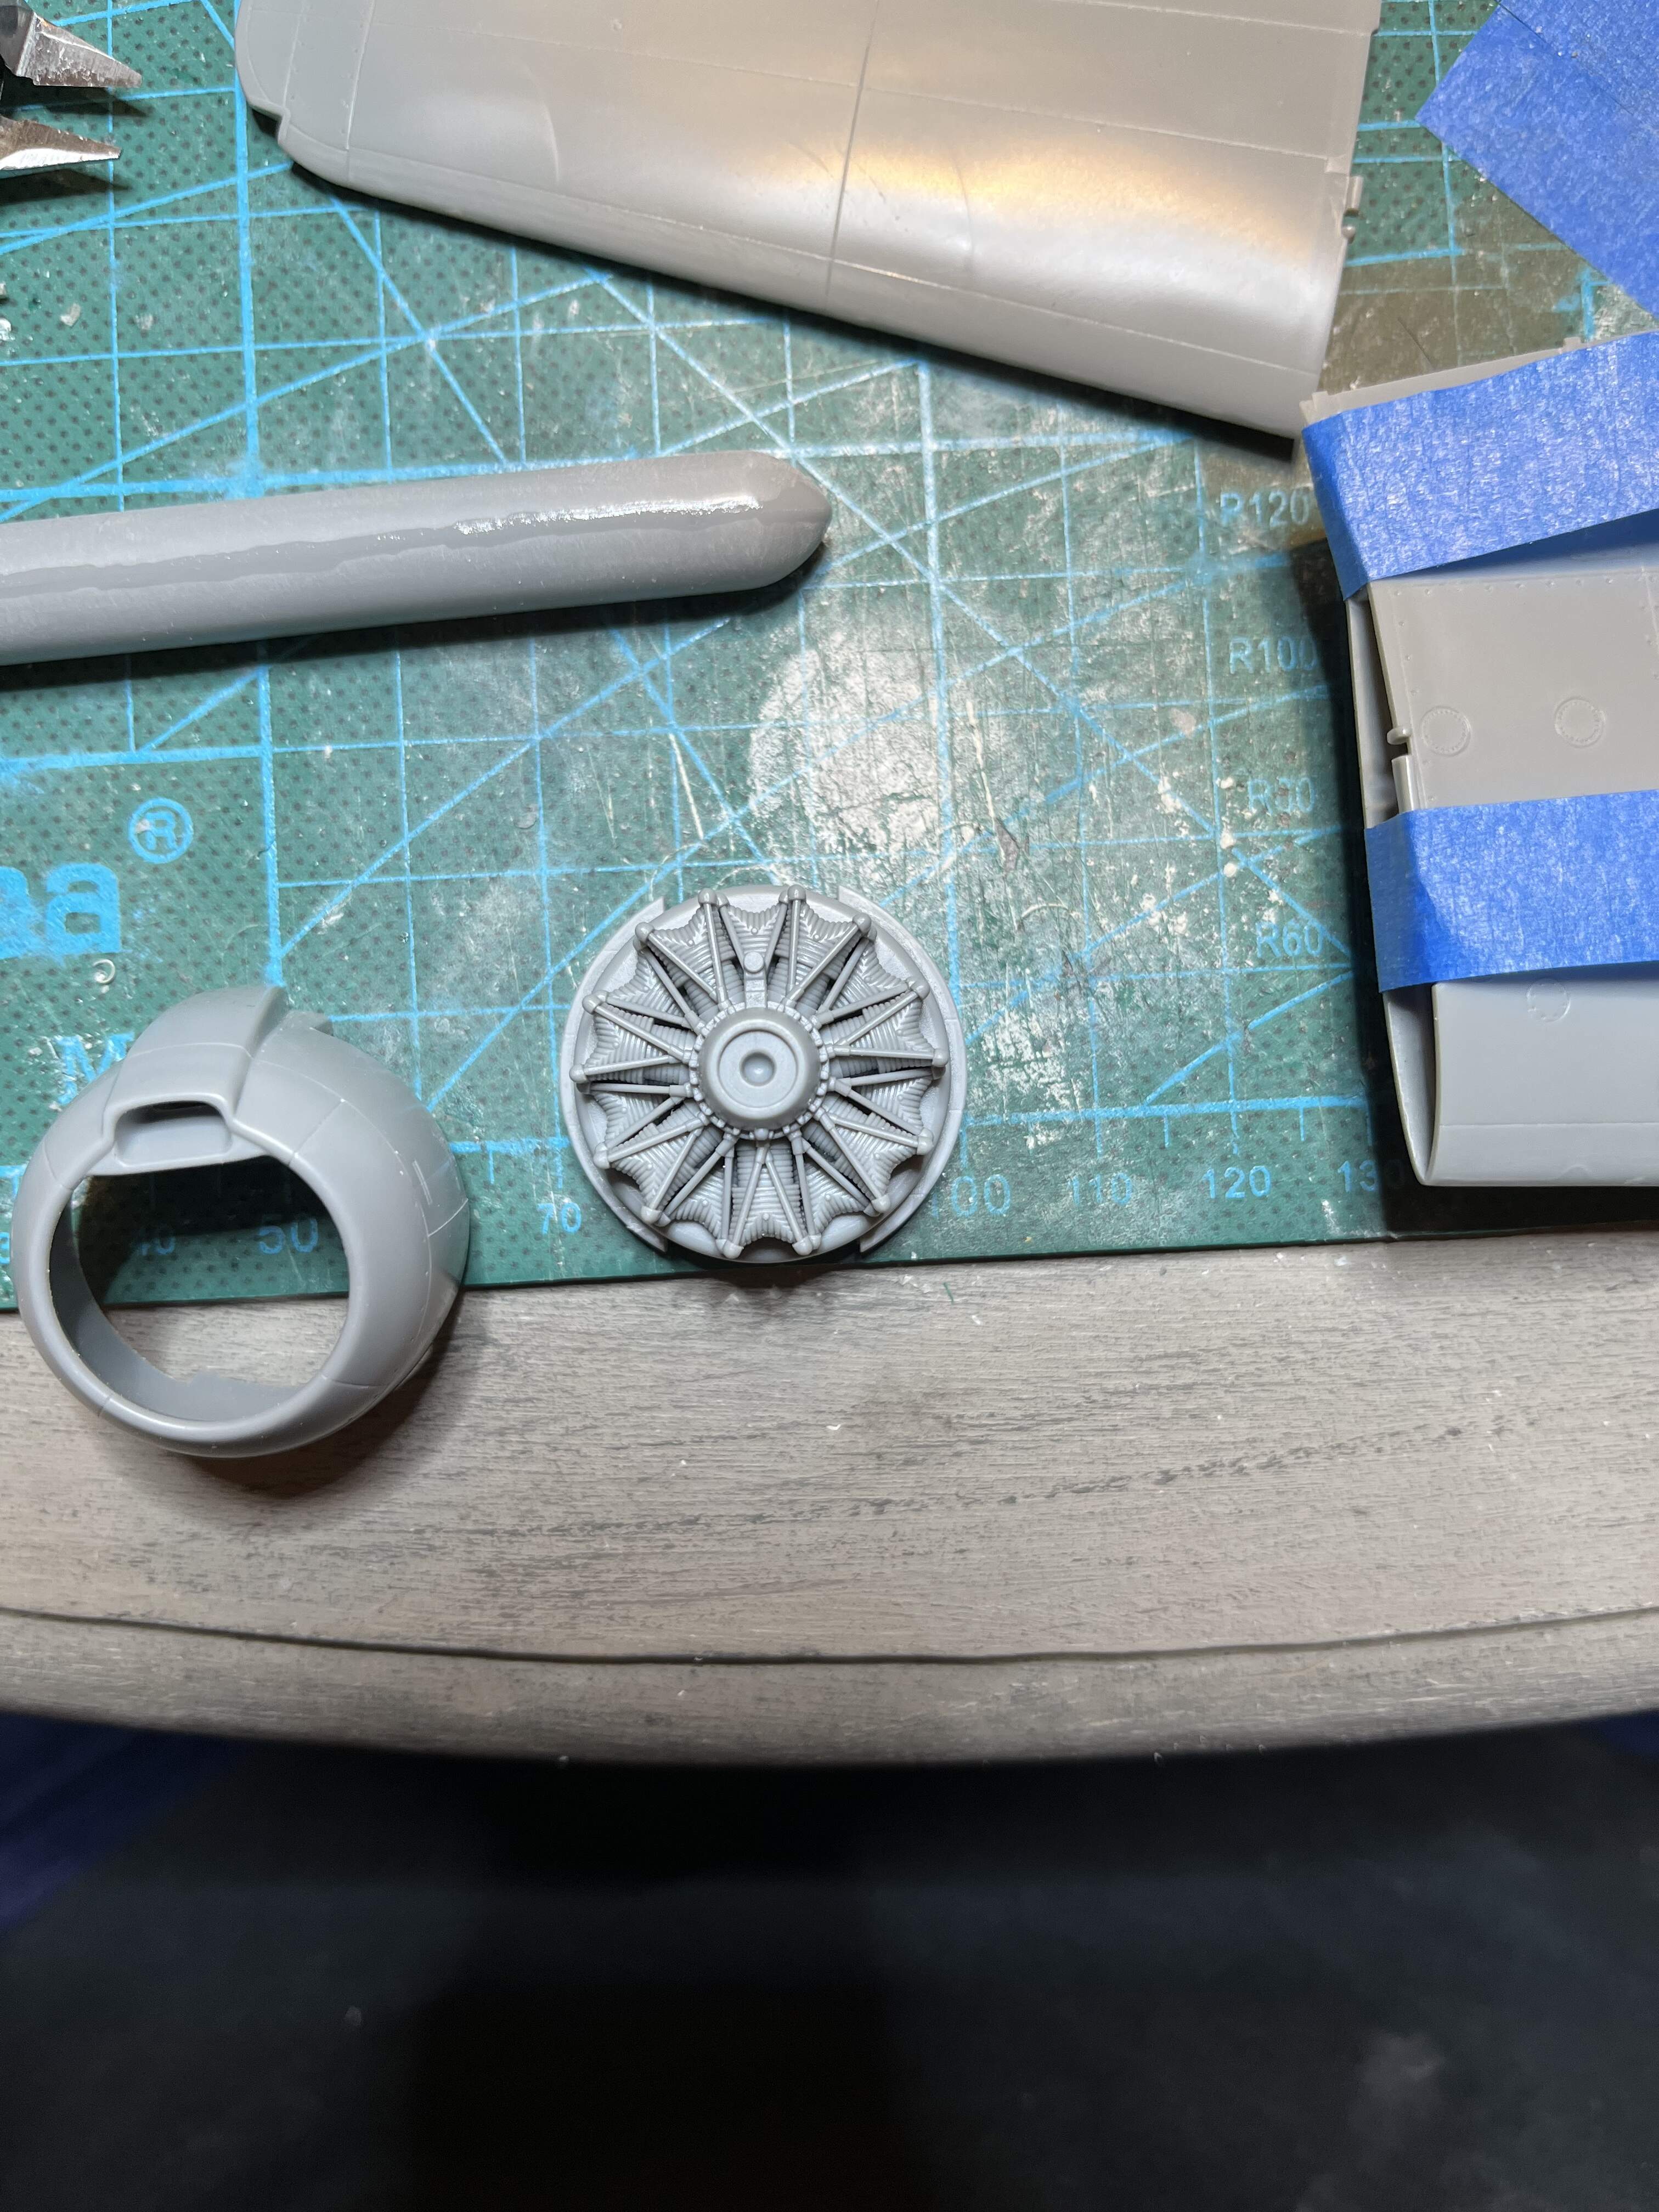

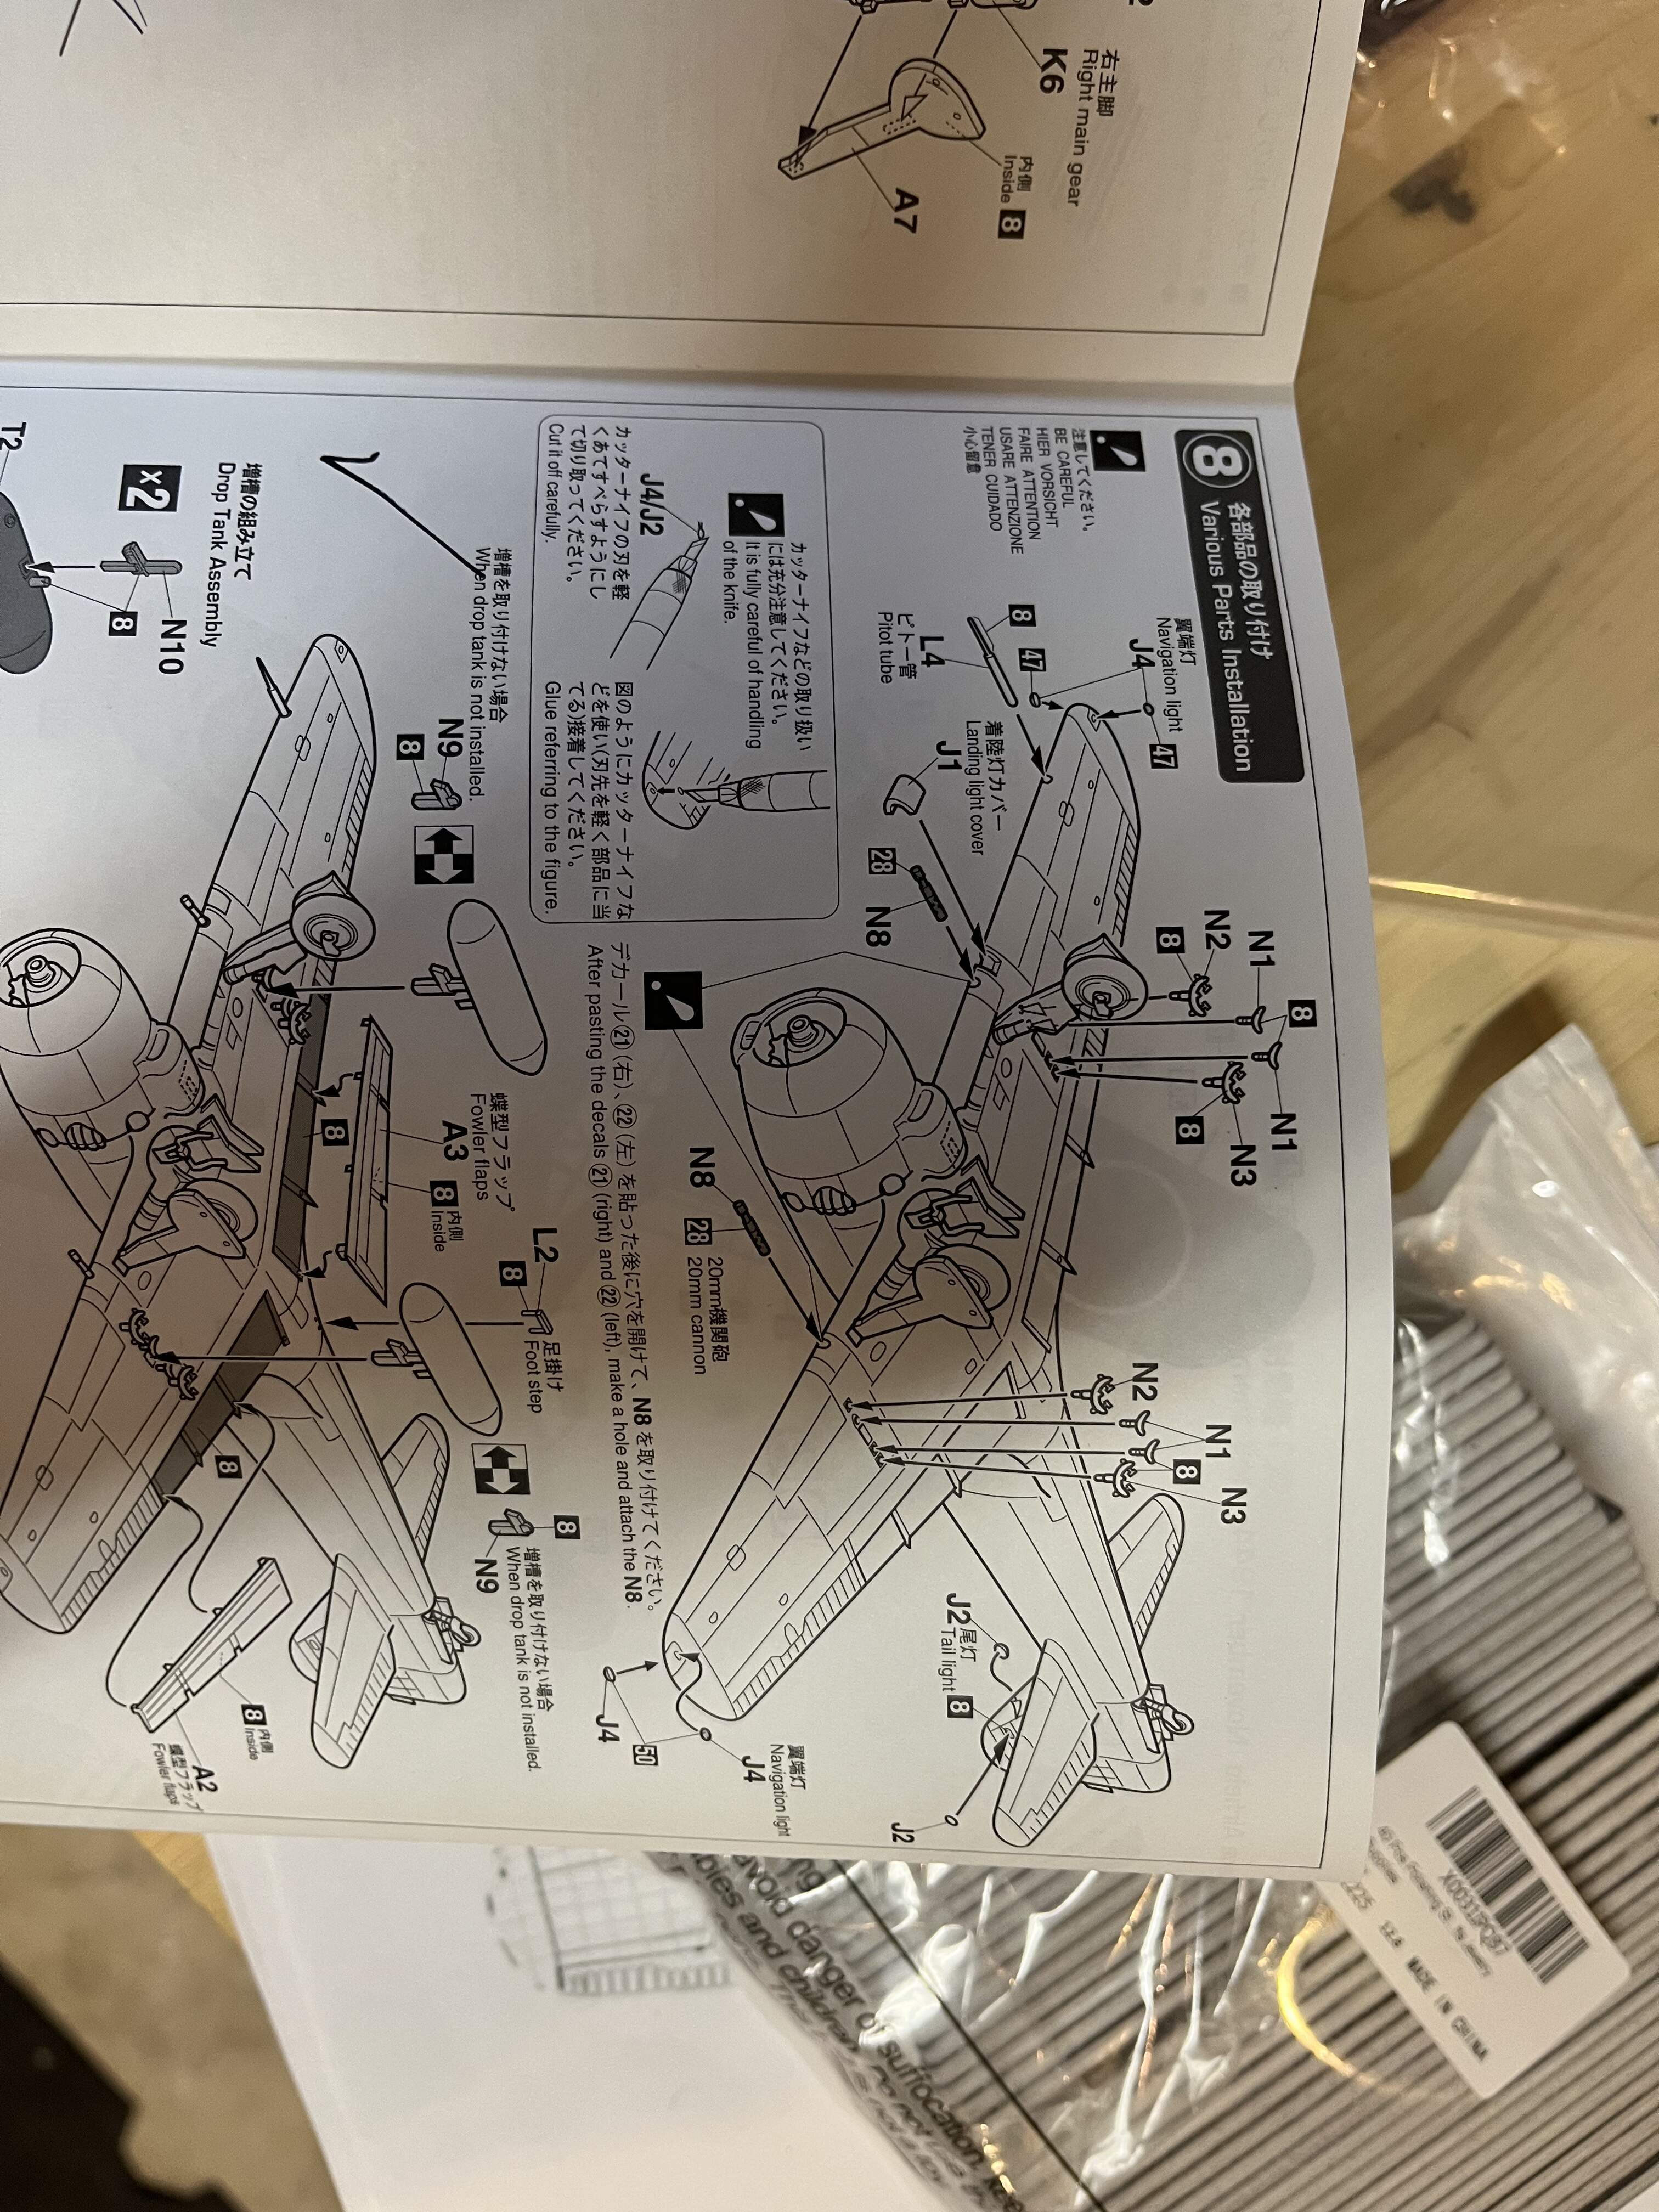
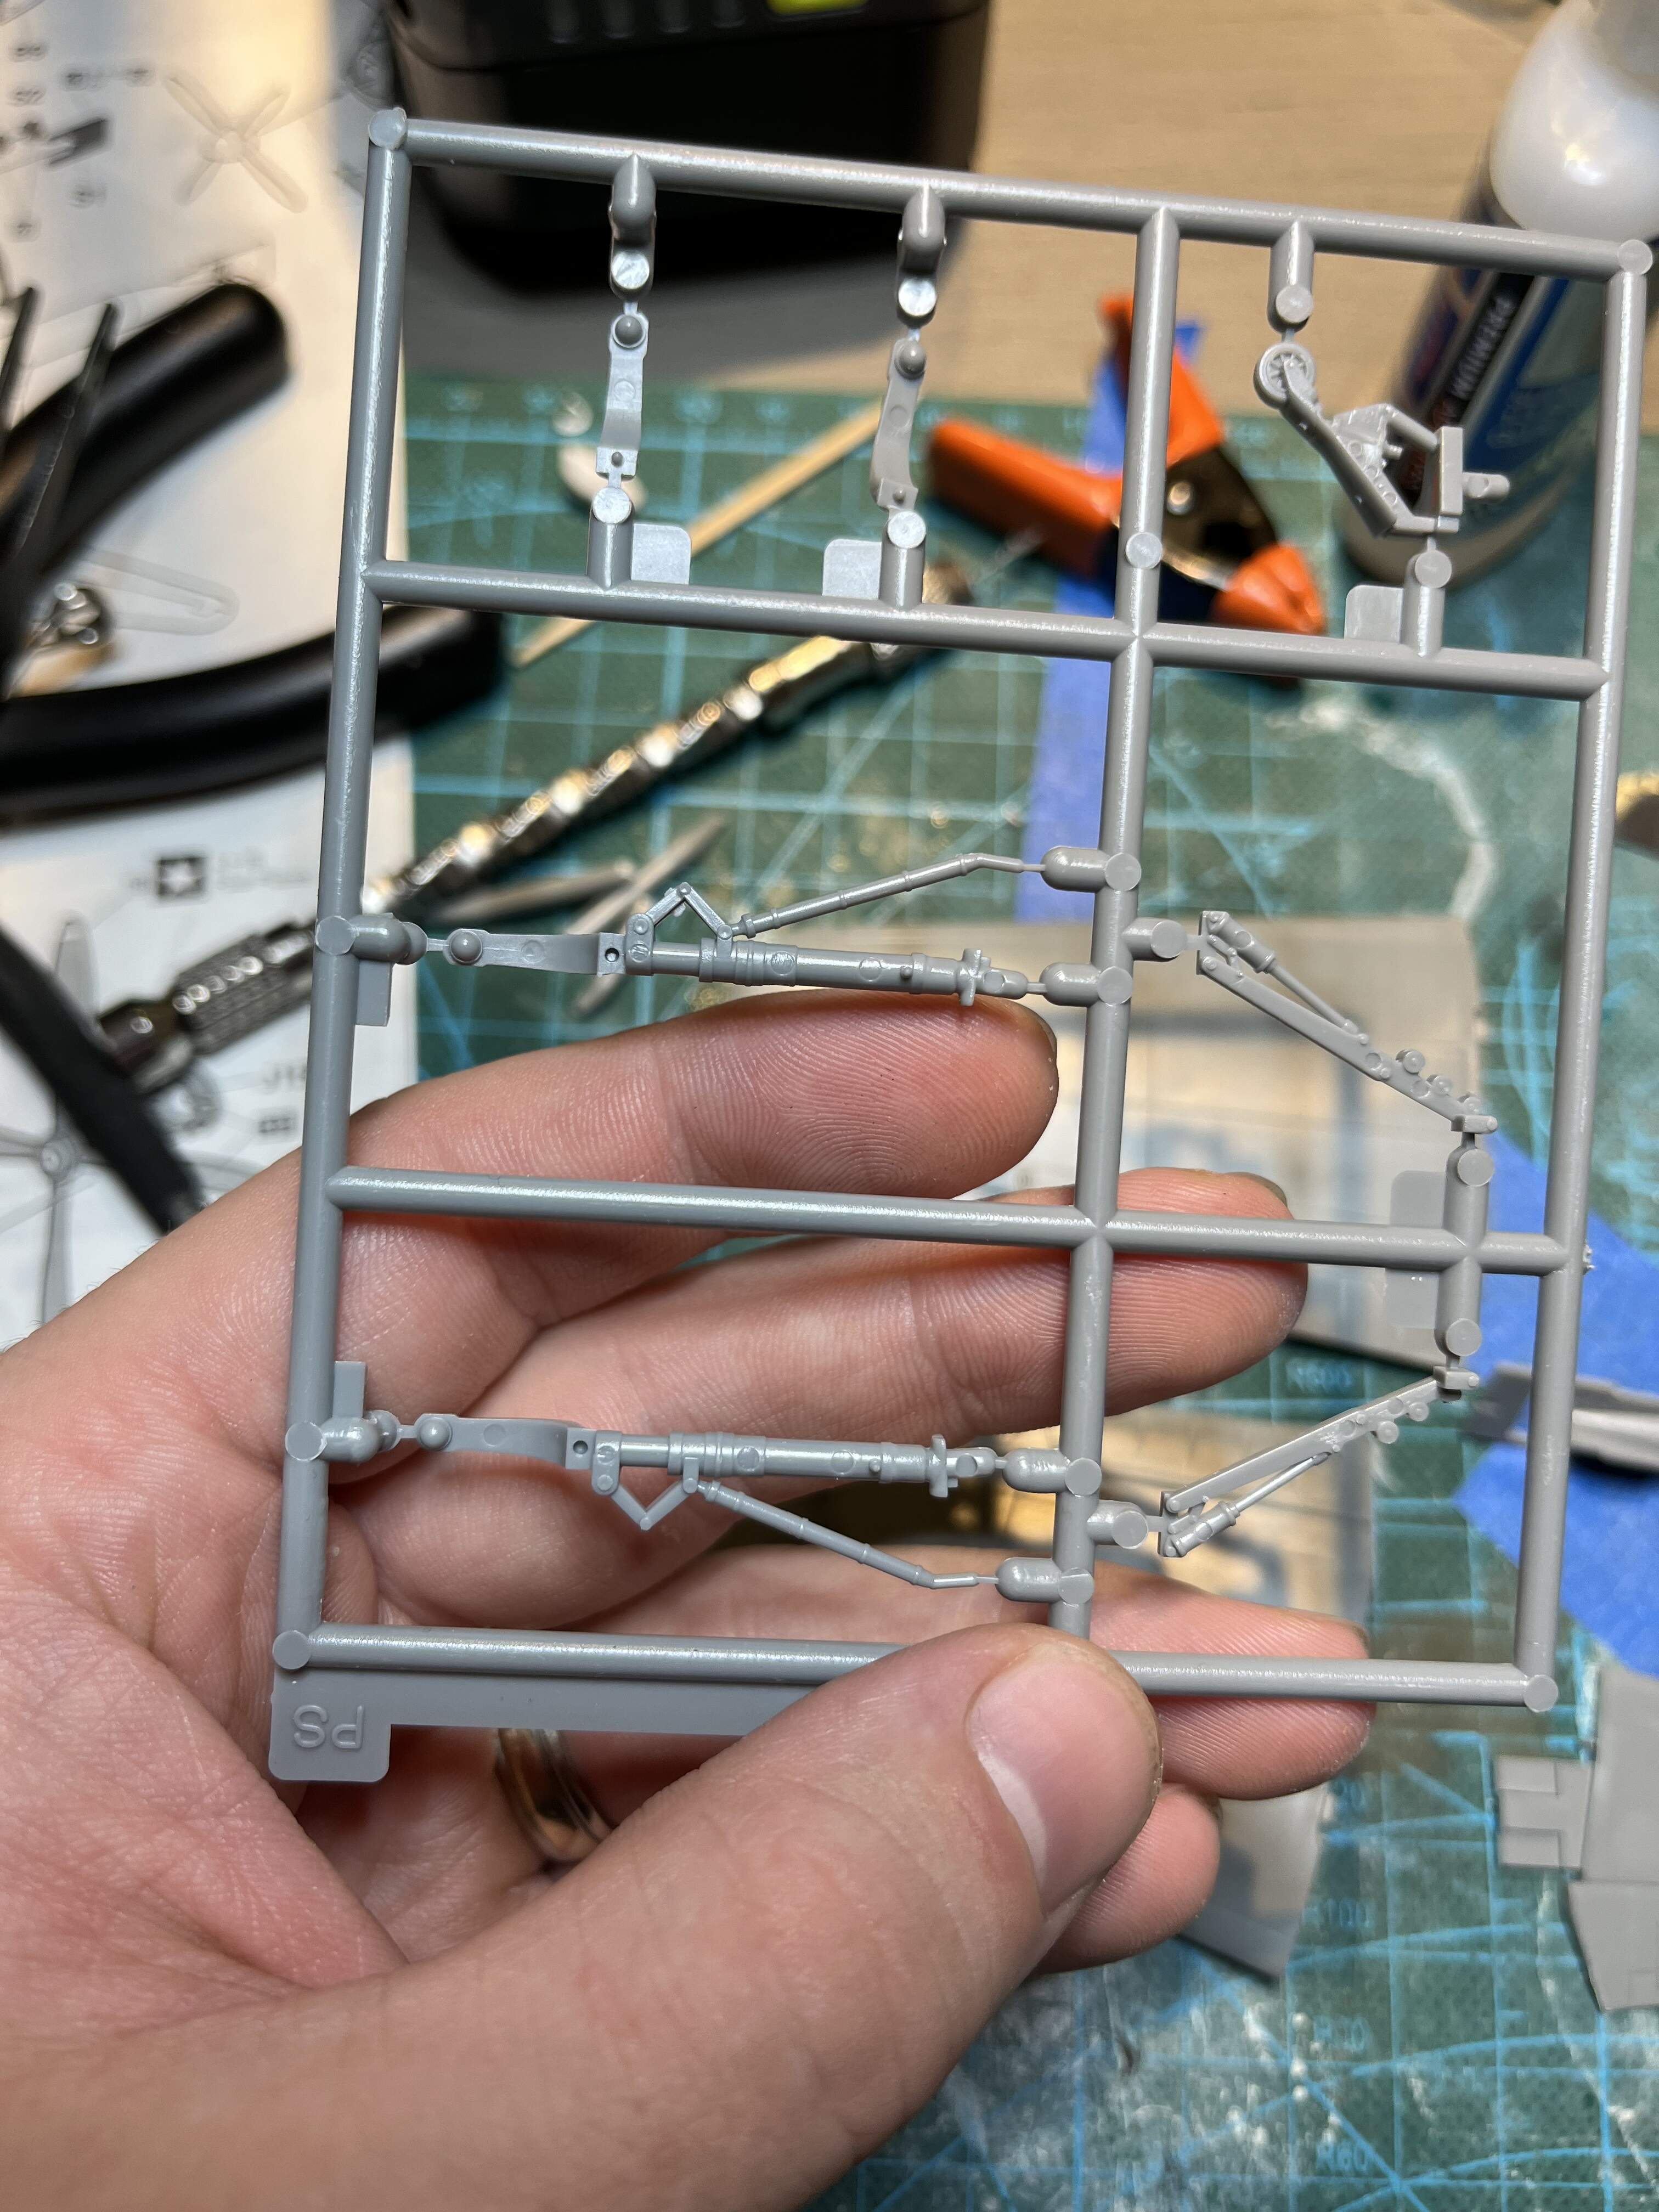
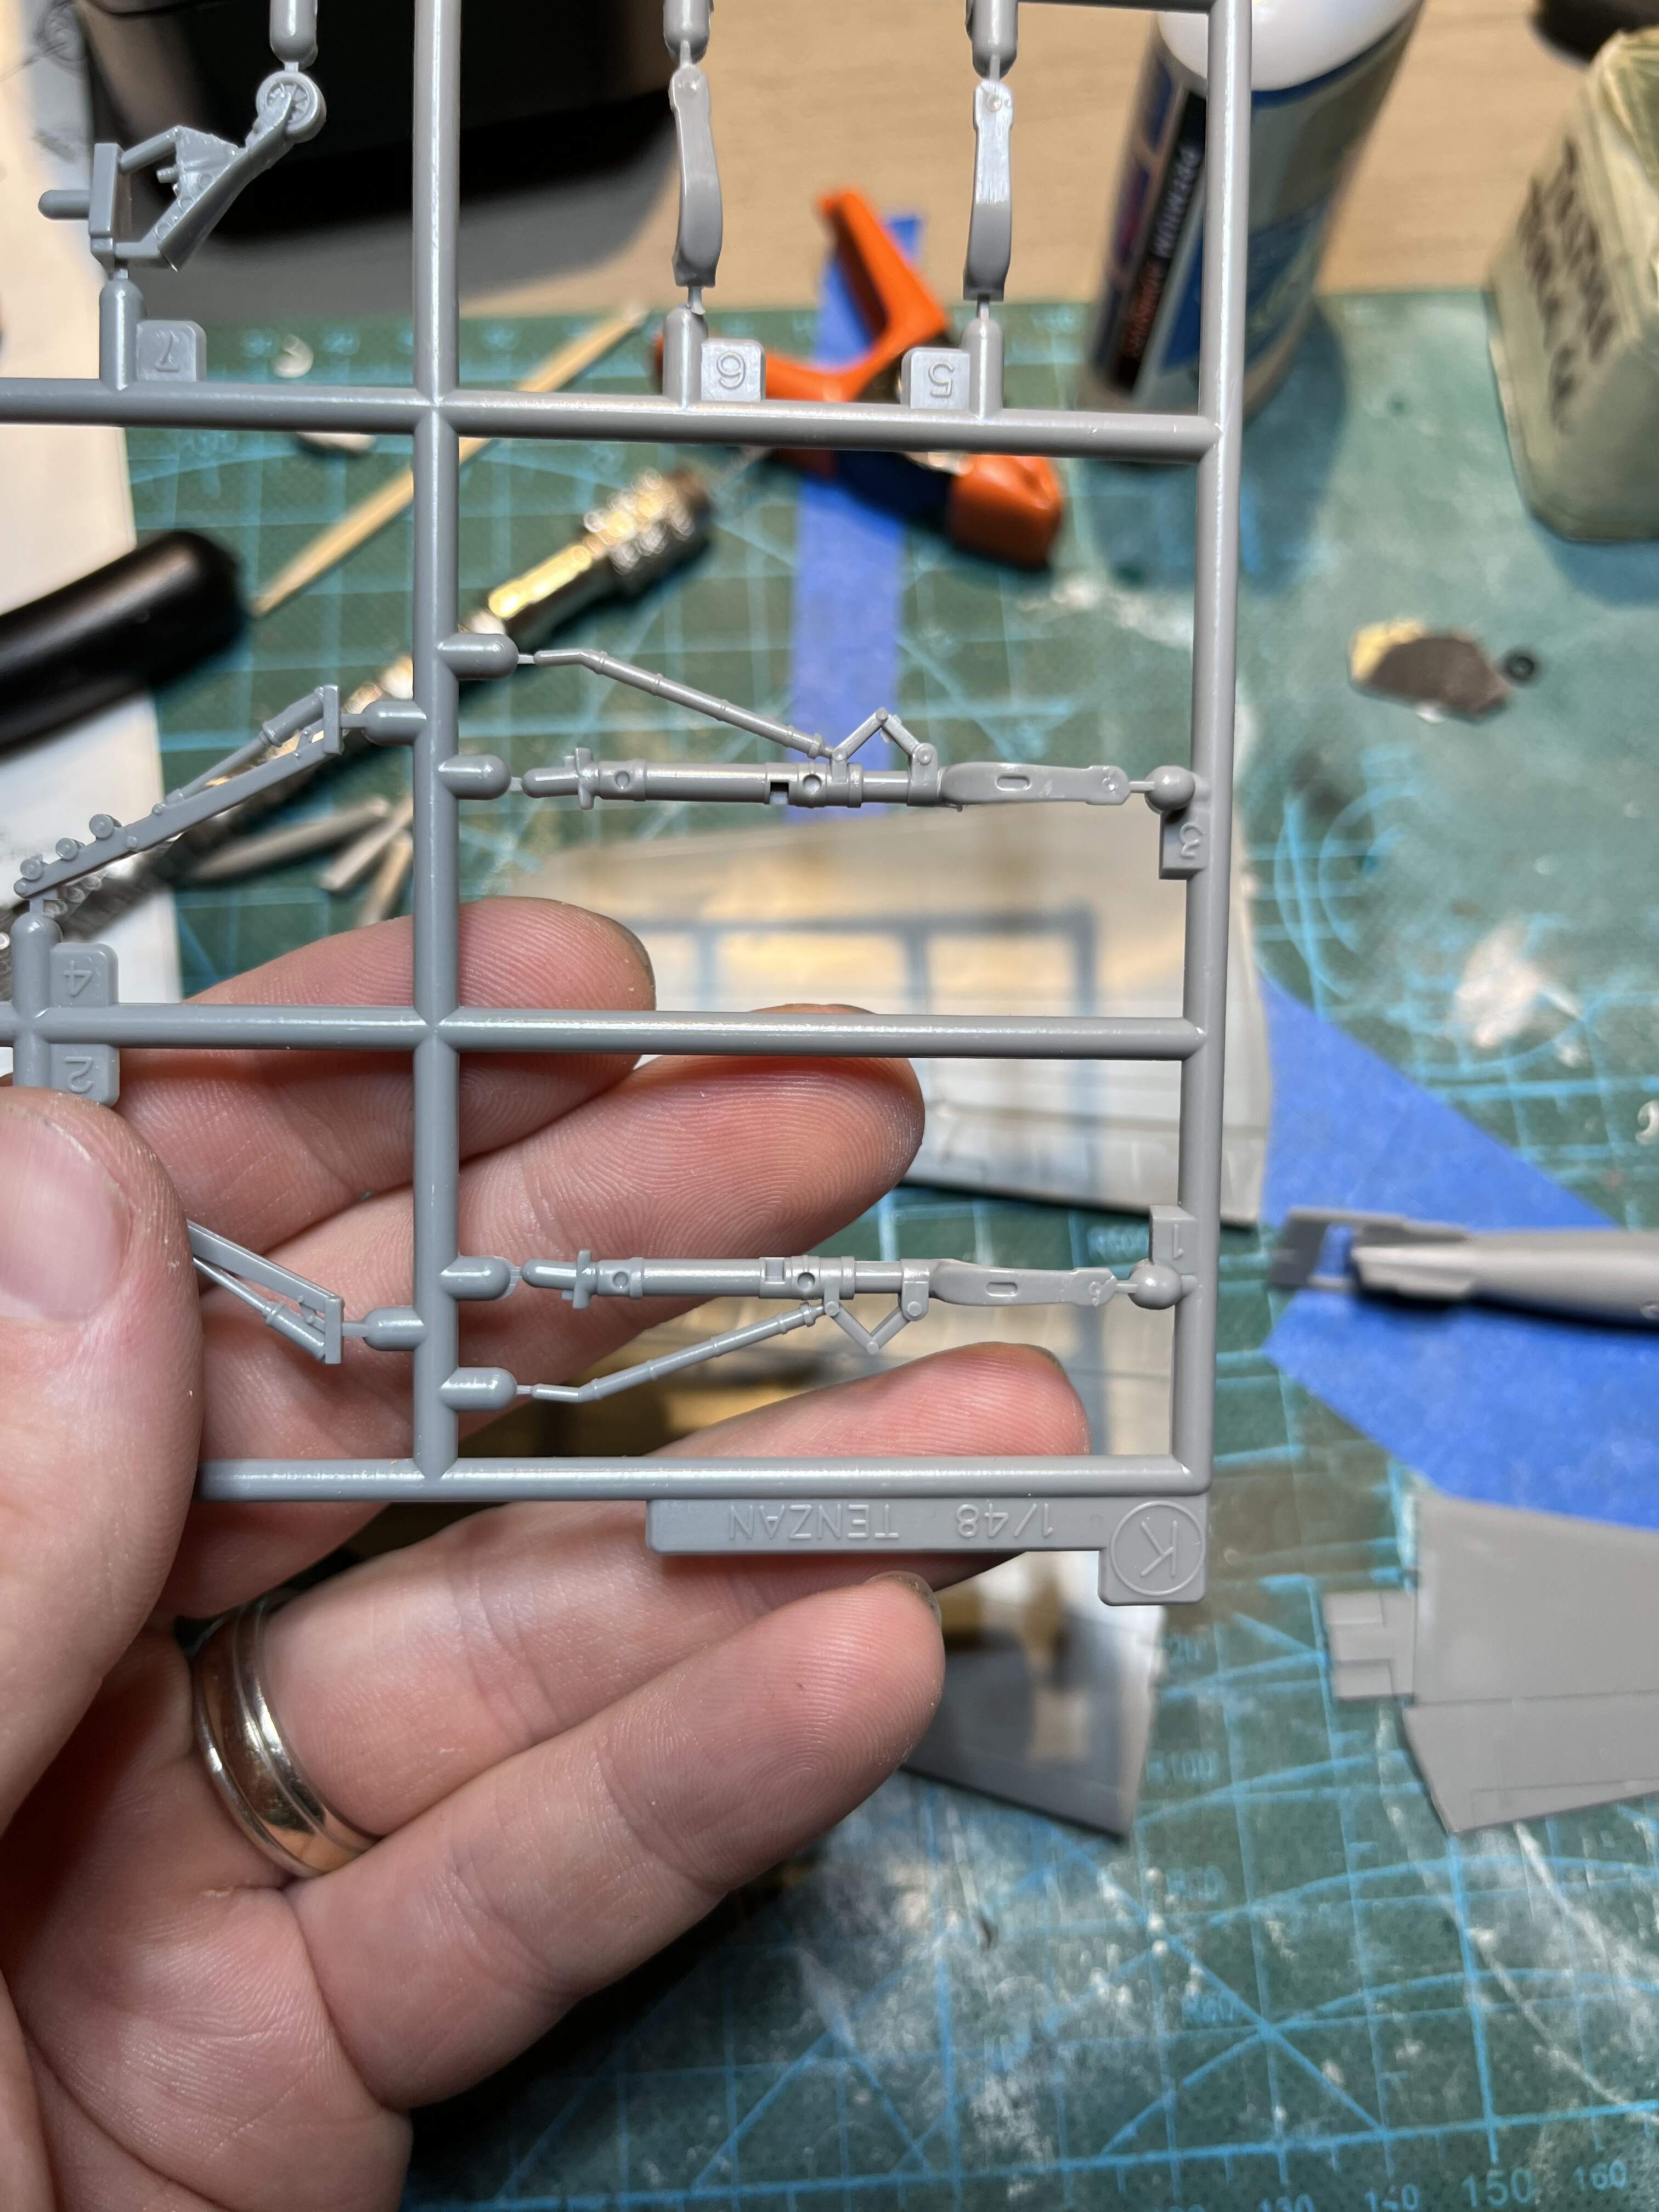
All that is left is the insert for the wing ribs for the fold mechanism, and landing gear. Speaking of which the landing gear legs are full of punch marks
4 Likes