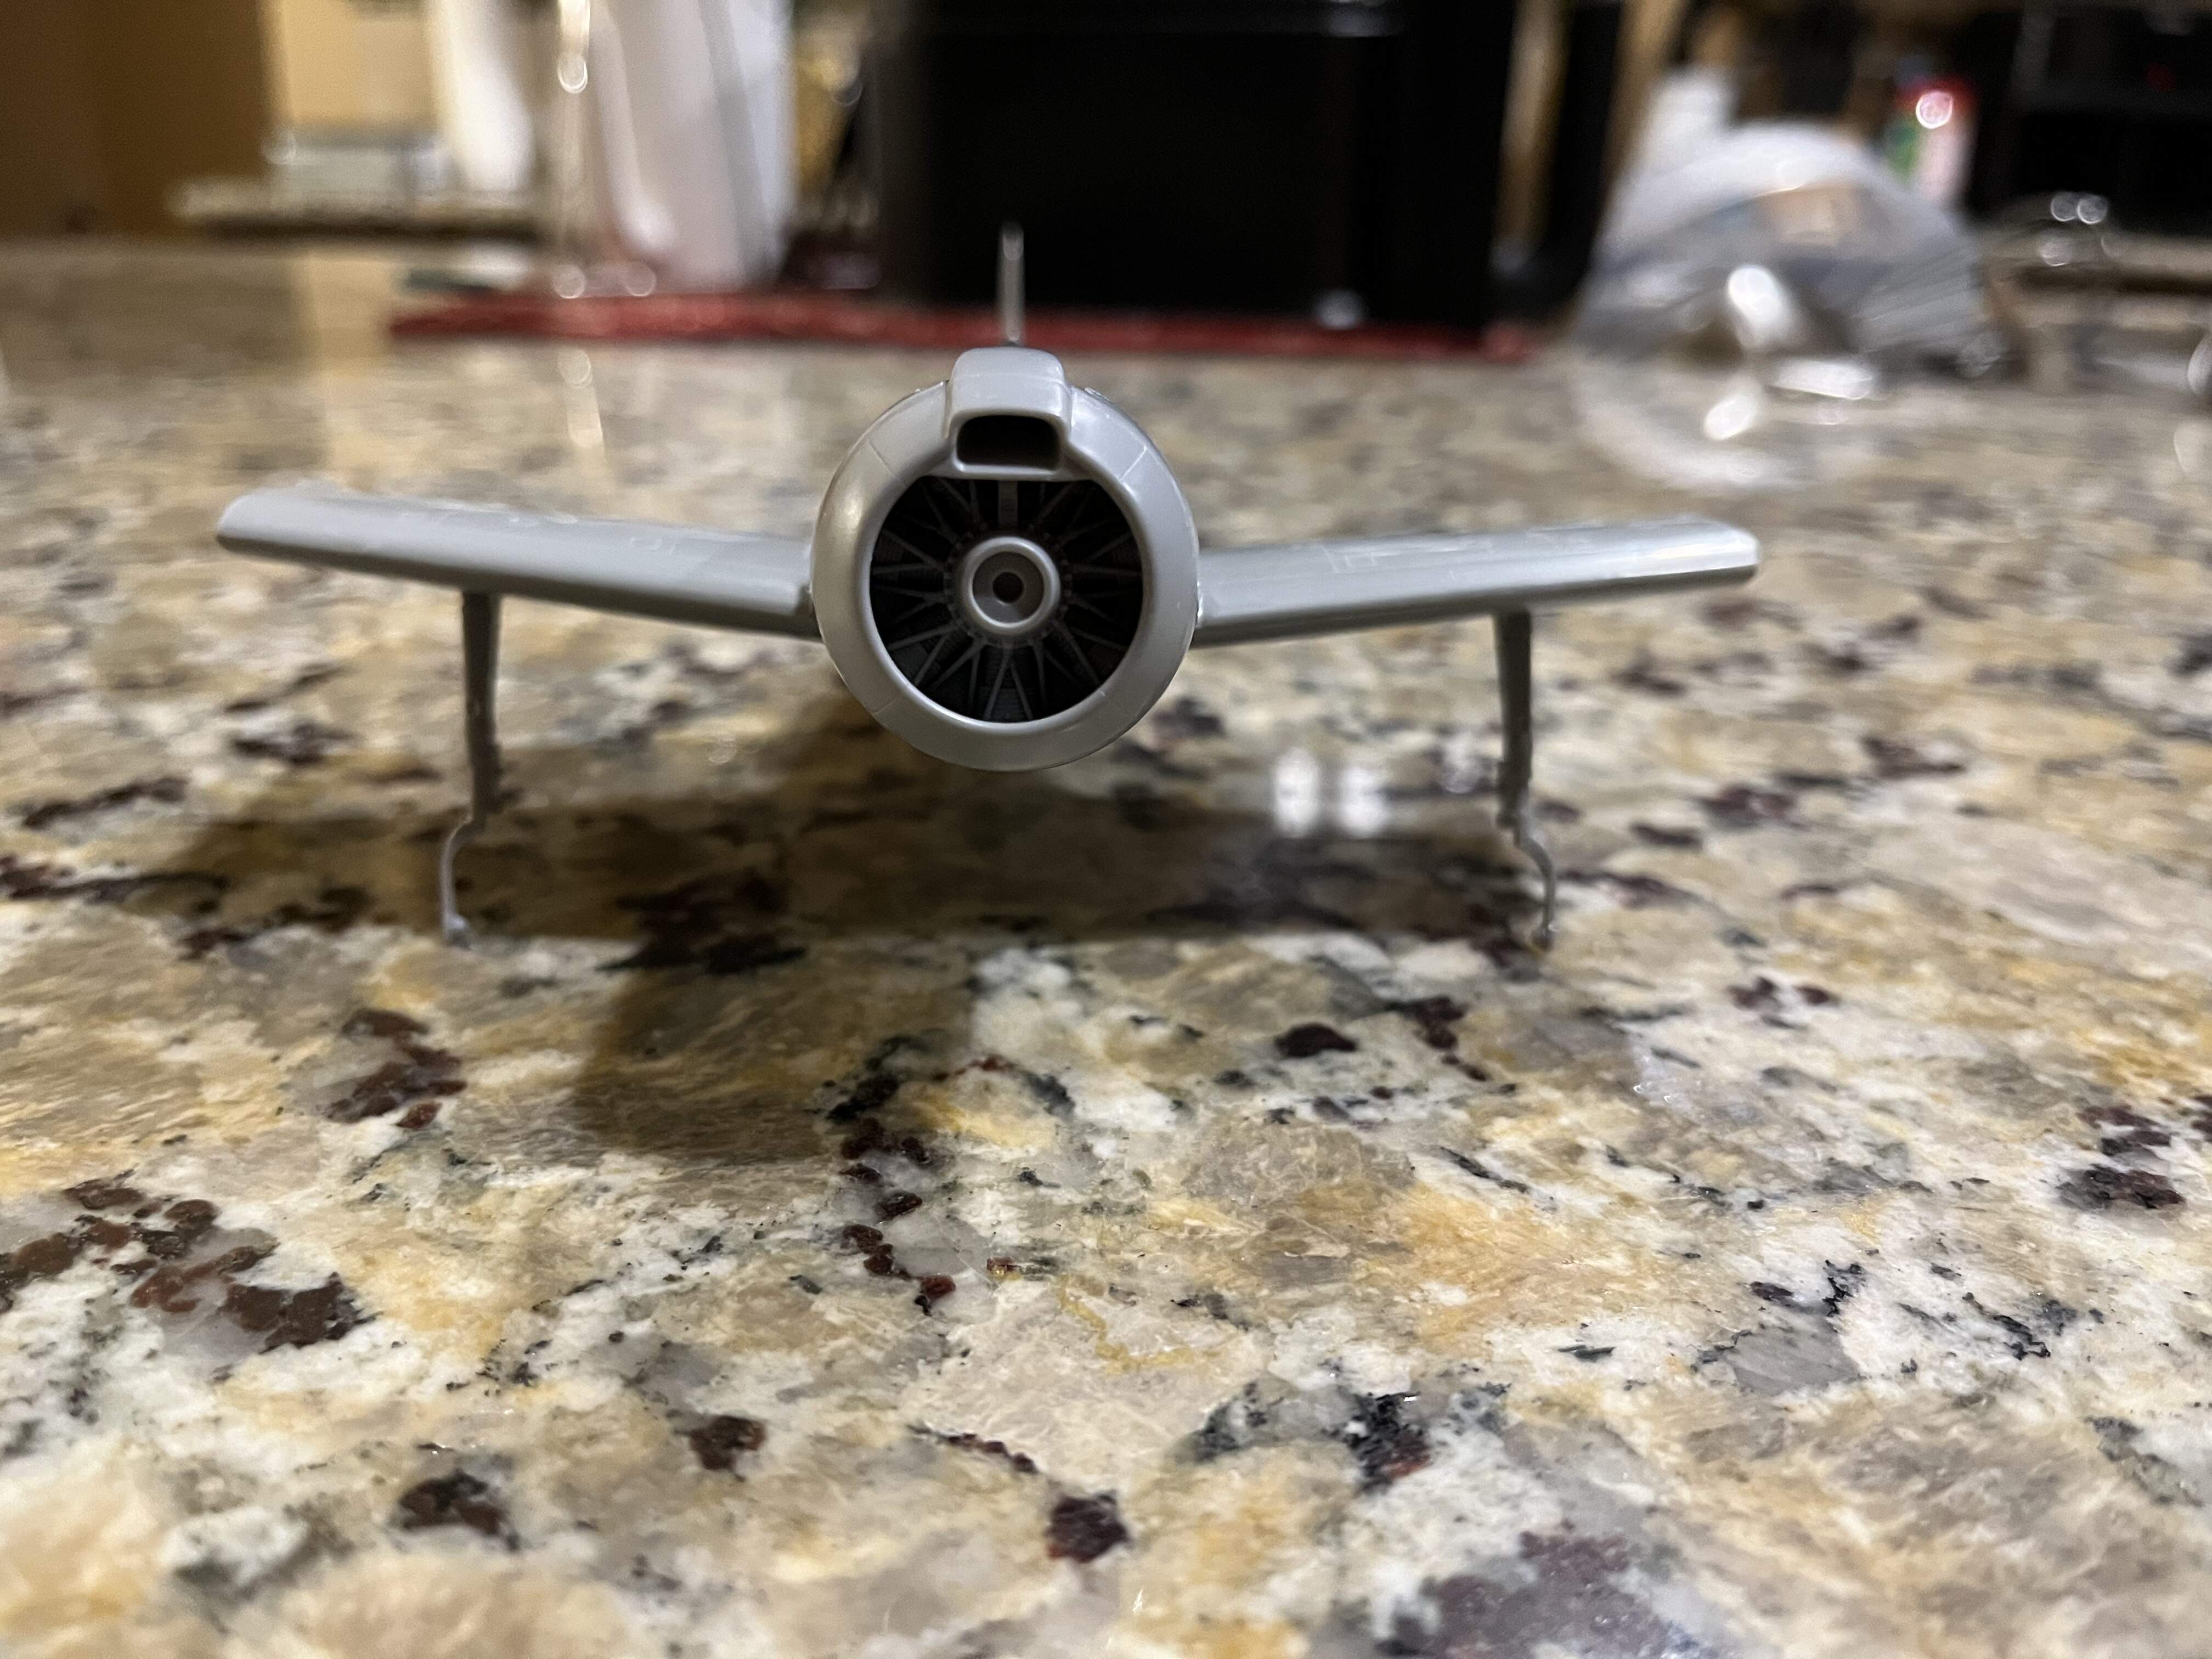
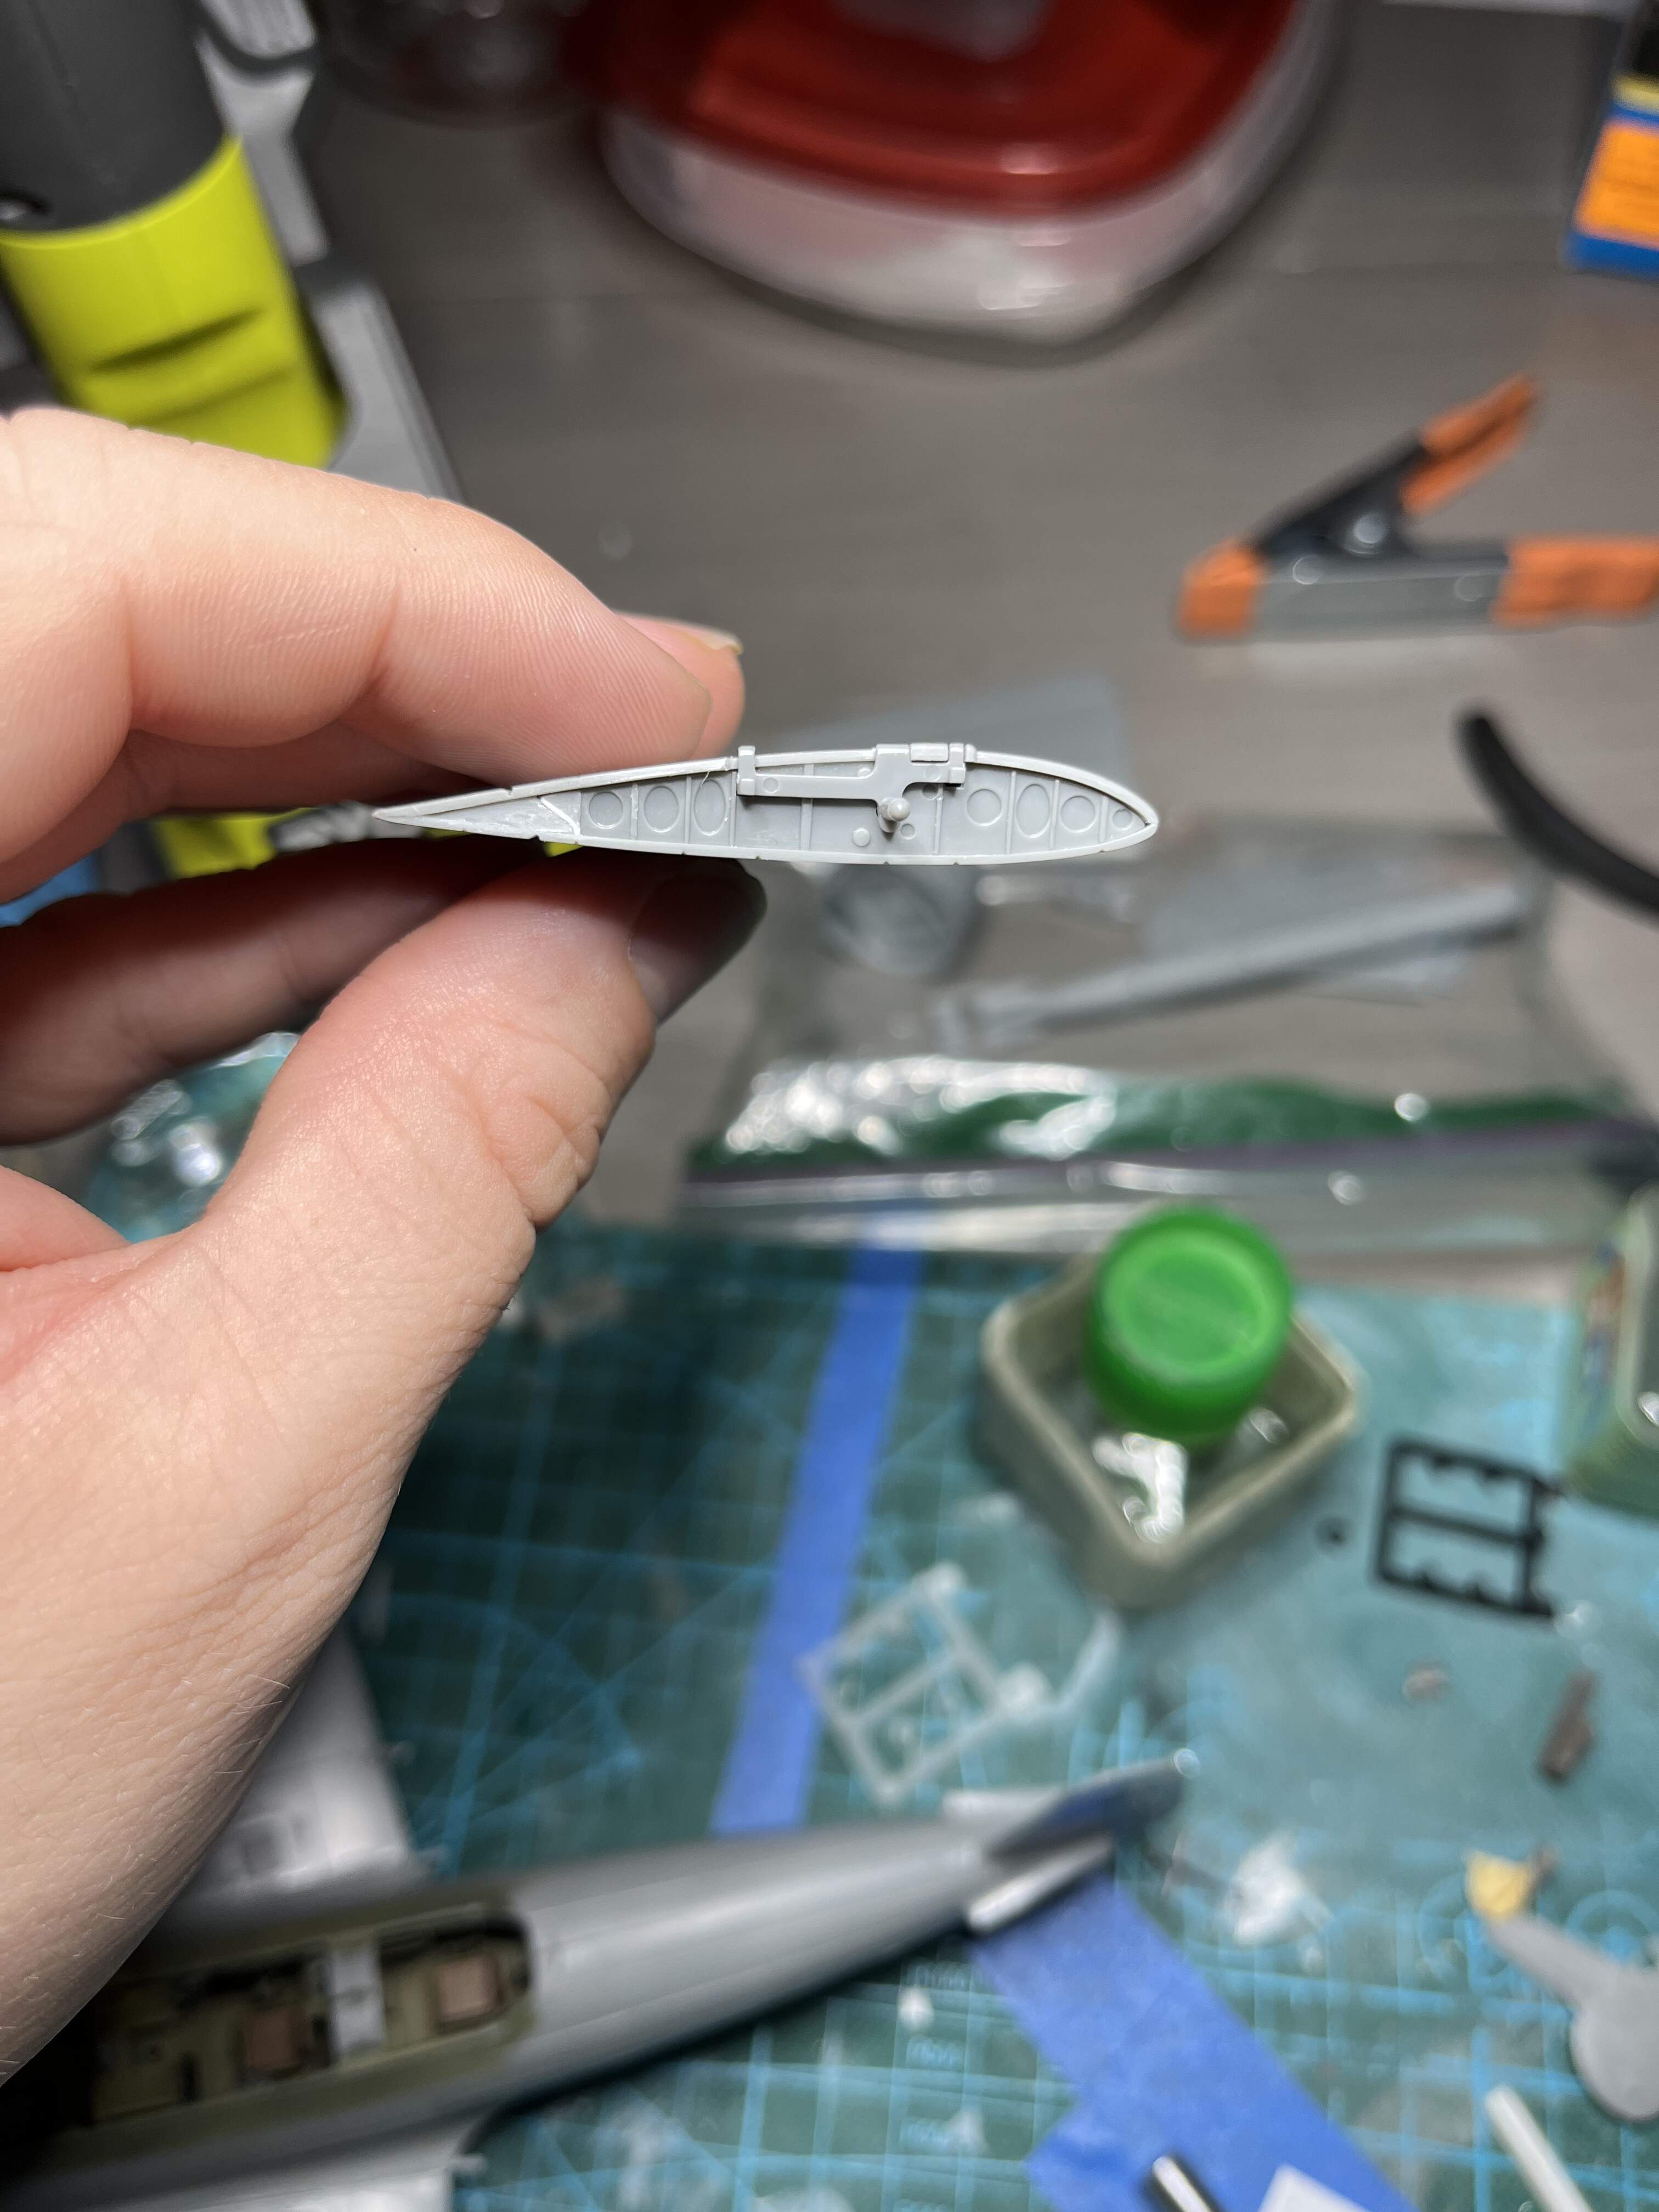
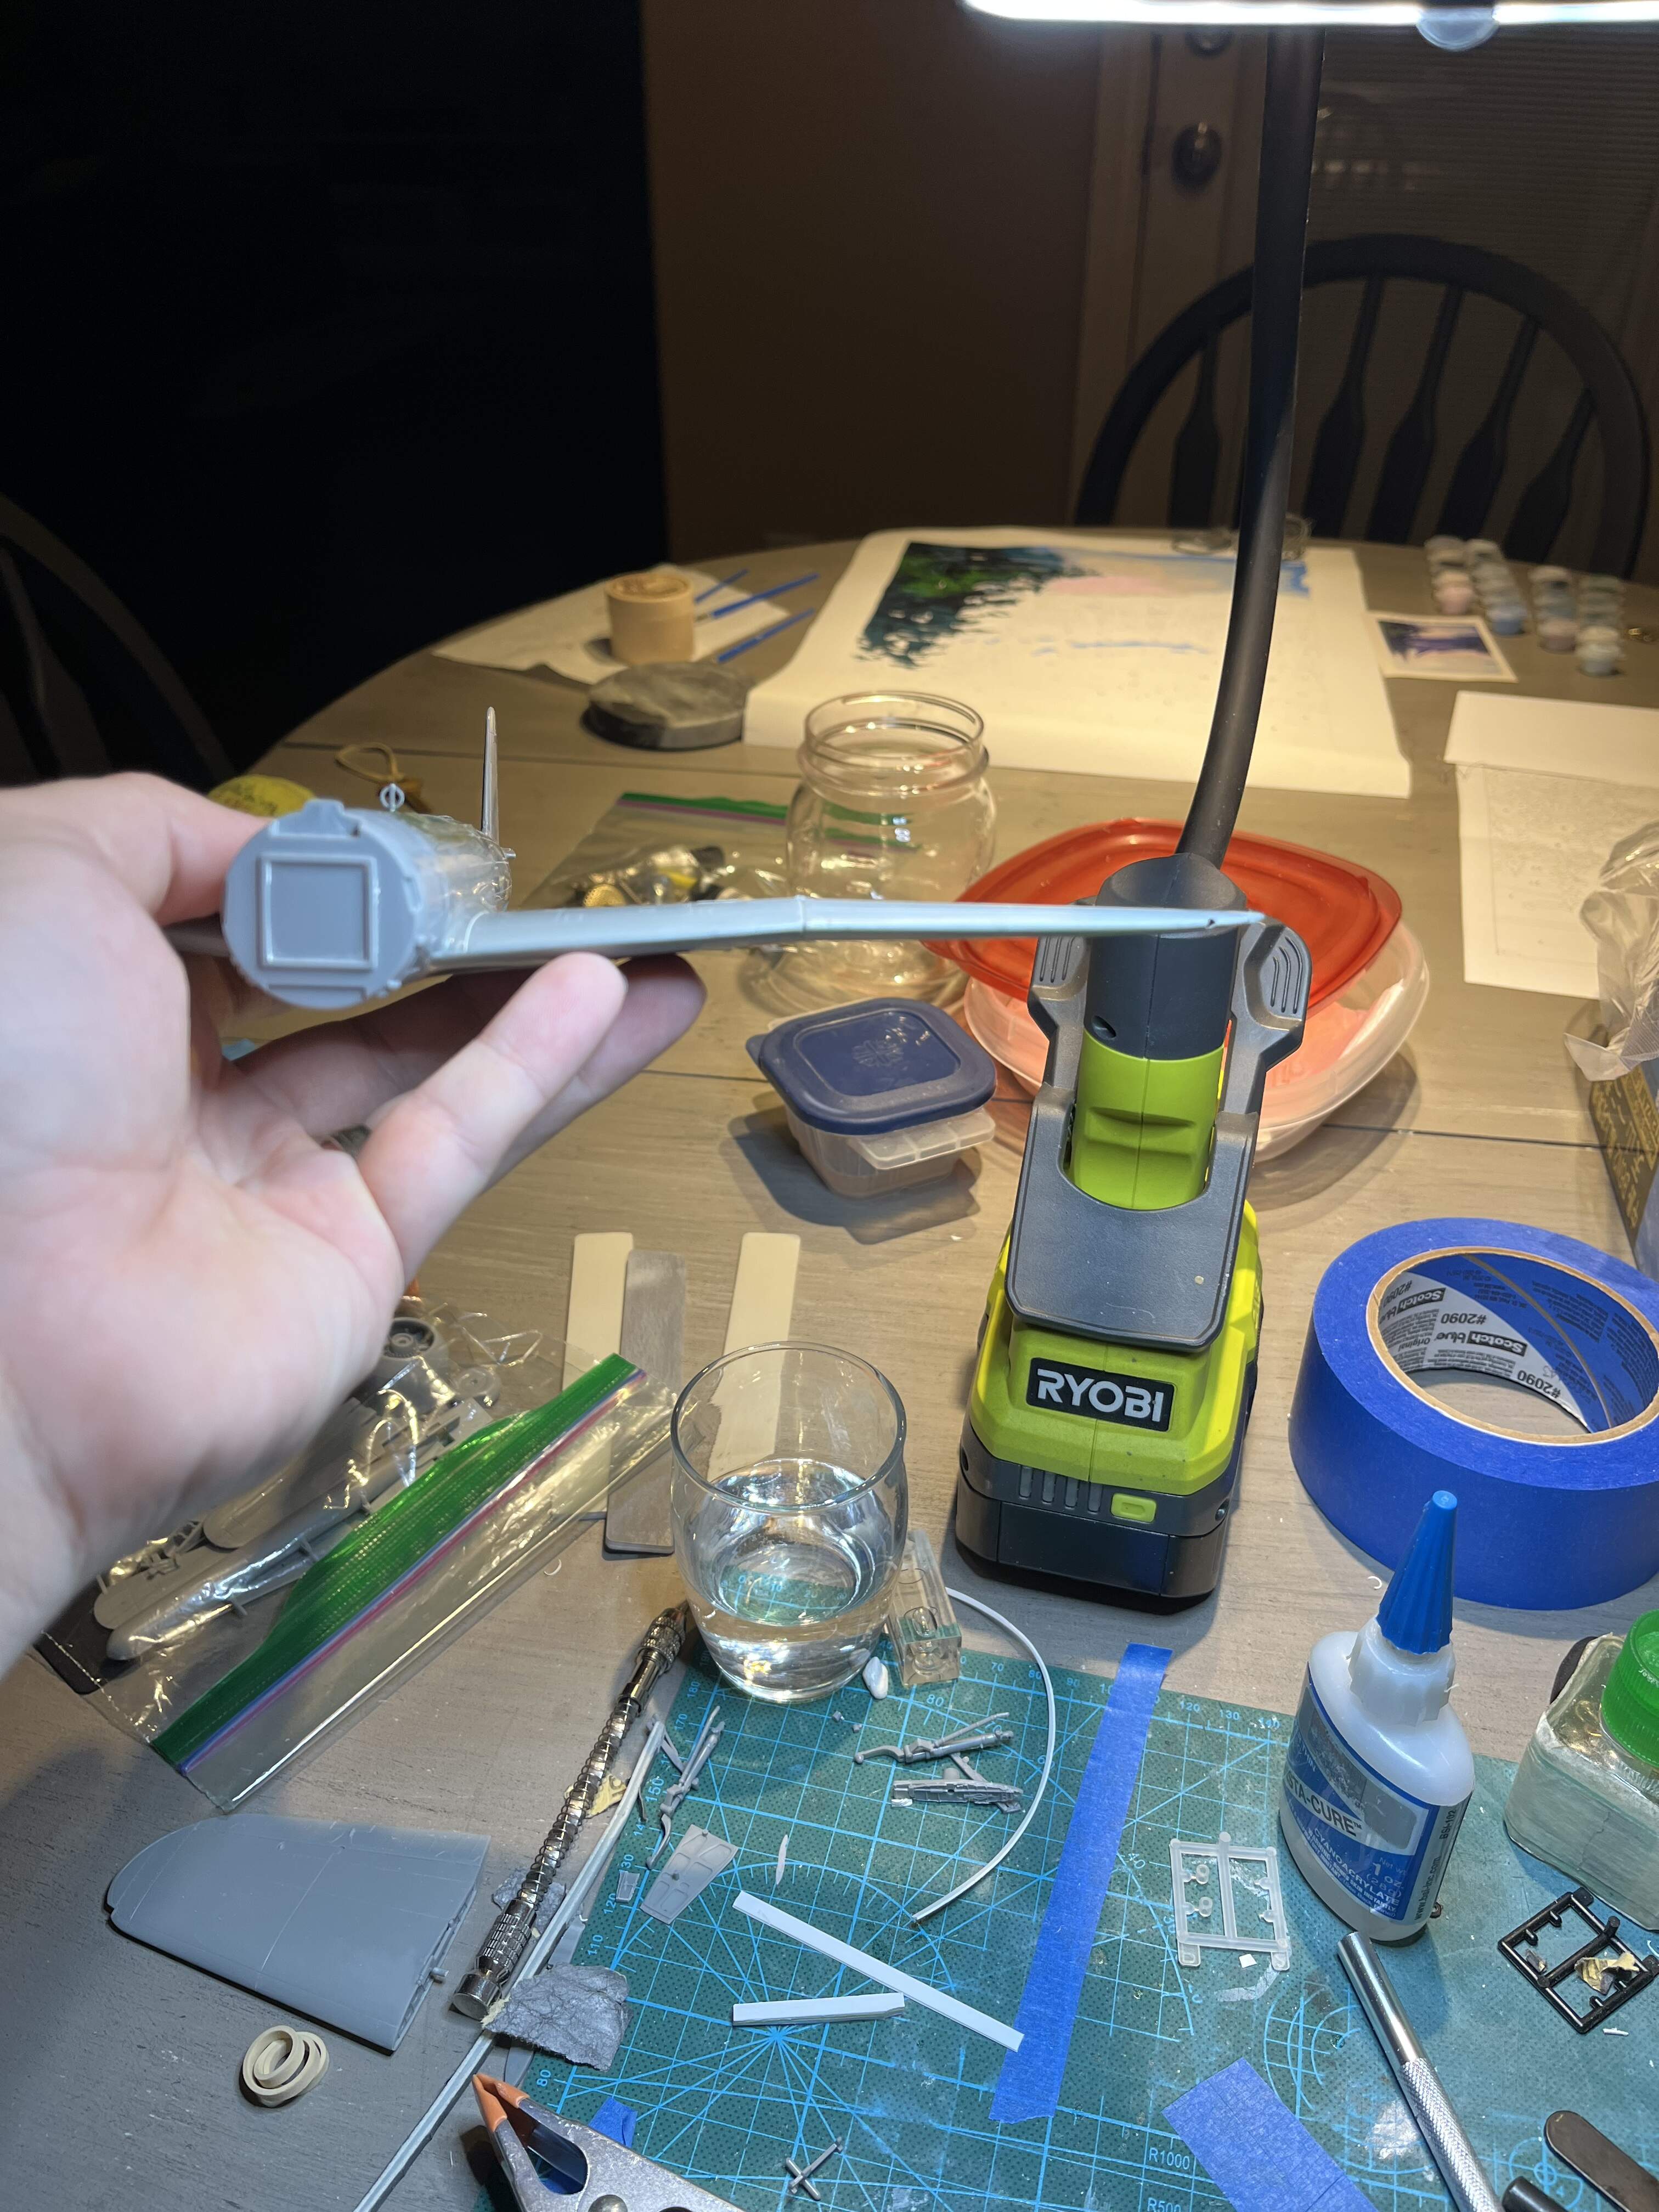
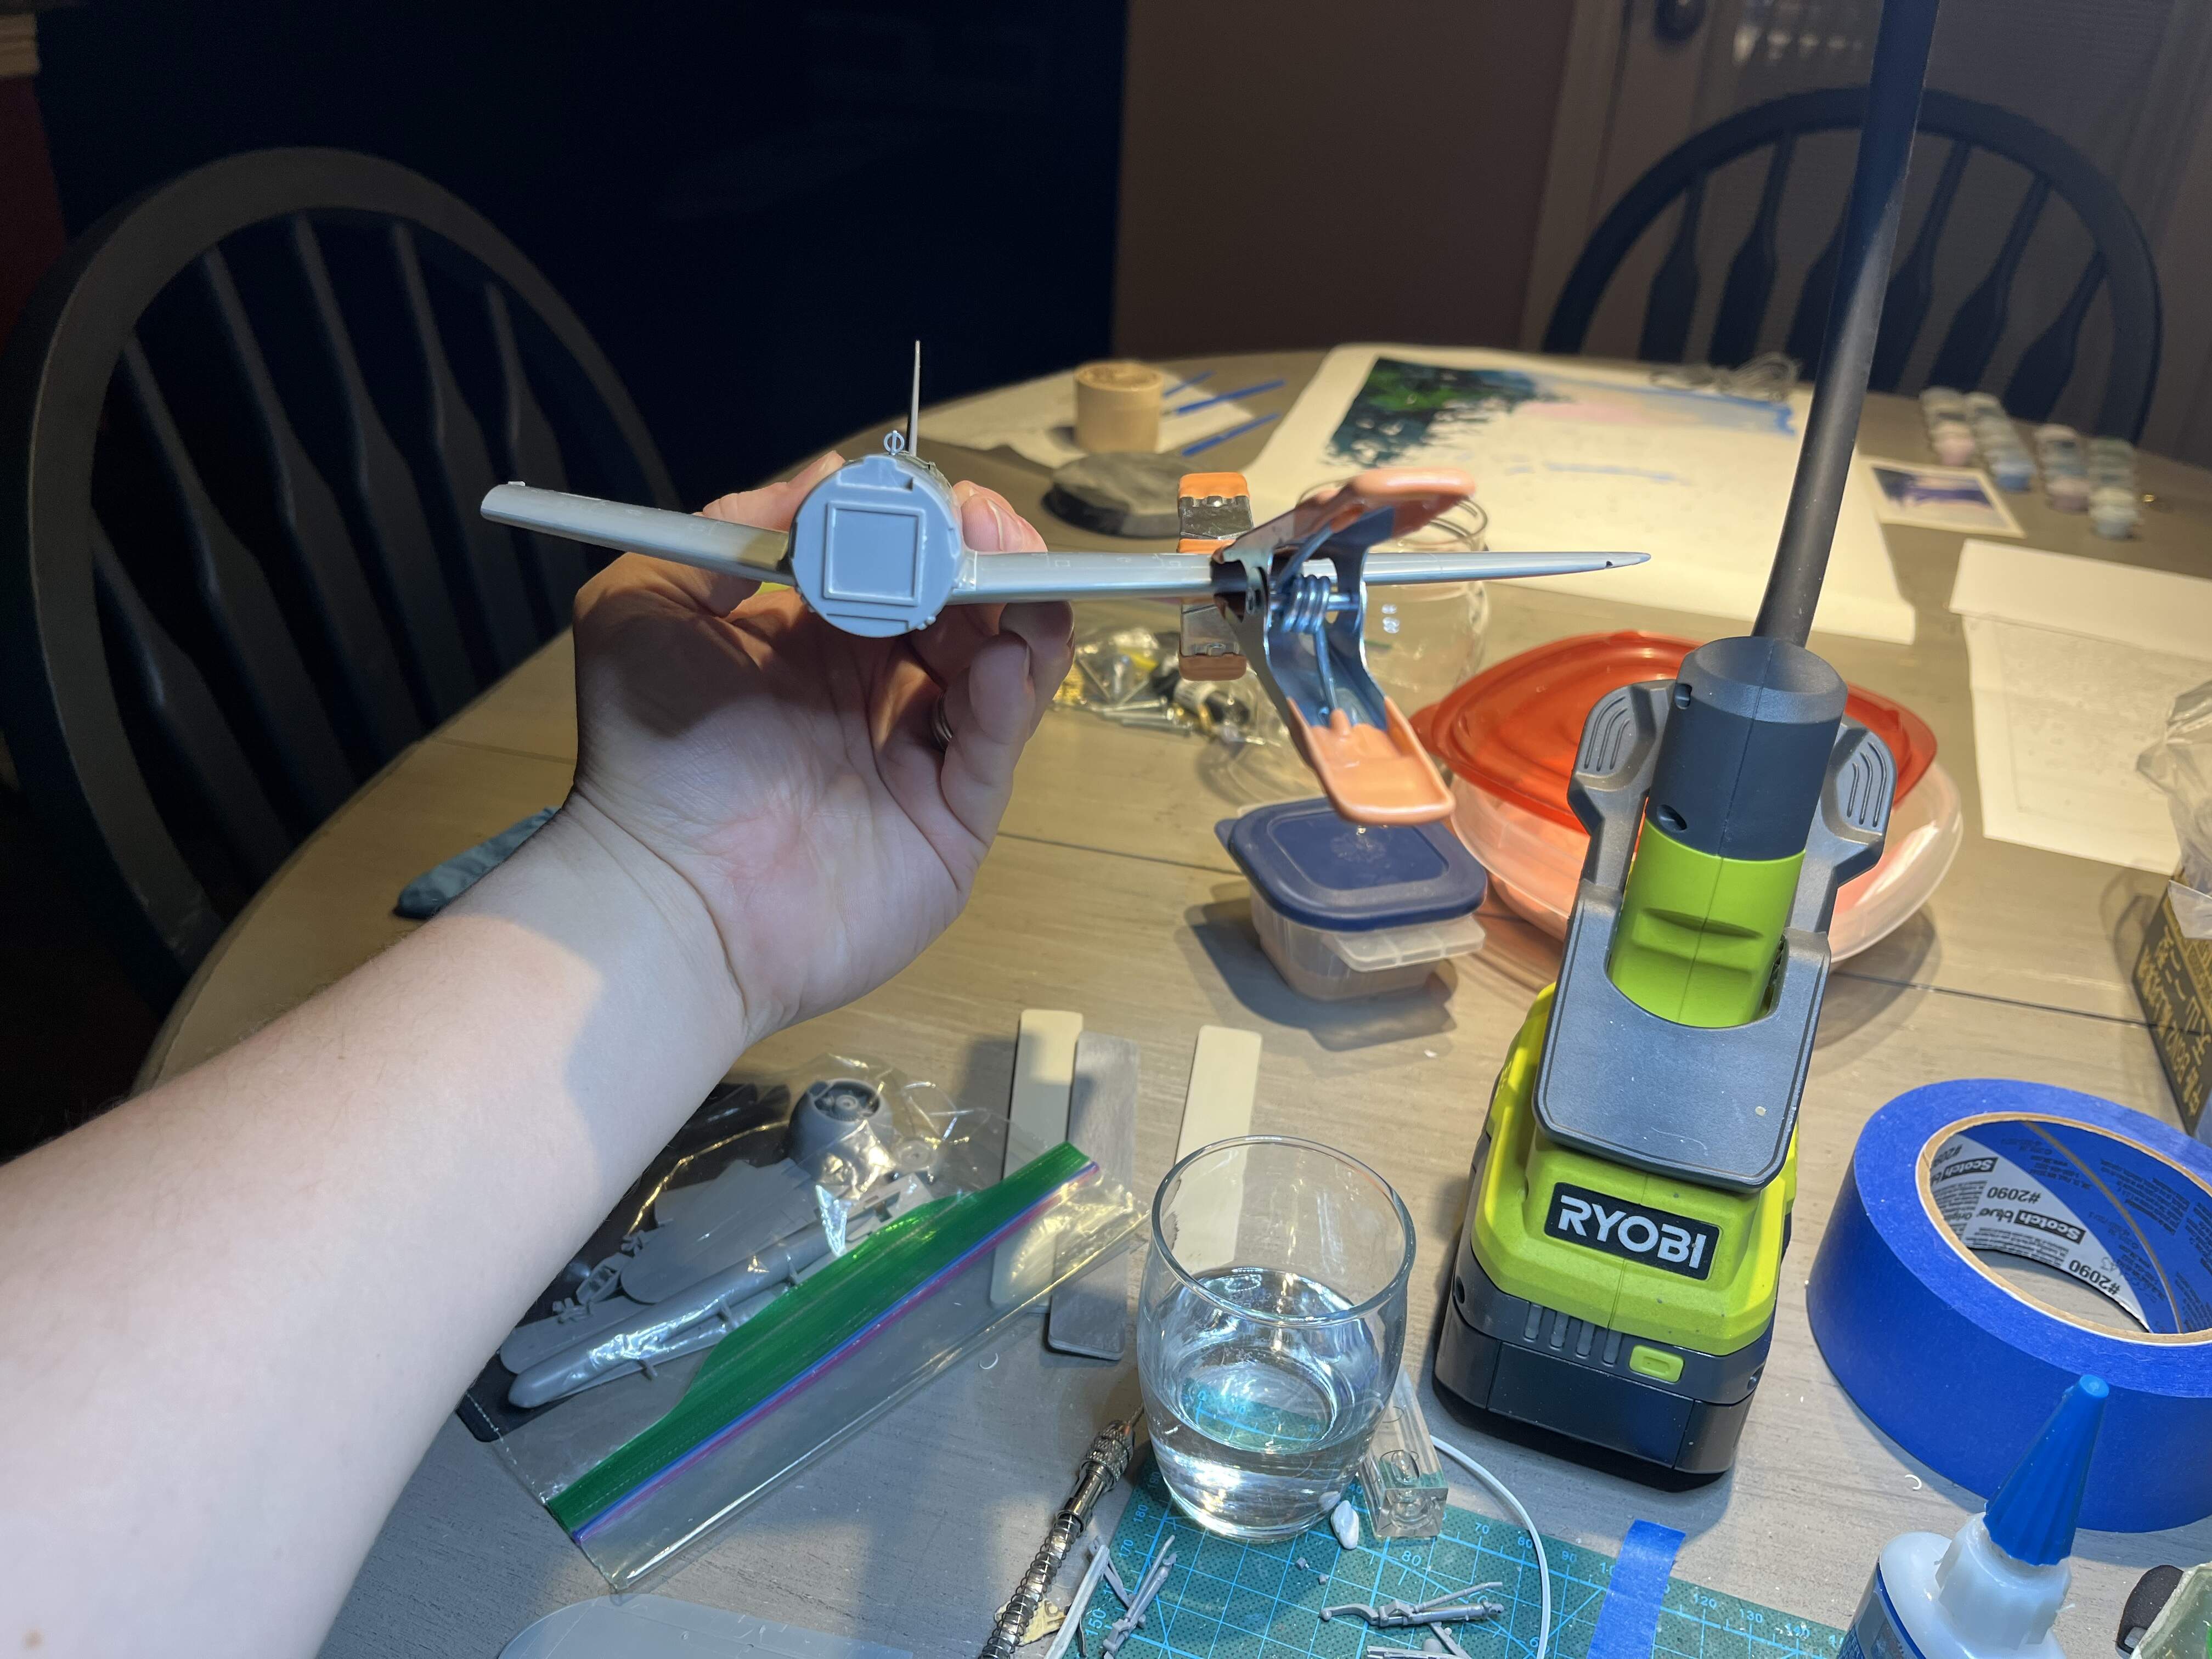
I really like the way hasegawa does the landing gear with the poly caps. Gives a nice tight fit with no glue. I also love the little bubble level I found which helps confirm correct dihedral. Or at least even dihedral.
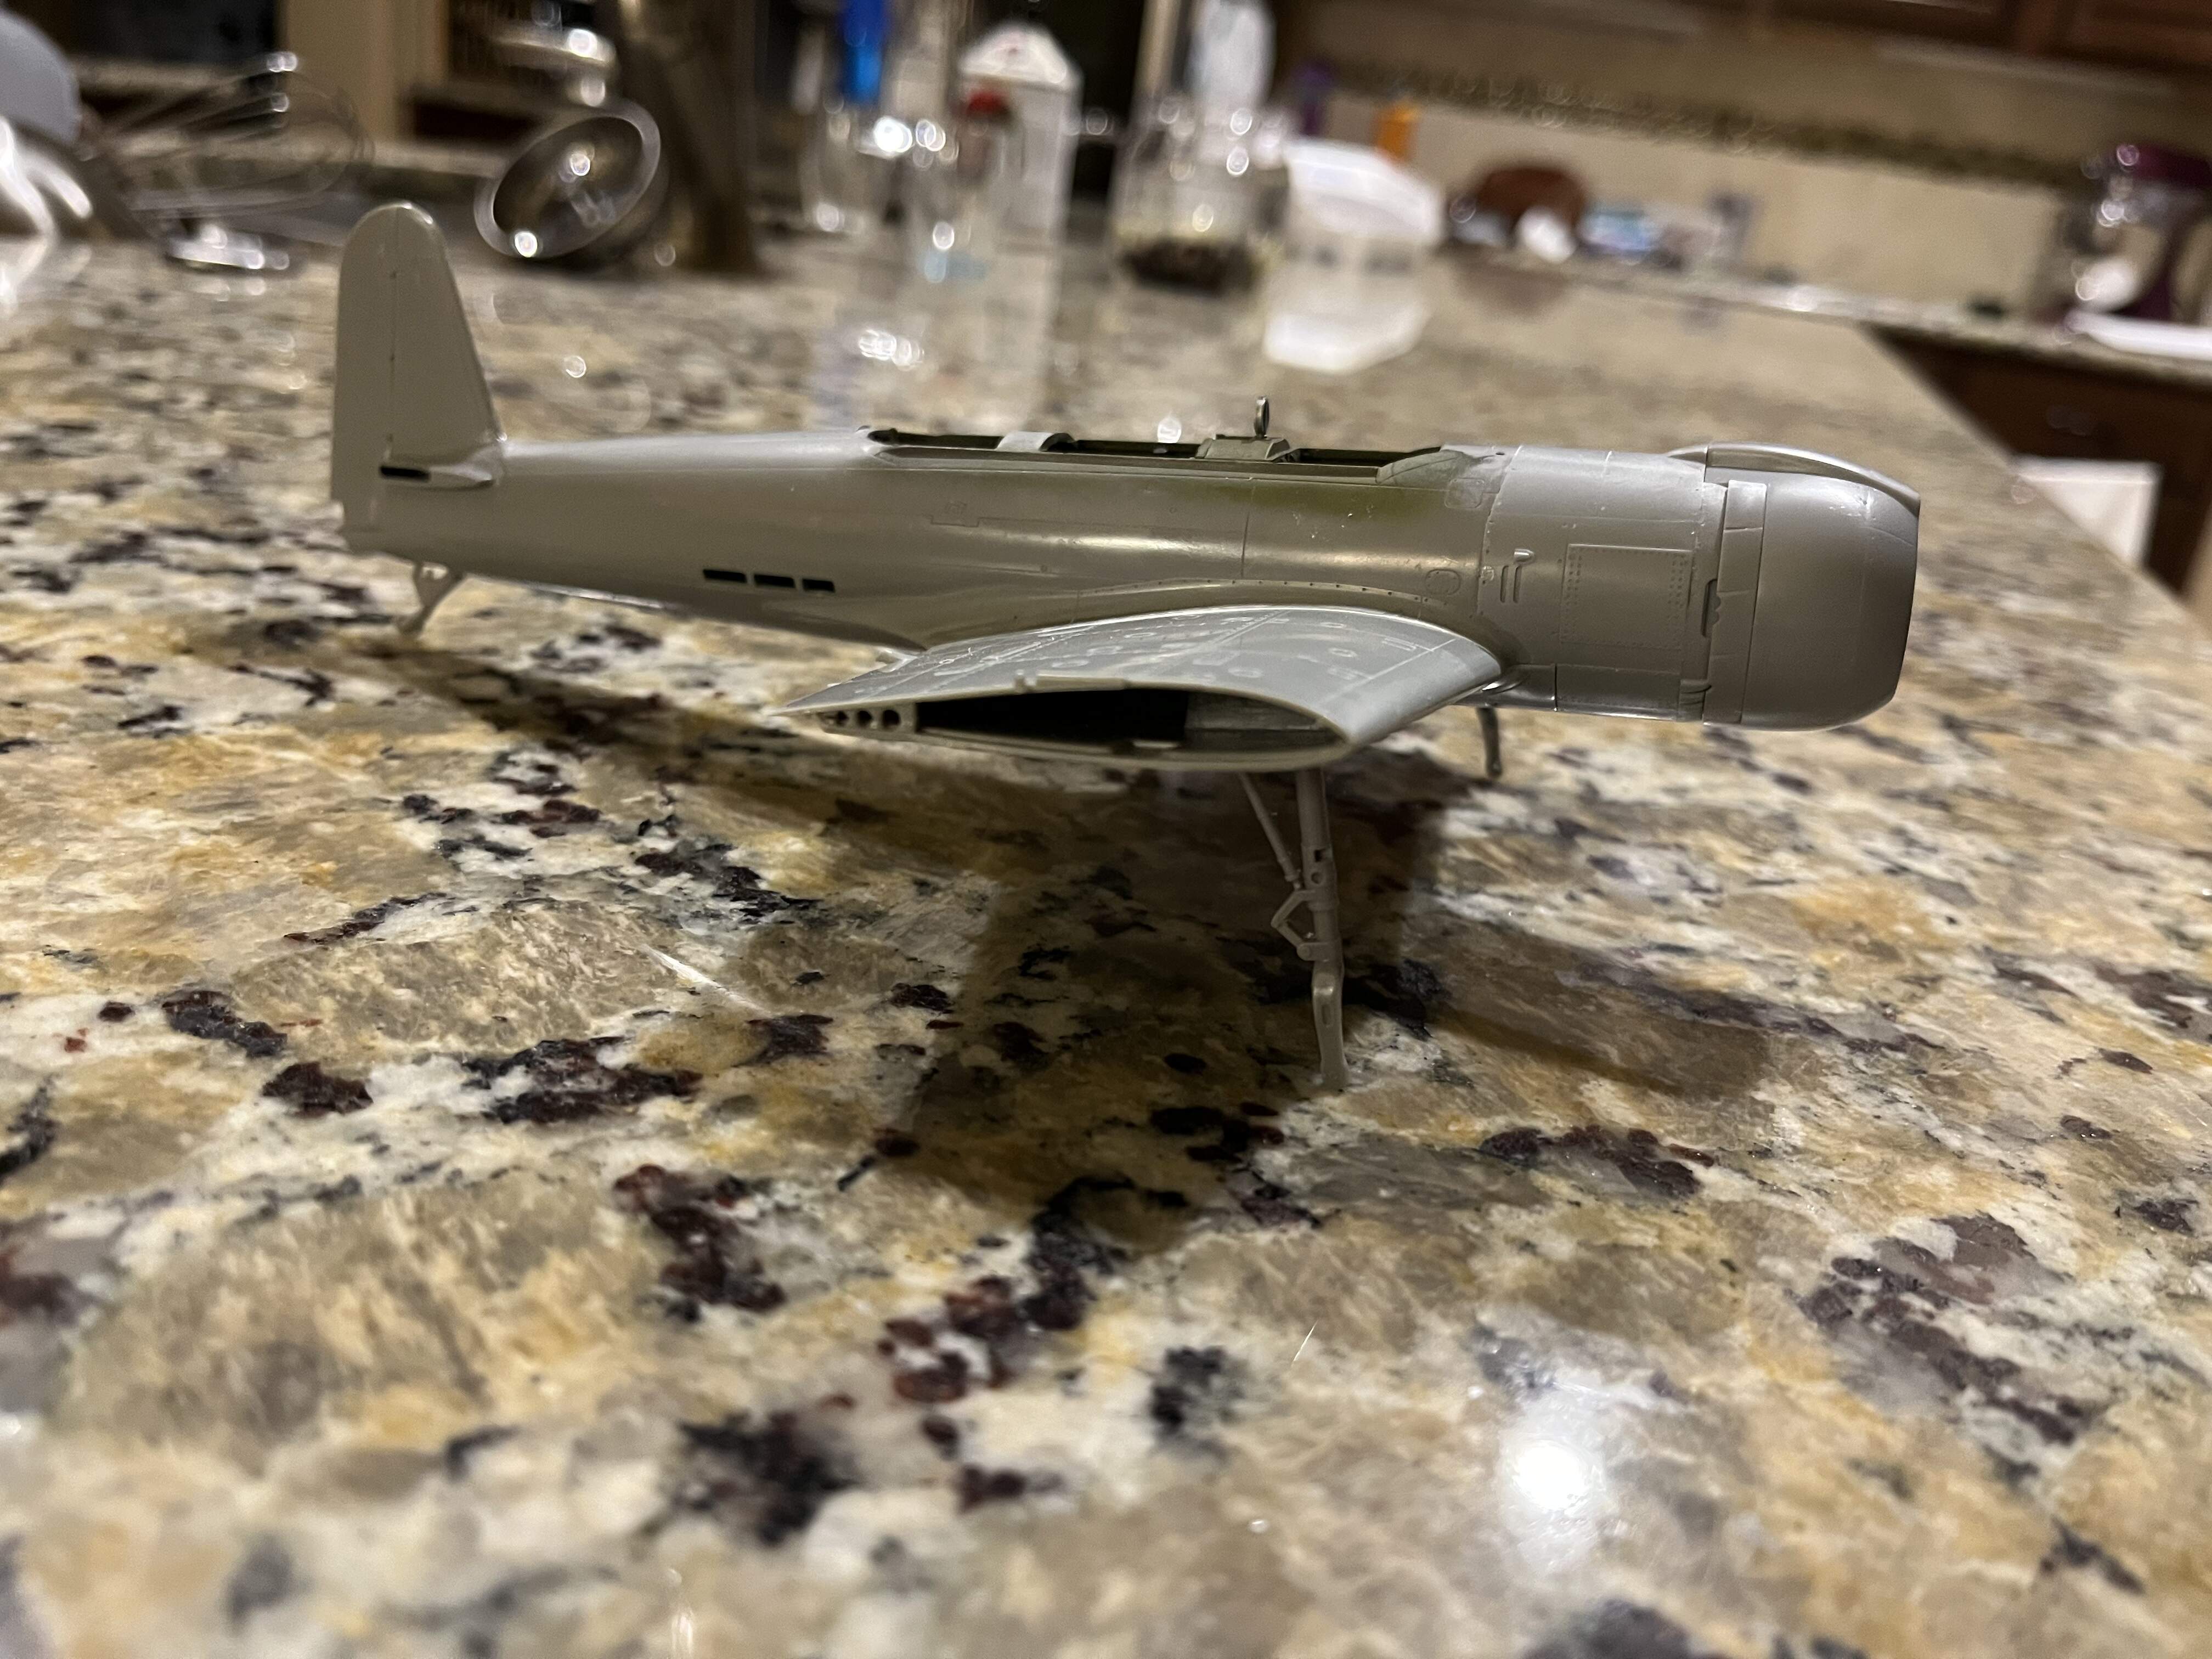
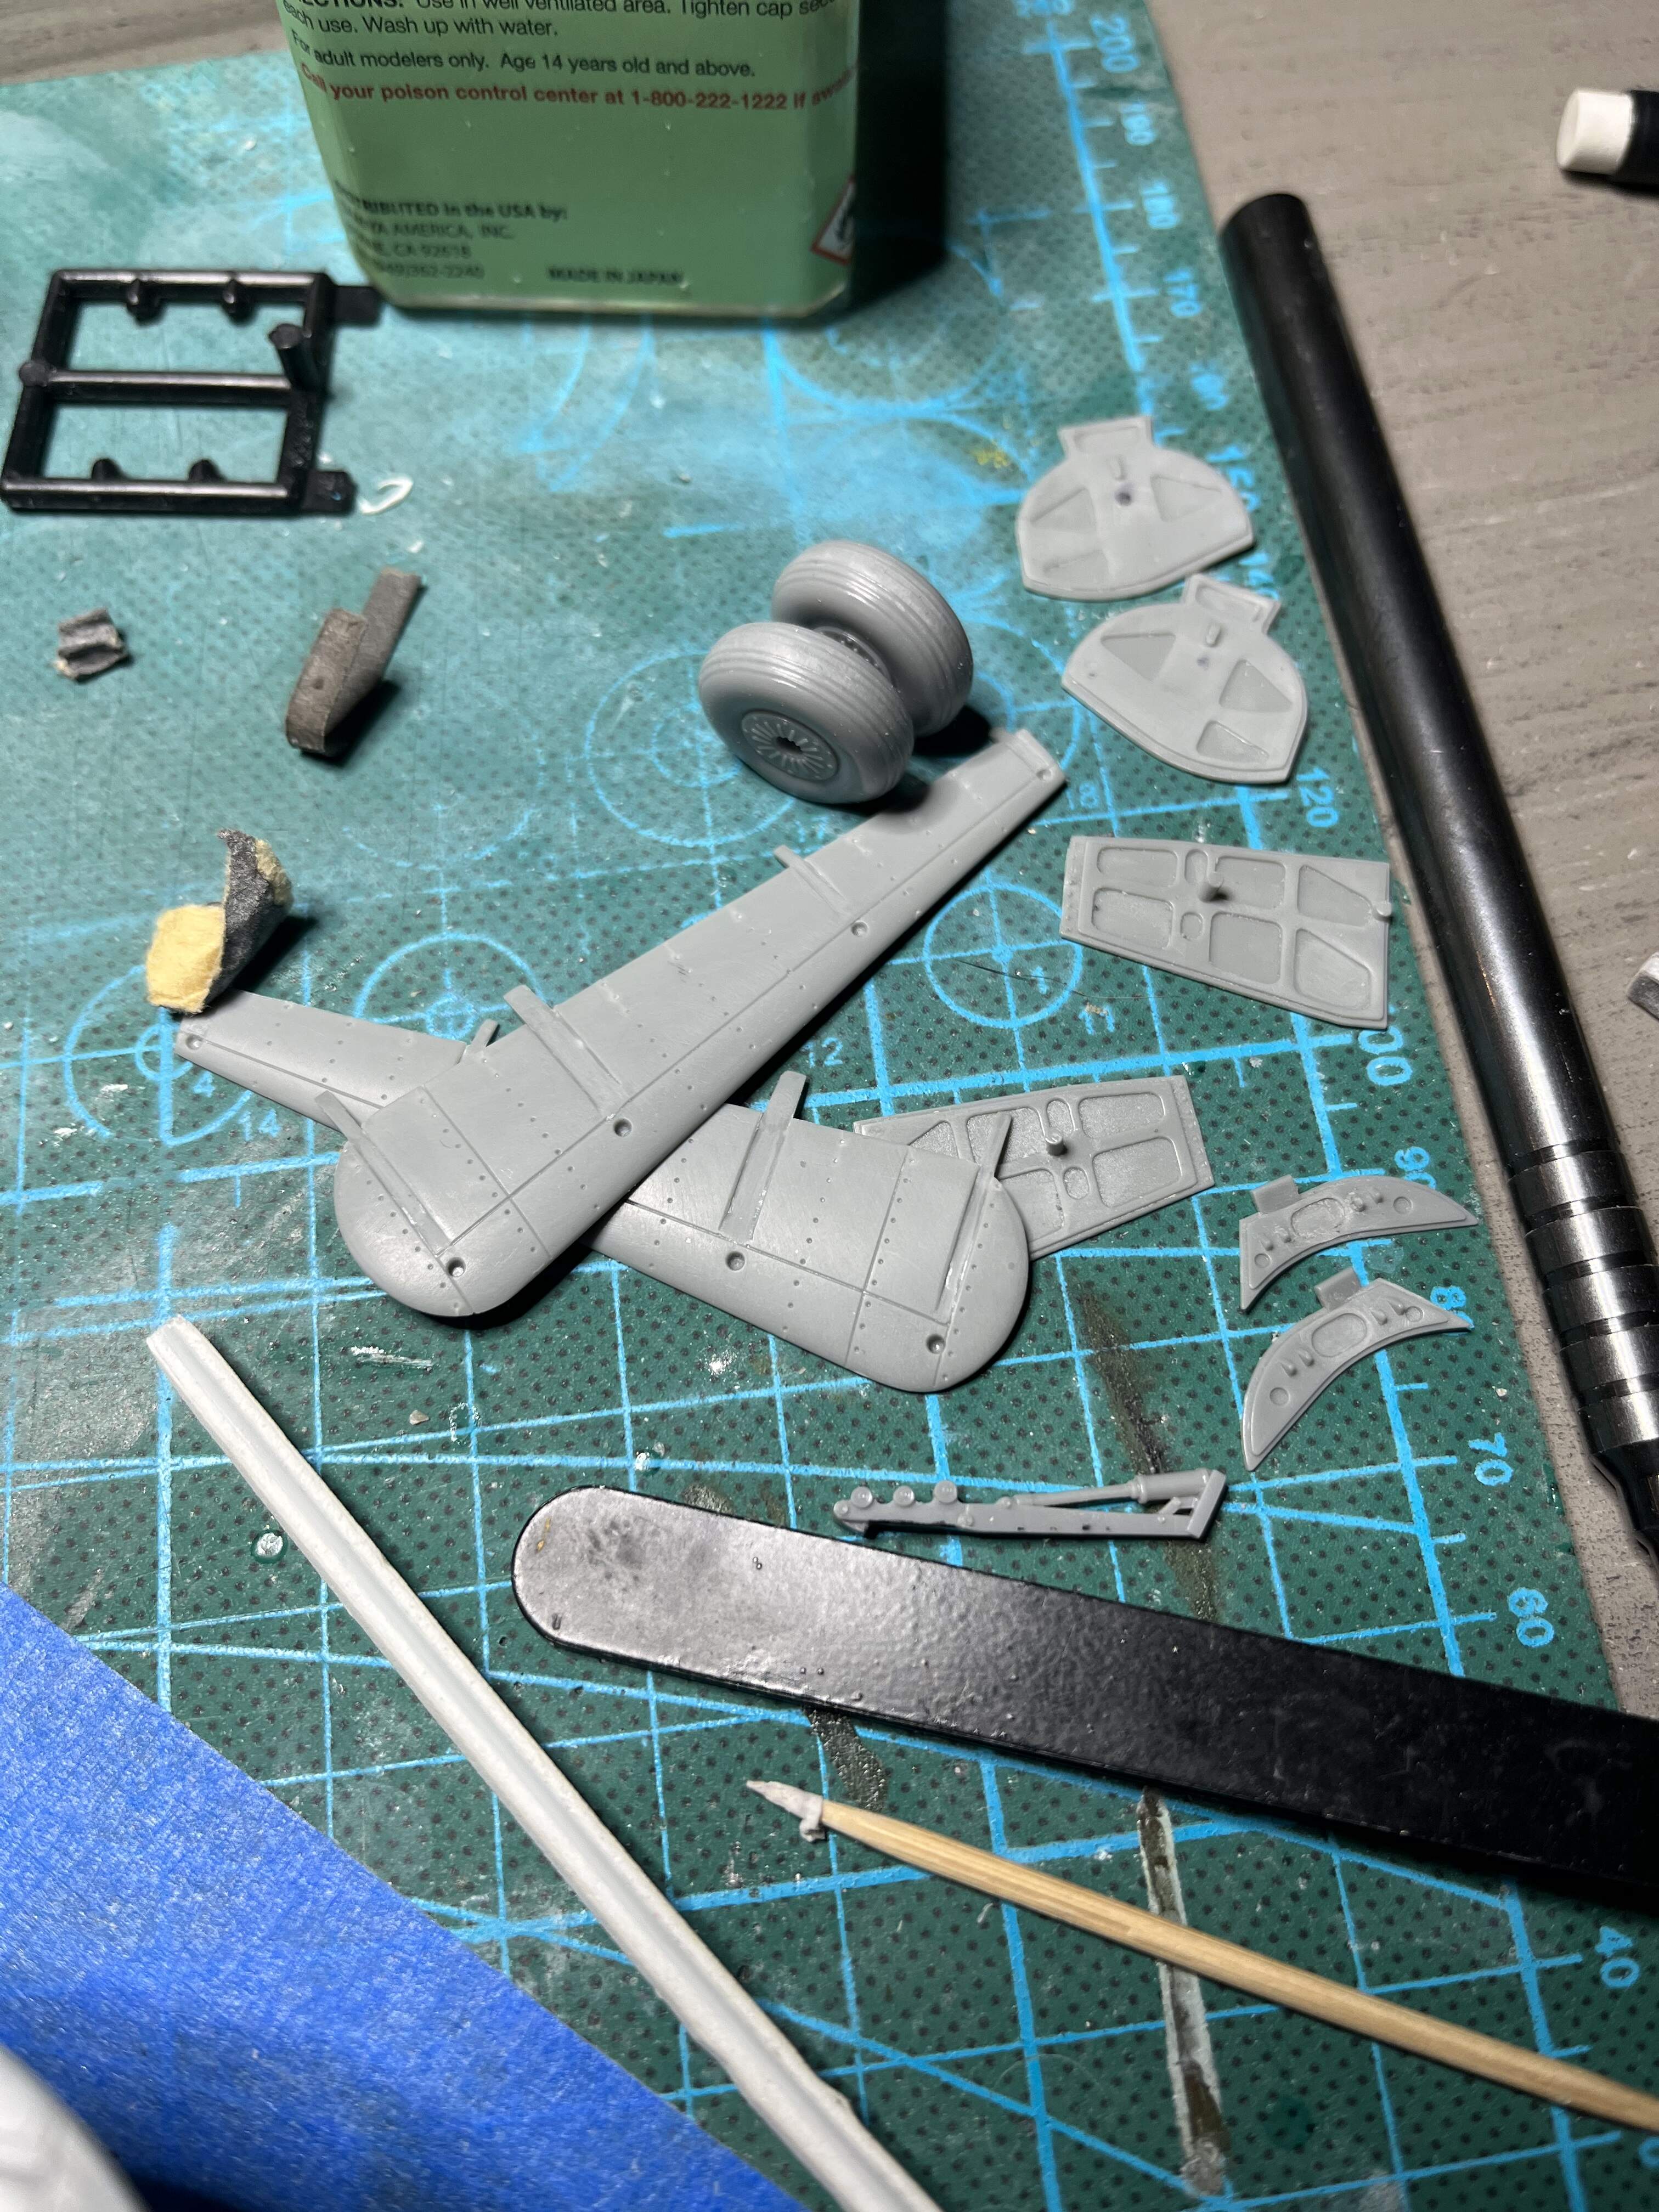
Just a bit more clean up to do on the landing gear doors and this one is ready for paint alongside the frank
The Kaiten II has been snailing forward a bit at a time. Usually when I build a model I have lots of books & in recent years photos from the interweb. For whatever reason, photos of the Kaiten II have been pretty scarce. In fact the only ones I was able to turn up look like they might actually be for a different model of the Kaiten. Panel & section lines do not accord with this kit. So - I have been able to use my very furtile imagination as to how to proceed in building this model.
I have read two books on the Kaiten which have poor quality shots of the Kaiten I. Much more useful has been the textual descriptions by the Kaiten pilots themselves and eyeball witnesses as to what the finish looked like.
All agree that they were rusty. One pilot mentioned his gleaming black Kaiten had turned rusty red after only three weeks at sea. An American report from Ulithi mentioned the Kaiten to be a patchy rusty color.
This one was an experimental model intended to remedy the very serious problems of the first version. It was built, launched, tested, recovered, taken apart & worked on and then the process was repeated numerous times. In the end, it was considered that the Kaiten II had even more serious problems that given the press of events could not be fixed in a timely fashion. It was abandoned and found by occupying forces and eventually brought back to American for technical evaluation.
The Kaiten II would not have been very old, probably built in late 1944 and abandoned by early 1945. It would have been ( I imagine) in outdoor storage in a marine environment. With its likely black paint being worn from testing and further worn by sun, rain & wind in the yard. It would almost certainly have been rusty.
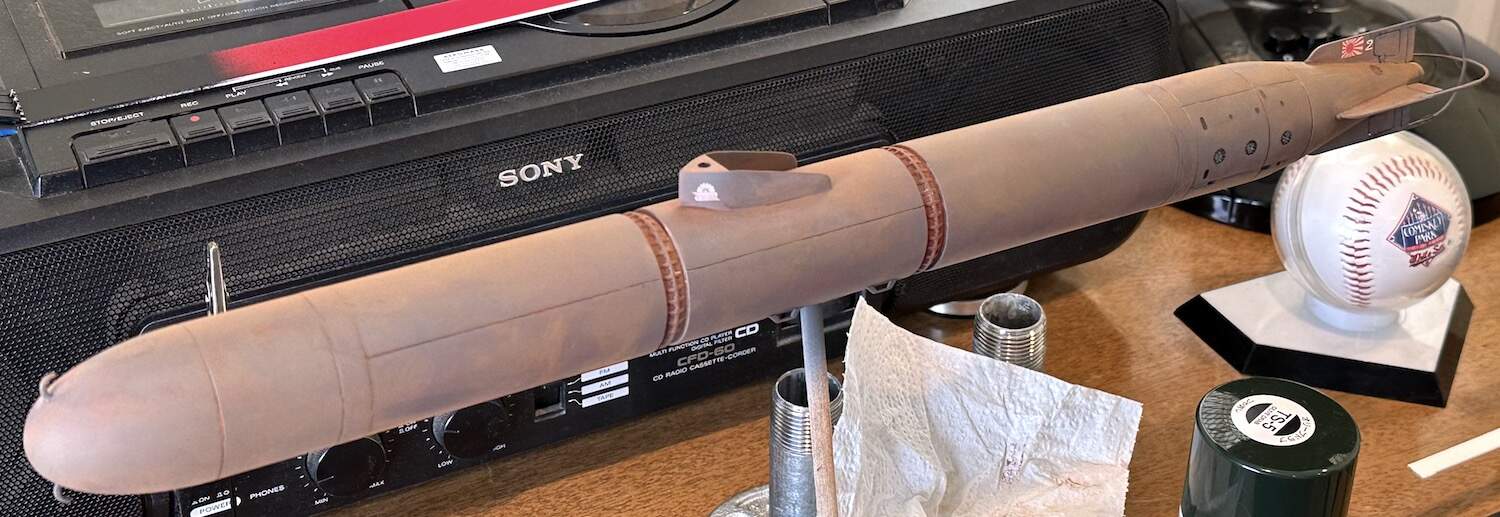
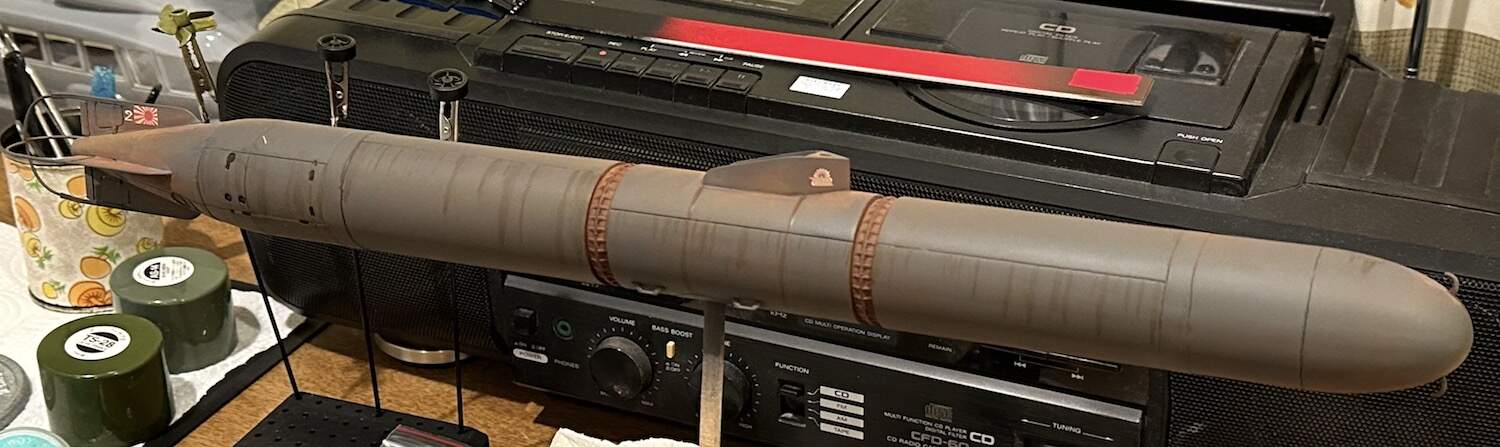
Using my best guess, I decided to paint the craft a dark grey and flatted that paint. I tried to further lighten this color on the top with a light grey pigment and darken the bottom with a soot pigment. This was looking pretty good and sadly, I took no photos of it as it looked then. Shortly after that I worked in three different colors of rusty pigments. I started with a stiff brush but ended up using my hands to blend in the rust with the grey finish. It came out pretty well but I really can’t see any sign of the previous color modulation. That may be OK, the real thing may have had very little of the paint left to look at.
I should probably expand on this. With the level on the cockpit, and the landing gear legs on, assuming the landing gear legs are the same length and that they are equidistant from the cockpit center line, then when the plane sits on its legs, if it is level then the two points at which the landing gear legs attach to the wings must be at the same height, therefore both wings must have the same dihedral. I do an additional measurement using calipers on the wing tips to make sure they are the same height as well with the plane level. If these two things checkout then the dihedral is even on each wing. Next some trigonometry can be used to confirm the dihedral angle
At least half the fun of building a model is the research that makes that model a meaningful representation of a historical moment. We can’t actually be there and in many cases would not want to be but through our research & model making can understand something about that moment in time. That’s time travel in some modest sense.
Something like 50 years ago Hasegawa released a kit of the H6K flying boat. I’ve got one or two of the kits in the stacks someplace but never built one. The kit seemed “basic”, typical of the 1960s and looked like it might be a lot of work to bring it up to be a modern display model. Are there aftermarket parts for this kit?
It would sure be great to see a modern kit of it, possibly even in 1/48th . . .
I love the Mavis, it seems very elegant and relaxing to look at. I can almost hear the tropical music just looking at it.
Closing in on completion of the Jill construction. I always forget how long these giant small steps take. It seems like just a couple steps but each adds around 5 small parts, and in the case of the gear they were riddled with punch marks and seams that made clean up tough.
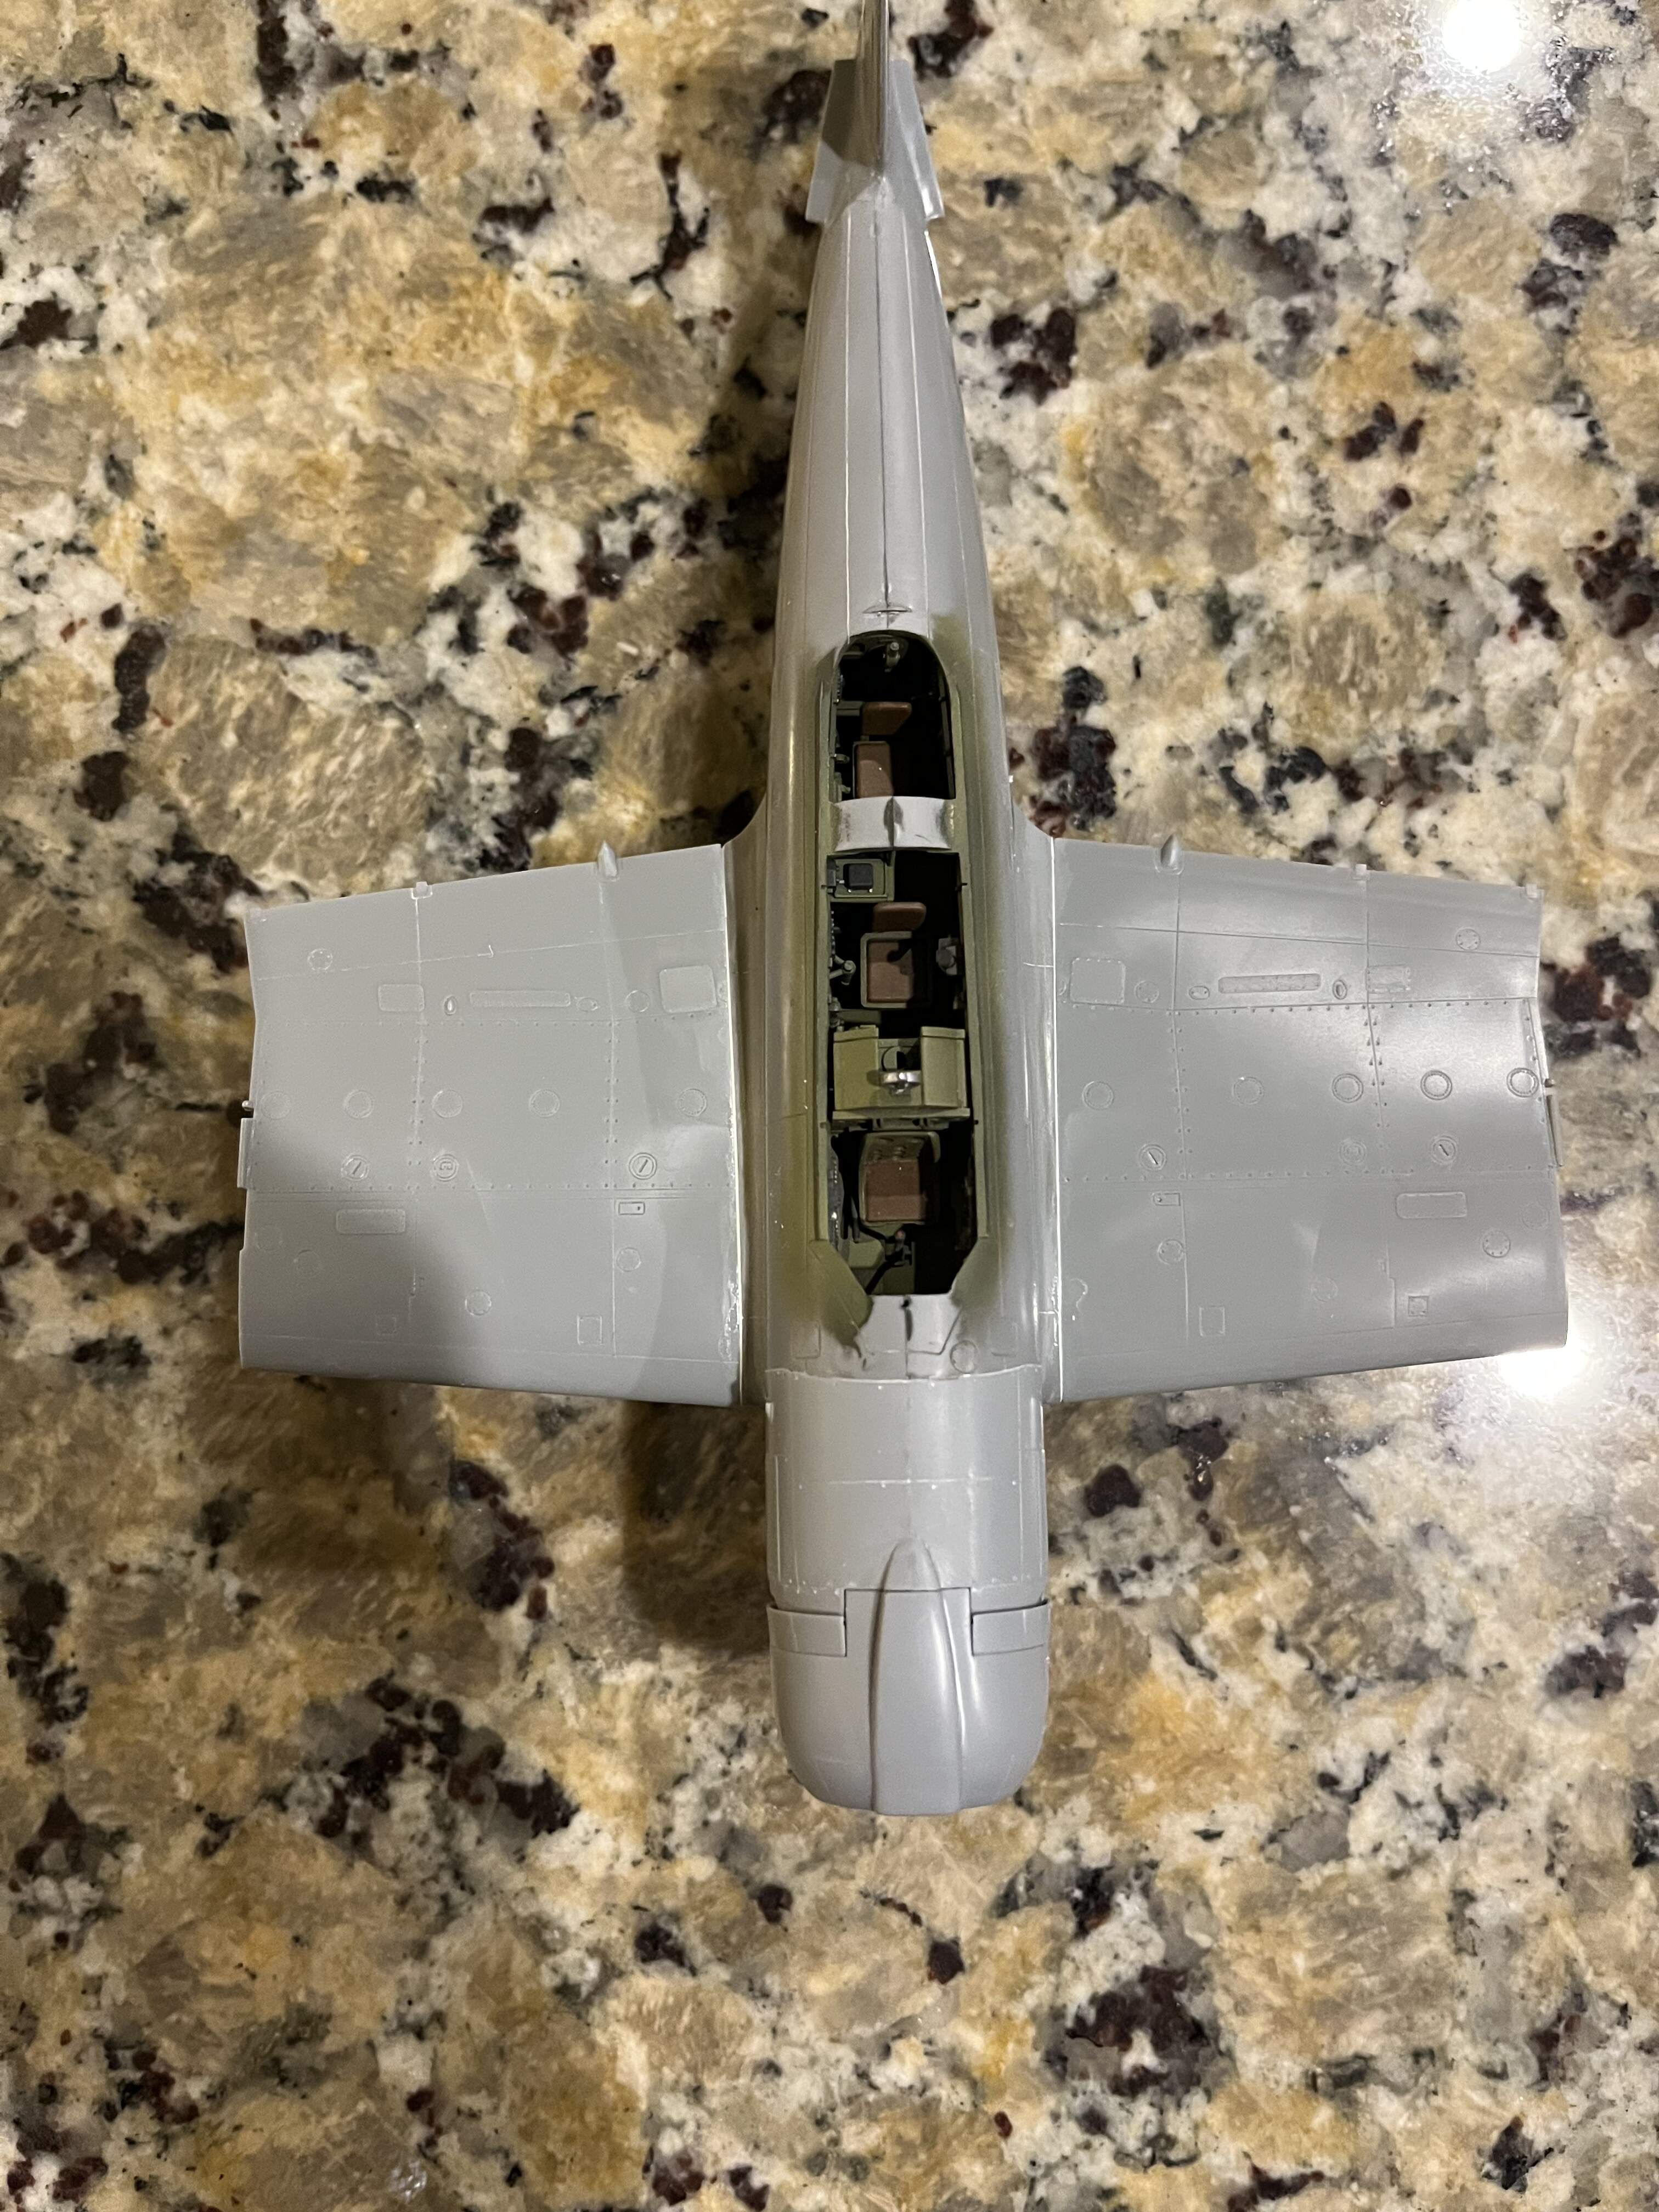
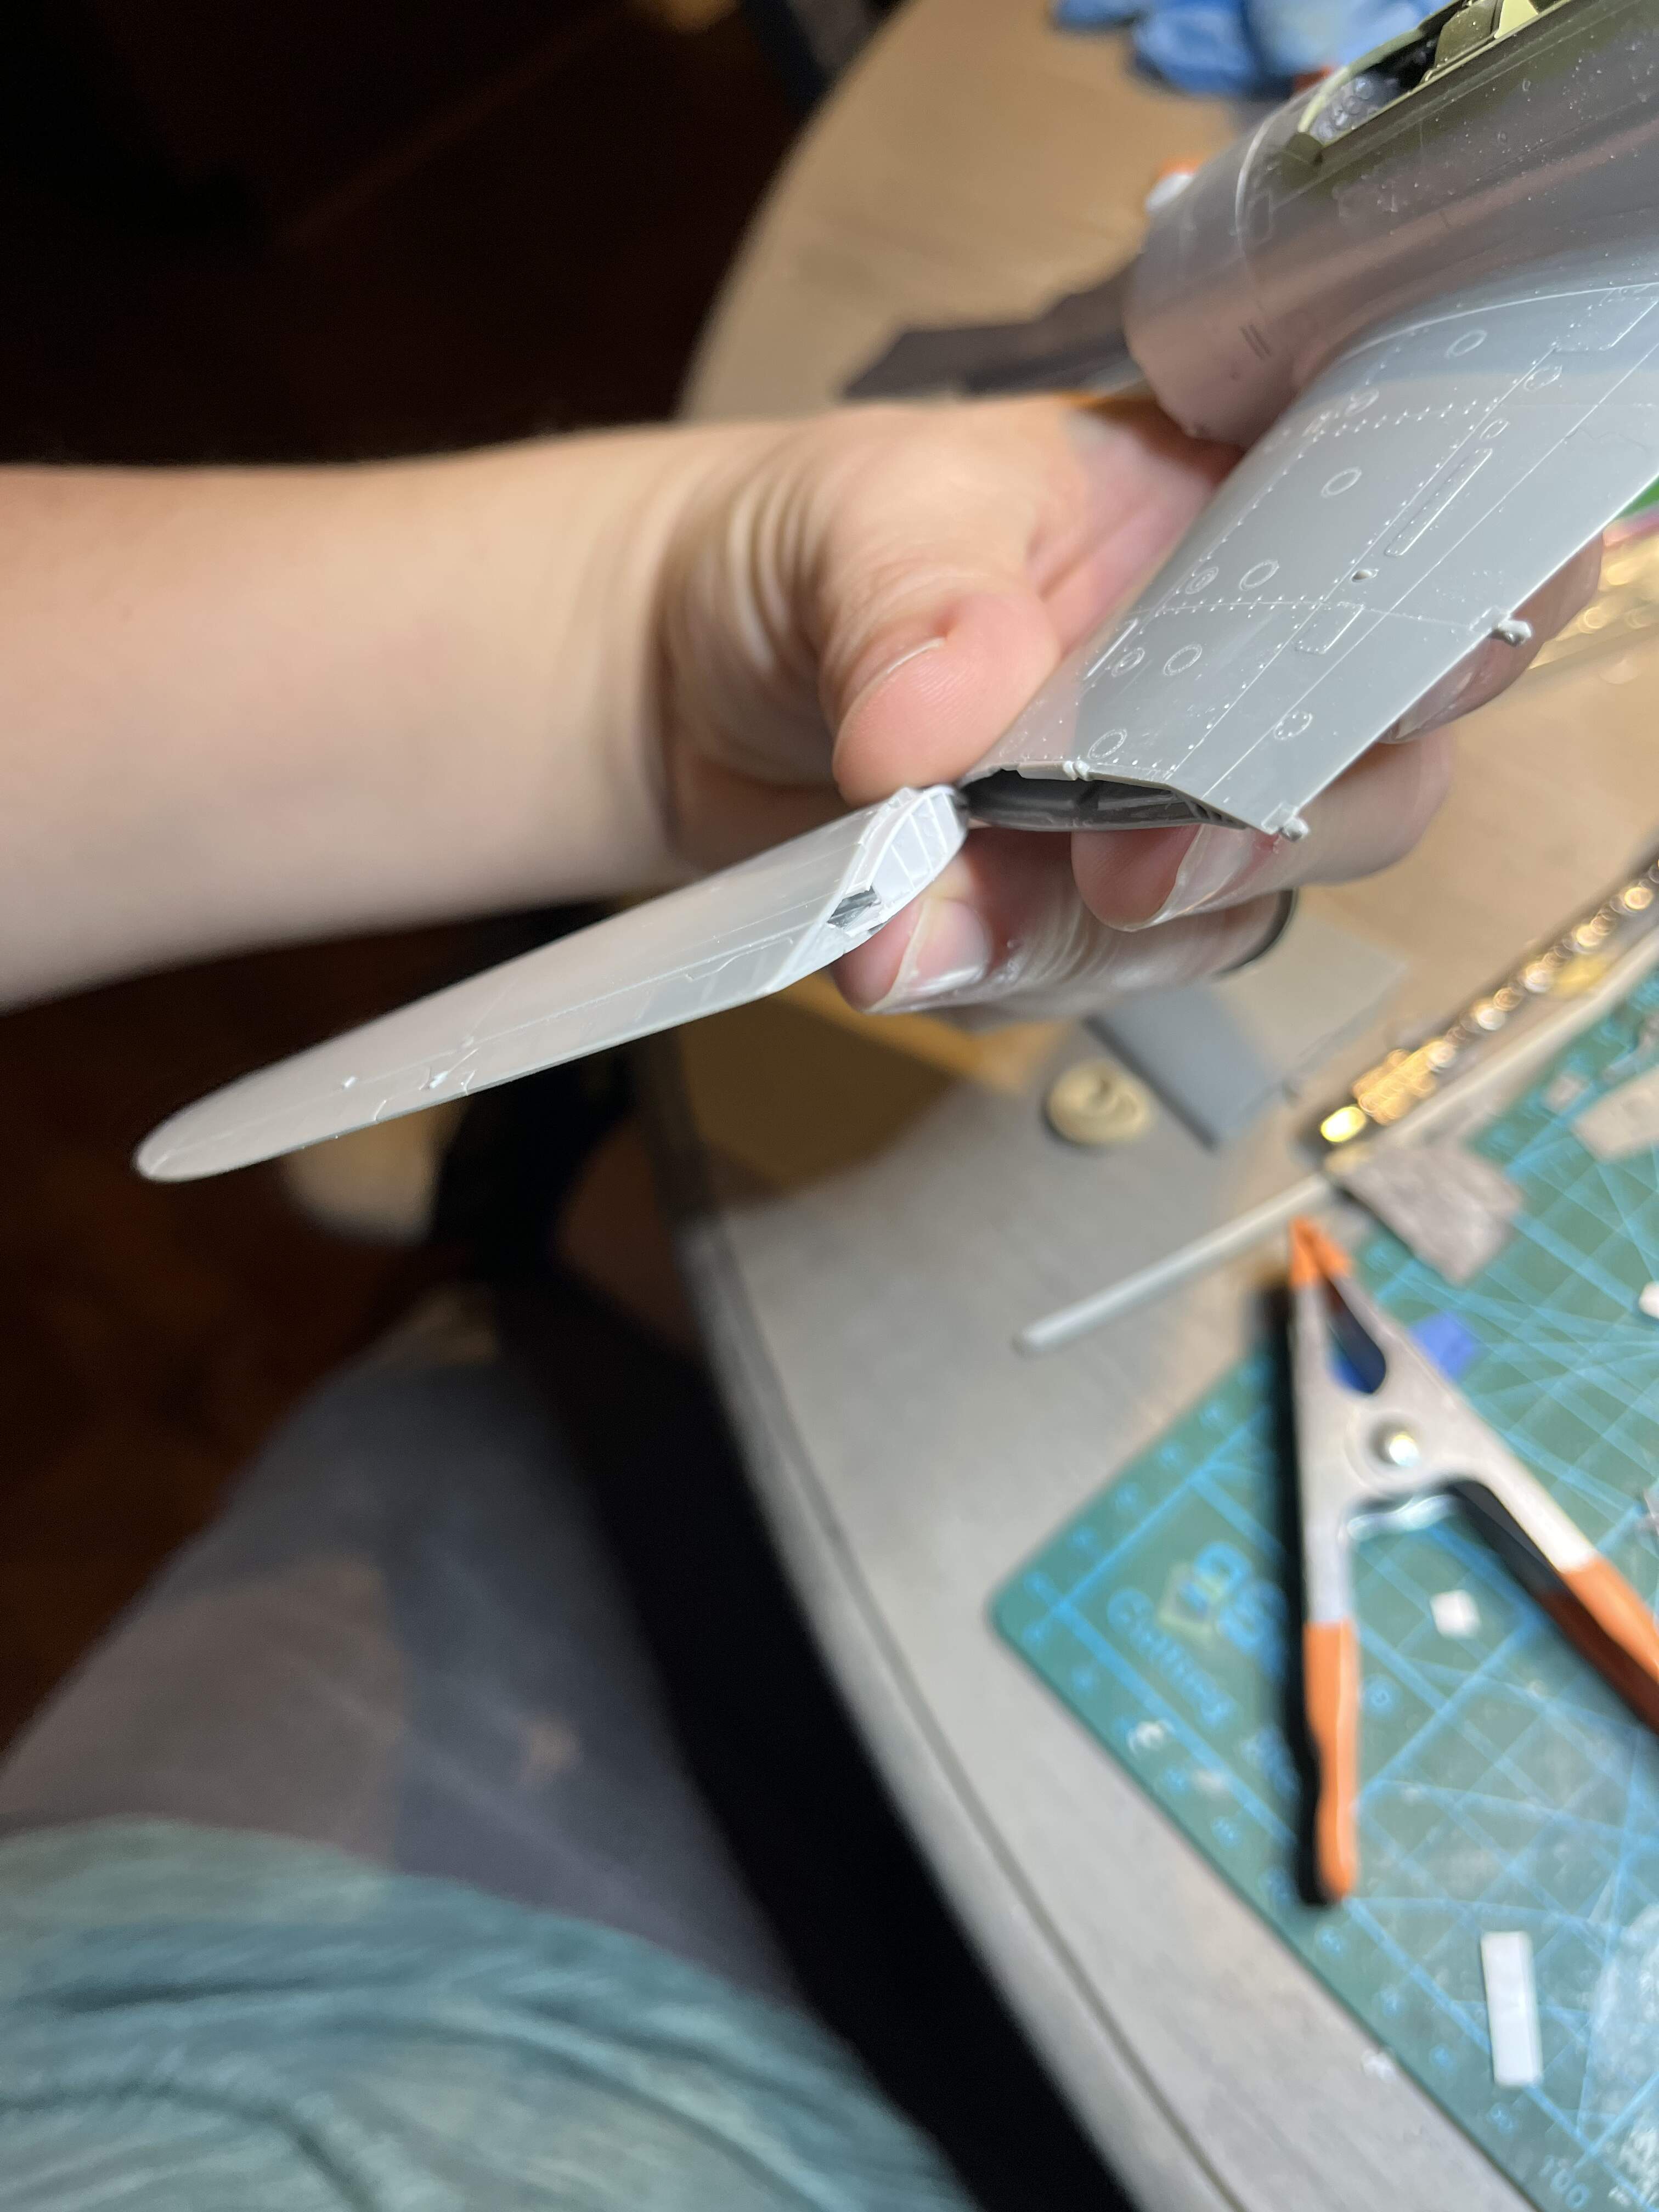
One frustration, is the way the outer wing halves attach to the inner wing halves. Hasegawa has you retain a poly cap on each half, then two different hinge mechanisms allow your choice of straight or folded wings. The hinge mechanism is just way too flimsy to do the wings straight
I think I’ll therefore do it with the cockpit closes and the wings folded. This will add some interest to the build, but it’ll end up hiding most of the cockpit
Folding wings are a problem for models in this scale. I have one of the old Monogram TBDs in my display case and it actually looks pretty good even if the hinges are somewhat out of scale. I display it with one wing folded and the other extended.
I may or may not do the wings extended my ultimate hope (since I have two sets of wings having to buy a second kit to fix my glue spill) was to have to sets of wing tips so I could change out folded or not. This is out the window since the wing mechanism is far too flimsy for the extended wings. I think I found a solution to have the wings extended but this will require adding strip styrene to the join and gluing them solid. The benefit is I can then open up the cockpit.
Also I think I’ve decided I’ll do my second Jill as one that got shot down either on the sea floor or in the jungle somewhere, this way I don’t have to bin the second kit since I have a full kit minus the lower wing section which I still have but the detail is ruined and I can make use of the second kit in an interesting way
A bit more progress on the Kaiten II. It got some dark rusty streaking and in the process my hands removed some of the pigment. Its just as well, I wanted to go a different direction with that pigment.
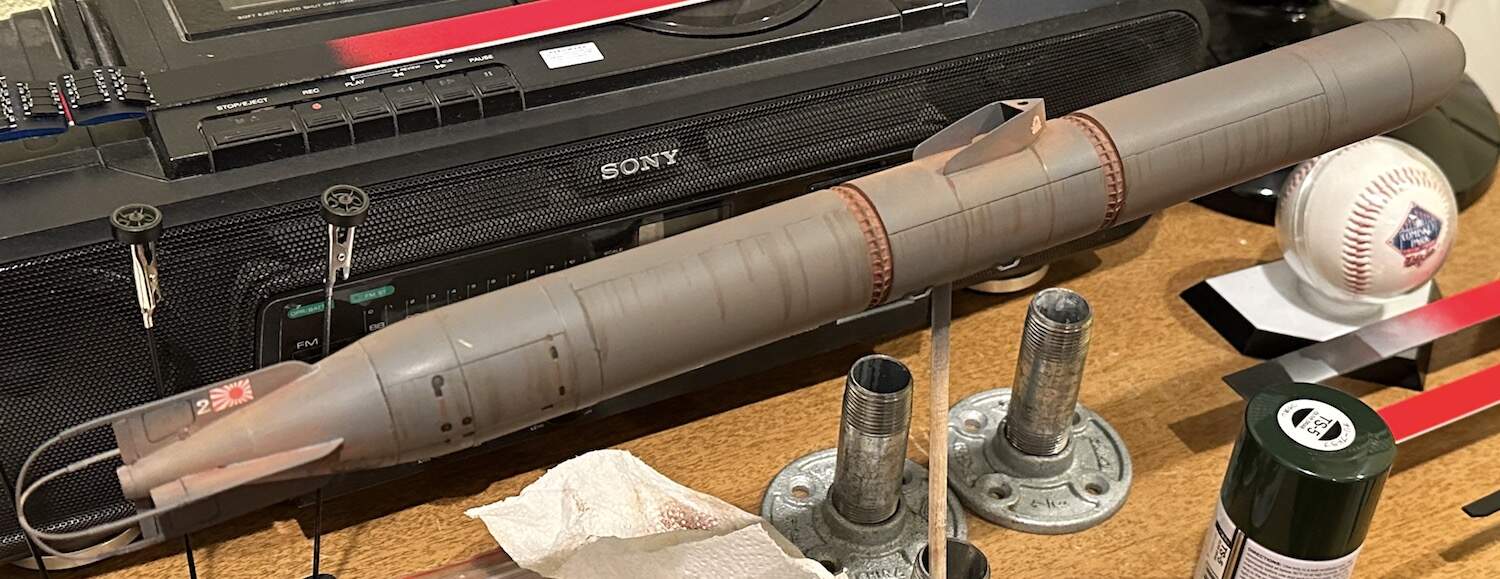
The next work session I want to try using a pigment fixer to create rusty worn spots on the areas that the crew would have walked on the vessel or where it was bumped by the launch boat or dock. This will be localized and spotty. Then another go with the pigments.
I built the kit stand. It needed holes to be drilled for the base and into the bottom of the hull. I like this stand as it displays the shape of the Kaiten II well but have decided to try to build a cradle like the Japanese might have built to hold the actual thing. Once again, I have no pictures and not even a verbal description so it will be pure imagination.
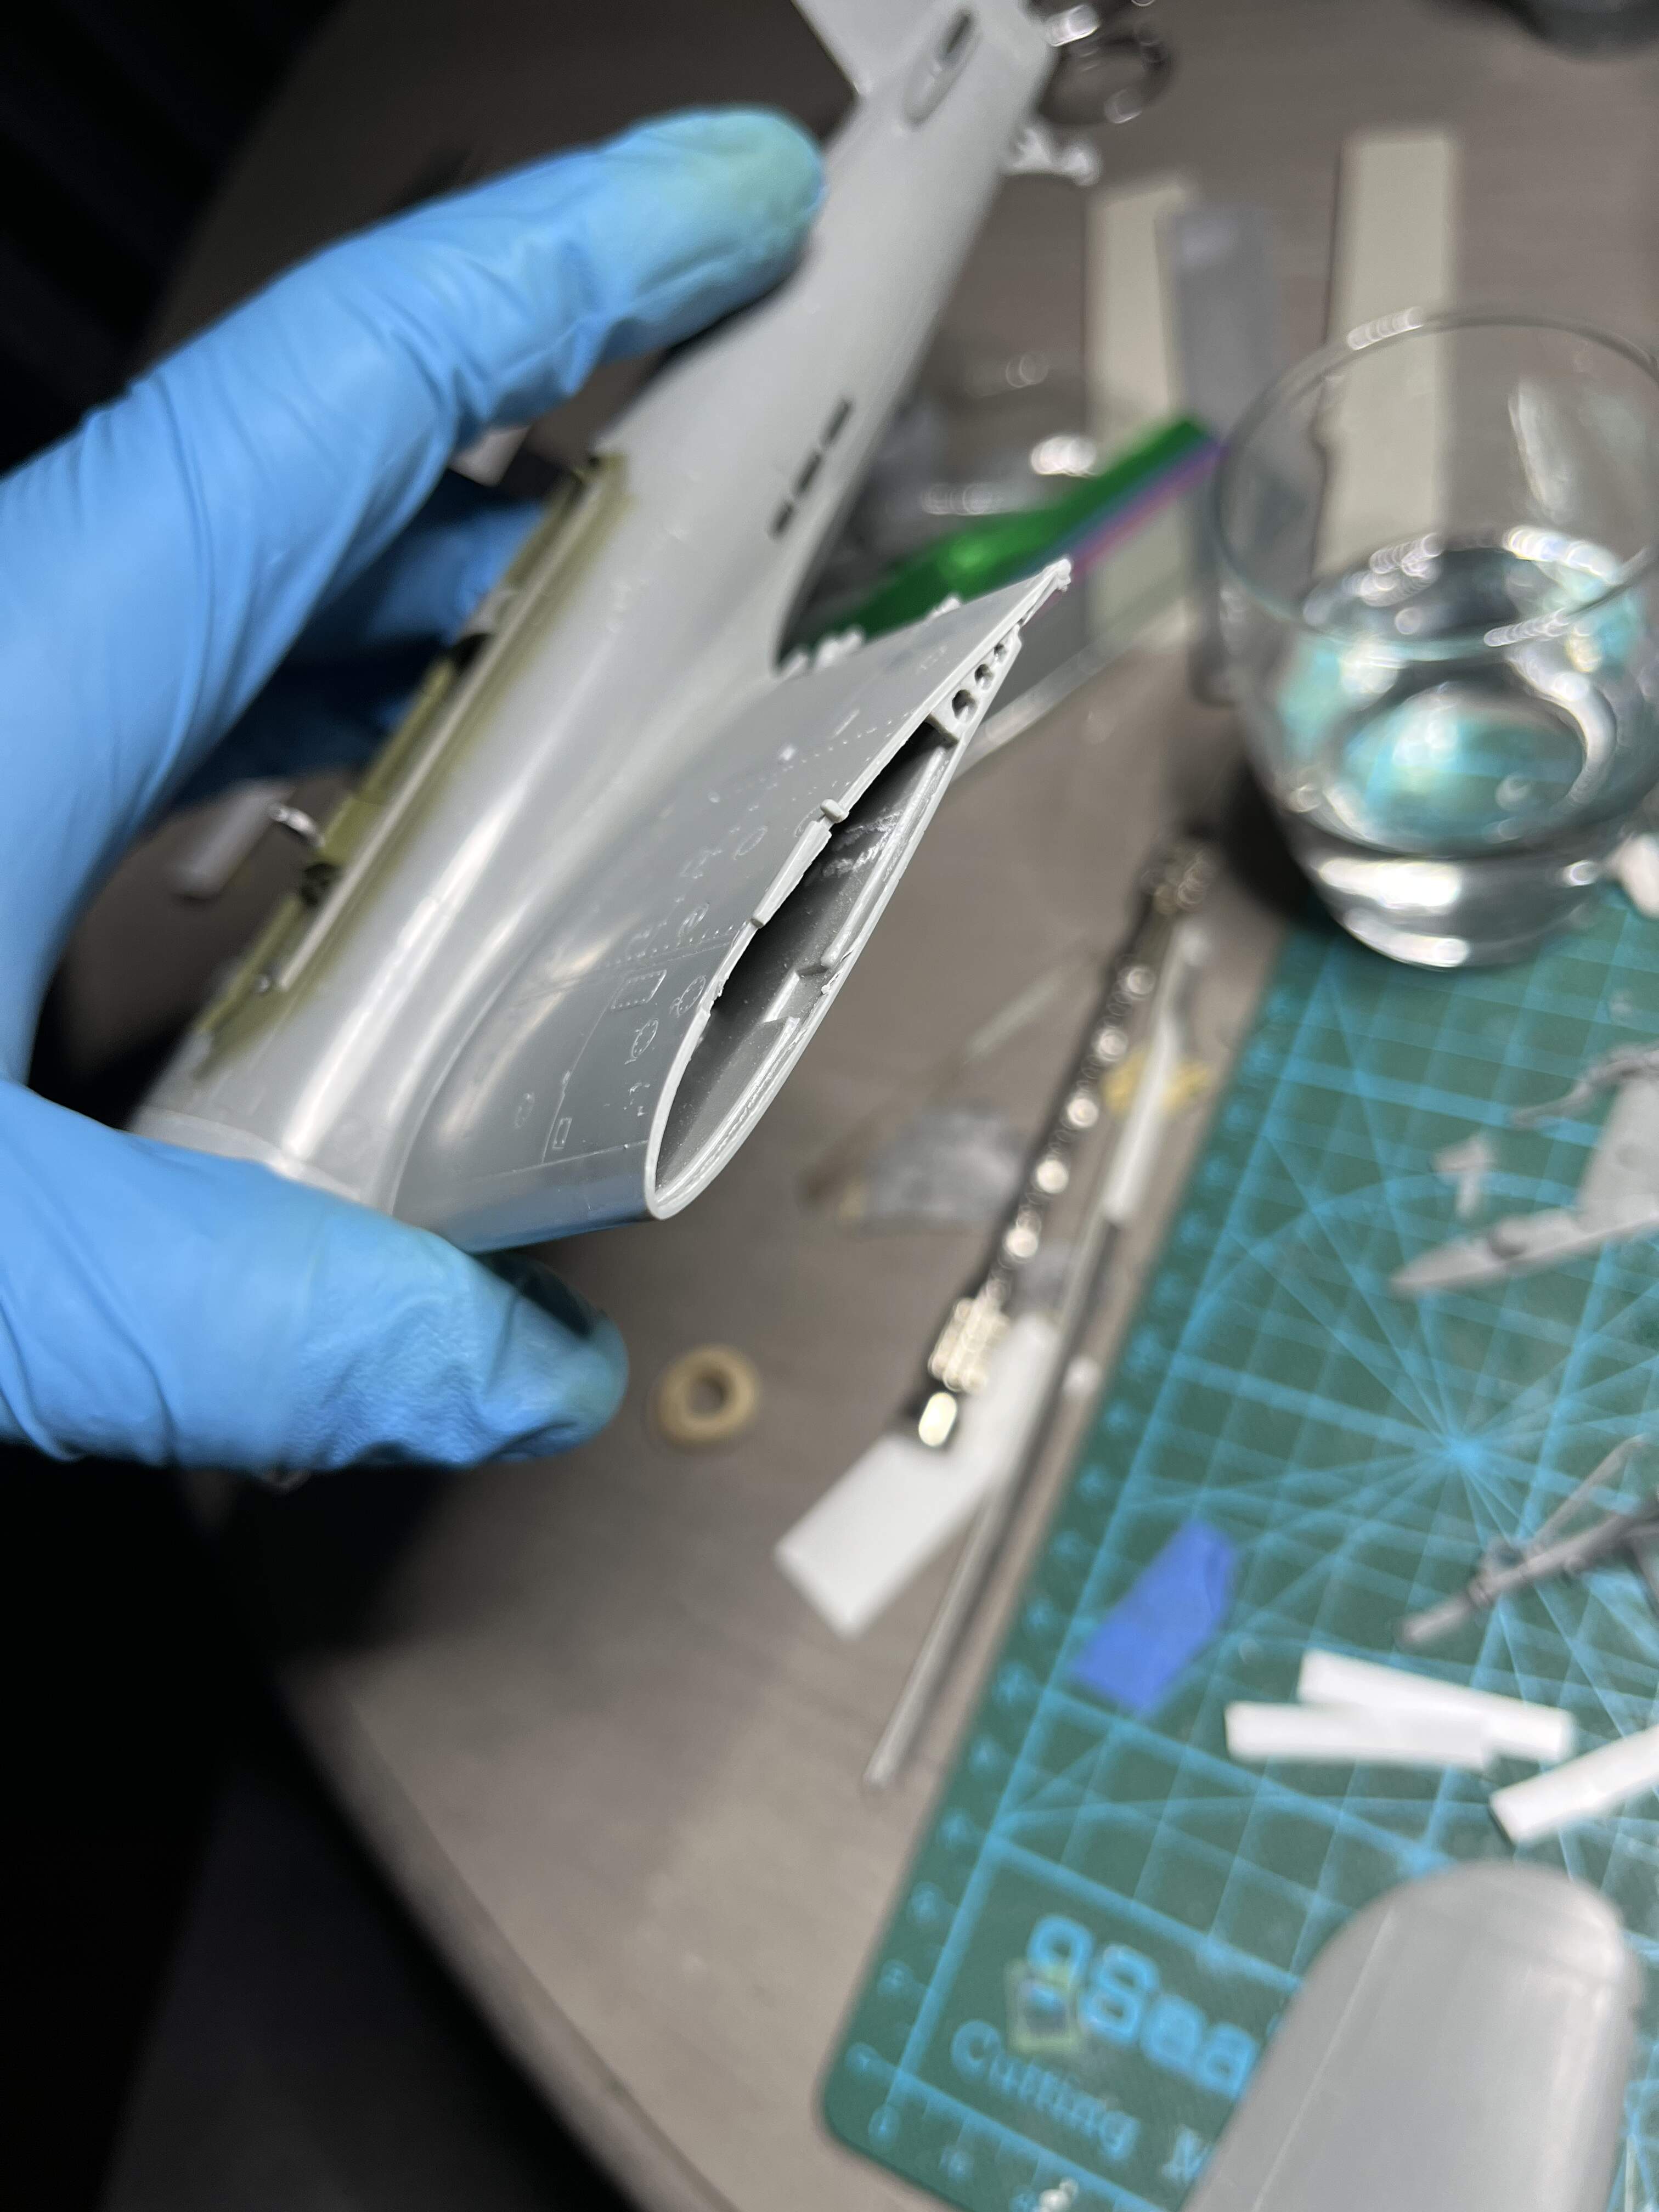
Anyone have any thoughts about how to attach the outer wing sections so they are strong and I get the right angle? I removed the wings inserts as they fouled up the fit with the wings extended. Now I am trying to think of a sturdy way to attach the outer wing section. The wings on this thing sure are aggravating
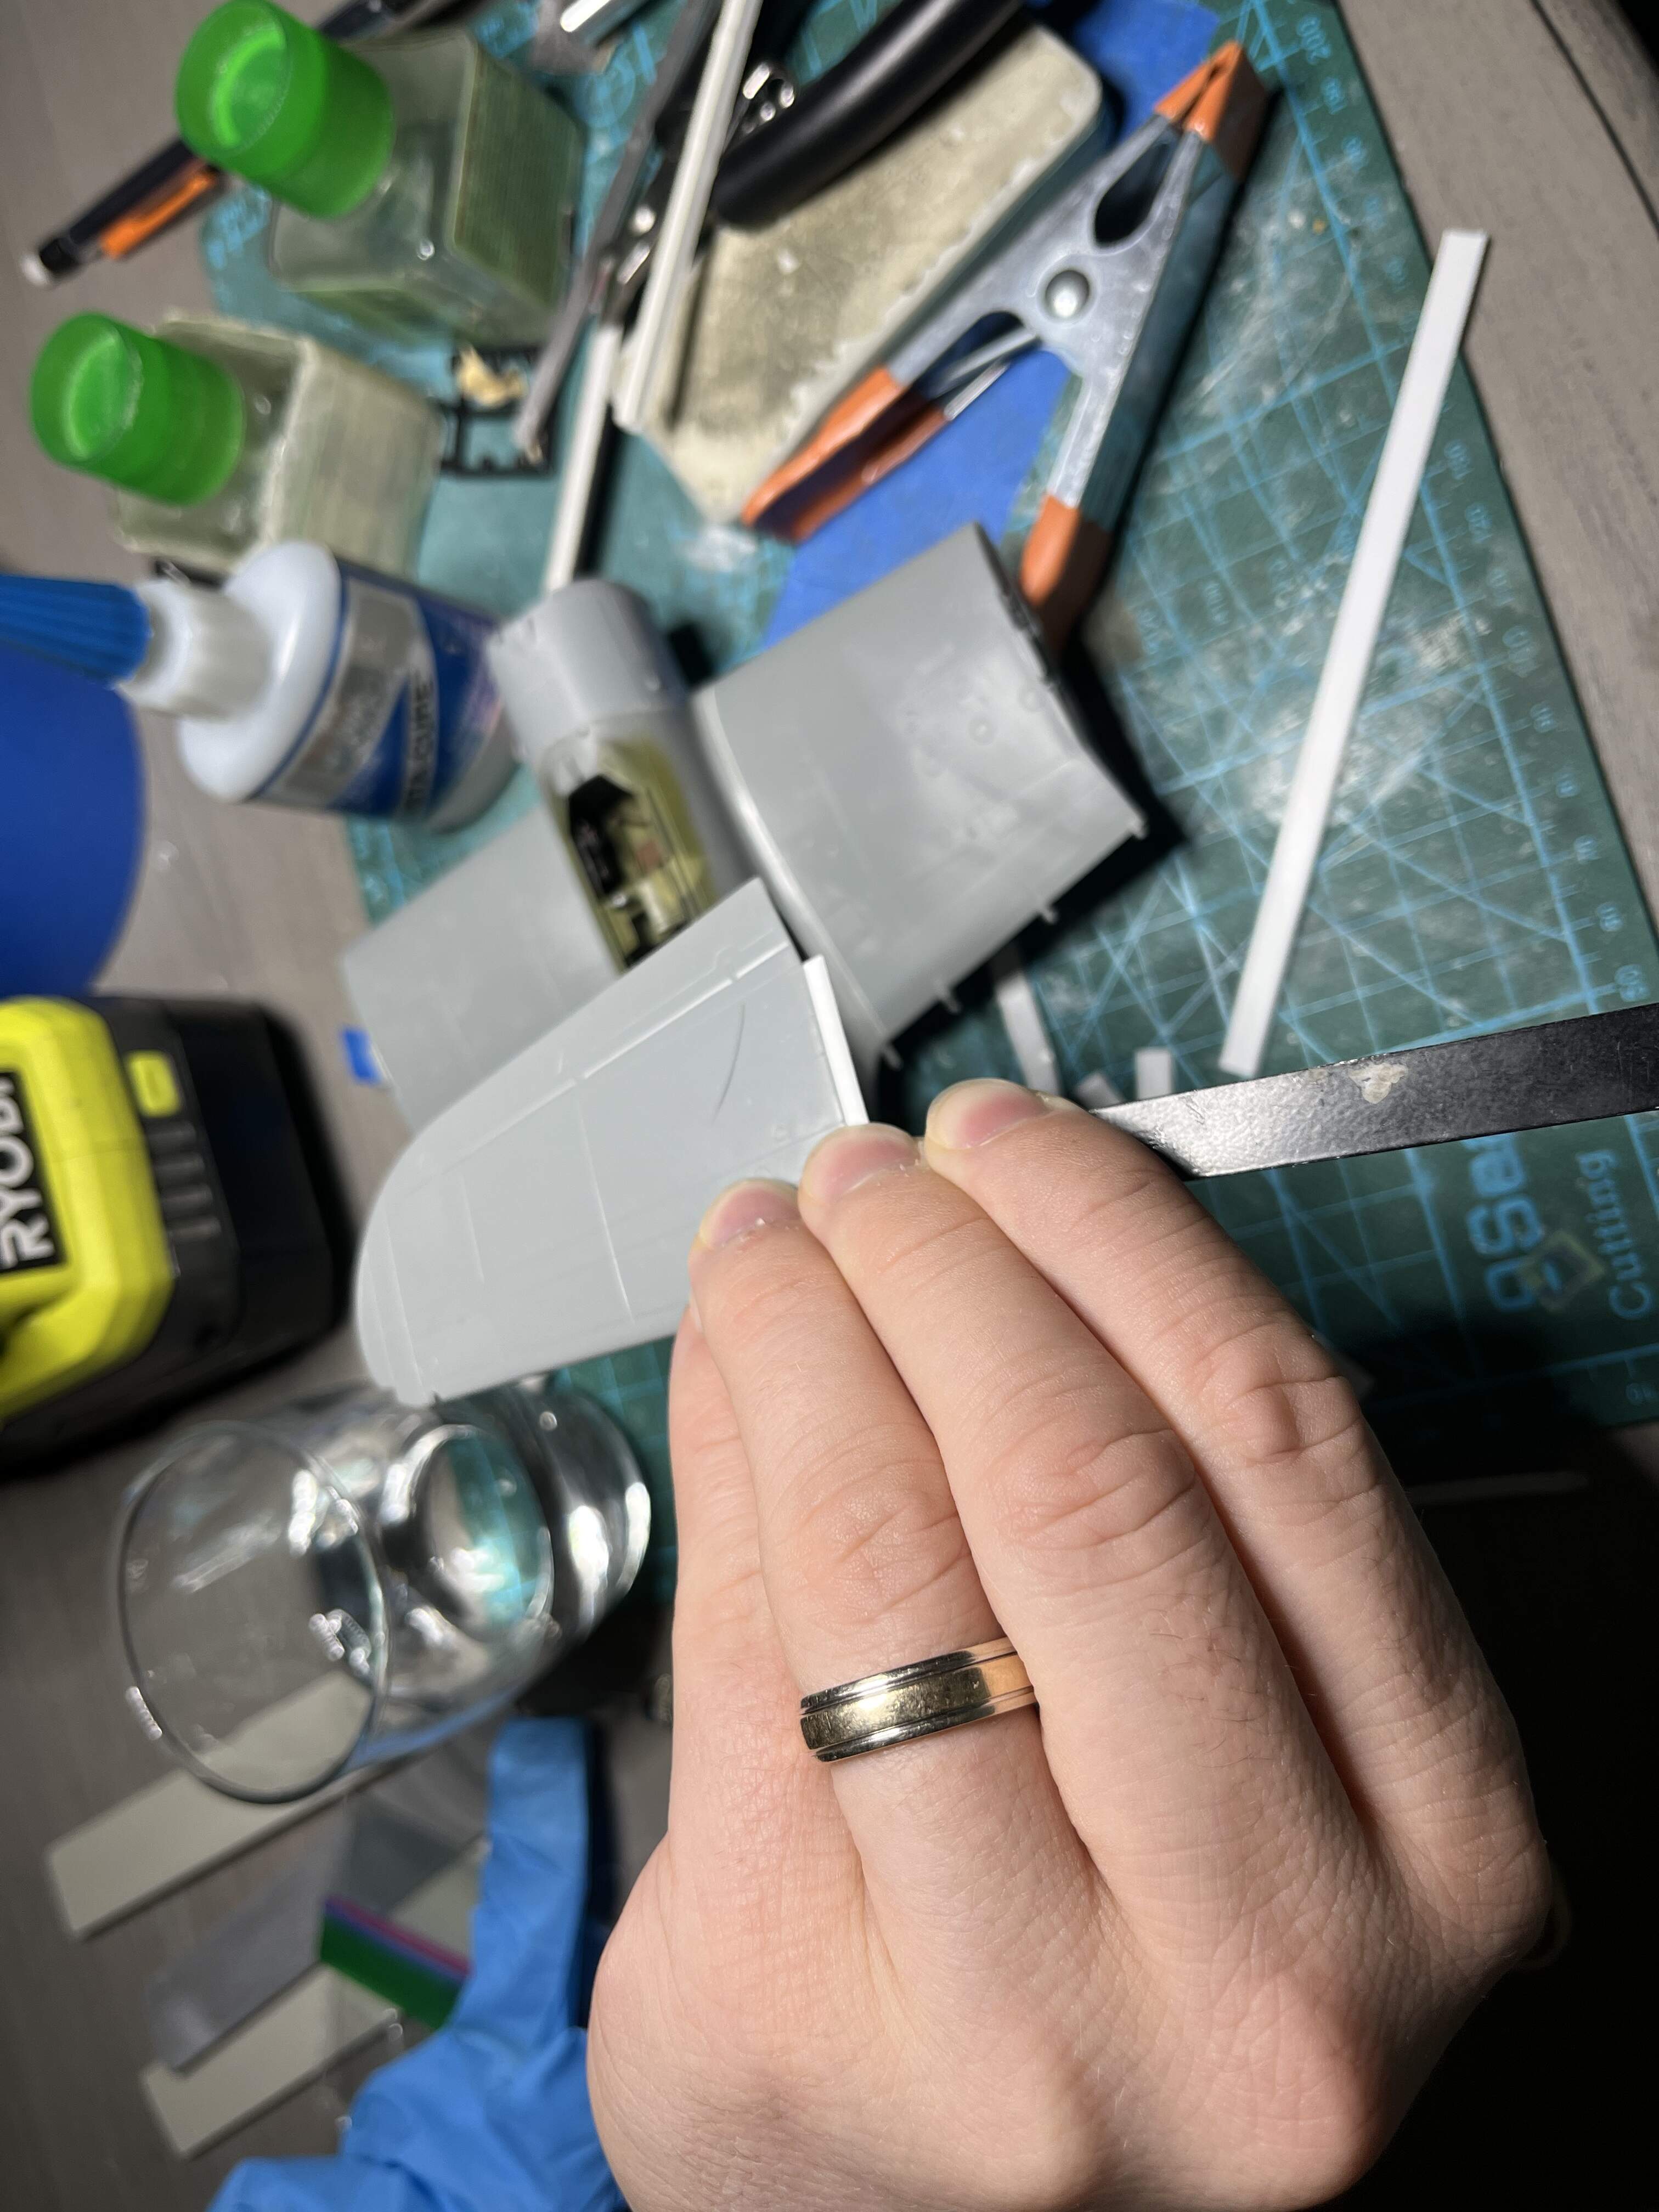
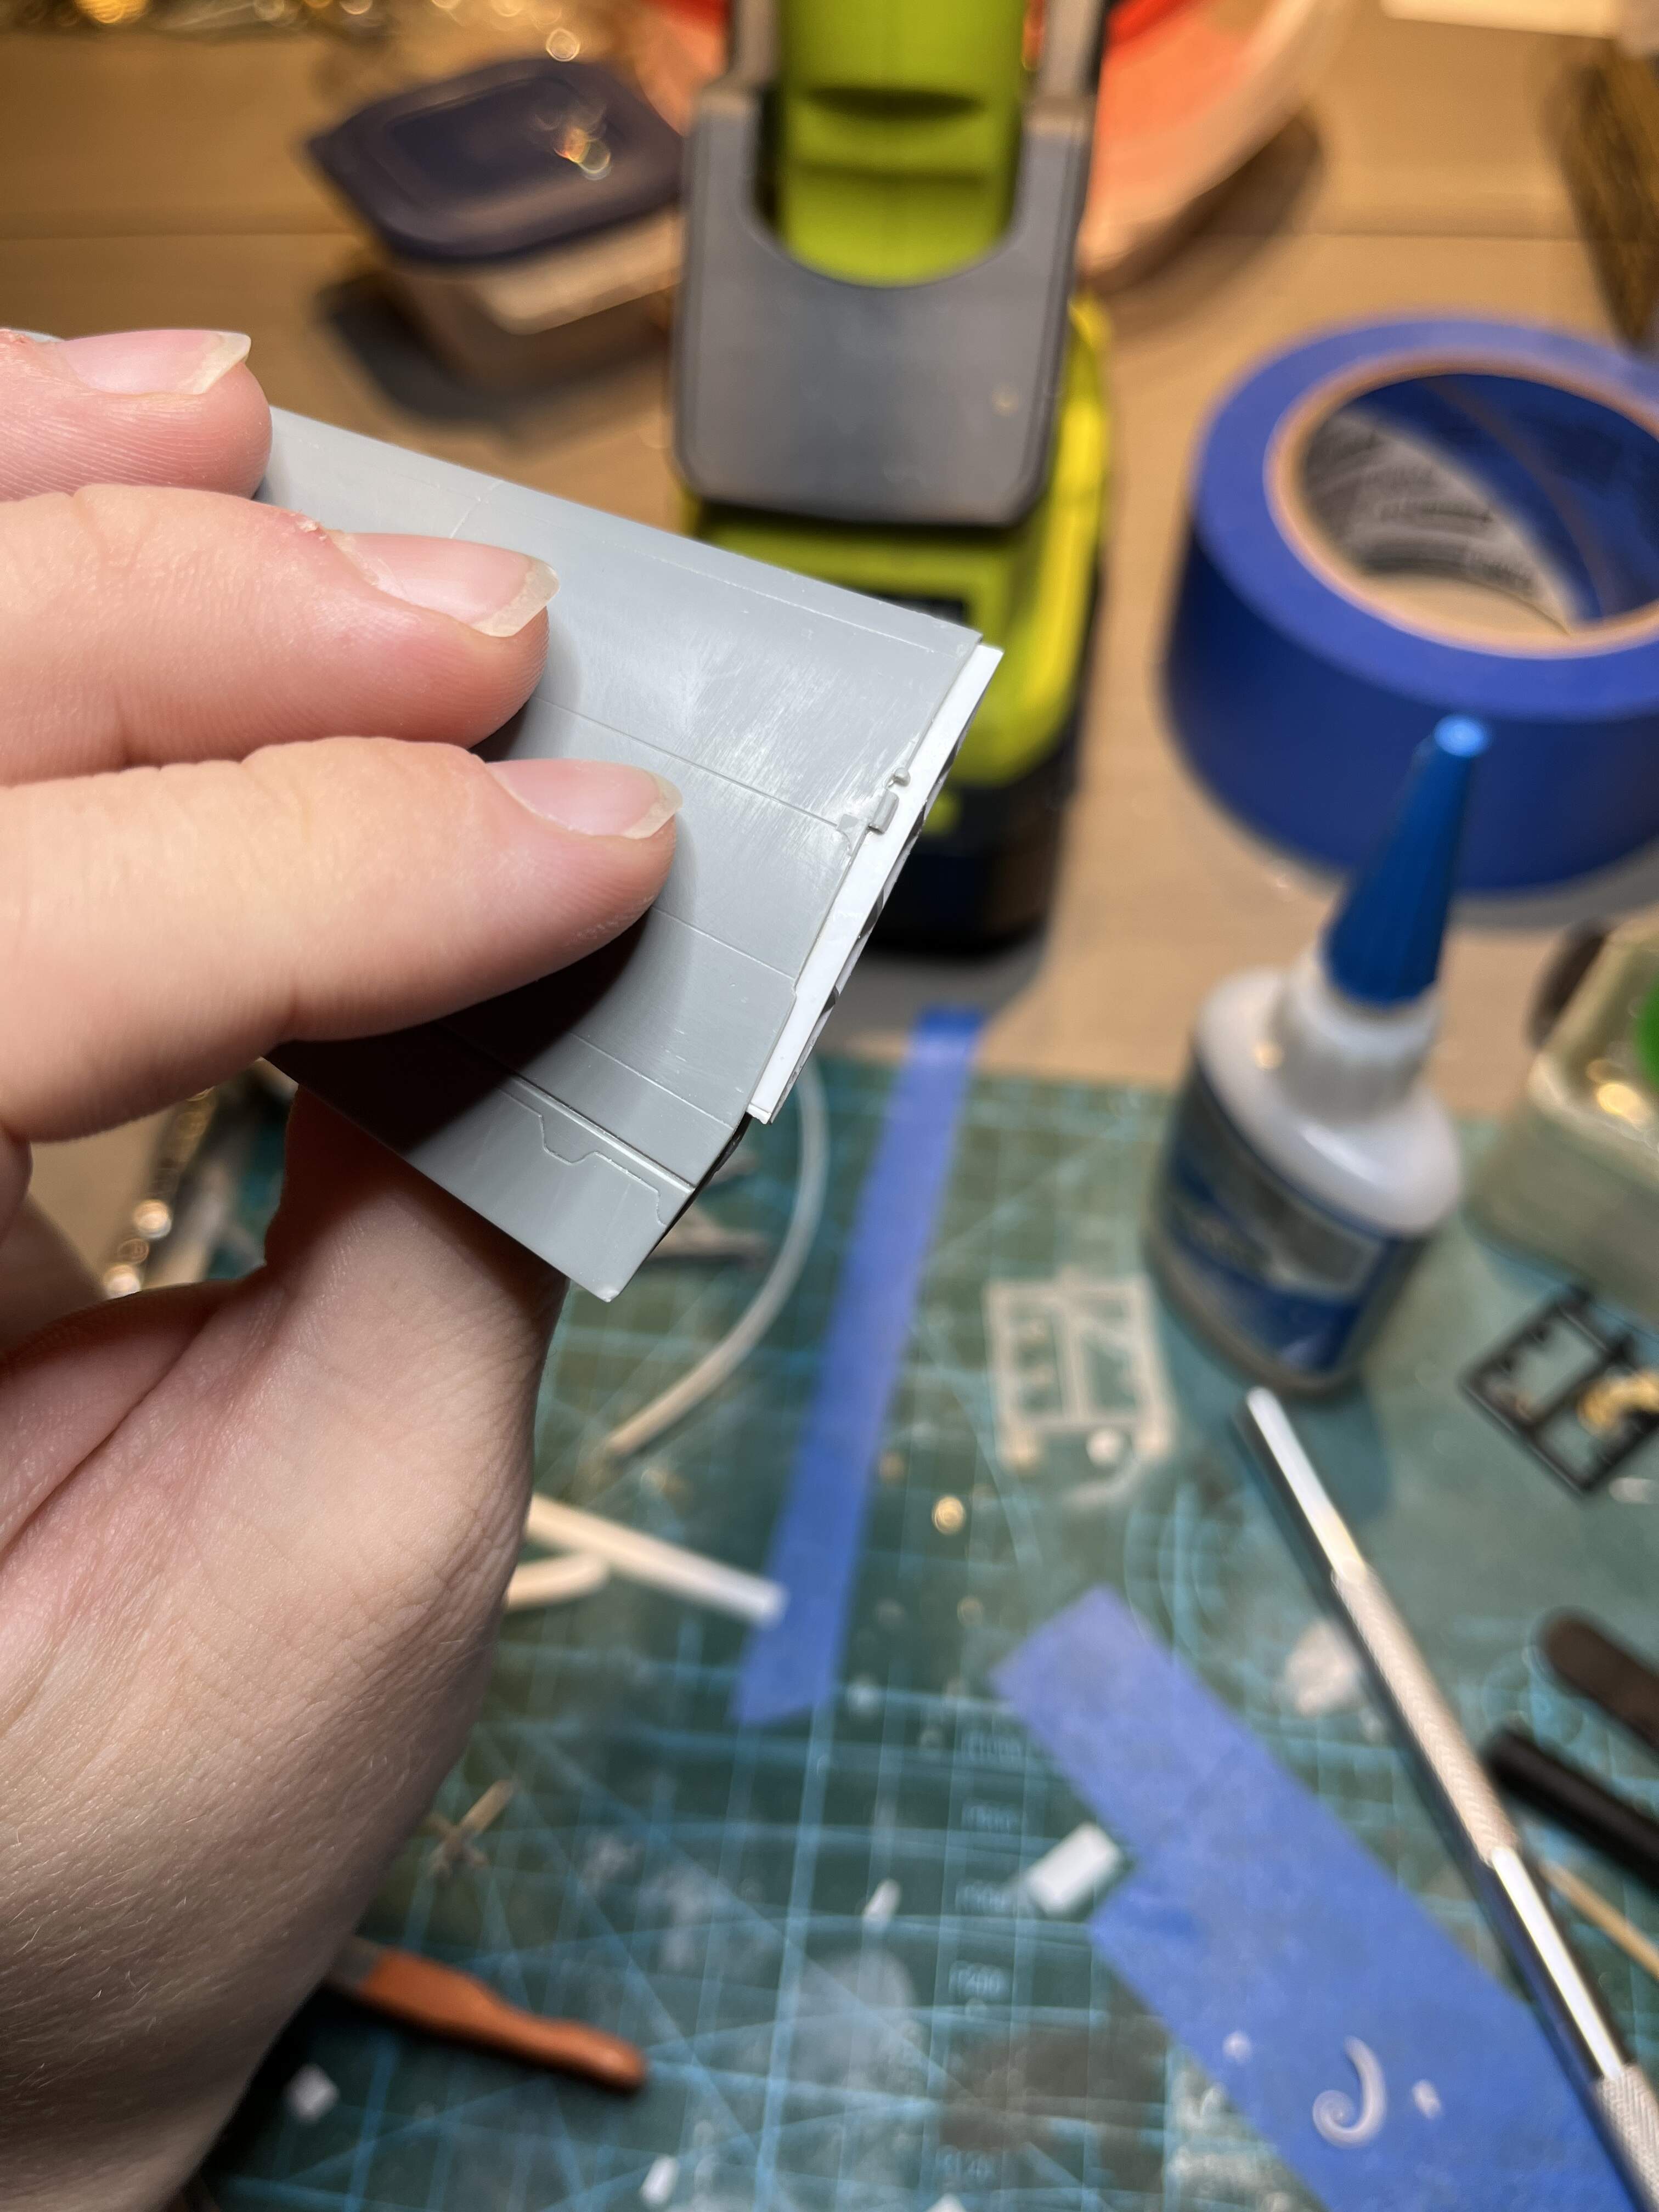
I am thinking of gluing a strip of .02” styrene around the lip on top and bottom to help guide the wing halves together and give it some more surface area for glue as so
I have always hated those folding wings on kits. They look Cool but never work. My first encounter was in the early 70’s with Revells 1/32 F4F Wildcat and then their Corsair. Building them with the wings down was all but impossible. They finally succumbed to a few well placed fireworks on the 4th of July.
Yeah the wings in this kit are frustrating me to no end, the rest of the kit is quite nice and fits perfect, but the wings are extremely poorly designed
For a stronger bond add strips lengthways, not across the lip. That gives you much more area to glue inside the wing. Ideally, use some square rod that fits just inside (you may need to sand it down a tad) so you can glue top and bottom wings to it, then It will be held in straight and will form a strong point to glue inside the fuselage section of wing.
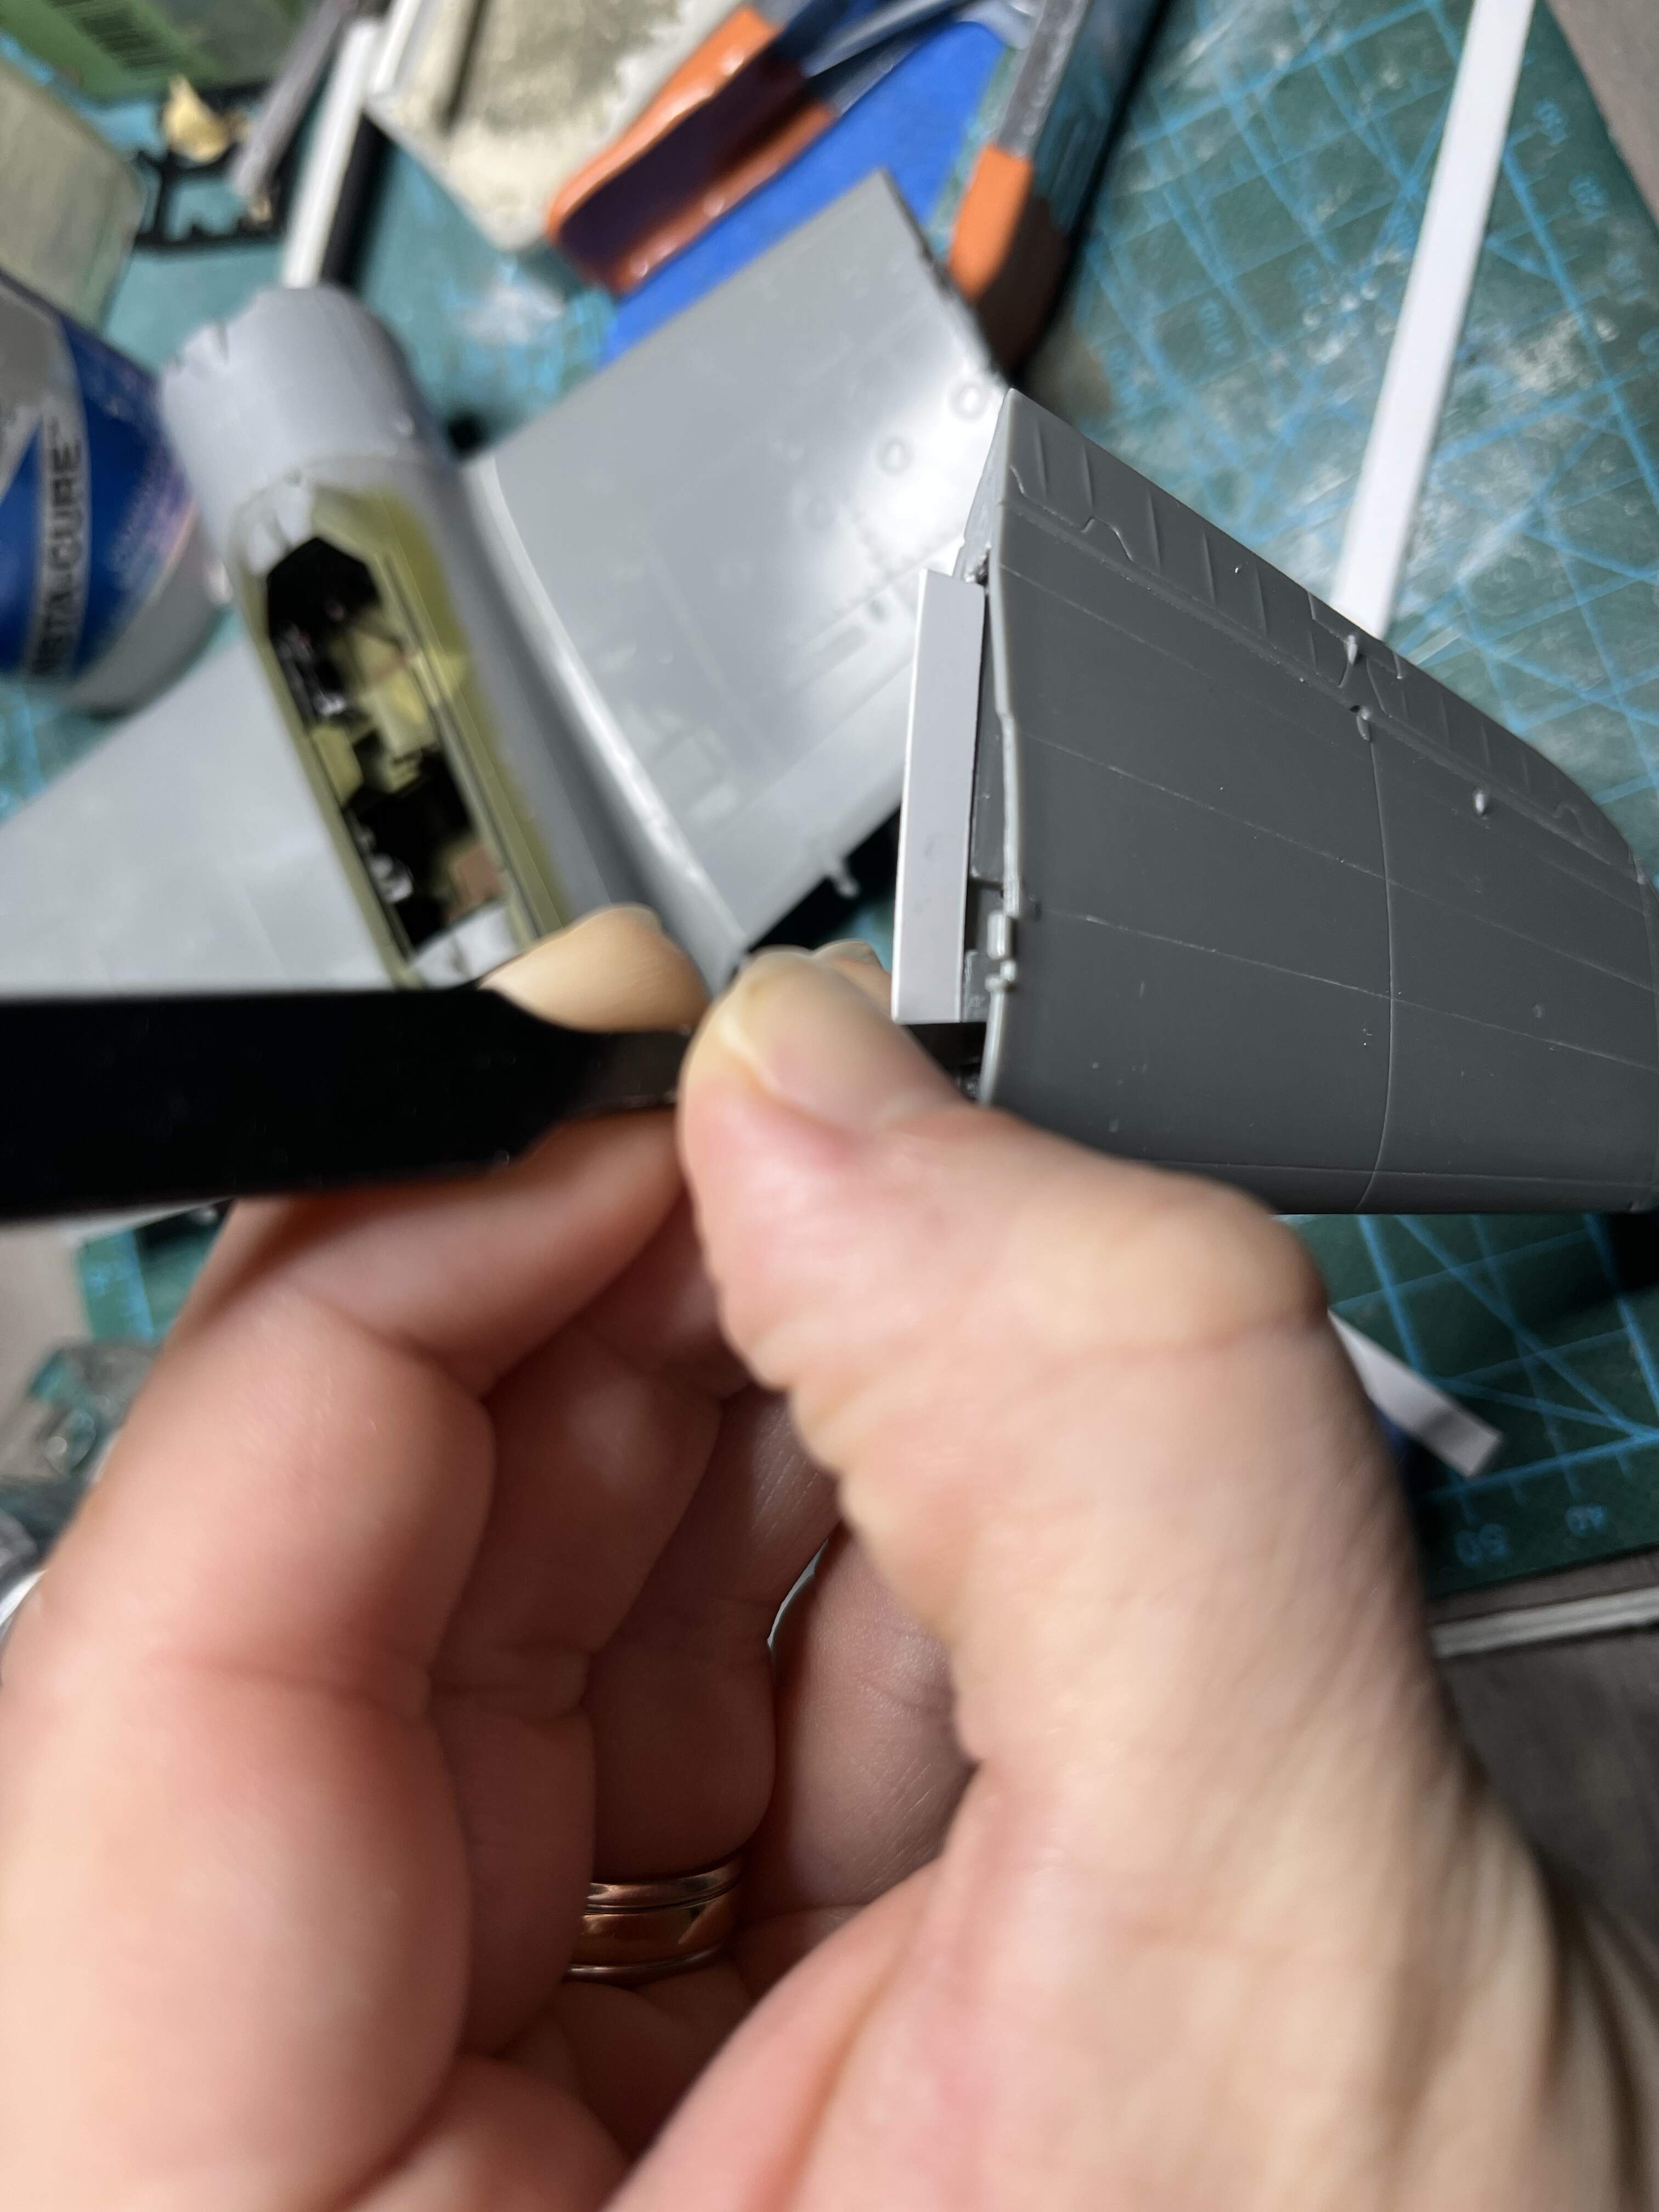
I don’t think I have ever been this frustrated with a kit… I tried the idea by @petbat but it’s hard to get the spans the right shape/size. A big problem is that the wing on the fueslage side is quite a bit larger in opening size than the wing tip side so the span would have to taper. The issue is, if it is a tad wide it forces the wing open and you get a step, too narrow and it doesn’t offer the support I am after
Edit:
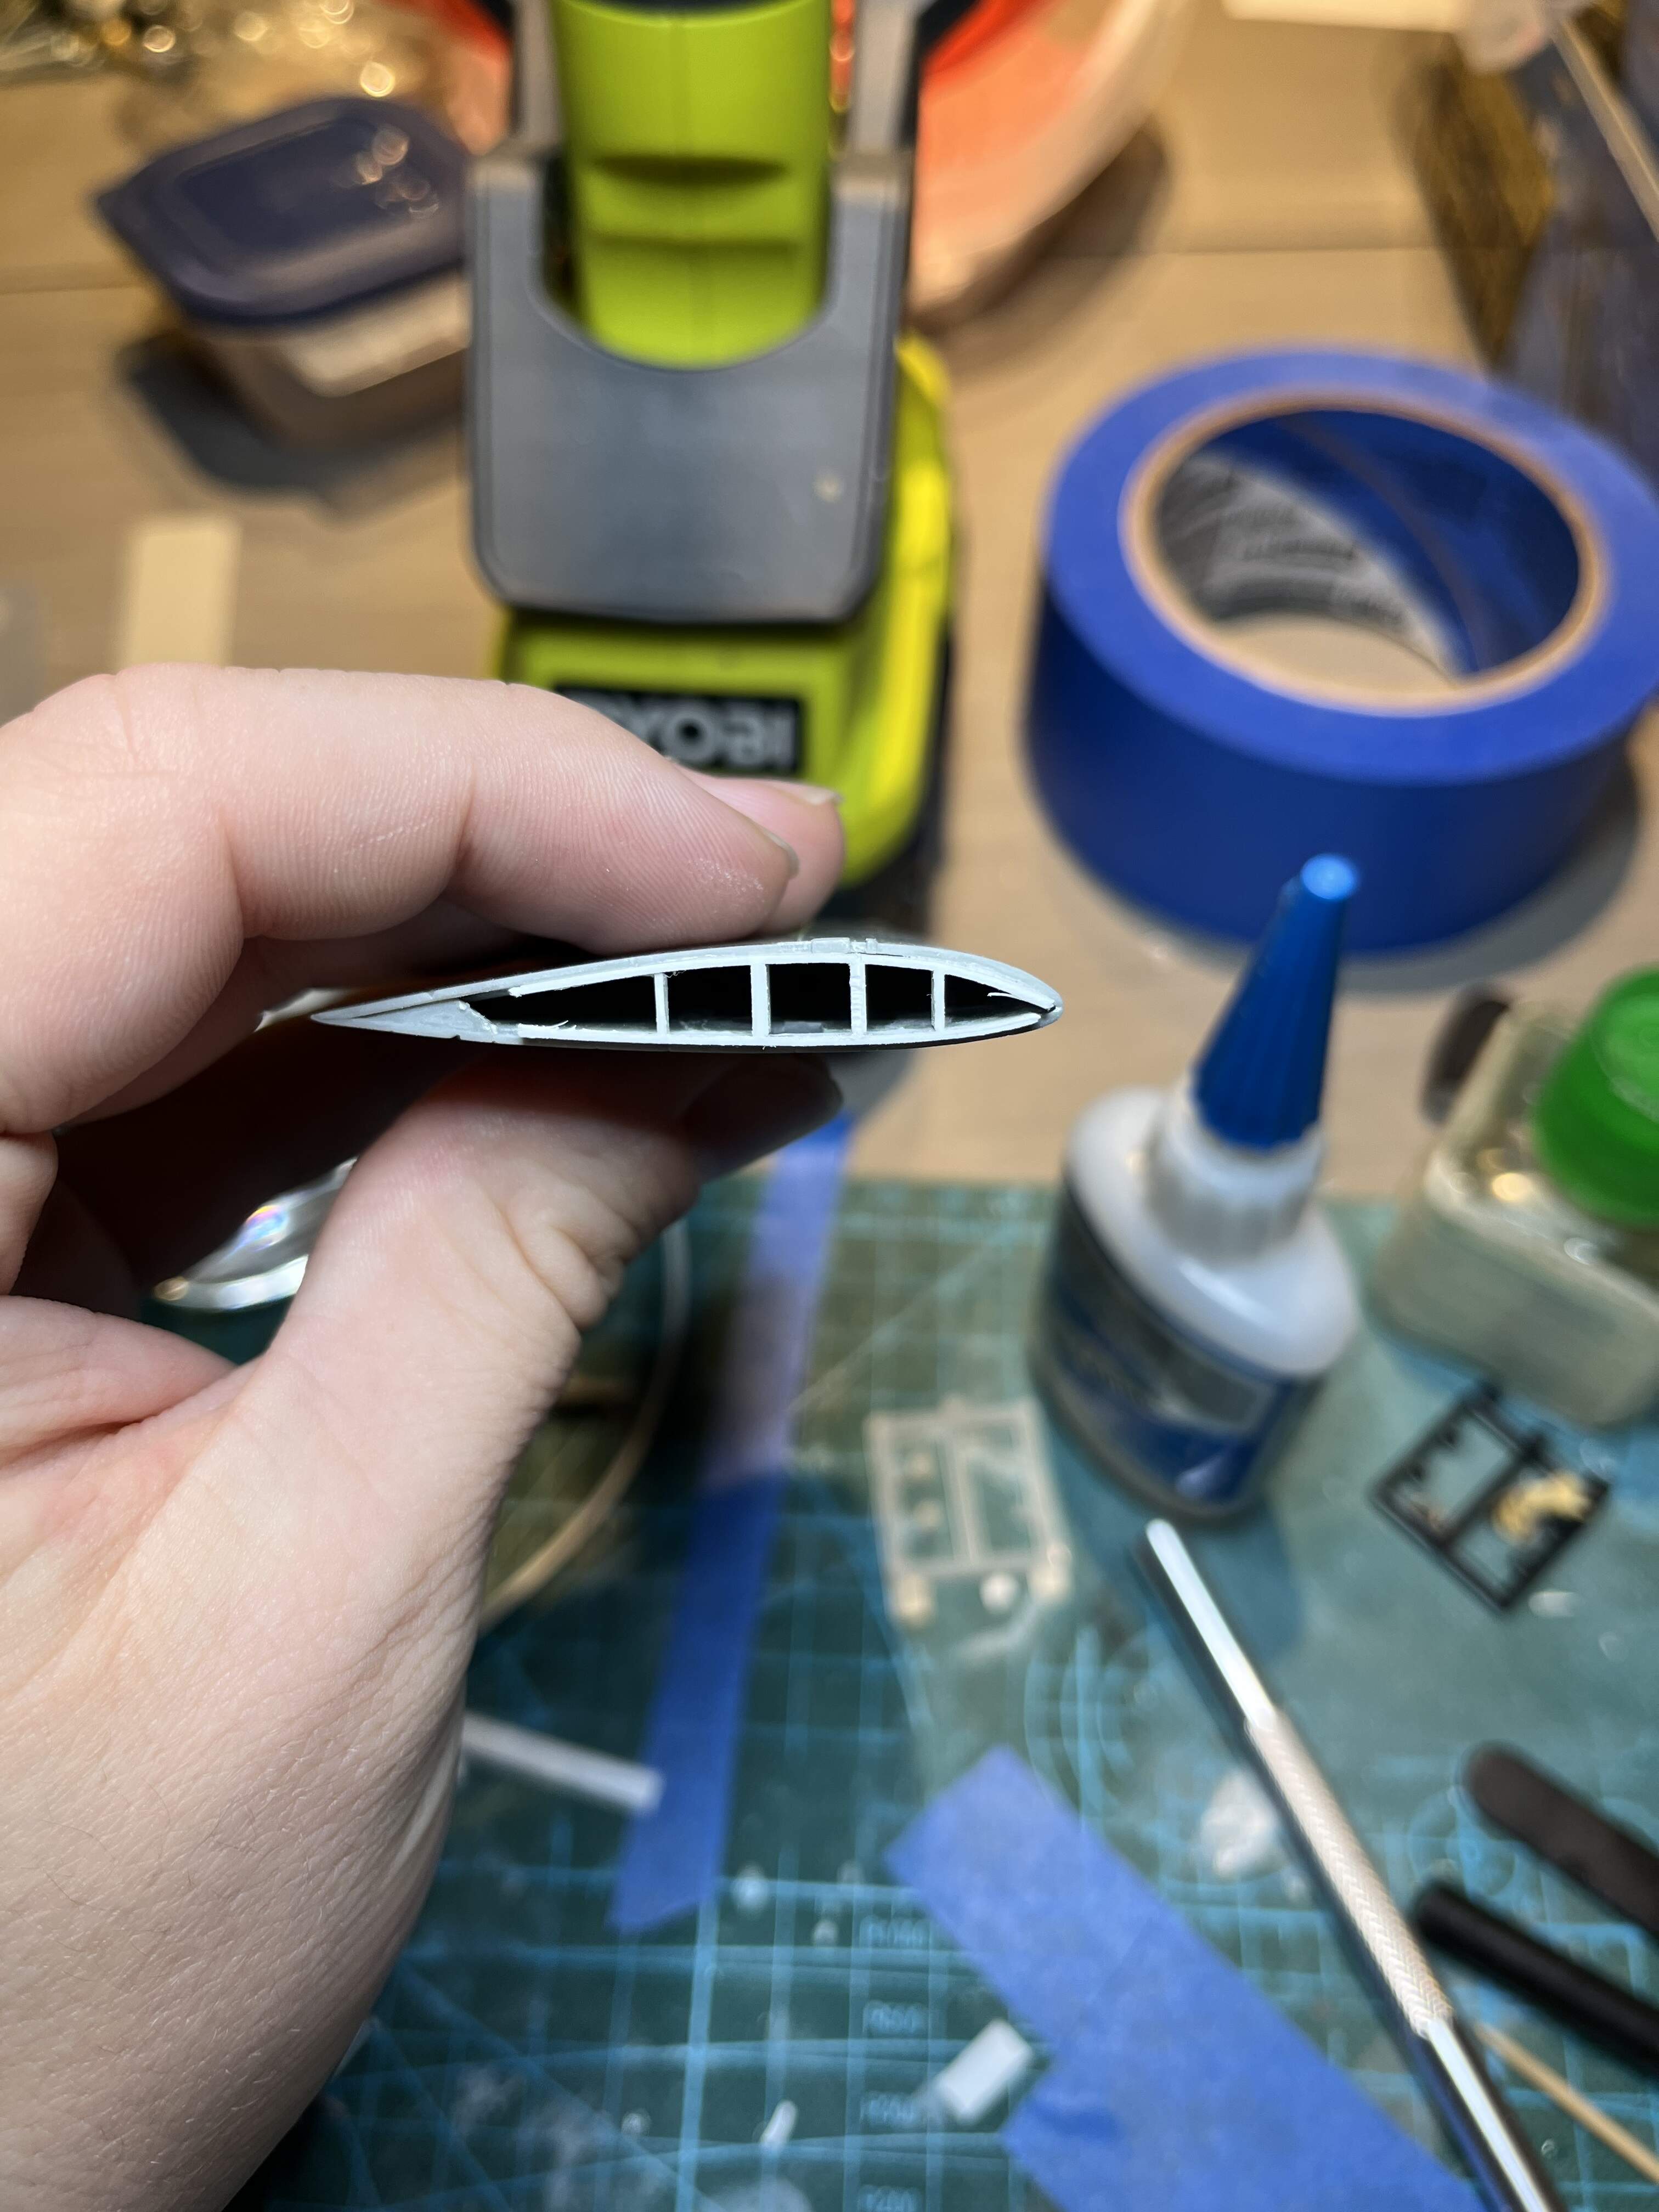
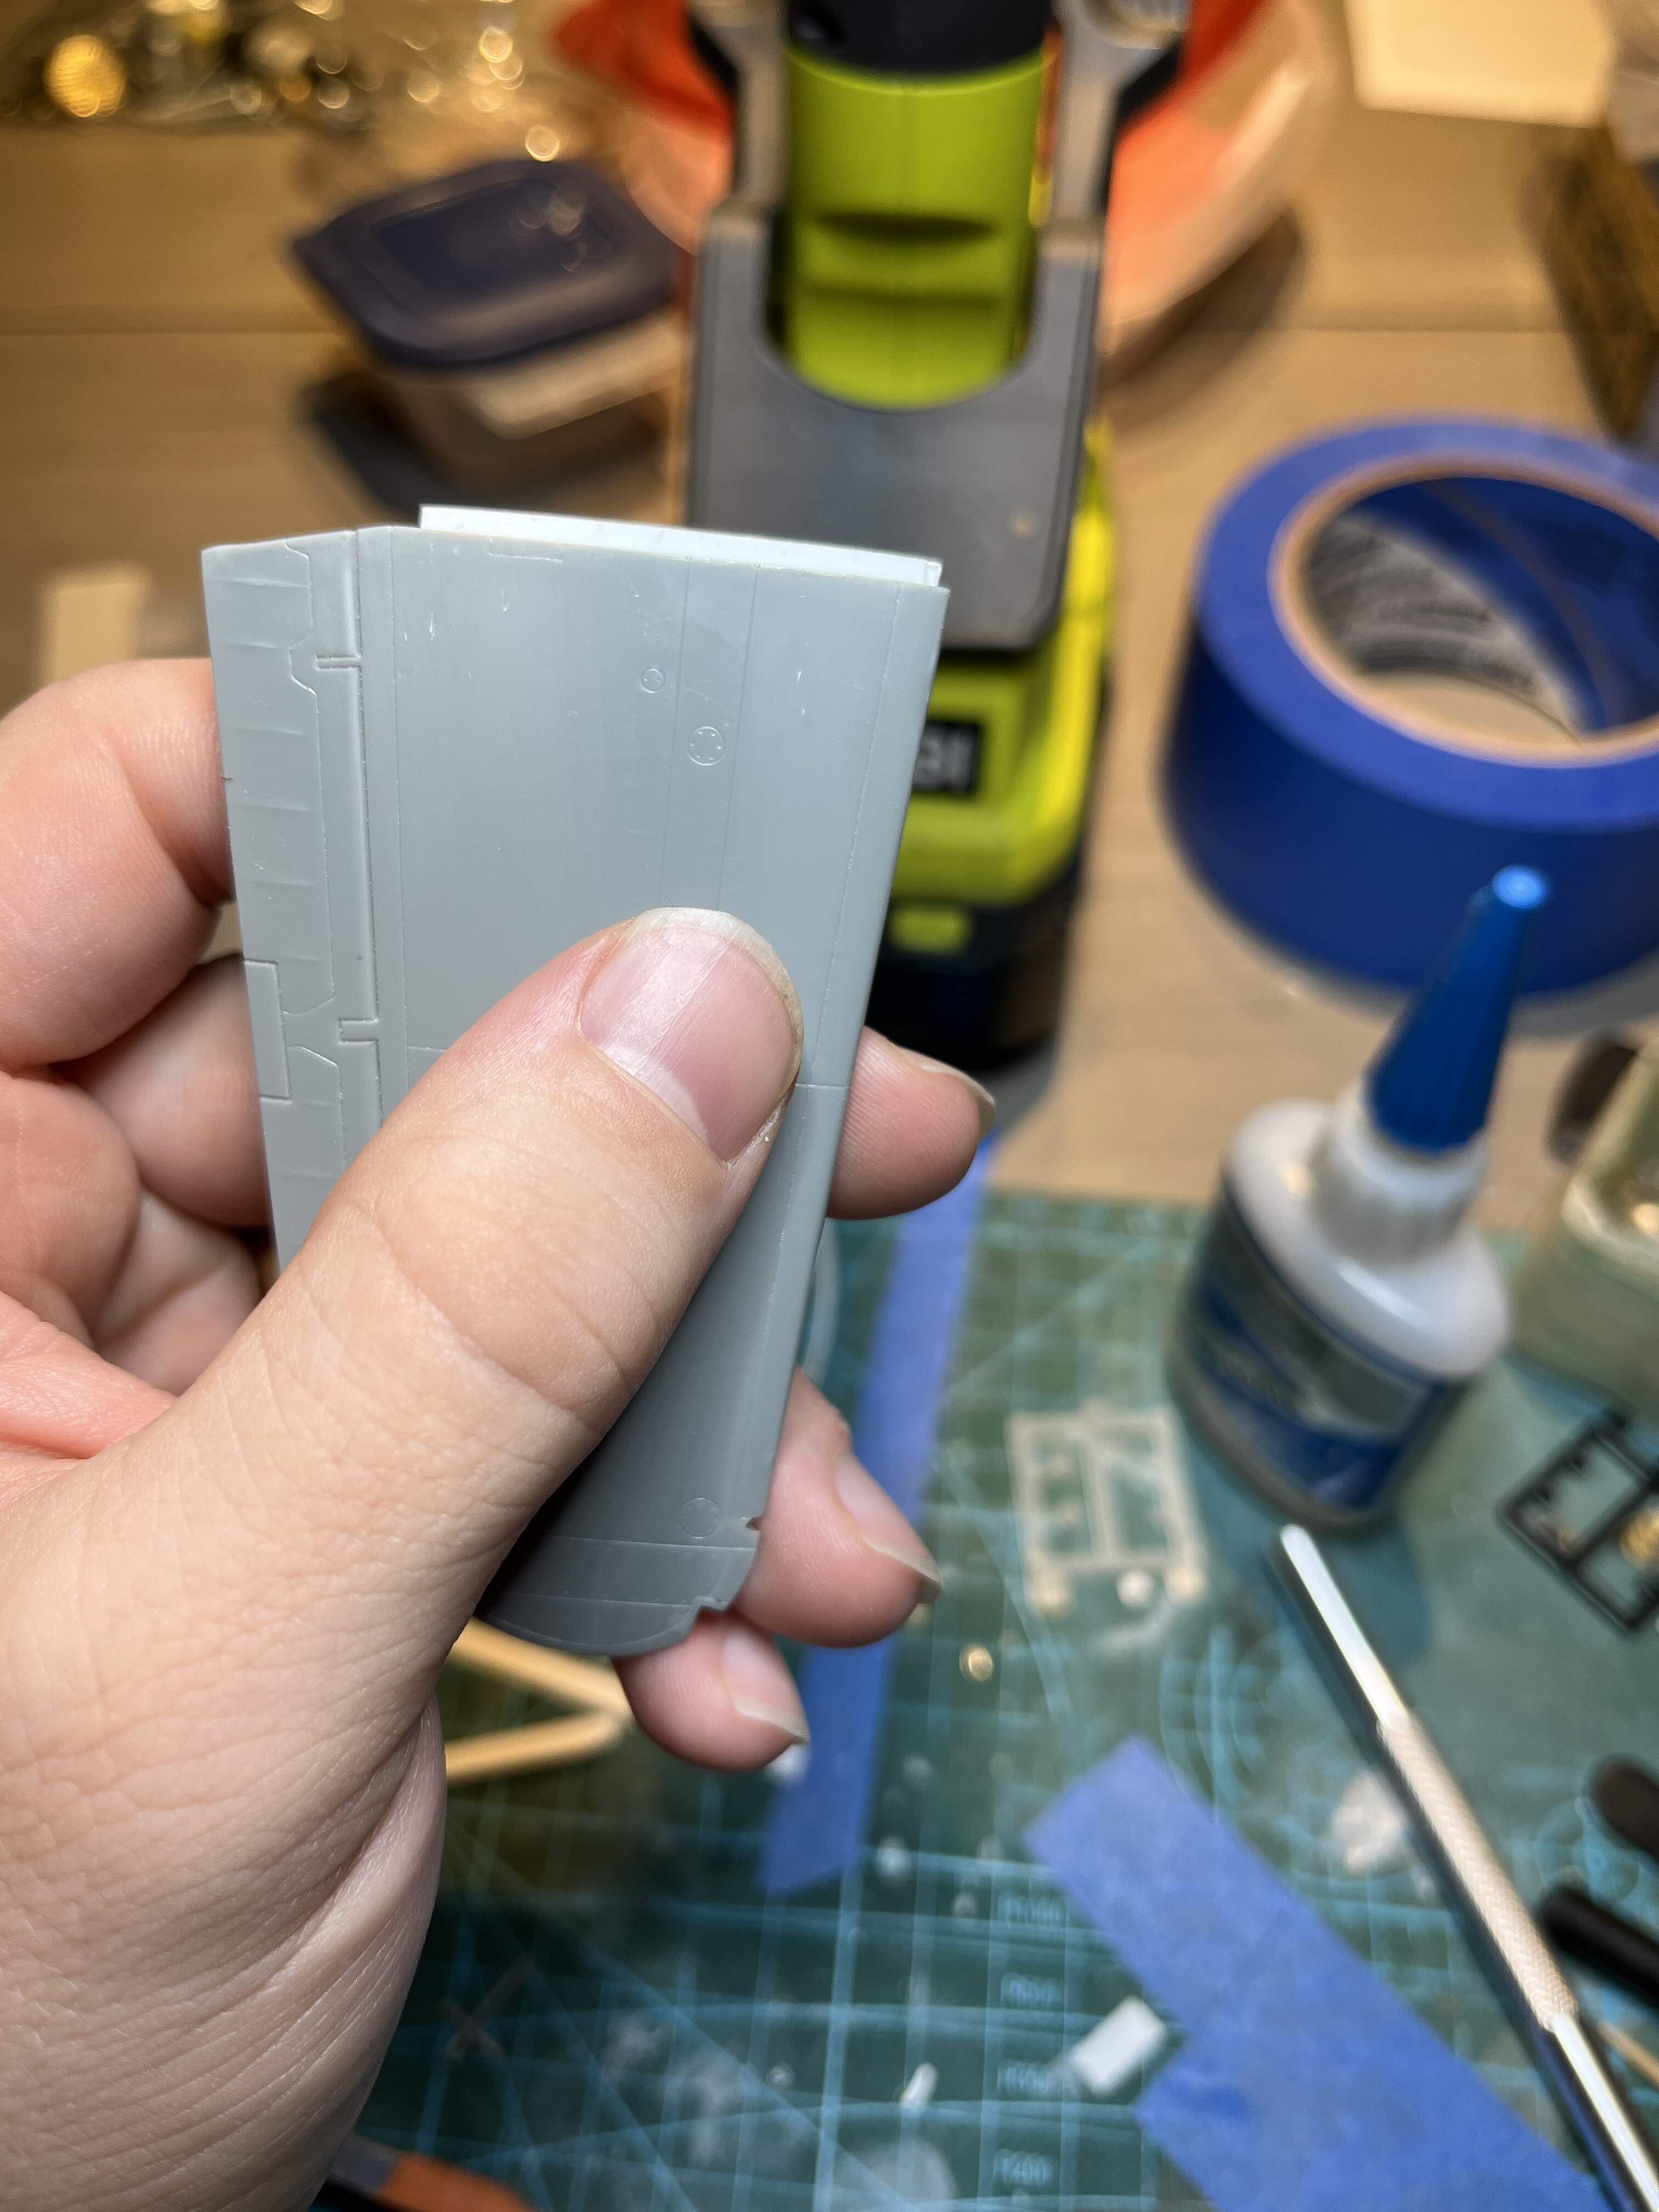
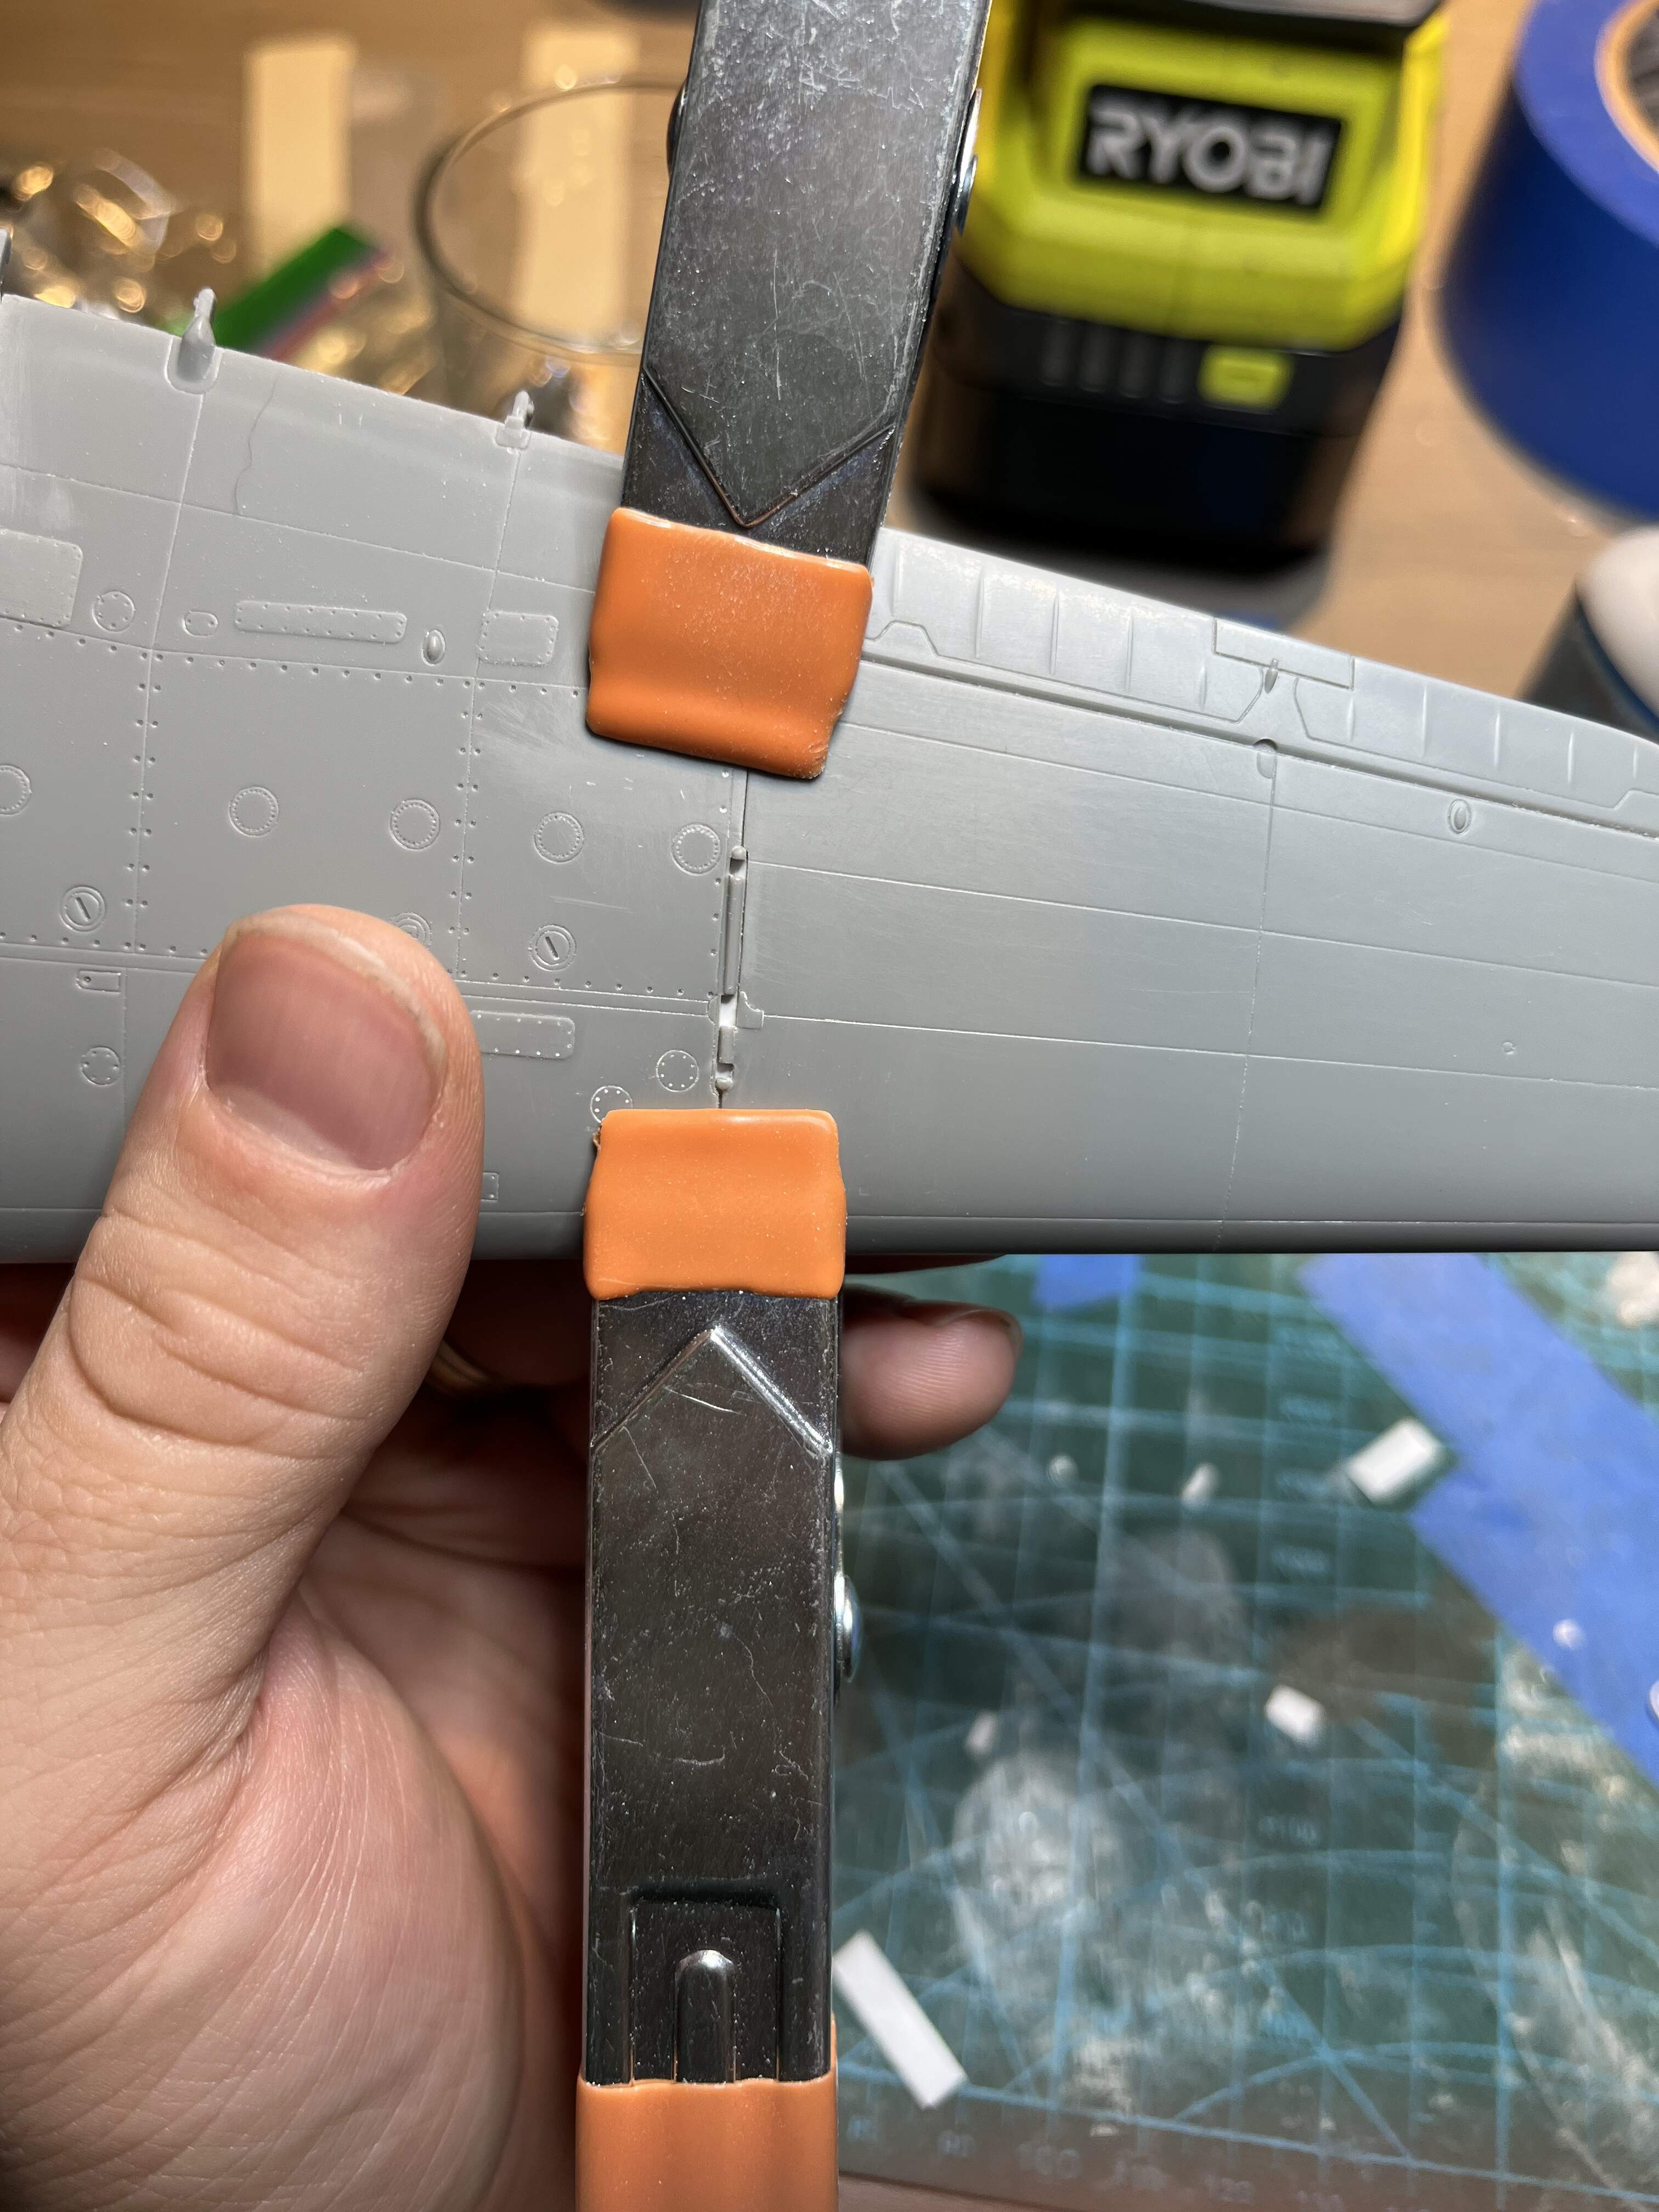
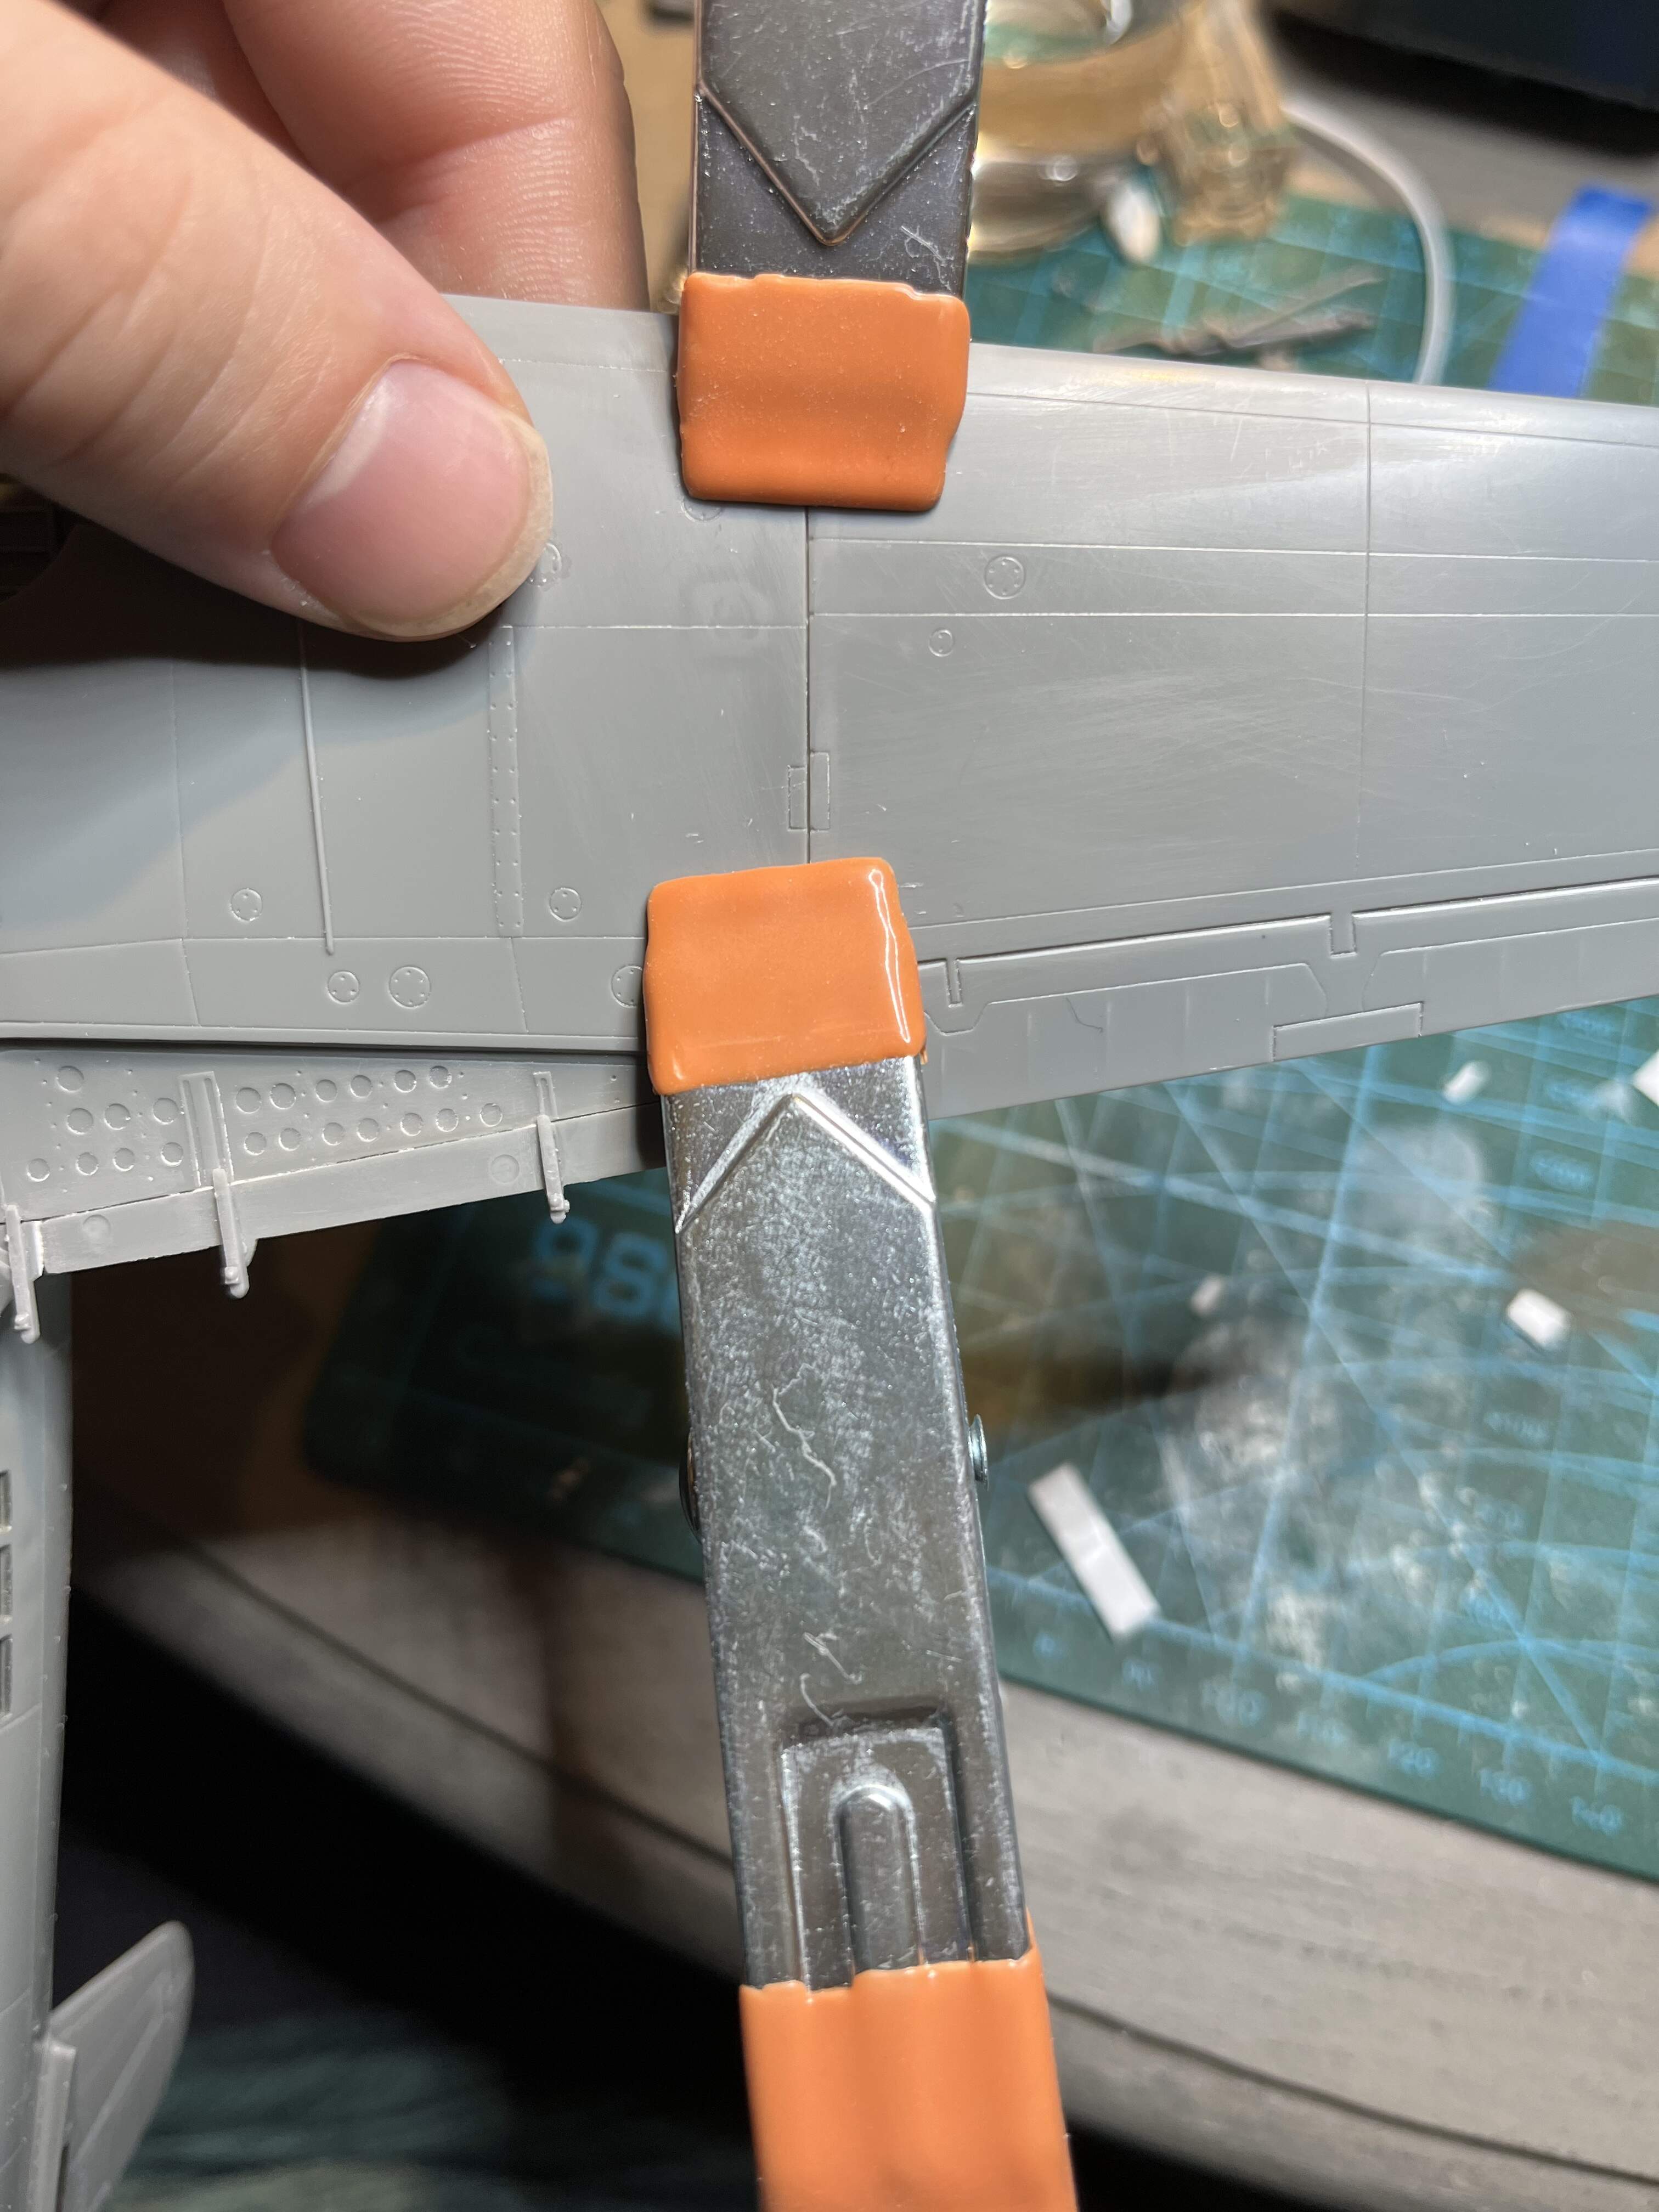
Okay I went back to my original plan, with strip styrene on the lip. I agree with Petbat that this wouldn’t be as strong as length wise spans, but this made it easier to get alignement. I reinforced it with length wise ribs. This is quite strong now.
However it greatly helps with alignment and gives a nice strong base for clamping. Using this, I snug the two wing halves together and then use clamps. The idea being that the clamps force the outer and inner wings so there is no step and ensures both are at the same angle.
@Mead93 you’re quite the inspiration to me hanging in there like this and coming up with these solutions. I’ve never built Hasegawa’s Jill. It’s on my to-do list but watching your tribulations, I don’t know if I want to put in the fuss.
I am bookmarking what you’re doing here because of all of your solutions to the wing problems. As well as suggestions by the other people.