Really looking forward to this. I’ve always wanted a Tamiya Betty.
Thanks Fred! The Betty can be had reasonably inexpensive, but you have to look. Took me a few years, but got one online (E-Bay for ~30 USD) which included all the extras and another at a show for 20.
Also, saw your list above for Joe, and it’s a good one regarding the Hayate. As one that might be building Tamiya’s Ki-84 for this campaign I’d also suggest these:
- SBS (Made in Hungary) 48023 Resin cockpit for Hasegawa
- SBS (Made in Hungary) 48023 Resin cockpit for Hasegawa
- SBS 48020 Resin seats with PE belts
- CMK (Czech company) 4135 Resin cockpit, PE belts and IP, VF canopy for Hasegawa
- Pmask (made in Poland) Pk48102Y Masks for the Tamiya kit
The SBS and Pmask items were purchased through Dauntless Hobbies (Rebelalpha on E-Bay) and were very reasonable, used the Pmask for the Tamiya Zero and fit the canopy perfect. The other things I got with the Tamiya Ki-84 in mind, and test fitting shows that not too much effort would be needed to make it all work. Though, if one can get past the instrument panel issue on the Tamiya kit, the seats alone would greatly enhance the end result, as once the fuselage is closed the seat becomes the most prominent feature. Hope that helps!
1 Like
that’s scotts model workshop. i’ve ordered from him before too. i’ll check it out, the seat in the kit is garbage. you using the kit decals?
Joe
1 Like
Thanks, none of them say what kit they are for but i could make them fit. if not it gives me an excuse to go buy the Hasegawa kit ![]() .
.
Hey Joe, yes Scott is the owner, and he does a great job, highly recommend him. Living in Malaysia I’m pleased that the shipping doesn’t cost an arm and leg, and his combined shipping is low for each additional item. Regarding the decals, Tamiya pre 1996 decals suffer from being overly thick and tend to not want to leave the carrier (I’ve found decals over 20 years of age tend to be rather iffy). For the hinomaru’s (the red circle sometimes surrounded with with white) I’ll be painting them, and the unit markings and limited stencils will come my decal dungeon.
Hi joe, the list does tell what kit it is for, the middle column “Description.” It’ll say what the aftermarket set is, and then the manufacturer is usually on the bottom. Right most column is scale. It doesn’t give kit numbers but then again, 1/48 scale Tamiya’s, only one show in town.
Love your avatar!
I built this model and finished it in April. It was one of the more recent releases with the Jeep and diorama base with it. The decals worked very well but then again, they’re not 50 years old like presumably yours are. That said, I finished Raiden in January or February, and it is a kit from the 70s, and it’s decals worked well. They feel kind of brittle but my ham-fisted fingers only tore a small piece from a lightningbolt, and they take days to soak and release from the paper but they settled down as well as any Microscale decal.
One thing about the Tamiya that bugs me is the nose seems to be too long. It looks like the cowling is maybe a foot too long or maybe it’s between this cowl flaps and the cockpit, but it just looks a little too long. I have the Hasagawa kit but have never built it. Mine is the see-through type with the photo etch stringers and longerons and other interior equipment. I hope that when we get done packing and moving, if this campaign is still going on, that will be the kit I plan to join with.
I’ve ordered from Rebel Alpha several times. Good guy. I’ve seen Scott’s model Works listed but did not know it’s the same guy, although his eBay site states Dauntless hobbies. I snared three boxes of Redbox Japanese aircrew figures. I bought several other things from him but I can’t remember what right off other than a resin cockpit for the Hasagawa Curtis SOC Seagull.
big updates:
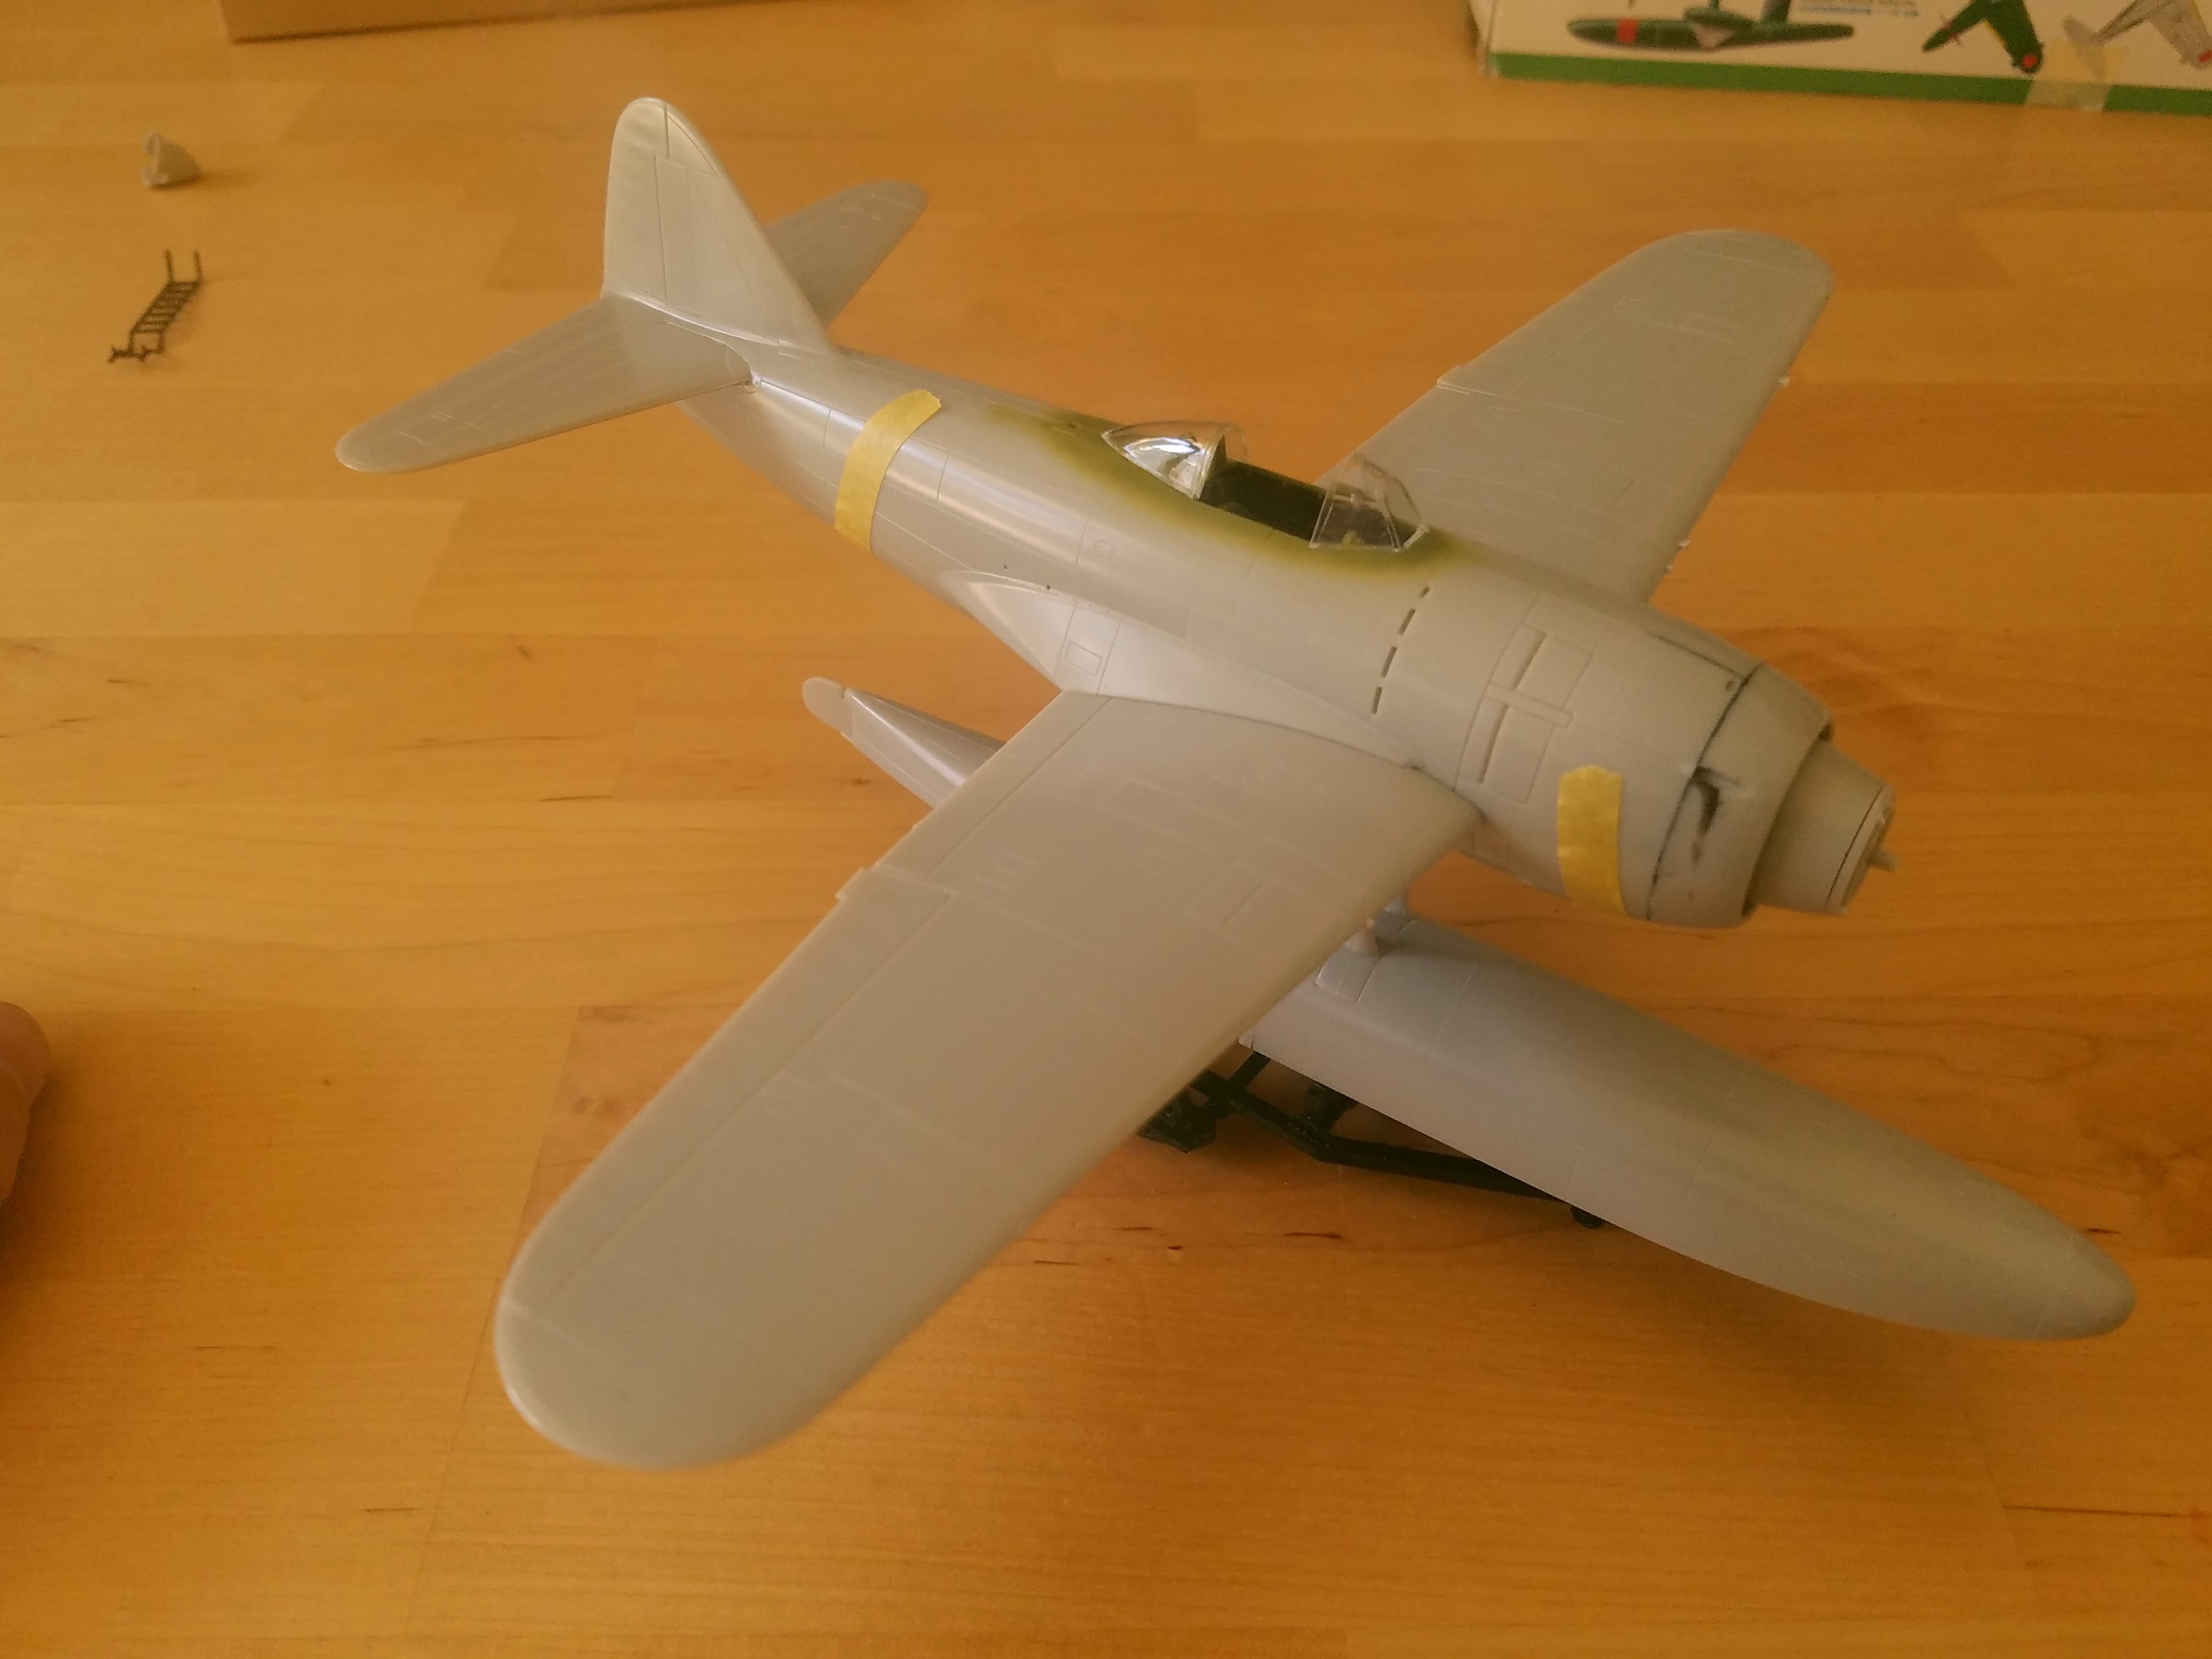
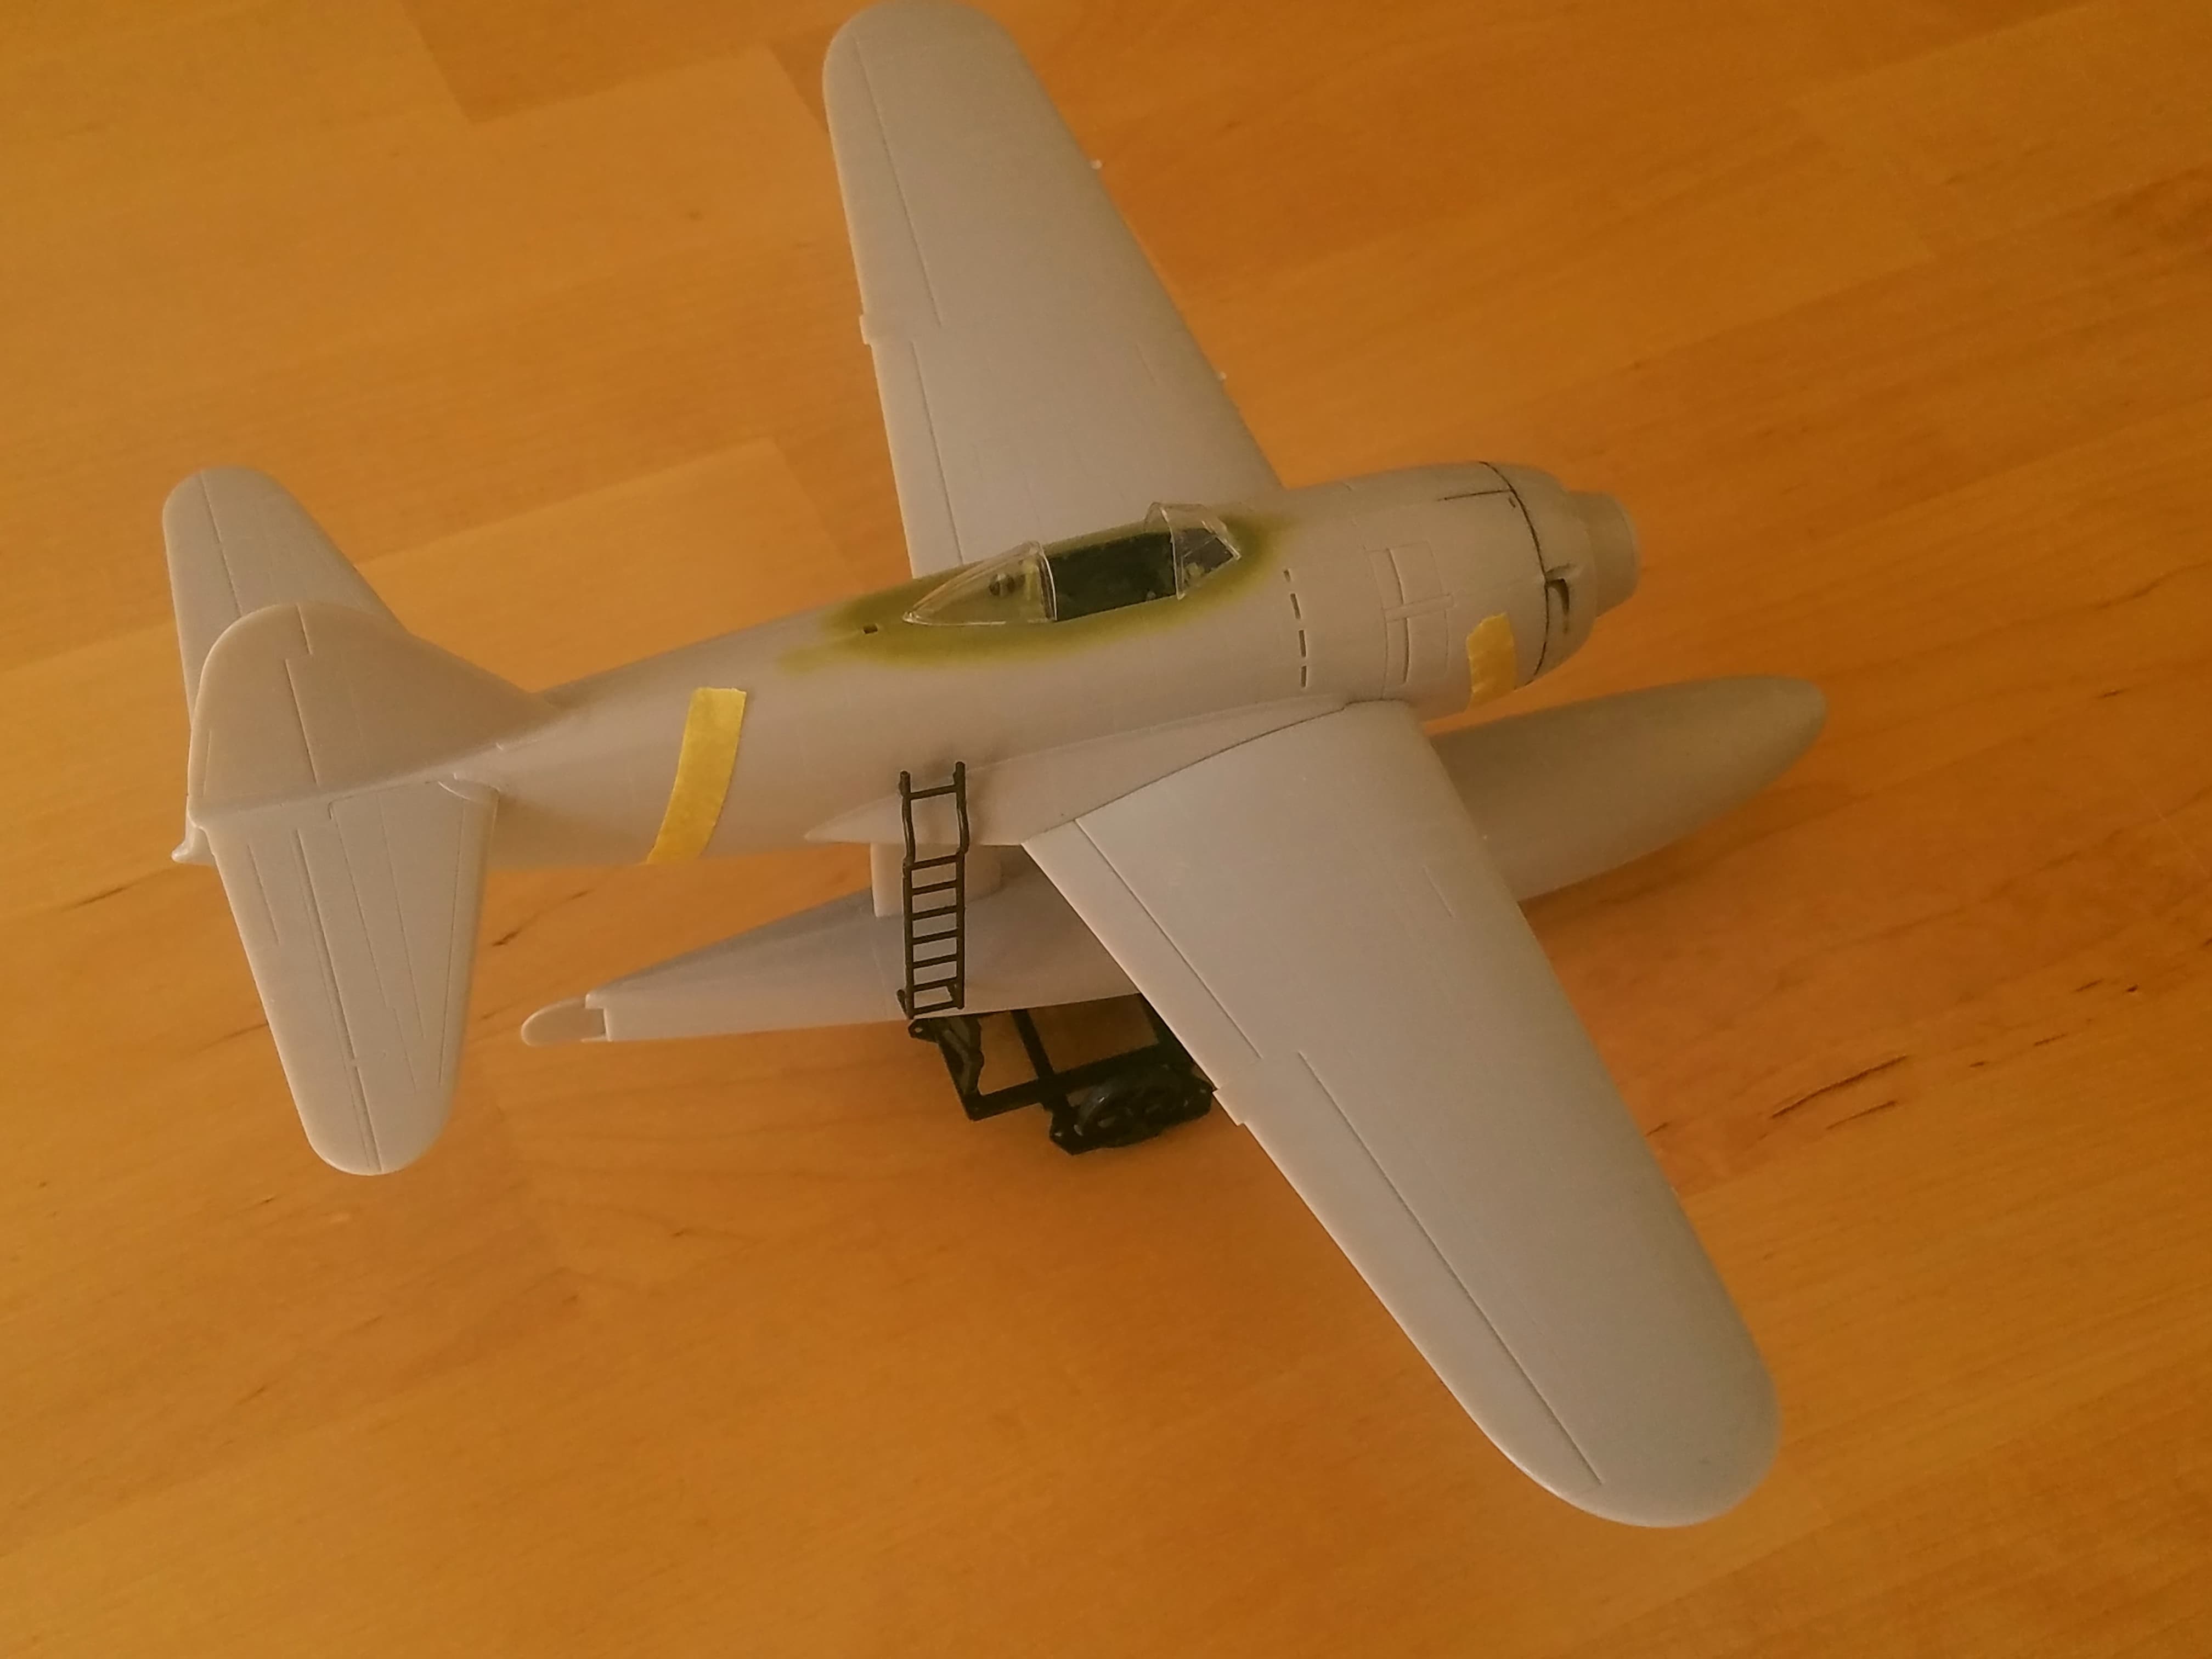
kyofu is ready for priming:
and i’ve builded last weekend the type 2 KaMi:
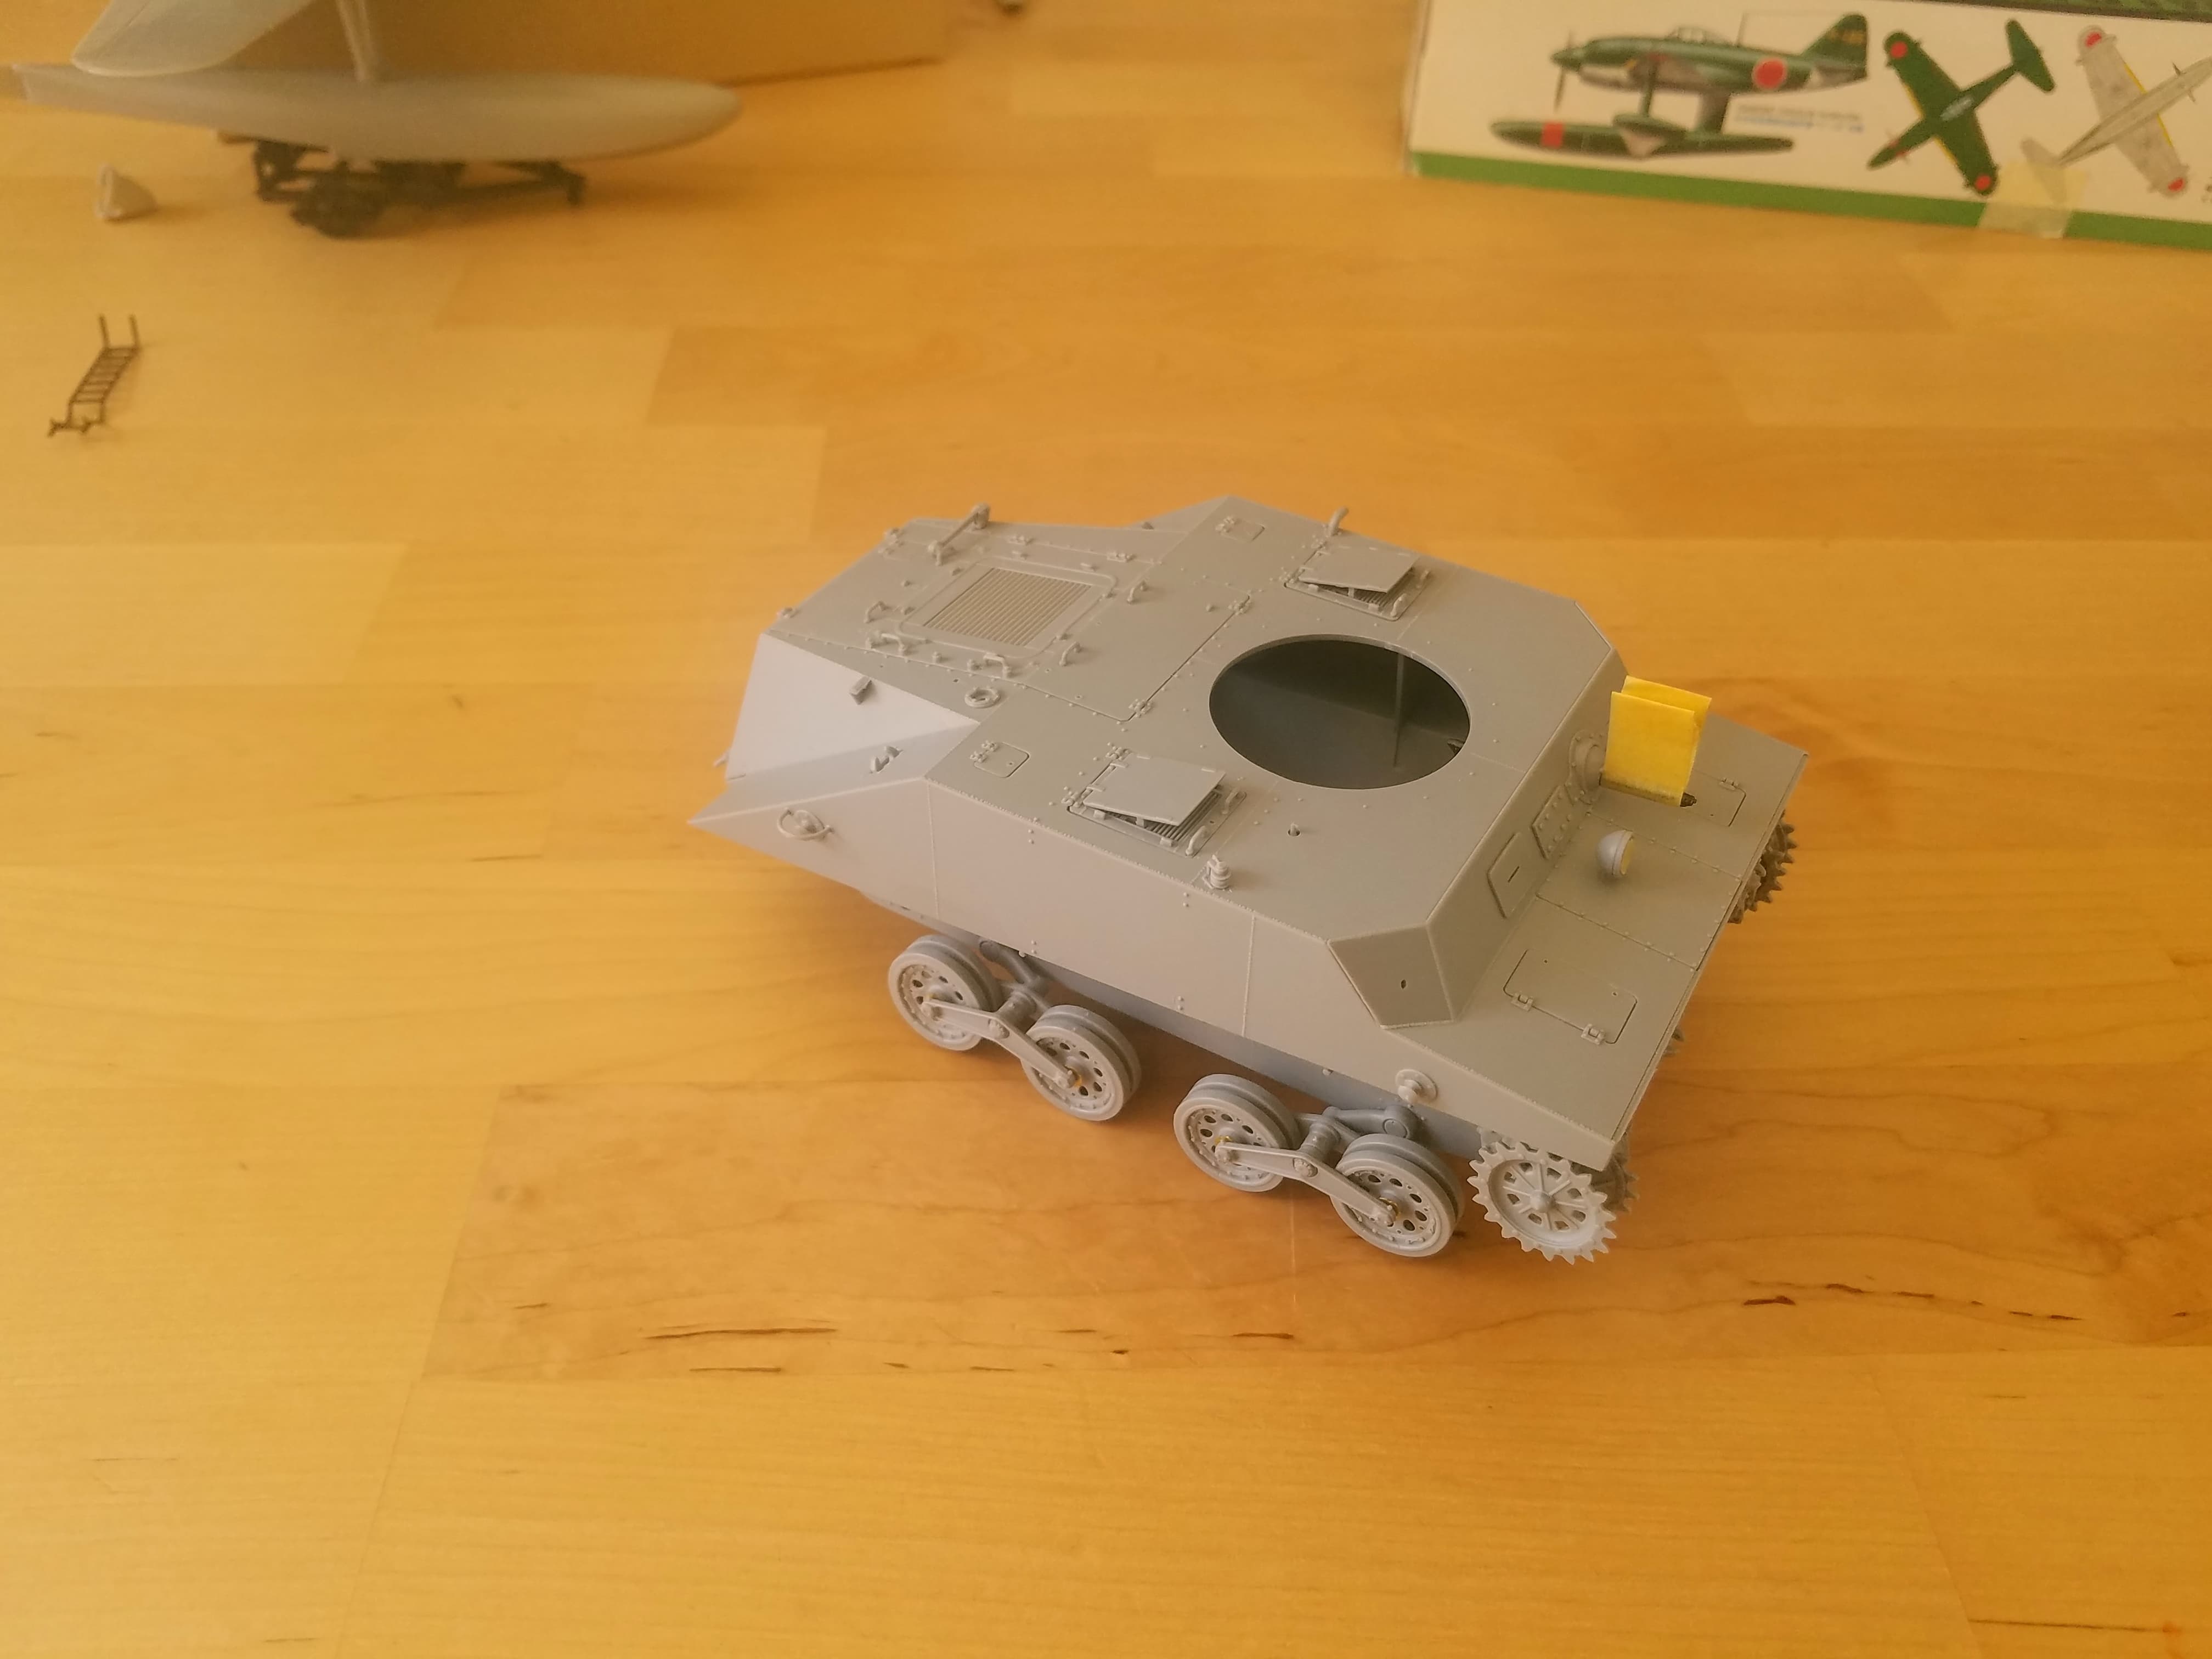
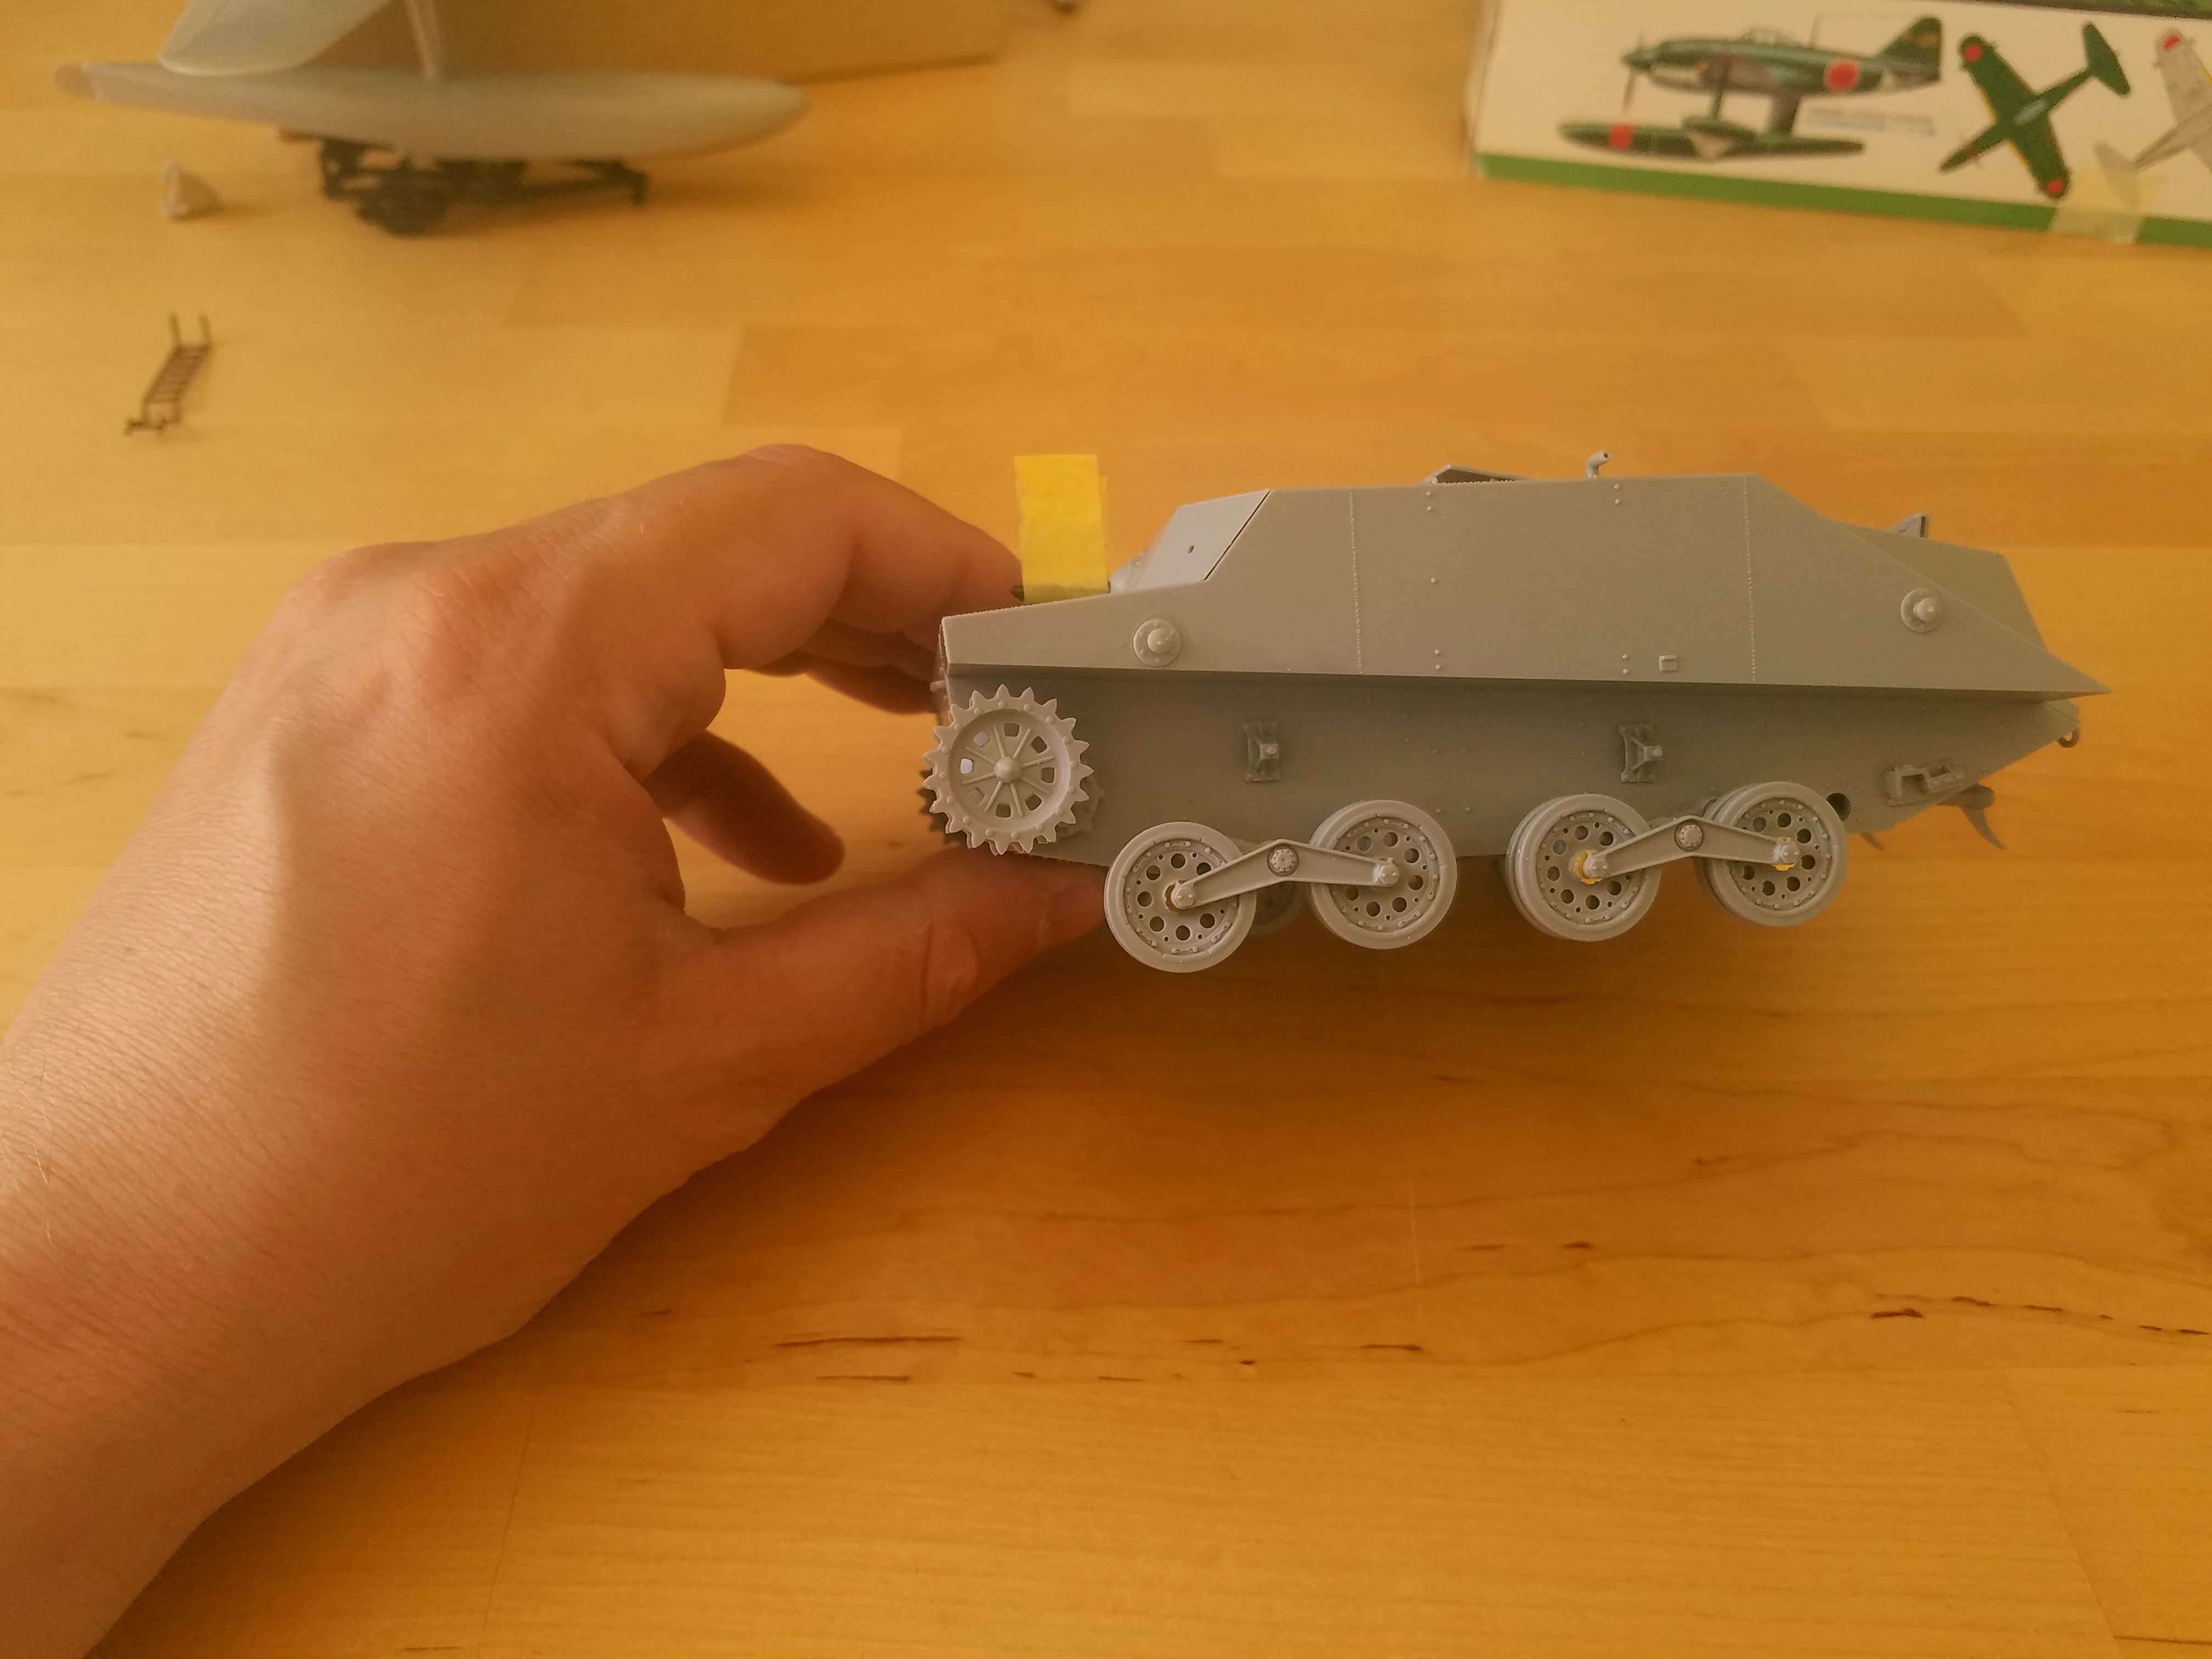
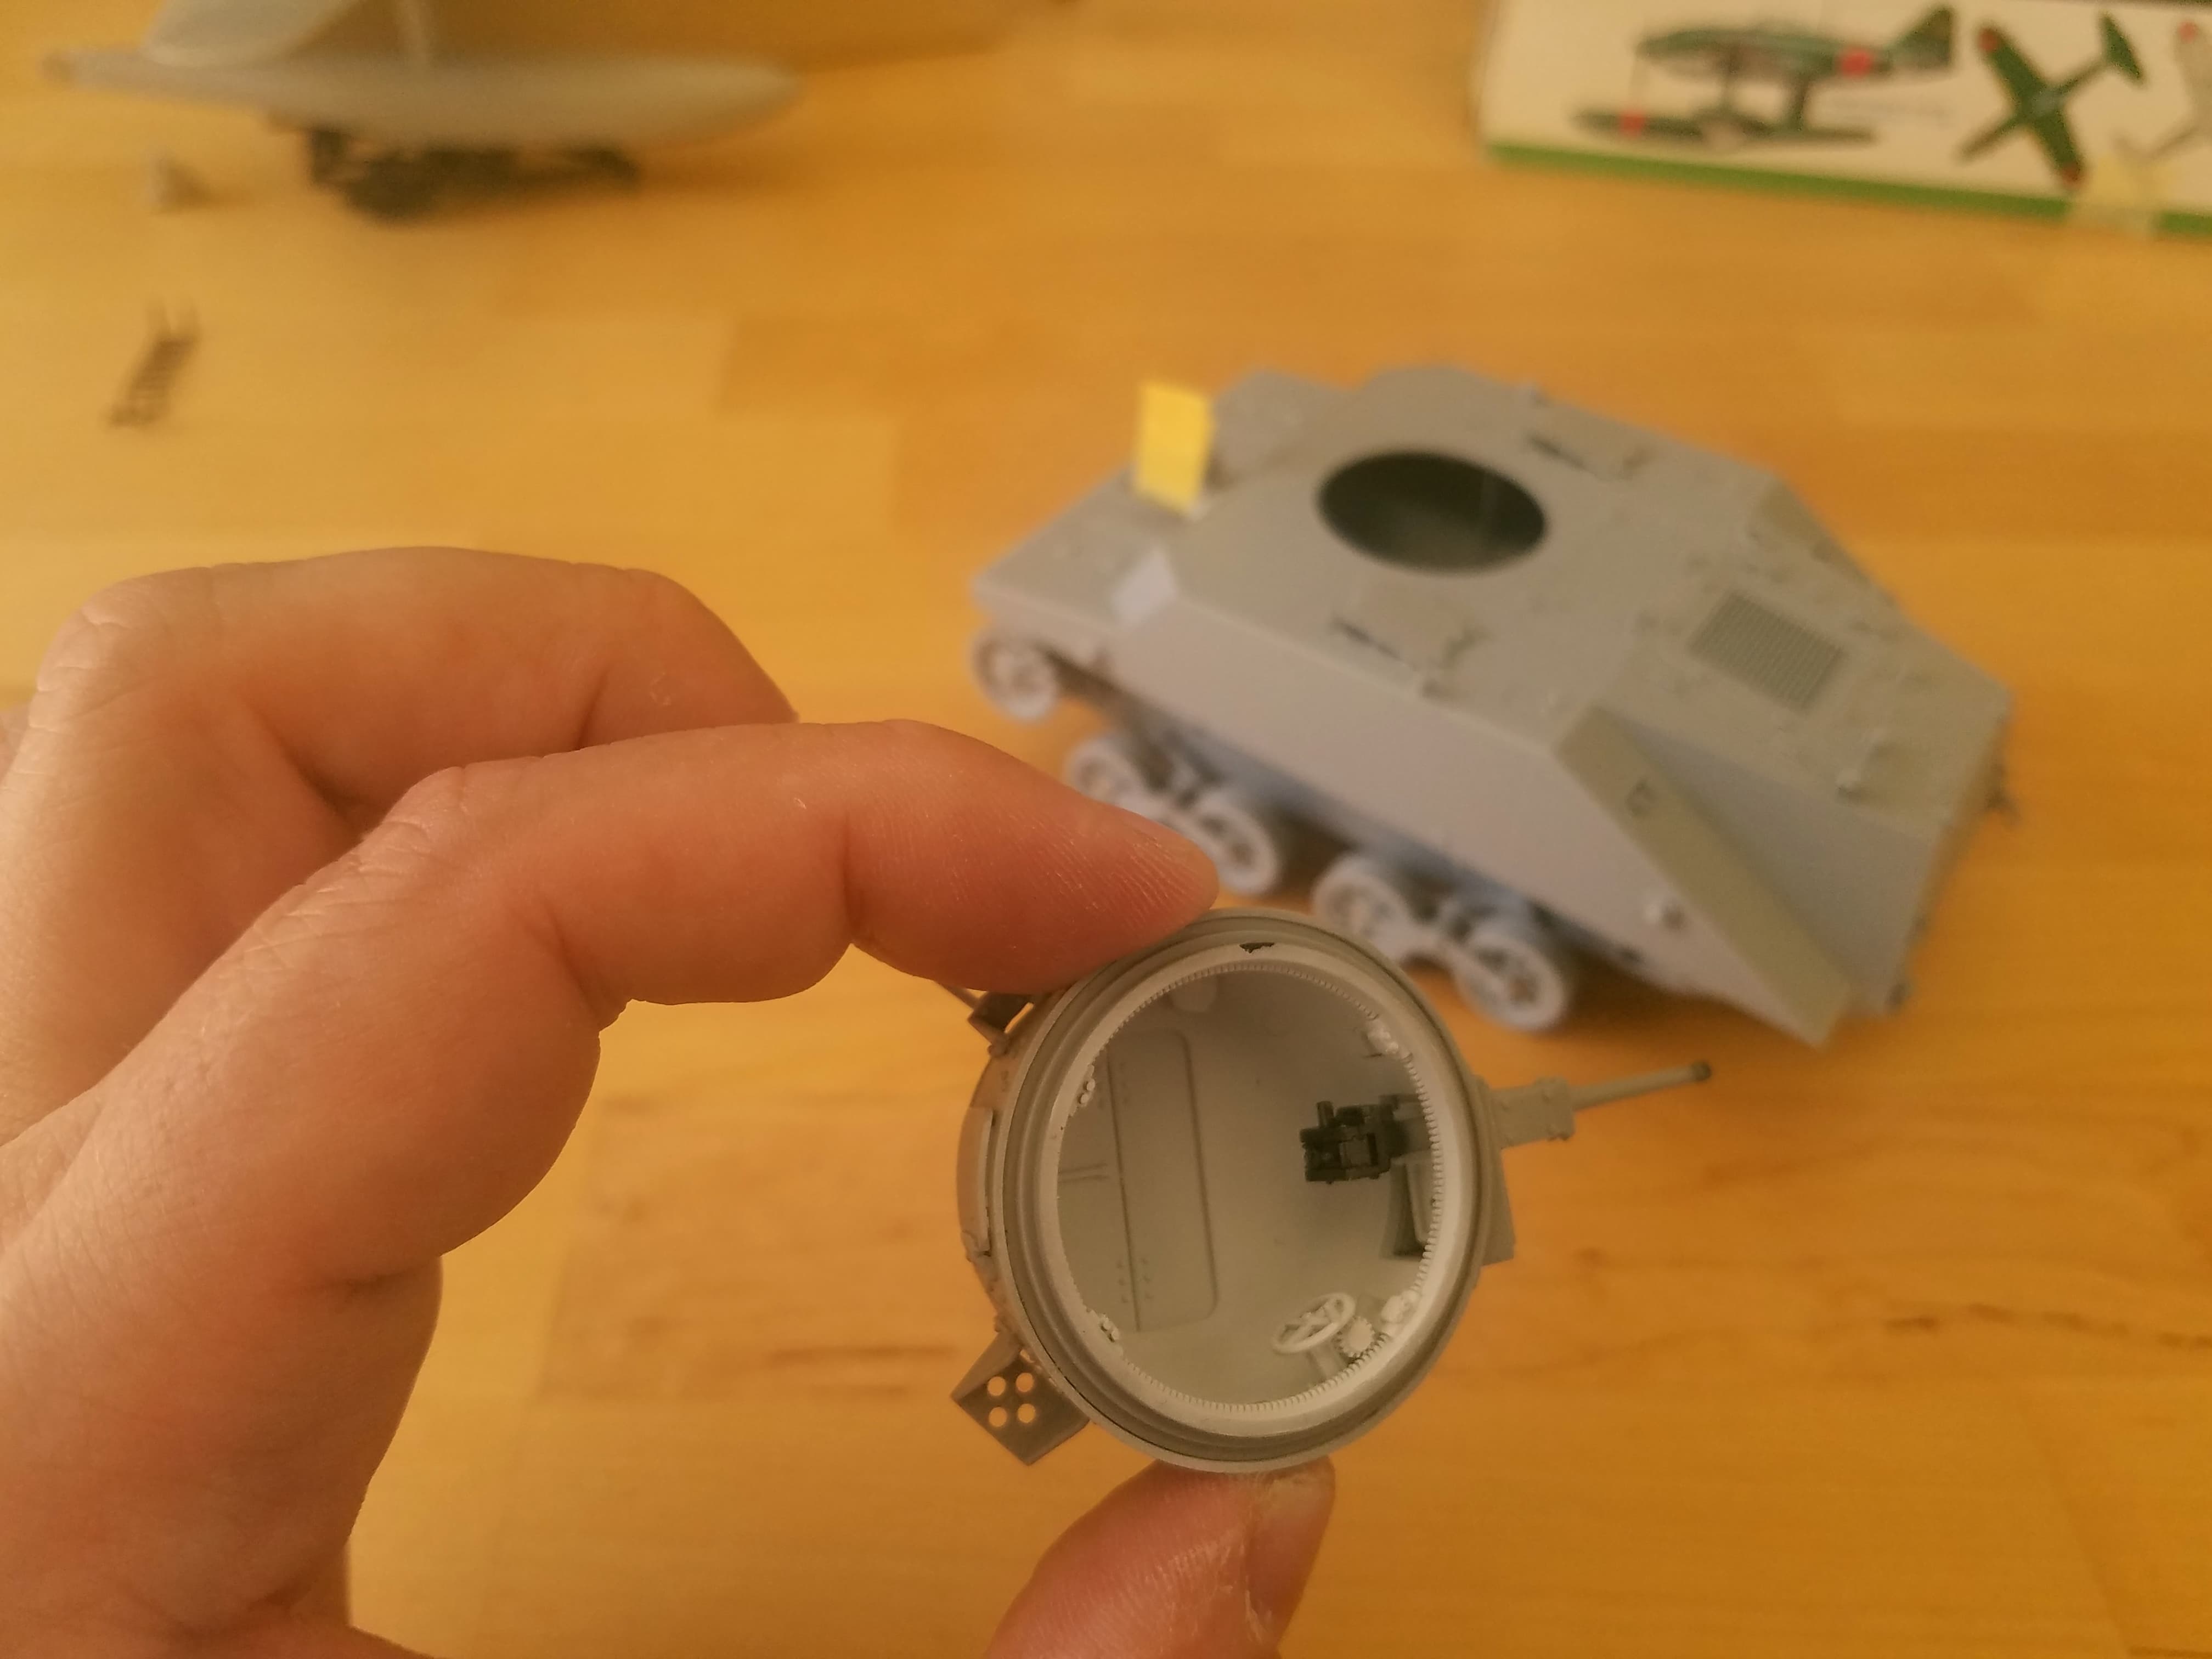
unfortunately, the tracks are unusable and i haven’t found a reliable alternative yet.
5 Likes
@FlyingSauerkraut if you go on eBay you can find the tracks from one of the other ka-mi kits. I ran into the same issue, tracks wouldnt bend and we’re brittle ended up using breaking on shipment.
1 Like
i see that you had the same problem as me. i’ll look tonight on ebay
1 Like

Rory, greatly enjoying your Musashi build. Can’t wait to see you start painting.
Rory, nice to see you sneak in some plastic amongst all the etch ![]()
Looks like you had fun removing parts too.
Ha! Its not as bad as some of the ships I have built but its a fair bit. It is really adding to the plain plastic of this 40+ year old kit ![]()
1 Like
Rory what manufacturer is that kit? if not too expensive i might consider getting it.
thks Joe
This is the Tamiya kit. I am also using Eduard 53006 for the PE. This is a discontinued set so no idea how much it is or how available it is.
Gentleman, received this yesterday. It has changed what I intend to enter in this campaign. From what little I’ve been able to flip through it, it’s an incredible book. I think I can happily spend the rest of my modeling days building Japanese seaplanes.
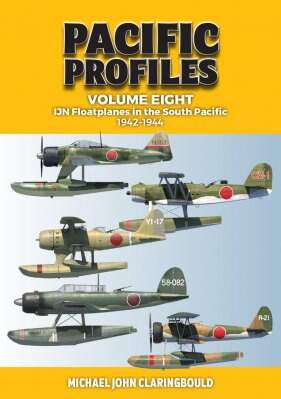
I’m working on a review write-up as fast as possible. Unfortunately, we’re deep in the middle of a move in our Target date is August 1st. I’m going to be missing an action for the next month or so. But I’ll be watching your incredible modeling on this thread.
Fred
6 Likes
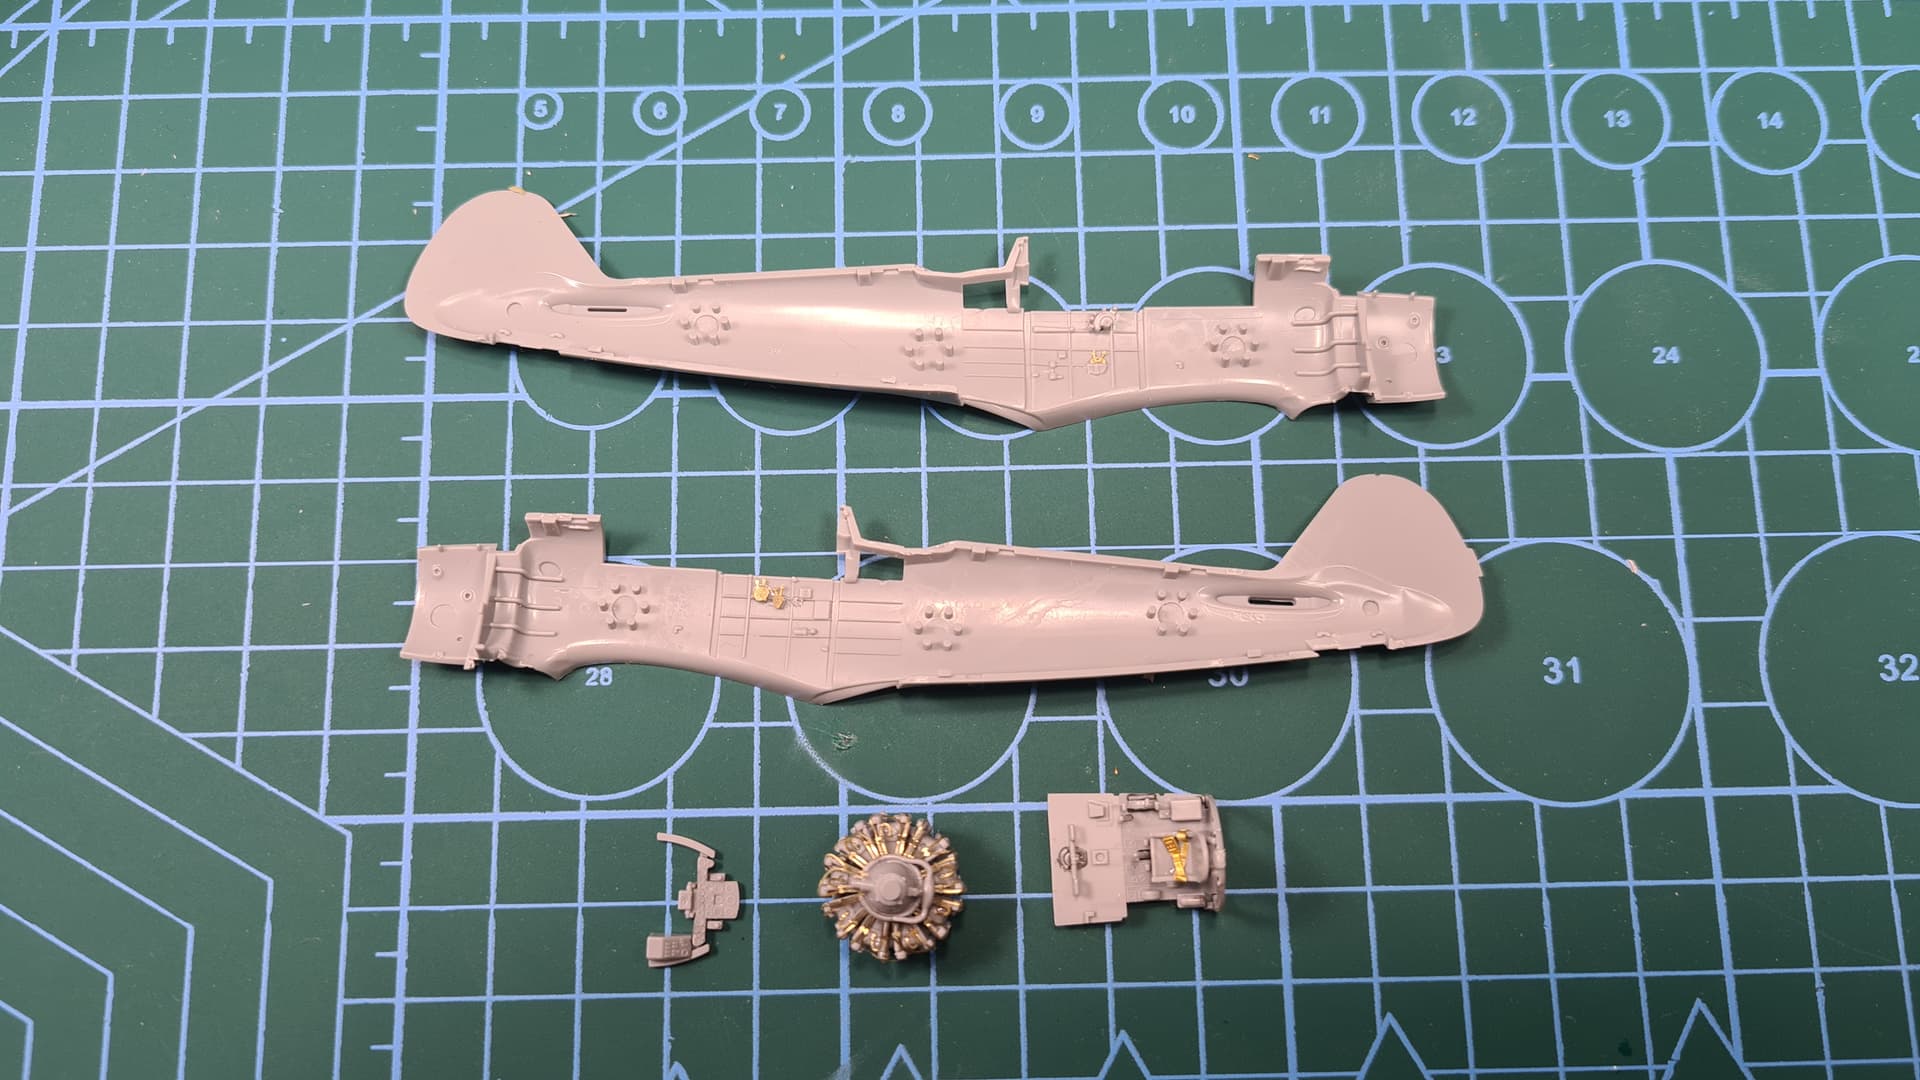
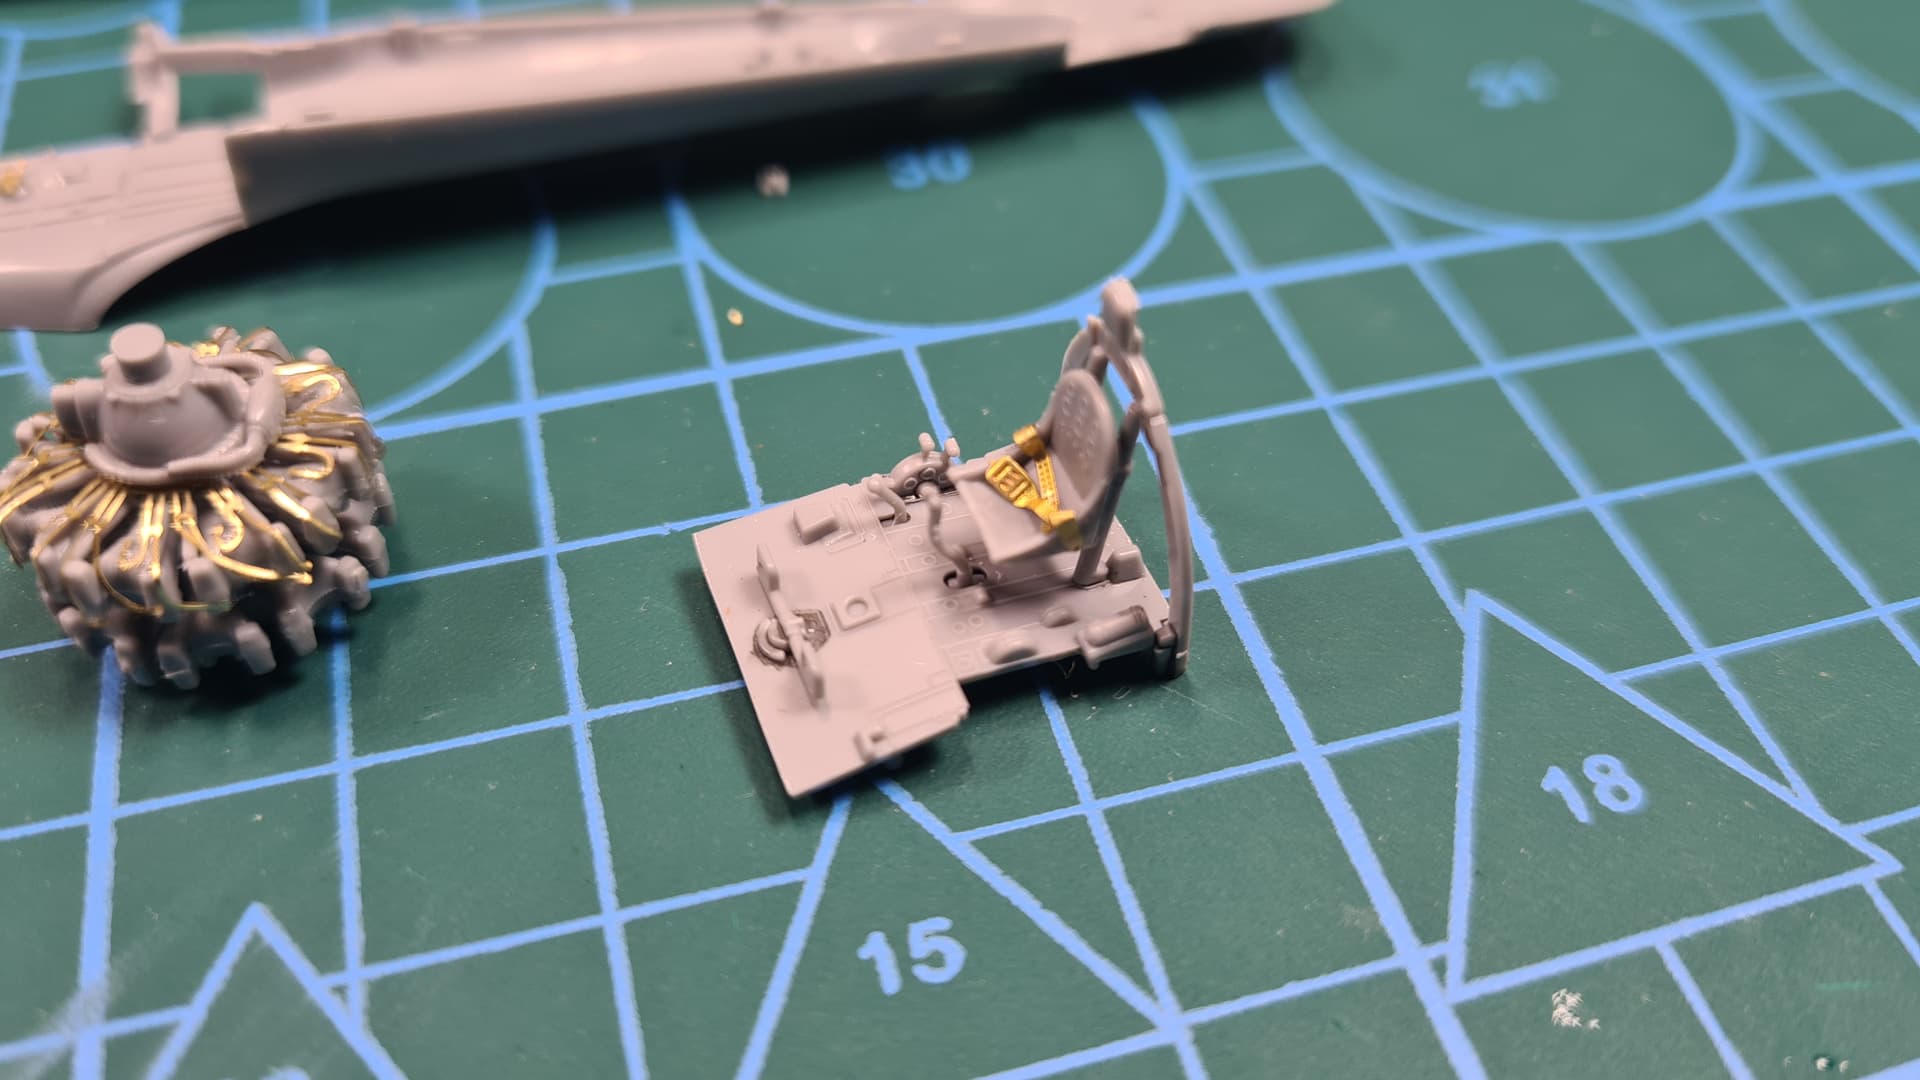
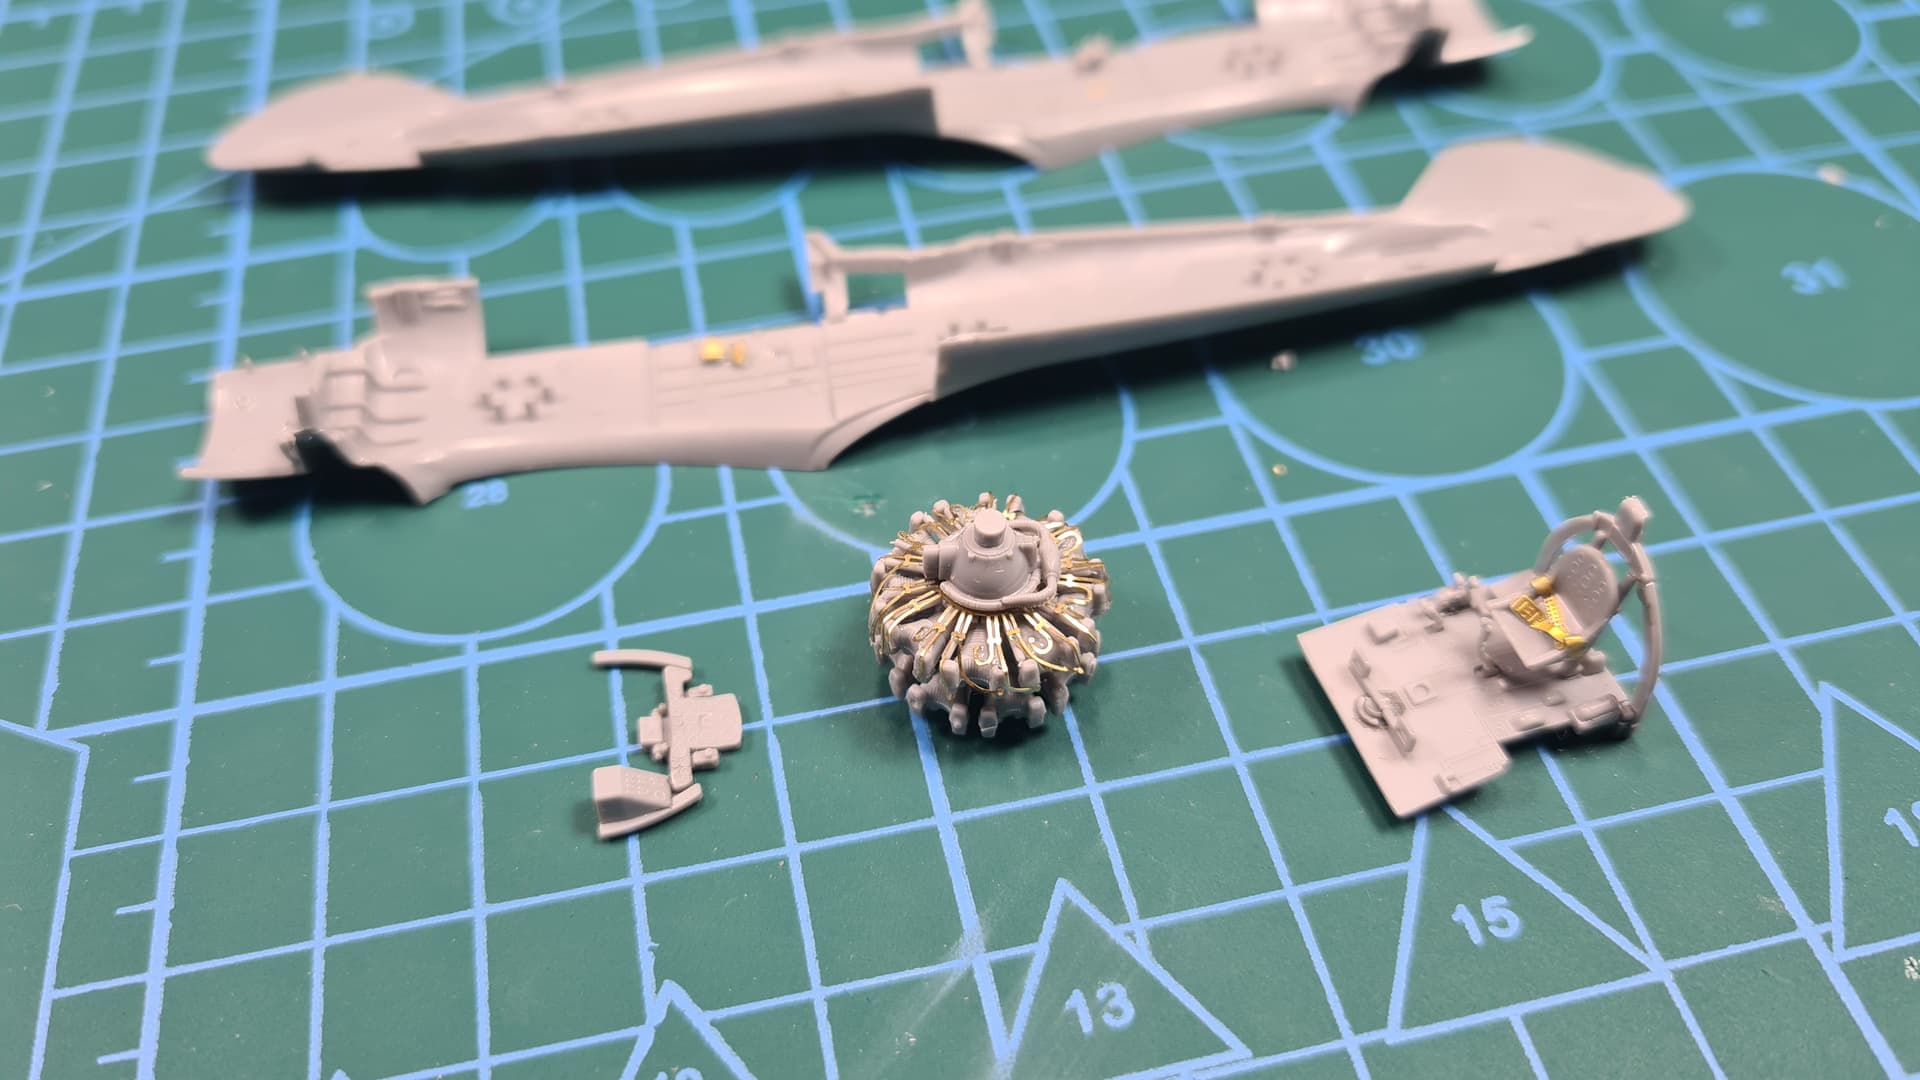
I made some progress on Wildcat for Naval Air Campaign and P-51 for Hot out of the molds 2022 so I couldn’t forget about Hayate. So far managed to prep cockpit & engine for initial paint job.
Overall, like Wildcat & P-51, Hayate shares same my same opinion - this kit is really great in detail, very fine and subtle, but it causes that sometimes my fatty fingers struggled a little (like in this case with PE parts on engine). Instructions could also be more clear and should include like 3d view for some steps.
So here’s a state before painting interior:
5 Likes
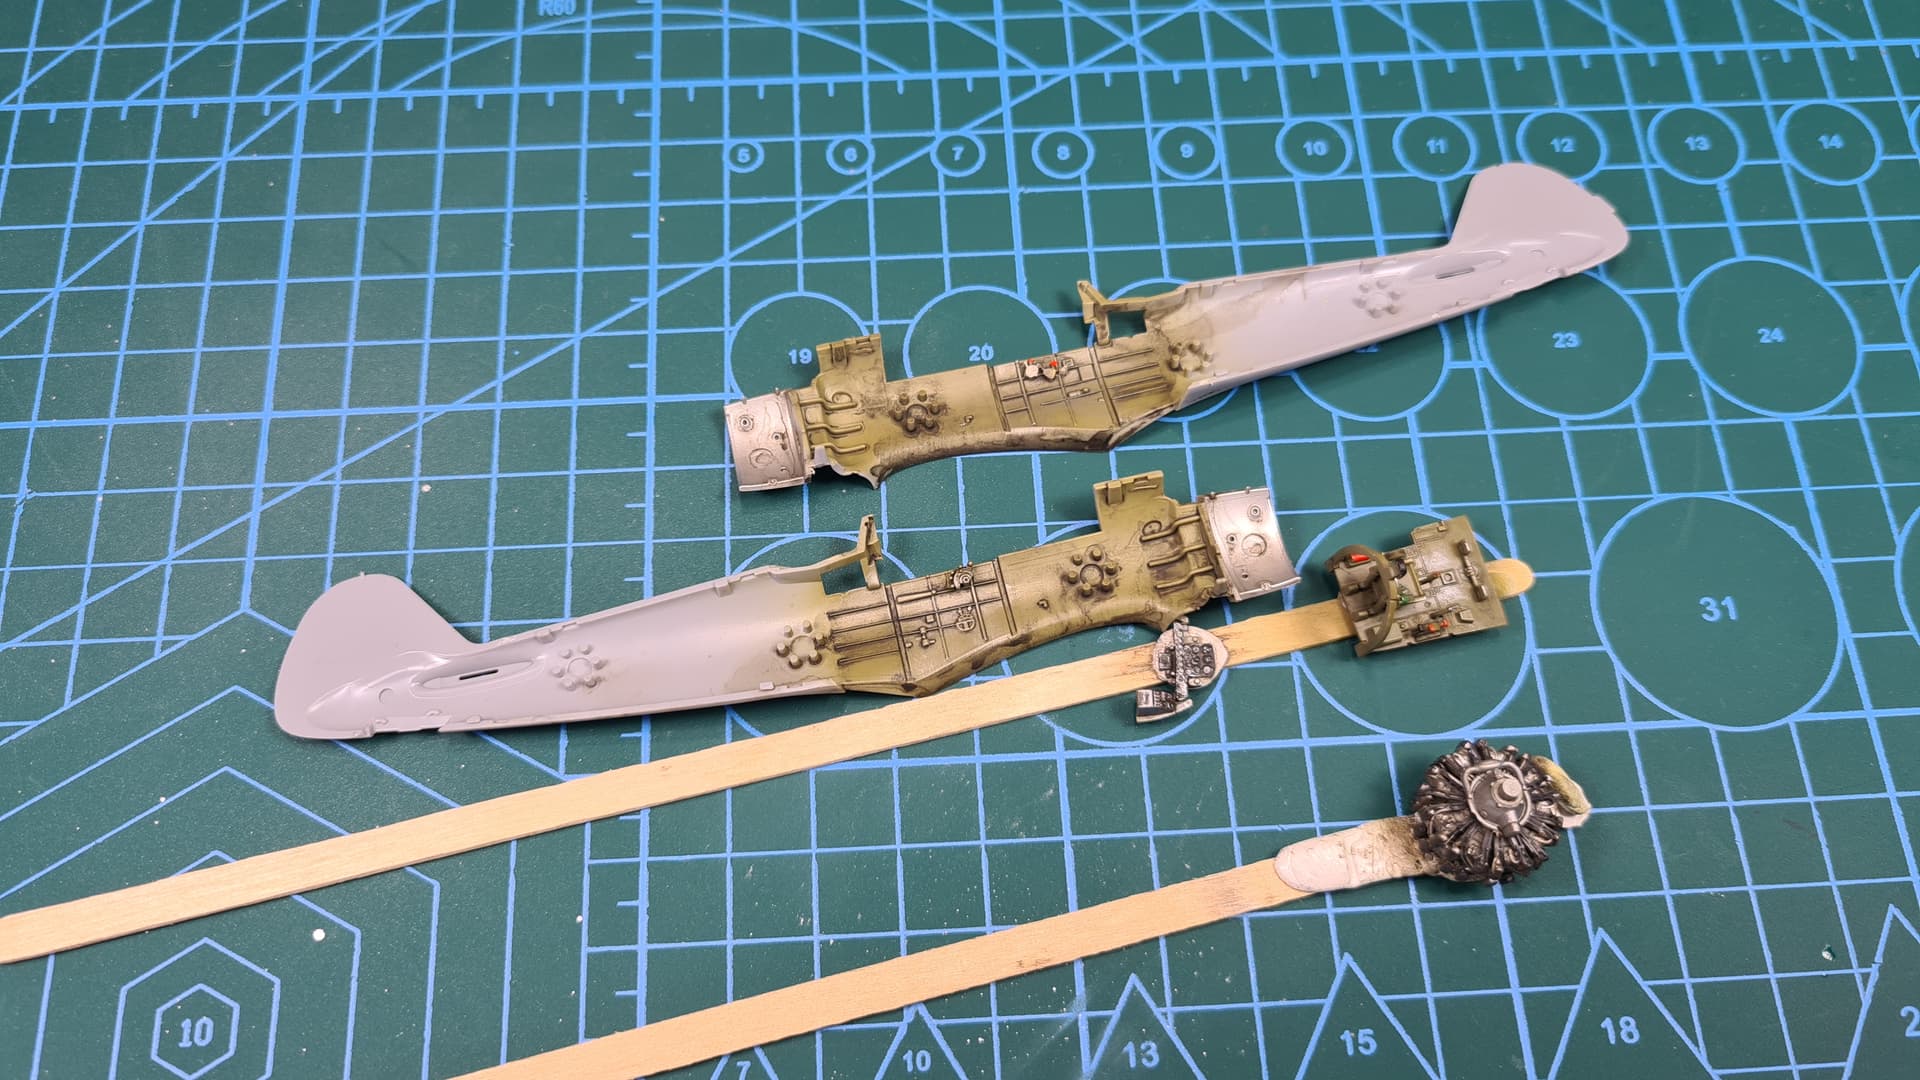
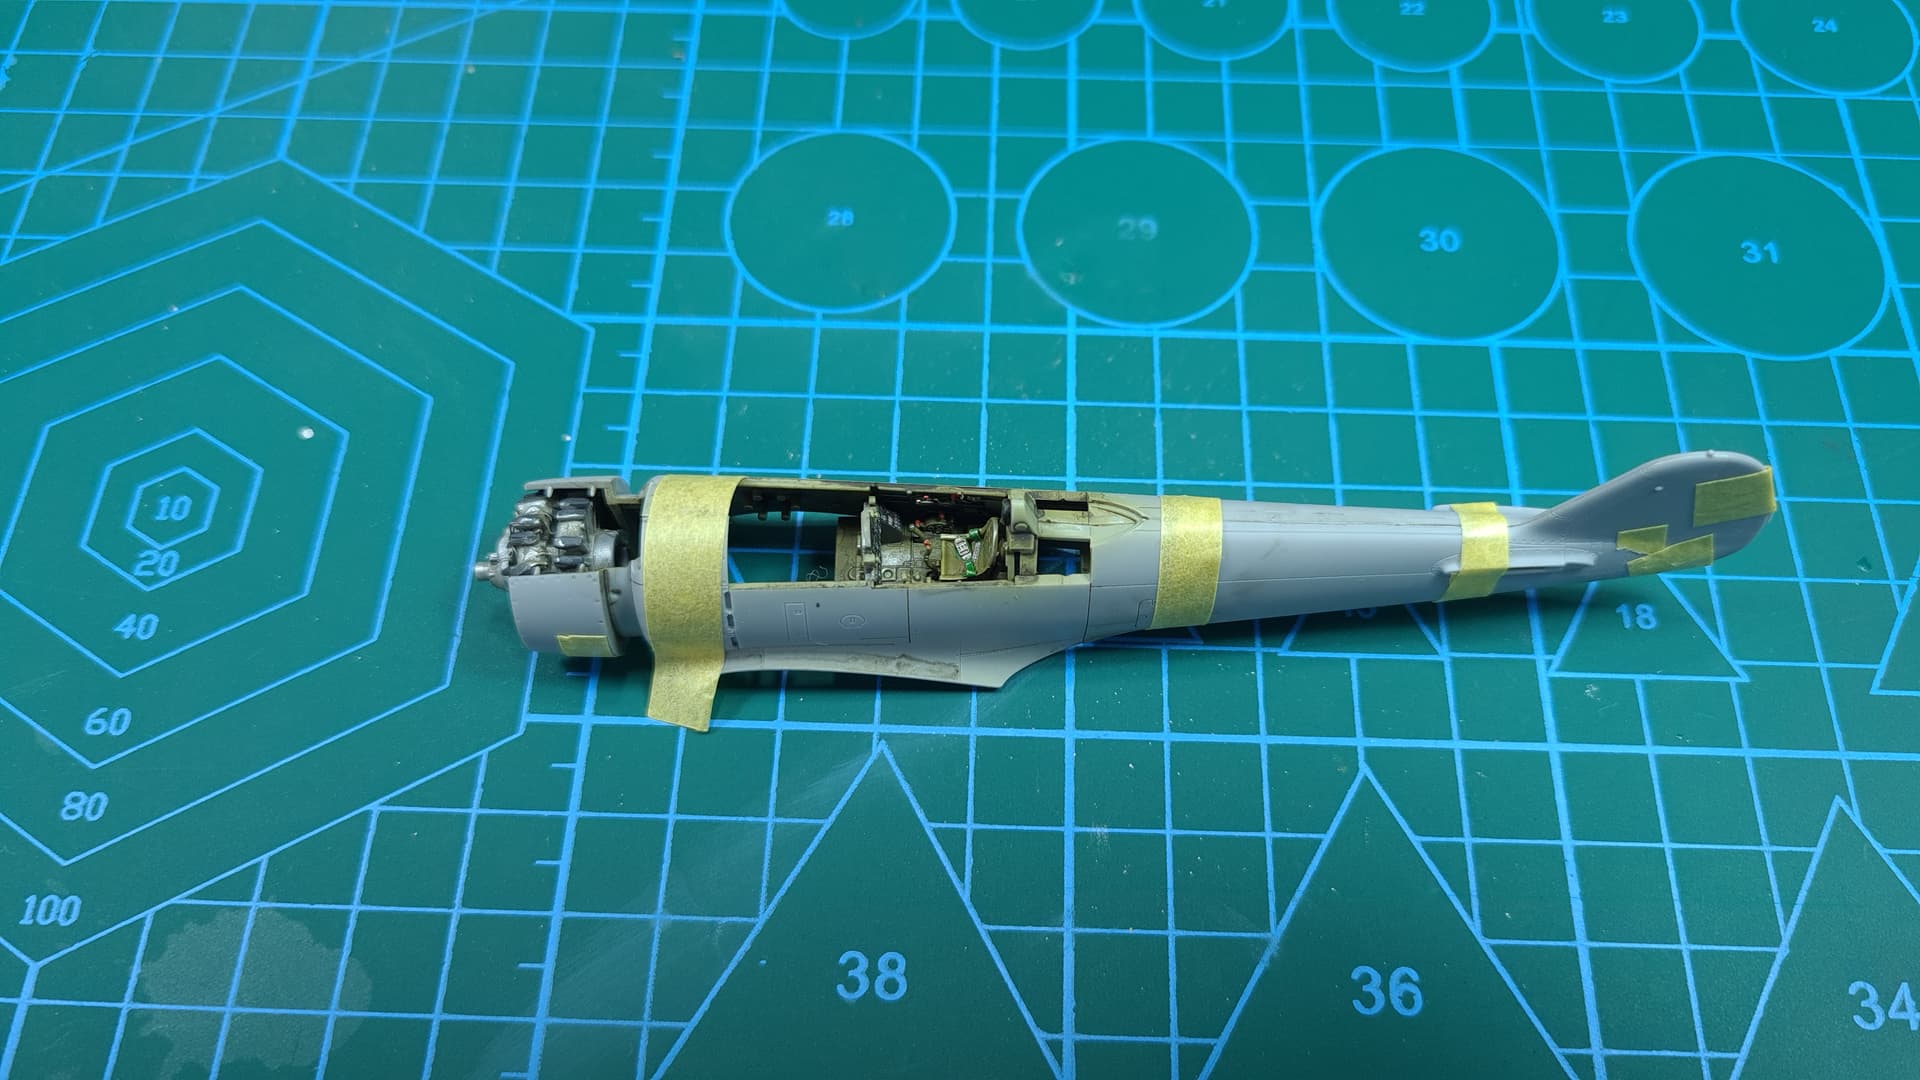
I finally painted interior and closed cockpit area for Hayate. All fits very good but as with Mustang I’m building for Hot out of the molds 2022 build - fit is very tight. You must specifically be careful when gluing engine together with both sides it requires a little bit of patience and precission despite quite obvious guidance. Nevertheless here’s a pic of subassemblies before closing hull and after:
5 Likes