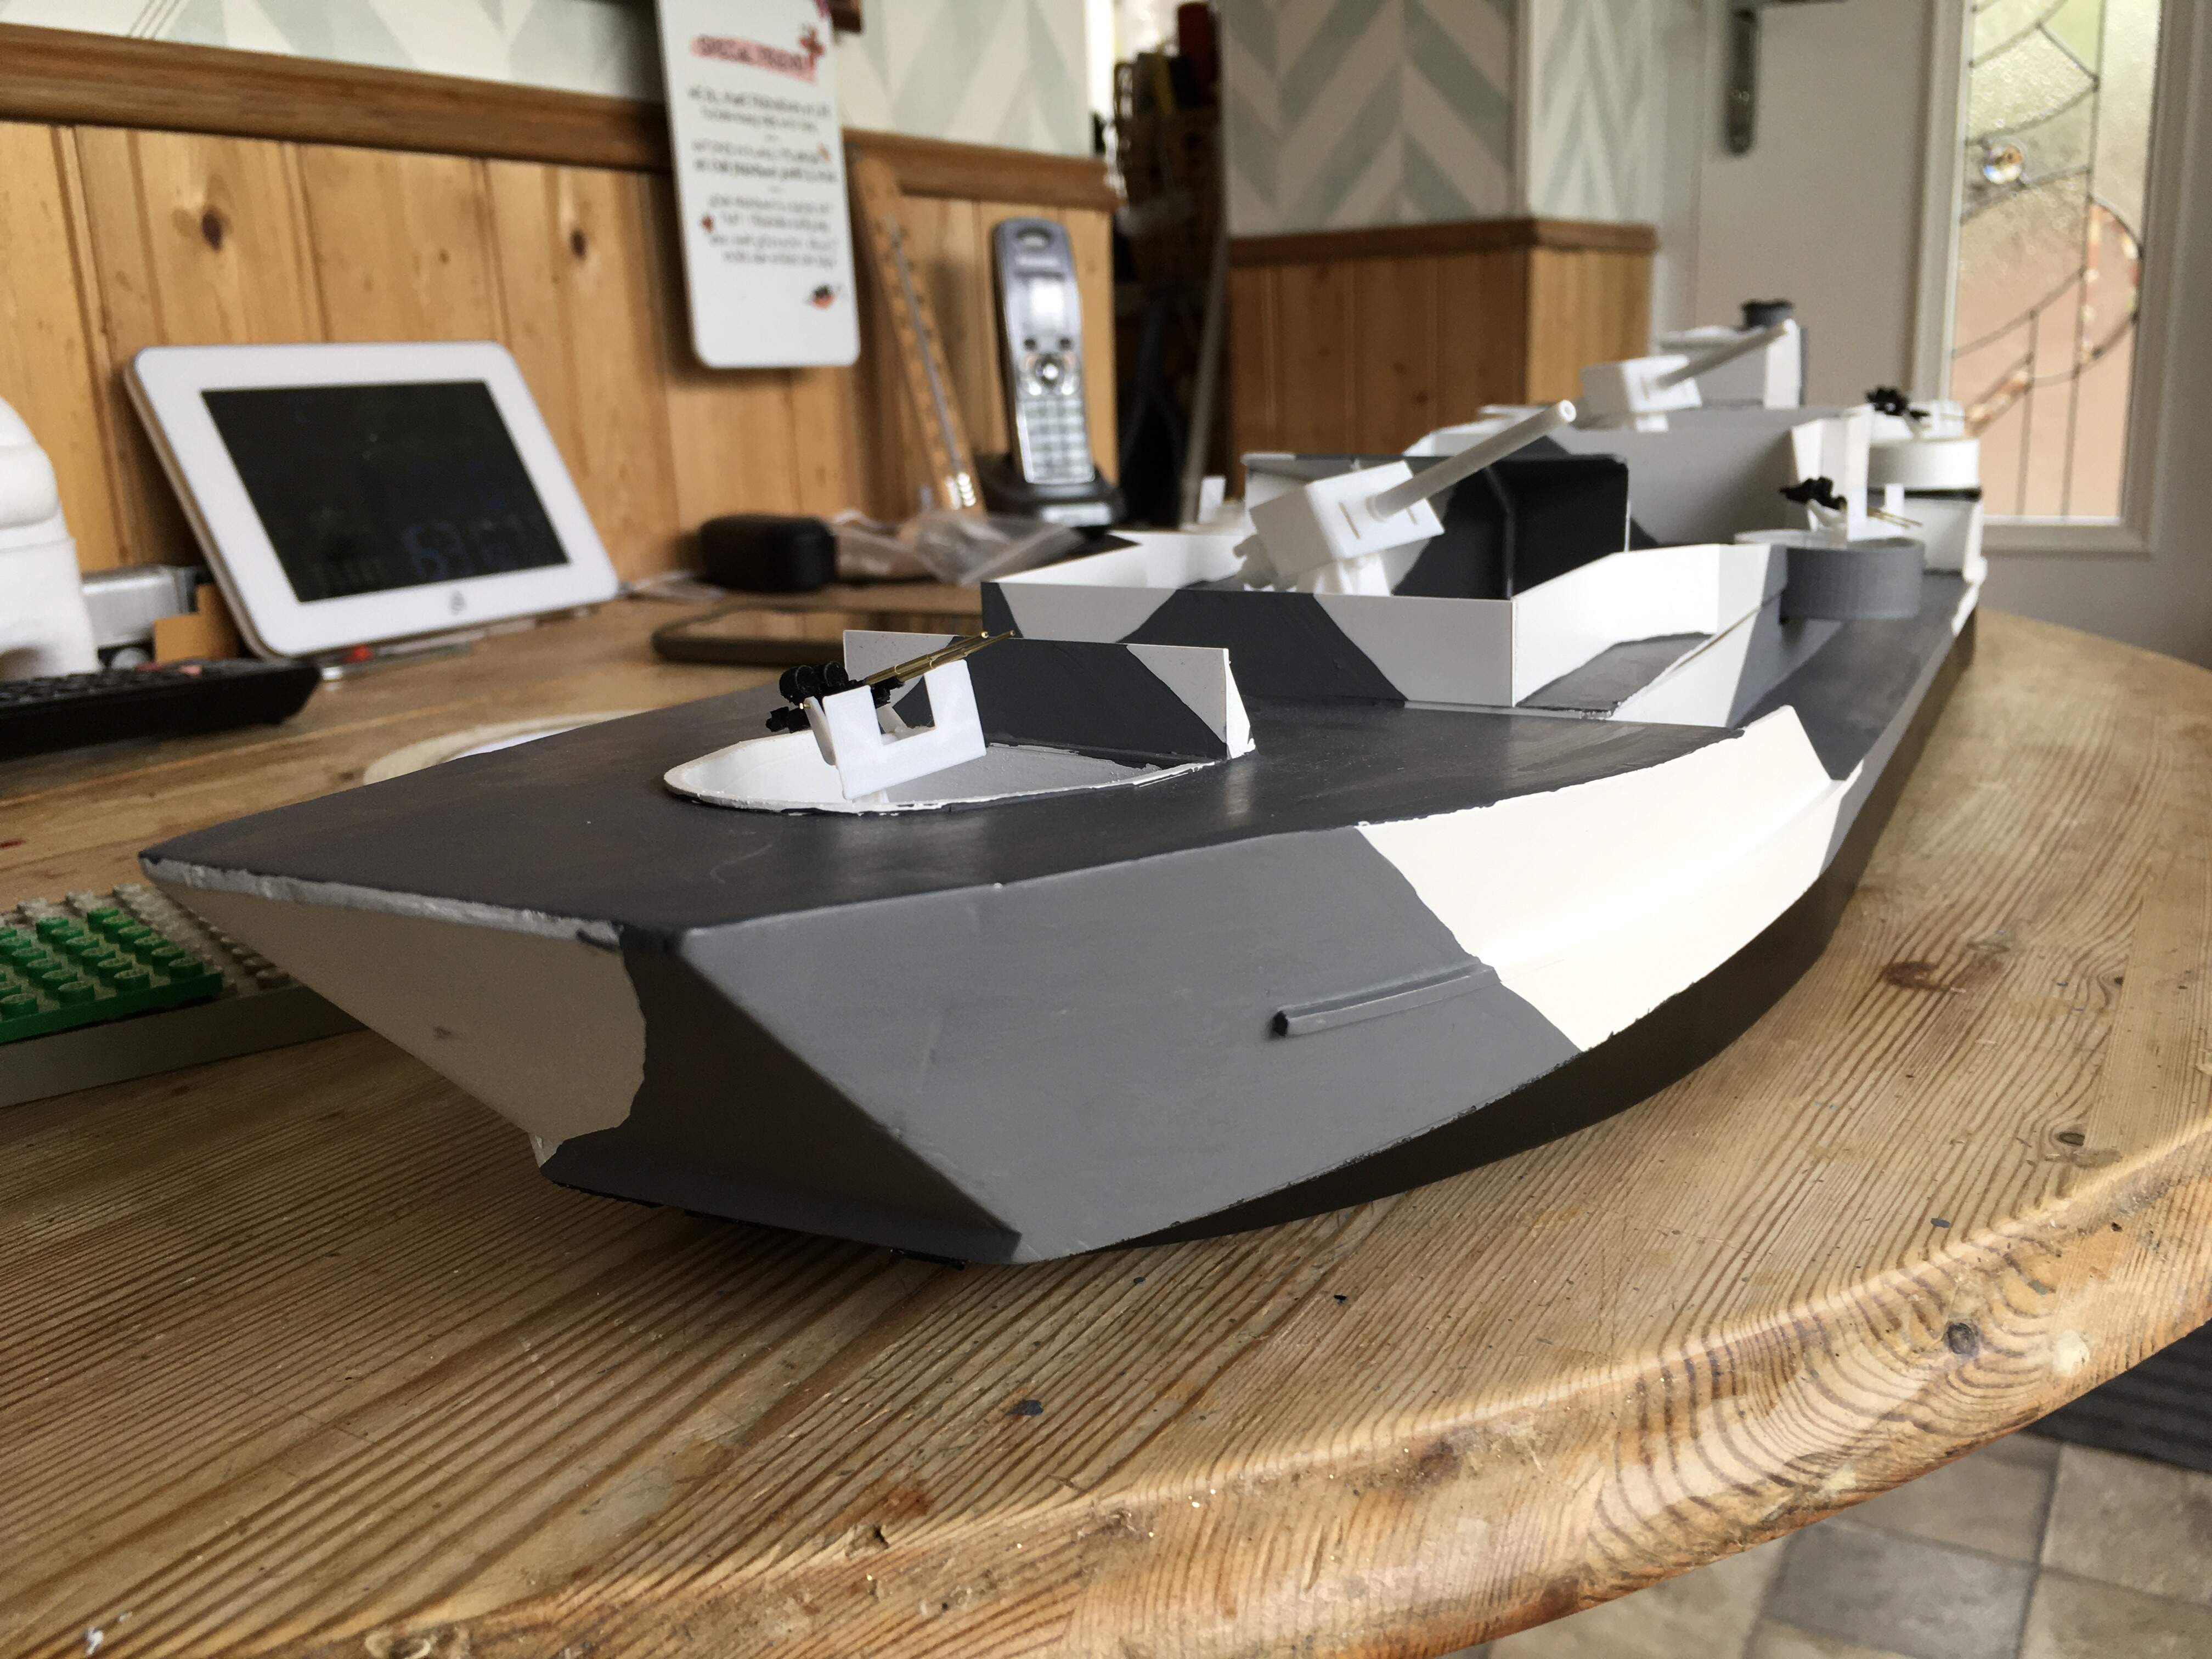
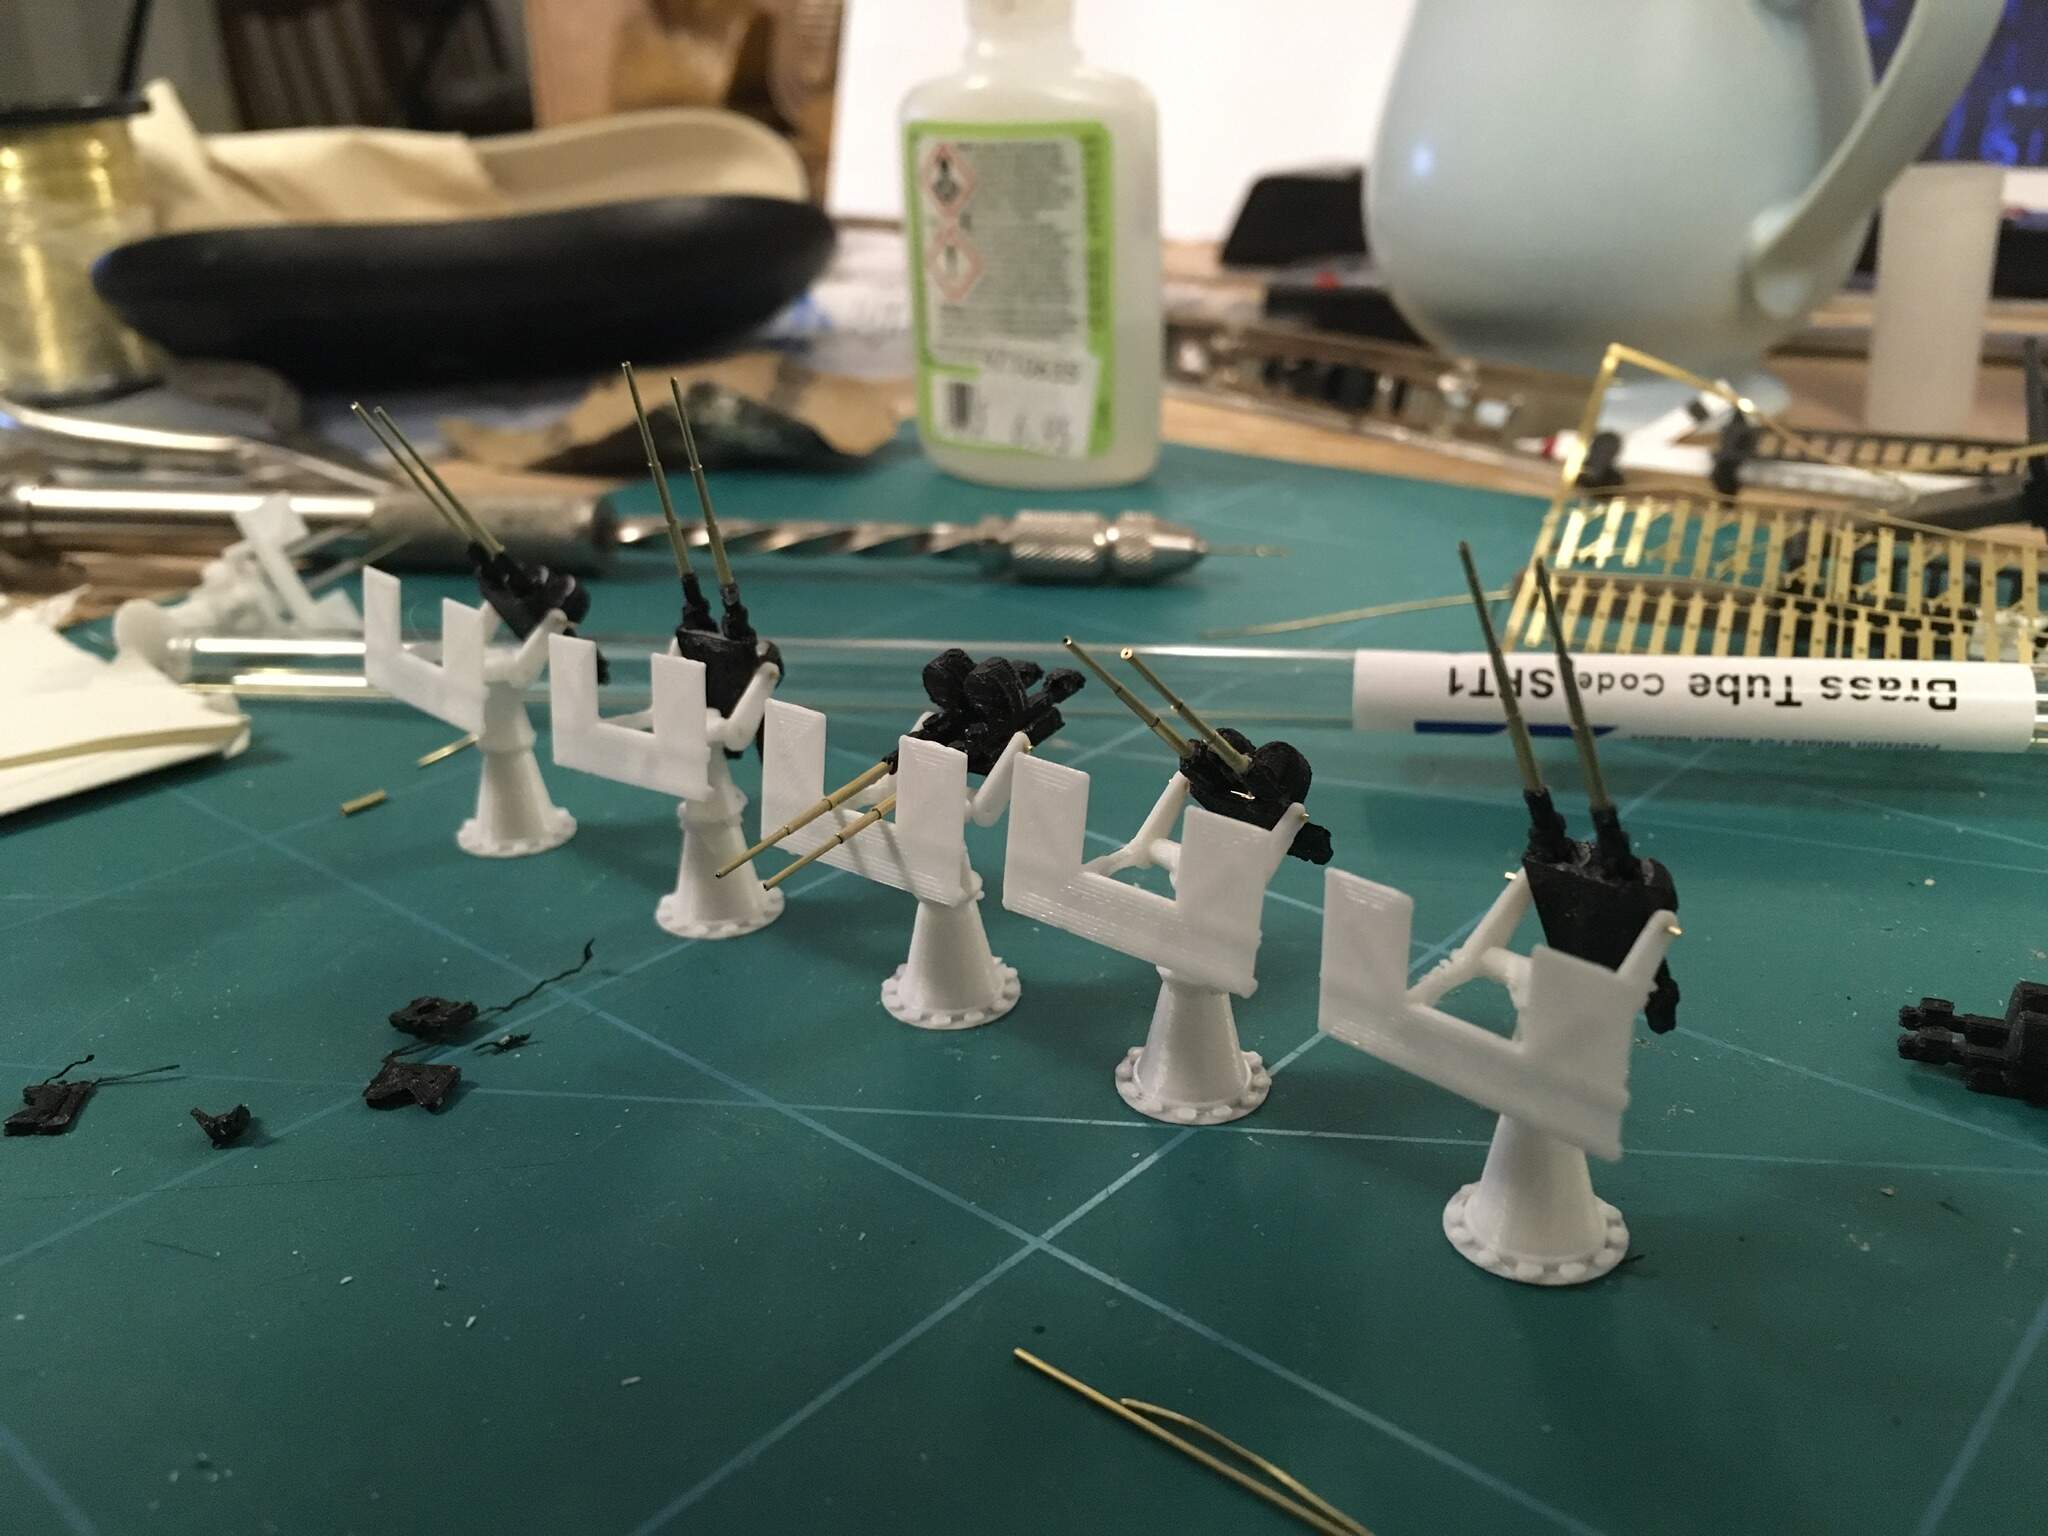
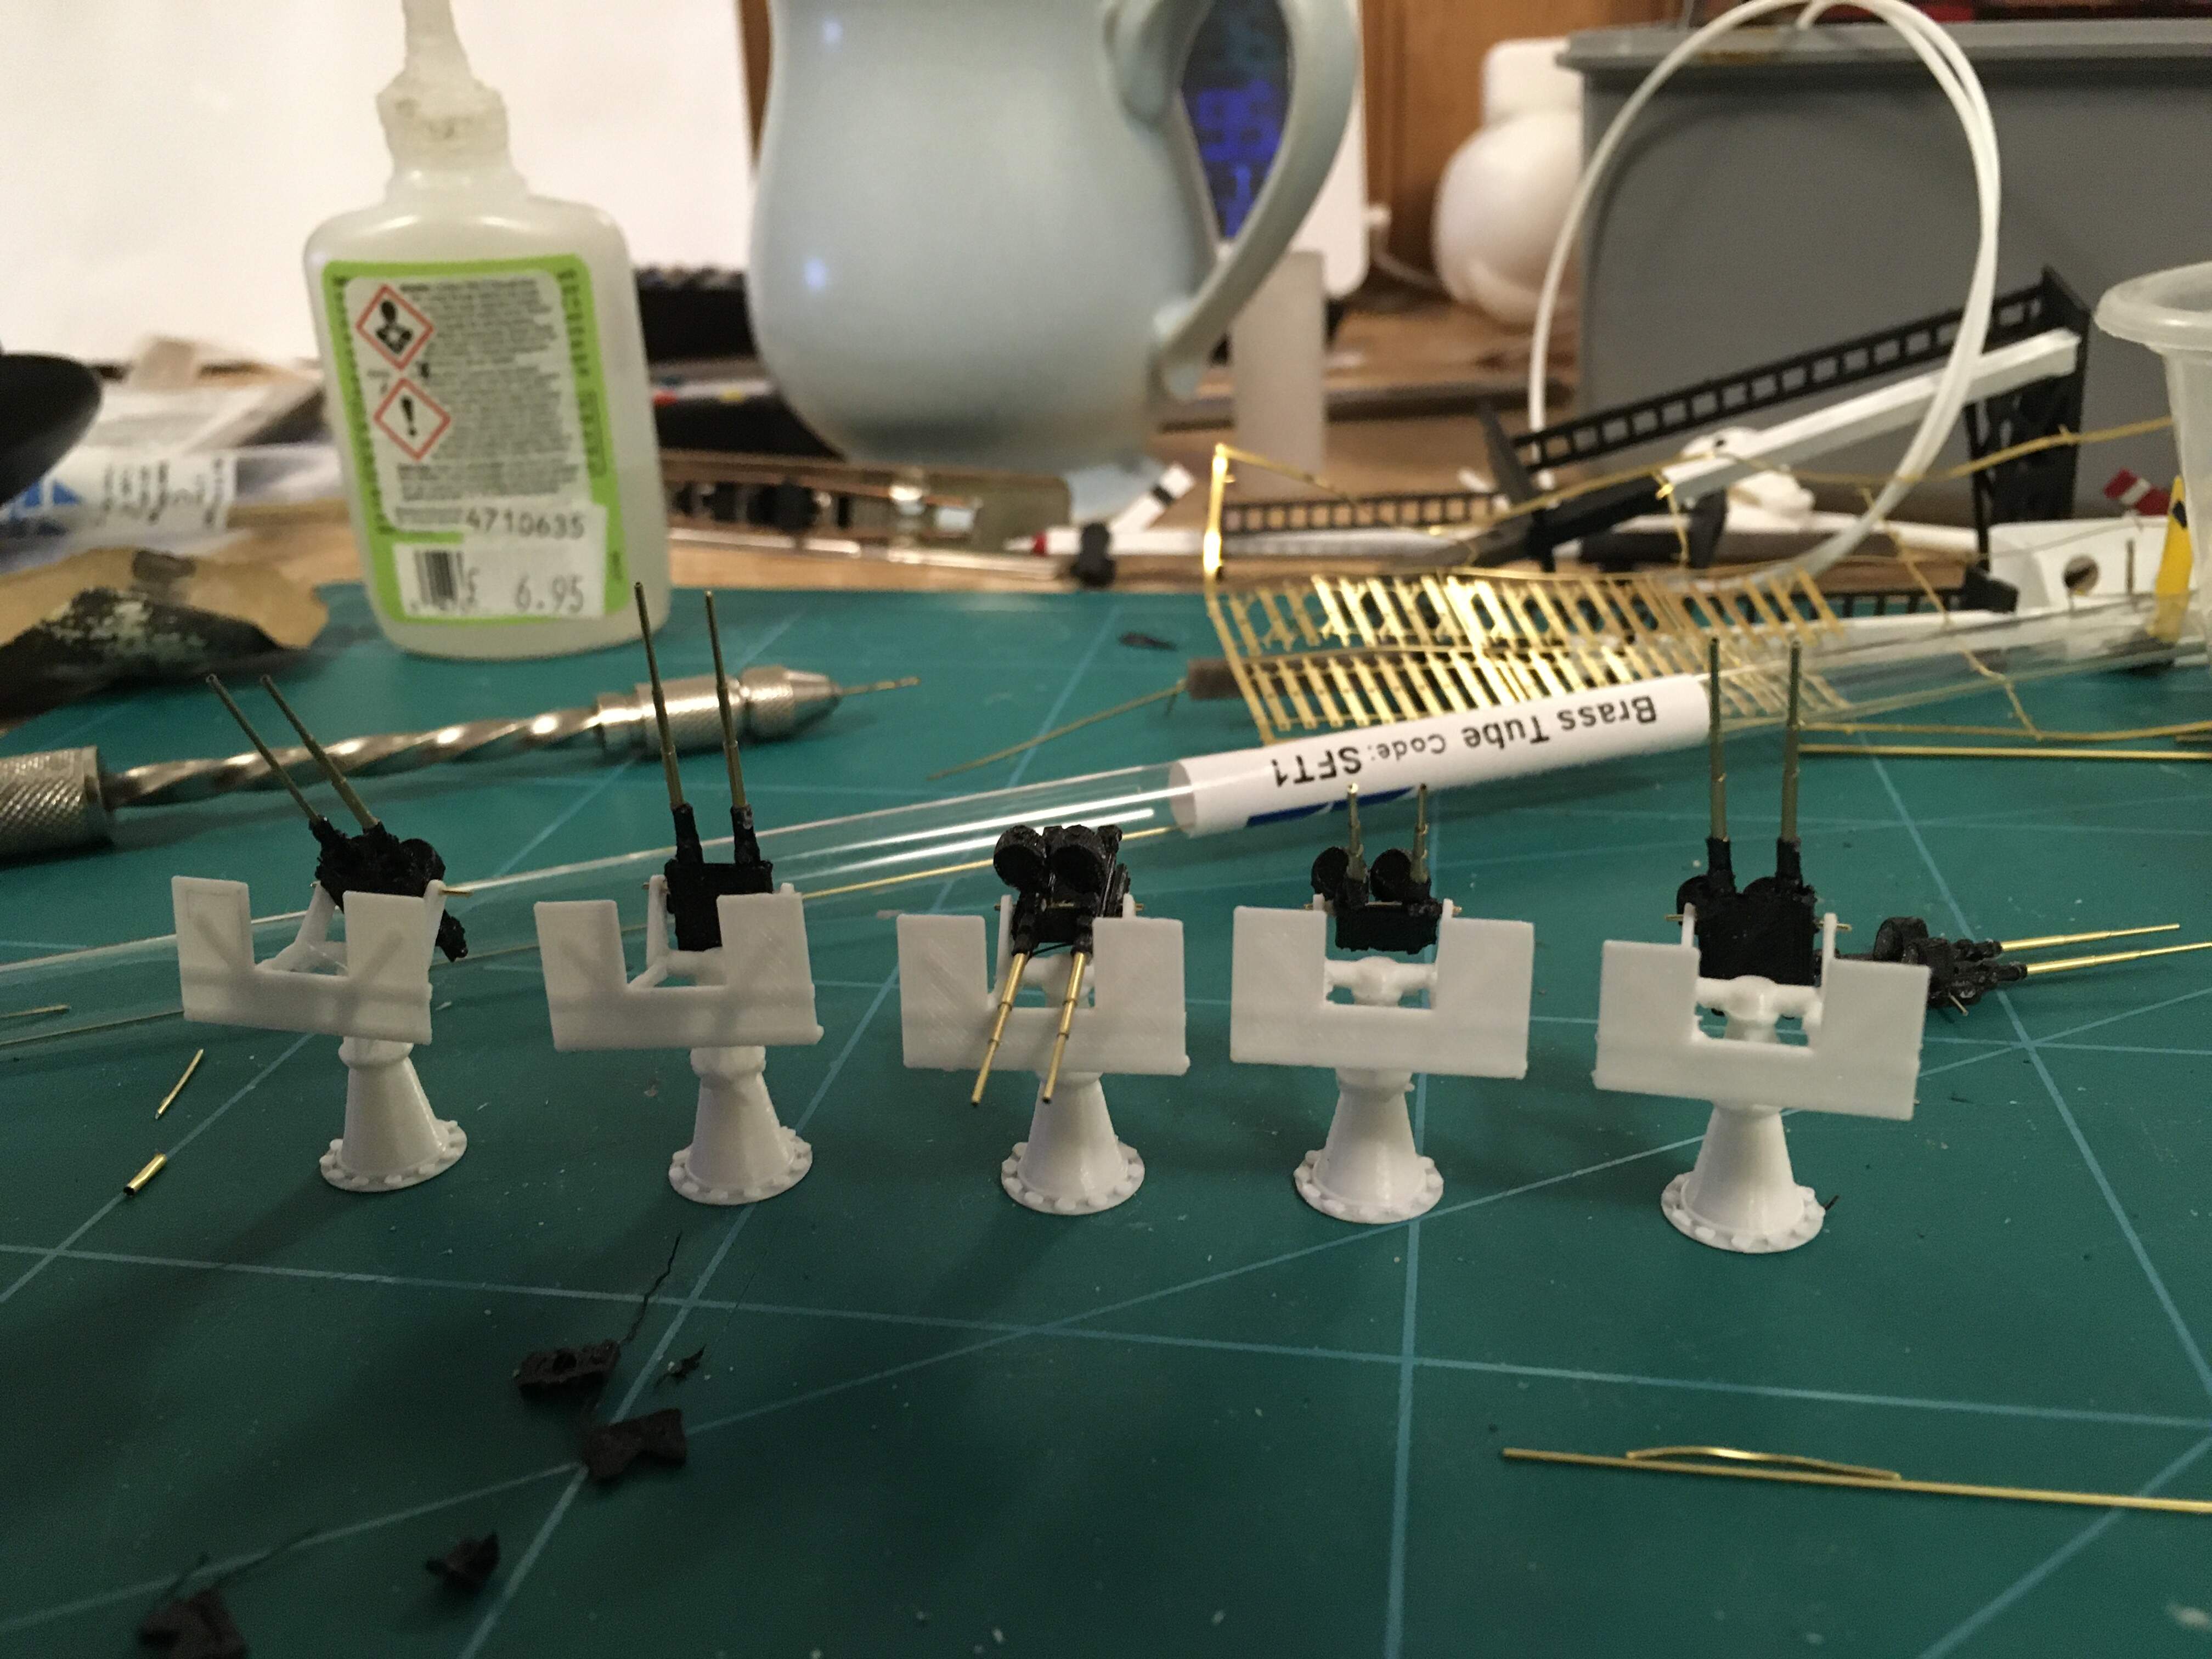
Progress also on the 20mm. 5 out of 7 needed now assembled though not yet painted or fitted

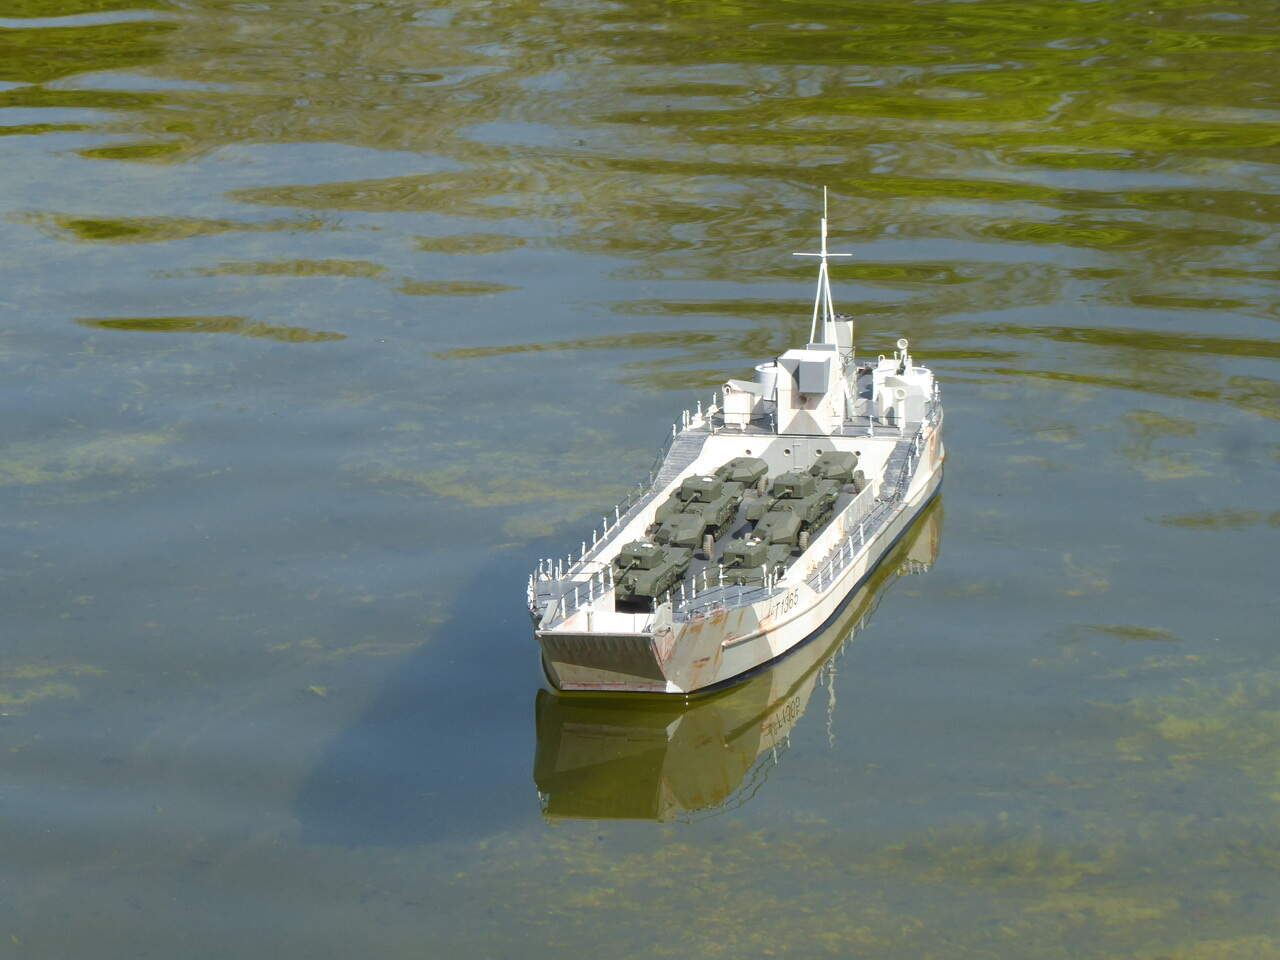
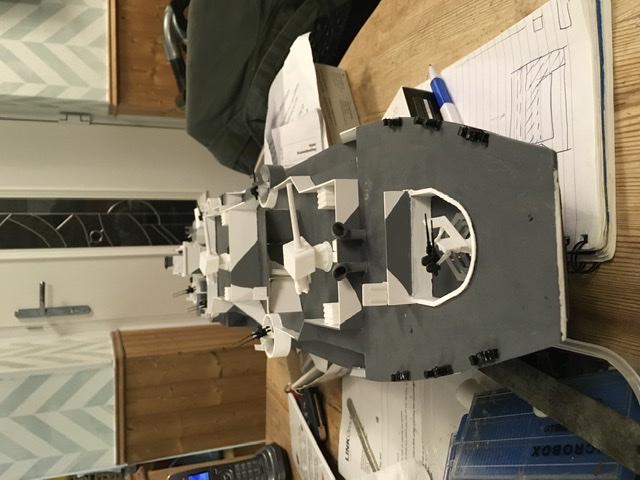
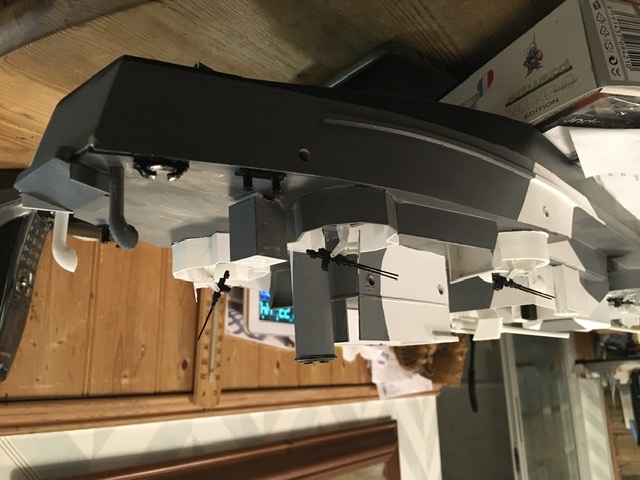
A preview of the ship with guns in place and bottom painted
Progress also on the 20mm. 5 out of 7 needed now assembled though not yet painted or fitted
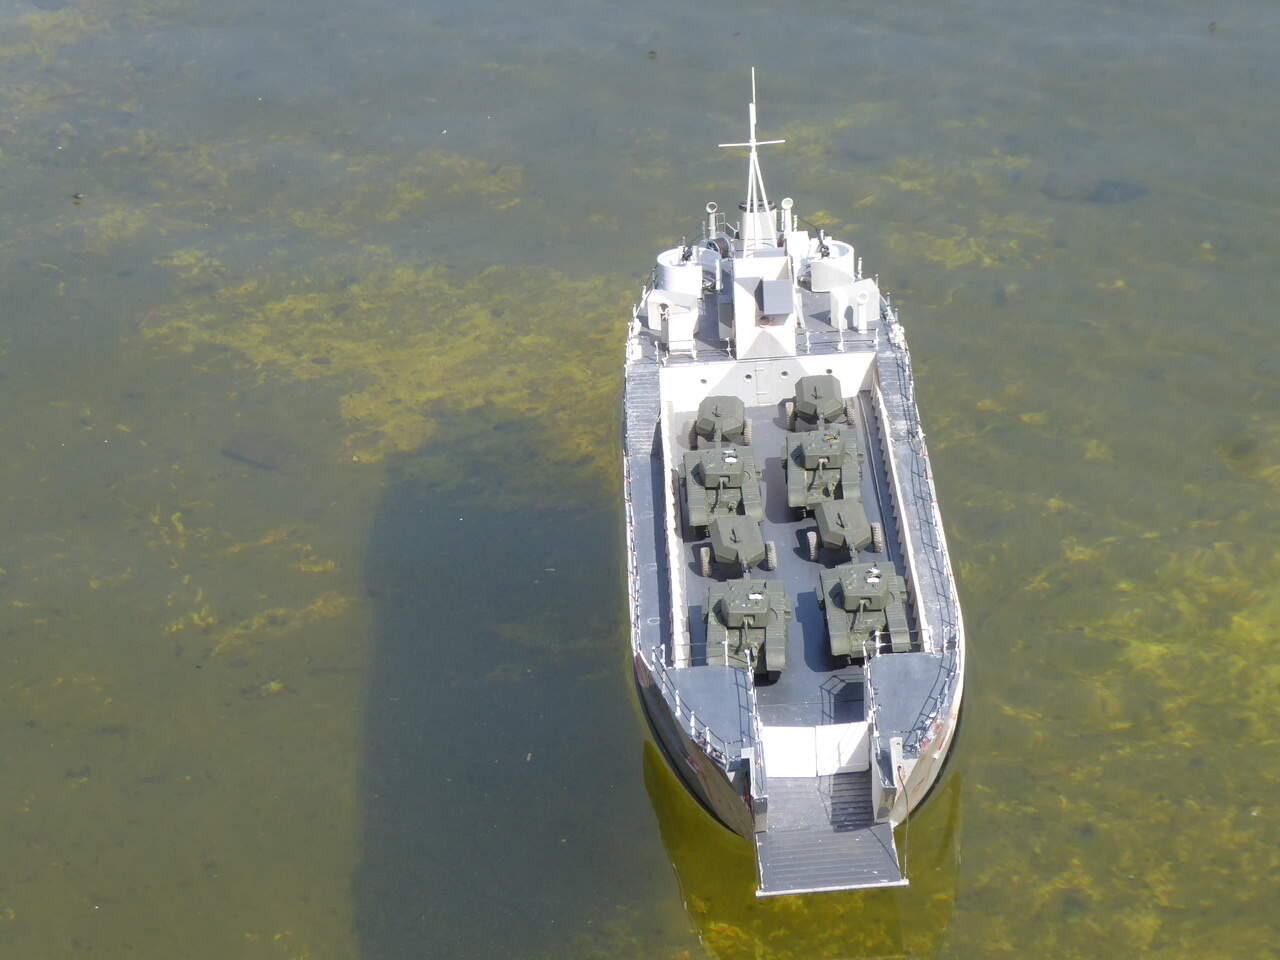
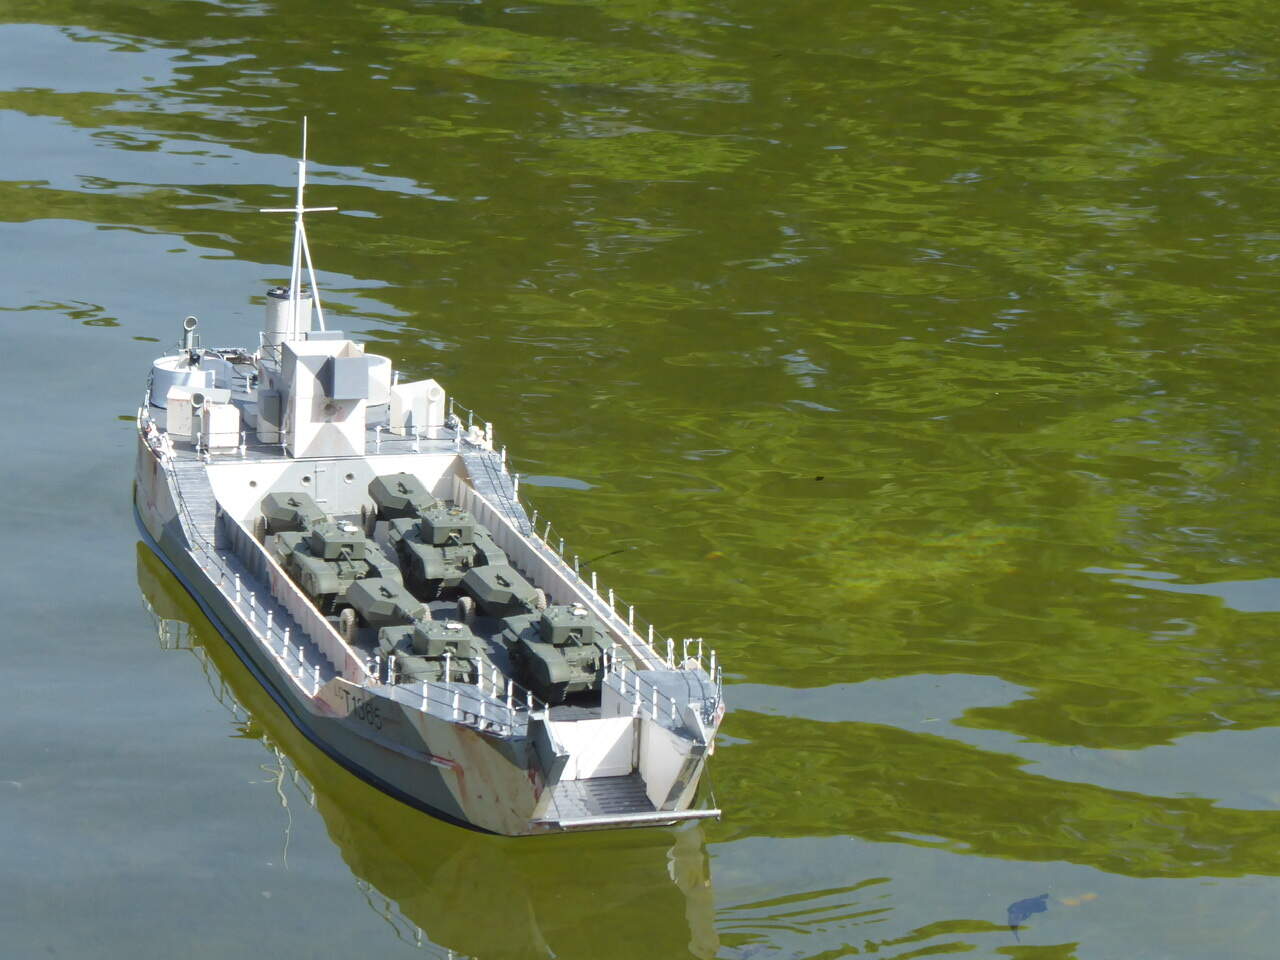
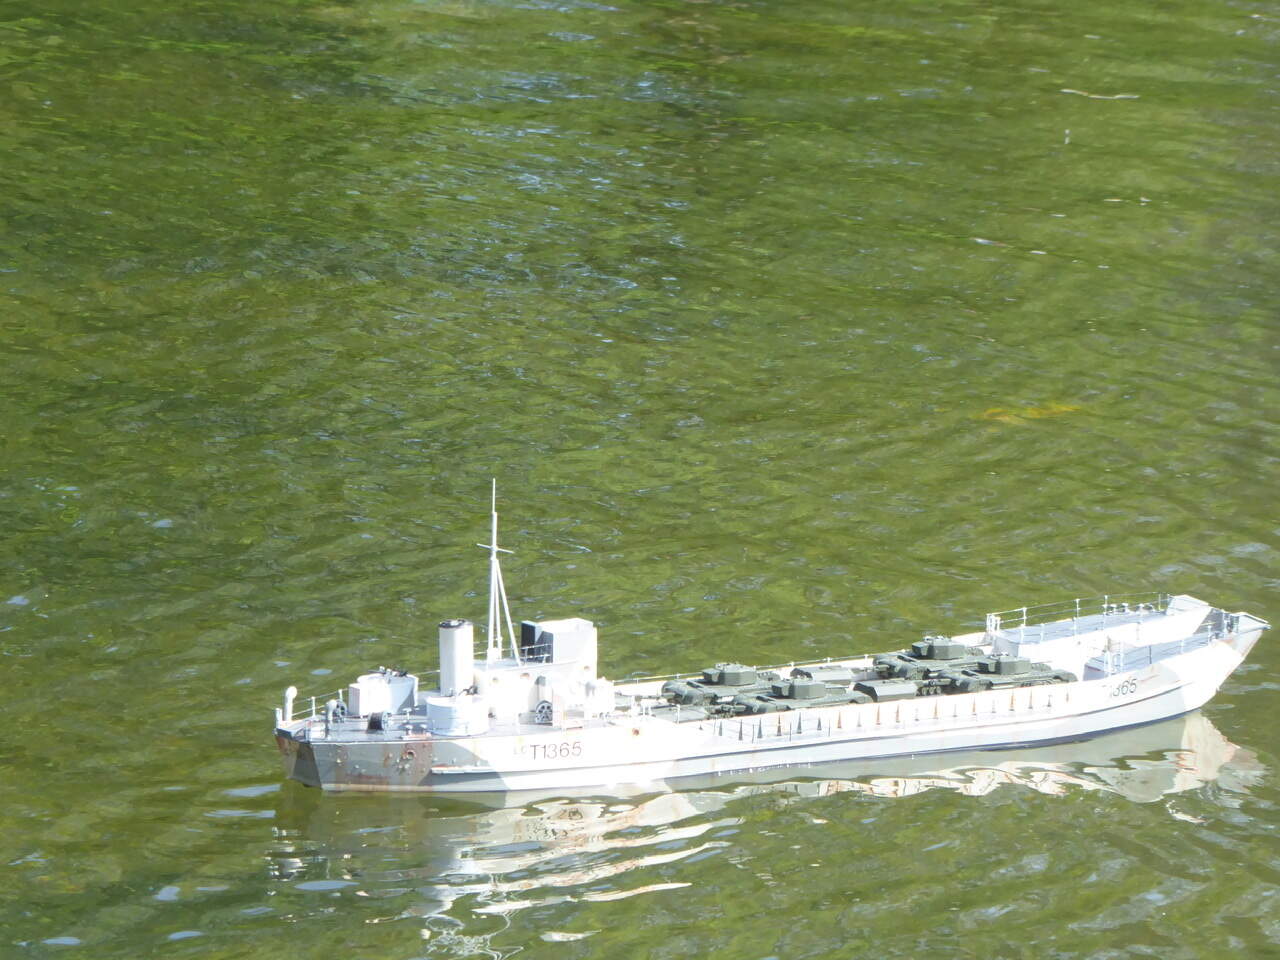
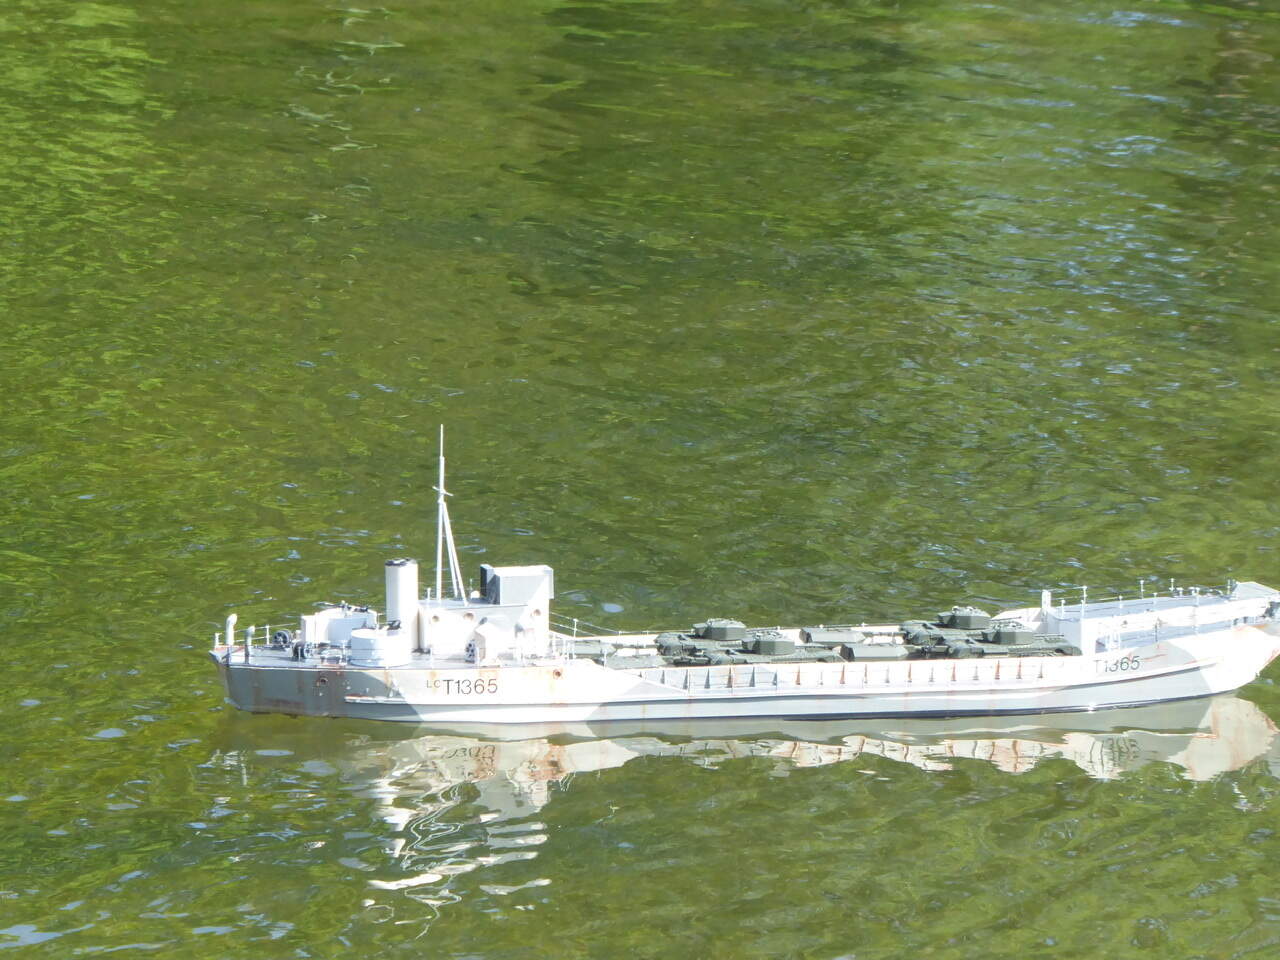
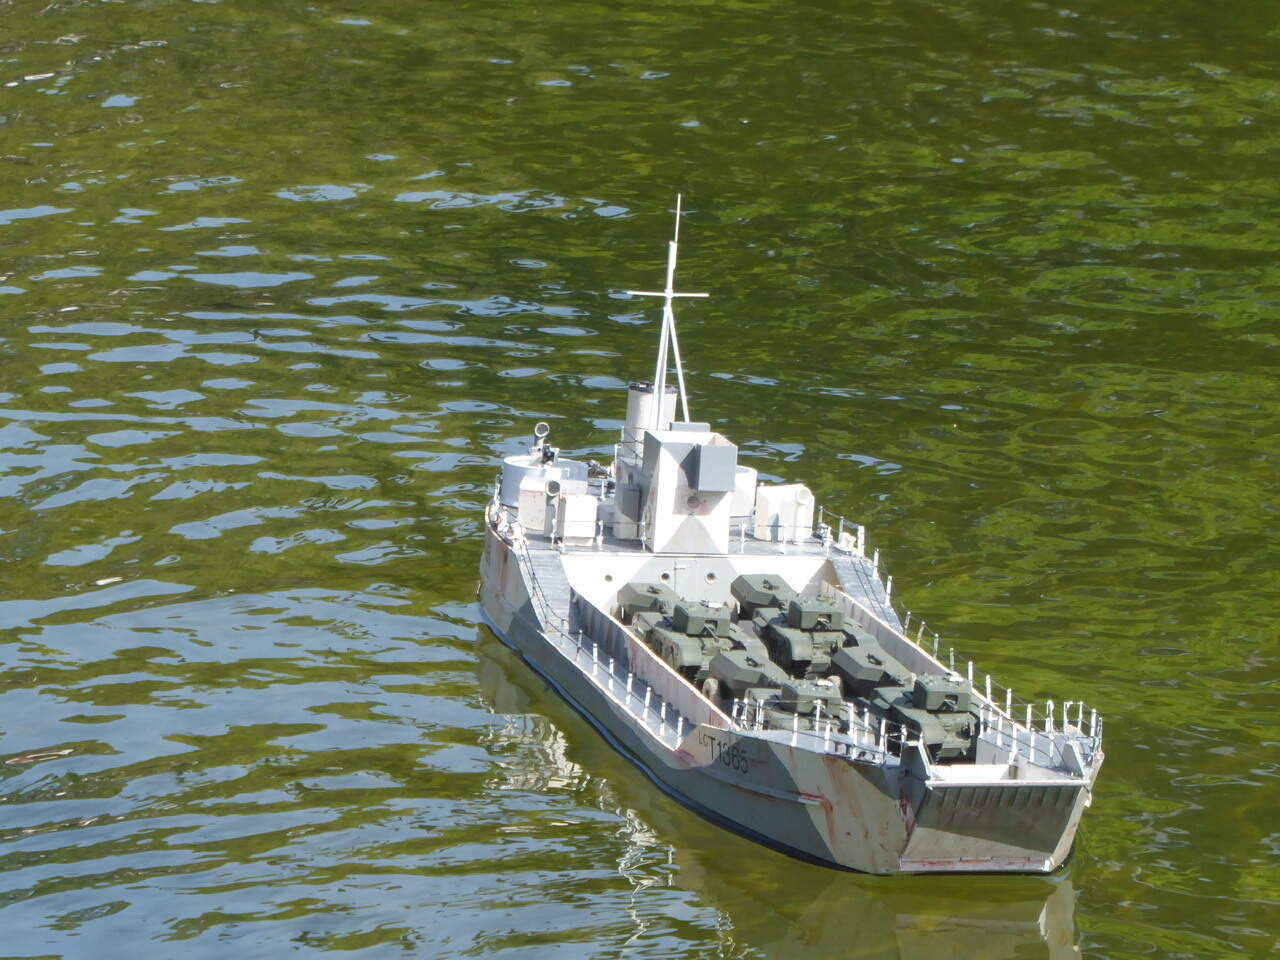
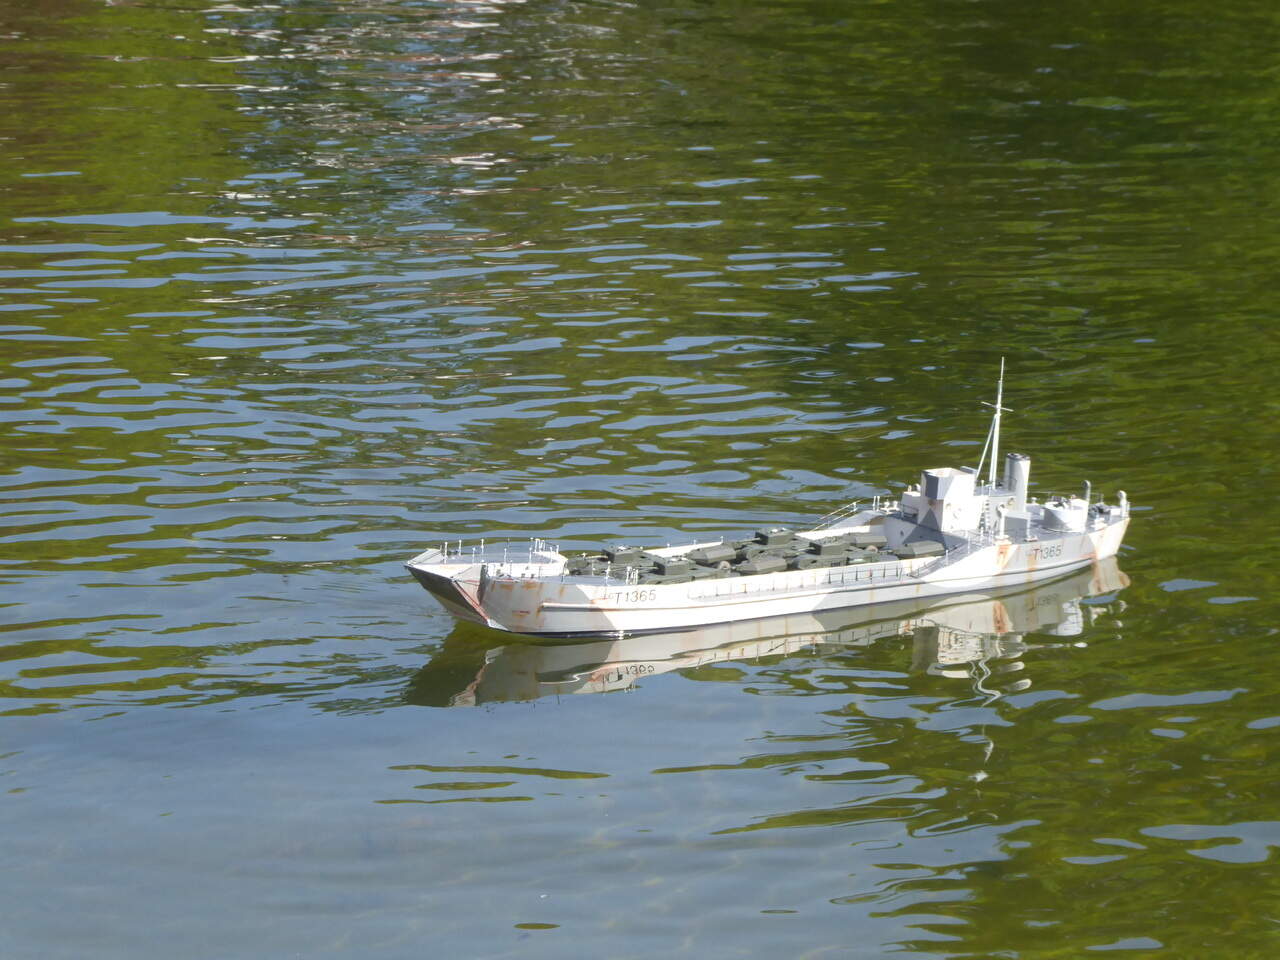
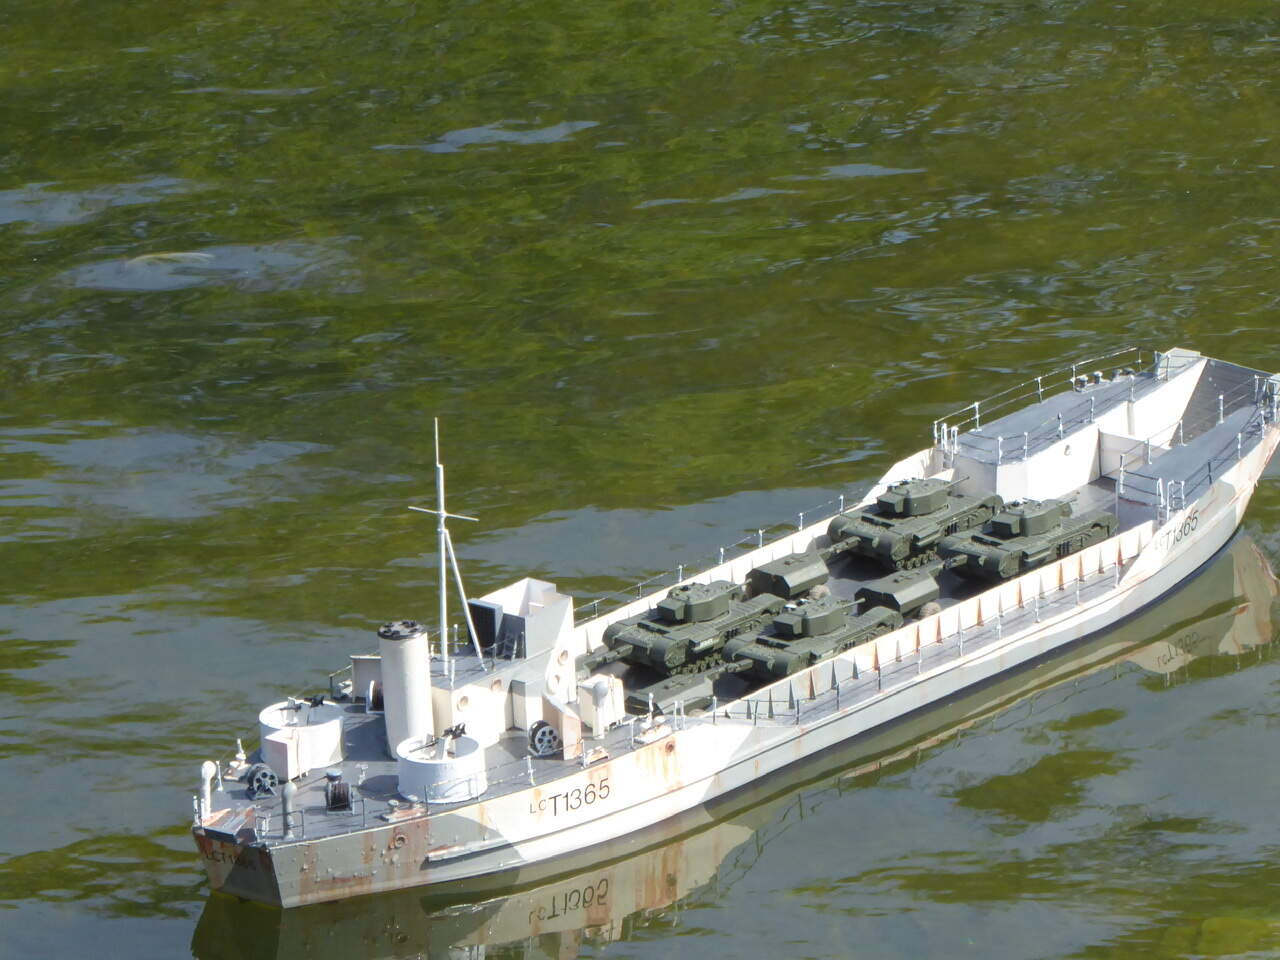
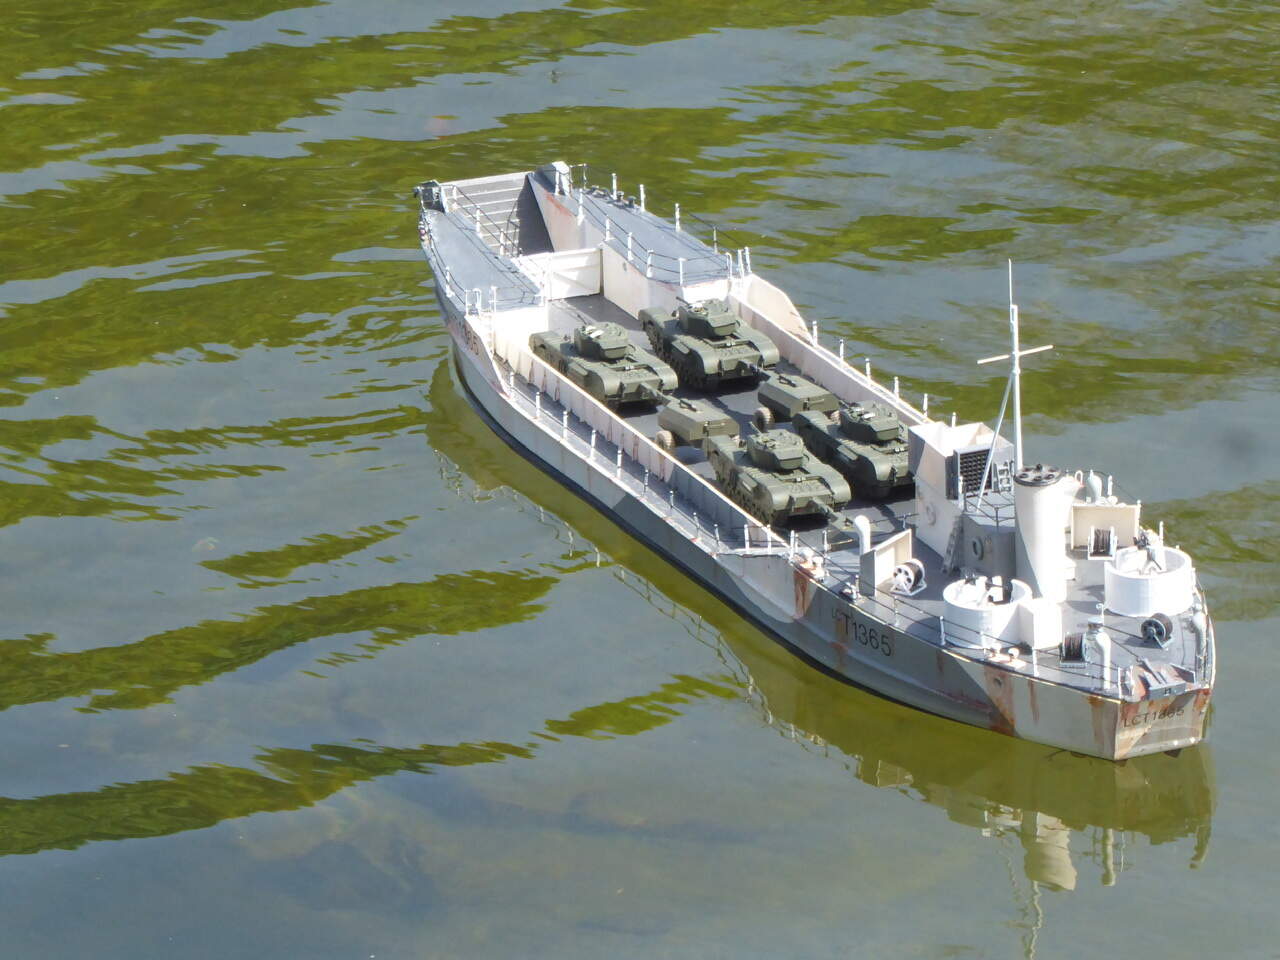
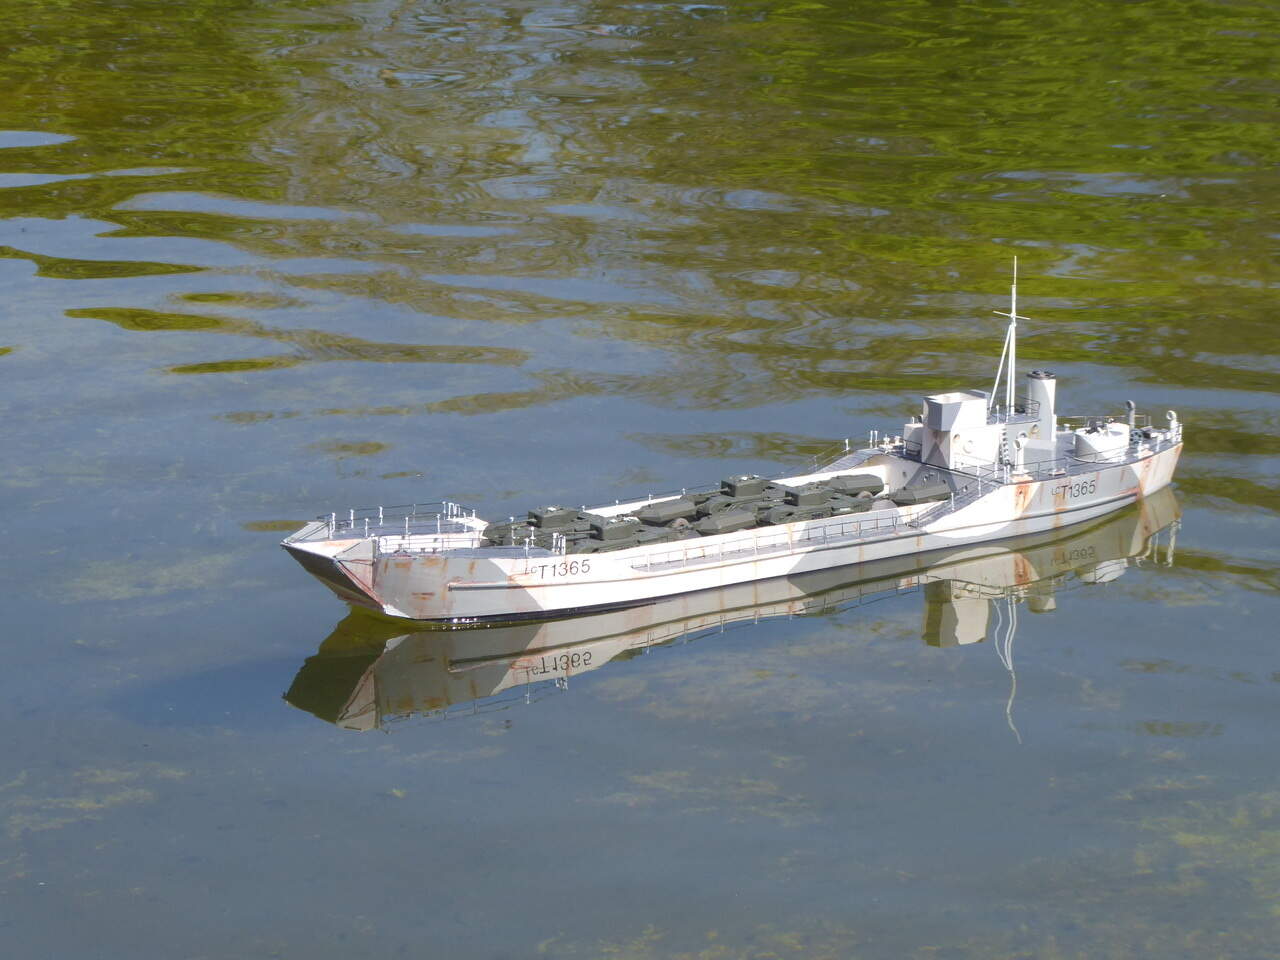
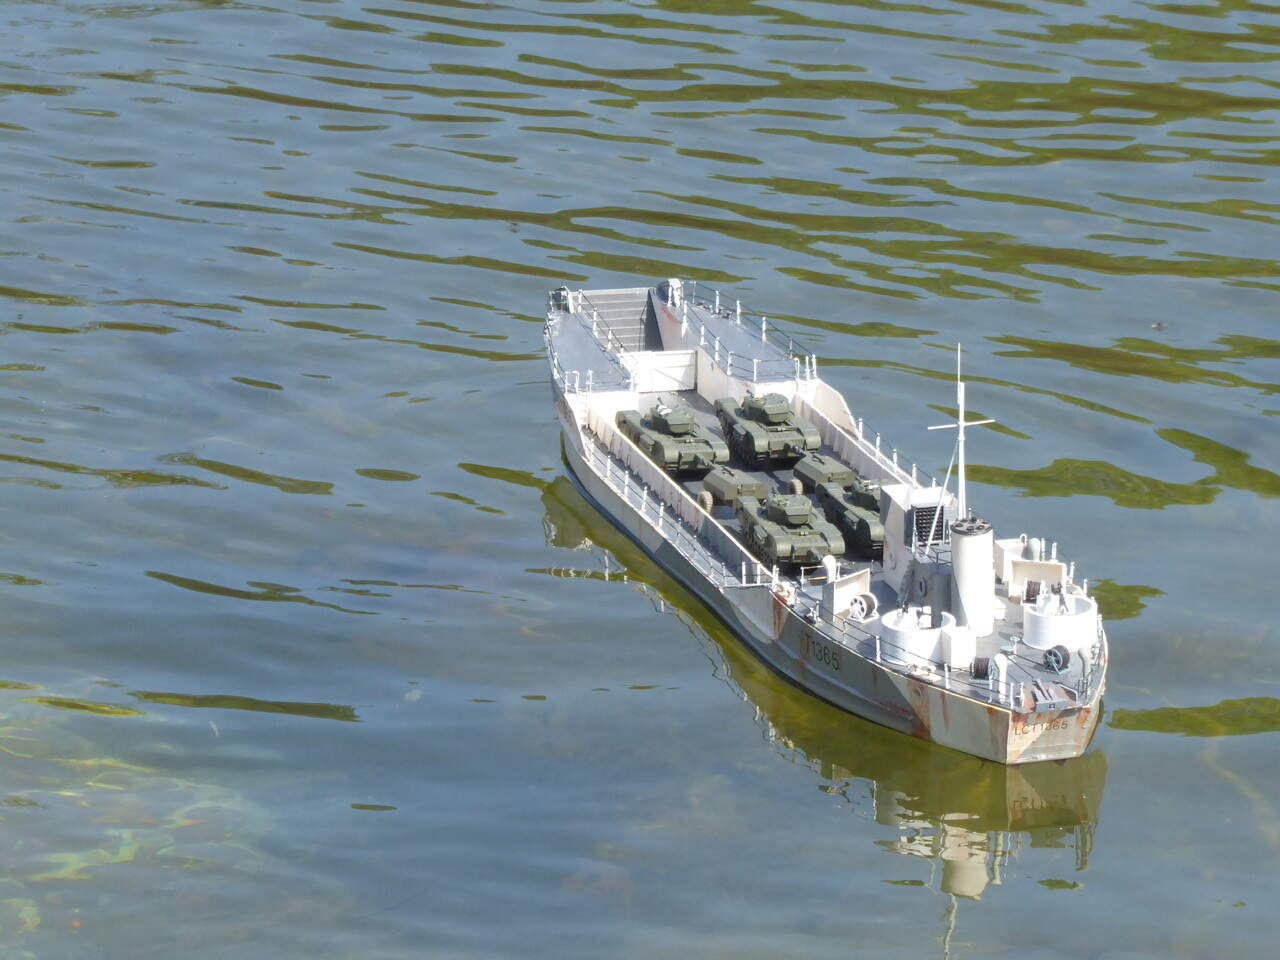
Sailed the LCT today, behaved really well once the reversed steering was corrected. Sailed for an hour and a quarter, the boat handles well, and is slightly over-powered for scale speed, ideal really. The Arduino control worked perfectly.
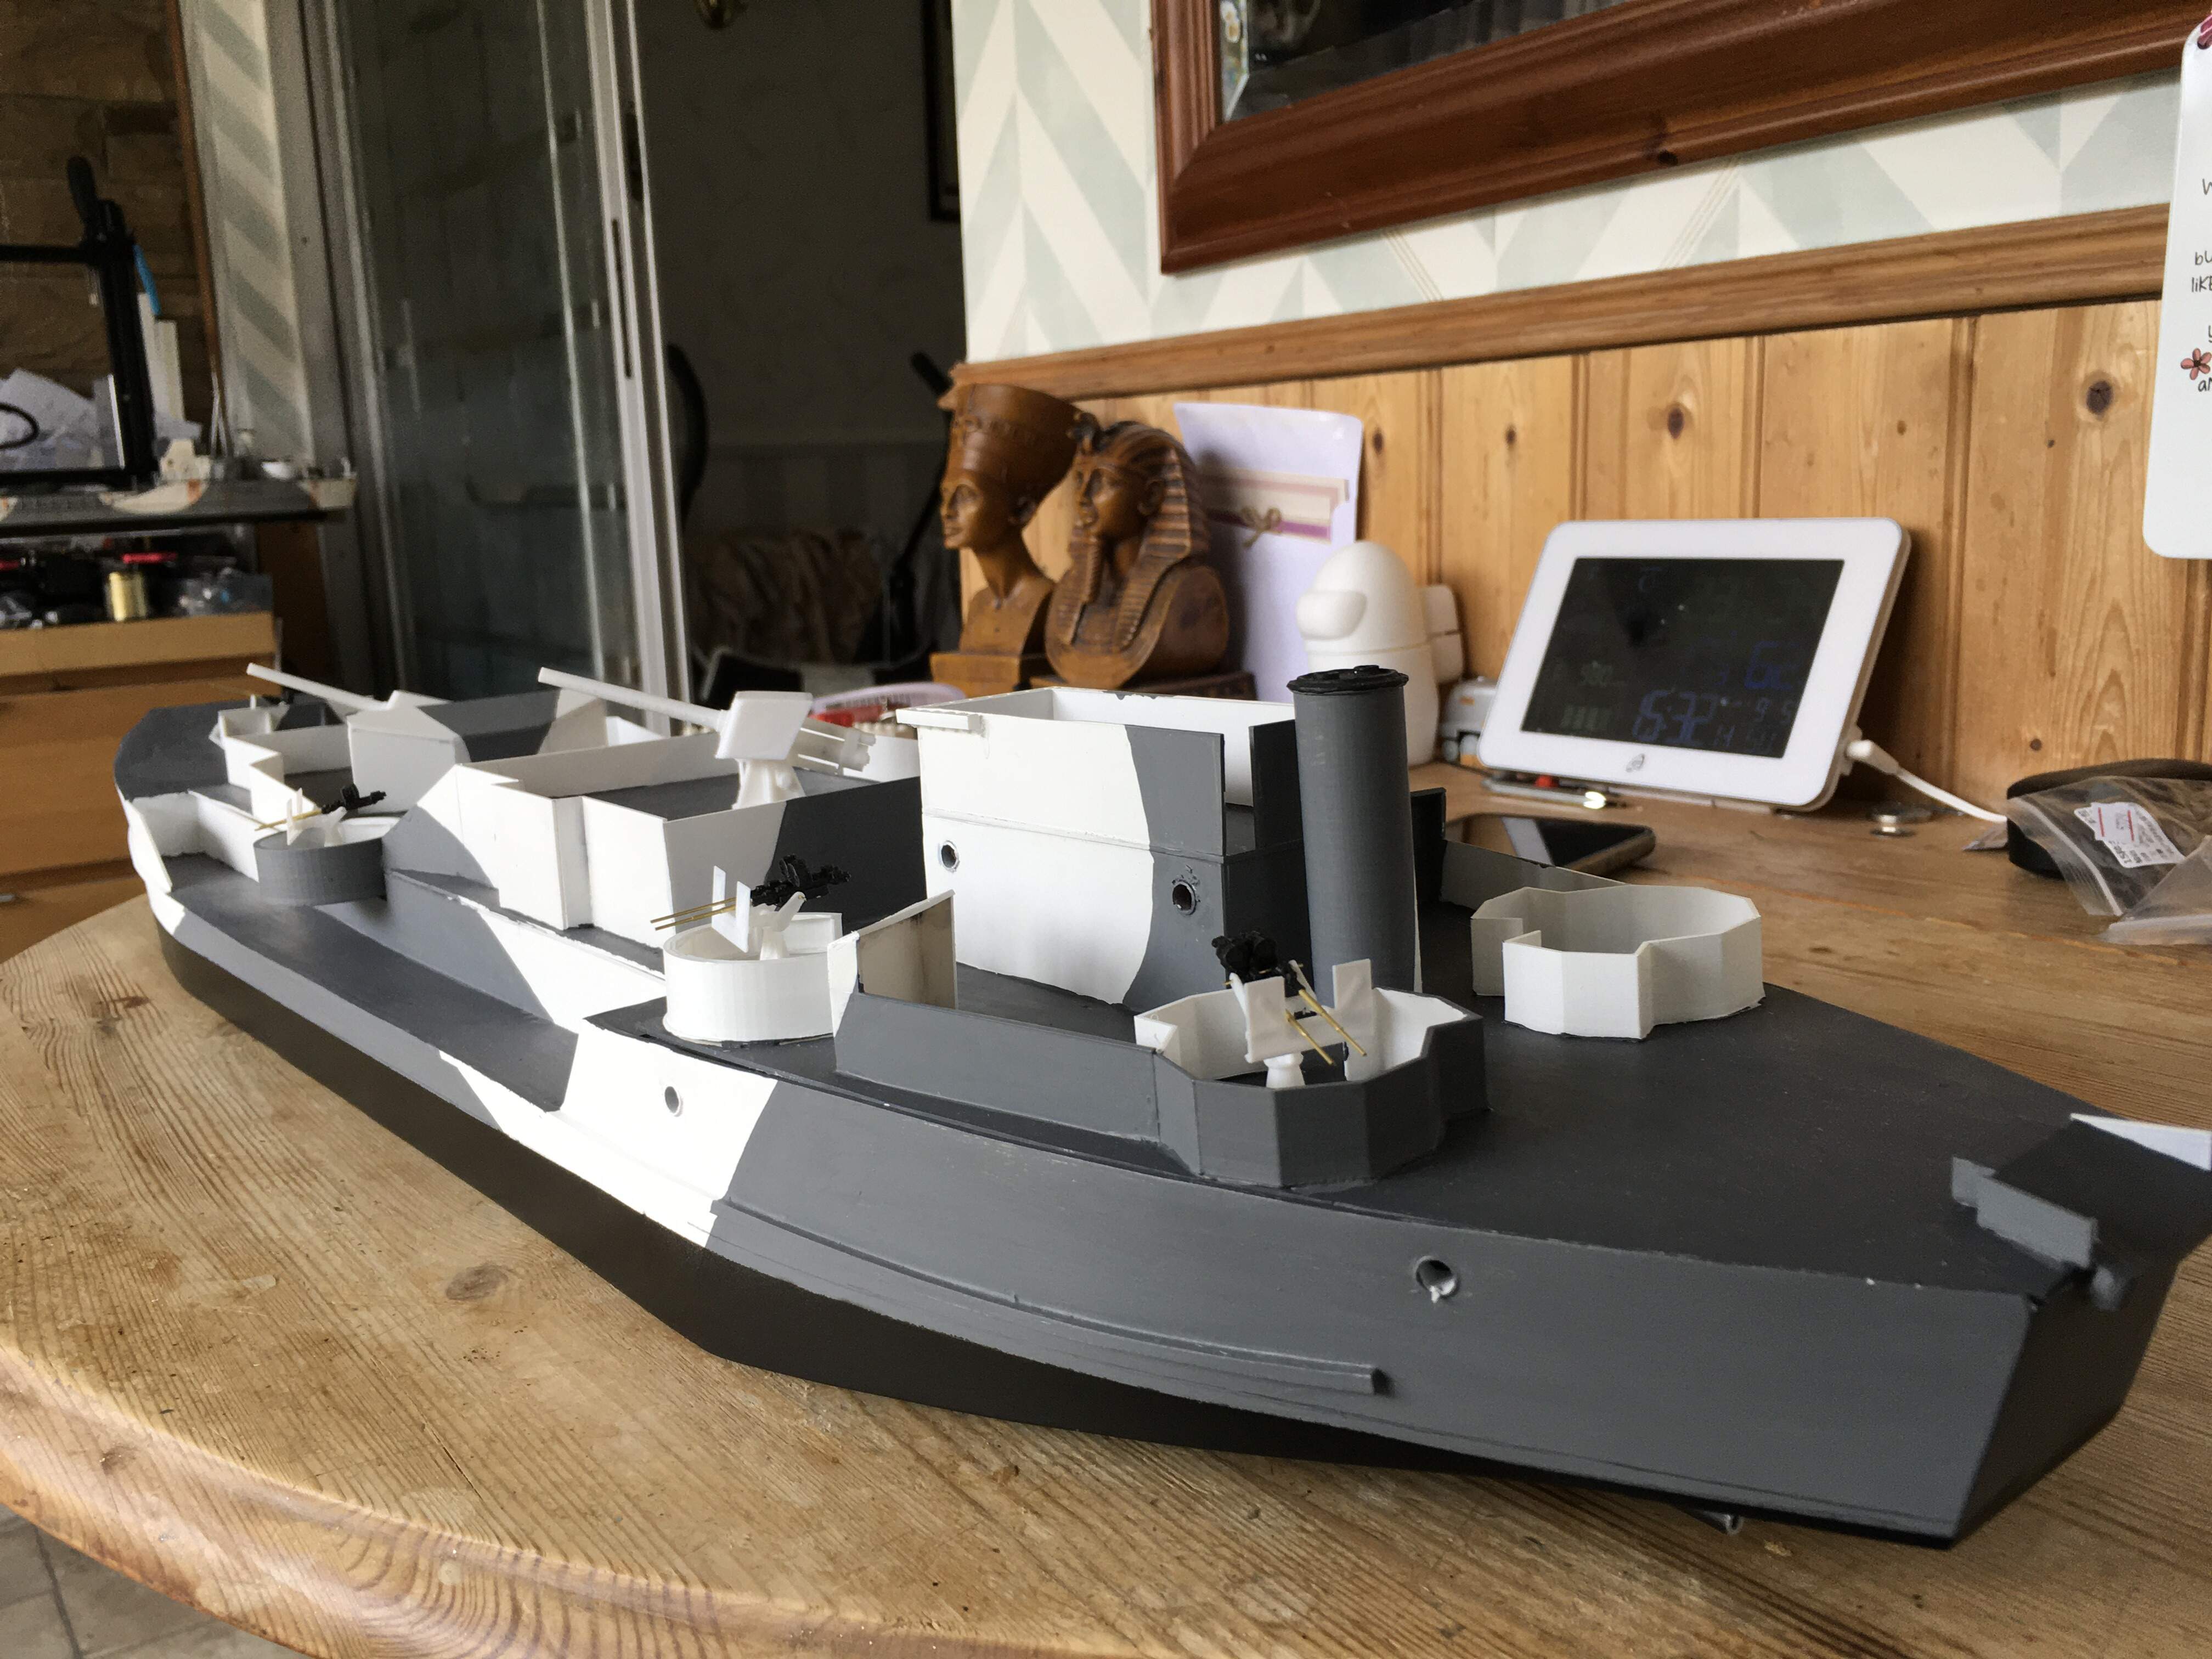
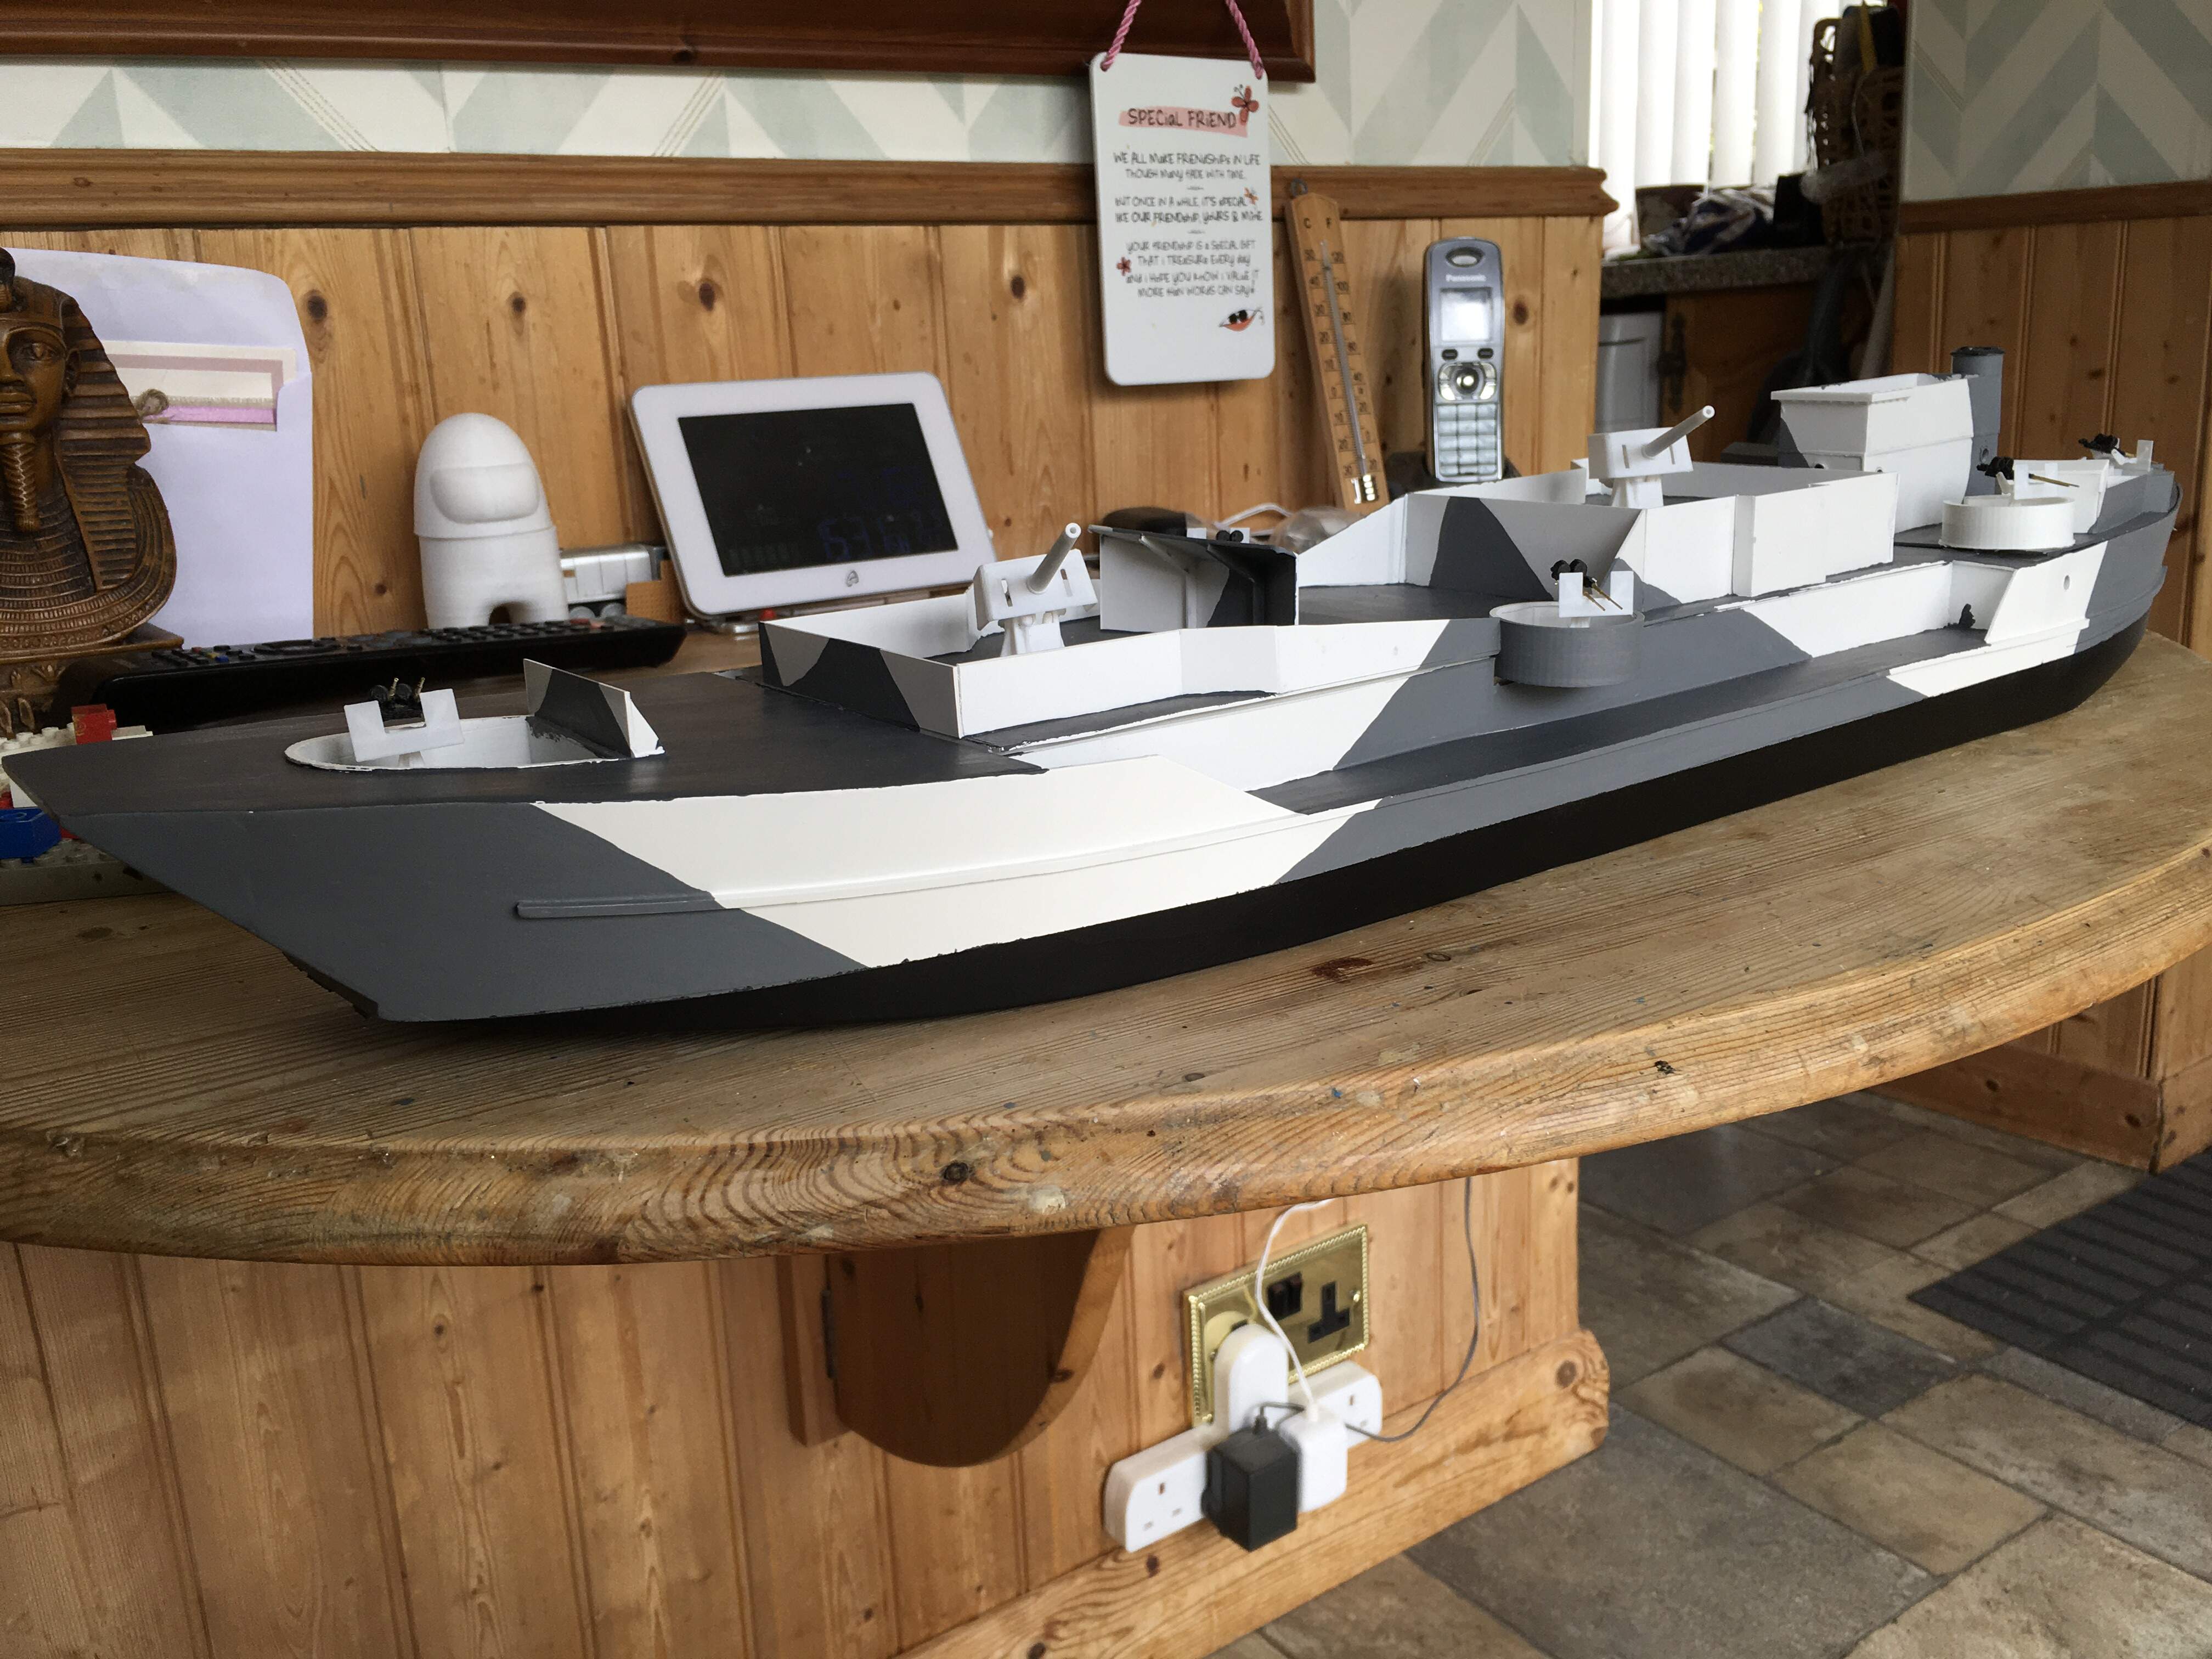
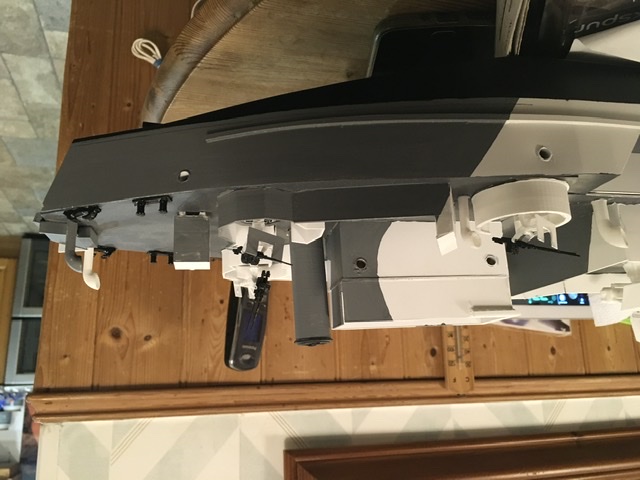
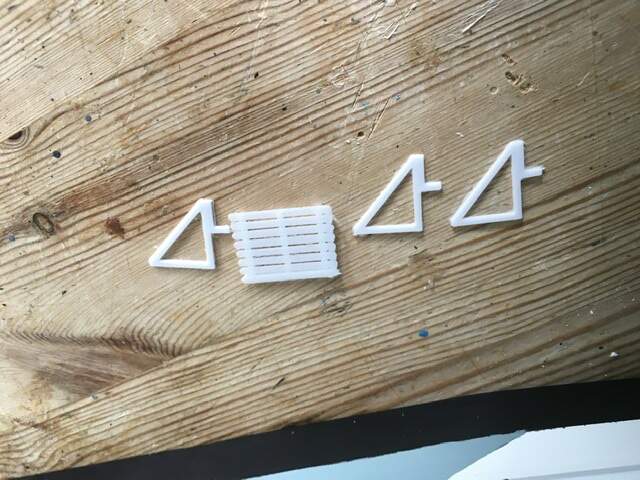
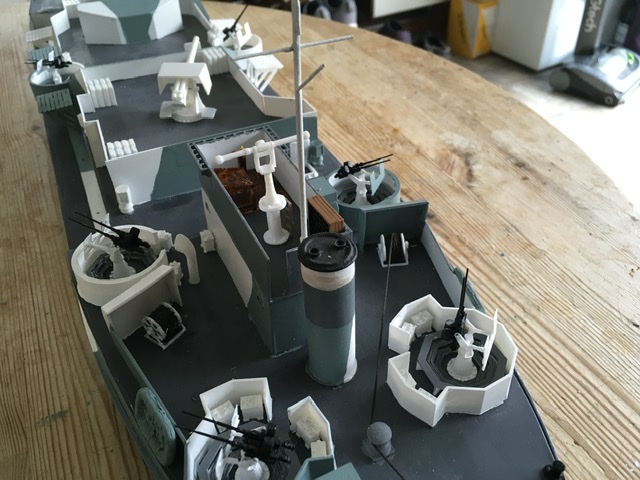
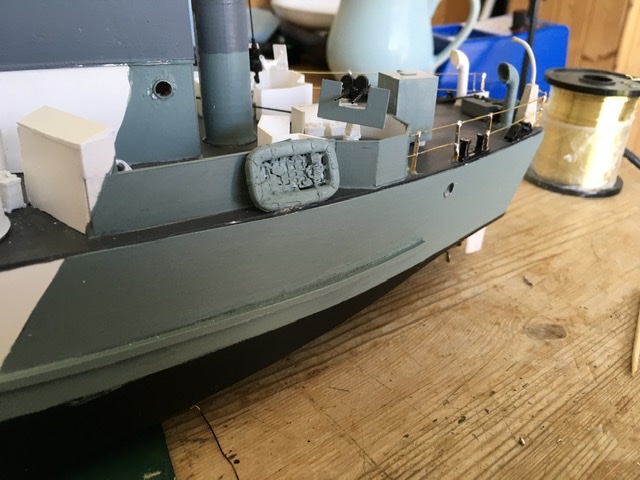
LCG moves on, Oerlikons fitted, bollards, fairleads, capstan, water tanks and hatch bases all fitted and painted. Now RU ammo lockers, 6 4.7 cartridge per gun, 6 4.7 shell per gun, 4 20mm per mount, that’s errr….takes socks off……52 lockers in three different designs!
 [quote=“Amegan, post:23, topic:7487, full:true”]
LCG moves on, Oerlikons fitted, bollards, fairleads, capstan, water tanks and hatch bases all fitted and painted. Now RU ammo lockers, 6 4.7 cartridge per gun, 6 4.7 shell per gun, 4 20mm per mount, that’s errr….takes socks off……52 lockers in three different designs!
Sorry all, pics came out upside down and I have no idea how to change them, they were ok on the iPad
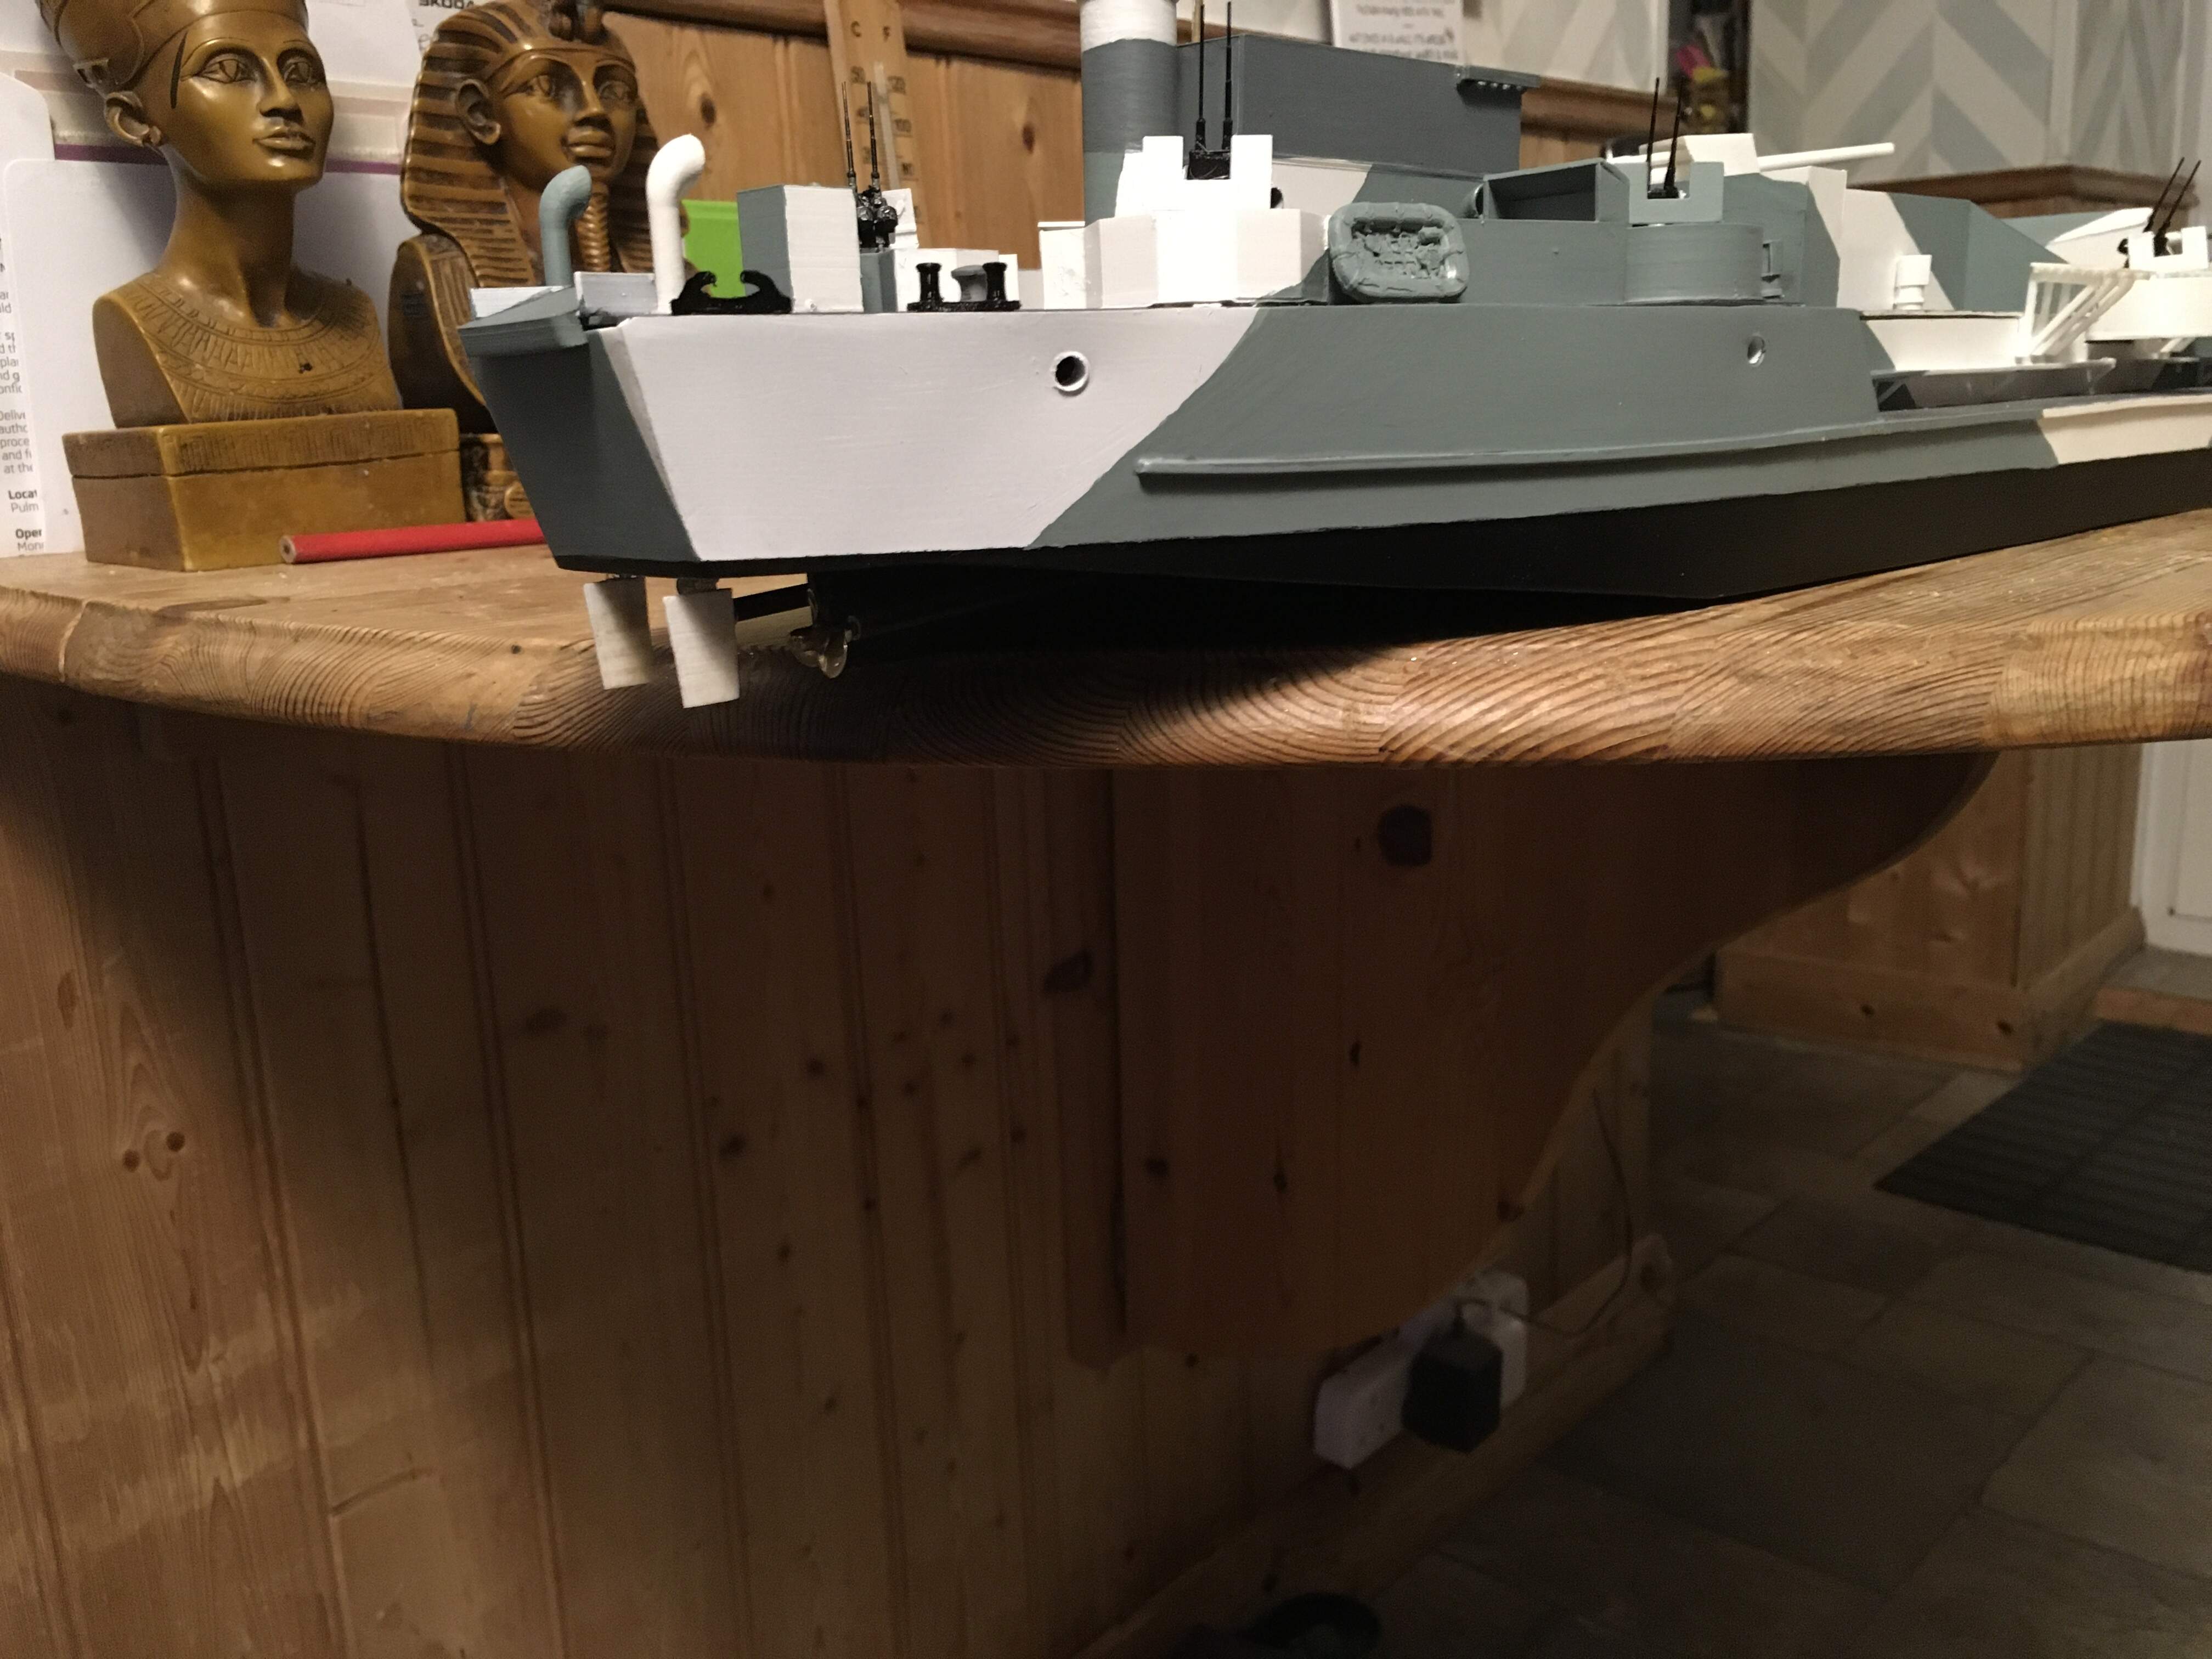
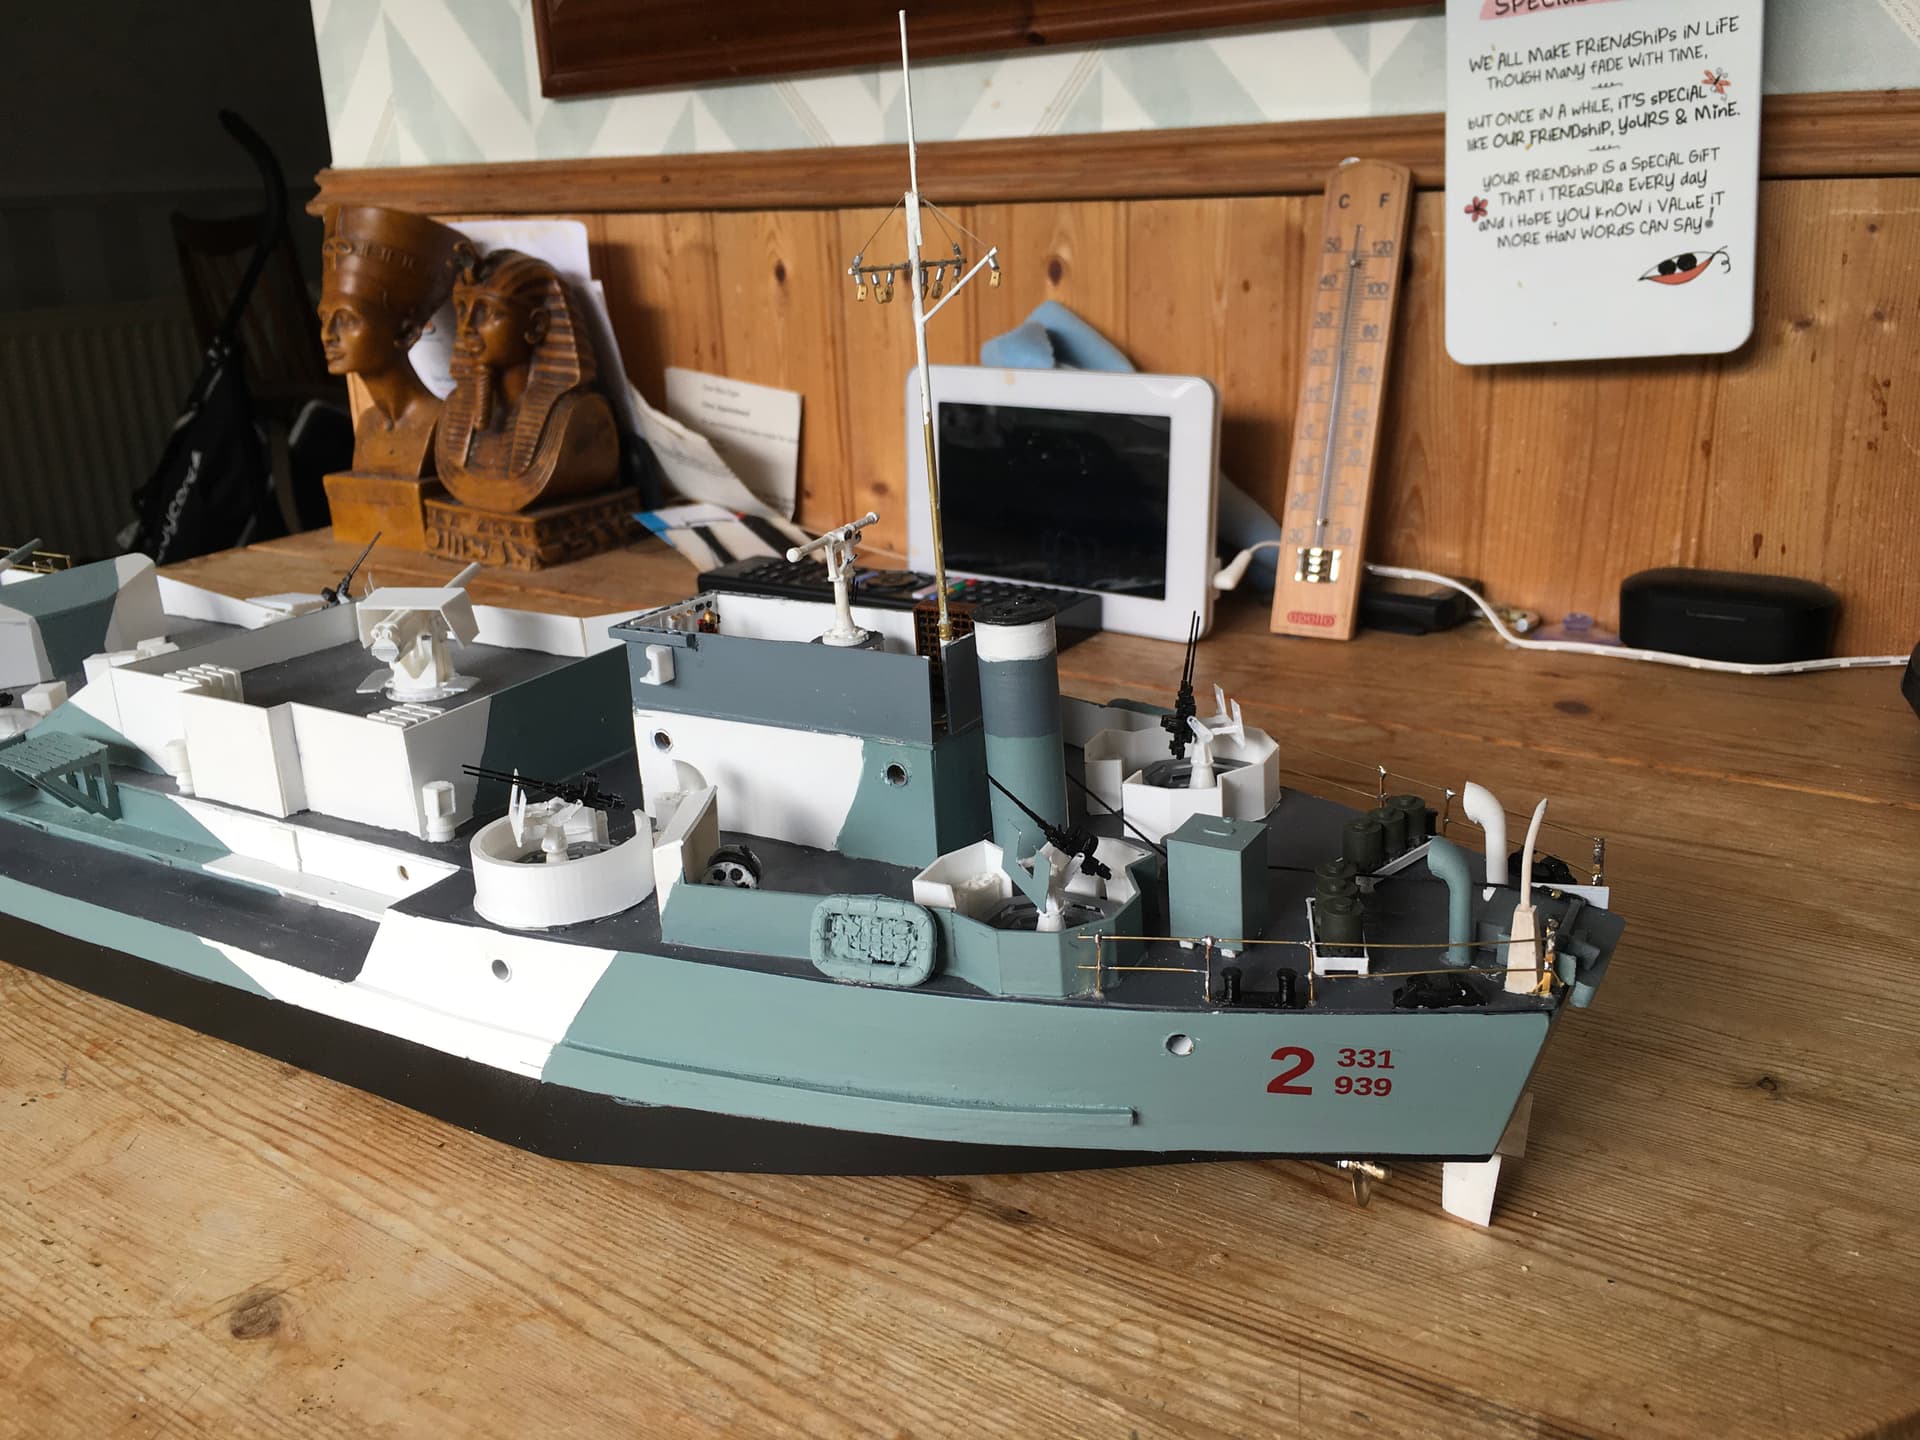
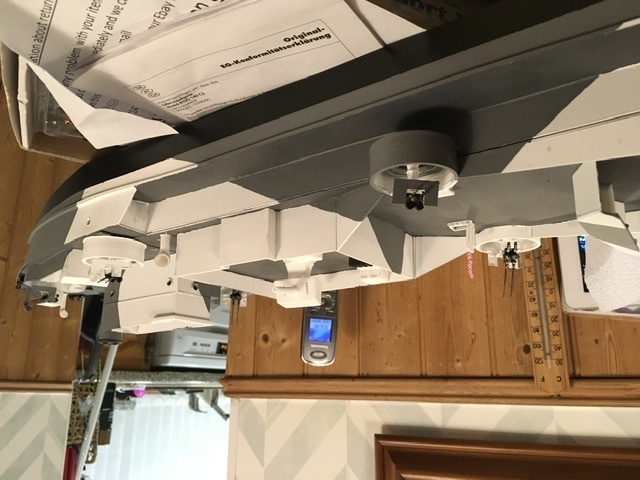
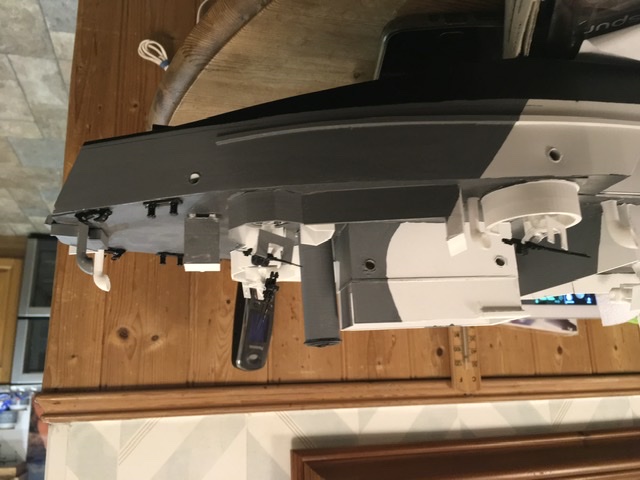
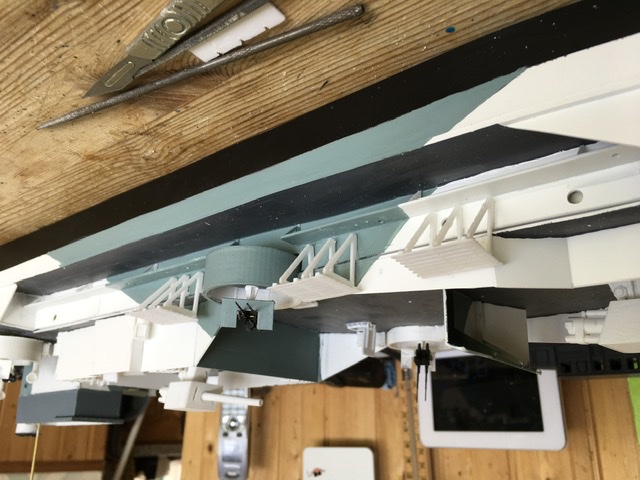
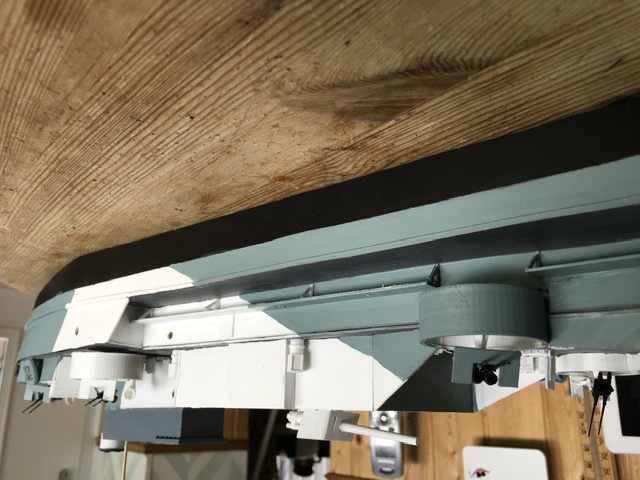
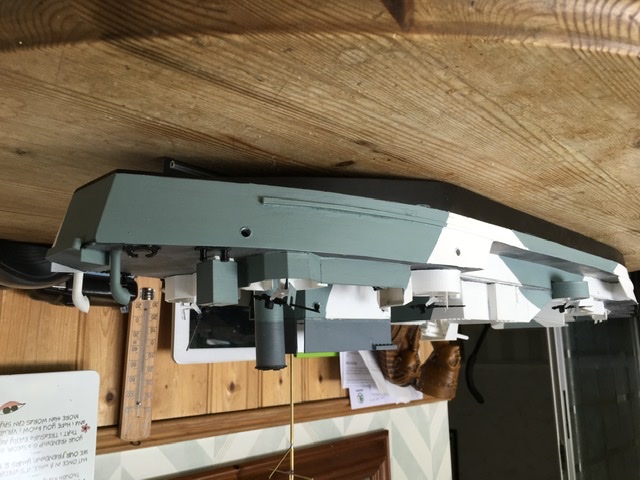
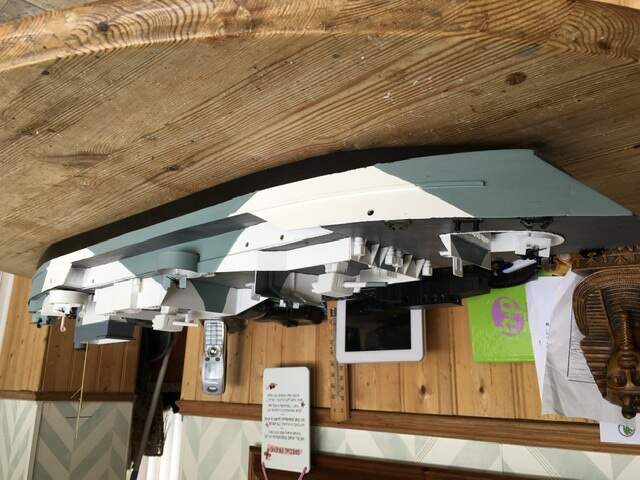
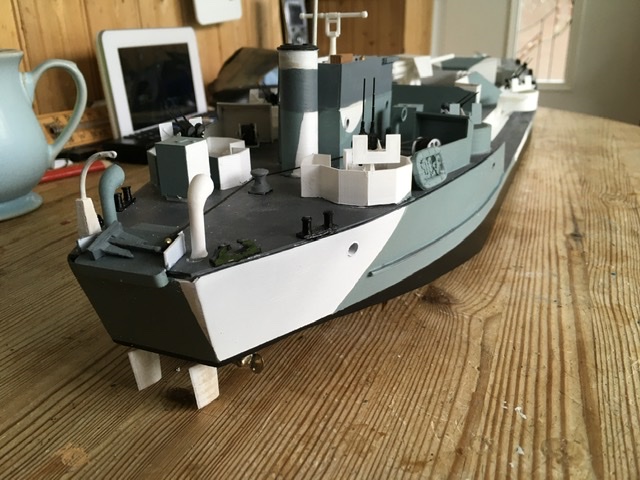
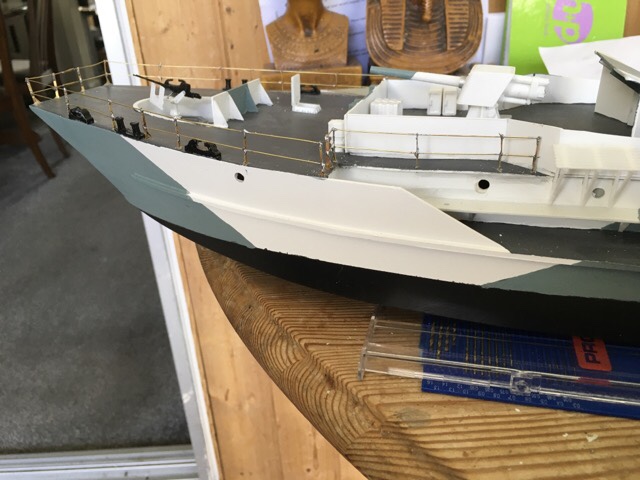
I was never happy with the camo on the LCG, it was based on photos of LCG680 but apart from the photos I knew little about the ship. Found some more photos, either with lighter camo or better exposed that are revealing details I didn’t have before. They are LCG939, built Teesside Bridge and Engineering, Middlesbrough. She was attached to the 2nd Support Squadron, Flotilla 331 assigned to beach suppression, Juno Beach on D-Day. The colour now appears to be Light Blue and White, grey Bridge. The details of ventilators, Flotanet gratings, and structural reinforcement are clearer. So, I repainted, and pushed detail on some, there will be some errors when I have finished but they were built before I found better detail.

 .
.
Once again iPad photos have come out inverted and I can’t change them! Whyyyyy?
Are you taking and adding the photos right from the message window or taking the photos first and then adding from your photo library?
If it’s the former, I also have issues with my iPhone when trying to take landscape vs portraits. Depending on how you’re holding your iPad, it may be compounding things by thinking you’re holding upside down (or in Australia).
Taking the photos first and then selecting them from your library once your iPad has automatically sorted their orientation should resolve the issue.
Regardless of your gravity defying photography, the ship looks amazing!
I am actually selecting from the library. It only seems to happen with photos taken on the iPad, if I use my LUMIX TZ70 it doesn’t happen. However, I am left-handed and use the iPad upside down so home button is on the left side. The iPad may compensate for that but store in the original format. I’ll try it next time.
What was intended to be a quick build is rapidly becoming very complex, but fascinating, these ships were surprisingly sophisticated and I keep having to redo things. Thanks
Andrew Egan
I think I found the solution for the rotation issue — relates to the camera’s gyroscope catching up. In the Camera app, check orientation of the Zoom indicator located at the bottom of the screen (.5 1x 2). With my iPhone 12 Pro, I jinked (rocked) the phone a bit, confirmed and now it seems to be set correctly. On my older 2018 iPad, I moved the Zoom slider (+ -) up and down to set the proper orientation. Either way, take a test shot before proceeding to shoot multiples. HTH.
Regardless, your LCT looks great!
—mike
Thanks Mike, just hope my iPad will take IOS15
Yet another gem of a blog I’ve only just noticed. Must report wifey was looking over my shoulder while looking at the 4th & 5th photos you posted on May 28th & thought they were real, I strung her along until the last few. Excellent, excellent project. As a fellow leftie (top 10% but of course you knew that already) I sympathise with your device predicament, obviously the answer was to stand on my head to view the later photos 

Thanks for that
Not the most sexy parts of the ship but the rudders have to be done. As 3D printing is featured heavily in this build I decided 3D rudders are in order.
Andrew, that is some solid, neat work! (Plus, I’m glad to see things right side up so I can fully appreciate your modeling artistry!)


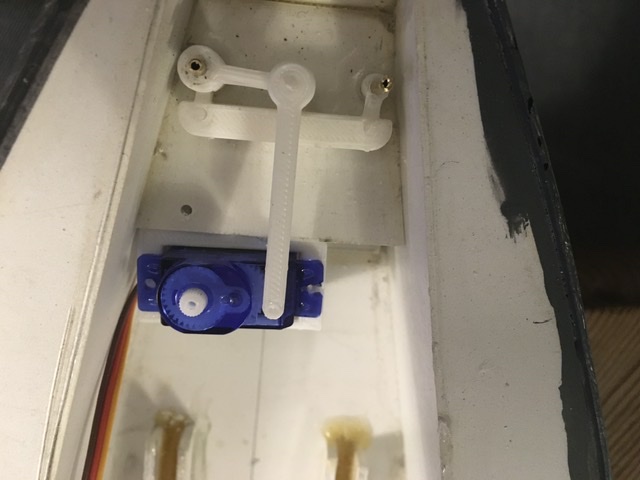
New rudder linkage, all knuckle joints, 3D printed. The live hinges apparently have a life measured in tens of cycles, hence the change to knuckles. There isn’t quite enough throw as it is so the inner bulkhead needs a small hole each side to get more. Looks like the servo is too high so need a redesigned mount to lower it a couple of mm, no biggie
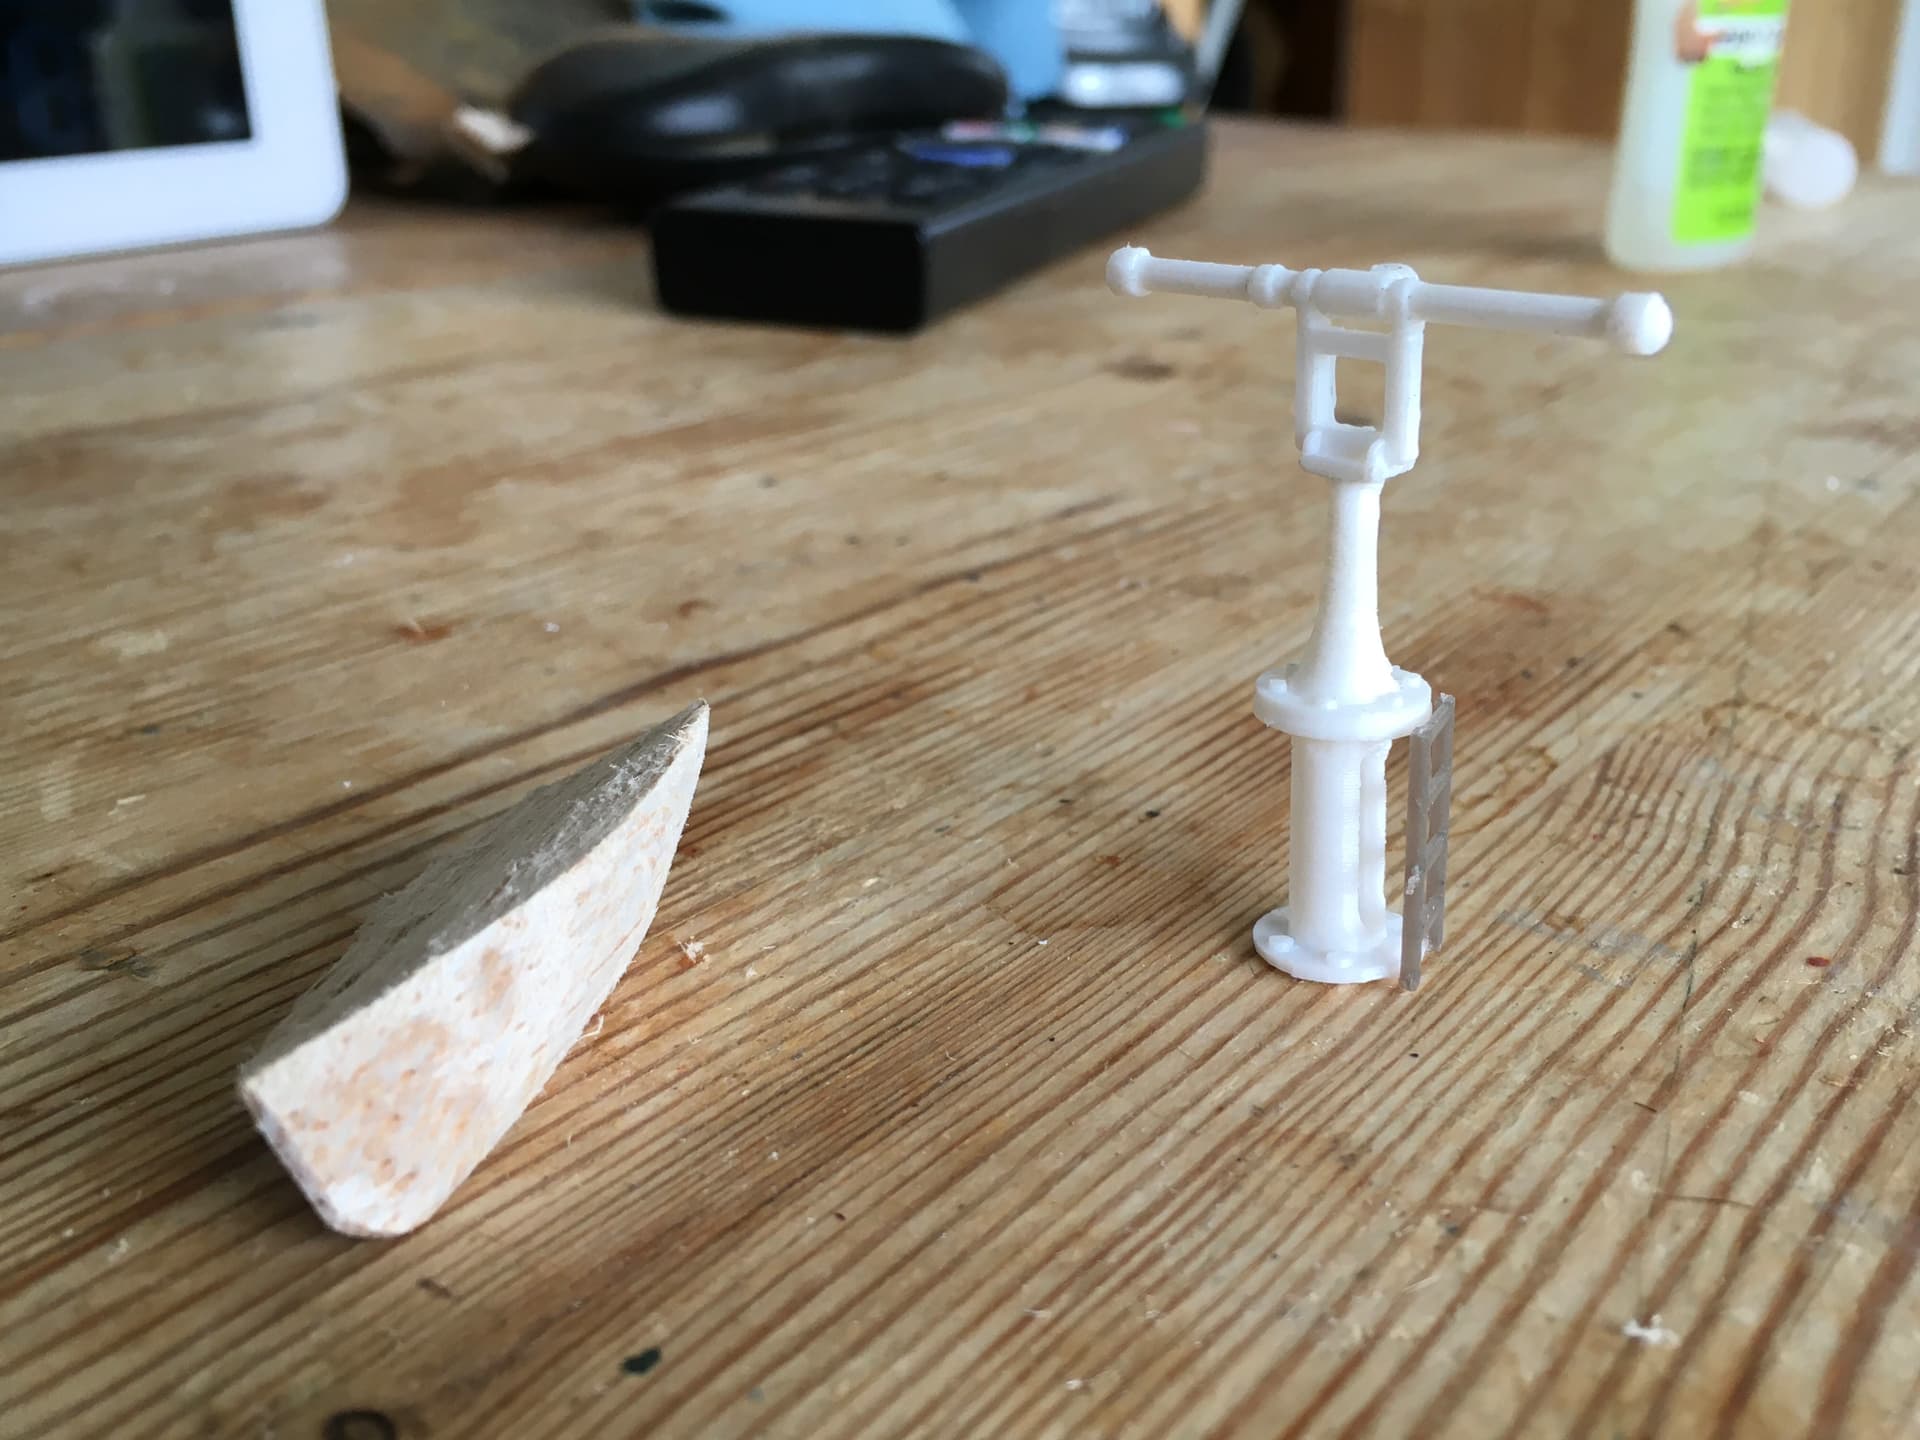
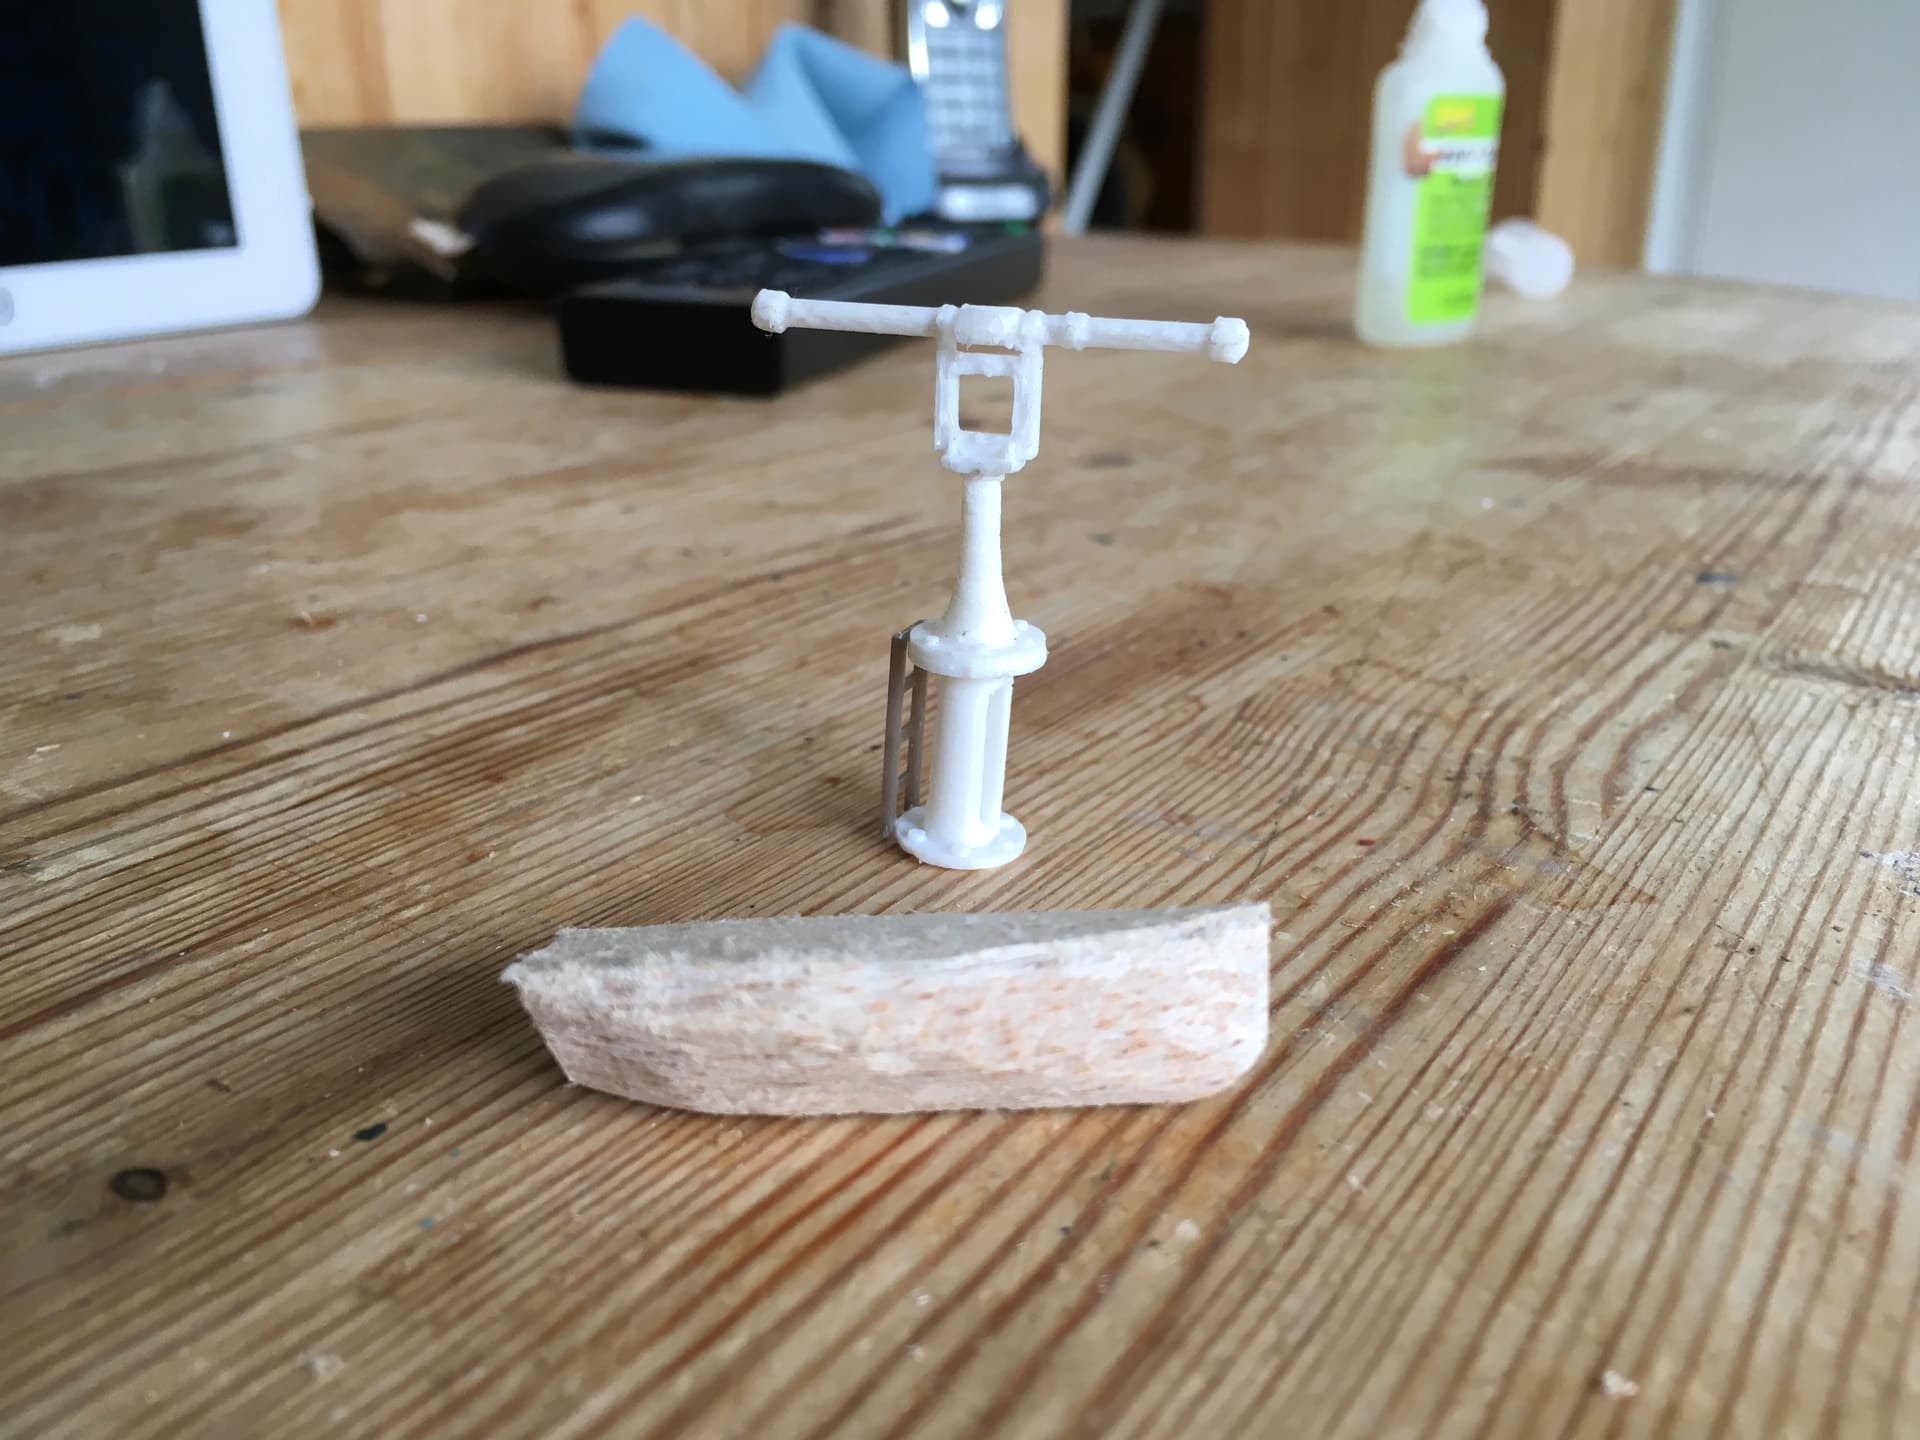
A day of contrasts, morning spent drawing up 9ft Barr and Stroud rangefinder for the LCG along with the platform to raise it above bridge personnel. It still needs a couple of parts around the head, but not too bad. Then, while that was printing, carving a 10ft dinghy mould ready to make in gummed paper strip. Old school modelling.
LCG, work has started on the bridge. The rangefinder was difficult to get clear drawings, and for the pedestal I had to do some creative guessing. There is more detail to add to the rangefinder and need detail on the forward bulkhead. Some painting still to be done and need a chart on the table

Mast has been corrected so yard is on the front, the upper yard I had fitted turned out not to be a yard but a wireless aerial spreader, saved for later
Fitted the anchor, cable and cable reels. The anchor davit is fitted but not rigged
Still having problems with iPad pics, turned to iPad upside down to get these
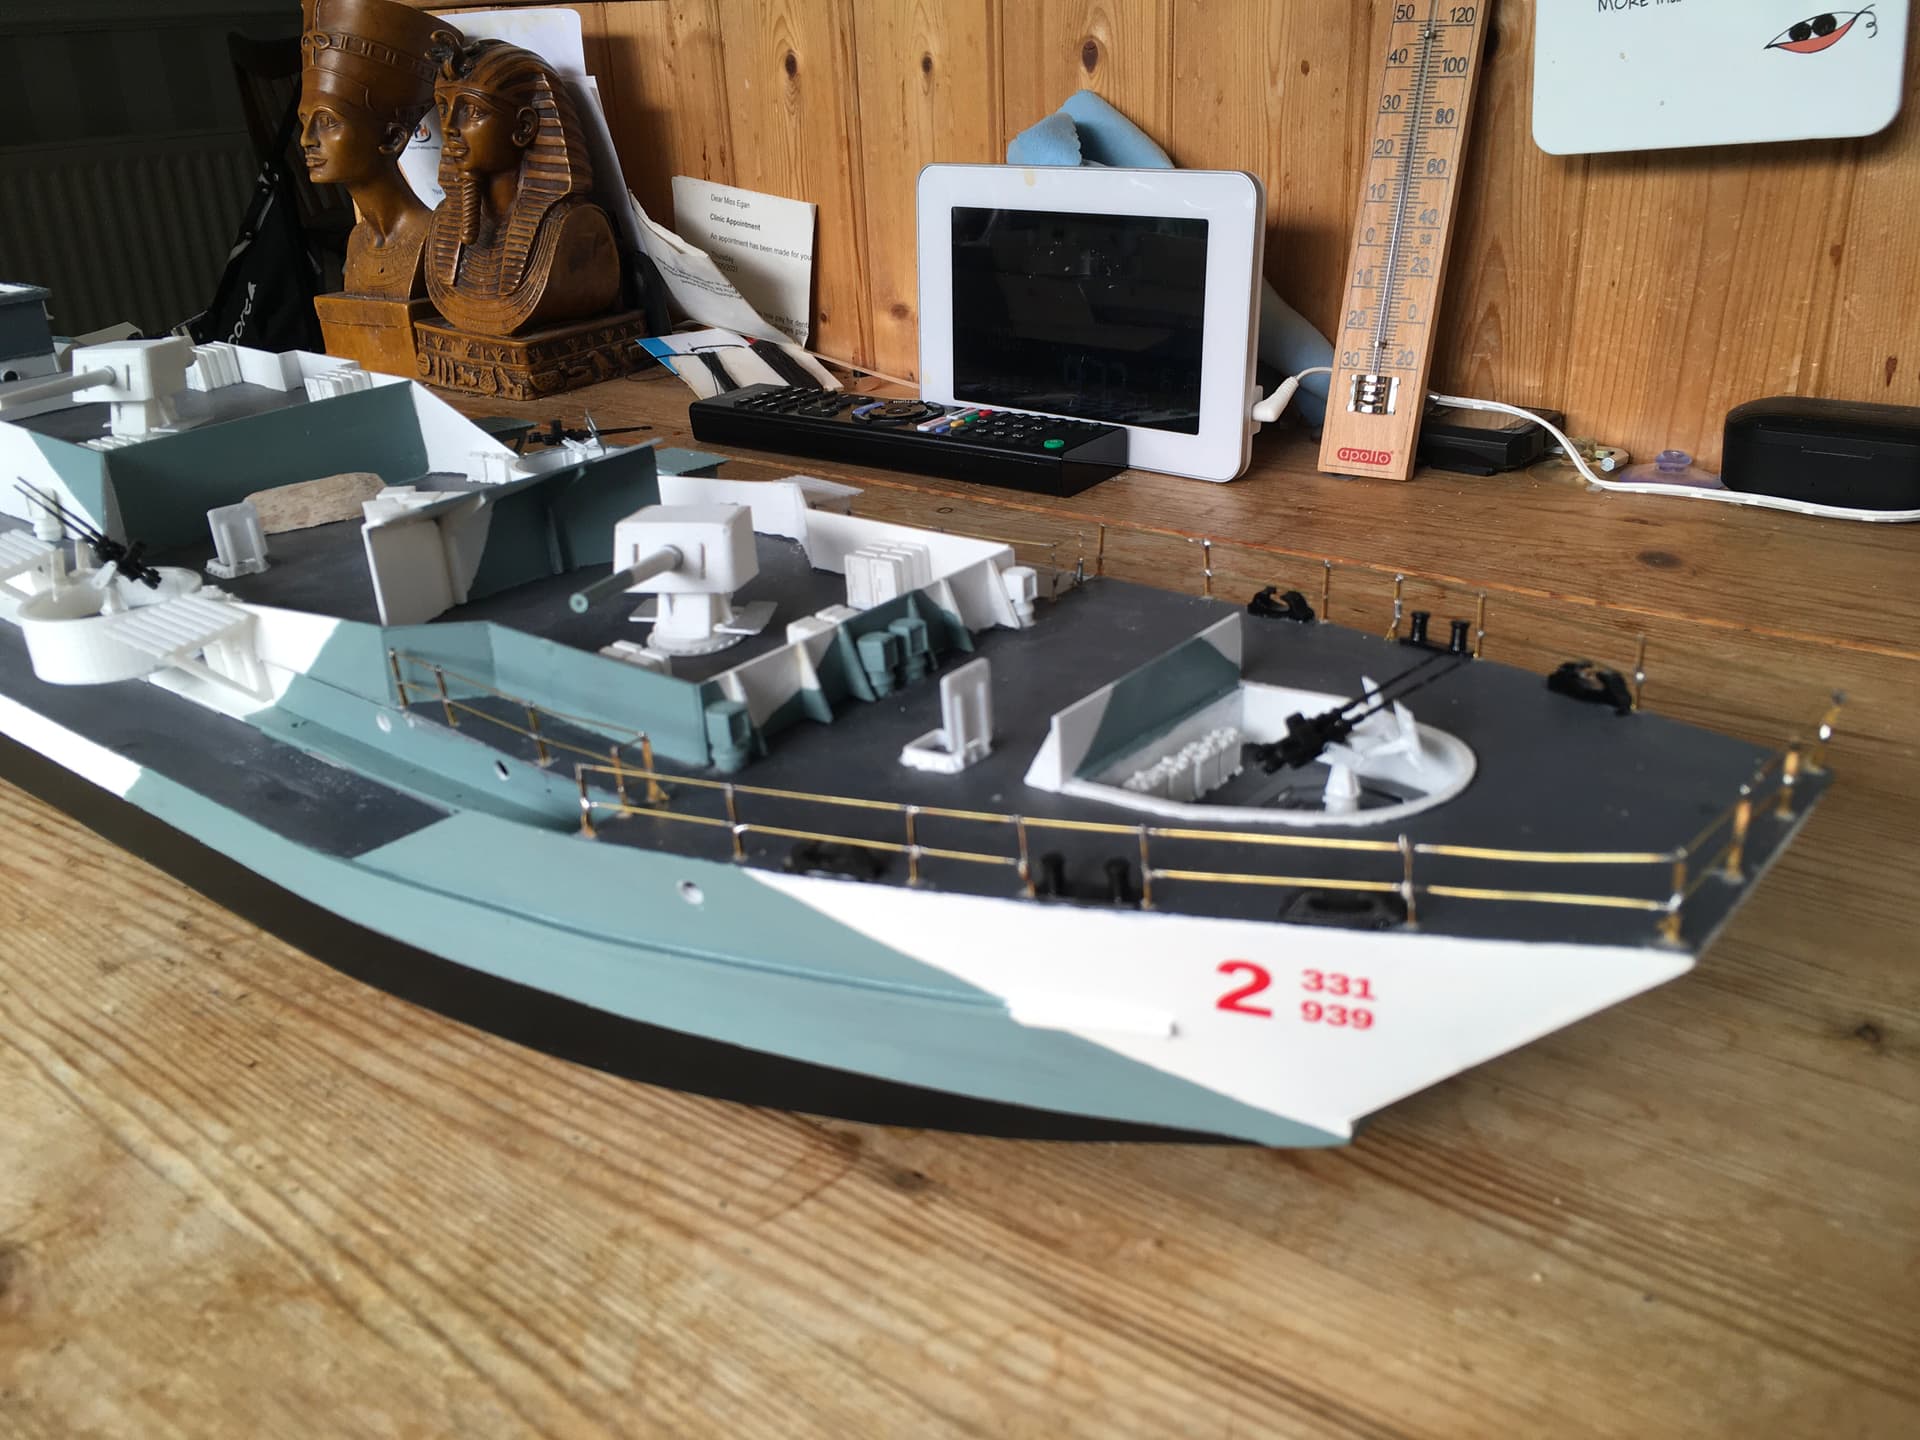
You can tell when a build is coming together, you start the railings. Stanchions are Deans Marine, wire, 0.5mm soft brass.

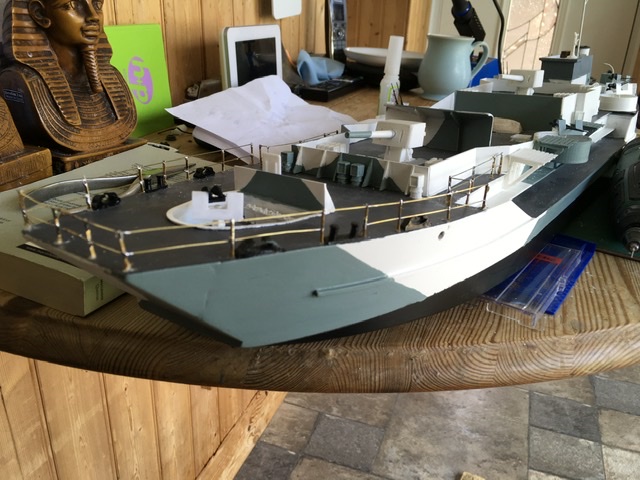
Not all done yet, need to put some detail in the waist before I add stanchions there and there are a couple of small lengths where the superstructure lifts off that need working out
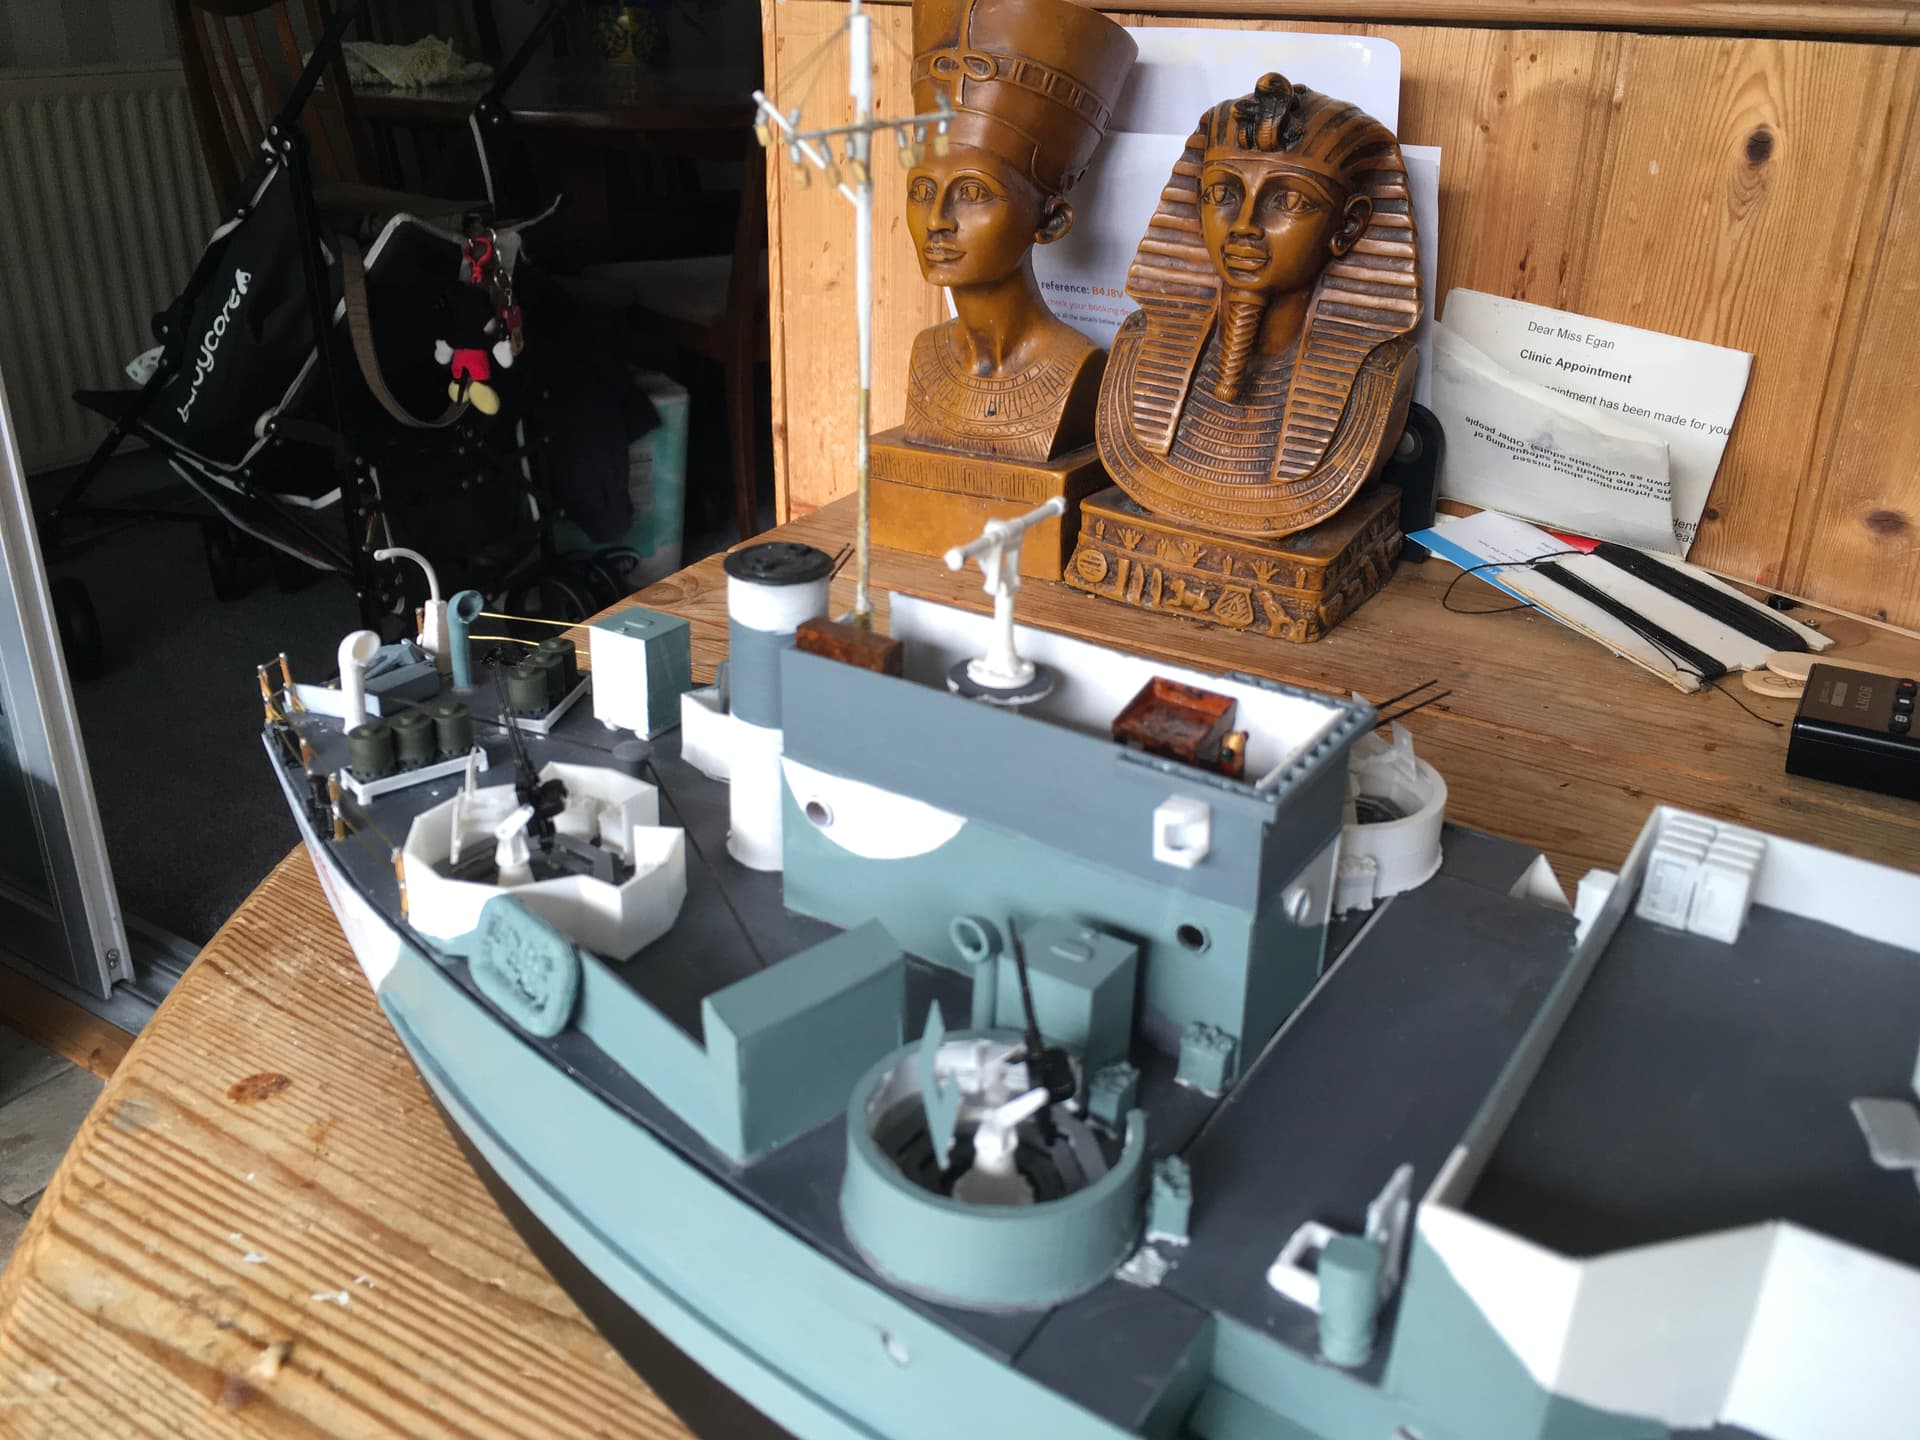
LCG939 finally has her name. I tried for dry rub transfers but sheets only had 11 “3”s not the 12 I needed. These are water slide inkjet transfer paper and seem ok. Started rigging using Caldercraft 2mm blocks, need a rail to tie off the halliards. Smoke canisters printed and fitted on the stern. A lot still to do but I can think about weathering. This can’t be too heavy as the ship was only just over 3 months old at D-Day
Ok, work on the LCT(4) and LCG is still going slowly, more on that next time. Thought I might show you the possible next project. 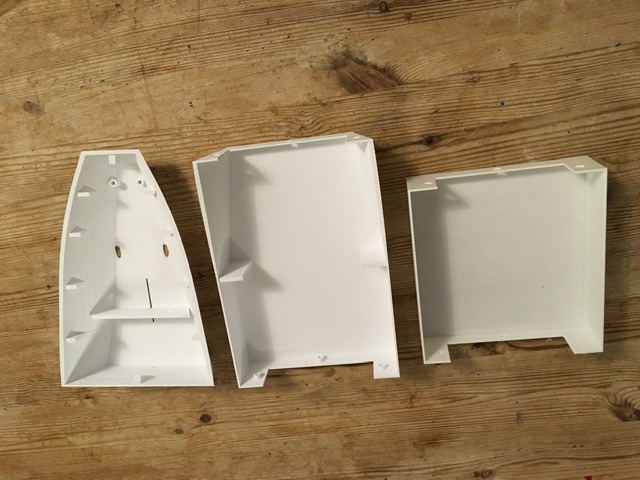
No, not funny ashtrays,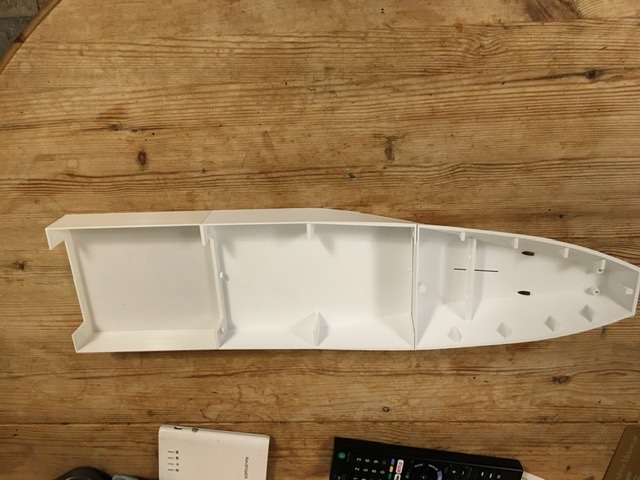
an LCT(3) 3D printed. This is the stern and two of the three midships sections, the third is yet to be printed as is the bow, though designs are done. The forward midships section are identical so that by omitting one you can have an LCT(2) and these two craft are the basis for LCF, LCG(L), LCT(R), LCT(H).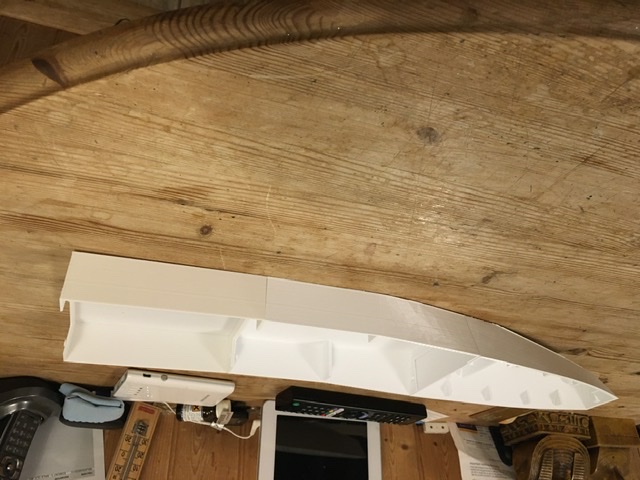
Next print will be the bow to make an LCT(2) then another midship section to make a 3. Then deck designs, access will not be very good so needs thought.