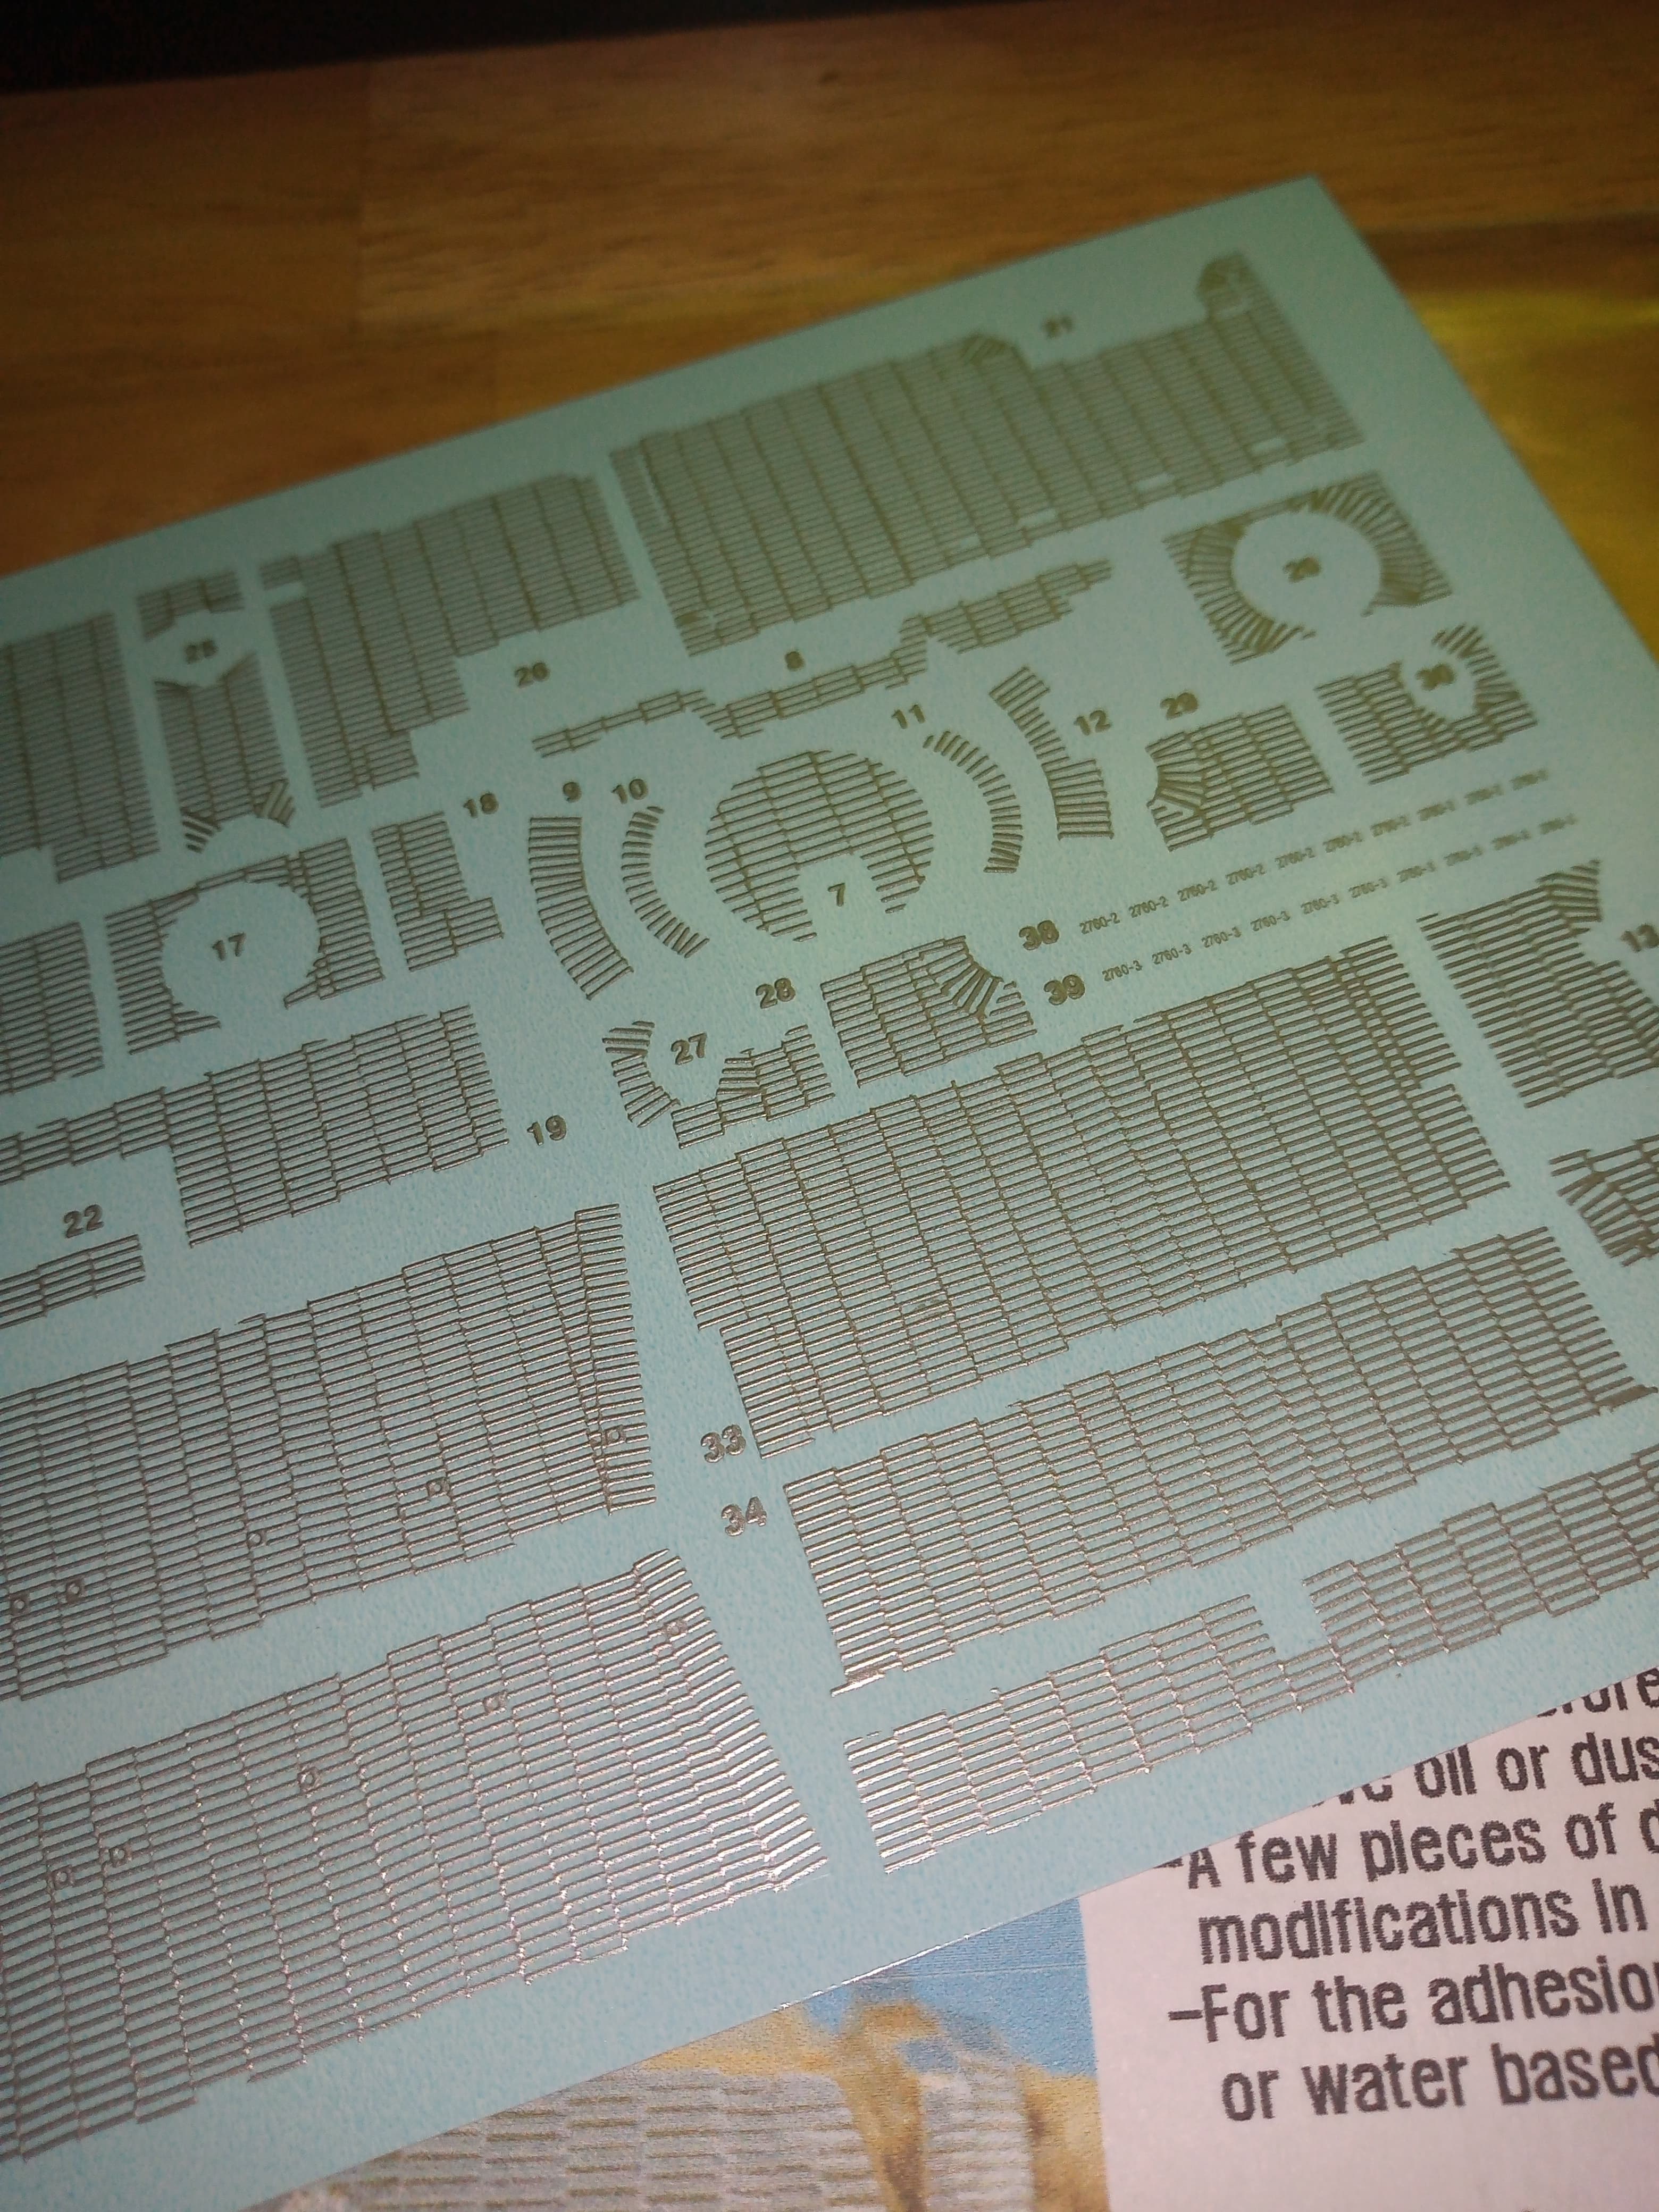
Ok, I am now an official convert to DEF Zimmerit… And I’m not getting paid for this but it’s bloody brilliant and so easy to use.
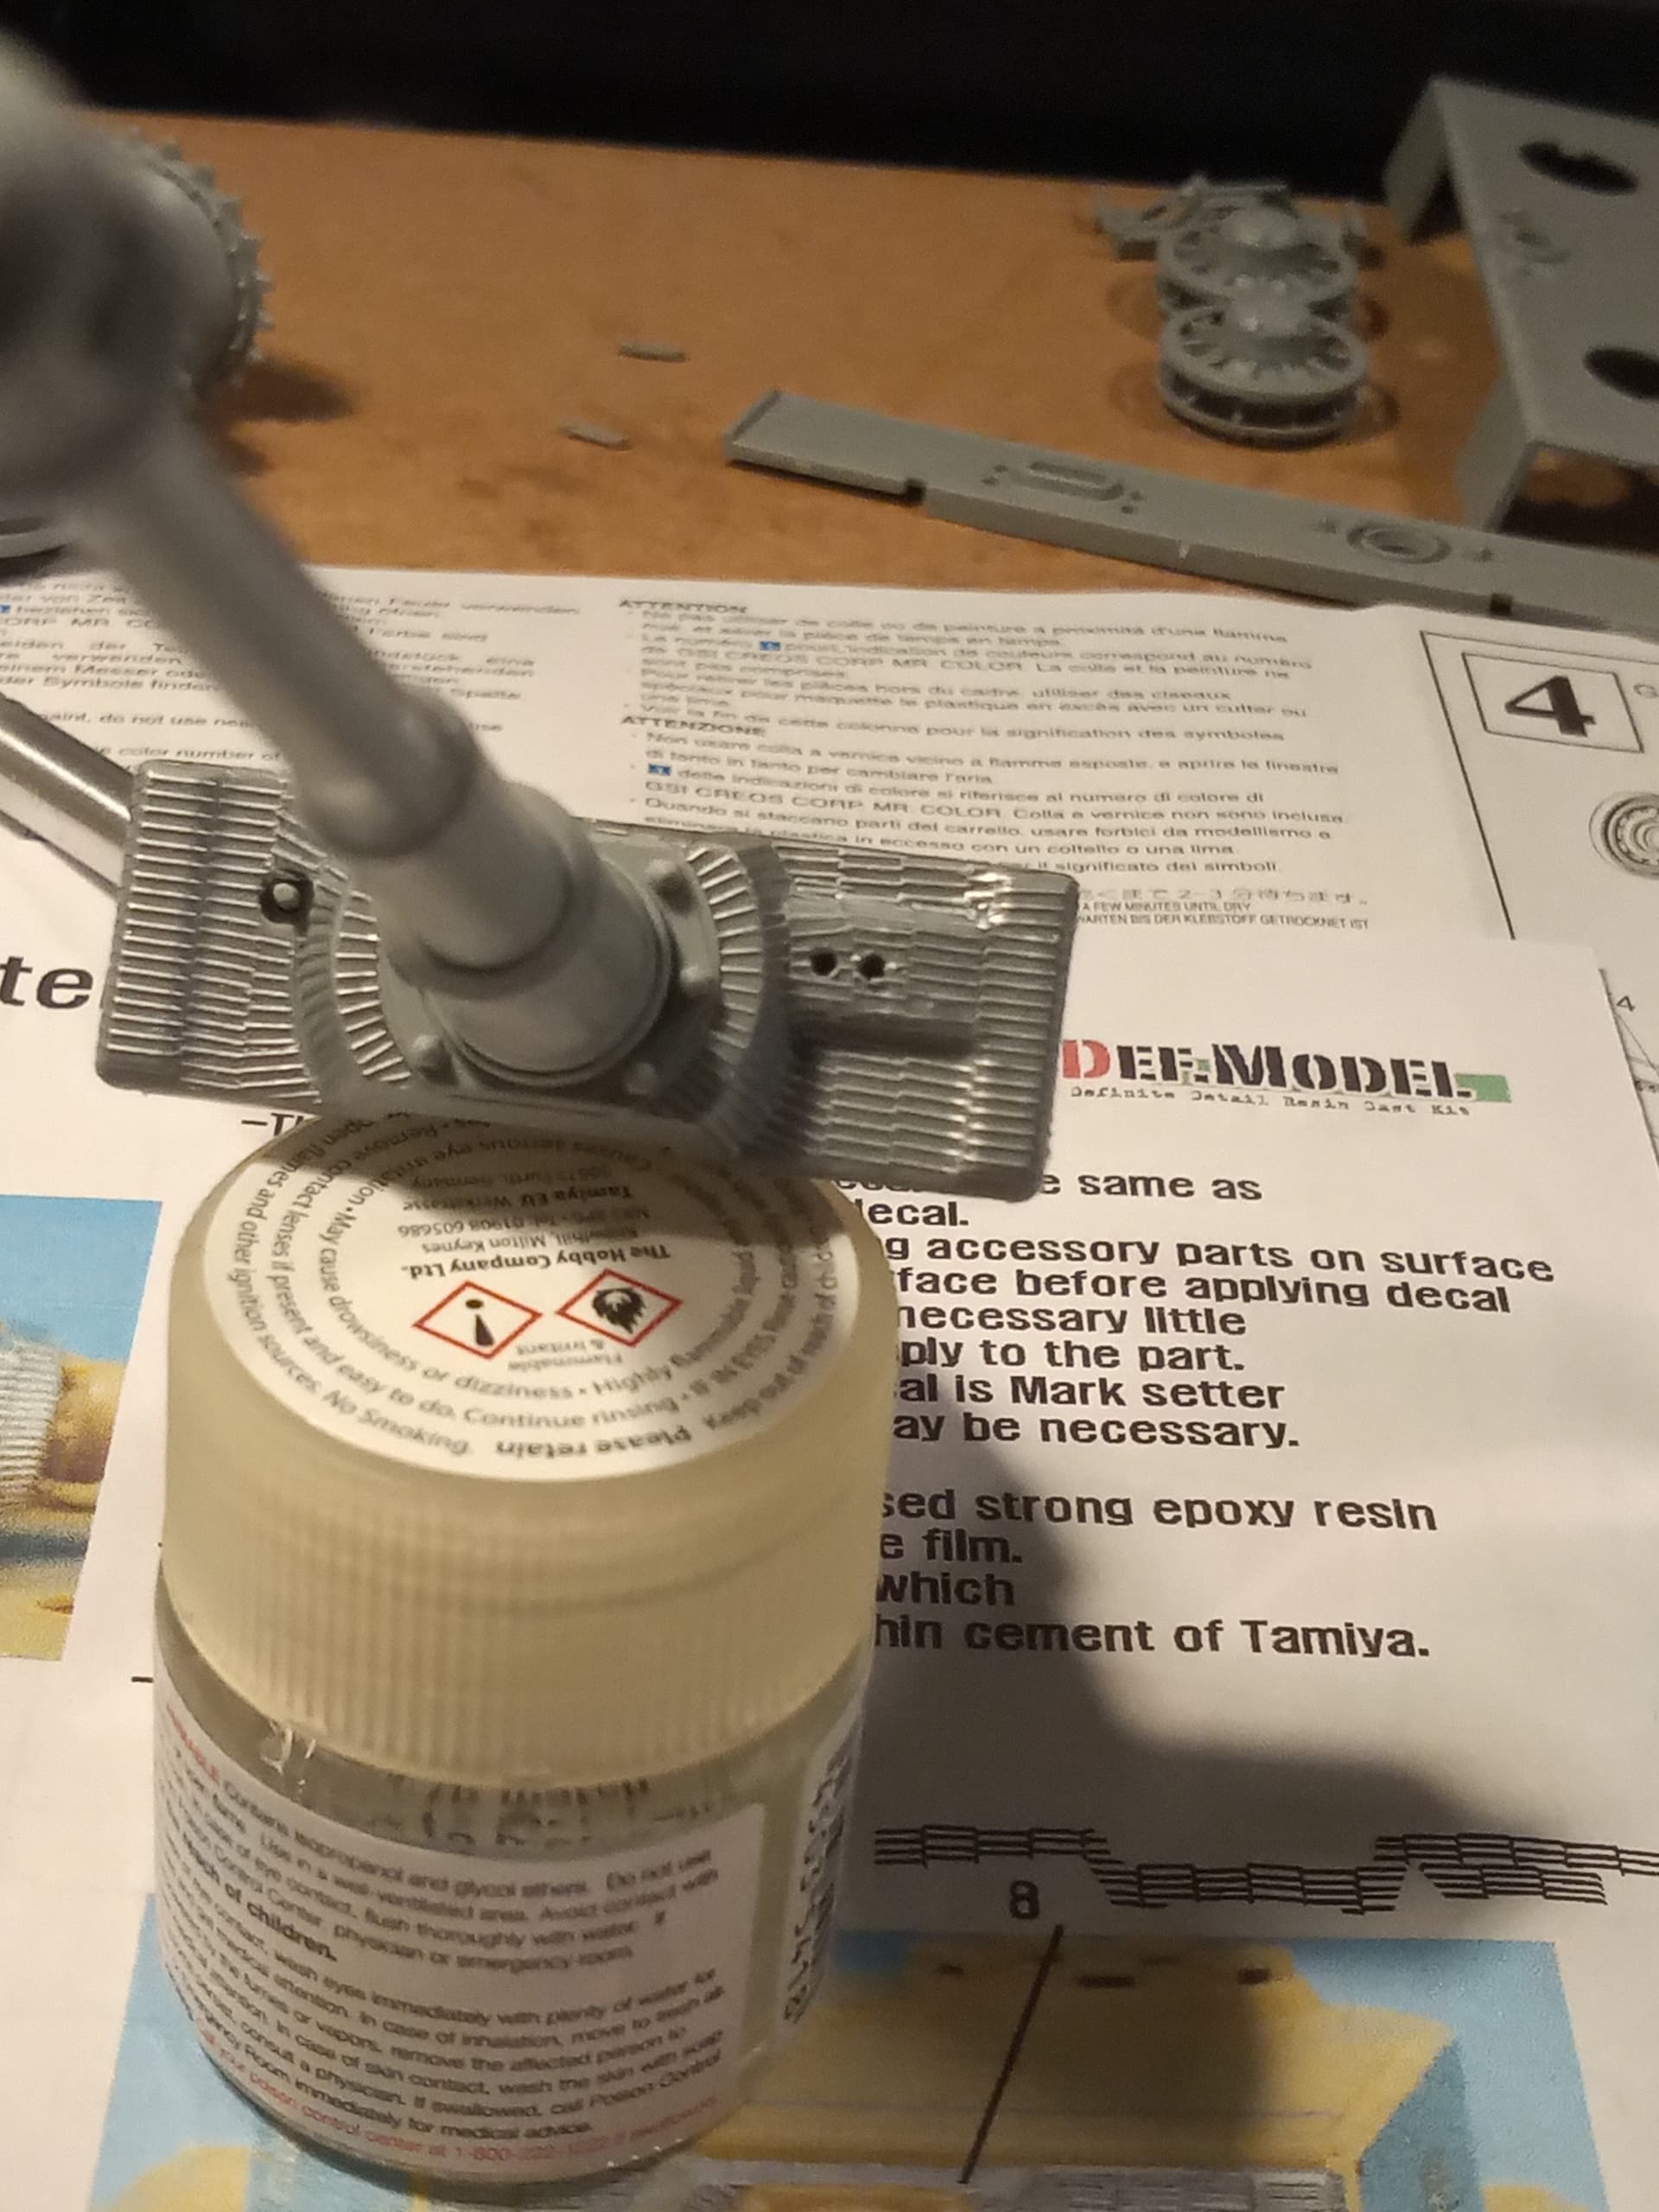
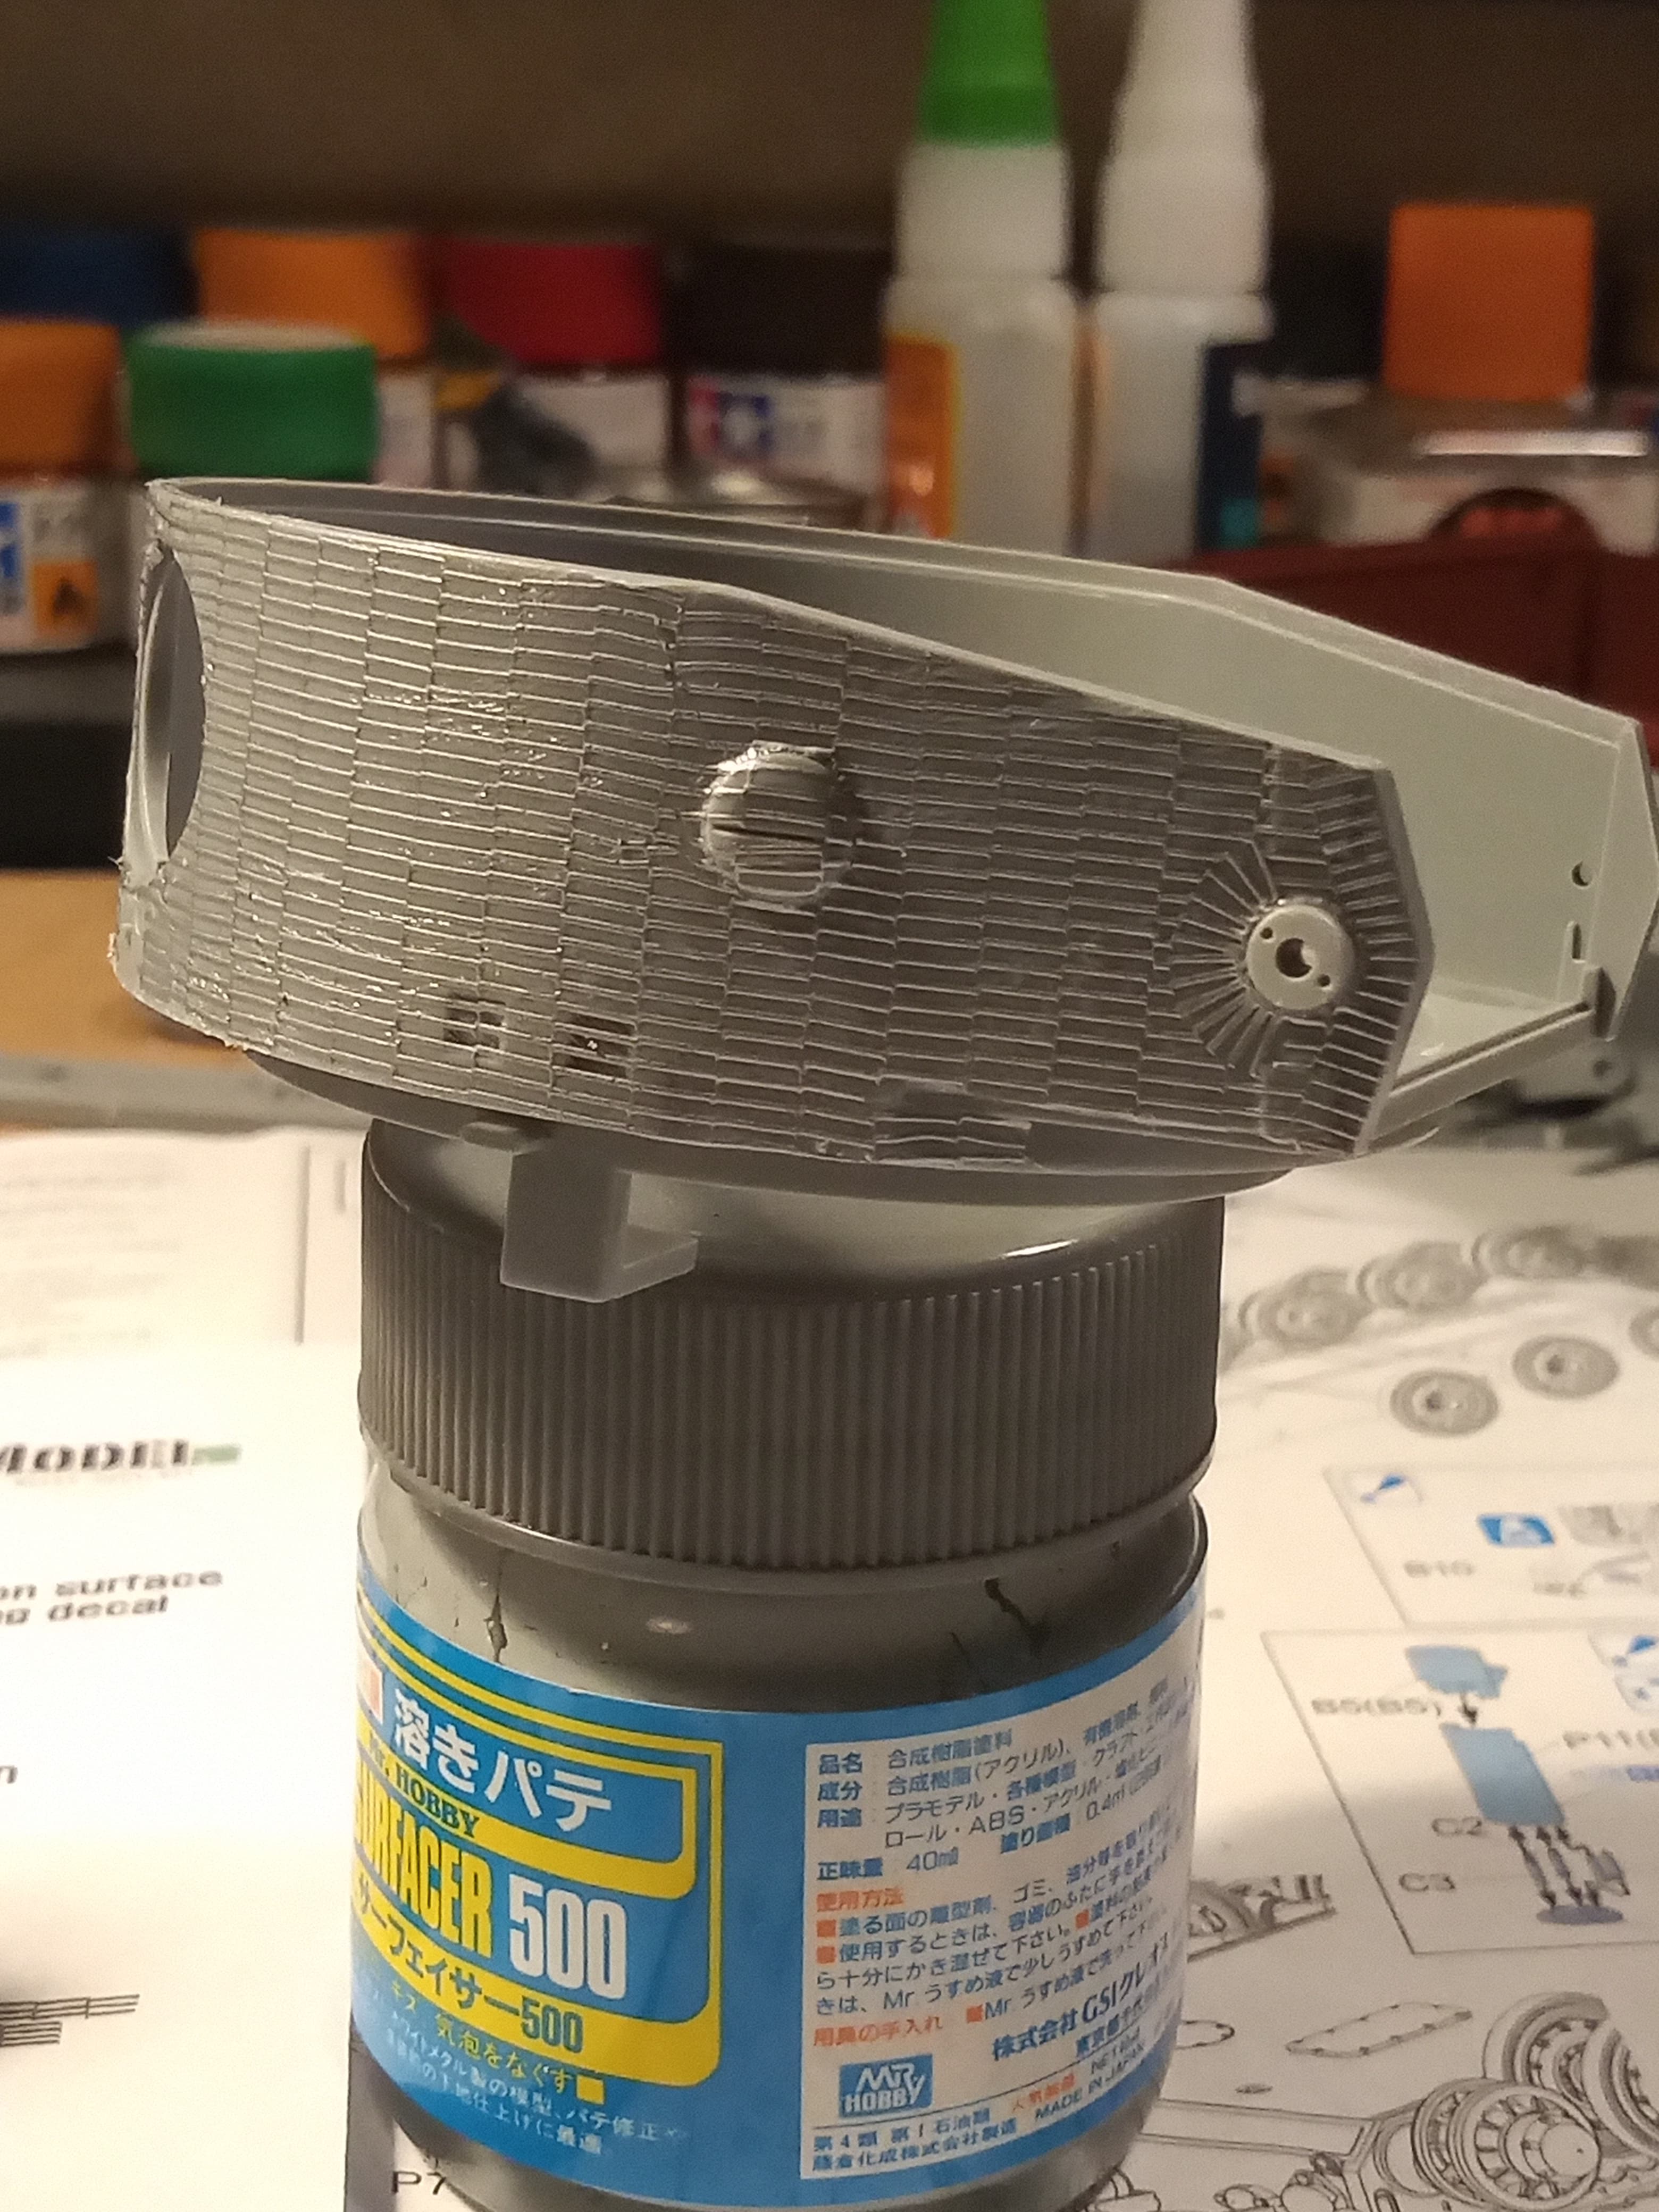
I started on the gun mantlet… Went on like a dream. For the mantlet there were 8 individual pieces, but the whole thing took about 10 minutes to do.
Apply a thin brush of PVA, slide the decal on and gently position until you’re happy. Any little air bubbles can be just pricked with a needle or end of a blade and I then used a dry cotton bud to gently roll over all the surface areas to seat it properly along curves or ridges etc
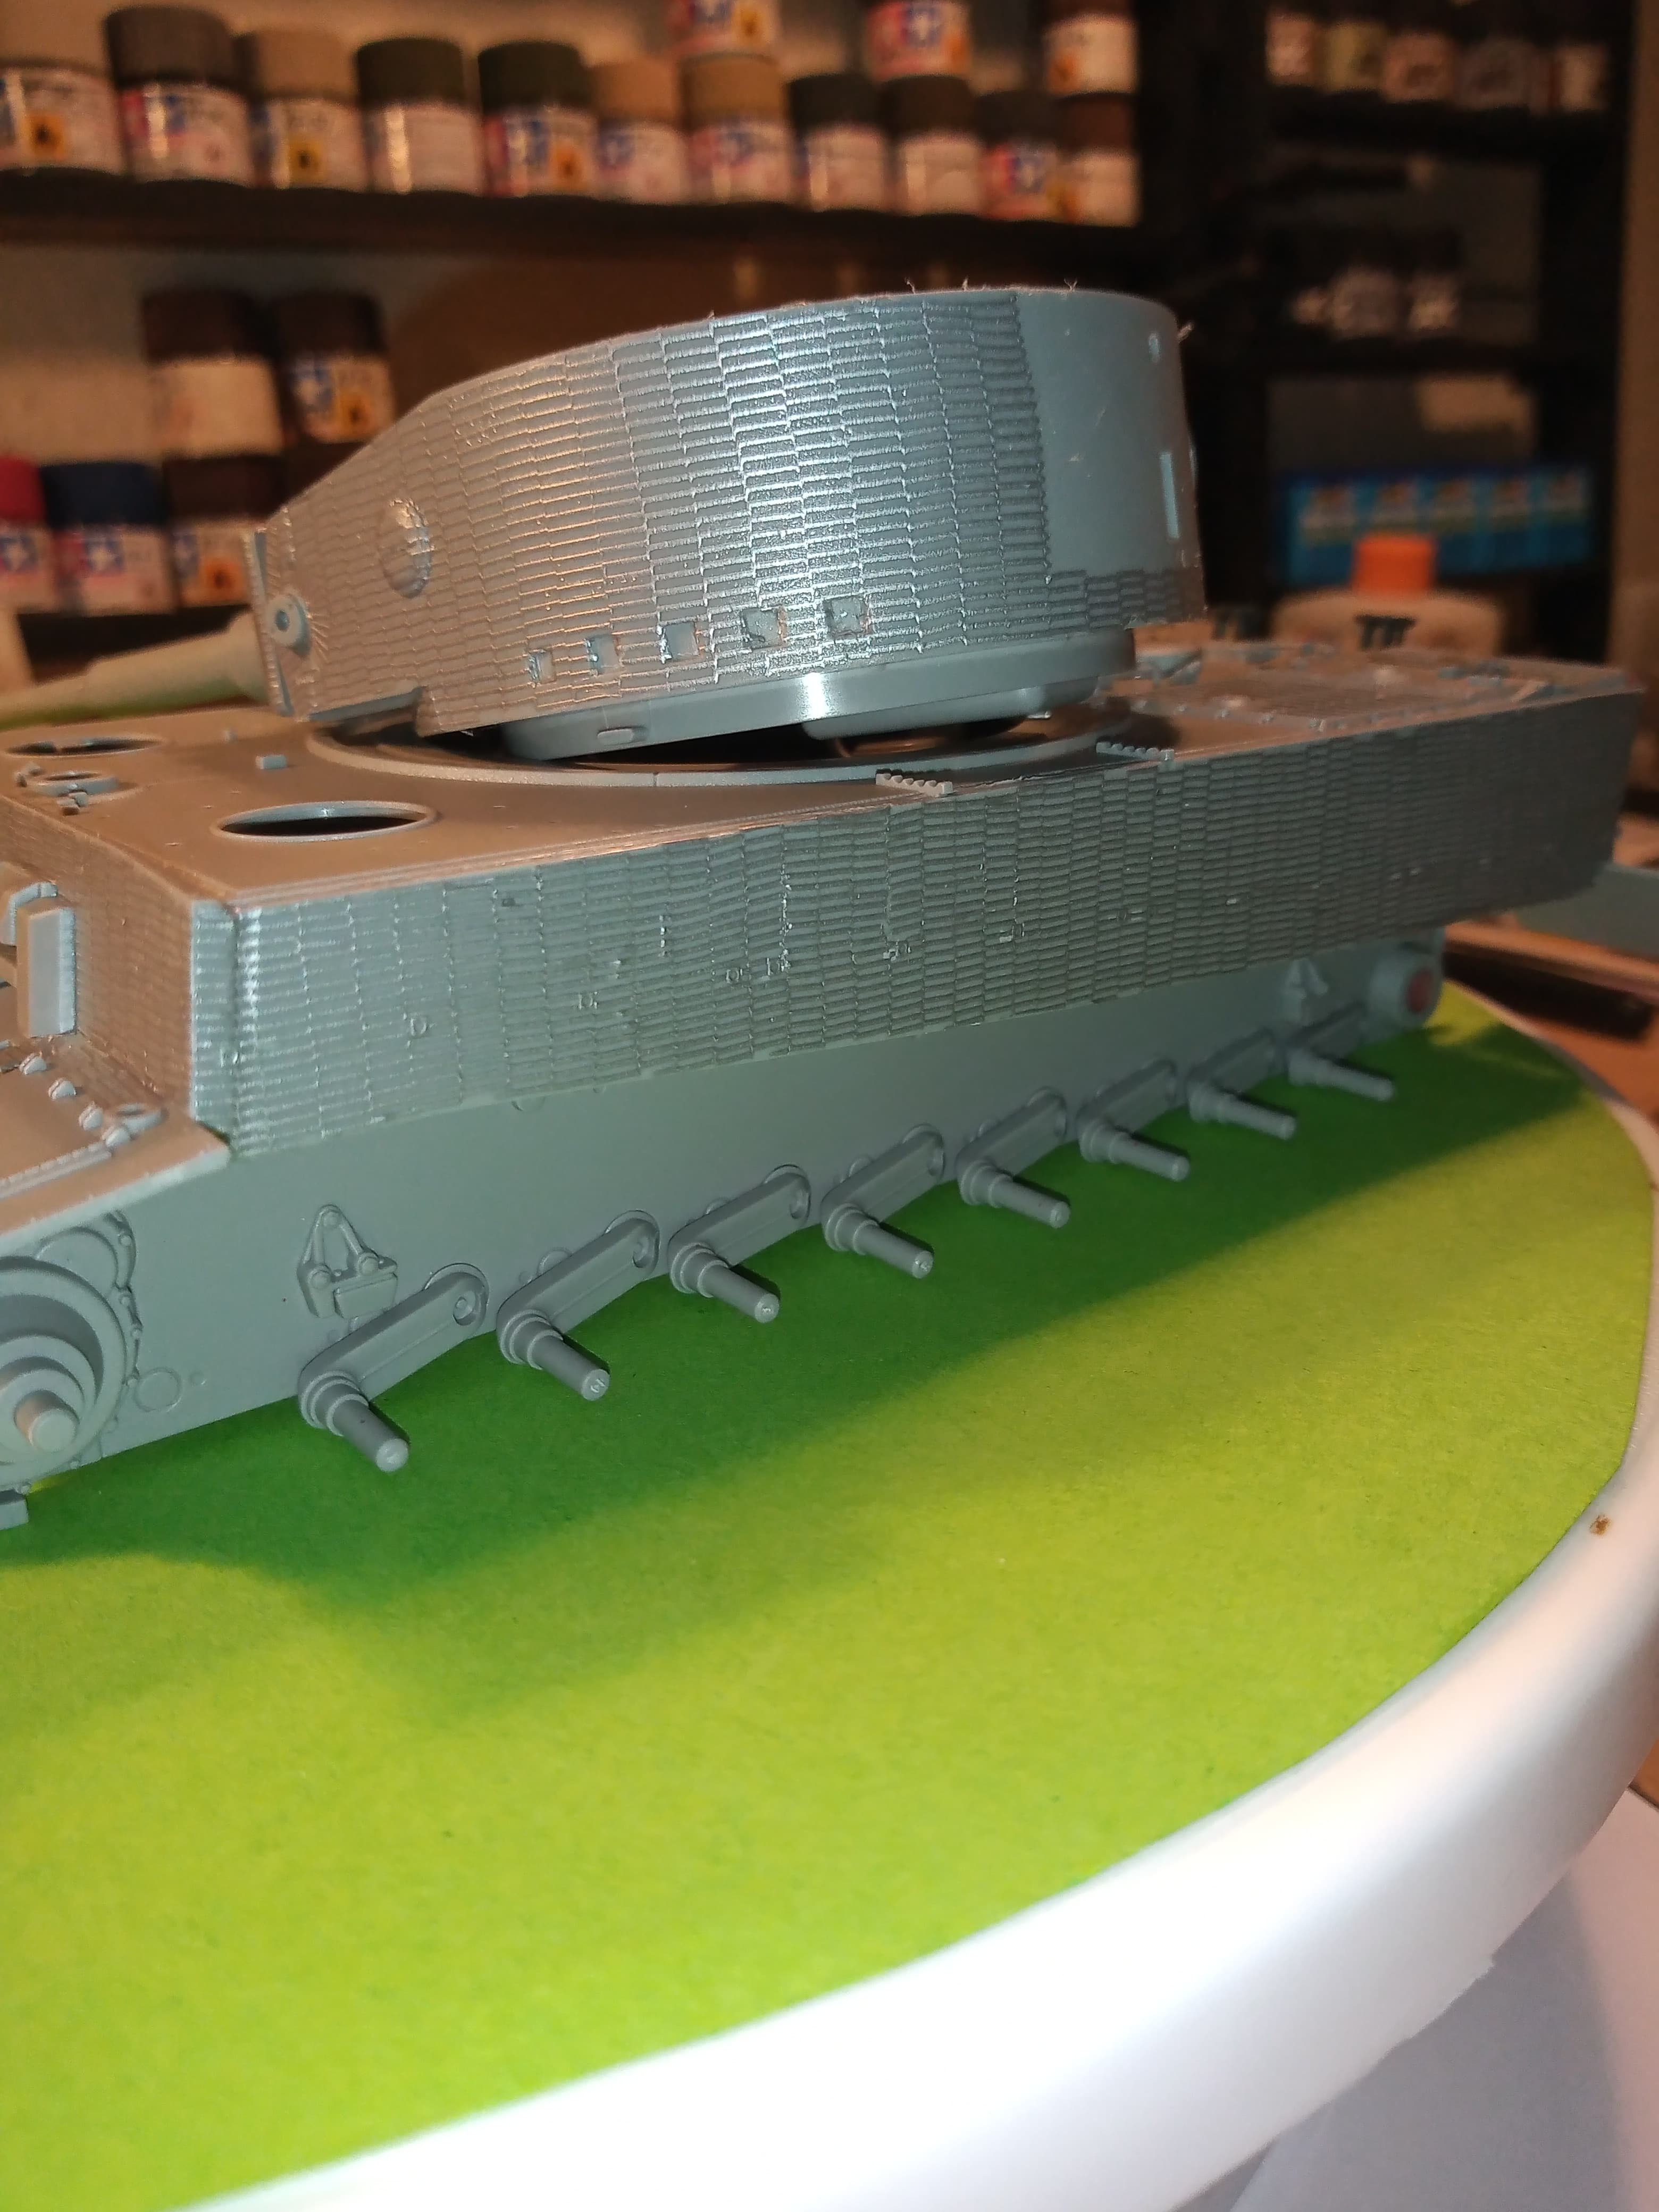
Next I did the turret as I was on a roll.
Its so easy to use and this will be very good for replicating damaged areas. I will fully let the turret sections dry then simply trim away the areas where the spare track link mounts need to go which you can see under the Zim decal.
There is also one area I need to re-score with a blade so it’s sits properly around a curve.
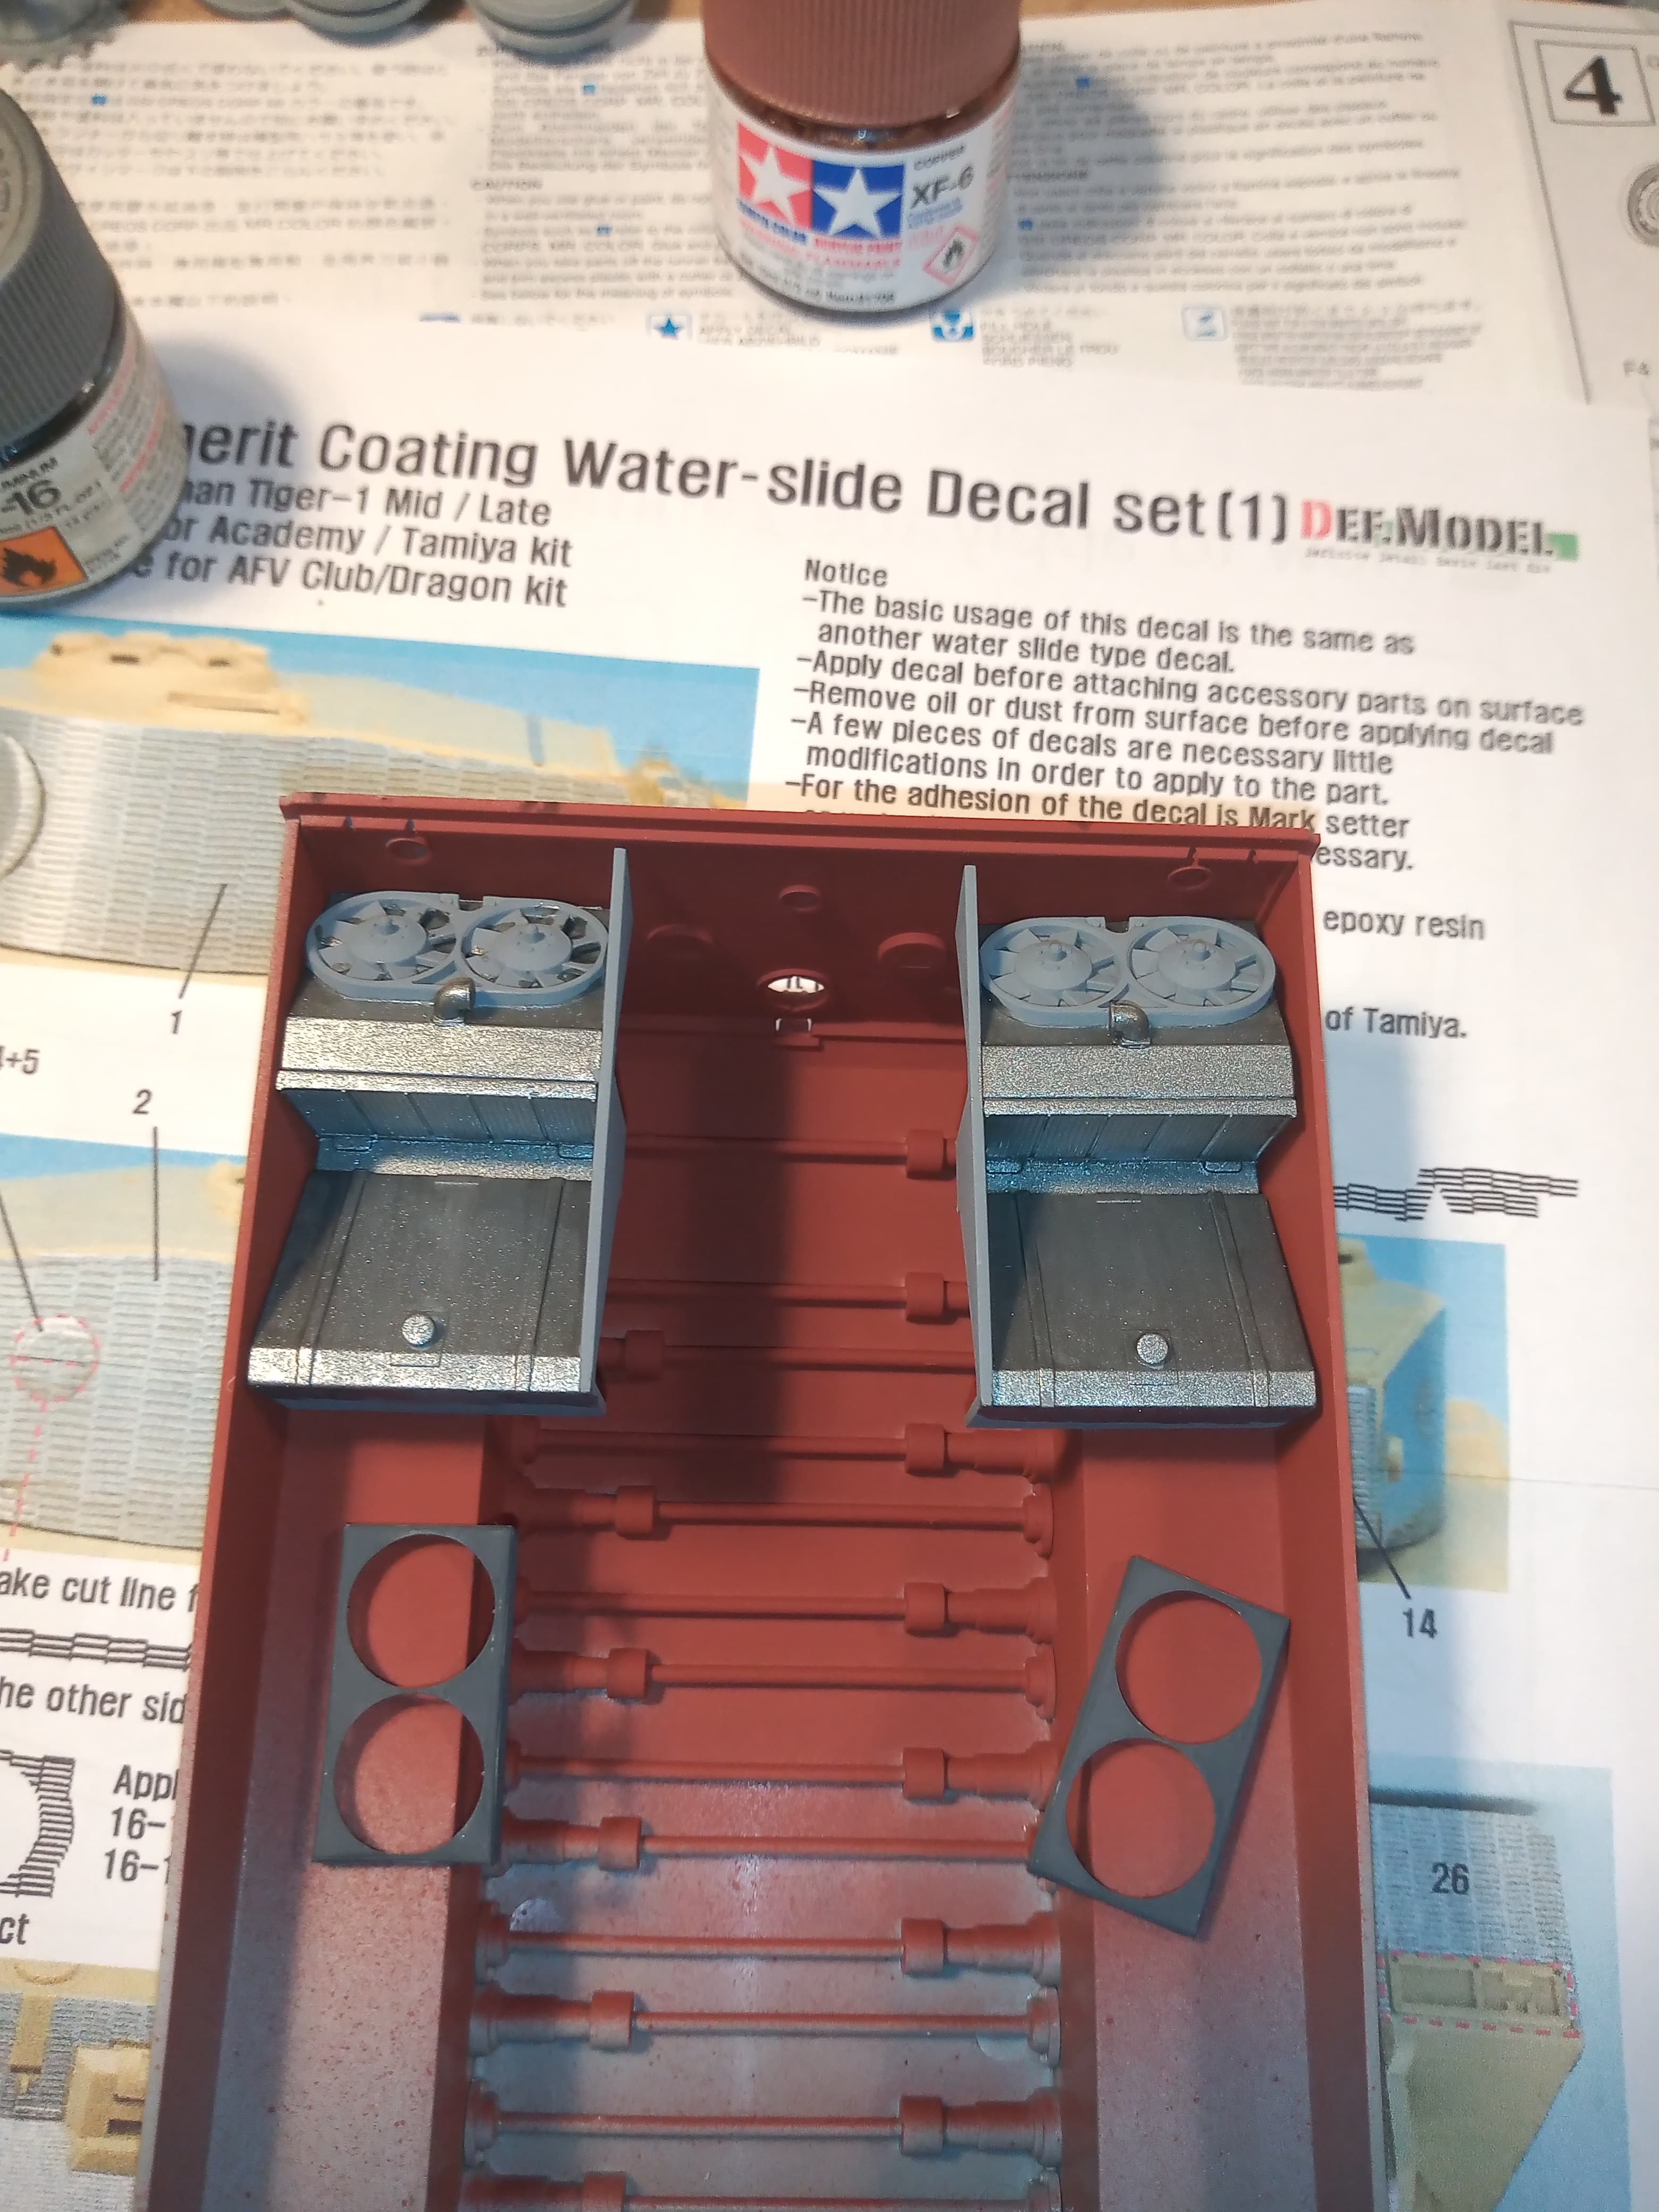
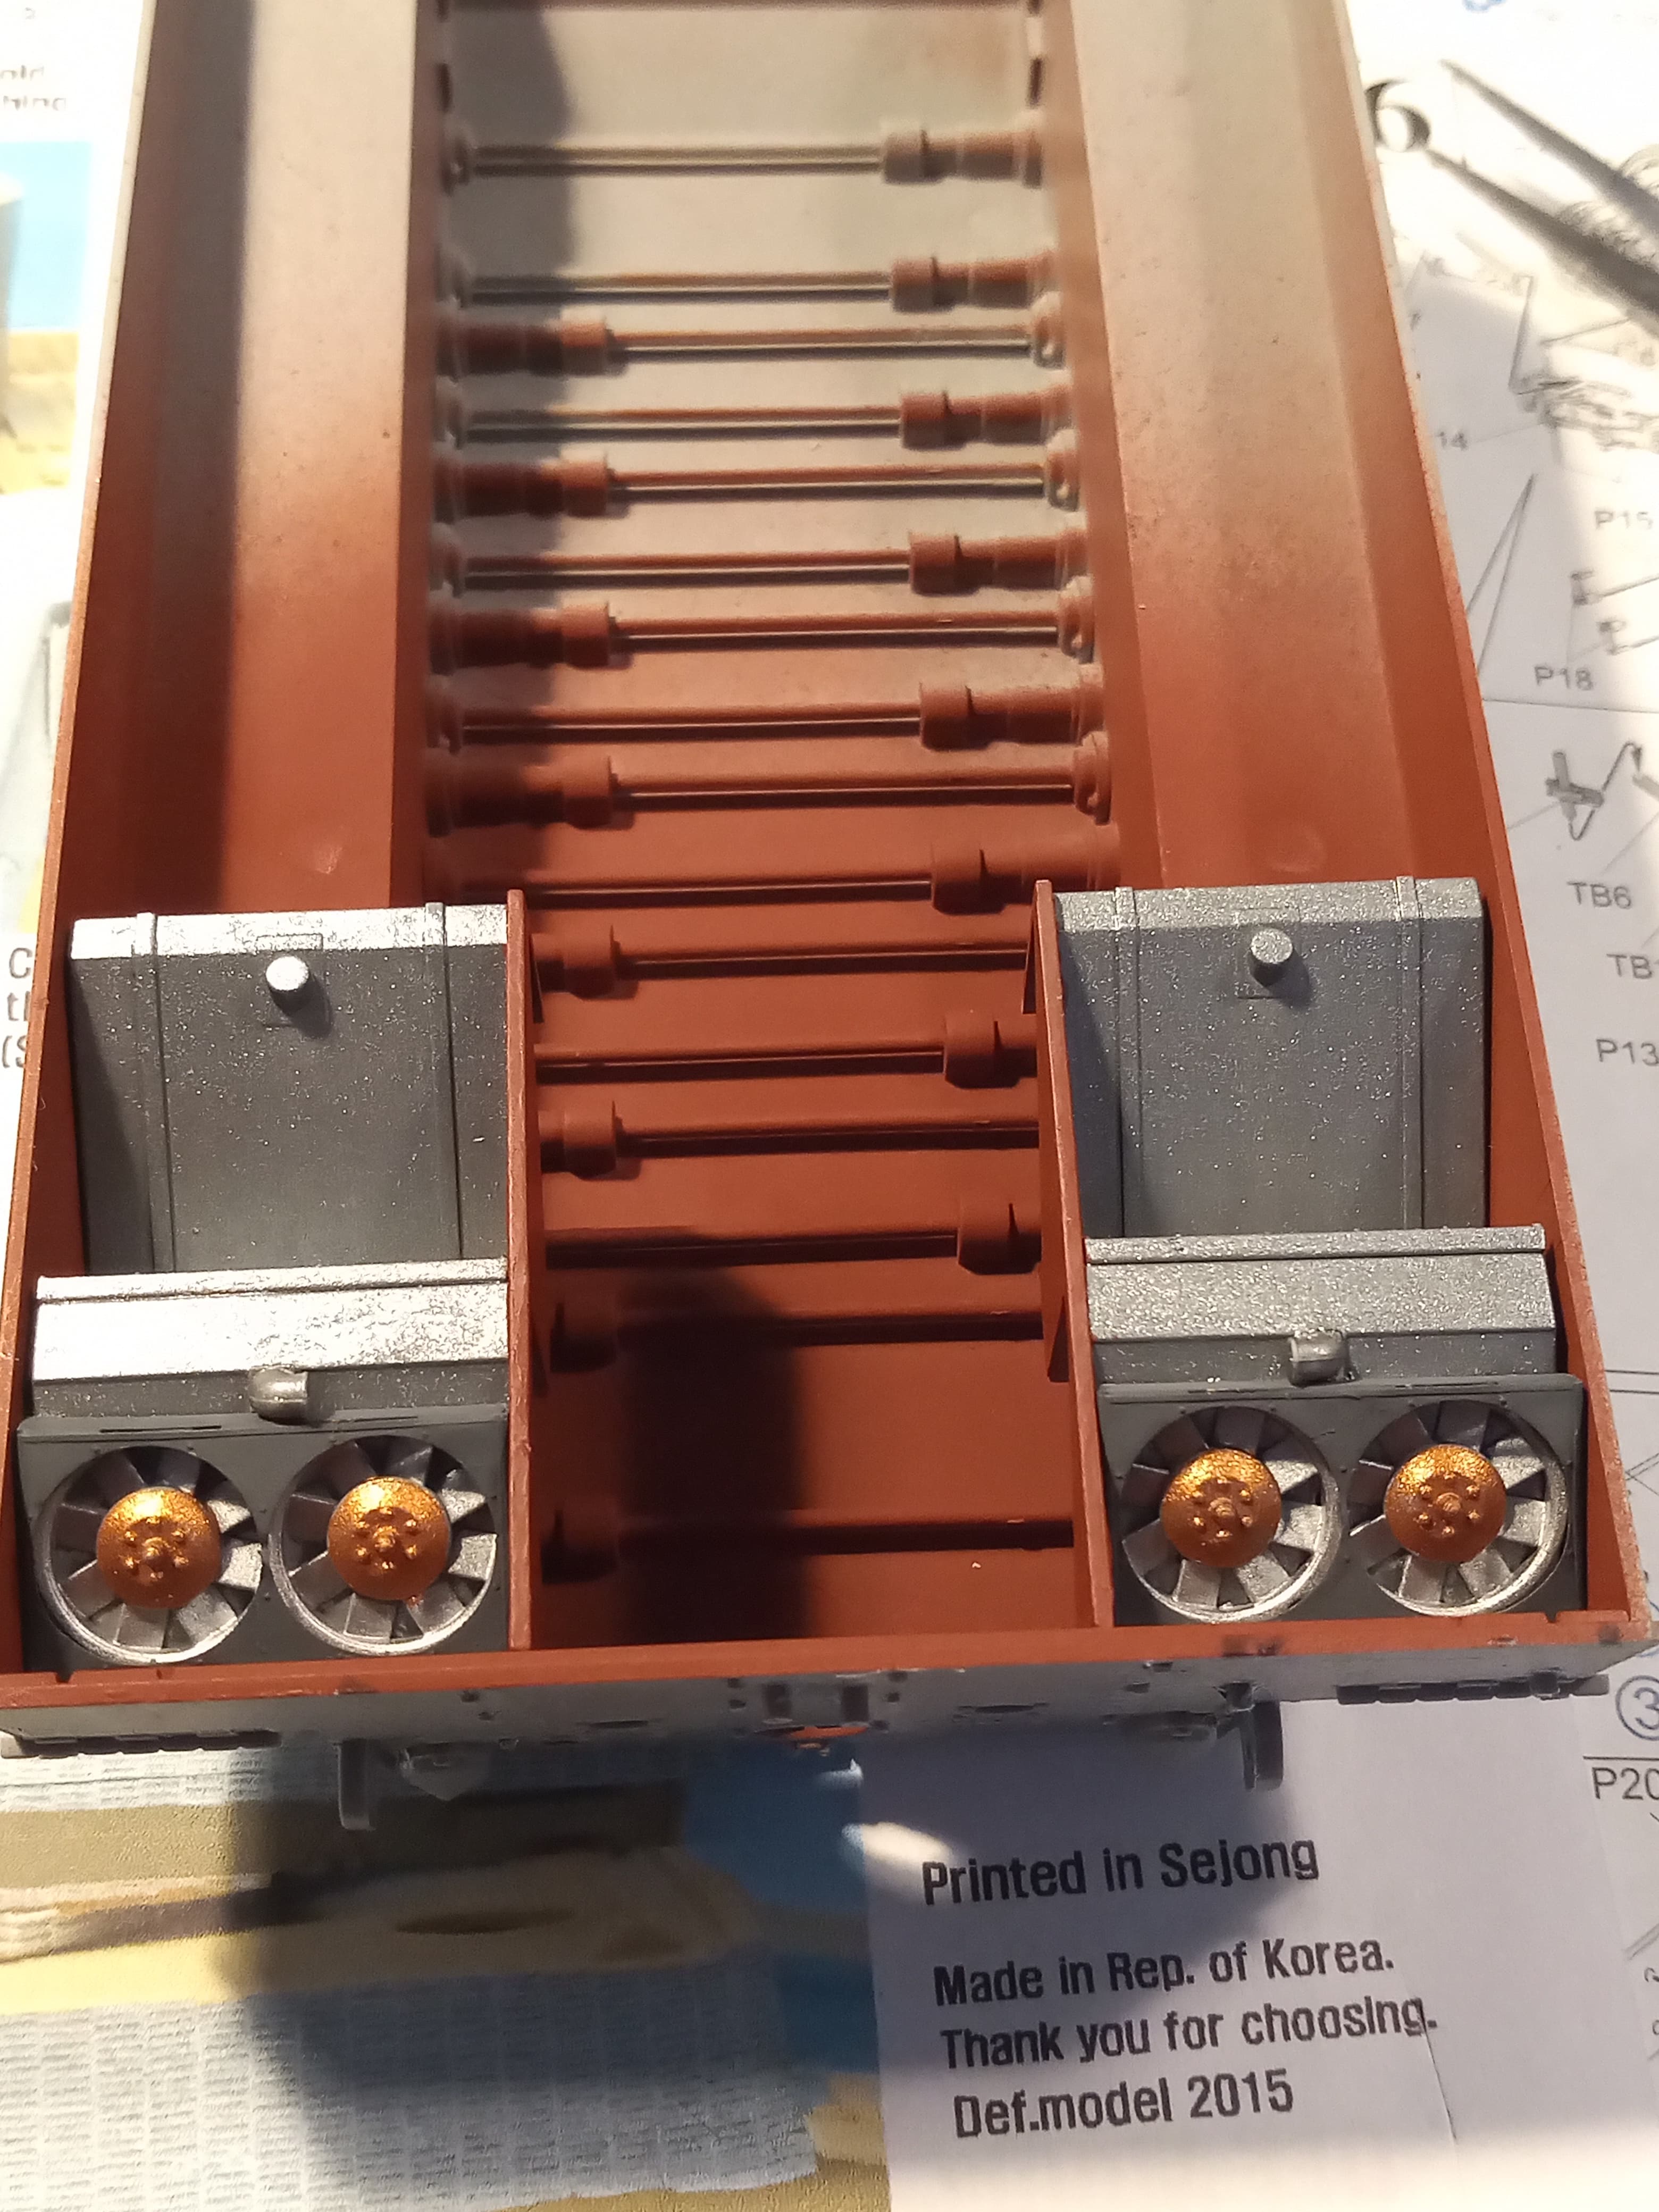
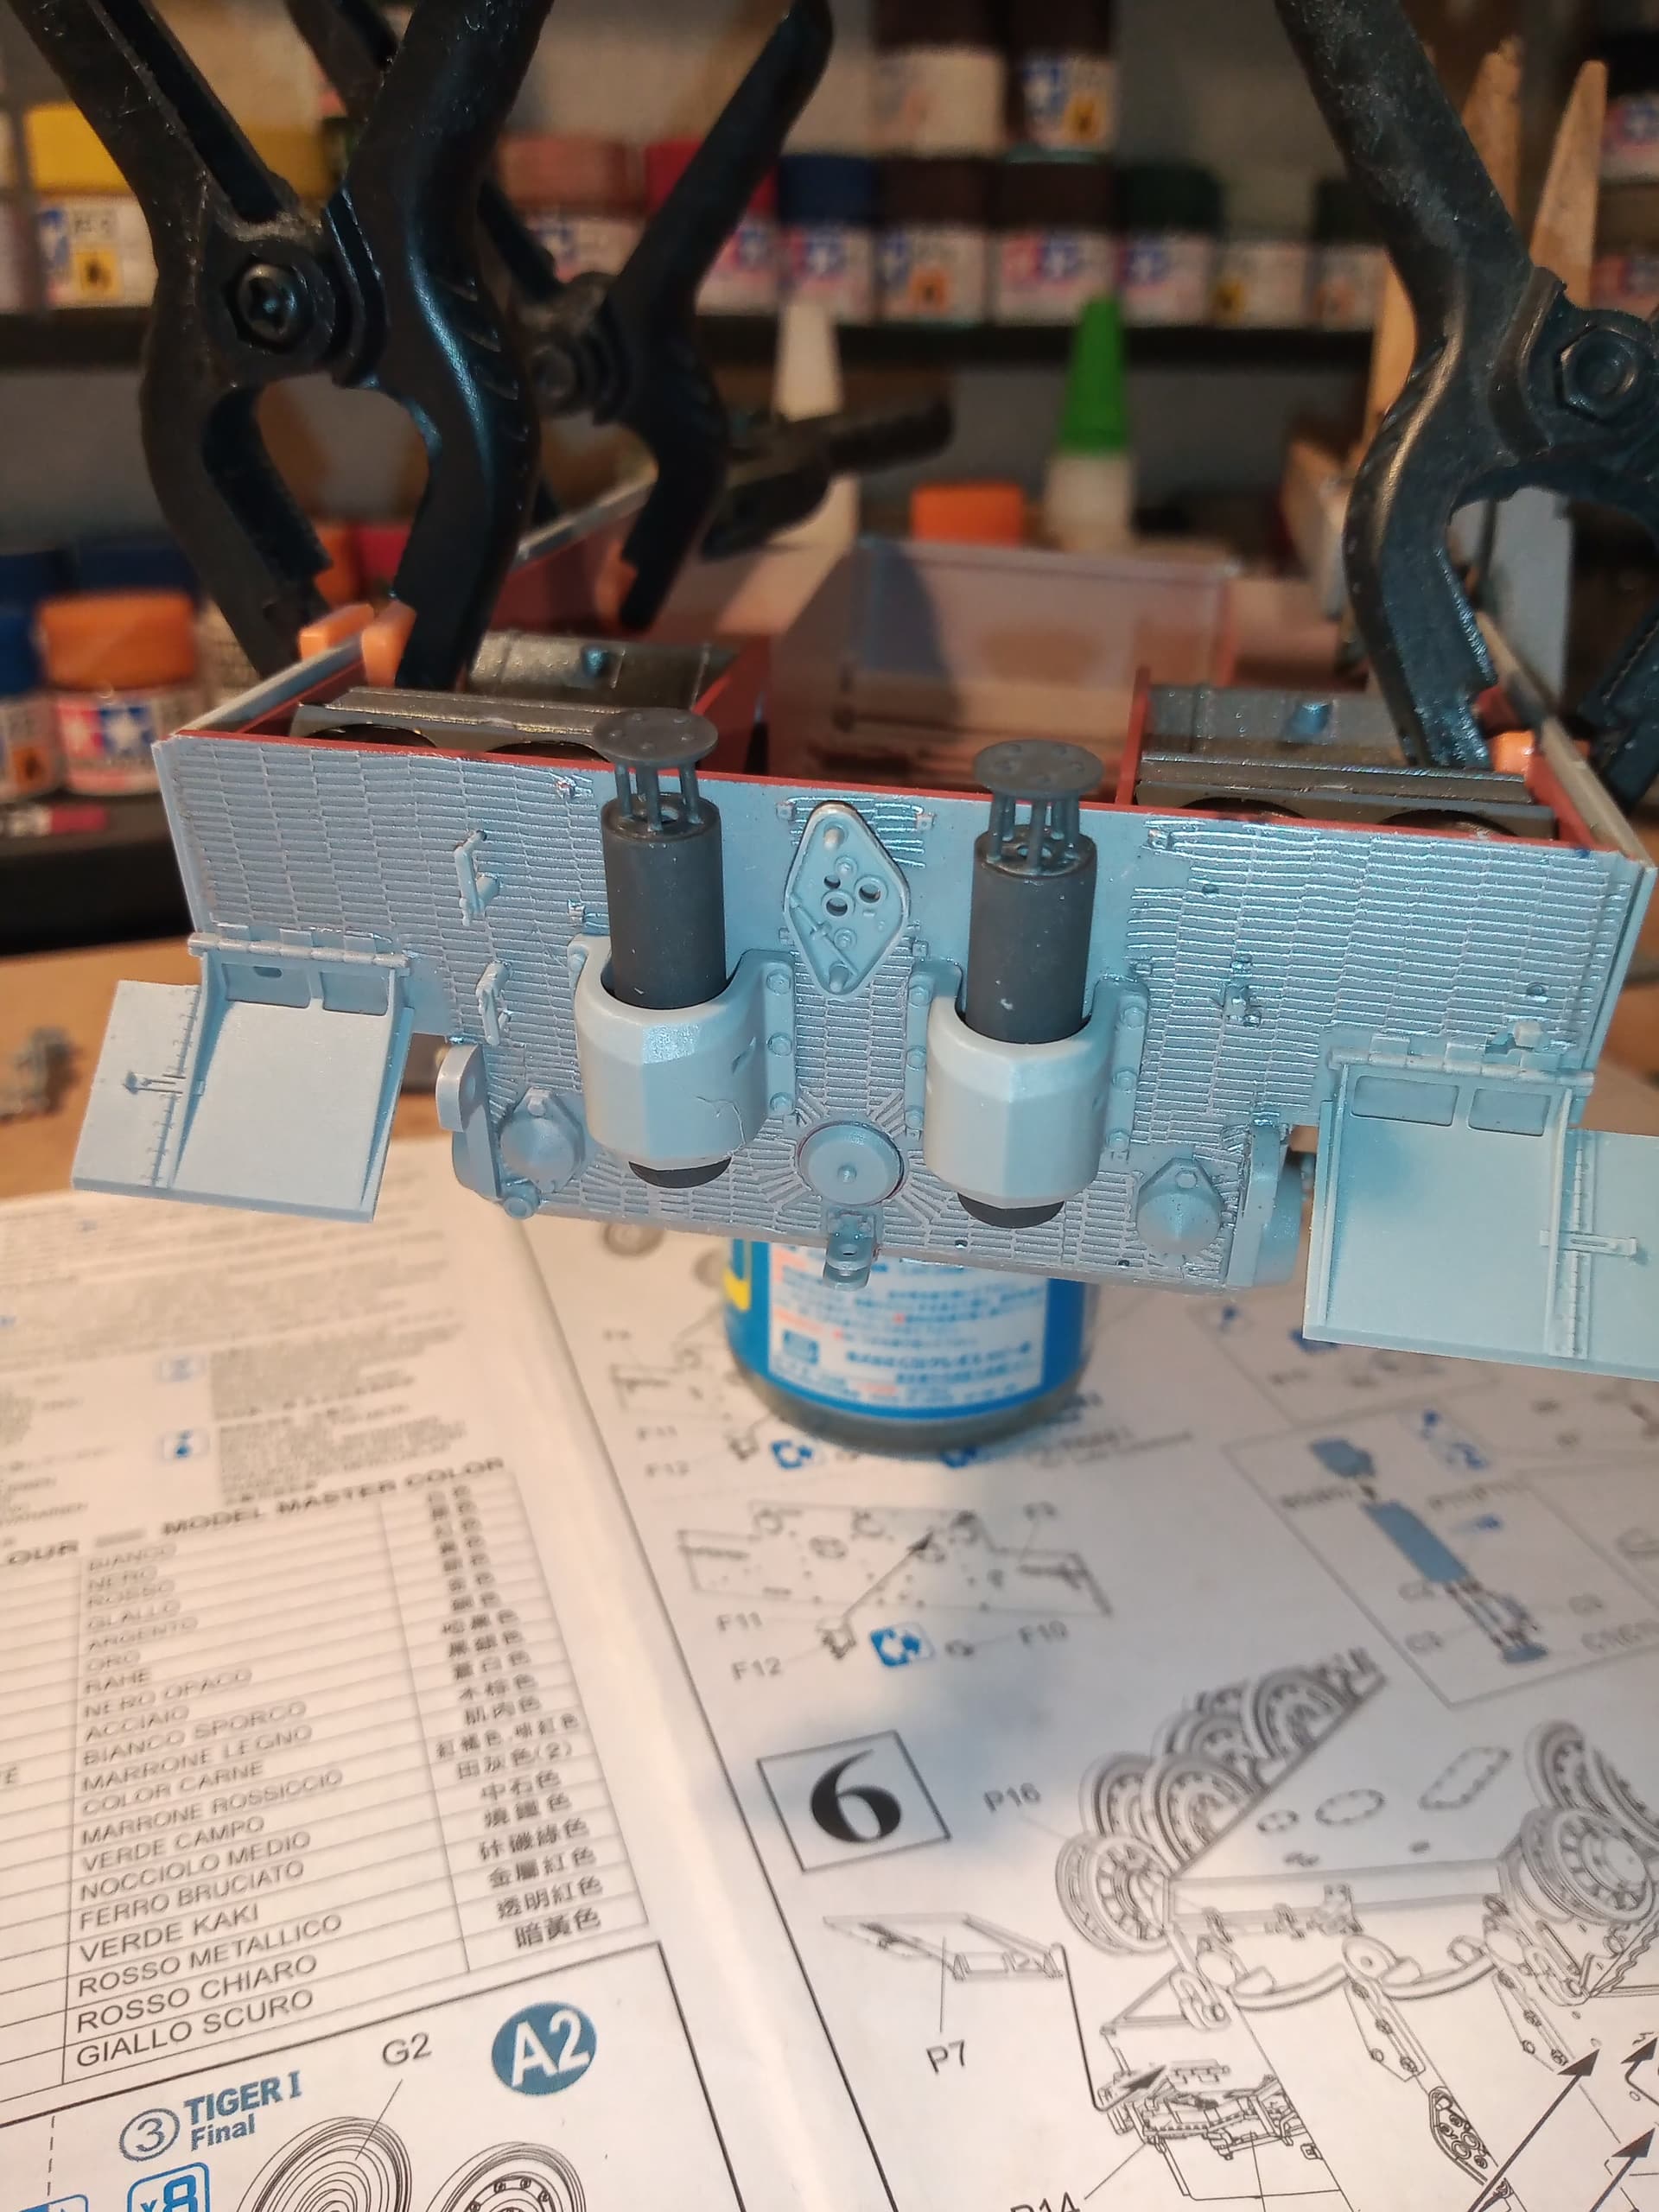
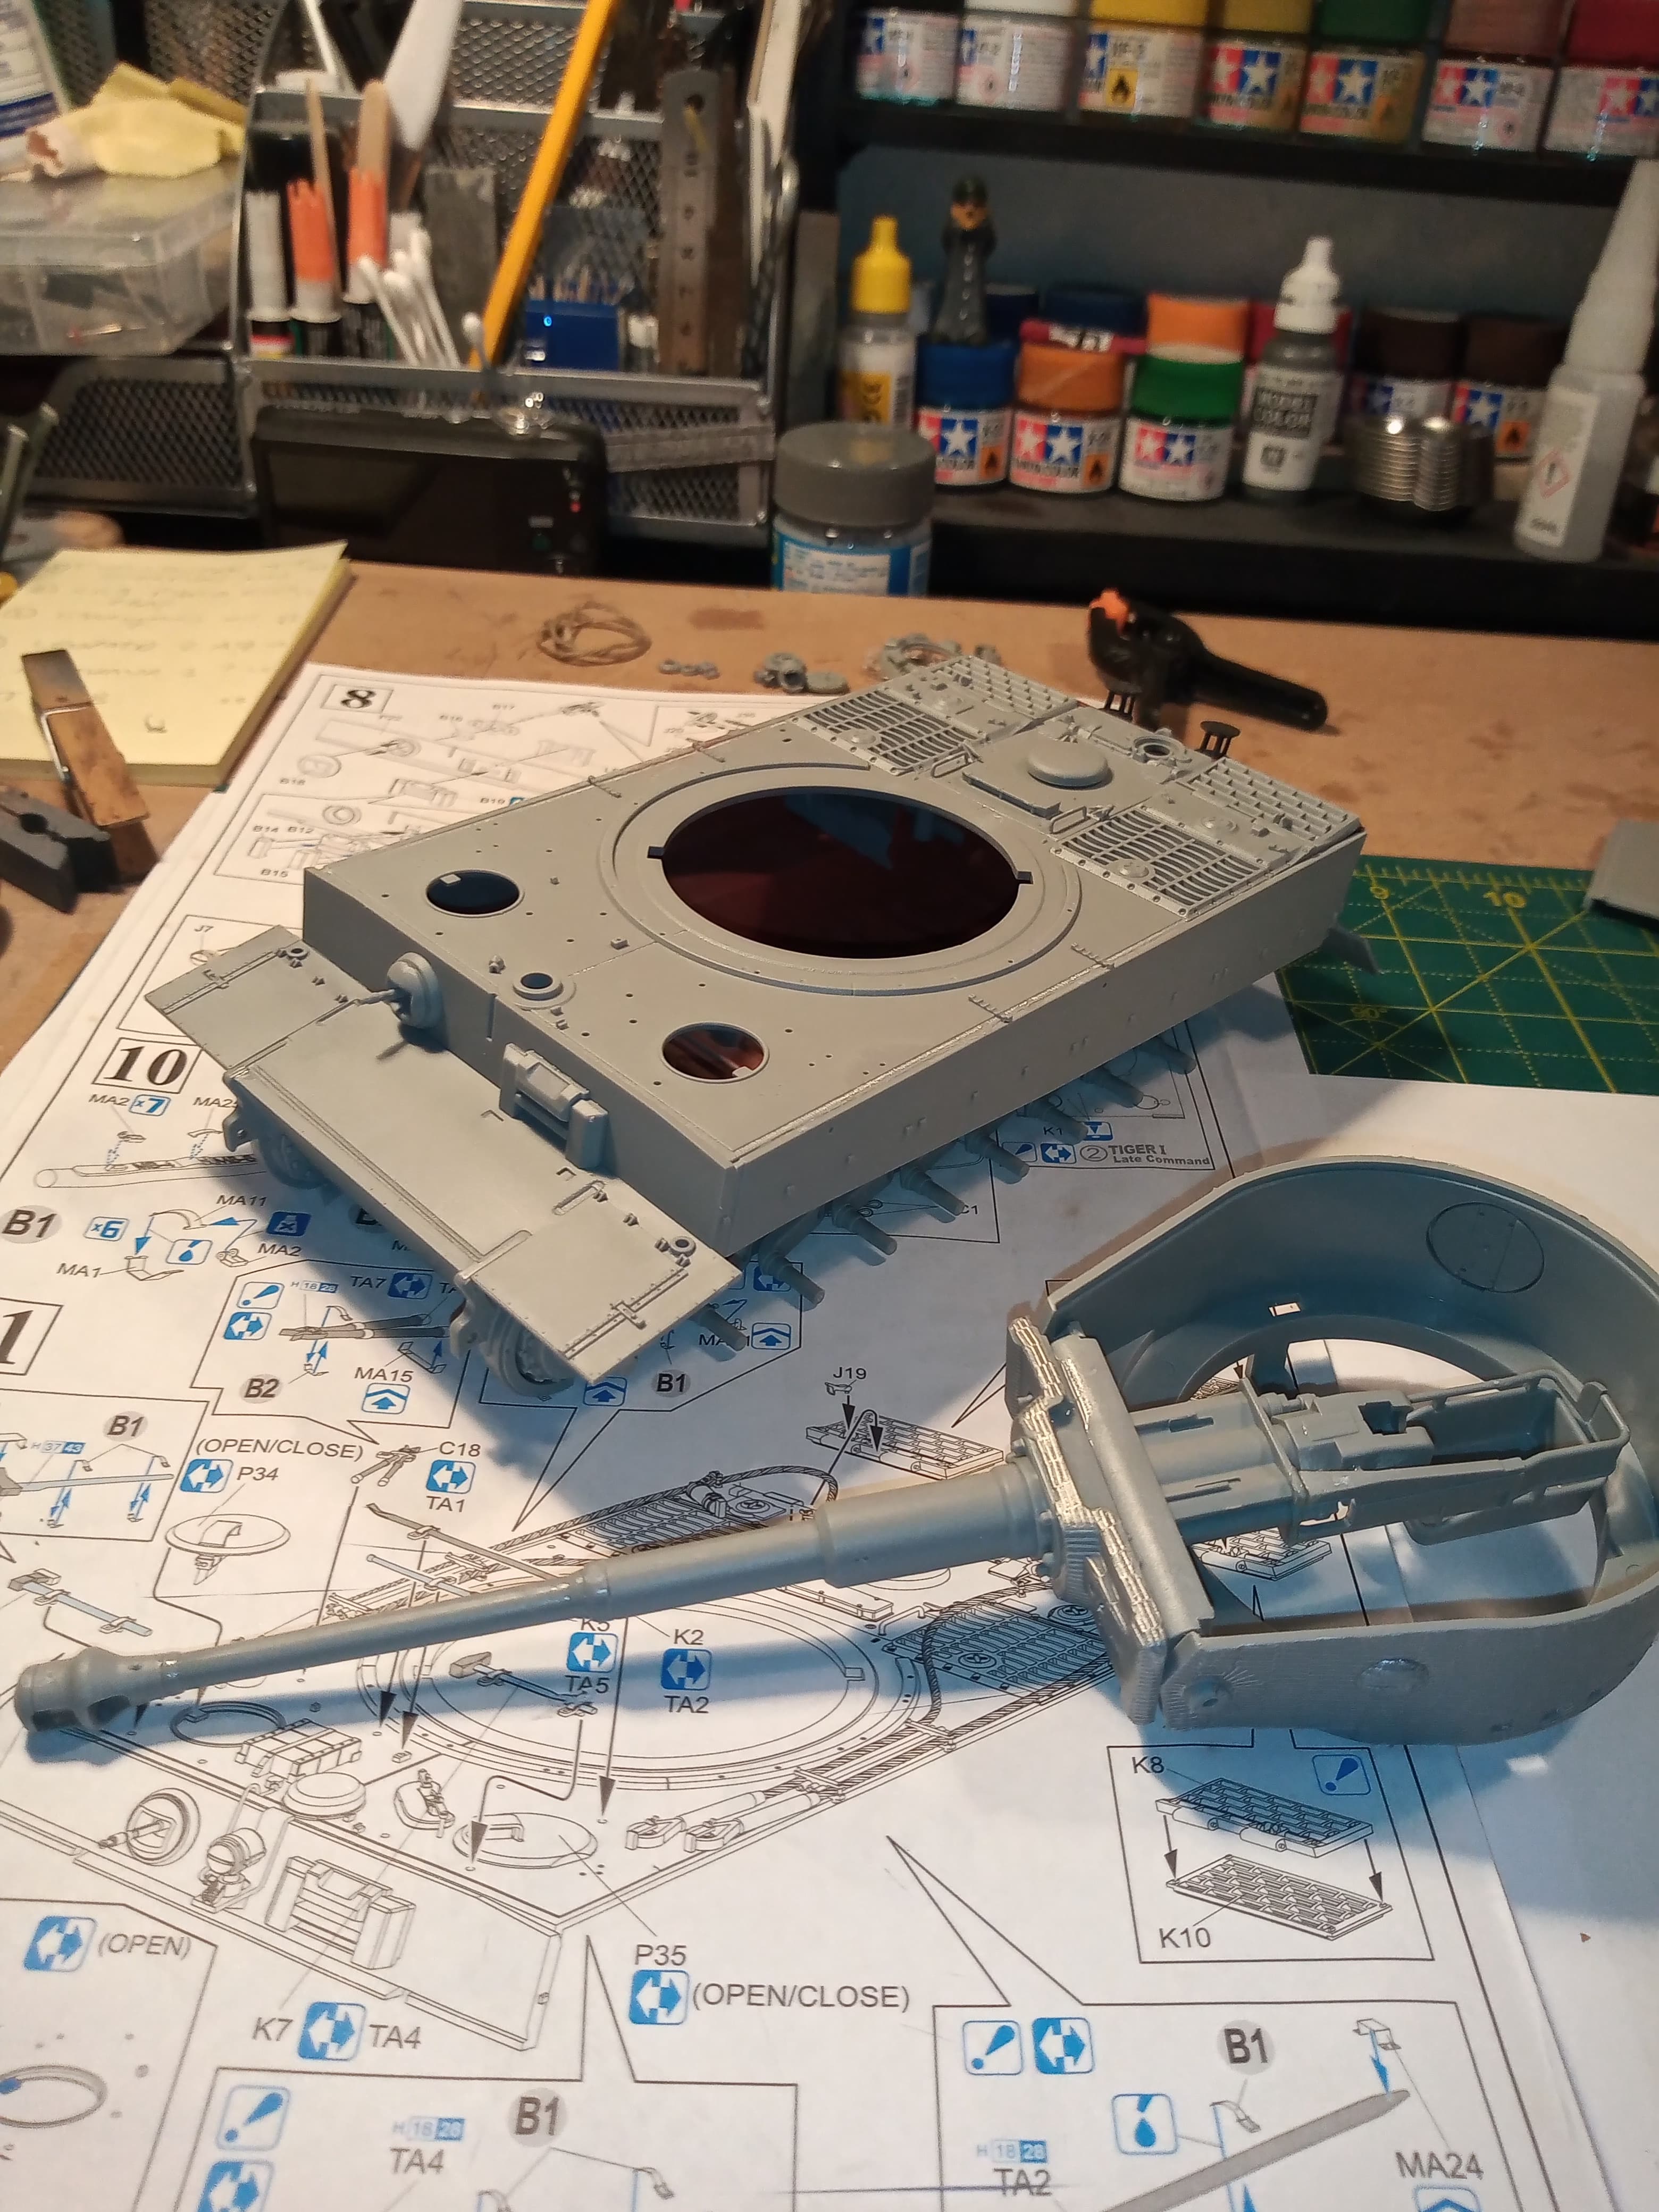
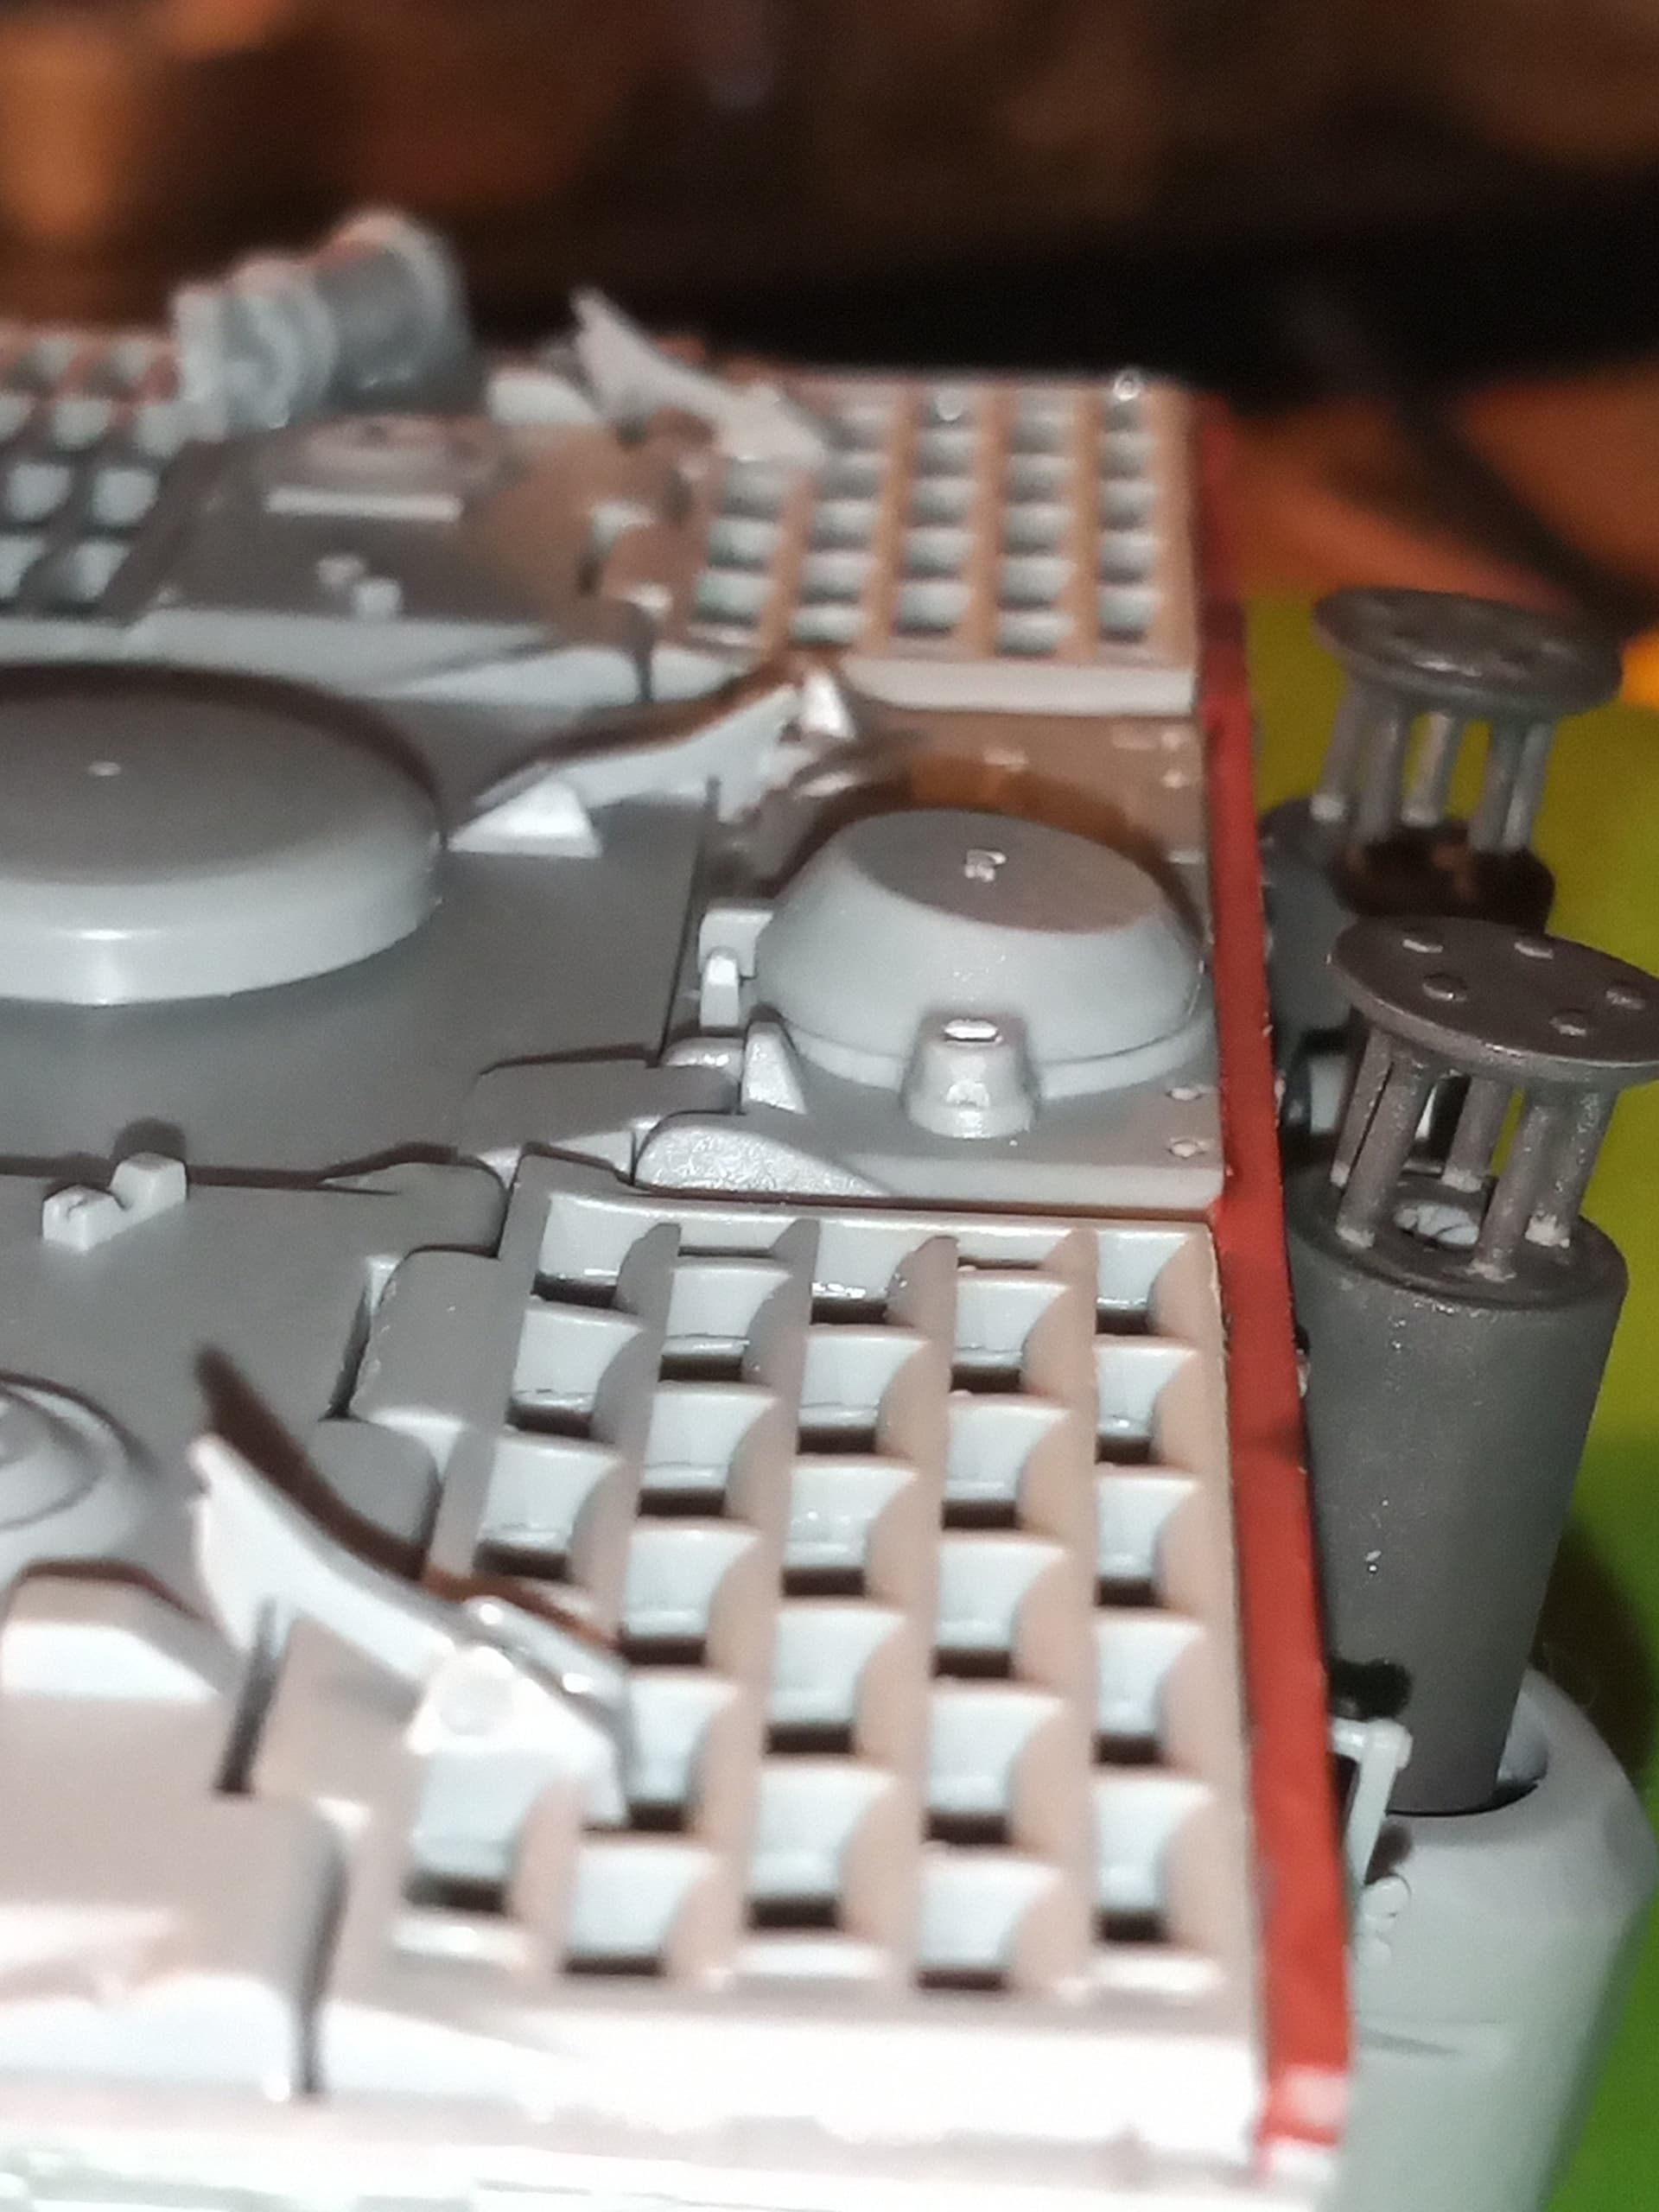
Also made a start on the internal fans and fuel tanks.
I followed the advice in David Brydens Tiger info link and went with the colours he states and not the ones on the instructions. So it was Vallejo oily steel, and flat aluminium for the fans and their frame which I will do tomorr along with the center’s which will be a bronzy copper. Hull inside was Halfords rattle can primers red.
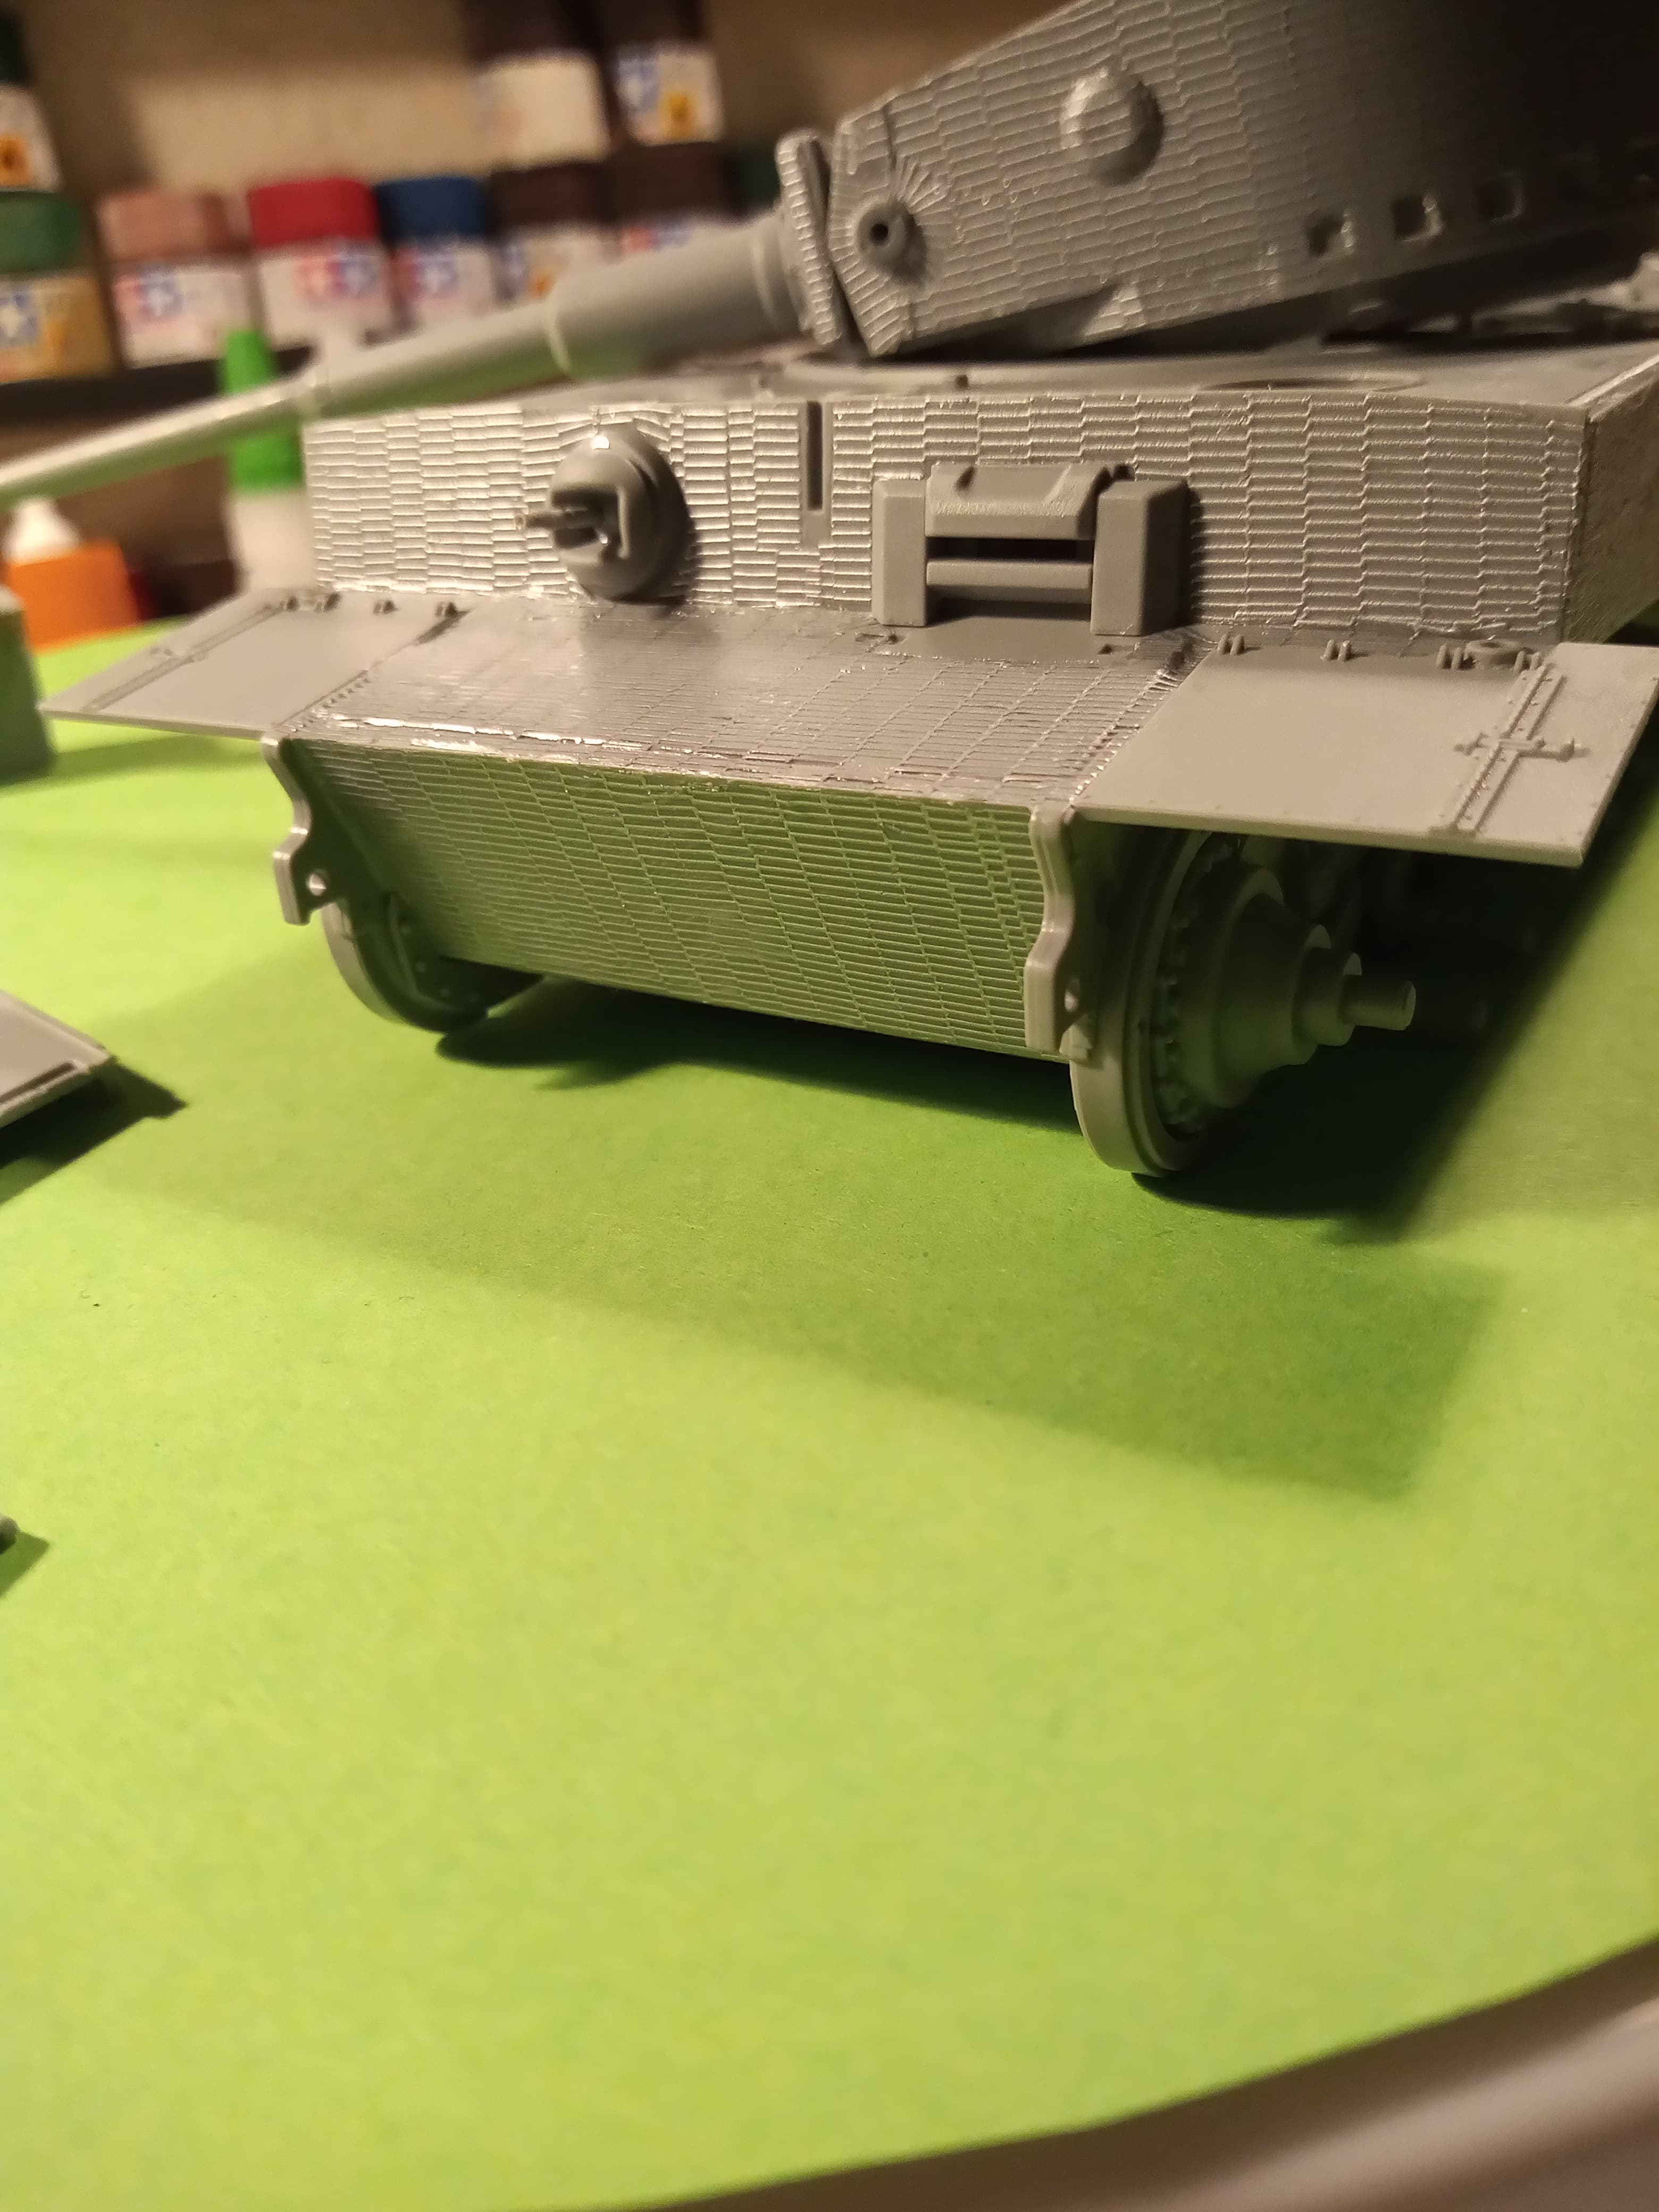
This Zimm goes on so easy, it’s almost criminal…but I’m not complaining…
Now the rear on stuff is on, I can get back to the build phase. I also won’t be cutting away any other side surface detail as it’s so easy just to score it around with the tip of a sharp blade and press flat.
As I said previously, I tried to stay as close to the fan colours David B mentioned in his Tiger link, so the fuel tanks and bulk of it was done in Vallejo oily steel, fans and their frame was Tamiya aluminium and the fan cover was just a Tamiya neutral grey. The fan hubs ended up as copper as that’s all I had.
I decanted some of the Halfords red primer to do the inner sides that would of been next to the engine bay.
How much for those sheets of zimmerit if you don’t mind me asking? It looks fantastic! And much easier than the putty method, I have a tiger and elefant that need zimmerit and this will be a huge time saver.
I was skeptical of decal zimmerit but what you show will make me a covert
More Tiger time. …
Now, I love detail just like the next man, but even I would draw the line at this…
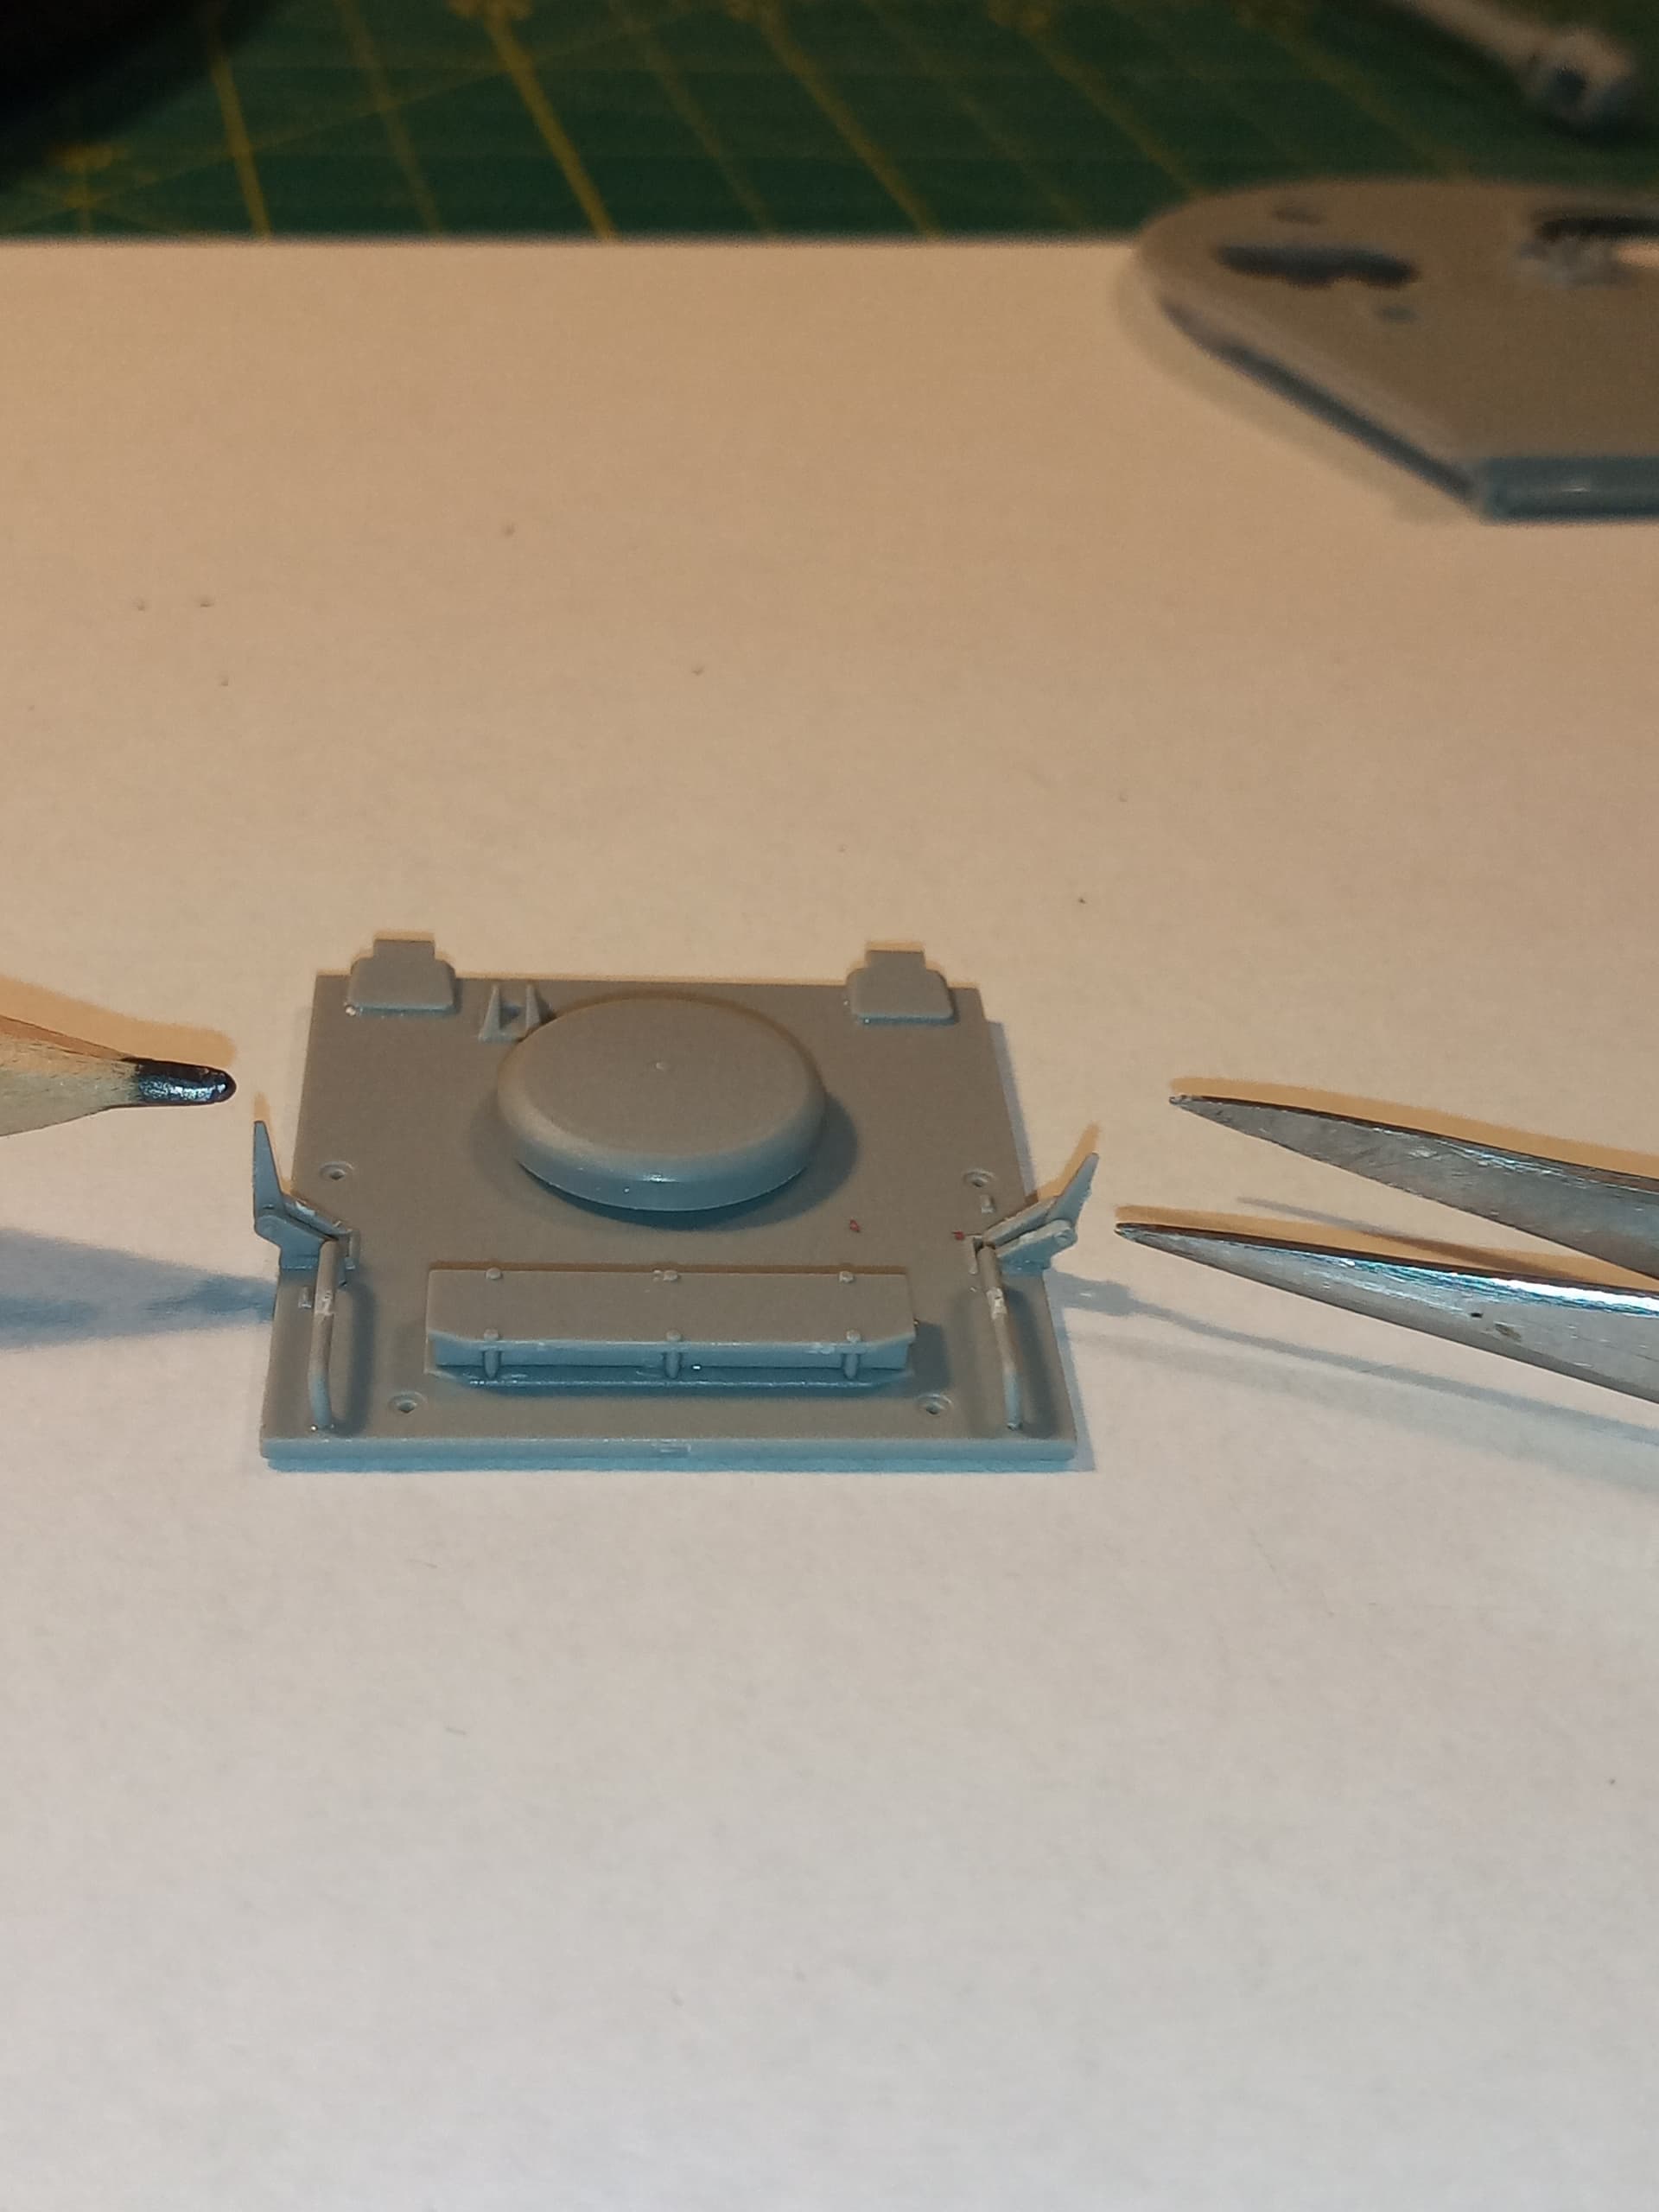
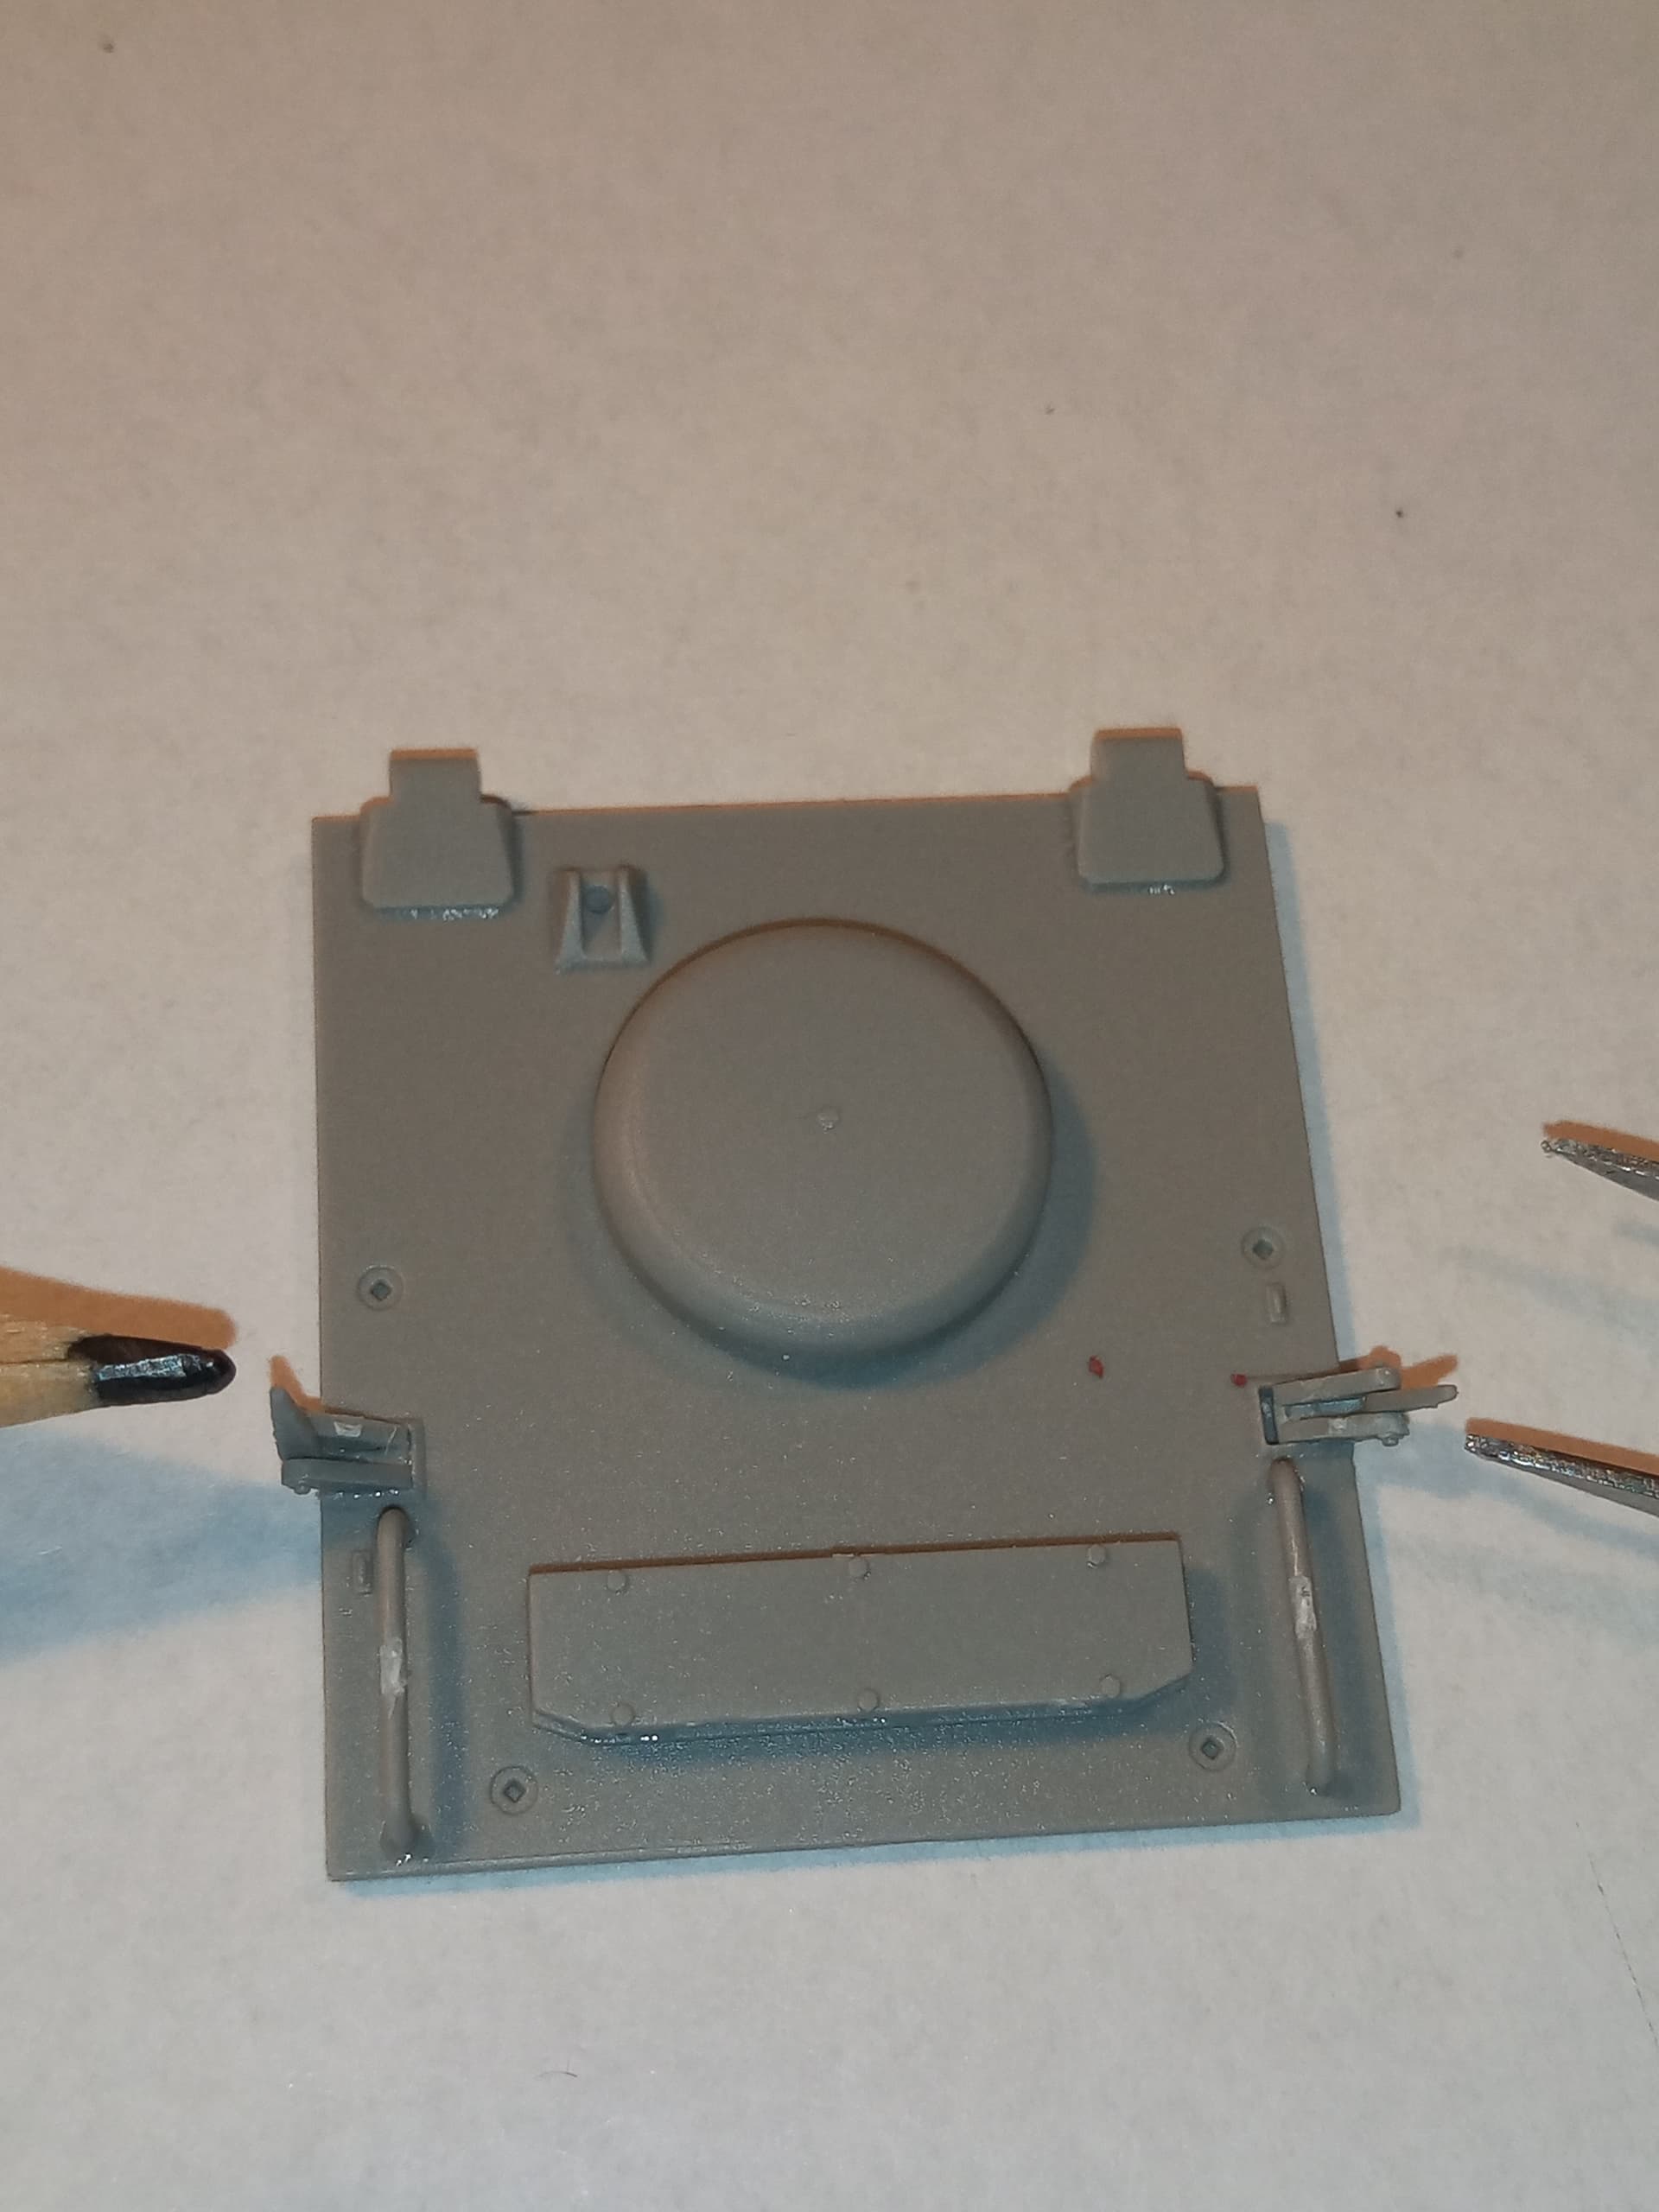
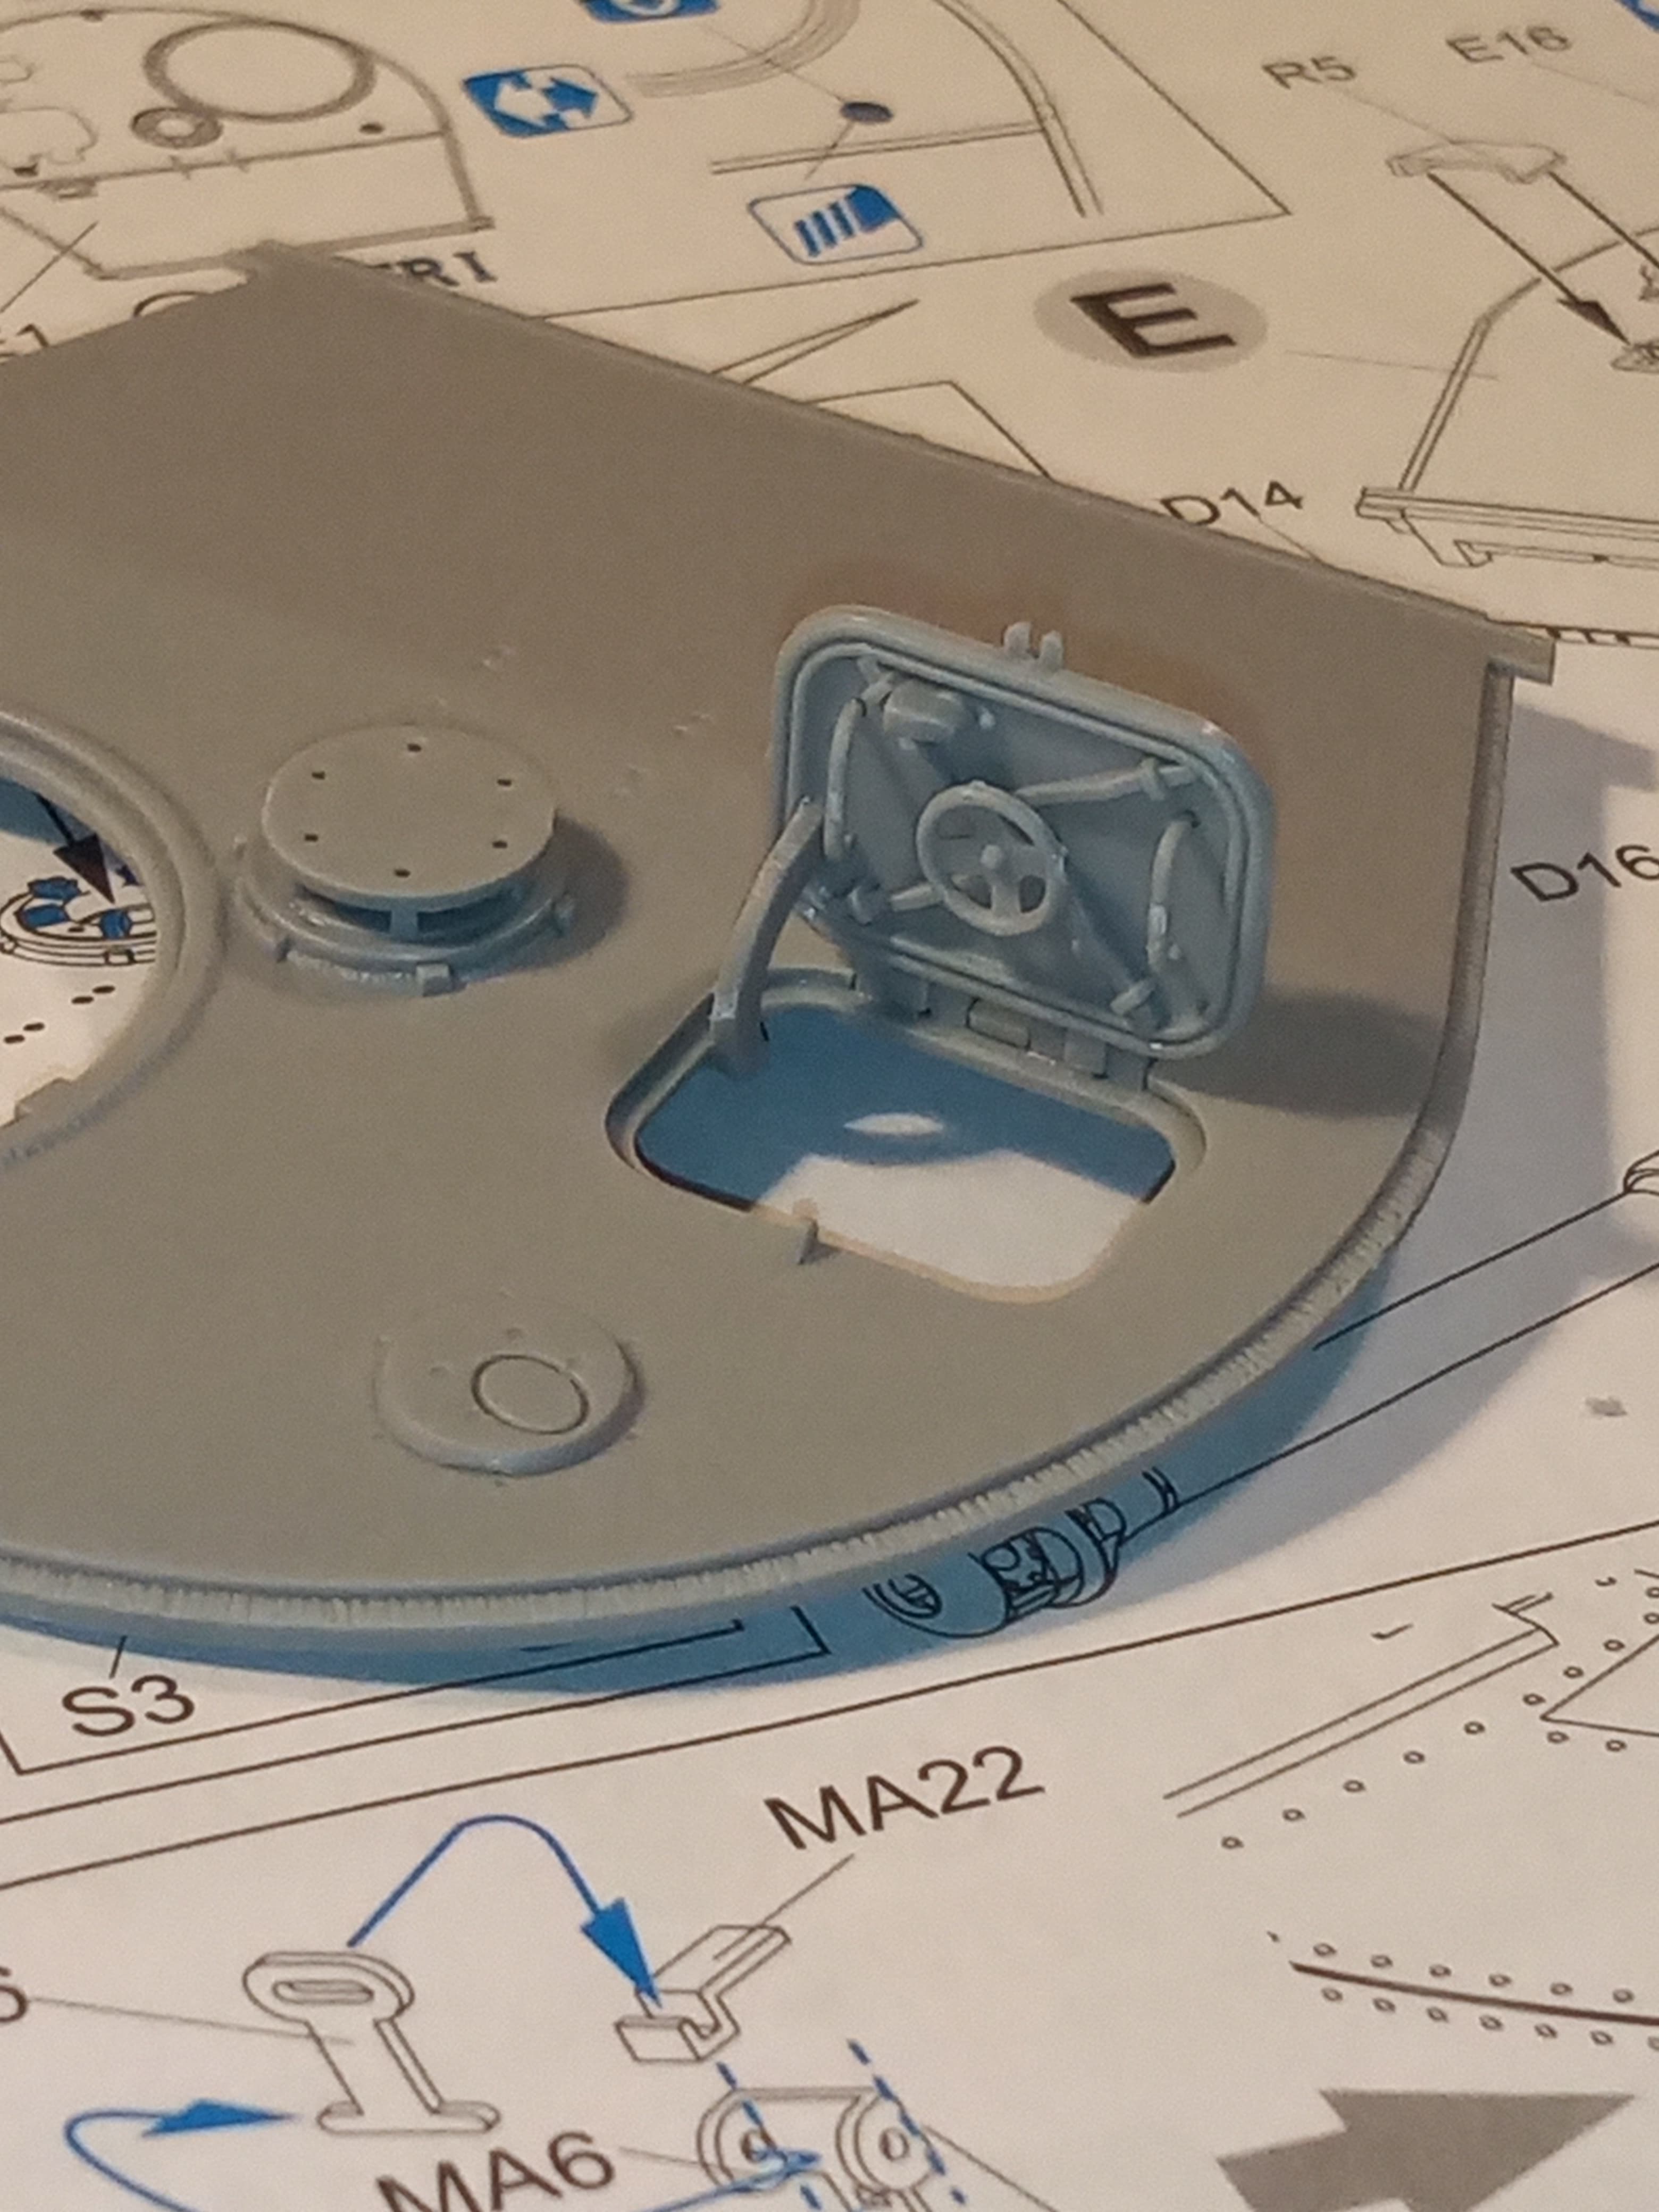
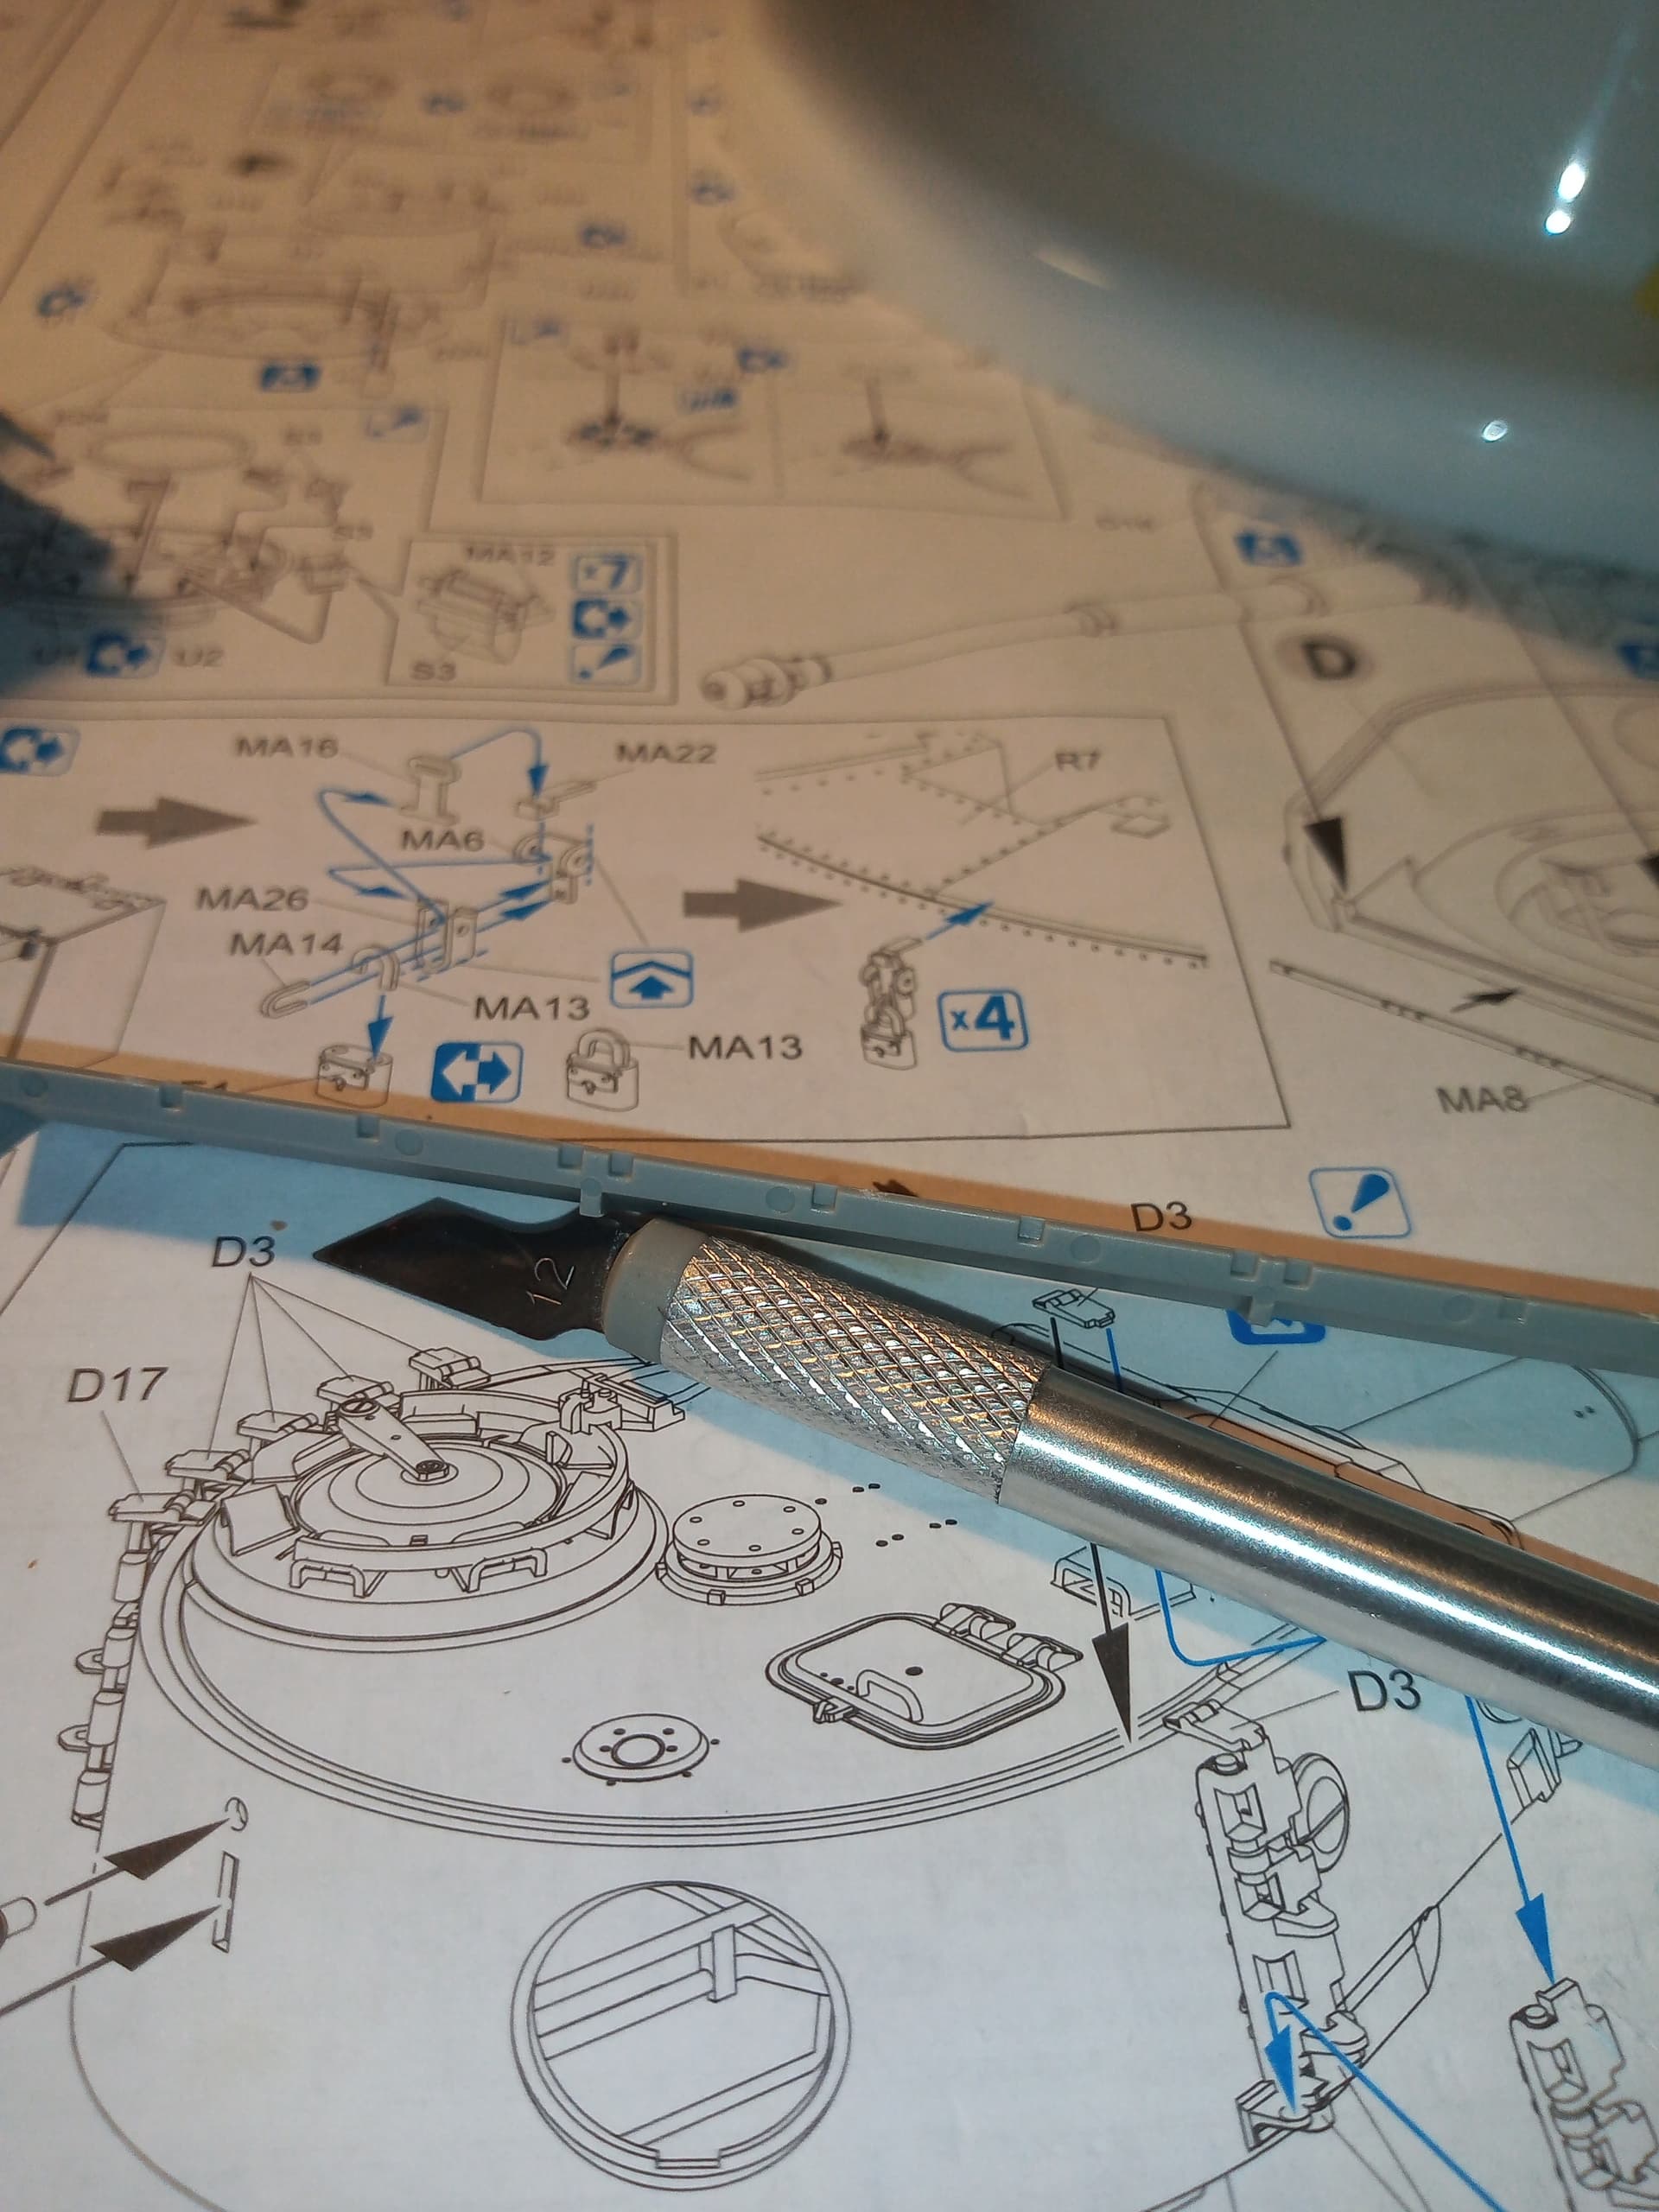
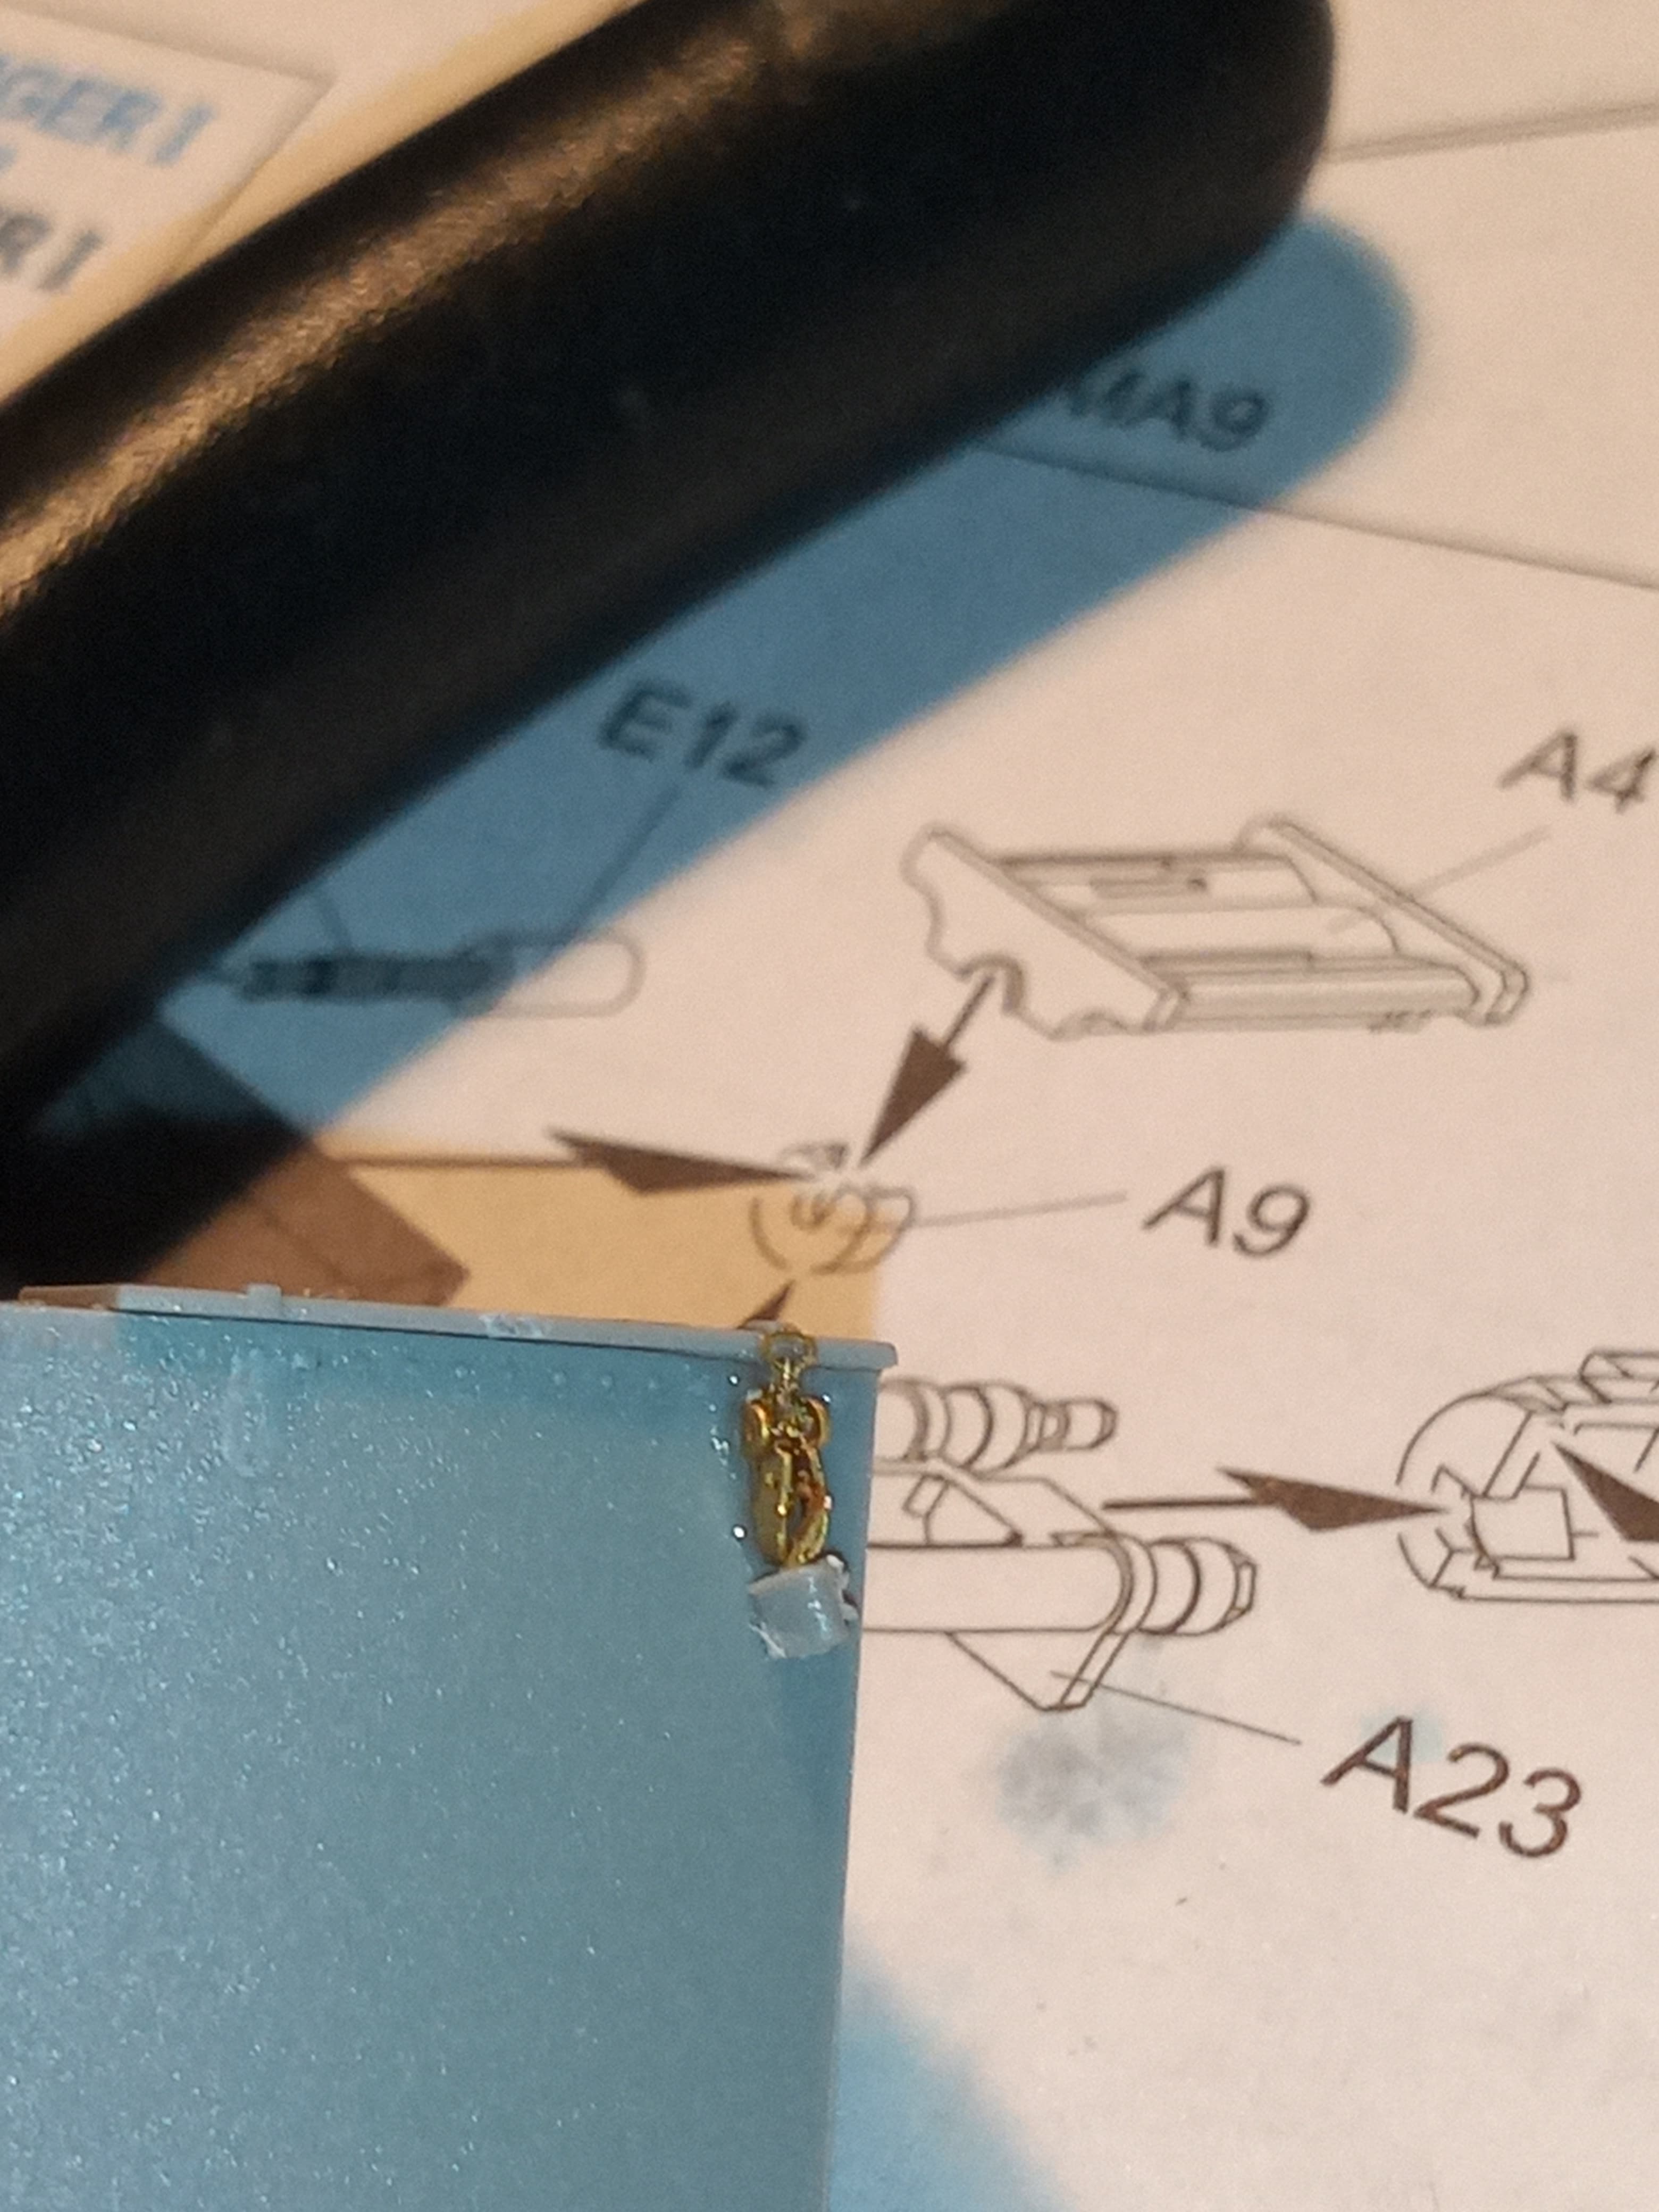
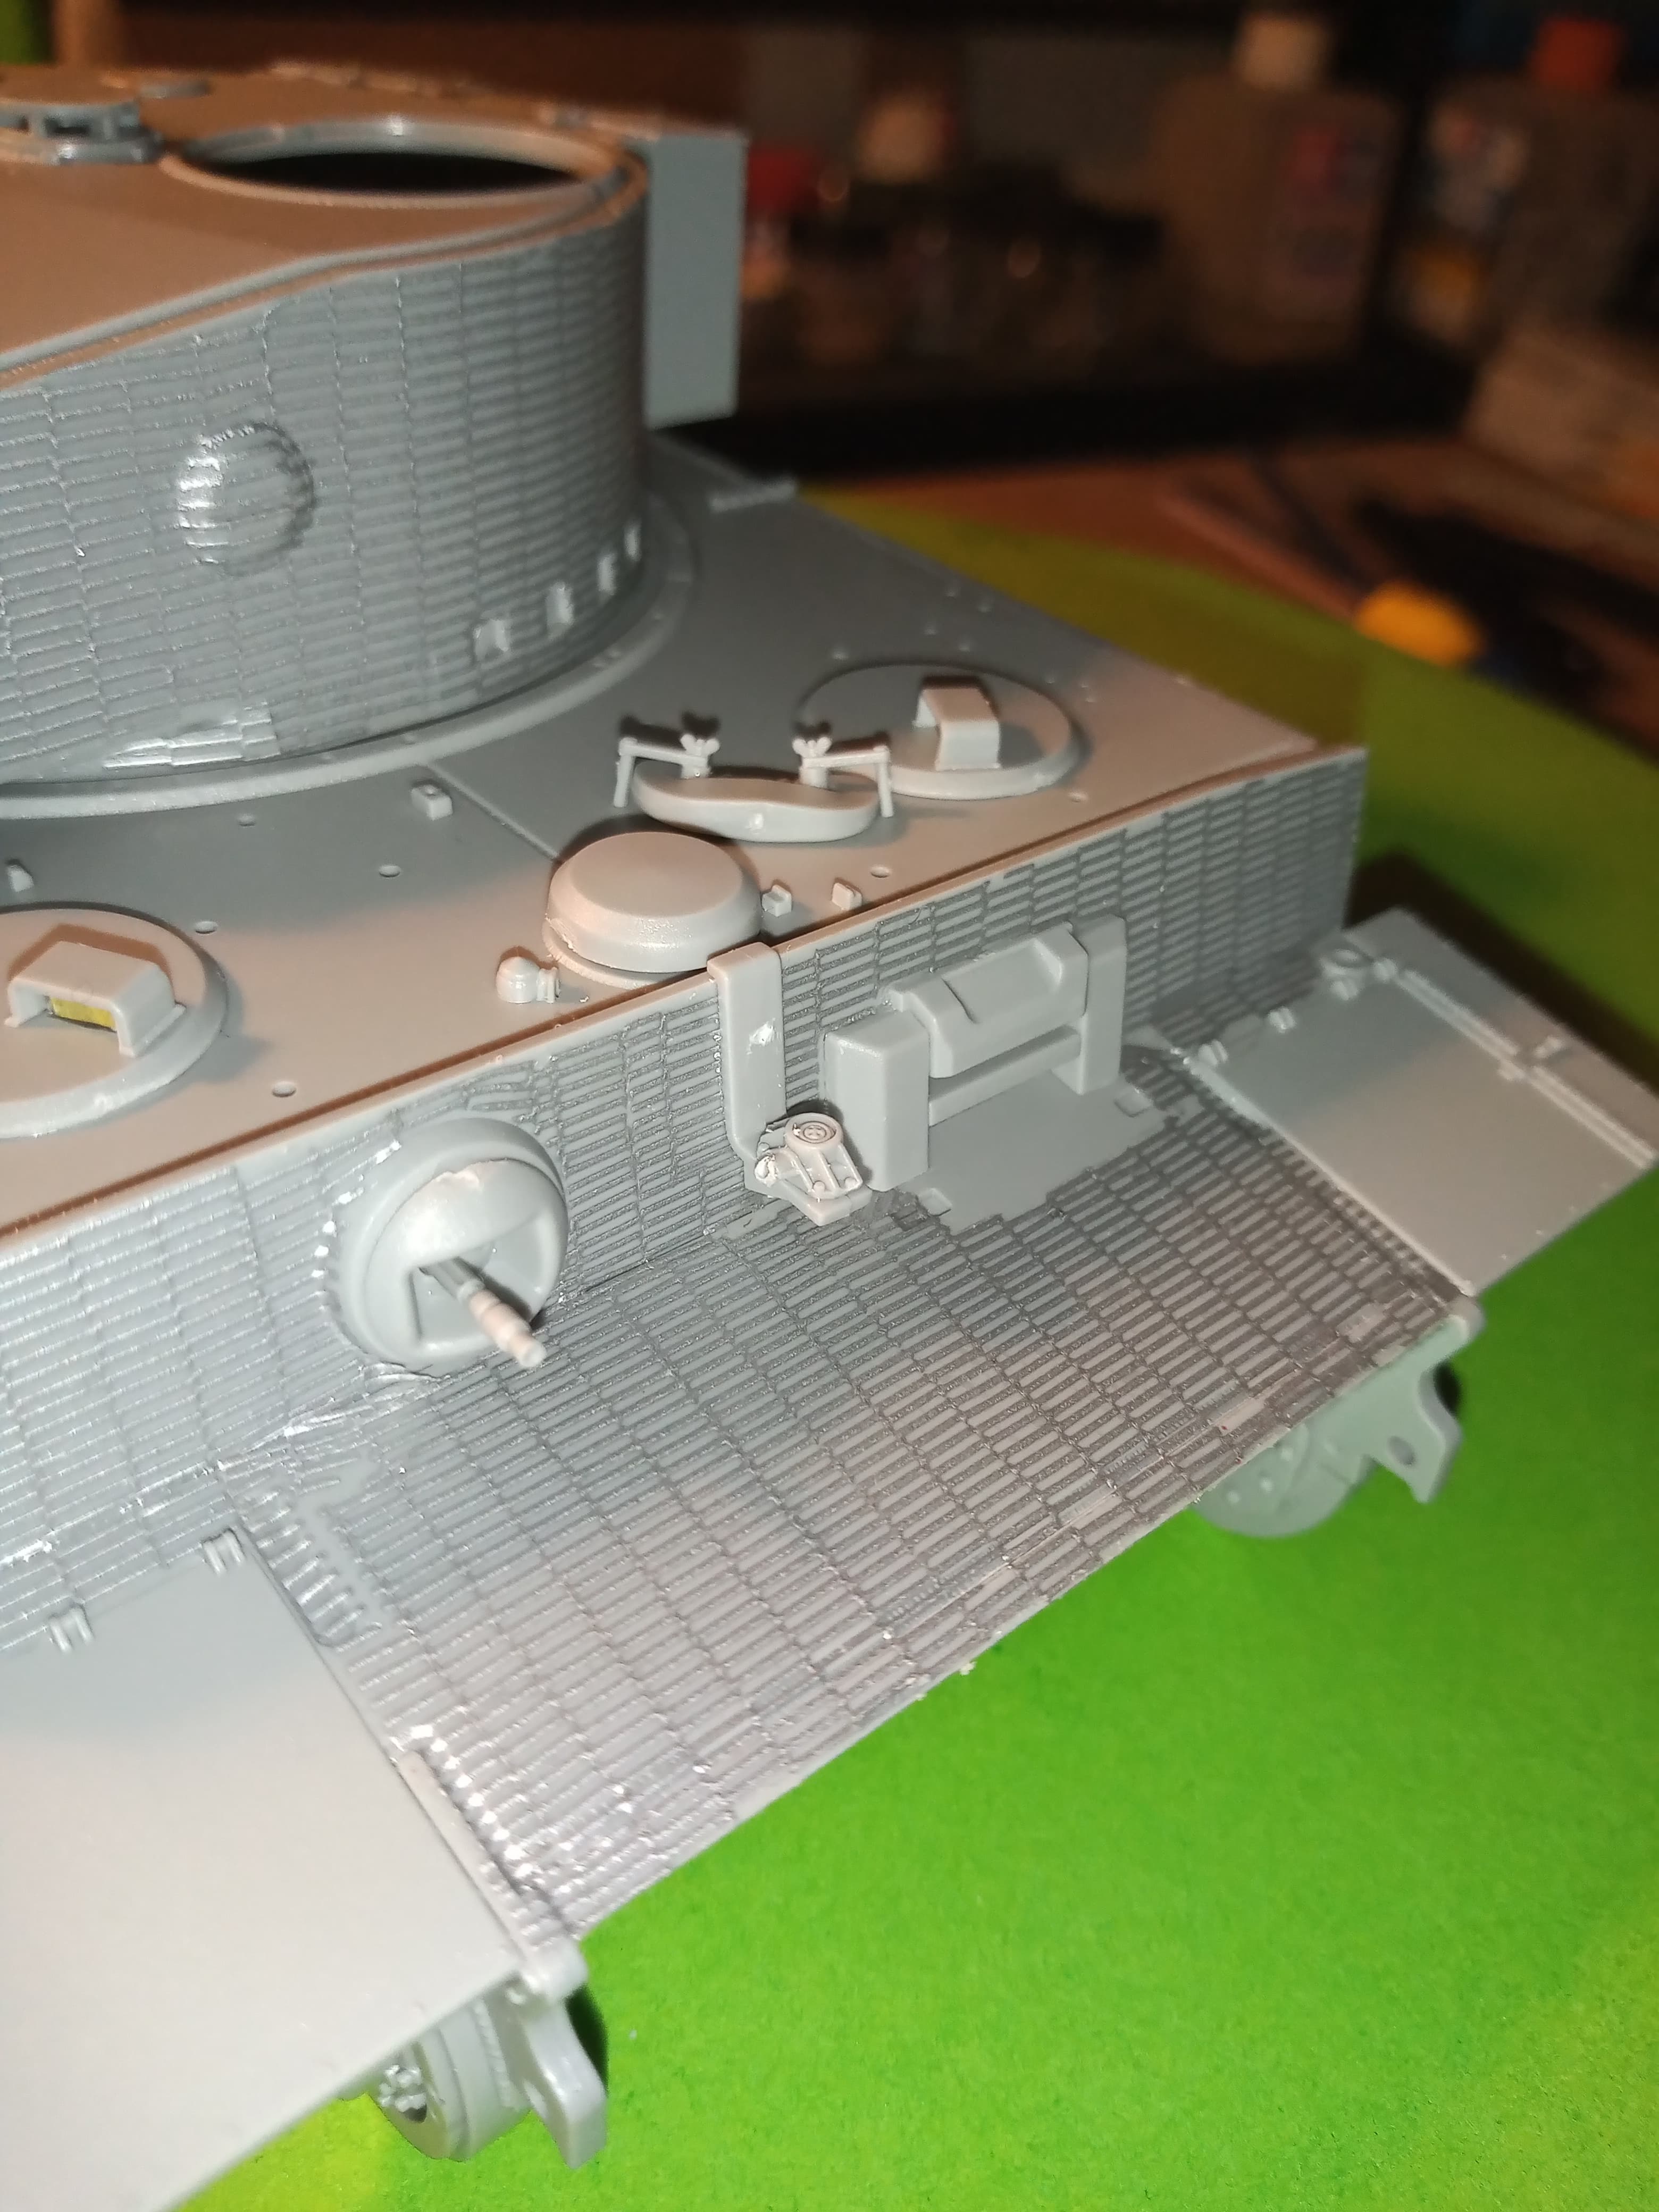
On the engine deck, there is a stay either side towards the front. Now these are small, and for the life of me, I cannot understand why they decided to make the actual center part movable…
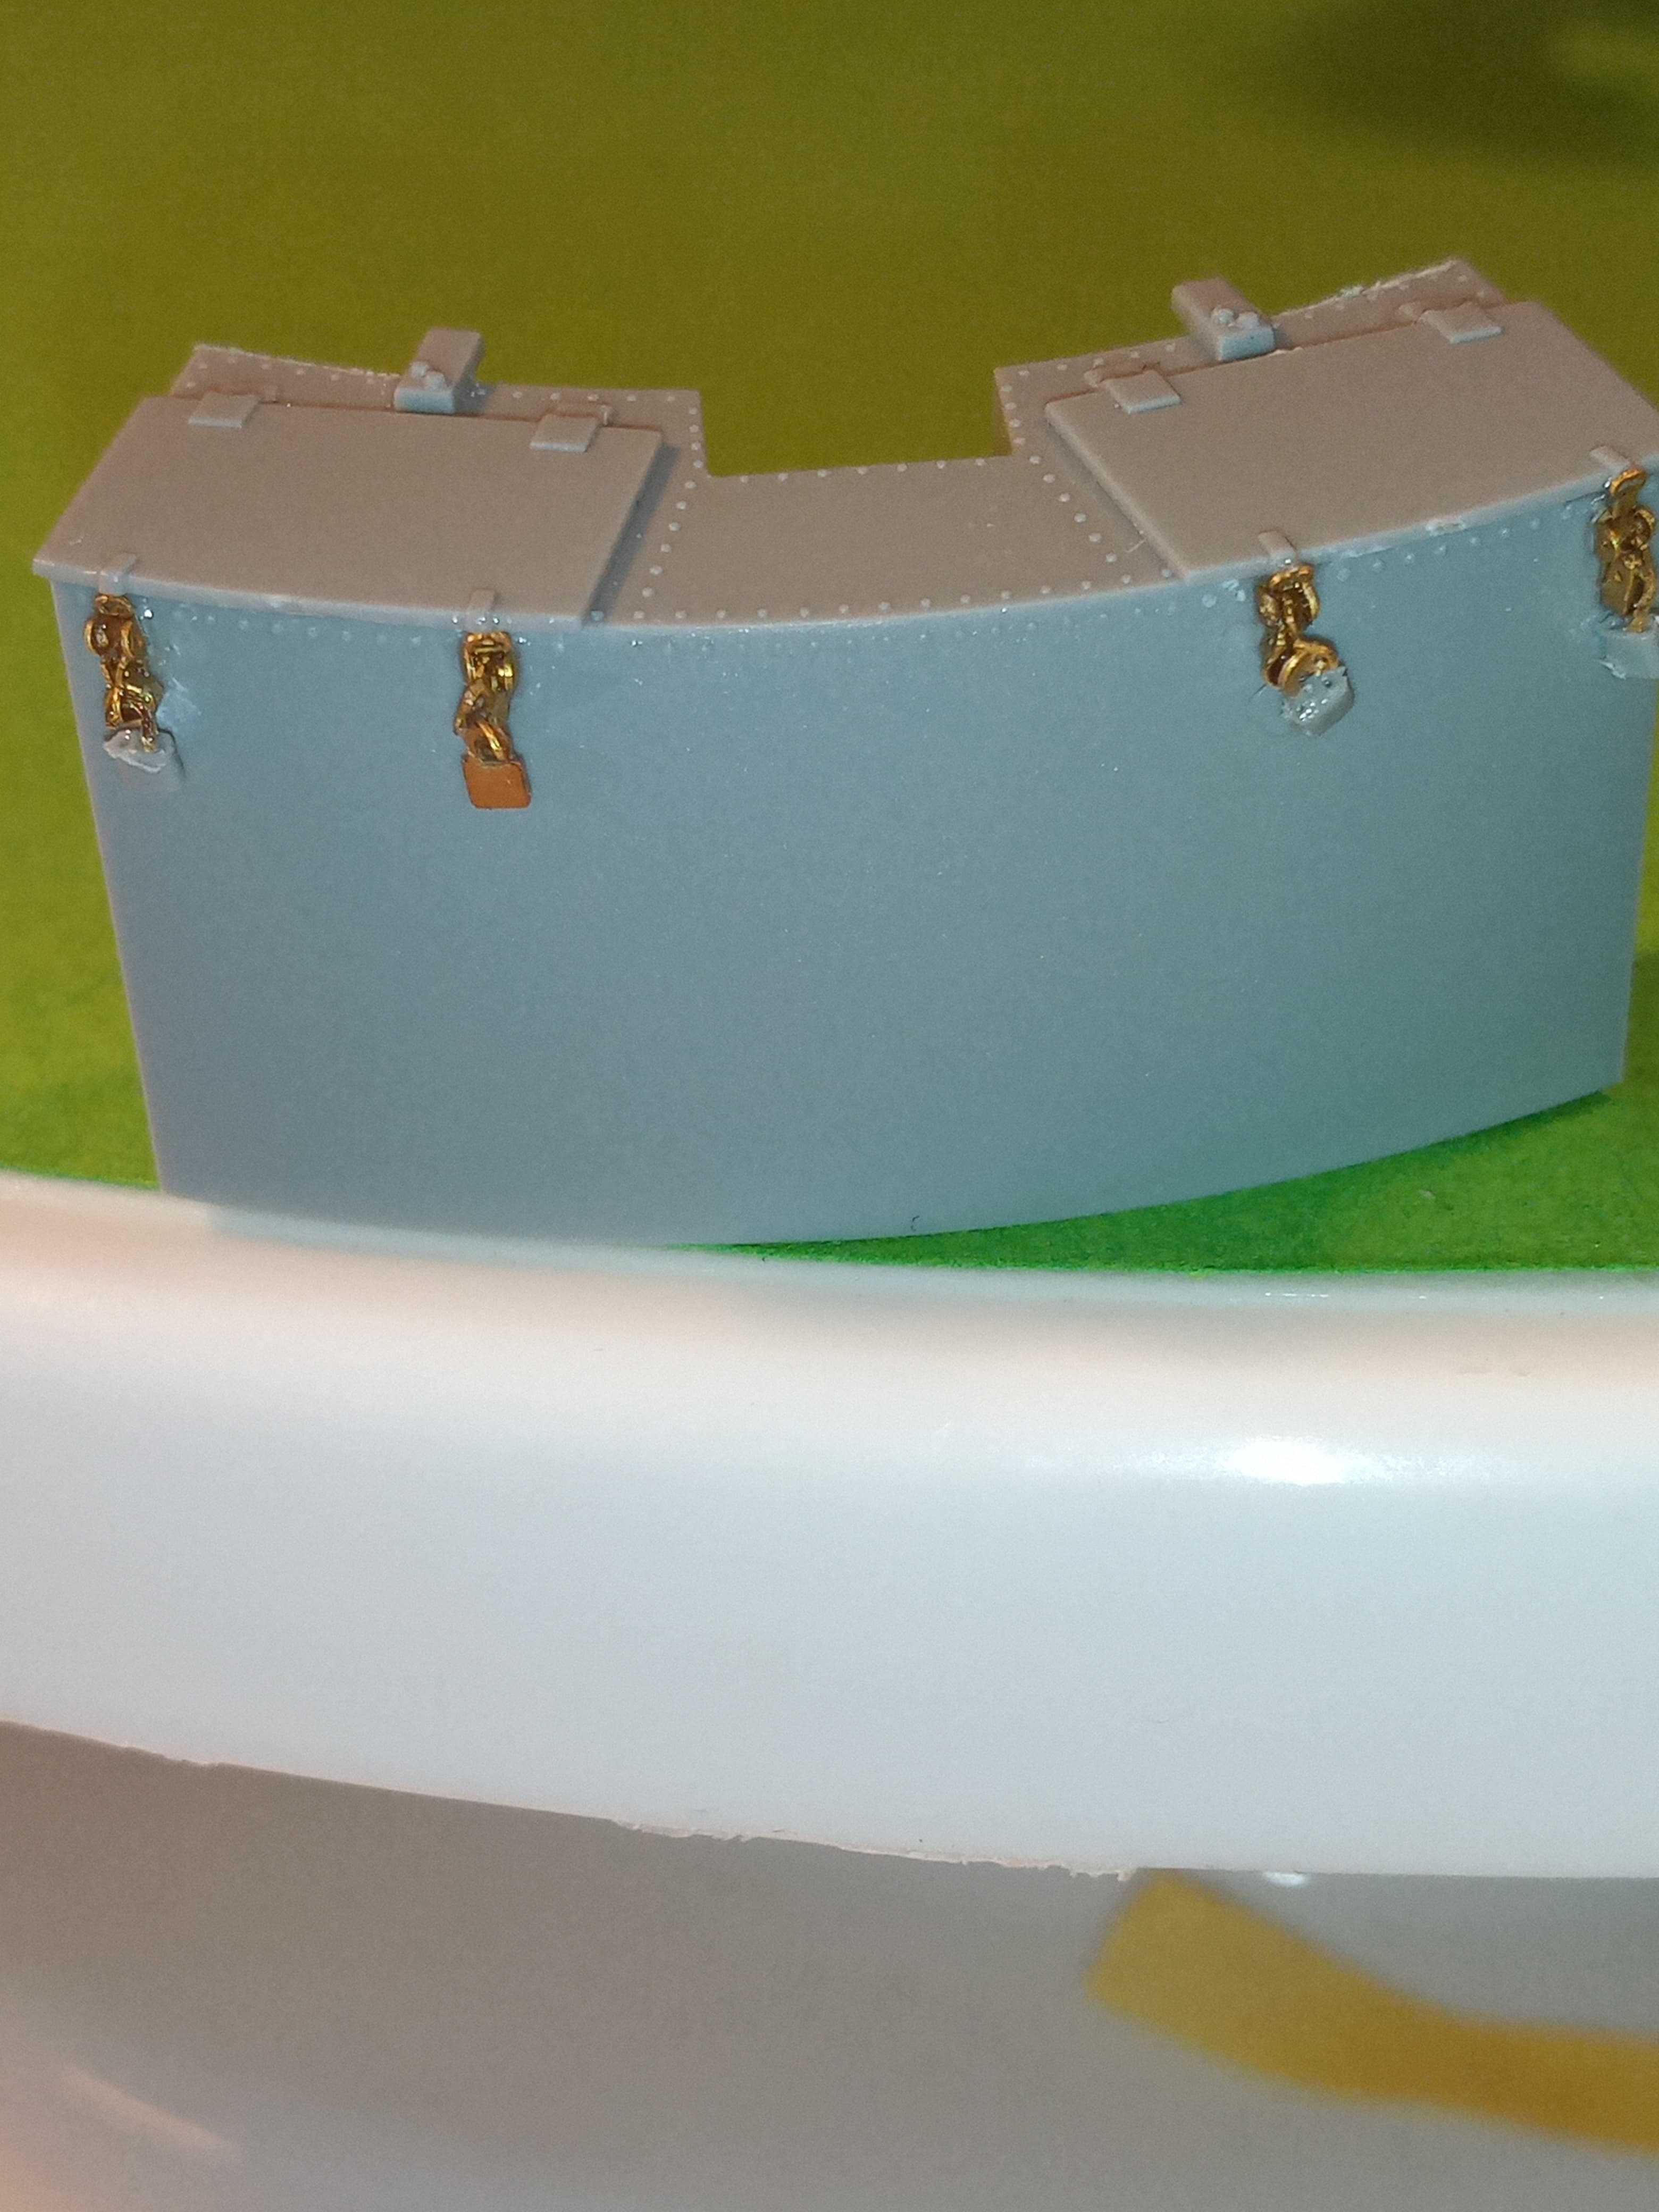
Now it’s not pretty and that was the first attempt… The rest took a bit of time as they were pretty fiddly. I seriously cannot understand how people are able to get these mega small catches like on the padlocks to work…it must be some sort of wizardry or they have a pixie on the work bench…
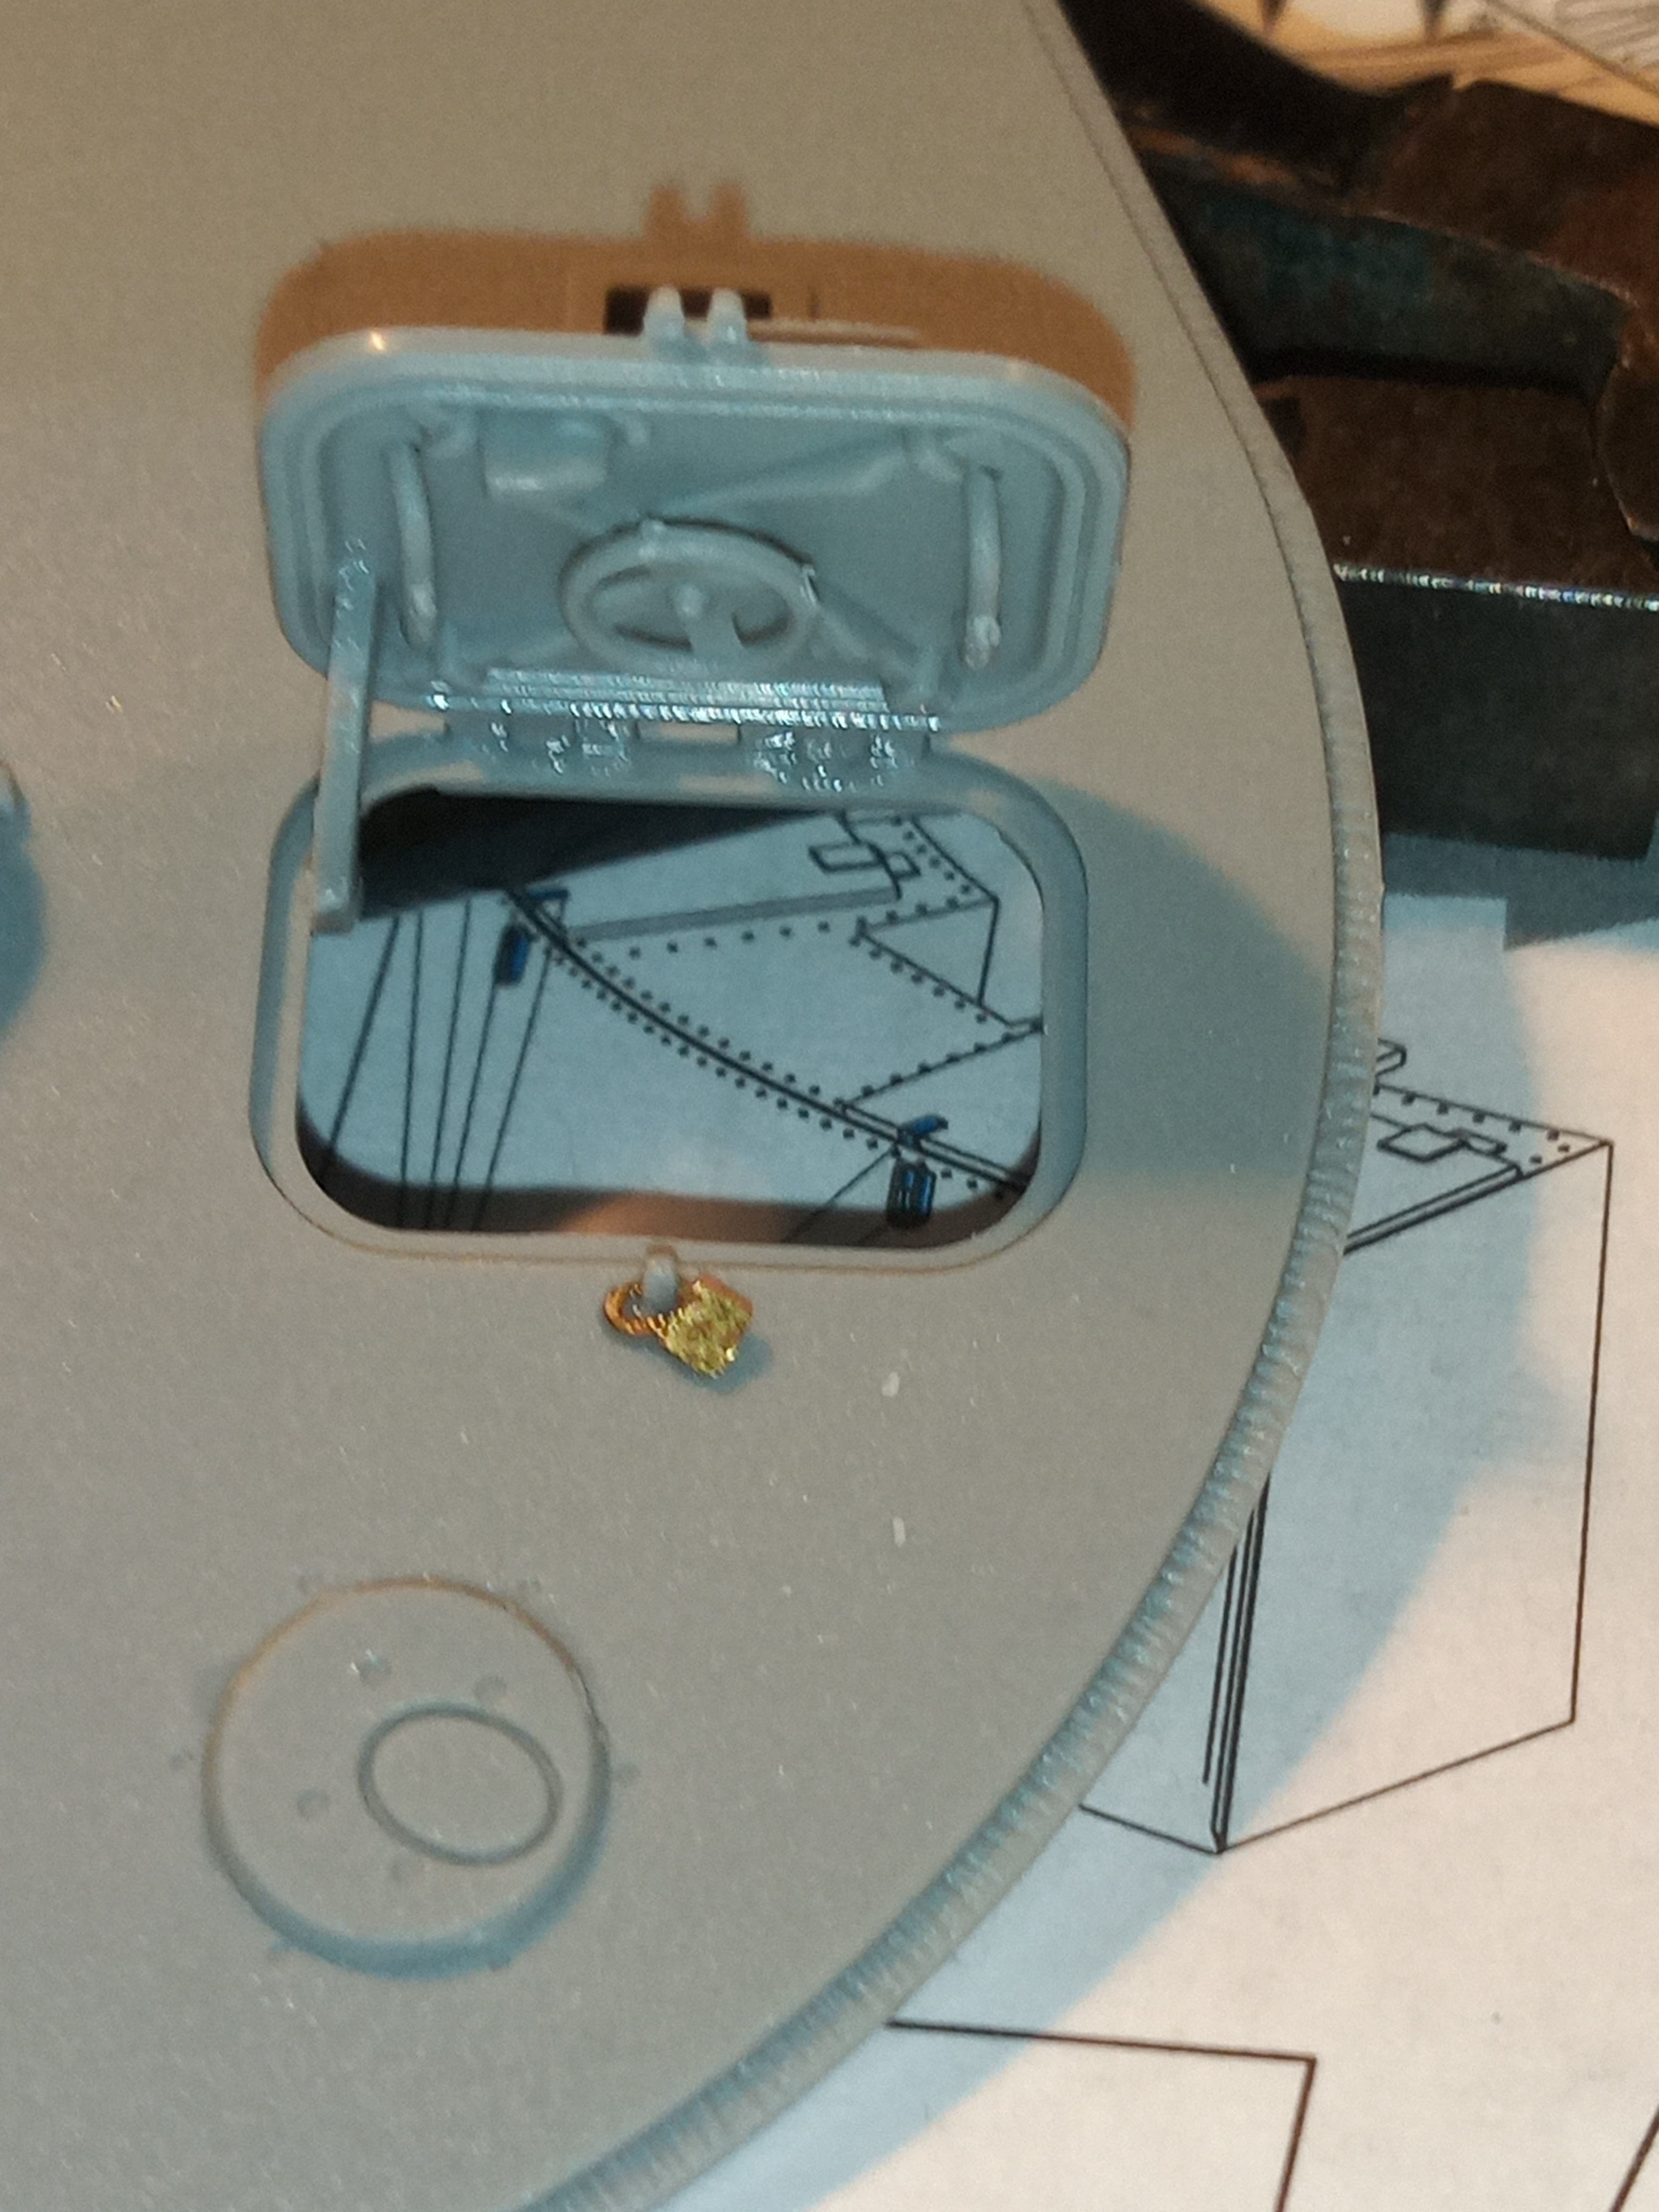
I had to use 2 spare PE padlocks from the Scimitar PE fret as the carpet monster got 1 of the tiny plastic padlocks. I used the other PE padlock on the loaders hatch … May not of been used for real, but hey ho.
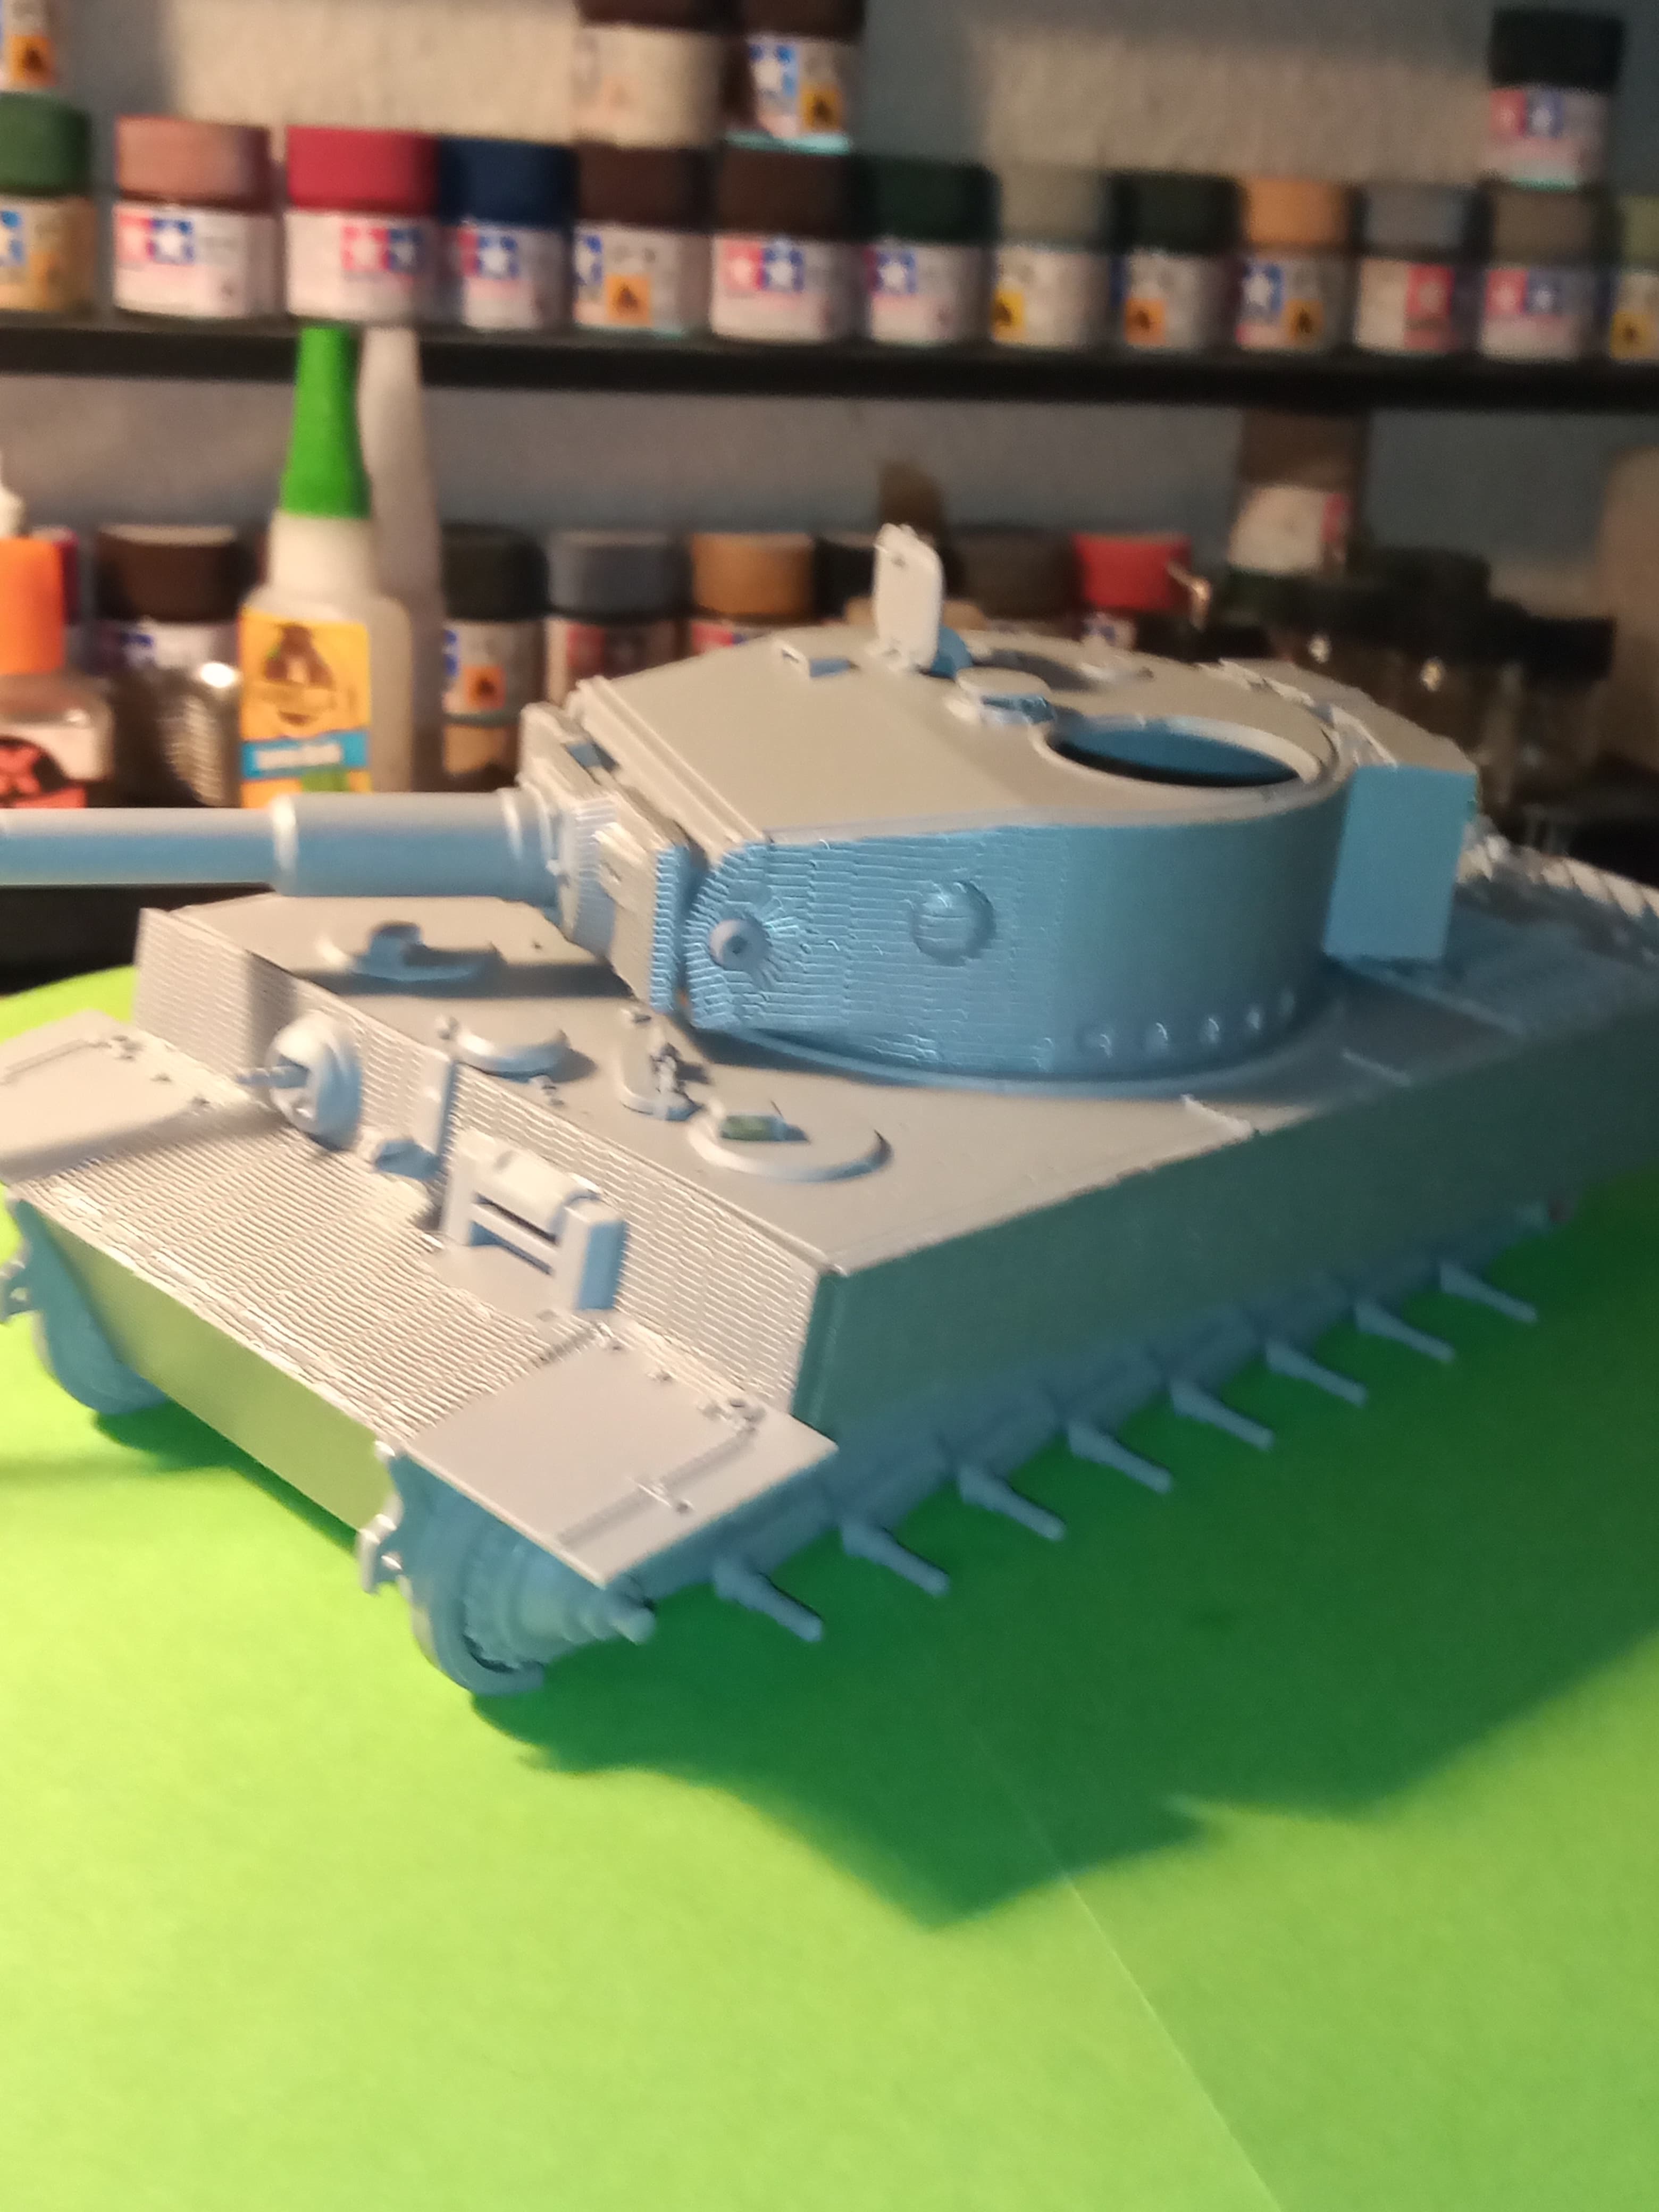
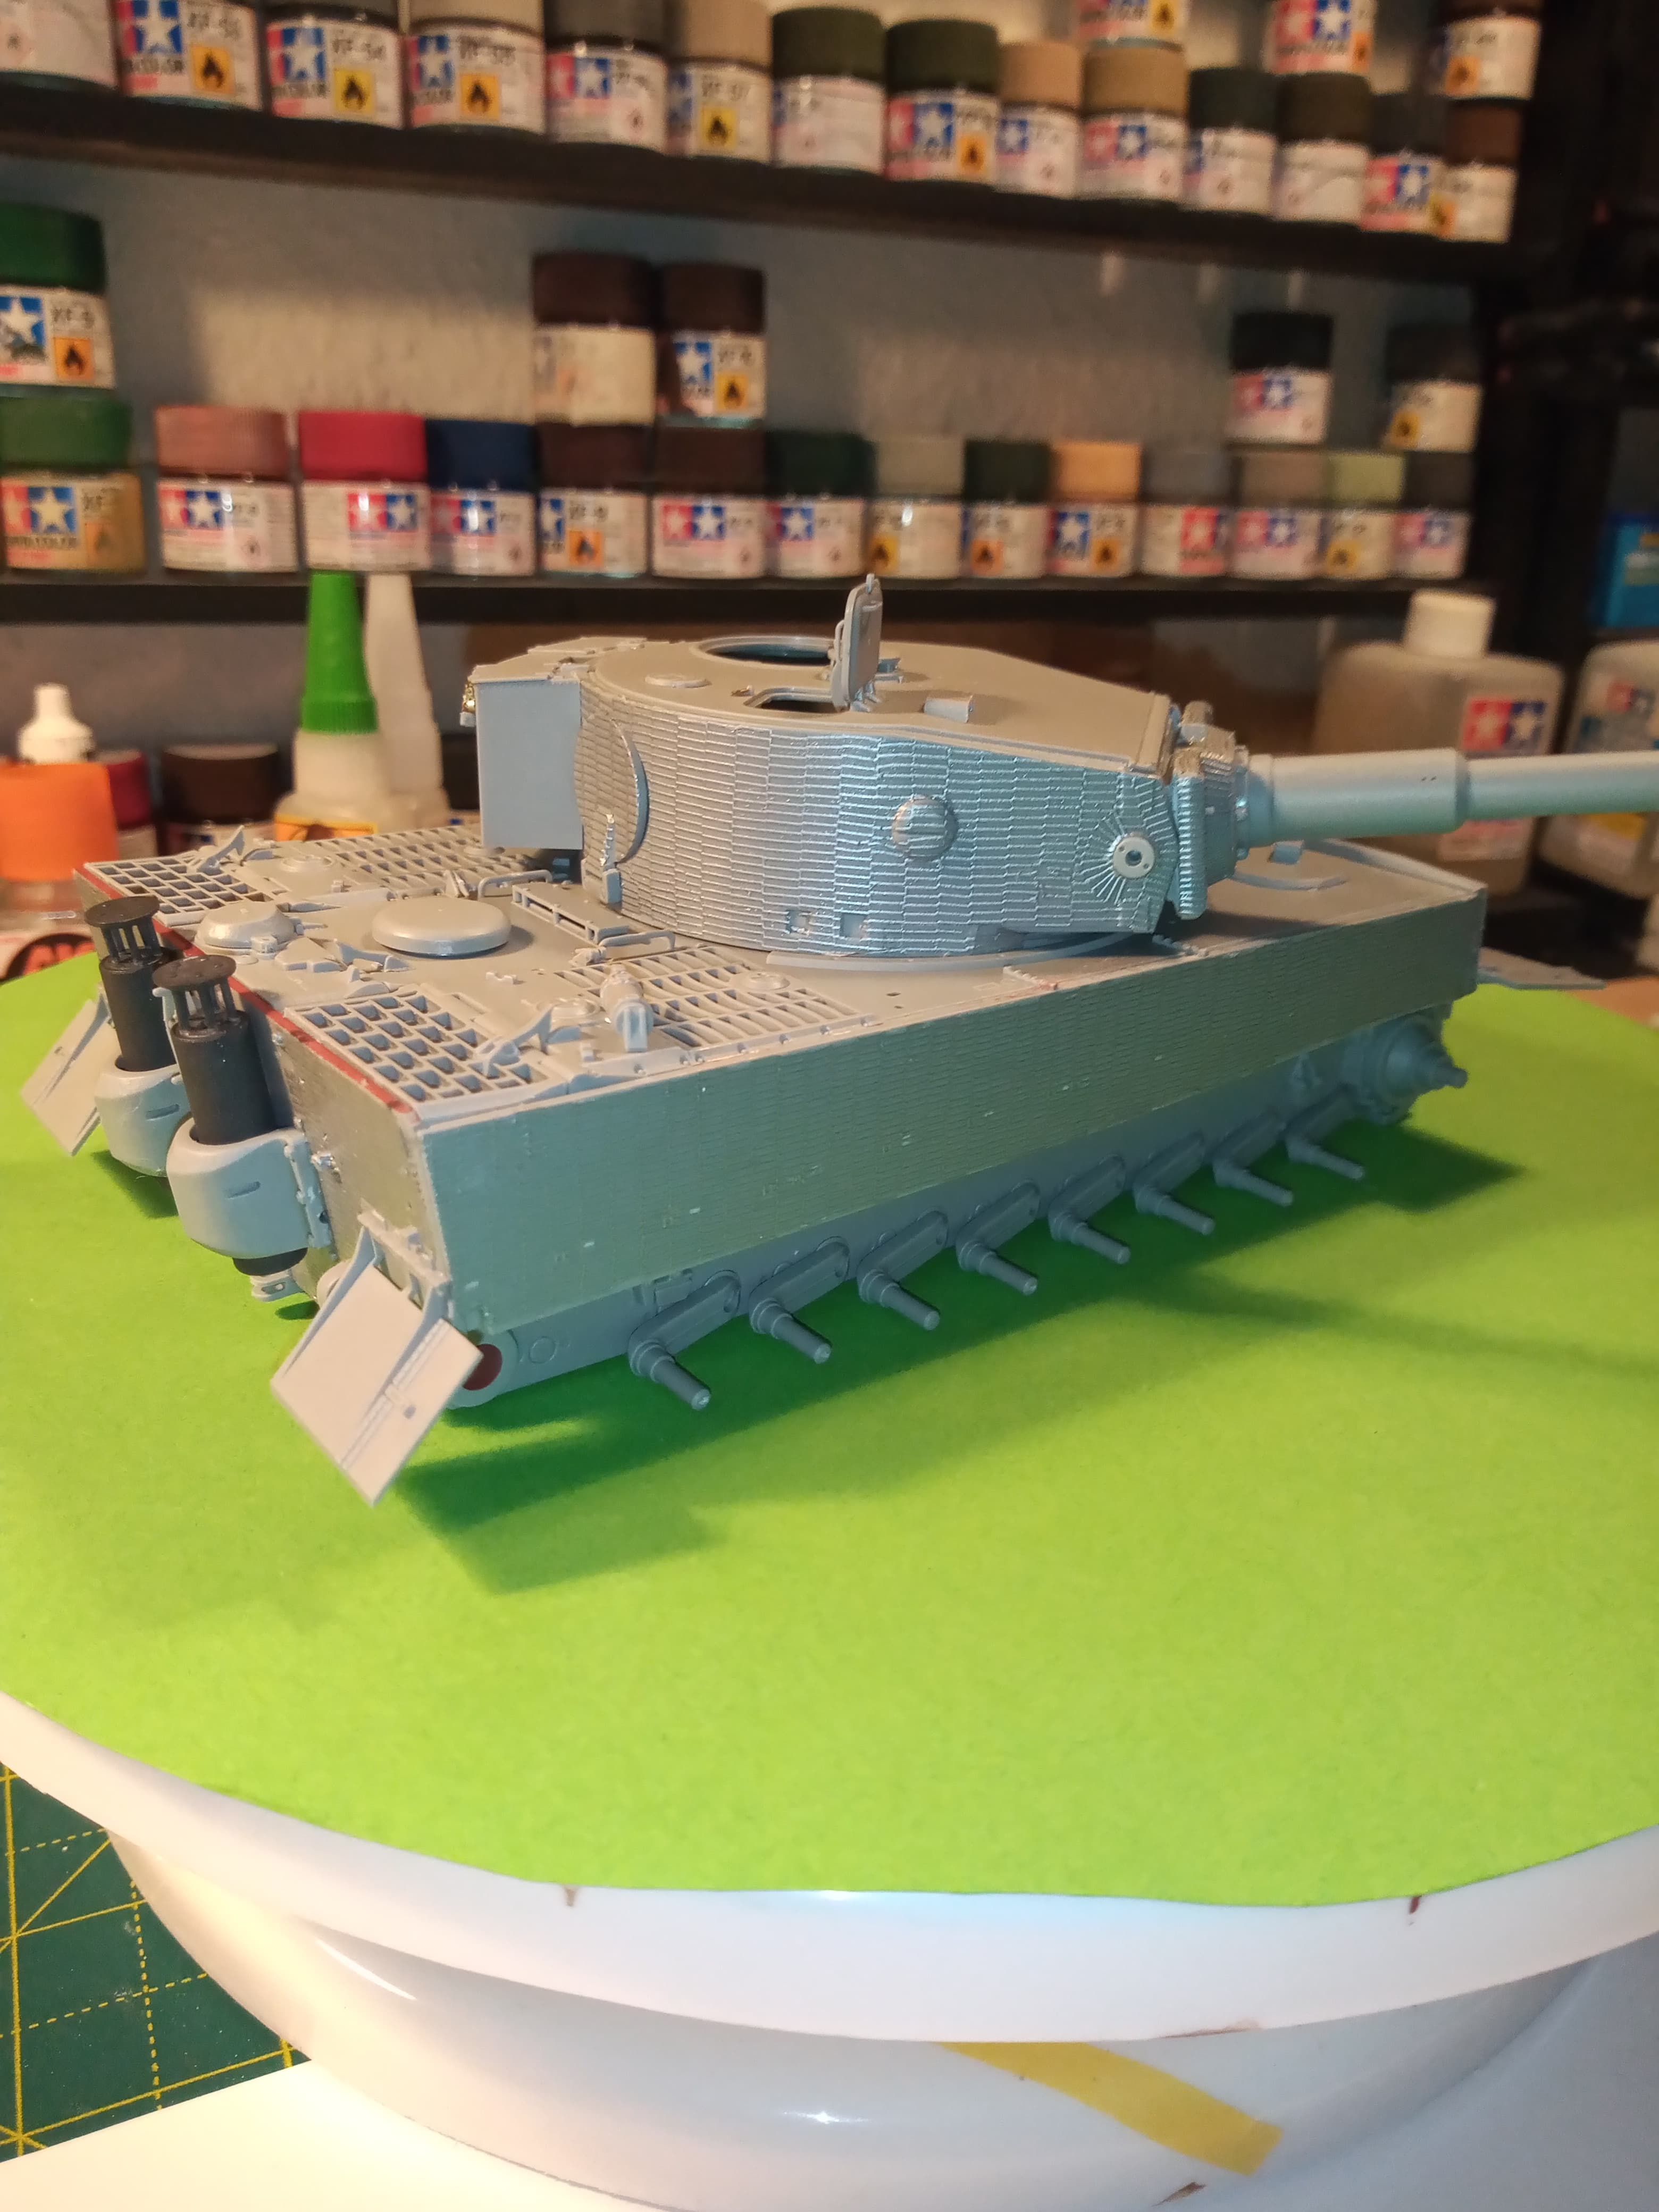
Really cant fault the DEF Zimm … went on so easy and in my view it looks spot on.
Will get on with all the other little bits now that I need to fit prior to the primer going on. Will be priming some bits on the sprue so I can detail paint those later.
Incredible job so far John. Anyone who can even get those padlocks in place has my blessing. That DEF zimmerit looks amazing! Good choice and excellent execution. Nice tight build so far.
If you’re getting sent back to the beginning of threads, check to make sure you’re signed in. That’s what does it.
Thanks for the kind words Matt. It is a nice kit,and I do recommend the DEF Zimm … its is very good. Will look into that thread throwback issue… fingers crossed.
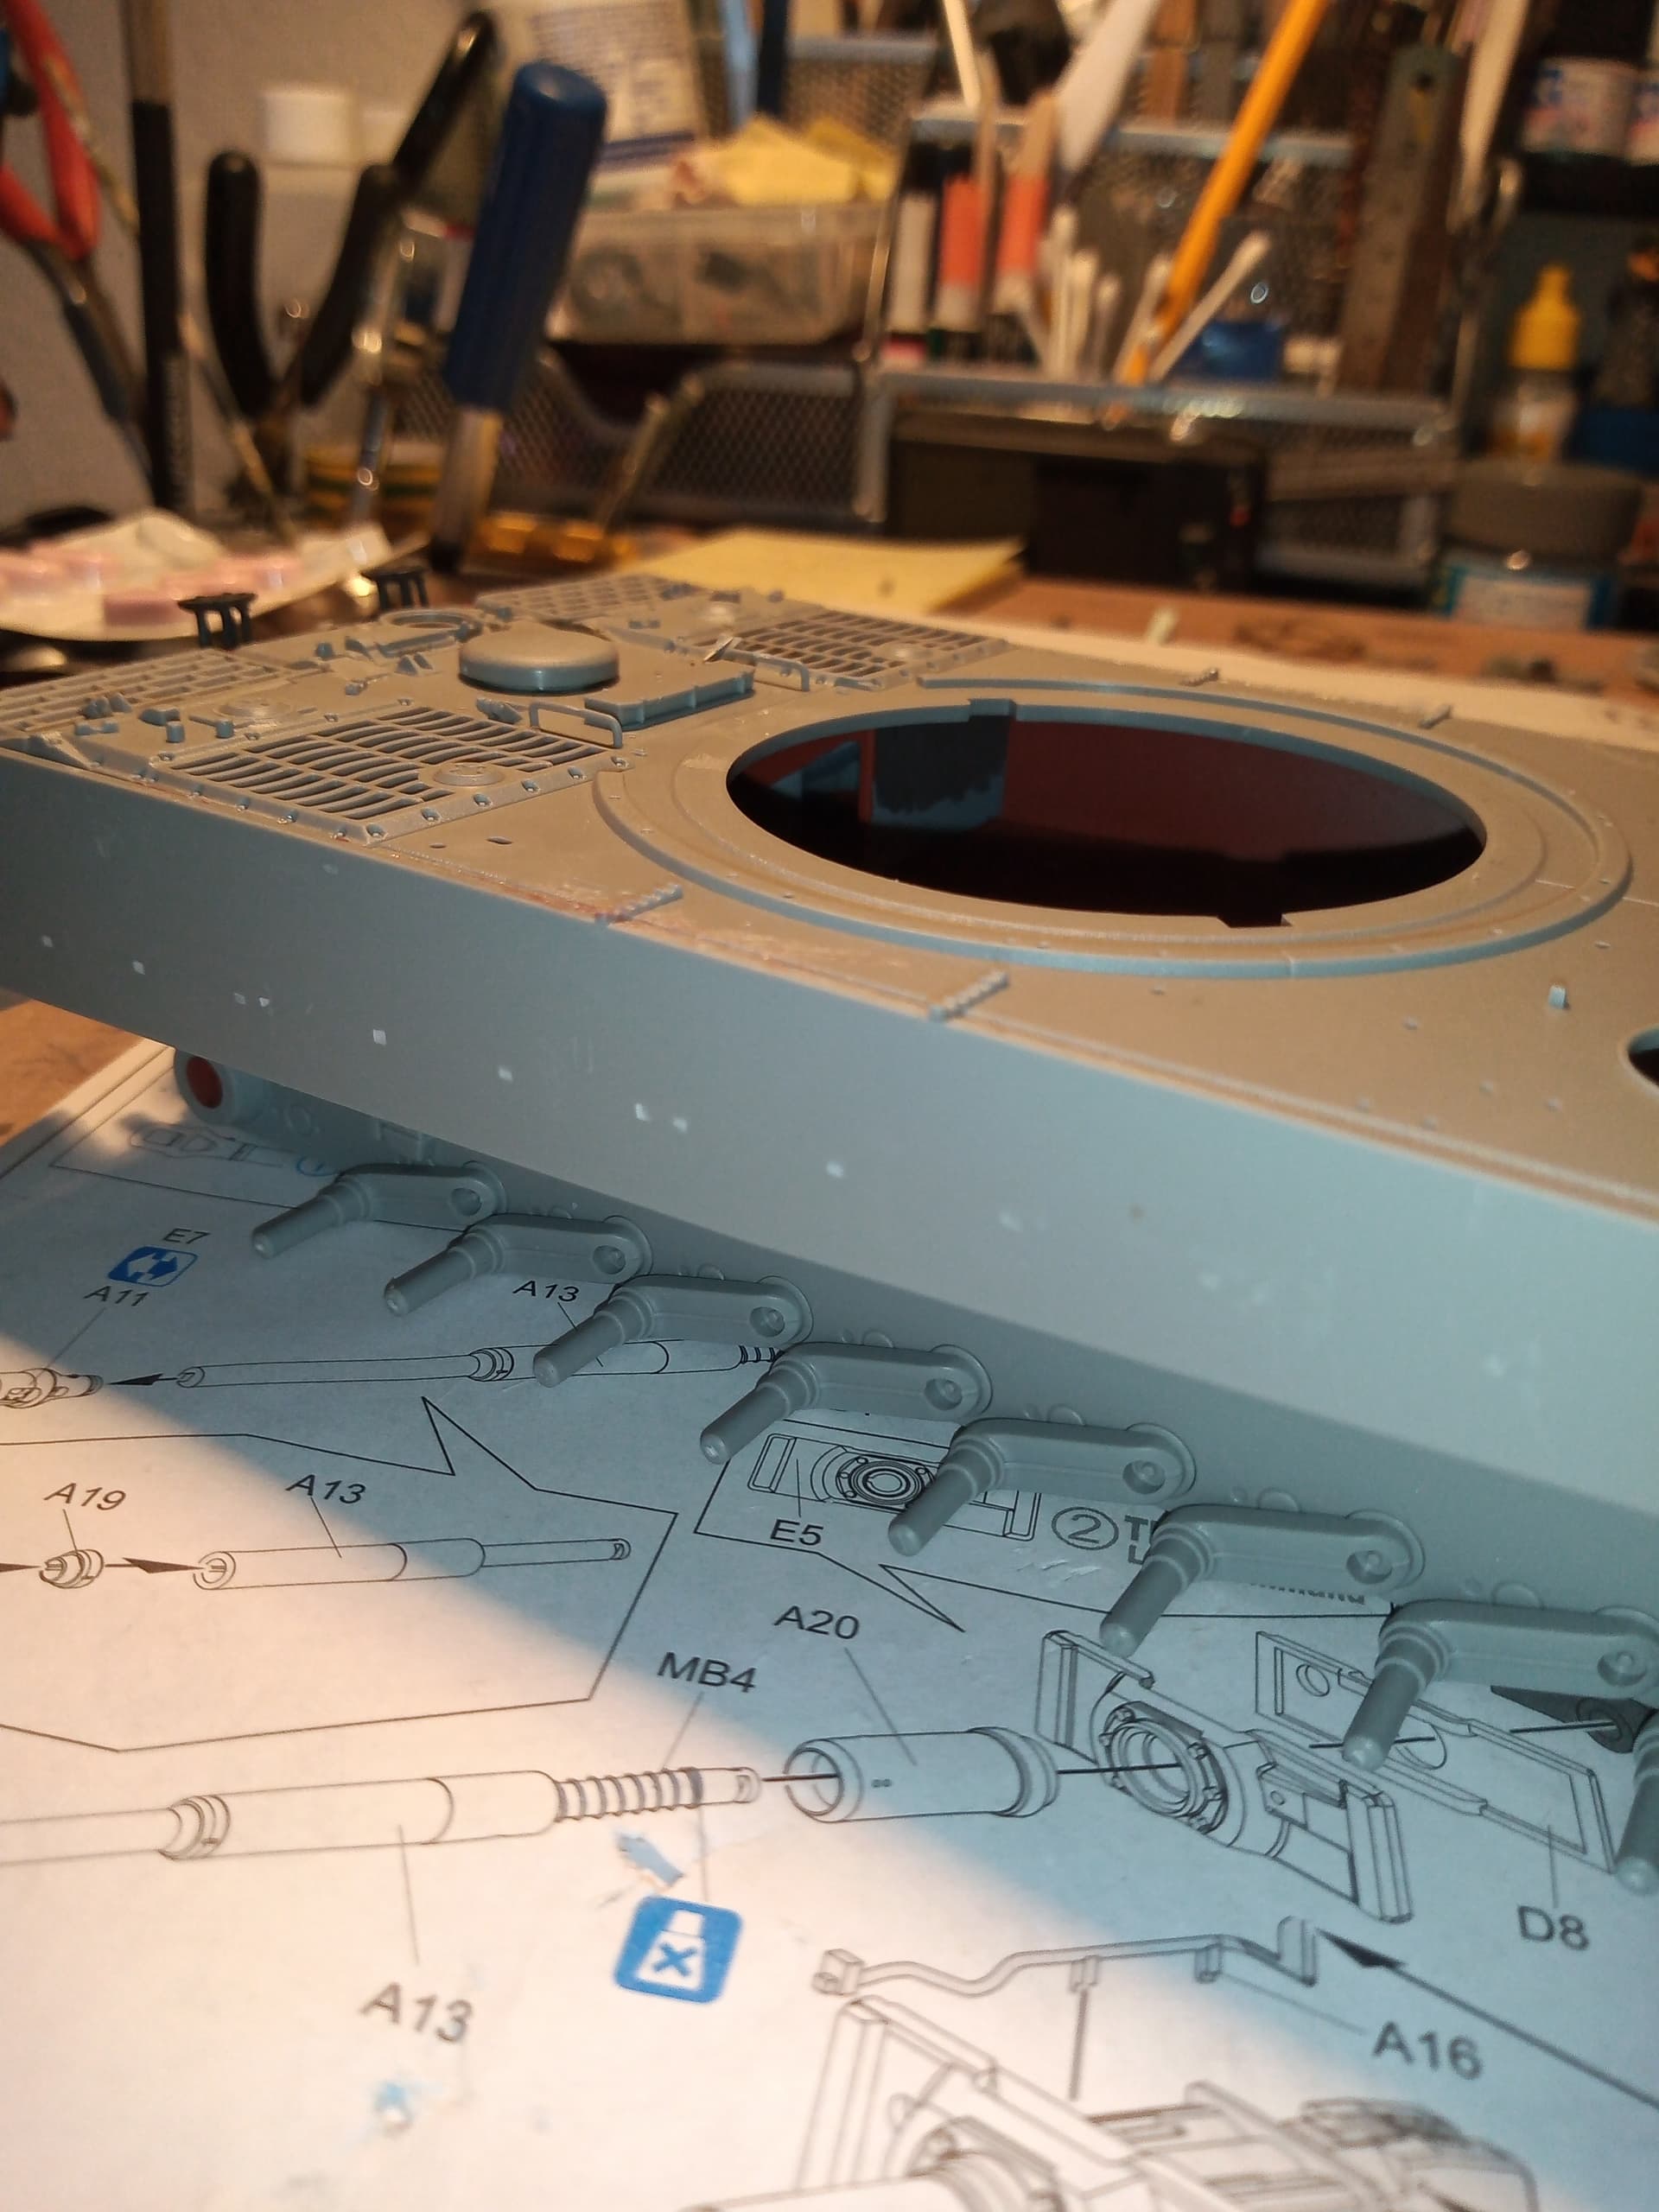
The engine hooks. Not sure if David @DByrden will be looking in or if he wants to update his ref link but this DML one has the correct shaped engine catches and no need to do the cutaway part that clips it in place…
I just realized I will need to bend them up without breaking them as I’ve forgot to add the mesh screens first … Doh !! Lol.