Would one of the editors make this a sticky? If you do, would it be ok to retitle the thread OFFICIAL Lend Lease Campaign thread too?
Folks can start posting updates to their Lend Lease campaign contributions here.
Would one of the editors make this a sticky? If you do, would it be ok to retitle the thread OFFICIAL Lend Lease Campaign thread too?
Folks can start posting updates to their Lend Lease campaign contributions here.
So I think I’ll double post for a while on both this and the old forums, although it’s already much easier to post photos here
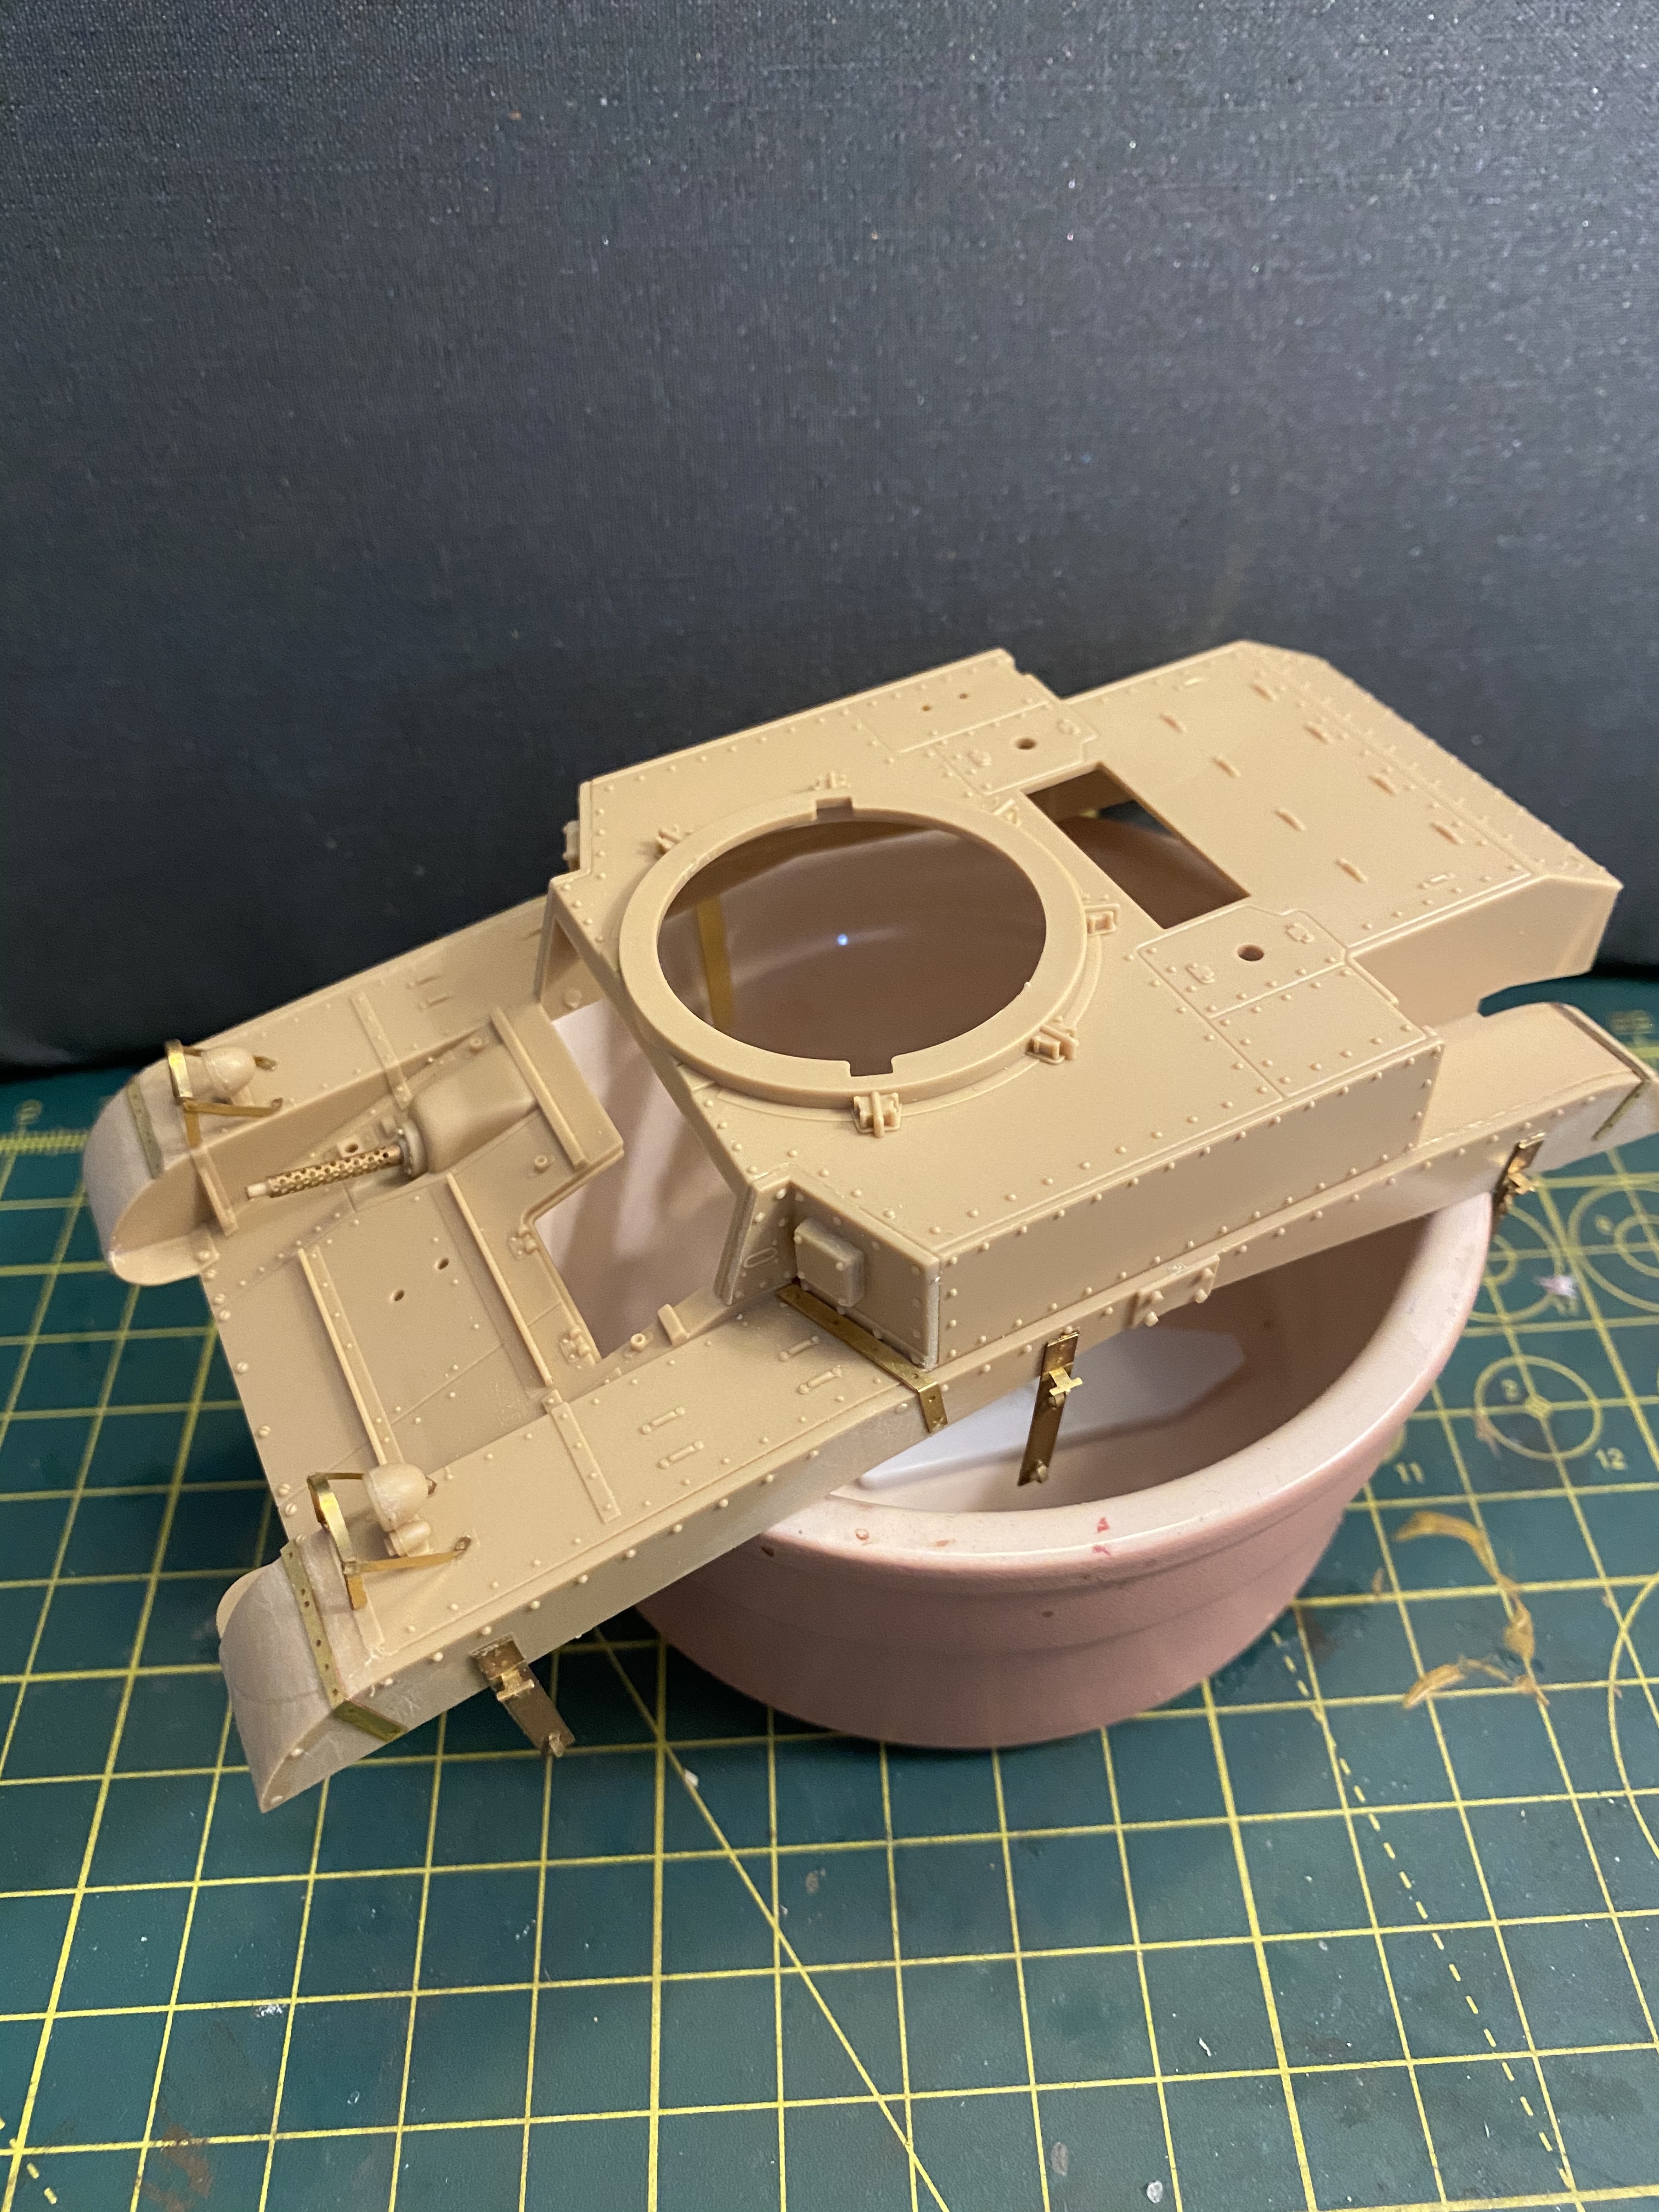
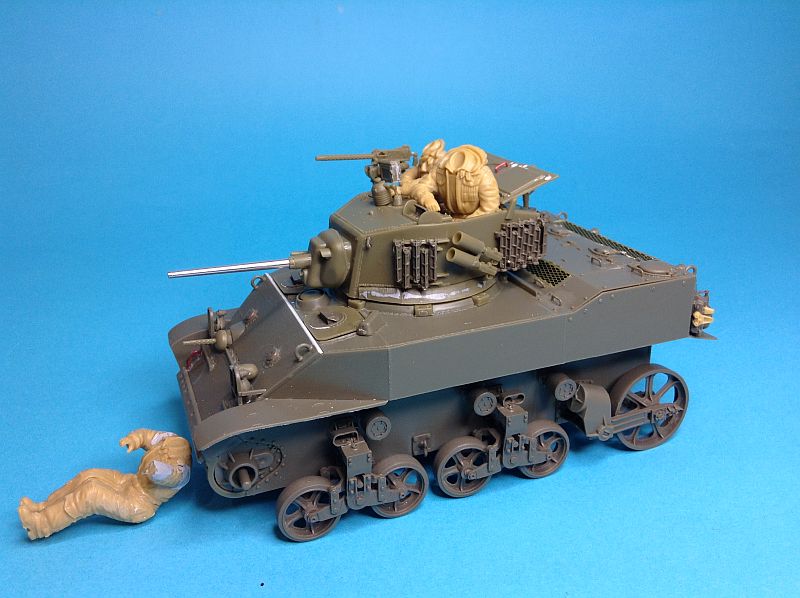
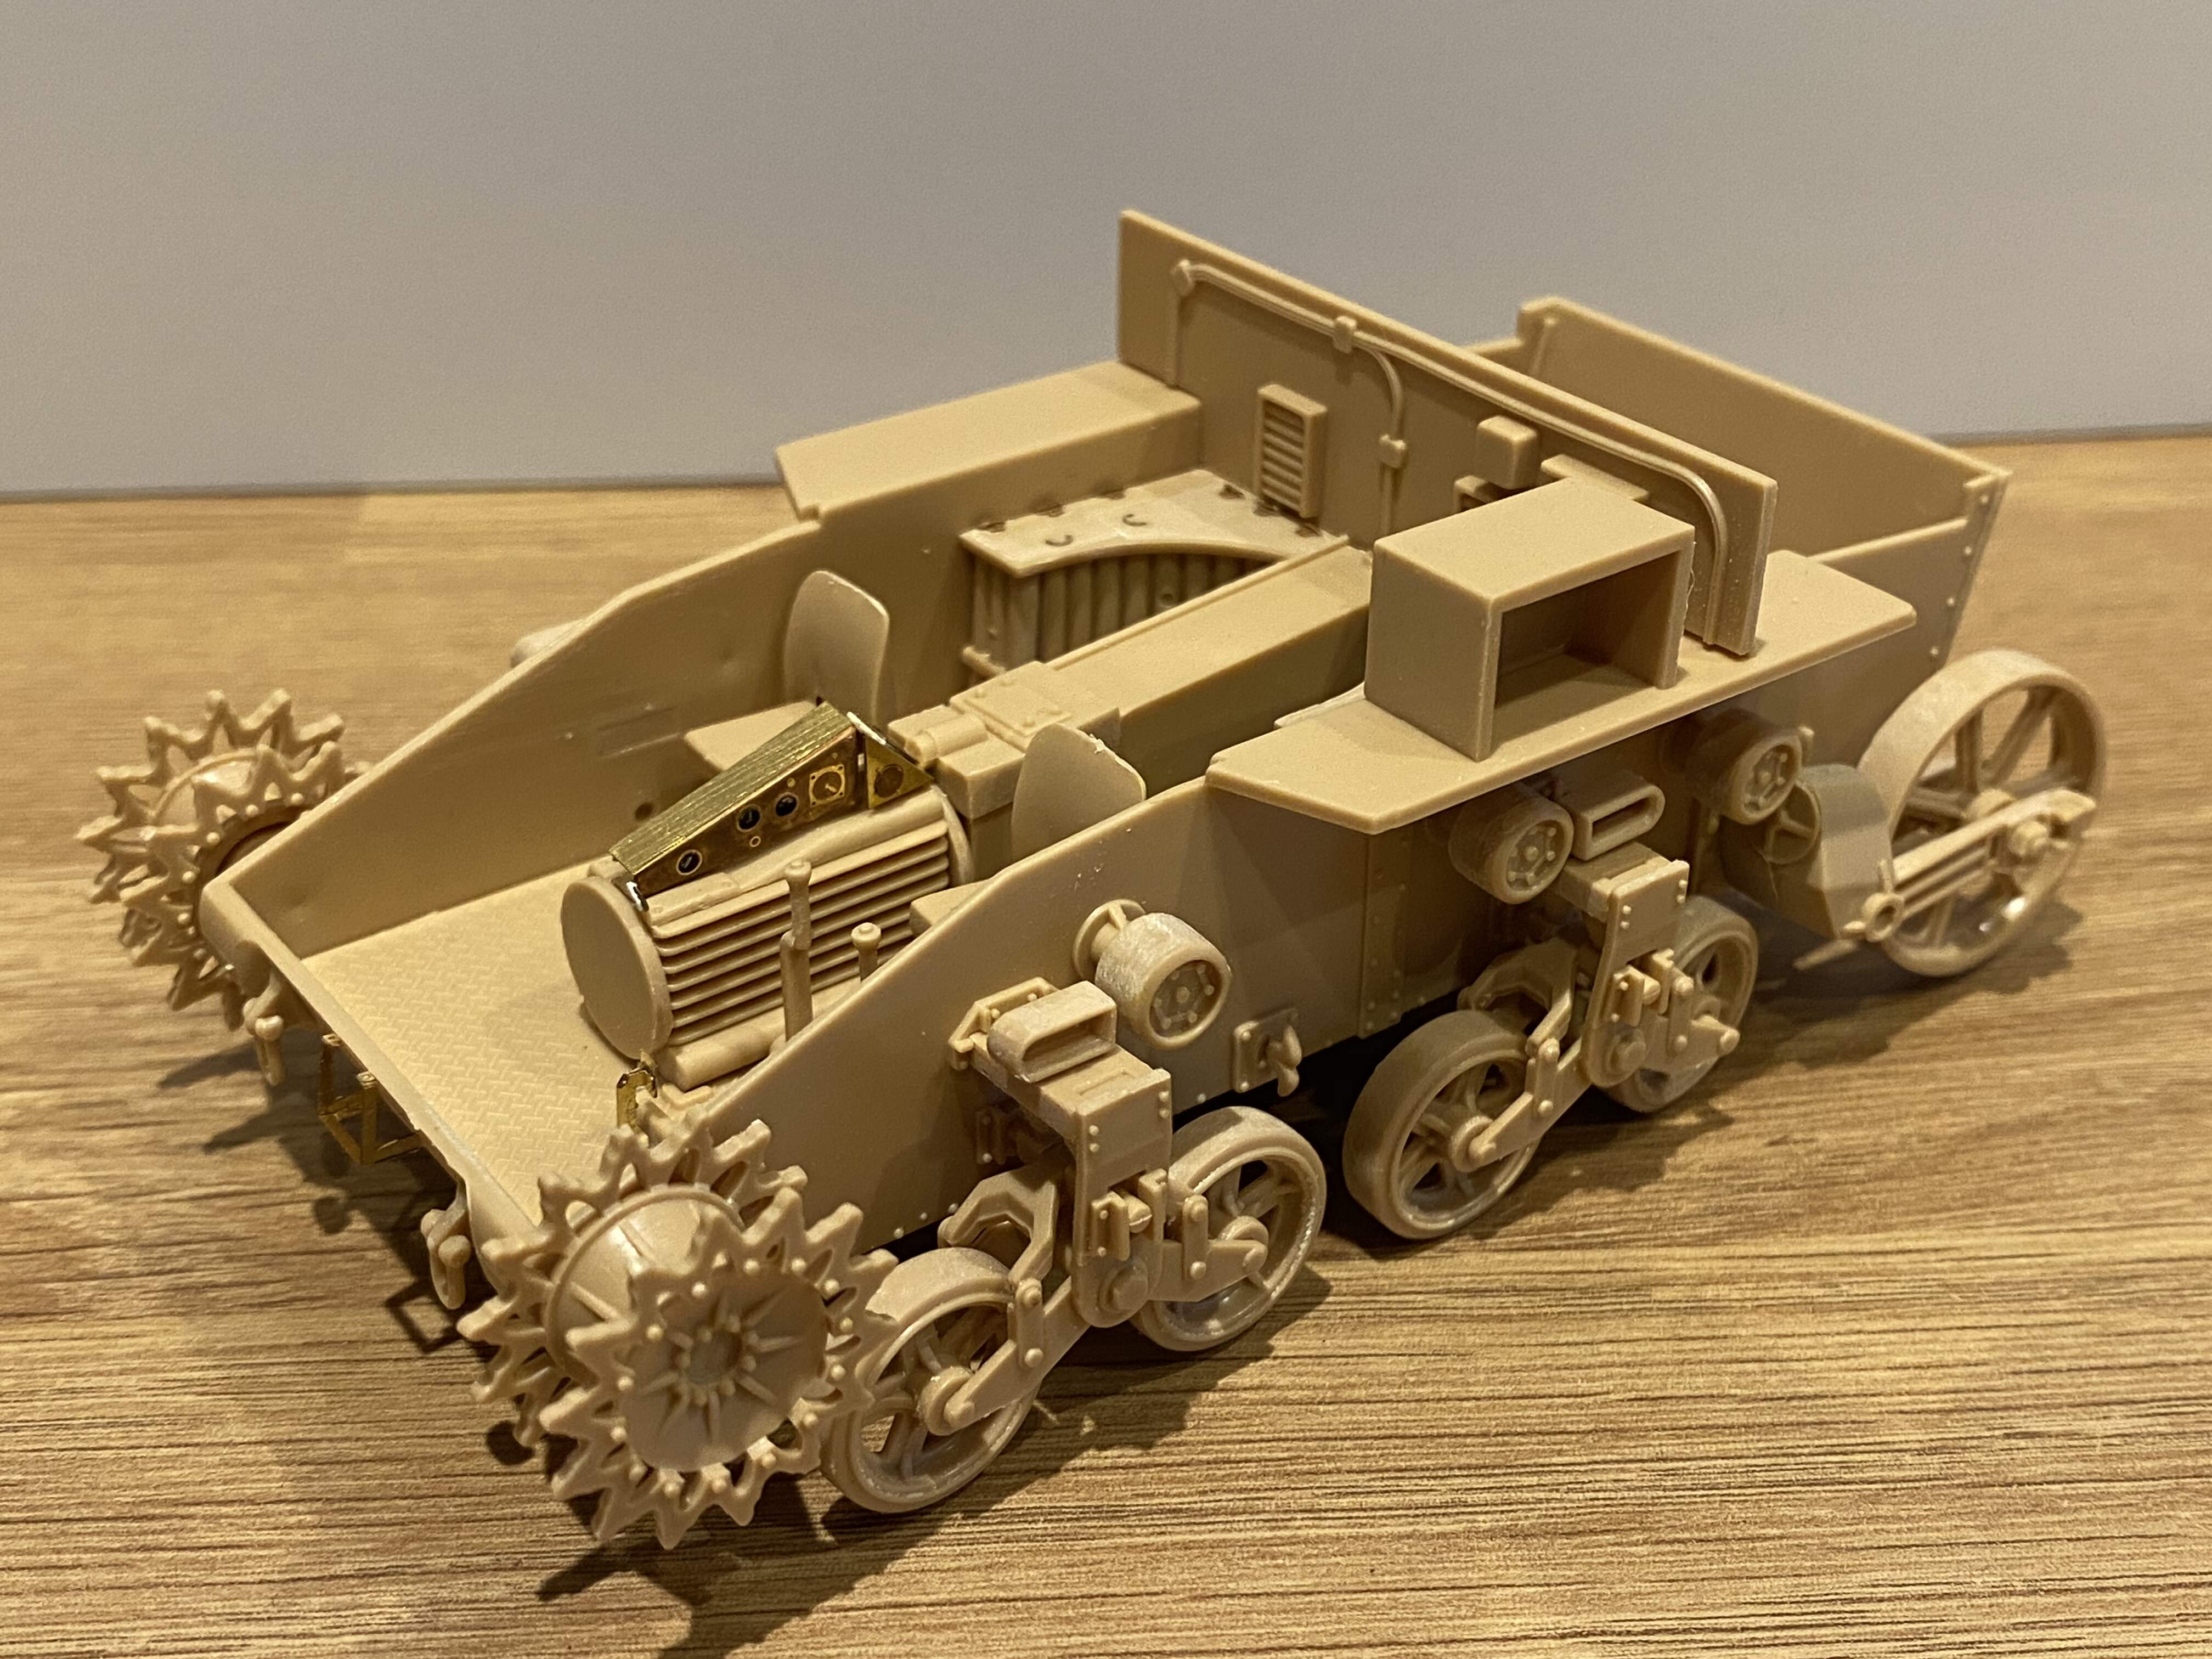
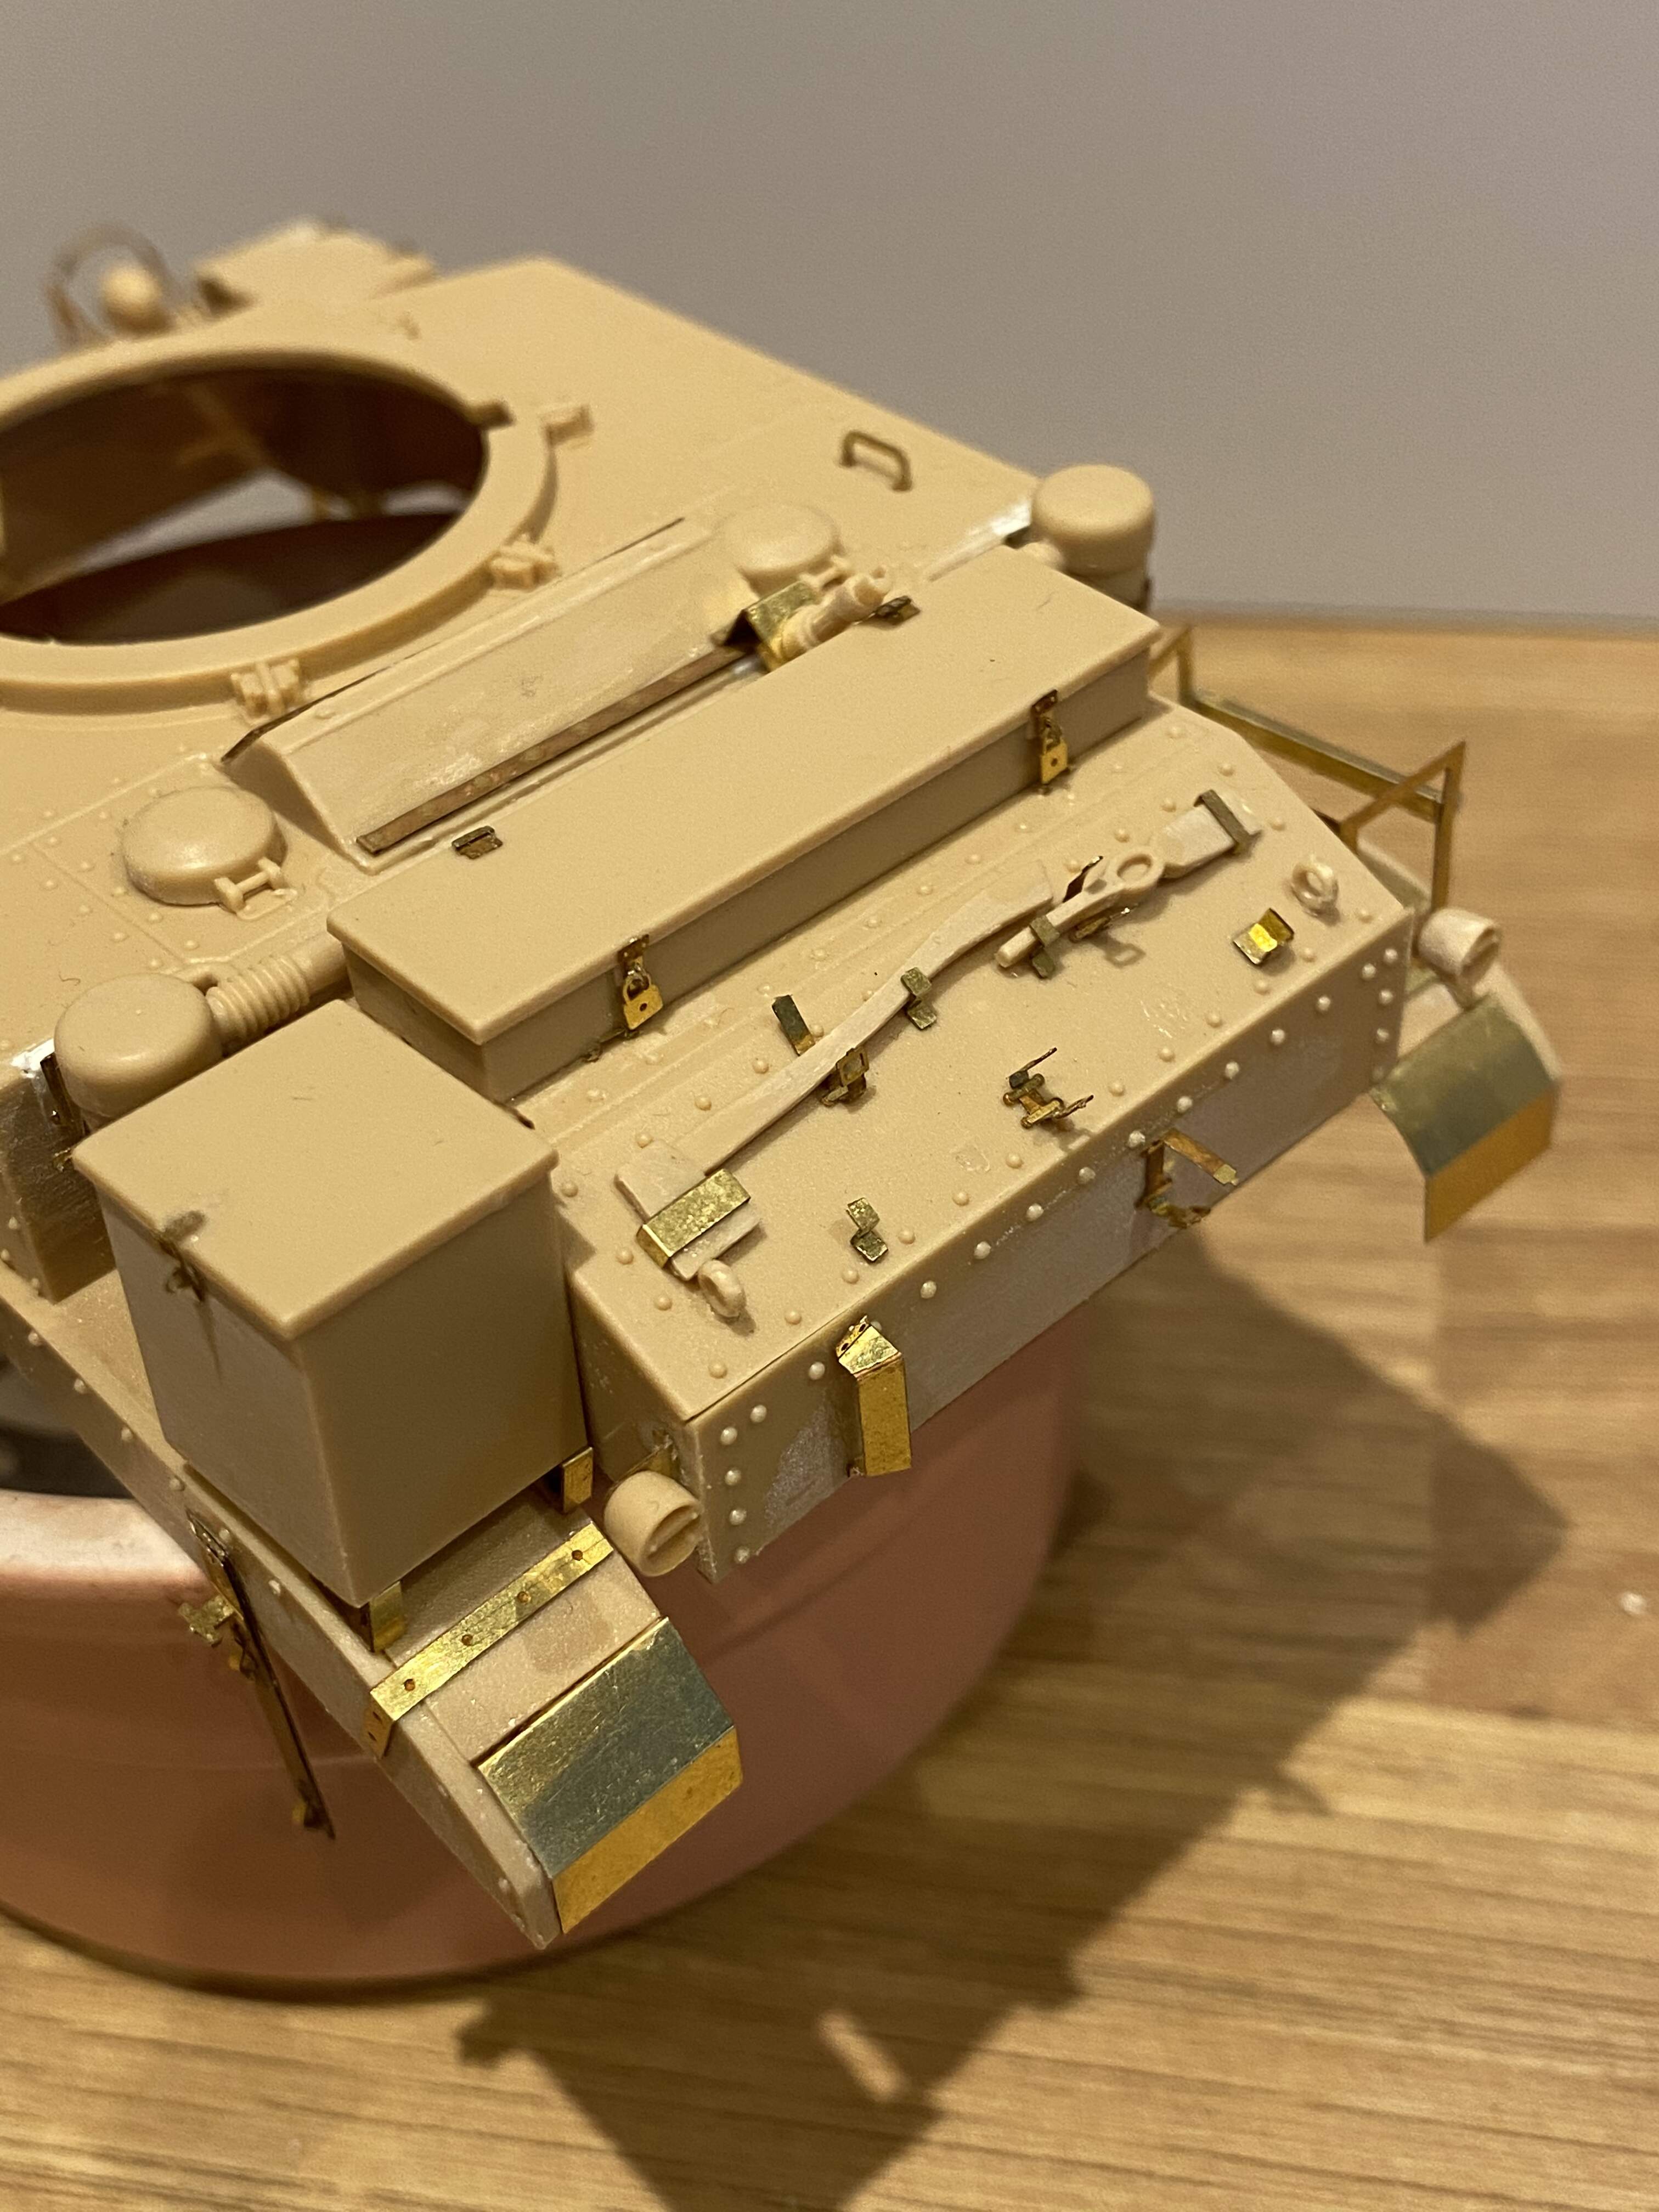
The M3 Stuart Honey is a nice little kit and my first foray into aftermarket PE as well. Bit of a learning curve and learning by trial and error some of the pieces are exceptionally small and I’ve had to cobble a improvised Blutack and cocktail stick tool to handle some of it. It’s slow going as I’ve already spent considerable time searching for bits in the carpet - how do such small bits travel so far?!?
So far the kit fit has been good, although a dry fit suggests the interior doesn’t sit entirely flush, so the overhanging edges of the firewall have a gap above the inside of the fenders. I may have to do a bit of sanding and filling when it comes to put together.
I’ve left it as subassemblies to aid painting. I’ll also paint smaller items such as the browning before gluing in place as no conceivable way to get to it well otherwise.
Will have some more sanding to do before getting to painting and May have to get some CA debonder as been a little heavy handed on occasions.
@phil2015, testing my admin superpowers, I think I’ve pinned it to the top of the Group Builds area for 6 months !
This should be a very interesting set of builds.
Cheers, D
Well, I will post my next update here.
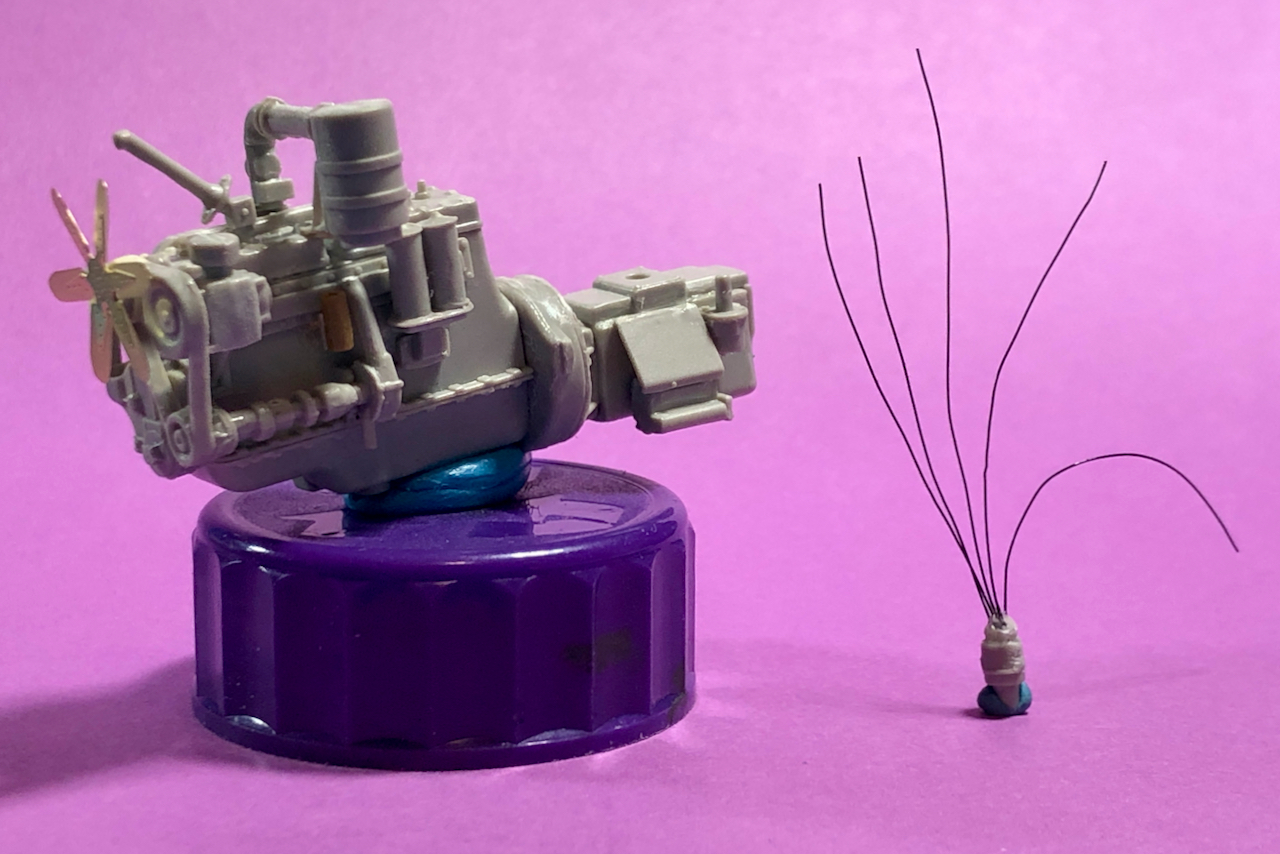
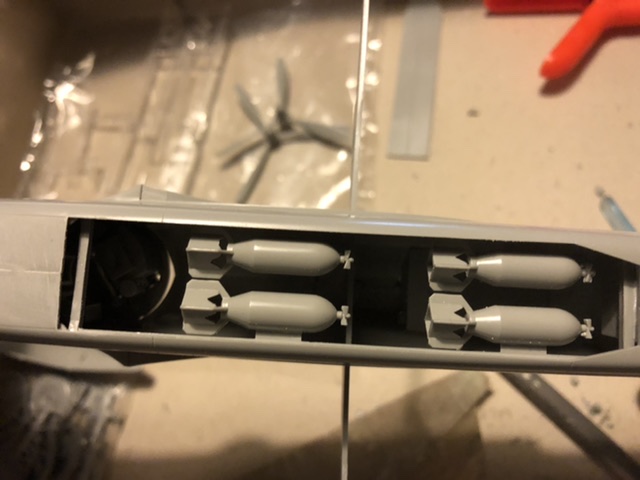
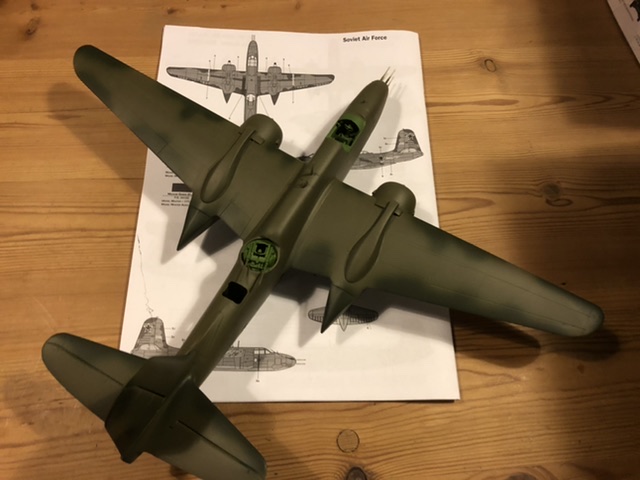
My Soviet Havoc A-20 is slowly taking form. 
I have decided to build it wheels up. I am simply short on shelf space, so one goes on a string in the ceiling. Also it has a decent bomb load to show of.

Nice progress guys. Bombs away, Jesper!
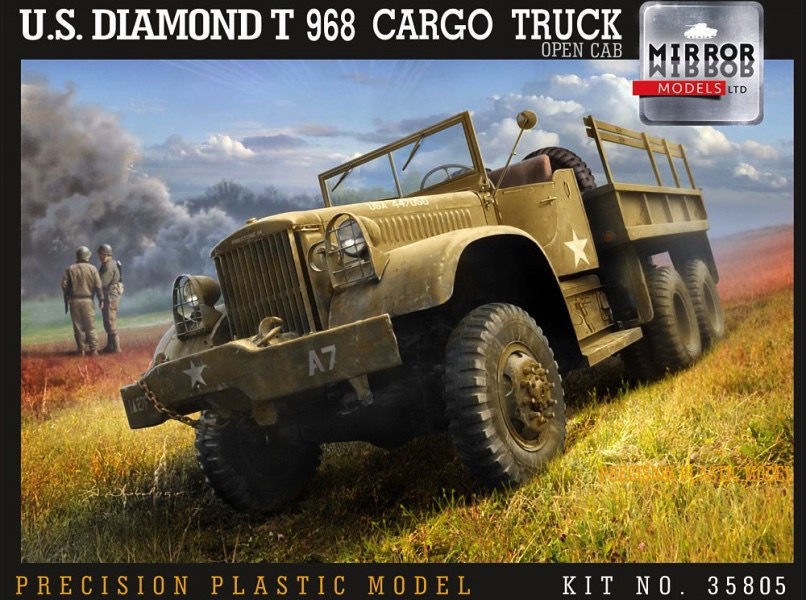
I’ve decided to move operations over to this campaign page… uh… “group build” page. Guess I’ll need to get used to that. Anyway, here’s some meager progress on the Diamond T 968 Cargo Truck.
US Diamond T 968A Cargo Truck Late Open Cab history:
(from the kit’s box panel)
“Diamond T 968 was a cargo truck based on a 4 ton 6x6 chassis, powered with a Hercules RXC six-cylinder gasoline engine and equipped with a five-speed overdrive transmission and a direct and under drive transfer, manufacturing from roughly 1940 until 1945 by the Diamond T Motor Car Company in Chicago.
"Early production used civilian instruments and other parts, then the designation was changed to Model 968A when military standard instruments and components were substituted. It was produced earlier with closed hardtop cab and then from 1943 with an open soft top military cab. Its military rule was as an artillery prime mover and mainly general cargo and personnel transport.
“These vehicles were also supplied to the Allied countries through the Lend Lease Act, and after WWII numbers of them were still in use in various countries for many years."
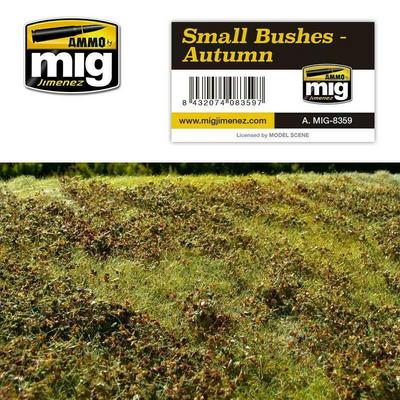
The plan is to incorporate MiniArt (35592) US Fuel Drums 55 Gals., along with AMMO by mig Base products and maybe a figure or two to create a simple diorama. We’ll see…

Really nice base products from AMMO by mig.
 .
. 
So, here we go with the wheel assembly.
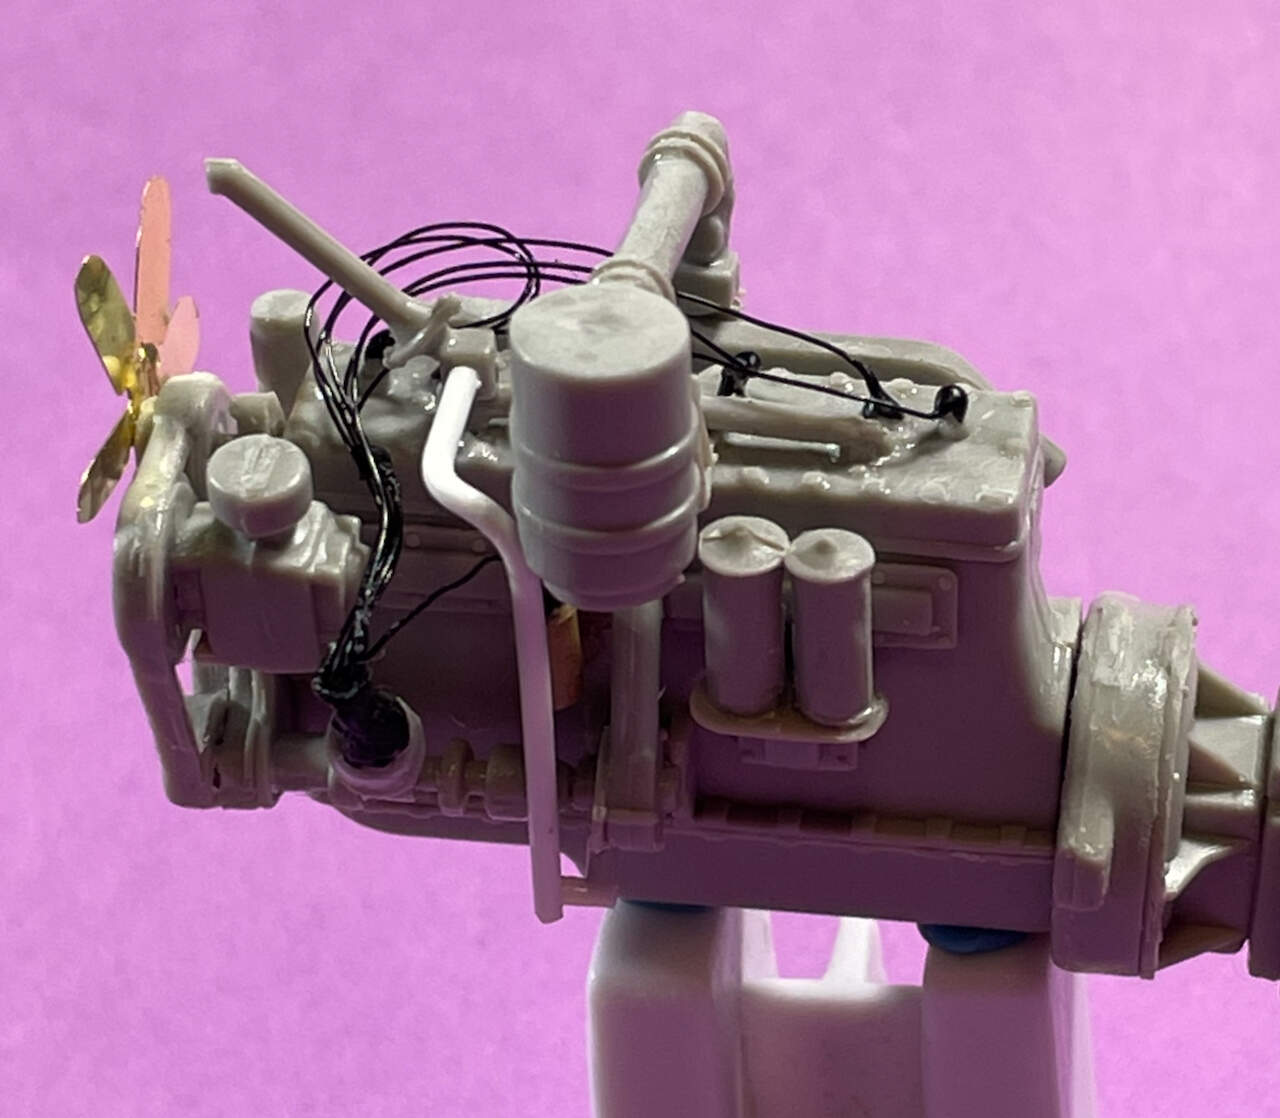
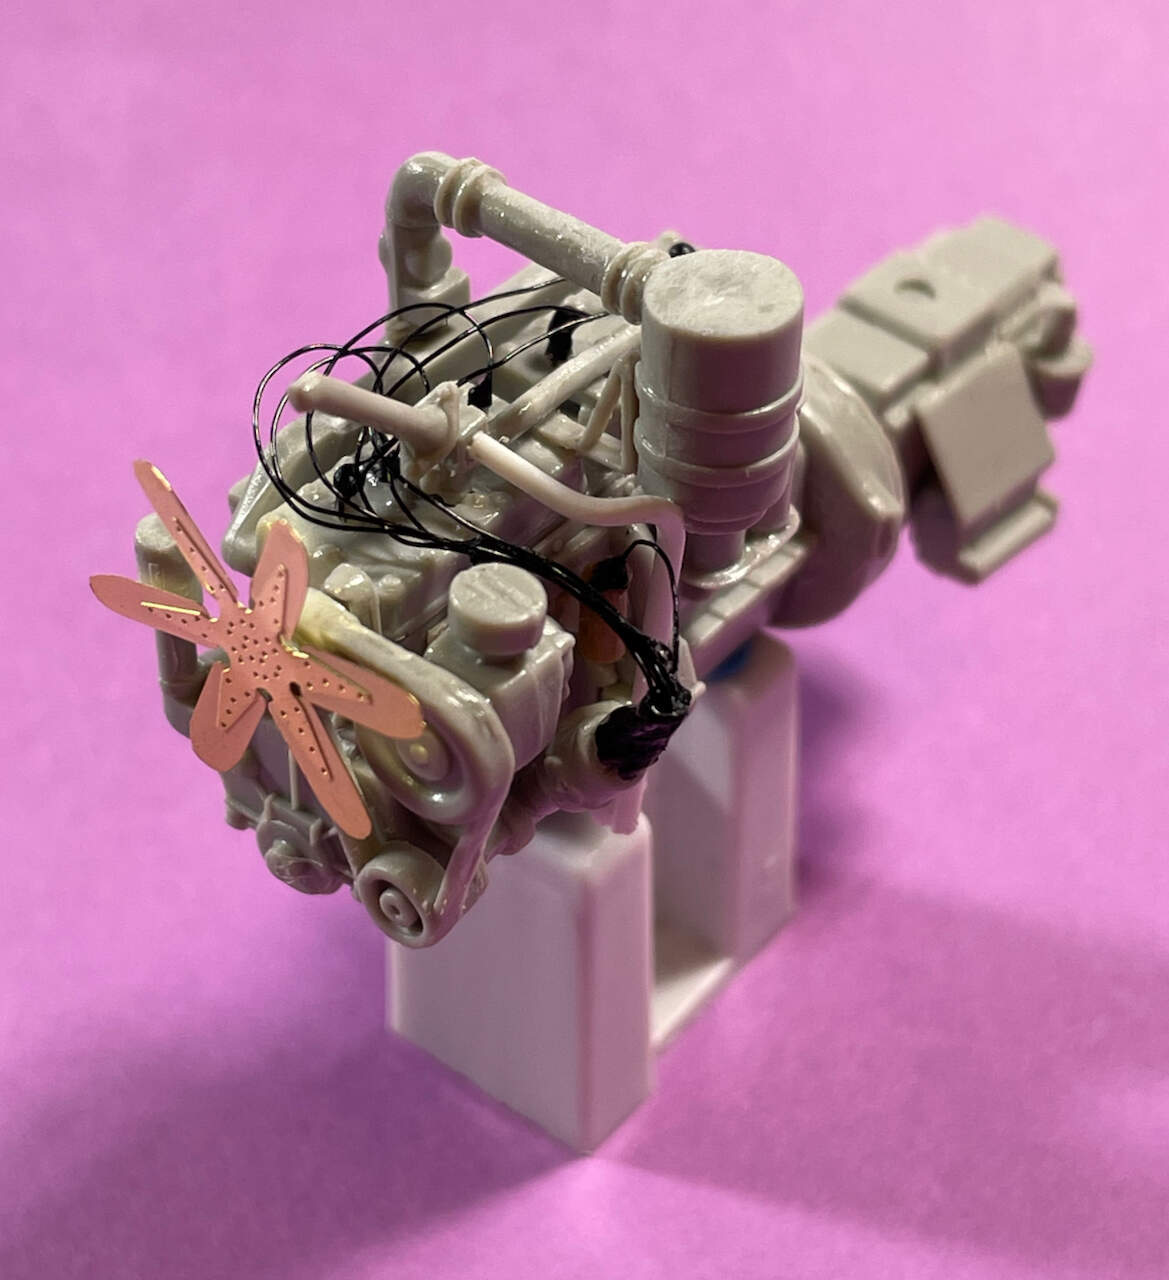
Engine assembly with totally unnecessary spark-plug wire detail. … Uh… No. 1 wire goes here, No. 3 wire goes over there… 

Cheers!
—mike
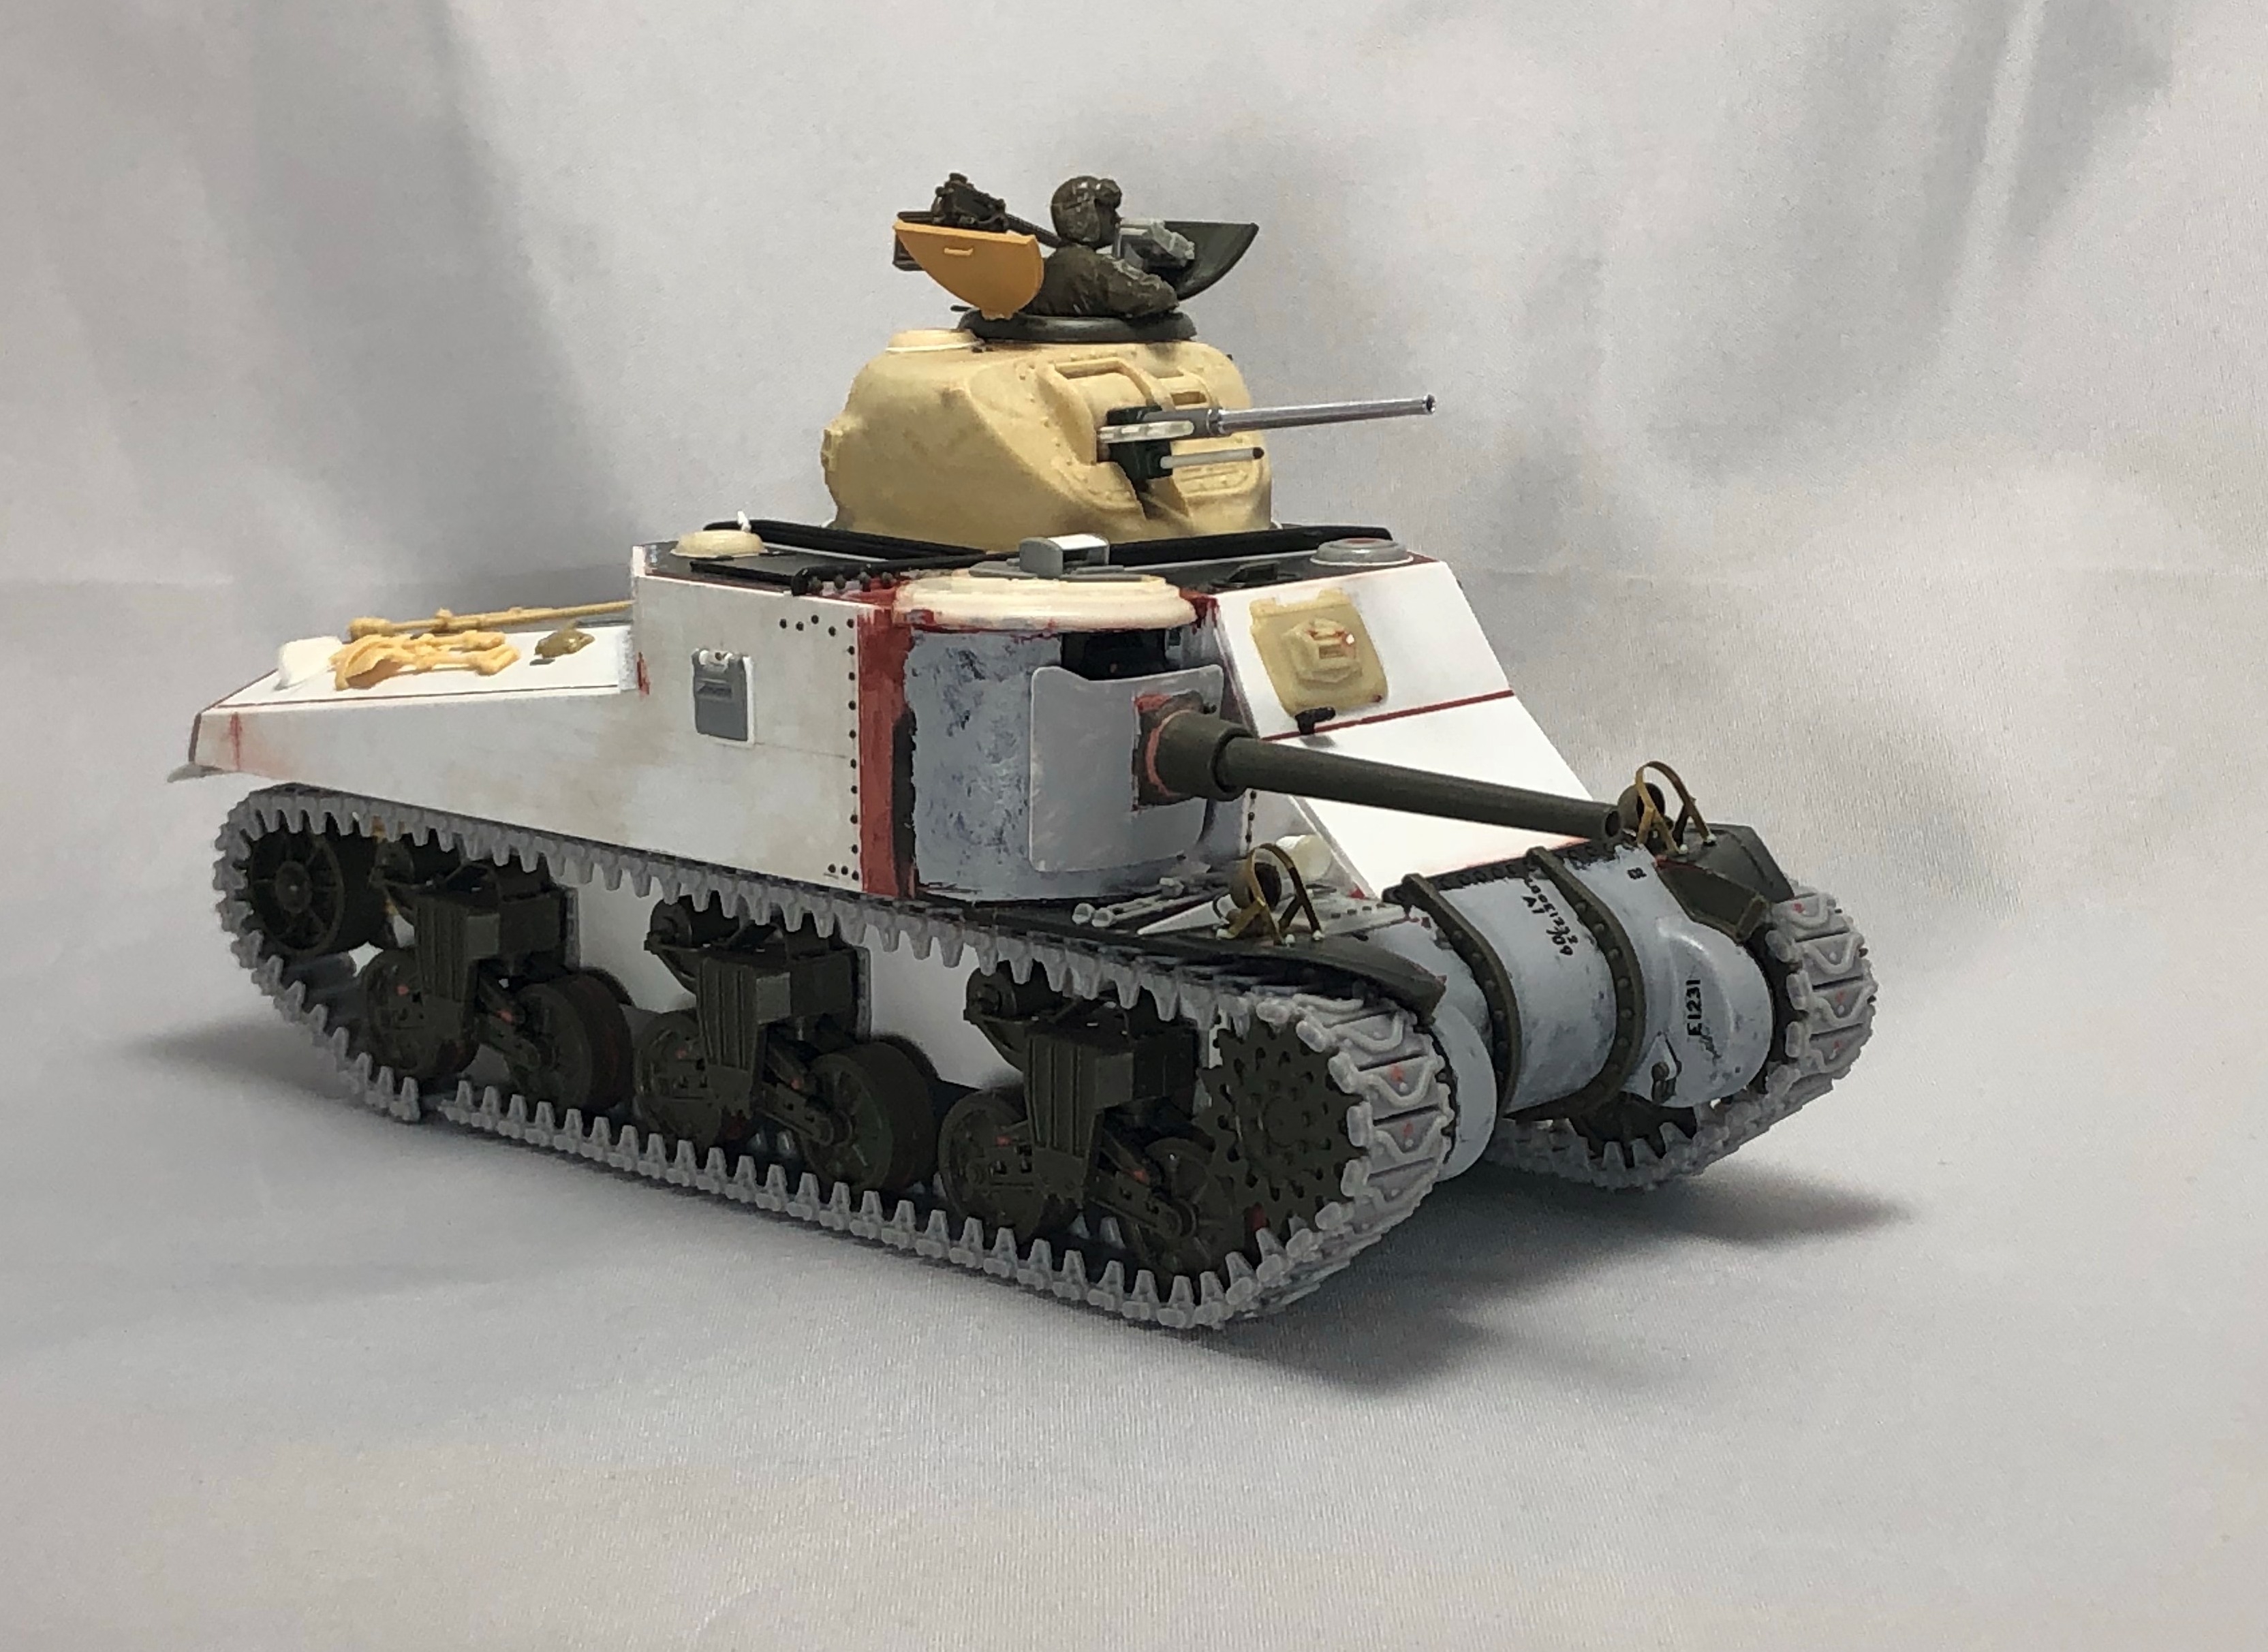
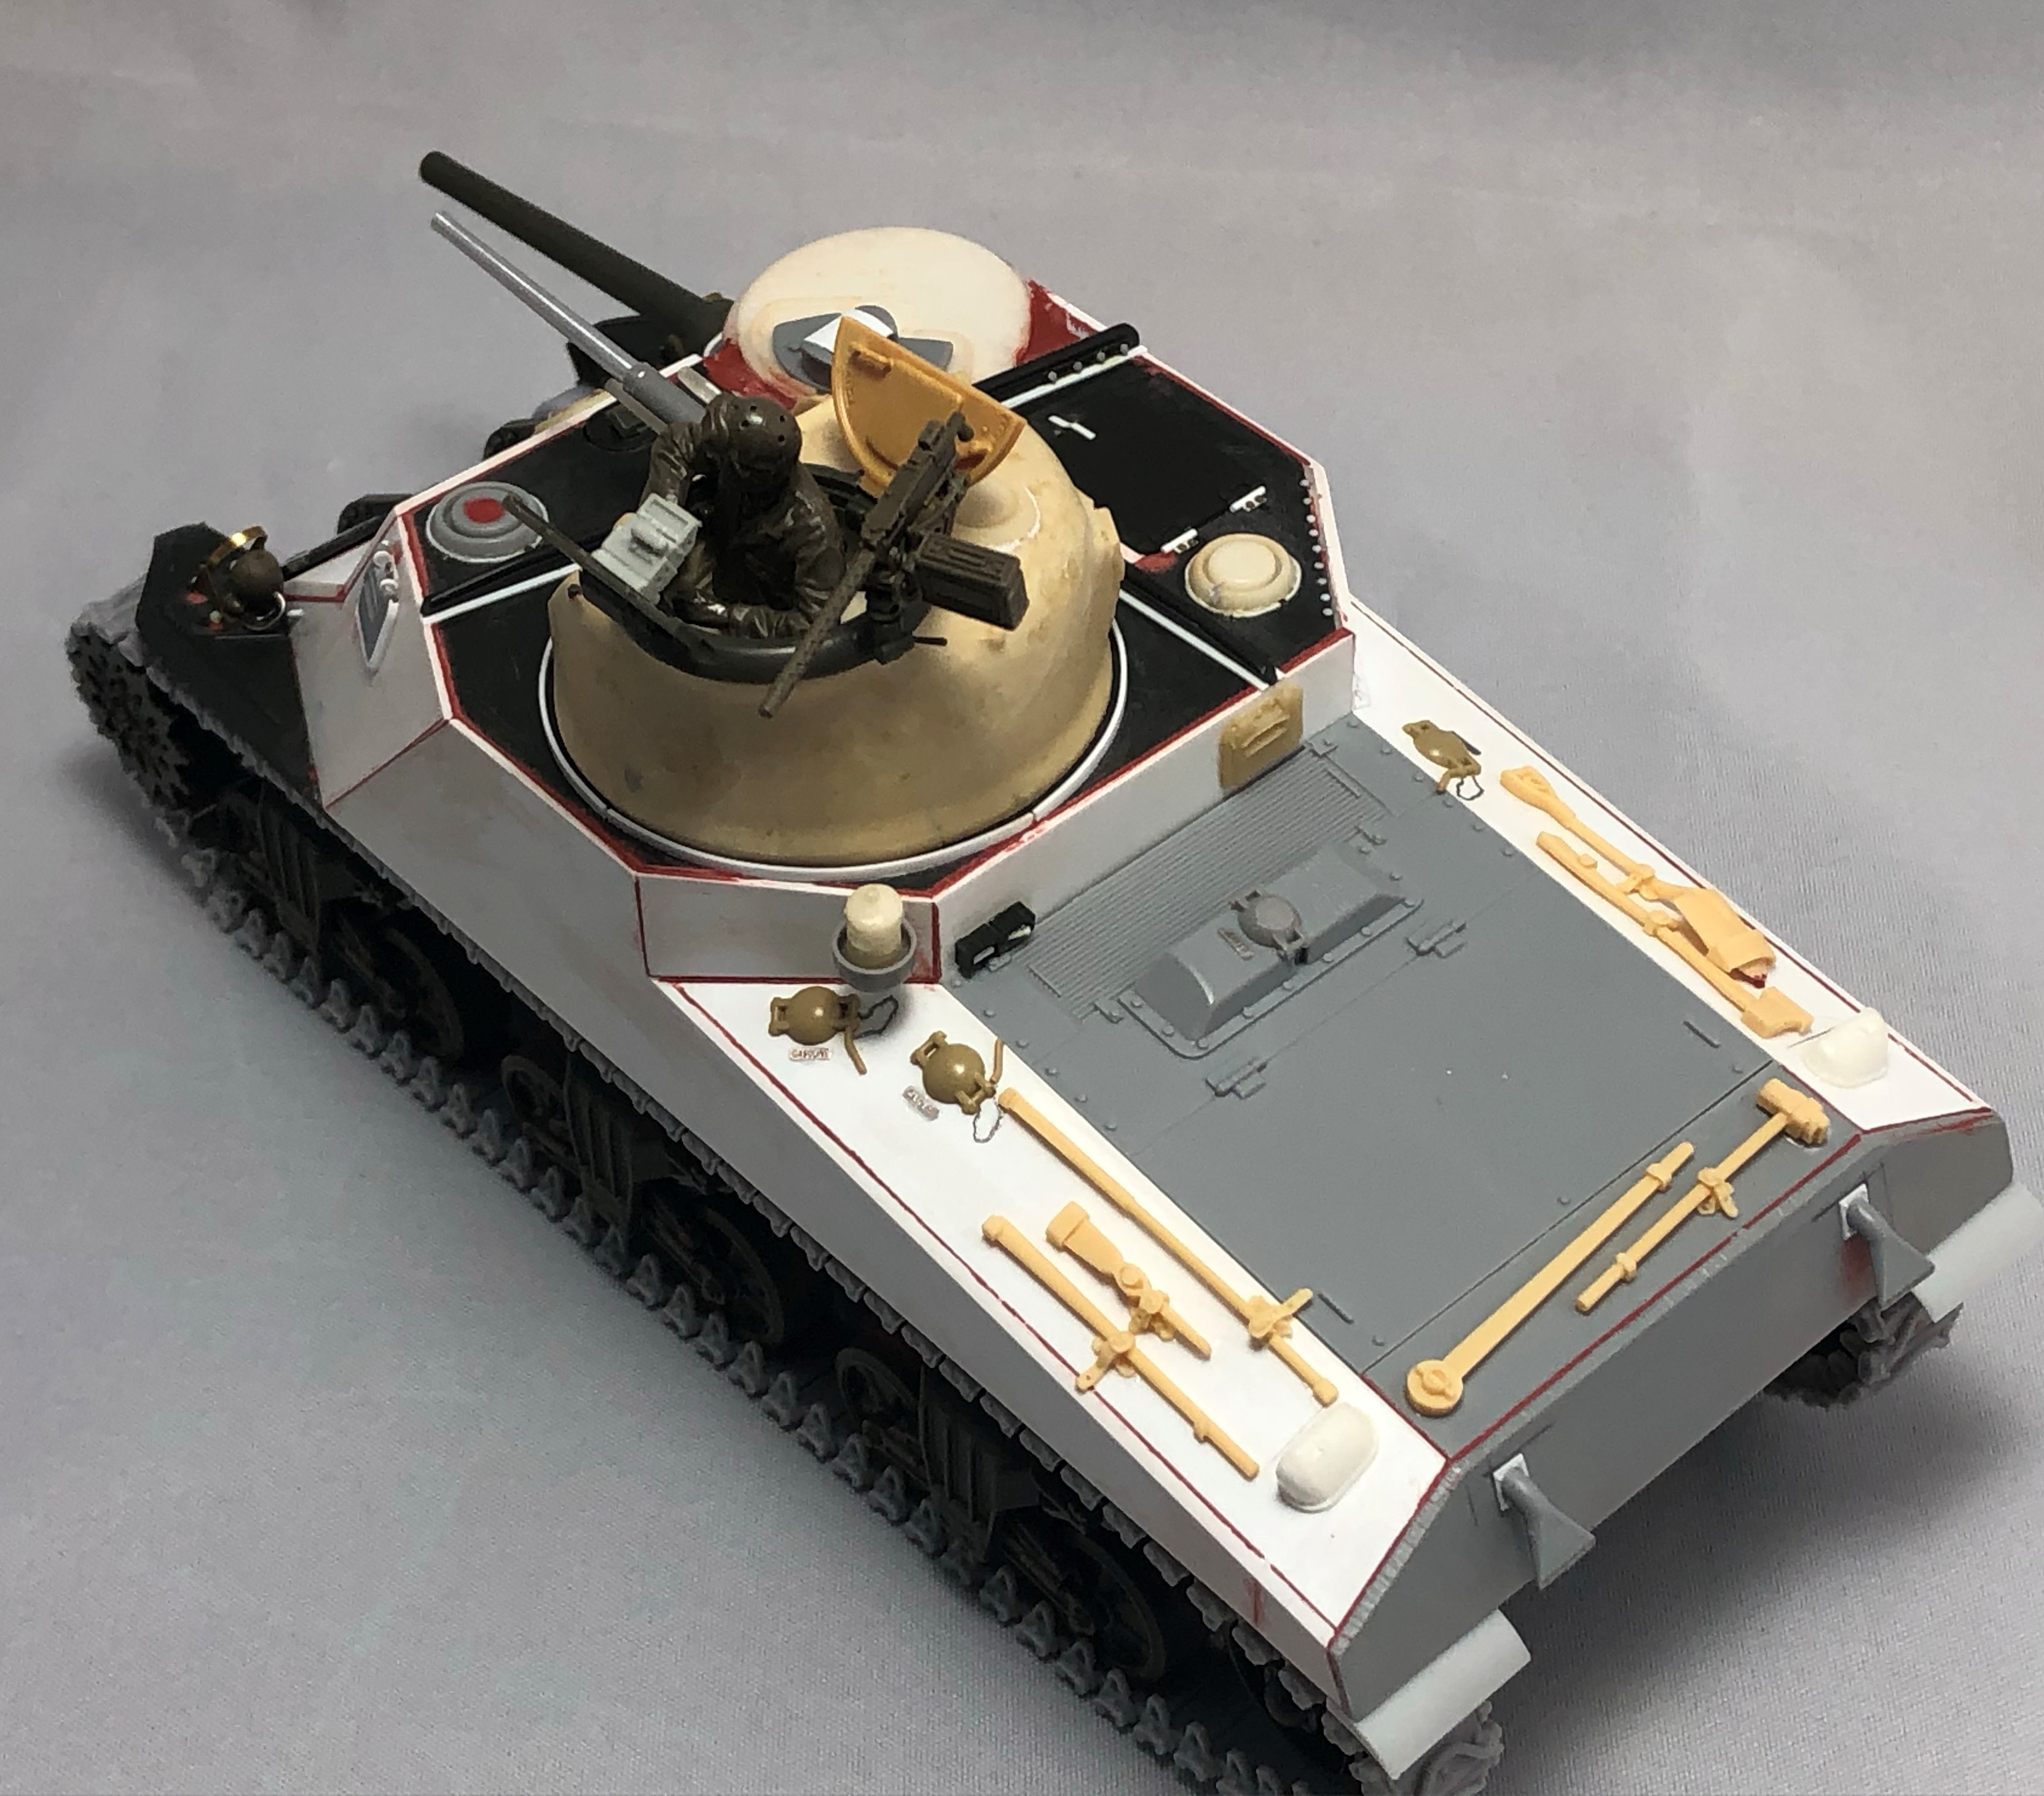
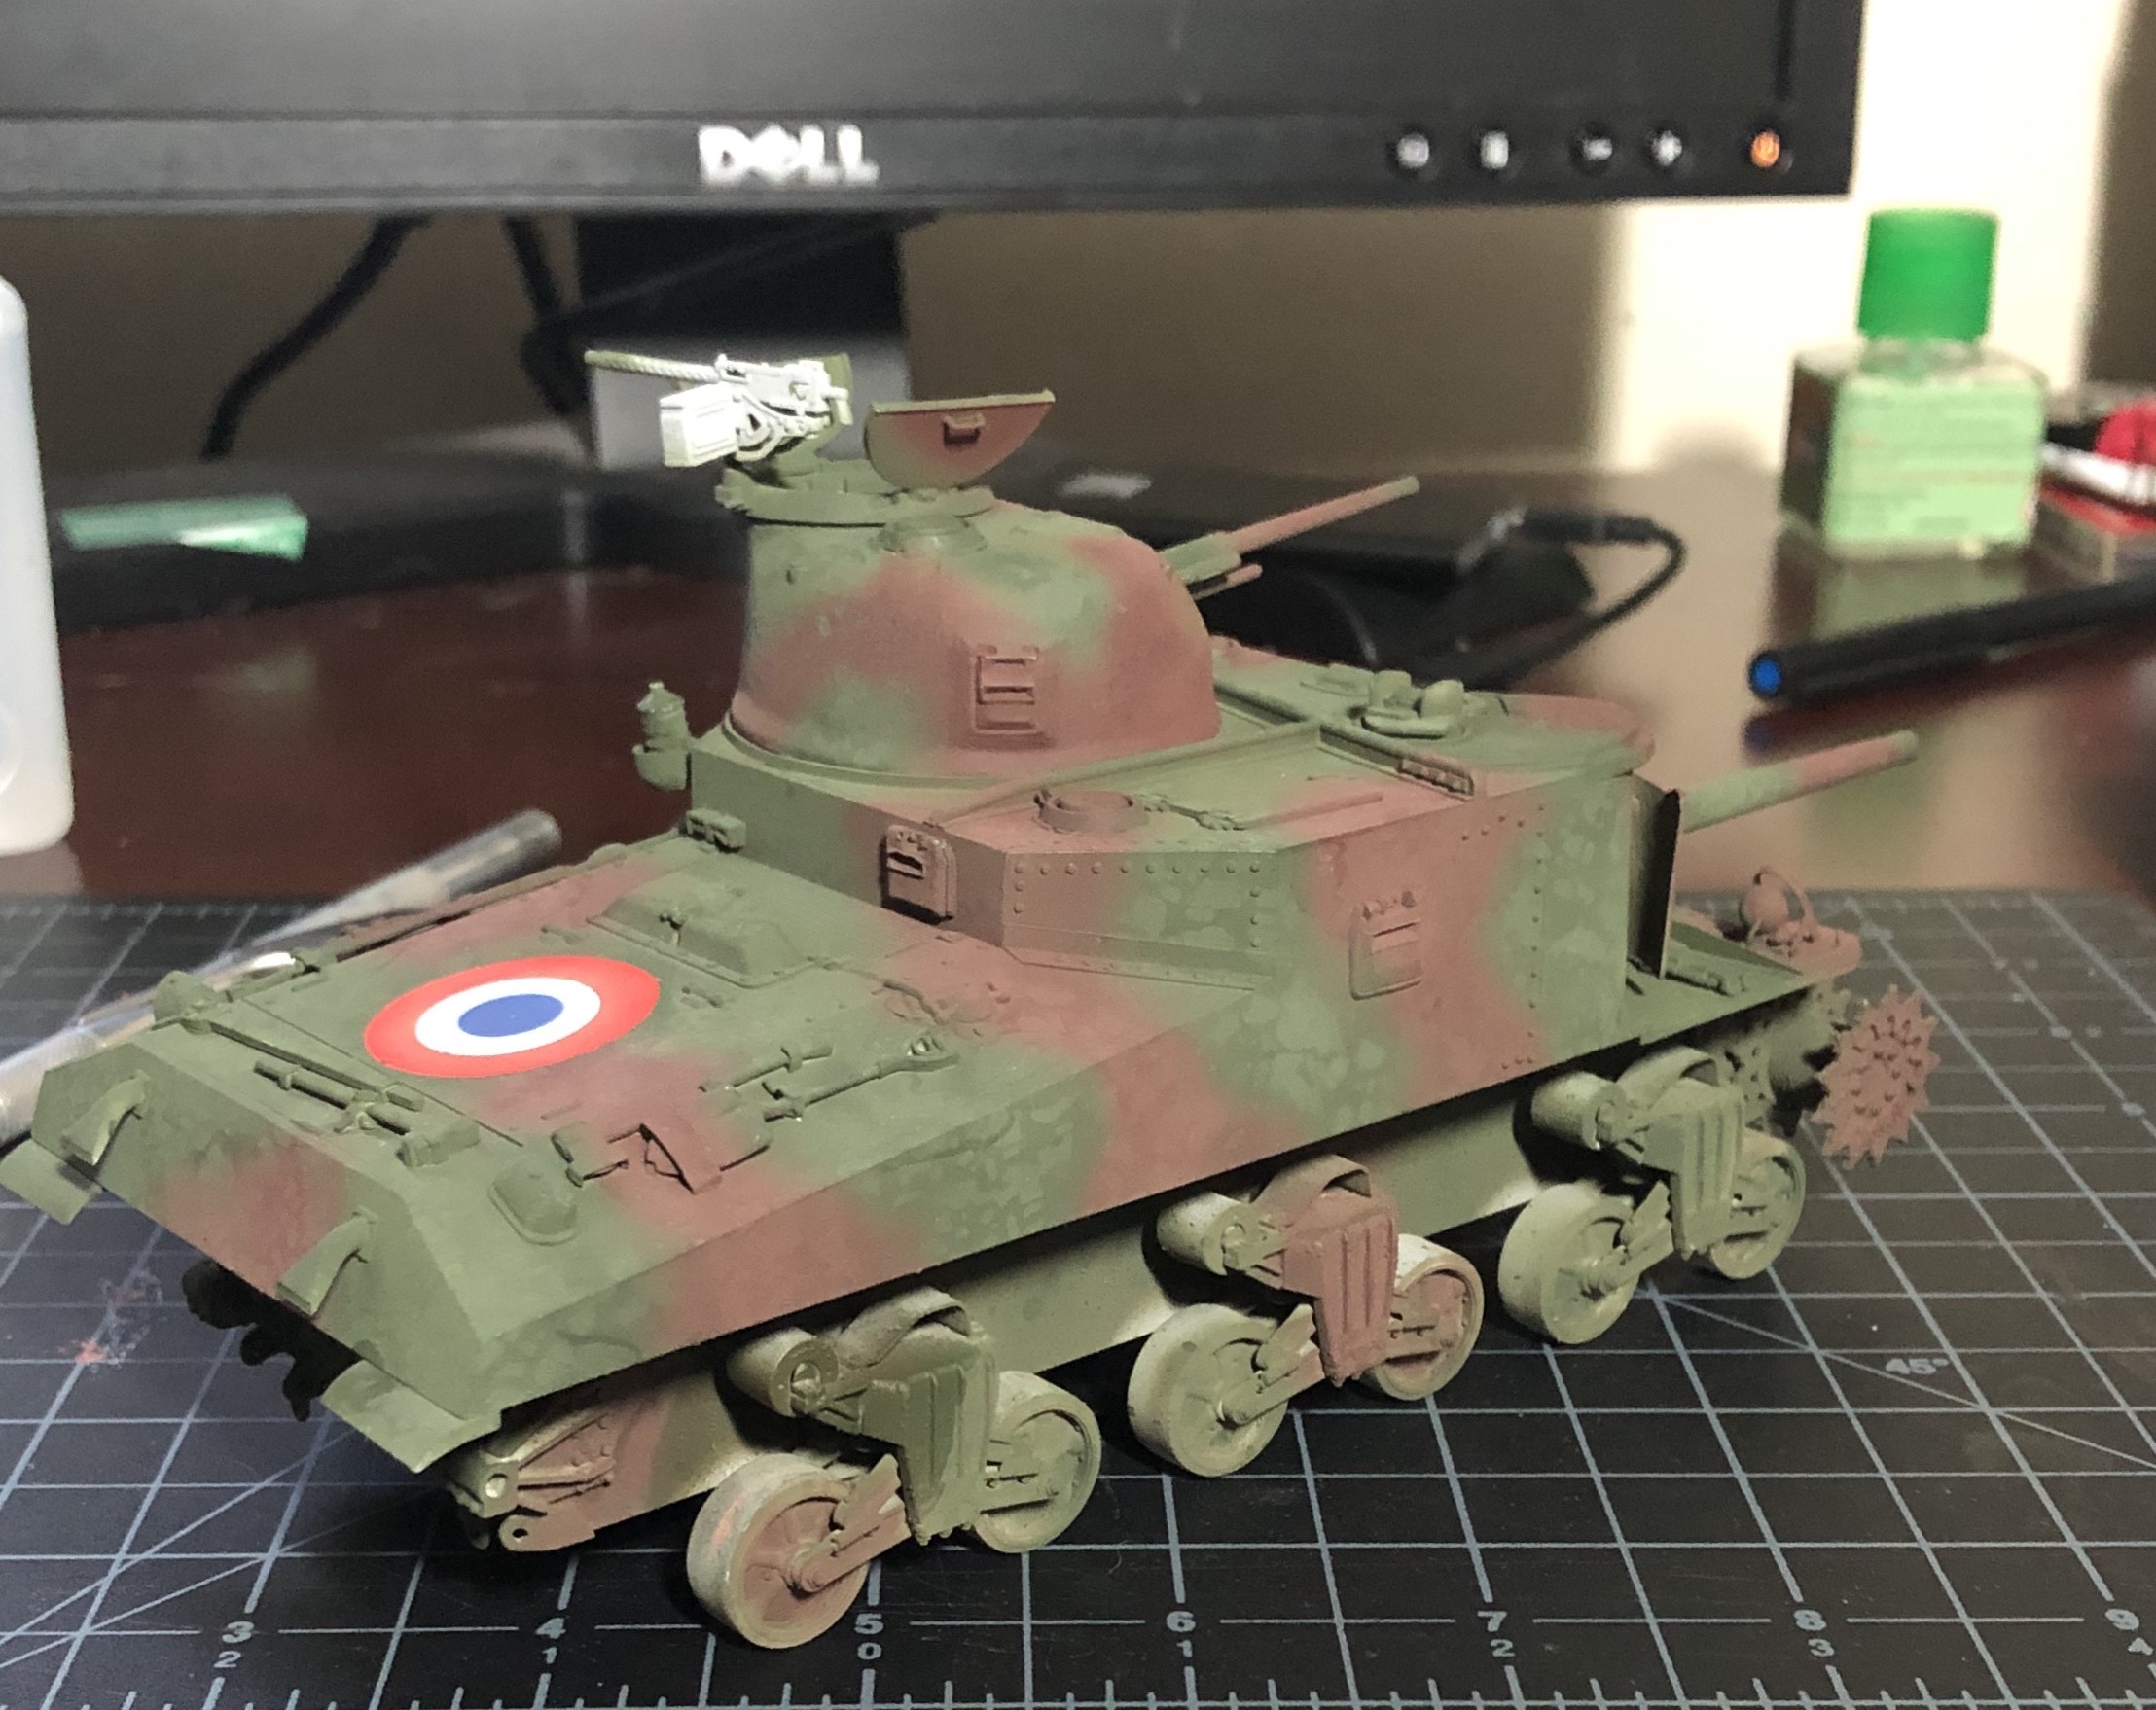
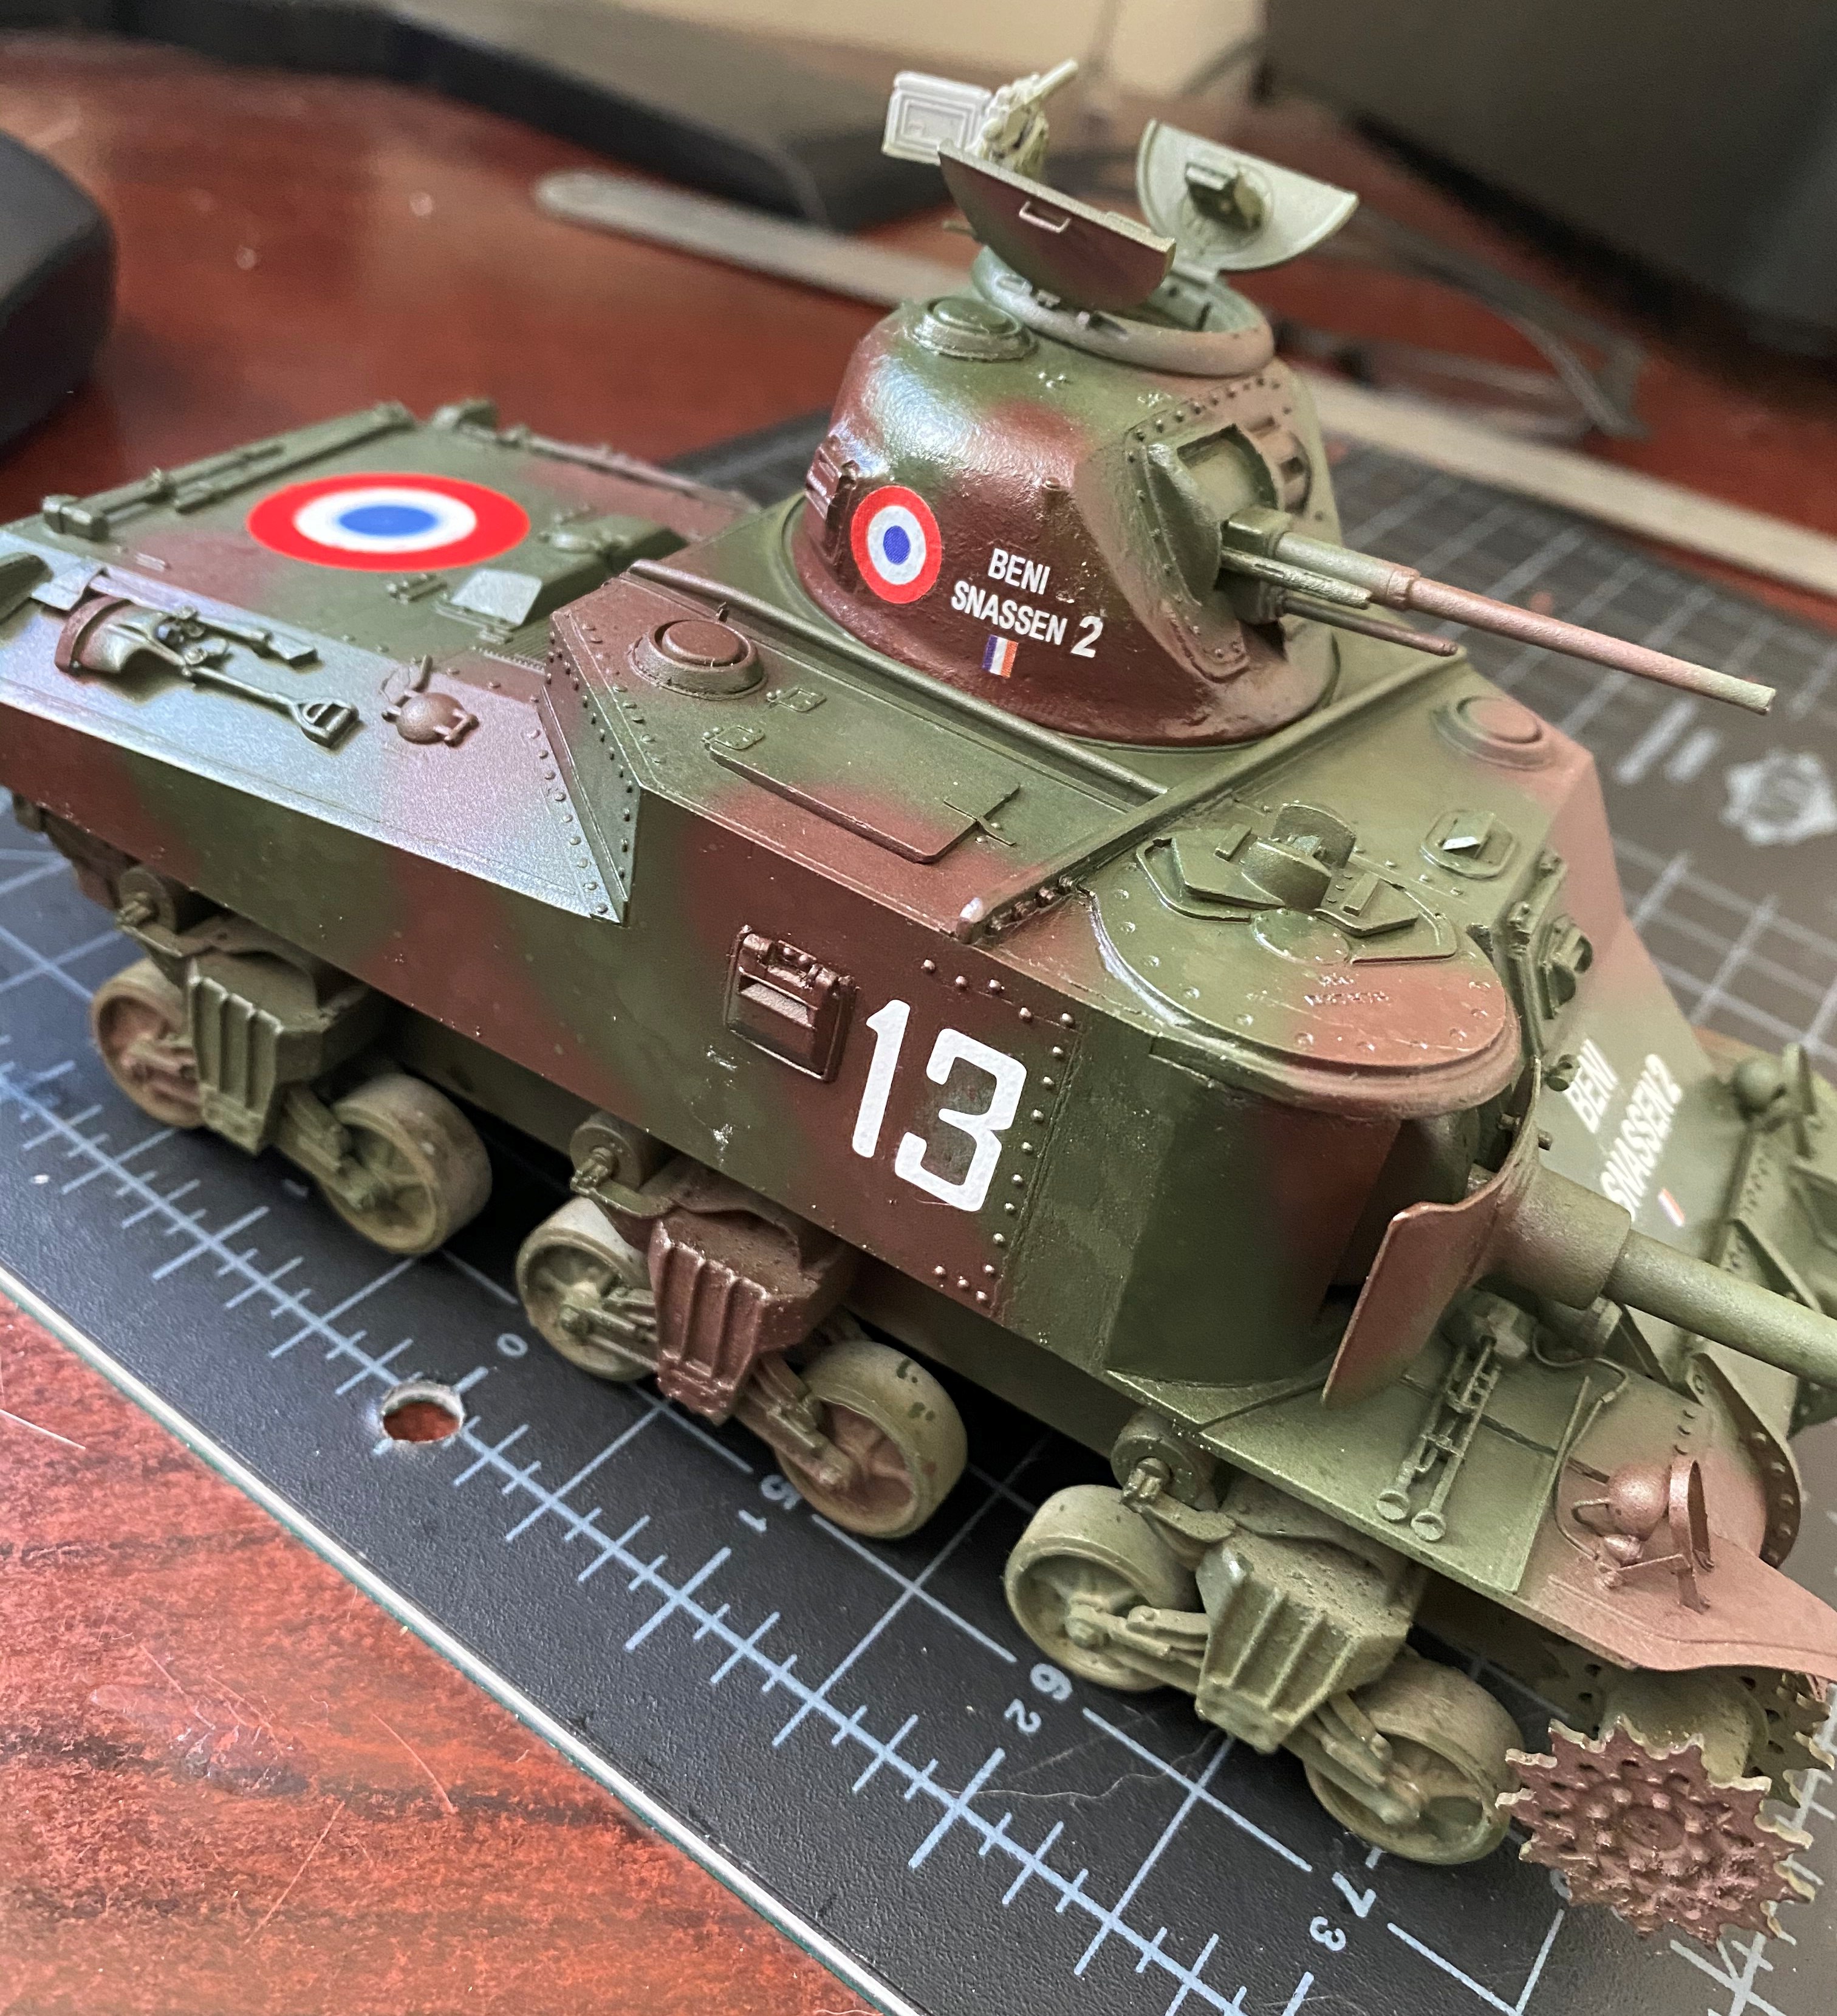
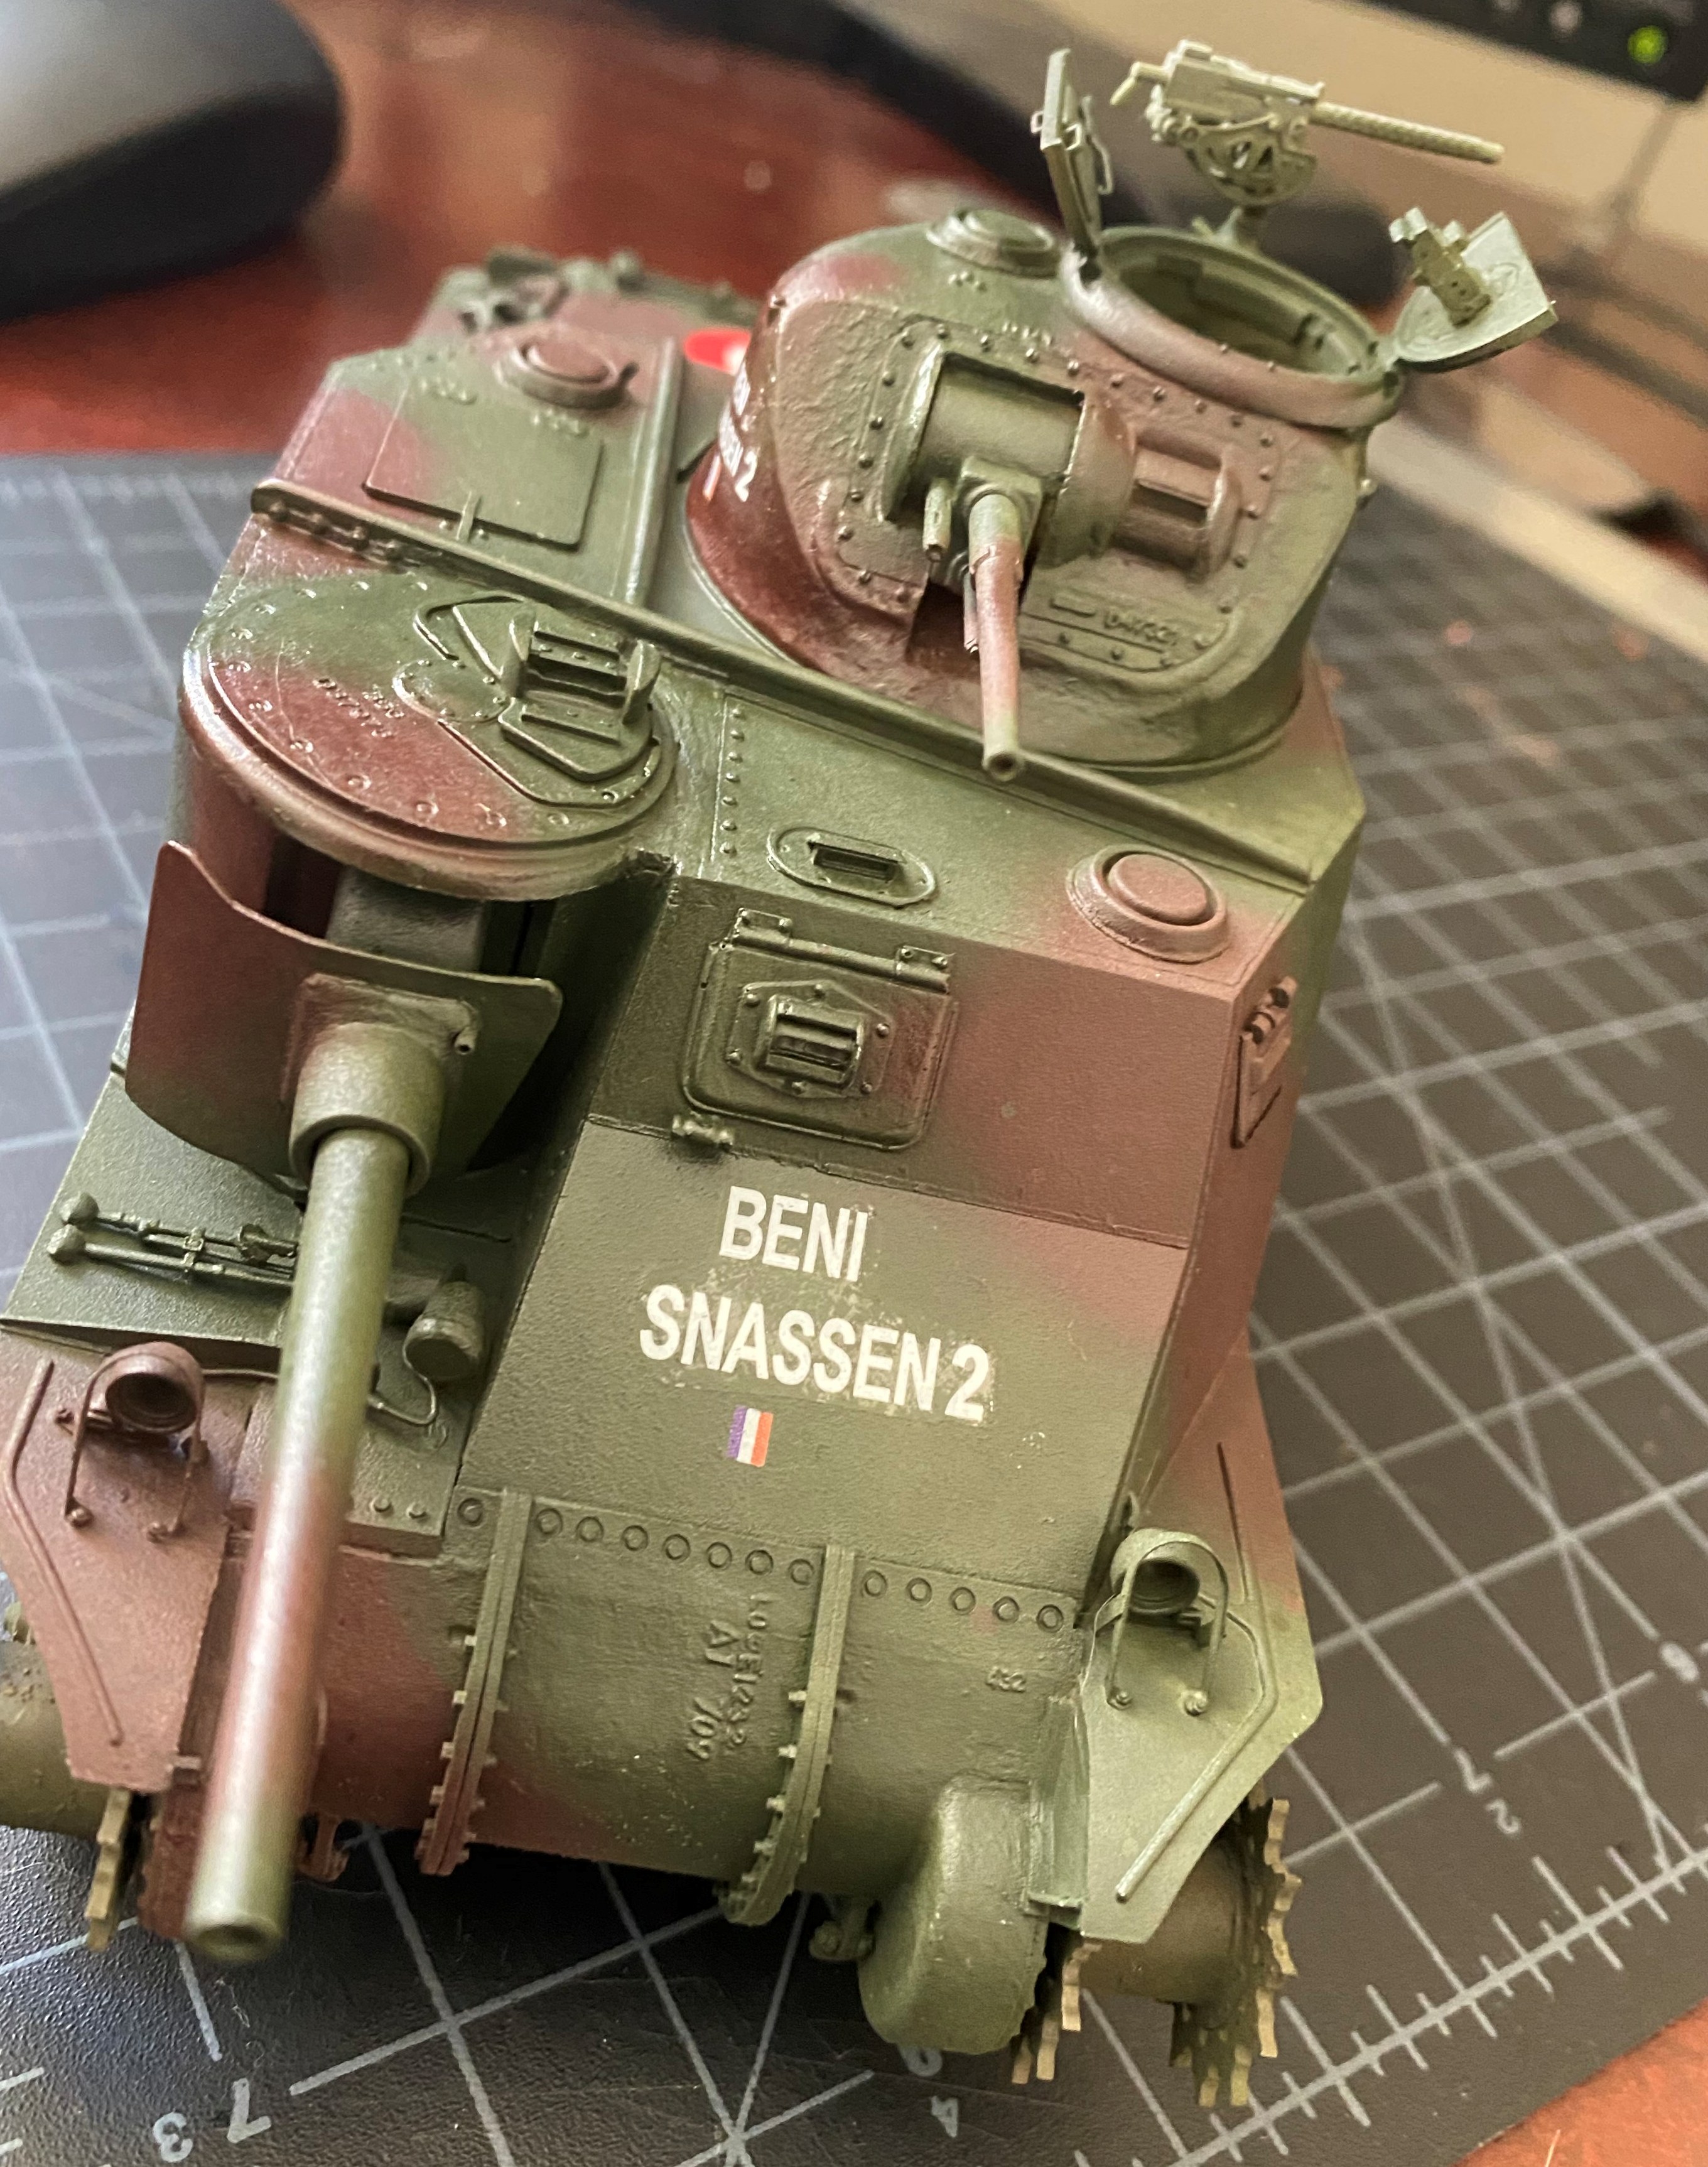
Well, mine is a “what if” Lend Lease item. We know there are some WW2 modelers who like the Panzer 1946 theme. I thought about another earlier counter-historical scenario. What if France does not capitulate to Germany in 1940 and manages to stay in the fight with the BEF? By 1942, the USA is in the war due to unrestricted U-Boot sinkings of US shipping. They begin to deliver Lend Lease items to embattled France. What could it be? How about the ultimate design of the M3 Medium series? Welded hull, Chrysler Multibank engine, and the latest improvements/upgrades? I call it my M3A6 Medium tank Lee (France, 1942)
It’s truly a Frankenstein’s monster. Asuka, Takom, DML, lots of scratchbuilding.
Very ‘Sweet’ Honey Digger.
Jesper, I just cringe seeing all those gun barrels poking out on a partially assembled kit. They would not last long on one of my builds… clumsy as…
Mike, good to see you have finally started the T. I’ll be watching closely.
Eric. France did not capitulate? A bit of a stretch even for a ‘What If’  .
.
Let’s just say the Russians decided to ‘liberate’ Poland from German occupation and was threatening to invade Germany, just as Germany had invaded France. The Germans had to split their forces to return and reinforce their rear frontier as well as holding captured ground in France, halting their ability to advance in the latter. A war of attrition between Germany and Russia began, thus creating a stagnant period of inaction in France.
Germany managed to push the Soviets back and began to take back ground from the Russians and consolidate its holdings. Pushing hard to bring the Soviets to truce but fearful of USA entering the war to support the Soviets, following the defeat of Franklin Roosevelt in the 1940 Presidential Election to a candidate that was also a US Communist , Germany pressured Japan to attack America in Dec 1940, just after the election, to create turmoil and cut off US intervention. Mobilising for war, USA began to reinforce its own army to defend against Japan and to supply its allies in Europe, especially France where defeat of the German occupation army was seen as the most advantageous approach … and the rest is (alternate) History…
I think the French Lee is definitely creative and like the results modelling is suppose to be fun.
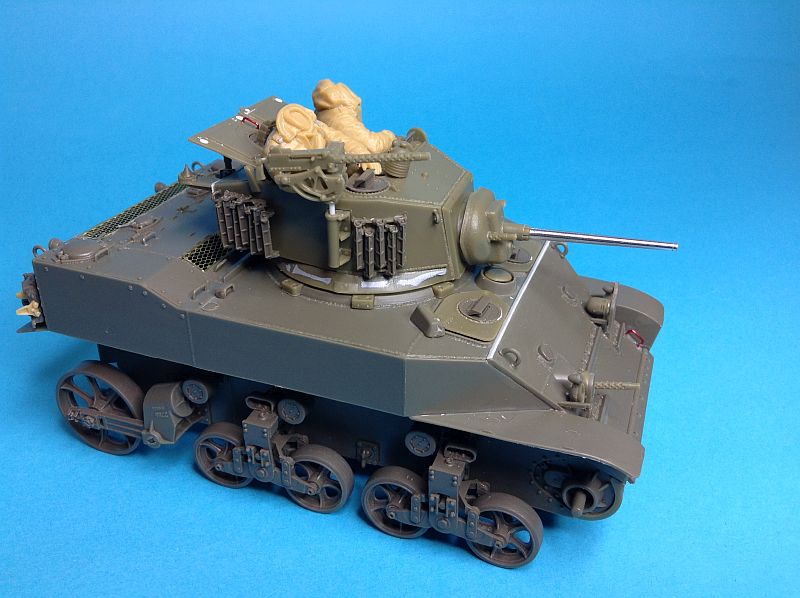
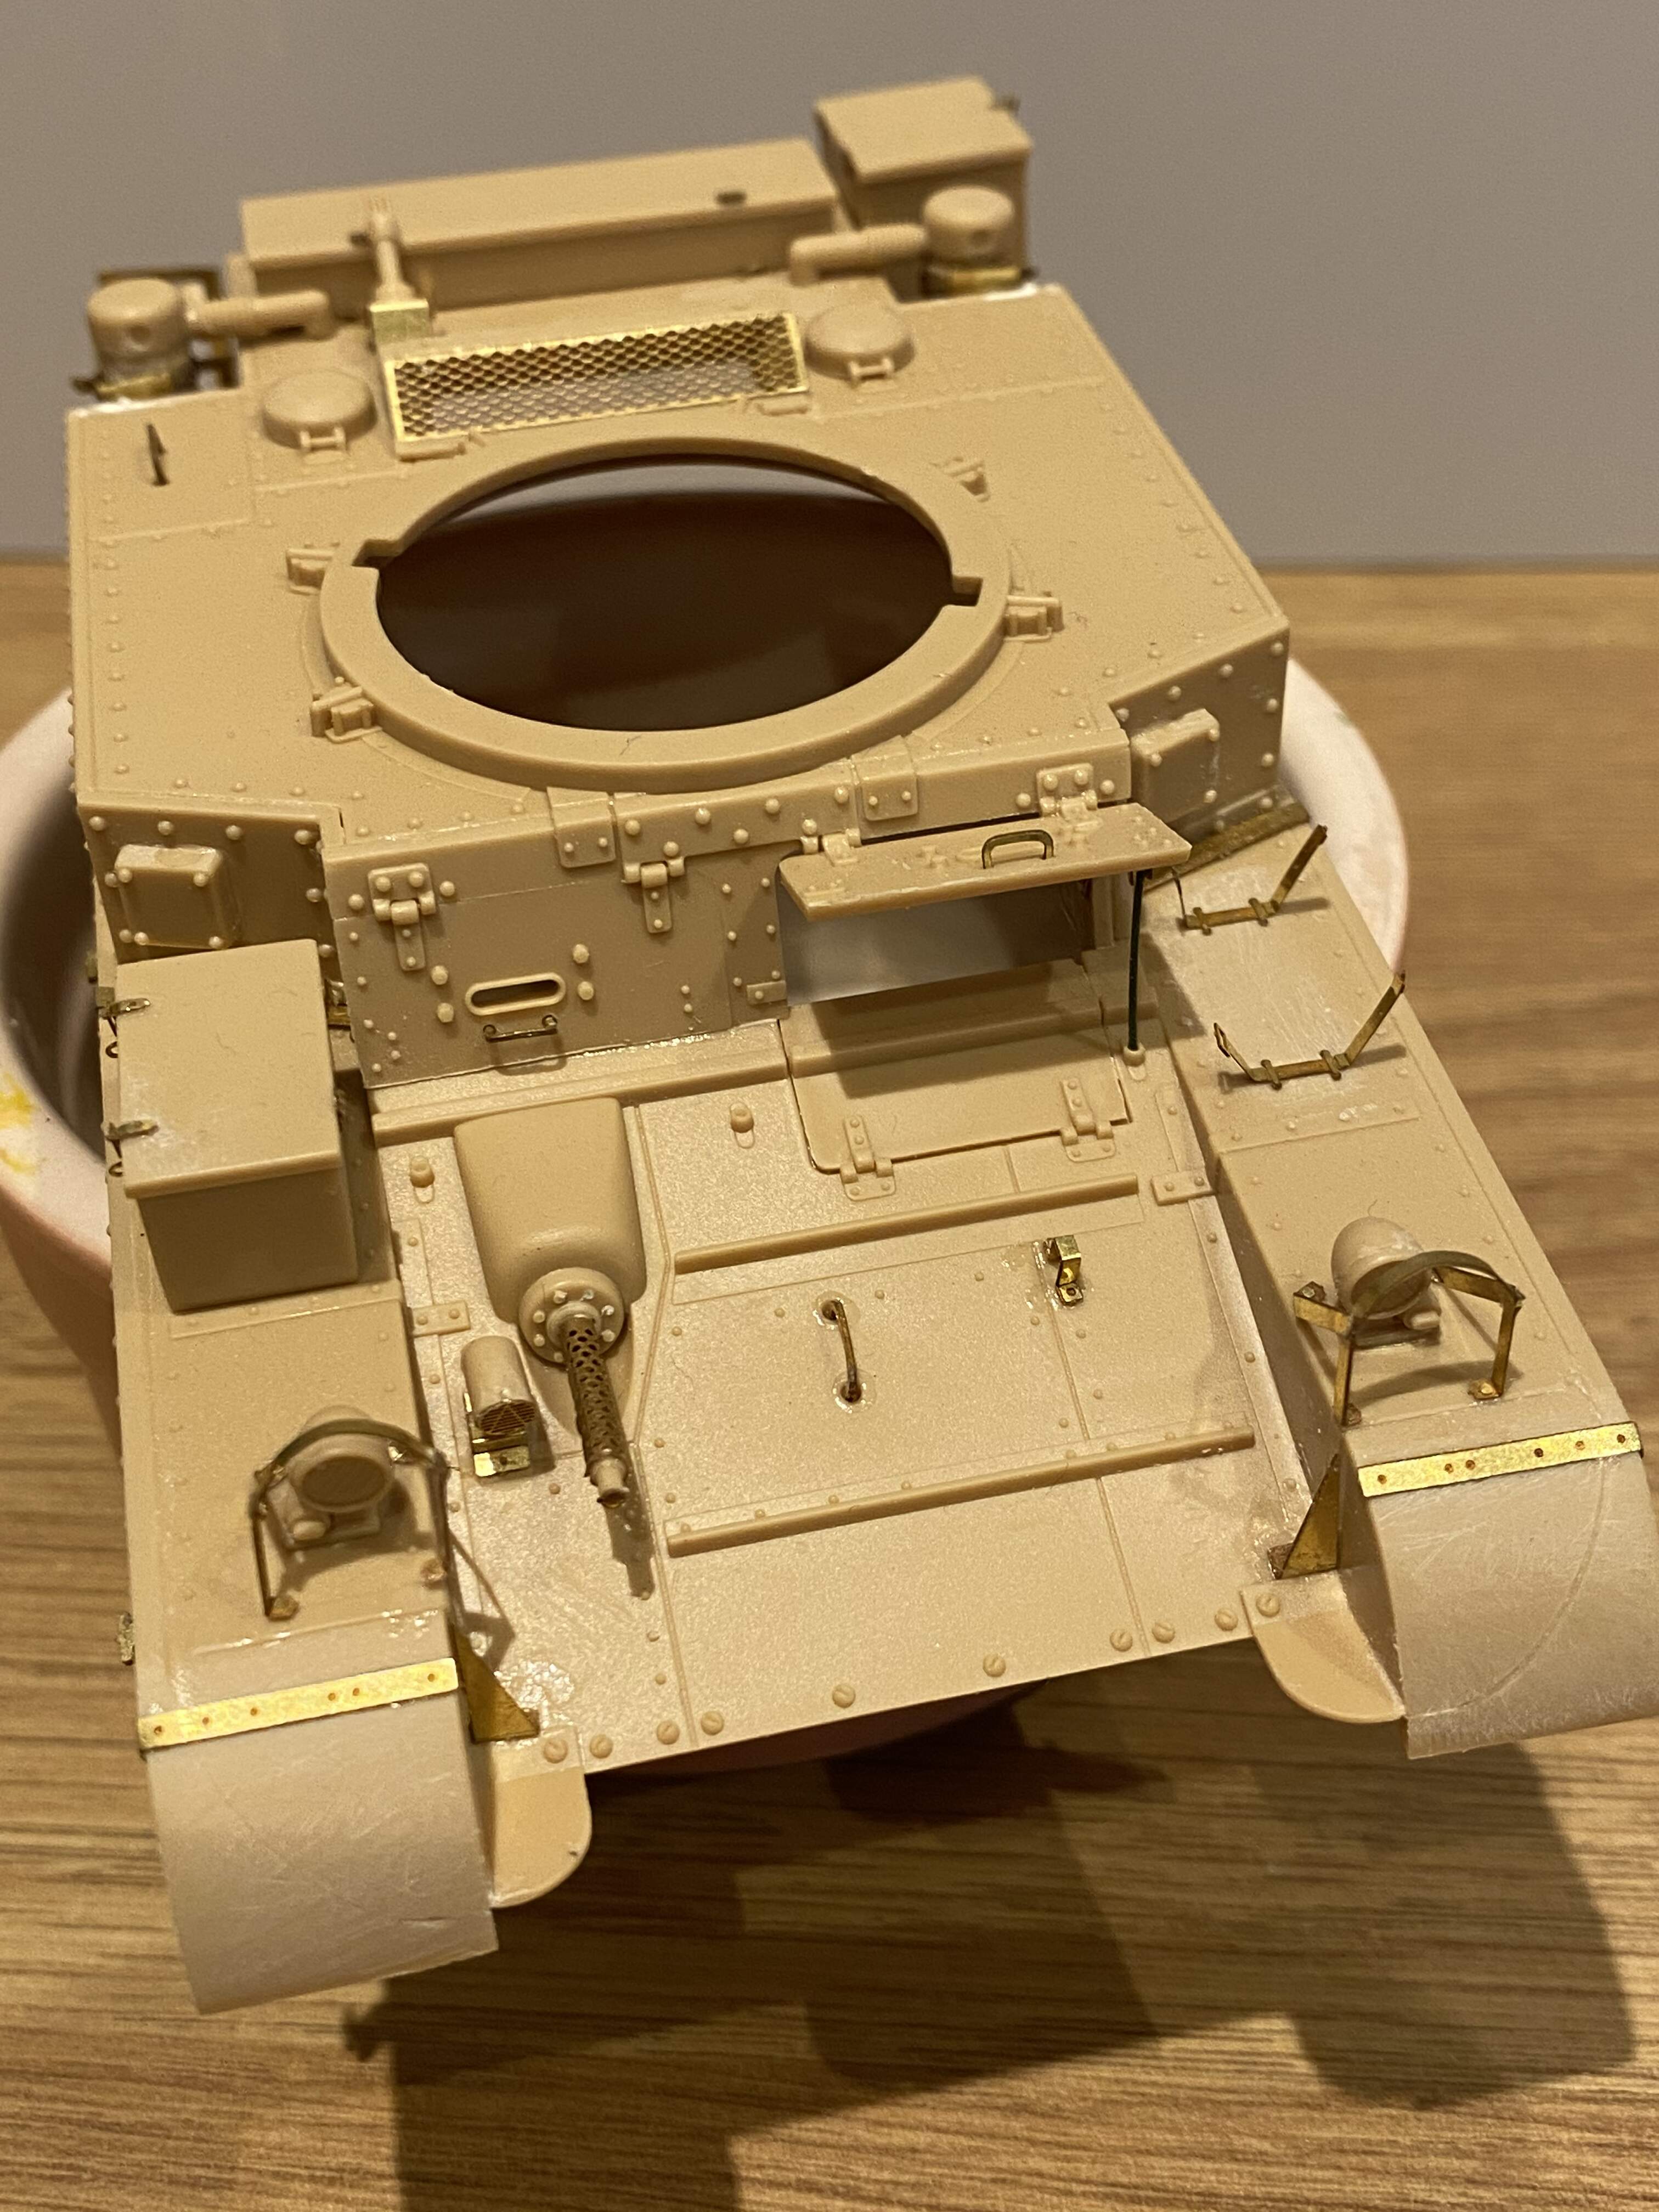
Okay, quick couple of pics. Build of the Stuart VI is done and Bronco tracks assembled. Figures for the turret have been modified to fit and the driver figure mods underway…
Sink marks were terrible on the turret collar. Fit of the hull roof was not too good. I have read where people had issues fitting the rear panels to their builds, but I think their issue is they fit the roof to the front Glacis, which leaves gaps at the rear in several sections. Fit the rear panels and the roof up to them, fit is good, but there is then the gap at the front. However that Gap is easily fixed with a strip of Styrene, as opposed to the multiple pieces to fit on the multi part rear sections.
Finish the driver and sort out the stowage and she will be ready for paint.
Gulf Warrior set up the gallery for this campaign for your final pics:
For the sake of testing, I went there and got the old usual: “Uploaded file not found. Typical reason is that the file exceeded allowed limits.” … “But Monsieur, It’s only wafer thin.”
Are we going bass-ackwards now??? … Please, say it ain’t so!
I don’t really know what the answer with campaigns will be going forward. I liked ribbons and I like having an archived gallery that is just the finished pics. I don’t know whether any of those will survive. I posted the gallery link here so people can use it, but i’m not sure how long it will last? Thanks to Gulf Warrior for setting it up. And thanks to Robin for pinning this thread.
The guns have survived so far, Peter. But they are truly a risk 

The camouflage is on, but still some touch ups to be done. More to follow soon
Looking good, Jesper! Love the paint scheme so far.
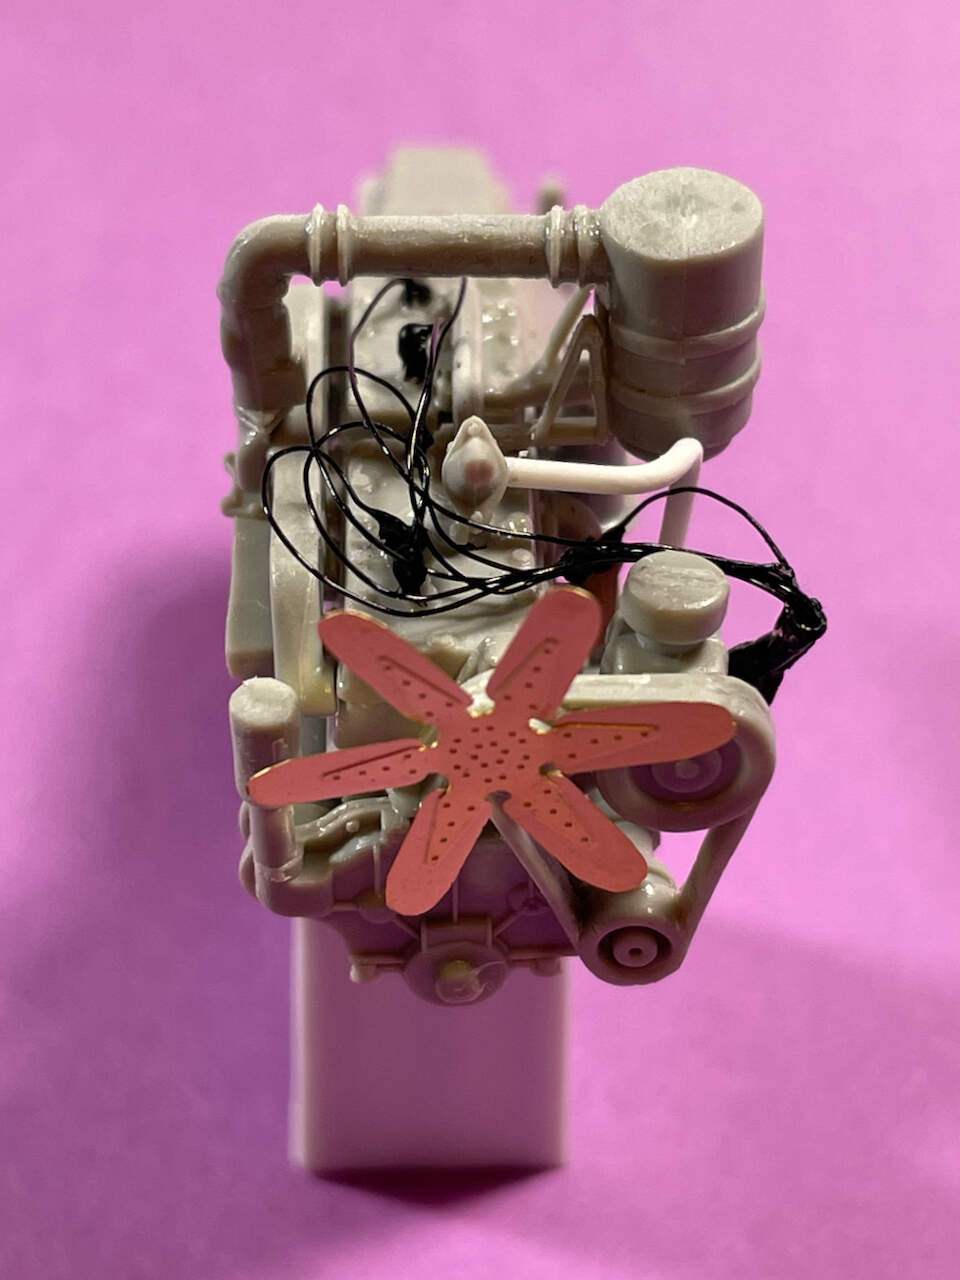
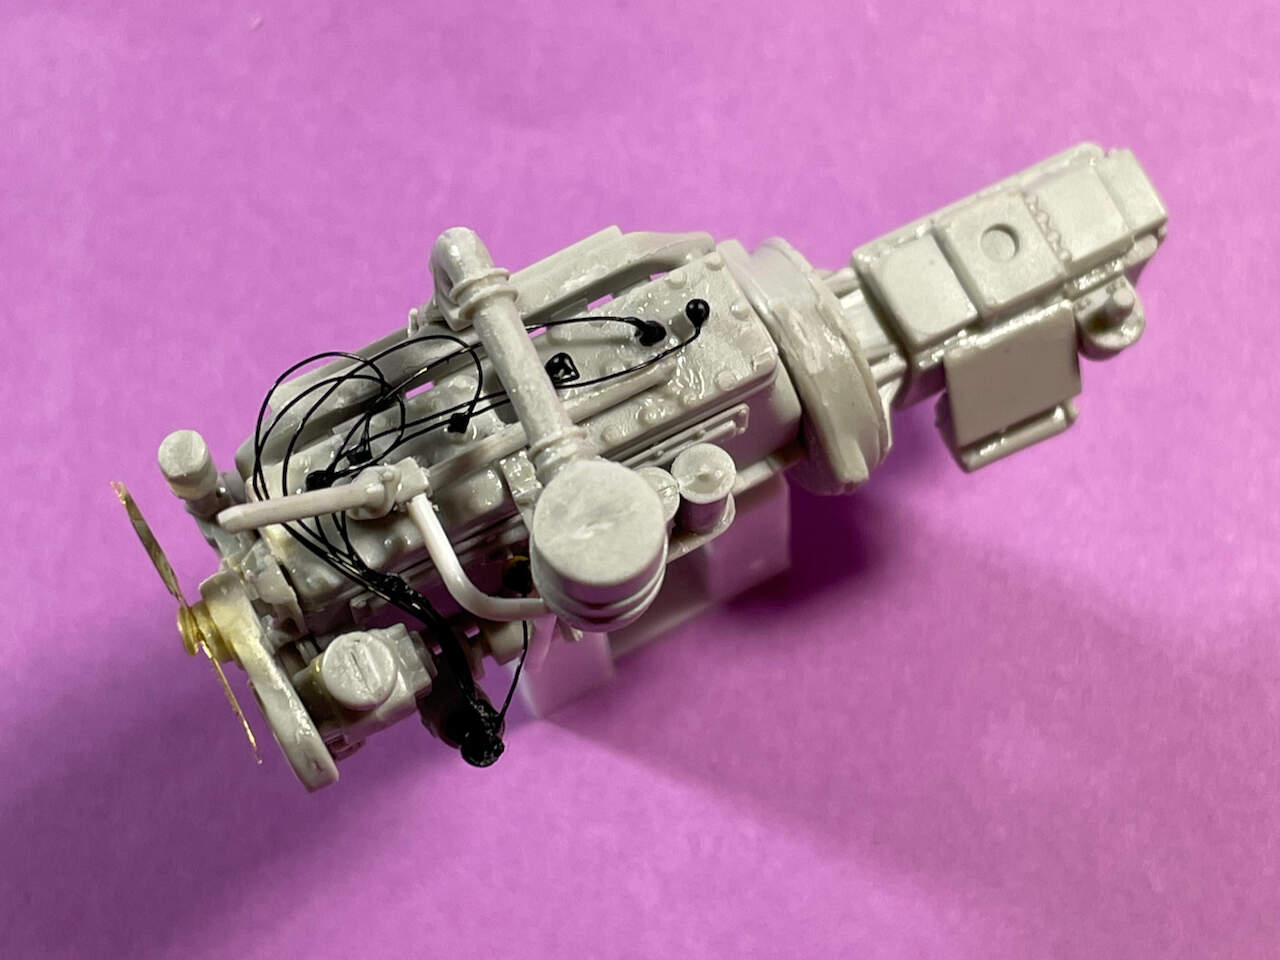
Here’s a little work on my Diamond T 968 engine. Got her all wired-up and thought I’d give the guys over at AutoModeler a good laugh. Since she didn’t crank-over, I’ve decided to close-up the bonnet when that time comes.
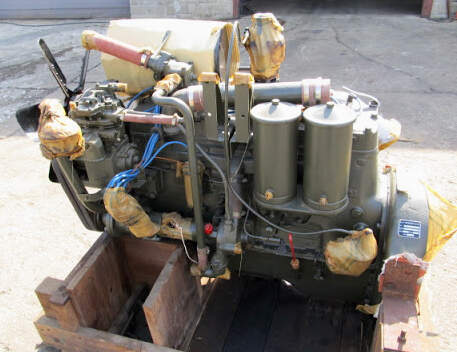
UTC Ultra Wire Brassie (32 gauge, 0.0080") and Evergreen 211 (.040) Styrene Rod.
.Cheers!
—mike
Thanks, Michael.
Nice job on the engine. It would be a pity to close it up. It would look great through an open bonnet.
Thank’s Jesper! Maybe I’ll reconsider and leave one side open. 
If the fit is good enough could you leave the bonnet (hood) loose as an alternative to posing open? That way detail can still be seen on further optional examination.
Thank’s D1GG3r321! I just got done examining page 12 of the instructions to see what my options are. If it looks doable, I’ll take your advice under consideration as I near that stage.
Cheers!
—mike
So most of the build is now done, just a few bits to add after full assembly. I’ll paint most likely in sub assemblies then put together to base coat the exterior.
So far the kit has been good, just one real fit issue. Early on the instructions require you to fit a small square hatch (escape hatch?) to the bottom of the lower hull. This sits proud inside though so I had to undertake a significant amount of sanding to get the interior to fit flush. No others issues though
This was my first time with PE so it needs a fair bit of tidy up to remove stray superglue.
Onto the tracks now. The kit comes with both individual links and vinyl tracks. The vinyl ones are well detailed, but appears to be the older type that requires melting rather than taking glue. They also don’t seem to take paint well so will try the individual links which are exceptionally fiddly. Also need to give some thought to how to paint the tracks as rubber pads with metal guide horns etc.