Because of the kit’s nicely moulded fenders and really good fit, the cab-to-bonnet-to-fenders-to-radiator-to-chassis assembly would be dirt-easy to just glue-up and call it good. However, if you recall, I’ve made a deal with the Devil to show the engine exposed, thus making things a bit more challenging.
As they say… "The devil is in the details." Unfortunately, the kit’s cargo deck is lacking in that regard. Evergreen Styrene Strips (No. 106, 0.25mm x 3.2mm) to the rescue. Surprisingly, the plank widths worked out to near perfect… what are the chances!
This is only dry-fit for now and I’ll add some woodgrain texture later on. In hindsight, I probably would have scribed the deck before assembly, but then again, I just love working with Evergreen! 🪚
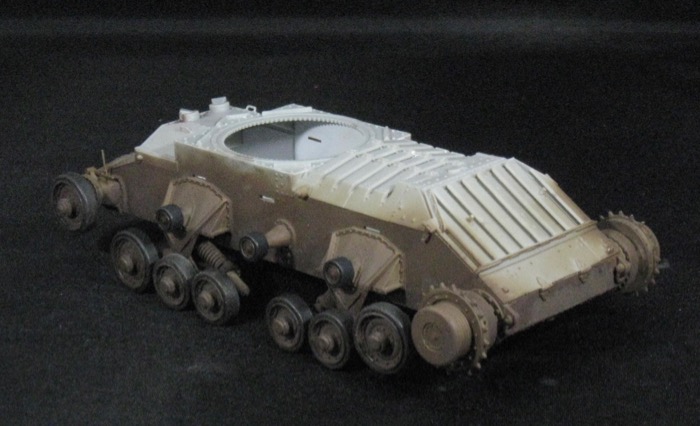
I got stuck on the tracks of my Bronco Valentine. I began the day thinking I would have the tracks shaped and ready for paint, probably by noon. Well, I have one track shaped and ready to paint. The wheels were not attached when I began this morning and that turned out to be quite an enterprise. I would glue them, move on to others and the earlier ones would fall off. And it was quite a bit of work to get them roughly lined up. I have mostly succeeded with that, but there was a lot of do and do over and wait to make sure the glue was really dry, so I didn’t start on a track until this evening.
You’ll notice the rear wheel on both sides is elevated. That just happened when I picked it up and moved it to the photo booth. I will put it back down. In theory the suspension works so you could have it going over a train track or something. That is nice, but a lot of trouble if you don’t intend to do that.
Thinking about it last night I had it in my head that once I got the tracks done I didn’t have much left to do, but looking through the instructions there is a LOT left to do. So I better get on with it if I intend to complete by our deadline.
The Bronco tracks are actually really nice. I guess I mispoke. What happened: I accidentally glued the drive wheel onto the model so I had to finish the underside with that attached. That left me in a bit of despair about how putting the tracks in place might work. Actually, once I got the rest of the wheels attached and mostly stable, the tracks themselves are going swimmingly. They are “workable” tracks. In this case there are no pins that you insert, the track links just click together. They don’t really hold that way so I treated them as magic tracks. I click them together in segments of 12. Then, when I’m ready to shape them, I click together three or four of those segments, and run extra thin down them. They have a bit of a radius when you just click them together, so after I glue I hold them straight with a file set along the length of the run. After about 15 minutes, I shape them onto the vehicle.
It seems like most of the lend lease builds that are going to be done have been done with you and I being the only ones still working on our models? I think Peter might still be in the painting stage?
They’re just waiting to pounce at the last minute. Haha!
Speaking of paint… I’m starting to get a bit antsy. One of these days, I might break out a fine vintage bottle of Vallejo US Olive Drab Primer (73608) just to make sure things are still working.
Yeah I’m still here. Watching you guys with interest, especially Mike as I have that kit. The only Bronco Valentine kit I have is the Bishop, but it has basically the same hull and running gear as Phil’s, which are actually Miniart parts.
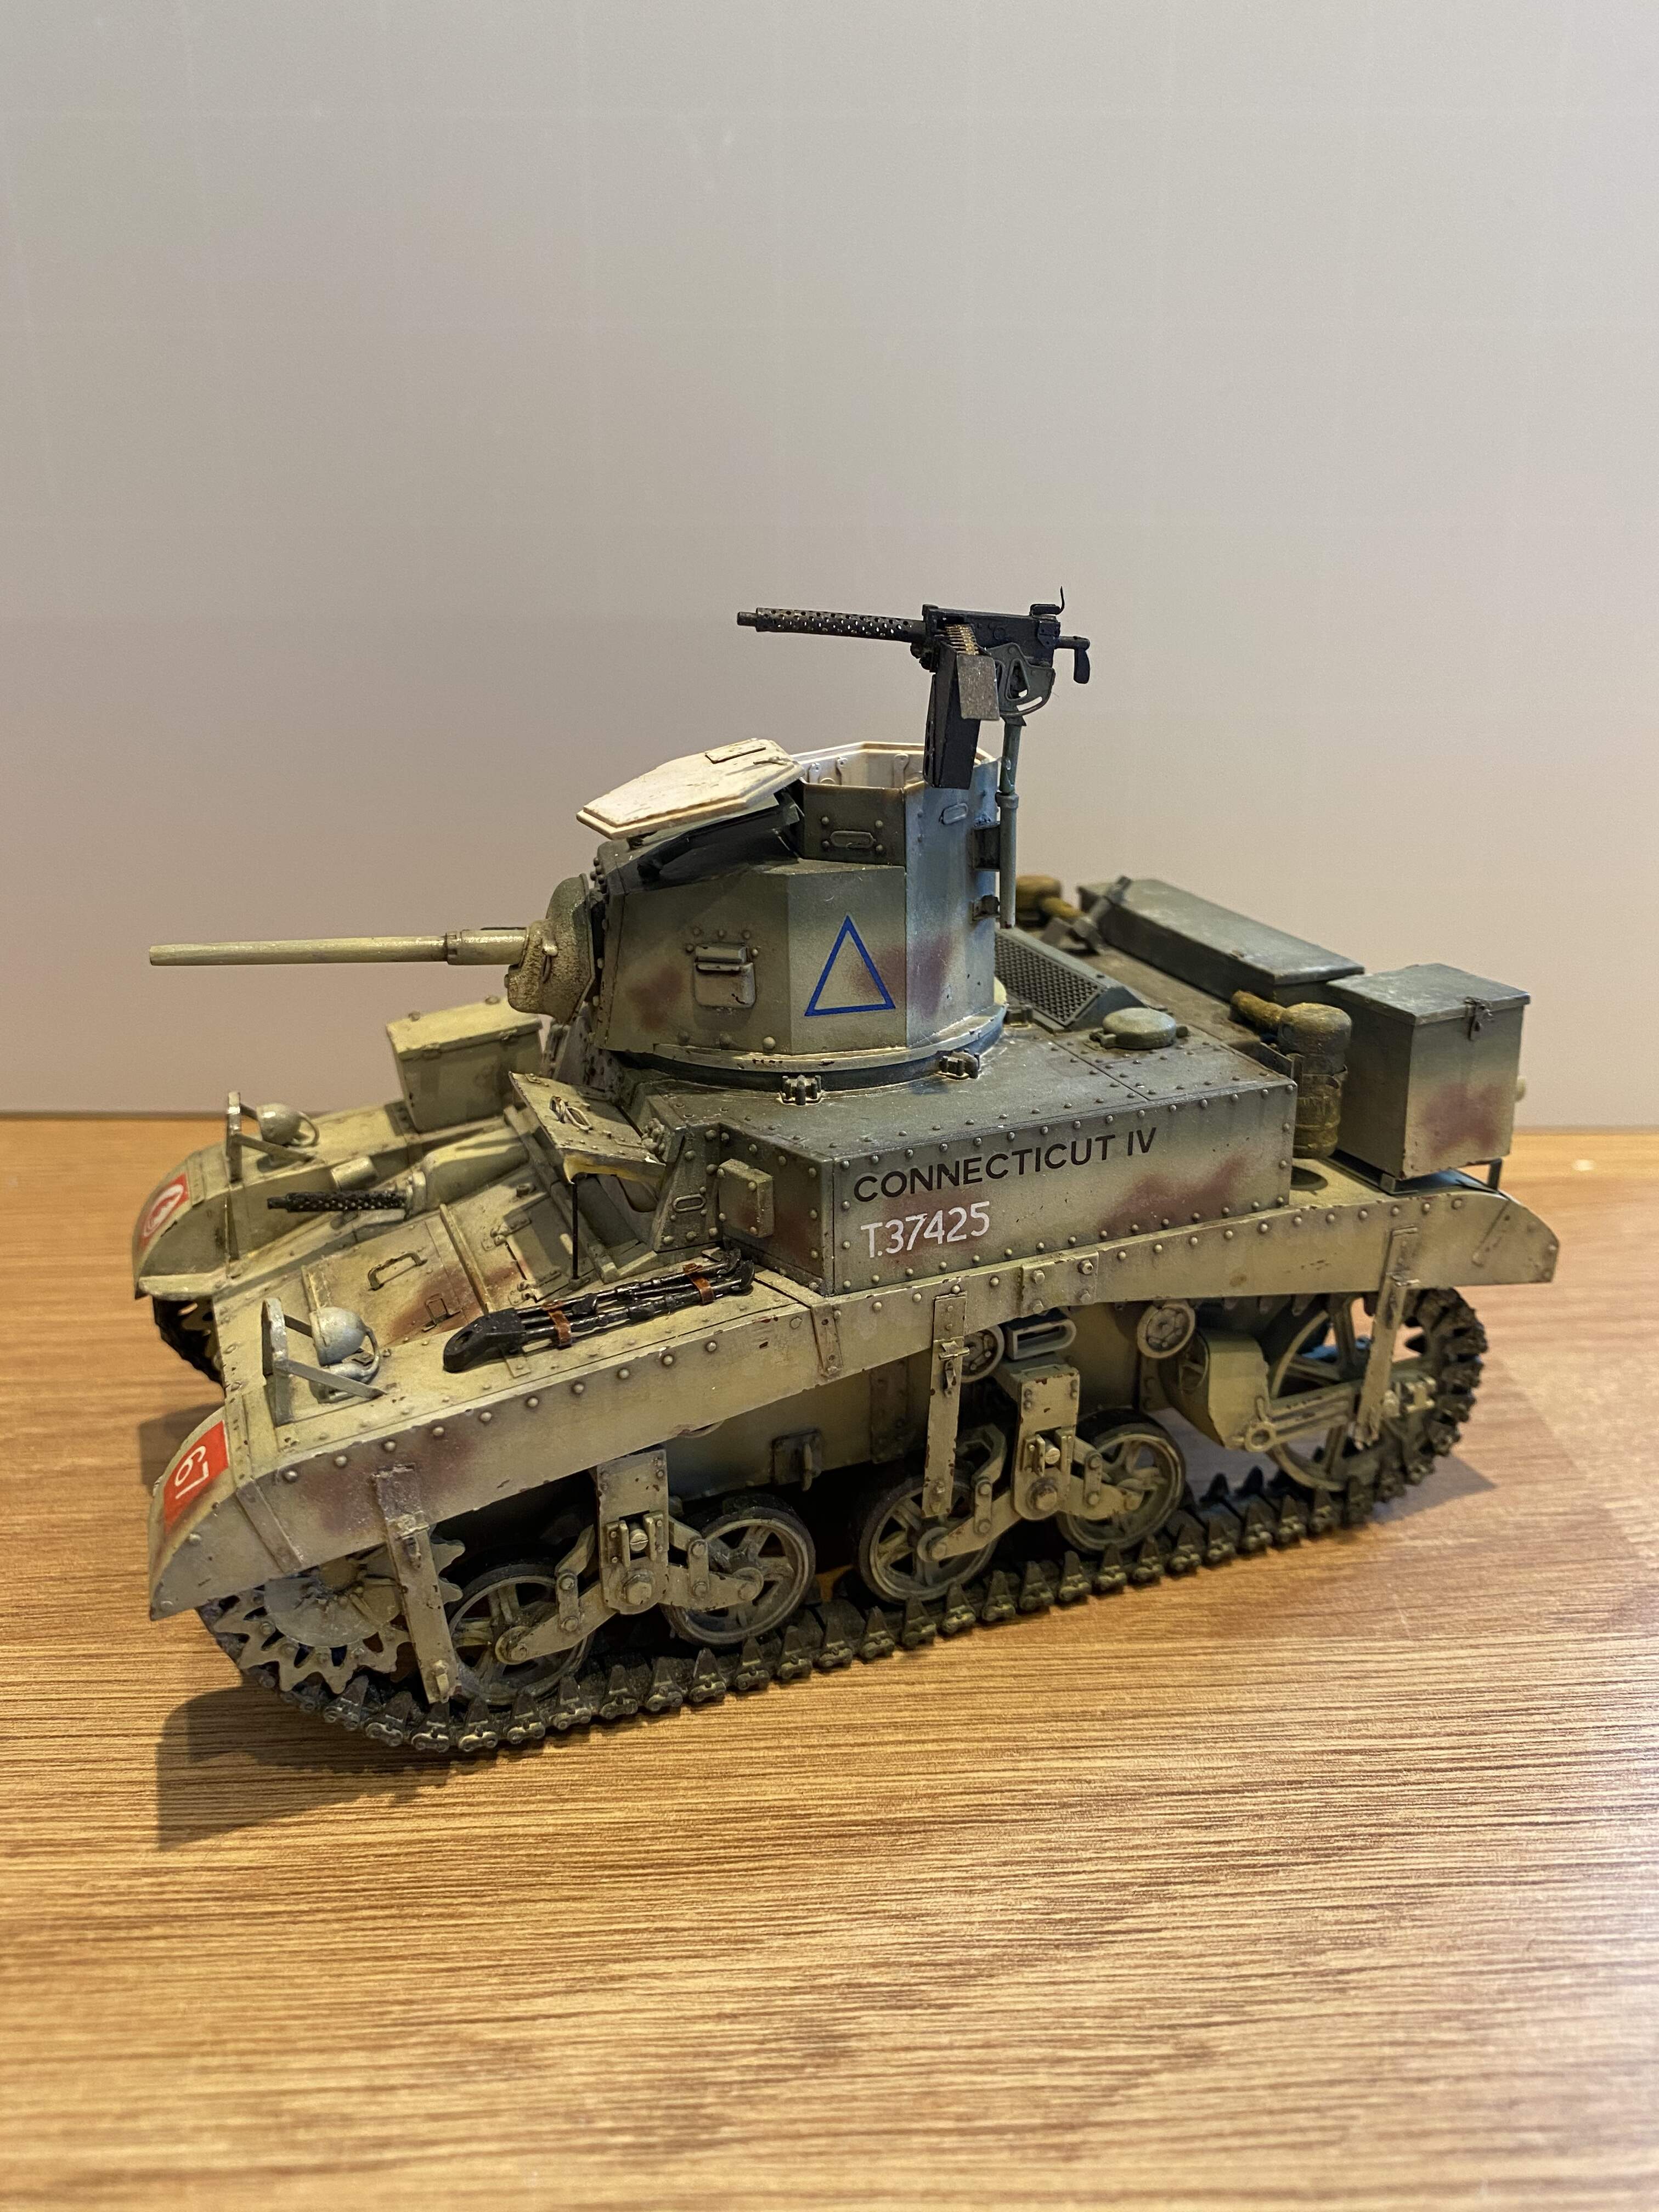
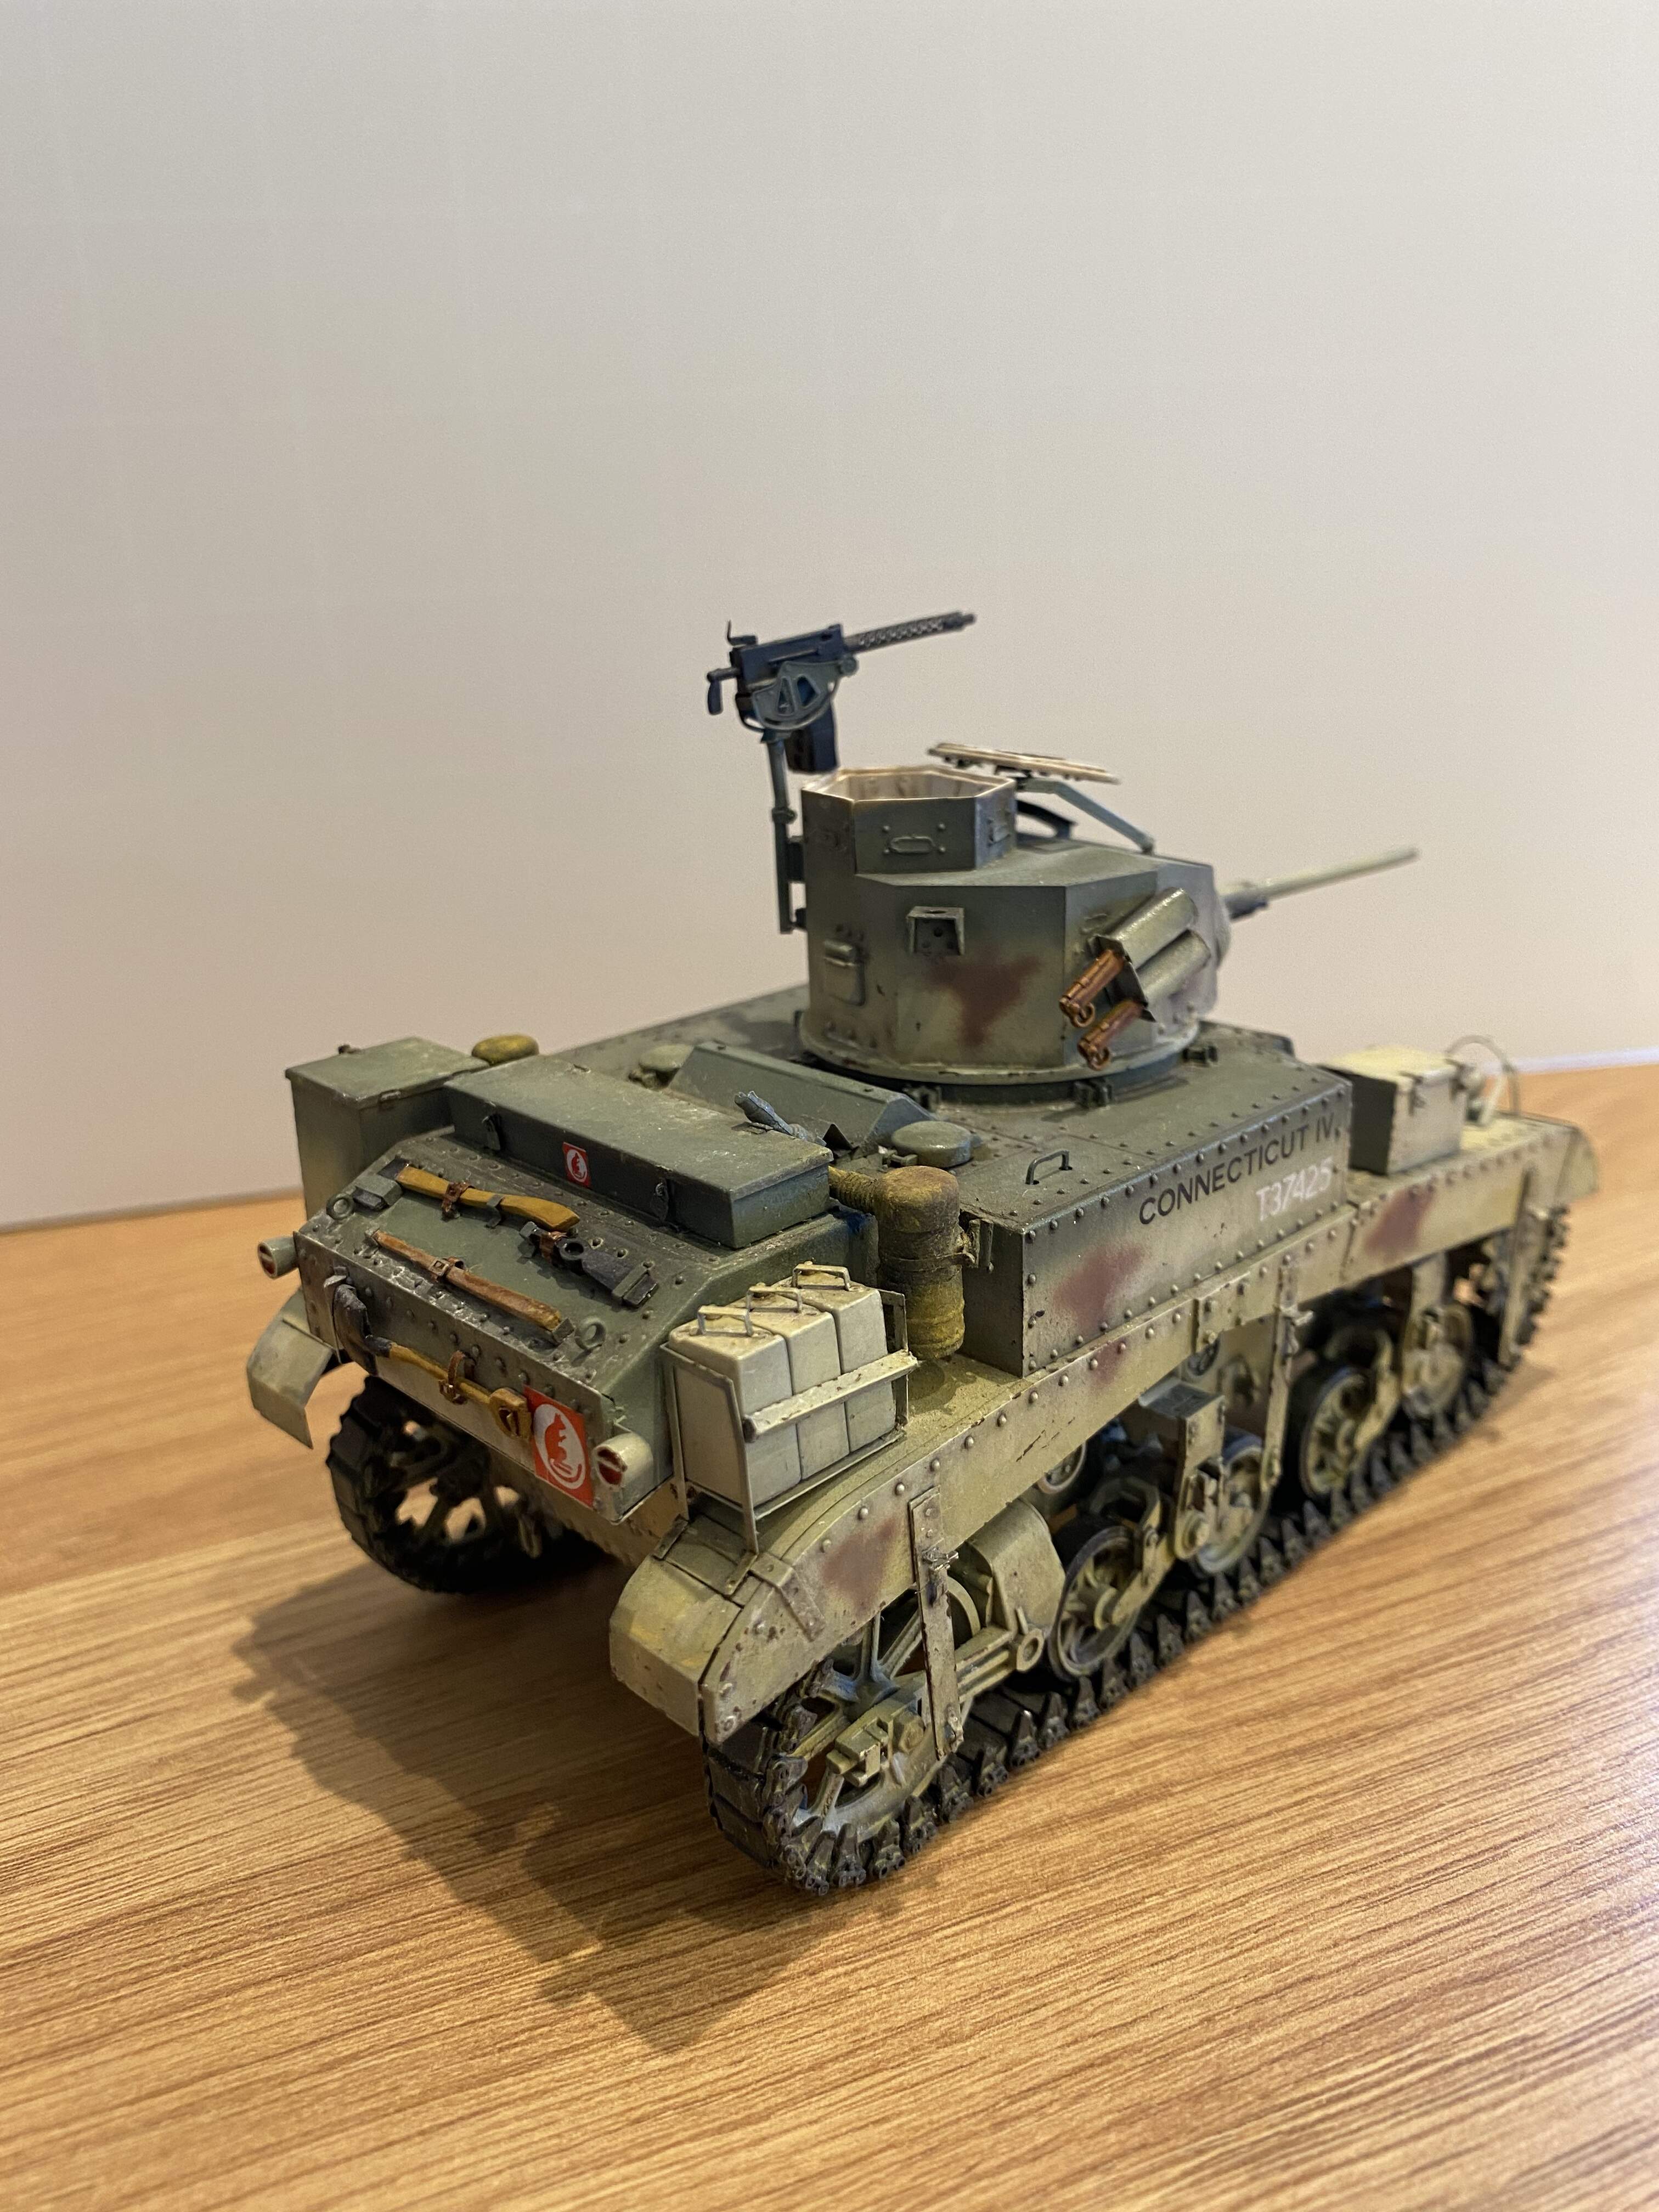
I have laid down OD on the M5A1 Stuart , started detail painting on pioneer tools, etc, and ready to apply decals, so pics very shortly.
I’m here too- mainly watching your builds at the moment…
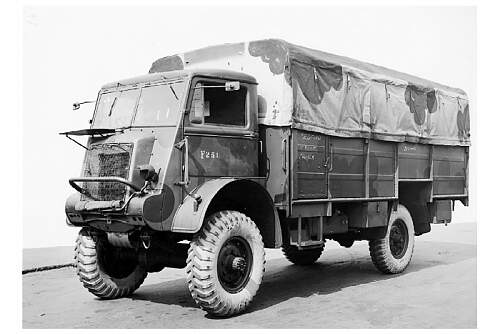
My Bedford QLD has new tires(SKP resin ones), that were painted but are still not mounted.
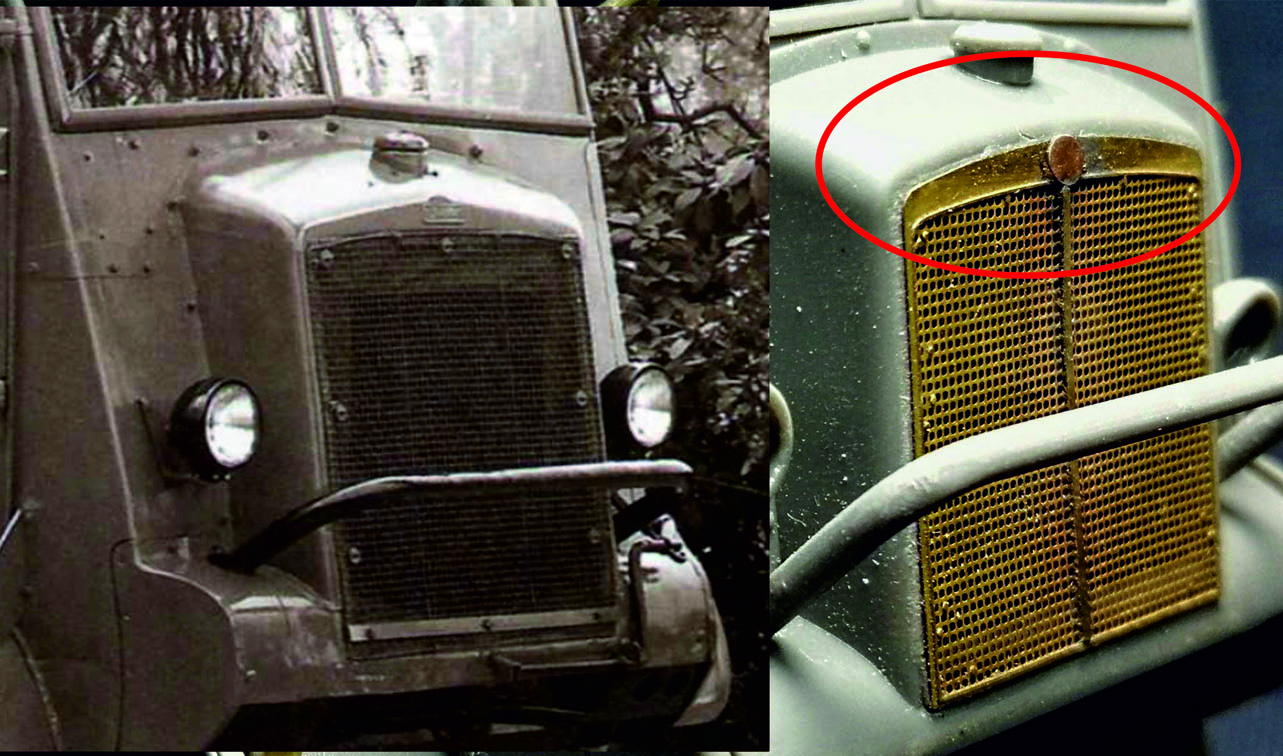
While occupied with my KShtM Deymos build for Golden Memories Campaign, I was pointed to some more discrepancies(picture bellow) in IBG’s QLD rendition by a knowledgeable modelling buddy of mine:
I know what you mean Pasi, all I replaced were the handles too.
Most of the British M5’s were converted to turretless troop carriers and it has been a struggle to find references for one, especially an Early as depicted by AFV Club. I have found pics of the Late version with the spaced armour around the .30 cal mount though, and in those the British side mounted grenade launchers were present, so I added them to mine (in the kit, as were the British Fire extinguishers - remnants of the M3A3 AFV Club sprues they used for this kit too). I also added the British Aerial mounts.
Where I am at, OD down, some detail painting done and markings added. The fender markings and triangle Formation sign are from the kit, the T regn no.s from Archer.
@ayovtshev Angel, be aware that there were variations during the life of production and even so, that B&W pic makes the top of the grill steeper than it is:
The issue is the etch piece should be just the rectangular grill with the top piece made as part of the full housing. It should not be a curved grill top. I suggest doing what I plan to do when I build mine, remove the grill and cut off the top piece making the whole grill a rectangle. Add some styrene and shape the top of the radiator housing to the correct shape. Then turning the whole brass grill upside down, glue it so the bottom is now the top. There will be a gap at the bottom, but the QL series often had a rolled up ‘cold weather’ cover stored there:
So after a bit of a delay I got the weathering done and details finished. Not sure if accurate, but went for leather straps on the tool clamps. Also went quite subtle on the overall weathering as just can’t seem to get a feel for dust, in the same way as mud and dirt.
Overall though likely accuracy issues aside I’m really pleased with this build. I’d recommend the kit too, particularly at its price point.


 🪚
🪚
 I hope to see some of your progress pics very soon.