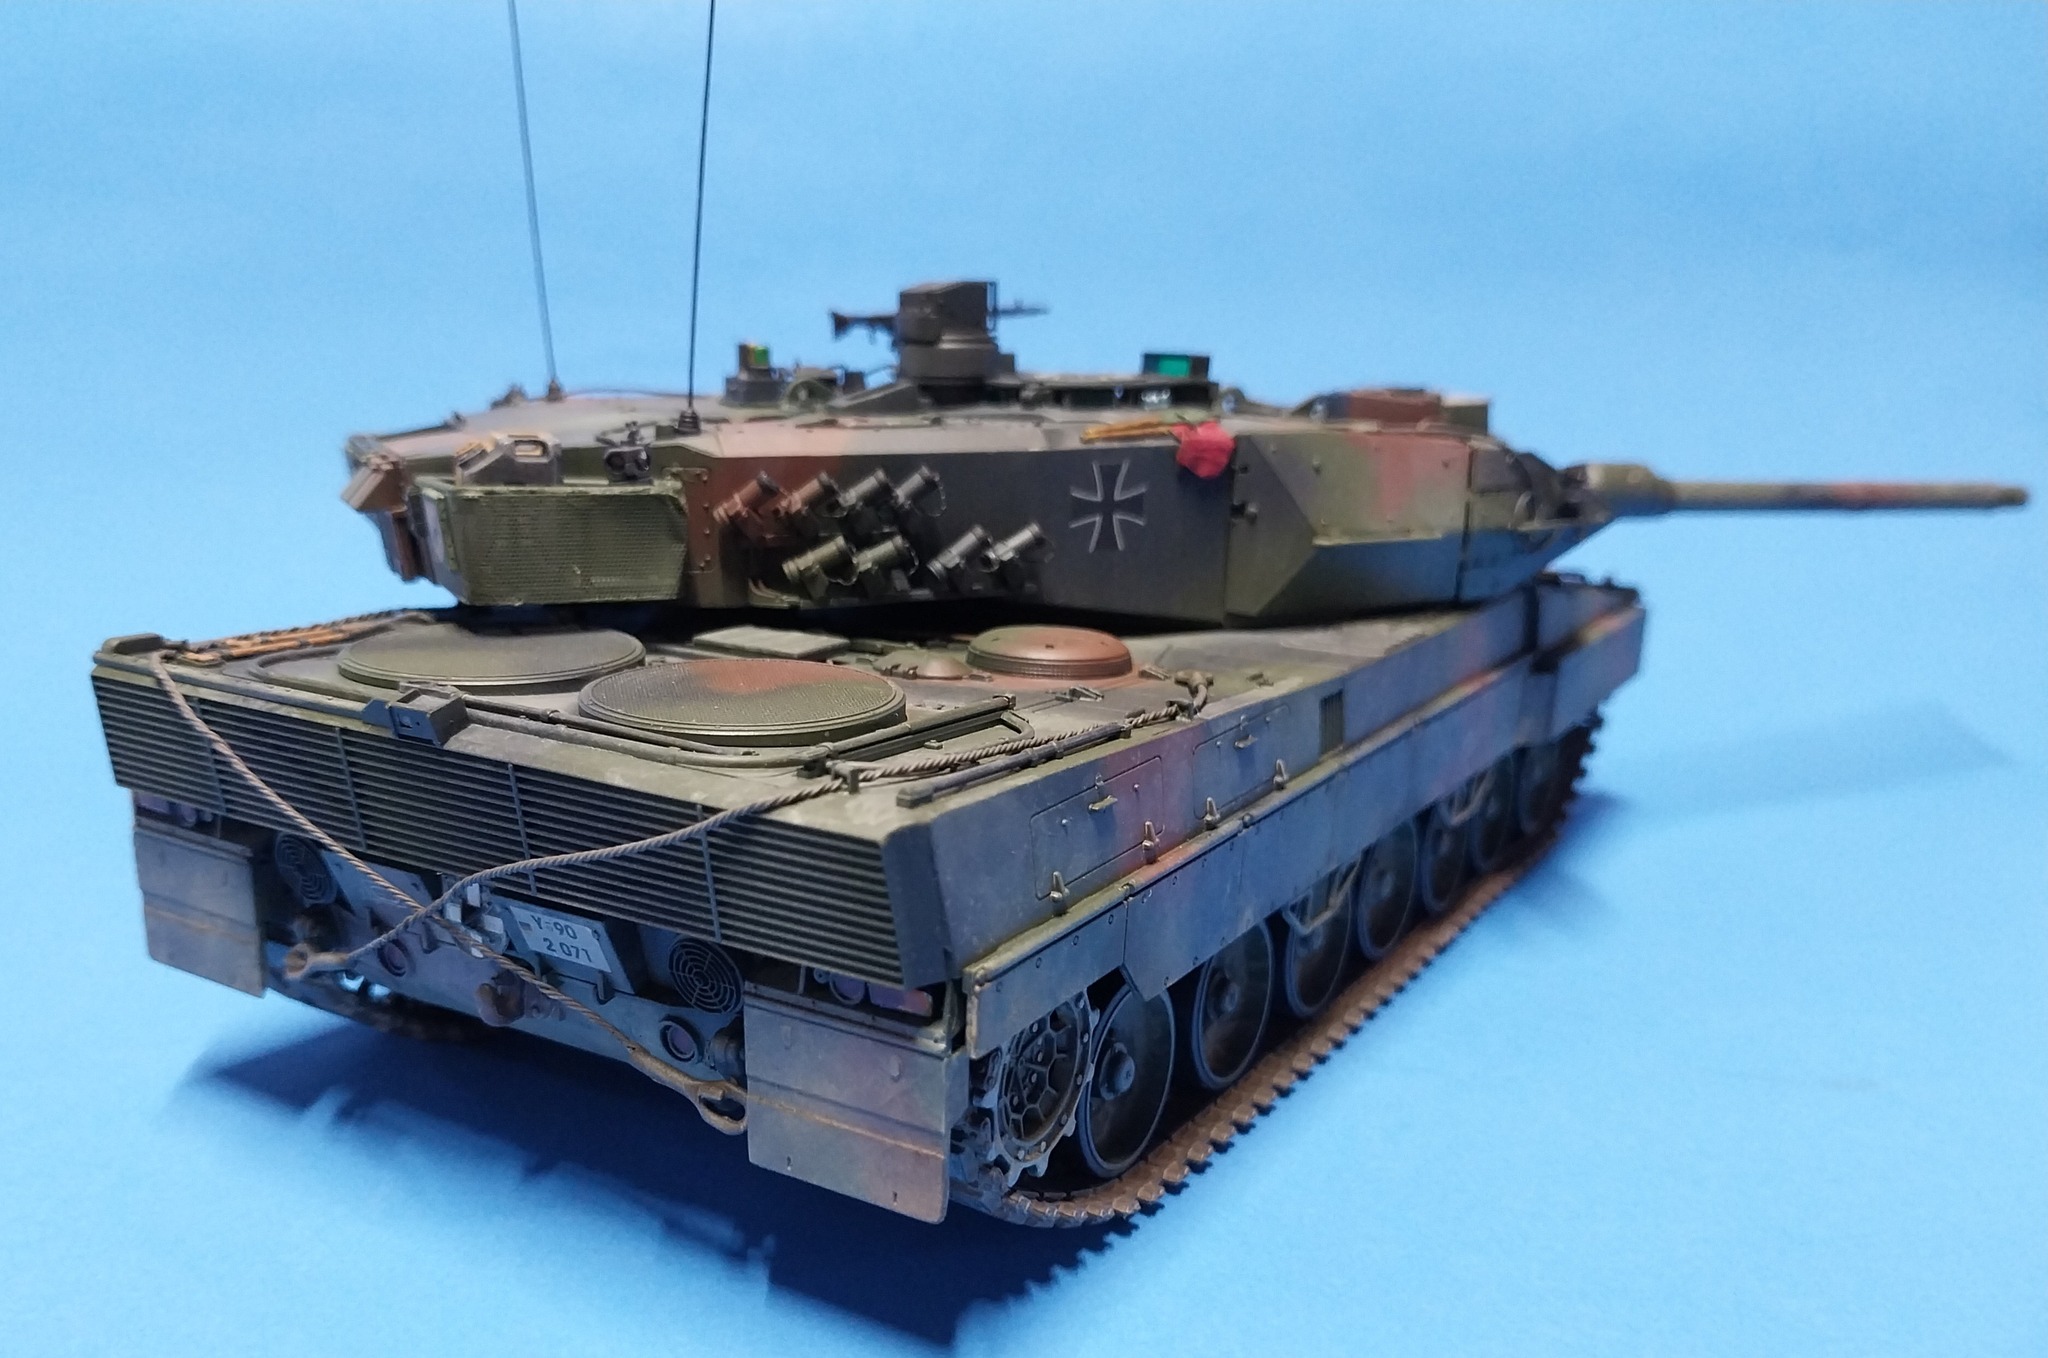
I’ve been scouring the usual online areas for reference images of the Leo 2A6M … and I just realised I have the Tankograd Leopard 2A6 book with all the 6A1, 6M, 6MA1 & 6M+ variants in the cupboard !!! Double Doh !! ![]()
3 Likes
I wish I hadn’t remembered about the Tankograd book …the more I look, the more I see that I may do … ![]()
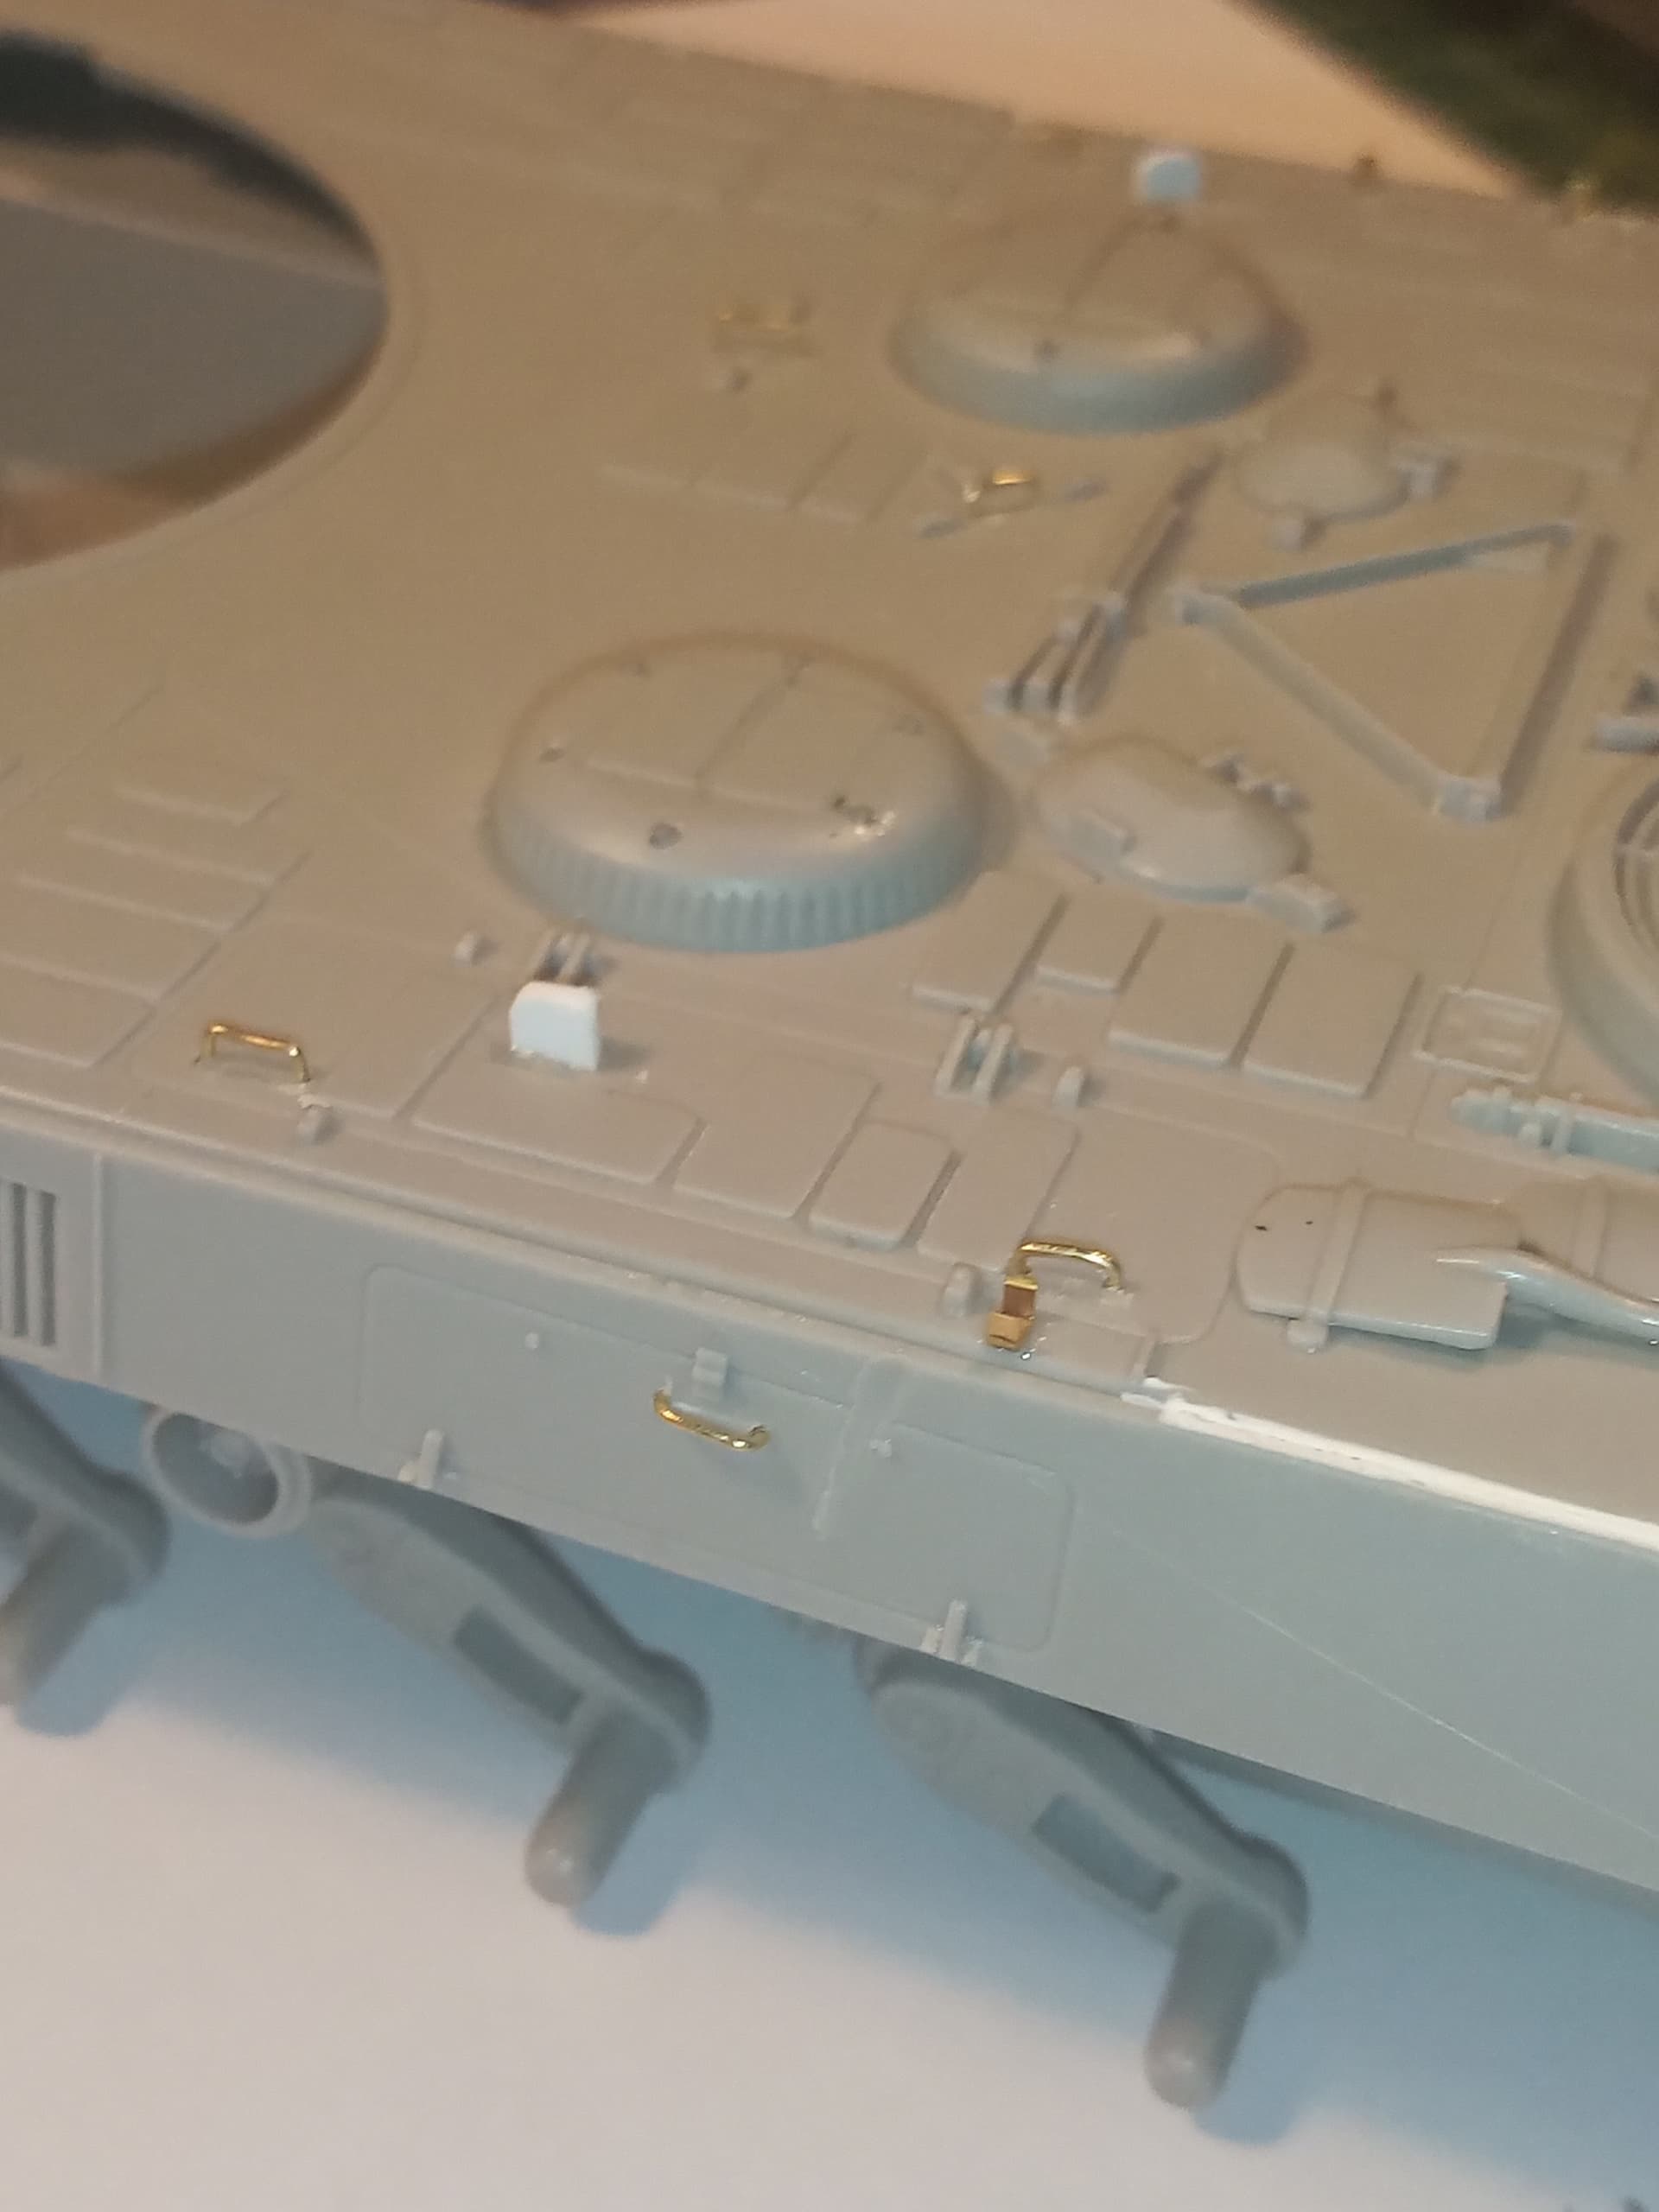
I will also be adding made up PE recovery rope guides/mounts on place of the terrible moulded on kit offering …
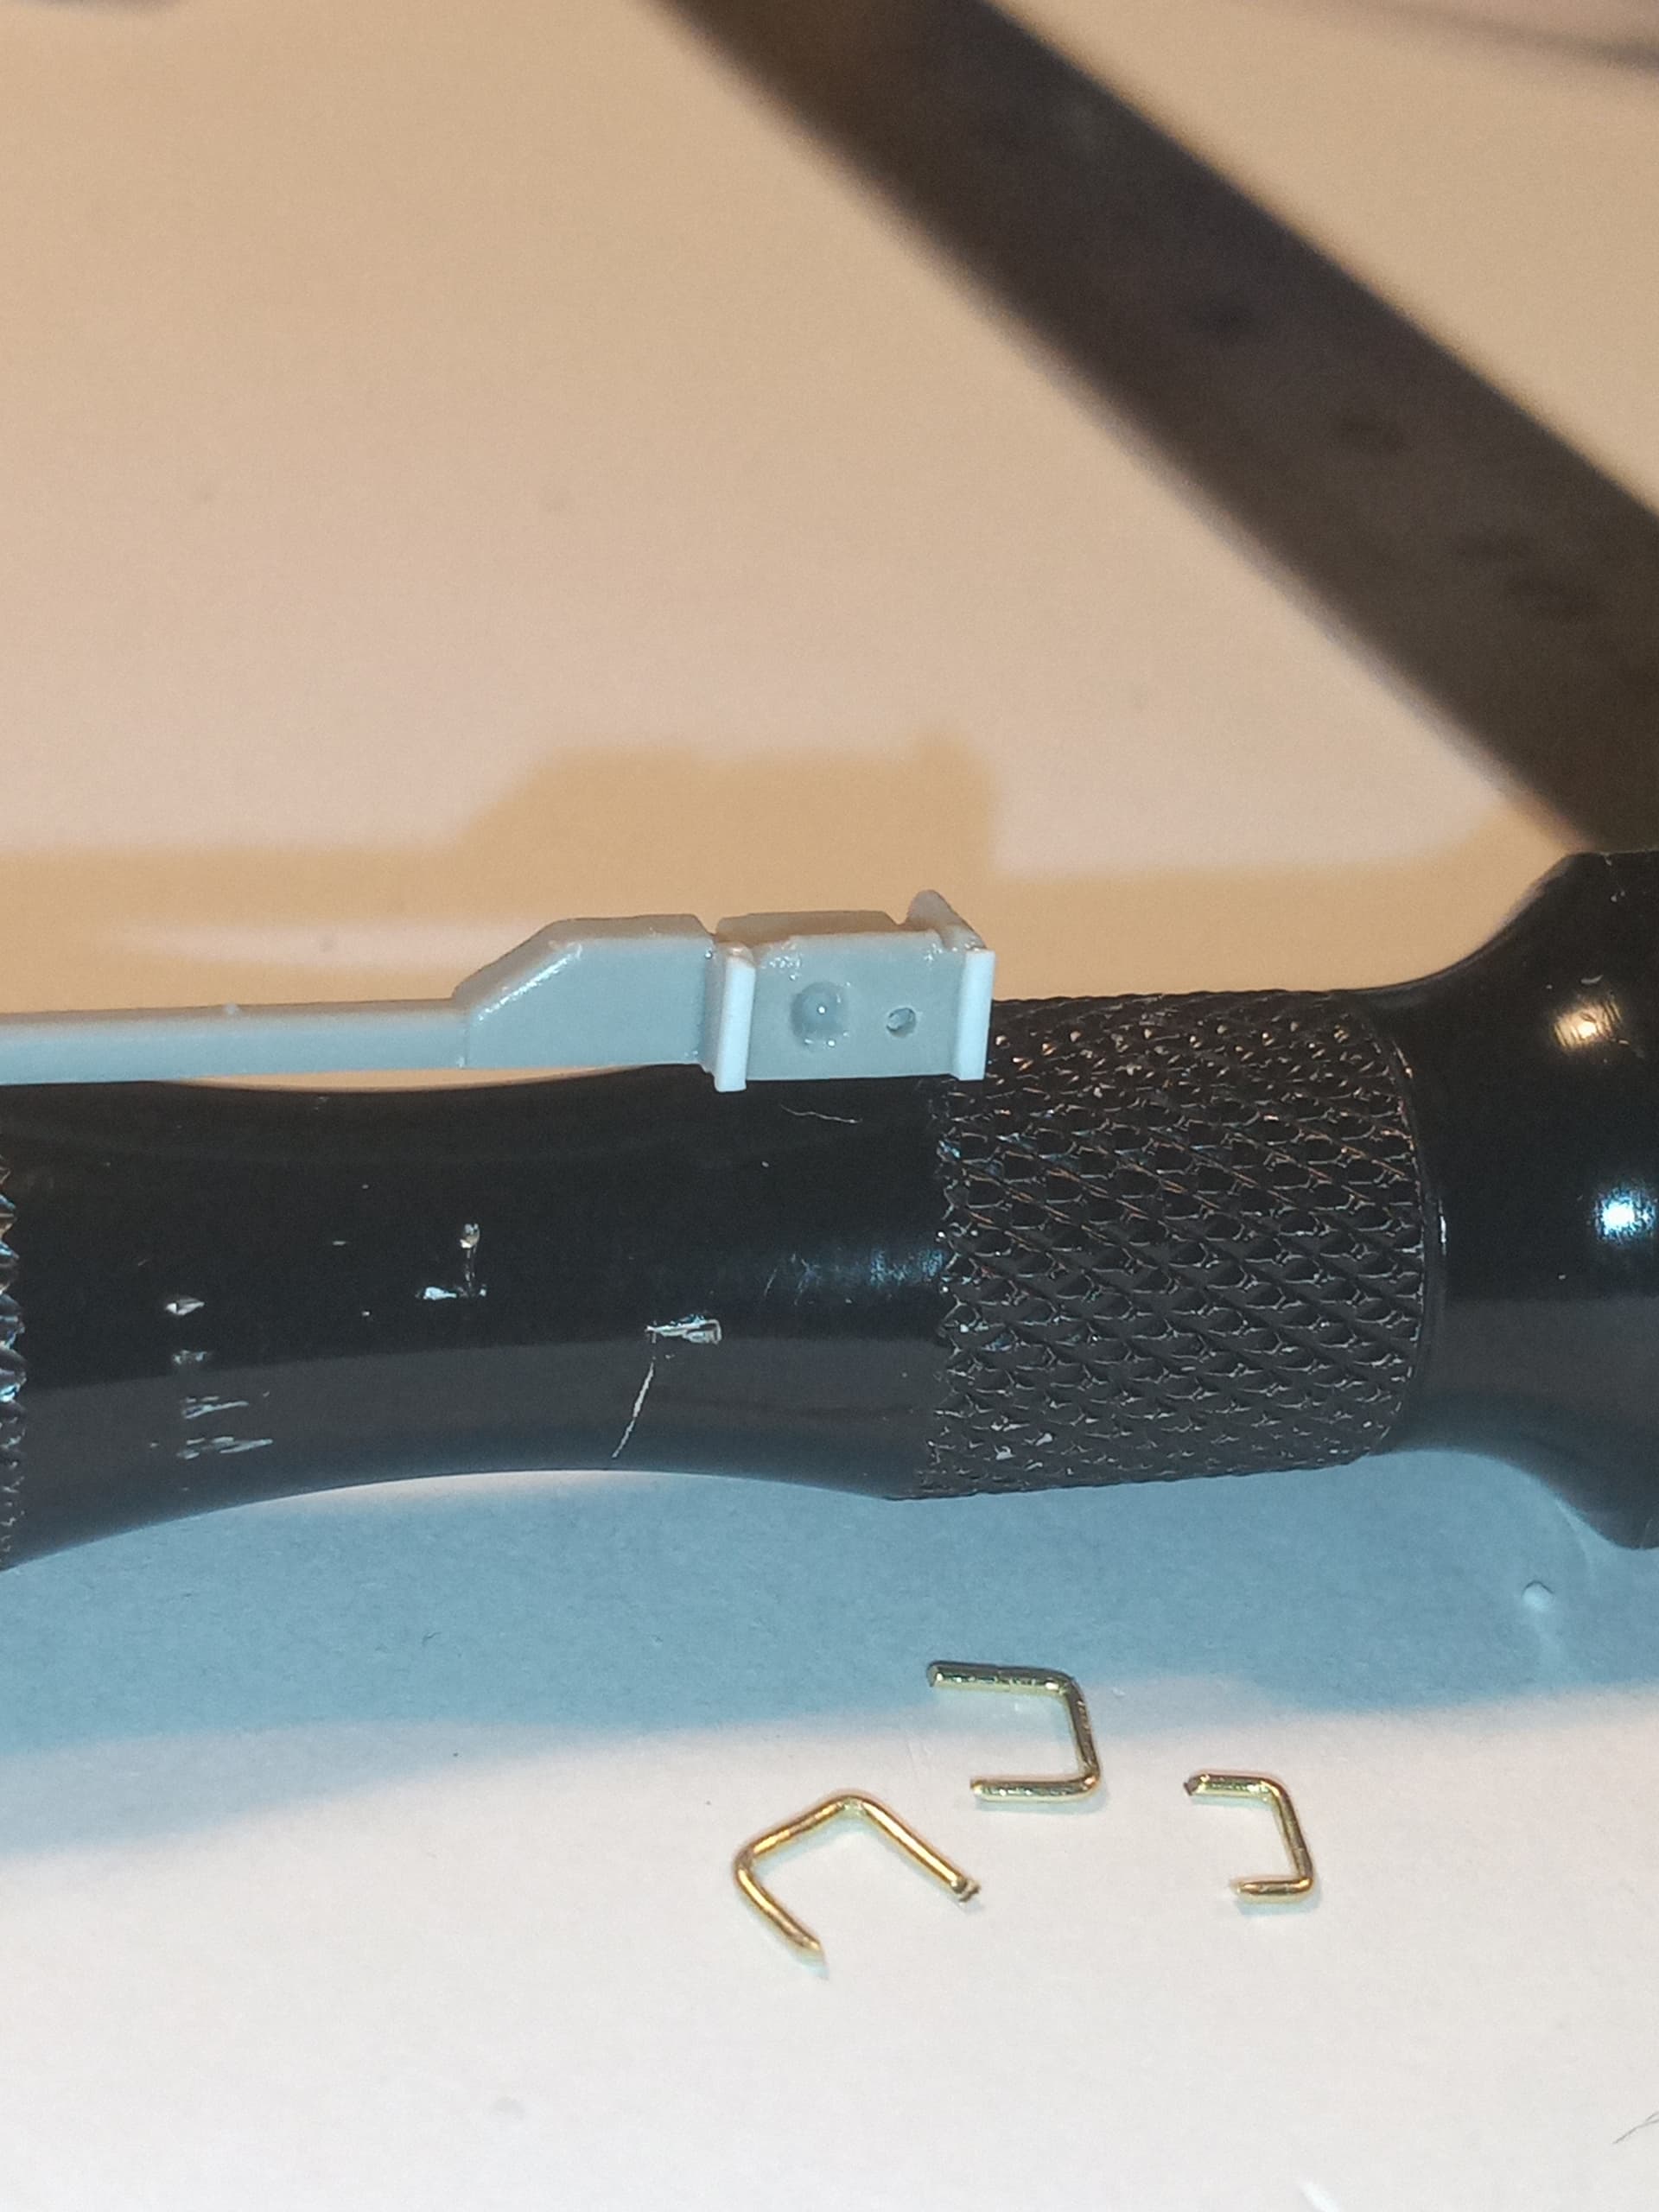
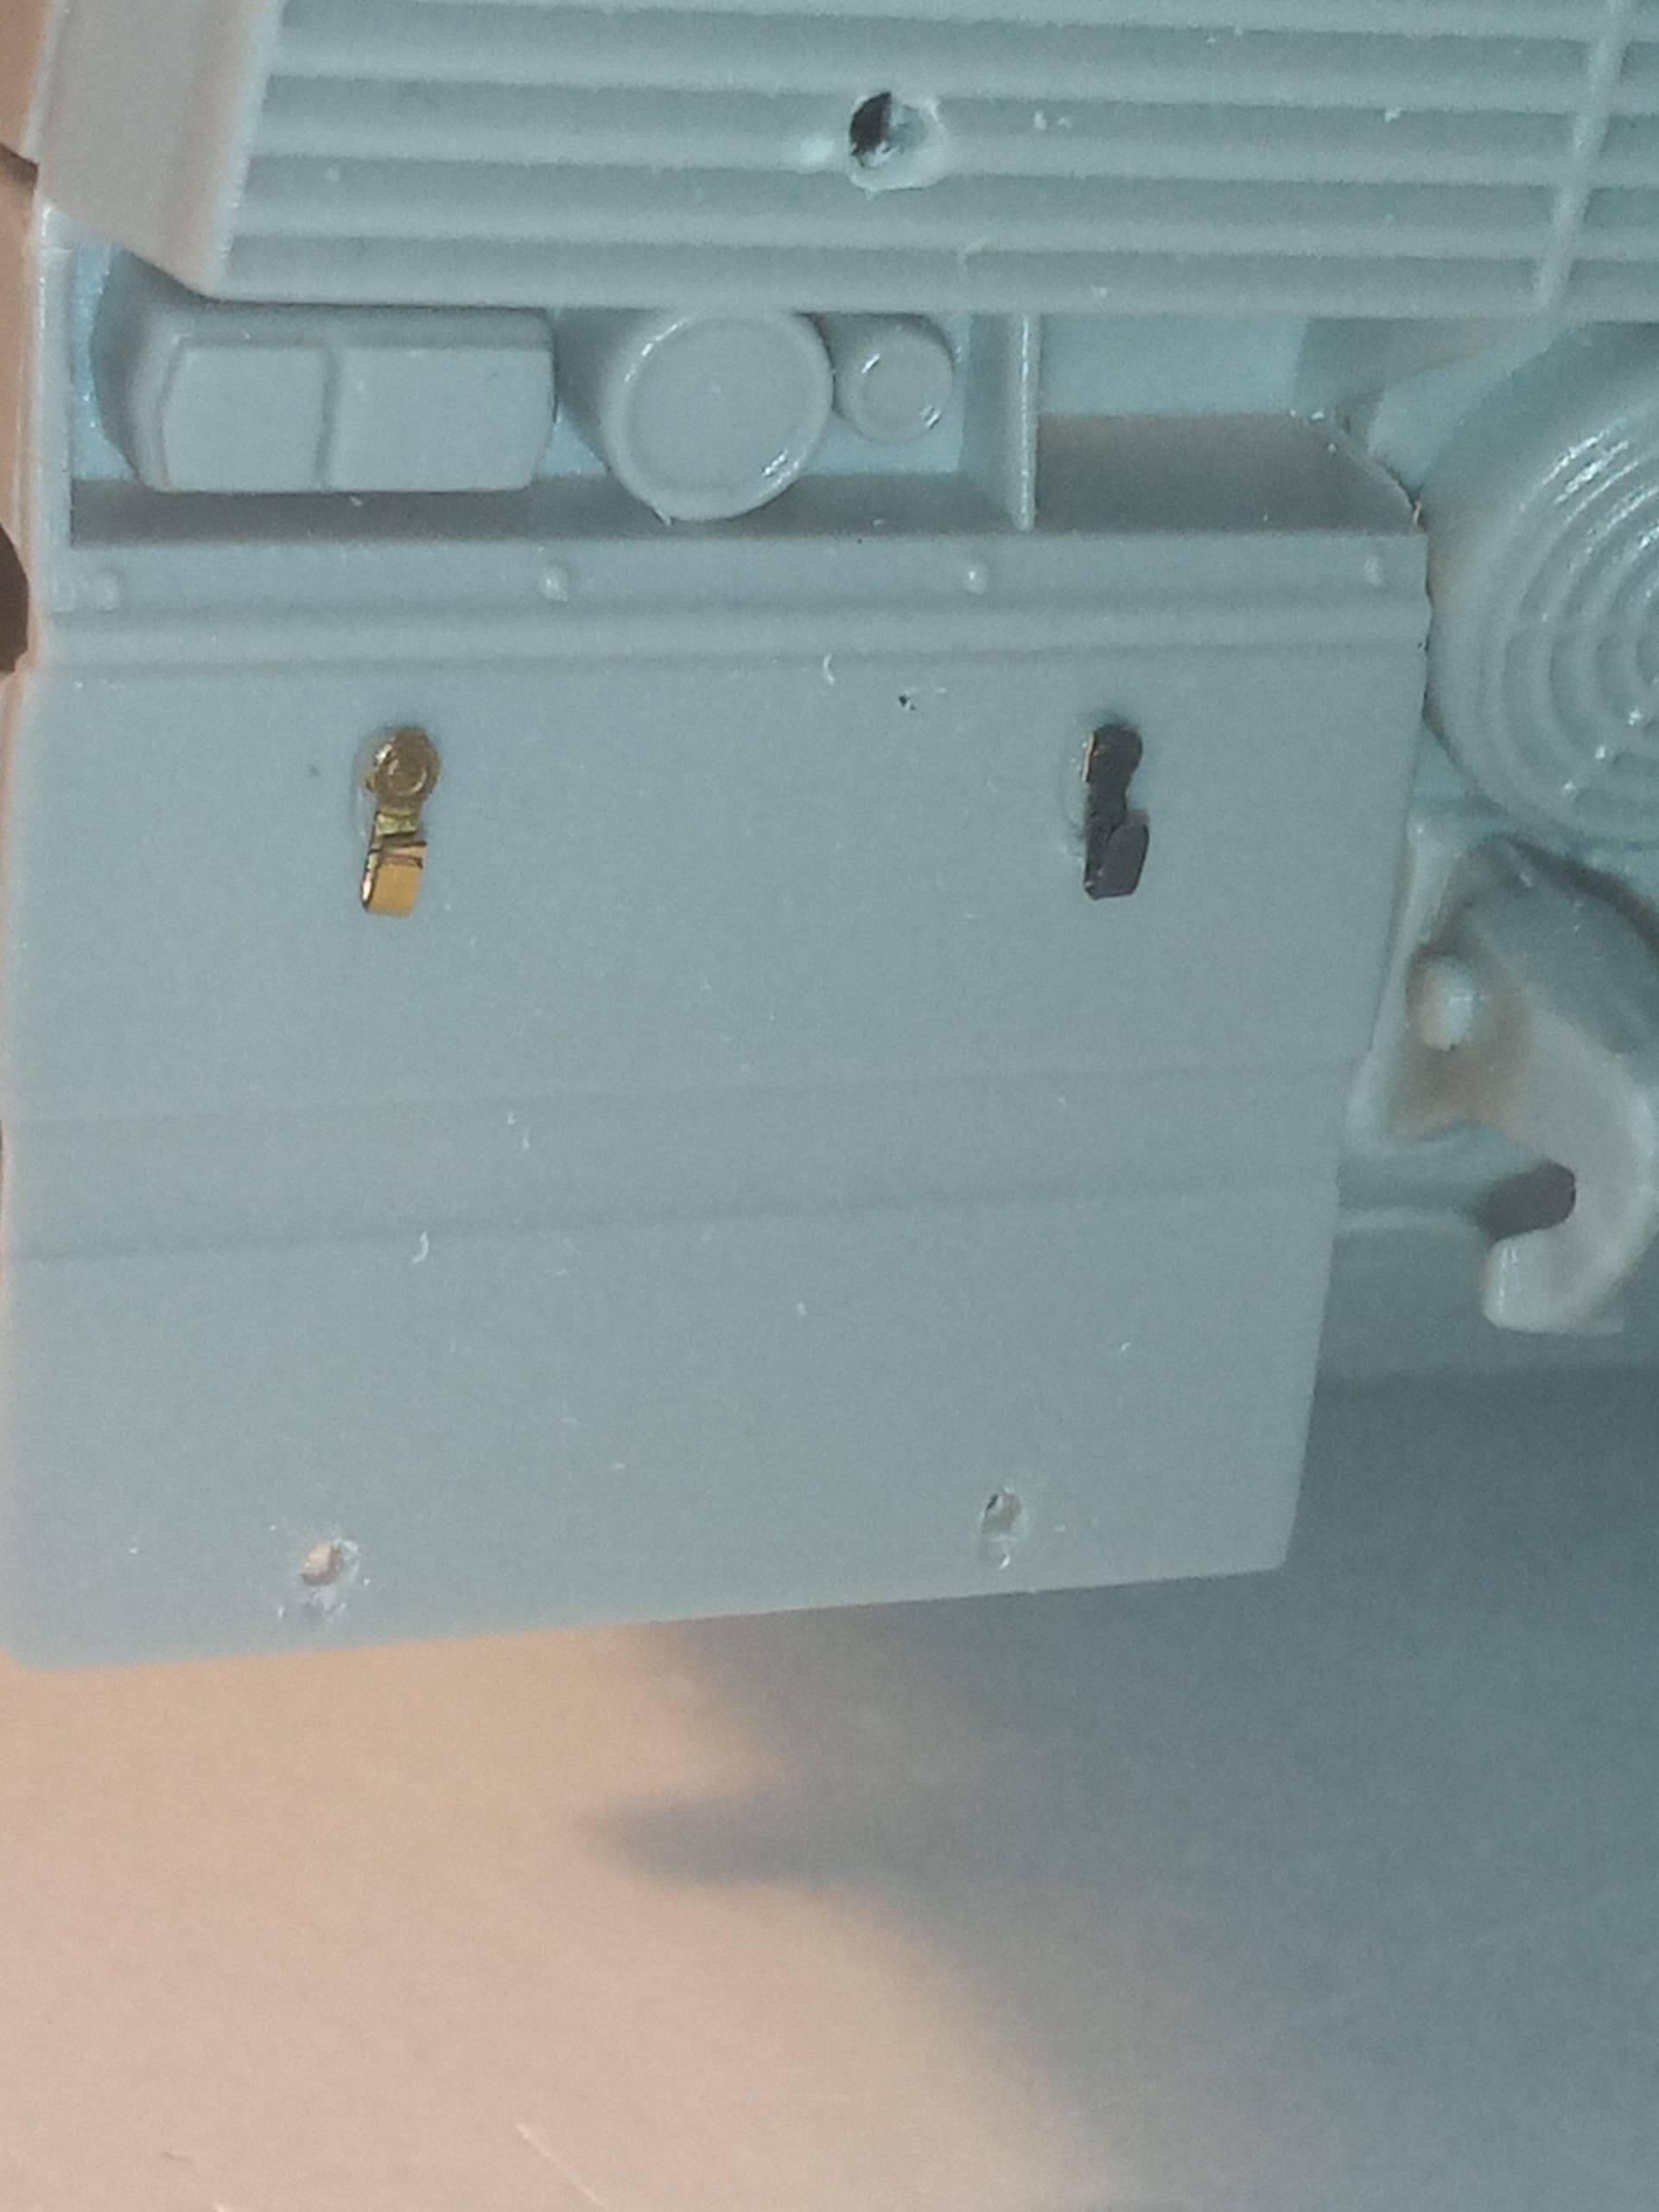
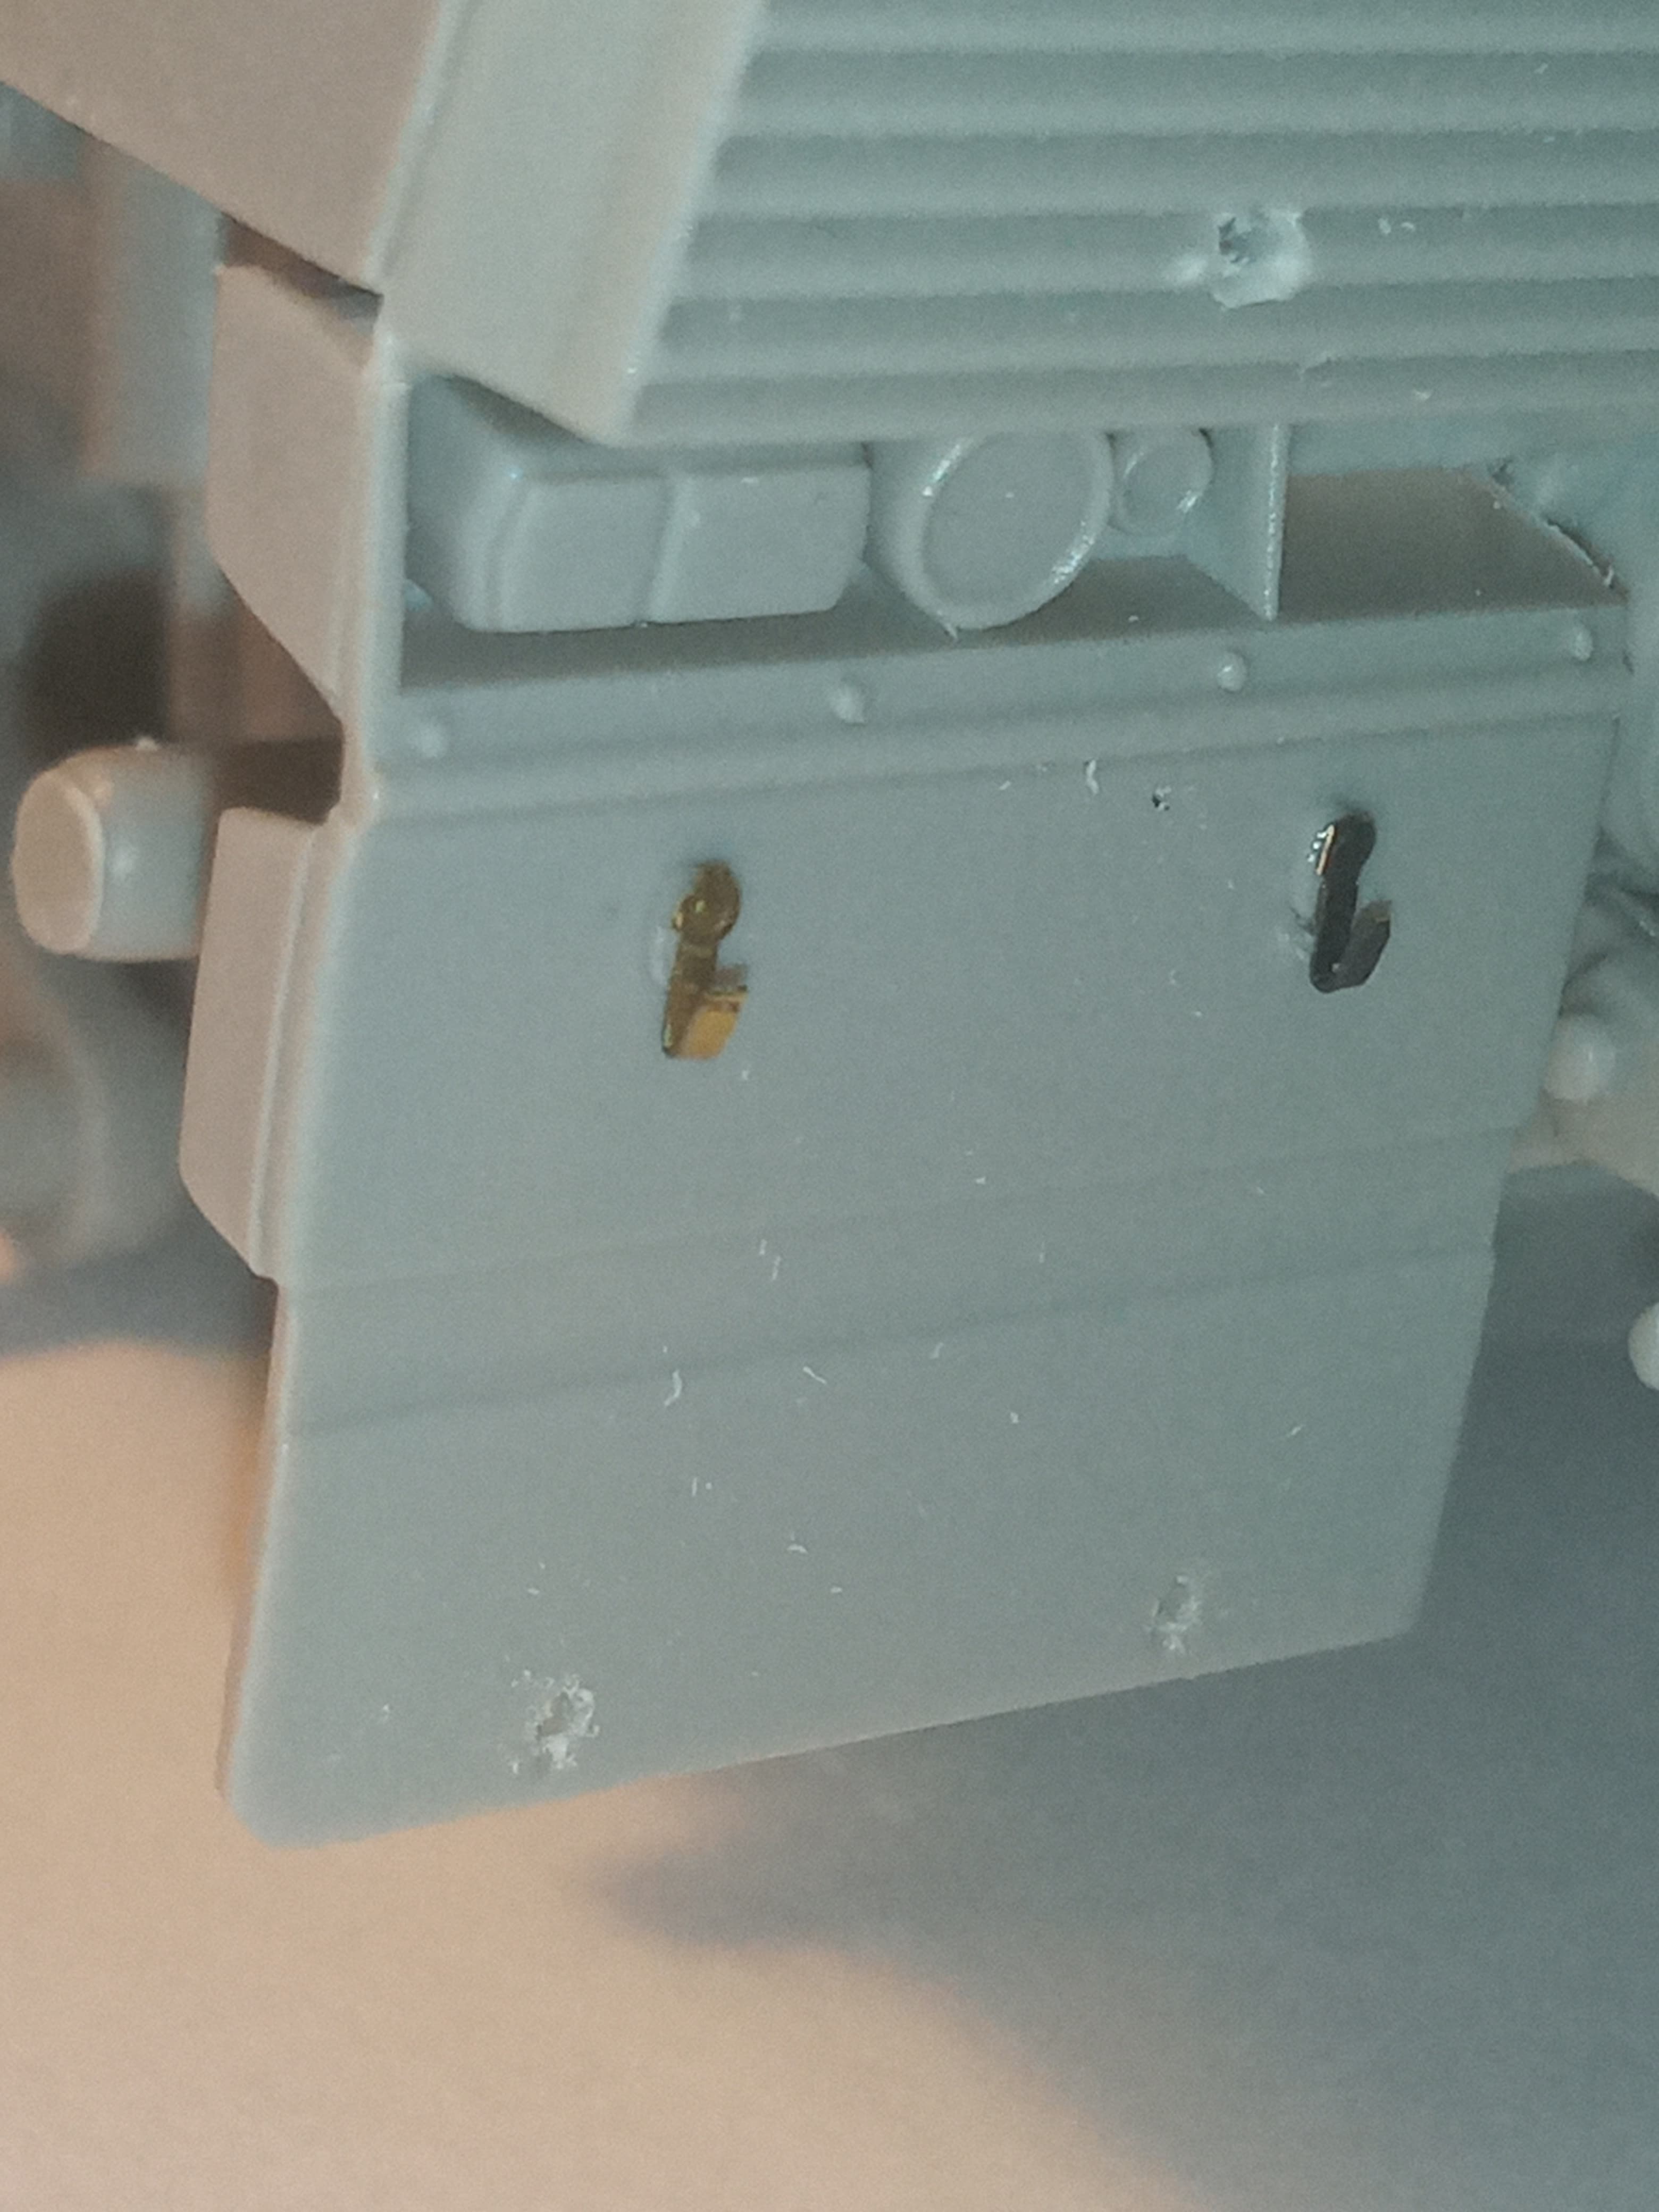
While looking at the Dvrs rear view camera, it screamed out for a bit of help..it had no detail whatsoever…
I added some thin stripes each end to bring it out a bit, and drilled out a small hole and a bigger one and tried to straighten the edges on that one, … It’s not perfect but better than what was offered.
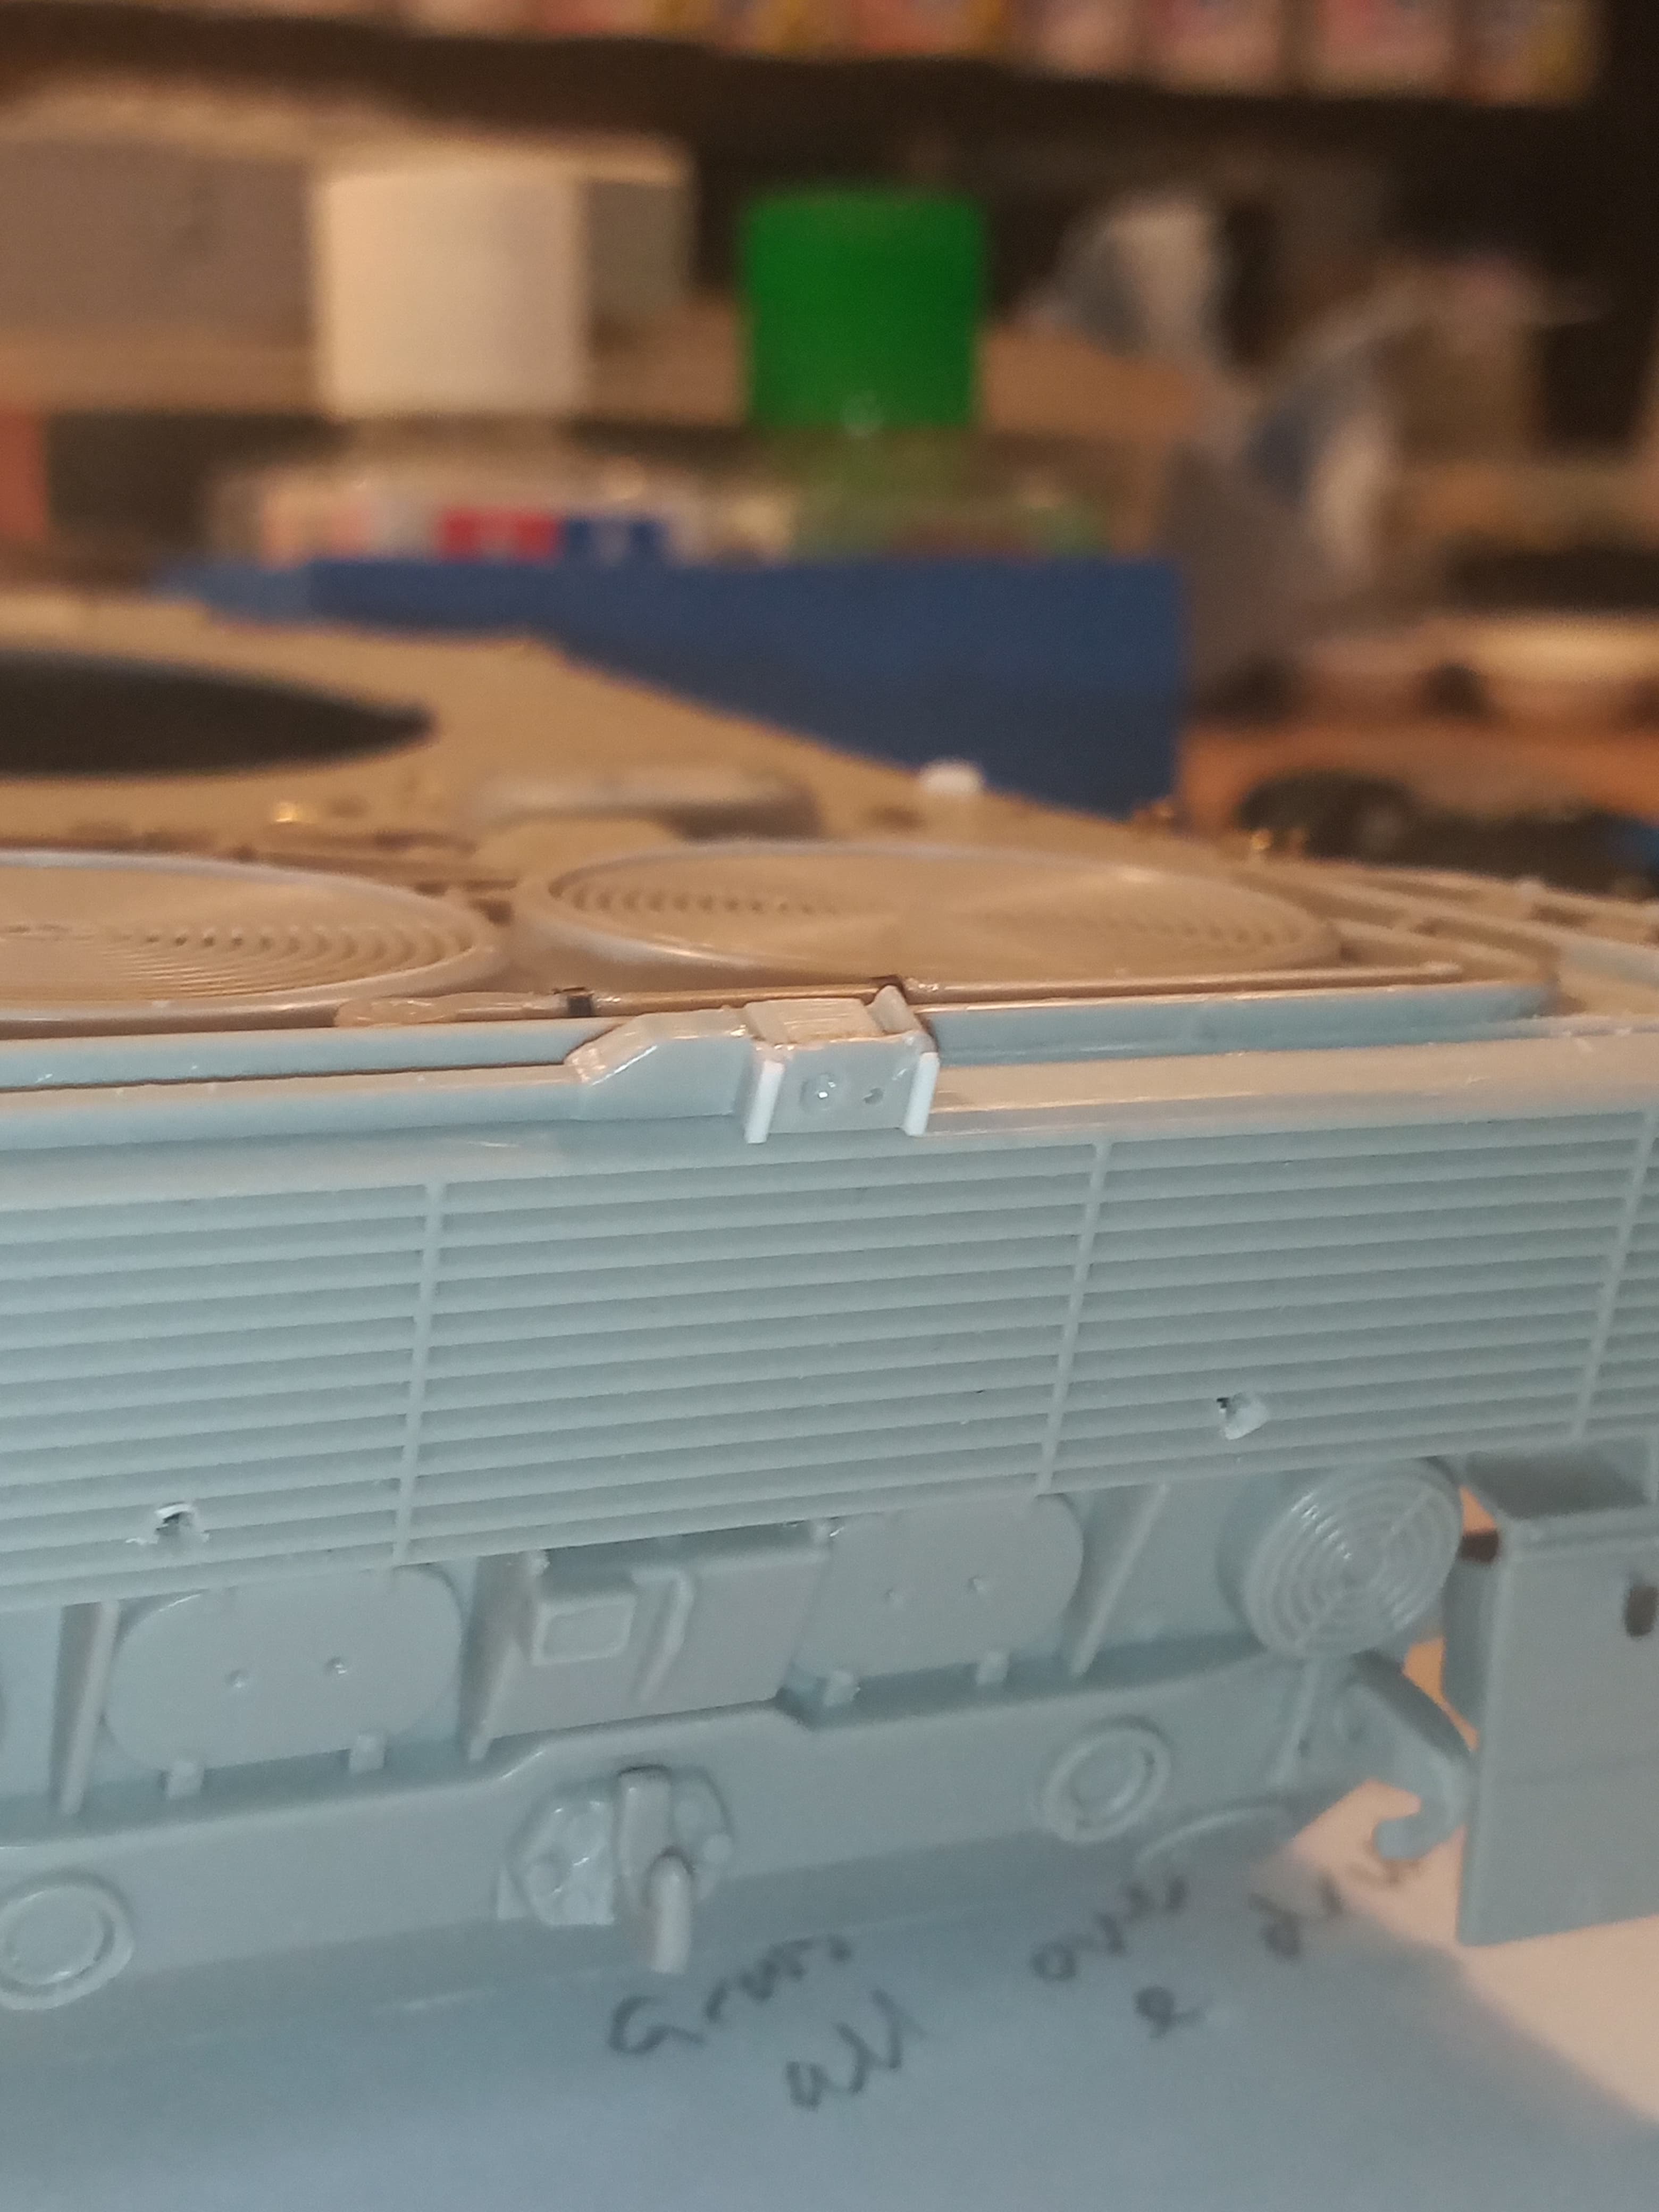
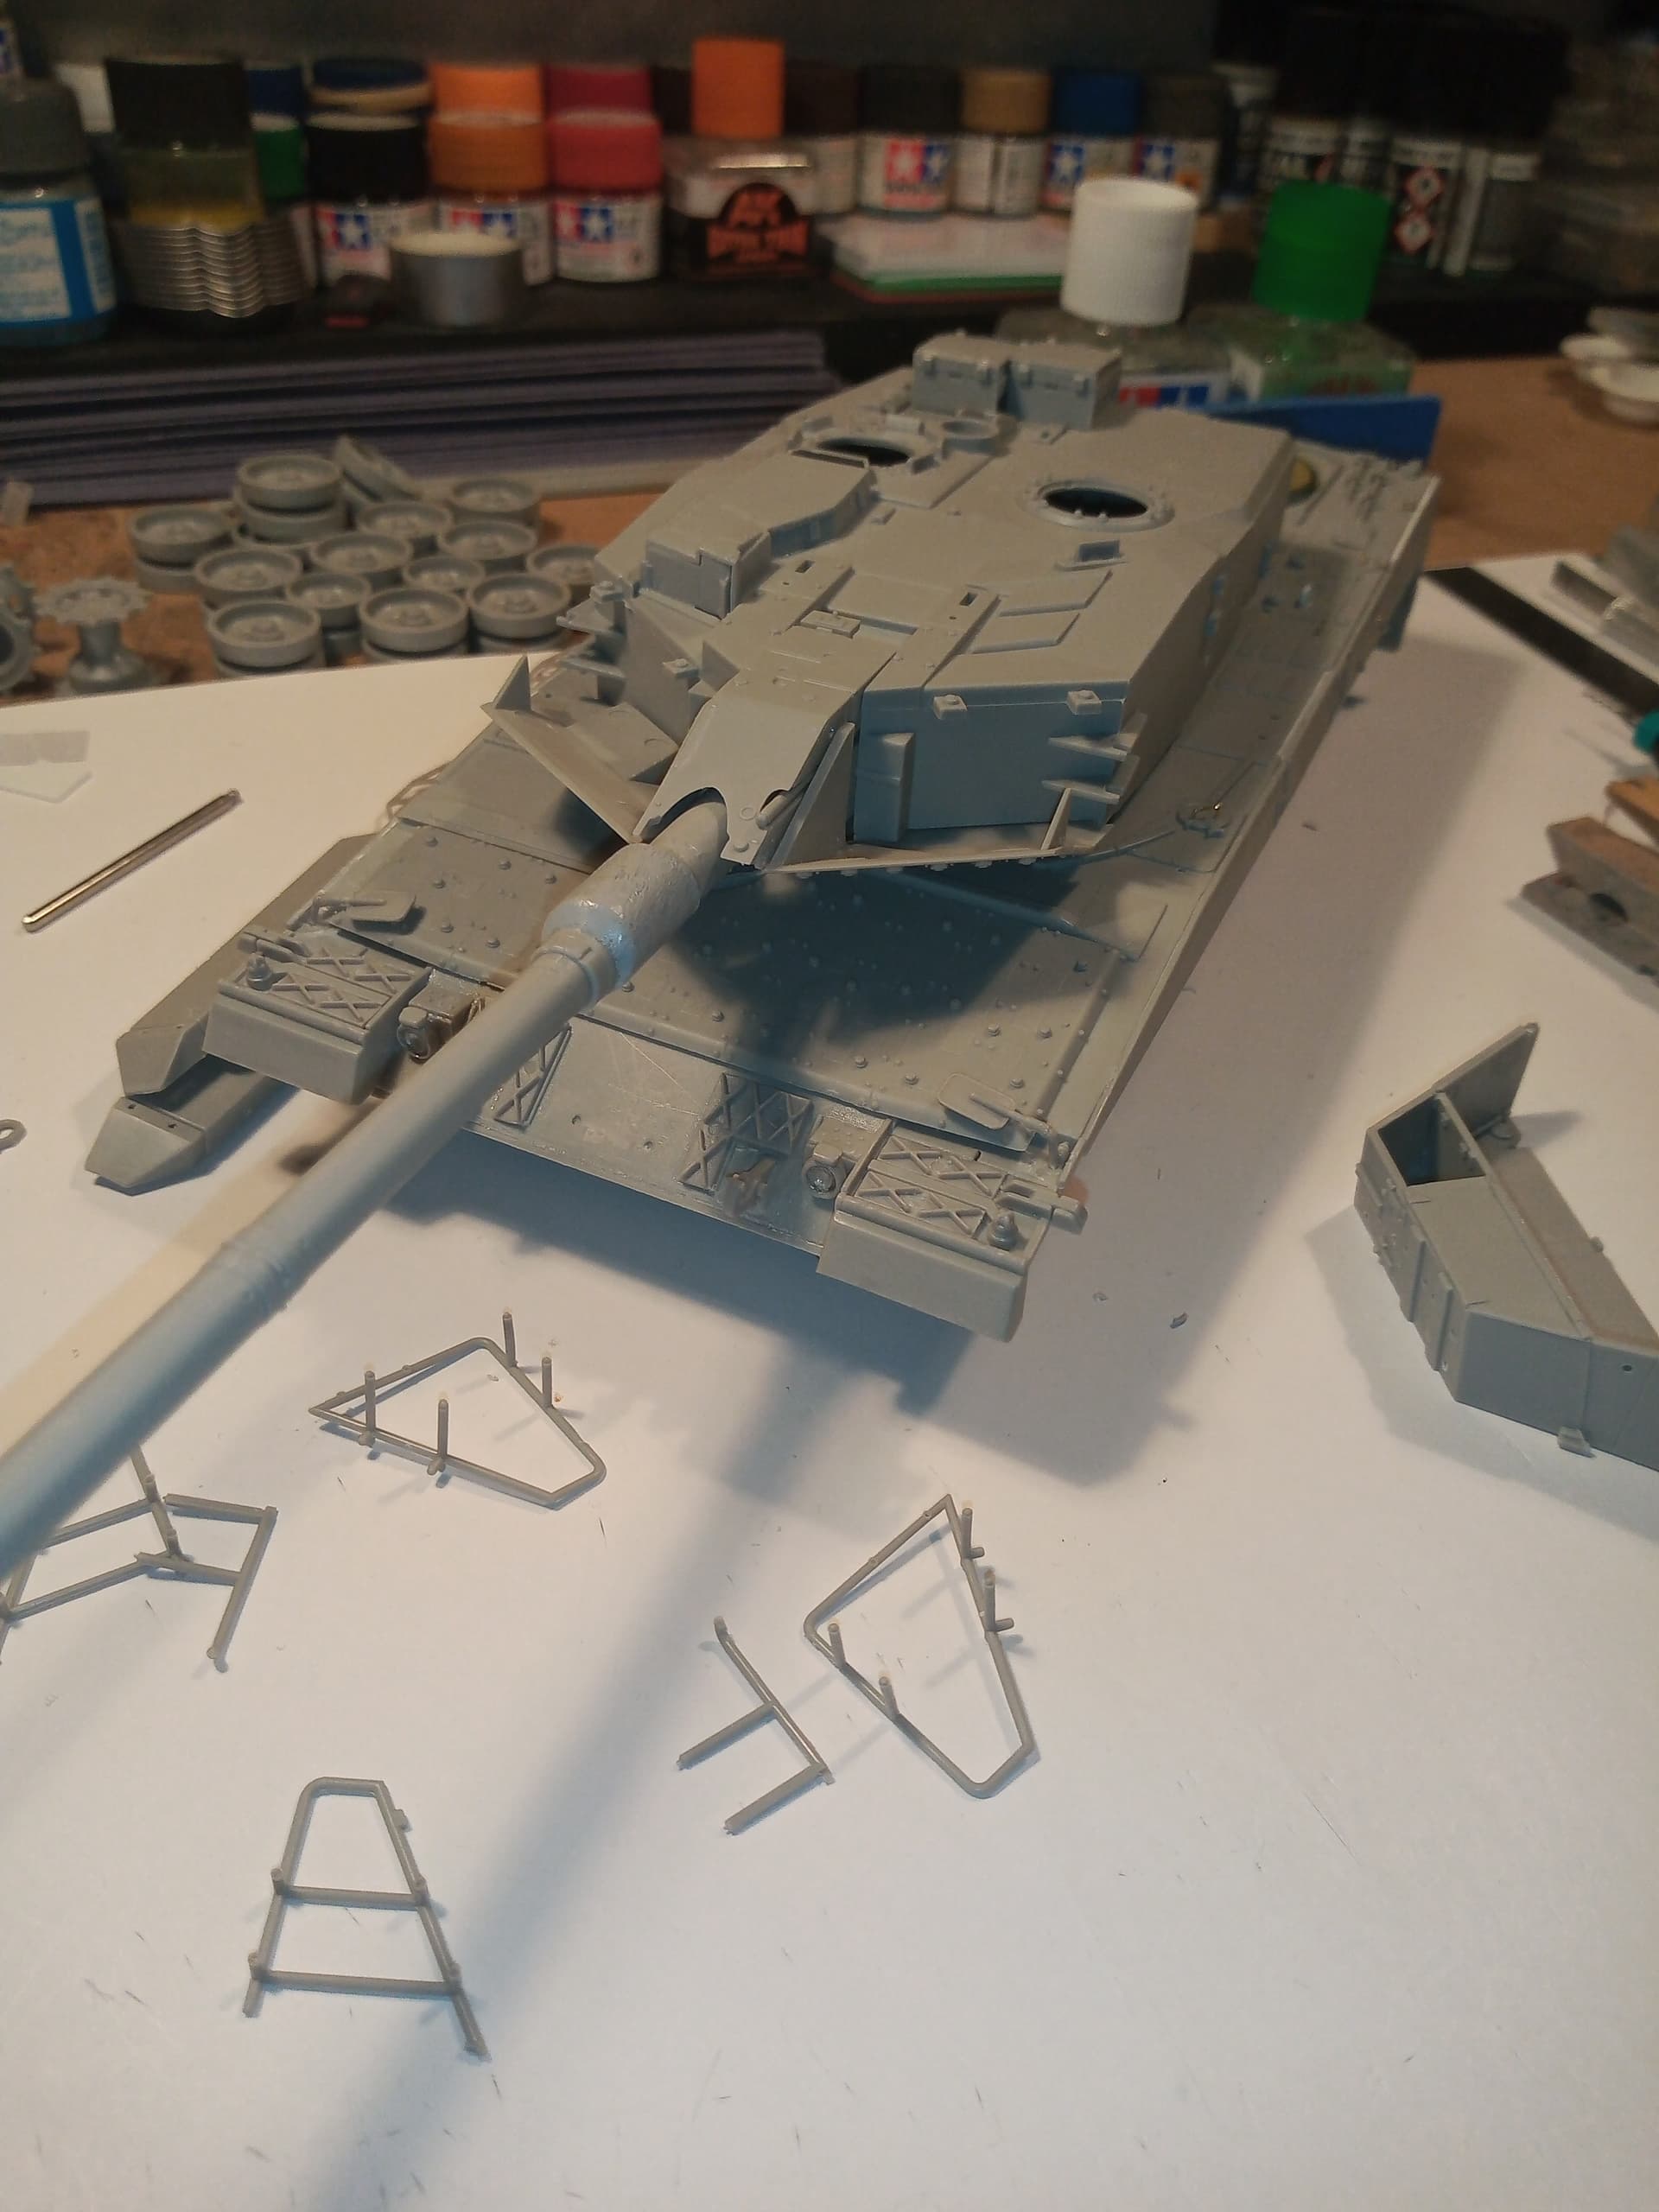
Got the hull together less the lower side skirts
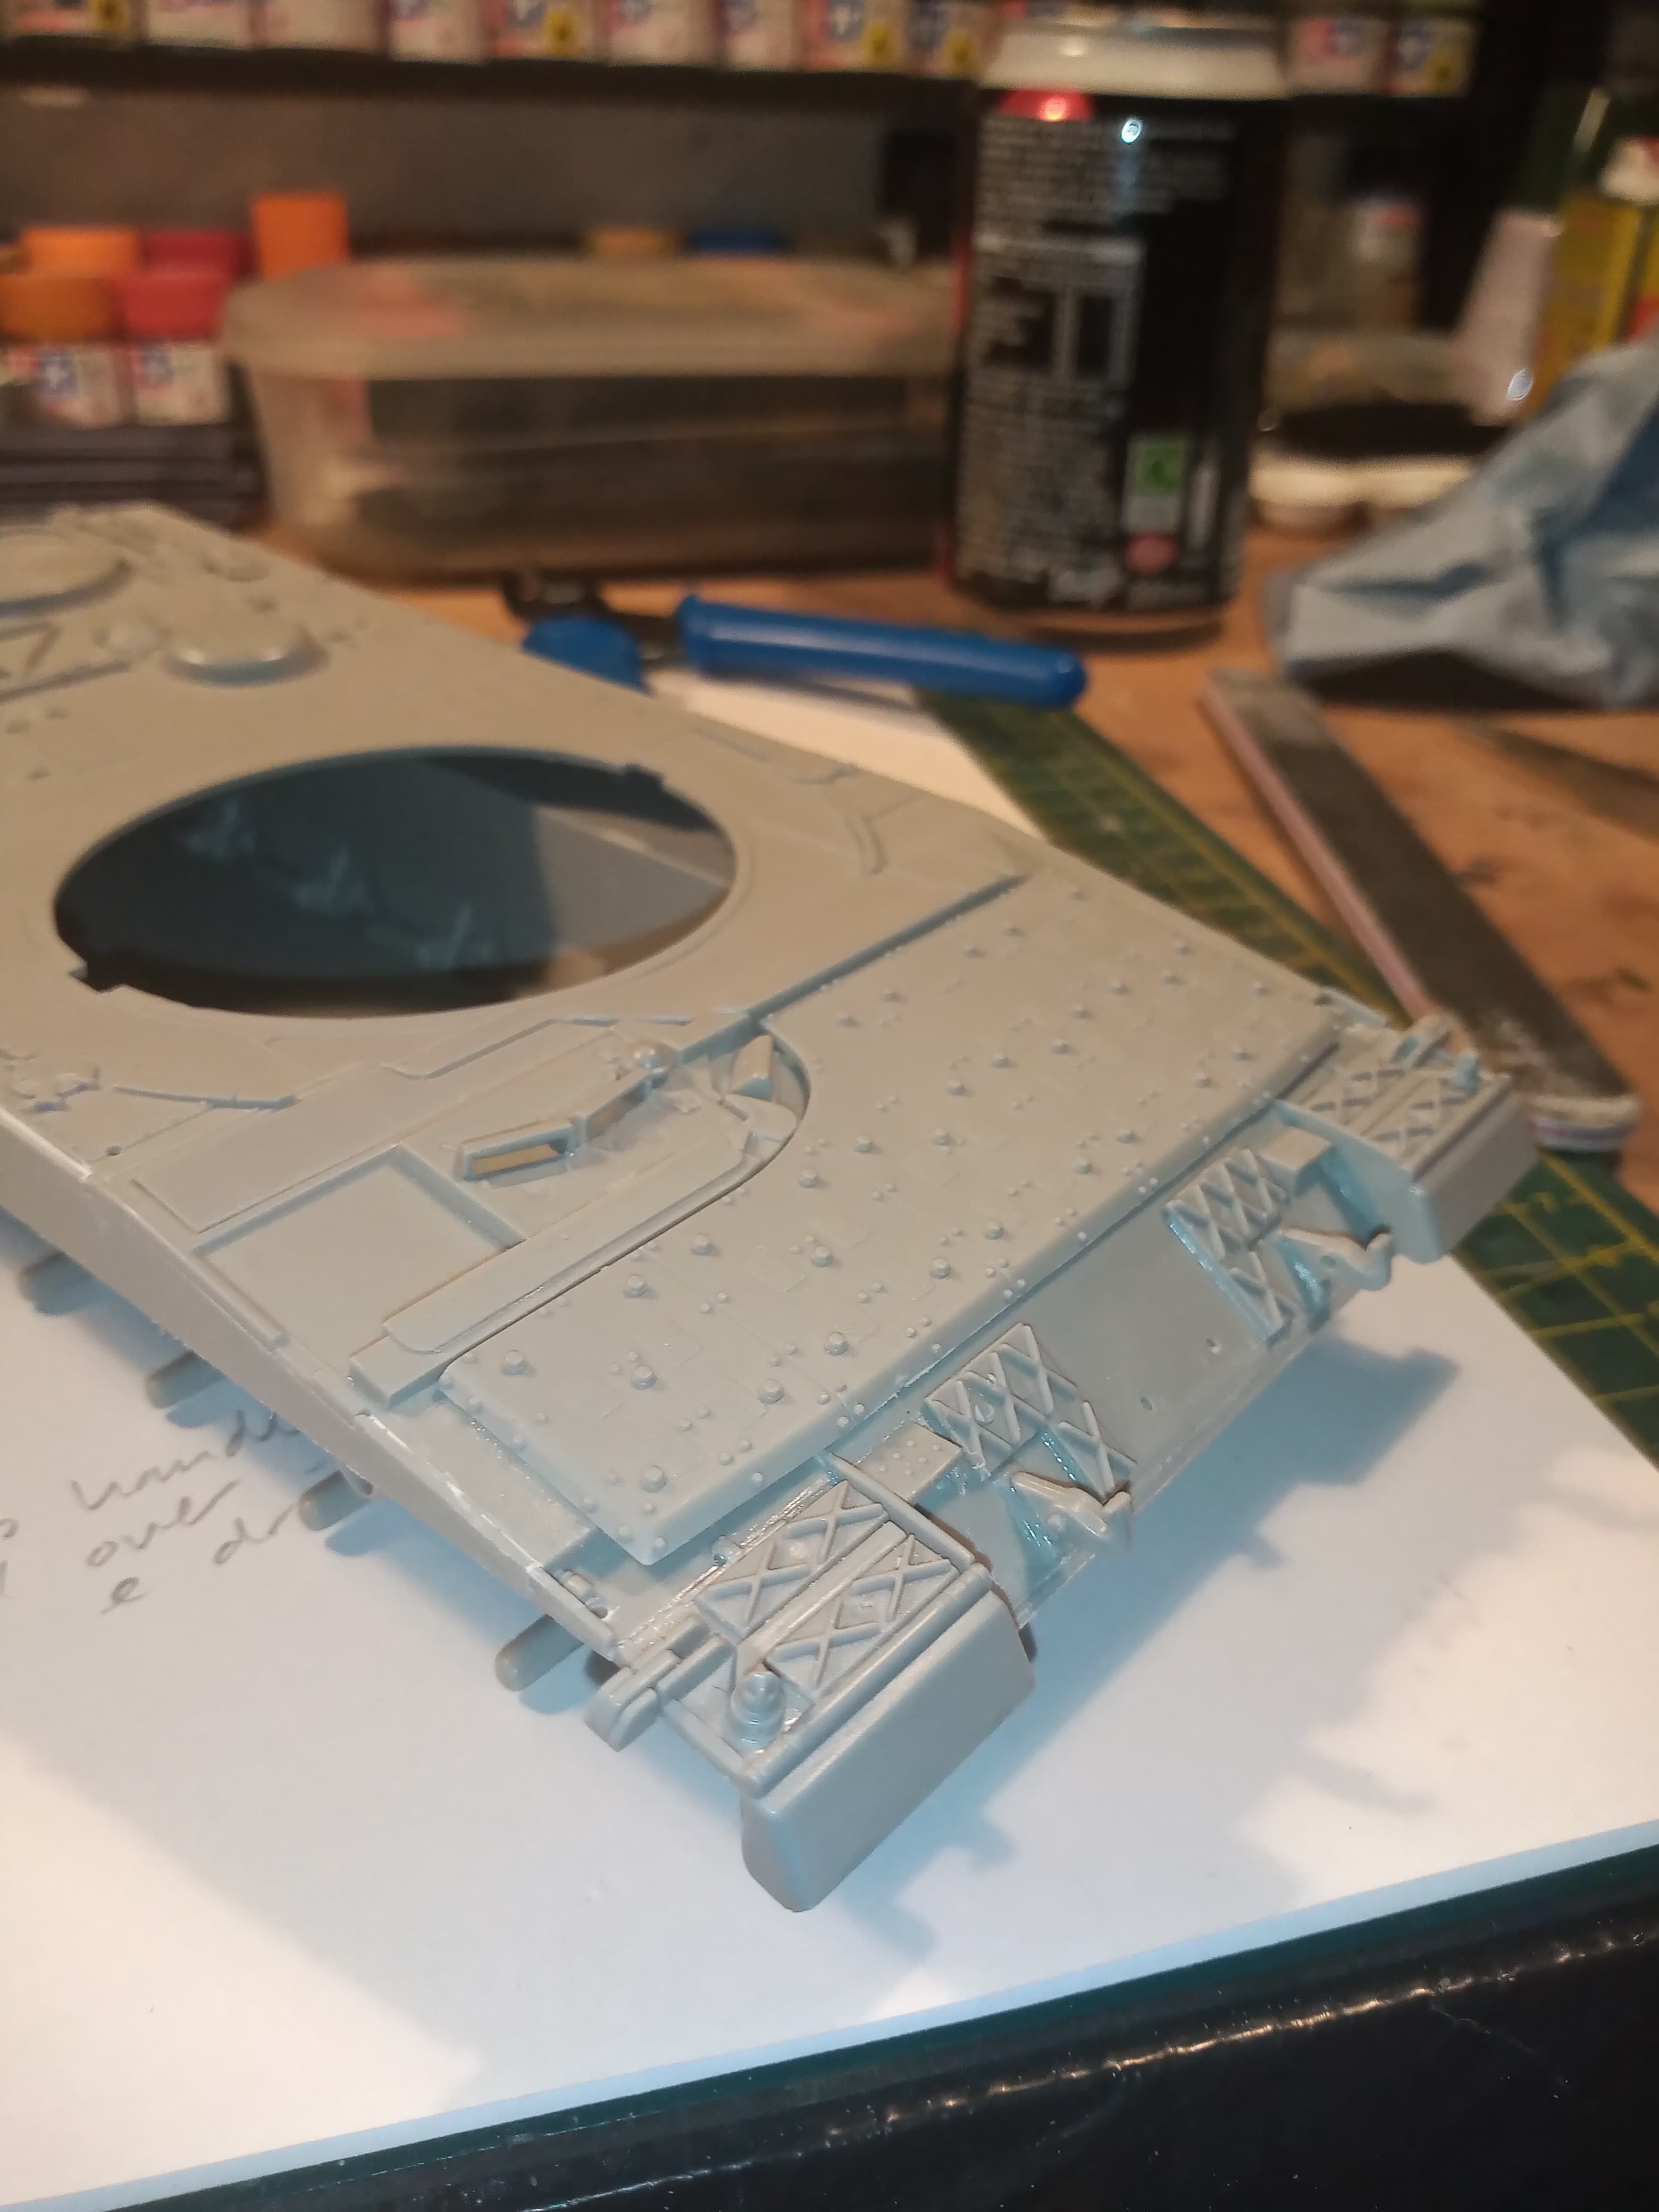
Massive gap needed to be filled here and along most of the upper edge on both sides
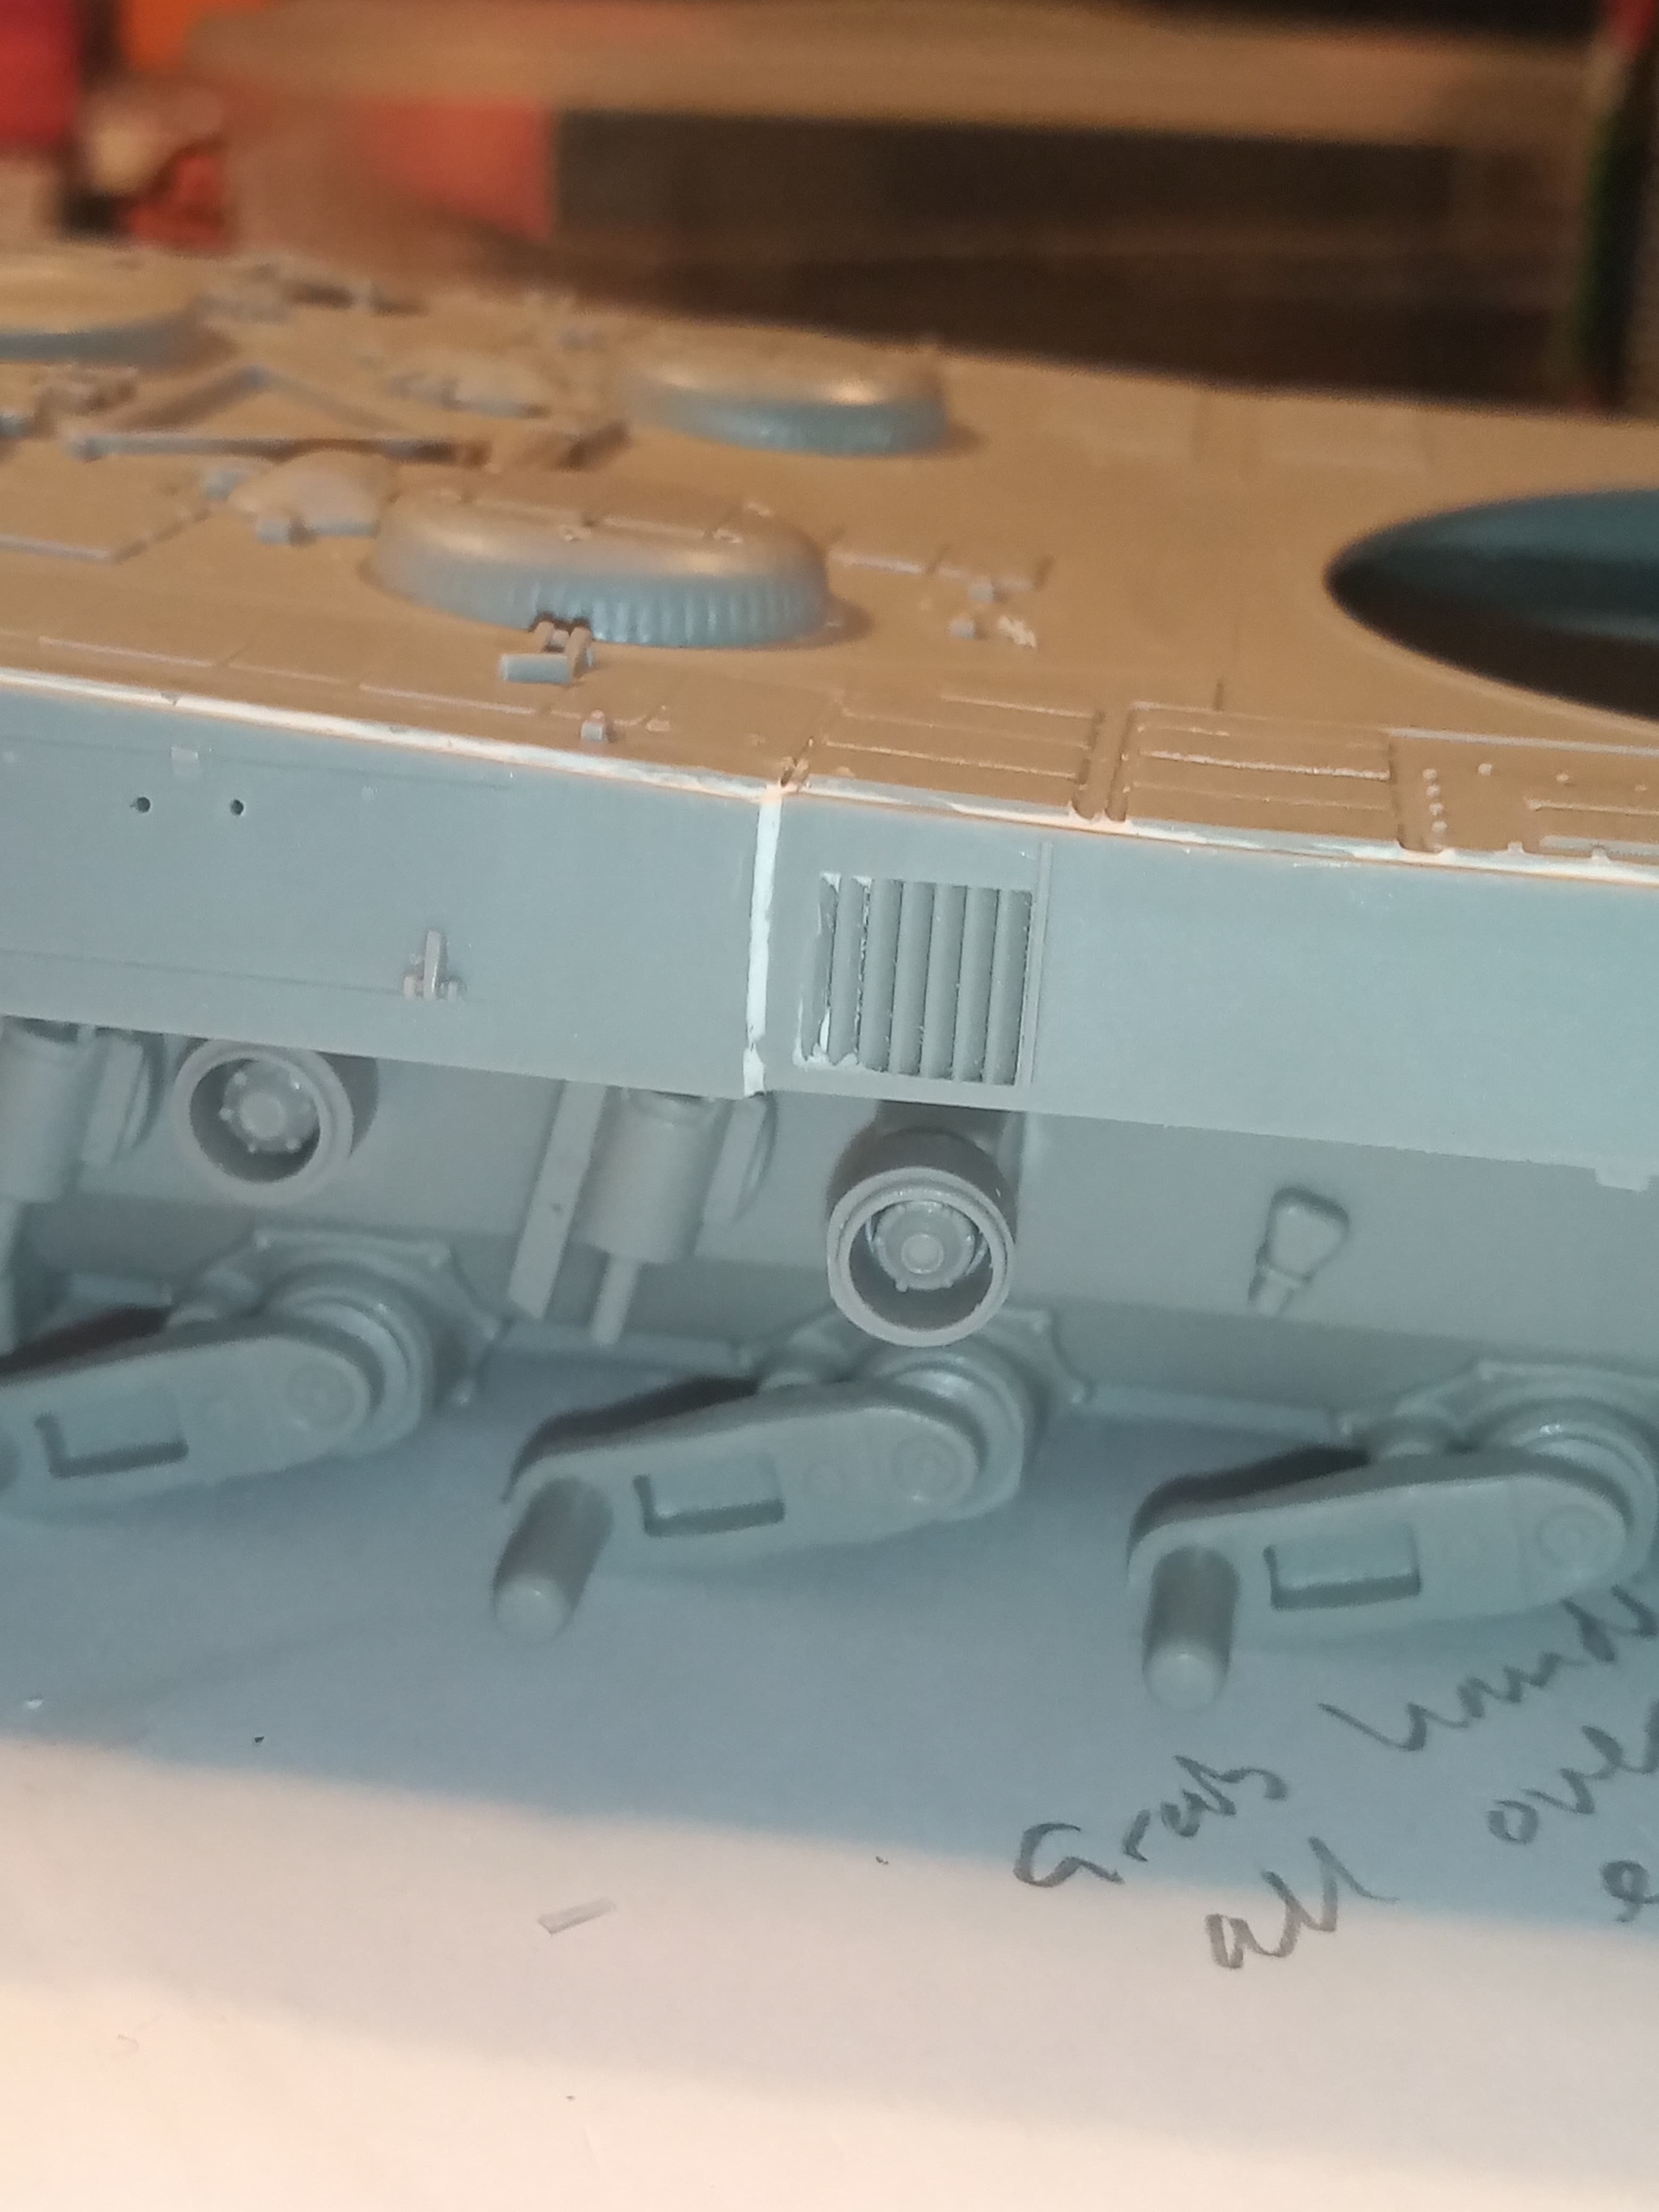
Drilled out all the holes for lifting handles and in the process of making those. Also drilled out the holes on the air filter ?? covers and will add some small MENG bolt heads into those holes.

And the rear hull plate area.
4 Likes
Good idea… but to avoid having to paint them (if you are) perhaps next time use clear colored acetate plastic. It comes in sheets - I did on my Leo 2A6 - green… I admit I did cut my vision blocks out on my Cricut machine using the Tamiya size specs from instructions…worked great
4 Likes
I guess you’re going to sweat the small stuff. ![]()
2 Likes
Saved!
2 Likes
Good stuff👍you just know though once you start doing the ‘little’ things it will take on a life of its own😂
3 Likes
Good idea Ted, I am just going to gently mask mine and do clear green or smoke mixed with it and apply on mine. The cupola and in fact drivers vision block holes were a bit of a mare as they all differed in how the mould had taken and they all needed trimming in various places and each bit of clear plastic needed to be a different size on nearly all of them.
Ref your Leo, are those TES sensors scratch built, if so, they are very nice, how did you do them ?
2 Likes
True, and annoyingly its the little things that stick out the most for me if I know they should be there.
3 Likes
Rabbit hole…
3 Likes
RE: TES sensors - The sensors on the turret corners, wiring and unit are all from the Meng ARGUS Training System kit… what a bear to build! No instructions, overly fragile parts and no painting guide. I used Google Search to do them justice. Wiring done with Tamiya Cabling and fine copper wire. Here are some more pics.. I didn’t want to hijack your post. I built the HB Leo kit (2a4) what a pain… the vision blocks were all malformed as you mentioned. Looks great so far - keep going - good Luck
8 Likes
Looks very nice ![]()
2 Likes
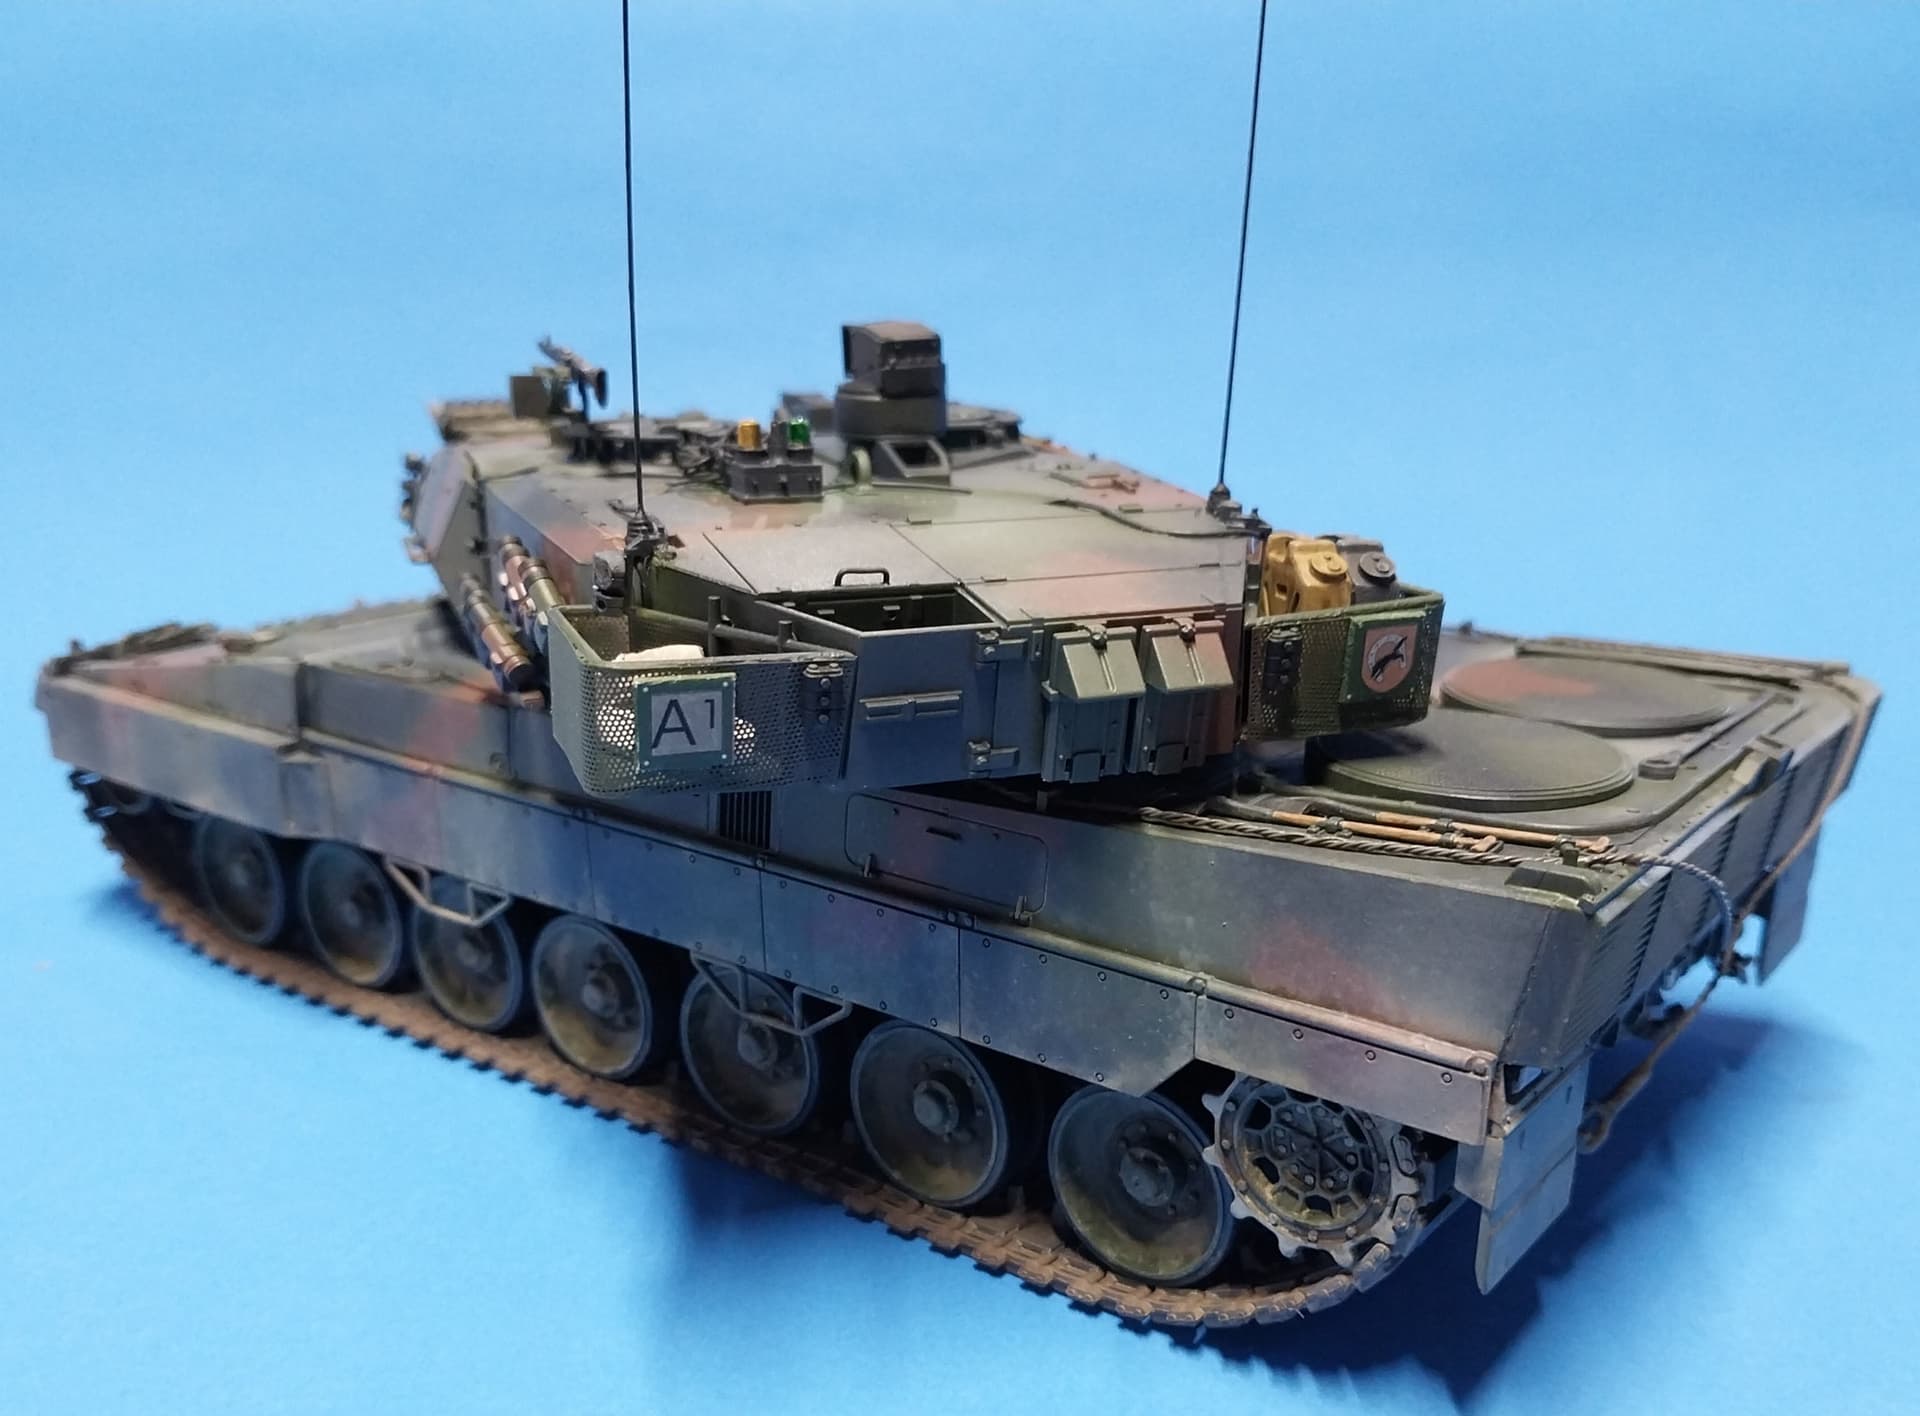
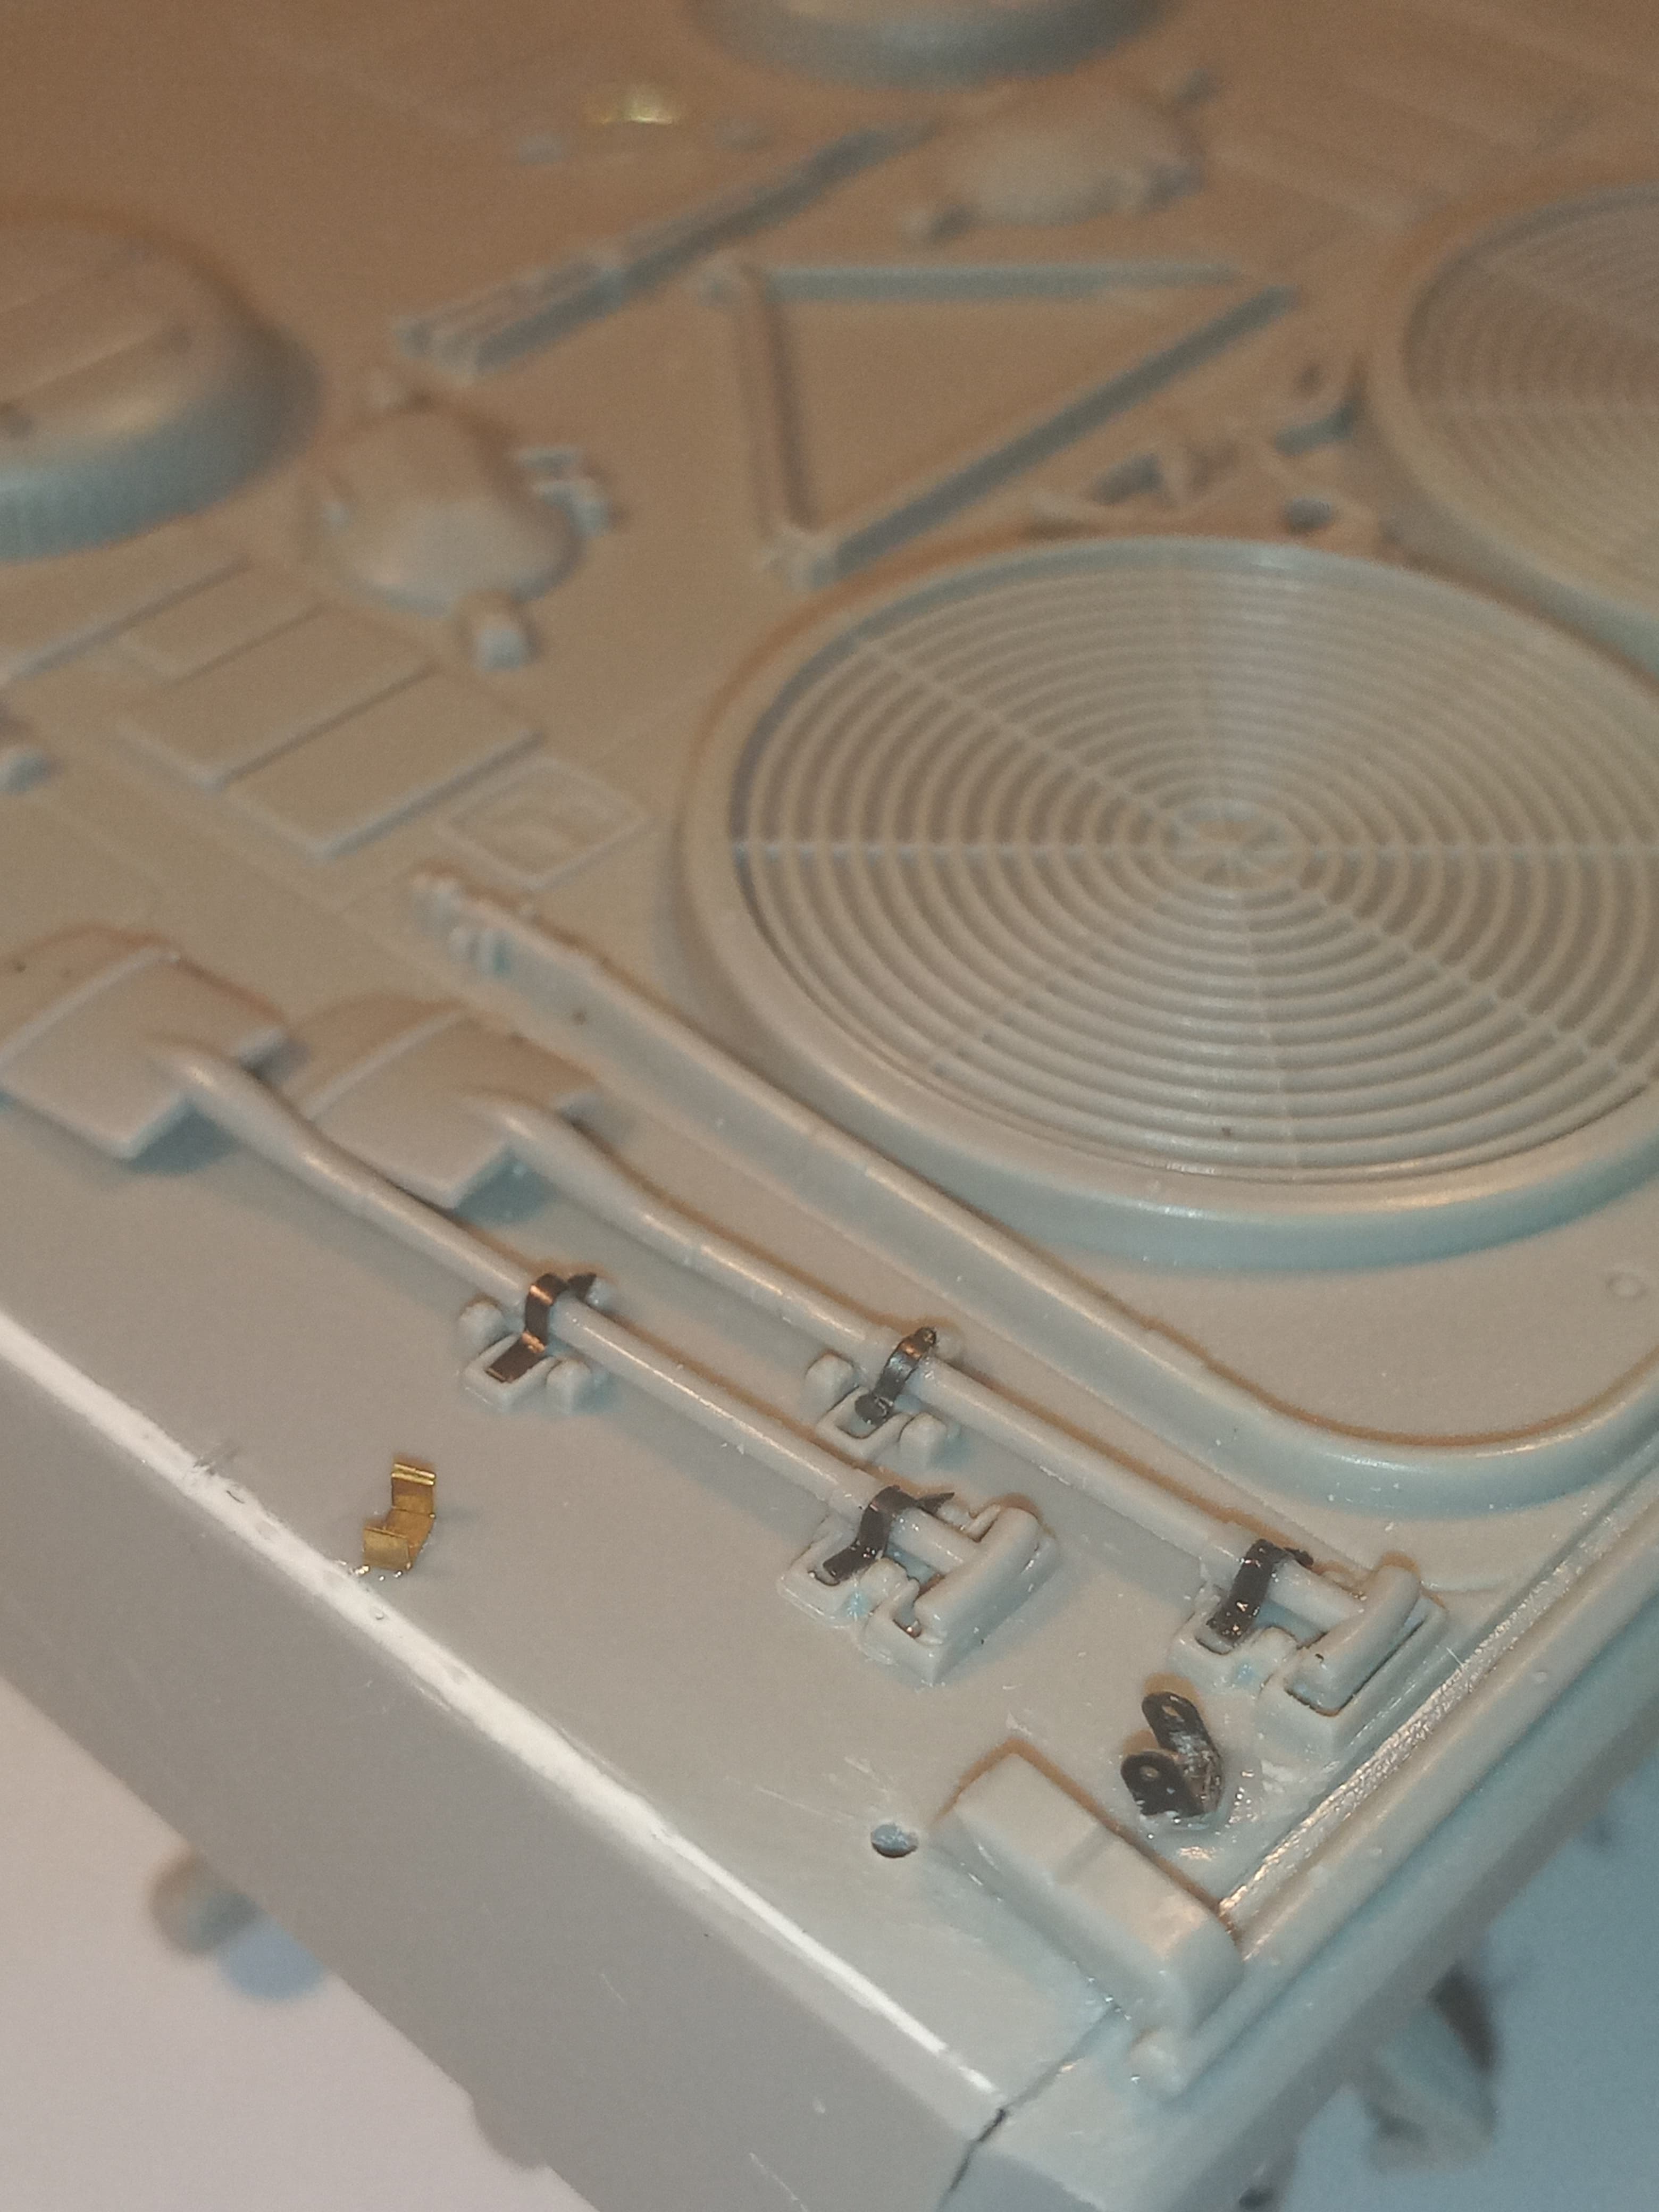
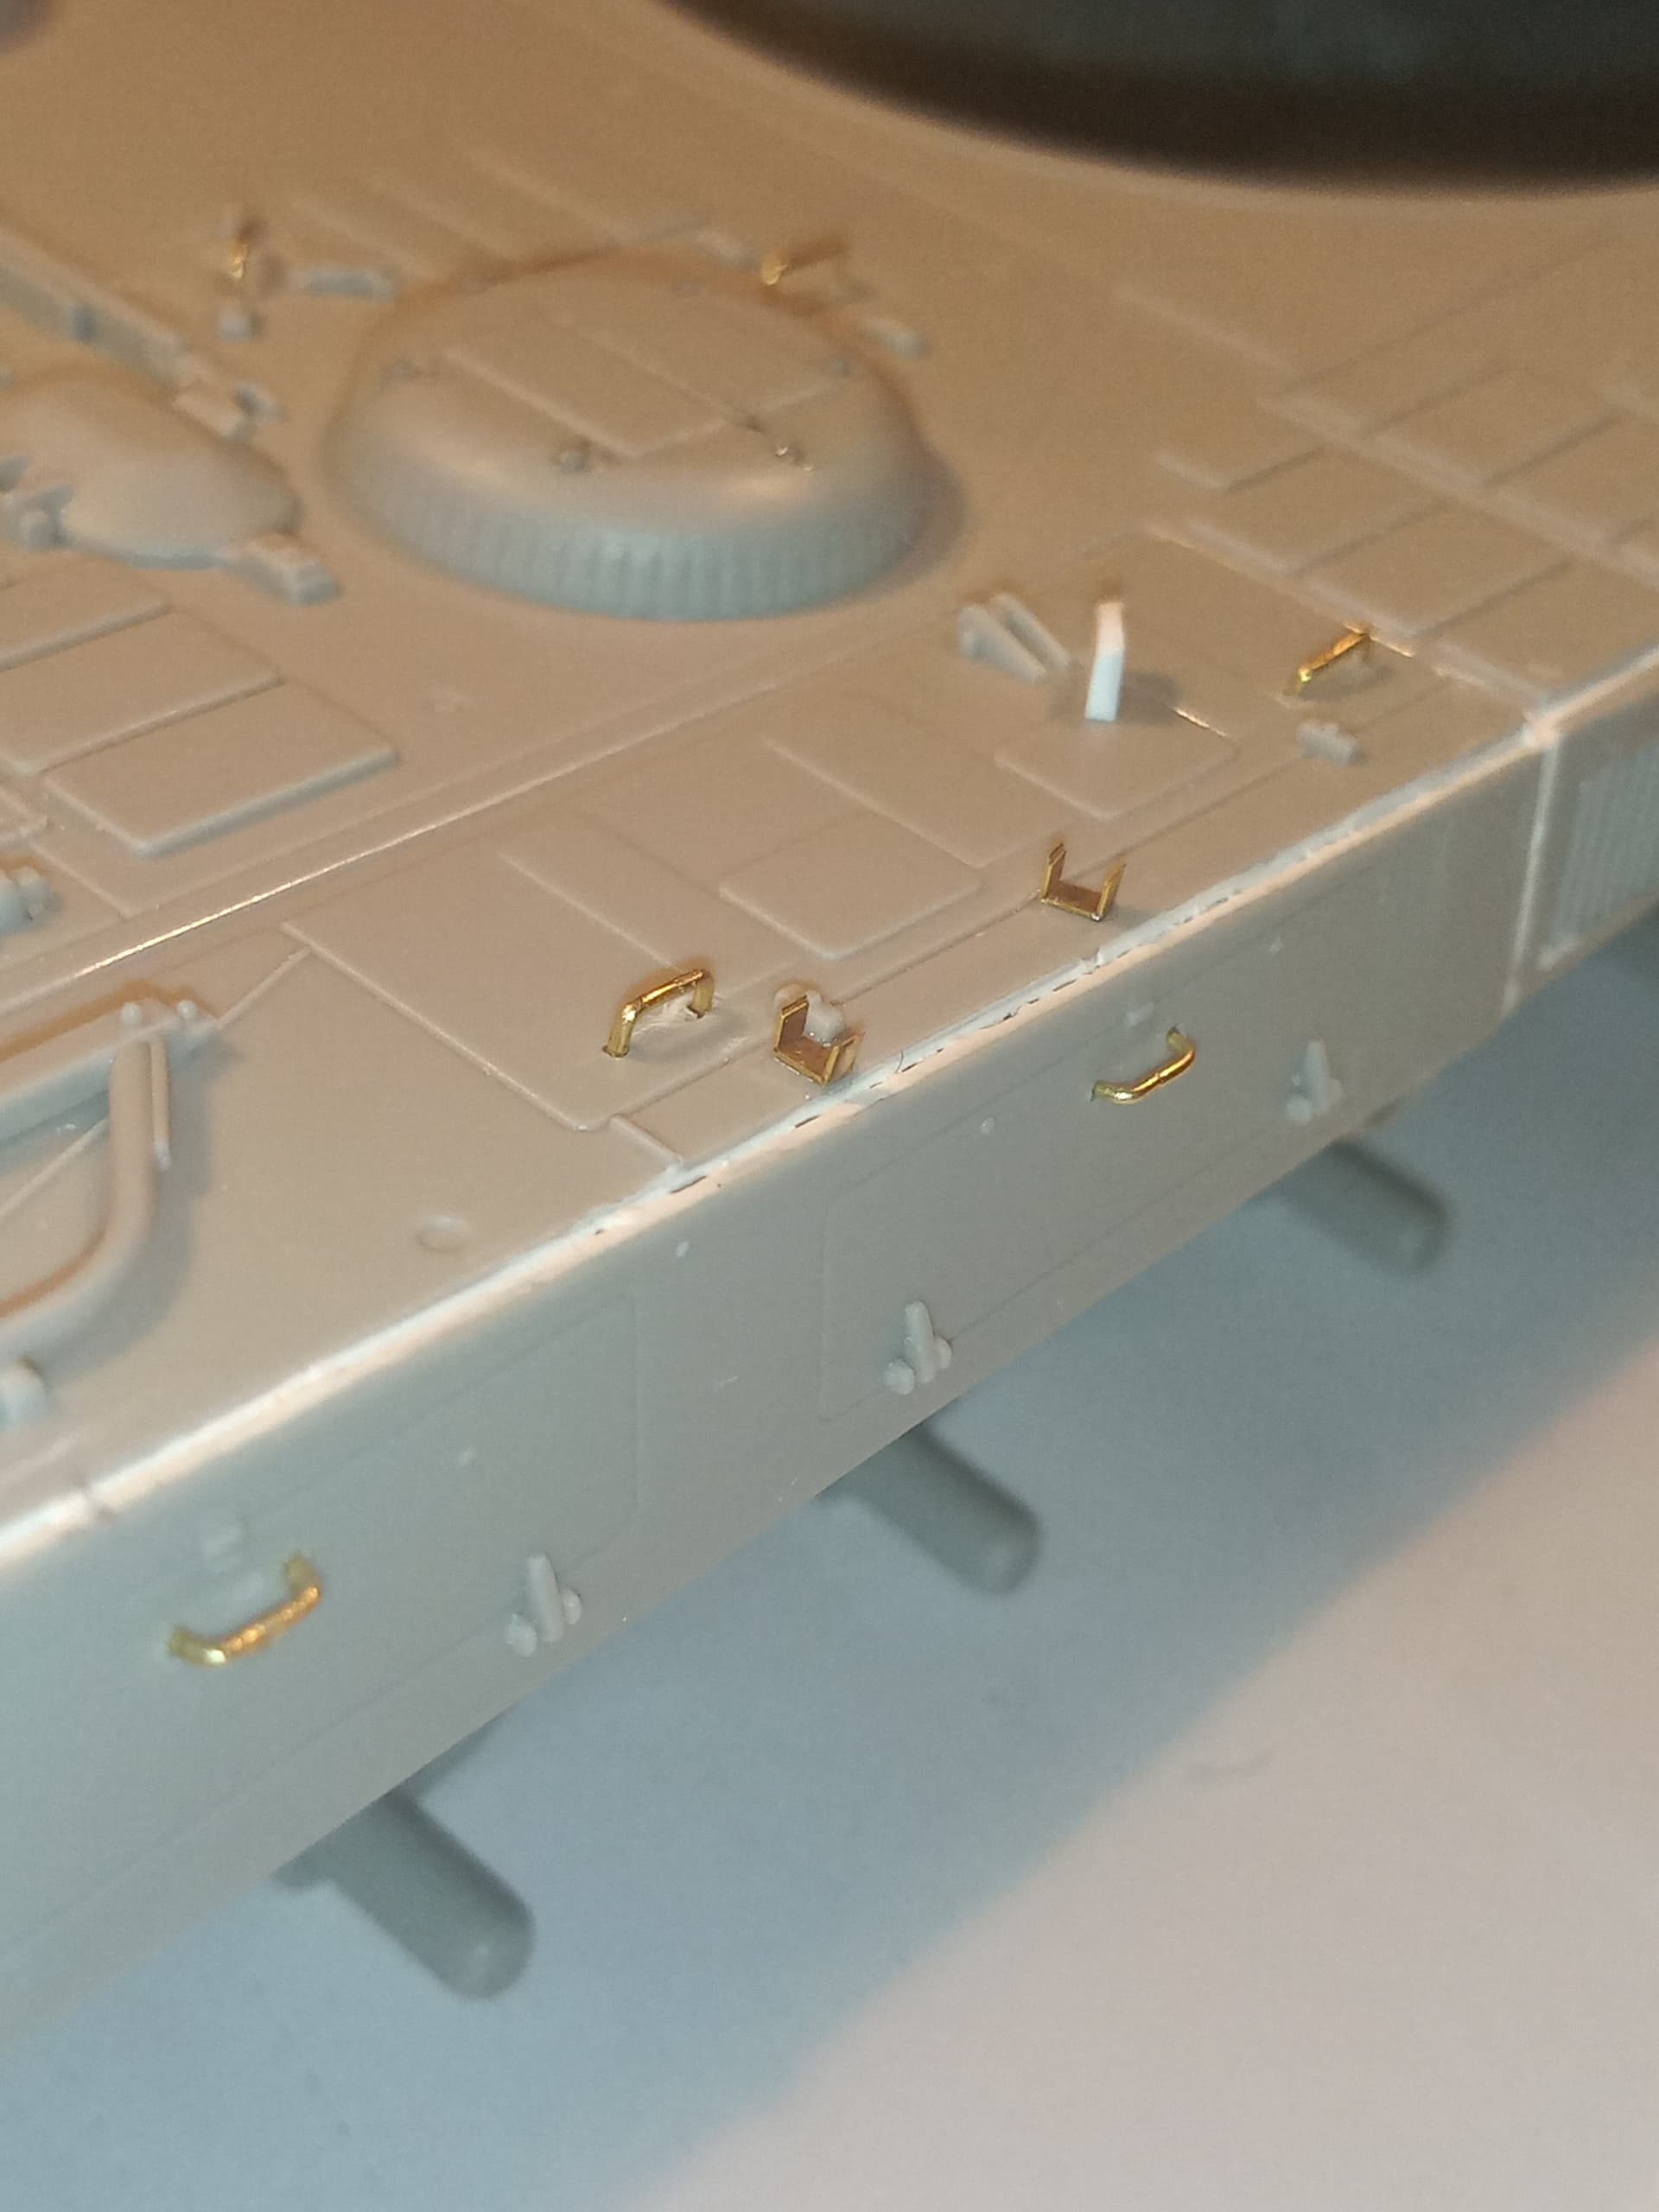
Was able to get some of the rear deck PE detailing done, plus the handles have all been swapped out for .4mm wire. PE was left overs from a Cr1 set, a King Tiger set and AS90.
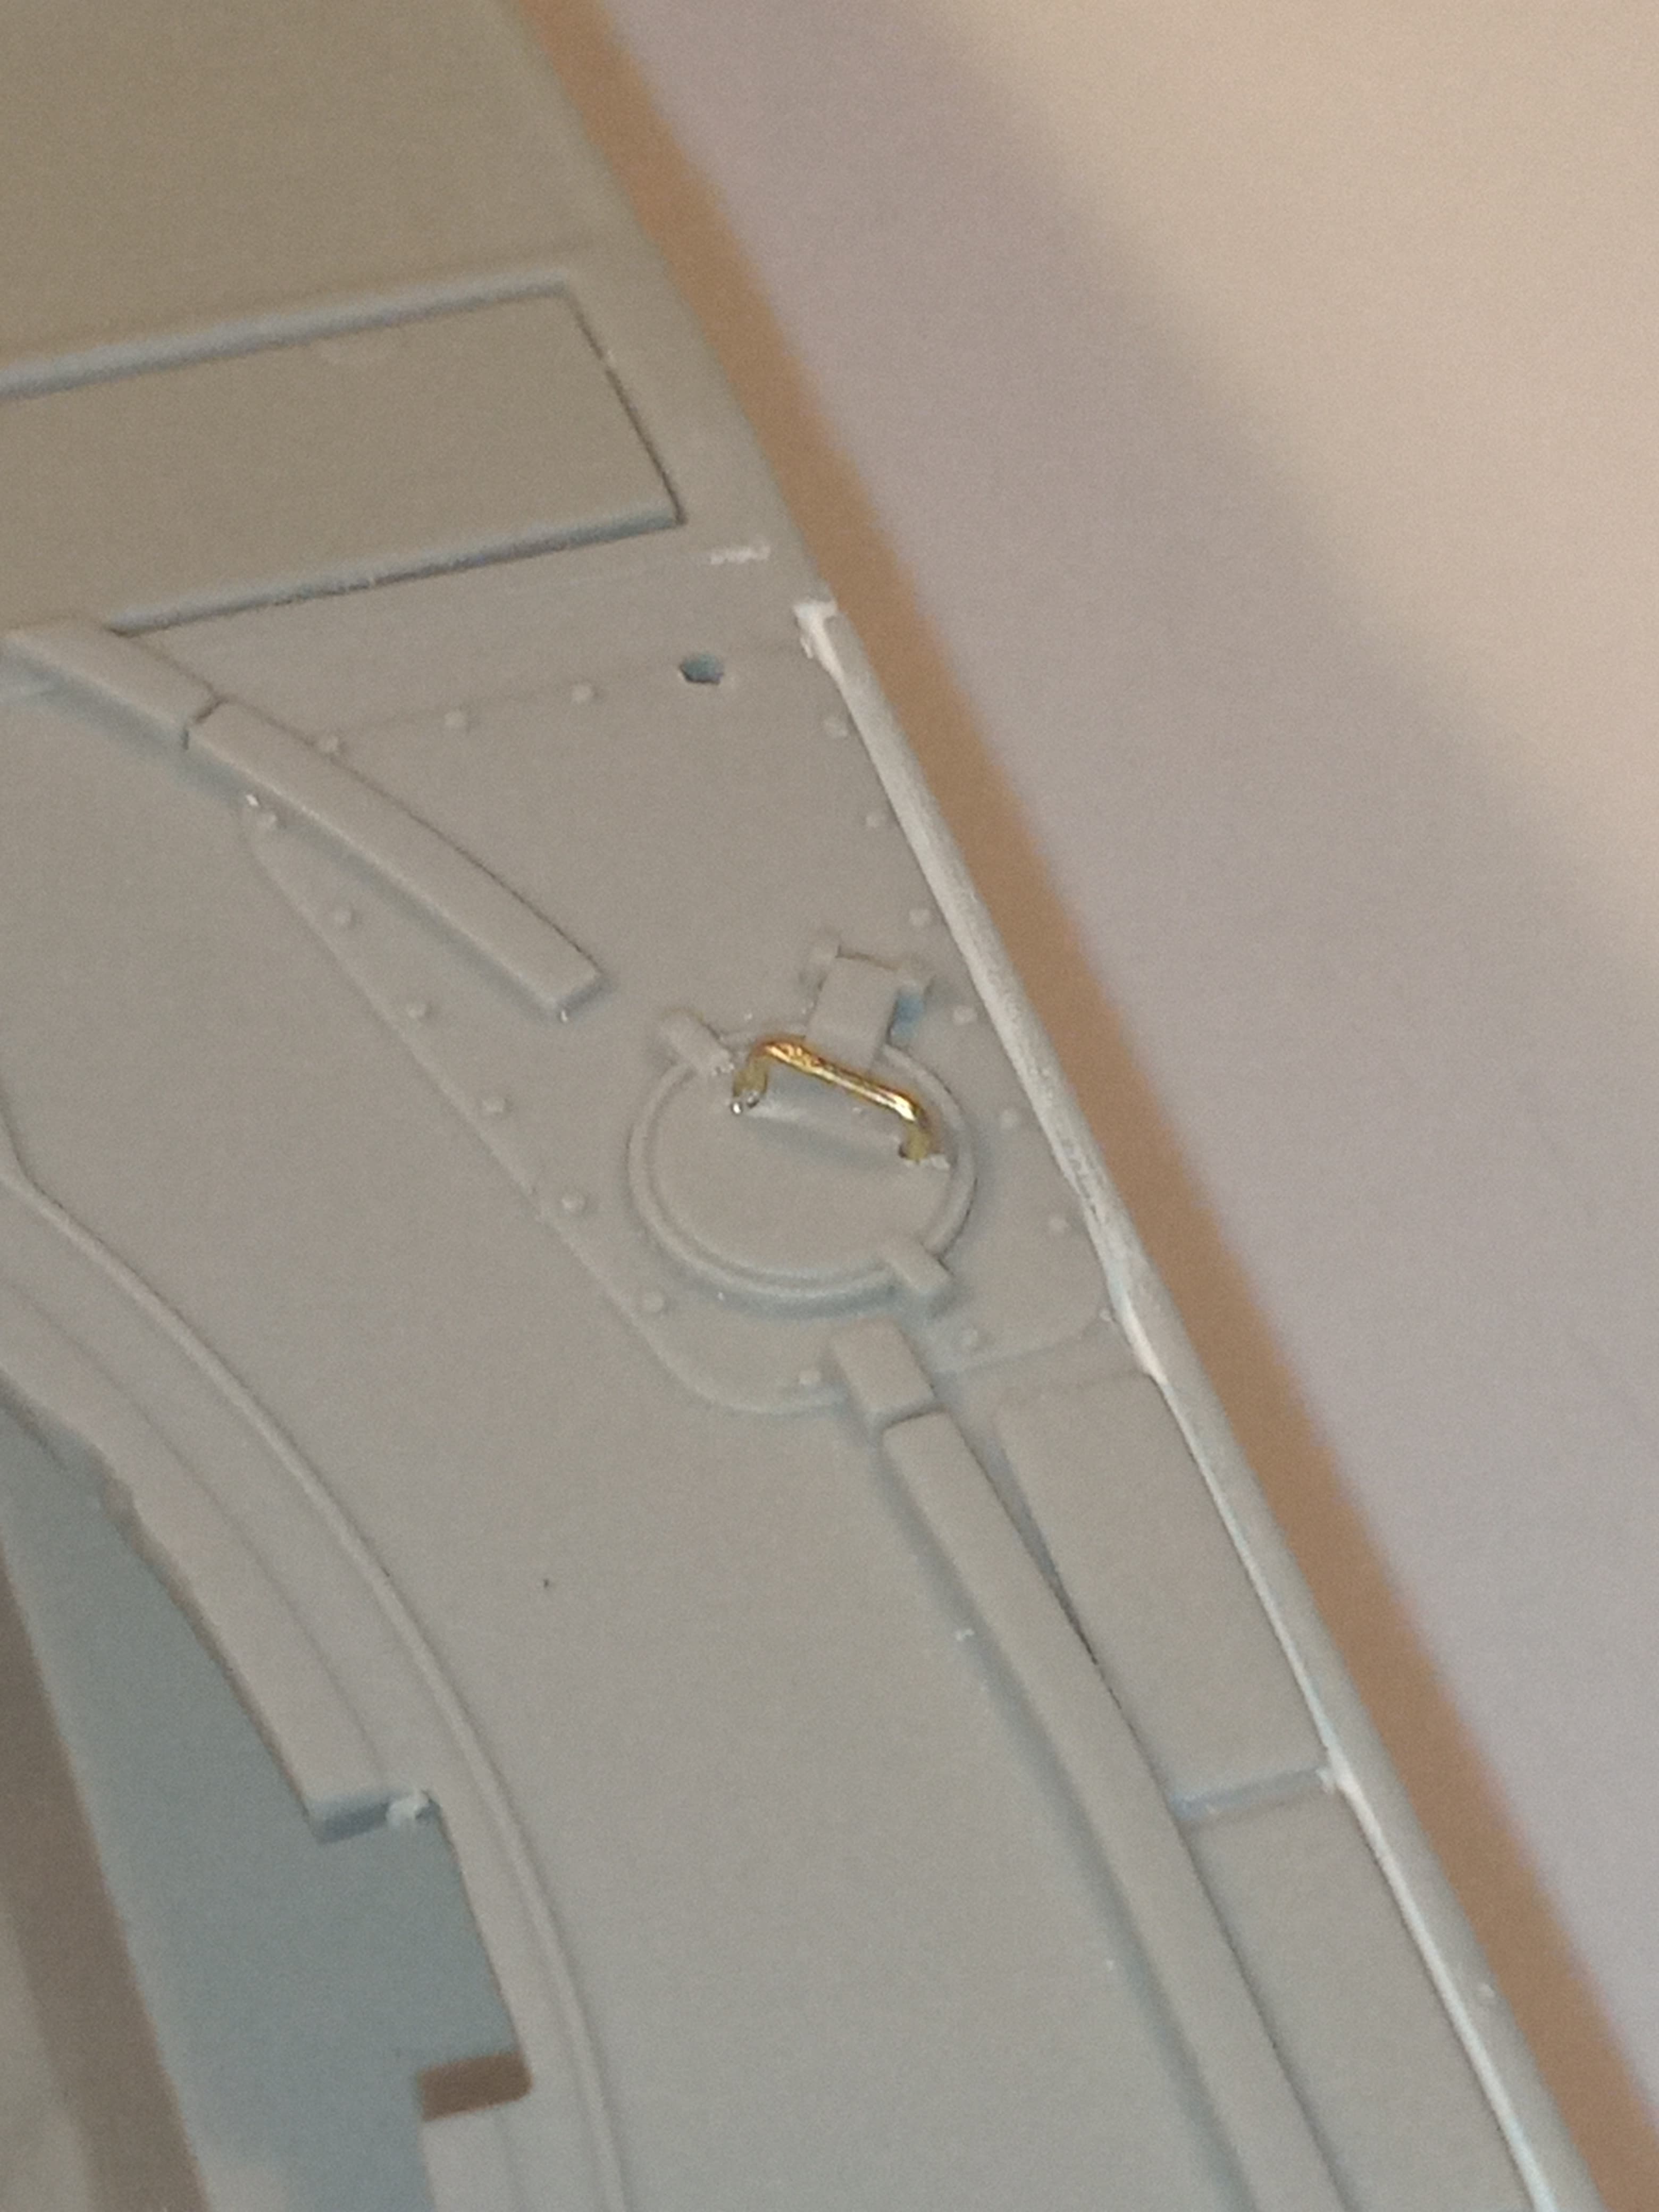
Handles and recovery rope work
I re-did the location luggage for the recovery rope eye and made it taller.
More handles and recovery rope and new straps for the tools
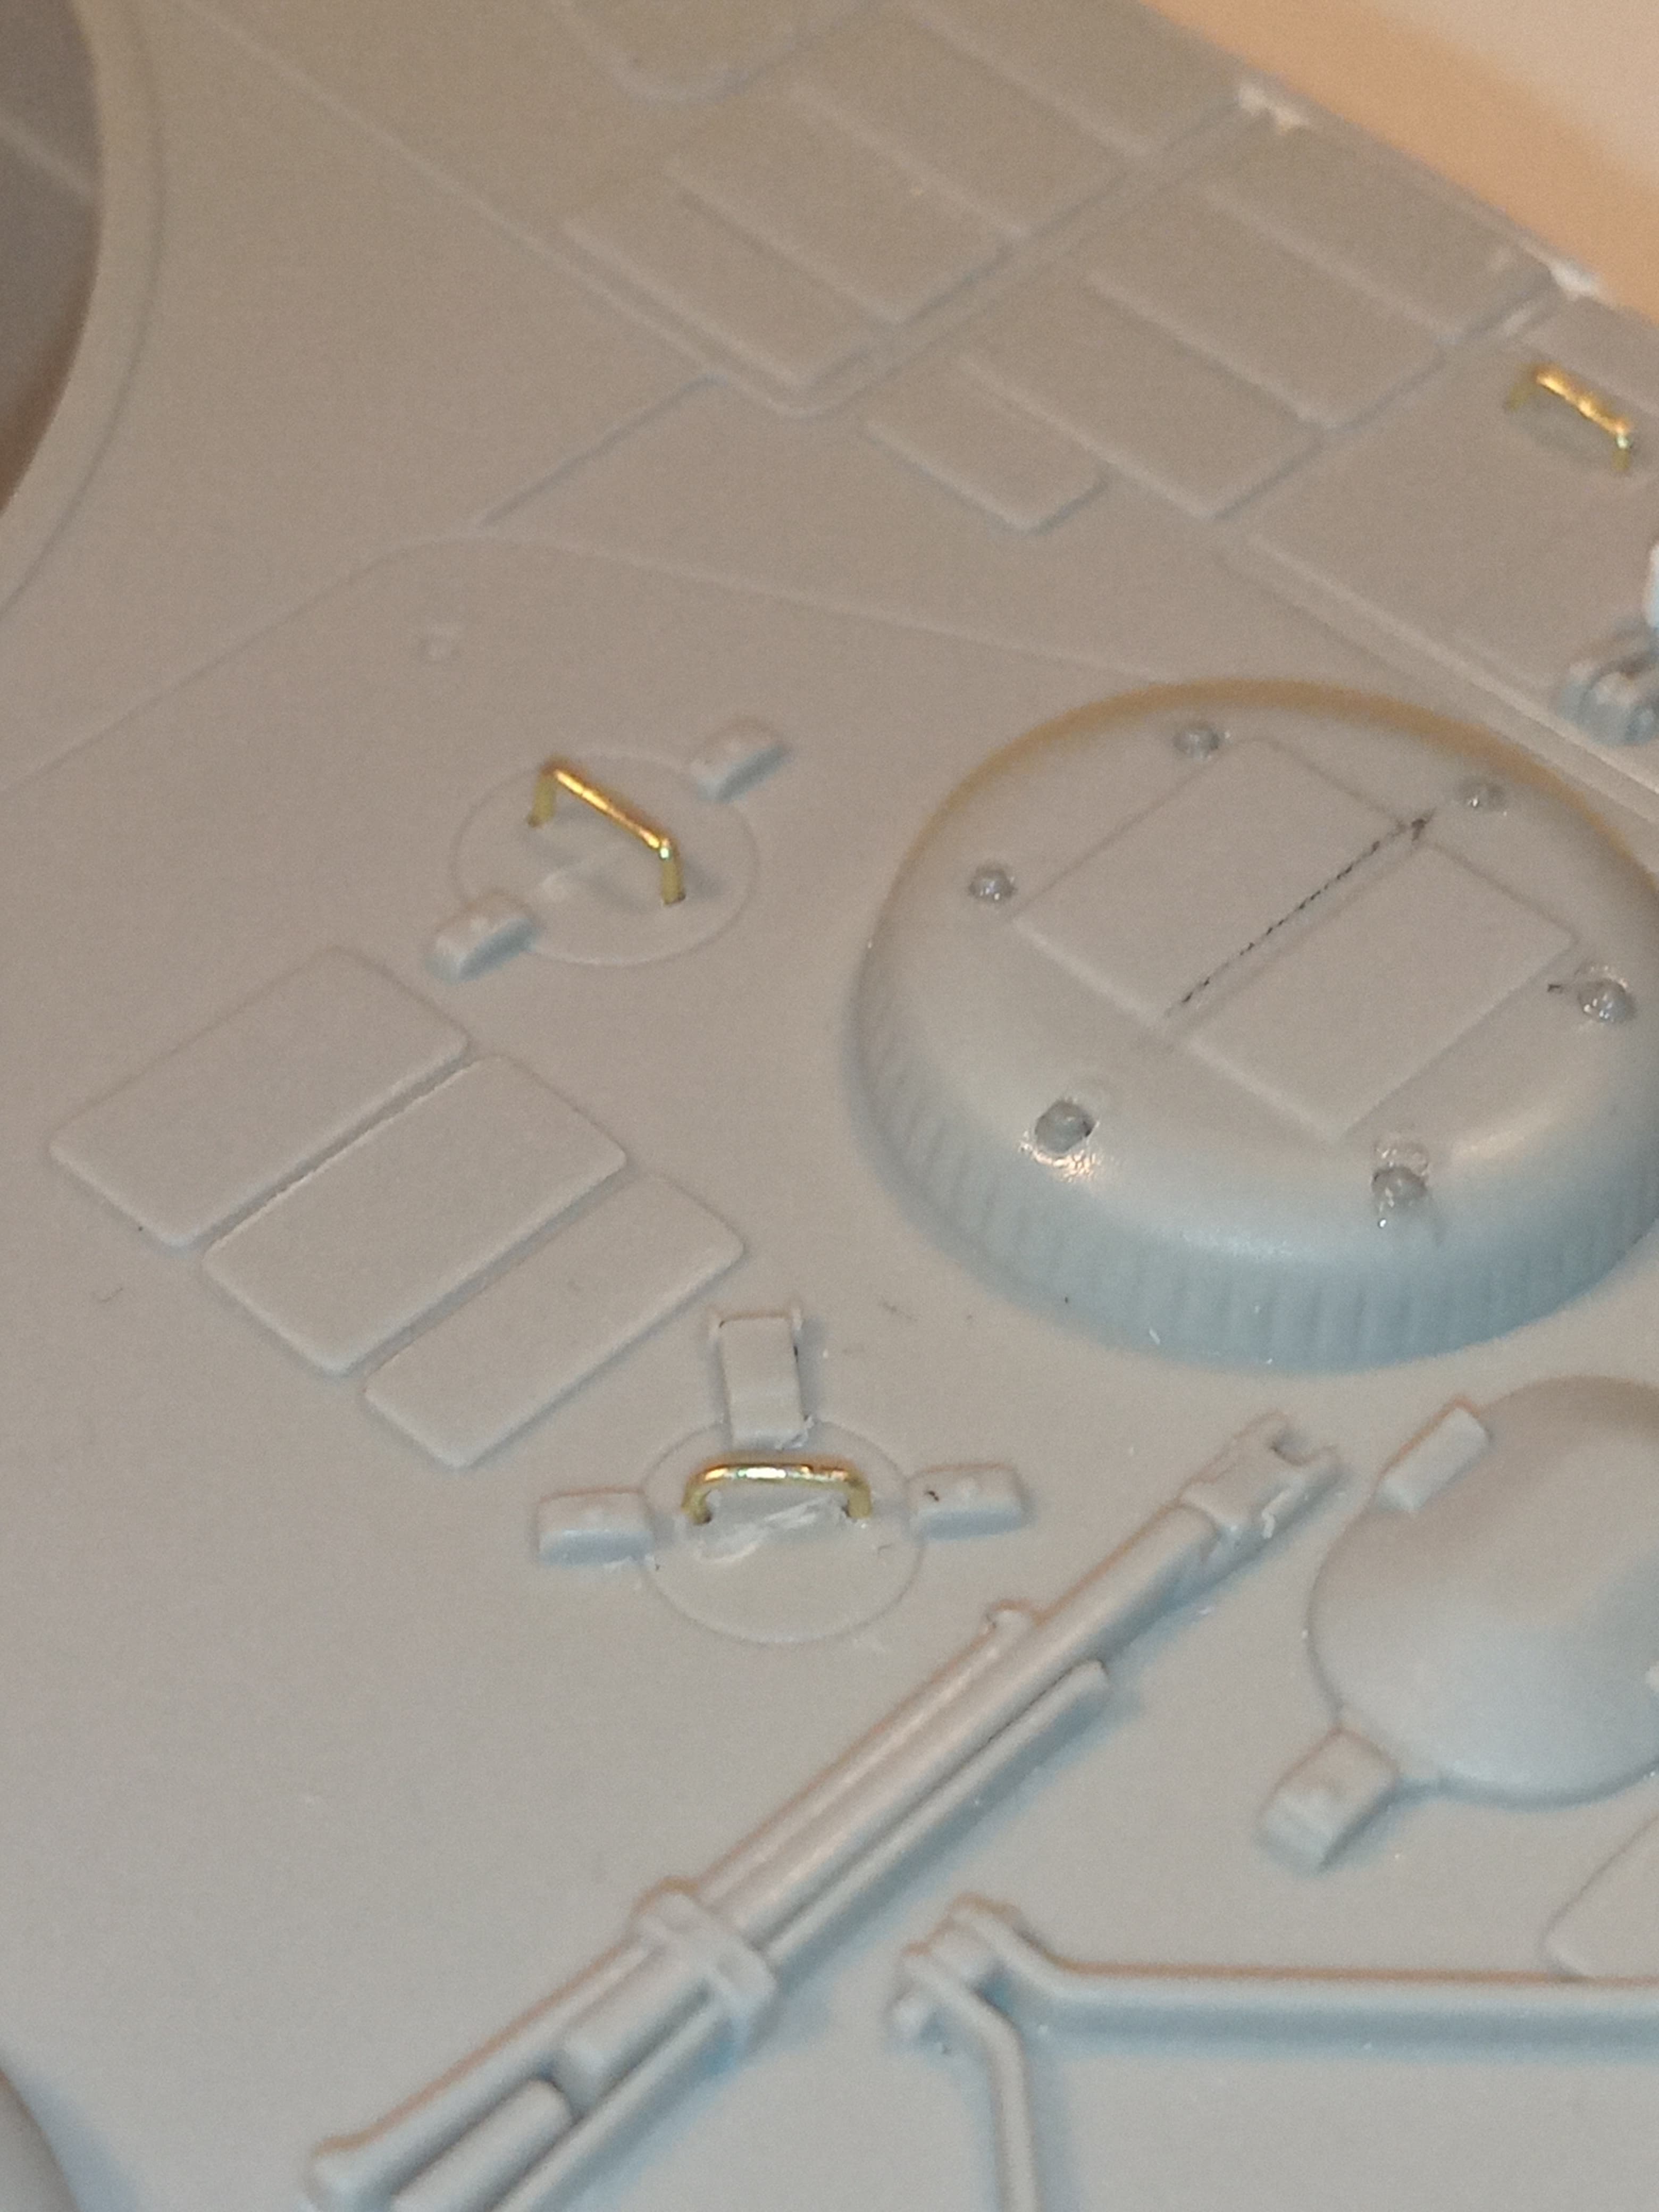
The reworked camera fitted.
Tool straps

RH side and fuel cap handle
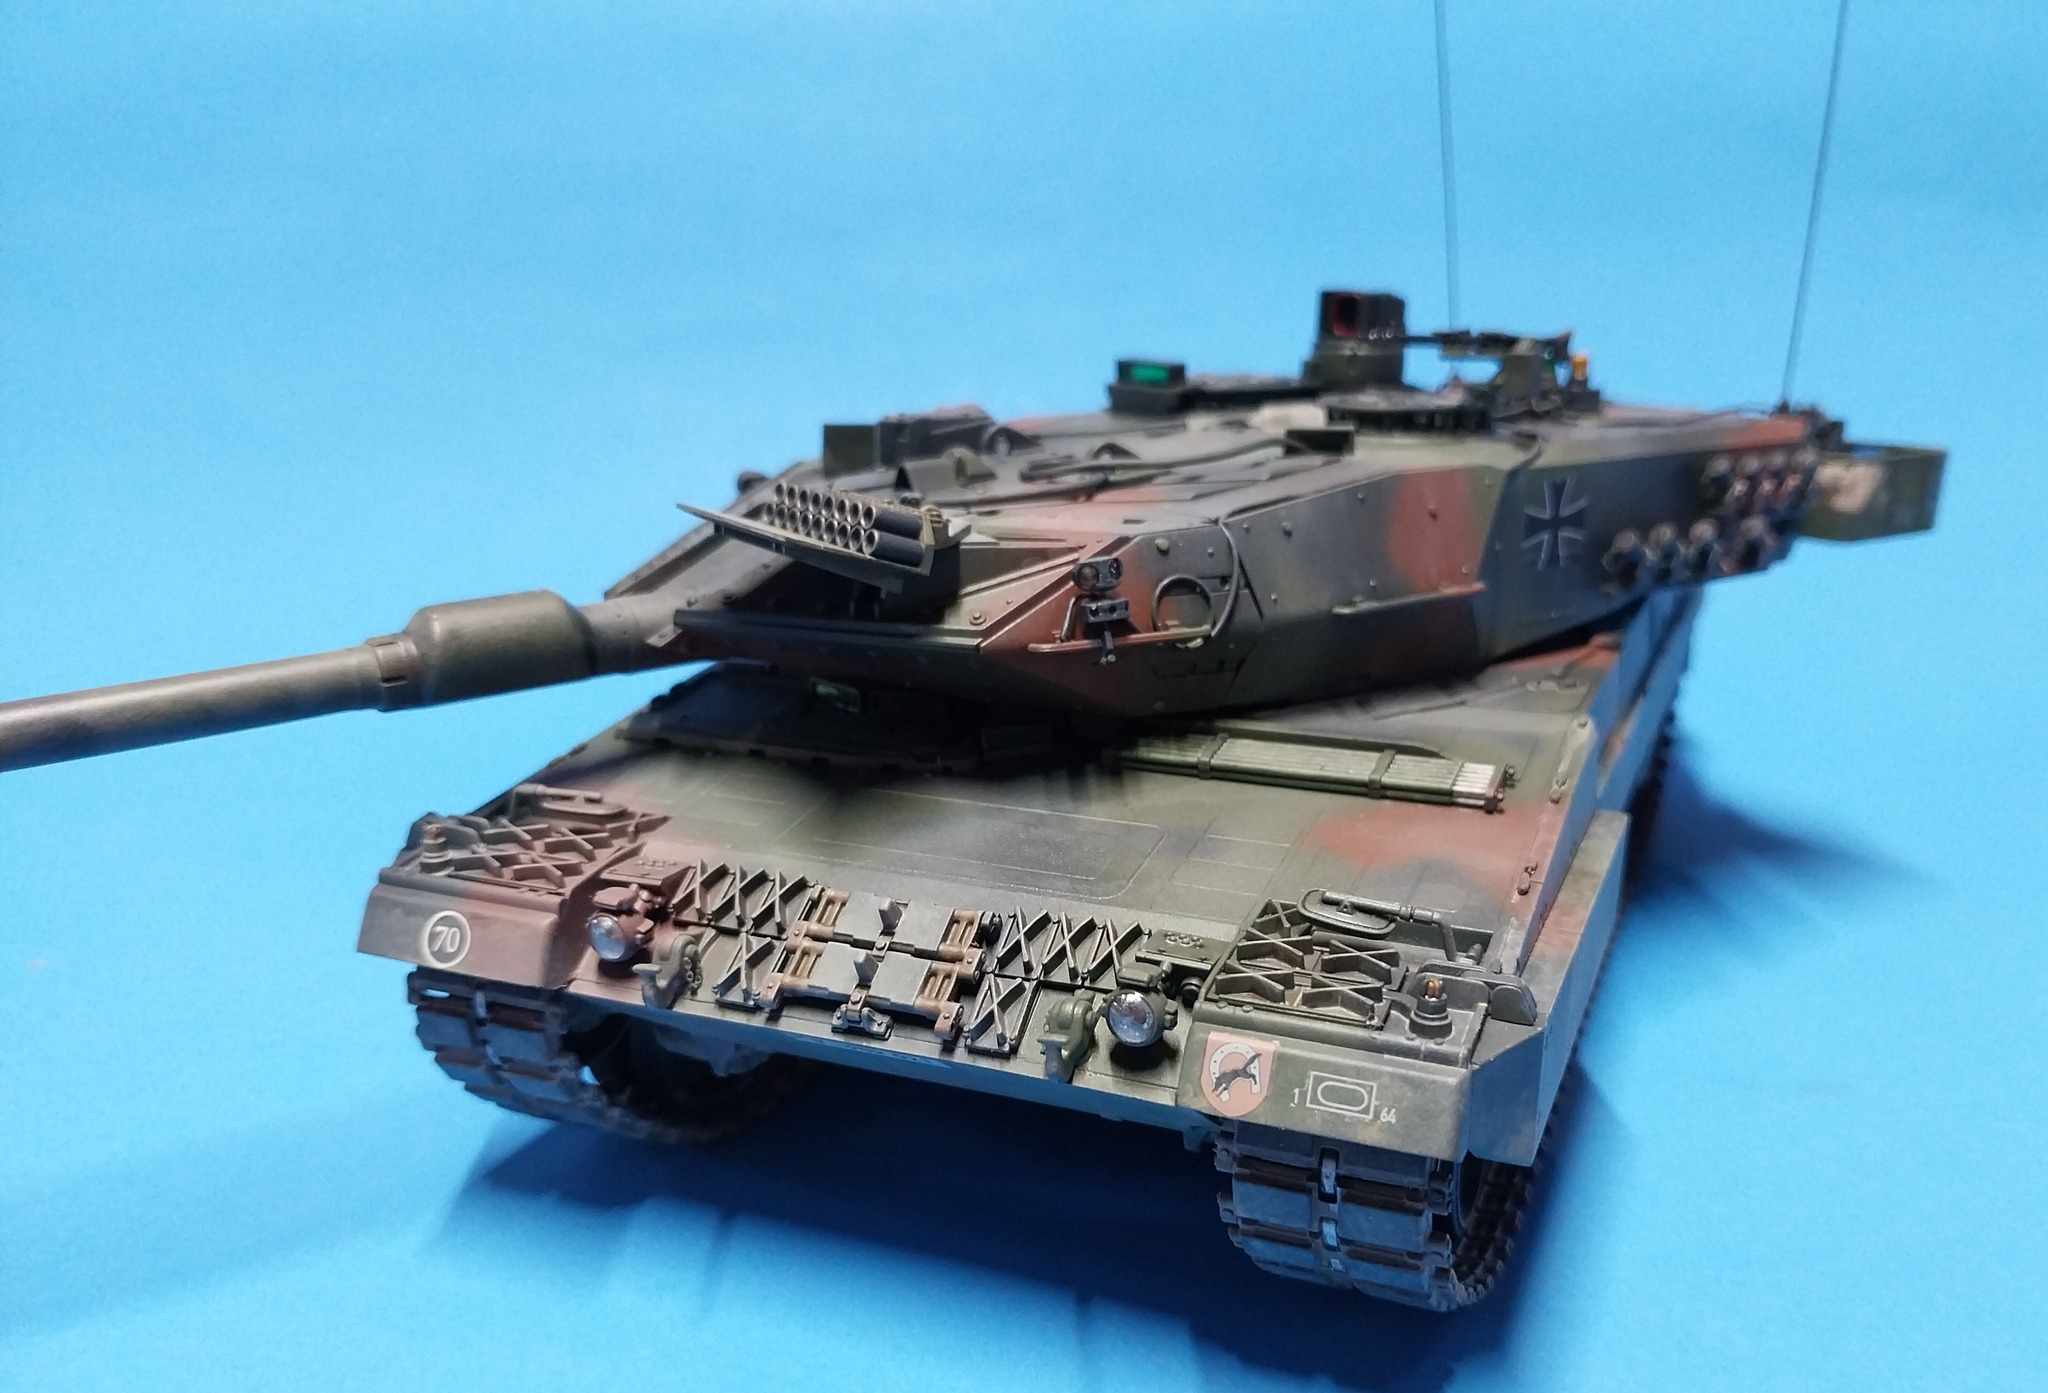
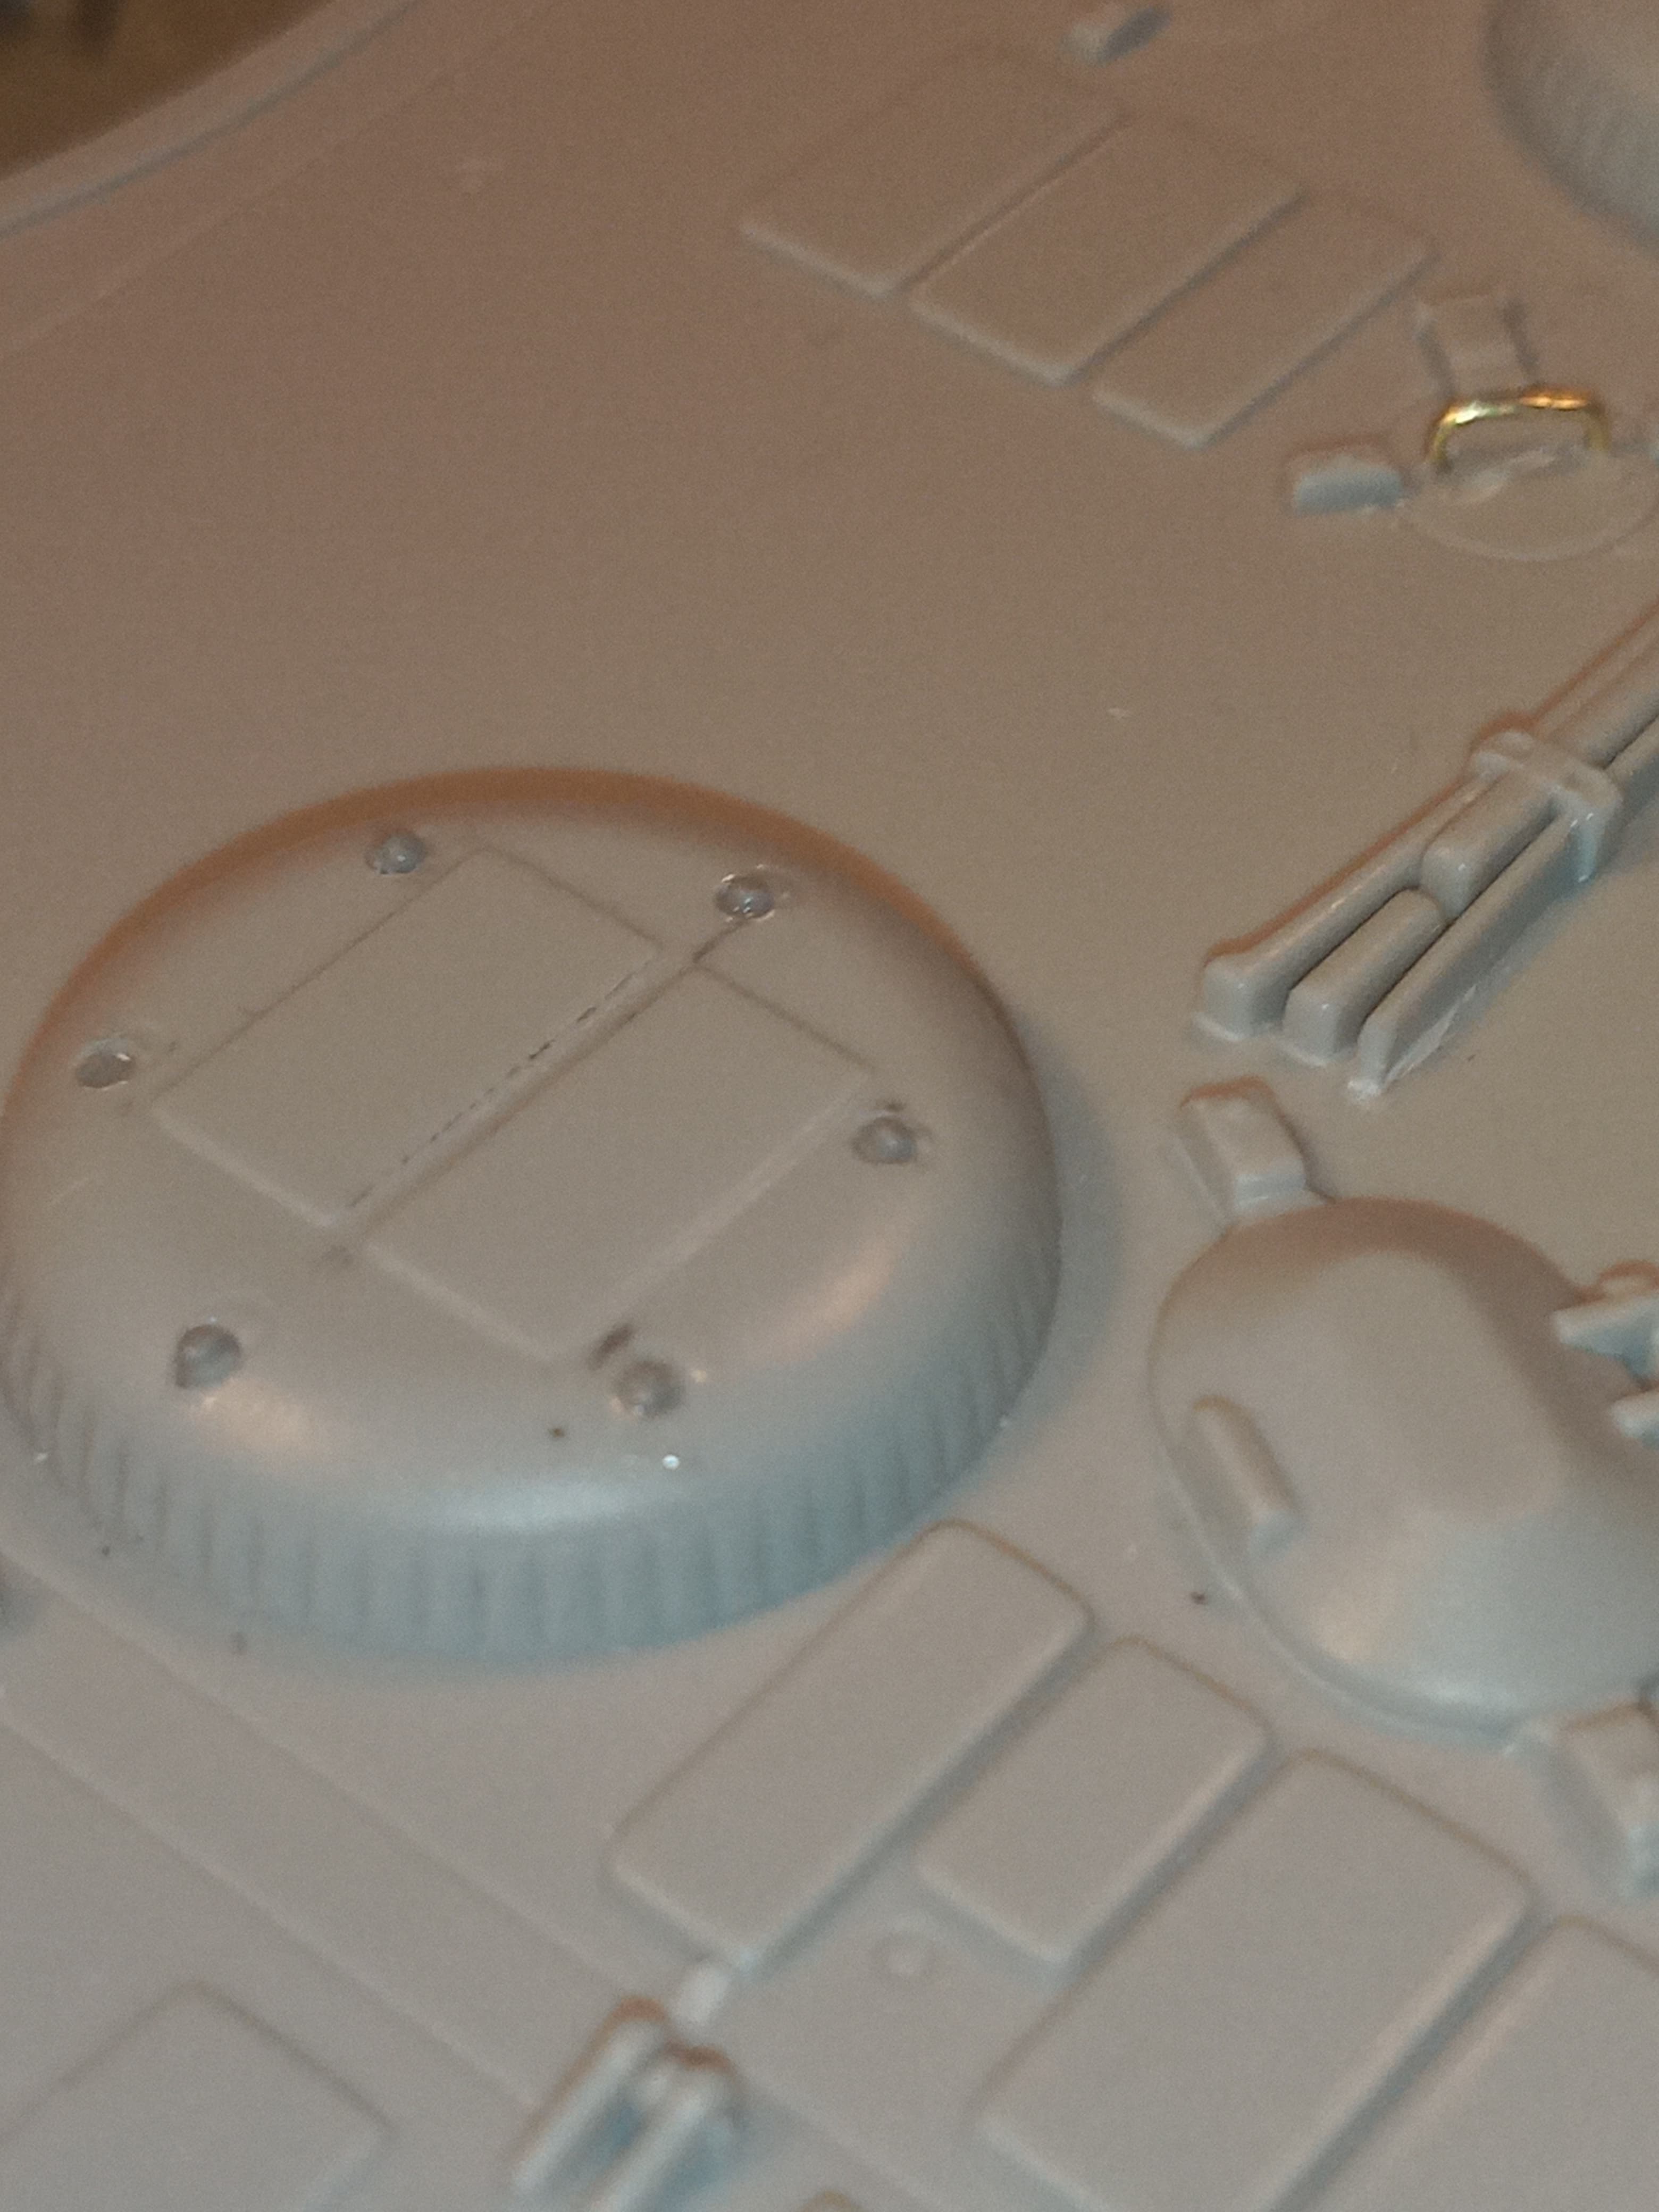
Air filter covers drilled out and MENG bolt heads added.
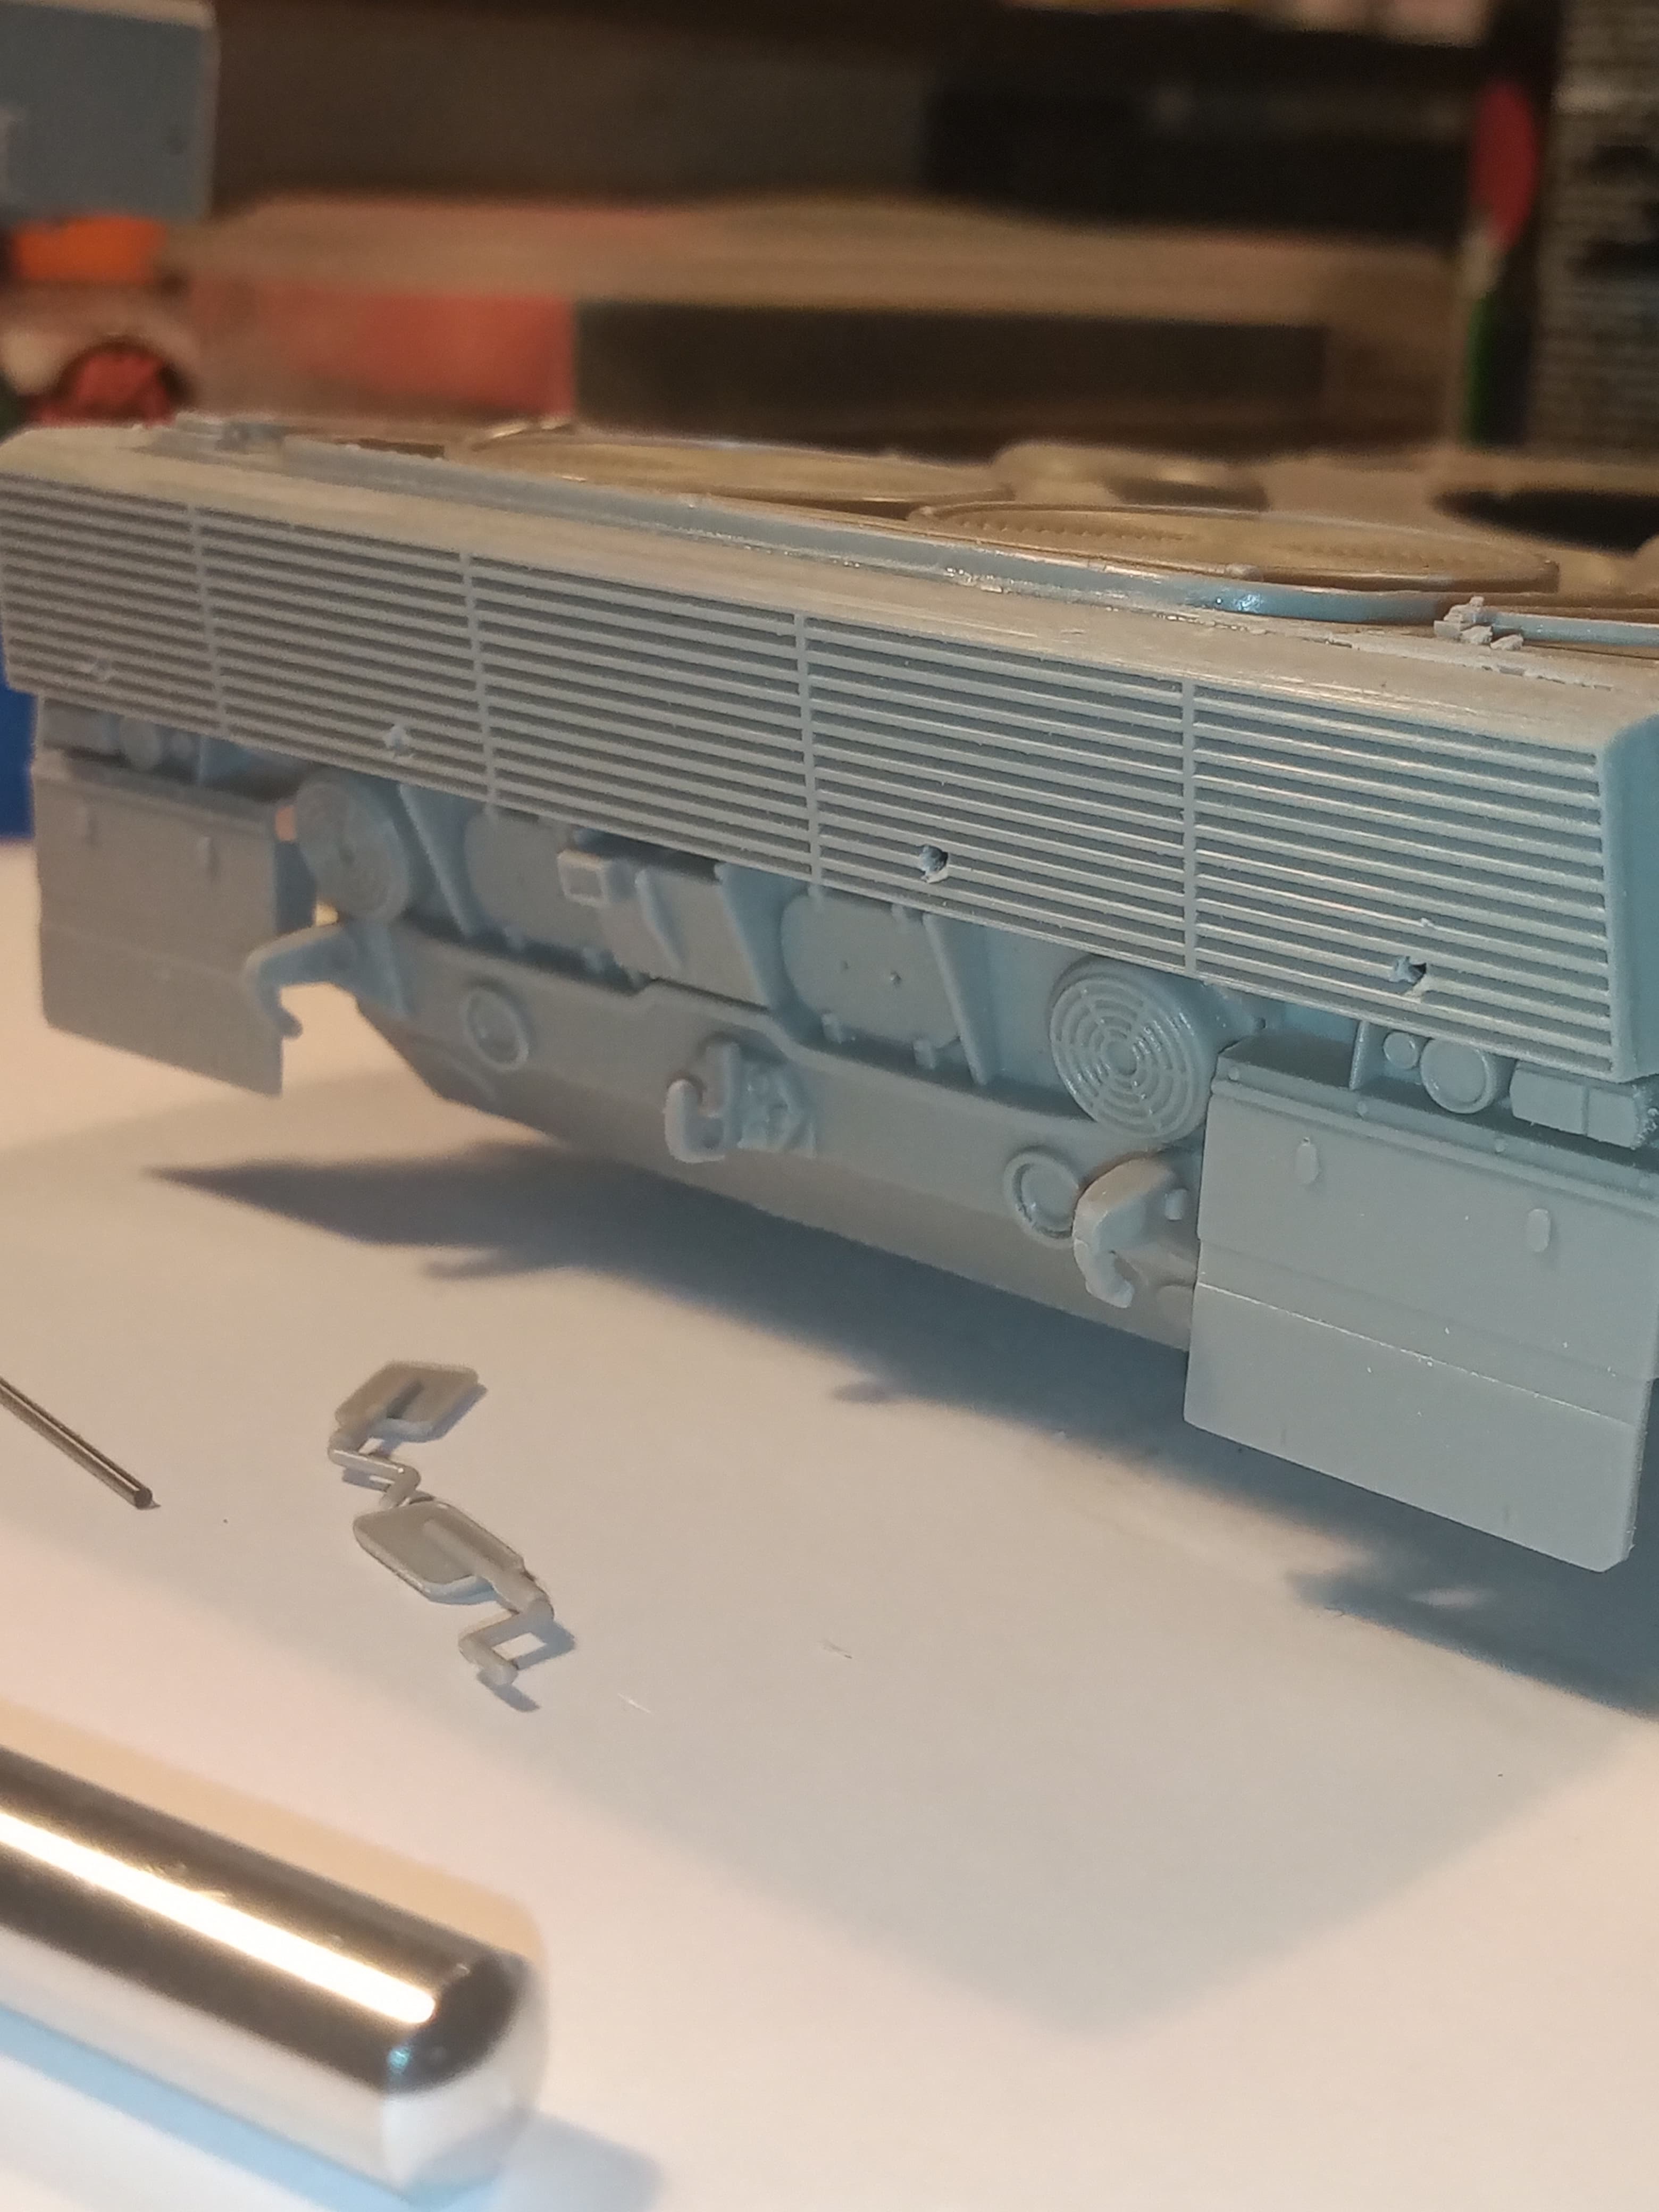
Rear mudflap fold up hooks and holes.
On here, you can see the small hole on the tow bollards inner side. I will knock up something to replicate the securing pin and handle that should be there. That will also be the same on front bollards

6 Likes
Are those tow hooks upside-down?
Down the rabbit hole he goes…
3 Likes
Lol… Well spotted and yes the rear ones are upside down…
There are lots of photo references showing various 2A6’s with them fitted like that, including 2A6 CAN’s.
I did think it odd when I first saw it, and still not really sure why it’s done.
The reason I decided to do it is the Hobbyboss kit ones for the rear are at a really really odd angle which makes no sense, then I saw the ref images with the bollards on upside down so decided to do the same. I simply cut the hook end off, glued on the opposite side and reshaped the curve.
4 Likes
Just playing IPMS judge here… ![]()
Maybe they’re hung that way so they don’t bang around while the tank’s in motion, or to make stowing the tow cable easier?
3 Likes
Wont be anything to do banging. Only other reason would lean towards the rope eye coming off in the normal position - however, after a check in the Tankograd book, 95% of the rear views show them upside down, but then another look online shows an even split to normal way up and upside down so … ![]()
3 Likes
While I was looking through reference images again, I noticed a close up of the hooks fitted the right way on the rear with a recovery rope attached…these hooks had a plate fitted which was mounted at the bottom thick end of hook, then over the eyelet of the rope when slotted onto the hook end … So it does look like it may have been an issue with them coming off ?
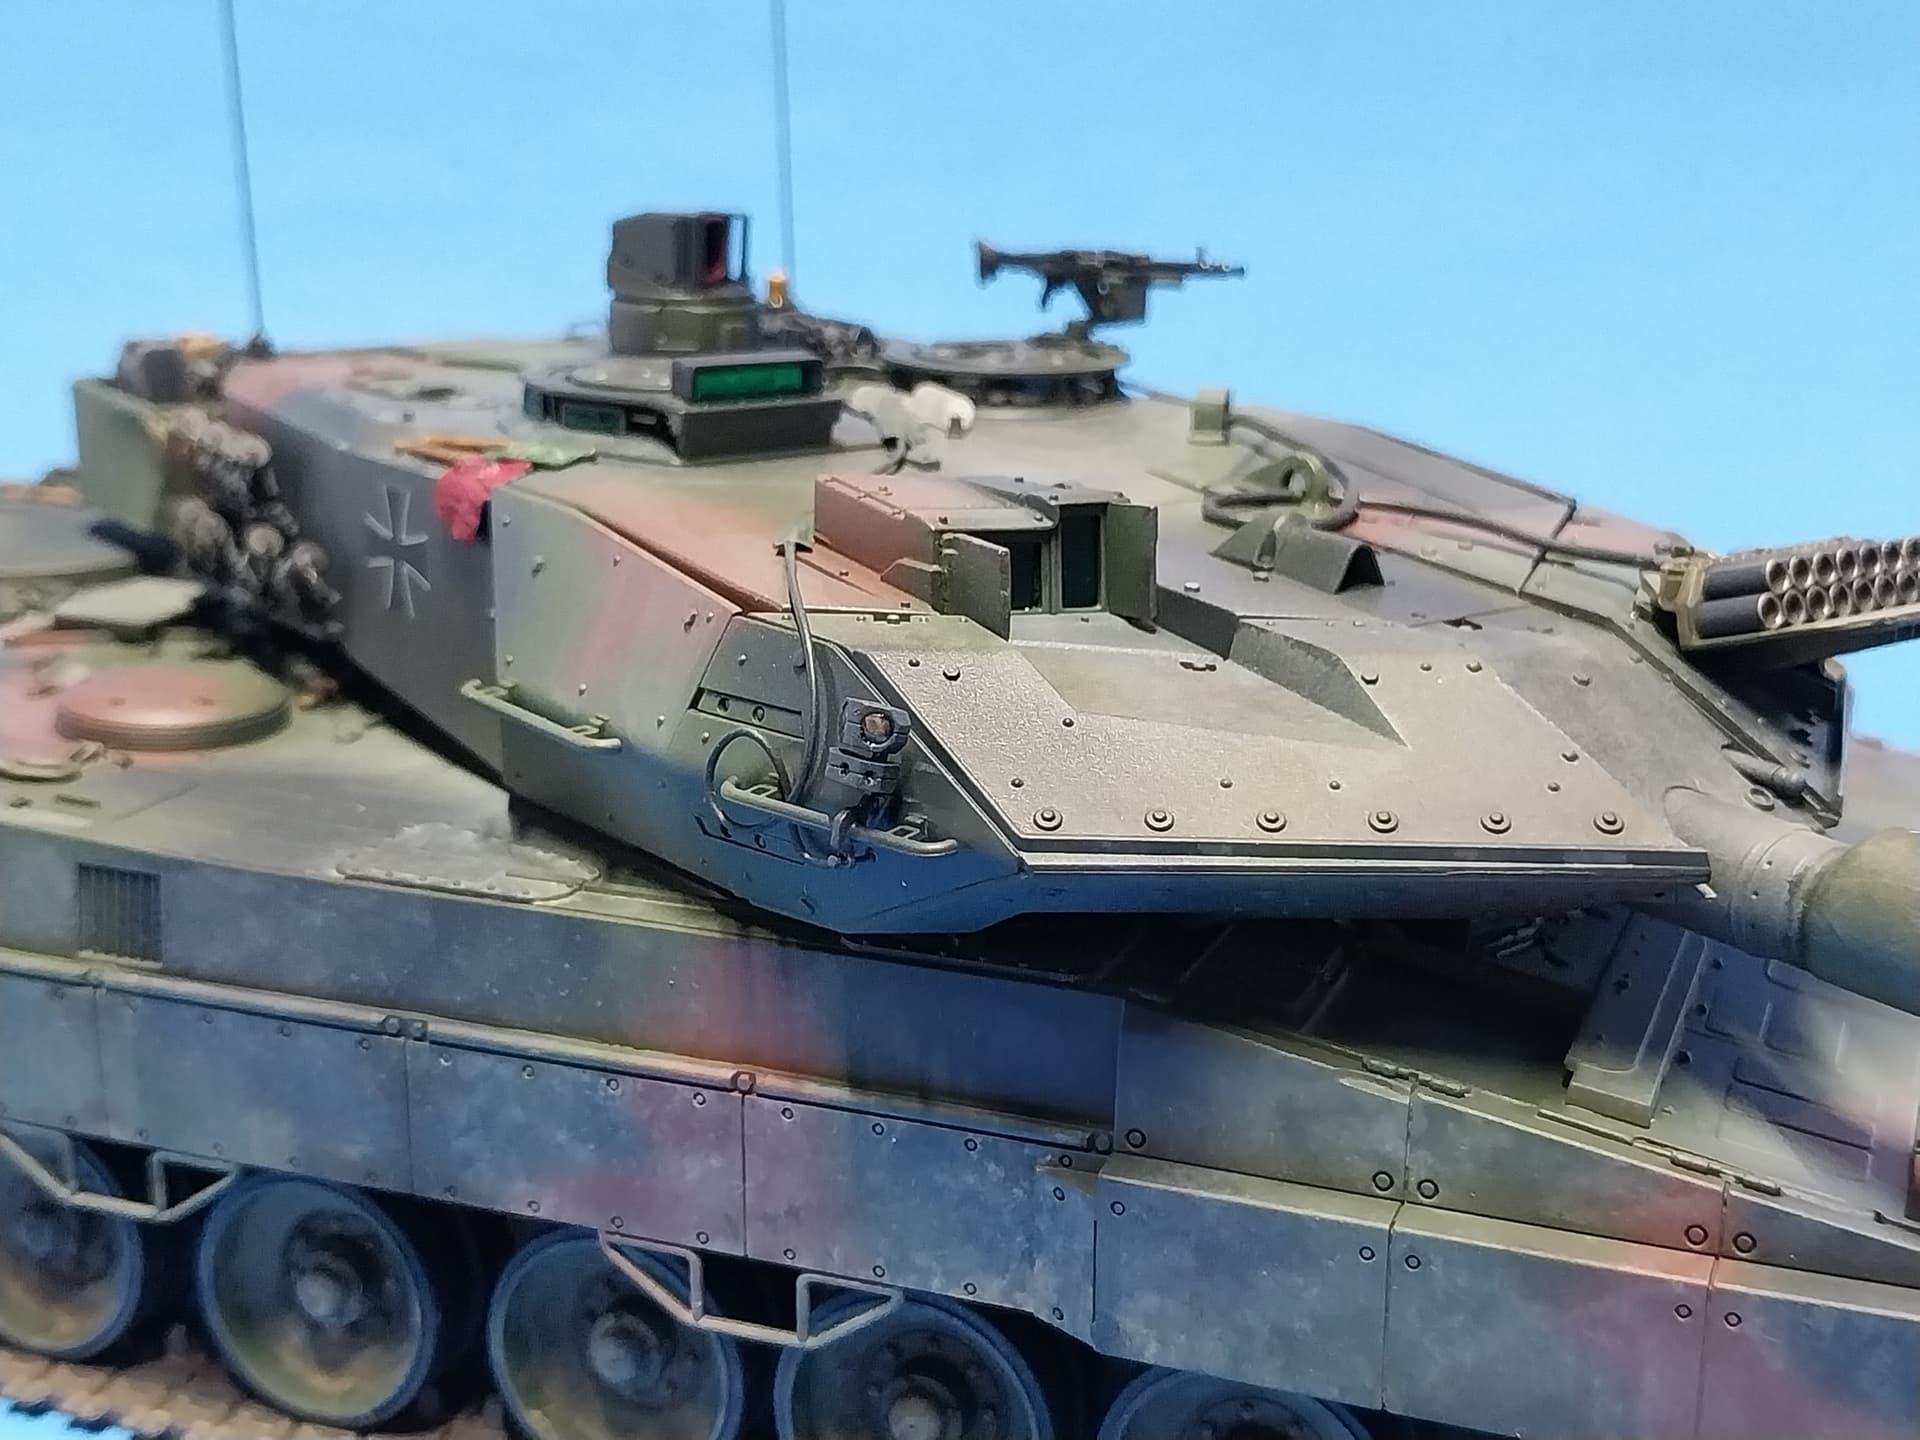
Got a bit further along on mine, all the hull is pretty much built up now, and have started on the turret.
And I know there is a texture on the fume extractor on Leo 2’s so tried to replicate it the smooth surface of the kit part.
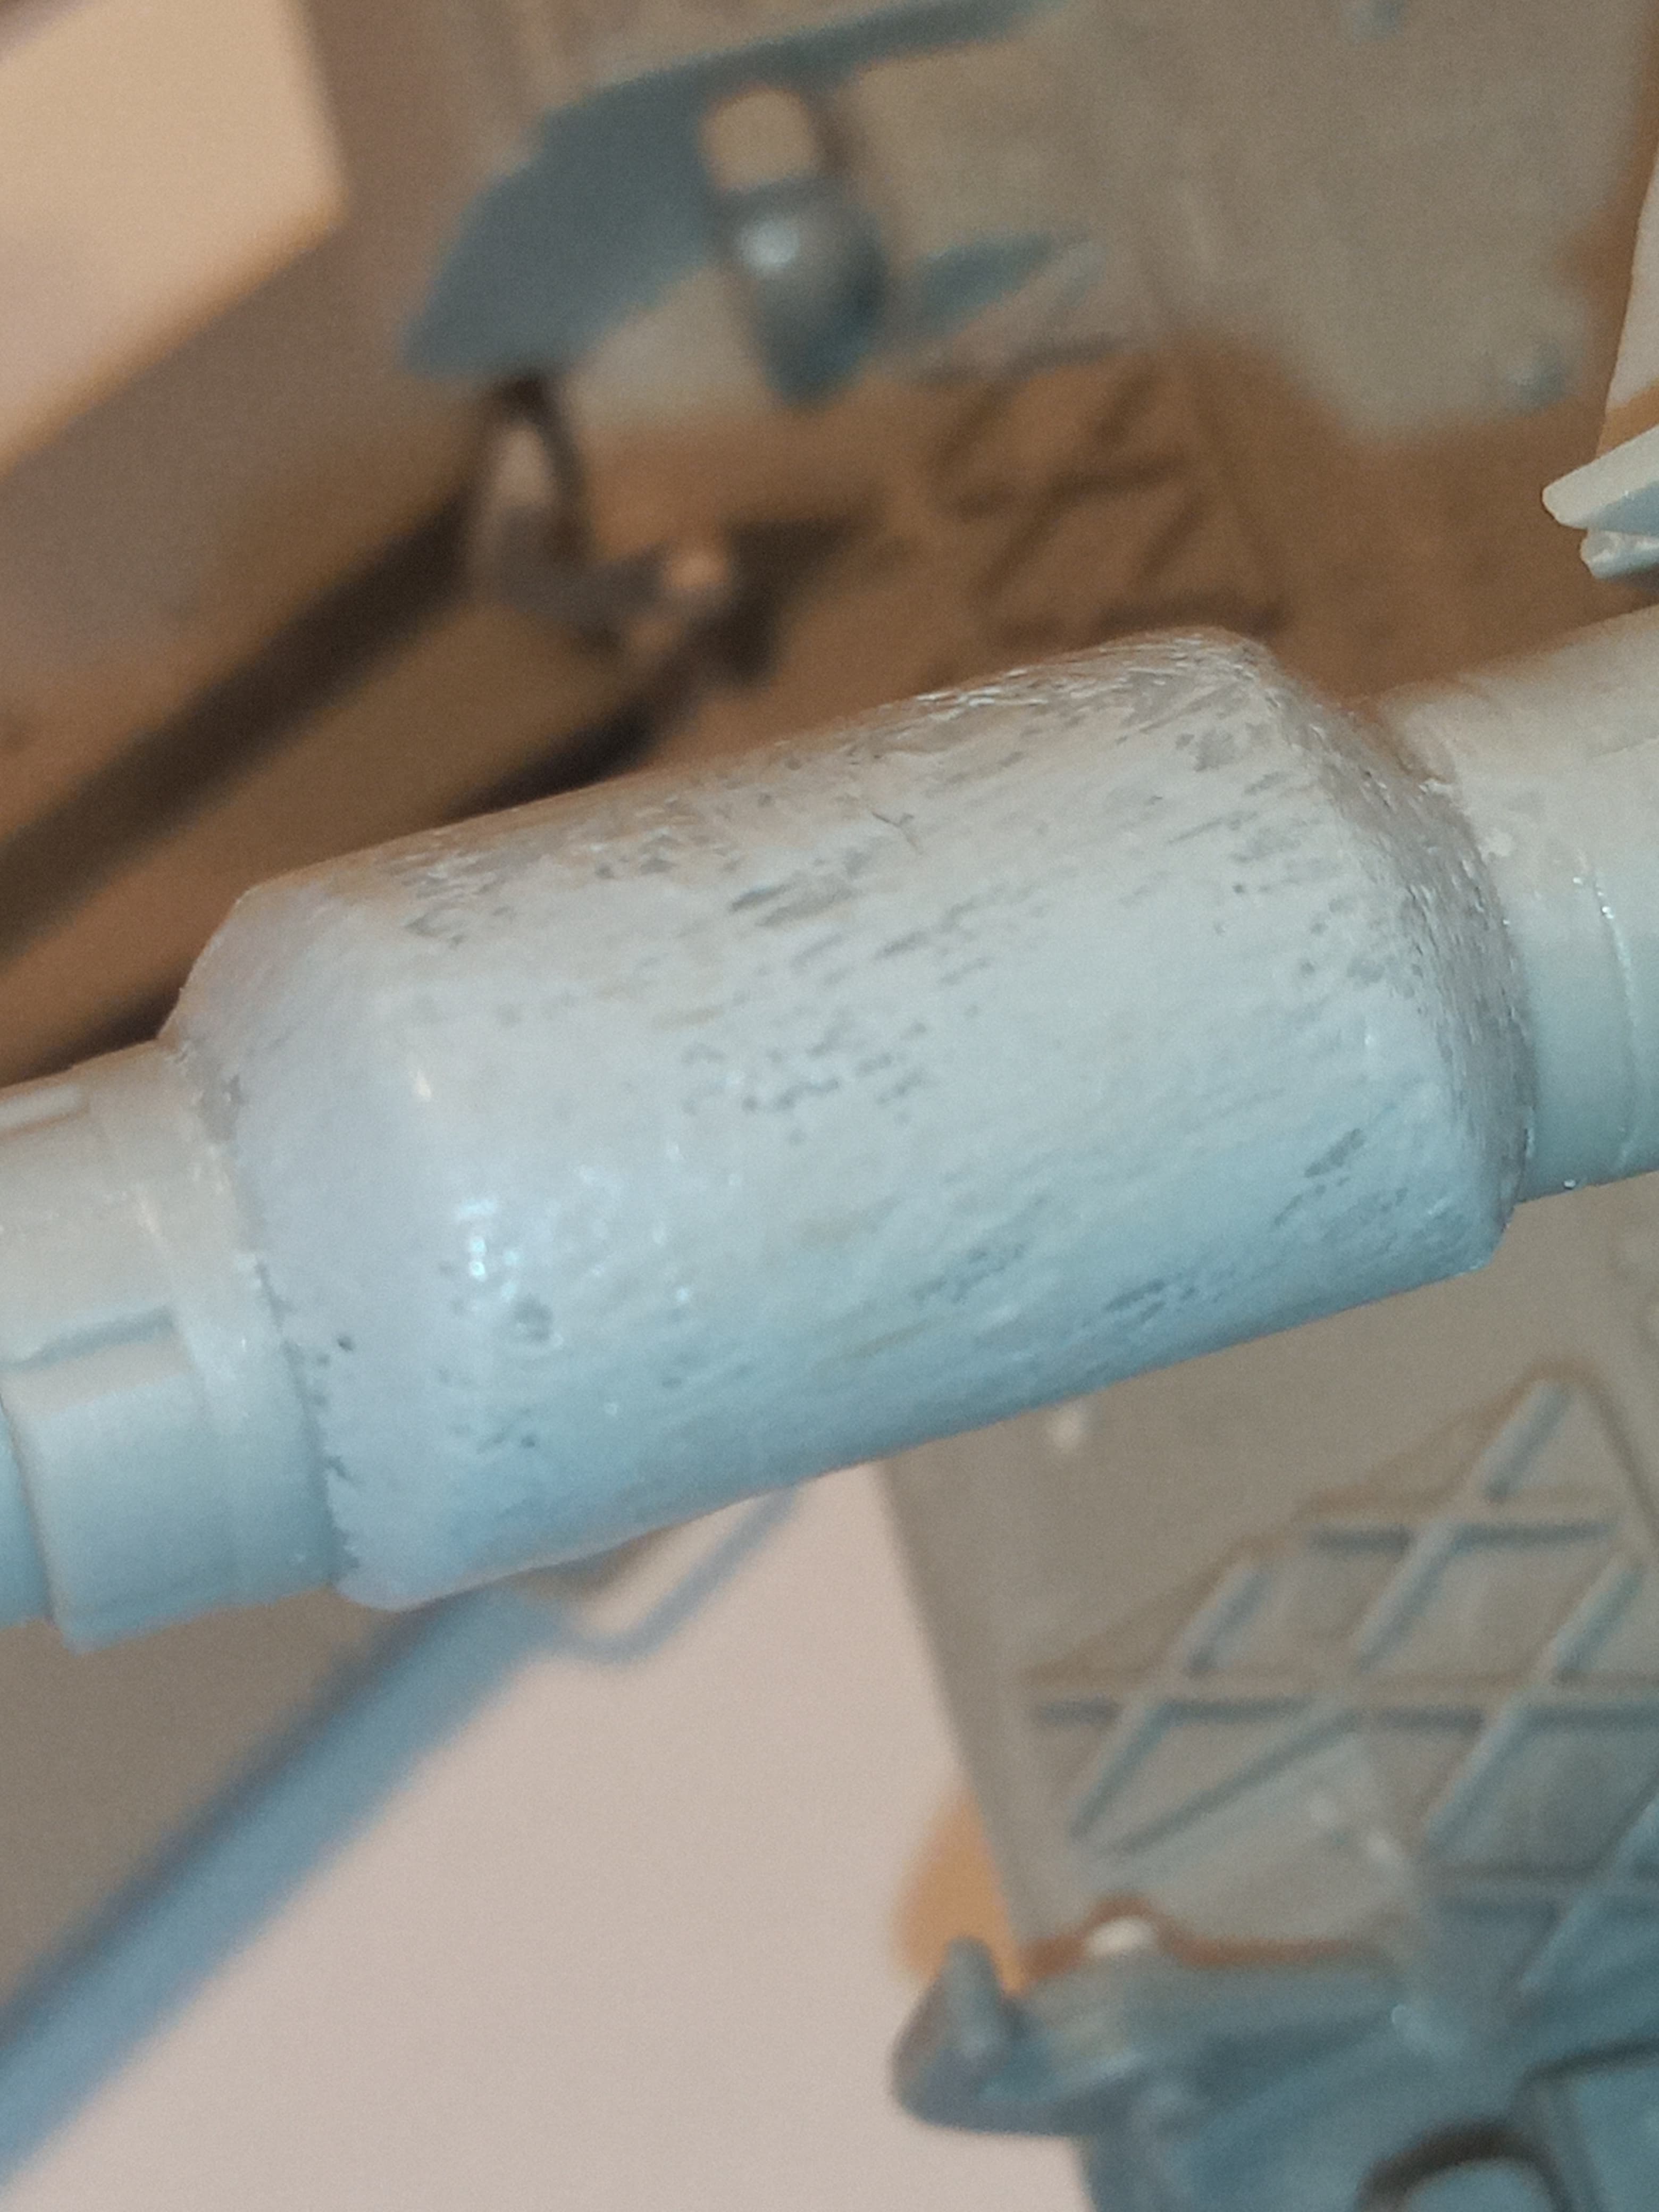
Just used Mr Surfacer 500 brushed on and then swirled the paint brush across… I think it’s passable.
5 Likes
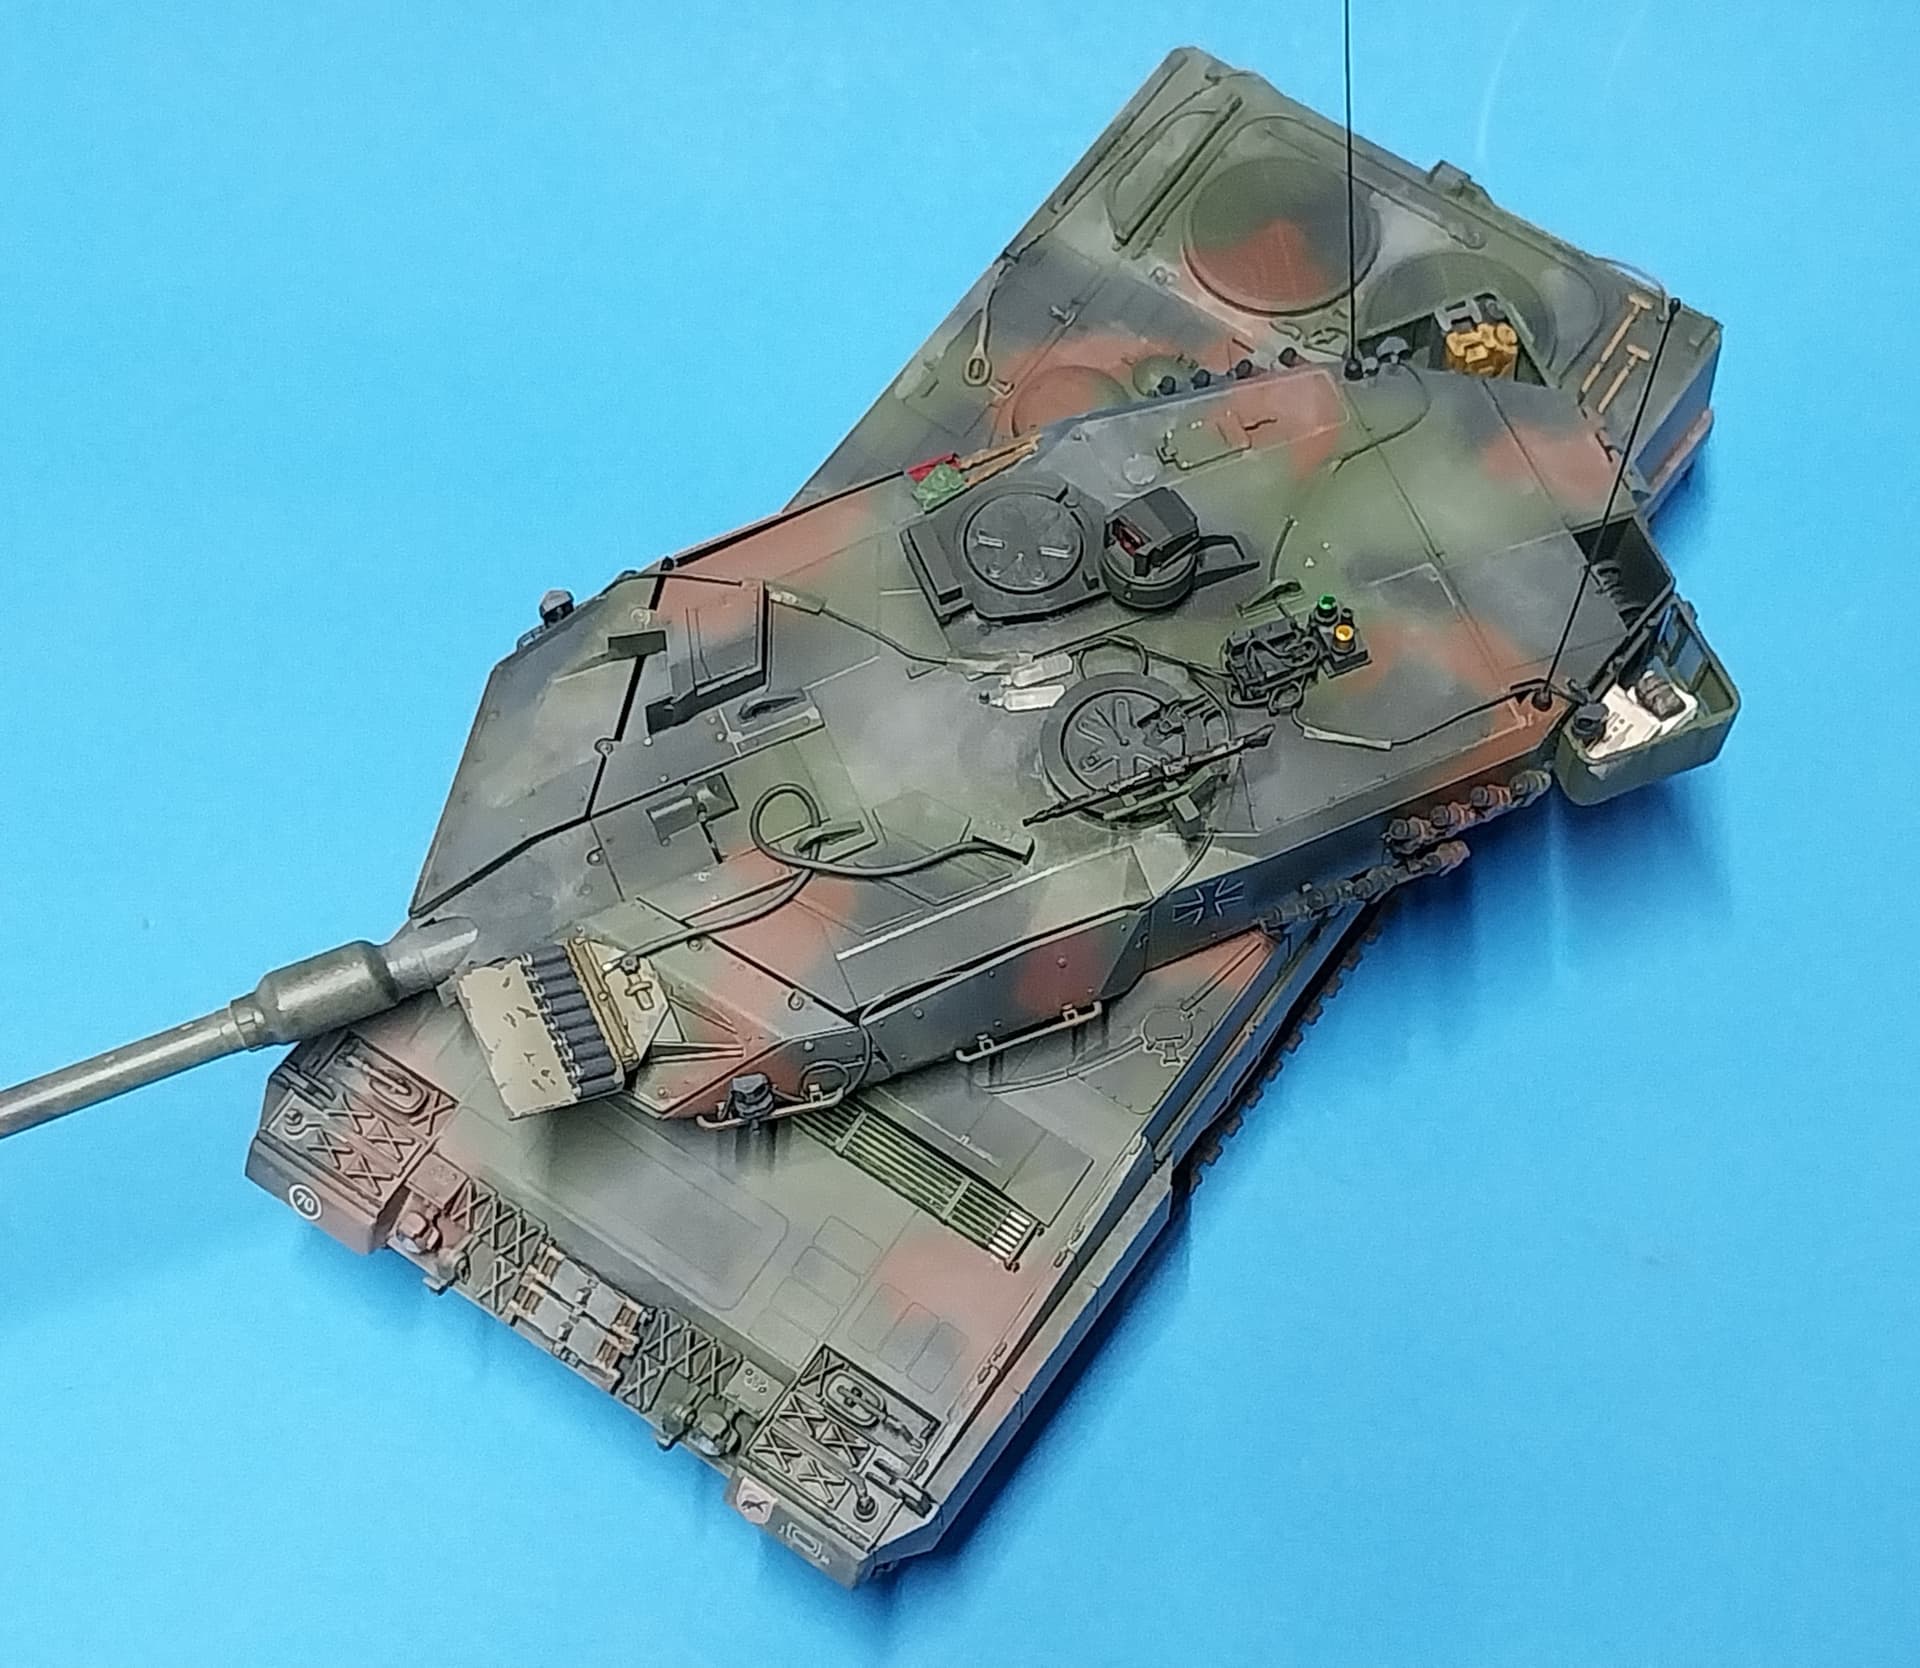
Added some securing chai to the SG dischargers

And parts for the turret roof and RH side wall
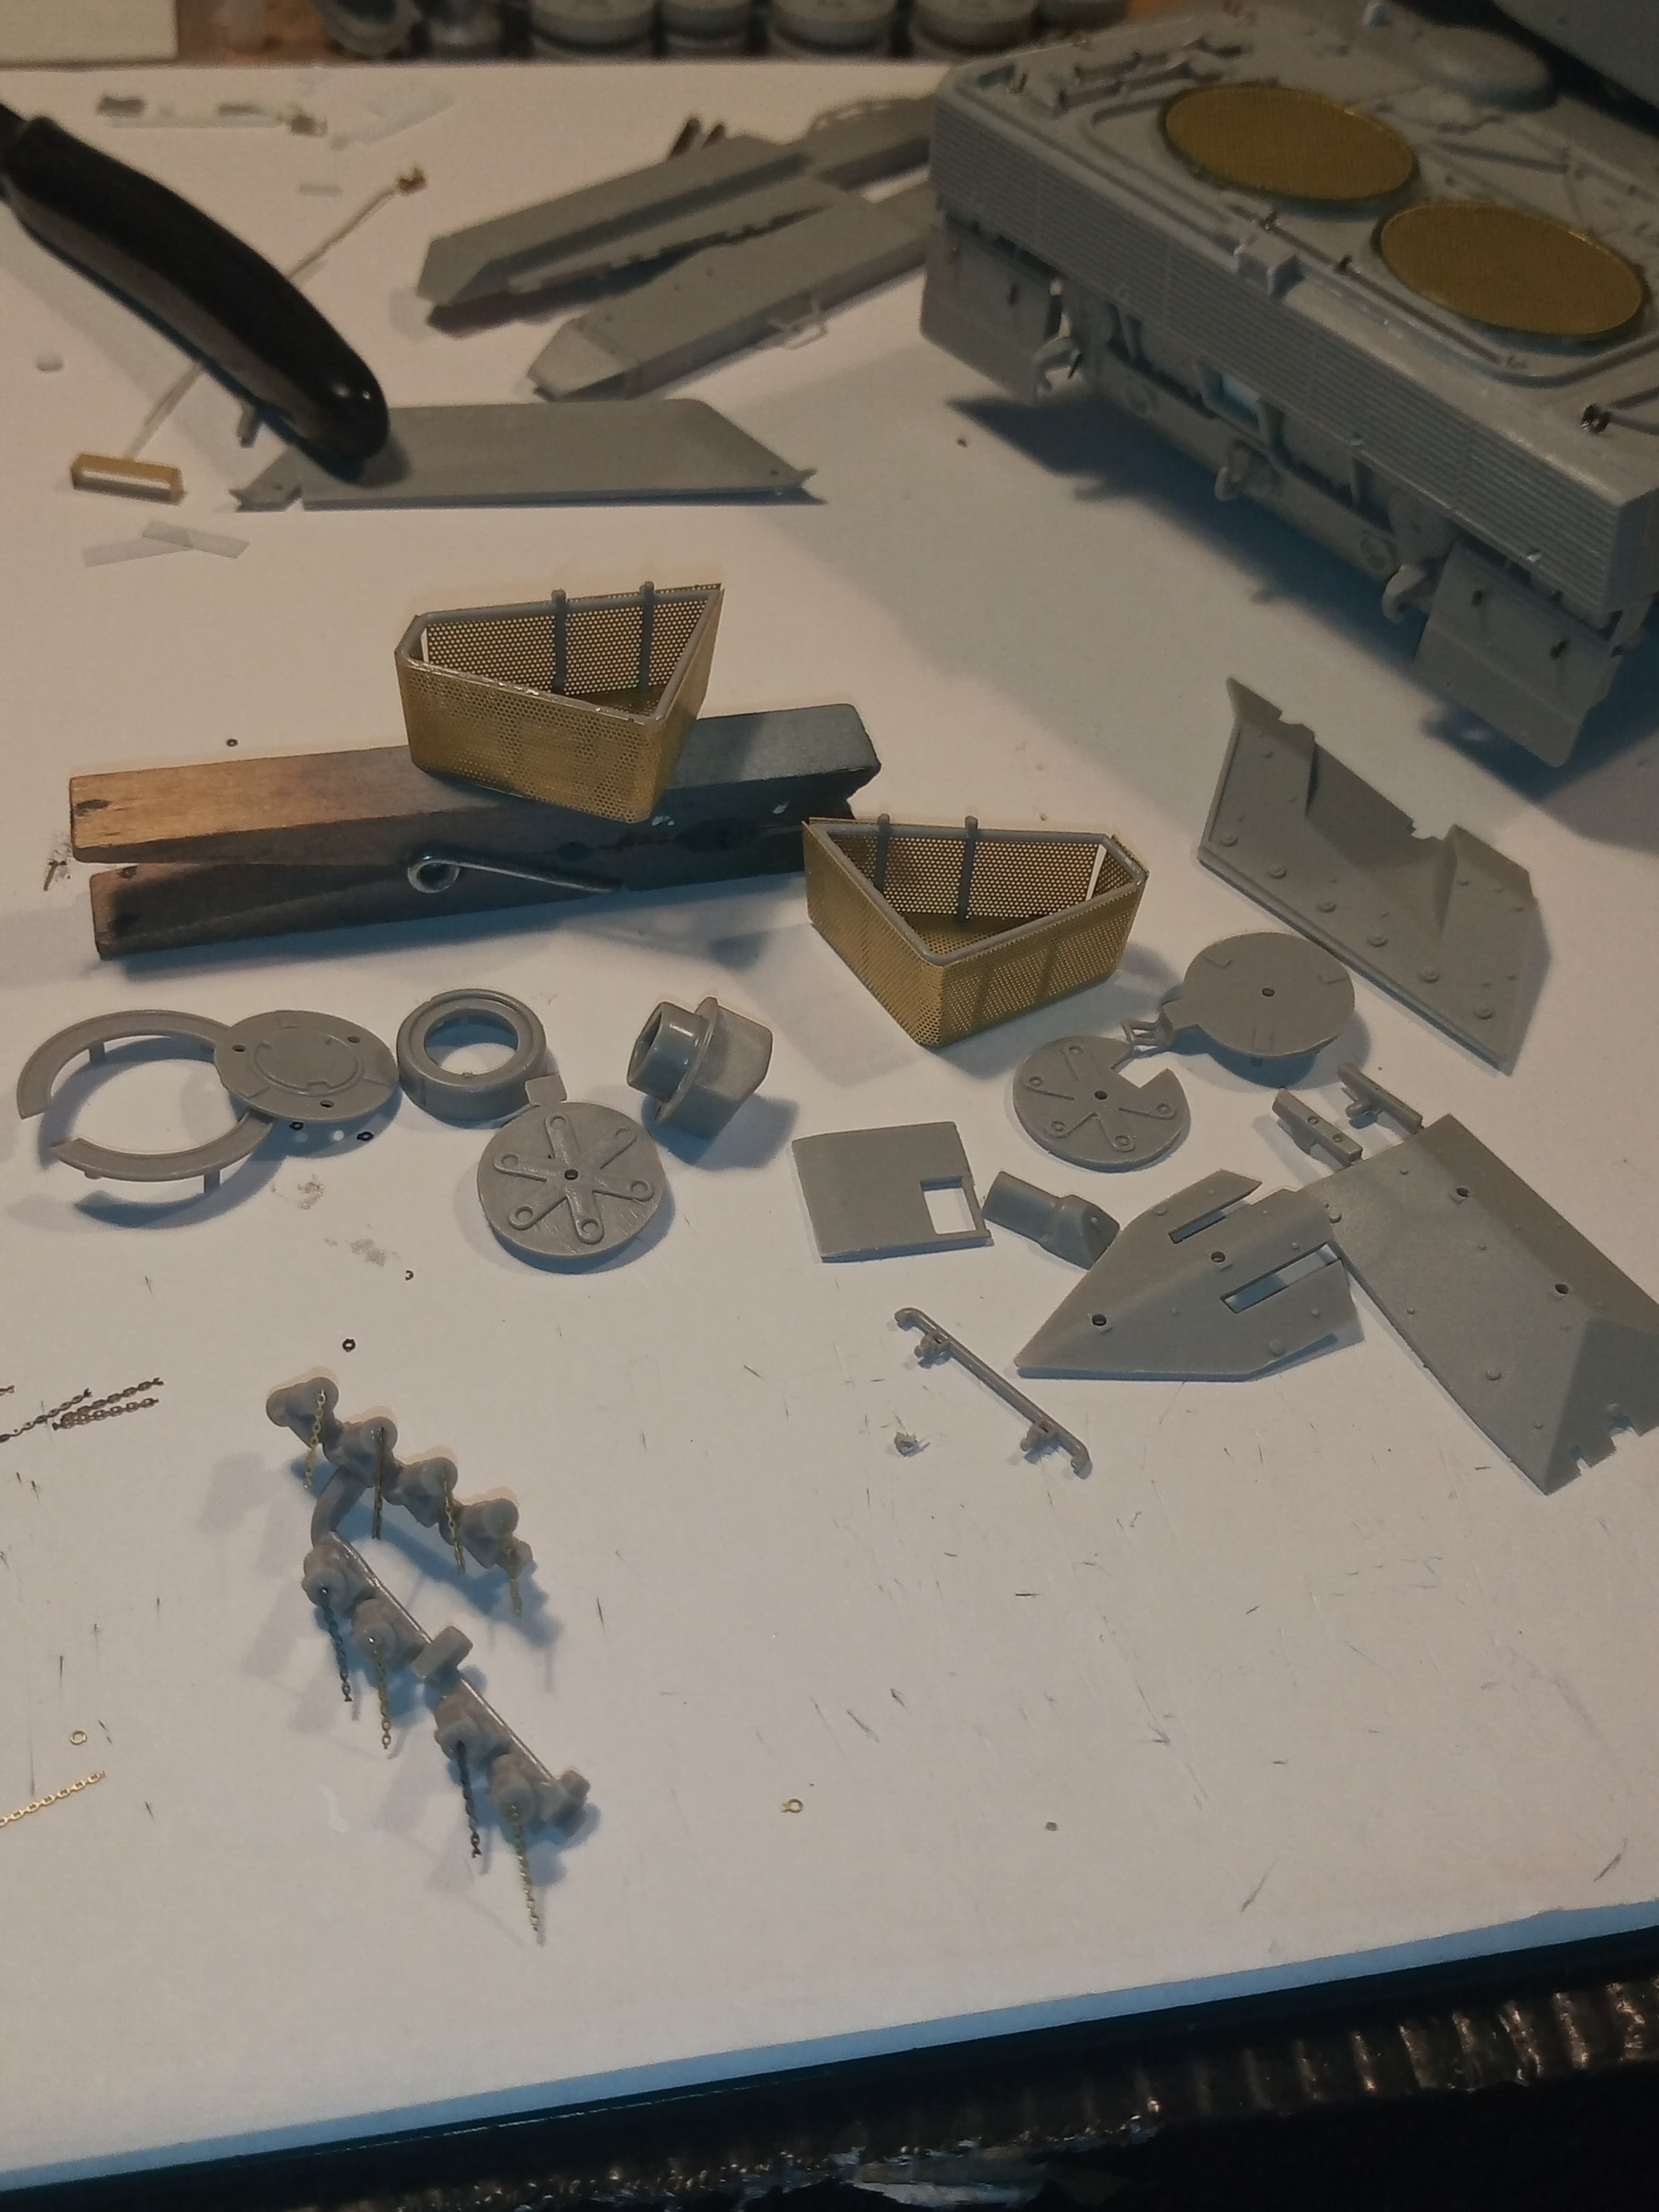
Both the outer rear baskets needed a bit of persuasion and work to make them stay together and also the lower smoke grenade mounting bar needed to cut down and reglued to get it to fit.
7 Likes
Coming along nicely👍
1 Like
Cheers mate, but its fighting all the way now. The kit in general has lots of issues, from fit issues to bad part numbering and telling you to put the loaders hatch on the commanders side and the commanders hatch on the loaders side which I didnt suss out until after I had glued the loaders hatch in.
4 Likes