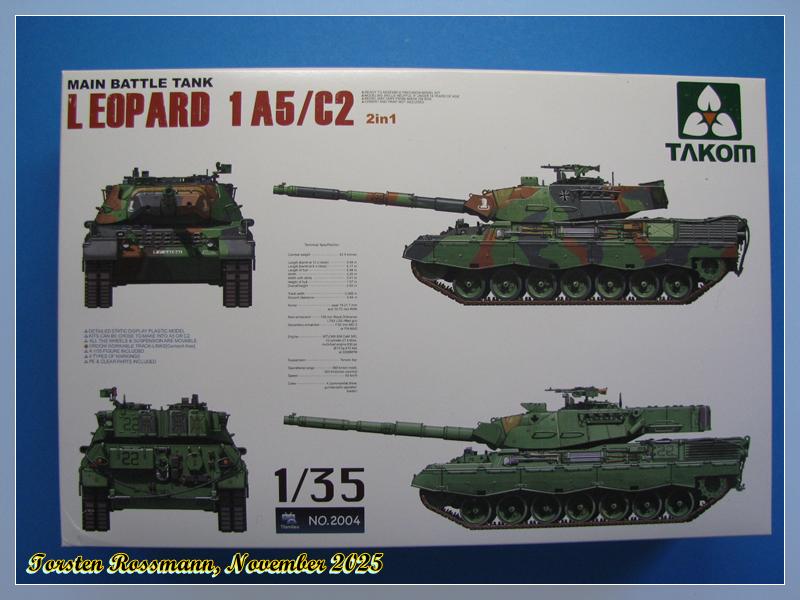
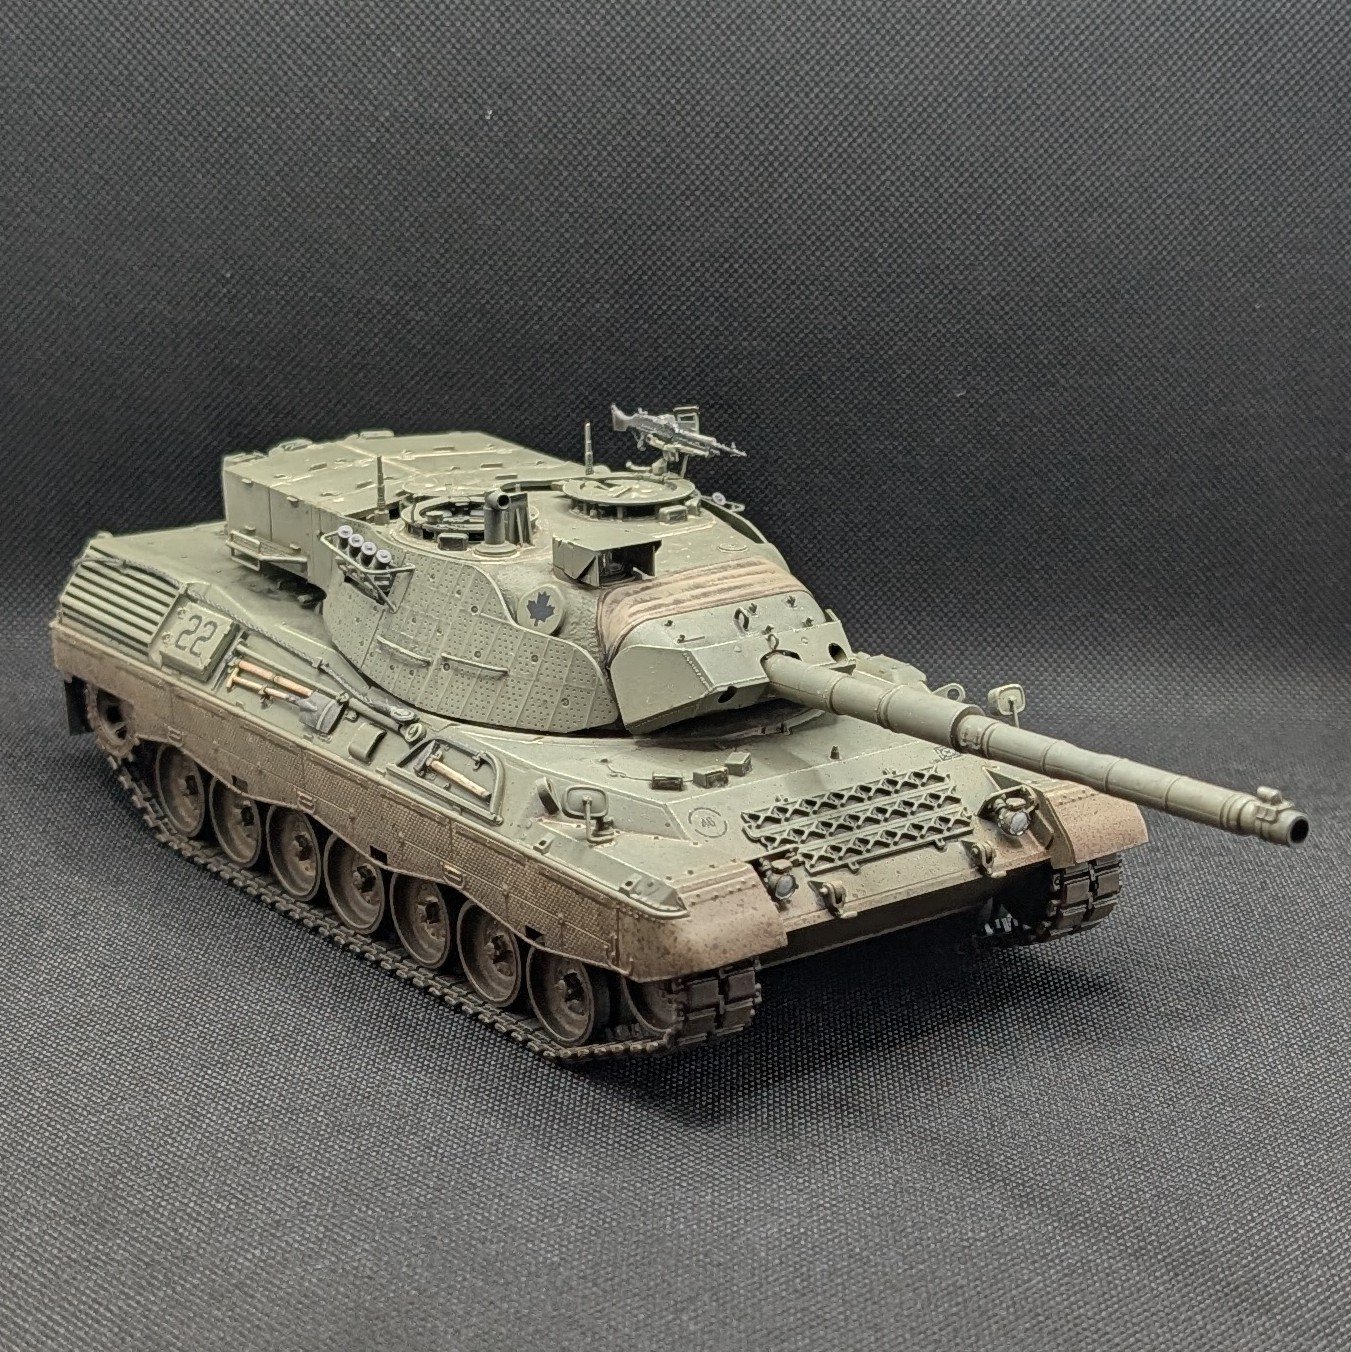
soon I’ll start another long-term project and try to put my hands on Takoms 1/35 kit of the Leopard C2. Though I’m not a fan of Takom kits I’ll give them another chance because I got this kit as a bargain.
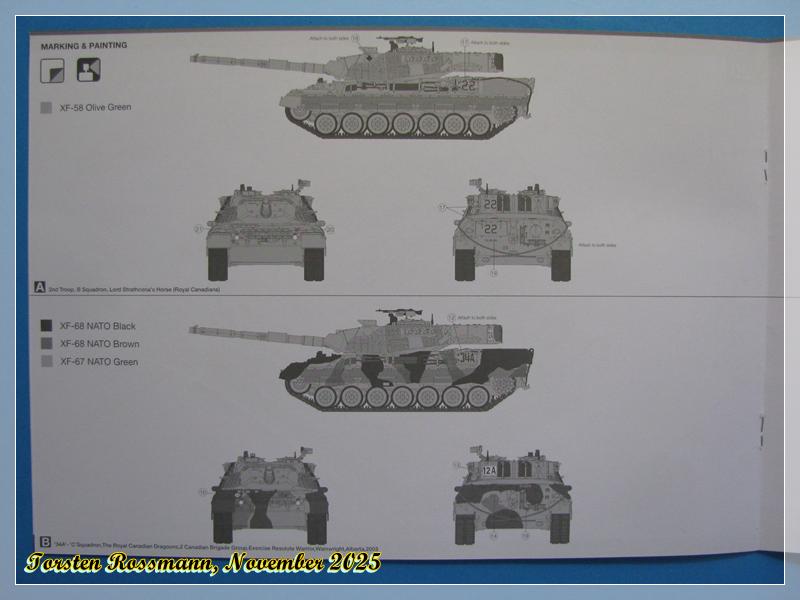
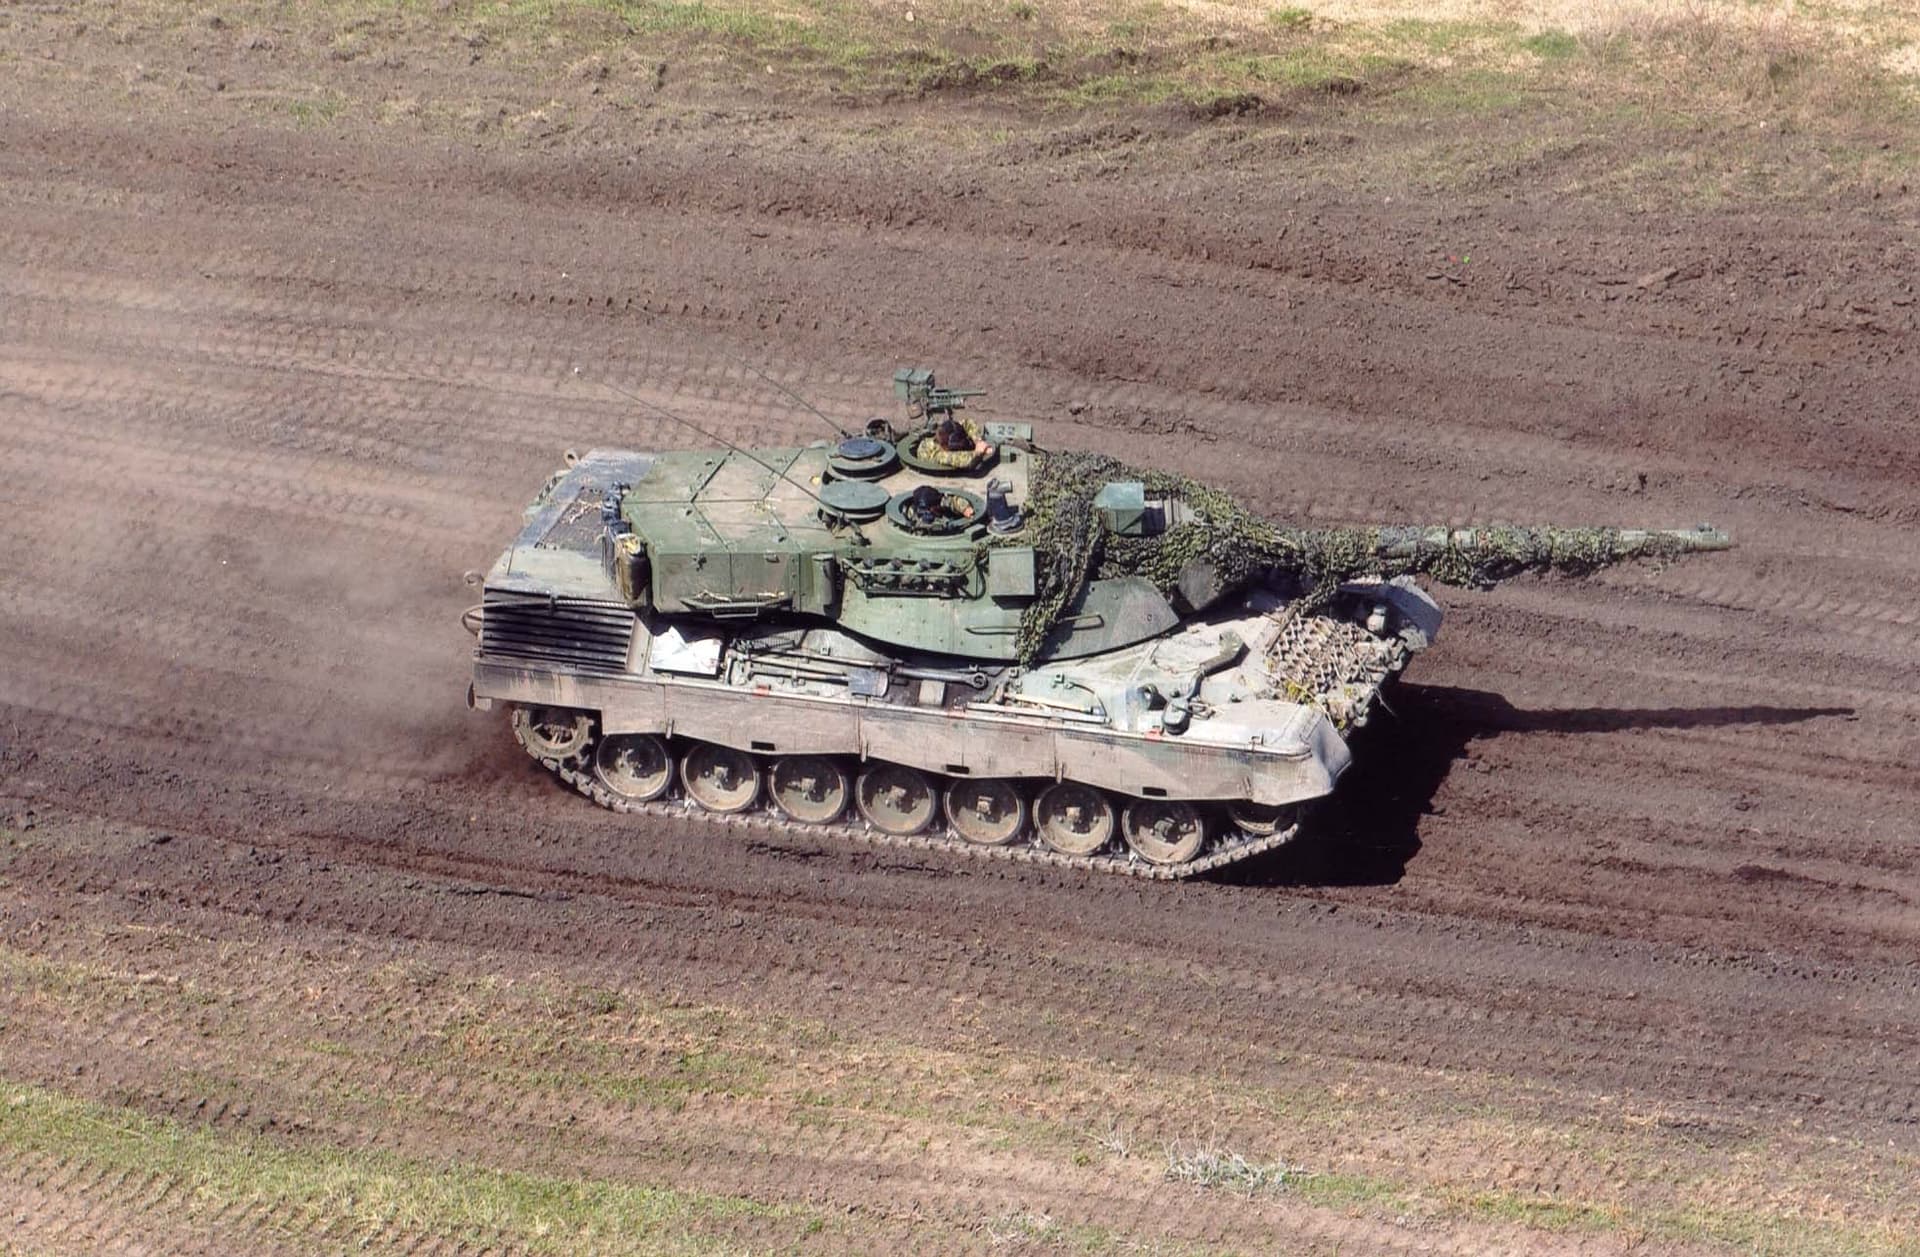
Here I have the first question to our canadian members. Takom suggests Tamiya XF-58 Olive Green for painting. I don’t use Tamiya paints and would like to know, what colour I could use instead. Do you know a FS Number? I mainly use Vallejo Model Air. Found a few photos of the real thing. Would be great if you could help or point me in the right direction …
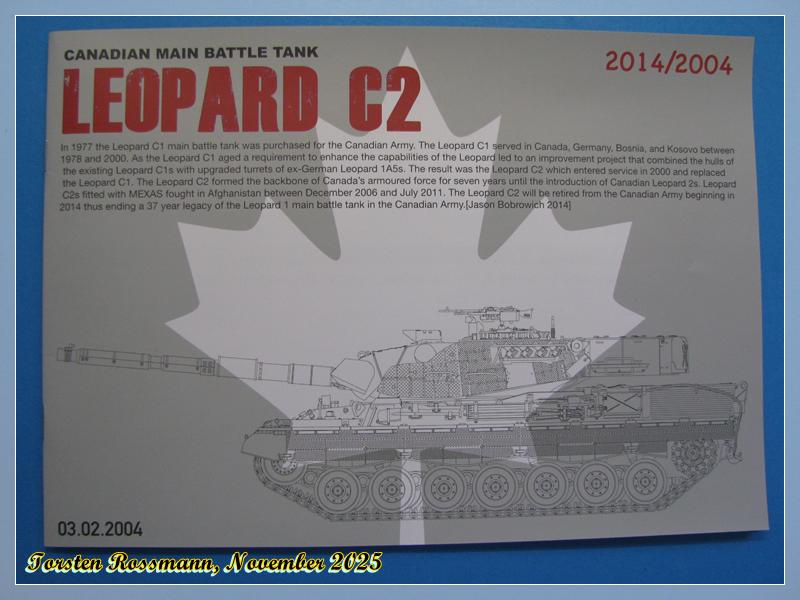
Our C2’s were painted in NATO Green, Tamiya NATO Green is a 100% match at 1/1 scale, but for 1/35 scale you will have to lighten the paint up with Buff, or track down a colour that comes close to the Nato Green colour. The kit markings are junk, do some research and track down a particular tank that you want to build and go with that one. They were actually phased out in the spring of 2017, with the last 4 being retired from my Regiment. A few years ago, the last remaining 45 Leo C2’s were sent to an air weapons range, as range targets. I commanded all 4 types of our C2’s, even commanded our C2 MEXAS in Afghanistan, so if you have any questions feel free to ask anytime…..
The Takom Leopard 1A5/C2 is a nice enough kit. Sure, the Meng 1A5 is the superior kit, but the Takom still builds into a solid representation of these vehicles. At least the tracks are way less of a hassle to build than the Meng tracks, which are a chore and then some.
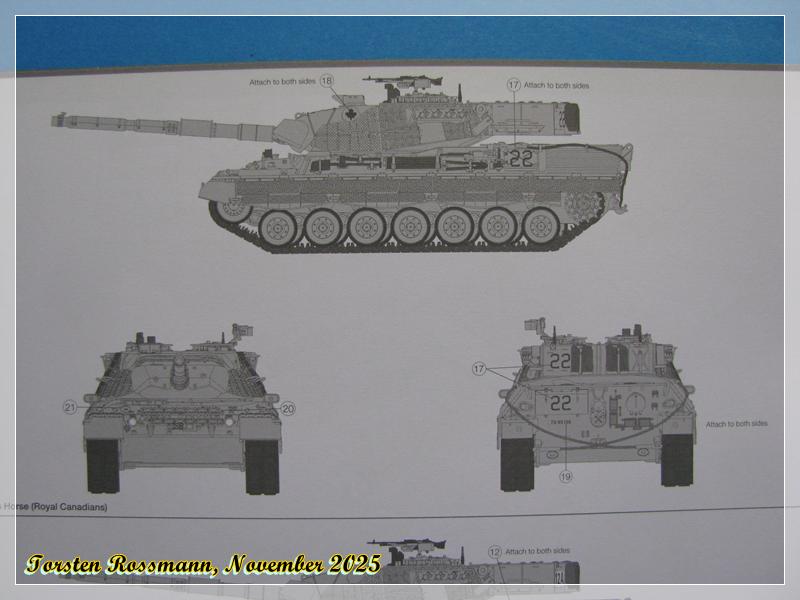
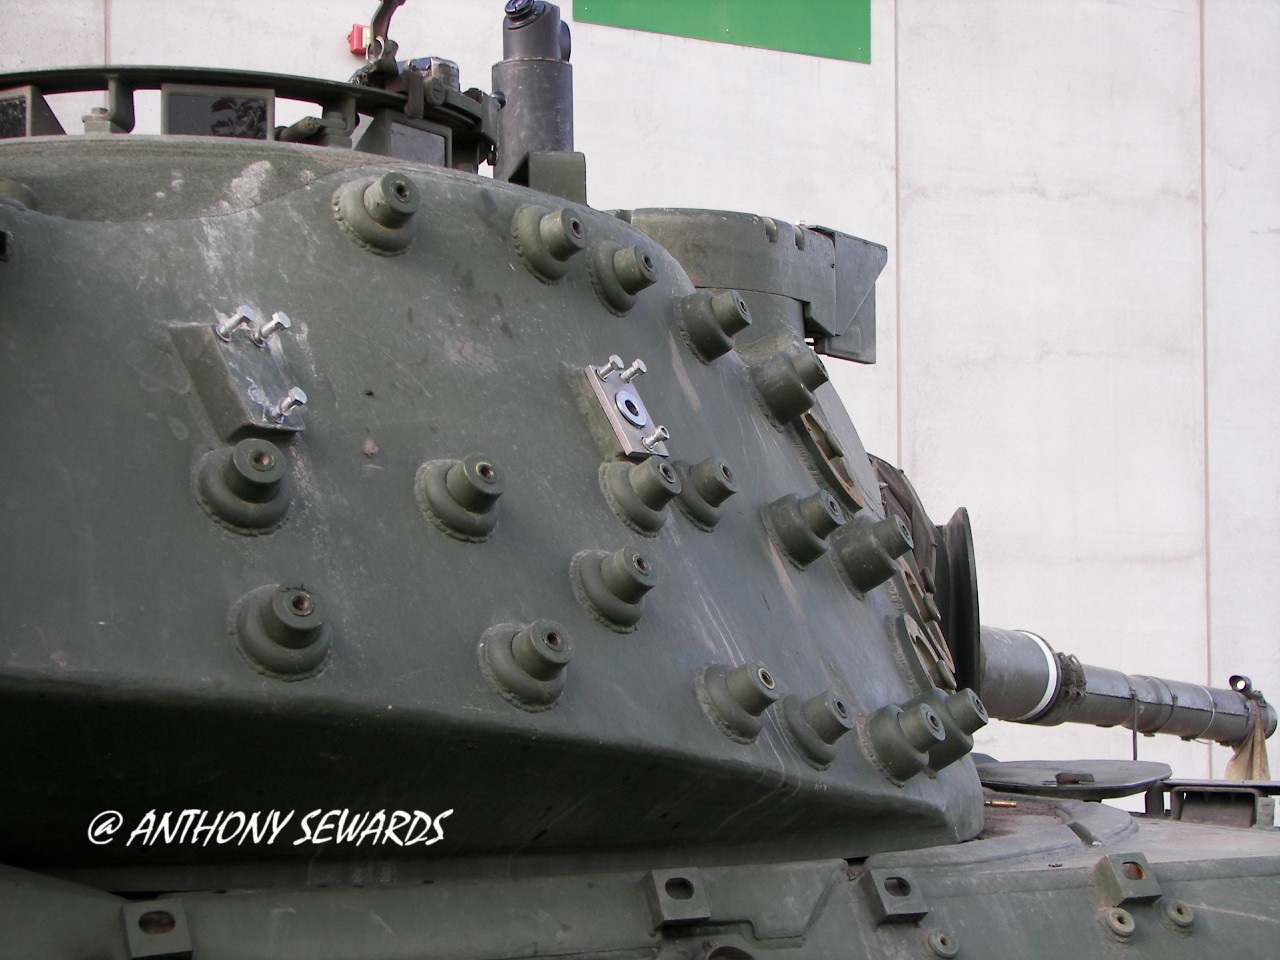
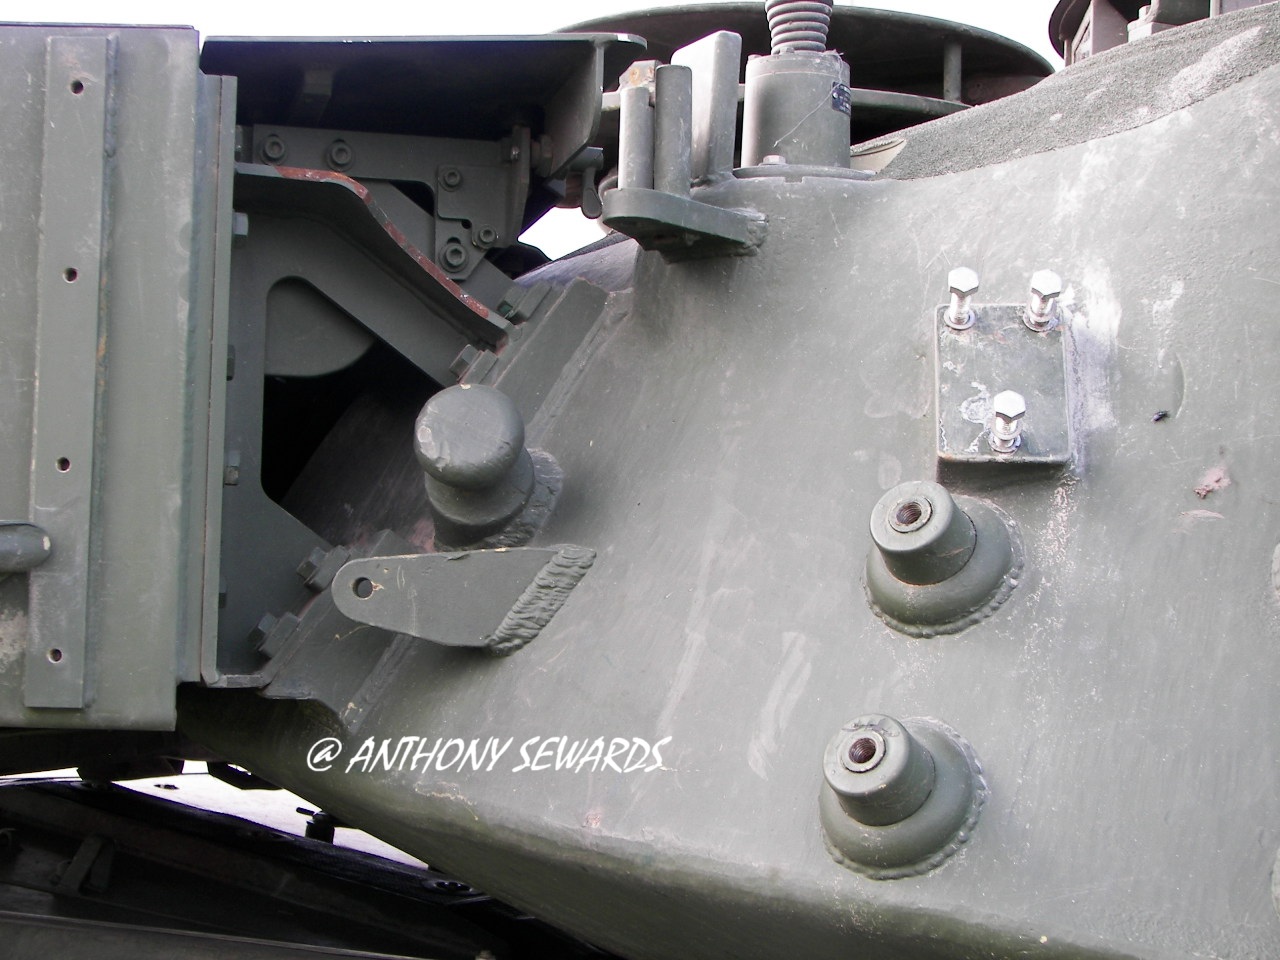
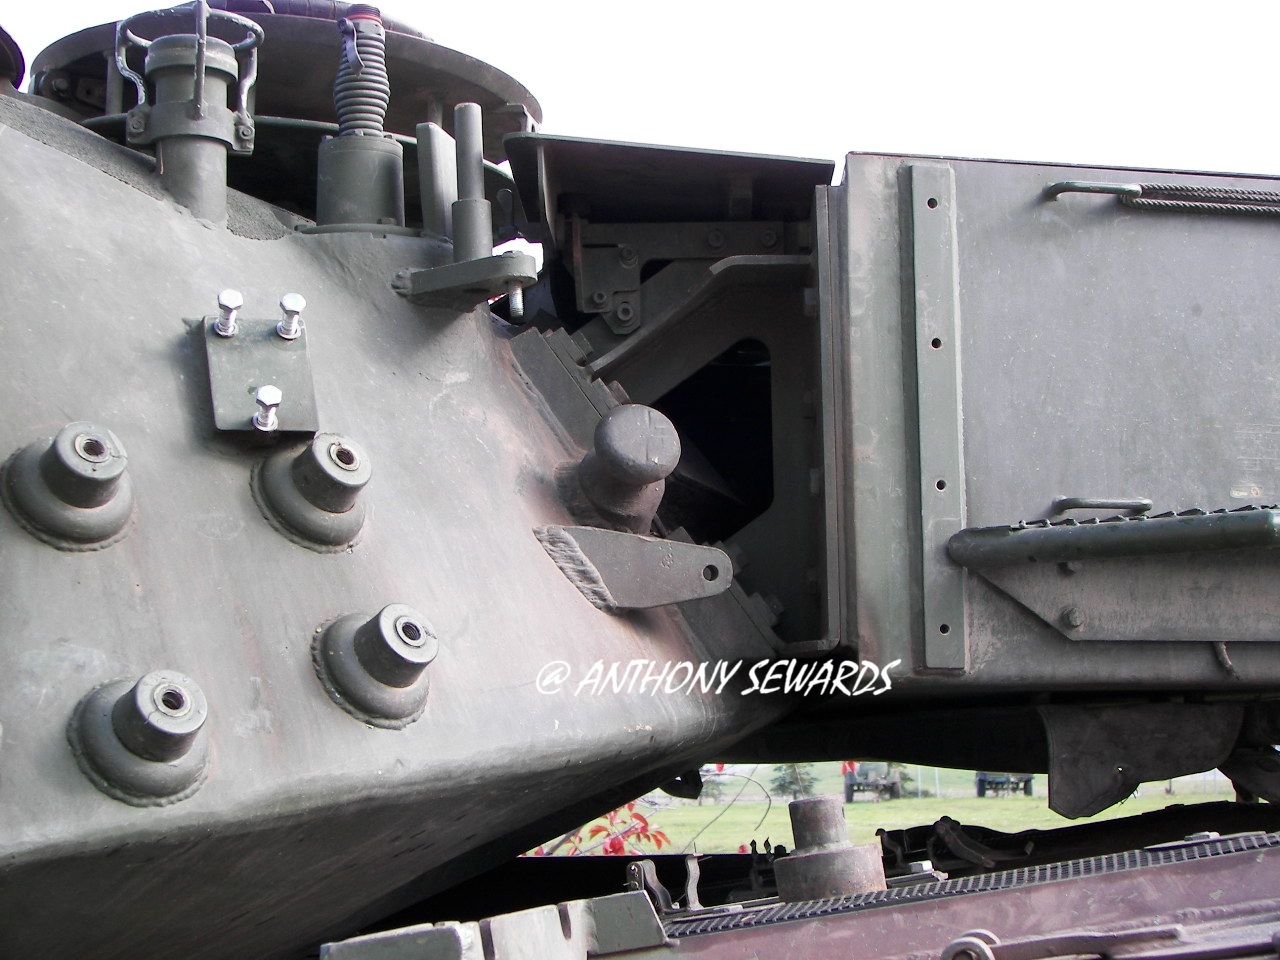
The only thing that made me scratch my head is that Takom failed to provide any good way of indicating where the mounting bosses for the additional turret armour go, so much of that is done through the old Mark 1 eyeball.
Wow! Thanks for all your answers, guys! Much appreciated! I’m impressed!
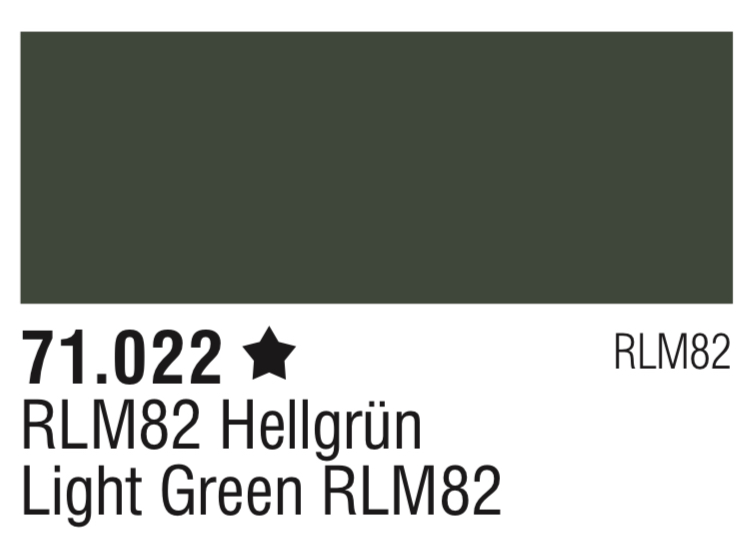
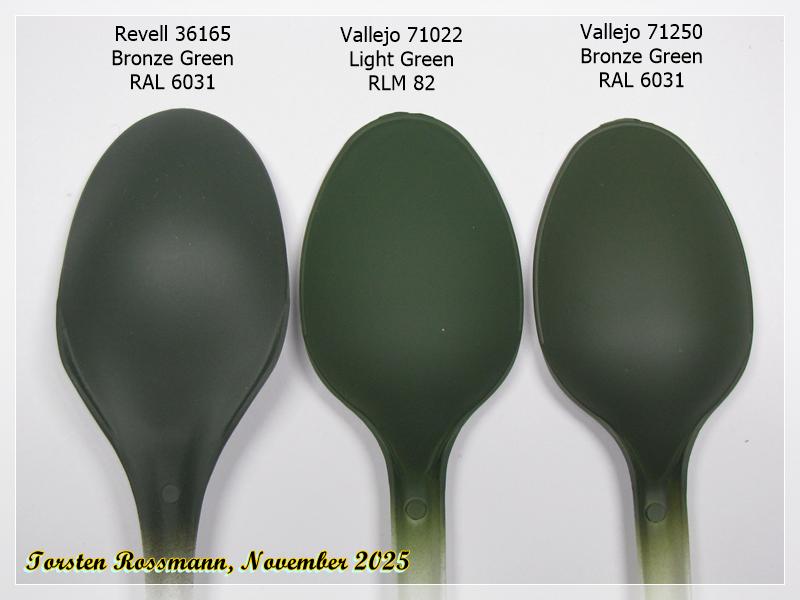
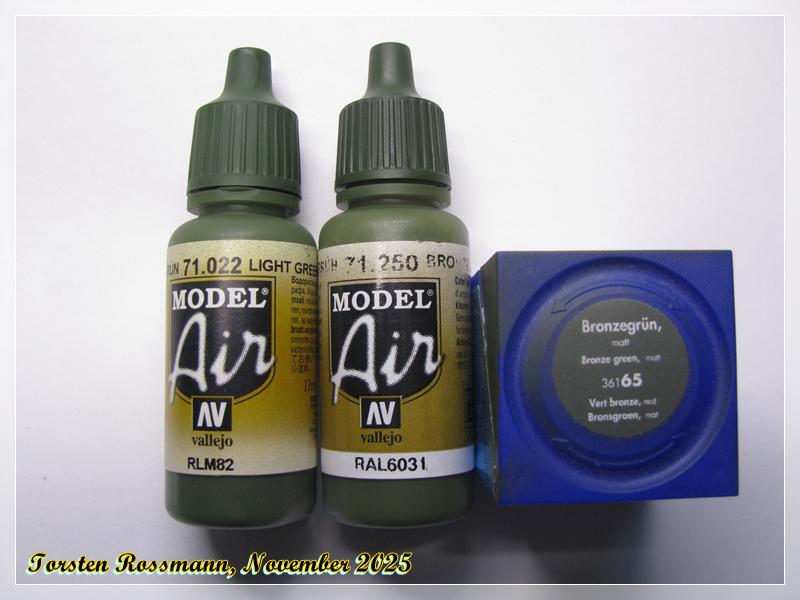
Never thought of RLM 82 as an equivalent to NATO Green. But I have 71022 in my Vallejo stock, though not used yet. I’ll do some test spraying on a plastic spoon in the next days. Thanks for that hint!
AD, the colour next to Tamiyas NATO Green should be Bronce Green RAL 6031, which I have used on most of my Bundeswehr vehicles. Vallejo has it as 71250, Revell Aqua as 36165. I’ll compare it with RLM 82.
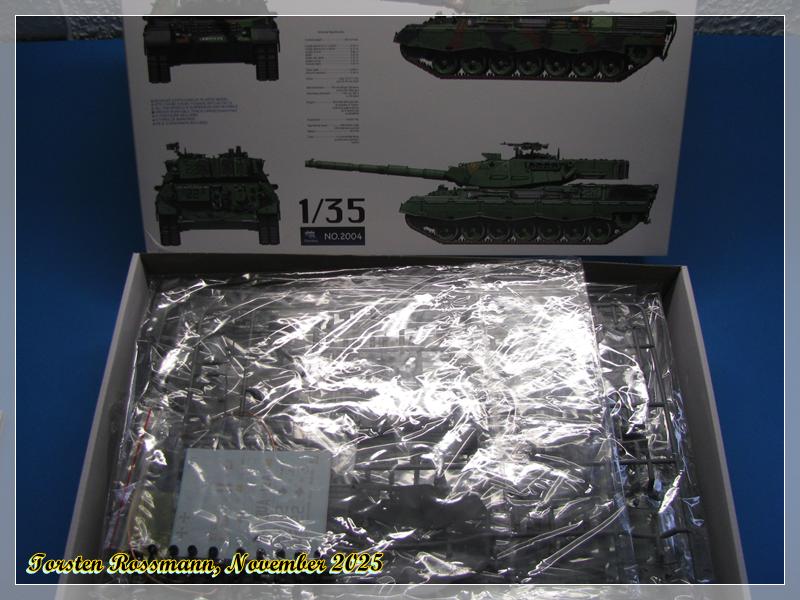
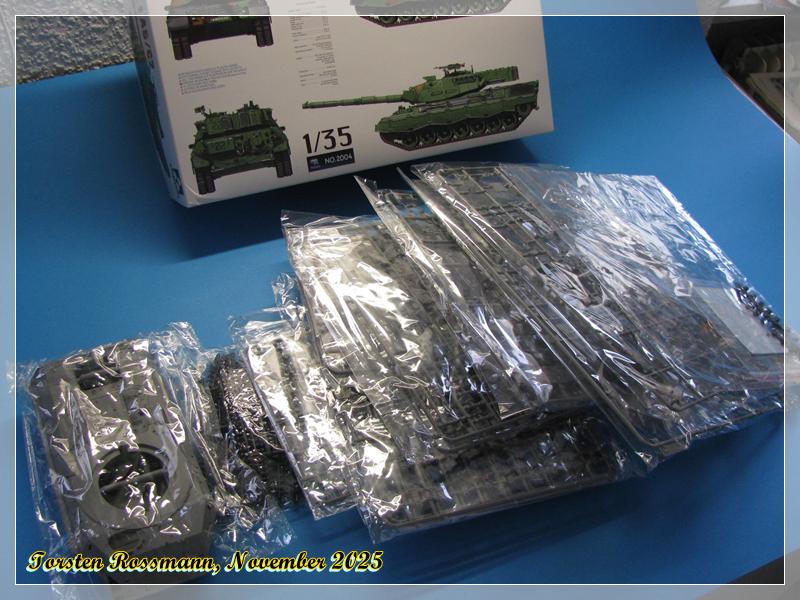
Jay, I have noticed the tracks of this kit. 3 pieces per link. Good to hear, that you think, they are easier than others. So far I’m used to vinyl tracks from my Revell (RoG) kits. Beside others I have built three Leo 1 and three Leo 2 up to date. All have vinyl tracks.
I’ll take the easy way with building this Leo. Straight oob and no weathering. Only a little dust from pastel chalks. Don’t expect a quick build from me. Haven’t started it yet. I know, some of the guys here build a tank within a few days, but I can’t. Being mainly an aircraft modeller, I have also a plane on my bench right now. So the Leo will become a long term “side project” …
I’ll give you an update asap, but first I let you know about my test spraying.
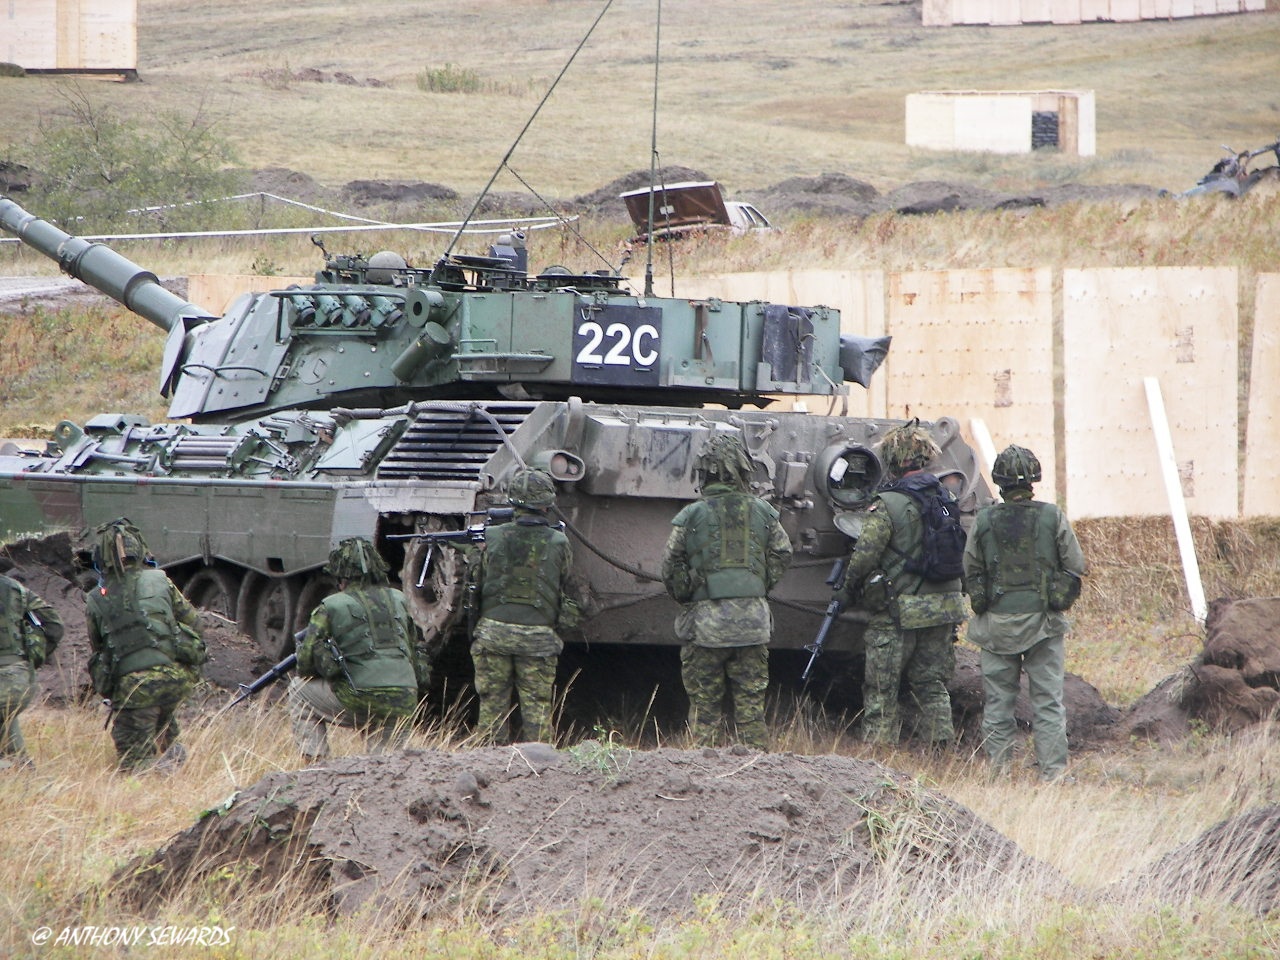
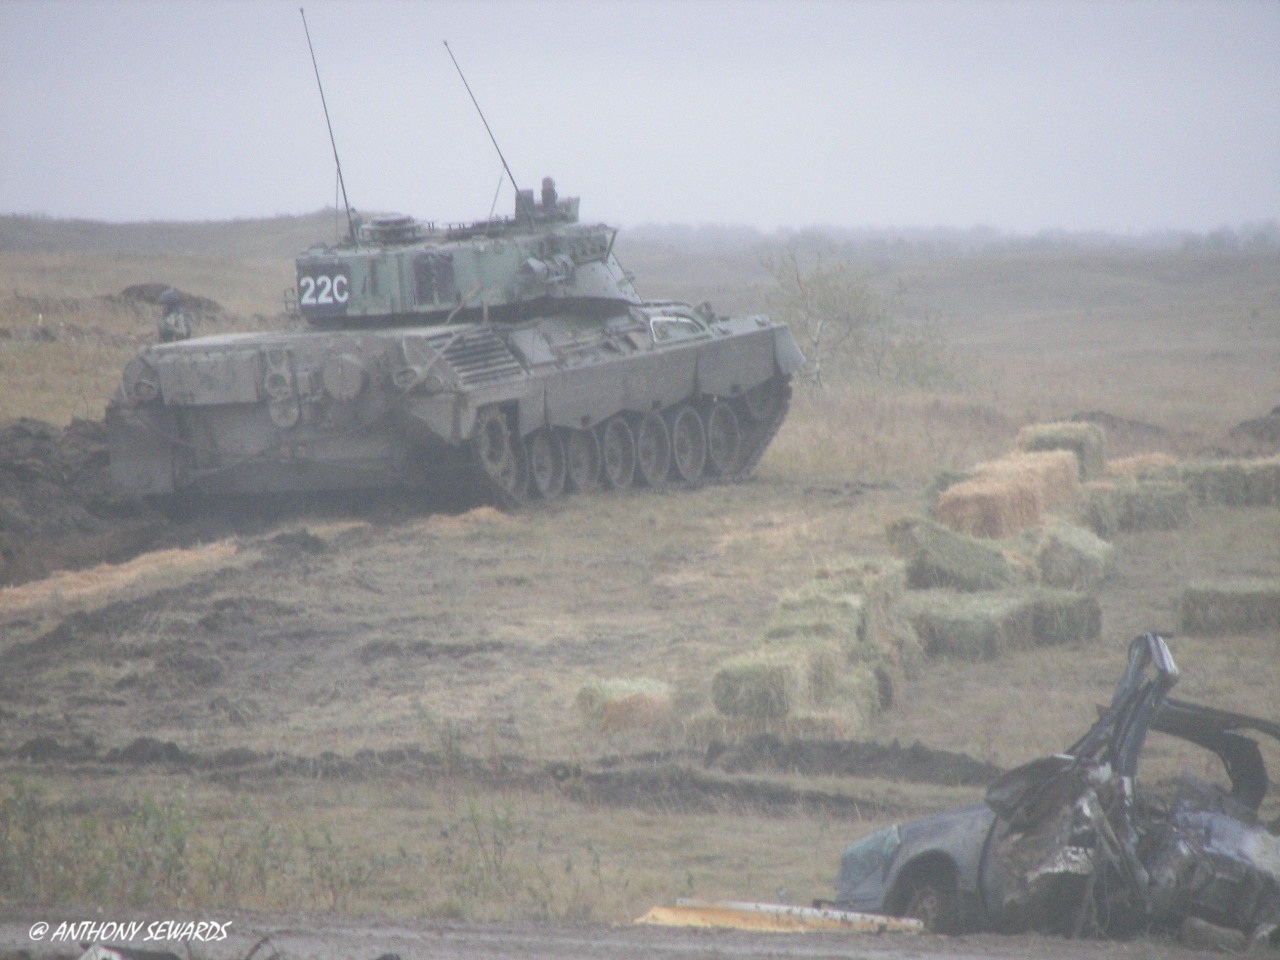
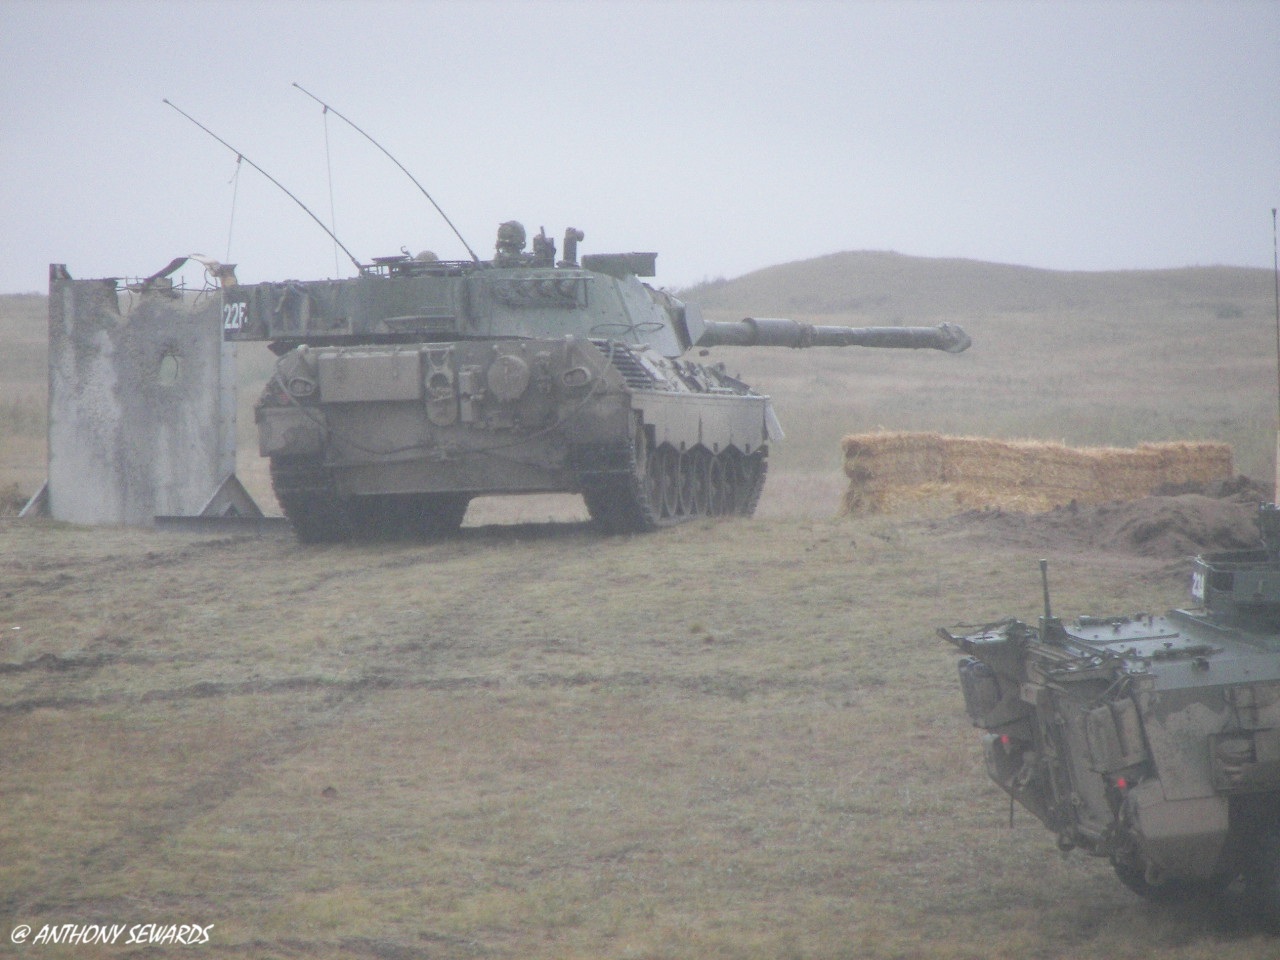
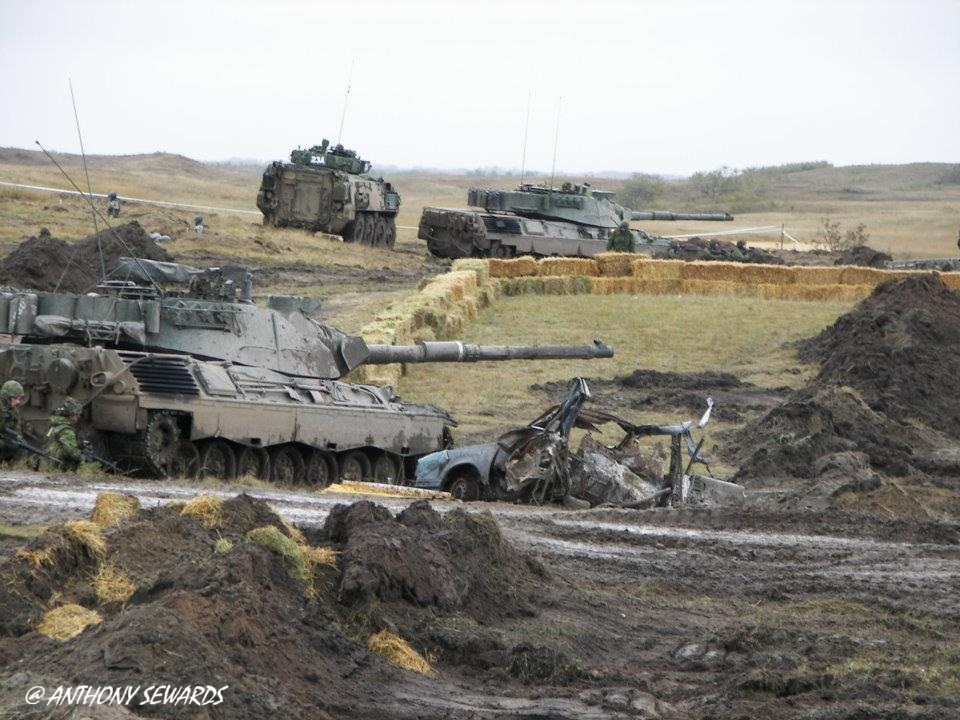
They do get dirty quite a lot, these are from 2006 workup training for Afghanistan . Plus if you like to add some small changes in colour, some of our replacement side skirts came in NATO 3 tone
I’ve built several models with these tracks (the 1A5, the C2 MEXAS and the Bergepanzer) and I found the easiest way to do it is just clip two track links together using the central guide tooth and then slip on the vinyl end connectors. That way you can get a set done in one or two evenings while watching a movie.
I’m going to be closely following this as I just purchased the same kit and am getting the bug to get into it. After doing the old Tamiya Leo 1A4 as a Danish tank in UN colors I got the bug….
Wow, that’s a great result of your Leo, Jay! I hope mine will be half as good as yours in the end. What paint did you use here? I have also the Takom Bergepanzer 2 in my stash. We just called it Berge Leo. Have good memories of them. We had 2 of them in our unit.
Okay, I did some test spraying yesterday and these photos are really annoying. I don’t know. what my camera focused on … I made the photos at my work bench at the window with this misty cool weather we have here at the moment. First is with my bench lamp on natural day light modus and the second is with the lamp on artificial light modus. Even on this fuzzy photos you can tell the difference. Vallejo 71022 is more yellowish while 71250 is a bit more bluish. Another aspect is the gloss level of the paint …
At the moment I tend to use Vallejo 71250 Bronce Green. Revell is out of the race. What do you think, guys? But I will replace these crappy photos. Just need a bit of day light.
Edit: Replaced the photos. Needed a few attemps to make the camera what I want …
If you want to make the kit accurate, I did a tweak list when the kit first came out years ago, it is 2 pages long, with decal corrections as well.
TAKOM Leopard C2 Tweak List :
The MRS (muzzle reference sensor) located on the tip of the barrel is was too small and is the wrong size. Should be 50% bigger.
The canvas mantlet cover is incorrect for a C2 version, should have Velcro panels for the maintainers to work on the mantlet. The mantlet sim-fire plate should be 25% larger and add l shaped brackets.
The Commanders TRP sight cover is small, will need to be 25% larger. The TRP rubber seals require to be spit apart to look like two flat rings.
Leopard turret top should have a coat of anti-skid added.
Smoke grenade launchers missing chain for caps and launcher wiring.
The crew commanders area has the wrong number of episcopes, missing one. Both turret hatches are missing combat lock hinges.
The antenna mounting units (AMUs) are not the correct type, will need to be replaced.
Missing flag post mounts left and right sides by the AMUs.
The GPS antenna mount is wrong and will require to be modified.
Rear back bin, will require a coat of scale anti-skid on the top cover.
Missing the antenna bag under the back bin (not all had them mounted)
Supplied Jerry cans are incorrect shape.
The road wheels require back plate, and the hubs are the wrong shape.
The divers armoured cover for the episcopes require the wiper cable.
Missing the fording plug posts on left side of upper front hull.
Missing headlight & Horn cables.
The tow cables hull attachment points are way too thick, PE would fix this problem.
The rear drivers tool box is missing the locking chain and stowage bracket and hinges are incorrect.
The rear track adjustor tool mounted on the rear deck to wrong. We operated with a modified type due to the Mexas side armour. And was never mounted there.
The gun crutch or travel lock is undersized by 25 %.
Tank telephone handle will require to be replaced as they are very noticeably L angled.
Will have to drill out gun crutch spare position brackets.
Missing rear side skirt half-moon brackets on both sides of the rear hull.
The C6 mount requires a gun travel lock, and not all had the MG version. The barrel is missing the barrel handle mount.
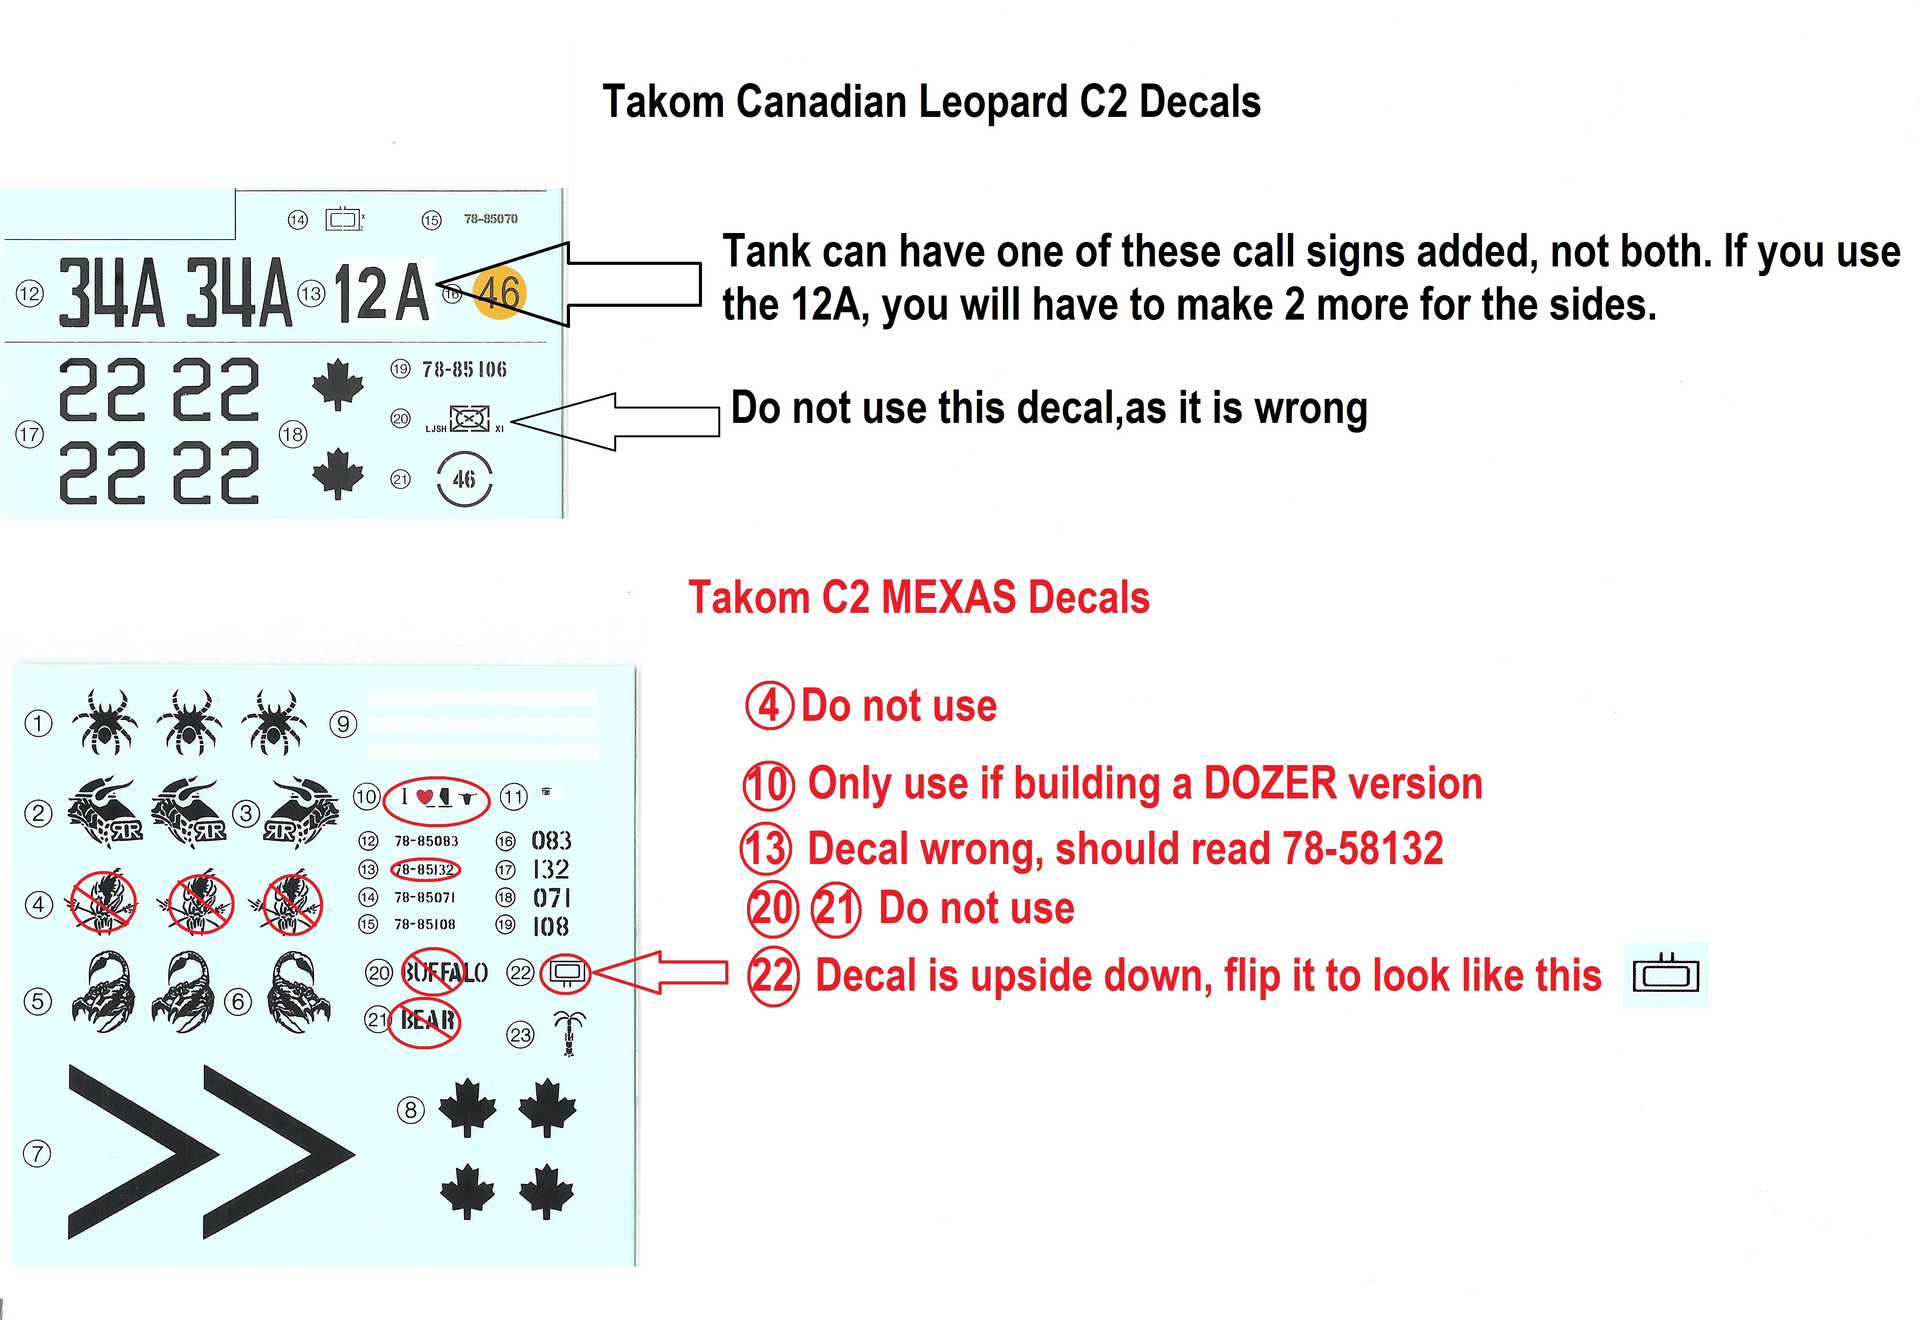
Incorrect marking in instructions and other observations:
The second set of markings are incorrect , as they mention C SQN RCD call sign 34A.This tank 85-78072 belonged to A SQN 2nd troop in 2003 , thus the call sign of 12A on the back bin is correct (which was a call sign board as troops swapped out tanks used by other troops). Minor confusion but no big worries. This C2 became the mine plough tank in my troop while deployed in Afghanistan.
Also, there should have been notes of the red painted warning markers for dismounting off the hull. The side skirt hinges should have been painted red, and also the hub centre plugs should be painted red as well.
The issued wood tool handles should be painted a dark brown wood colour not a dark yellow colour. All metal areas on the tools should be painted a very dark gun metal.
Cheers
Anthony Sewards, CD
Author of the Canadian Leopard Project
The decal corrections also make notes of the TAKOM C2 MEXAS, which the information was taken from a non deployed Tank.
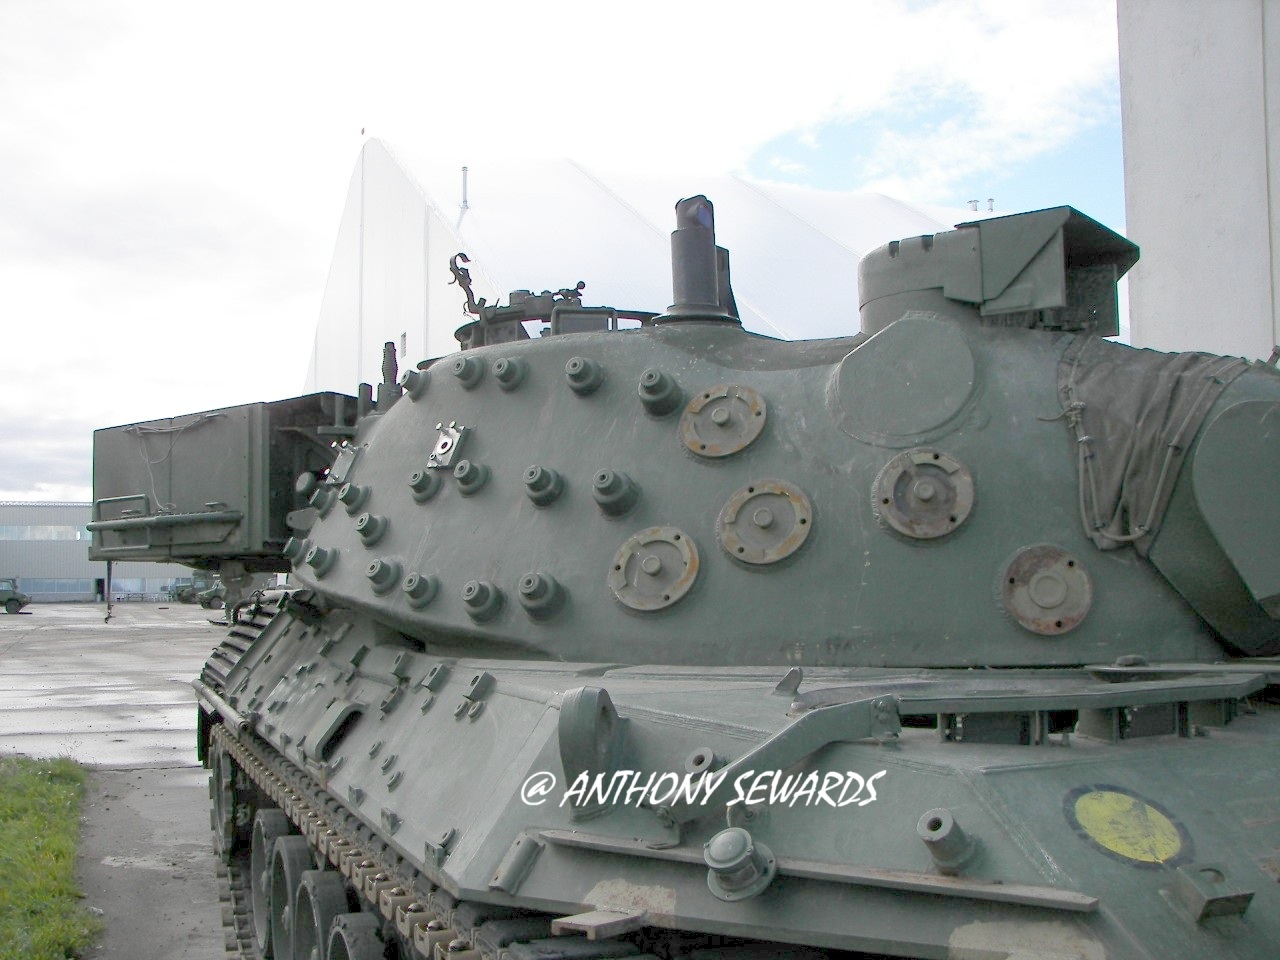
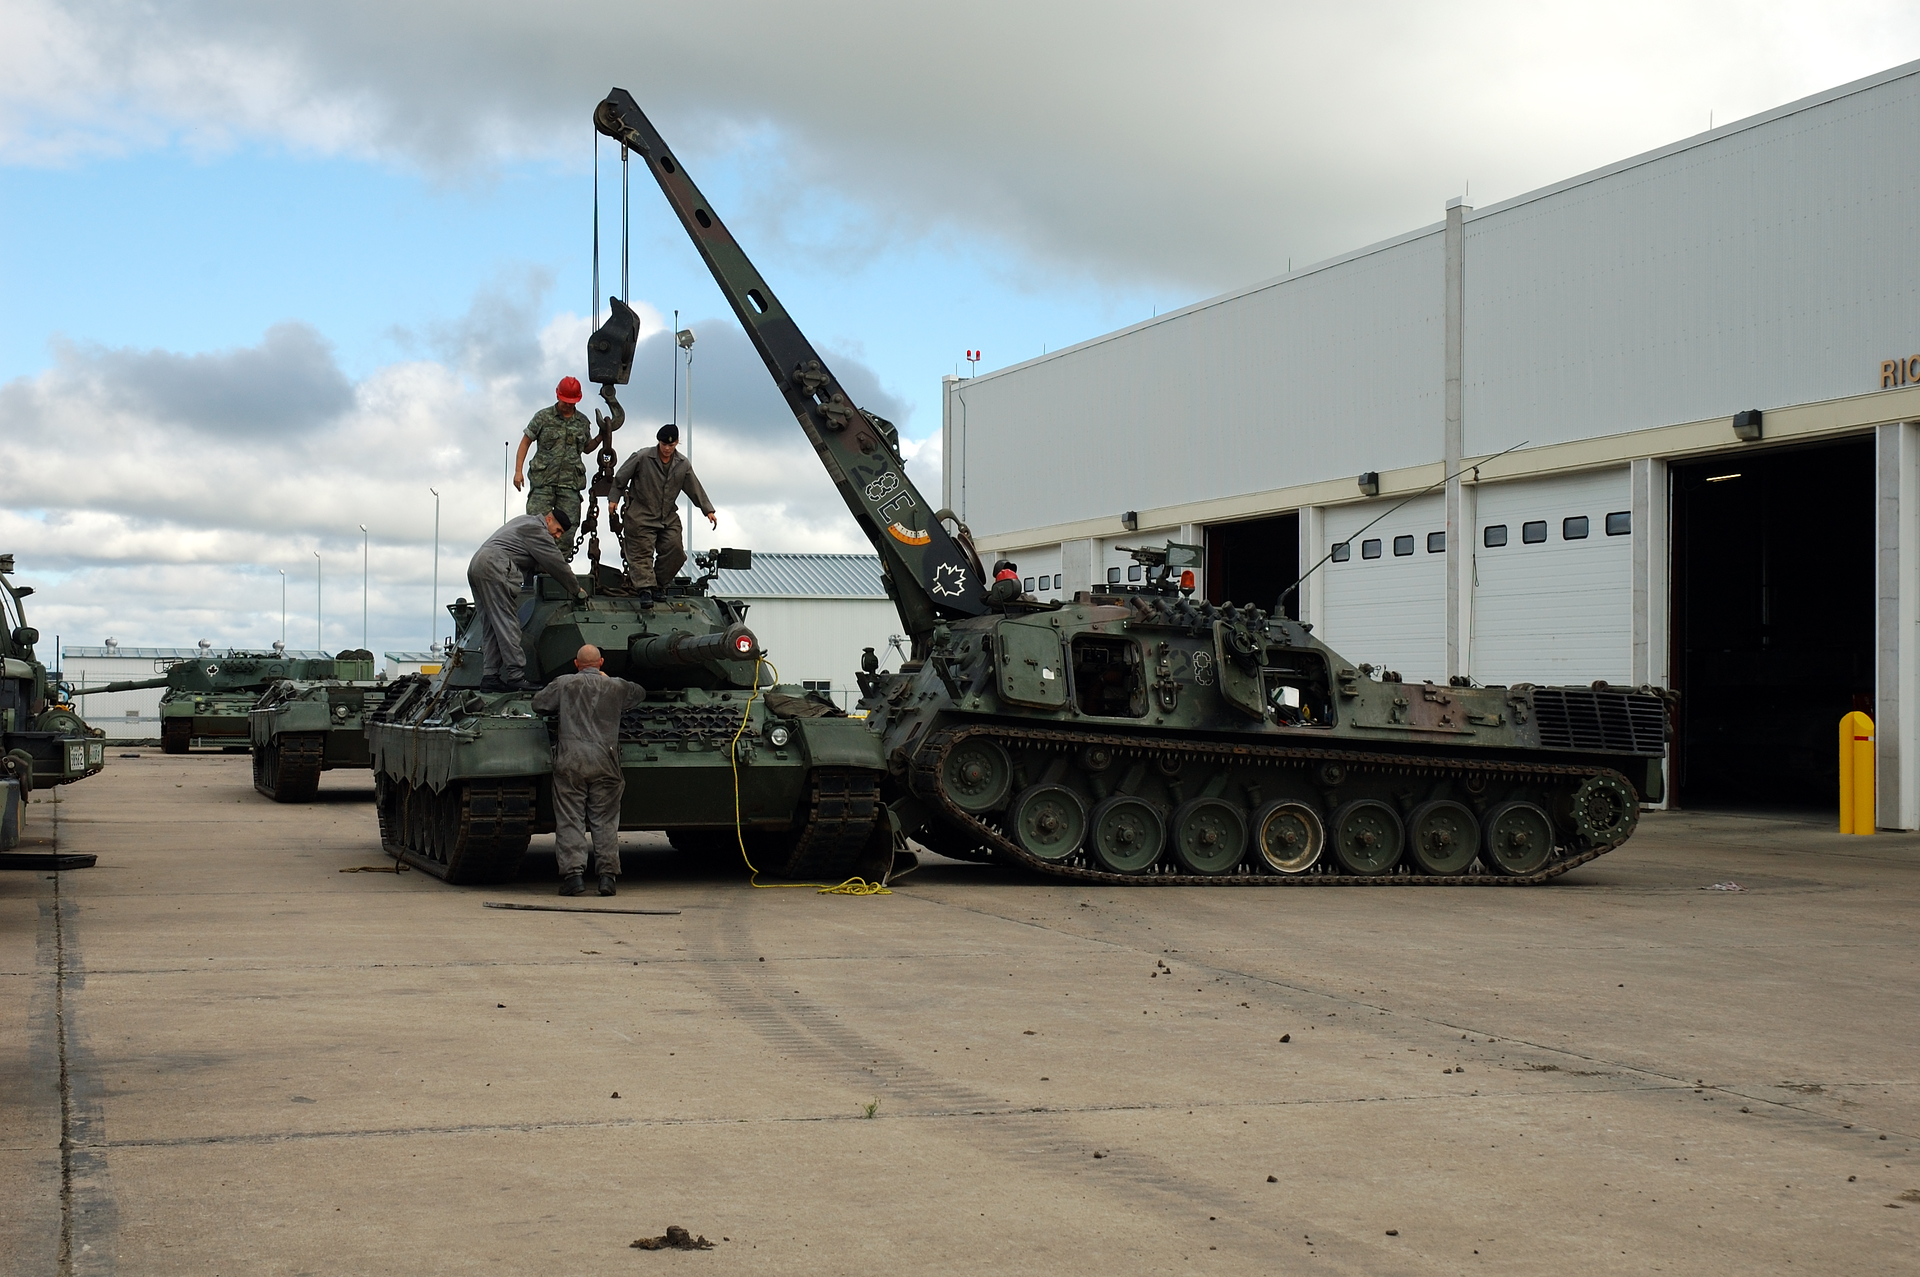
As mentioned about the trouble with the location of the add on turret armour attachment points, some photos of when we were getting them ready for deployment to Afghanistan, all stripped down.
I used a mix of Ammo paints, both NATO green and post WW2 olive drab. The reason I did this is the pic I based my model off showed a color somewhere in between those two. There are a number of pics around of C2’s in different colors, sometimes slightly, sometimes very different, such as the one with a NATO 3 tone hull and just a green turret. There is also a walkaround on the net of a tank with sandy yellow bands of camo. Kinda like British tanks at BATUS.
I’ll see if I can find the pic I based my model on again.
On one of your pictures I see what looks like NATO green where some of the tools were located, but the rest of the vehicle looks more olive drab in color. Am I seeing this correctly? Were the vehicles given a complete and new coat of paint before deployment?
Thoroughly enjoyable article guys.Leopard modelling is highly addictive,Im more into the Leopard 1 and like the C1A1 mexas especially.Ive got quite a few Italeri A4s and must finish them.My standard of modelling is wasted on top notch kits in fear of ruining them when i paint.I must do a Canadian C1 as im sure i have some Maple leaf and Legends updates in my stash.
The whole tank was NATO Green, remember these were brought into service in November 1999, and after a few years in the field, the paint colour will fade ever so slightly , the hull was a rebuild and received a fresh coat of paint, then the turret was fitted, and giving the mixed colours. We did a turret swap out from another tank during the rebuild process , to make sure we sent the best running/gunning 17 Leopards to Afghanistan . The German KMW tech that came around were pissed, as the turret/hull numbers should match the records they brought with them, but we did a swap on a few and screwed up their records…..
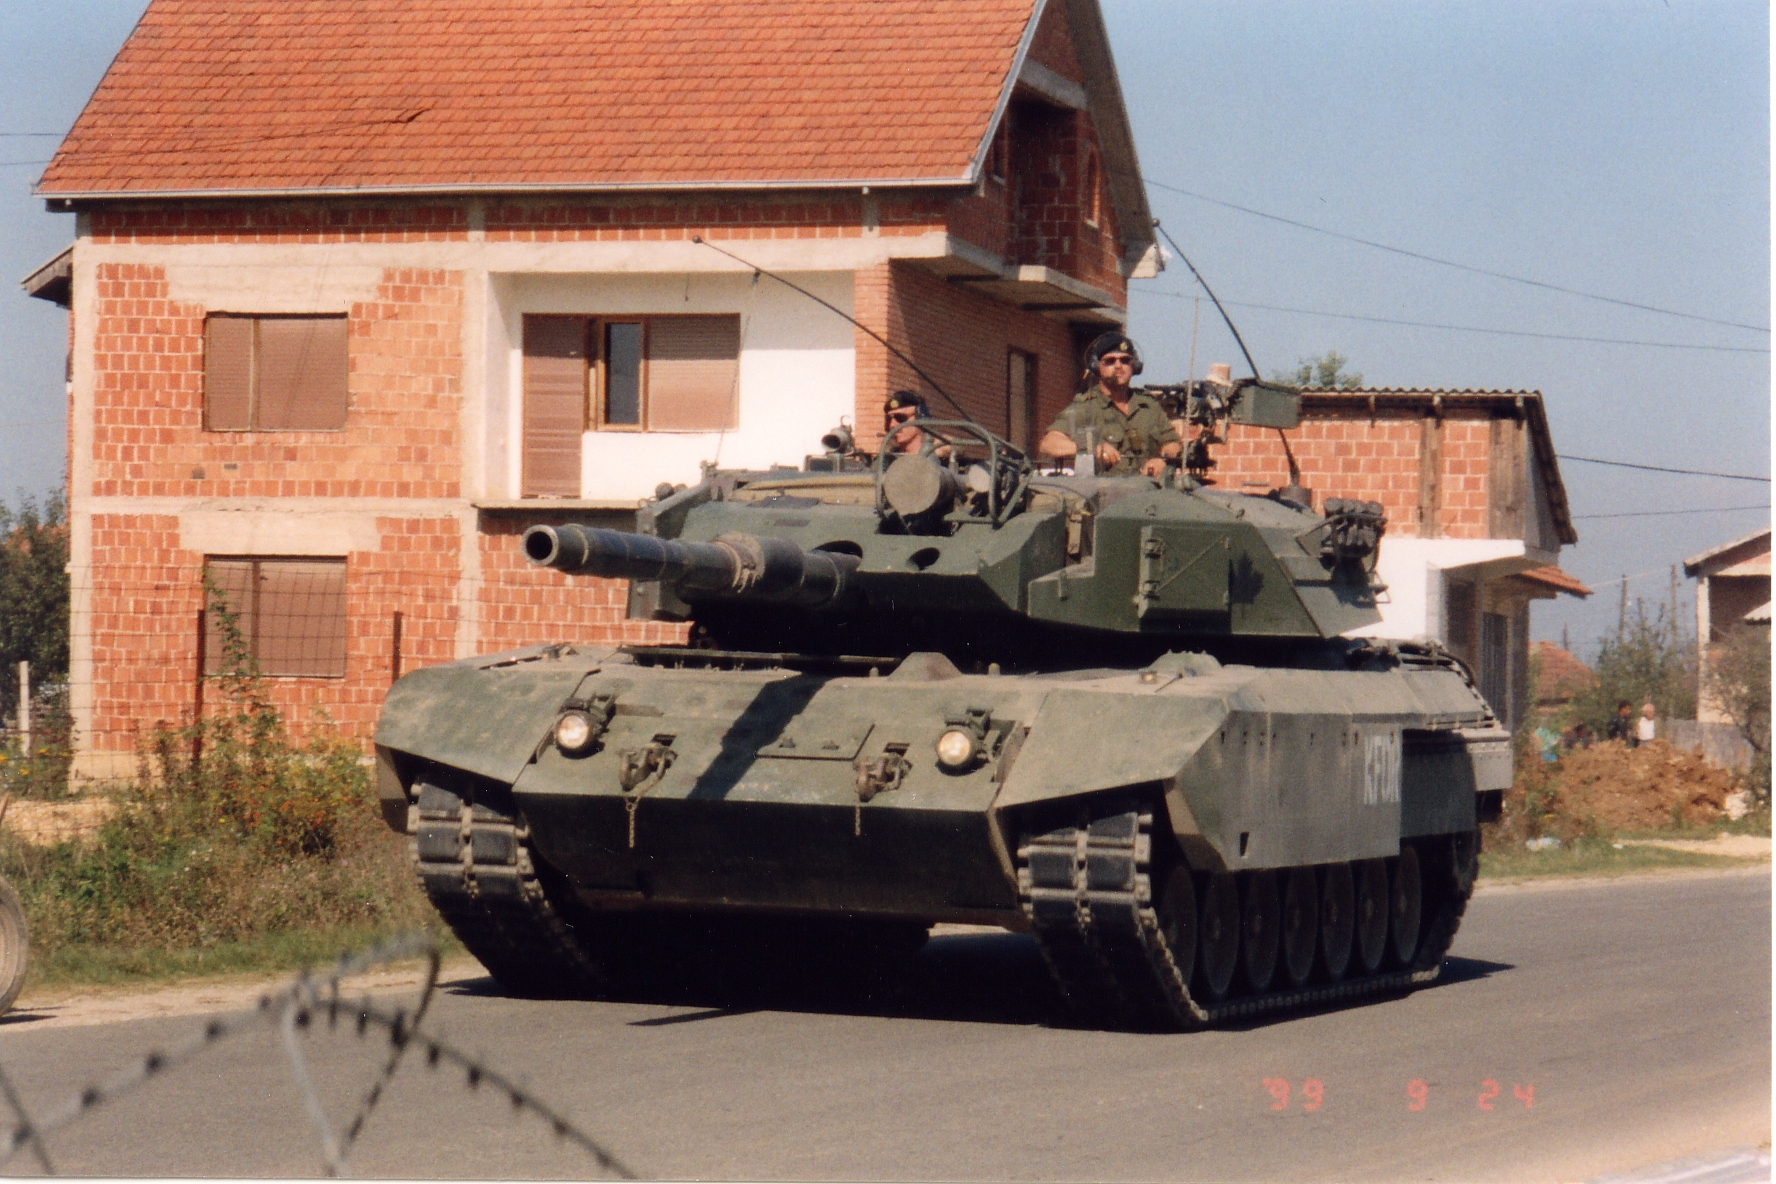
Richard, we never called them C1A1 Mexas, just C1 MEXAS. All 5 of the C1 MEXAS that we sent to Kosovo were in NATO camouflage, with the MEXAS add on armour being in NATO green ….if you need help with teh build, message me anytime.