Great work.
Have you thought about posting that figure in the figure campaign?
Great work.
Have you thought about posting that figure in the figure campaign?
Thank you for looking and the kind comments. I can definitely share this figure at the other location if appropriate. I may have another photo or two to add as well! I appreciate what you’ve done to share and promote the hobby. All the best- SG
The campaign allows for posting many places. As the moderator for the campaign, I think it would a welcoming addition.
Thank you! Will start adding to the campaign as well
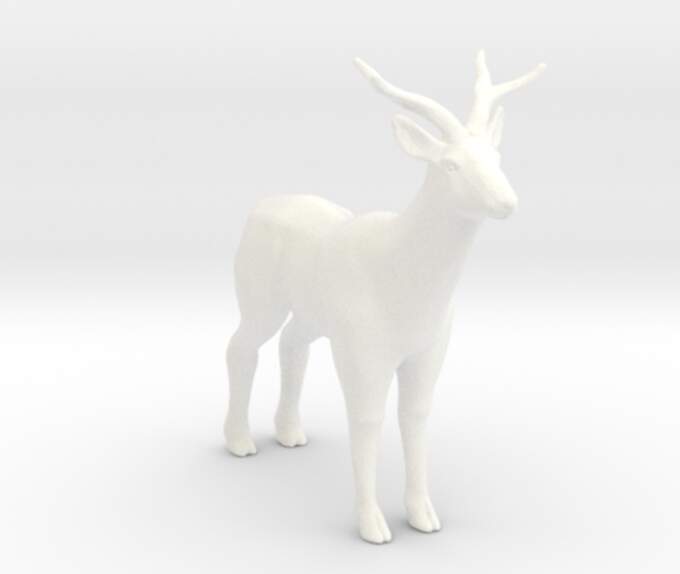
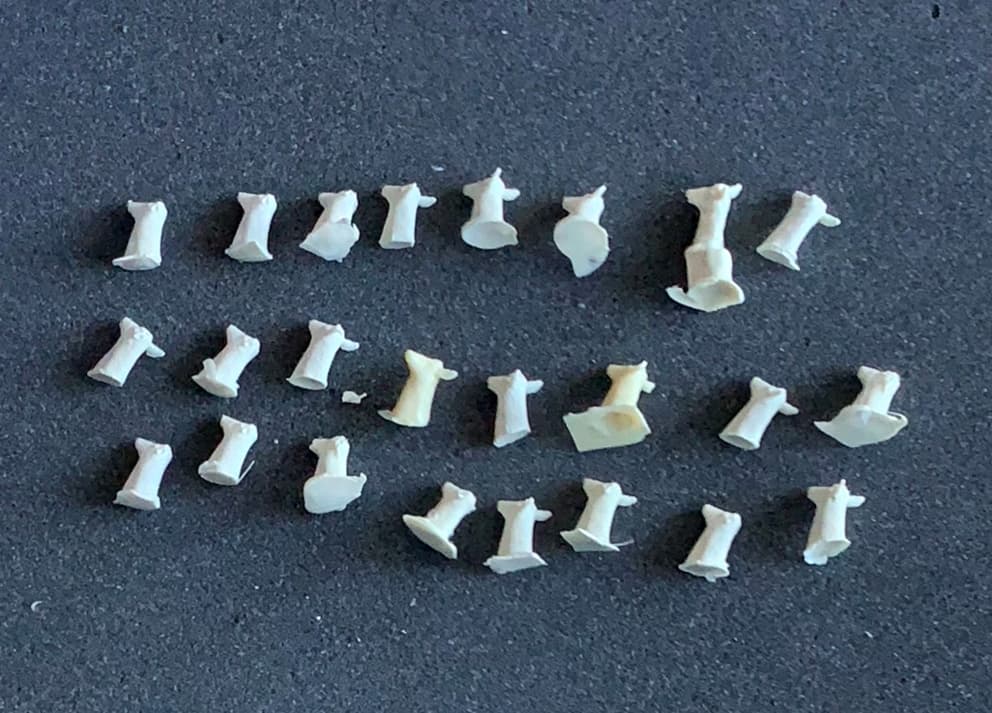
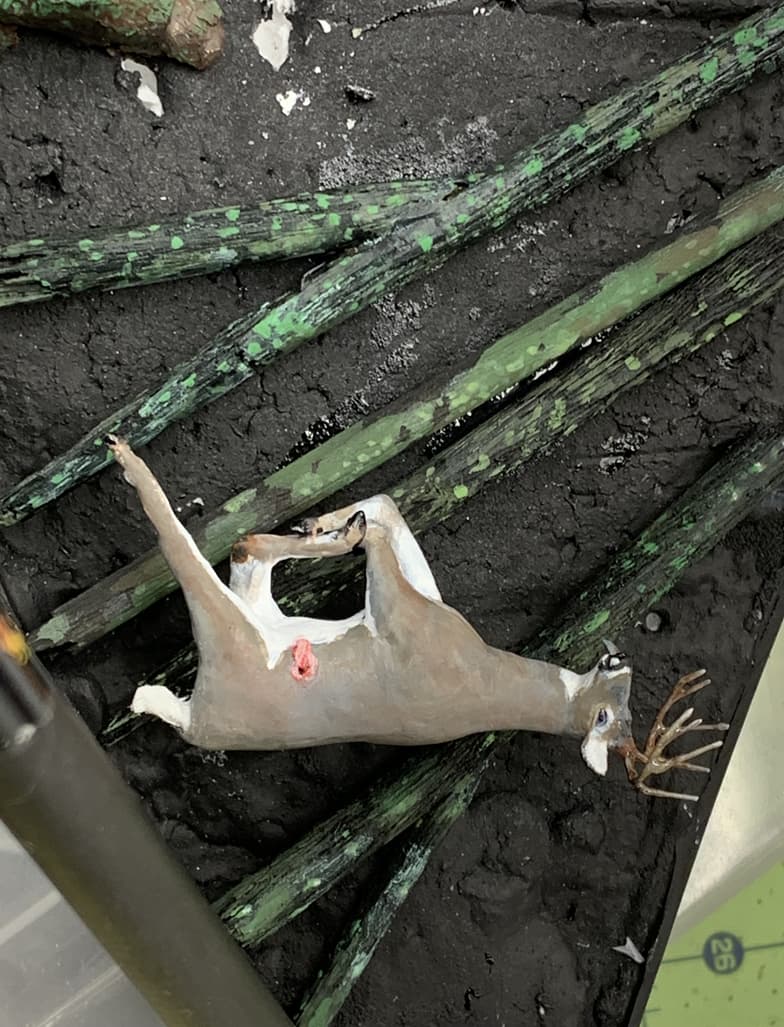
BUCKY 1/35 scale whitetail deer figures in reasonable poses were rare. A 3D printed figure from Shapeways made by PRINTLE SHOP “Printle Thing Deer - 1/35” looked useful.
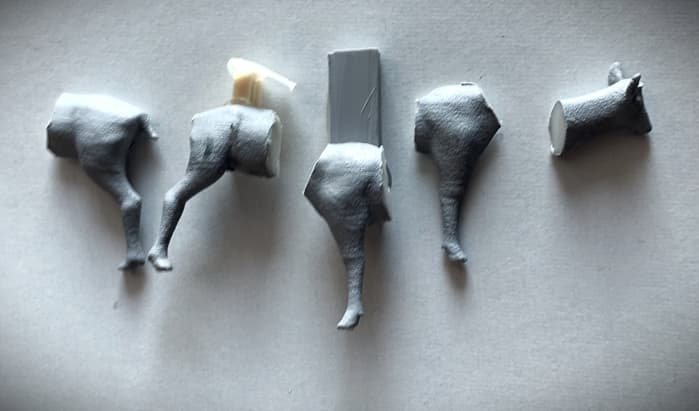
The 3D deer figure was sectioned (dismembered) to create individual molded parts for modification.
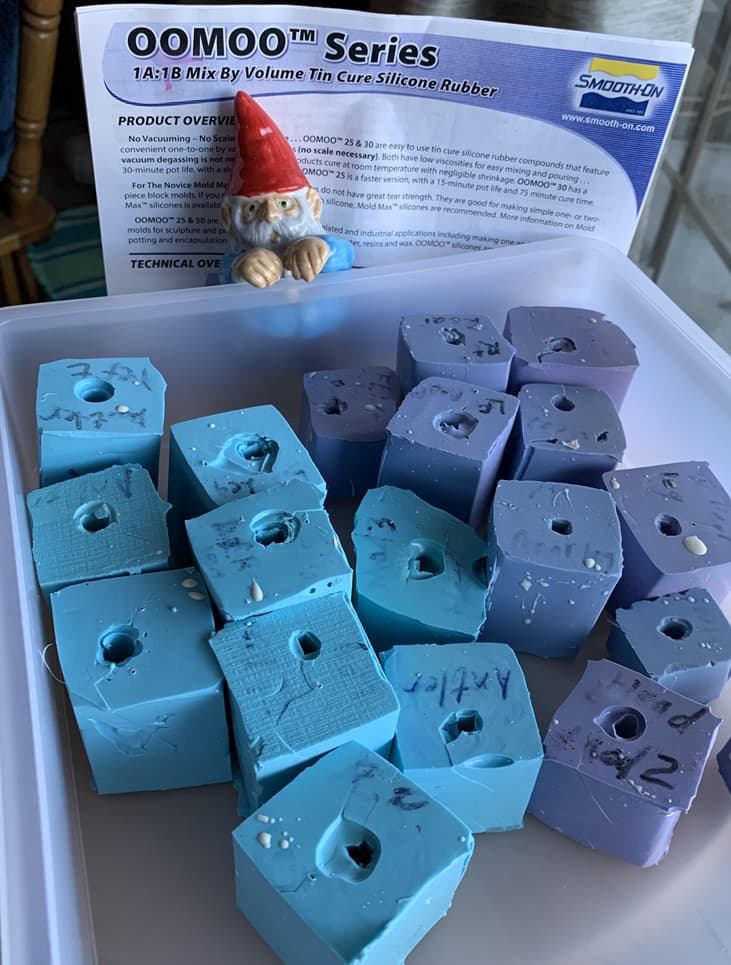
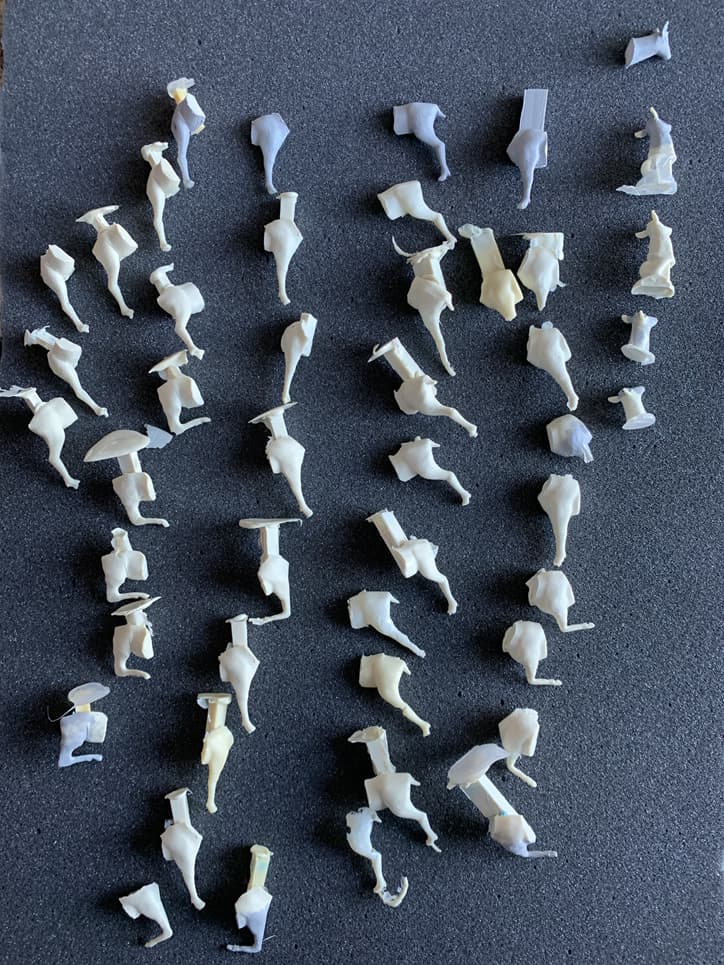
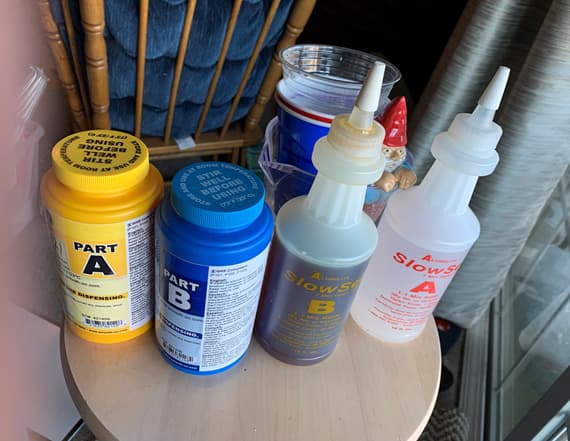
Silicon molds and resin were used to make individual legs that were heated and shaped.
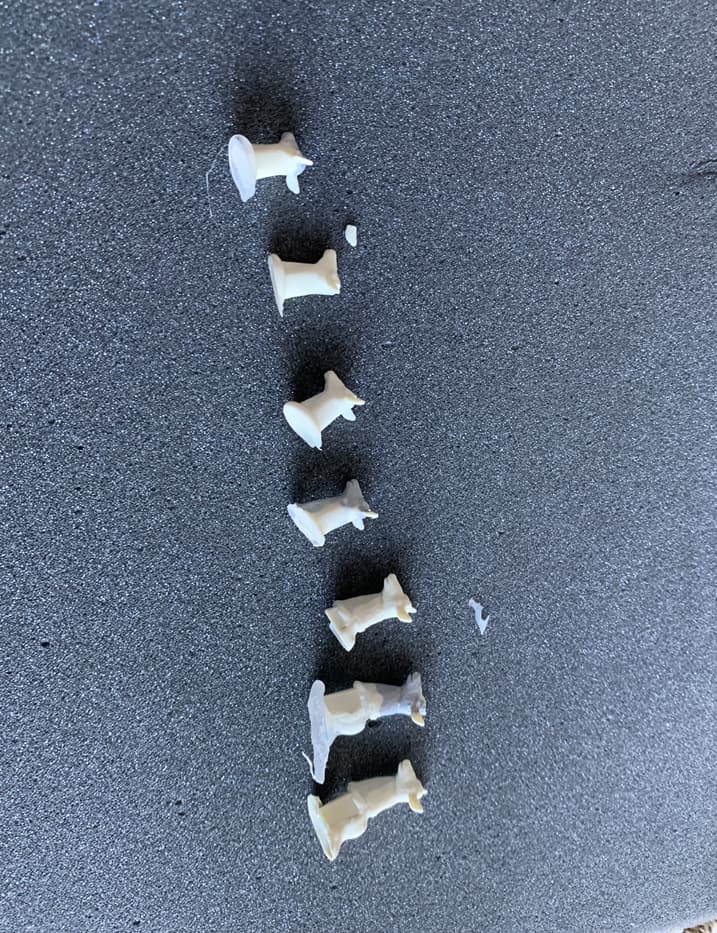
With some practice, putty, and patience, the body was configured to the desired pose.
The resin head was modified with heat and putty and used to create new molds.
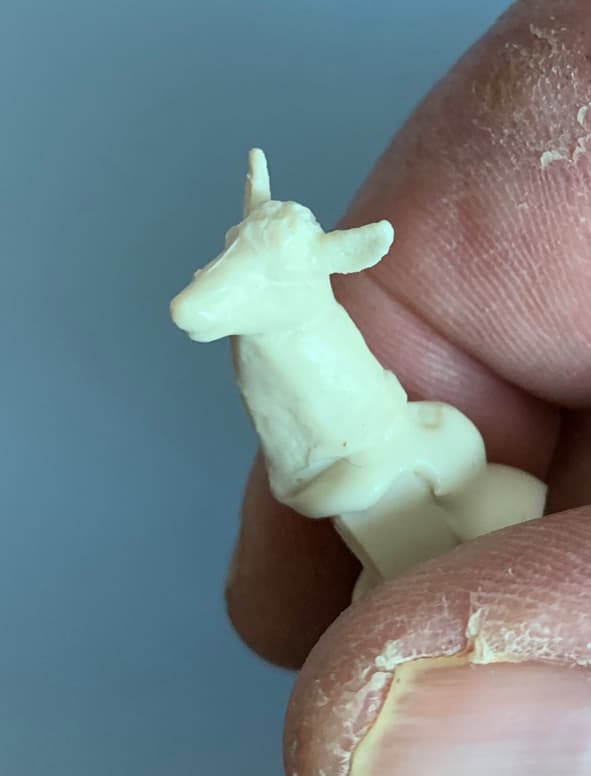
There were a number of rejected mold attempts at a proper head. There were more rejected attempts at a usable head.
Finally created a mold to form a believable white tail deer head.
What County in Kentucky? Just wondering as I live in Lexington.
Hi Michael! Yes Jefferson County as I am in Louisville. Most of the better hunting I suggest, however is farther west in KY
Yep, grew up in downtown Louisville (Shelby & Oak Streets)
My Great Uncle had a farm WAY out Dixie Highway and I have spent more than a little bit of time volunteering at the Patton Museum, Ft. Knox.
Yes! I miss the Patton Museum. Even the Knob Creek yearly shoot is paused since the pandemic. We still go that direction for Mike Linnig’s fish dinners by the river.

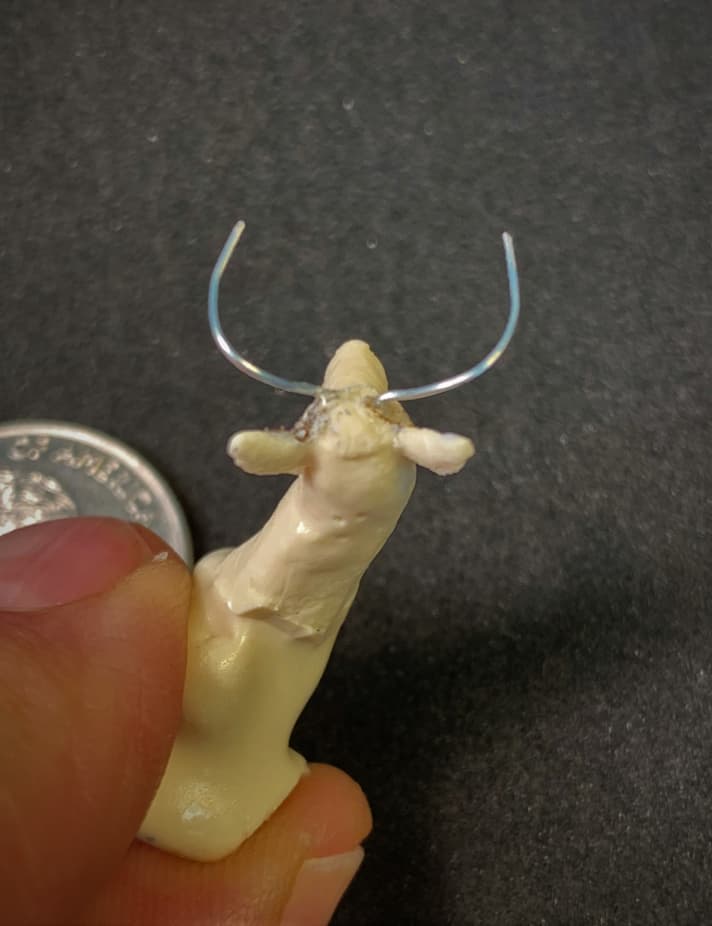
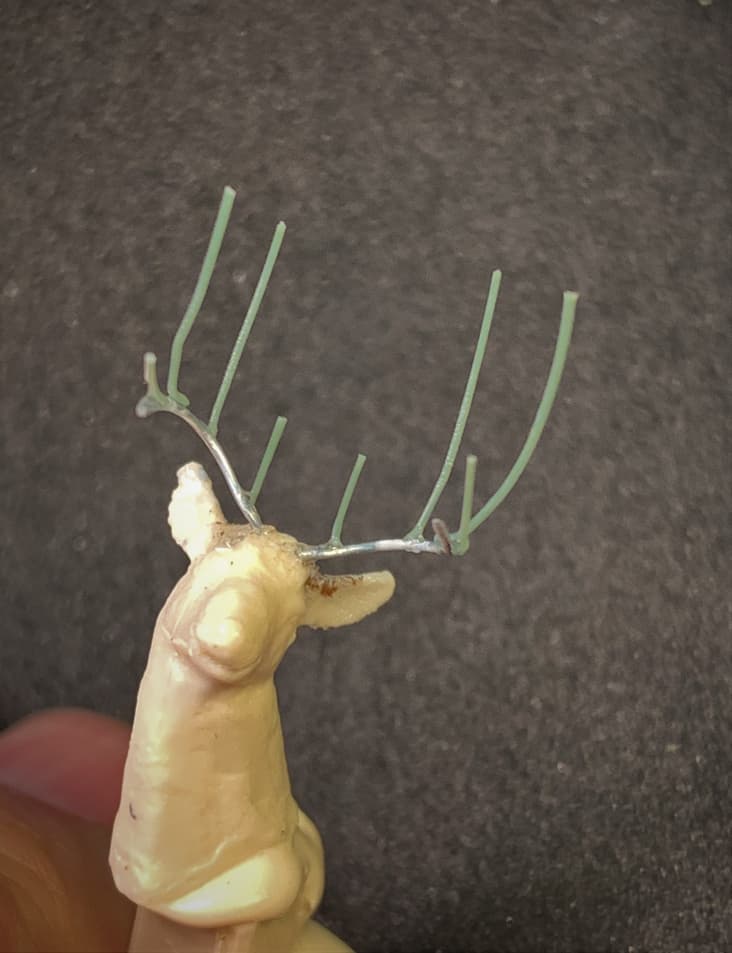
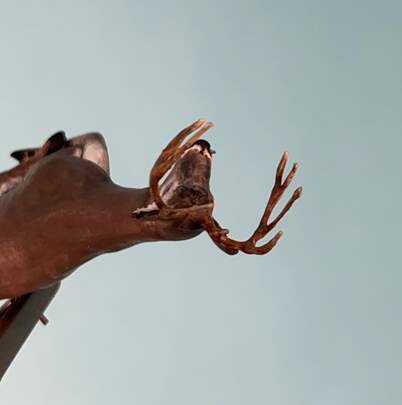
BUCKY Modeling the rack of antlers was an interesting challenge. Molding and resin casting a wire form was not giving a satisfying result for such small-scale antlers. Using .015 inch diameter piano wire for just the port and starboard main beams allowed shaping and subtle changes on the head.
Next 0.008 to .010 inch stretched plastic sprue was glued with CA glue on the main beam, so placed to form the rest of the rack.
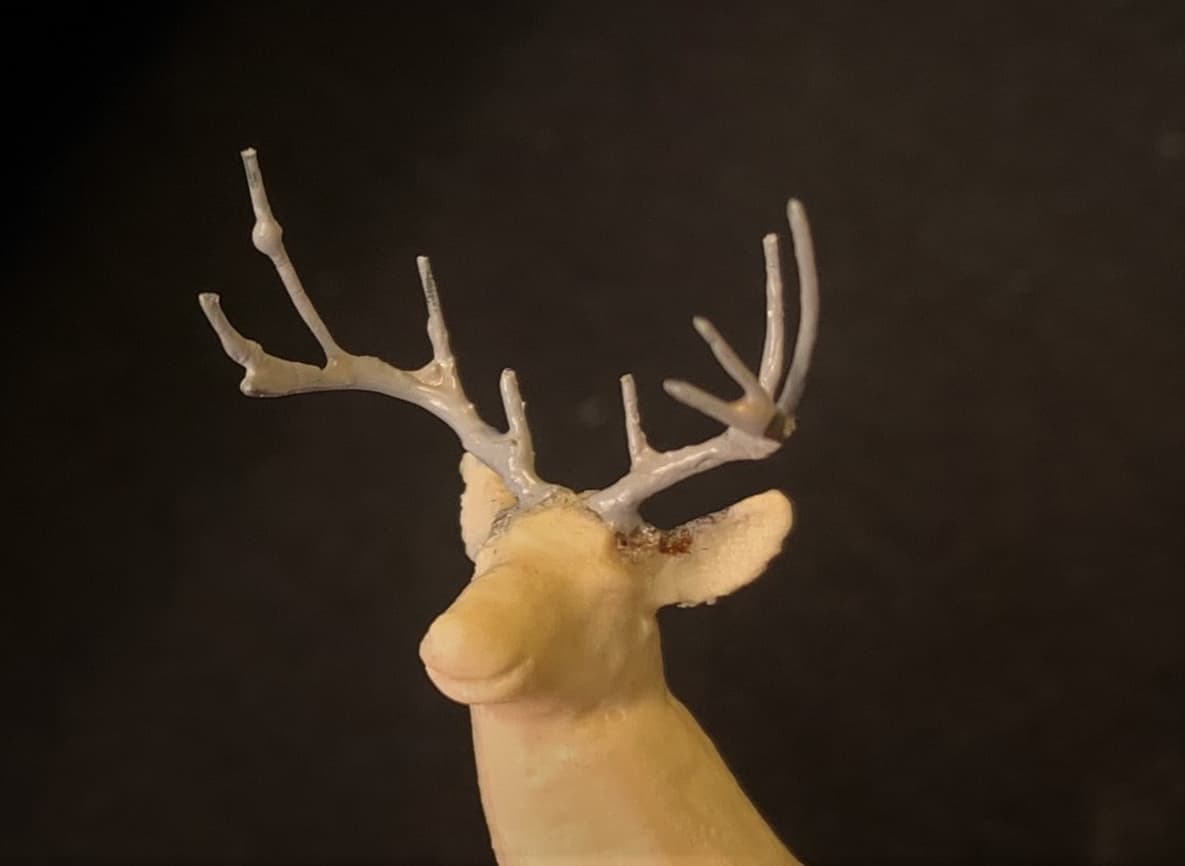
The resulting plastic branched points were bent to shape and trimmed. Finally liquid surfacer smoothed and tapered the joined branches of the antlers.
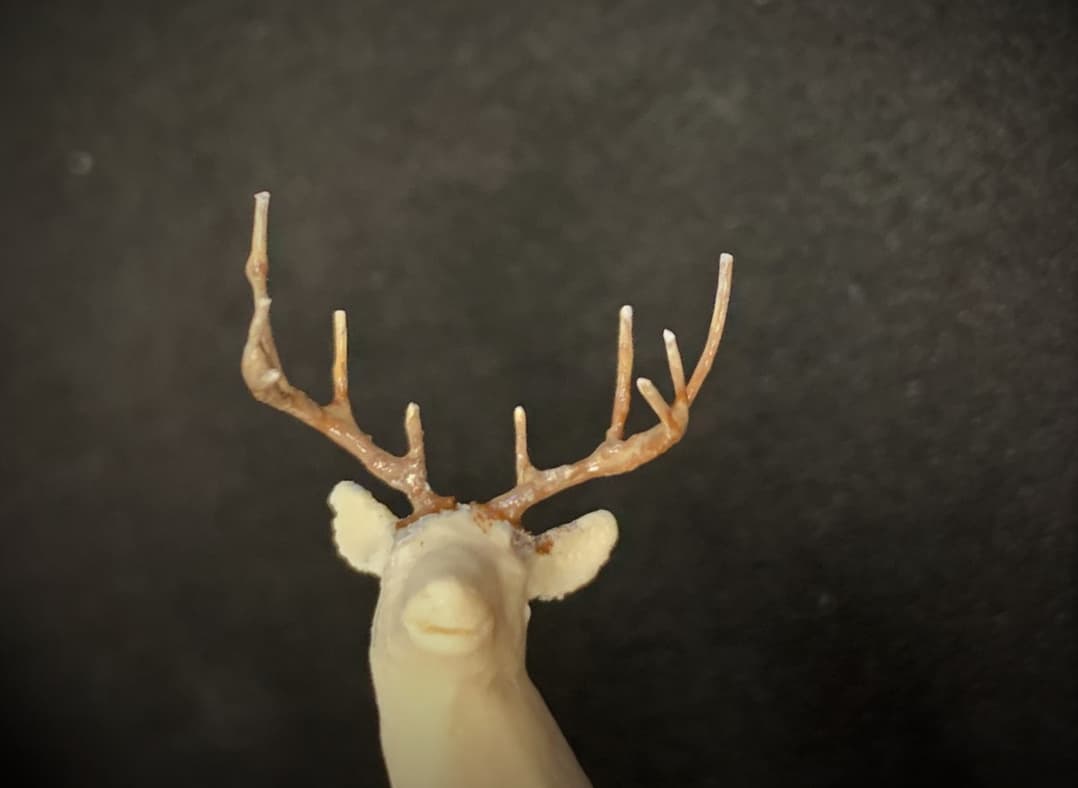
Small details like the “acorn” (created by a deer antler broken in velvet and later healing to leave a bulge or knot) were added with the liquid surfacer.
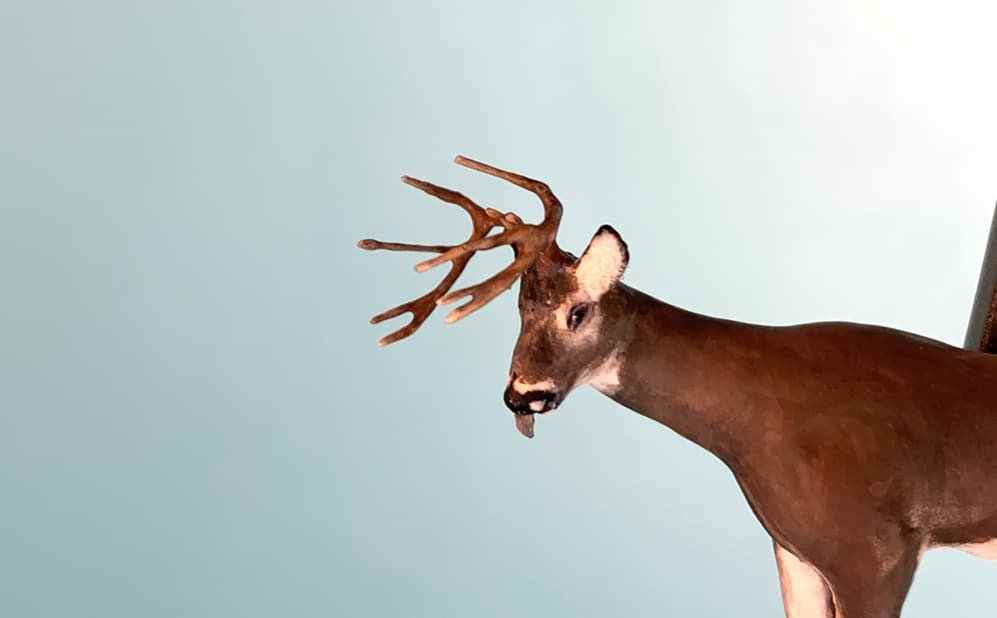
Painting of Bucky included a Tamiya primer base followed with brush applied Vallejo neutral gray, flat earth, black, and white acrylics. This was followed by an airbrushed layer of clear Future. Next were applied layers of blending colors using Grumbacher oil based paints in between more airbrushed coats of Future.
The final layer was a rattle can spray of Testor’s Dull Coat. Bucky’s tongue was painted glossy grayish pink with blue high lights.
More to follow soon.
Tell Brian at Scale Reproductions Hobbies there in Louisville I said hello!
Yes! That is my LHS. I guess I have seen Brian a couple of times since the pandemic faded. Always a smile and 5%
Thanks for taking the time to create a SBS thread. Great techniques shared as well. The hornet’s nest, the antlers, and the moss and painted ‘wood’ etc.
Hi kosprueone and thank you for looking in. I peeked in on the Railway Campaign Trackmobile you were working on. Very interesting and clever build!
Cool, thanks for checking it out. I’ll finish the Shunting Loco soon