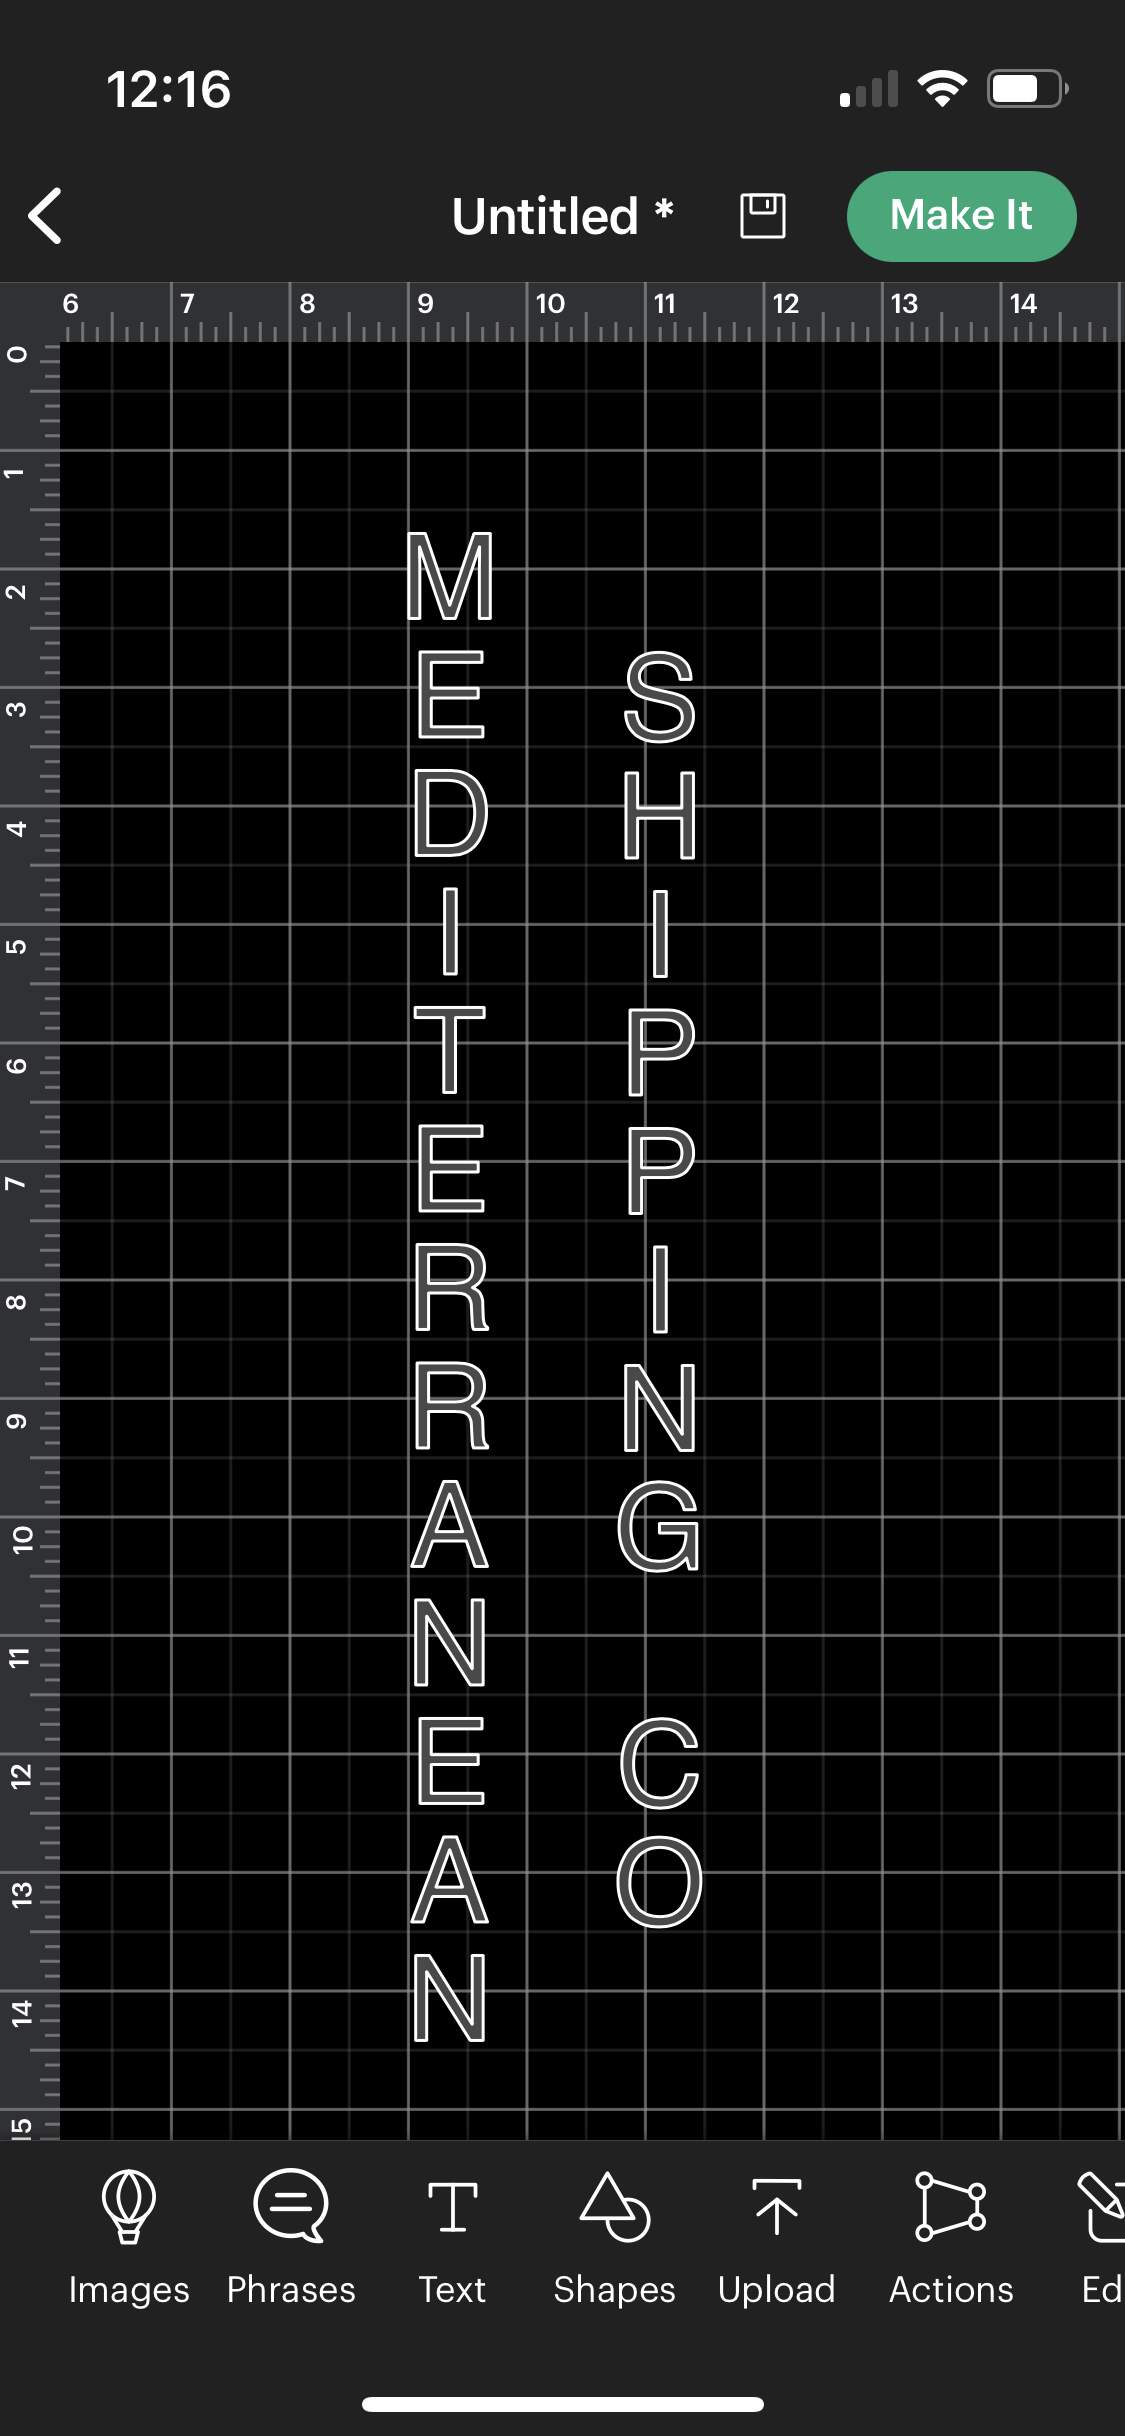
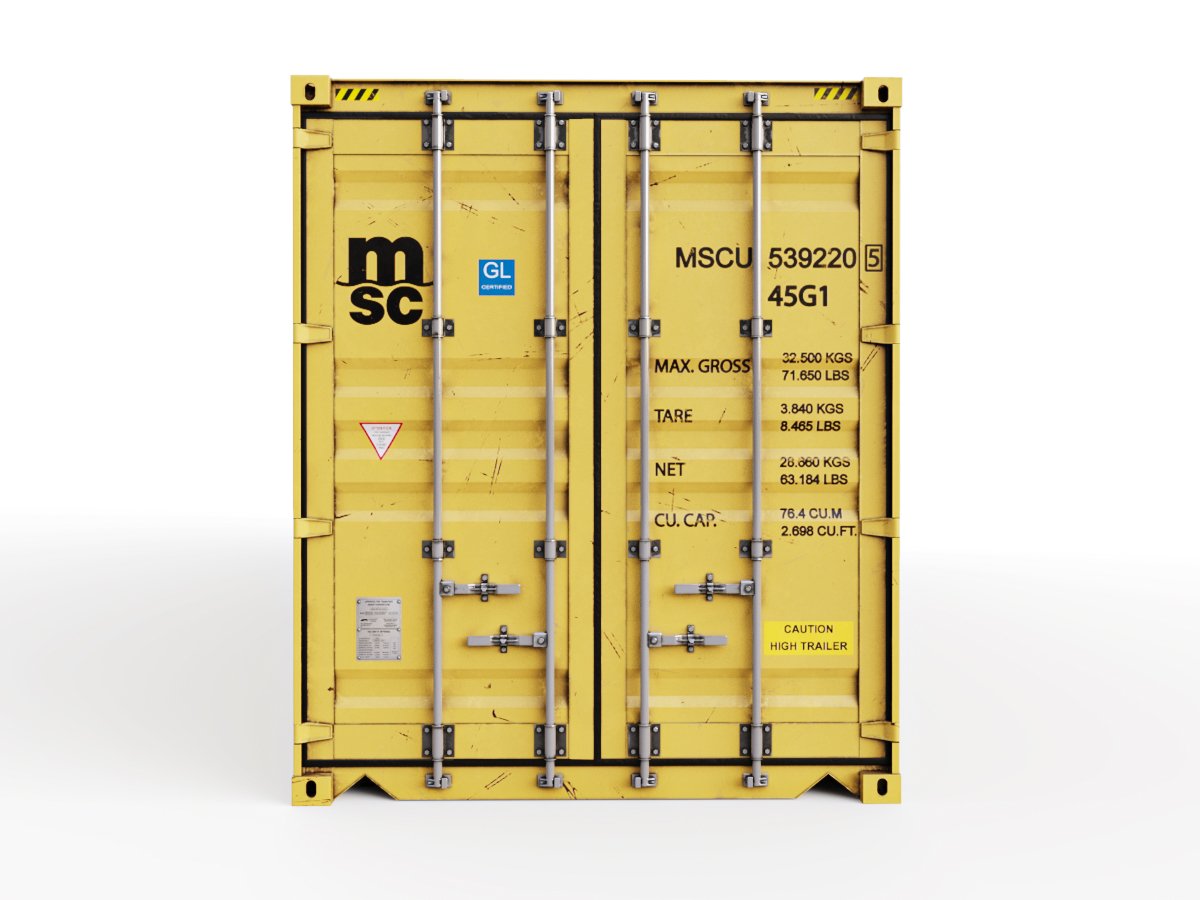
Here are the stencils for a MSC container
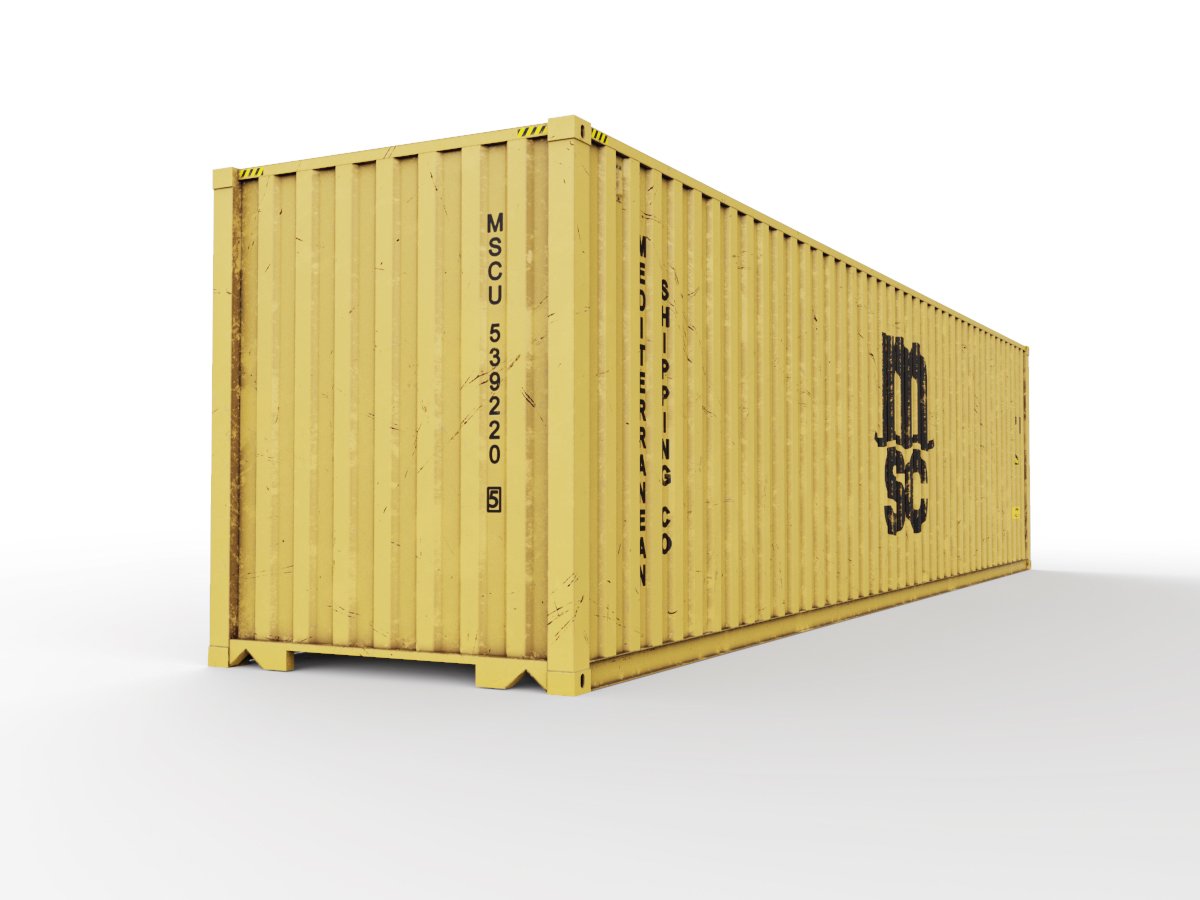

H.P.
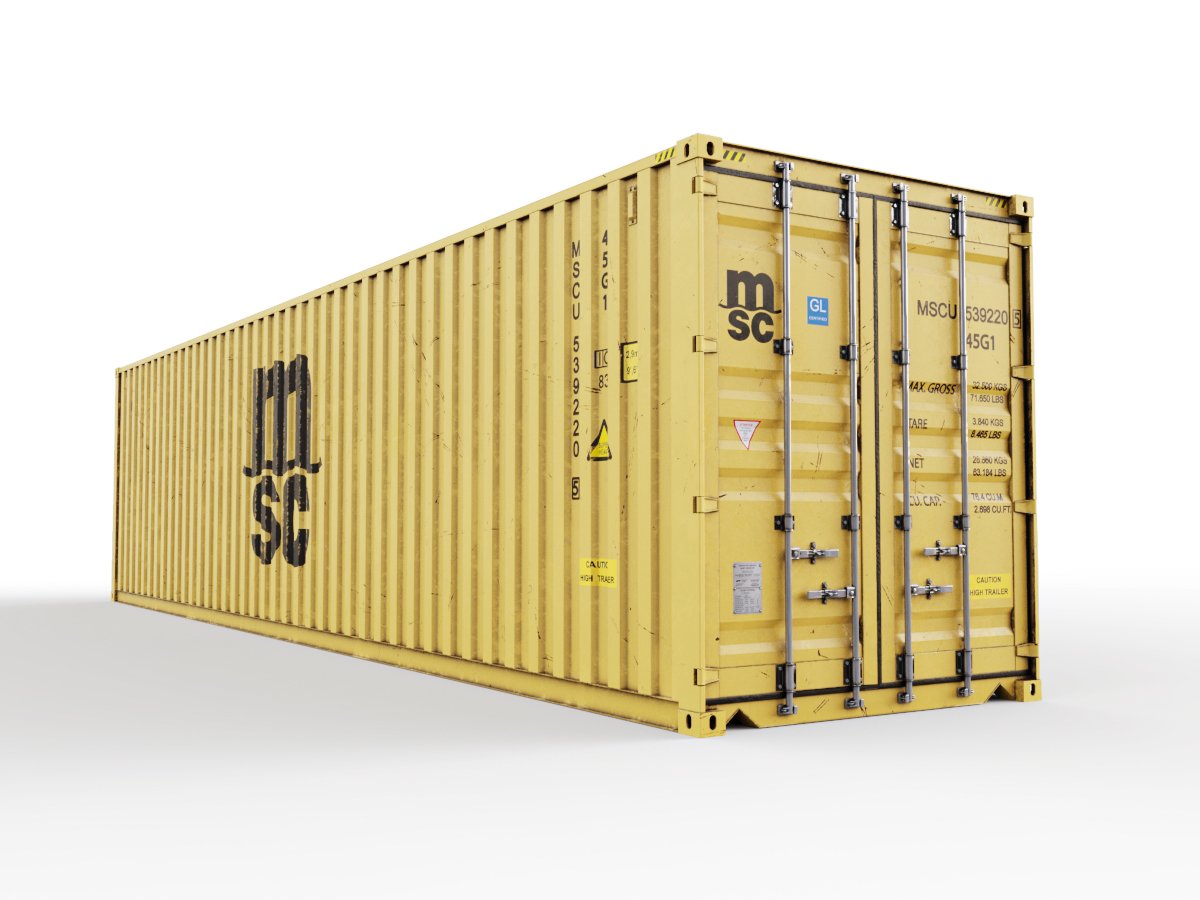
Here are the stencils for a MSC container
H.P.
Thank you Frenchy. My bad with that first image.
Much appreciated.
Denimo
Hi Mead
If you can handle the work from the images Frenchy kindly posted, that would be great.
As I said, I have the 2 big MSC decals on order.
Many thanks
Denimo.
I can likely do all of the lettering! The other things I could do, but smaller complex shapes like the triangles are a bit hard to do on the cricut and harder to mask as they would be multi part stencils
Hi Mead,
Do what you feel comfortable with. You’re “The best show in town” as far as I’m concerned!
Designing some stencils. I’ll send both the “negatives” and the lettering. That way you can choose to spray the black first then put the letter where you want as a mask and spray yellow. Or spray the yellow put the mask isn’t and spray the letter black.
Curious what you think of this font in comparison to the container
Hello Mead,
The container is yellow so I’ll go that route. The stencilling looks excellent!
Denimo
I’ll normally spray the stencil color; then give it a day to dry. Cover the stencil color with the letter and spray the container color. But I’ll send the letter and the negatives so you can do it either way
Perfect! I’ll do the other letters in the same font. Give me about a week and I should have it all done!
Thanks very much. Really appreciate it.
@Mead93 -
I’d find it very interesting if you would offer up some specifics on how you actually do the stencil cutting on your Cricut. What material are you using to cut the stencils from, etc.
I haven’t used mine for doing anything as detailed as the markings you’re making here.
Hello Michael.
Absolutely. I am using the little cricut joy. I made my own custom setting for stencils that uses the lightest pressure setting possible. You can go into the cricut design space software and make custom settings. I set mine to do a single cut ( you can get it to go over the same line up to 7 times if you want but I found this leads to tearing of the stencils), and I also set it to the lightest pressure.
I tried a number of things but found blue painters tape to be the best. It’s thick enough to hold up to cutting but thin enough for most masking jobs and the tape allows the stencils to be self sticking.
For simple things like balkencruez or swastikas I’ll import an svg image from the internet and then use the cricut software to remove the background. For more complex things like the stencil letters on the archer I take as high a resolution photo as possible of the decal sheet and then import that photo. I’ll then remove the background from that photo.
From there it’s just planning. For example the battery marking on the archer was made from 5 separate stencils. First I cut a square hole stencil that I sprayed white. The L and the 2 were then small separate cut letters I placed over the white as masks. I then sprayed red over that. Next I cut a square with the top left quadrant missing, and the L and the 2 cut out. This can be achieved in the cricut app by overlaying the square with the quadrant missing with the L and 2 and then using the slice function to cut a L and 2 in the square. With that all masked I finally sprayed the blue in the upper left corner.
Once you get a feel for the software you can do some intricate stuff. Let me know if you have further questions
100% agree on the blue painters tape- I use the Scotch brand stuff and it is excellent. I tried Tamiya too but it tears very easily unlike the blue stuff. I also find, the odd time, the cutter will drag and distort very sharp or small cuts. If it does this I just do it again and just make extra sure to really smooth the tape down onto the cutting mat- when you think you’ve smoothed it down, do it again for good measure! Also try using the ‘More’ pressure in the blade settings.
Excellent info! Much appreciated.
I’ve used ordinary blue painter’s tape for years for model masking jobs, to include hand-cutting stencils, etc., so I’m comfortable with it.
Do you put the tape down directly on one of the cutting mats (pink, blue, green?) or do you first lay it down on something else and stick those layered elements down to the cutting mat? (I suspect directly, but wanted to be sure…).
(I see from @Karl187 that he puts the tape down directly onto the cutting mat, so…)
So far, all I’ve used my Cricut for is cutting matt board for a number of small boxes that I needed for making reproduction vintage radio batteries (along with larger painting stencils for shooting range distance markers).
I’m actually anxious to find some scale modeling uses for it, and I know that others have used these 2D plotting cutters for jobs like making marking stencils.
For giggles and grins, here’re a couple of happy snaps of some of the reproduction vintage radio batteries that I’ve made. These actually work using modern dry-cell batteries loaded into them to provide the required voltages to operate the old commo gear. (Technically, they’re not really repro batteries but rather battery holders that replicate the appearance and size of the originals…)

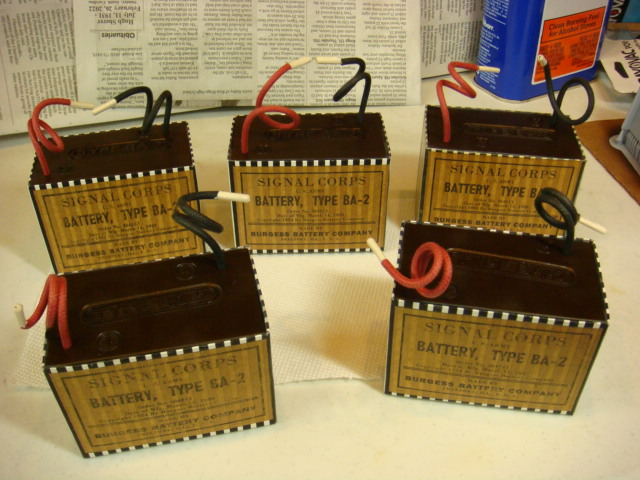
Those look fantastic!!
I stick the tape directly to a green cricut mat. I haven’t tried any of the others. As @Karl187 states I found it key to make sure the tape was smooth as could be and pressed firmly to the mat to avoid tears!
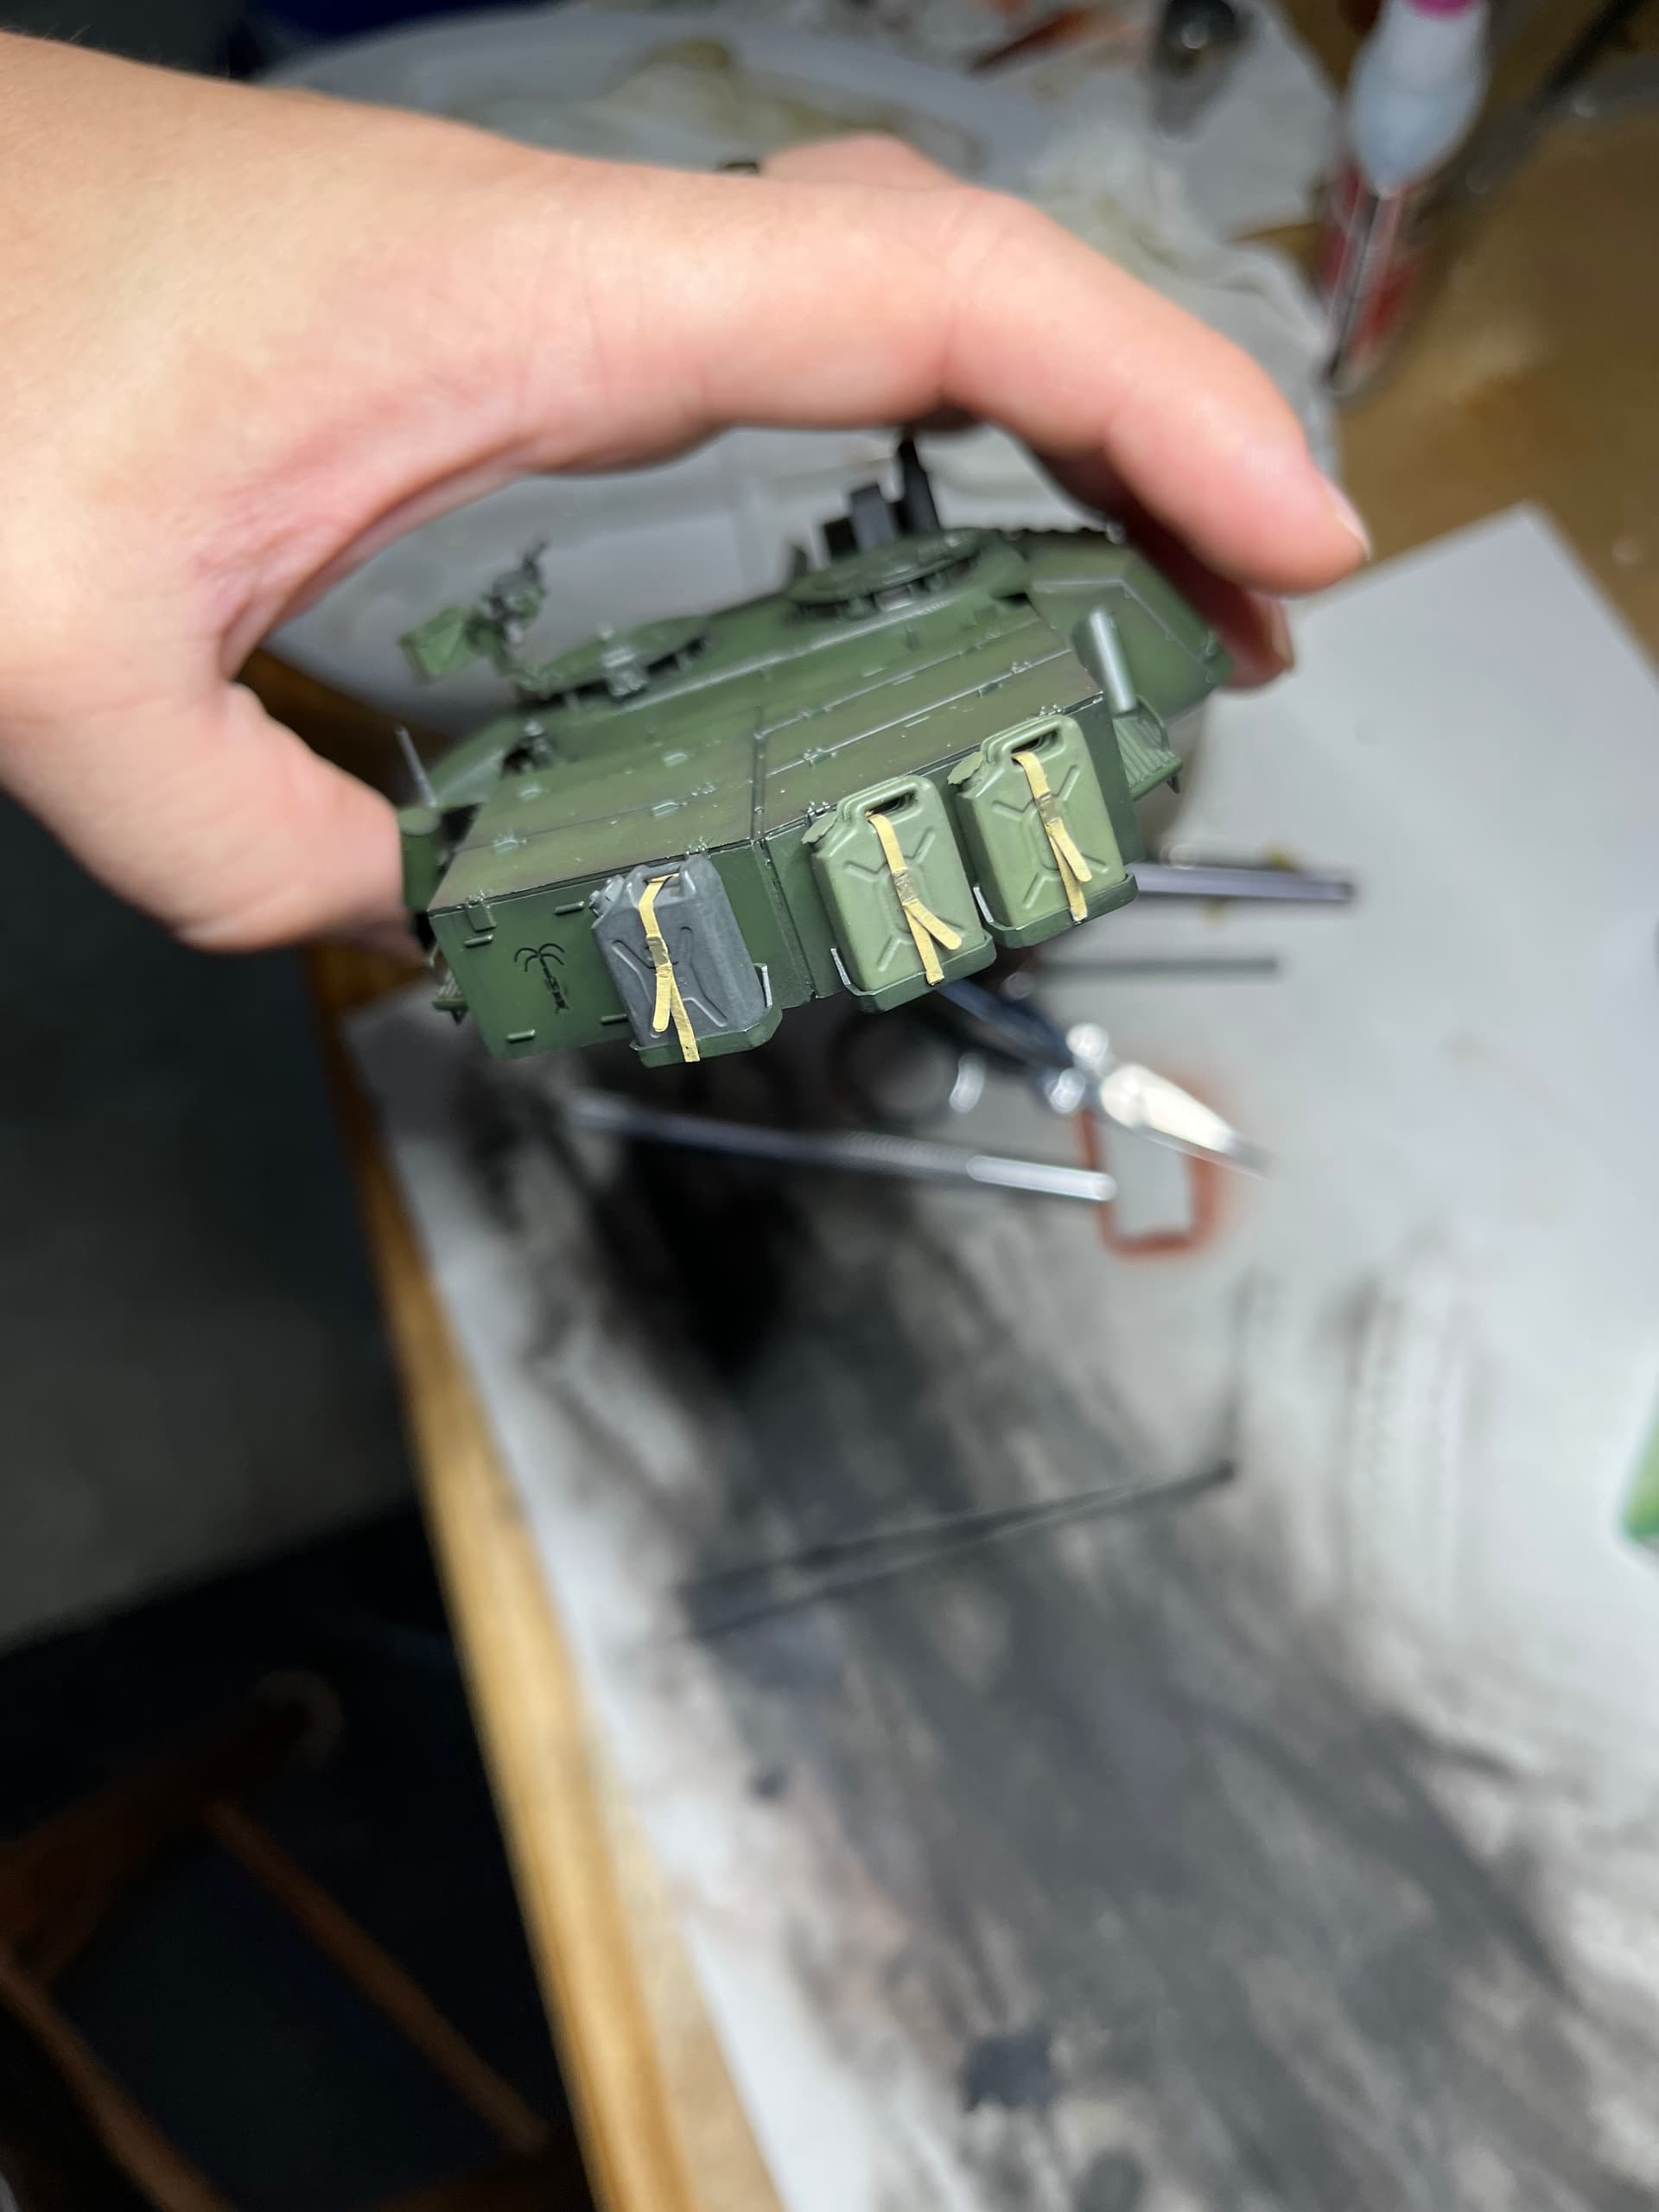
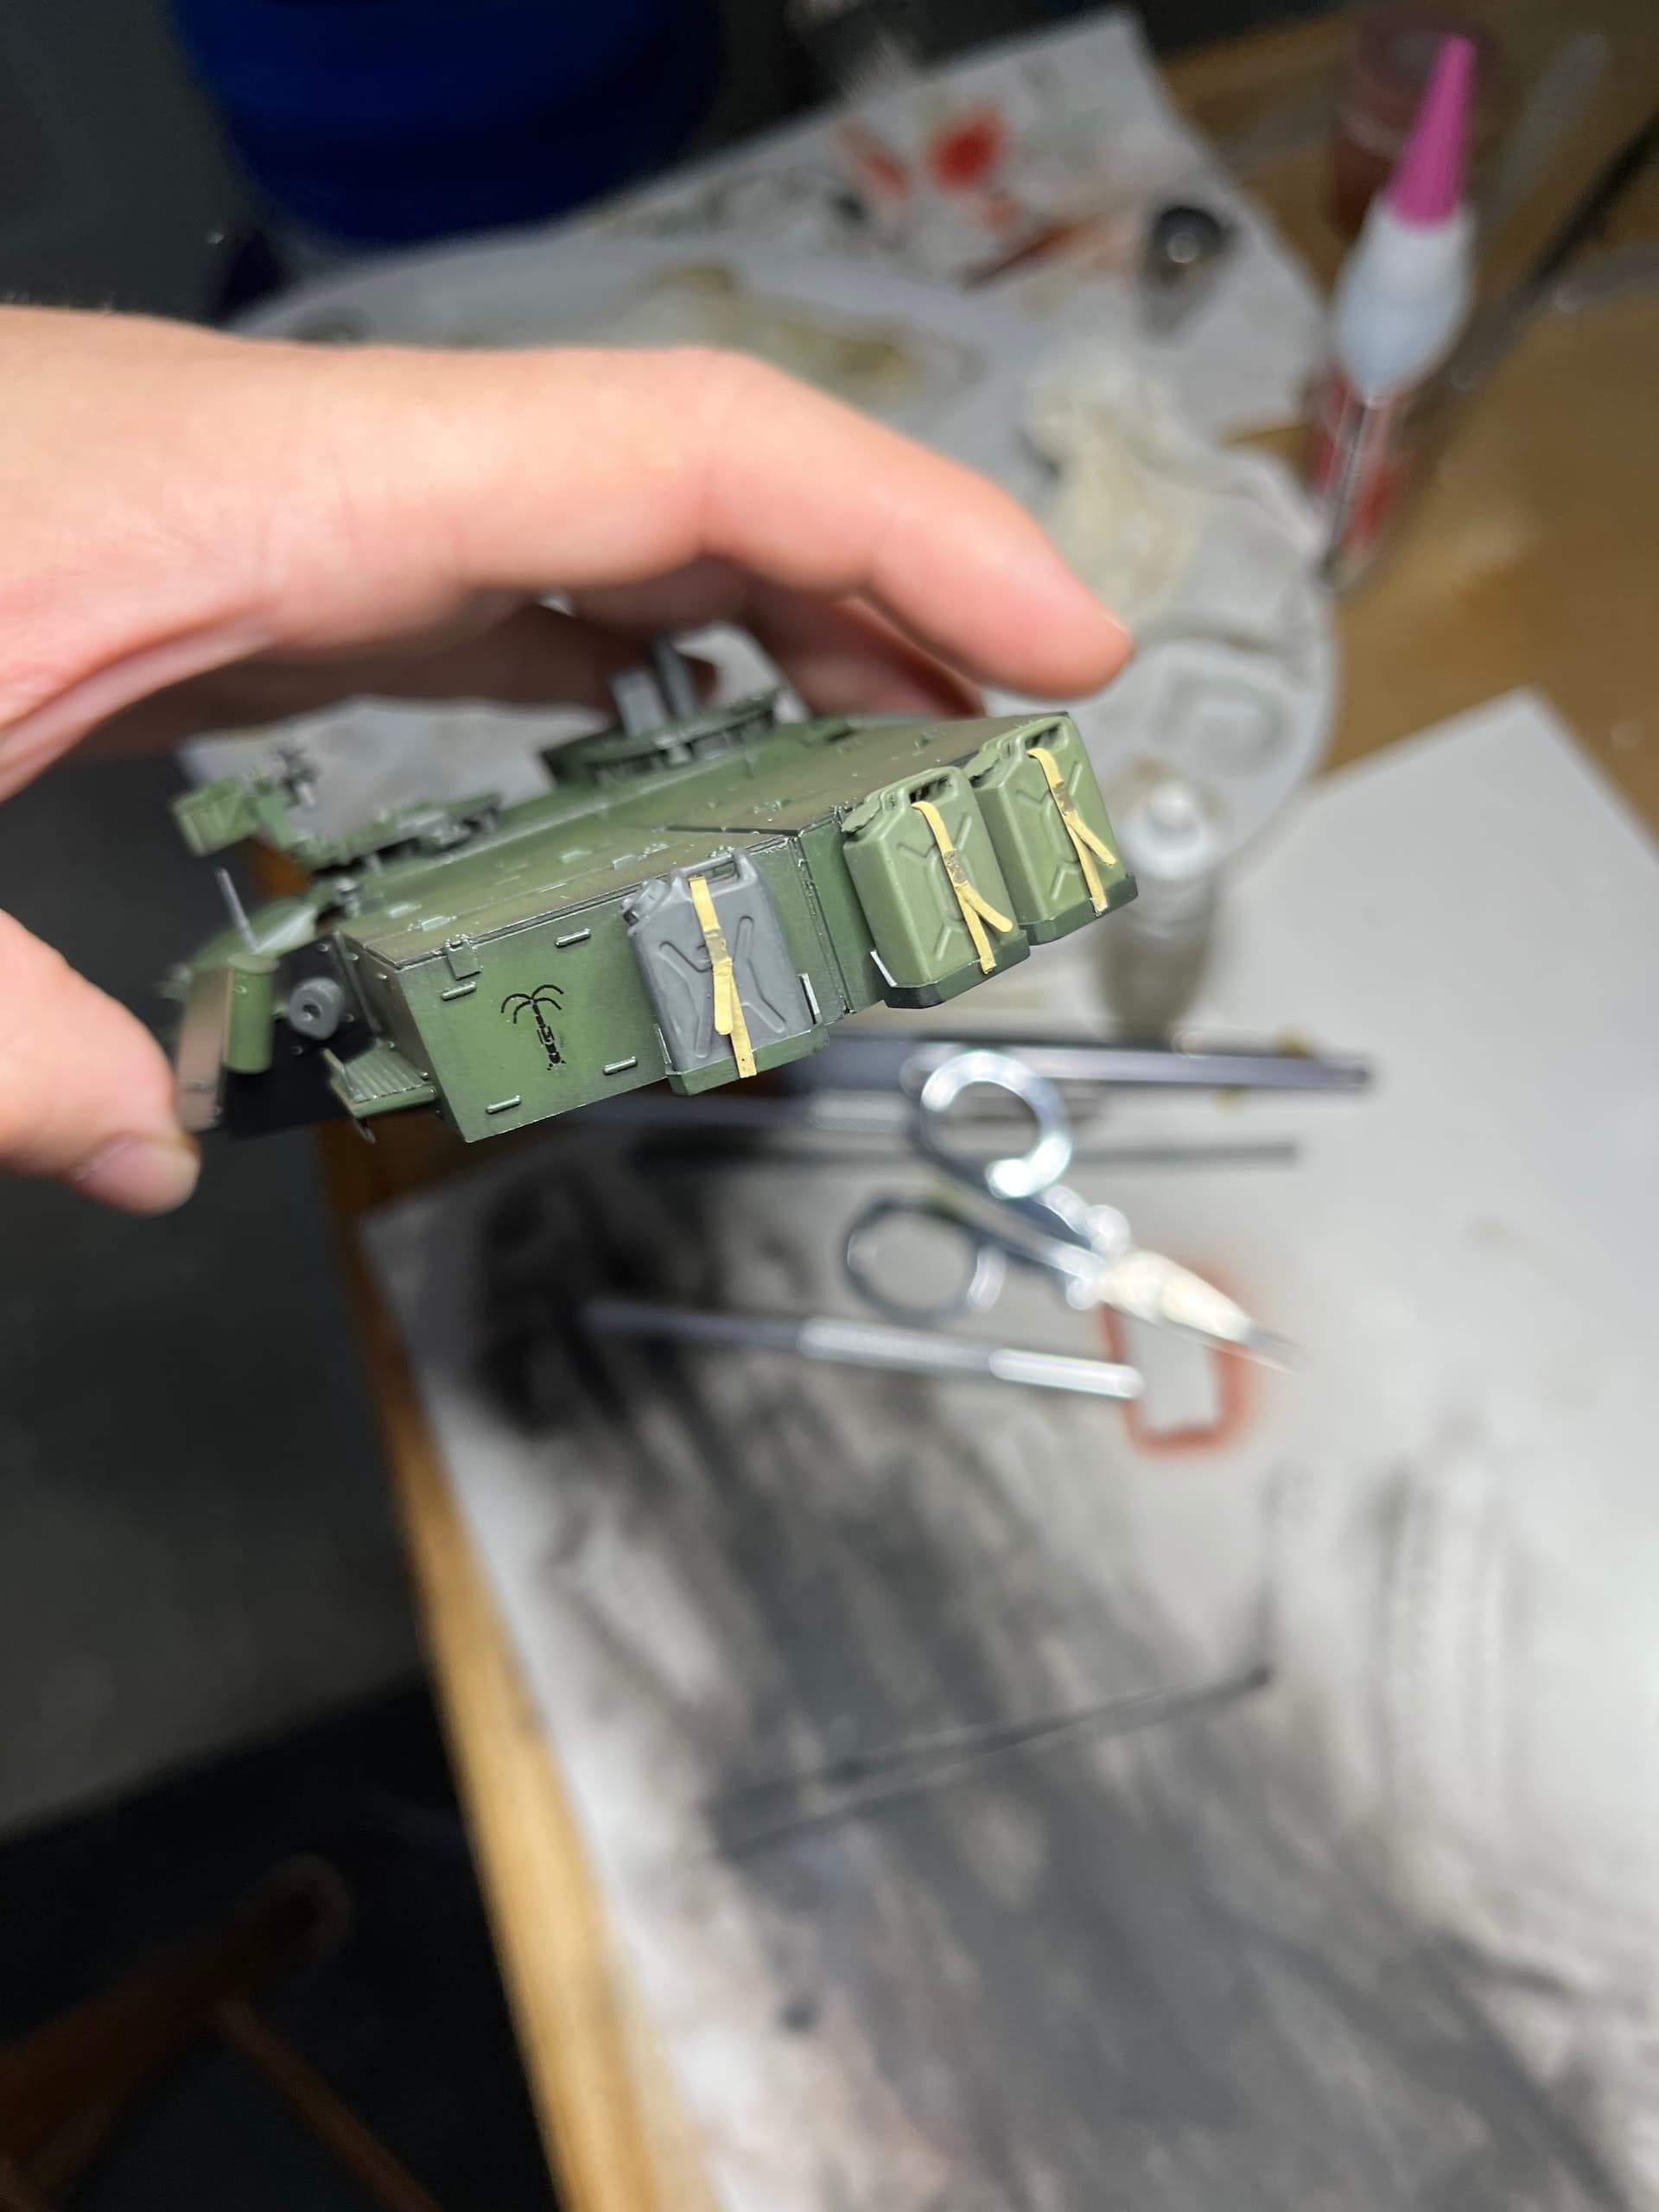
They are quite handy. I used mine just the other day to make tie down straps for a kit where I wasn’t thrilled with the kit PE
Very nice!
Thanks to you and @Karl187 for the tips and advice! I’ve been thinking that I’d have to source some specialized masking material to do this.
However, I’ve always got plenty of blue painter’s tape on-hand so no excuses for not giving this a shot!
Cheers, guys!
No worries! If you ever need help with the software or have issues with the tape tearing and not cutting well feel free to reach out. The hardest part of the using the cricut for masks was getting the settings on the machine right so it wouldn’t tear the tape and would make clean cuts
I’m really interested in this cutter and I’m glad that you’ve brought it to everyone’s attention.
I hope to find a video of one in action.
I have another thread called cricut a modelers best friend that dives into the details a bit more!
I’ve been asked by enough people now how they work that I’ll do a how to thread at some point very soon!
I can absolutely take some photos and videos of mine in action
Please do!
Hi Mead93
How’s the job going? No rush, im just interested.
Denimo