M1009 CUCV Build

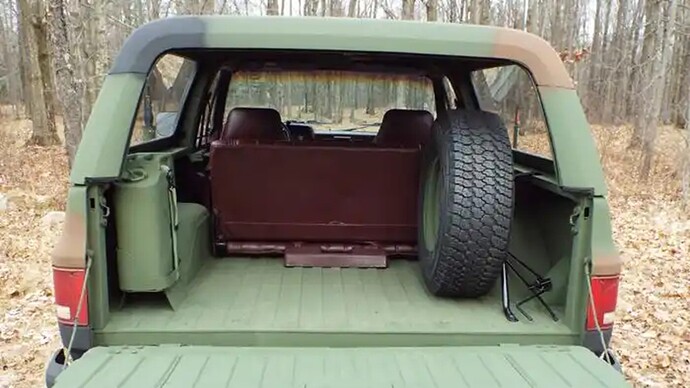
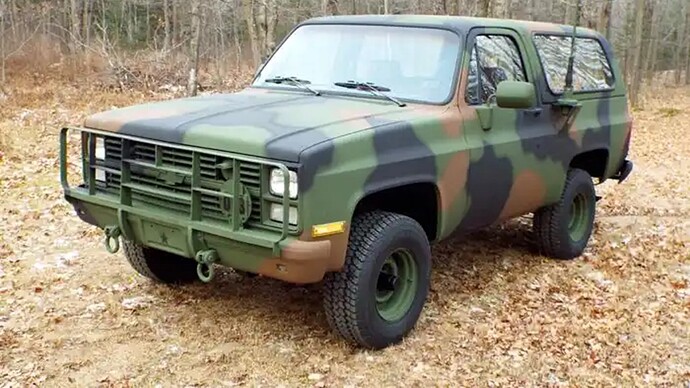
My next build is an M1009 CUCV (Commercial Utility Cargo Vehicle), which was a militarized 3/4 ton Chevy Blazer. These were mainly used as staff officer vehicles.

These trucks were a stop-gap measure used in the early '80s when the US military found that the M151 was wearing out and too small, and the HMMWV was in development, but not yet ready to field. They took civilian trucks and outfitted them as military vehicles by upgrading the electrical system to 24 volts, adding a blackout light system, tow shackles and pintle, etc. They were still being used by rear area units up until the early 2000s.

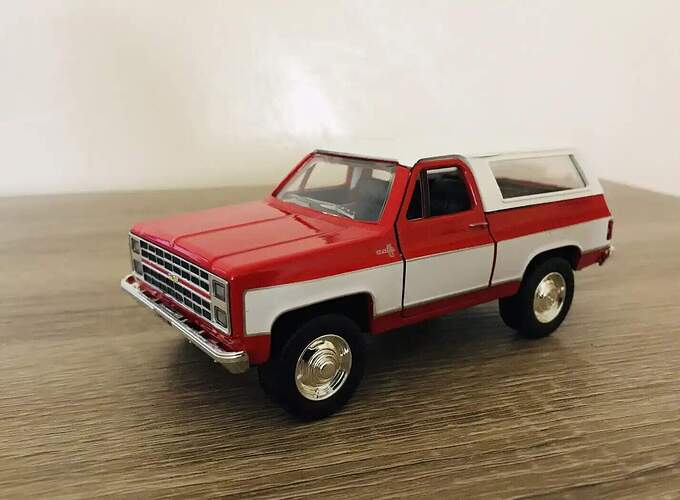
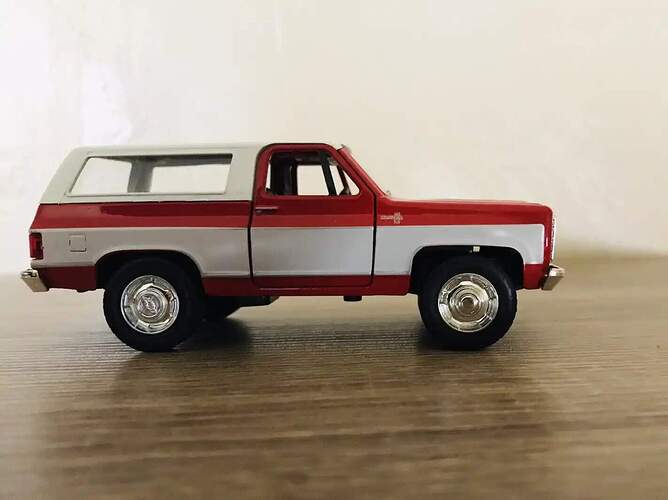
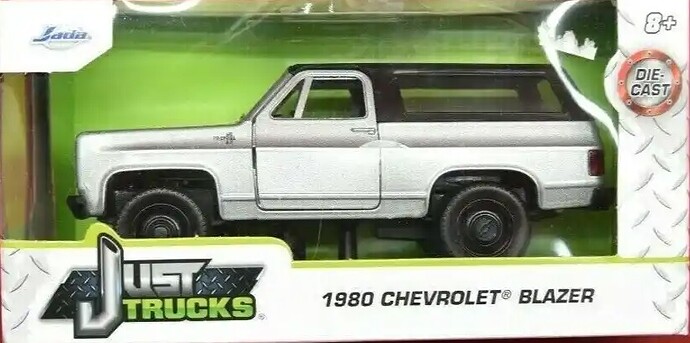
I know about the Miniman Factory resin kit of this truck (and the M1008 CUCV pickup), but found a cheaper die-cast version by Jada. It is listed as 1/32, but scales out to about 1/36, so close enough. I wanted to see if I could make it into a respectable CUCV model.

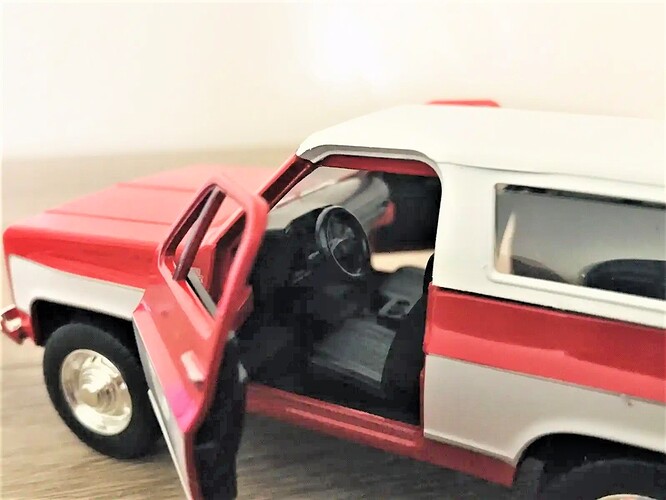
It is pretty well detailed for a die-cast model. The only die-cast metal part is the body. Everything else is plastic. You can see the well detailed grill with clear plastic headlights. It also has clear red taillights, plastic bumpers, a detailed interior, etc…

A different color, but the same Jada die-cast model.


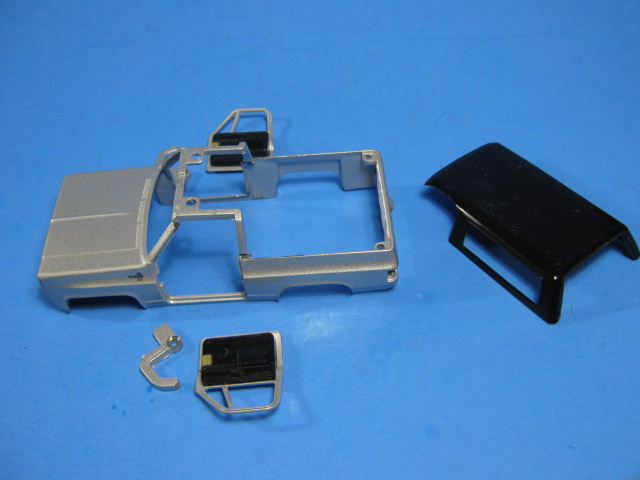
I started by tearing it down.
IMG_2220

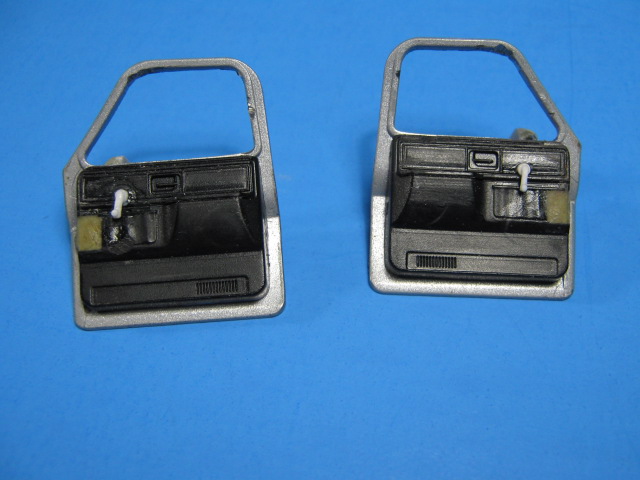
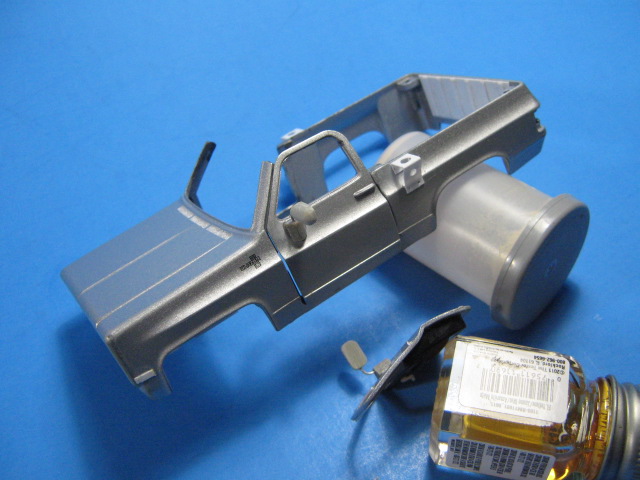
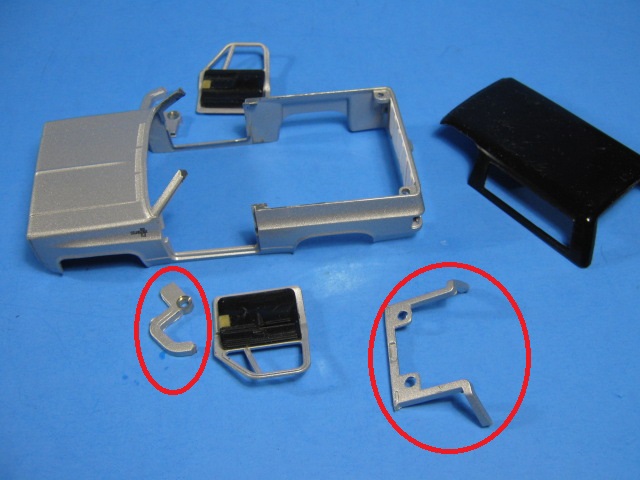
I cut away the piece that attached the roof above the driver’s area as it isn’t really there nor needed. I also cut the oversized hinge bars off the doors.
IMG_2221

I filled in where the hinges attached to the doors w/A&B putty. I will add window cranks later.
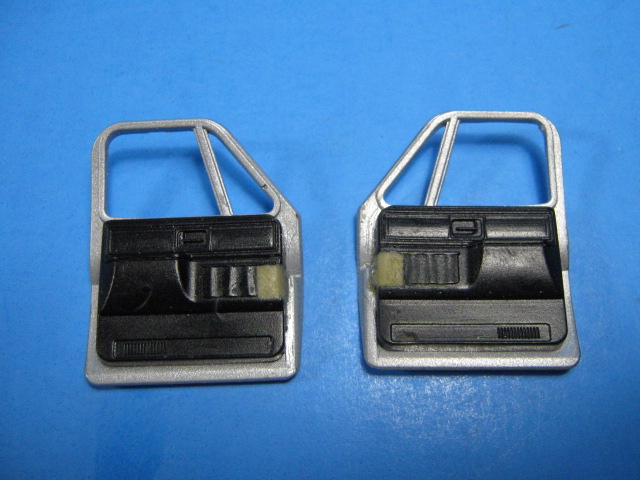
IMG_2223

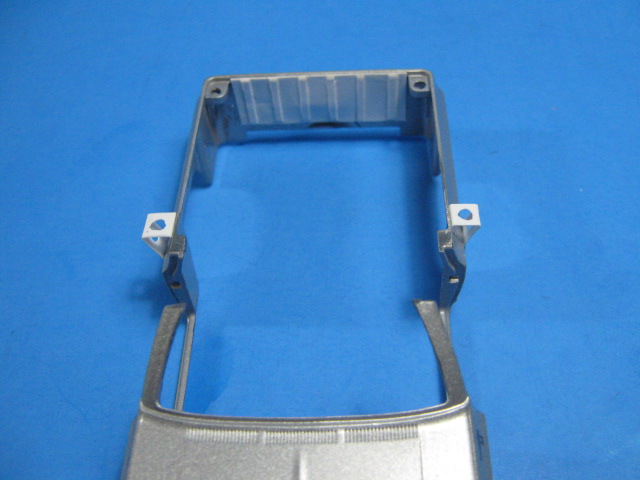
One of the biggest area that needed improvement was the frame/running gear, which is pretty much a flat plate bottom with metal rod axles and a few bumps here and there to represent the engine, differentials, etc. I swapped it out for the frame and running gear from a Dodge WC56 3/4 ton staff car. It fits the M1009/Blazer almost perfectly. I did extend it at the rear by 1/4 inch and had to add a center support for the transfer case.
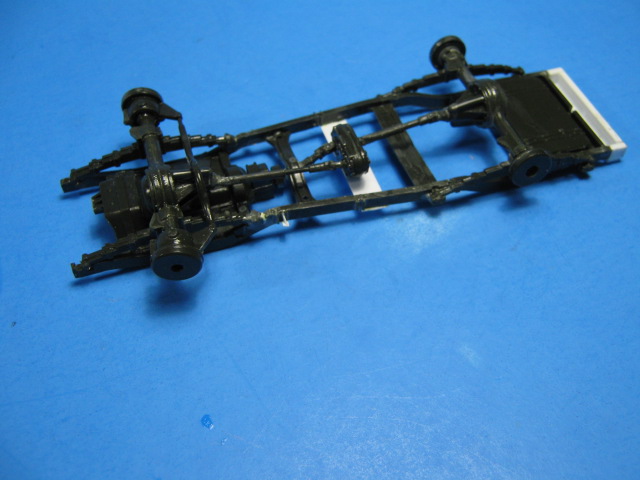
IMG_2229

Here it is on the frame w/interior in place. I also made front inner fenders from the WC56 rear fenders and more sheet styrene.
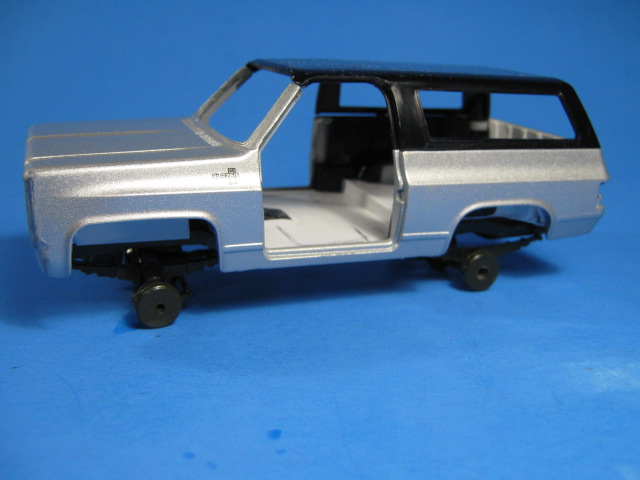
IMG_2230

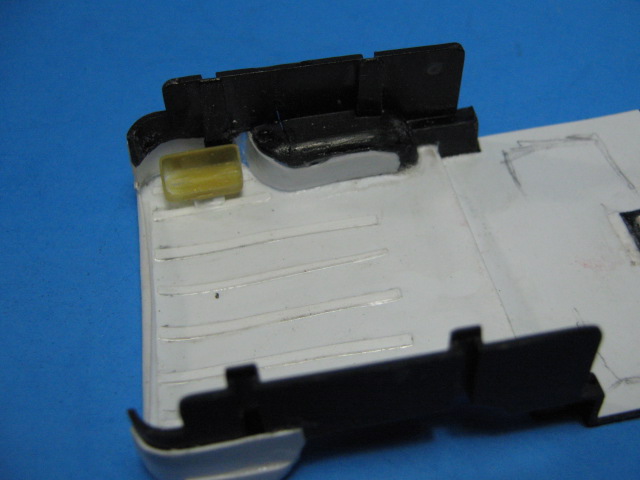
The cab interior also needed attention. There was a large bump in the middle of the floor for, I’m assuming, a motor. The rear cargo floor was way too high as well. I cut the hump out and rebuilt the floor and cargo area with sheet styrene. I also made a fire wall from sheet styrene.
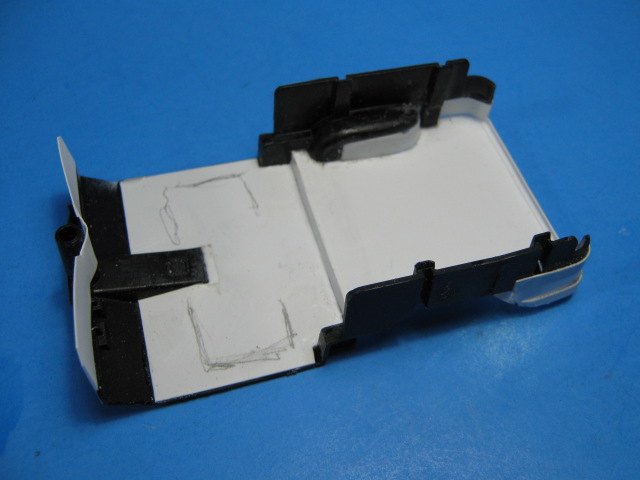
IMG_2228

On the dash, I filled in the two cut outs for the hinge bars with A&B putty. I sculpted them to match the dash and added the lines for the glove box.
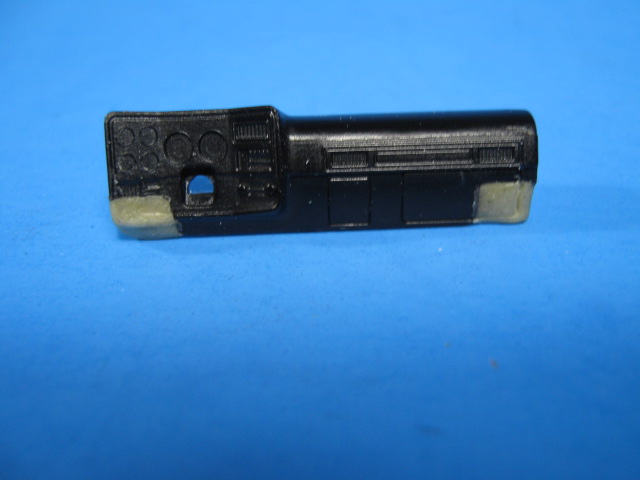
IMG_2225

I also had to fix the seats as well. The front seats had no backs, so I filled them in w/sheet styrene. On the back seat, it required more work. The motorization box extended into the seat. After cutting it away, I rebuilt it w/more A&B putty and a piece of styrene to fill in the back. I scribed the folds and line pattern onto it as well.
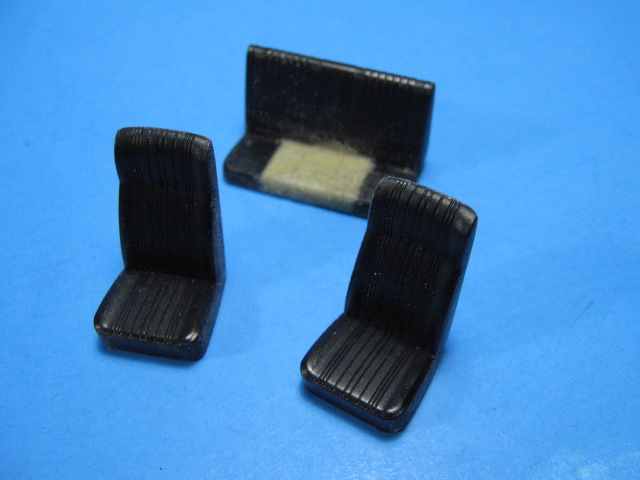
IMG_2224

The Jada tires were pretty good, but the wheels were all wrong. I had new tires/wheels 3D printed by our own Michael “MikeyBugs” Goldberg. They look great and fit perfectly.
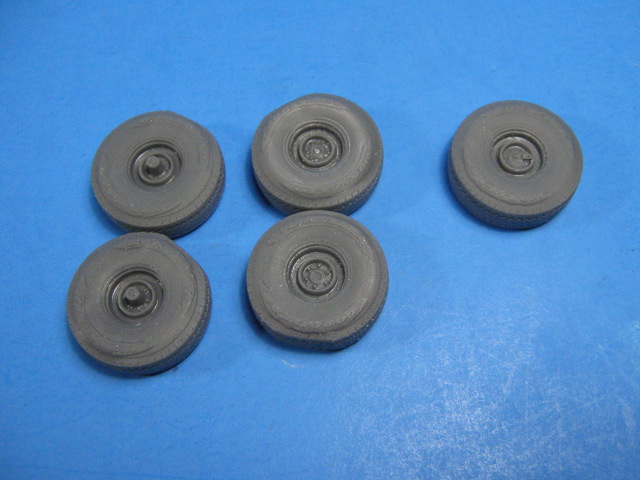
IMG_2226

I also had the brush guard 3D printed by our own James_Lee. It is an exquisite piece of work. Here it is along with the grill and front bumper.
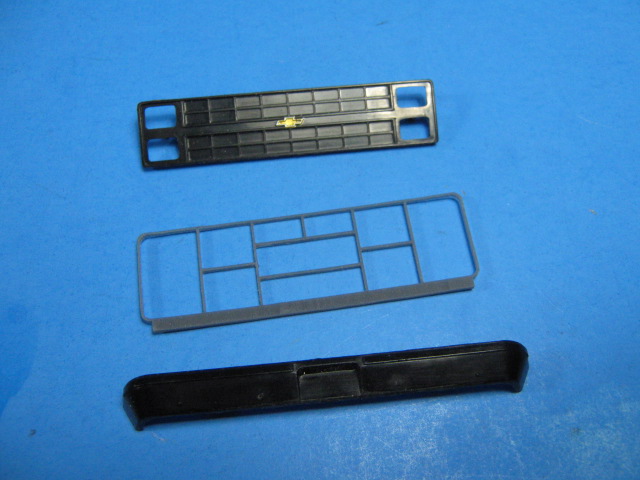
IMG_2227

Next up is to start painting and detailing the interior, then adding the militarized details. More to come.
16 Likes

Nice sculpt work with the seats, dash, and doors. The 3D printed brush guard looks fantastic!

1 Like

Thanks. It should be a fun ride.

Now this is interesting; 'looking for tips on how to get the best from a diecast mdoel within the plastic genre - I’m sure I’ll learn something along the way here. Can I ask how you stripped the paint from the metal?

(I have a cunning plan to utilise a 1;32 Mercedes-Benz G Wagen in hopefully, a BRIXMIS dio)

1 Like

Thanks. I hope it is helpful.

I didn’t. It came in a silver color. I plan on just lightly sanding it to give the paint something to bite into.

Aha - thanks Gino.

Paint it and add the words RANGE CONTROL on a yellow painted placard hanging from the brush guard and add an amber light bar on it.

That brings memories.

Oh! Don’t forget the blackout drive light up front.

Yup, it and all the other militarized parts are coming.

1 Like

image

Don’t forget the side-mounted brackets for the MX-6707/VRC antenna.

1 Like

The antenna mounts will be added as well.

1 Like

Excellent Gino! I scored one of the Miniman Factory M1009 CUCVs to model my ride from my DIVARTY gigs. The kit does not include the spare, antenna mounts, radio racks, seatbelts, fire ex, anti-theft chain, etc. It looks well molded.

Ahh this brings back some yeeha! times on base (RAF) in the UK rideing the fence on rapid response calls.

Cajun :crocodile:

Thanks guys.

I’m looking forward to seeing yours as well Rick.

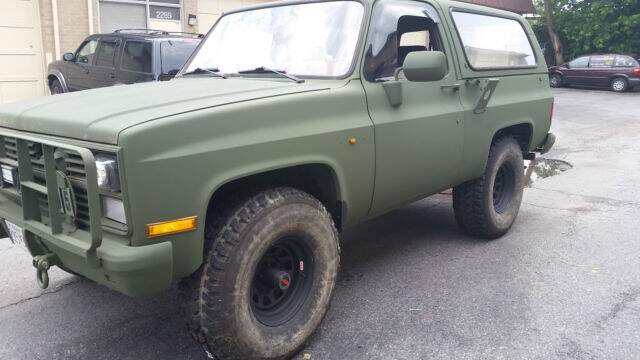
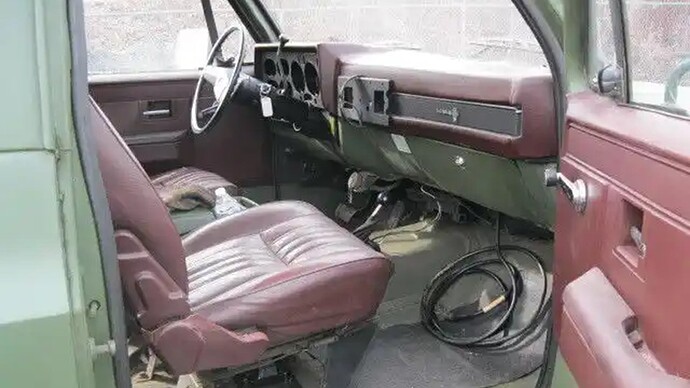
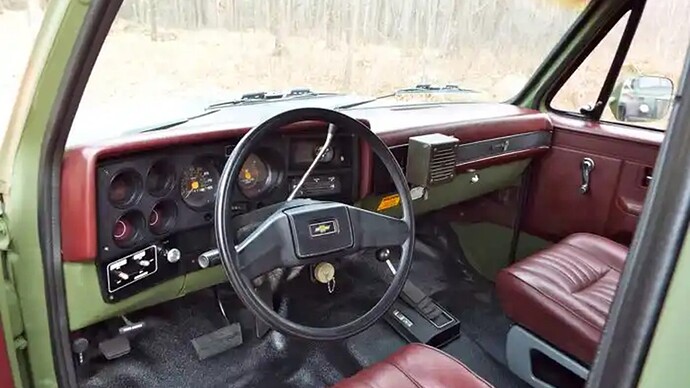
Is this your POV ride? Nice!

No. Not mine. Just off the Internet. Though I e always wanted to own a HMMWV.

Gino, this is genius. How did you ever figure out that WC series guts would fit a Blazer body? This whole build is just mind blowing!

1 Like

Thanks. As to the WC frame, I was looking for something to put under the Blazer and I had on old WC kit. It looked close so I went with it.

3 Likes

With Thanksgiving and putting up Christmas decorations, I haven’t gotten much done lately. I did get a bit more done on the details though.

I am getting close to finishing the cargo area interior. Here is how it actually looks.

I added reinforcement ribs in the rear cargo area and added a tailgate interior with ribs. I also added a mount for the fuel can. I made them from sheet styrene. I still need to add the mount for the spare tire. You can see the antenna mounts on the sides as well, also made out of styrene sheet.

IMG_2238
IMG_2240

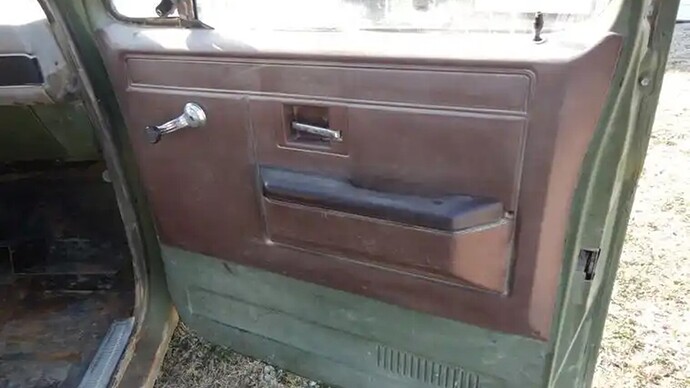
The door interior.

I added the window cranks.
IMG_2241

On the exteriors, I made the mirrors and their mounts from left over resin blocks. I sanded and carved them to shape and used a piece of wire to connect them. You can also see where I added a small strip of styrene in front of the front wheel opening to represent the turn signal.
IMG_2231

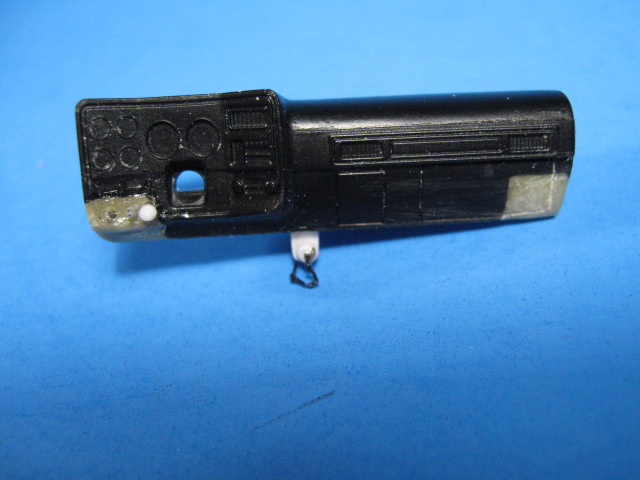
Up front ,the dash board.


I added the headlight knob and switches for the blackout lights on the lower left. I also added the STE/ICE (Simplified Test Equipment/Internal Combustion Engines; early engine diagnostics system) port on the center bottom.
IMG_2233

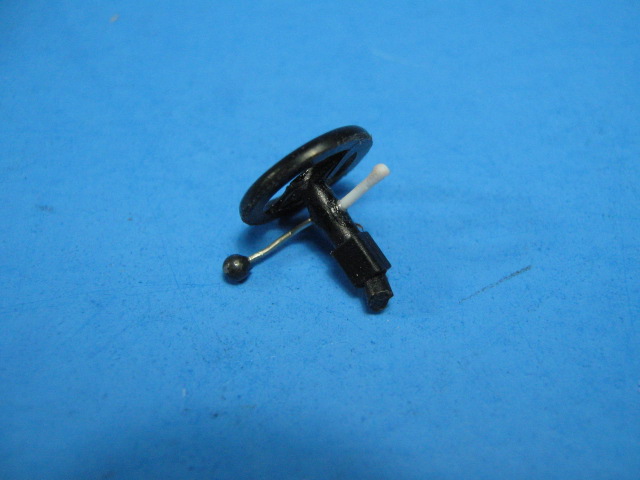
I replaced the turn signal indicator rod and the shift lever with thinner wire and a bird-shot ball.
IMG_2234

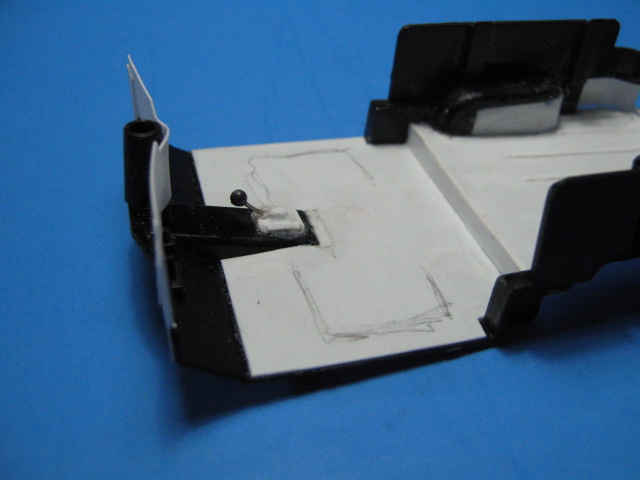
A also added the 4-wheel drive selector lever in the center front floorboard as well, again using sheet styrene, wire and a bird-shot ball at the top.
IMG_2243

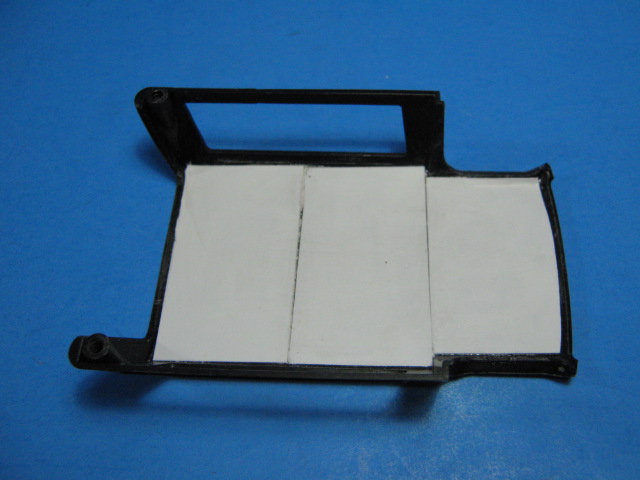
On the inner roof, I added a styrene sheet headliner. I still need to add a dome light and sun visors.
IMG_2239

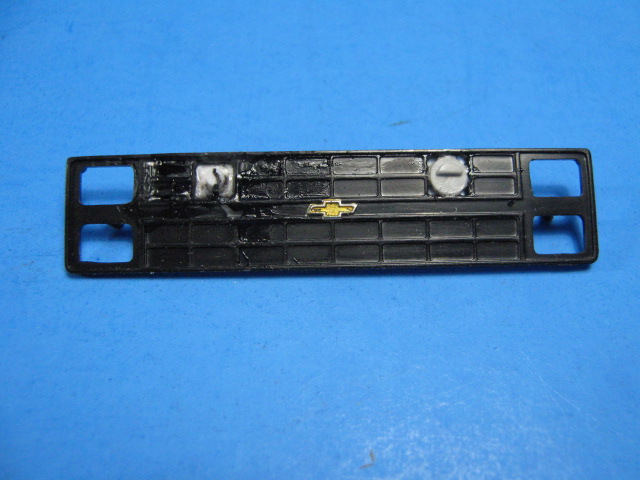
Finally, I detailed the grill and bumpers. I added the NATO slave cable adaptor on the left side and the blackout drive light on the right side of the grill.
IMG_2235

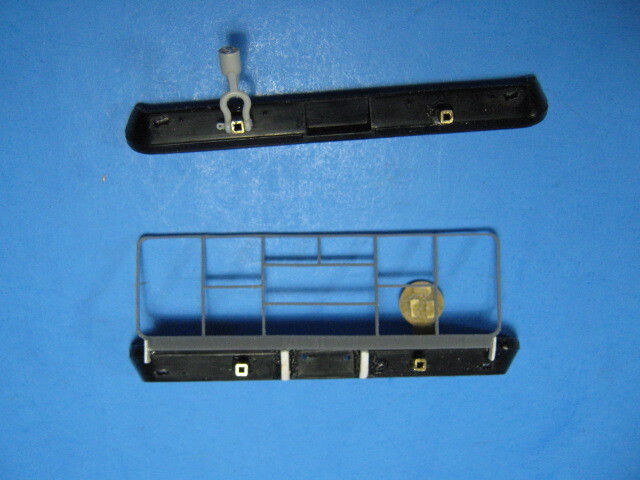
I also attached the brush guard using pieces of styrene for the mounts. On the bumpers, I cut slots for the blackout marker lights and added pieces of 1/16 square brass tubing for the shackle mounts. Lastly, I added the bridge classification plate from left over PE parts.
IMG_2236

I still need to make a radio rack and add the radios inside, along with the front seat mounts. More work to do.

13 Likes

Looking amazing @HeavyArty. :smiley::+1:

Thanks SableLiger. It has been fun so far.

1 Like