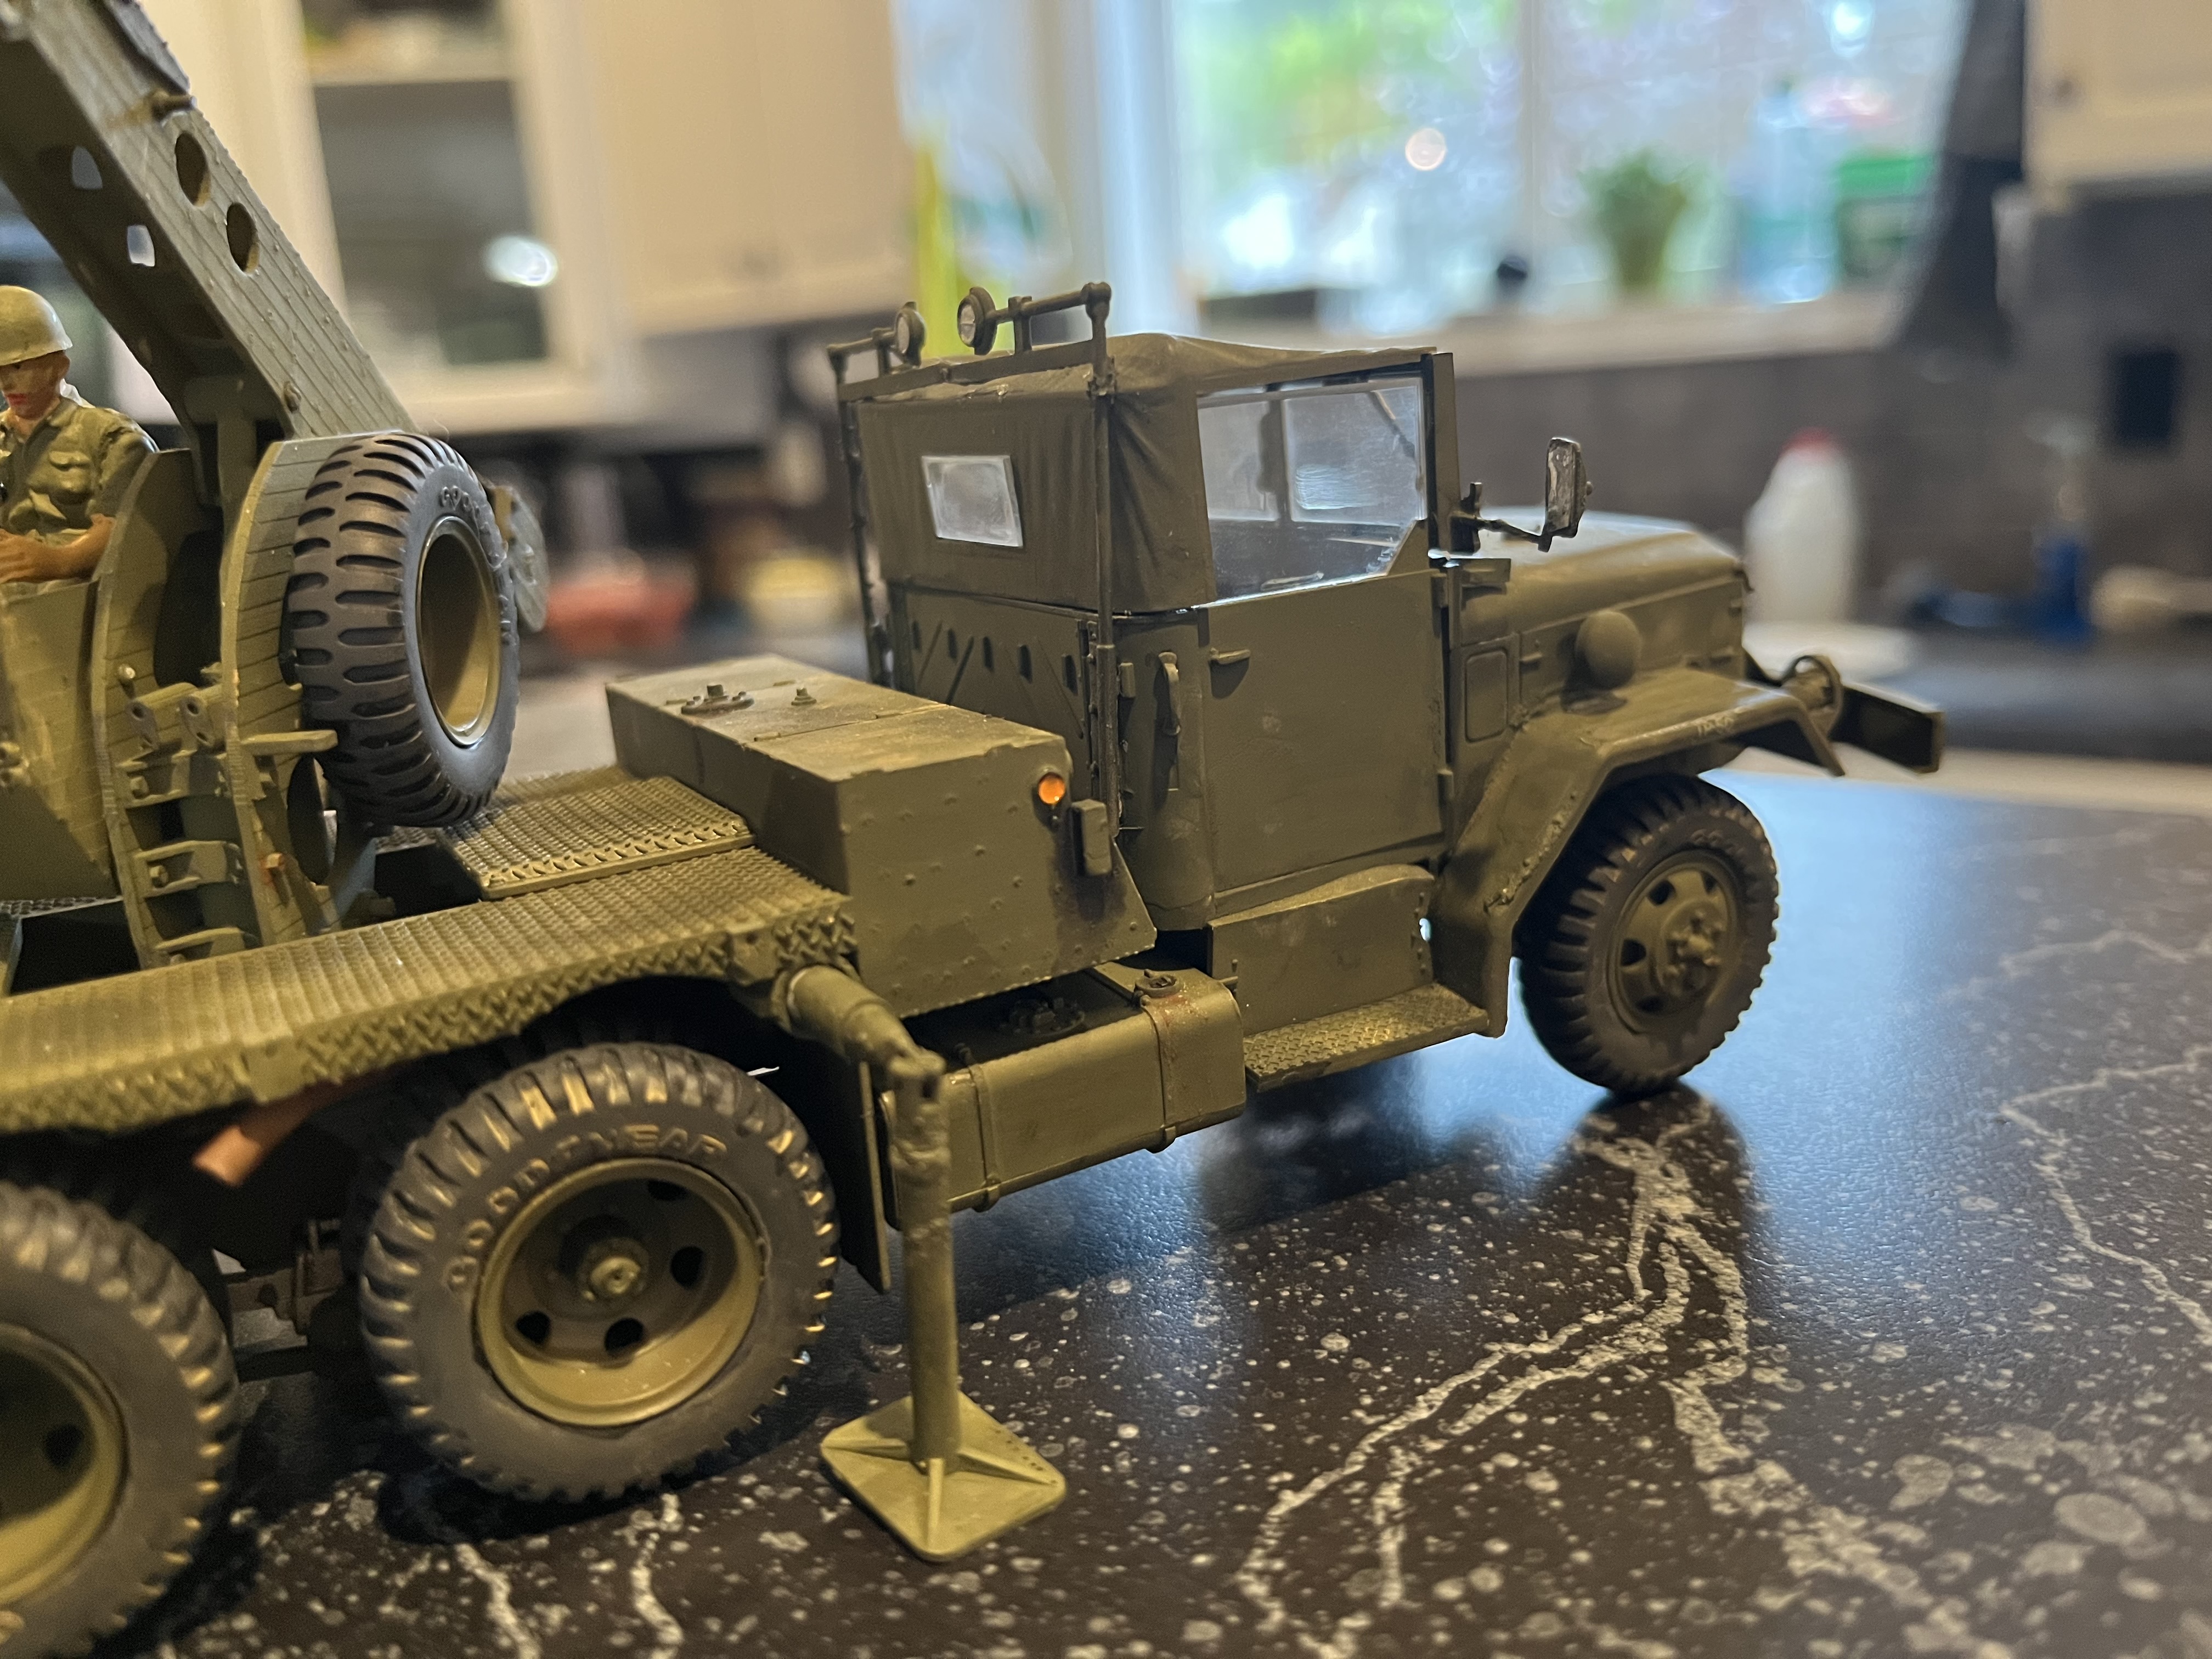
No worries Chuck, I appreciate your input and am happy to correct my truck. As I mentioned, the plumbing isn’t perfect but its all connected via a muffler (formerly a cement brush tube) ending in an exhaust outlet.
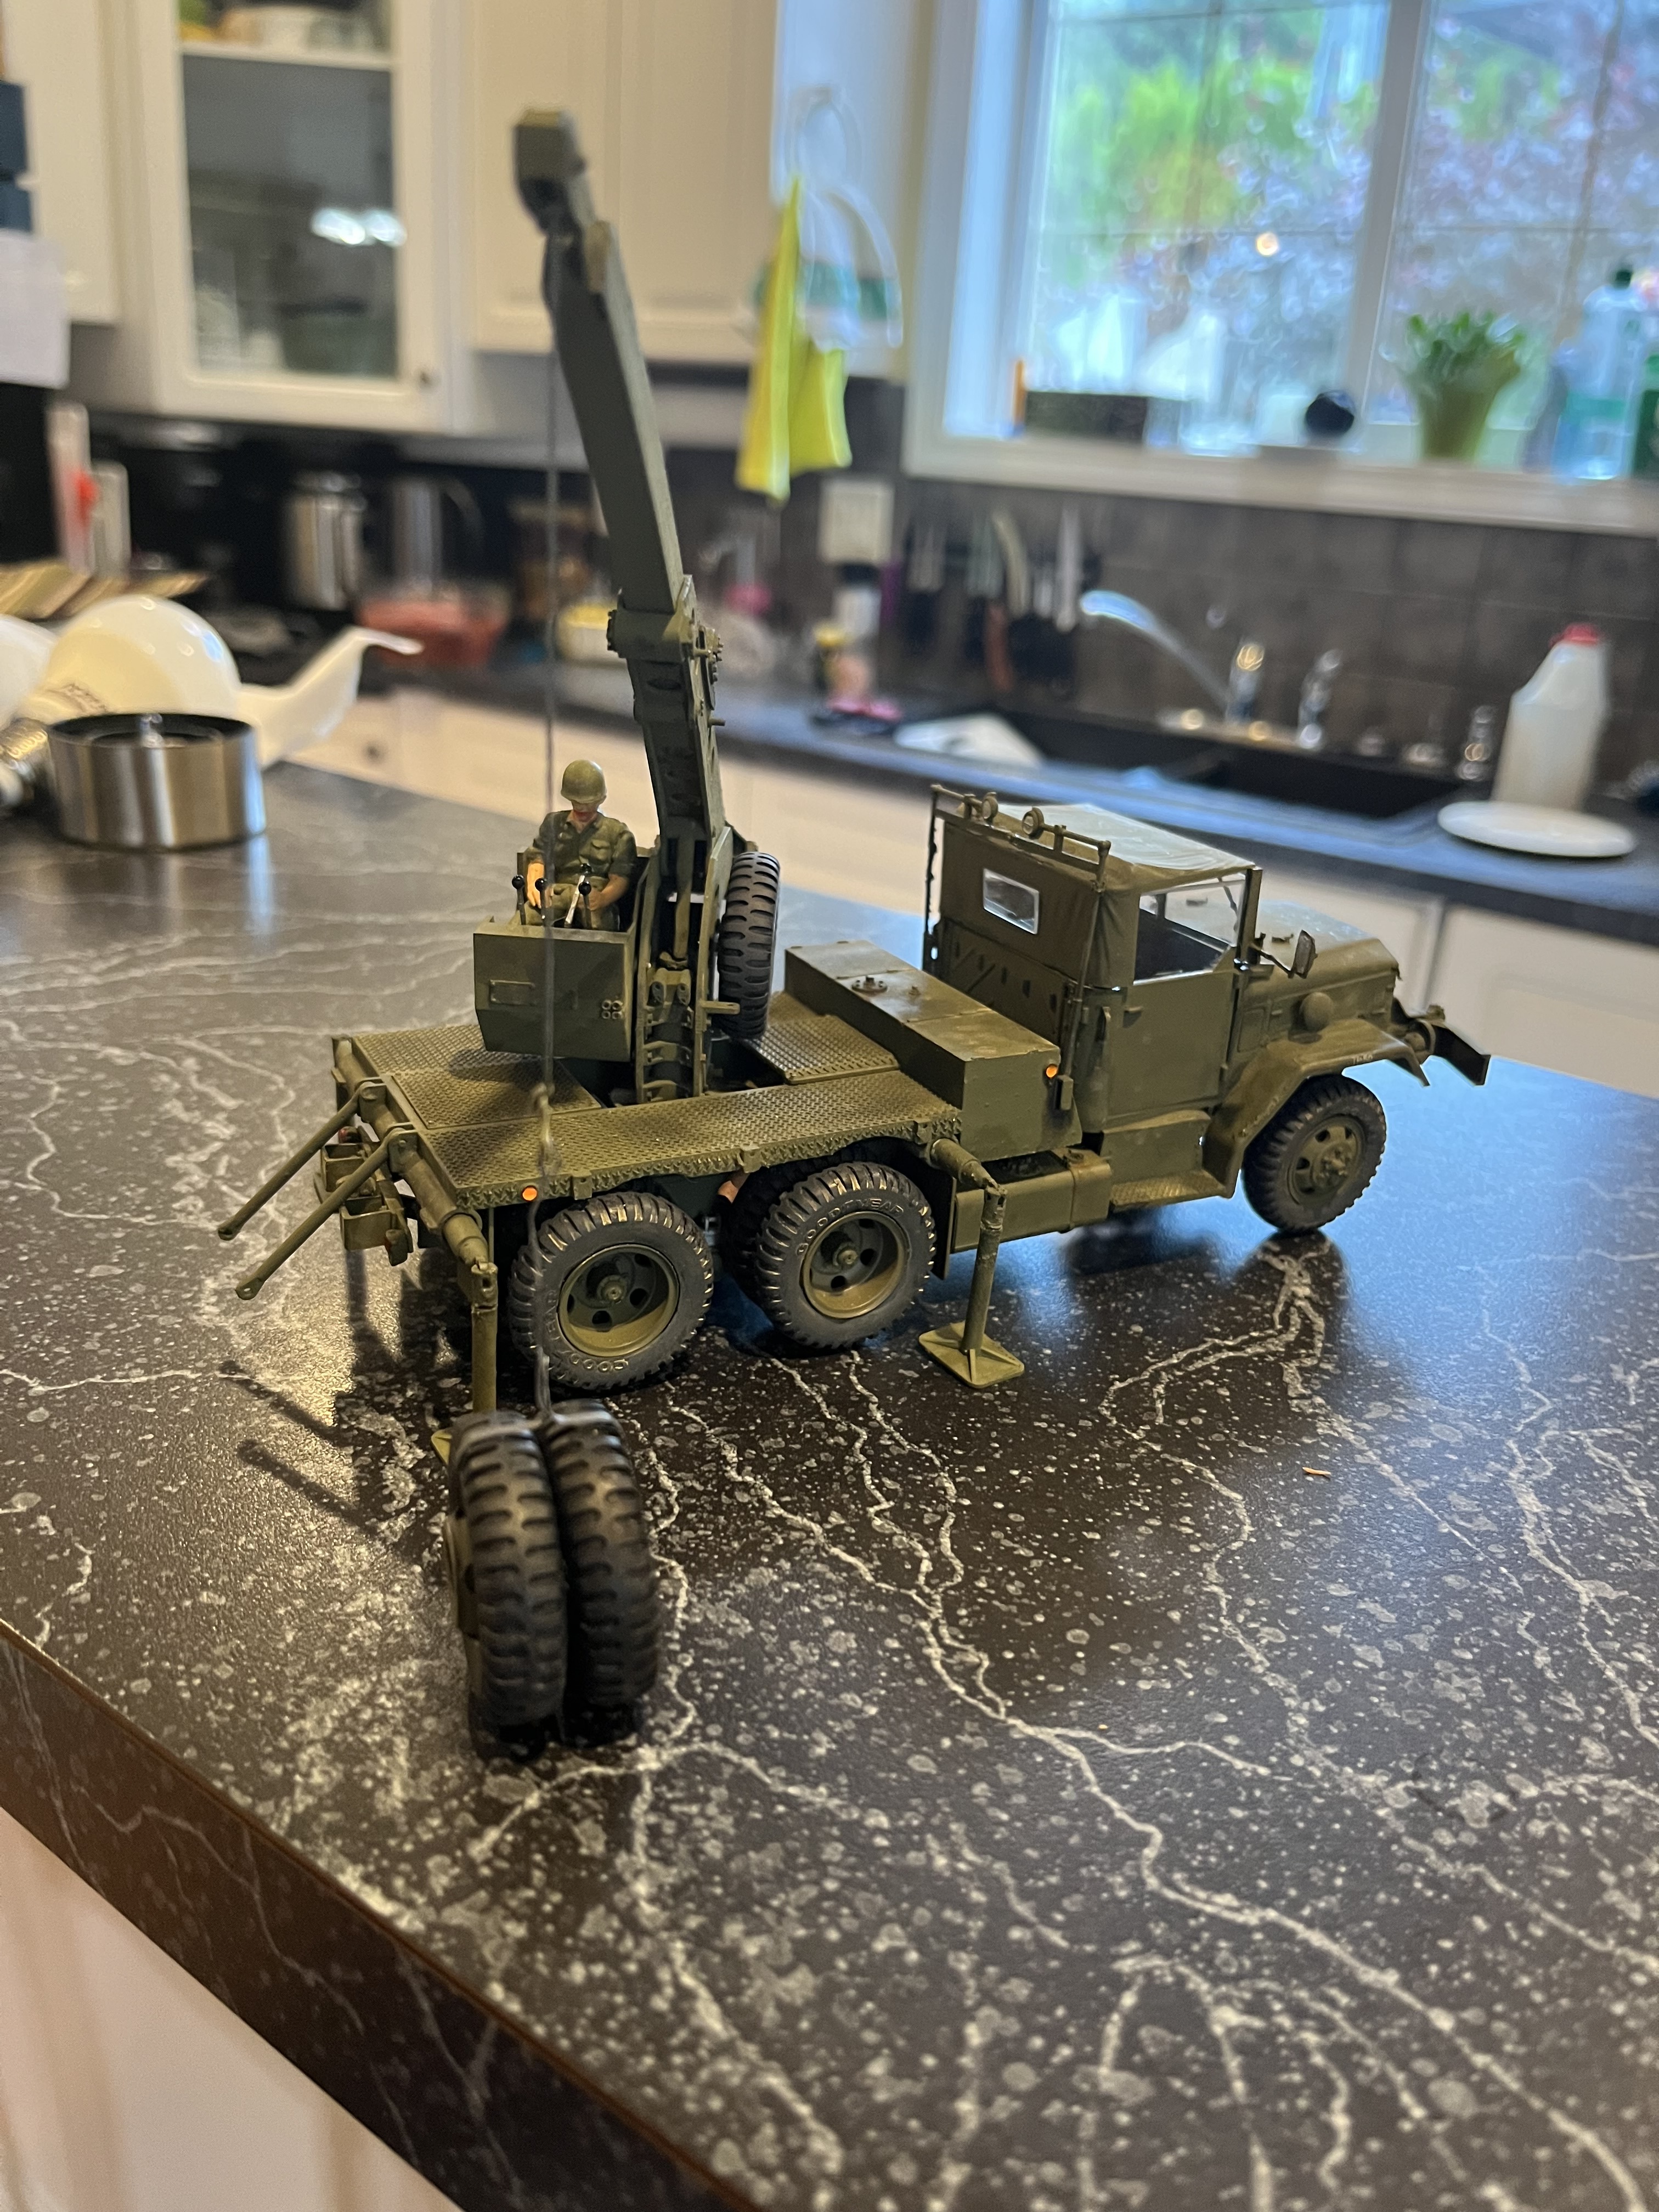
I’ll post a couple pics of the old girl when she’s complete.
Fillers tend to do this. Fill it up once more and repeat until it looks right.
Next time: Use a piece of sprue, filed to shape, as a plug and then use filler to
fill in the last tiny gaps.
Great idea Robin, thanks for that. I’d laid a thin sheet of plastic under the hole, thinking that would prevent sink, but your idea sounds a better plan.
I stopped using filler many years ago.
The first type I used was some 2-component stuff from Verlinden.
I think it contained sand, when it hardened it became rock hard and
ruined all my files. Then I used CA-glues for a while until I figured out
that bits and pieces of styrene was:
Totally free, lots of it available at no extra cost. I also use the small number flags …
Always available, right there in the box with the kit parts
Easier to sand/file out thin without getting that annoying little edge
Easy to sand/file thanks to having the same hardness as the kit plastic
If you cut off the sprue at an angle and glue a small piece of sandpaper to the cut surface you get handy sanding sticks for reaching into tight spots.
If the filler is harder than the material around it you risk getting a bump when sanding it down because you remove the area around the filling faster than the filling.
If the filler is softer you get the opposite problem.
Using sprue from the same kit gives you plugs of the exact same material and hardness as the kit.
Very interesting. I know about the “filler being harder than the plastic” from building that M1062 tanker. I used Mr Surfacer to fill in when joining the two tank halves.
Thin strips of styrene can also be “recovered” from some types of packaging (cookies and other products).
If they are vac-formed the plastic will have many thicknesses so it is possible to find slightly wedge shaped pieces to slide into the cracks between parts. Solvent glue makes this easier since it dissolves the plastic and lets it “flow” and fill out the crack,
Stretched sprue is also very useful to fill narrow cracks. With some practice it is possible to get a perfect thickness. The ends of the stretched sprue, where the thickness goes from very thin up to the full sprue “diameter” in a short distance can also be used to fill smaller holes. Cut it so that the narrow end barely fits in the hole, add solvent “glue” and push it in.
With some practice the “stretched sprue” can be used for many things …
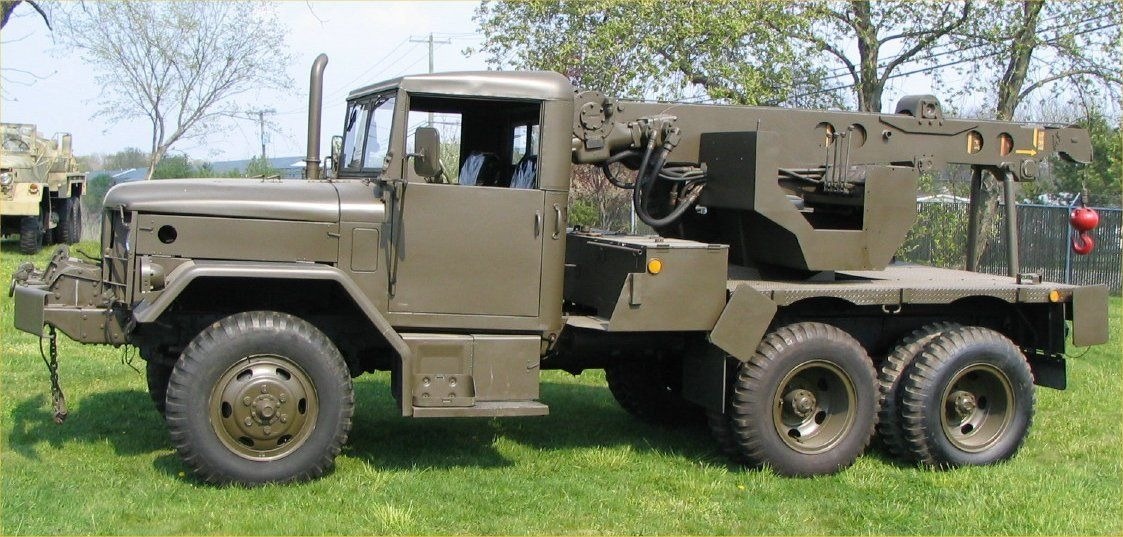
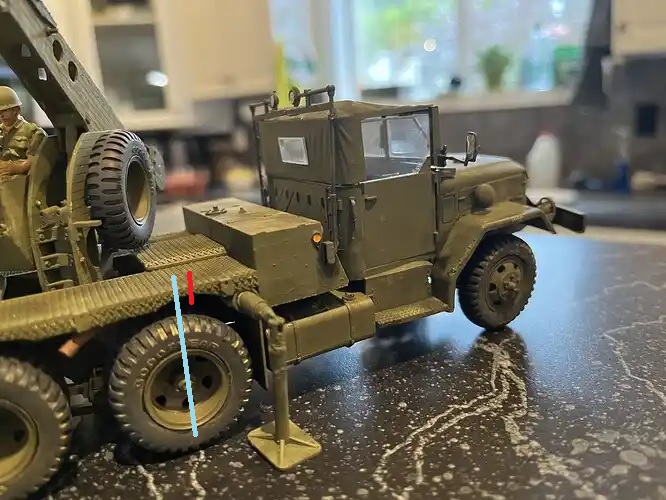
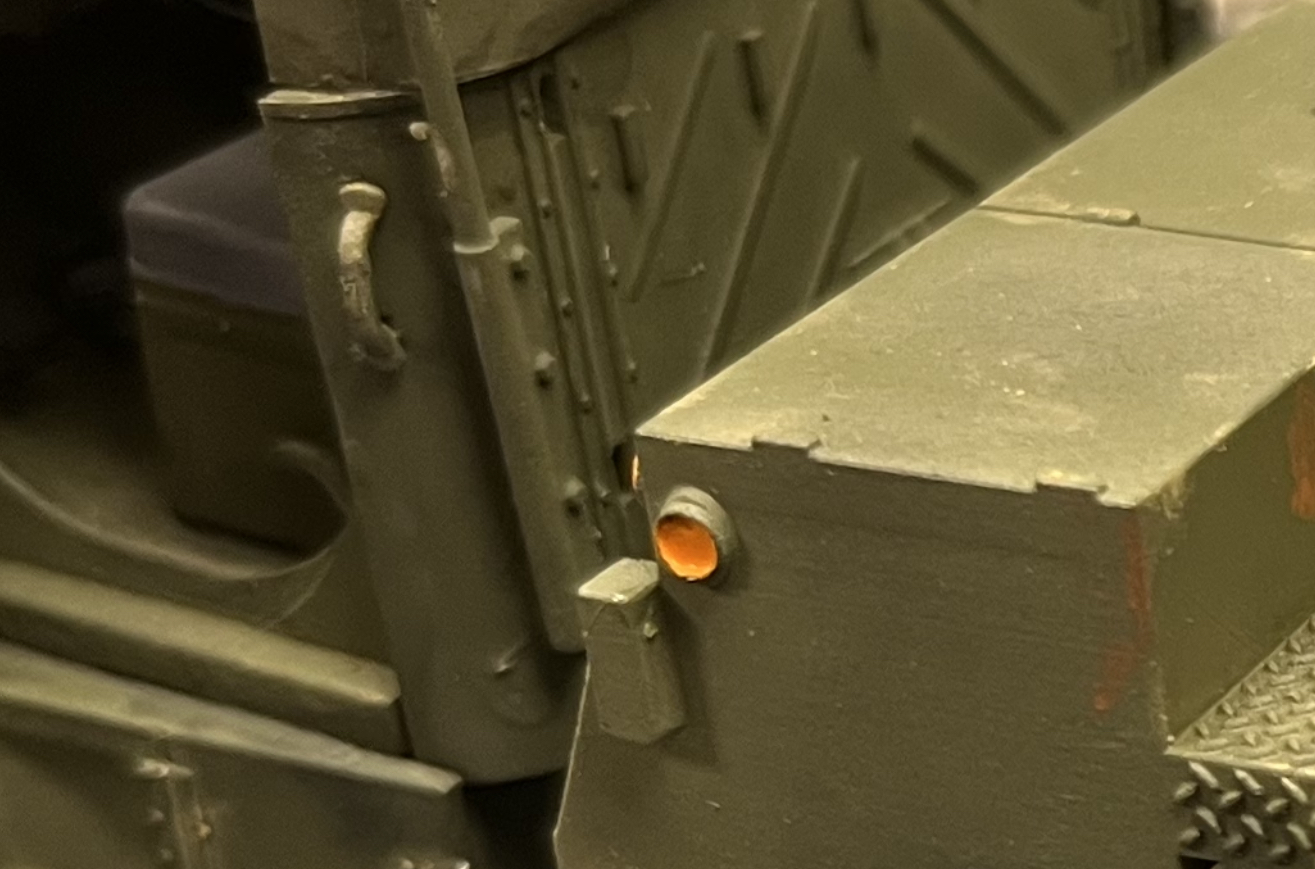
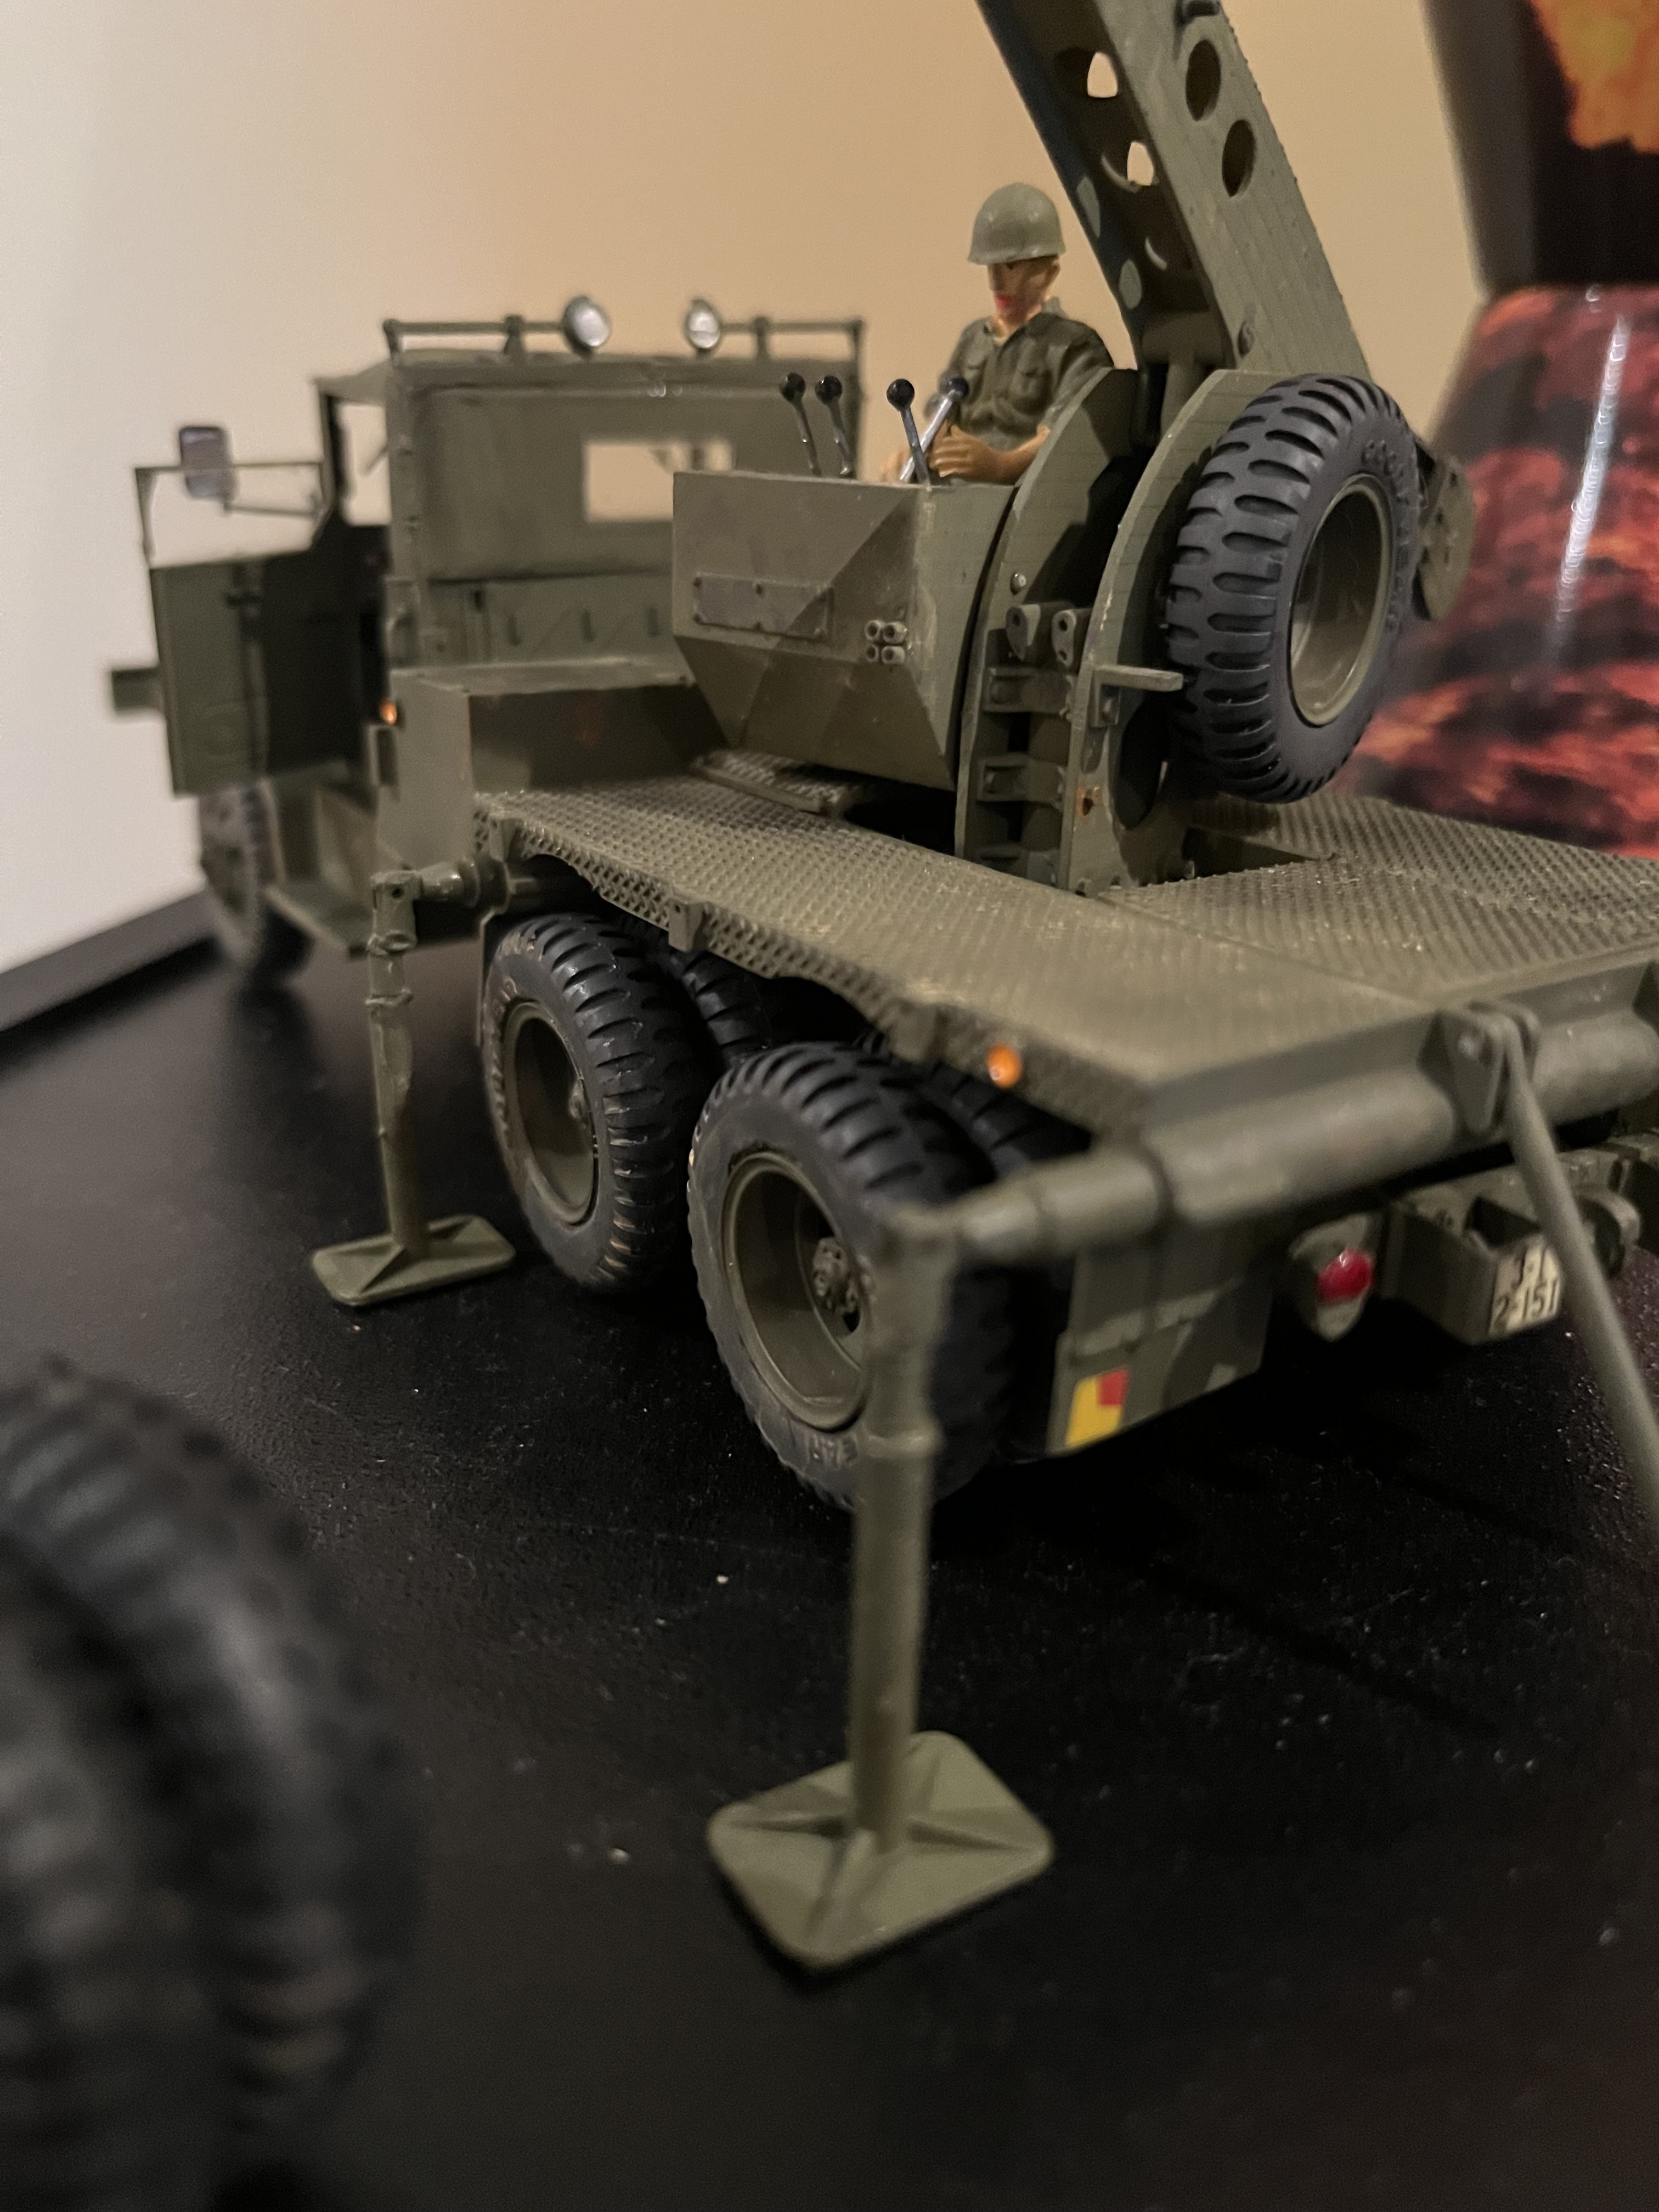
Overall, it looks great. Excellent job on the exhaust reroute. One small thing I still see though. I think you have the whole bed too far forward. The wheel arch cutouts should be centered over the wheels, see below.
Thanks Ralph, the Hobby Link kit went together beautifully. Input from folks on this site has got me going back to the build once or twice more, but I’m generally happy with it.
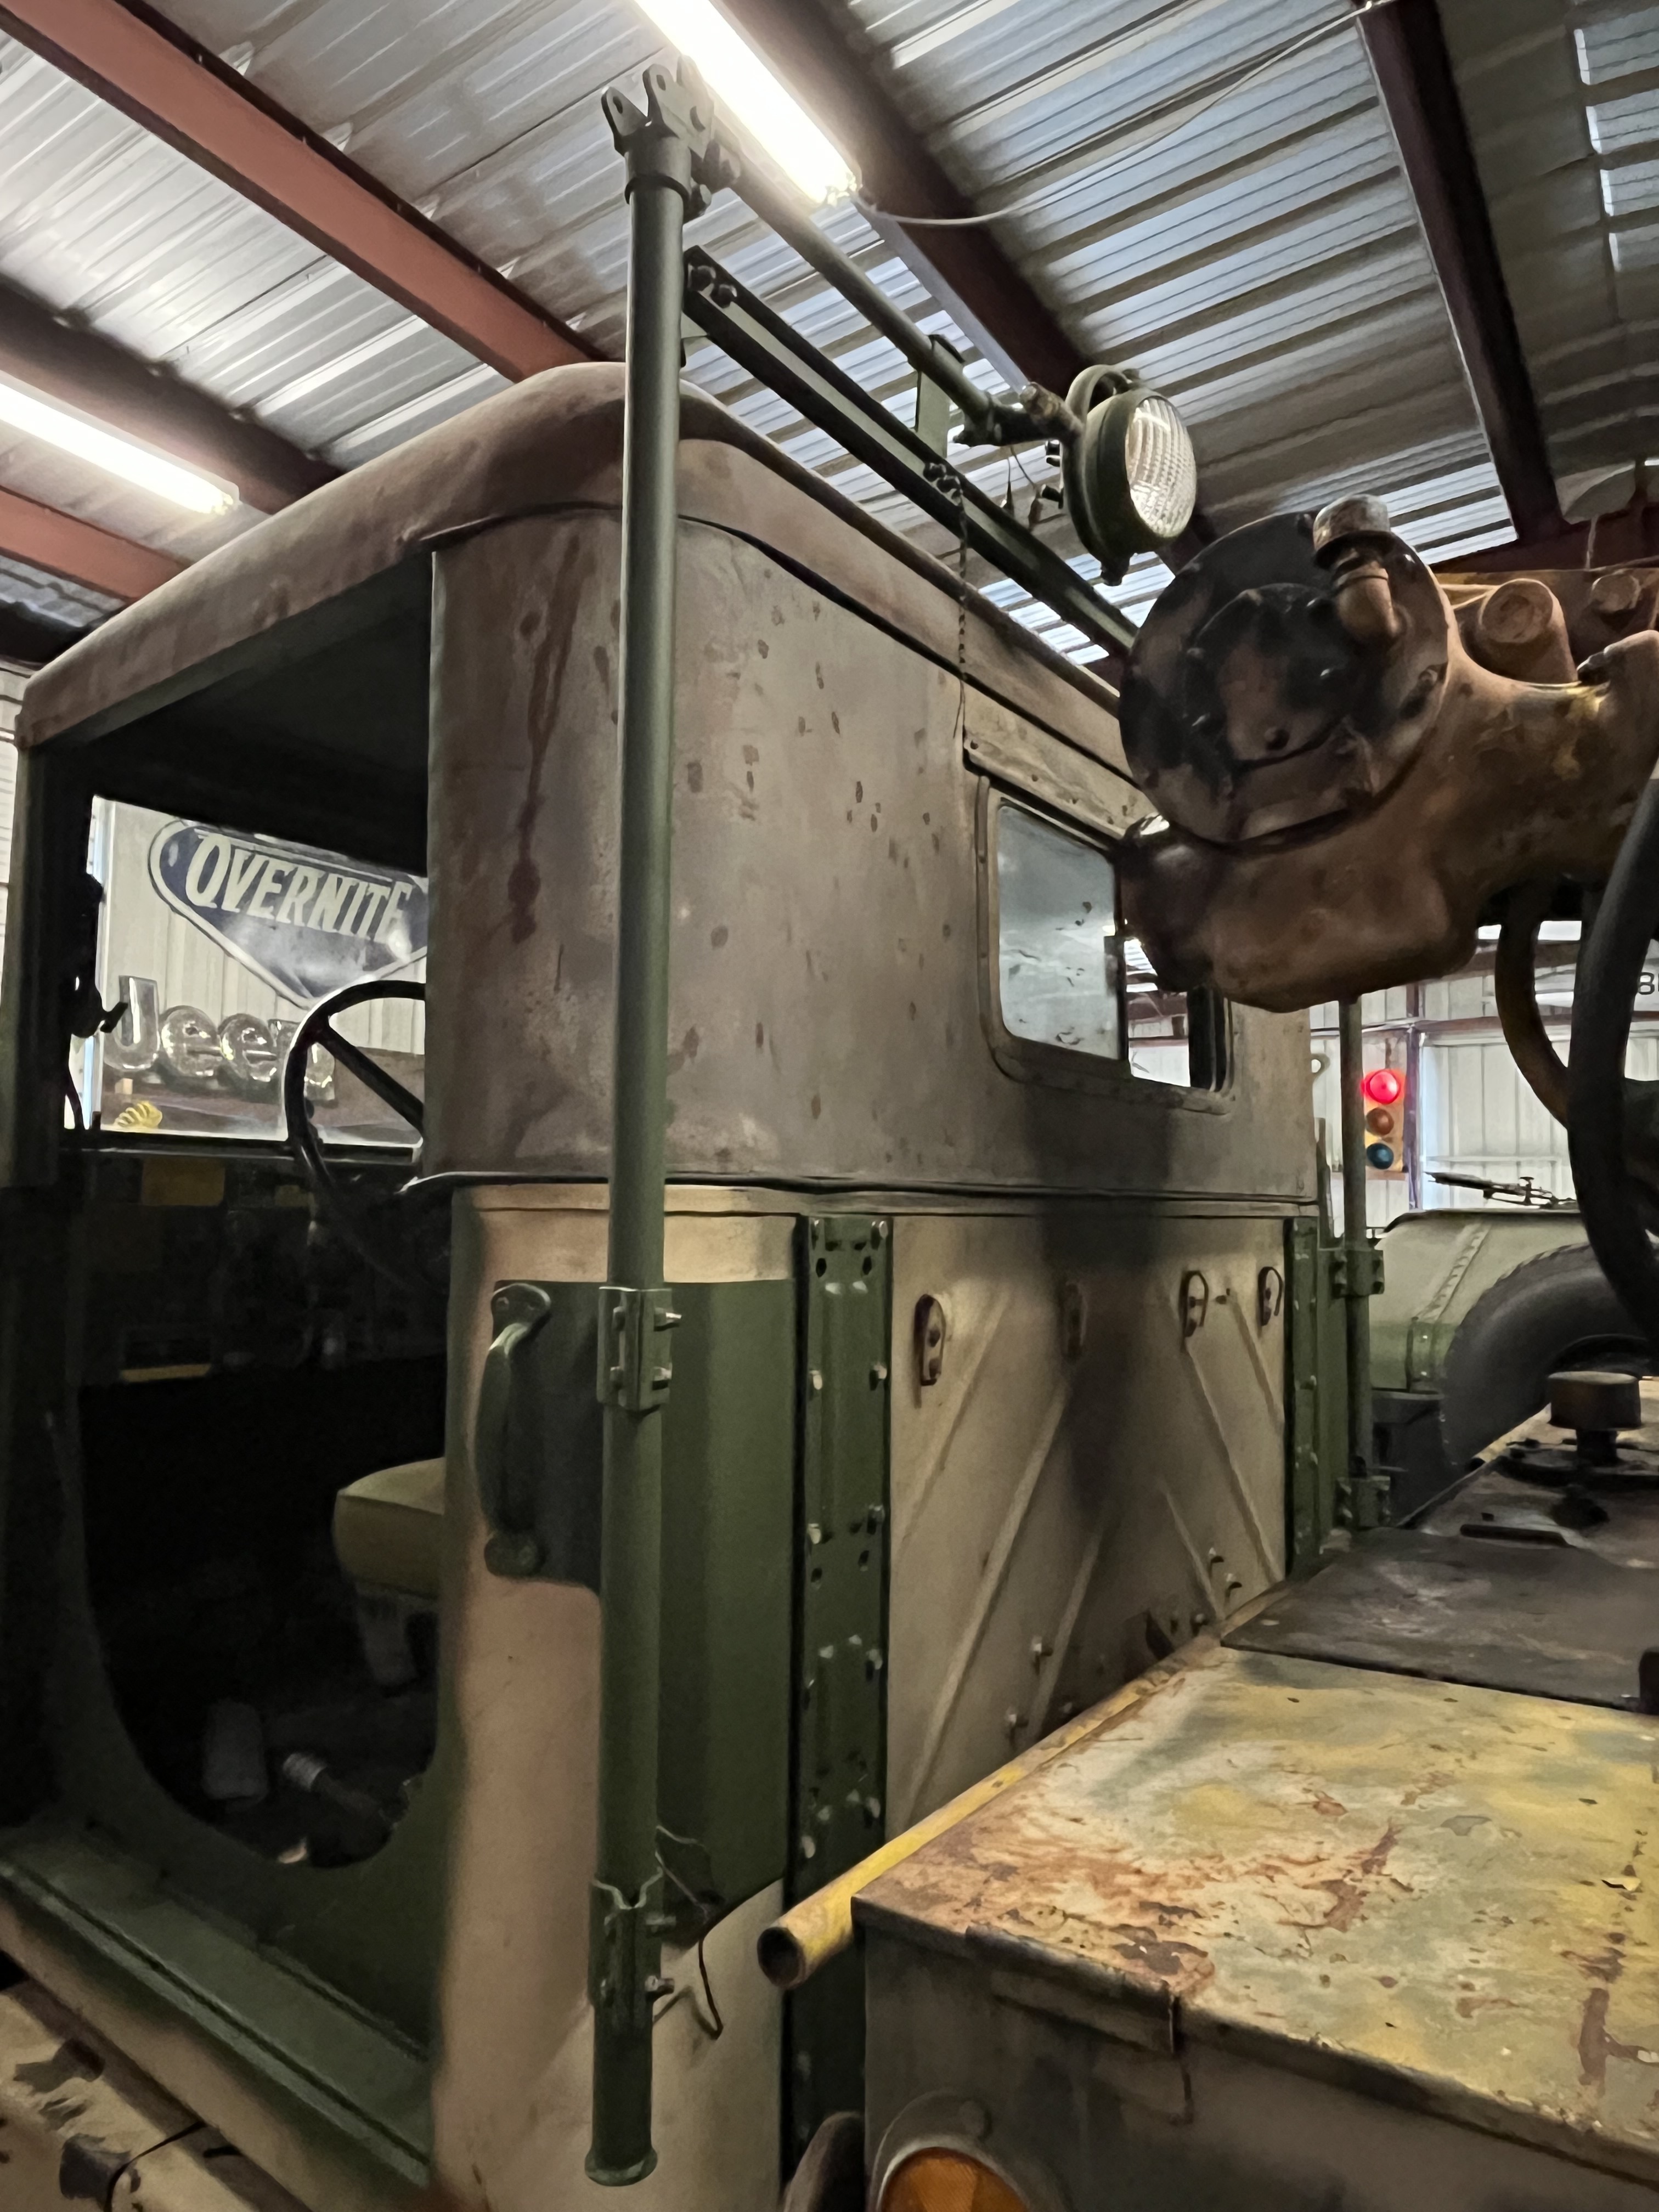
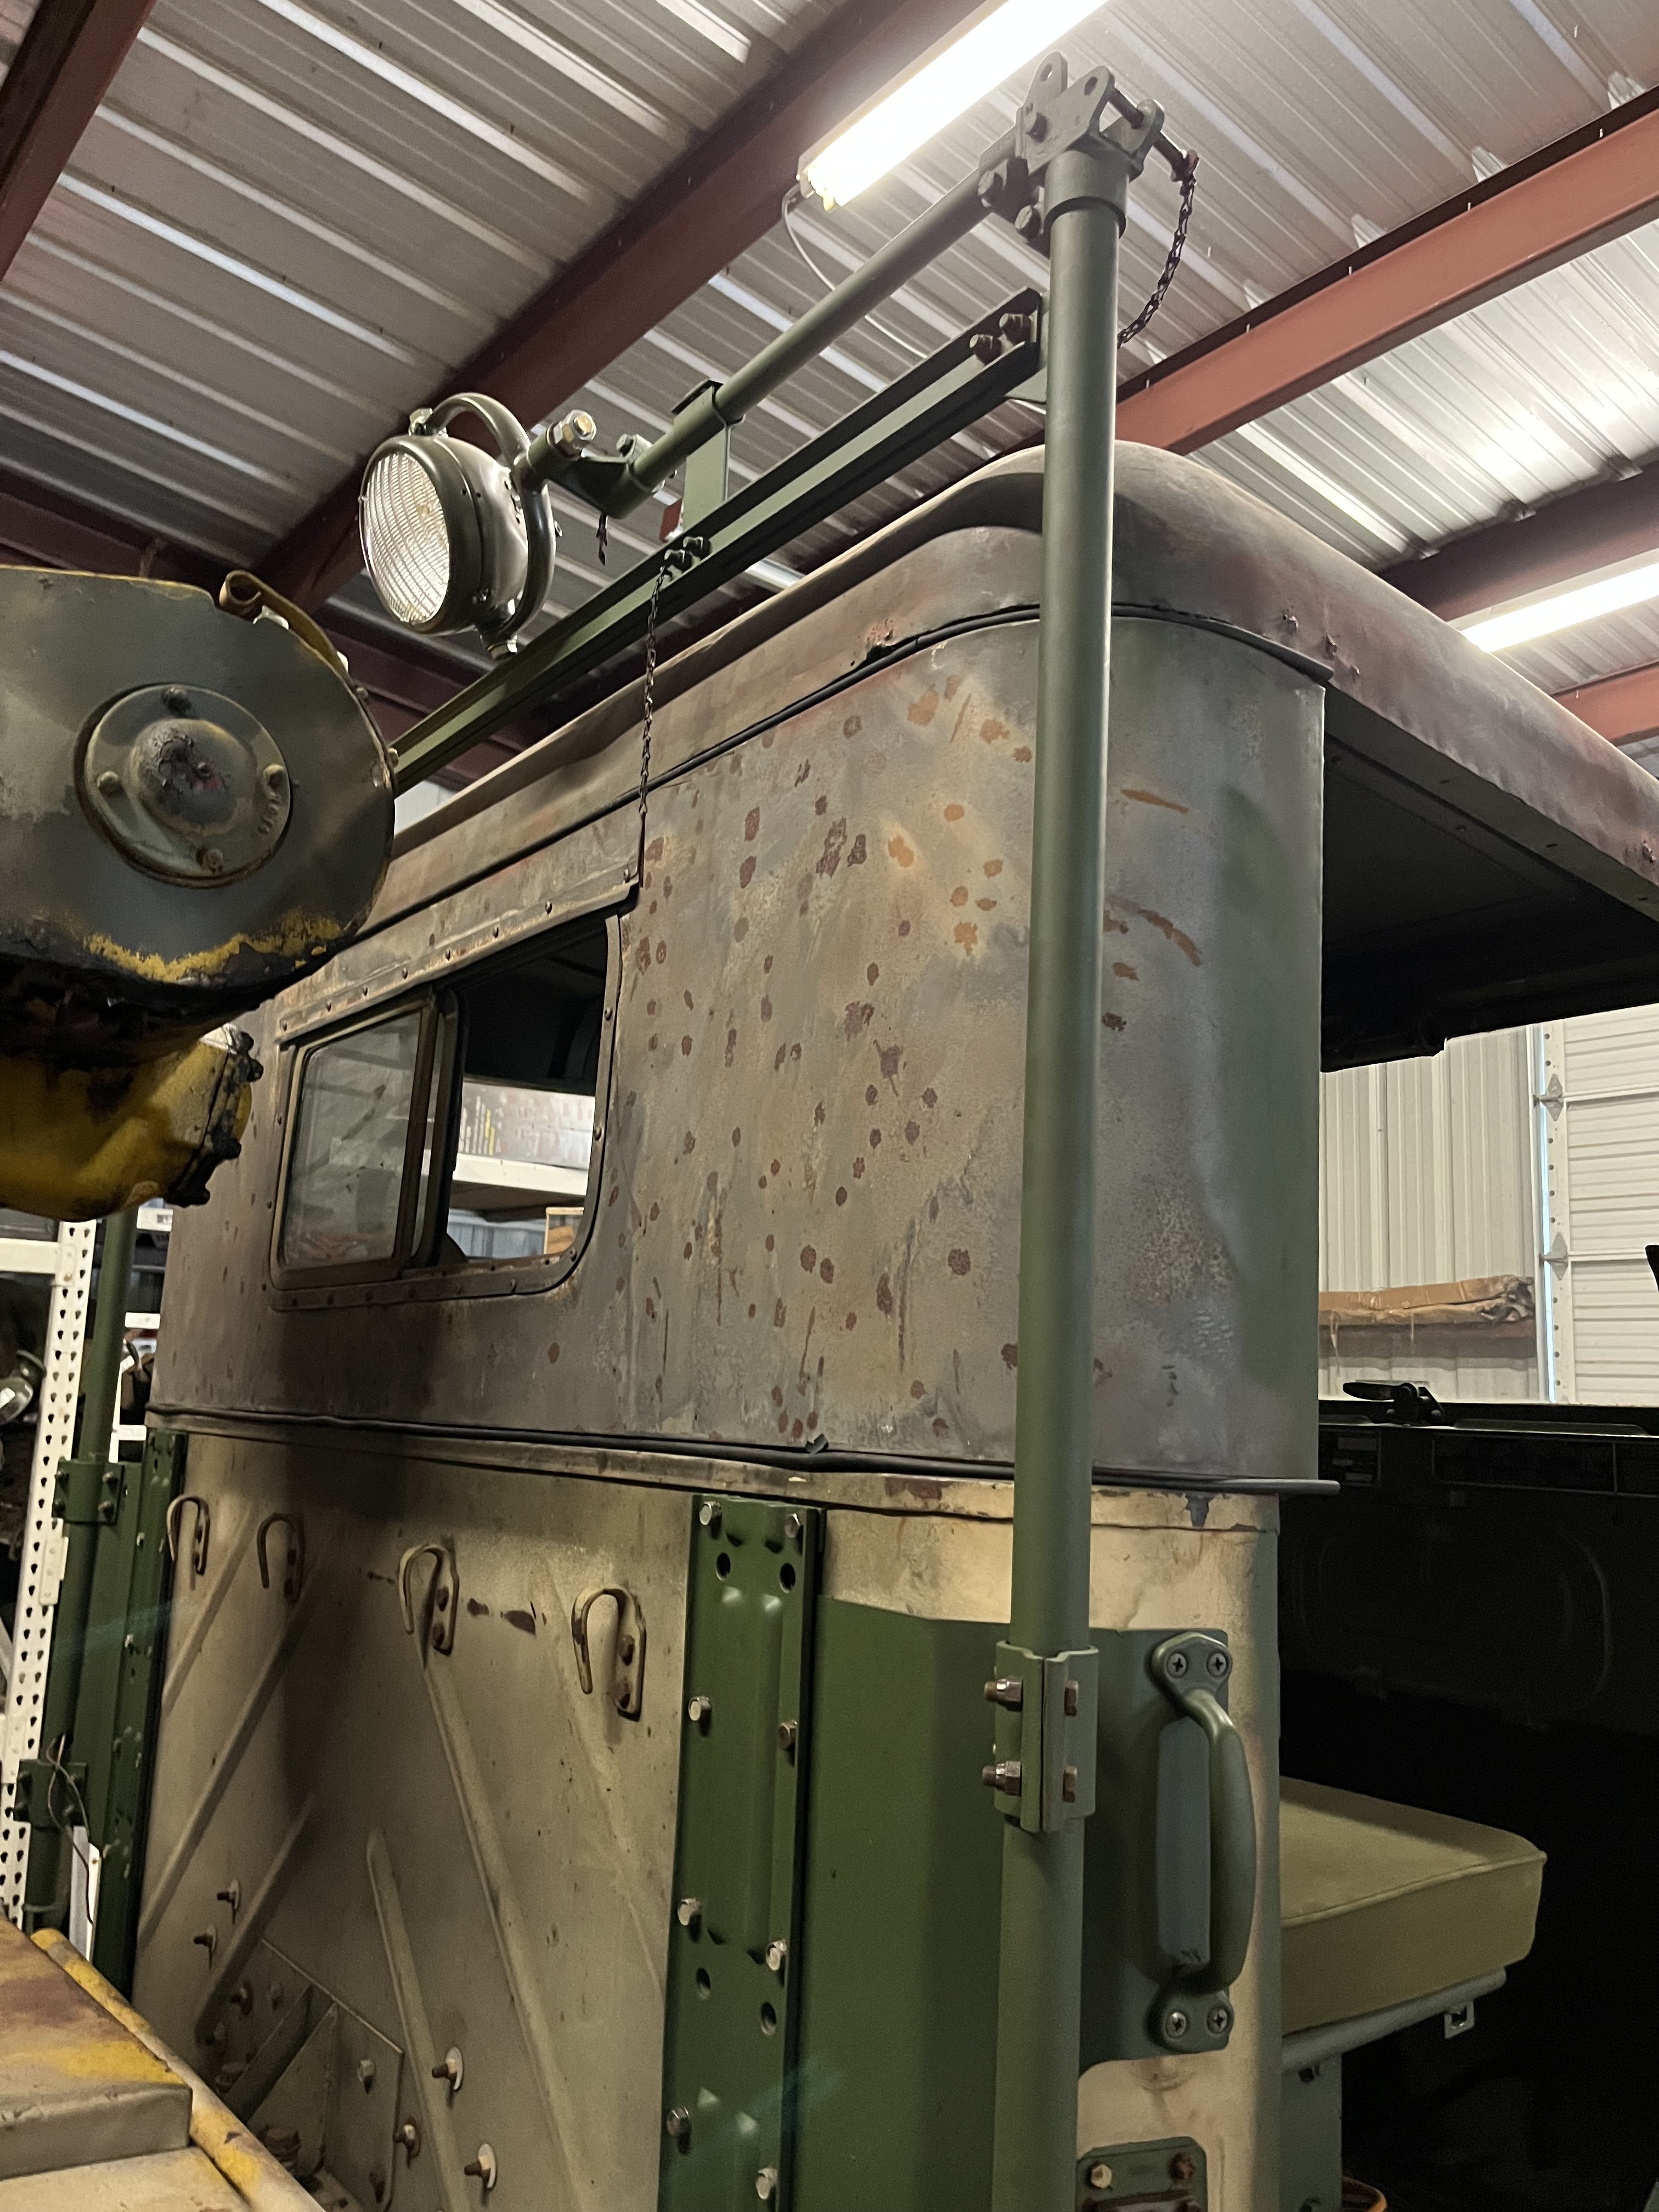
Lowers head into hands, thinking “ those blerry working light brackets will never look right again if I take then off to place the reinforcing plates on the cab”.
Got the deck repositioned and noticed there are brackets at bottom of the working light fittings. Touch up (and proper alignment) of the outrigger legs.