This looks really nice - it’s hard to believe how much can be squeezed into such a small space!
Nick
This looks really nice - it’s hard to believe how much can be squeezed into such a small space!
Nick
Thanks guys. More to come soon as the LTAS cab parts are sitting on my porch right now.
Now Trumpeter will release a long bed FMTV…
You’re welcome. ![]()
As I said above, I received the 3D printed LTAS cab from @MikeyBugs earlier last week. The cab is awesome. It goes together well and only needed a light sanding in a few areas to achieve a smooth finish.
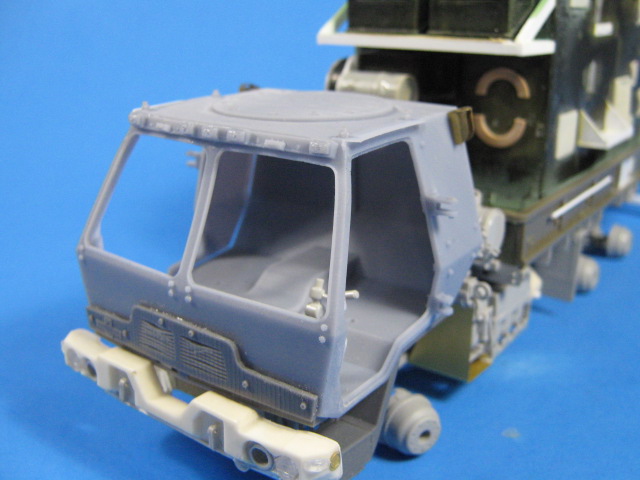
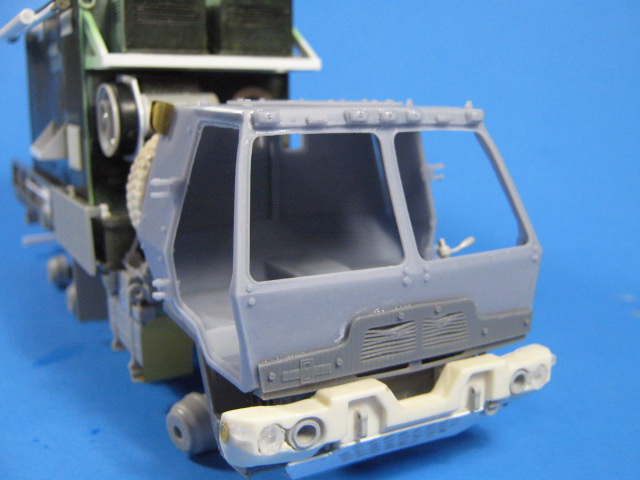
I am waiting on a couple more printed parts to finish it up.
Here is the truck mocked up and almost ready for paint. I completed the outside of the shelter with a couple stowage bins on both sides, the extendable antenna on the right side, and some resin cast steps and cover plates/access points. I also added the heater and a wire coil holder on the front under the A/C units. I added grab handles to the bed sides, a work platform, and chains to hold the tailgate. The new-style bumper is from the Legend M1078 update set.
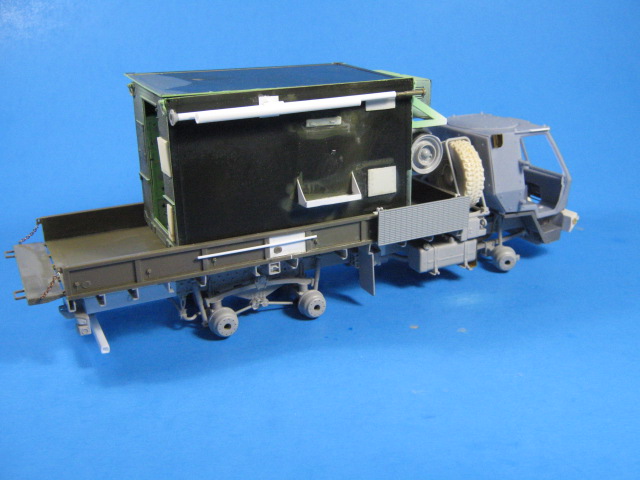
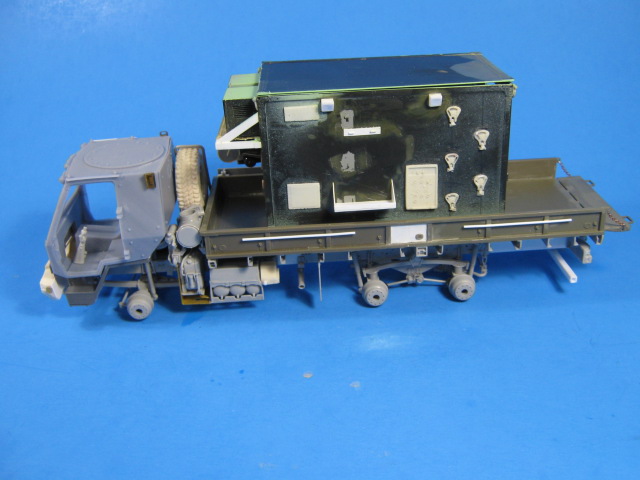
More to come once I get the final 3D printed parts.
Hey Sir where did you get the flip steps on the side and the other items. Thanks
@HeavyArty any chance you’ll do a diorama of a private doing PMCS of a vehicle falling apart and call it no faults found ![]()
![]()
![]()
Thanks gents. Yeah, that would be typical lazy Private activity. The old Motor Sgt would set him straight though.
I copied the steps and other panels on the exterior from various kit parts. I made rubber molds of them and then cast them in resin. The steps came from the Panda M109A7 kit. It has two extra steps in it, so I used them as masters. The other pieces were all from the same panels I used for inside the shelter, just cut apart and added as extra details.
Hi Gino,
Great built! A lot of interesting conversions. Can you maybe go into more detail about the LTAS cab later. I would be very interested in that and read your opinion on it.
Thanks!
Andreas
Thanks gents. I am liking the way they are all turning out.
The cab is very nice. It comes in about 10 major parts and a few other smaller ones. All the LTAS specific parts are there. You still add a few parts from the kit; steering column and wheel, gas and brake pedals, mirrors, windshield wipers, etc… I had no issues so far with it going together. The printing is exquisite and looks great. Like I said, it only needed sanding in a couple areas to smooth it all out. I highly recommend it.
Thanks very much!
If you have time, maybe you can upload some more detail photos.
Thank you.
Andreas
Once I get the rest of the 3D printed parts, I will do that.
Thank you Gino! That will make my decision easier!
Would be great if Trumpeter made the whole FMTV and LMTV truck family
It would be nice, but with a little kit-bashing and some styrene, you can build just about all of them. The Trumpeter kits are great starting points and the L/FMTV series is easy to convert since they are all modular and use the same parts.
As promised.
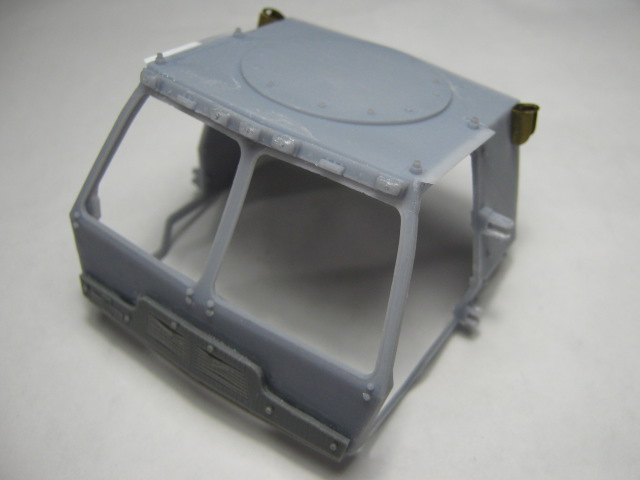
Here it is. The fenders and front steps come as separate pieces. They are already installed here.
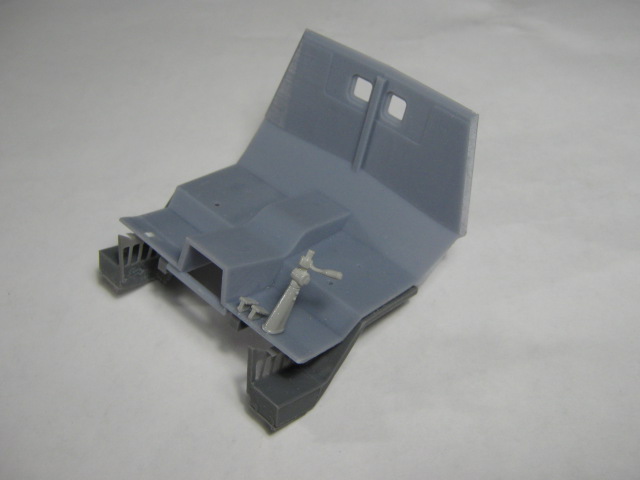
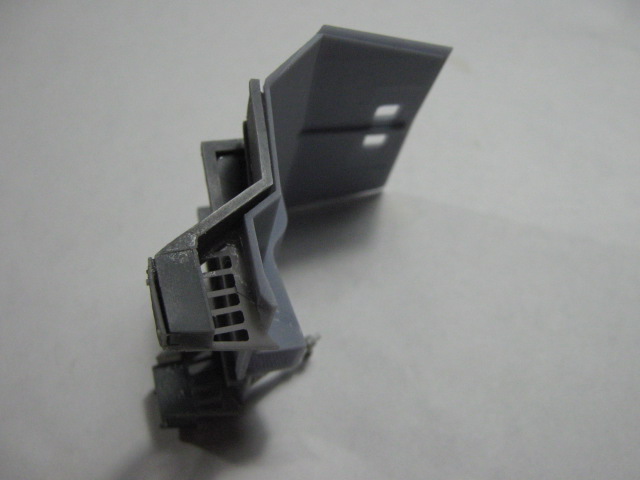
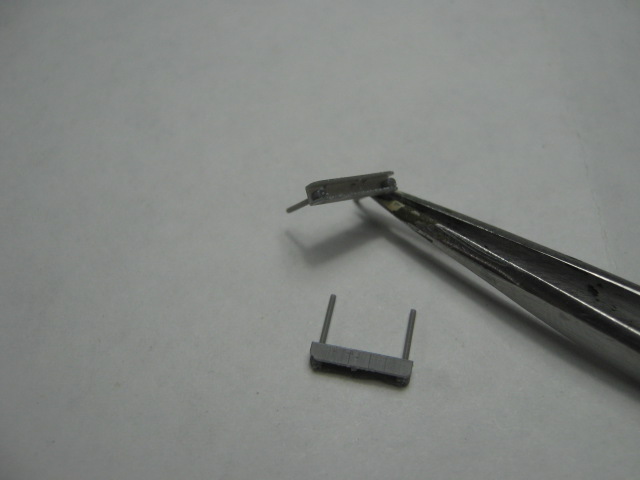
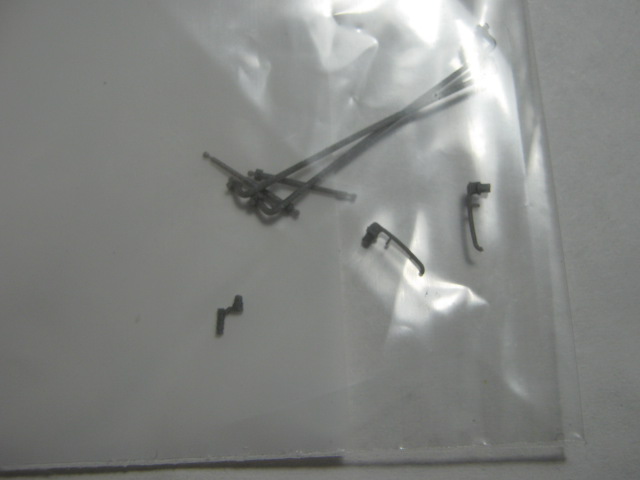
These are the detailed wire rope steps that I will attach later so they are not broken off. They have a small bolt underneath and look really nice.
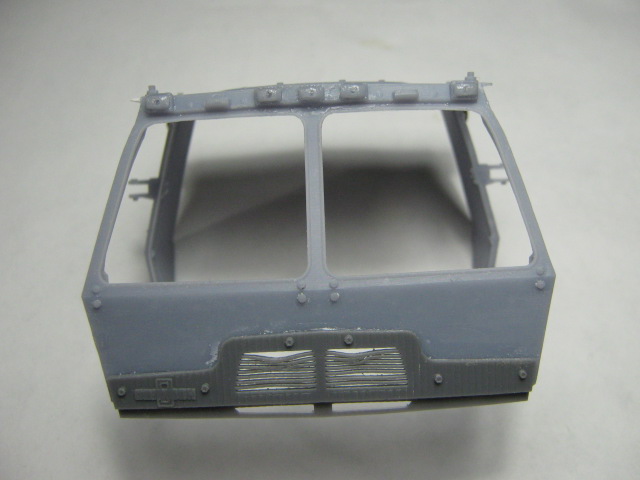
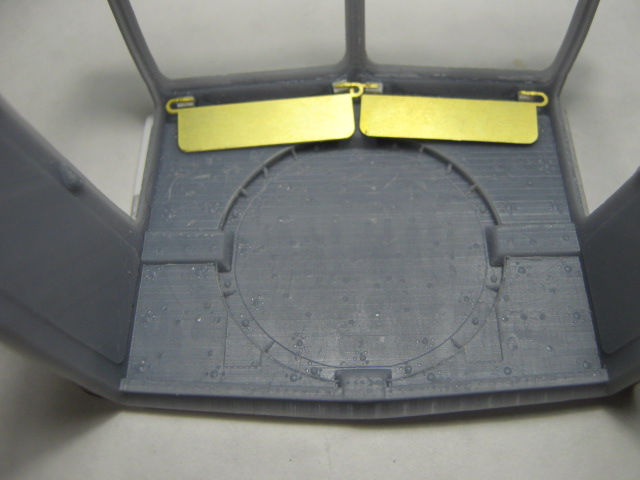
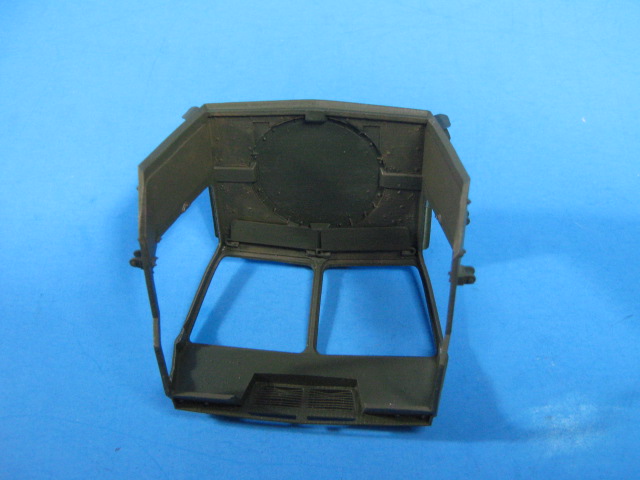
The cab itself. The interior has soundproofing details and supports for the gun ring. I added the PE sun visors from the FMTV kit. The grill part is a separate piece.
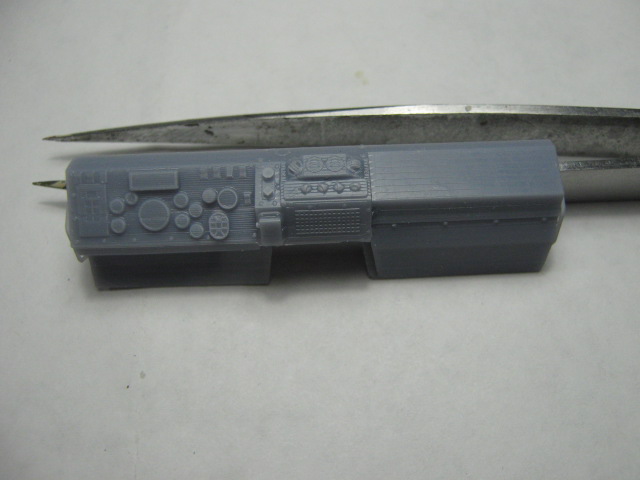
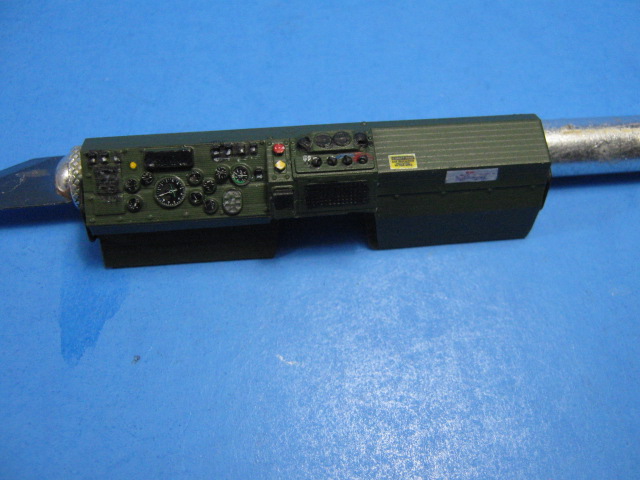
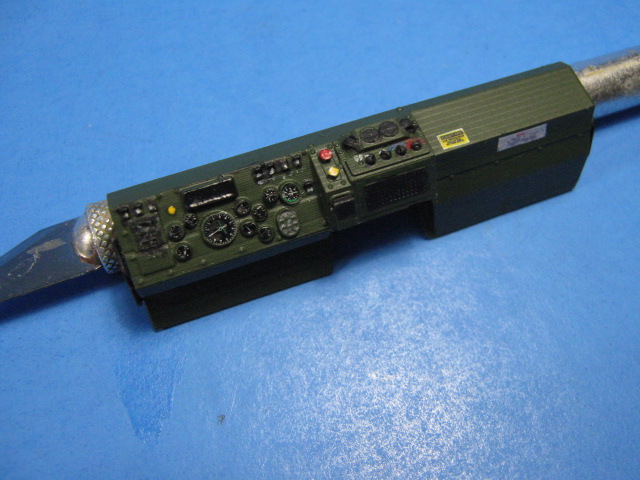
A very detailed dash board.
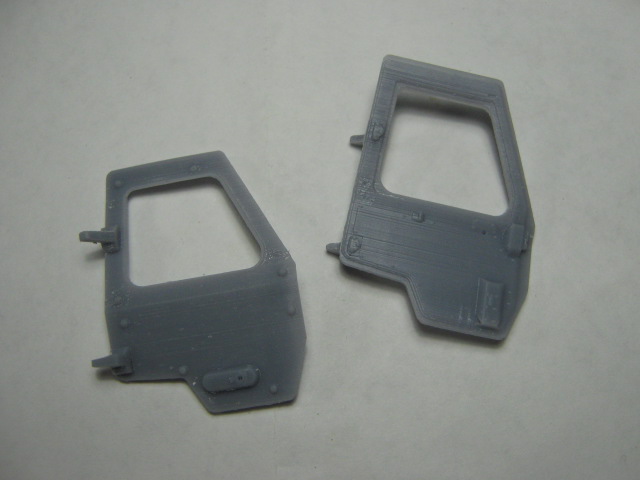
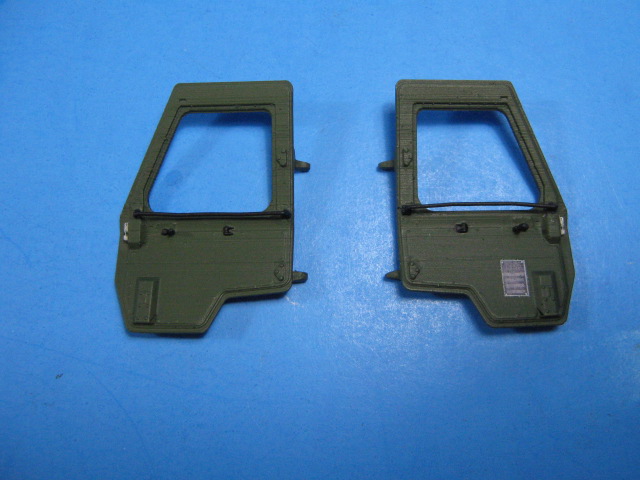
Doors detailed in and out. It also includes small parts for the door handles and prop rods, etc.
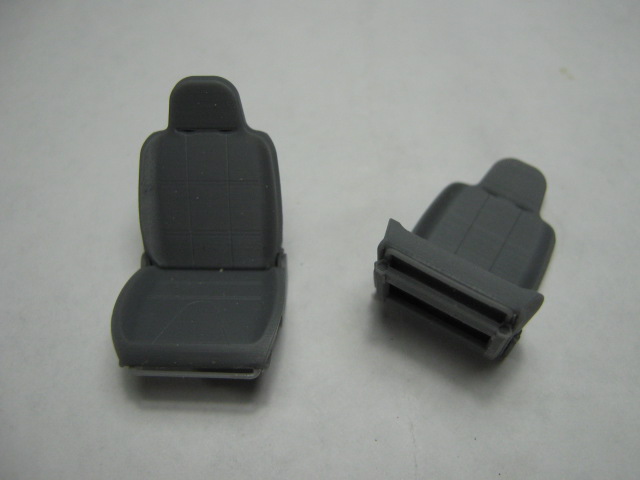
The seats are very nice and have fine fabric details and open pipe base supports.
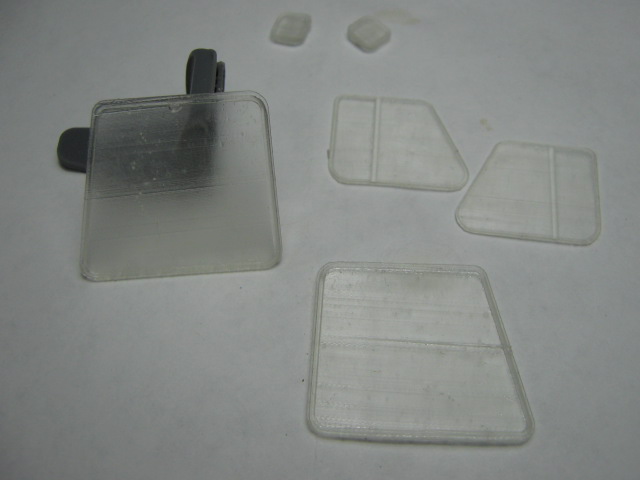
Lastly, there are 3D printed window glass. These are the weakest part of the set. They are very thick and not very clear. I plan on using them as templates to cut new windows from clear sheet styrene.
Now back to the truck build…
Thank you Gino!
Now I can think about whether I should get the set until my next visit to the USA. But I hear you’re happy with it so far.
Andreas
Every thing looks great.
Cheers,
Ralph
Thanks gents. I was able to get some paint on the cab interior and started detailing it. More pics soon.
Got the cab interior painted and detailed.
It was painted NATO green overall. I drybrushed the soundproofing on the ceiling and walls with OD. The seats are also OD.
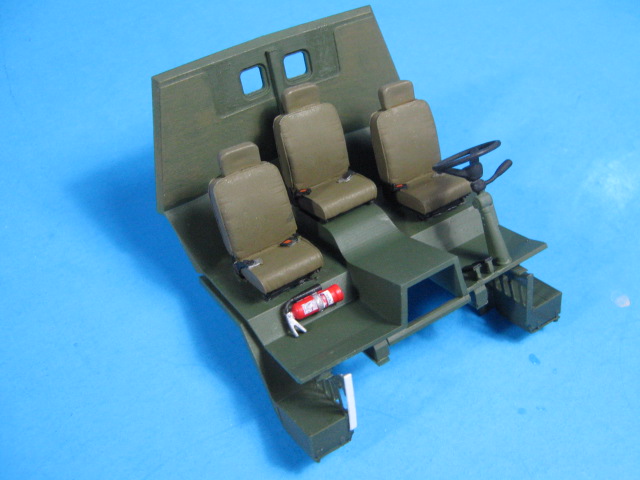
I detailed the dash with instrument decals from a 1/32 aircraft instruments set (larger ones) and some from a Jeep set (small ones). The rest of the detailing is hand painted and a few decals.
The door interiors detailed as well, with a placard on the driver’s door.
Next up is some weathering and closing it up.