Looks really good, nicely done!
1 Like
Thanks Andreas.
2 Likes
Looking good Gino ![]()
1 Like
Thanks James. It is coming along. I plan to lay the sand paint on it Sat.
1 Like
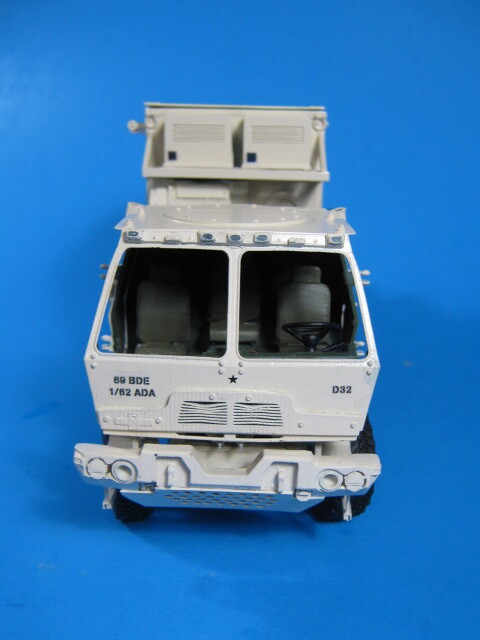
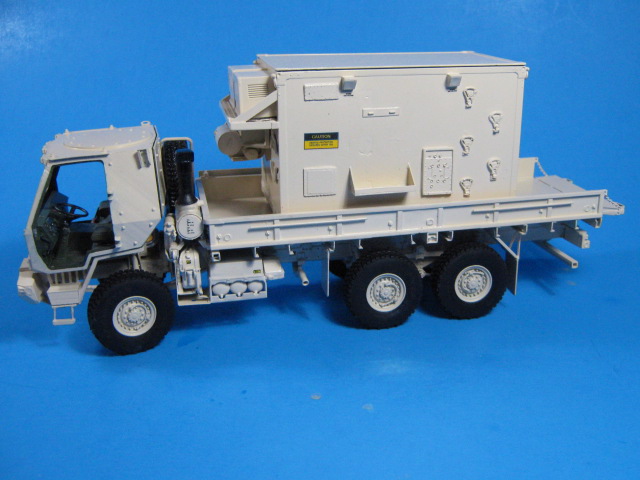
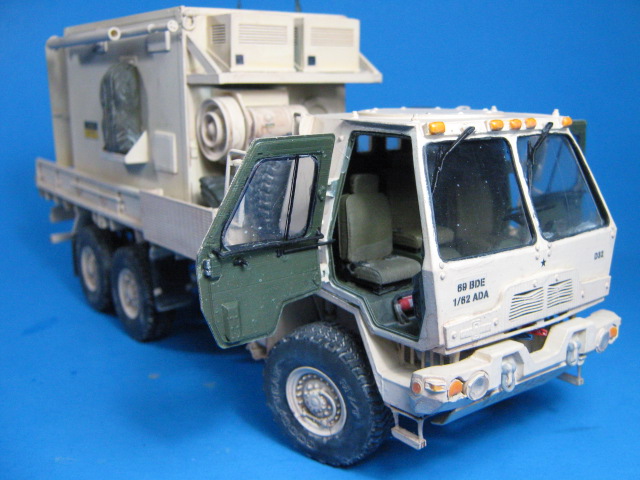
I got some paint and the decals on it over the last few days. I sprayed it with Krylon Ivory Silk from a can. I used the kit basic stencil decals and made bumper numbers and some of the other stencils specific to the vehicle.
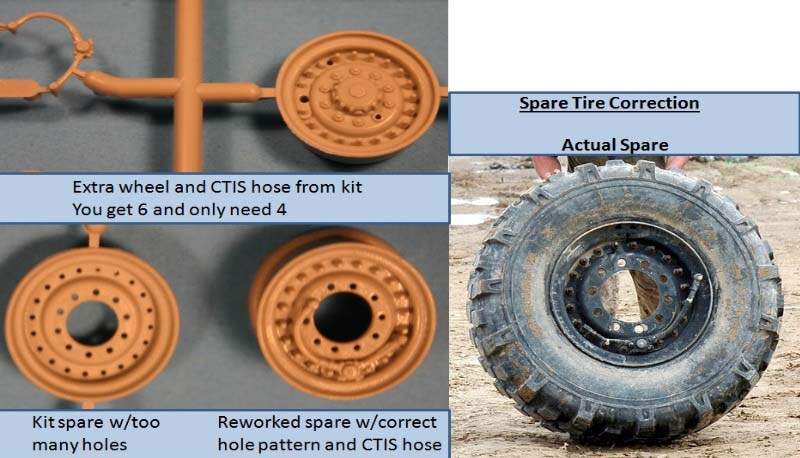
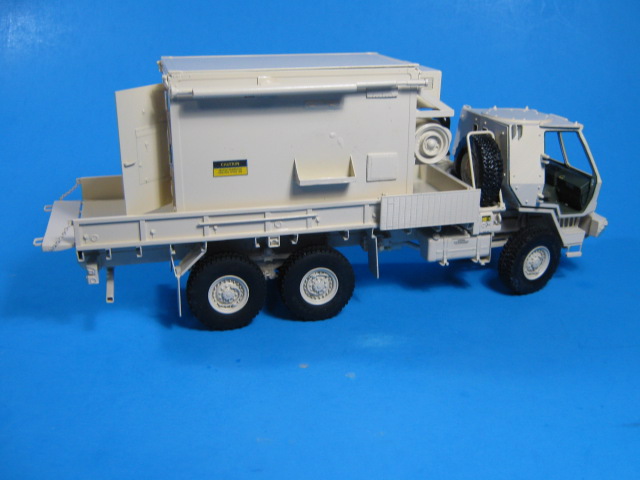
I replaced the standard M1083 tires with newer, more aggressive Goodyear tires out of the Trumpeter M142 HIMARS kit. The M142 kit only has 6 tires, no spare. I made the spare by correcting the kit spare wheel, which is missing the outer ring of bolts which hold the two-part rim together. It is also missing the CTIS hoses. I added the bolts from resin ones and the CTIS from extras out of the M142 kit. I added the rim to the new Goodyear tire and made a mold of it, then cast the spare in resin. It came out looking pretty good.
This is how I did the spare on an earlier M1078.
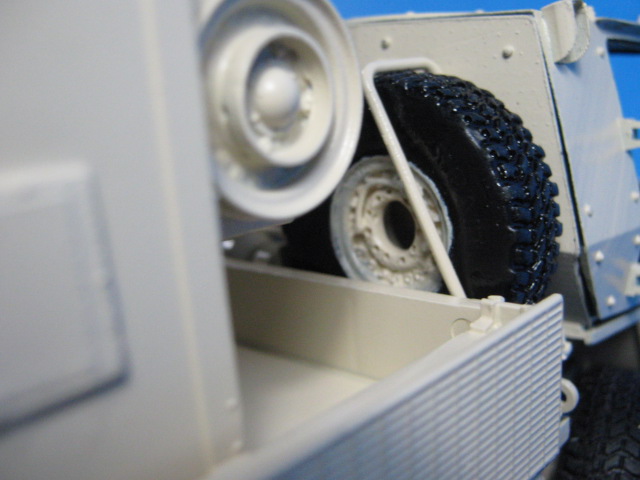
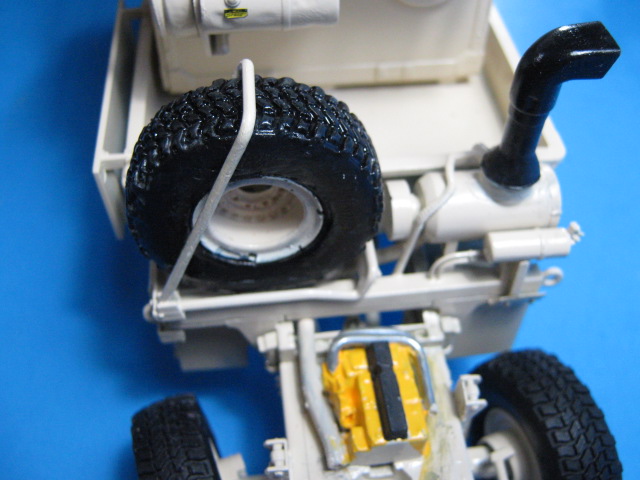
New spare. I also added an engine blank that can be seen from the rear of the cab overhang.
Here it is so far.
Next up is detail painting and flatcoat, then on to weathering.
7 Likes
Looks great so far Gino!
1 Like
Outstanding work with this, and for a great cause. The detailing is very inspirational for others who want to achieve results like this and is a real pleasure to watch as it all comes together…hats off to a great build ![]()
![]()
2 Likes
Thanks gents. I like how it is coming along.
1 Like
Indeed, looks really amazing.
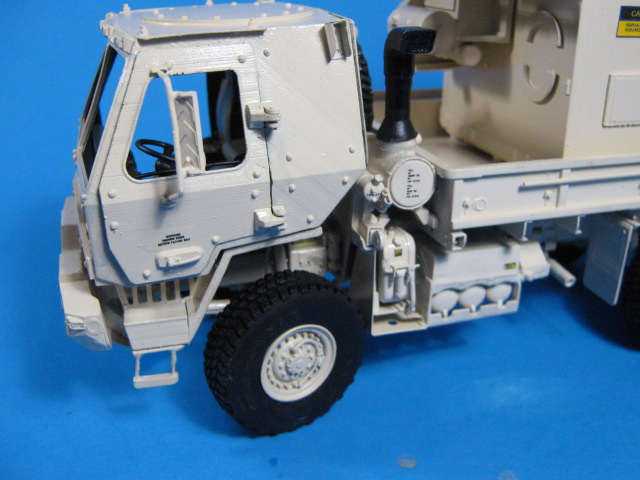
Is it deceptive or do you see traces of the 3D printed cab after painting?
Yes, in the blown-up pics, you can see some fine lines from printing. With the naked eye, they are not visible.
1 Like
I’m calling this one done.
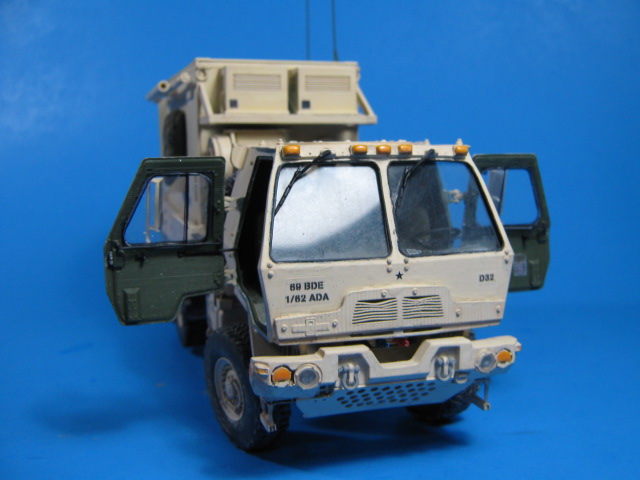
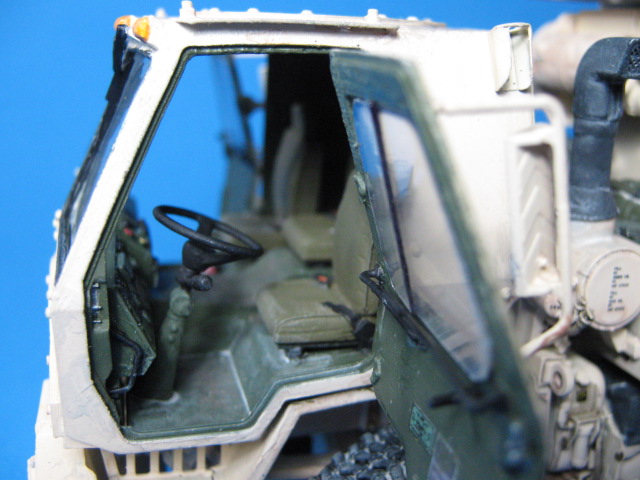
I painted all the little details (lights, turn signals, etc…). I added the windows from clear styrene sheet using the printed window parts as a guide to cut them to the same size/shape.
I weathered it with a couple washes of a dirt brown color and a sandy color. Then some selective drybrushing here and there to add some depth.
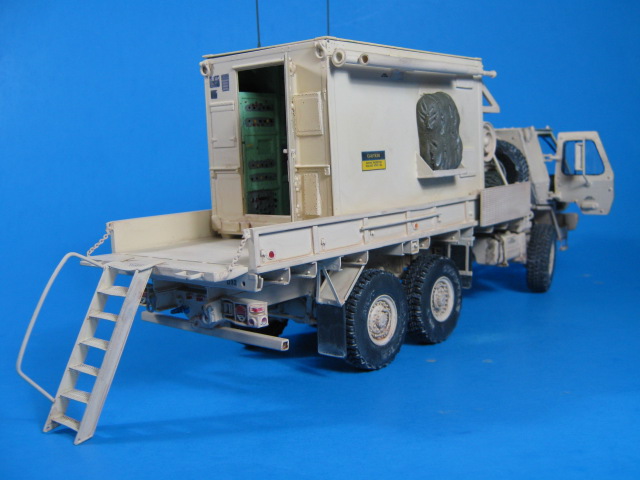
Here it is overall.
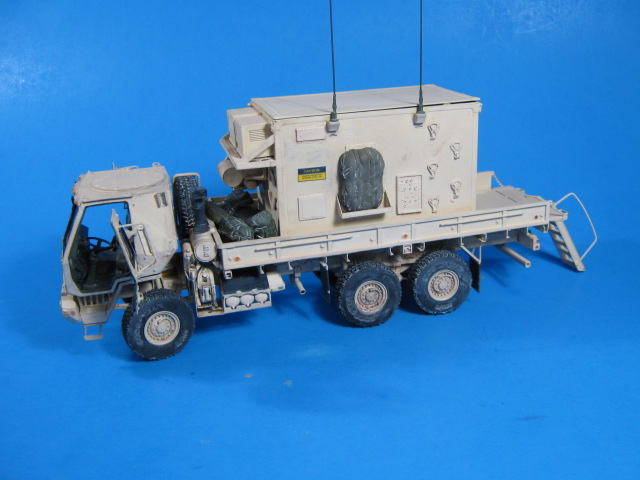
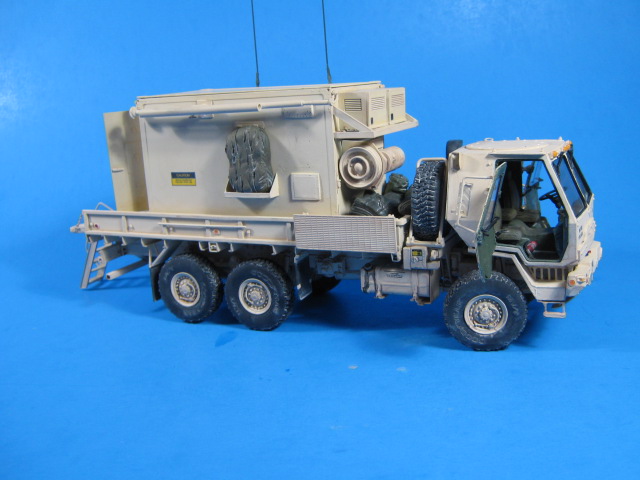
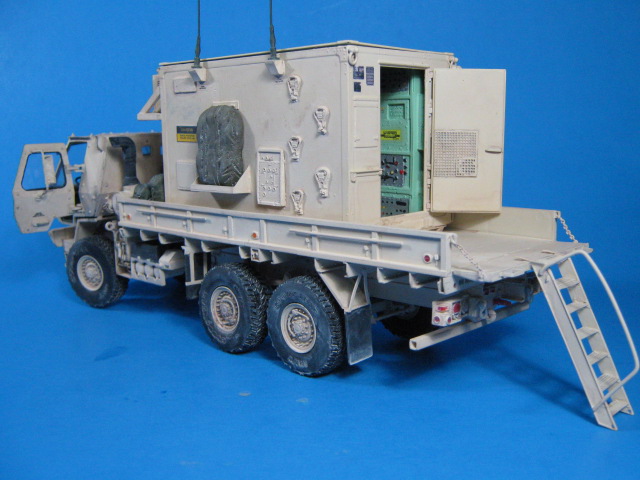
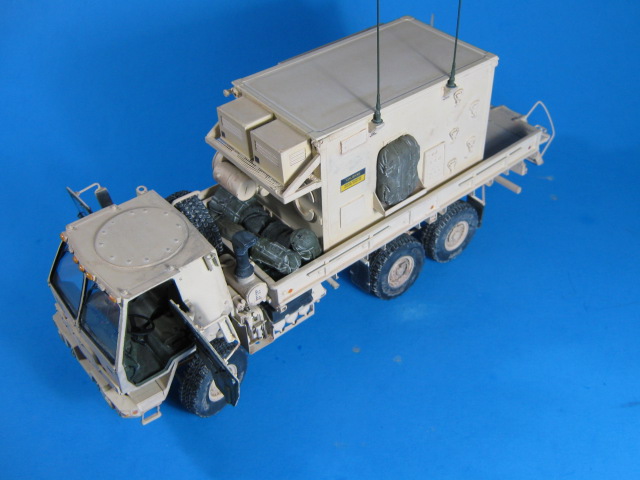
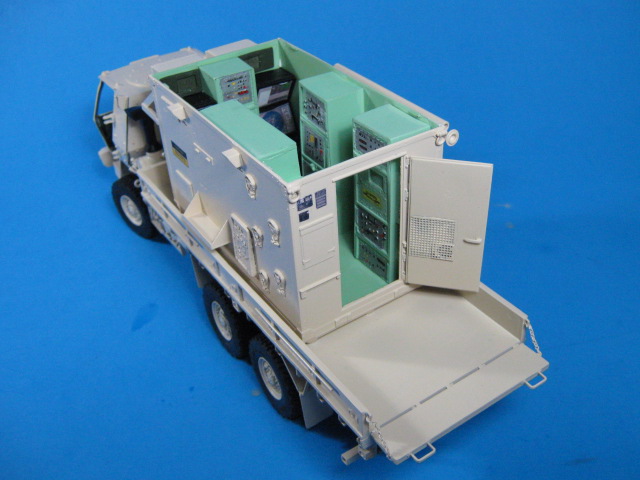
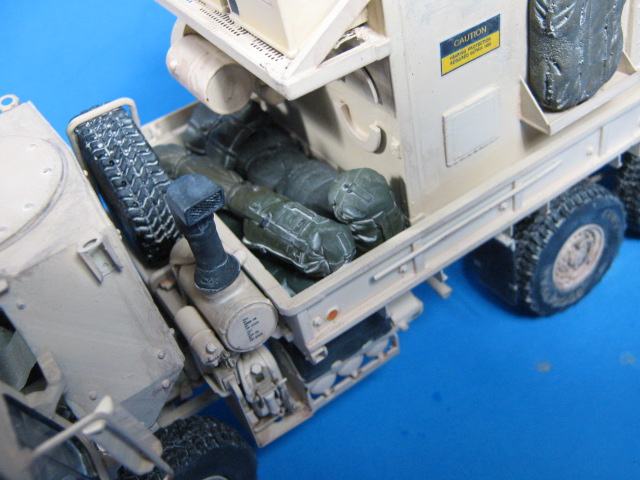
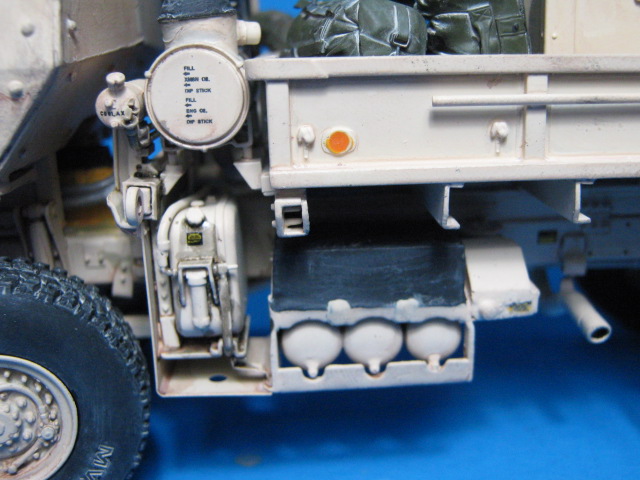
Some detail pics. I added bags and stowage under the AC units up front. I used Tamiya Smoke Clear for fuel and hydraulic fluid spills.

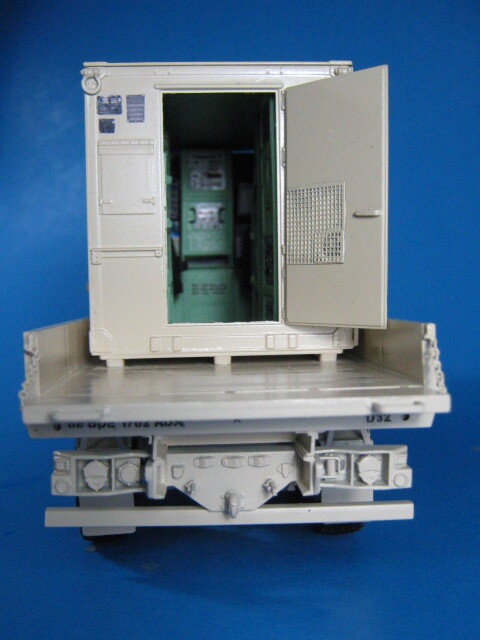
Inside the shelter I added a few water and MRE boxes and a couple bags.
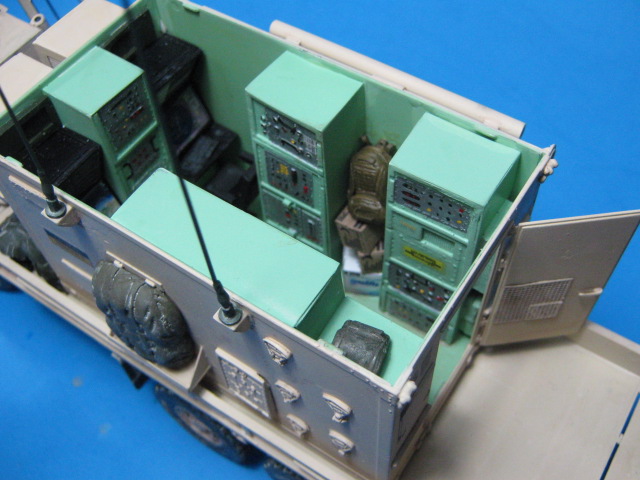
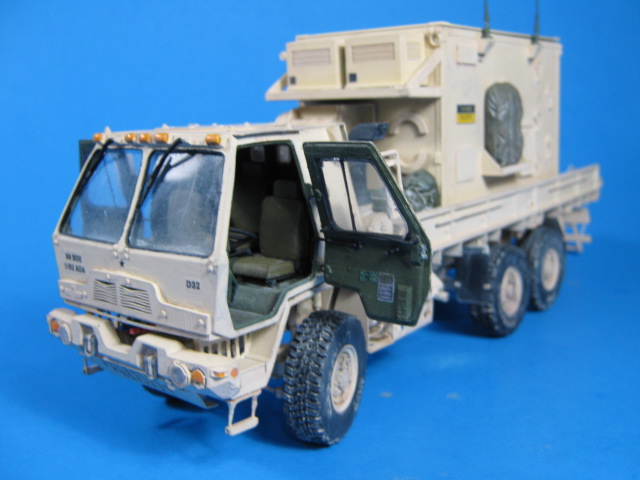
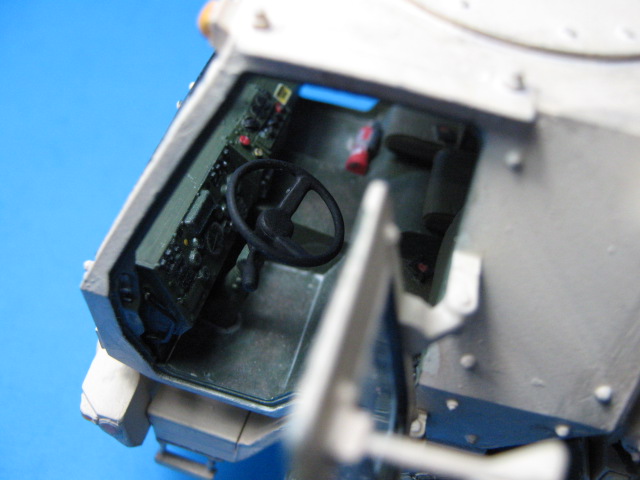
Details of the cab interior.

As always, all comments welcomed.
Now back the M983A4 HEMTT Tractor.
10 Likes
Great work Gino ![]()
![]()
1 Like
Great work, Gino!
1 Like
Wow Gino that thing looks excellent. Inside and out, fantastic job.
1 Like
Hi Gino.
Really great work! Thanks for sharing.
Andreas
1 Like
Thank you gentlemen. It was a fun build and I really like how it came out. The 3D printed LTAS cab is a gem. Kudos to @MikeyBugs for designing and printing it. I may have to get another one for a future build.
2 Likes
Nice work Sir, I guess trumpeter will make one now that you have made this, lol…
1 Like
Thanks Joey. It was a fun and rewarding build.
1 Like
Beautiful work Gino. You surely have some skills!
1 Like
My hat’s off for this scratchbuild work. I’m not interresting by the subject but i likes the work!!!
1 Like