Here is the backstory to this continued build.
PATRIOT PAC-3 Battery Vehicles Build - Armor/AFV / Modern - KitMaker Network
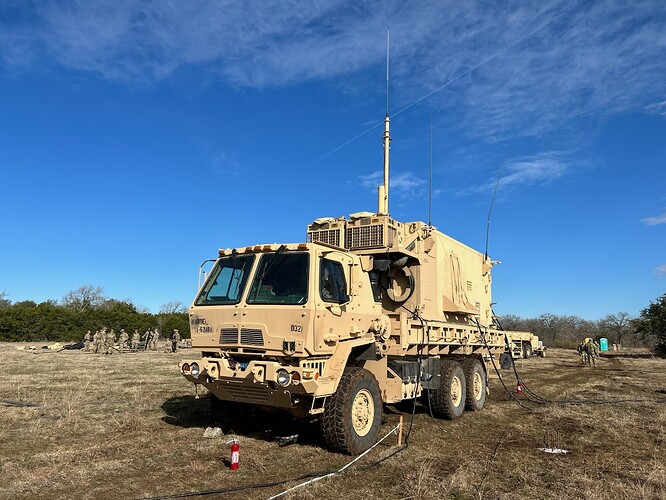
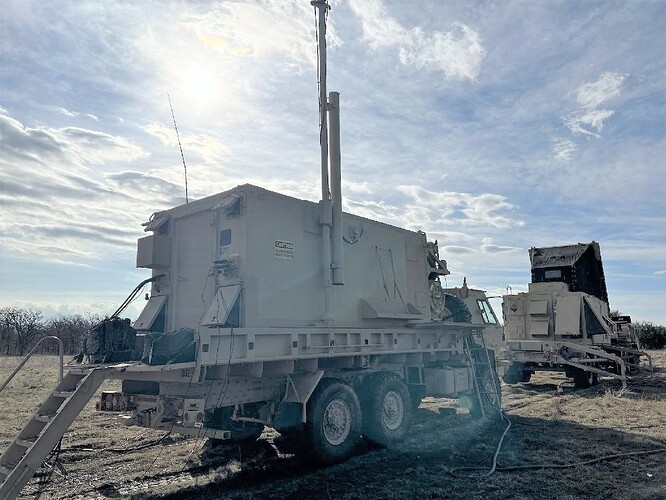
Next up will be the M1085 ECS (Engagement Control Station) Truck, which is an M1085 LWB (Long Wheel Base) FMTV with LTAS armored cab, and an S250 shelter on back. This is the brains of the battery where the inputs come in from the radars and are analyzed by the crew, then they push the button to fire the launchers.
Here is the actual vehicle.
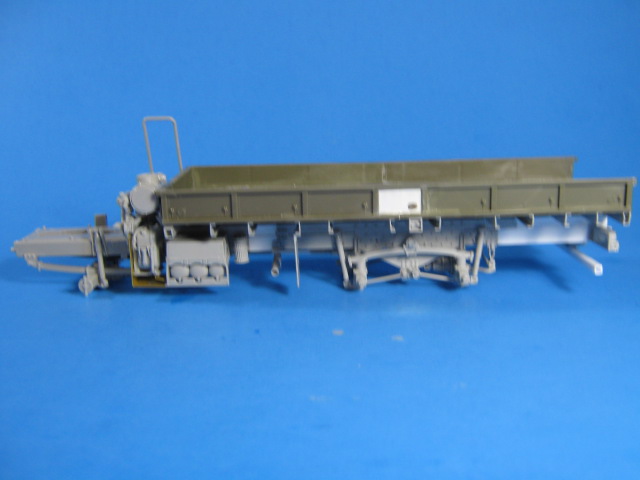
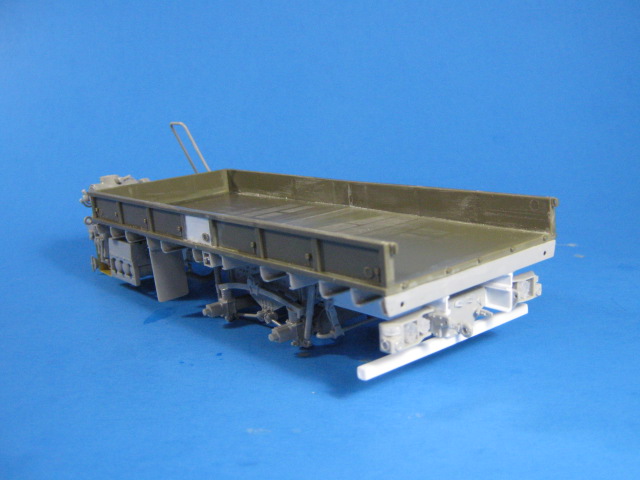
I started with the Trumpeter M1083 5-ton FMTV. I had to lengthen it by a total of 56mm in two locations. The first was an 11mm piece just behind the fuel tank area. The next was 45mm at the rear of the elongated bed. I used two different sizes of C-channel Plastruct for the frame rails. For the bed, I took two M35 beds and cut them down equally and mated them to make the longer bed (not exact, but close enough). I also used bed cross supports from two M1083 kits (some left over from my M1088 conversion) to support it. Other sheet and shaped styrene were used to make various smaller parts.
Here it is so far.
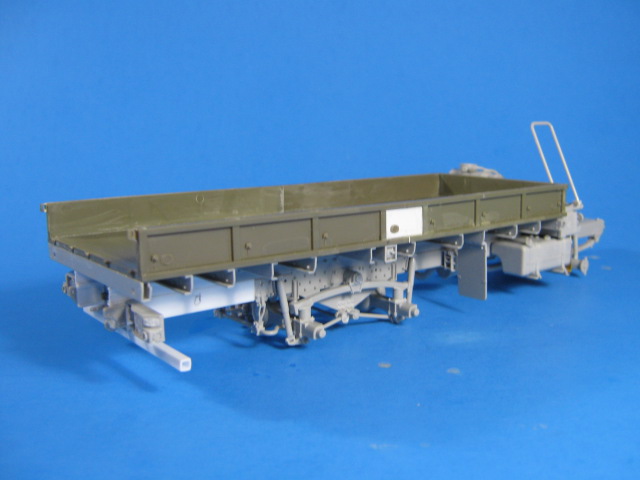
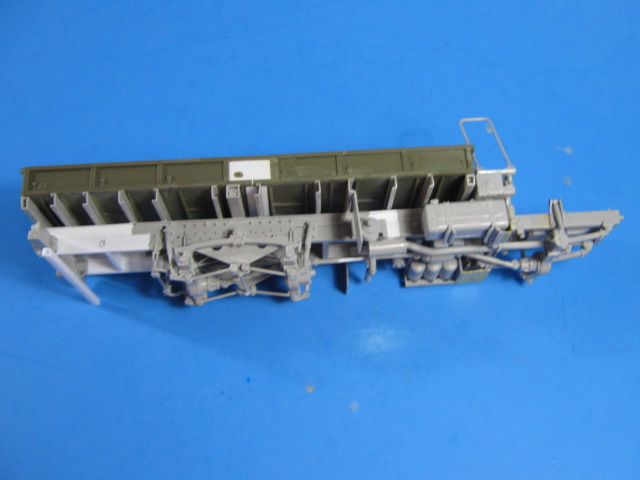
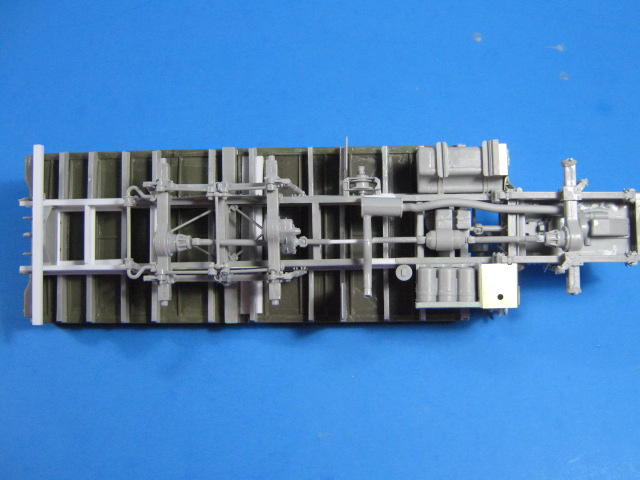
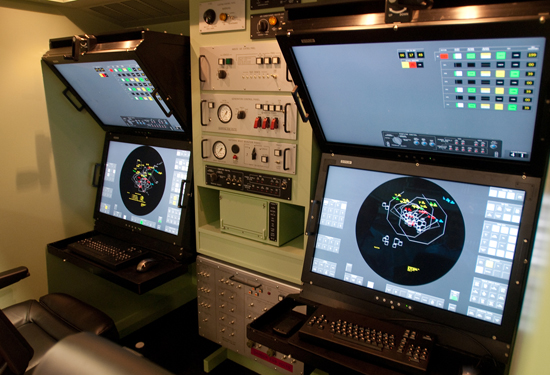
Next up is the S250 shelter w/full interior. I will be using the Italeri S250 Shelter from one of their M925 Shelter Truck kits. I will be adding the operator stations and electronics racks inside. Here is how it looks on the inside.
The cab will be the 3D printed part that our own @MikeyBugs is designing. He is almost done with it.
MikeyBugs 3D Design and Printing Ideas - General Discussions / 3D Printing - KitMaker Network
More to come soon.
2 Likes
Gino, how do you plan on tackling the computer screens? I ask because I’m building two sets of the Meng 1/35 bomb squad figures for a buddy in a state bomb squad unit and I have 4 small computer screens to do something with. I’d like to somehow add a picture of some kind, but I’m stumped on how to do it
2 Likes
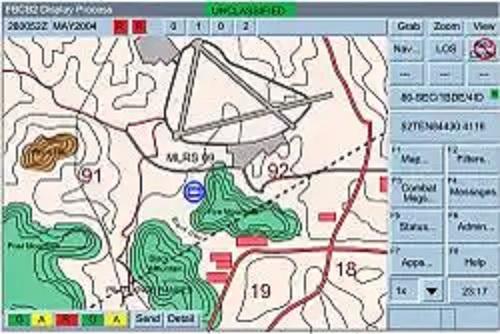
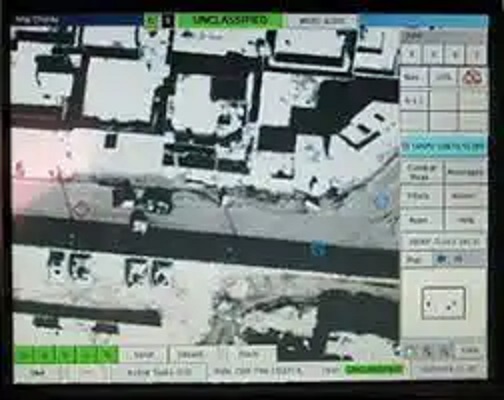
I haven’t decided if I will do them blank (off) or with a screen image (on). If I do them on, I will make a decal for them from the web. If you search something like FBCB2 Screen, you get lots of images. Just copy and resize the image and you are good.
For example:
FBCB2 Screen - Google Search
3 Likes
That is an option, but I done have a good enough printer. I used to make my own decals quite a bit before I retired and moved. I contemplated ordering a free computer catalog from somewhere and possibly using a cut out pic  I’ve got to figure something out. The people I’m building it for aren’t that concerned, but being the builder I am, we are, lol, I need a computer screen!
2 Likes
Thanks Ralph.
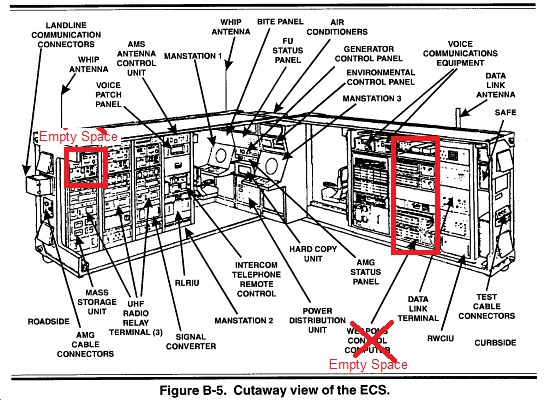
Work continues on the ECS. I have been working on the shelter interior. Below is how it looks, and a drawing of the components. My daughter updated me on how the current one looks. The Xed out (red boxed) areas are no longer there.
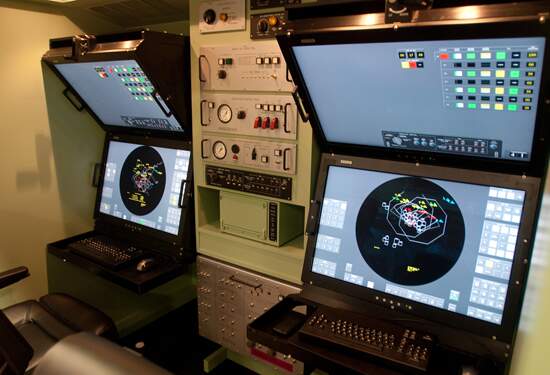
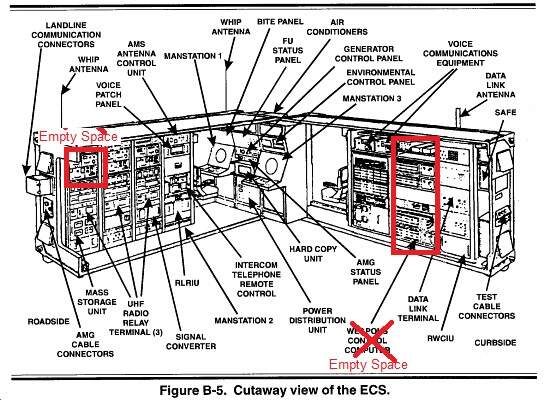
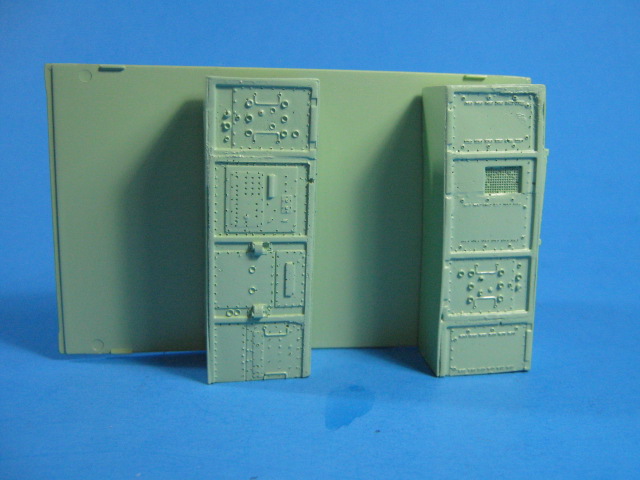
So far I have the equipment cabinets built and partially installed into the shelter. I built the cabinets from casts I made of the electronics cabinet on the PATRIOT launcher. It came w/two, one left over from the PAC 2 version. I cast them and glued them together side by side, added a fourth box on top to make them tall enough, and boxed them in w/sheet styrene. I did the same for the operator consoles at the front. They are not exact, but look close enough to me.
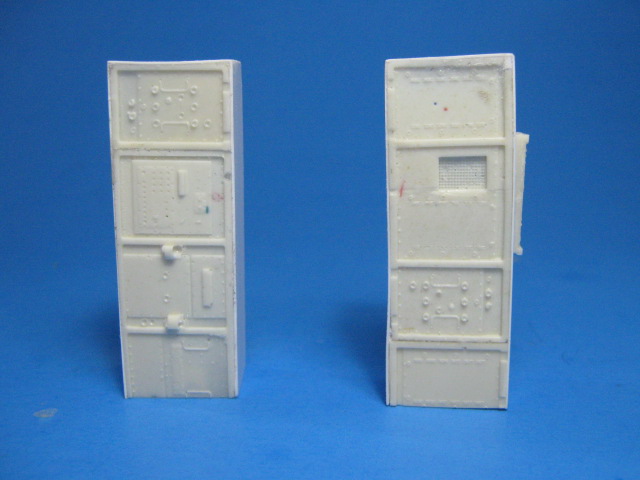
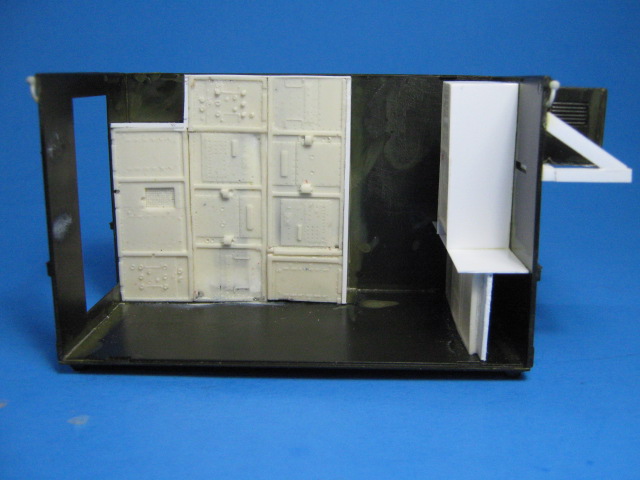
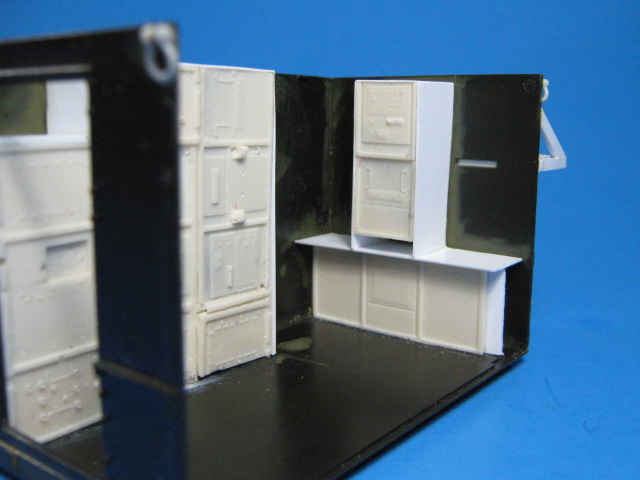
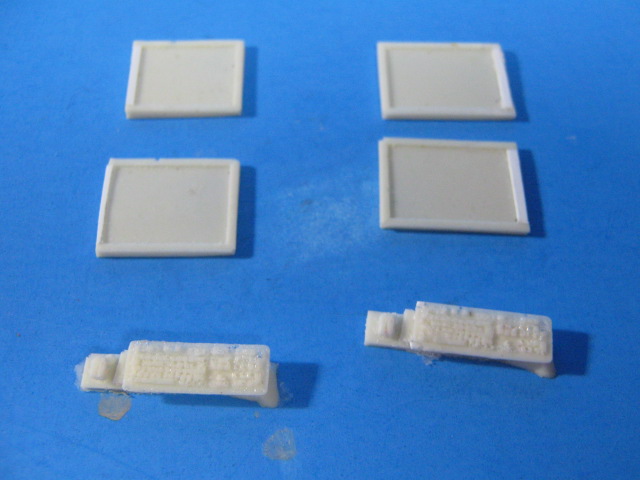
I also made a screen and cast 4 of them, along with a couple keyboards and mouses (mice?) from a desktop computer I had from an old Mig Home and Office set.
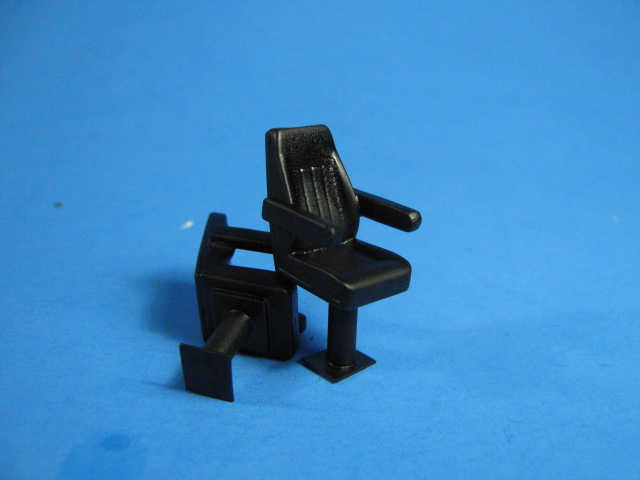
Lastly, I took a couple high back seats, added arms to them from resin pieces, and pedestal bases from styrene rod and sheet.
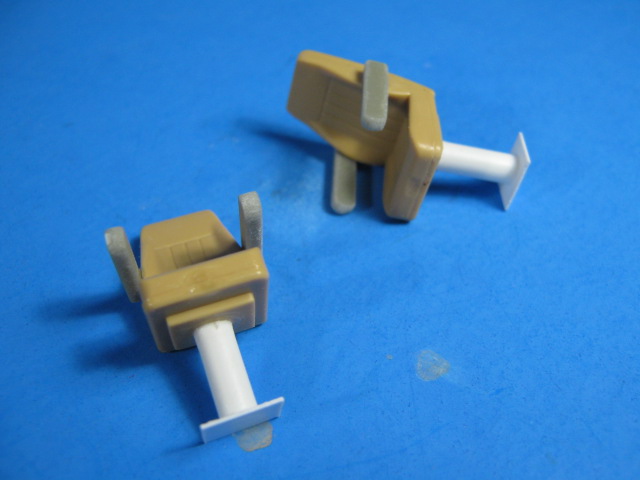
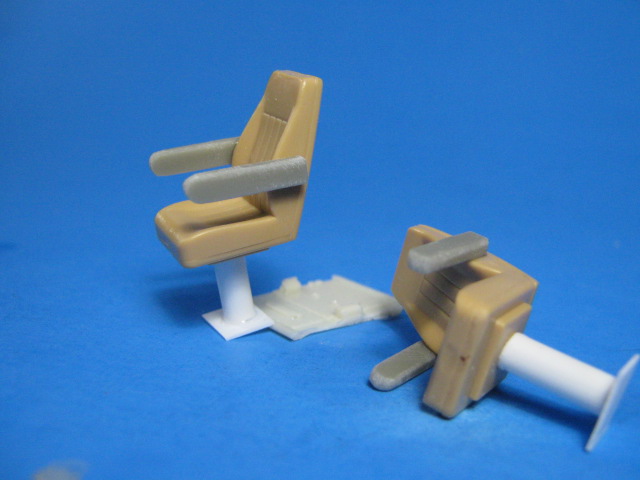
Here they are base-coated w/seafoam green.
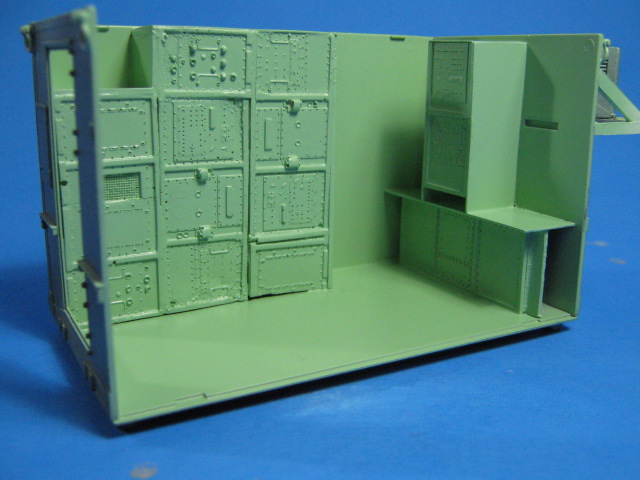
The seats in black leather/vinyl.
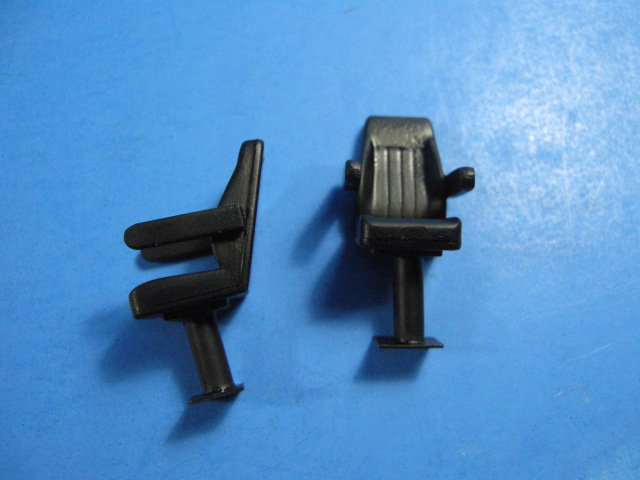
Next up is detail painting of all the electronic panels and adding the computers up front.
10 Likes
NICE interior work Gino. Very clever ideas for all the equipment. I like the computers, very good details.
1 Like
Thanks gents. It is coming along. Still deciding if I should go with screens powered up w/graphics decals or off (black) screens. Suggestions/opinions?
1 Like
Is it going to be displayed with all the antennas up and operating, and people manning the consoles? Then powered up, for sure. If not, you may still want to have graphics on the screens, just for personal interest. Your daughter may want to show people what it looks like. So I say full graphics! Just IMHO.
Ken
Definatly powered up. Perhaps with a TCO and TCA present…?
Thanks guys. I agree and was already leaning to screens w/graphics. No TCO or TCA figures though, just the equipment.
1 Like
You gotta put a figure in there, “for scale!”
Ken
1 Like
I have completed construction and painting of the shelter interior. I detailed the electronic racks with some aluminum paint and red, black, and yellow buttons. I also added some various placard decals for interest. I made the computer screen images by copying an image of a shelter interior that showed the screens, pasted them into PowerPoint, resized, and printed them on computer decal paper.
Here it is so far.
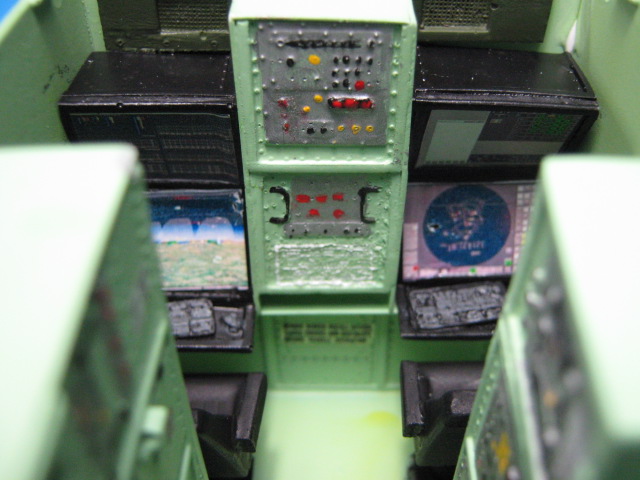
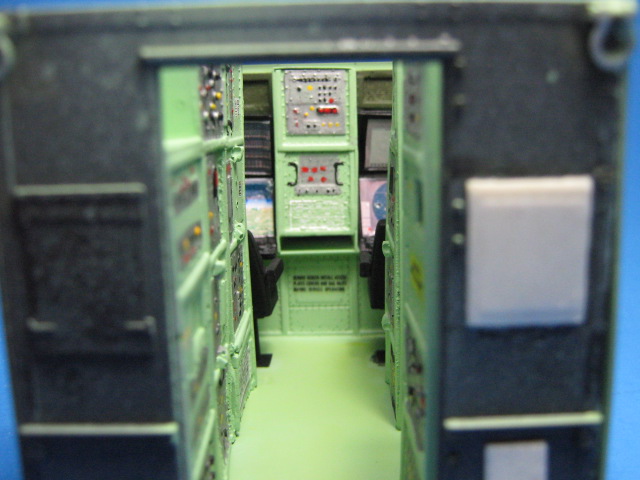
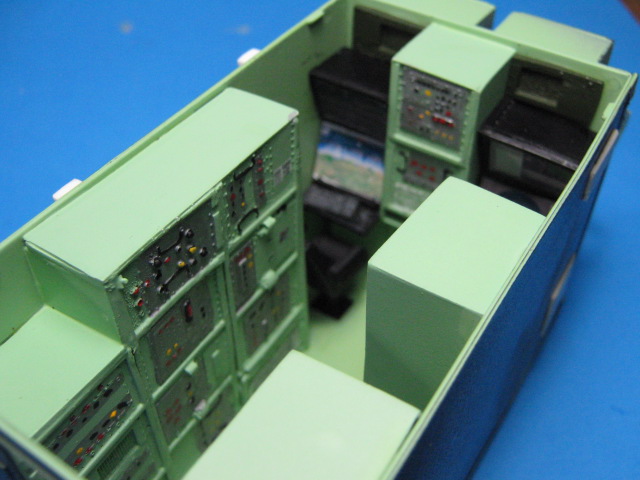
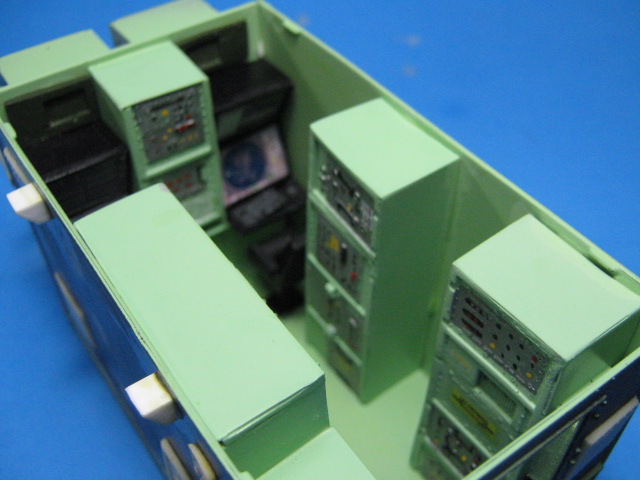
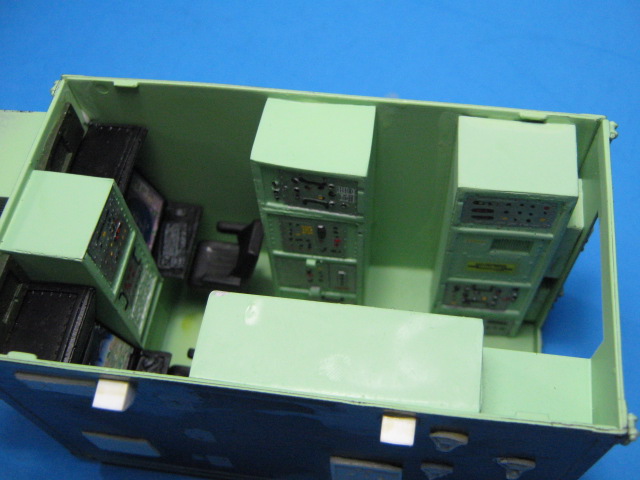
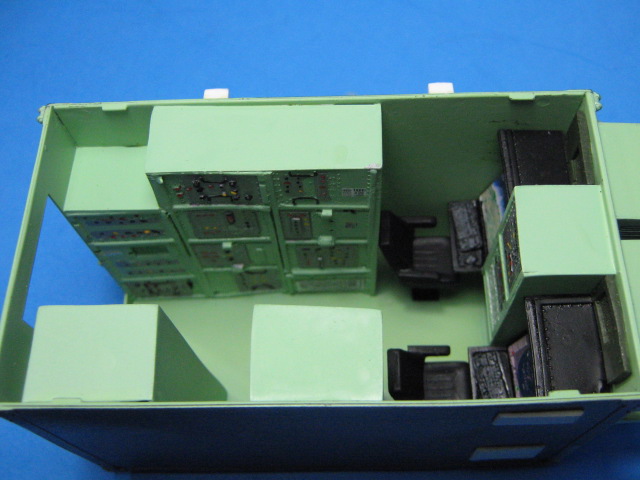
I will add a couple bags, MRE boxes, and maybe a helmet for personal gear to make it look lived it next. Then it will be complete inside.
I should get the cab parts from @MikeyBugs tomorrow. I can’t wait to see how it comes out.
13 Likes
Very nice. The inside really brings it to life. Great detailing 
1 Like
That is gizmology on a whole 'nother level.
1 Like
Oh man Gino that looks sooooo cool! I hope the viewer can see those screens when it’s done cause they really are the dog’s danglies. You’ve really built the snots out of this interior and I hope it’s all viewable in the end. Outstanding work. I can’t wait to see the whole thing!
Thanks gents. It is coming along well and I am enjoying it. I know my daughter will love it.
It will be. I am leaving the top of the shelter removable. One will be able to see it all, just like you can in the pics.
2 Likes


