Just adding the additive was all they did different.
1 Like
I’m glad i am not the only one who has had issues with vallejo paints whilst spraying them from an airbrush.
2 Likes
My successes with Vallejo have been using primer, a must don’t think it matters which but it needs some. Next is to only use Vallejo thinner and paint retarder with Vallejo paints. Mix paint well before use. The ratios of thinner and paint is location dependent because of temperature and humidity with a few drops of retarder.
HTH
1 Like
Humm… Tamiya doesn’t seem to have these problems.
5 Likes
I agree and I use them also. However accessibility and cost might force others to choose other options.
1 Like


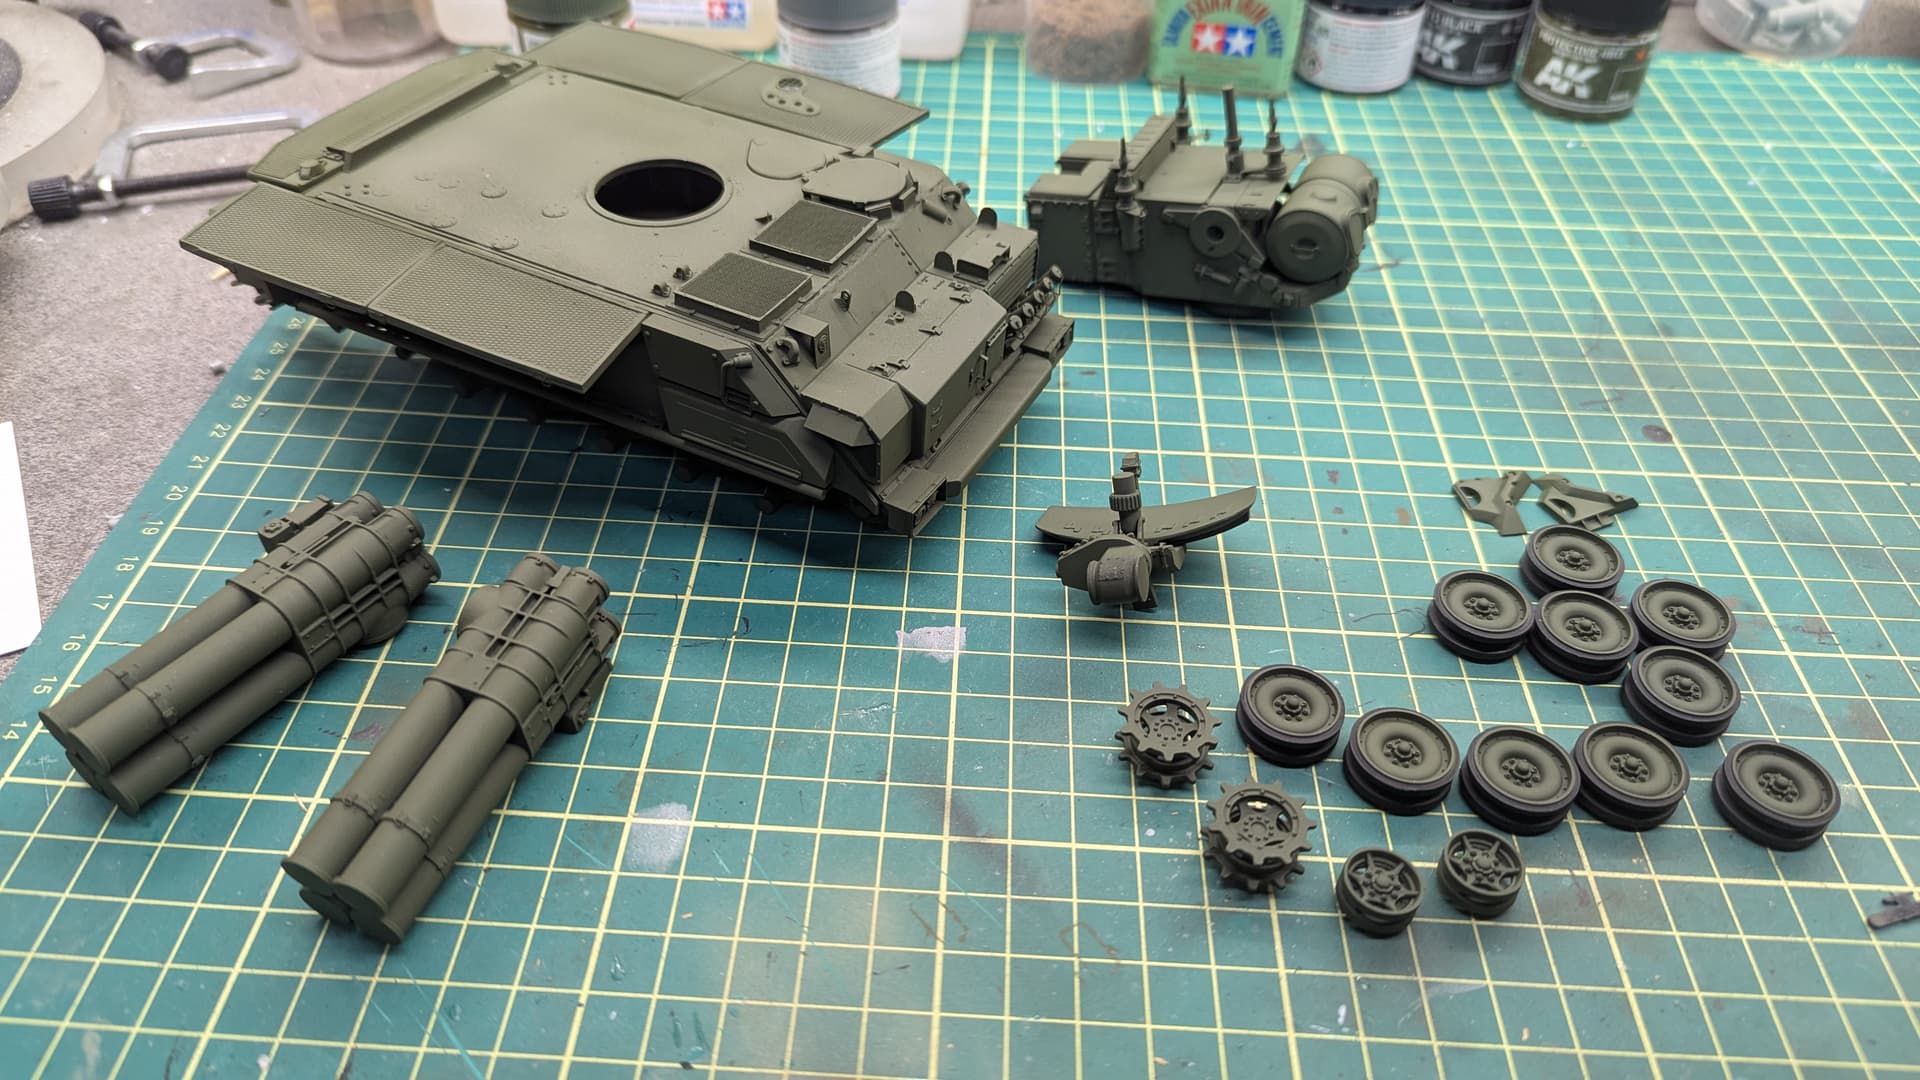
I finished assembling the Canadian M113 adats. It was a big project for me. I’m not used to this type of kit. Now I have to do the painting, which I’ll do later. For now, I’m taking advantage of the winter to go snowmobiling.
17 Likes
The color - the chipping of the paint, the wash, everything is top-tier work.
2 Likes
Plodding on on the AHHQ beastie!
I have the instrument cluster almost ready to fit. I realised as I looked at the pics one of the glass lenses had slipped and needs fixing back in.
I opened up the dial faces and reamed the back out, punched discs of plasticard for the decals to sit on and then fitted them. Punched out clear acetate to cover them but as I said one got away. I also cut back the switches. I seem to have lost most the tiny supplied decals during work but they hardly notice I think?


Then back to the wiring and cabling and searching for stowage.
Keith
14 Likes
So Vallejo’s “Model” Air is a total misnomer then!
1 Like
Australian Crawl did a song called Hoochie Gucci Fiorucci Mama and we have no idea of what it means
1 Like
The title refers to a promiscuous woman that wears designer label, sexually provocative clothing.
Hoochie is a derogatory term for a sexually provocative woman. Gucci & Fiorucci are clothing designers
The song is basically about a guy putting a shallow, rich, promiscuous, attention seeking (‘look at me’) woman, that has tried to latch onto him, in her place.
1 Like
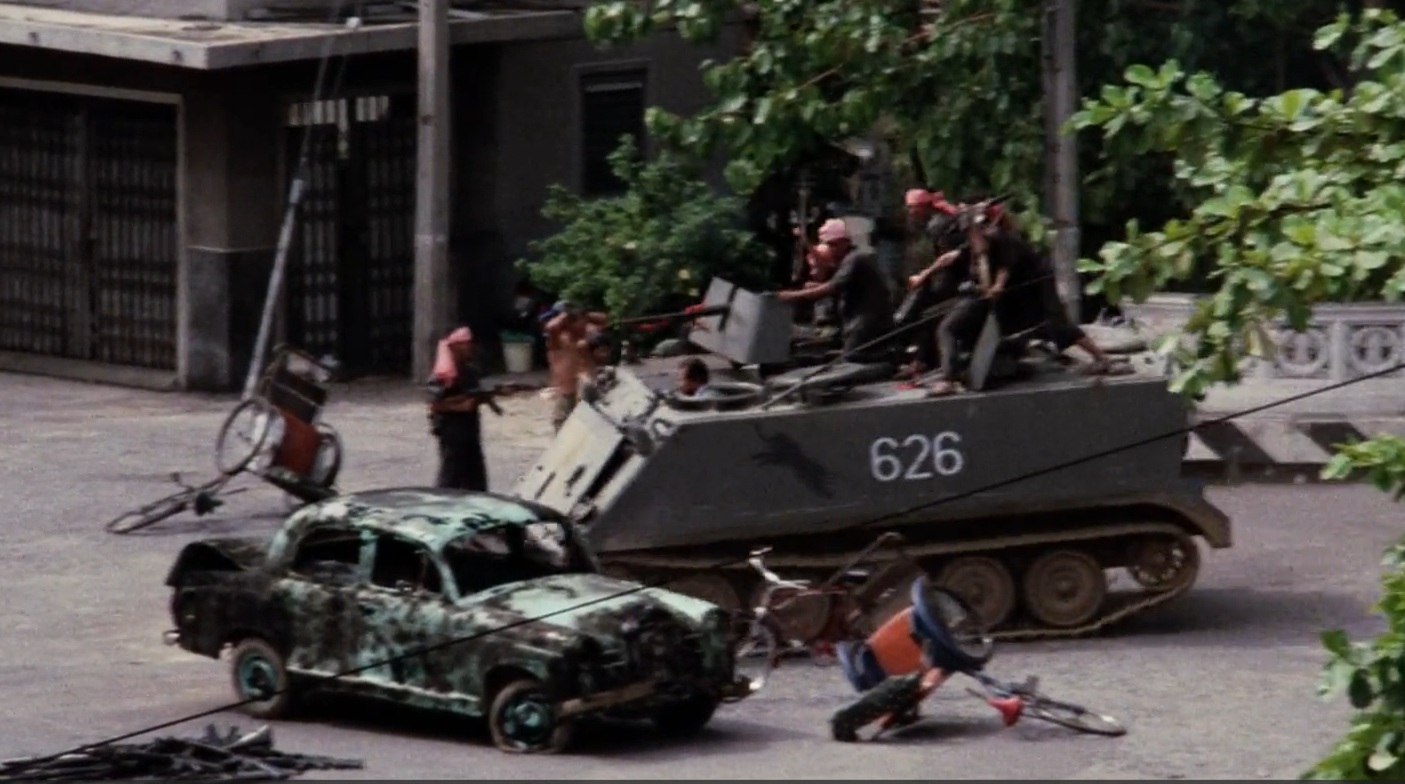
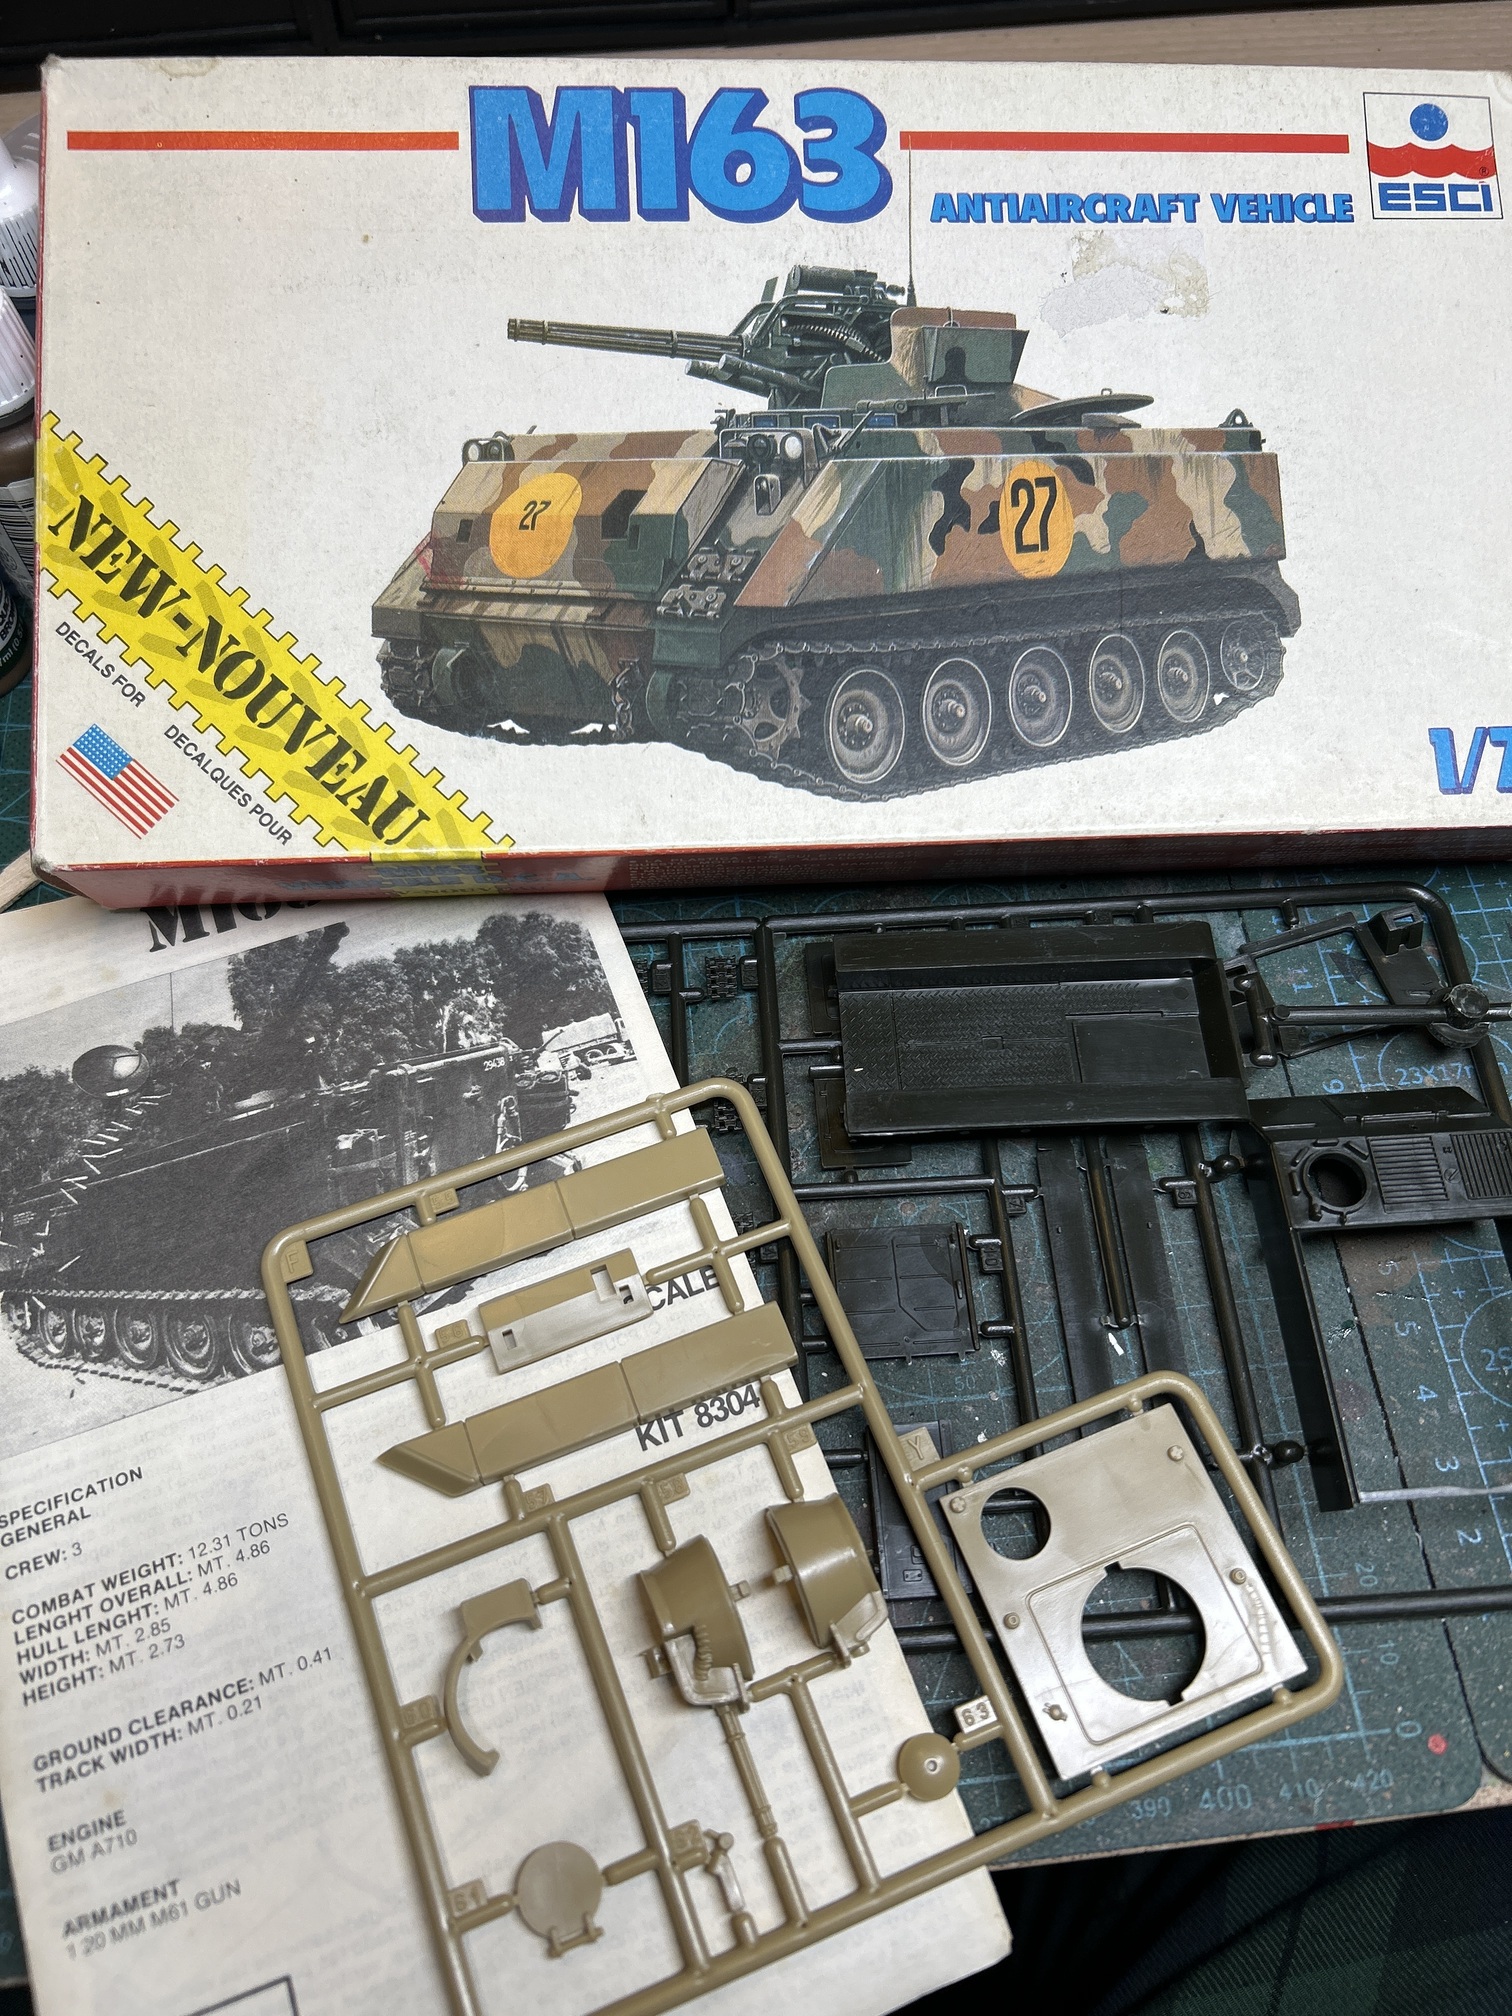
I am going to make the venerable 1/72 ESCI M163 for this campaign.
I have not decided on camo and markings yet.
More to follow ![]()
4 Likes
Good luck Jesper, I hope it fits!
1 Like
For some reason I thought this M132 conversion on Academy’s M113 was going to be an easy build . . . not quite so, the punch out divets and sink holes in the M113 have kept me busy sanding and filling, I also got caught up in trying to correct some of the petty inaccuracies of the model so progress has been unbearably slow . . .

I’m hoping to get some primer on it tonight and get some more pieces added on the hull.
Cajun ![]()
13 Likes
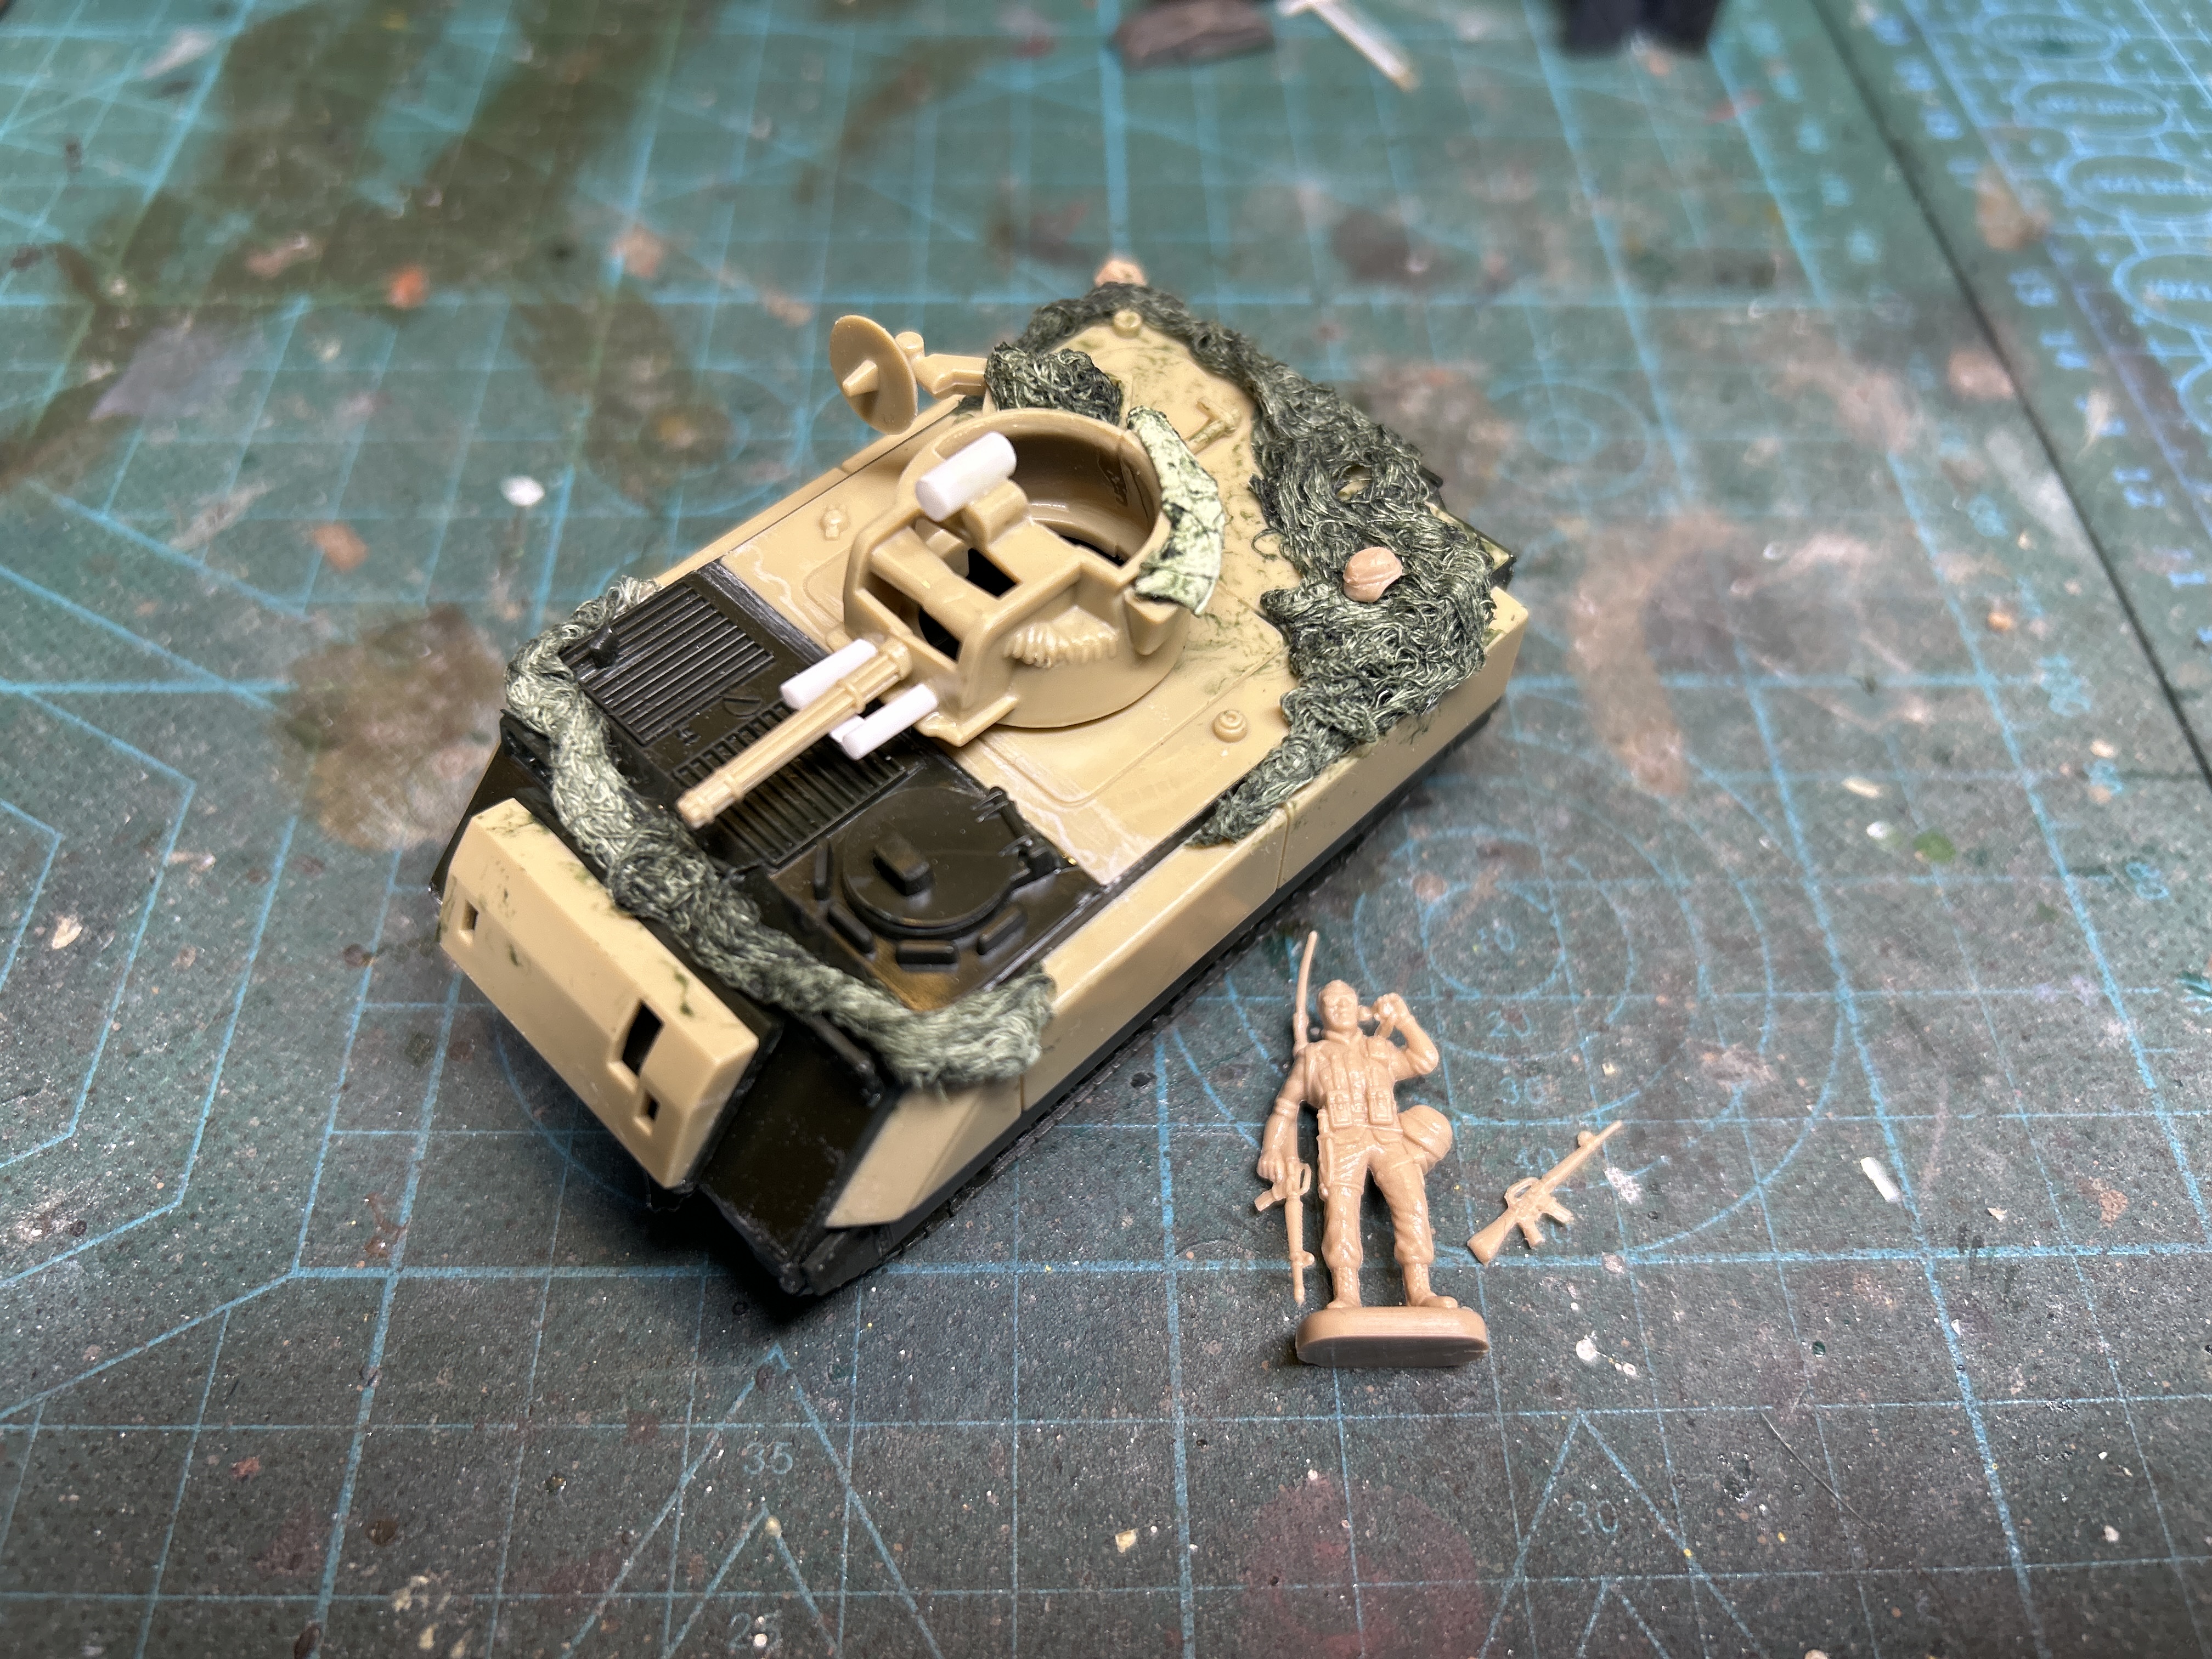
My 1/72 ESCI is constructed. Looks nice but the age of the kit shows in the lack of details and the dimensions are off. The M113 seems to be too wide even without the flotation cells.
I will use the pictures for inspiration and probably add some camo netting and stowage.
More to follow soon ![]()


9 Likes
Getting so close to wrapping up the M132 build. Hate to say it but I’m not overly pleased with my results, for all the effort I’ve put into getting this right I can see I fell short of my expectations.

When you look closely at the fuel tanks you can see the imprint layers and the little pimples from the print frame . . .

. . I spent hours sanding the various printed parts believing I had cleaned them up. Hmmmm. Found some photos of the same kit but with better detail, supposedly by Hobby Link, don’t know if this is an early version or a upgraded version but I used these pics to try and detail my kit parts a little better . . .


Anyway here’s what I’ve come up with so far . .


I can’t be too disappointed, I have another much wanted AFV for my Nam display collection. Thanks to Hobby Link for filling in the injection mold gap with this 3D print!
Cajun ![]()
14 Likes
Very nice!
2 Likes
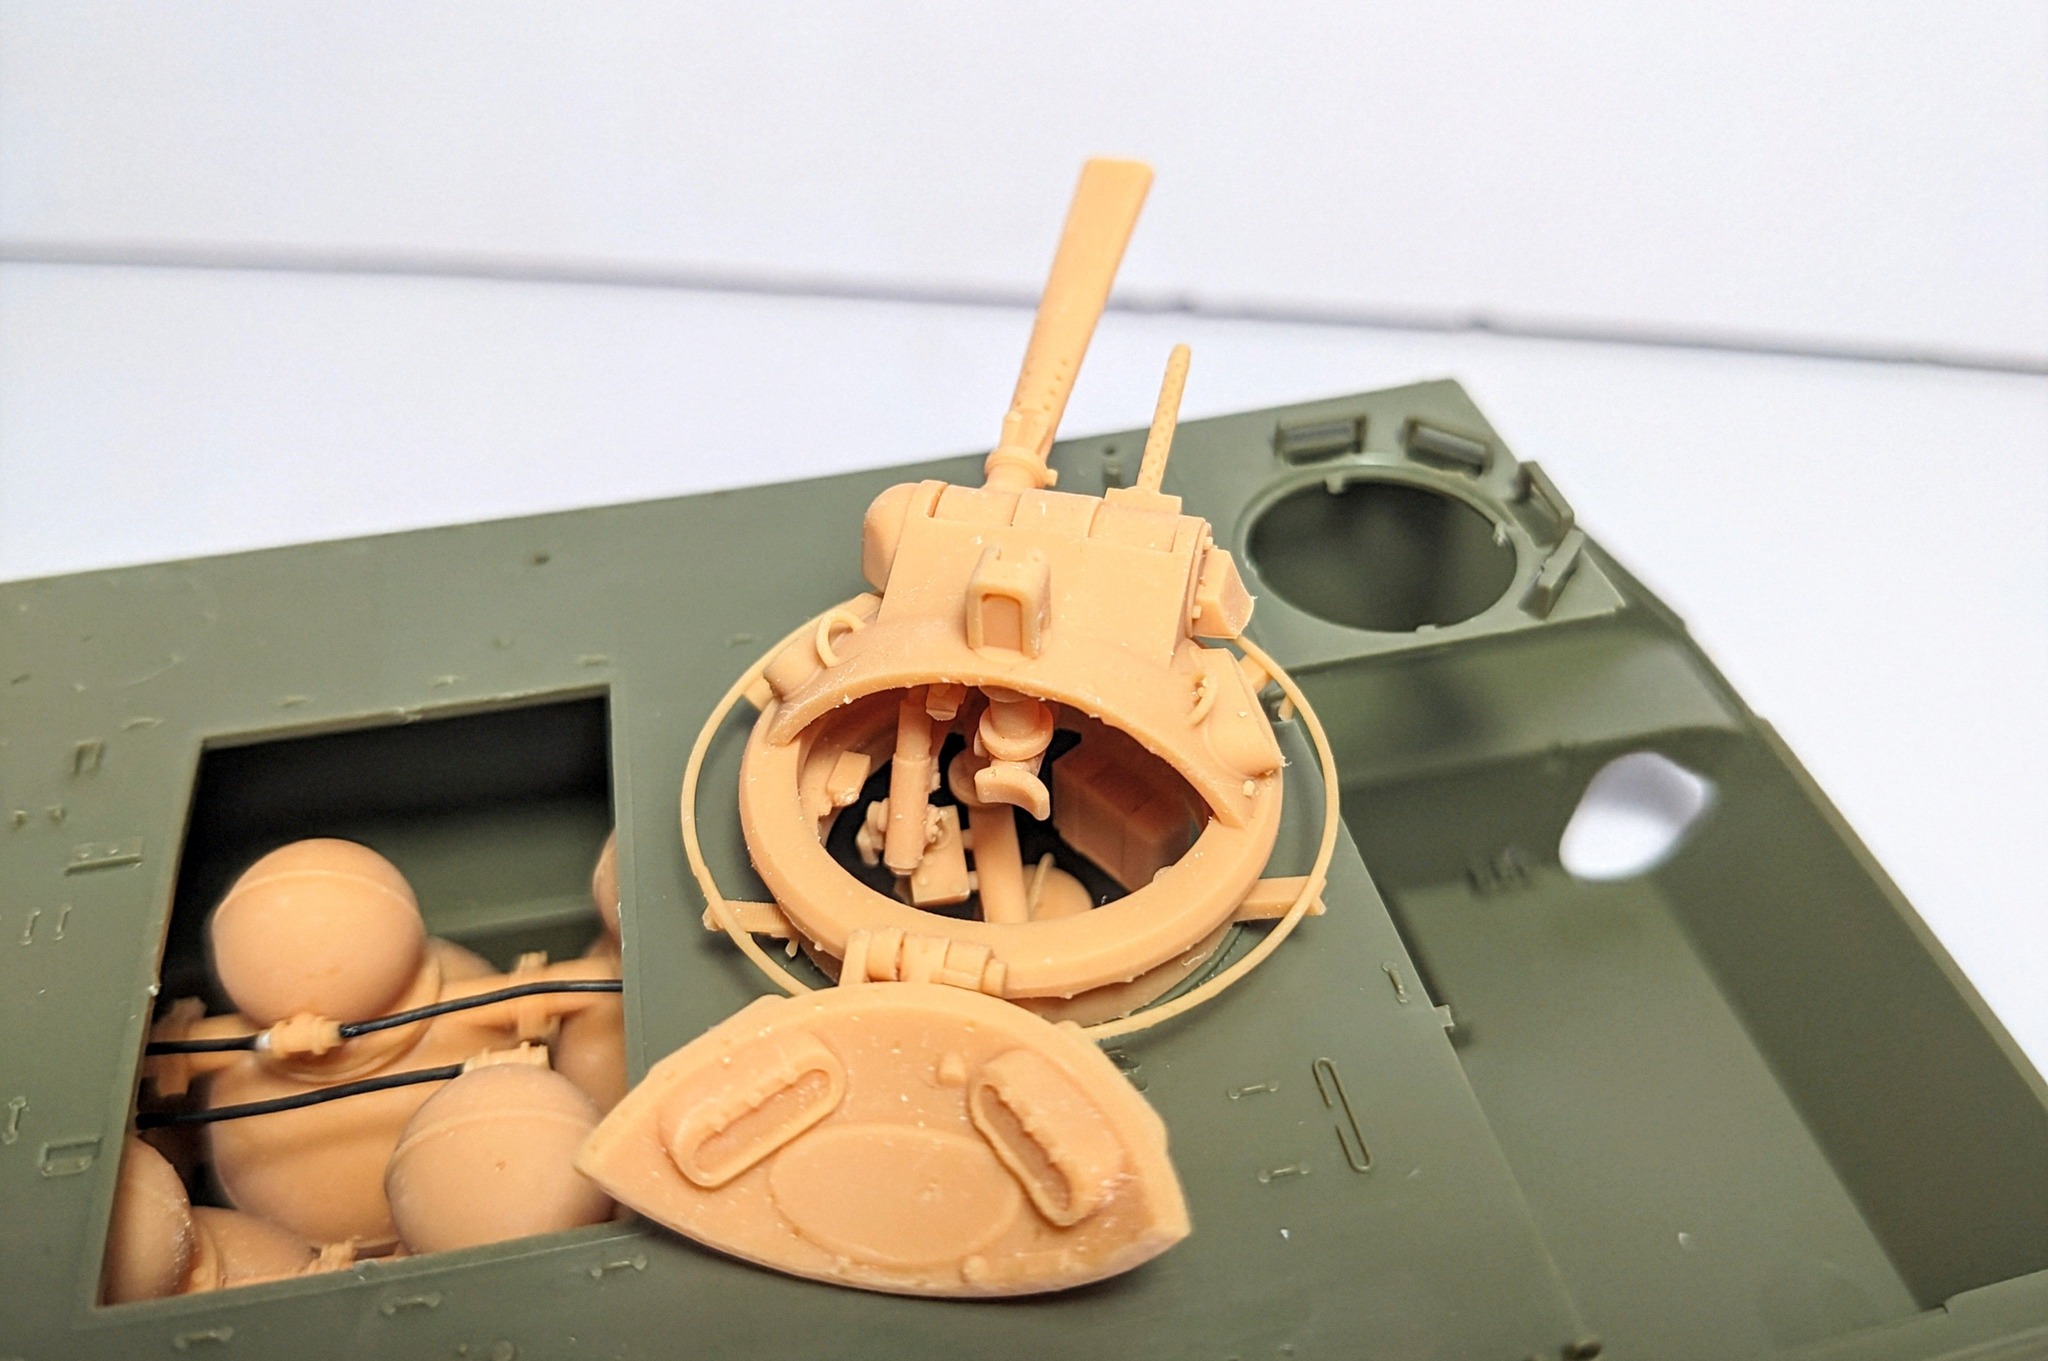
I felt the ESCI kit was a bit basic especially on the M163 turret. I added a few details on the turret and added some camo netting using the previous pictures as inspiration.
More to follow ![]()

6 Likes