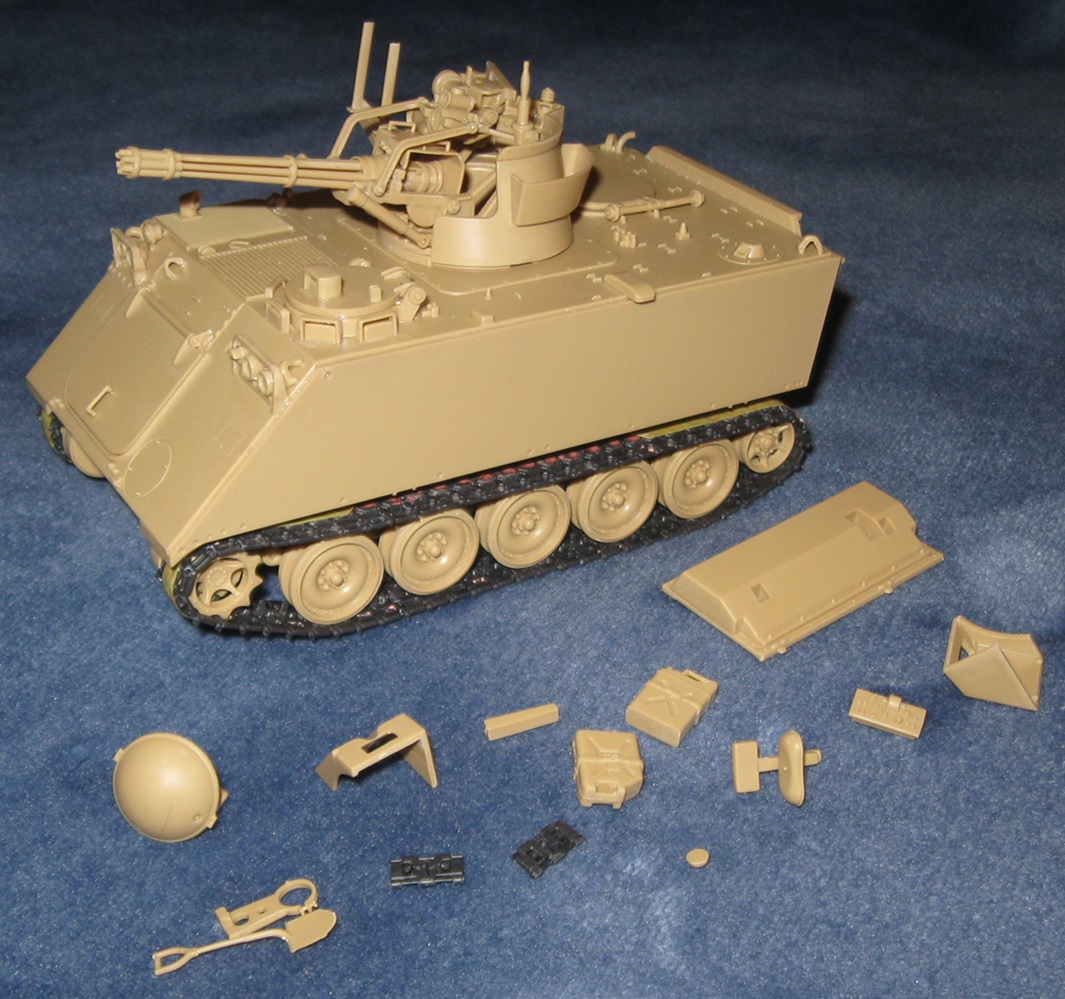
Joining with an Academy M163 as planned. Starting photo…

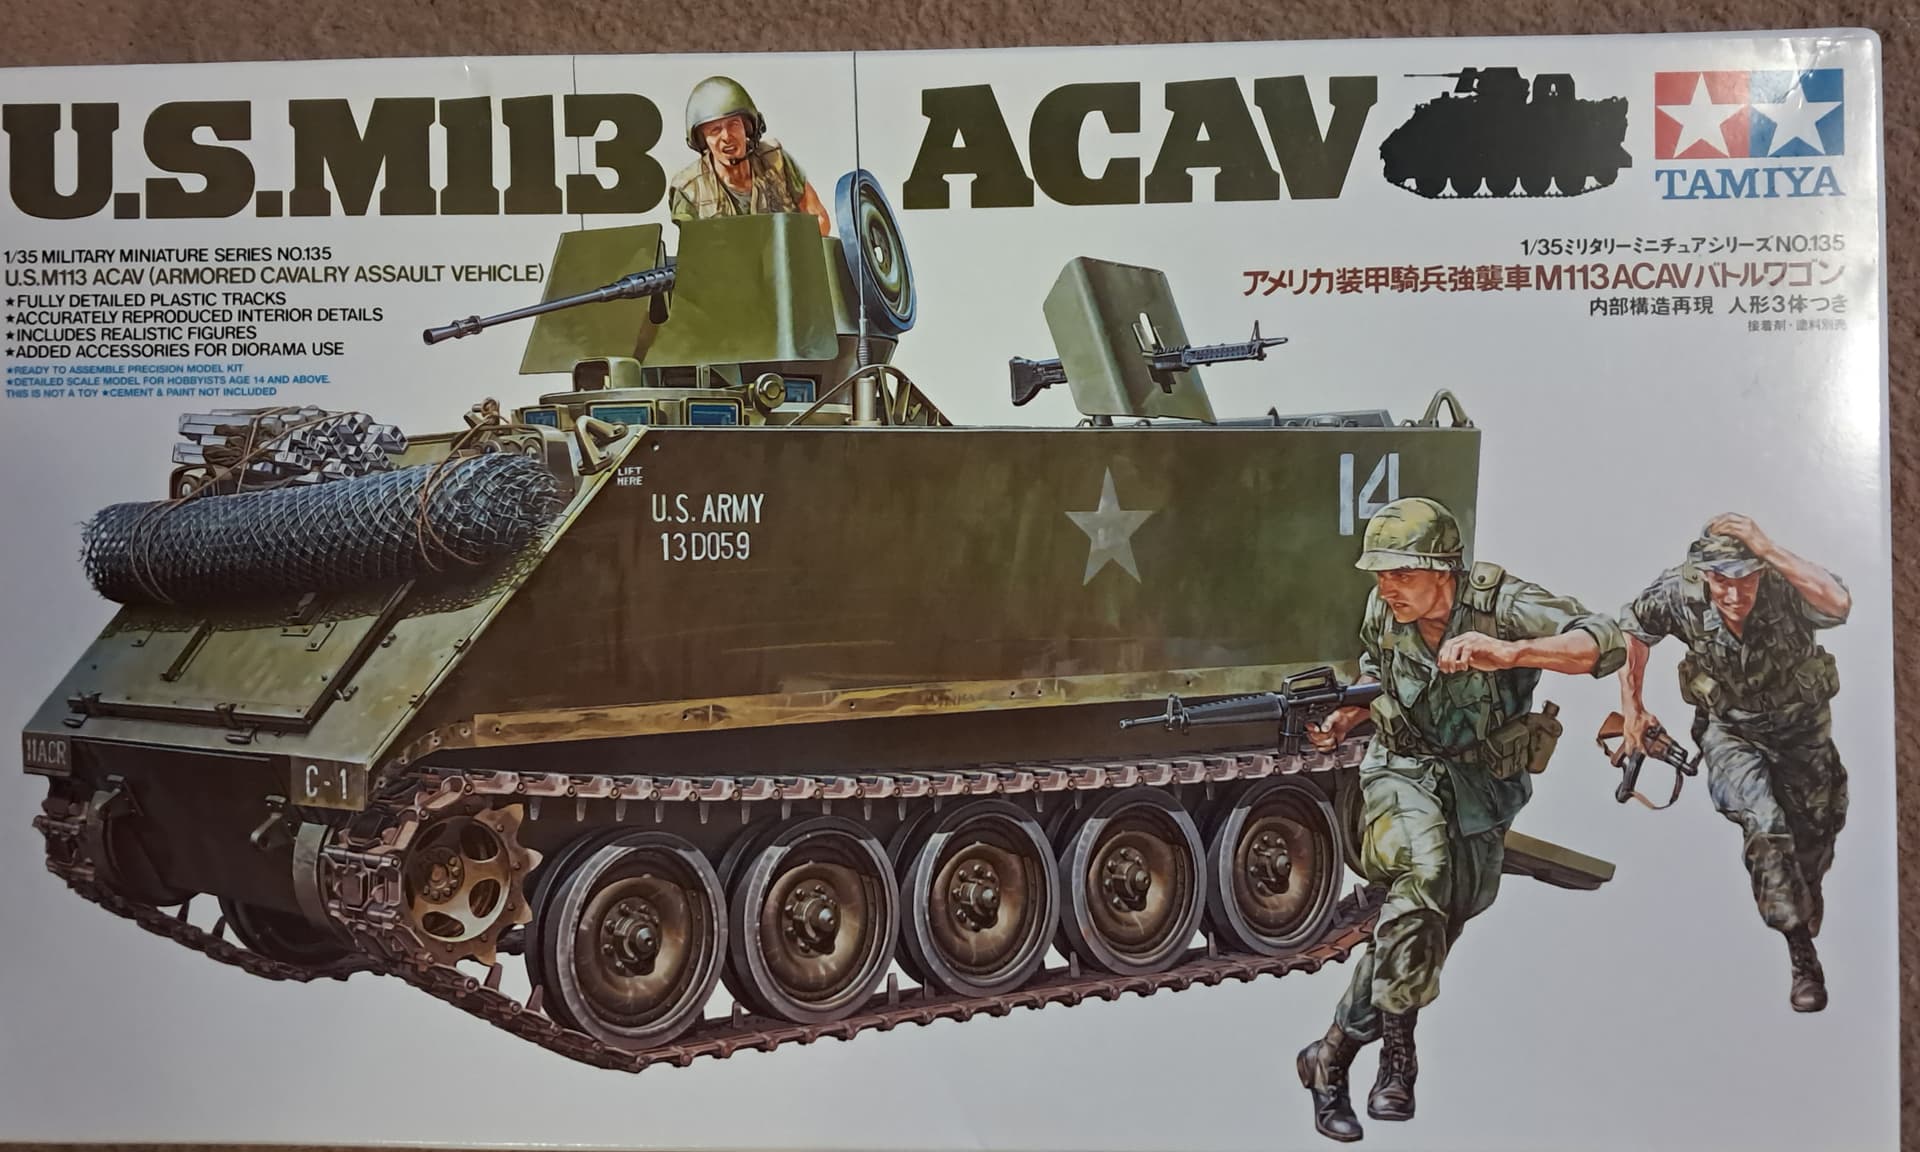
All parts are washed and drying. Hoping to finish in a single month building almost entirely out of the box with minimum fuss. Subject will be the vehicle on the box top.
Joining with an Academy M163 as planned. Starting photo…
All parts are washed and drying. Hoping to finish in a single month building almost entirely out of the box with minimum fuss. Subject will be the vehicle on the box top.
halle-ducking-lujah my Tamiya M113 finally arrived, one month after I ordered it from a UK seller on ebay.
Academy M163
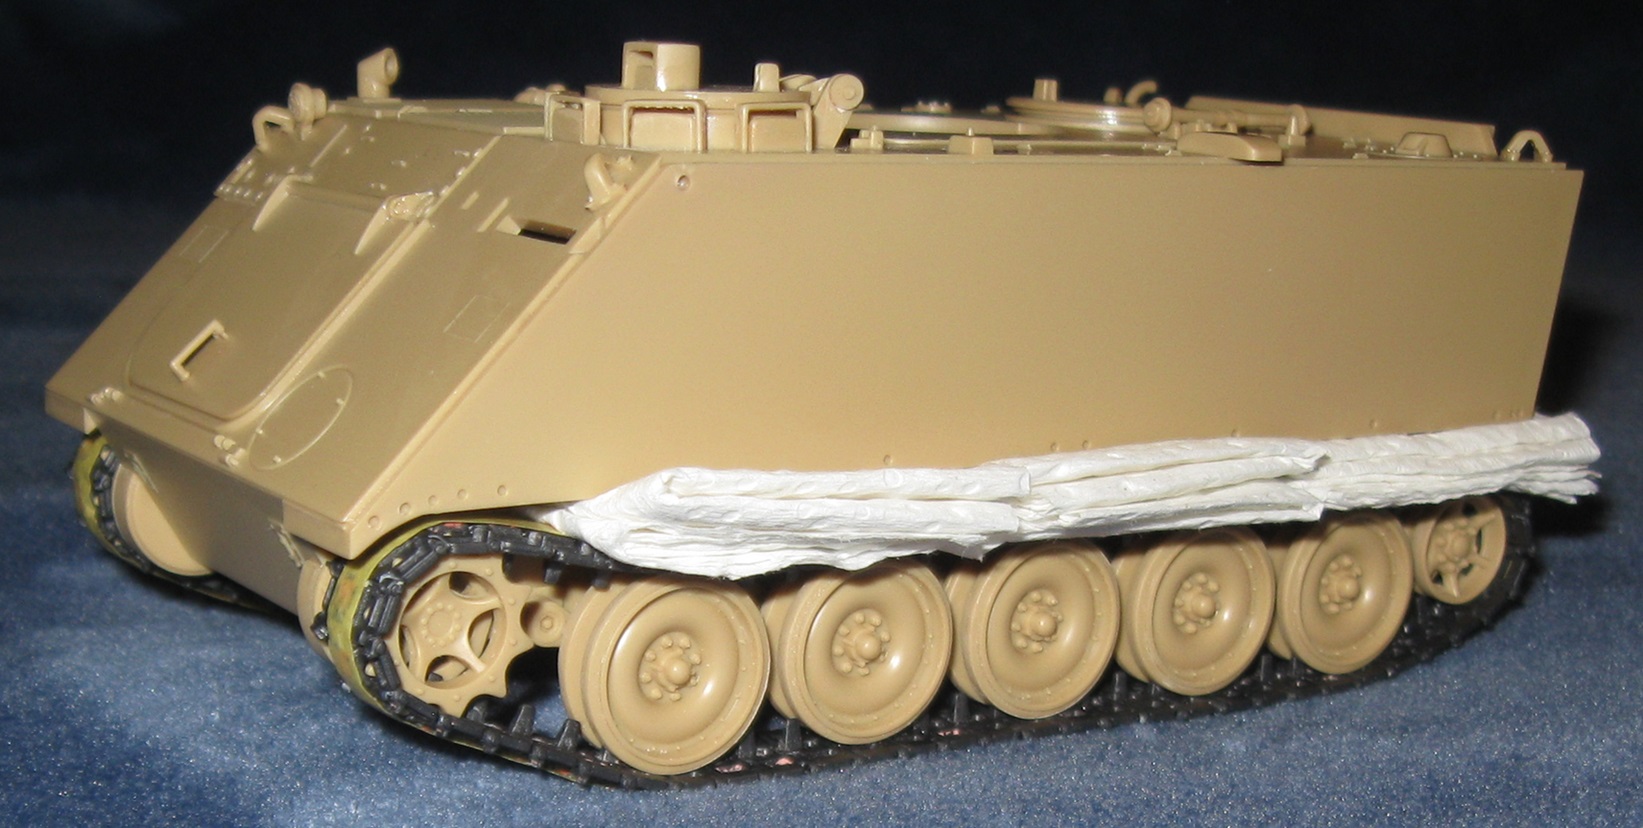
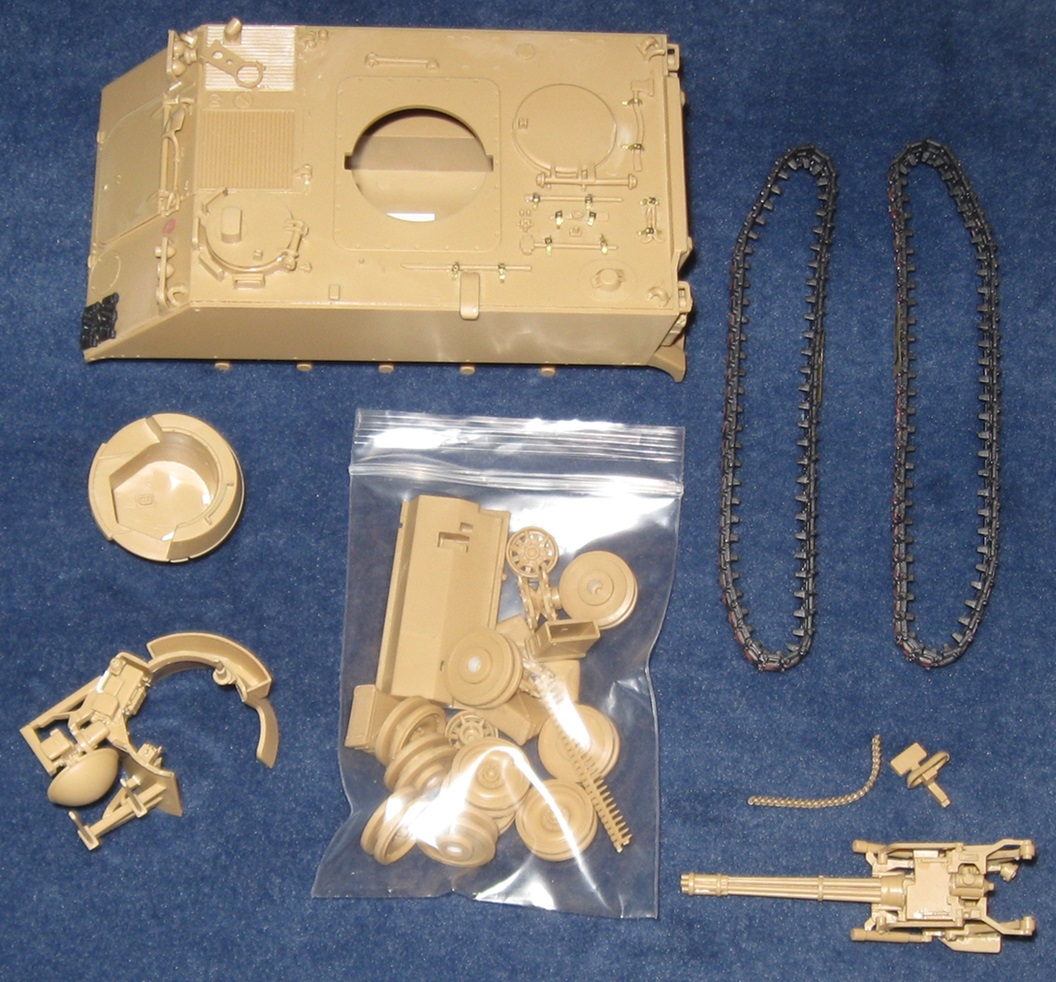
Academy models often frustrate me but so far, this one is genuinely good–quick and fun to build. It has a few warts but they were all easy to fix. Filling and sanding the track pads went fairly quickly. Cleaning up and fitting the tracks went very quickly for single links. It now makes sense why some guys complete a dozen Academy M113s.
My plan is to build almost everything then add a few details based on photos. Not sure how that will go. Sailing in uncharted waters again. Shooting for another T30–a few extra details and a pleasing paint job.
One thing I gotta mention–the spare parts. Good grief. There is another M113 and a half left in the box. ![]()
Edit: Quick questions:
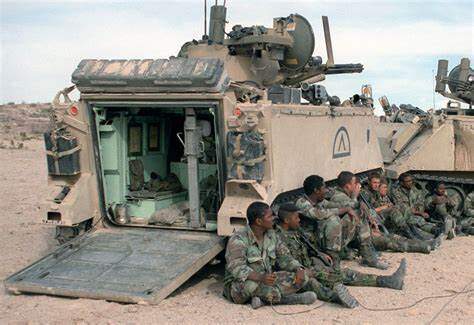
It looks like there is a canvas cover on the roof, secured along the top of the side walls by snaps. Is that what I am seeing? Is it an anti-slip device? Does it serve as a sun shade to keep the inside of the vehicle cool?
What is the purpose of the foam rolls to either side of the RADAR? Are they there to keep the RADAR from bouncing around?
@Damraska I’m no expert but the foam rolls look like bed rolls which you lie flat on the ground and sleep on, the act as insulation and are simply stored by placing them over the aerials rather than tying them down.
The tarp on the side of the vehicke might be used to make a quick and easy lean-to for shade for the crew.
that’s my take on it all.
kind regards
Klaus
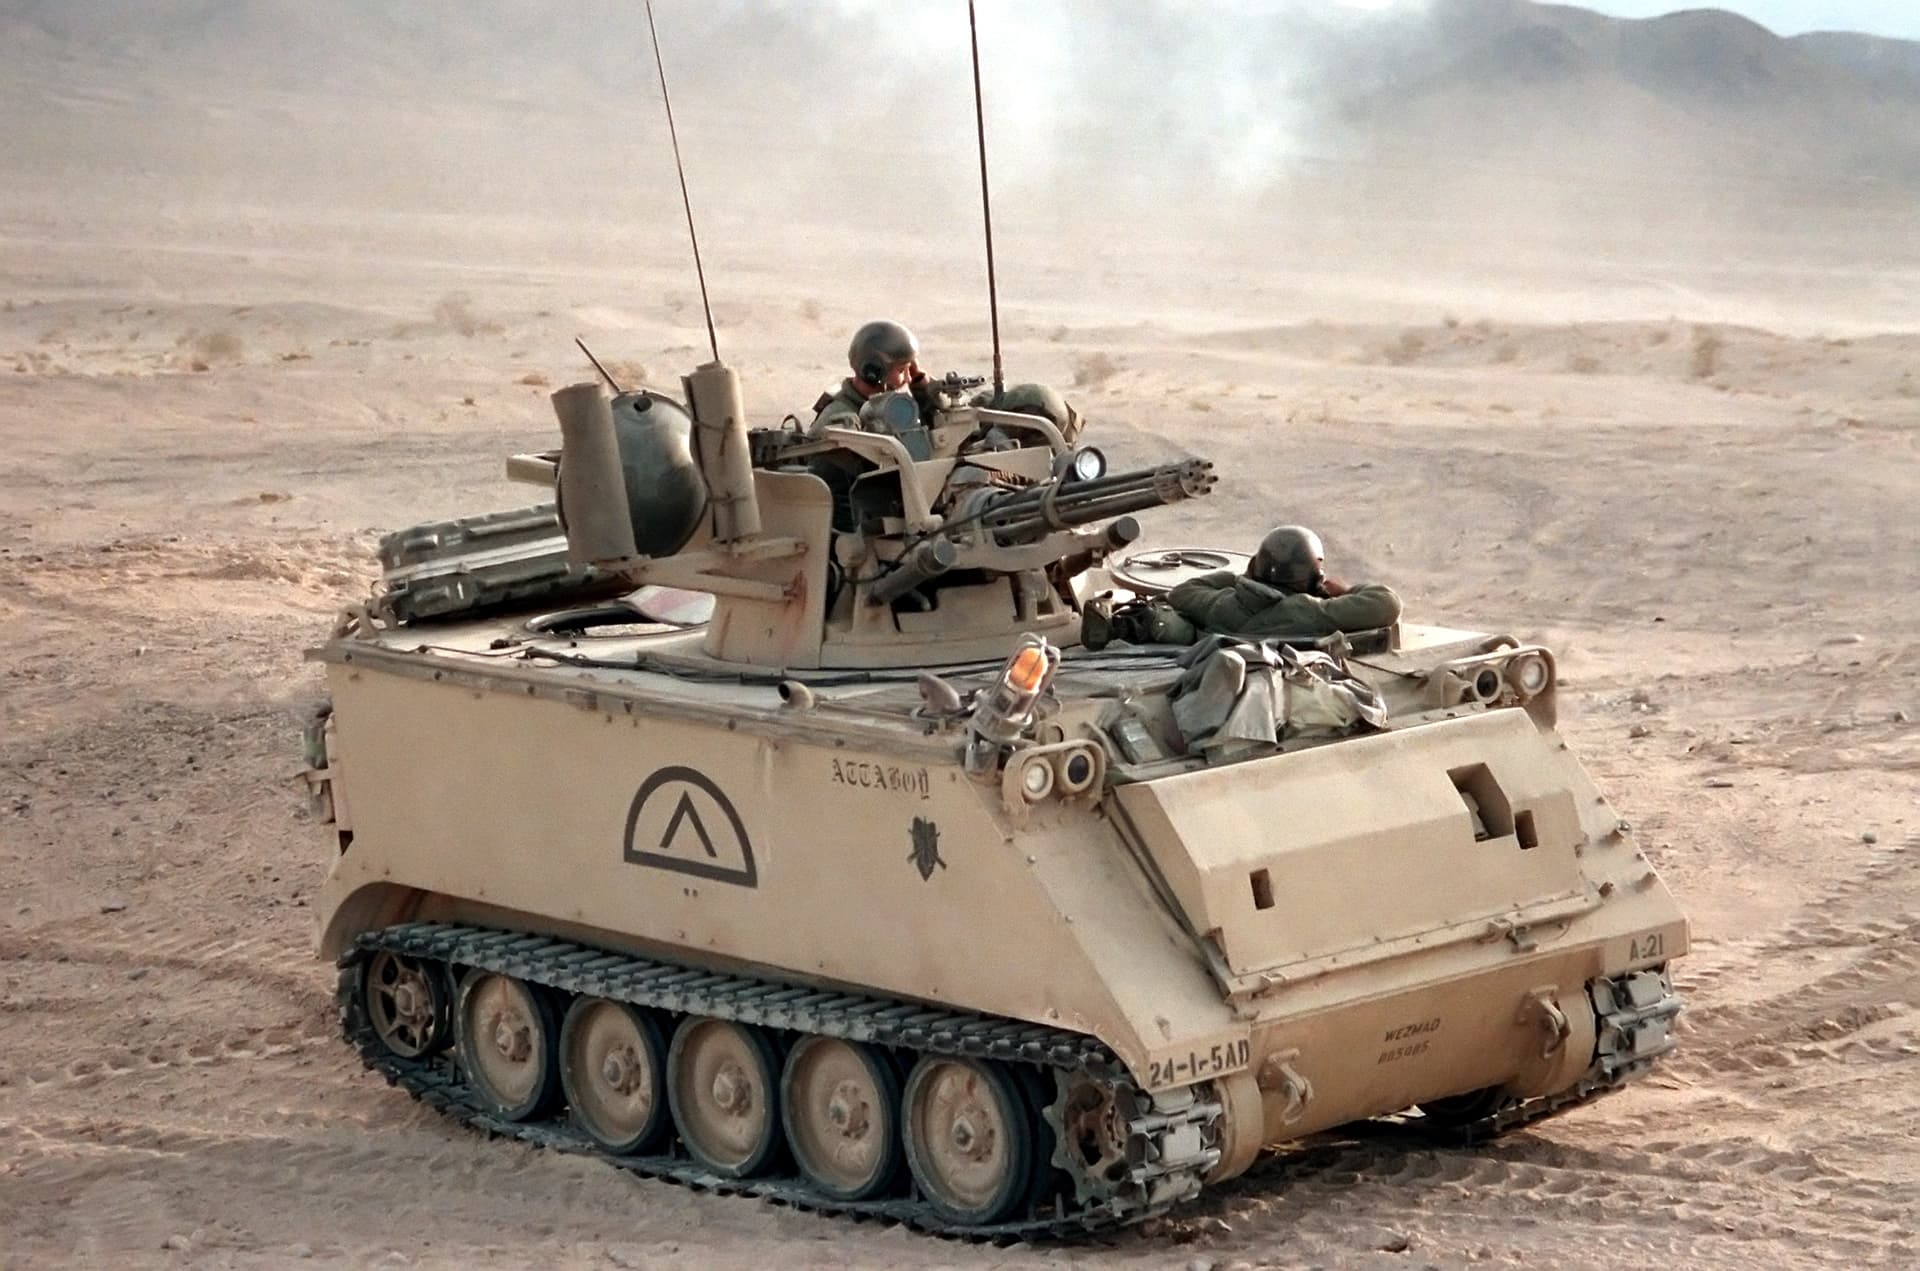
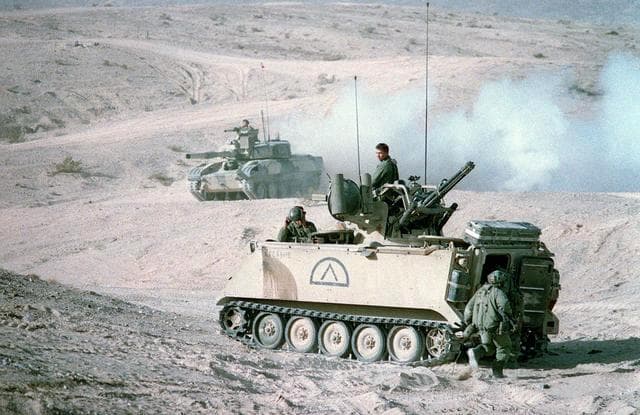
The strip along the top edge of the hull is a component of the MILES training system, the black dots are laser receivers that register a hit by a similarly equipped “enemy “. Additional components seen are an orange rotating light to signal if the vehicle has been “destroyed “
and a strobe light next to the cannon to simulate its firing.
my understanding is this a war time picture taken in one of the gulf wars…so why would they still have war games equipment attached to the vehicle.
if I’m wrong about the picture’s history then i cheerfully withdraw the above comment.
No, that M163A1 pic is from the NTC at Ft Irwin, CA.
Caption that goes with it.
“Crewmen stand in the hatches of an M163 Vulcan self-propelled anti-aircraft gun of the 24th Infantry Division (Mechanized) during an exercise at the National Training Center. The M163 consists of an M168 Vulcan 20 mm cannon with radar fire control mounted on a modified M113 armored personnel carrier.”
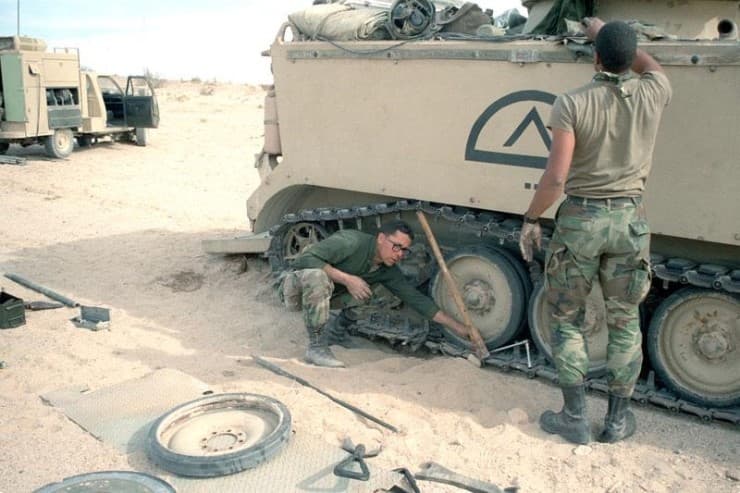
More pics of “Abbadon” - the M163A1 VADS assigned to 1-5th ADA, 24th Infantry DIvision (Mech.) in the early 90s.
Academy M163
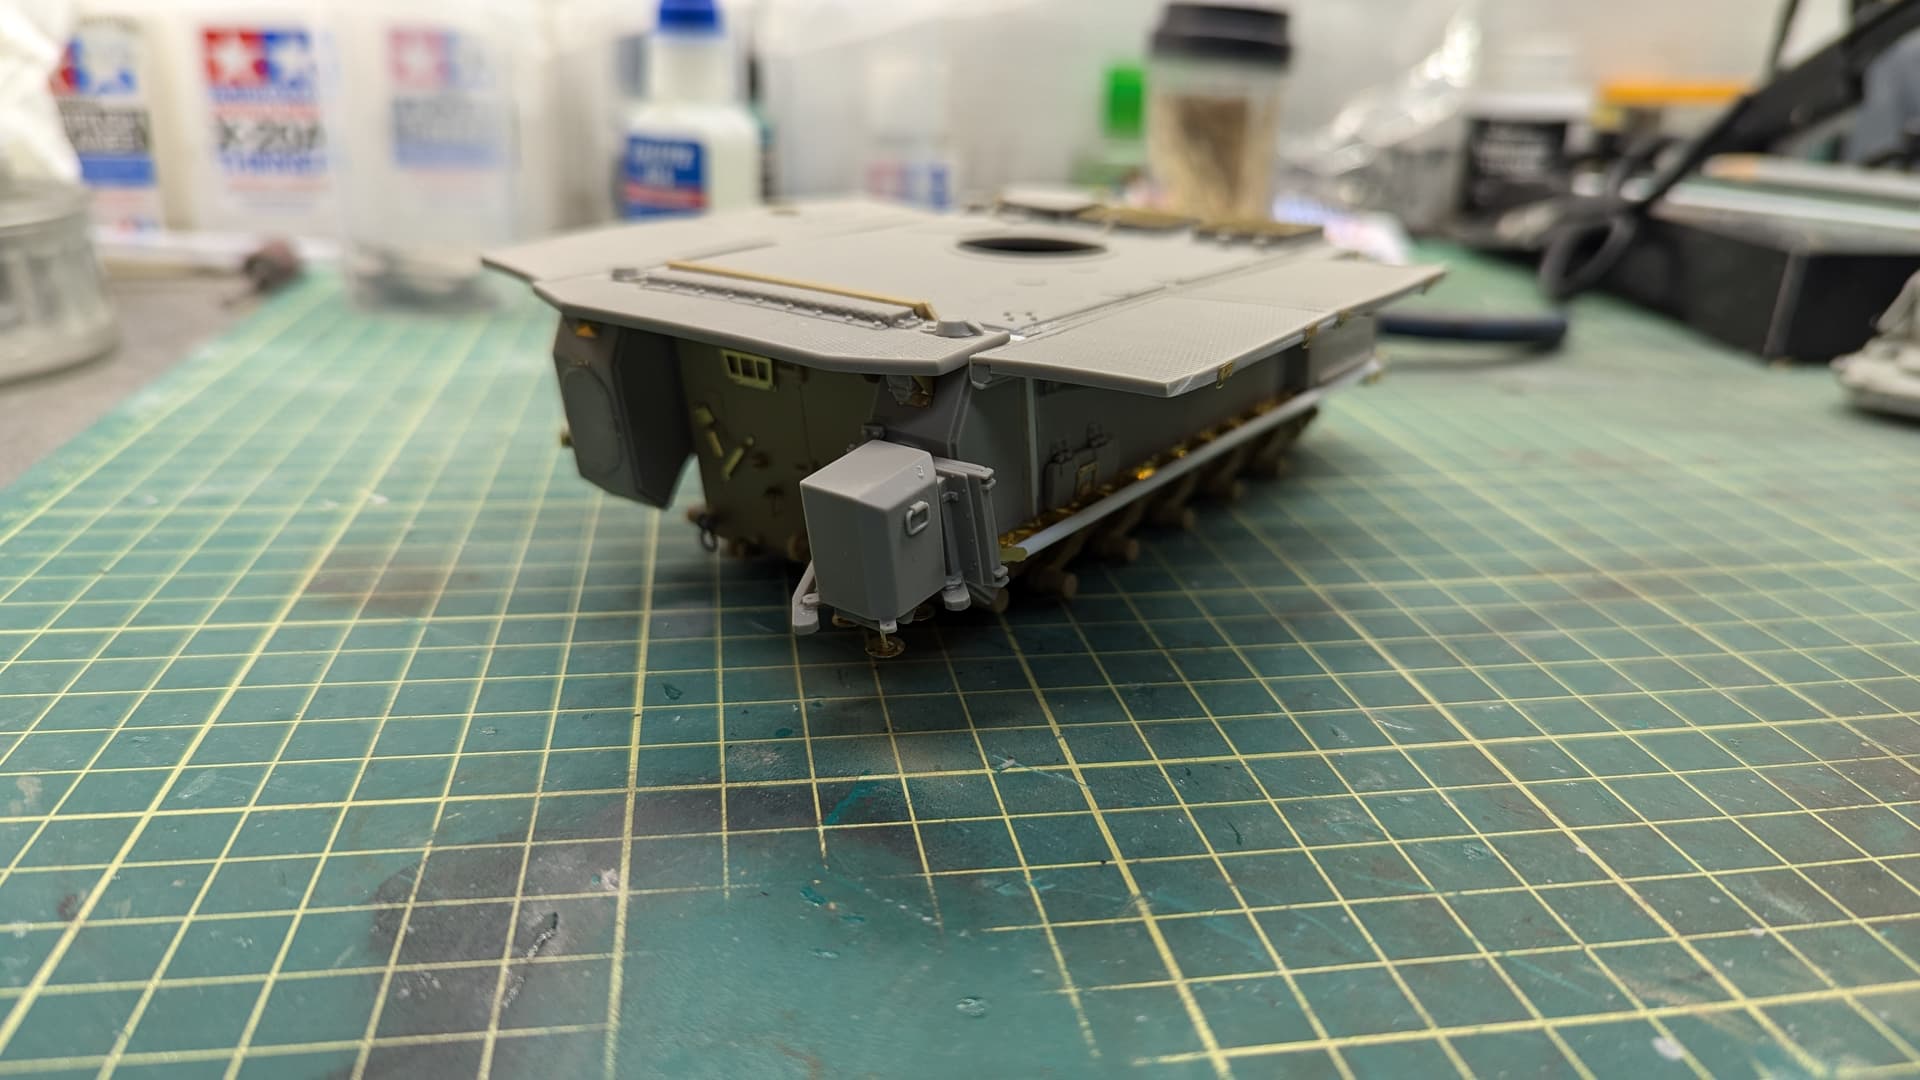
Not much left to build–just some detail bits and tools.
Instructions show to install the gun travel lock but provide no help as to placement. Real vehicle may not have one. Hard to tell. Still trying to figure it out.
Same issue for the shovel. There is a big hole in the front plate. Instructions kinda point to the shovel going near the hole. Real vehicle may not have the shovel. Probably need to fill the hole.
Two things on the turret appear to be antennas. Drilled them out for rod stock.
There is a control panel associated with the turret. Instructions provide zero help on placement. Think it may go between the gun mount arms. May throw it in the spare parts bin.
No idea how the bow water thing is supposed to fit. Instructions provide no help. Model has no obvious place to connect it. Photos do not show how it fits. Gonna have to guess.
Instructions show to put what appears to be an engine exhaust in a very specific position. Real vehicle has it oriented differently. Need to break it off and try to fix it.
RADAR mount is really fiddly. Parts do not make sense and do not fit in any obvious way. Trying to make it work.
Not sure how the tools are strapped to the roof.
All the problems are causing me to lose interest. Will probably wing it, glue stuff on, and start painting.
Edit: Should probably mention I left the turret in 4 parts–tub, seat, gun, armor surround with RADAR–to ease painting. Leaving off the poorly done ammo belts.
Edit: Instructions for the Italeri M163 help with some of the positioning issues described above. Kinda funny looking at all the M163 models out there with shovels welded to the front plate. Italeri M163 has some nice decal options.
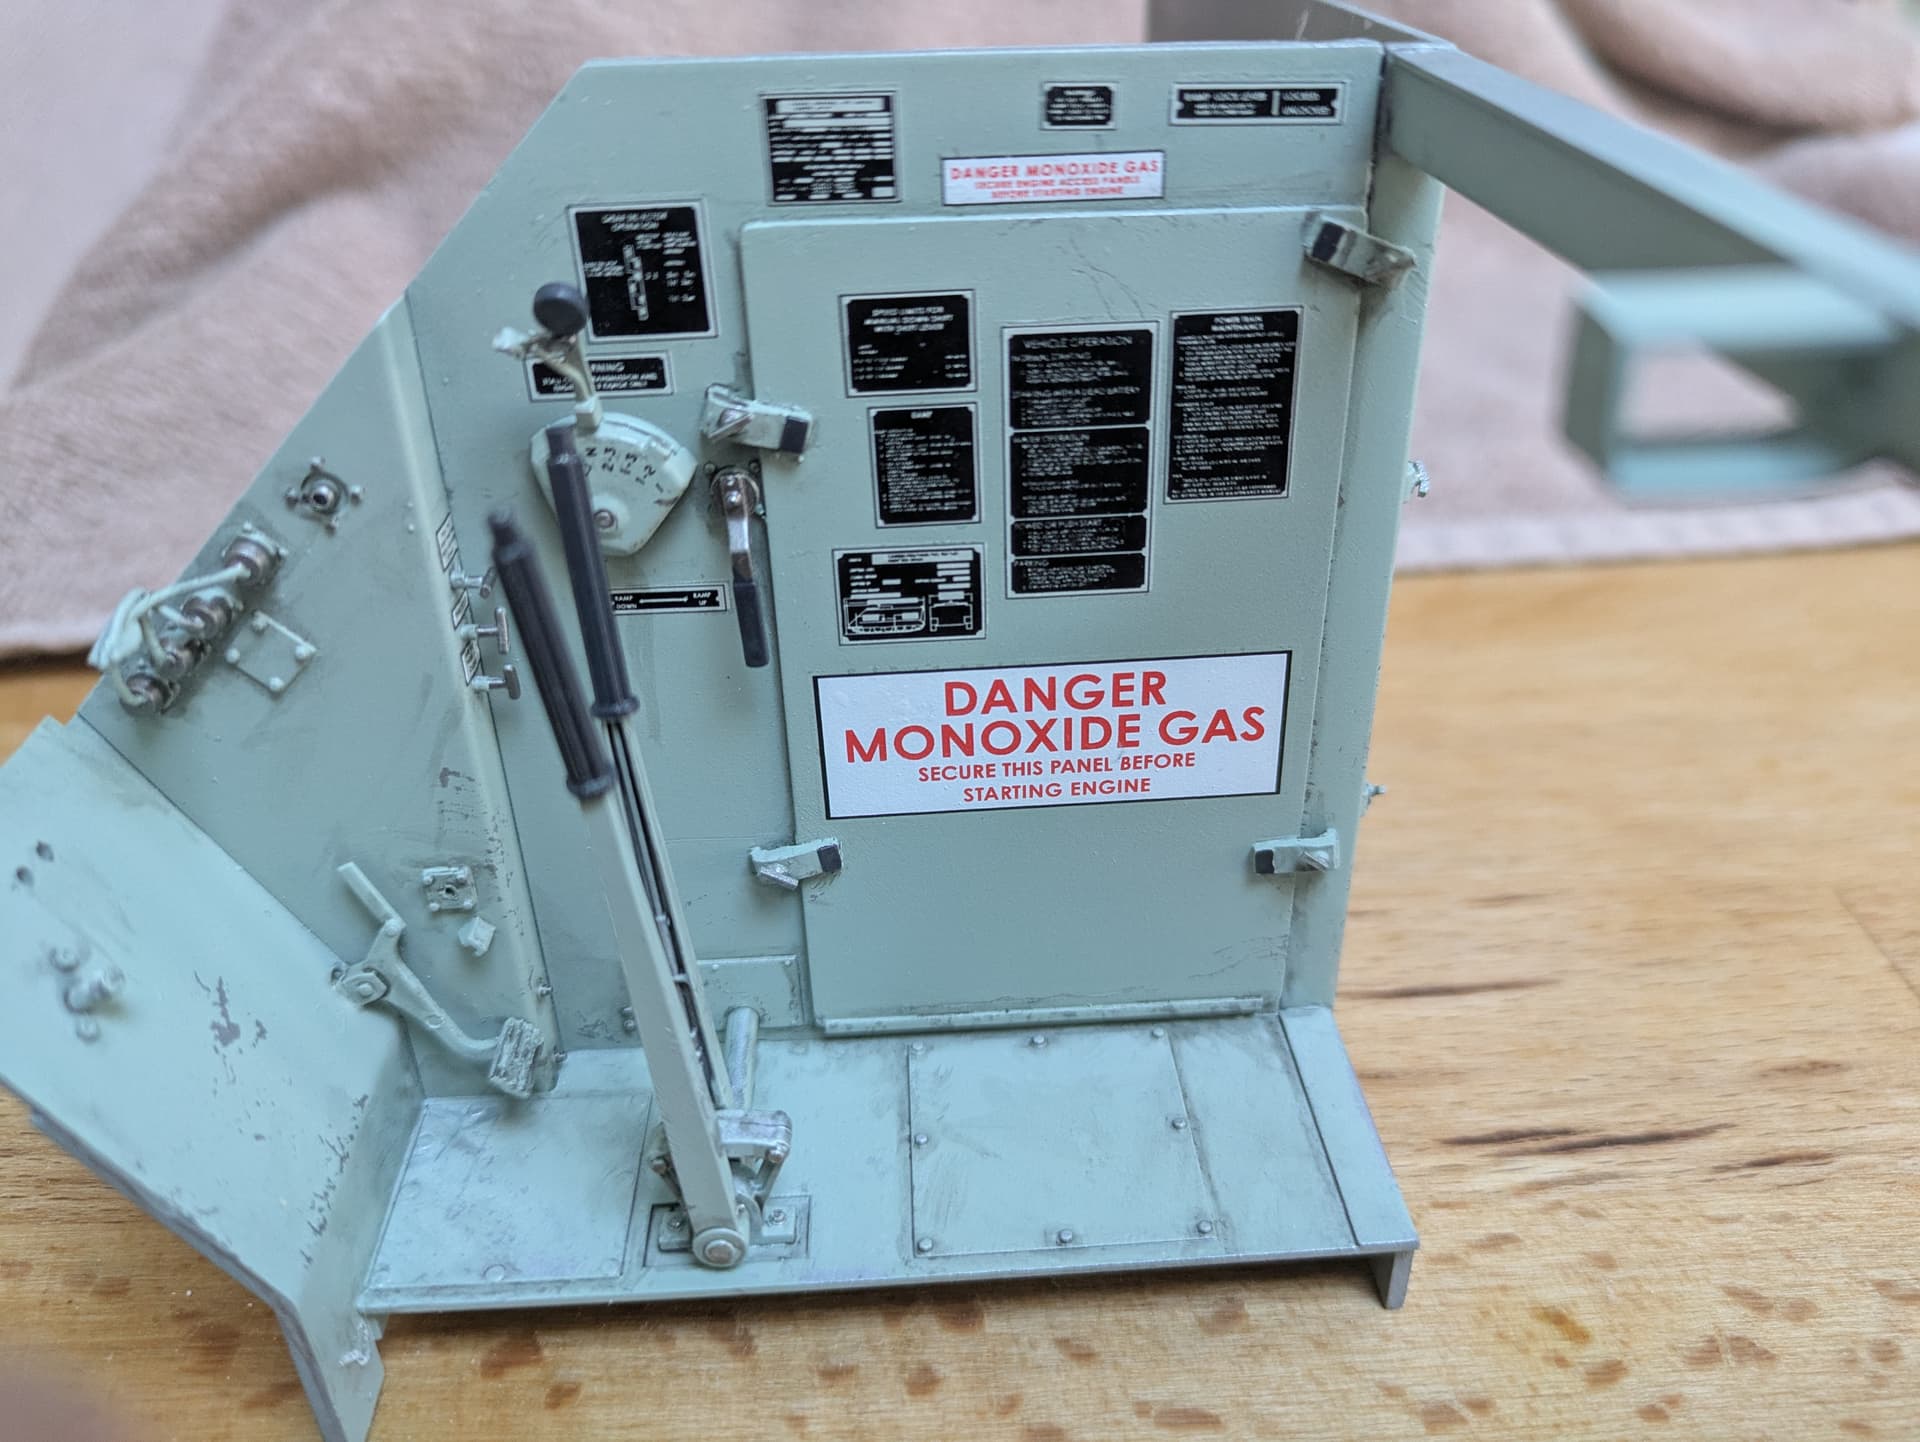
Edit: The manual for the M163 is scary and funny. Do not do this because YOU WILL DIE!!! My favorite part is a picture of a dead guy beneath the rear loading ramp. Yeah. Do not stand there. YOU WILL DIE!!!
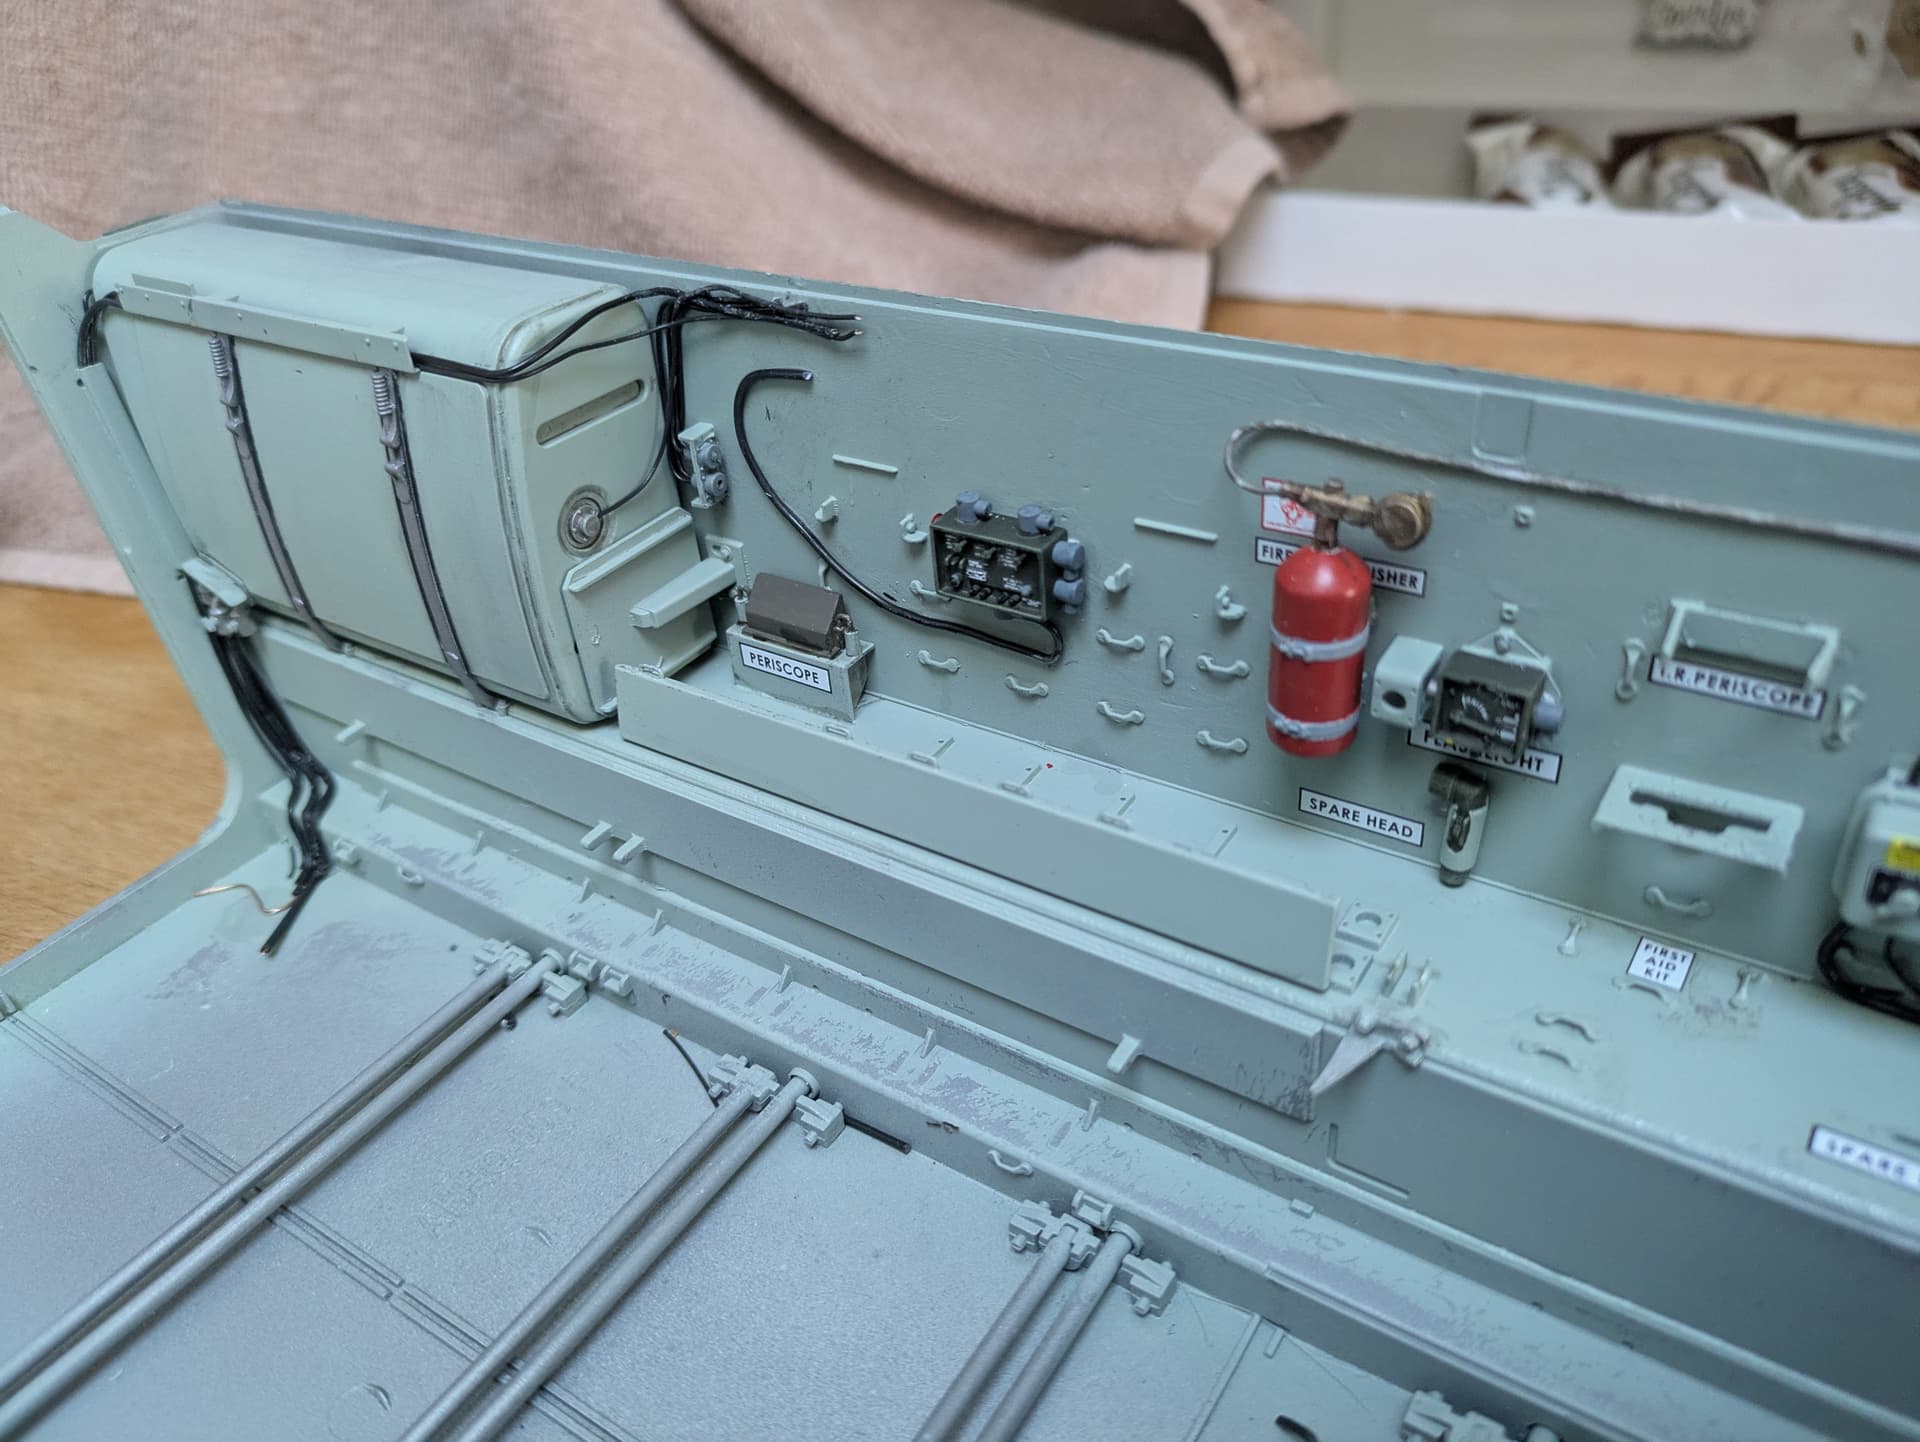
Been busy with my AHHQ M113 A1
I’ve been detailing as I much as I can and currently running cabling in between trying to place all the decals on radios and such its a sod of a job with old sausage fingers.
originally used Mission Models Surf green mixed with a little interior green to do the interior but I really didnt get on with it at all. It seemed to have no surface strength any thing lifted the paint straight off. I stripped i it back, thankfully water and dishwashing liquid ripped it straight off.
shot it with Mr Color Duck egg green mixed with a splash of intermediate blue to take the brightness off.
Keith
Did you also add in the Polyurethane mix?
Sausage fingers did well.
Keith that interior is looking spectacular. IMHO Mission Model paints belong in the dustbin. I was steered clear of them by a club buddy who bought some. They are difficult to spray and even with the additive, they have low adhesion and opacity.
Sounds kinda like Vallejo paints. One has to have the touch to make it work.
Vallejo have their own problems. Notably, they are tricky to shoot and - wait for it - they were not made for plastics. They are a latex acrylic (house paint) that is formulated for porous surfaces. That’s why you can’t sand them, it pulls up in little rubber balls. You can’t feather an edge with them. And you can peel it off a model in big rubber sheets with your fingernail. They do have a great marketing department though.
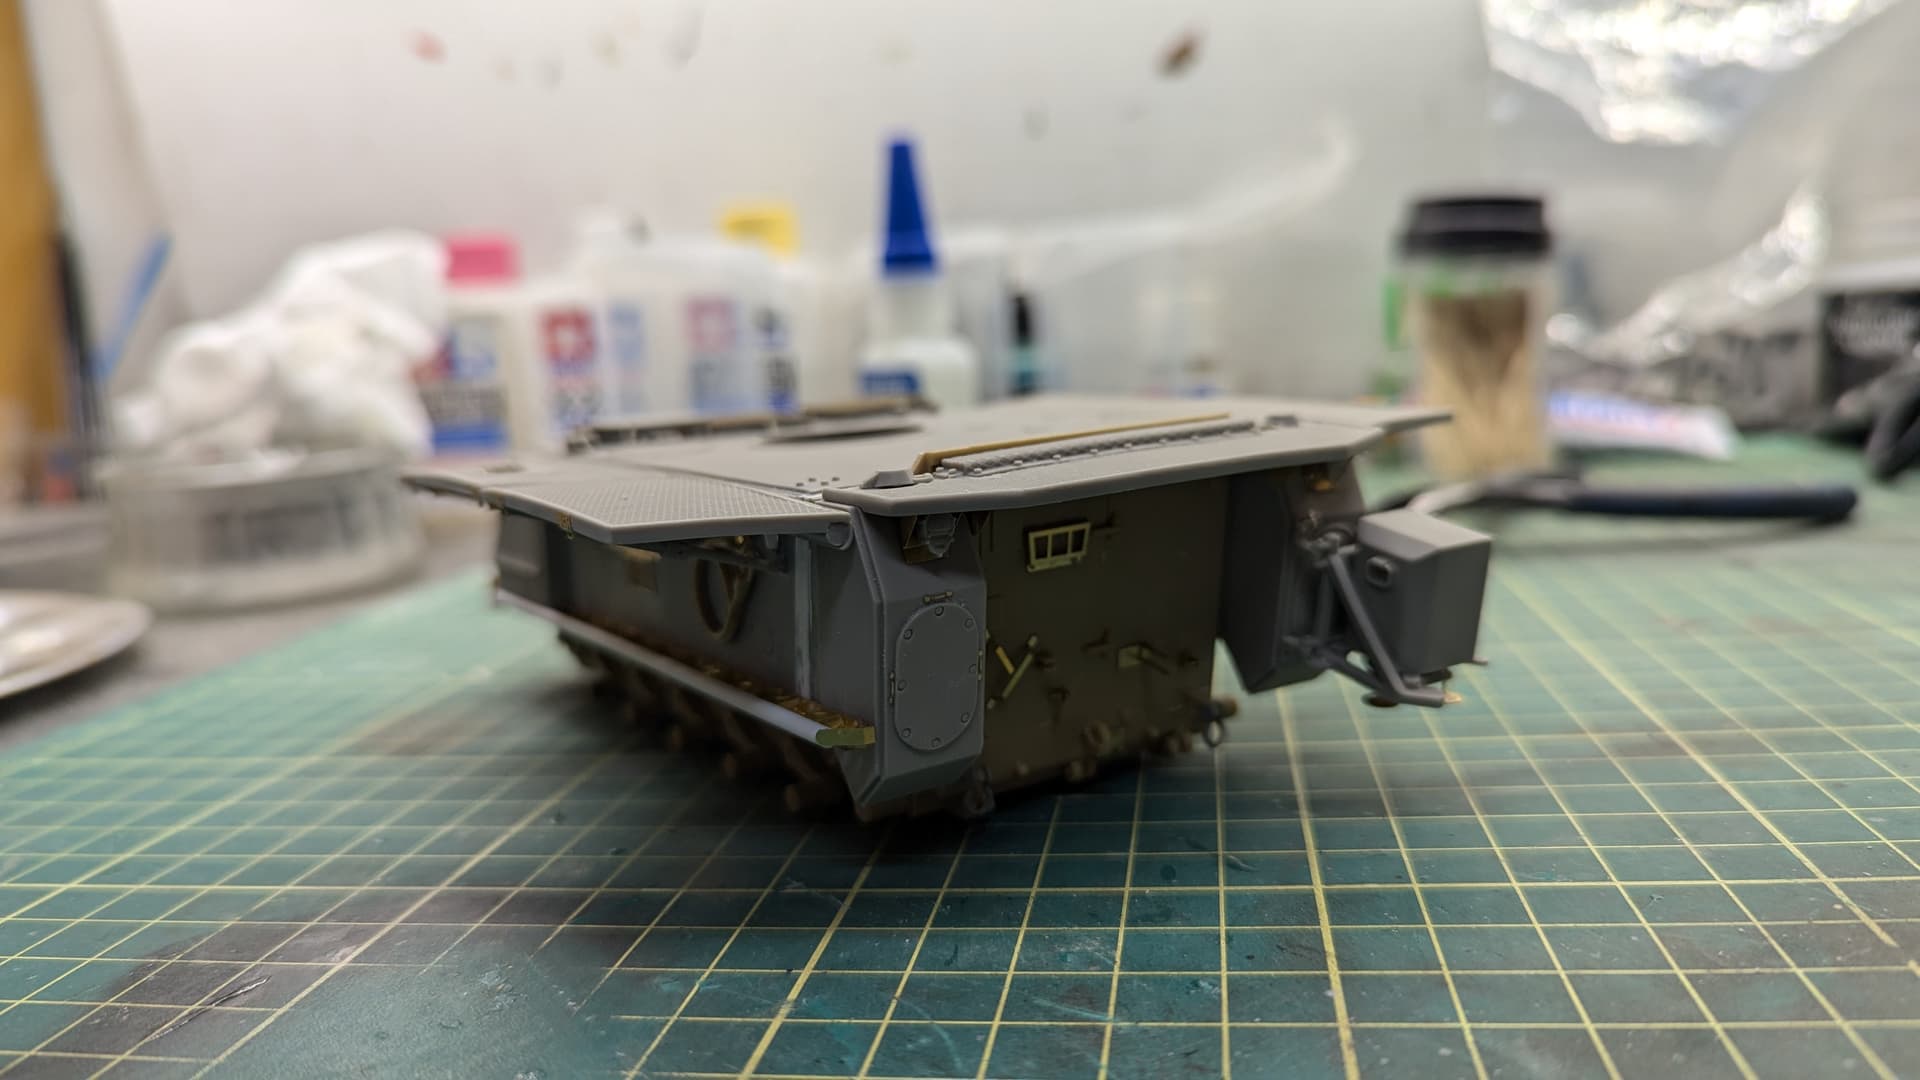
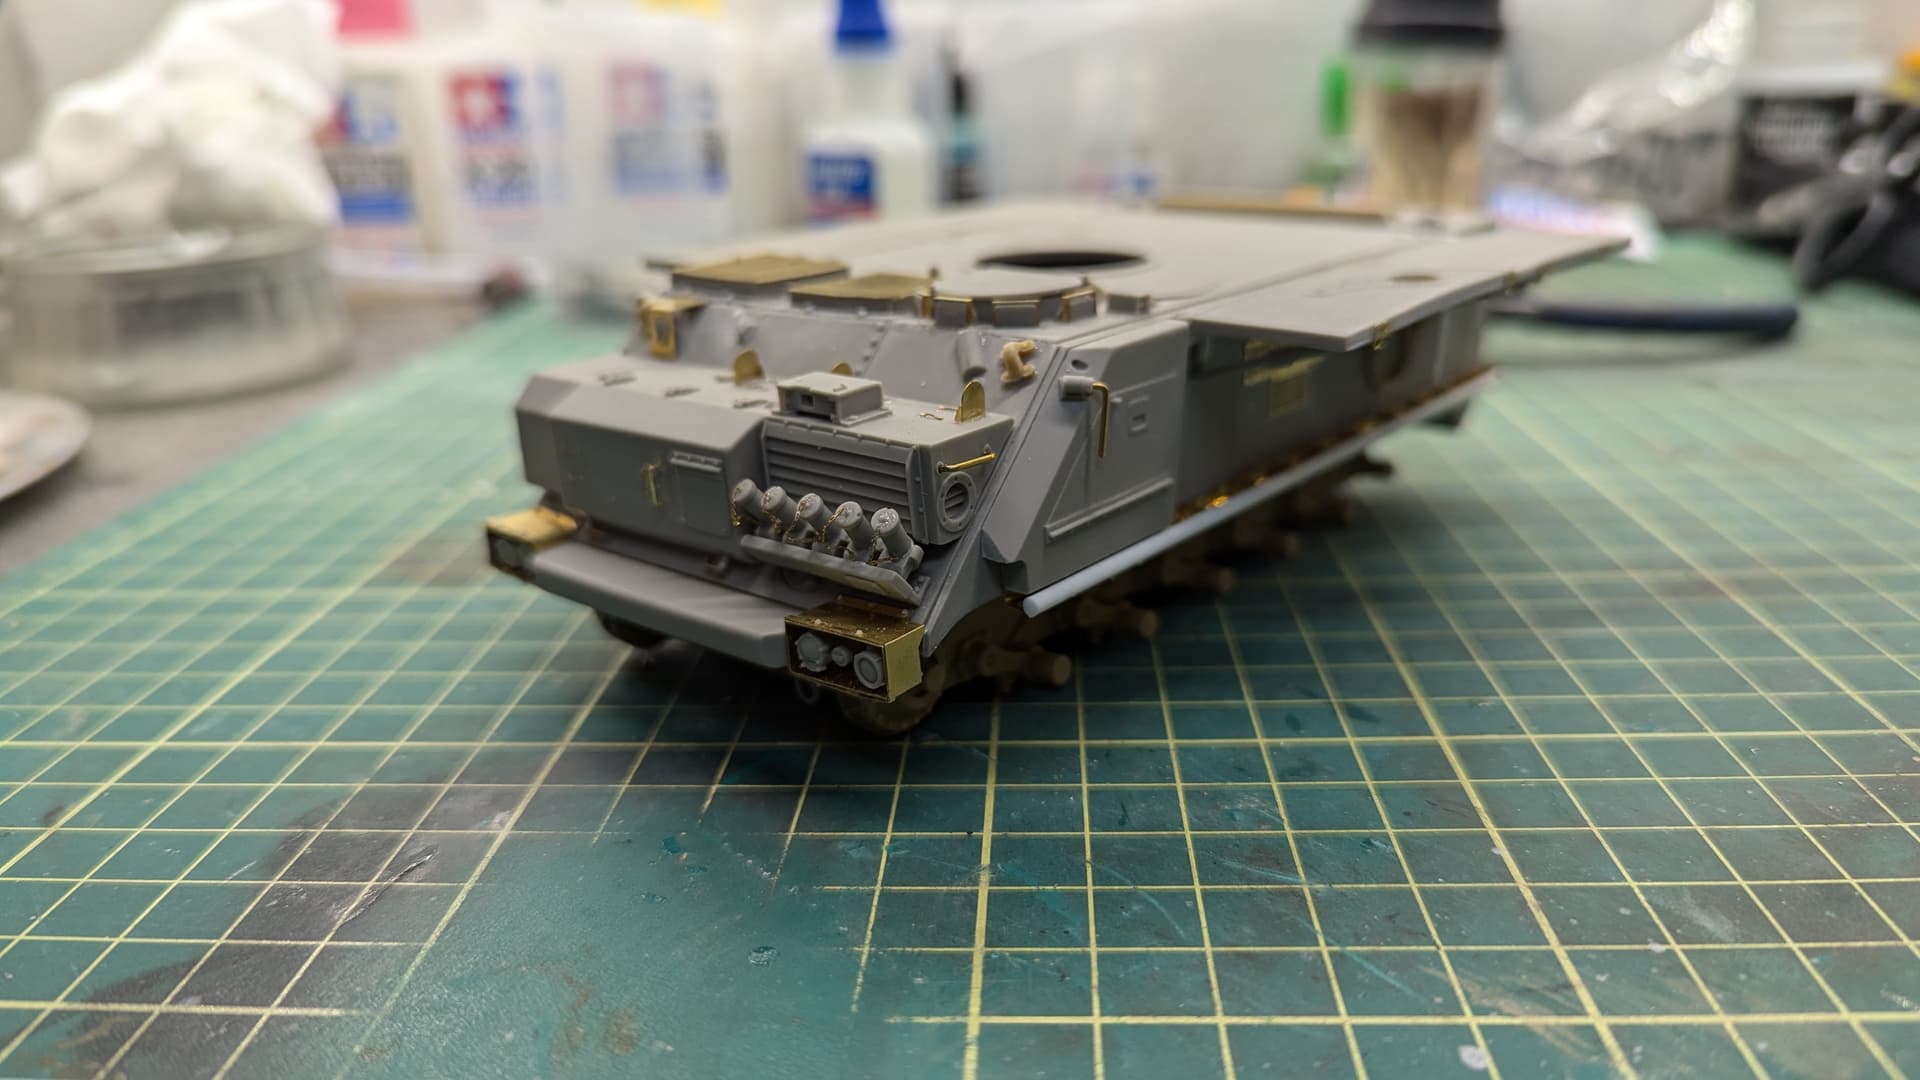
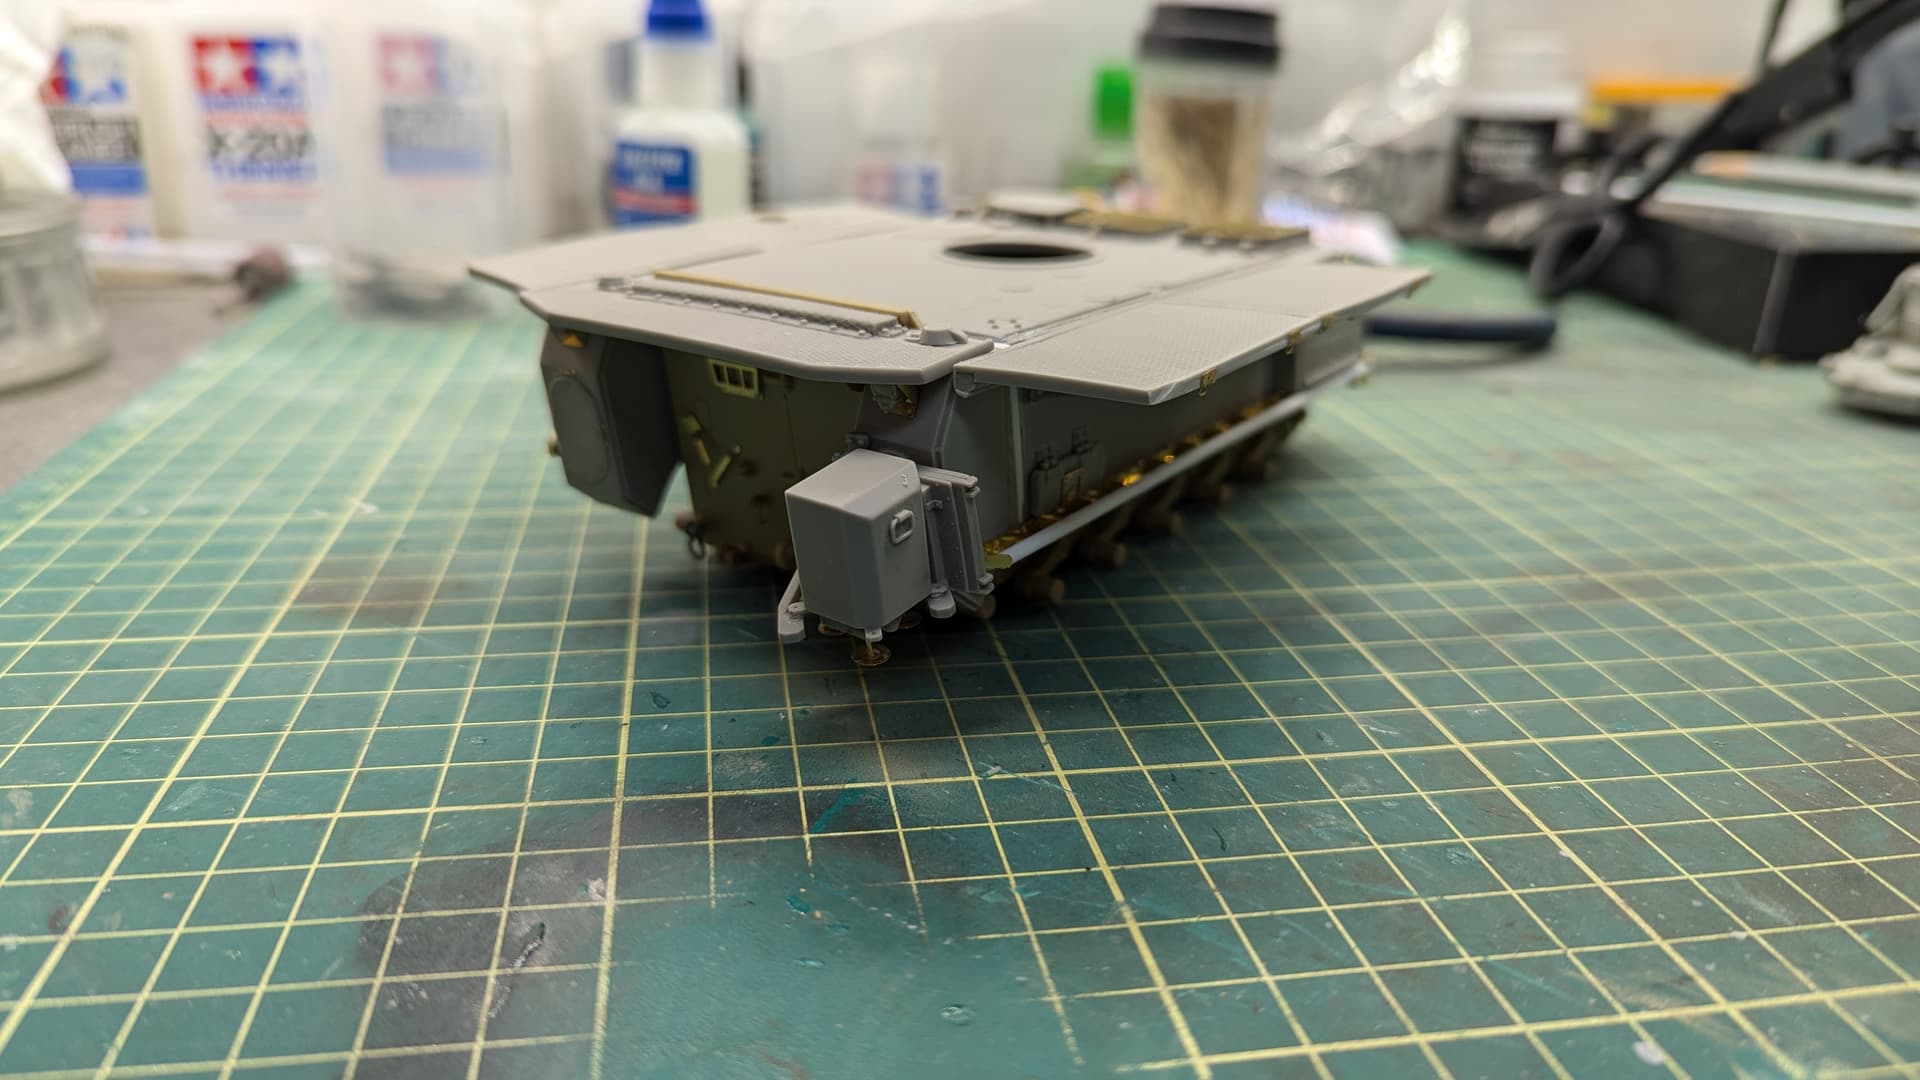
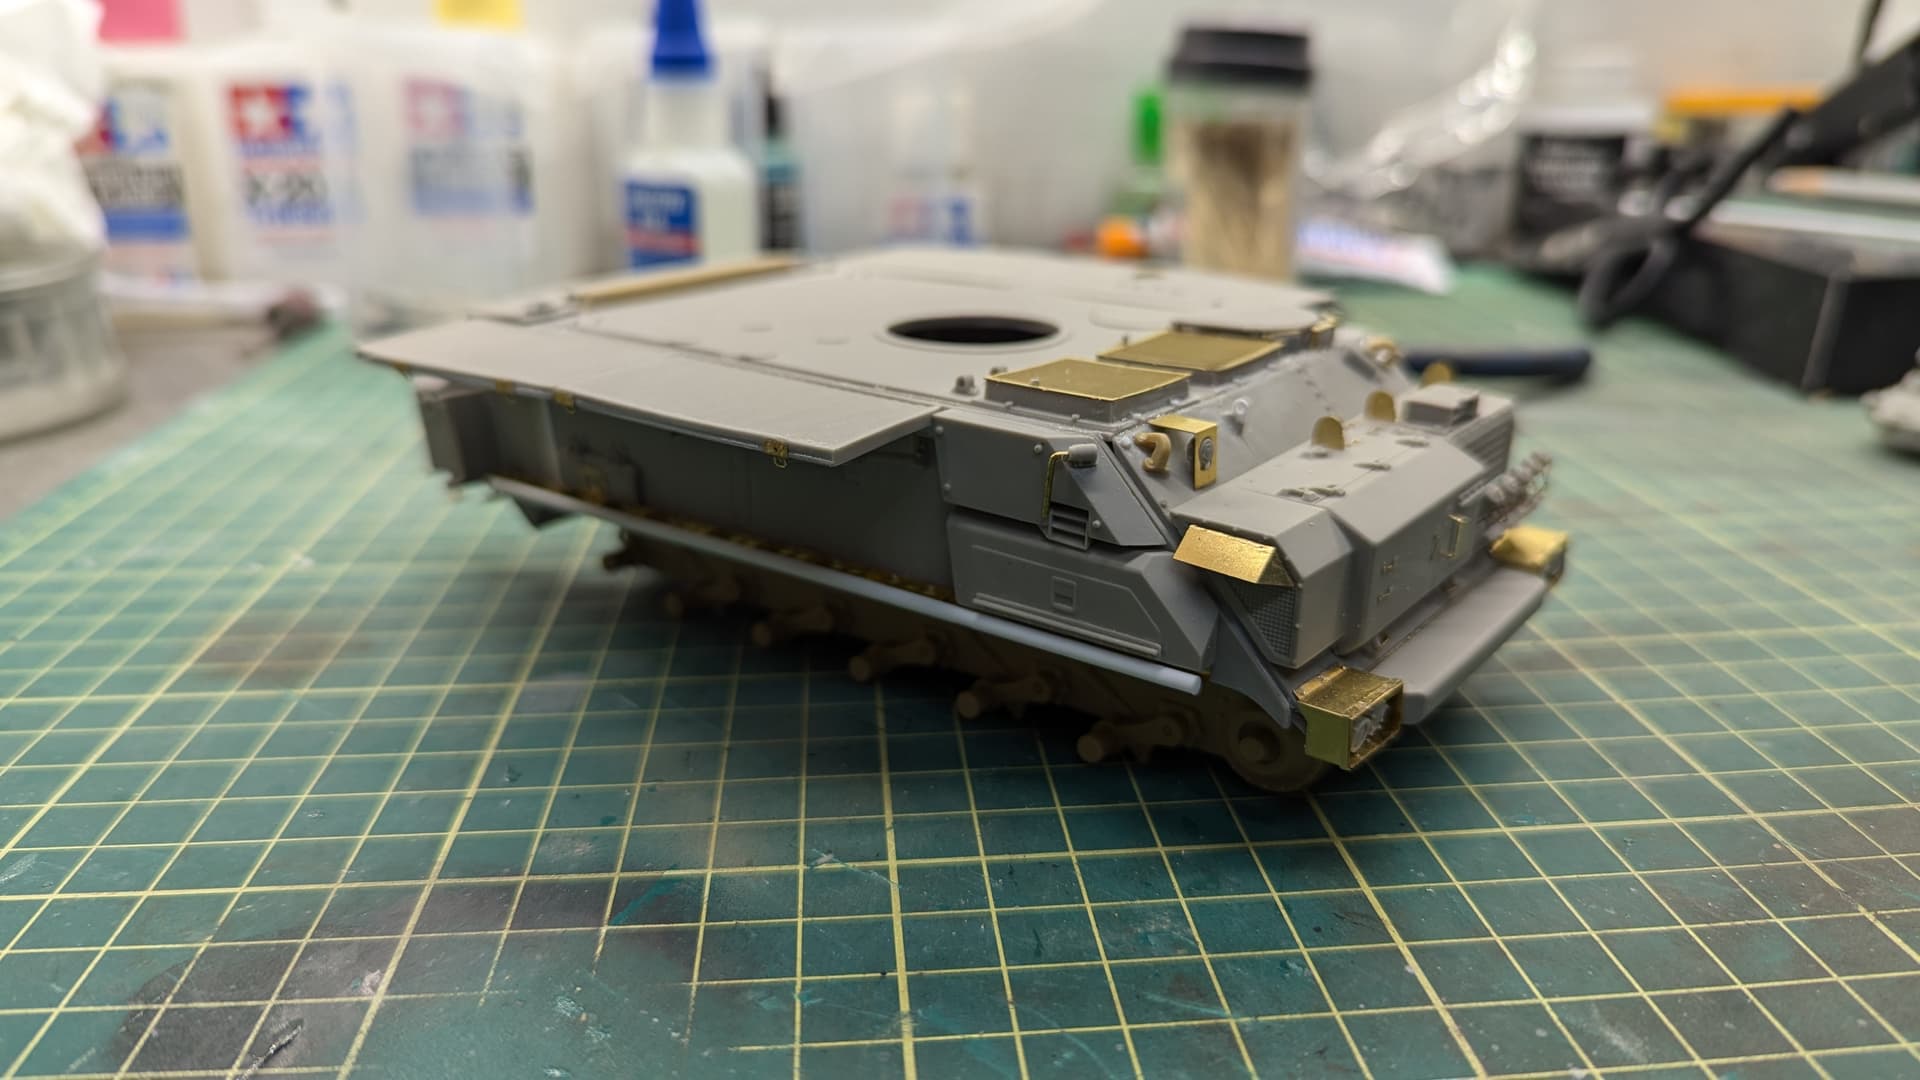
Academy M163
This turned out to be a typical Academy model–super frustrating. Right or wrong, all kit parts are assembled. It needs a strap on the shovel and a ramp under the ejection port, then off to paint it goes.
No I ddint know about it but the fact they were so poor to use means a lesson learned. They actually sprayed very well and covered well just didnt want to play once they dried I’m just glad they were so easy to remove.
Club members had the same issue and then had great results afterwords. Could be a case like Vallejo that a primer coat is necessary. Food for thought.
Do you know what they changed to improve their results ?