M113 Project - 1/16

A bad thing happened to me at the start of August. I was at a show and was tempted into an impulse buy. I came home with the AHHQ/Takon M113A1 kit…

Those of you with a (very) long memory may recall I used to run a website dedicated to the M113 back in the late 1990s, so the vehicle itself holds no fear for me and I must have built upwards of 30 1/35 examples over the years. But 1/16 scale? That’s way outside my comfort zone!

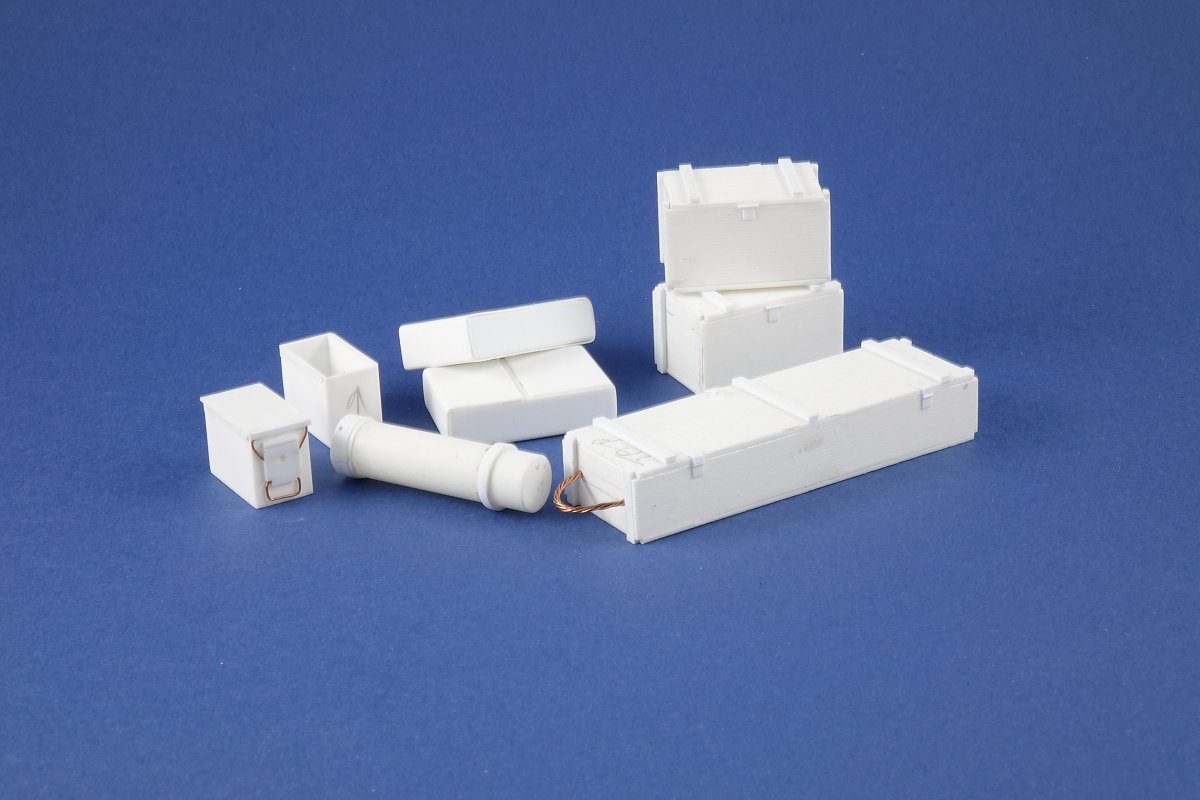
I’m going to try and record my progress on a semi-regular basis but this may be a long project so please don’t expect weekly updates. I’ll post when I have something worth posting. My plan is to do as much of the work as I can without recourse to aftermarket items. That includes most of the stowage, but we’ll come to that in good time.

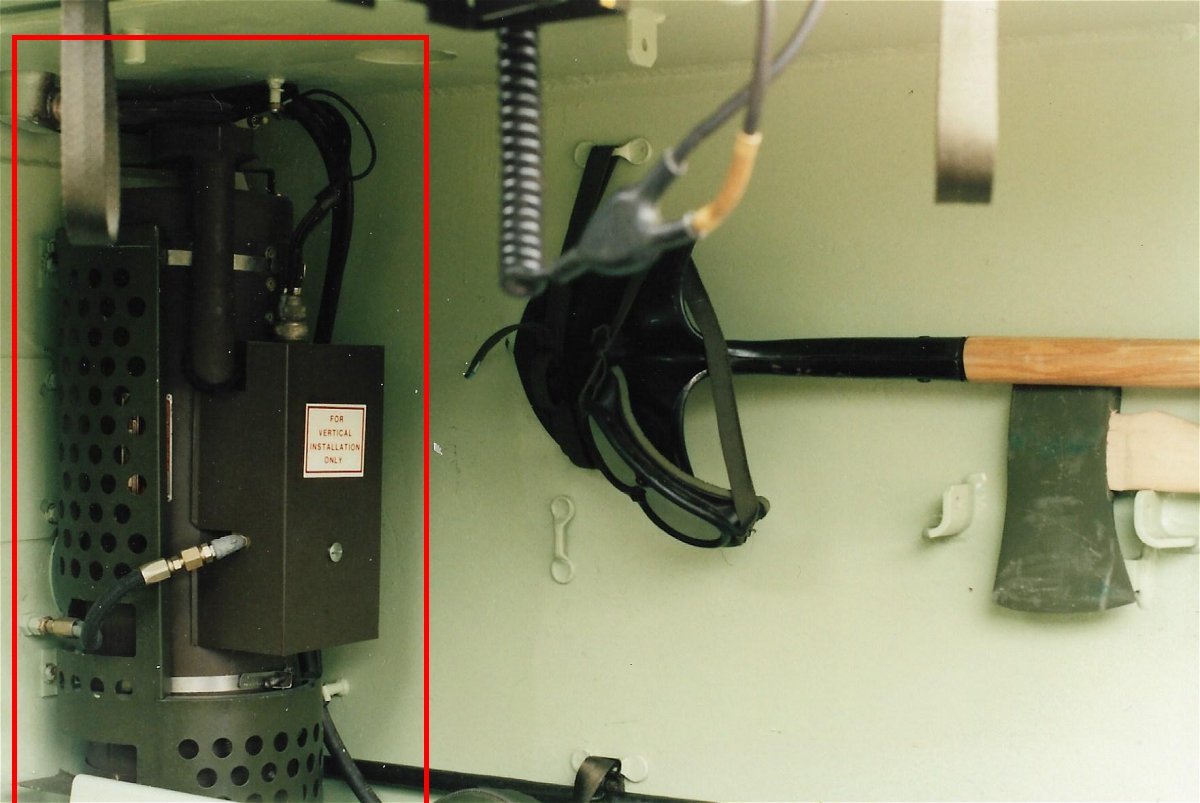
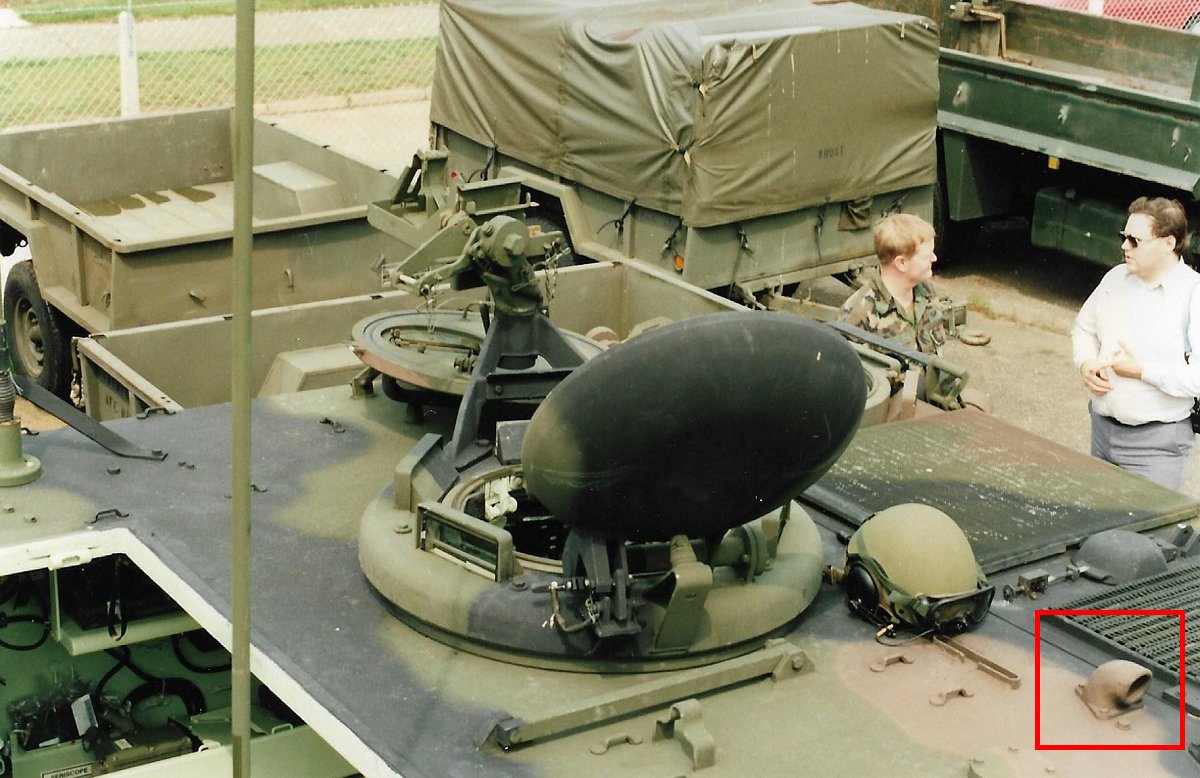
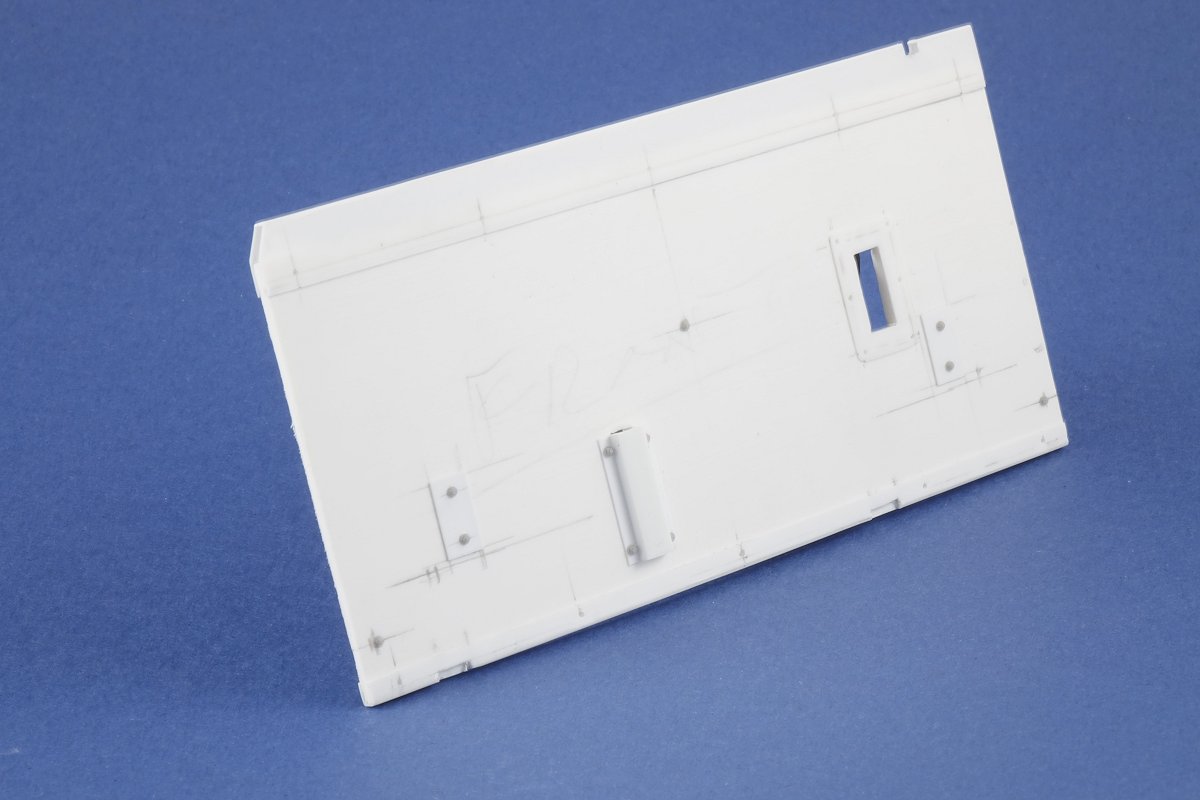
The kit has been reviewed elsewhere and it’s a great kit with plenty of detail. The problem is that in this scale, it has nowhere near enough detail for an obsessive like me. Immediate red flags from my perspective are that the fuel tank is not plumbed in; there is a lot of cabling and ducting missing inside the vehicle and the moulded-on cabling has just got to go, not to mention the kit’s splashboard being a compromise I can’t live with. Then there’s the fact it’s an A1 and I want to build an A2.

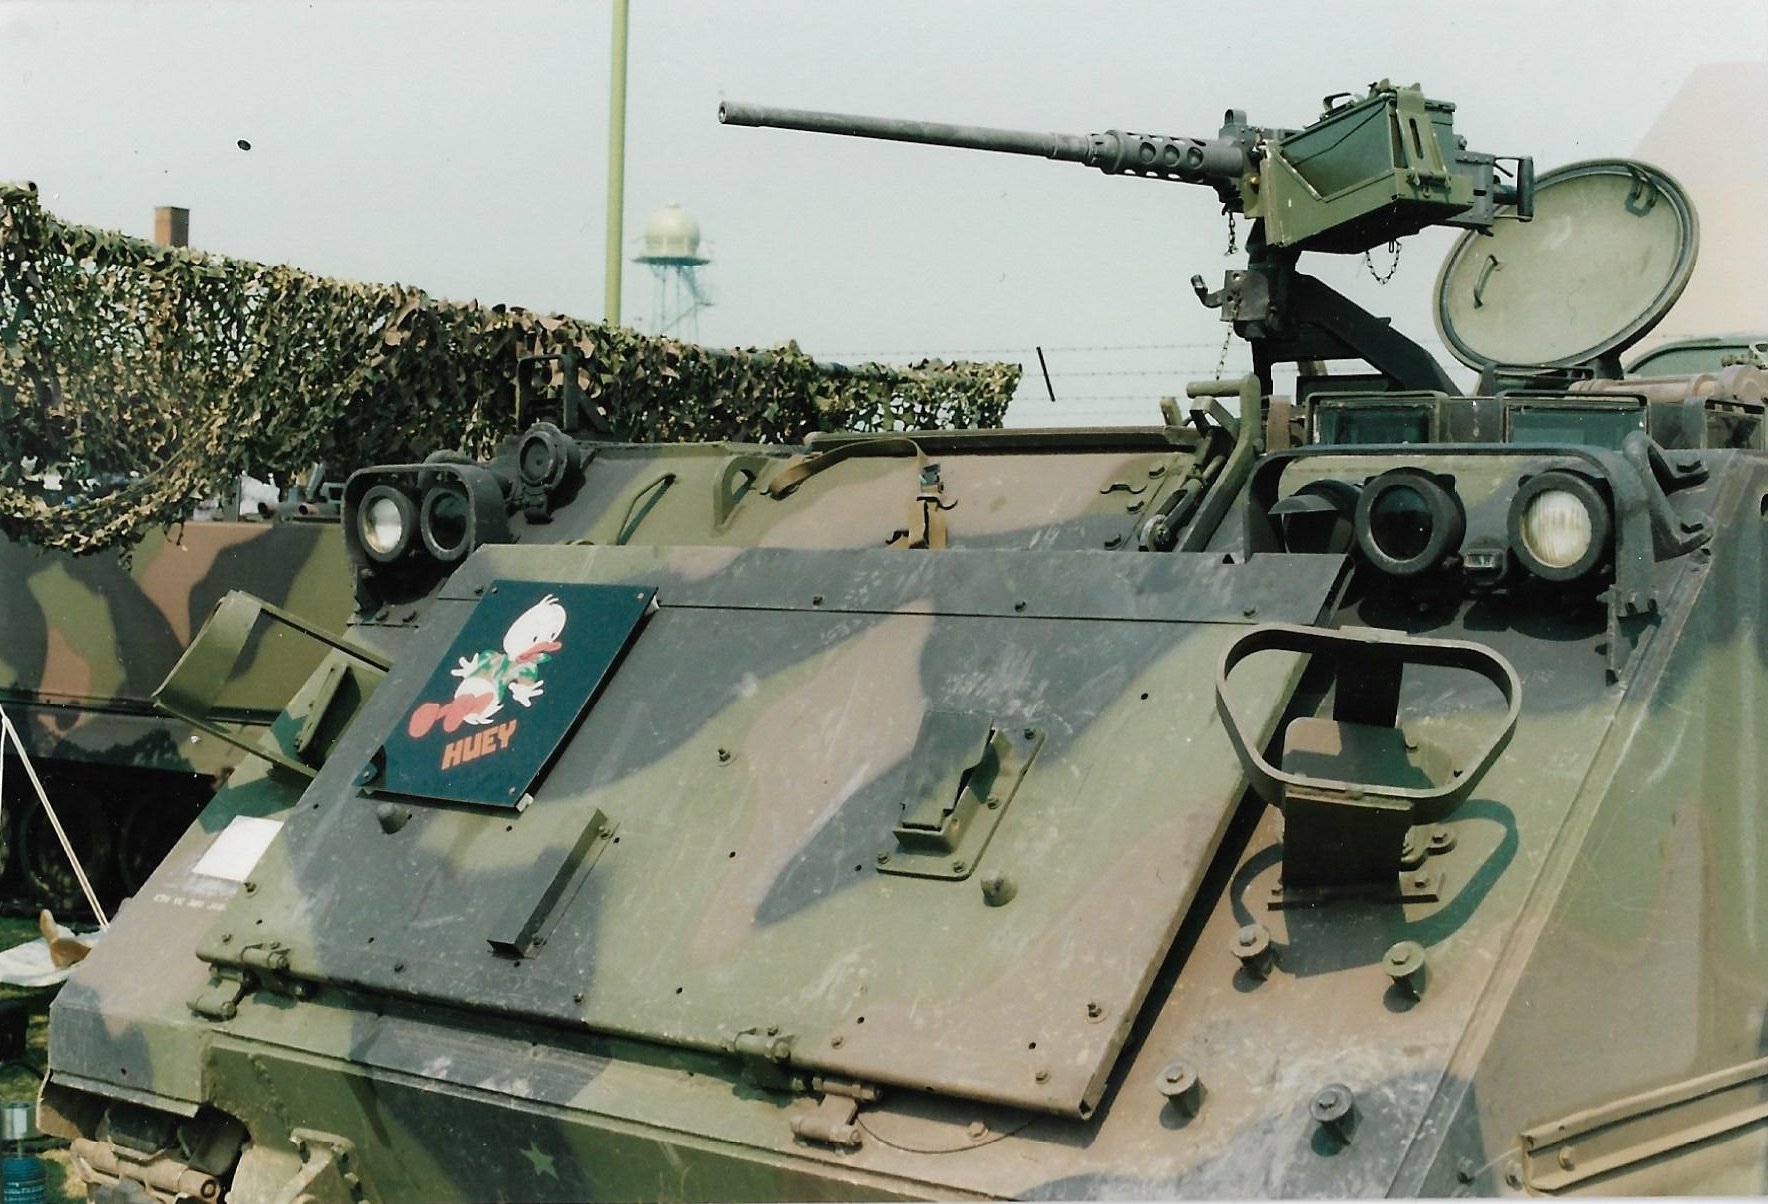
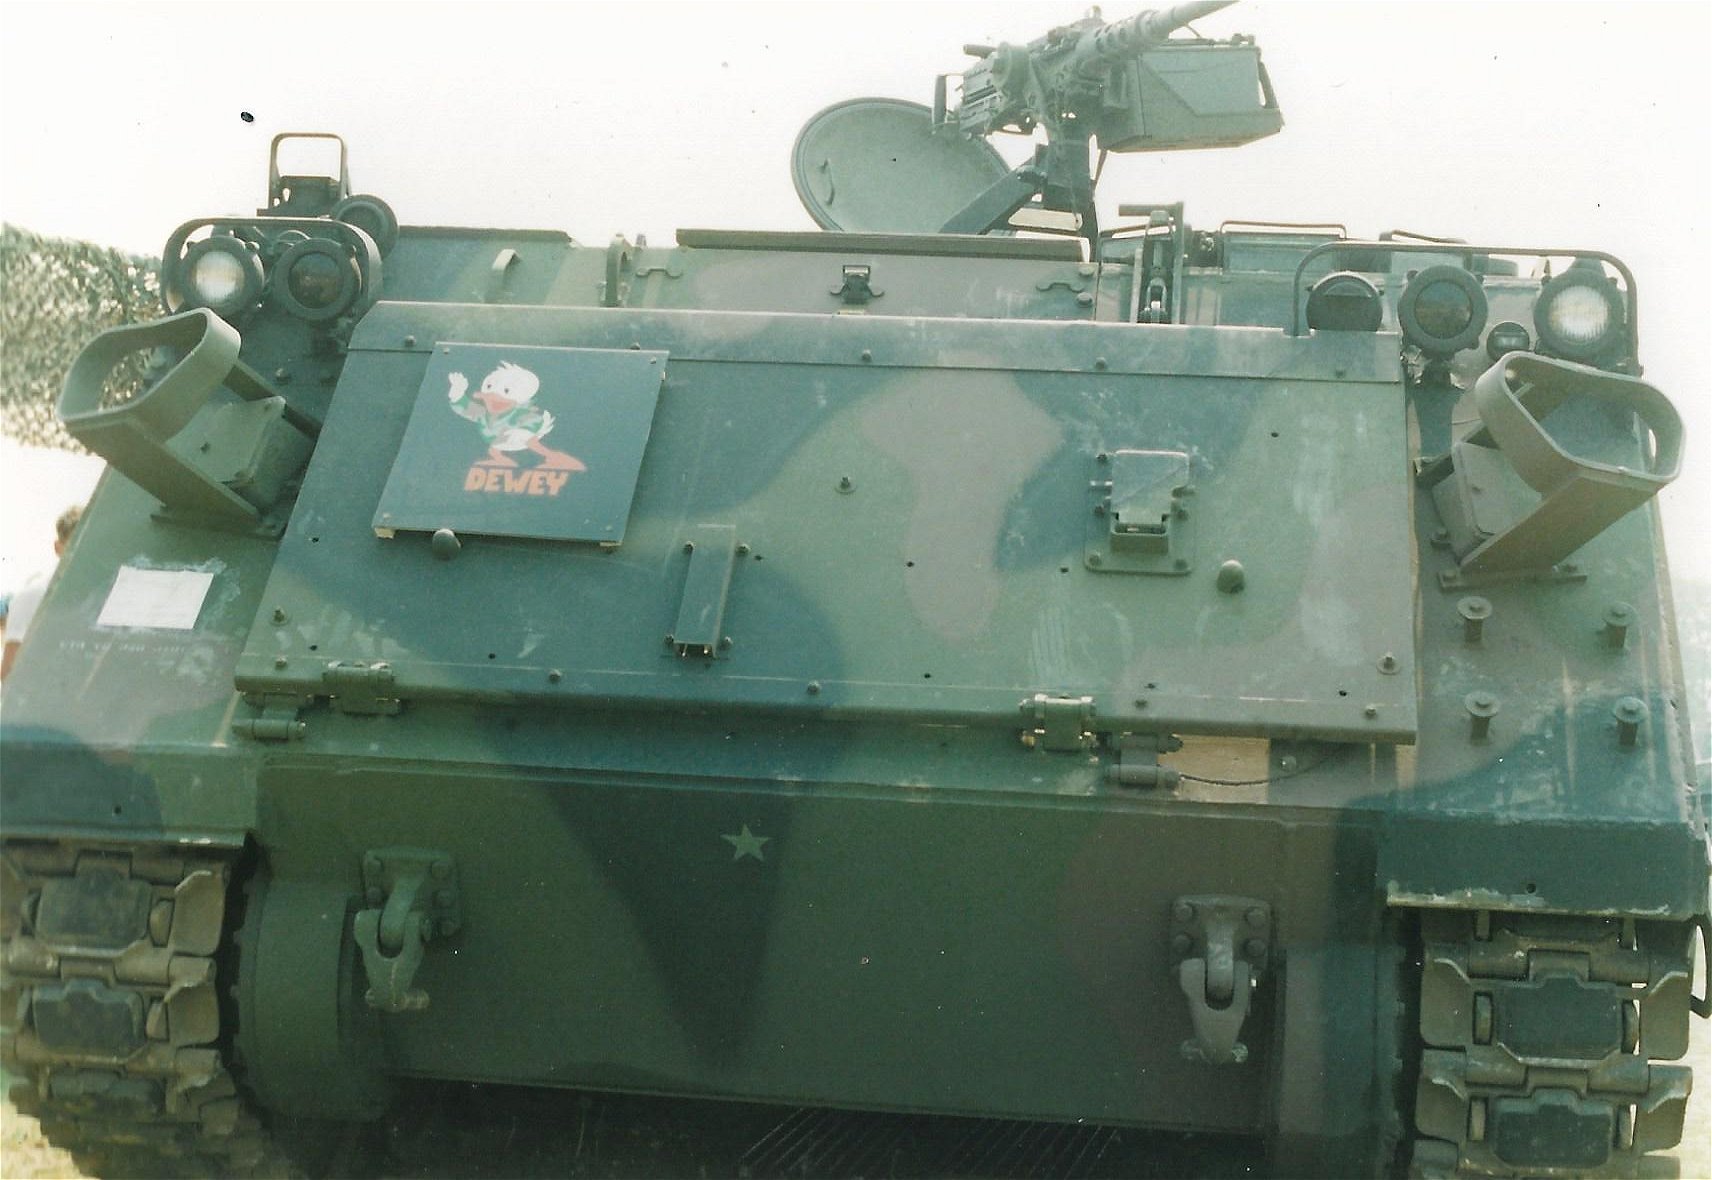
So where to start? Research, lots of research. I spent some time digging out all my books that cover the M113 and refreshing my memory. I also rediscovered a couple of walkrounds I’d done in the 1990s so I’m going to start by introducing to my friends Huey and Dewey, and their pal Red Nose (British modellers will recognise the visual reference). I’ve also started work on the fuel tank. The pipes are loose at present because when I fit the tank I will want to guide them down and along the floor edge.


18 Likes

Got to have fuel

1 Like

Go John! I am looking forward to following this, and what you do. If you need help on research, I will offer what I can.

1 Like

Looking great John.I seem to recall that you did some 1.35th ones in Military in scale magazine,Belgian and Danish versions if my memory serves me right,Danish and Bundeswehr versions in 1.16th would be great to do.
Happy modelling.
Richard

1 Like

John, it looks and sounds like you’re off to a great start on a fun build. I had the pleasure of working on one of the three (Chrysler, Northrop, Emerson) bid proposal vehicles for what became the M901. So, SOMEDAY, I’ll dig out my copies of the drawings I did and do one in 1/16 scale. Good luck and have fun!!!

1 Like

Thanks all for the kind words. Yes Richard, I used to have a fair menagerie of M113s from different nations - Belgian versions with two commander’s cupolas and a Milan launcher, German Green Archer and a Beobachtungs artillery obsevation version, at least one Australian vehicle with a T50 turret, assorted IDF variants, plus the usual array of US variants and camo schemes (I won’t mention the projects that never got finished… :slight_smile: ). Most of them have long since to the great motor pool in the sky, but there are a couple still lurking in storage.

In an effort to configure my mind to operate in a different scale, I have started to fabricate some of the stowage I’d like to use. I’m very much a build-it-by-eye modeller than someone who obsessively measures things. If I have some basic dimensions or if I can use something as a clear dimensional comparison, I can take a good shot at fabricating it. Once I get into the groove I tend to trust my instincts about sizes and proportions - it isn’t an exact science and I don’t always get it right but it works more often than not.

Here we have a two-round box for M68 105mm rounds, a couple of grenade boxes, a couple of first generation MRE cartons, a couple of .50 cal 100-round boxes and an attempt at a 203mm howitzer propellant tube.(not entirely happy with it so I may make another attempt at some point).

4 Likes

Nice work on the fuel lines and tank so far. I was surprised that AHHQ missed this and the rest of the rear ramp cable mechanism as its in your face when the ramp is down.
Although I’m on the home straight with my kit I’m going to be following your build with great interest.

Keith

1 Like

As a junior/mediocre modeler here, I want to emphasize this for any other “dabblers”.

I am maybe 15-20% through my 1st ever 1/16 kit, also AHHQ/Takom, in my case M3A1 Half-track.

I have built many dozen 1/48 and 1/32 aircraft, for switching scales there are differences, but minor, so I thought that moving from 1/35 to 1/16 (armor) was similar.

It is NOT!

I’m not saying do not try, do try. Just know it is a major change.

1 Like

I think it depends on the modeller. I built exclusively in 1/35 scale for years but for various reasons decided that 1/48 was a better choice about 10 years ago. I don’t regret that decision and I rarely build anything outside 1/48 scale now.

Again, others may differ, but I find that once I ‘train’ my brain into working in a particular scale, it becomes second-nature to estimate sizes and proportions without having to think too much about it. Therefore jumping to a different scale takes me some time to re-adjust.

I’m always impressed by people who can chop and change between scales without seeming to have to make the leap of faith that I do :slight_smile:

4 Likes

A little bit of a weekend update (and a bit of a rant).

The more I dive into this project, the more things I’m finding that ‘need’ to be dealt with (i.e. I personally feel the need to sort them out - other interpretations of the level of ‘need’ are of course entirely acceptable, depending on your preference!)

There is no electrical ducting on the ceiling of the troop compartment, or in quite a few other places too.

There are also a number of equipment hooks missing from the ceiling (the type that headsets and stuff are hung from).

The external fire extinguisher pull handle housing is more common to mortar carriers (but not unknown on APCs). Most M113s have a simpler square box housing in the same location.

The aerial guards are reminiscent of the Tamiya kits with the ‘welds’ pre-moulded onto the hull roof and the guards themselves don’t have the correct bent-bar and bolt fixngs. In the photo below, note how the rear guard (nearest vehicle) is fitted to the roof. Also note that the guard next to the driver’s hatch is attached differently to the rest (far vehicle and just visible on the nearest vehicle).

I simply cannot get my head around the attention to detail lavished on the torsion bars when the troop deck was not moulded to allow the chequerplate panels to be removed to show them off.

Why mould the mounting plate for the radio onto the shelf when it has to be painted the same colour as the radio set (and the plate looks too thin anyway)?

There is no heat guard to wrap around the heater in the troop compartment. I’m no great fan of photo etch but this would have been an ideal use for it.

The ramp release bars are moulded to the ceiling when they should be hanging slightly below it.

No bench cushions! A man of my age needs his creature comforts…

To be clear, most of these issues are not difficult to fix, but it feels like the design dollars could have been spent smarter, instead of on detailed parts that are going to be entirely invisible on most finished models (the torsion bars).

On a positive note, looking at the parts breakdown, it seems clear that the kit has been designed with the possibility to release an A2 in mind. Whether this ever sees the light of day only Andy will know.

The main engine firewall includes the crossbar that allows a two-part access panel to be fitted. The location hole for the second(?) heater exhaust vent behind the engine deck (see below) is there, but flashed over. Changing the rear fender to the later flat type (without the fuel drain channel) just needs two replacement parts to resolve, given the way they are broken down. I can’t see any obvious preparations for adding the shocks on the second roadwheel stations but it wouldn’t be difficult and the separate rear idler fitting should allow them to be raised to the A2 height.

Finally, some actual work. I built a new splashboard over the weekend. The kit part is well detailed but completely solid. The upper metal edging should form a hollow channel all the way along the top. I also took the route of laminating several thin sheets of card together to build the main panel. This will be an attempt to replicate the laminated plywood that the real one is made from. I’ve also made a start on replacing the ramp release bars but haven’t photographed the work yet.


2 Likes

Looking forward to your latest progress, it looks great so far

Keep at it.

I spoke with Andy and the gentleman from Das Works at the IPMS Nationals in Madison, WI in 2024 about this kit. They both SWORE there would be NO A2 version or variants coming out for this kit. Apparently it was a bit of a struggle to make, with pieces having to be reworked before the kit was released. So it is up to us to make the changes, upgrades, and conversions needed for this. Making an A2 conversion is on my list of things to do.