Hi all
I have just started my new project. I must thank all the members who helped with the camo scheme in this topic
The kit has been released after the two early versions of the M114. It comes with no interior. The box contains 6 grey sprues, 1 clear sprue, 1 plate of PE parts, 1 vinyl cannon feeding chute, 1 sheet of decals, 1 length of braided brass wire and the instructions booklet. Takom give 4 decoration options: 2 plain green with different green references and 2 Masster camo. All the vehicles were stationed in Western Germany.
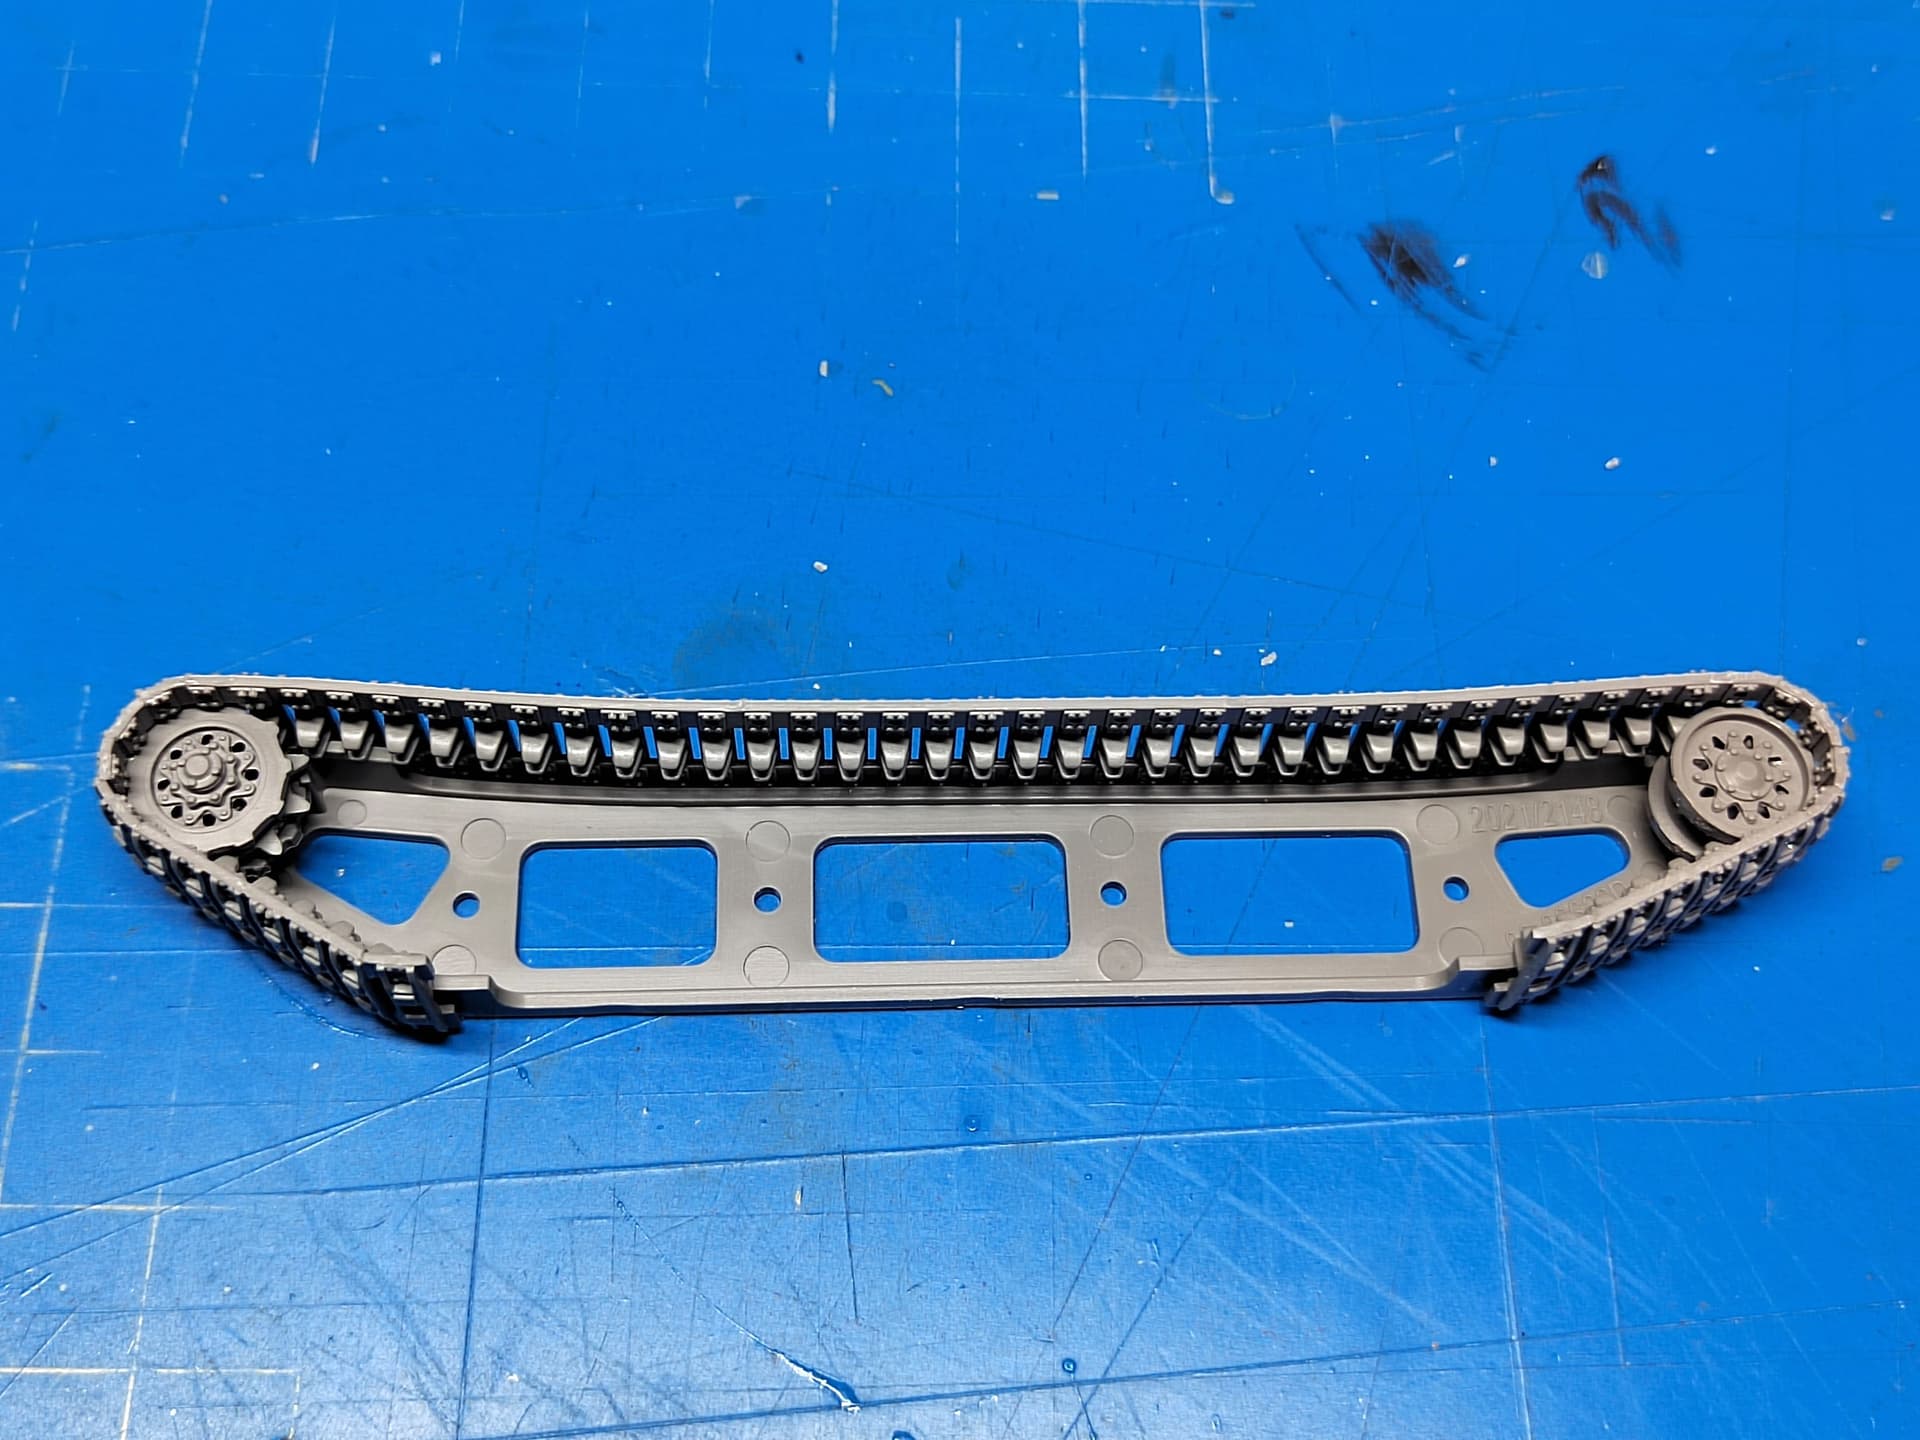
The quality is standard of Takom with great details, tiny molding lines but still large sprues even though the attachments are thinner than in their previous kits. A jig is provided to assemble the tracks (lengths and links type) and it is necessary to use it.
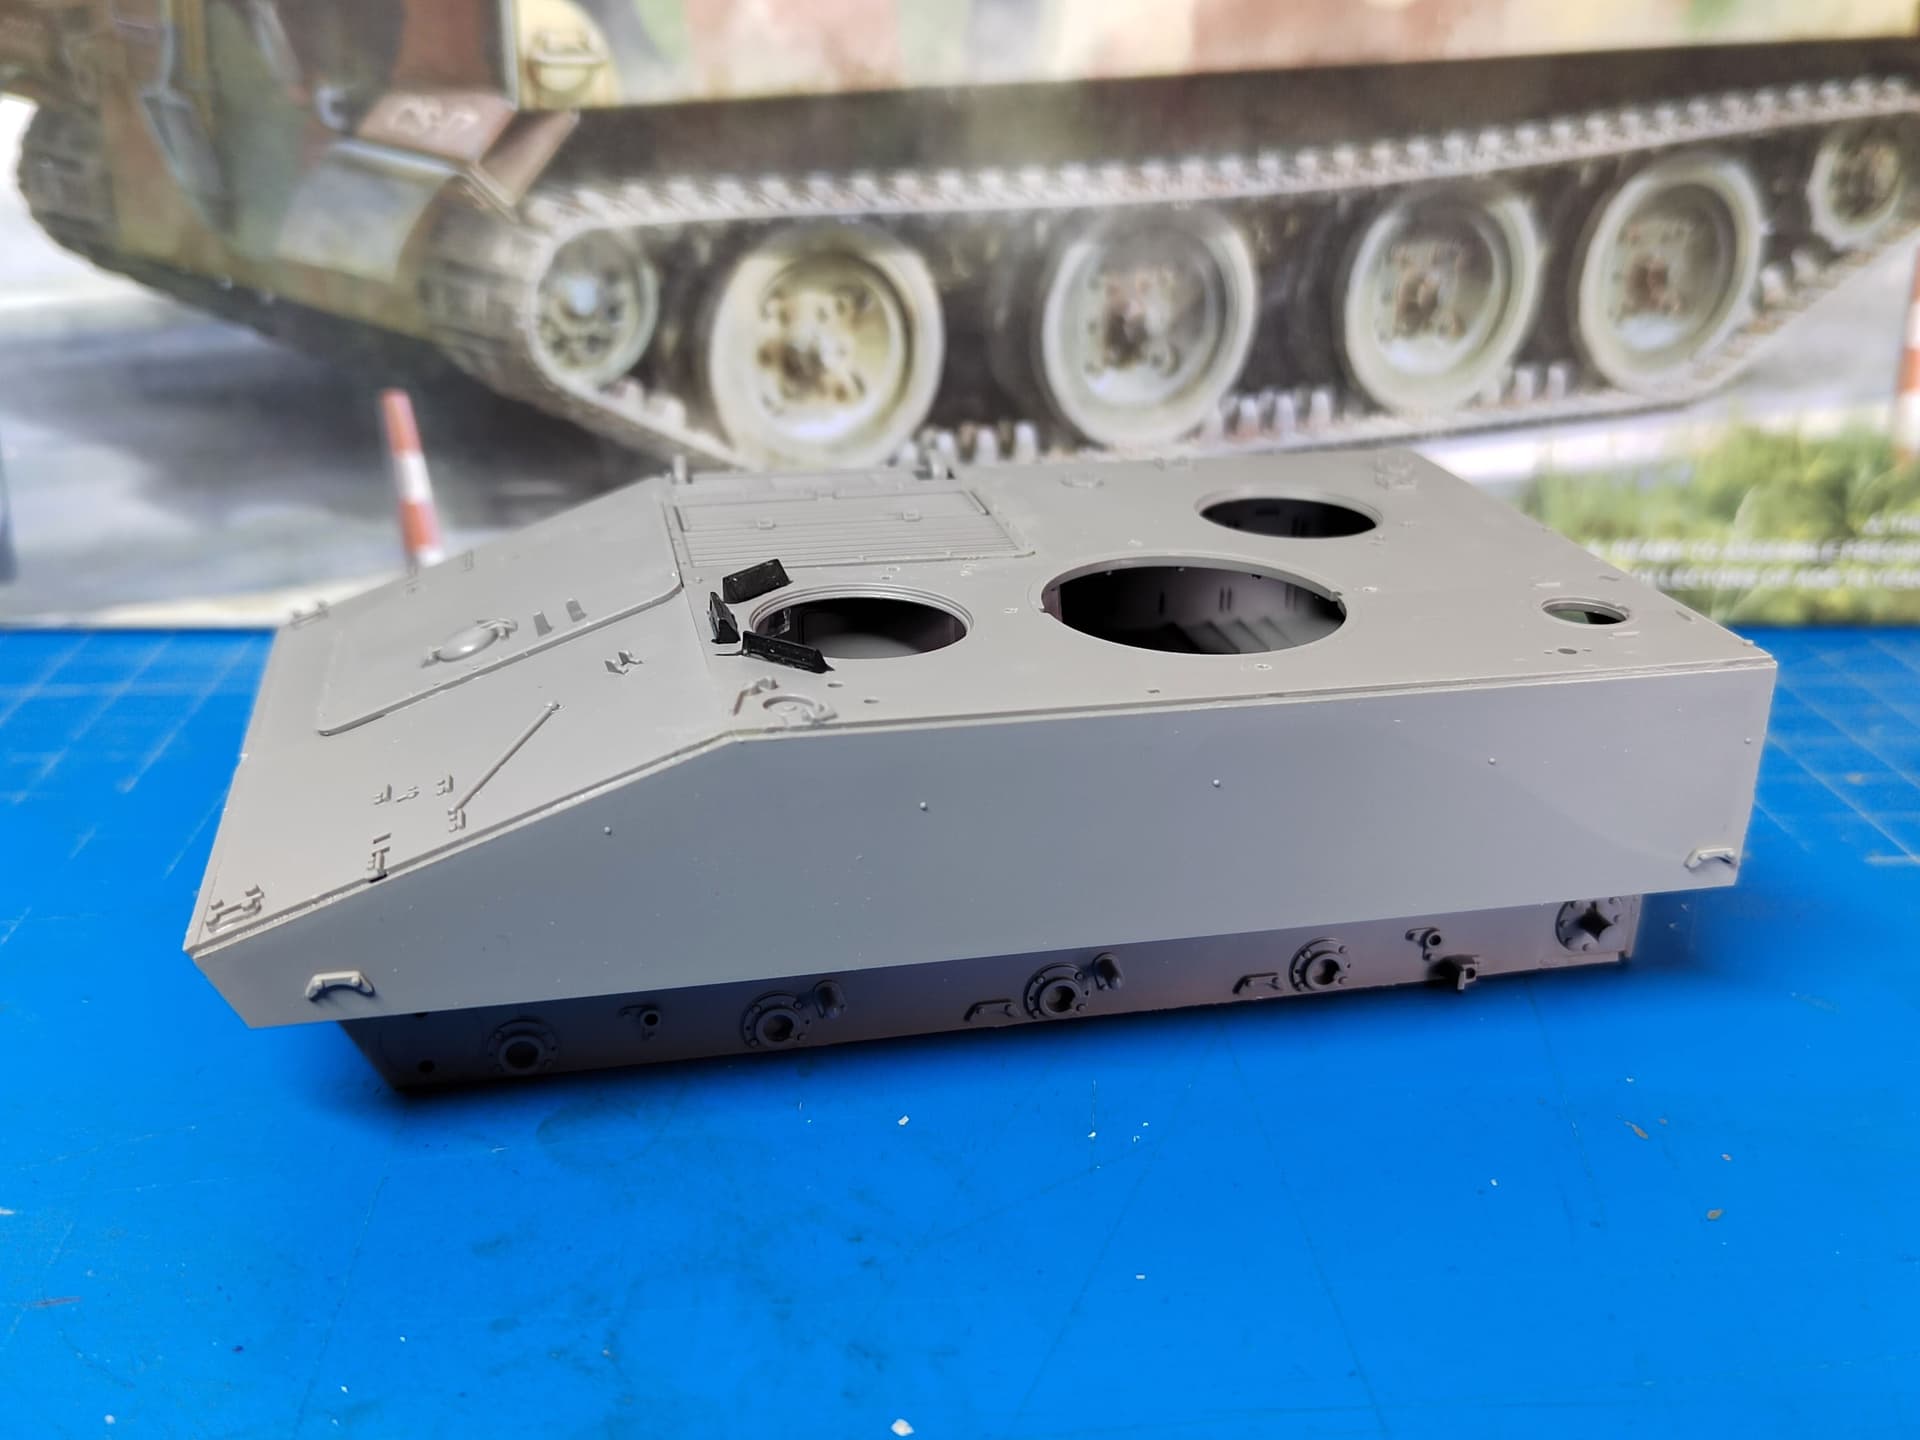
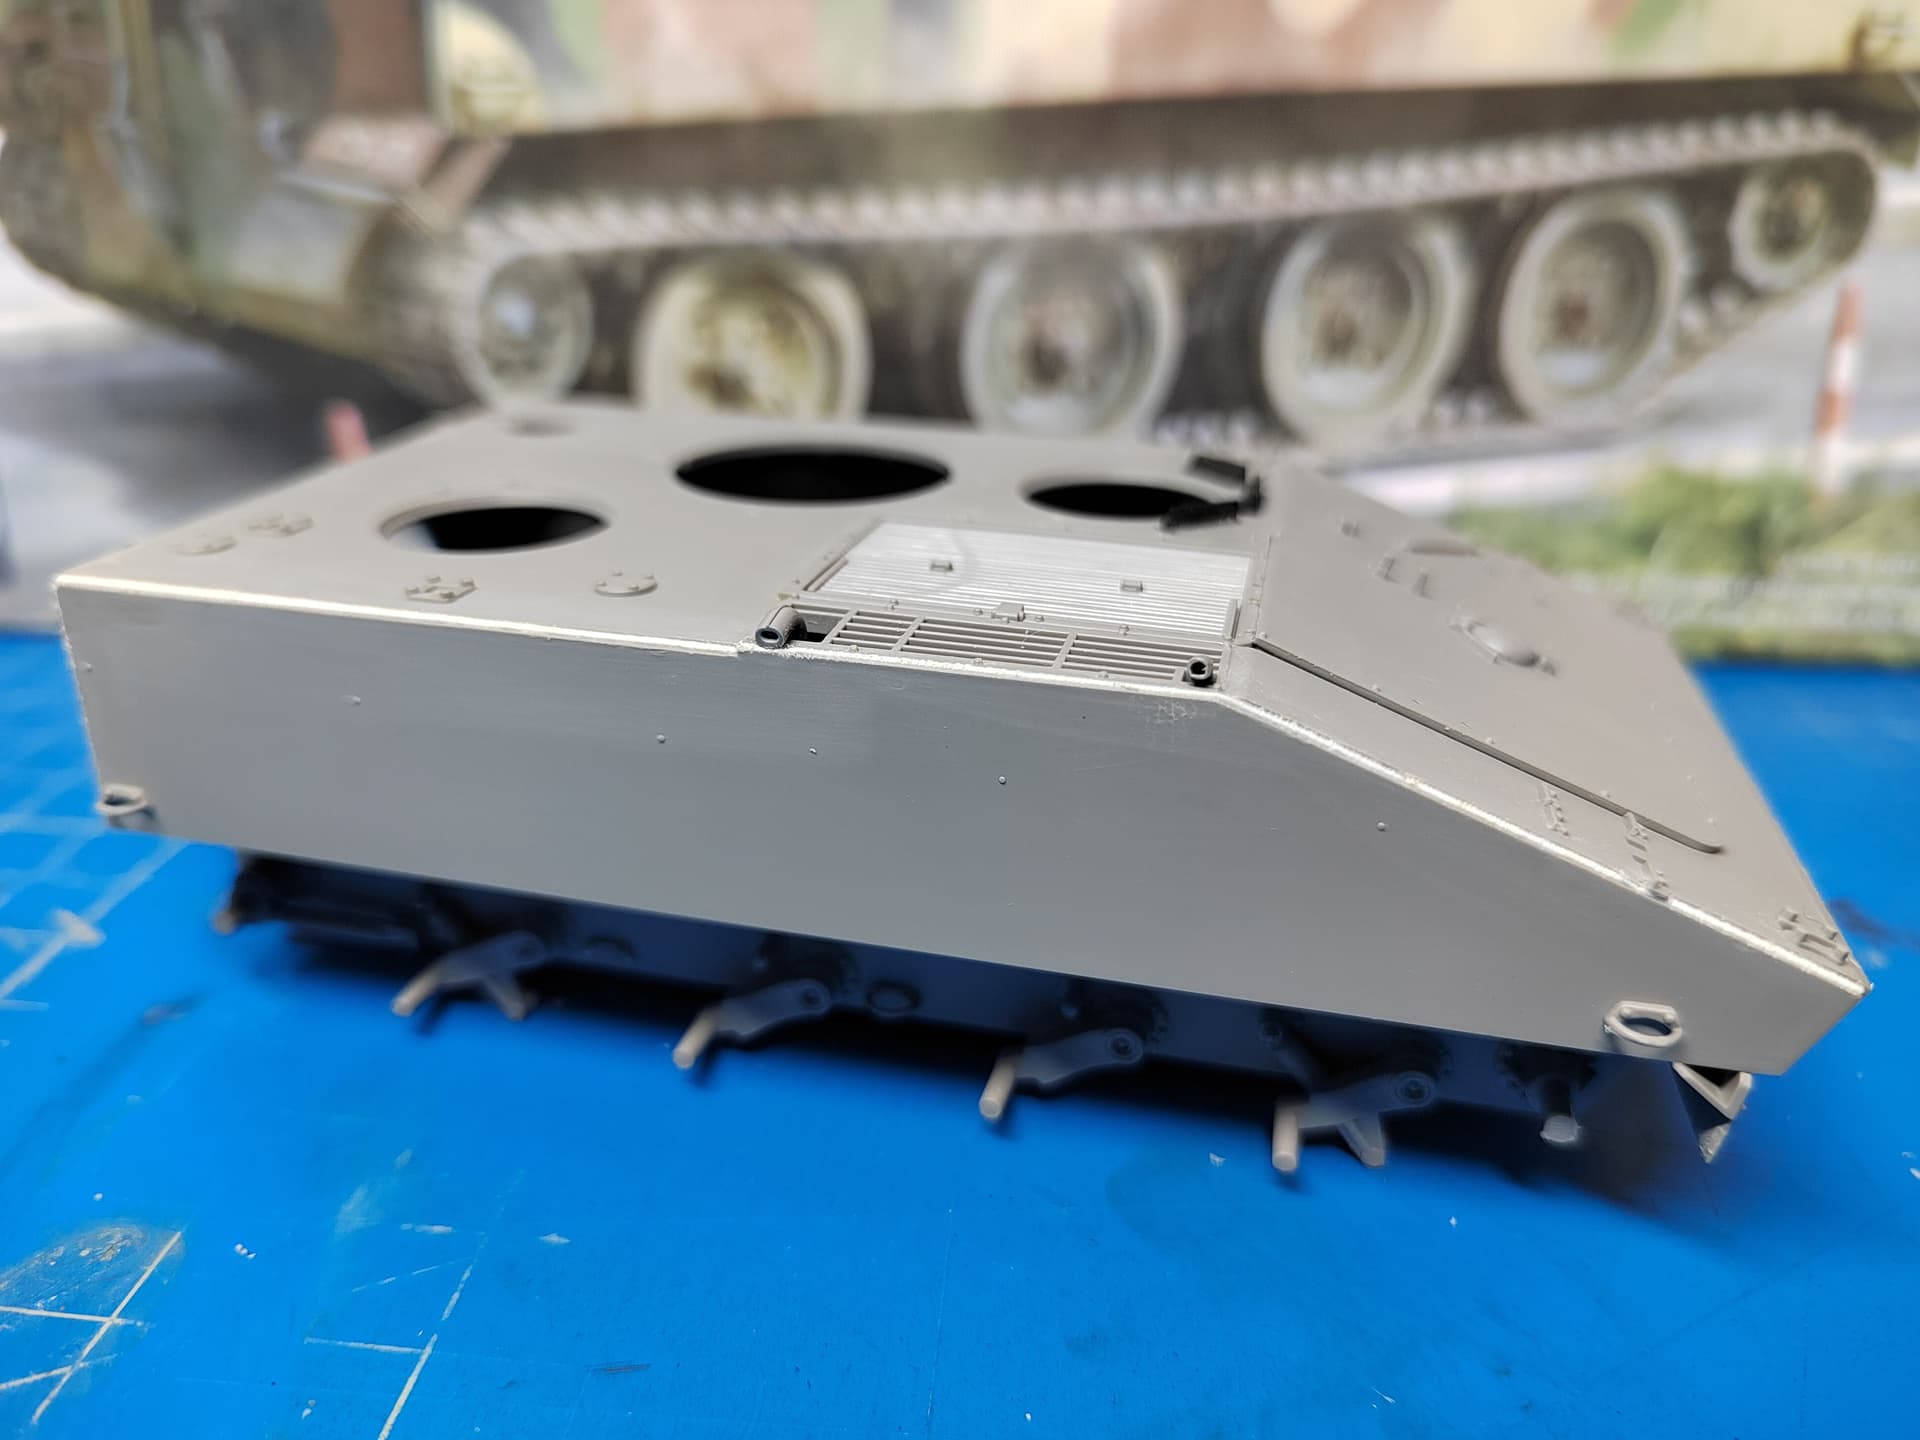
I decided not to follow the sequence of assembly and instead I assembled the entire hull which is split into the floor, the sides, the rear wall and 3 parts for the roof. No fit issue at all if you take your time to clean the sprue attachments.
Then I resume the assembly according to the instructions and glued the suspensions. Again no fit issue.
Finally I tried the jig to assemble one track. It requires some patience but the result is prettu good. The lower part is supposed to be glued after the main part is wrapped around the roadwheels. So this requires you paint all the running gear beforehand.
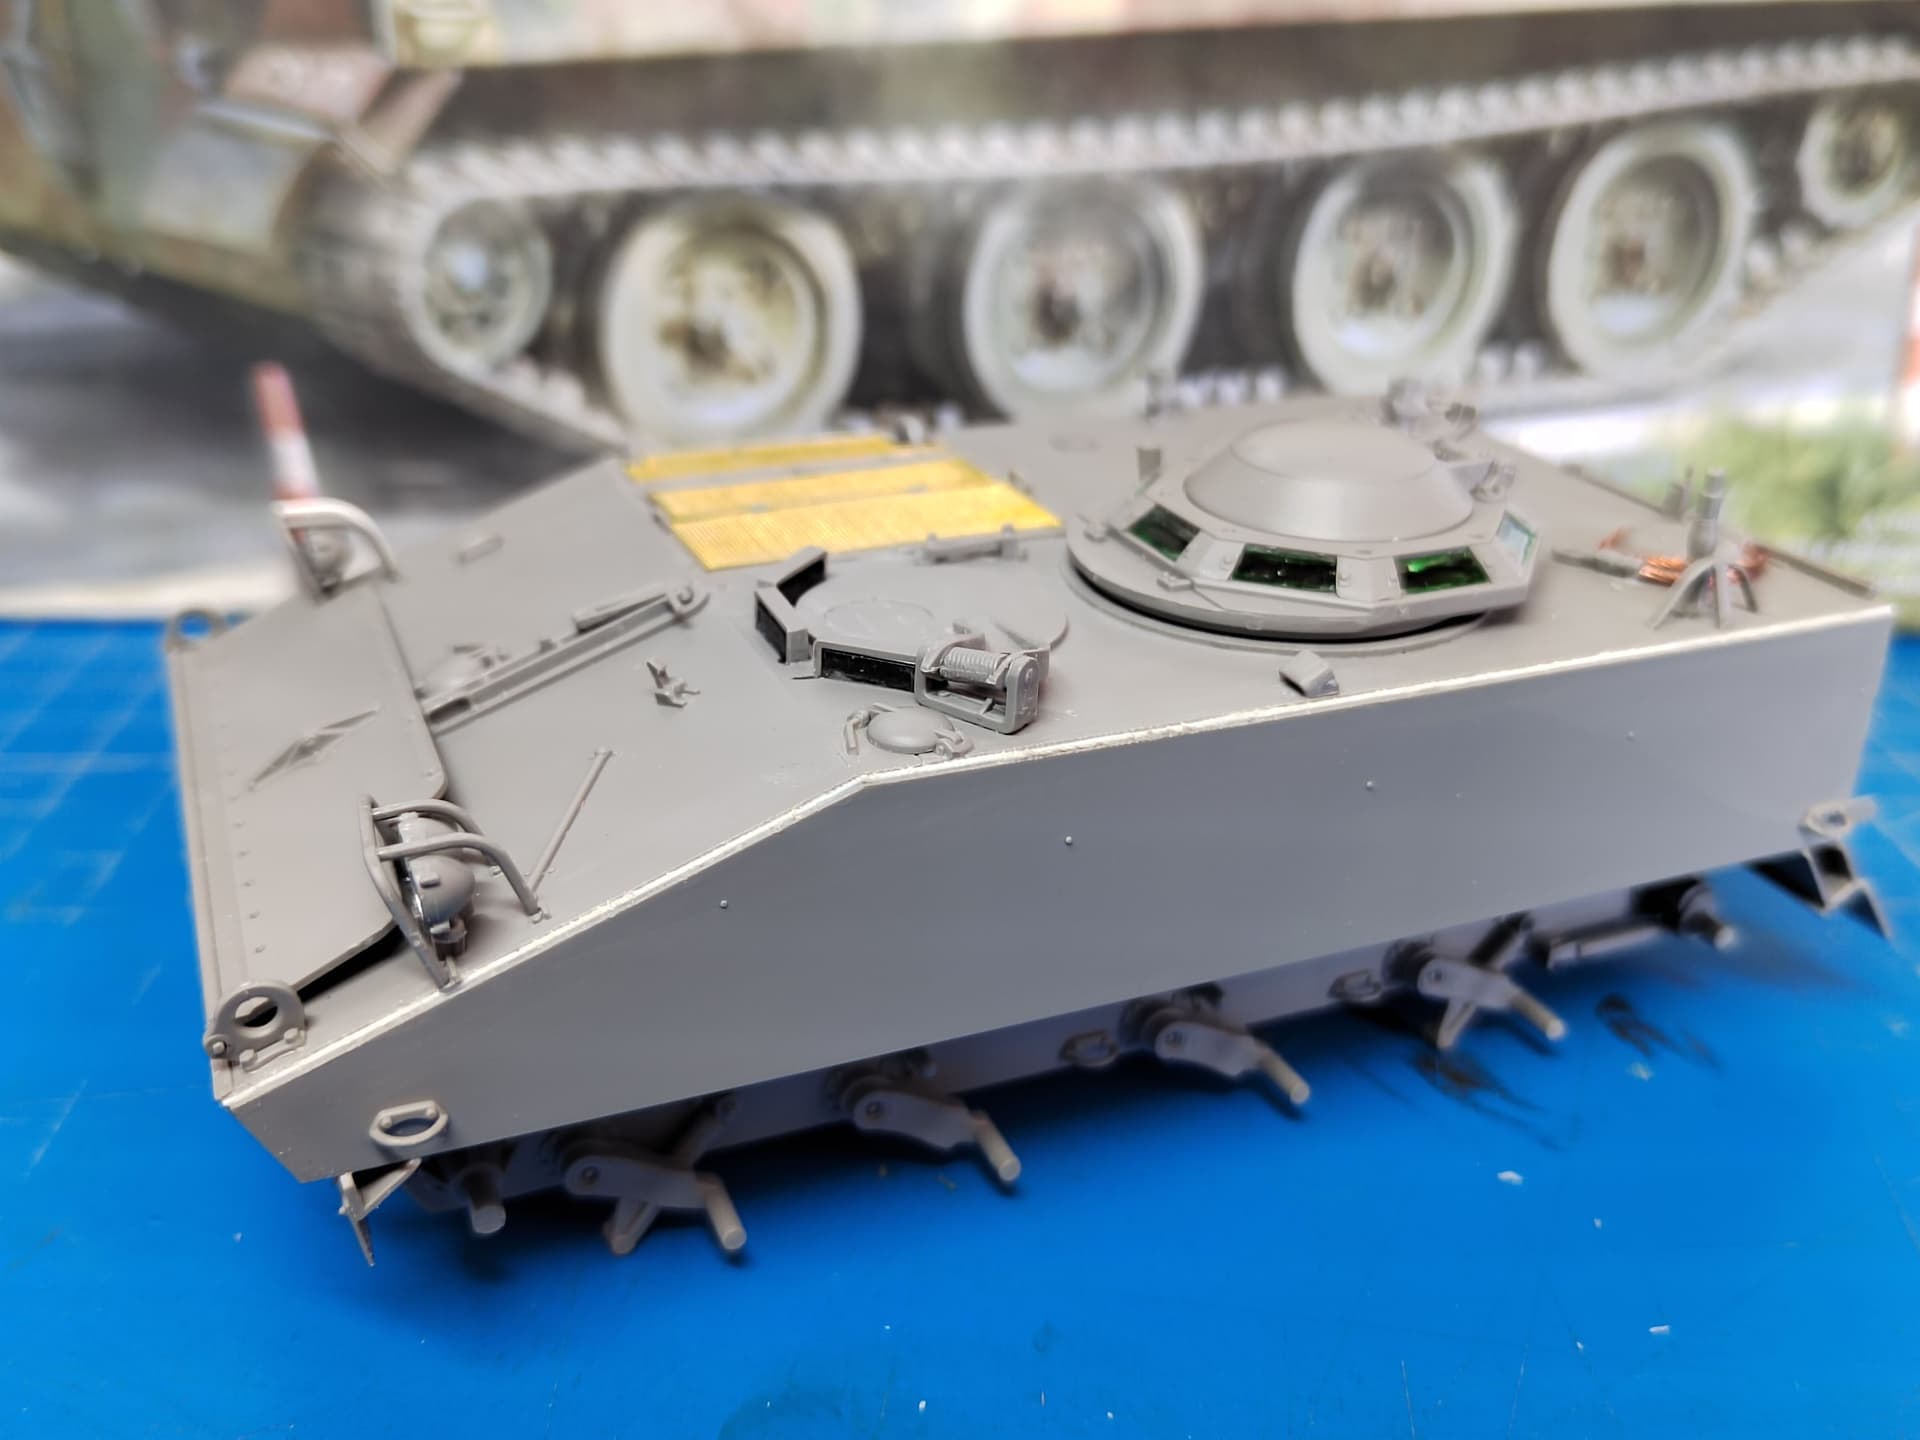
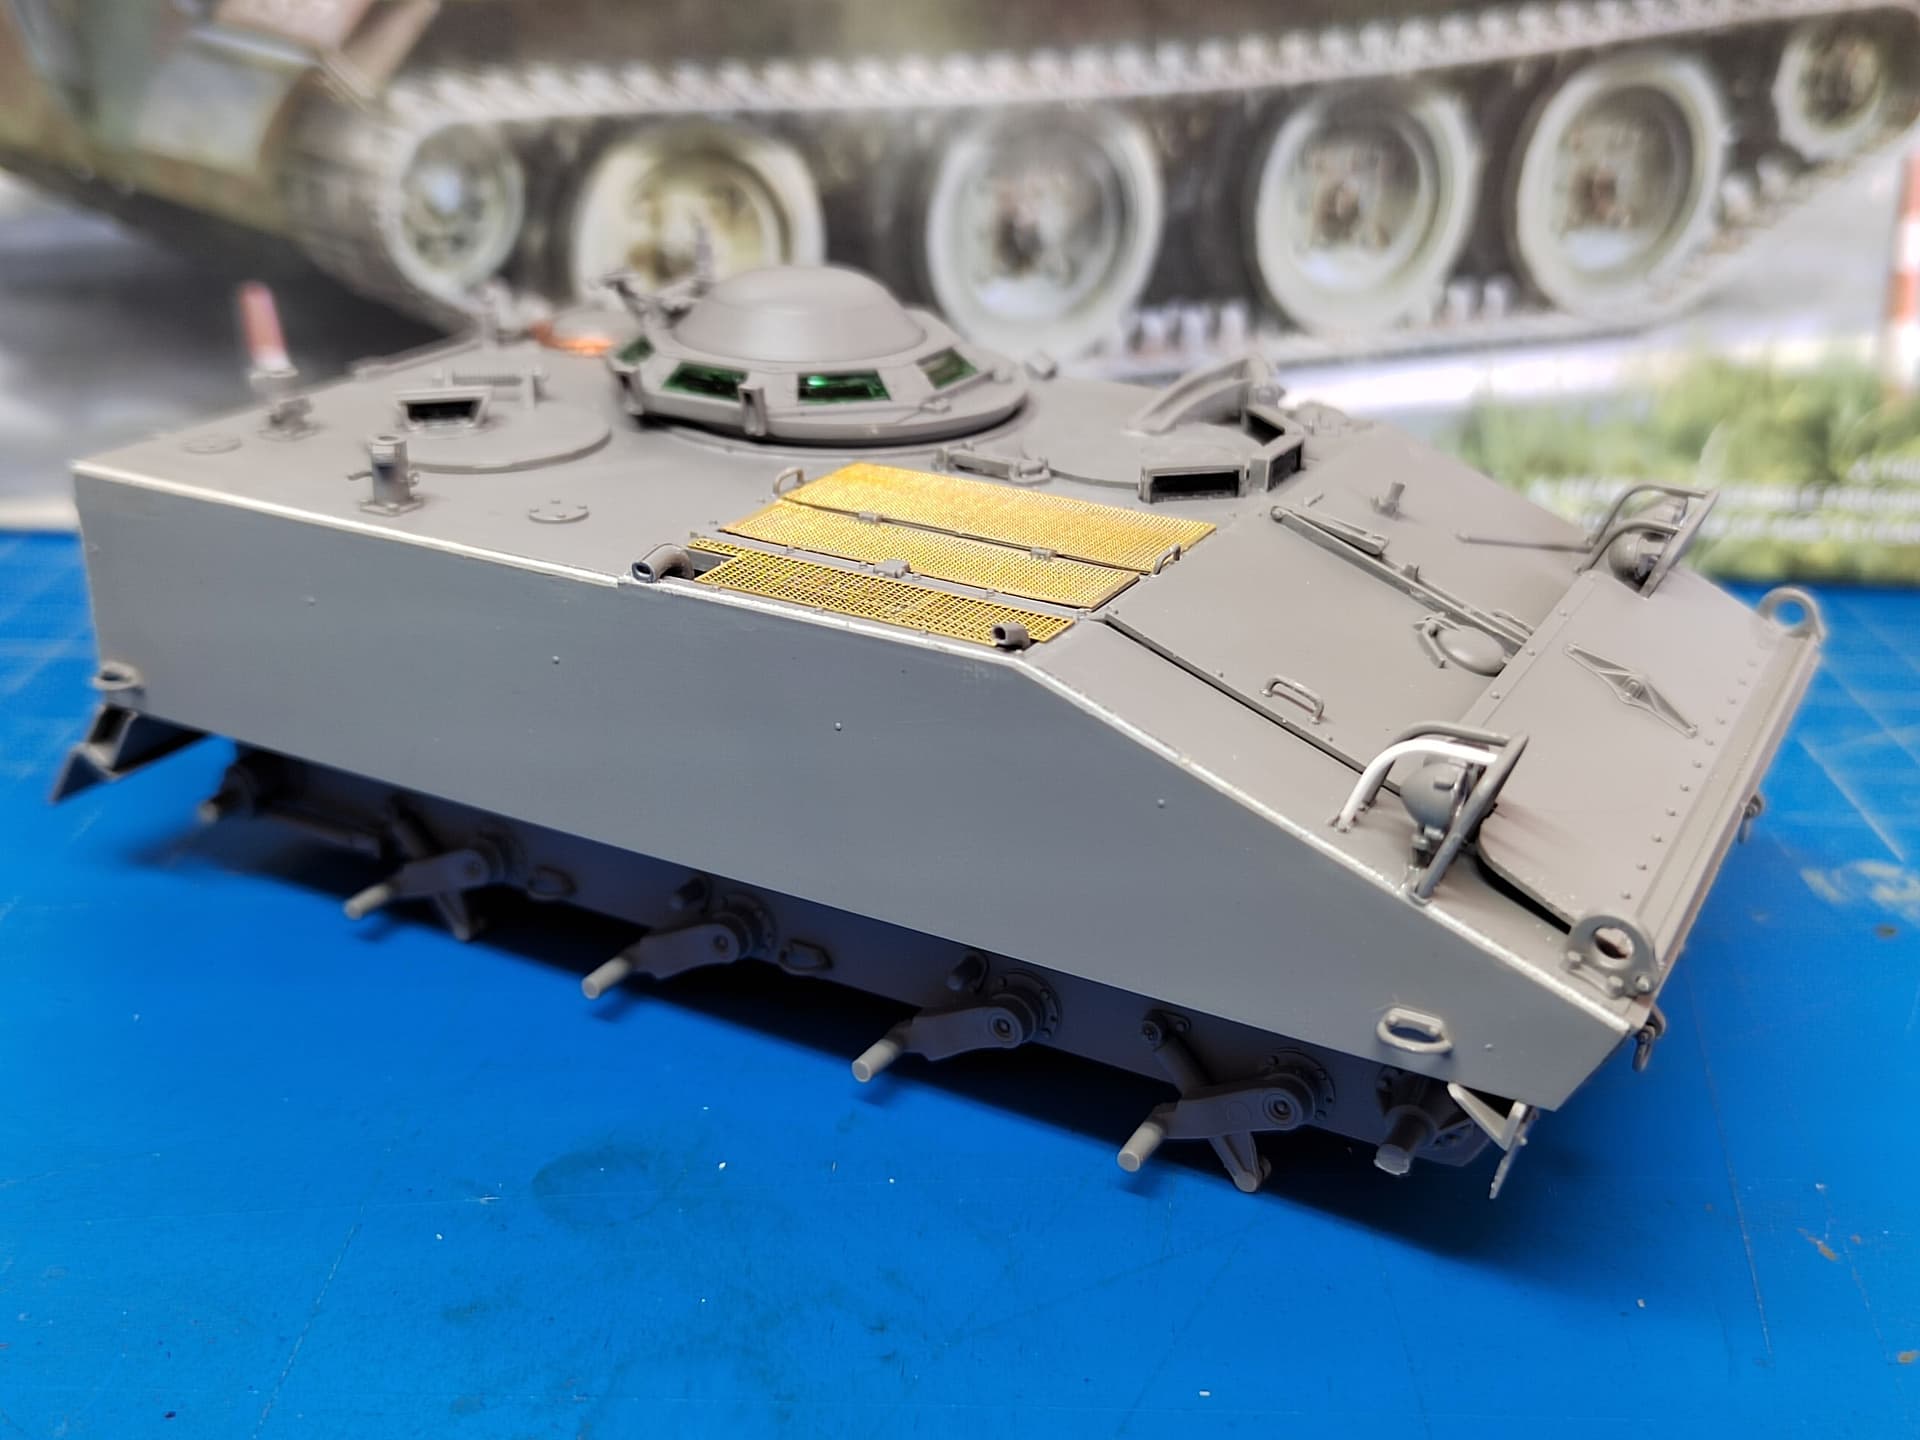
Here are some pictures after 2 hours at the workbench.
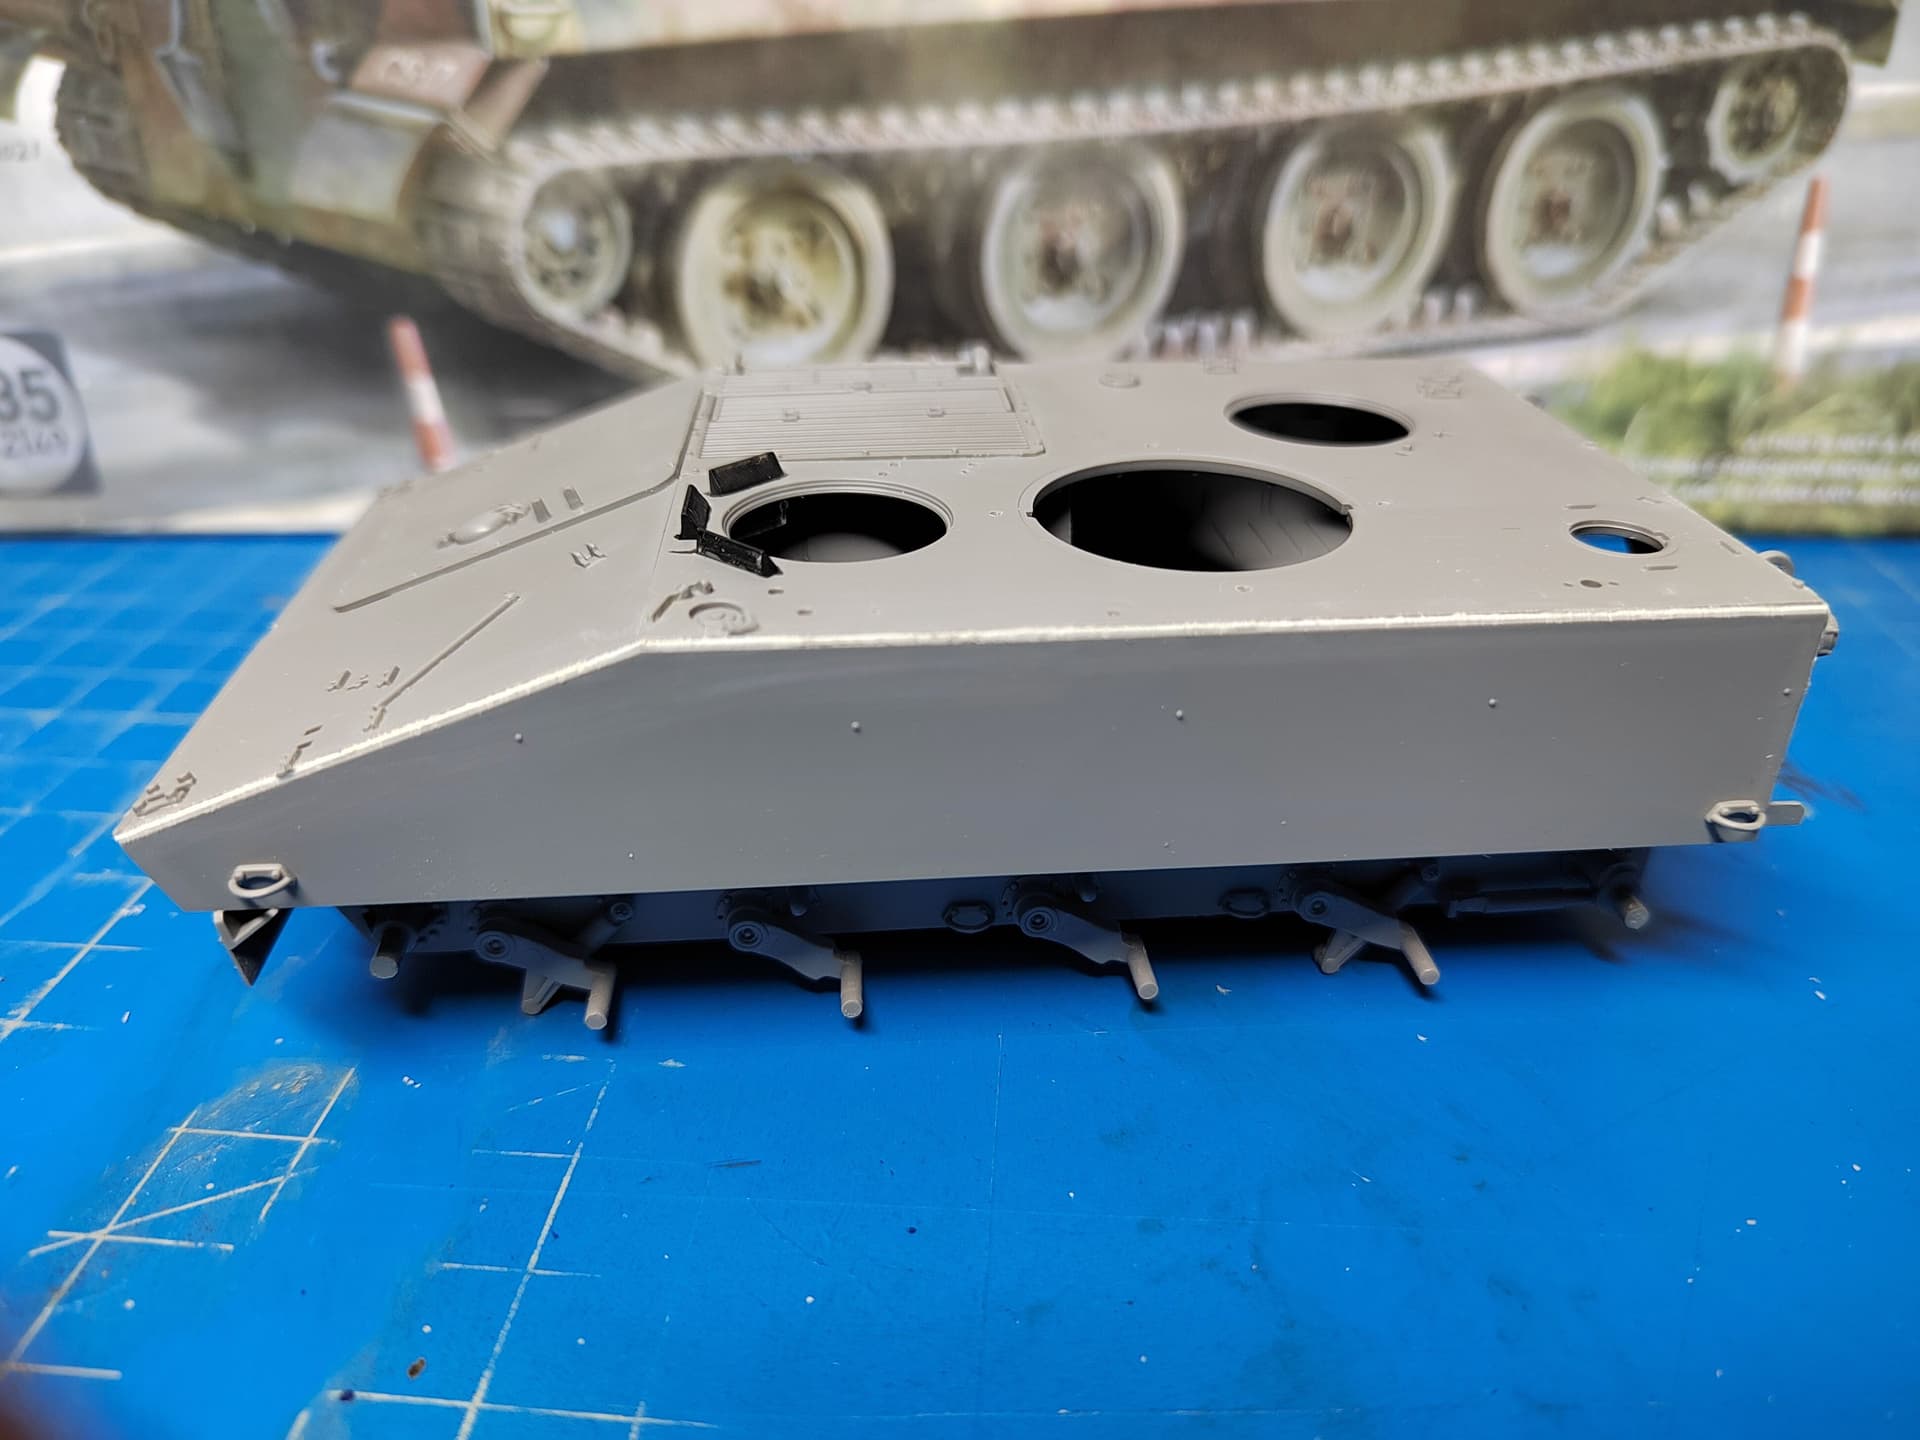
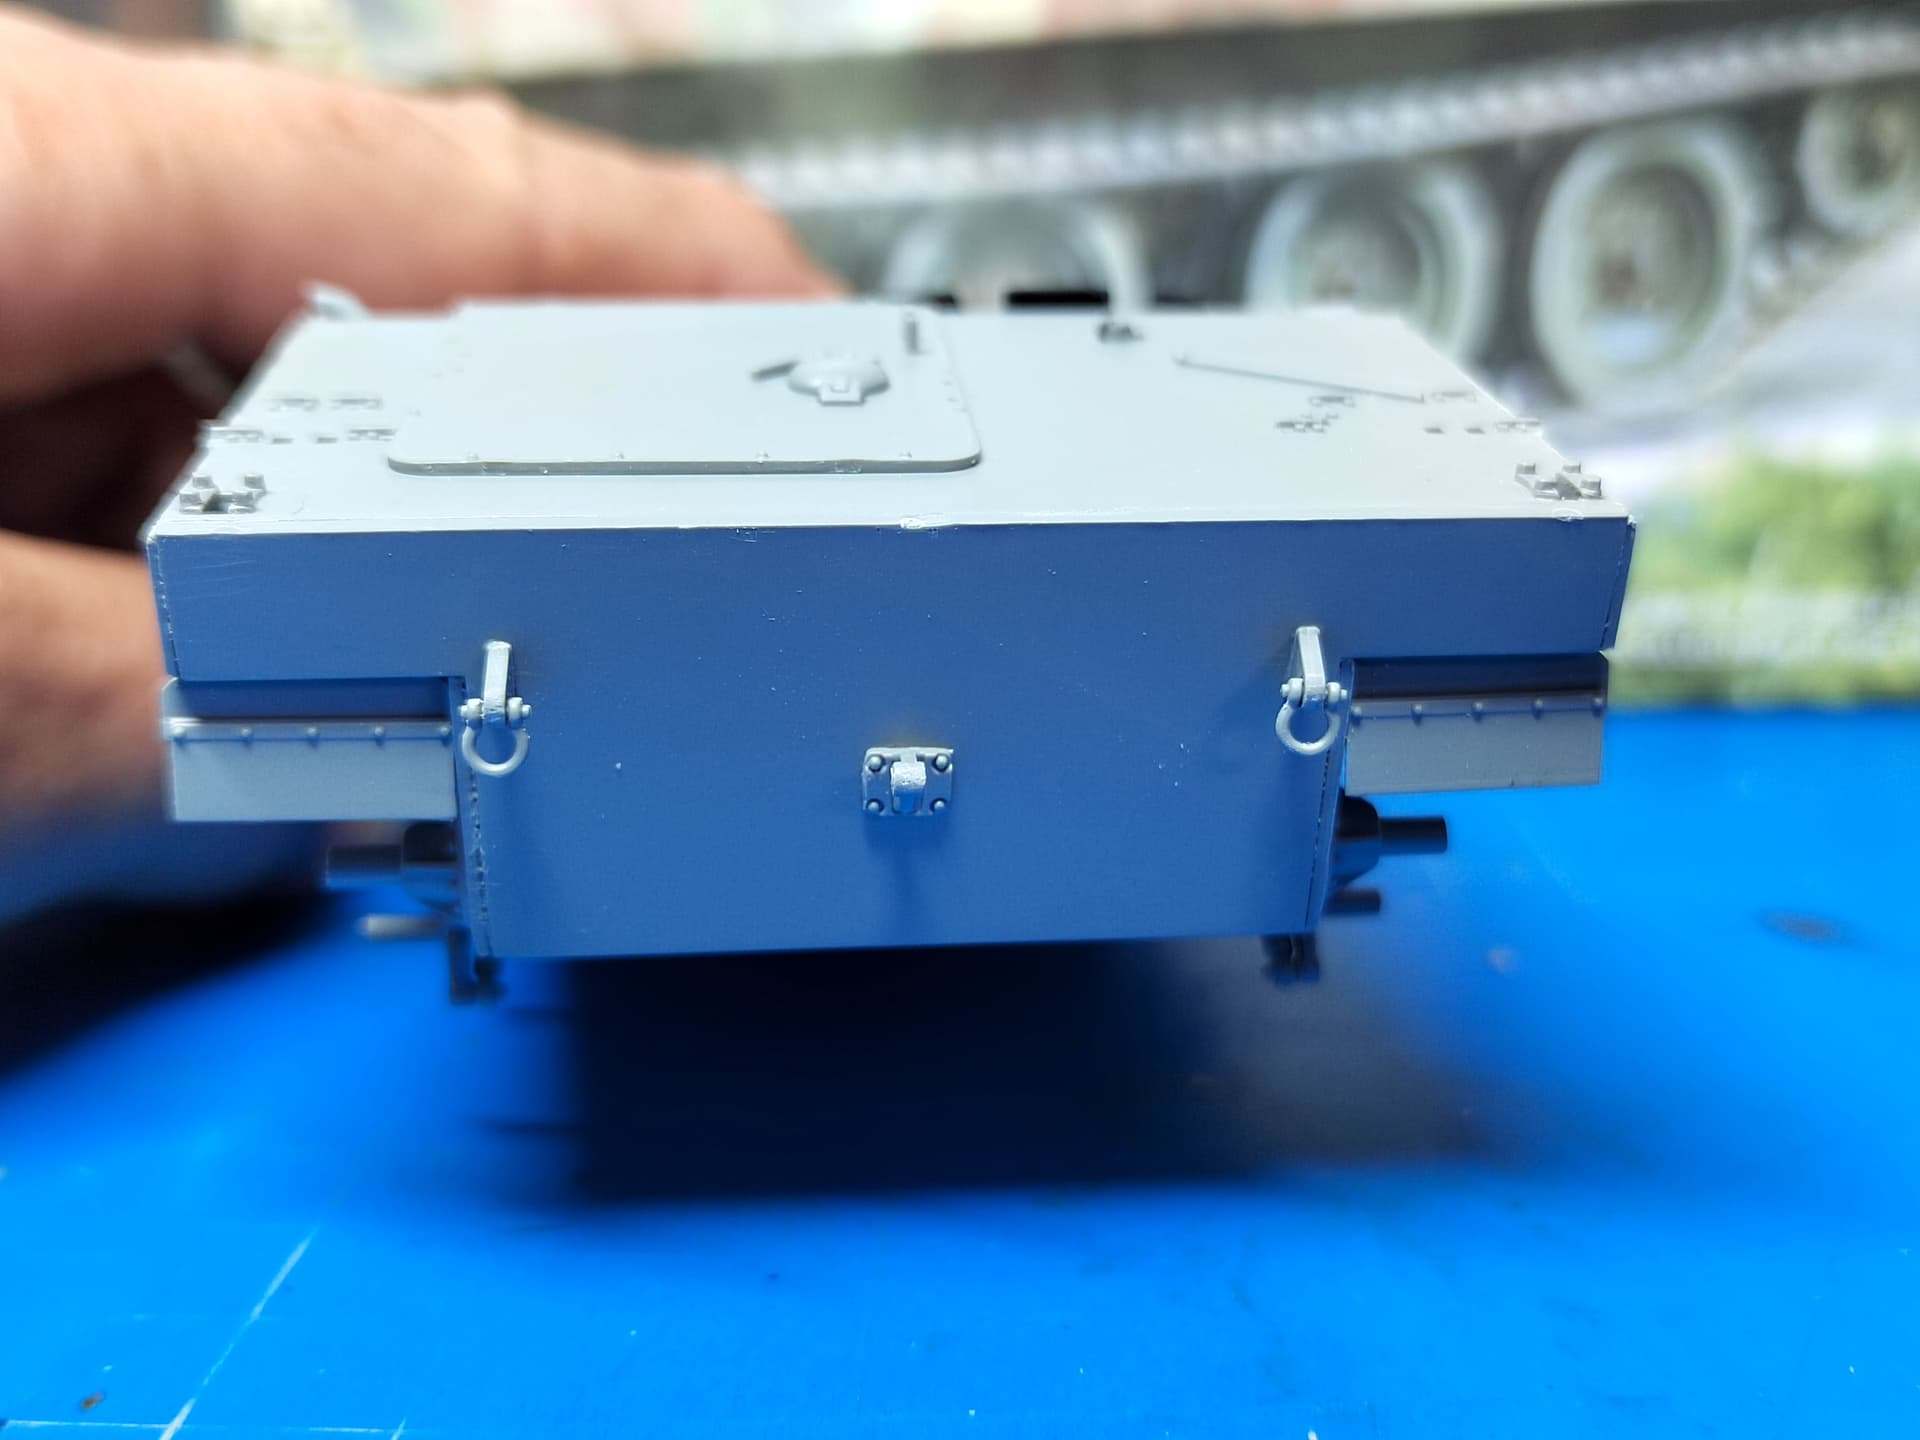
The weld beads are done. I used 0.4 mm styrene rod to fill the gaps then I softened the styrene with extra fluid Tamiya cement before creating the weld marks.
I also glued some bits, assembled the roadwheels and the second track.
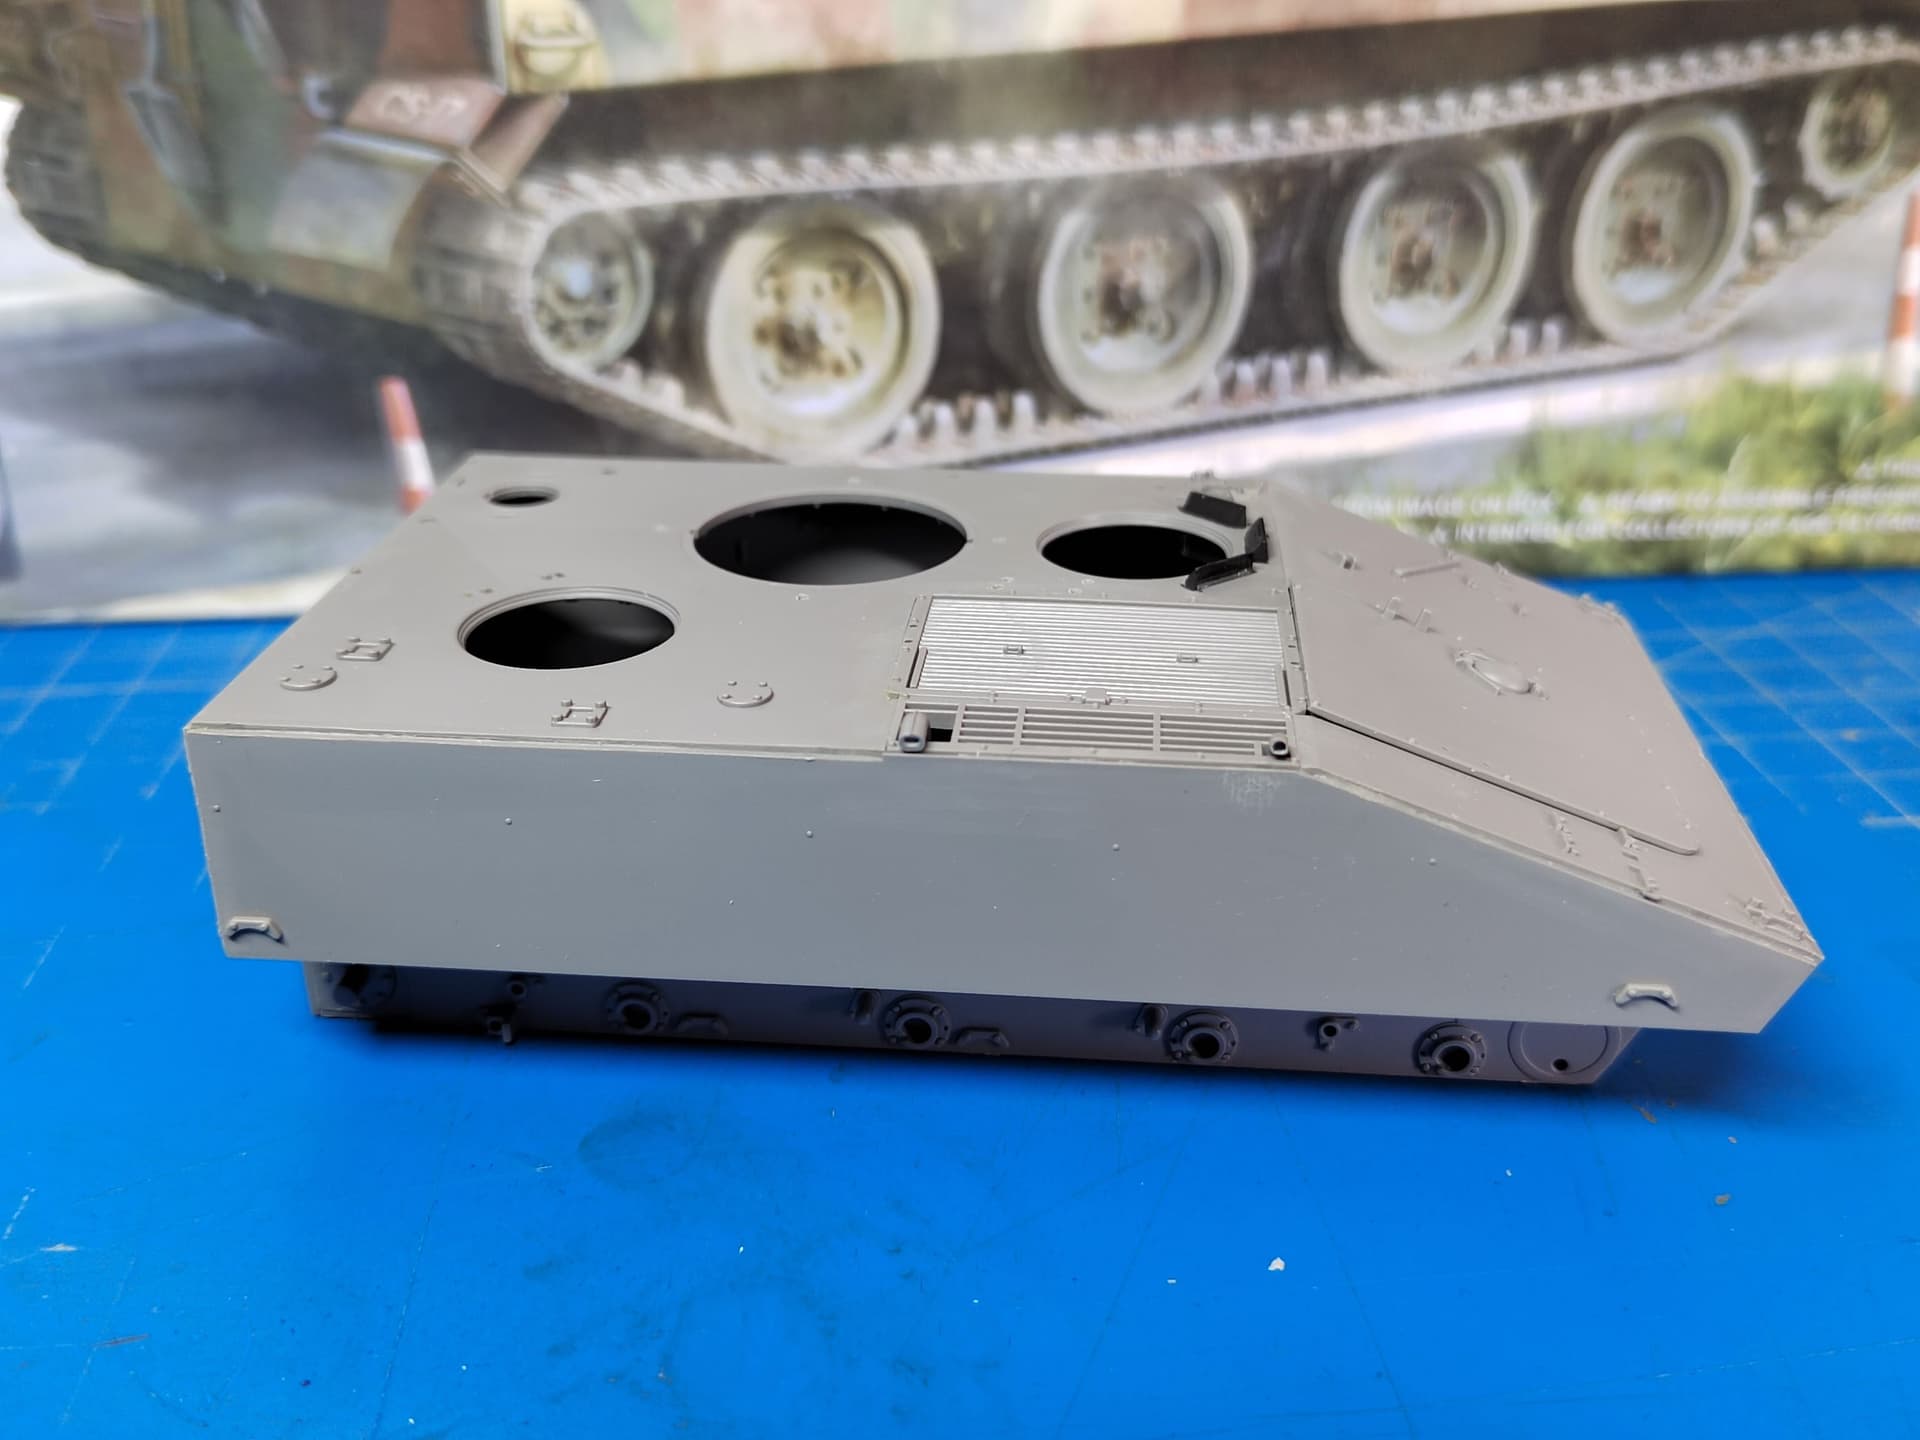
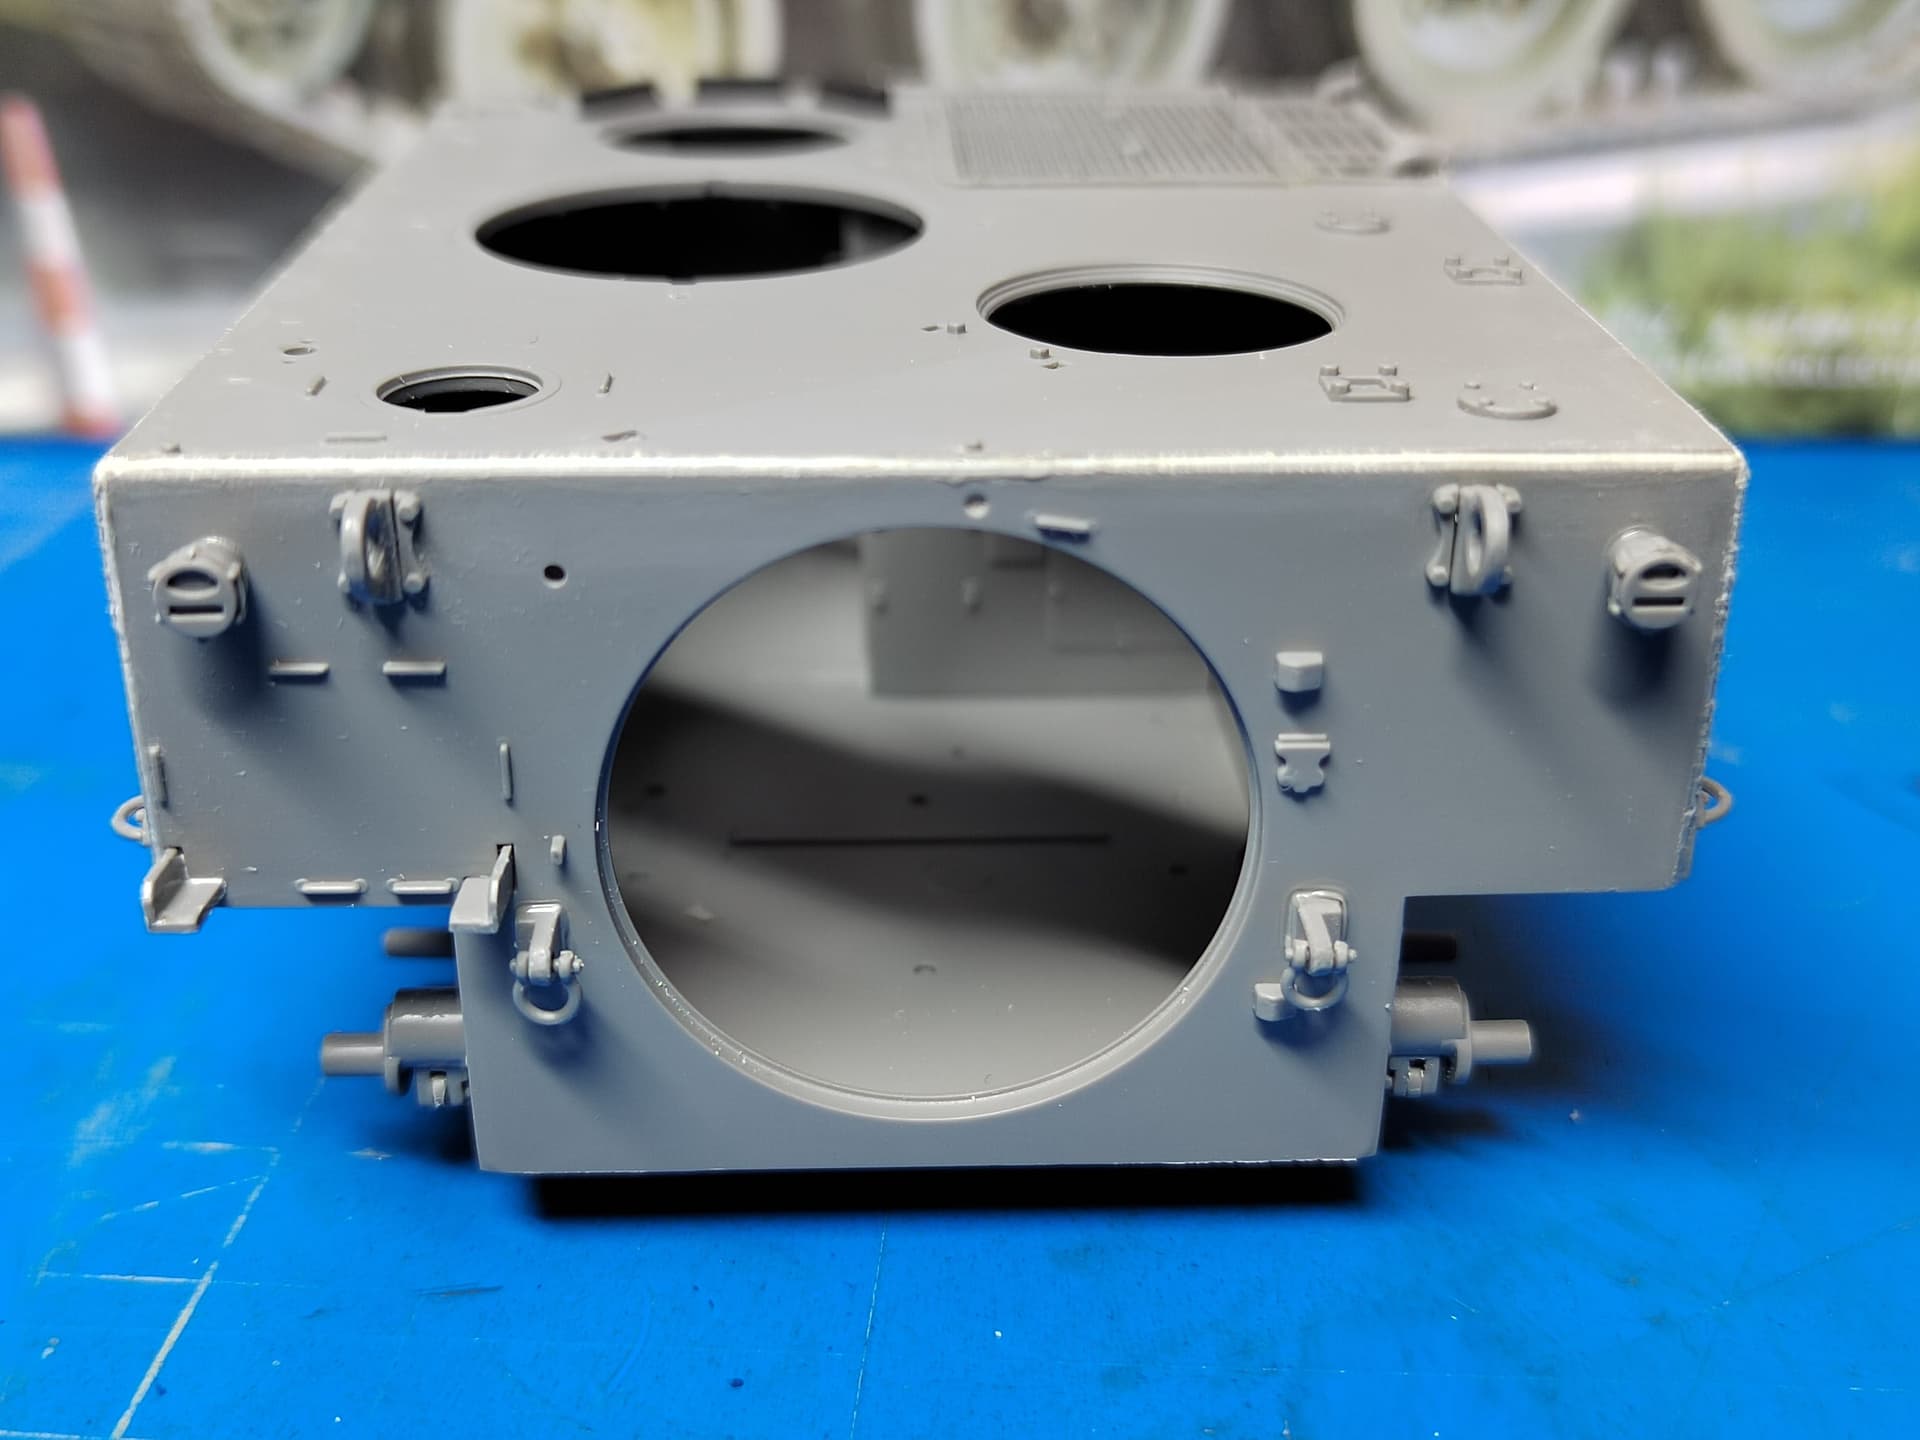
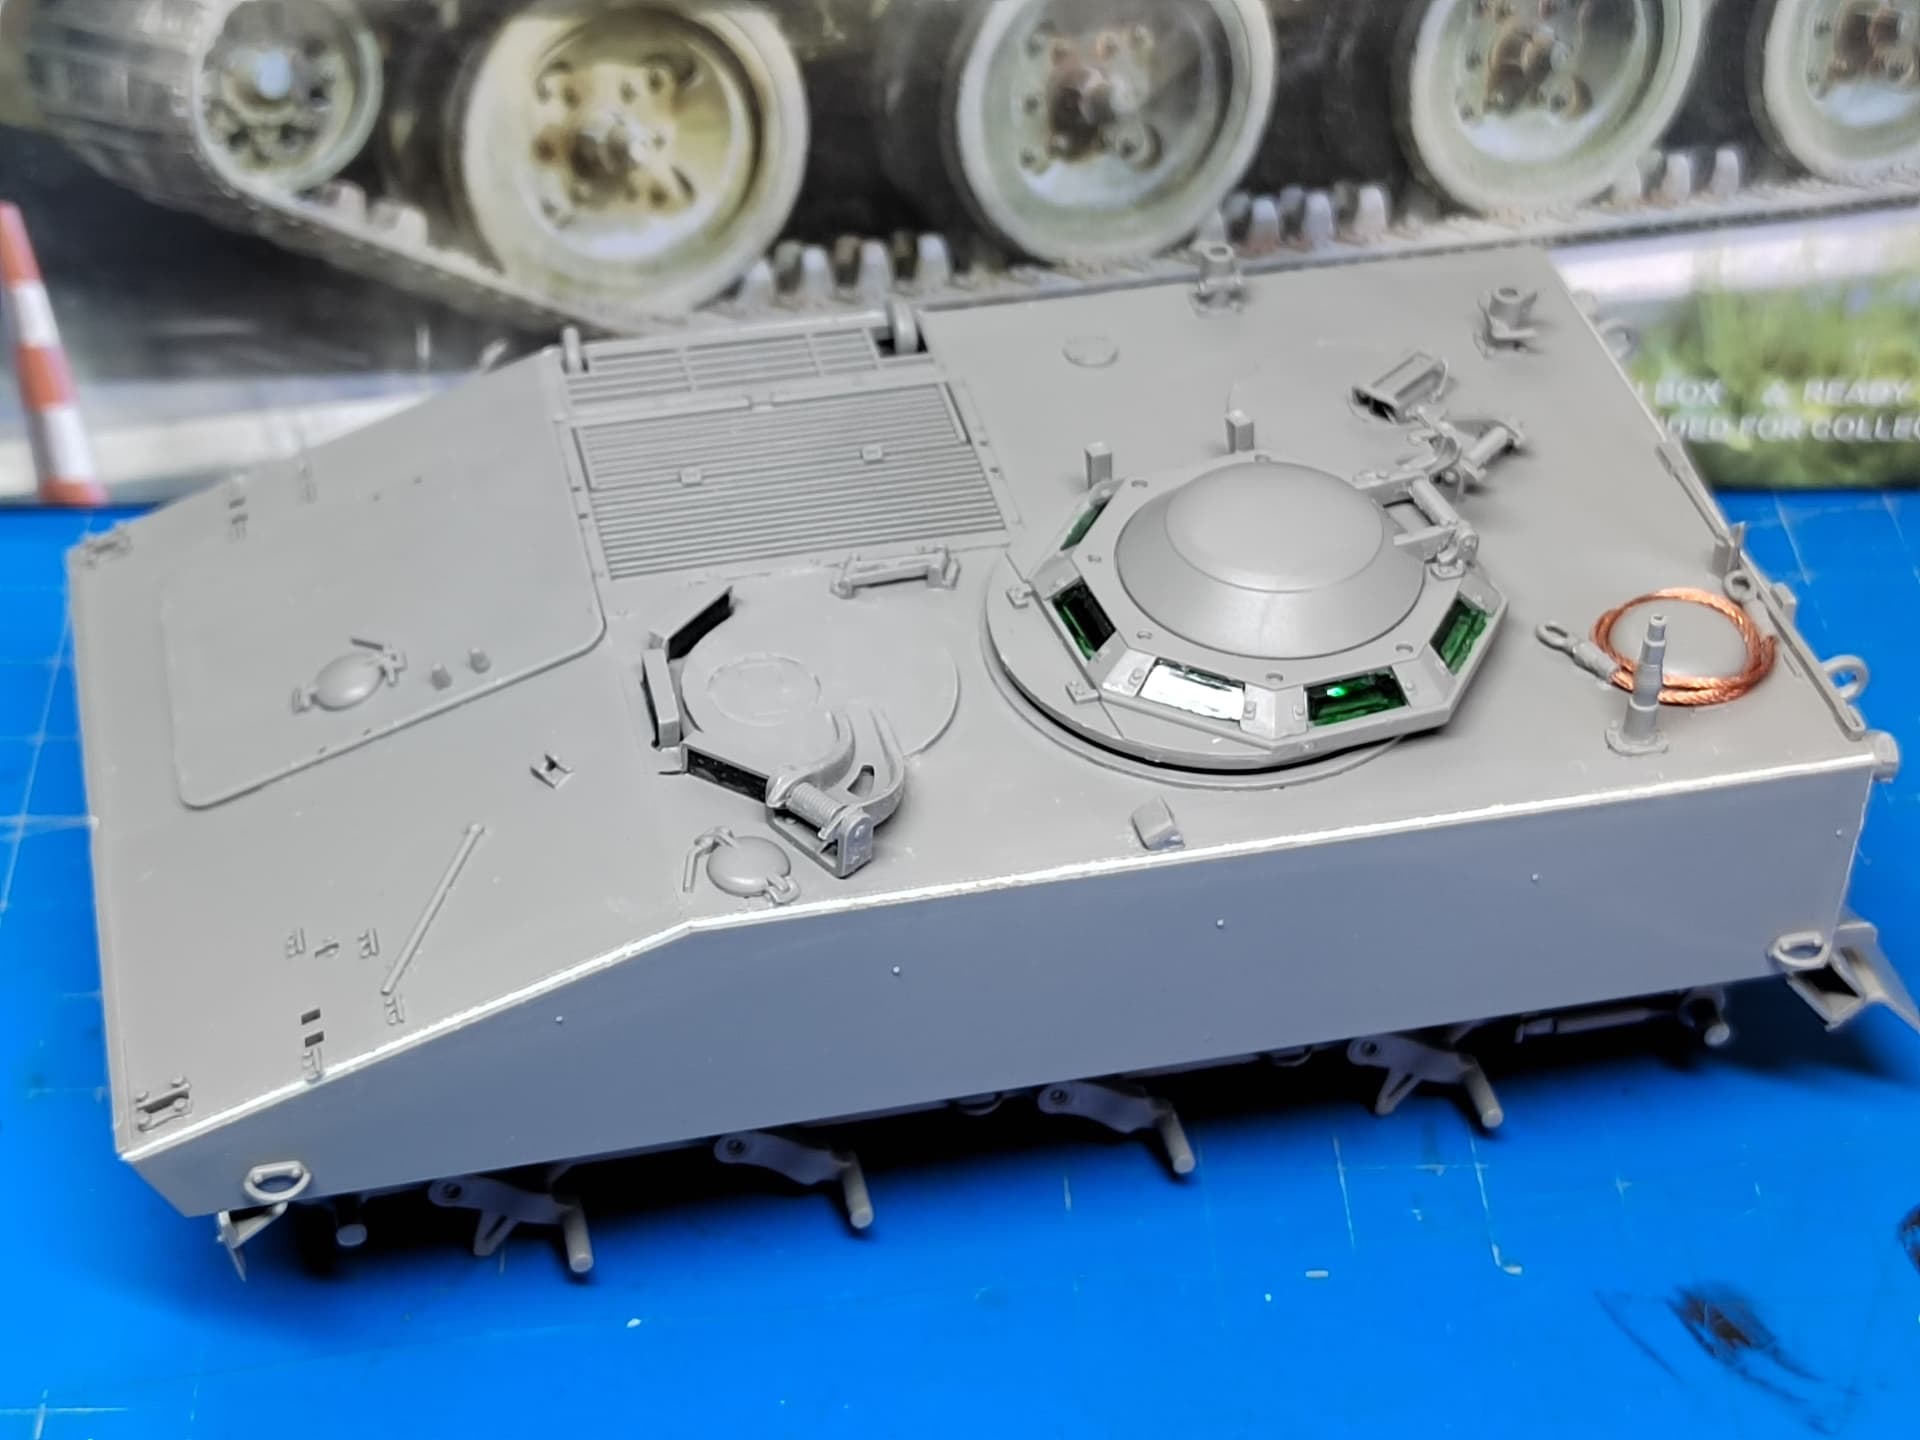
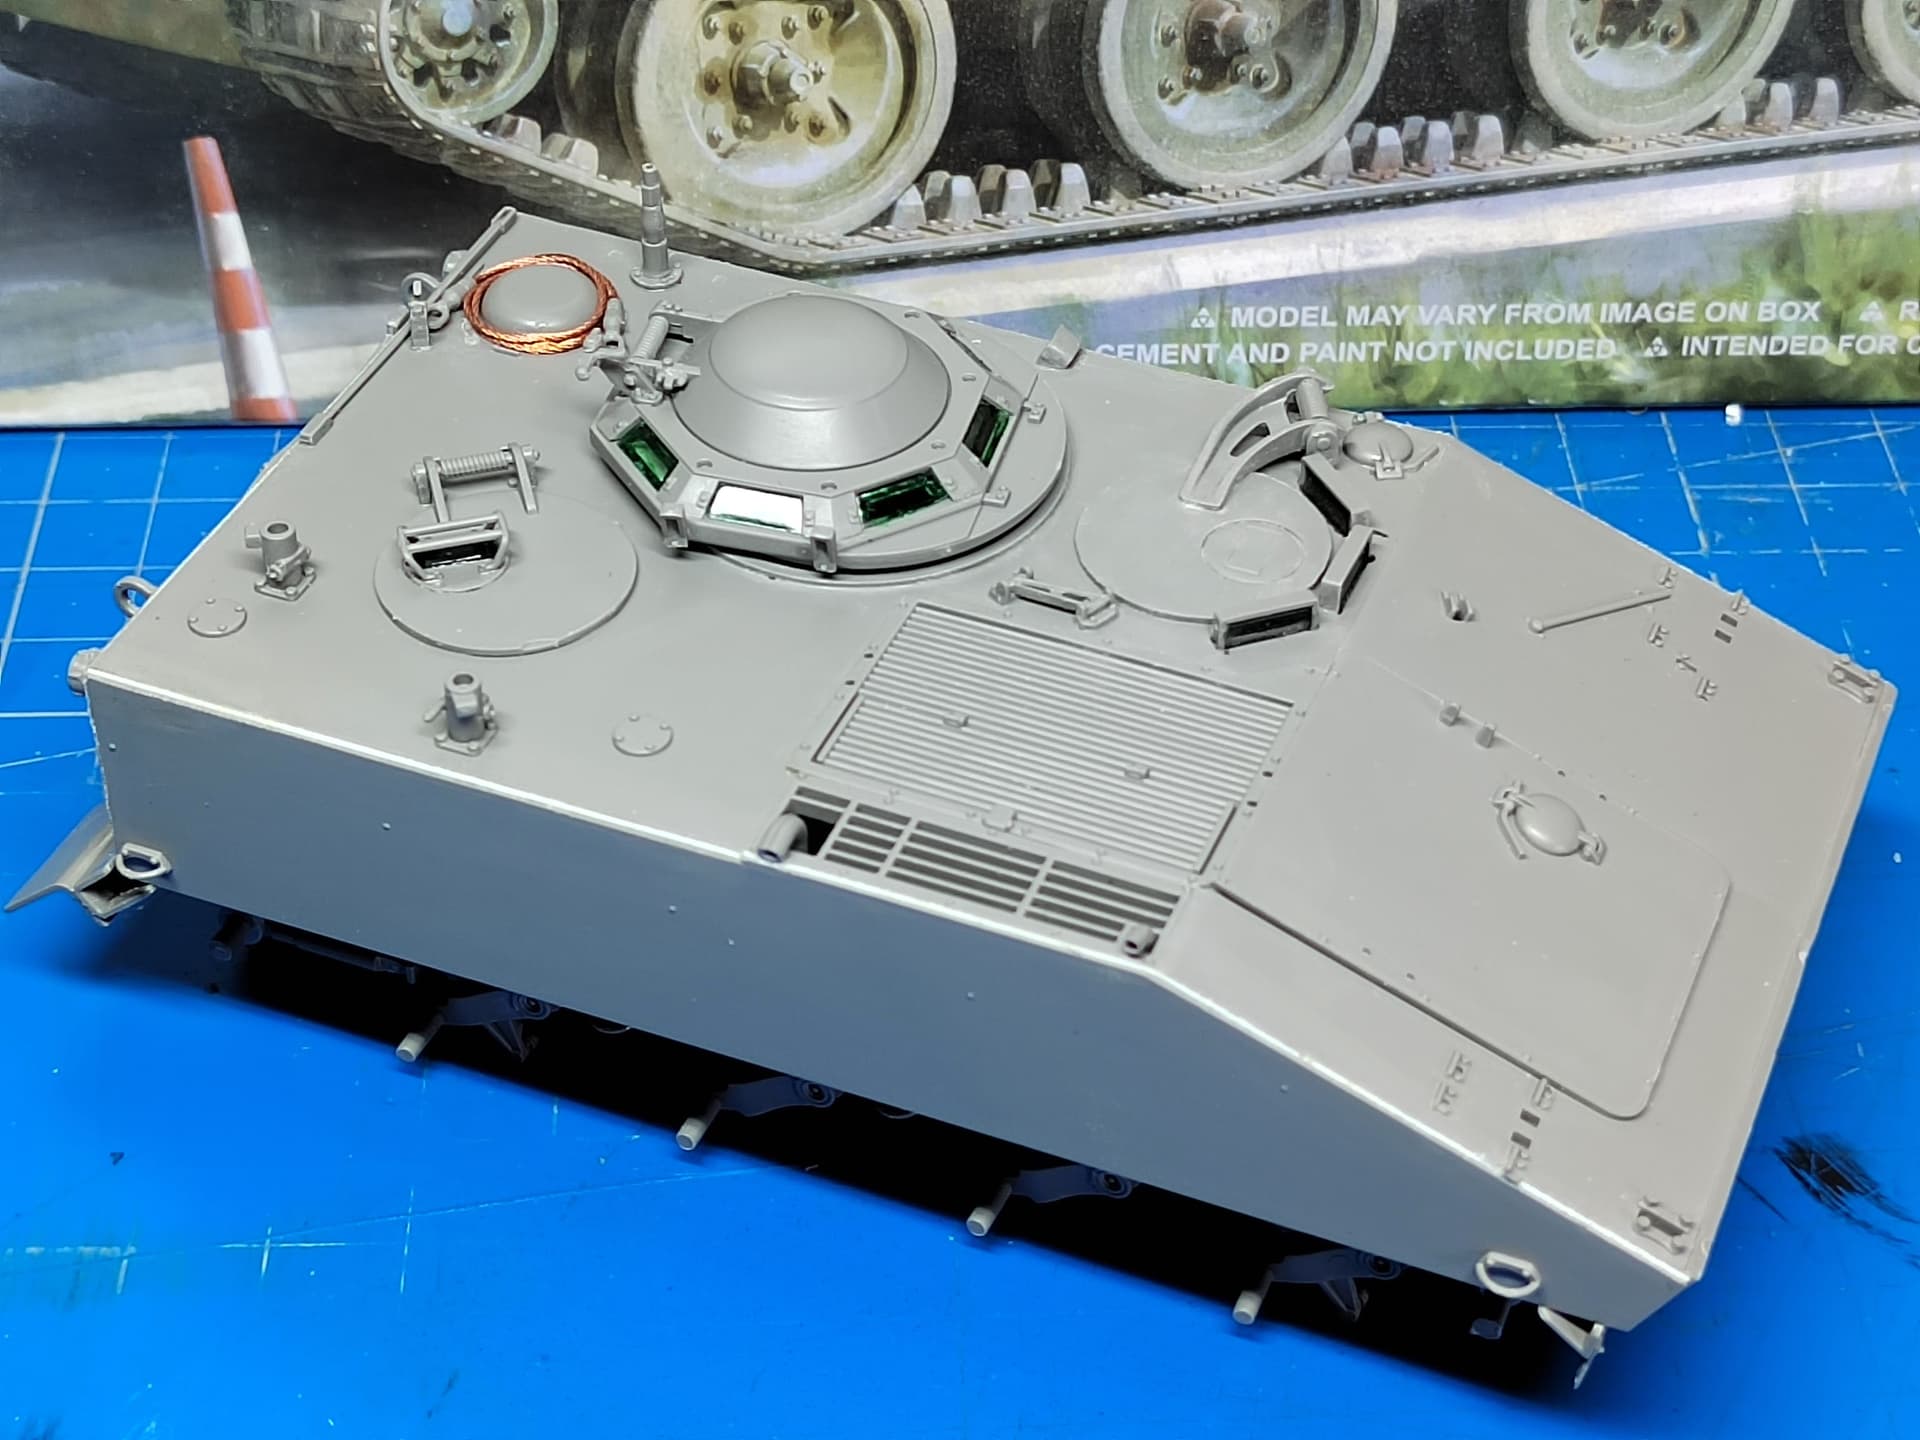
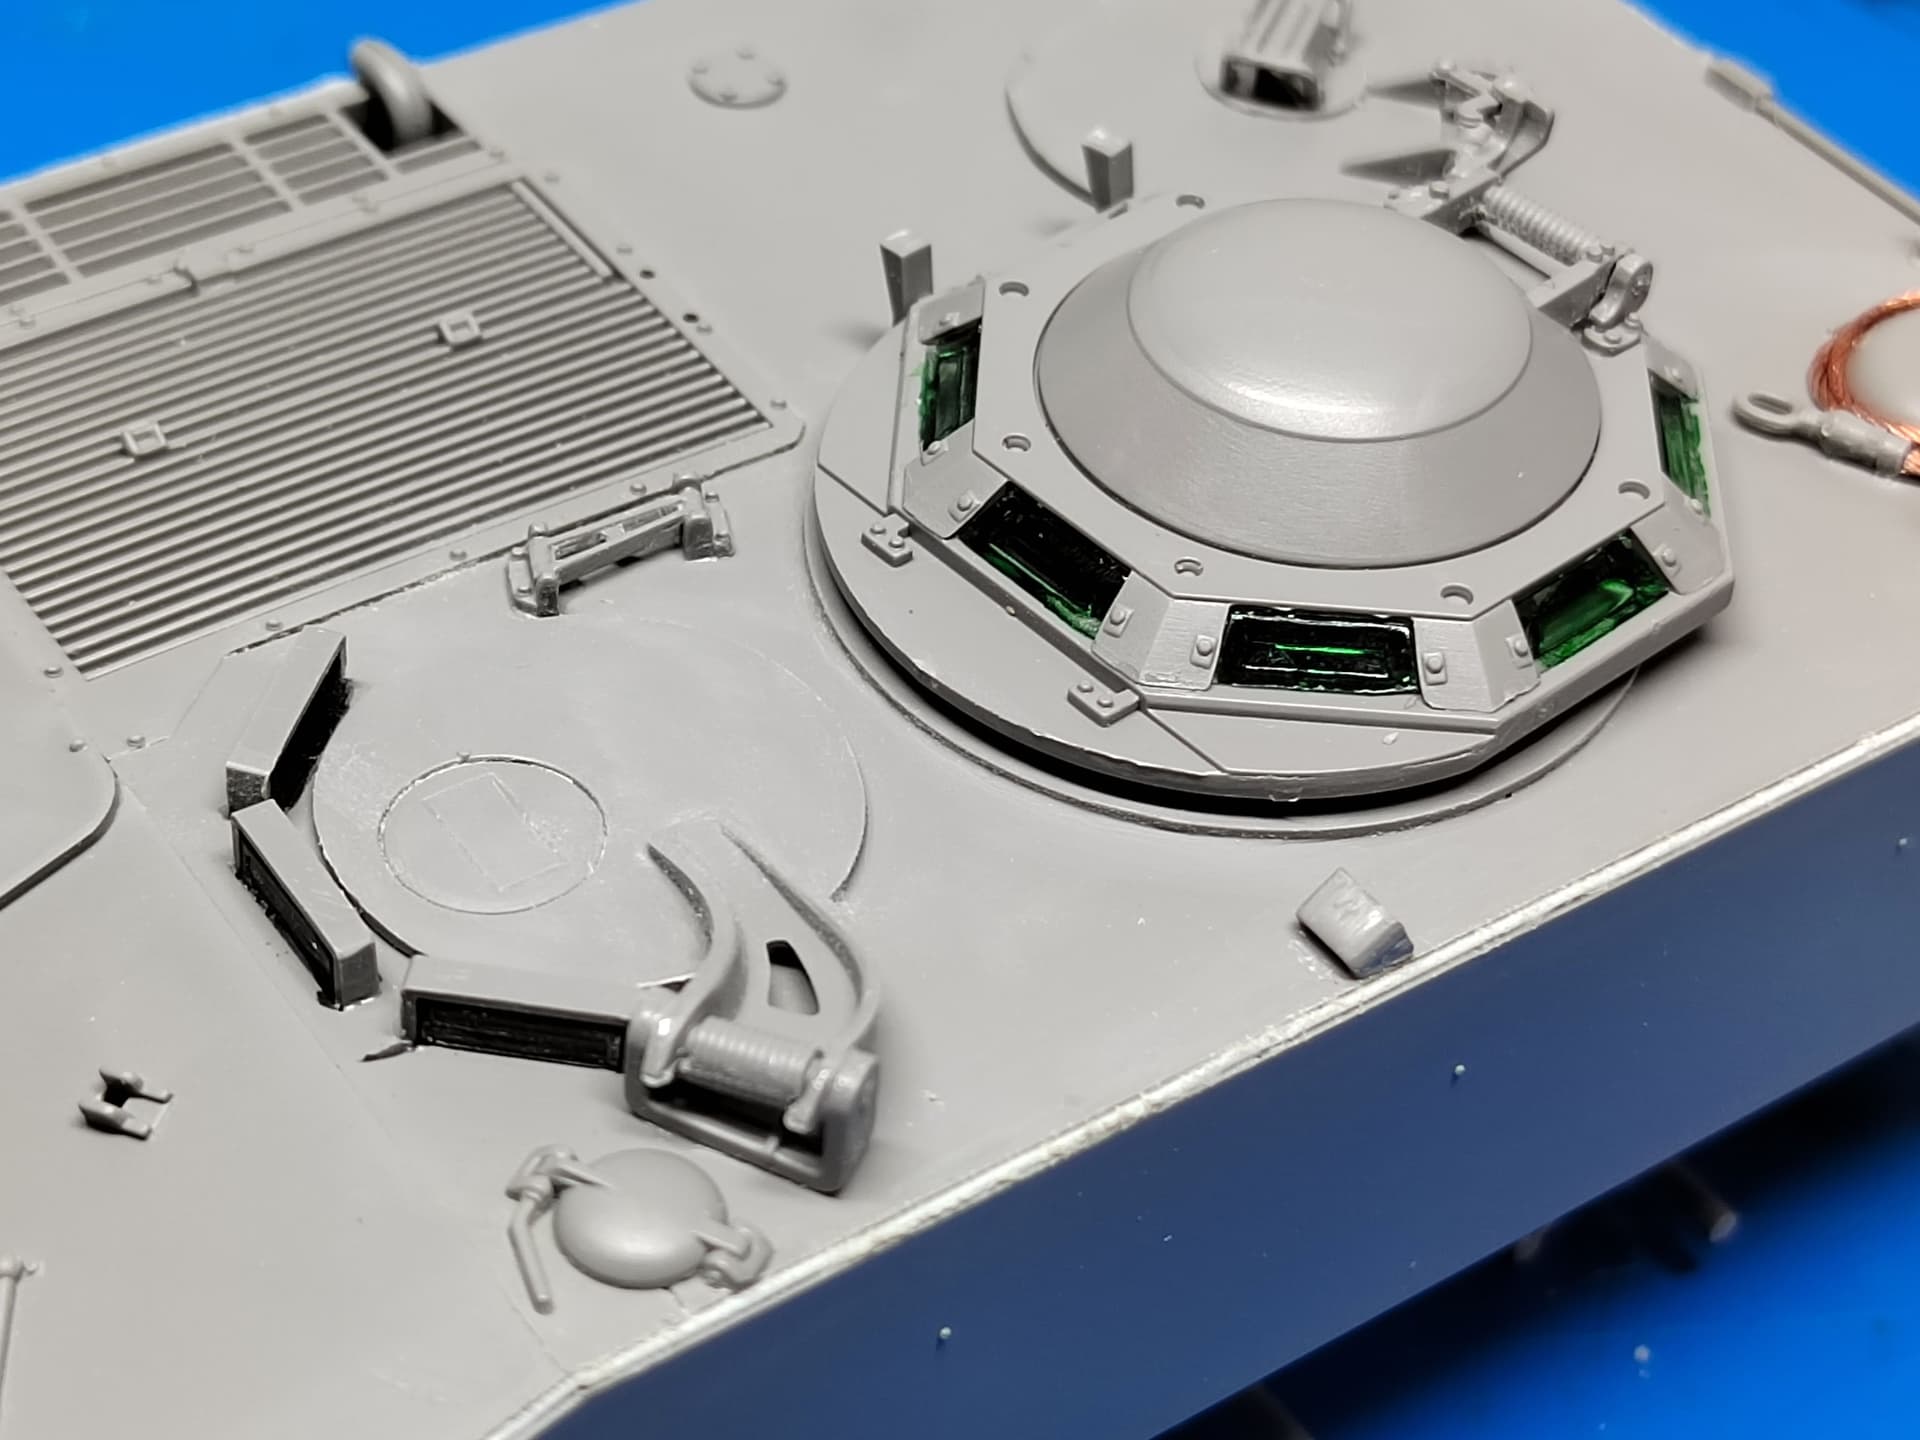
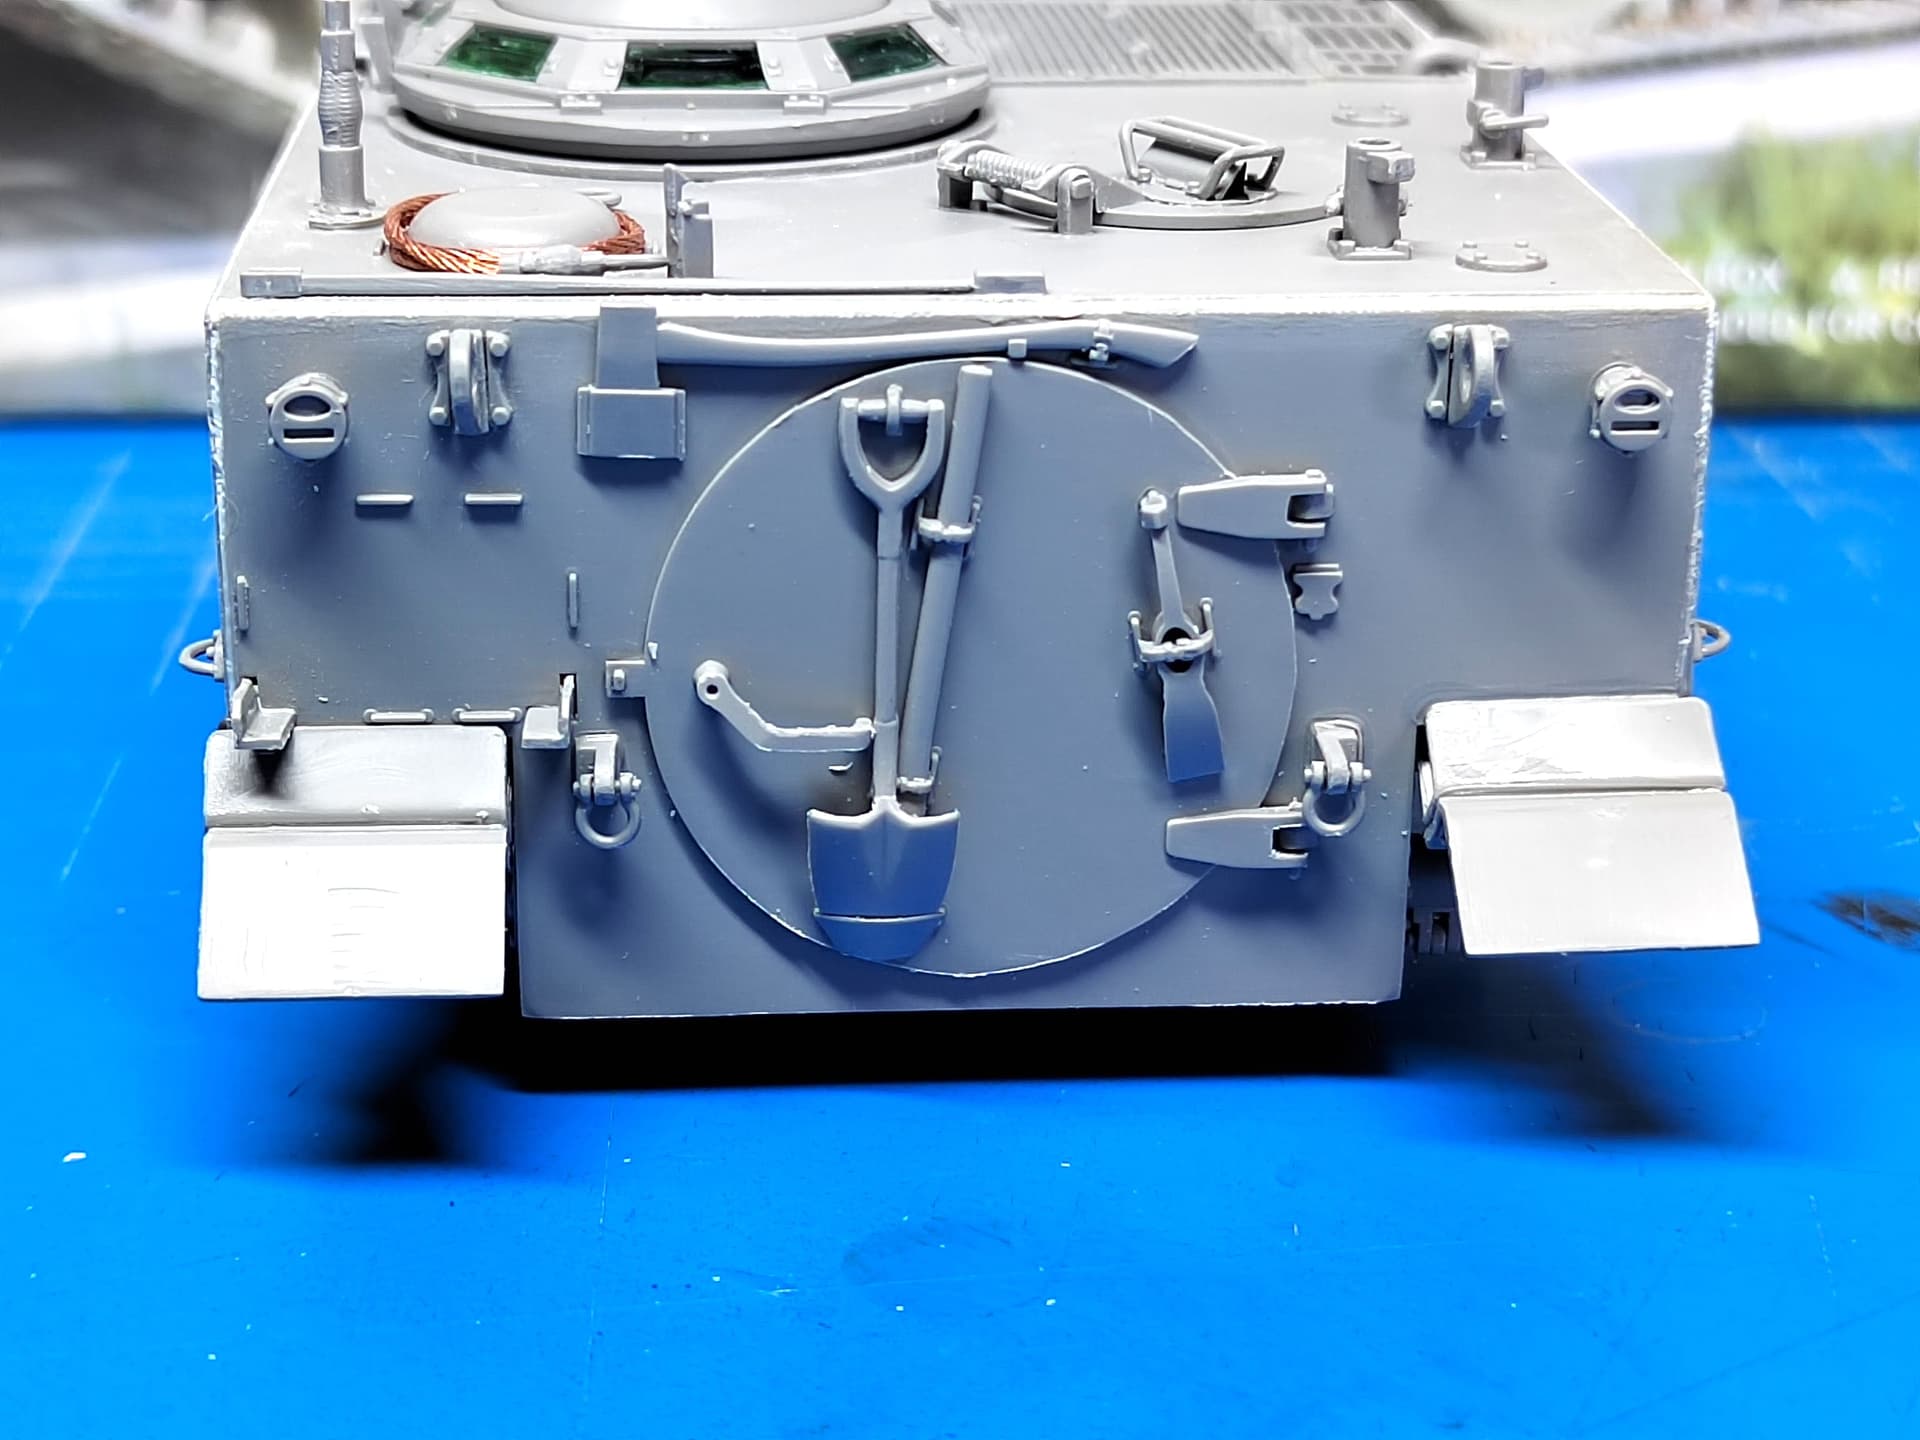
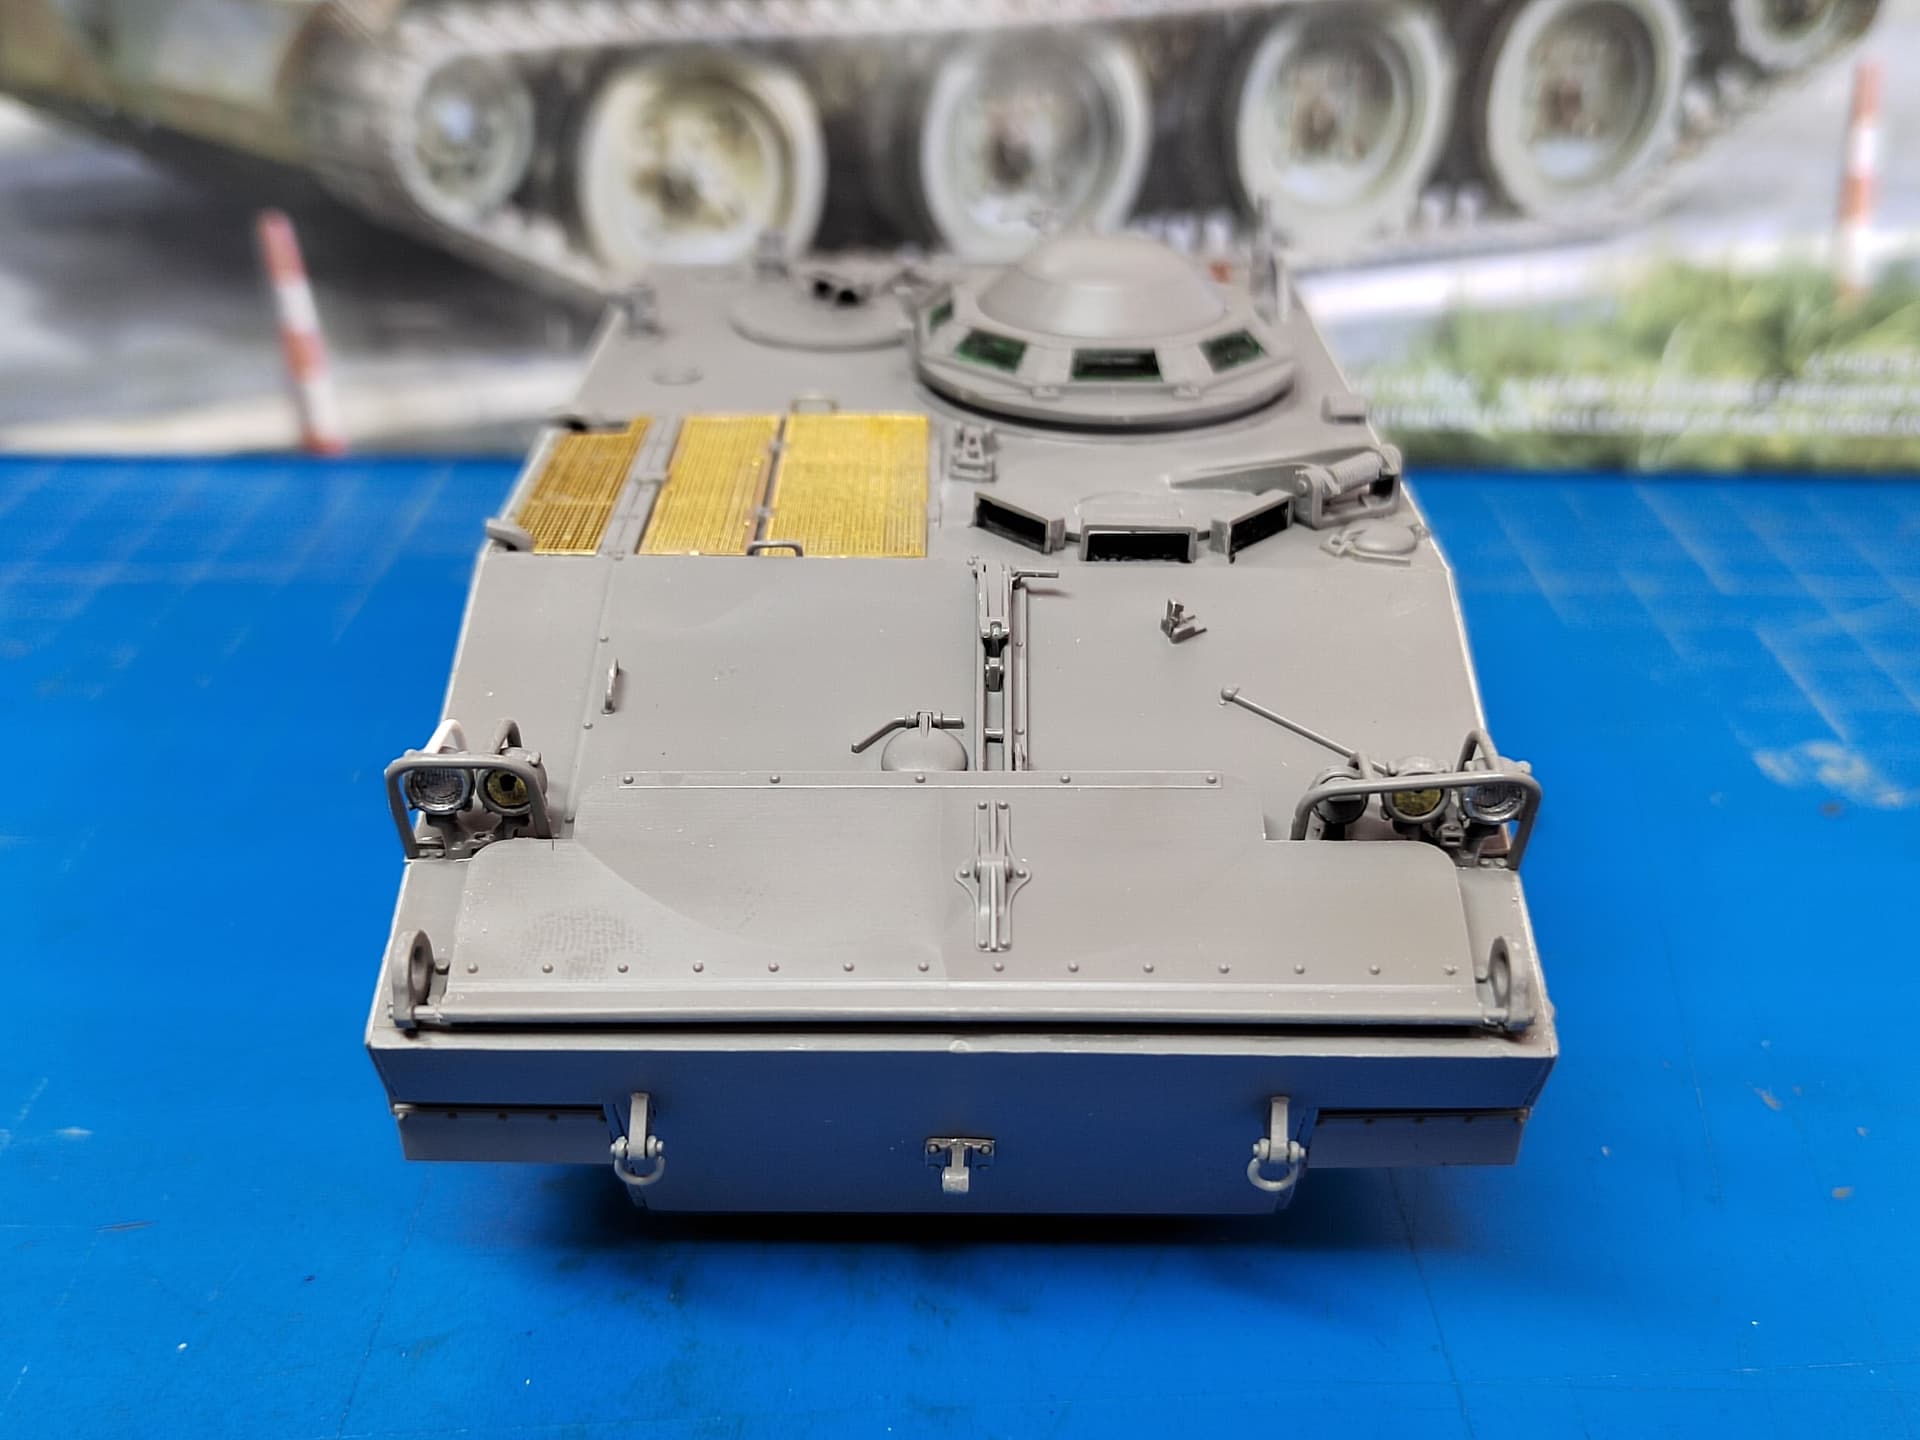
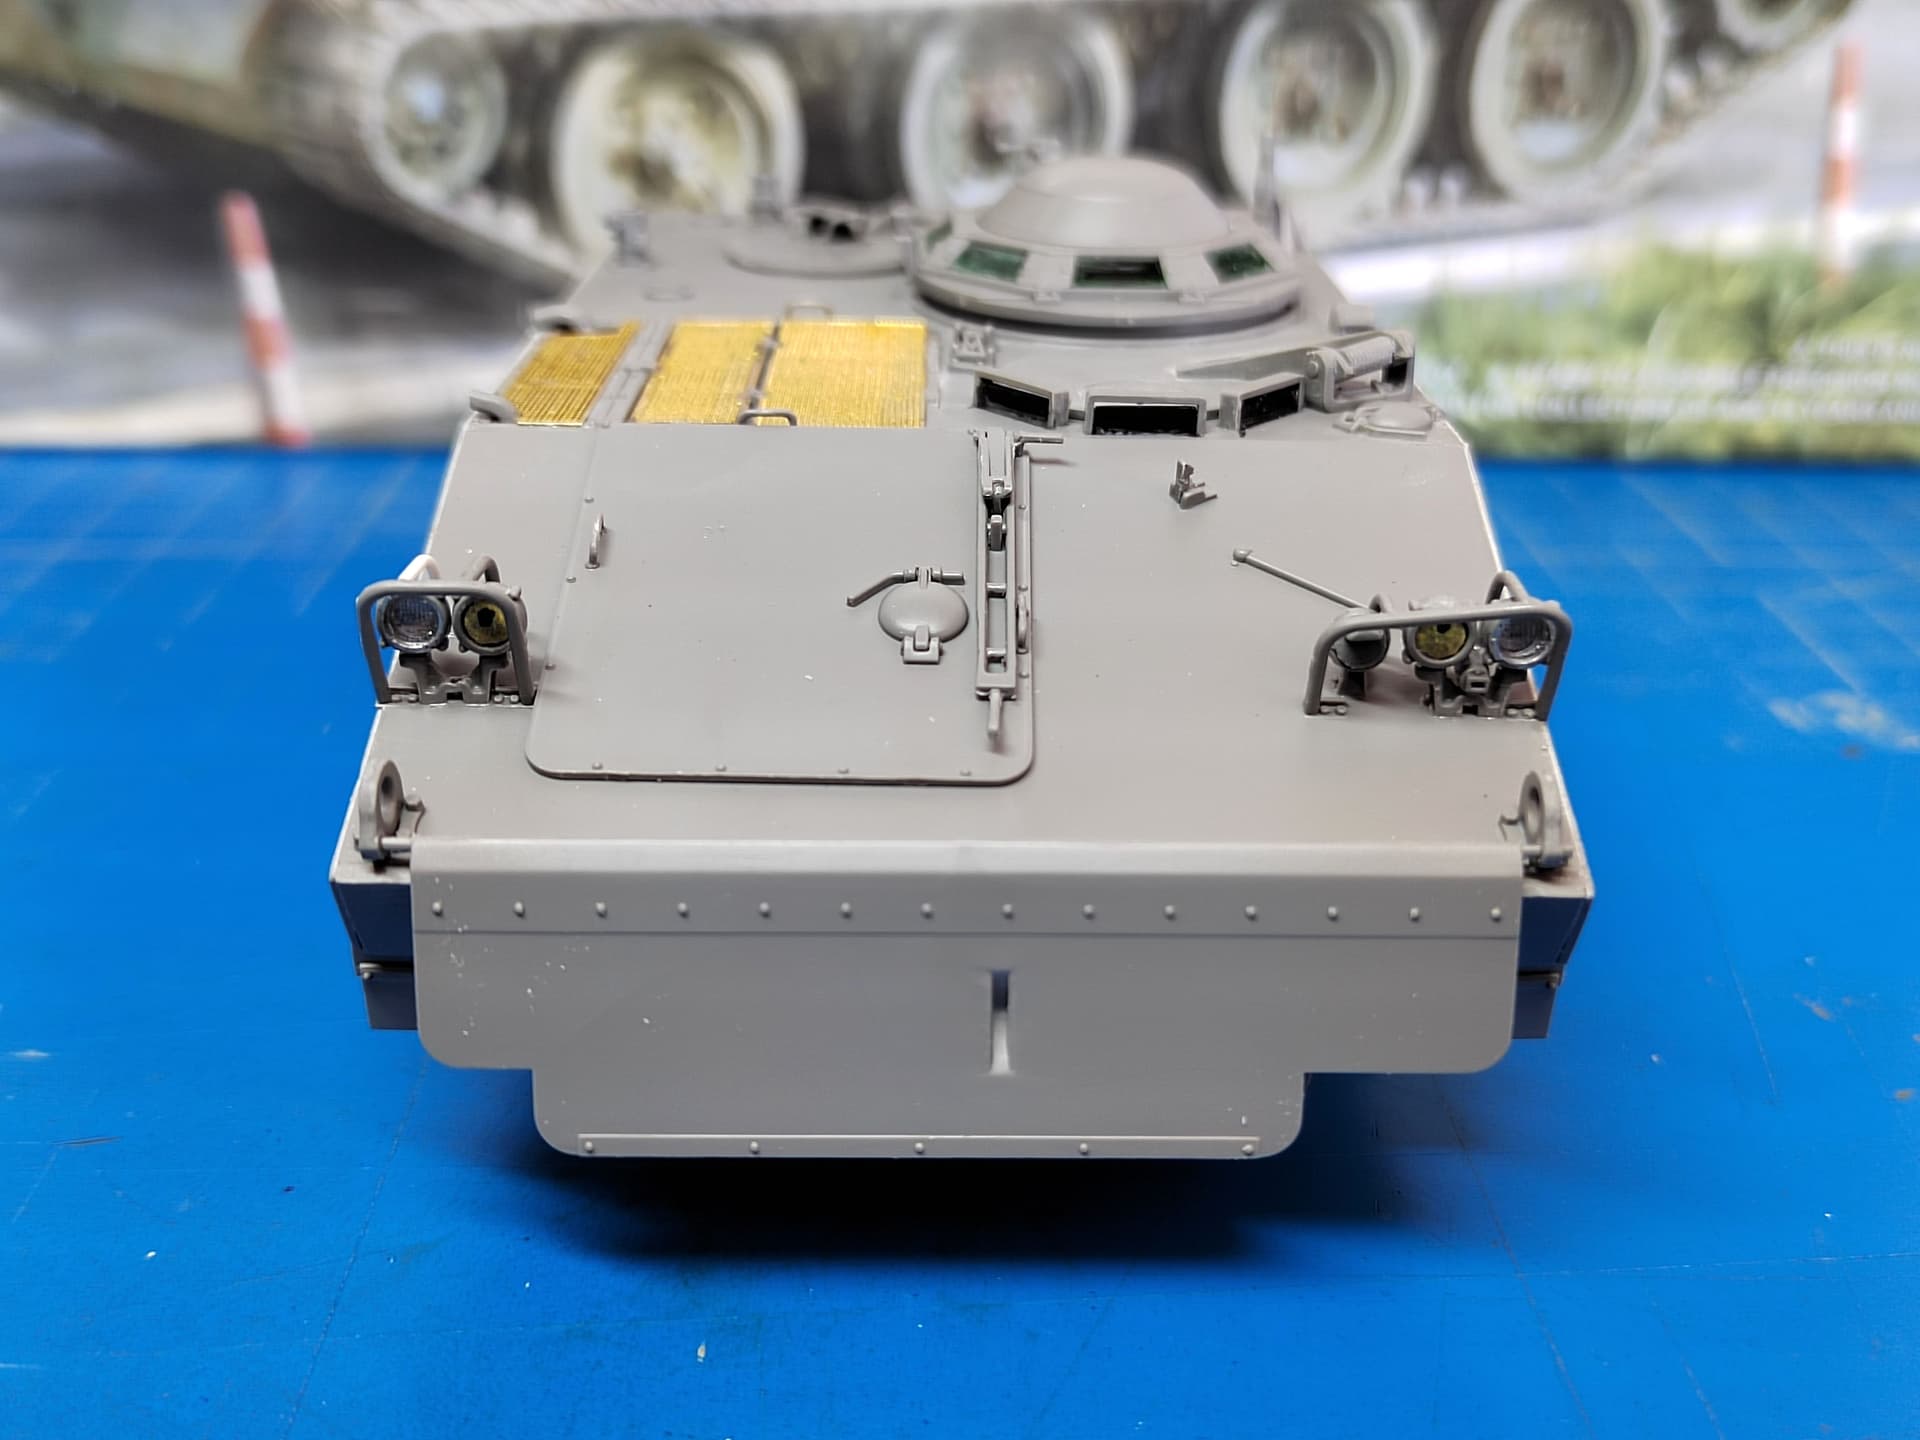
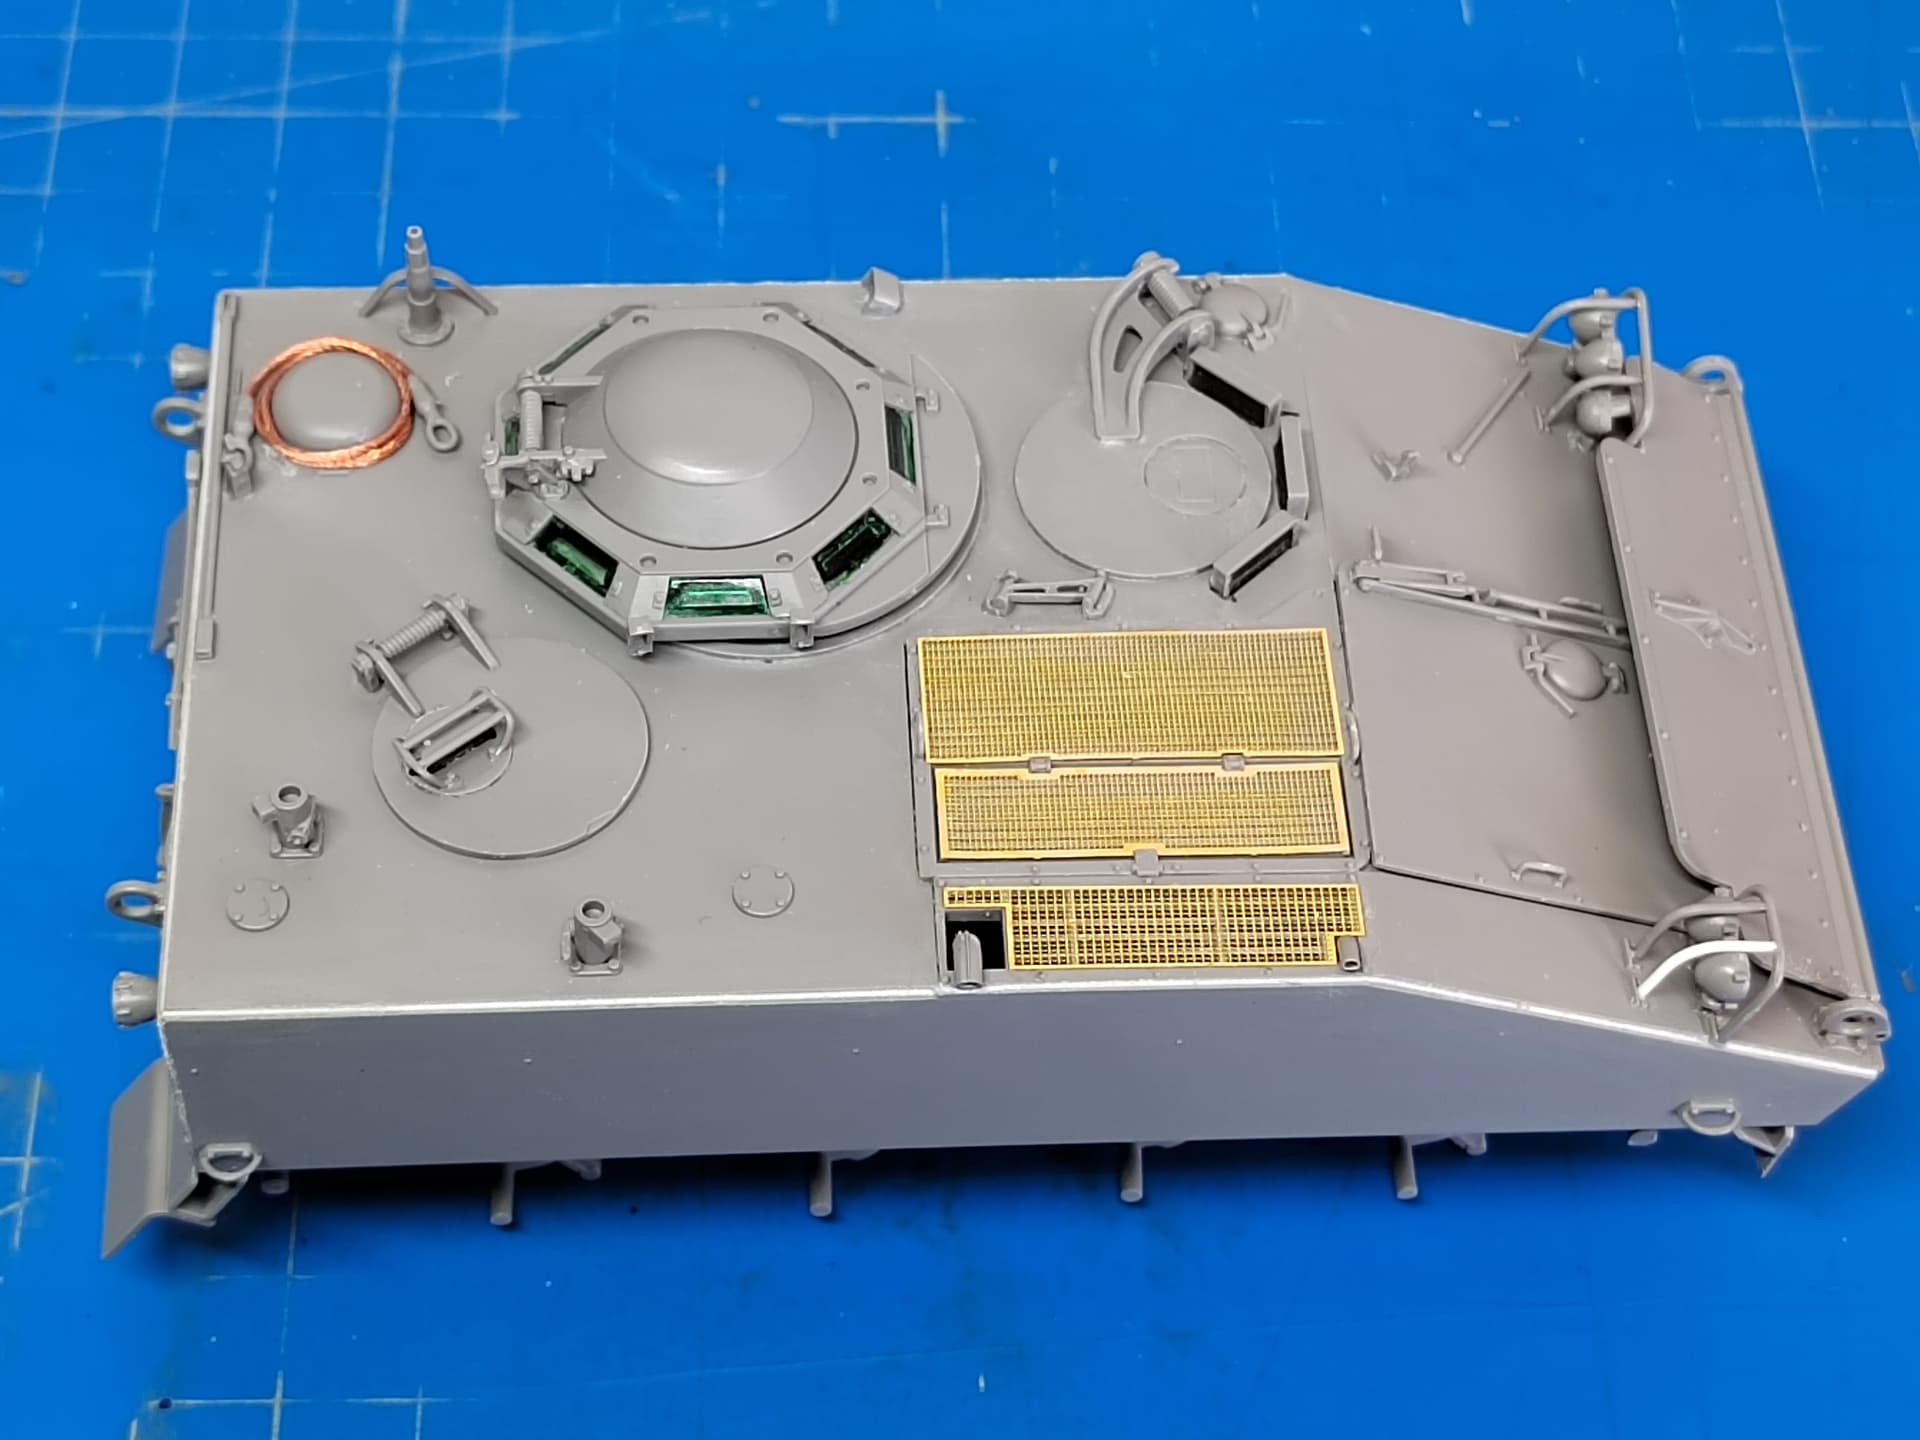
Some progress on the hull top and the rear plate today. No big issue. The only annoying point is that Takom do not give you the right length for the cable. So I glued one eye at one end and wind the issued cable around the ventilator dome as per the instructions.
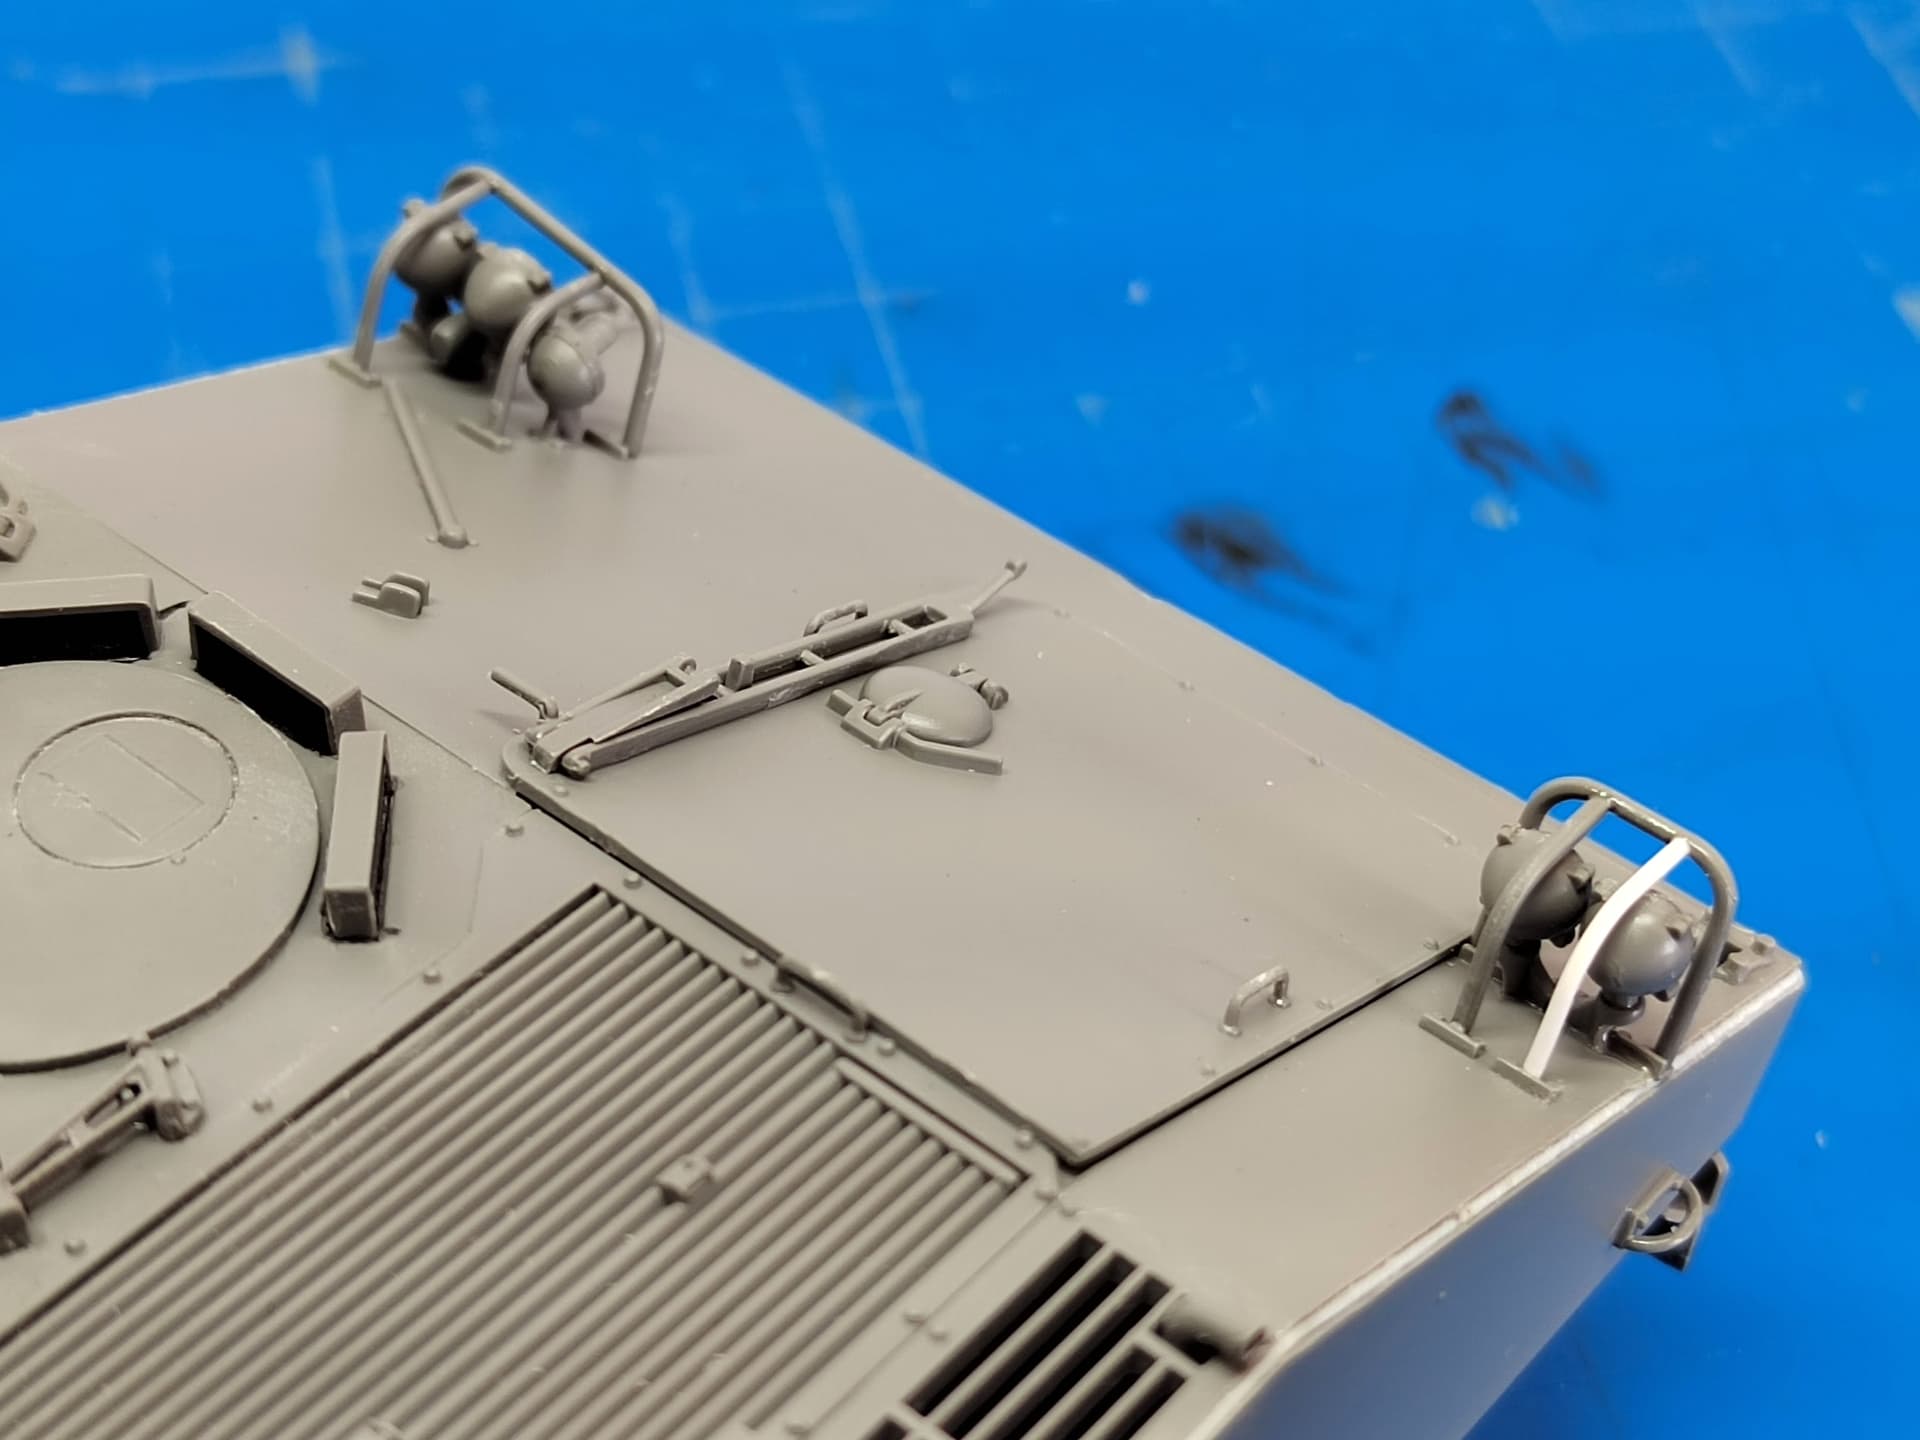
The hull is complete. I’ve struggled a bit with the headlights guards because of a part numbering mistake I noticed too late.
The left one is asymmetrical so the backing rods should not be the same length. Unfortunately Takom give you wrong part numbers. So I shortened one of the rods. When I glued the right guard I noticed the both rods should be the same length while the parts on the instructions are not. So I had to make one from styrene rod. The irony is that if you just invert the front protections the rods issued by Takom are all right.
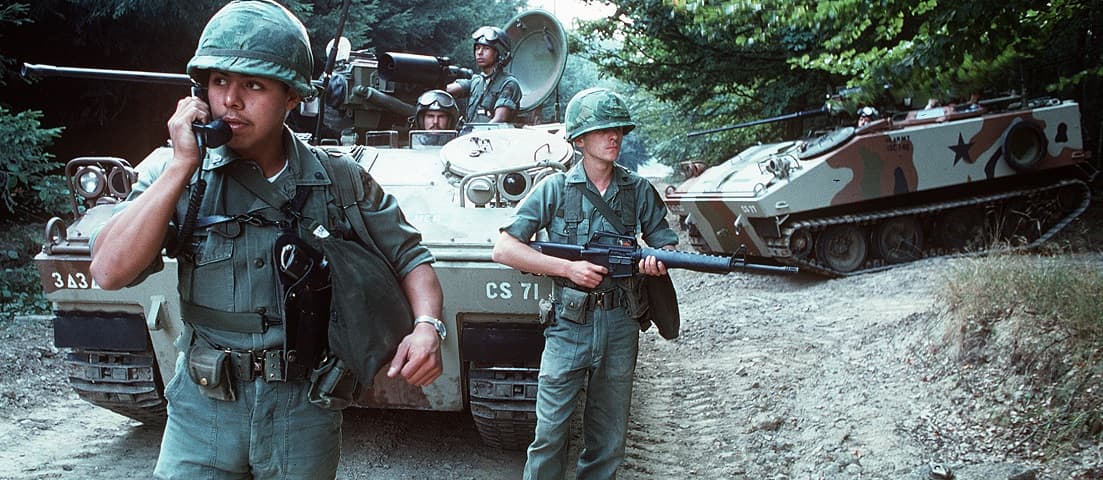
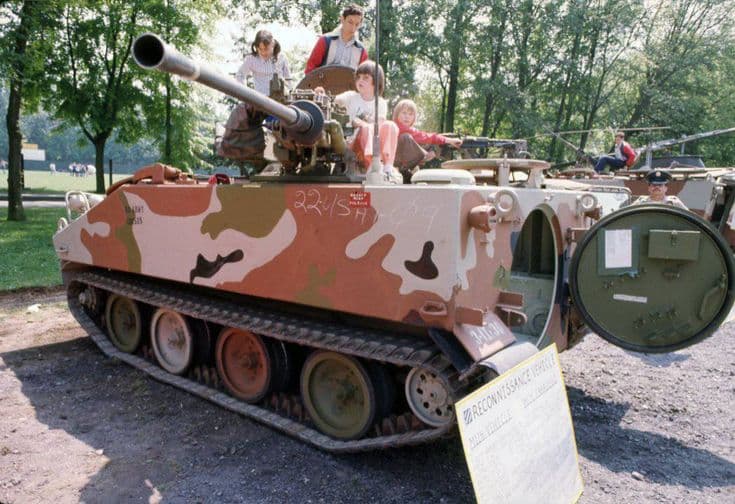
Here’s the best part of doing a vehicle in MASSTER. While there was an “official” regulation published with templates to show how the pattern was to be applied to a variety of vehicles (including the M114), because these vehicles were almost exclusively done in the motor pool, by hand, and by indifidual soldiers, it is absolutely 100% certain that there were HUNDREDS of vehicles which did NOT MATCH the pattern exactly.
And that’s OKAY!!!
For example, the vehicle in the background of the top photo seems pretty close, but the vehicle in the lower photo is not the same and varies quite a bit from the published template..
Does it matter? OF COURSE NOT!! The colors, the percentage of each as well as the general appearance of the vehicle conforms to the intent of the regulation.
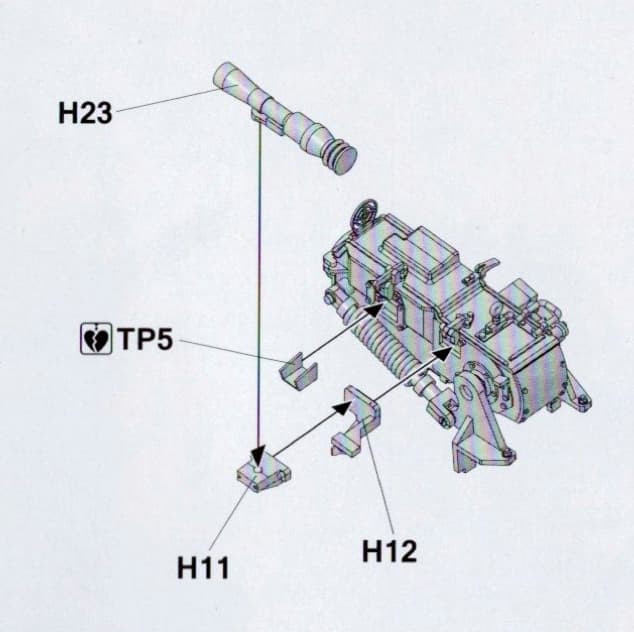
I have a question regarding what looks like a sight on the left side of the cannon.
Takom molded the ends flat. If this is a sight I guess they should be recessed with a hollow eye protection. Am I guessing right?
Based purely on what it looks like, I would expect that to be a telescopic sight of some kind. The rear bit looks like a rubber bellows, so that would definitely be hollow at the back. The front would probably be slightly hollow with a convex lens in it, I suppose?