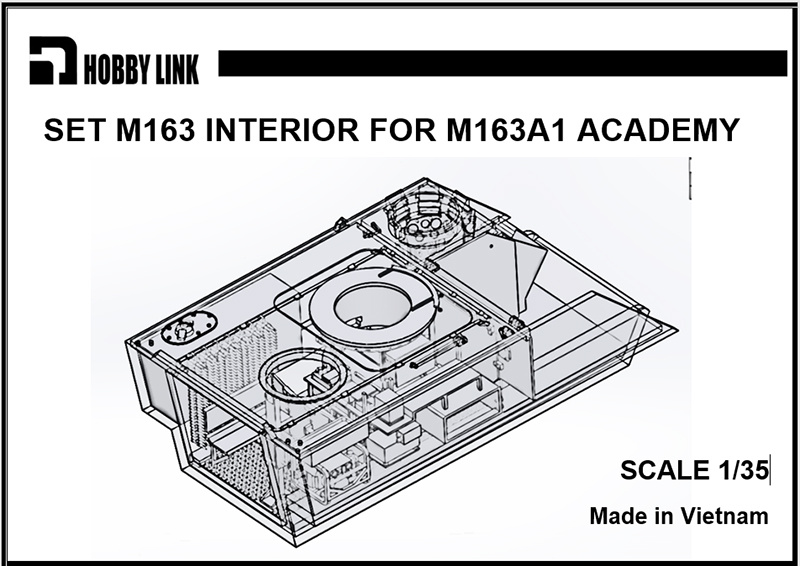
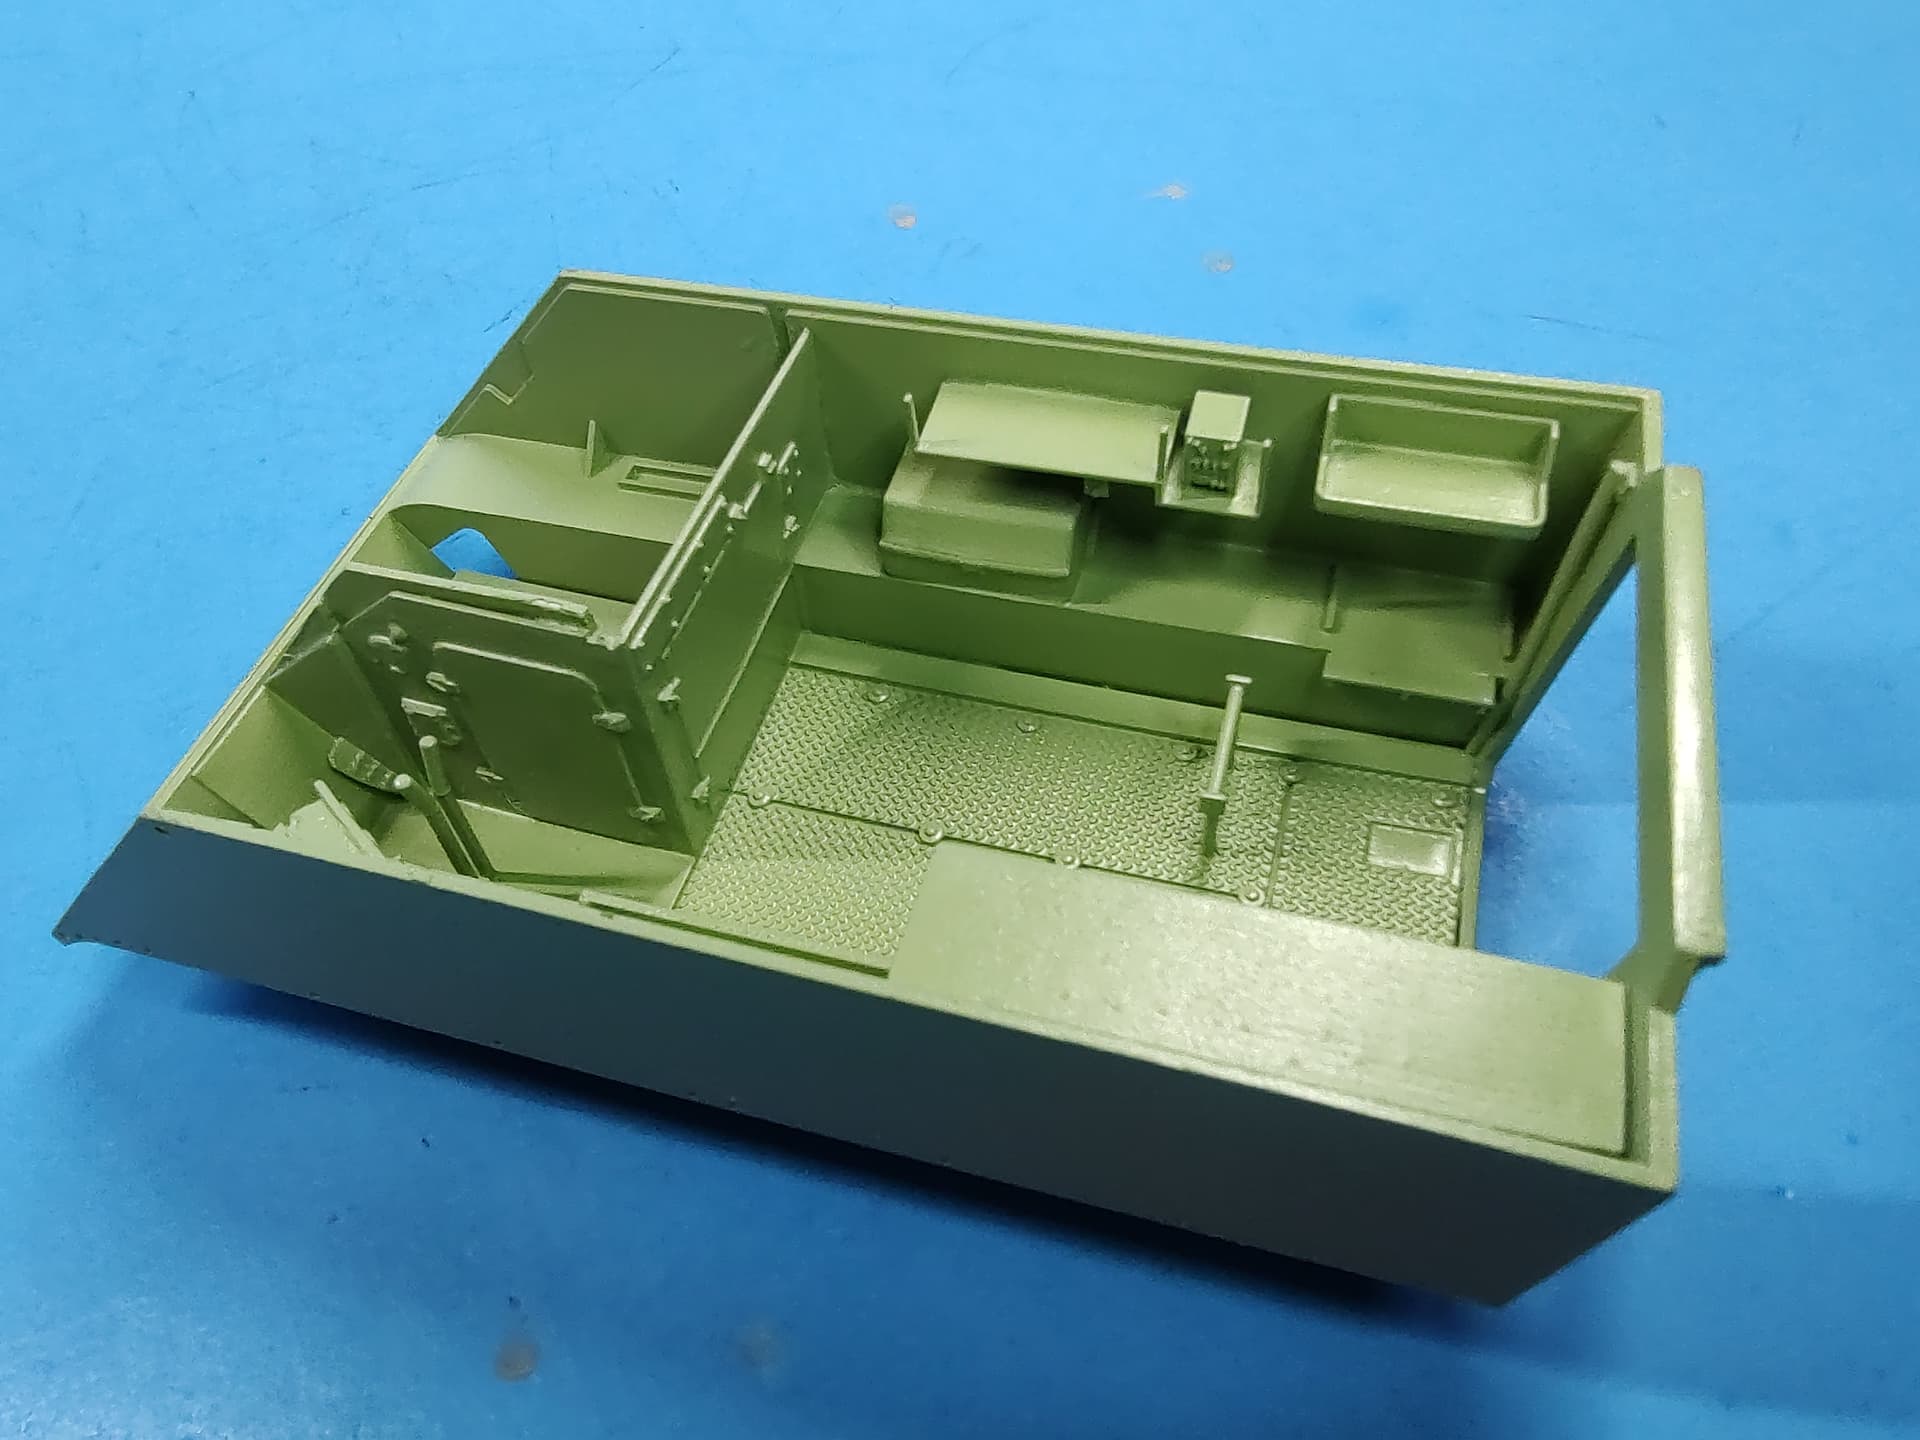
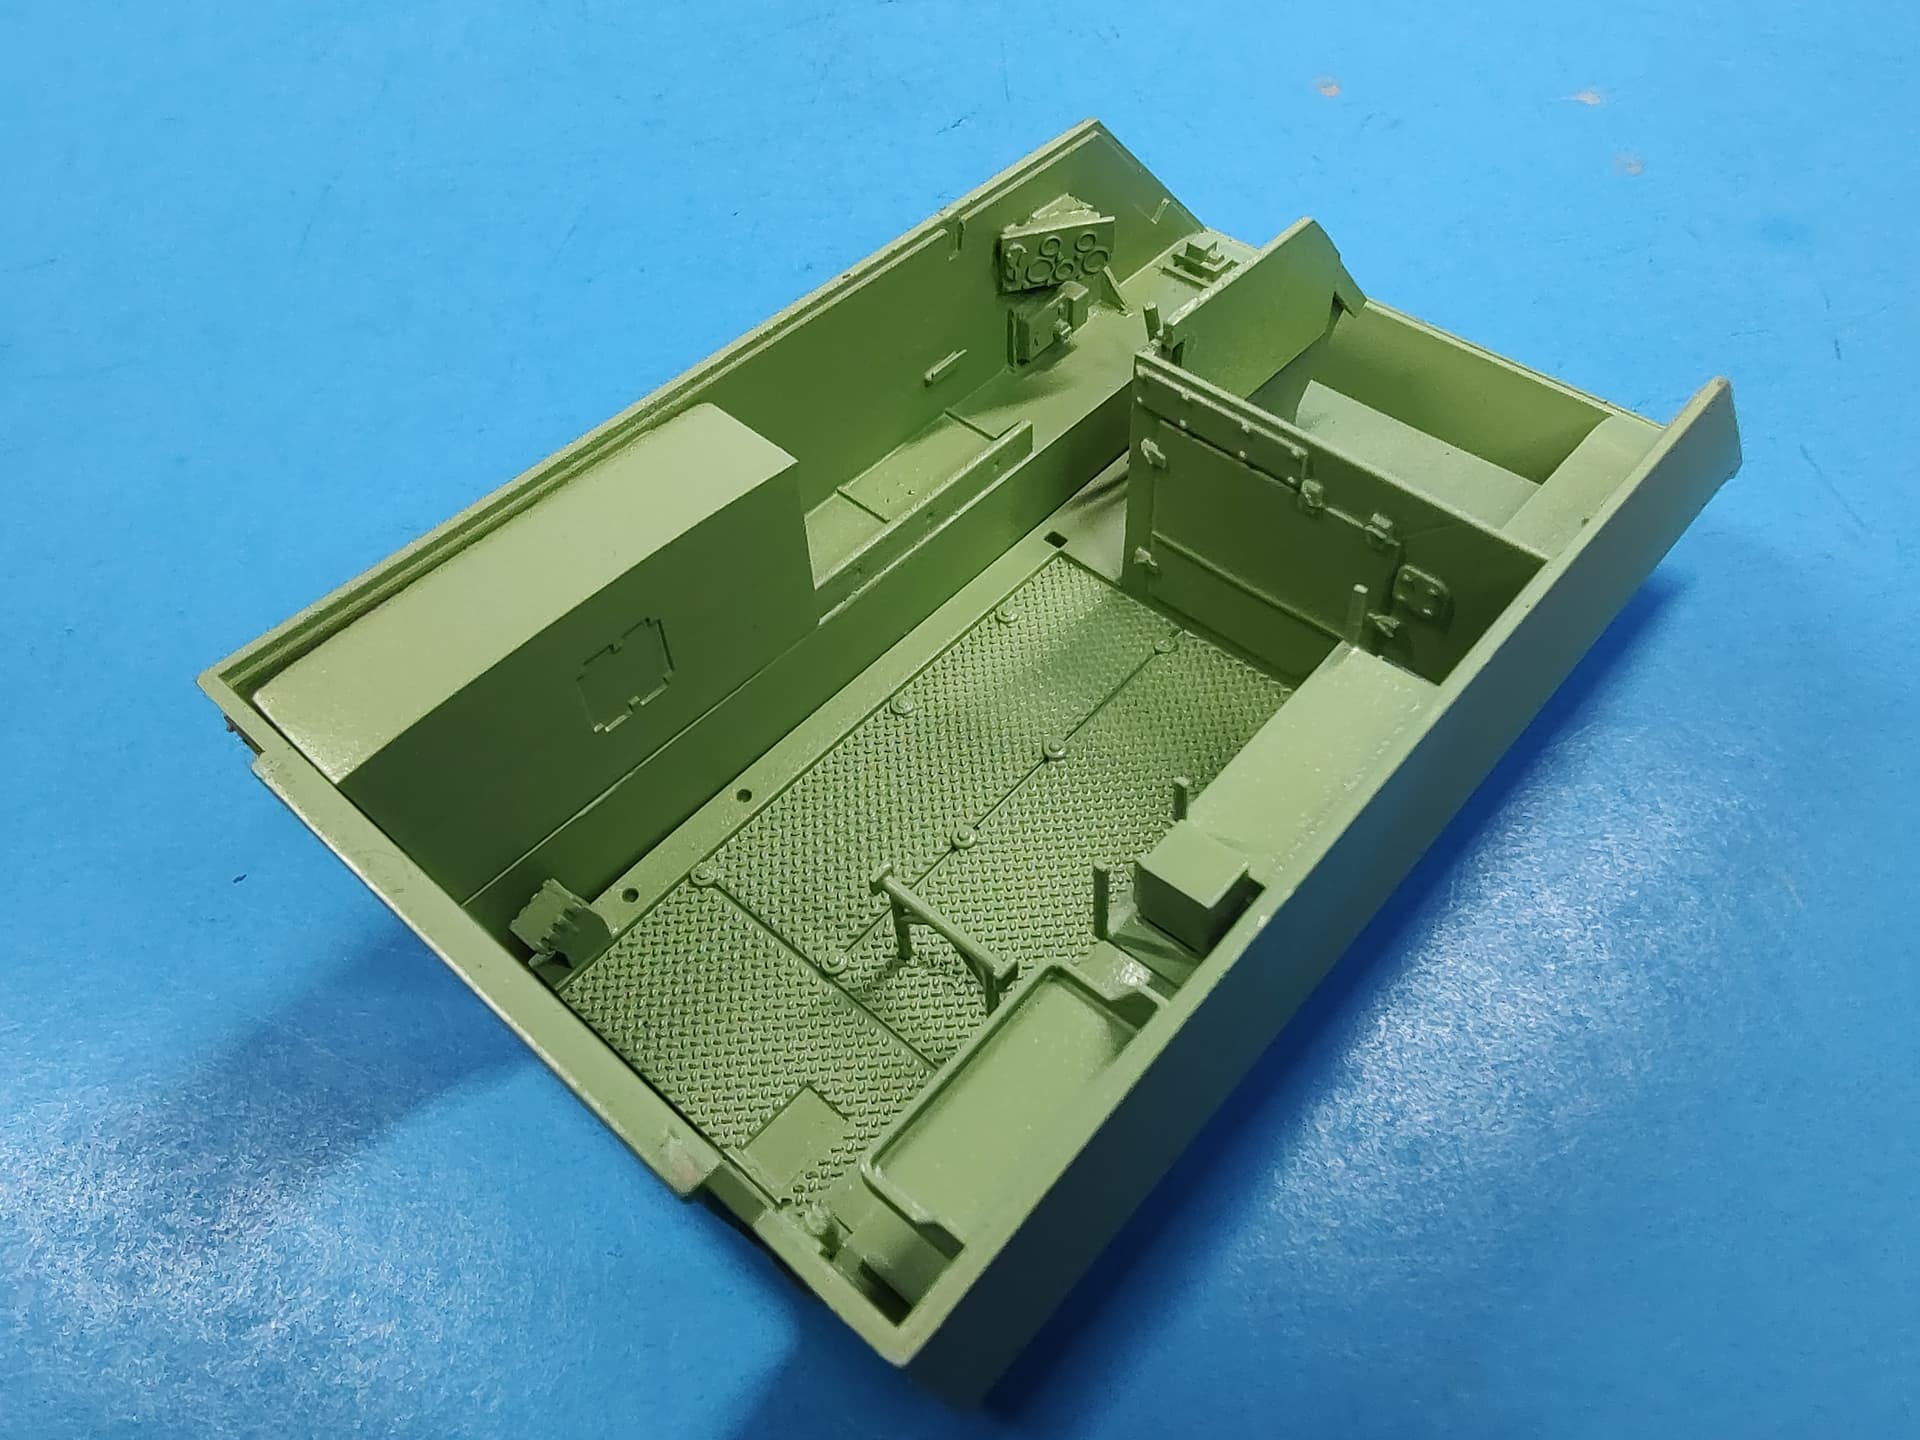
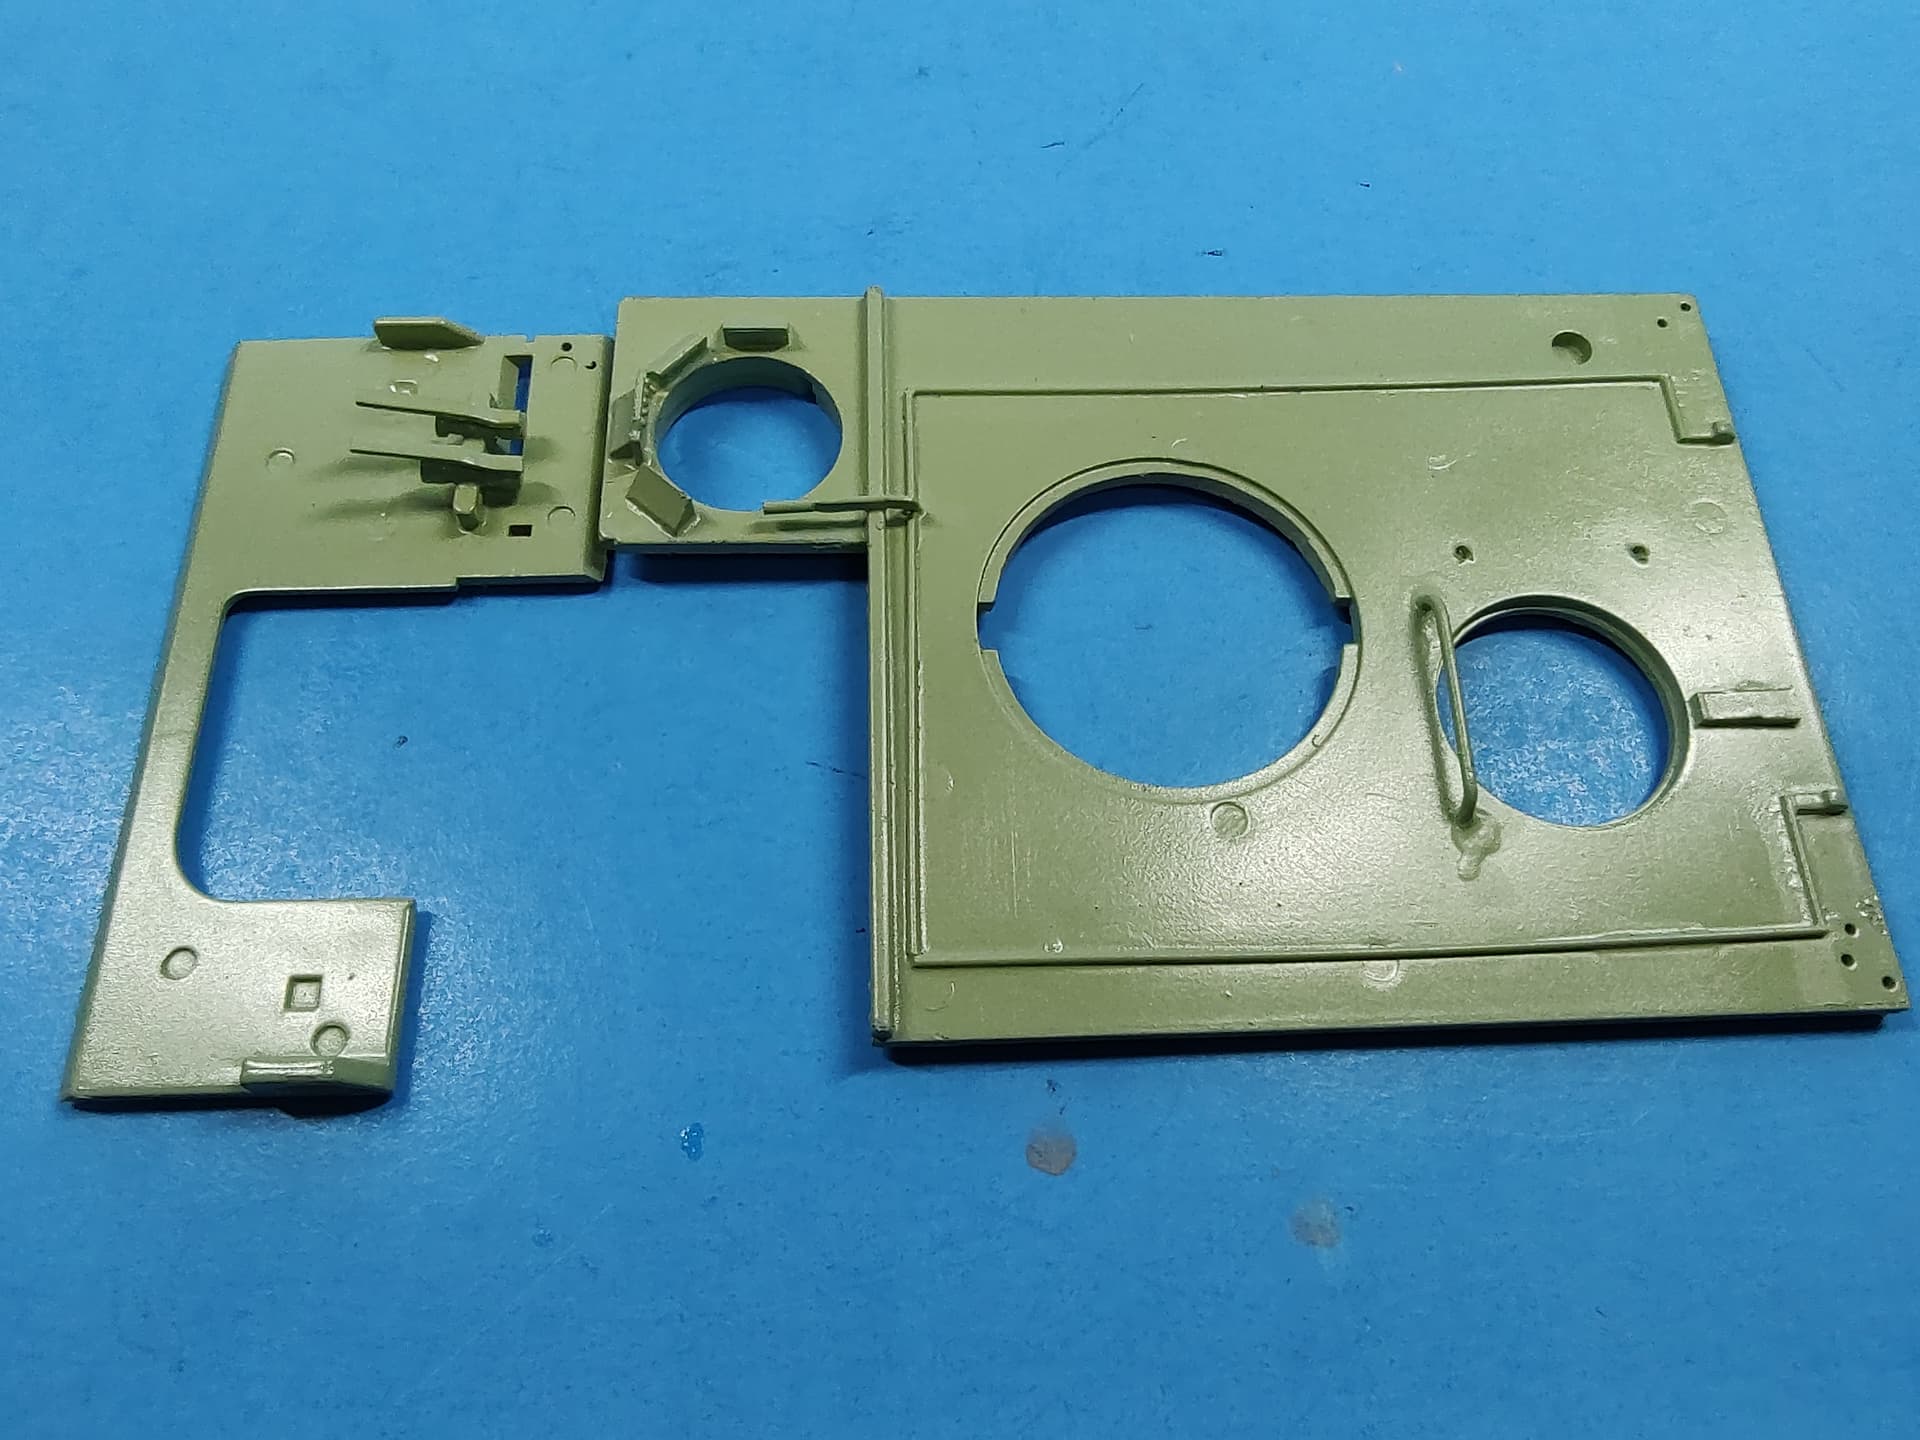
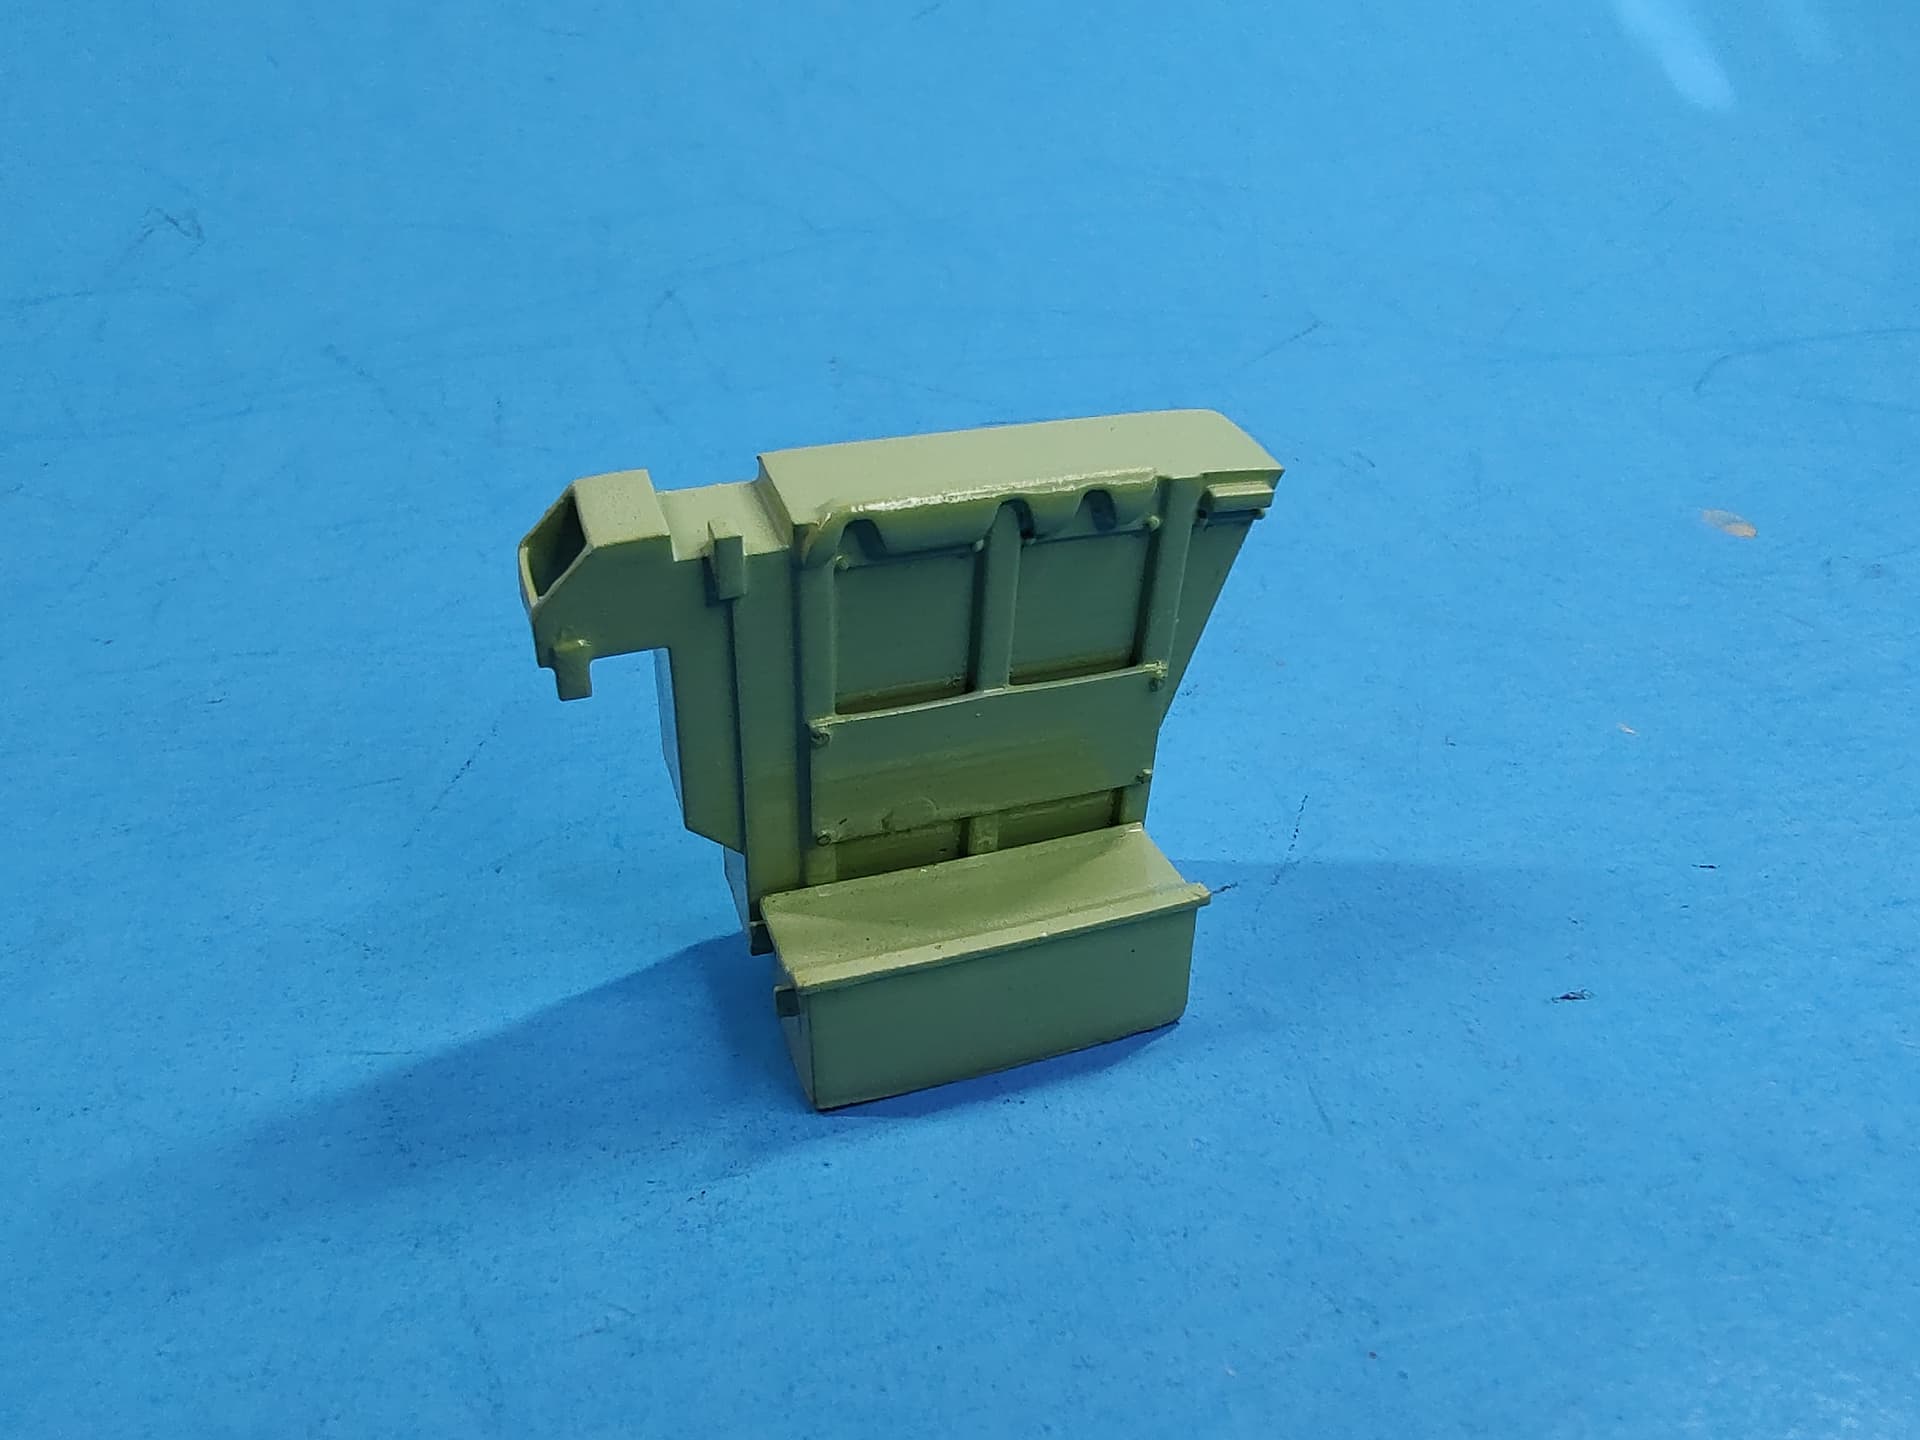
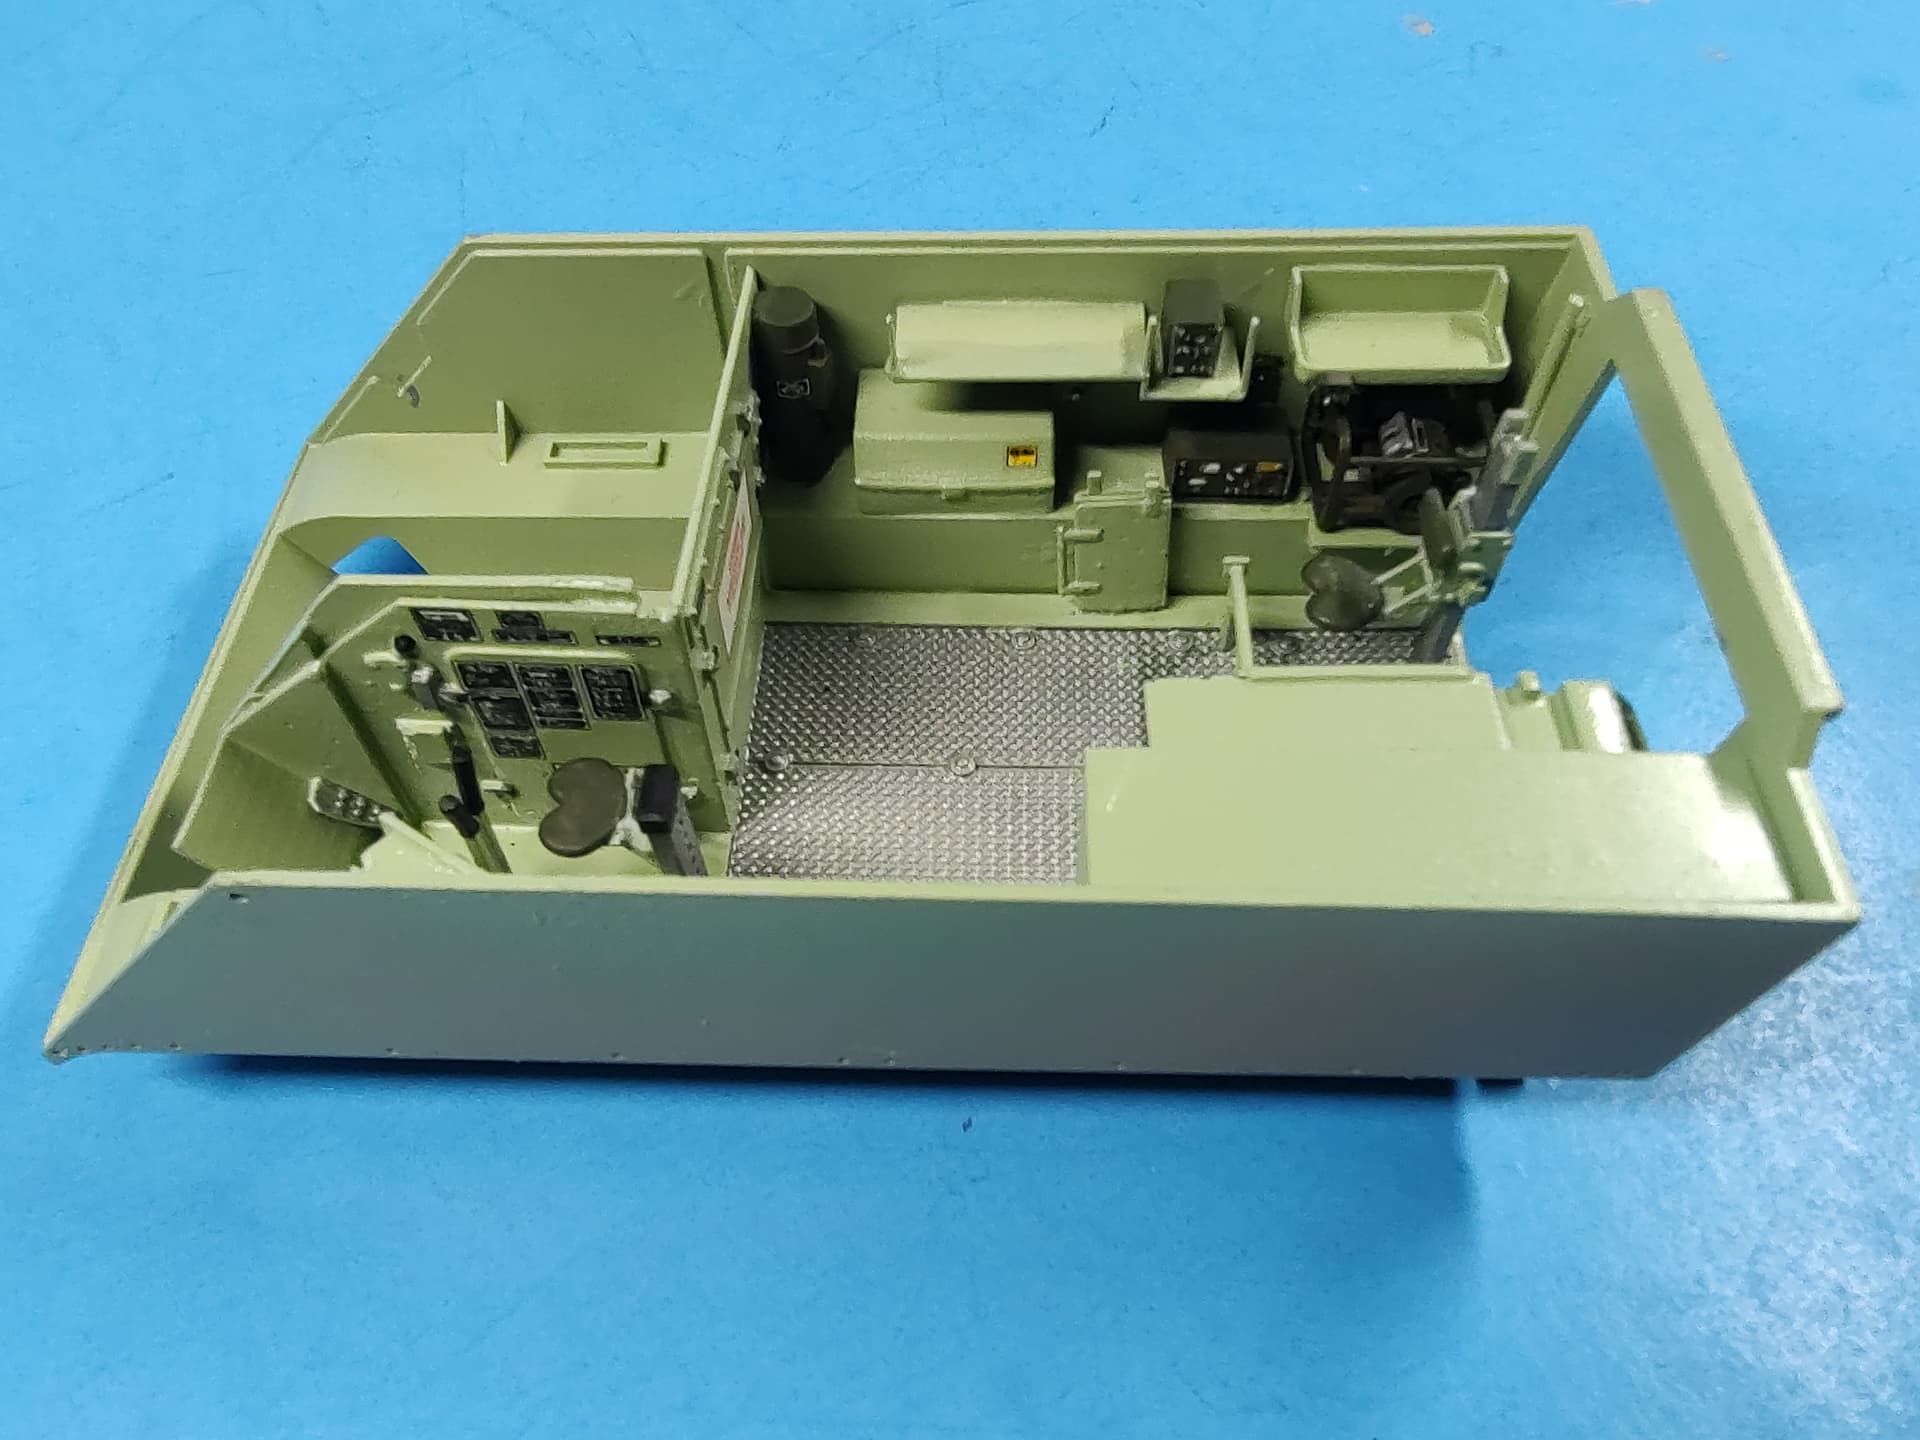
Here is the Hobby Link interior set. It comes with a complete interior: floor, walls, fuel tank, driver’s area, and all the parts for the M163, including both early A1 and later A2 ammo storage parts.
I forgot to take pics before painting, but all the interior parts you see are in the kit. On the interior hull, I only added the rear ramp pulley from a 3D printed part and will add a heater from the Academy kit.
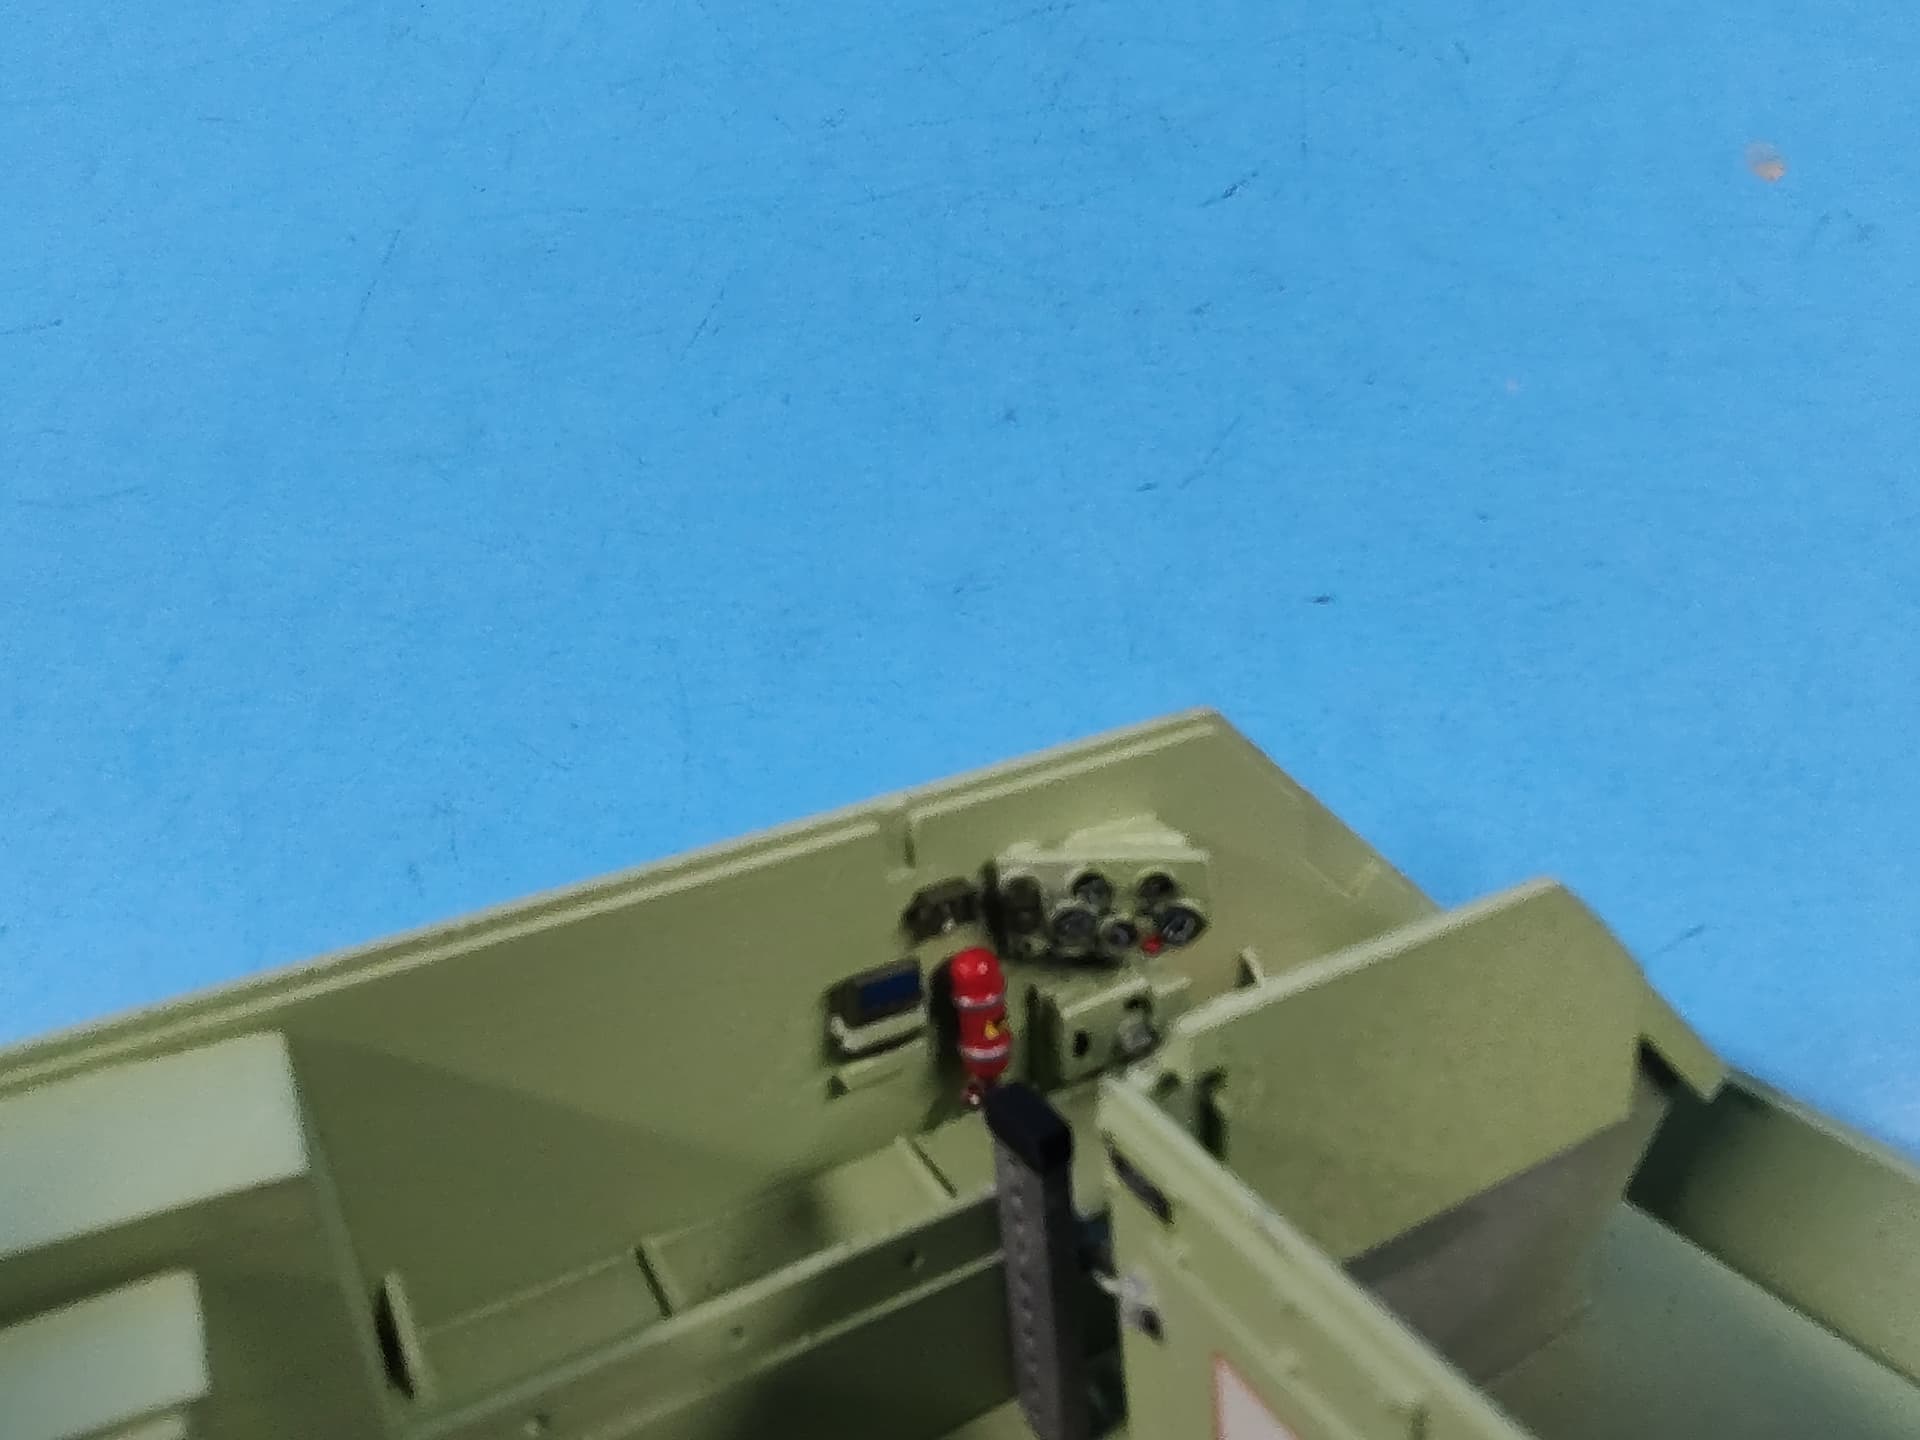
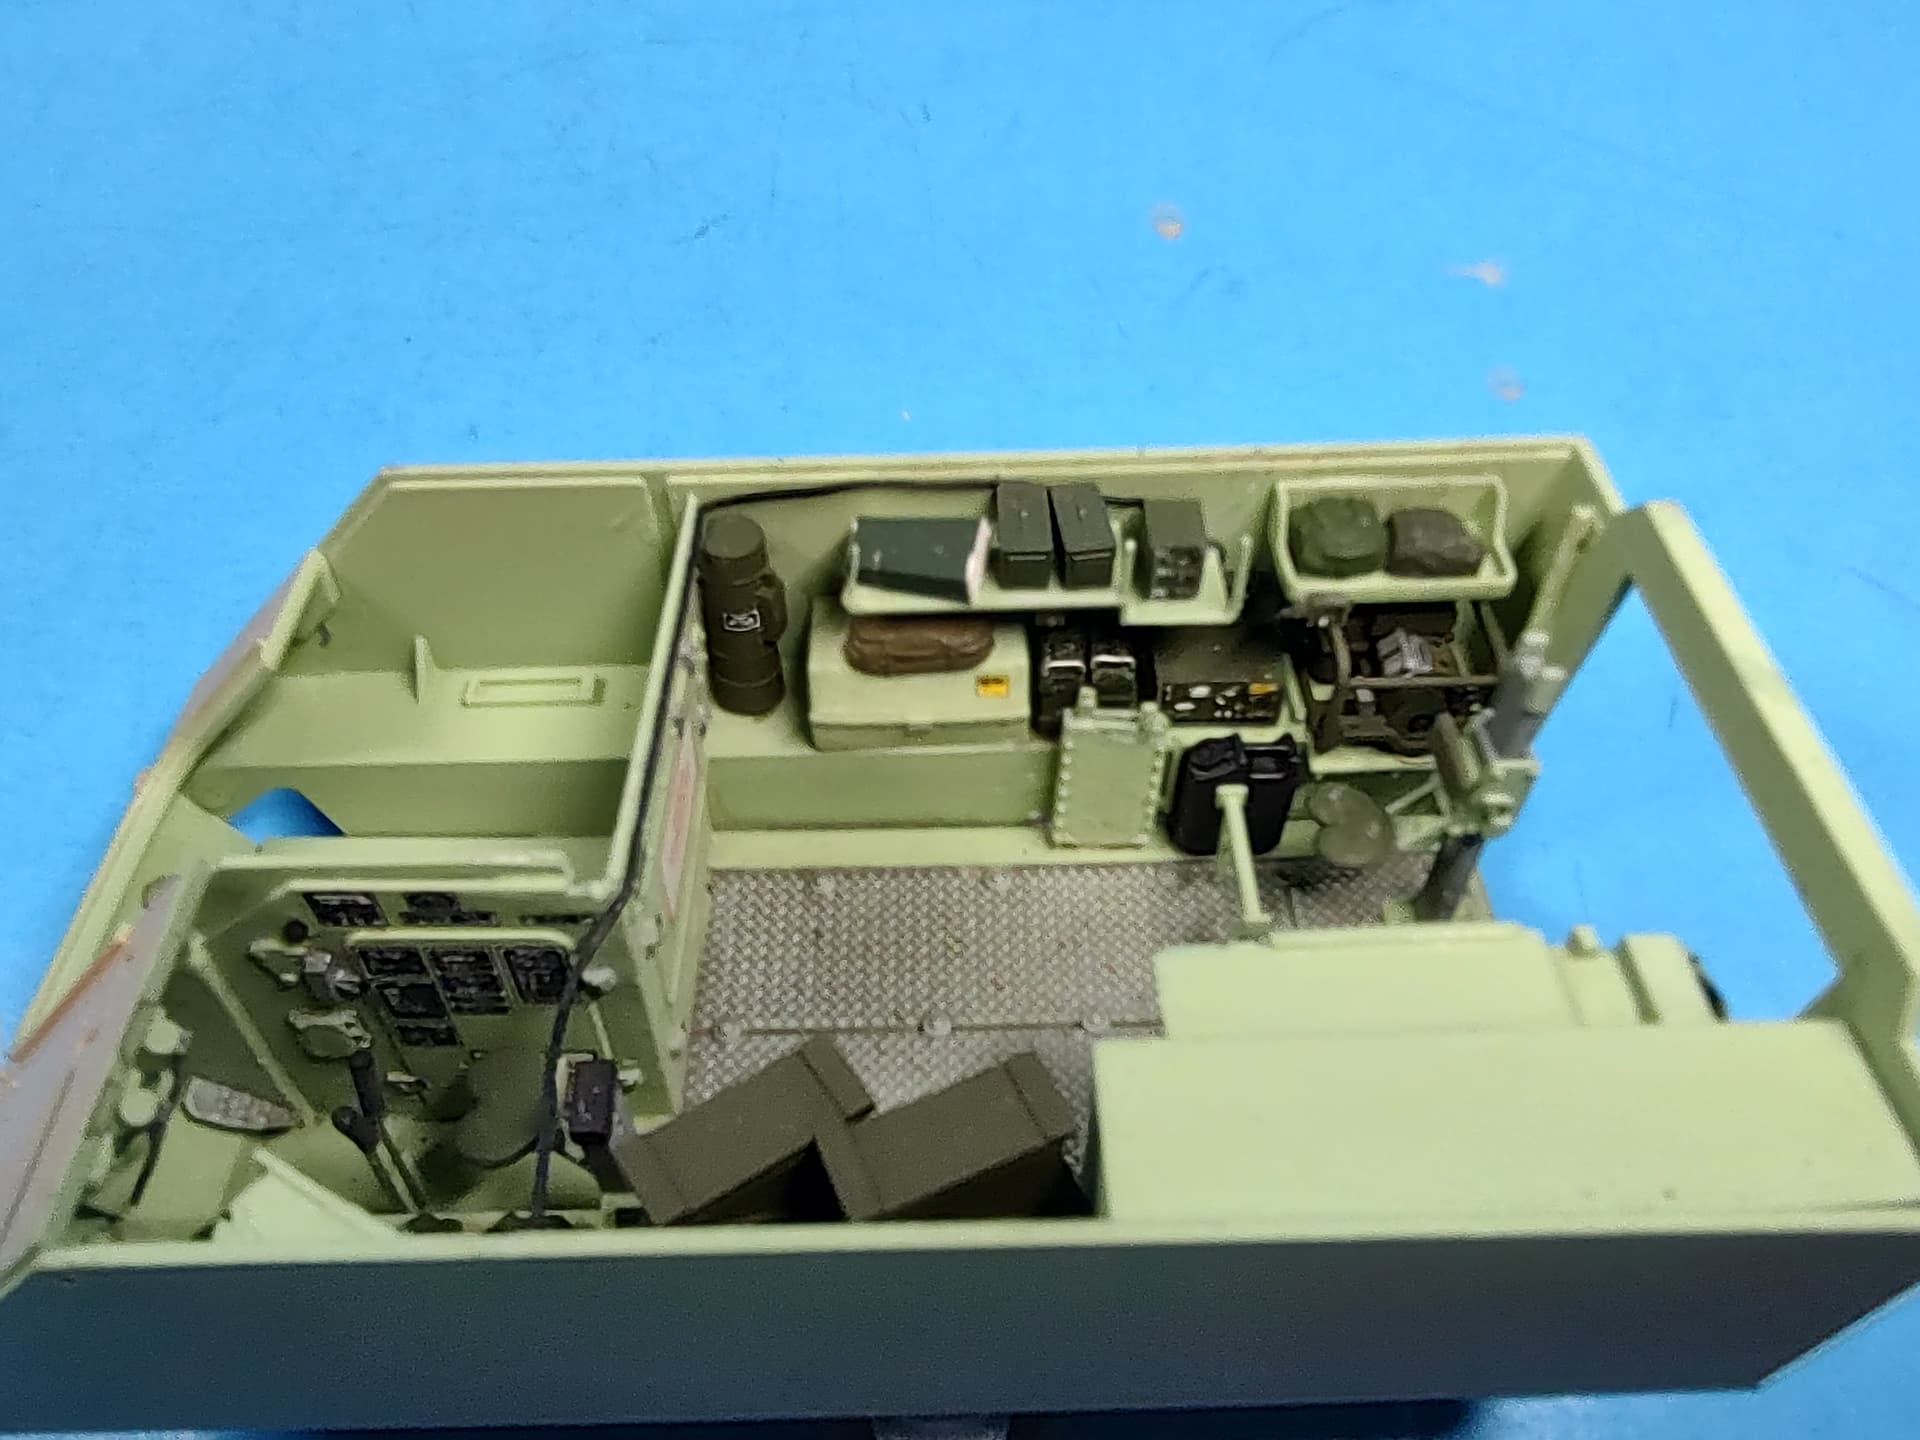
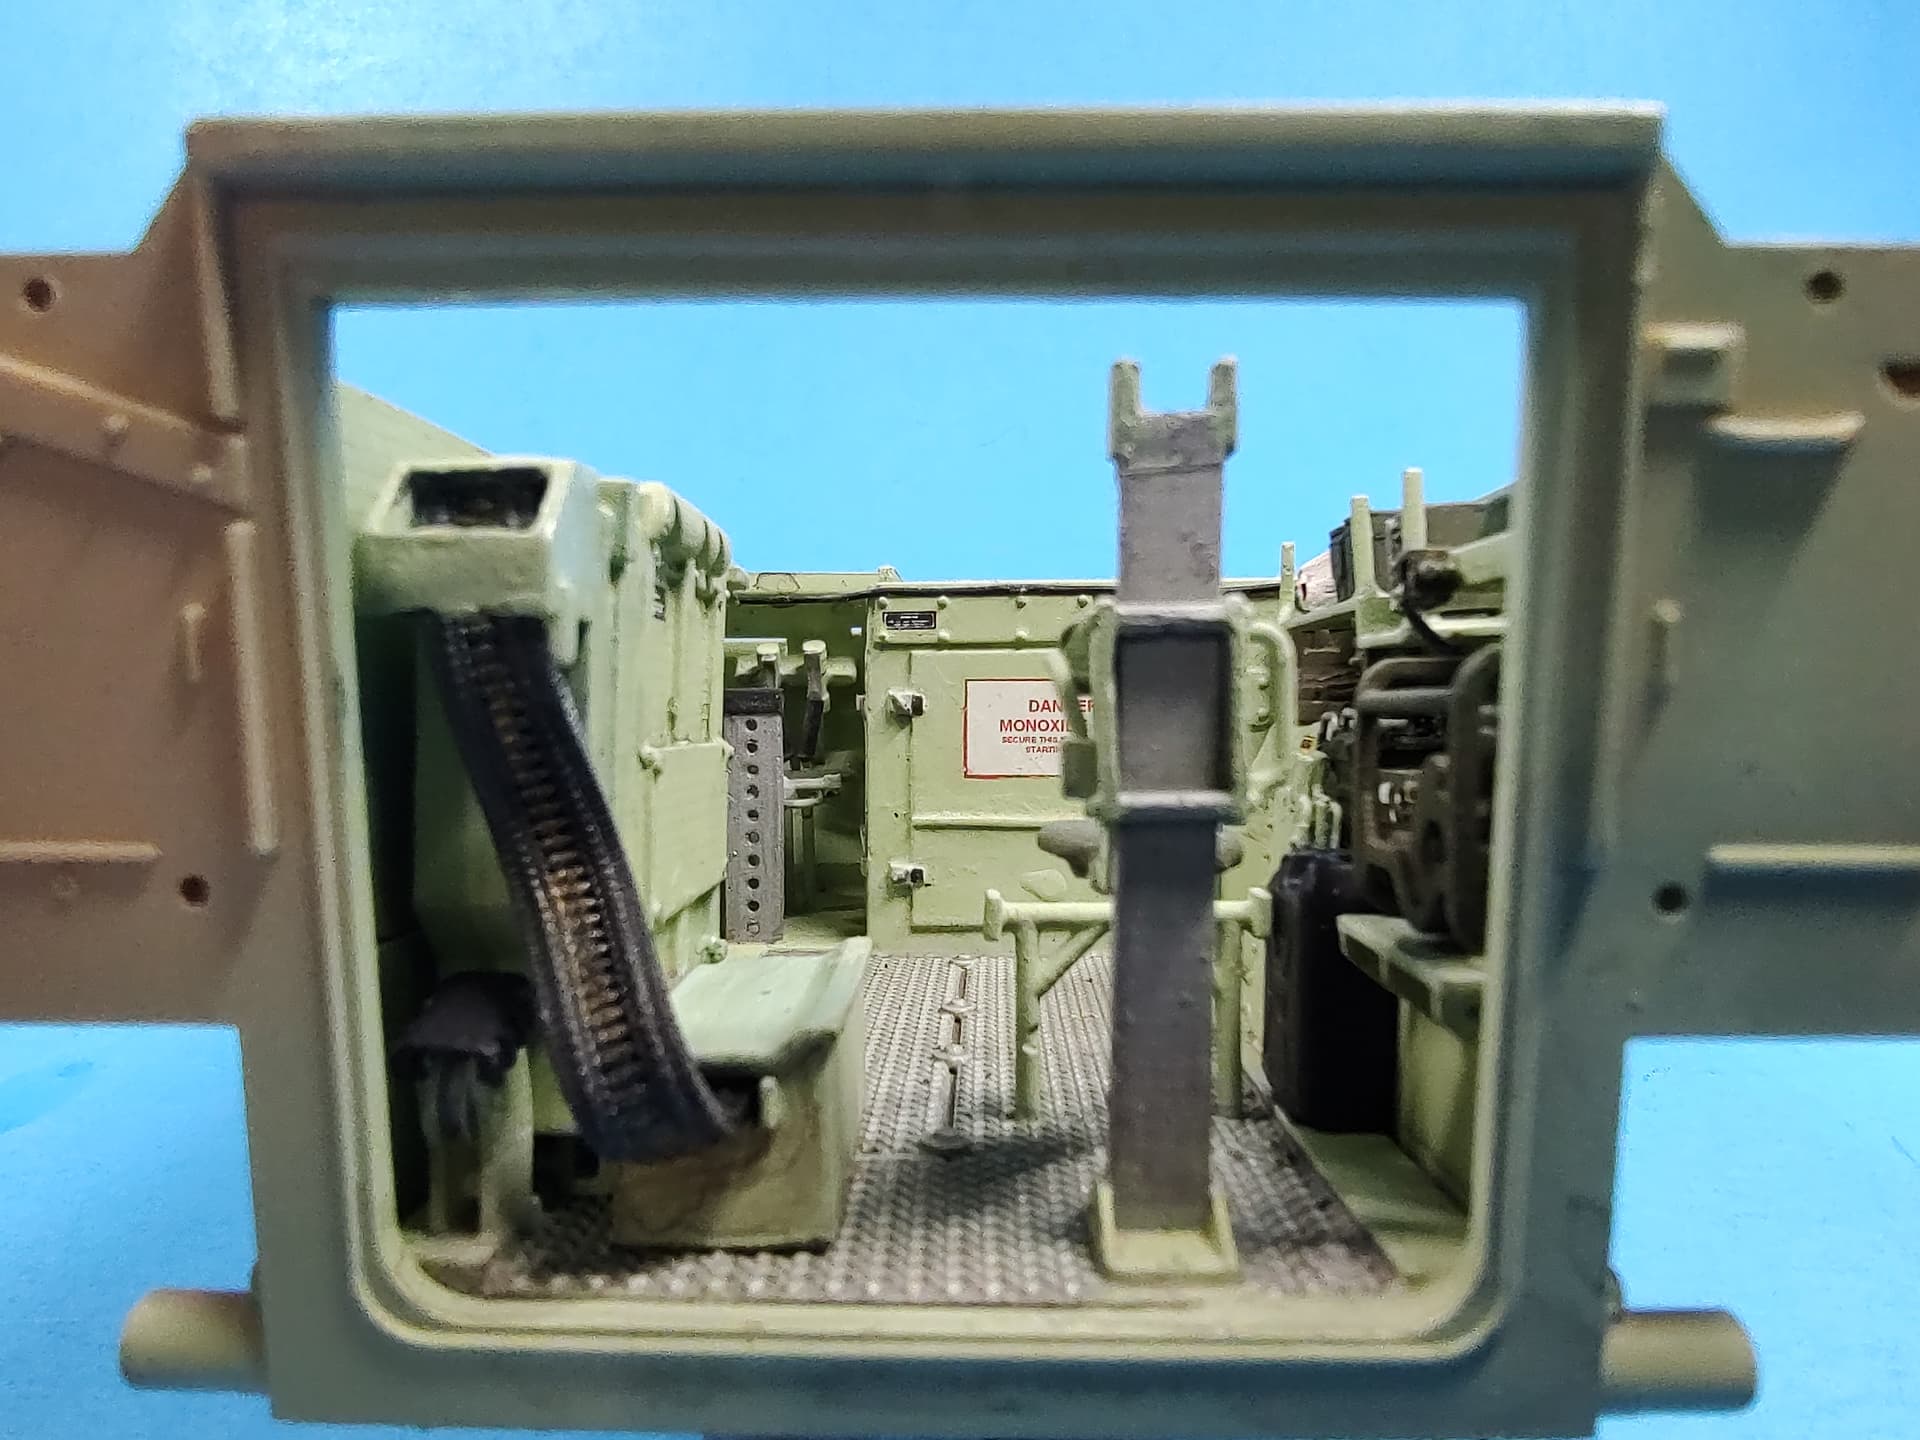
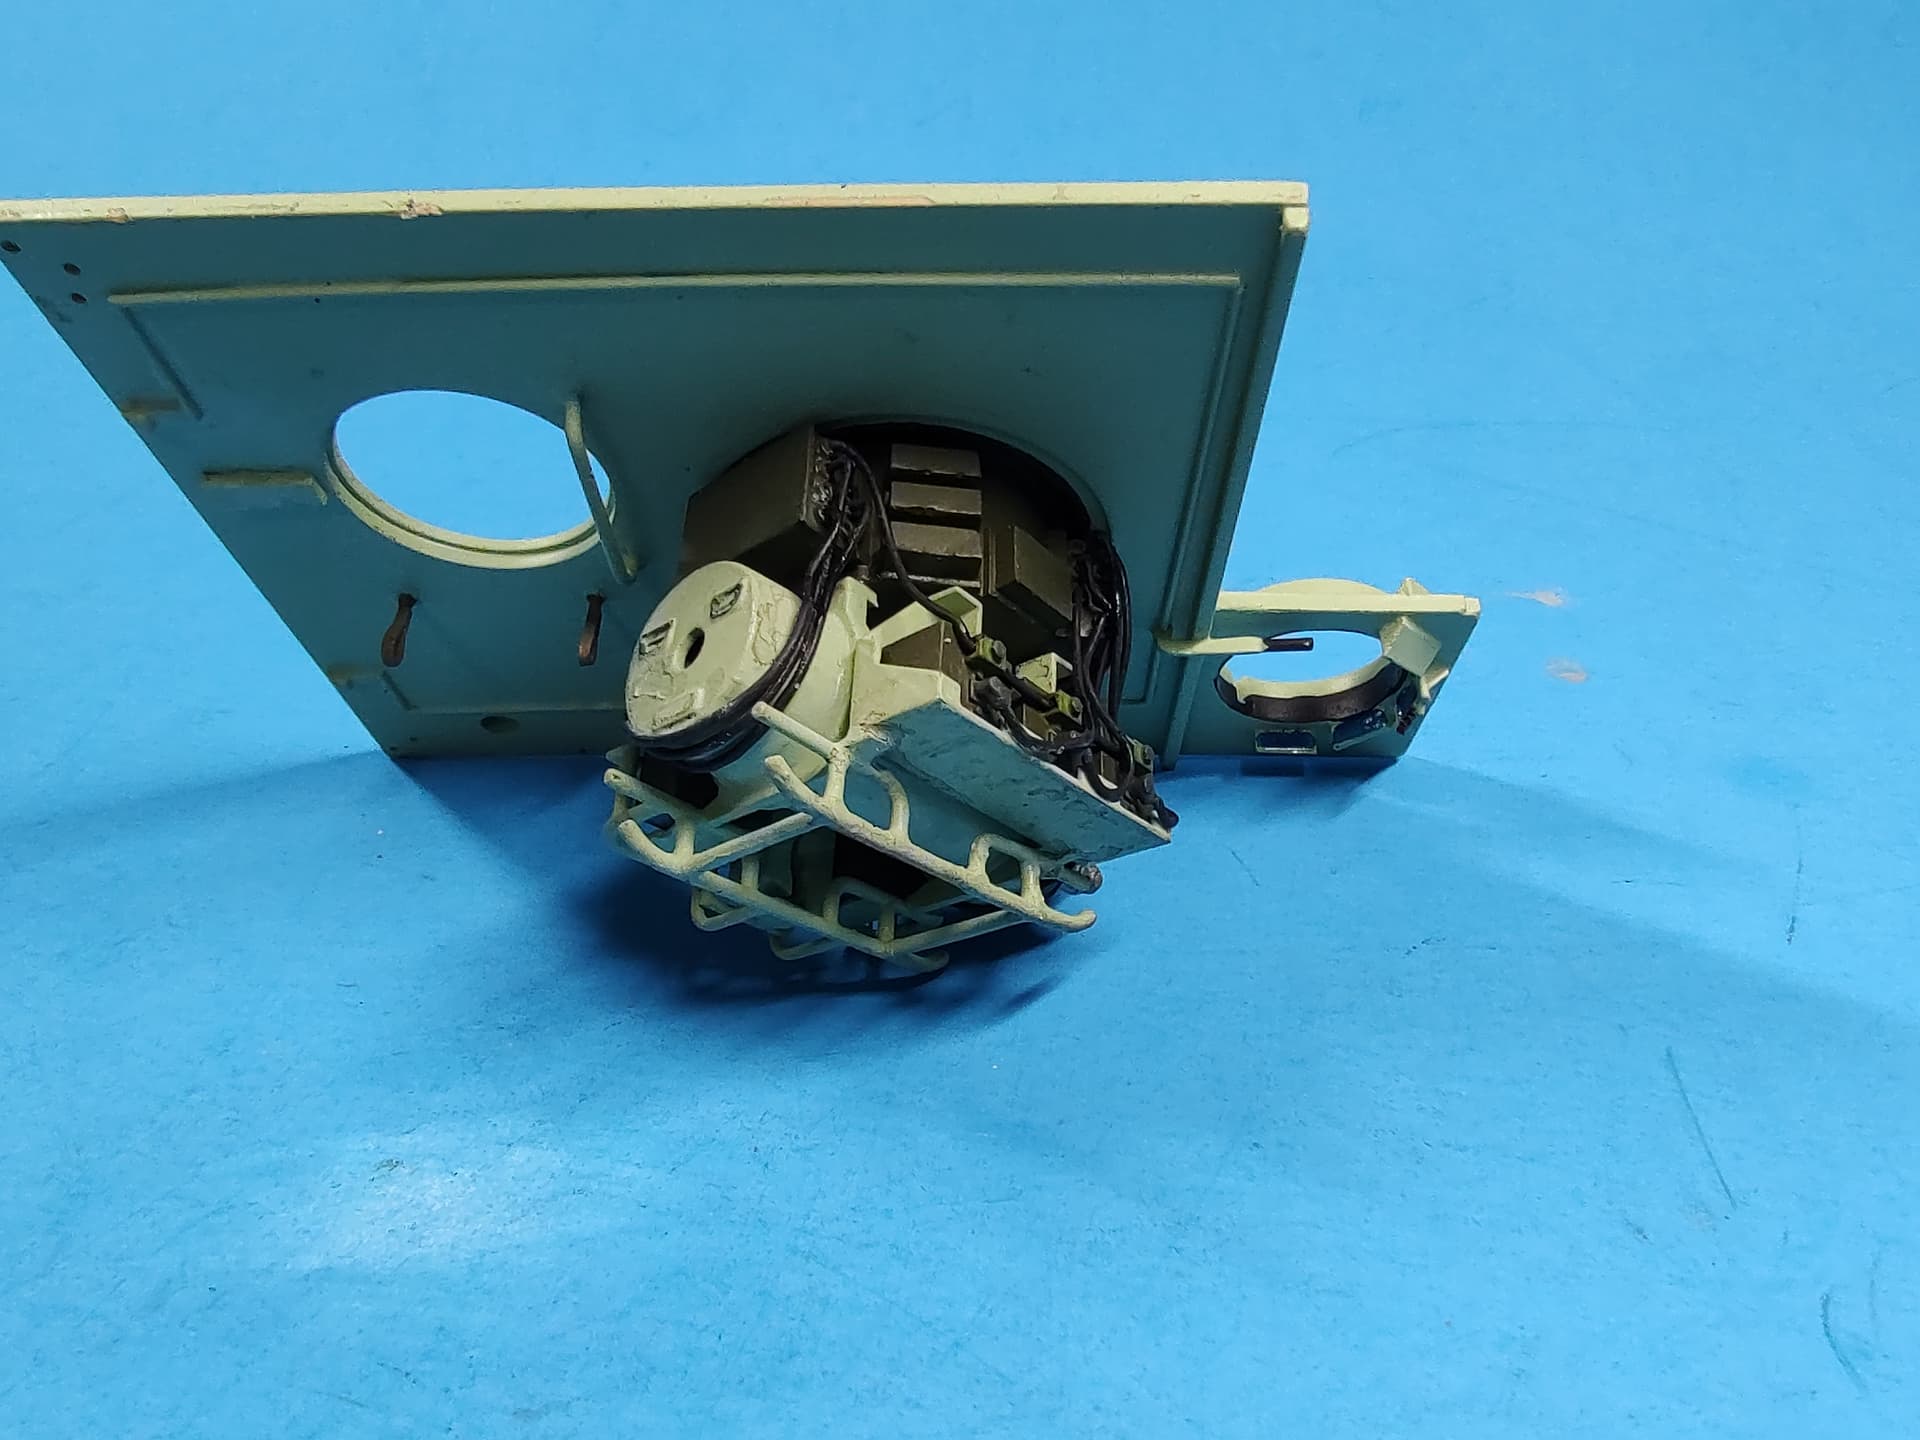
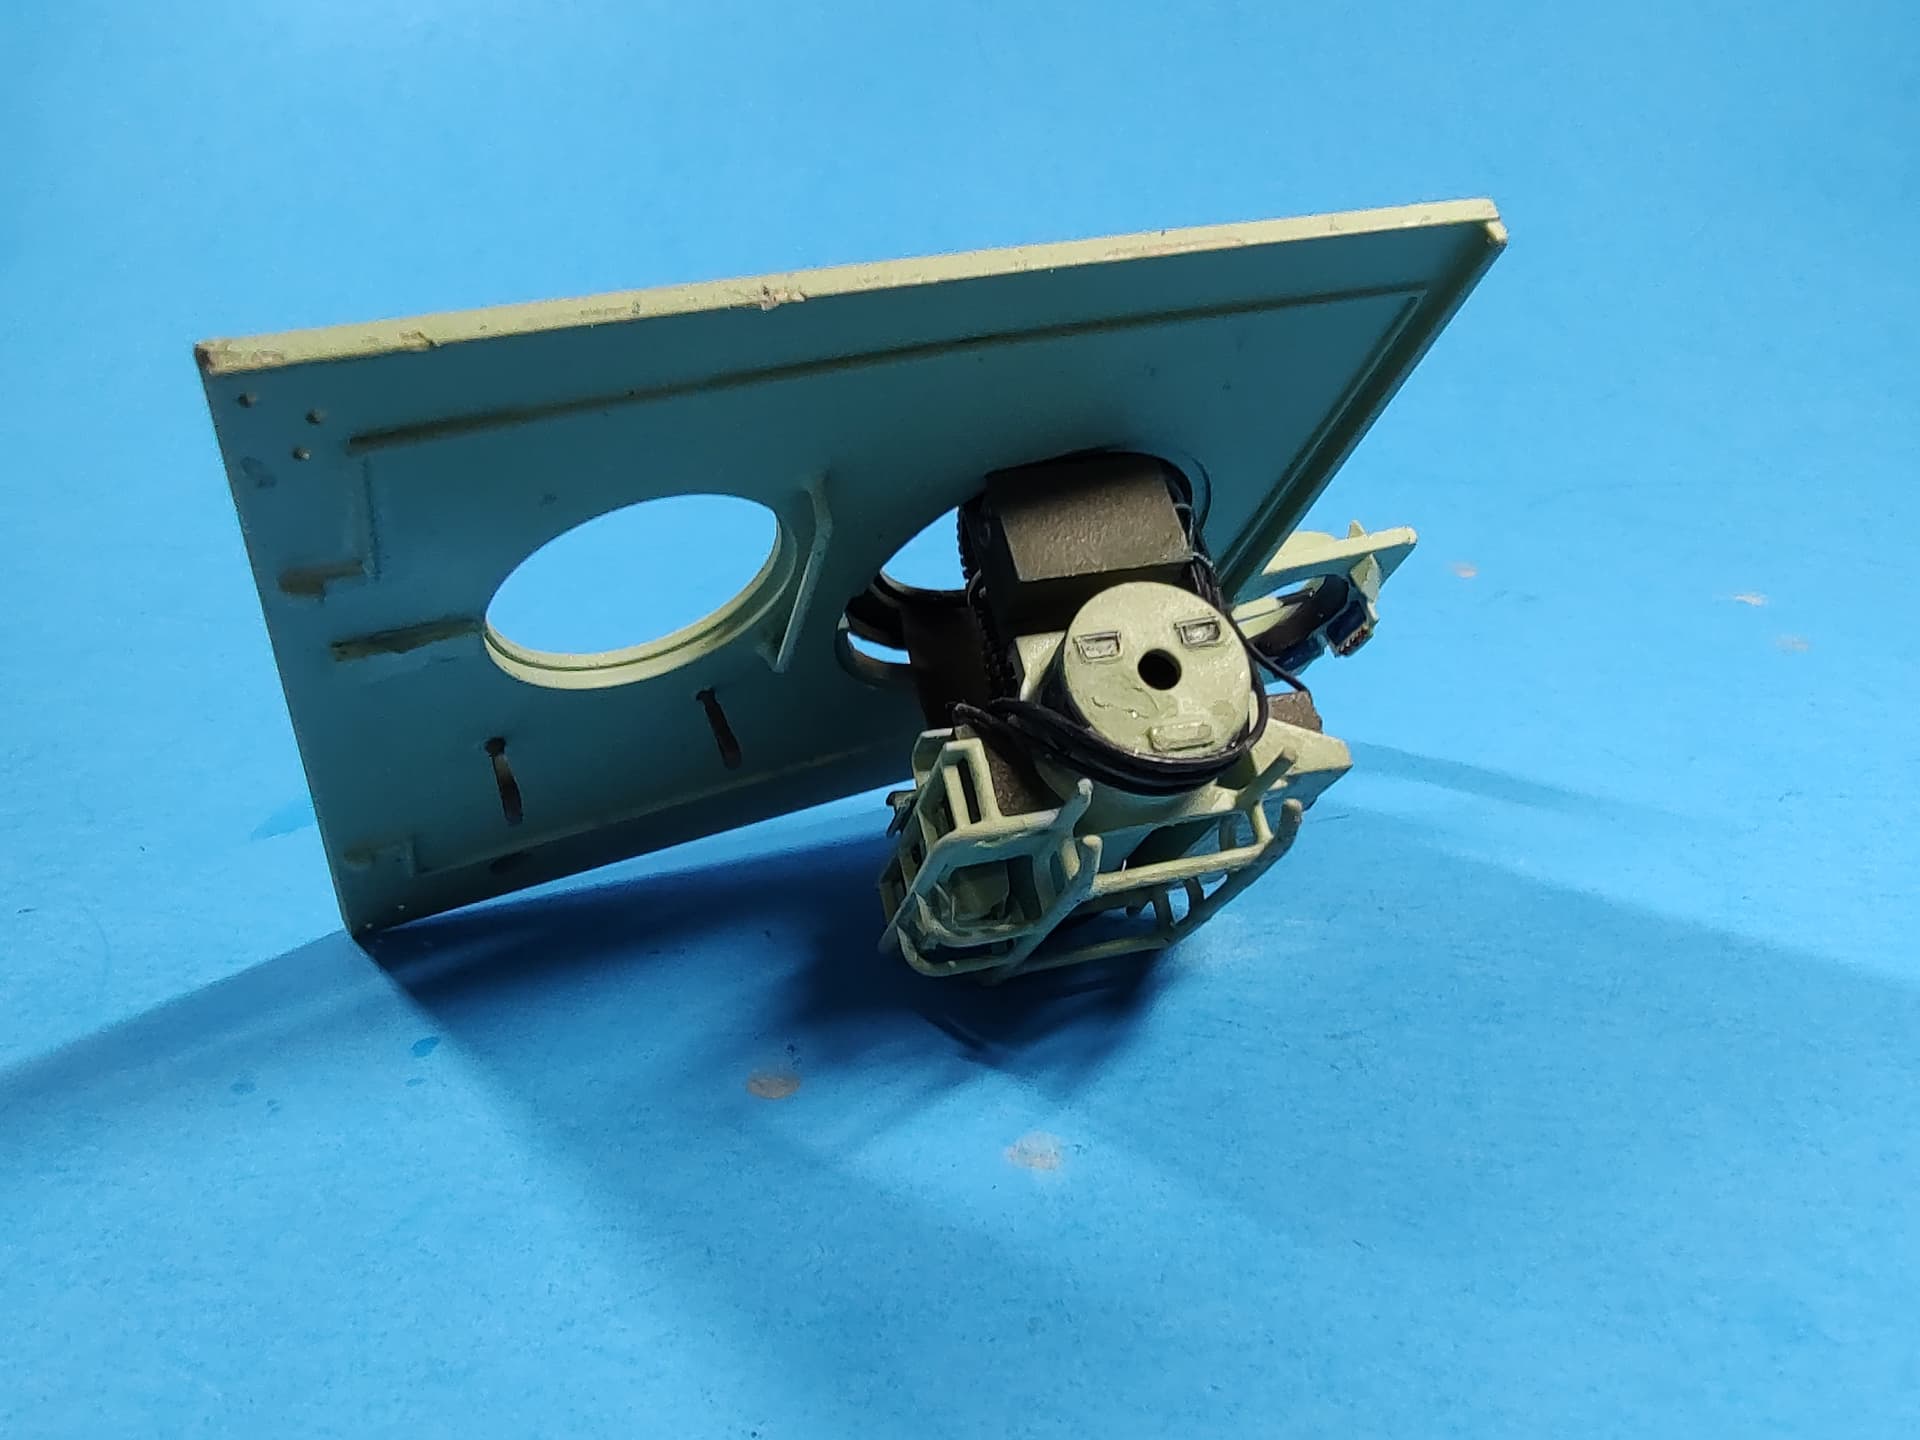
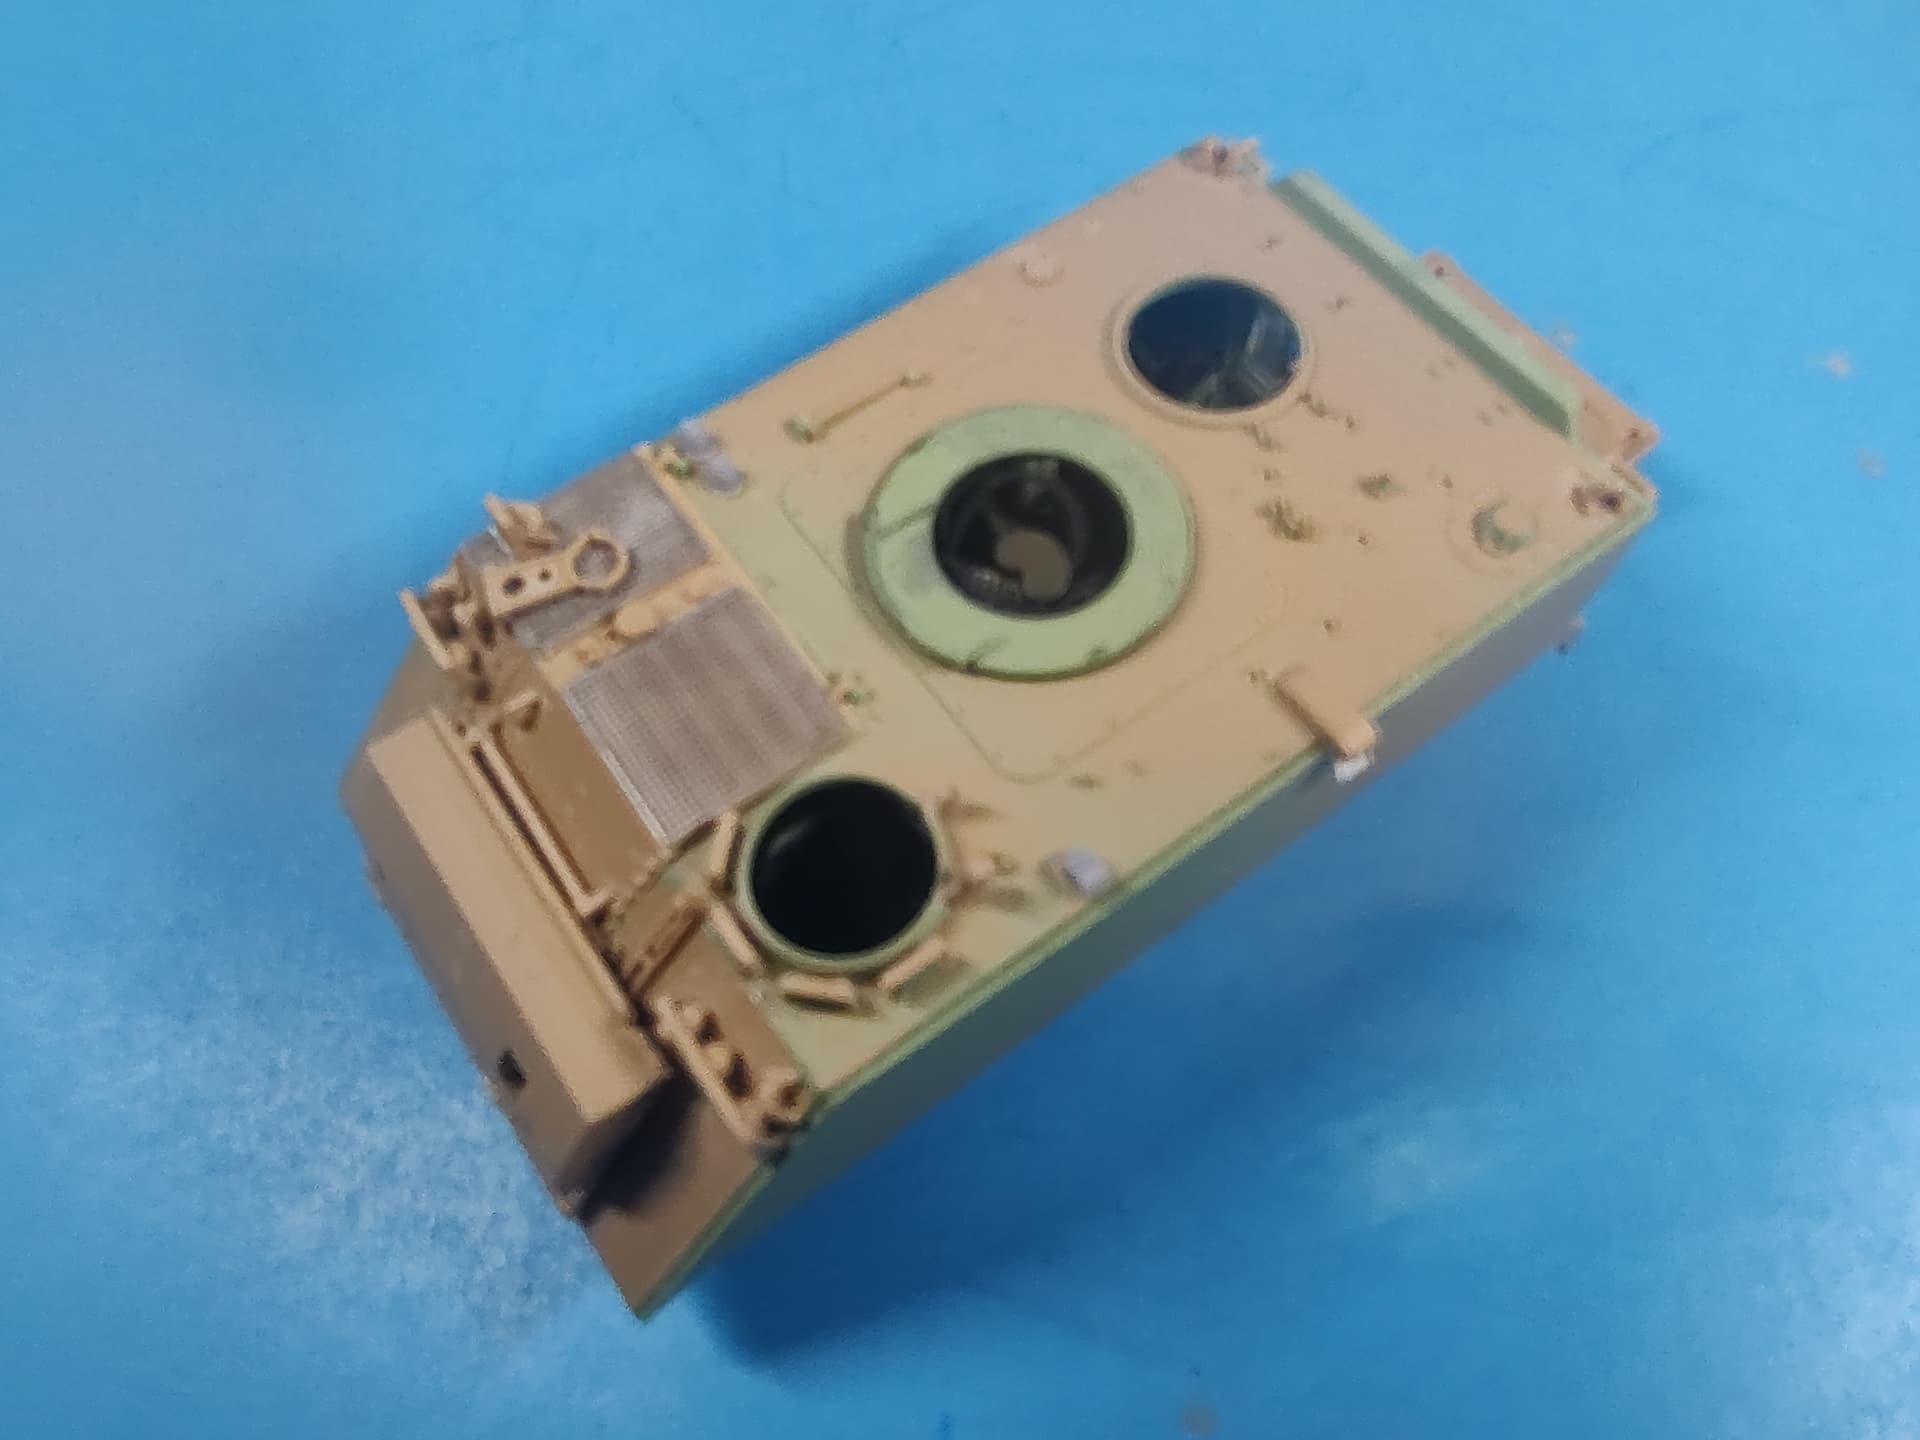
All I added was inner roof details such as the four periscopes, rear hatch release handle and mechanism, and grab handle. Lastly, I added the zero turn laterals on the inner front glacis. The small instrument panel above the center periscope came in the Hobby Link set.
Looking good so far, Gino. I might buy this one since the 24th was my first duty station and I have a soft spot for it. I went through basic with a guy that ended up with the 11th ADA.
Thanks, Reynier. Lots of interior details to add and detail painting to do. More to come soon, hopefully. I also highly recommend the Hobby Link set. It is excellent, as all their stuff is. I say get one.
Great looking build. It might be the consequence of lighting and ones and zeroes of digital pics, but the interior green of the M113 FOVs was more like a lime sherbert. I’ve seen one author say Sea Foam Green. For the original, the FS (Federal Spec) for that is 34151. The post Vietnam (and probably all M113 and M163) color is FS24533. AK matches this pretty well with their APC Ingerior Green.
Yours looks a bit in between, but I know lighting can shift that a lot.
Thanks Ted. It is lighting or your computer screen. I used Krylon Pistachio Green spray, which is an exact match for interior Sea Foam Green. We used to use it to touch up our 1:1 vehicles.
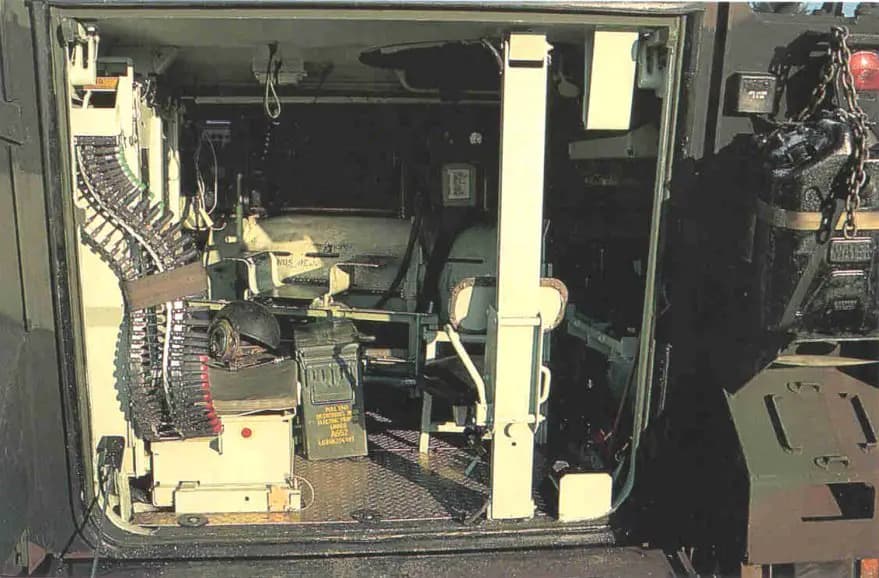
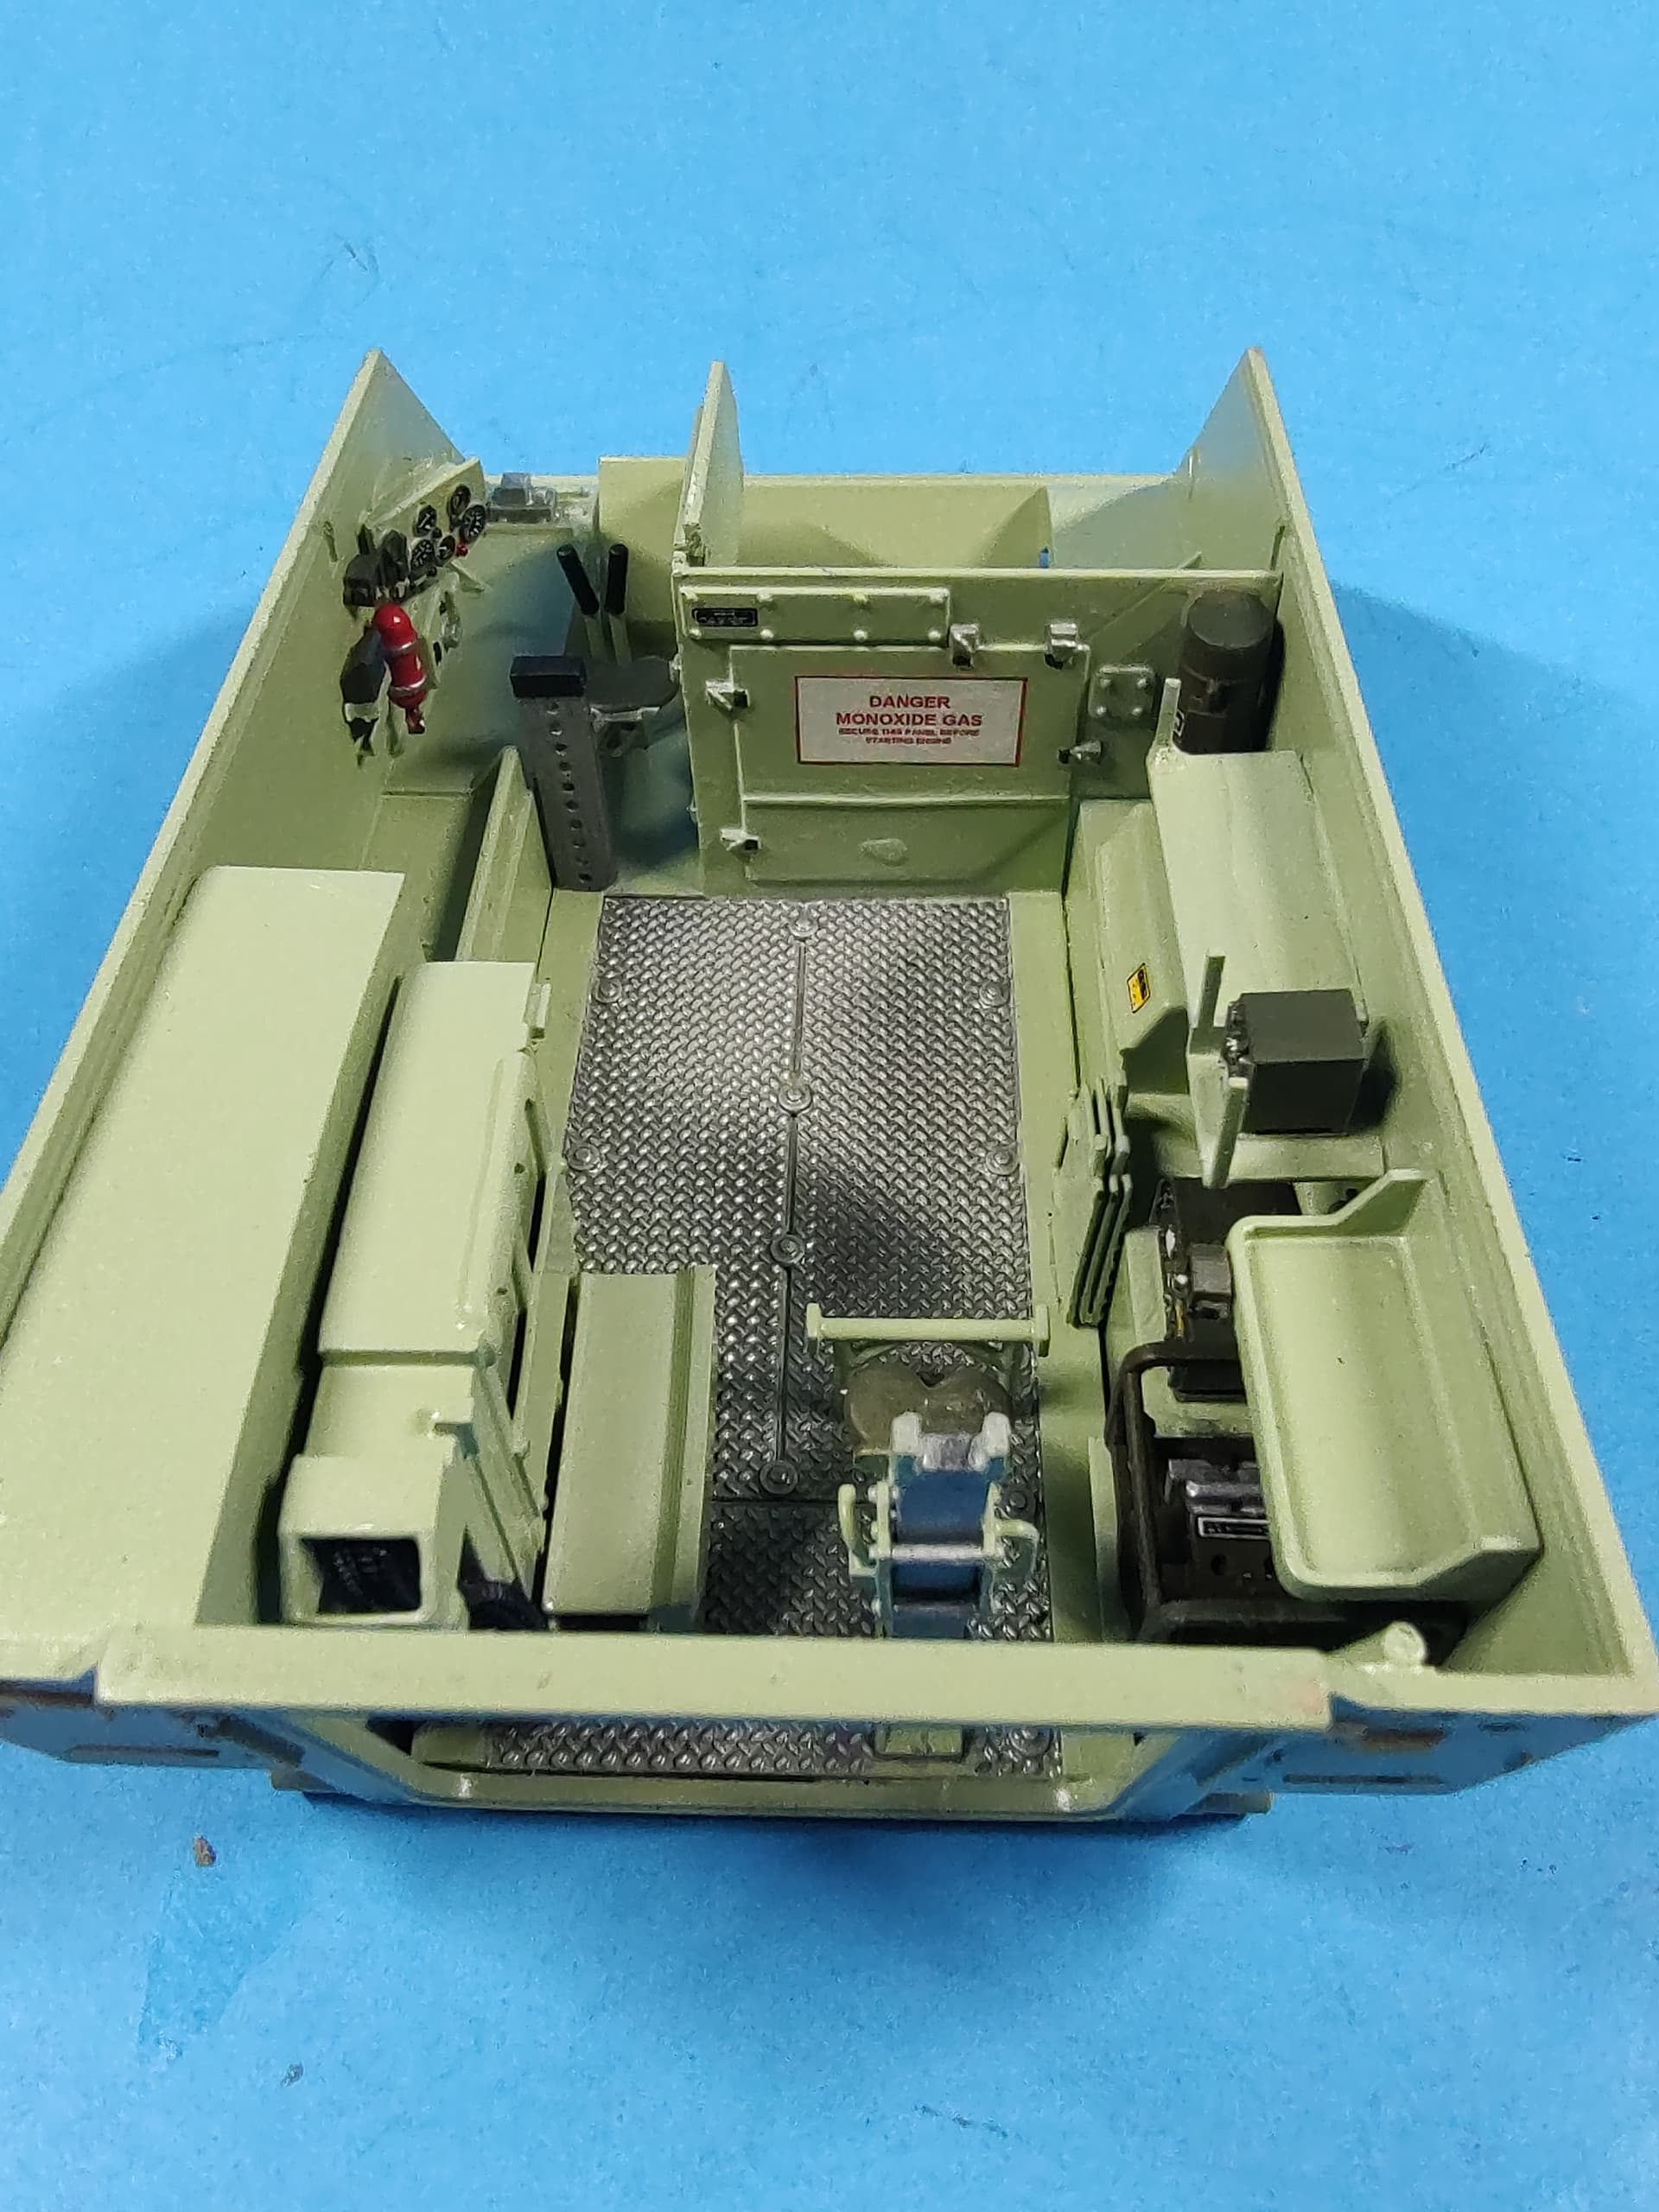
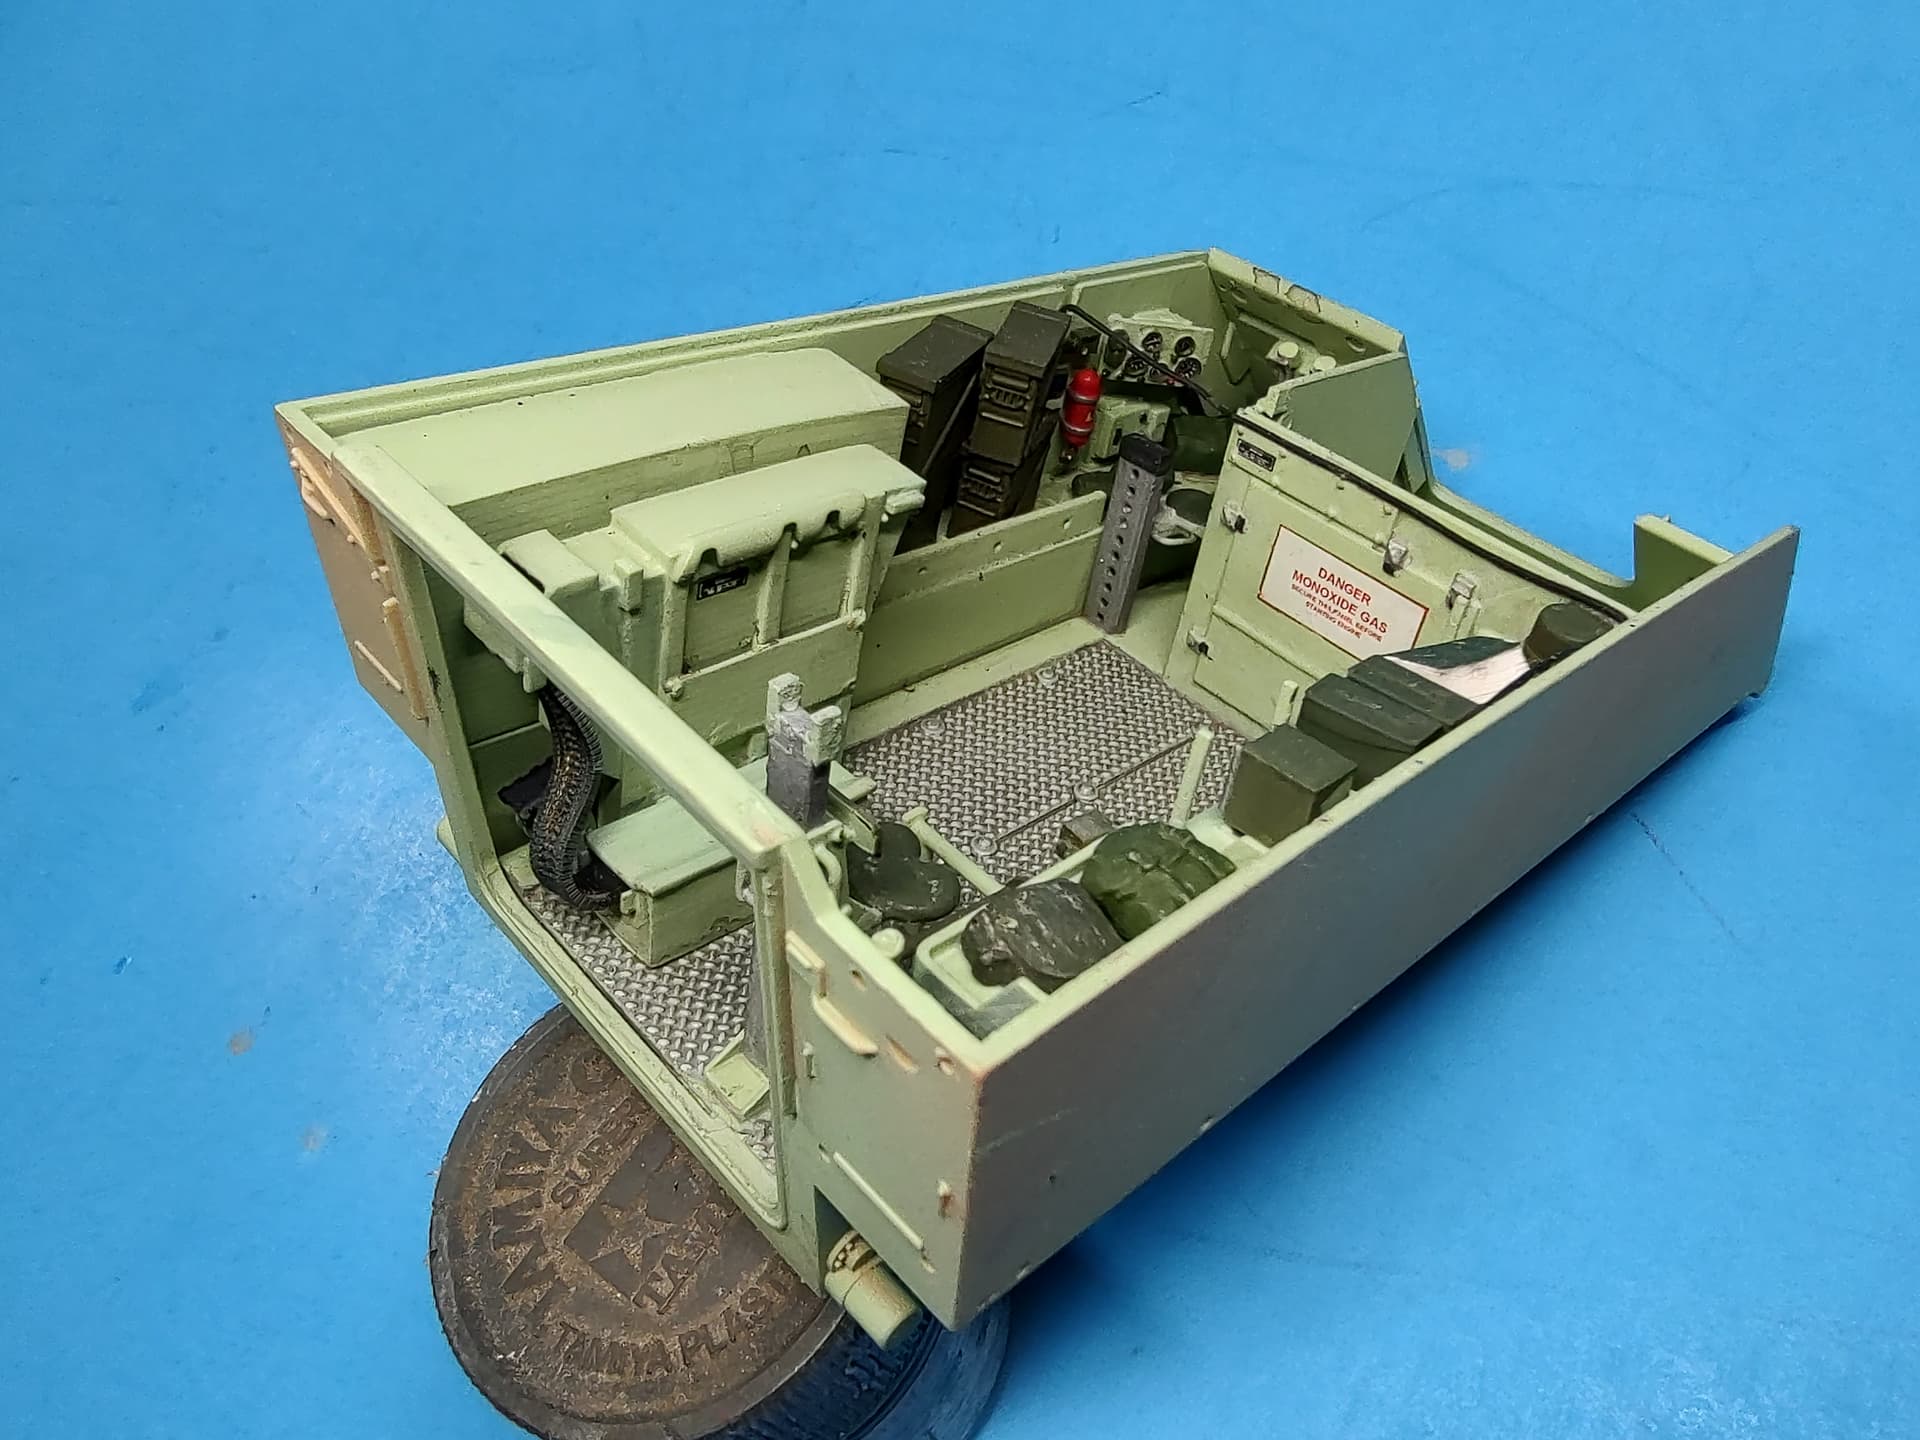
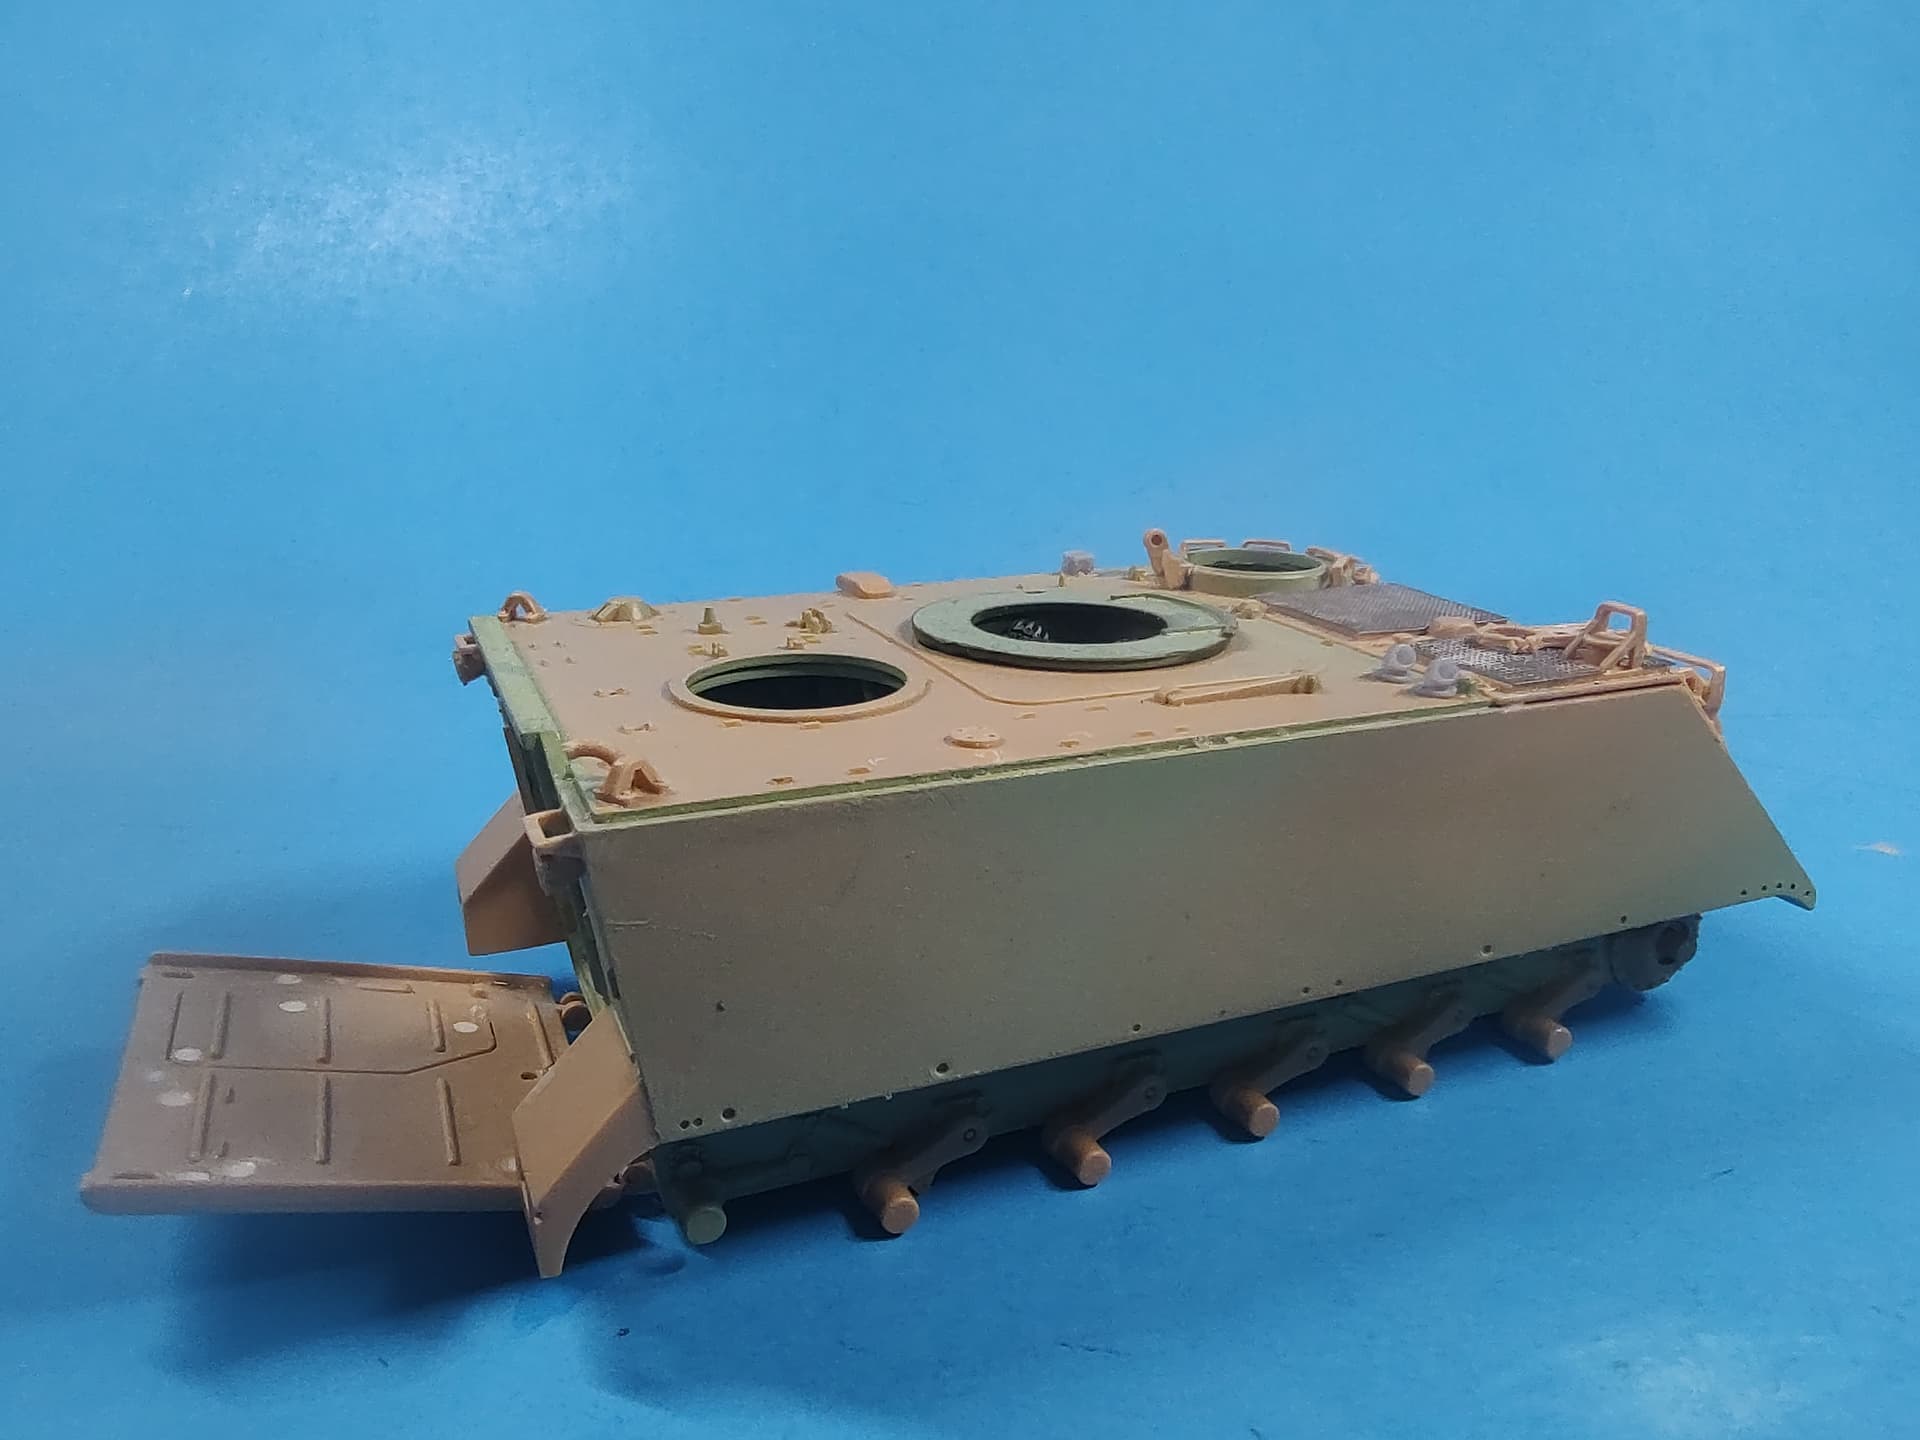
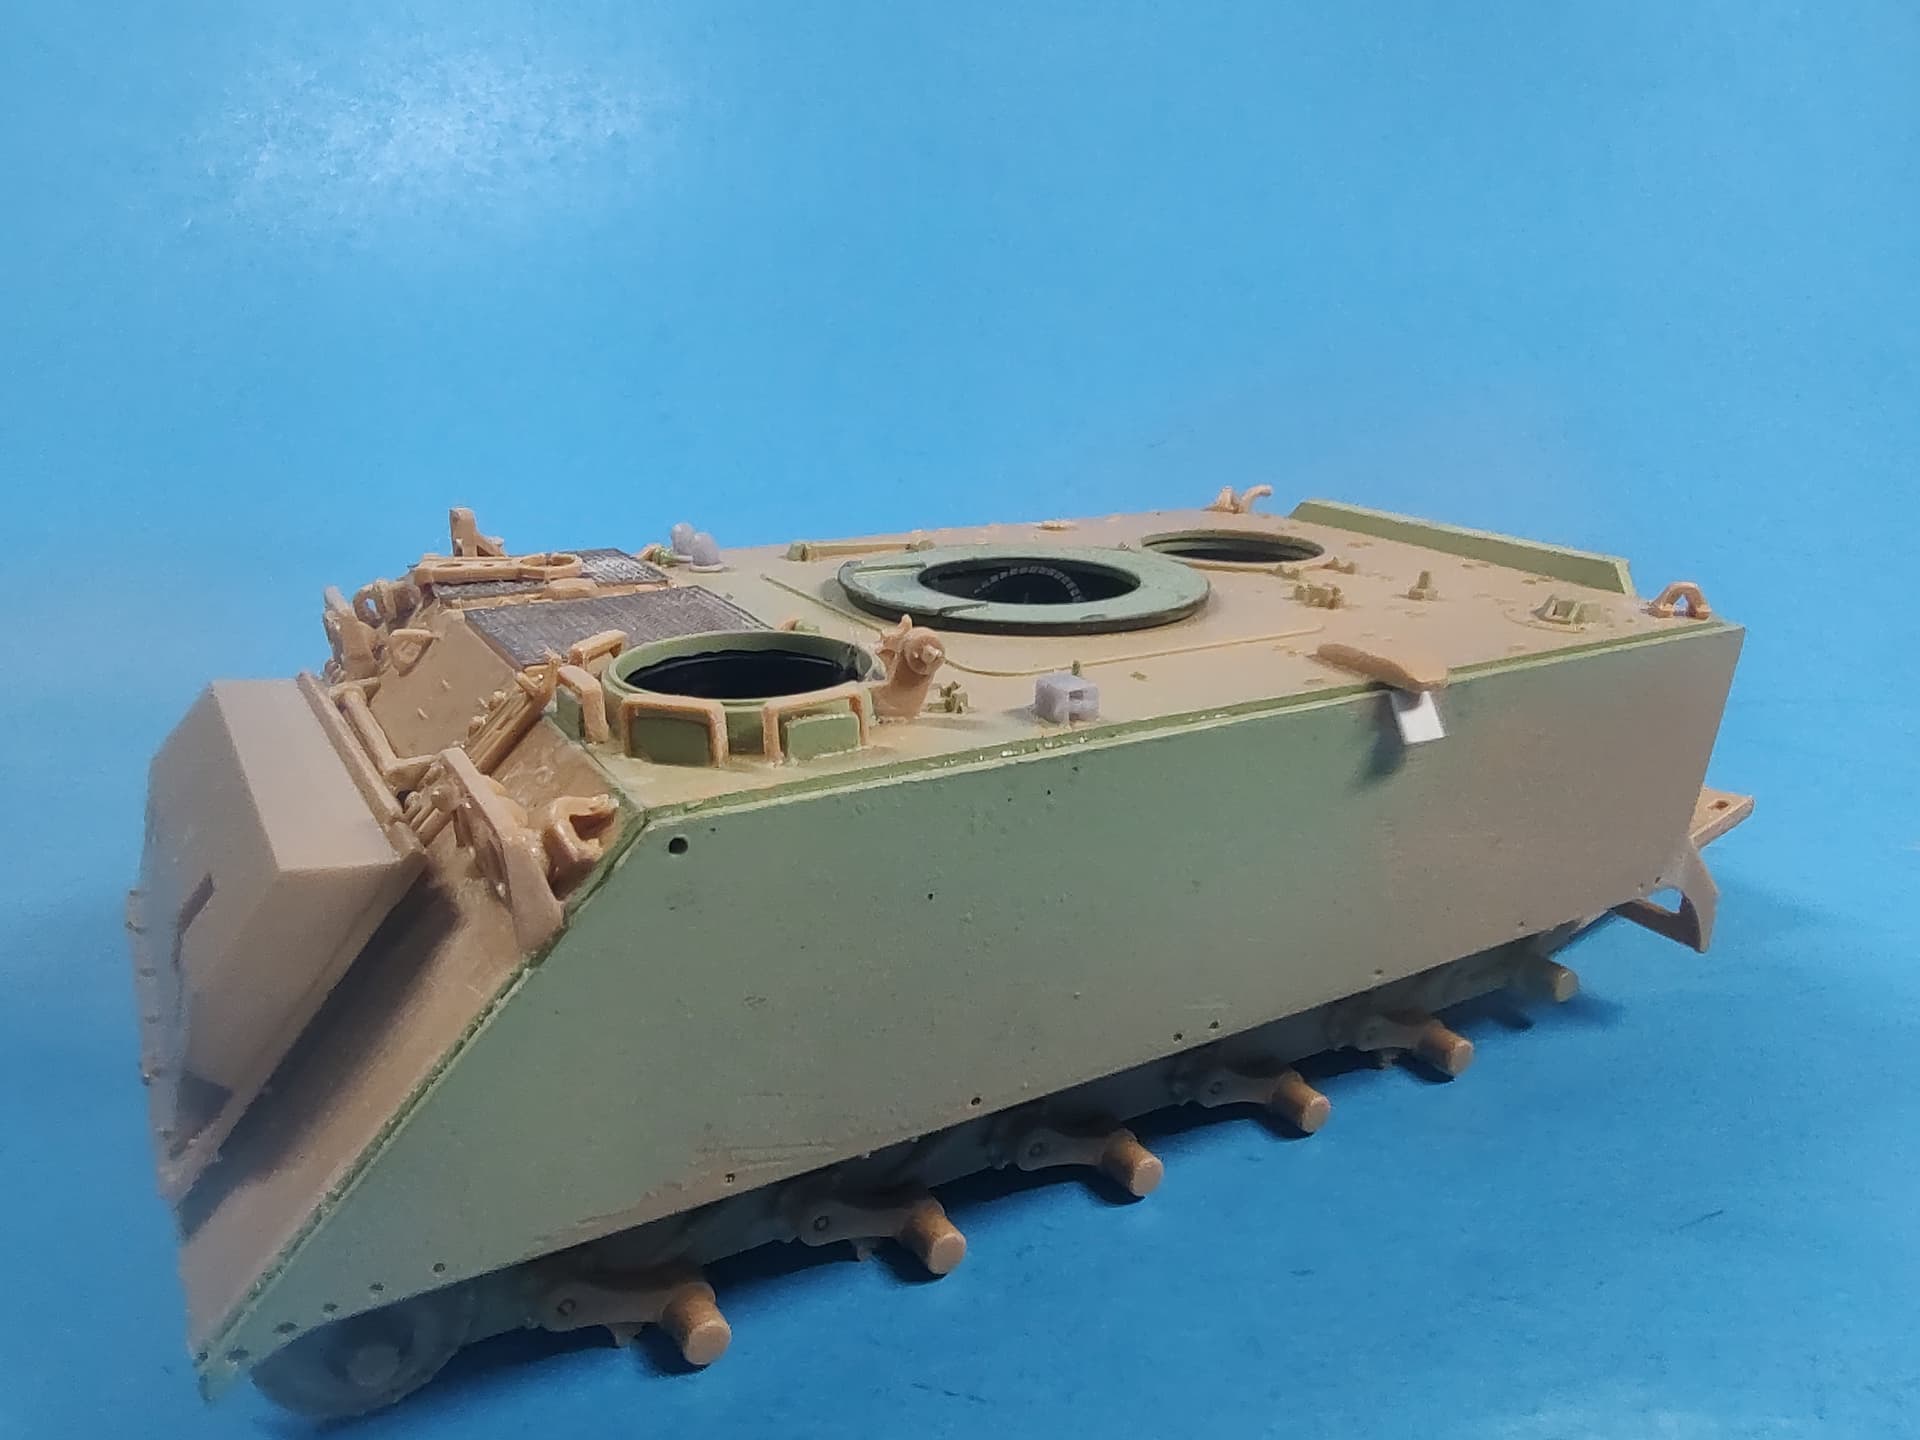
Now that the holidays are over, kids have gone home, and all the Christmas decorations are packed up, I am able to get back to the bench and continue on the M163A2. I have pretty much finished detailing the interior. I painted the aluminum floor, added the radio and intercom system and M163 parts. Interior decals are from an Academy kit and the spares box.
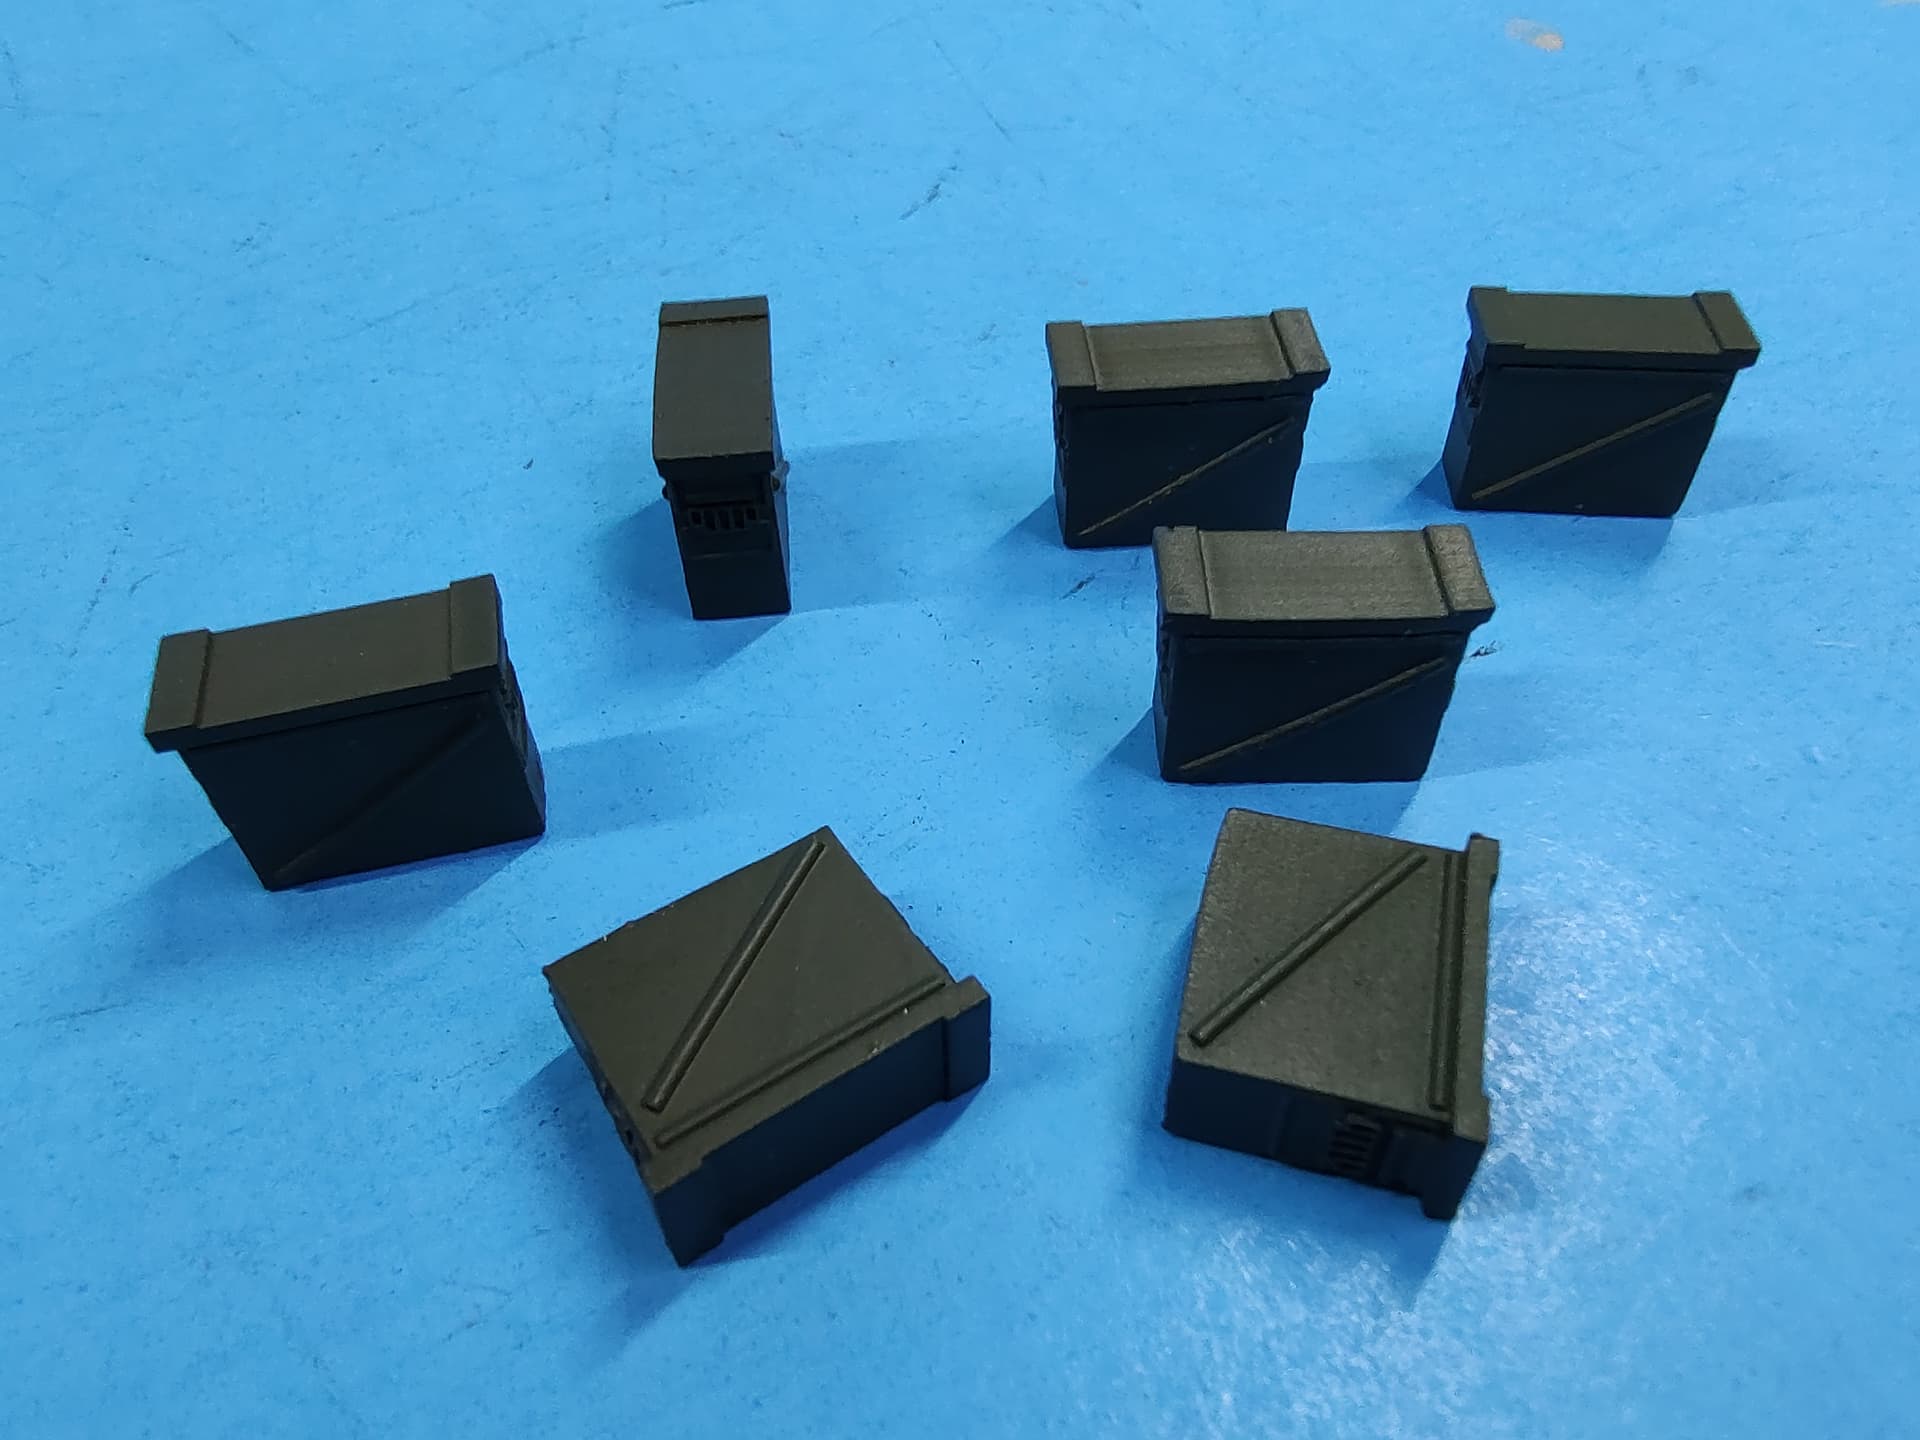
I have finished the interior on the M163A2 Vulcan. I wired the radios and intercom system with black 1/24 spark plug wire. I also added an ammo belt from the seat to the side wall ammo bin. Then, I gave it a dirty-brown wash to weather it a bit. After the wash, I added ammo cans, bags, a manual, and and some other gear to give it a lived in look.
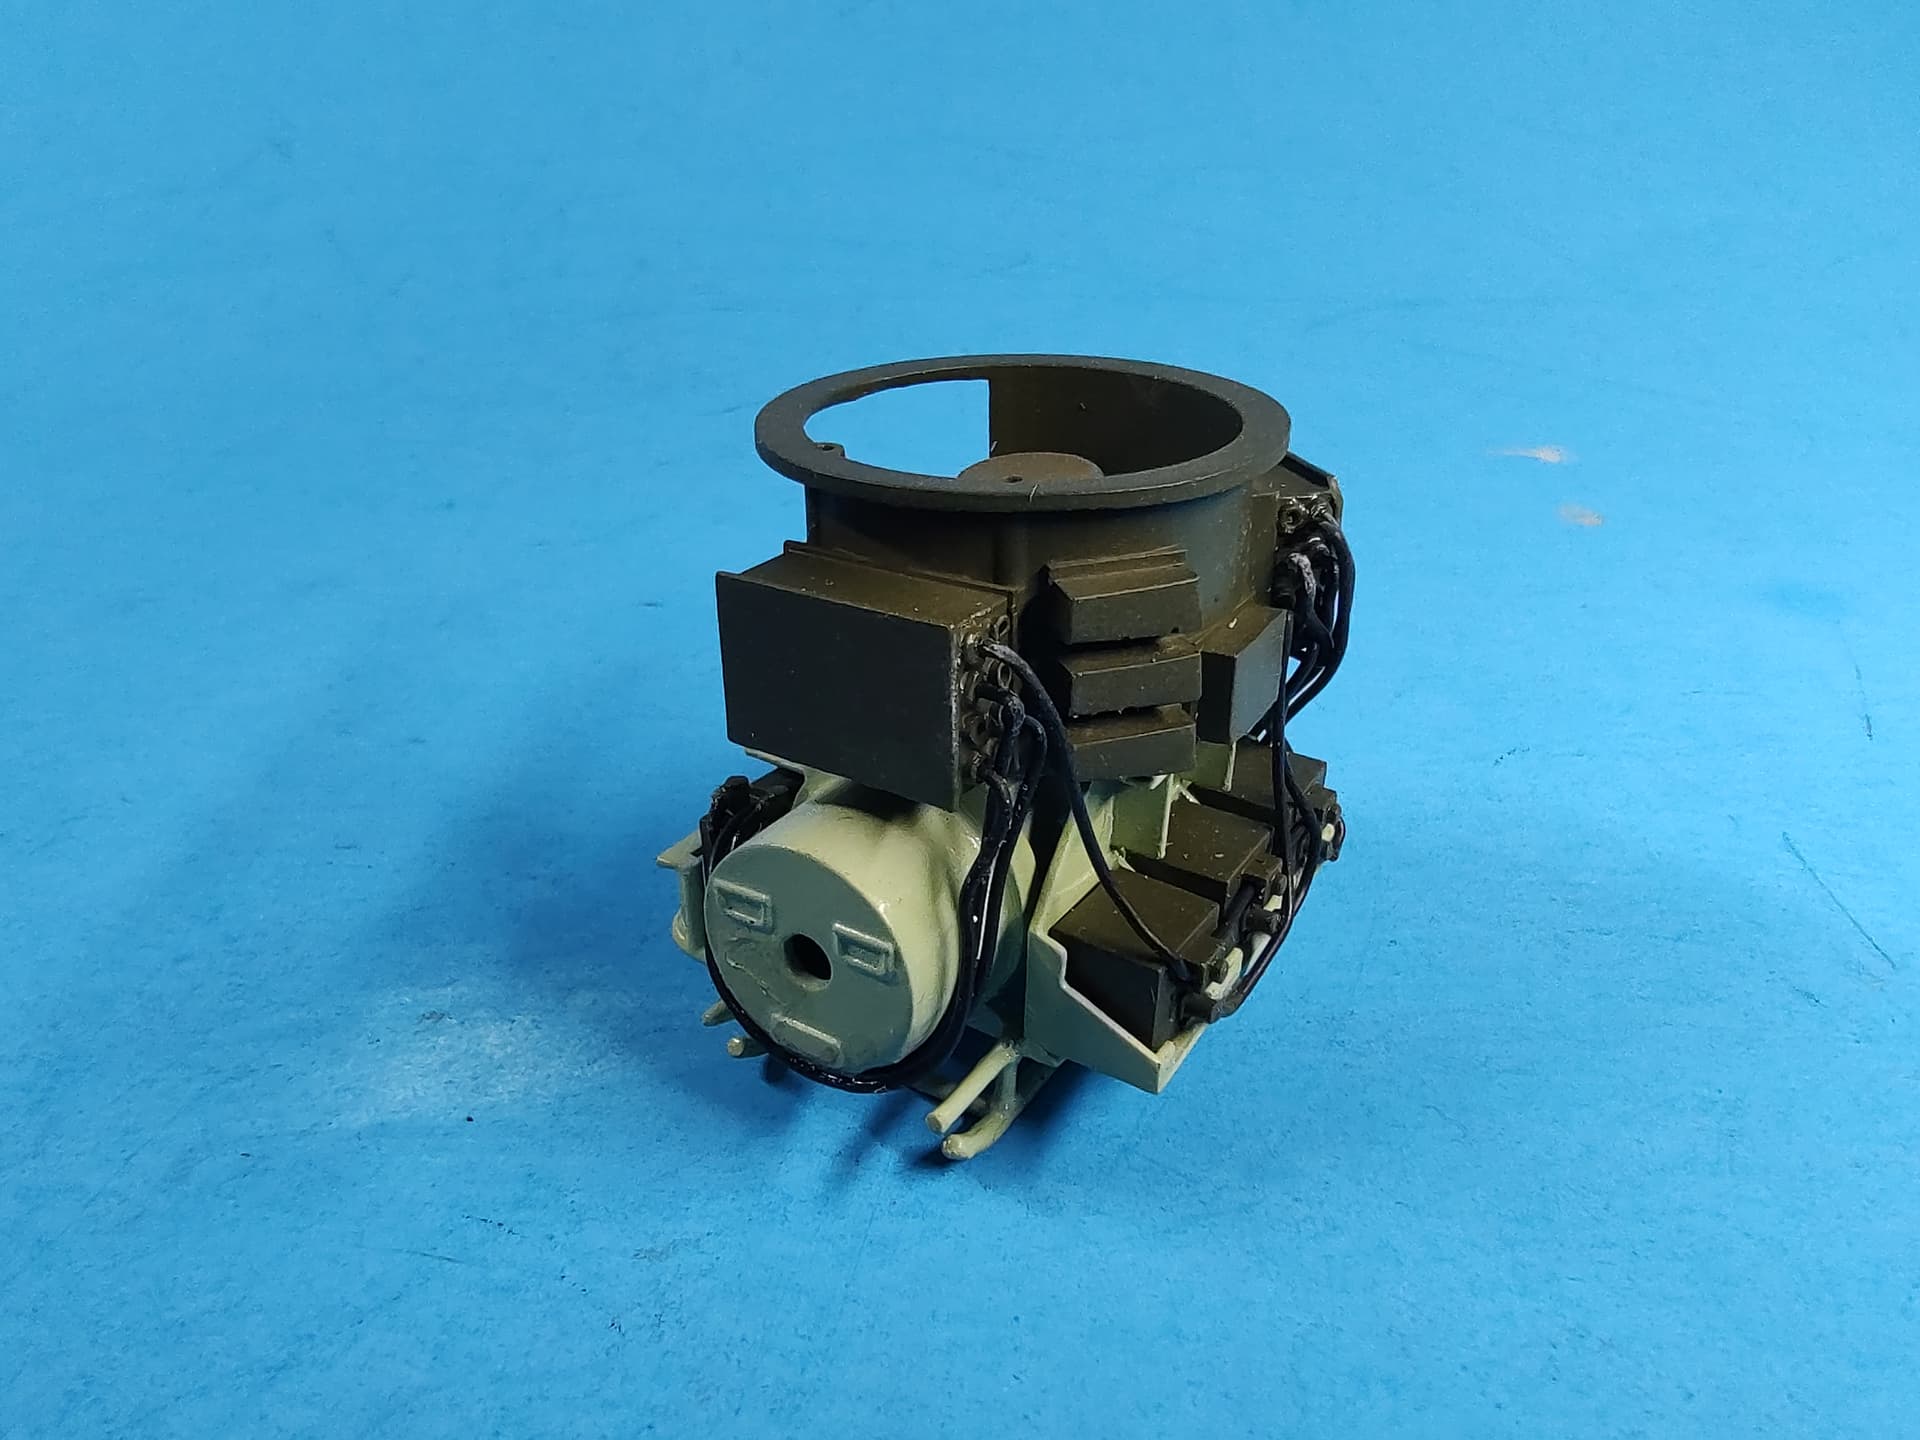
On the turret interior, I detail painted it a bit and picked out some bare metal and aluminum parts. Then I added the ammo belts from the kit going up into the turret. Lastly, I mounted it to the roof plate.
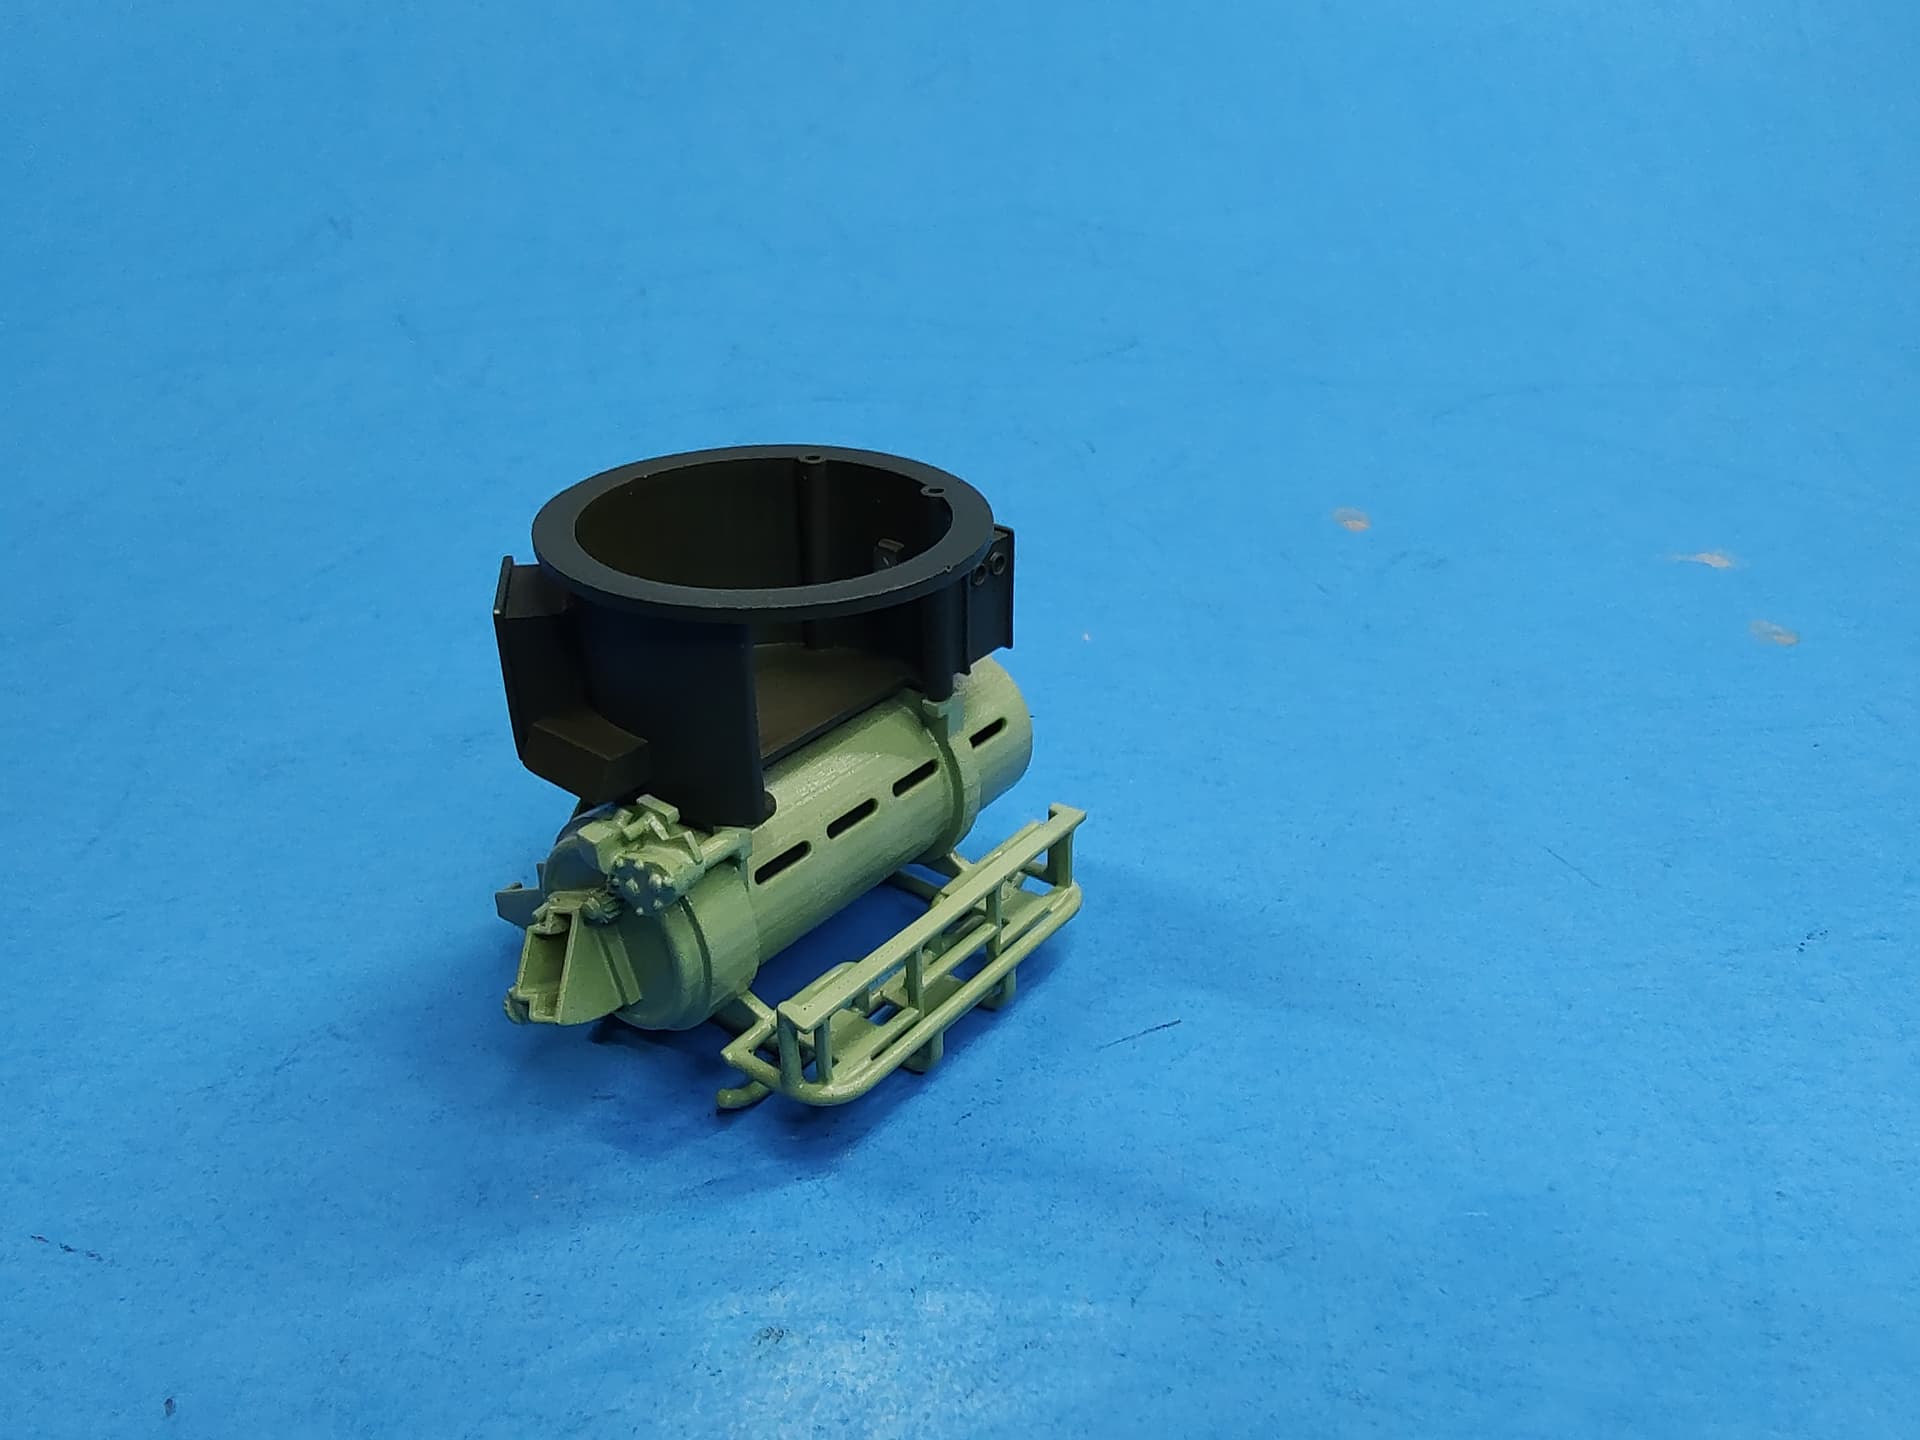
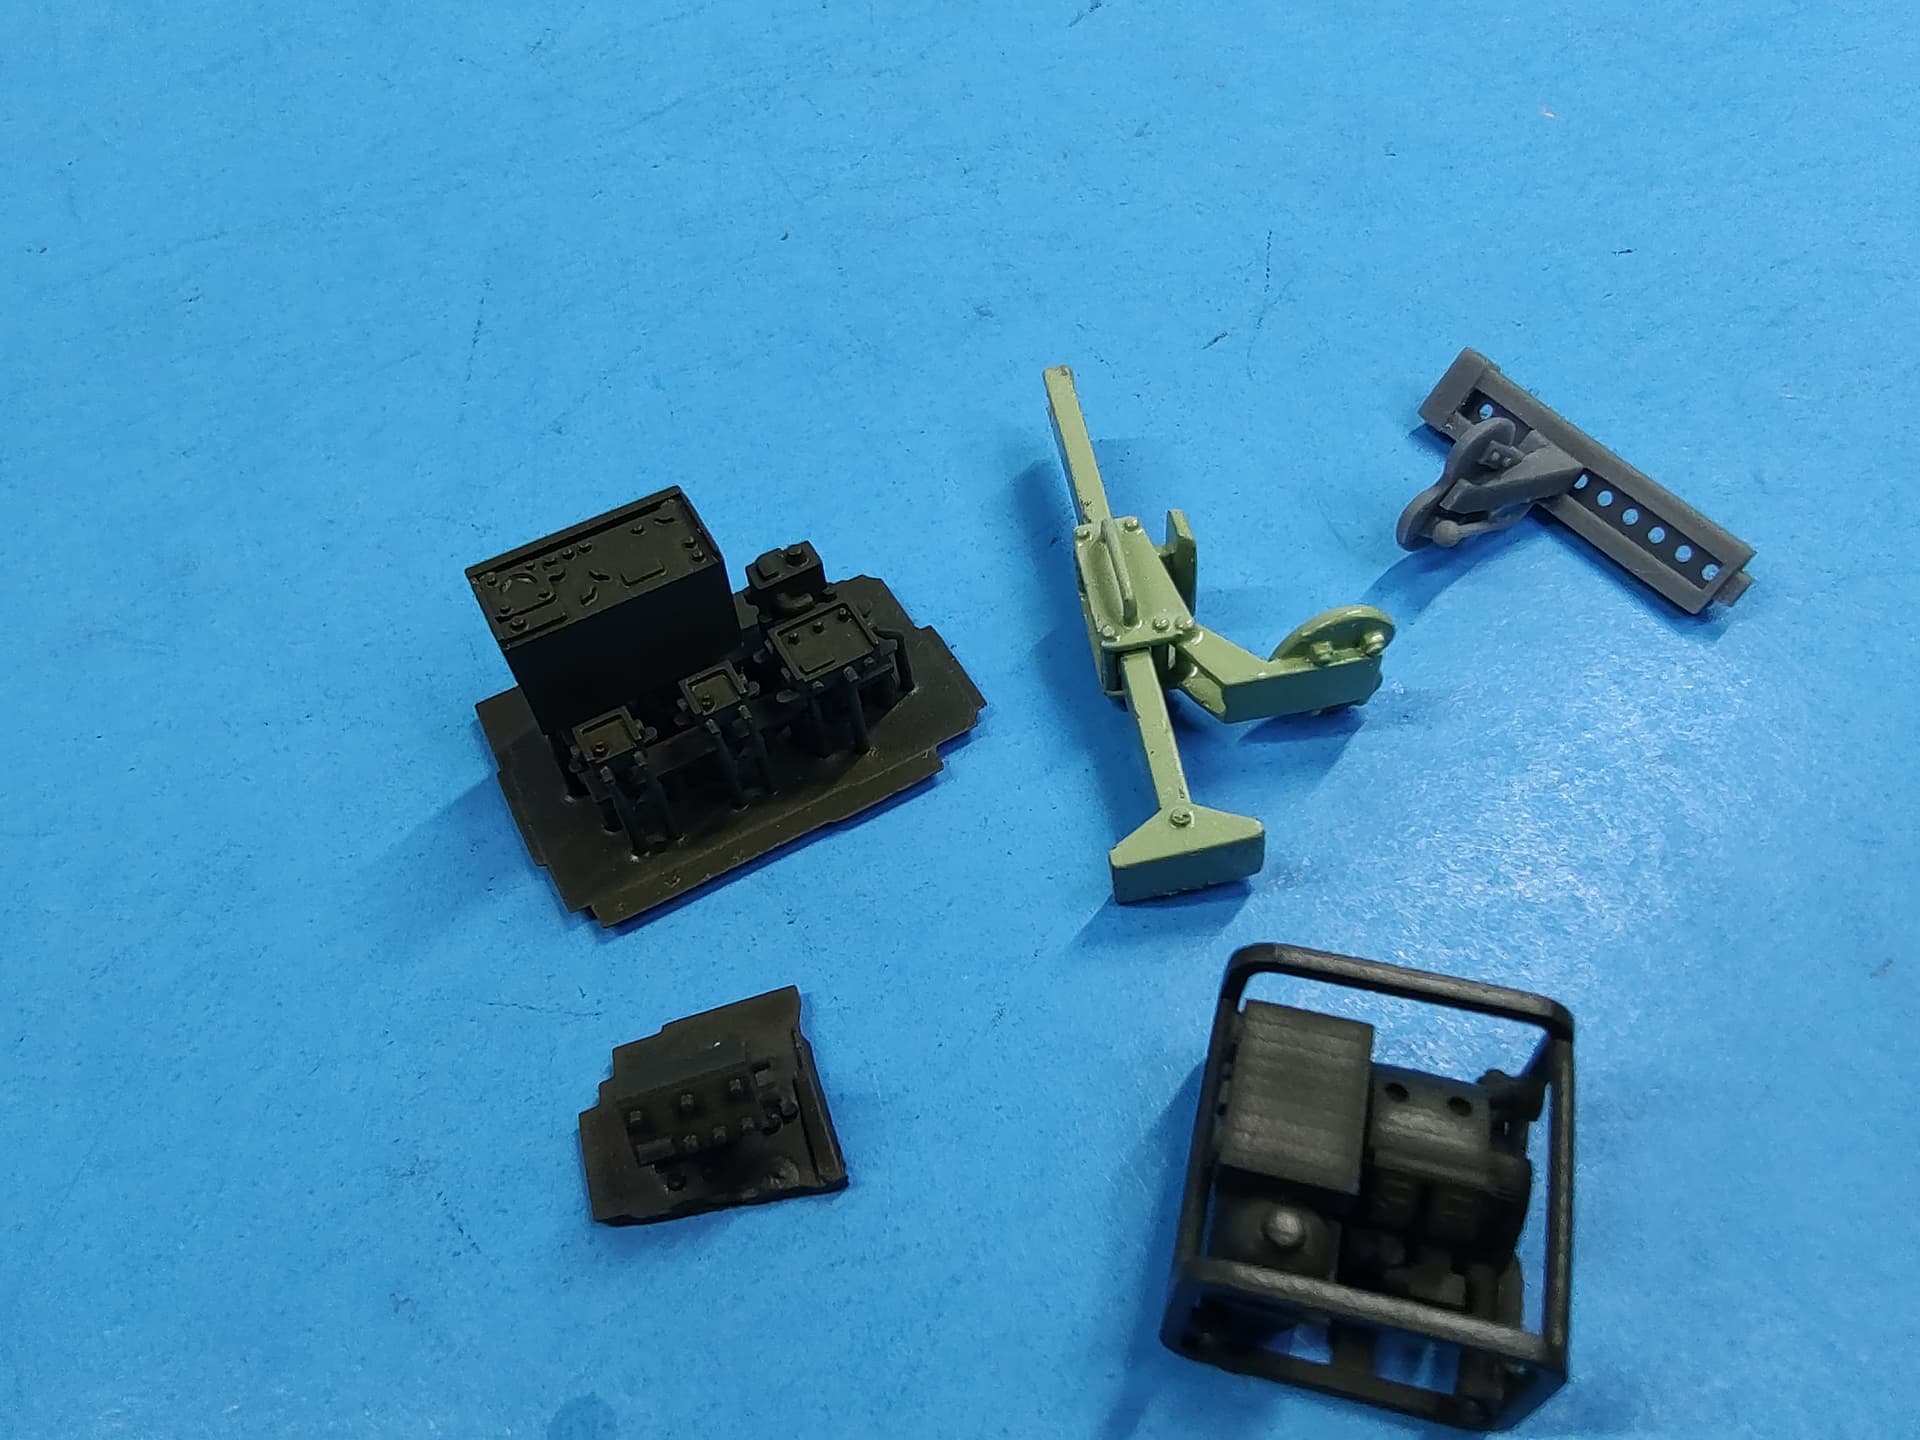
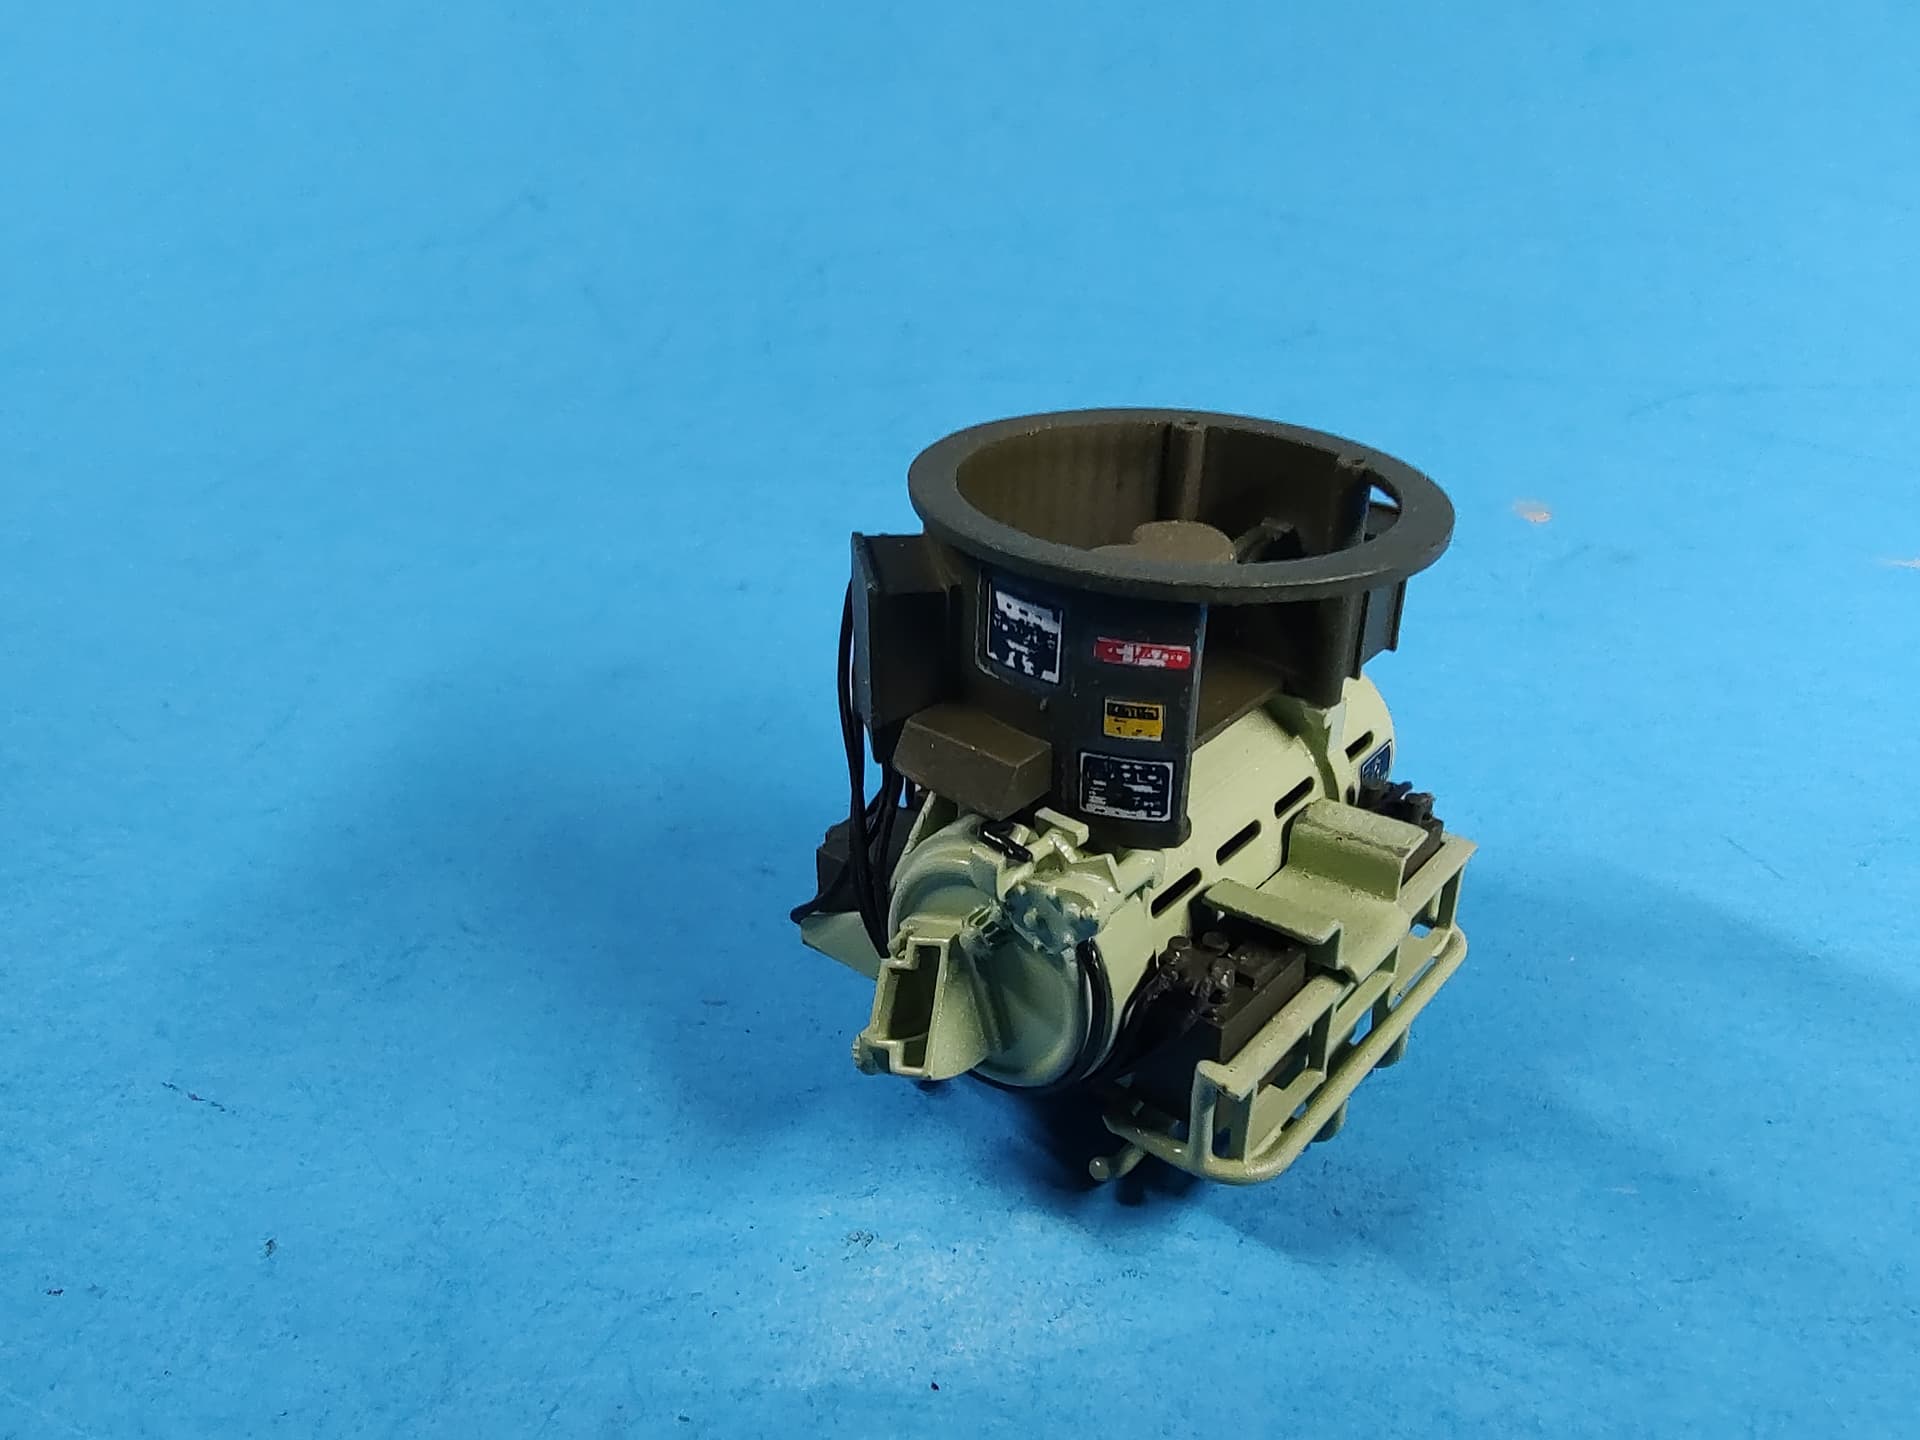
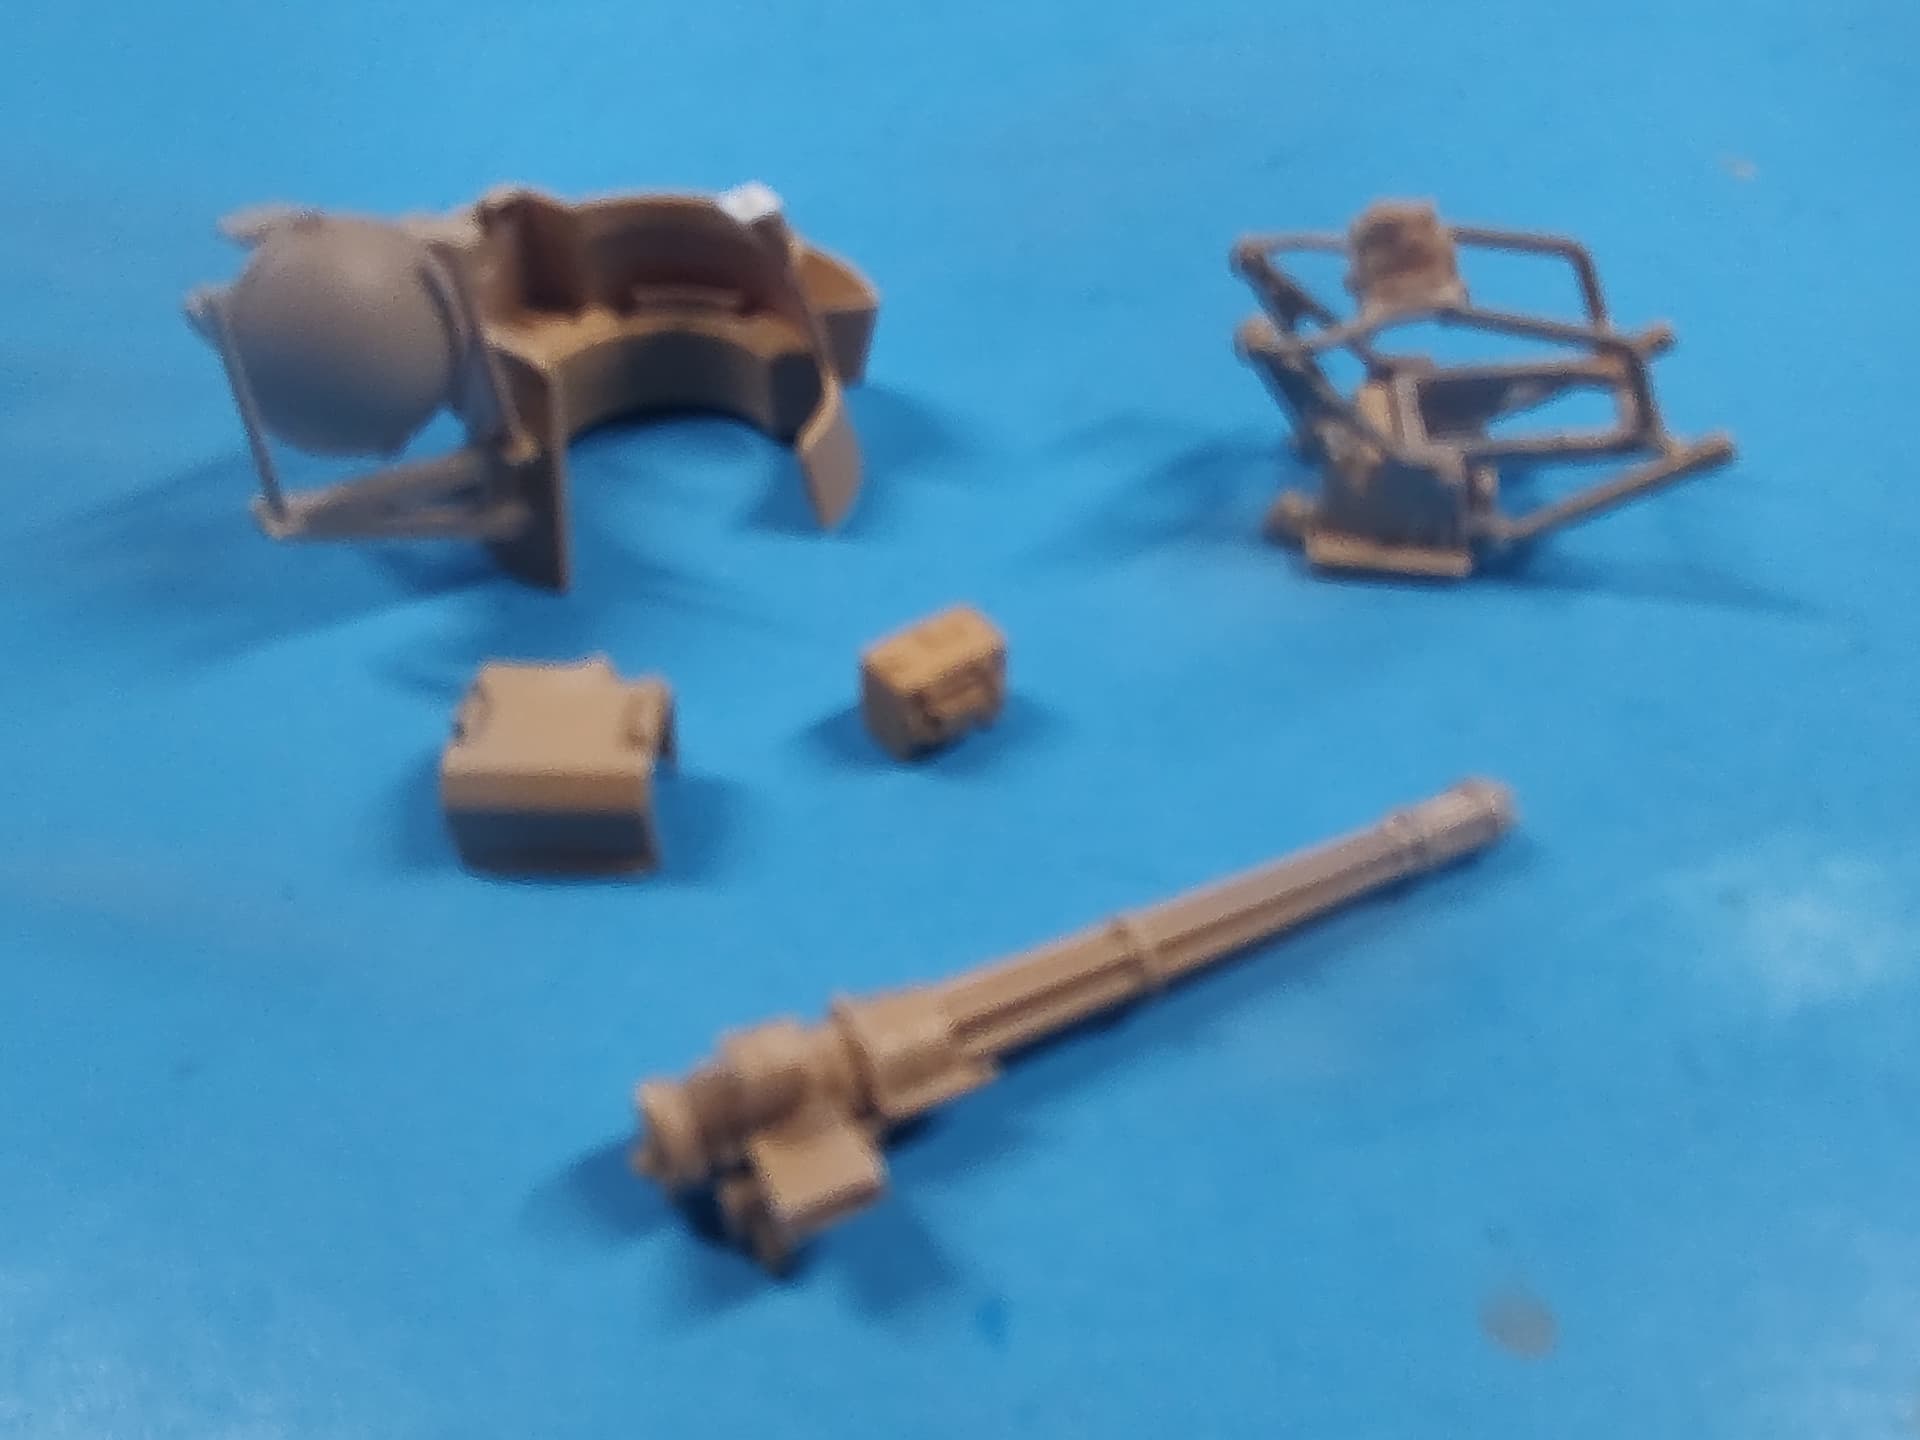
Here are the turret and gun parts that will be assembled after painting. I used a few parts from the old Verlinden resin M163 conversion set. I used the optics up top, control panel under the gun and the radio box that mounts behind the operator.