With Australia’s first M1A2 SEP v3 due to arrive imminently, figured I should get cracking on a 1/16 build, converting Tamiya’s static kit.
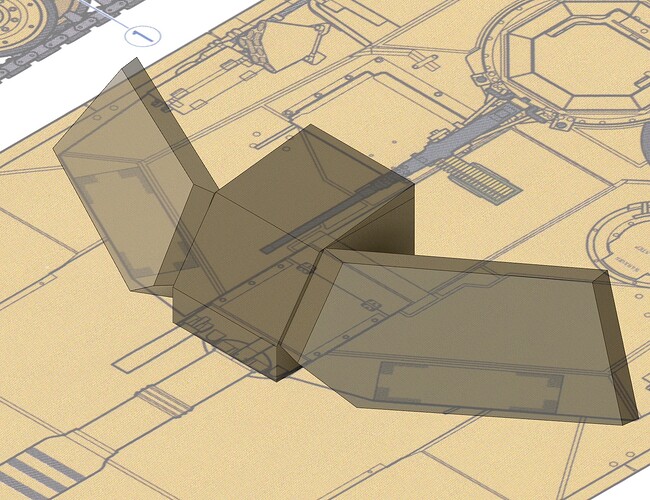
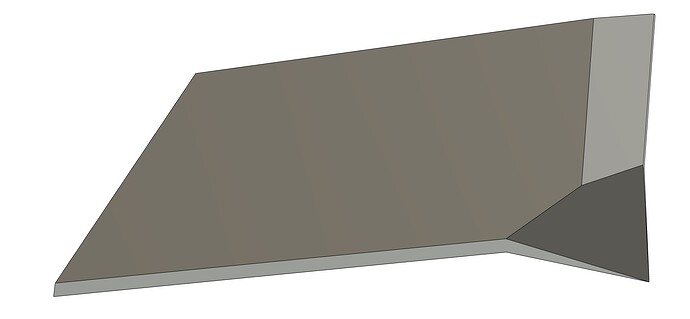
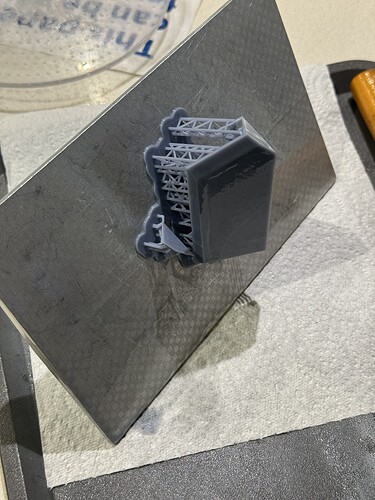
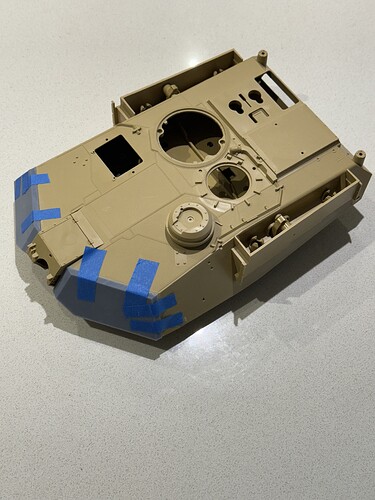
Massaging several iterations of prints to get the right turret fronts:
Have been working on other components for a while. Mojo was definitely helped by climbing into a US Army SEP v3 in late April while I was in Georgia (US type).
14 Likes
Brought the turret front fascias up to date after the last test print.
The left side is now in a position to get to the finish line.
Here’s a test fit of the parts printed to date.
Looking forward to assembly.
10 Likes
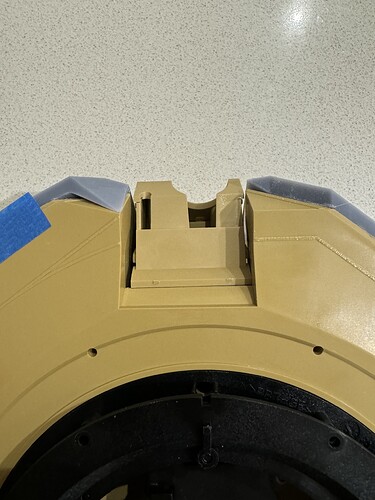
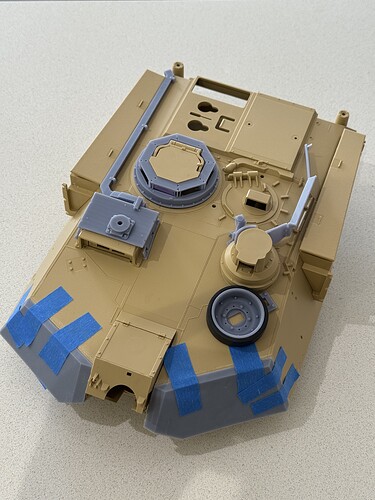
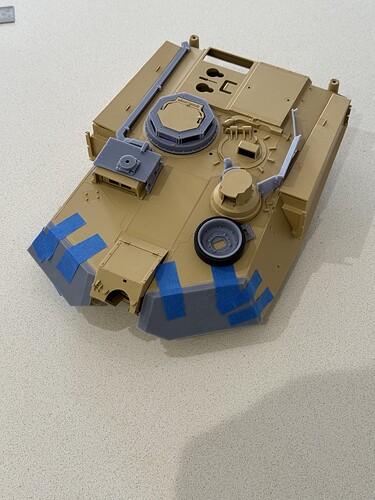
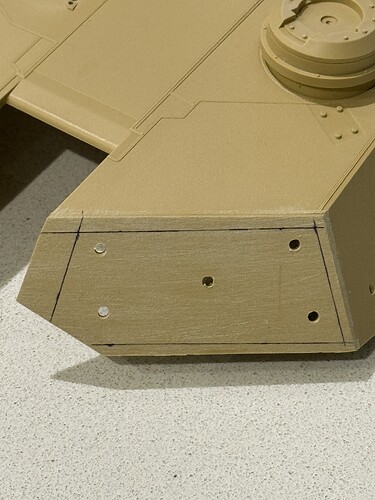
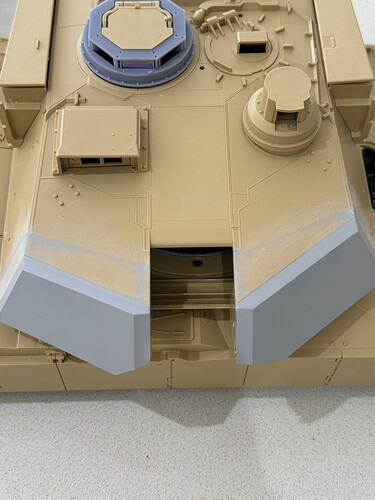
Finally have the new turret fascias printed & glued.
Started by drilling holes in the front of the turret so glue could be flowed in from behind.
The fascias themselves have an internal recess to catch superglue, effectively a gasket.
Once fitted, the fascias were filled, sanded, & primed to confirm fit.
Looks ready for welds & detailing.
Thanks for looking in.
10 Likes
Nicely done and very smooth/sharp finish on those 3D printed parts.
2 Likes
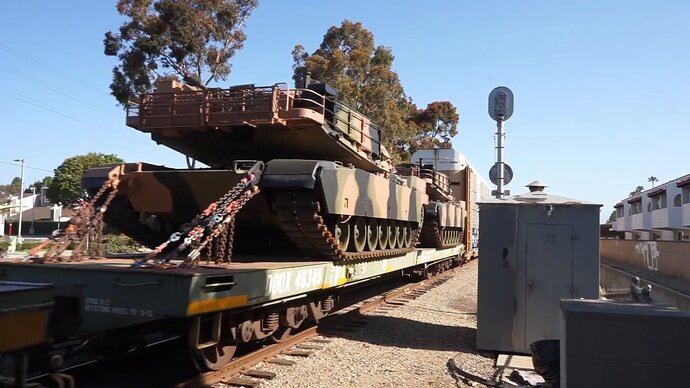
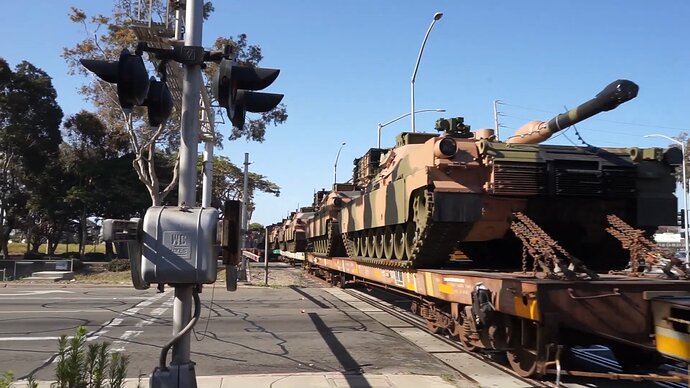
Very excited that there’s been some public domain pics of the new SEP v3s being shipped via rail in the US.
7 Likes
I wonder what the shipping cost on these would be, considering my last aborted shopping basket at Sprue Brothers 
1 Like
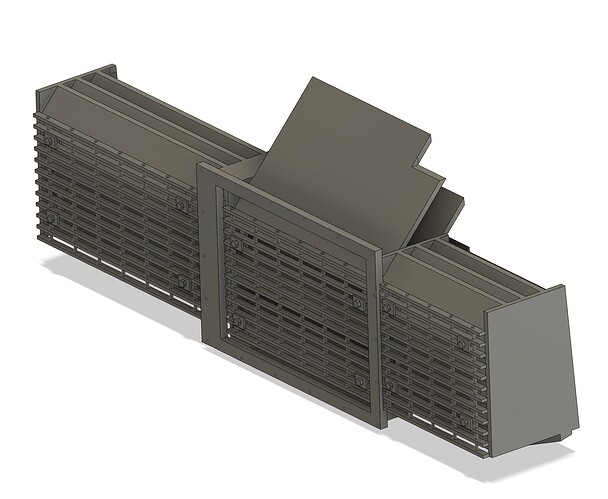
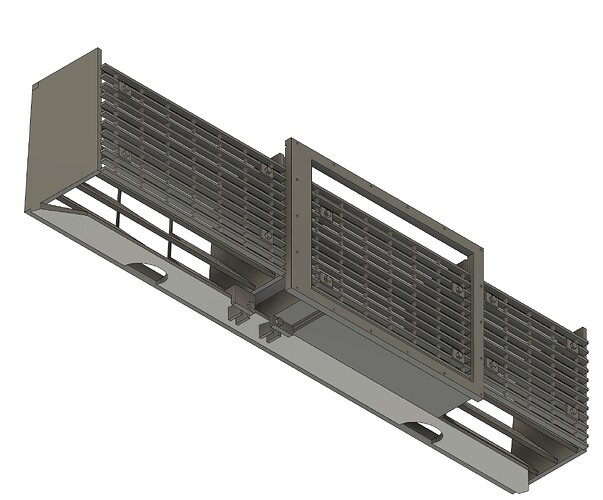
One of the simplifications of the Tamiya kit is the solid exhaust grills. I wanted to improve the detail of the kit, while retaining the assembly interfaces.
Here’s the assembly.
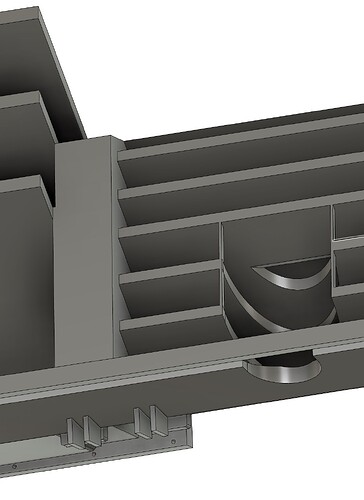
From underneath.
The recesses to incorporate the kit bolt holders.
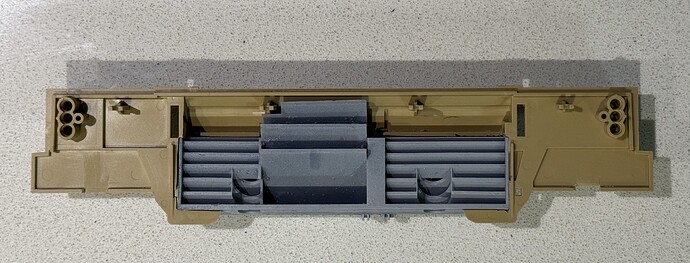
Inside view of the test fit.
Thanks for looking in.
8 Likes
That looks awesome Greg. You guys with CAD and printing skills are becoming the envy of modeling community. All the details changes this kits value completely. I look forward to the painting and weathering phase on this project and see what approach you will take to bring focus to these detailed ares. 
4 Likes
Thanks, Stryker. For me, learning CAD was the only positive to come out of COVID.
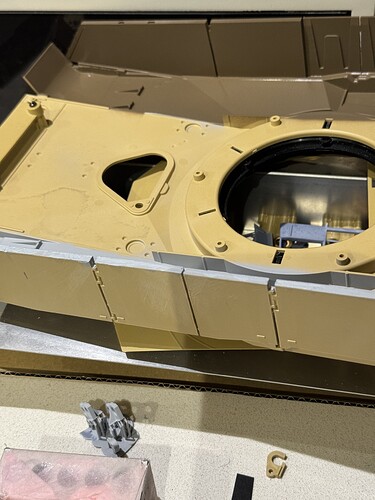
The upper hull continues, with the rear plate & sponsons being attached & boxed in.
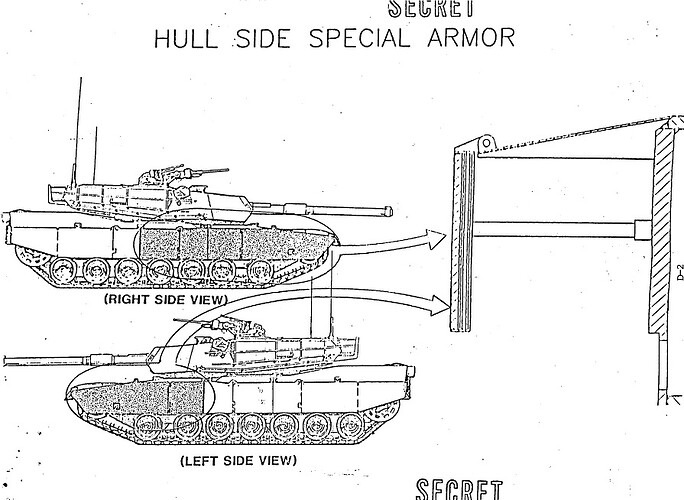
The Tamiya kit has solid, continuous skirts molded integrally with the upper hull. I’ve removed the plastic that join the individual panels & thickened up the relevant “special” skirts.
Don’t worry, these were declassified almost 30 years ago. The kit doesn’t really represent these well.
So, I’ve boxed them in to better show the difference.
A bit more to go, but thanks for looking in.
6 Likes
You know, with the CAD data collected when you are done, you could offer update kits for others.
2 Likes
I’m a bit reluctant to share my CAD, tbh, as it’s done to my standards, not for others. Was planning on putting some up on Shaoeways, but I’ve been told that they’re out of business.
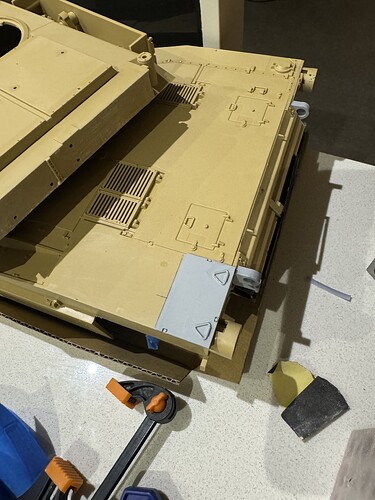
Started adding the under armour APU to the rear left hull quarter.
I’d initially planned to cut away the whole back corner, but I think this is a simpler way.
Thanks looking in.
7 Likes
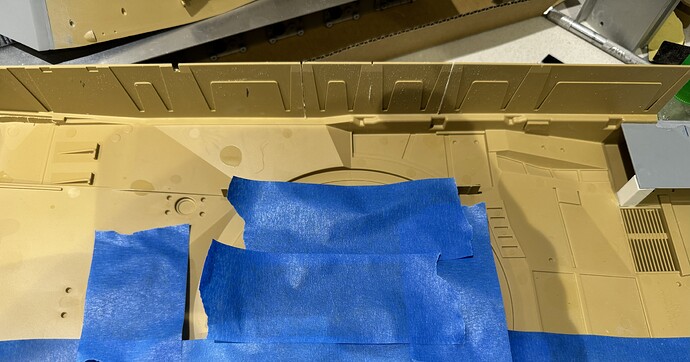
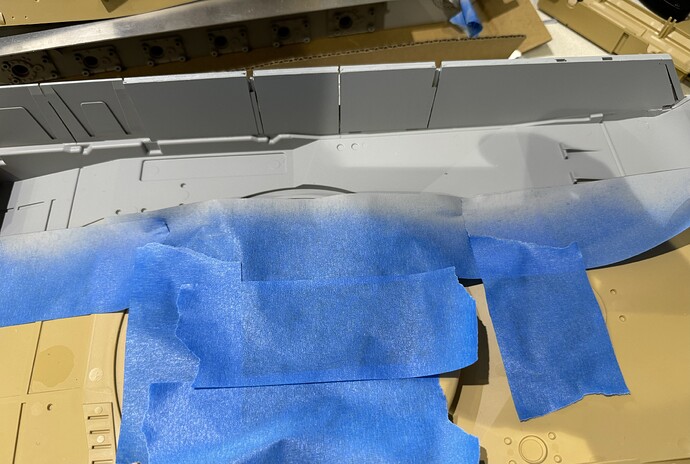
I’m working on the theory that the parts of the Australian SEP v3 that aren’t easily visible would retain the CARC-X off the US production line.
The CARC-X colouring is a bit weird, tbh. I used Tamiya TS70 JGSDF Brown.
Thanks for looking in.
2 Likes
To add more clarity to that drawing:
5 Likes
Experimenting with using a cutting machine to cut out location stencils for adding details precisely, as required.
The target for today is the previously-mentioned UAAPU on the rear left corner of the hull.
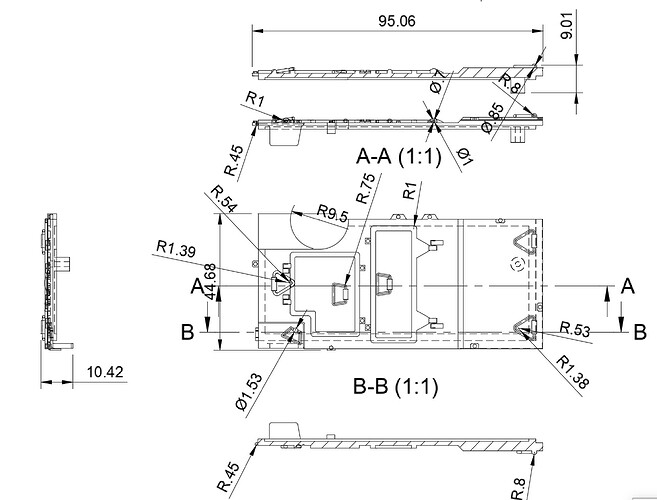
Step one is to convert the model into a dimensioned drawing, including section views.
This was saved as a .dxf file & opened in Affinity Pro. At this point, I ran out of a clue, so time to research what comes next!
Thanks for looking in.
5 Likes
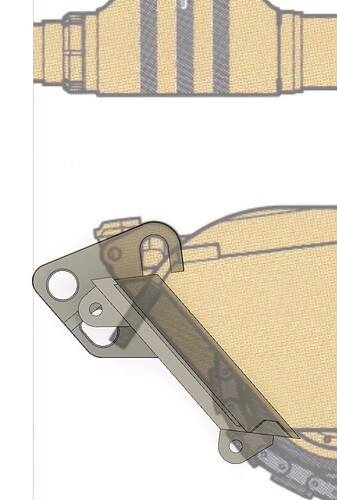
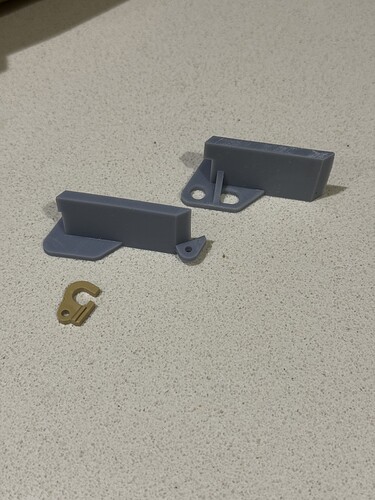
Started work on the lower glacis & the v3 tow/lift point.
Only working on a section to confirm fit before printing the whole shebangabang.
Thanks for looking in.
4 Likes
You could put/sell your files on cults3d.com . Lots of modellers there. That rear grill area would be great for other versions.
Jim
3 Likes
Looks like you were on the mark about Shapeways - now in receivership.
2 Likes
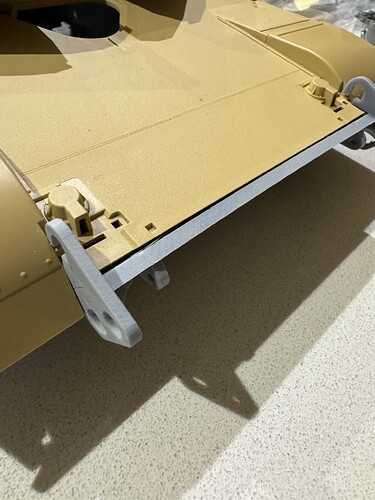
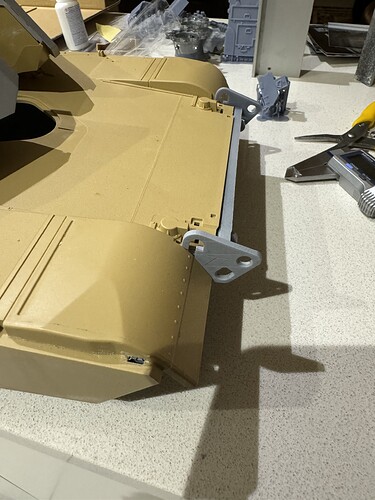
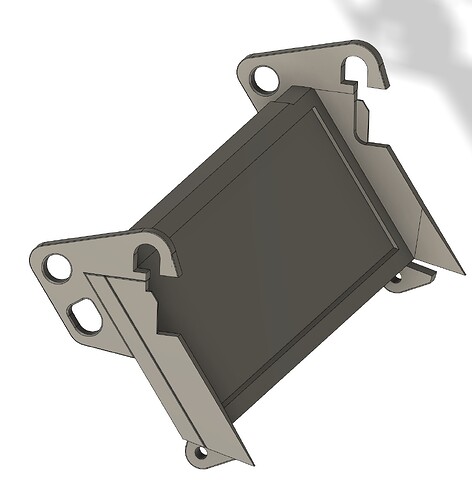
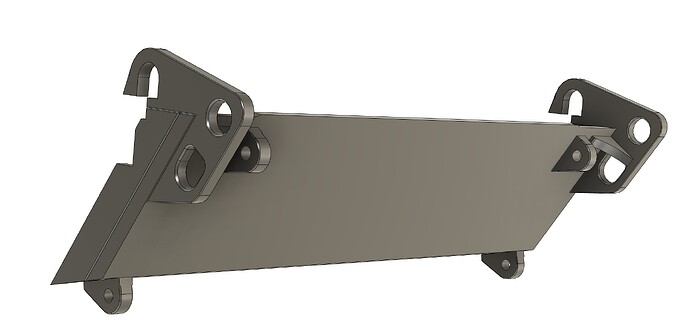
Figuring out the new lower glacis & tow points. Very close to having the design ready for final printing.
Here’s the test print fitted.
I’ll have to attach it once the upper & lower hulls are joined.
3 Likes
Finishing up the CAD for the the thicker glacis. Think it’s getting close.
Anyone got the RFM SEP v2 kit? Interested in the measurements from the front of the driver’s hole to the front of the hull.
3 Likes
