But I bet as a kid you were well chuffed with it and thought it looked fantastic … I am impressed the wheels still turn and that you kept a kit that old. And for its age back then, it was still a pretty good detailed kit.
1 Like
Yes, I thought it was the best build I did so-far. Which it was at the time being the 3rd model. The first two were snap-tite so this was my first glue model. No idea what happened to those tho. Probably firecrackers had something to do with it… ![]()
My older brother’s friend built military models at the time and suggested lightly scraping the paint off of the tops of the diamond pattern on the floor. BAM, that was my first step into weathering! Then the dirt pattern all over was my misunderstanding of what dry brushing was. It looks like a camo pattern ![]()
Indeed a great kit even today IMO. So much details and a bunch of figures included.
Thanks for letting me share this in your thread
1 Like
No probs at all. How old do you actually think that kit is then ?
And I agree on the kit, I think it’s very well detailed for its age and even though it wasn’t mass produced, you can still build it as an A2, and all you’d maybe need to consider doing is dashboard like it was highlighted in a previous post. I would happily get another, and maybe splash out on the sprocket and idler set as that’s one make area that could be improved.
1 Like
Scalemates has it listed as 1974-5. I built mine a few years after that tho. The most troubling part of the build was why the ‘mine roller’ doesn’t touch the ground and it’s between the wheels and tracks wheel base so how the heck does it suppose to work ![]()
2 Likes
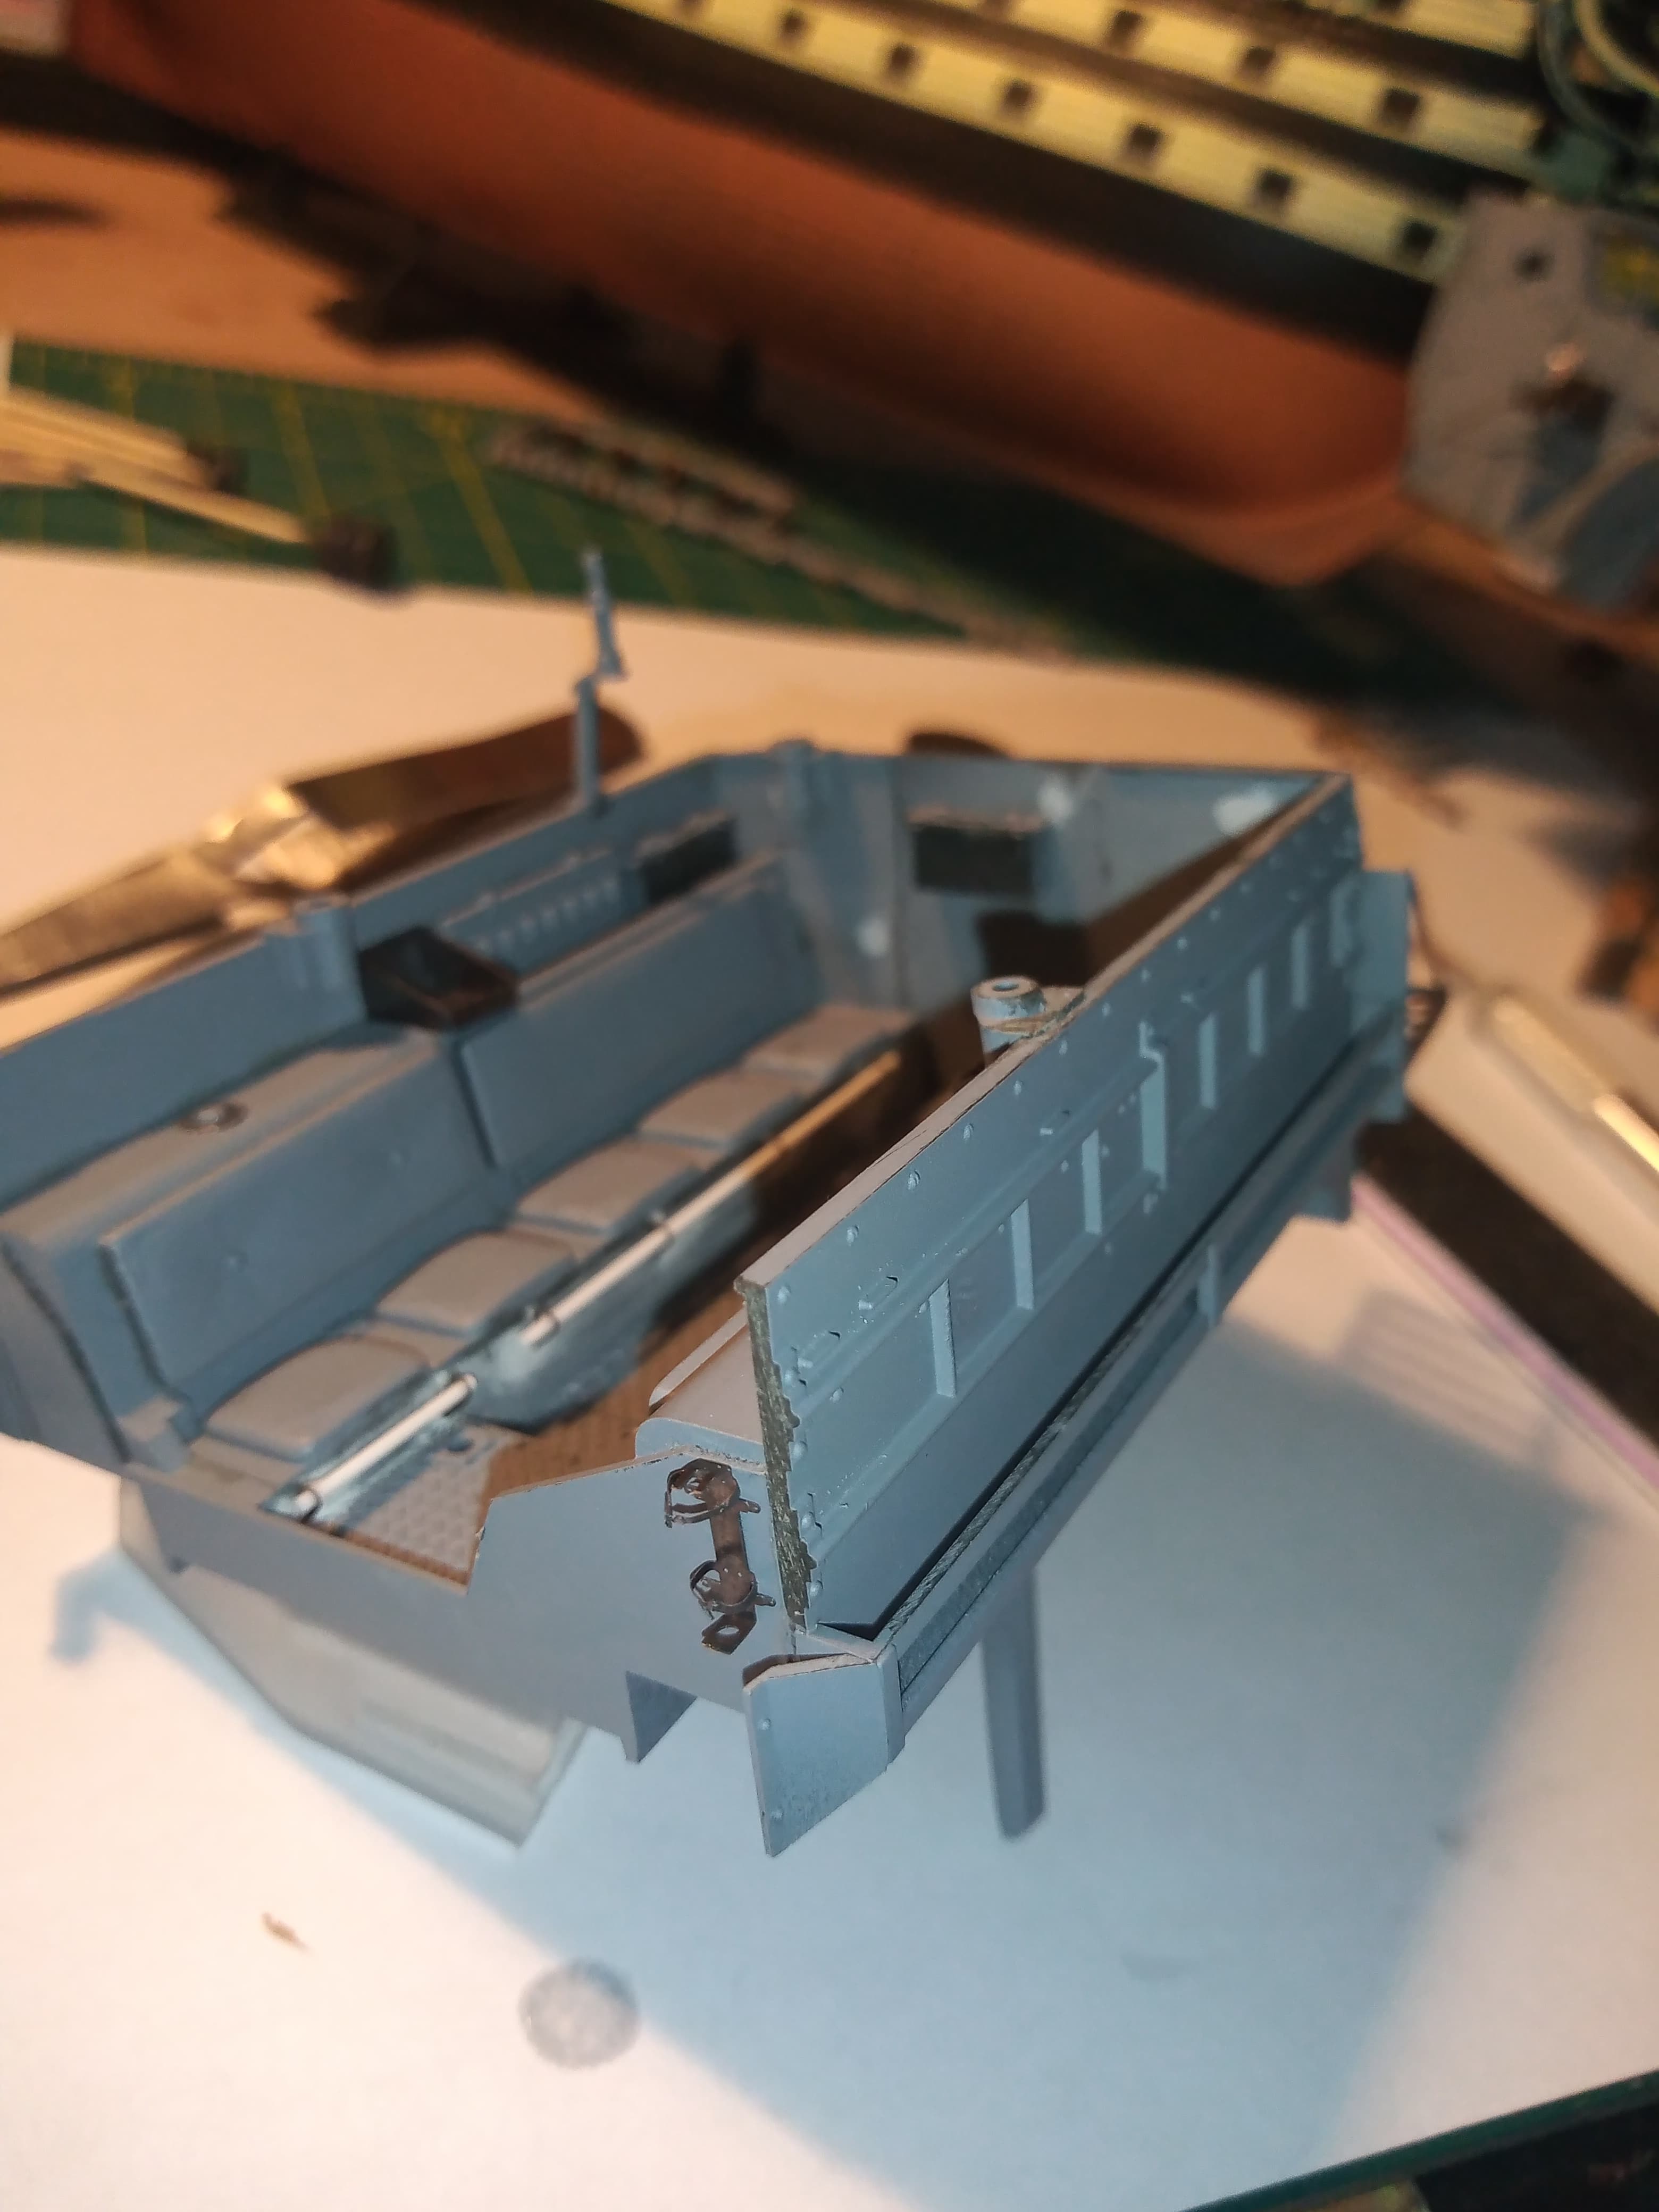
Bit of work done. Rear stowage racks now on.
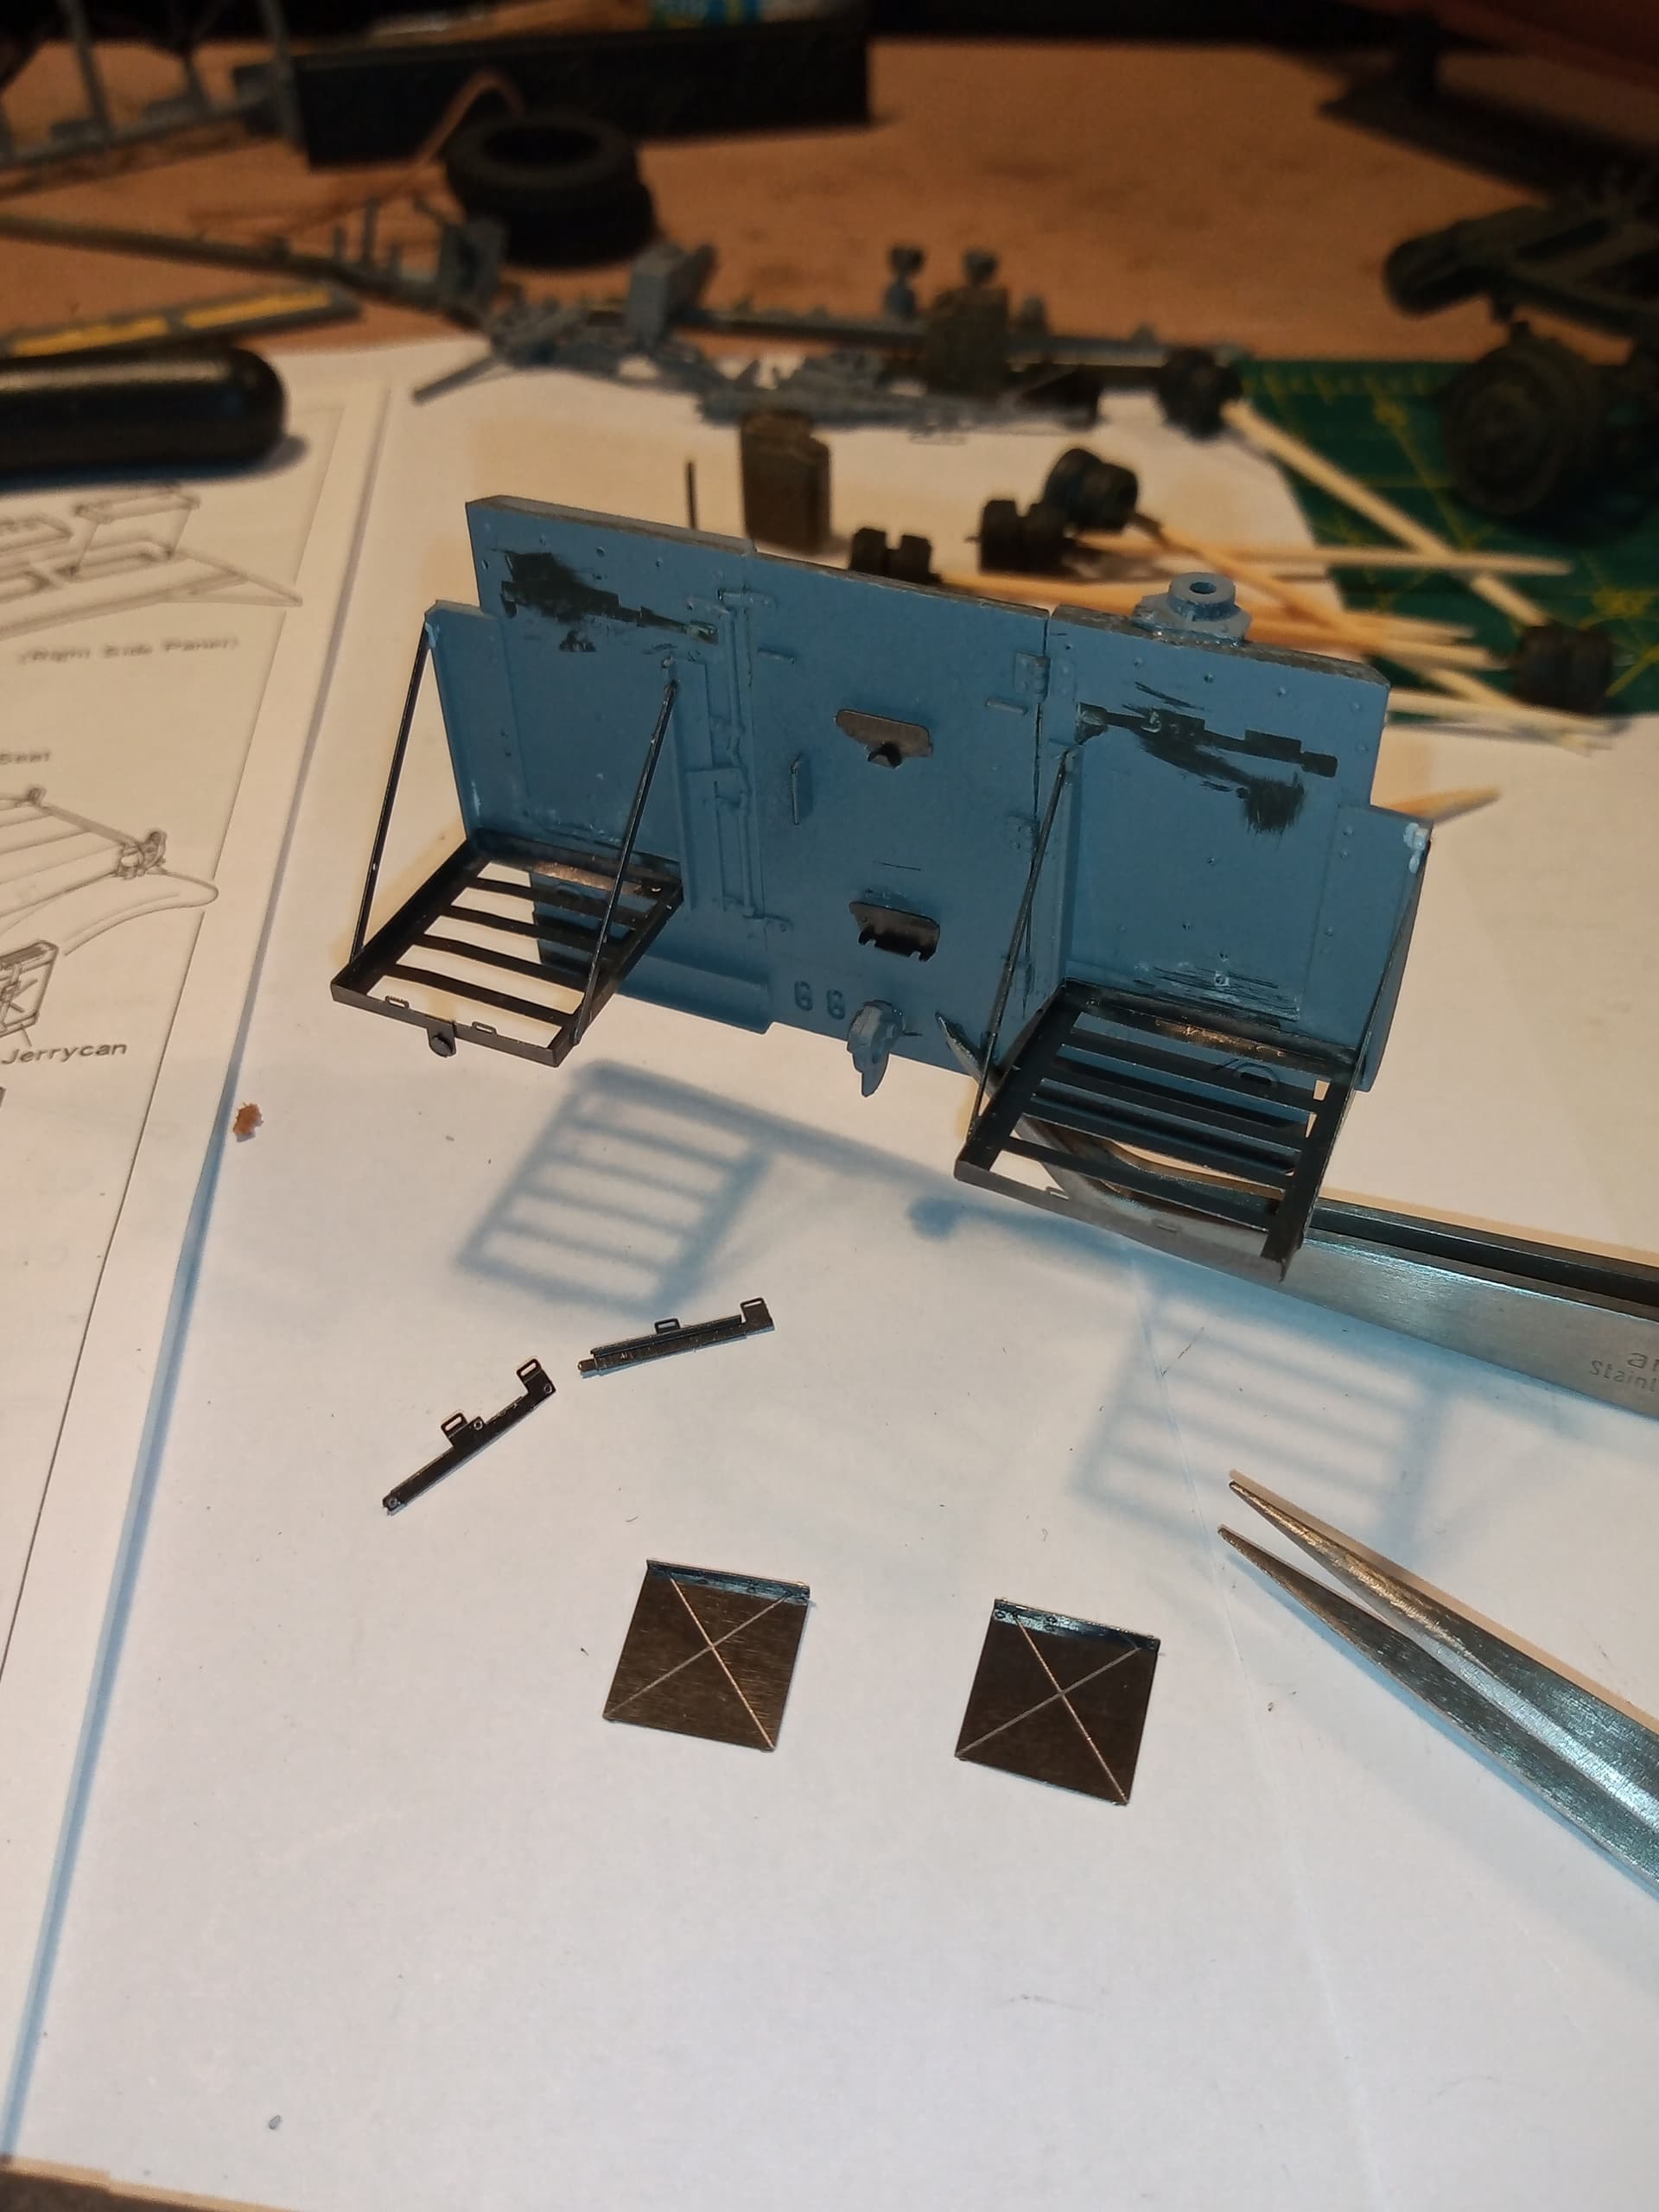
Will probably be going for a mix of Jerry cans and crates in those .
5 Likes
It’s not really a “mine roller”, it’s just there to help get over obstacles like berms and trenches by giving the vehicle a bit of a nose up.
Ken
2 Likes
The Crazy man has fit the PE before attaching the rear to the rest of the model. ![]()
Mucho care to be taken from here amigo…
Looks great John.
1 Like
lol, normally I wouldn’t be the crazy man, and it would be left till it was altogether, but it has all (hull body) been dry fitted and it all fits together fine so I just need to be a little more careful when fixing. Famous last words haha
2 Likes
I see re-gluing those PE racks in your future…
2 Likes
Even if it happens … I will never admit it lol
5 Likes
Thank you ![]() I’ve since learned what that was for. I was referring to when I first built it.
I’ve since learned what that was for. I was referring to when I first built it.
3 Likes
Plodding away with some PE bits, mainly for the mgs at the moment.
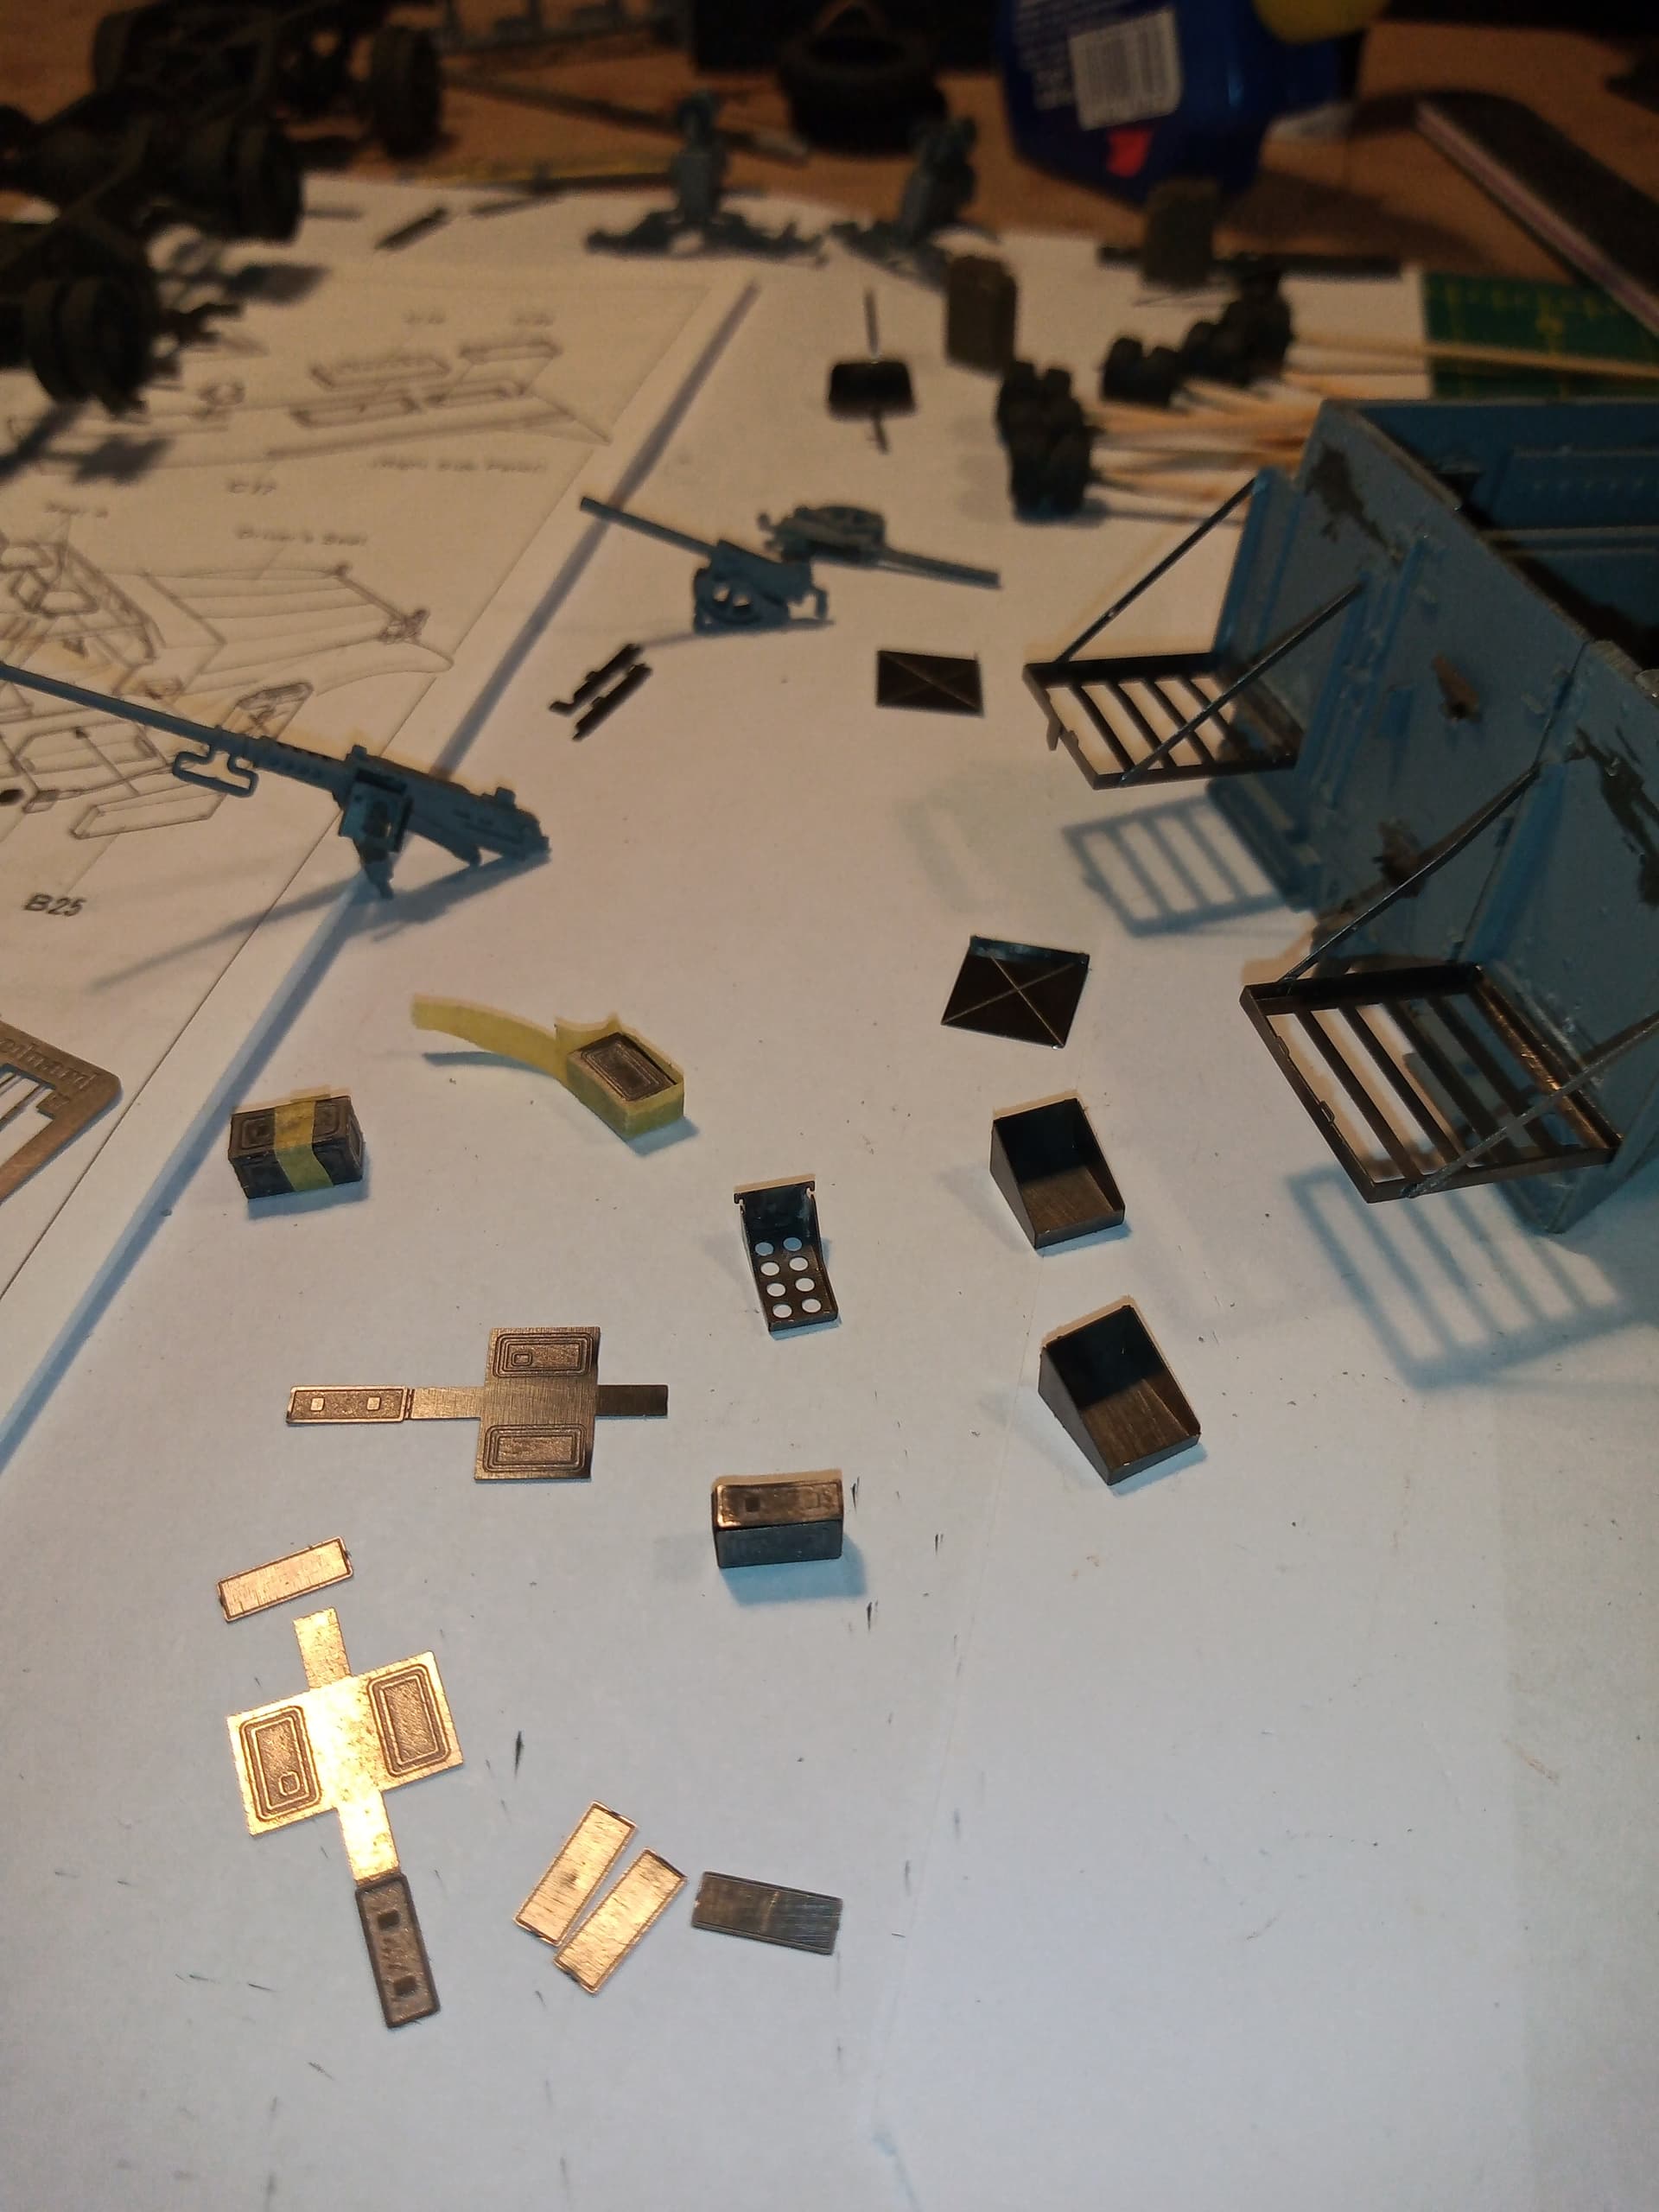
Will have to check out the spares and see if I have any more ammo boxes and stowage bits I can find.
4 Likes
Looks like a nice PE set. Good detail on the sides of the ammo boxes
2 Likes
That sure is some really nice looking stuff…
1 Like
Yeah, it’s a nice little set with some decent bits to use to enhance the kit.
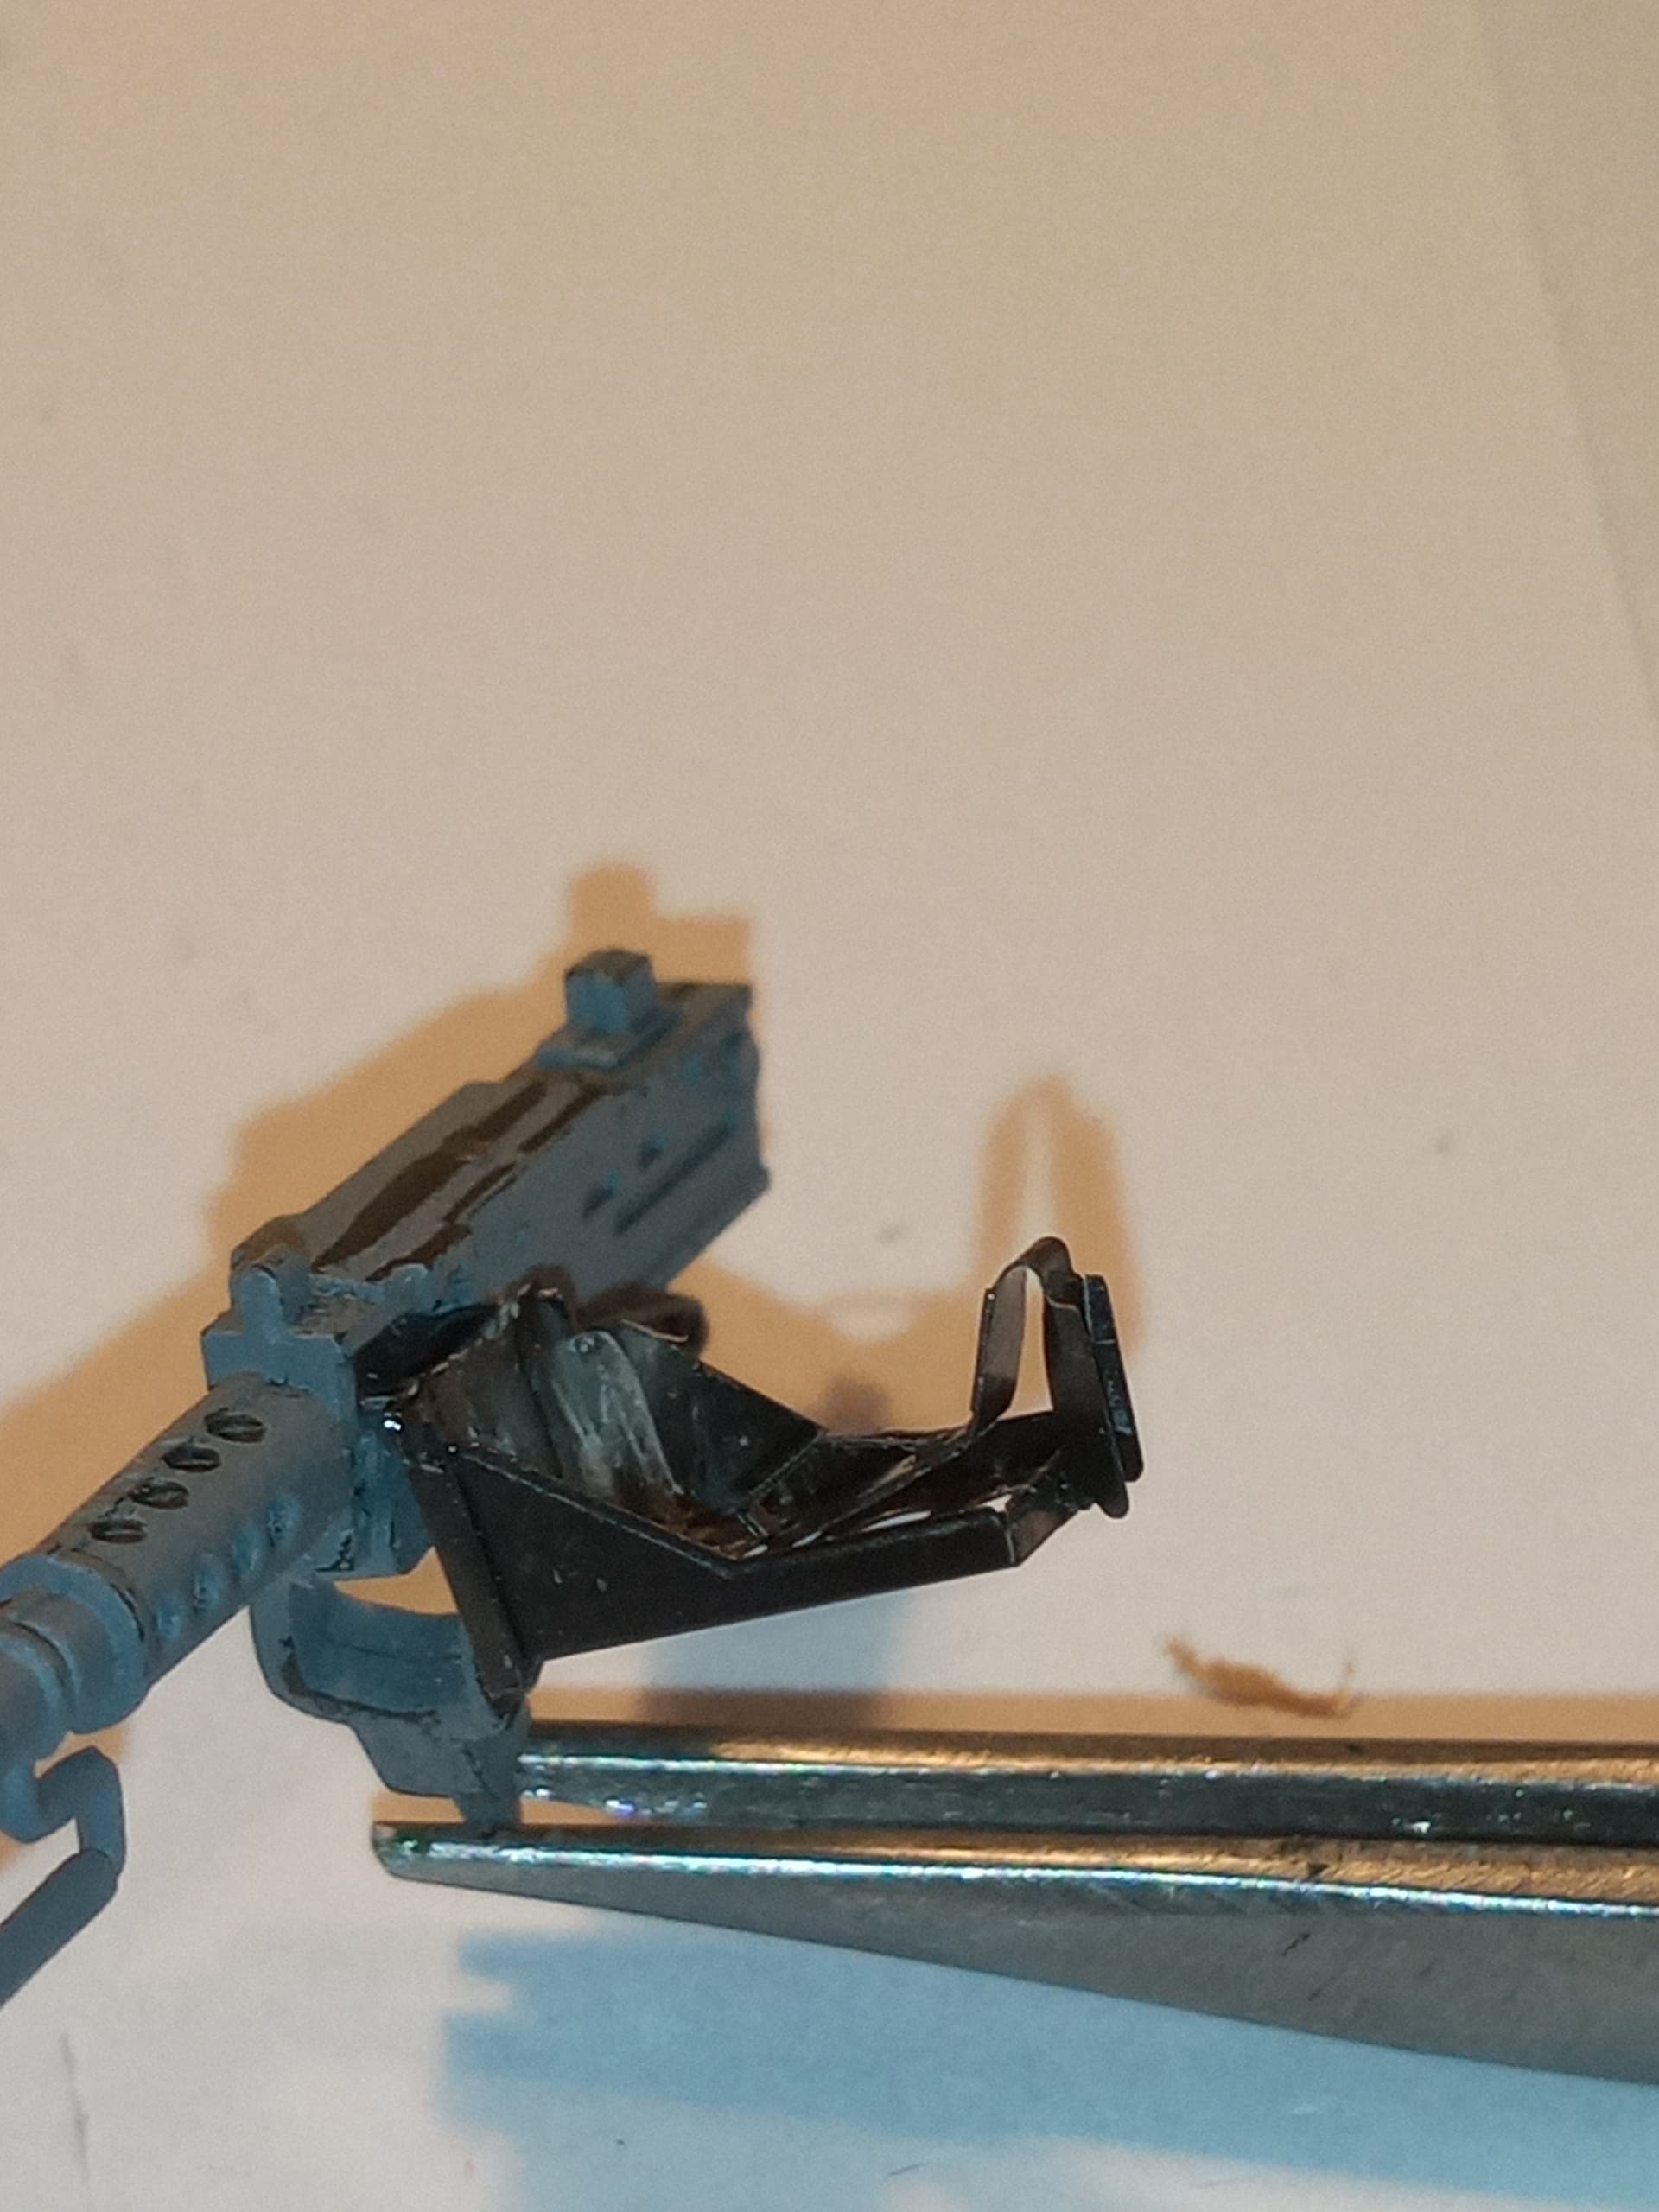
Bit more work on the .50
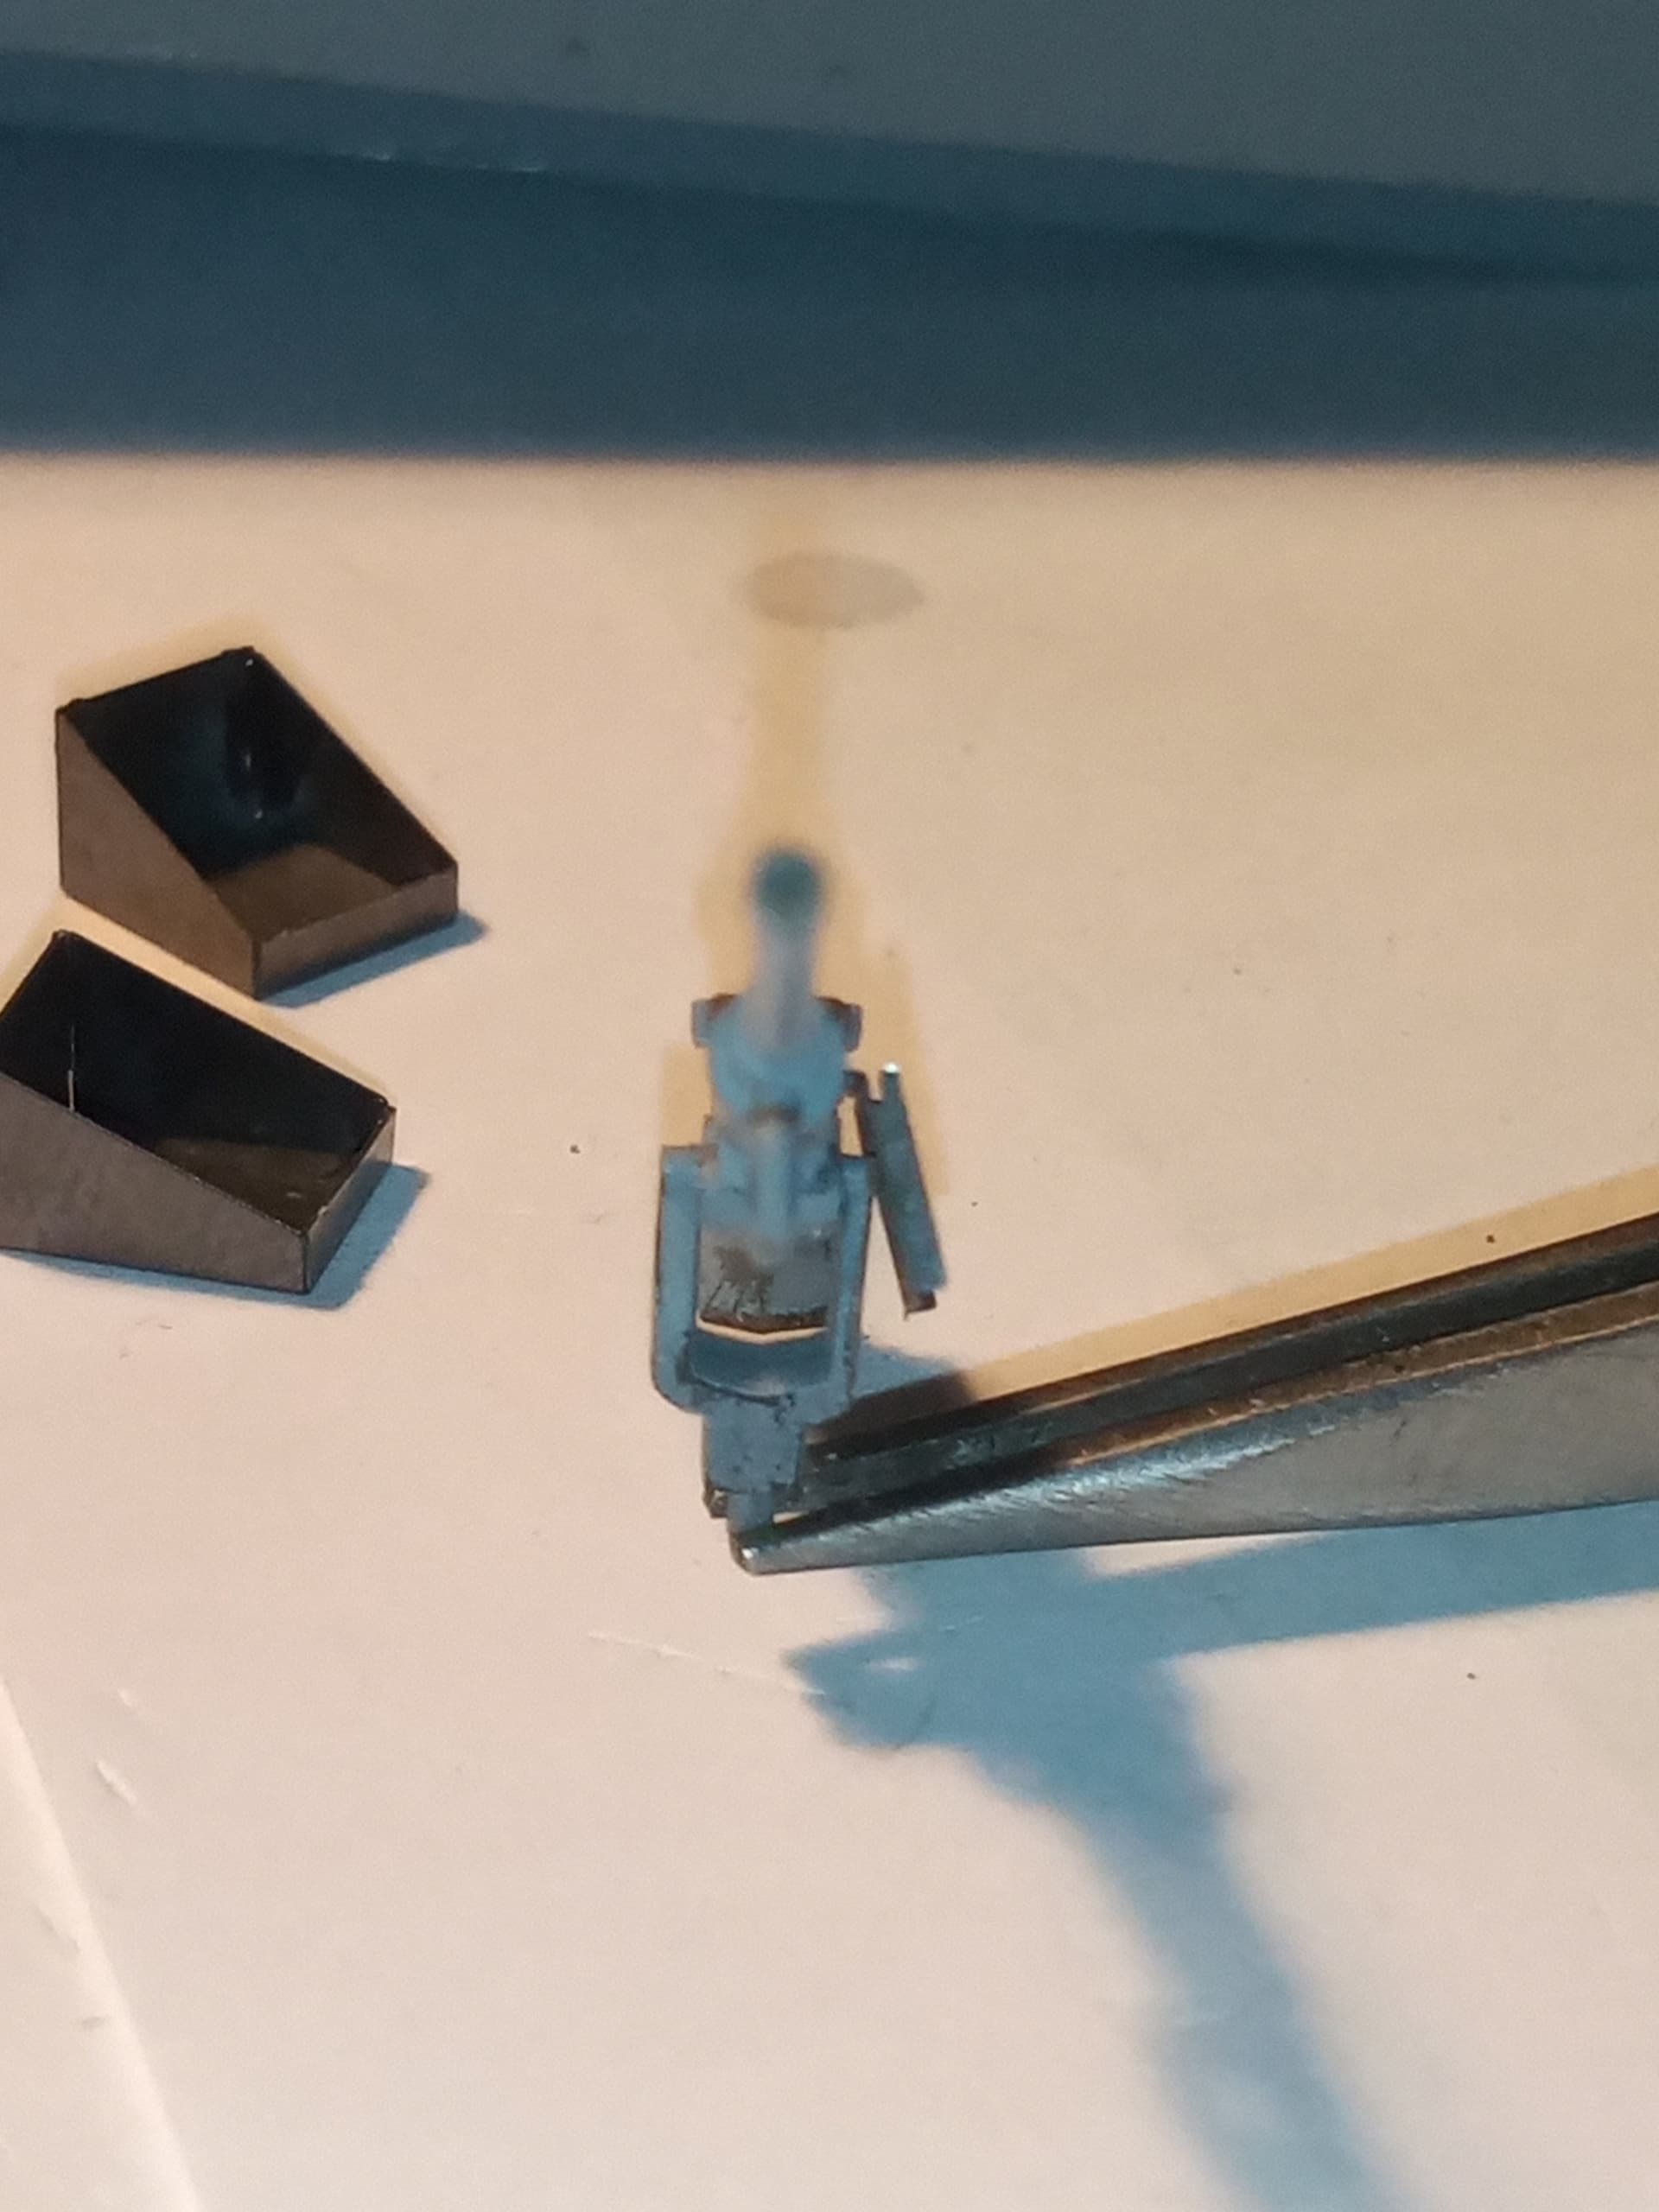
Had to sand the LH side of the mount to allow the ammo box mount to fit.
Added the ammo box tray,

I won’t be putting a box in there, but added the piece to the end that secures a box and sits on top of the ammo belt.
![]()
![]()
7 Likes
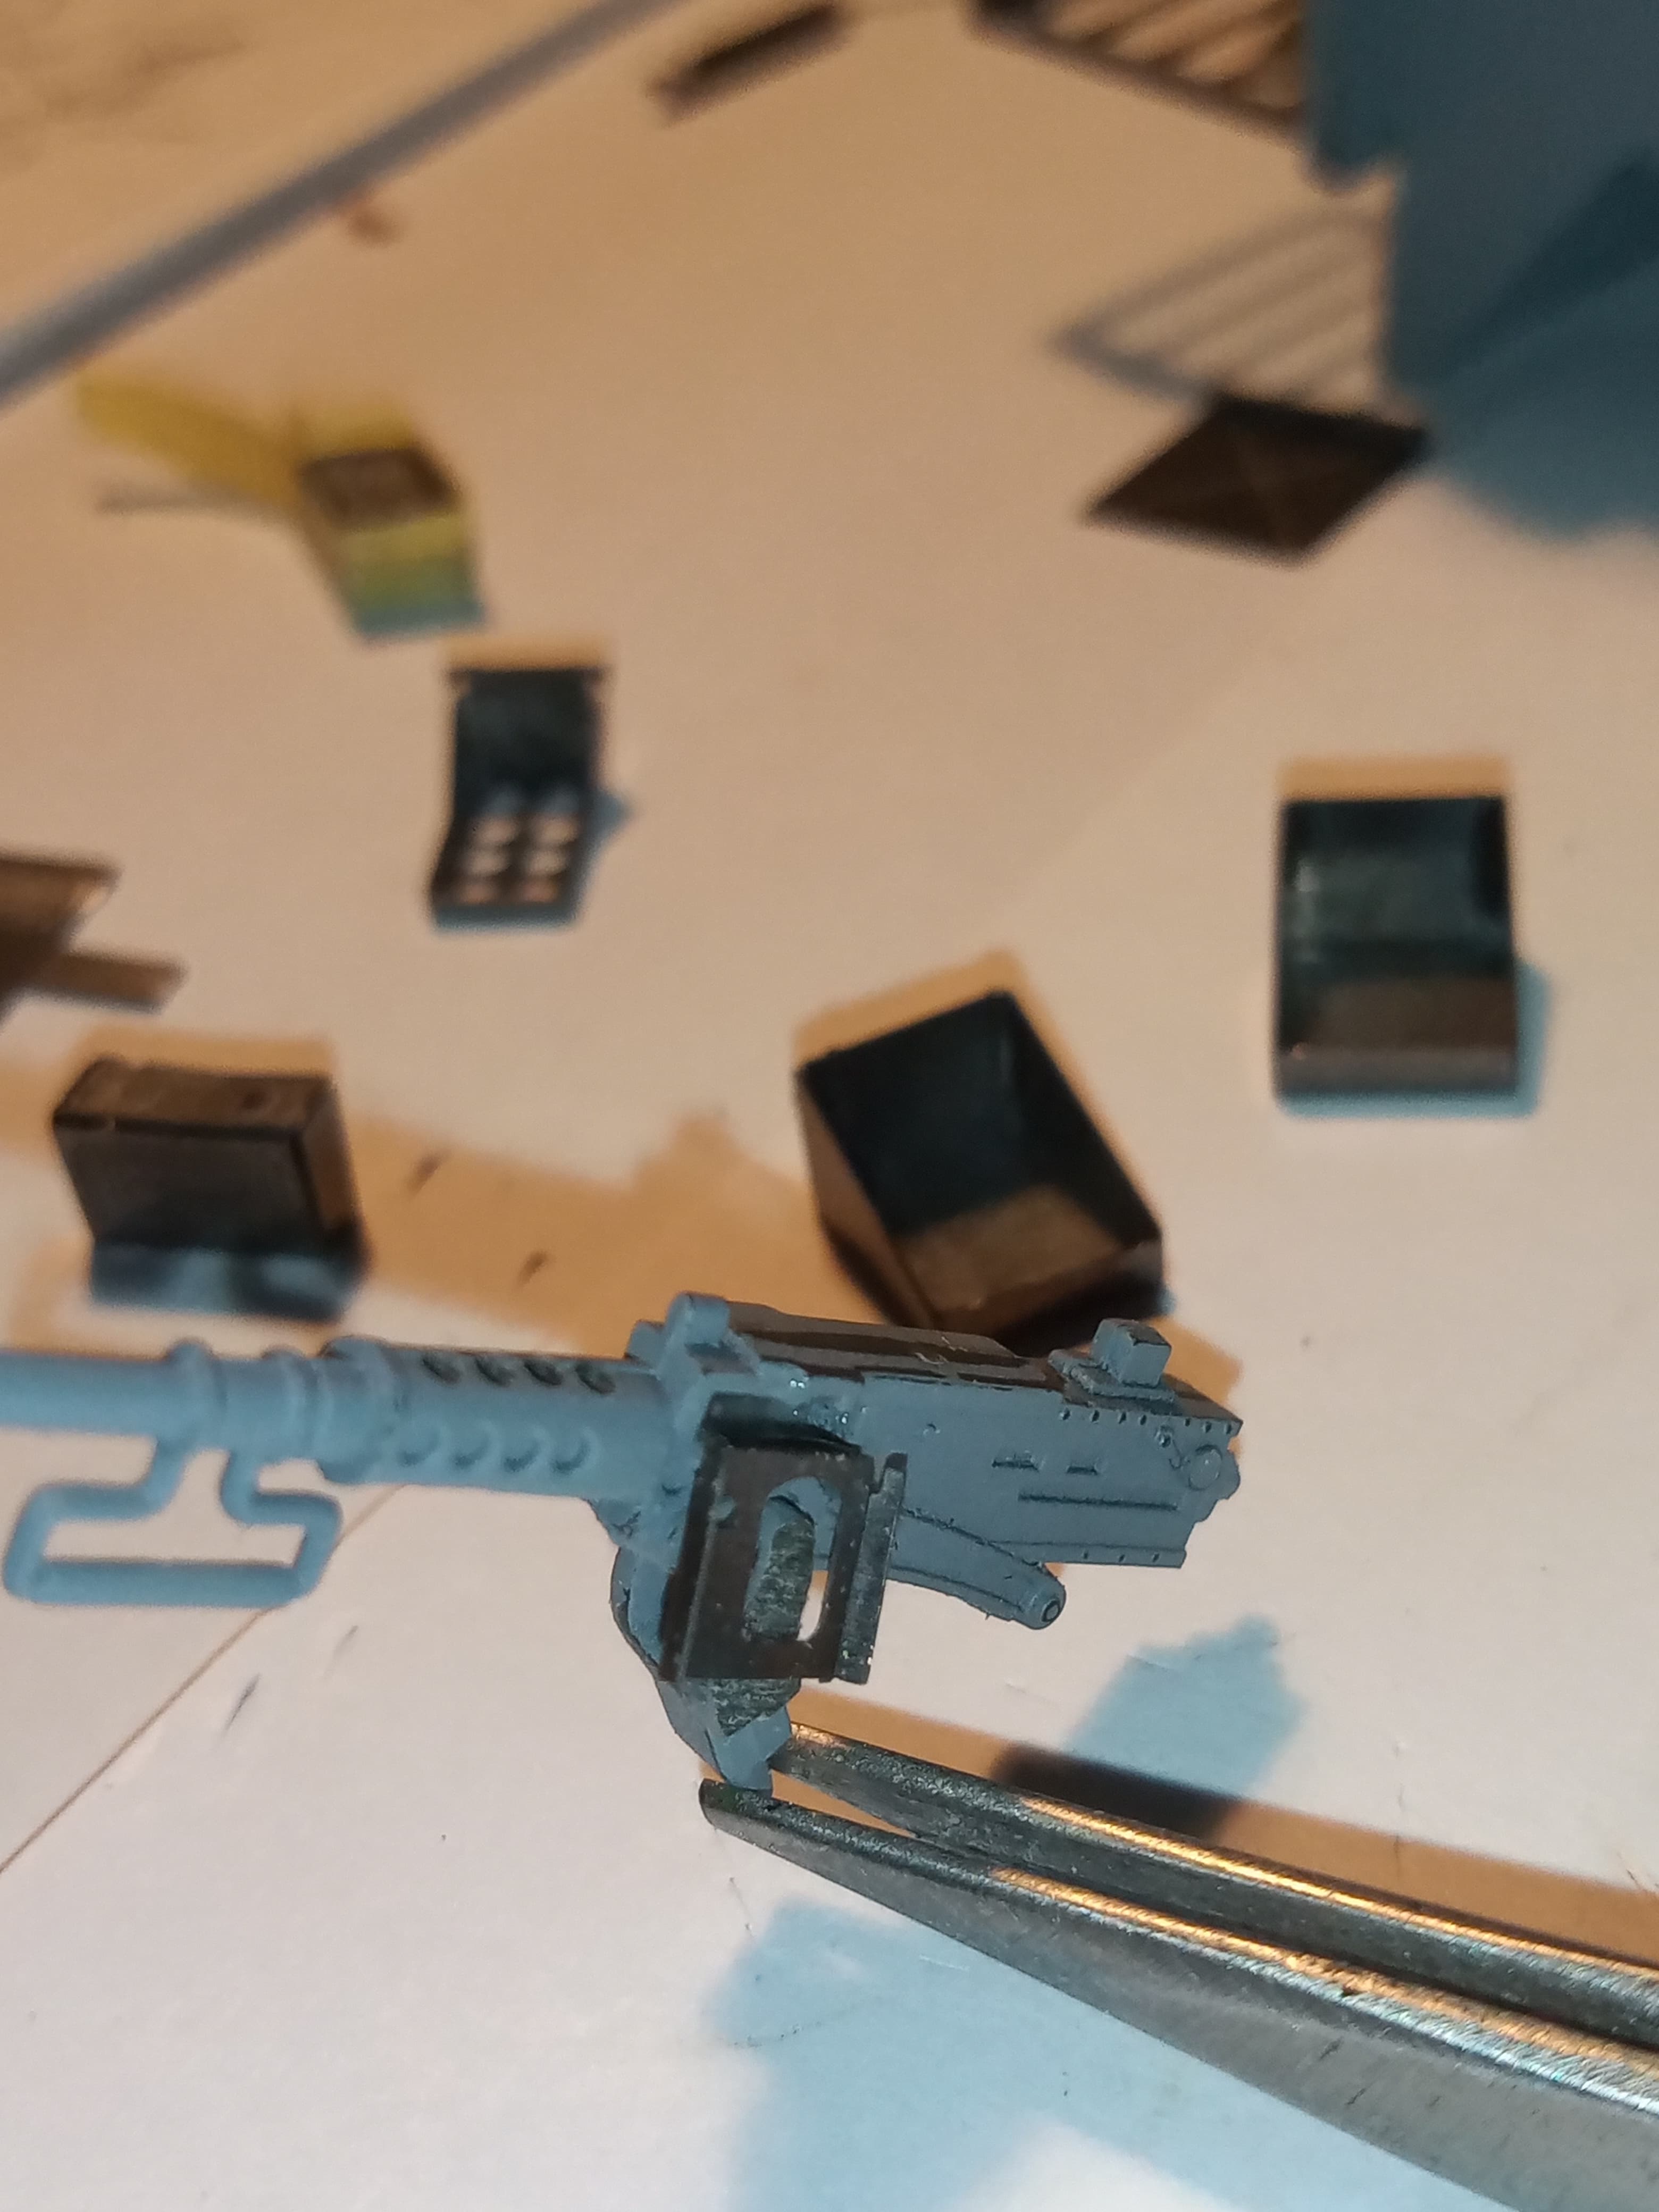
Few more bits added, kit and PE.

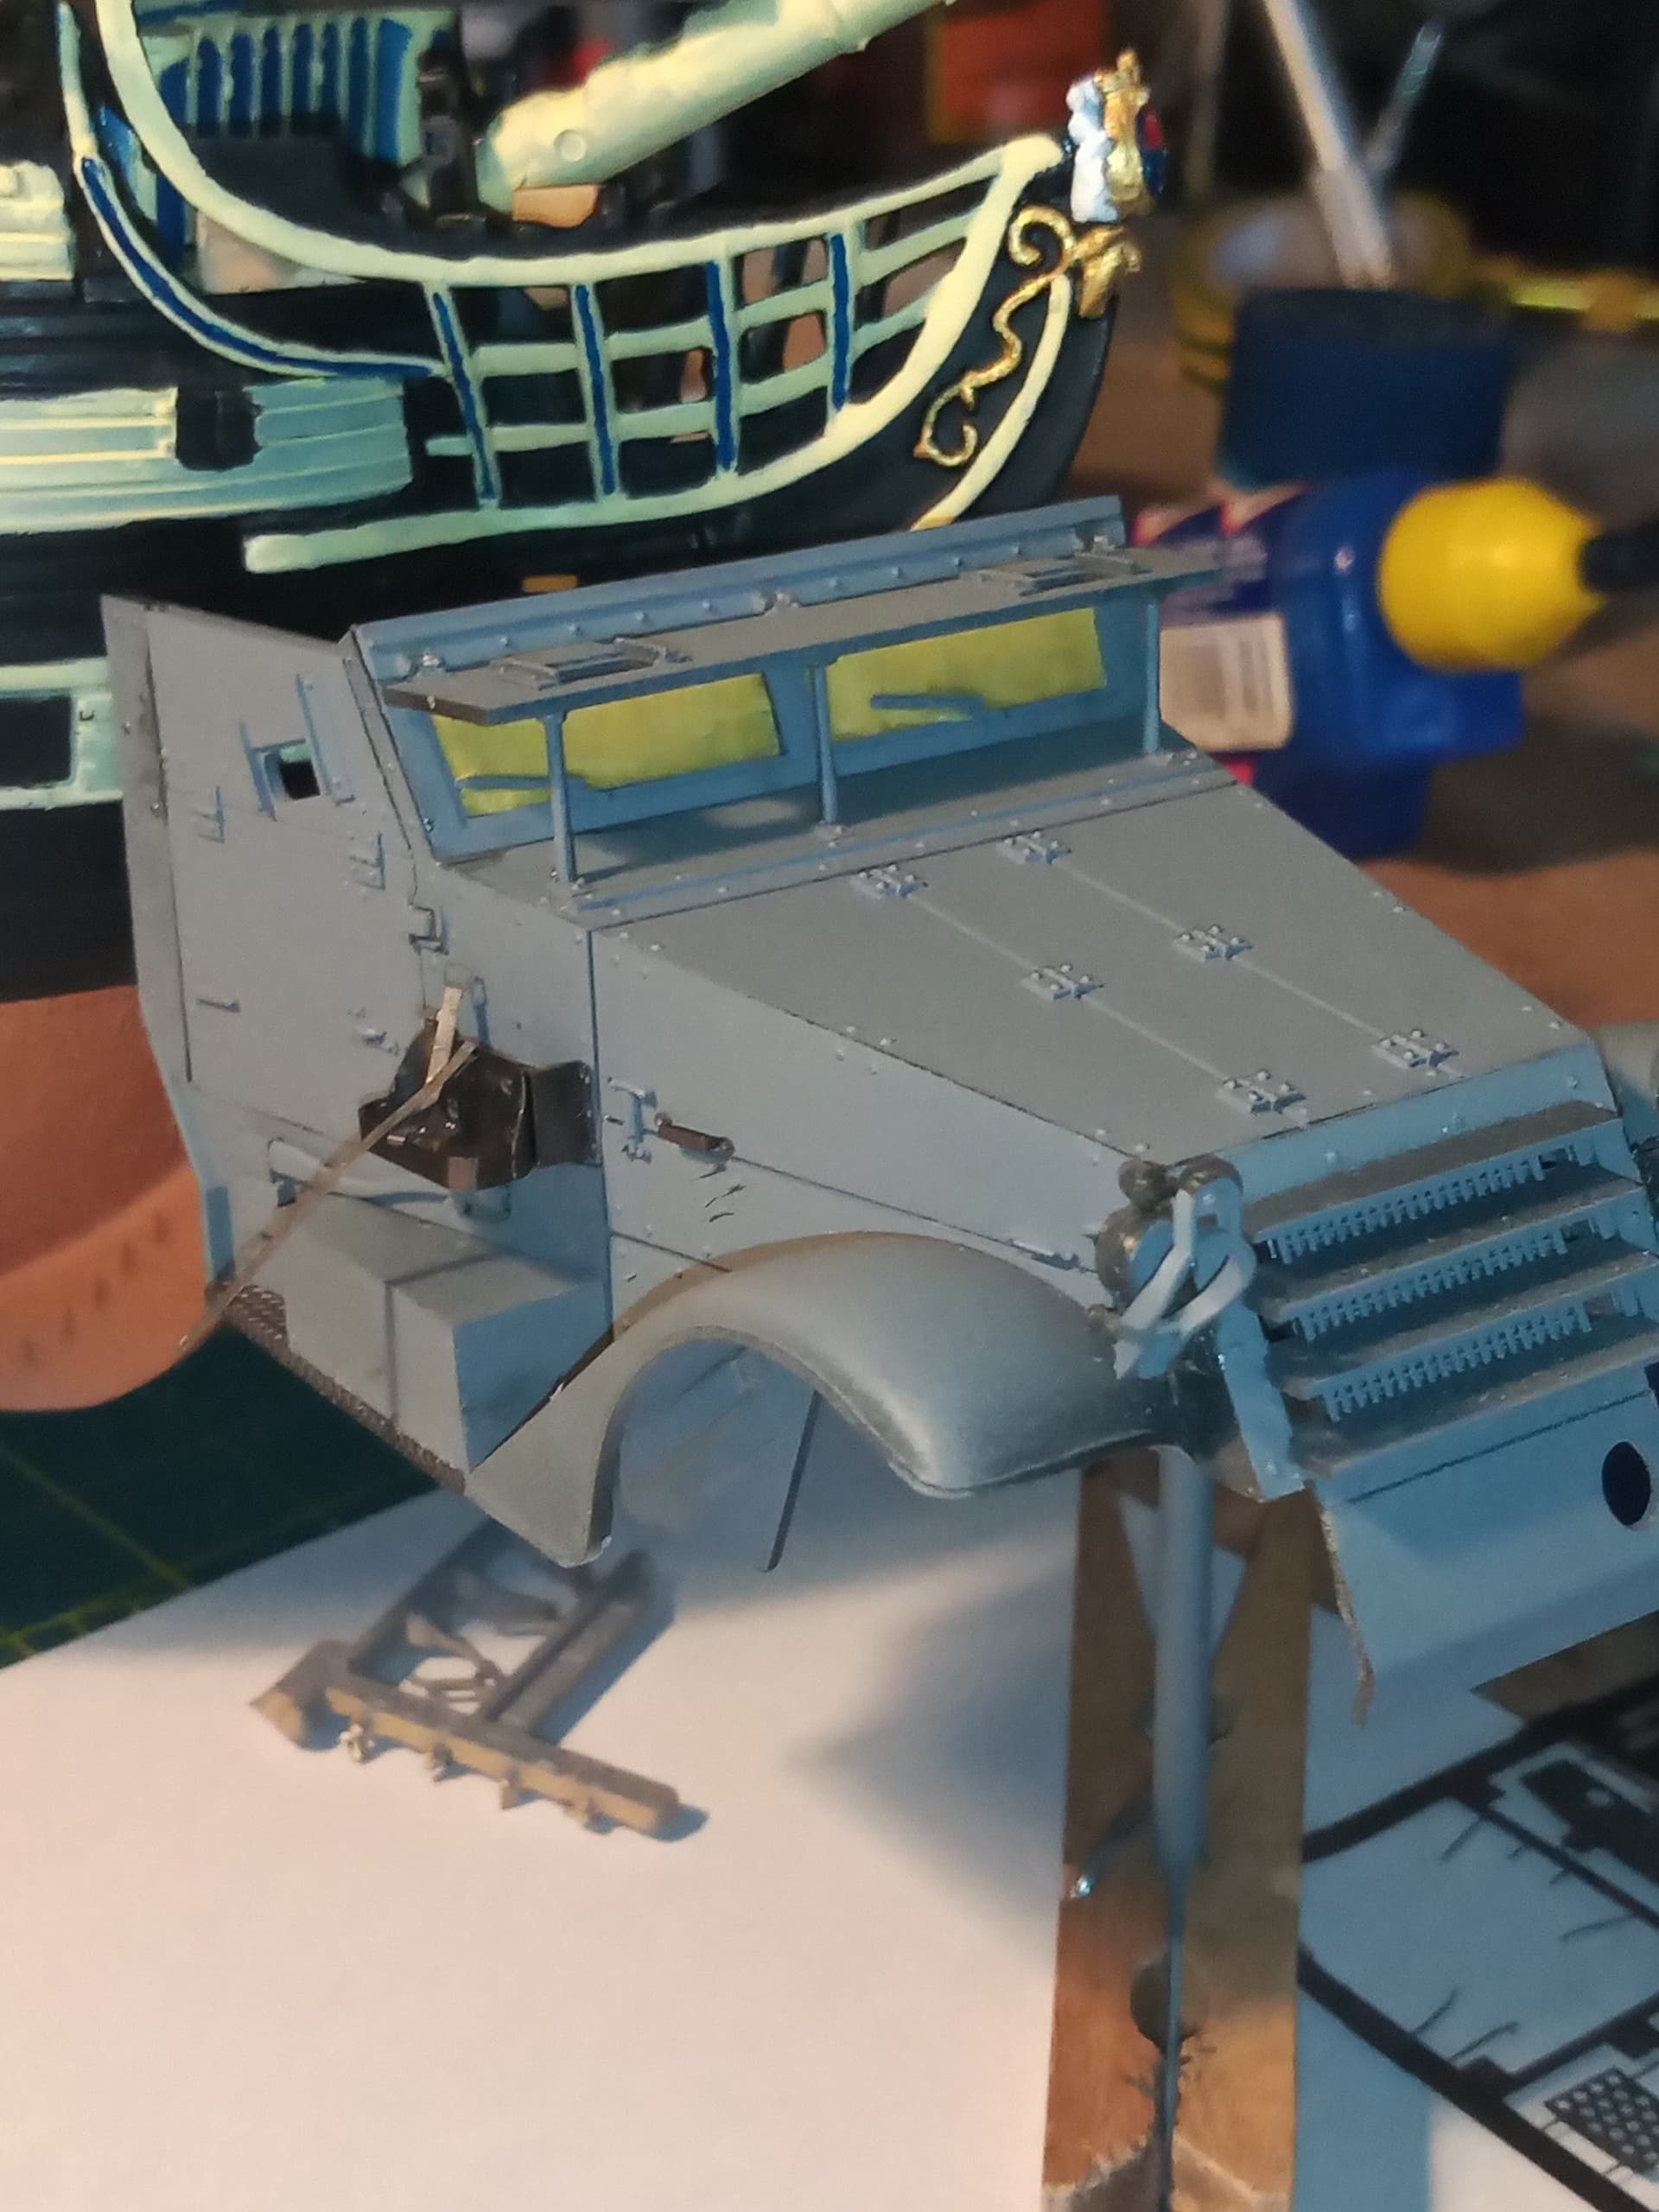
And the very small knurled locking knobs on the .30 cradles

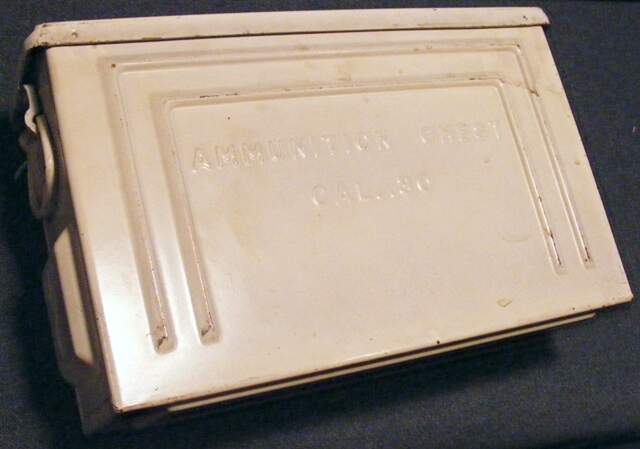
Are WW2 US ammo boxes OD or a brown colour ?
10 Likes
Hi John. I was wondering… Had you considered replacing the radiator louvers with PE strips, or is that just too much trouble to deal with?
—mike
1 Like
OD regardless of which pattern.
2 Likes
Hadn’t even crossed my mind Mike, … Are they over size compared to the real ones ? If you had to, I suppose it could be done, but it would be very fiddly and looking at it, time consuming ??
And @barnslayer cheers for the colour steer ![]()
2 Likes
I did find a unicorn at a vendor. He claims these are in their original white paint as they were intended for use inside tanks.
Scroll to the bottom of page.
https://www.hayesotoupalik.com/U.S.%20Military%20Shipping%20Crates.htm

2 Likes