That is brilliant Mike, thank you so much… It’s a fantastic ref piece ![]()
![]()
![]()
1 Like
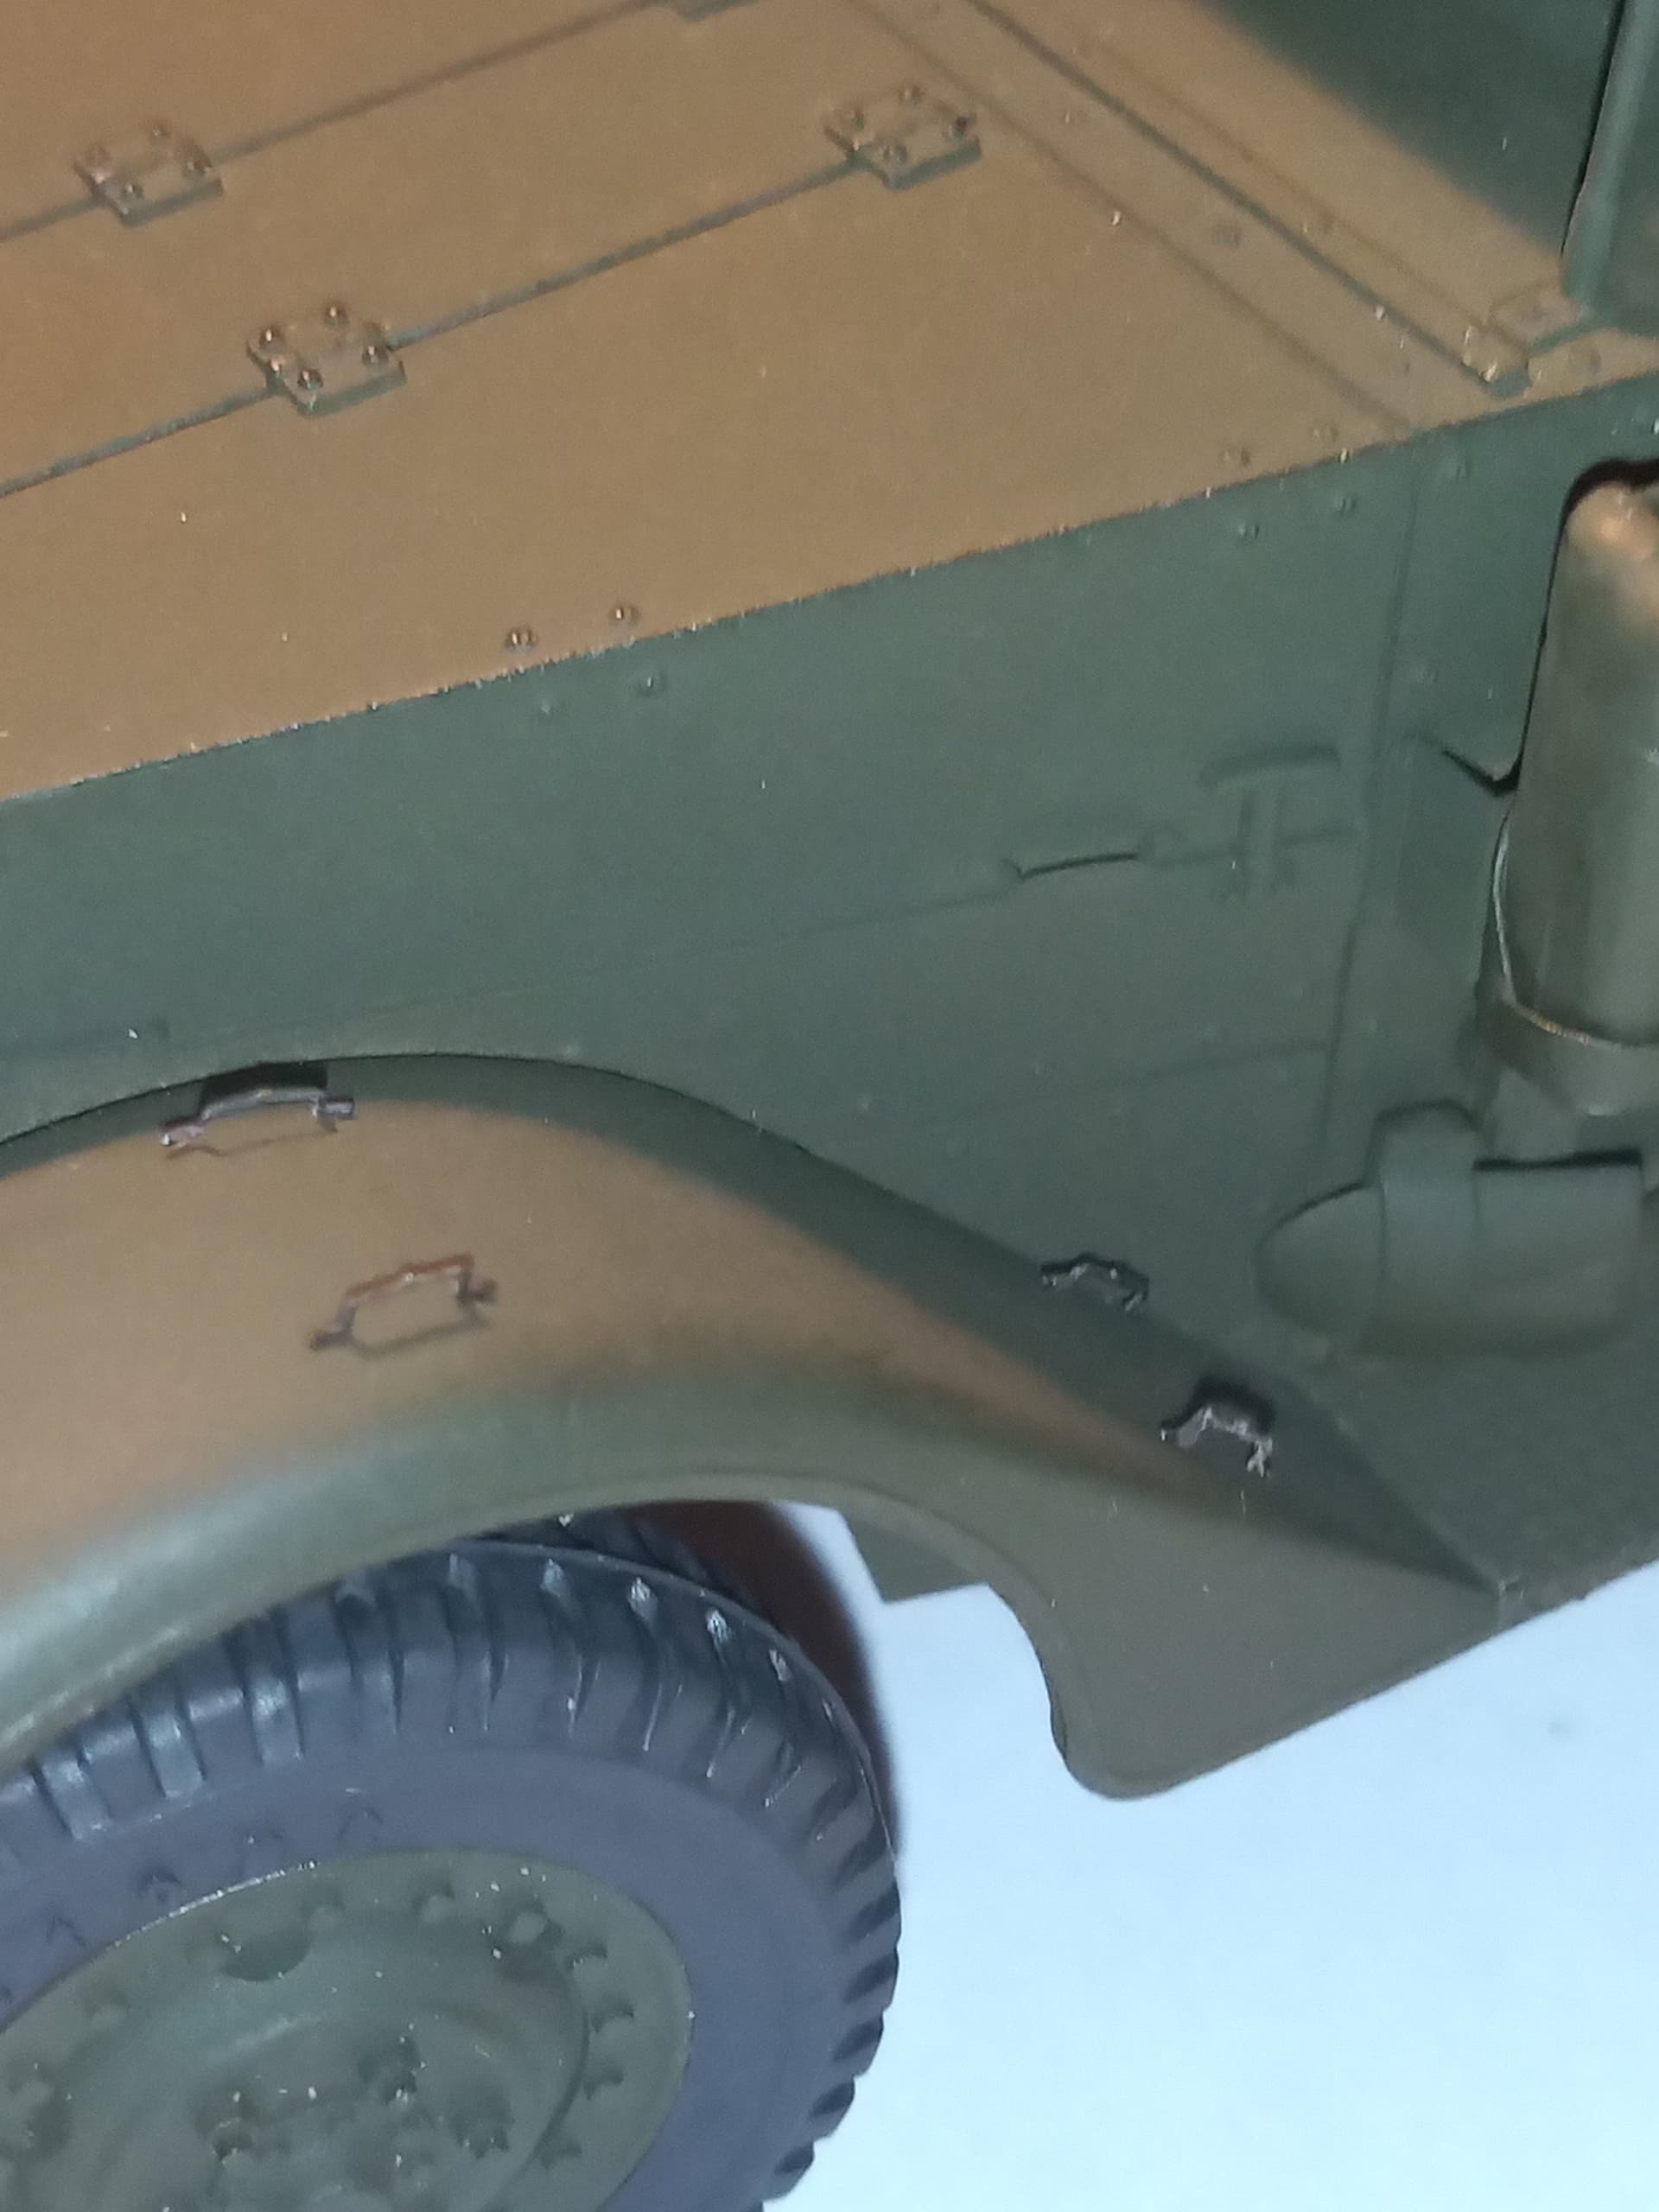
Was looking at a some ref images and saw a few tie downs on the front of the pulpit and on each front wing… So I found these on an old Chally 1 PE fret

Will get them glued on tomorrow…
Also cut some thin fret sections
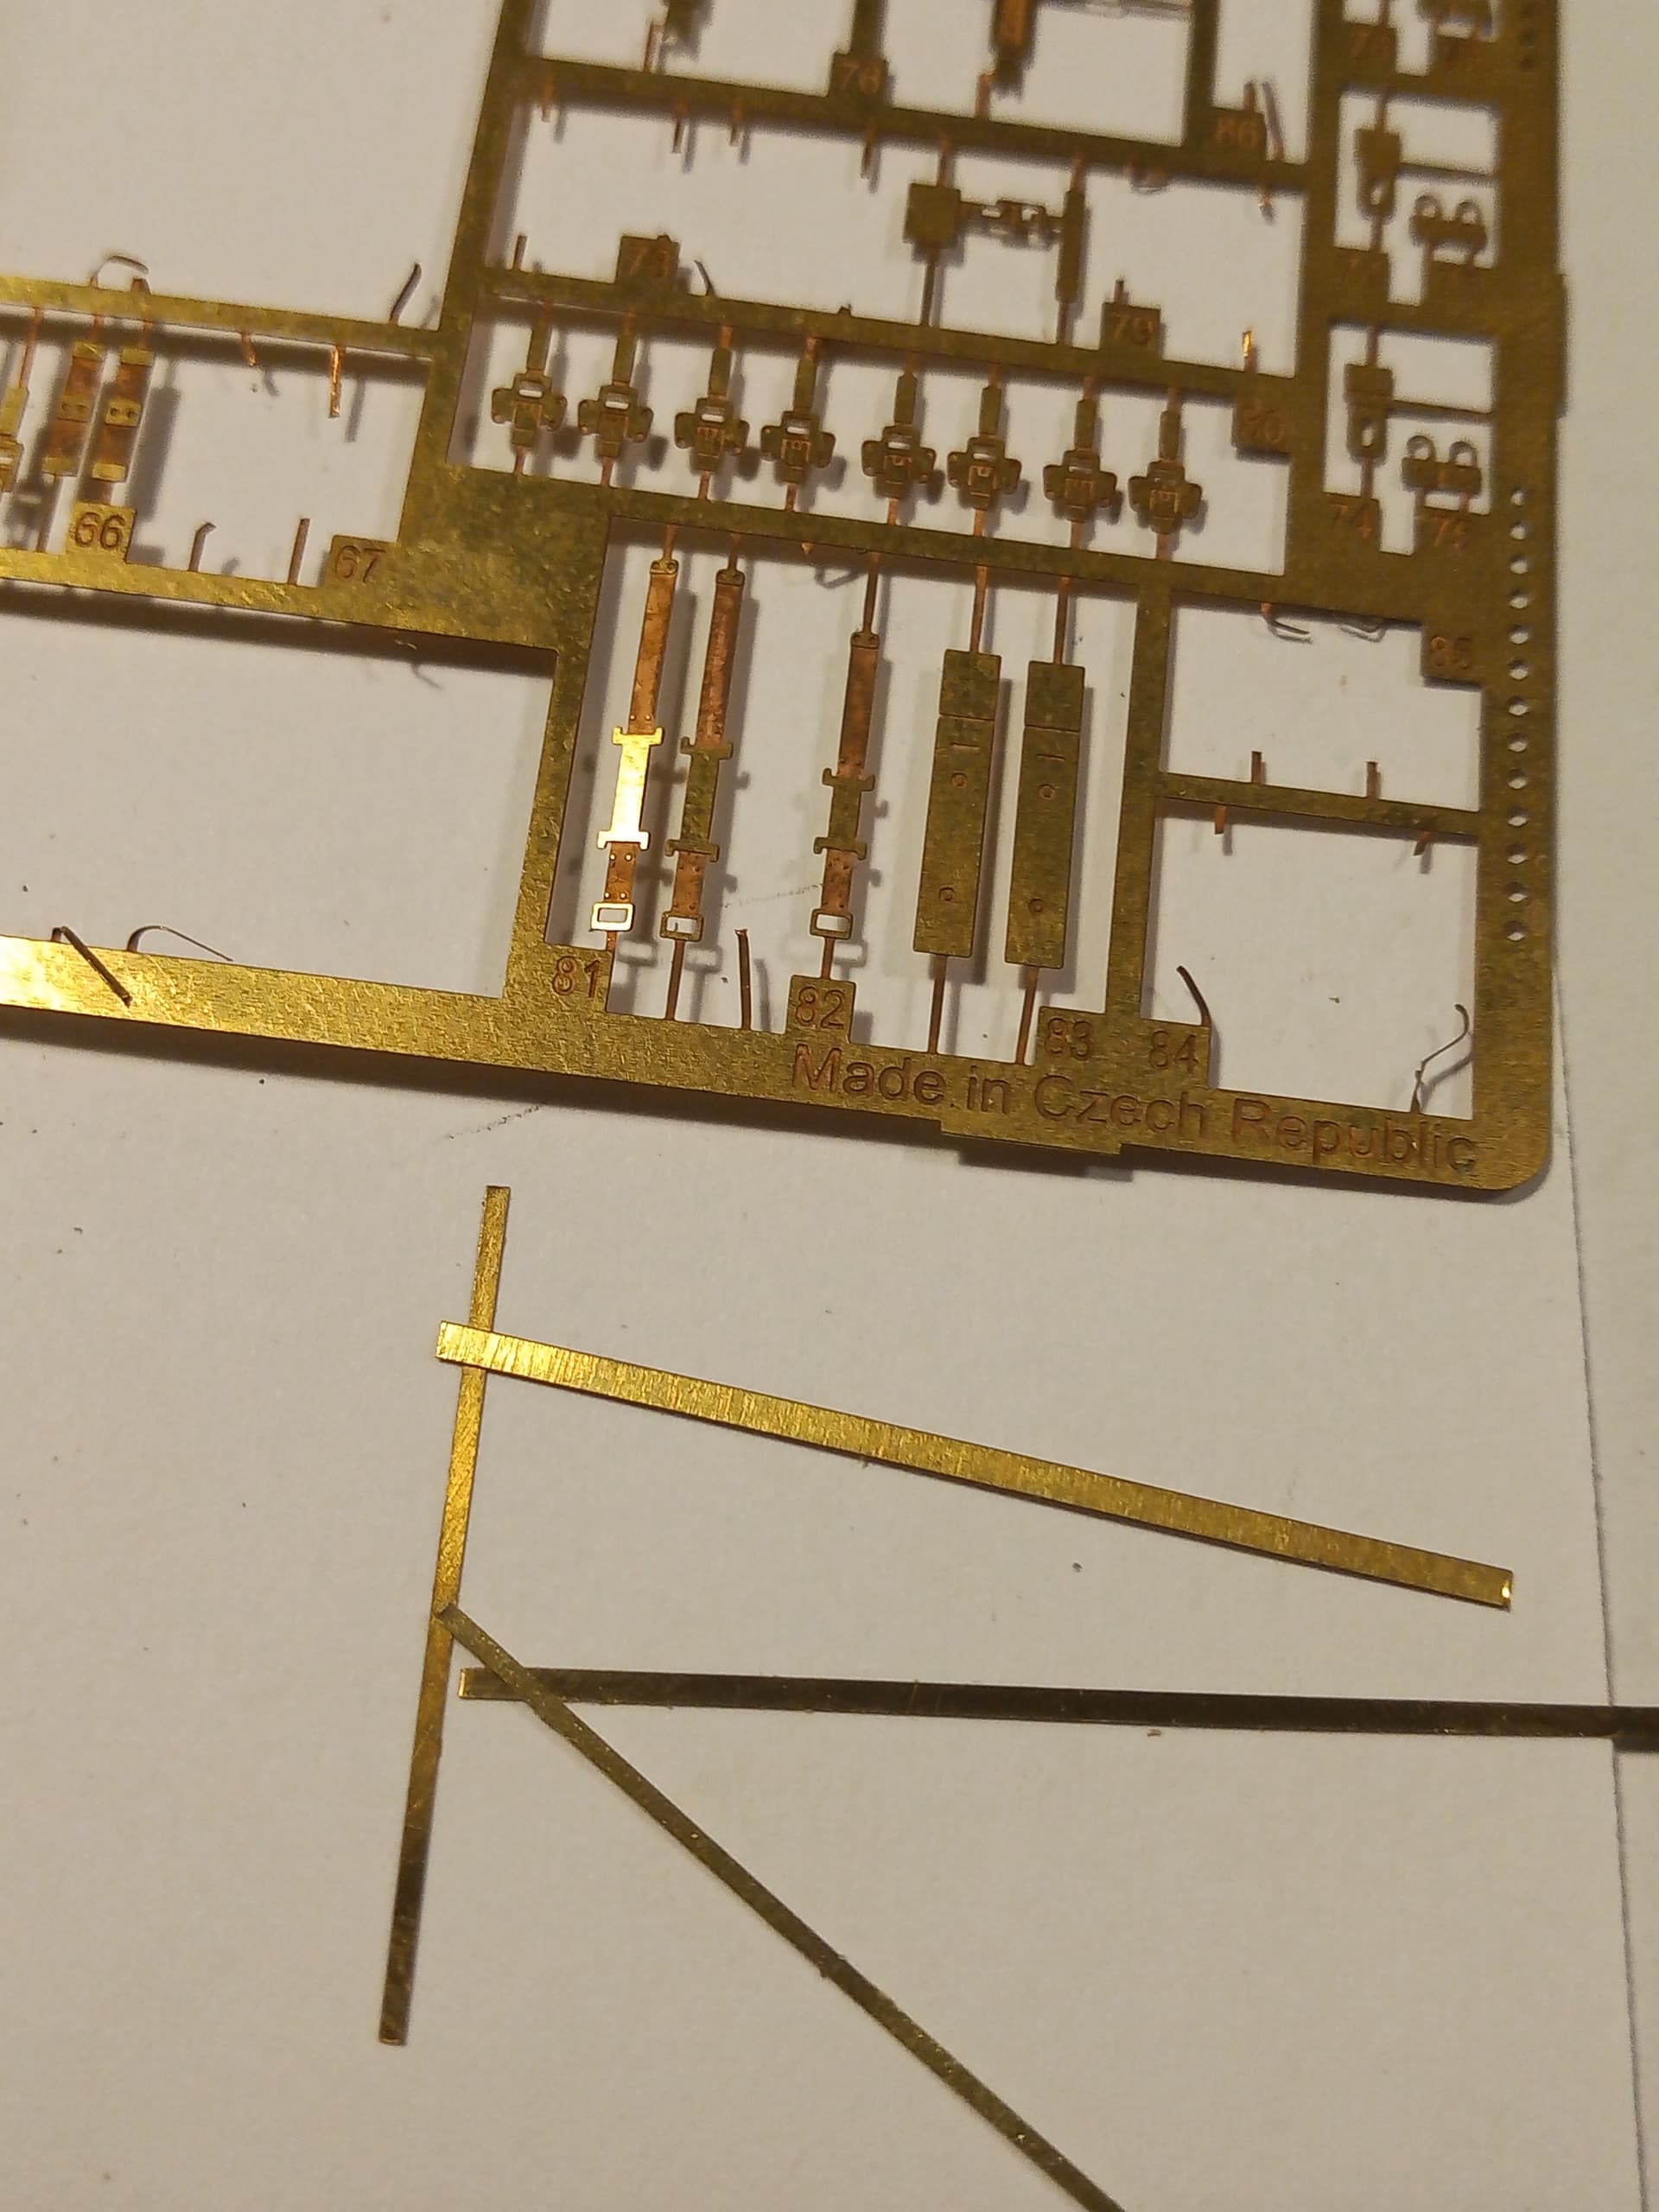
And will use those with the parts 81 and 82 (straps) from a spare parts Scimitar PE sprue and use them as cross tie downs on both rear stowage racks
3 Likes
Yes, they did
2 Likes
Thanks, Mike
1 Like
Got the pesky little tie downs on…
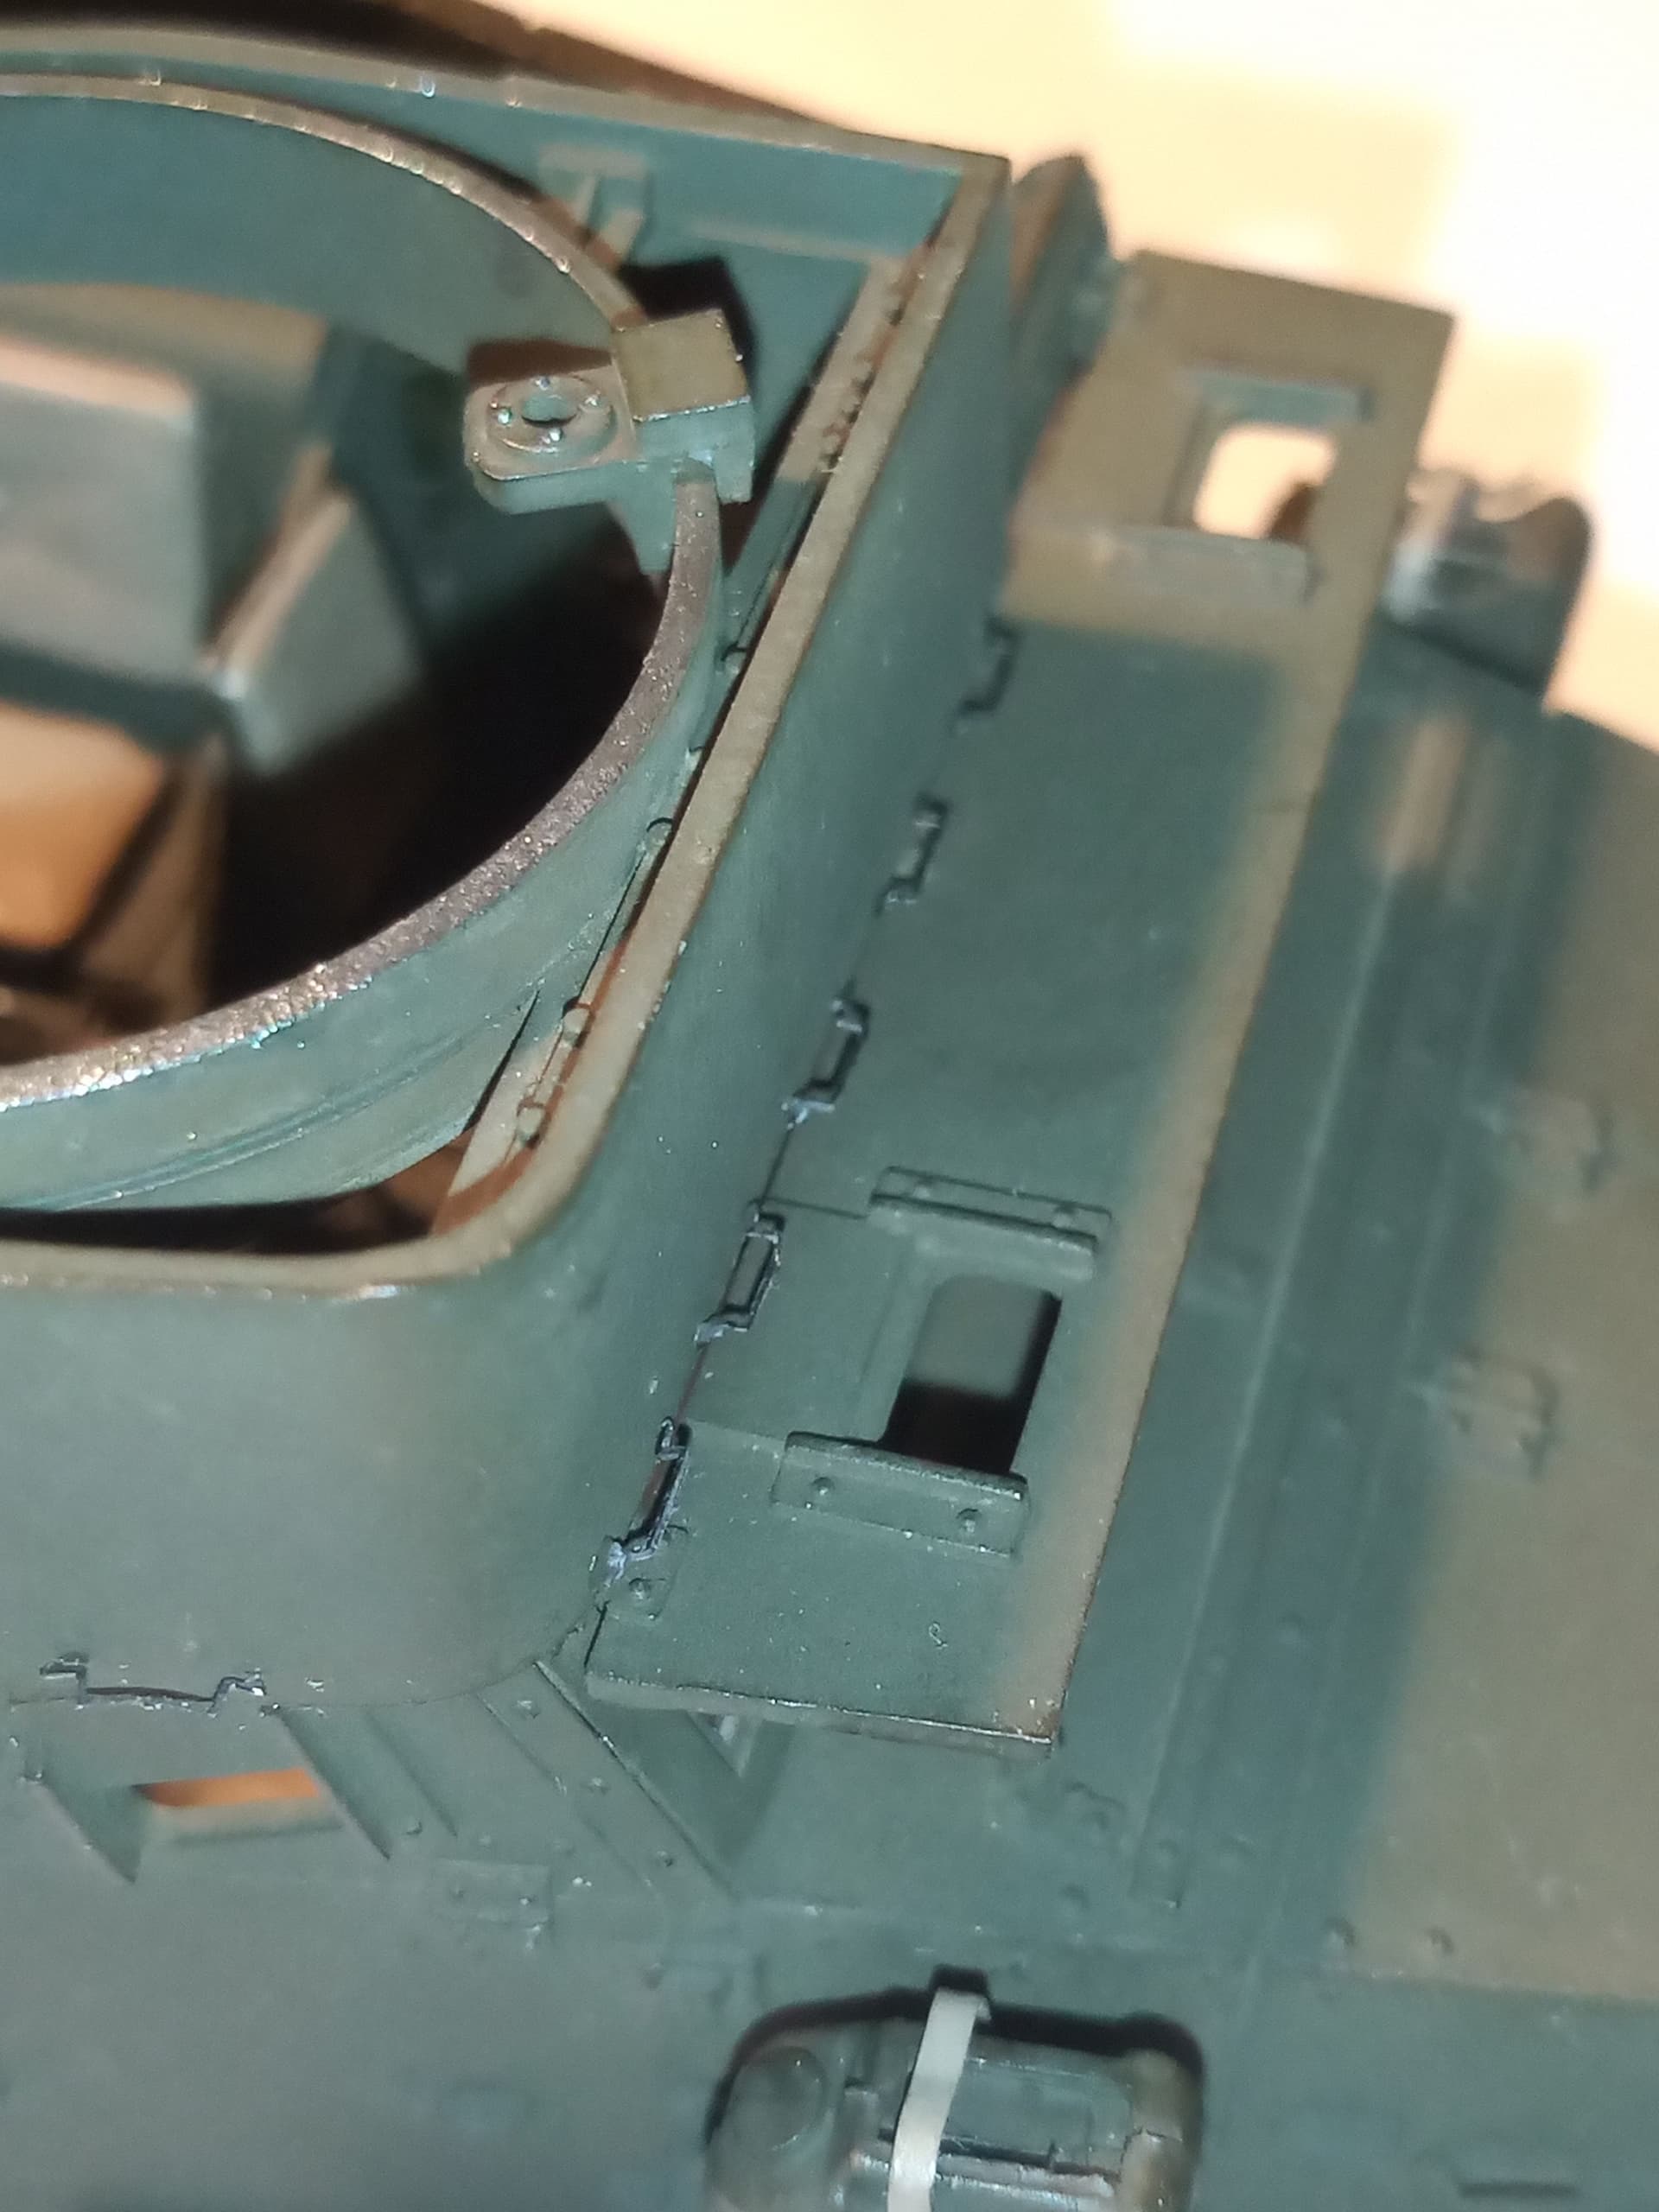

That was the 5 on the front of the pulpit
2 on the side
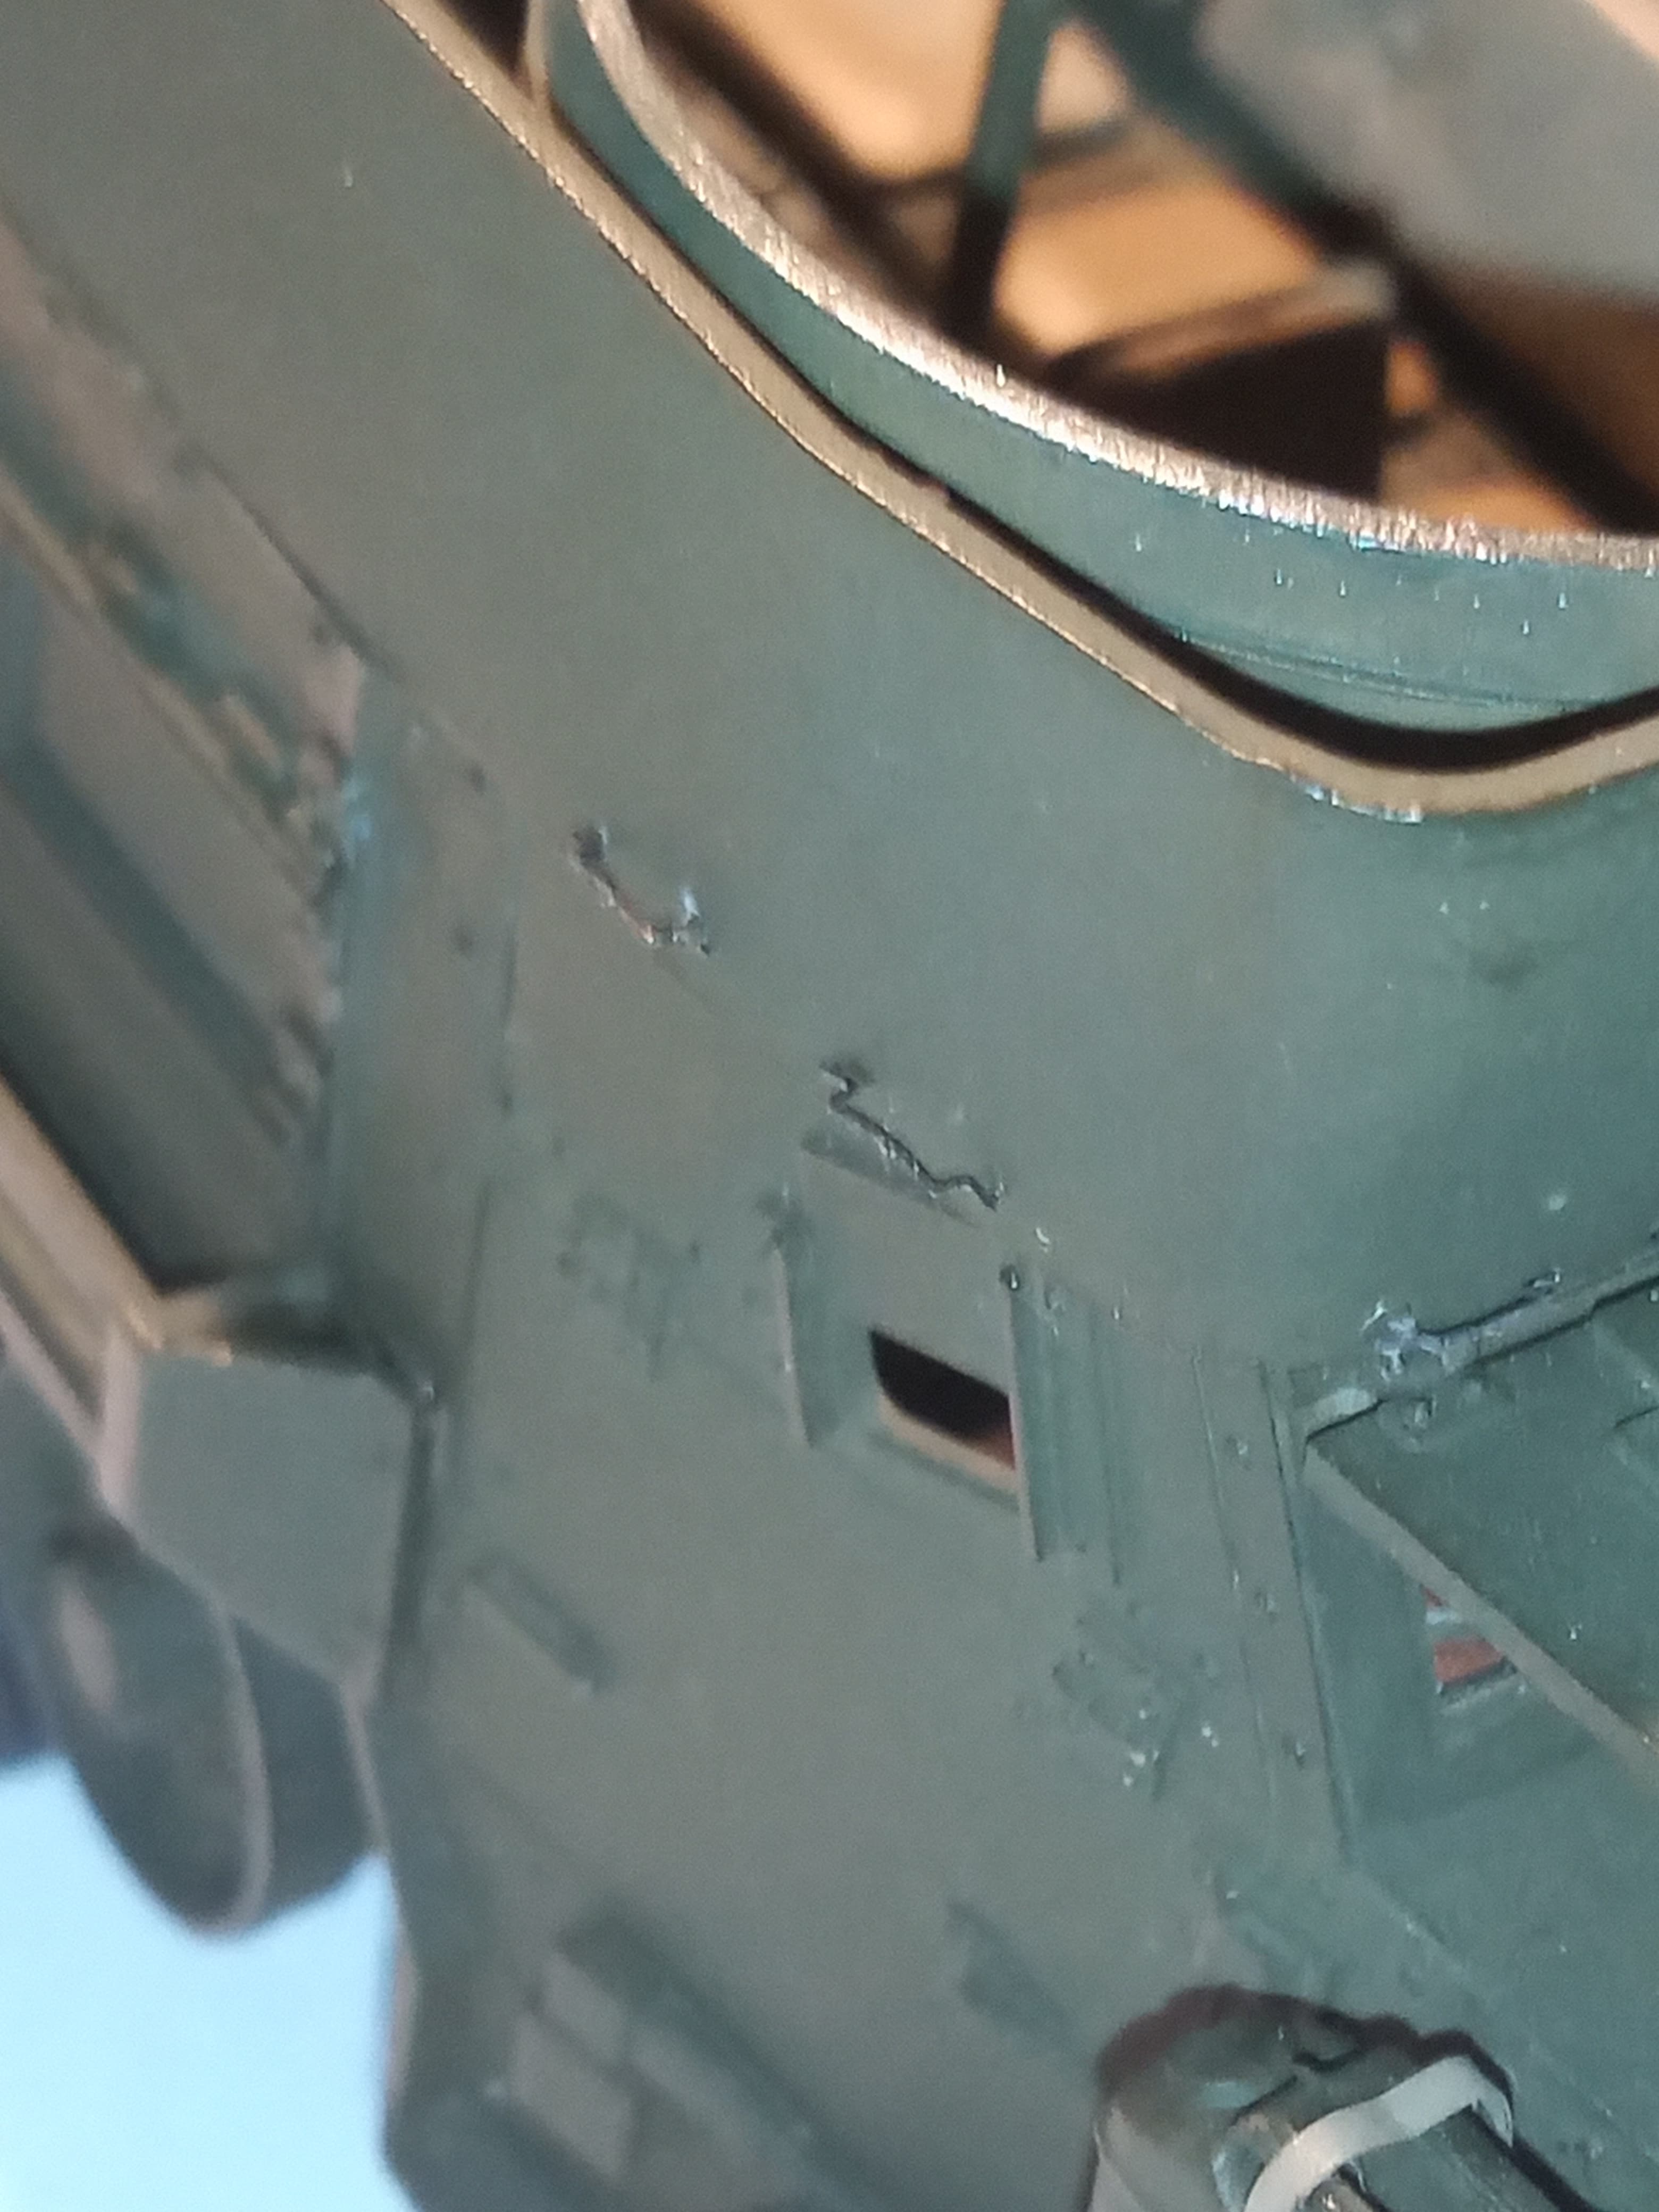
And then 4 on each wing
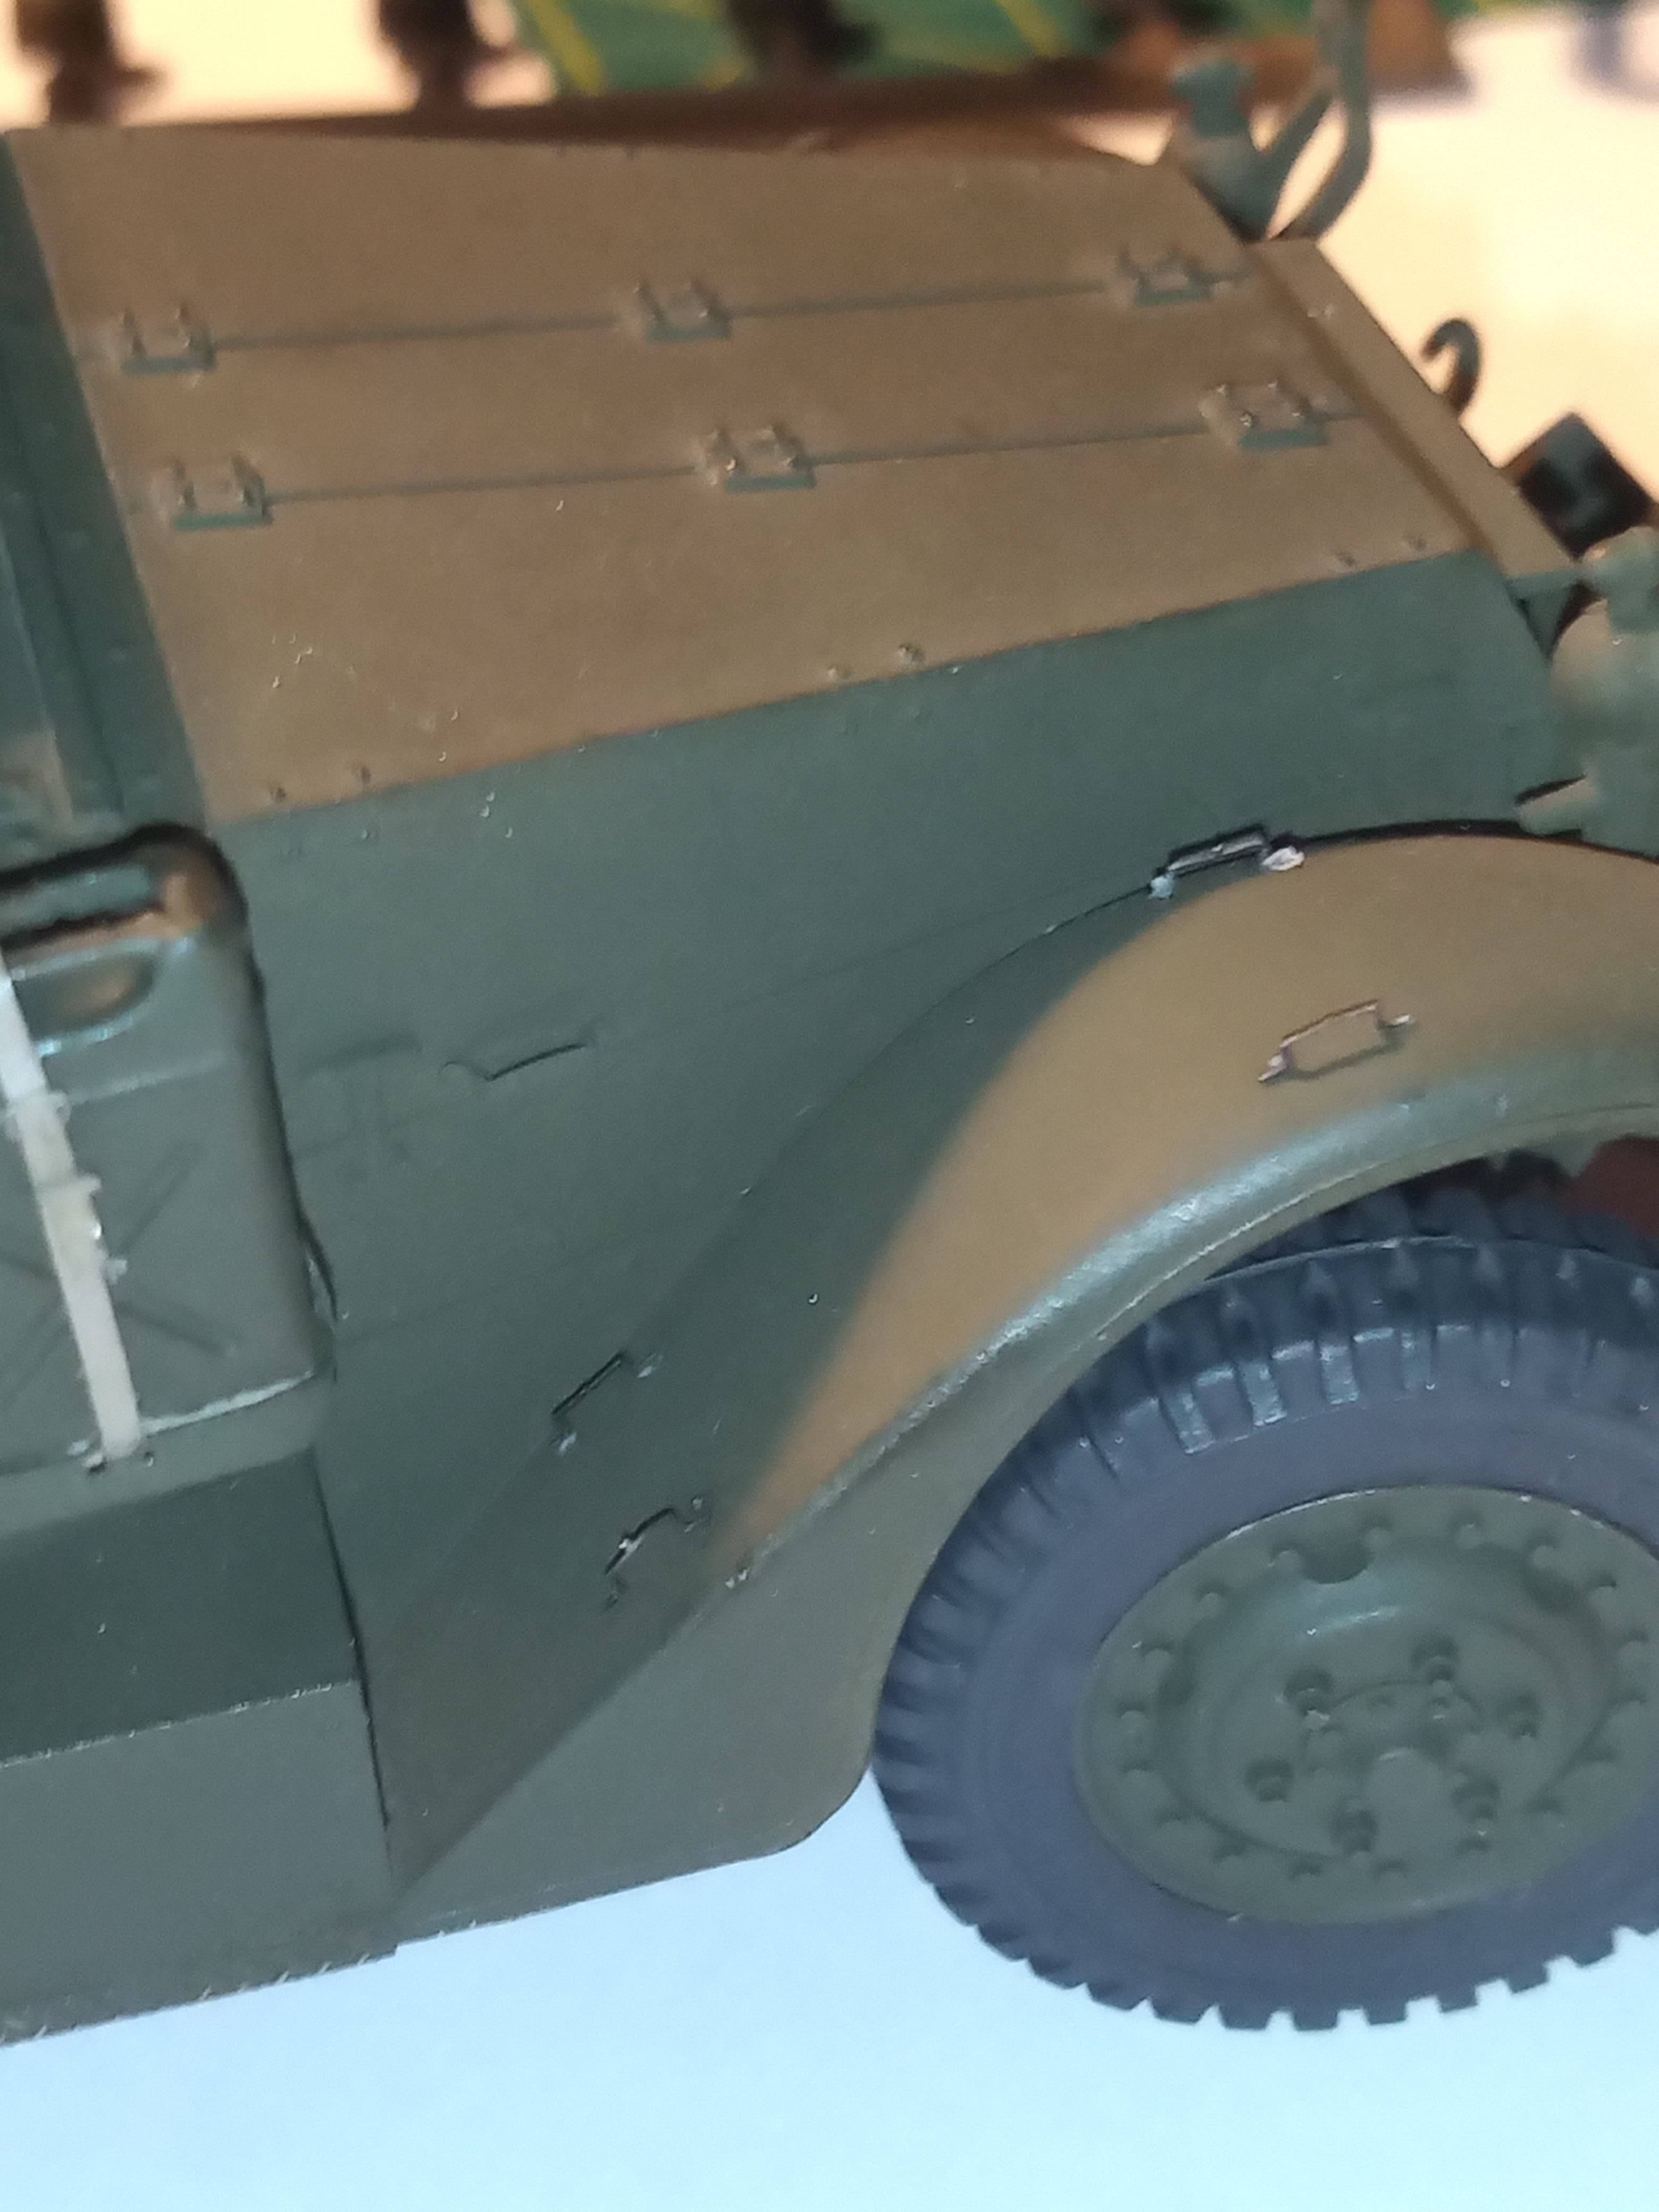
Will paint up the MGs tomorrow ![]()
13 Likes
![]() great detailing…
great detailing…
1 Like
Thanks Bert… A way to go before it would get close to what you did with yours and the IDF one ![]()
I didnt use half the amount of PE you used…
1 Like
Wow! Magic! Brilliant work on those loops John.
2 Likes
I thought a little extra detailing wouldn’t hurt … But they were fiddly ![]()
1 Like
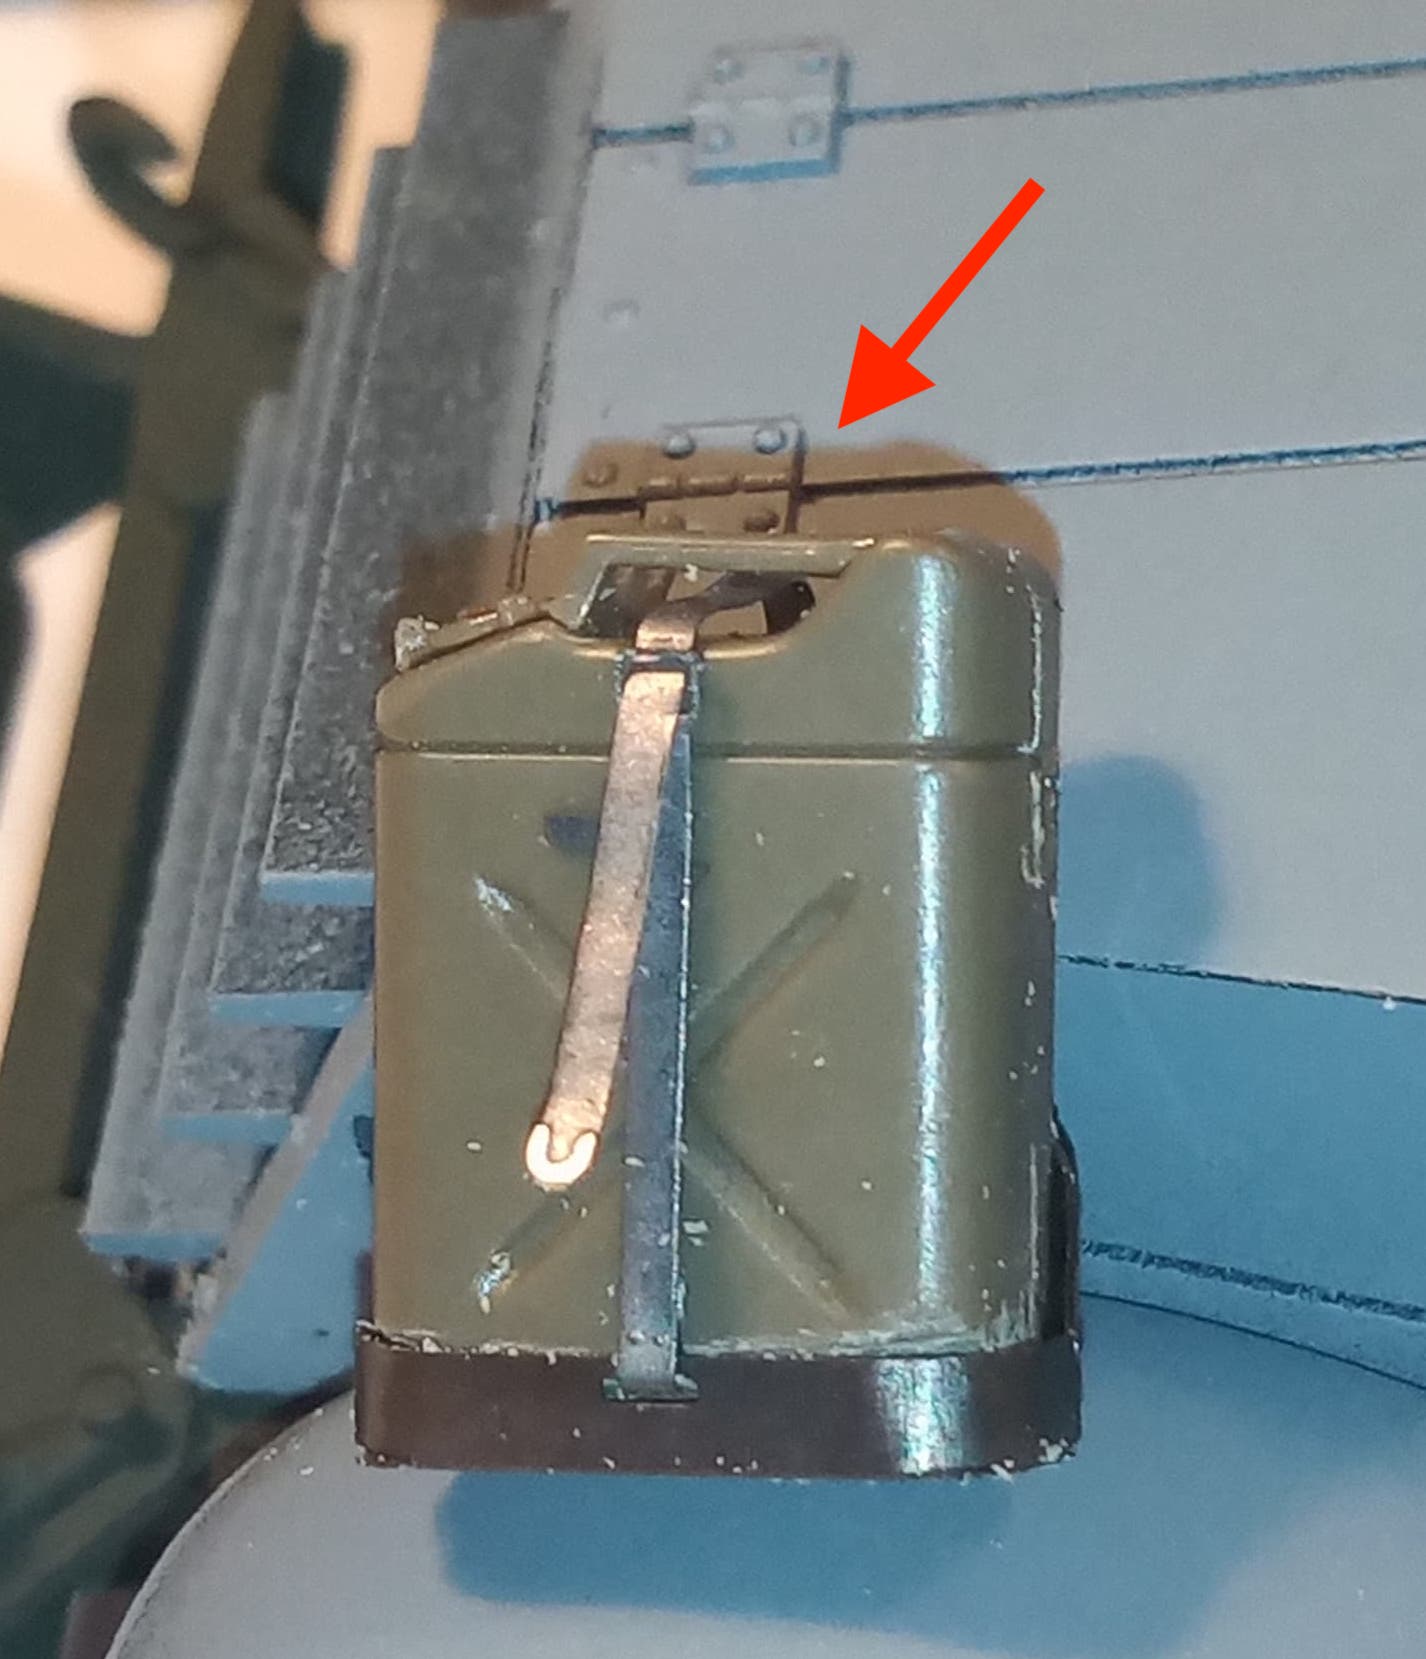
The extra detailing looks great John! Speaking of which… Have you given any thought to the exhaust pipe bracket? … An easy scratch-build while you’re in PE mode. ![]()
![]()
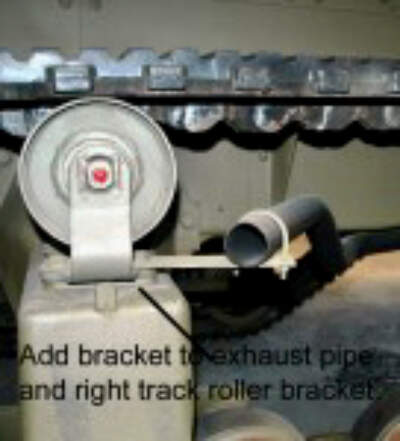
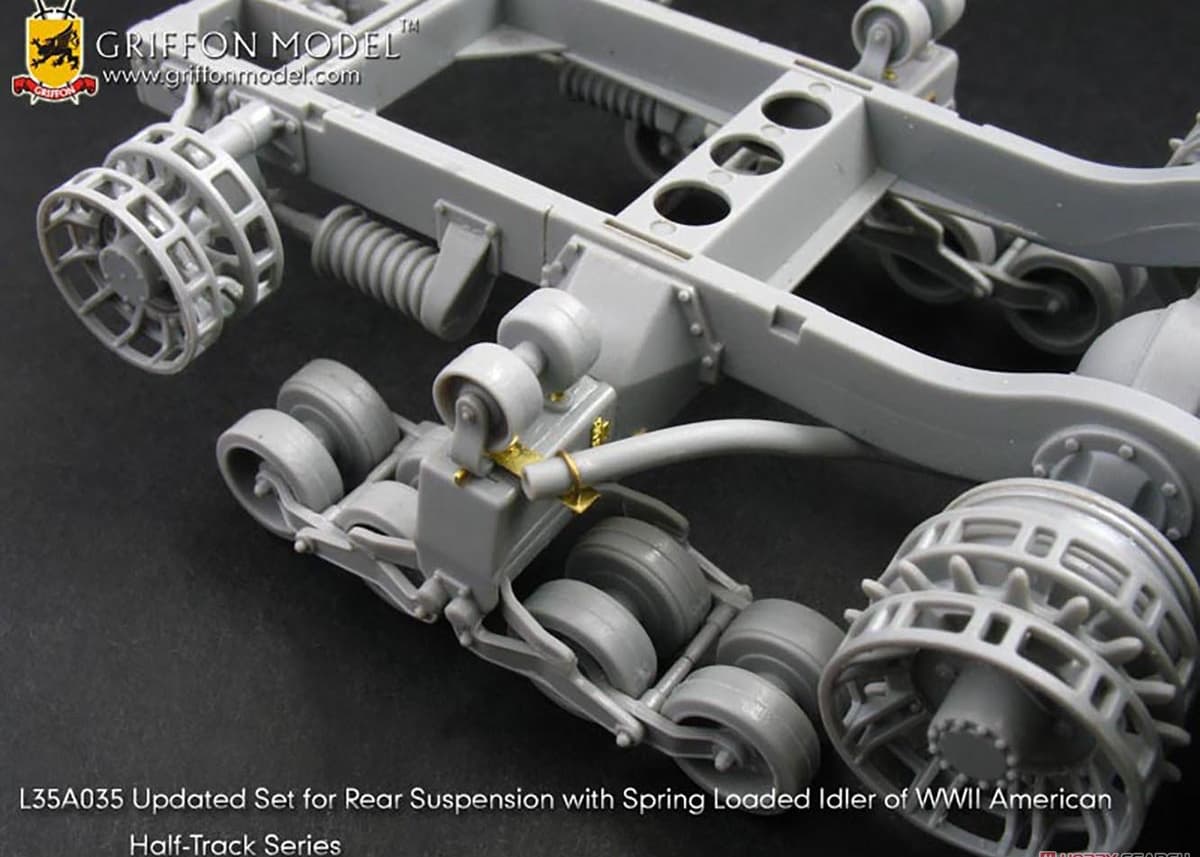
(all images from the web)
—mike
5 Likes
Well thanks for that wonderful idea Mike after I’ve finished painting the hull !!! Please feel free to come up with some more great ideas !!
![]()
![]() … Only kidding…
… Only kidding…
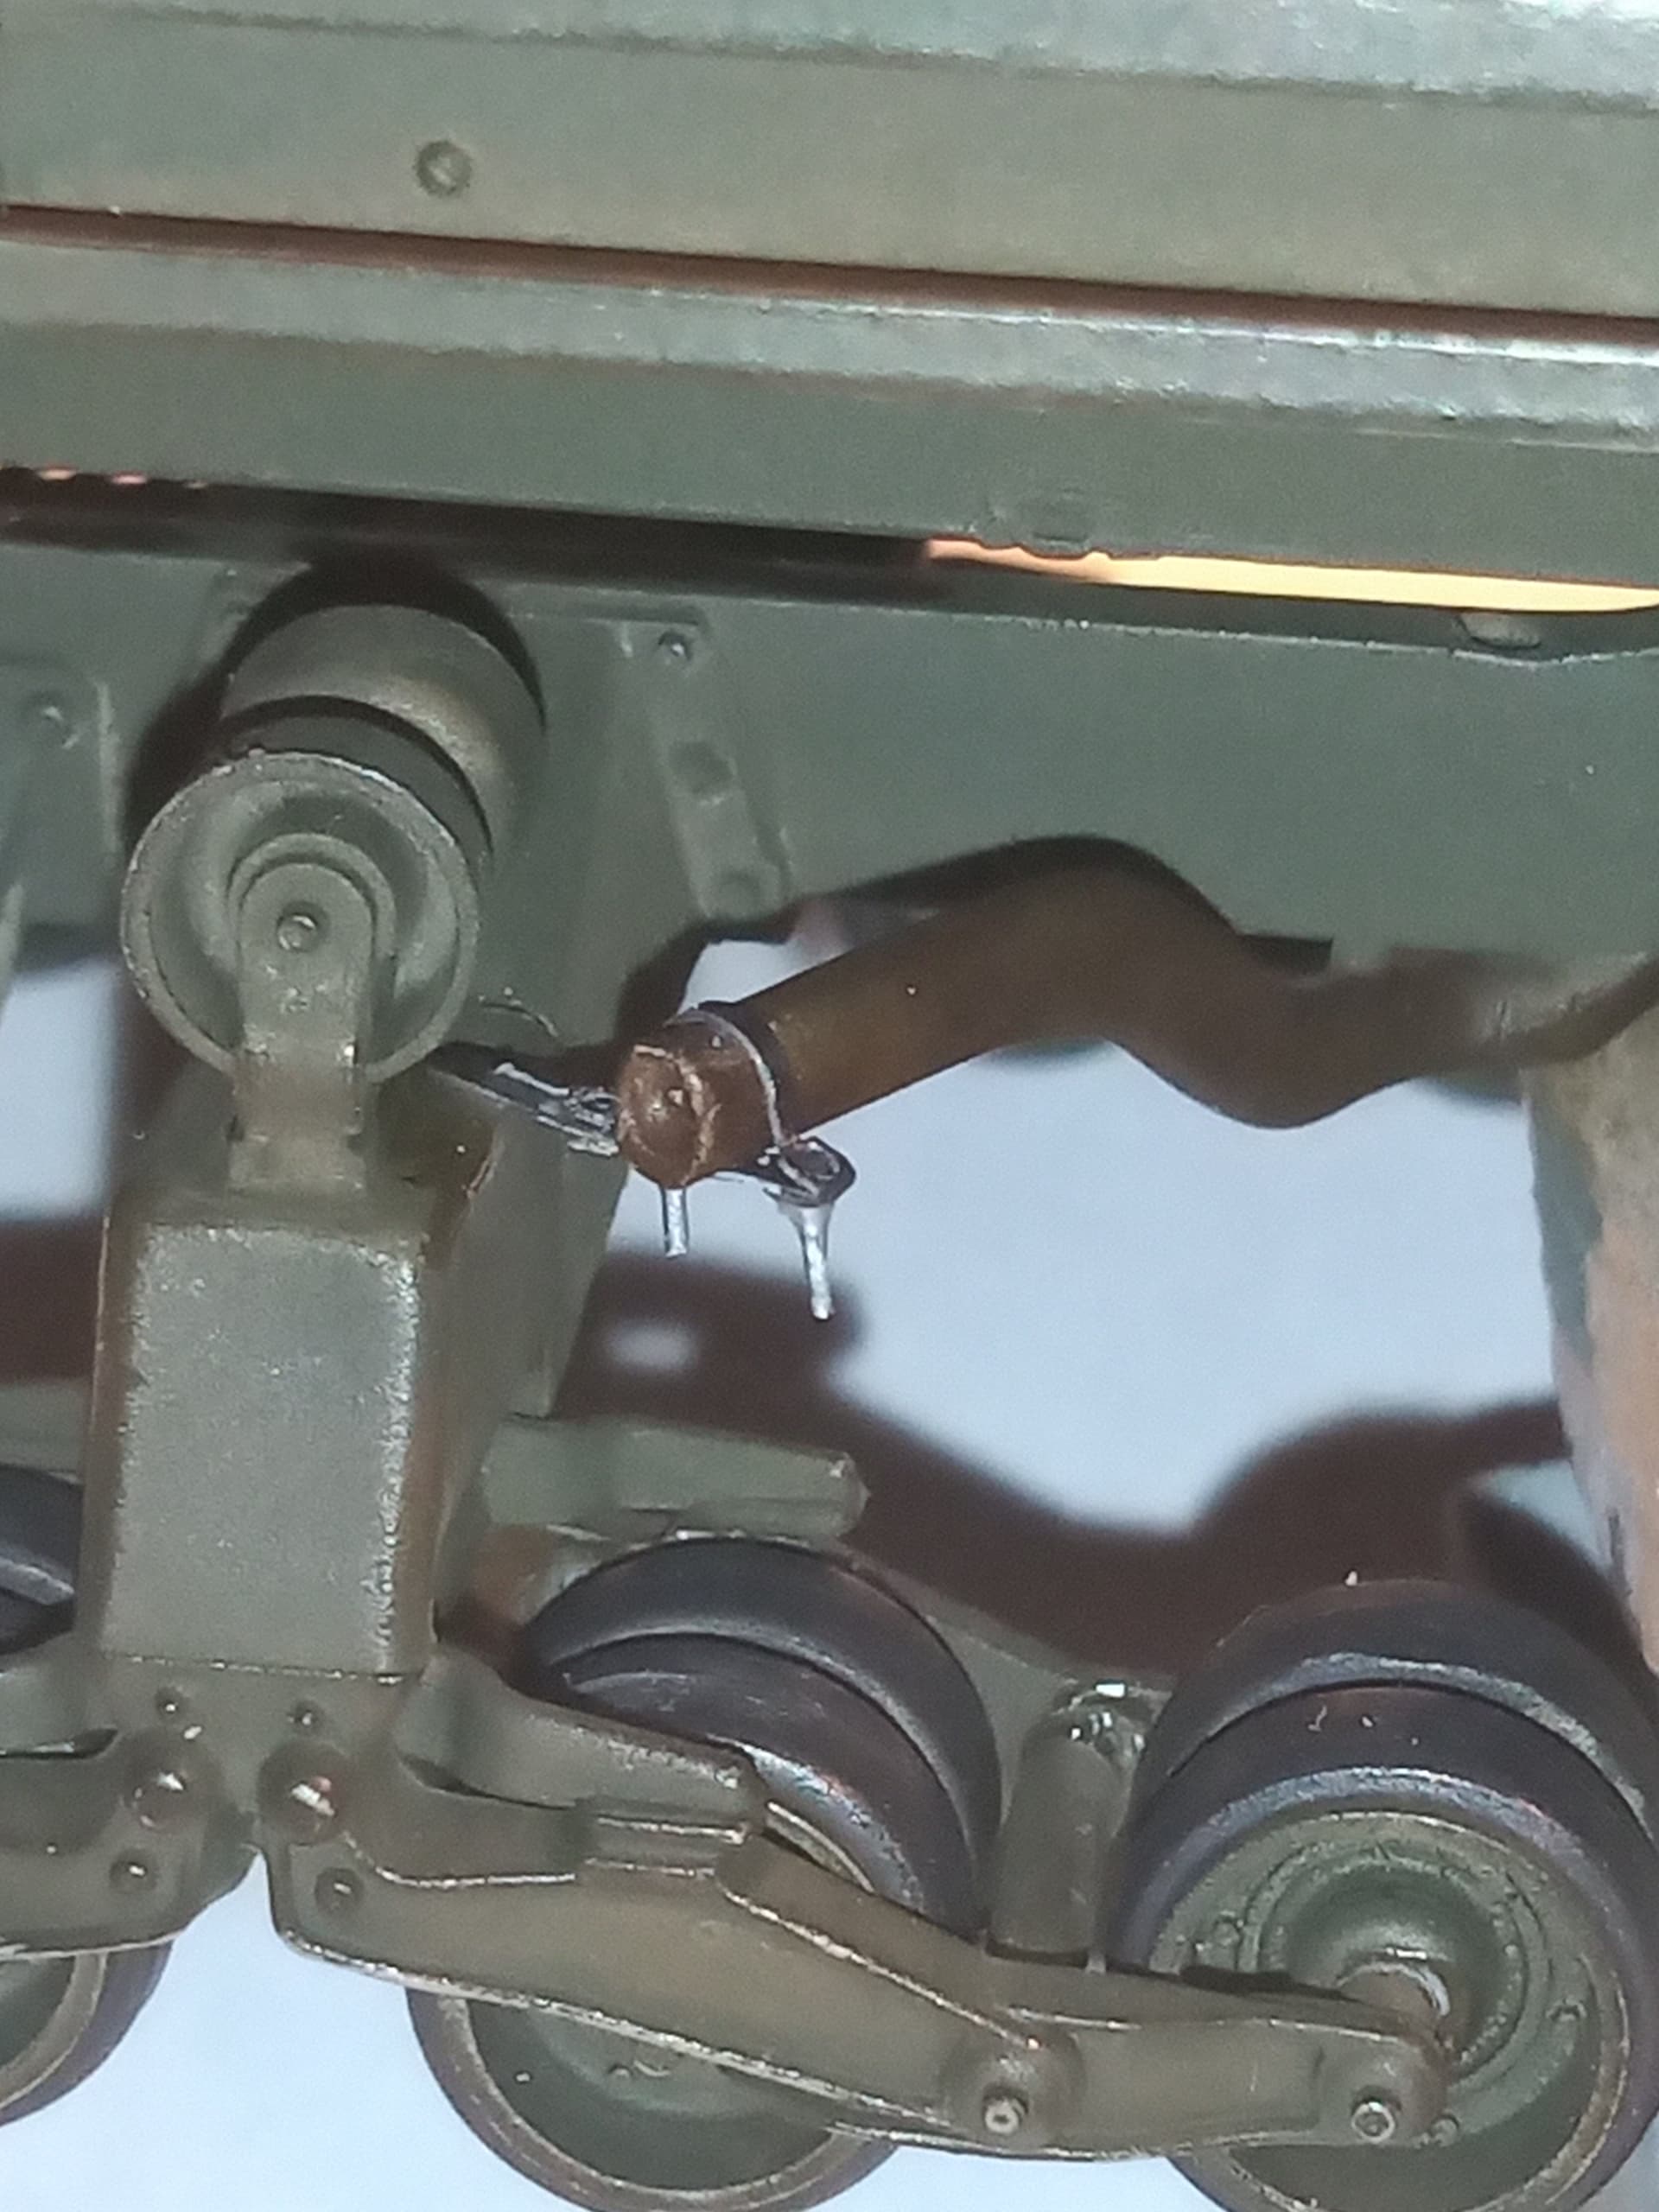
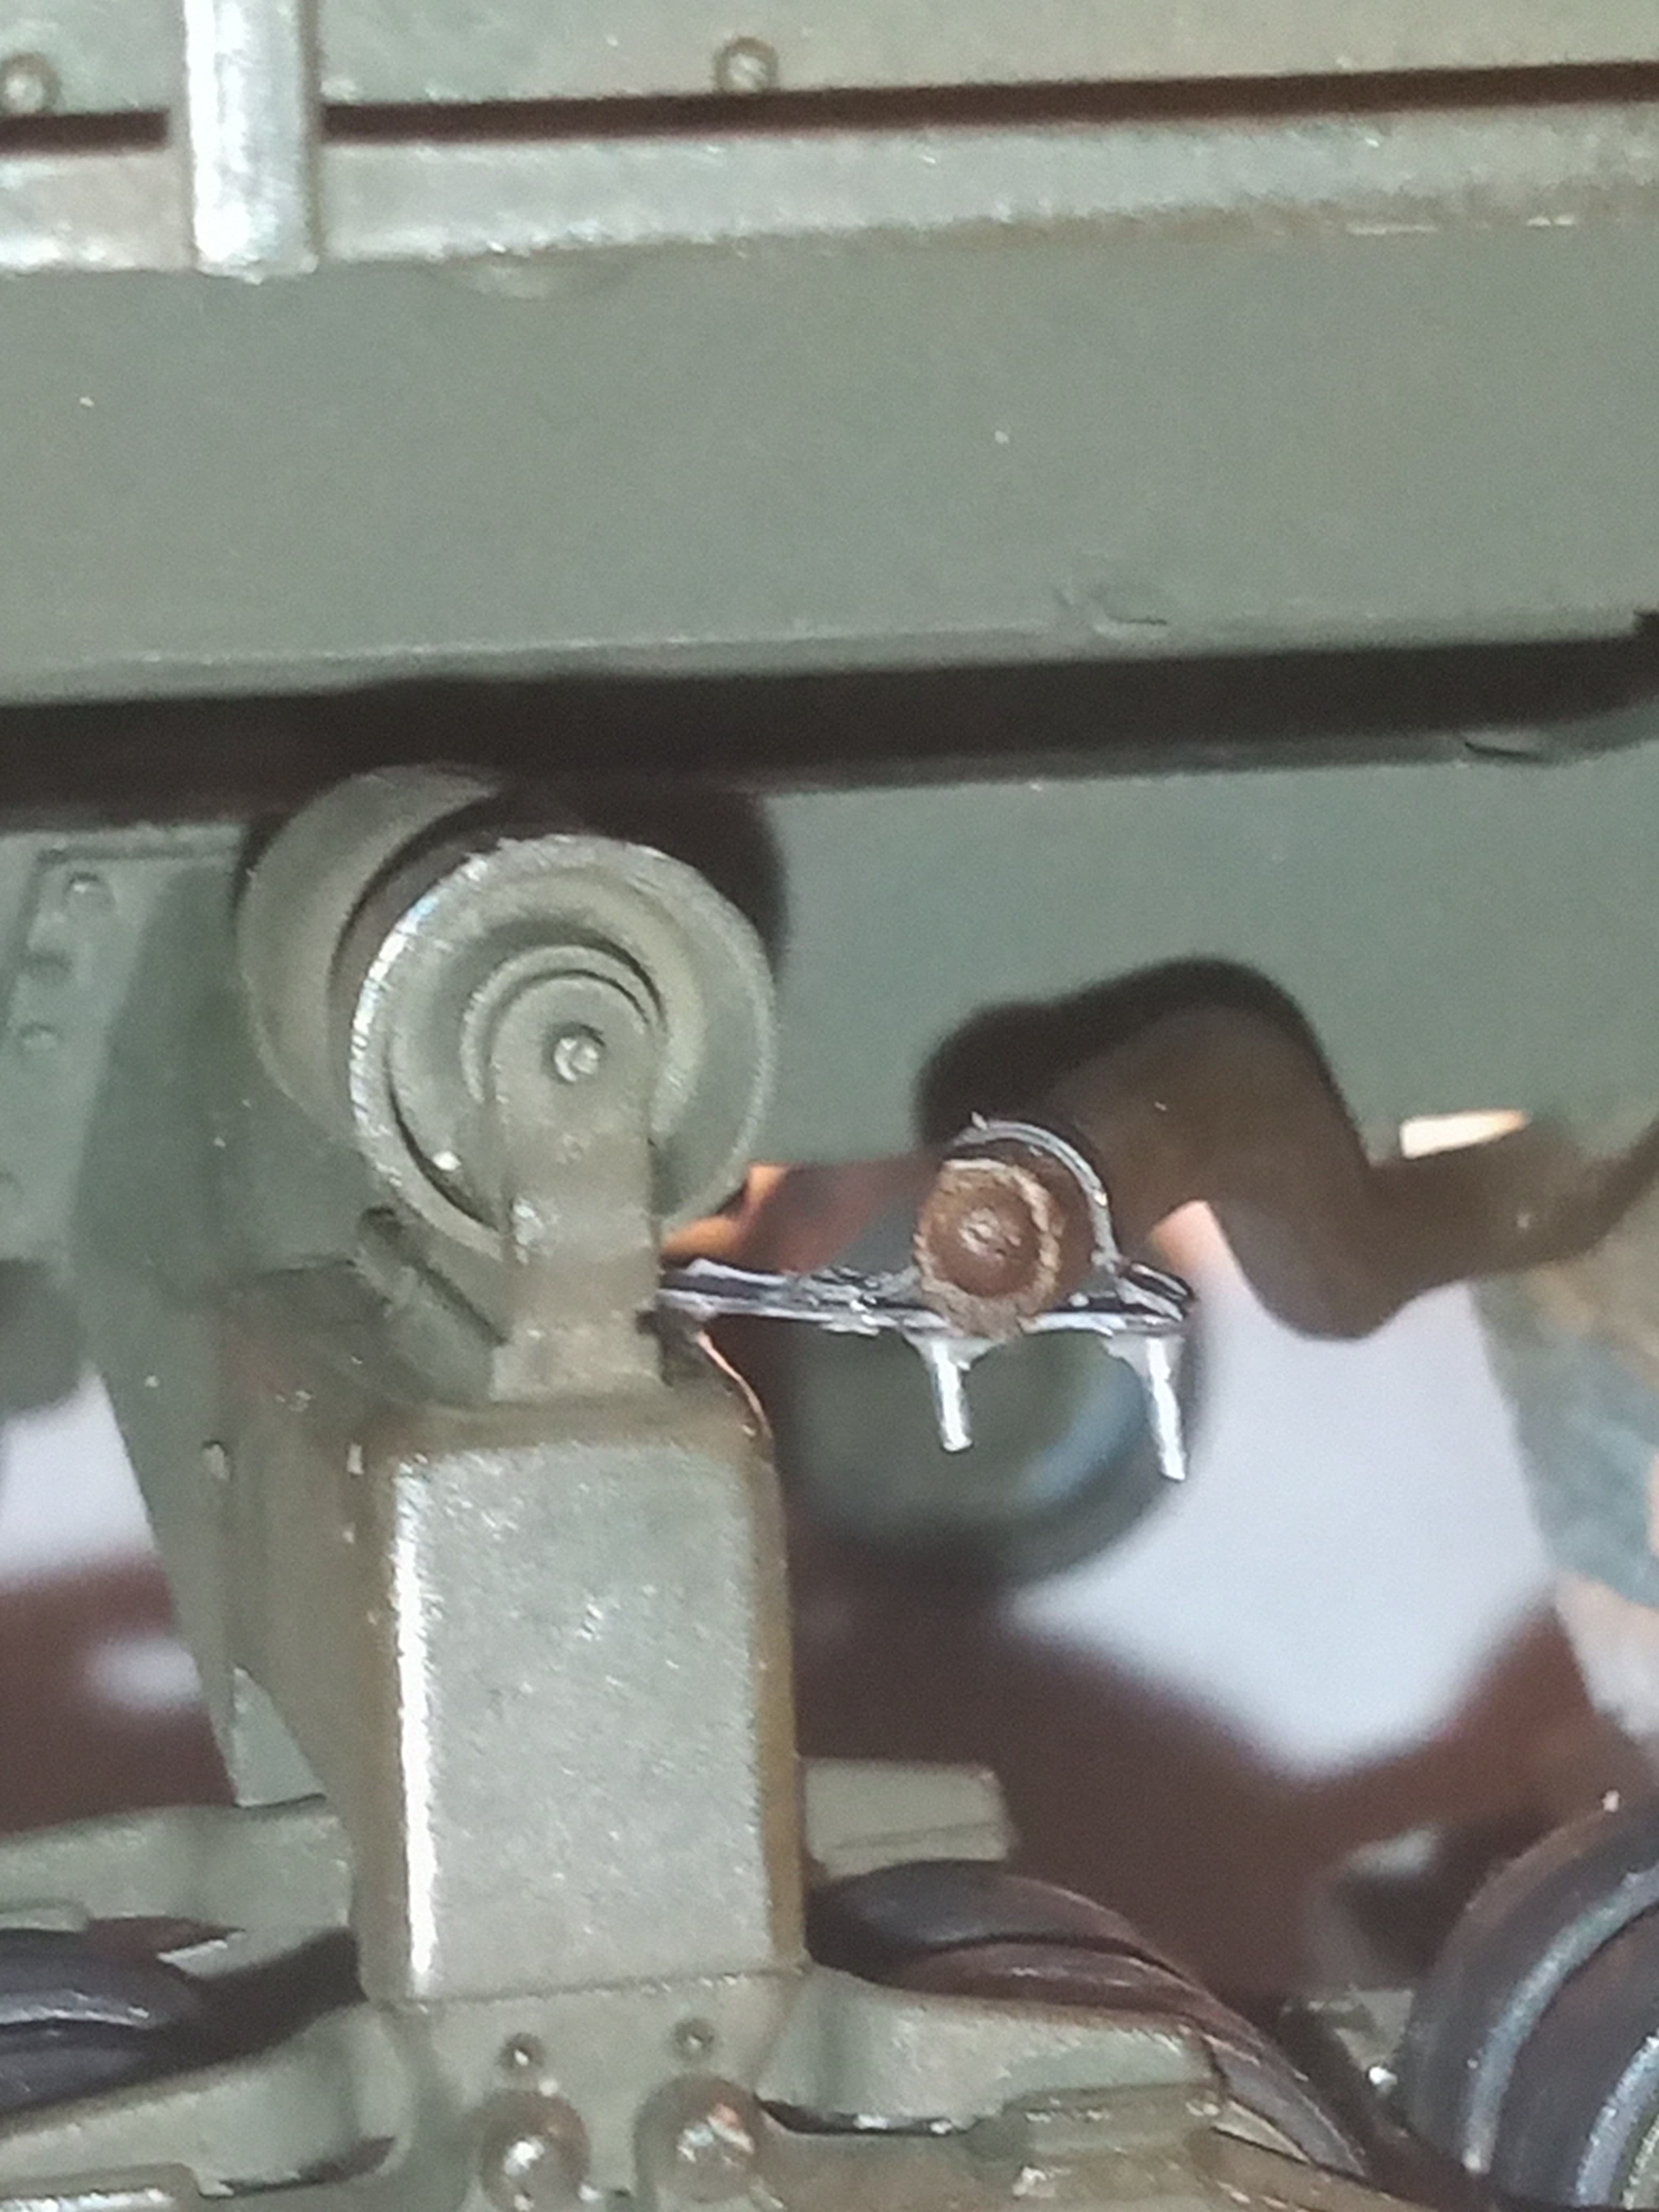
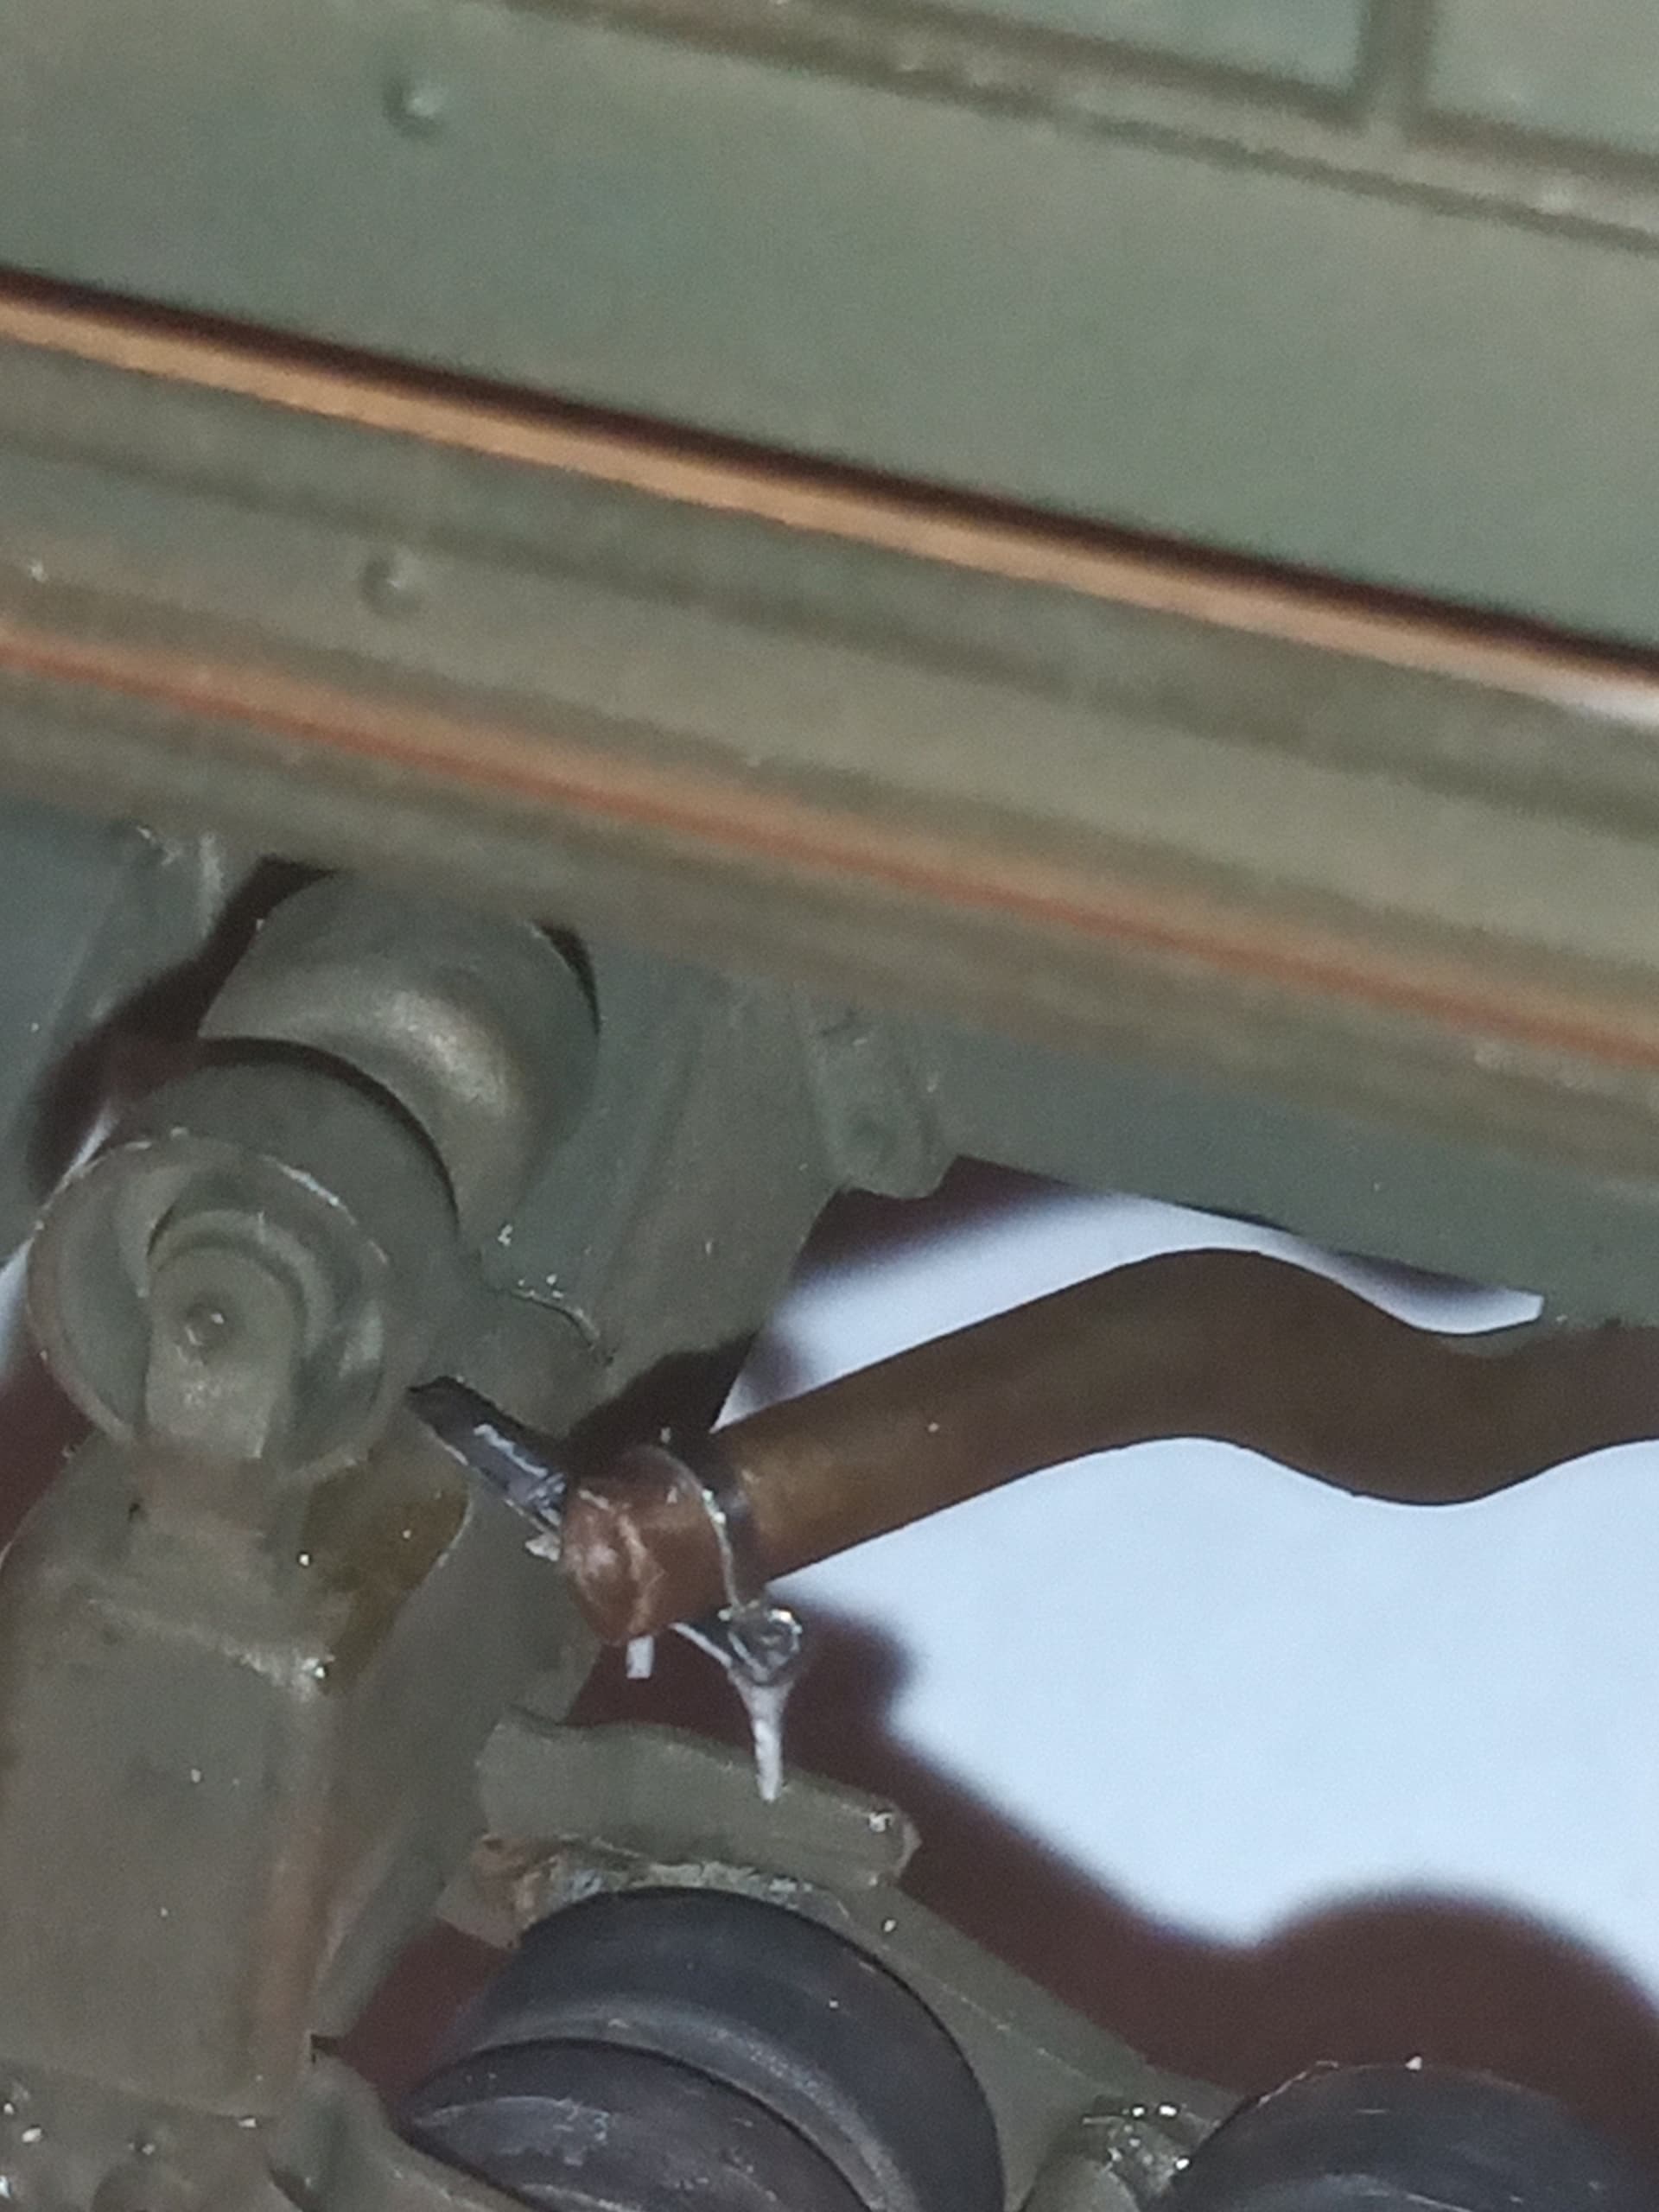
It was actually nice and easy. There was a piece on the PE fret for it but I had written it off as when I looked at the the bit and the instructions then the distance between the pipe and the idler mount, I didn’t think it would fit so I forgot about it.
When you mentioned it, I cut it off and dry fitted and it was fine… All I added in the end were the 2 small lengths of cut wire to look like the bottoms of the U bolt. ![]()
Also threw some paint on the MGs …
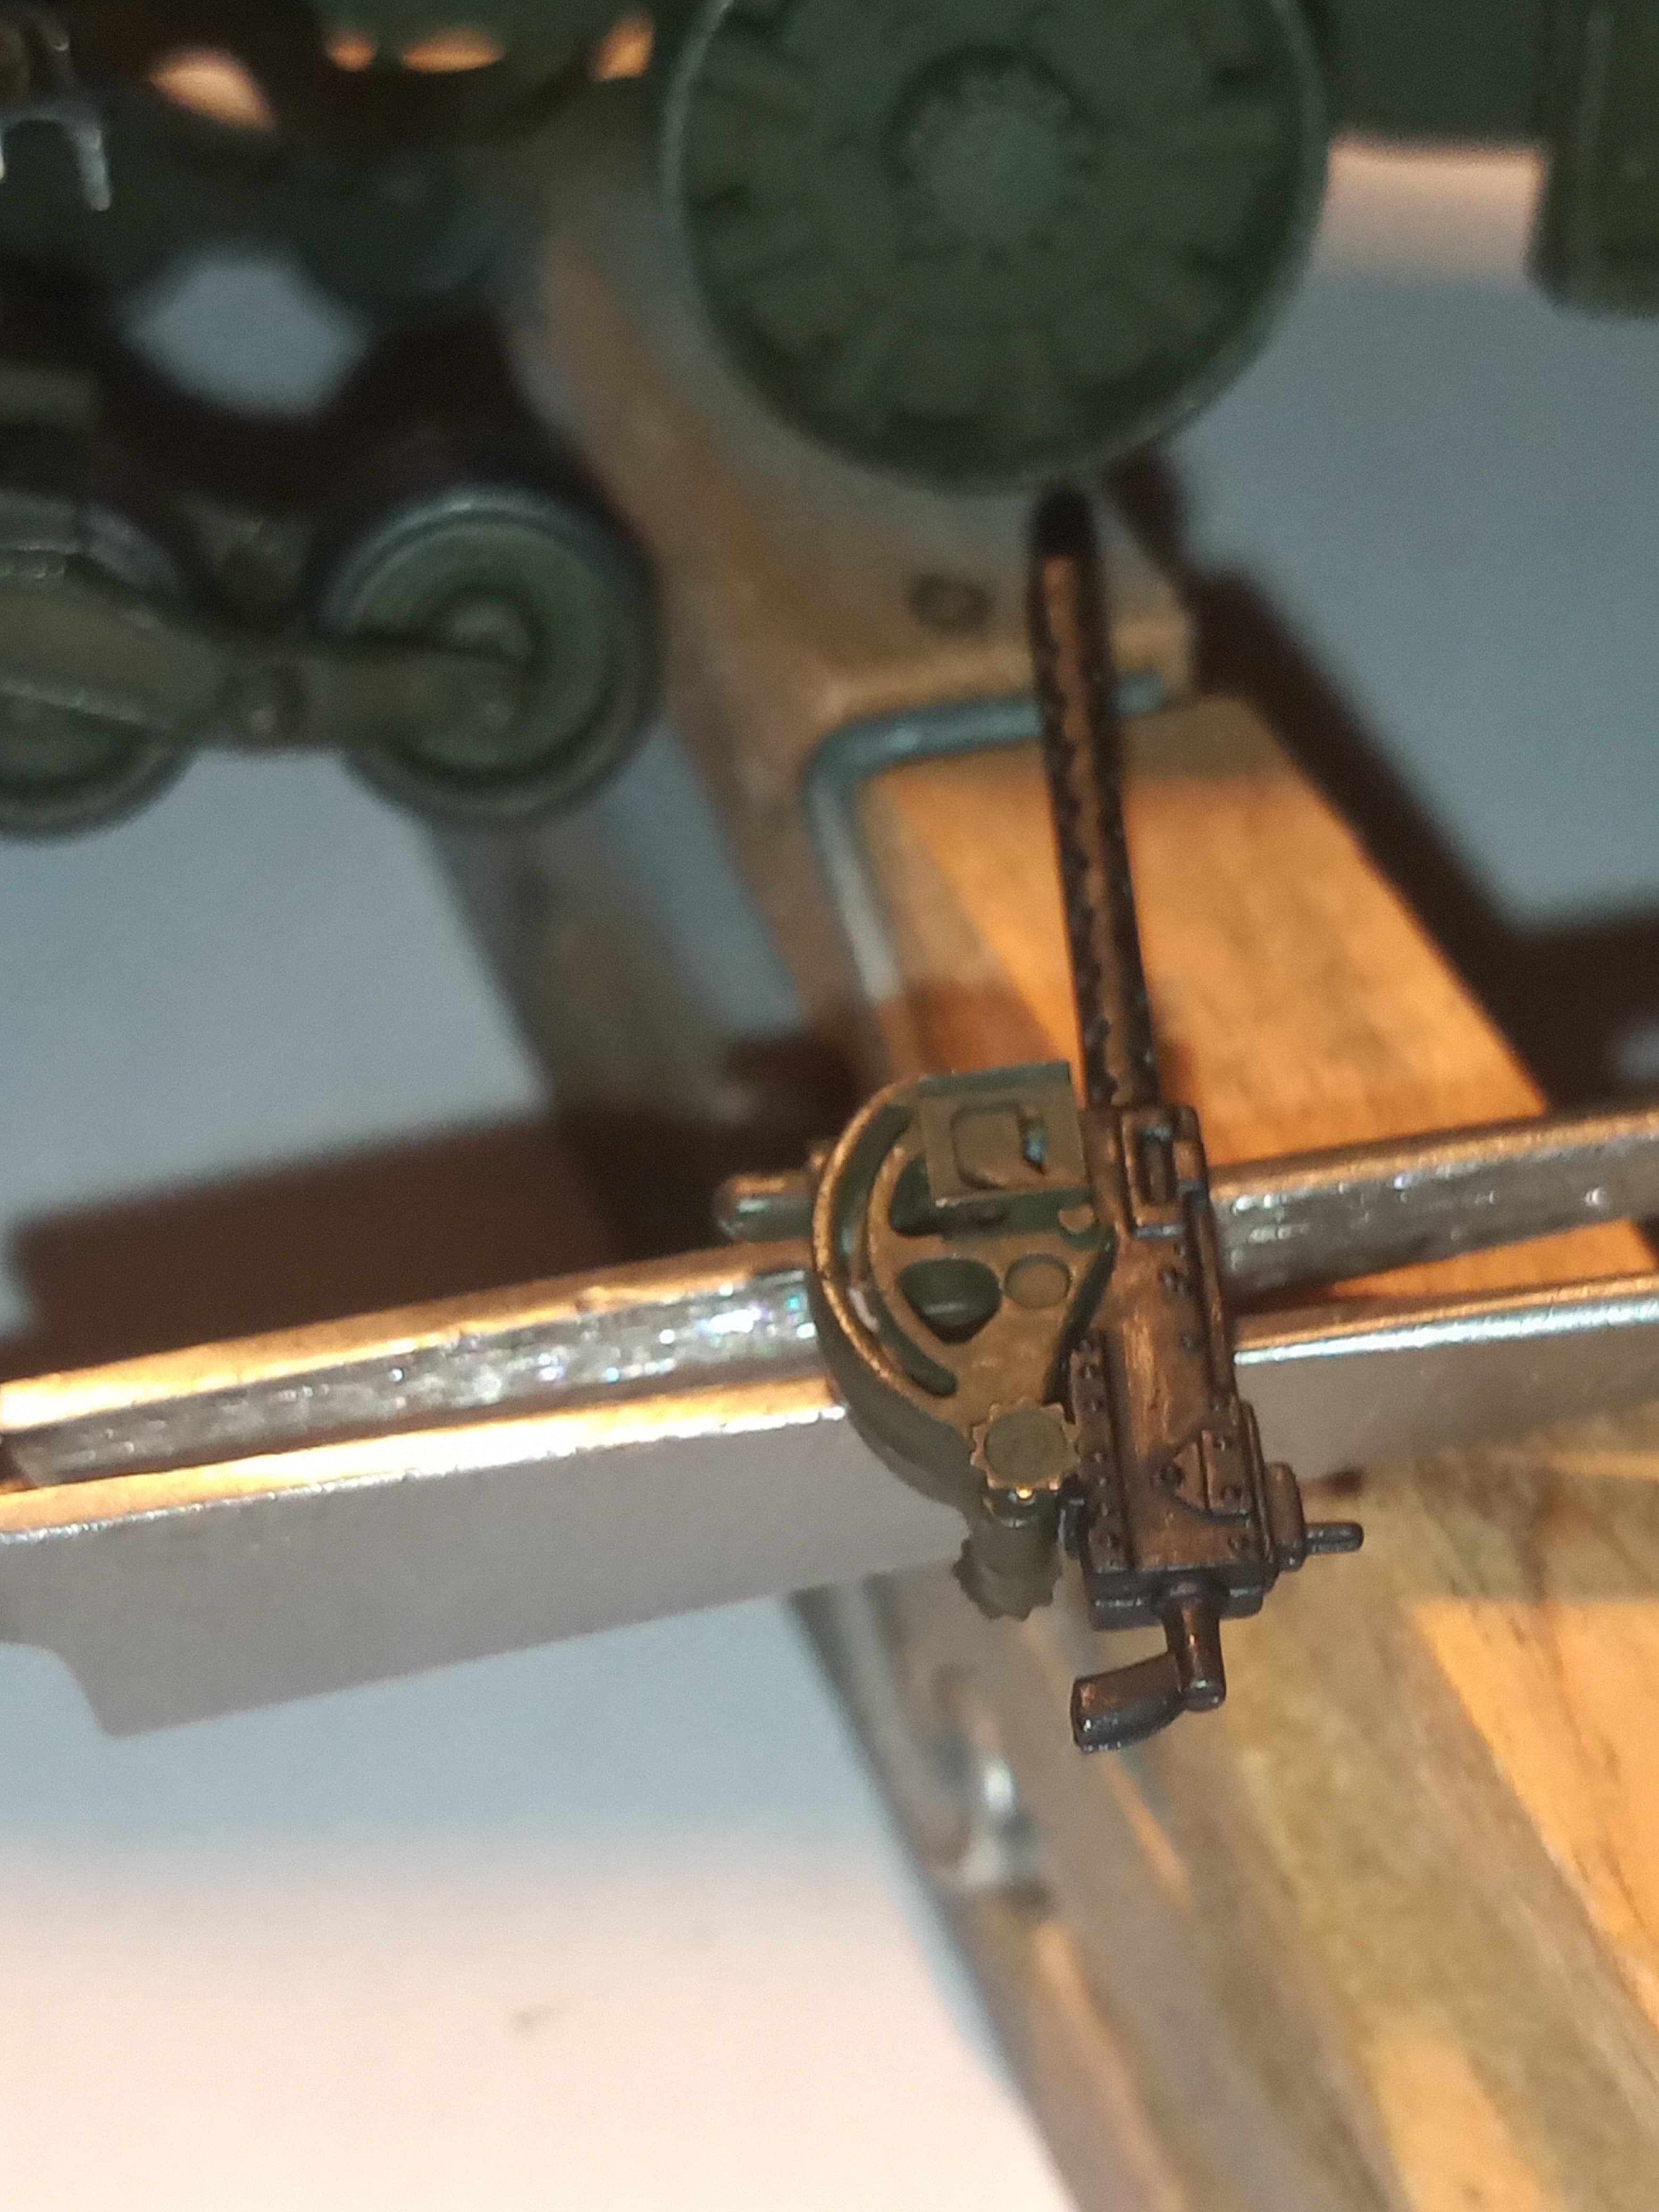
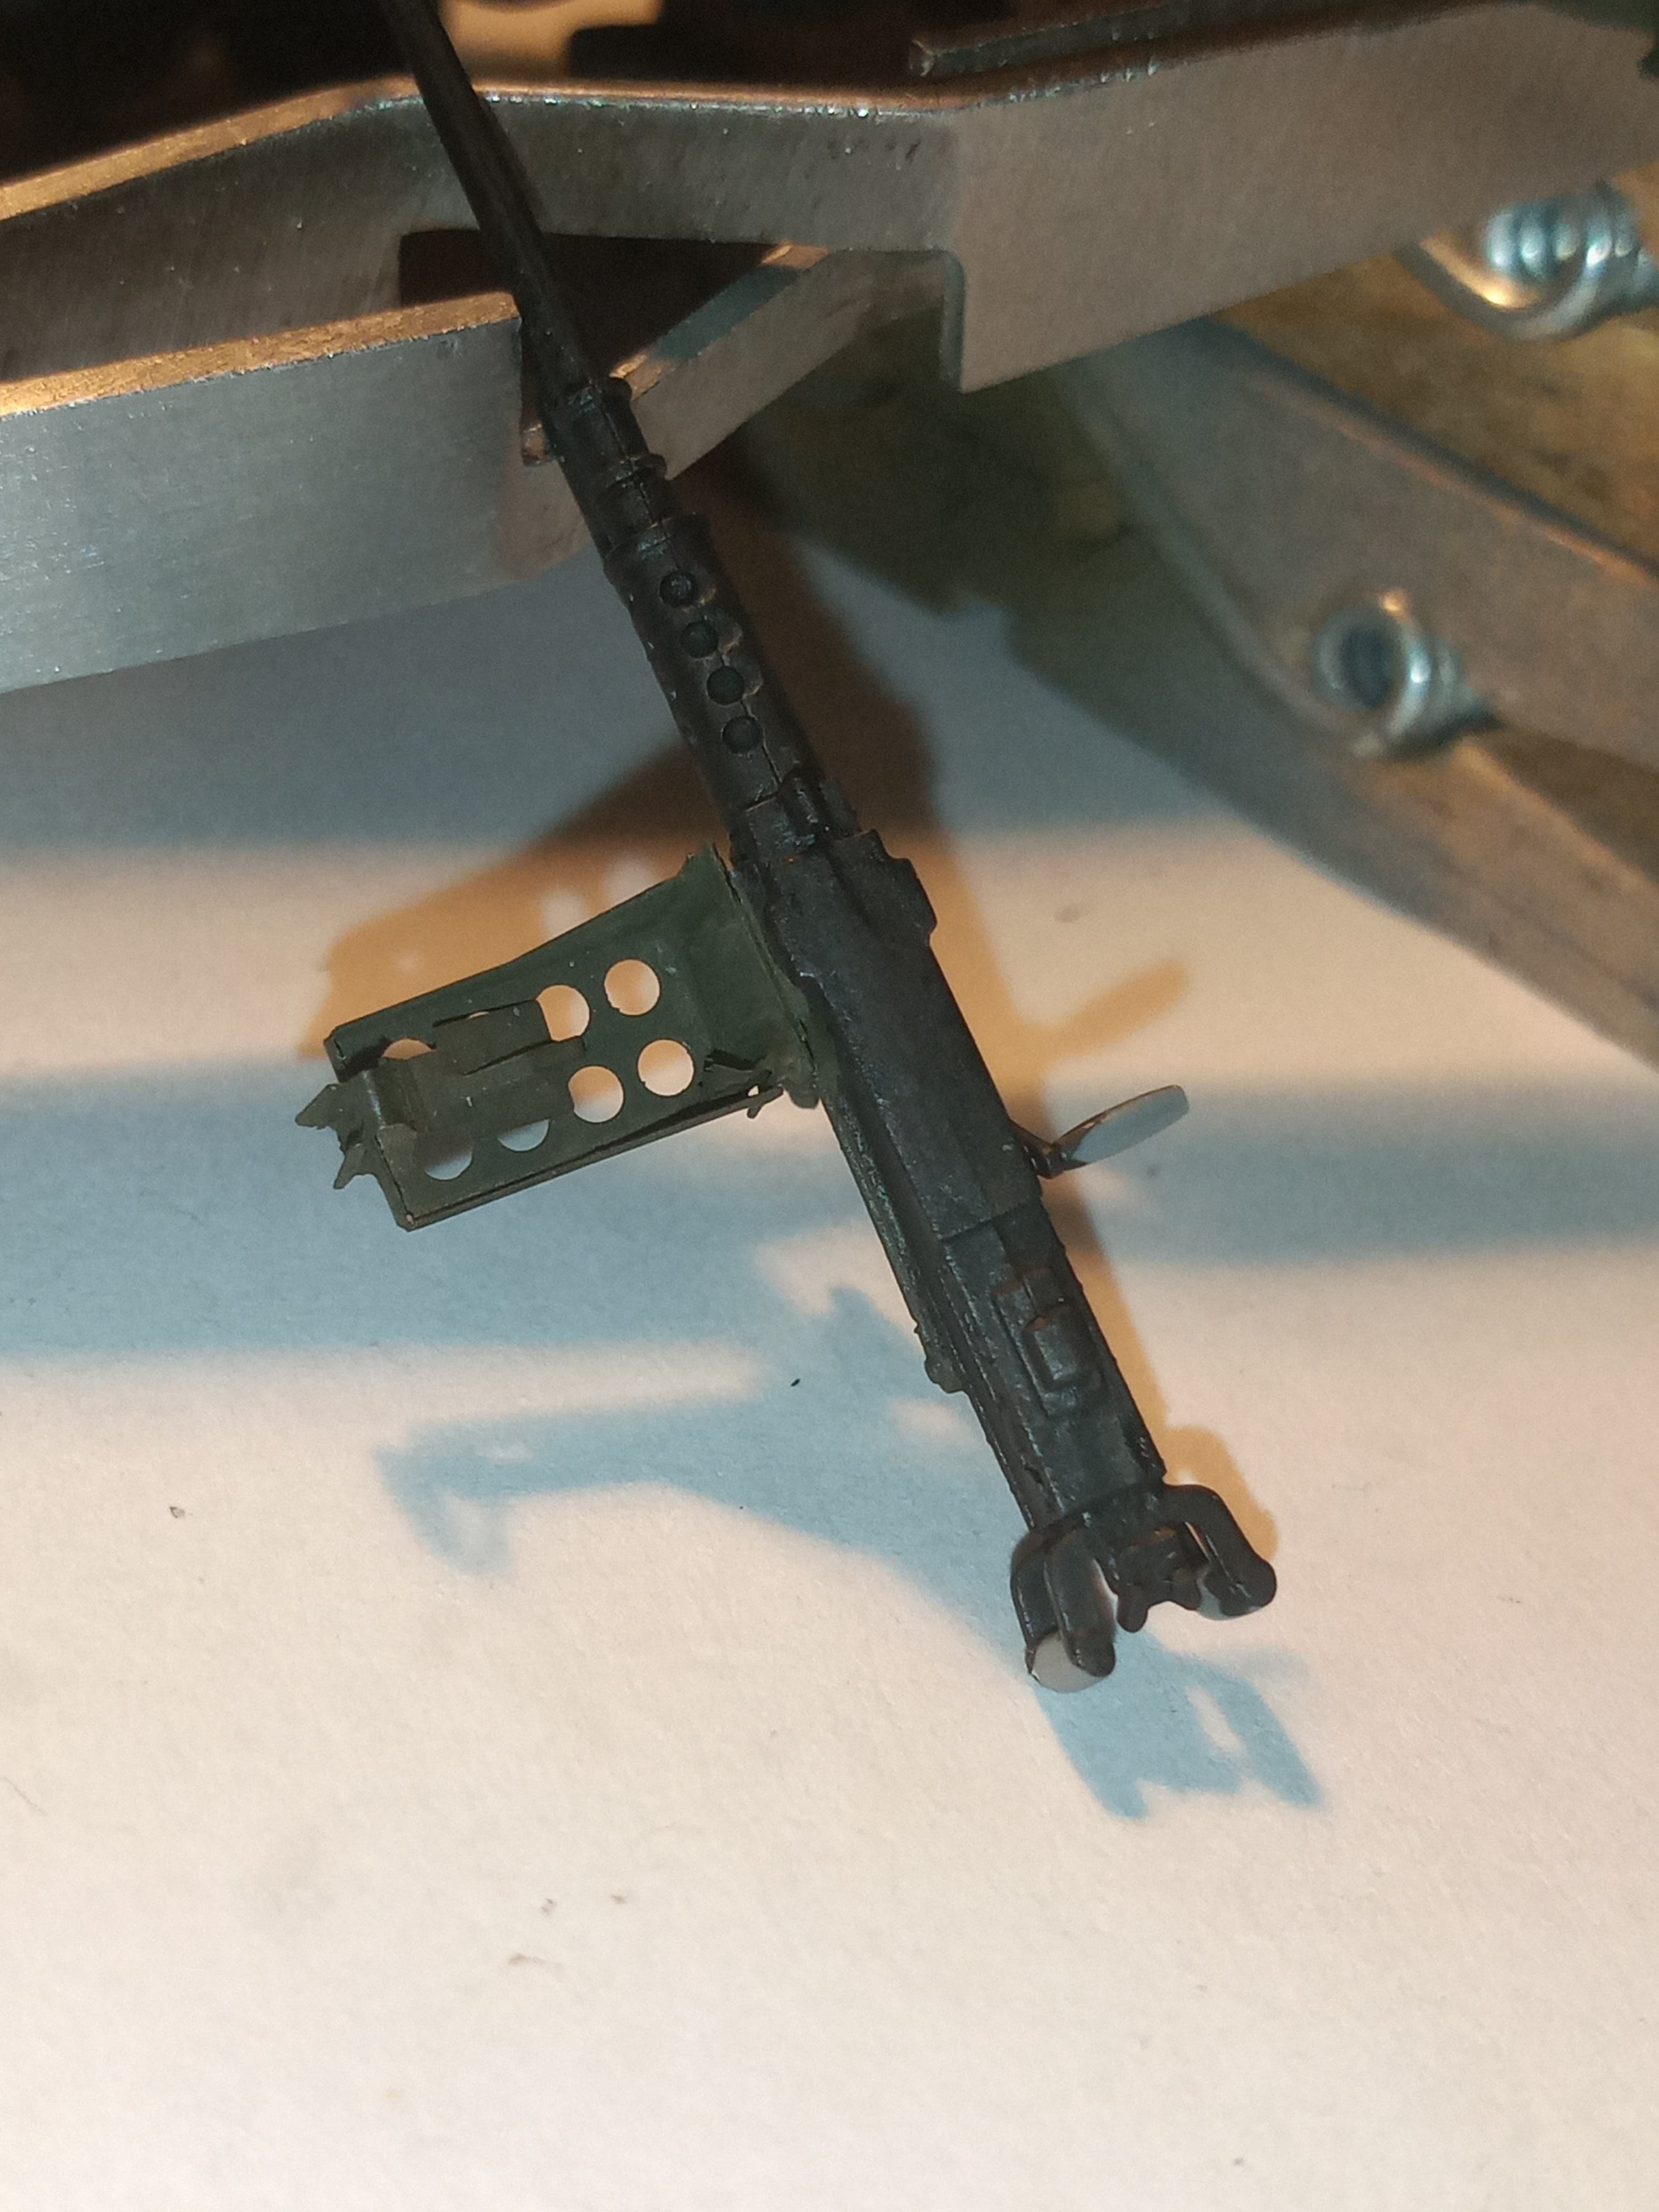
Just Tamiya flat black and once dry a gentle dry brush of oily steel and a graphite pencil rub over some areas.
5 Likes
Happy to help. Couldn’t have you leave that tail-pipe to rattle around! ![]()
—mike
2 Likes
Mike, anything else I miss or you want included just say mate lol ![]()
Few more bits begun and finished.
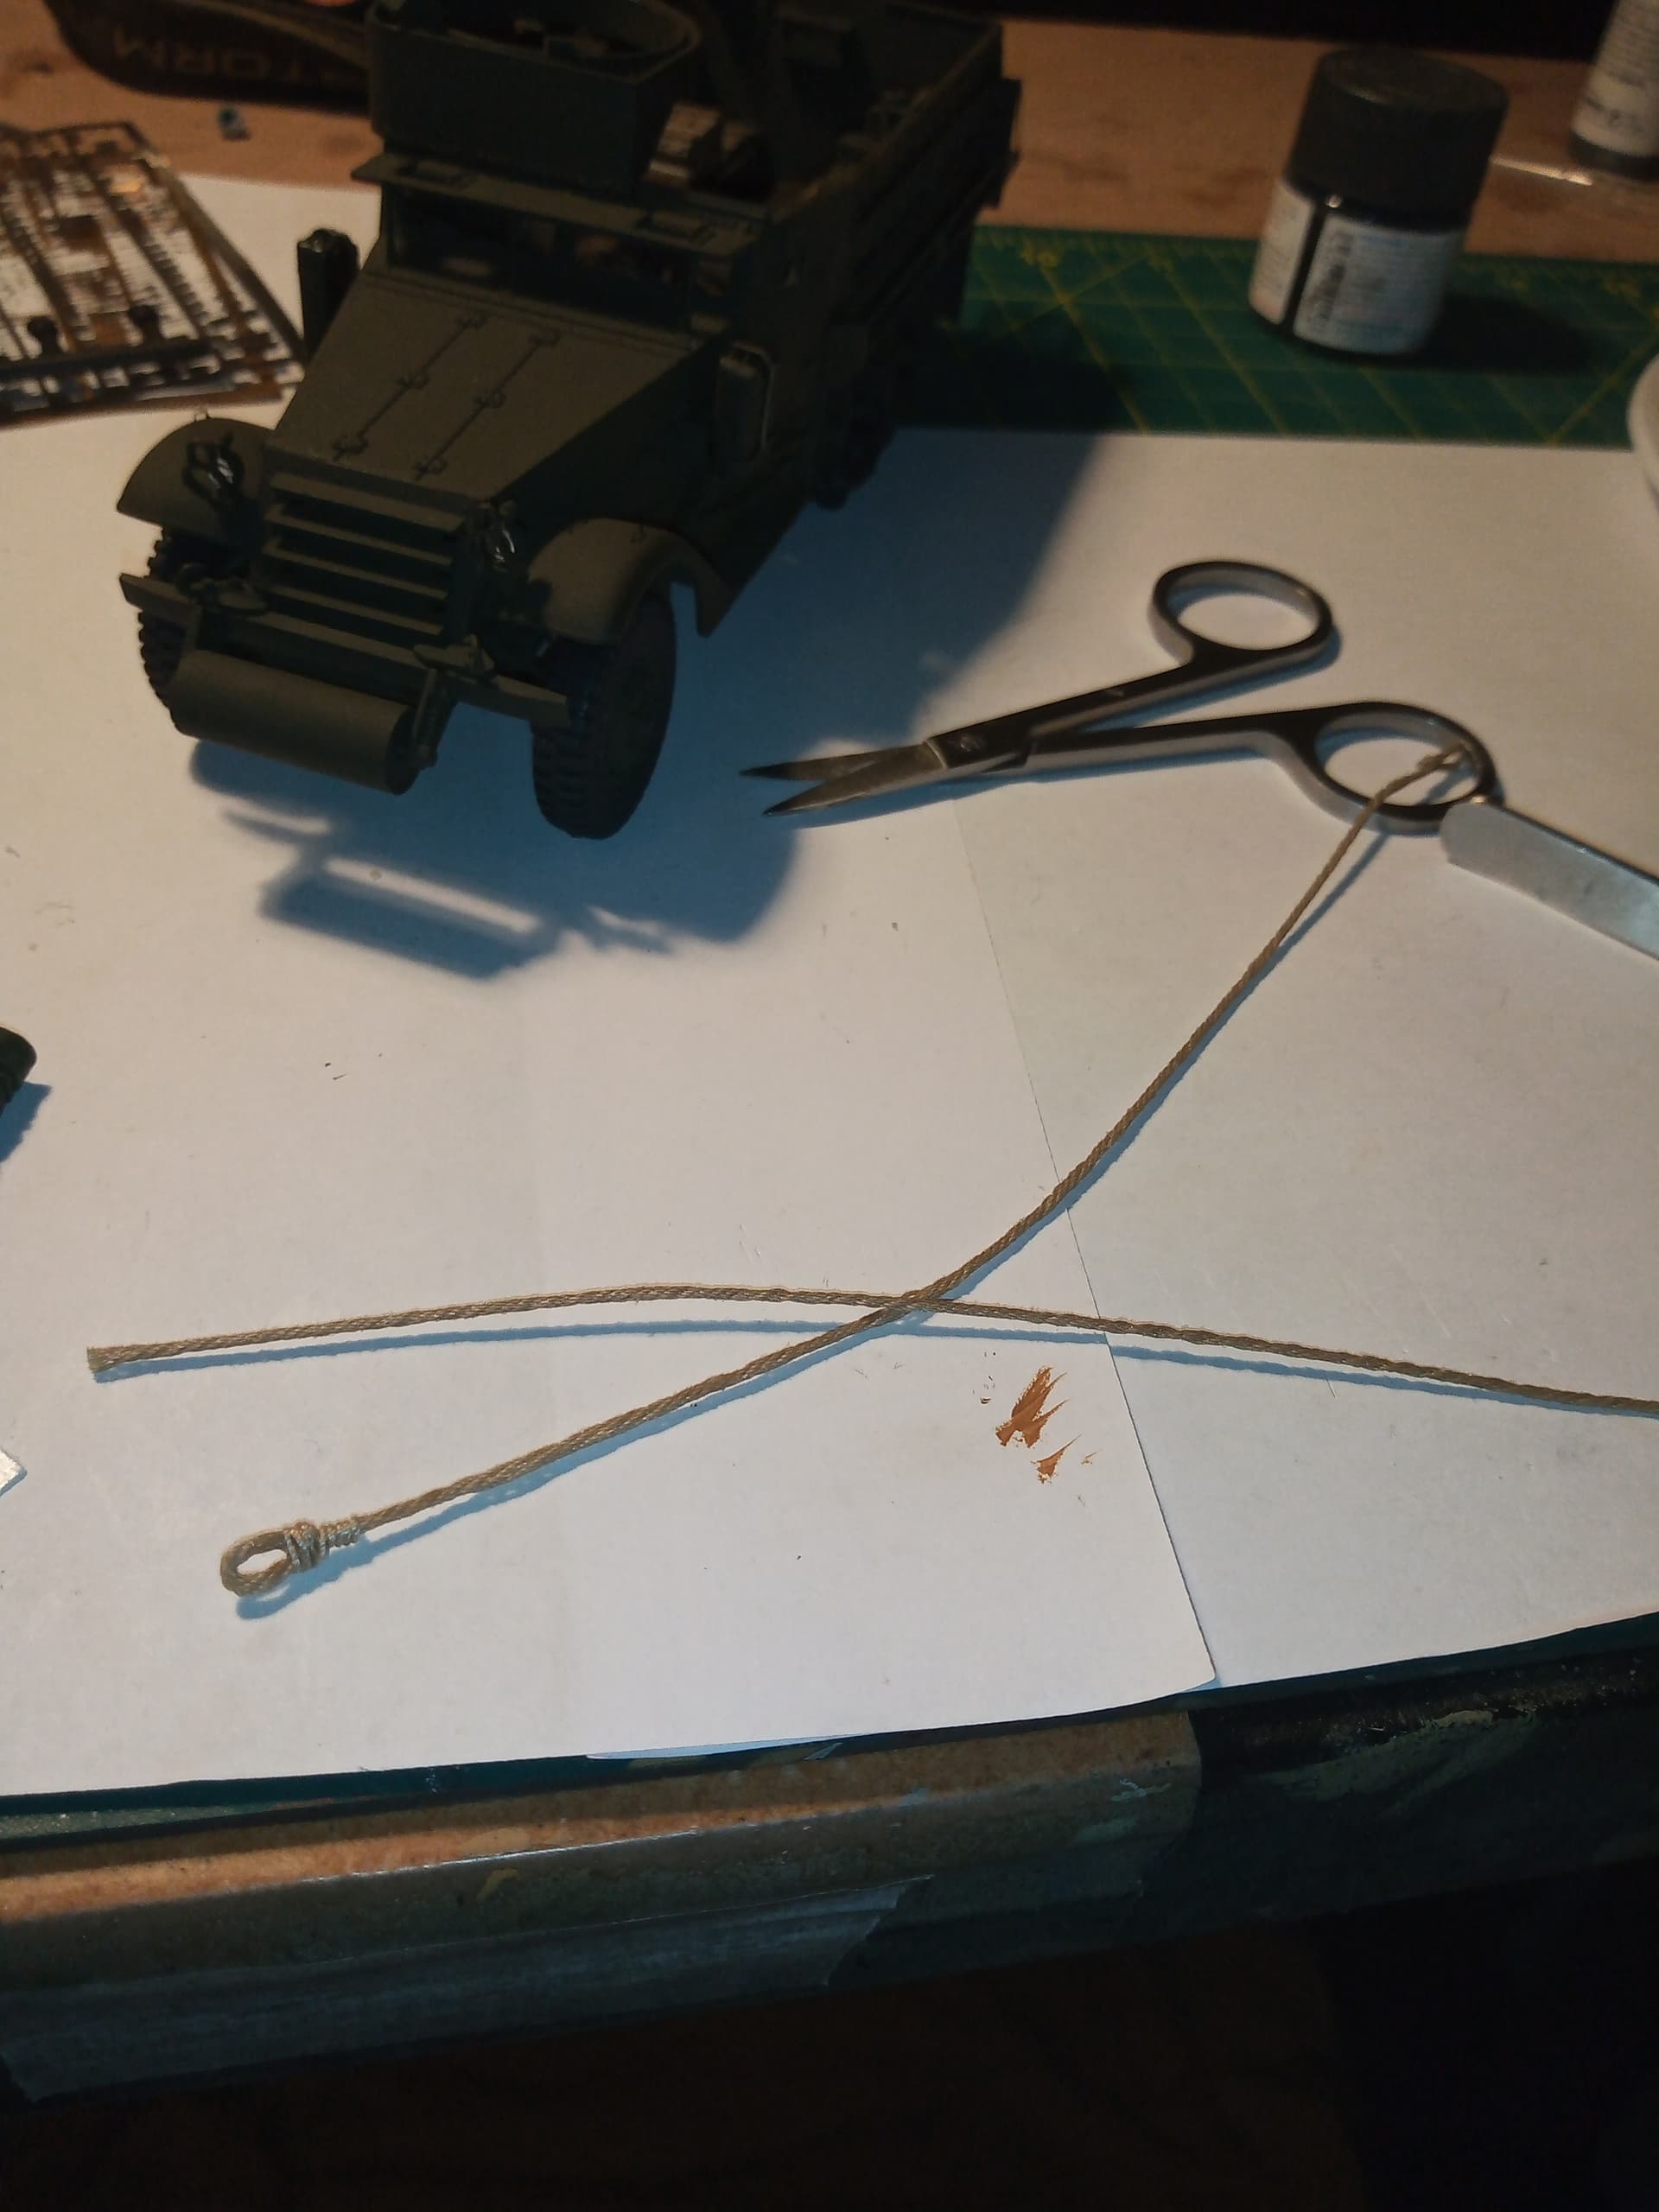
Started to make some rope for general stowage
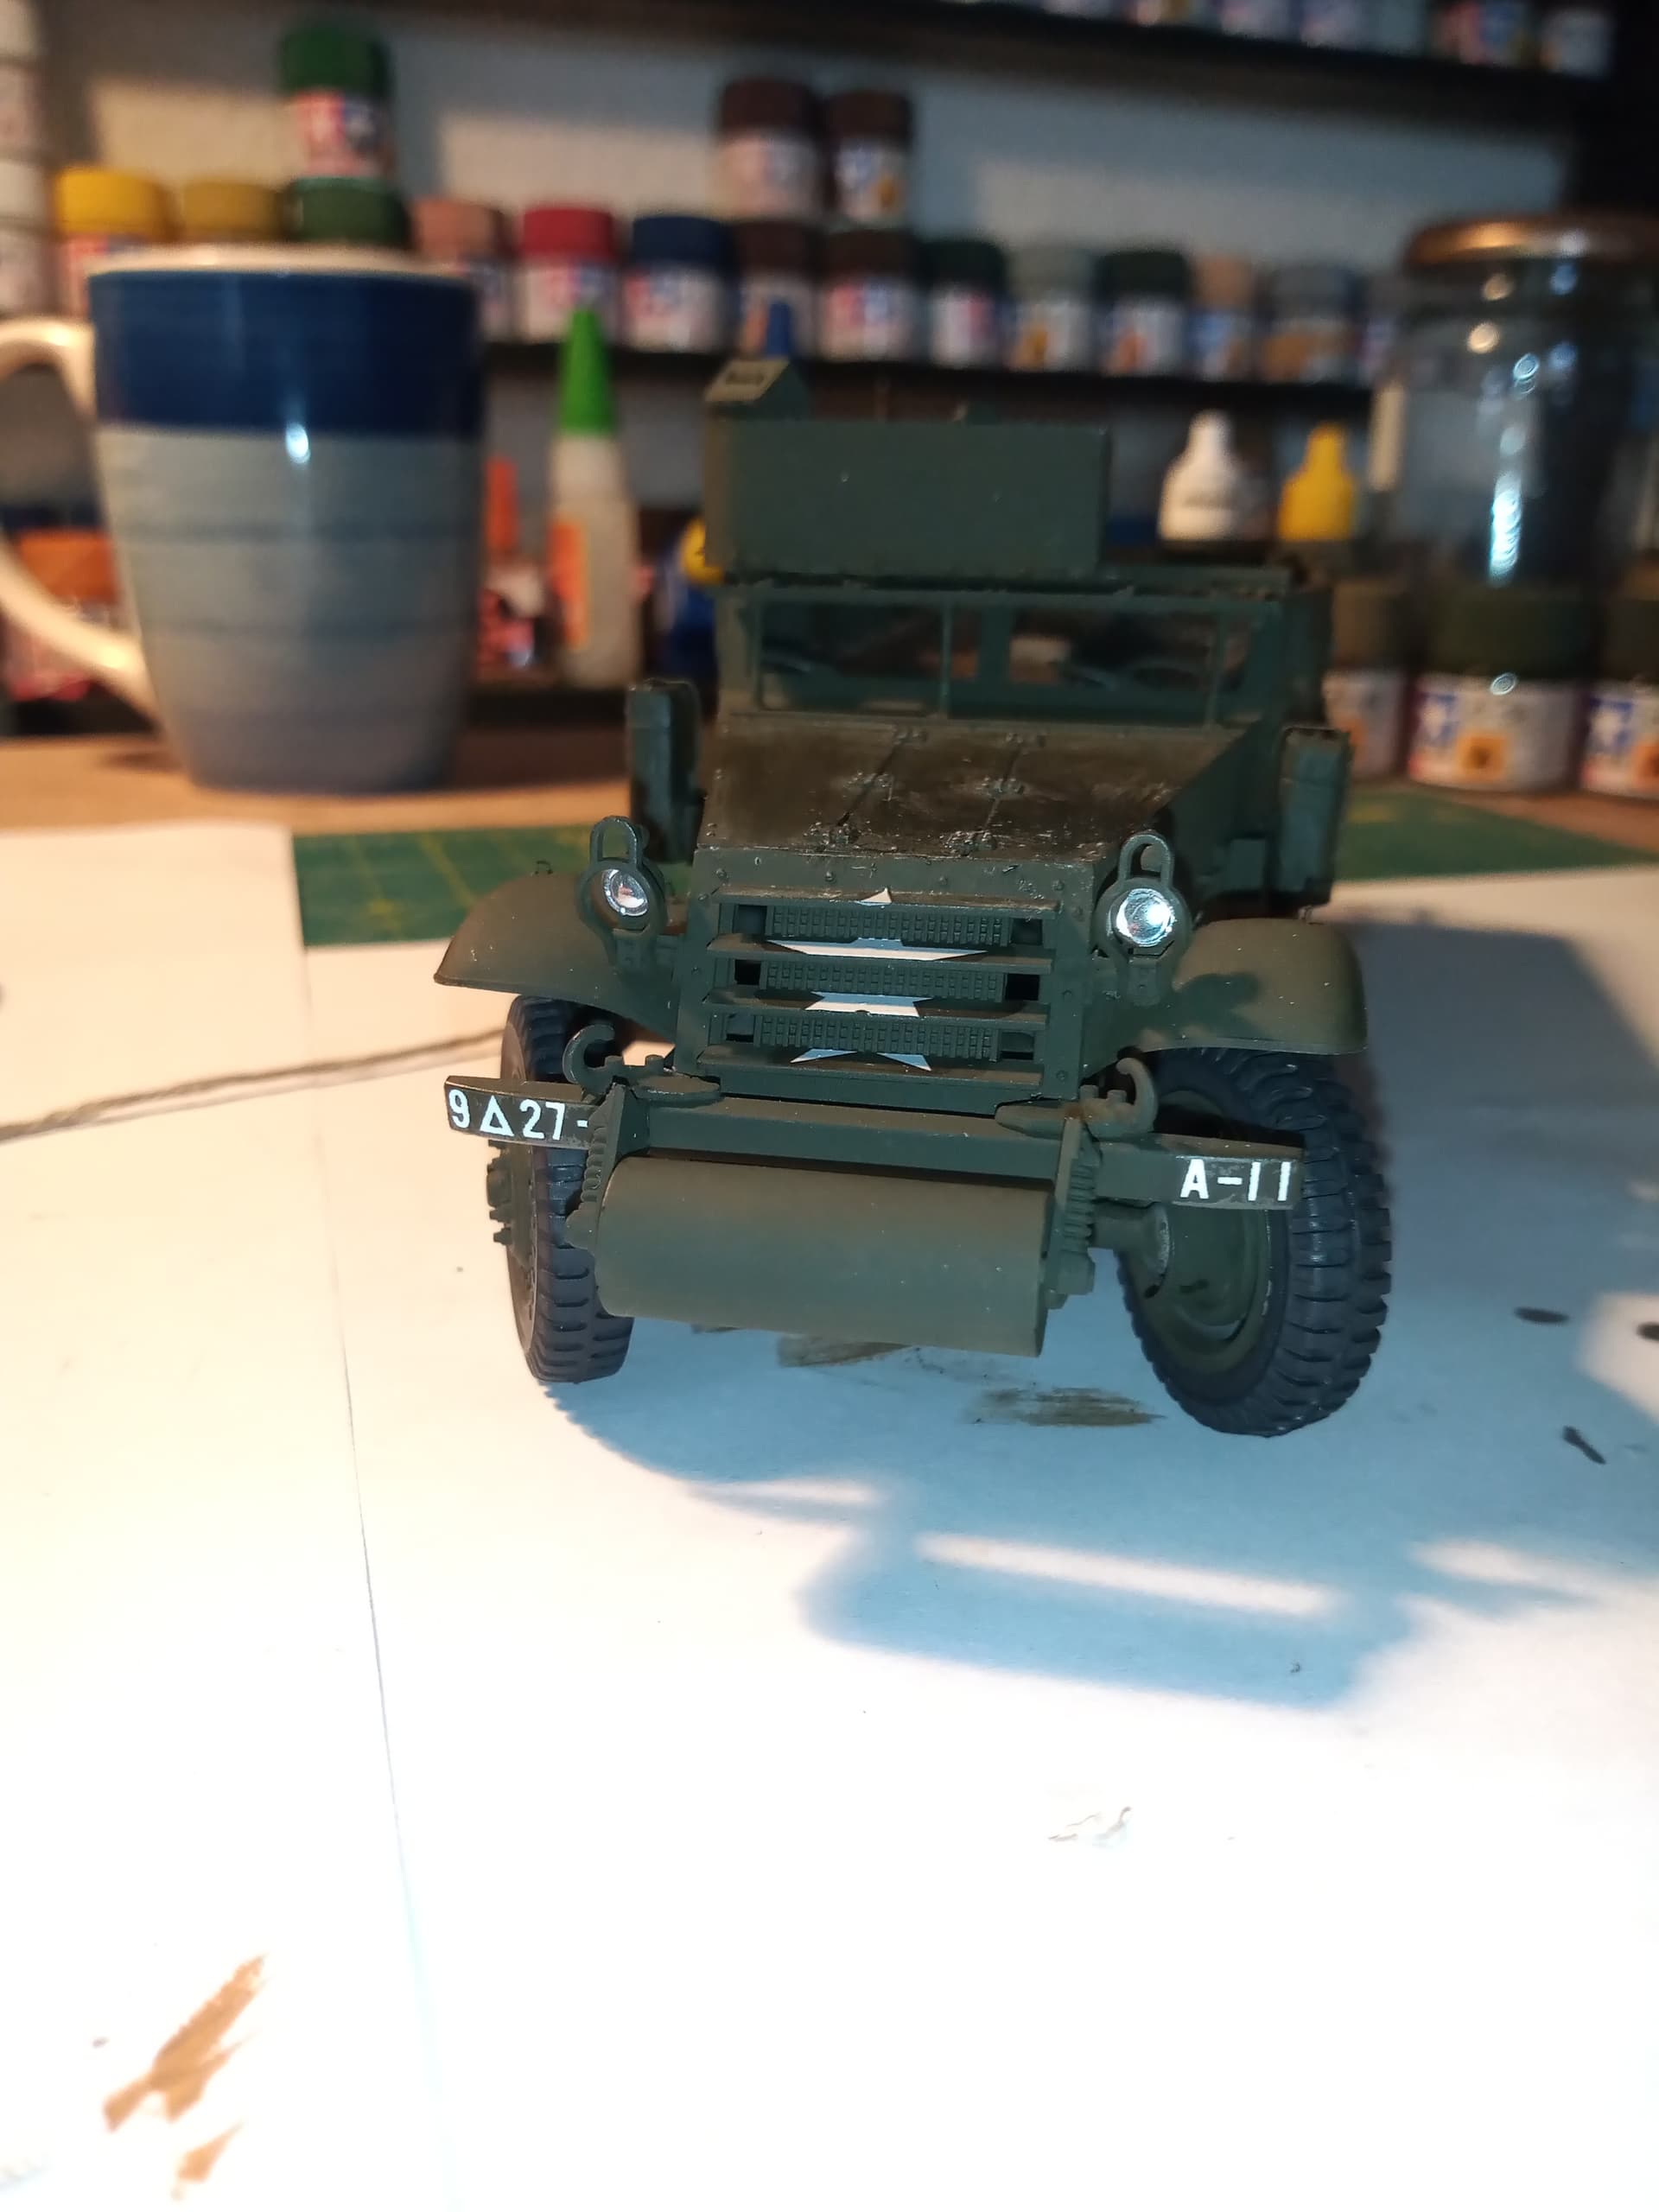
Also began adding the decals… Had a right arse ache with the top large hood one, it wouldn’t sit right or take the micro sol or set and I didn’t clean all of that away when I repainted it and it reacted so have had to clean back the paint and smooth it down ready to paint again.
You get masks for the stars in the Eduard set, so I’m going to use one of those for the big star on the hood.
Here’s the one on the rad flaps.

And from the front.
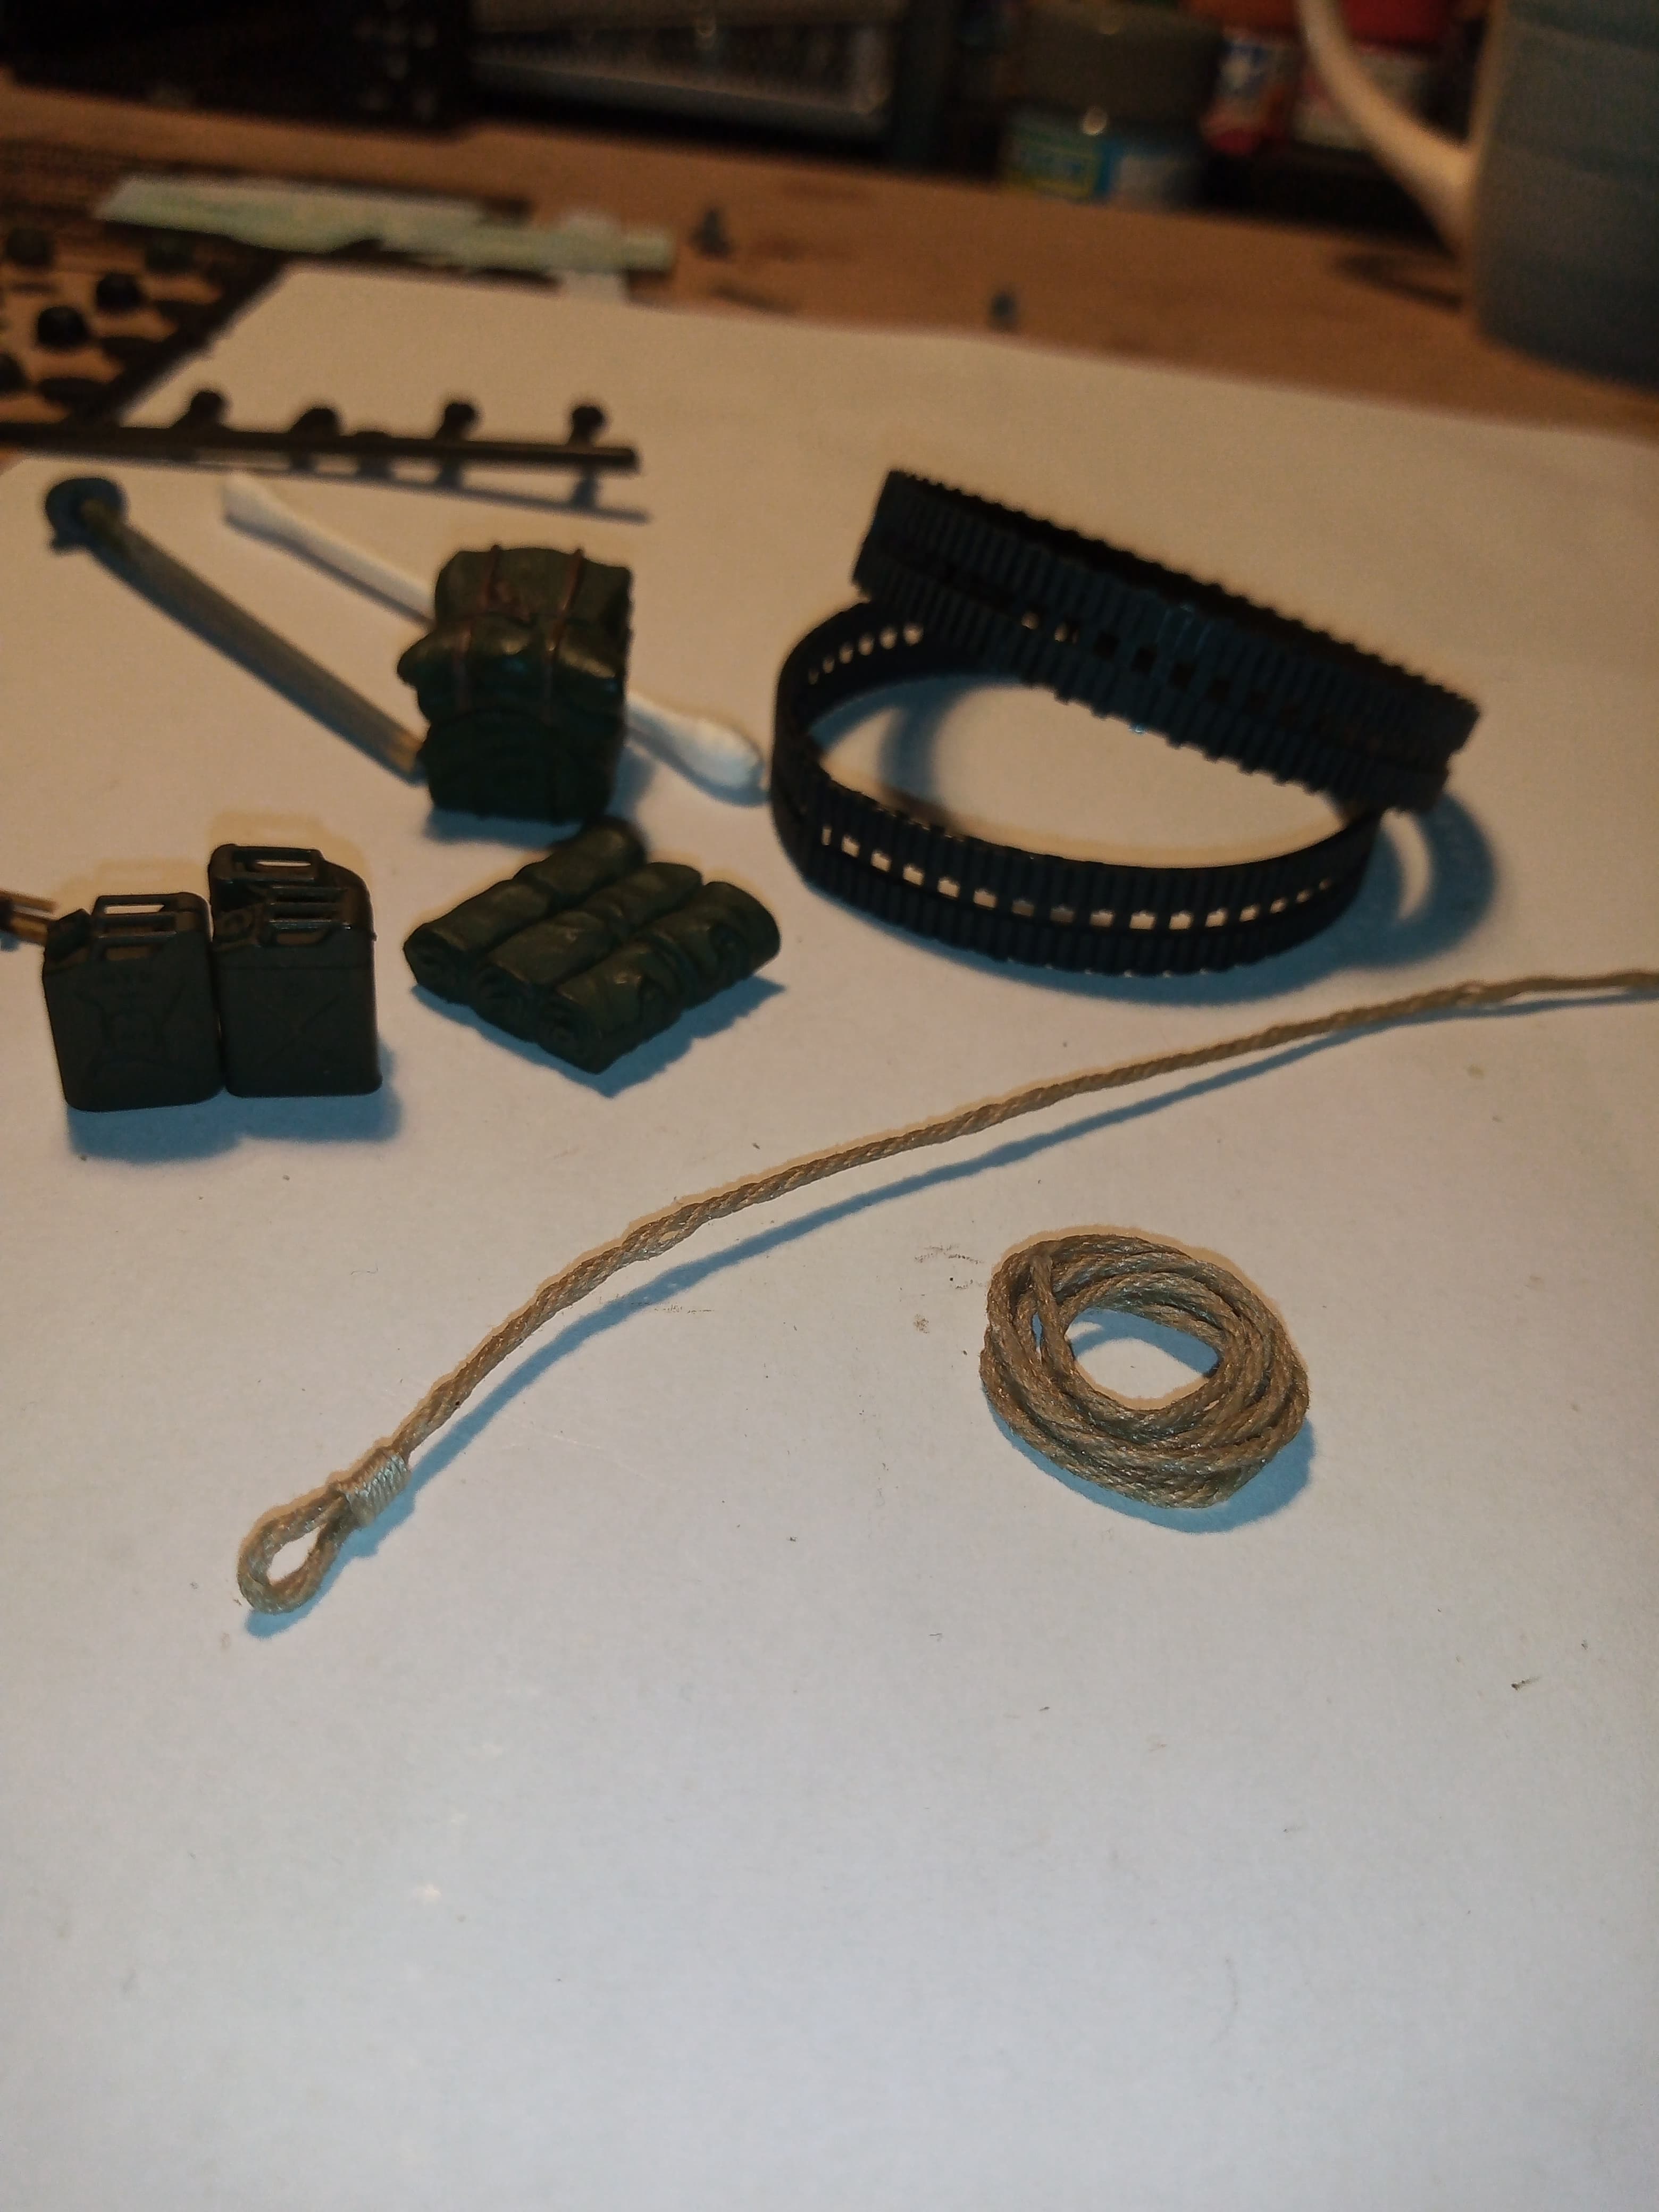
Completed rope and a coil of it
And this is the cotton I use to make the rope lengths and the method, very simple, cut 6 lengths of cotton, thread into the drilled holes in the clothes peg

Then twist until it’s all tight, weight and secure the other end so it’s all vertical and brush on Tamiya clear xww, I’m sure other clears would work just as well
Let it set over night and then cut to lengths required.
5 Likes
John, Looks like you’ve got things covered. The radiator decal looks great! Too bad about the issue with the hood decal. I recall having a very close call with that star decal as well with my Dragon M21 kit.
A bit late, and Dragon not Tamiya, but I was finally able to dig-up this reference from the archives:
Carry on, soldier. ![]()
2 Likes
yeah, thanks for the reminder about the Armorama-chives.
1 Like
Thanks Mike, nice reference piece ![]()
1 Like
Just threw in a bit of internal gear, ammo boxes, the rope coil and crate.
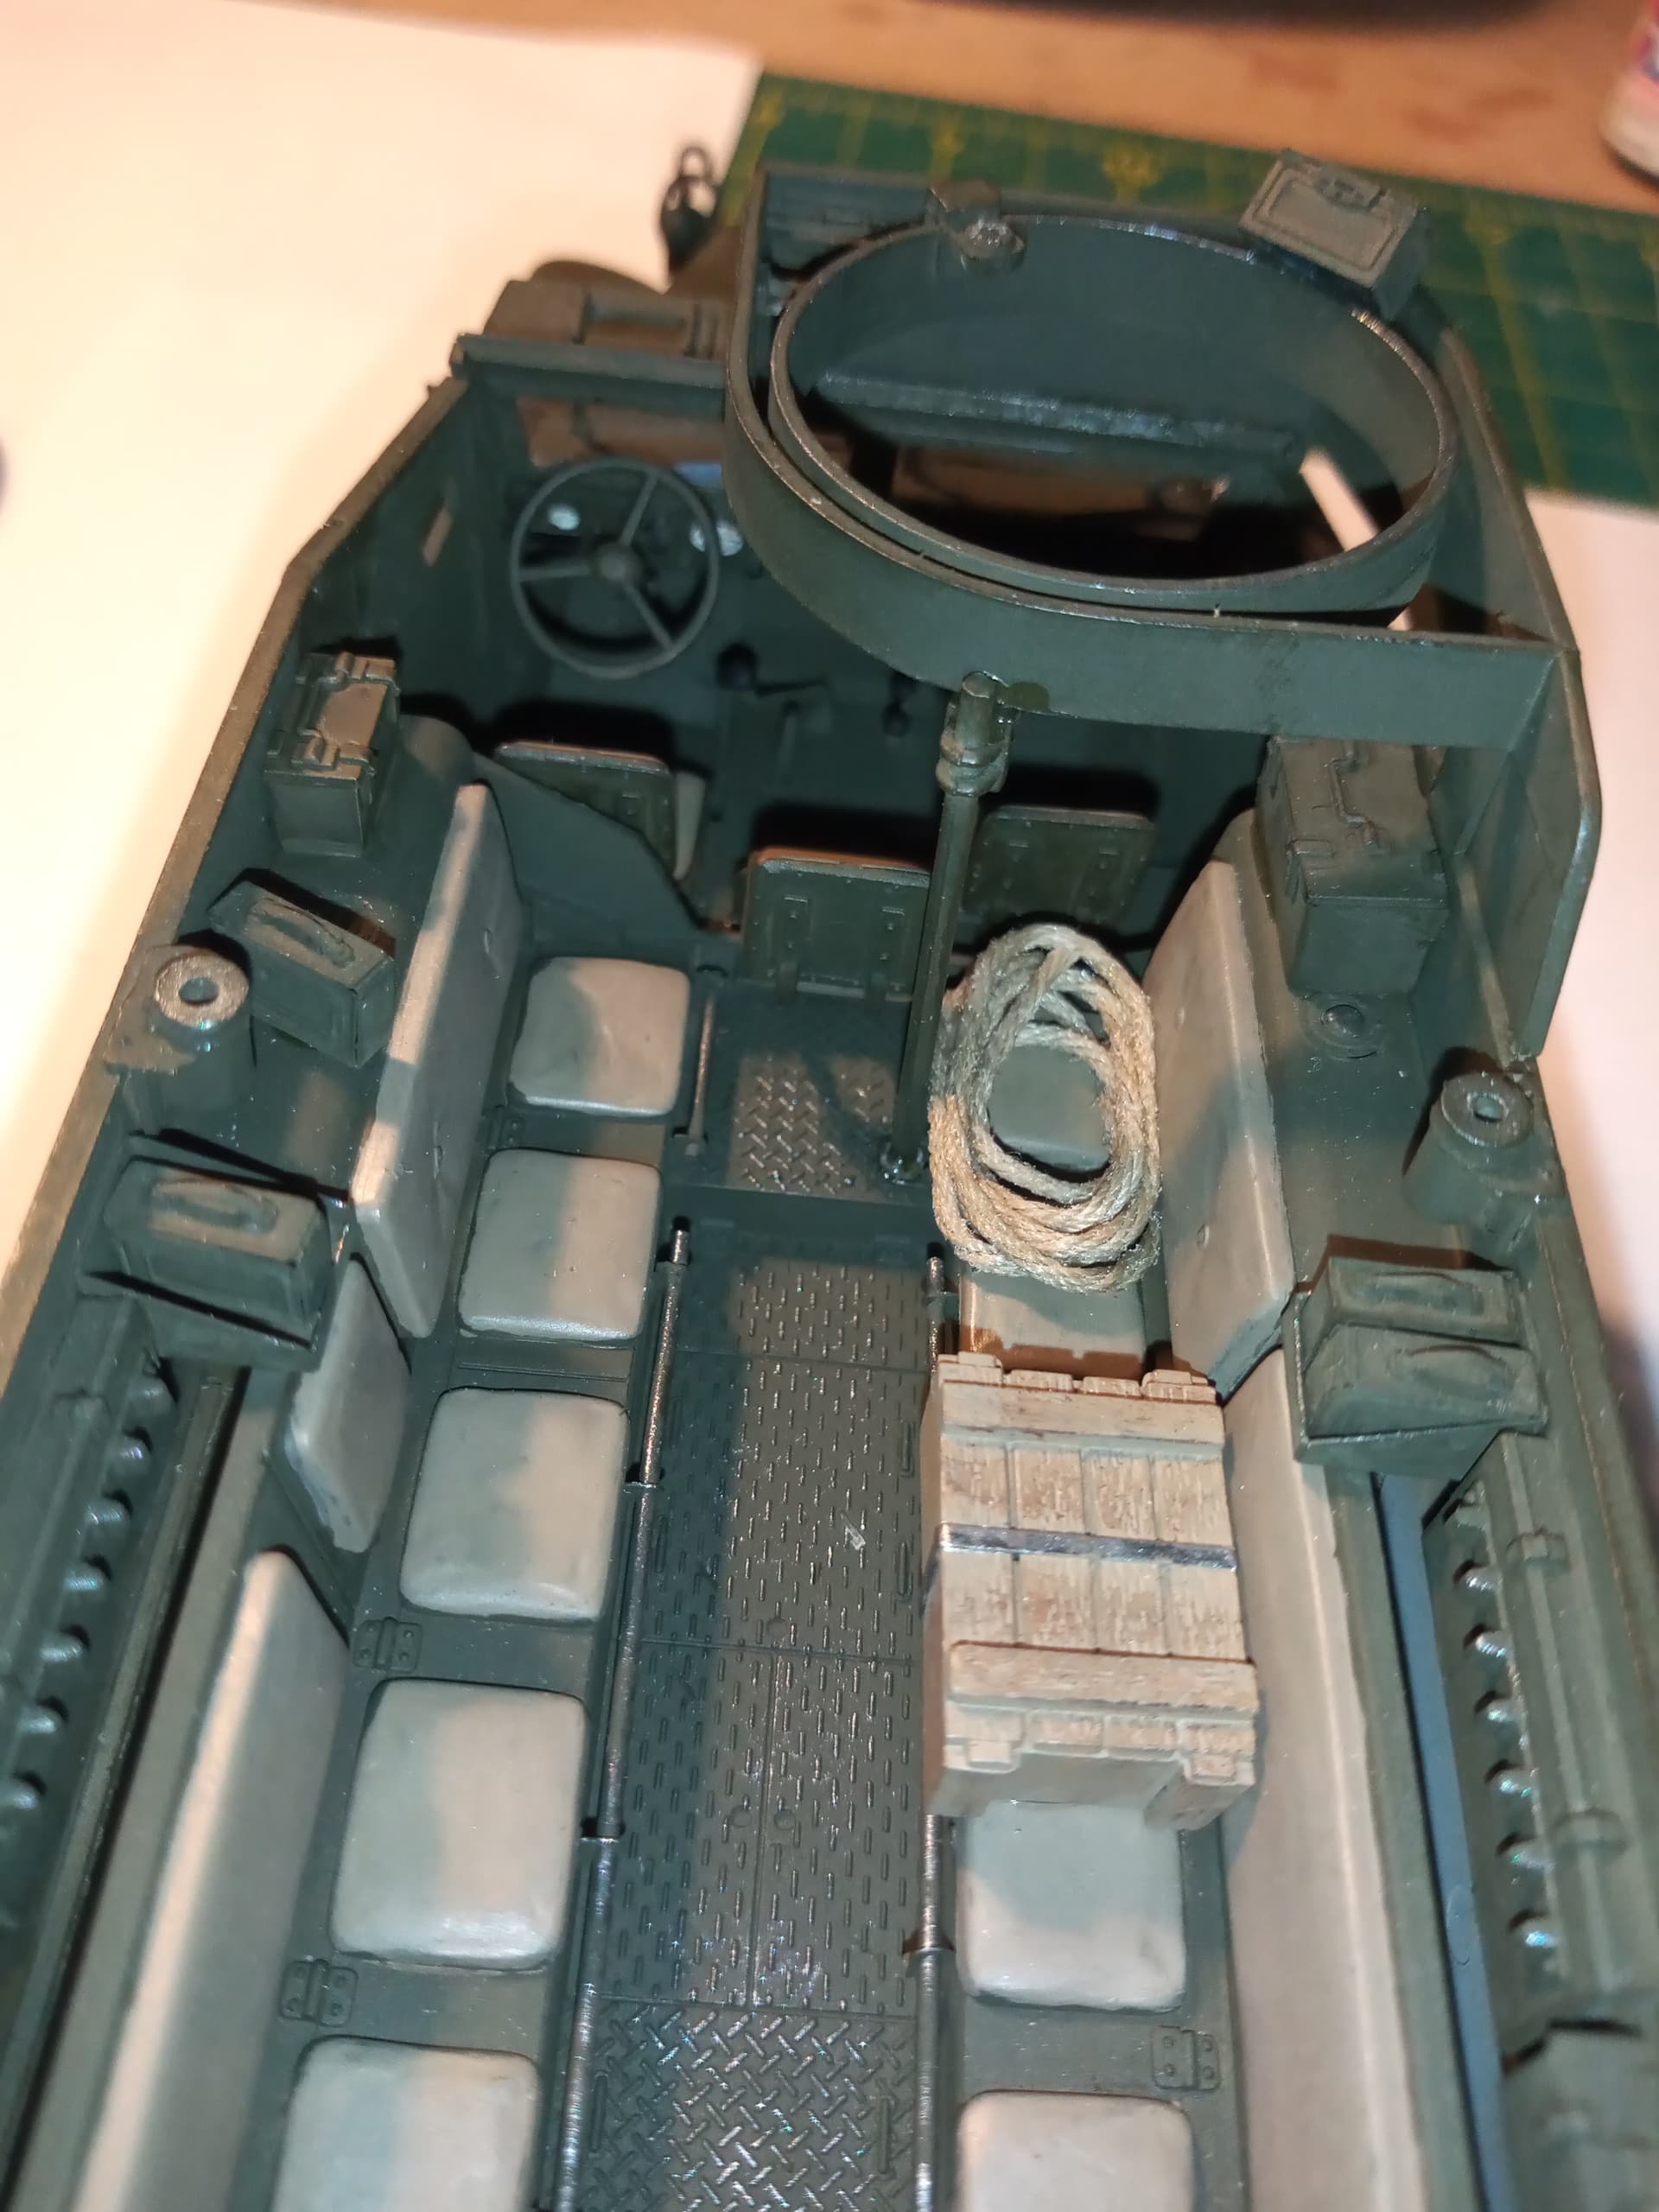
Have repainted the hood, and will attempt that white star tomorrow. All other decals are on.
5 Likes
The decals applied, still have to do the engine hood one.

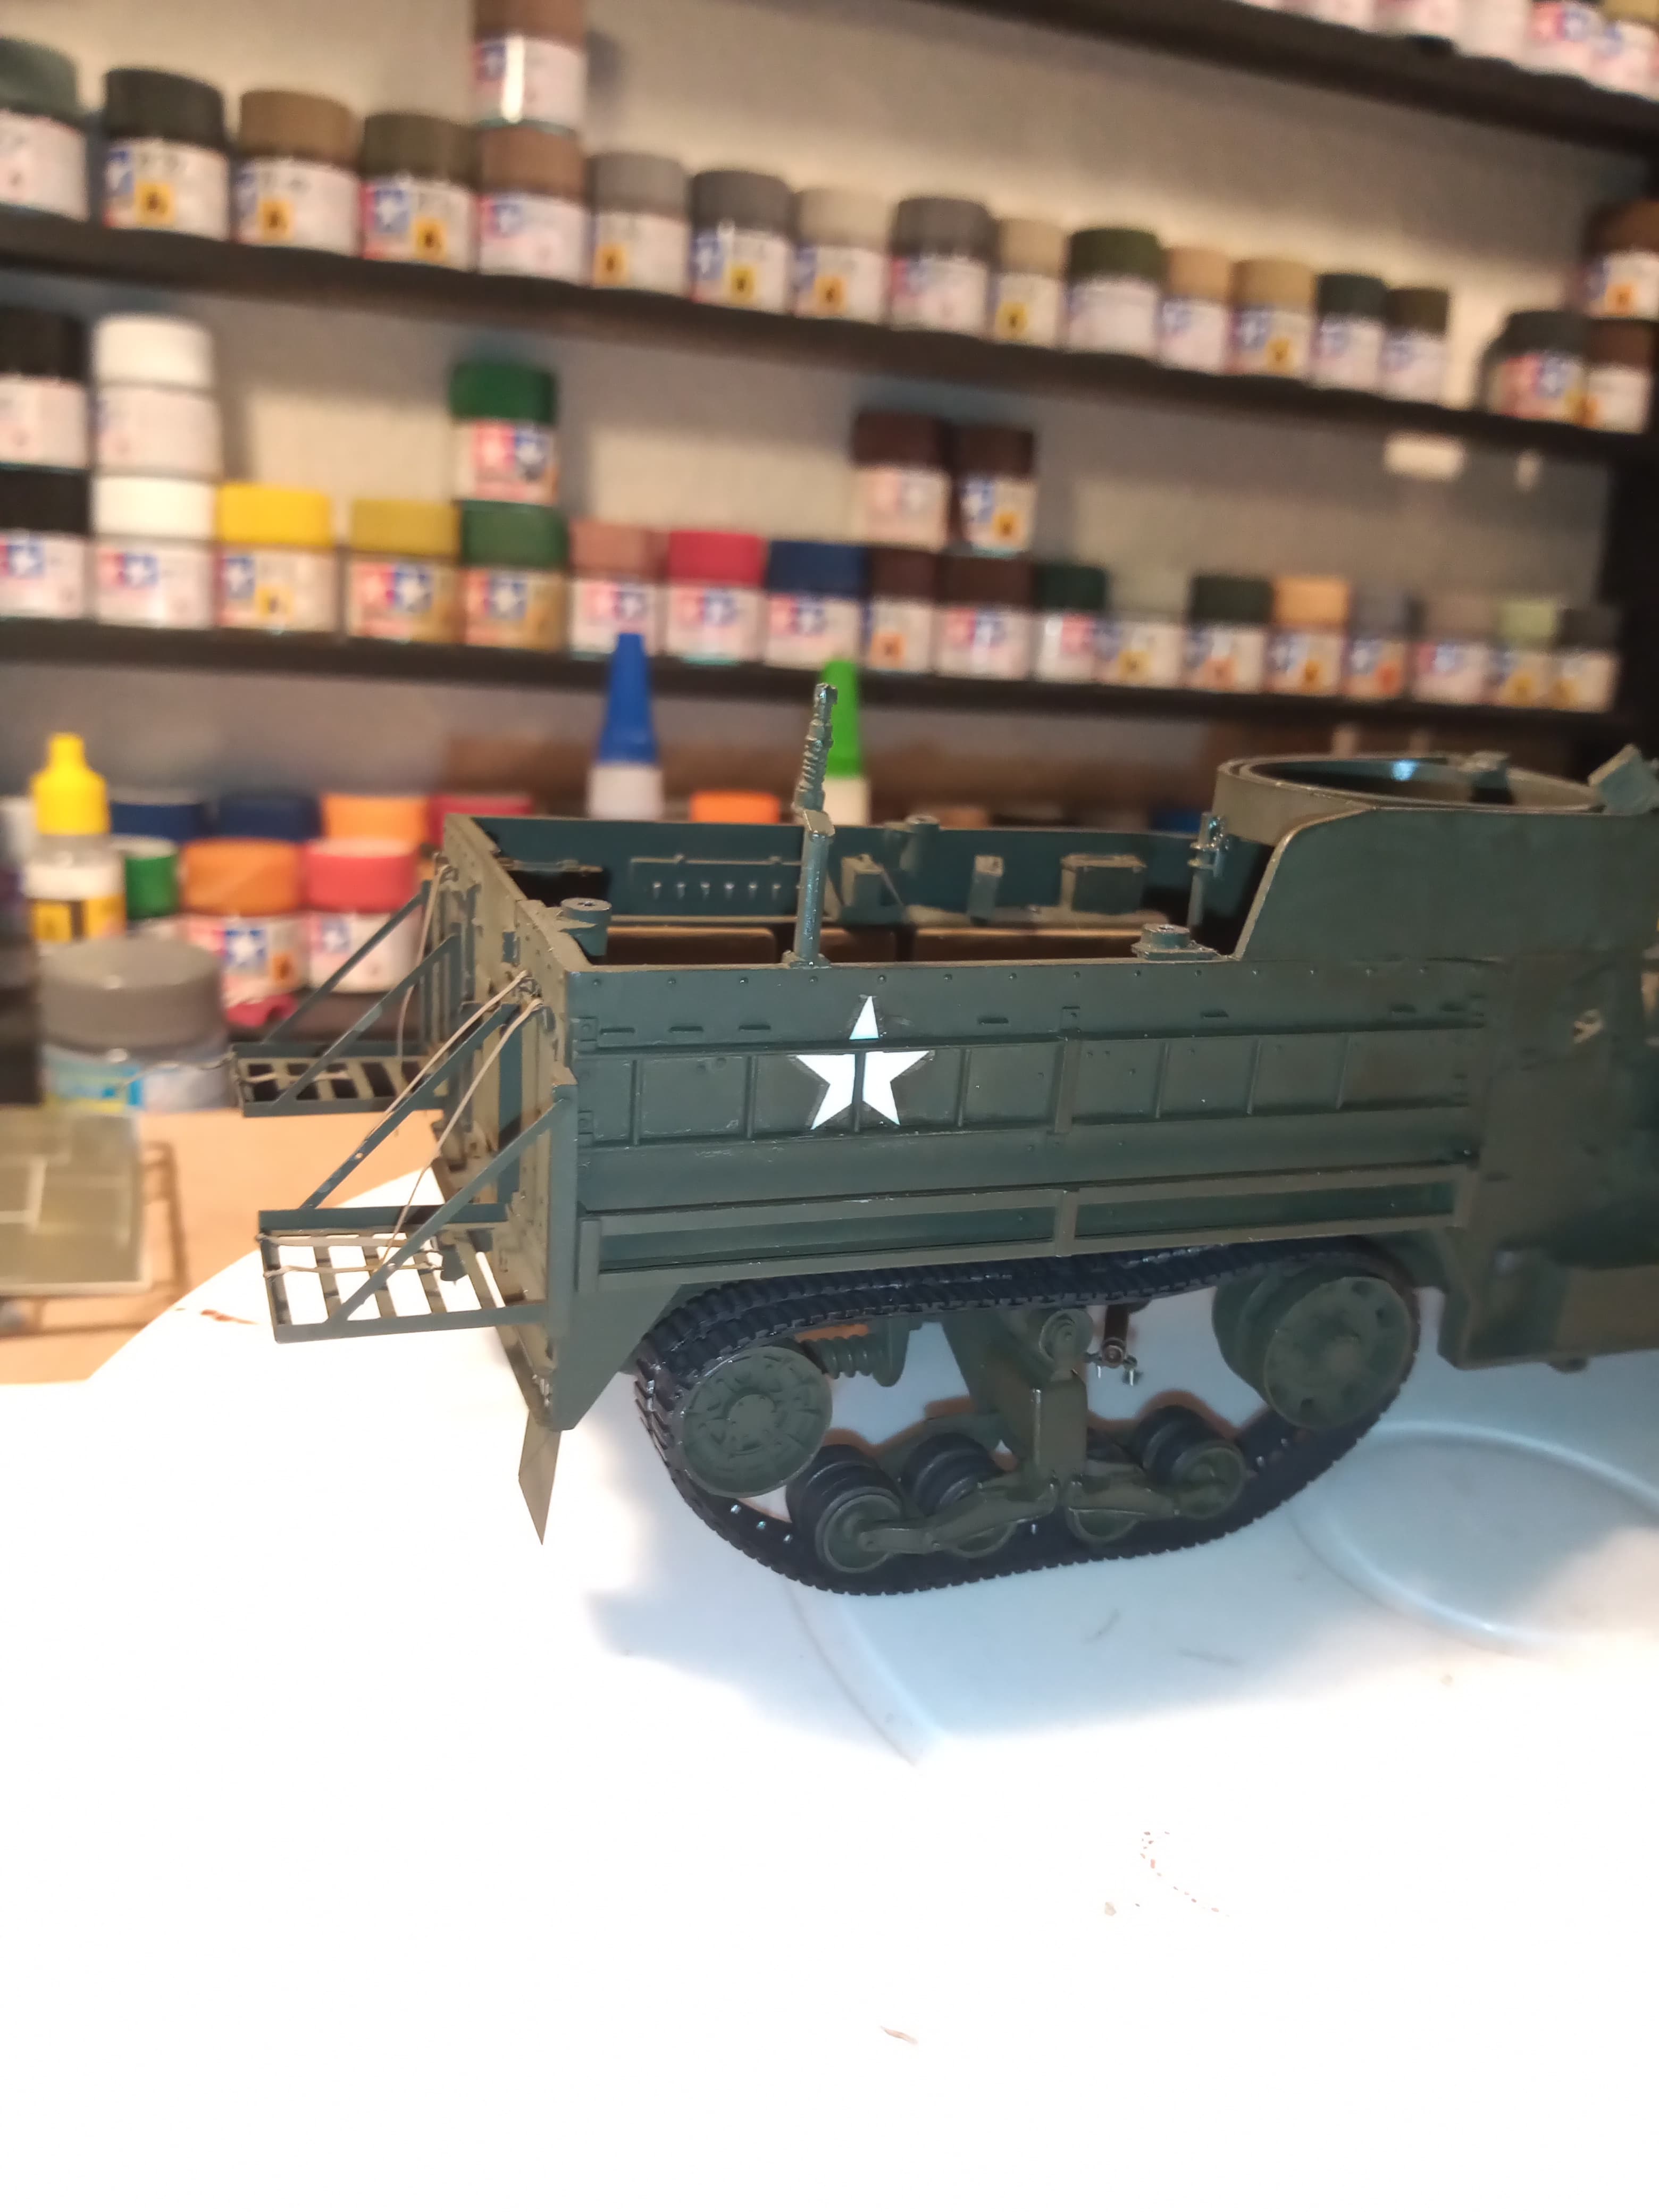
The small star on the hull side is further back than it should be. It was easier to put there than in its normal place due to the way I had to cut it.
Before putting them in water, I simply cut a line under the top triangle on the star, then, from the center of that cut, did another vertical one straight down through the remainder of the star and then placed the bits above and either side of the side ladder stowage supports.
Have also made a start on making the track look tighter over all its run around the wheels.
5 Likes