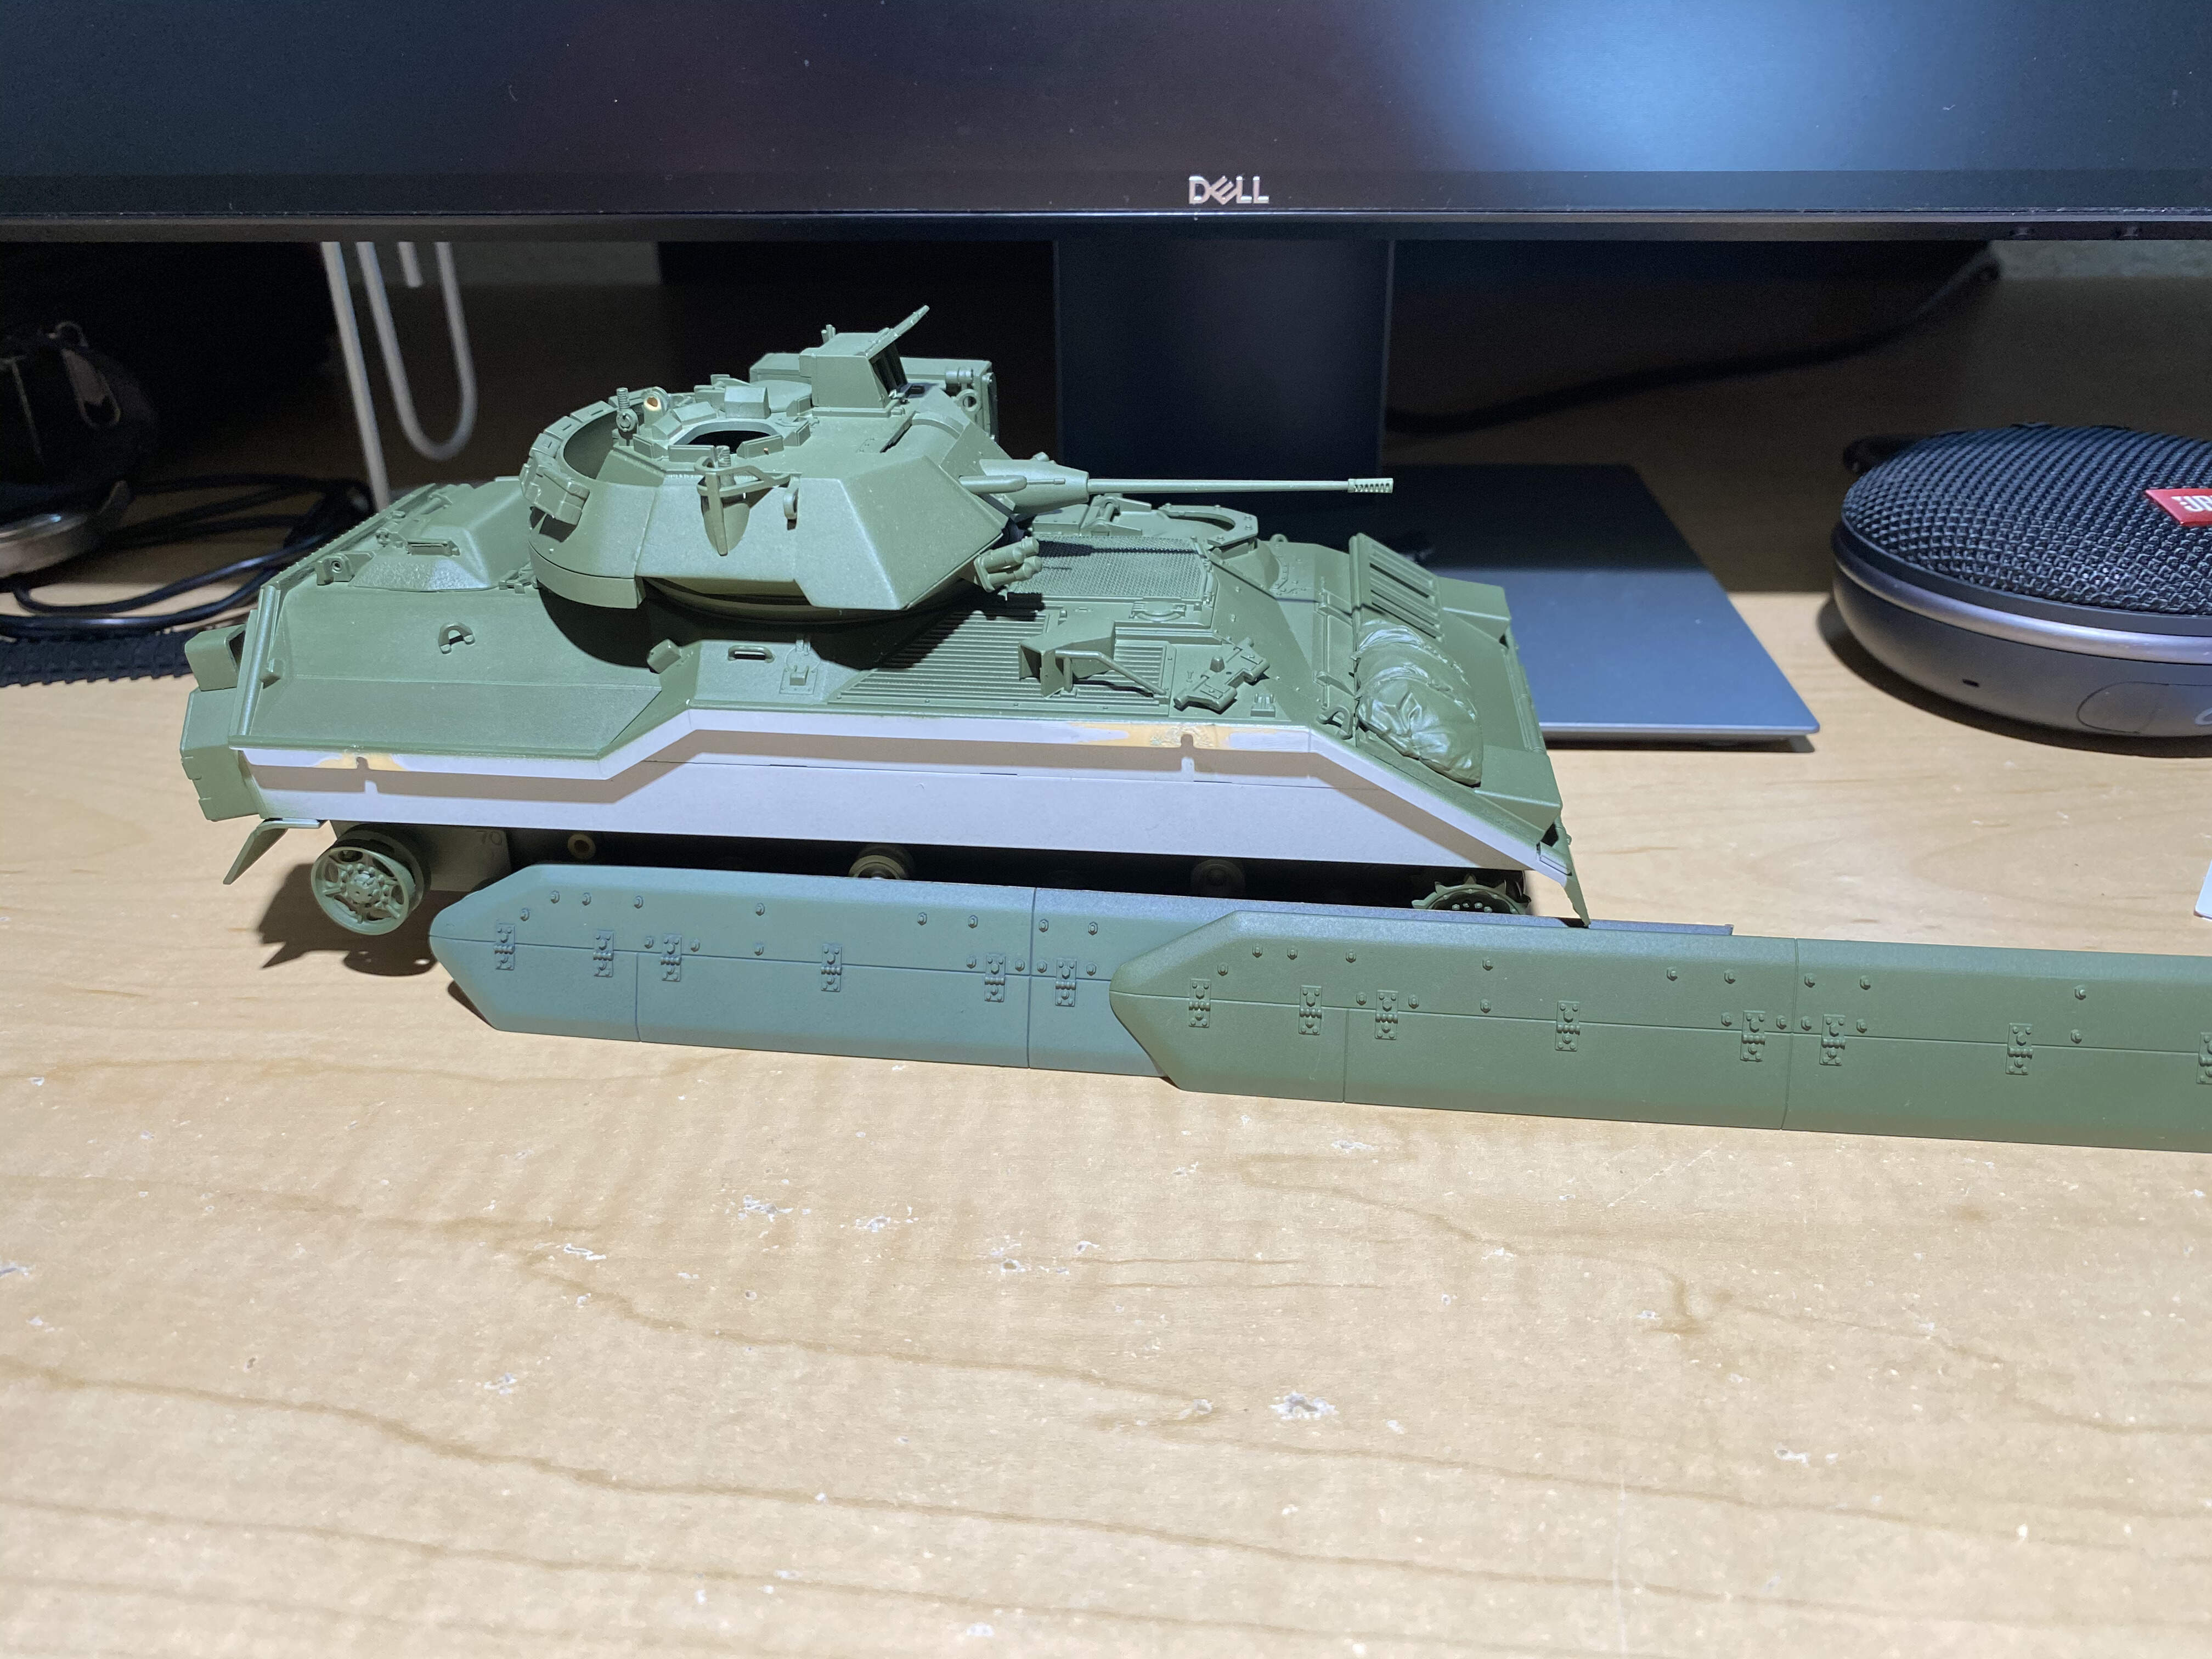
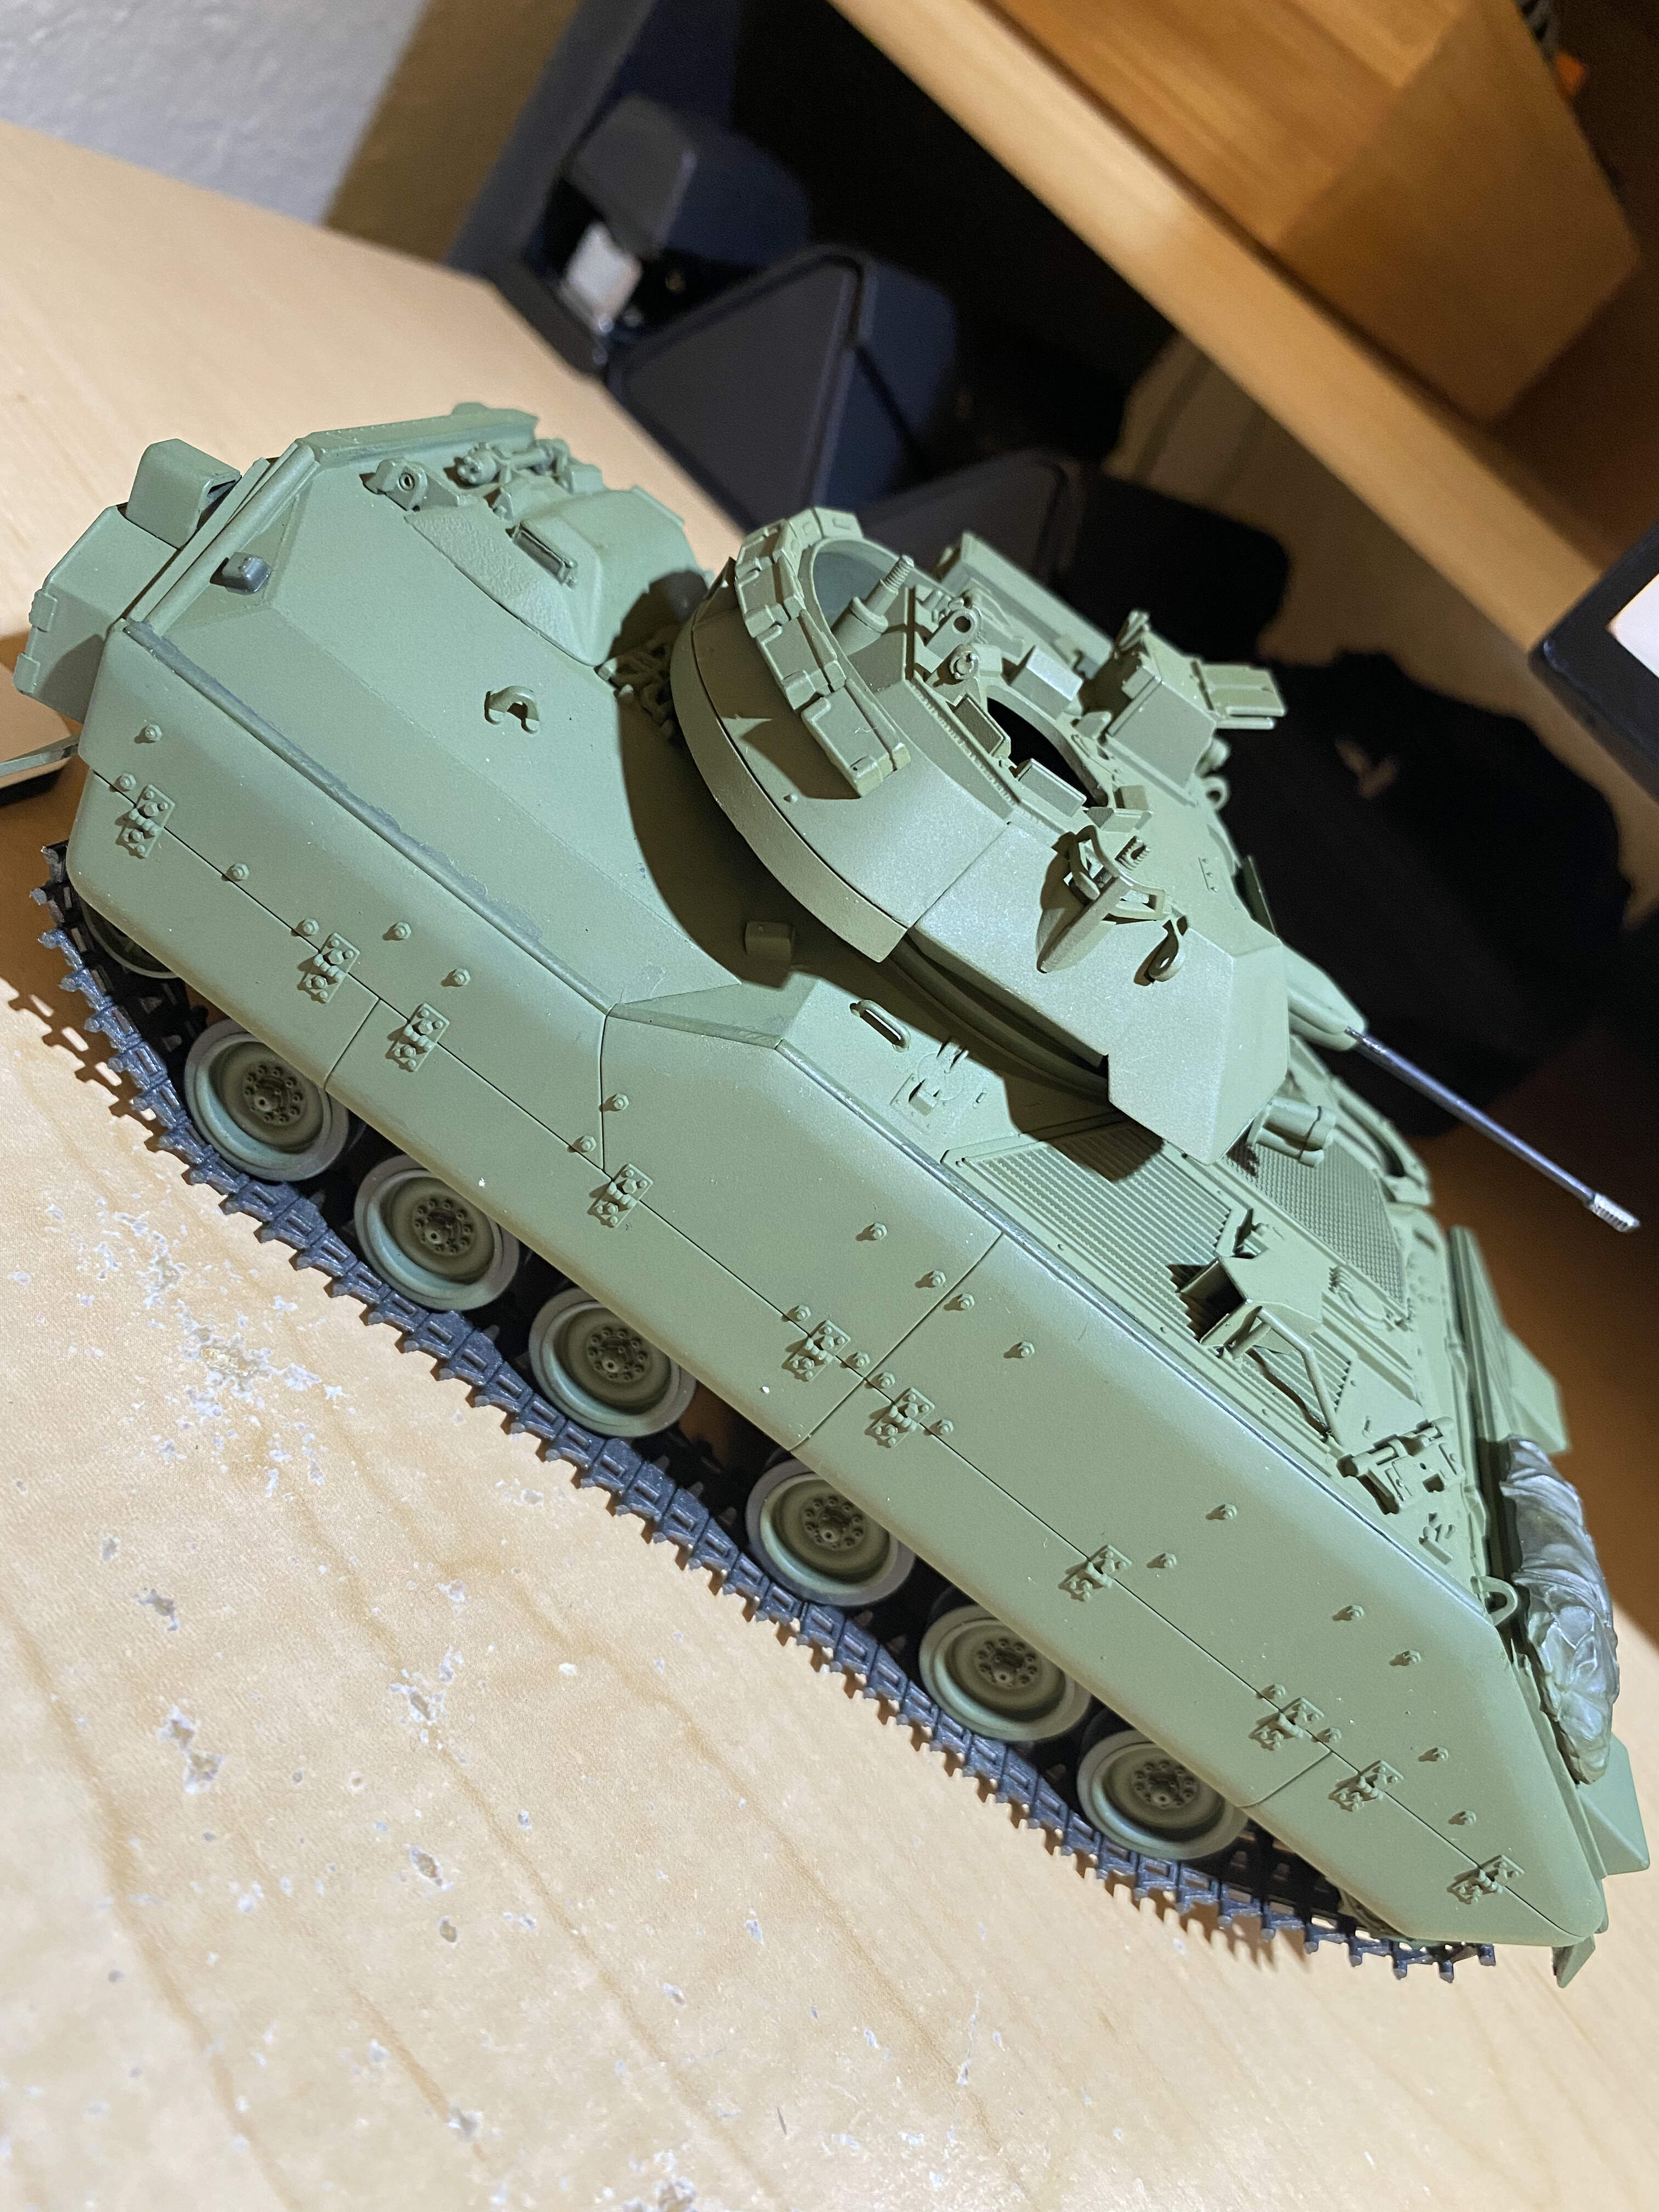
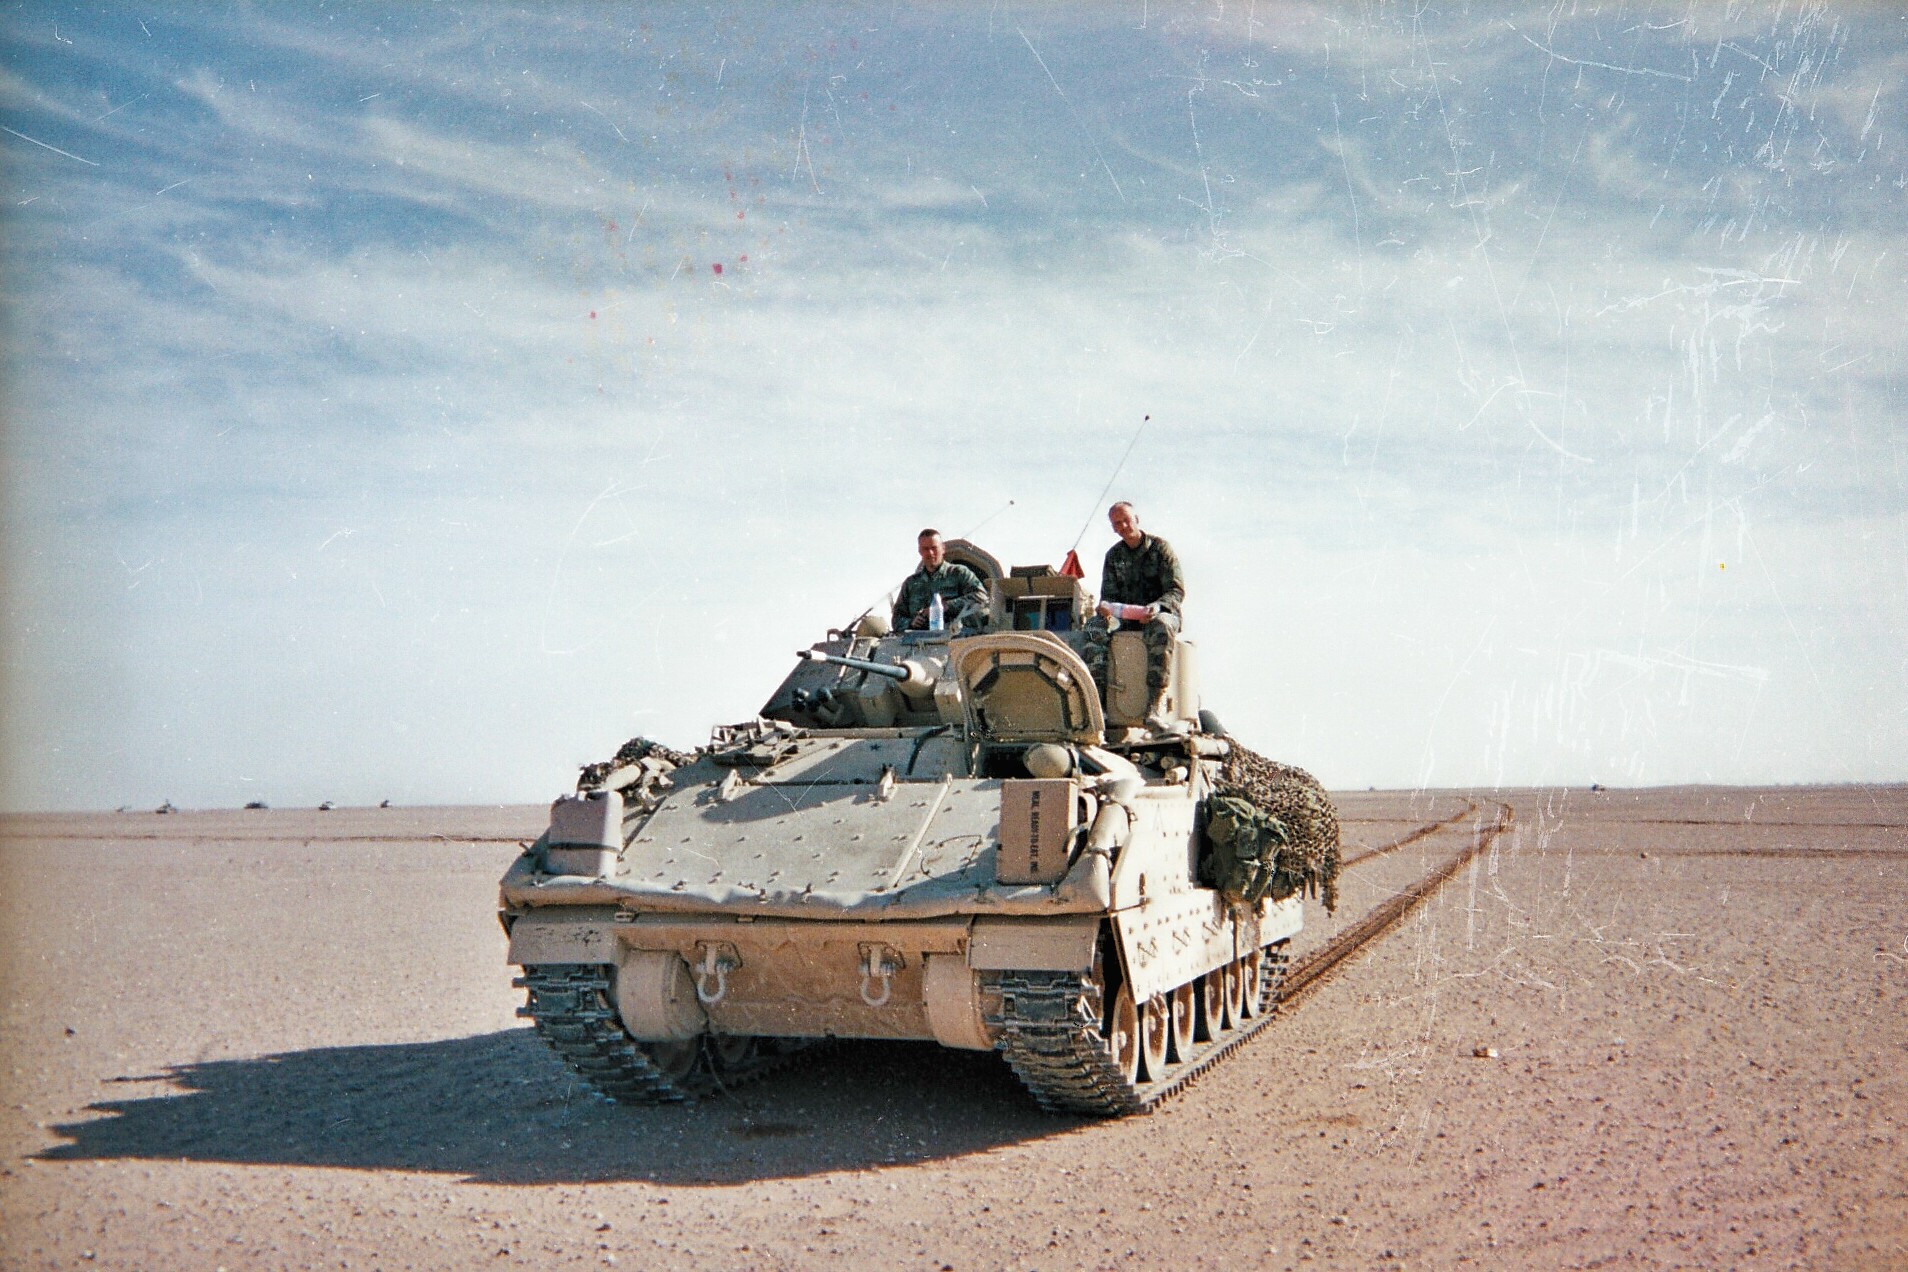
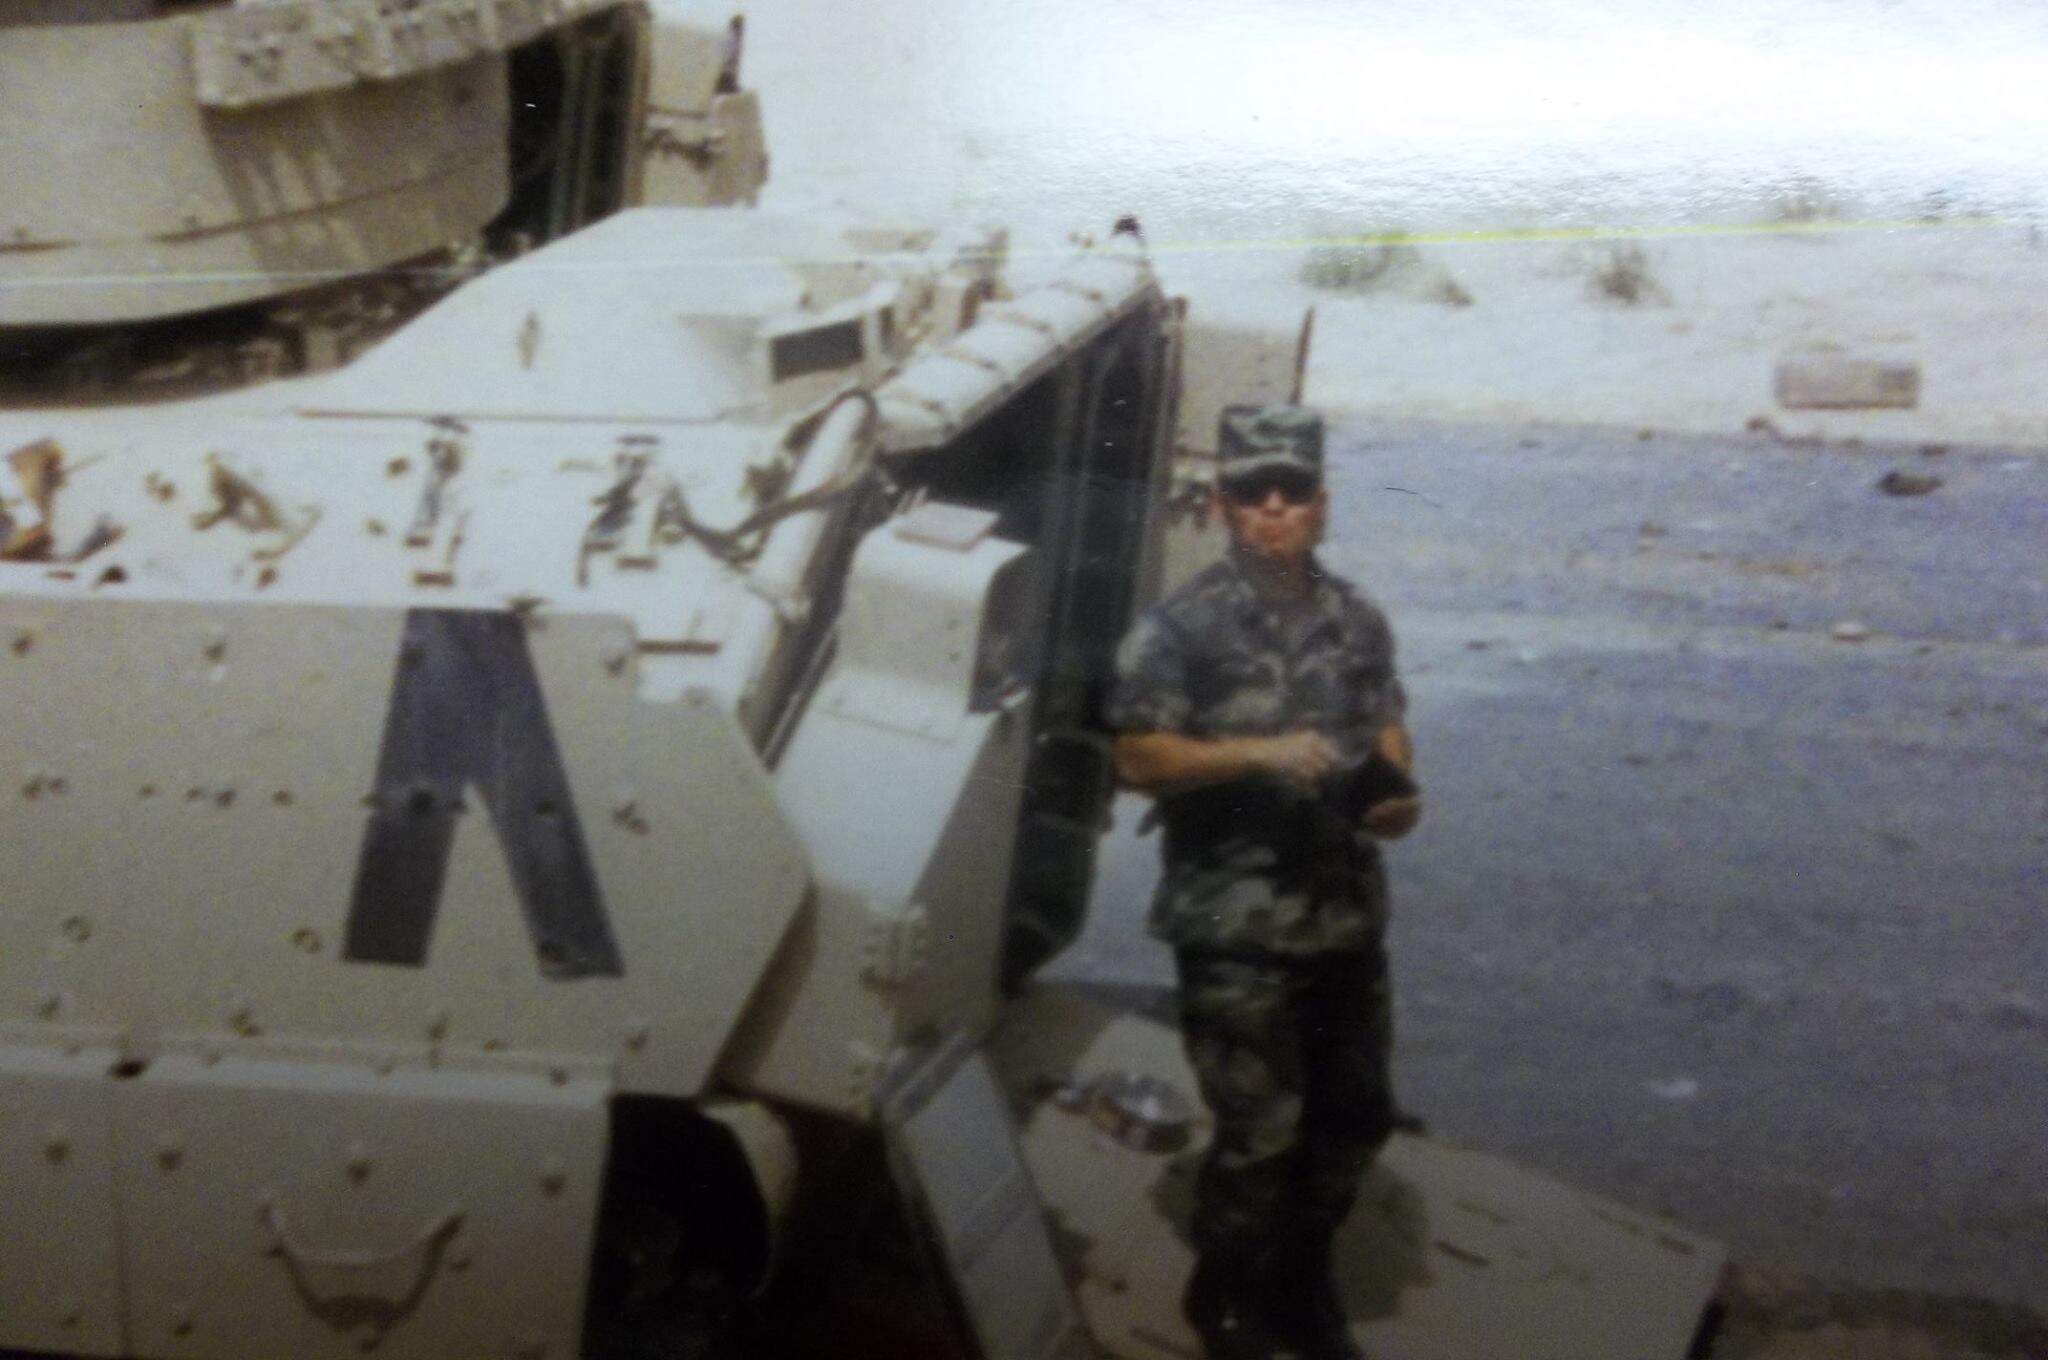
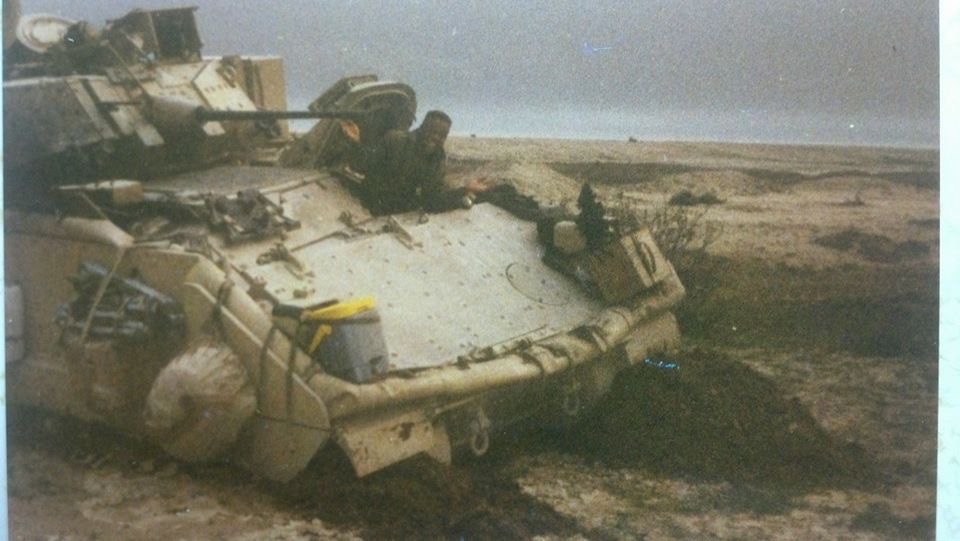
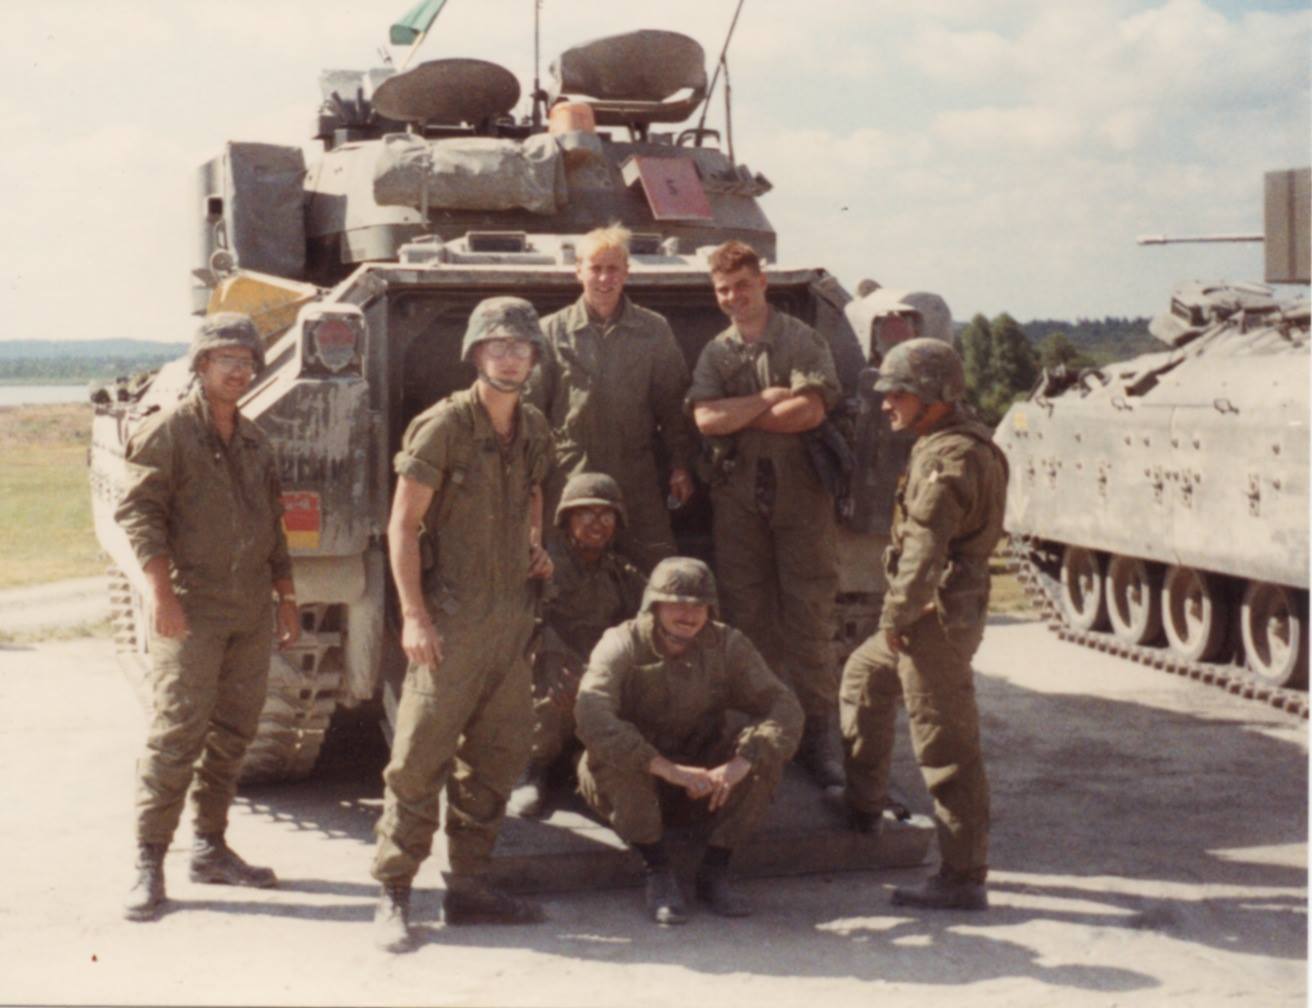
Hey all! I’ve had starts and fits with model building after I convinced myself that I would start again. And then things stopped for a solid few years! I’m gonna have another go and start where I left off with a build that should have been done by now. I am building Tamiya’s old M2 Bradley into an M3 IP/A1 which is what I served on as a scout in the 2nd Armored Cavalry Regiment, toward the end of Iron Curtain coming down, and prior to deploying to Desert Storm. While I’m not on the level as more experienced modelers on this forum, I’m doing this primarily for the fun of it and learning new techniques and not necessarily aiming for 100% accuracy.
For reference, I am going mainly off memory, so I might be a bit rusty. if you want to model a Bradley specific to the 2nd ACR - Bradleys in the 2nd ACR differed from M3A1’s in the 11th ACR. The turret bustle rack retained the forward slope on earlier M2’s and M3’s. Additionally, the smoke grenade stowage boxes on the front of the turret were replaced by two elongated rubber straps which were used to secure .50 cal ammunition boxes for the smoke grenades. The ammunition boxes for the smoke grenades were brown in color, with yellow stenciling.
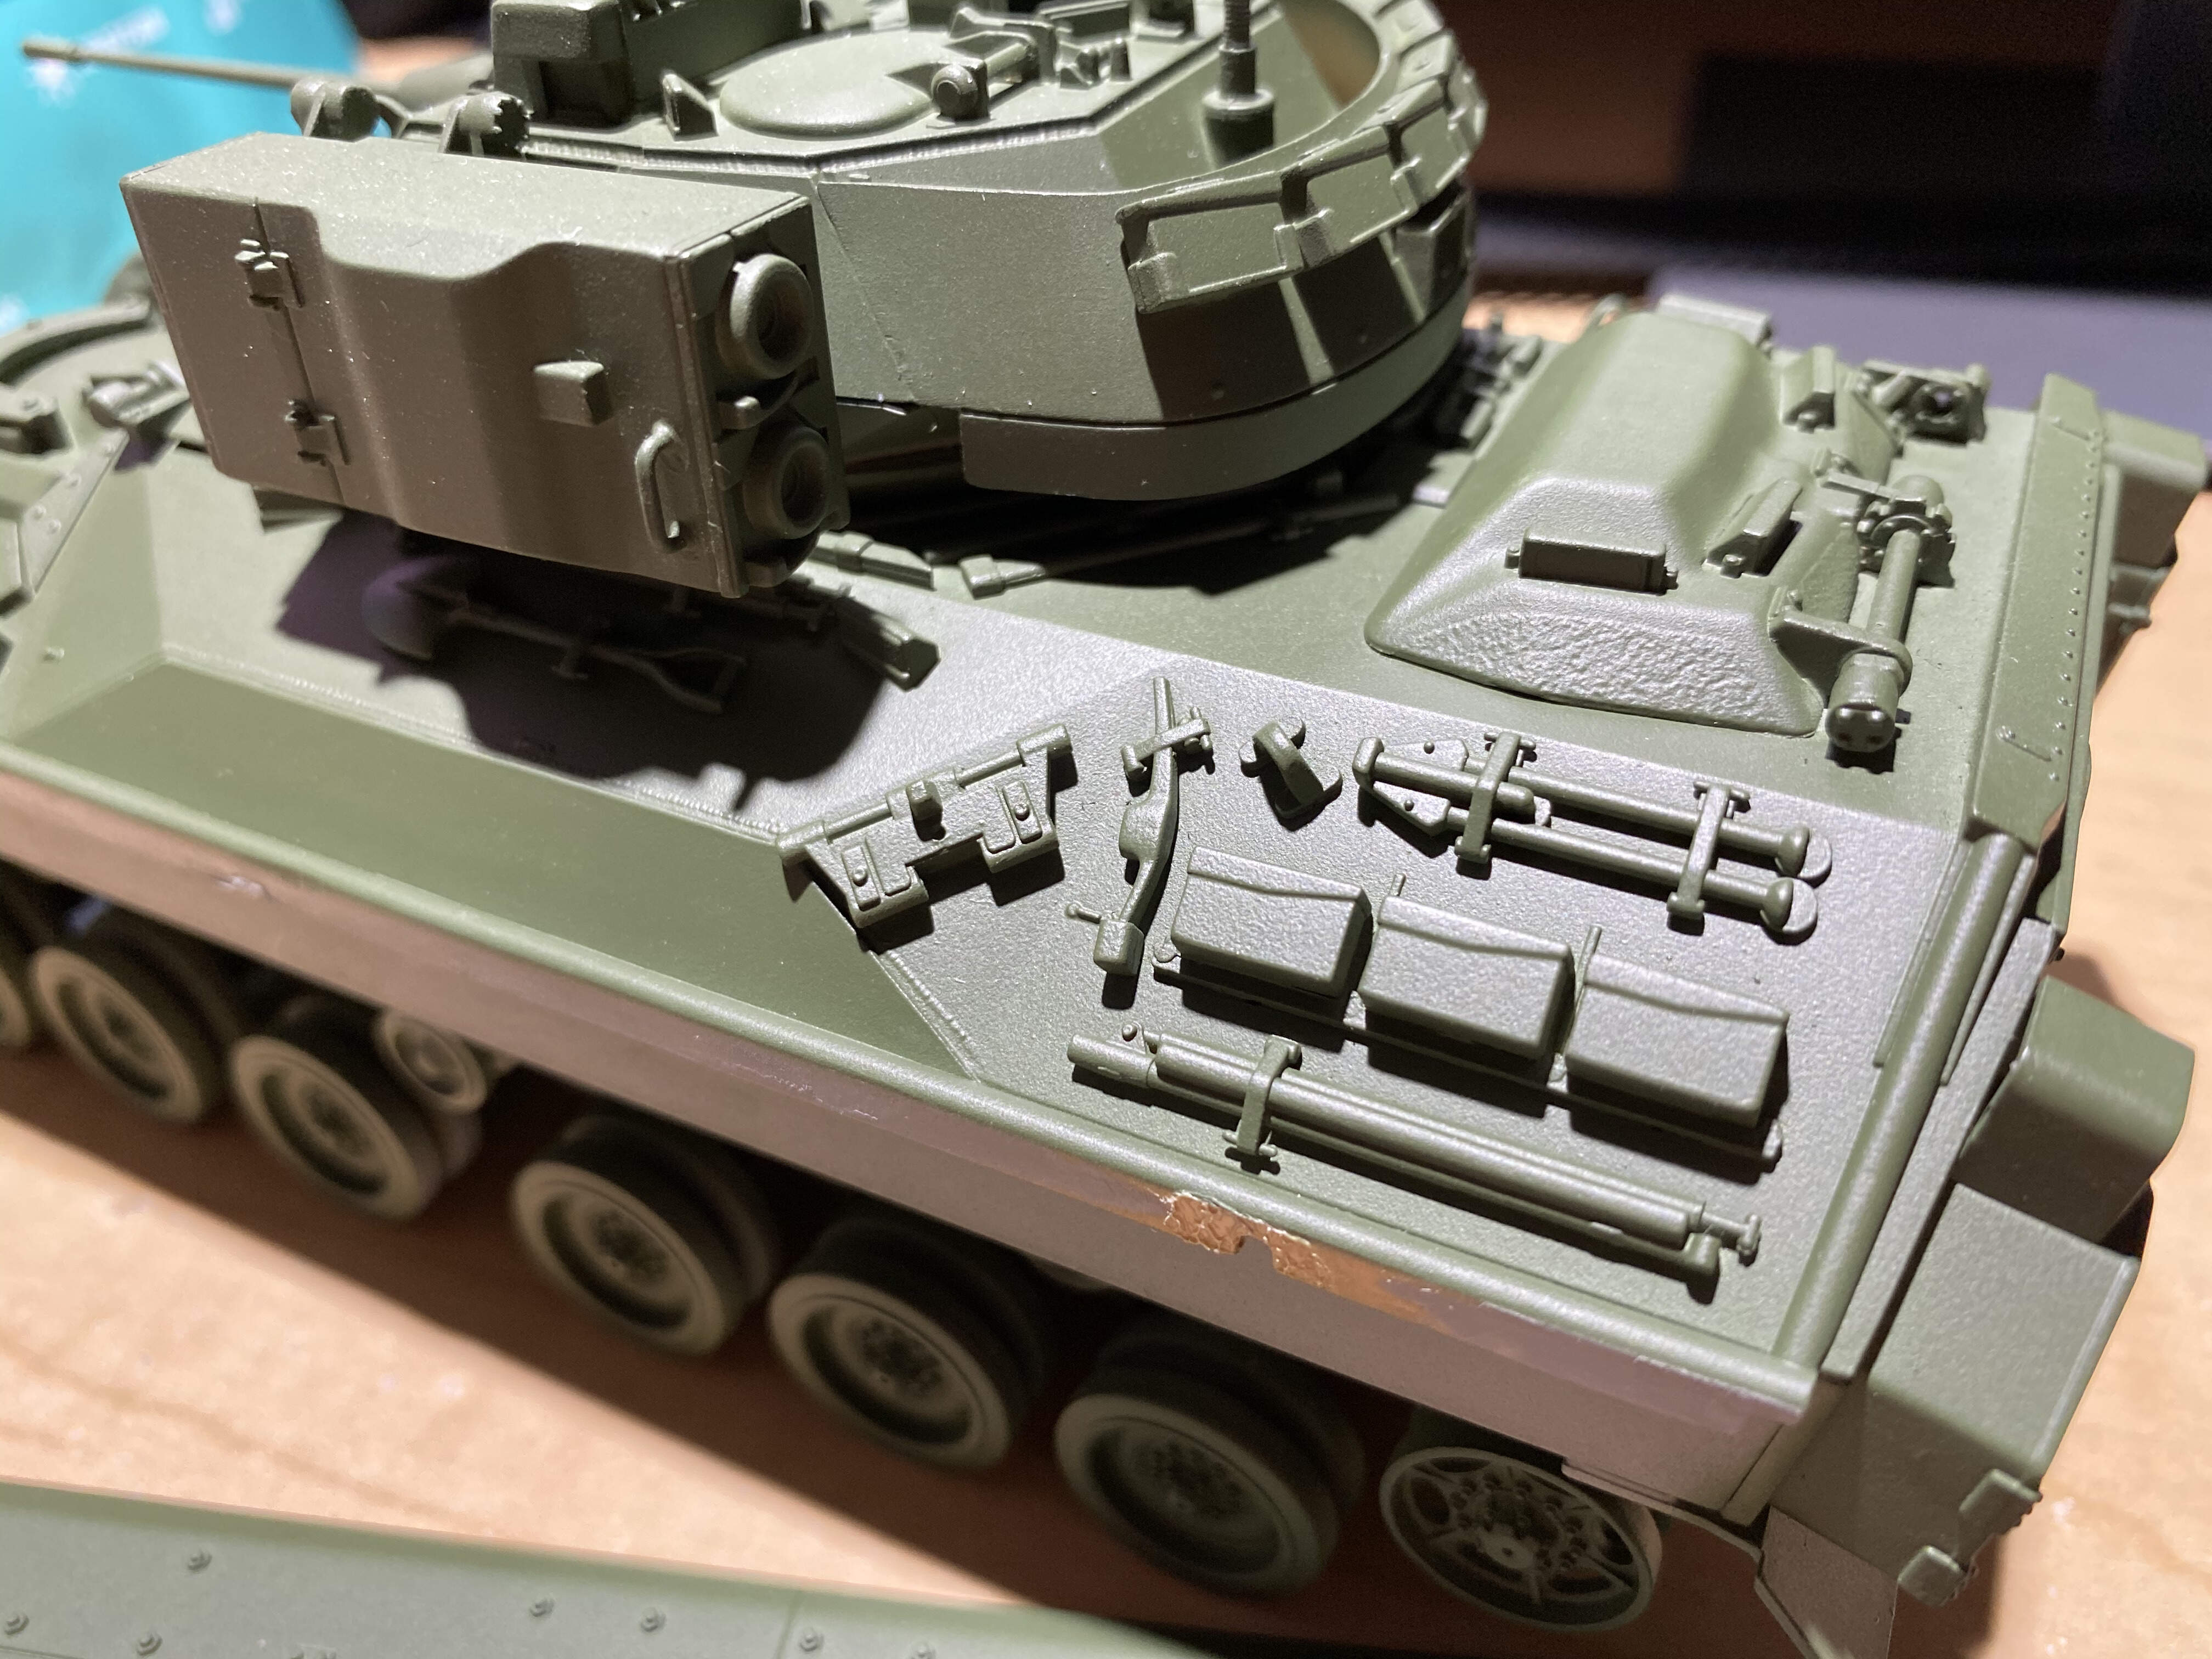
We also did not have the internal drinking water tank that was mounted to the inner roof of the crew compartment. Firing ports for the M231 FPW’s in the crew ramp were deleted as were the left and right-hand firing ports on the sides of the Bradley. In our version, they were covered over with additional armor plate.
Periscopes for the scout crew were deleted on the right hand side of the crew compartment but were retained on the left hand side, behind the driver and just before the loader’s hatch for the TOW launcher. The loaders hatch was the newer type with four periscopes integrated into the hatch (which Tamiya never bothered re-creating; the only fairly correct one I’ve seen is from Meng’s M3A3 or Orochi’s). The seats for the scouts were stored in a CONEX and rarely ever used for border camp rotations, gunnery at Grafenwoehr, or fighting the OPFOR at CMTC Hohenfels.
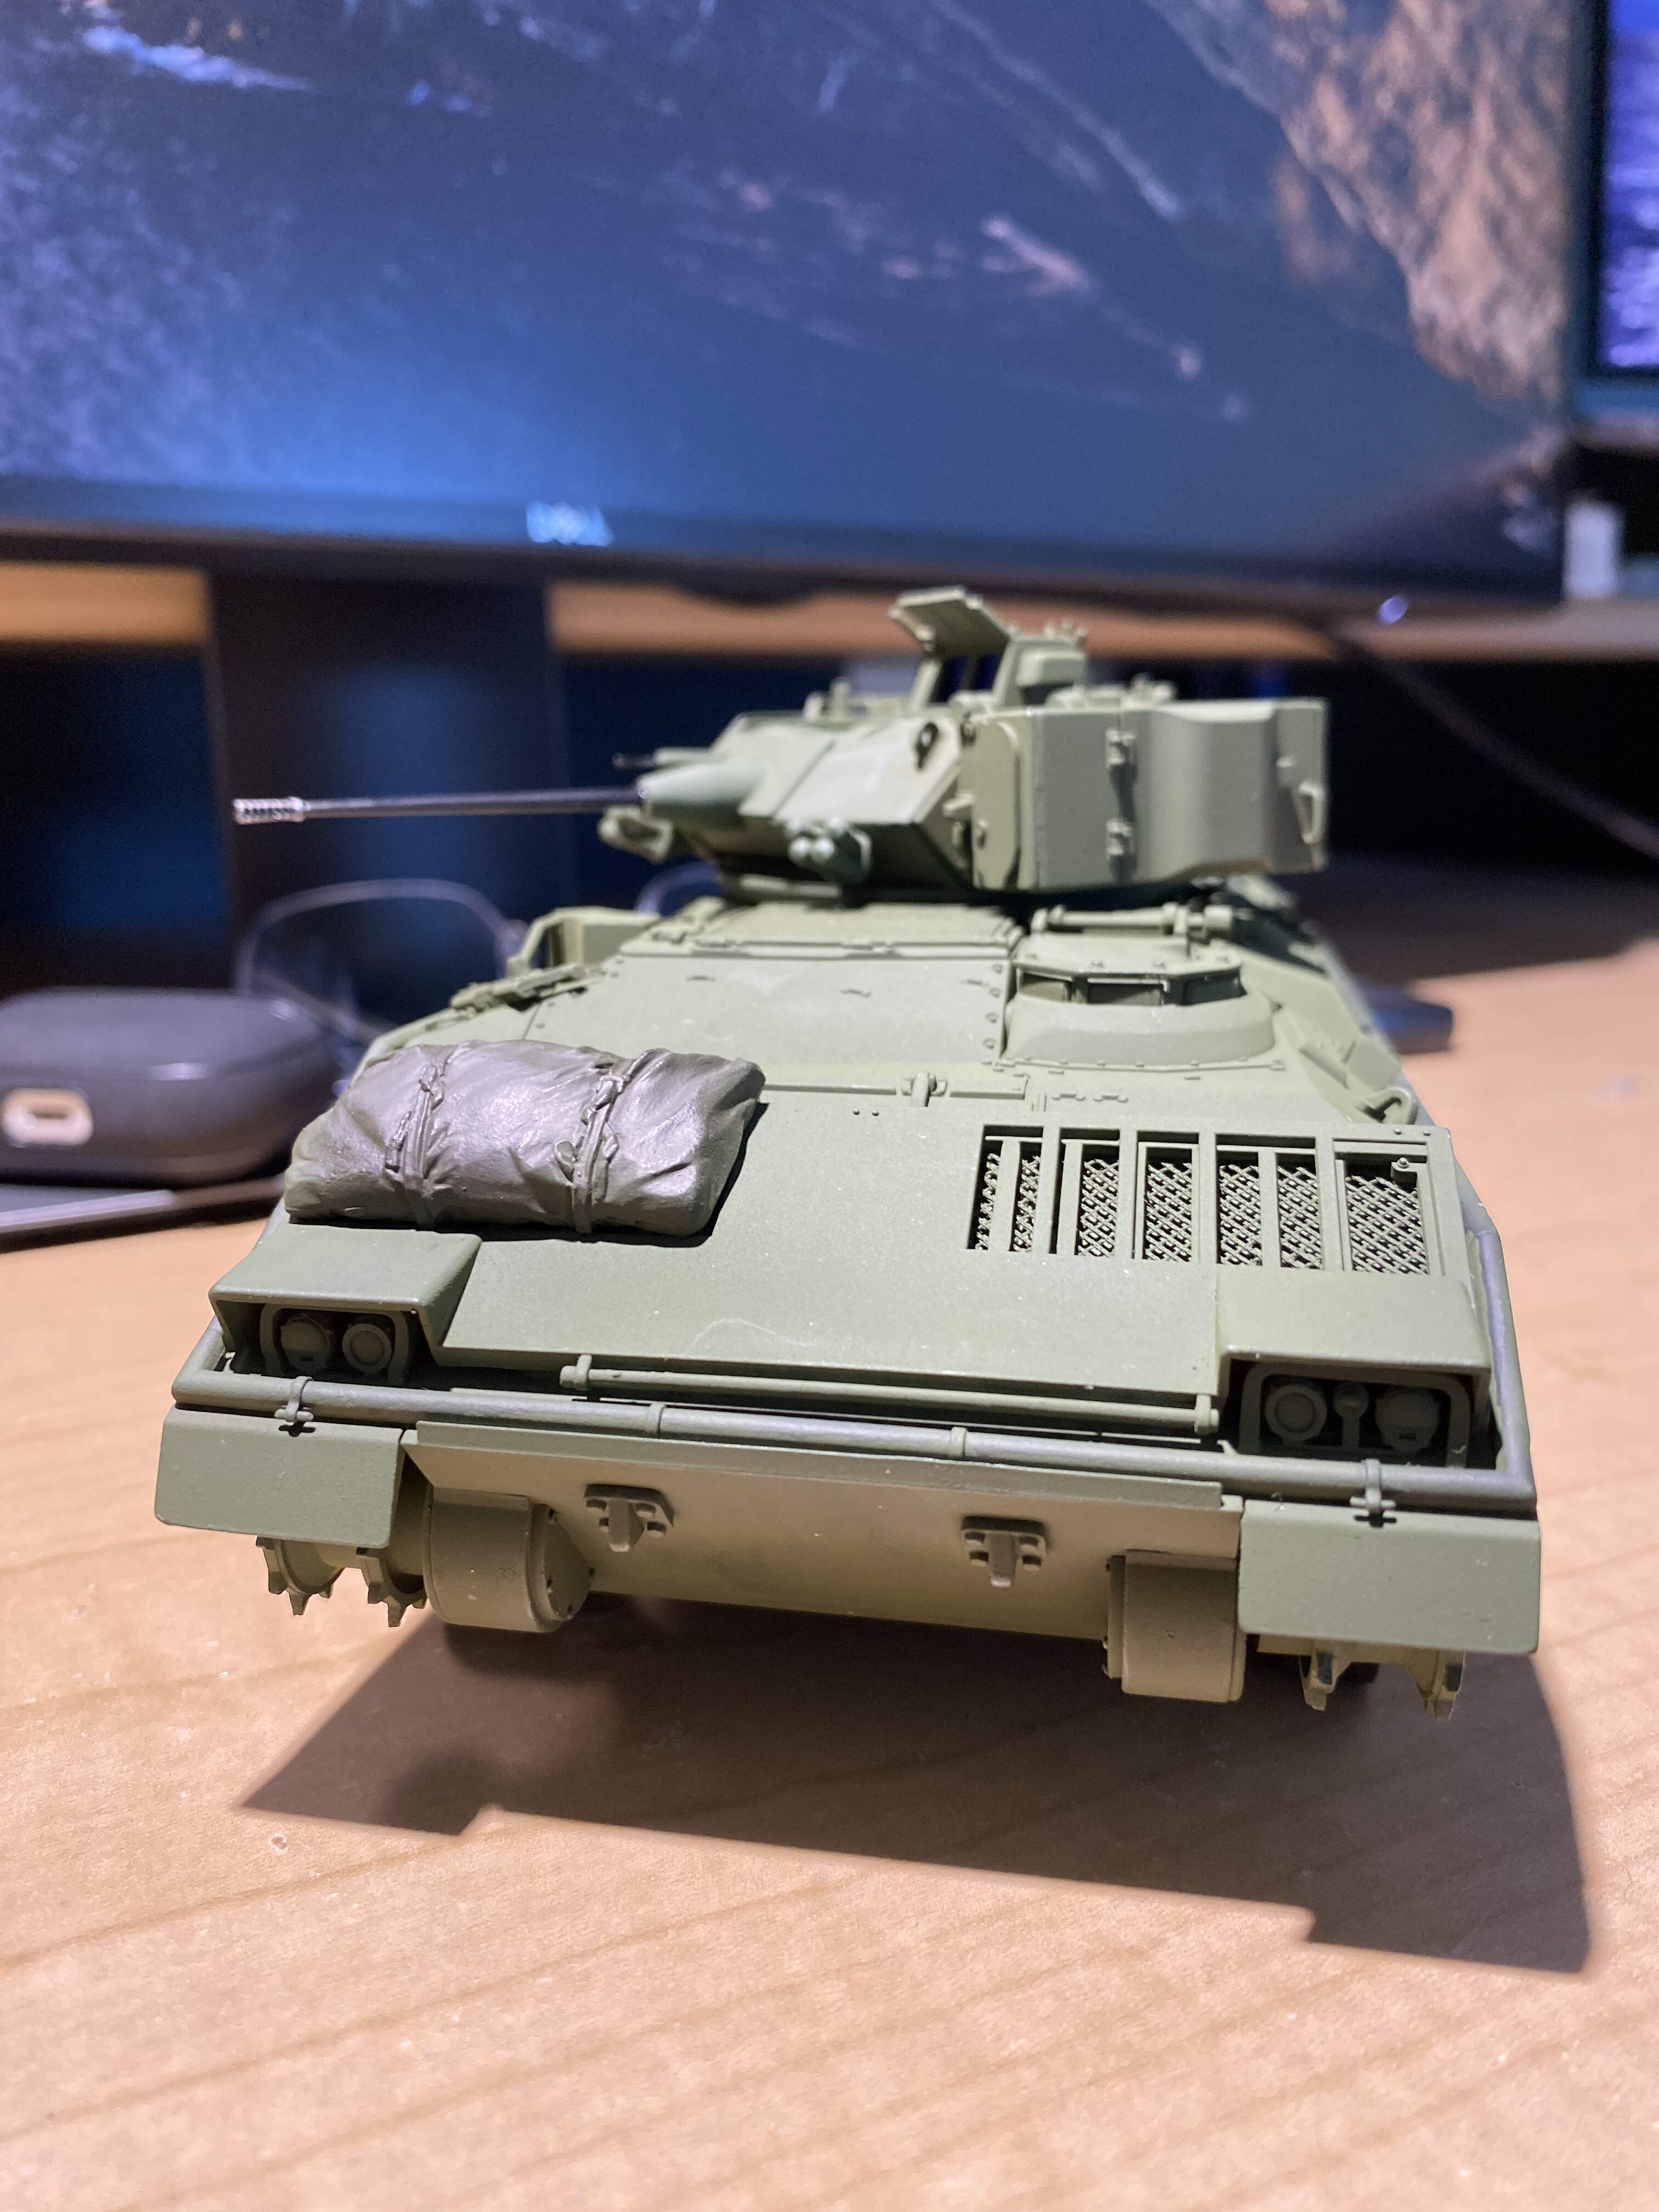
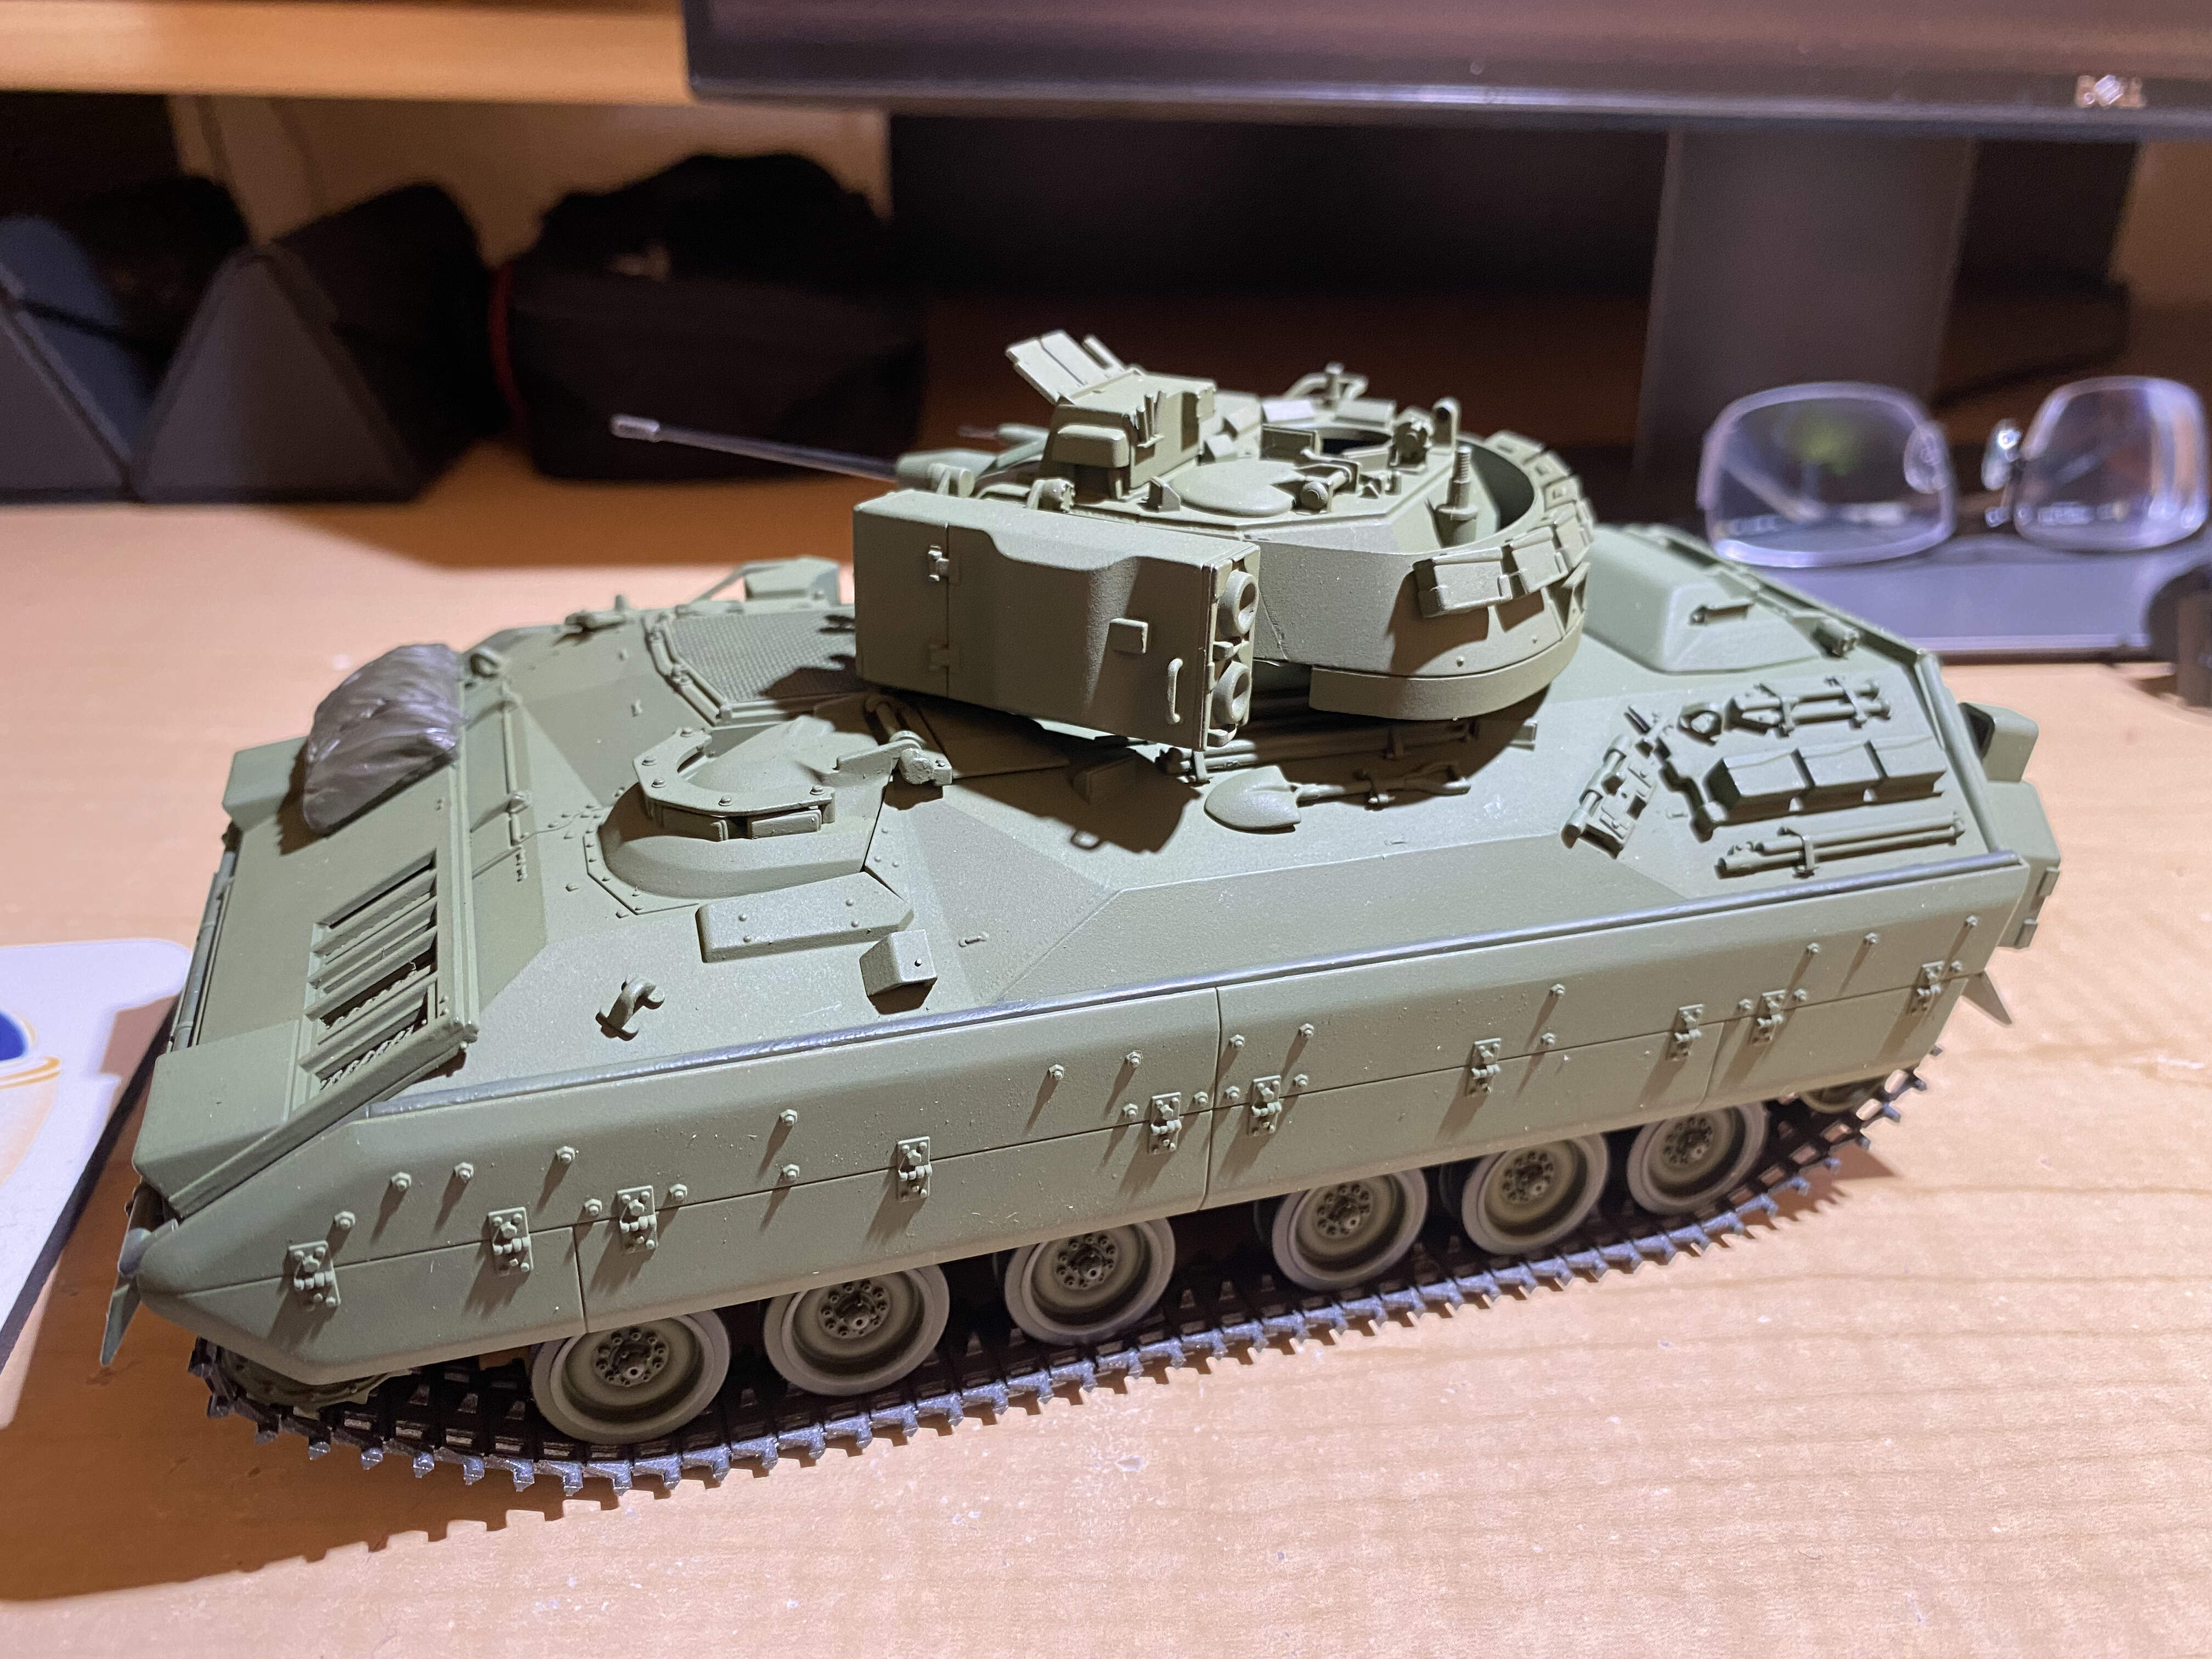
SOP’s for stowage and unit marking usually followed USAREUR and regimental commander’s discretion. Camo netting was stowed on the front right of the trim vane, with the bag that held the support poles and spreaders on the rear right top. Spare road wheels were bolted to the brush guard that covered the antenna matching unit on the right of the turret, next to the Bradley commander’s hatch. Safety strobes (“whoopee lights”) were usually mounted to the top of the left rear brake light/sponson or on the bustle rack, directly aft of the other antenna matching unit (bolted onto an upside down L-shaped bracket). Metal chock blocks were painted yellow and strapped (or thrown) to the upper hull, near the pickaxe and spare track section stowage on the left hand side.
USAREUR also dictated that red and yellow safety reflectors (found in Tamiya’s M2A2/M2A2 ODS kit) were placed on the left and right hand sponson boxes, respectively, and two stripes of yellow reflective tape (like an = sign) affixed to the left and right forward and topmost section of armor plate above the skirts. As for tactical markings, the regiment used a marking system (similar to what the Israelis developed, IIRC) for vehicles, with different number and chevron orientations to denote the specific line squadron on “Battle Boards” and when painted on hull sides or aft ramps.
For 2nd Squadron specifically a simple “2” would be Headquarters Troop , 21 would be Eagle Troop, 22 would be Fox Troop, 23 would be Golf Troop, and 24 for Hawk Company (organic tank company) on Abrams battle boards. 25 would be for our Howitzer Battery IIRC. These numbers were usually painted with a really large stencil on the aft crew ramp for Bradleys. Each platoon had a smaller number on the hull sides of the Bradleys, 1 with no chevron was a headquarters platoon vehicle (such as an M577 or 4-Deuce Mortar Carrier). Upward chevron denoted first platoon, leftward chevron - 2nd Platoon, downward chevron - 3rd Platoon, rightward chevron - 4th Platoon.
I tried to attach a few photos but it appears I’m so new that I’m not permitted to currently do so. I hope to hear from the rest of the community! Any feedback is welcome and appreciated! Thanks!