well I did build that 105, and seemed like it was pretty good for it’s time. Remember their Sherman tank?
glt
1 Like
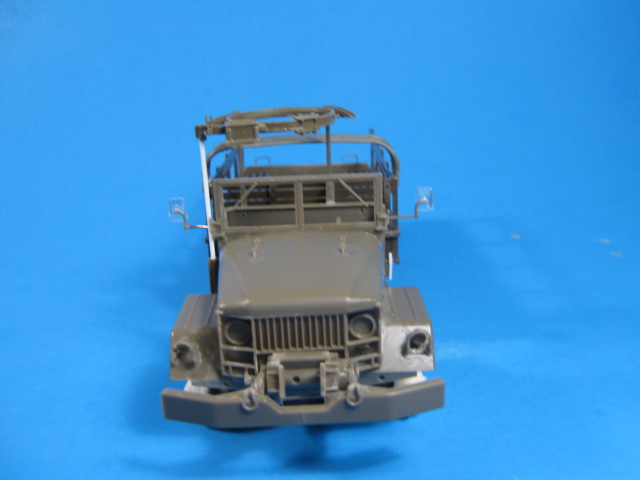
For the standardized M-series of trucks, the positioning of the headlights was based on whether the truck was equipped with a winch (headlights up), or not (headlights down). Of course, having a common mounting plate, anything could happen once fielded, right?
1 Like
Good thing I added the winch then. ![]()
1 Like
Yeah, the low-mount beams wouldn’t project much with that winch assembly sitting in the way. Good morning Gino!
2 Likes
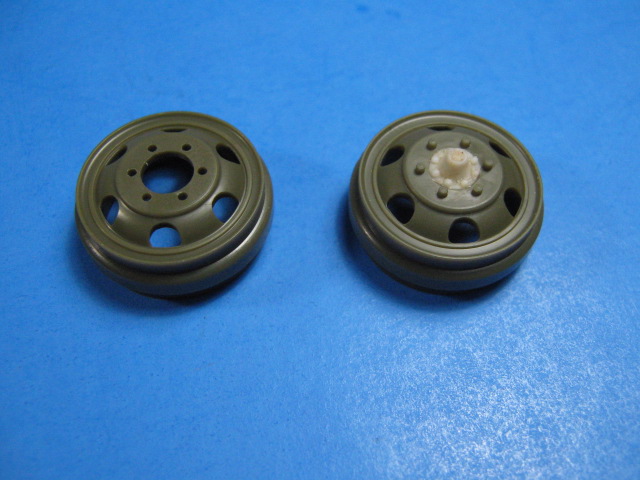
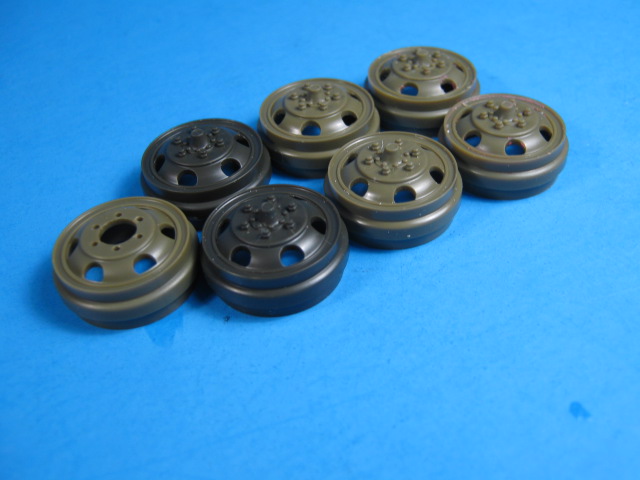
Here are the new and improved (correct) wheels. I took the kit front wheels and made an RTV mold of their front side. I then made resin copies of the centers and sanded them to fit the holes in the wheels. I took the rear outer wheels and flipped them. On the inside face, they have six pins that fit into holes on the inner wheels to align the double wheels on the rear. By turning them around and adding the center caps, they are identical to the kit front wheels.
Here they are. The two on the left are the kit ones and four on the right are my conversions.

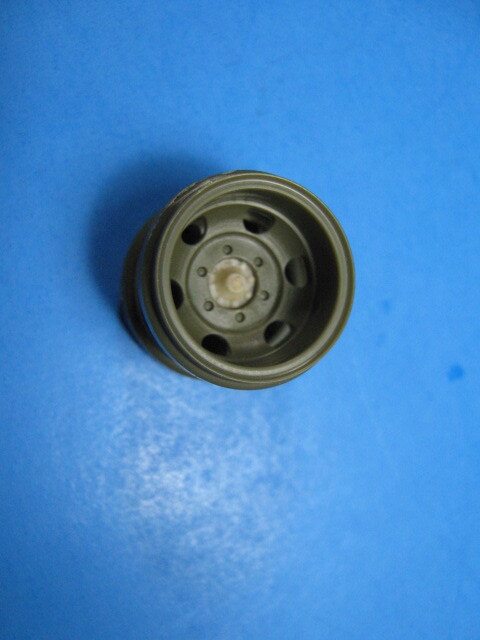
Inner and outer wheels and how they are supposed to go together.
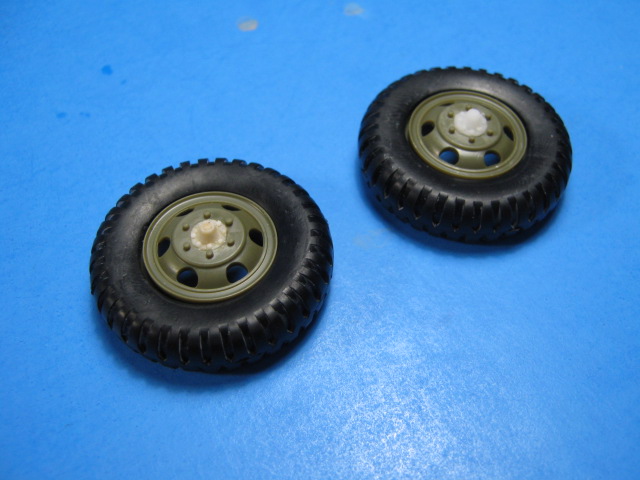
These are the AFV Club M59 Long Tom howitzer tires added to my updated wheels. They fit perfectly with a little sanding of the center rib around the outside of the wheel.
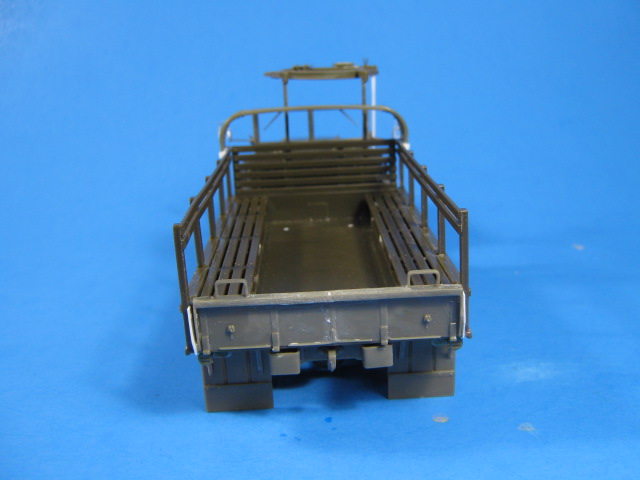
Here they are temporarily in place on the truck.
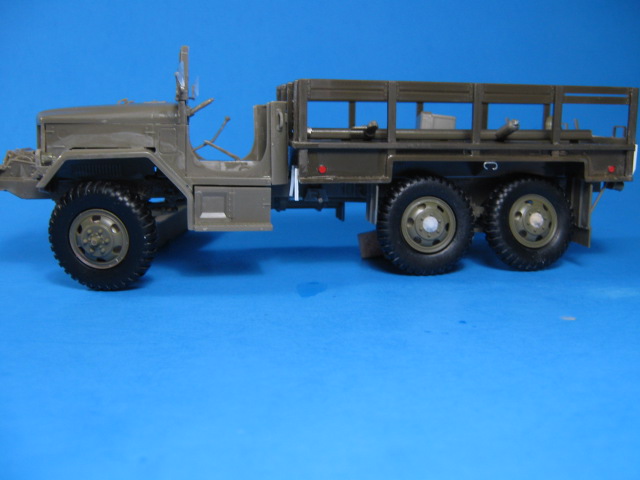
They look pretty good to me.
12 Likes
Nicely done! ![]()
—mike
1 Like
Thanks Mike. I like how it is coming along.
2 Likes
OK, getting a little nit-picky here, but I know you have high standards. Your converted rear wheels just have pins where the lug nuts are, but the front wheels have actual molded lug nuts on them, and you can see the difference.
I will crawl back under my rock now.
Ken
2 Likes

Or he could just use some old bolt heads that he shaved off some other model and saved for 26 years.
Ken
1 Like
I know. I see them too and have been considering replacing them. ![]()
1 Like
I absolutely forgot about this thread.
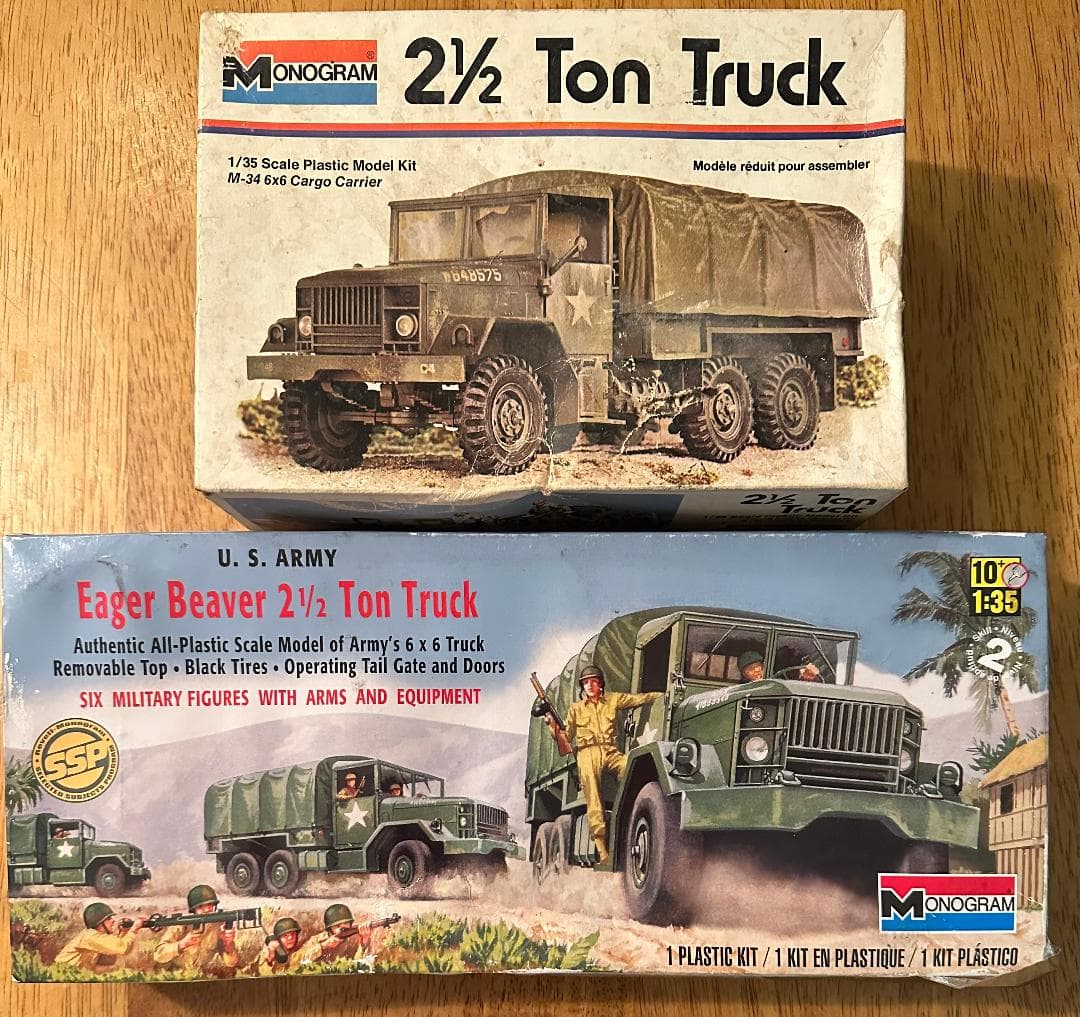
I decided back then to do the M34 with the combat wheels. I have an assload of Monogram half tracks to go along with the Monogram M34’s. The half track wheels are combat wheels.
Love those old Monogram kits!
4 Likes
Another heavy truck conversion that you have the secret. ![]()
Impressive work ! ![]()
2 Likes
Thanks. I do seem to have developed quite a penchant for truck models as of late. I have a few more planned as well.
2 Likes
As always looking good.
Cheers,
Ralph
1 Like
Thanks Ralph. I hope to get back to work on it soon. I’m still waiting for a couple shipments. I was able to source 4 more front wheels, so they will all look exactly the same.
2 Likes
The four additional front wheels came in, thanks Wayne. They look great, much better than my compromises. I now have the correct wheels and tires.
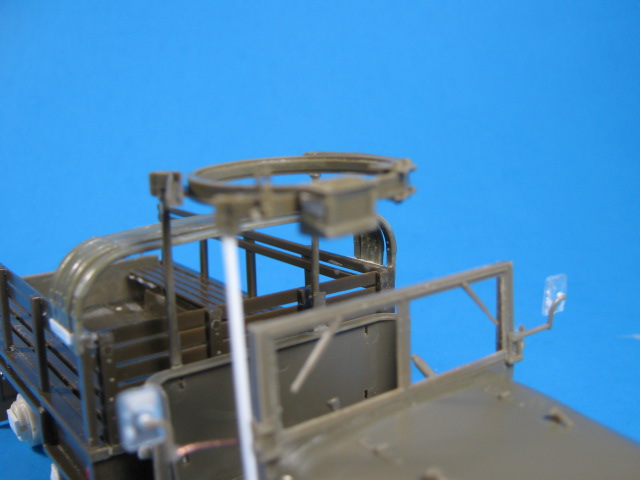
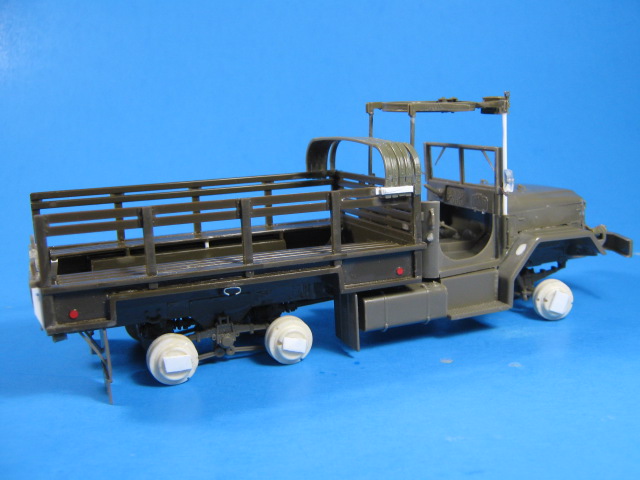
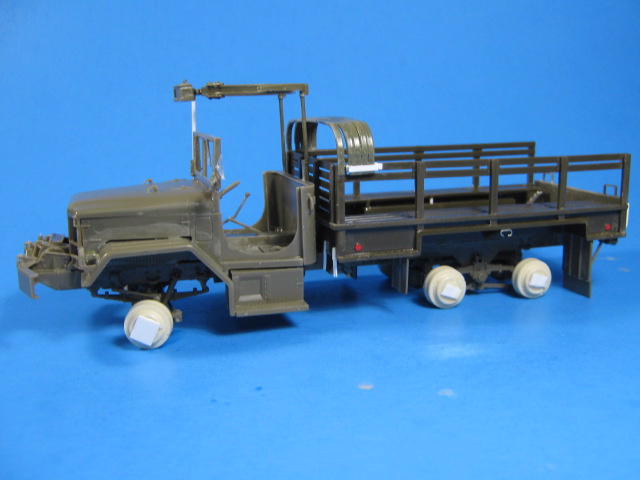
I also received the Tamiya CCKW Accessory Set with the WWII gun ring and installed it. As you can see, I had to lengthen the one front support pole with styrene rod of the same diameter.
I also added the bows from the AFV Club M54 “Eve of Destruction” guntruck kit. They are extra in it. I narrowed their width by 2mm to make them fit better. I also scratched the bracket for them to store in from sheet styrene.
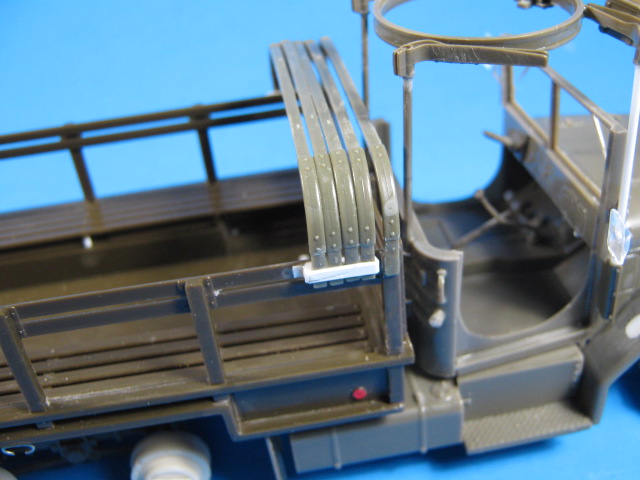
Here it is overall so far. I hope to get some paint on it this weekend.
9 Likes
Glad I could help. I have a couple of the old kits unbuilt and one that was one of my first builds years ago. Wayne
1 Like
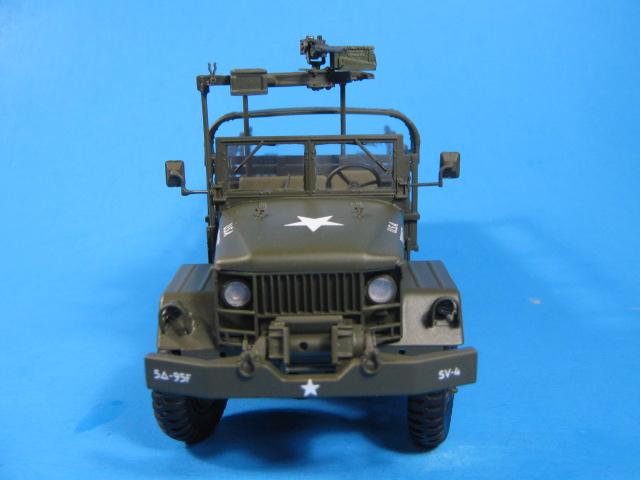
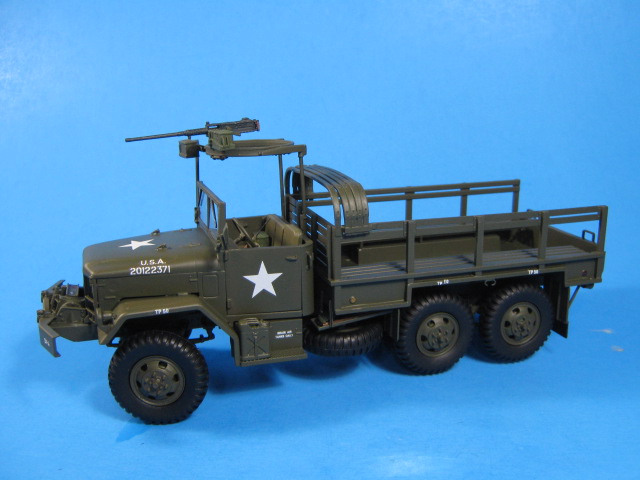
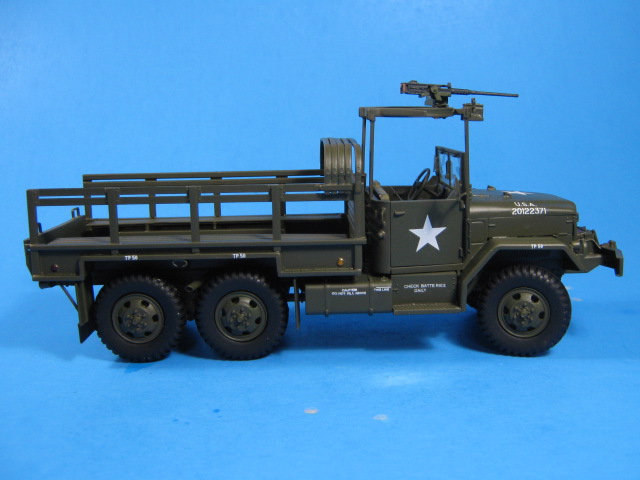
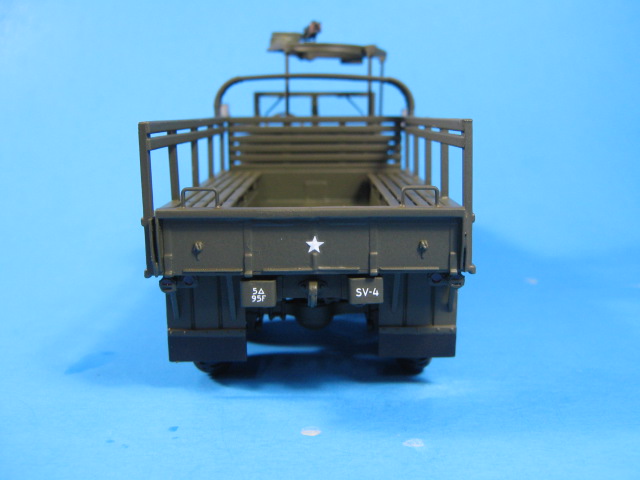
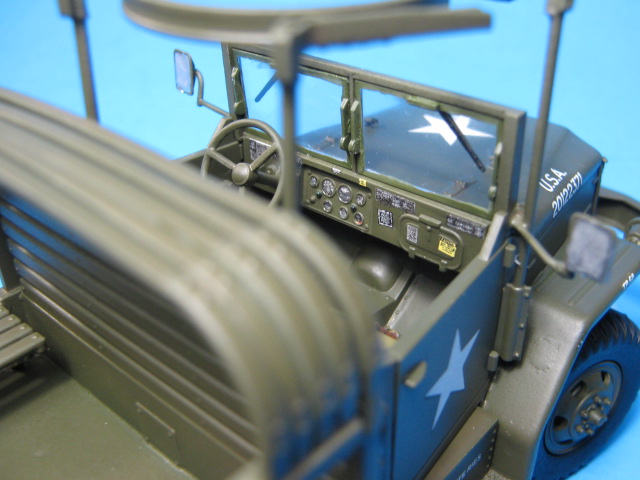
Over the weekend and the last couple of days, I got the truck painted, decaled, and started detailing.
I painted it in Tamiya TS-5 Olive Drab spray, which represent the darker post-WWII OD Green well. I used decals from the AFV Club M35A1 Nancy Guntruck for general stencils and stars and the Tamiya jeep decals for bumper numbers and USA numbers.
Here it is so far.
On the cab interior, I used Archer’s M35 interior decals.
I added an M14 with sling and some .50cal ammo cans to the cab, one on the seat and three under it.
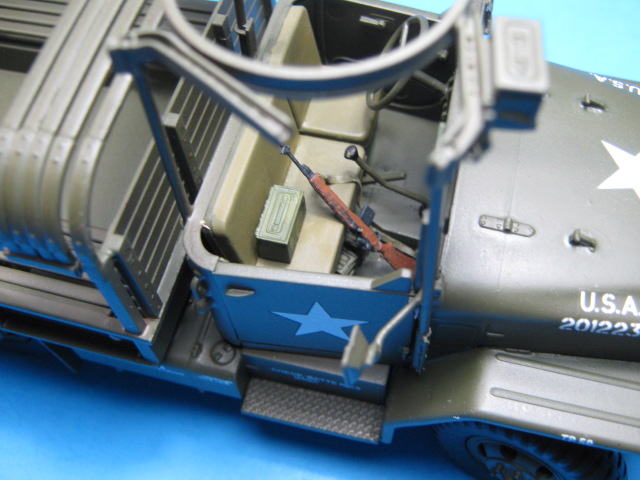
Next up is some weathering and possibly a load in back. I still need to add line and a hook to the front winch, paint the strap on the jerry can too.
14 Likes
Looks really damn good. Outstanding job. ![]()
2 Likes