Looks fantastic! ![]()
Wondering… Is the Tamiya TS-5 Olive Drab Spray a semi-gloss?
—mike
Looks fantastic! ![]()
Wondering… Is the Tamiya TS-5 Olive Drab Spray a semi-gloss?
—mike
Very good. It seems there is a minor fit issue with the left mudguard.
How are stored tarp bows on your built ?
Thanks gents. I like how it is turning out.
It looked pretty flat out of the can. It doesn’t really matter though. I sprayed it overall gloss for the decals, then an onverall flat coat to seal them, so it is dead flat in the end.
I don’t see an issue with the mudguard. It is square and in the right place, proper spacing from the wheels. It may just be the angle of the photo.
I am not sure what you are asking about the bows. They slide into a holder that is on the sides of the wooden rails near the front when not in use.
Yes this is what i was wondering about bows. Thank you.
Sorry for the wrong perception of the mudguard position.
No problem. Glad I answered your question about the bows.
Gino, another really outstanding kitbash. You truly have a remarkable talent with re-working styrene. I would swear that this was a single kit, but I guess that’s what you’re after. A beautiful finish and excellent detailing all around - love the dashboard markings. Brilliant model.
Thank’s for the reply. That answers my question. And again, It looks absolutely fantastic!
—mike
Thanks Matt and Mike. That you can’t tell it isn’t a kit is what I am after…success.
The photo gives the impression that the gap between the fender and the side of the hood is wider at the front:
The gap also seems to be larger on the left than on the right side
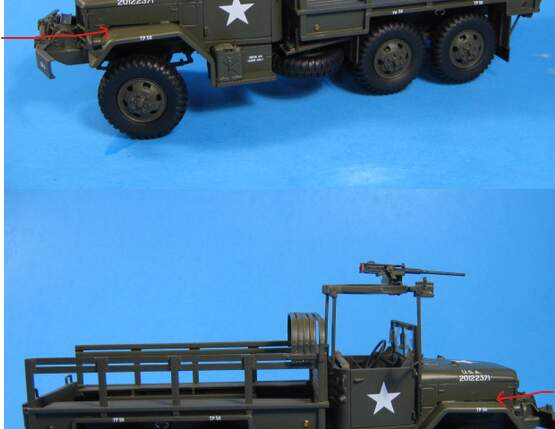
Ah, ok. I thought he was talking about one of the rear mudguards. That is the front fender. Yup, the hood area didn’t fit well. Too late to fix now, so be it. Maybe the truck had a minor fender bender in the past.
No chance of any stowage on the fender?
Someone sitting on the fender to block off the front end of the gap?
Possibly. Also, in person, without blowing up a close-up pic, you don’t really notice it anyways.
The M34 is complete. I added the cable from ship line (dipped in gunmetal paint) and a chain/hook (from an Academy set) onto the front winch. I also added various generic crates, bags and a couple duffel bags in the back for cargo. I marked the crates with generic US Army stenciling and other numbers and labels for some color and variety. I also added chains and pins to the rear tailgate. Lastly, I dry-brushed it in various earth brown and dusty brown tones.
Here it is overall.
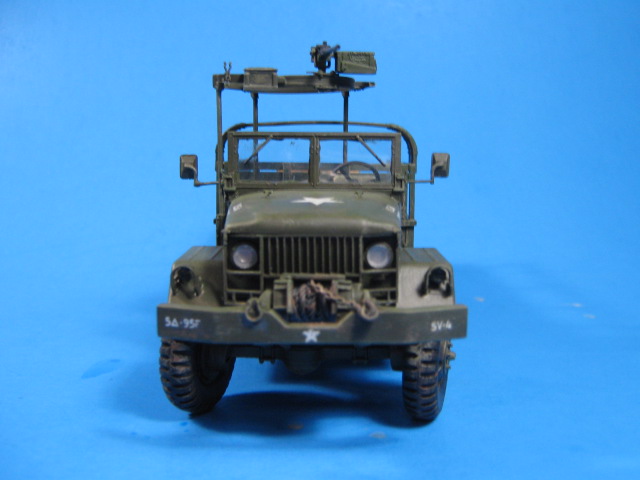
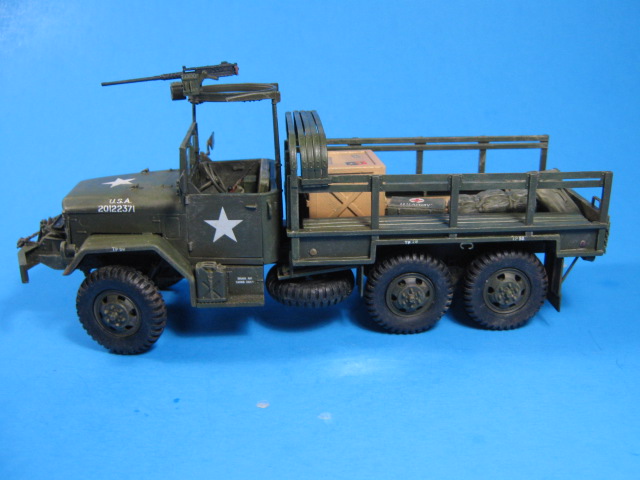
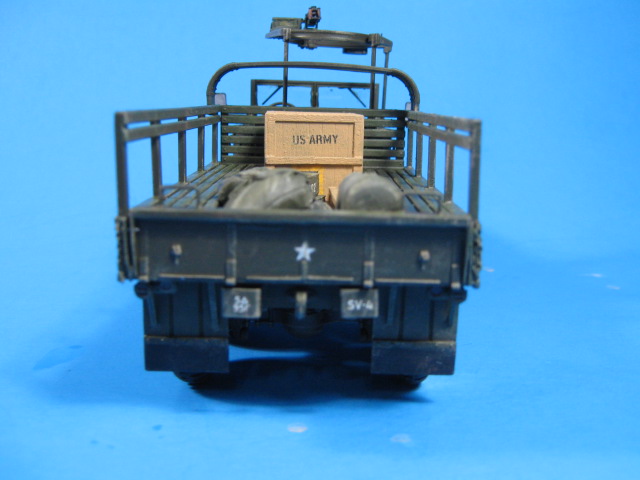
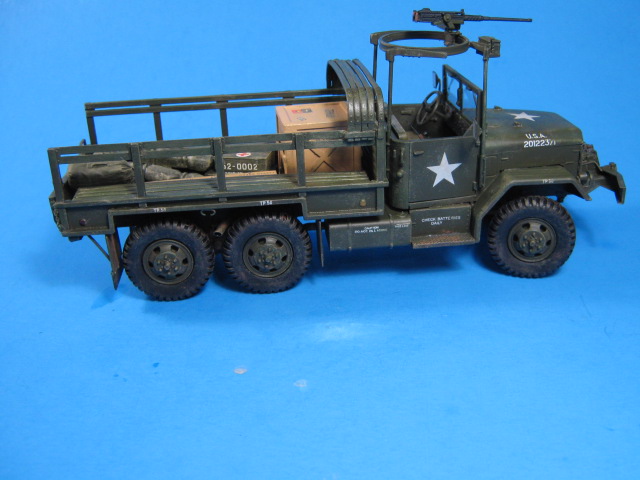
And the cargo.
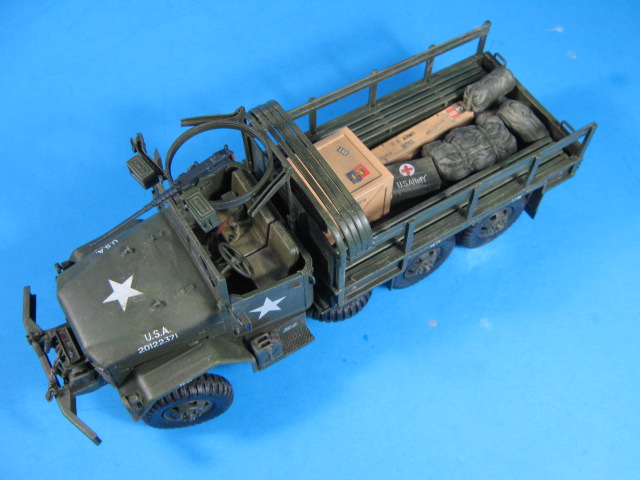
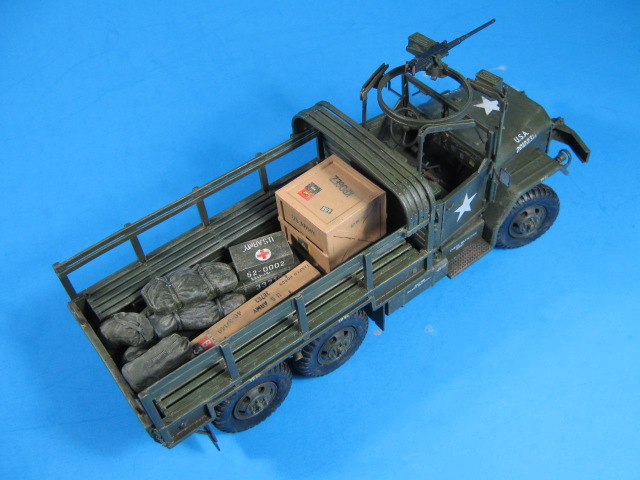
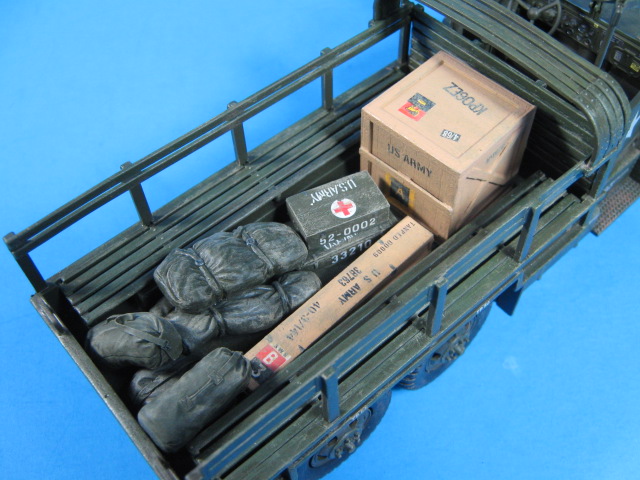
I really like how it turned out. The Revell bed is not bad at all and can be brought up to current standards with a little bit of work. Mated to the AFV Club frame and cab, and larger tires really brings this one to life. I think it makes a very nice M34.
I have another Revell M34 kit and plan to use it to build an M50 water truck in the future.
Excellent work! Are you going to post it in the Convoy campaign?
Thanks Tom. It was a fun build. Posted in the “Convoy!” thread.
The conversion looks great.
Cheers,
Ralph
Nice build ,I have a question was the M34 used in Vietnam as a transport truck?
Thanks Ralph. It was a fun build.
Thanks Oliver. As far as I know, no. They were all replaced by M35s by that time.
Question for the truck experts: What are the differences between the M34, M35, and M36 trucks?
Ken