I’ve decided to add another vehicle to my “MASSTER” collection, which is a series of vehicles representing the vehicles of various types which were in my first unit, Bravo Battery, 1st Bn. 2nd FA, in Germany during the period 1972-1975. (I’m going to start another “MASSTER” thread and post pictures of the others separately).
Previously I did our Battery Mess Truck, which was a mobile kitchen mounted in a plywood shelter on the back of an M35 Deuce and a half, and I’ve decided I’m going to make the Battery Maintenance truck, which was also a plywood shelter mounted on the back of an M35.
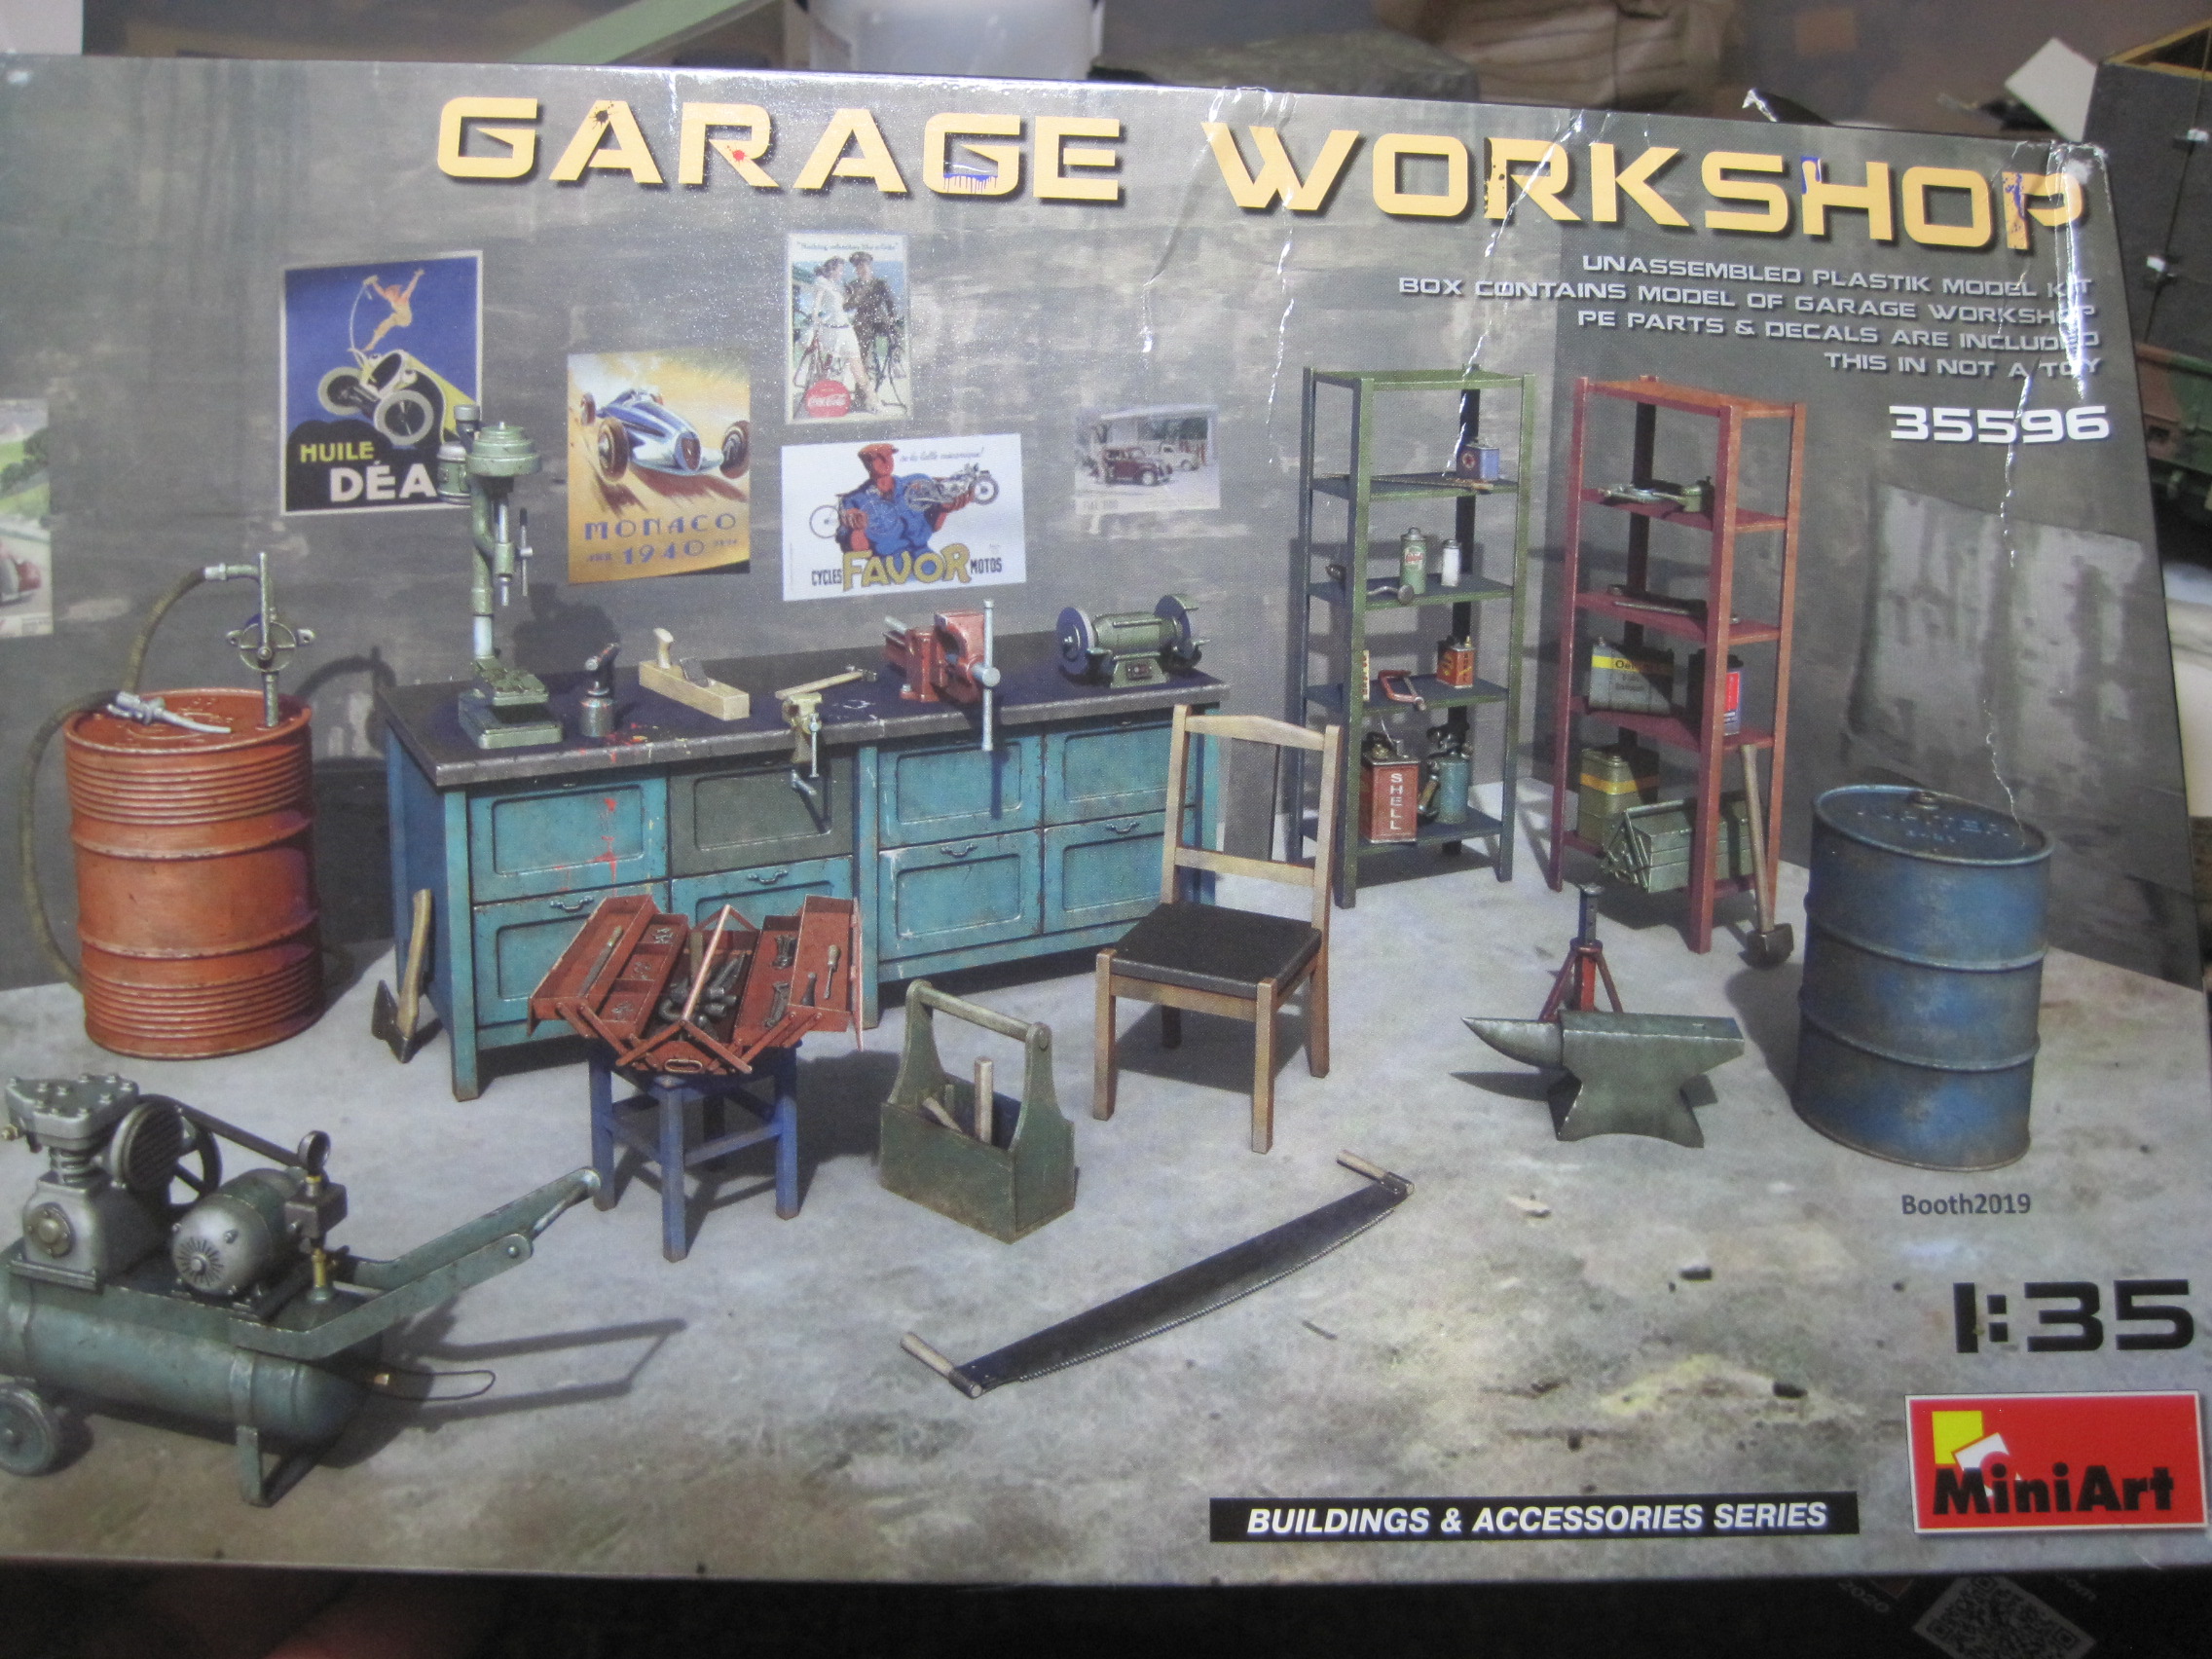
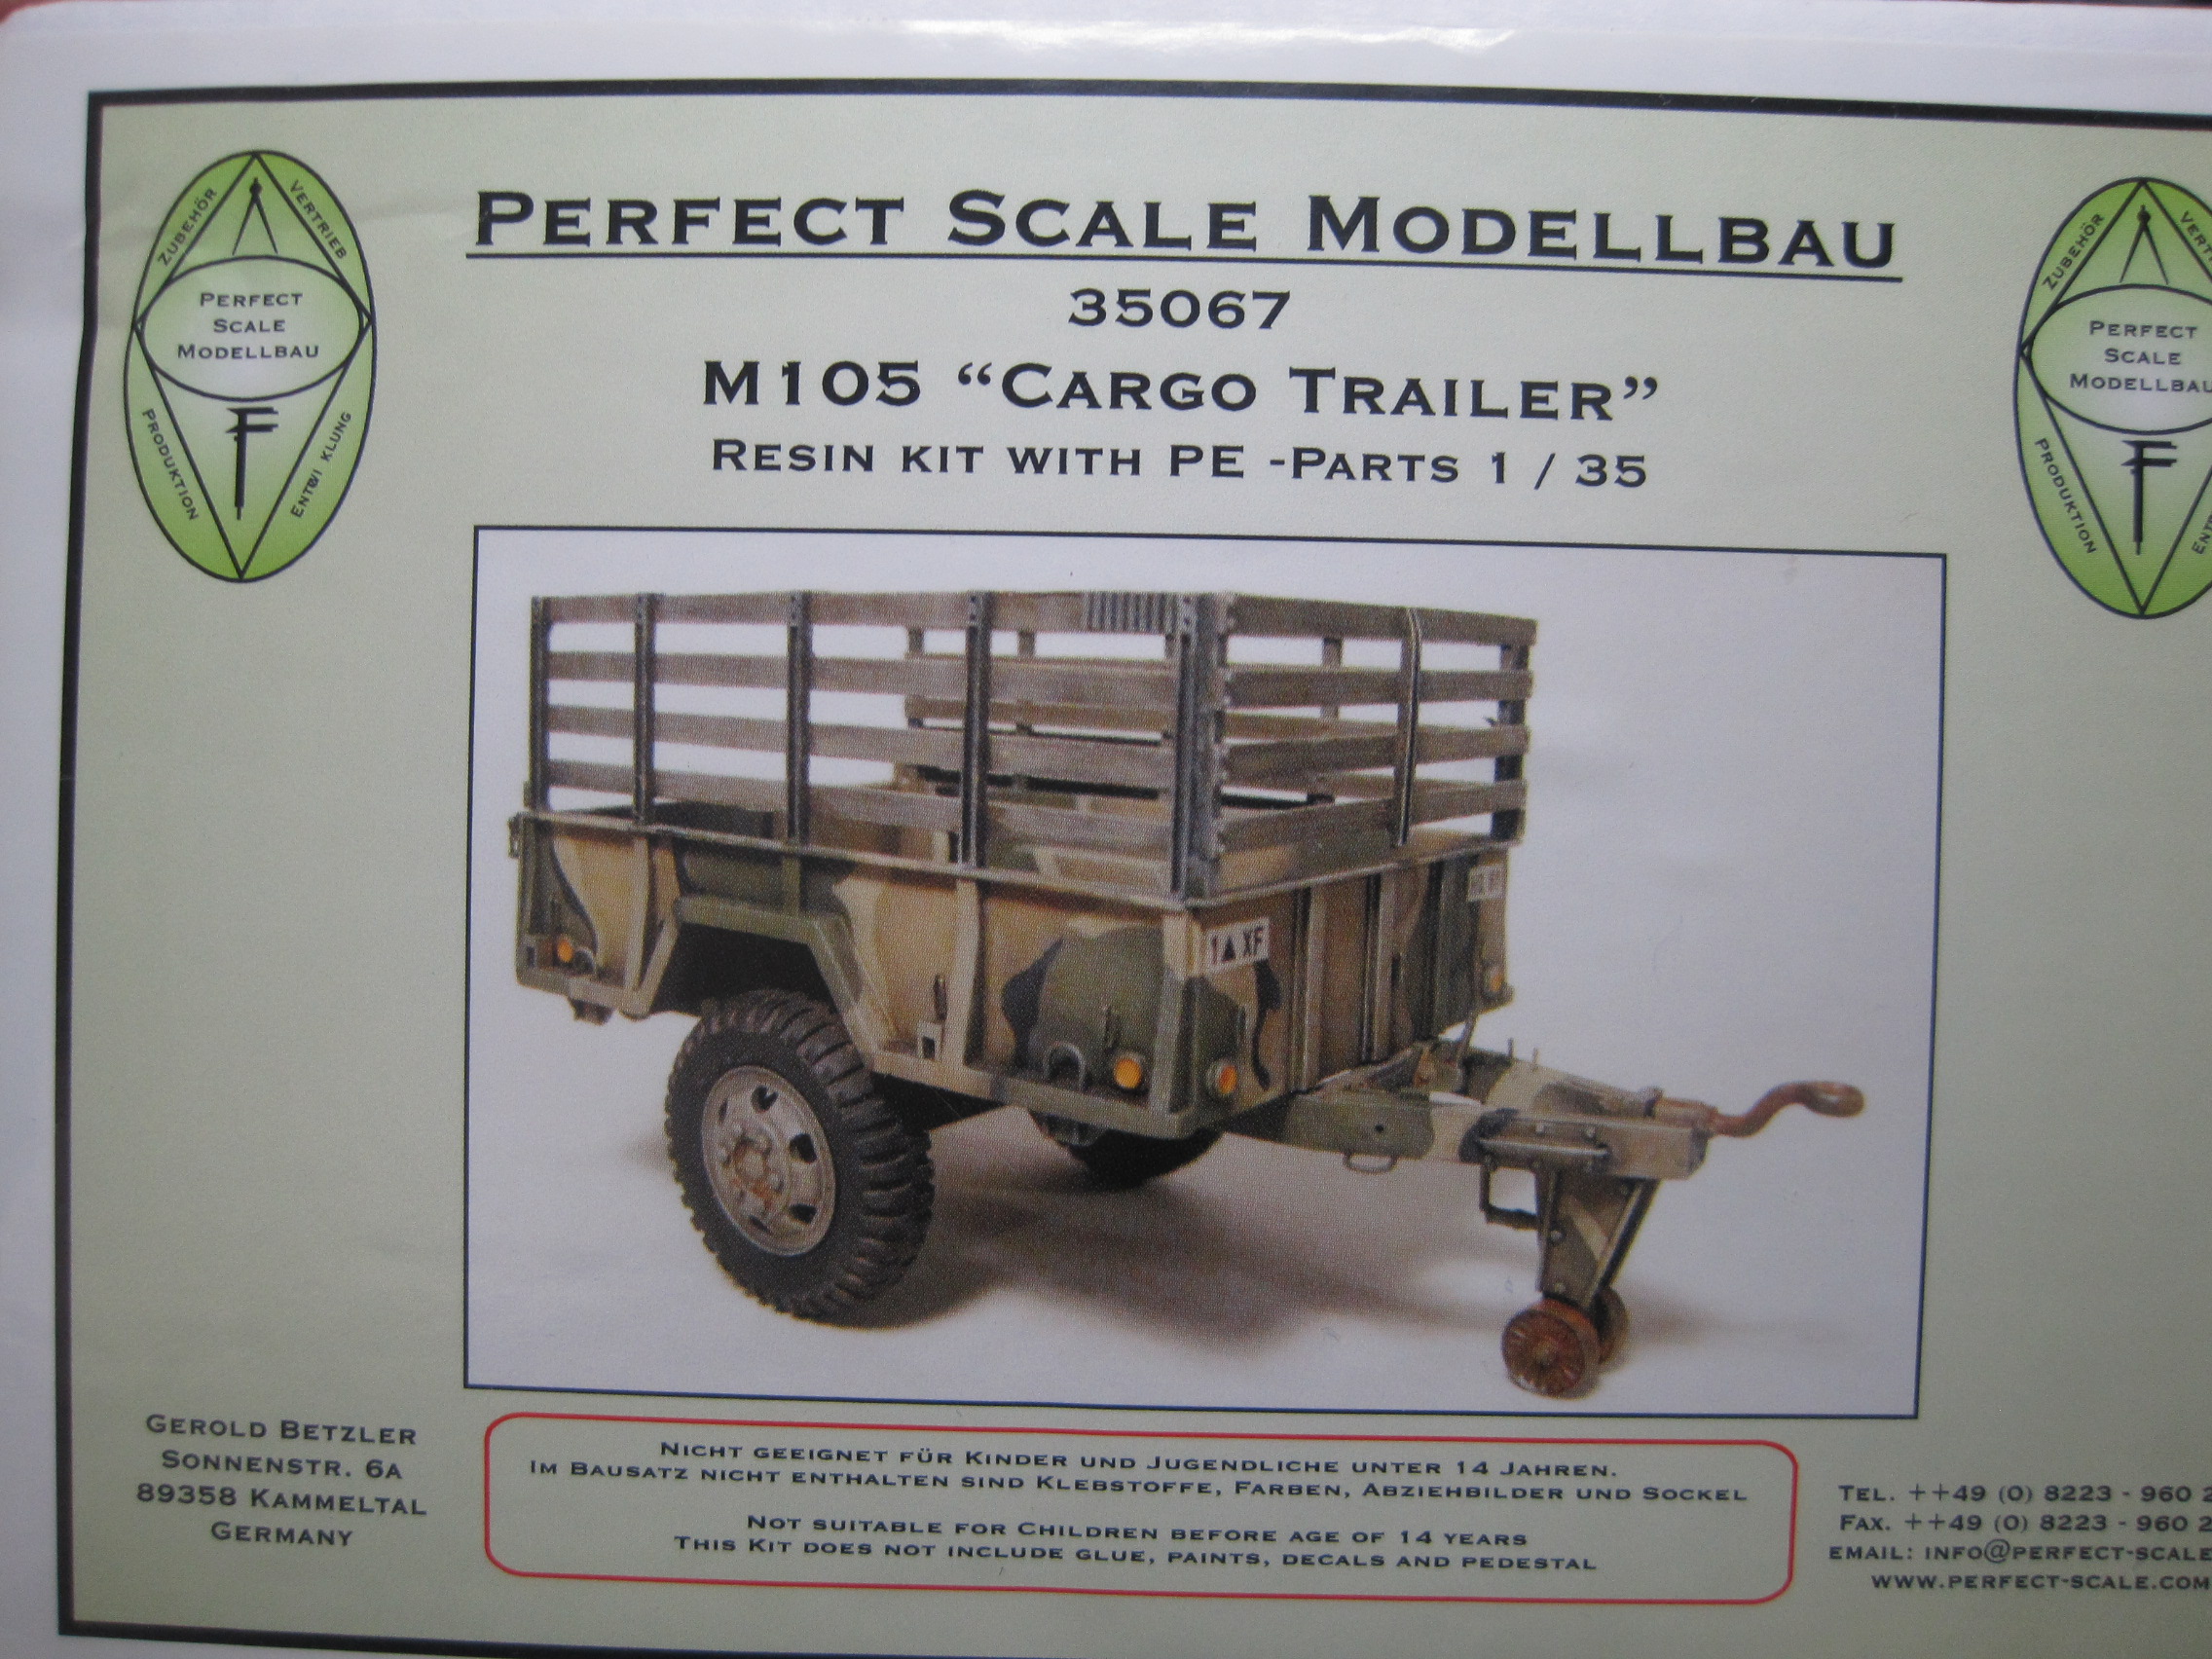
I’ll be adding an M105 1 1/2 ton trailer, and detailing the interior with items from the MiniArt Garage Workshop set.
Here are the kits I’ll be using.
7 Likes
Way to go Tom, way to go! 'Looking forward to this.
I guess some of the 3D-printed items released by Matt on Shapeways may come in handy for your project…
Matt’s Down Range Production 1/35th scale stuff
H.P.
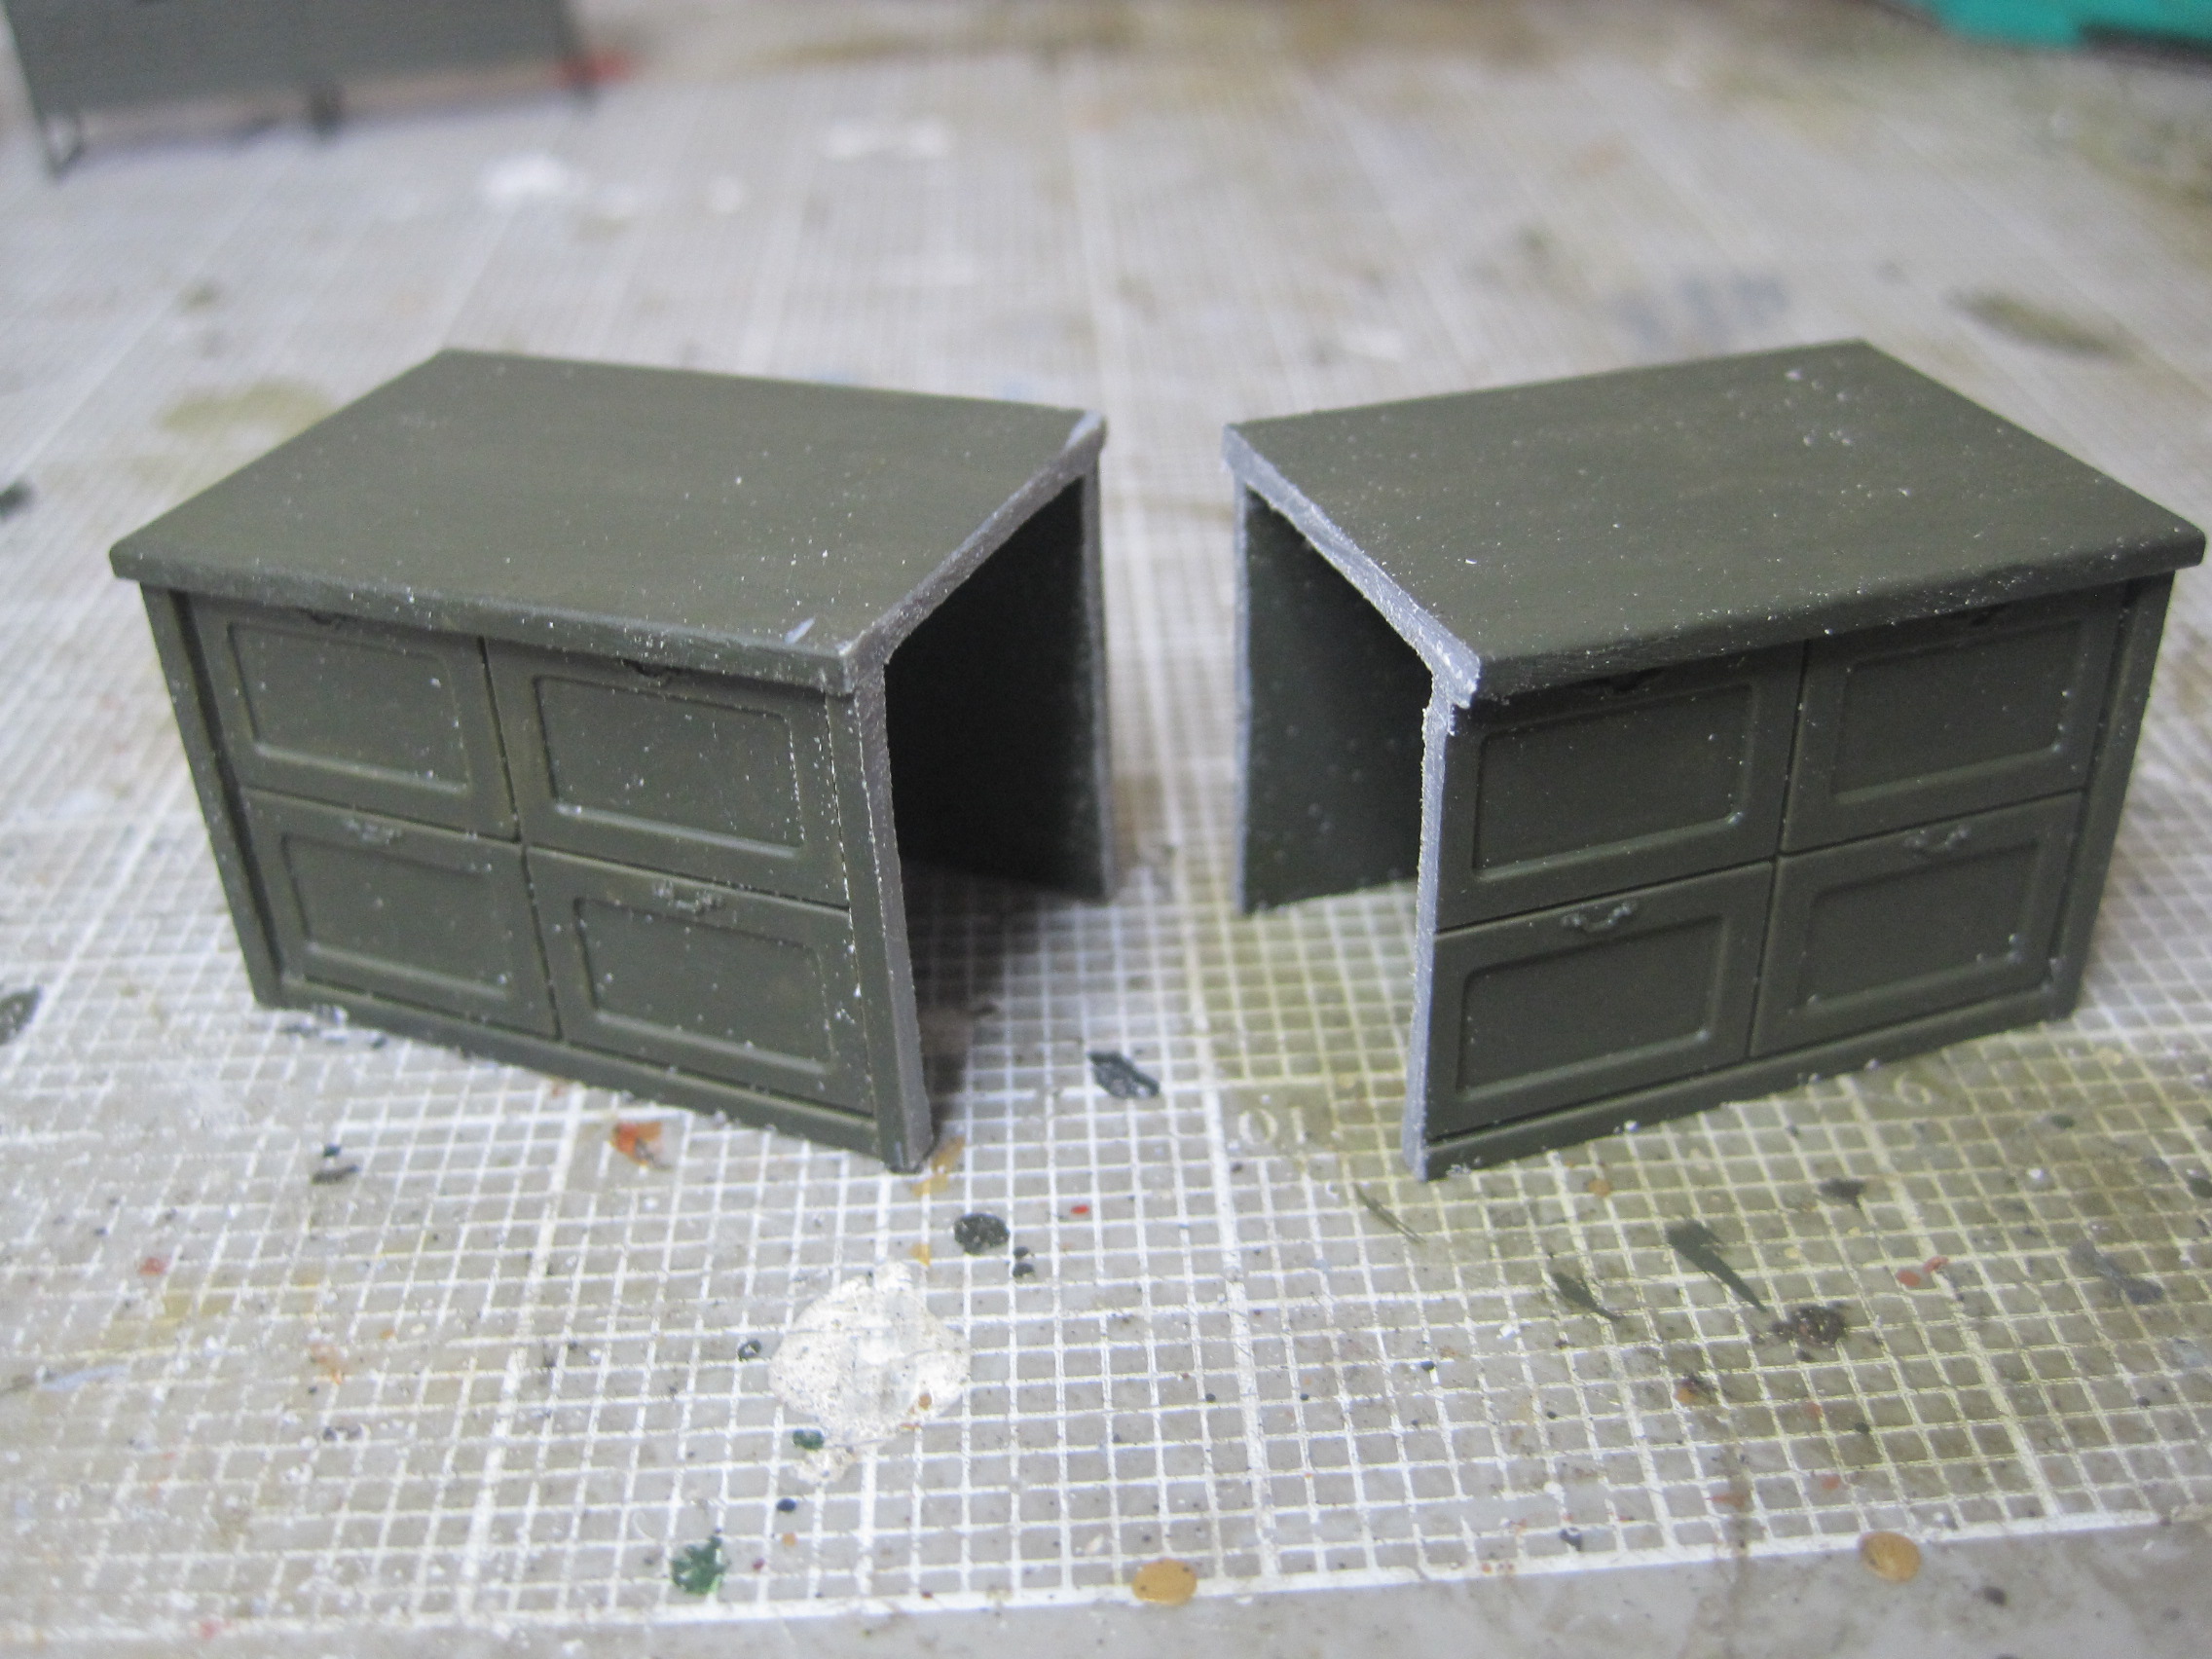
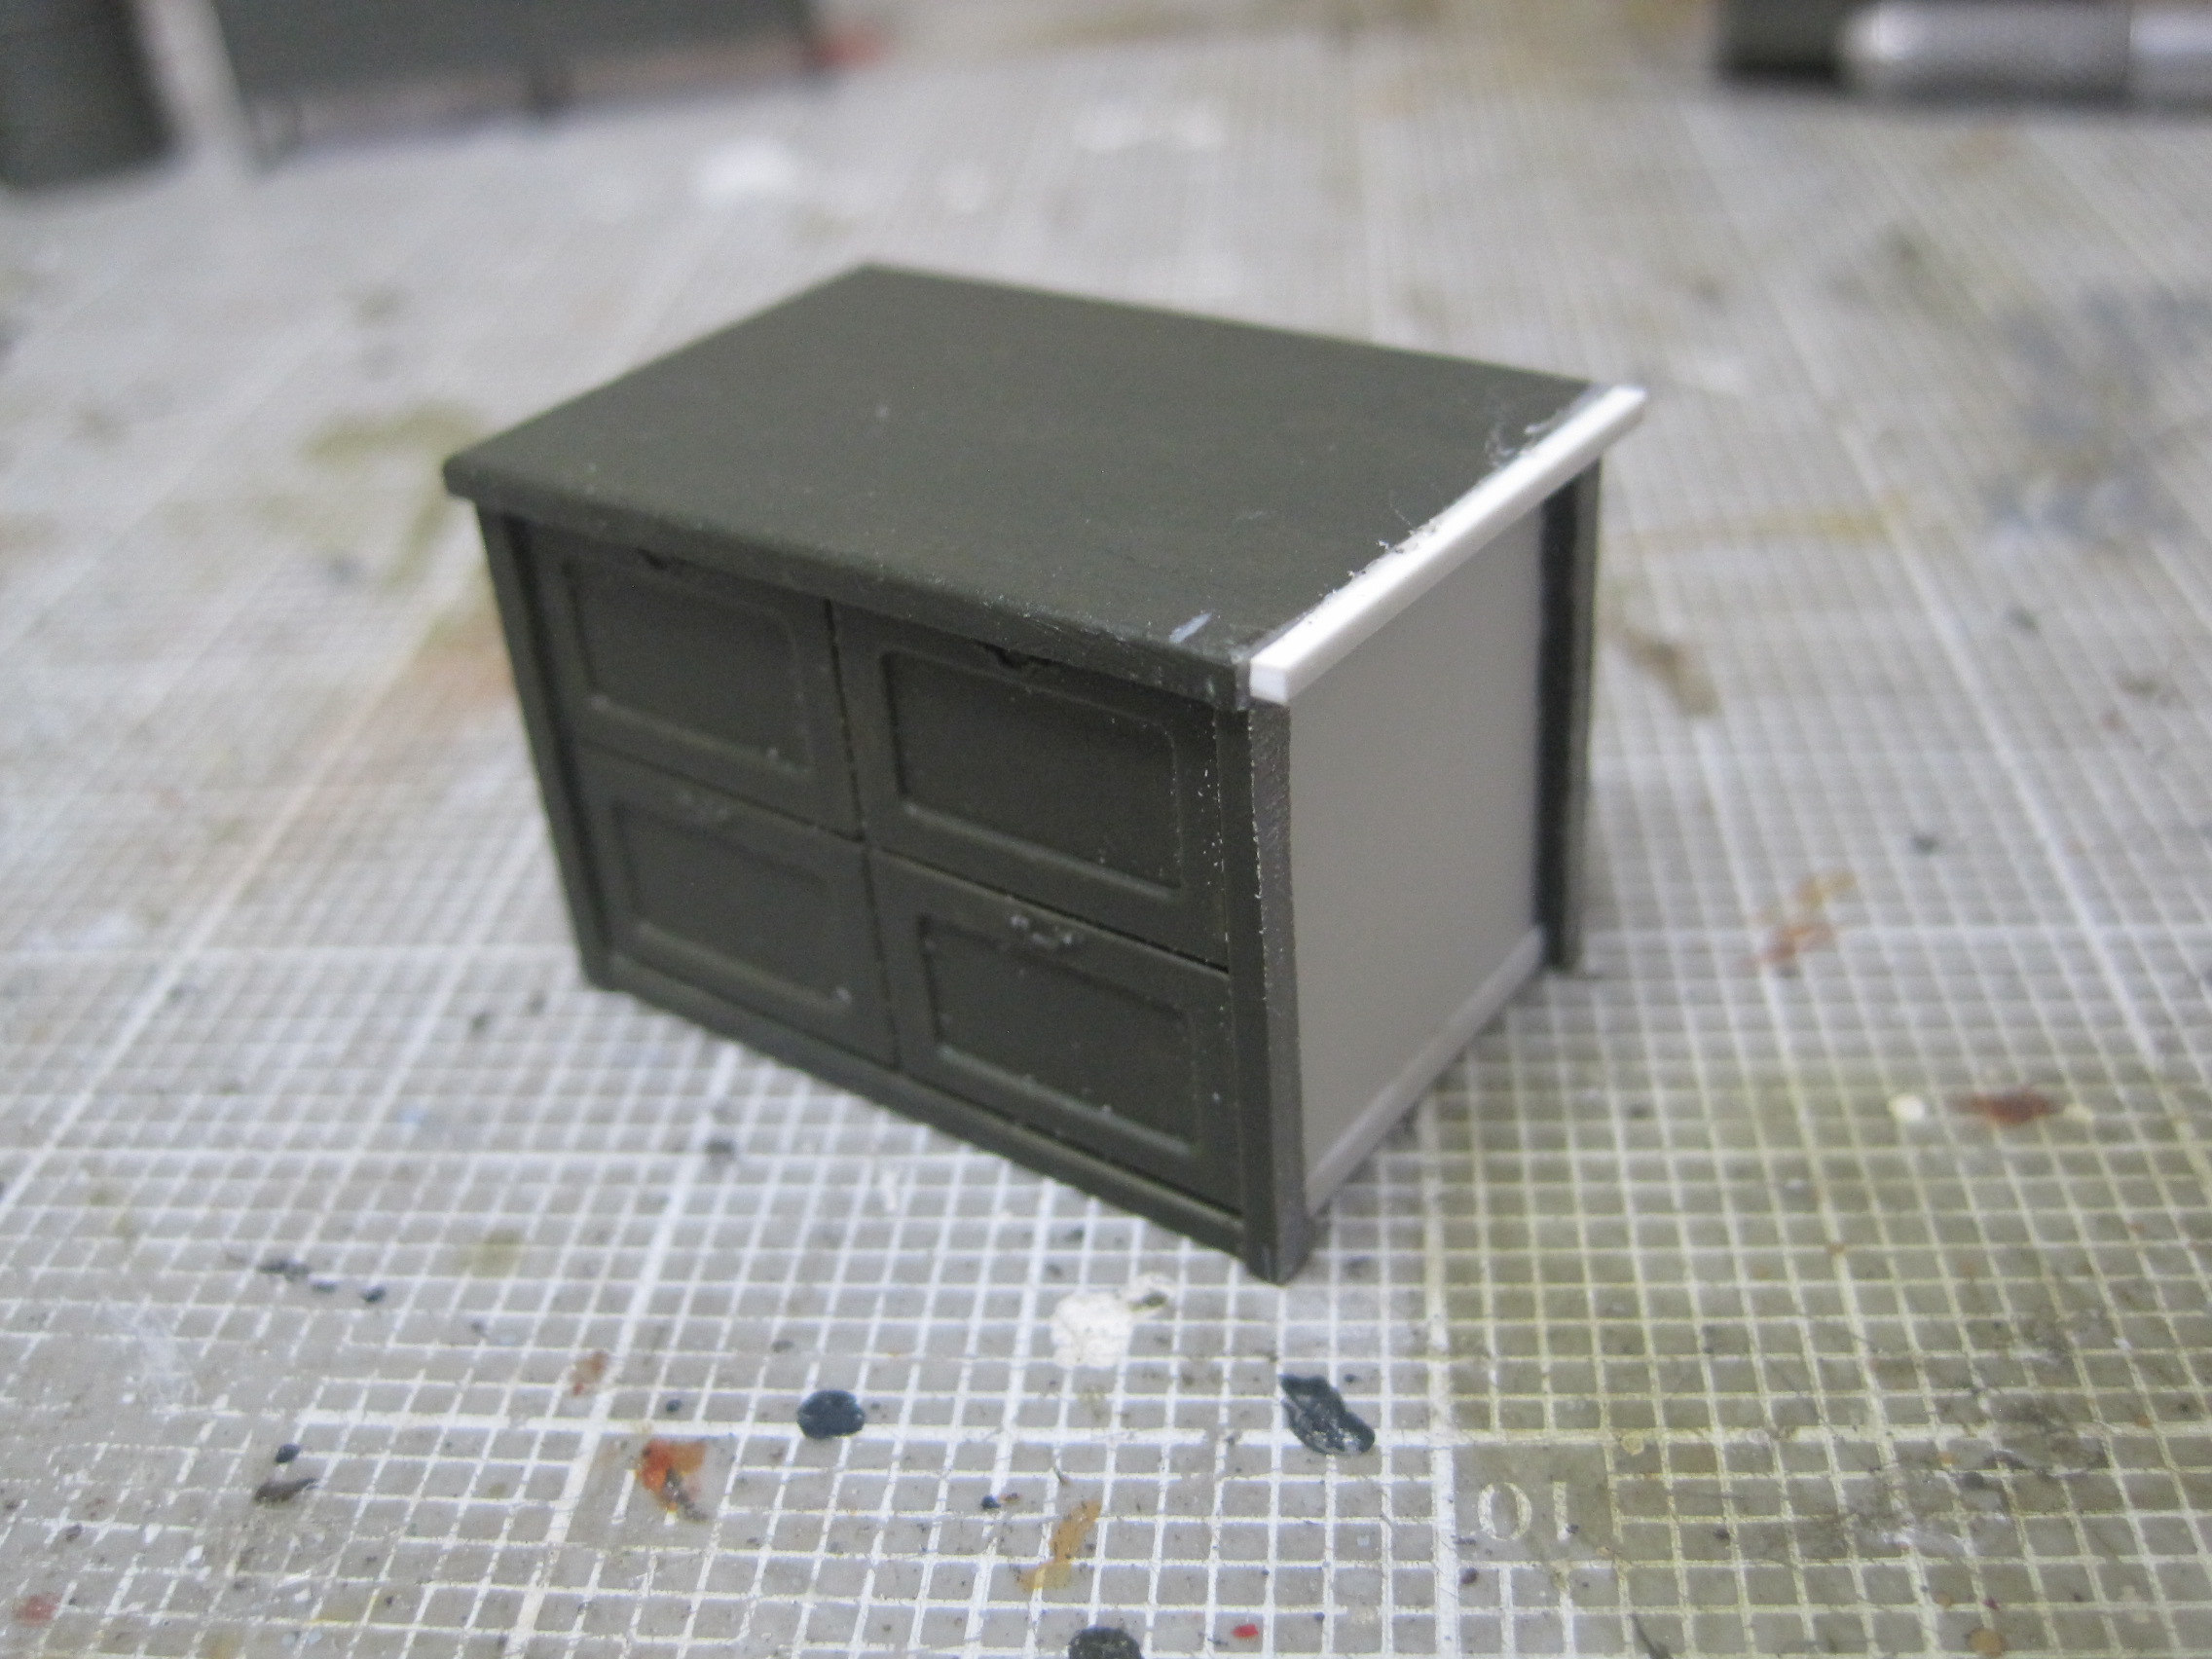
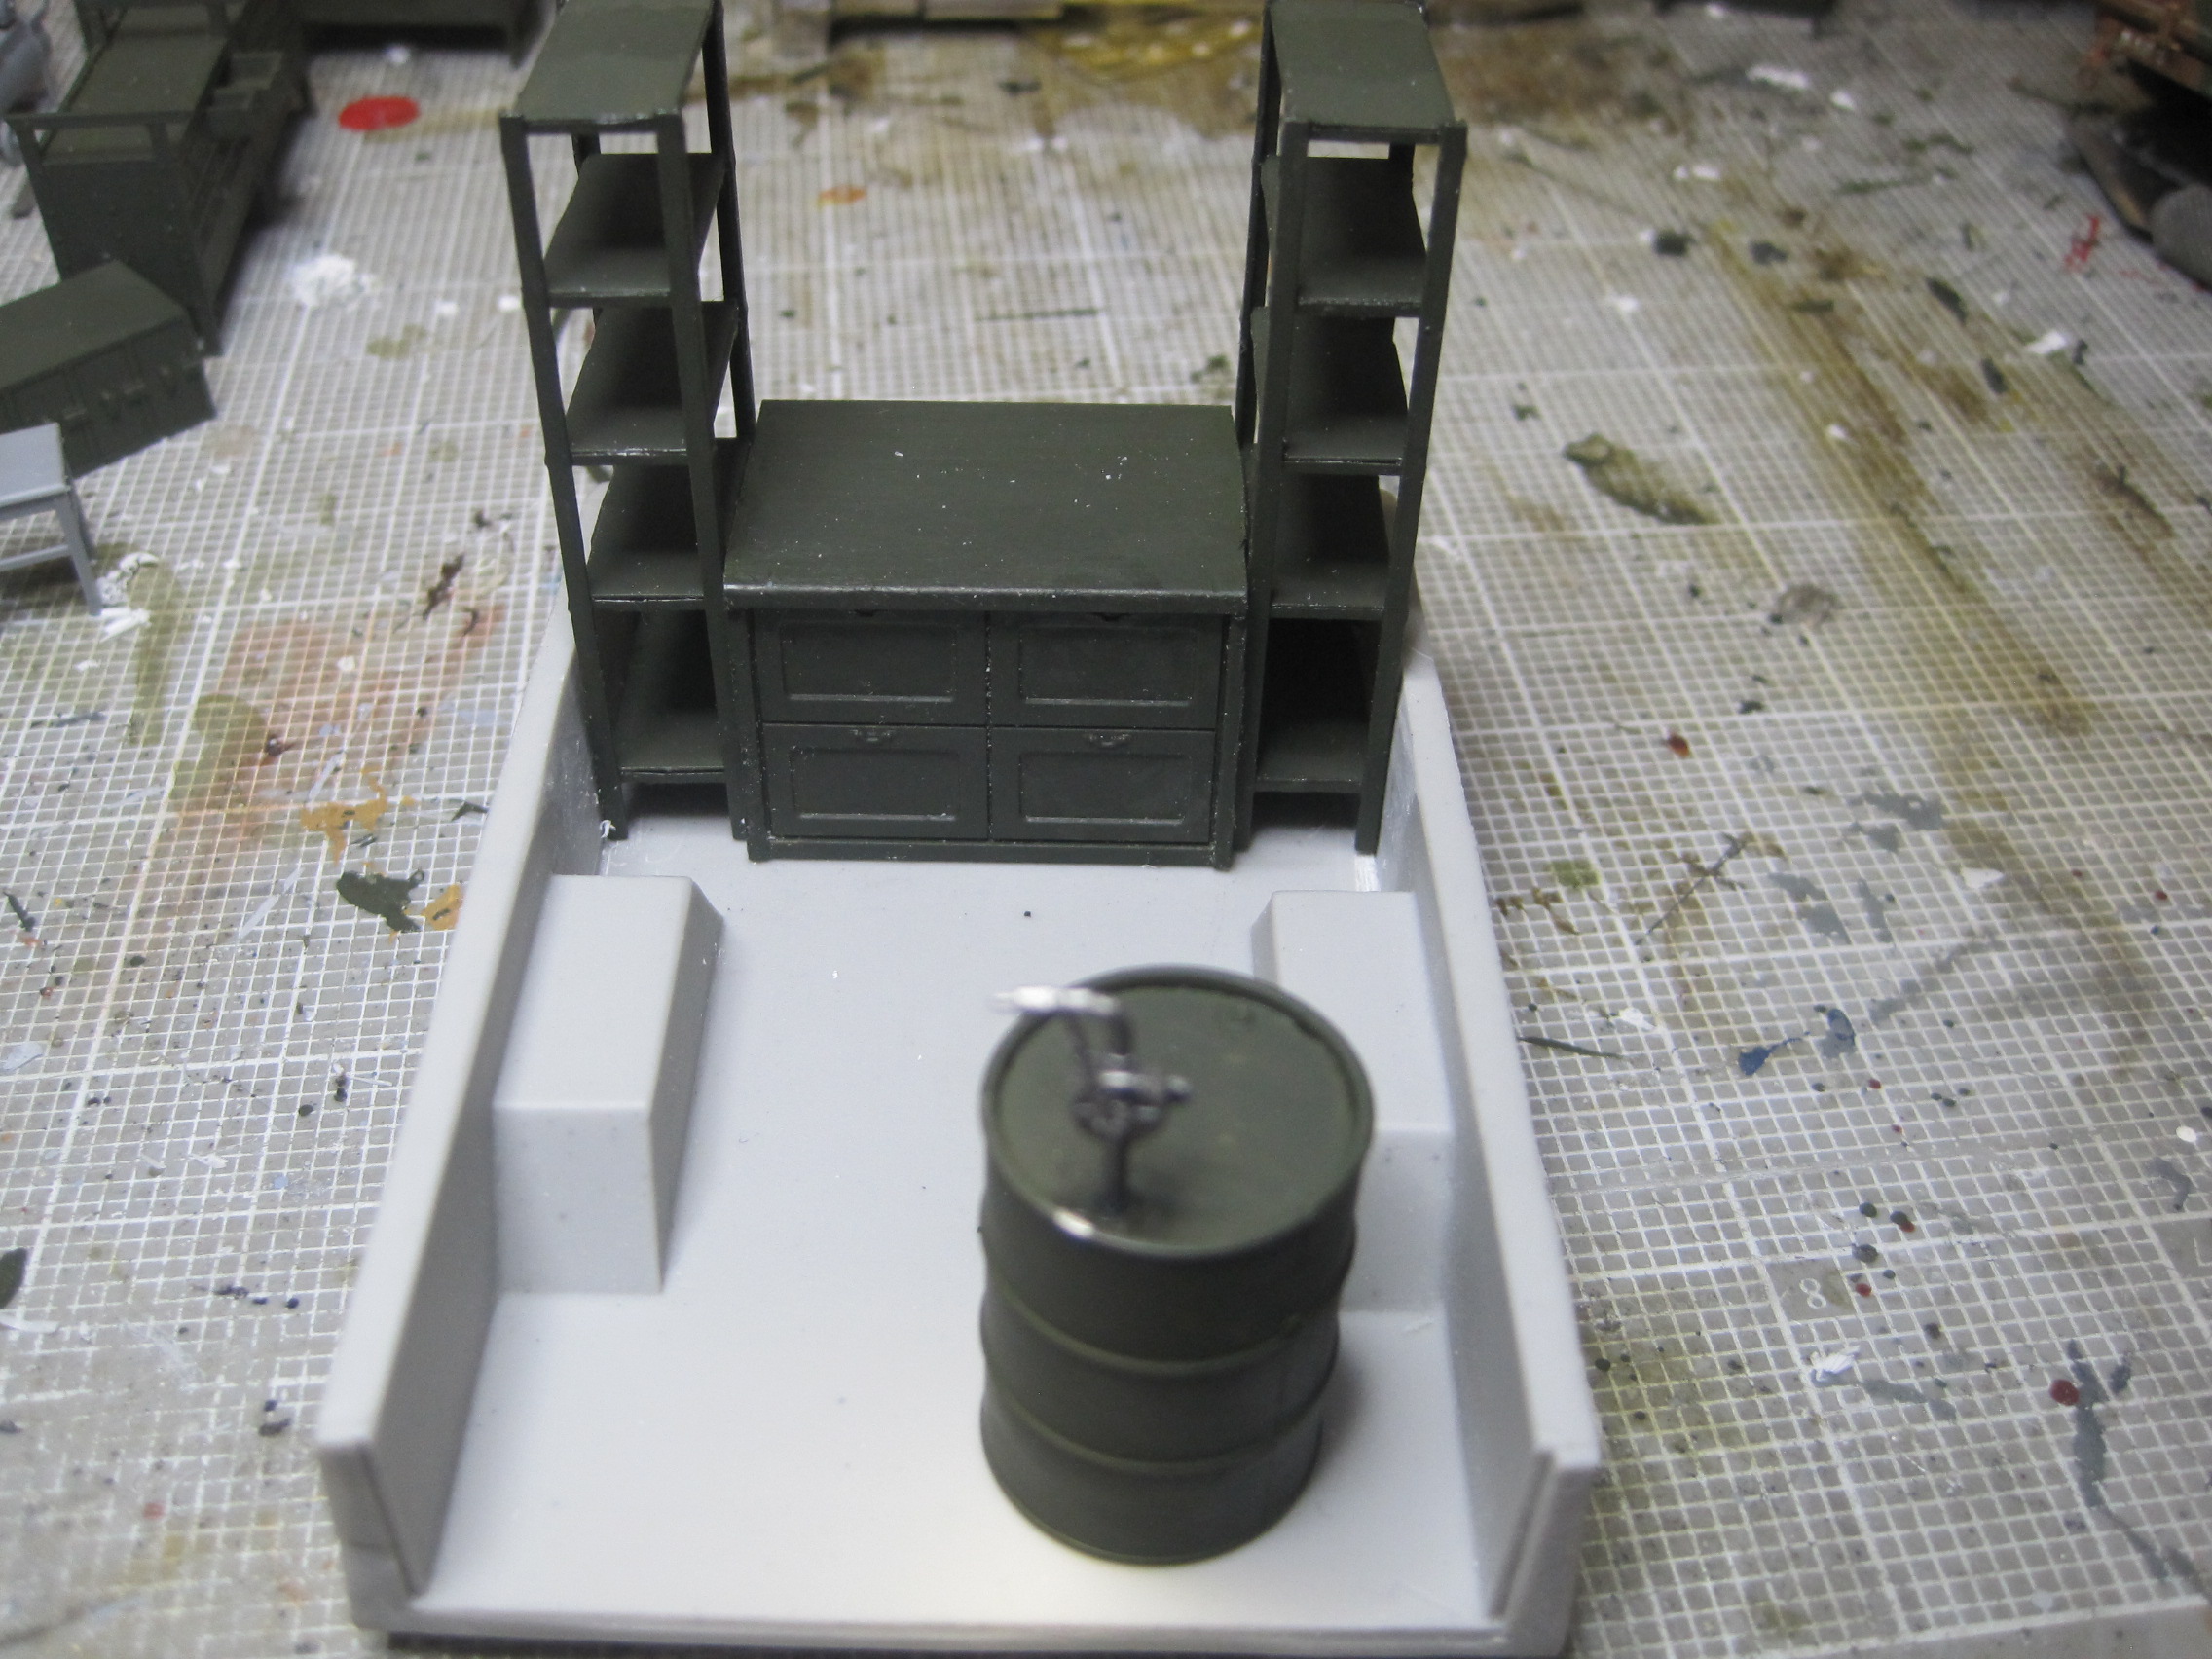
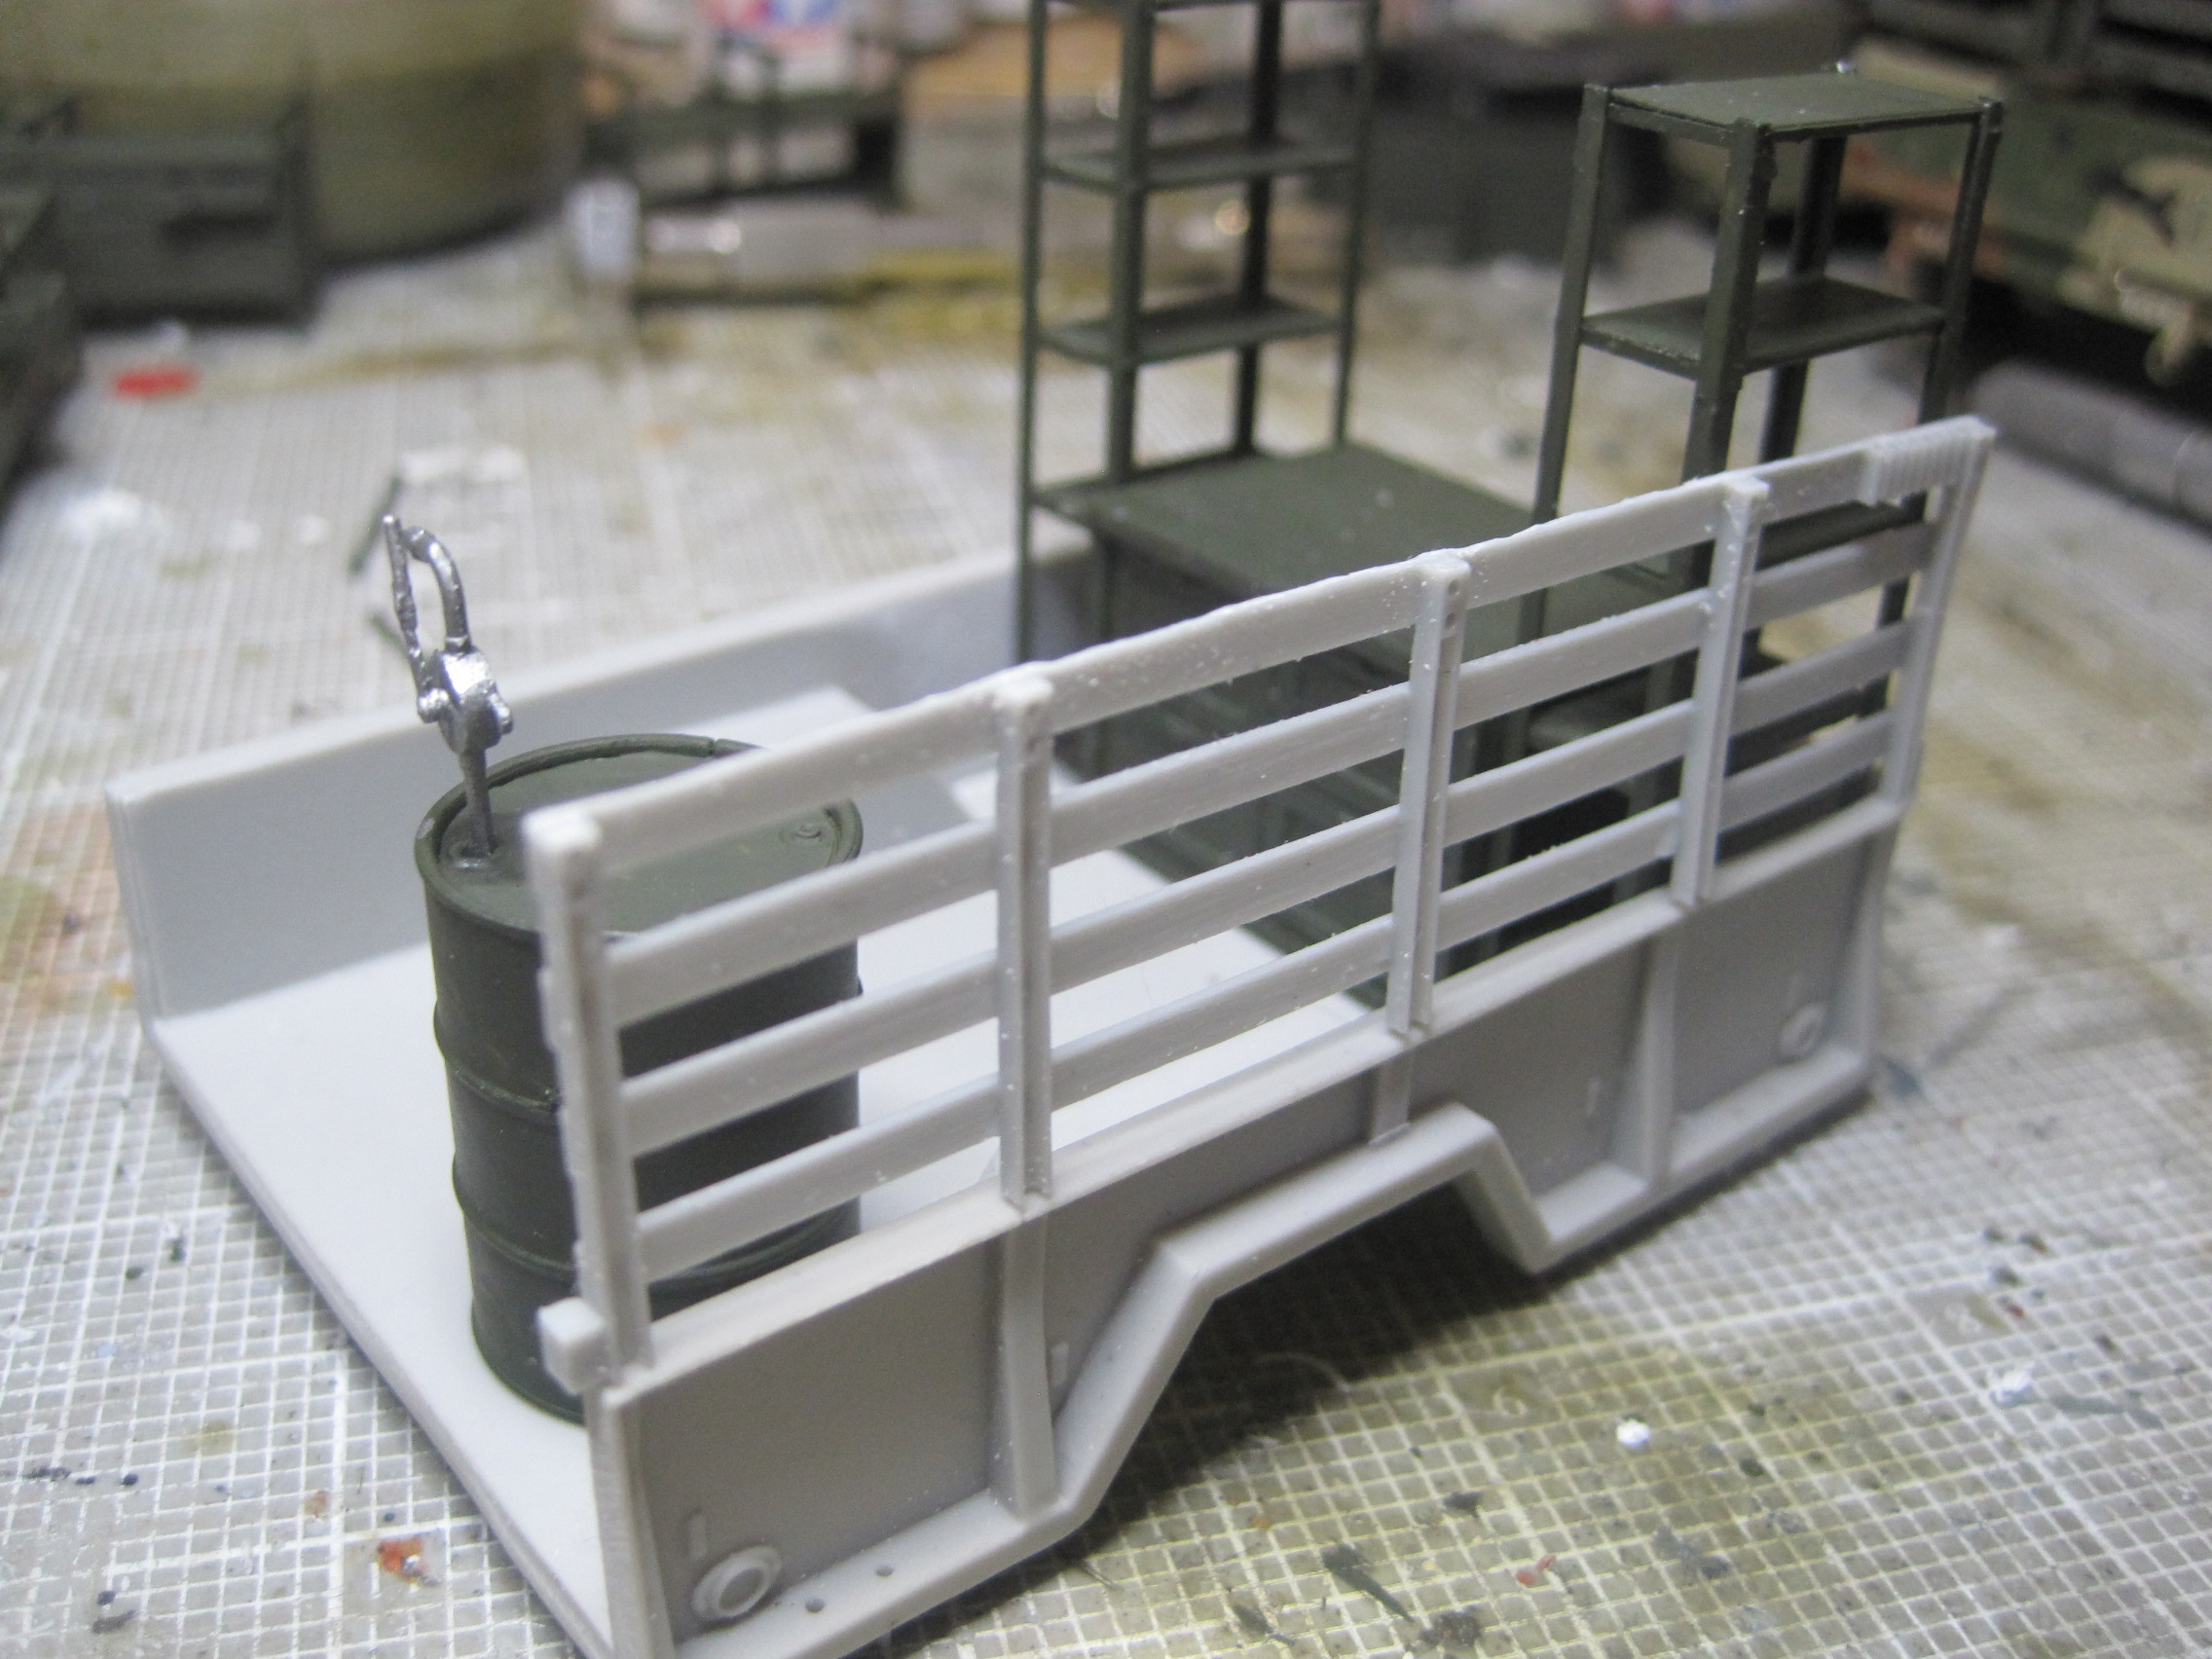
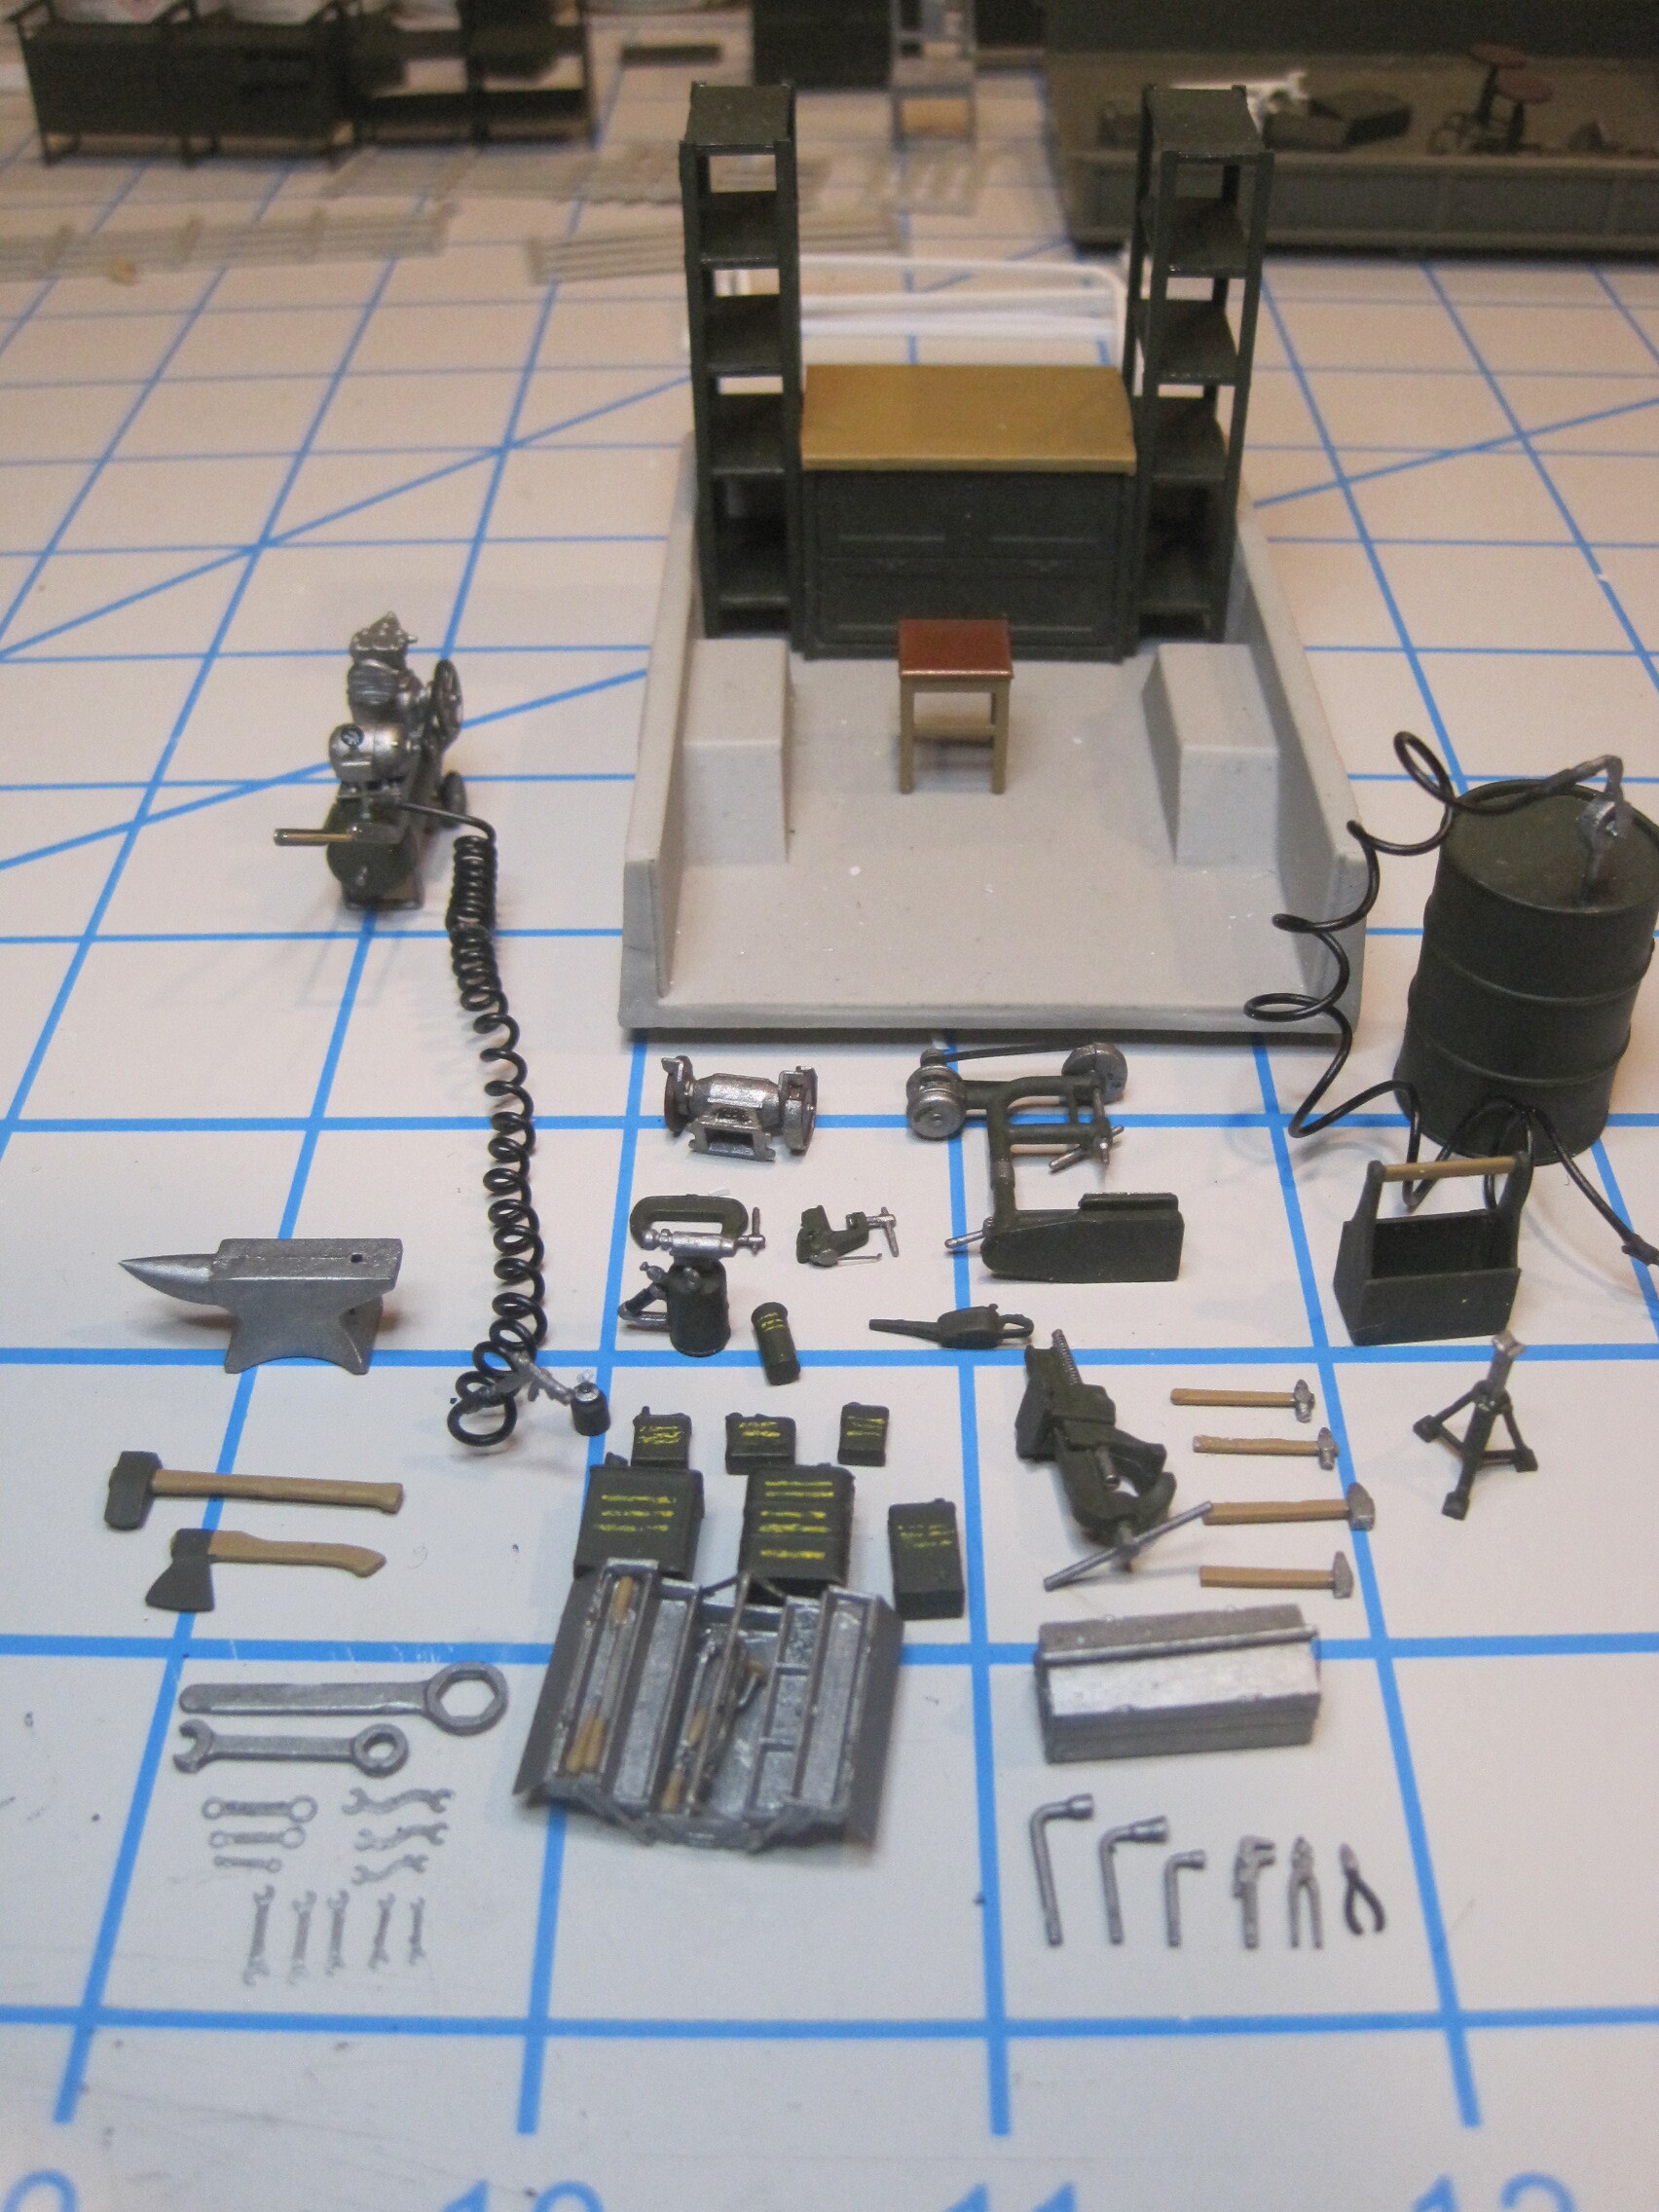
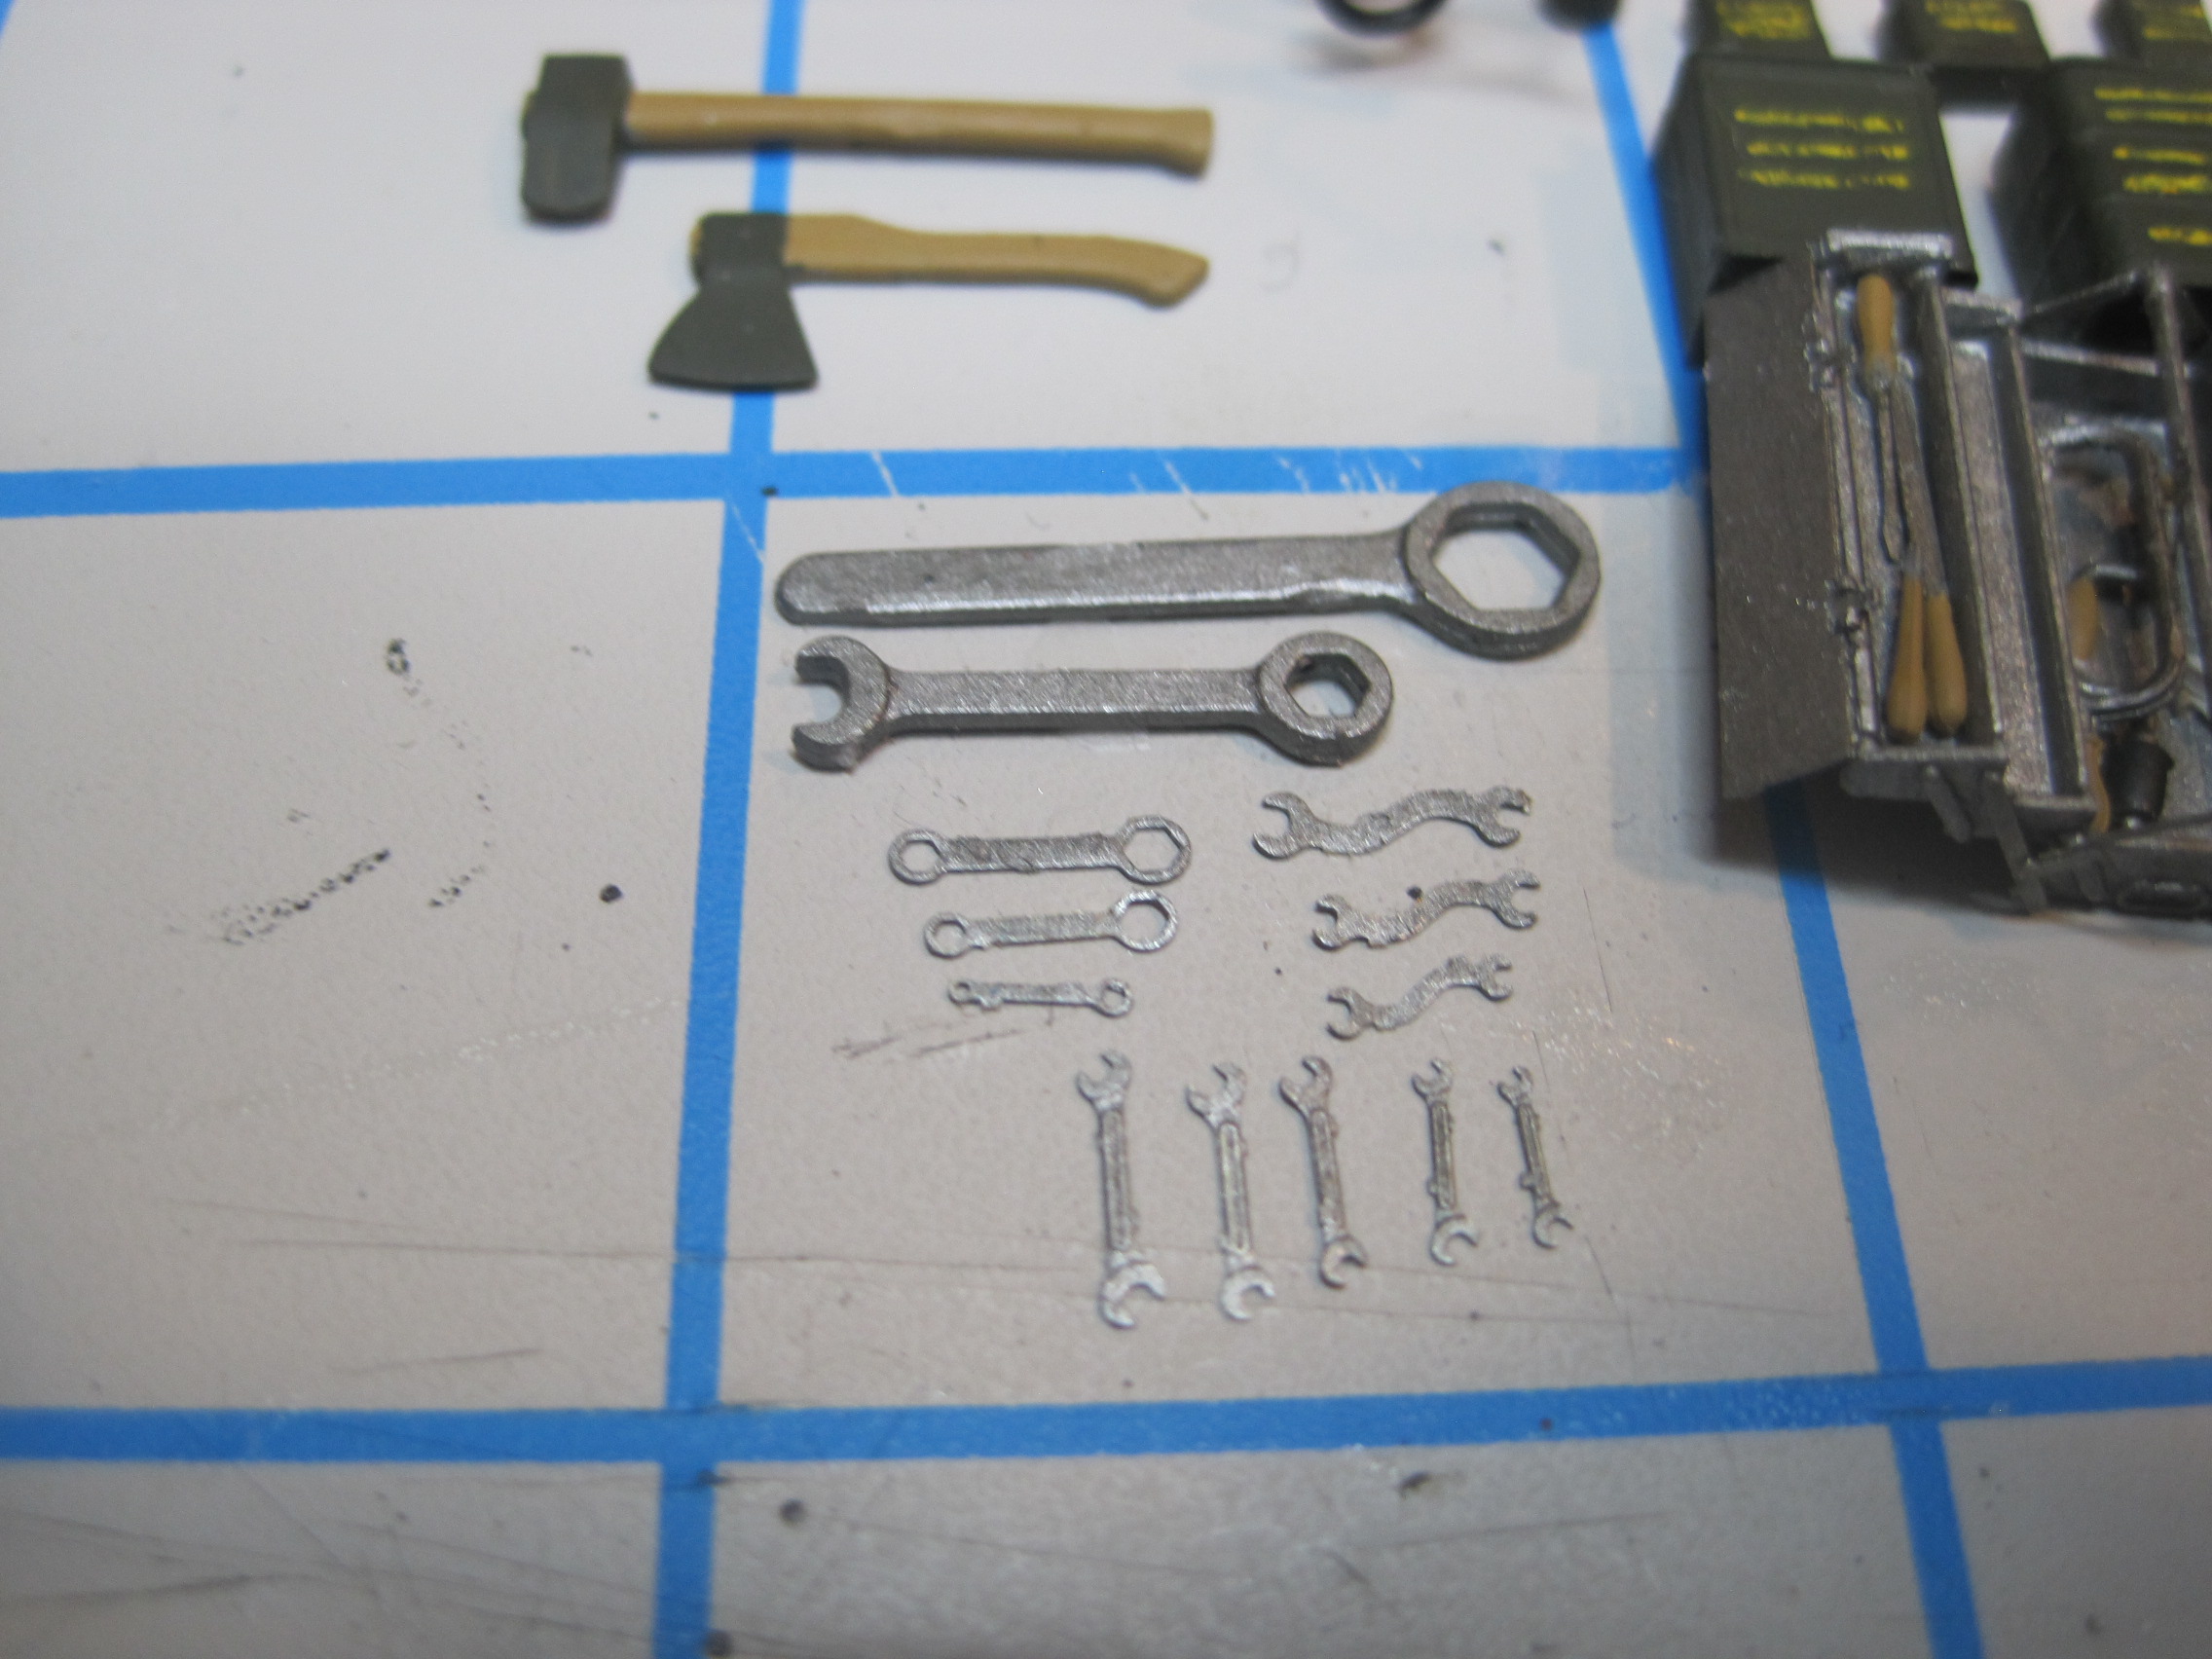
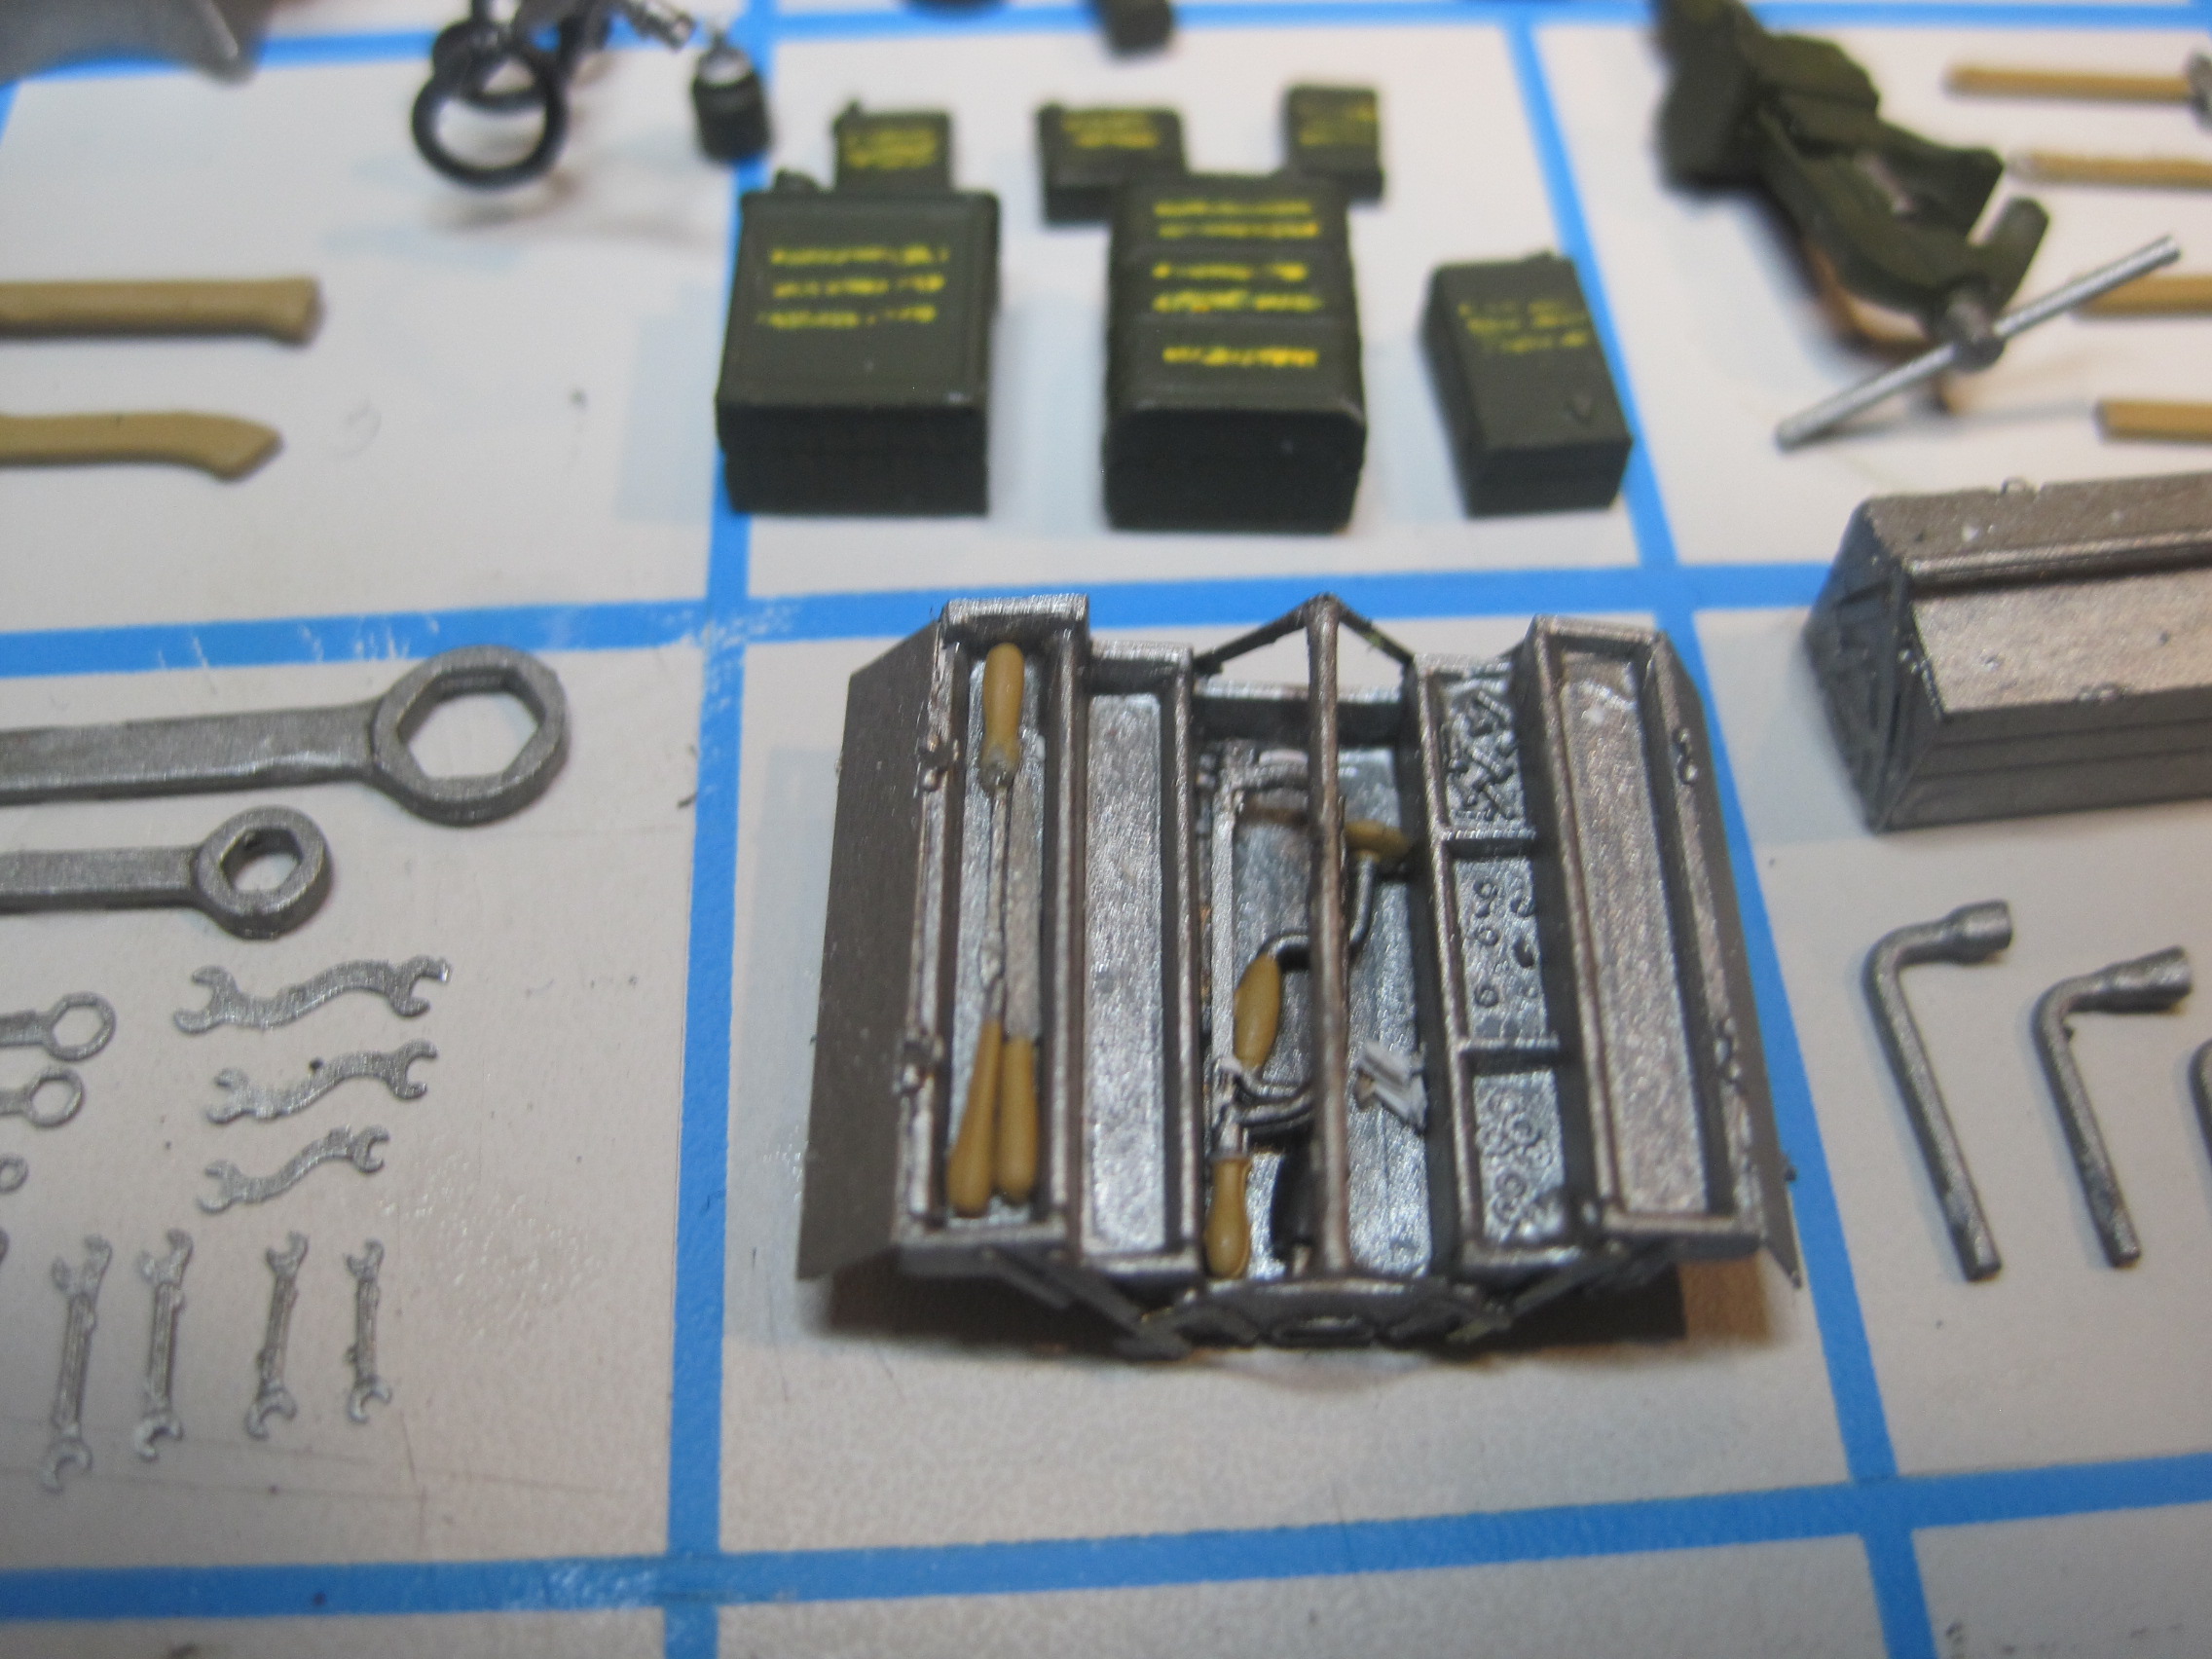
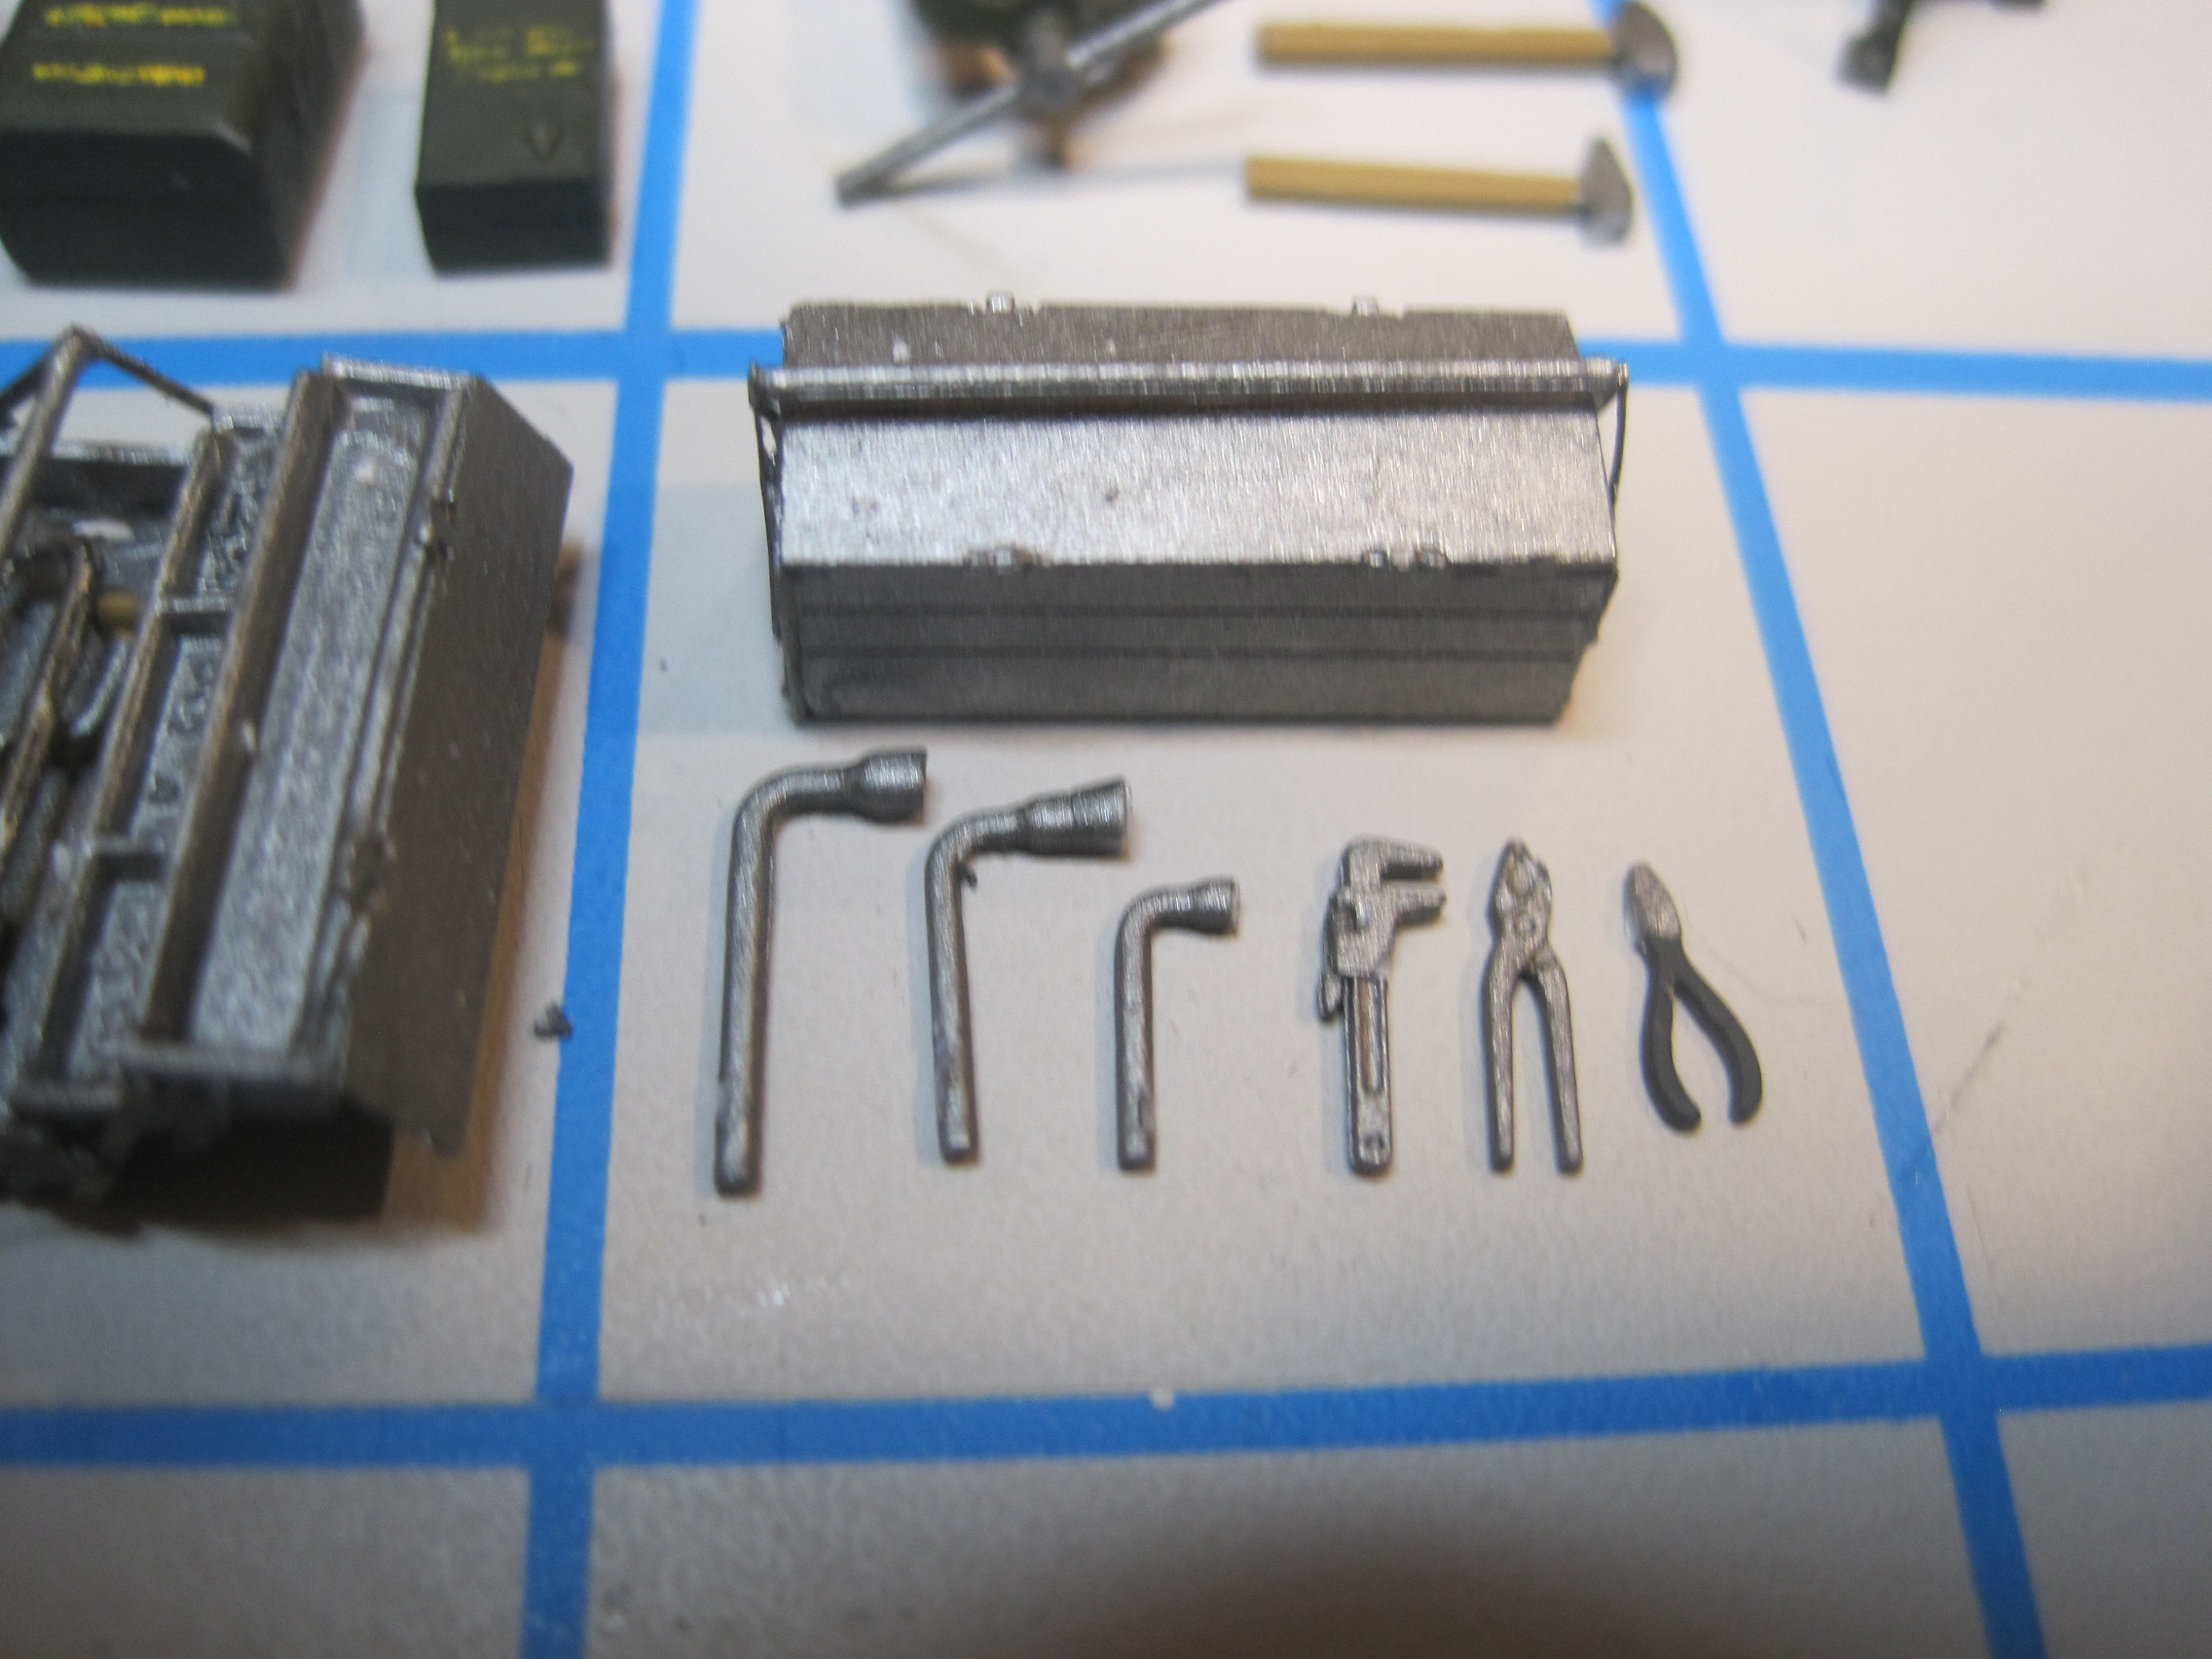
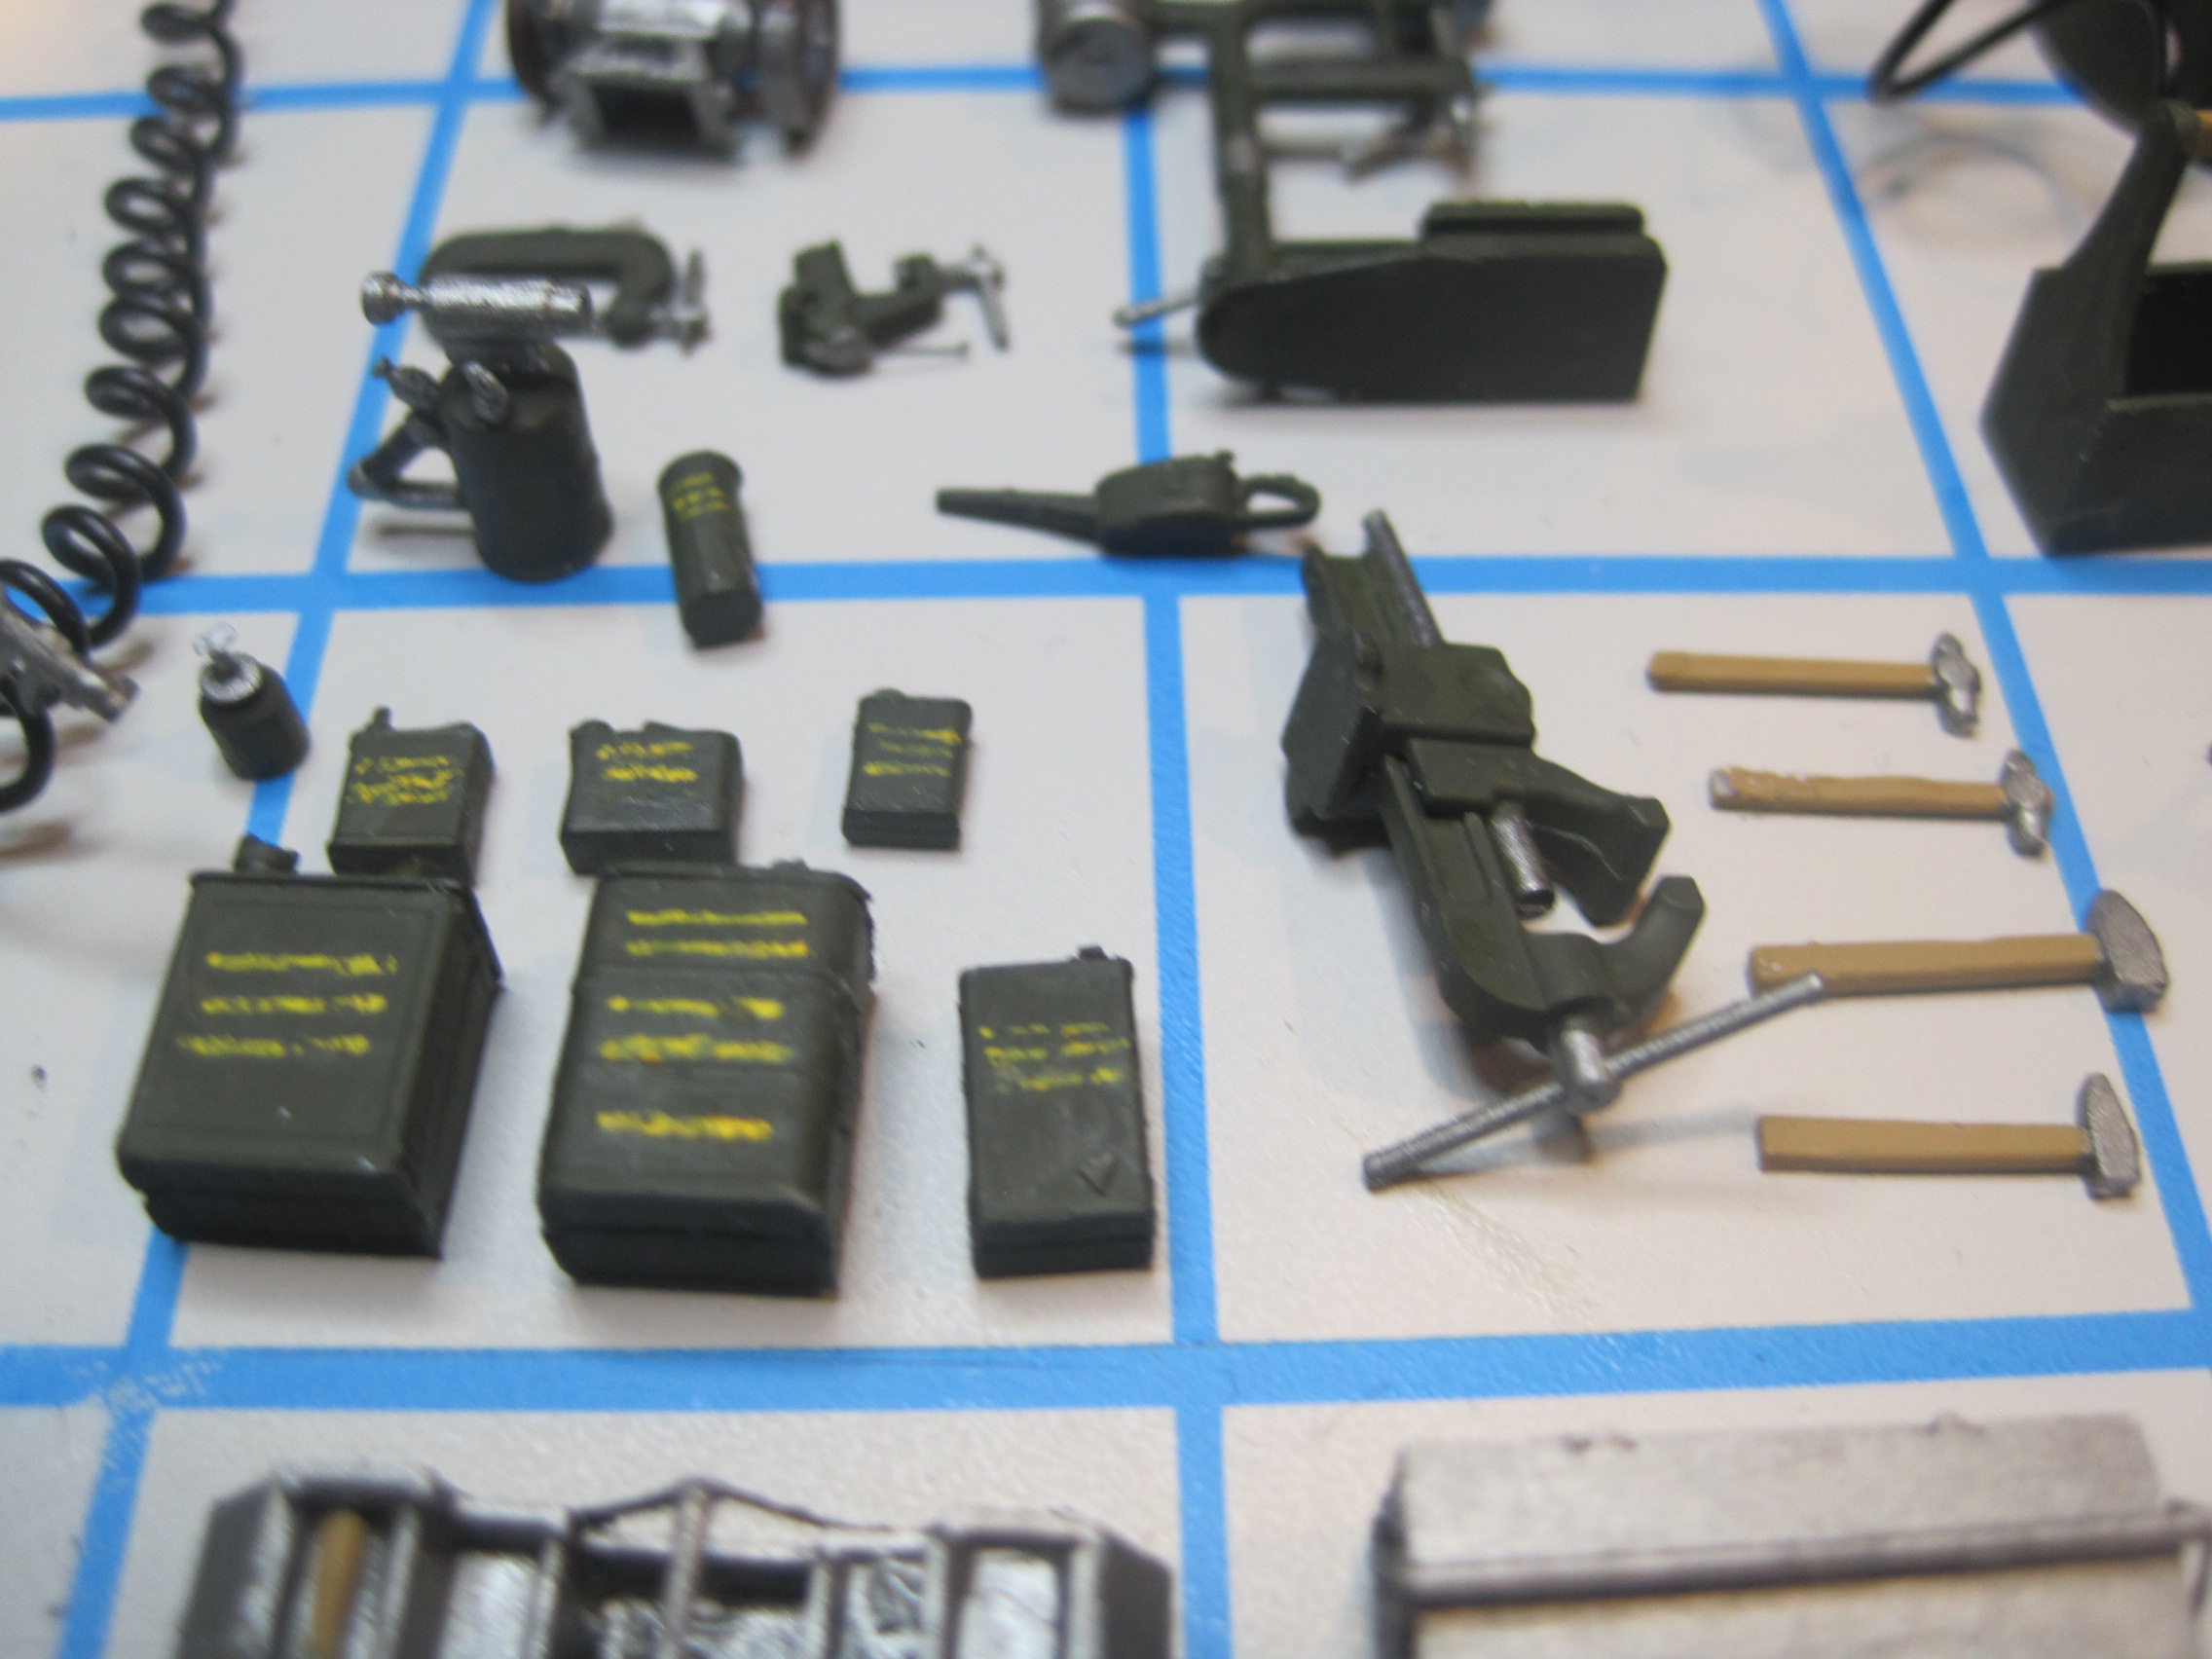
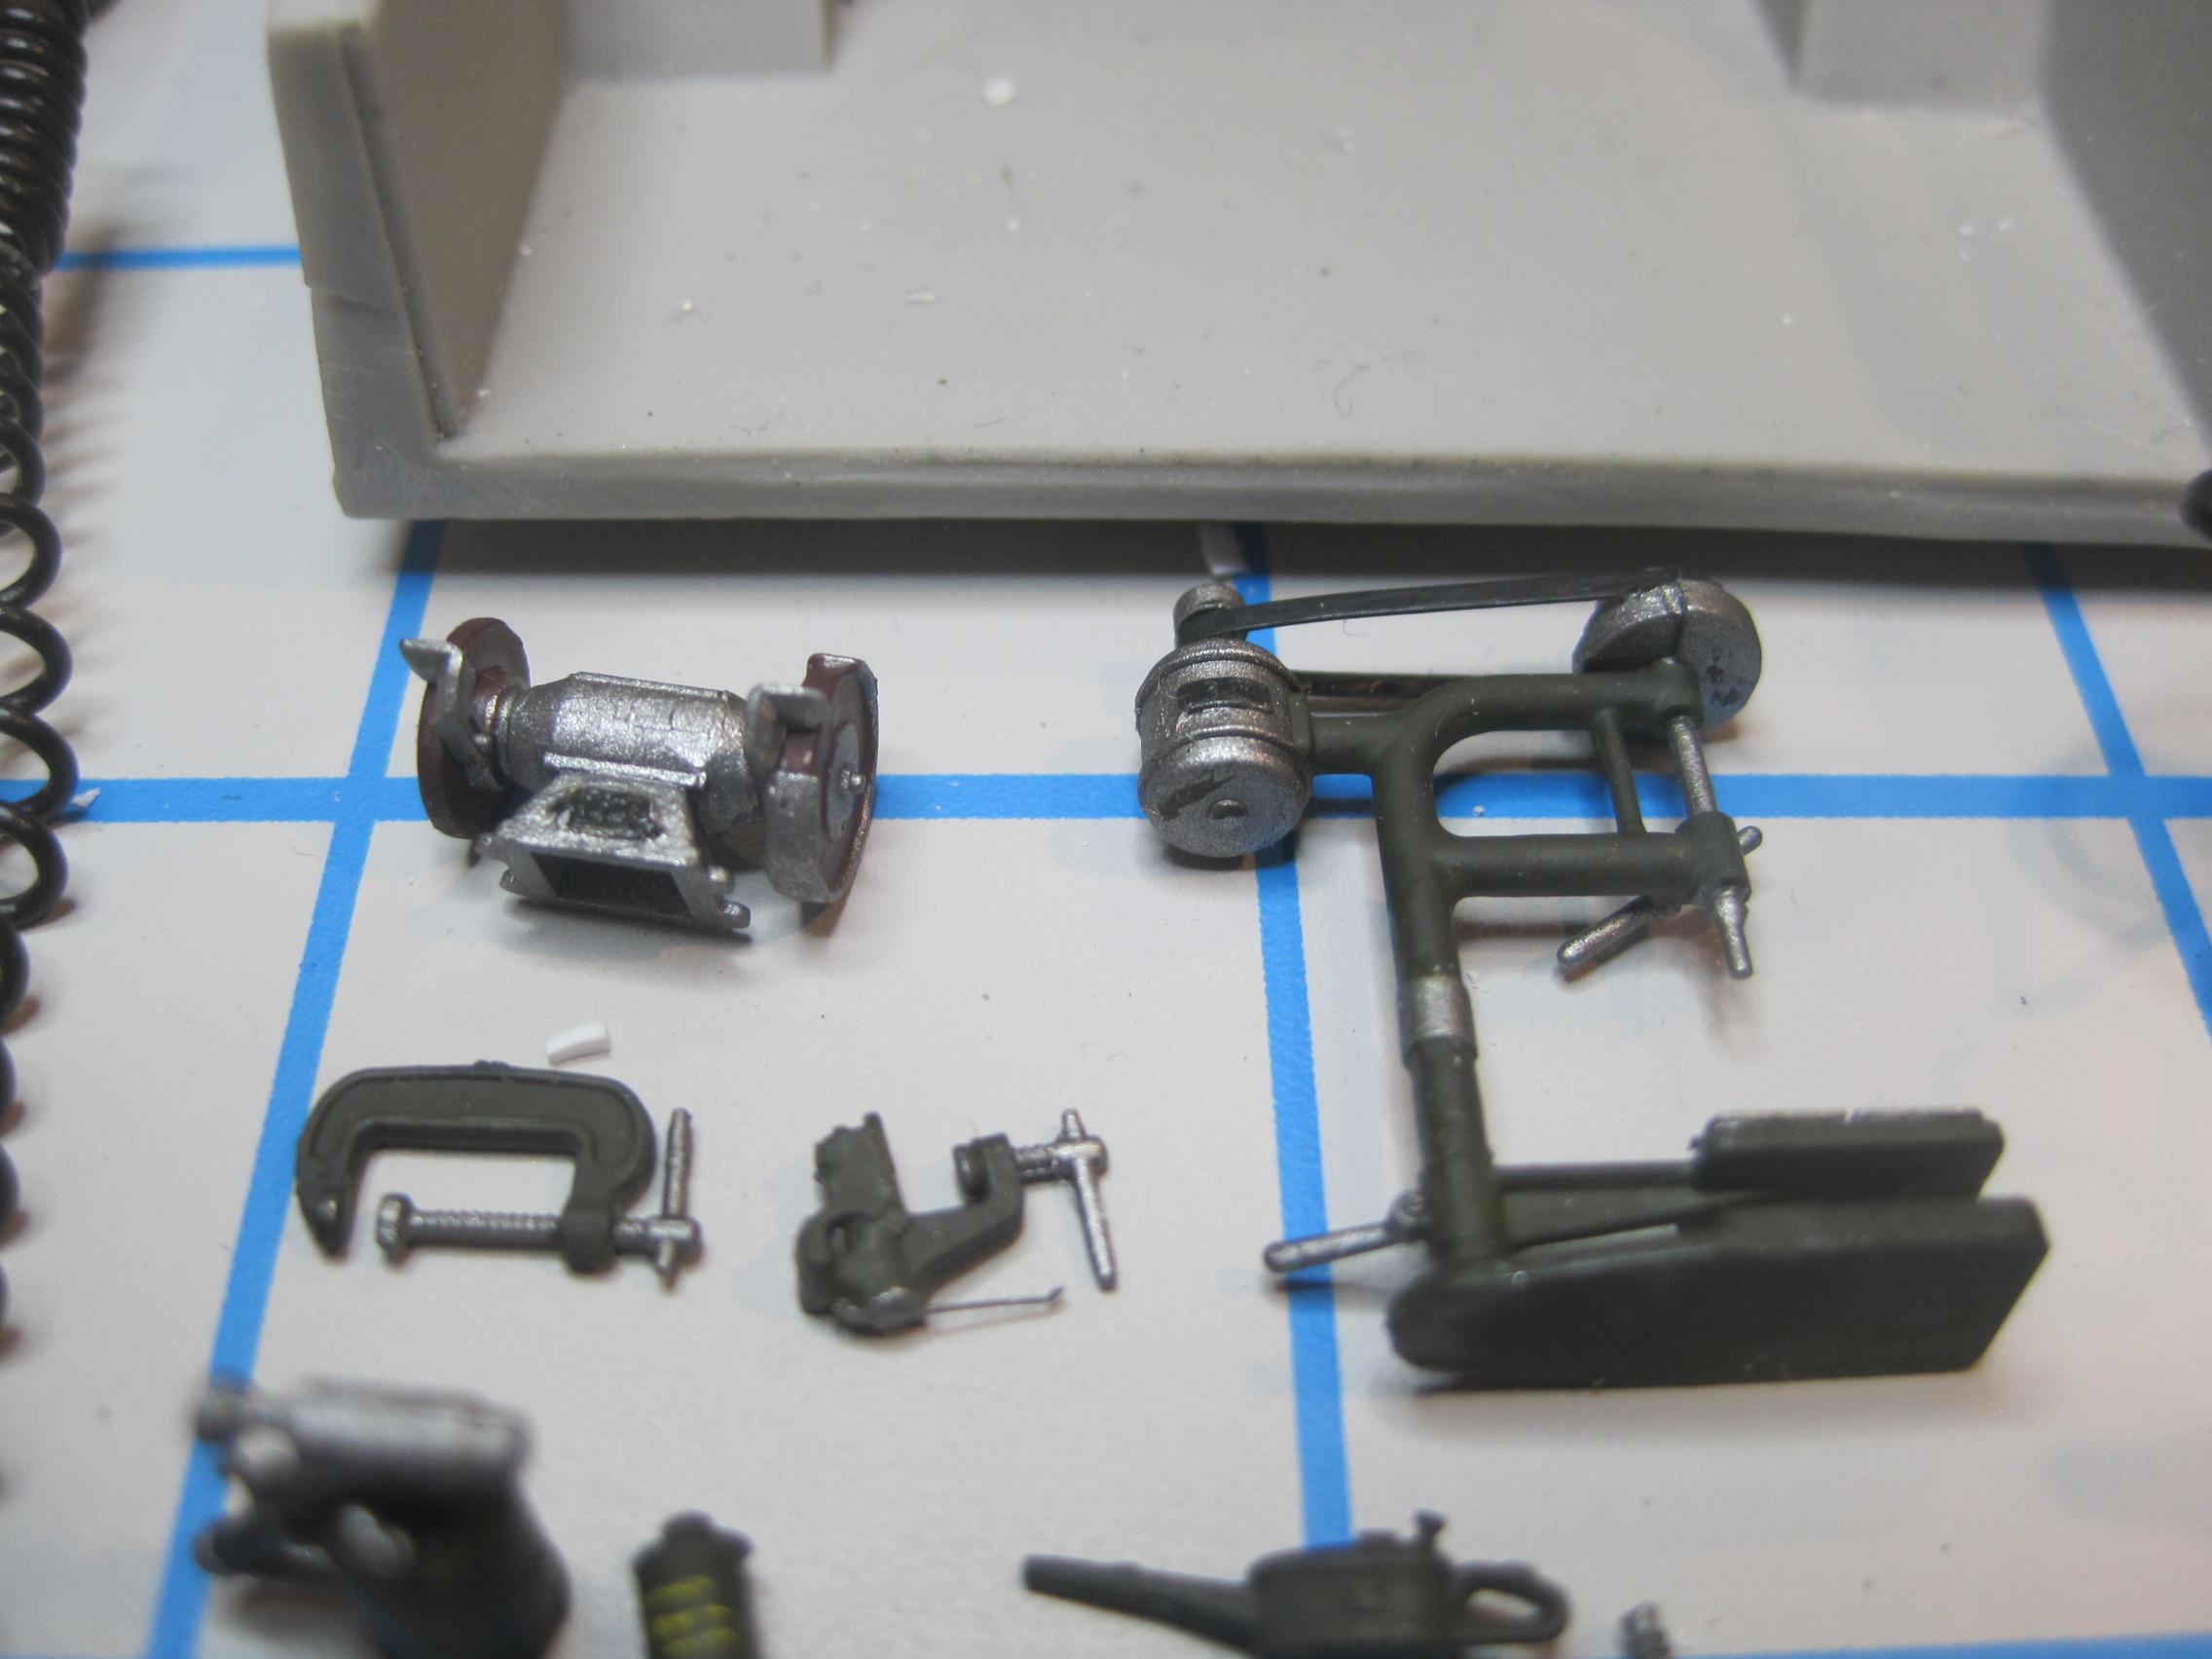
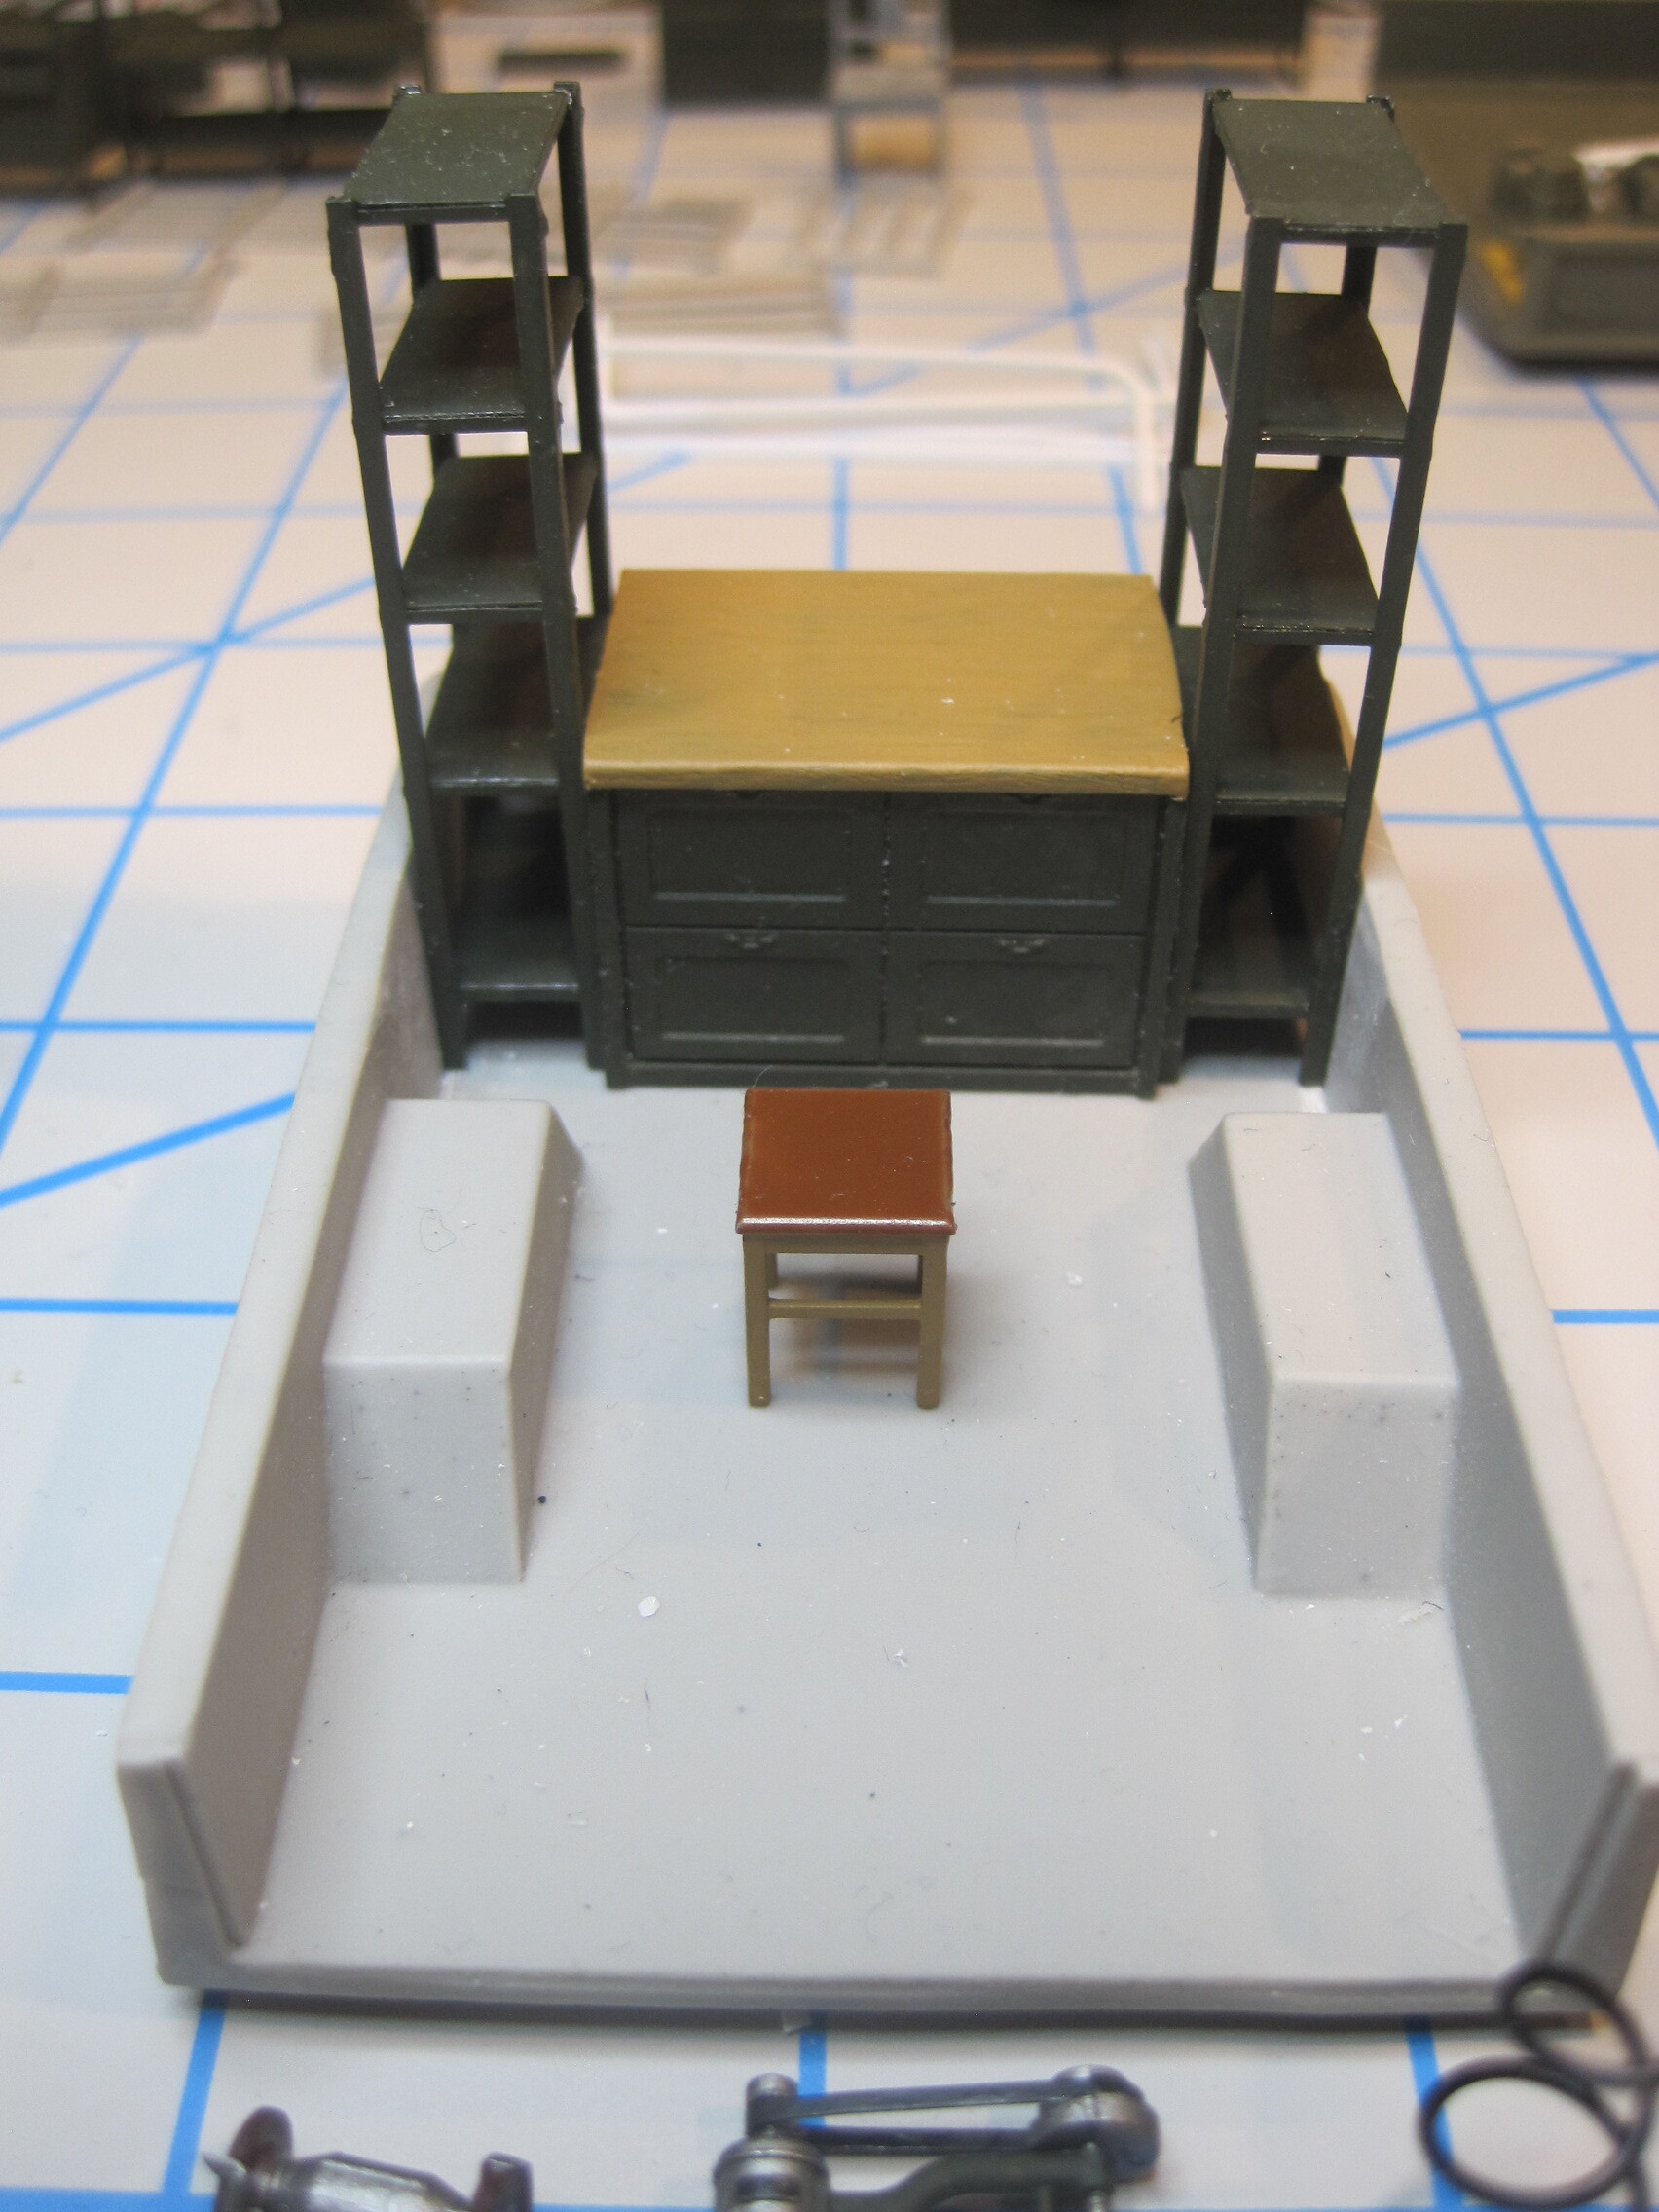
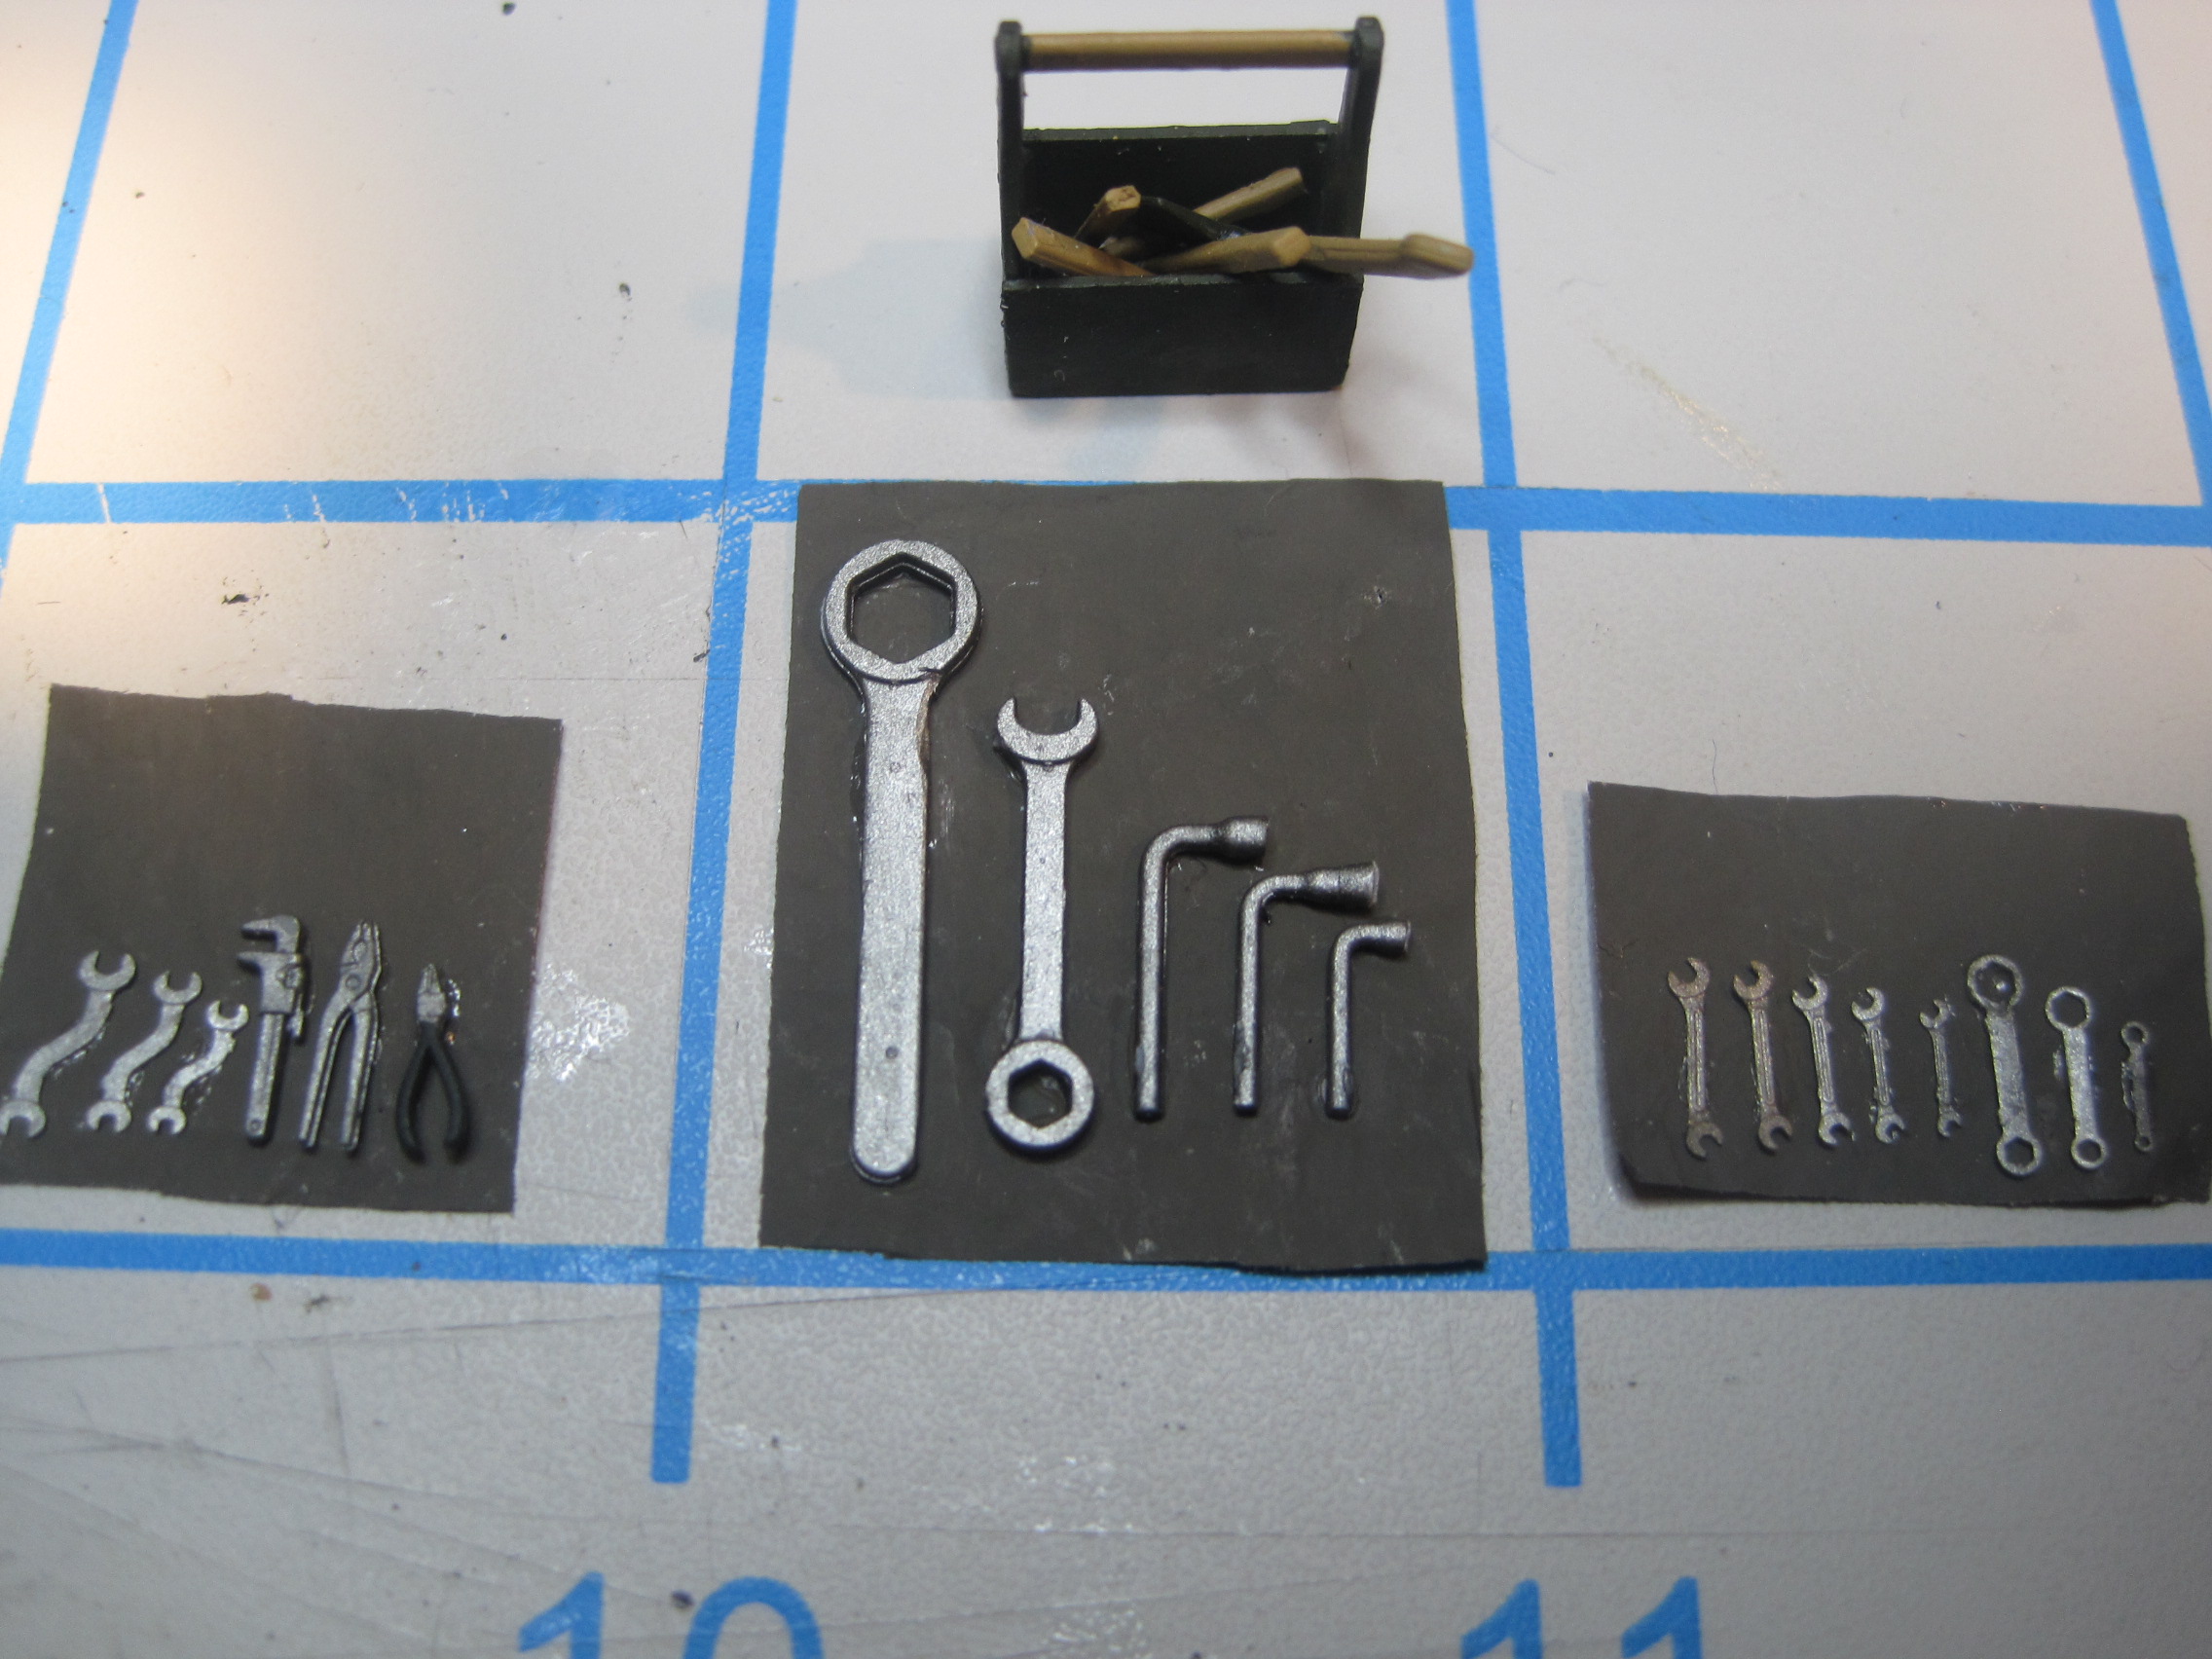
Time for an update. I’m using the Mini Art set to add some details to this build. I was planning to use the workbench with drawers and the shelves inside the truck itself, but the workbench was too deep to go down the side of the truck bed and leave a proper aisle, and it was too long to go across the front wall. So plan B is to cut it in half and put the storage items in the trailer. I’m going to use MOST of the Mini Art items but I’m leaving out some things like a two man cross cut saw and a plane since those are really not items you’d find in a maintenance vehicle.
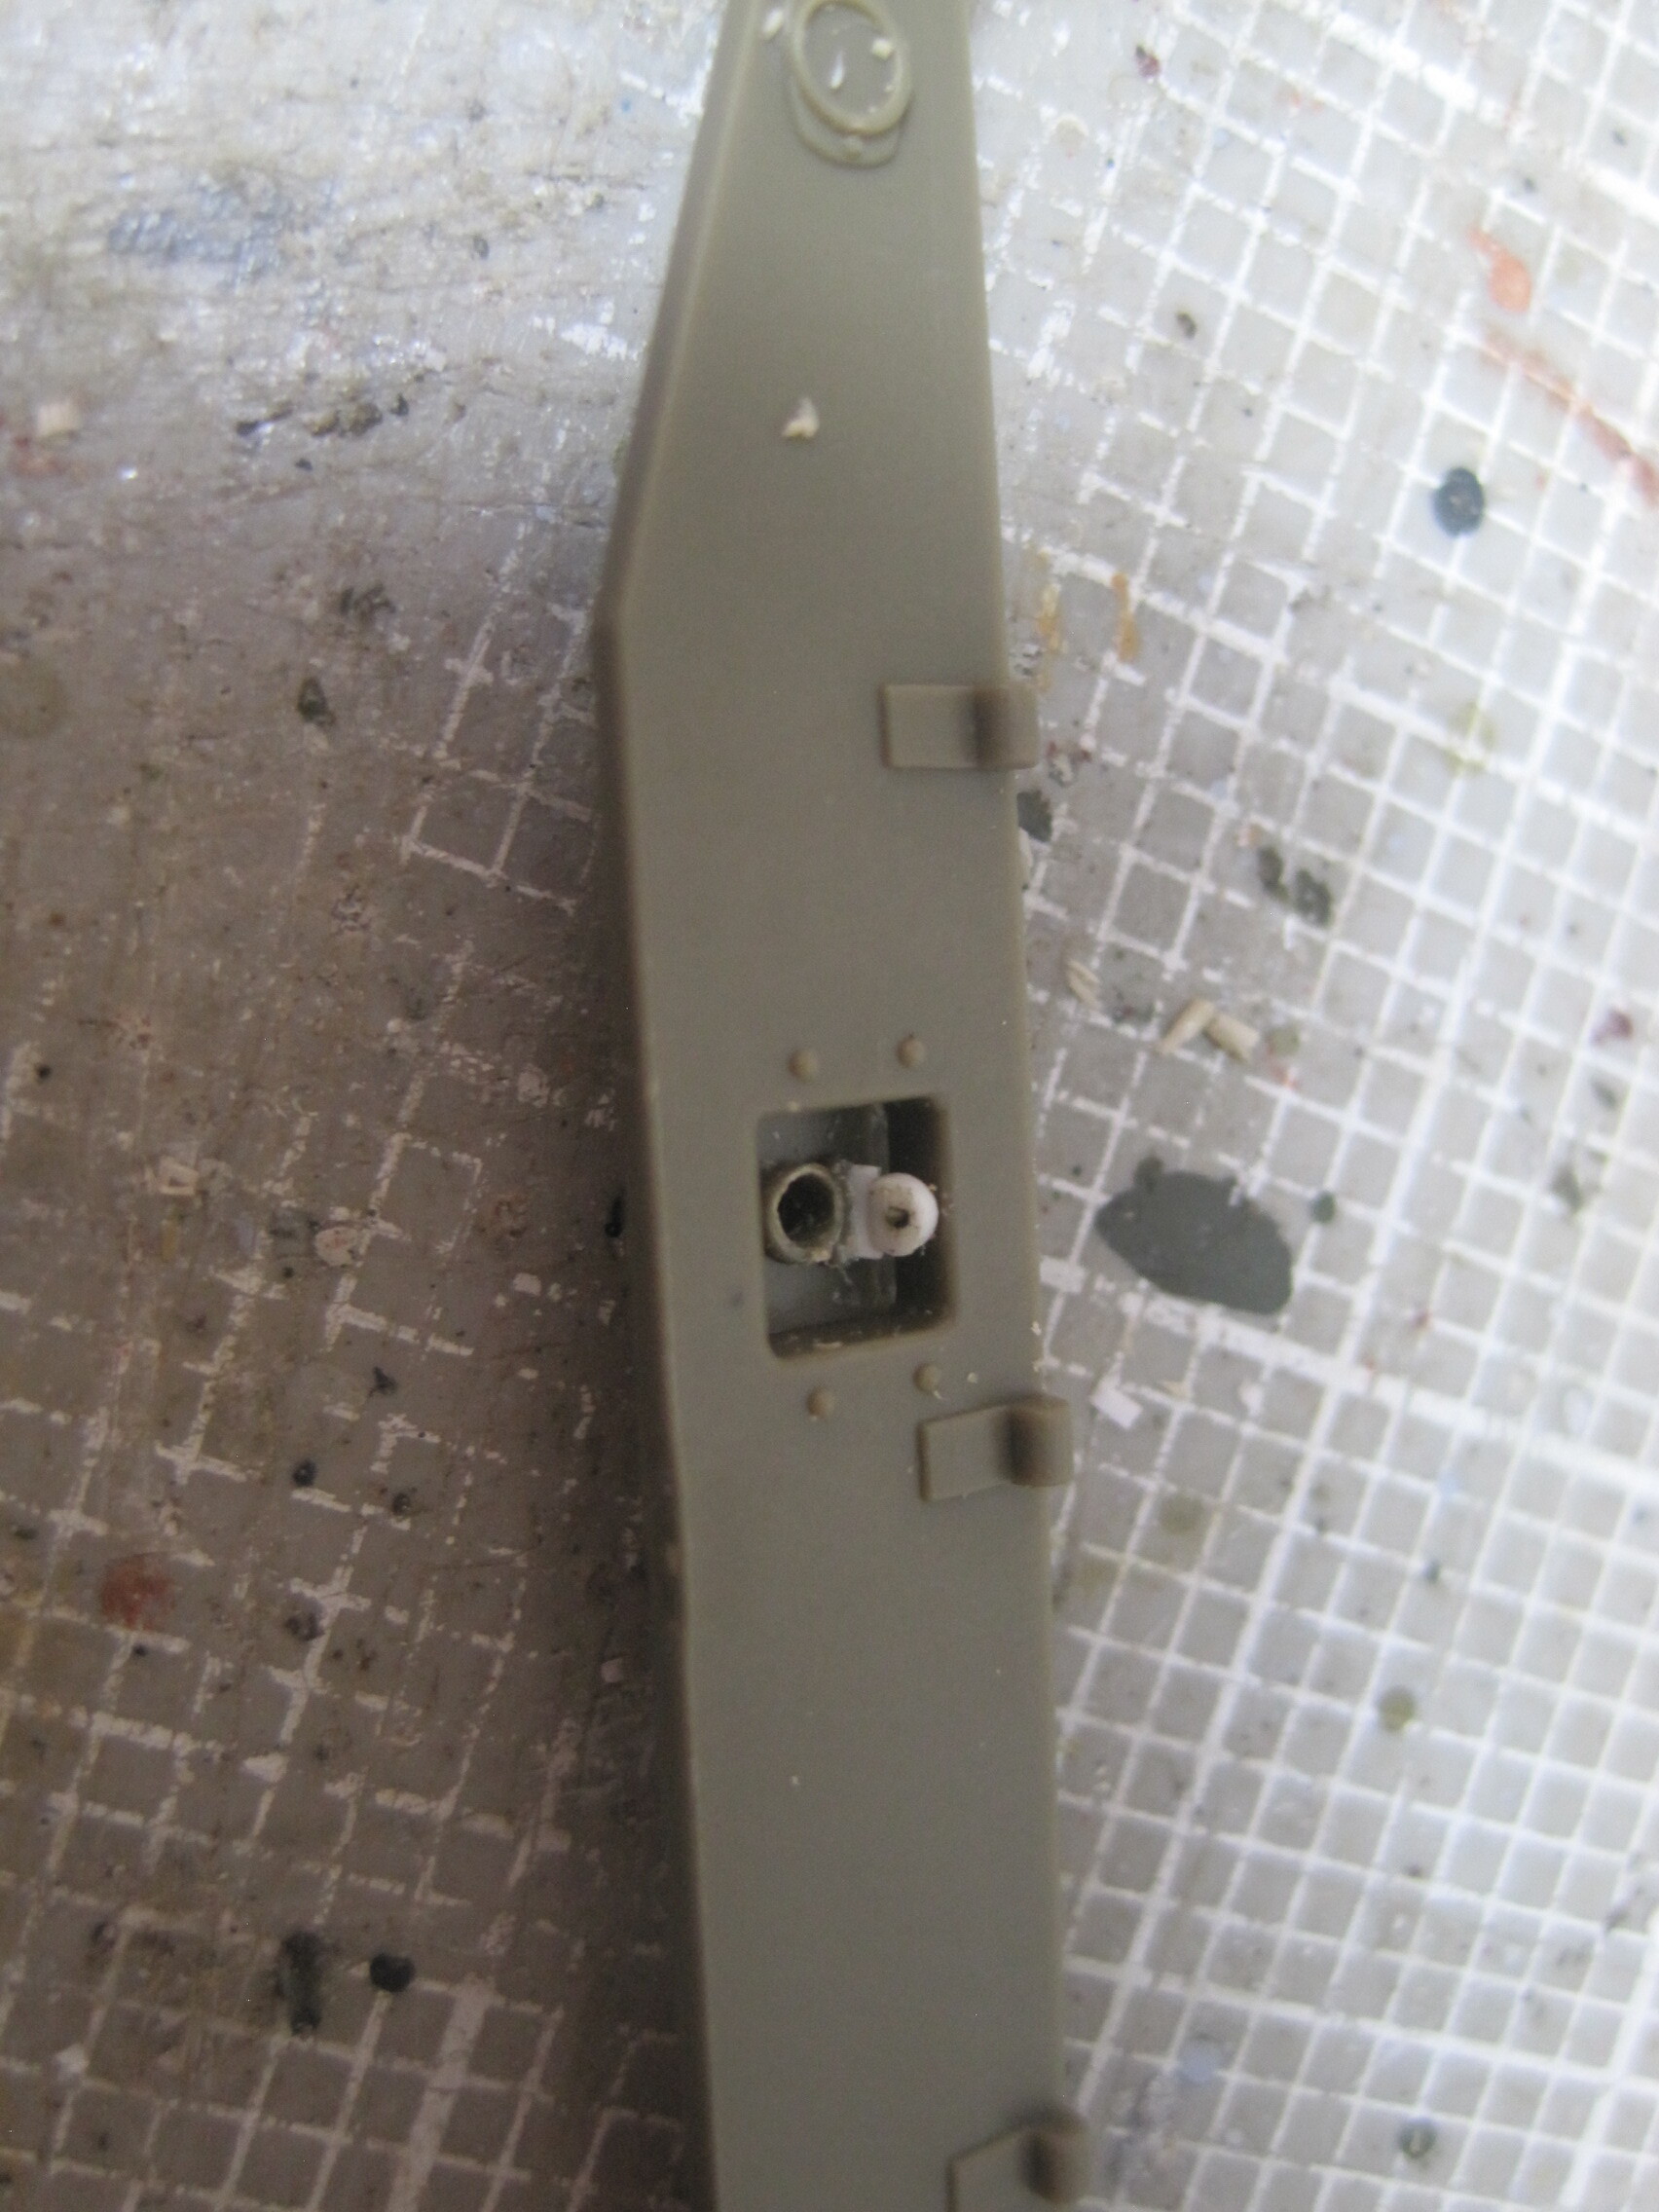
I am focusing on the trailer first since the bench is going in there, but I did perform once piece of surgery on the end plate of the truck bed, that is, opening up the electrical outlet that powers the trailer lights, so that I’ll be able to plug the connector in to it.
5 Likes
Oh wow, nice detail touch on that!
Great build! Please keep us in the loop.
Another nice piece. Great job.
Here’s an update. I’m sort of building this project in reverse order. I started with the MiniArt Garage Workshop accessories set and completed that as part of the MiniArt Campaign.
Because the benches and shelves work better in the trailer, I’m putting them in there, and I’m building the trailer next.
Once that’s done I’ll actually move on to the prime mover.
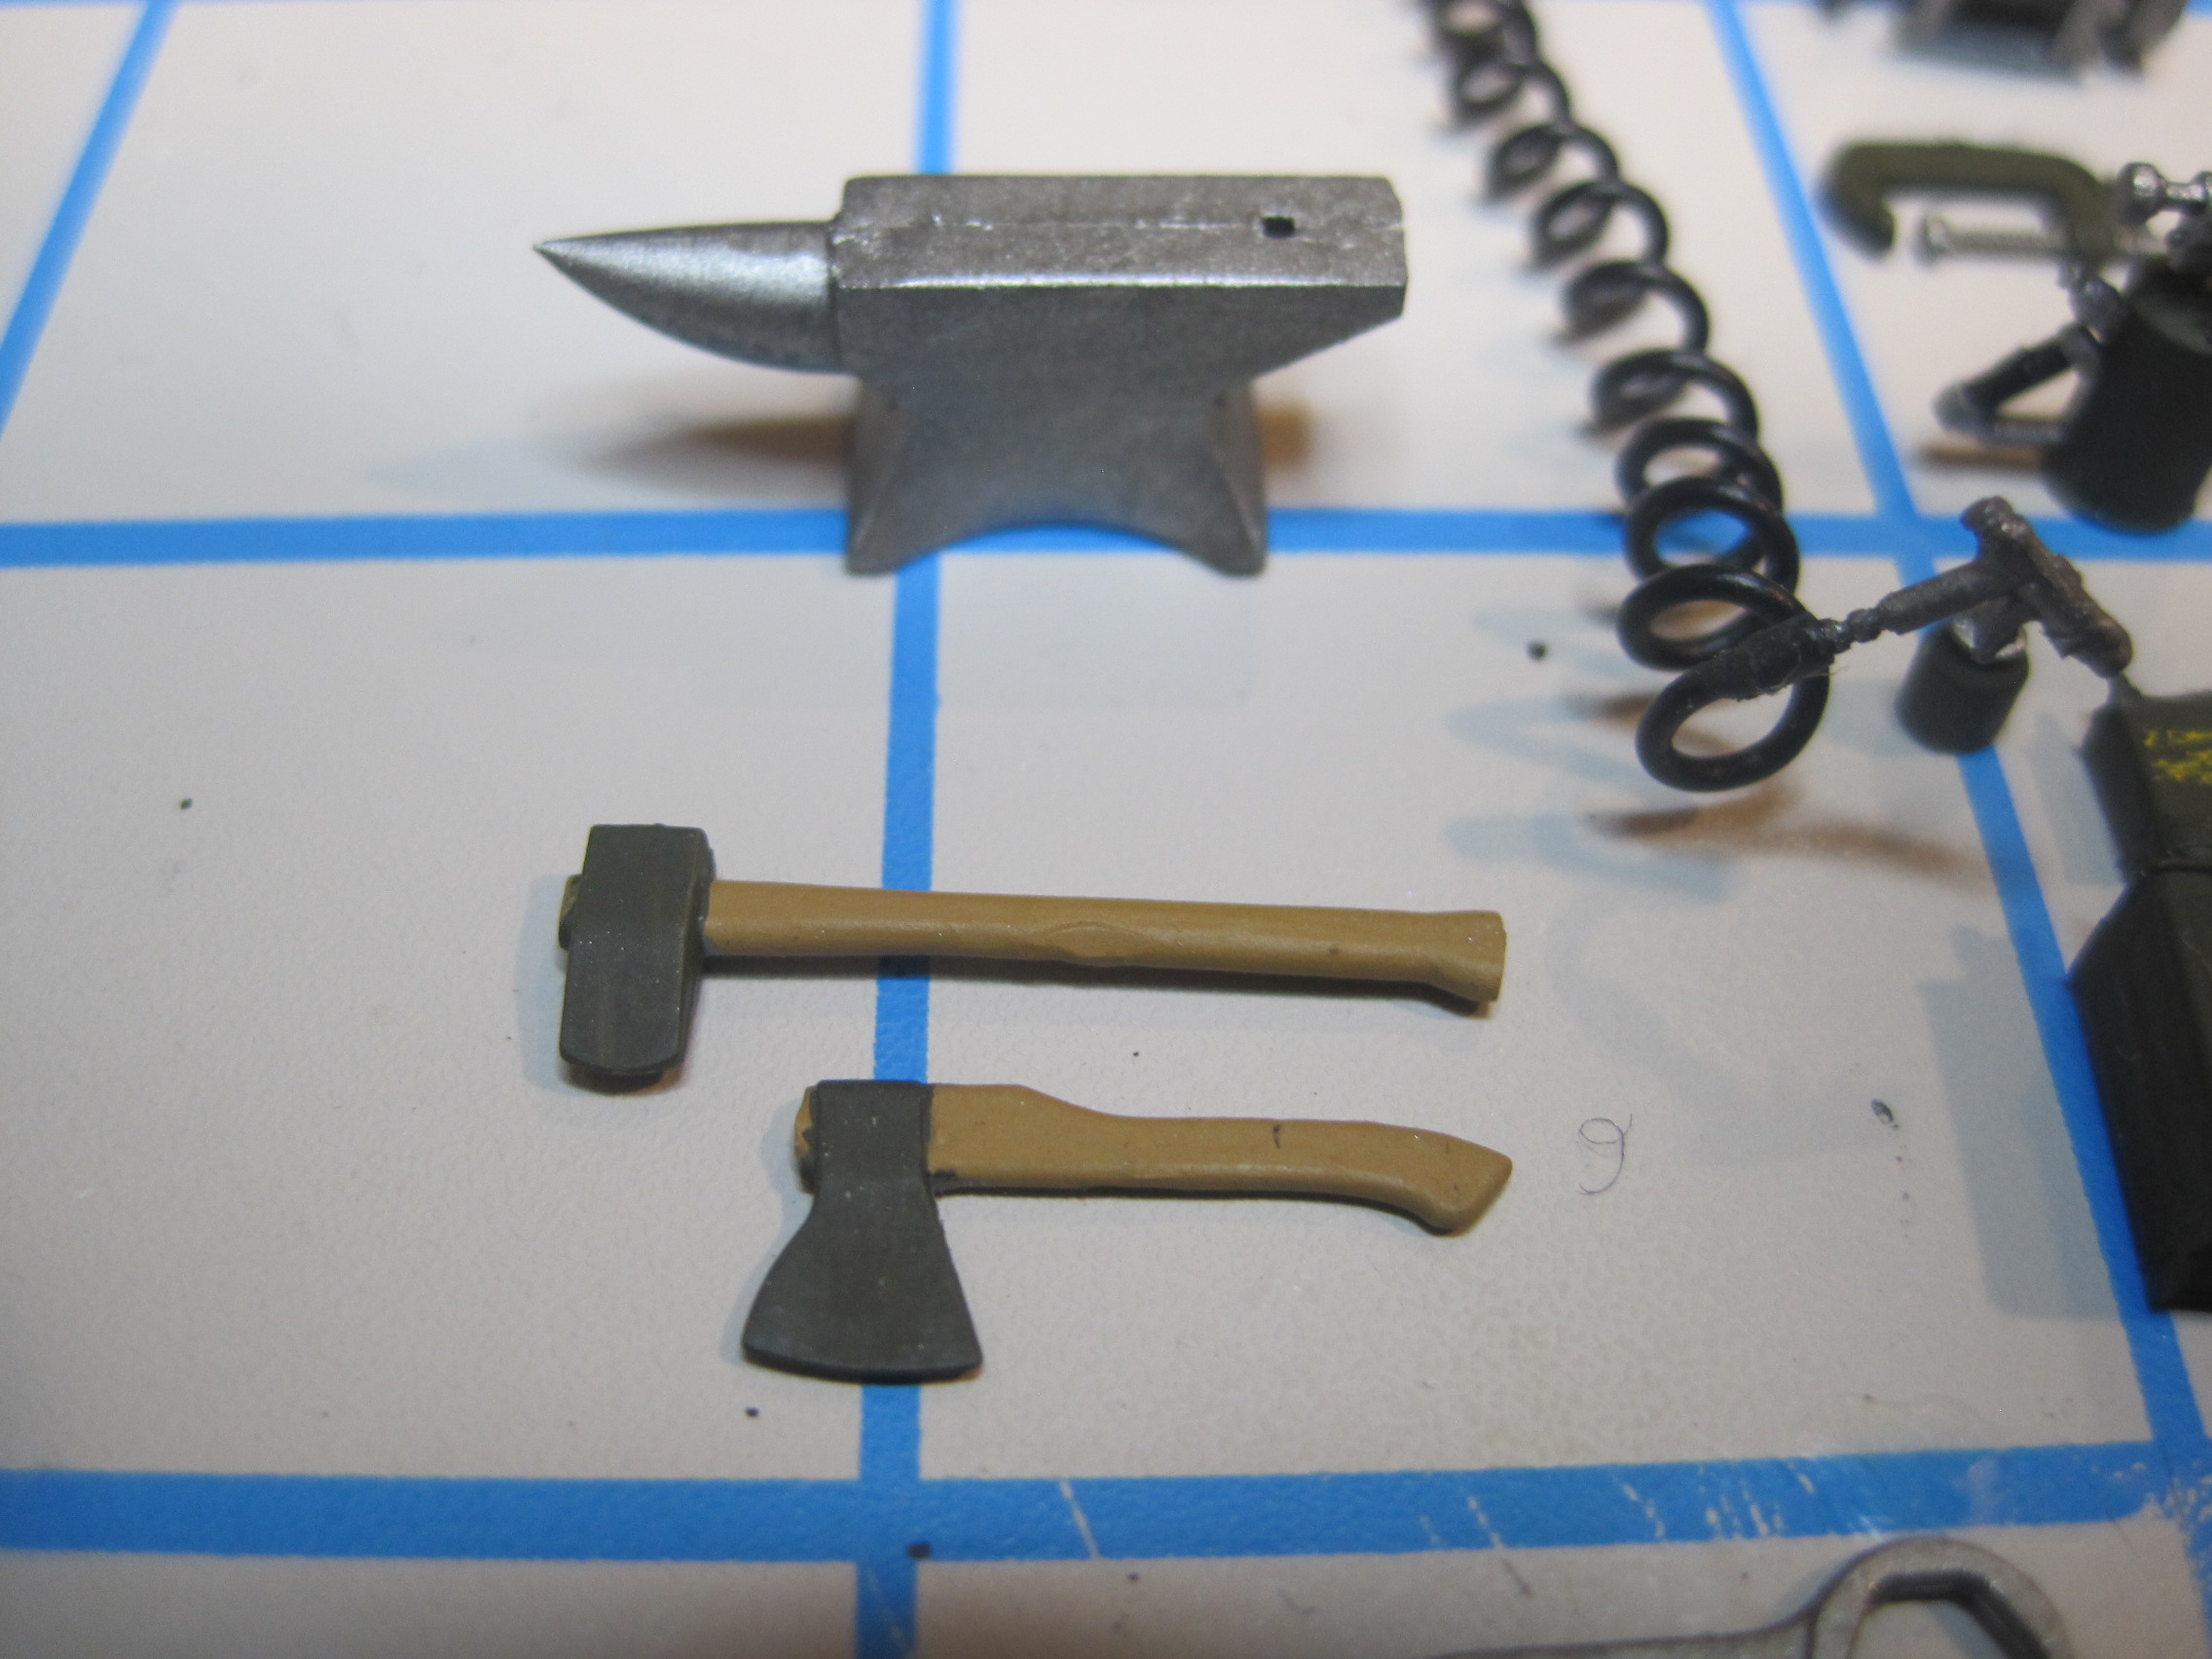
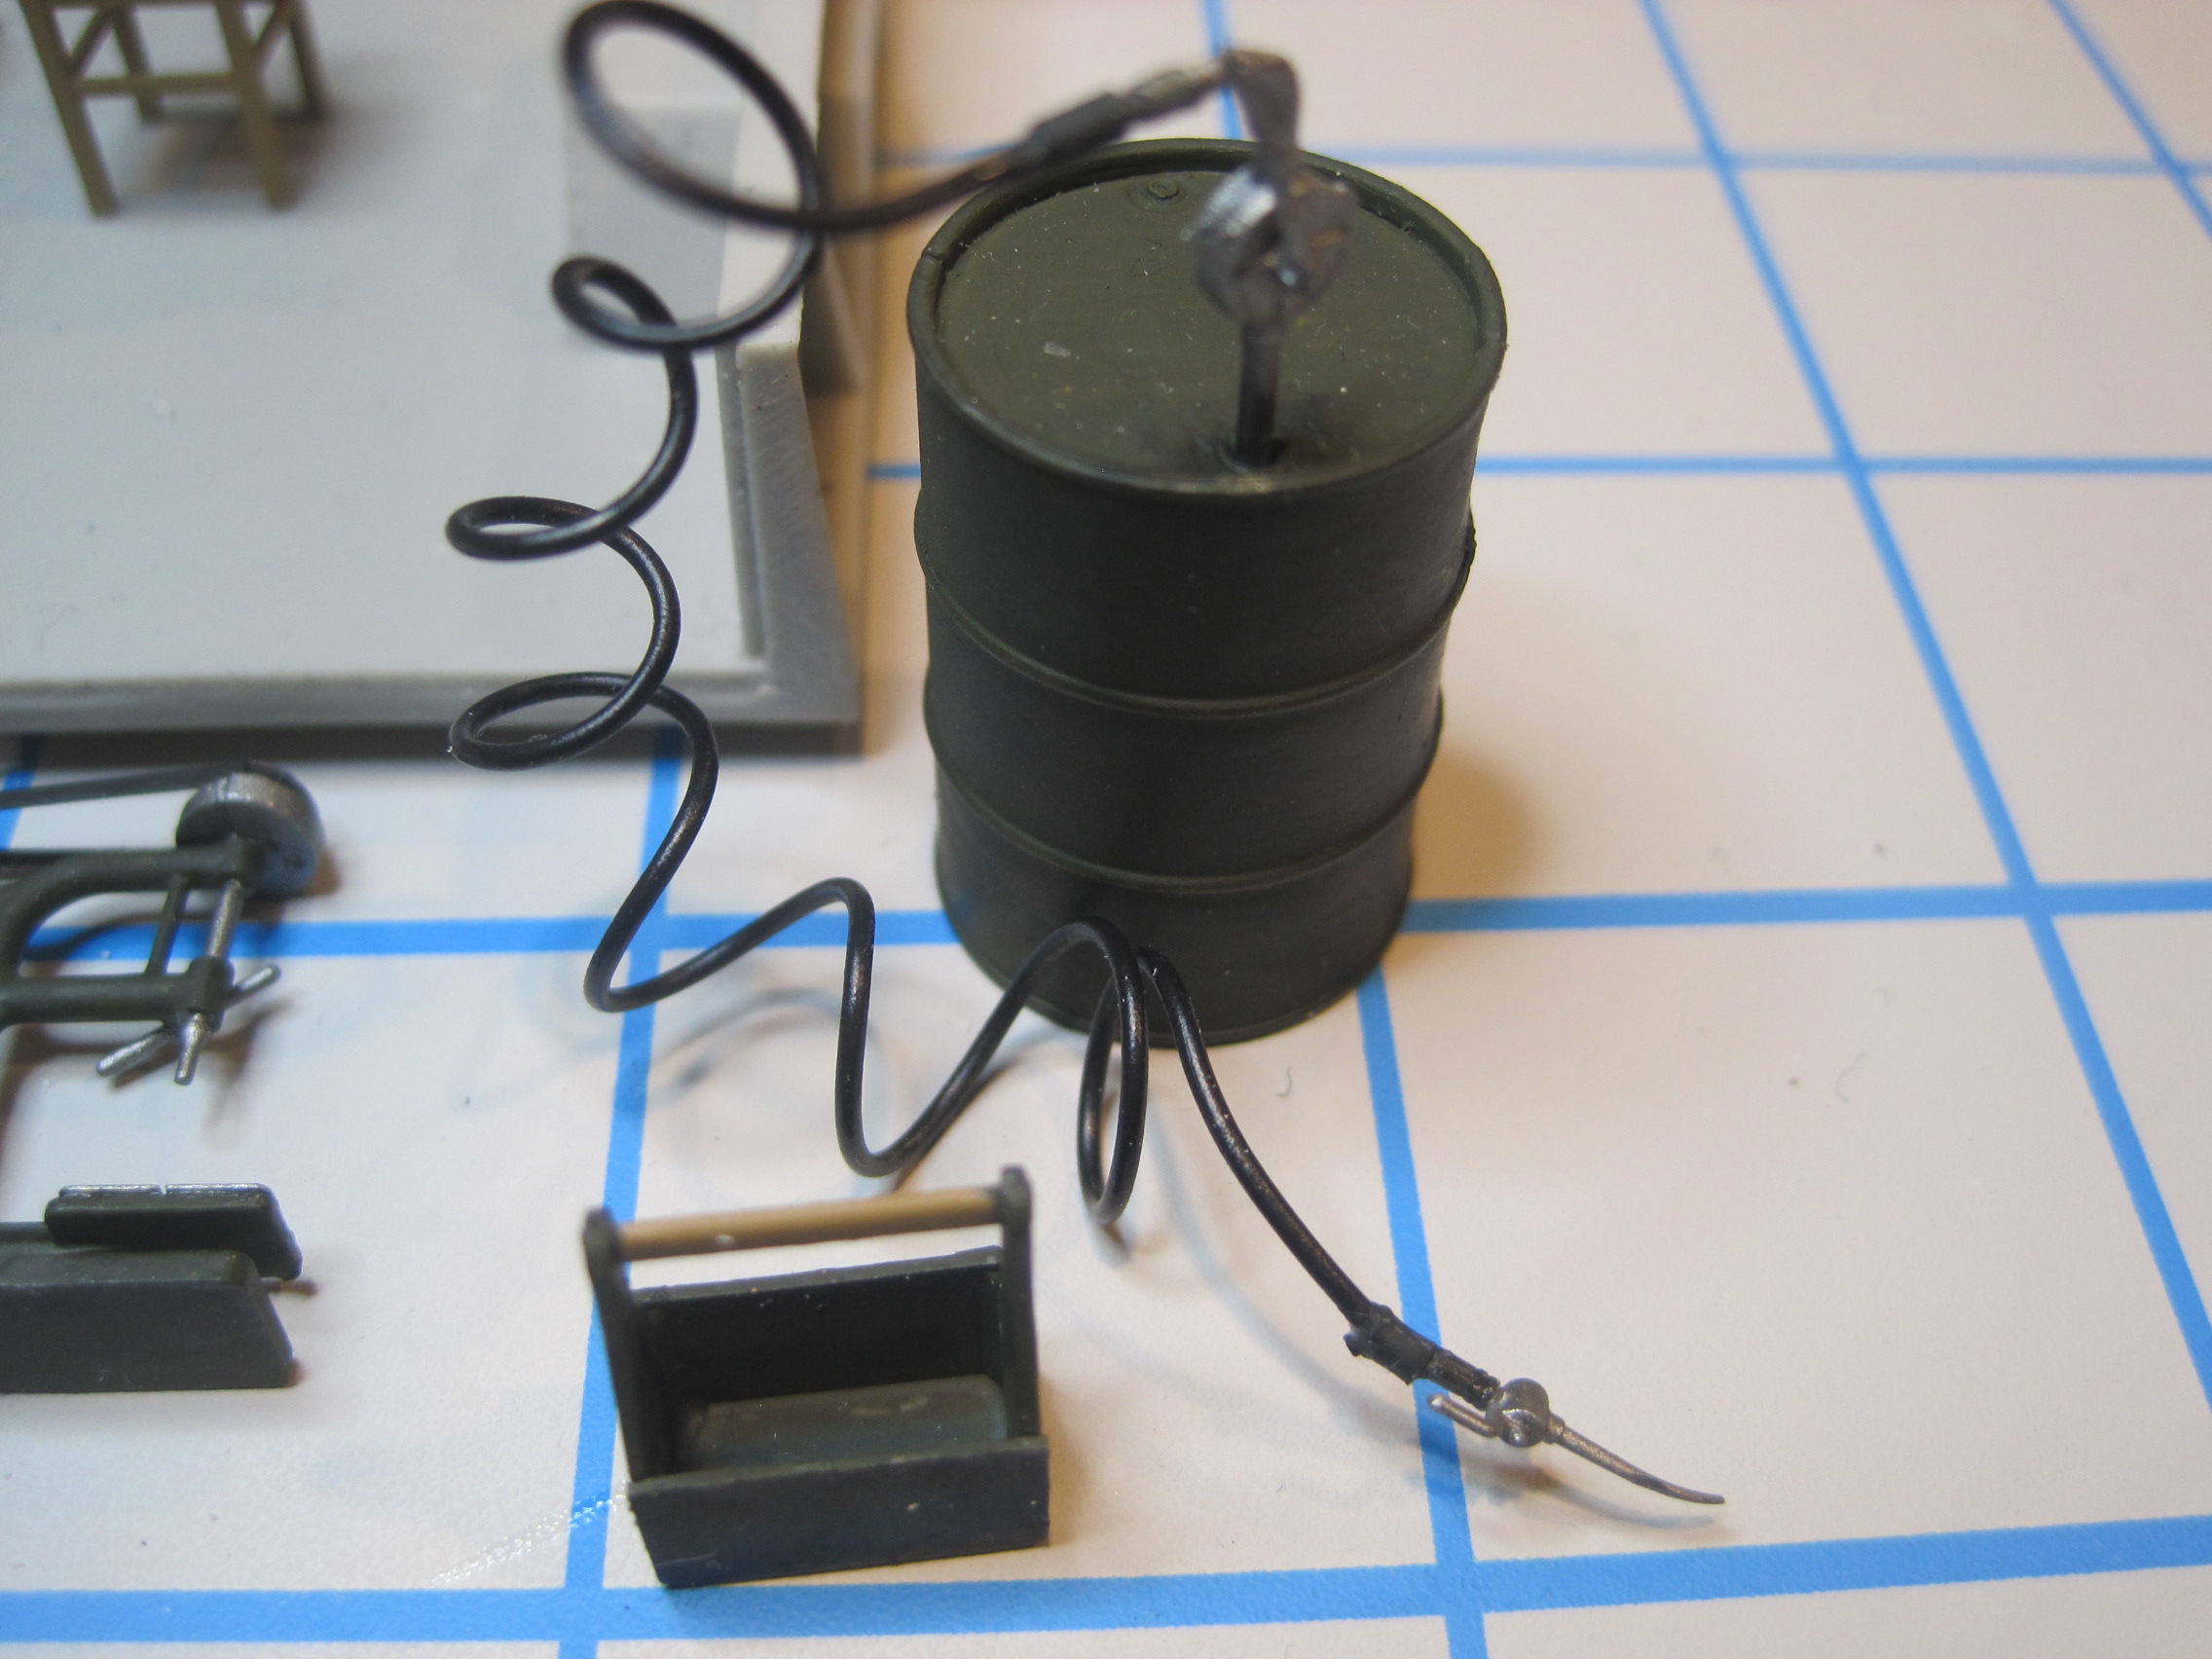
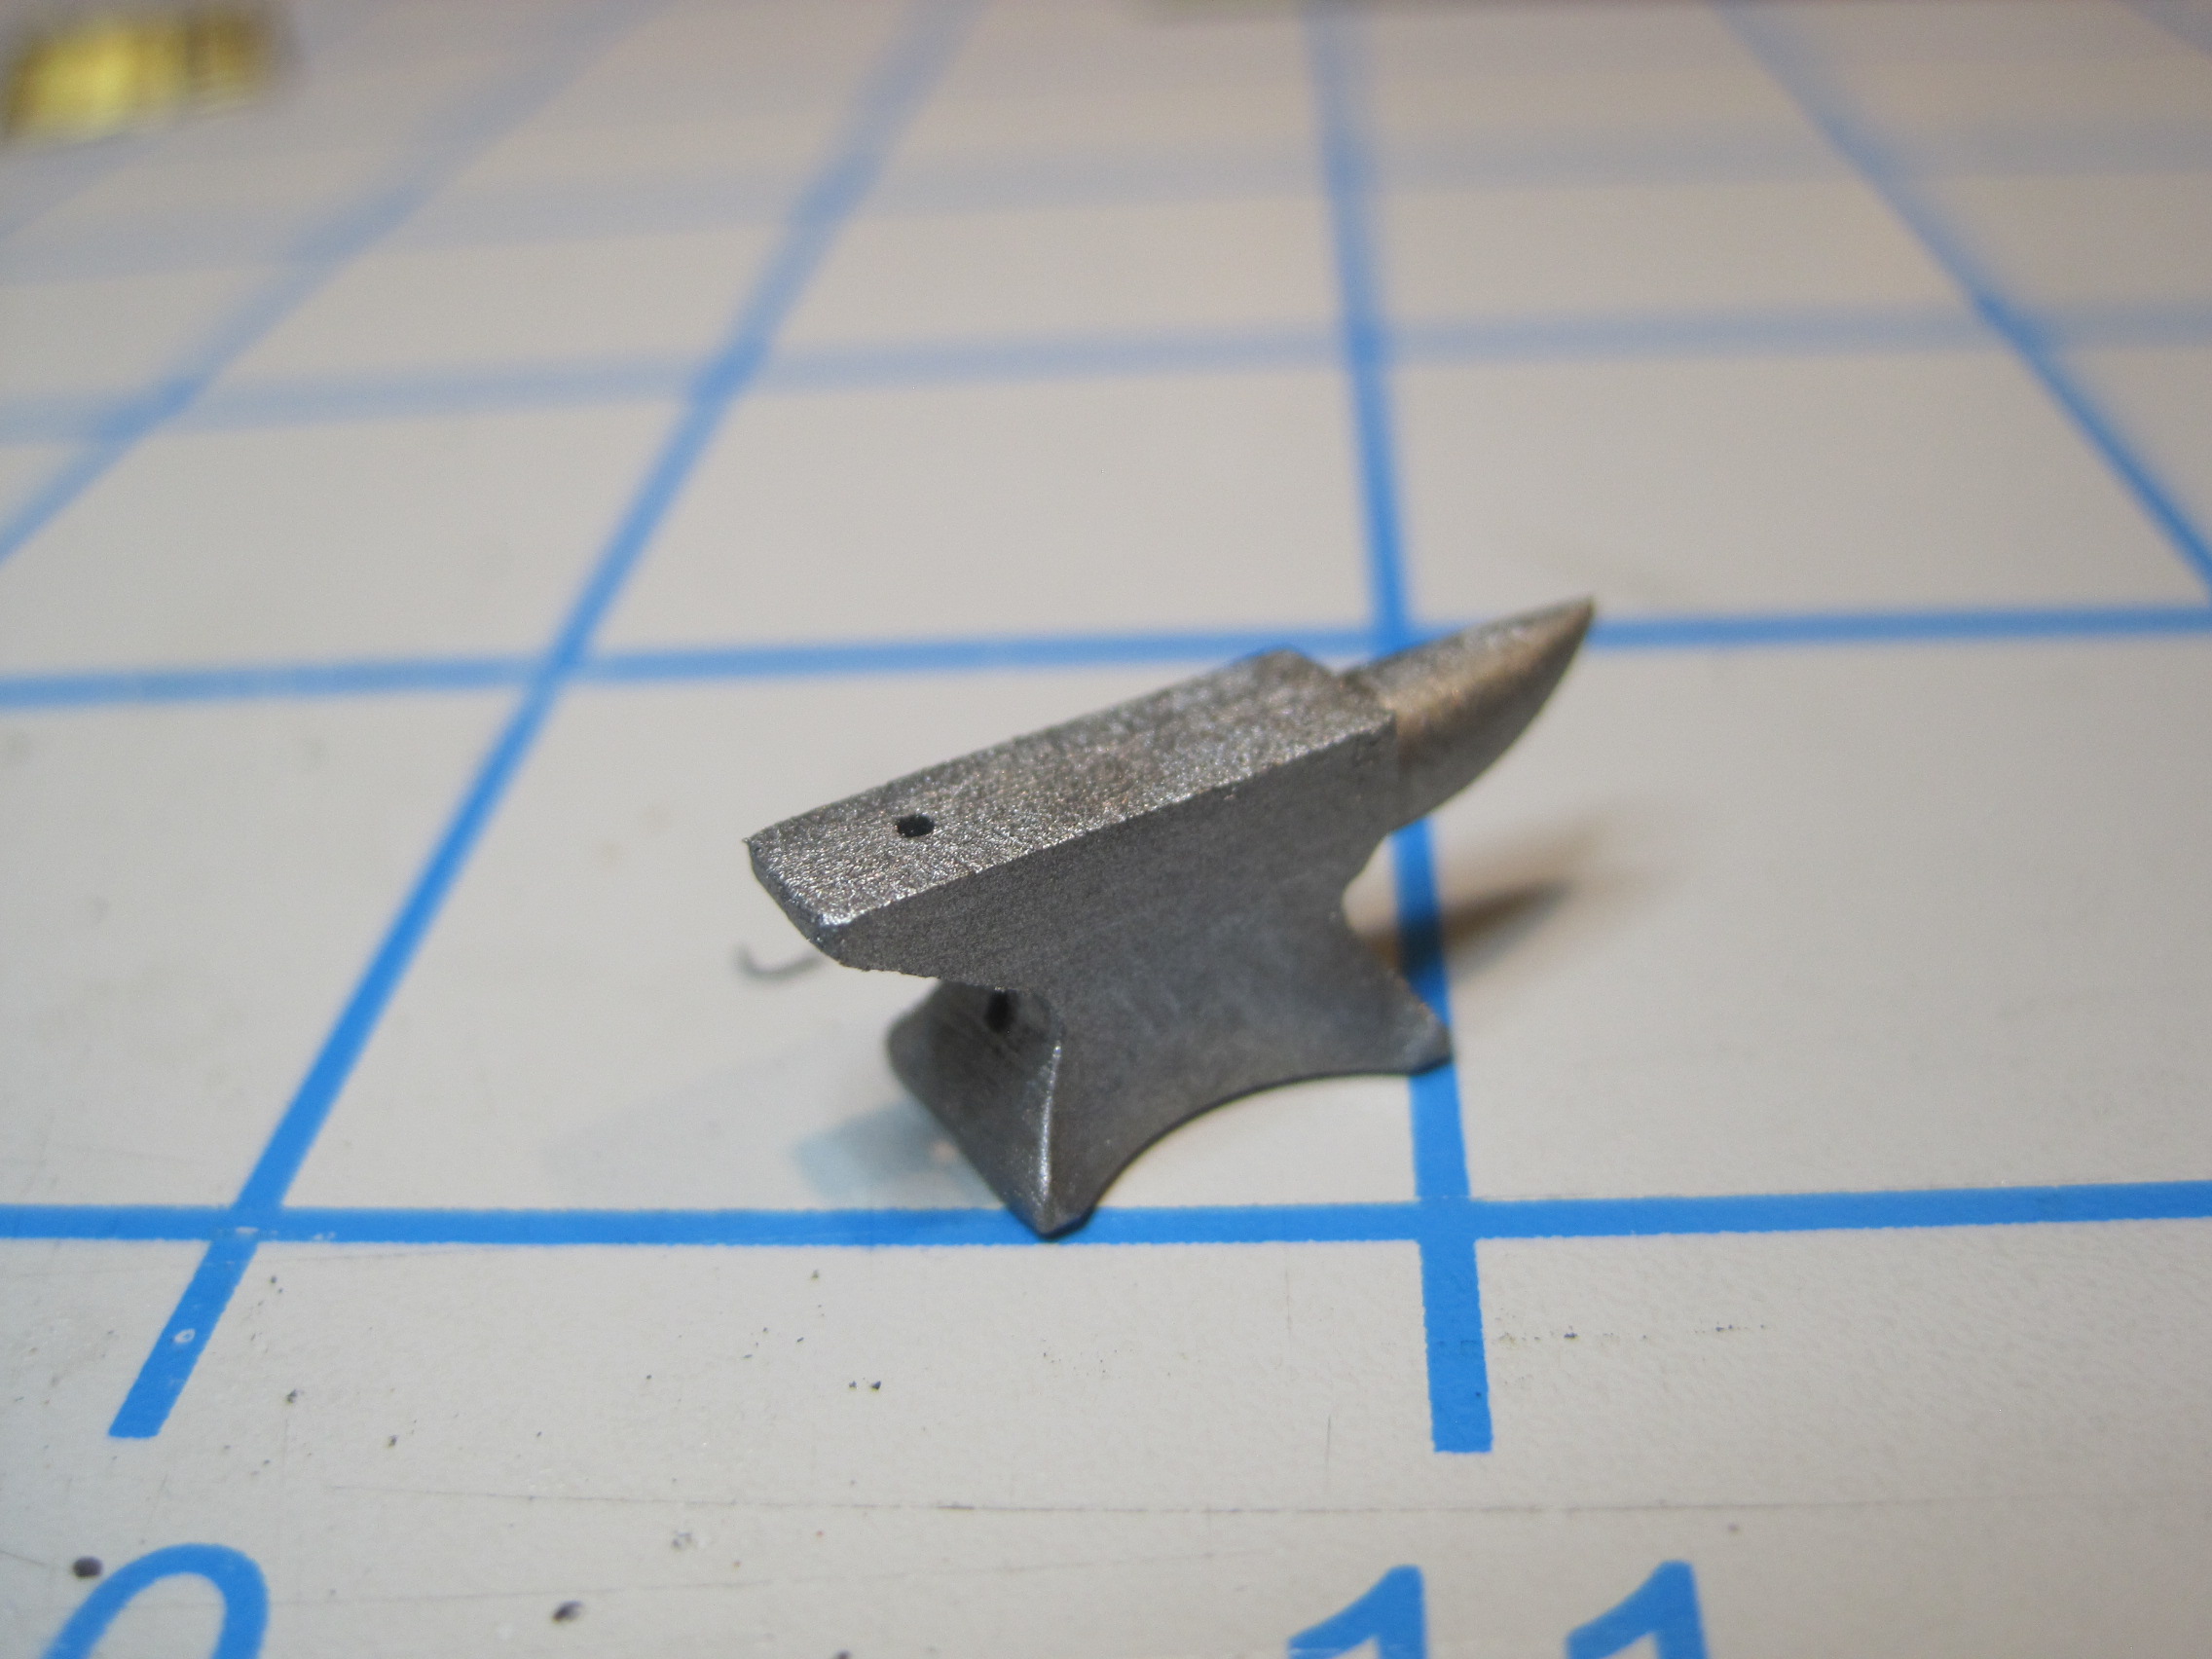
Here’s the completed accessories set.
6 Likes
Jeez Tom - what is not to like? Brilliant work; can’t wait for the next update.
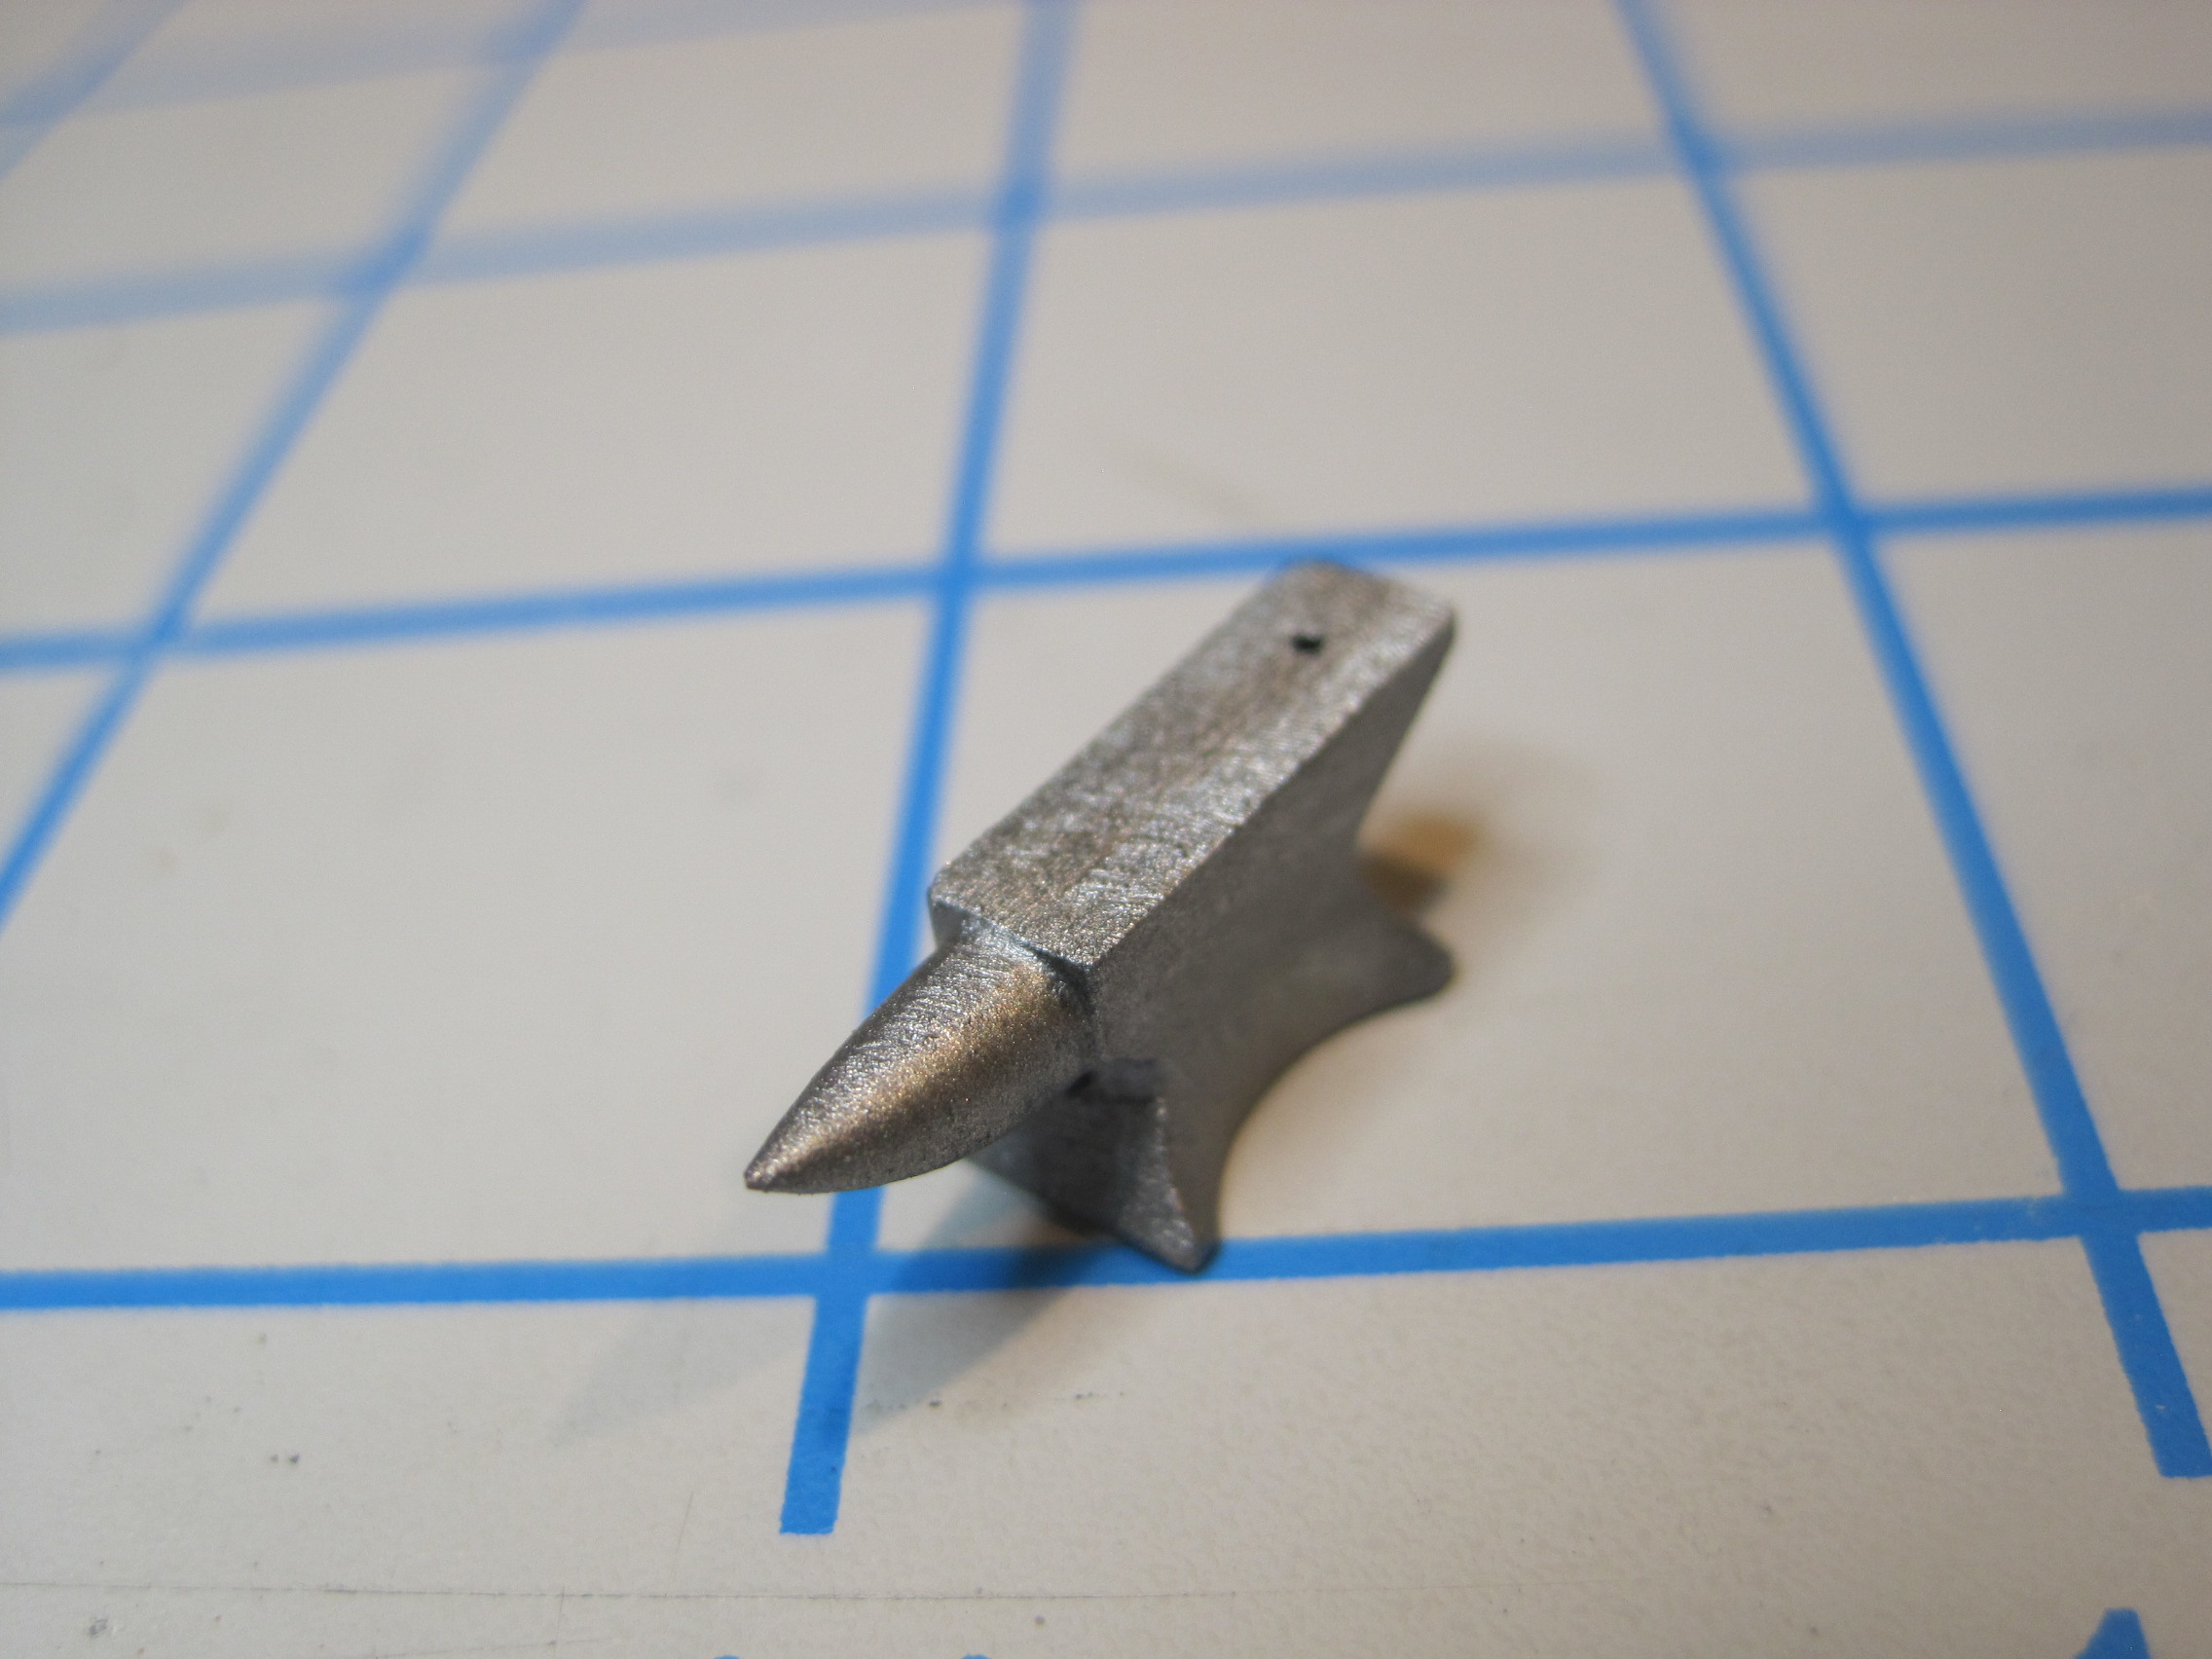
The smith needs to bring out his hammer and do some workout on the mold seam on that anvil …
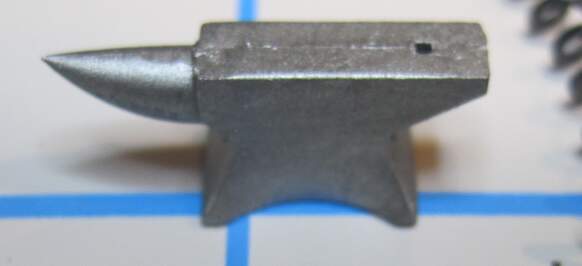
The top is usually machined to a flat surface, sometimes it is even polished, or as flat as they managed to get it if it is a very old one.
This build will be interesting to follow
2 Likes
OK, Robin, hopefully this is an improvement!
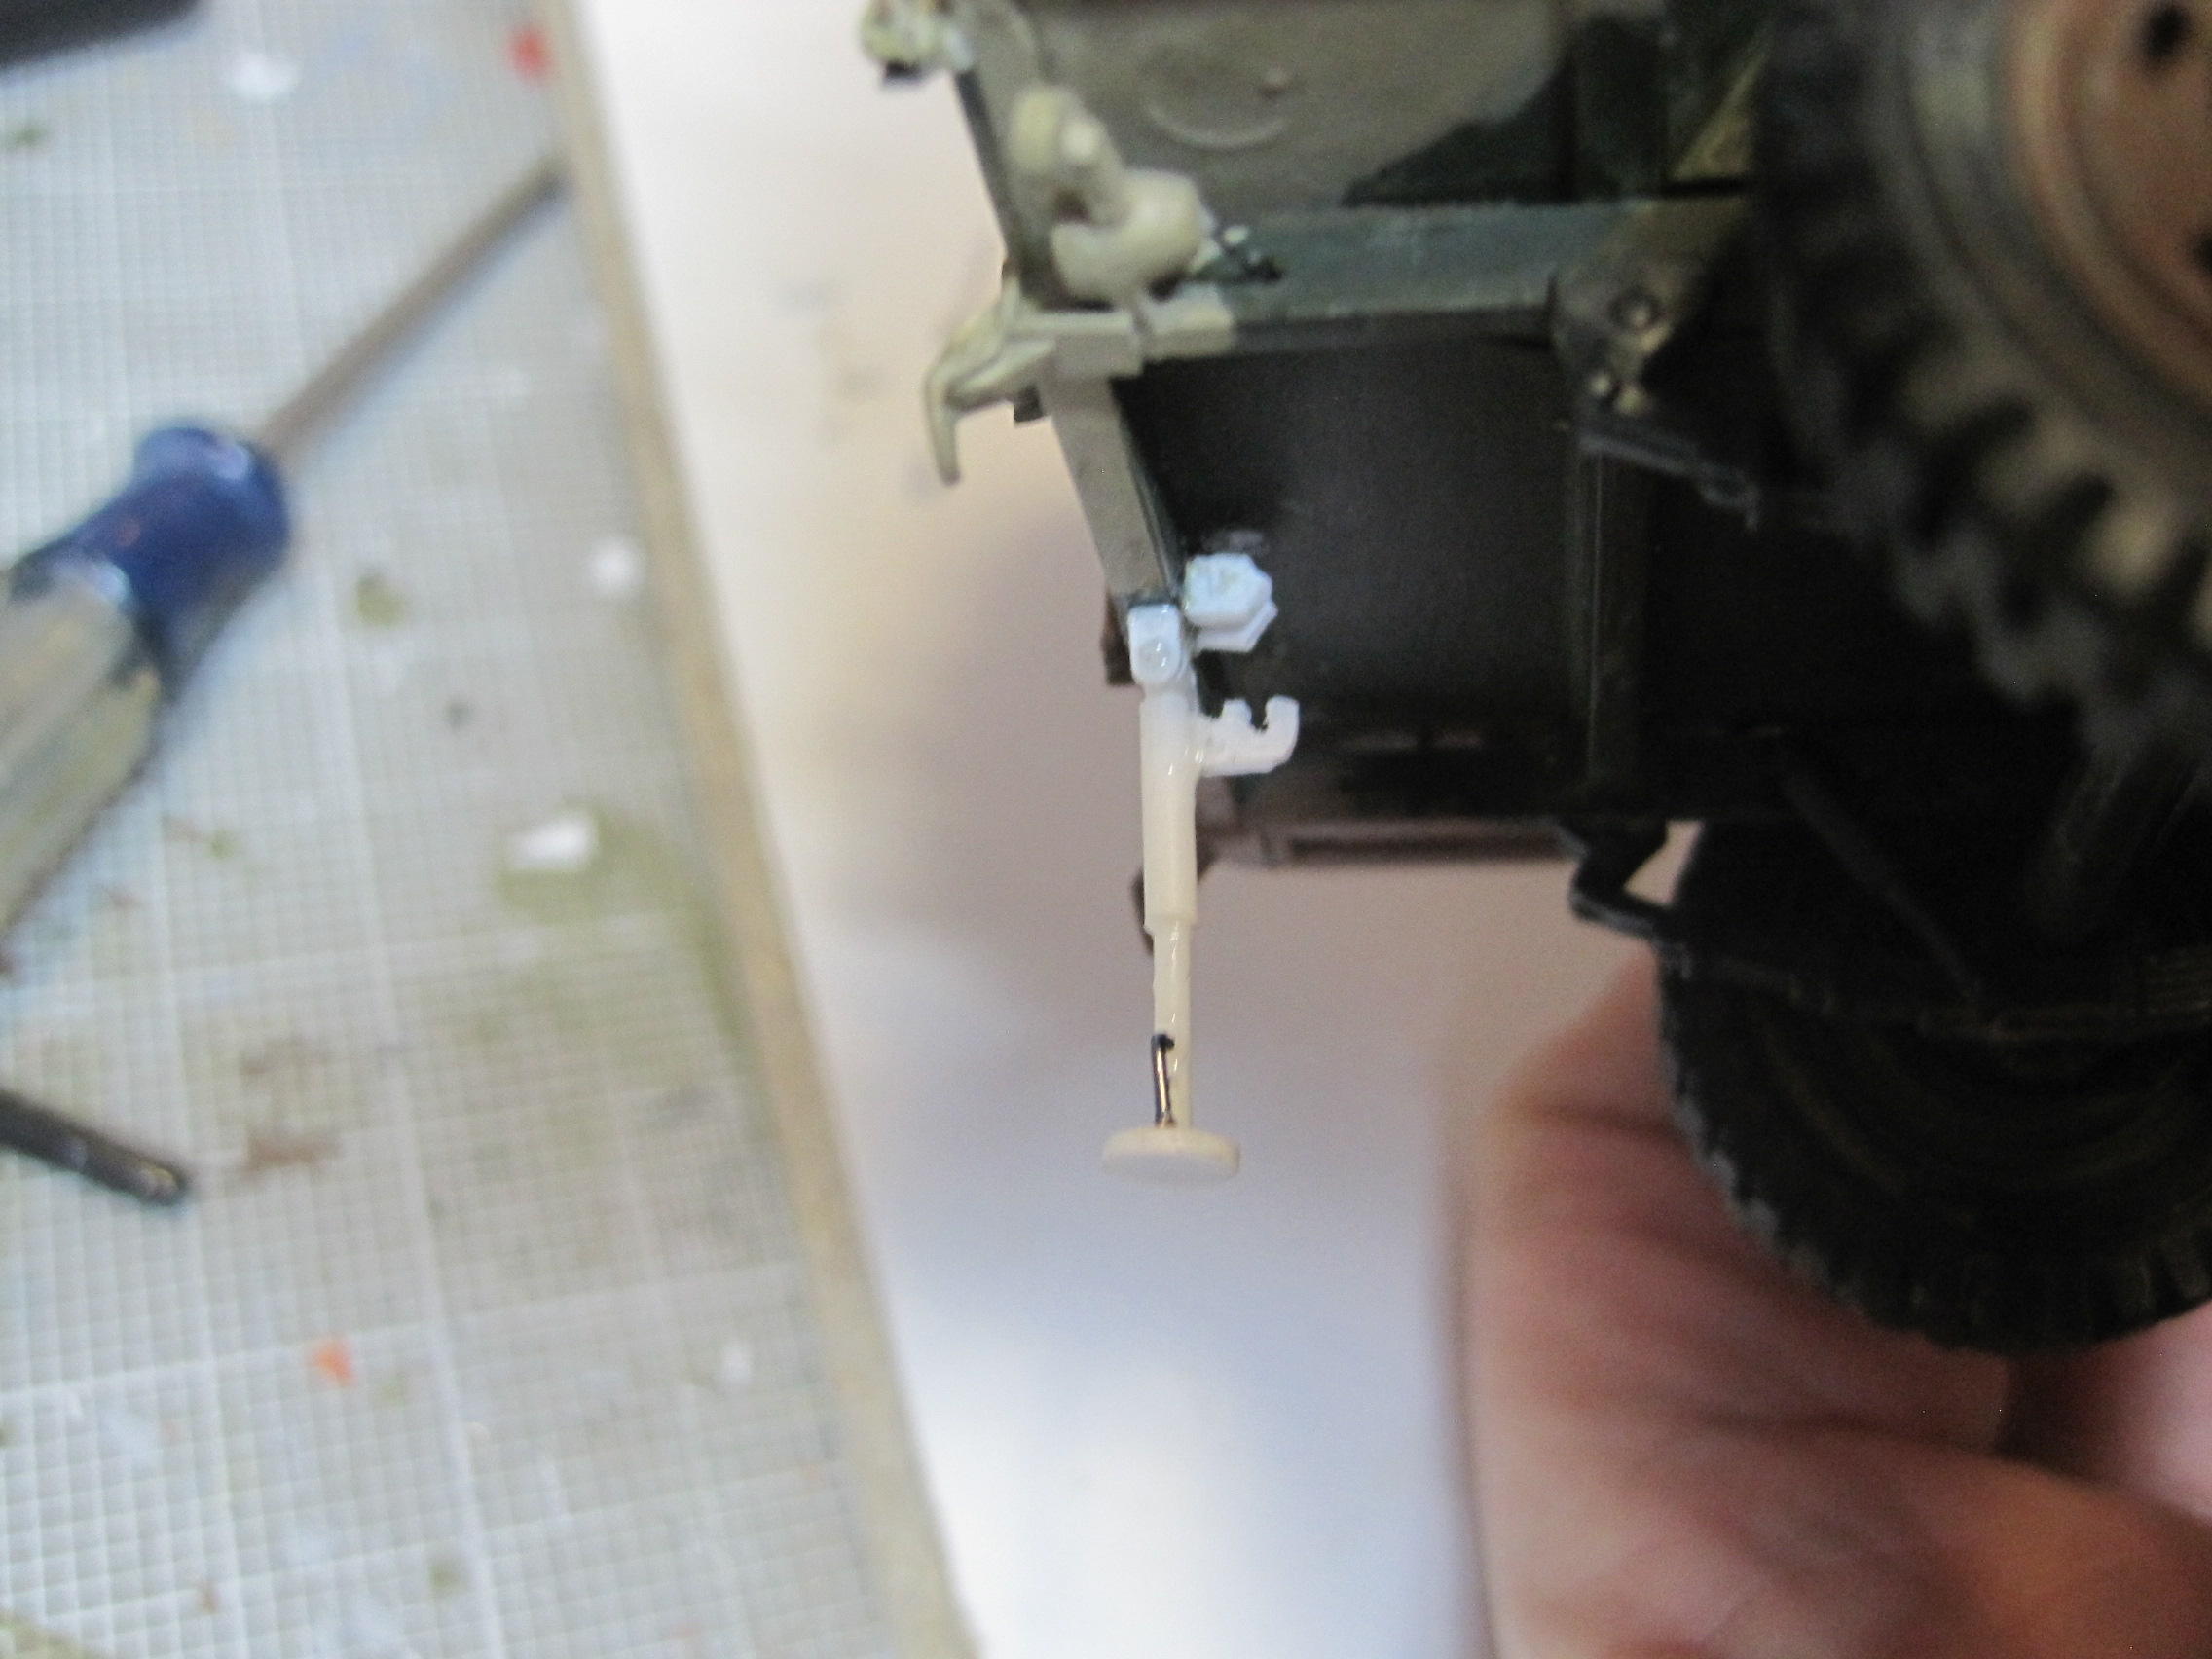
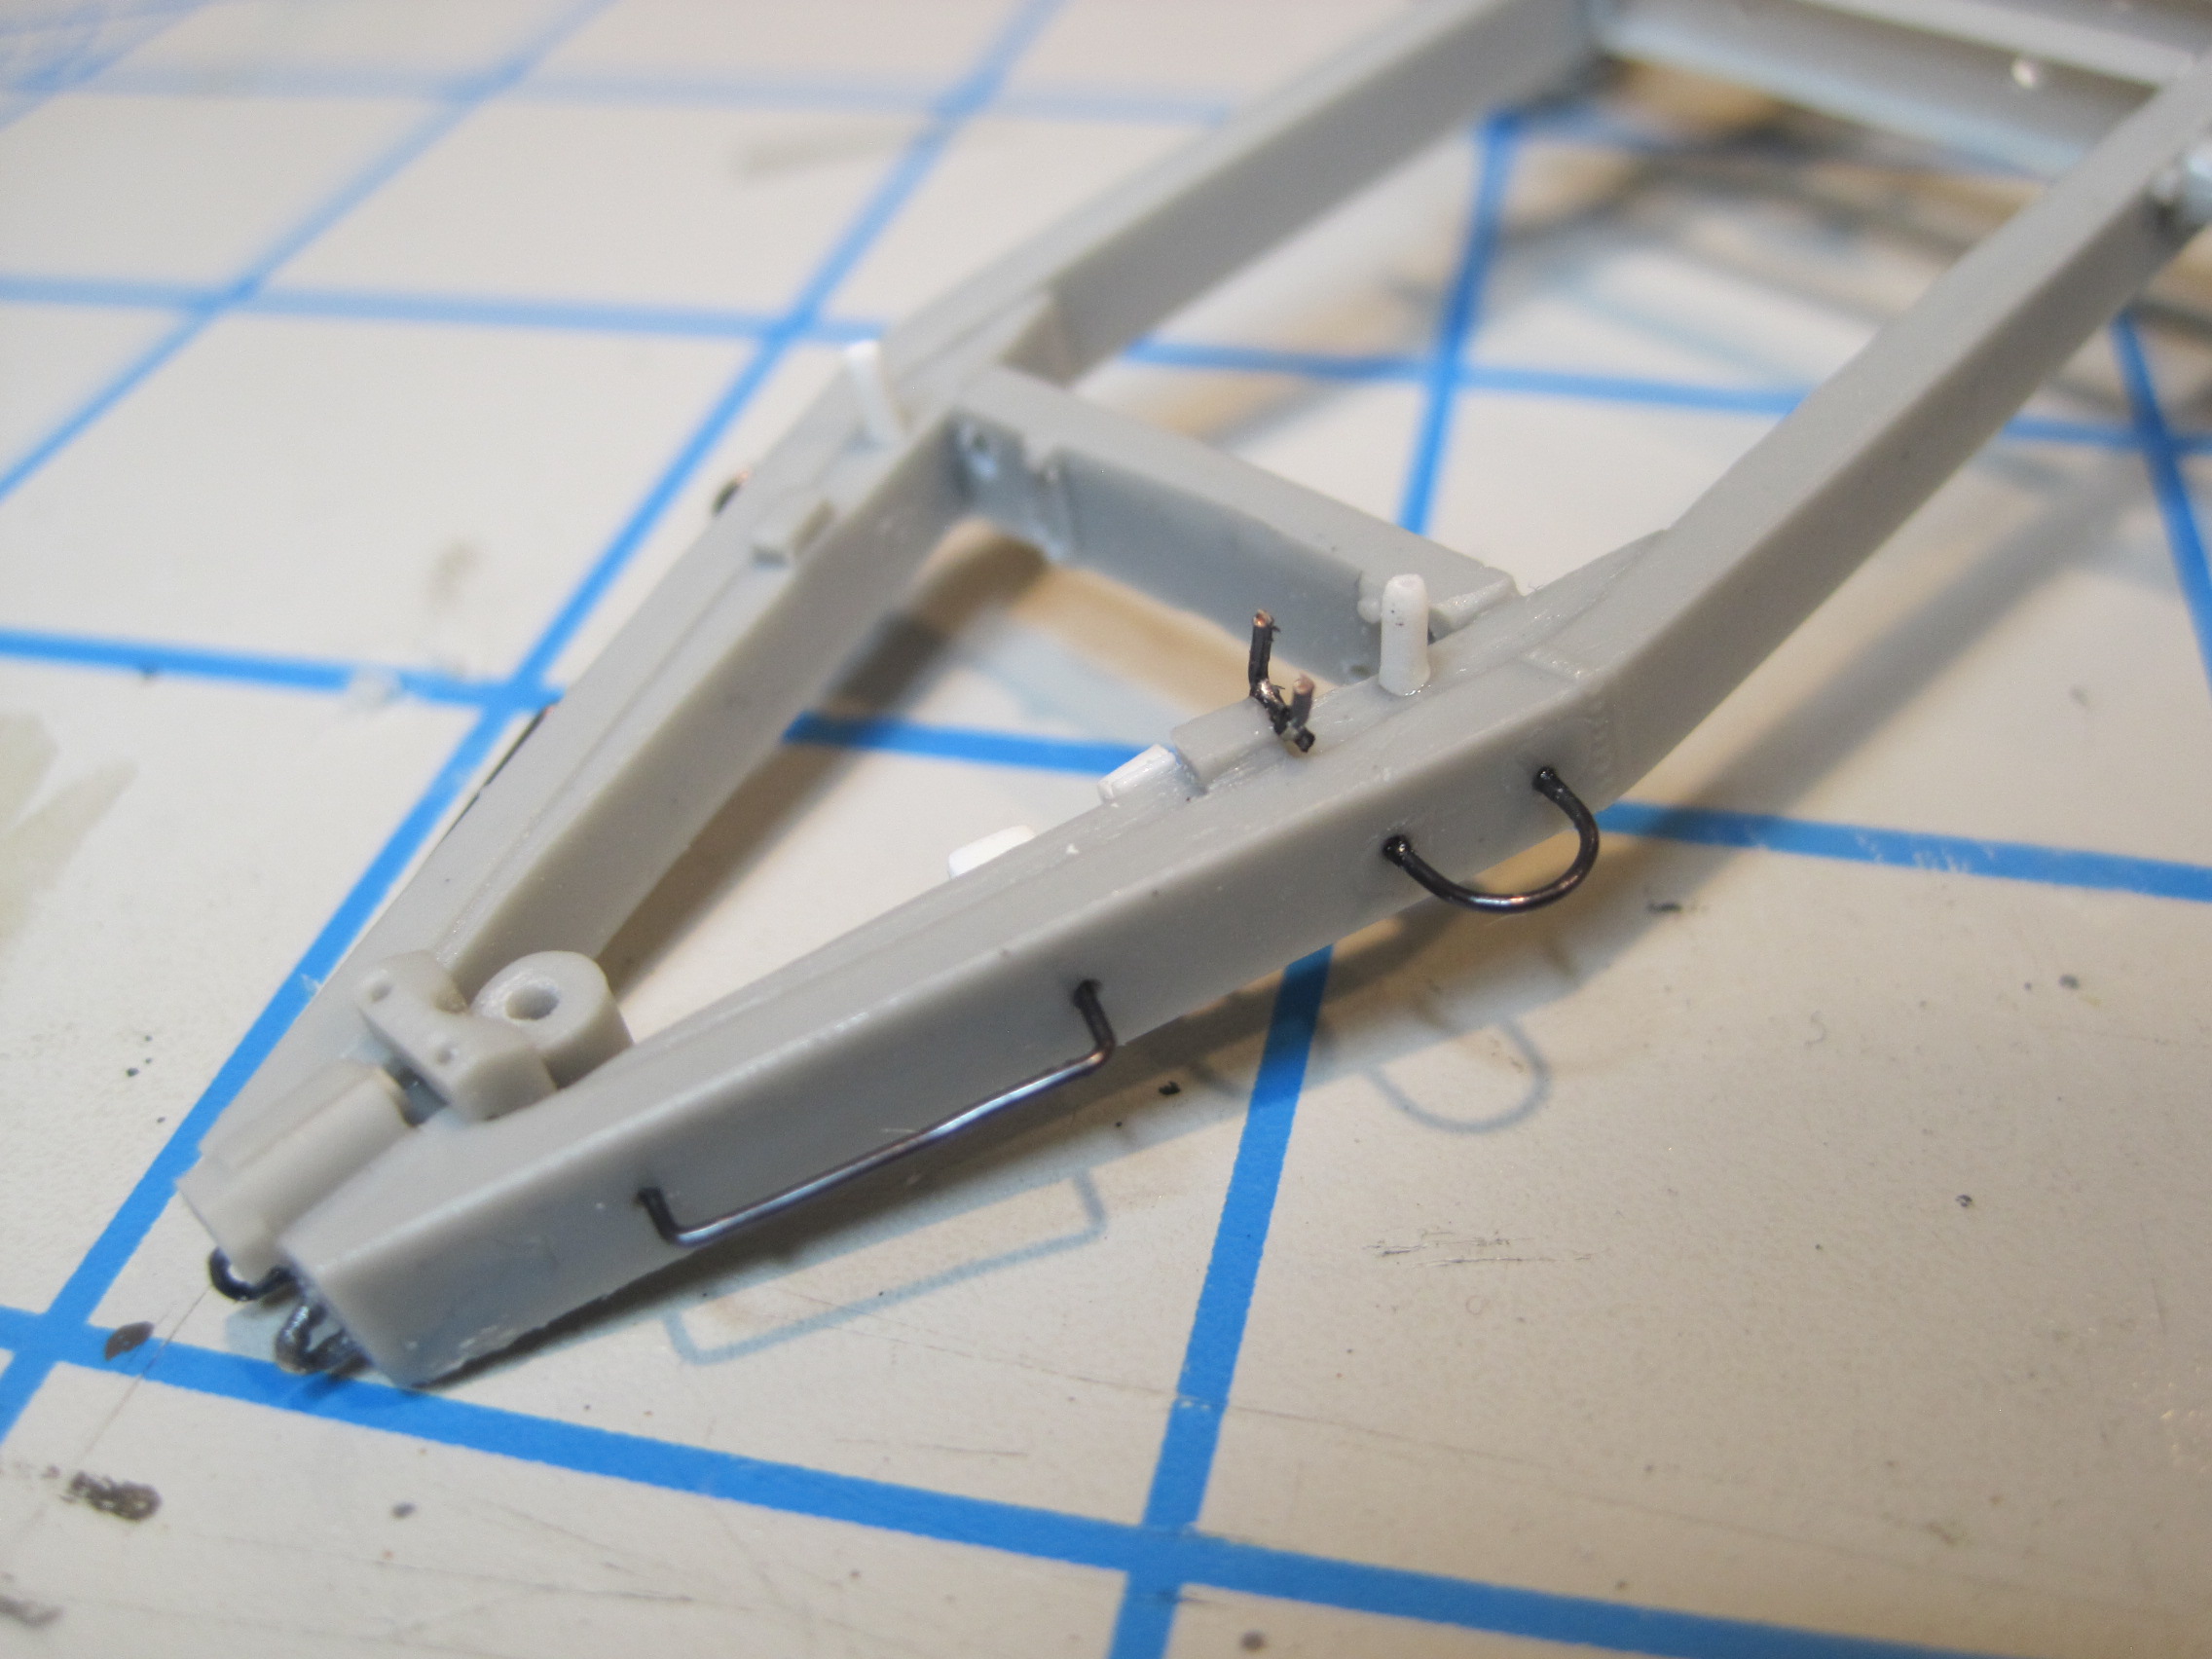
So next steps on the trailer are to allow for movement for the front support leg. I drilled out the support to allow for the leg to swivel, and then added a second block which will allow the leg to pivot up.
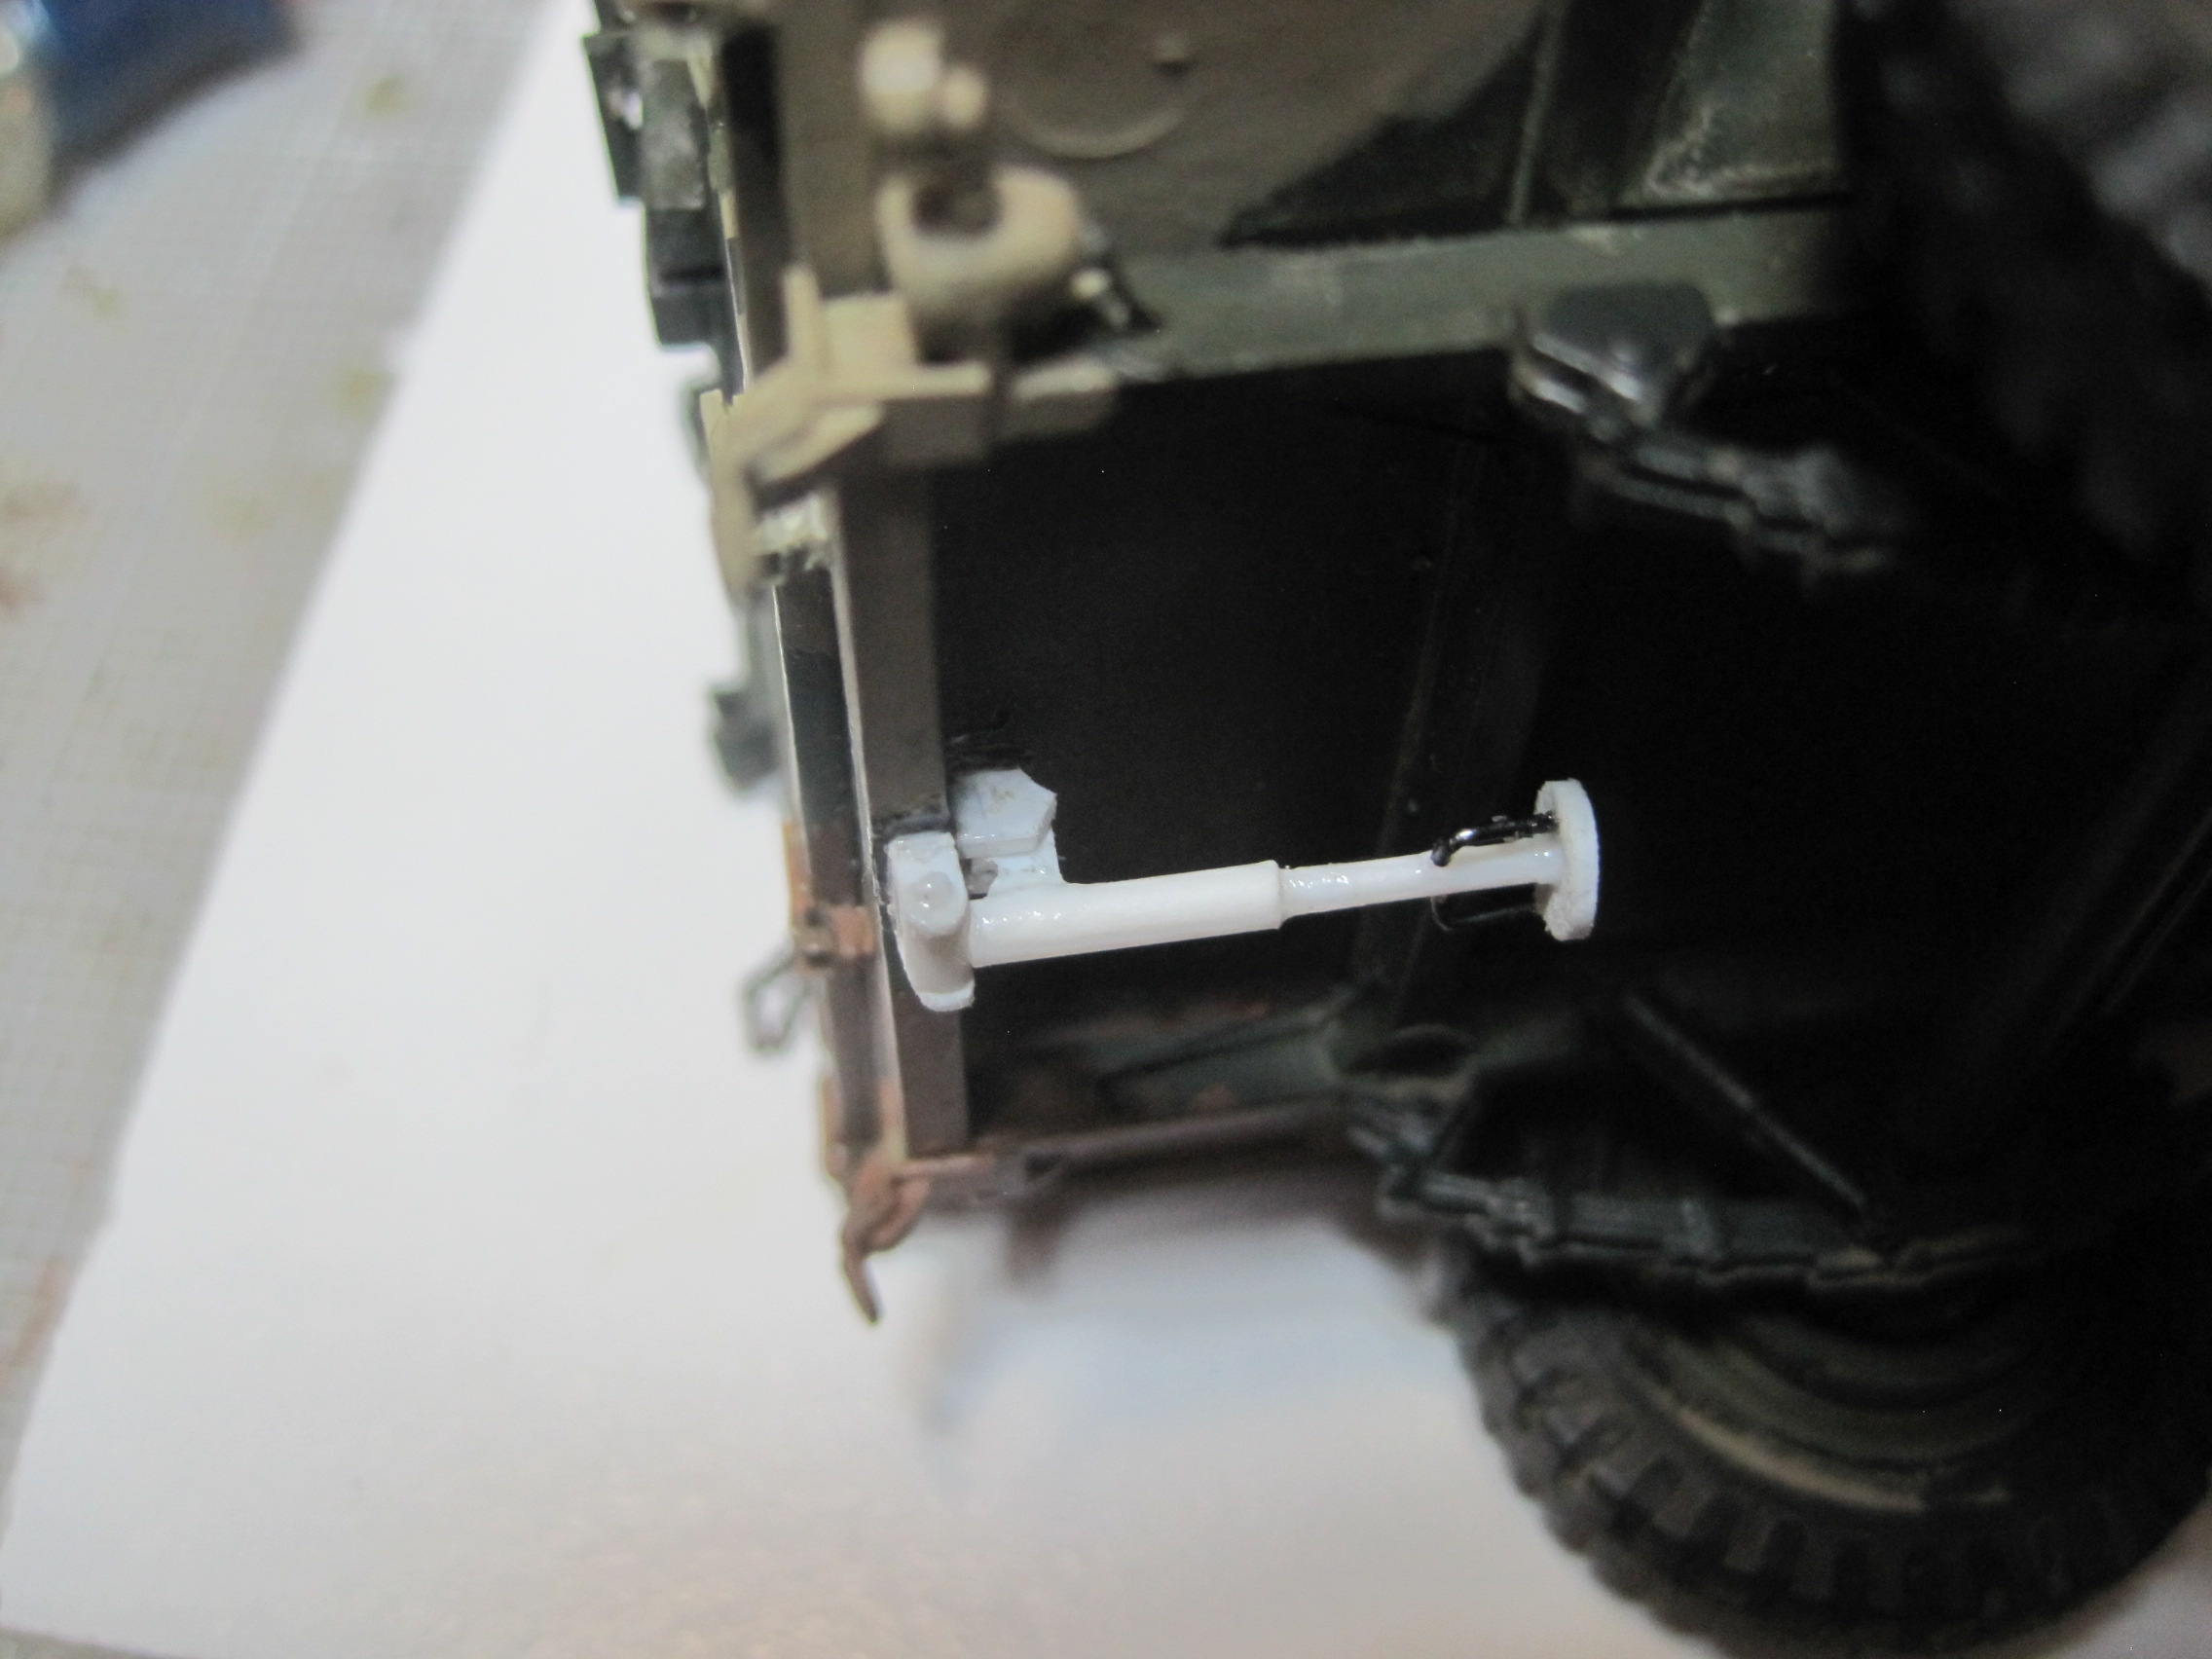
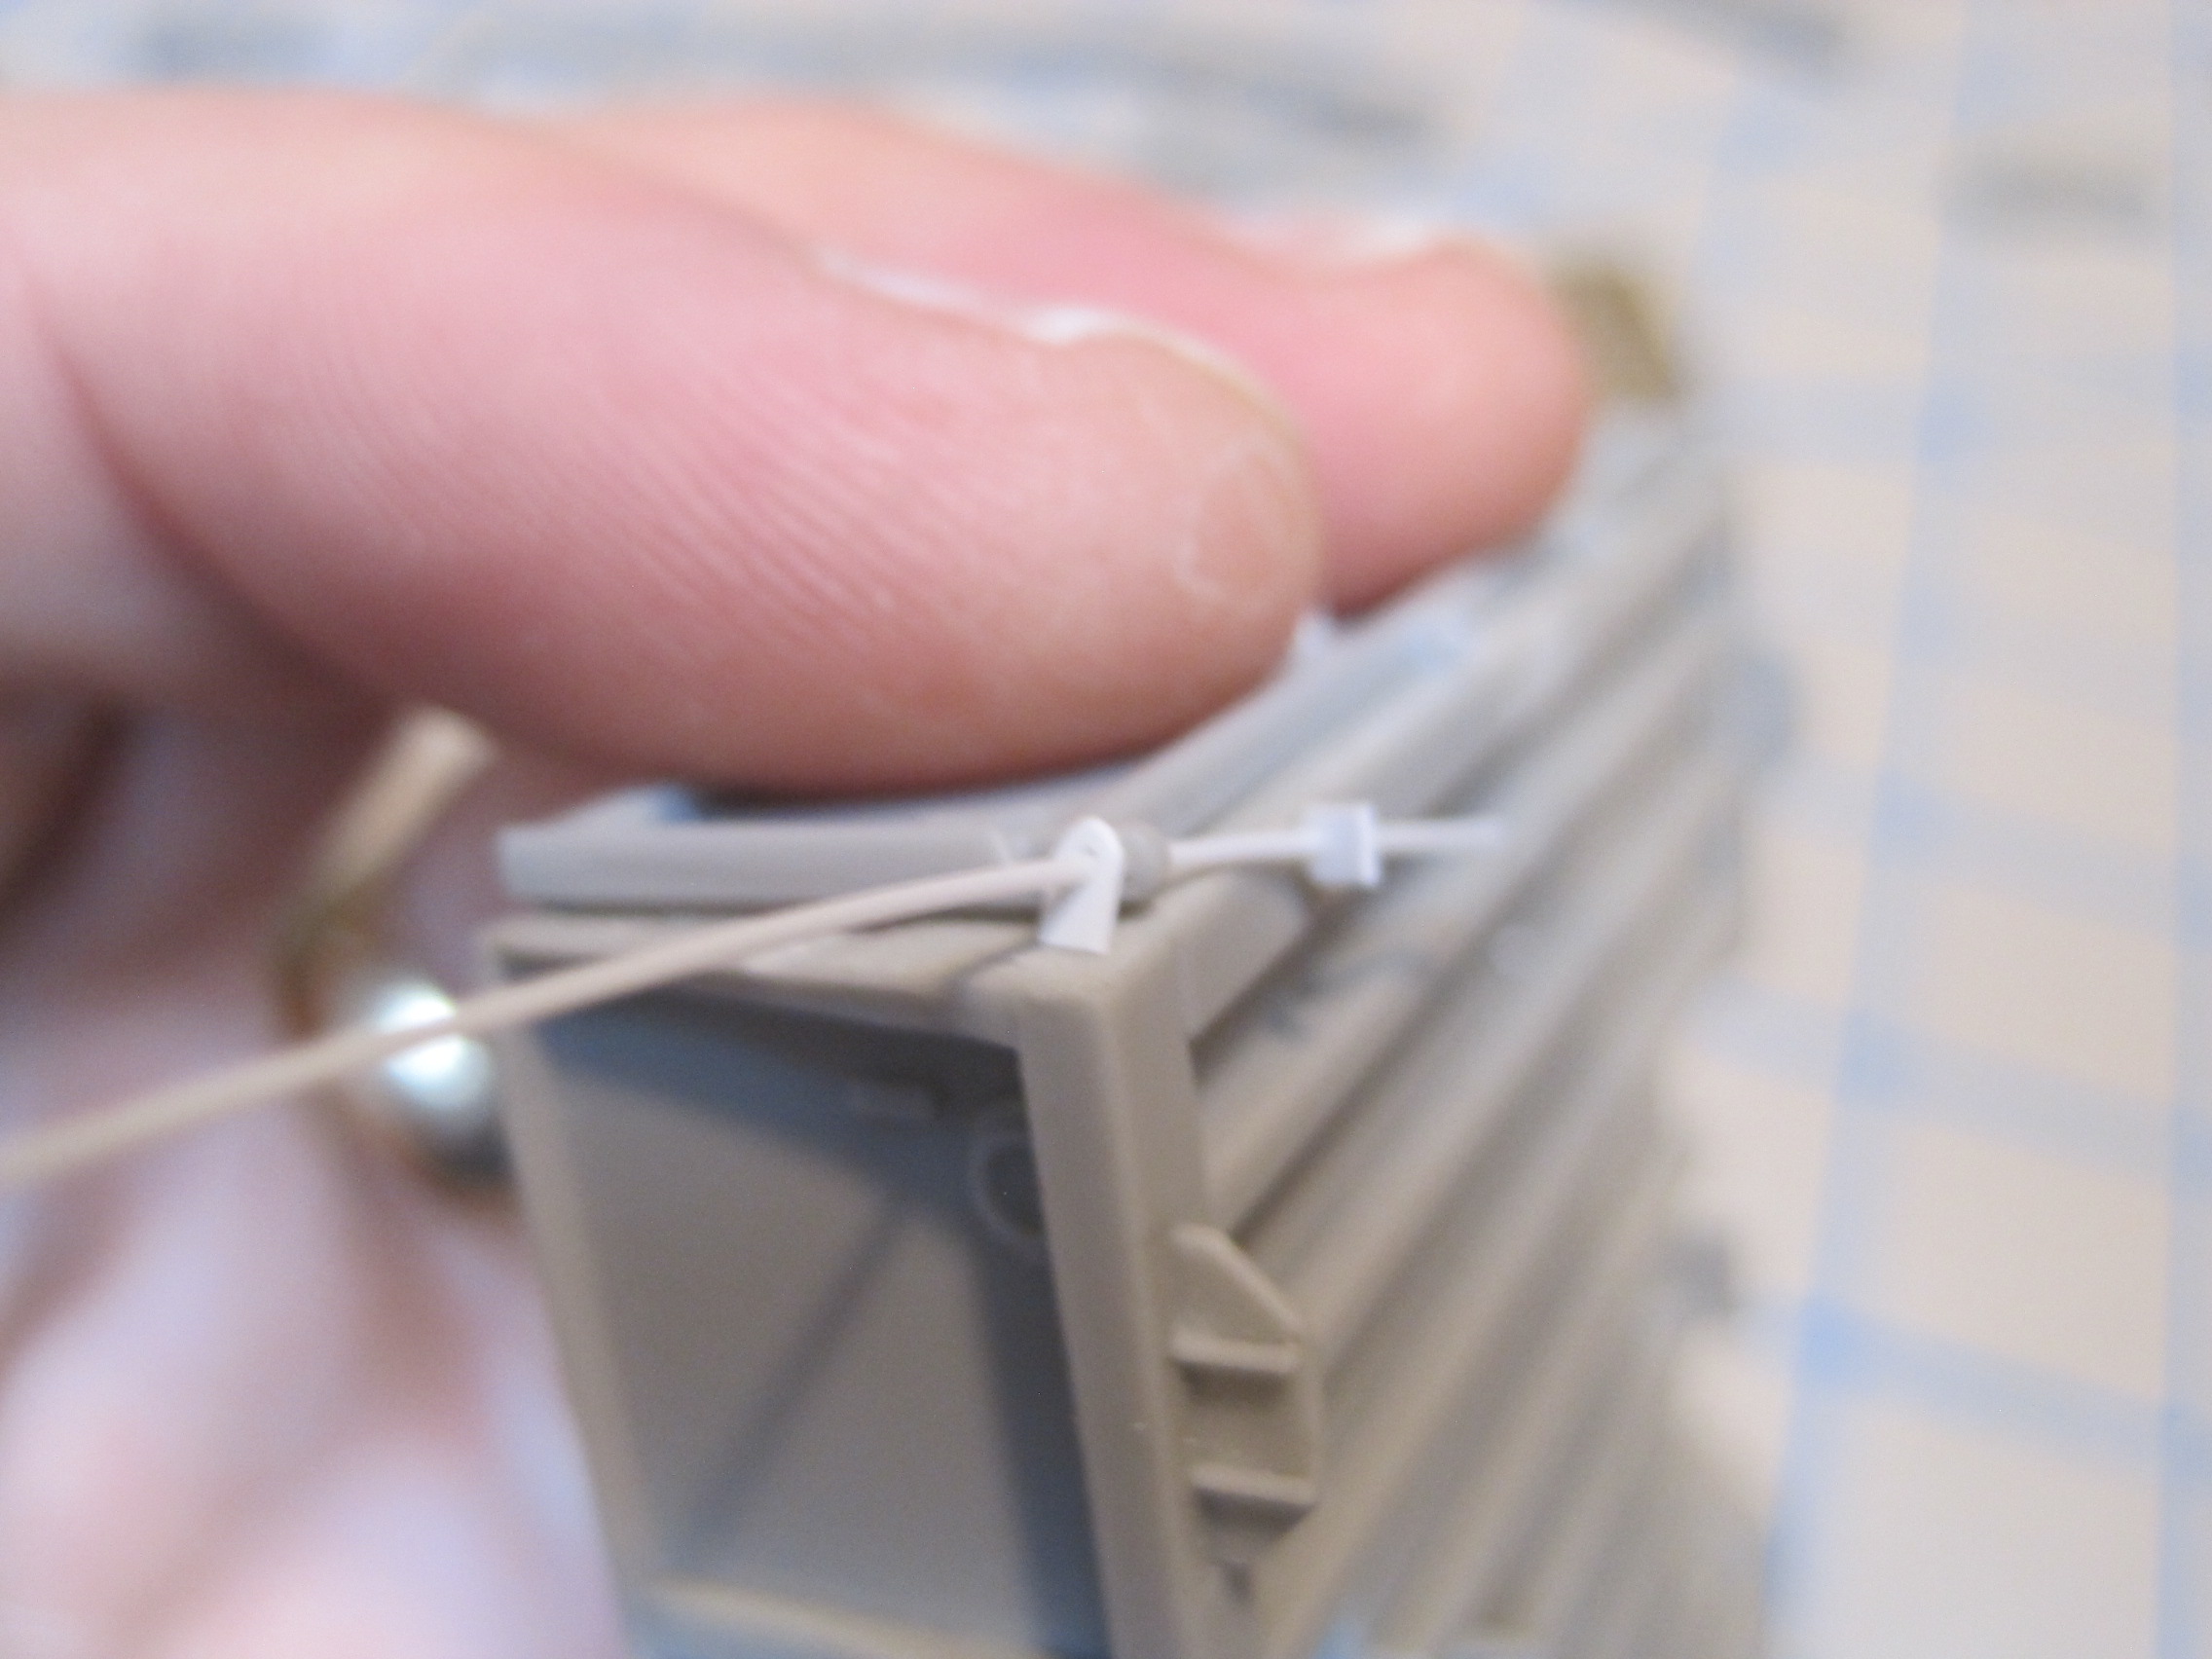
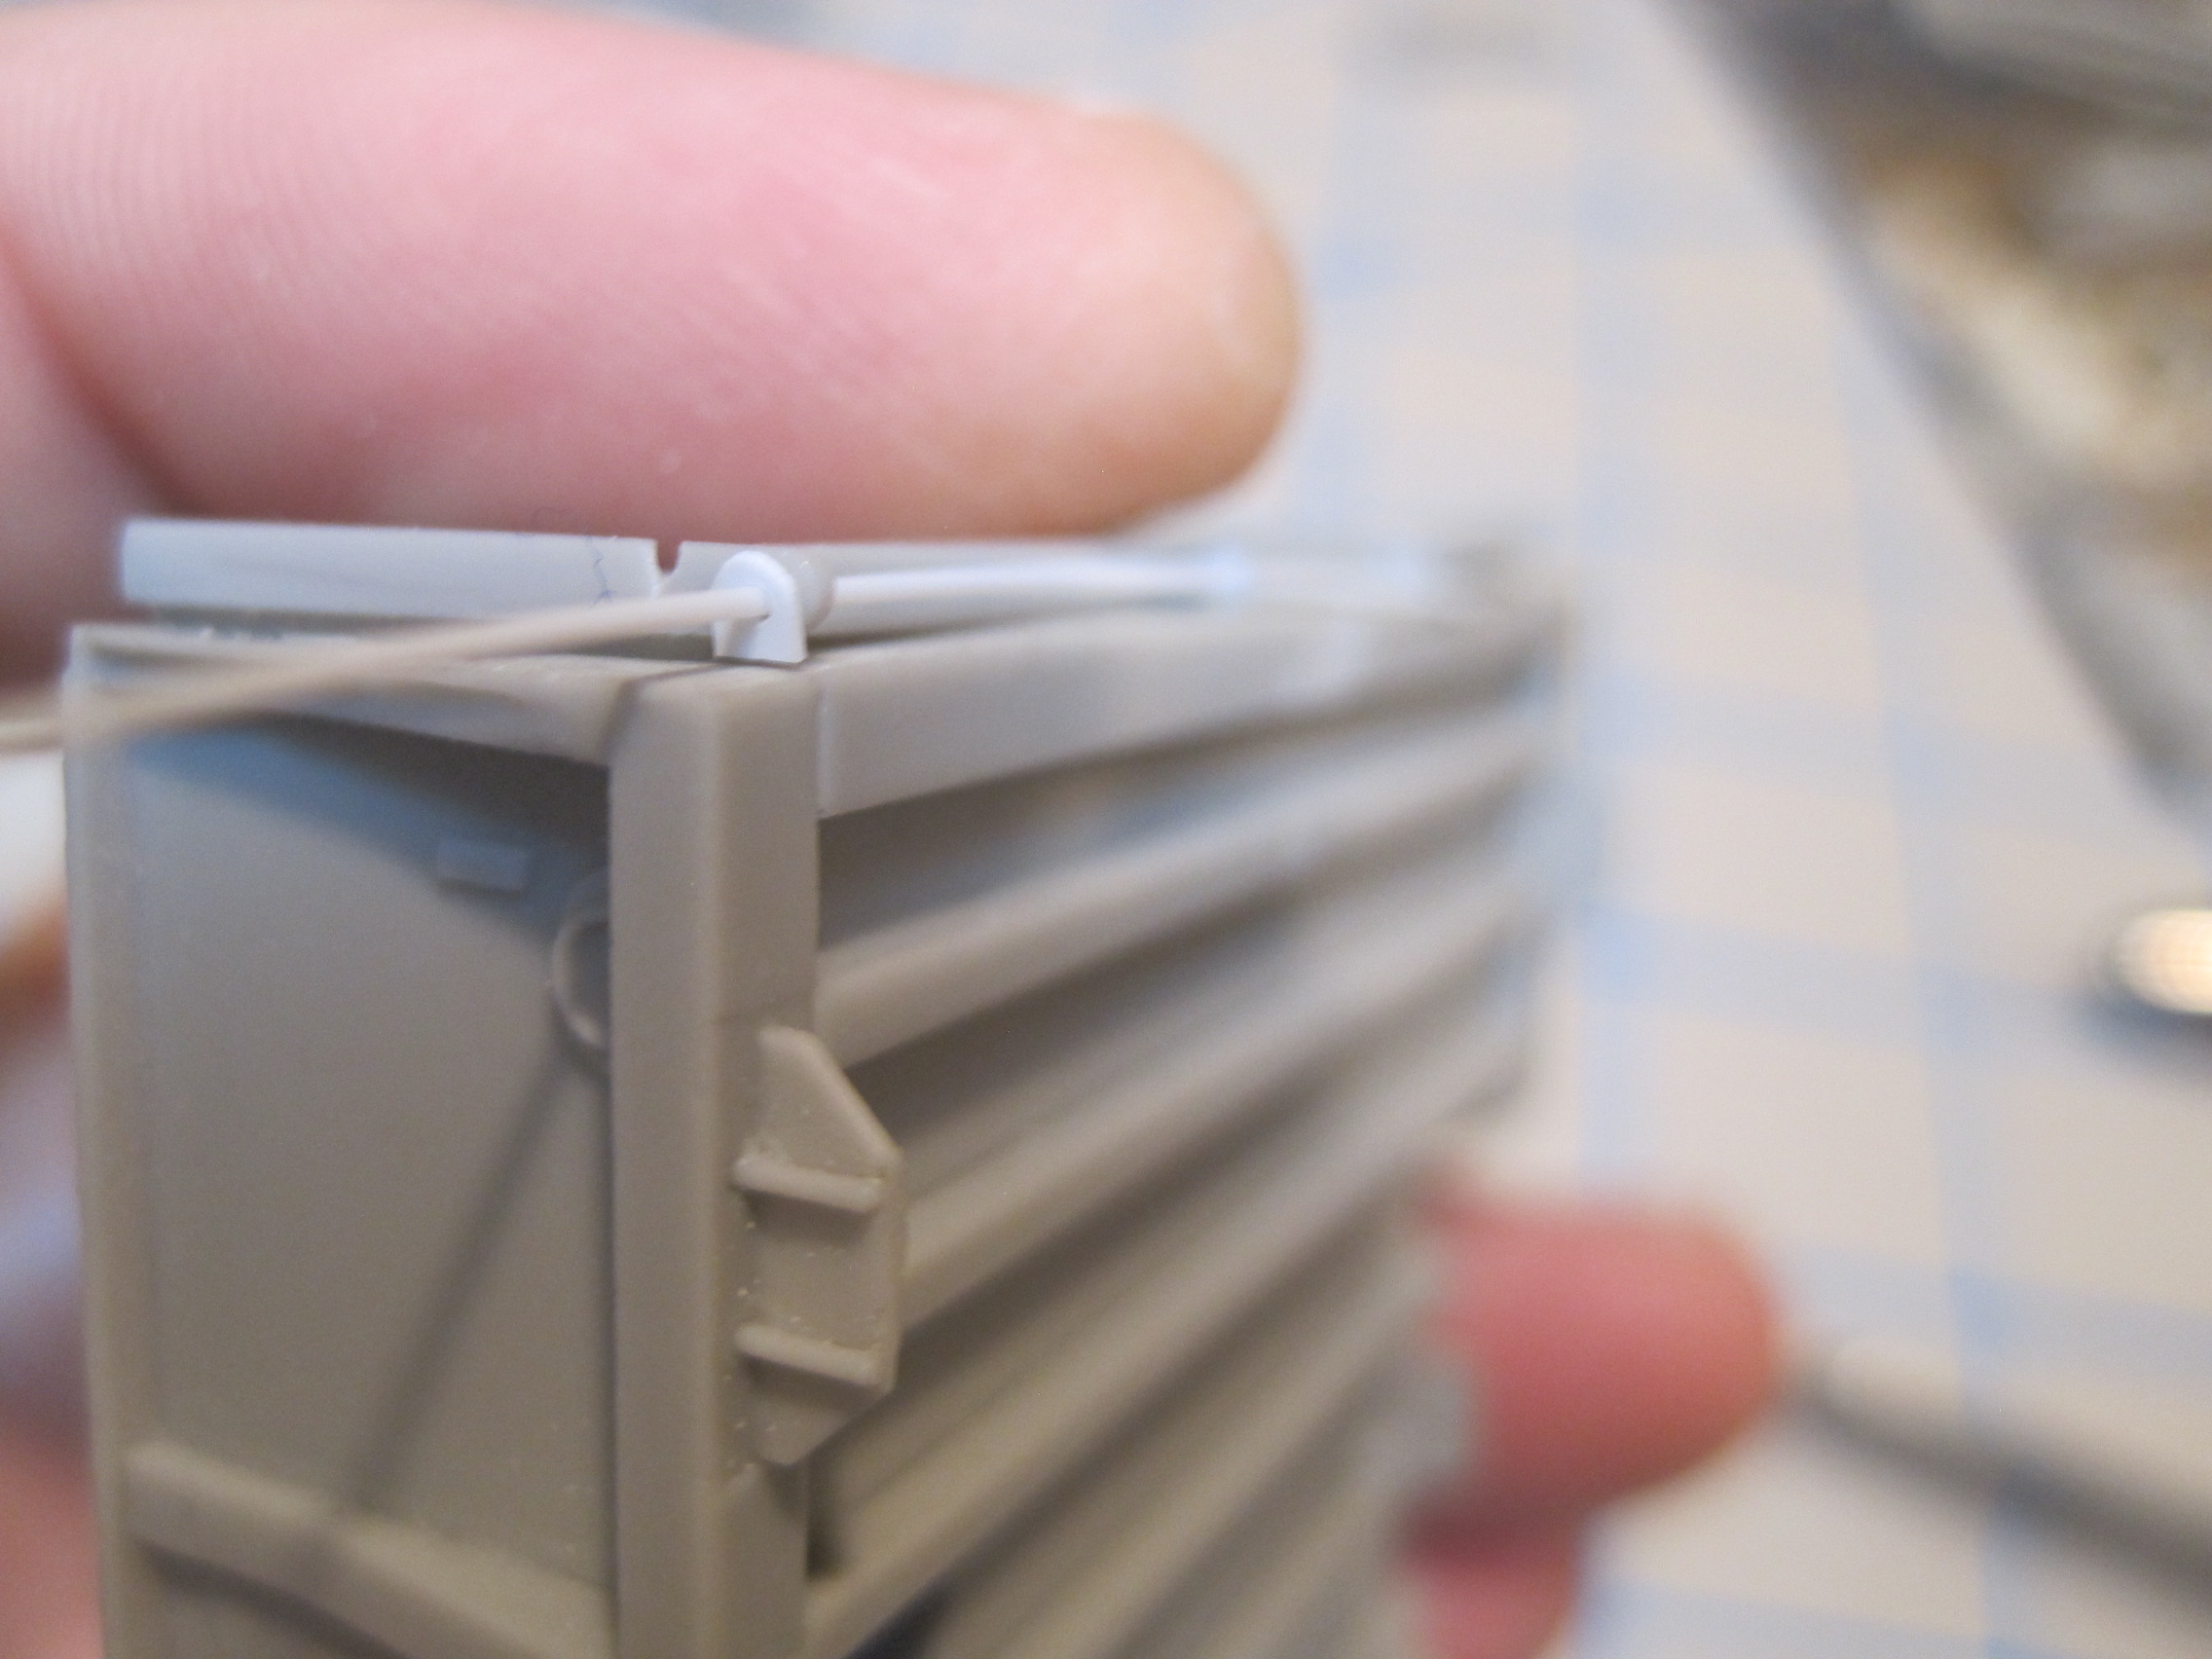
And the next step is to provide for the tailgate to operate. First I’ll drill out the hinge piece in the tailgate, then fabricate the hinge pieces which will mount on the trailer. The kit provides some PE parts for this, but they do not have holes in them and drilling them out was a real problem so fabbing them up was actually less trouble.
9 Likes
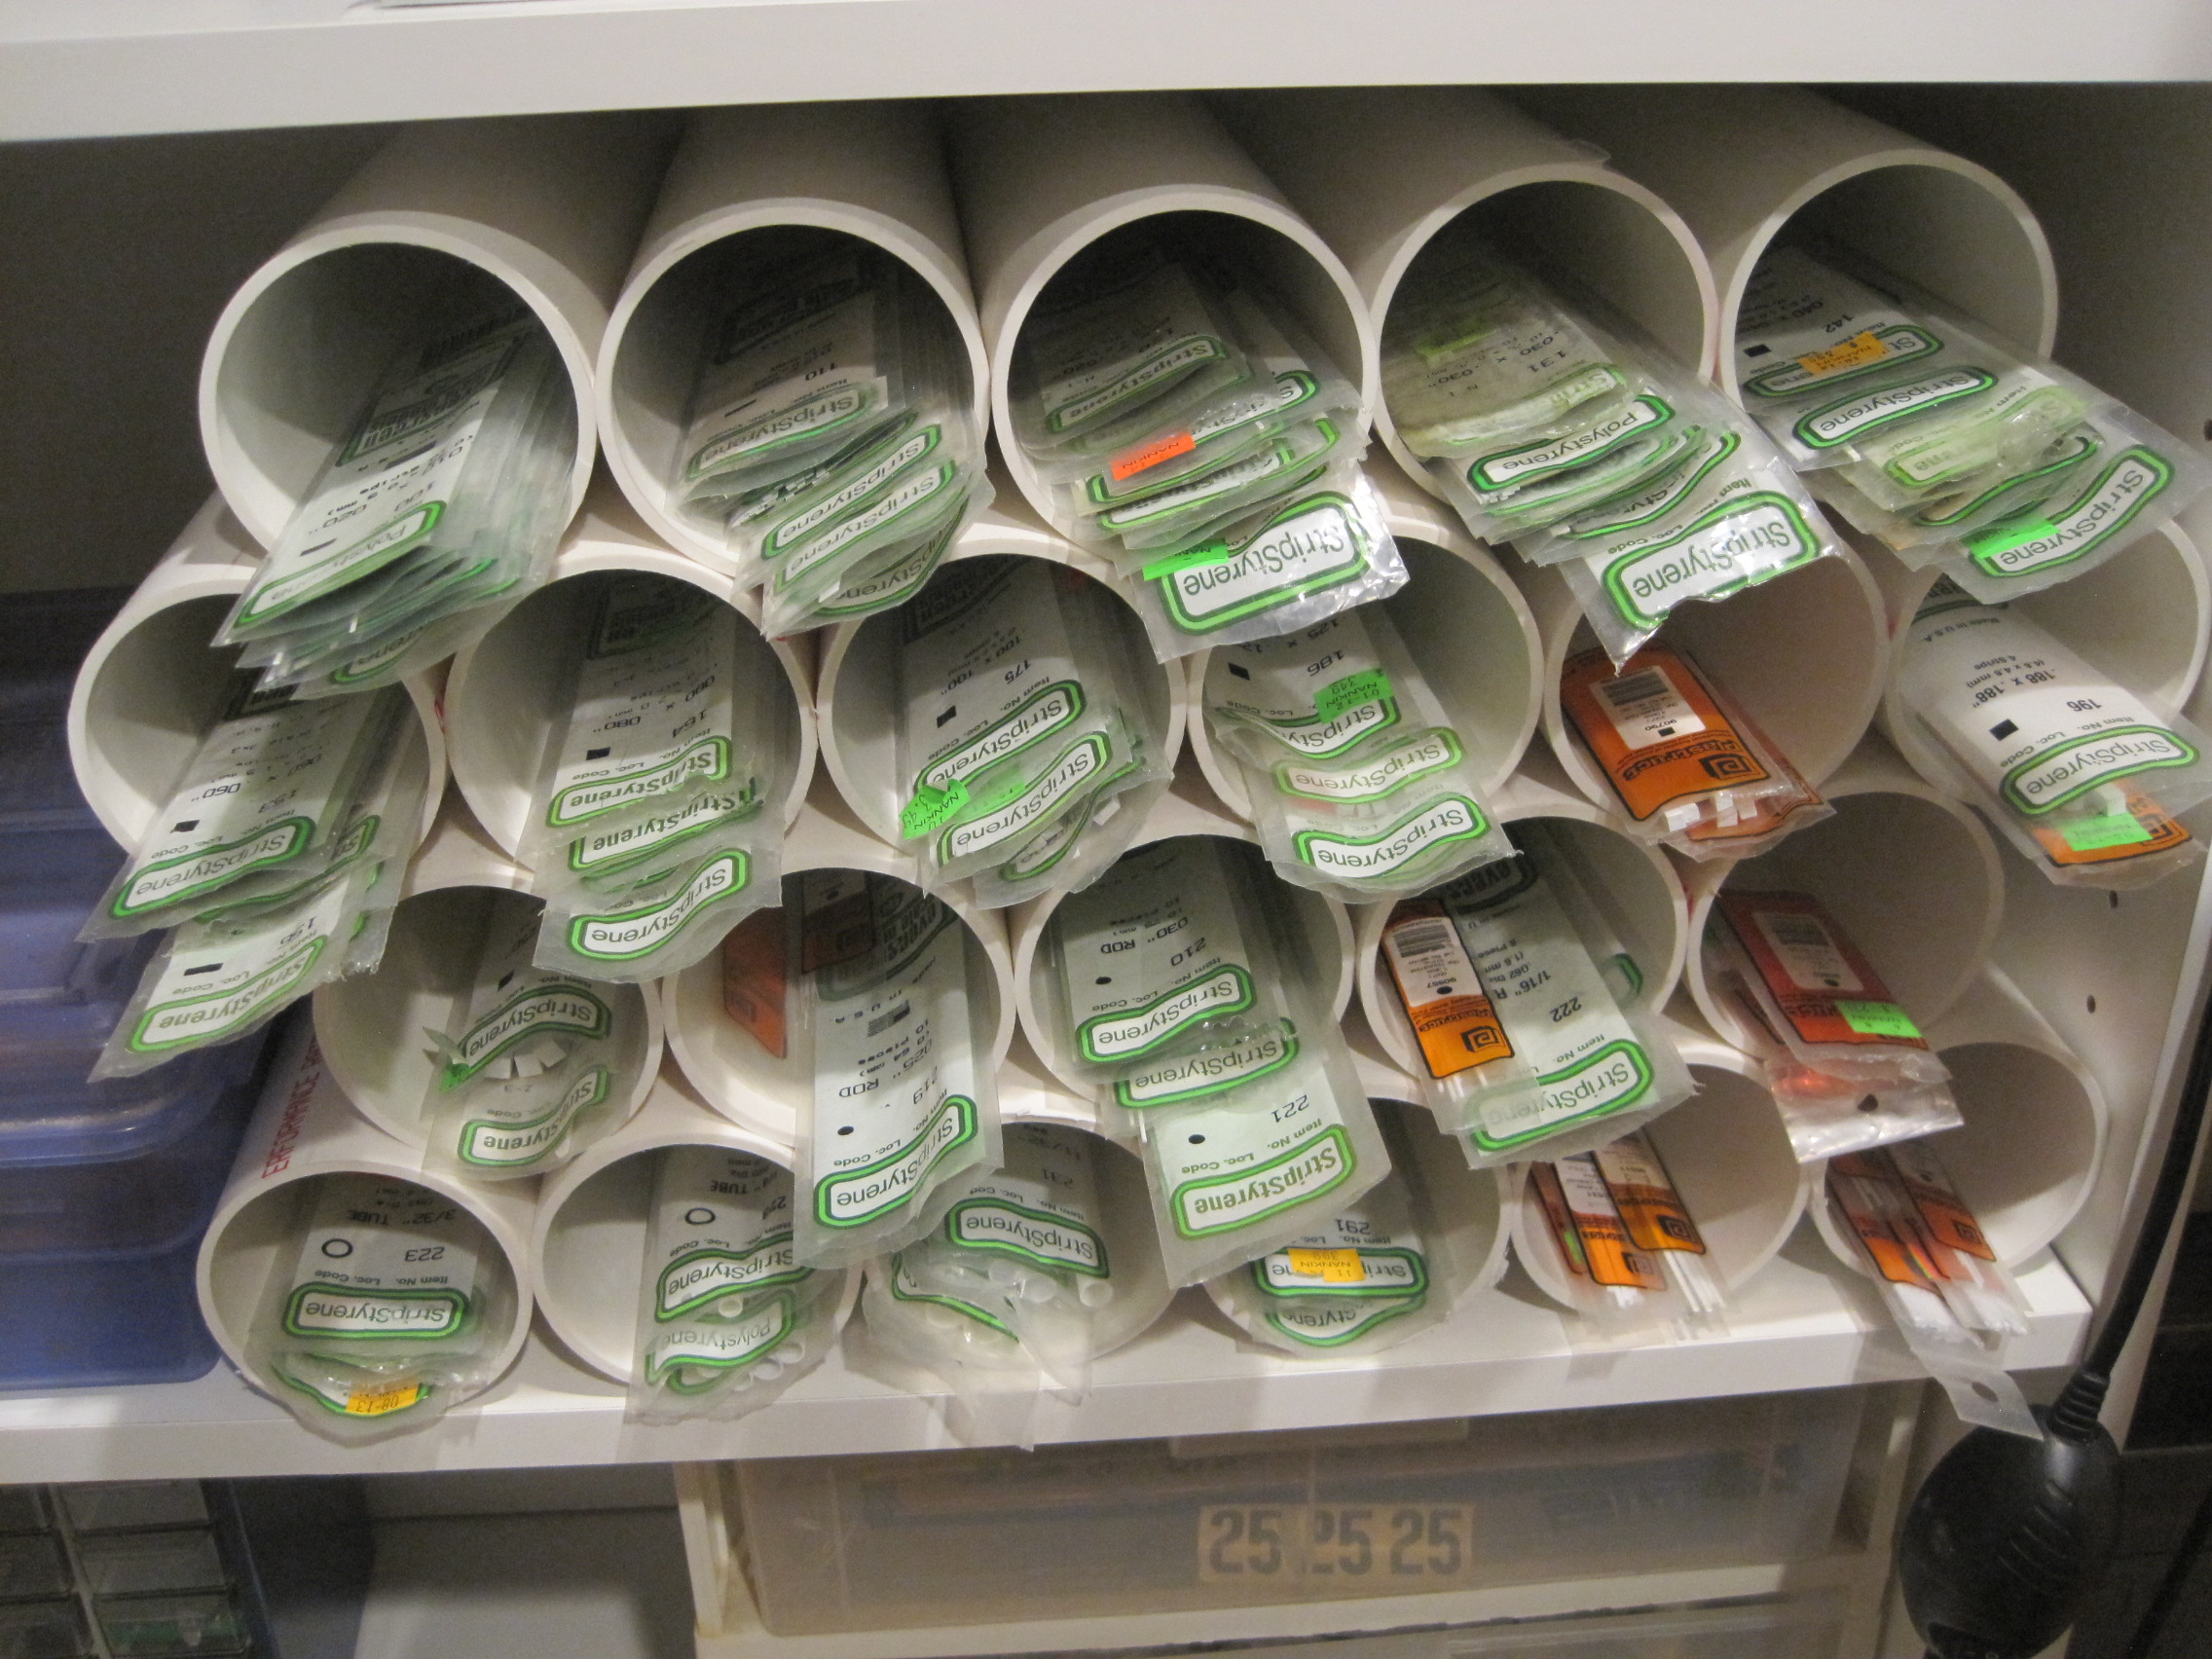
Mike, it’s even worse than you can imagine!!! I do so much scratch building that I finally just decided to create my own stockpile, and so over the course of a few months I just went to my LHS and stocked up so regardless of what size I need, it’s right at my finger tips.
I finally got a dedicated hobby room built into the basement, and so I added this to make my stash easy to access.
In the supreme irony, I had to use PVC pipe because Evergreen doesn’t make a 3"ID tube!!
7 Likes
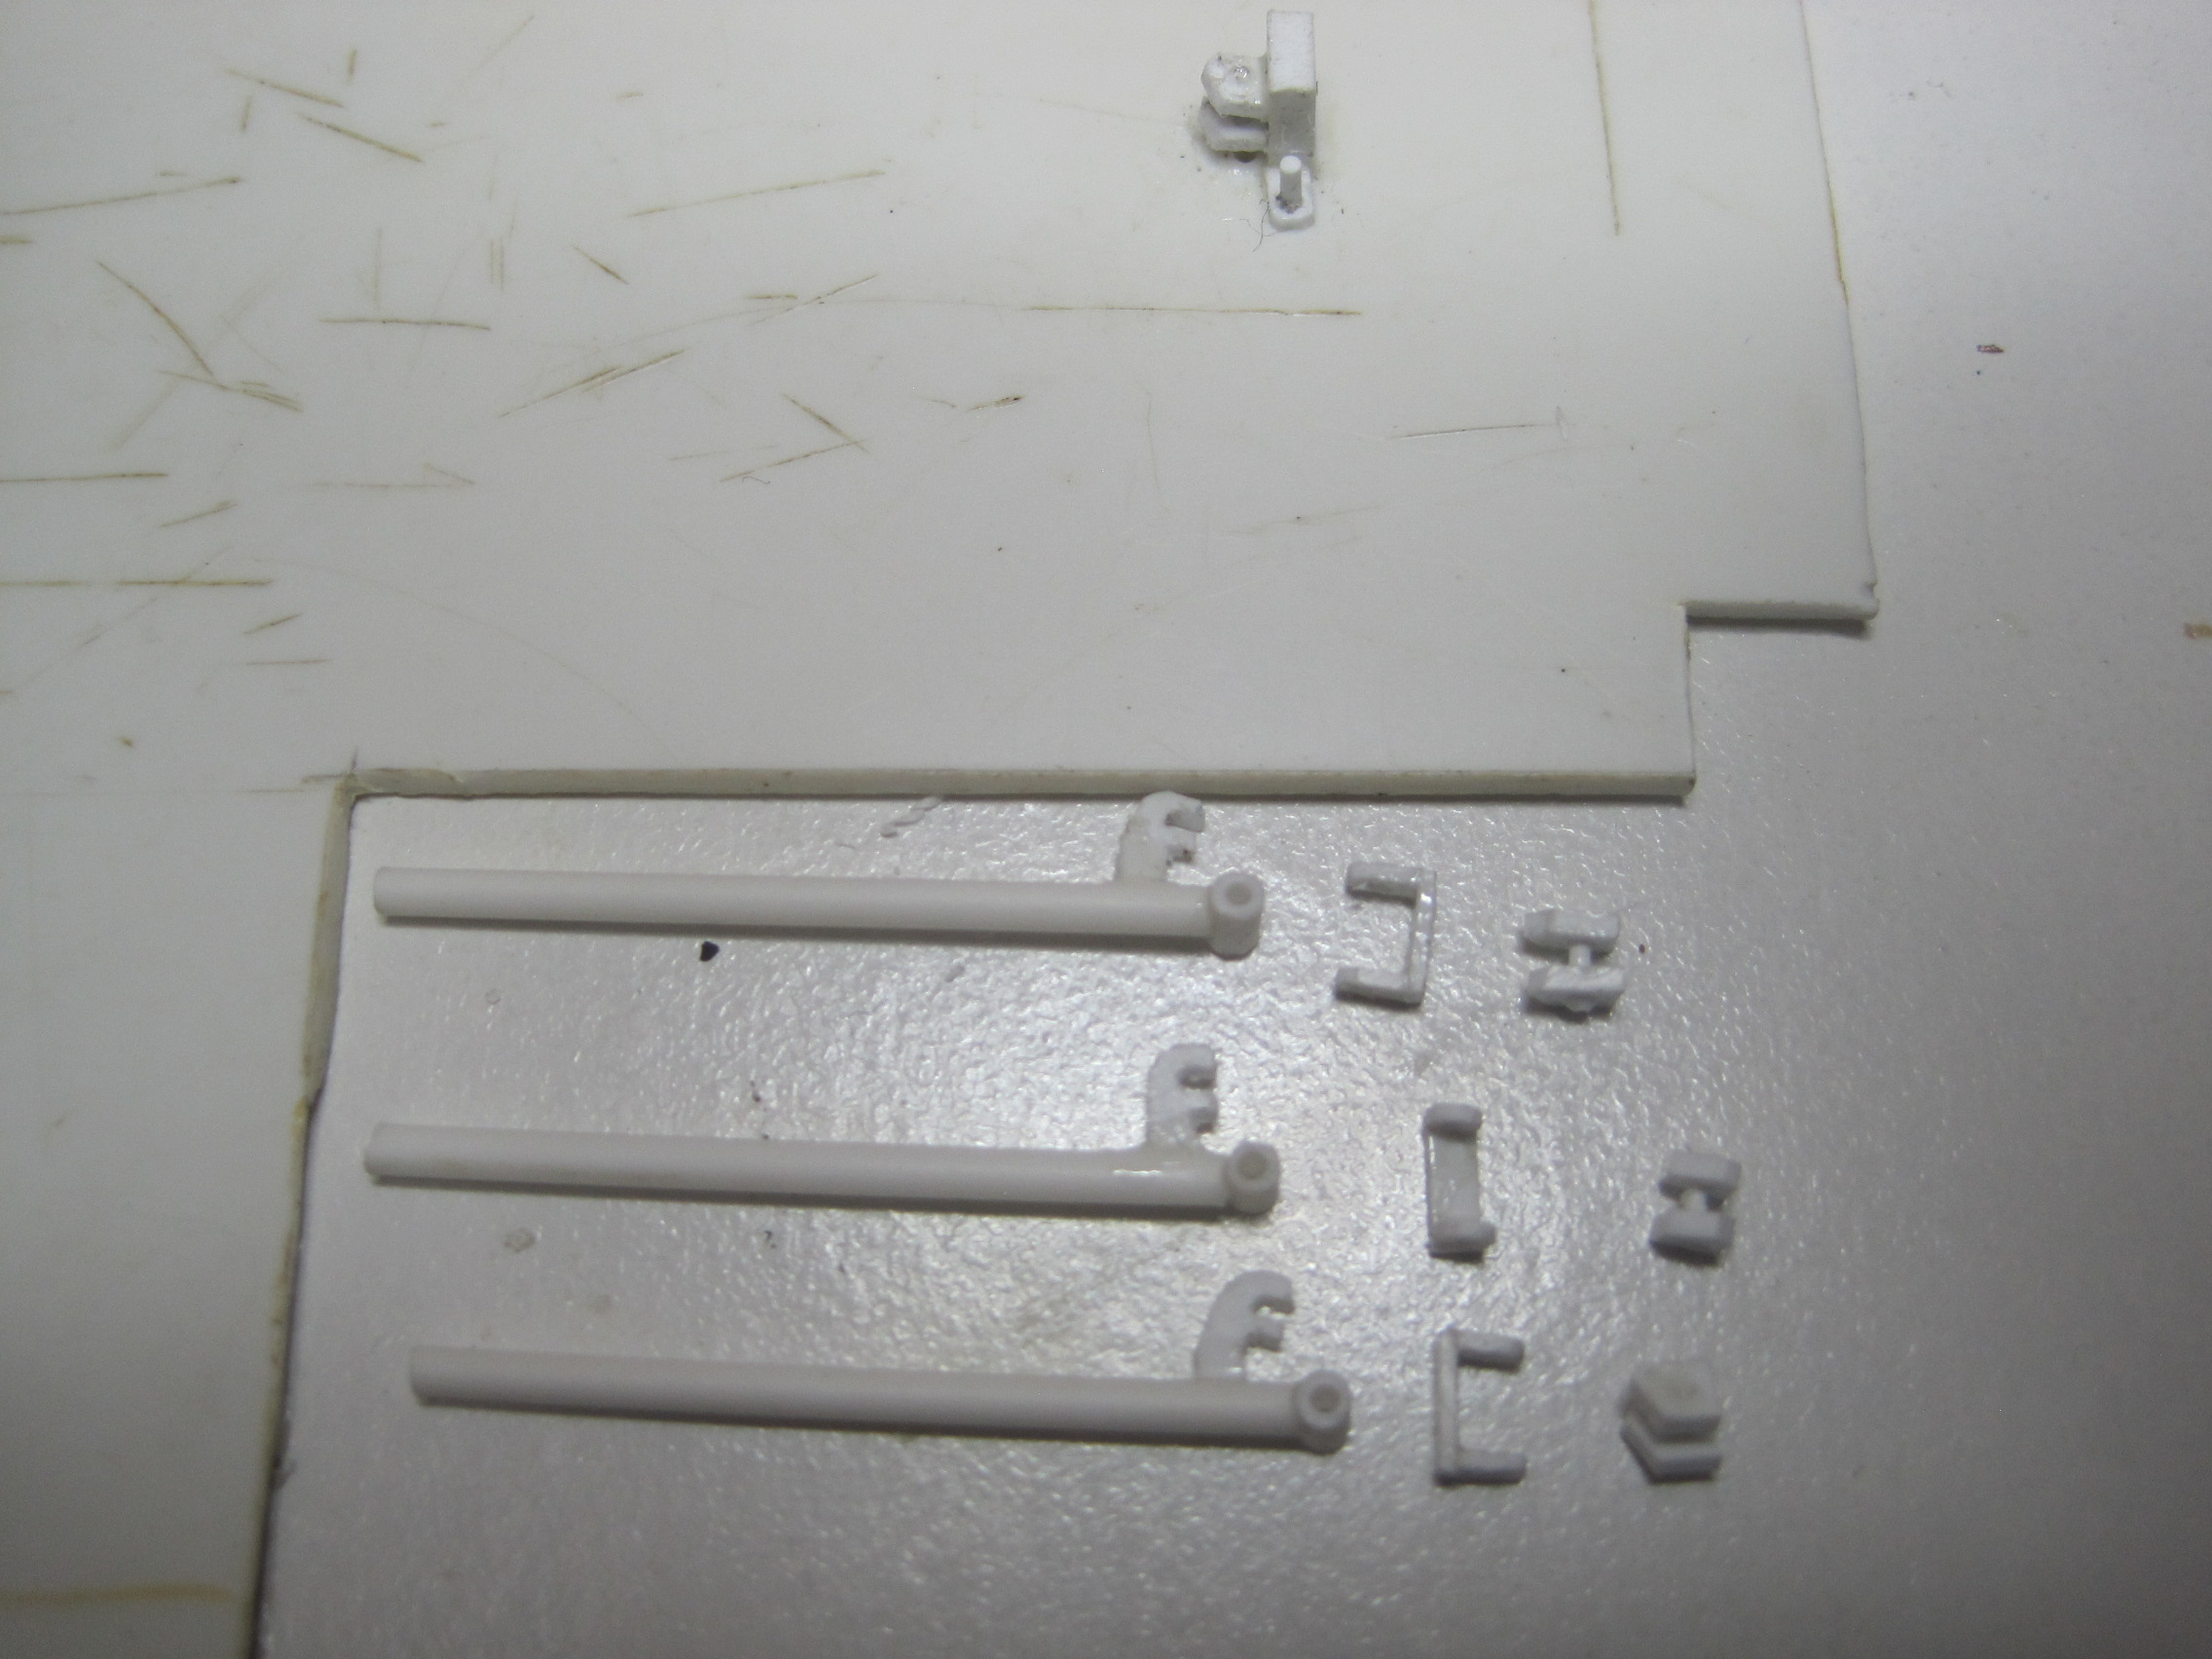
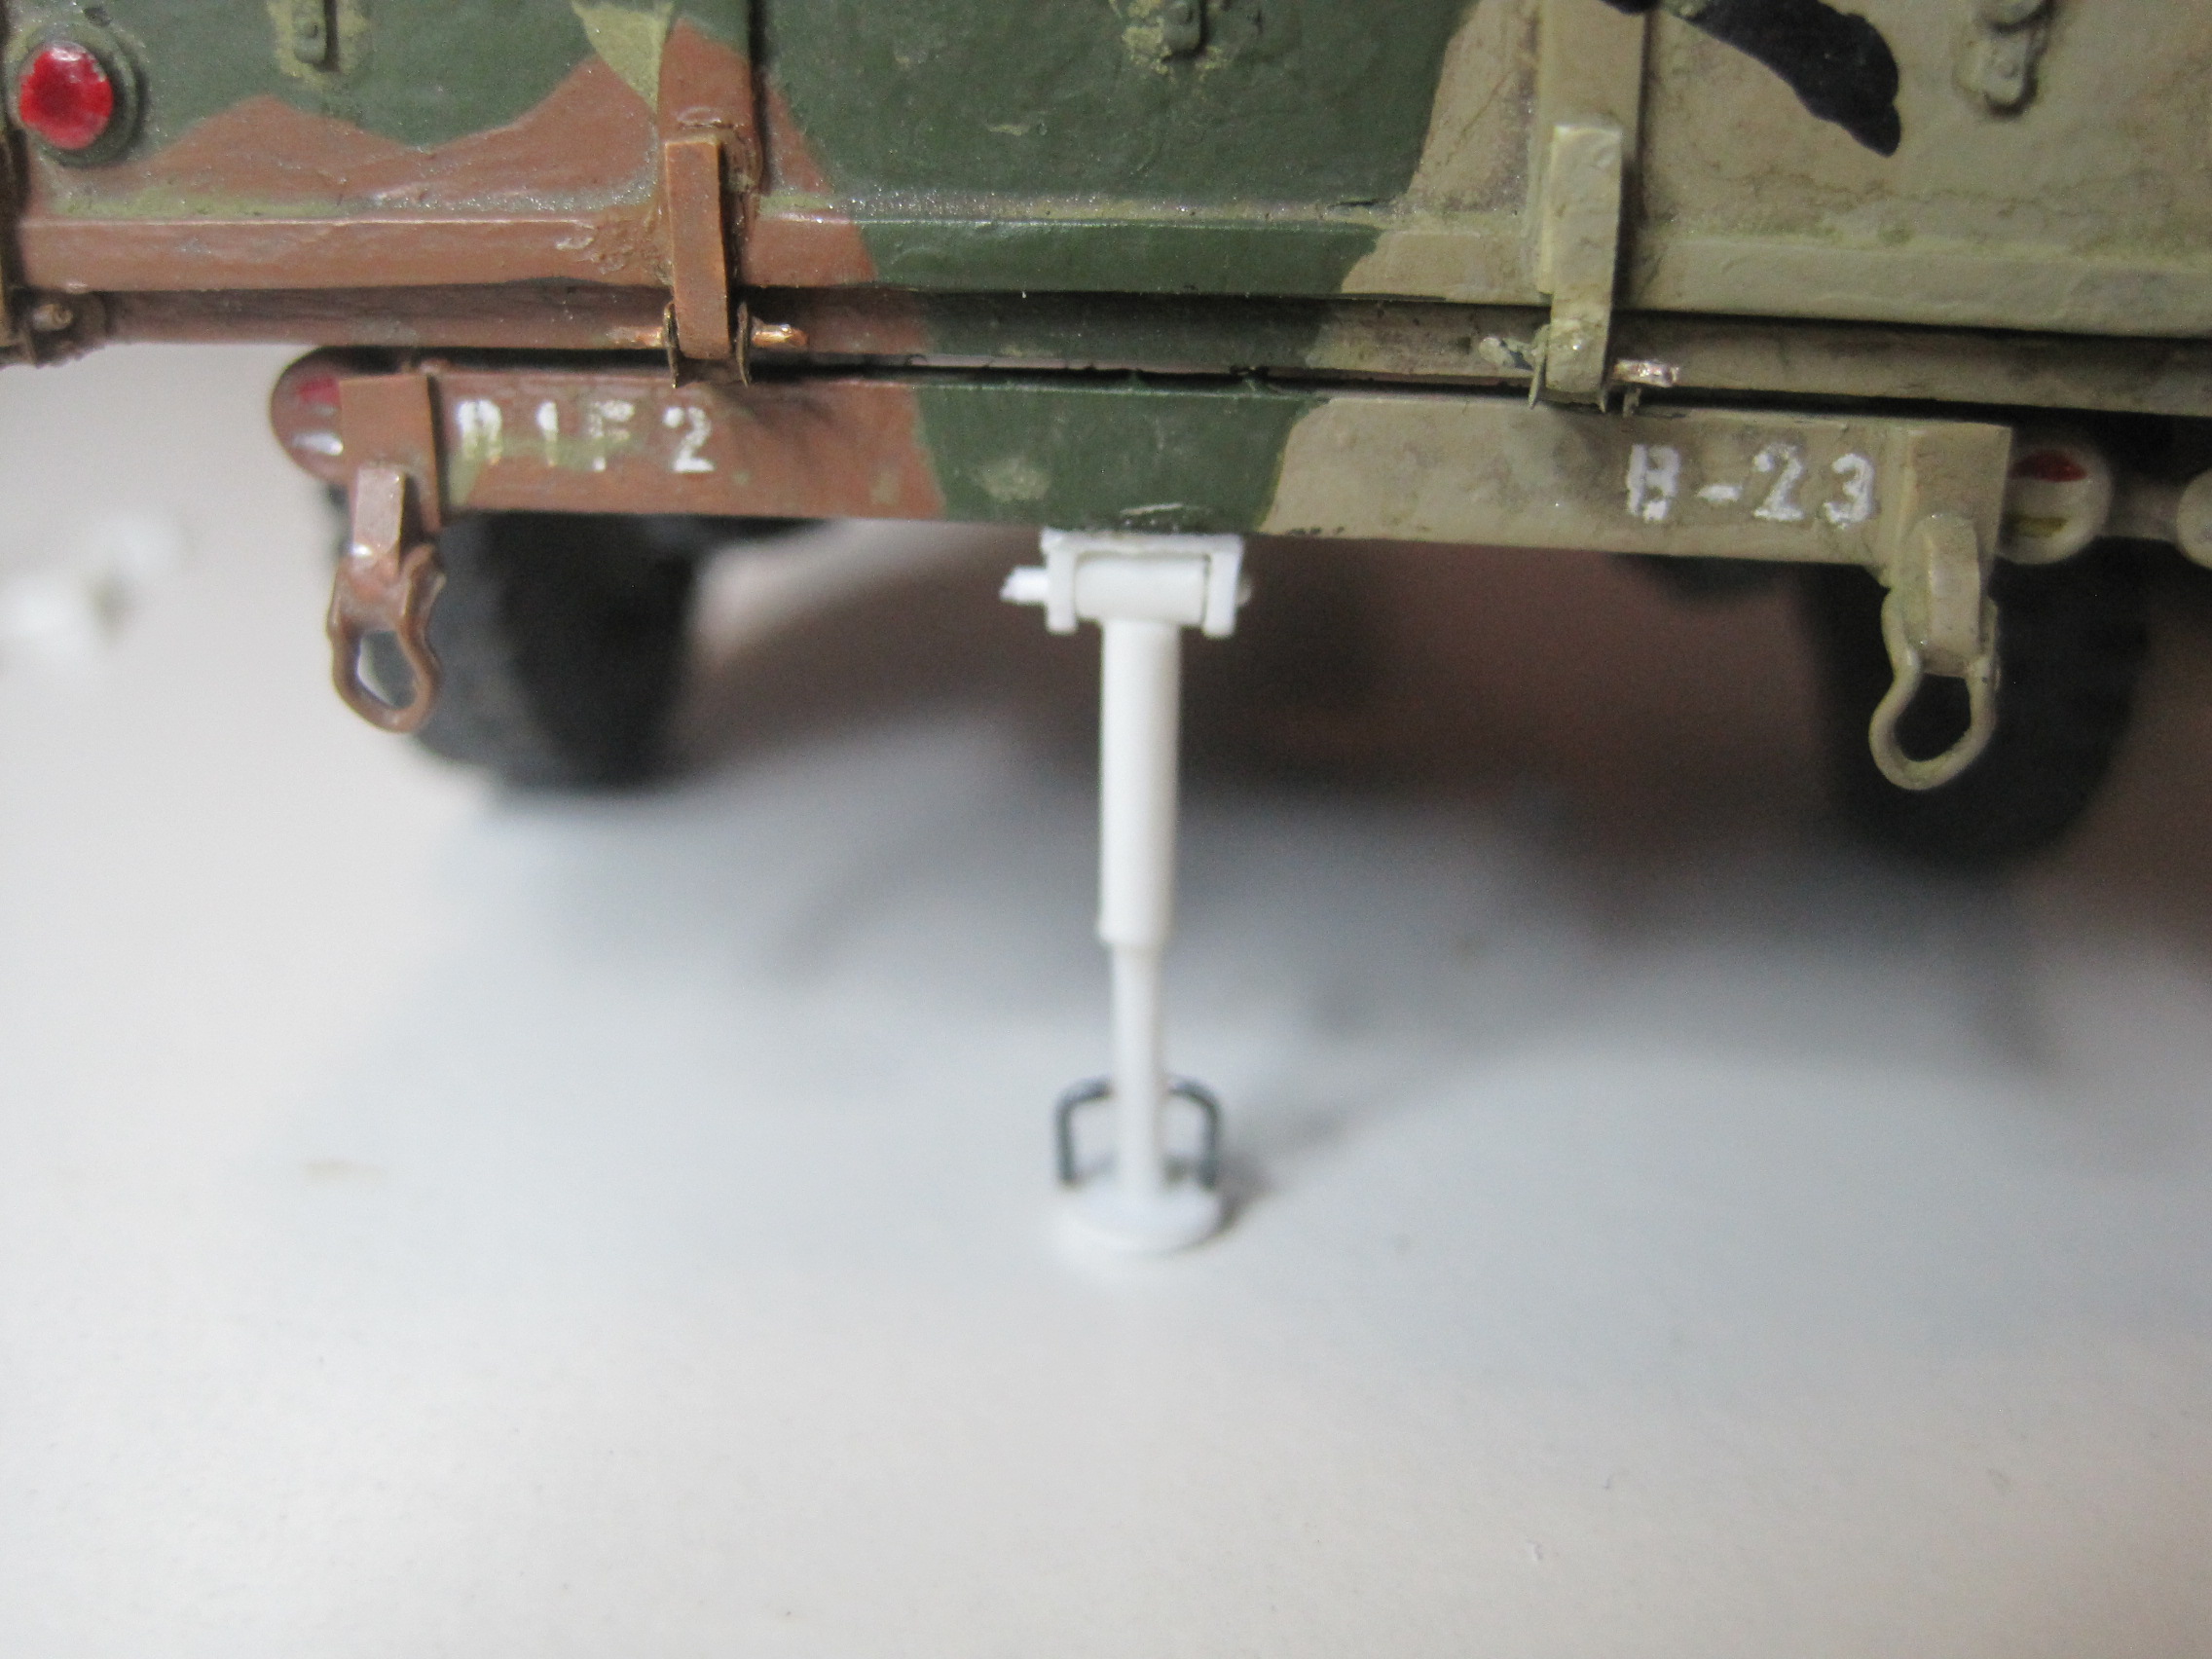
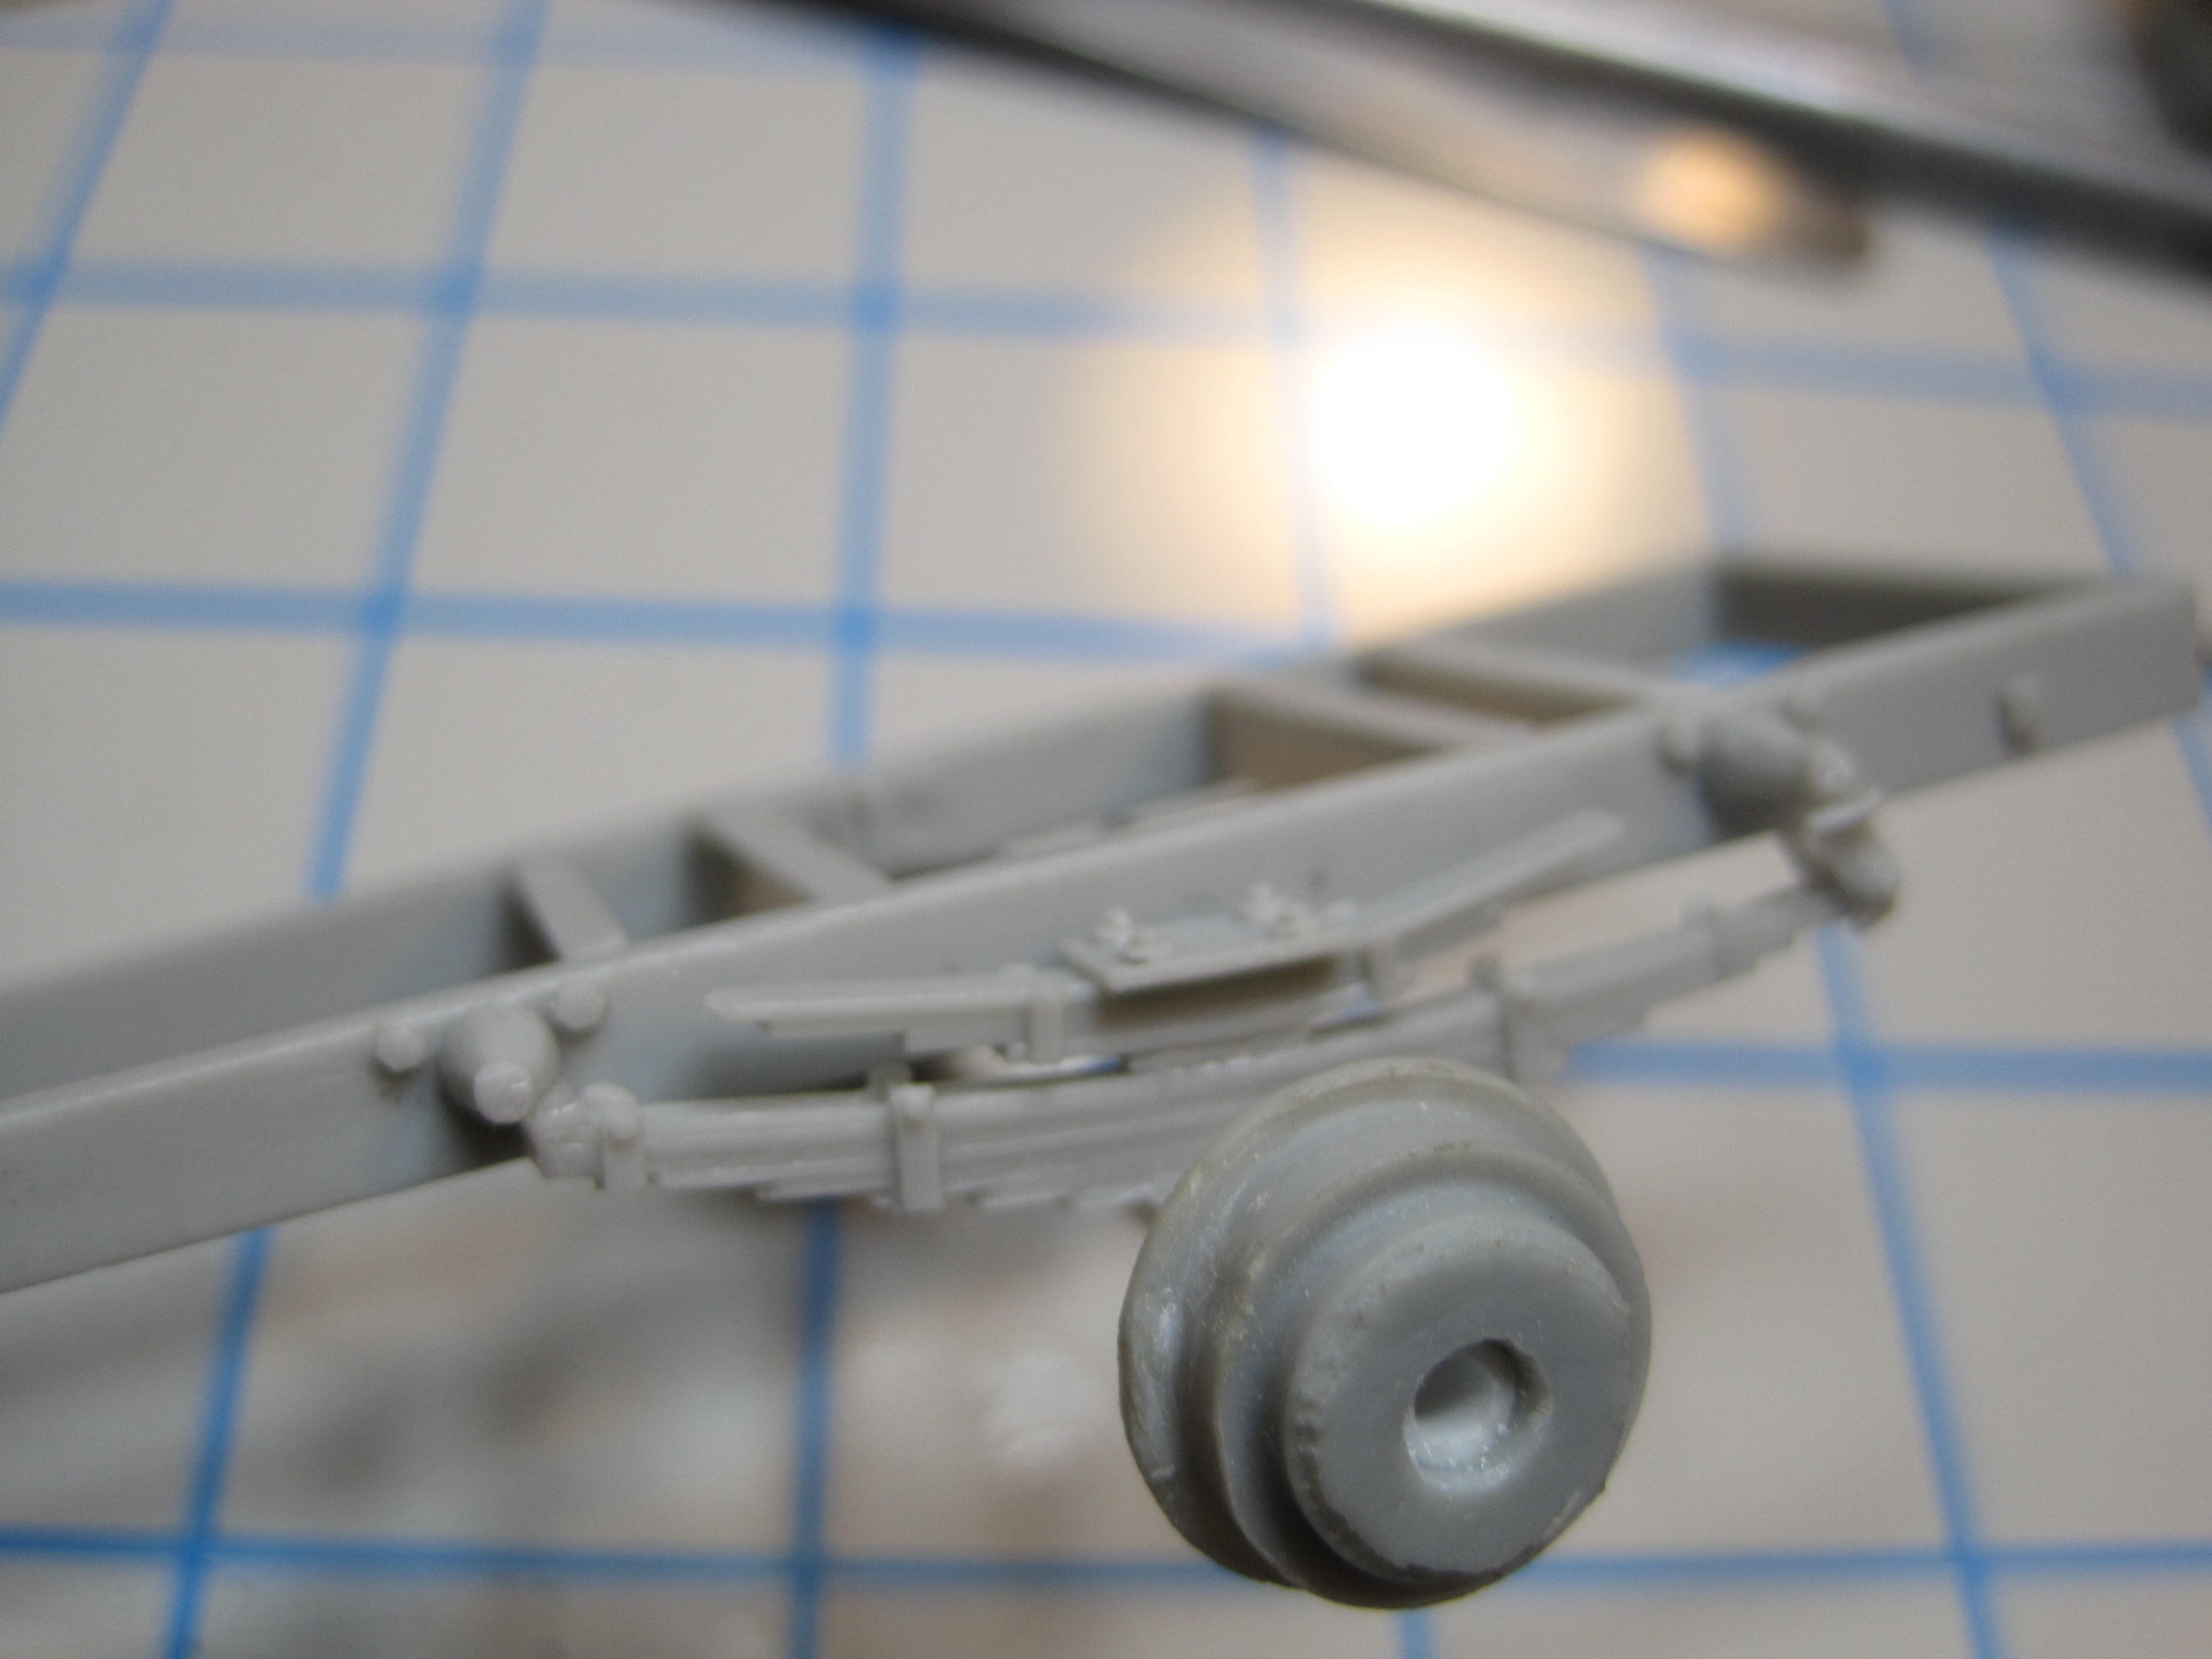
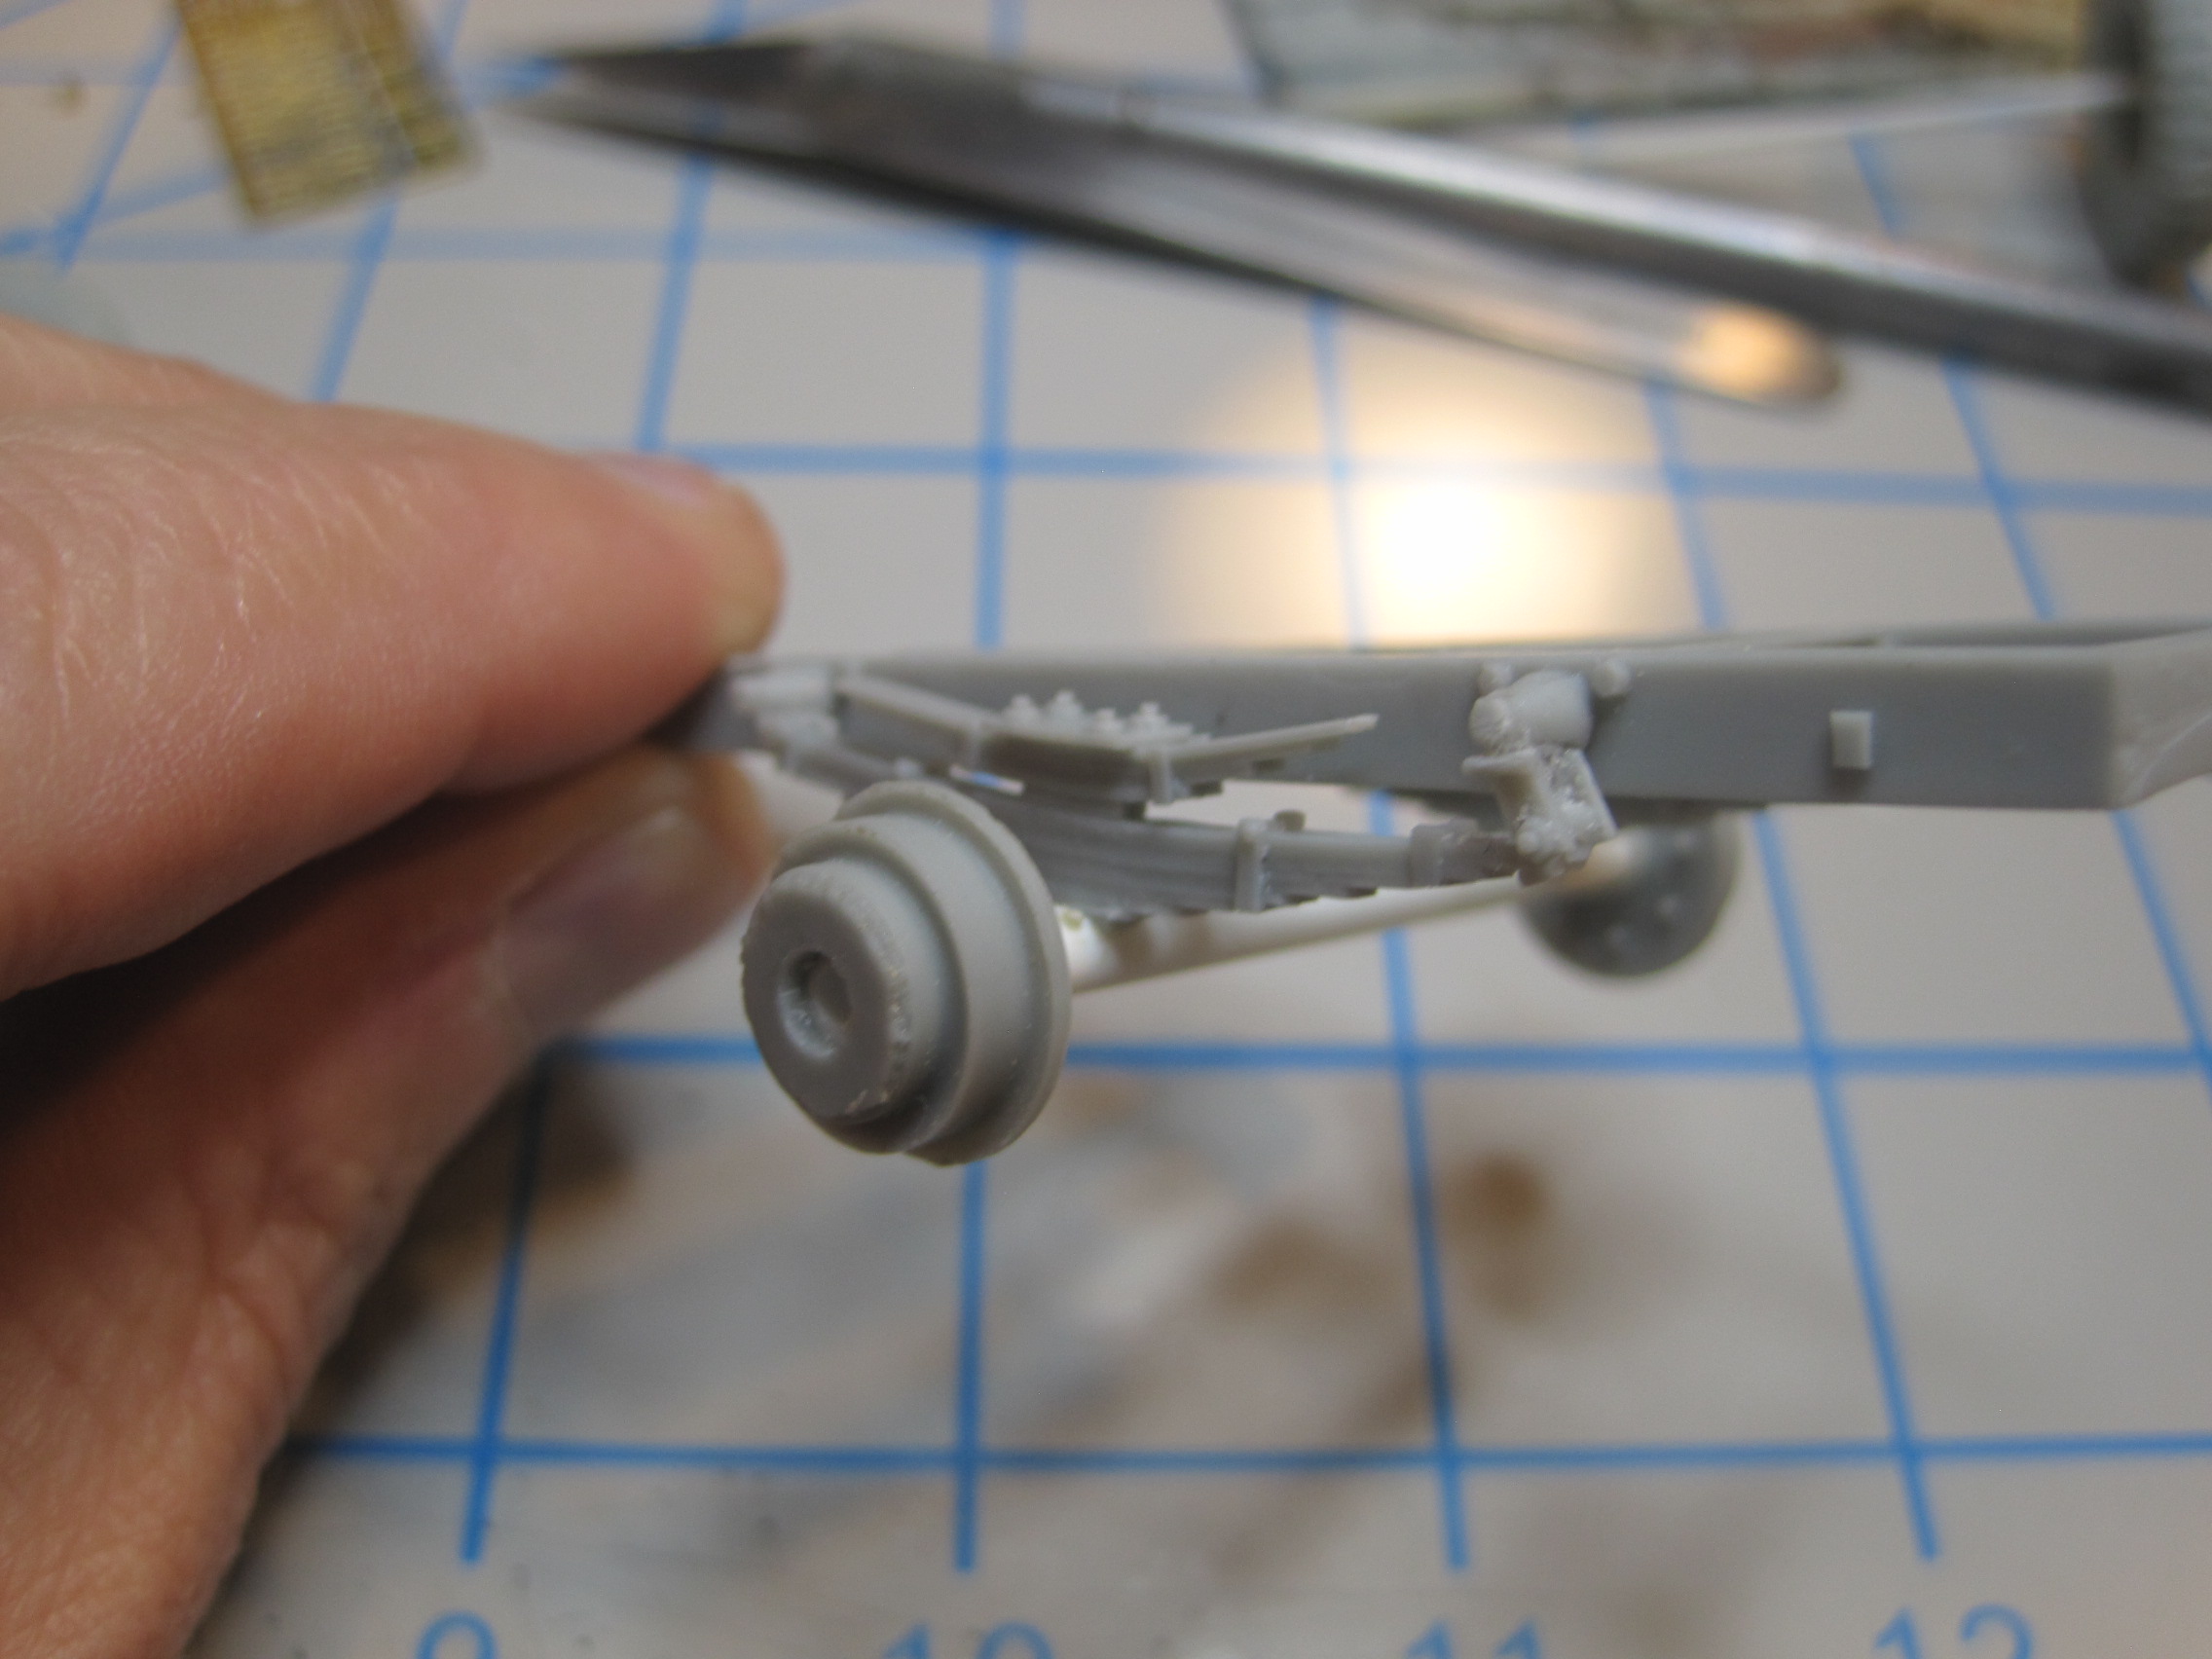
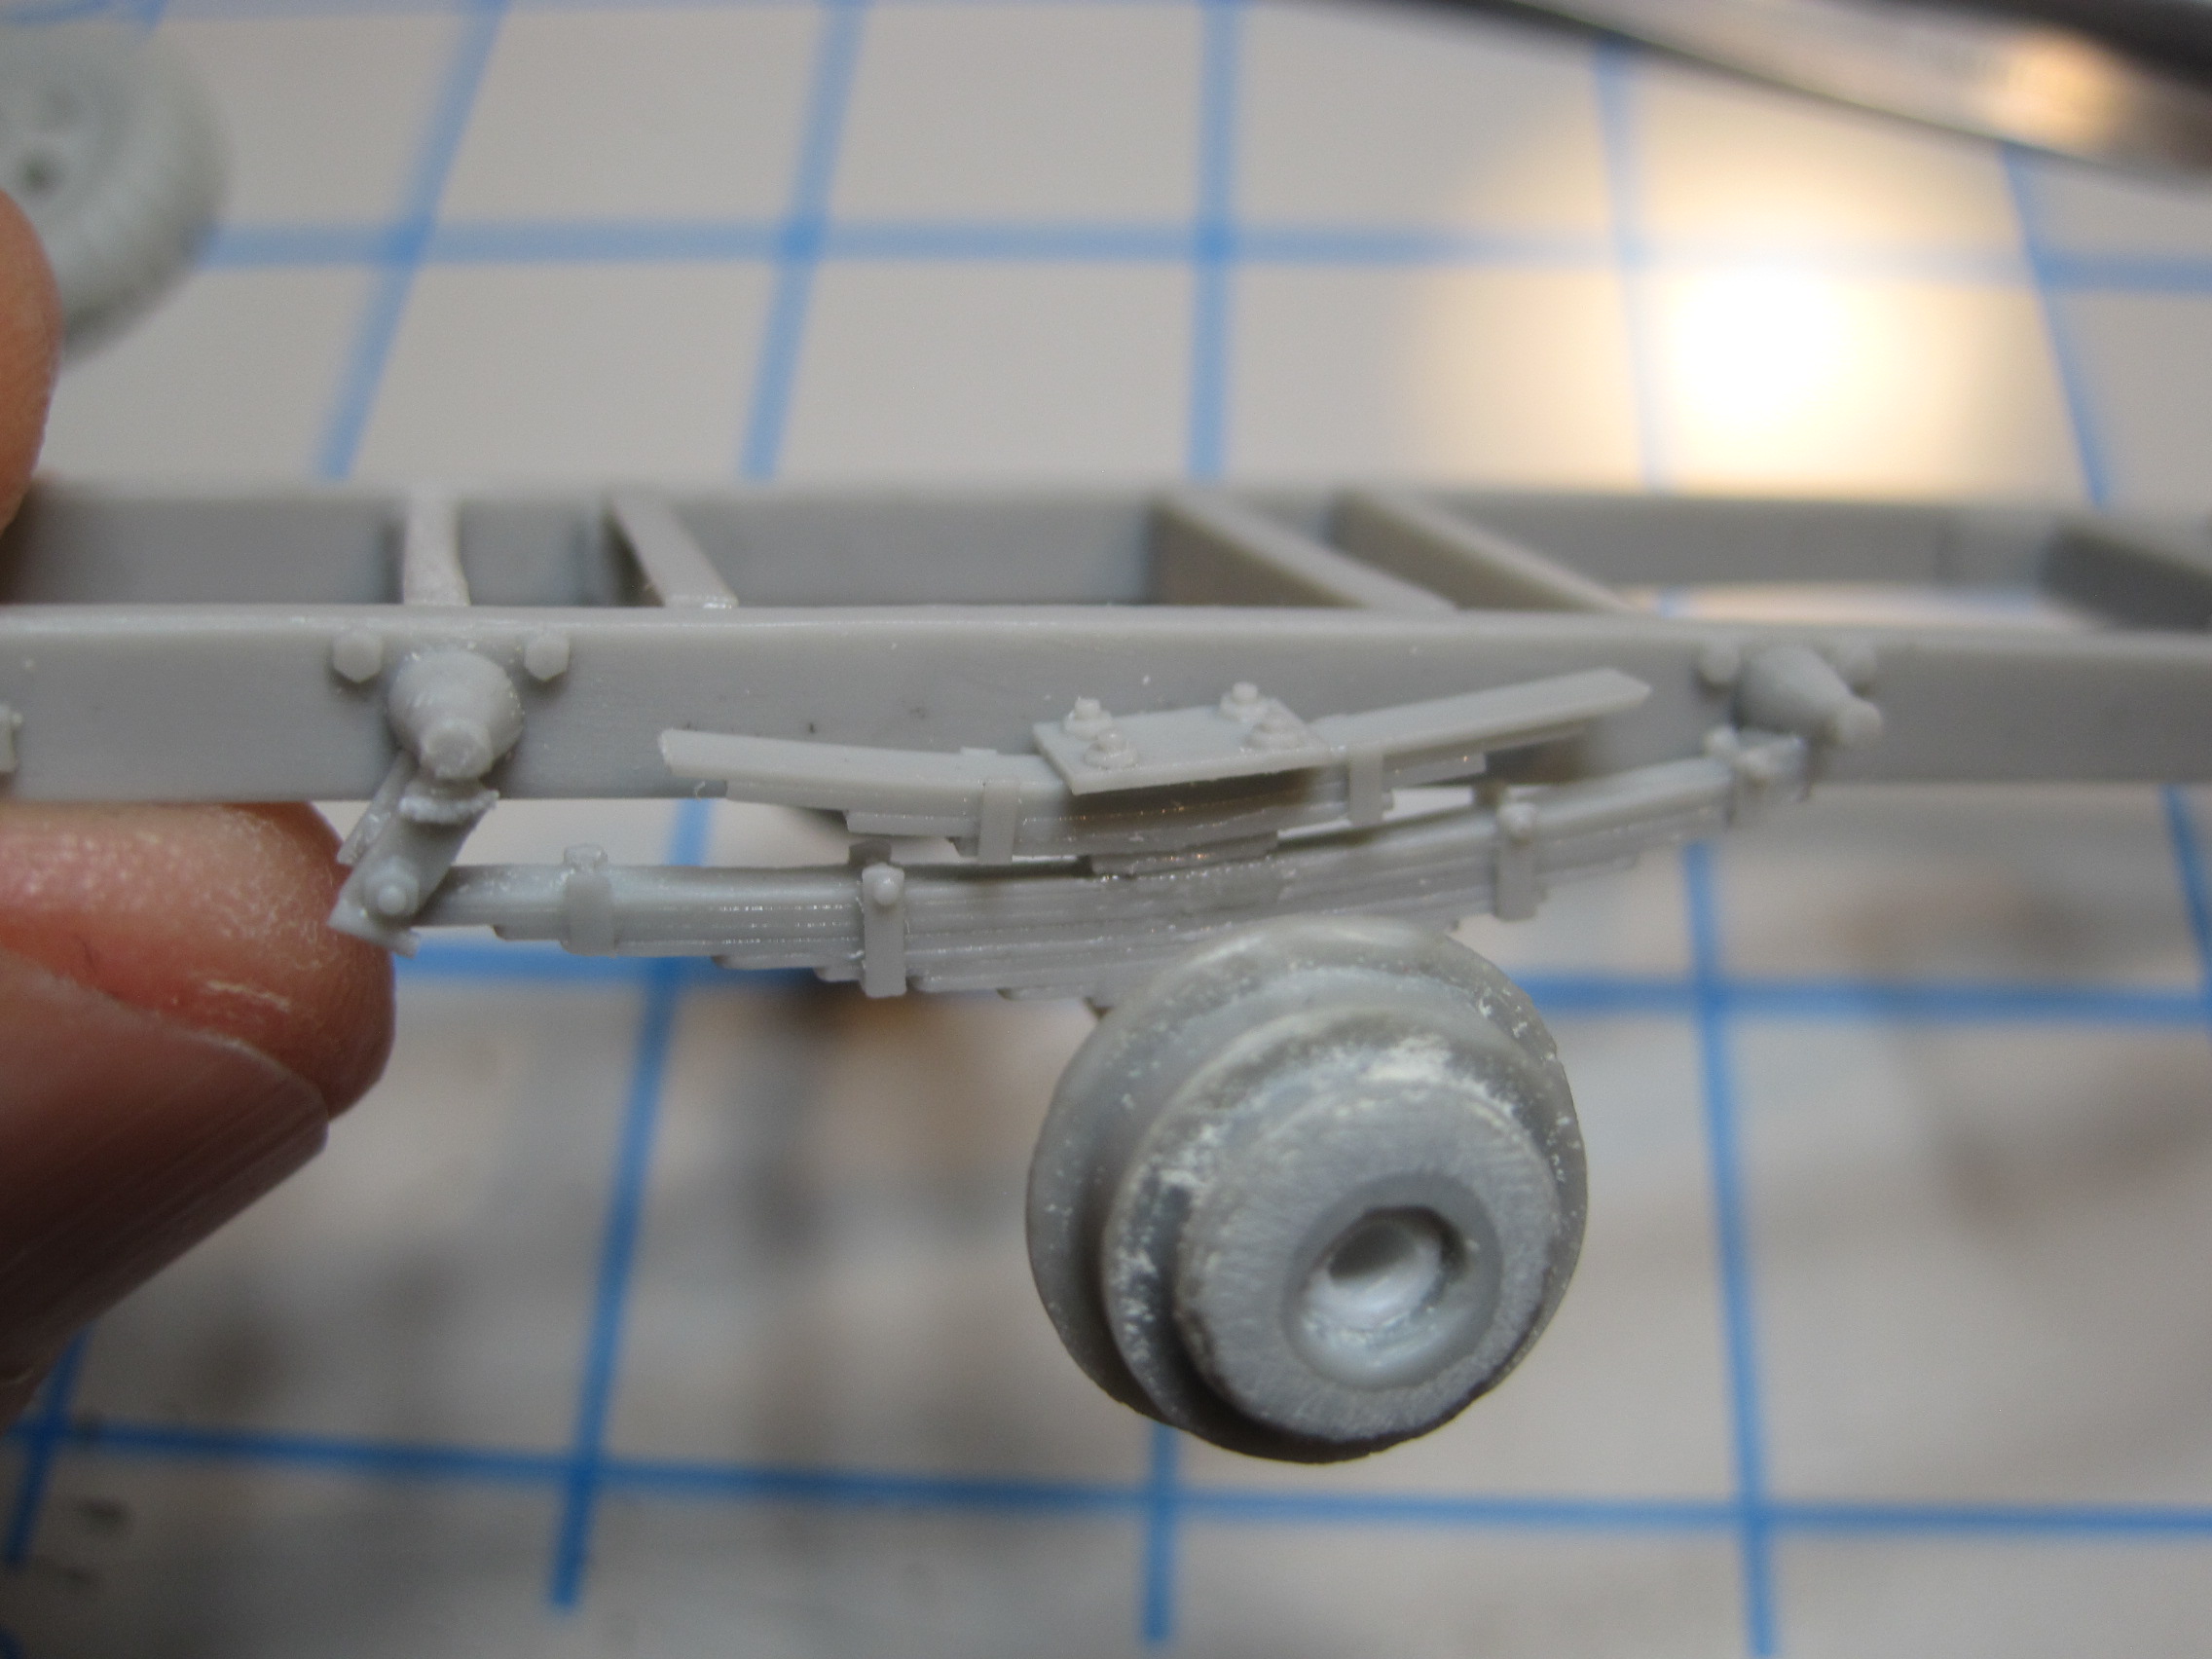
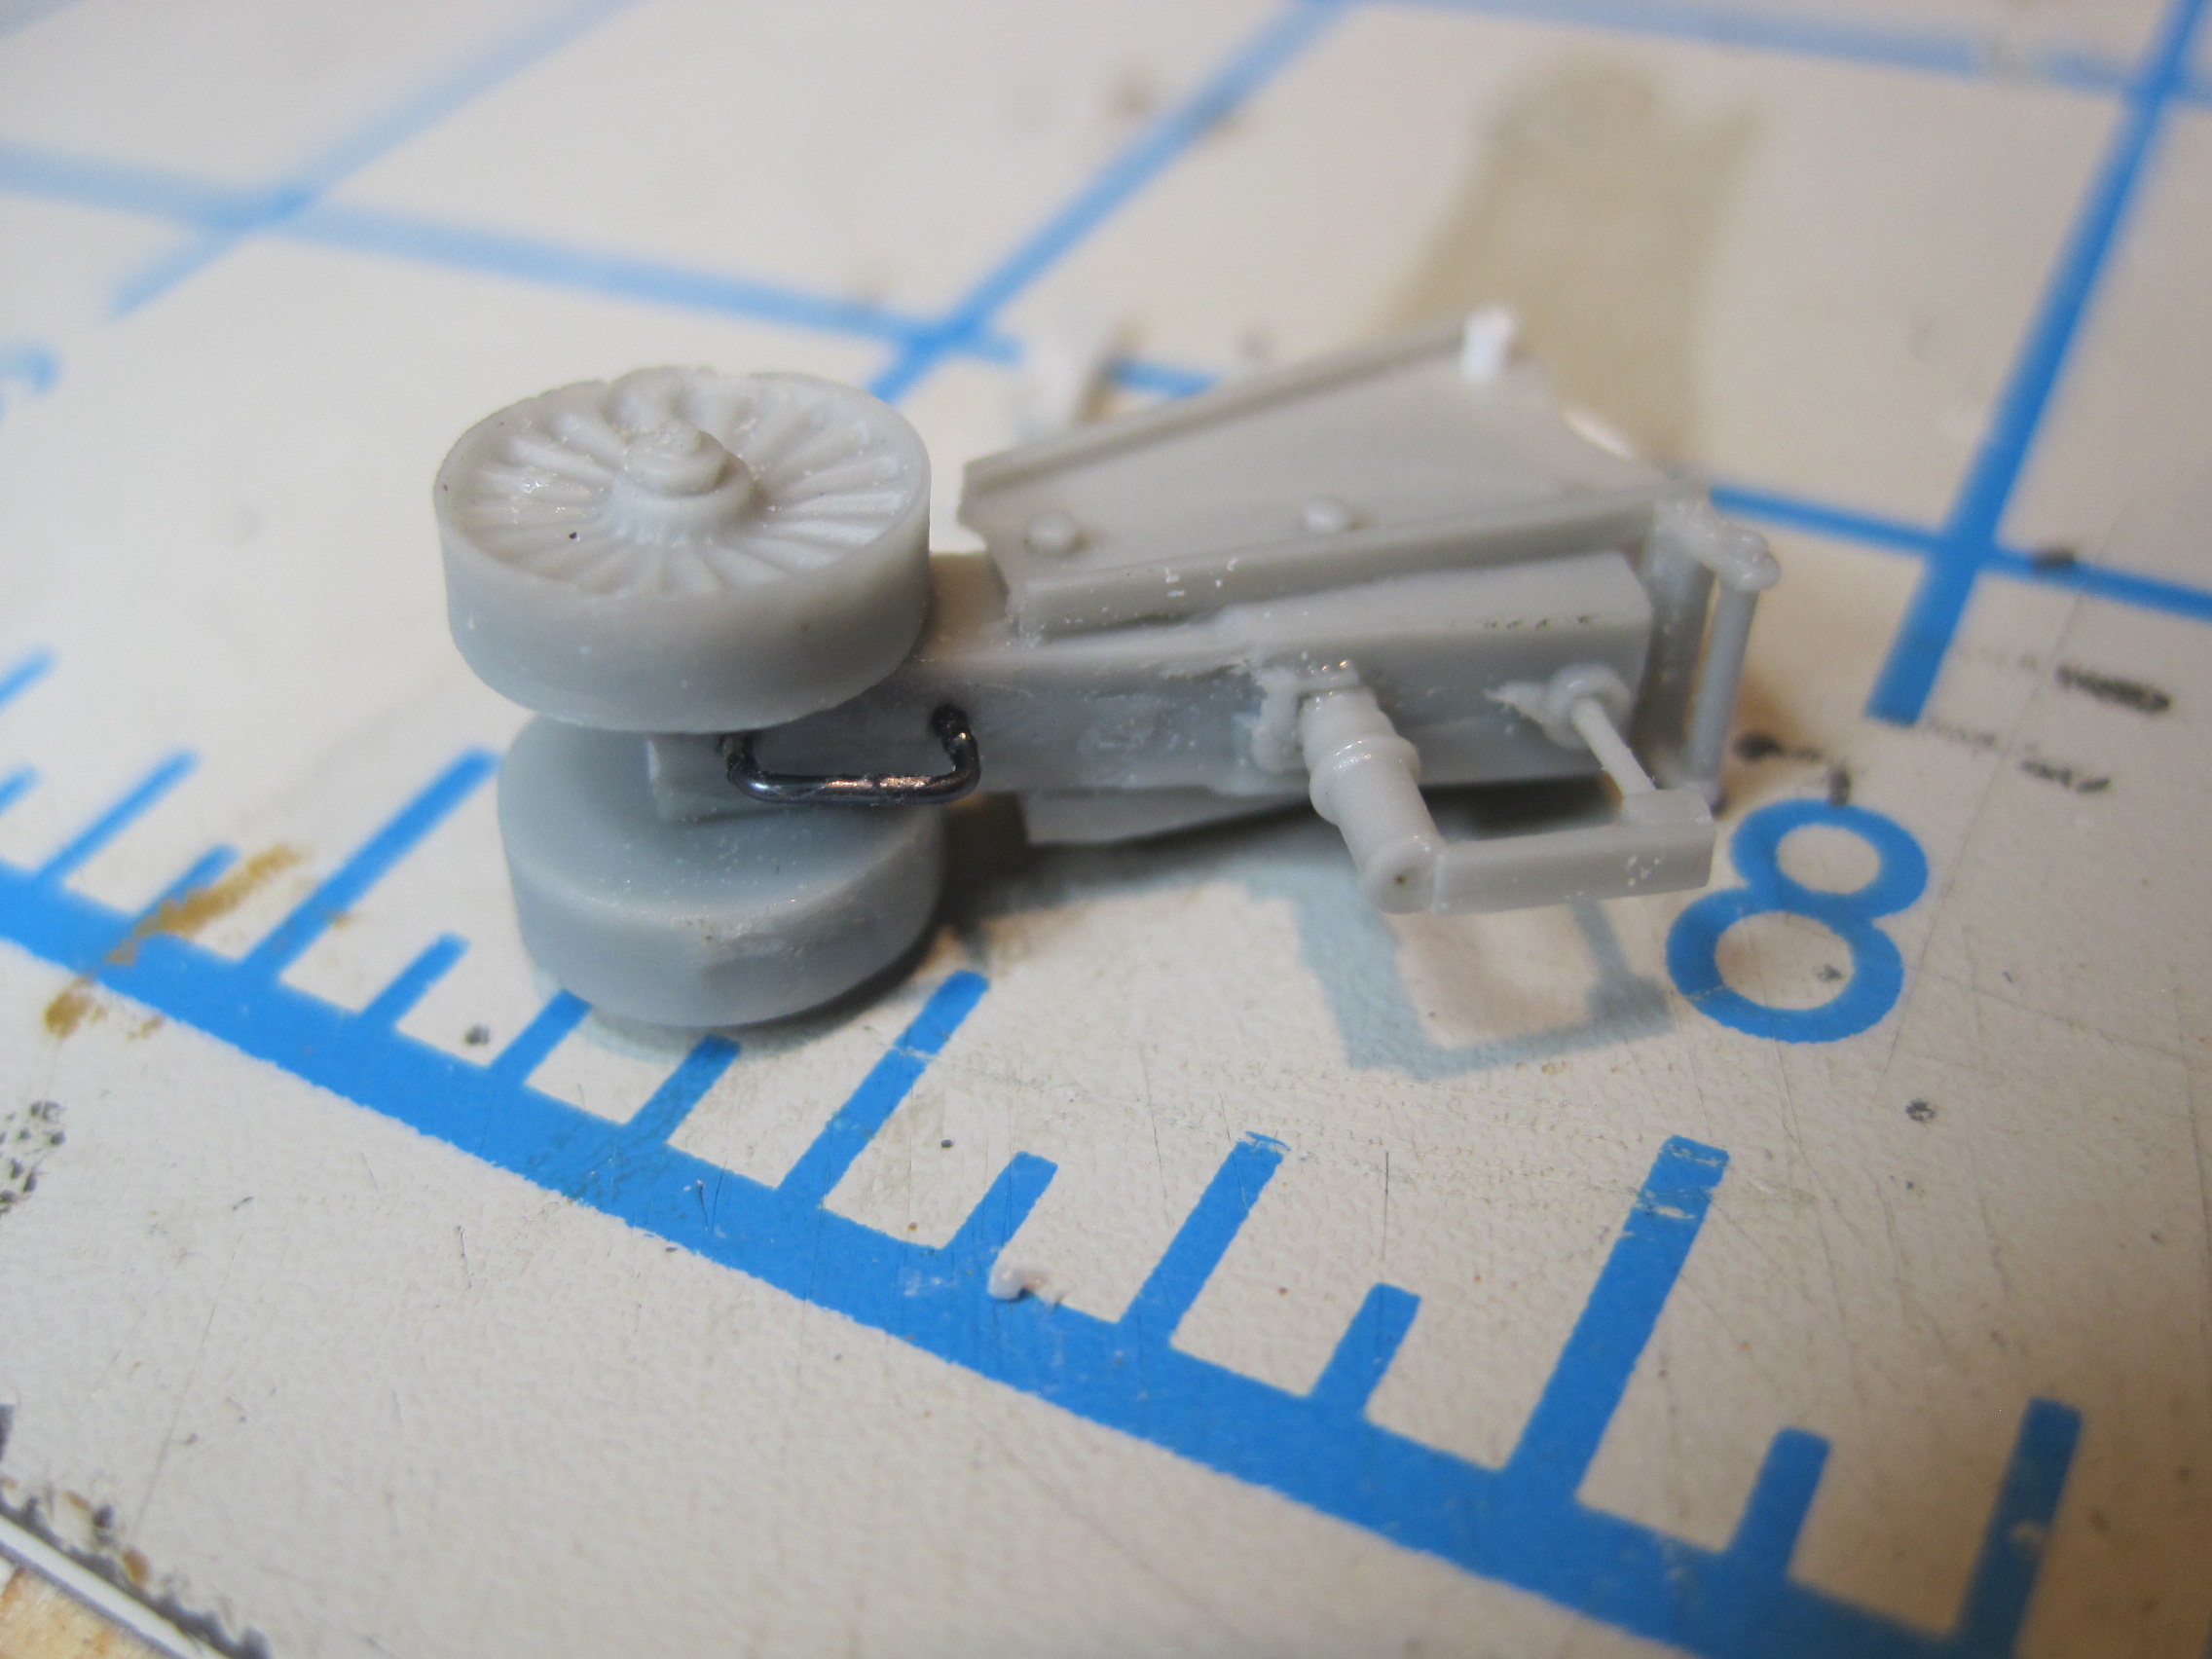
The next steps in building the trailer involved replacing the kit’s rear support leg. The resin part supplied with the kit didn’t seem to lend itself to being converted so that it would actually pivot because the engagement latch, being resin would be subject to breaking, so I decided to scratch build my own. And because I’ll be building another M105 trailer with a fuel pod in my next built, I just went ahead and build those parts while I was at it.
The installation shown is actually on the trailer for the Mess Truck I had built previously but didn’t include the stand.
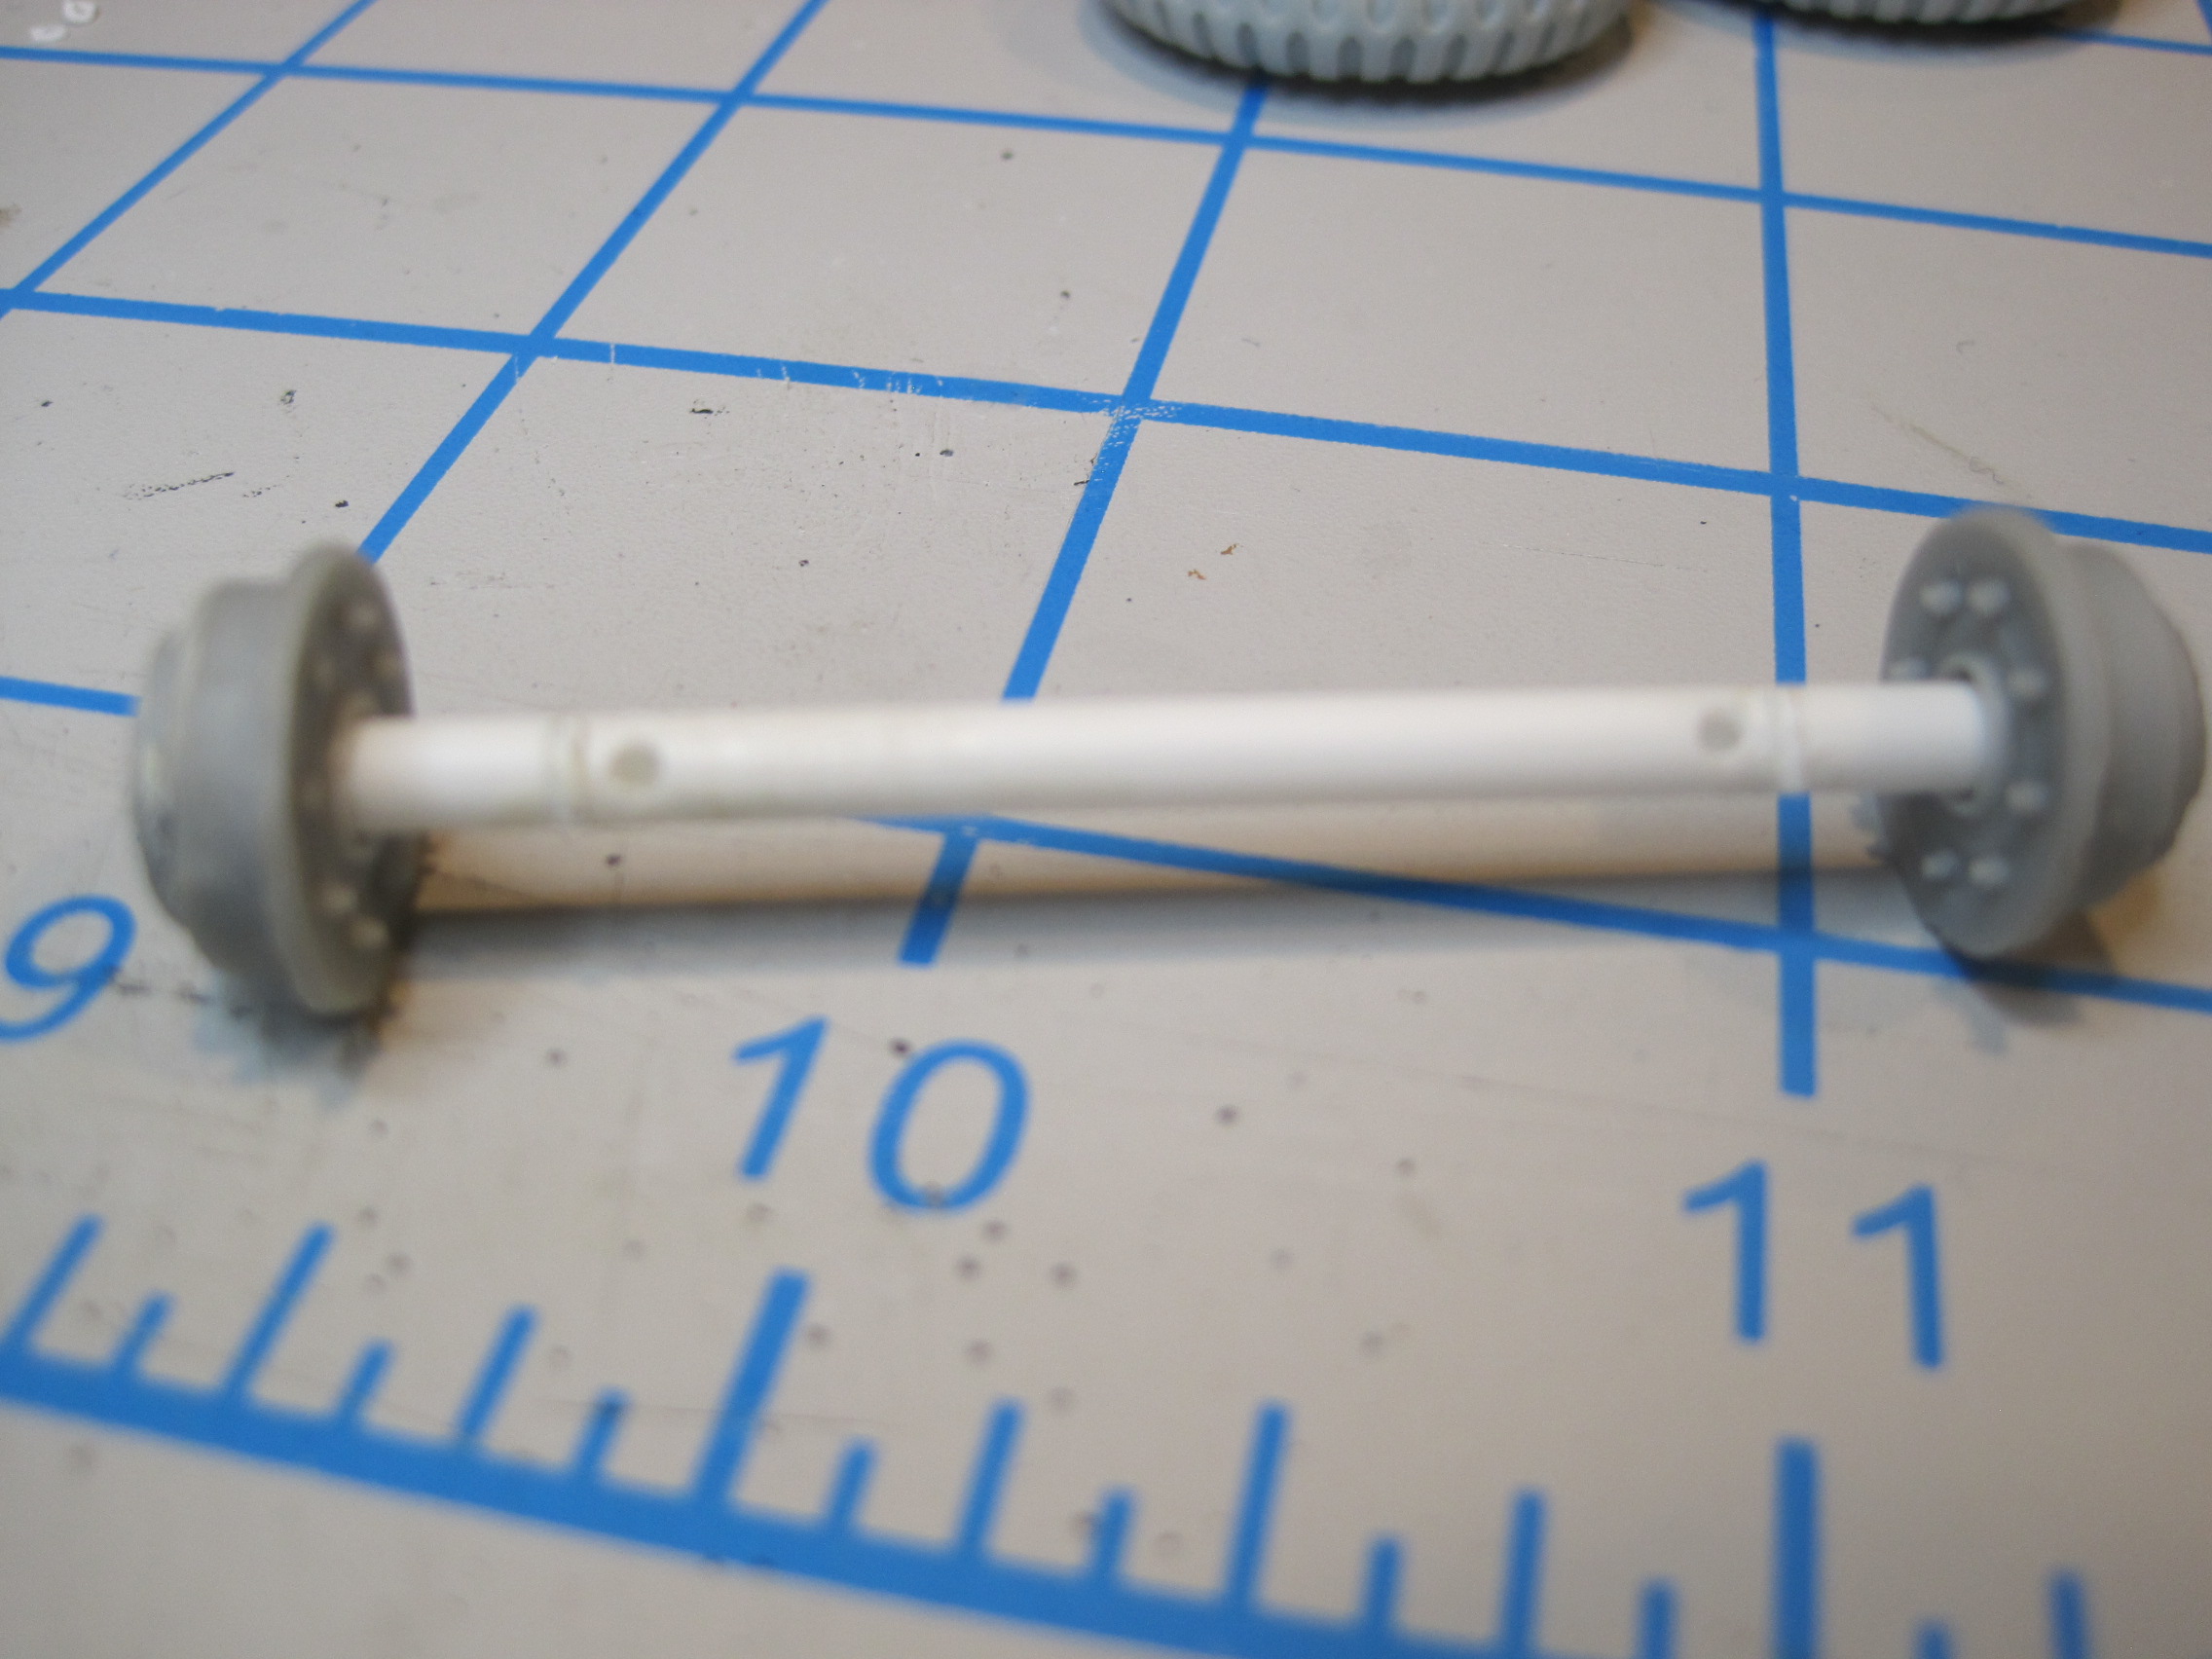
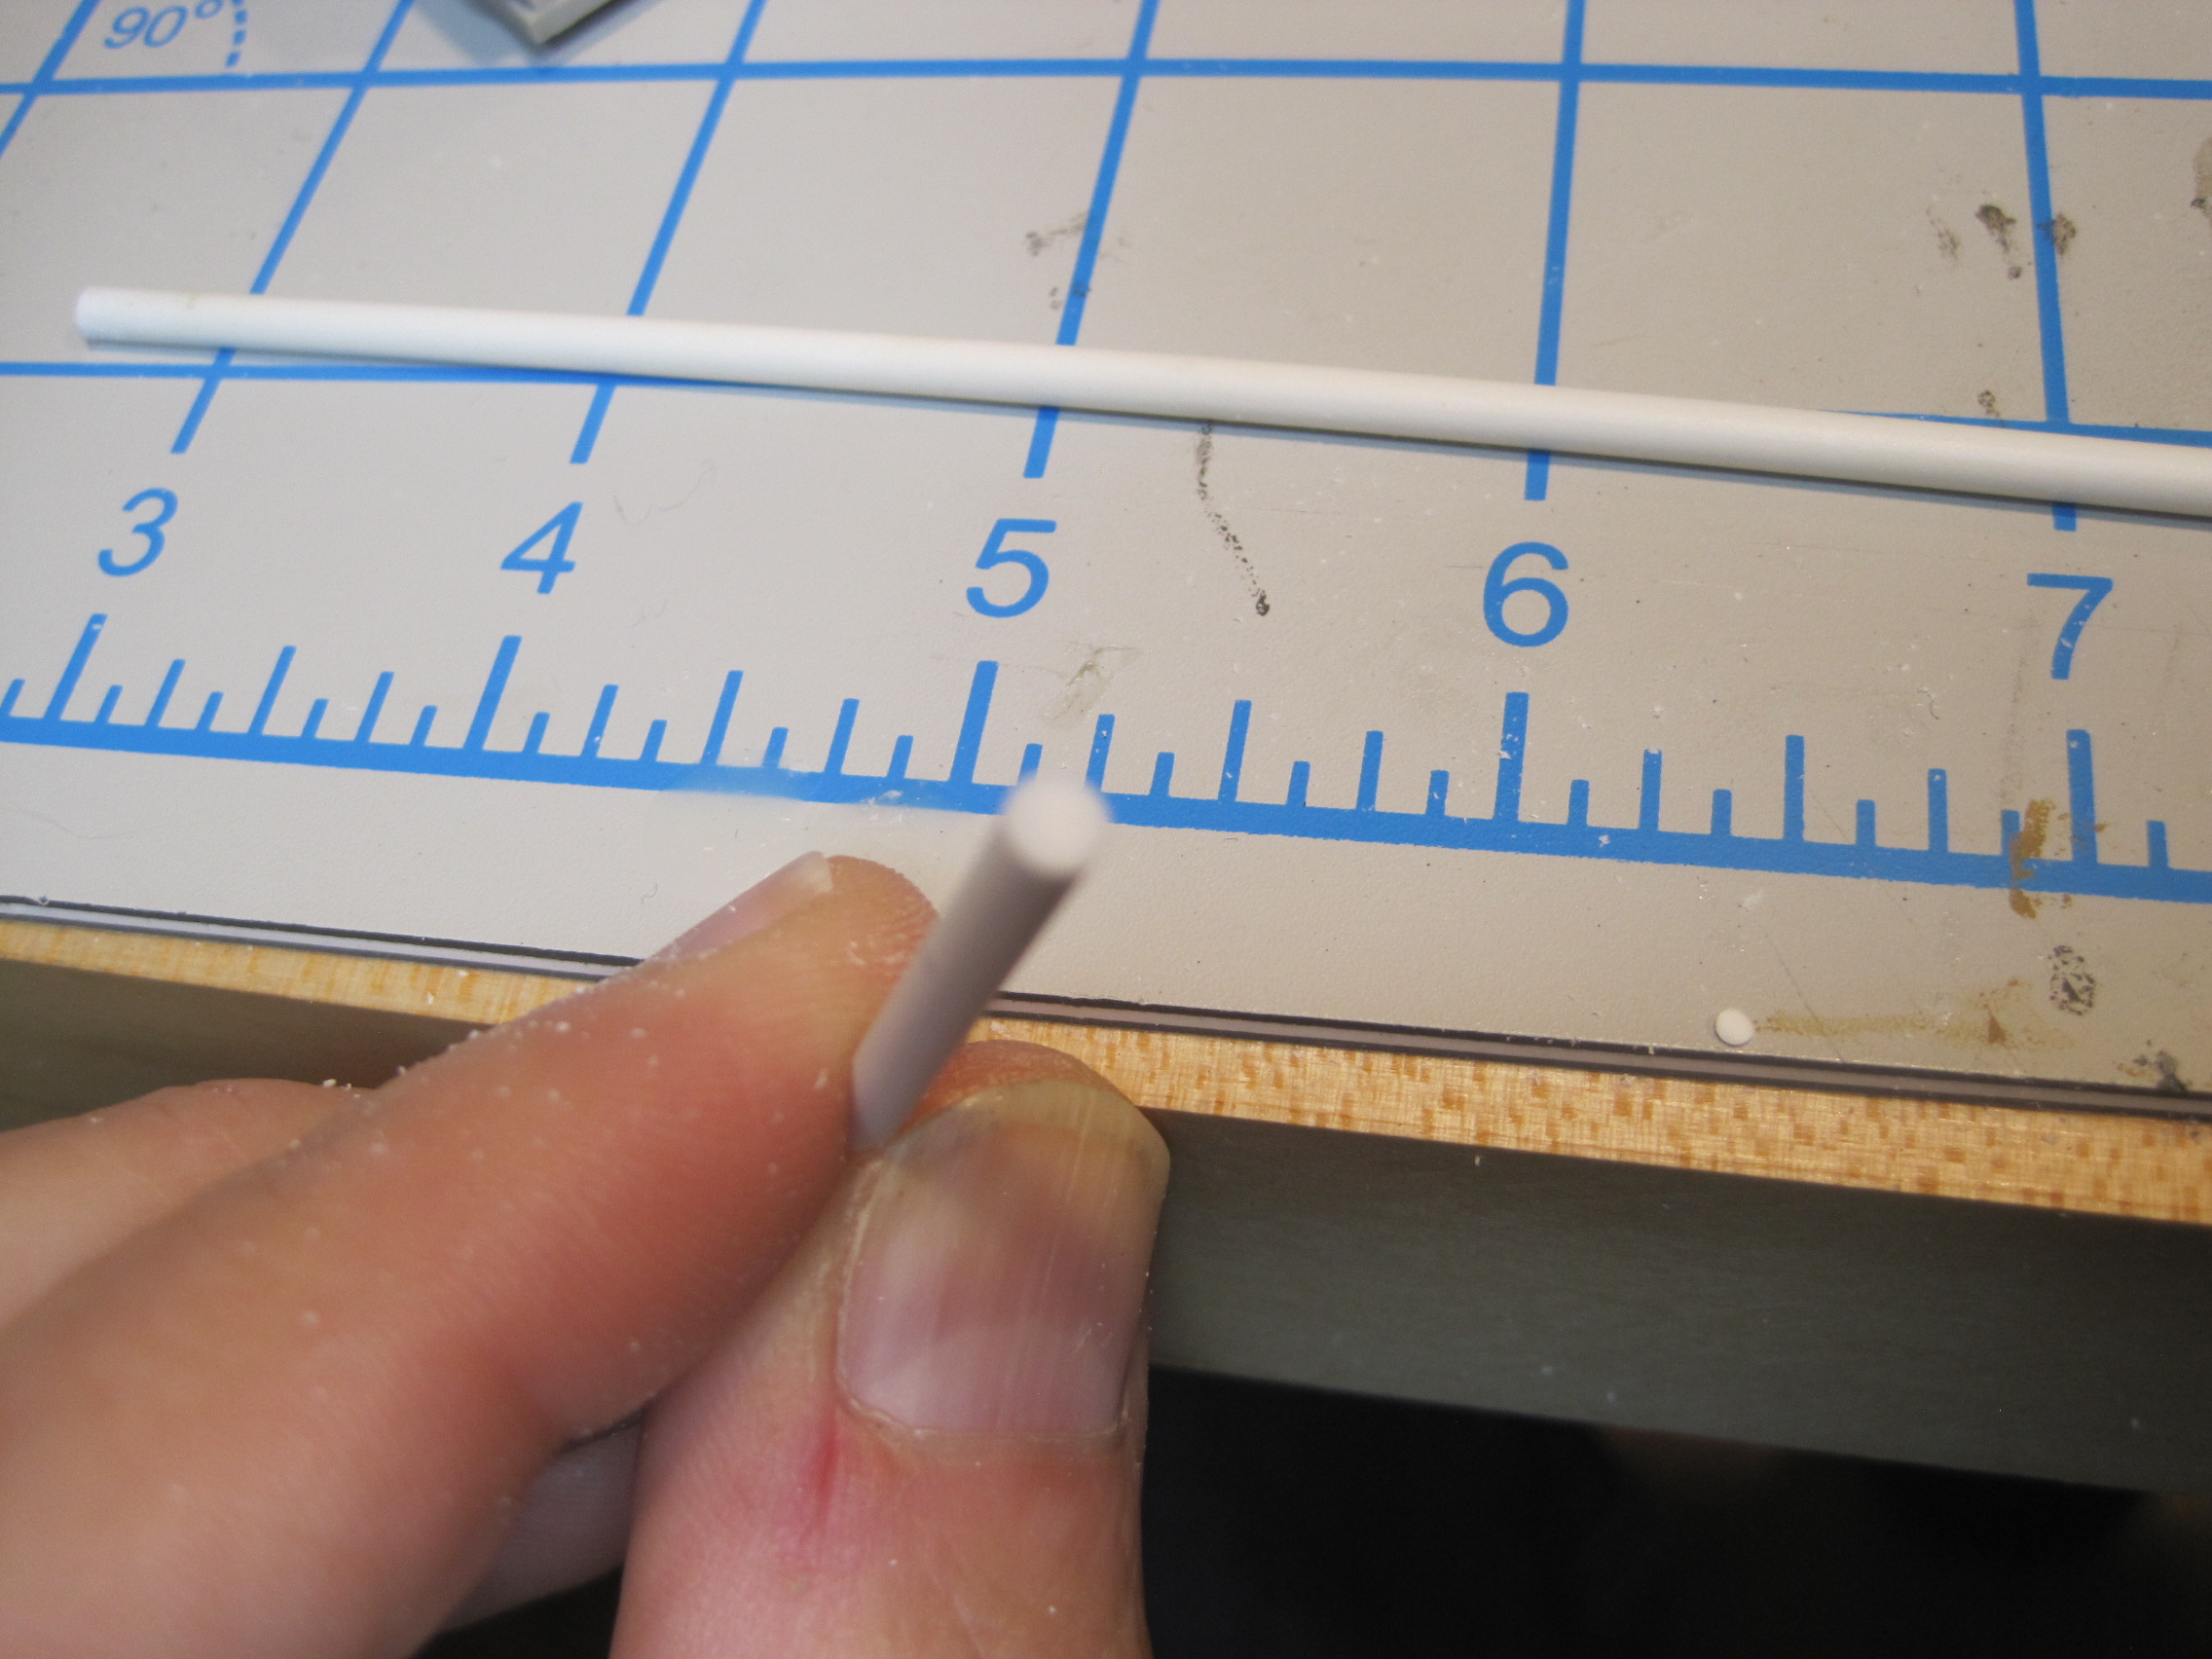
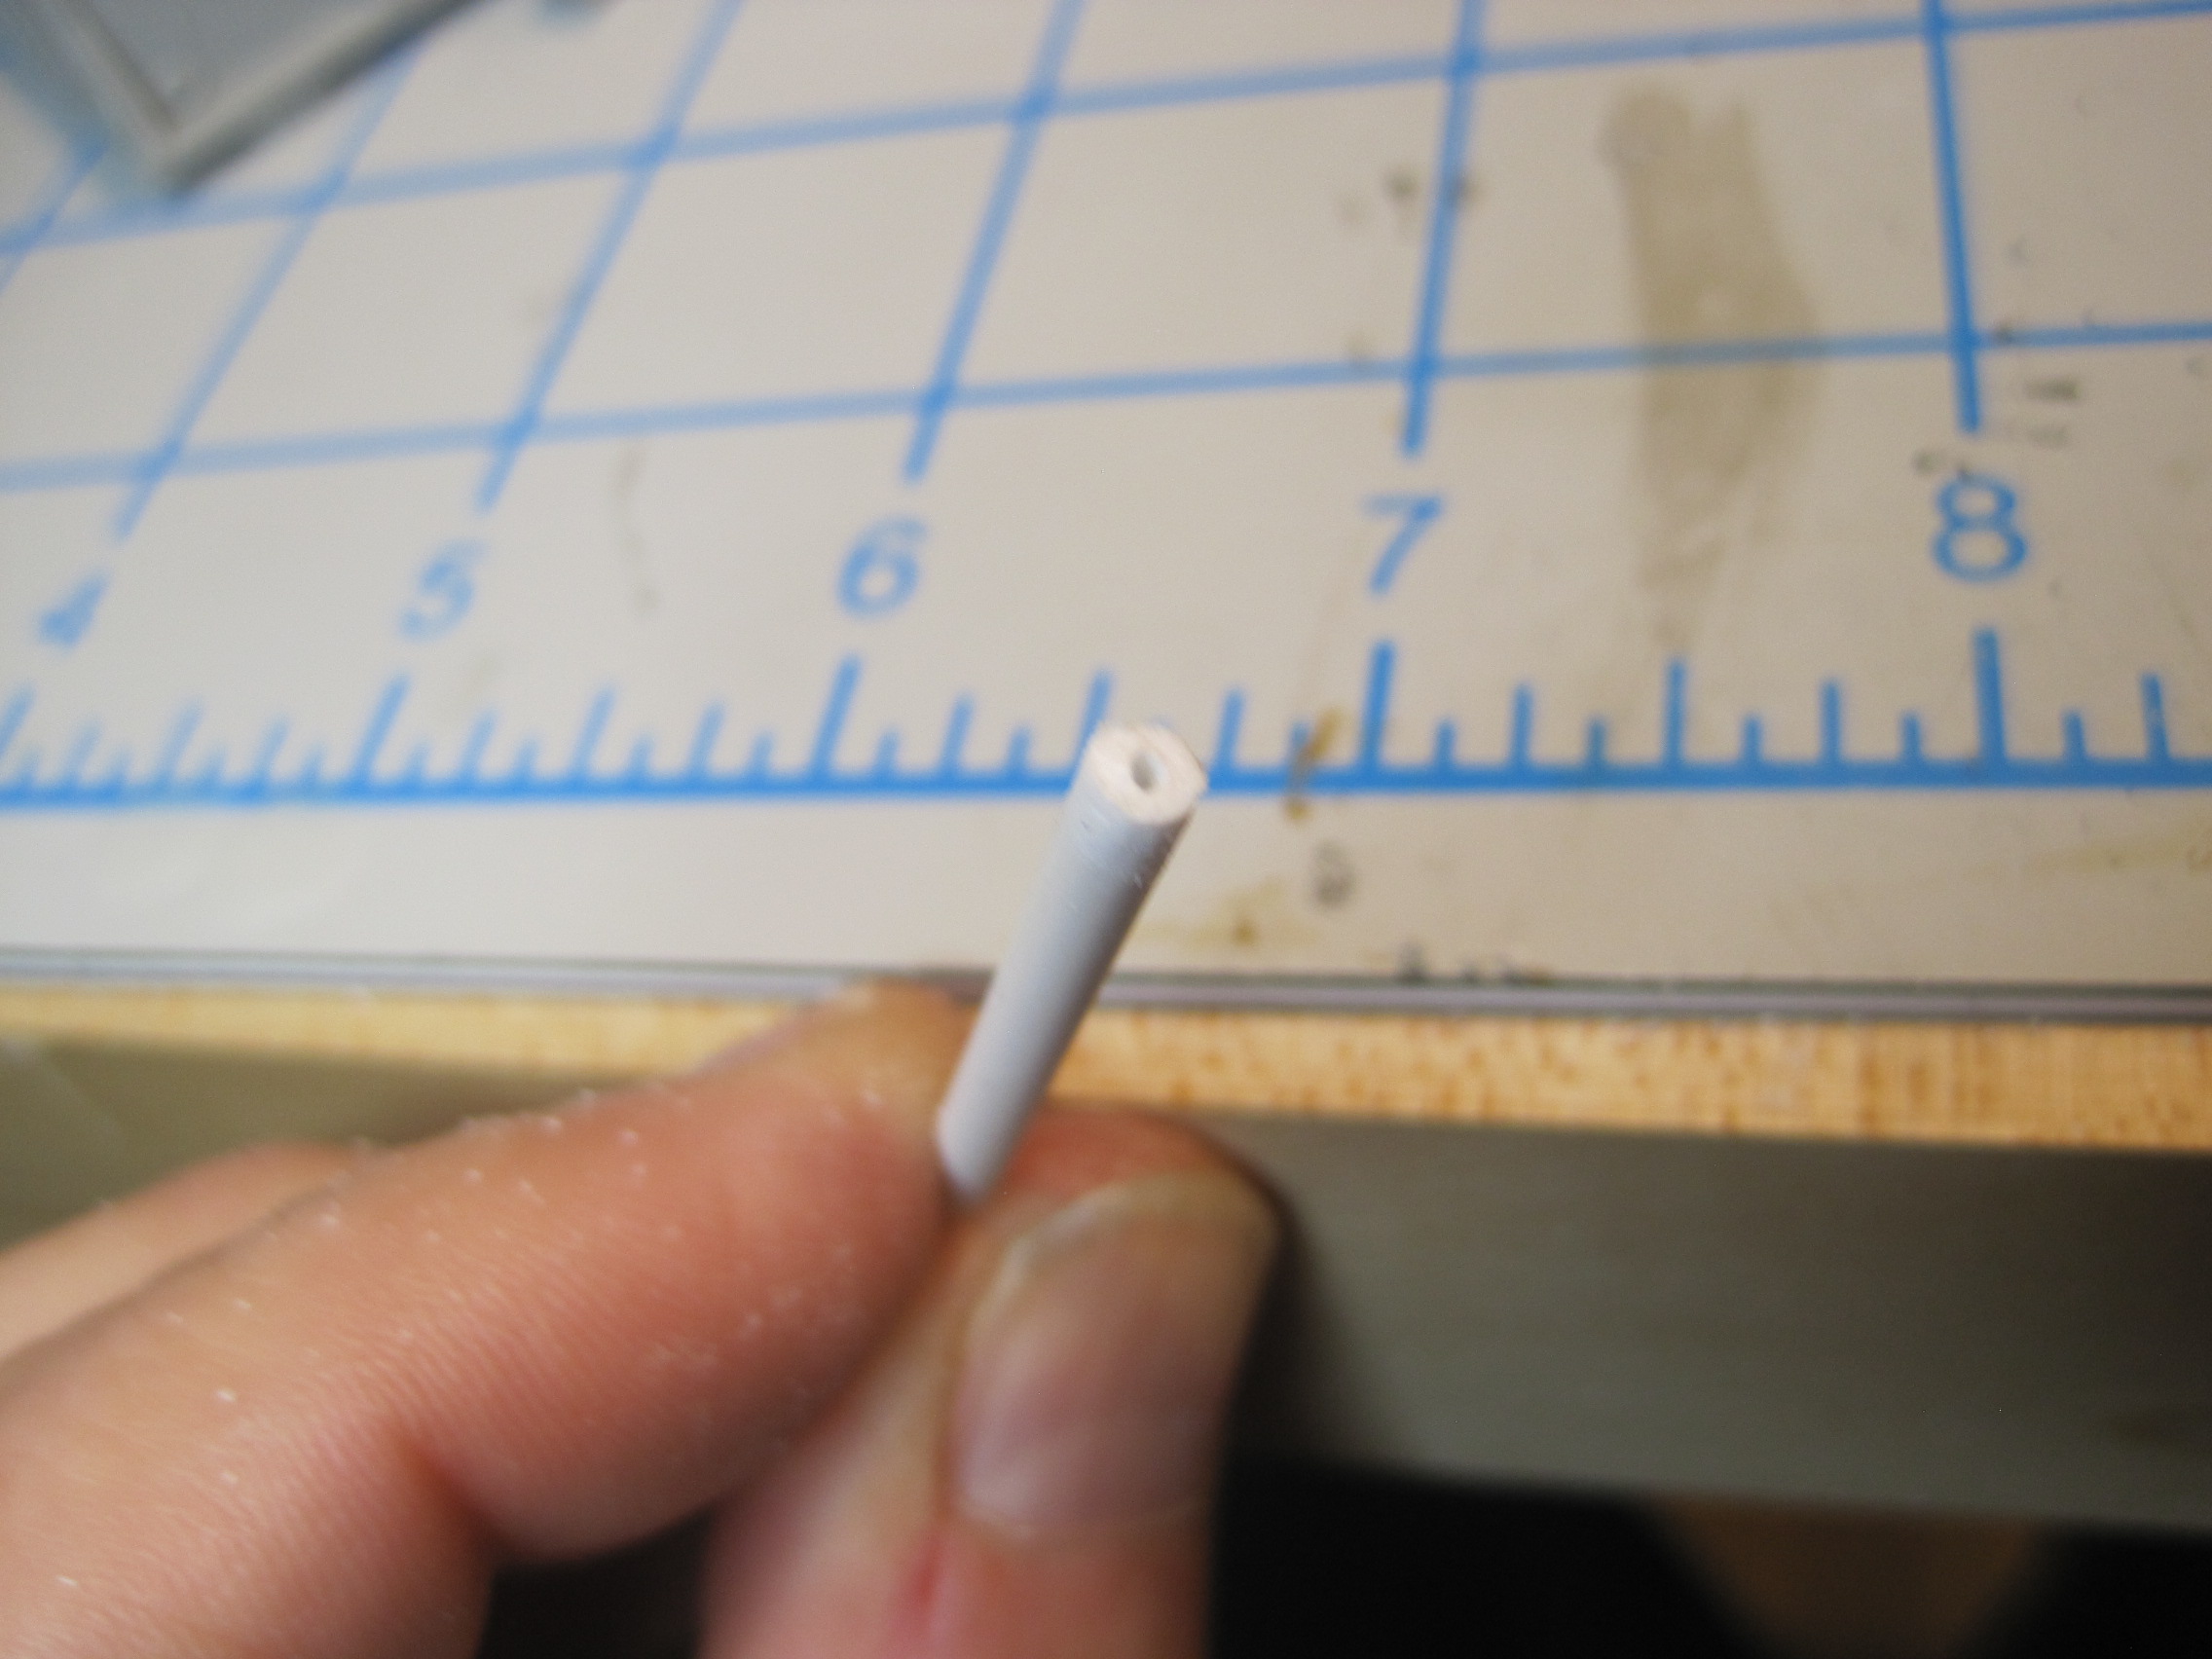
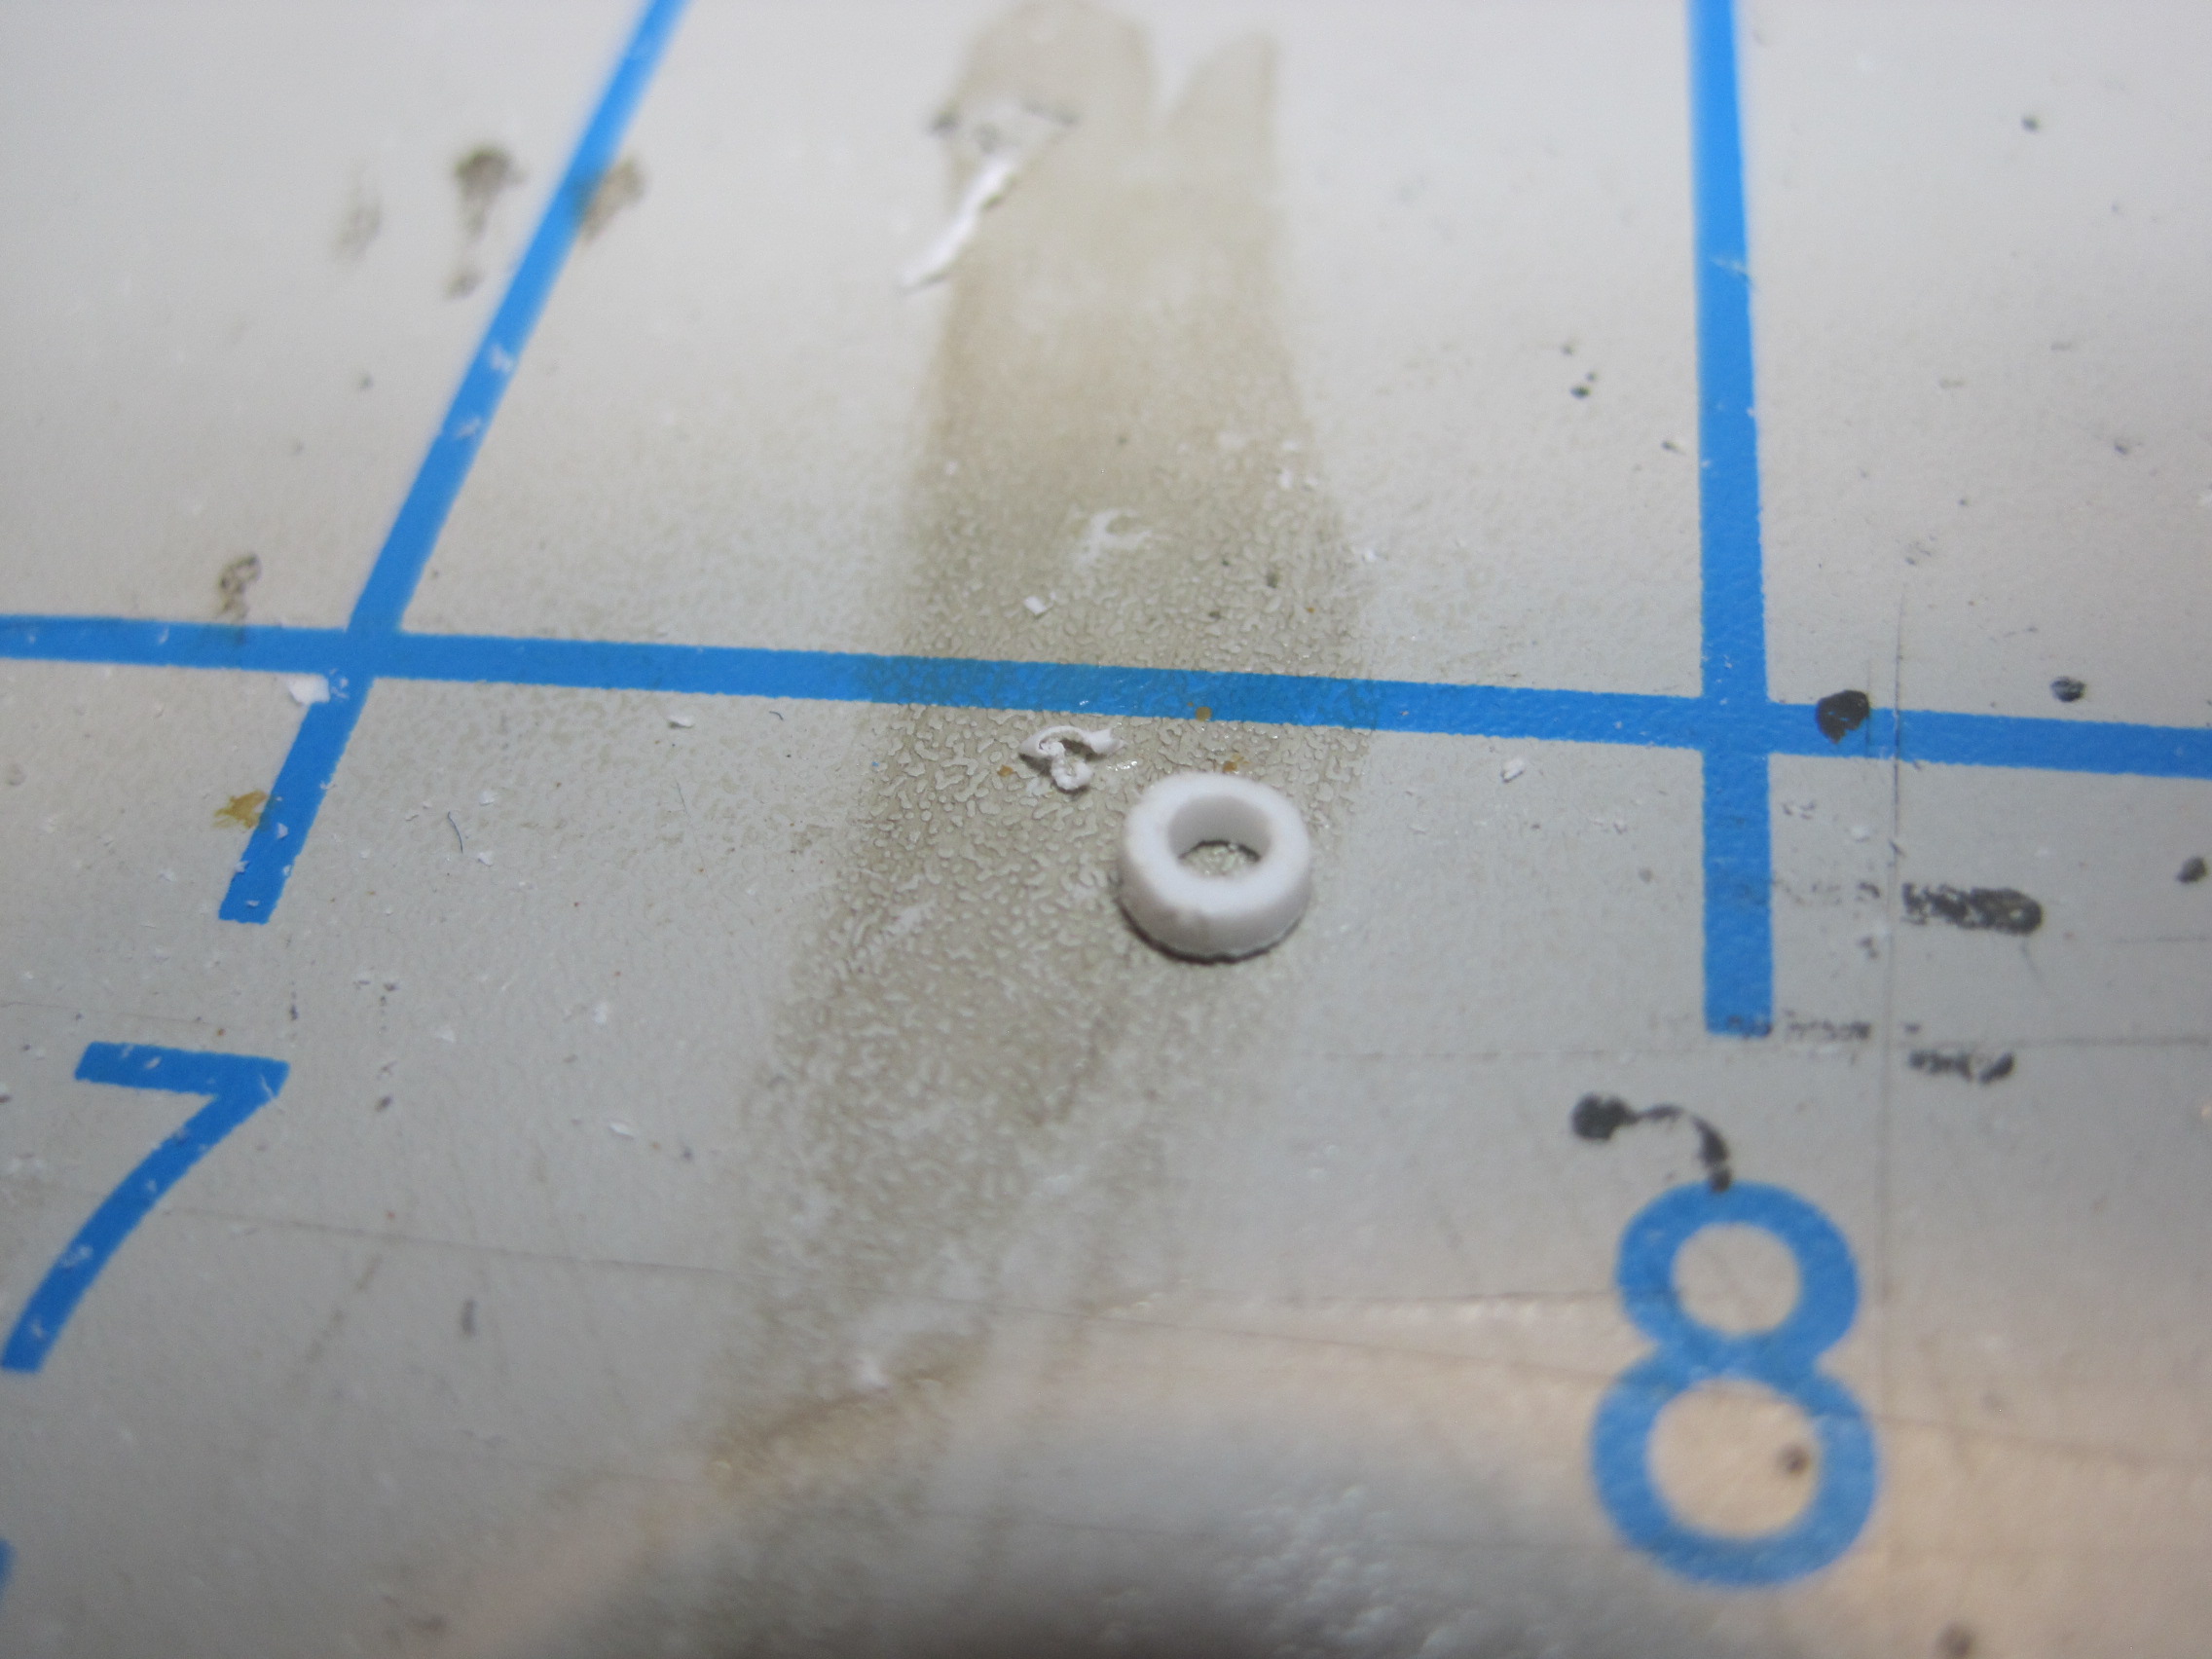
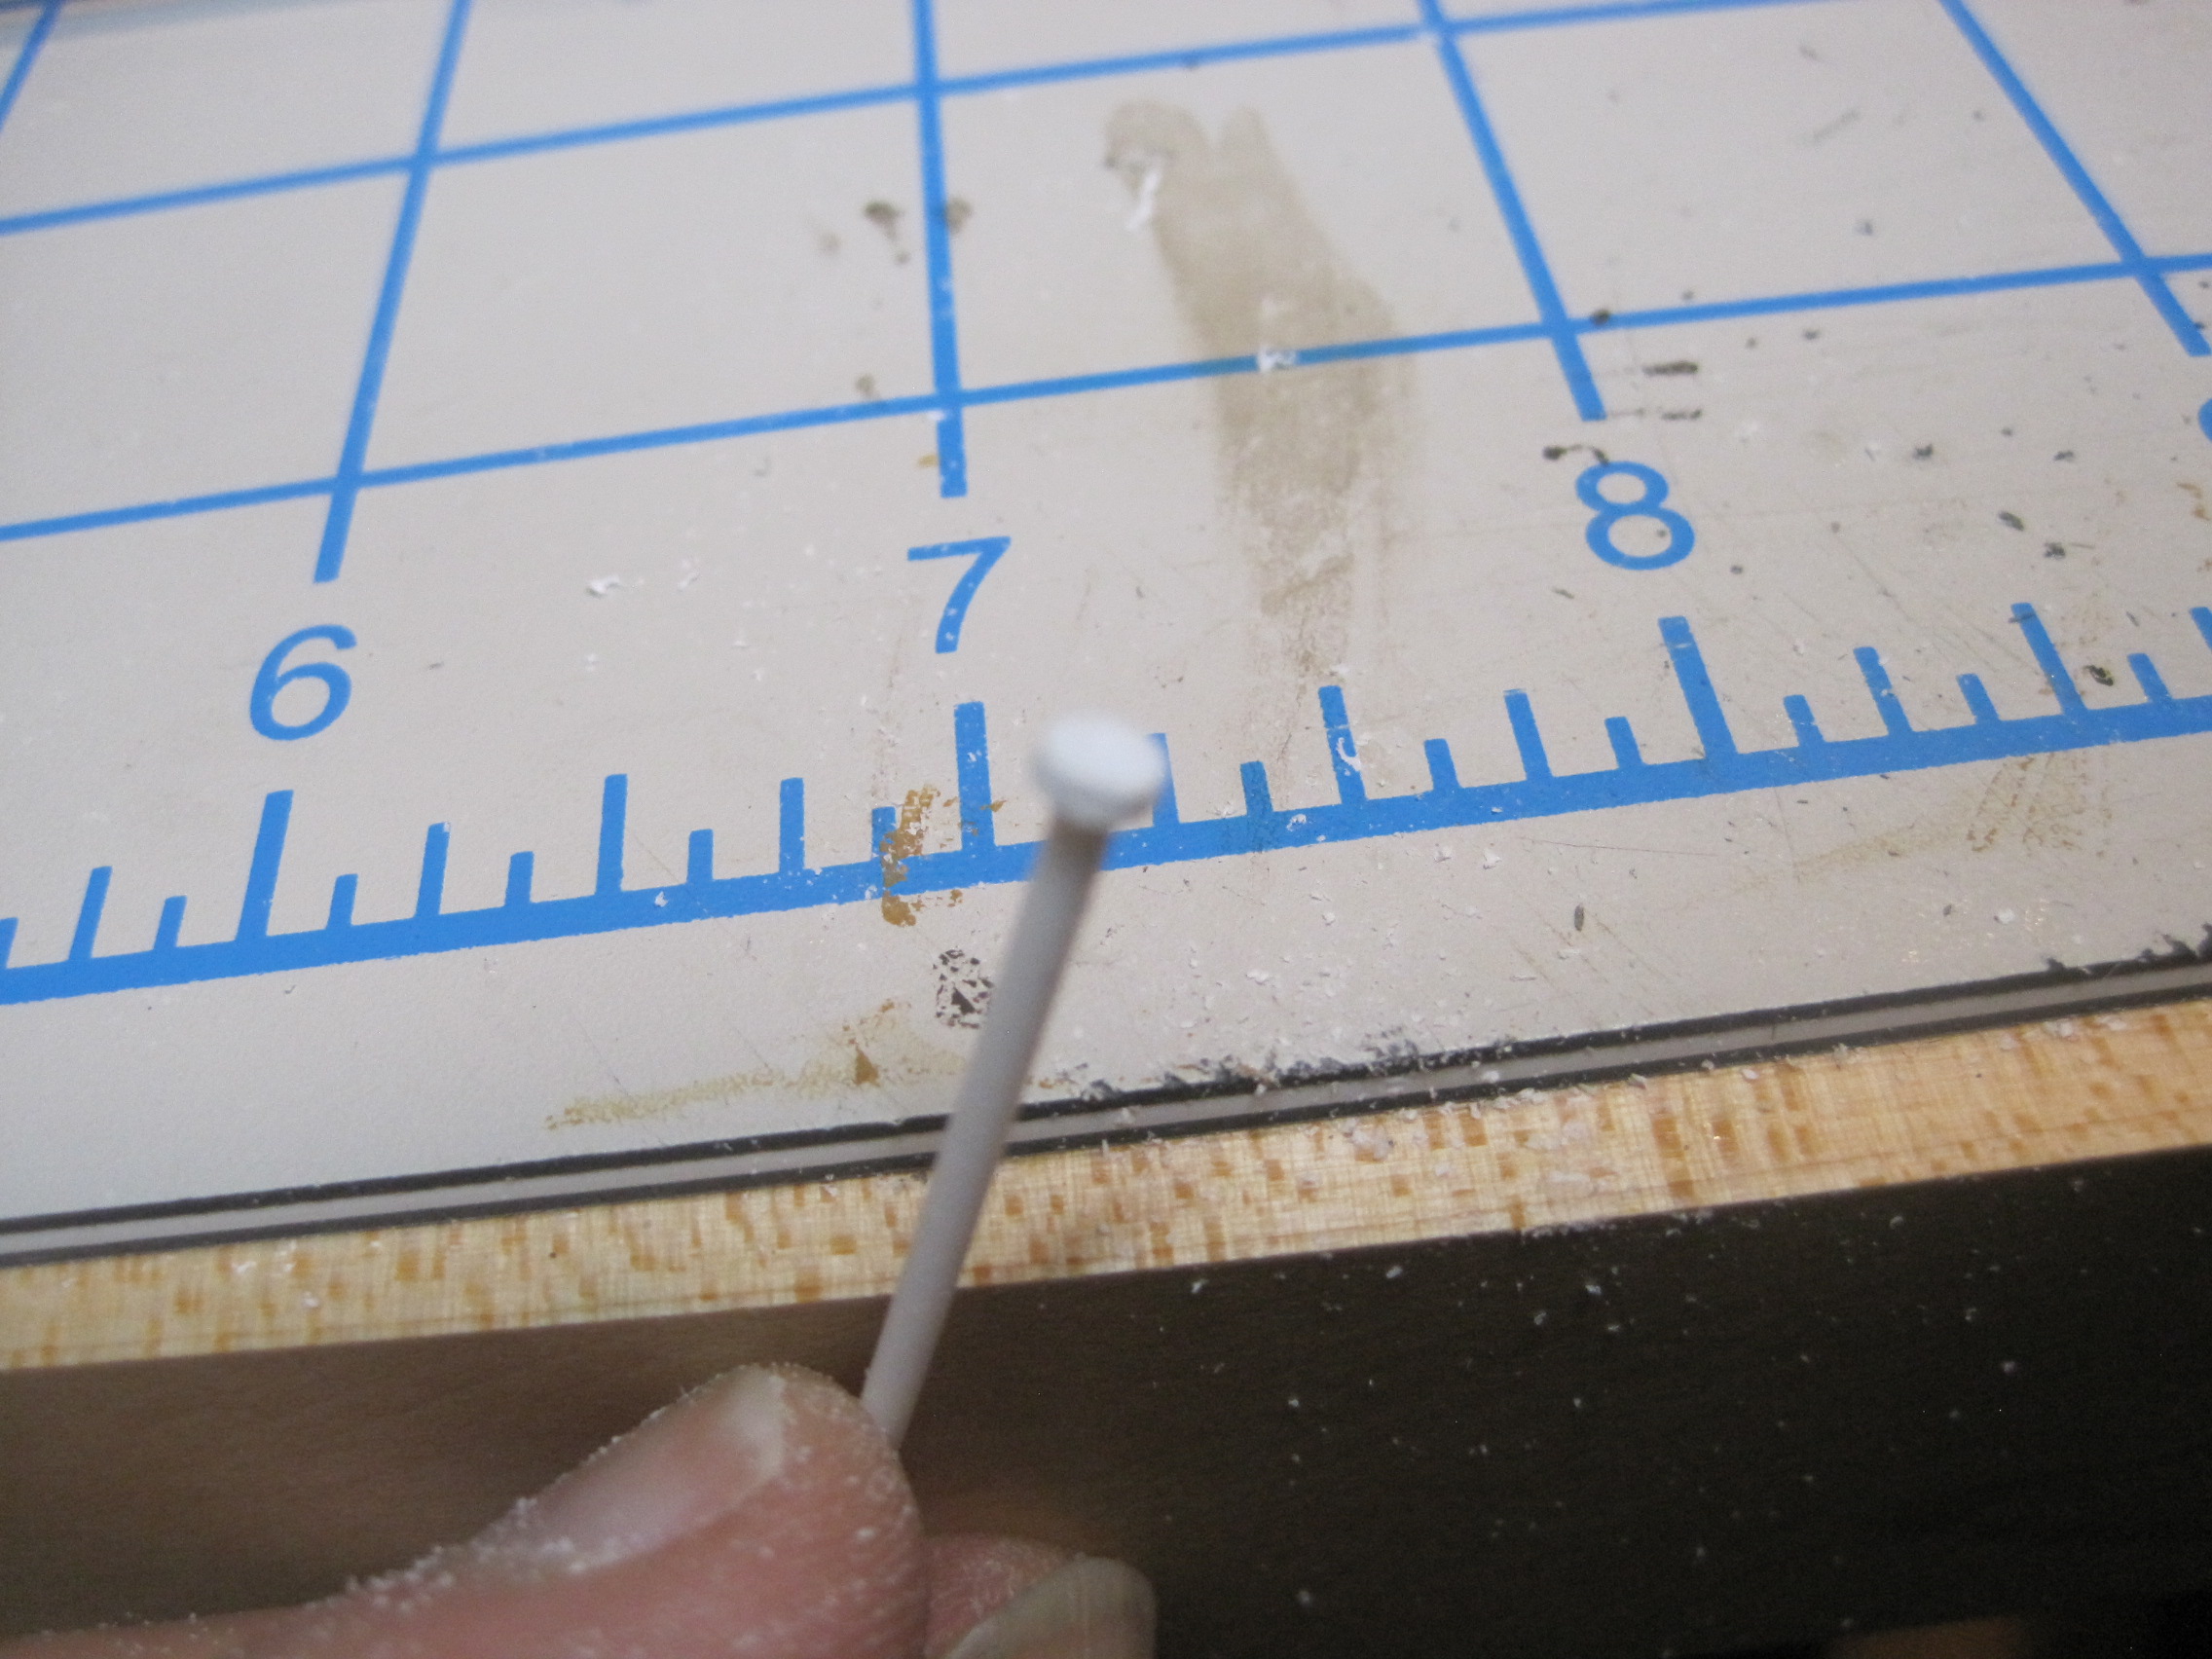
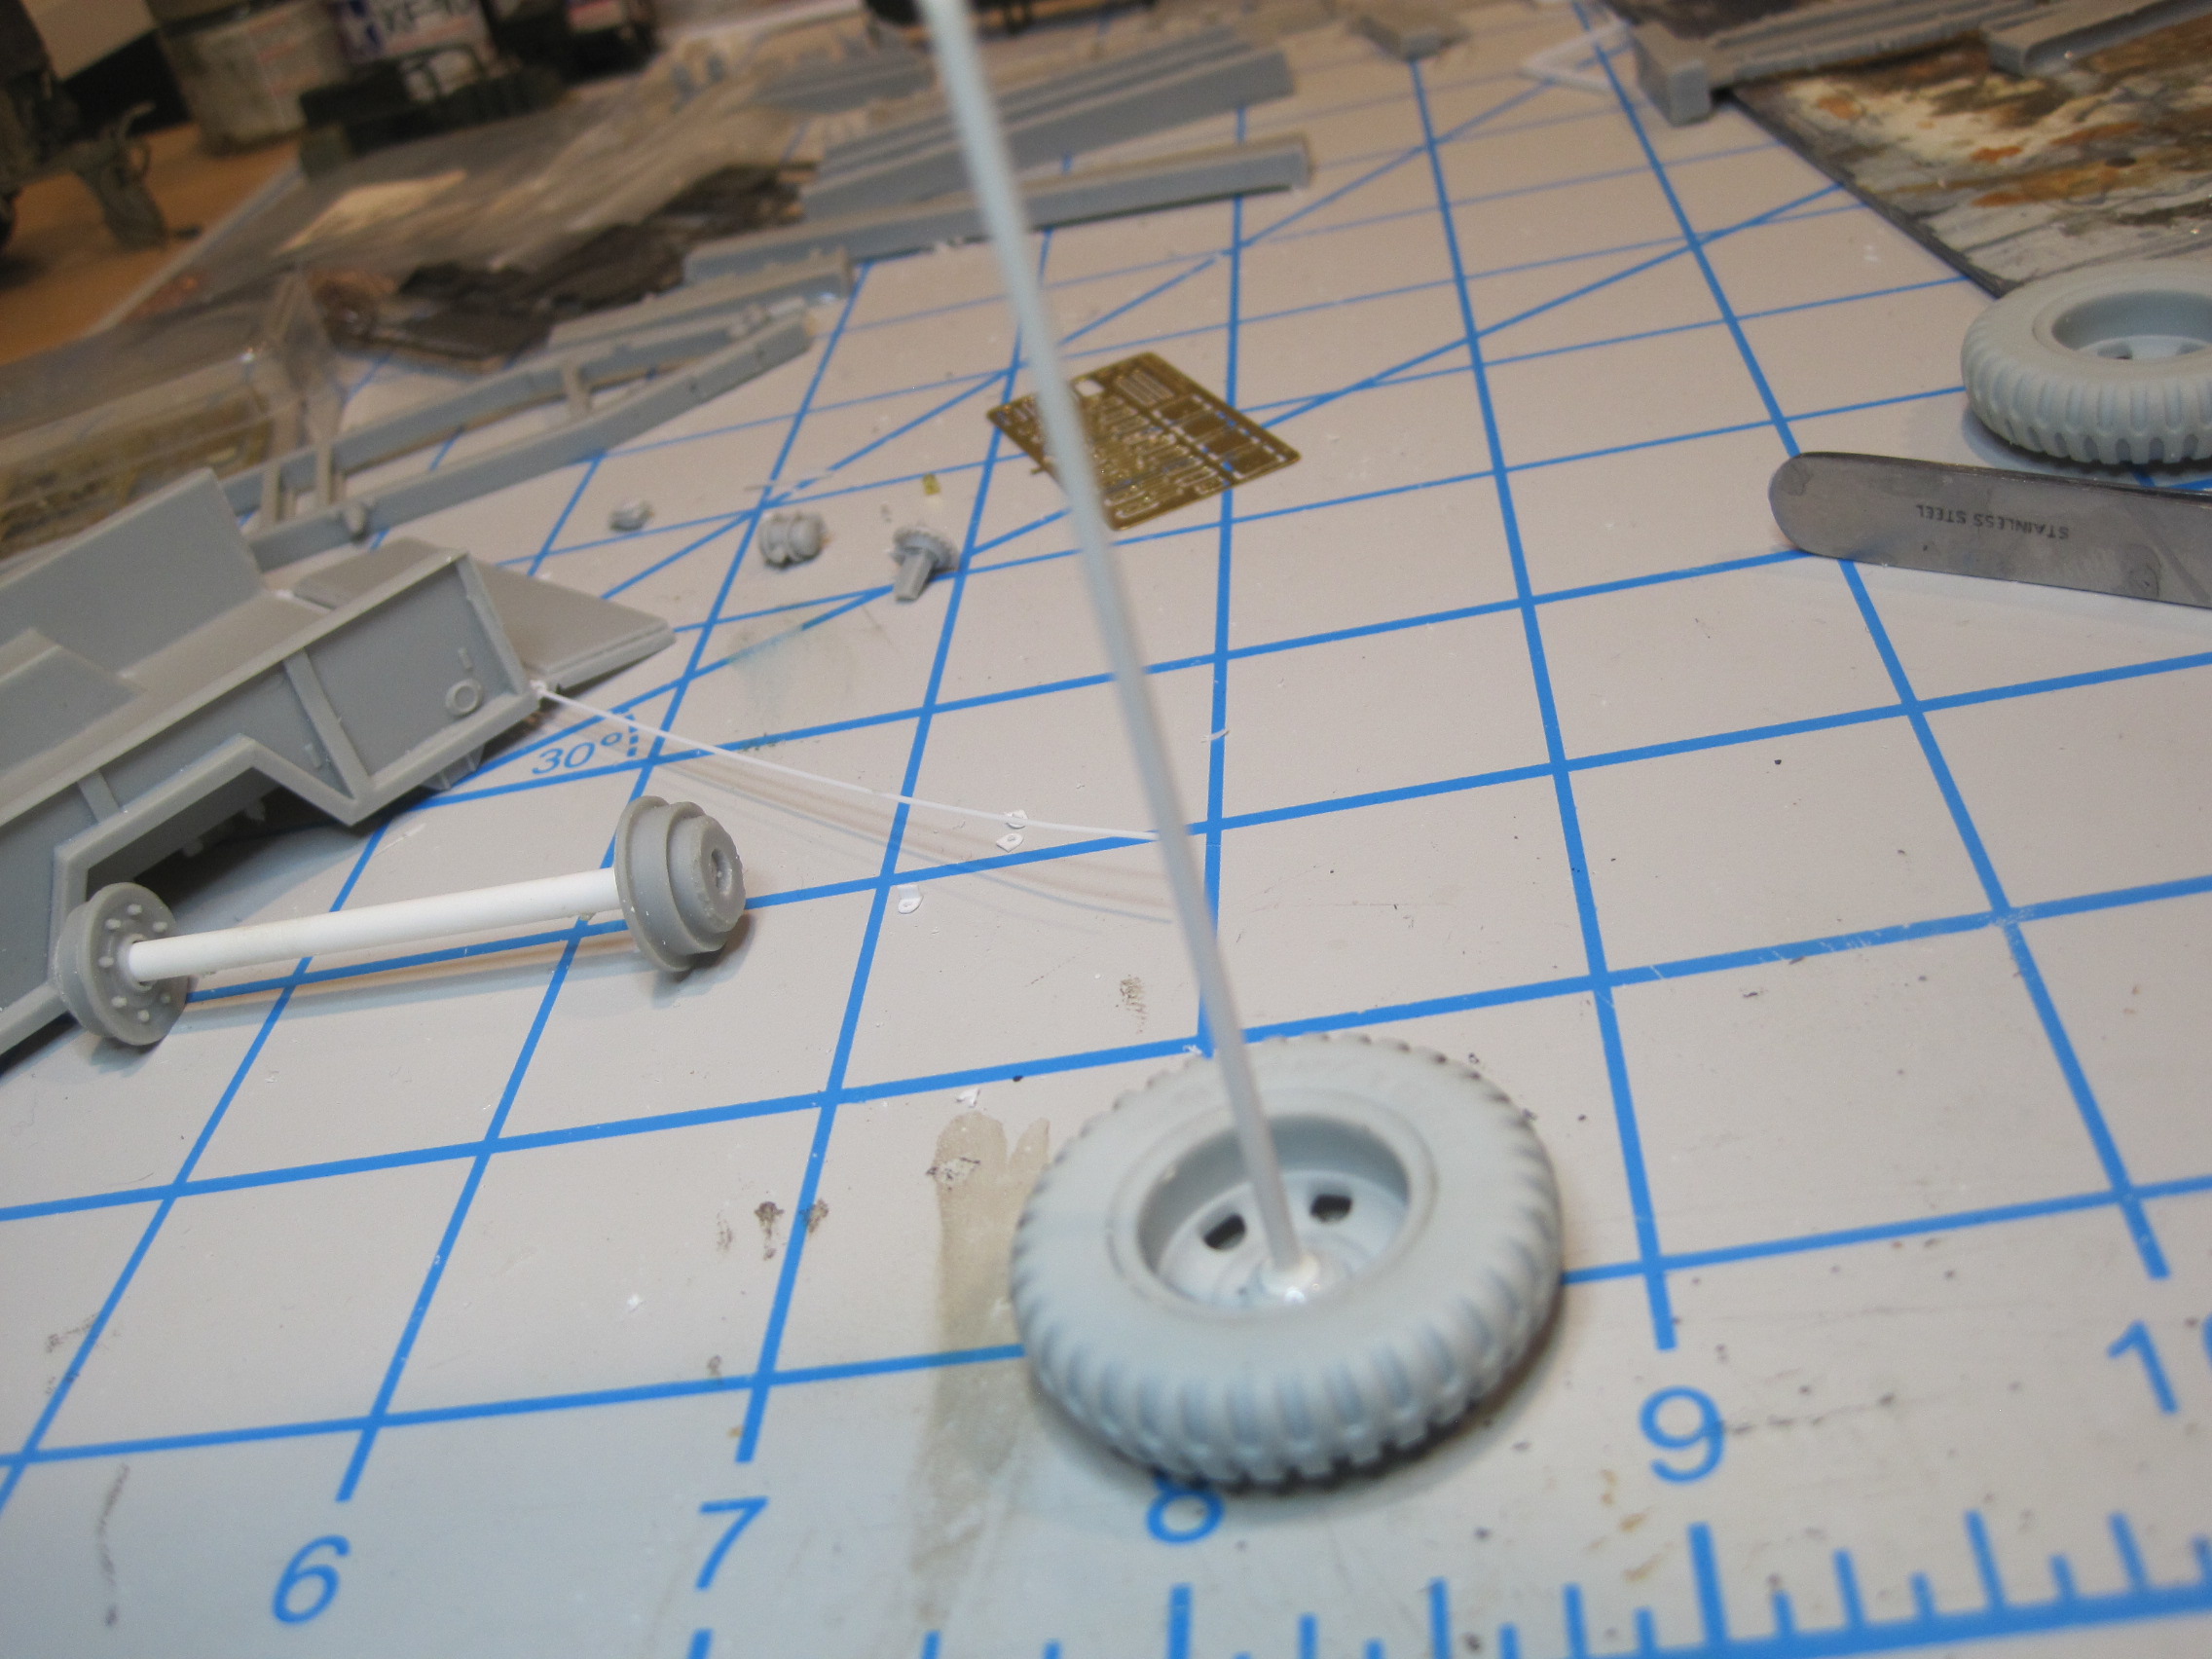
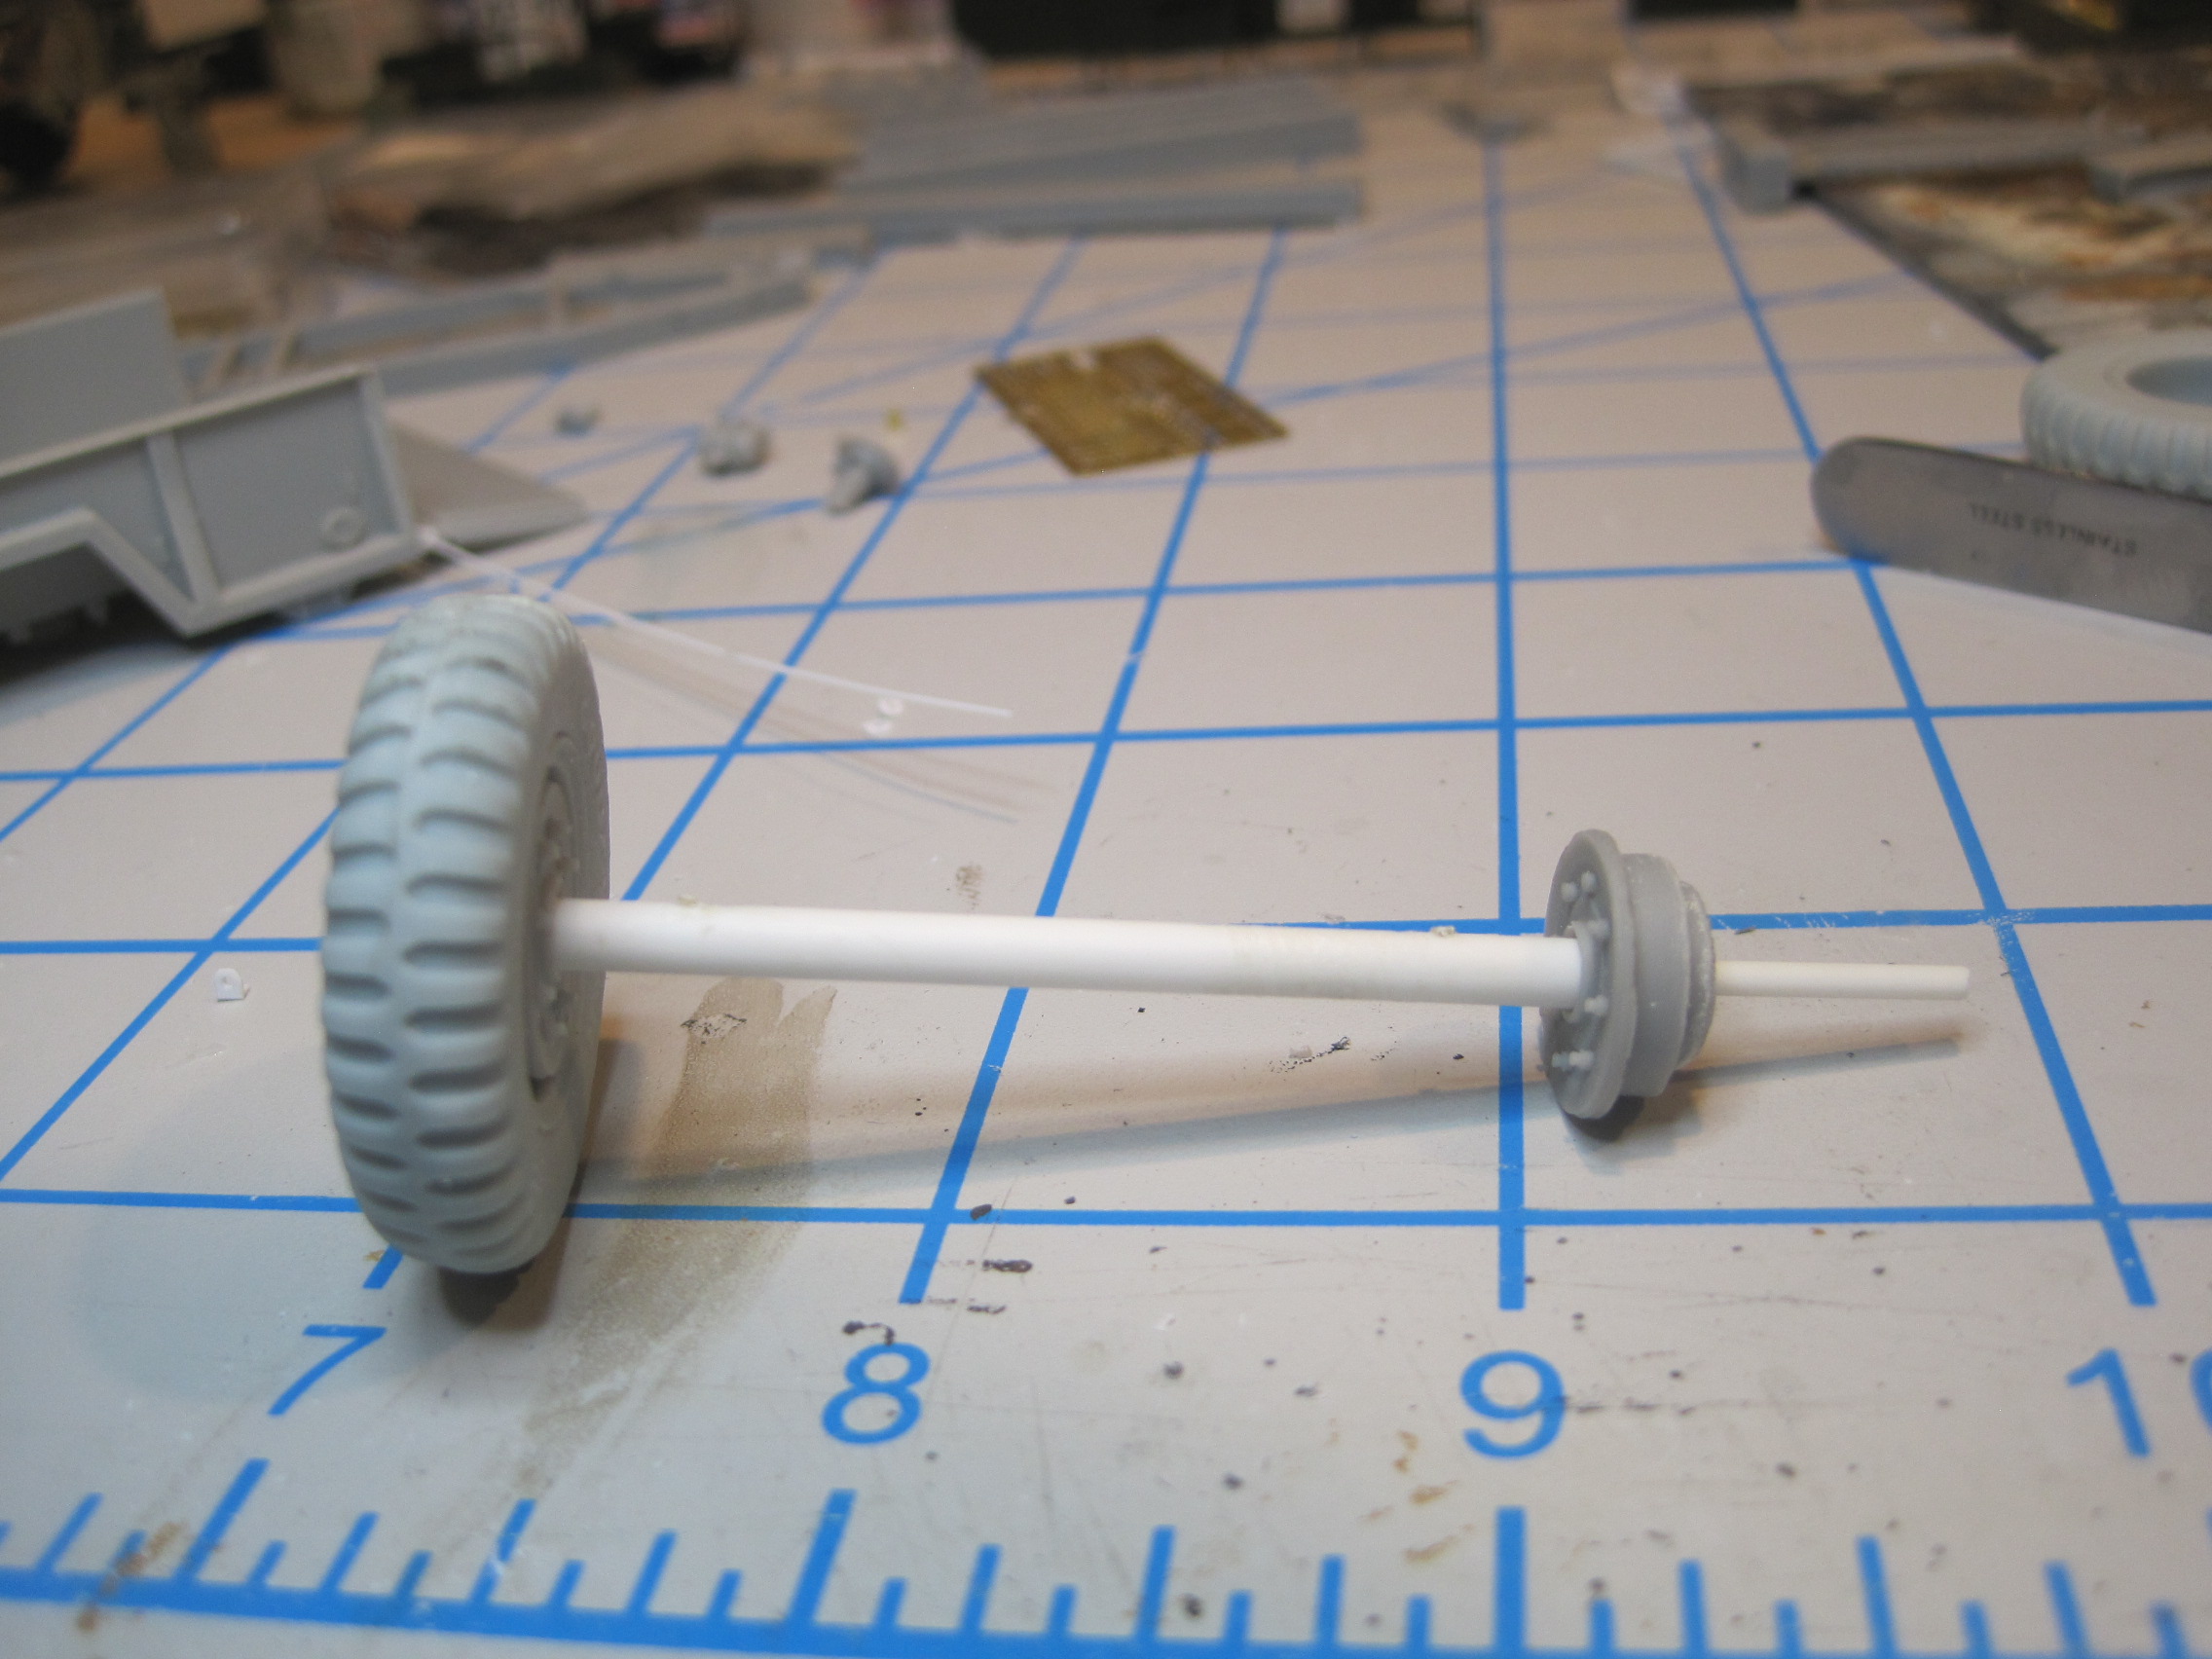
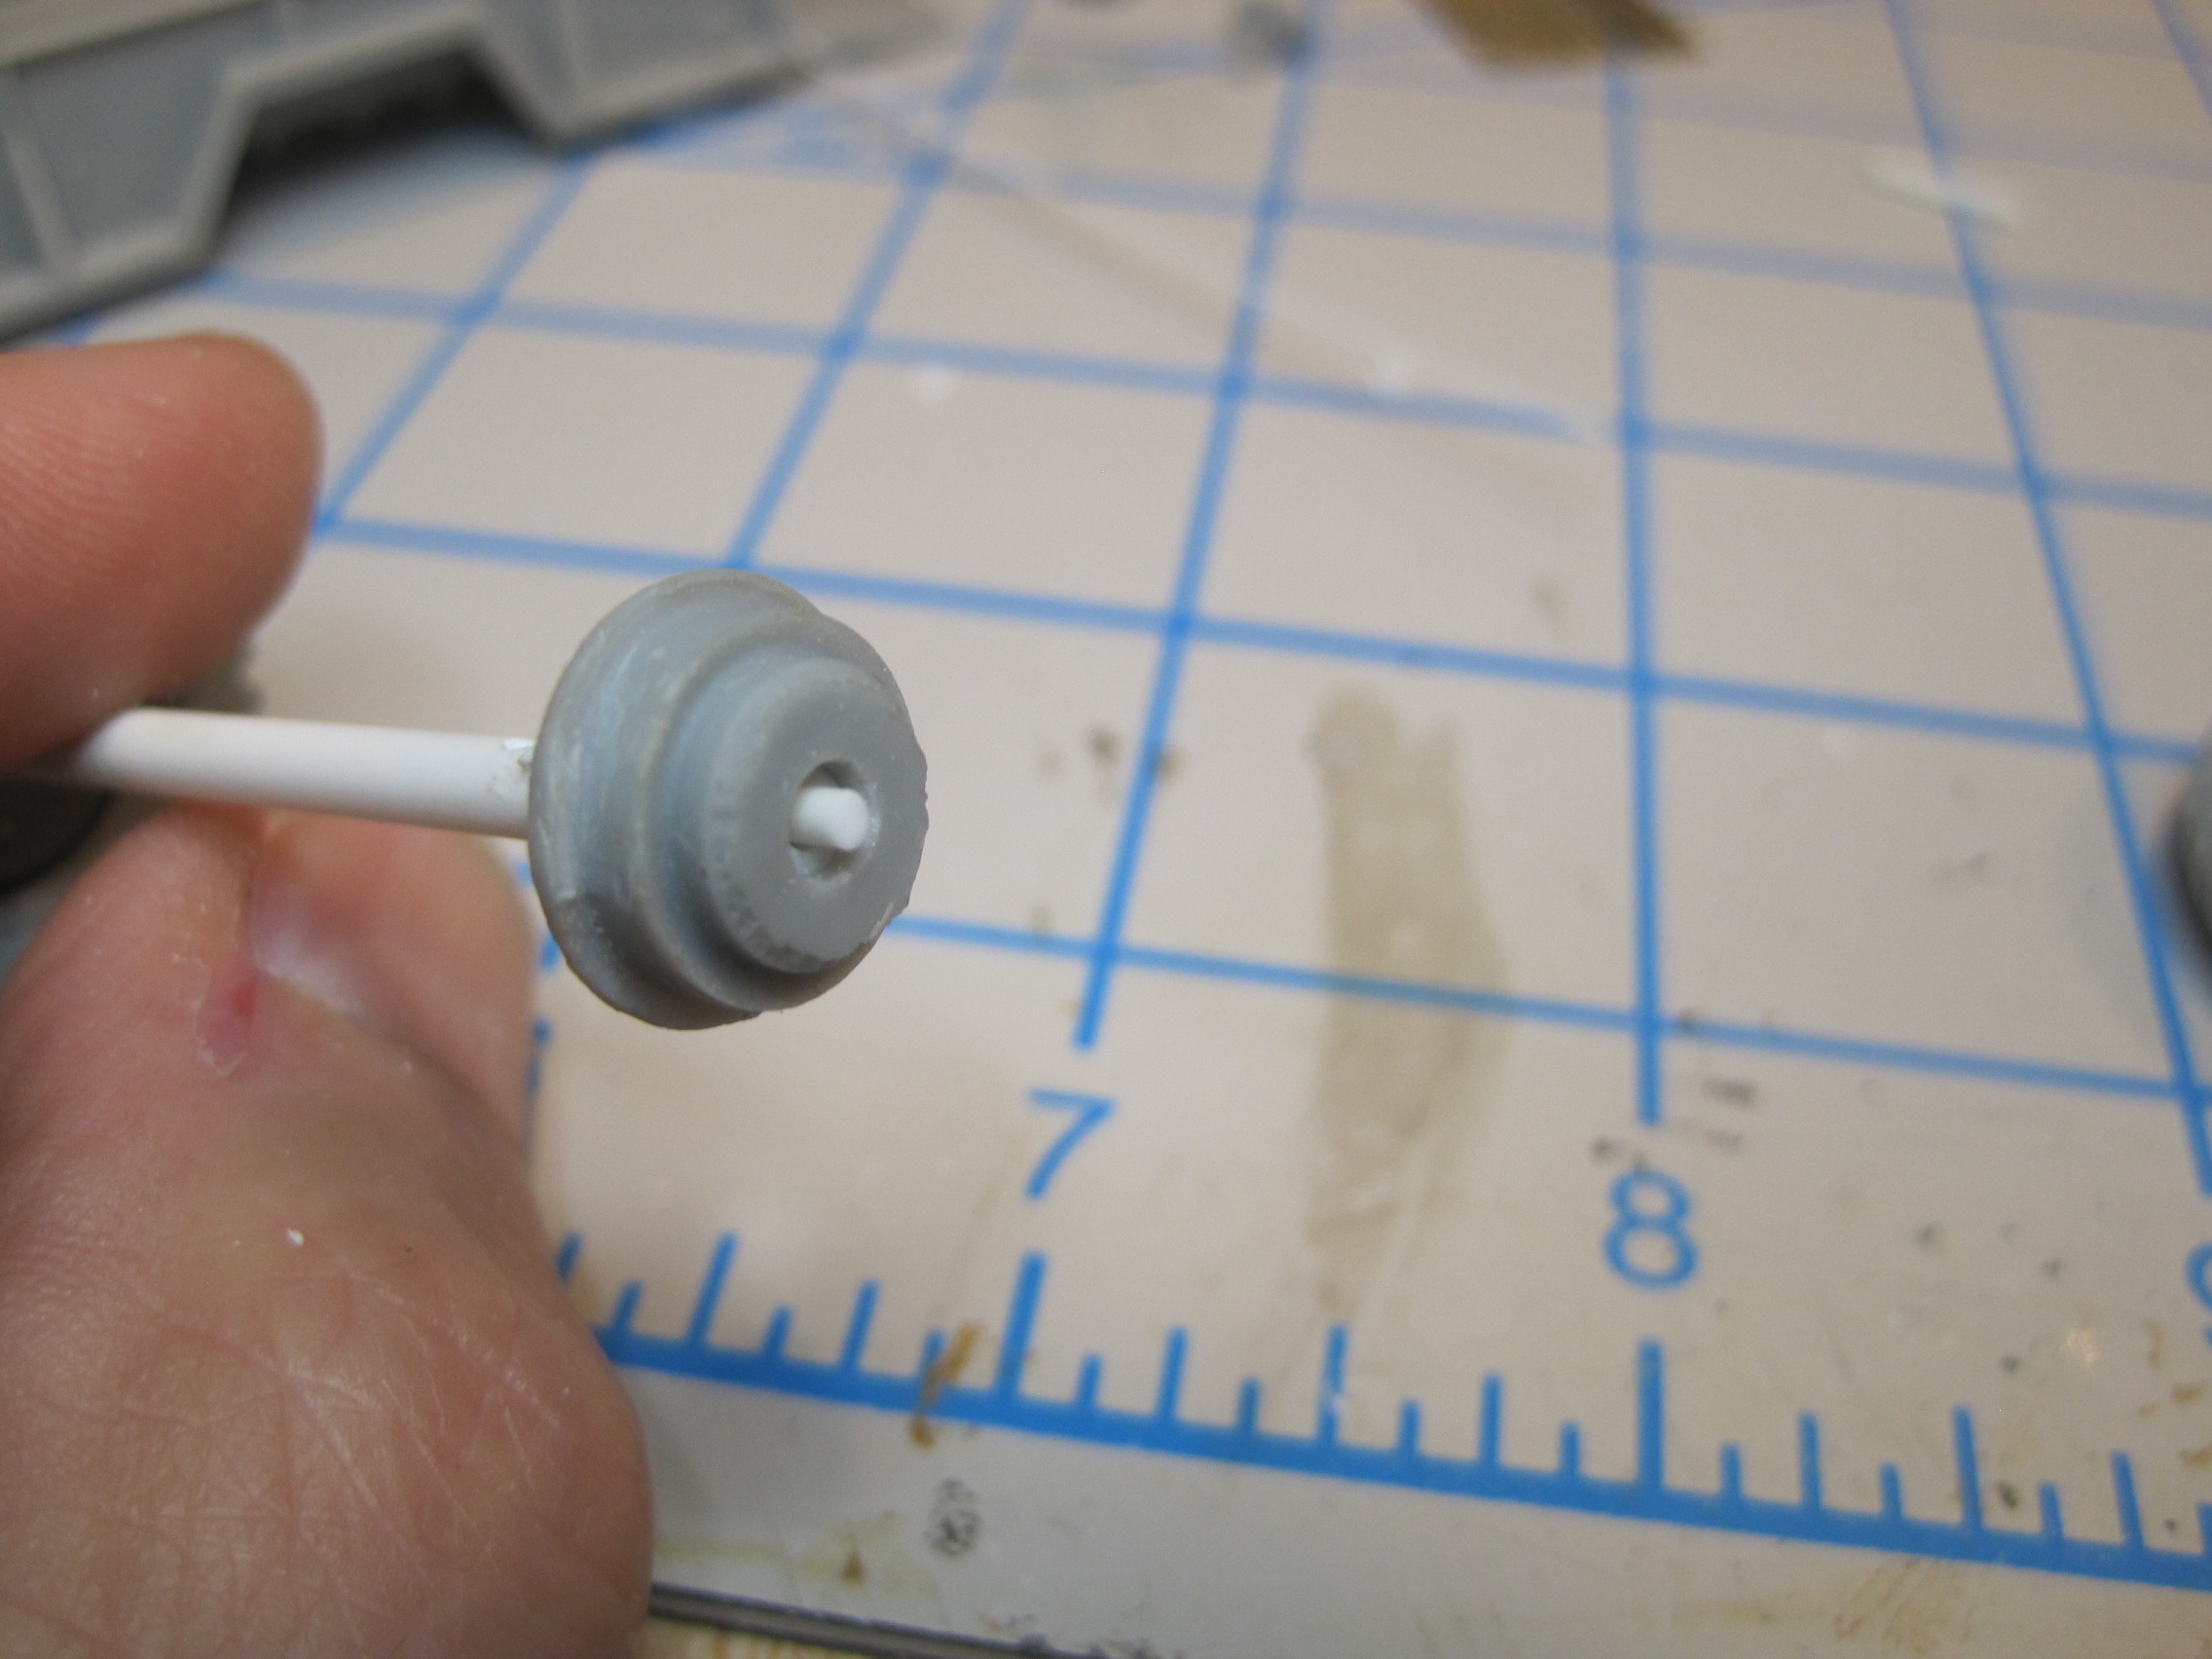
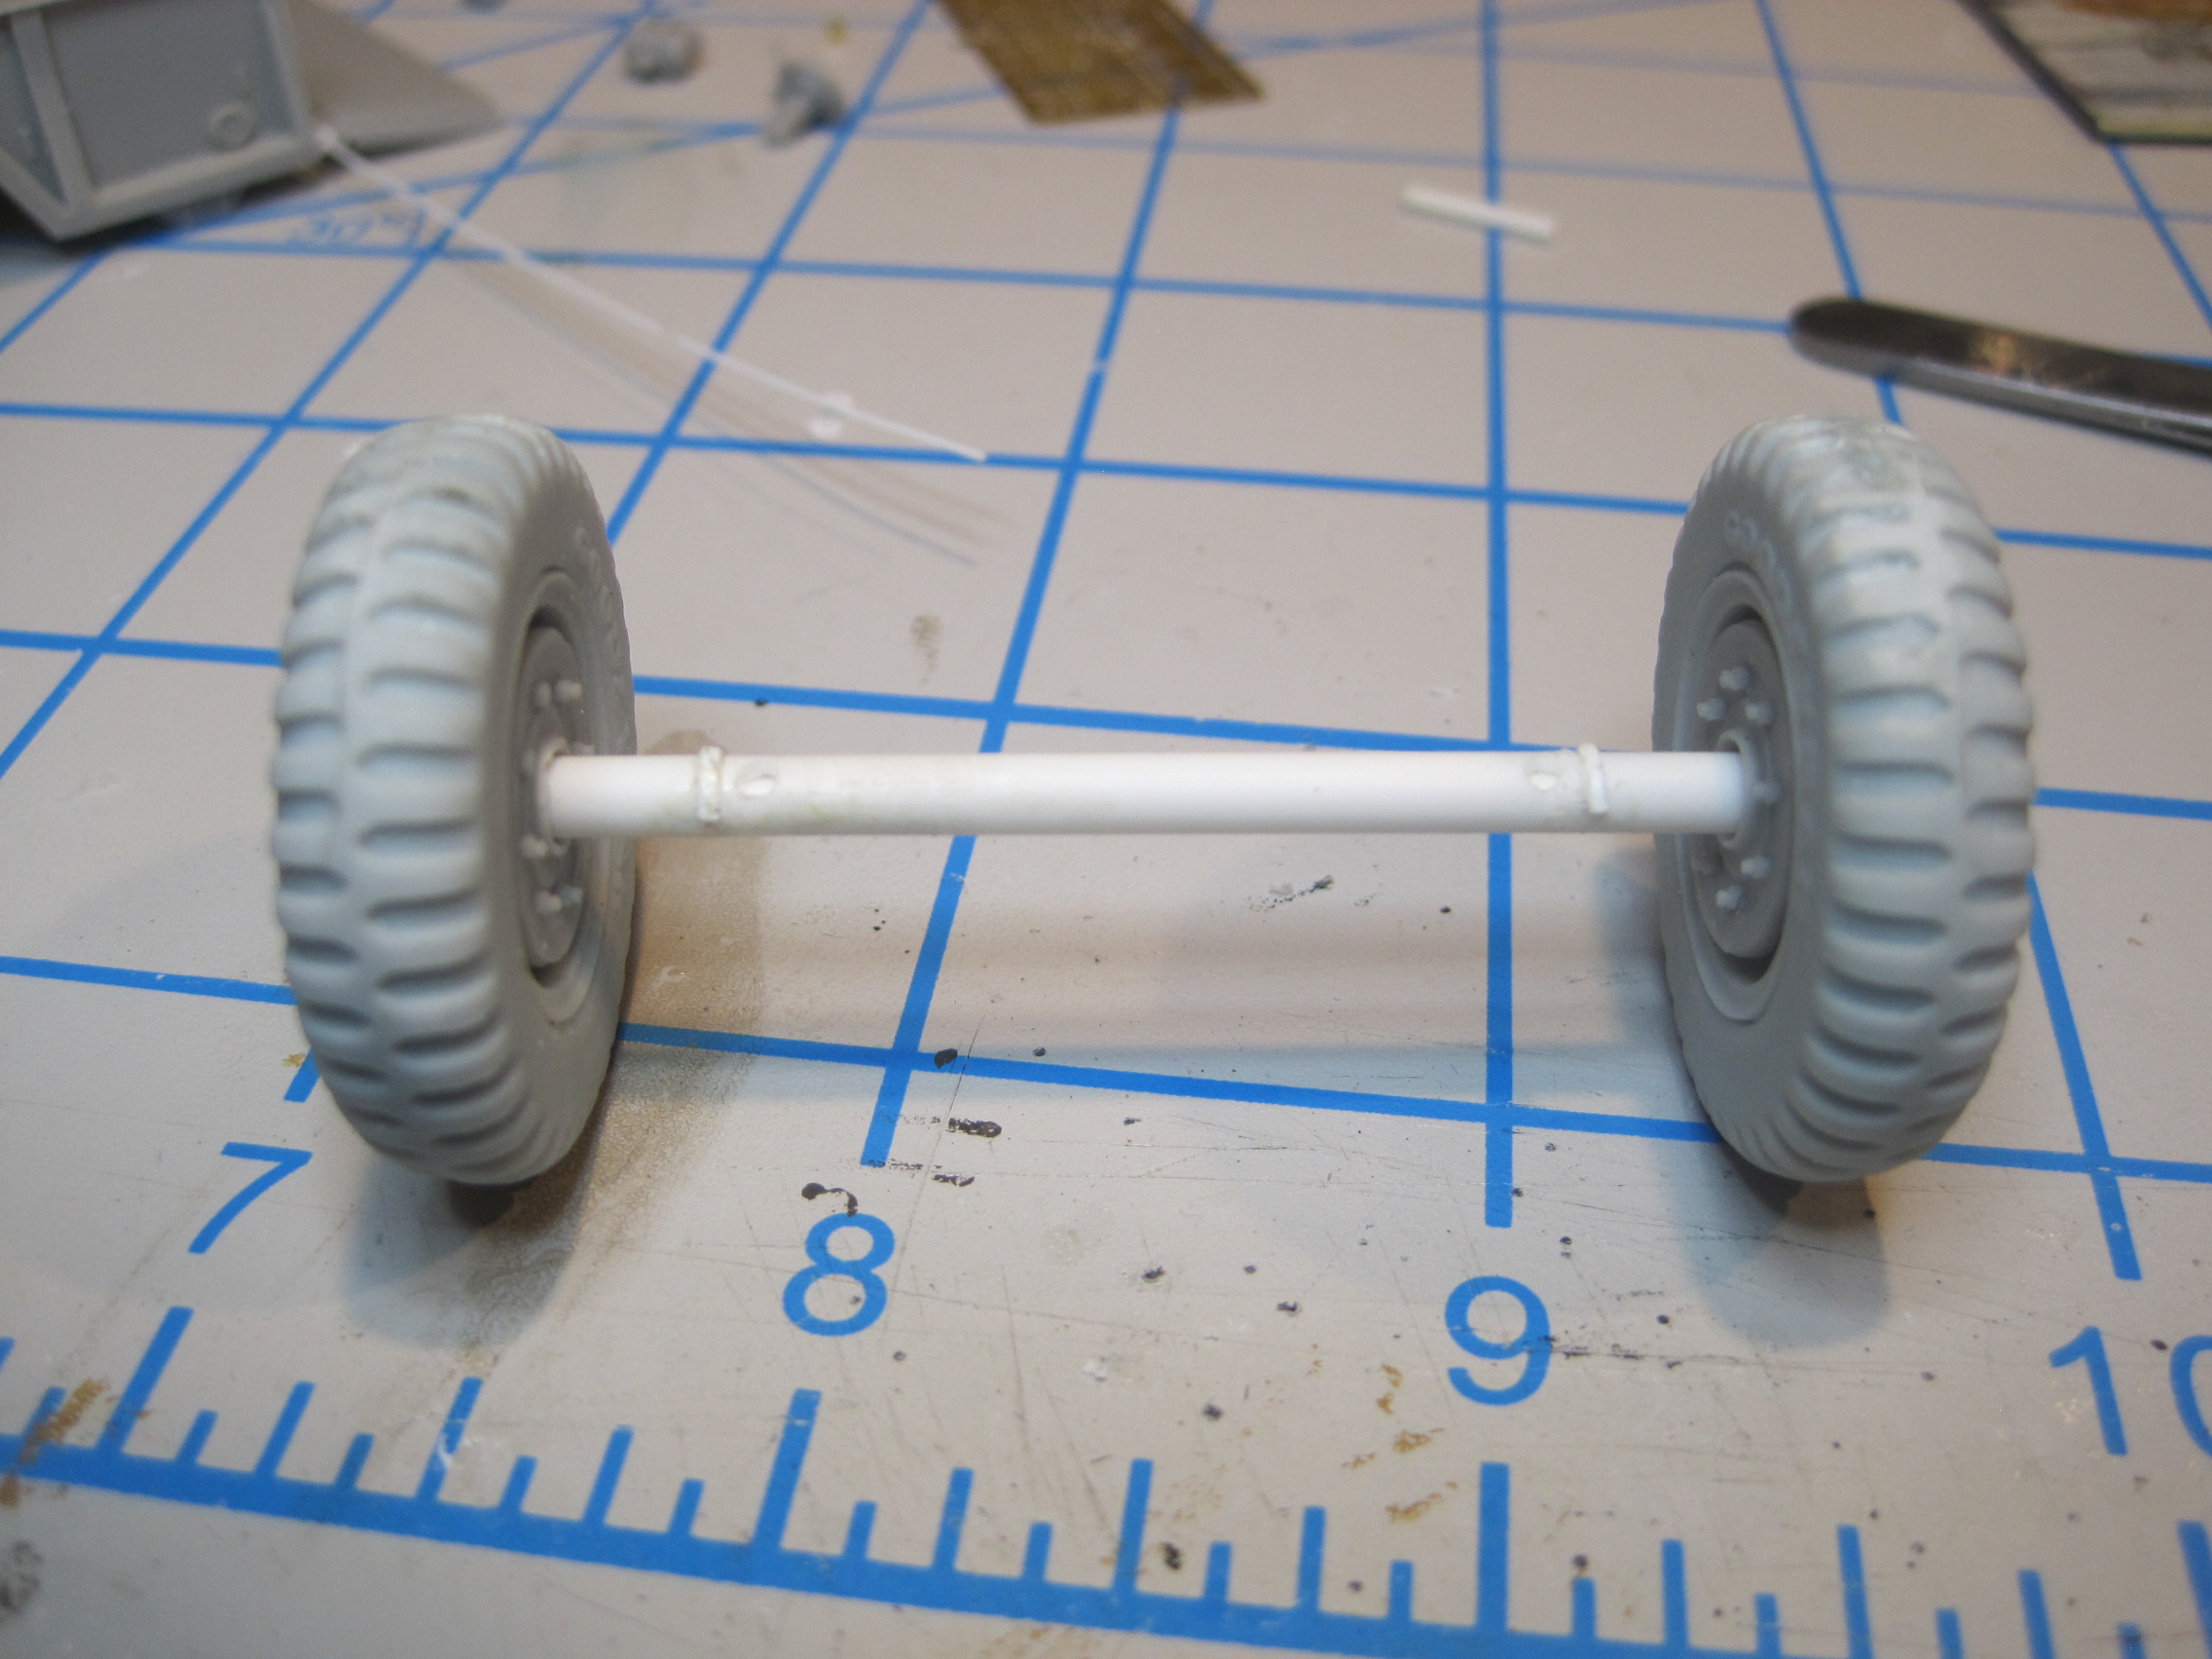
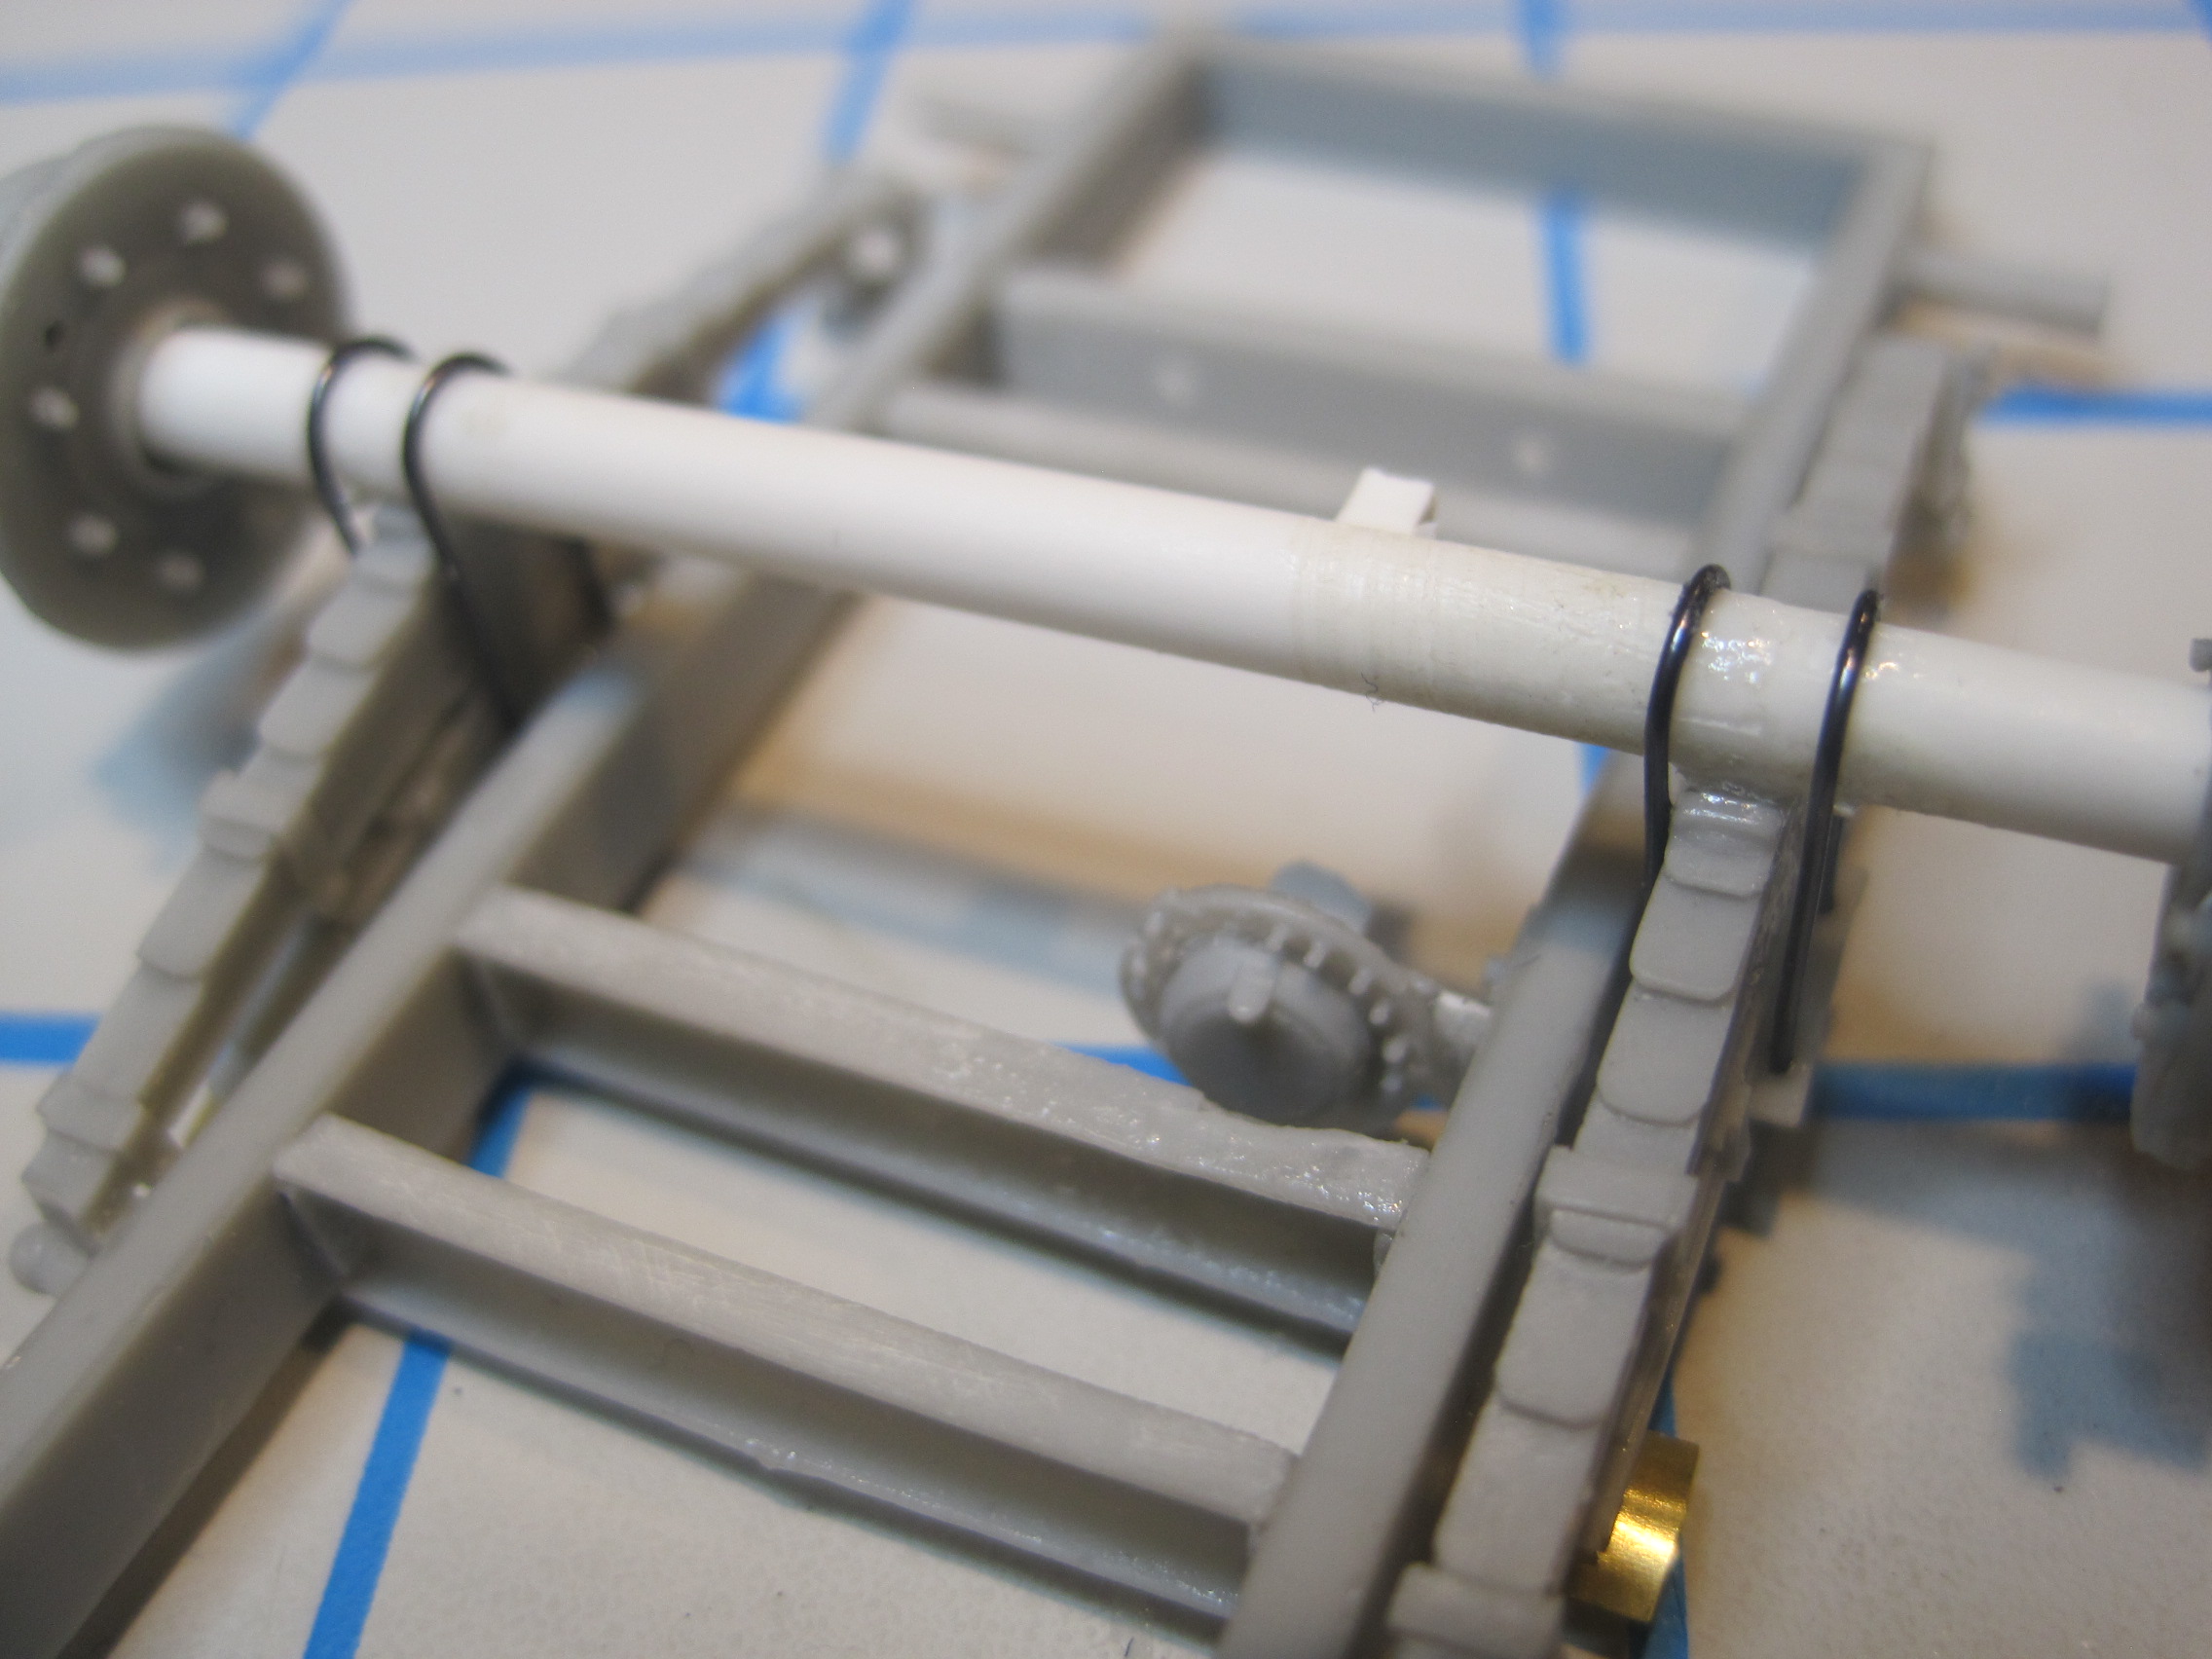
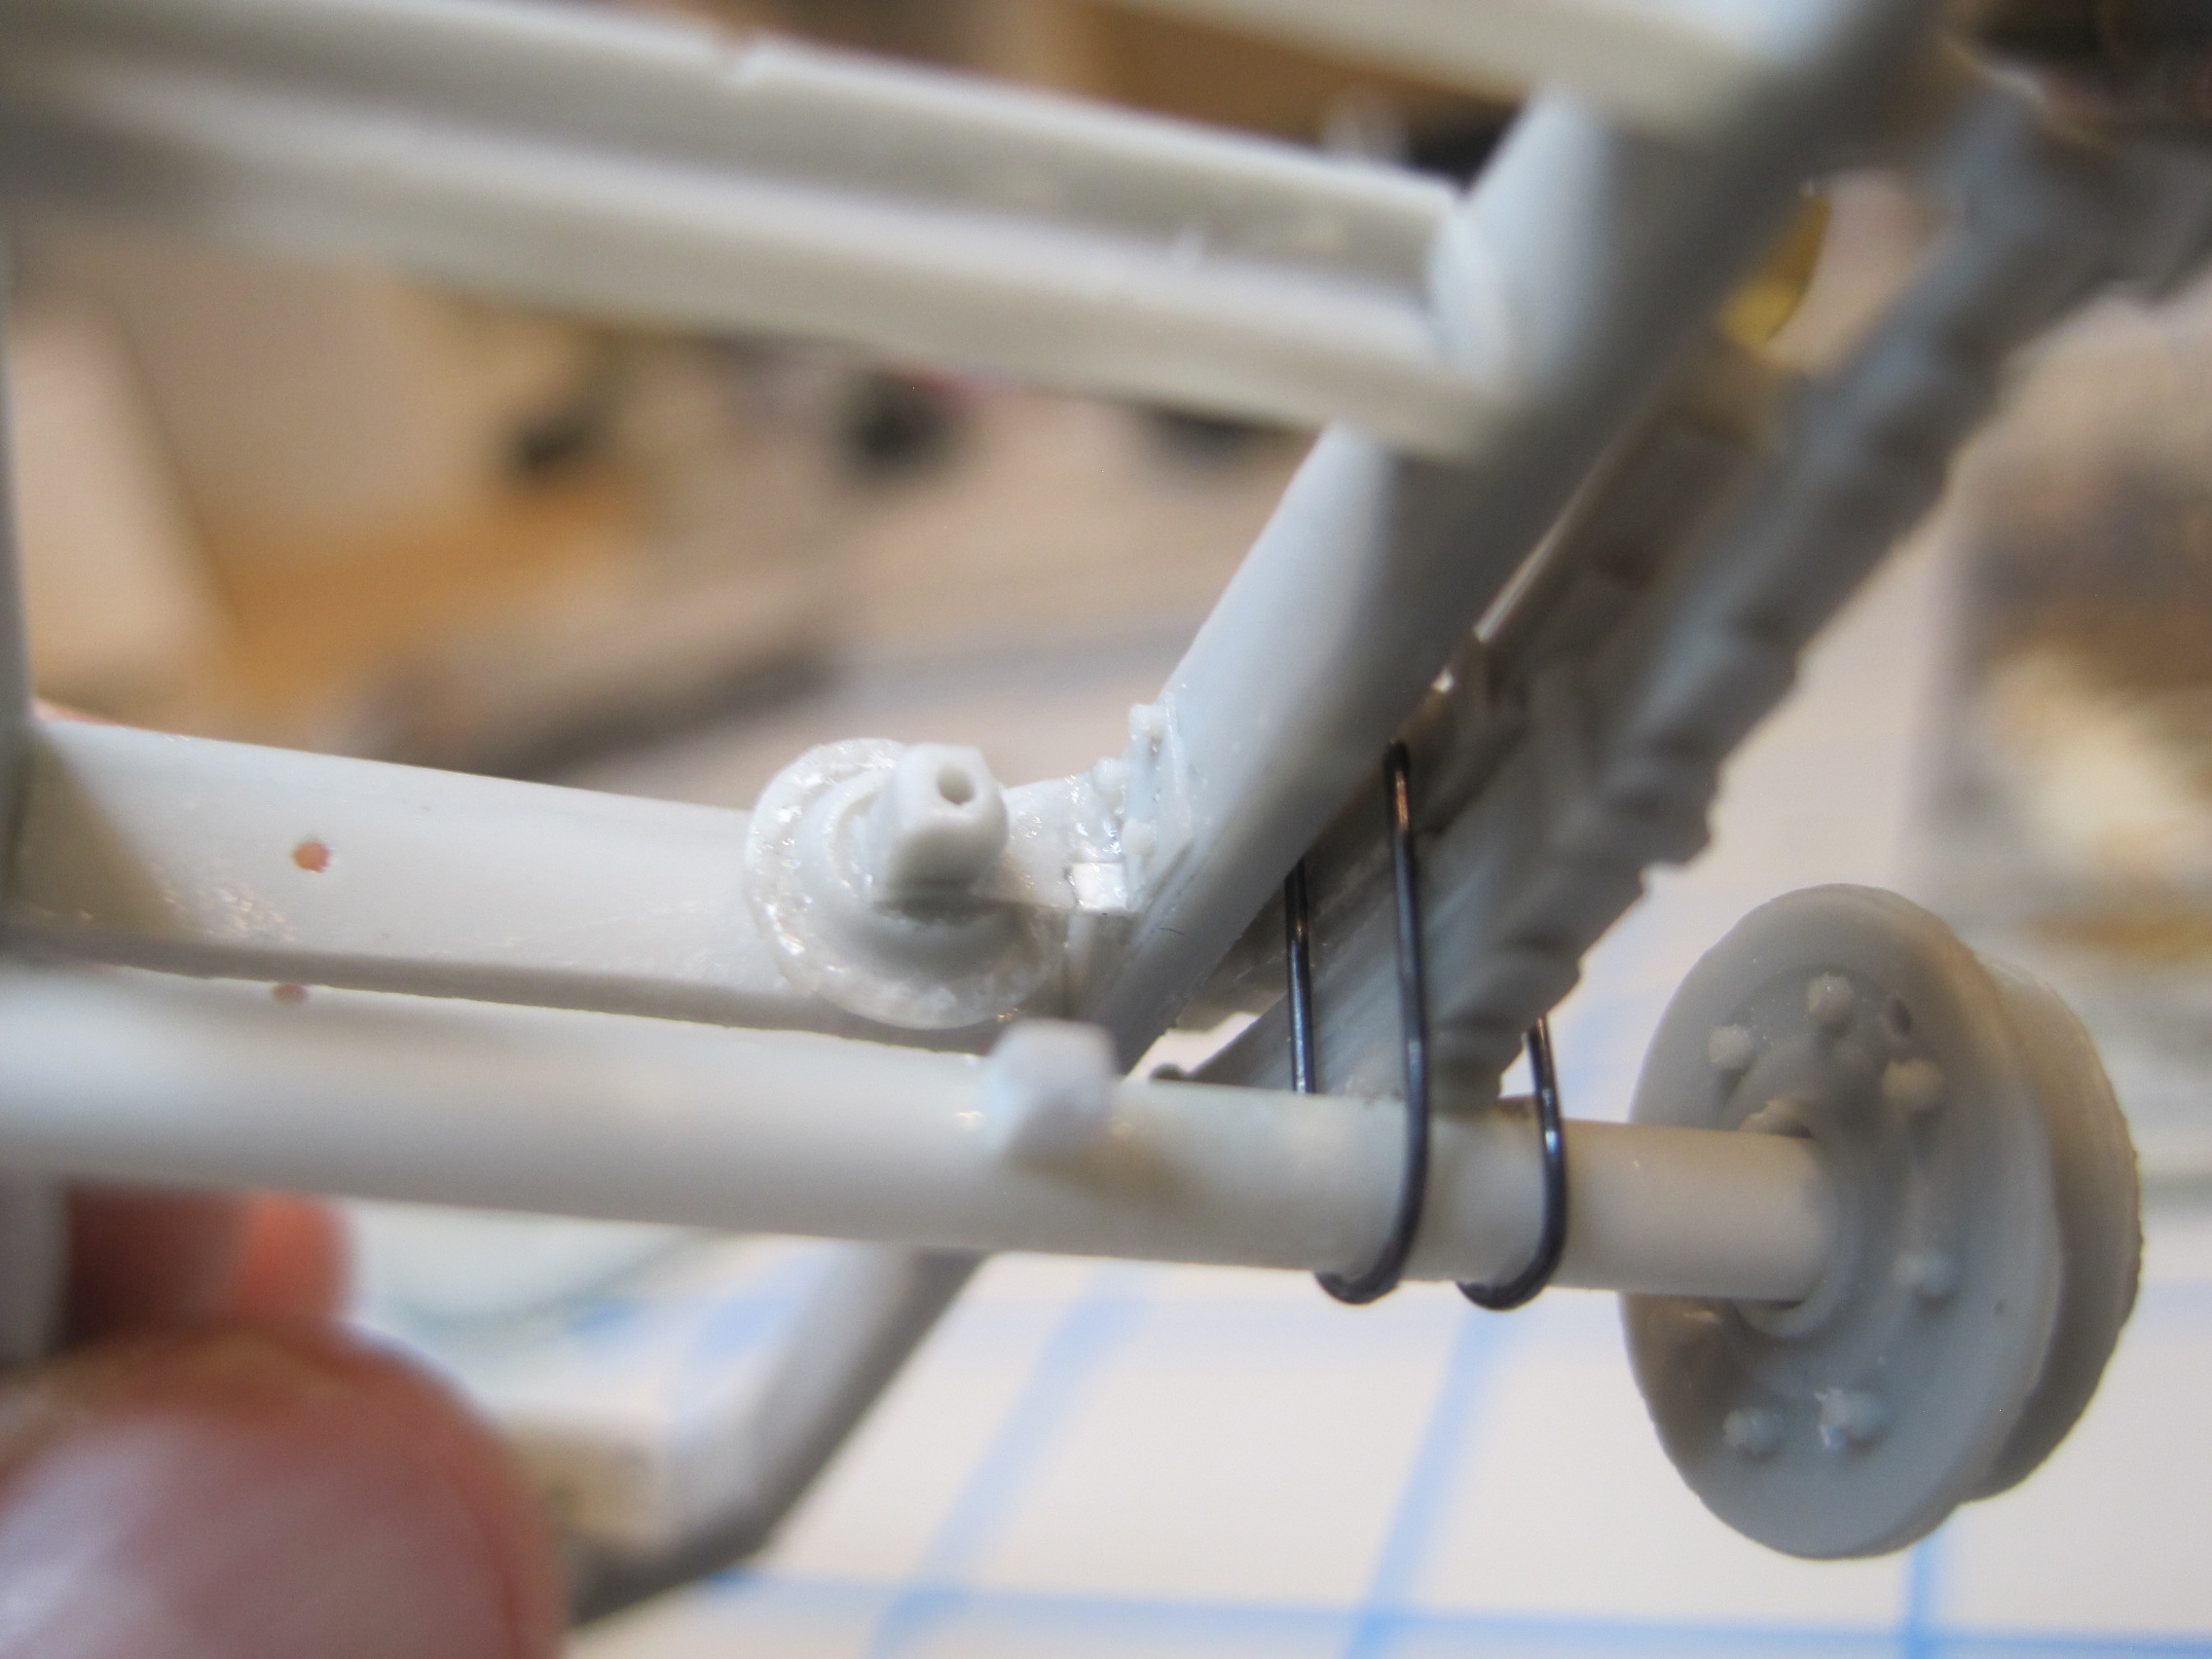
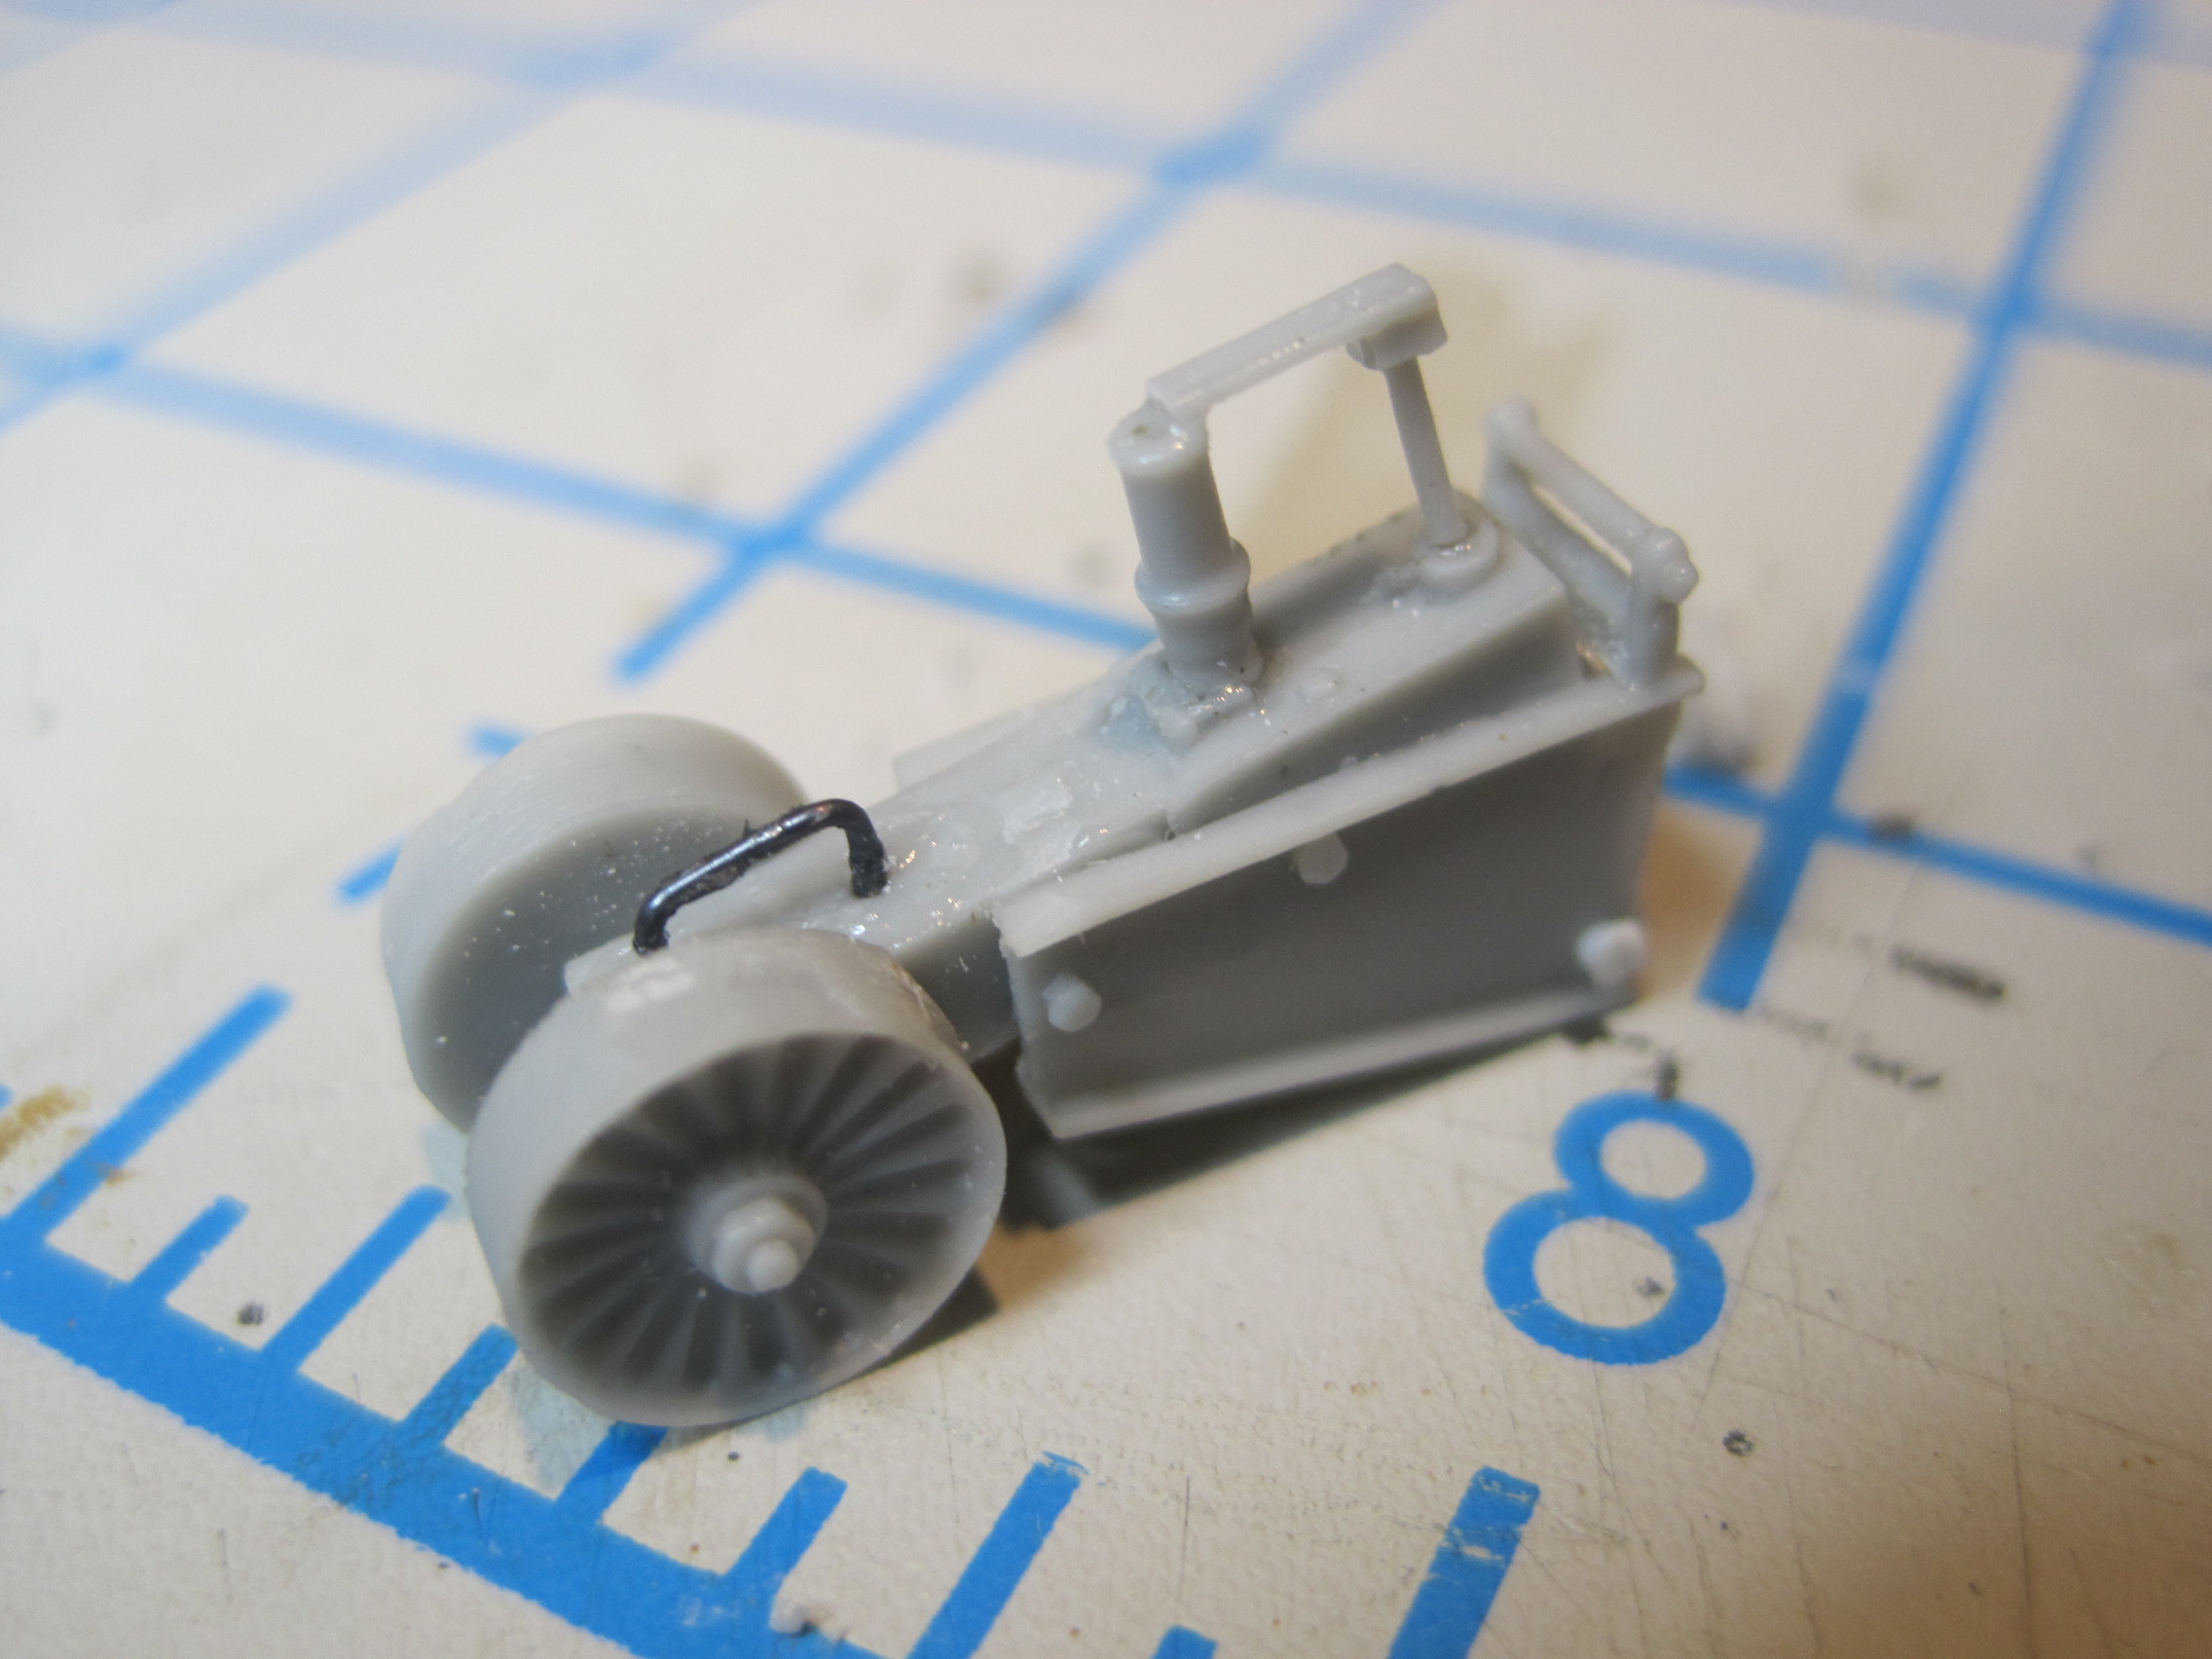
The next step is to build the wheel and axle assembly. The kit comes with a solid axle which won’t allow the wheels to rotate, so I scratch built a new one with a section of Evergreen tube and a rod.
7 Likes
Some pretty nifty scratch work. 
What a good job you are doing with those kits, you had a very good idea and very original, I hope to follow it. Greetings, Omar
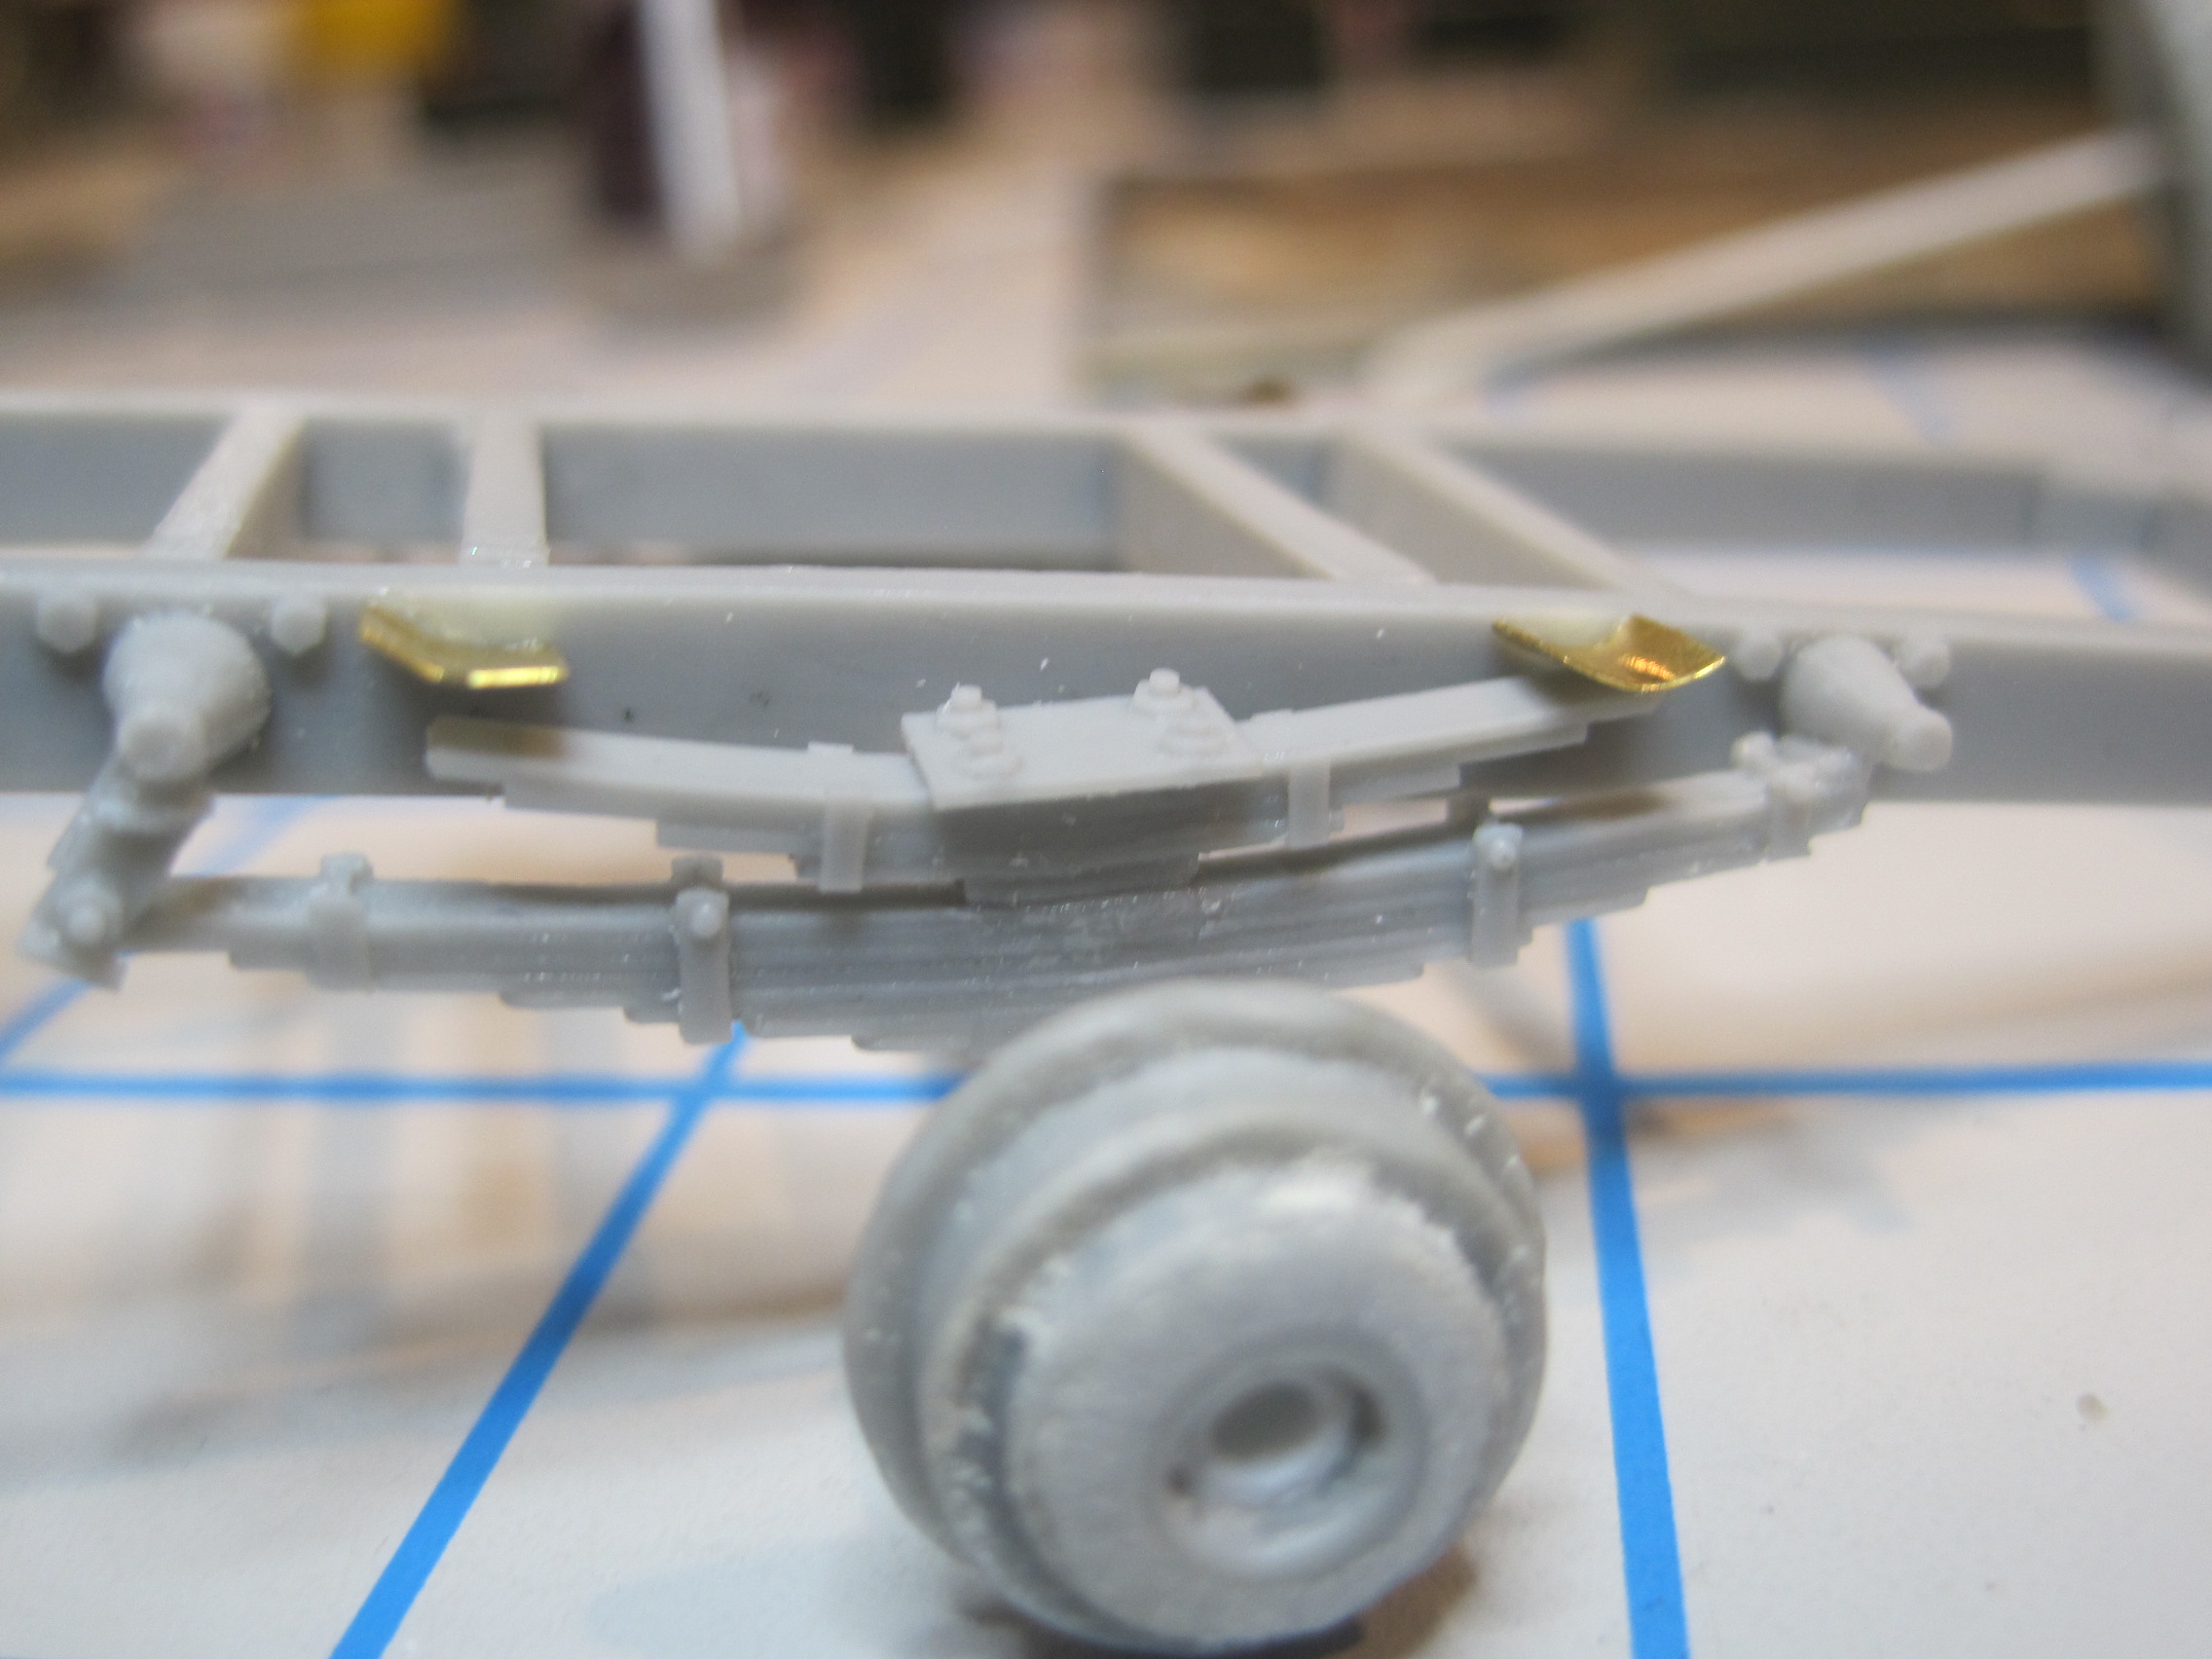
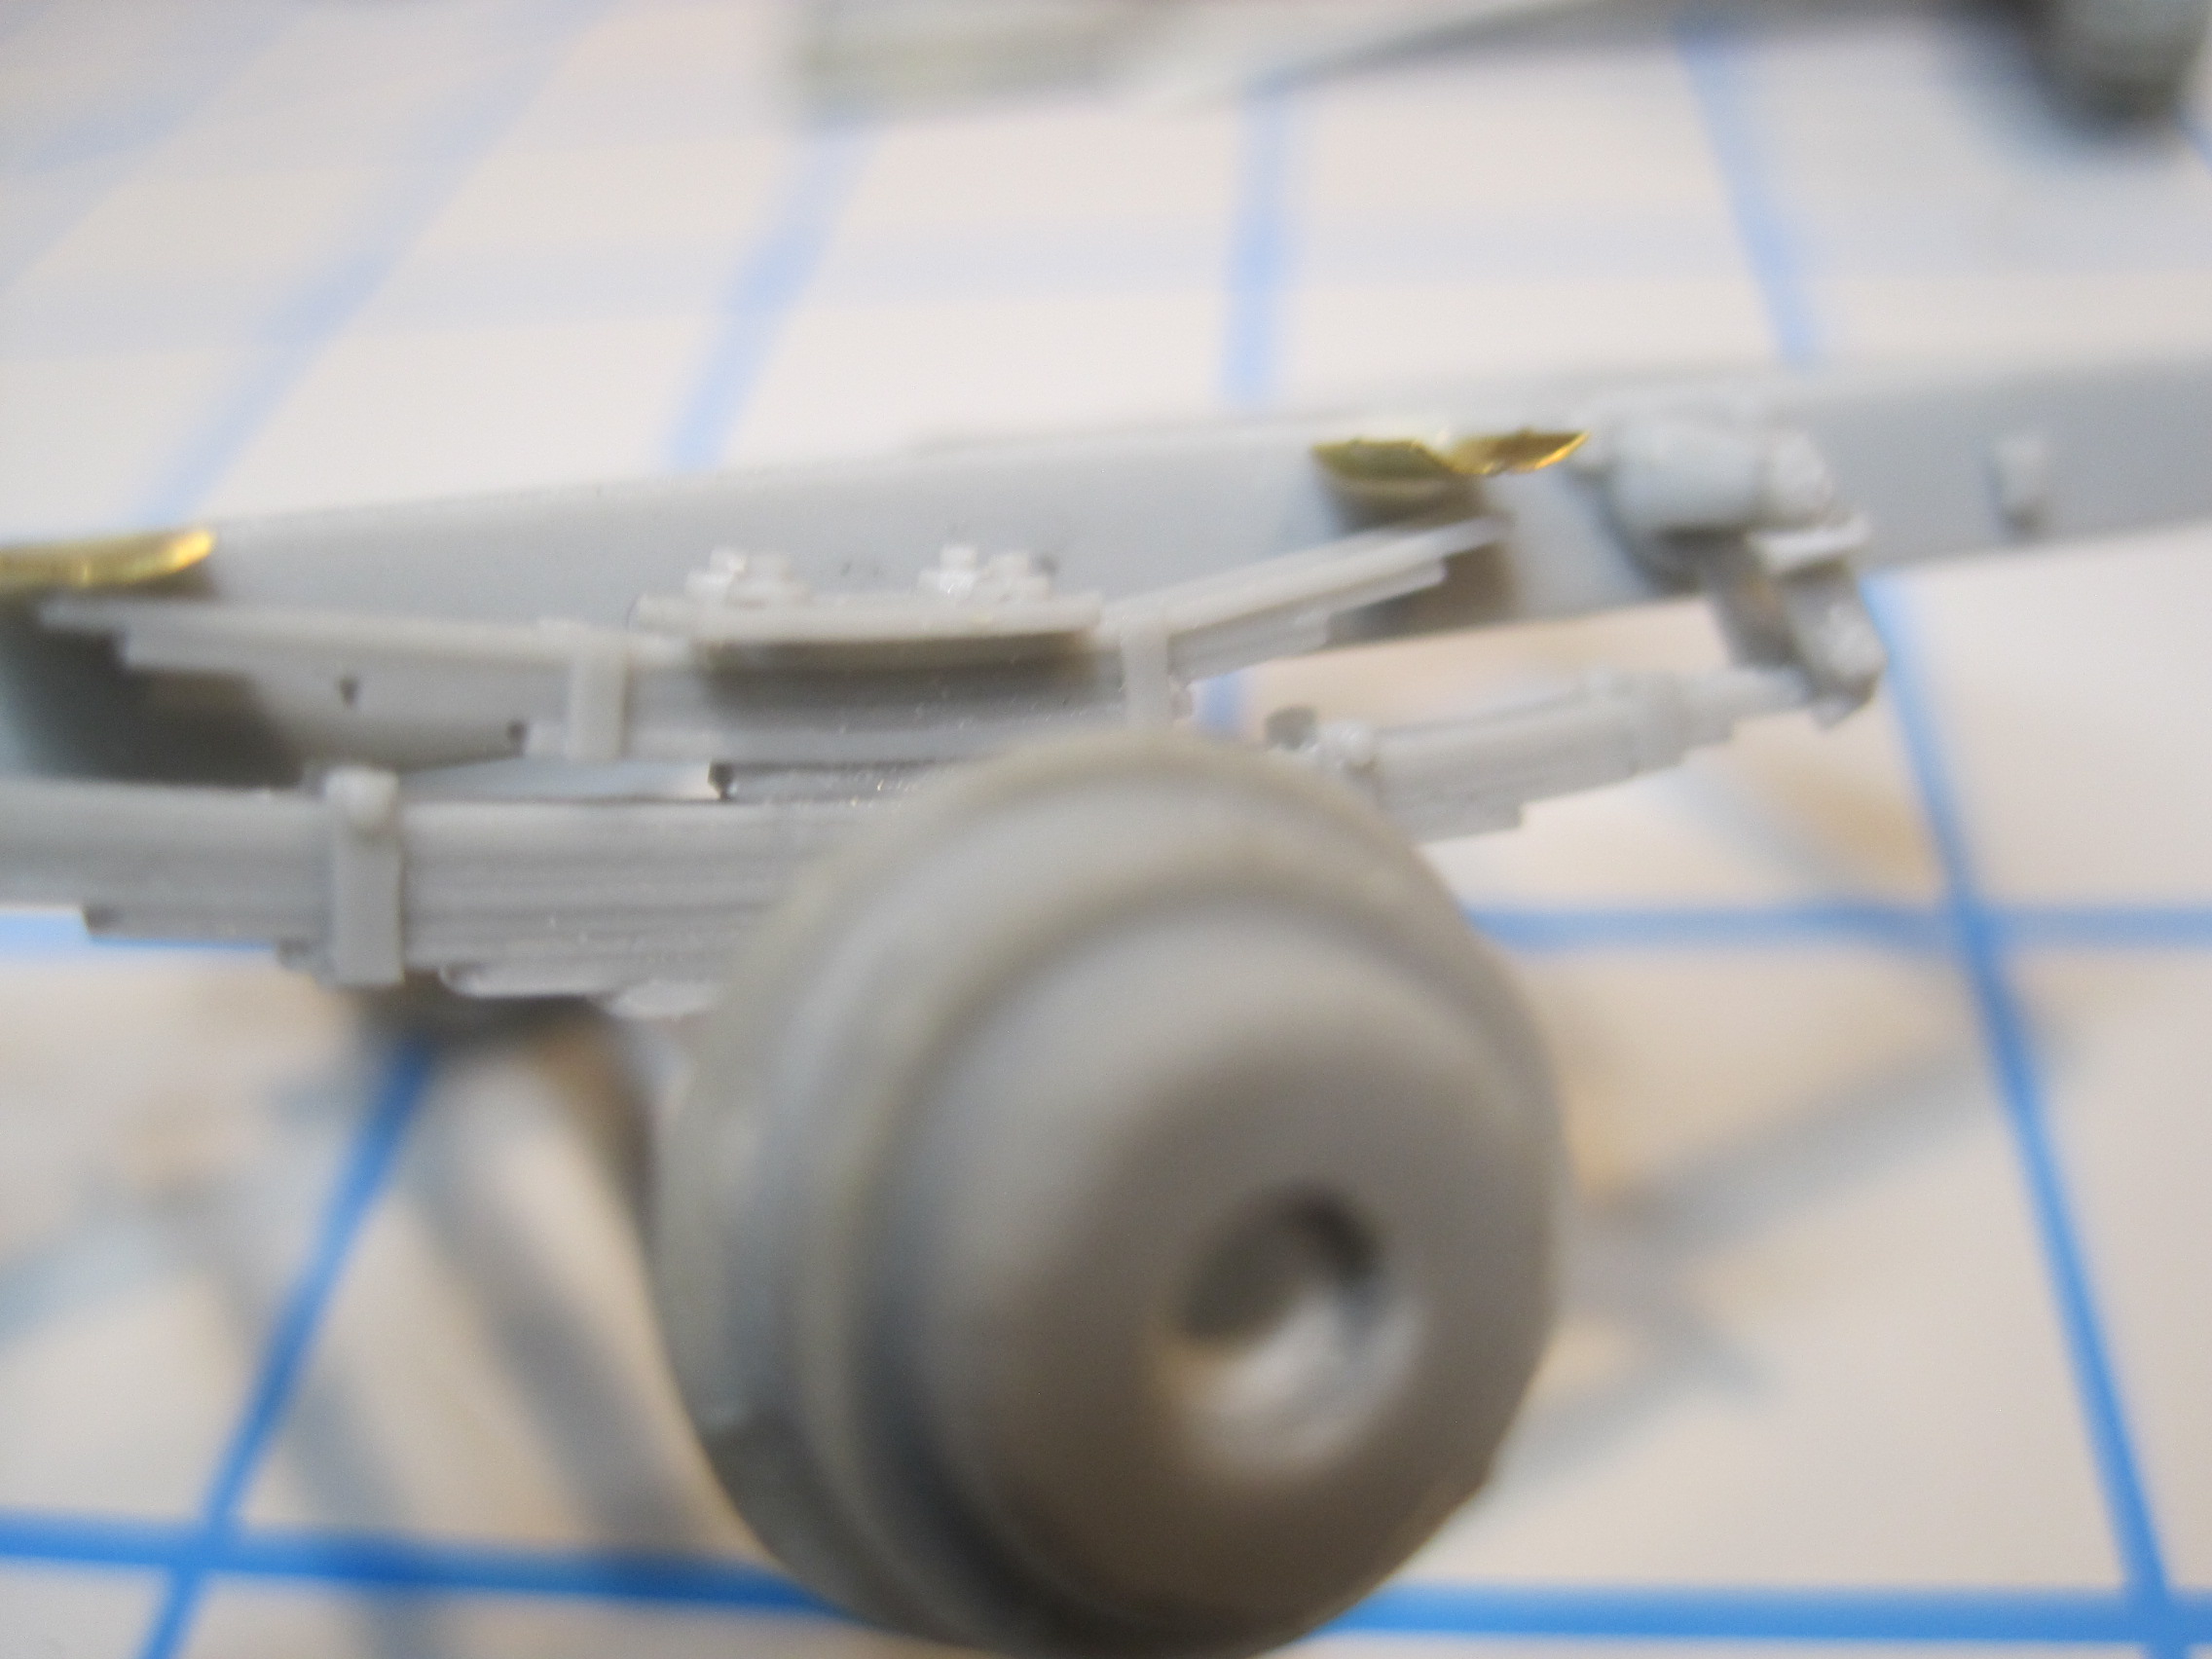
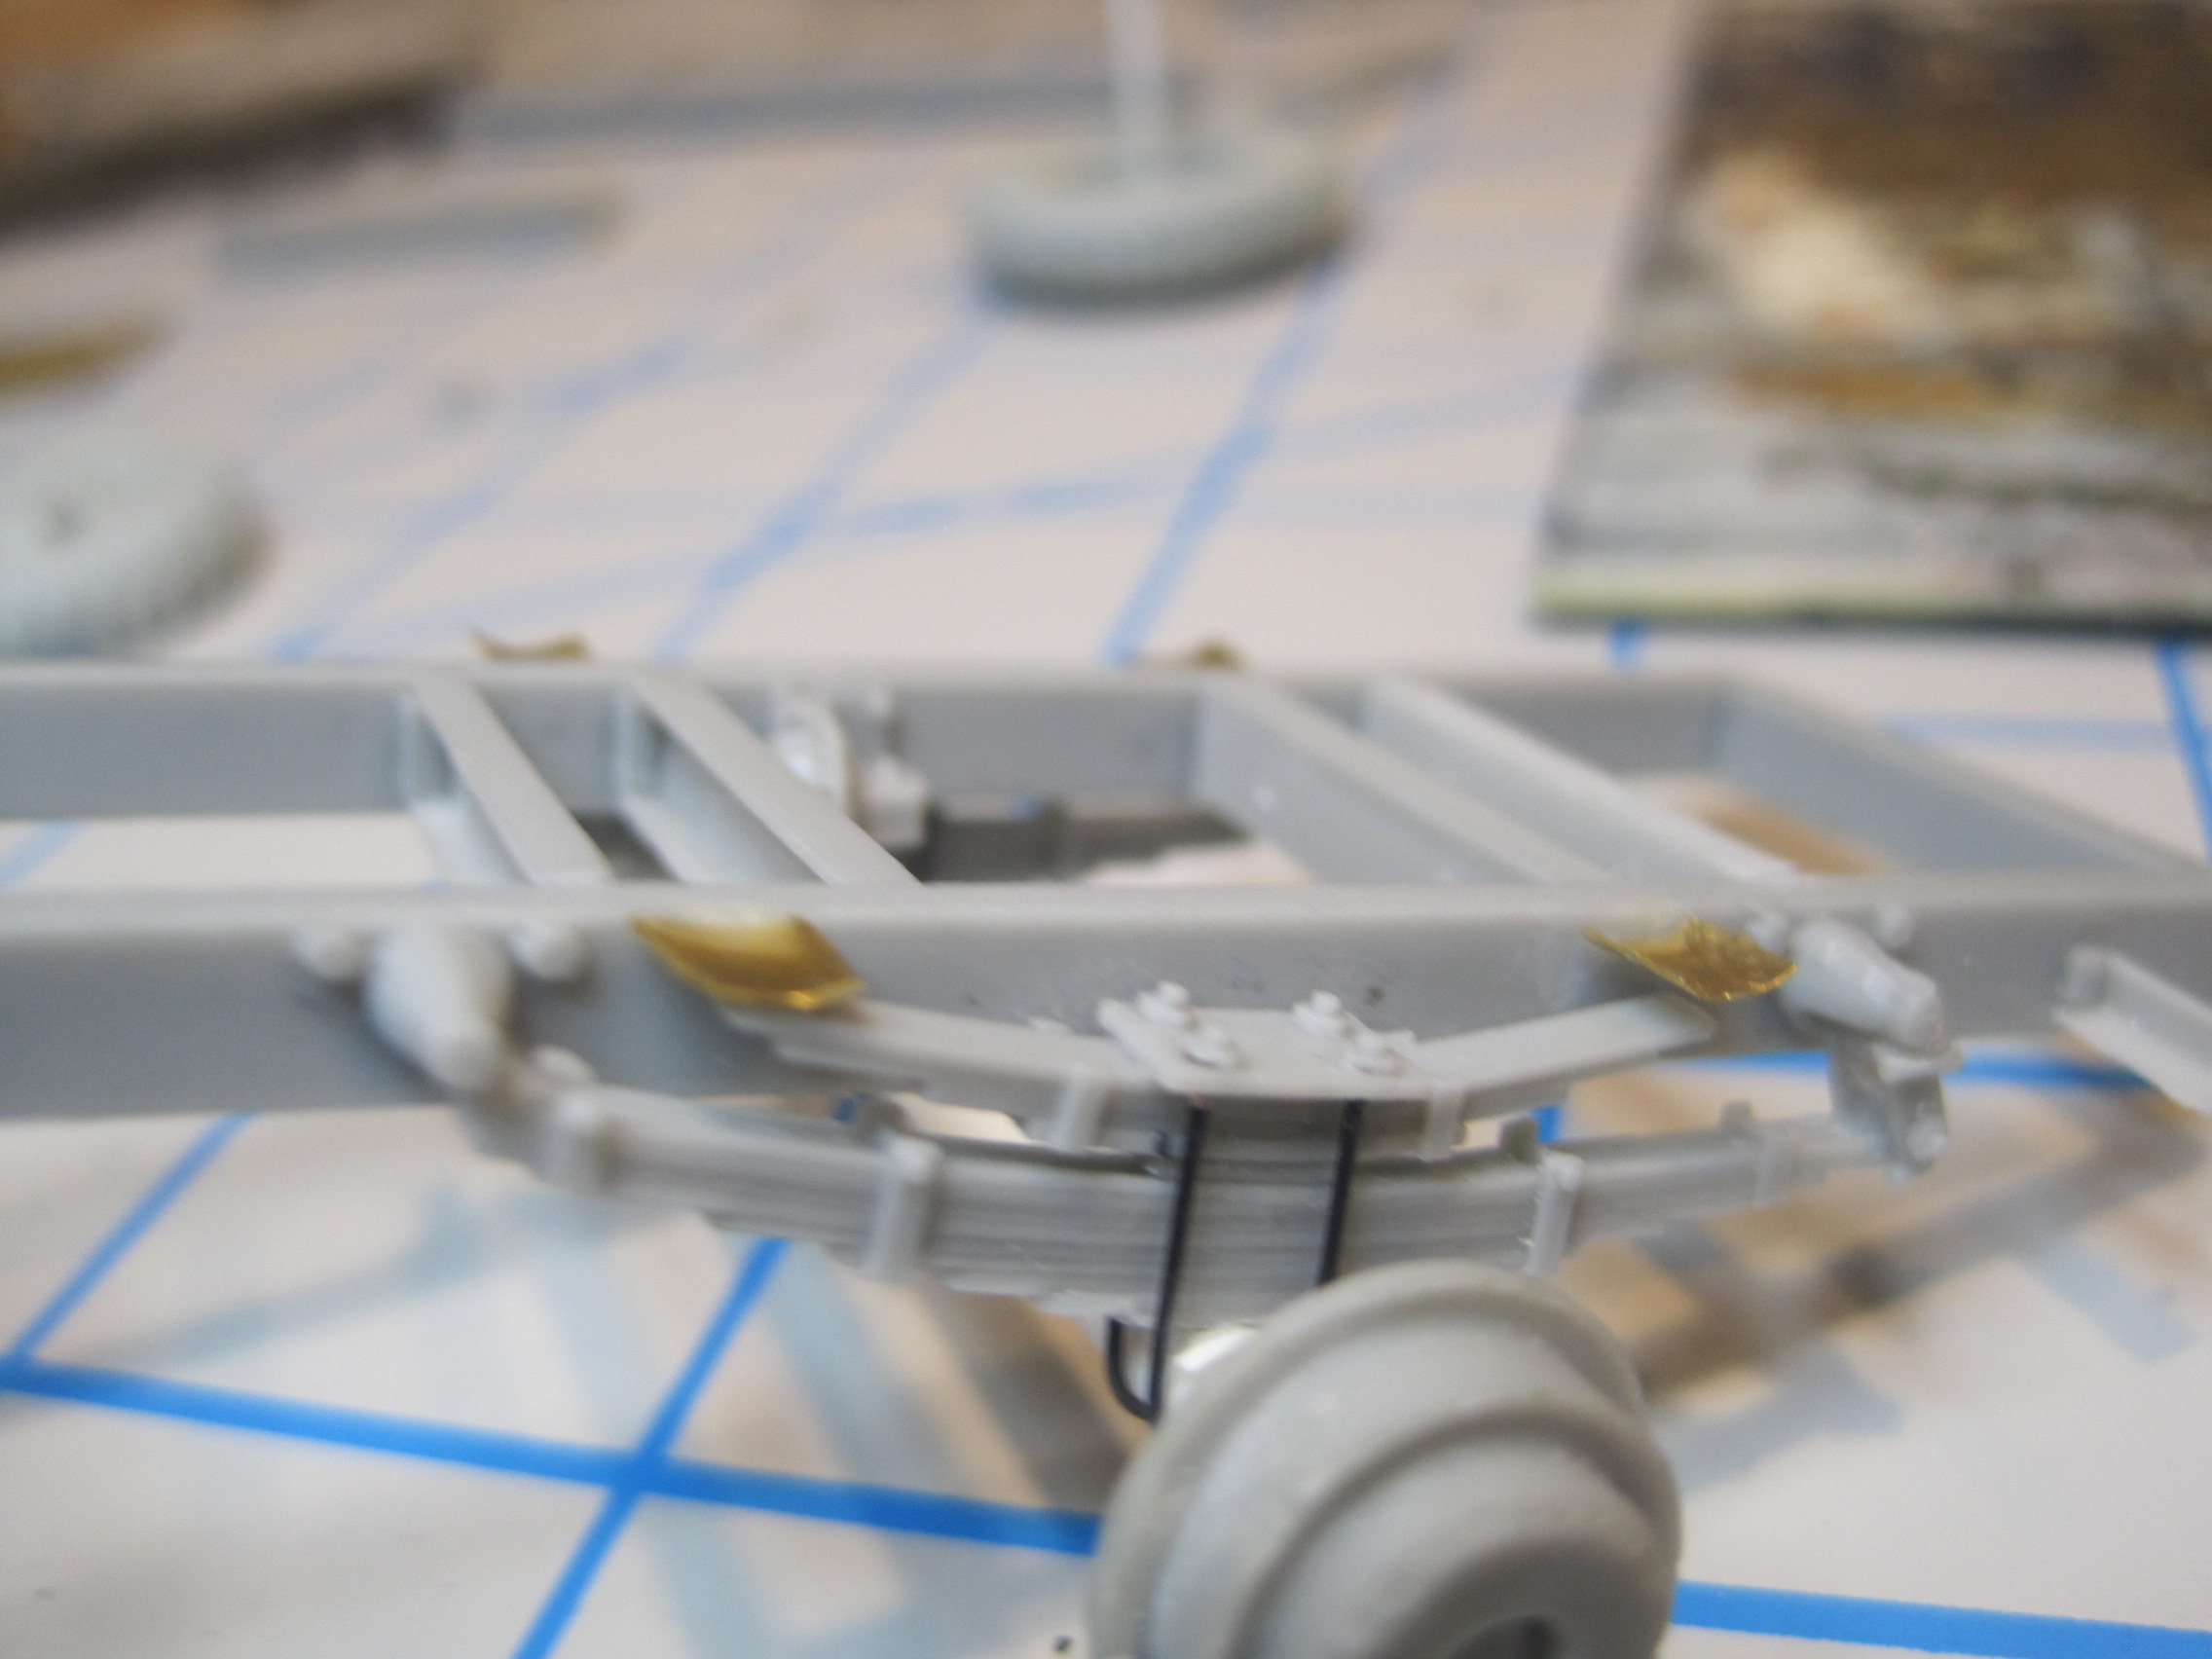
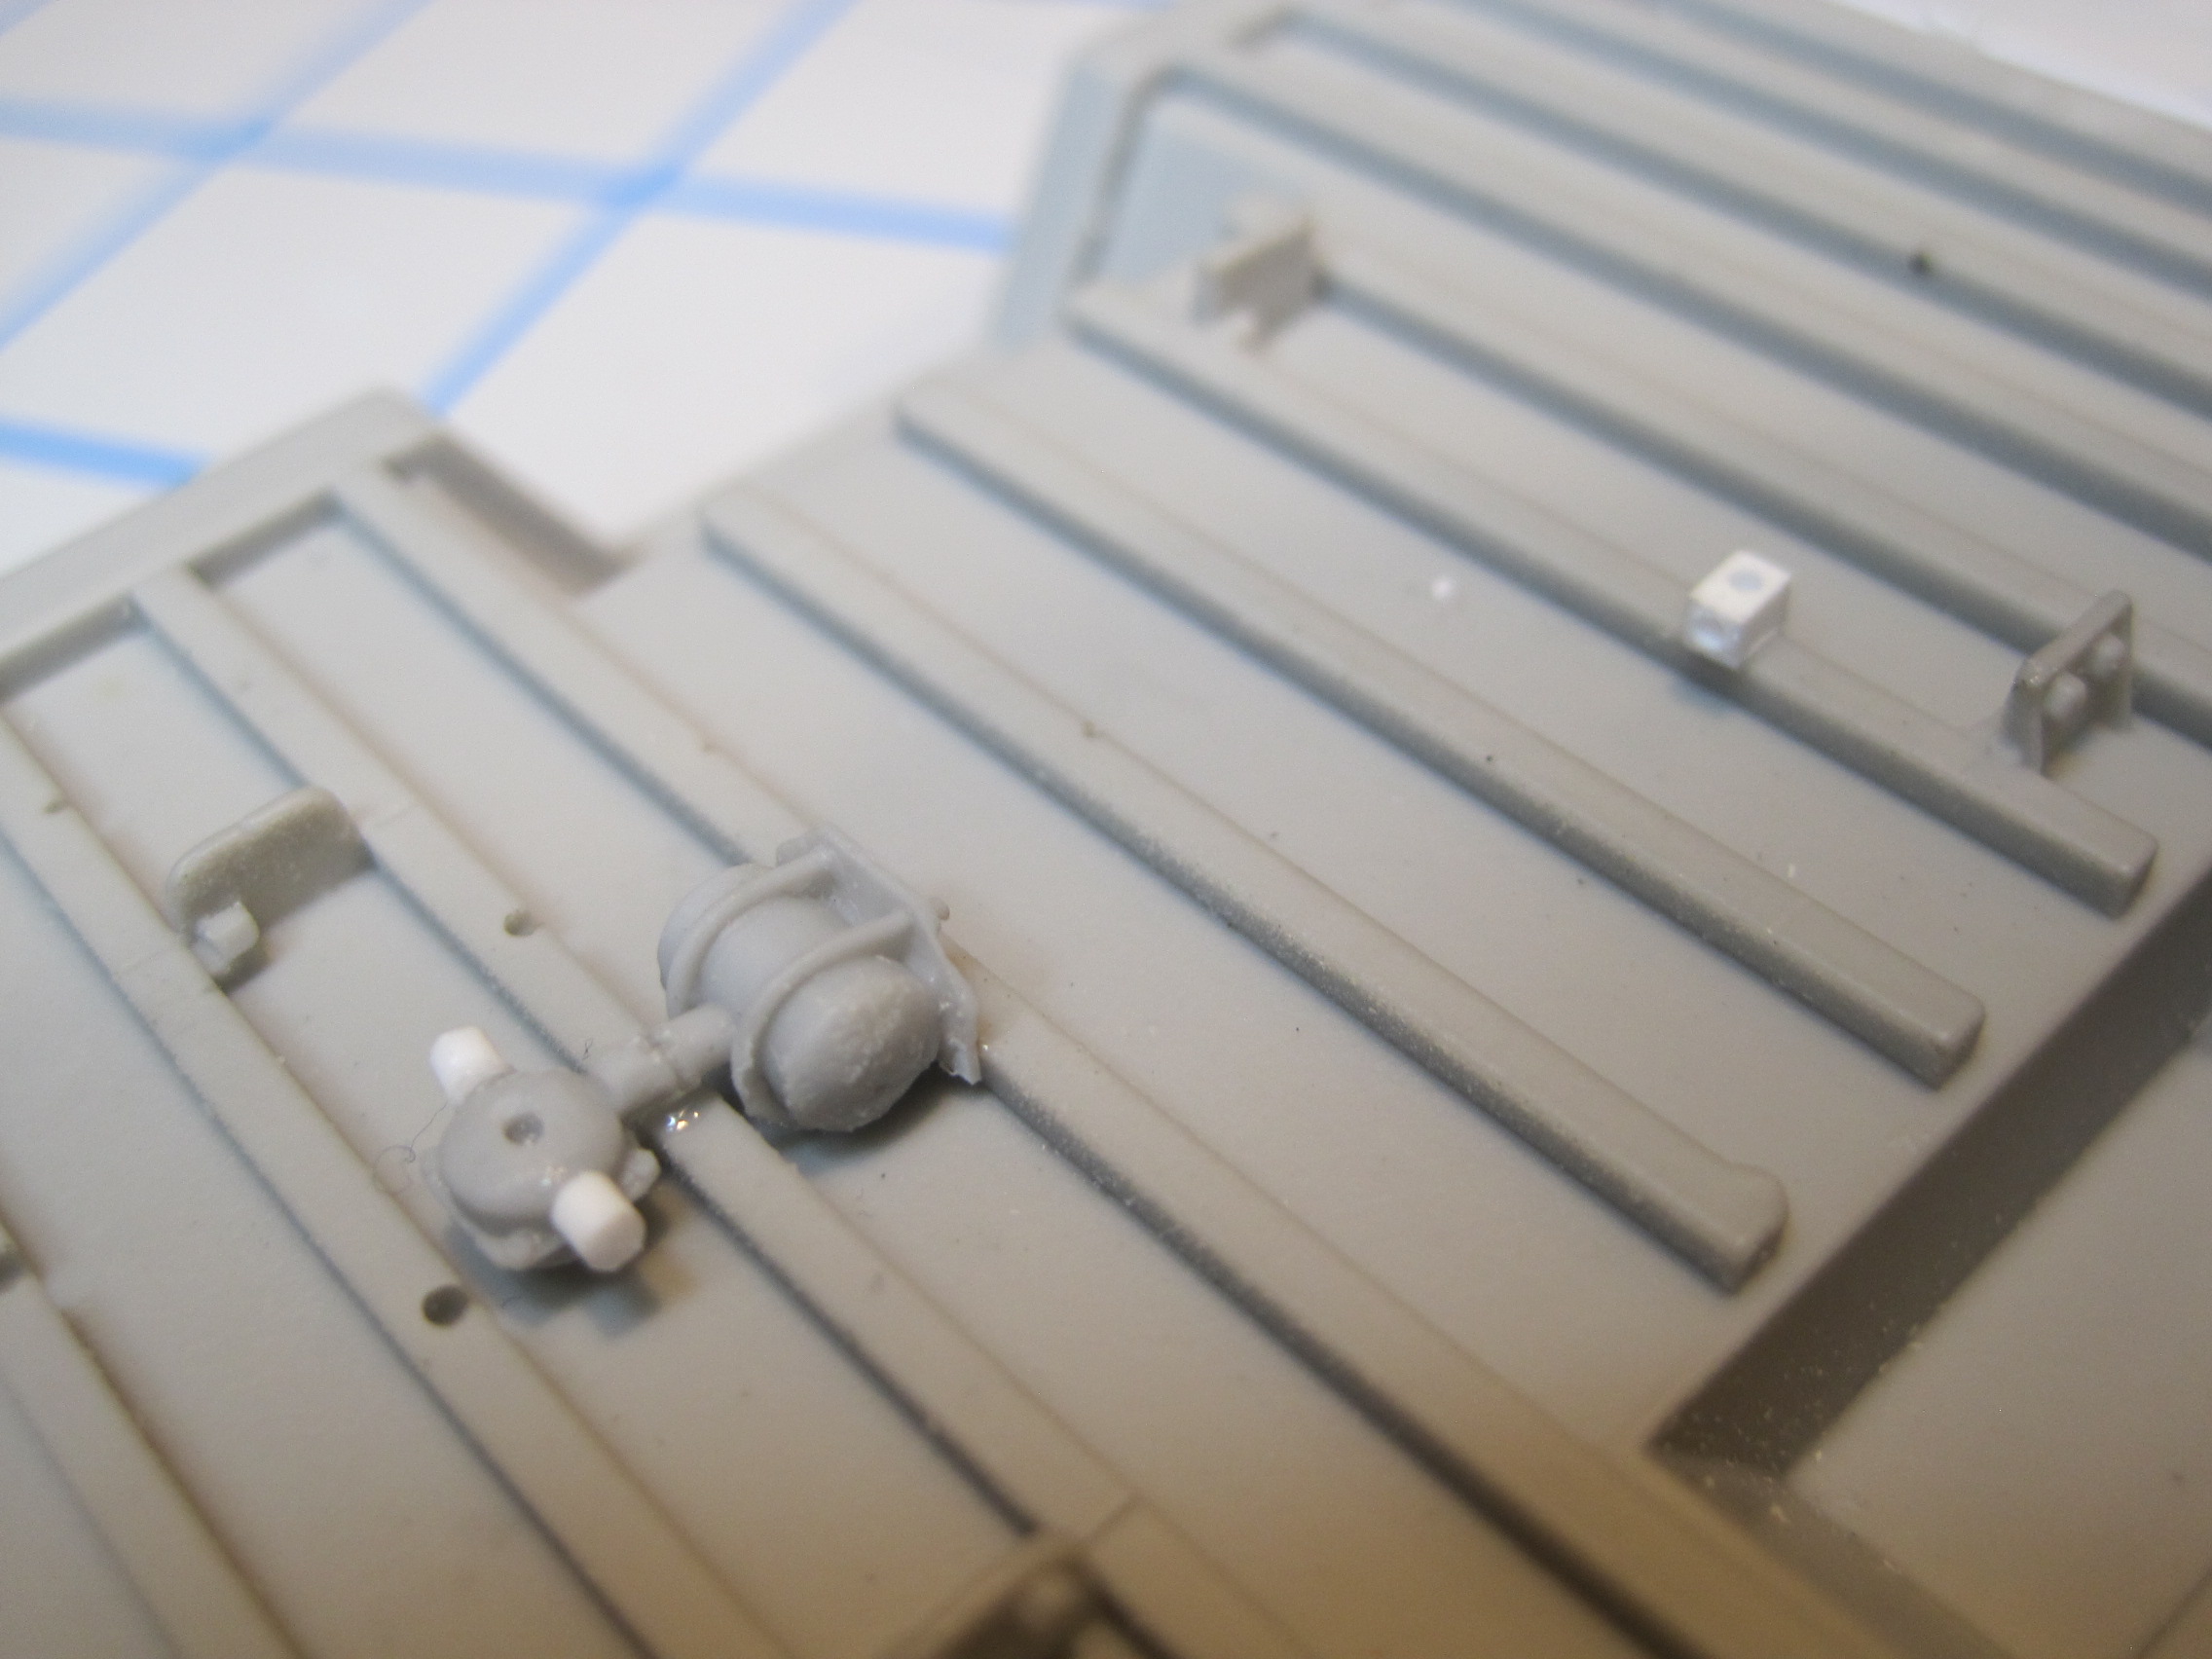
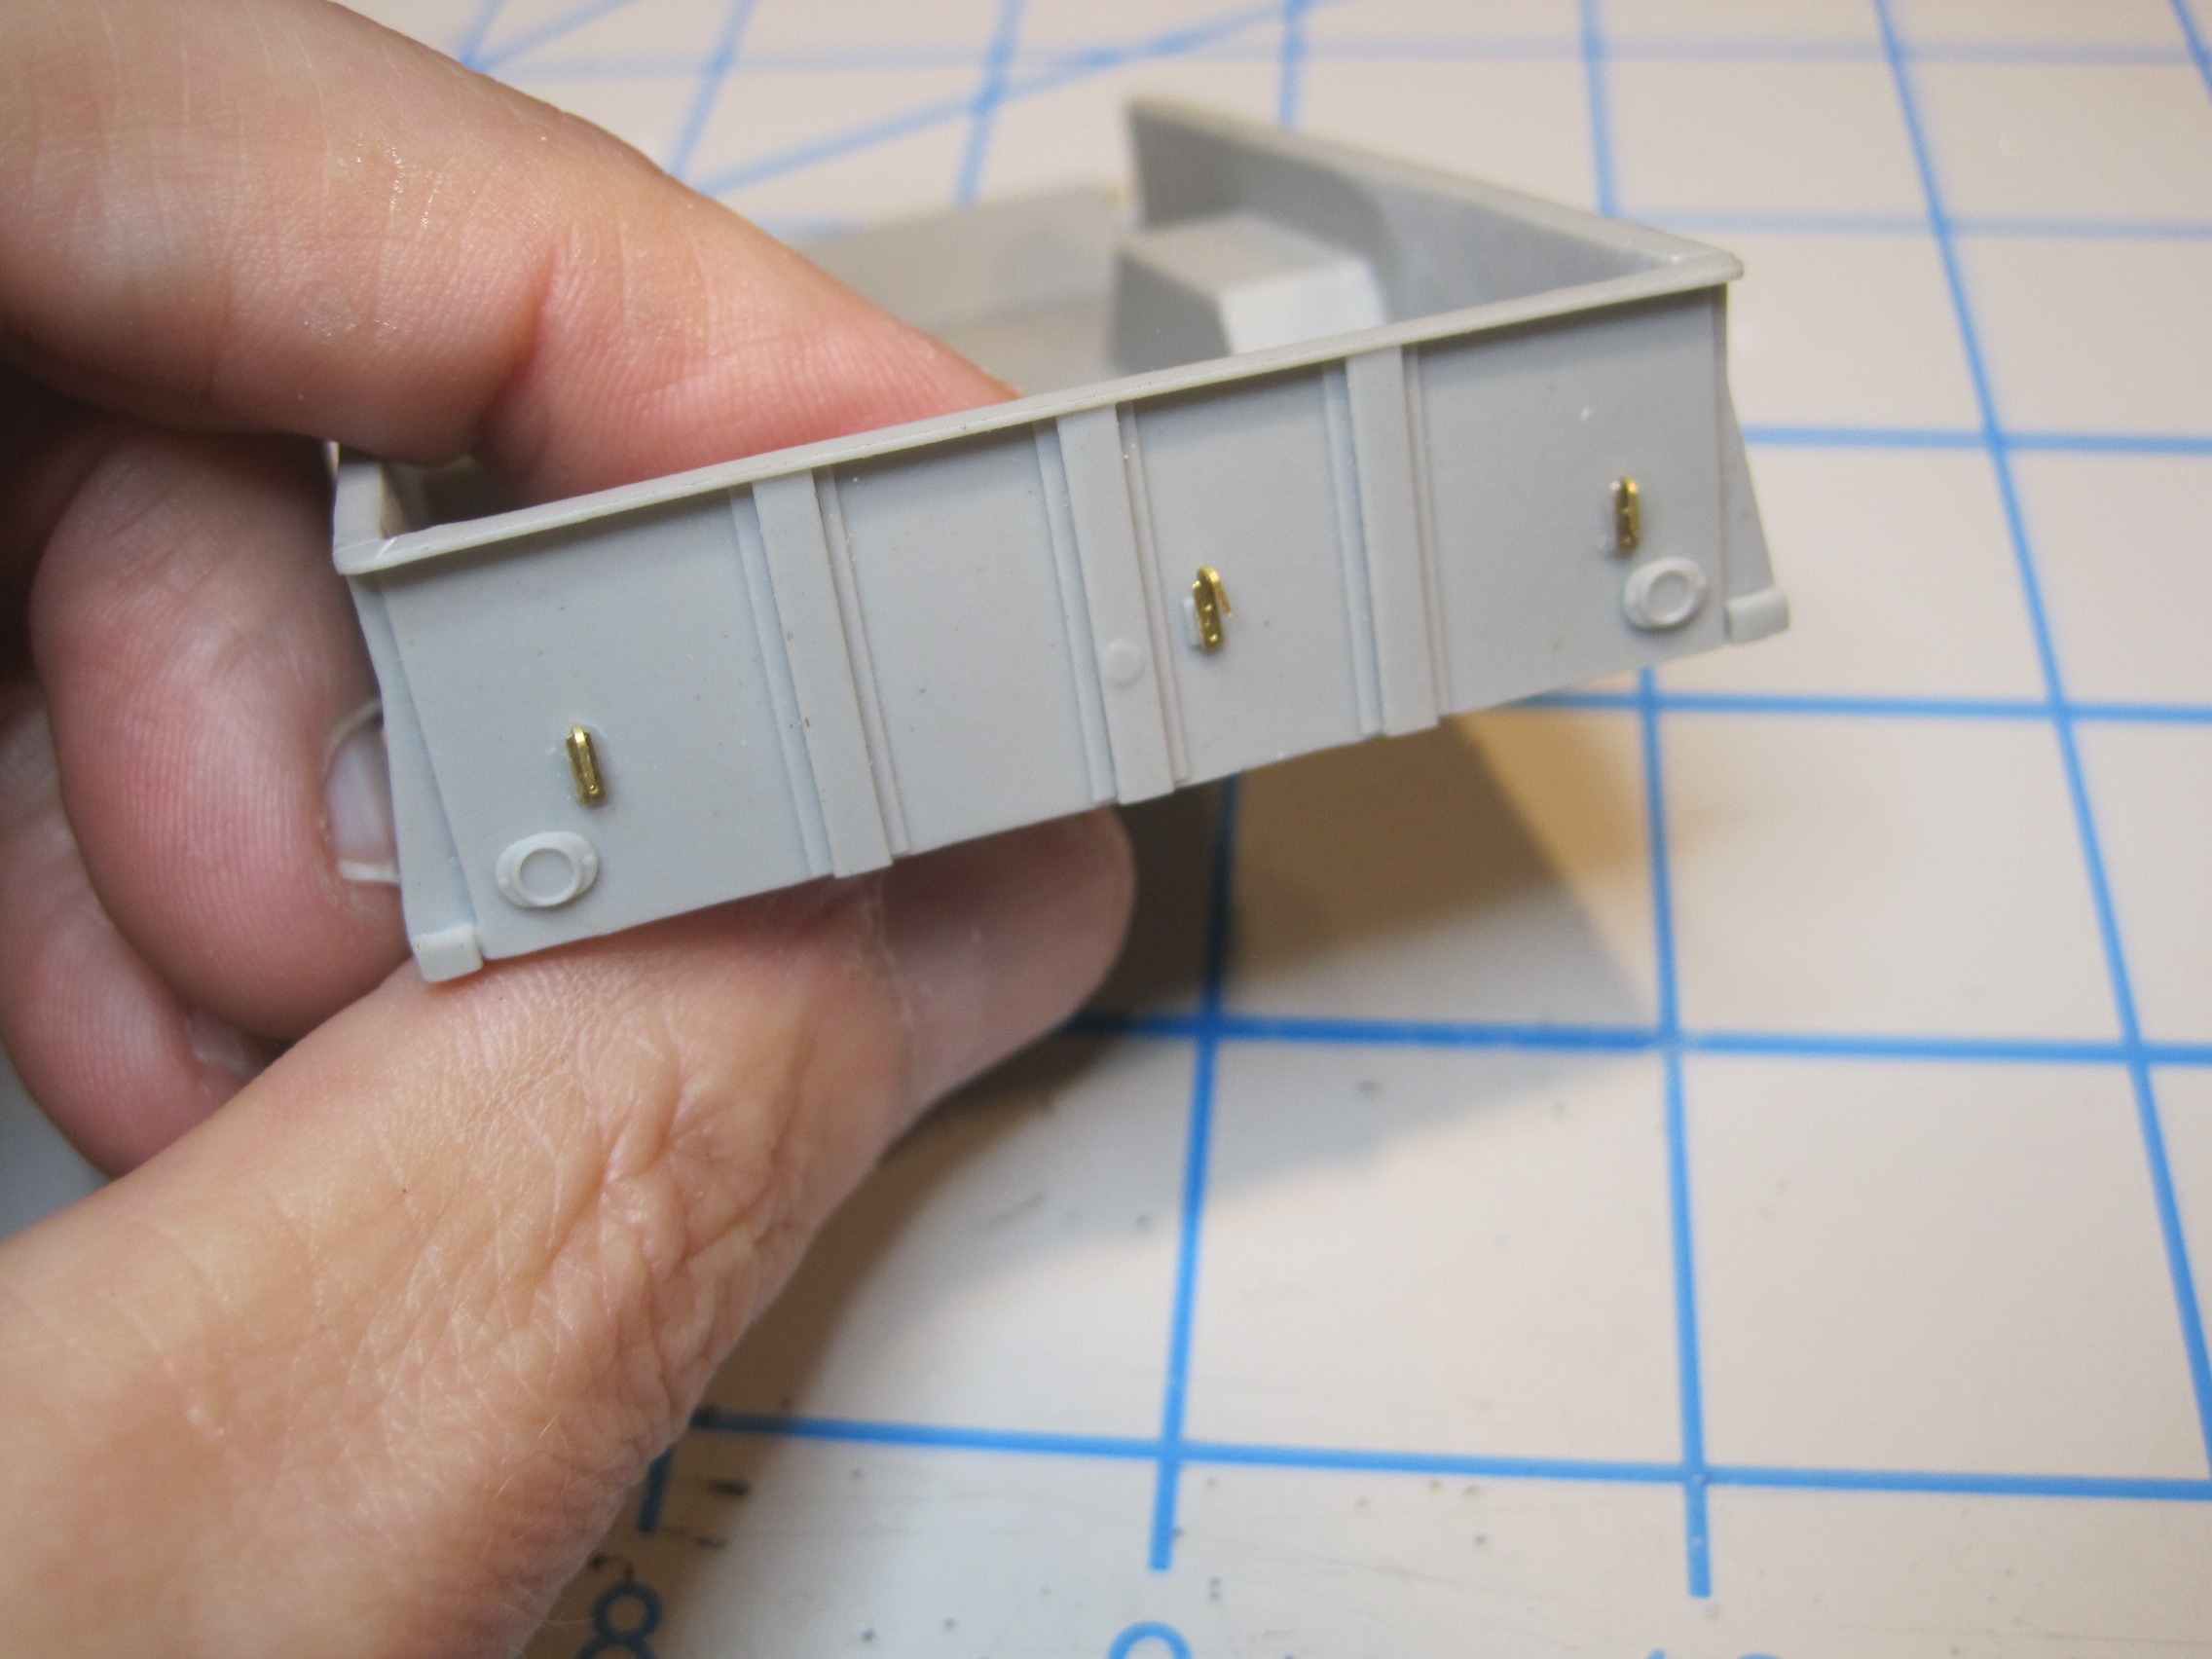
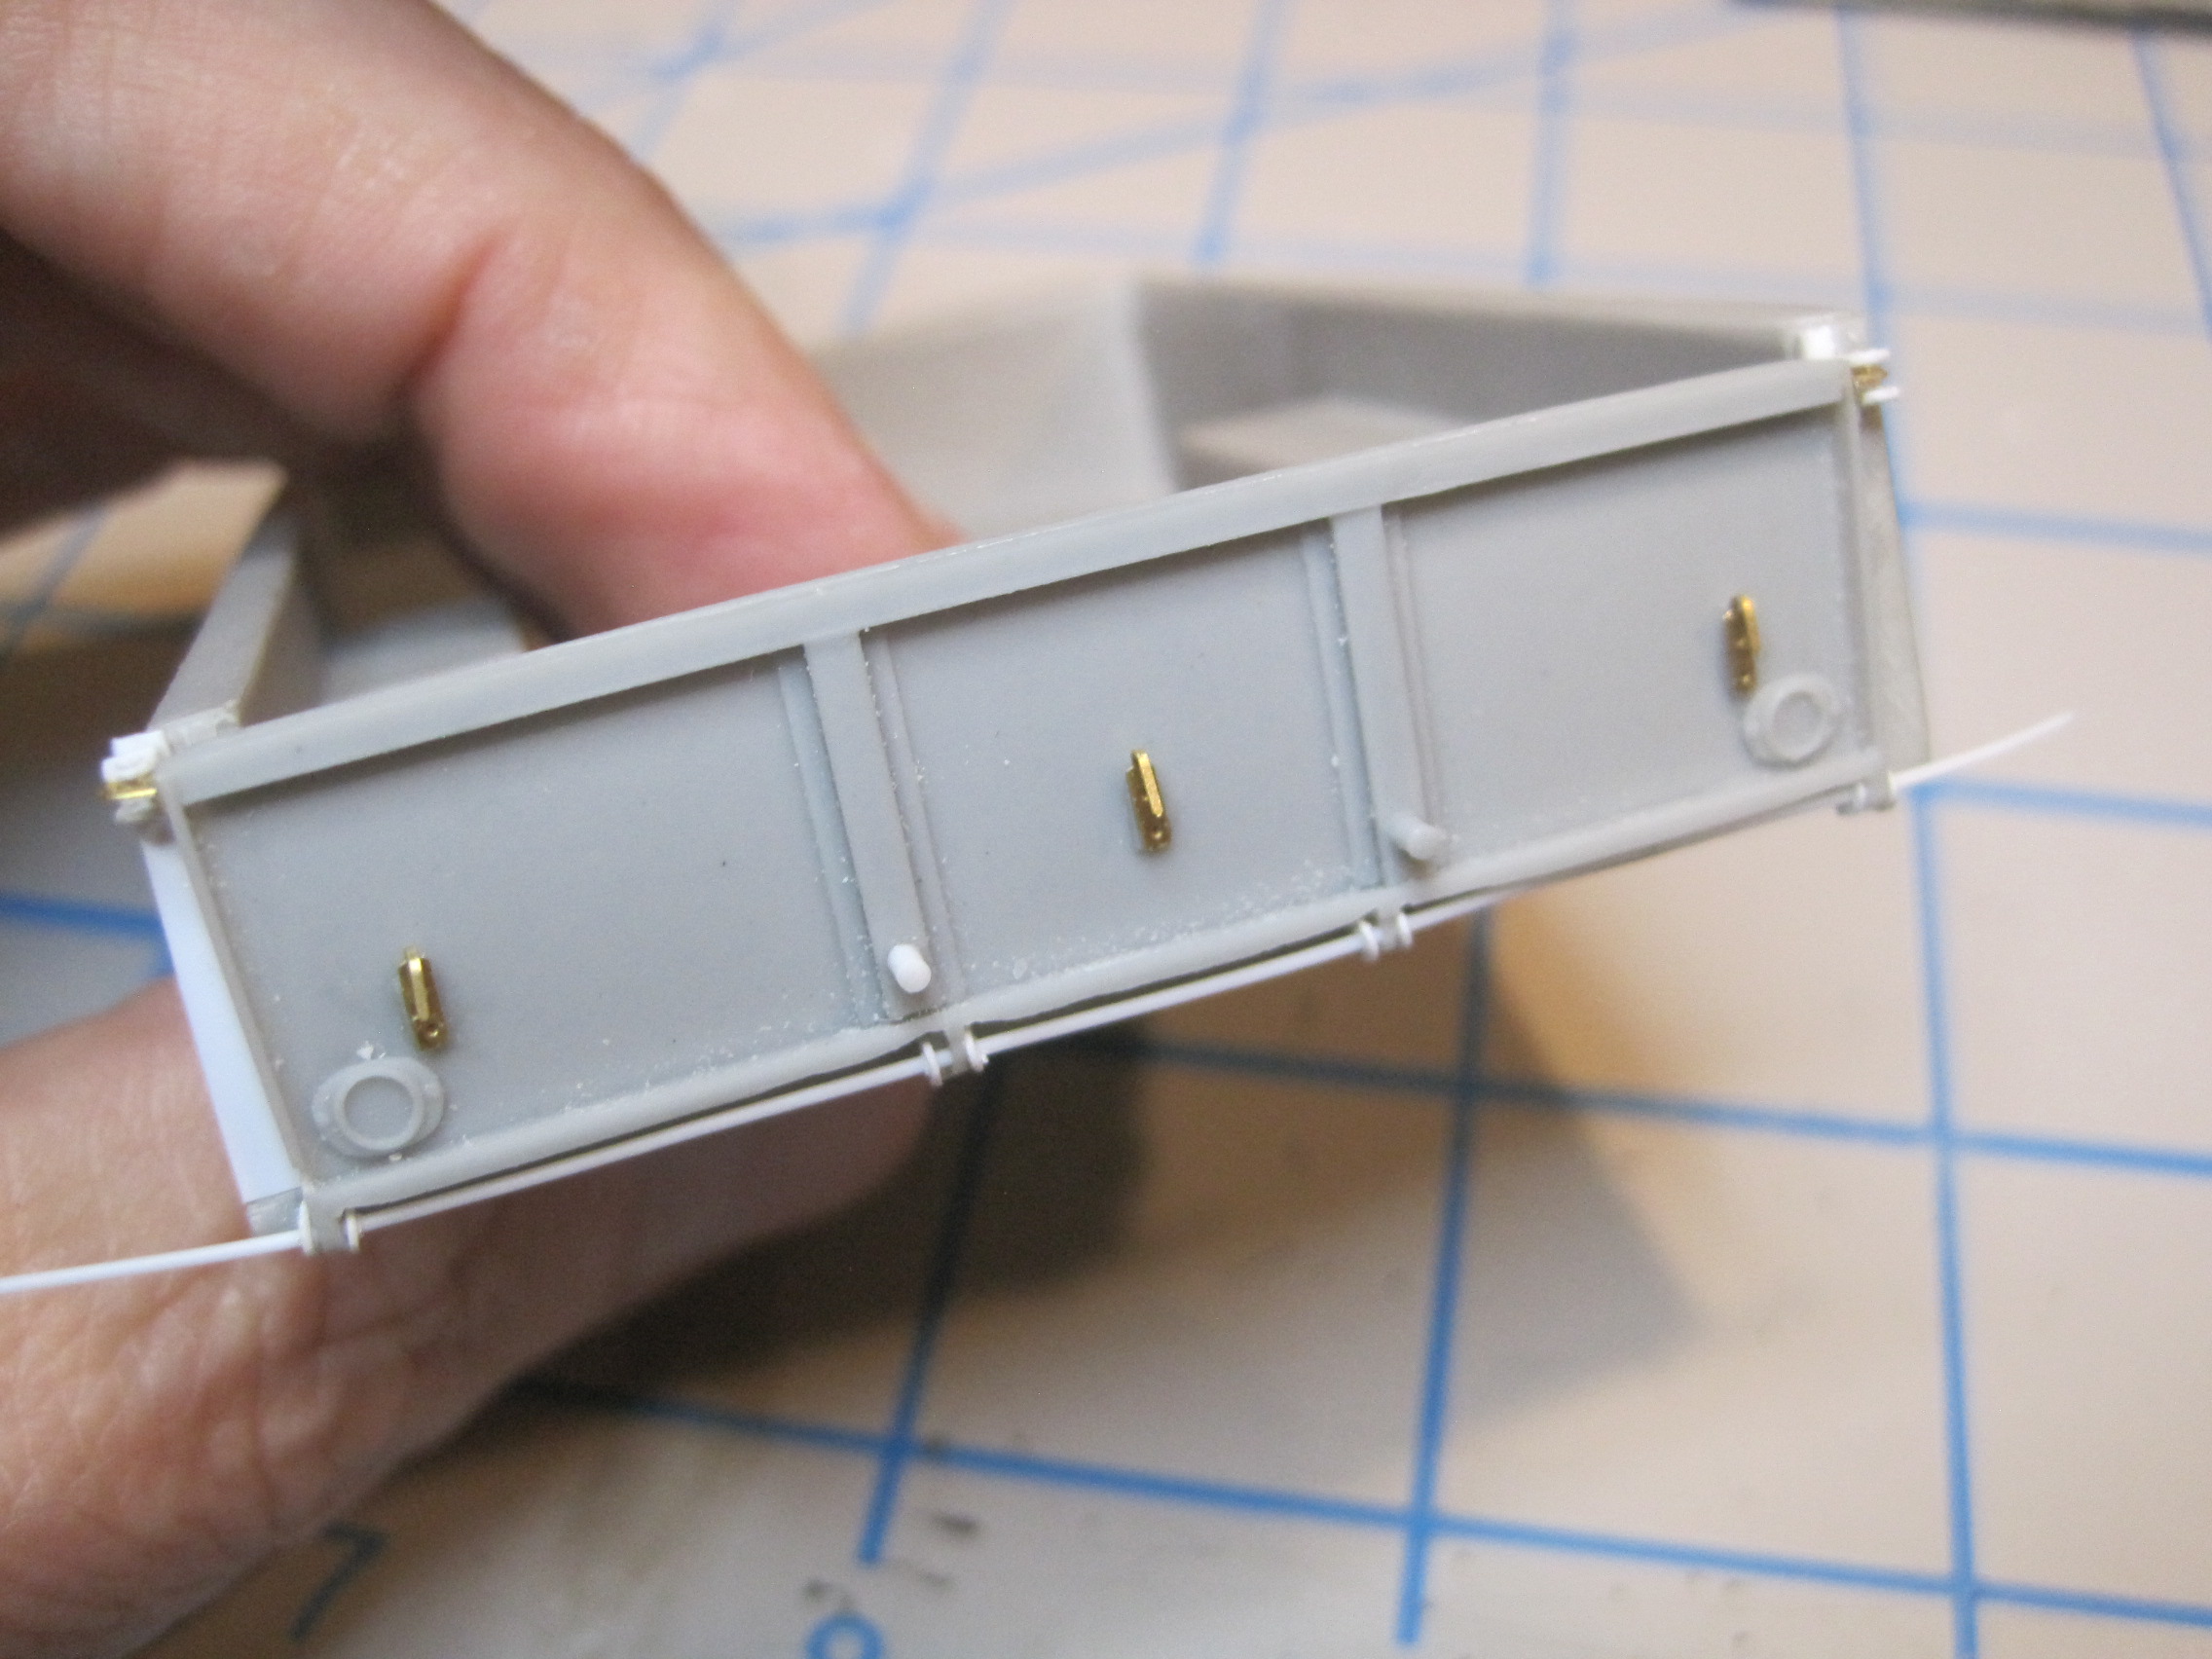
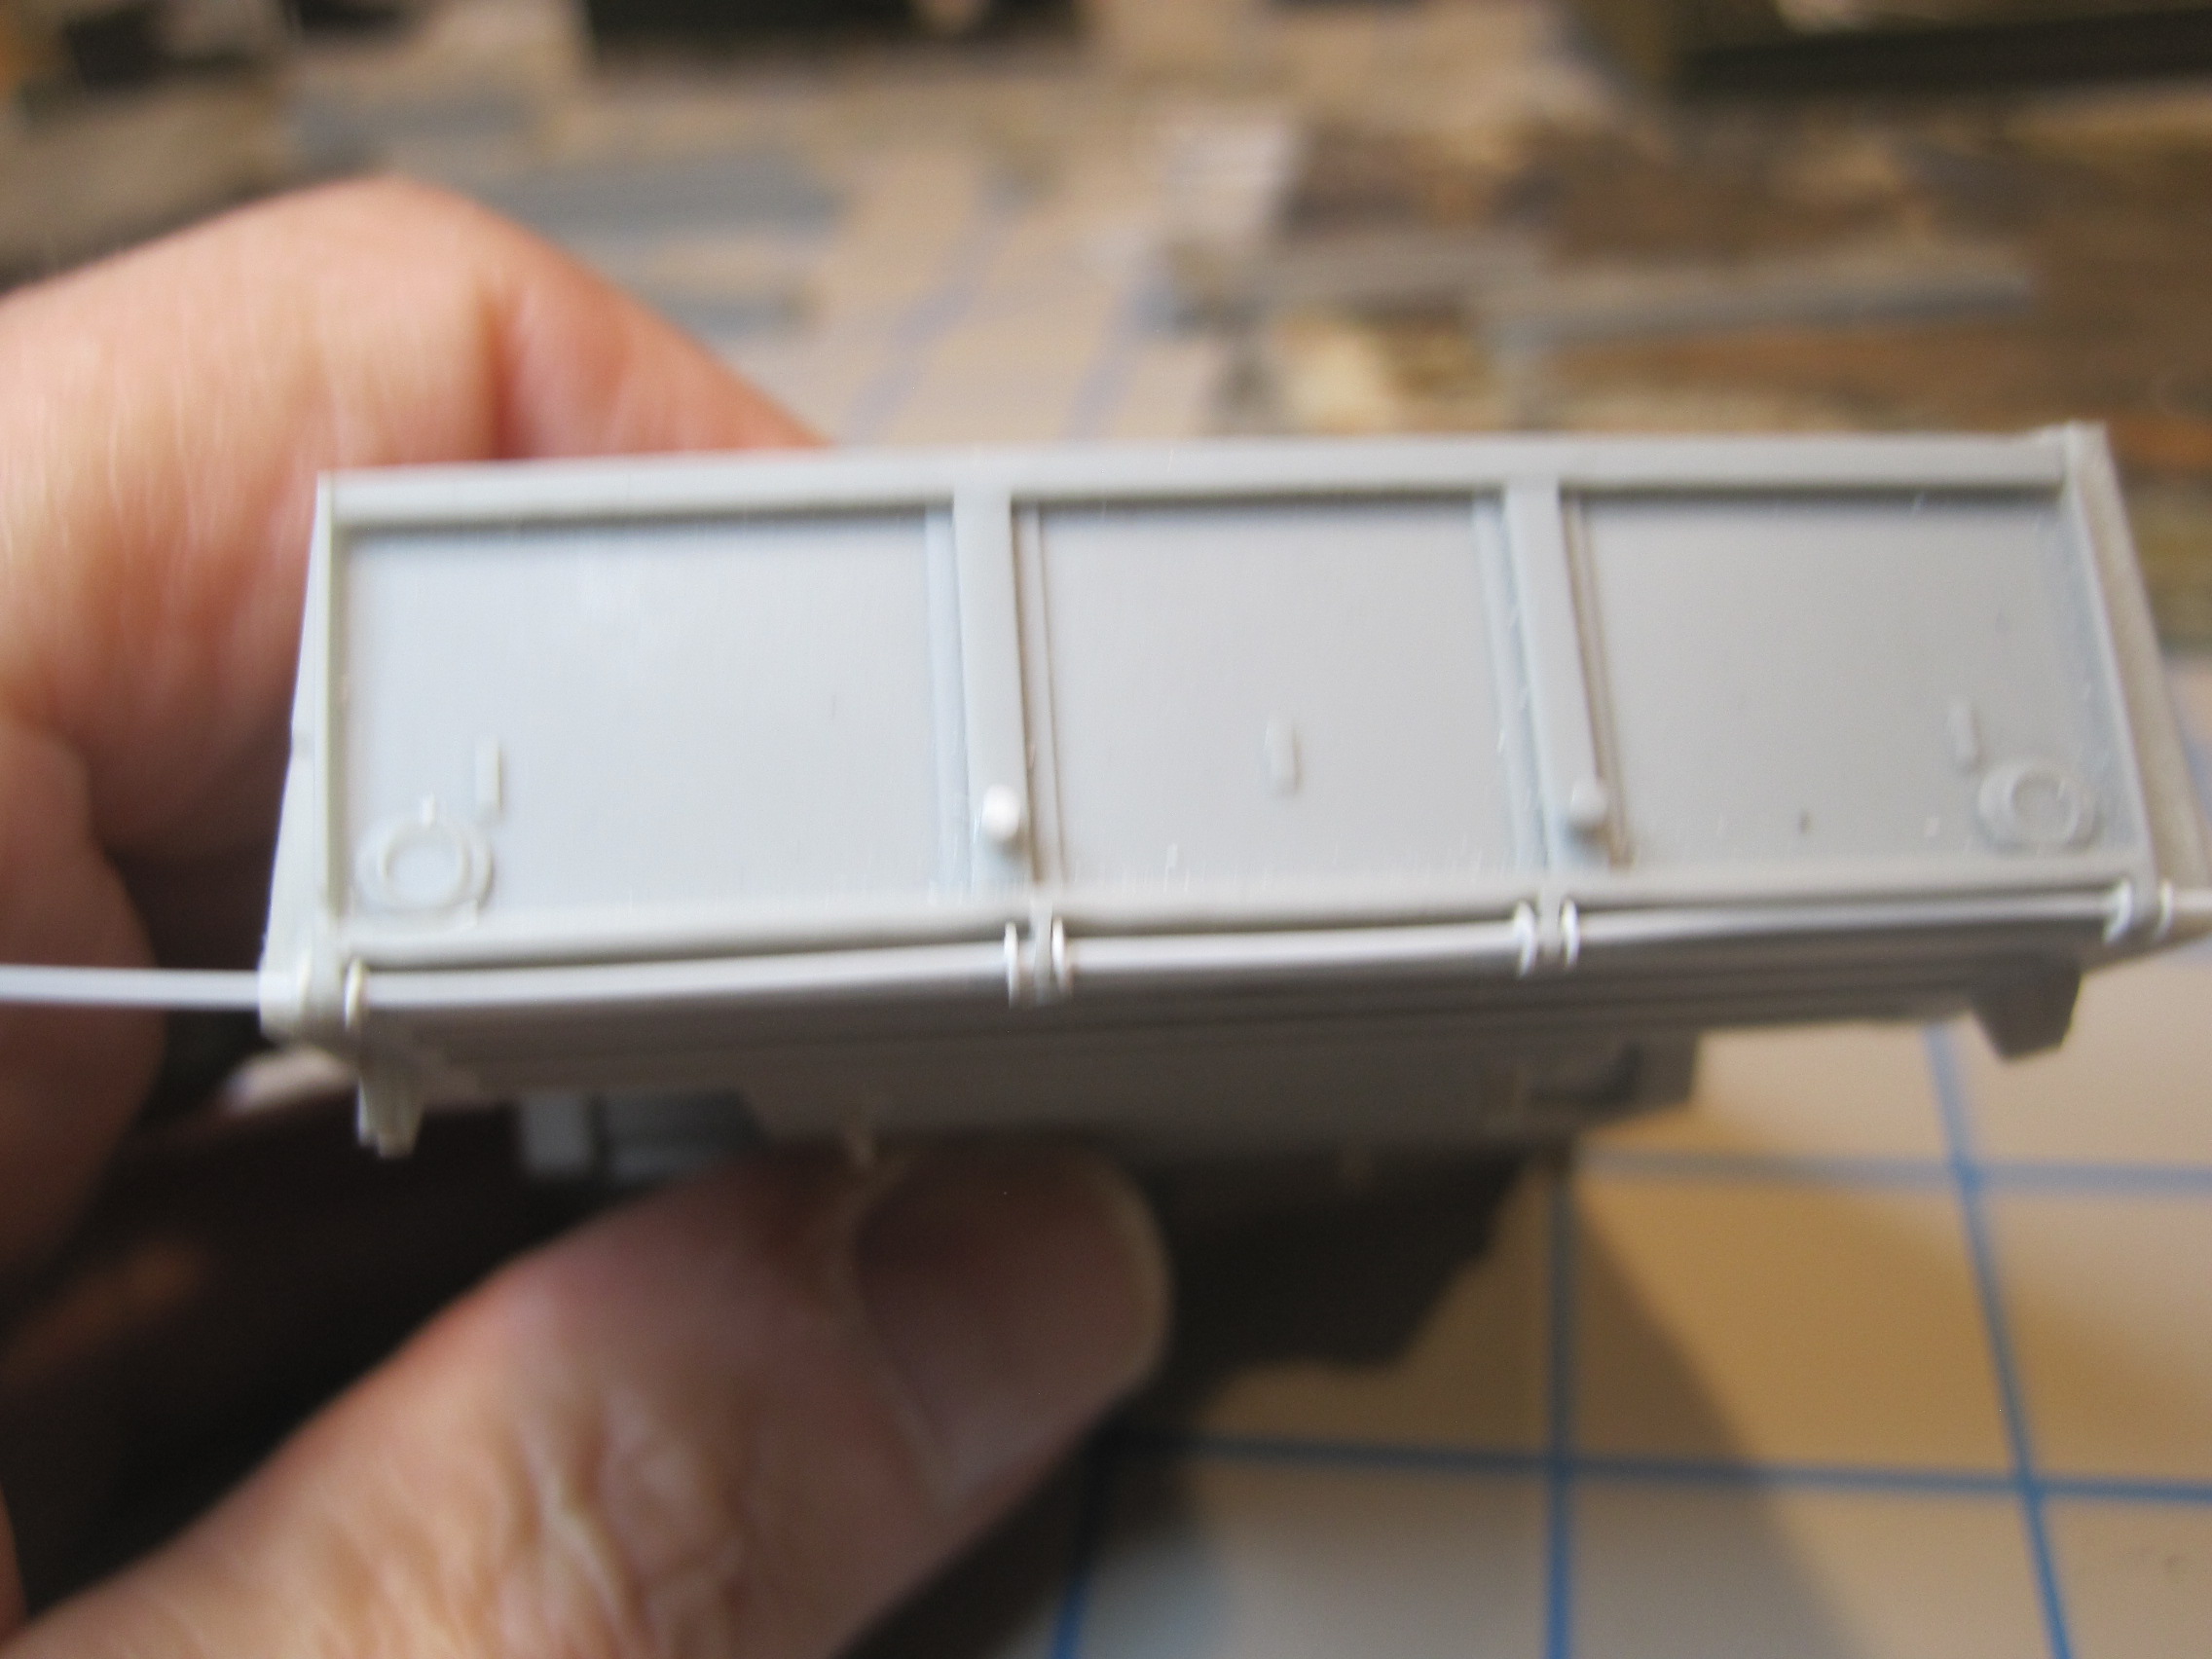
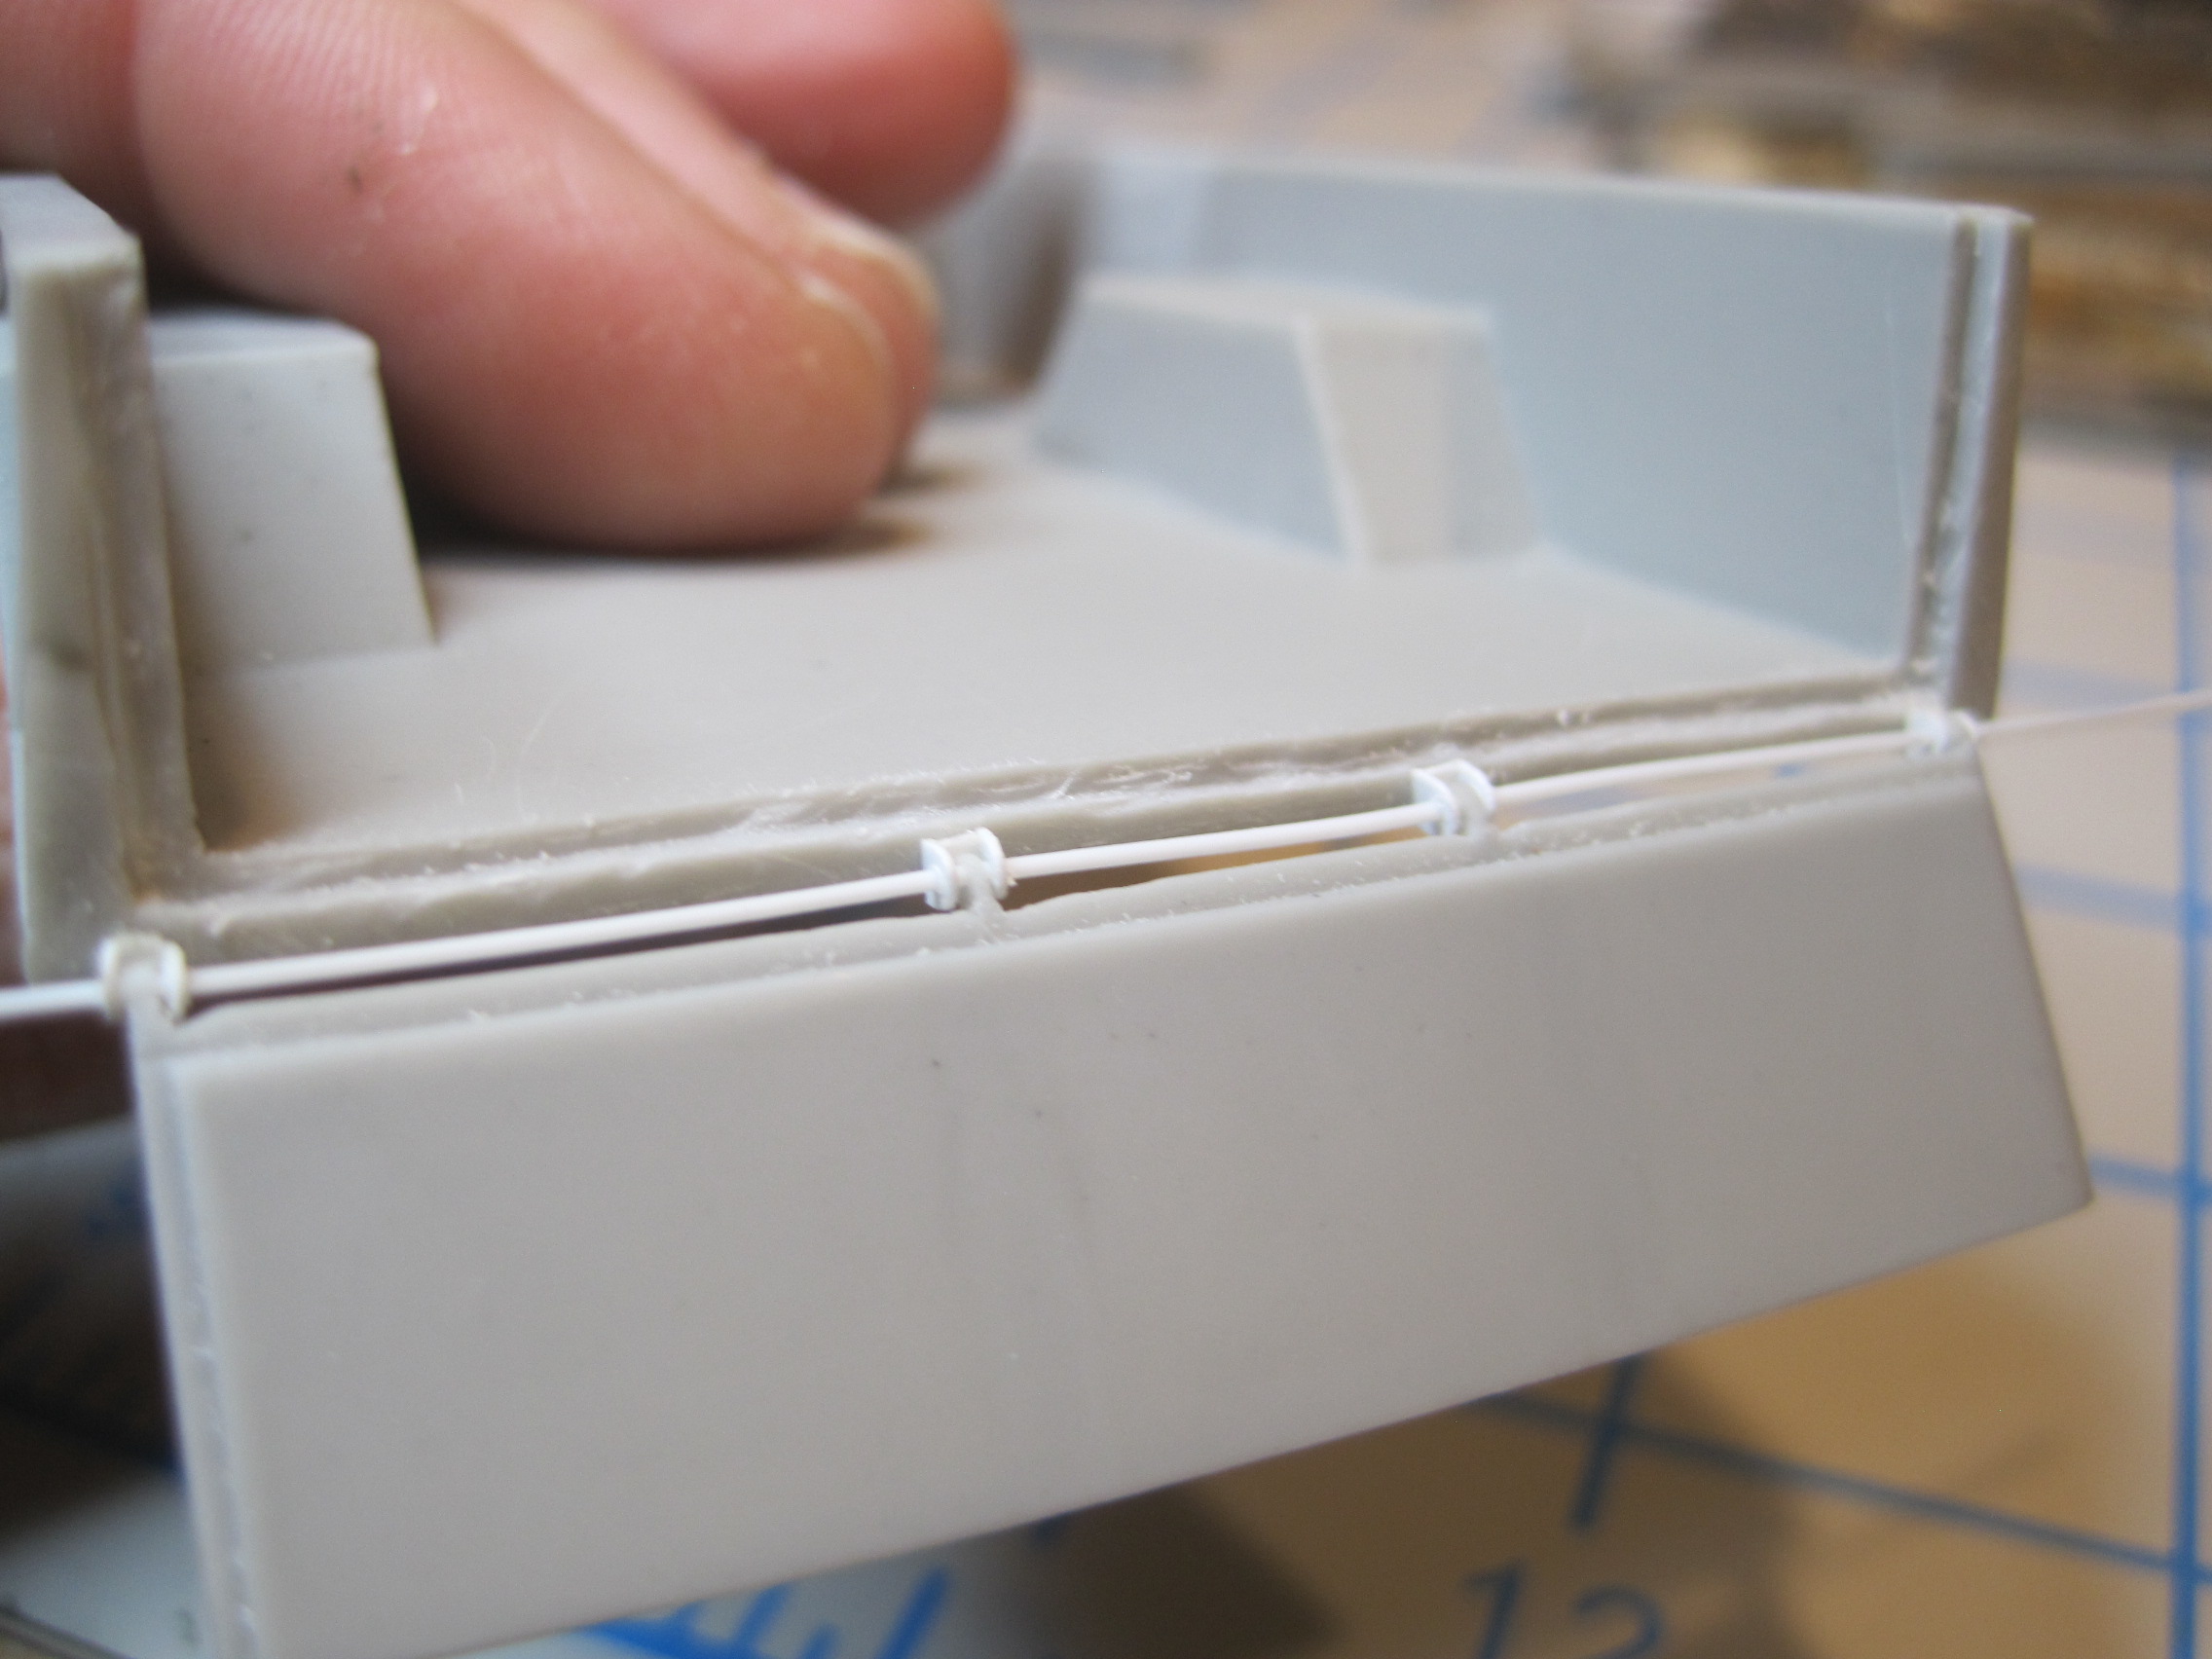
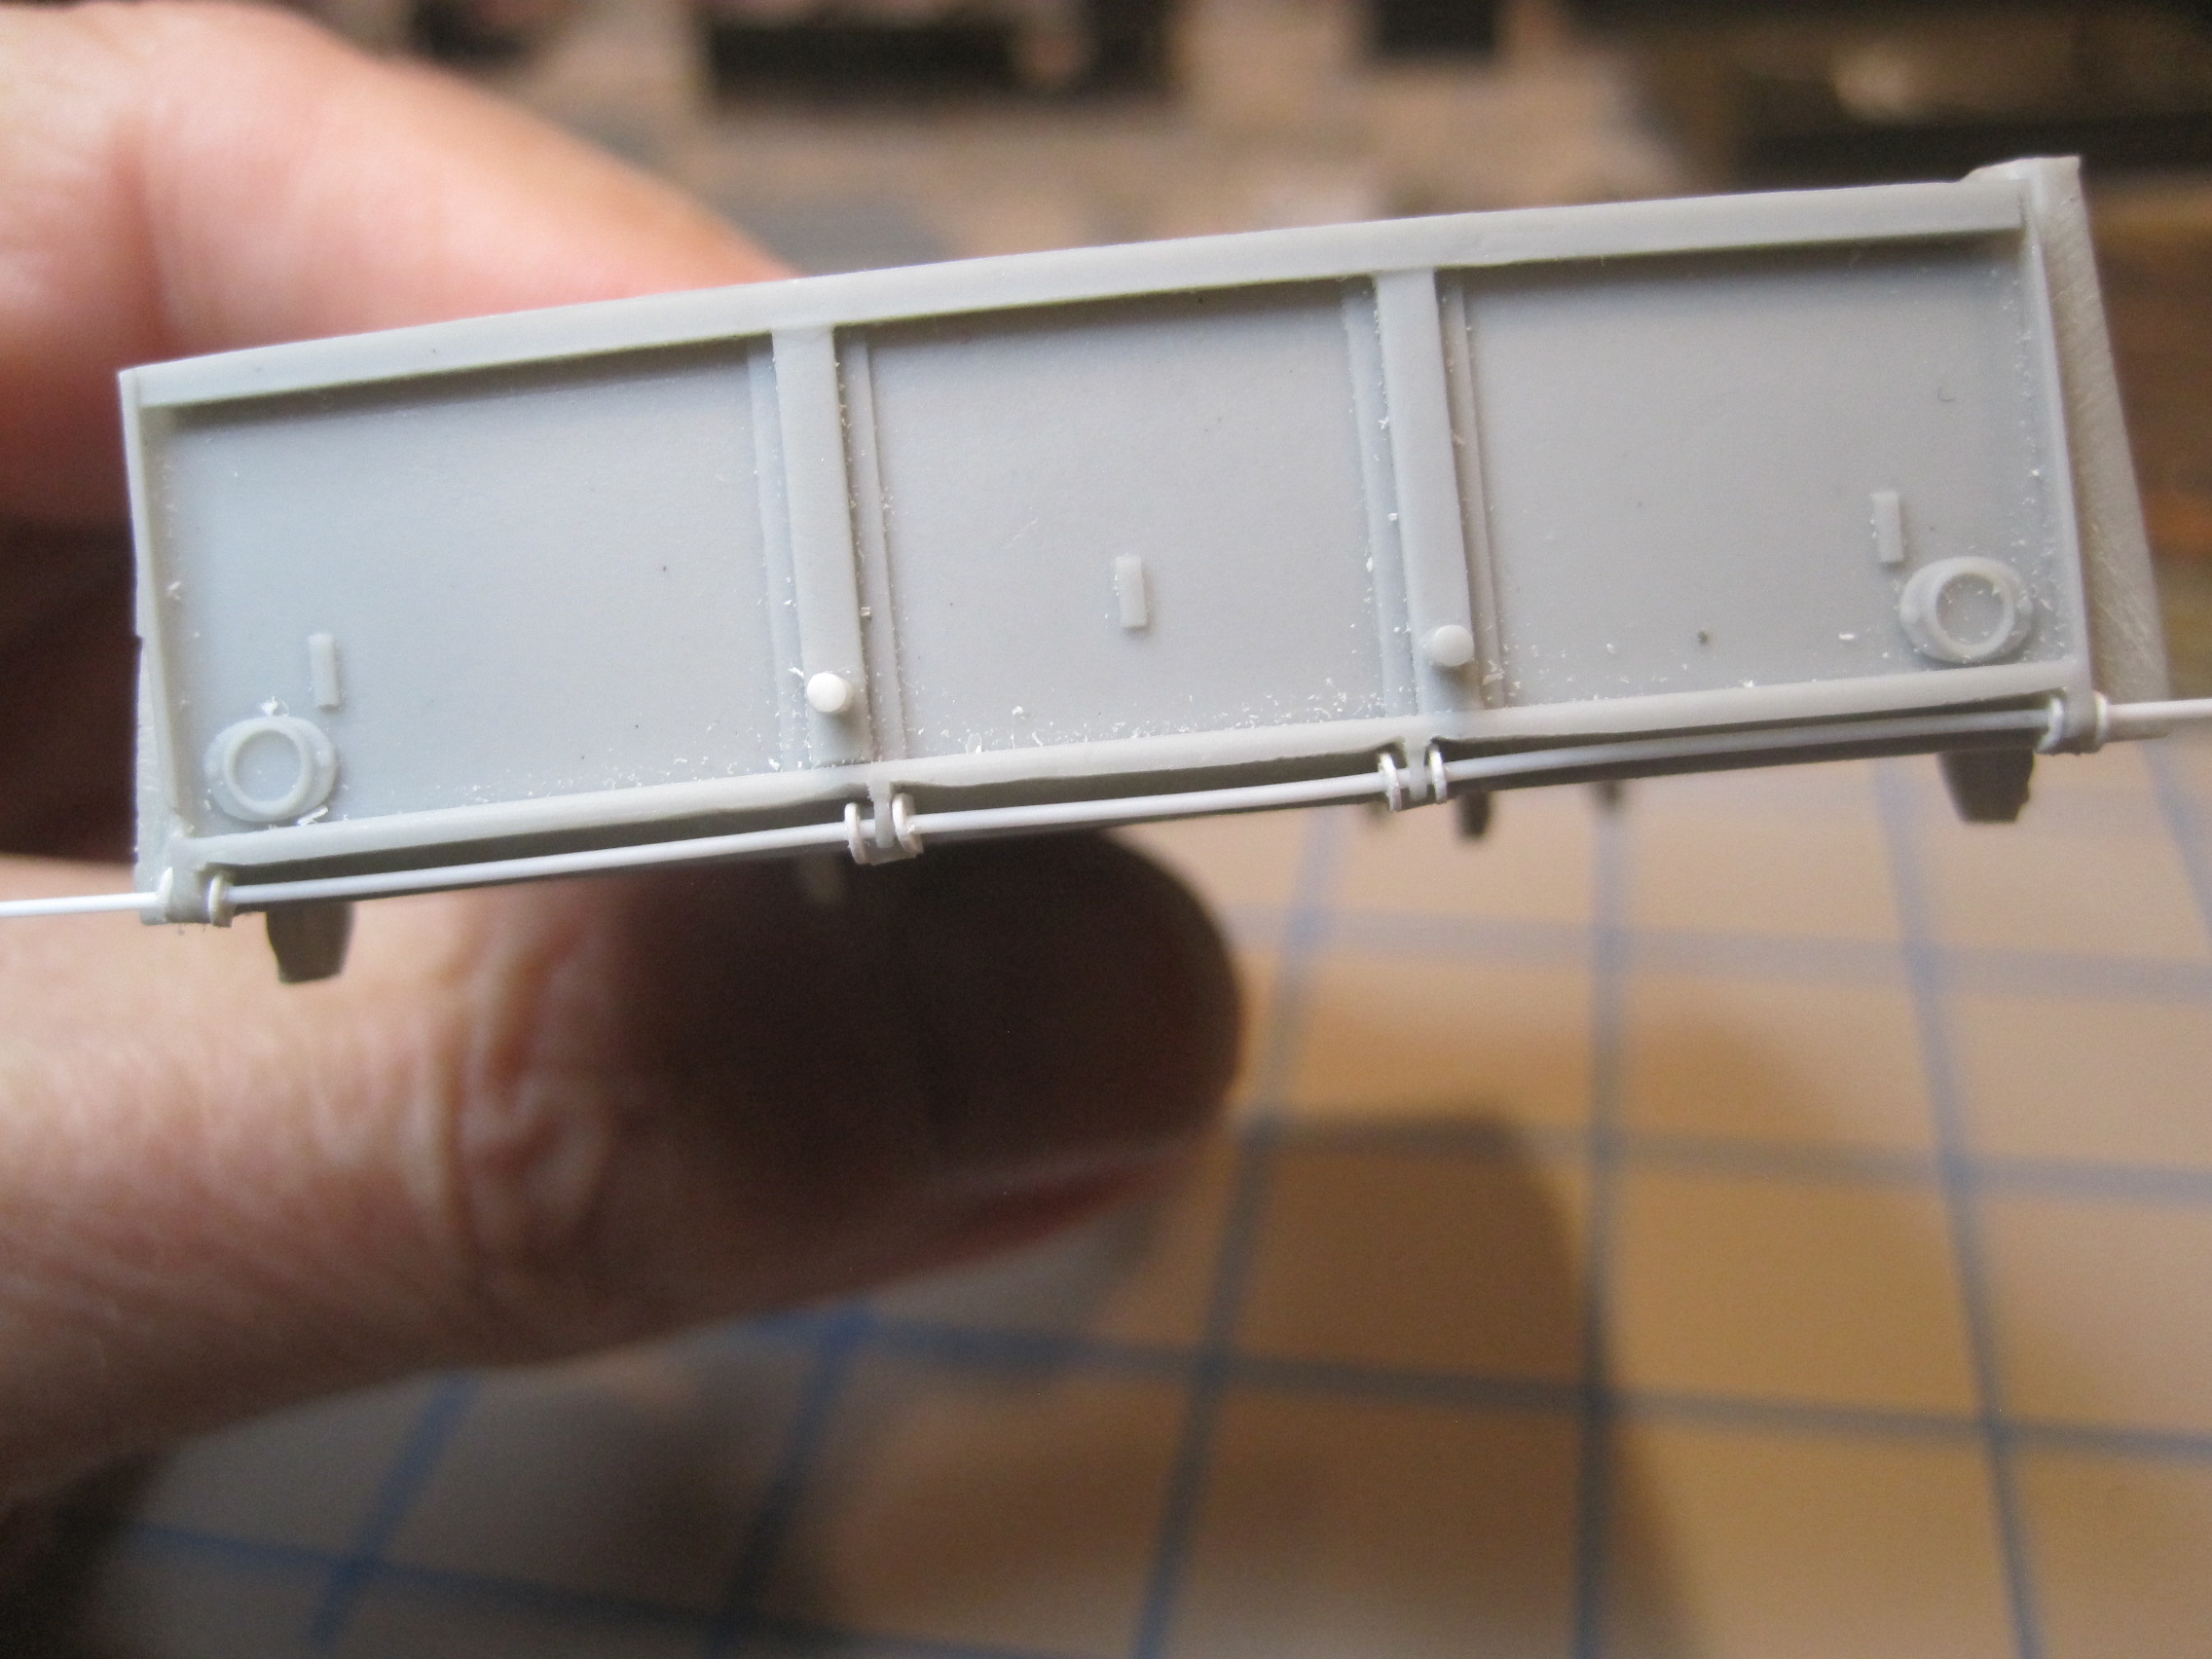
Here’s the latest work on the trailer. There are a lot more details I want to add that are not included in the kit, like the brake lines, both for the air over hydraulic system as well as the manual brakes. It’s interesting that there is no provision for these as the kit does include the master cylinder as well as the hydraulic and vacuum booster. So to actually route the lines and hoses, I’ve added a few junction blocks as well as drilled a couple of holes into the backing plates to attach the lines.
I’m also going to add the air lines which will connect to the truck as well as the electrical wiring from the lights in the rear, forward to the junction box and then add the cable to connect to the truck as well.
There are also two safety chains which I’ll add as well in addition to the fittings on the frame where everything is stowed when the trailer isn’t being towed.
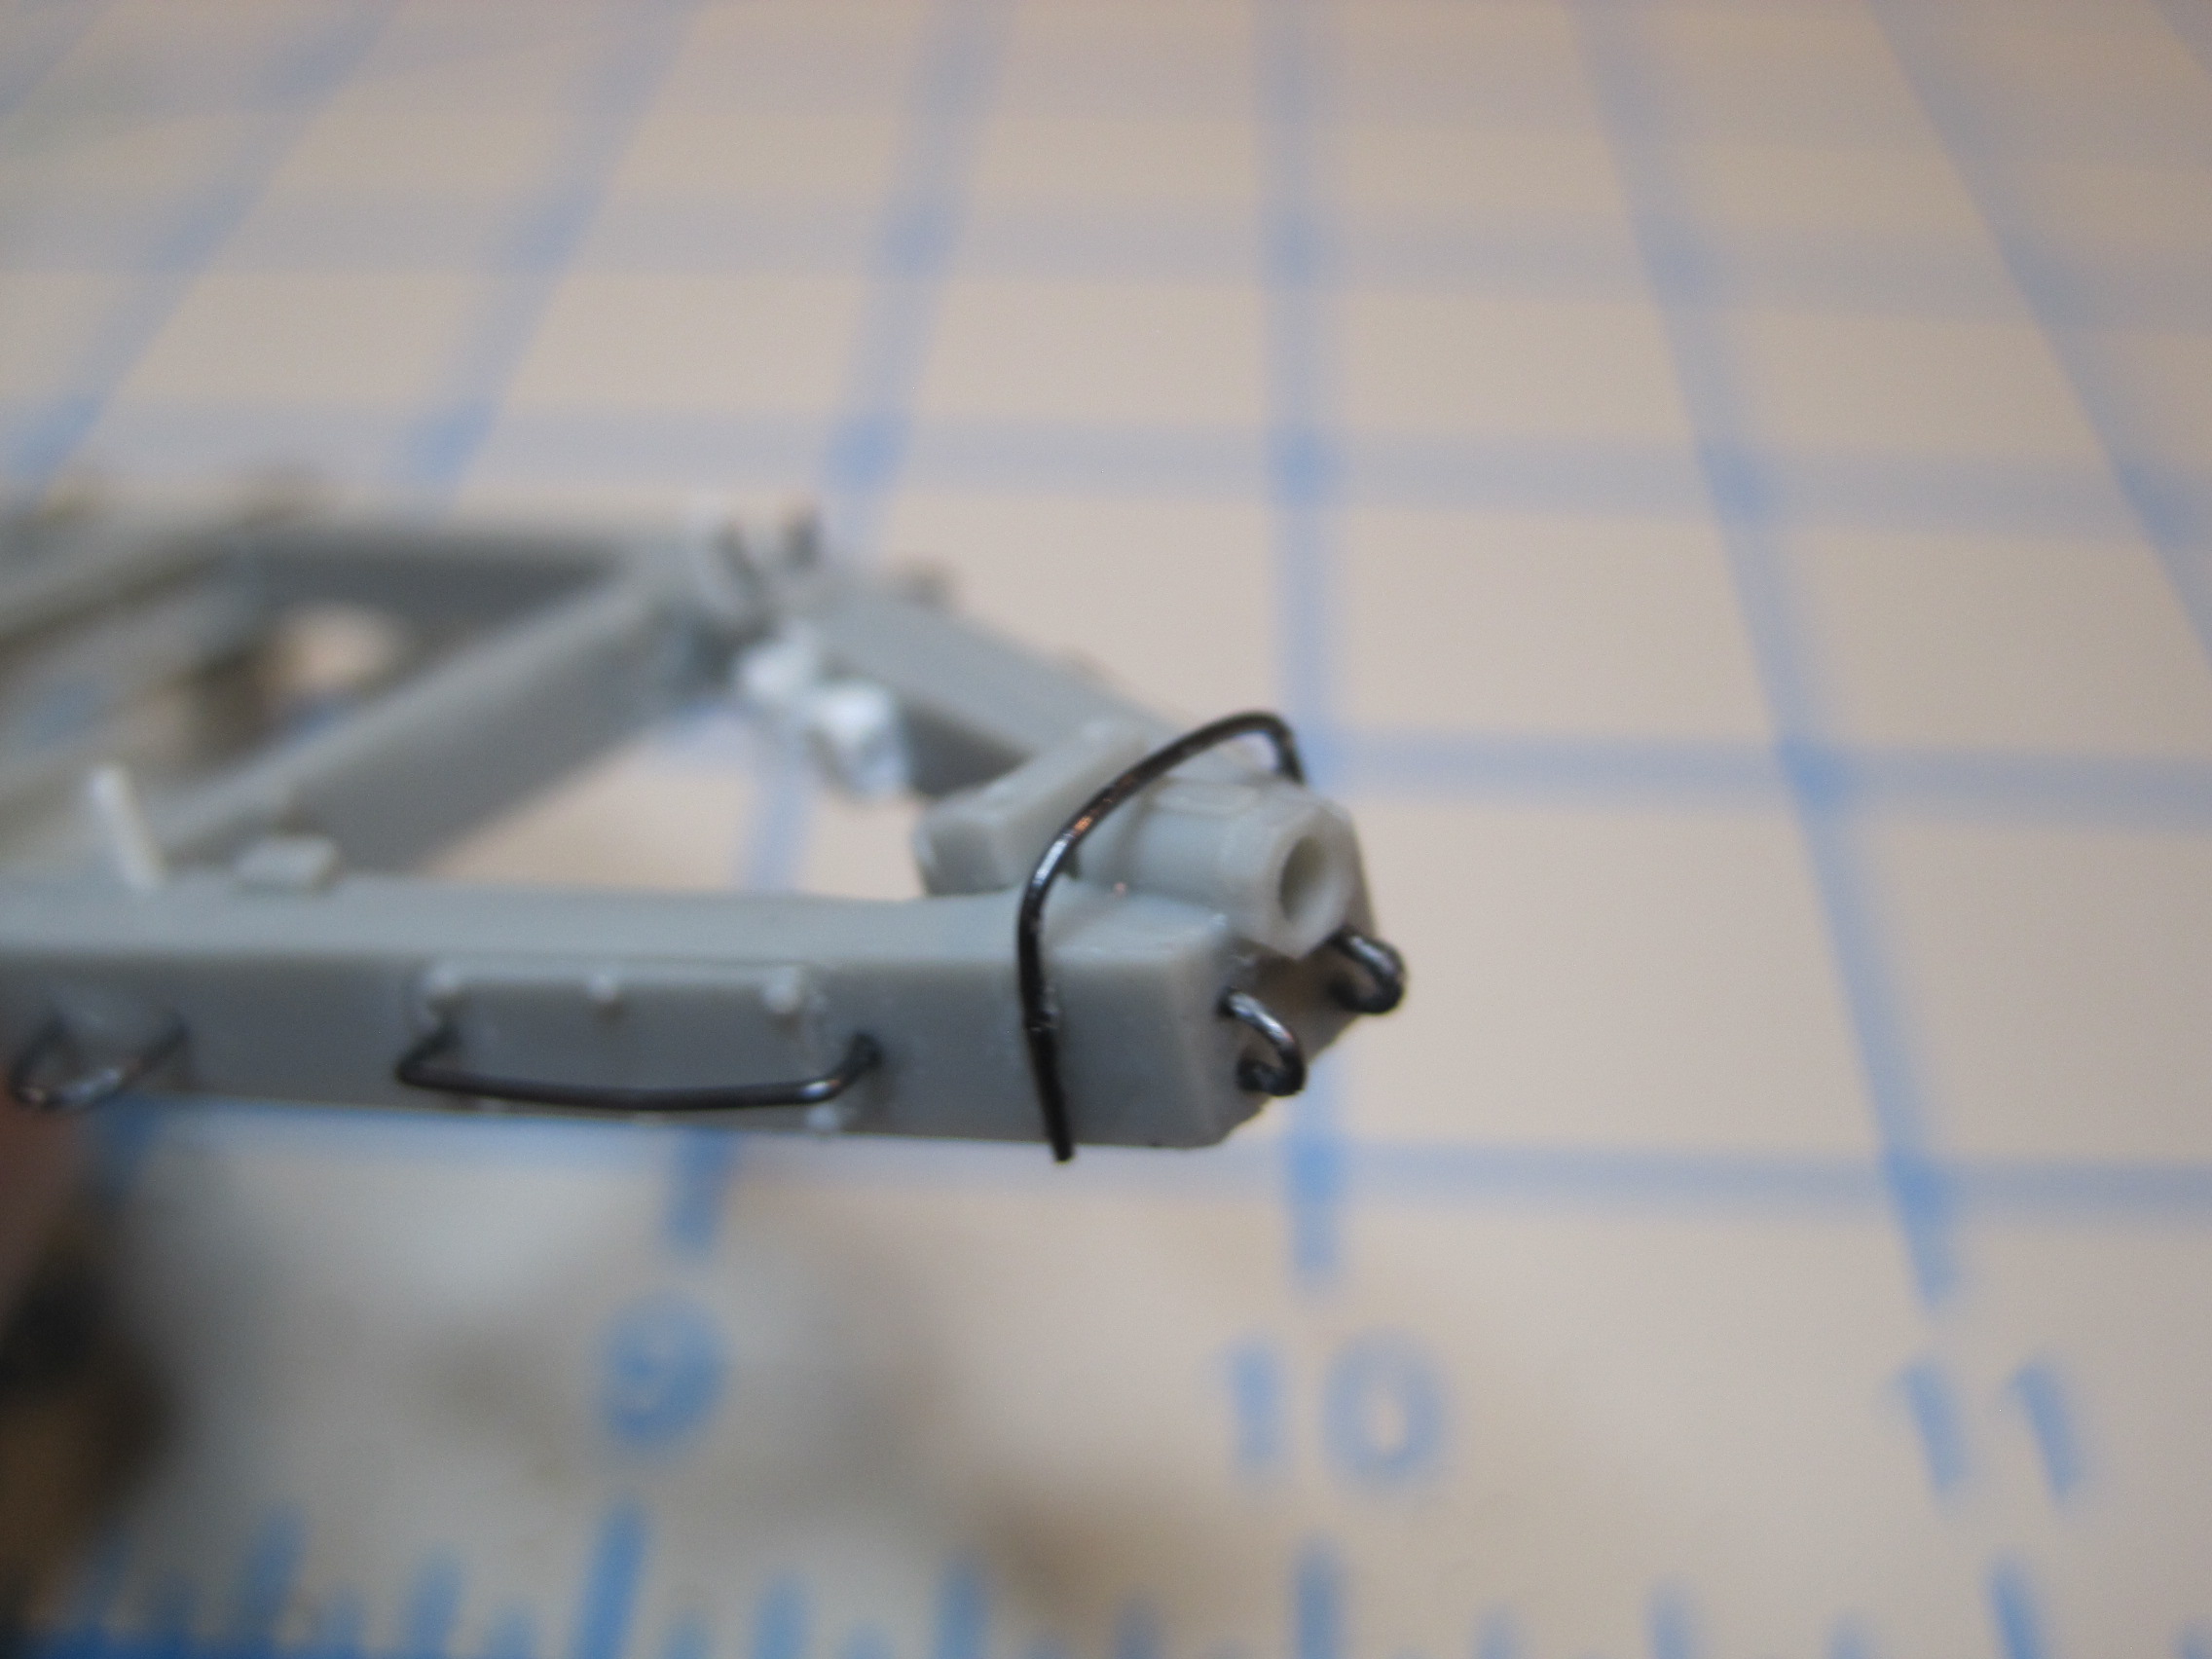
The kit does include a lot of the u-bolts for handles and attaching the axle, however these are resin and very thin so I’m replacing all of those with 26 gauge wire which is a bit more substantial.
I have to admit that I got very nostalgic while I was building the suspension. During my time at Ford, I was fortunate enough to have spent 8 years as the design engineer at Ford Light Truck responsible for designing and releasing for production, the entire rear suspension system for all the F-Series and Econoilne vehicles. I was so familiar with all those parts and spent lots of time learning the dynamics and geometry of how a rear leaf spring system works, how to calculate rates and stresses and determine the proper balance to be able to carry the desired load, still have a decent ride and not have too much or too little travel between empty and design load positions. Working on all those parts brought back a lot of fond memories!
4 Likes
Today’s installment is some additional detailing work.
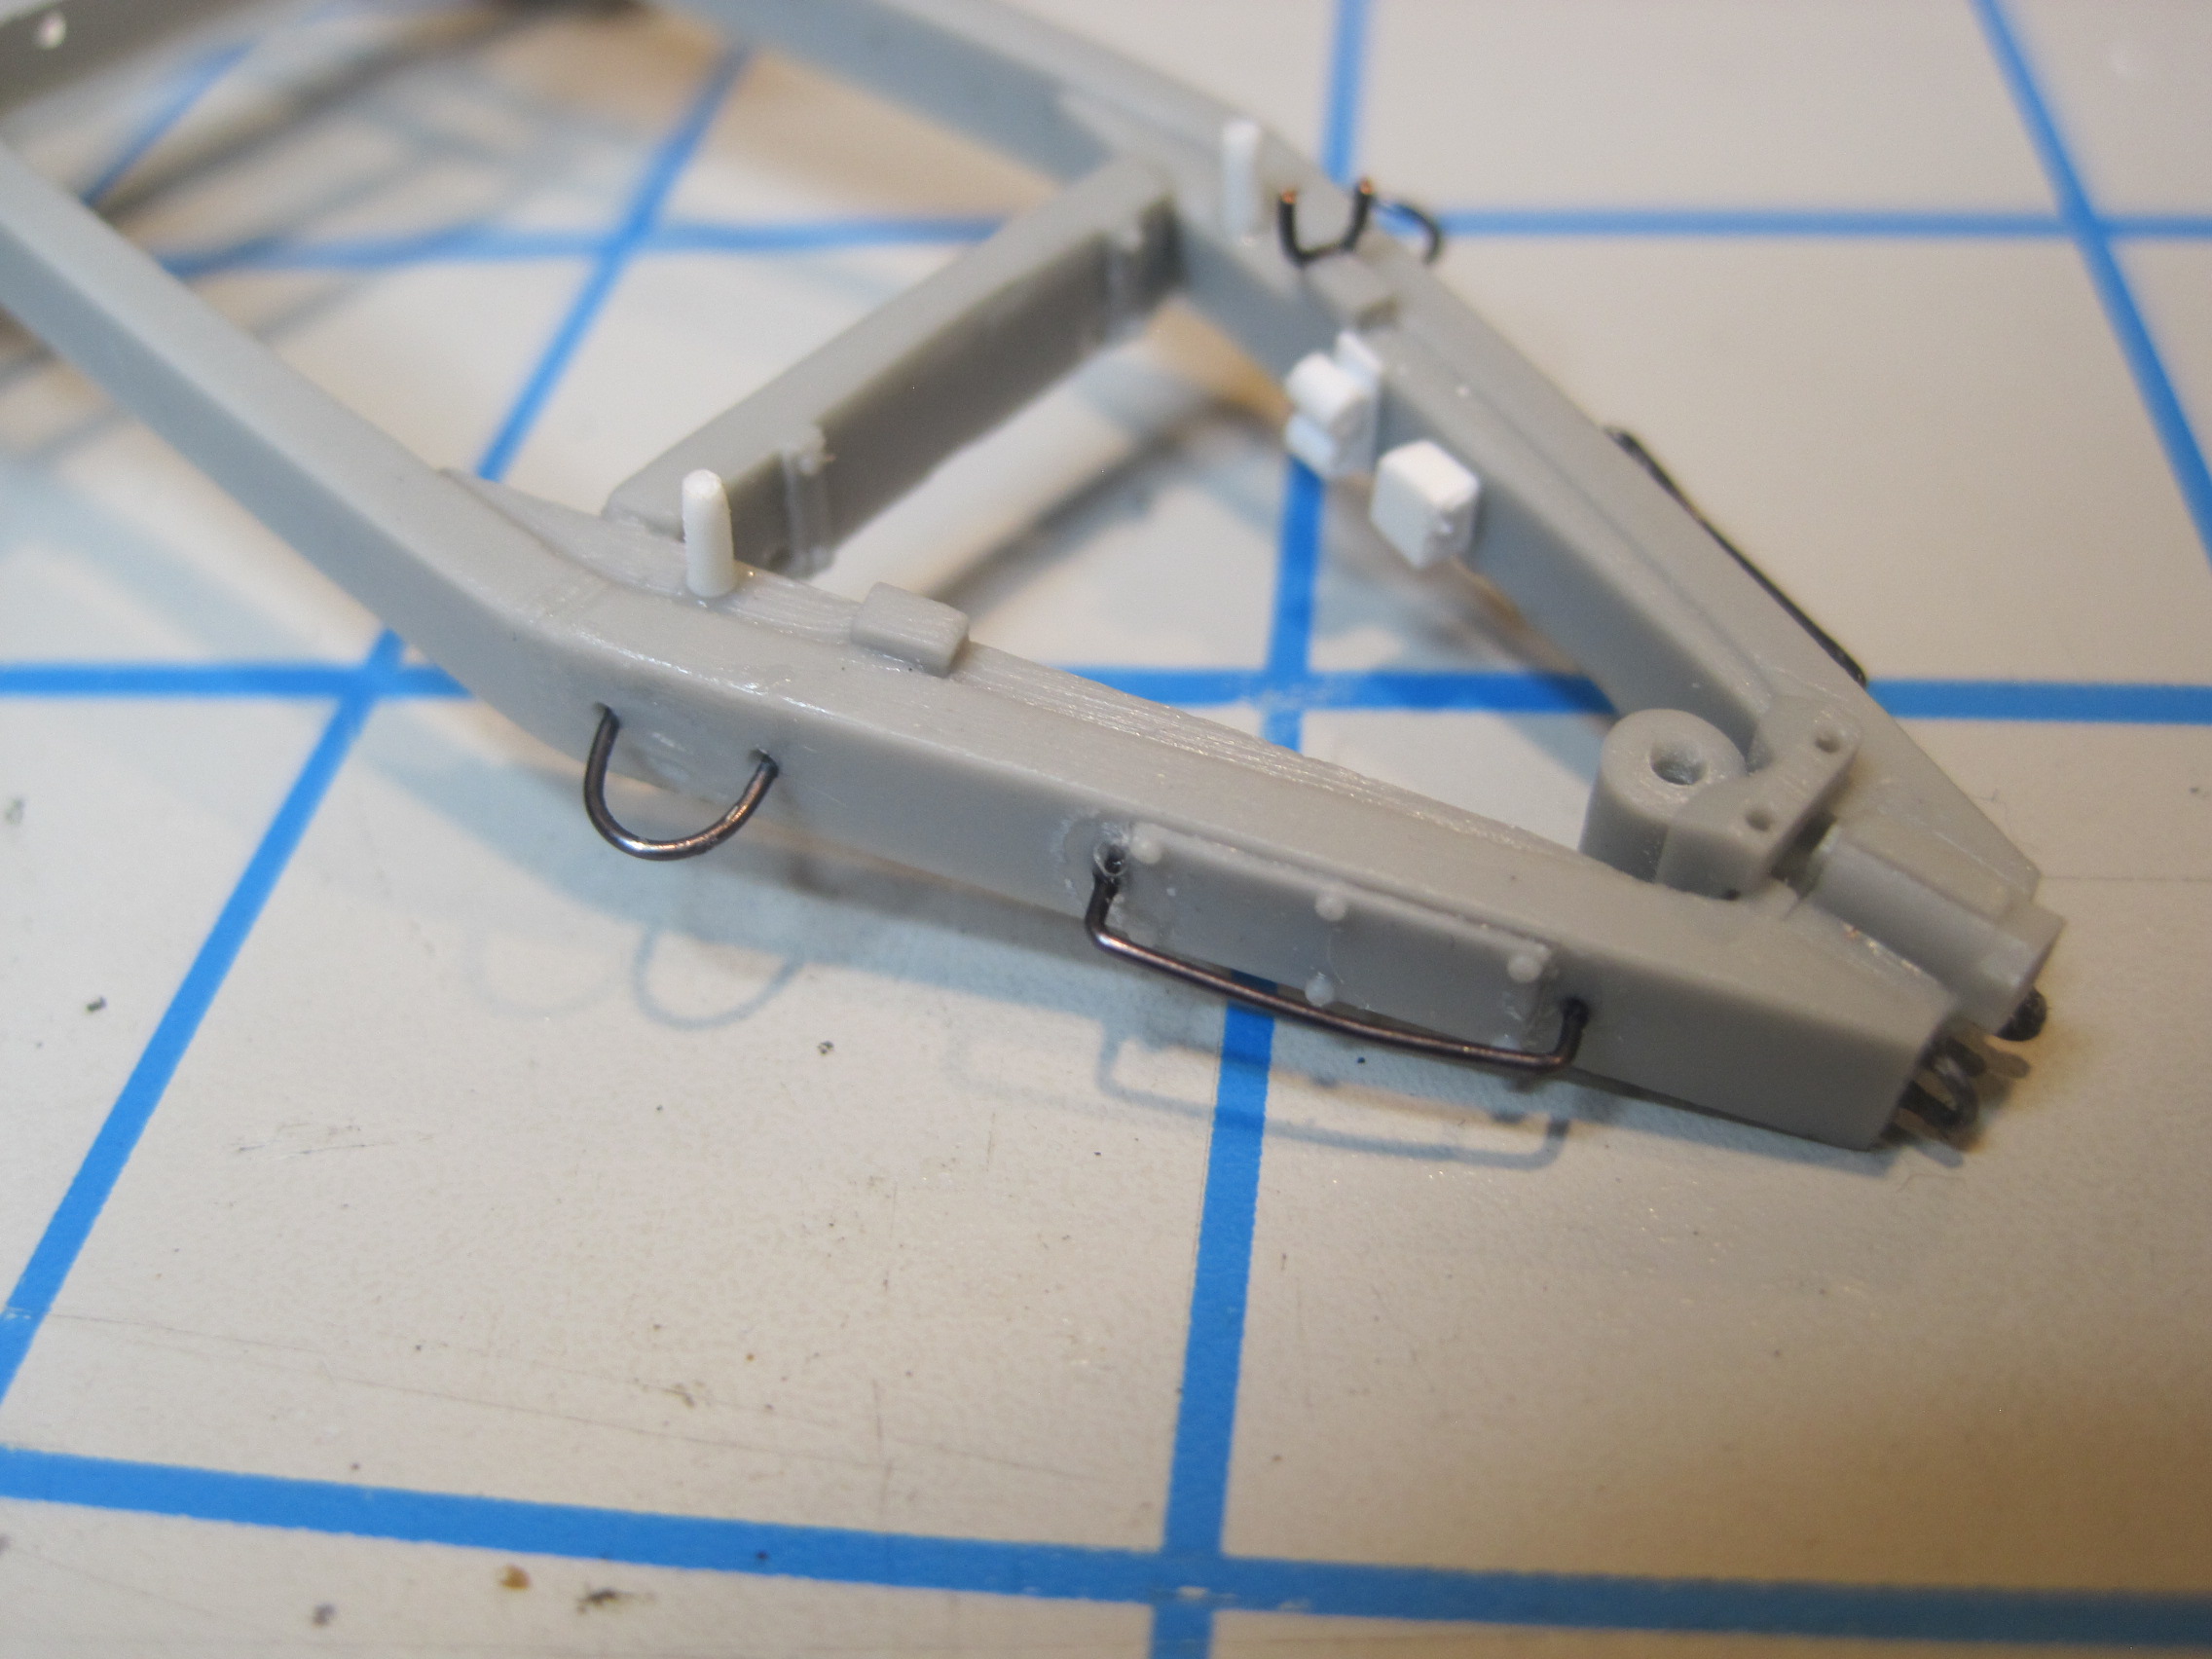
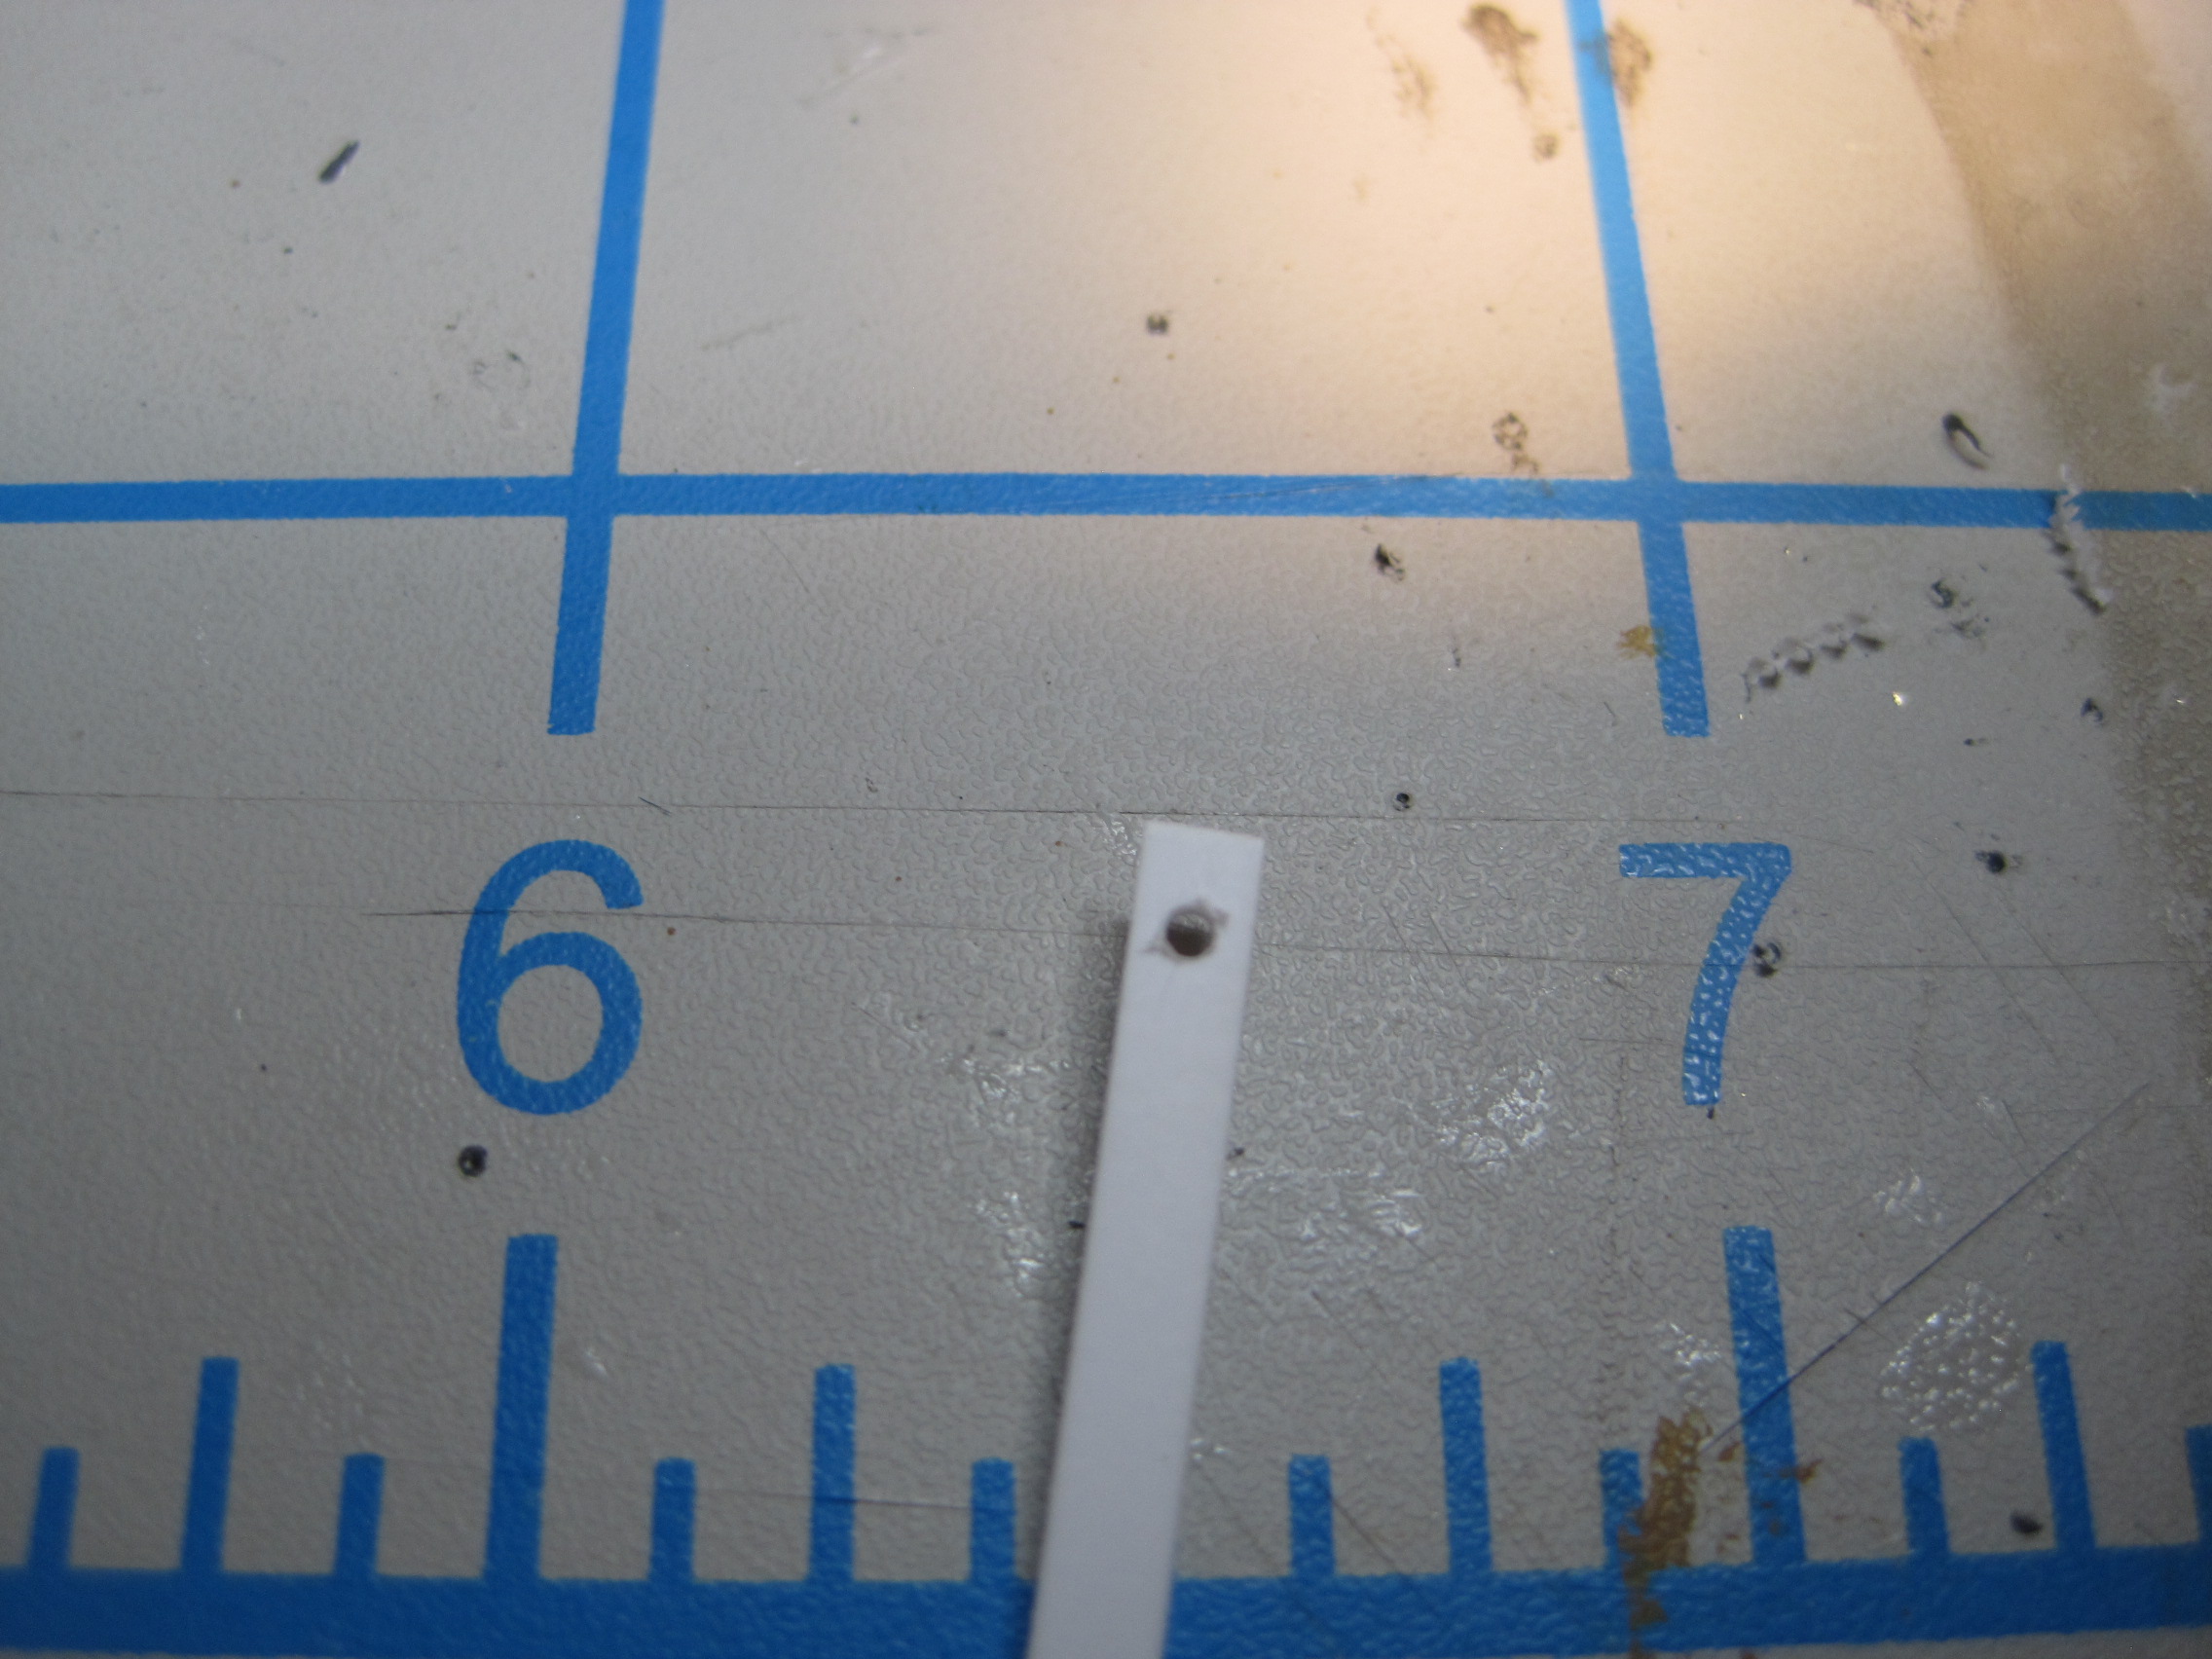
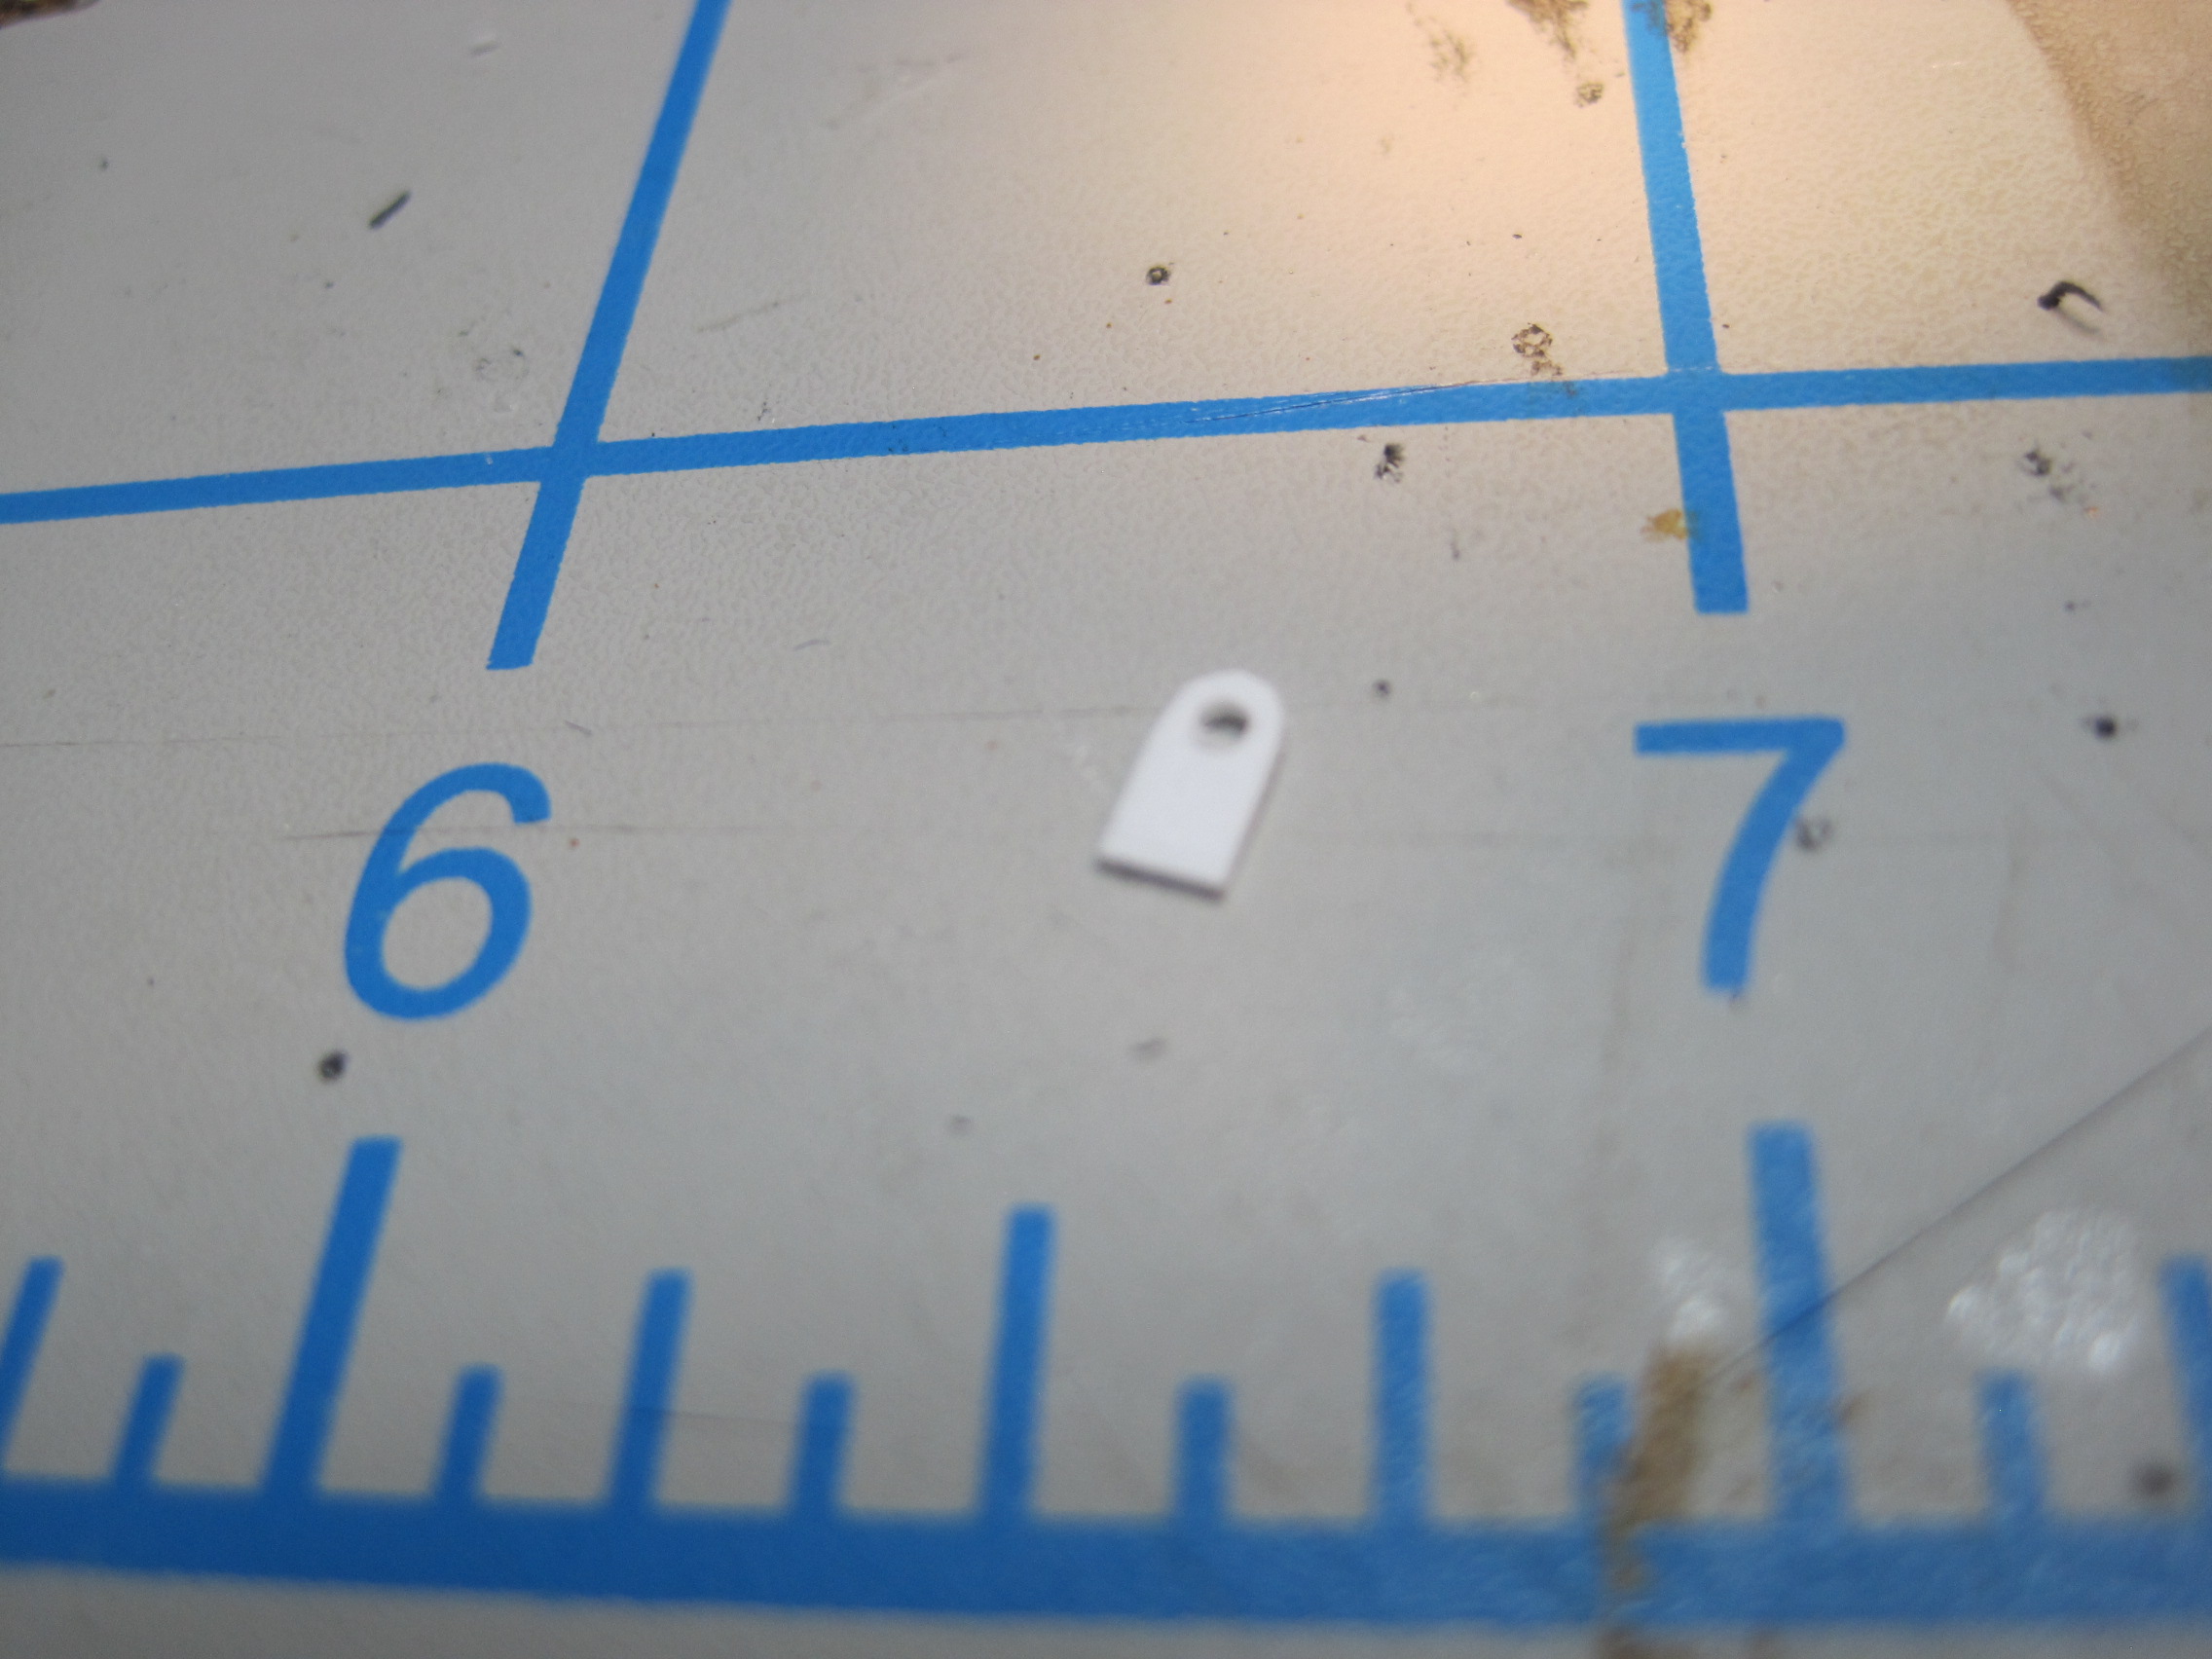
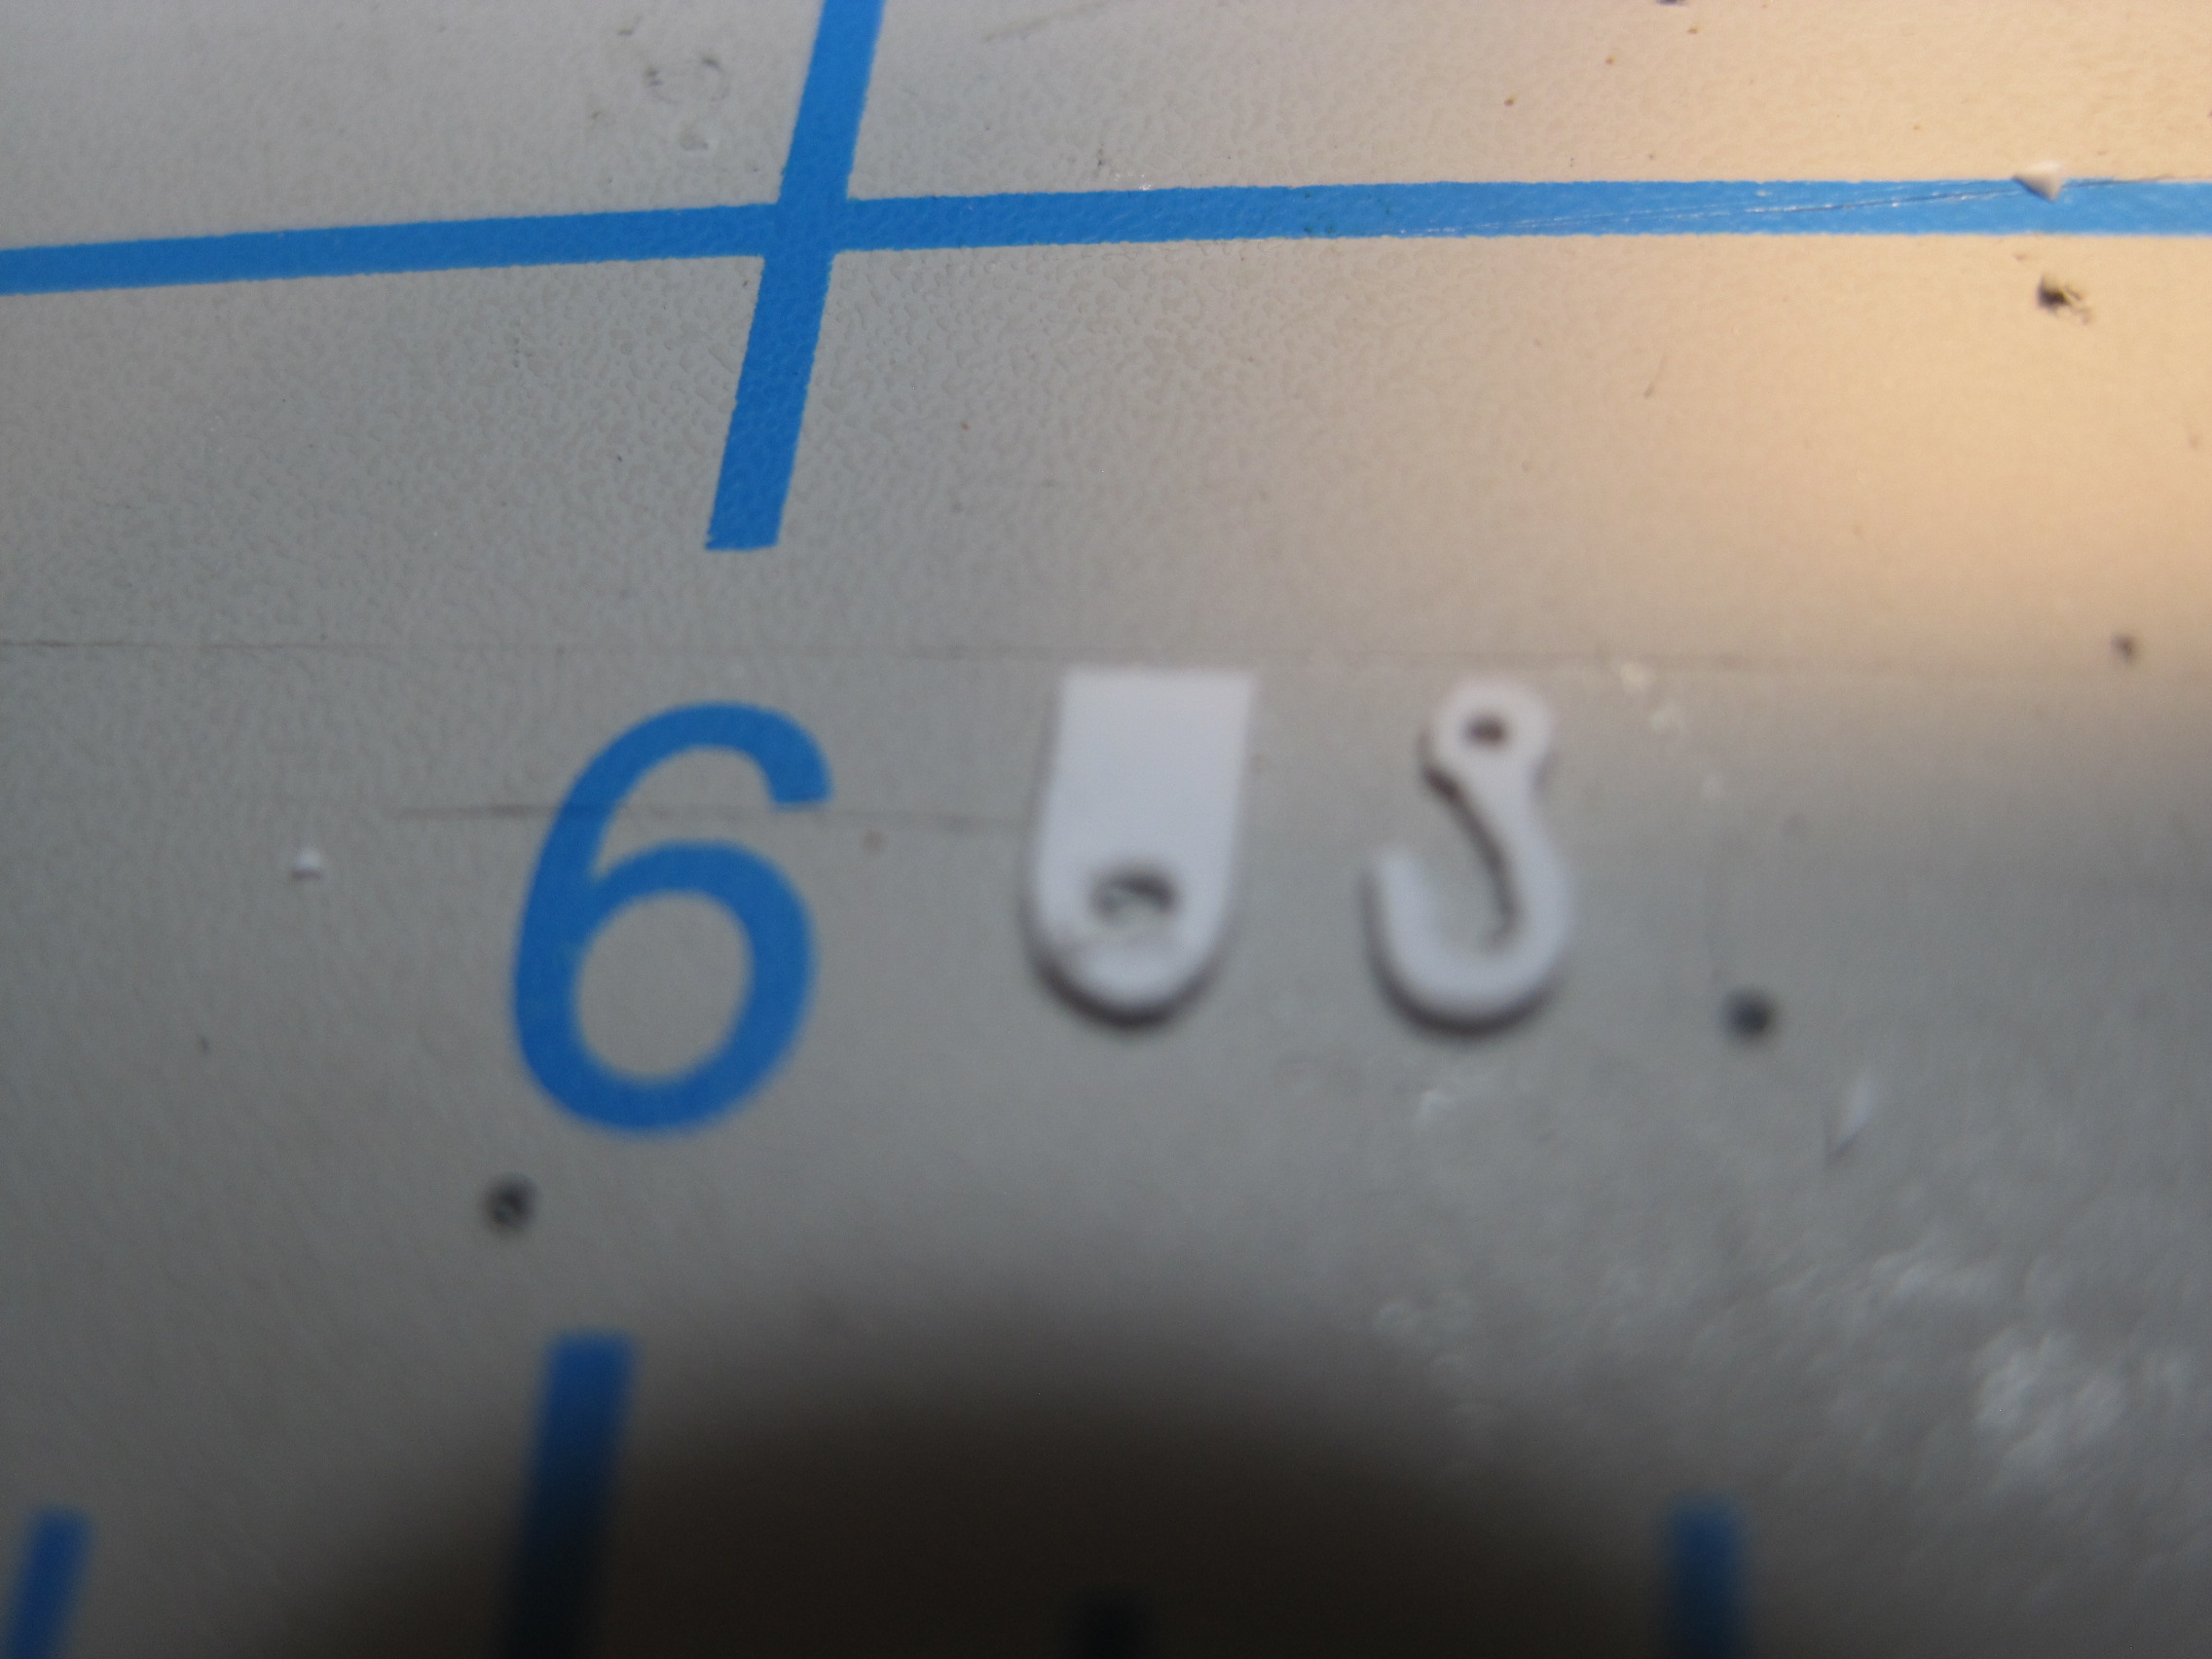
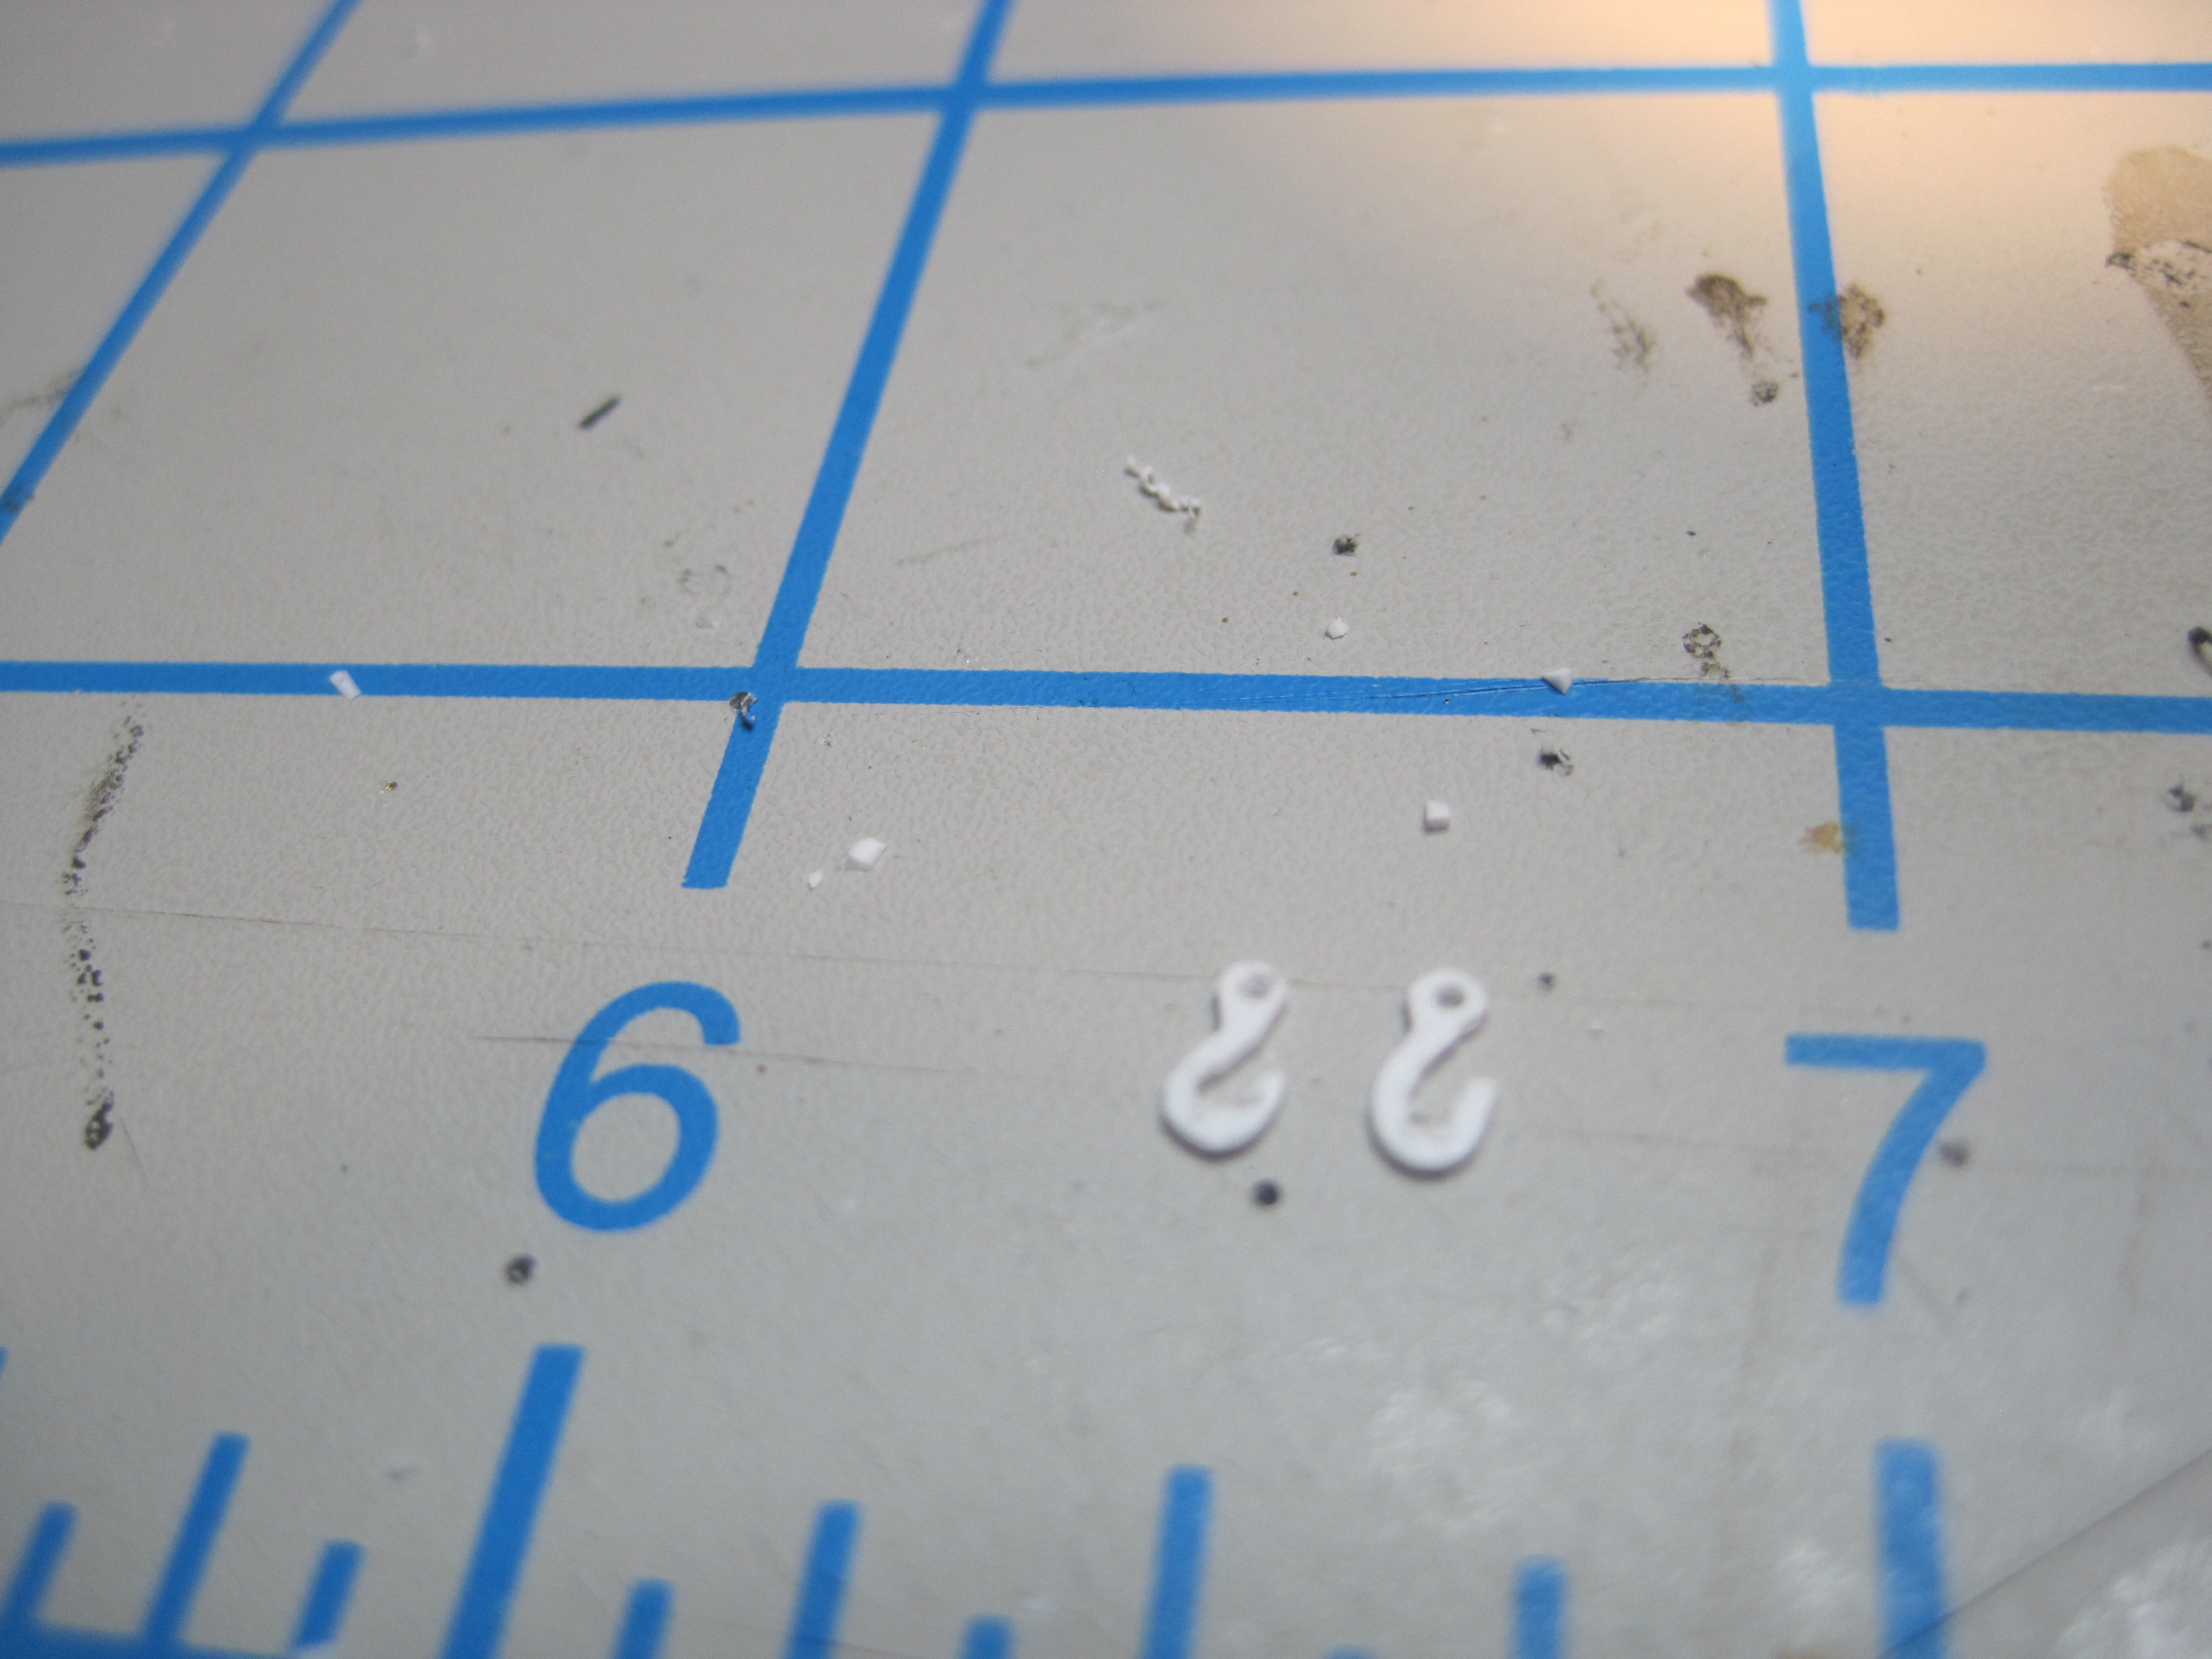
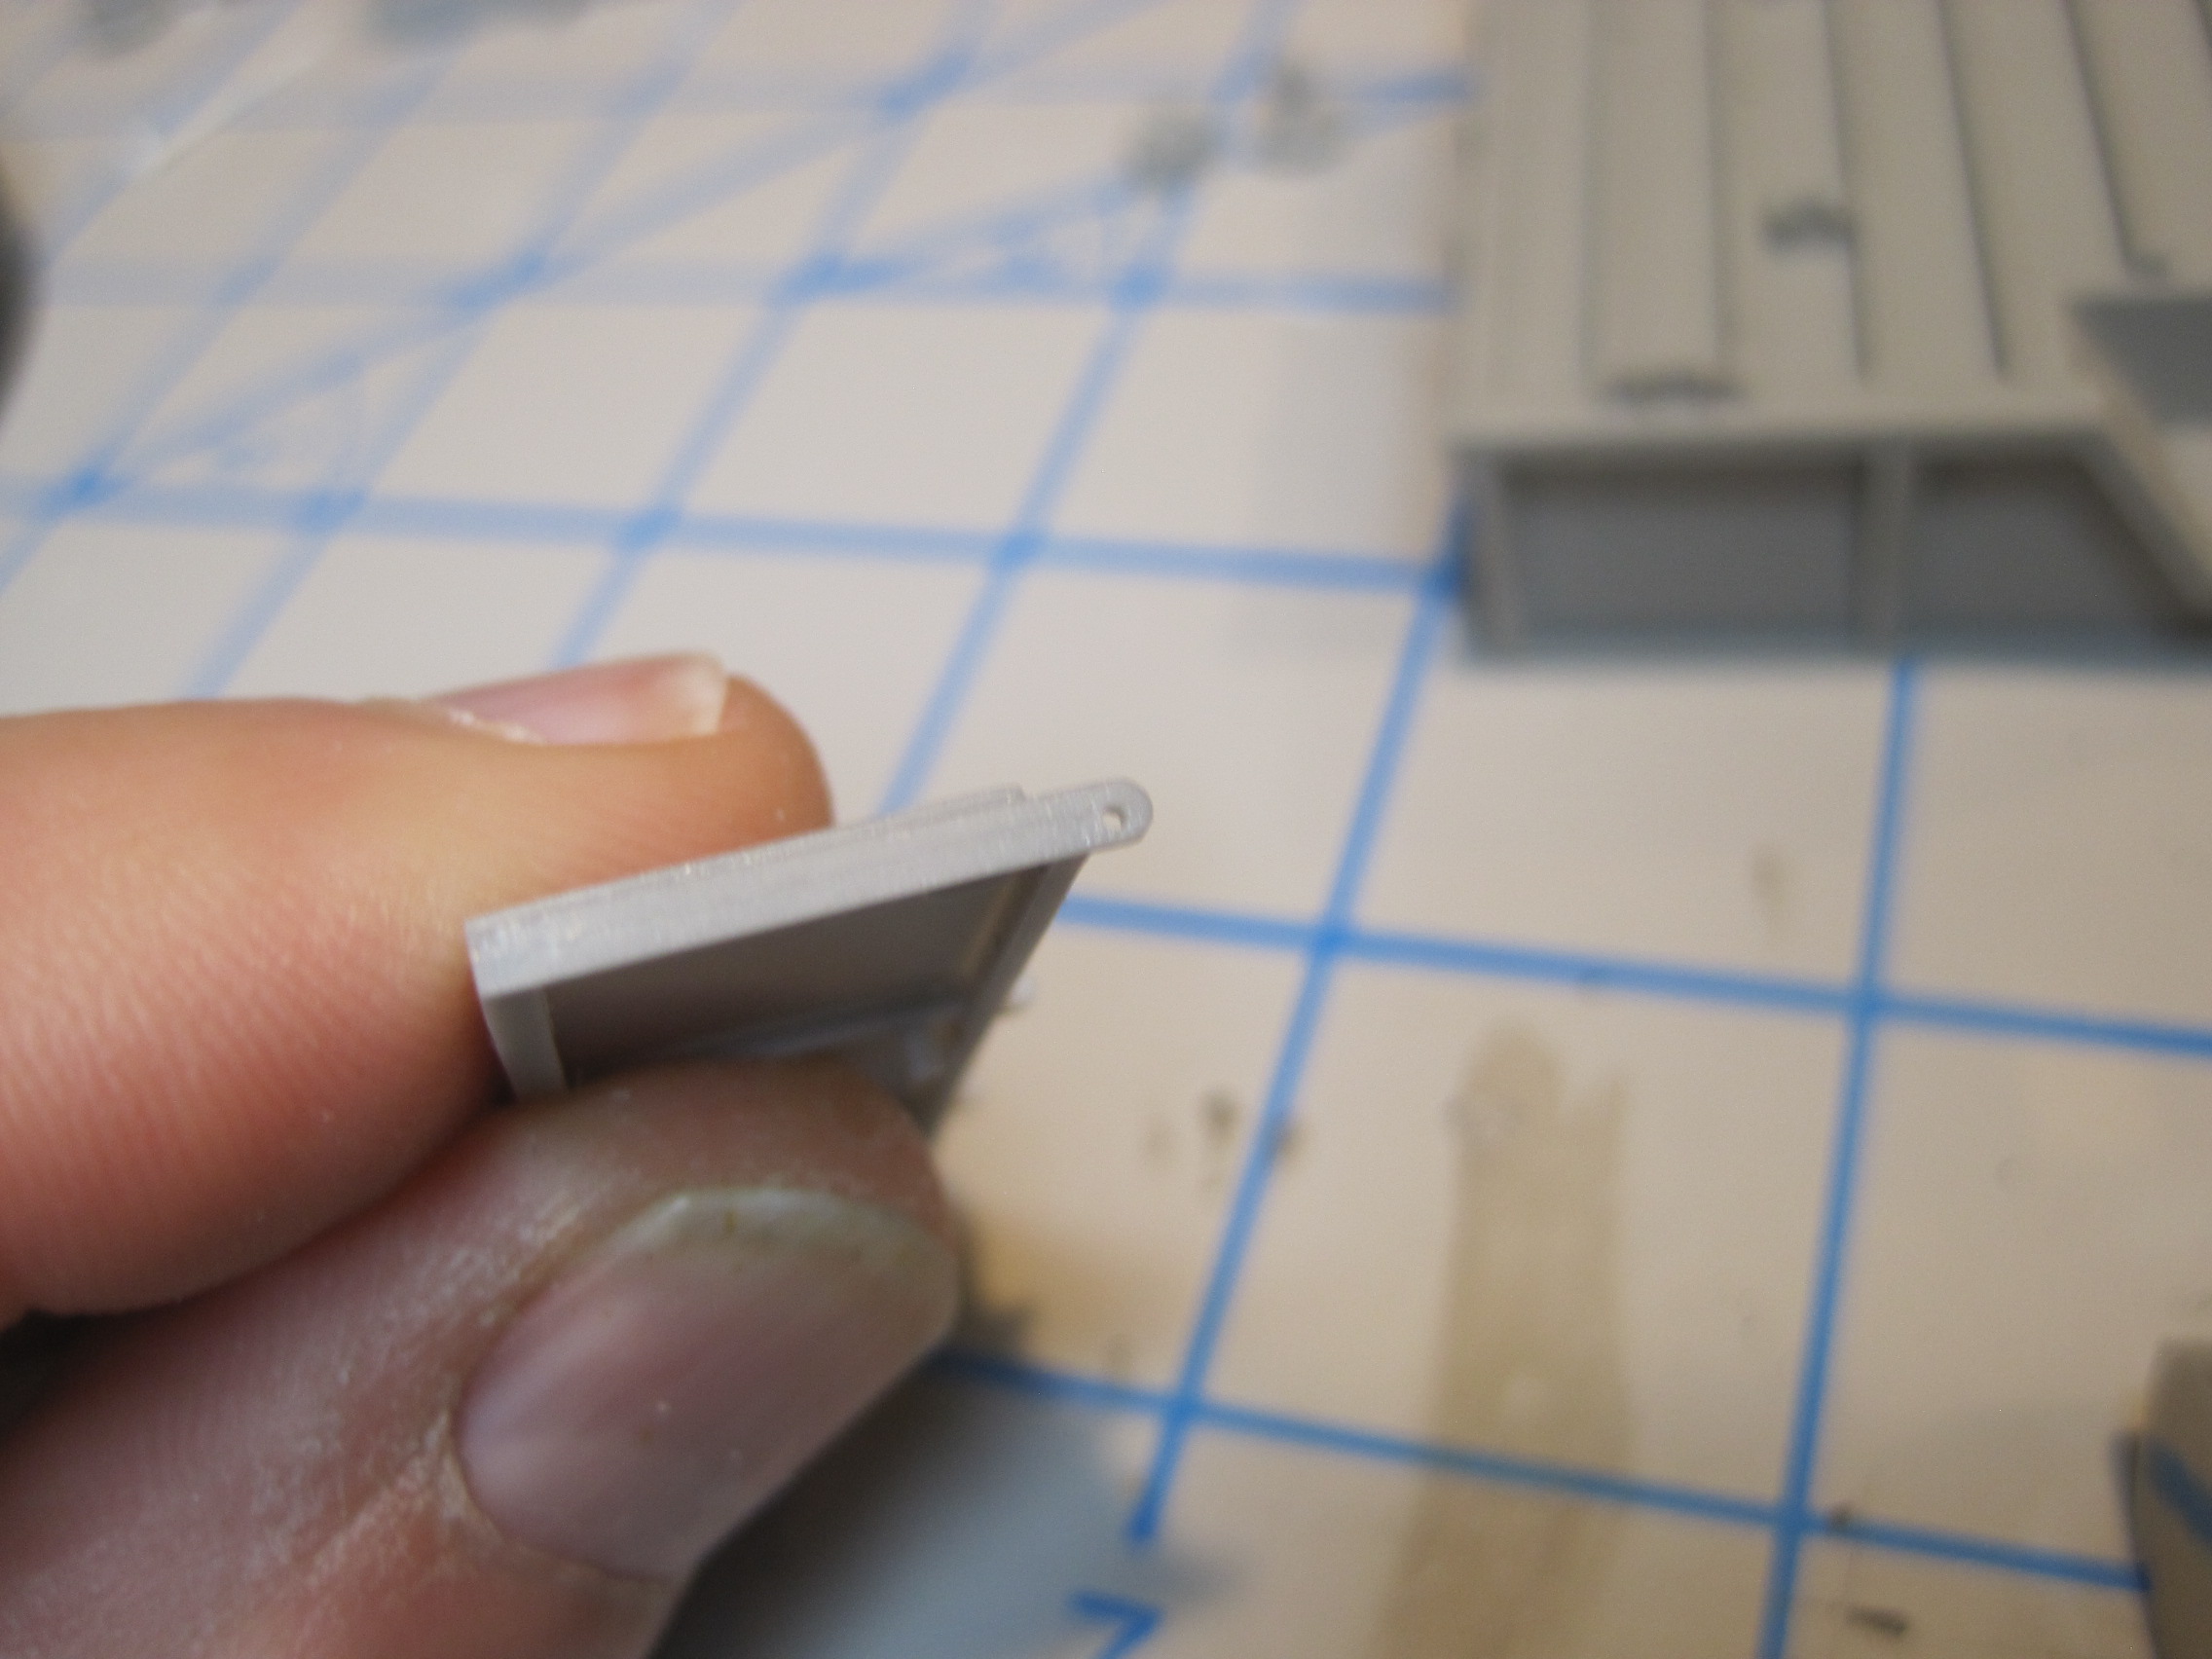
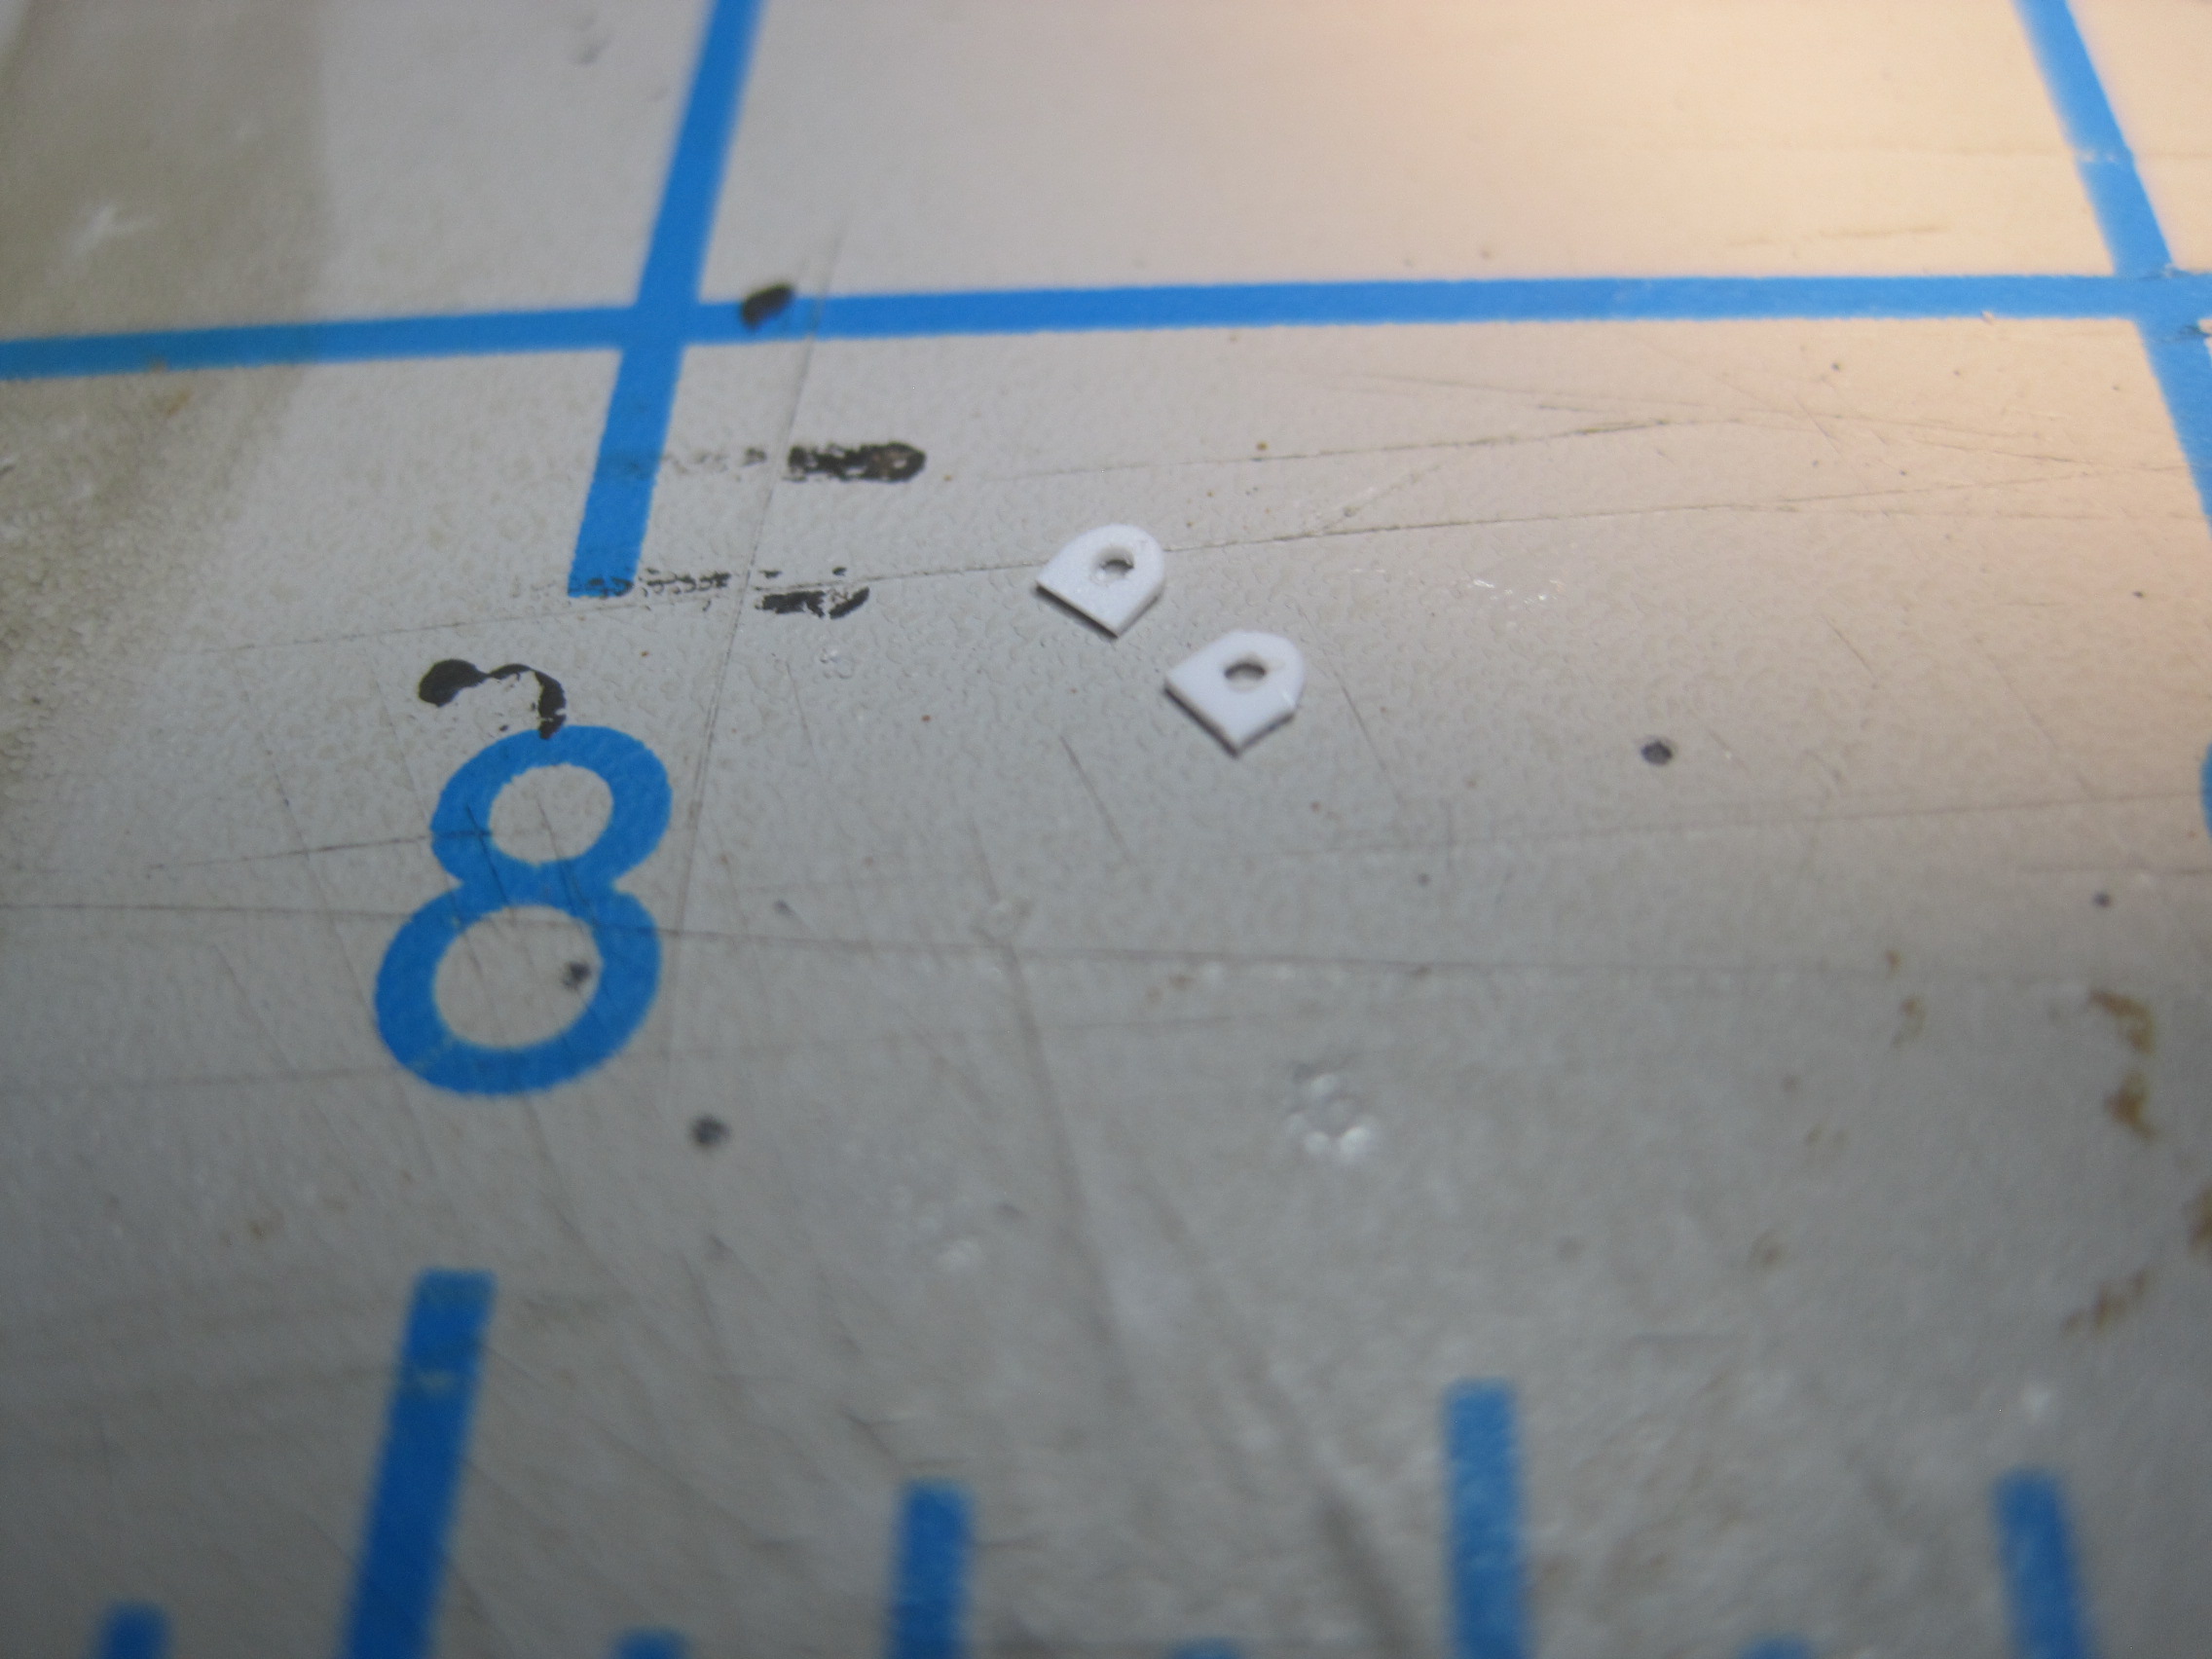
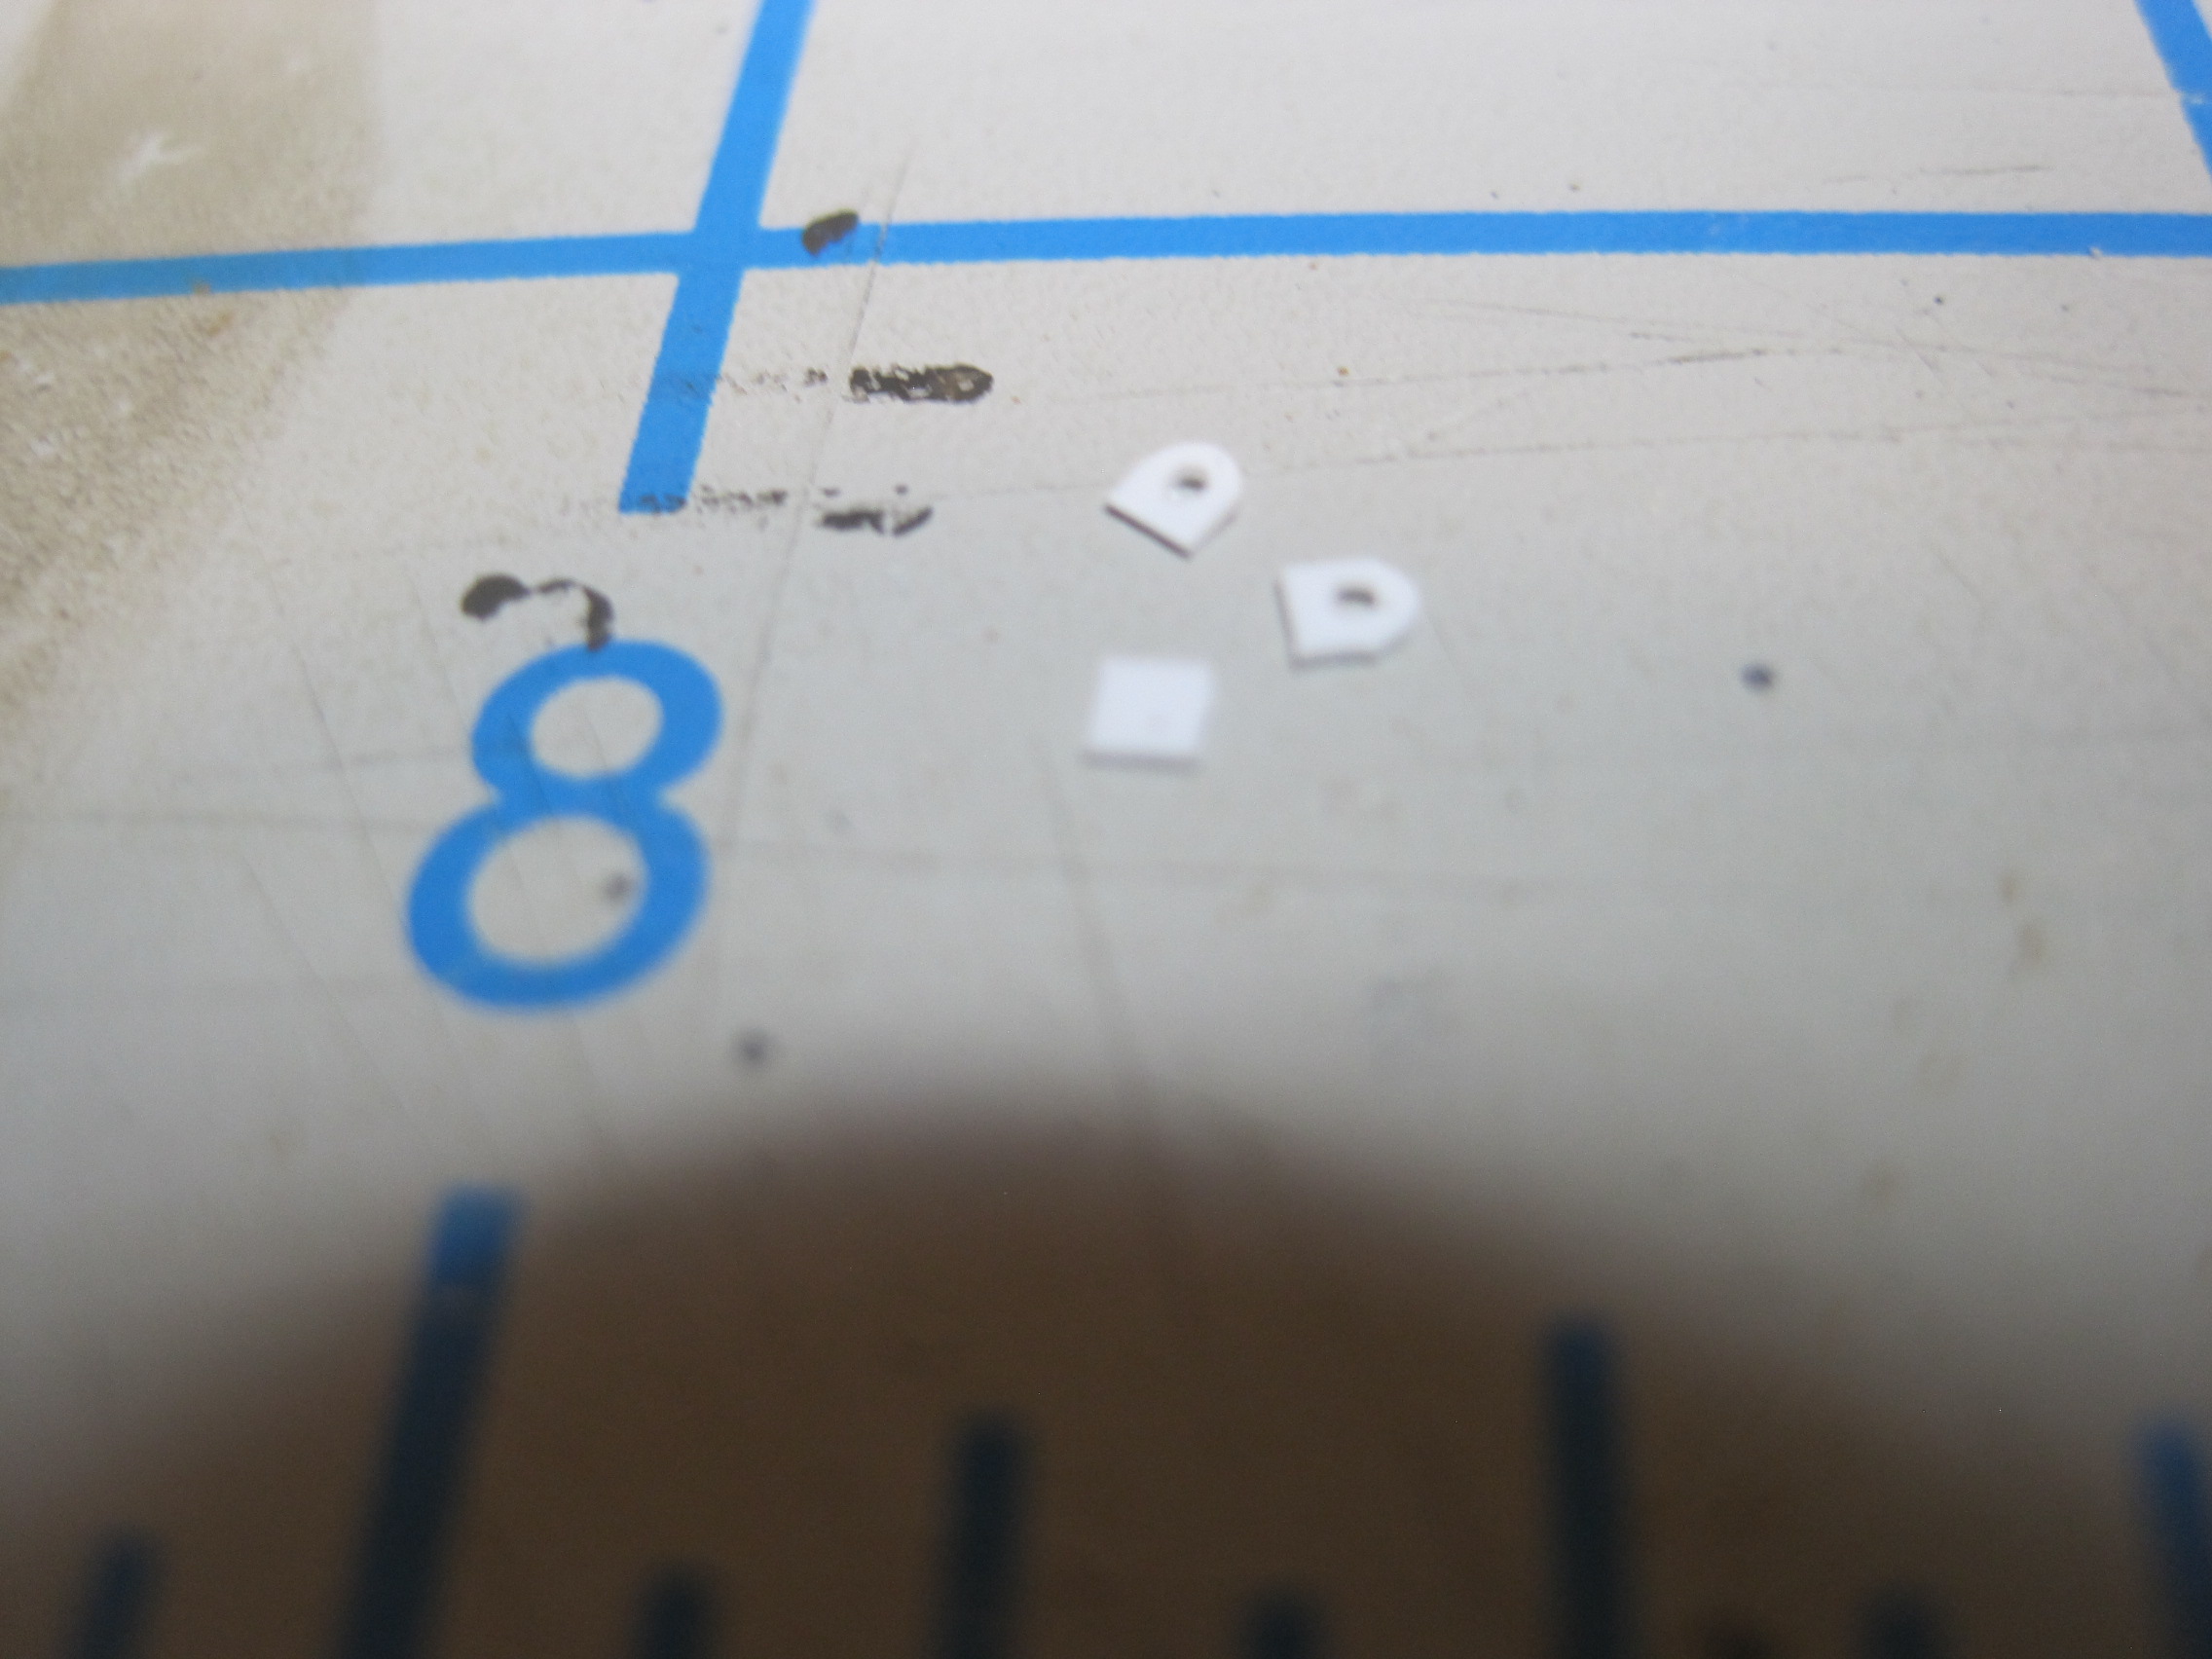
First up is the “latches” for the tailgate. These drop down through the attachments on the back of the trailer body and on the tailgate when it’s in the closed position. Once I have the two attachments made and positioned properly, I bend a piece of wire and glue it into the handle. The trickiest part is that they attach to the trailer by a length of chain, and that has to be JUST long enough so that when the tailgate is lowered to the 90 degree (flat) position, when they are reinserted into the tail gate attachment they are the proper length to hold the gate flat. That part will be handled once I get everything painted and assembled.
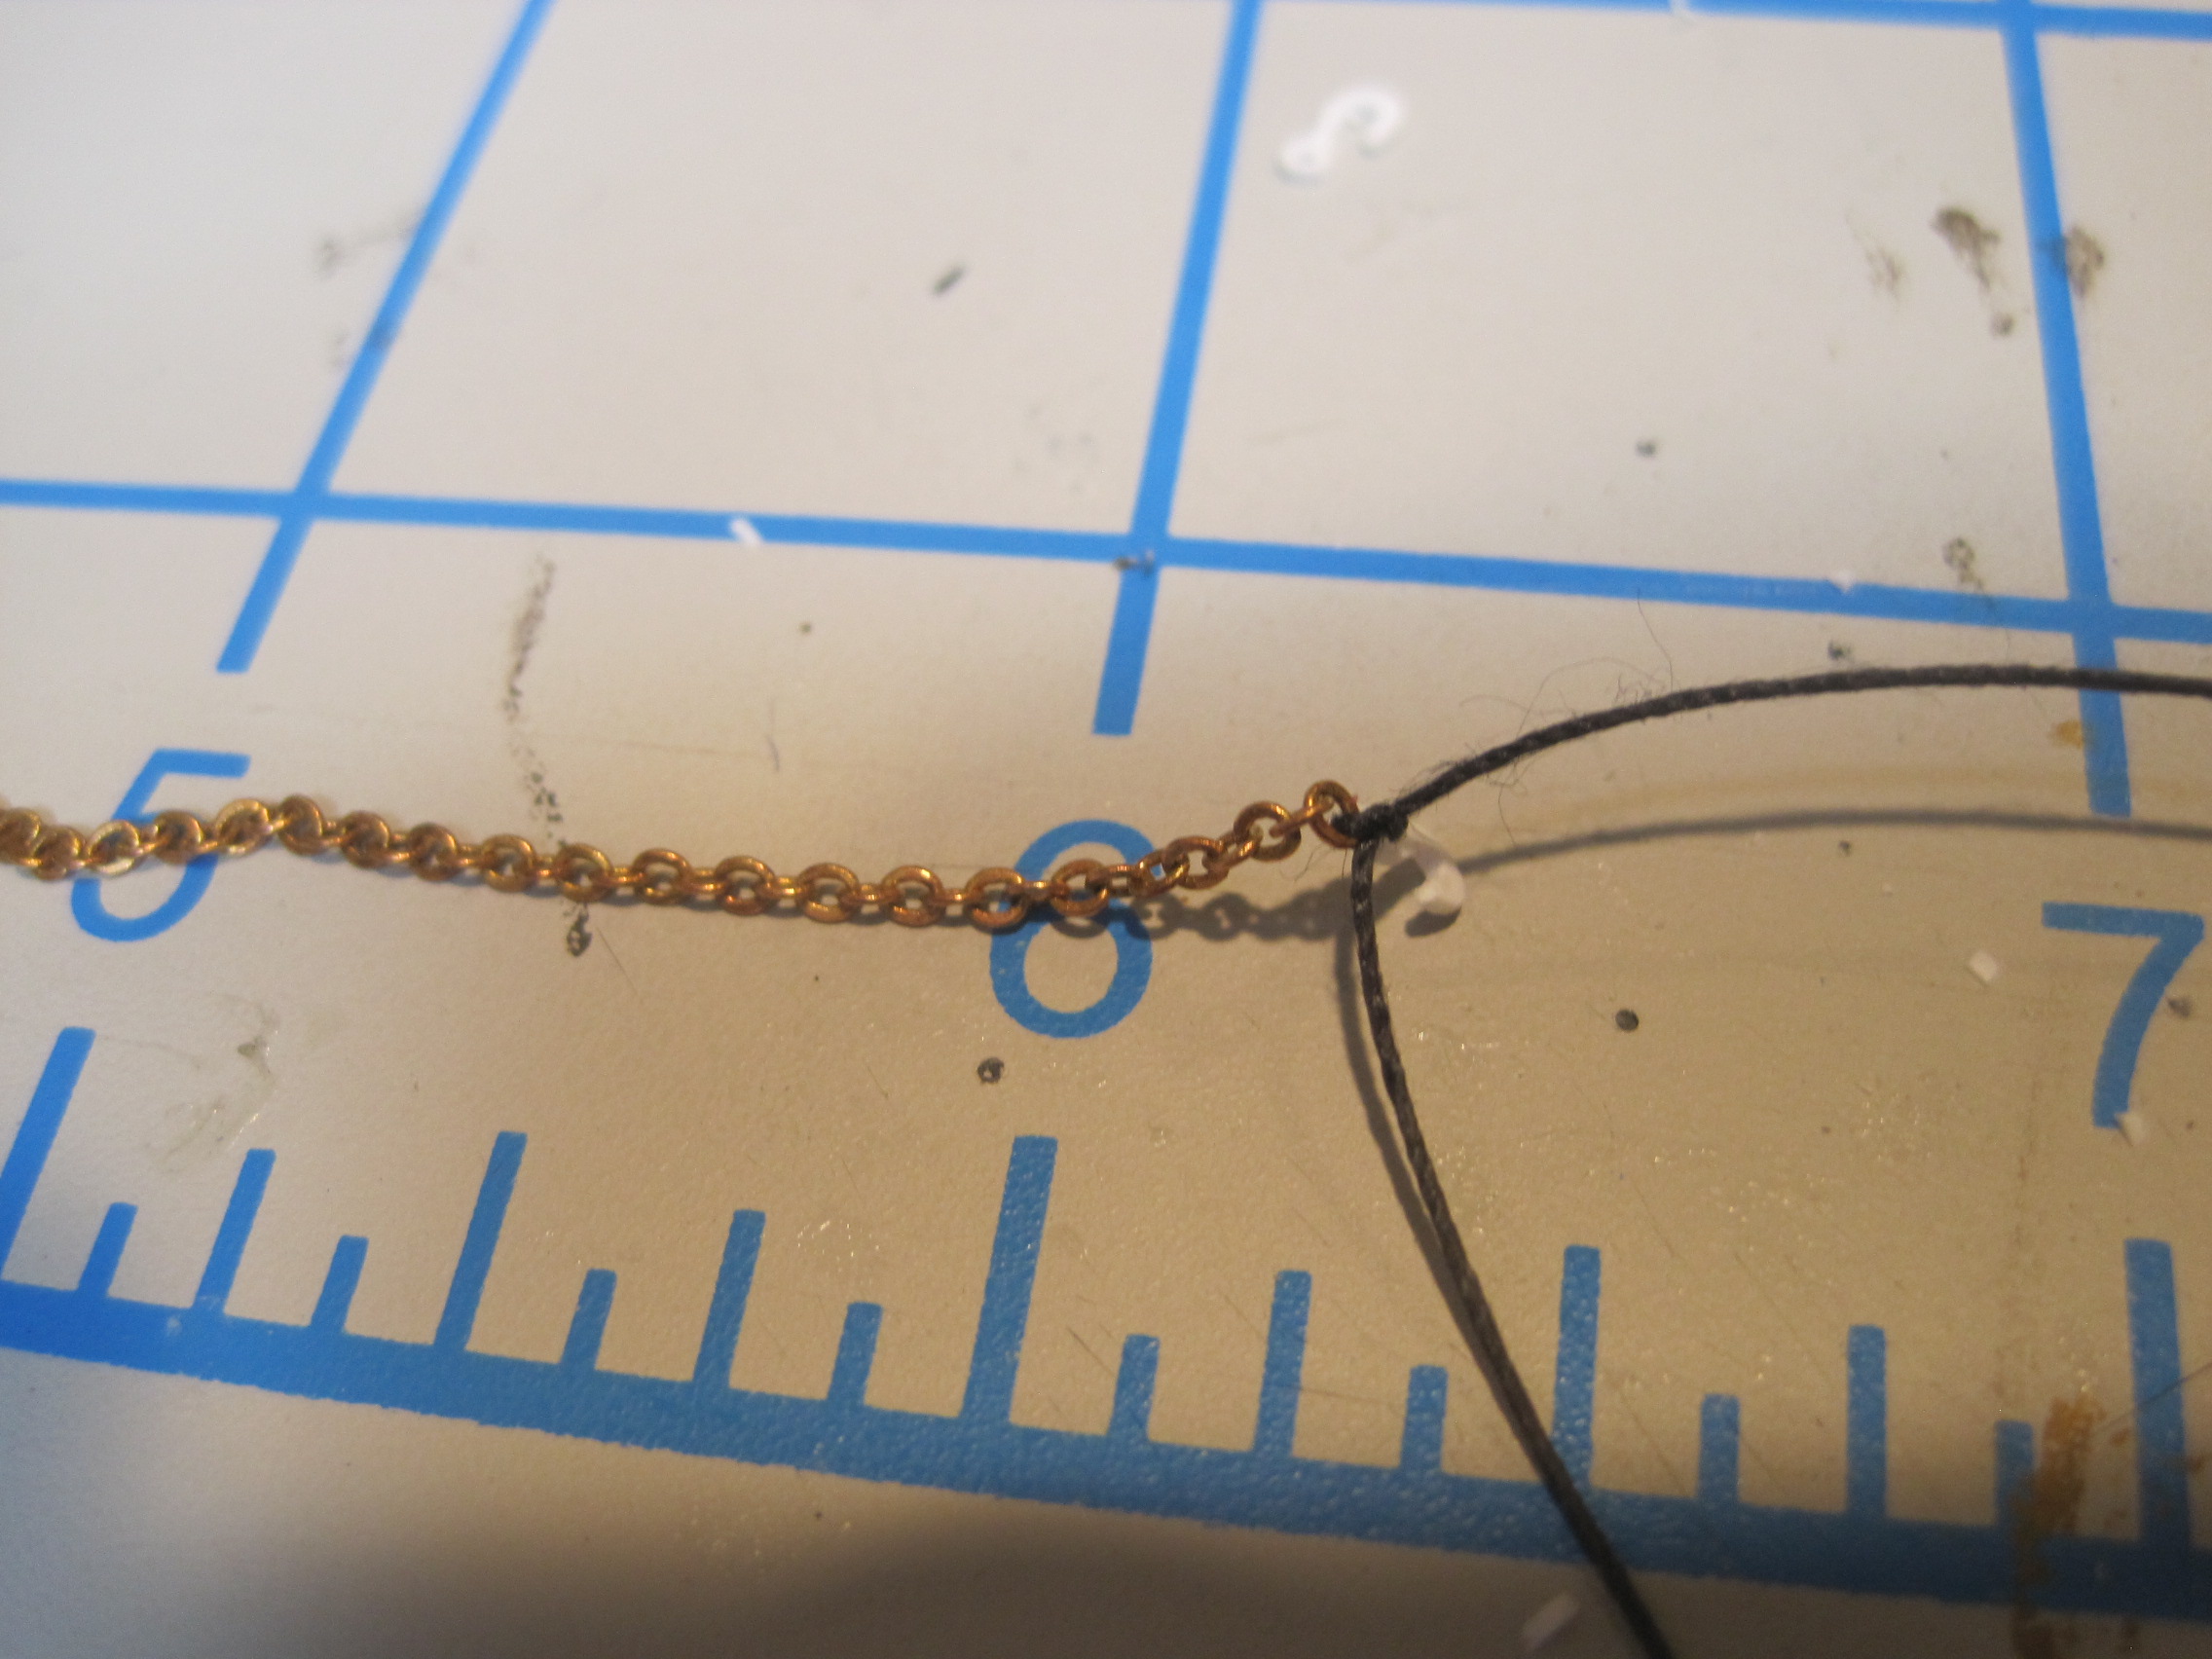
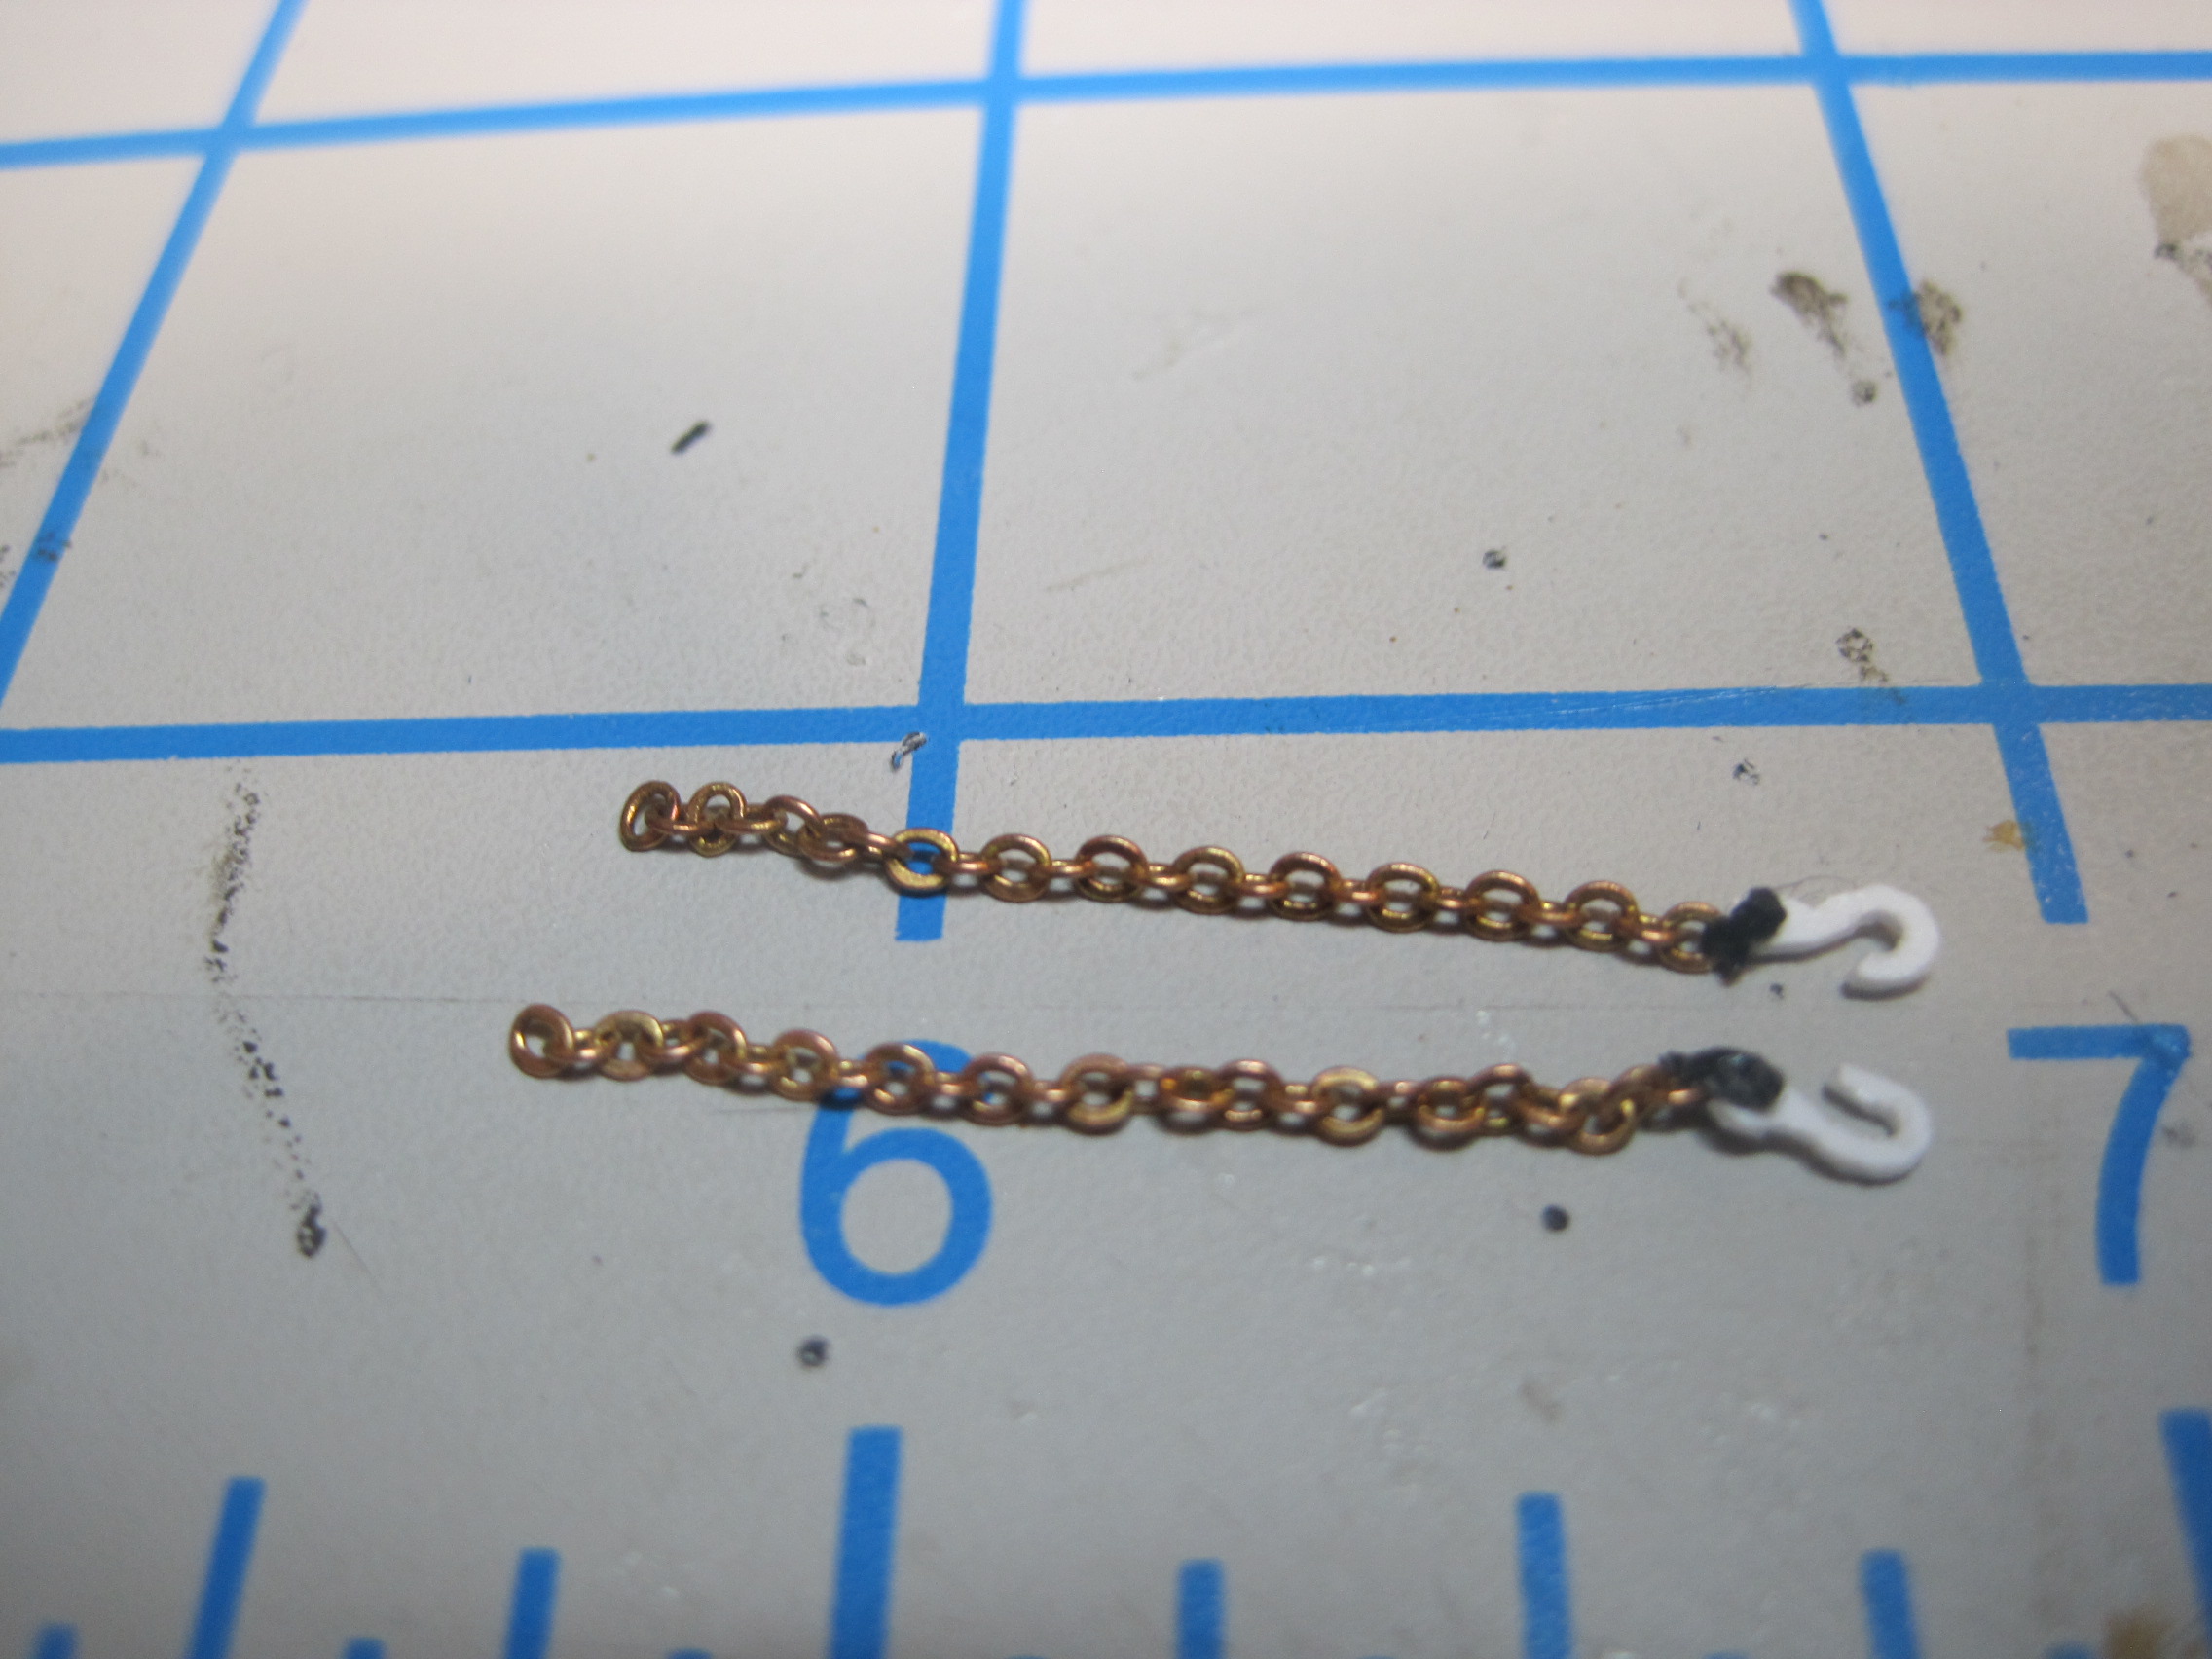
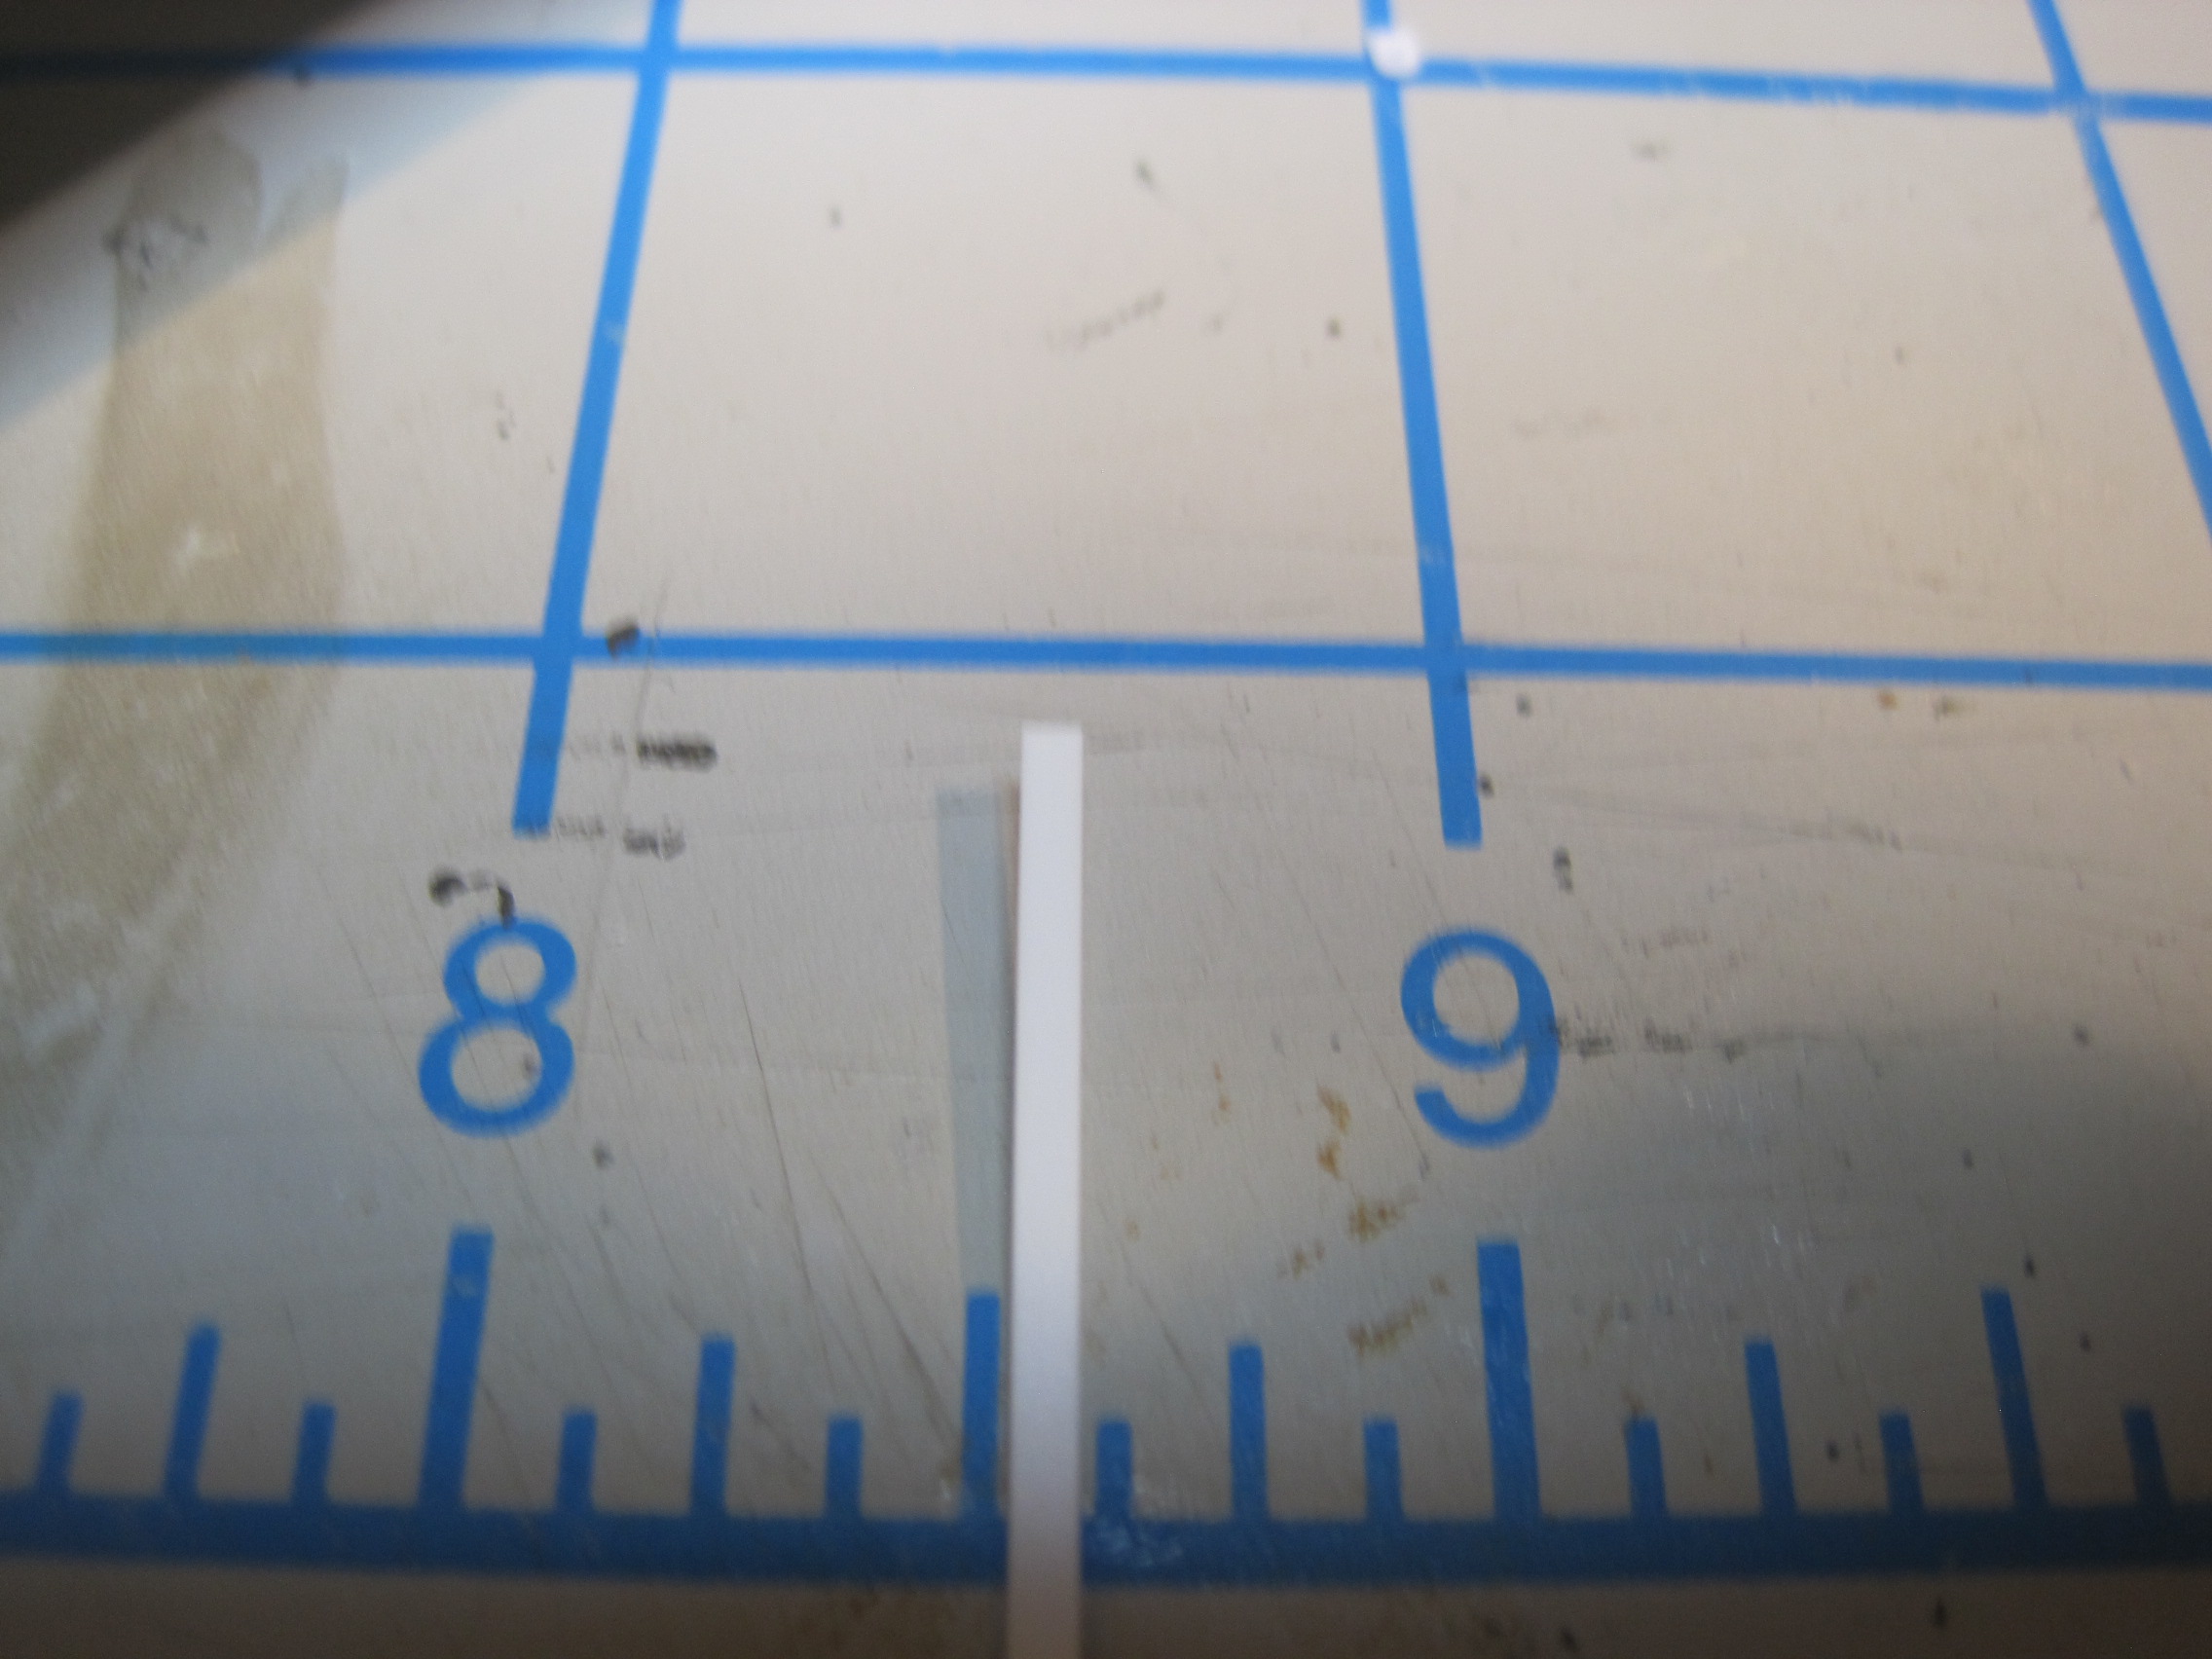
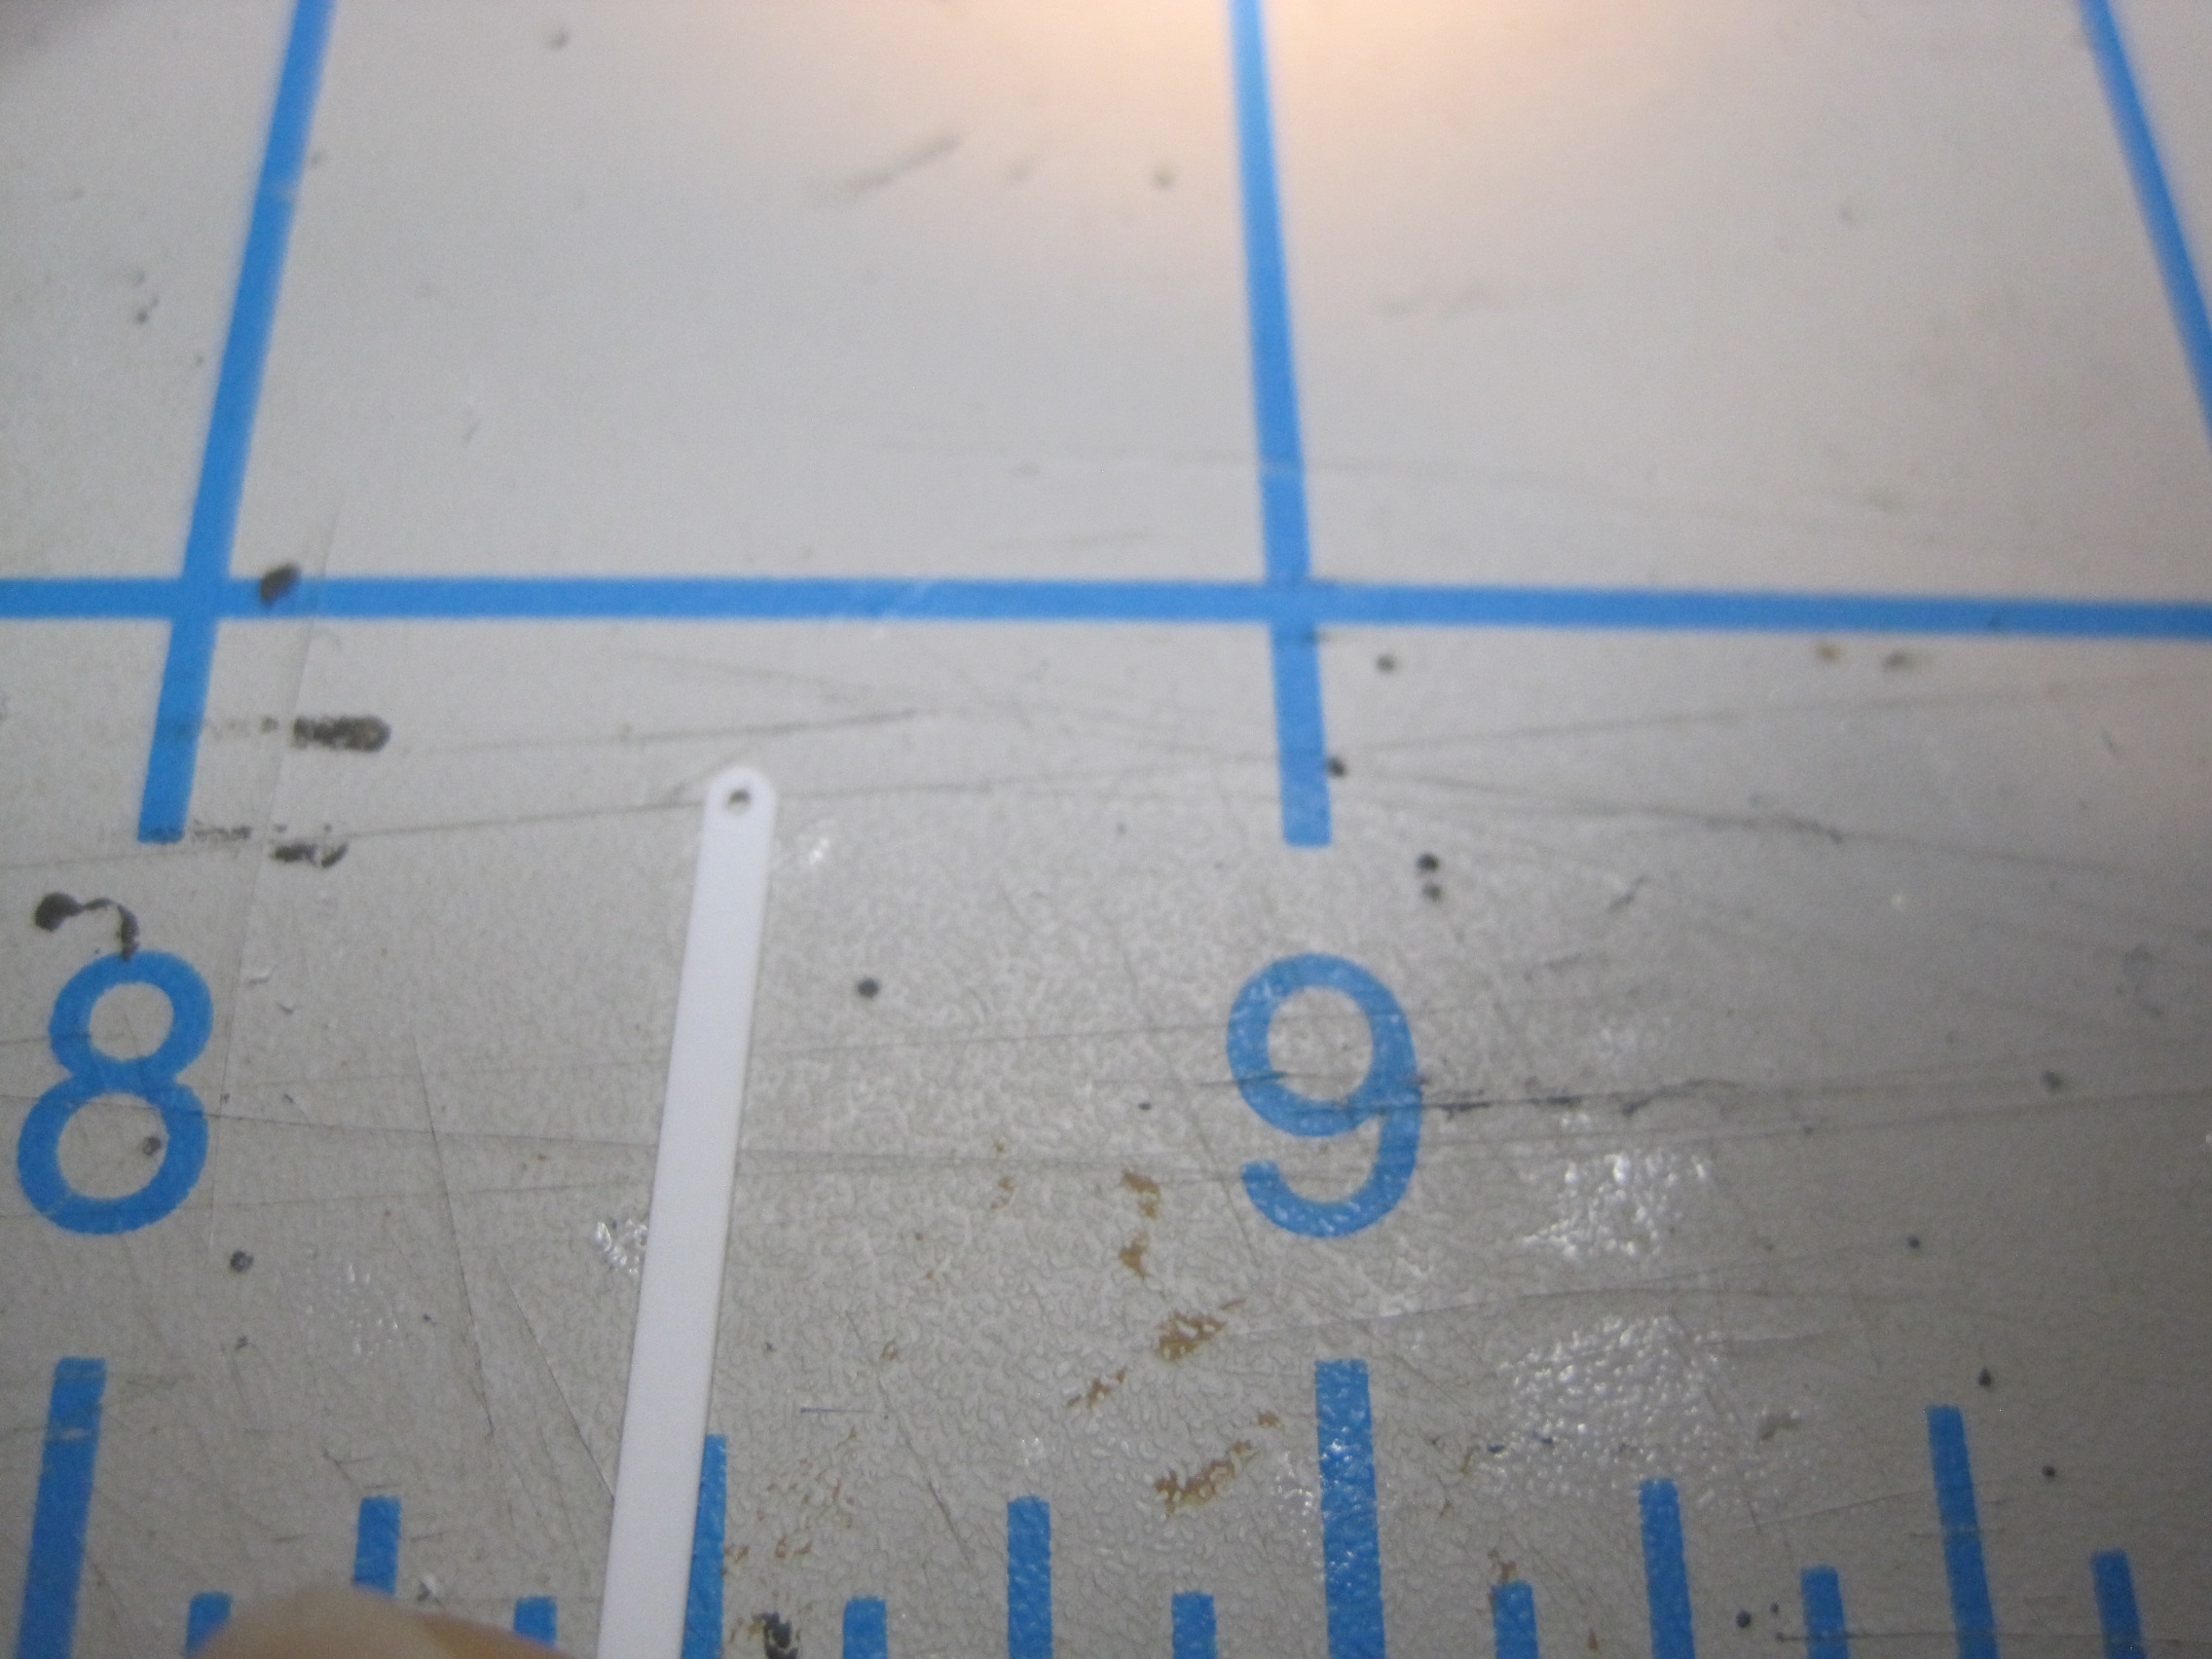
The next items are the two chains which attach to the front of the trailer and connect to the truck when it’s towing the trailer. The hooks are scratch built, then tied to a length of chain. This length is long enough to connect from the two eyes on the front of the trailer and allow enough slack to attach them to the clevises on the back of the truck. I’ve got several other trailers already built, so this measurement is not as critical create. These two pieces will also get added as final detailing.
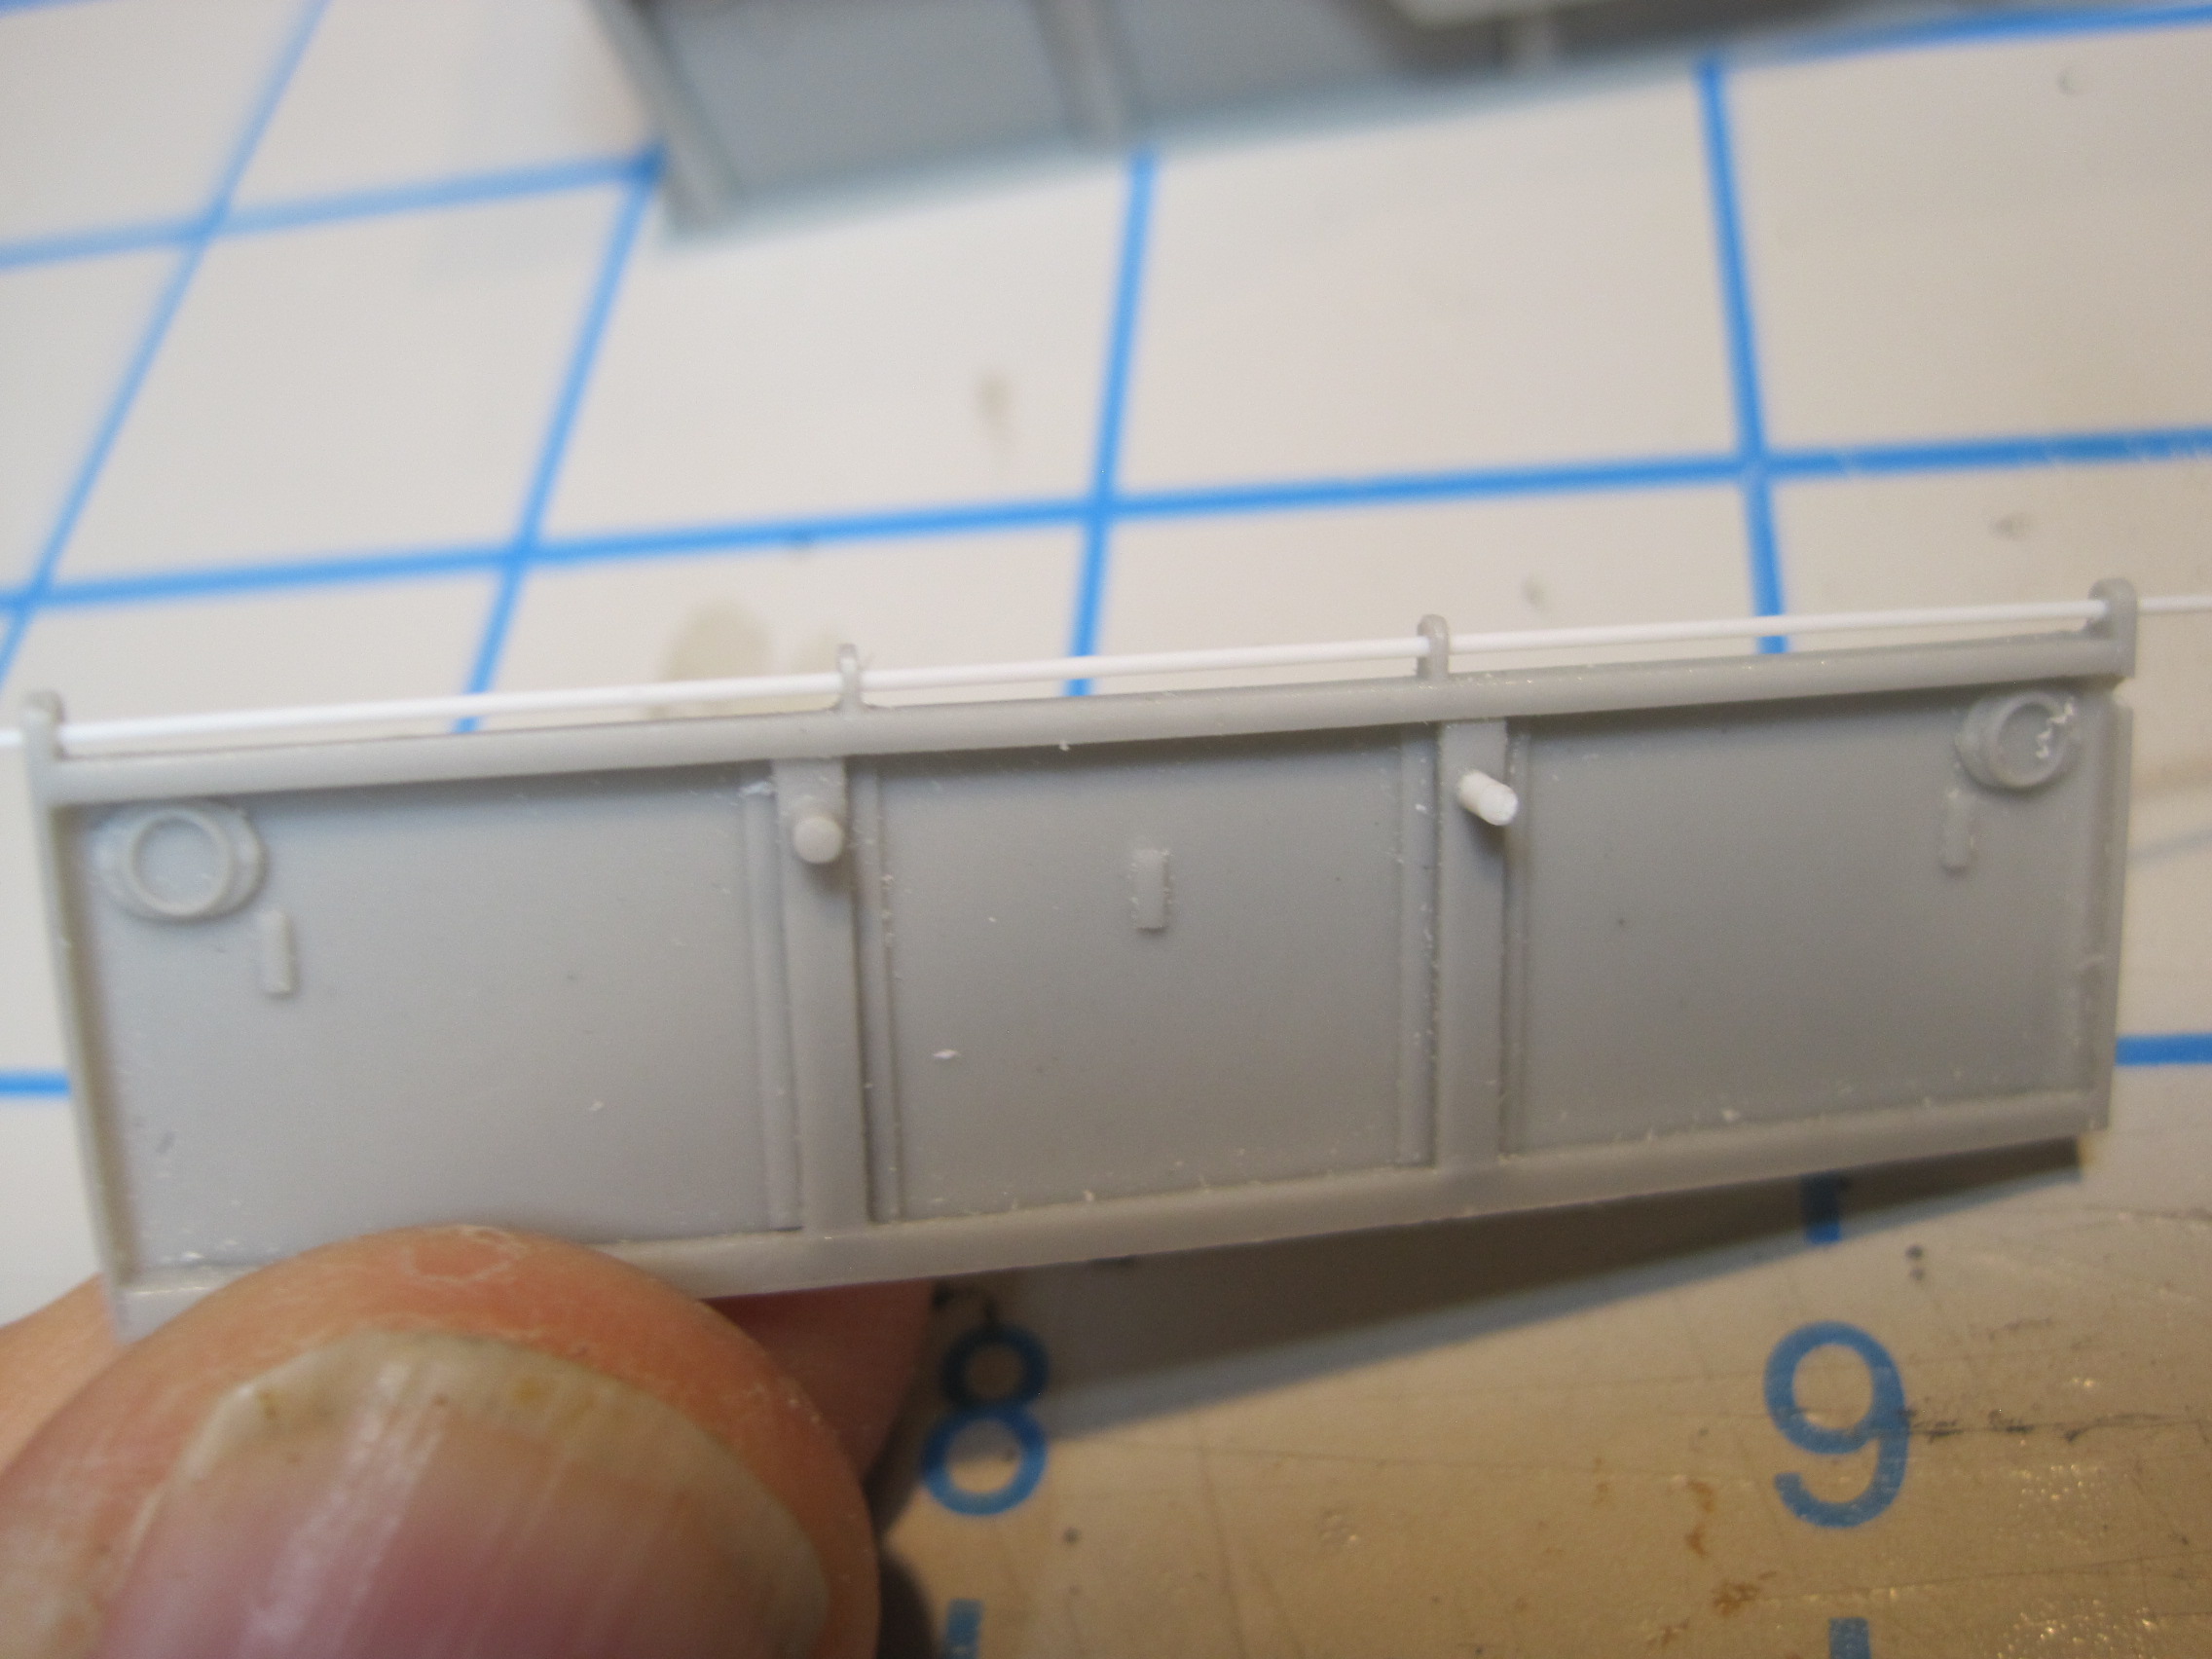
And these final shots show the last few details added prior to painting. I will probably mask off the hinge of the support leg at the rear of the trailer frame to keep the paint from fouling it up too much. It’s not in a highly visible place so the touch up hopefully won’t be too obvious.
Again, the U-bolts on the outside of the bed which are used to secure loads were provided as resin and I decided to replace them with wire.
5 Likes


 🪛 🪚
🪛 🪚