Sweet! How late are you open? My LHS closes at 6:00. ( This was in reply to your pic of all that Evergreen.) New to this version of the site and haven’t figured things out yet.
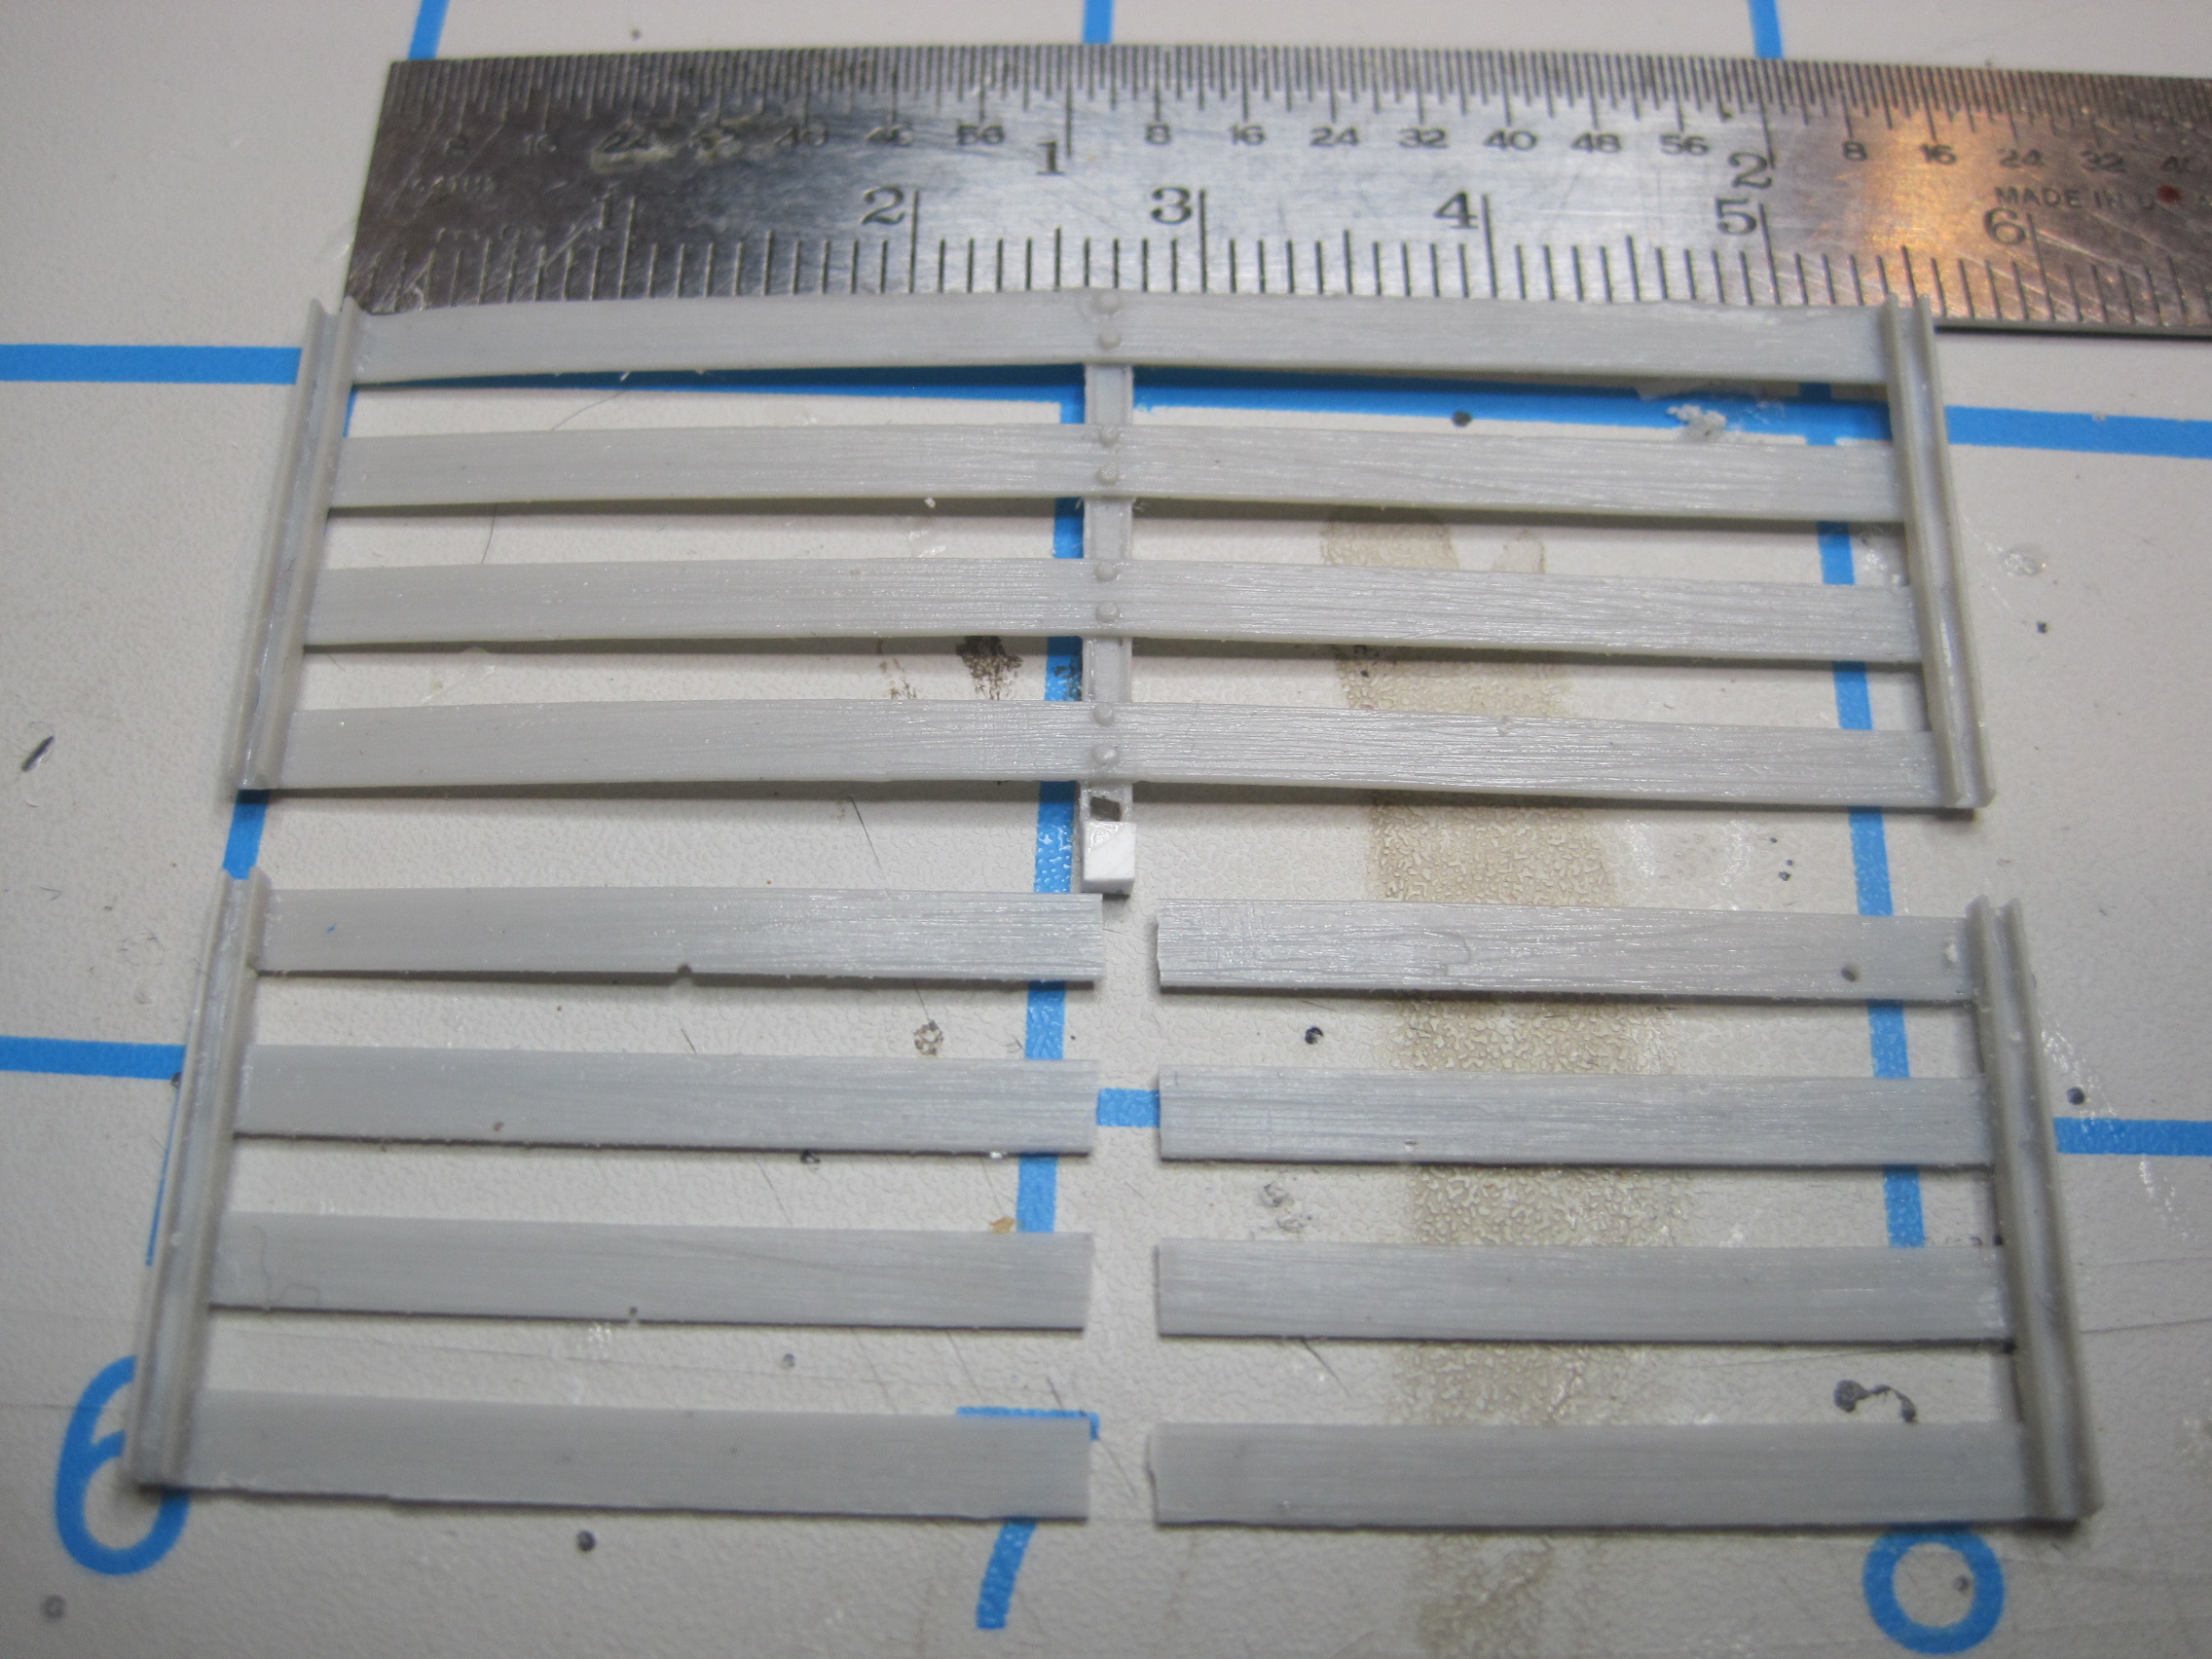
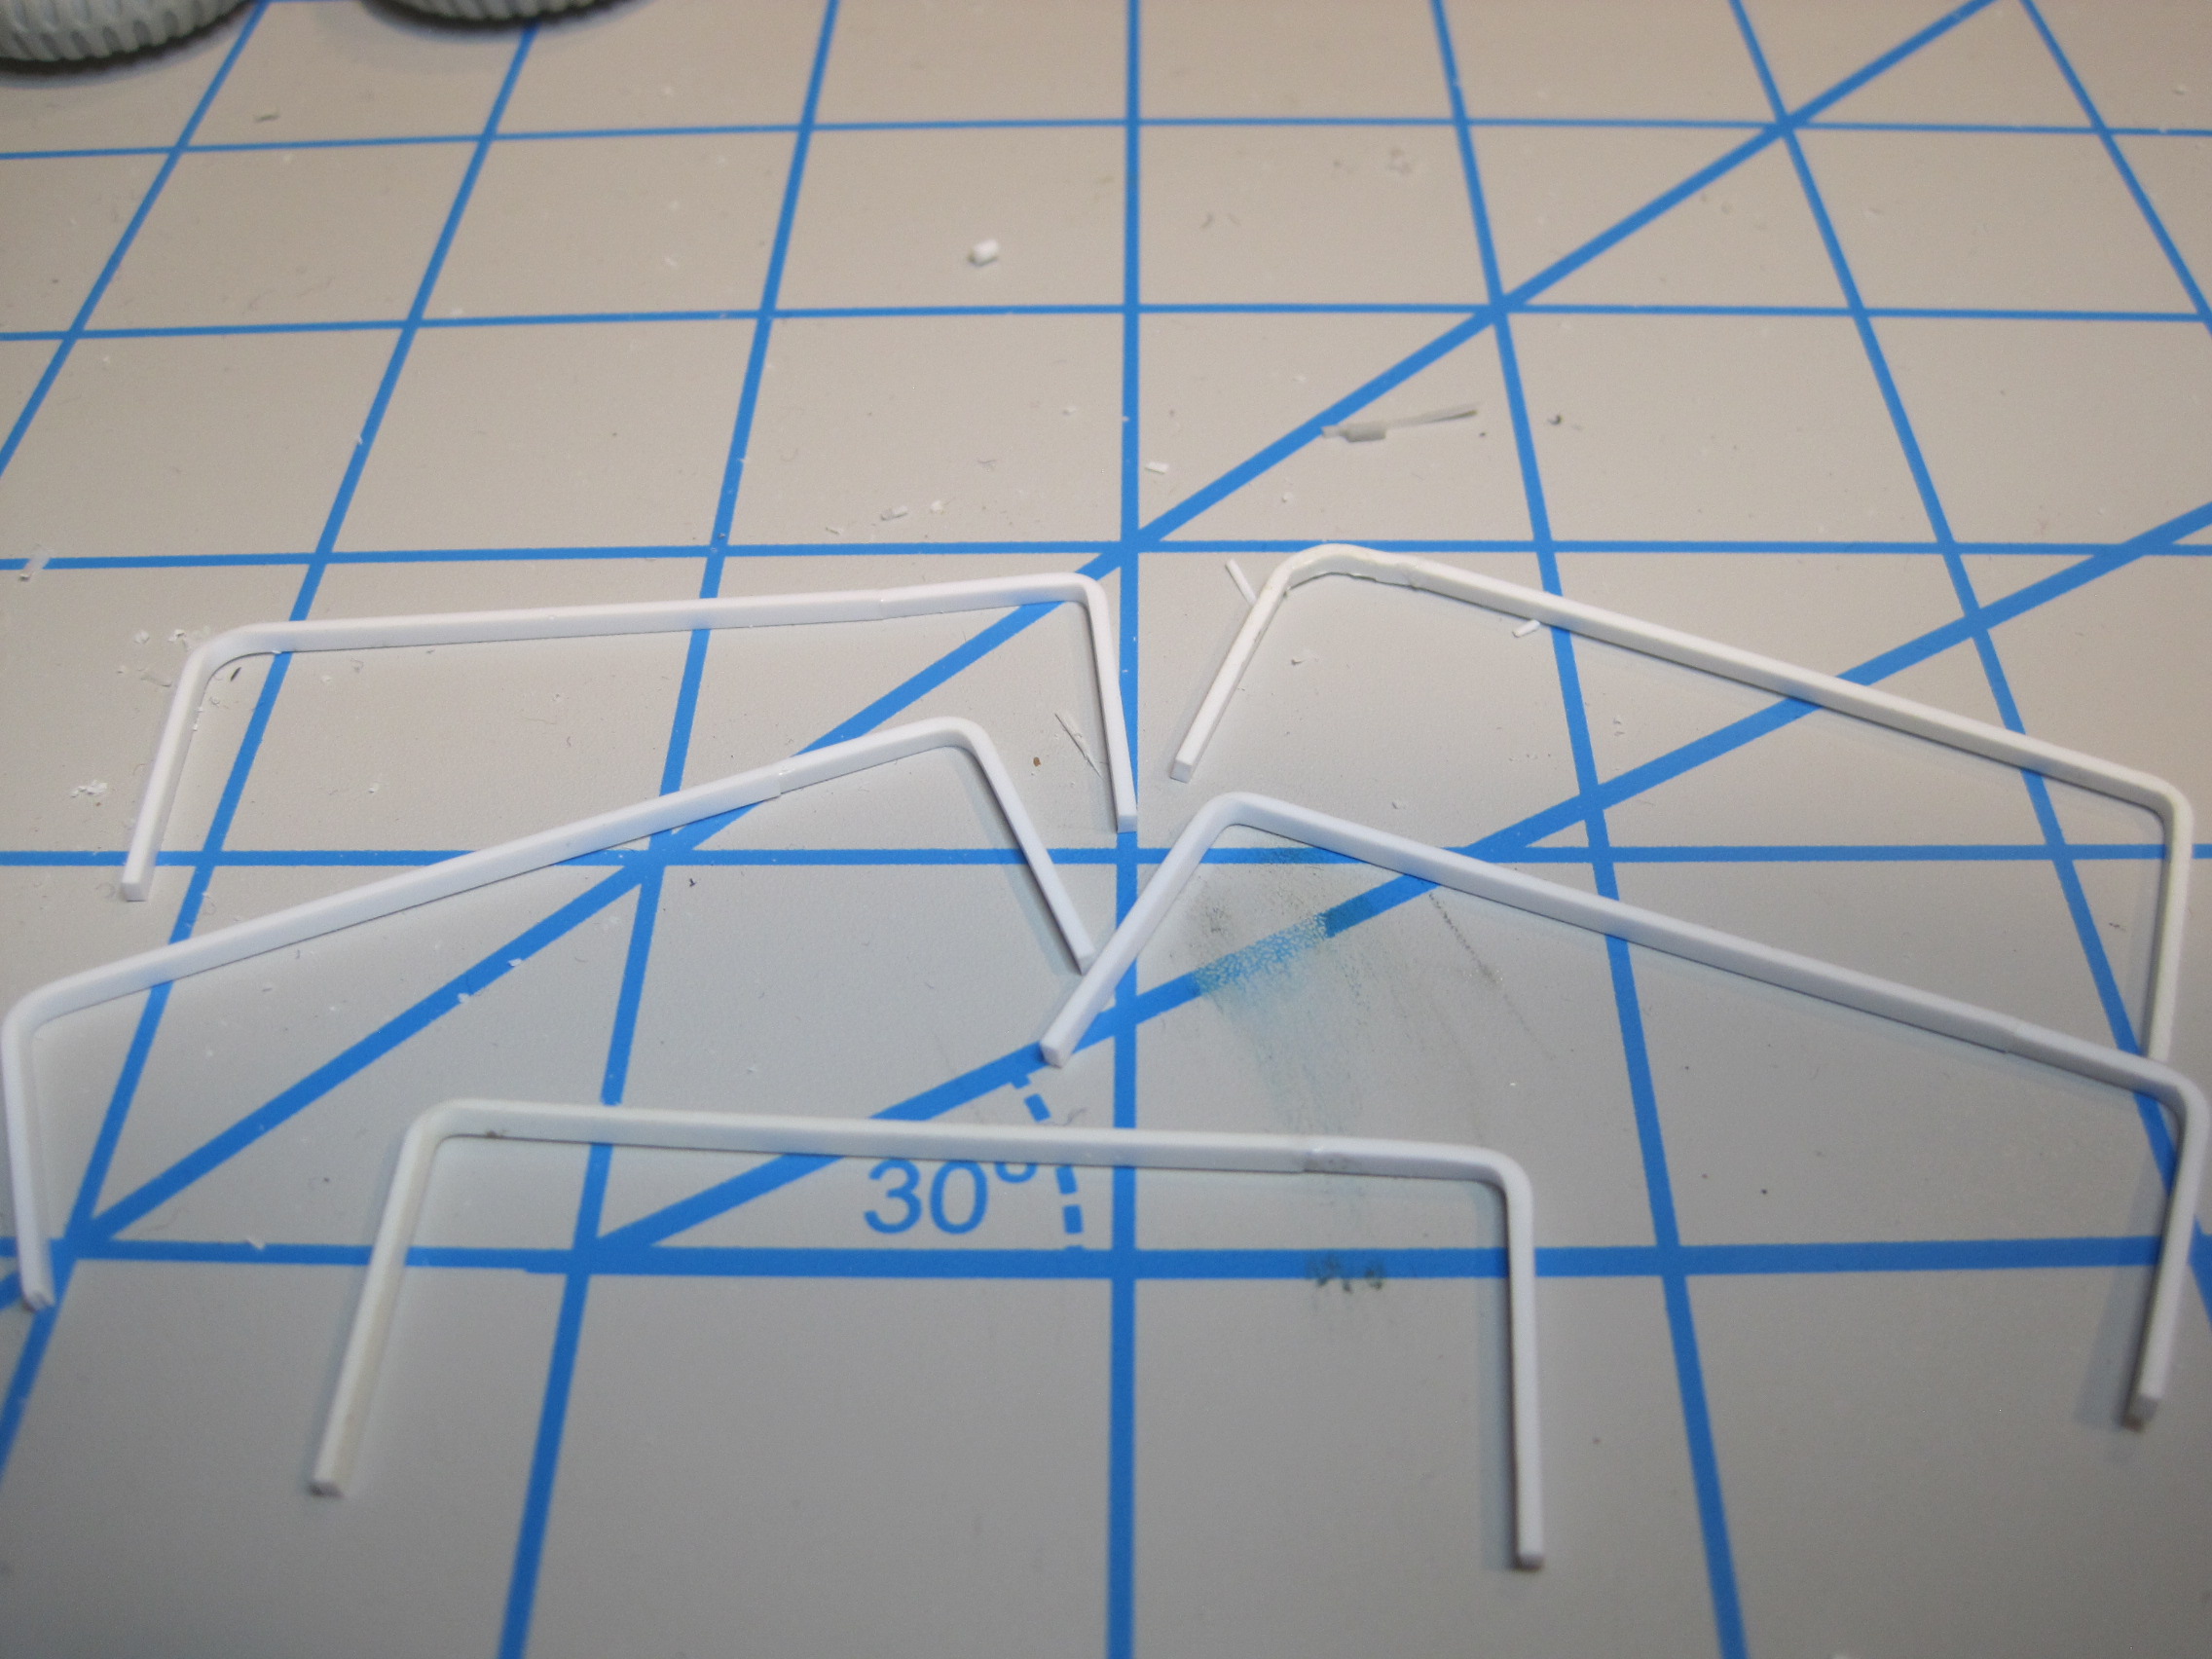
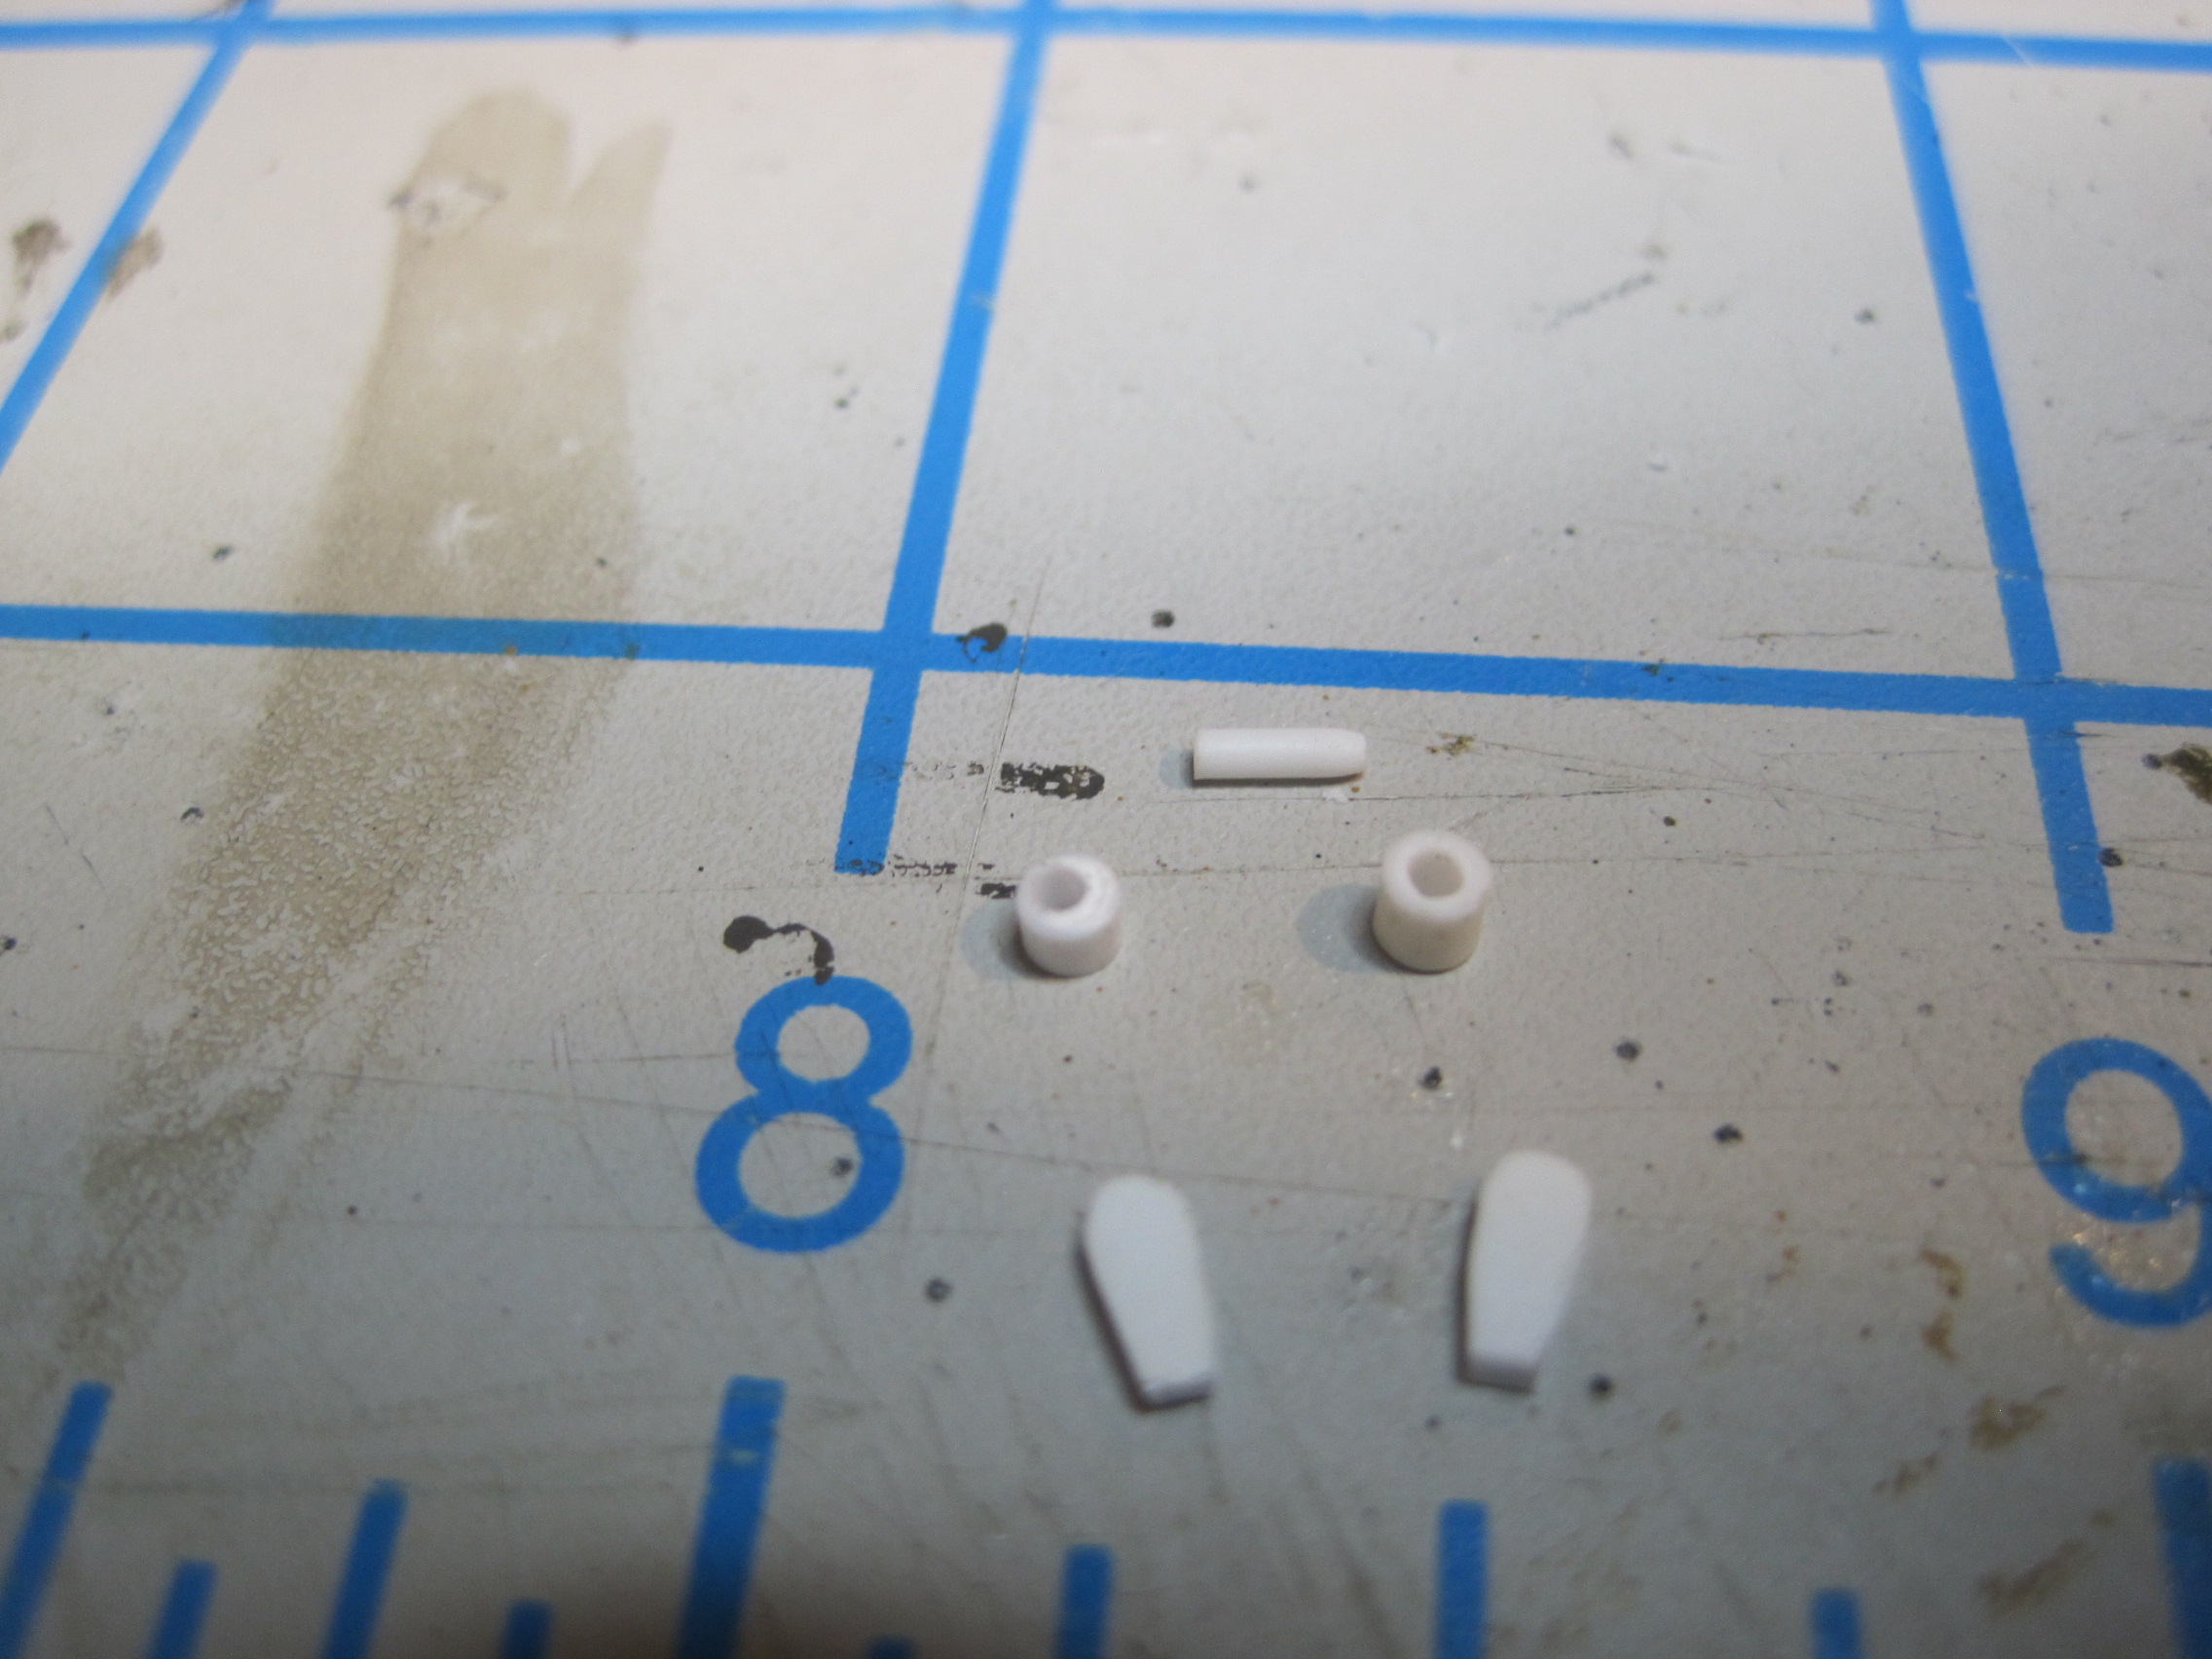
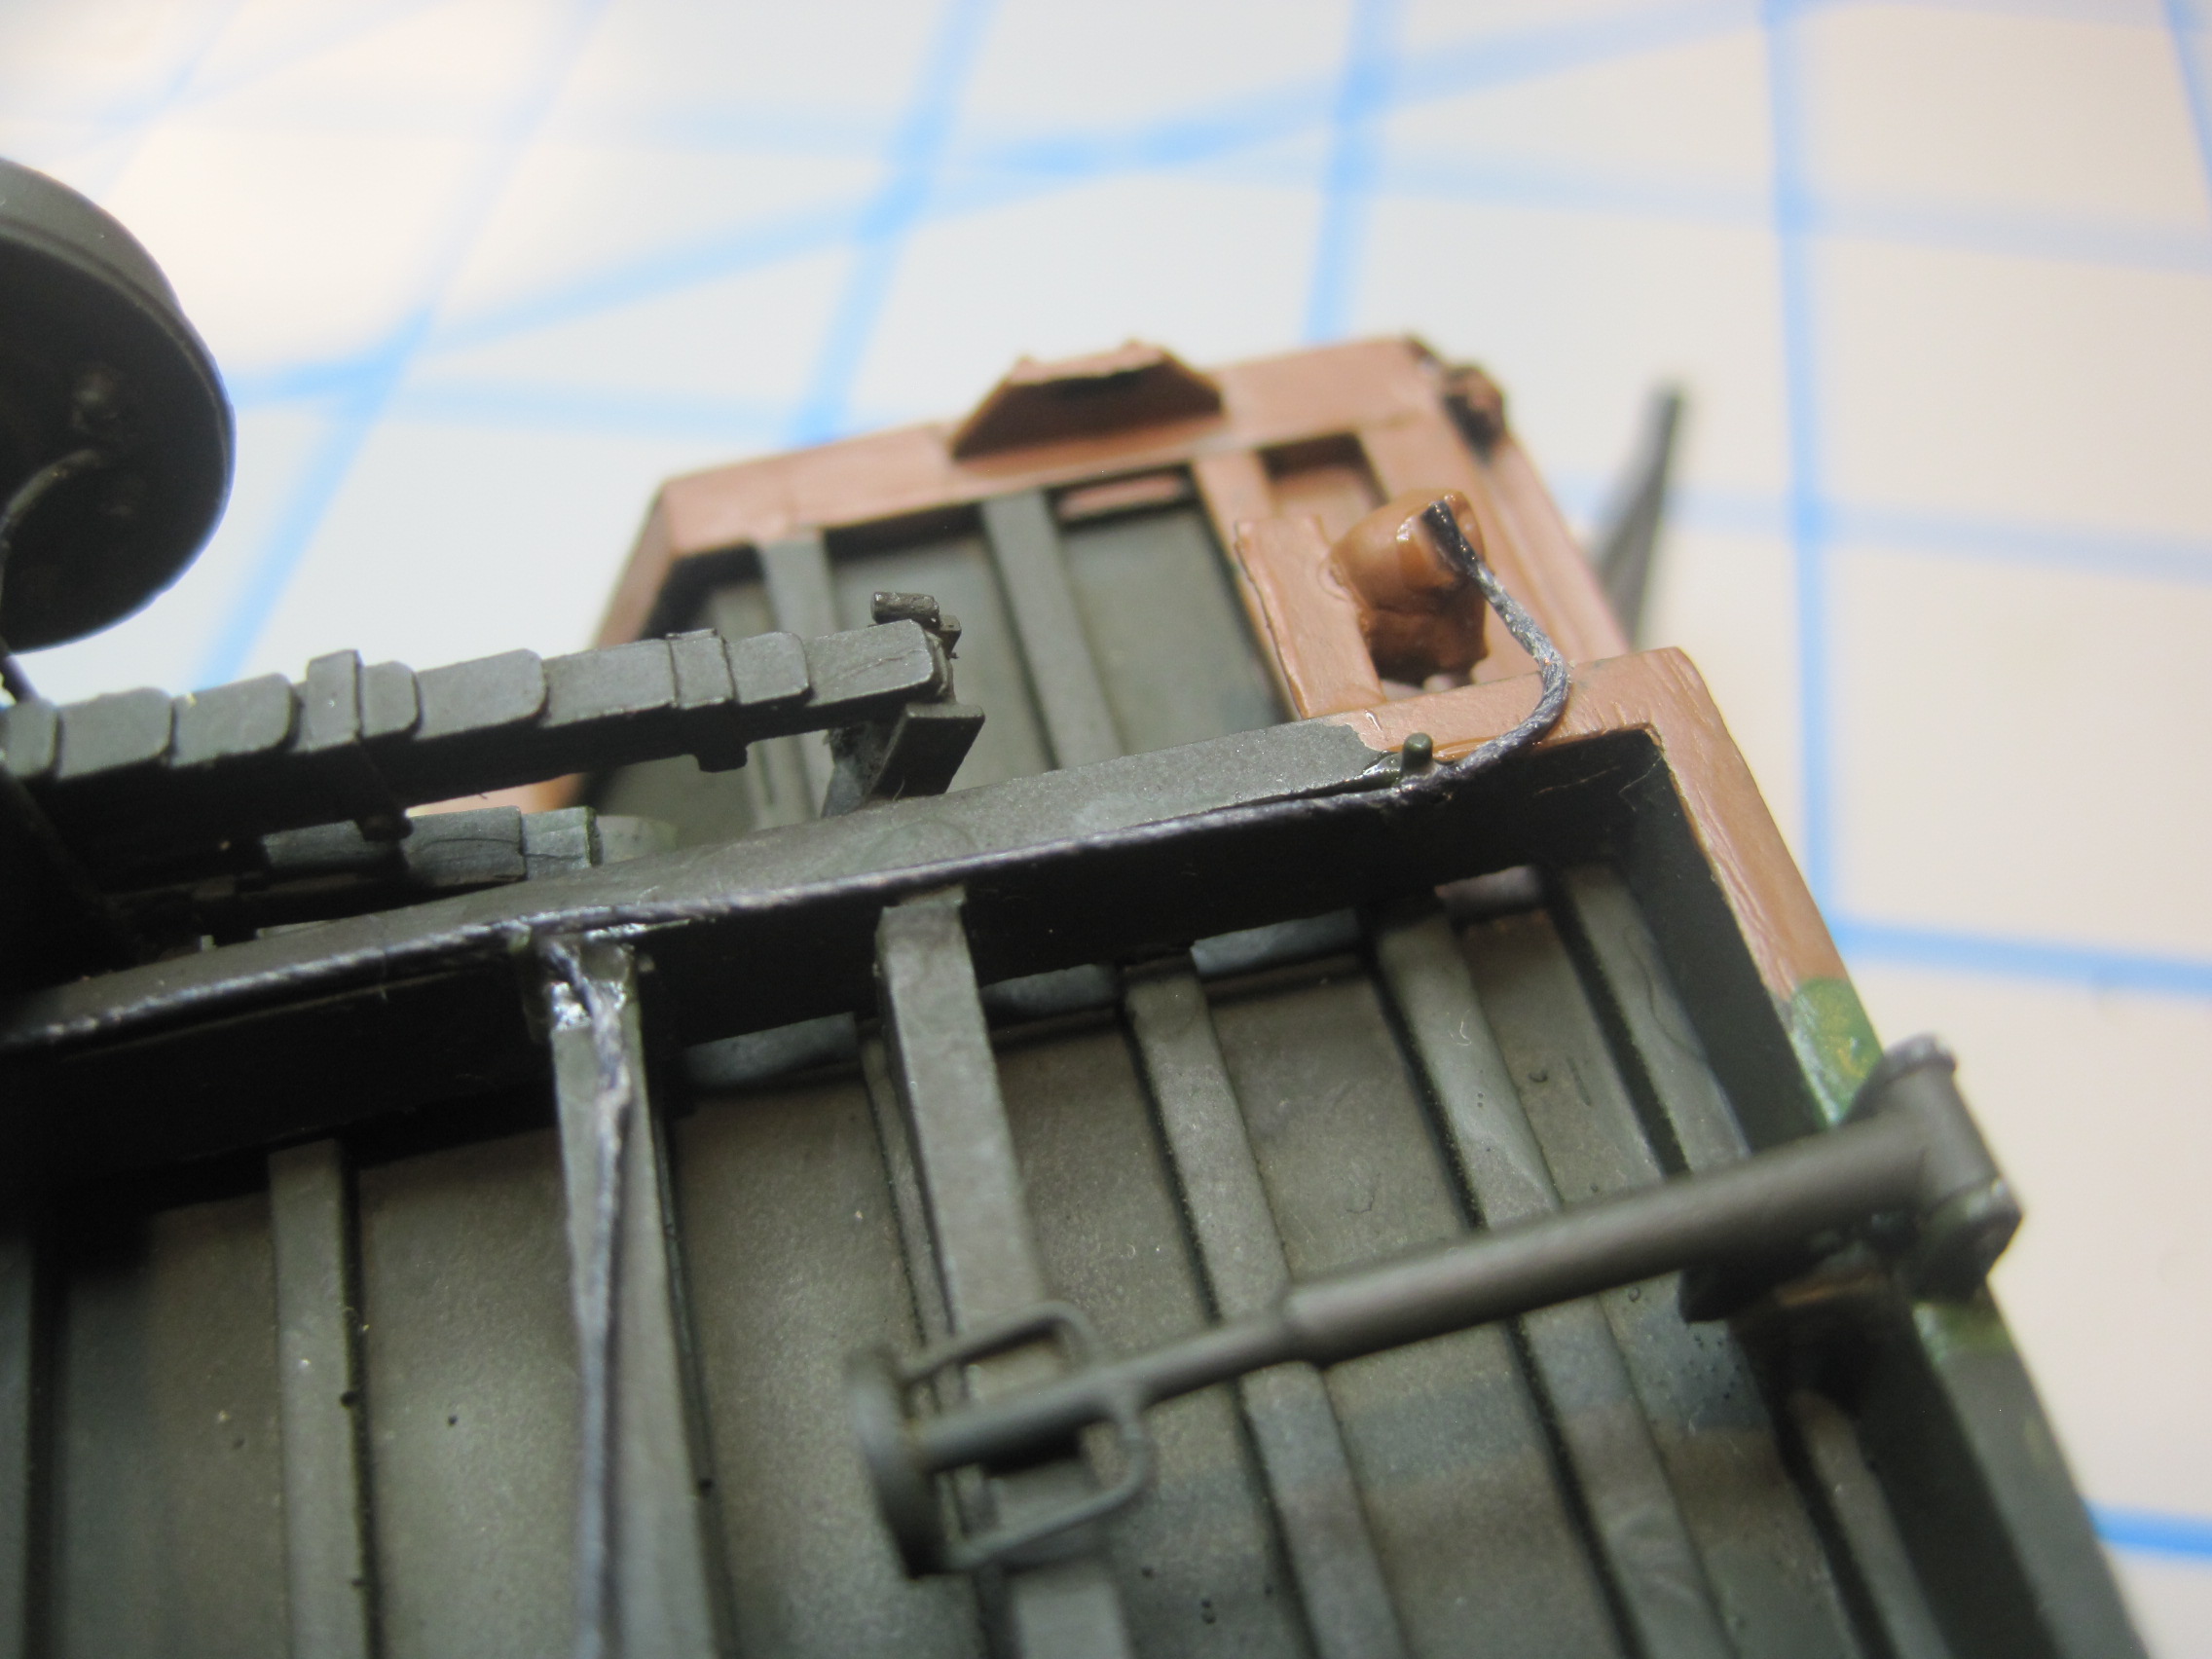
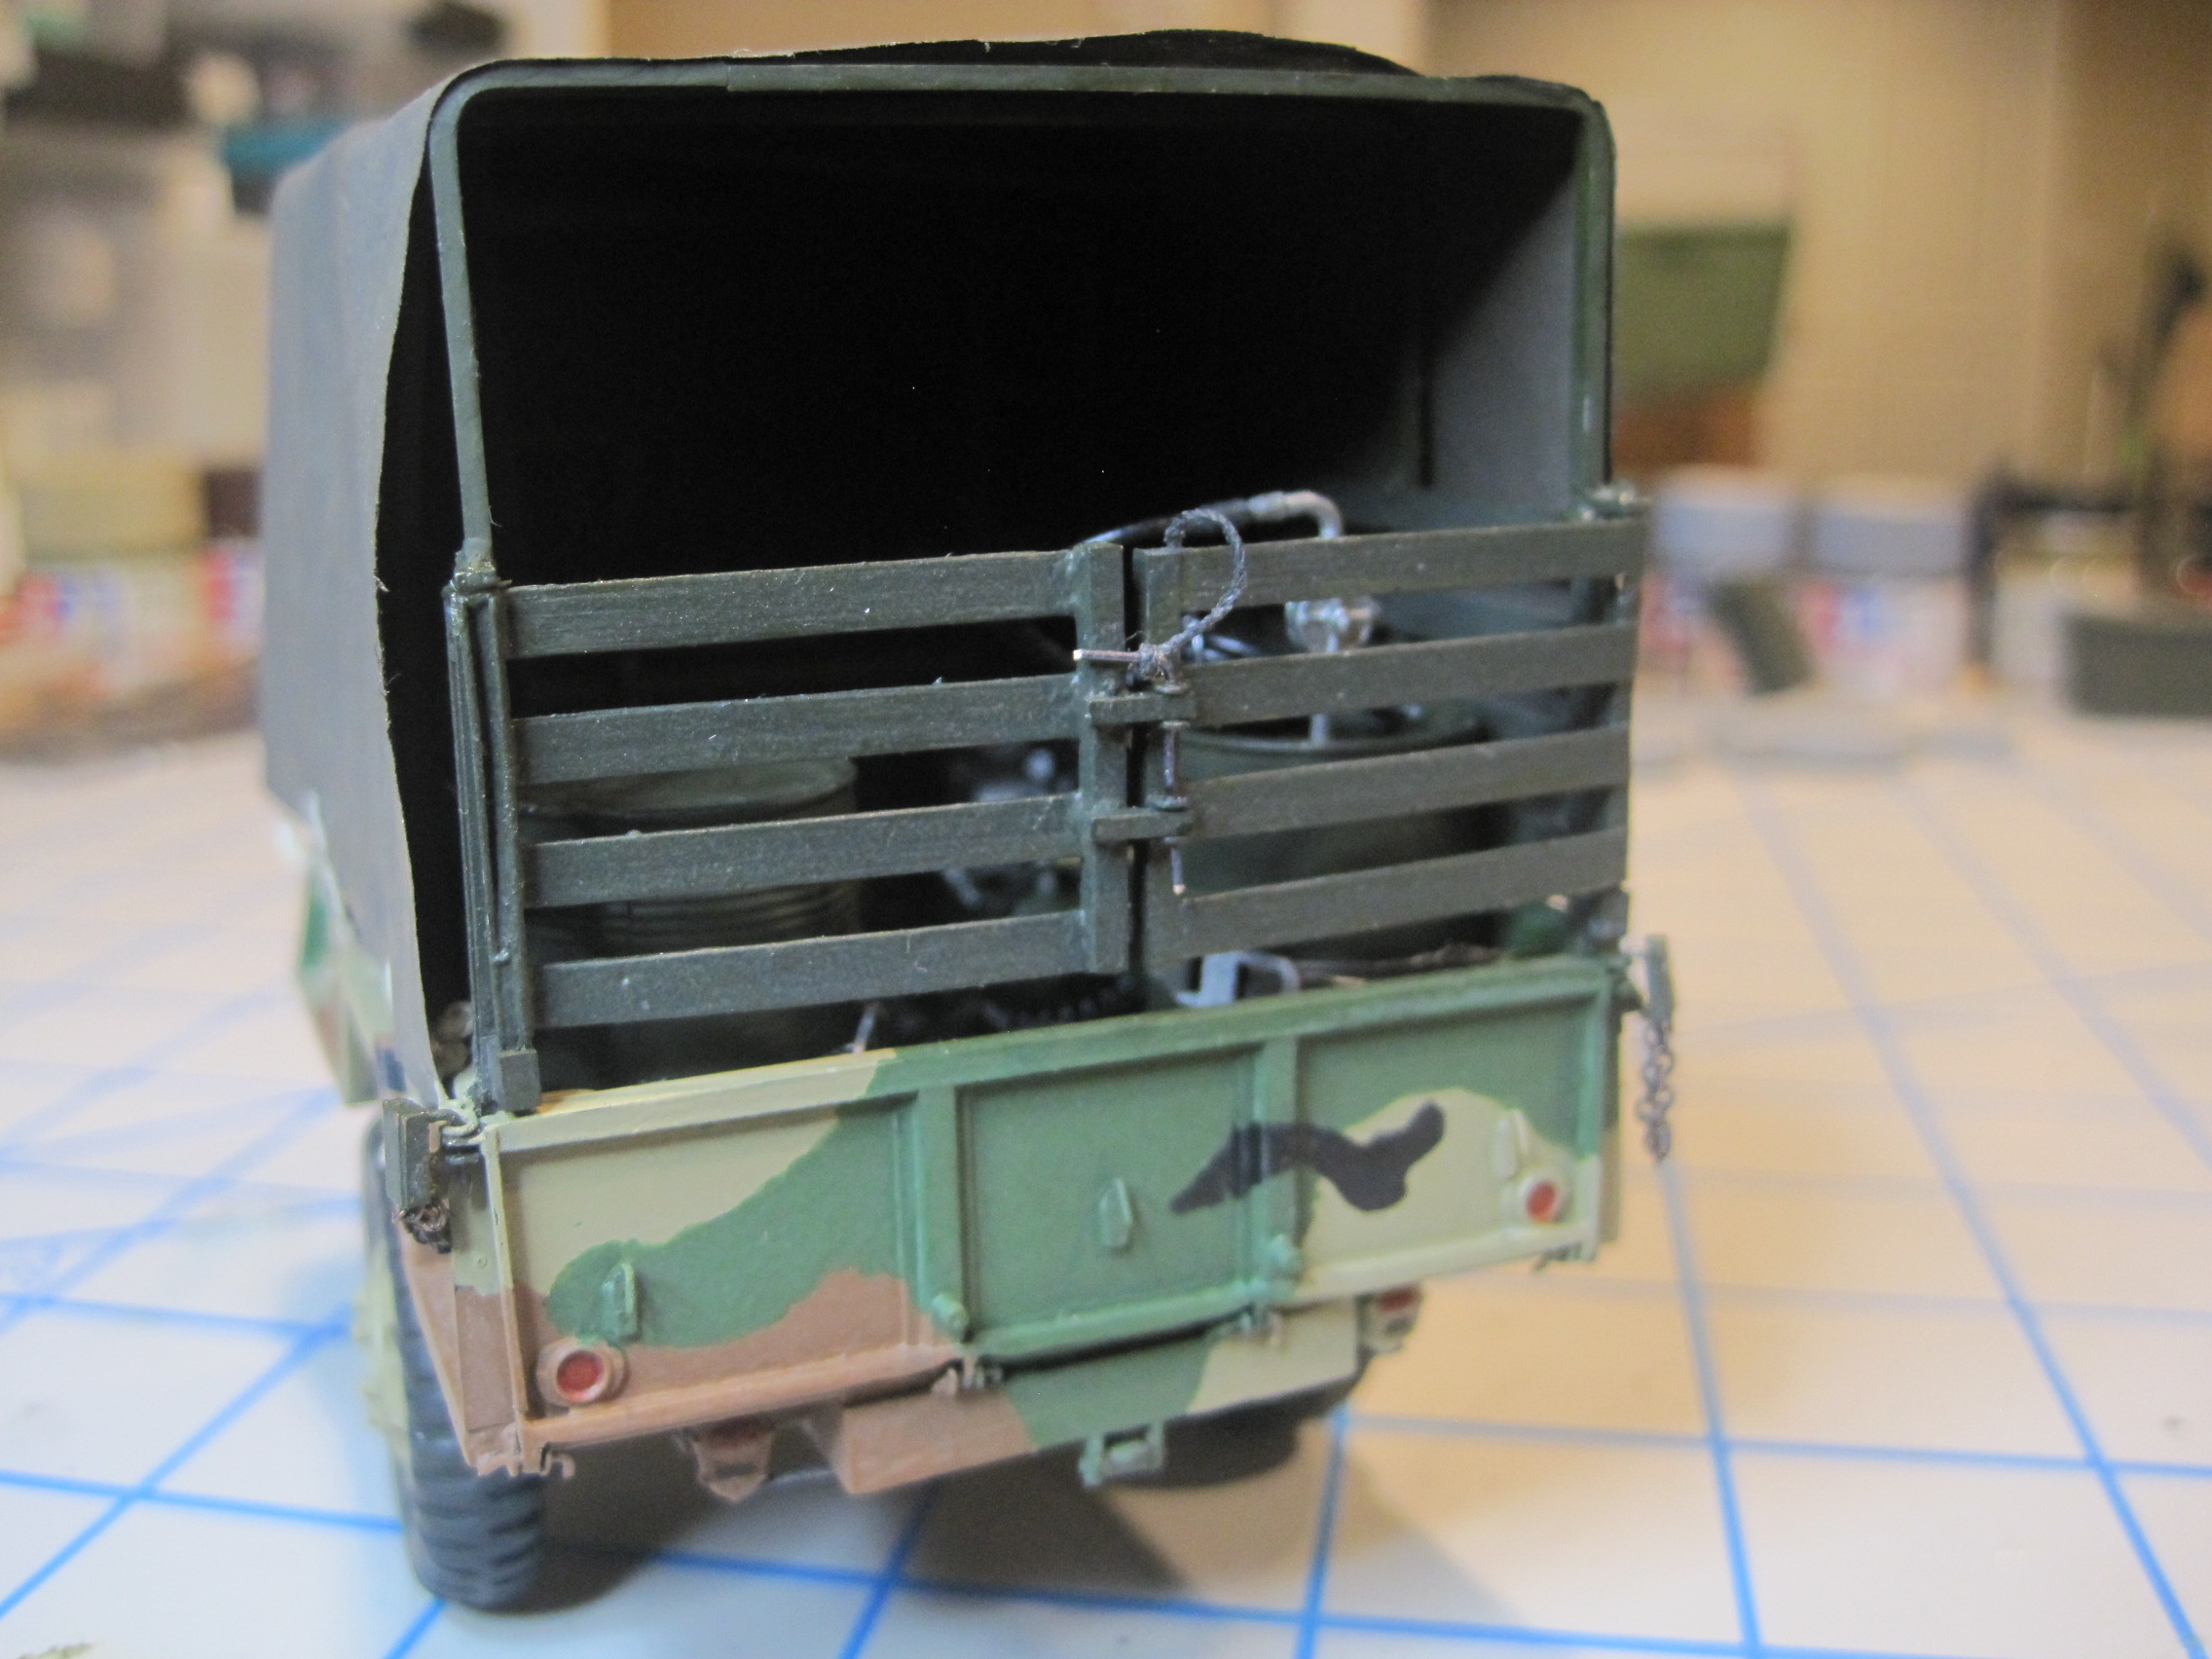
And here are the details of how I’ll make the hinges for the rear gate, as well as the bows which are not included with the kit


4 Likes
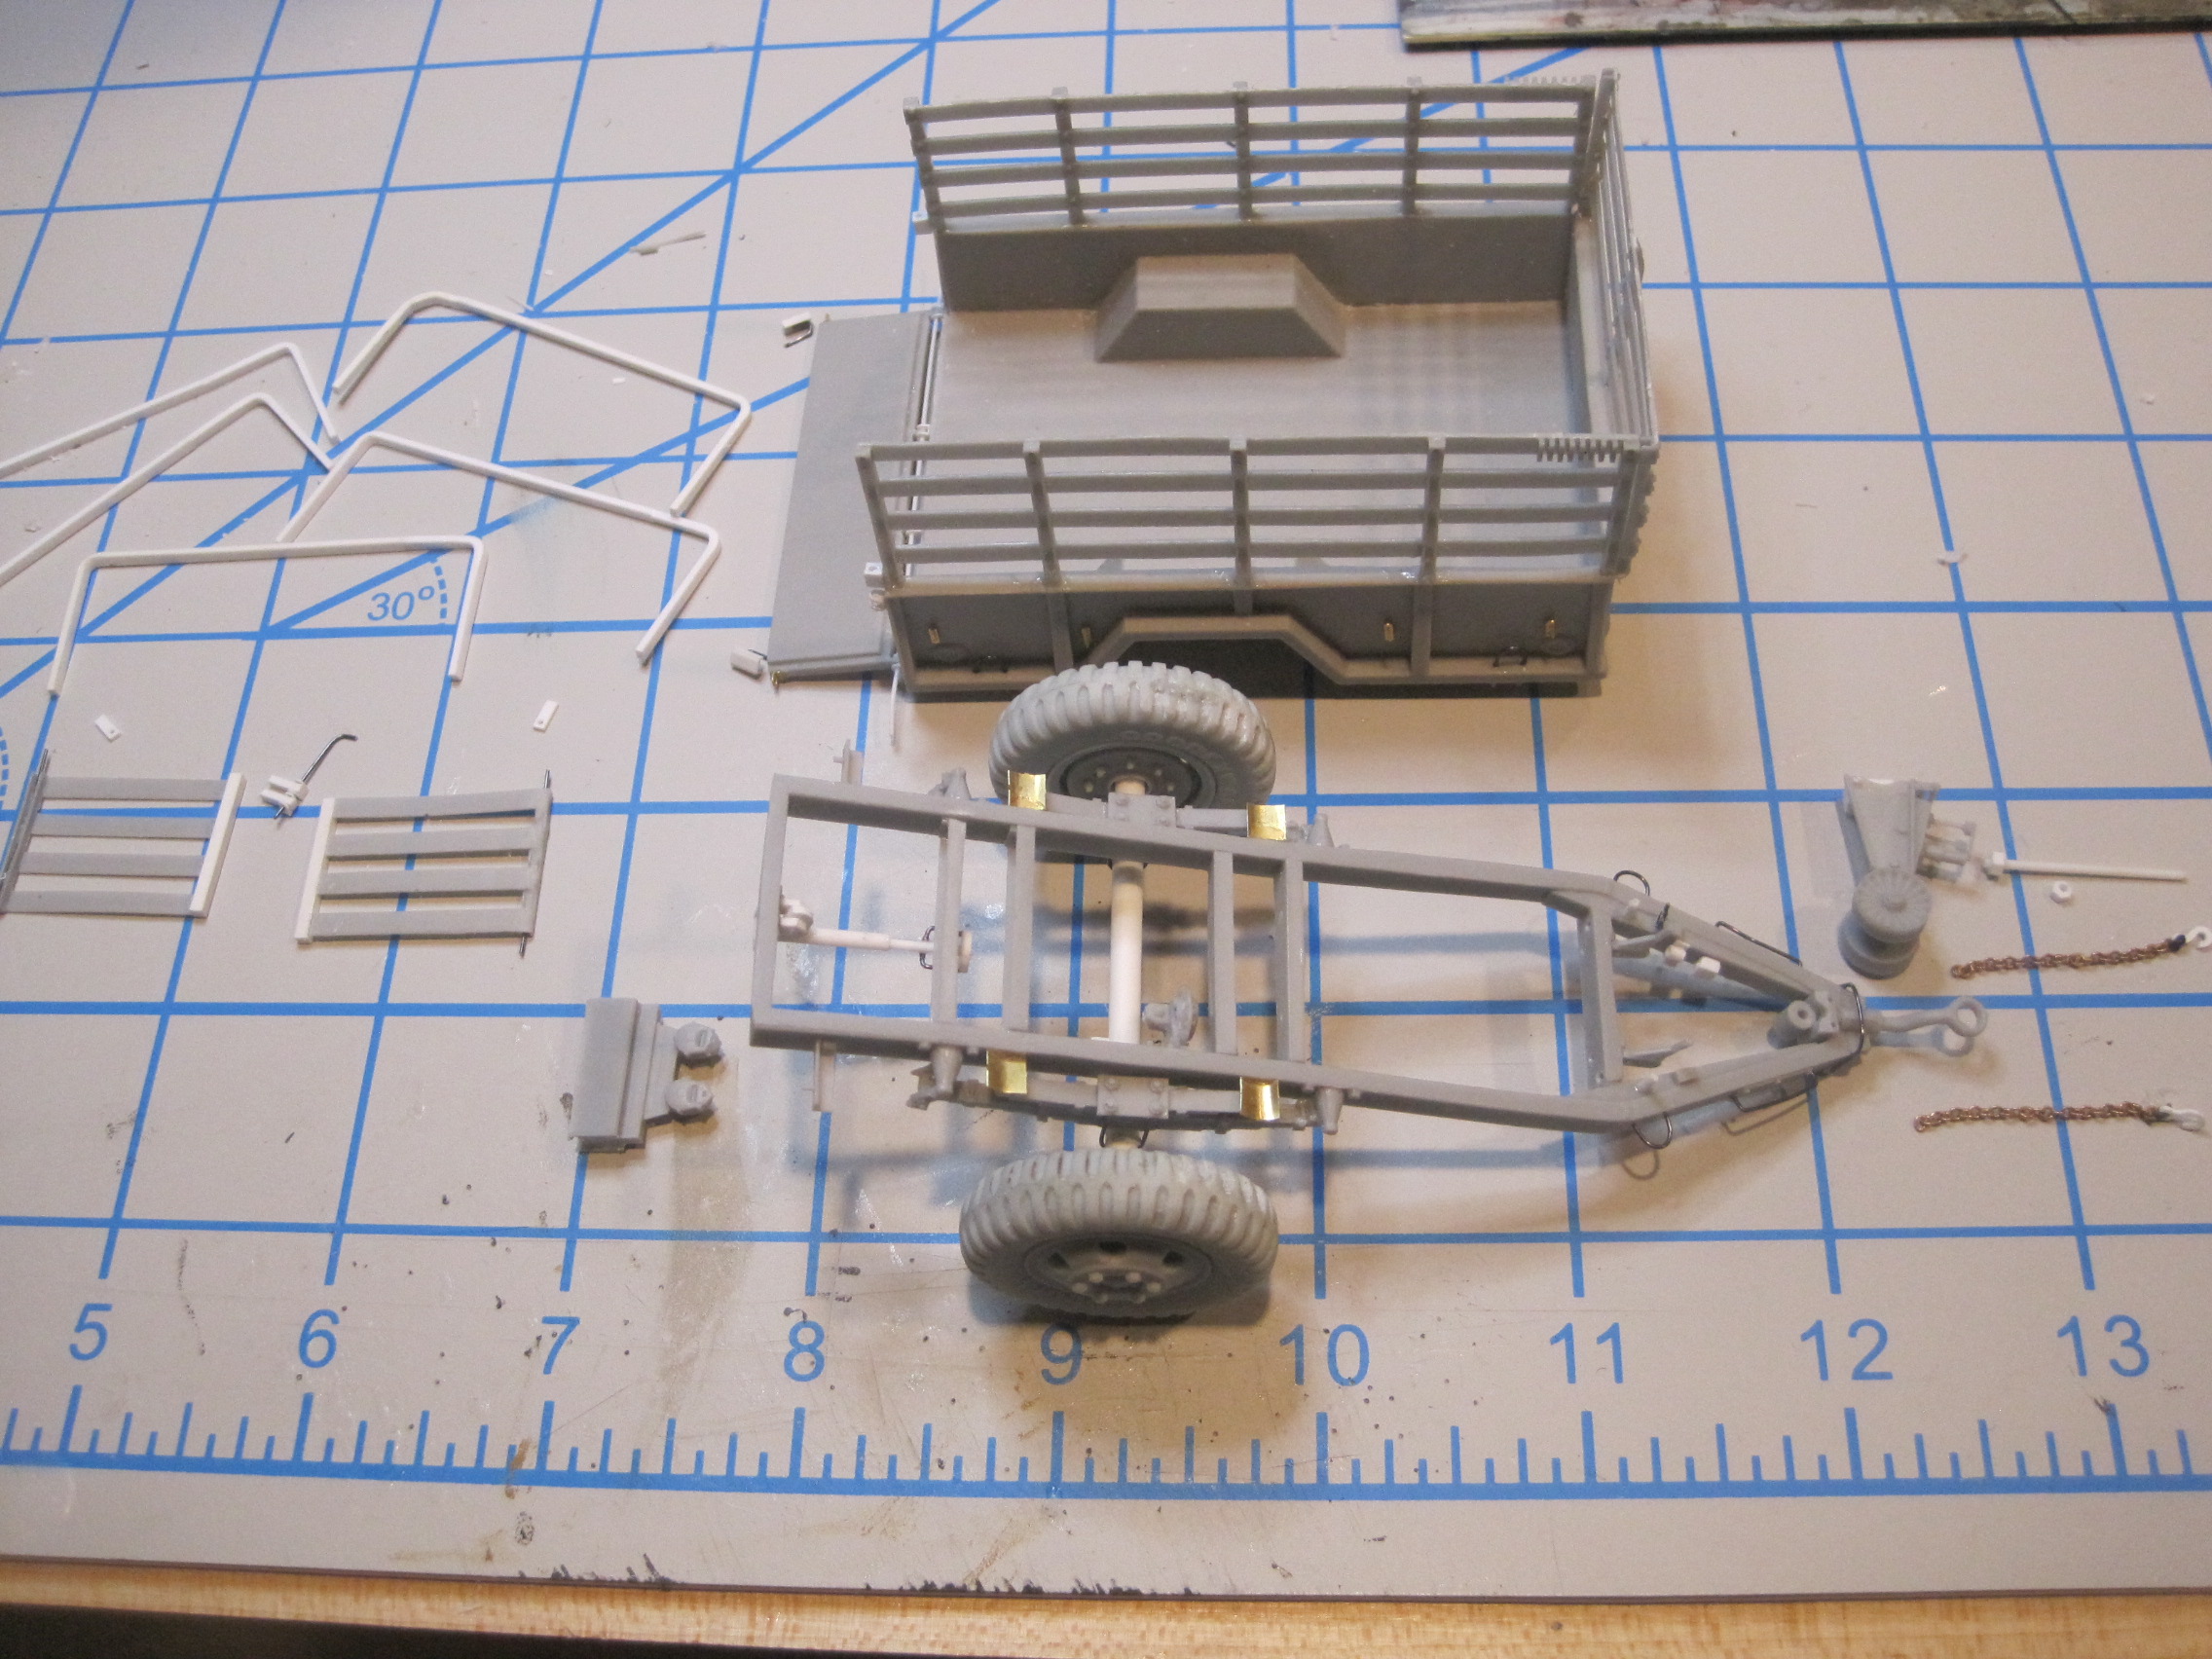
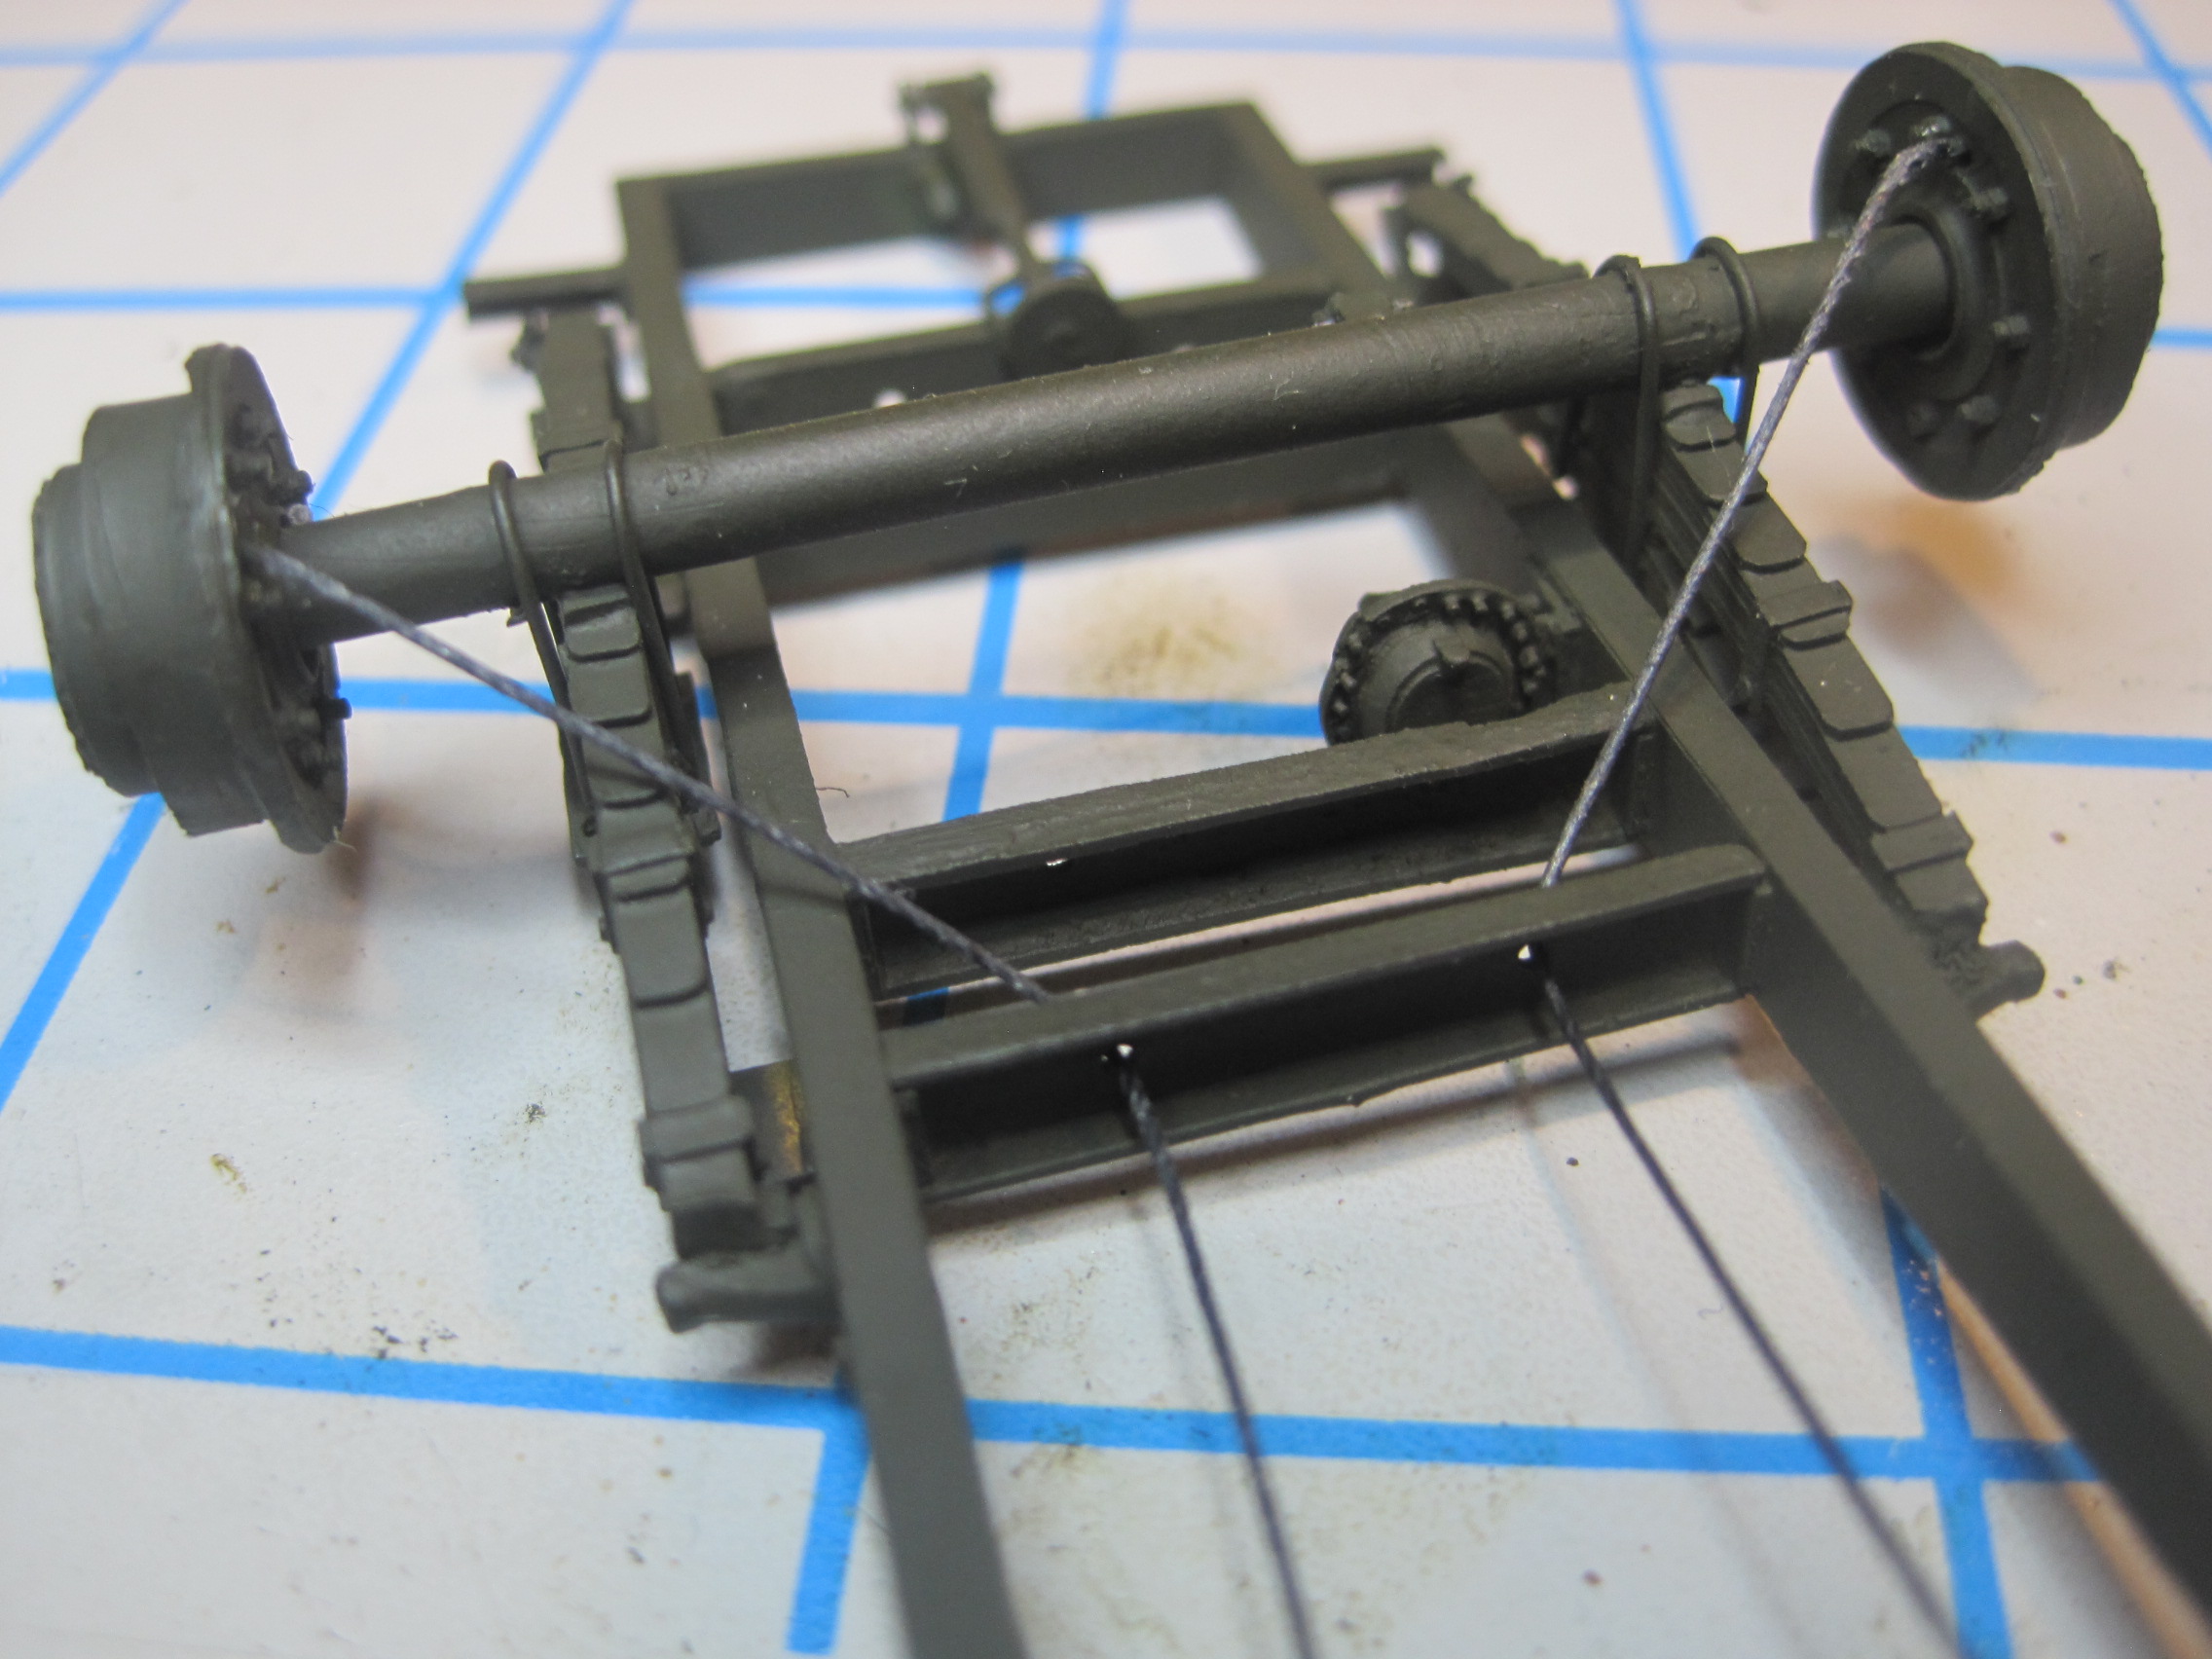
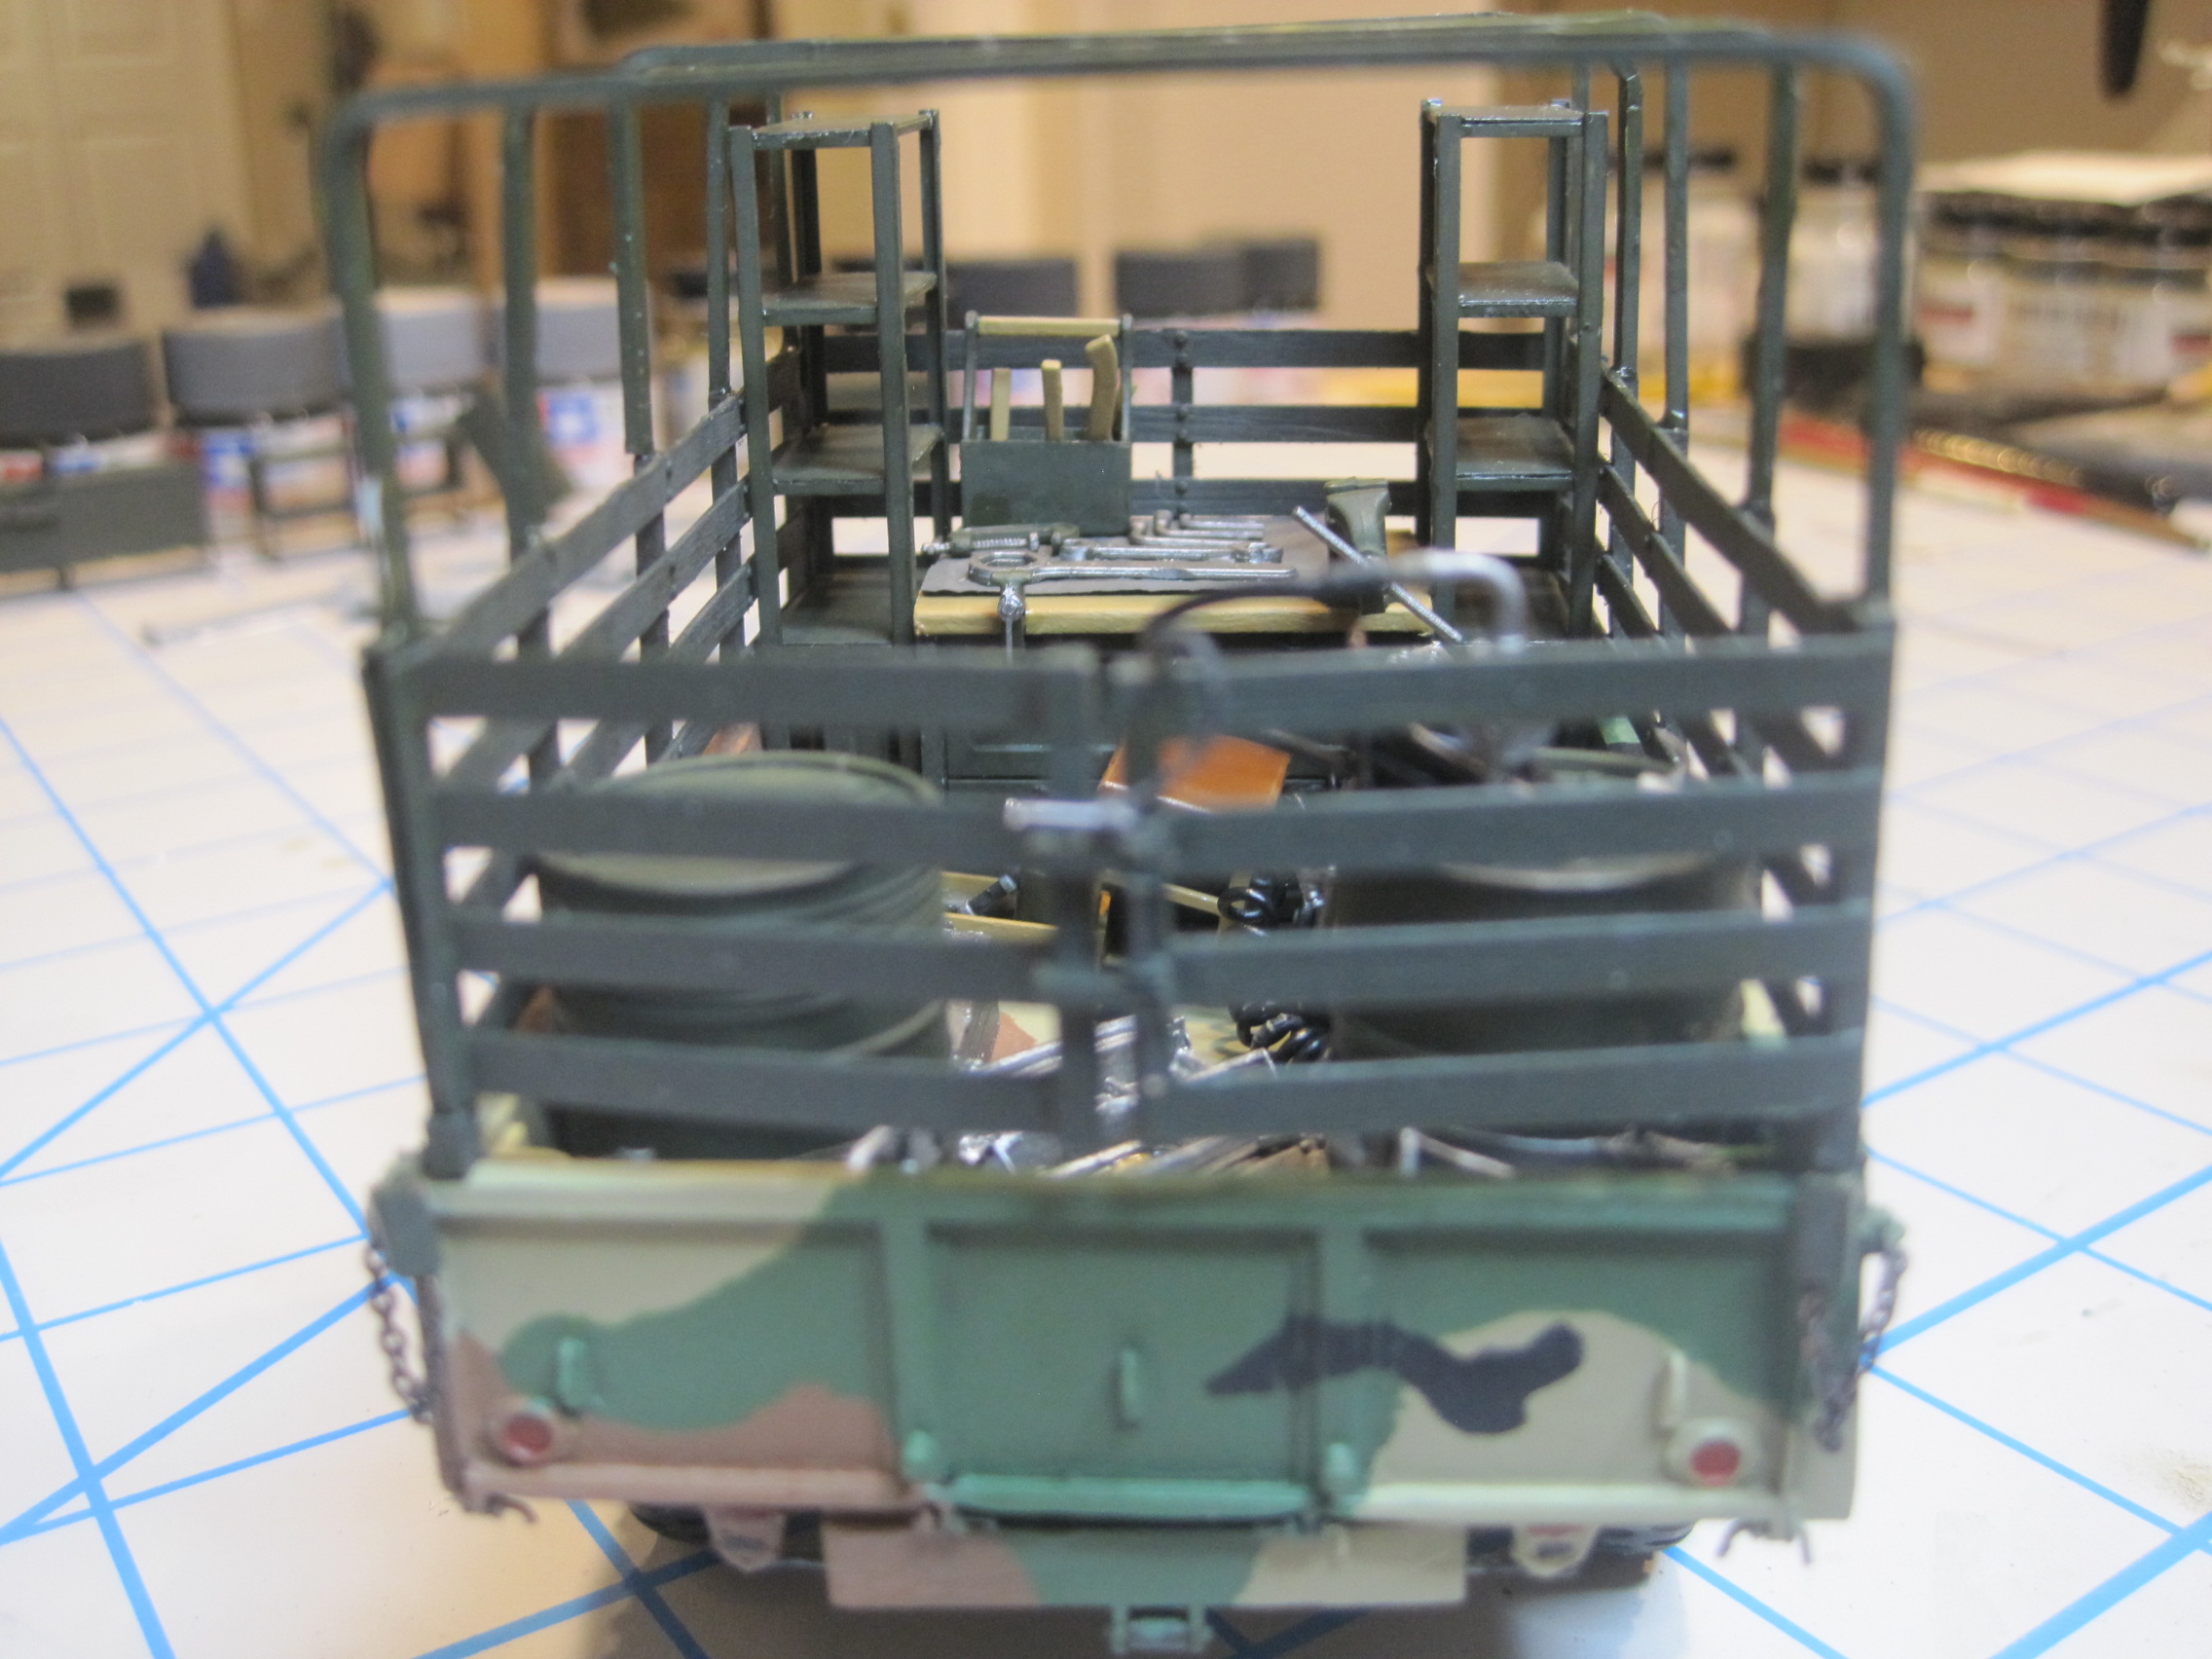
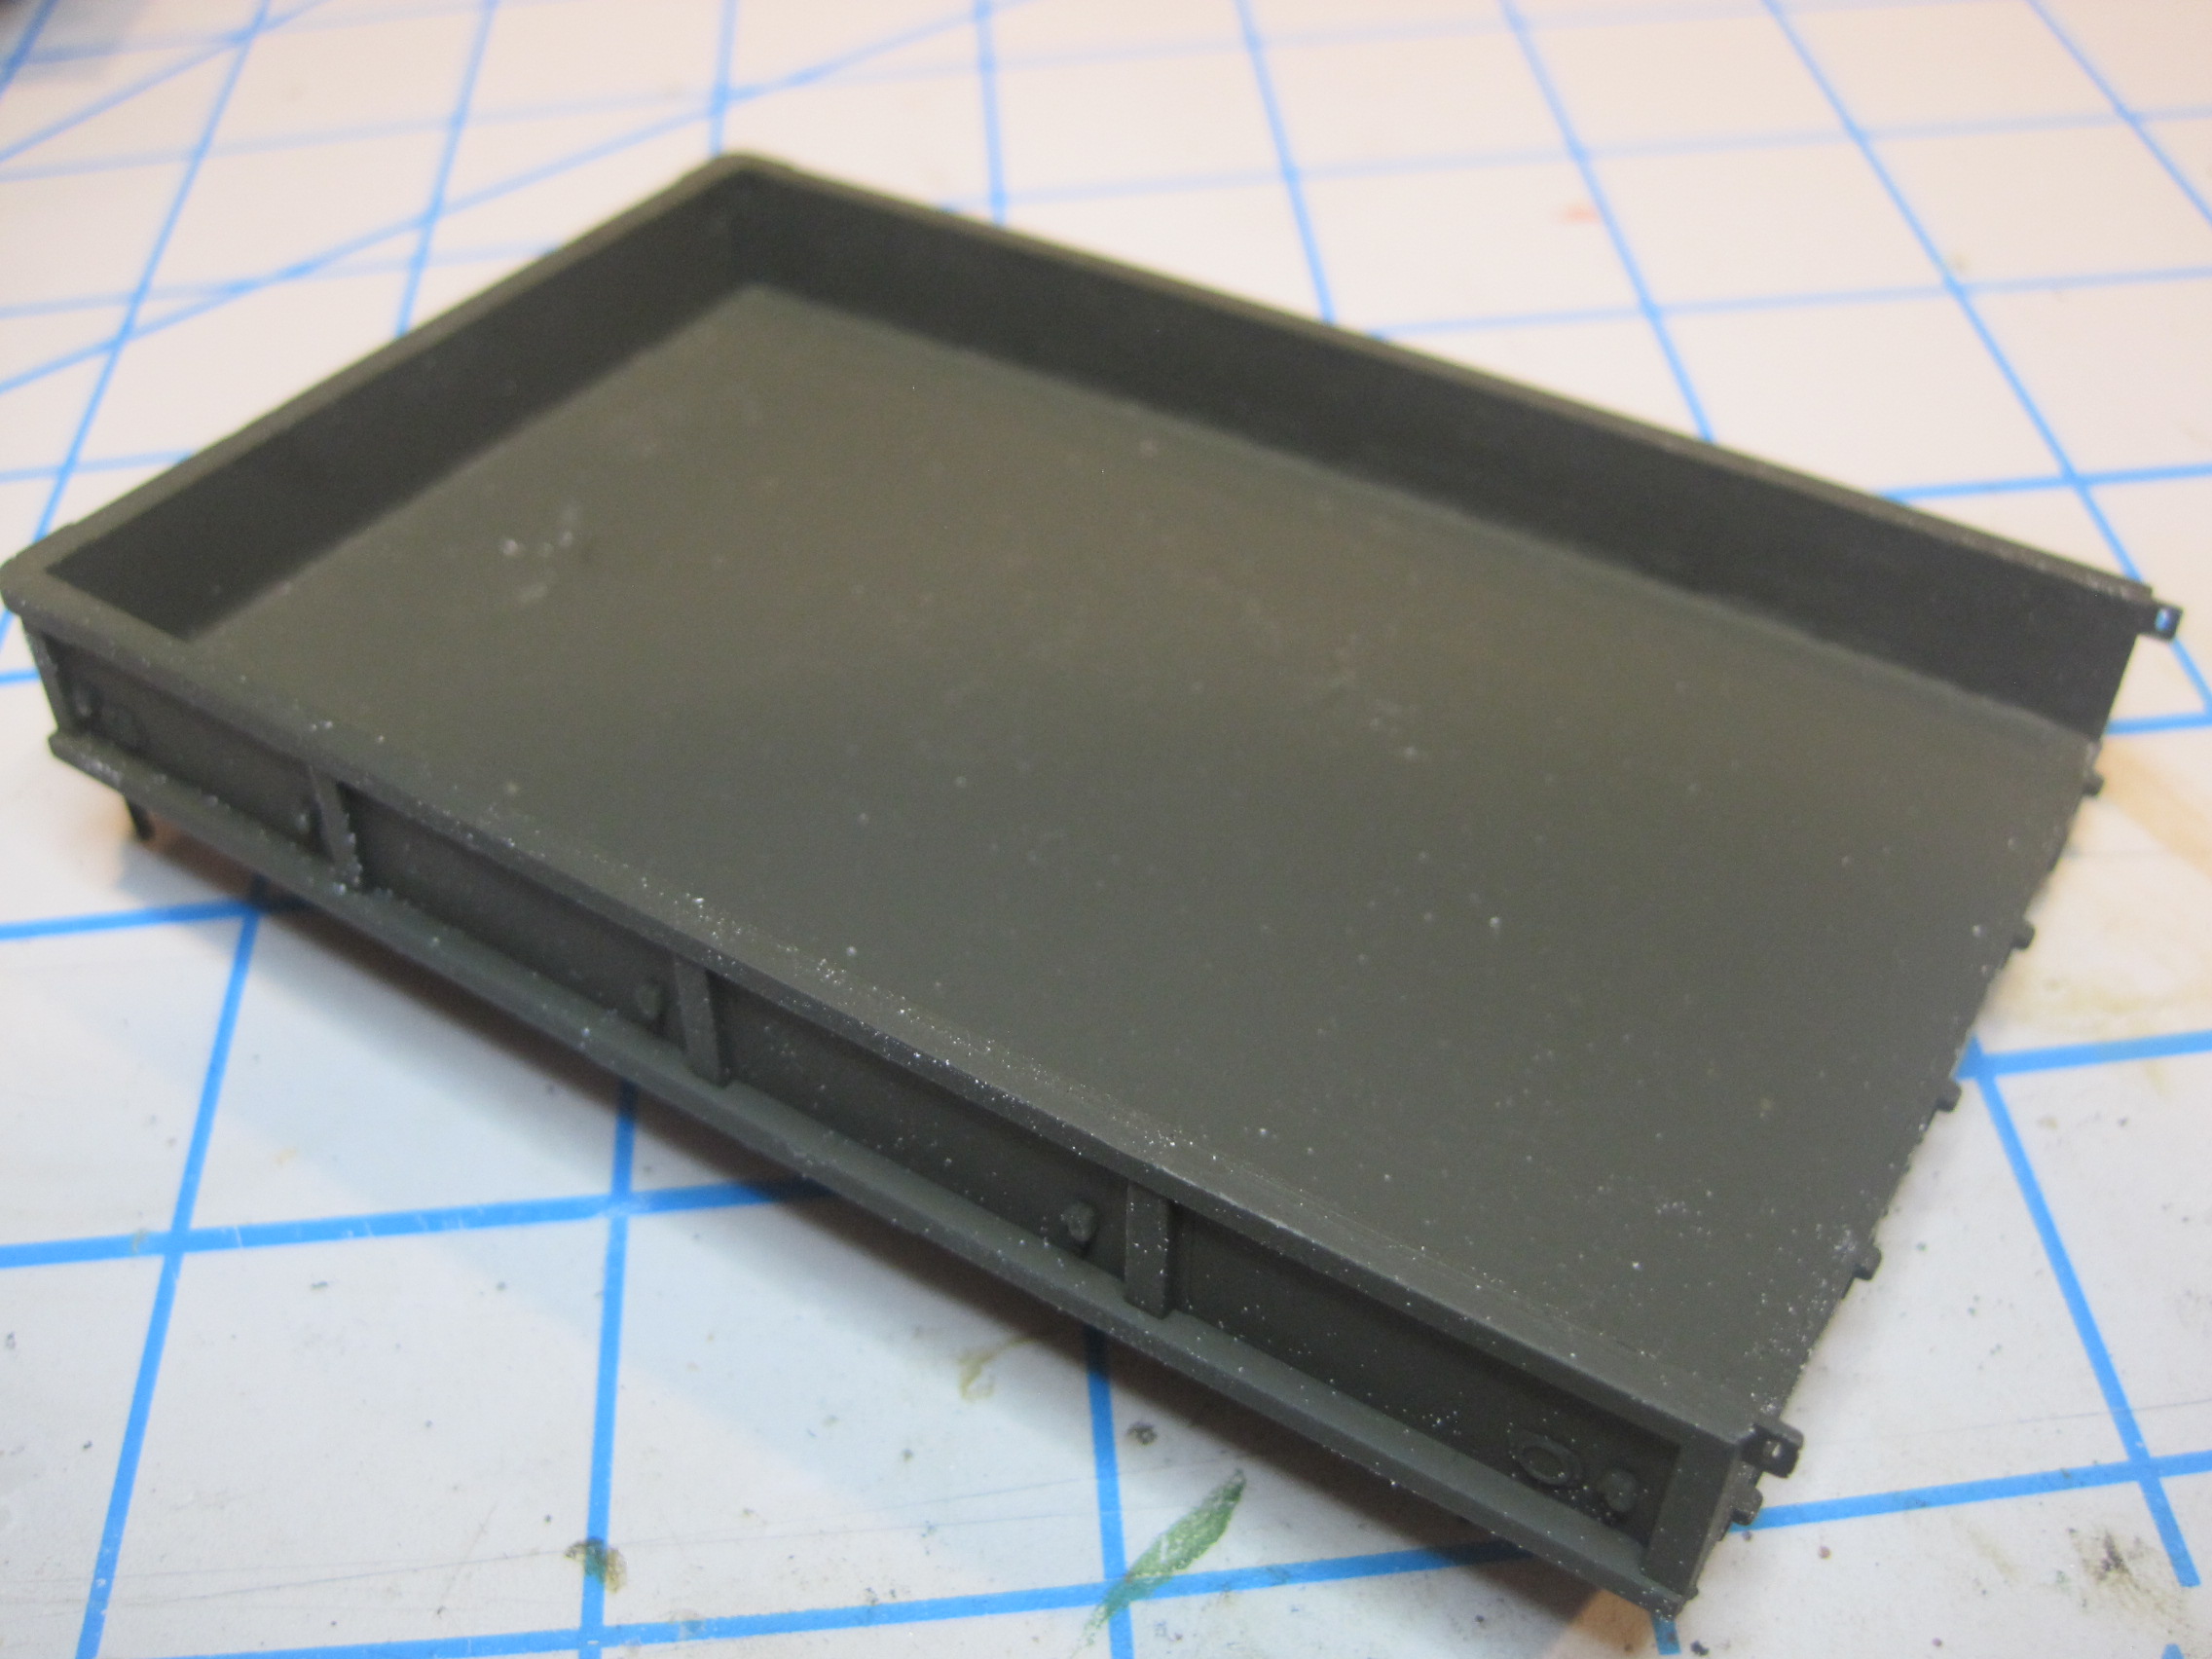
Further progress on the trailer. First is the layout of all the items in the kit prior to the initial spray coat of OD.
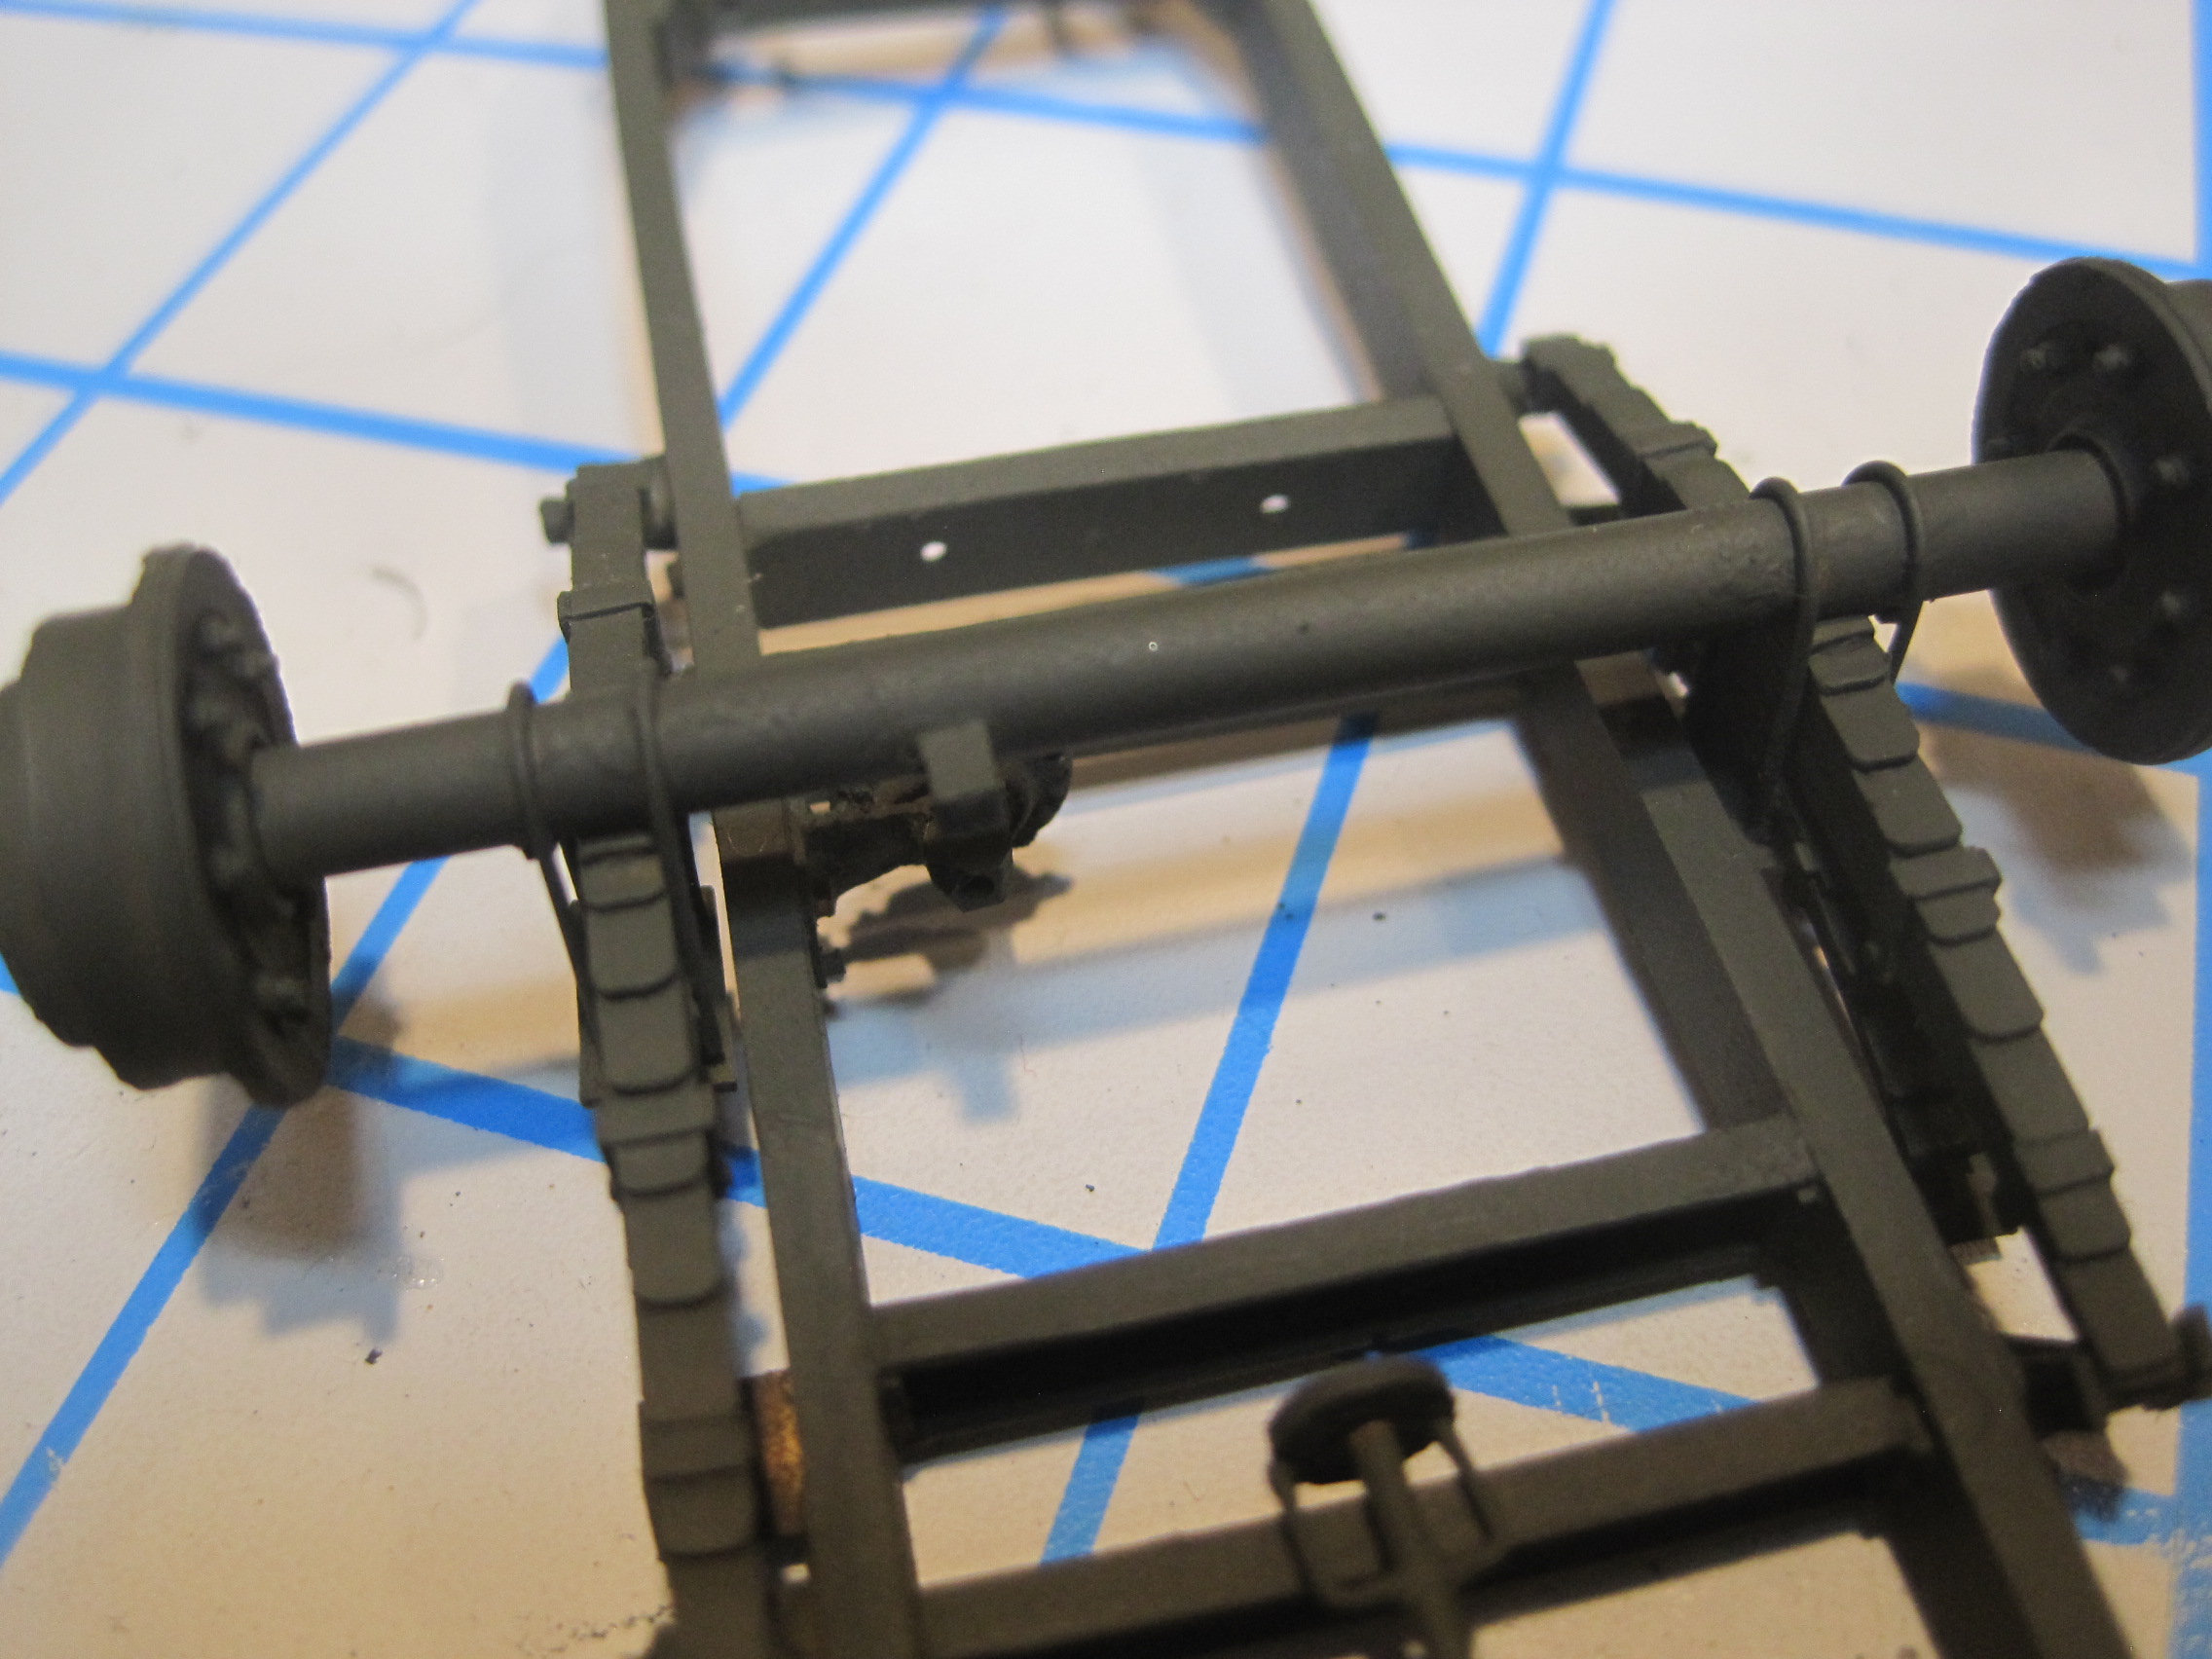
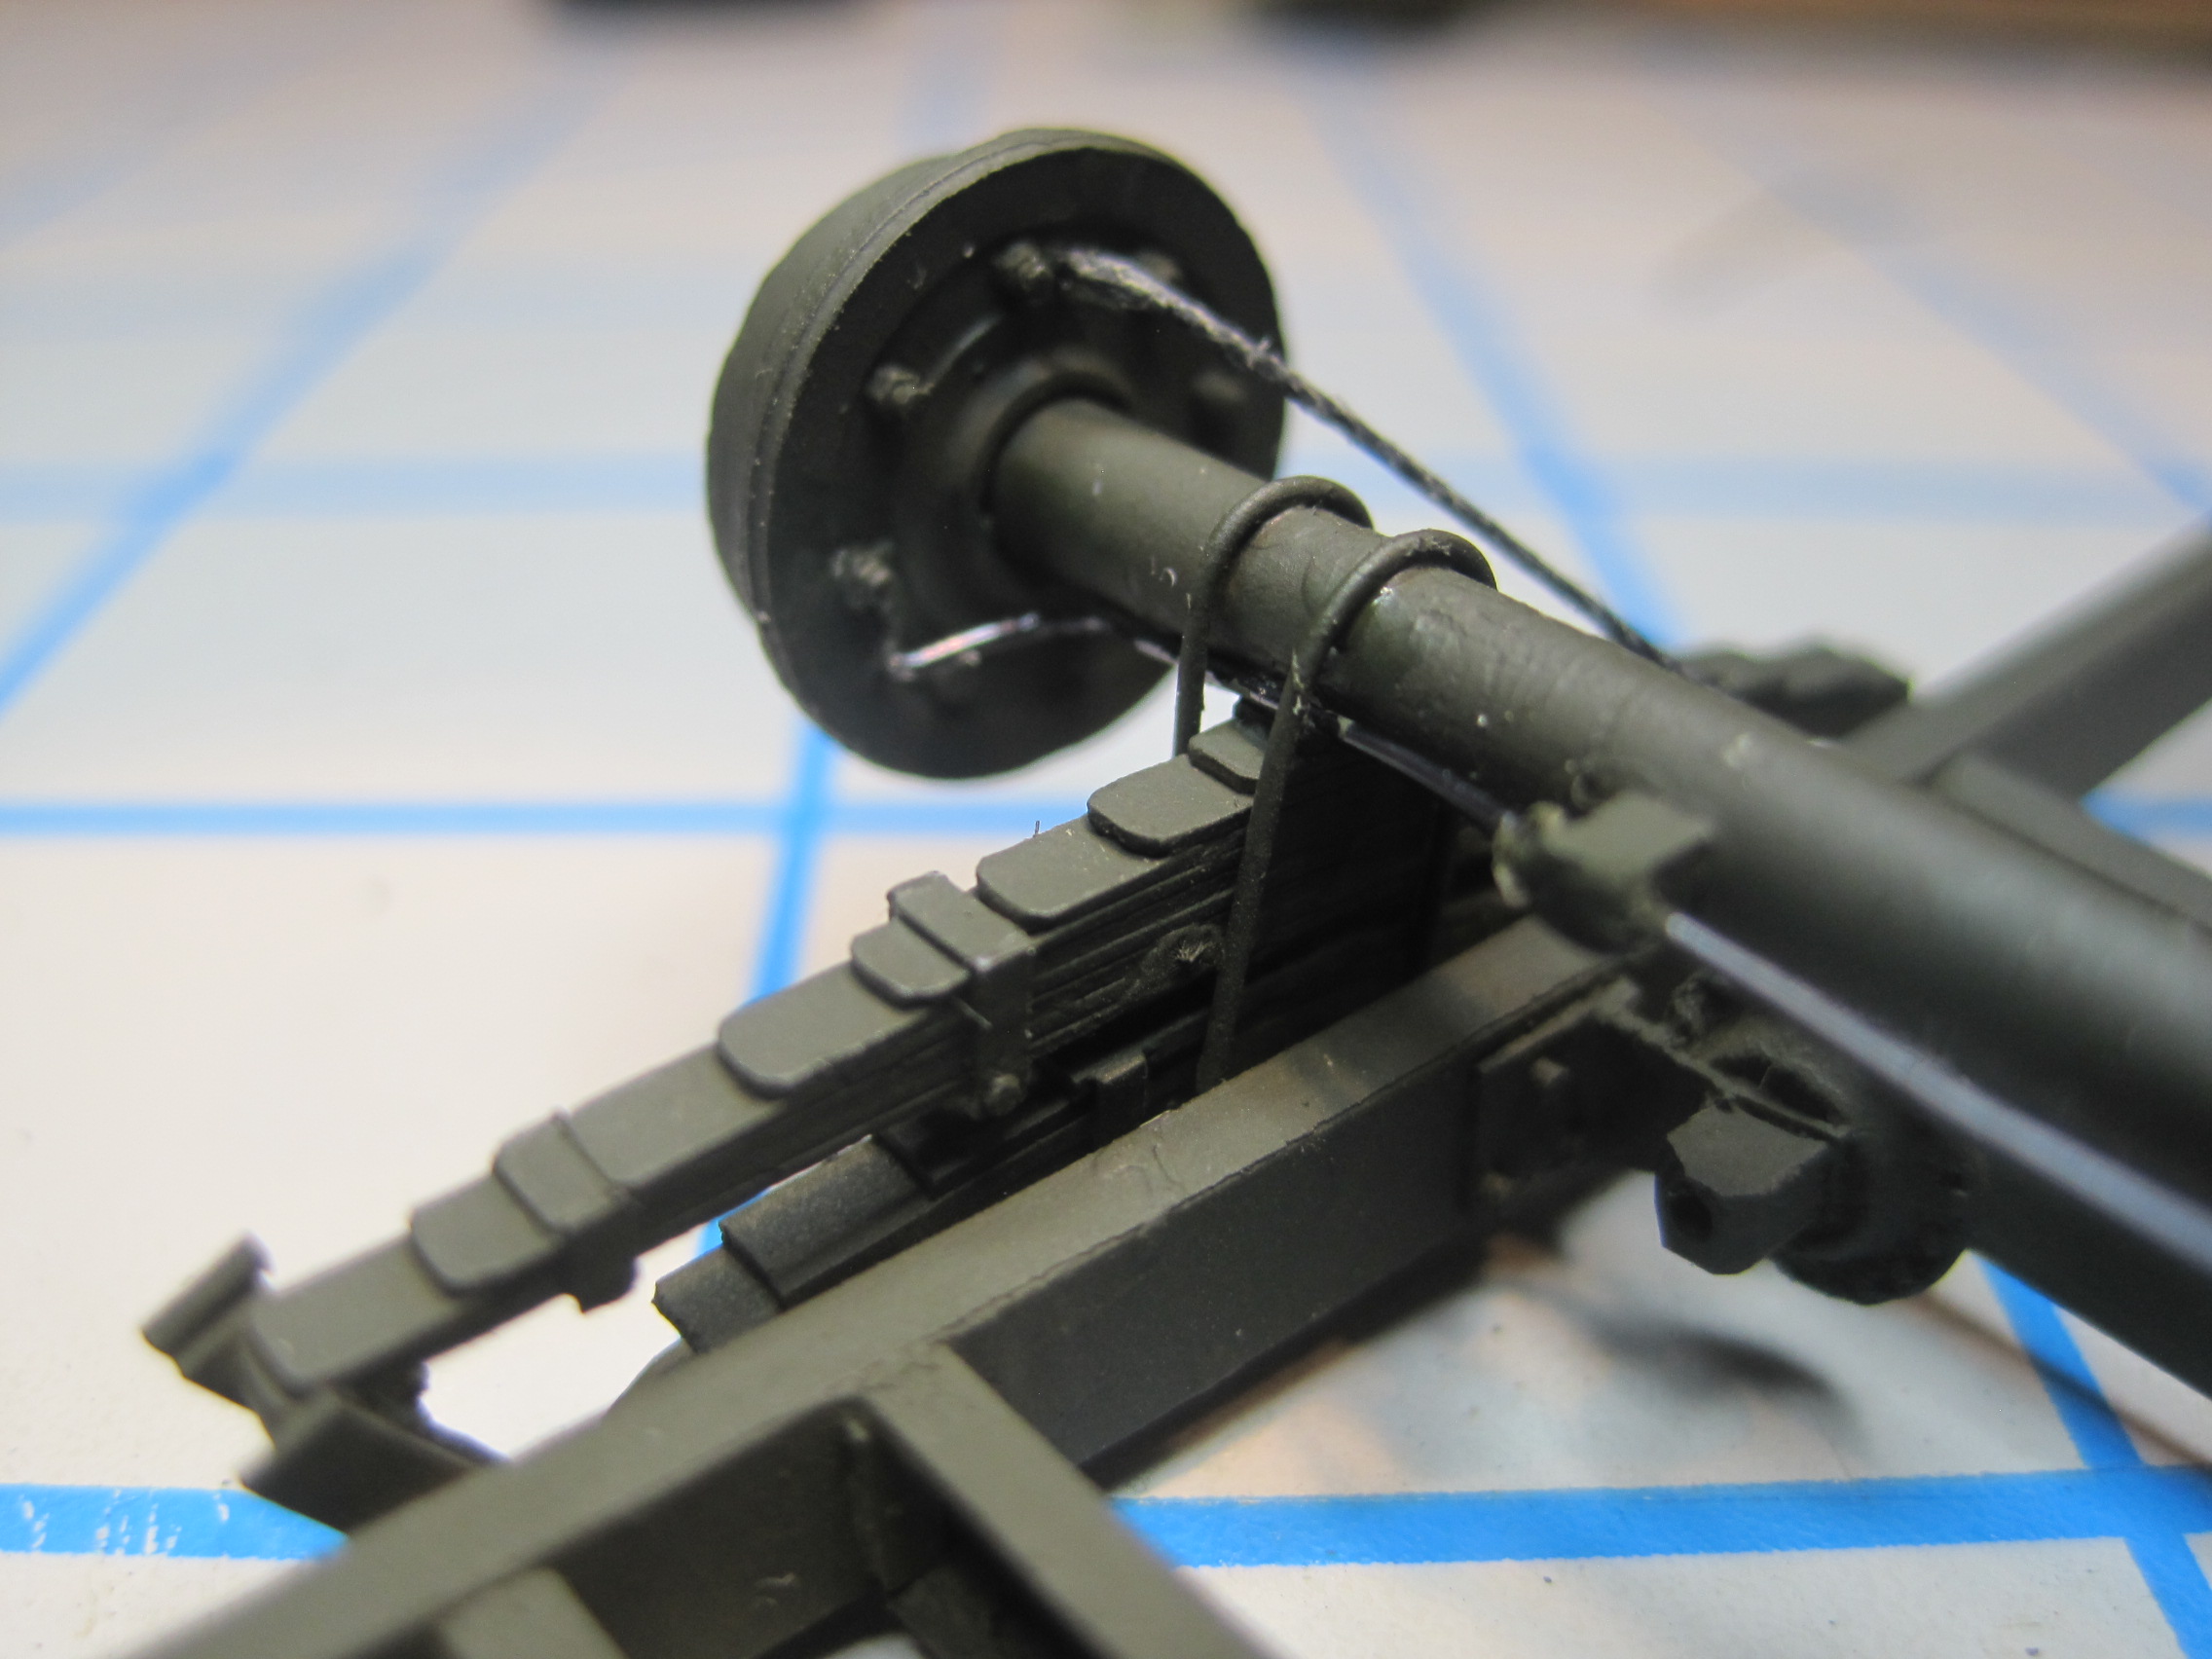
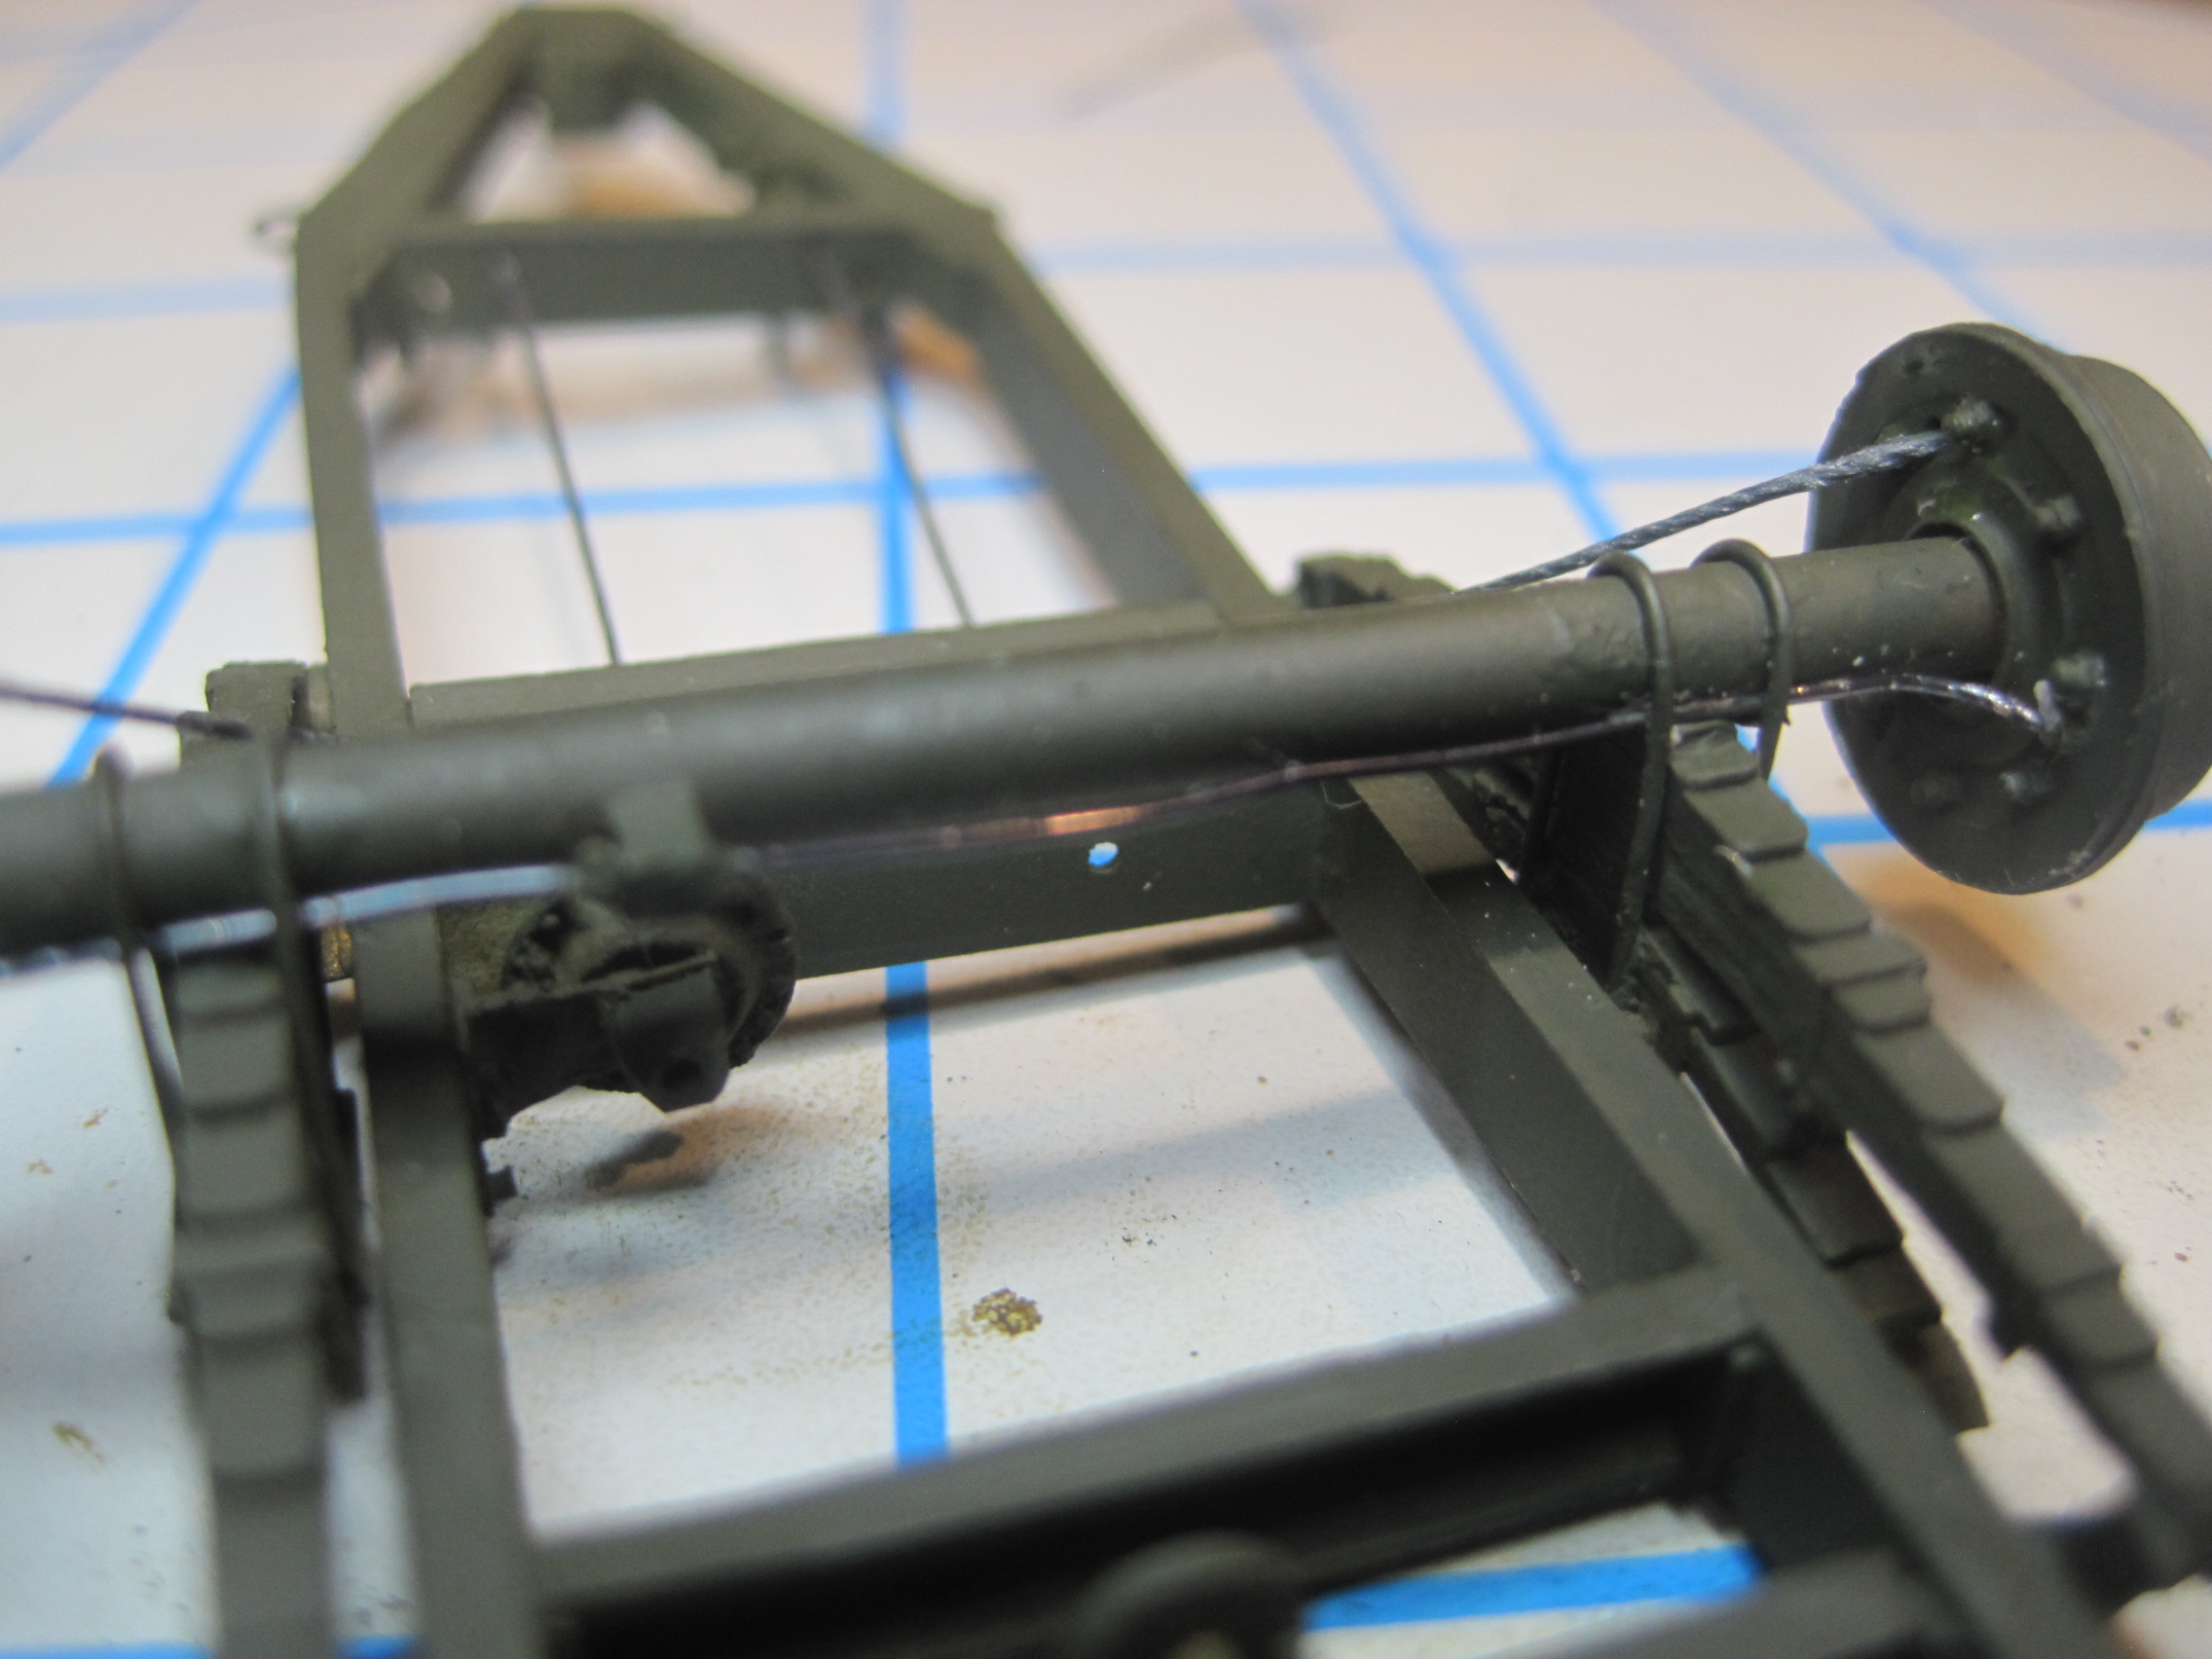
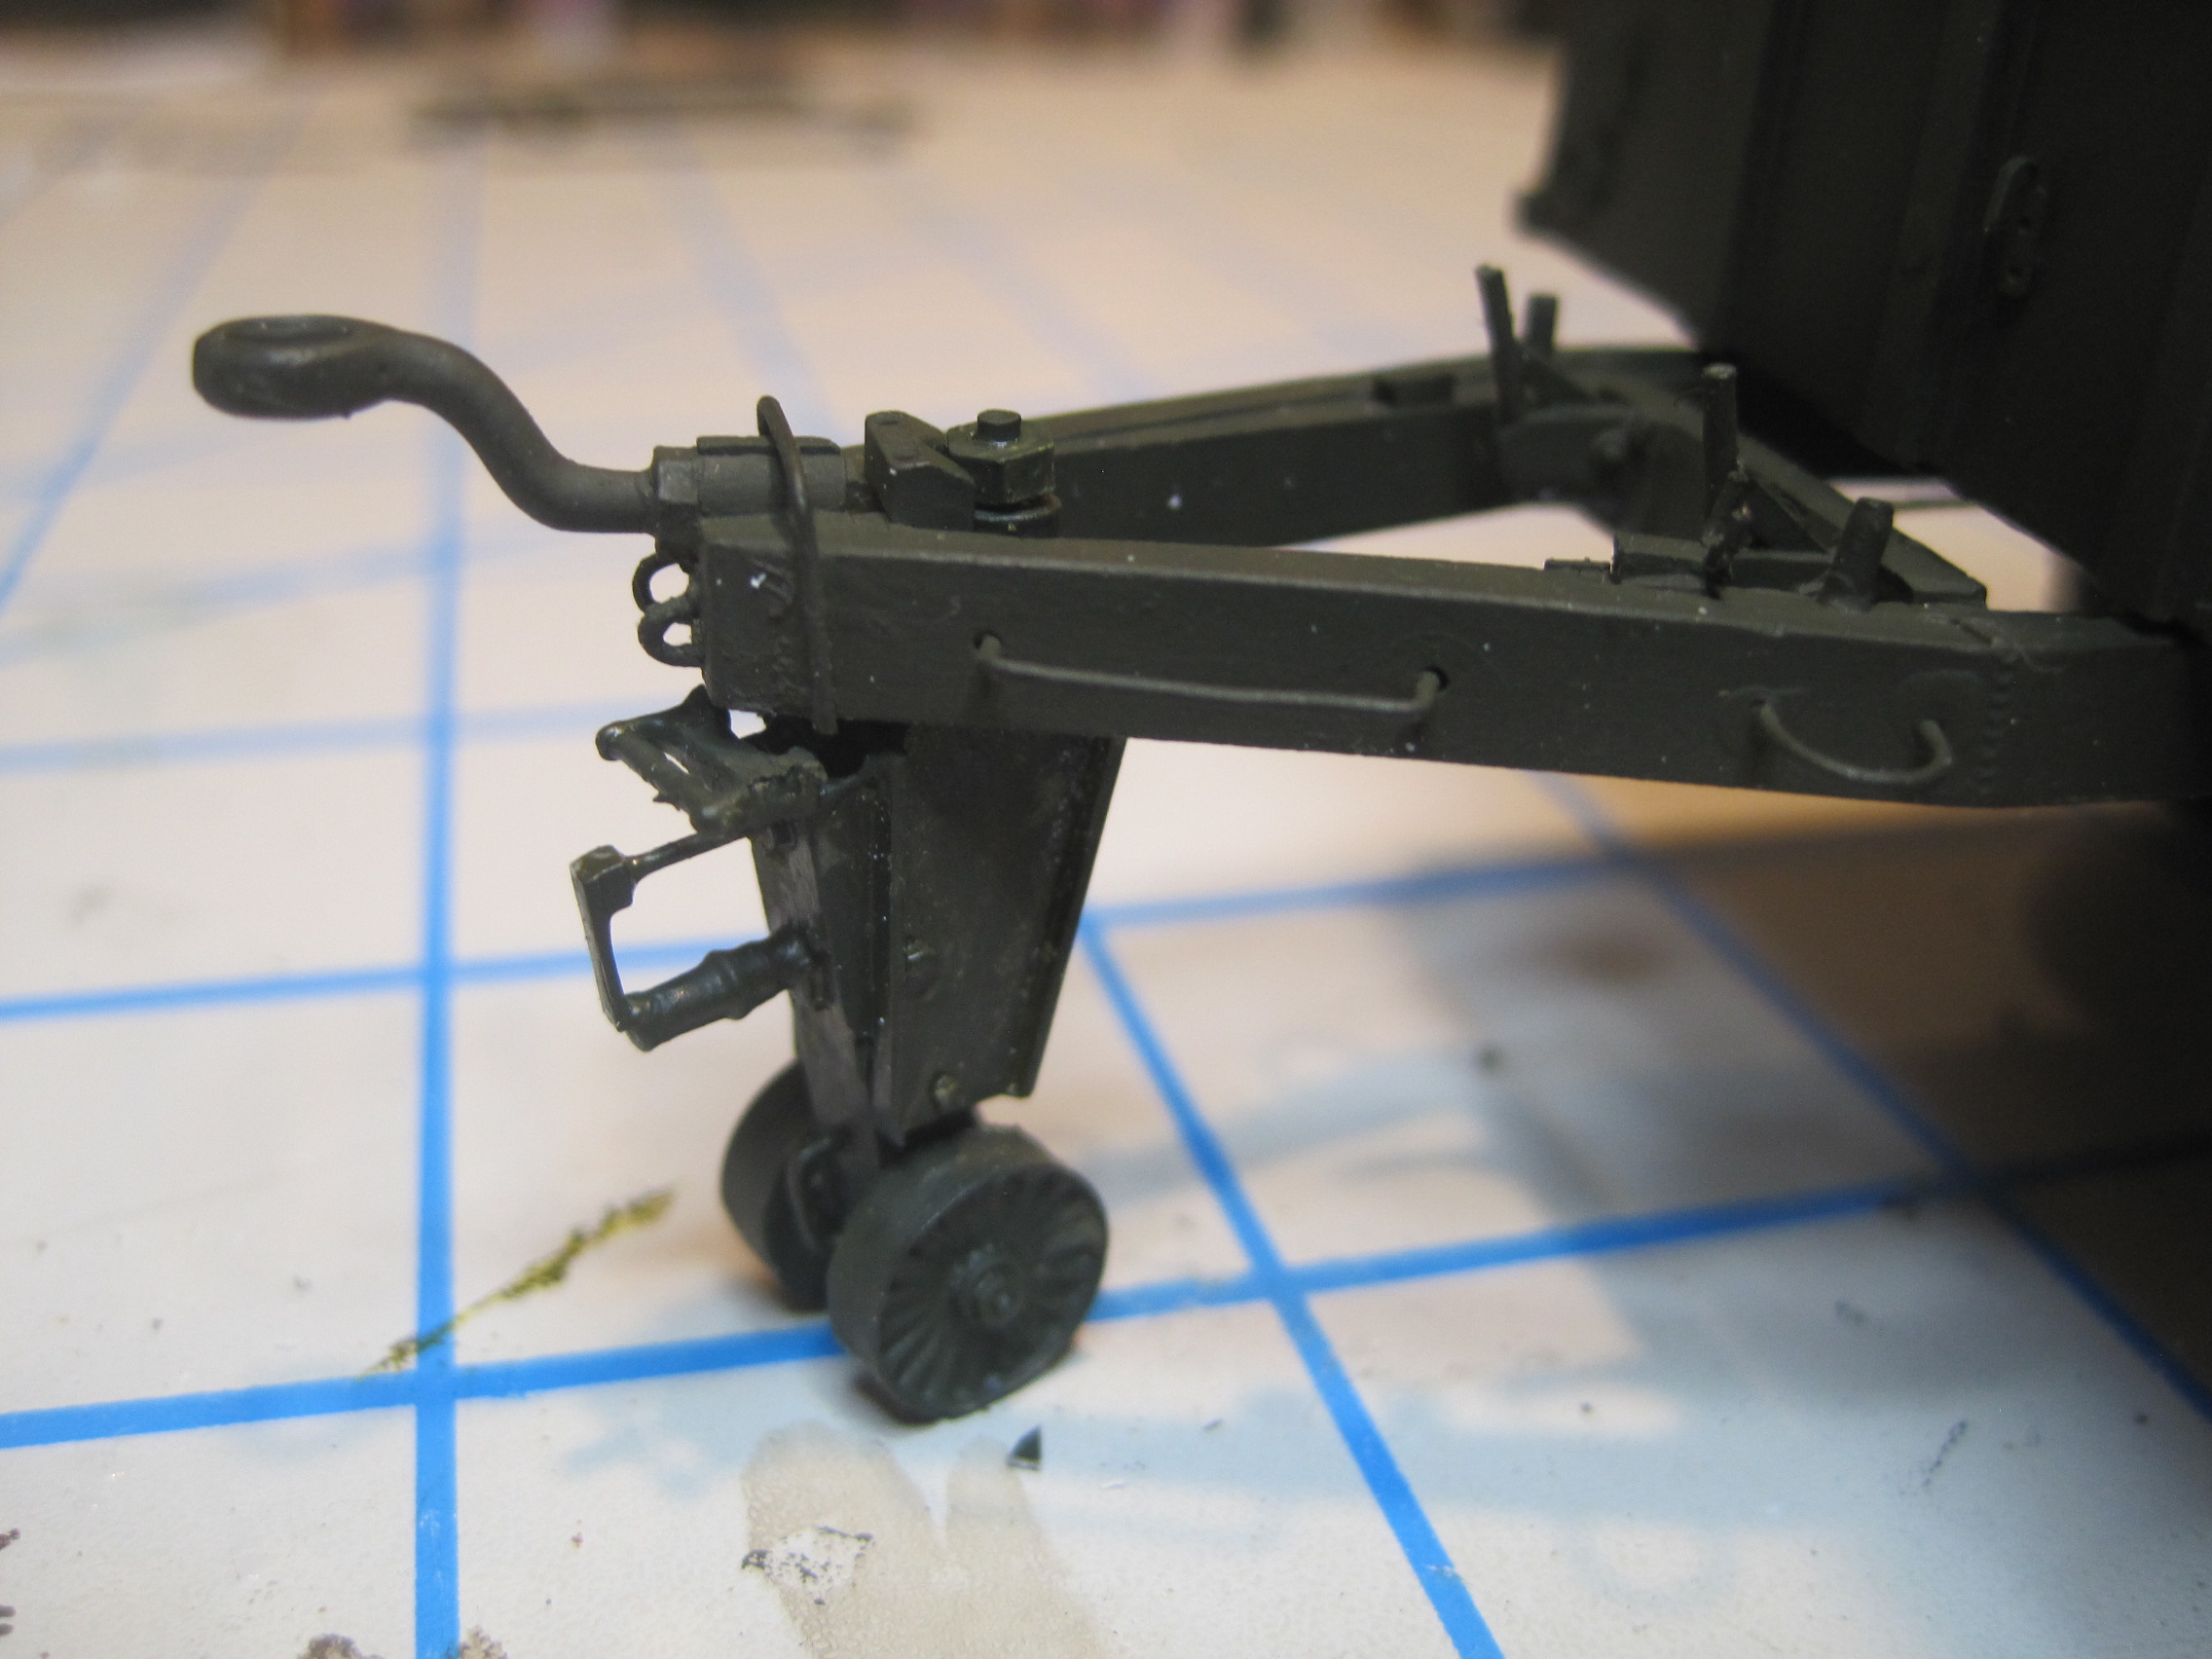
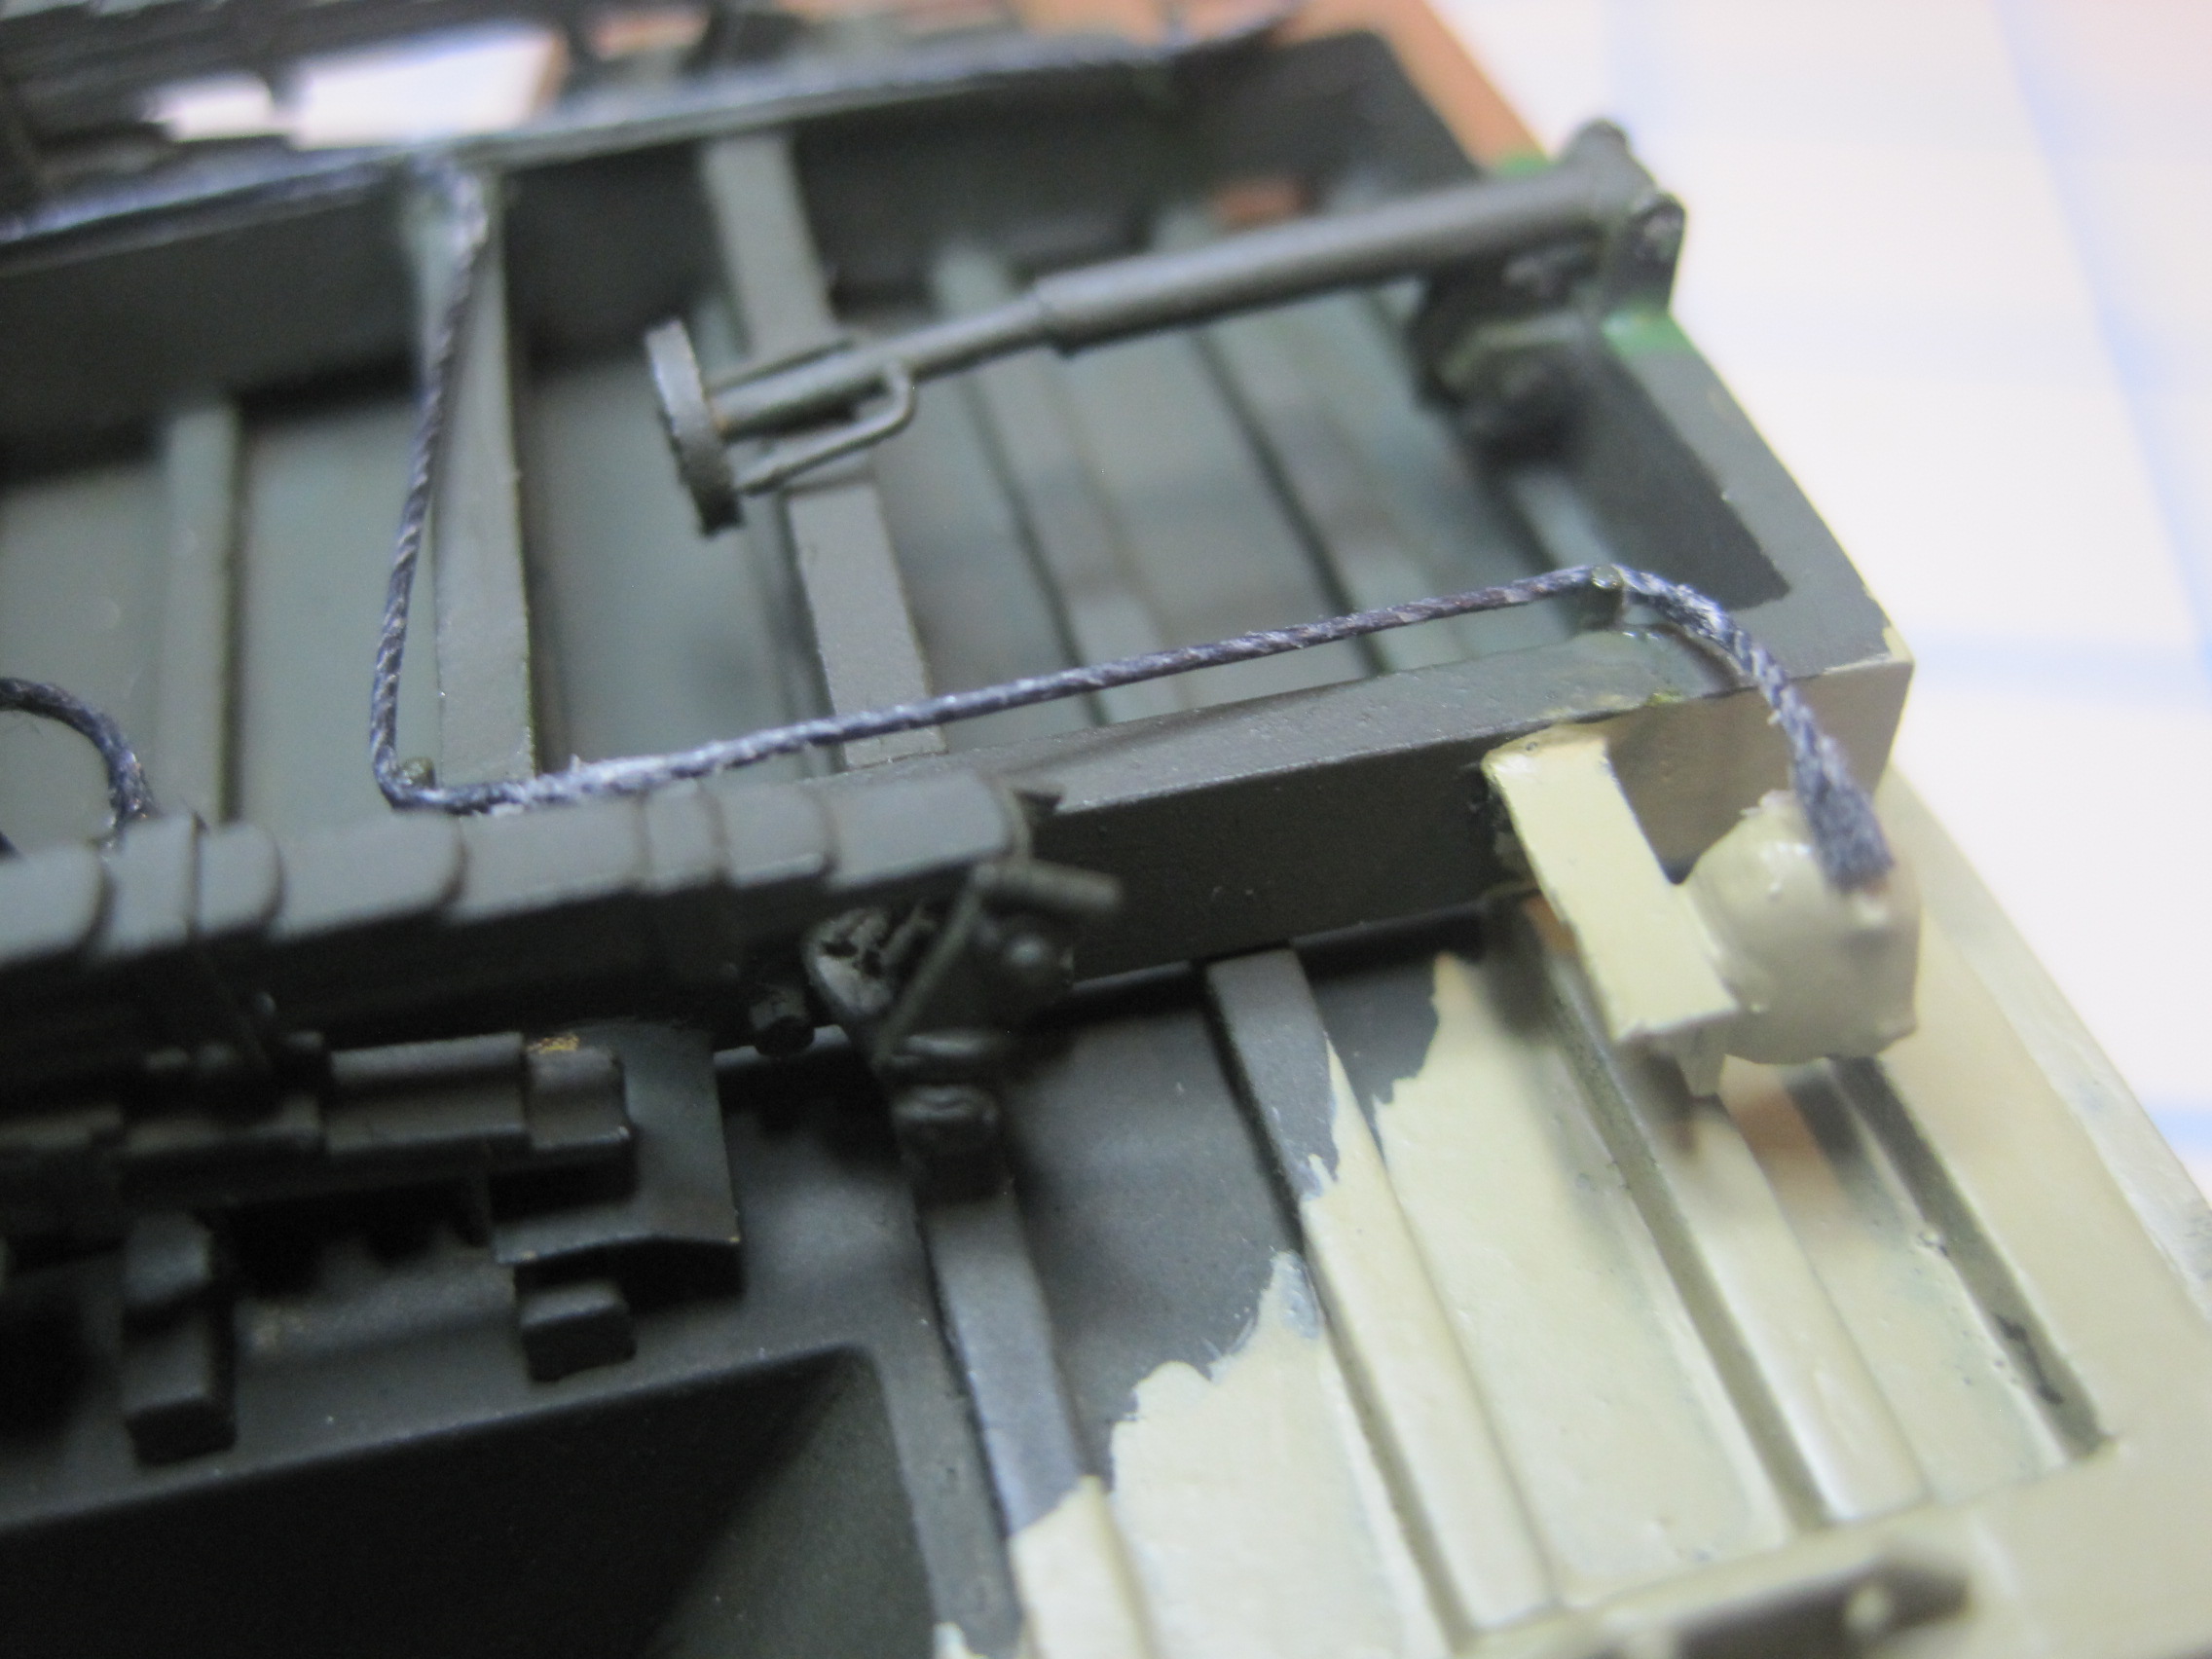
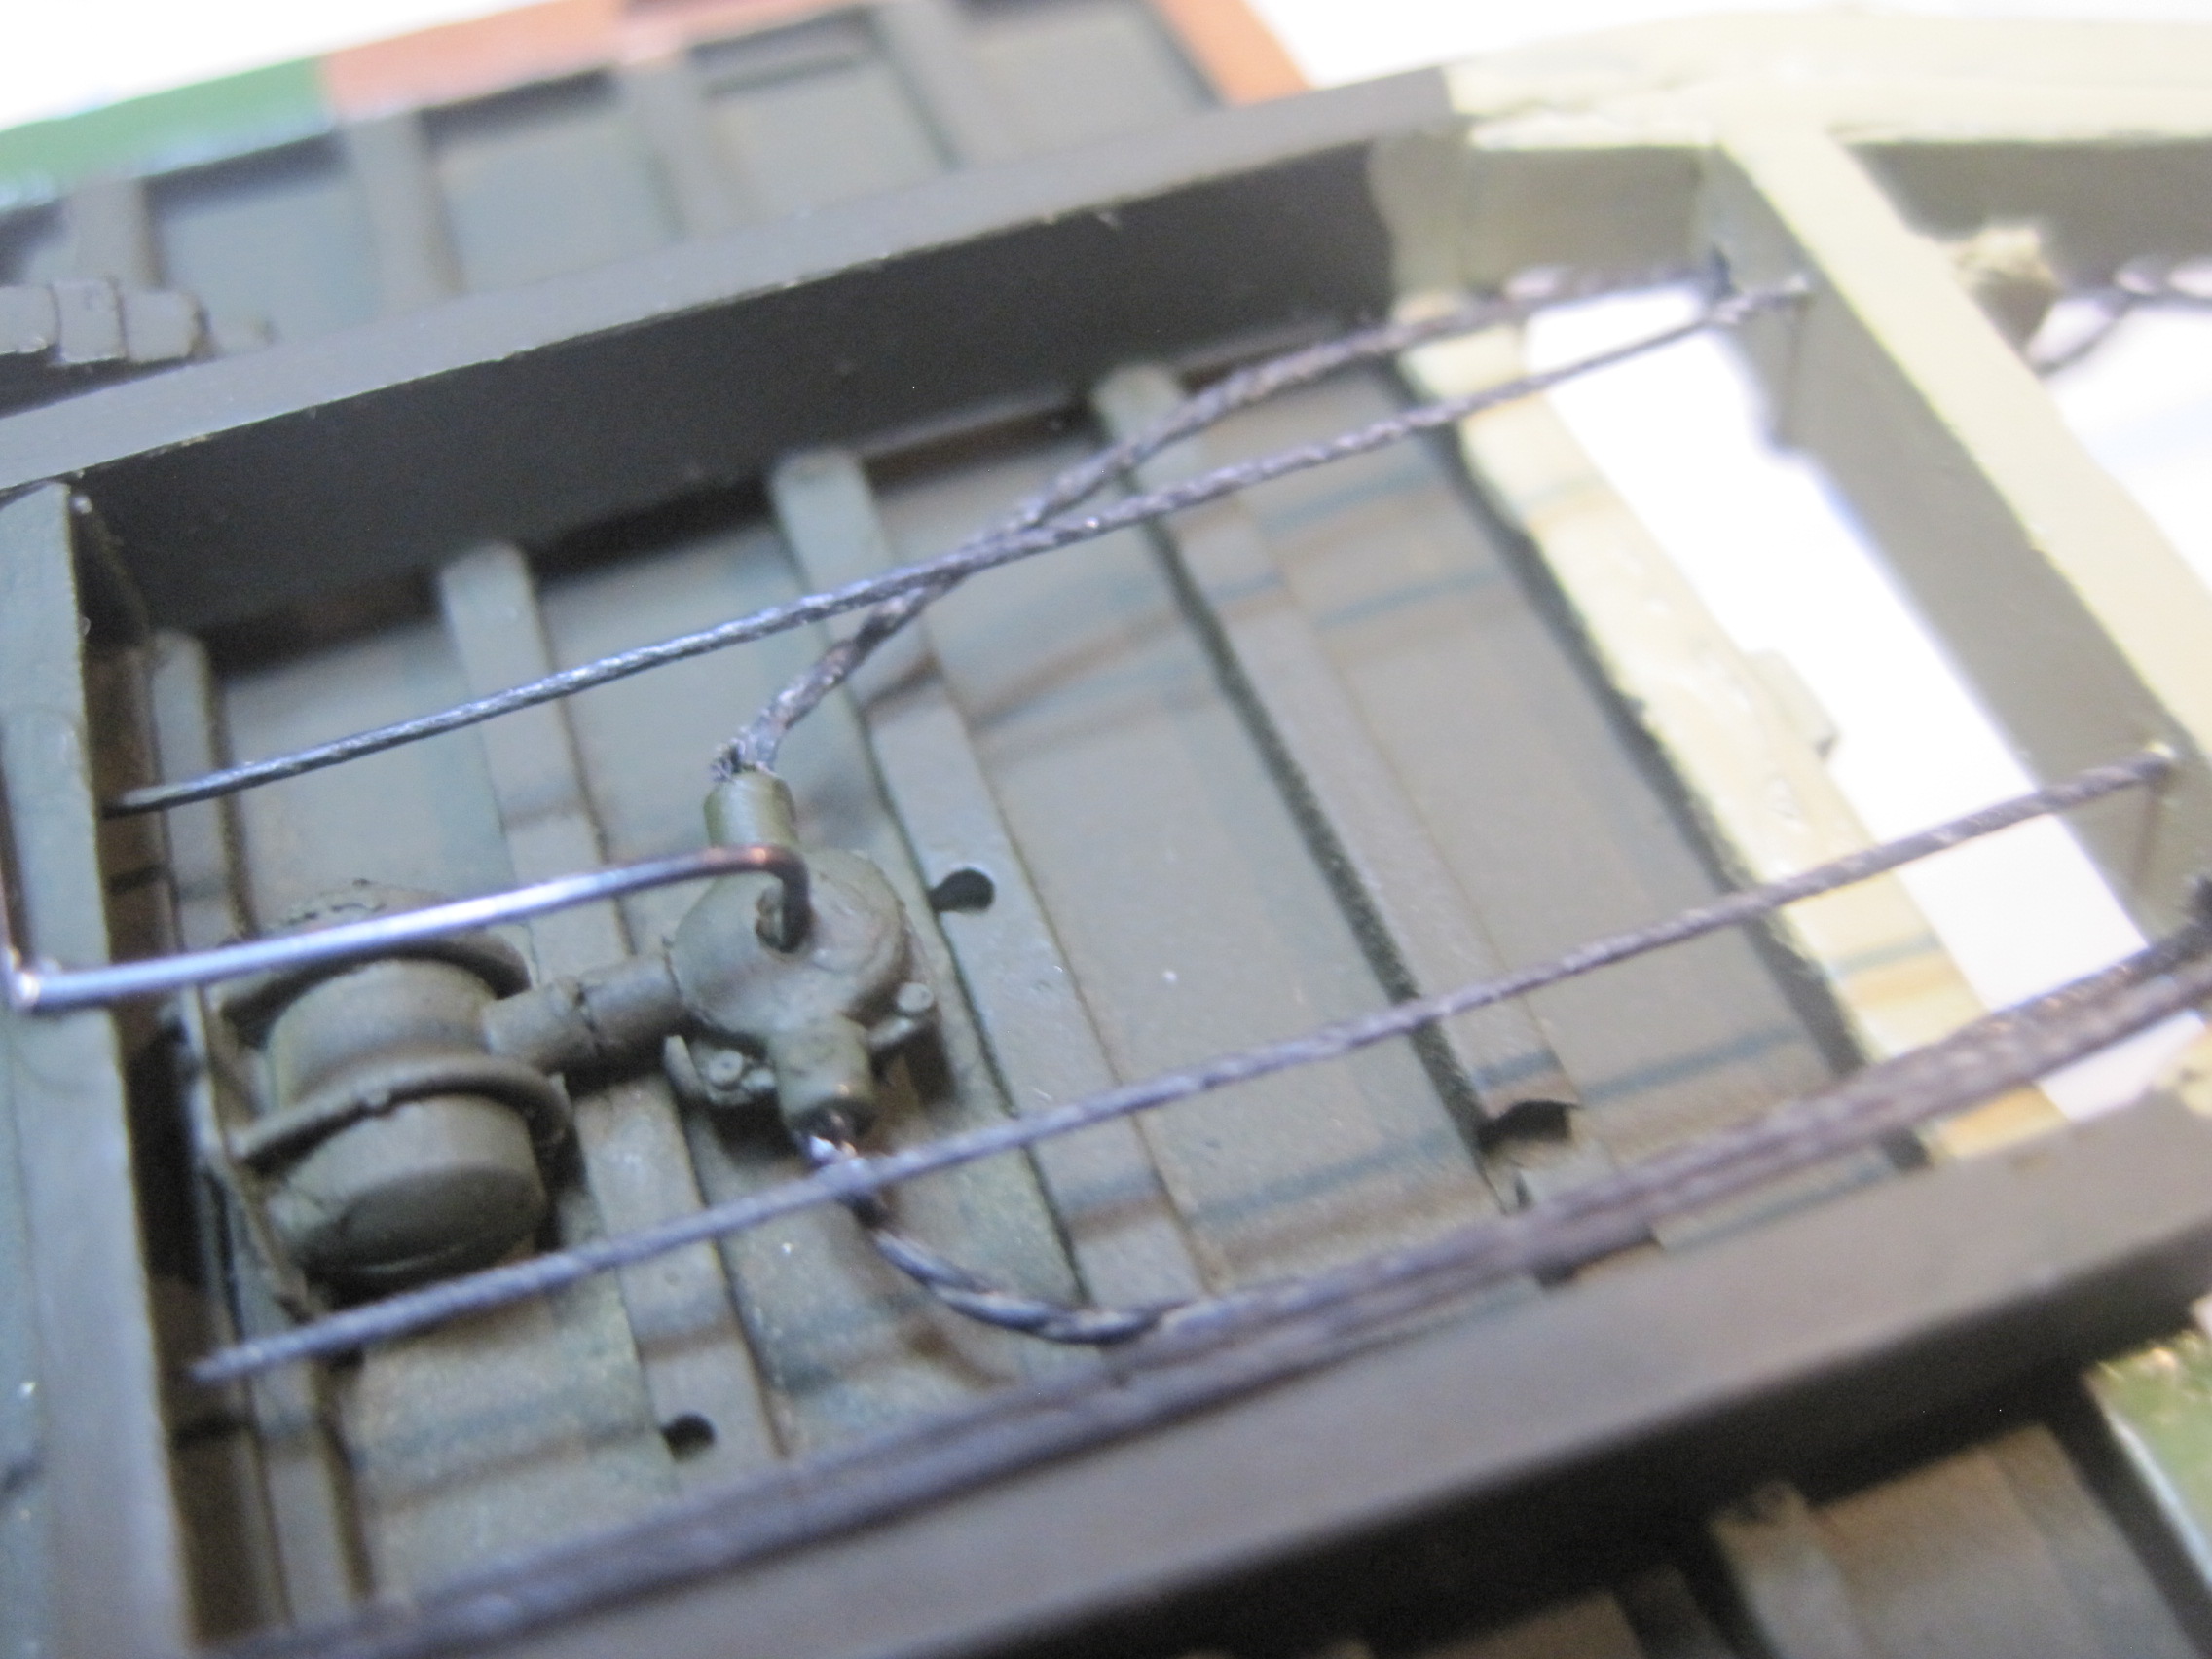
The next few shots show the assembled undercarriage and how I routed the hydraulic and manual brake lines.
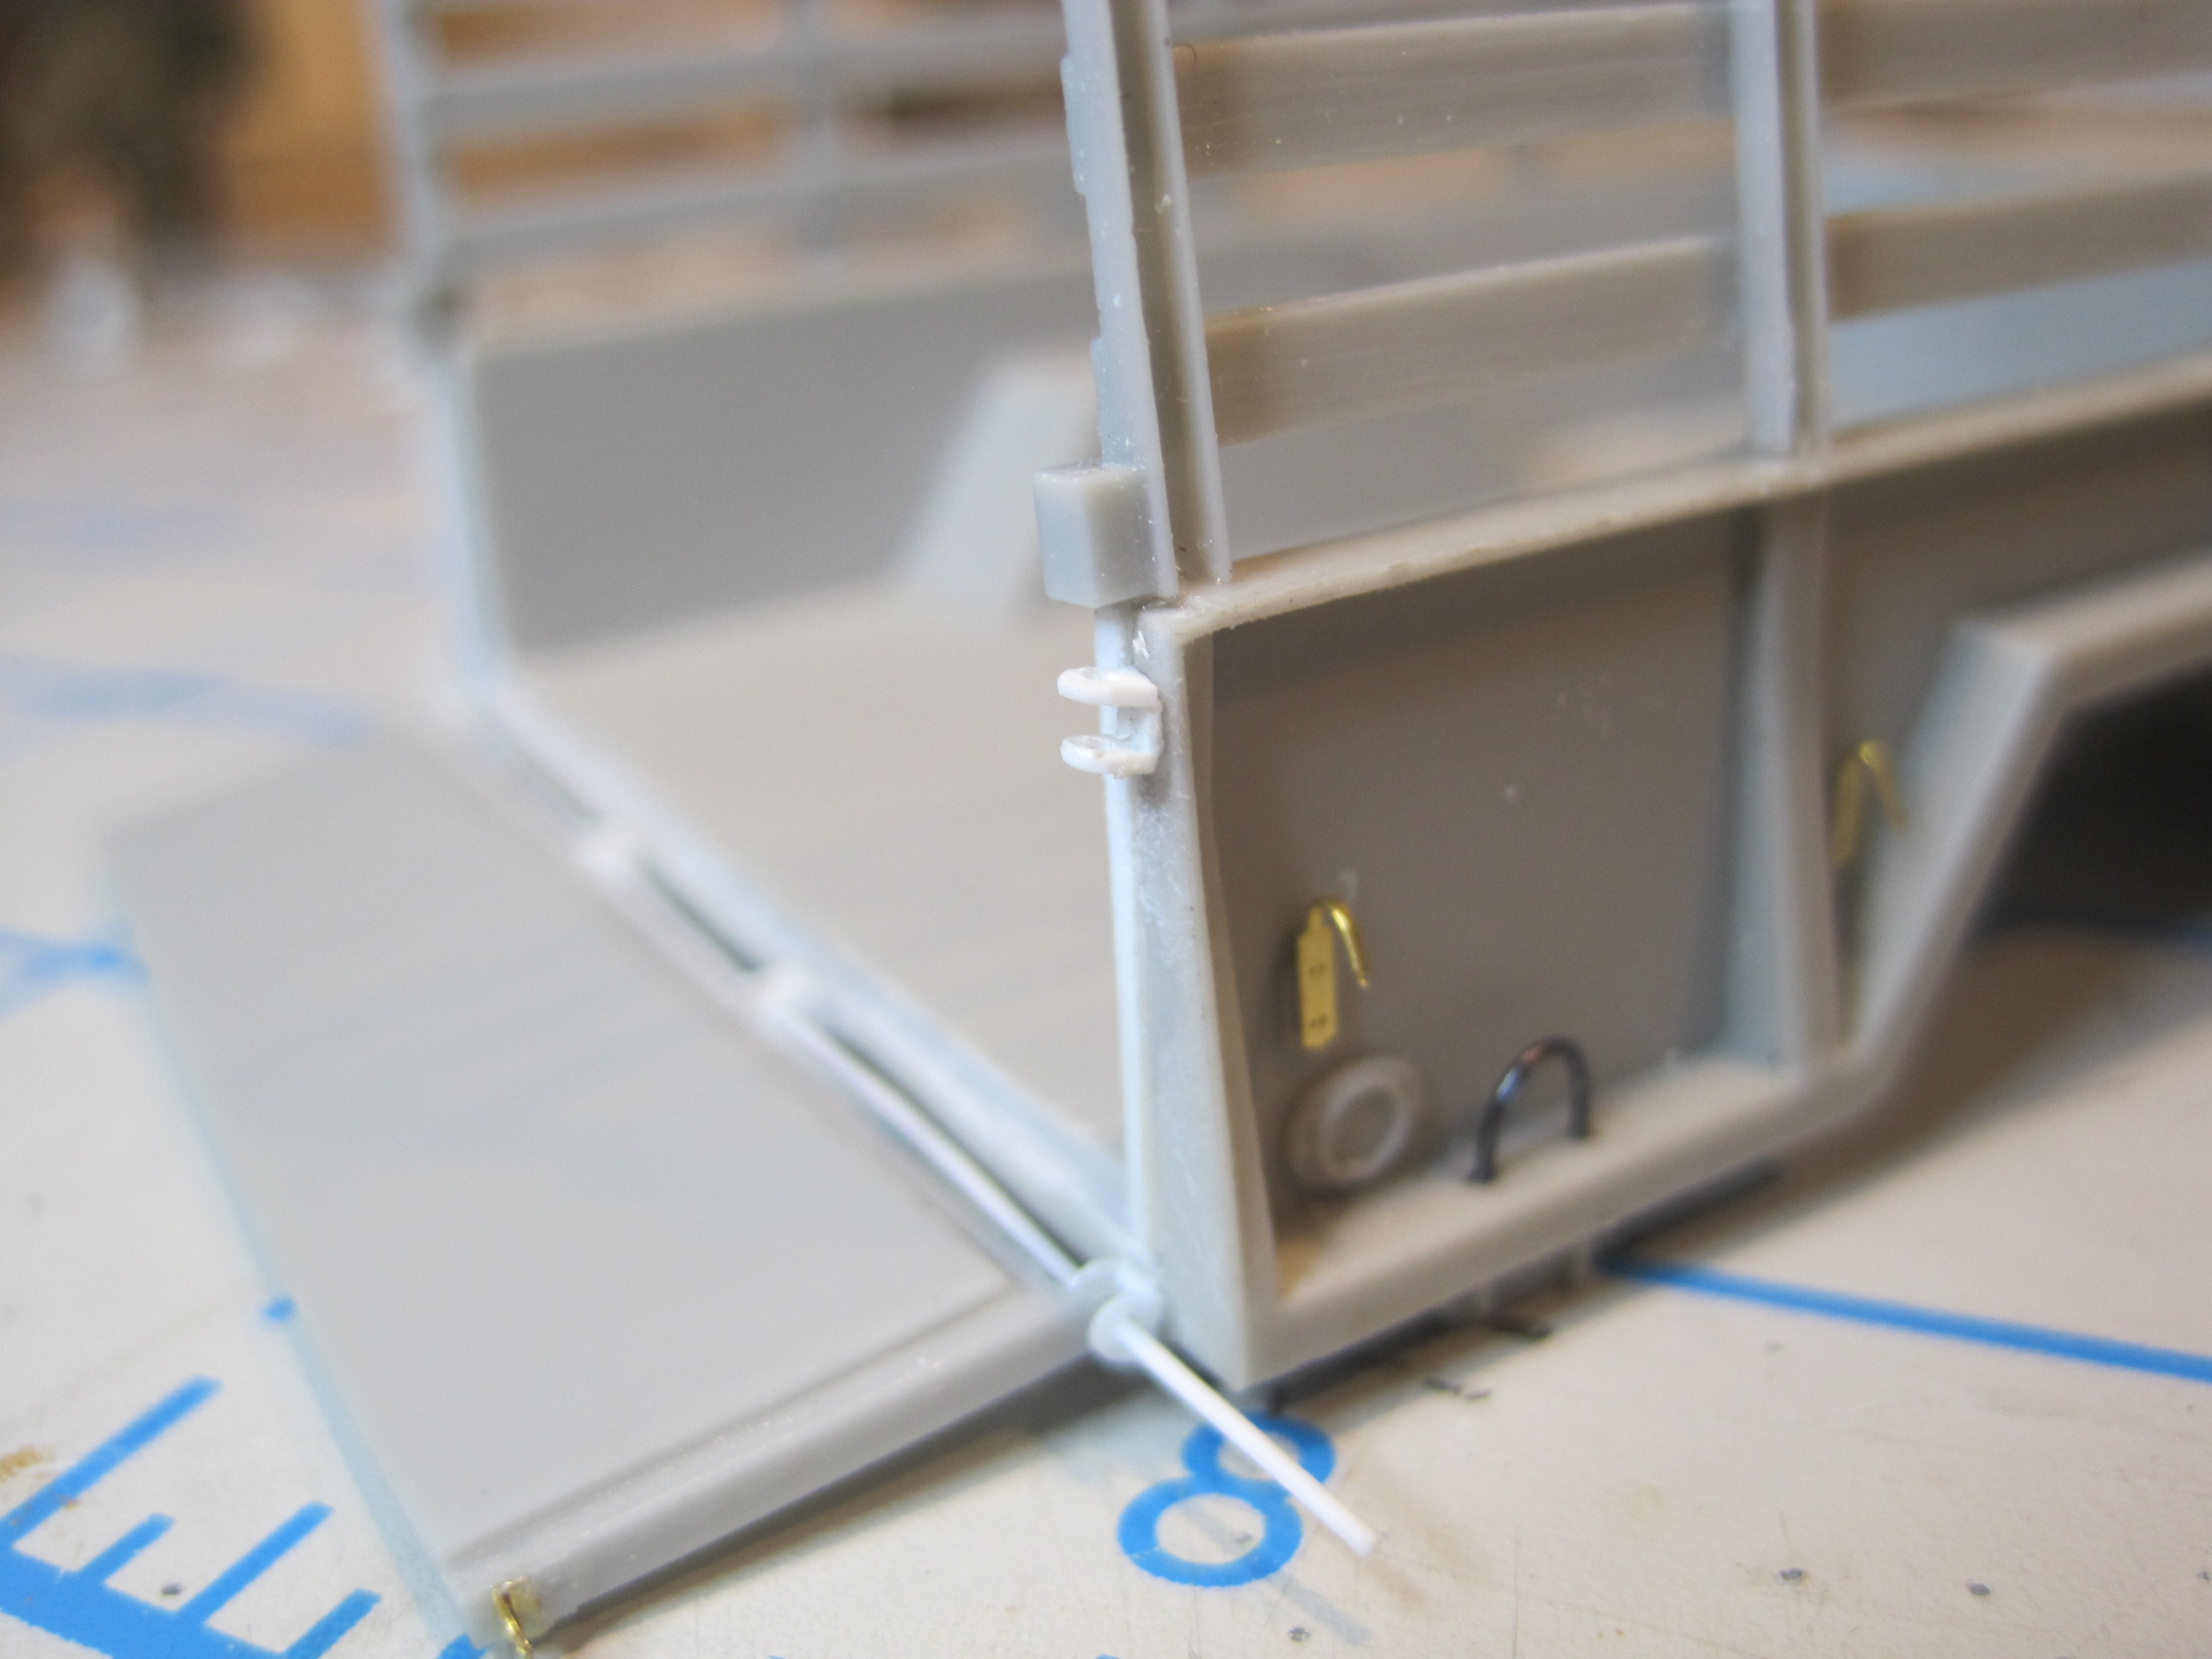
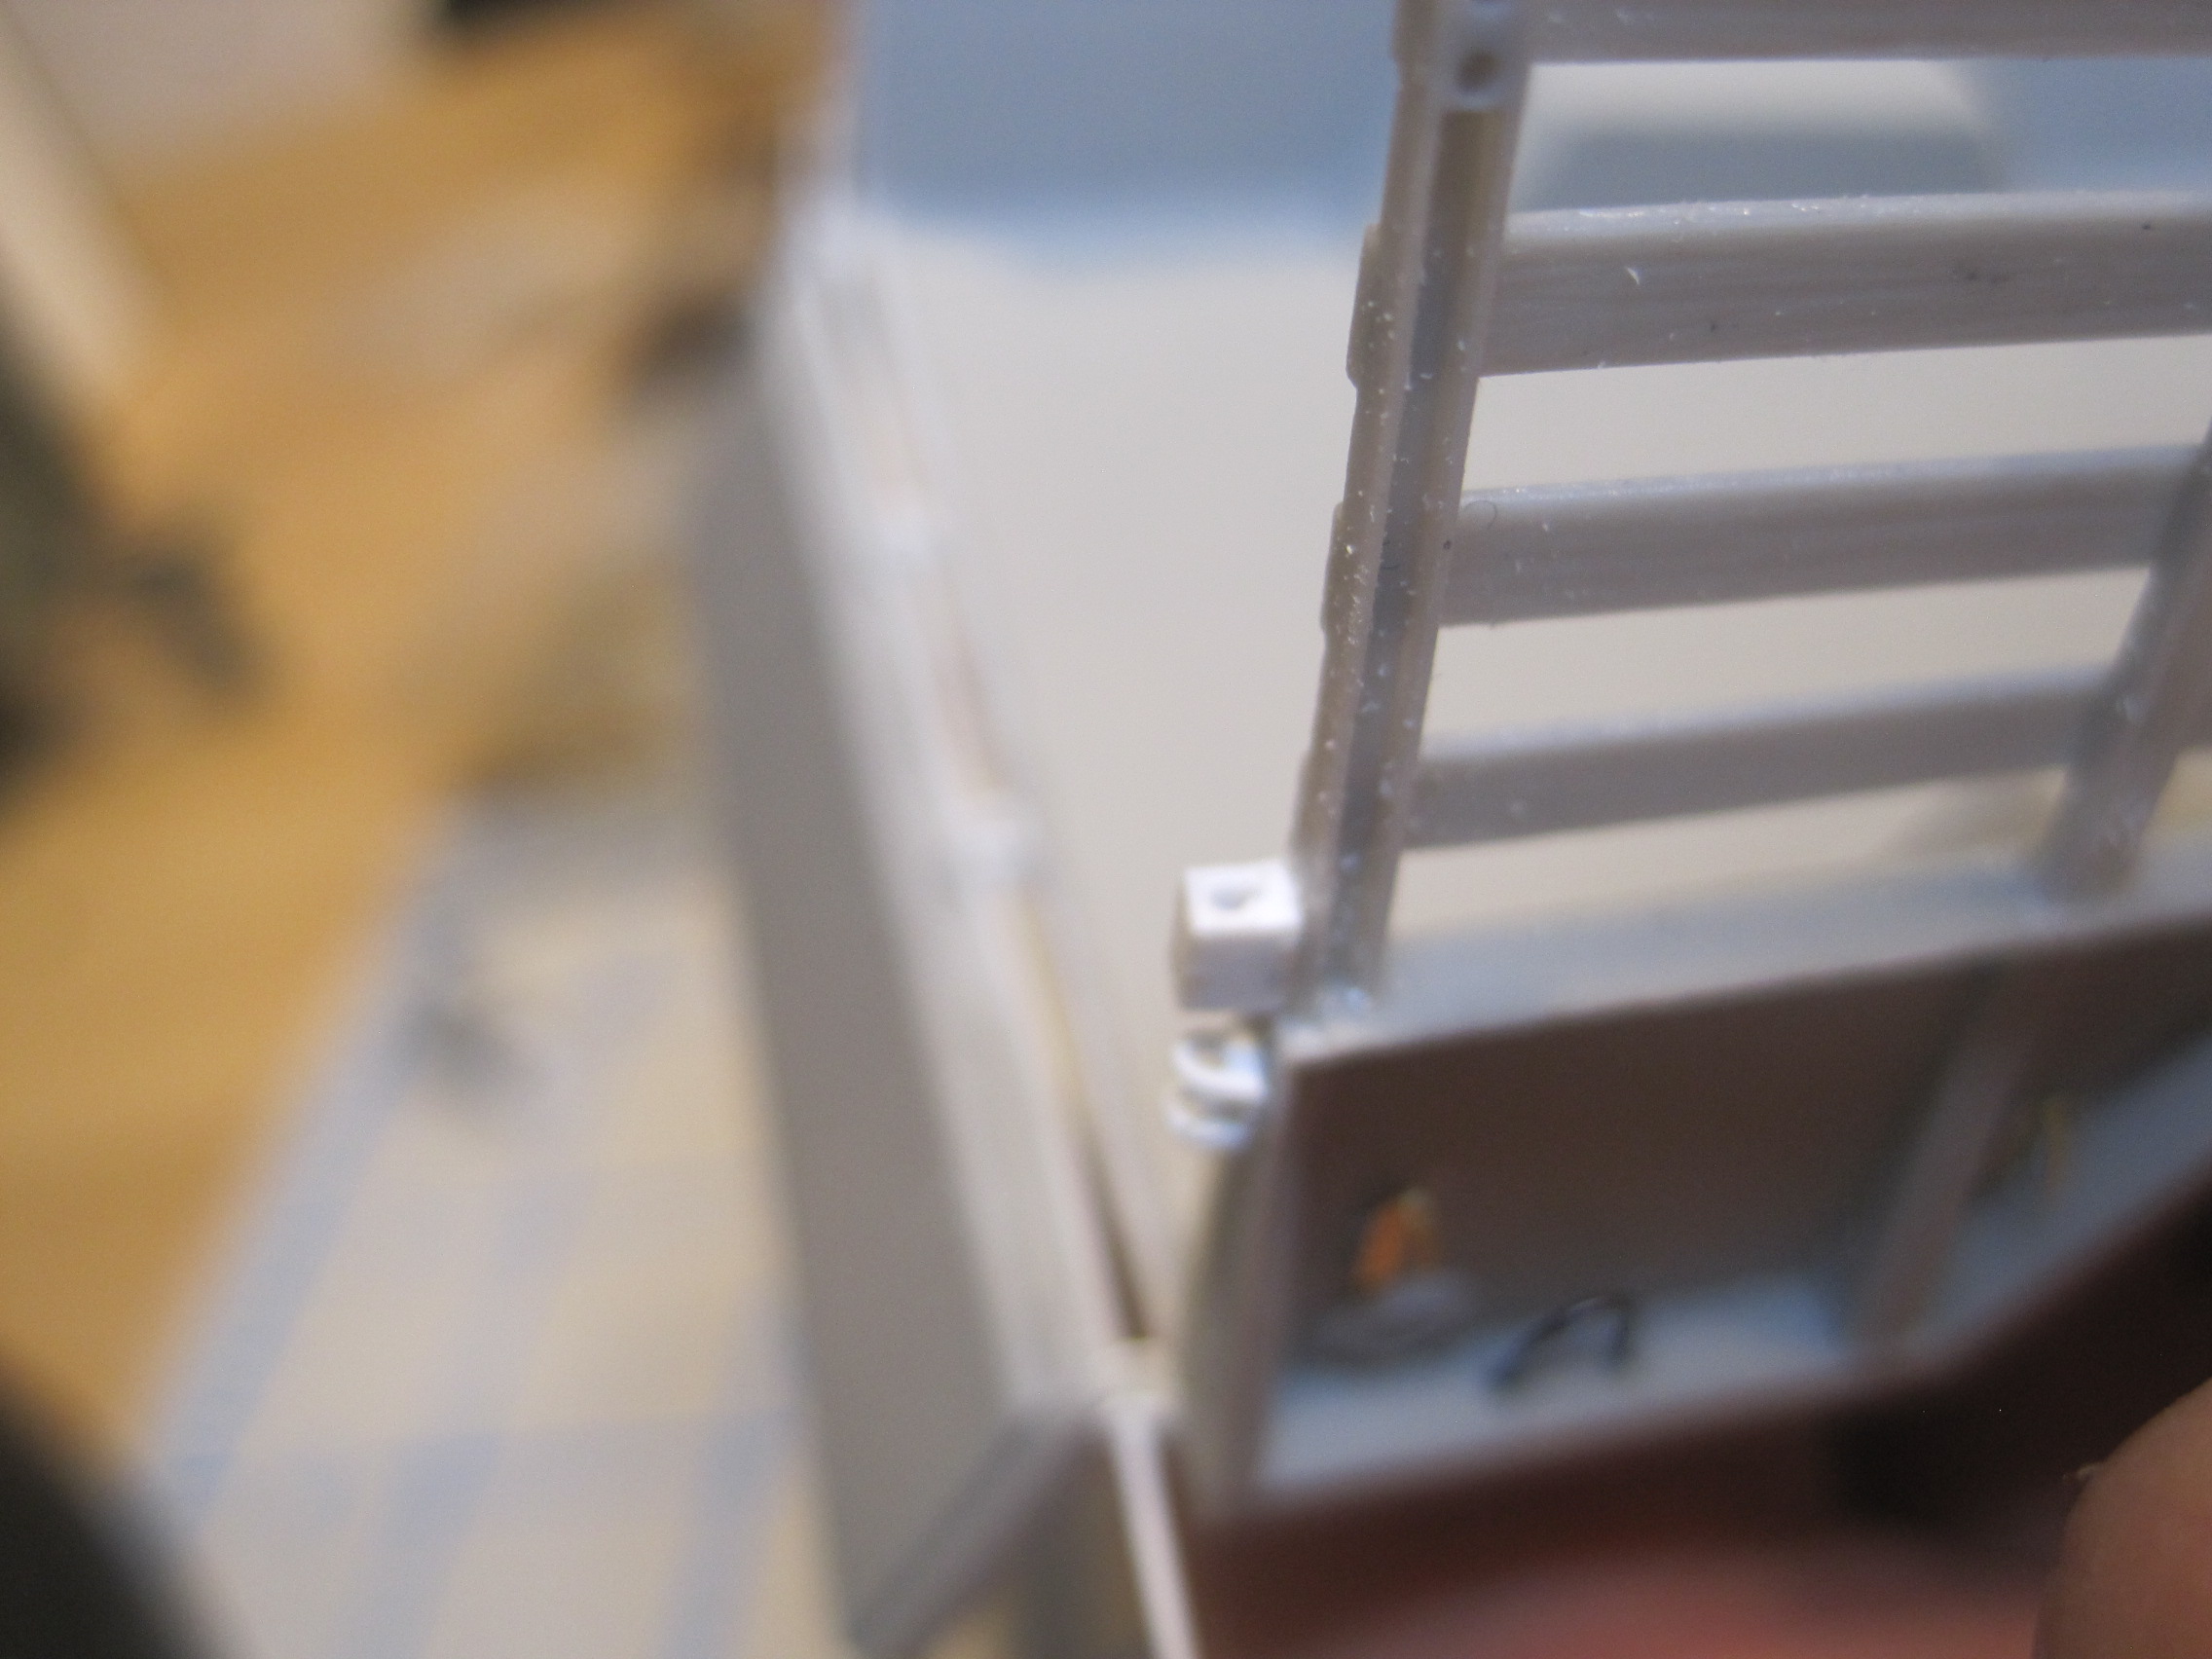
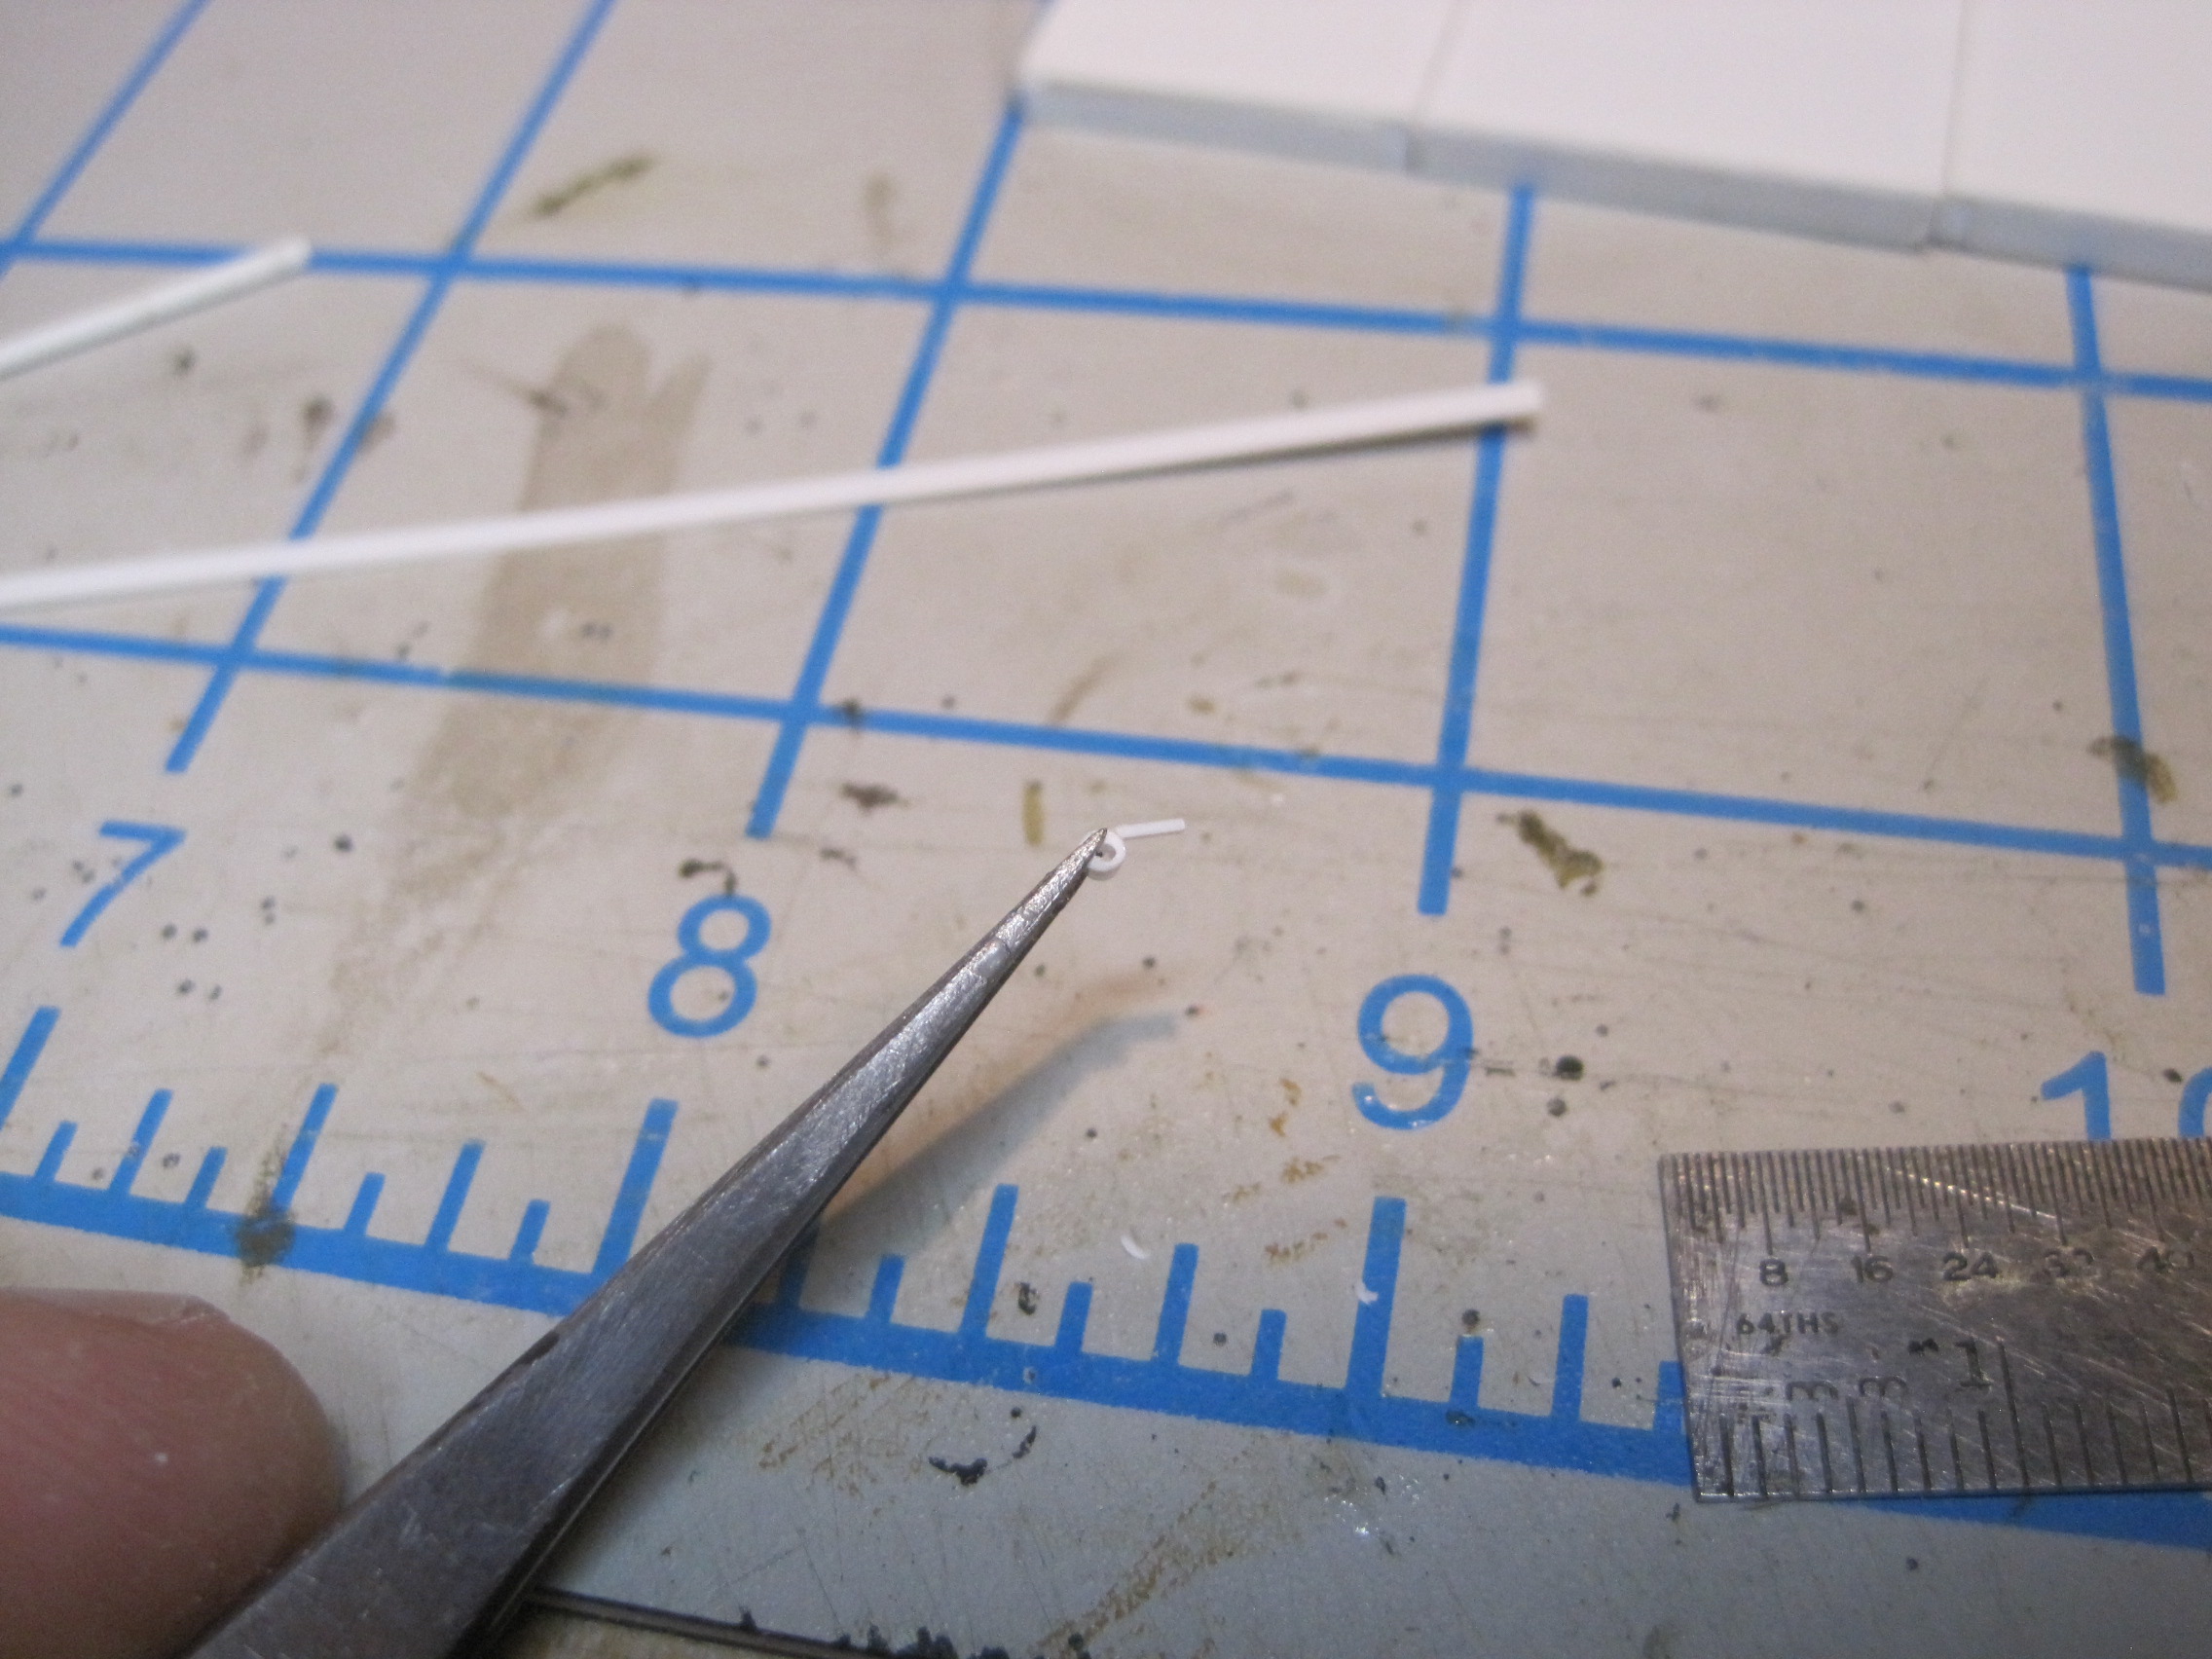
Next step is the latch mechanism for the gate as well as the upper hinge.
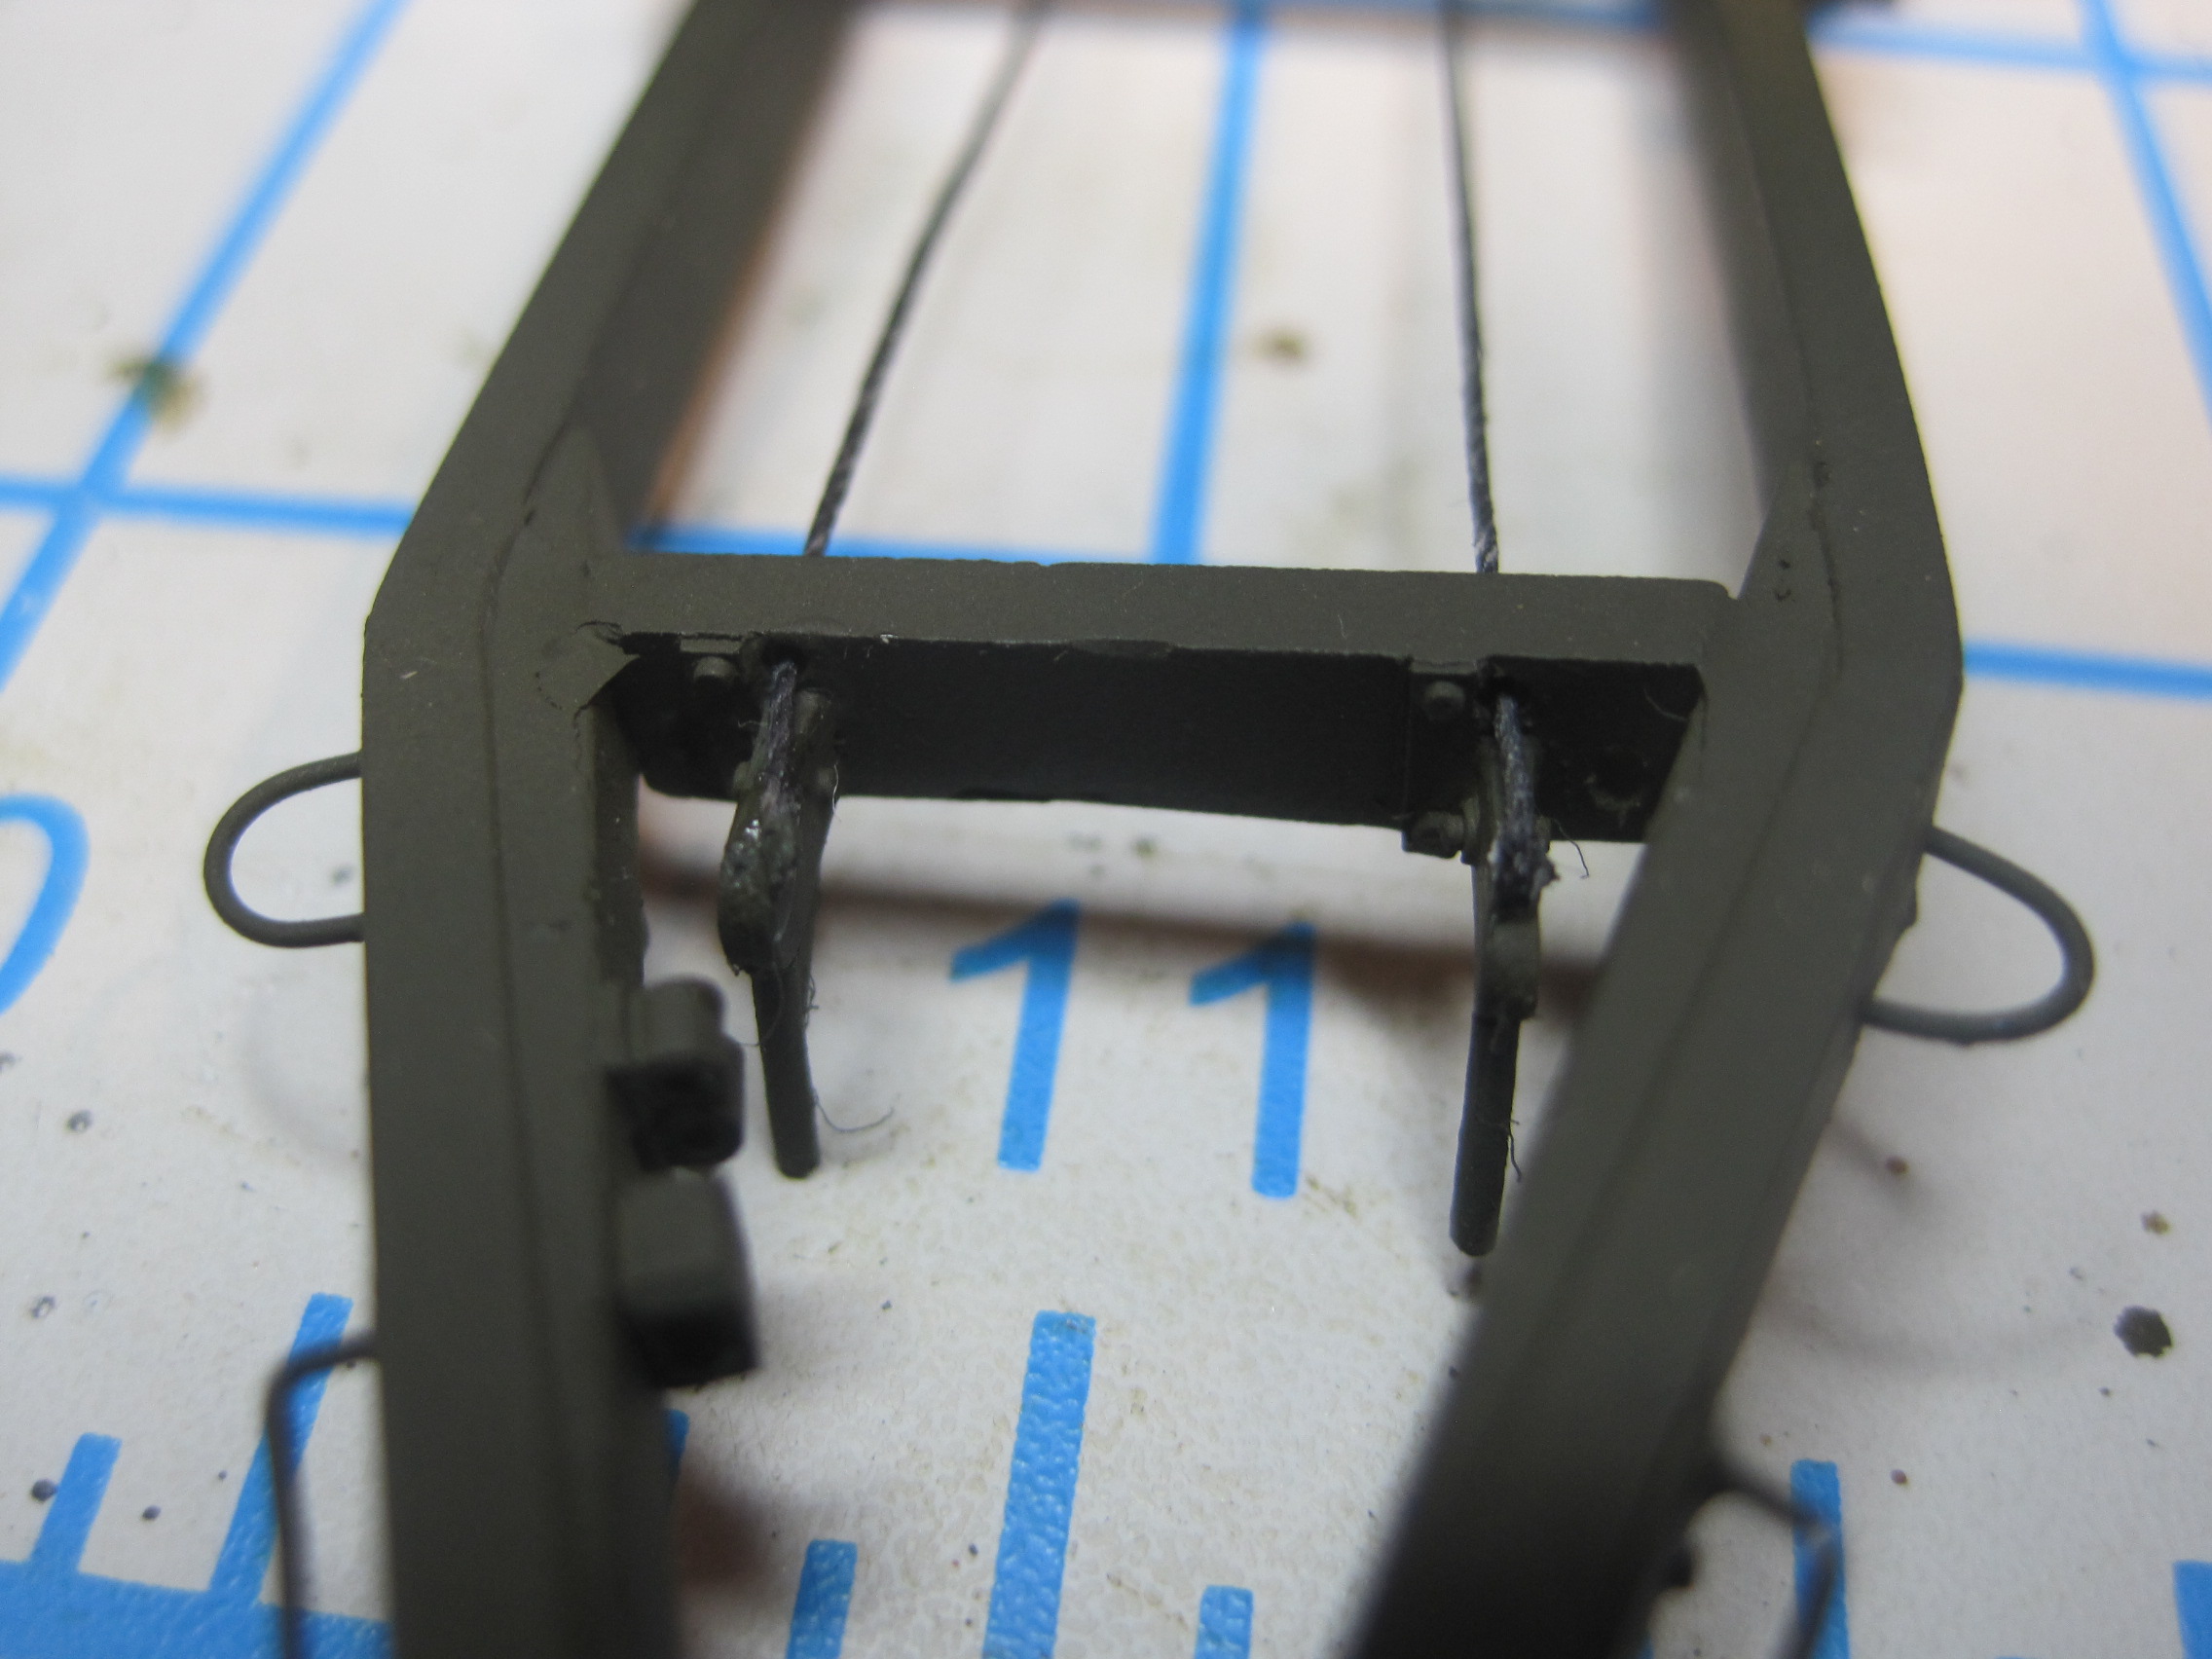
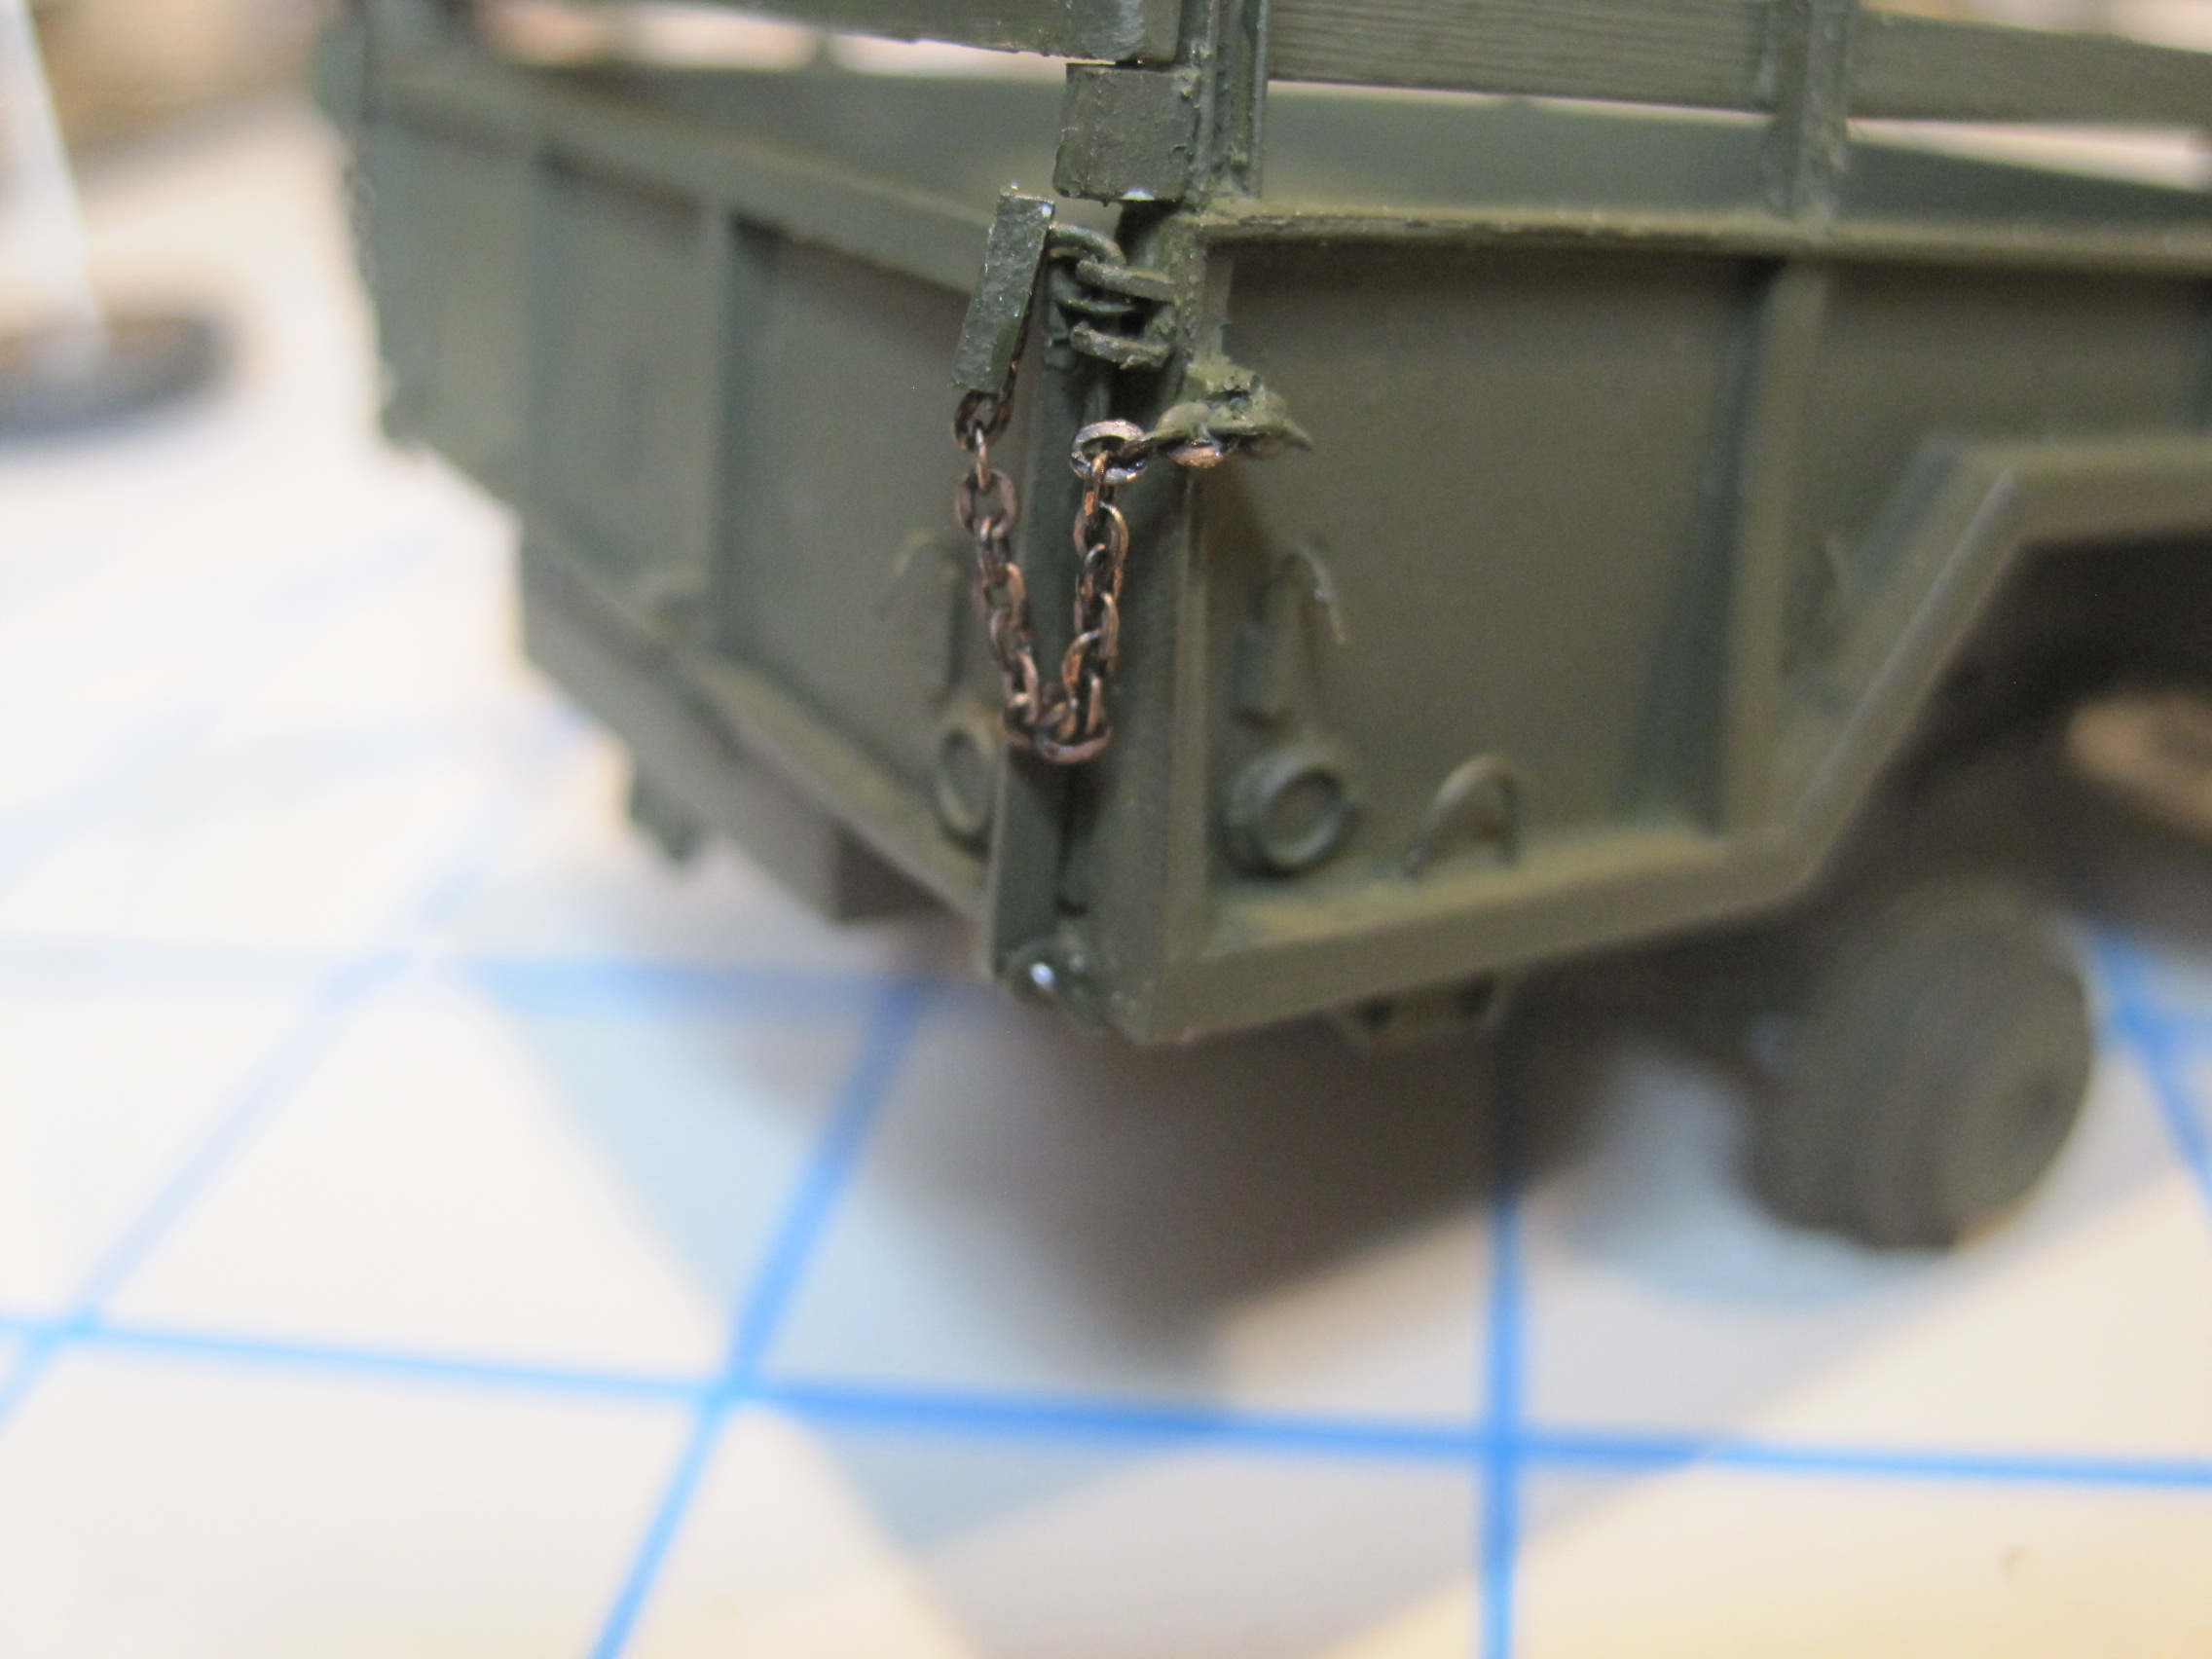
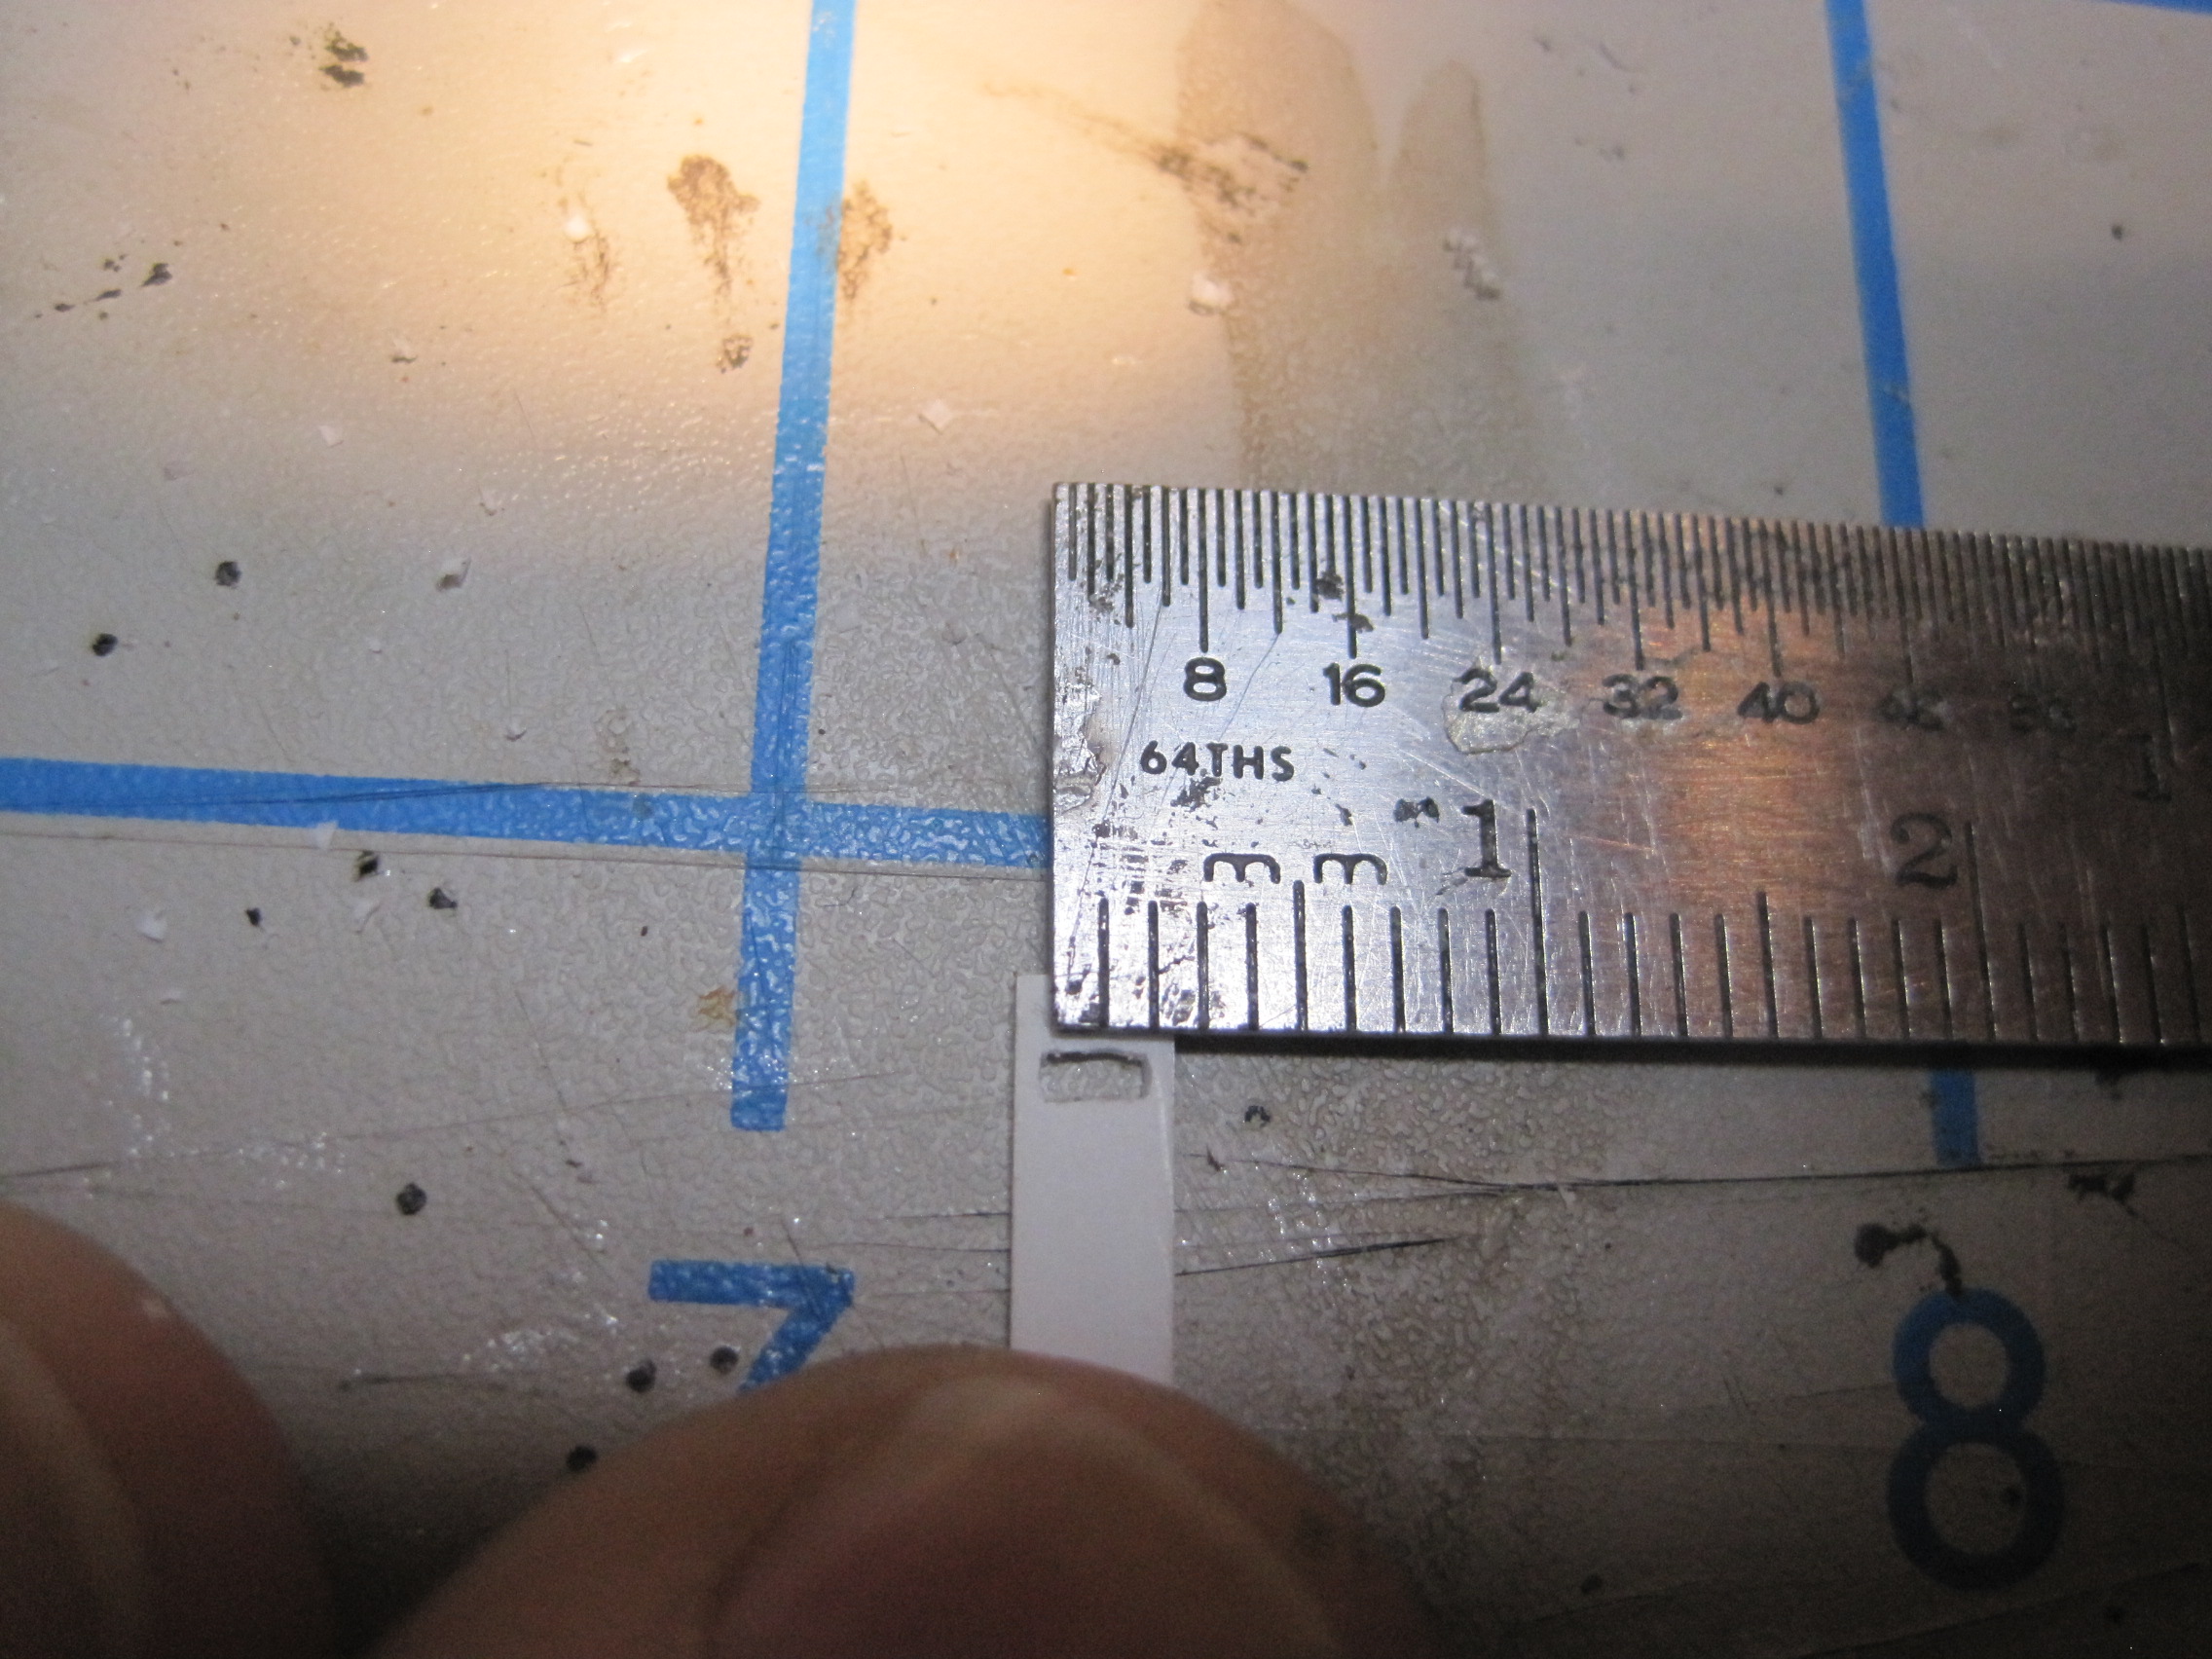
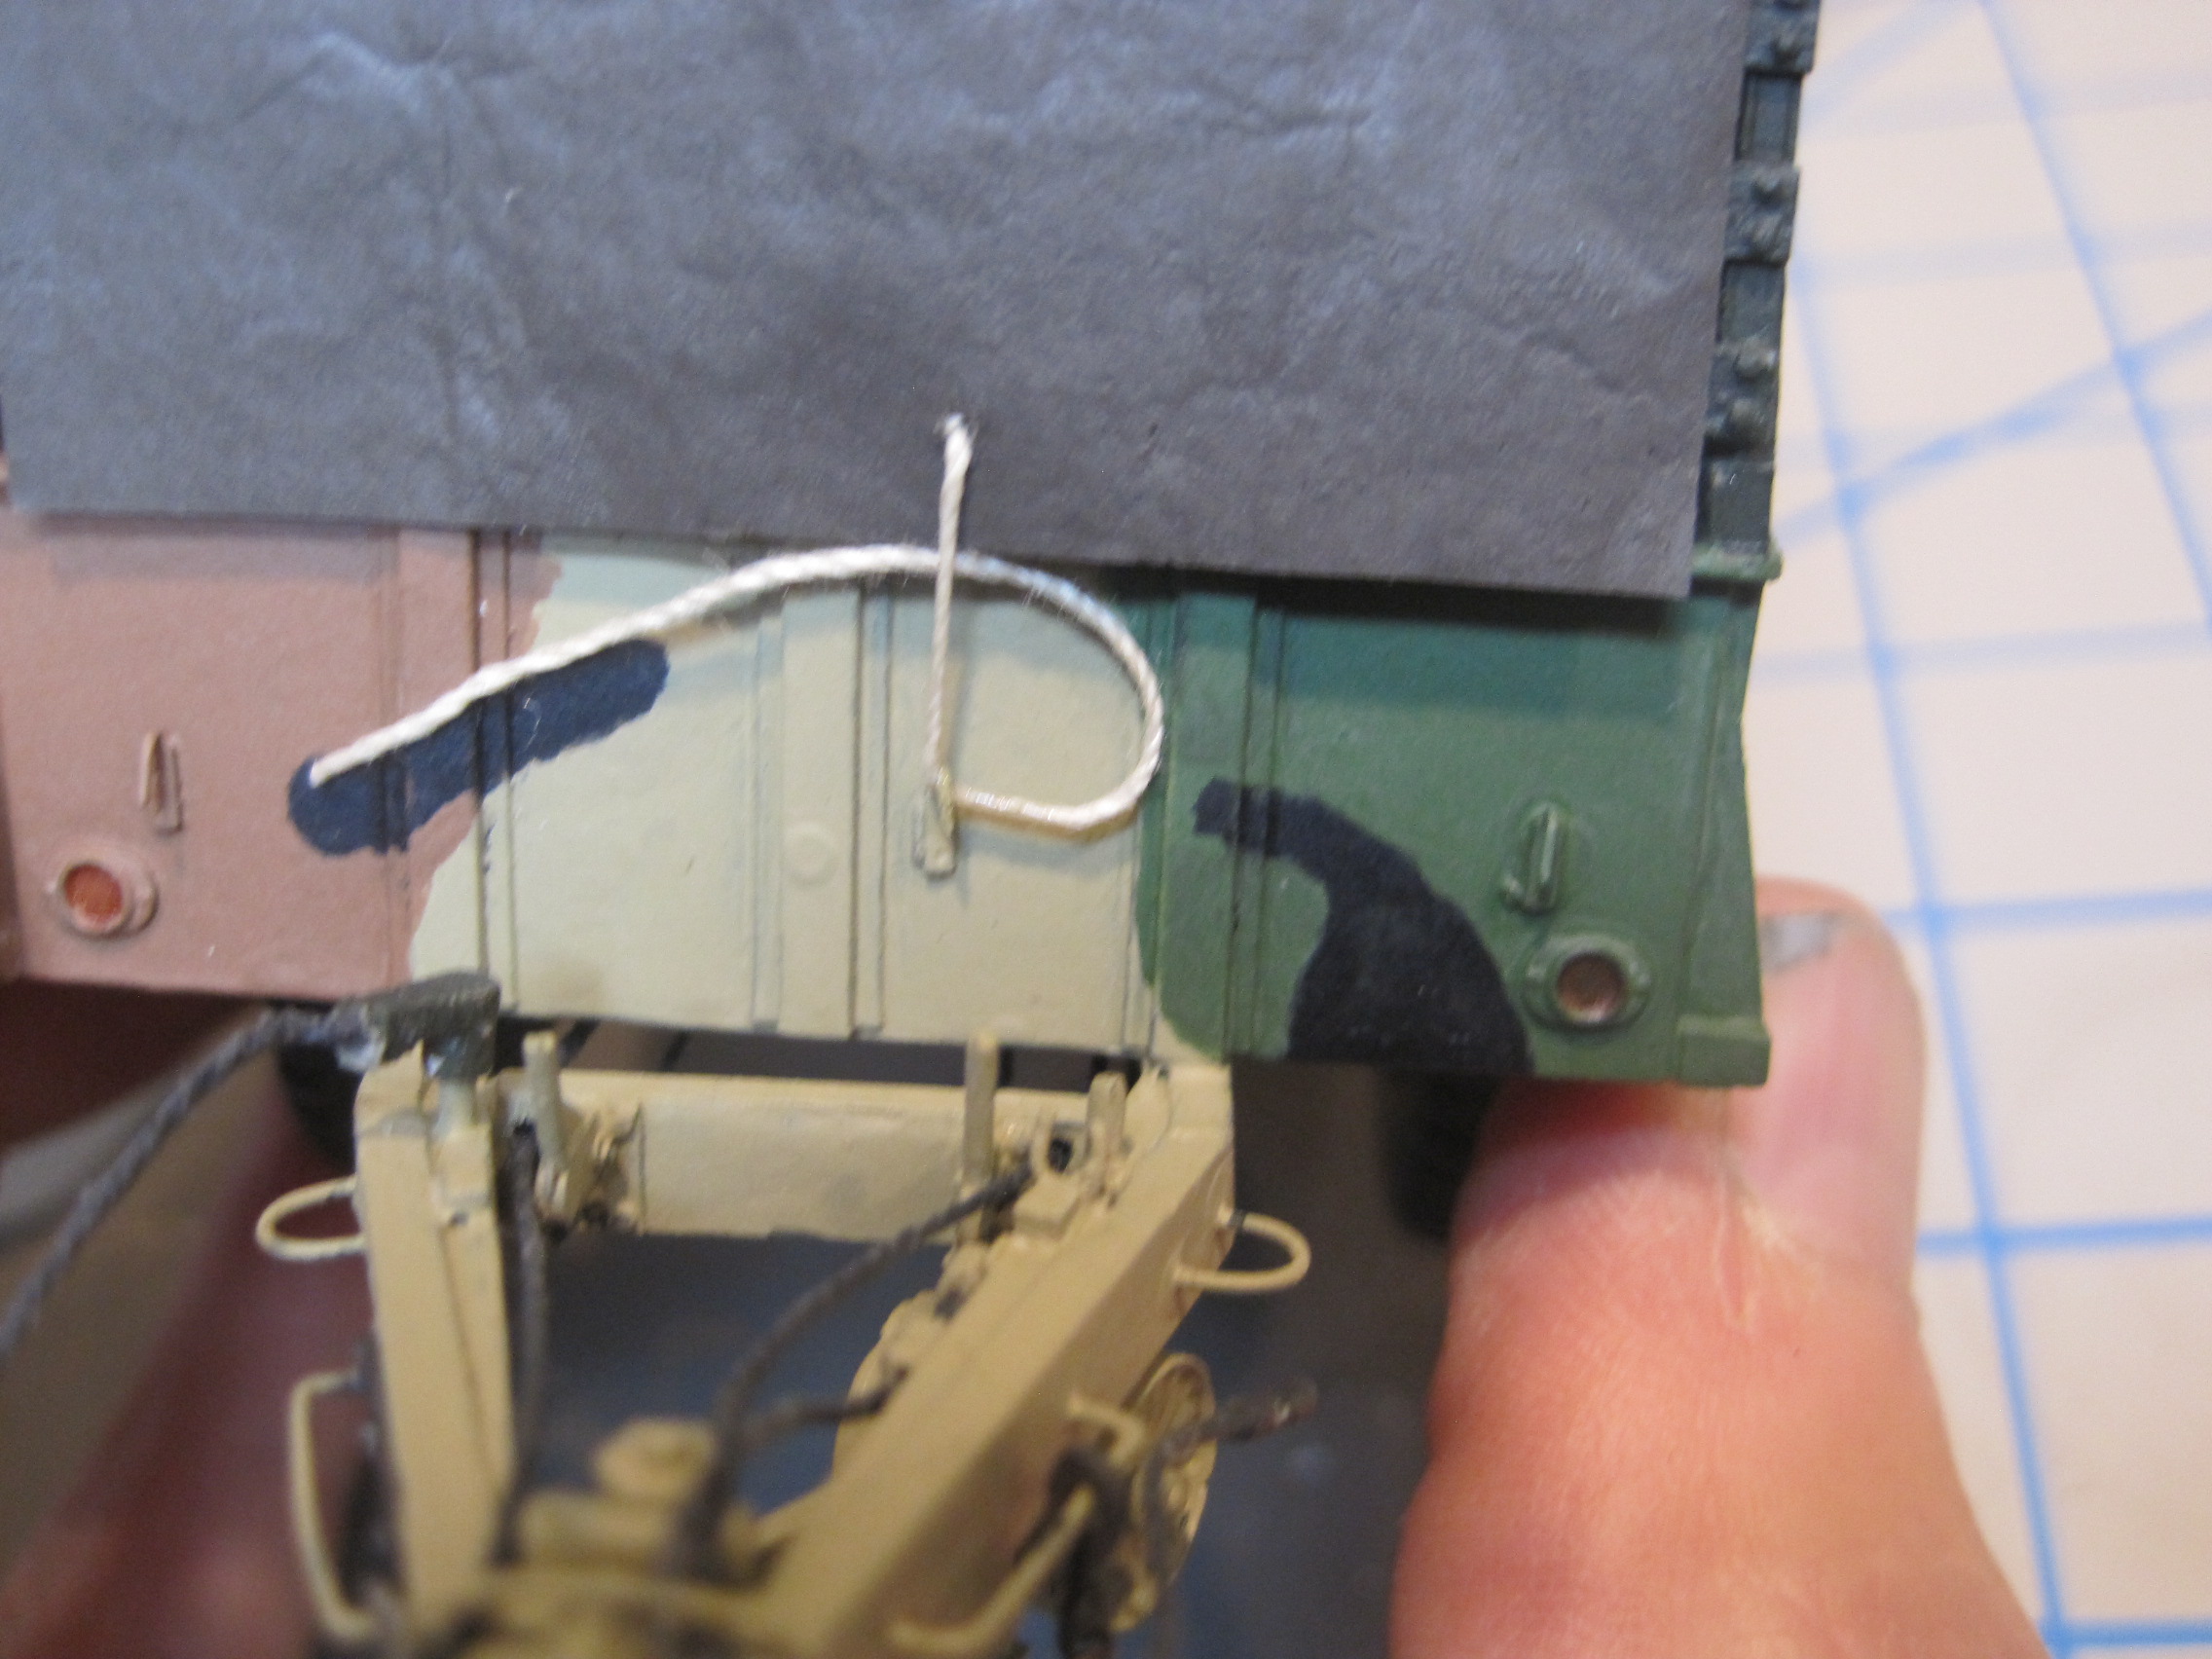
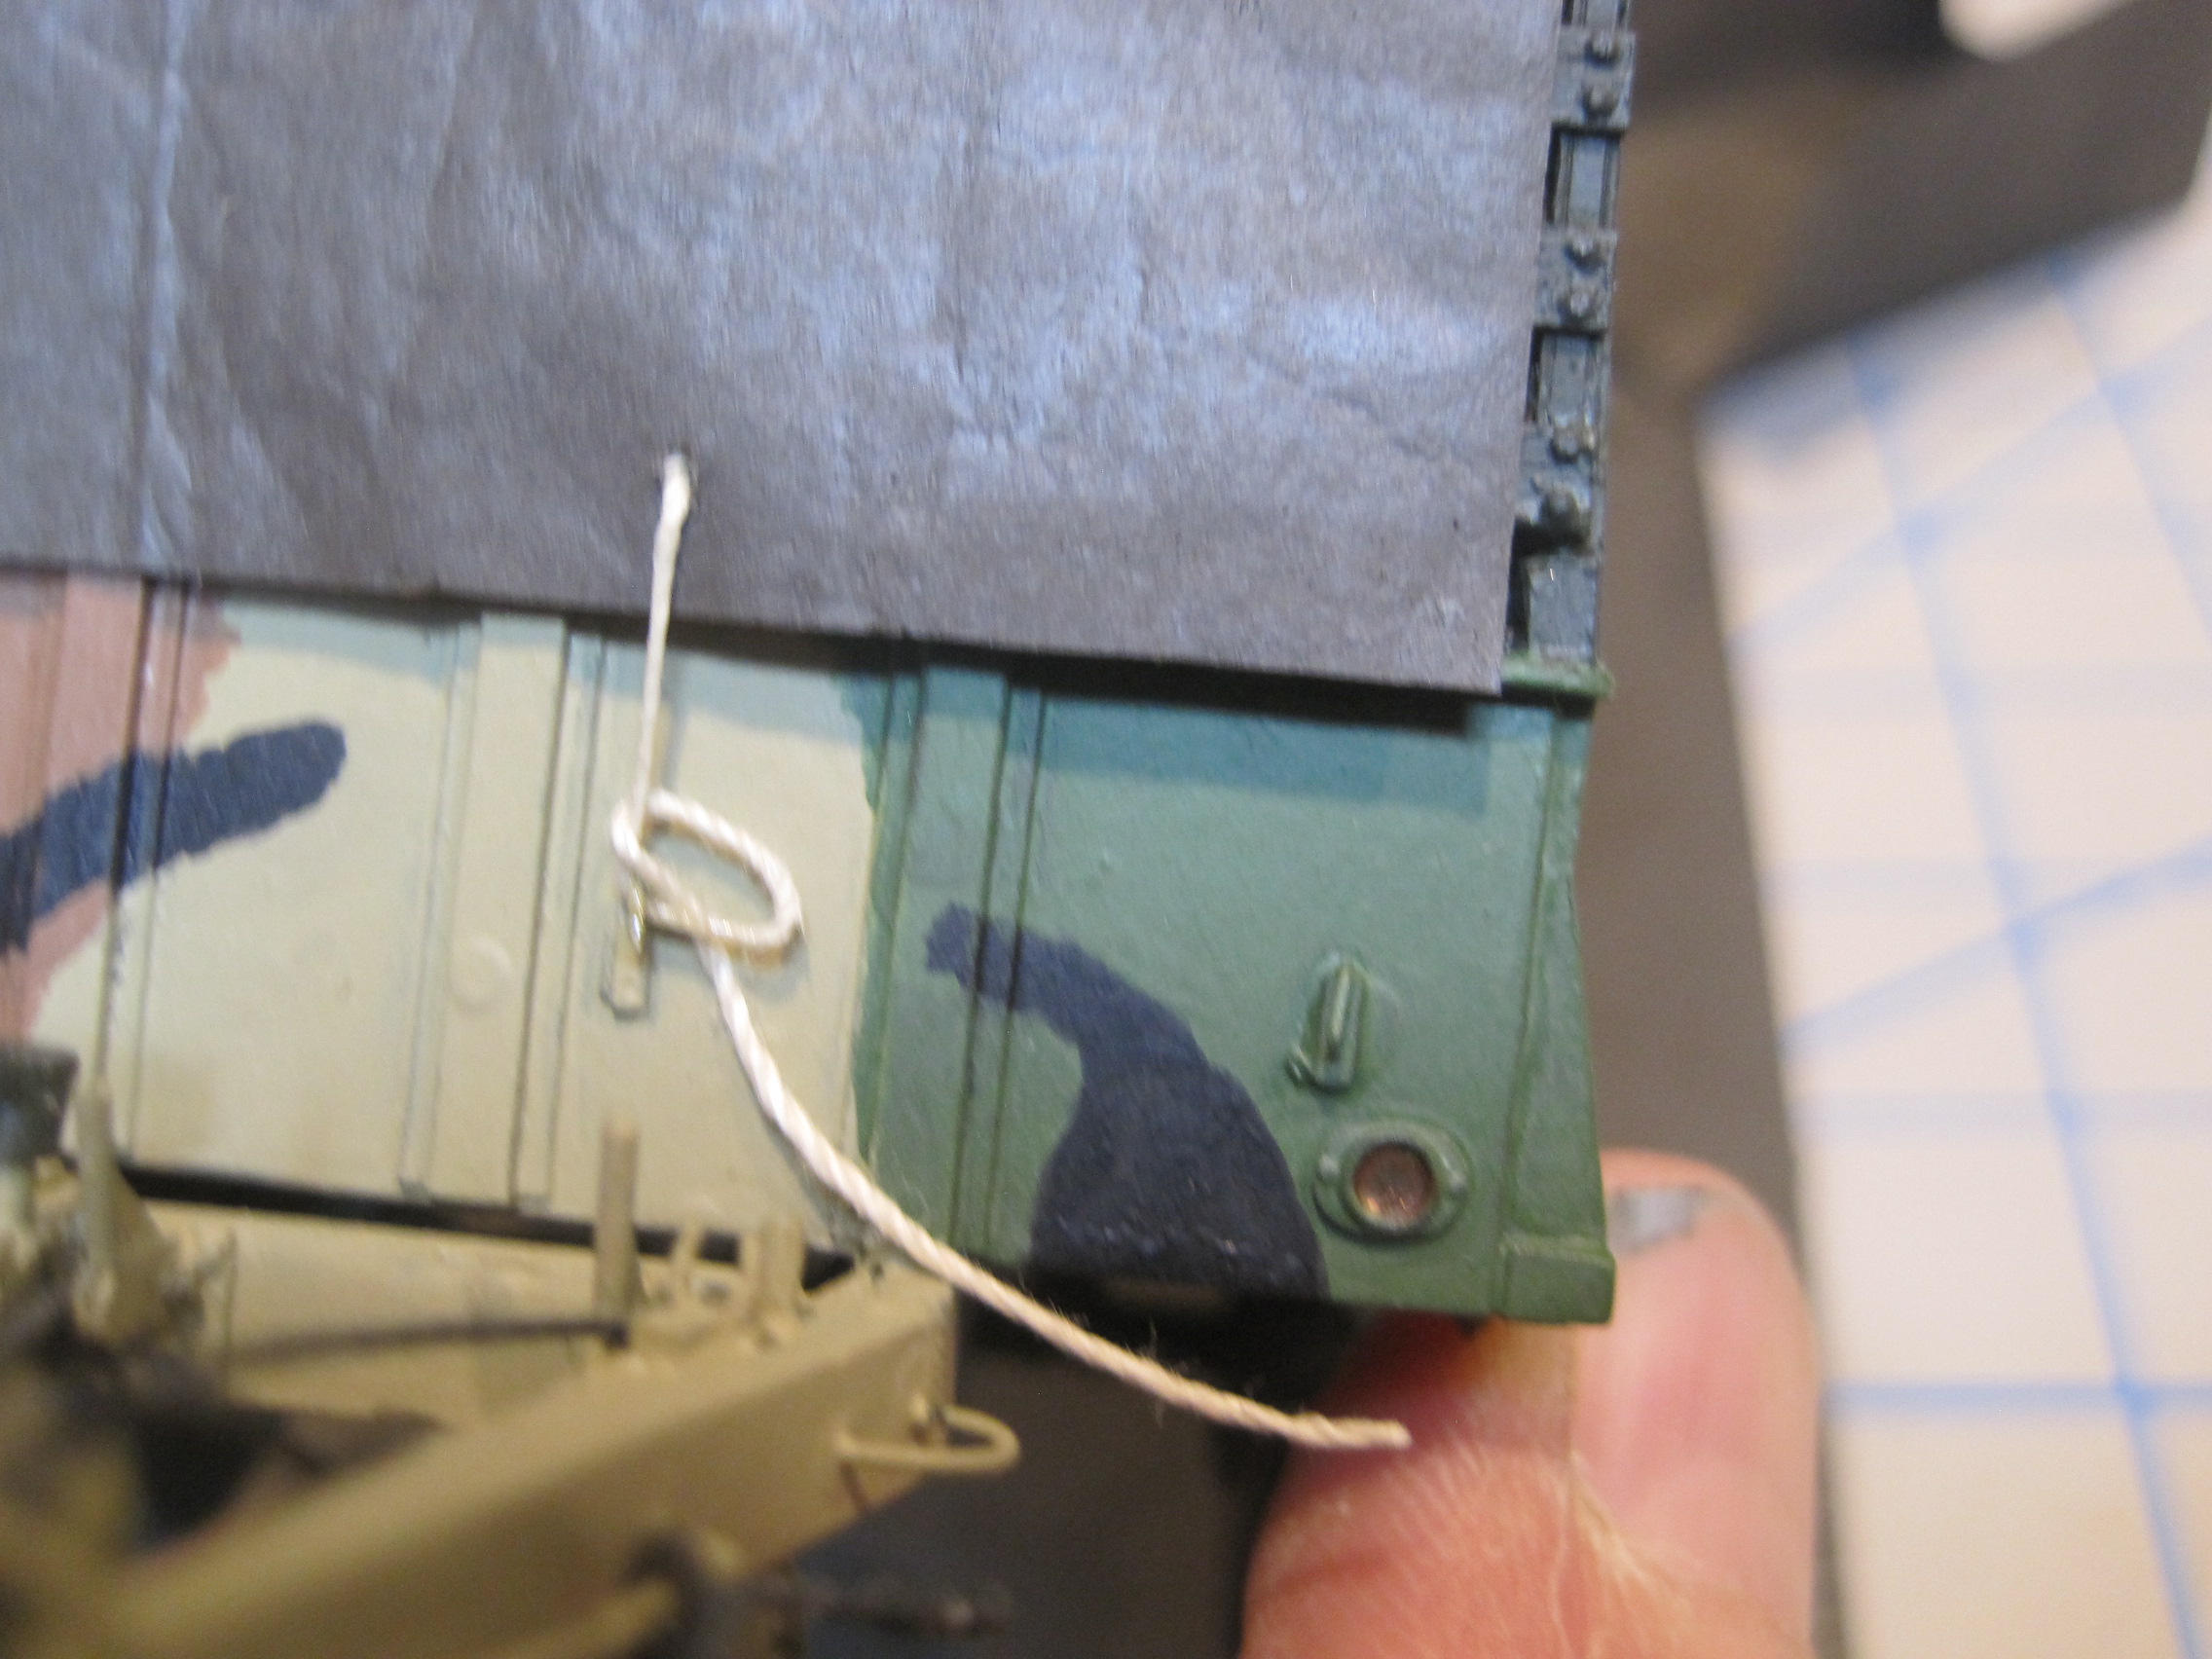
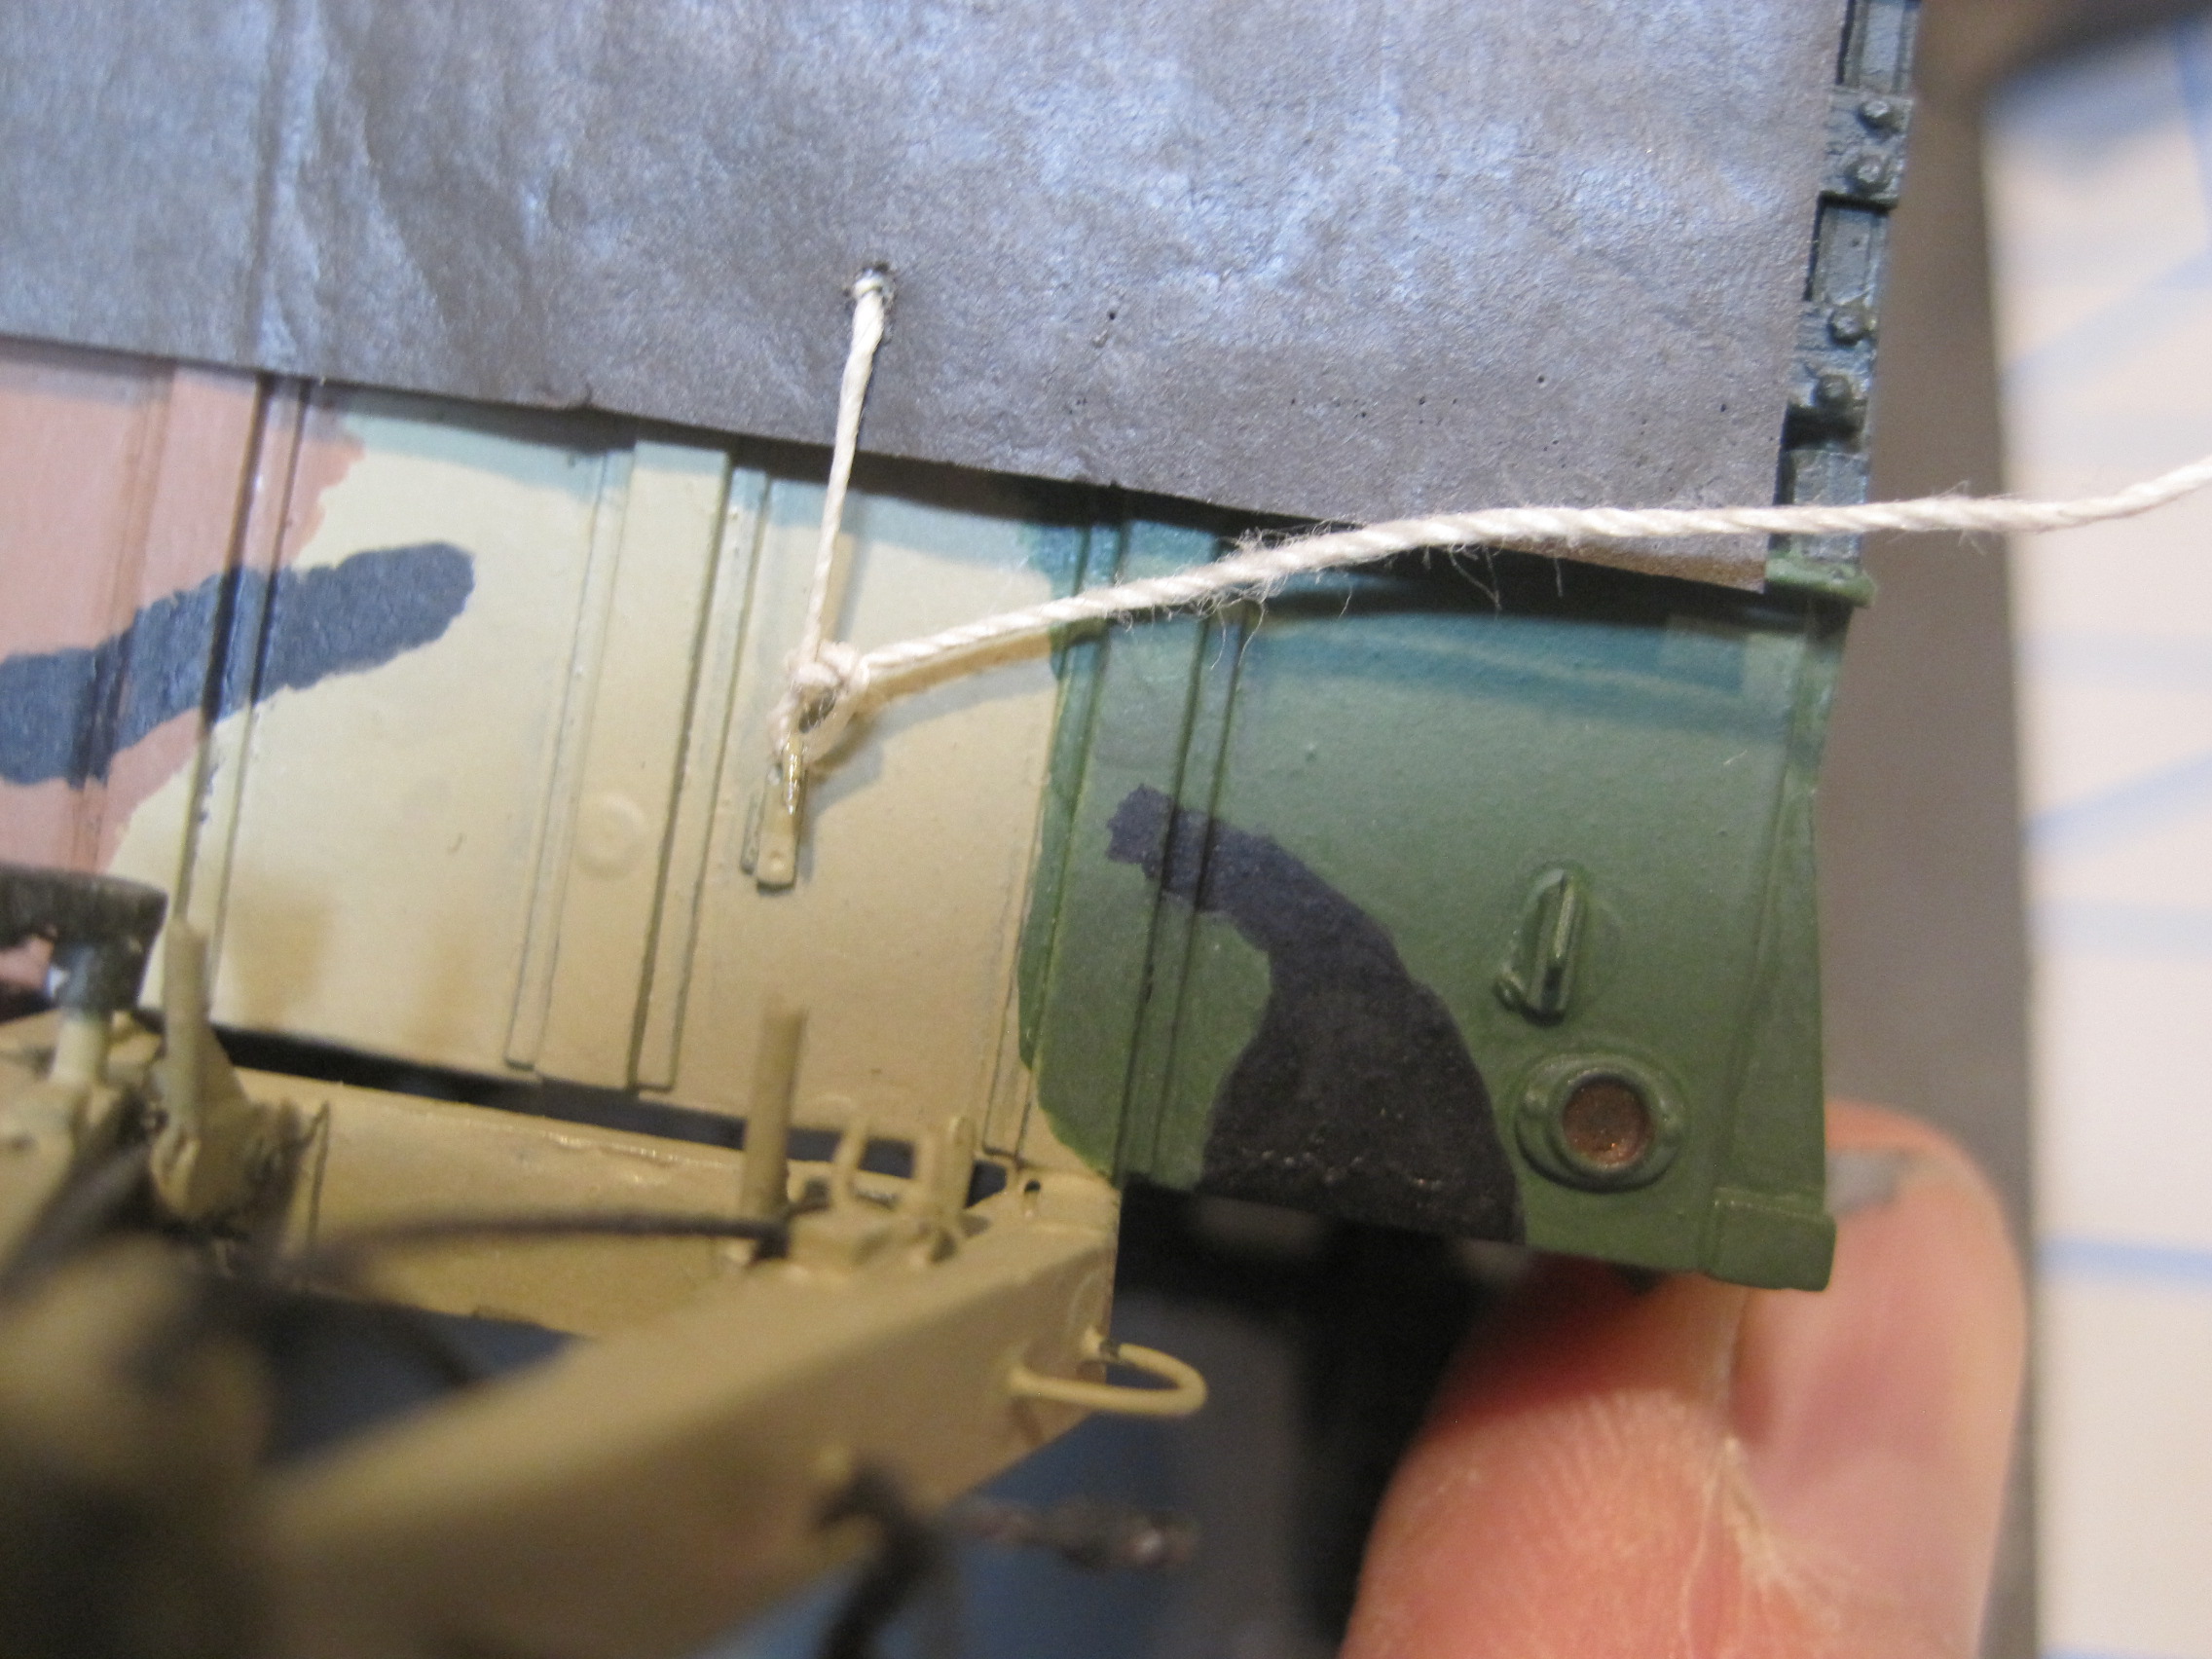
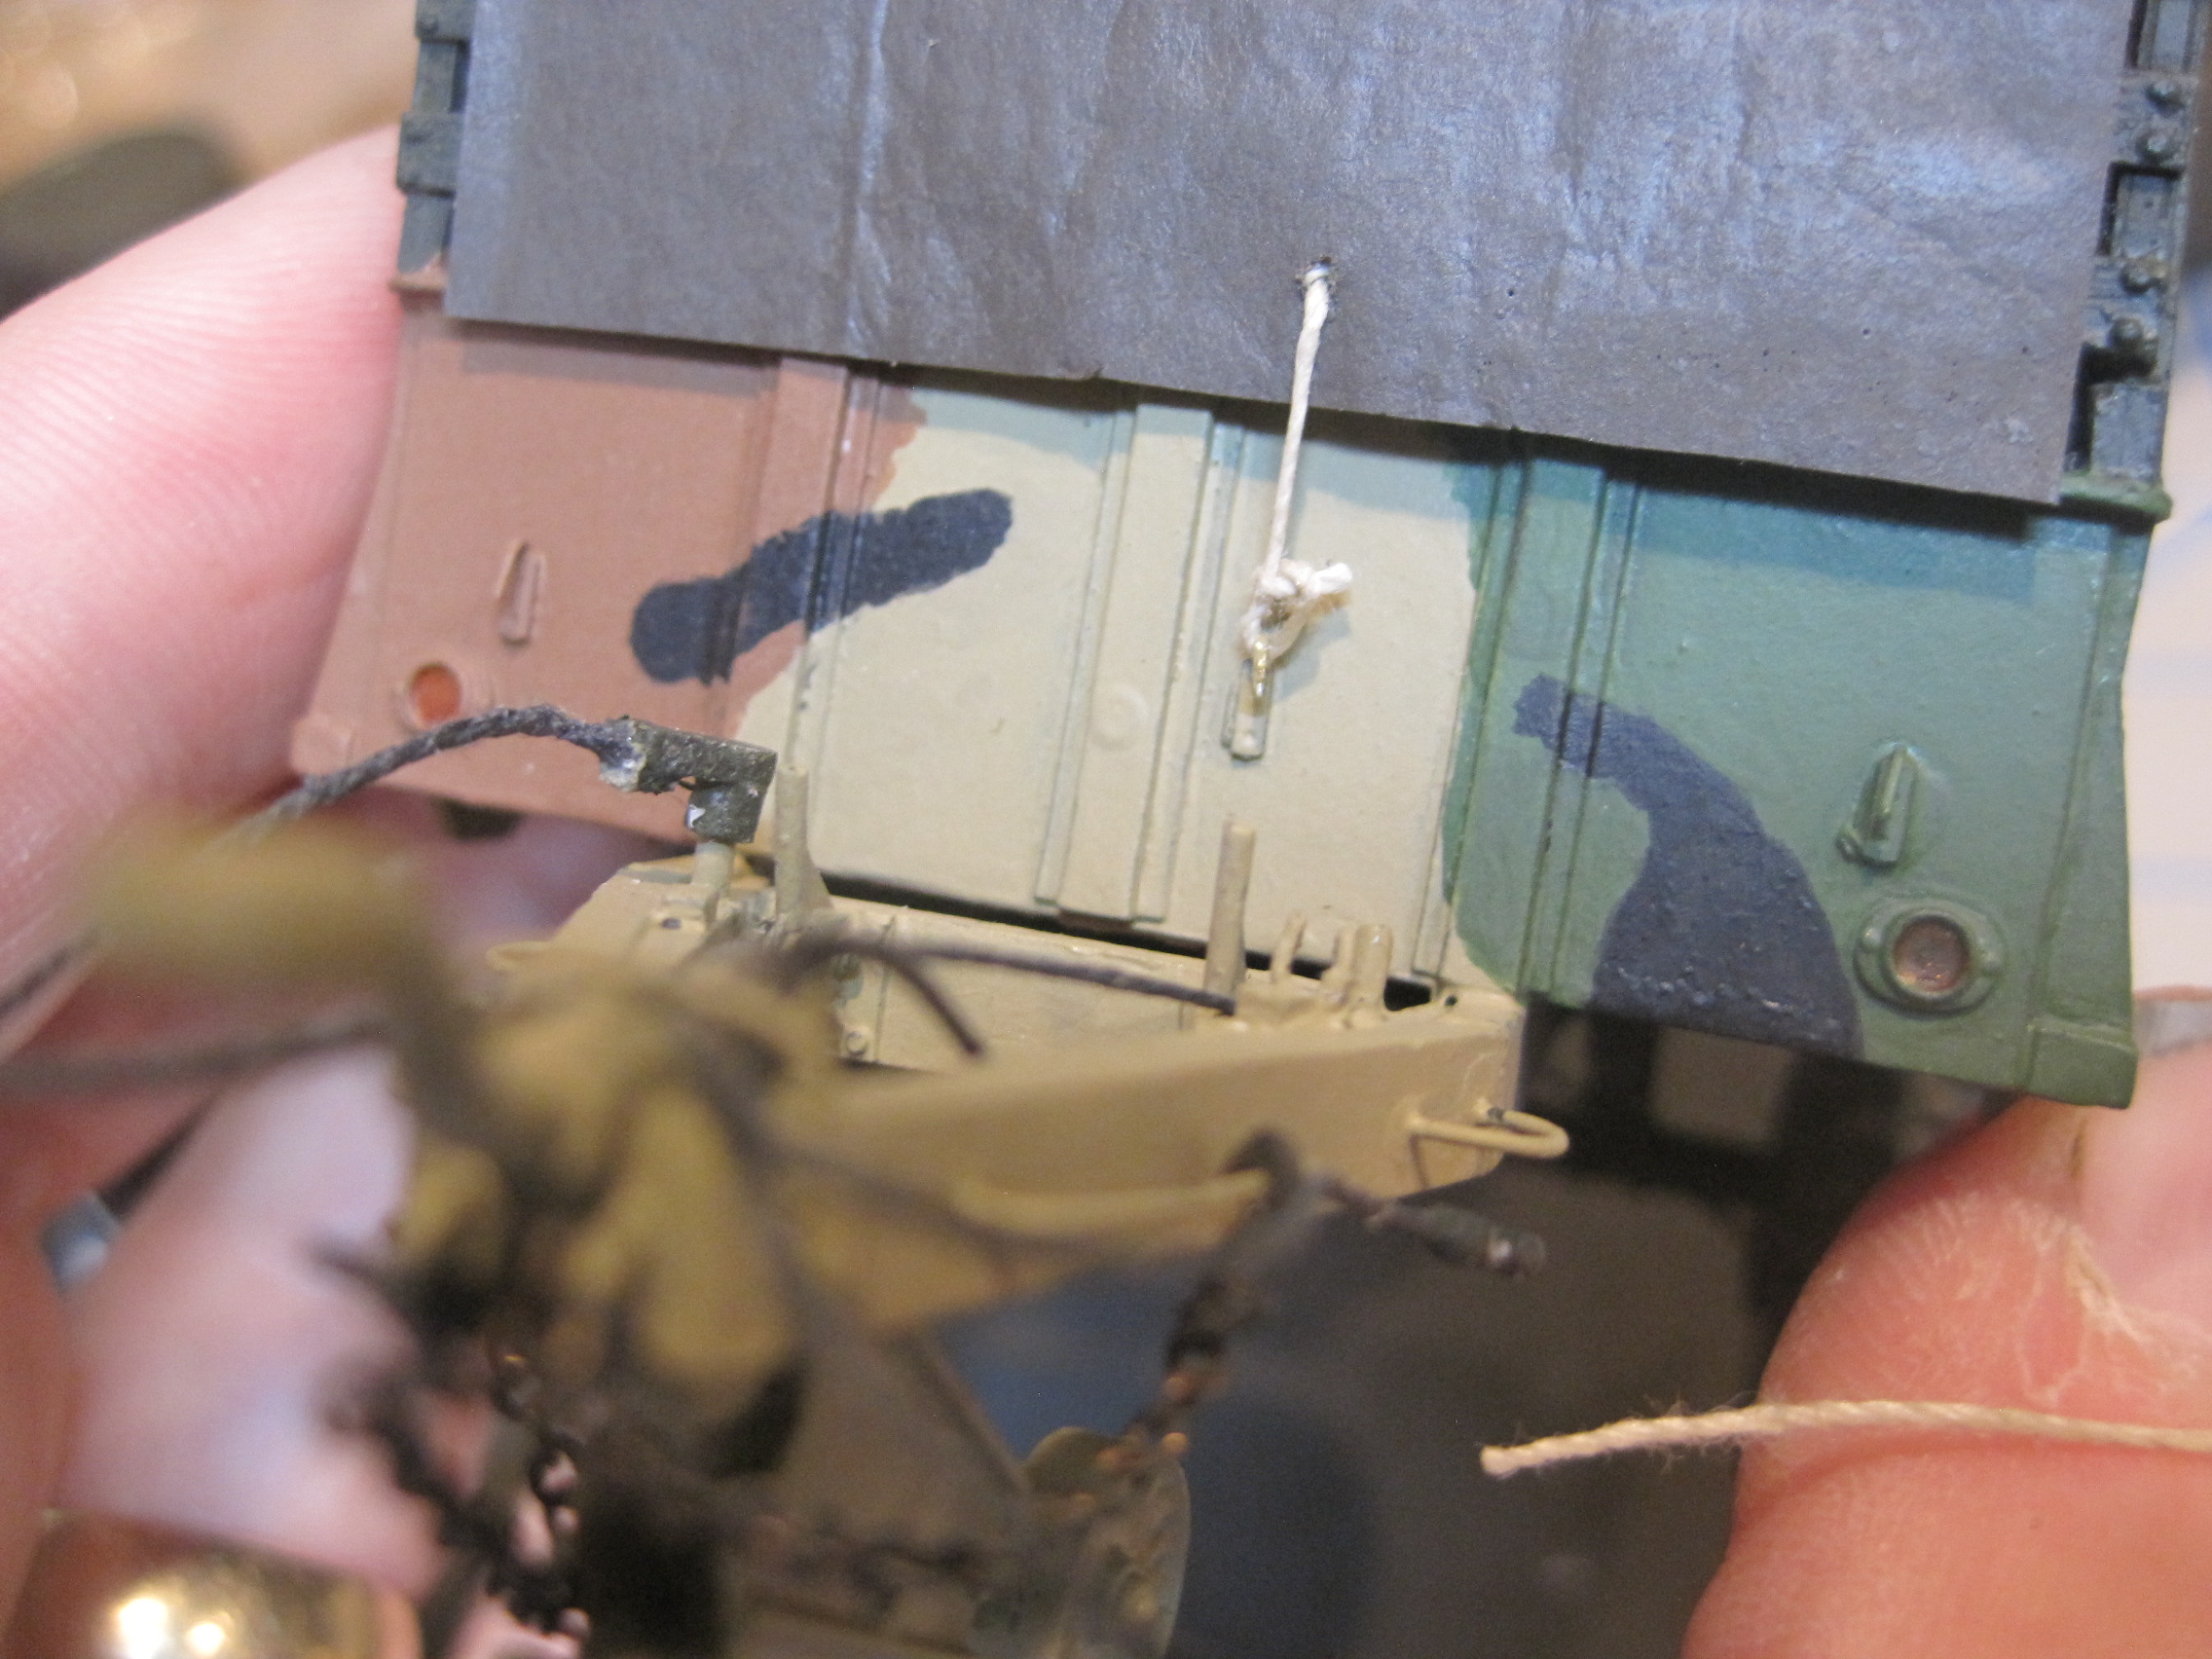
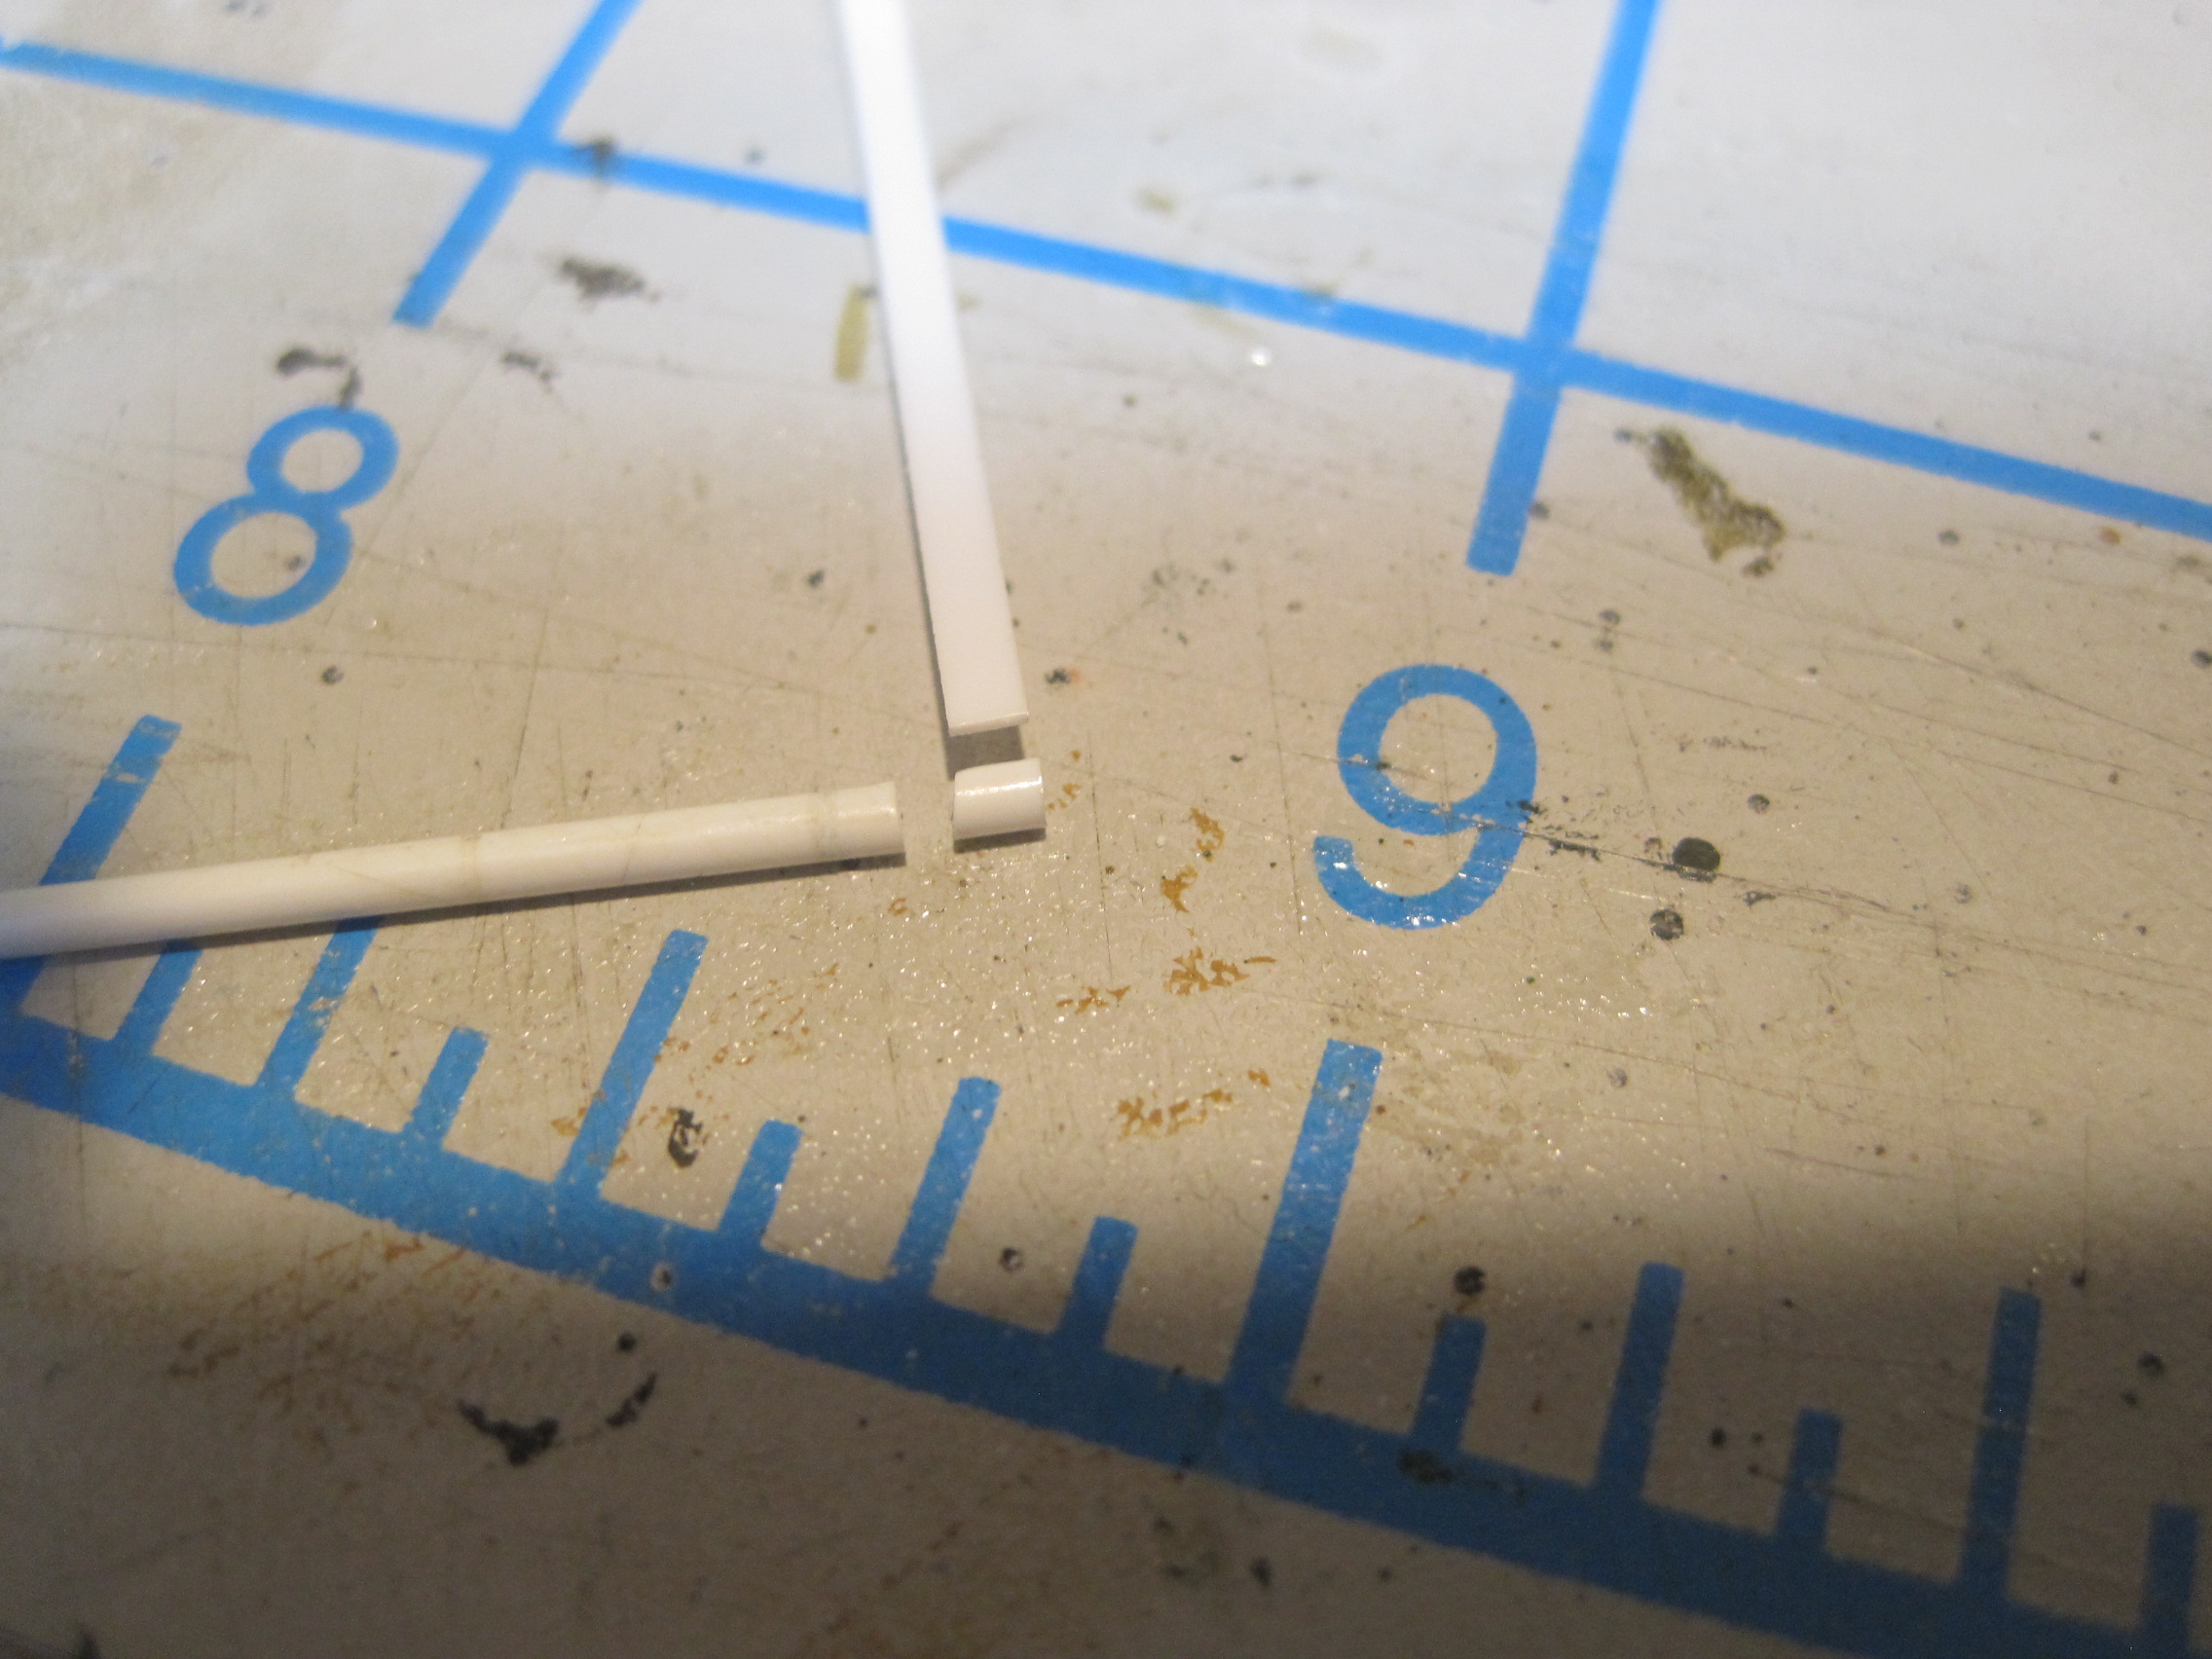
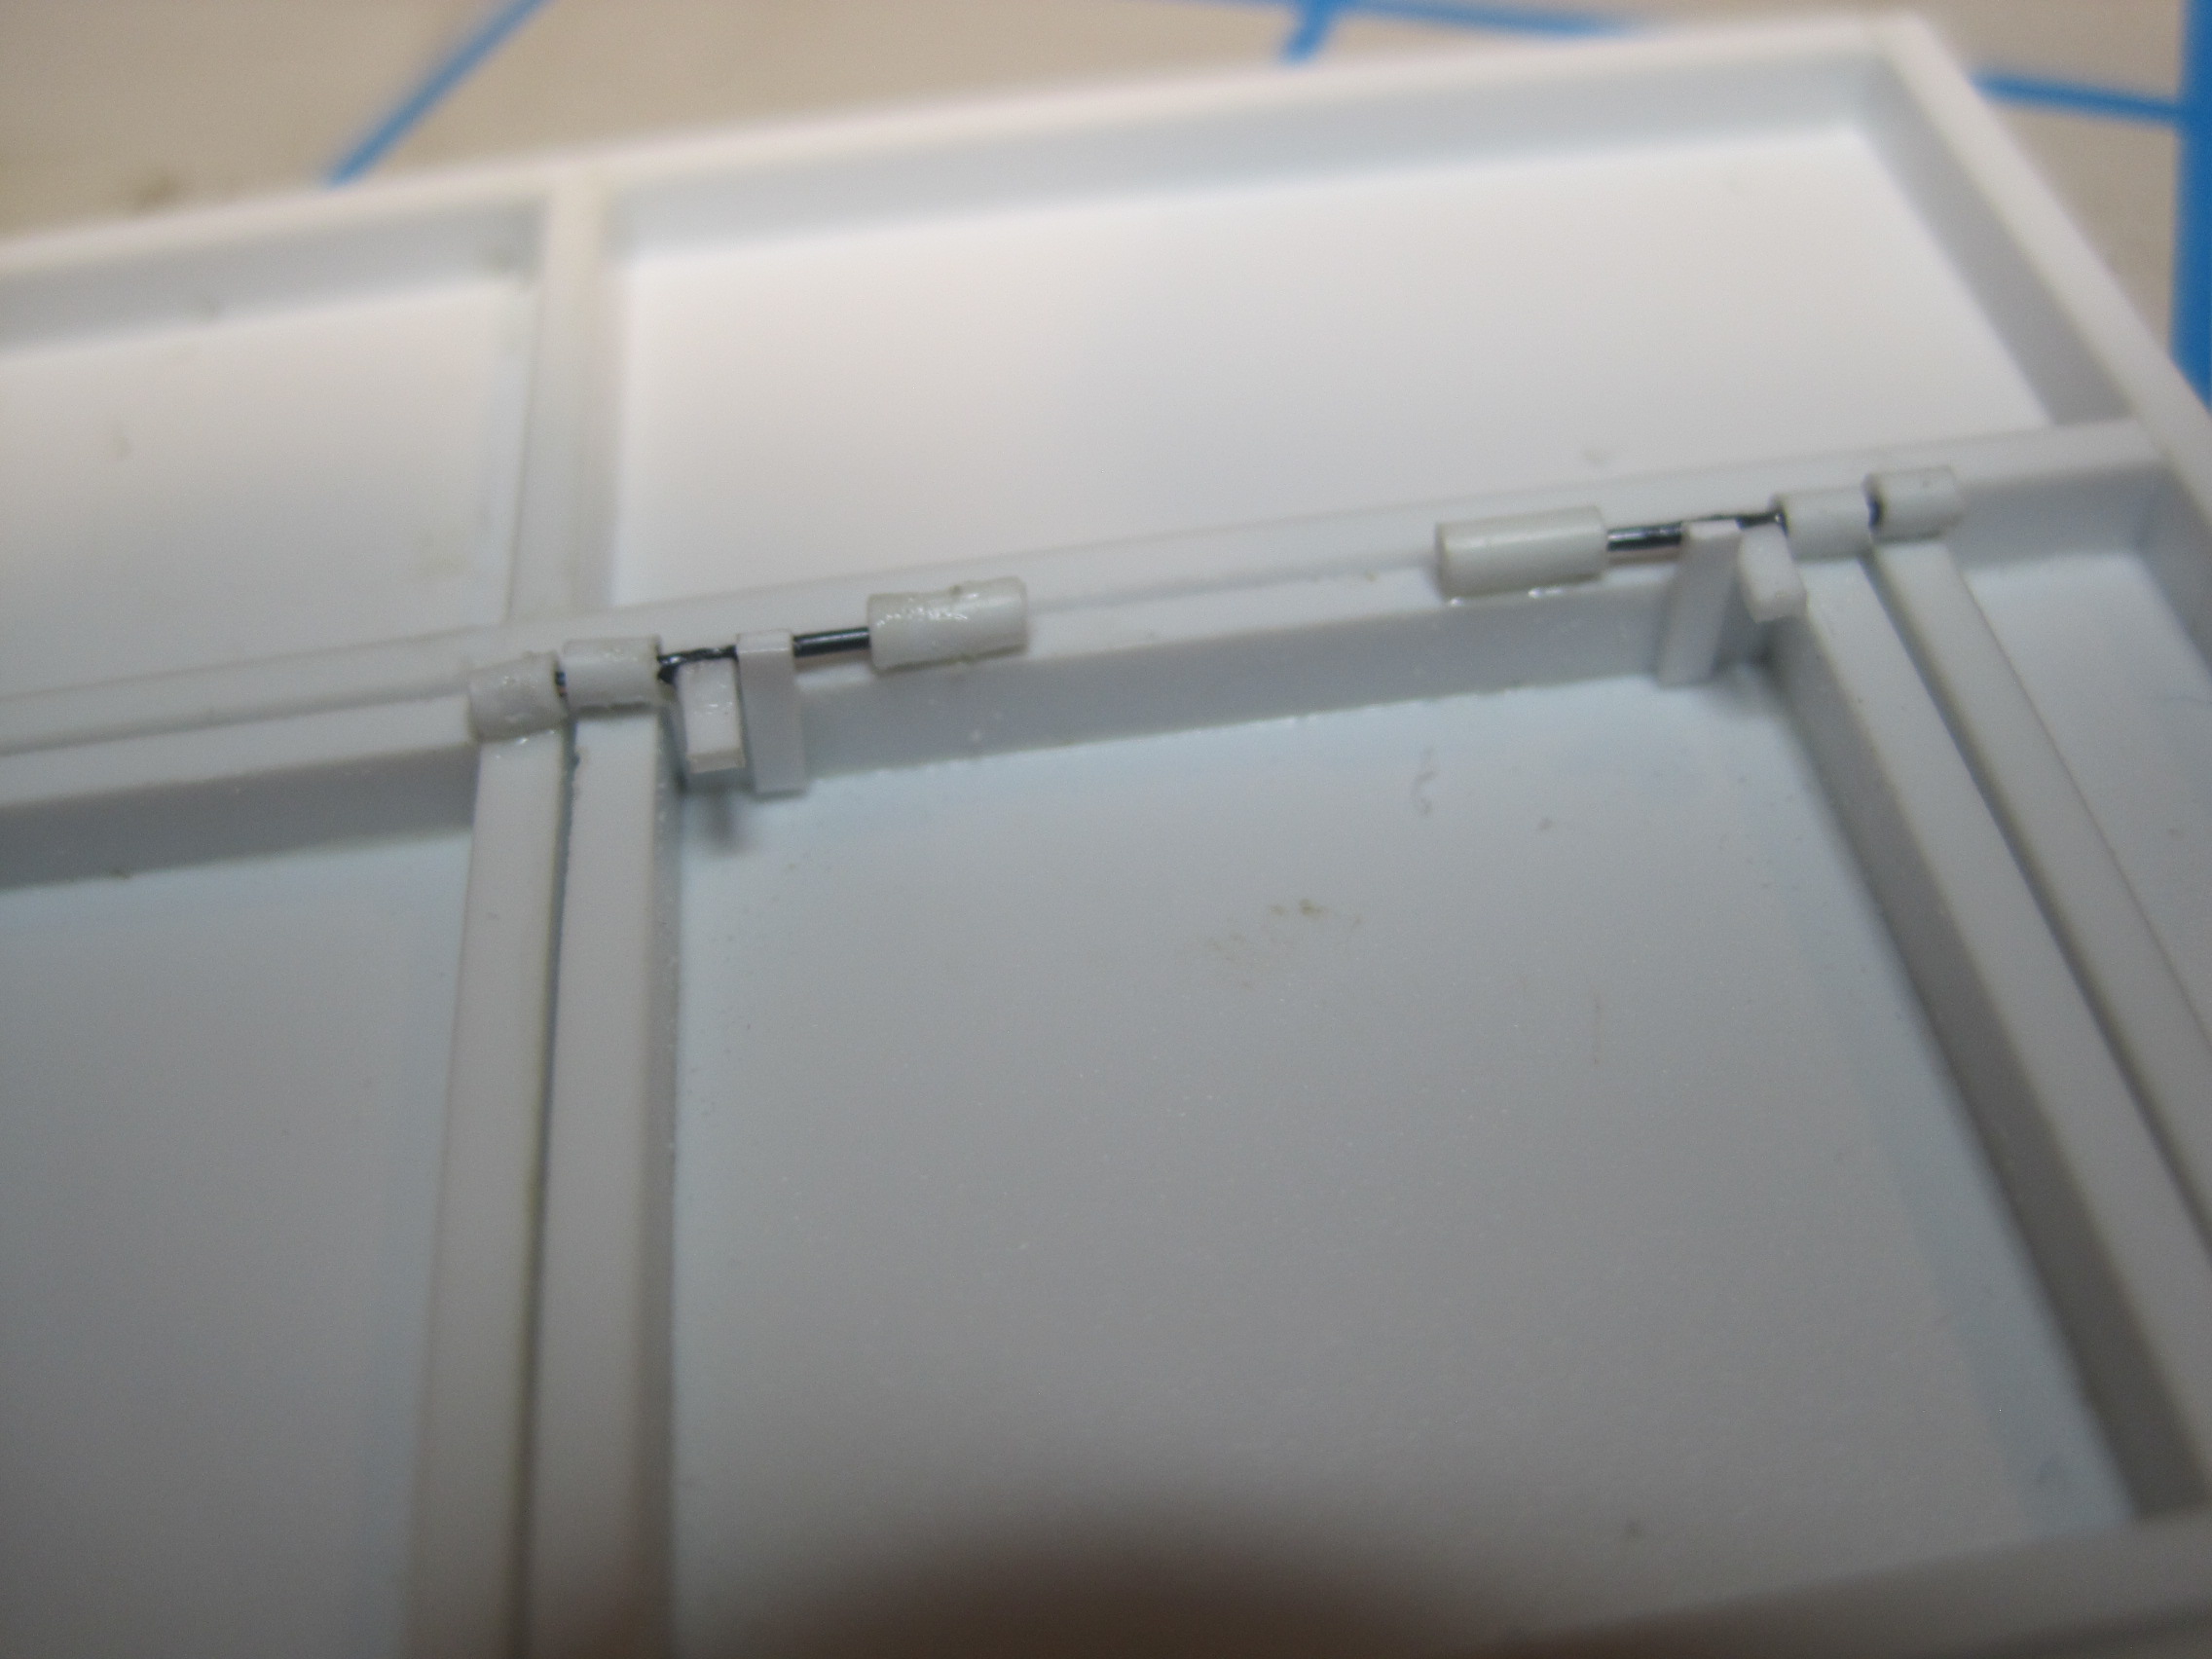
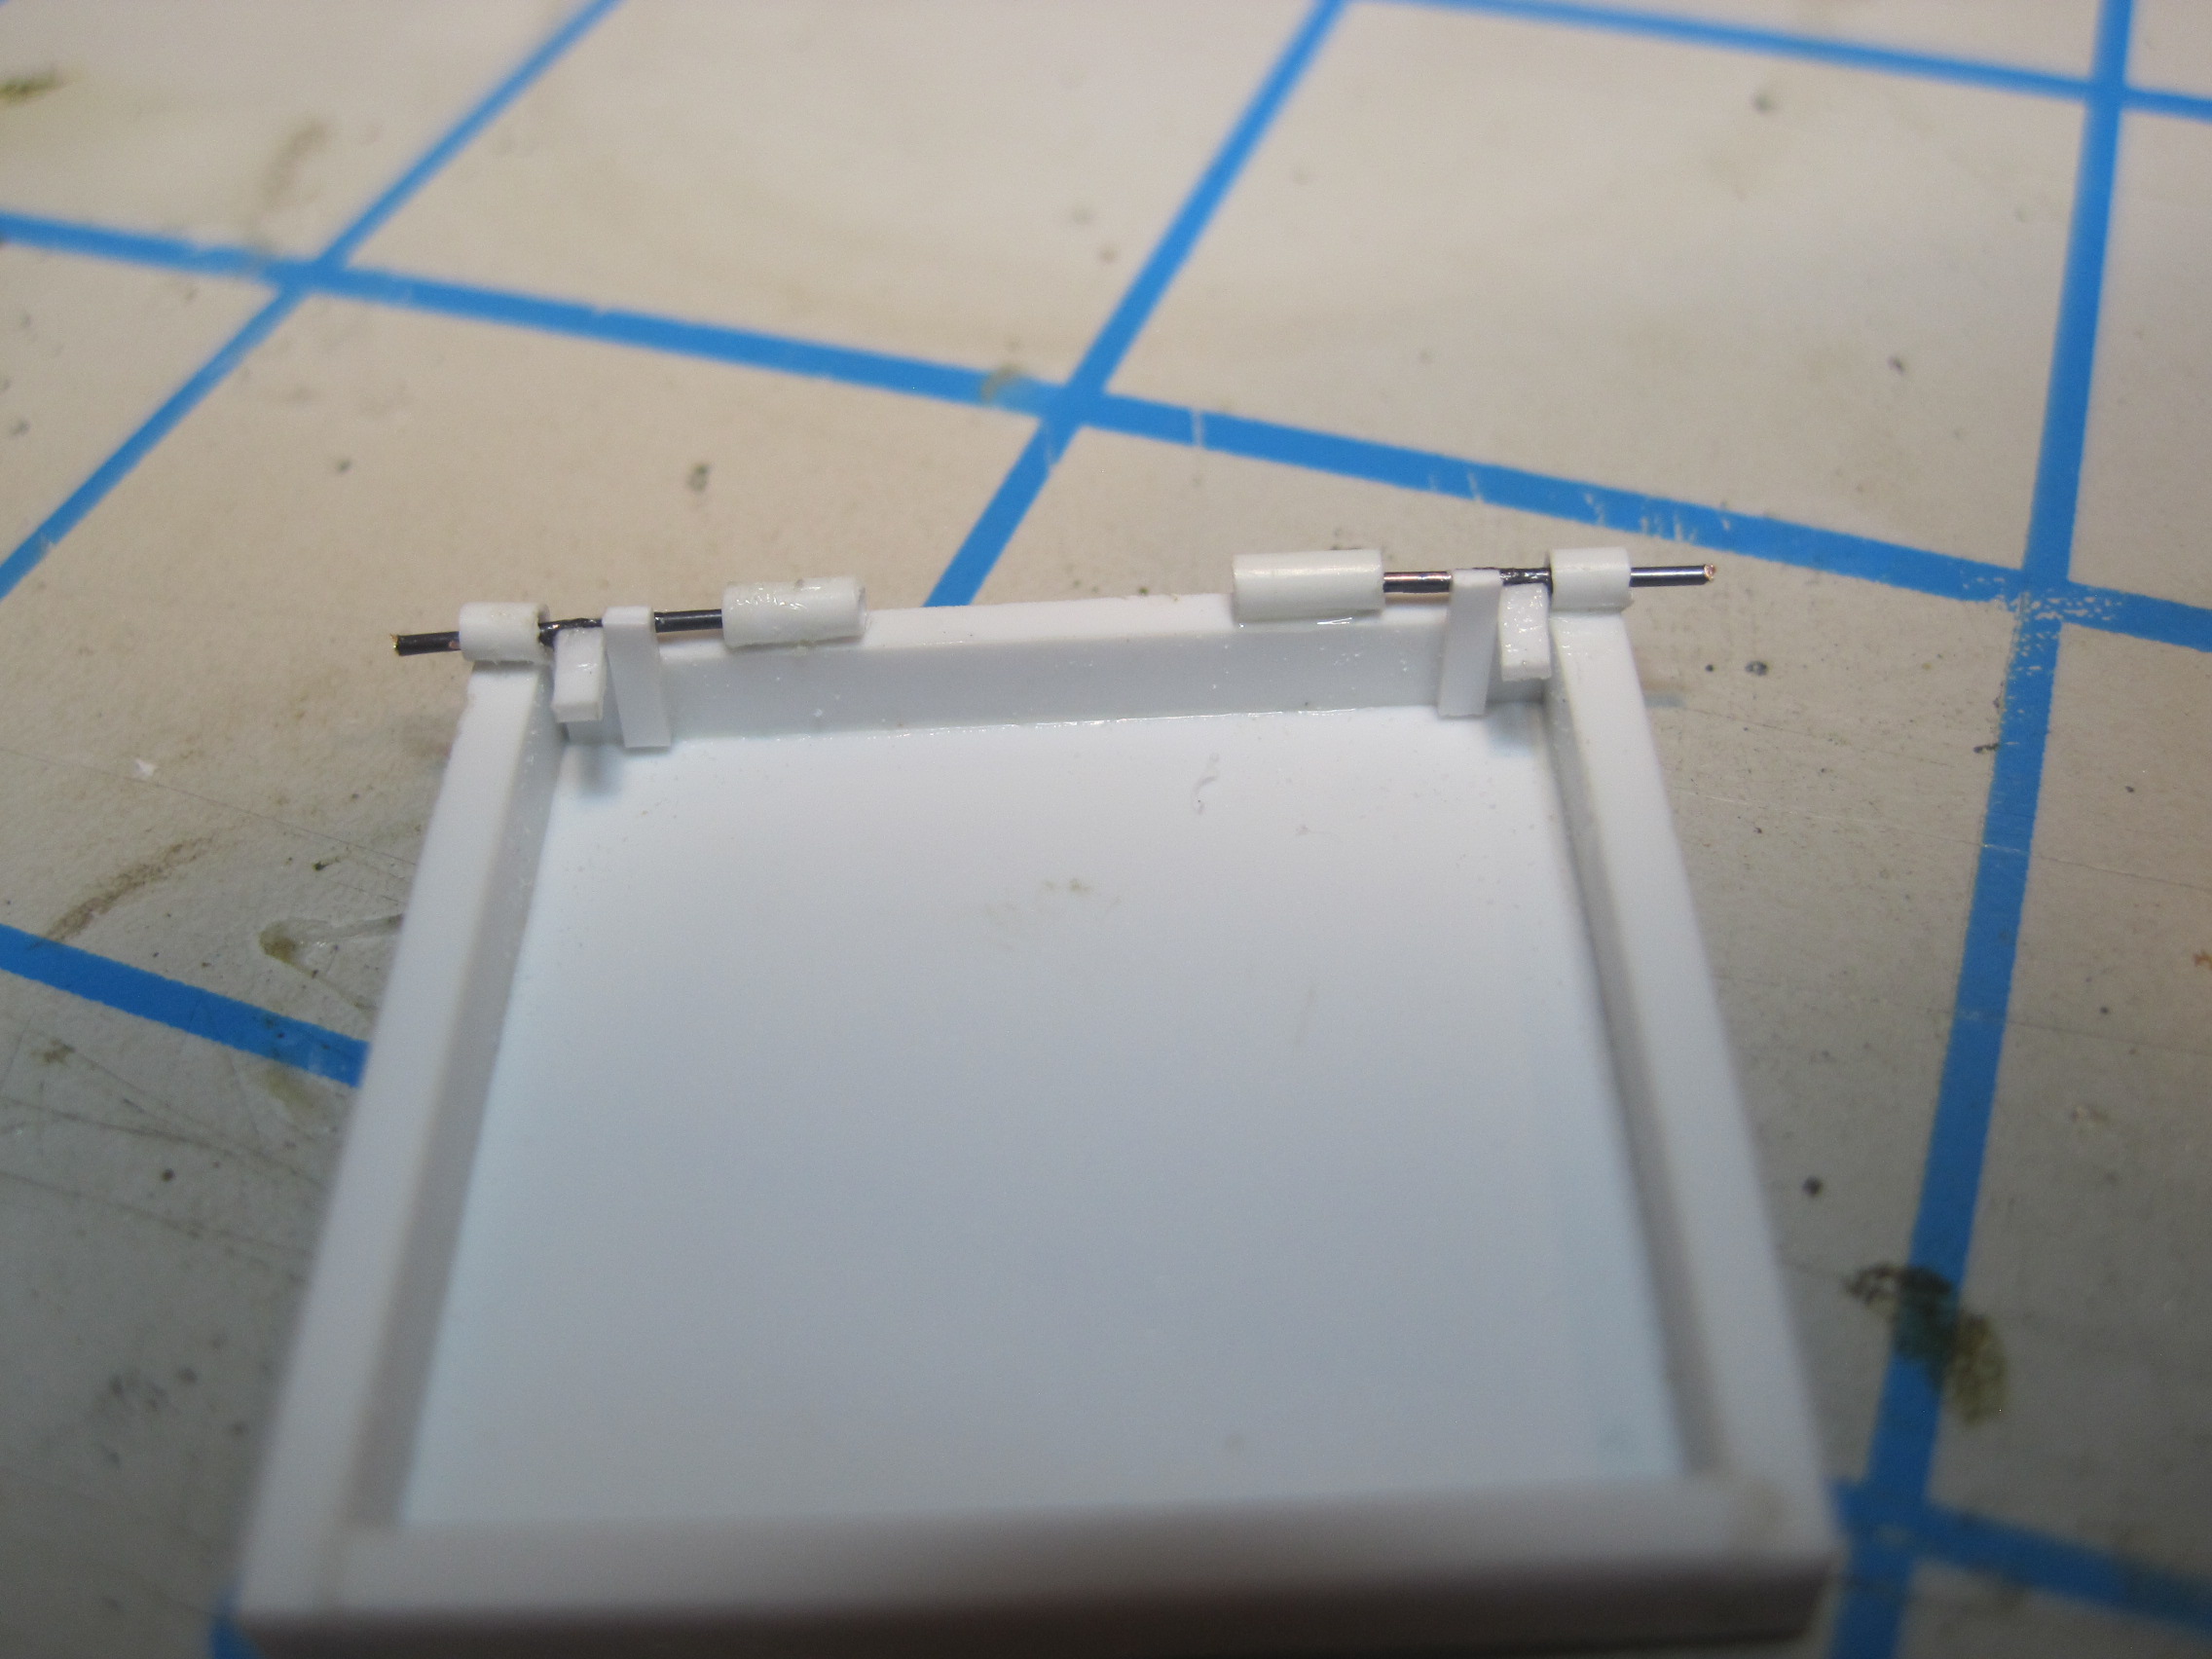
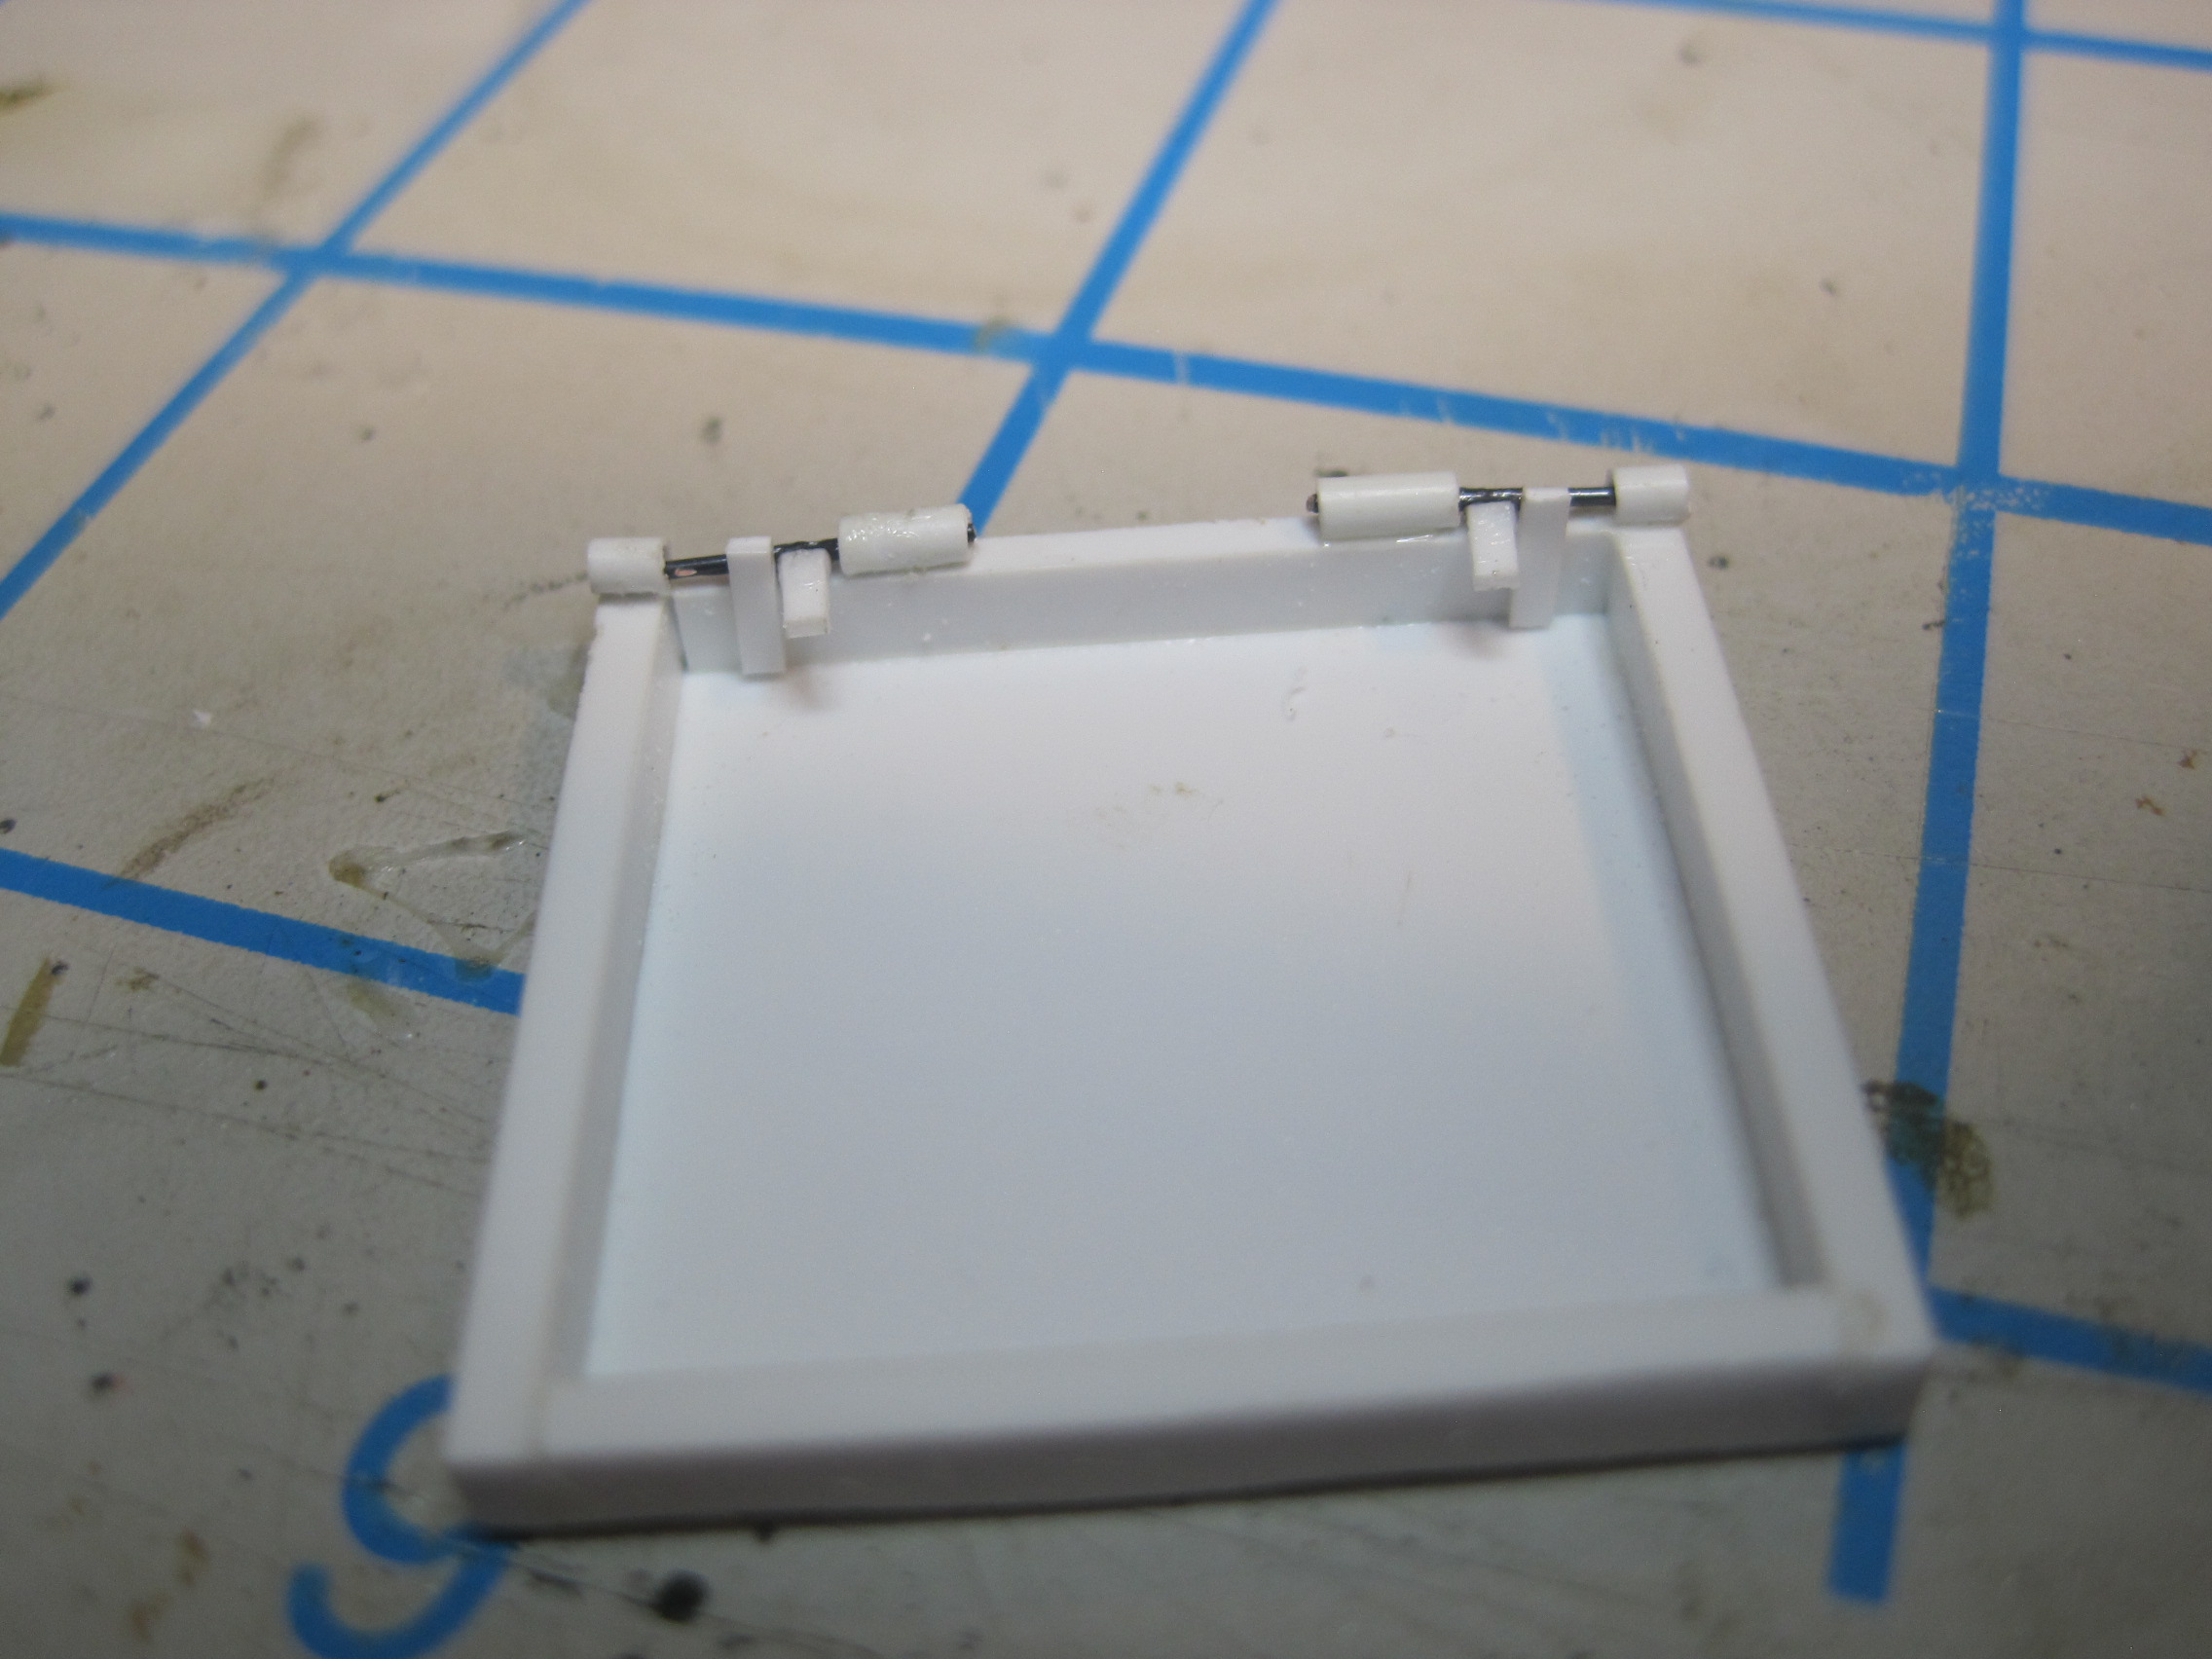
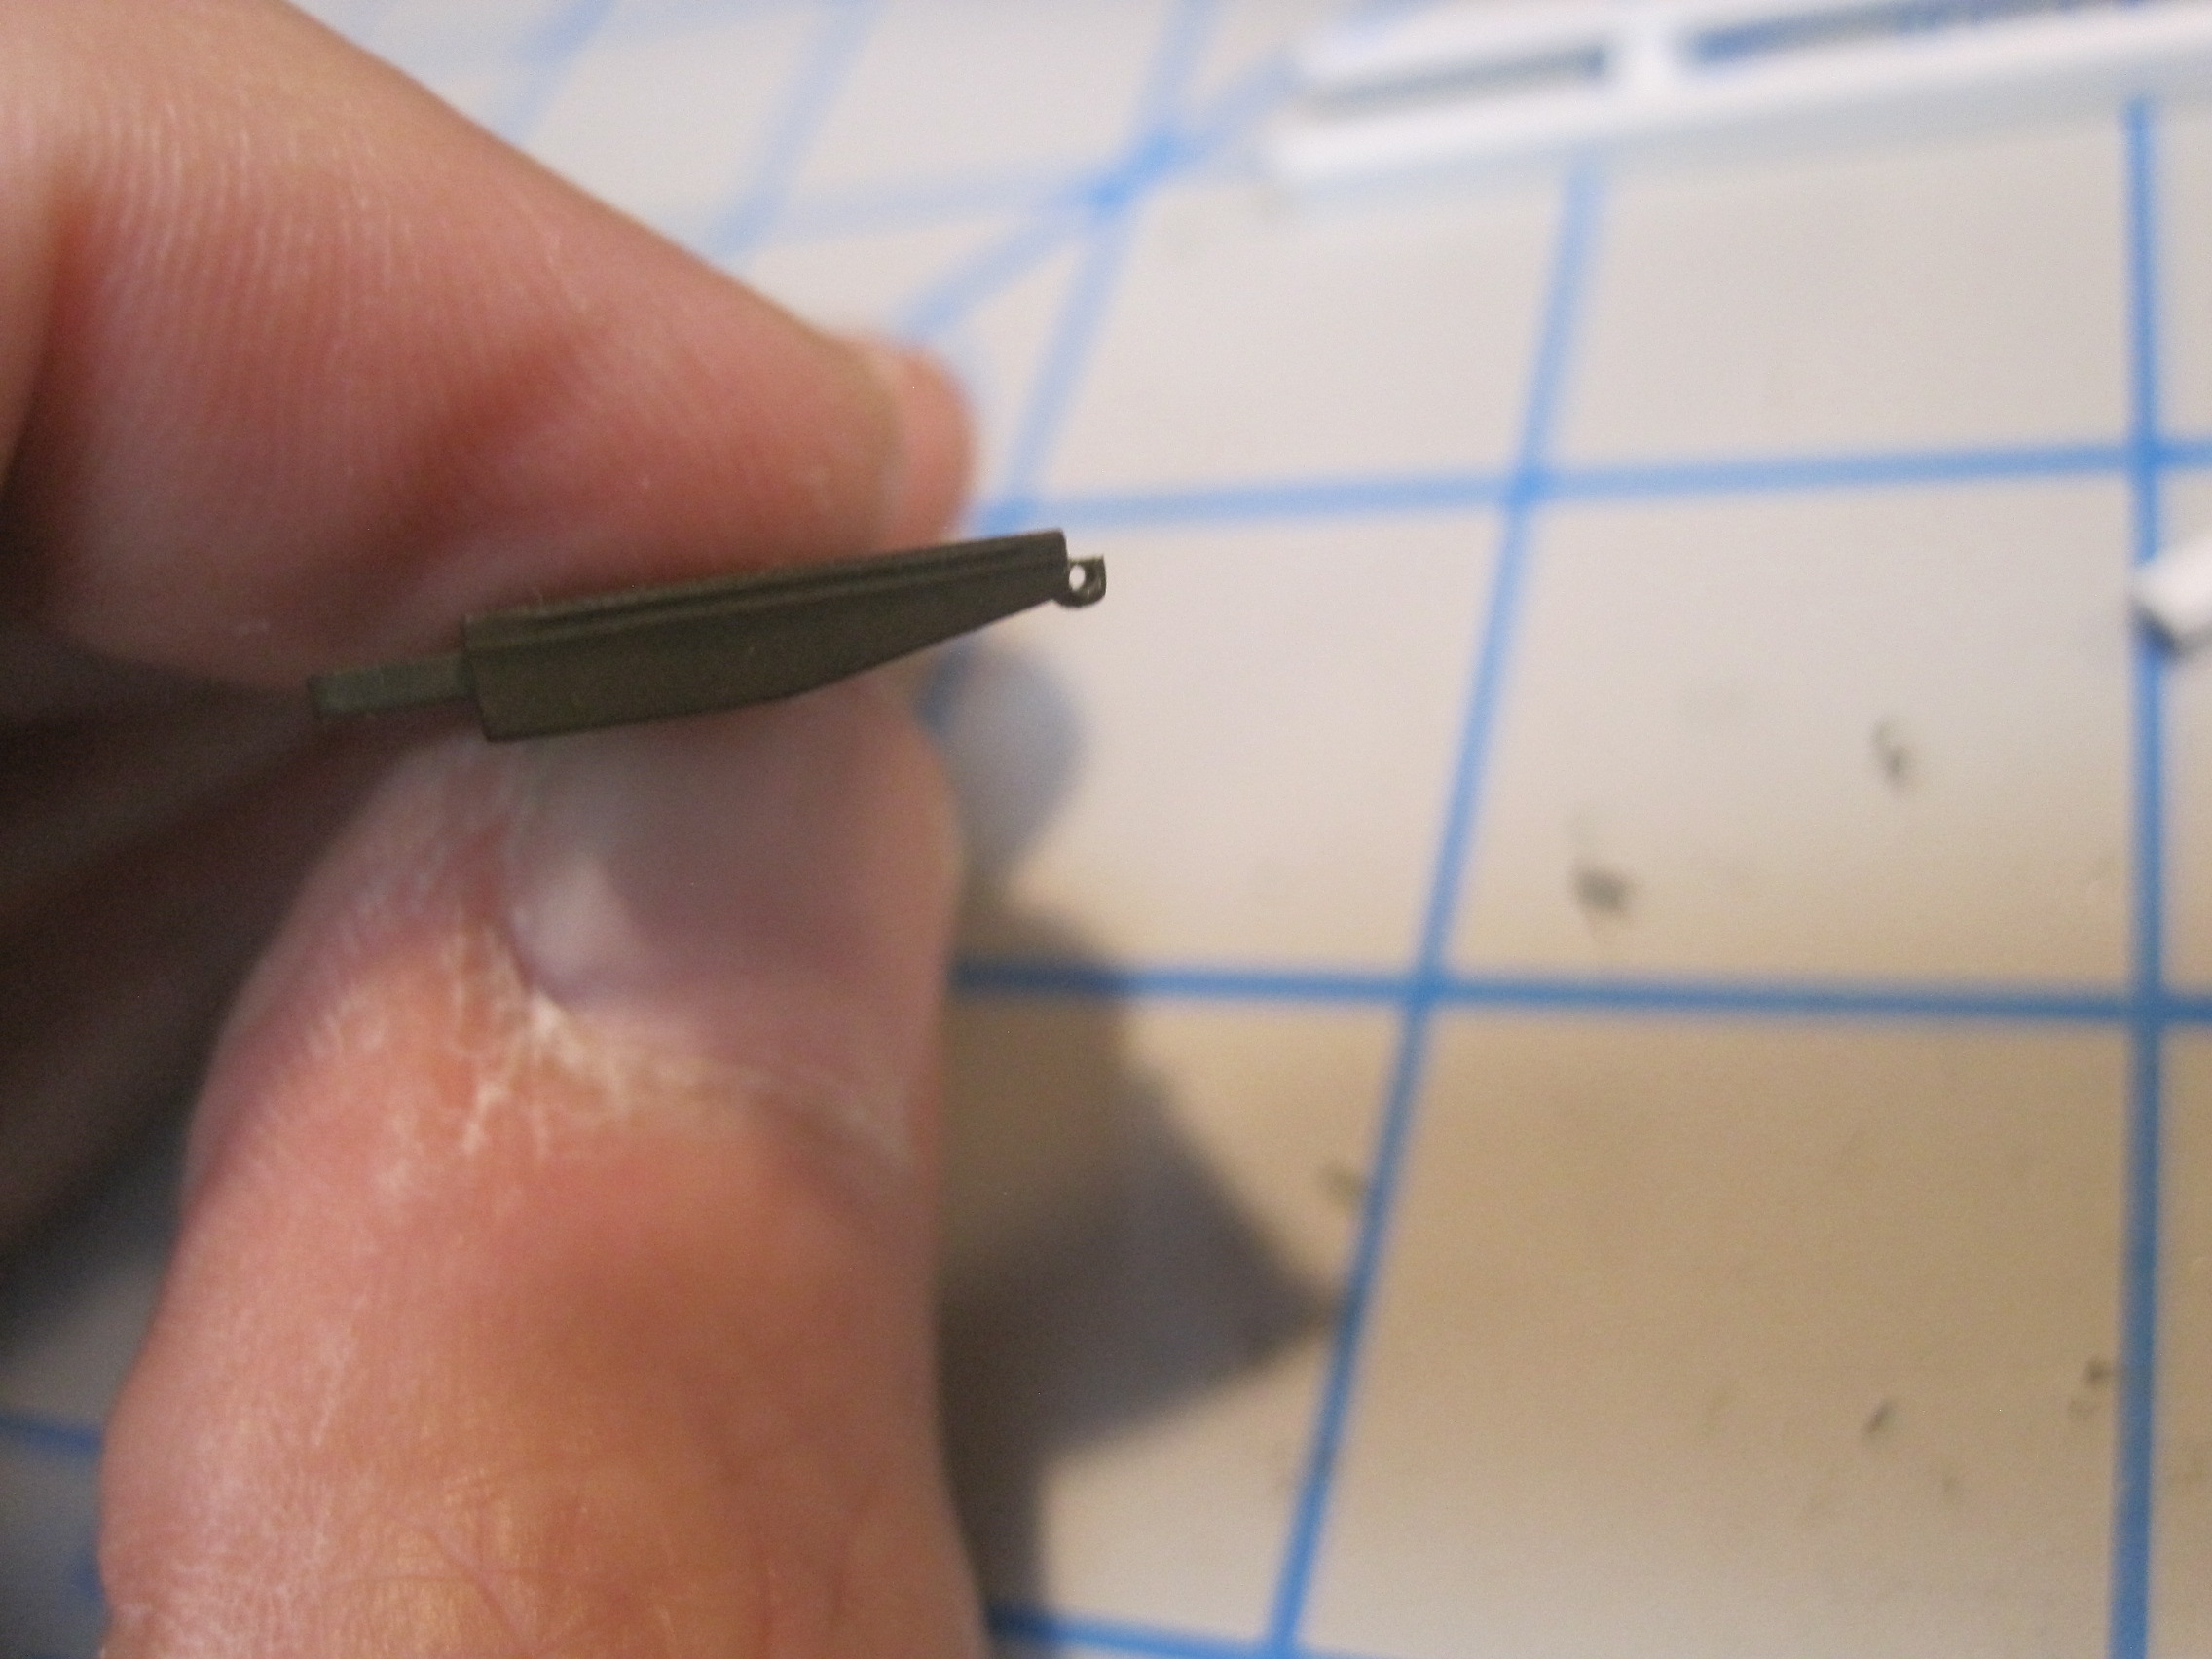
This is the hinge for the tailgate, however the styrene rod will be replaced with four short sections of wire which will be bent to keep them in place.
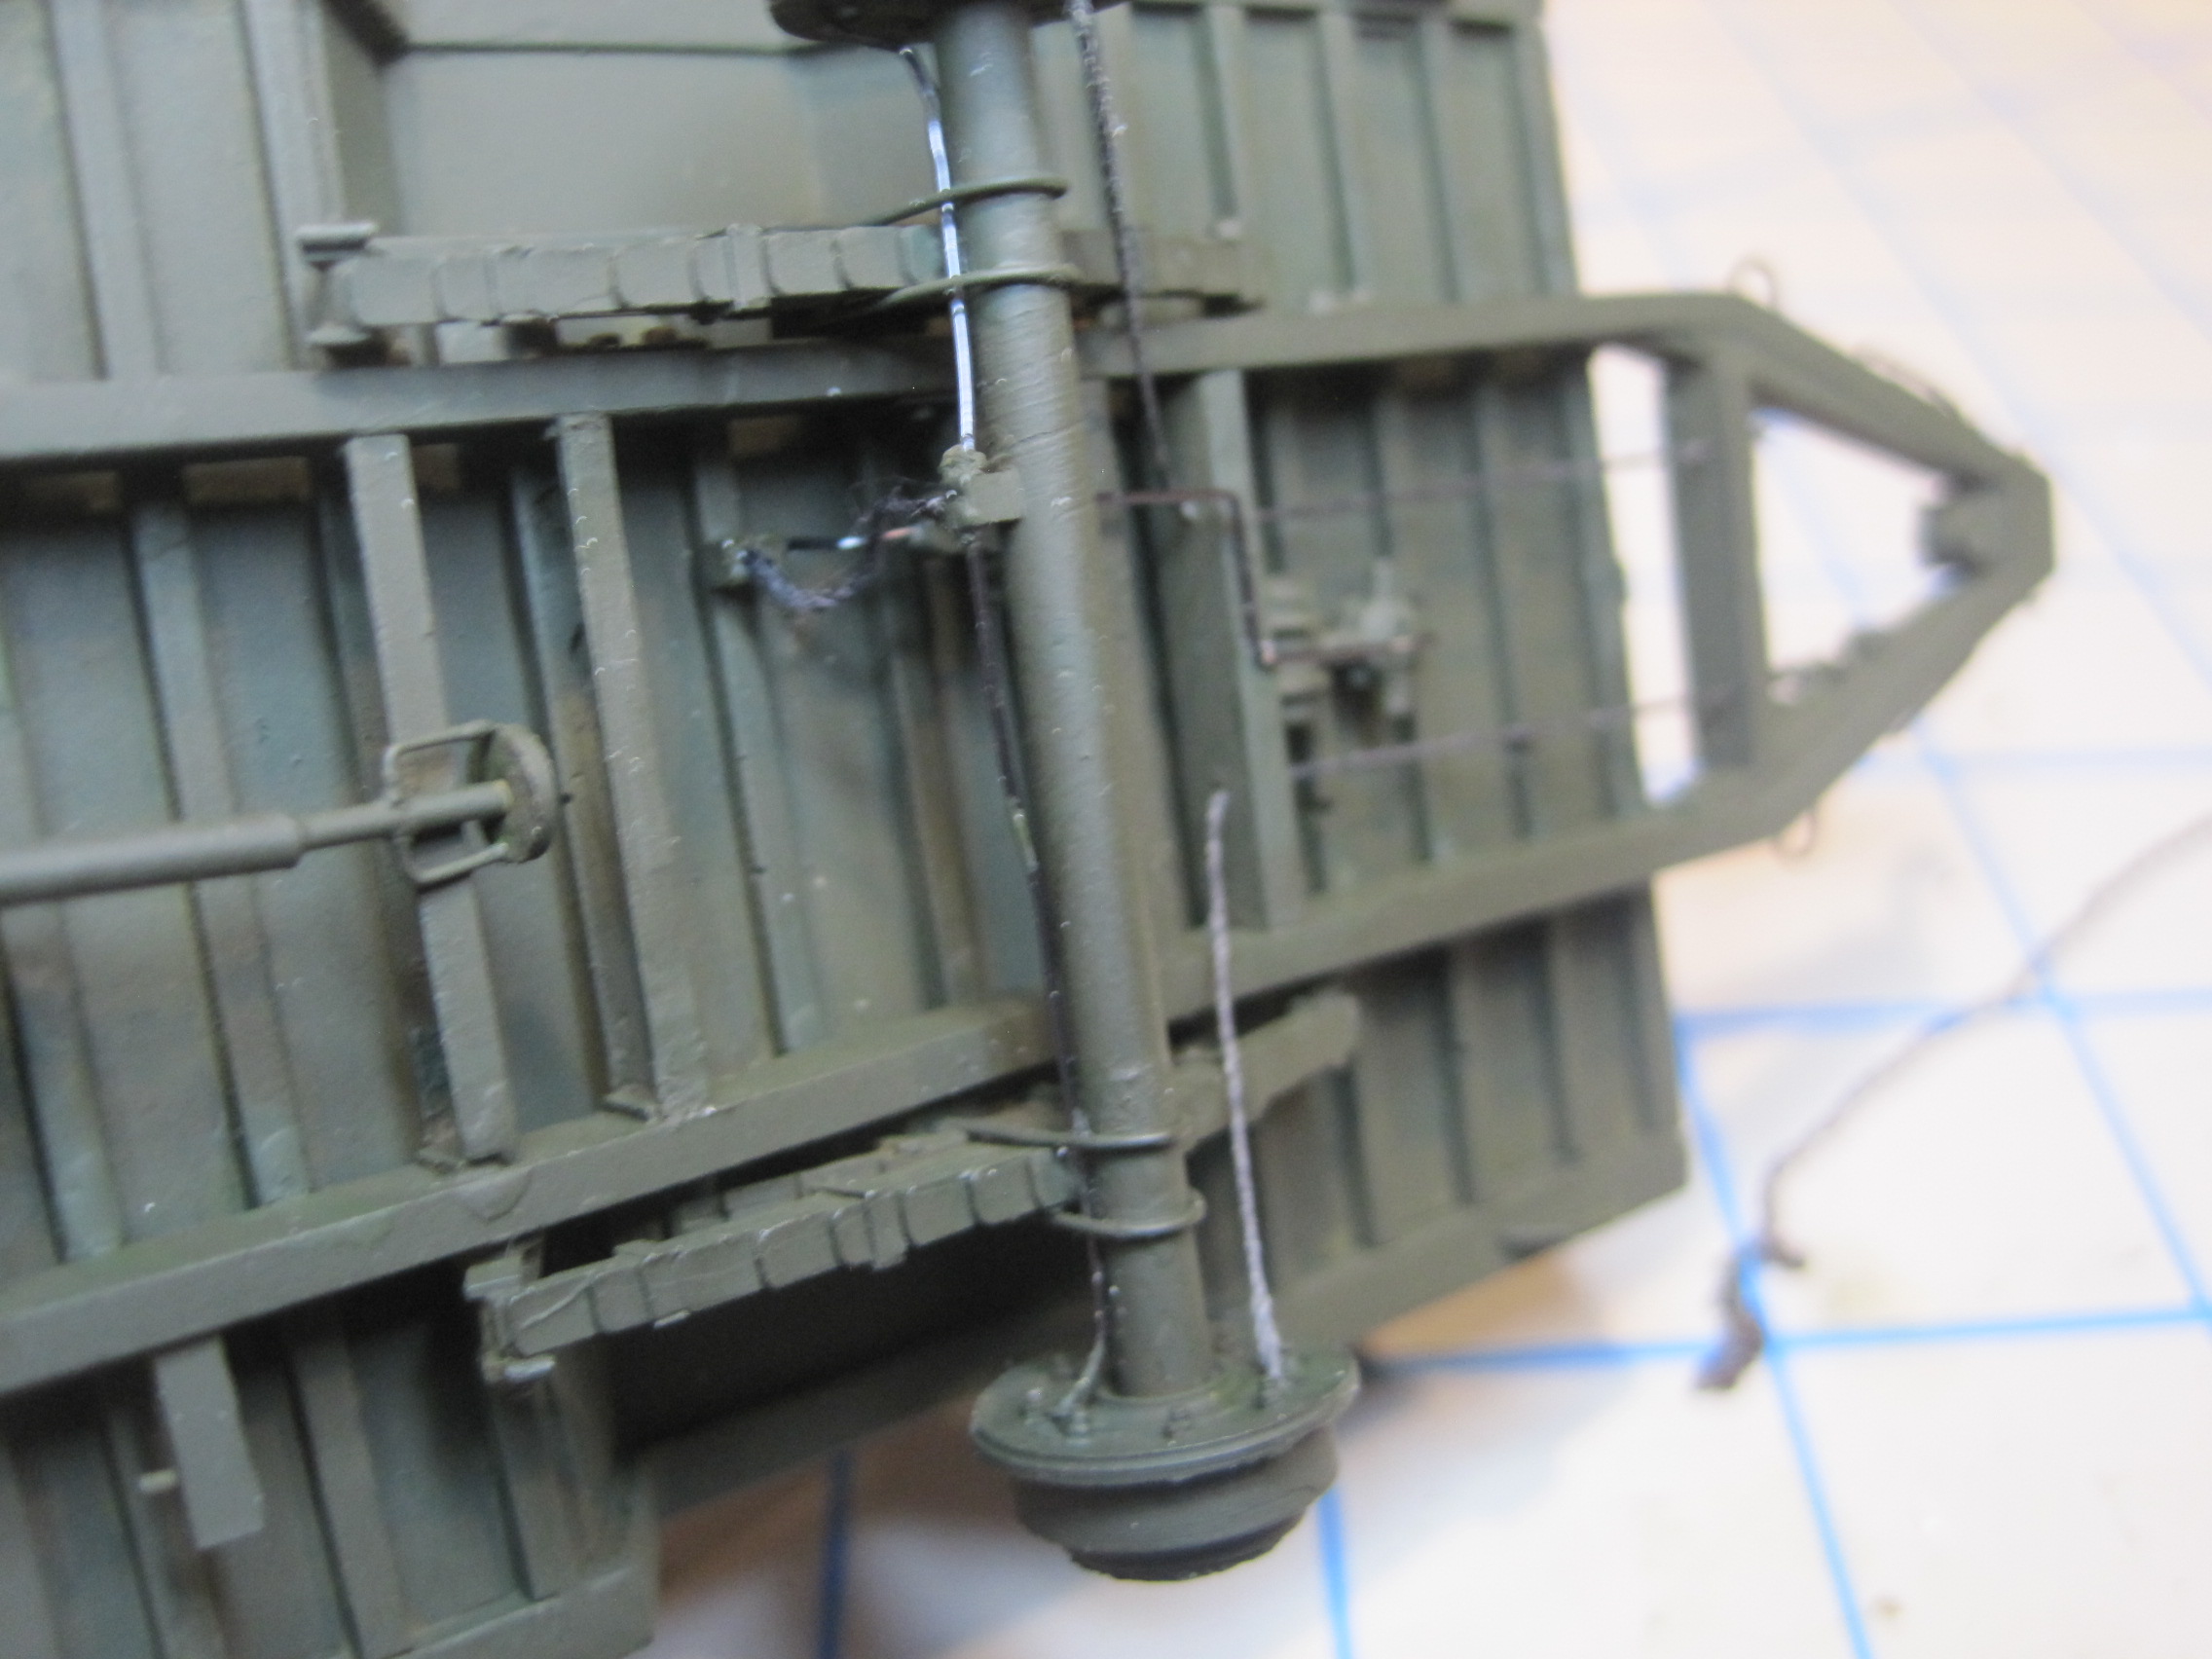
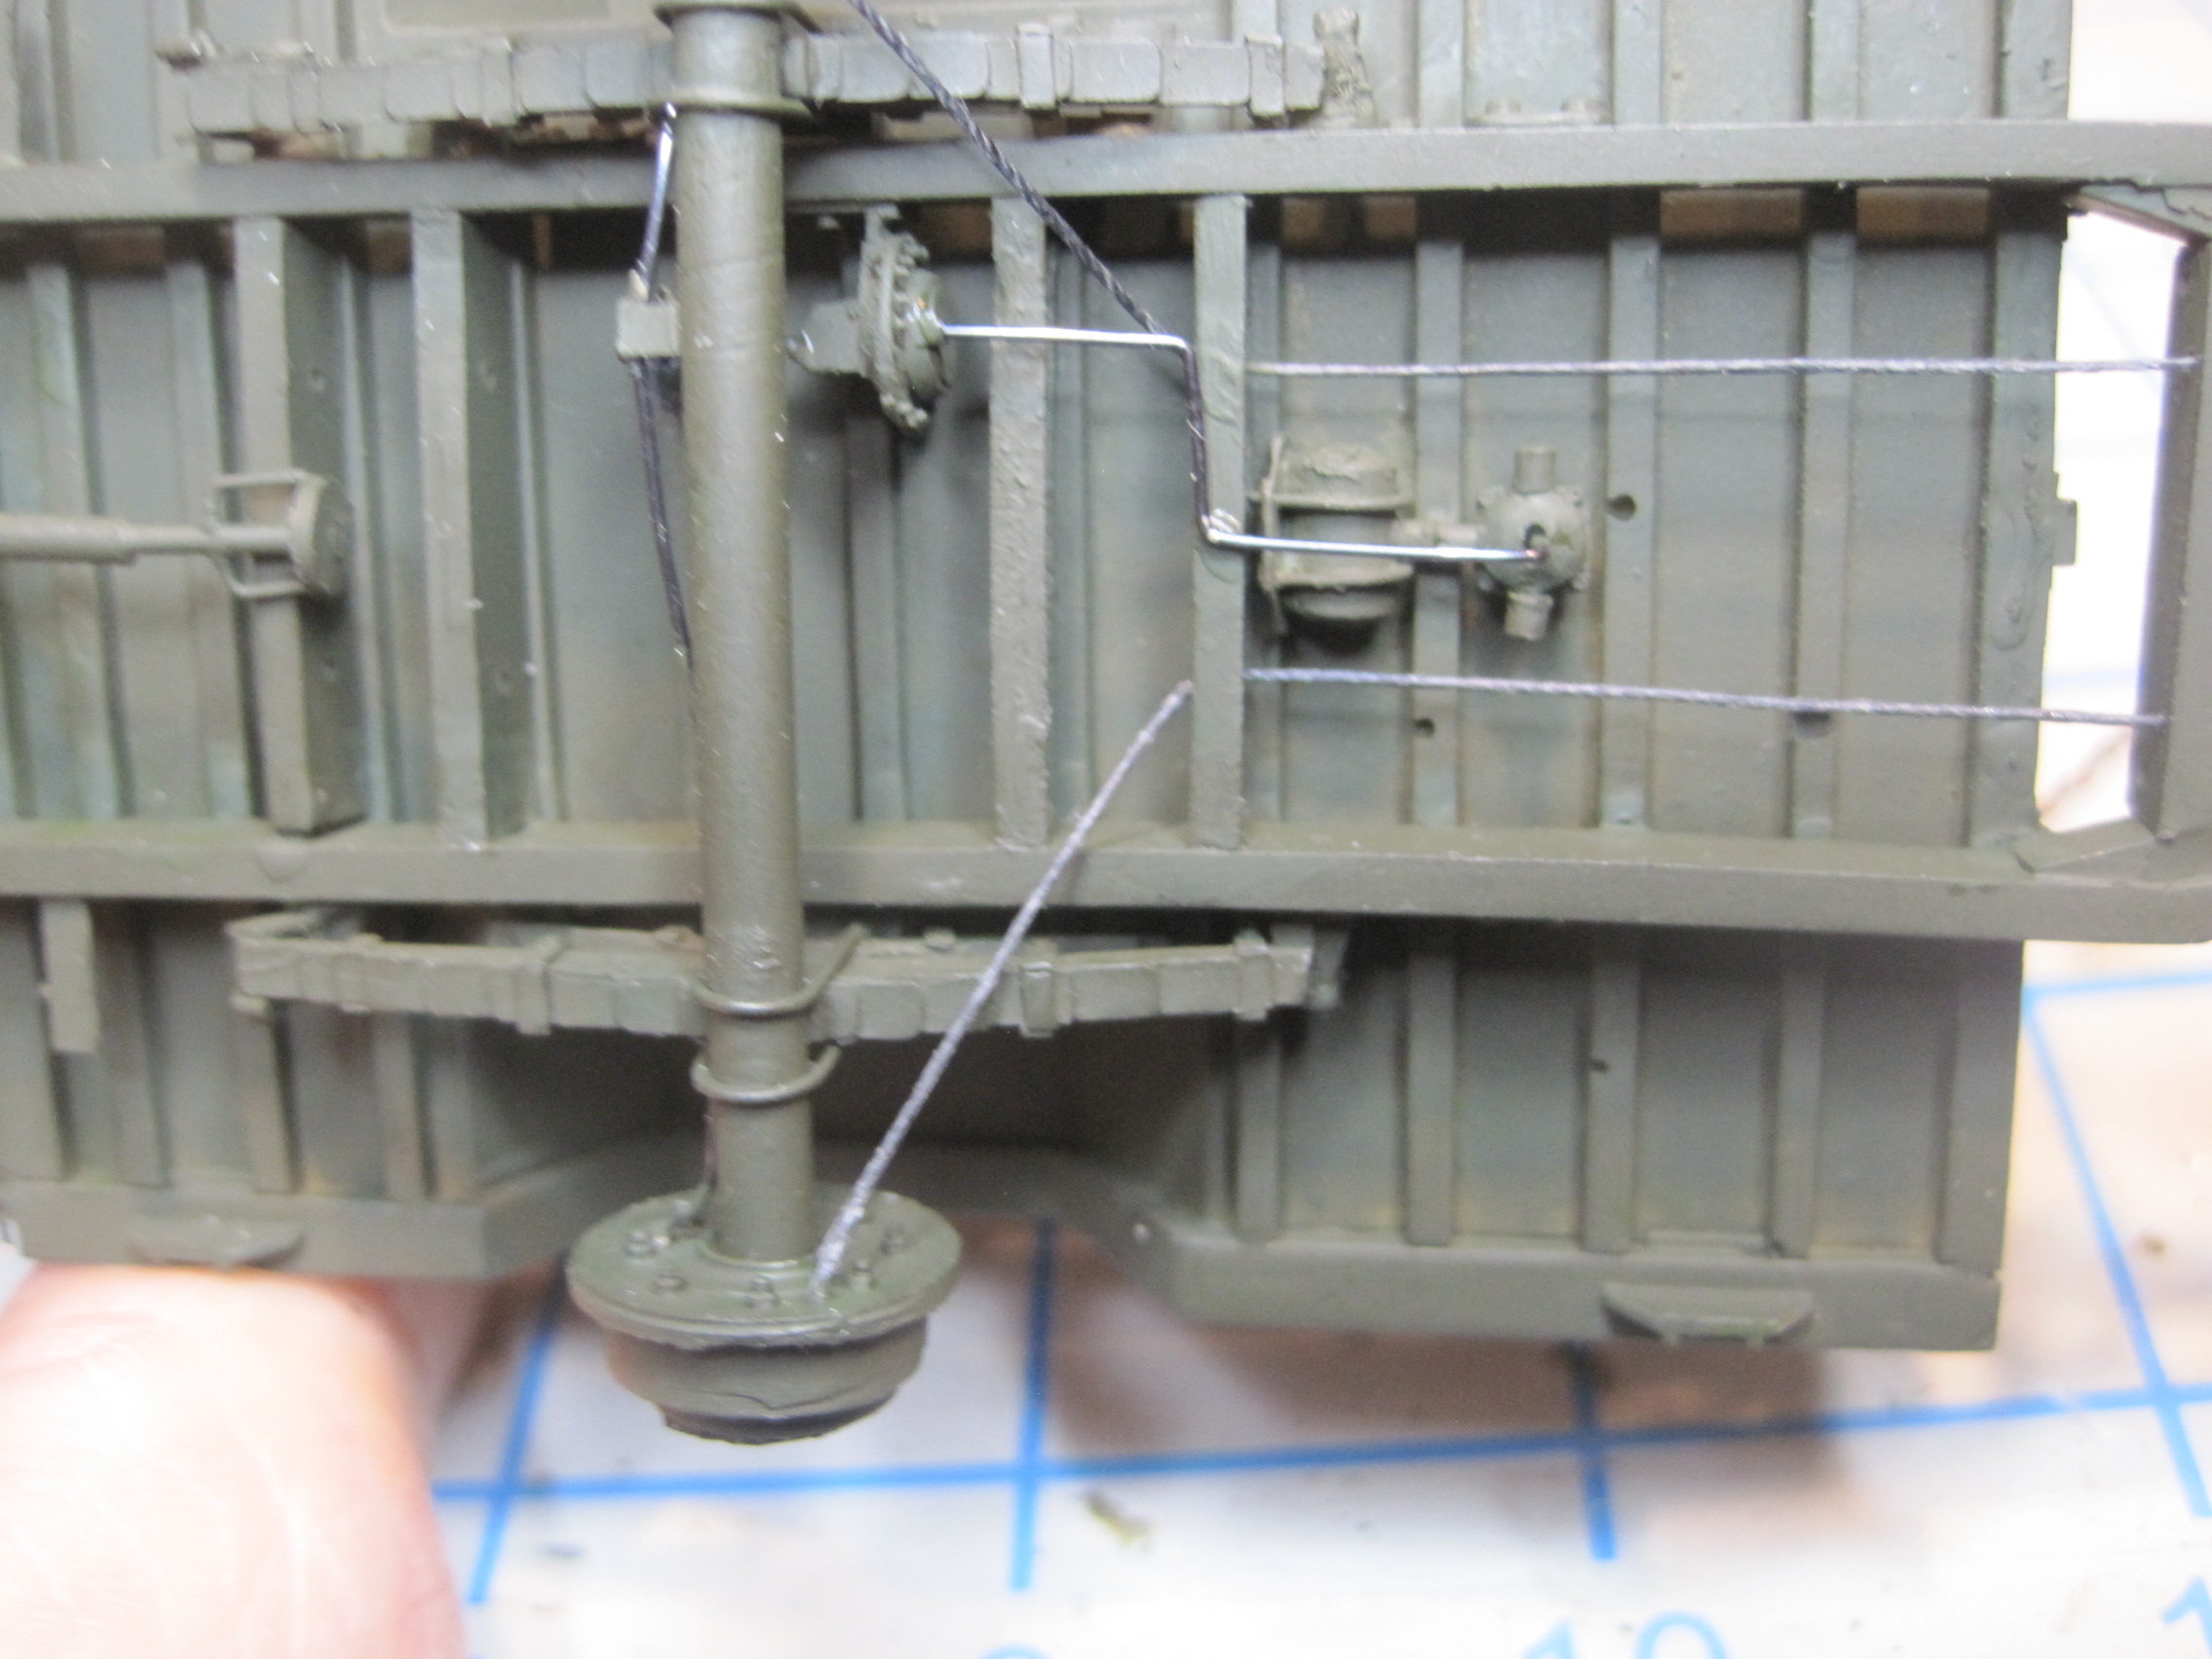
Next is the scratch build for the air brake “glad hands” and the electrical plug for the lights.
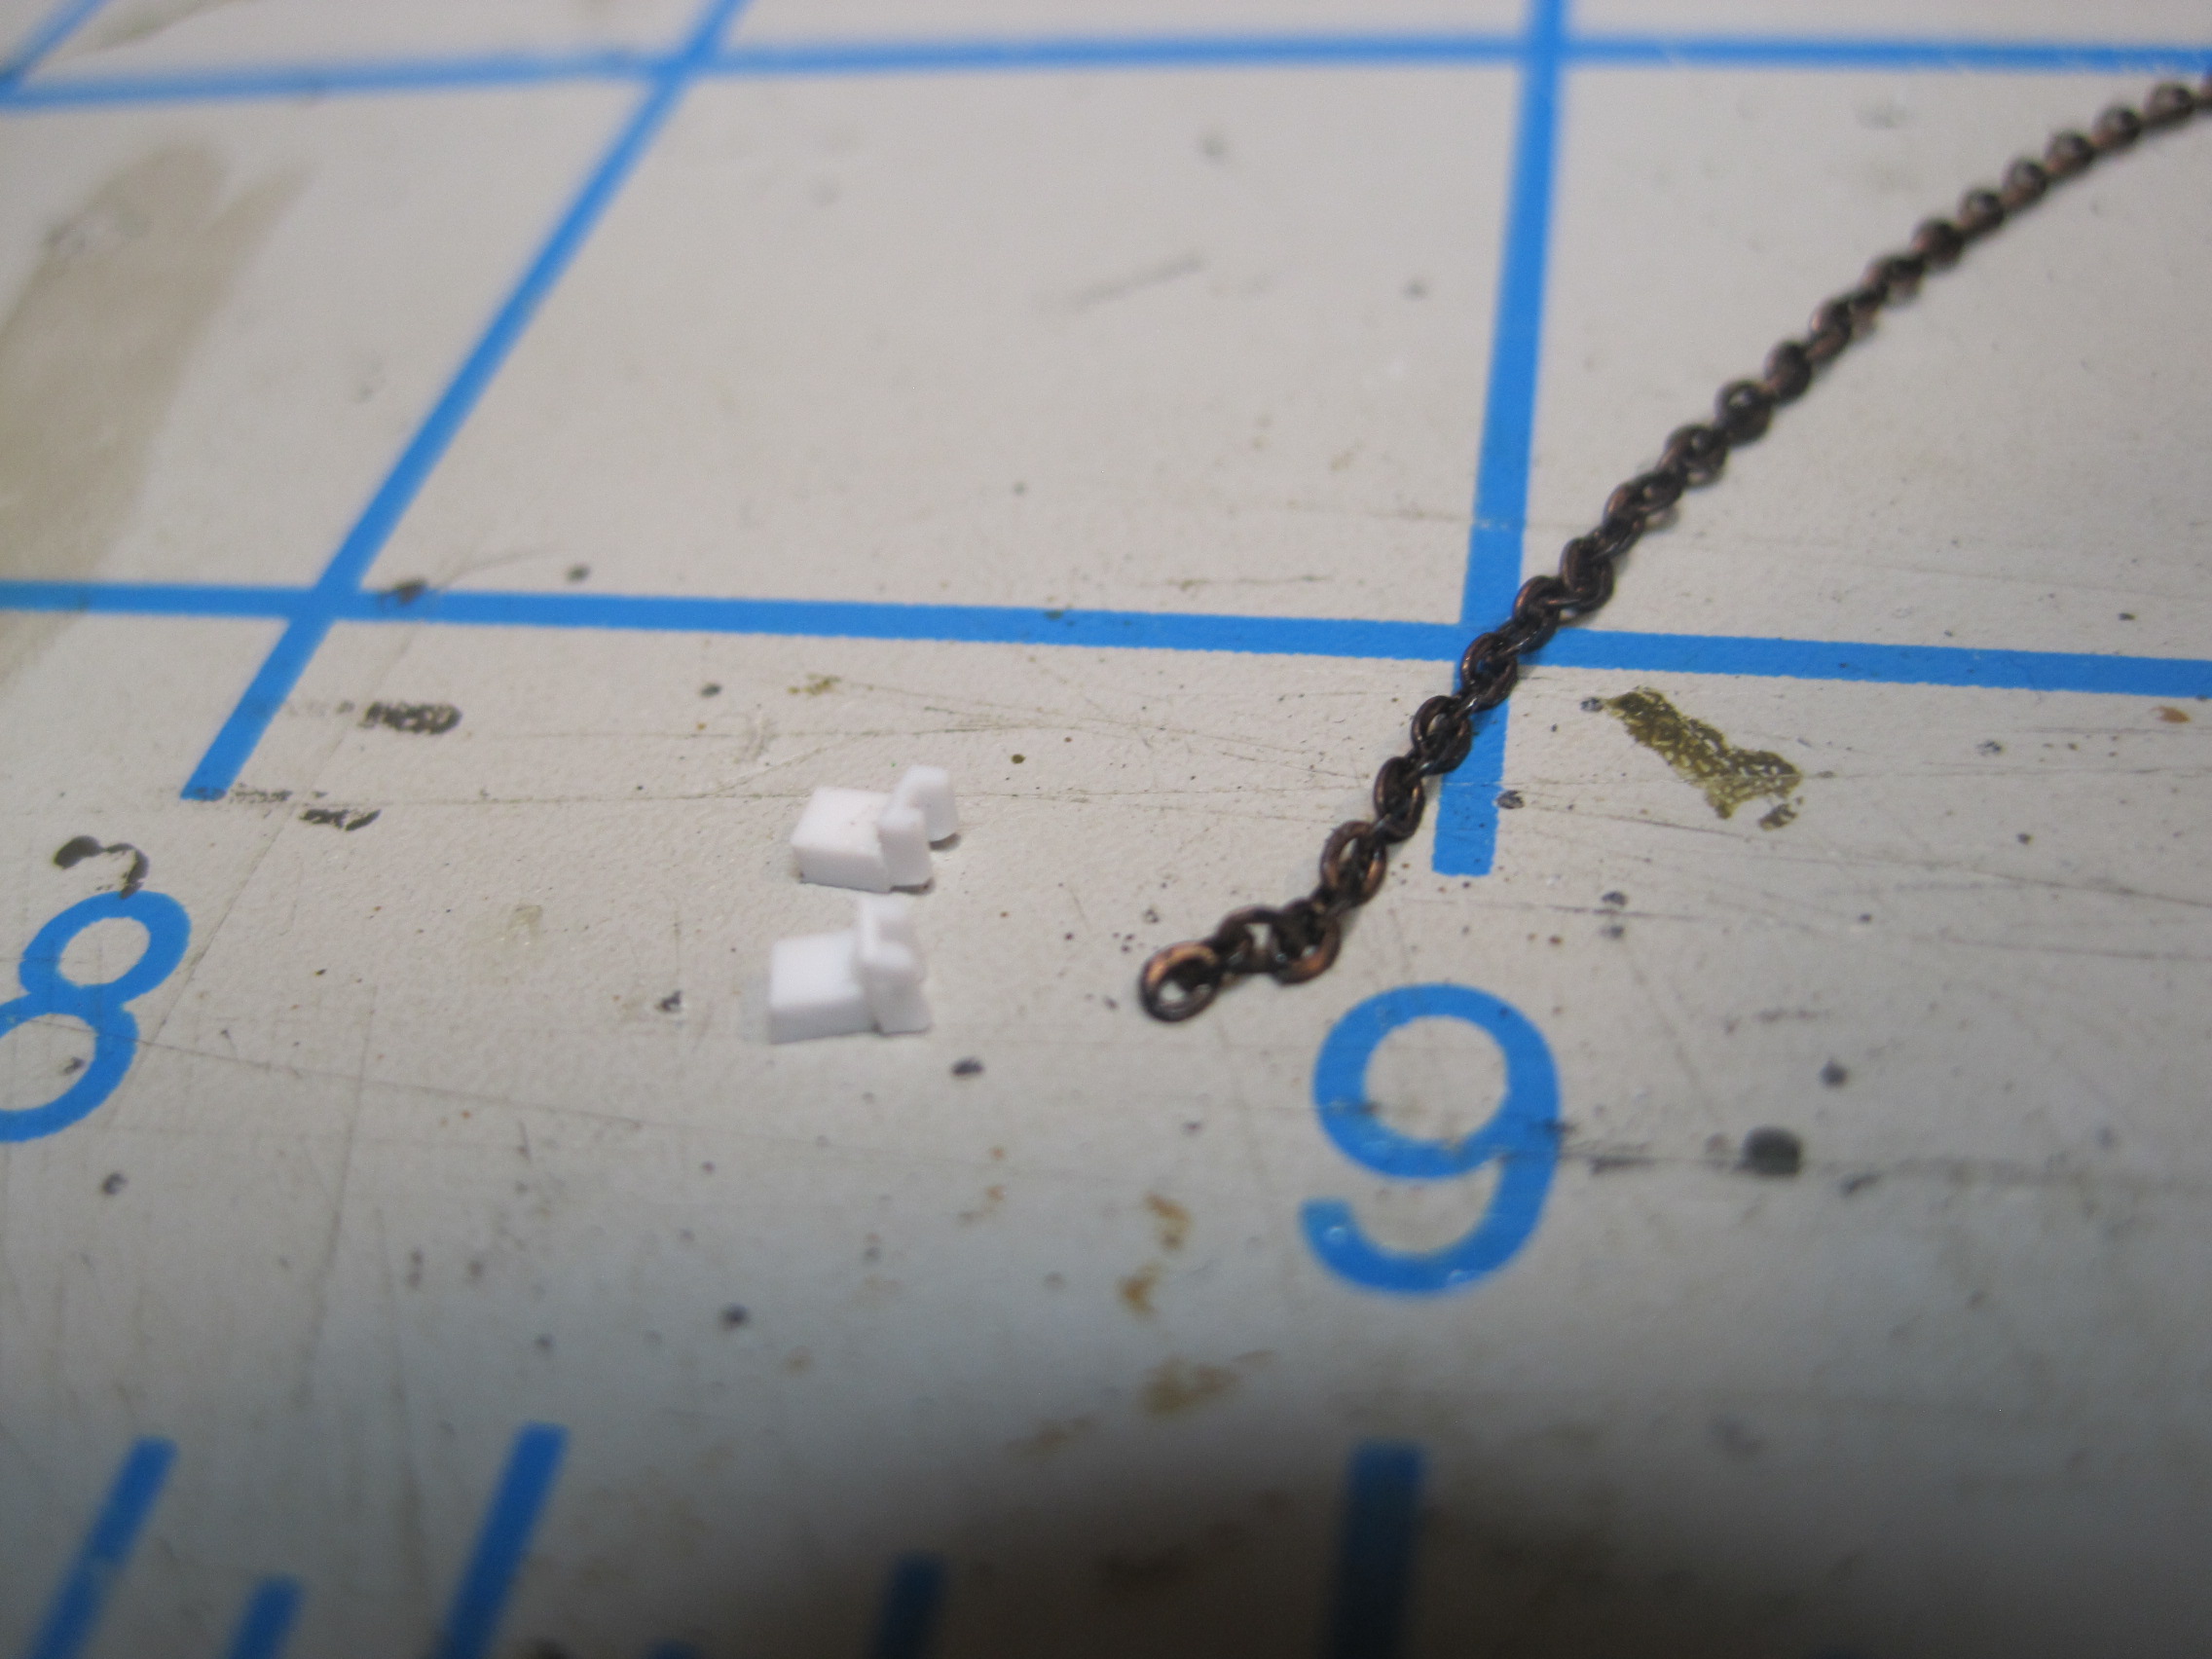
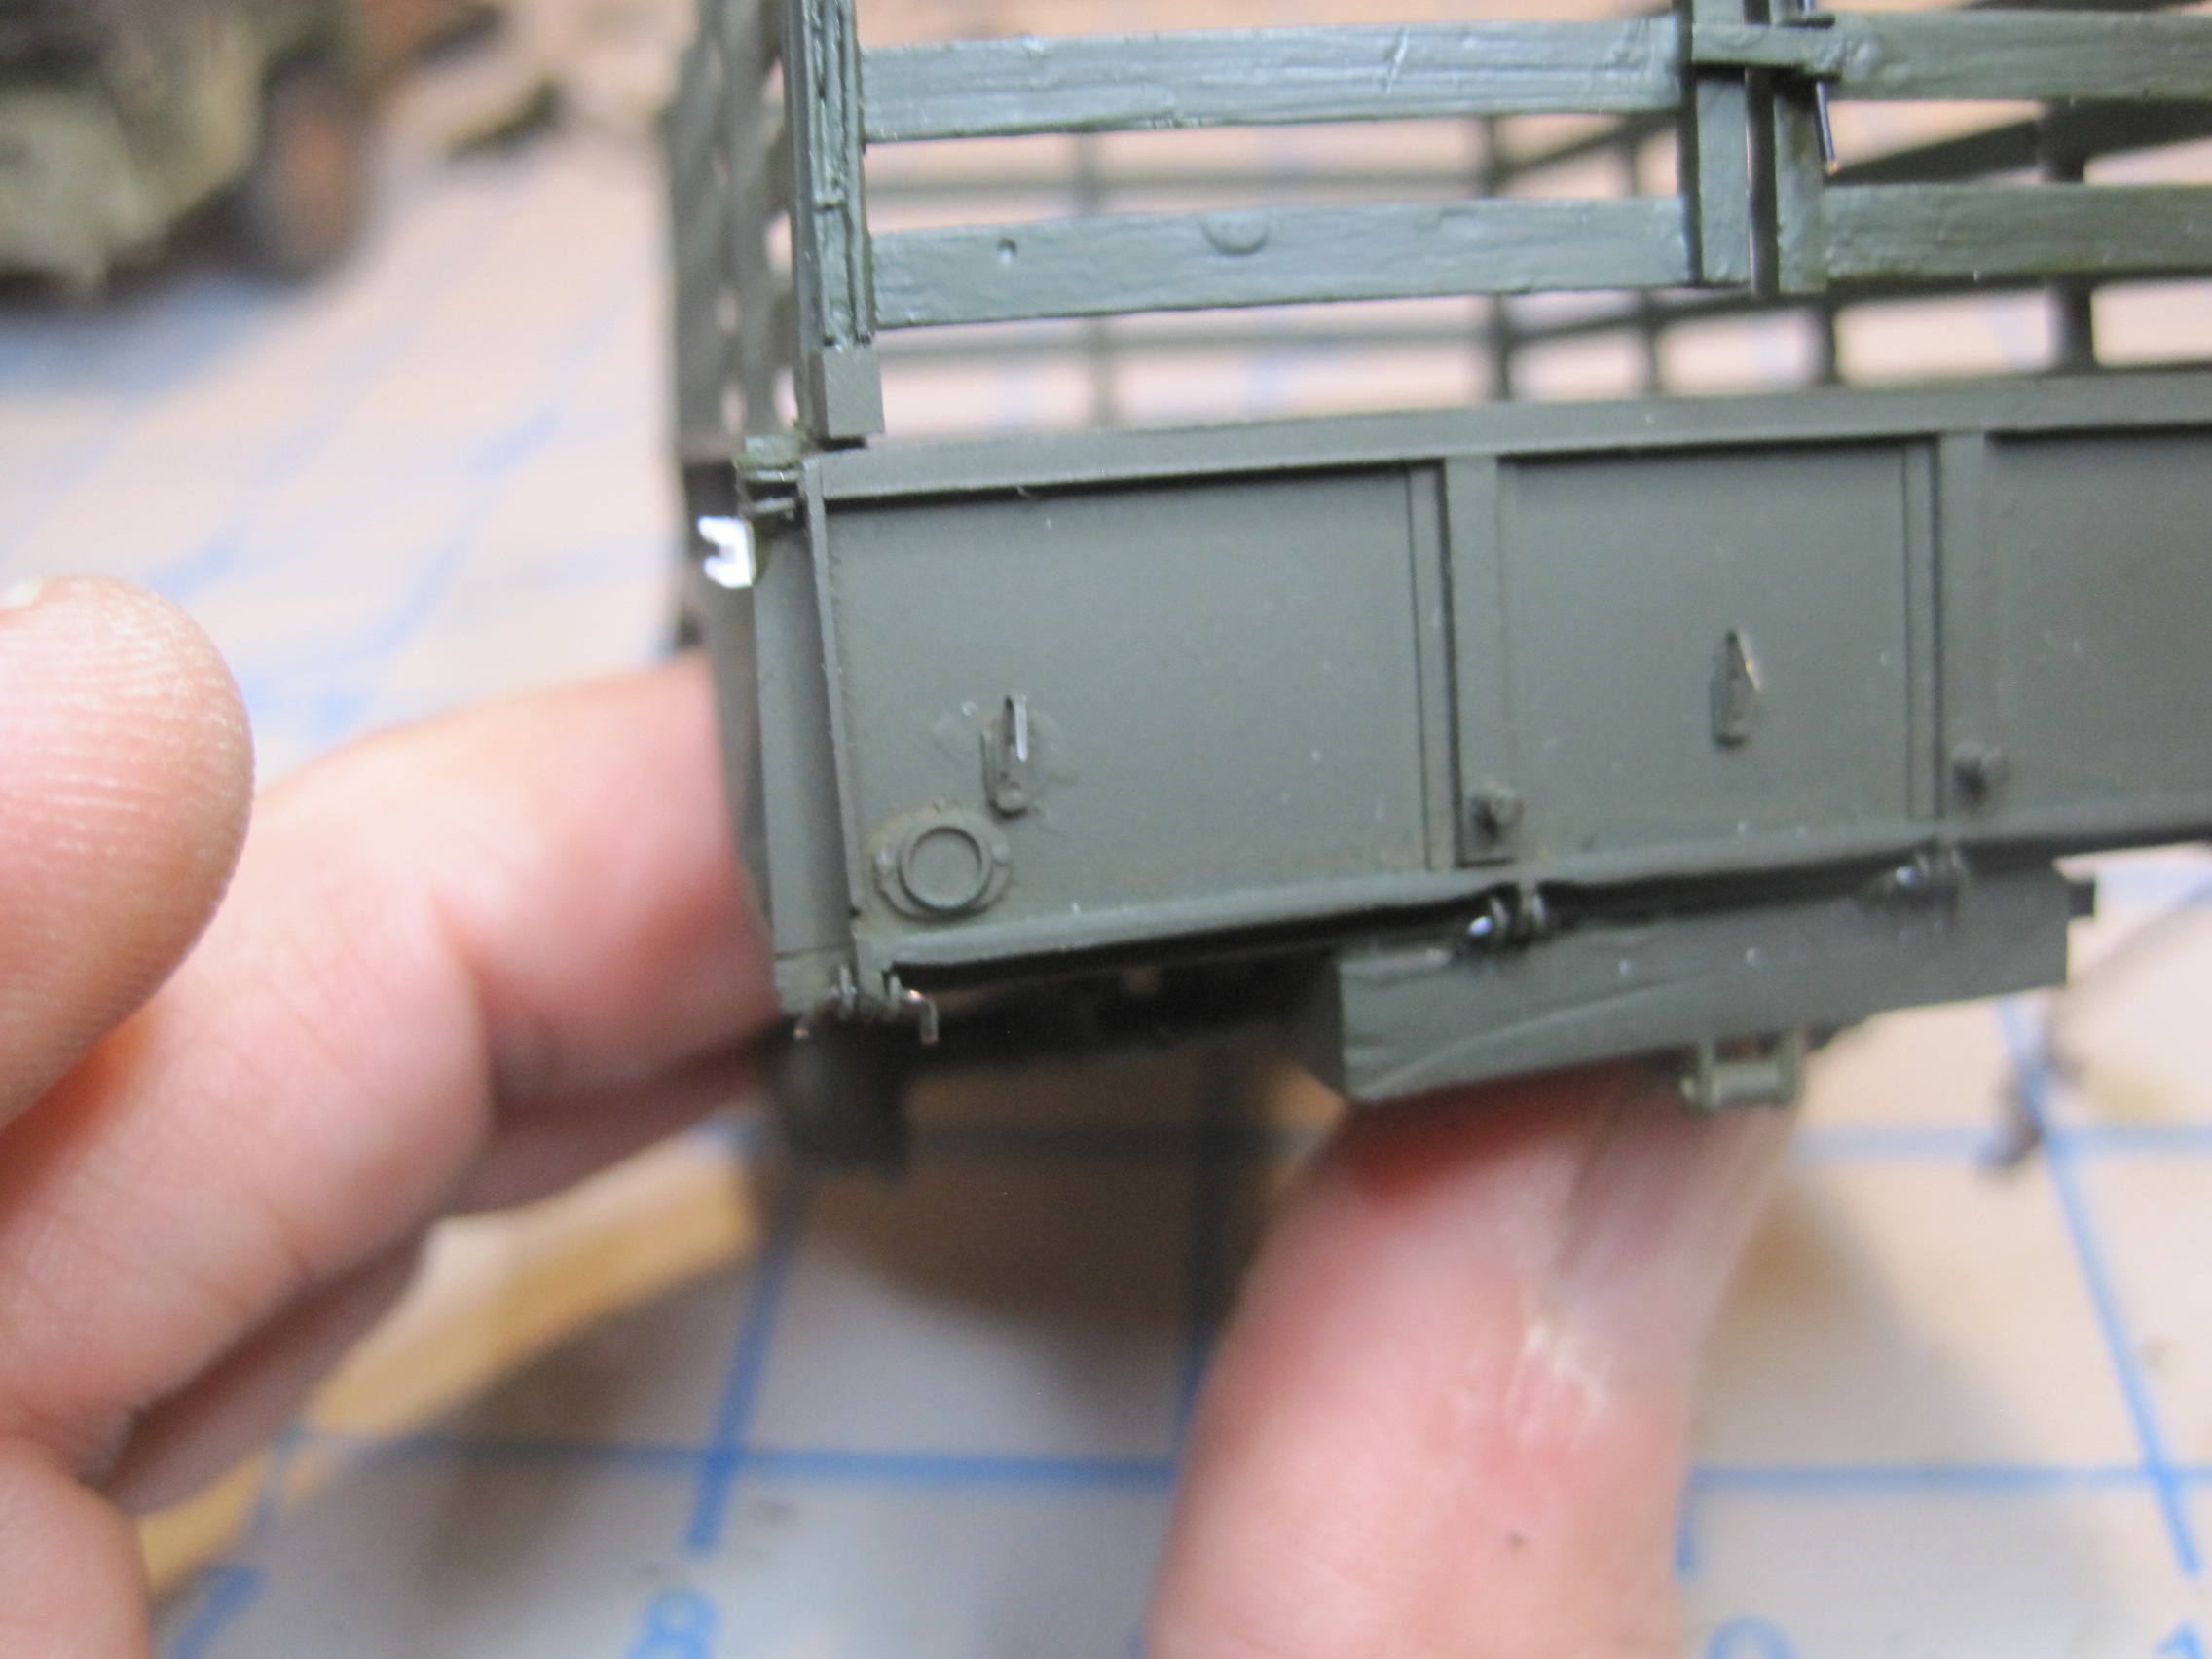
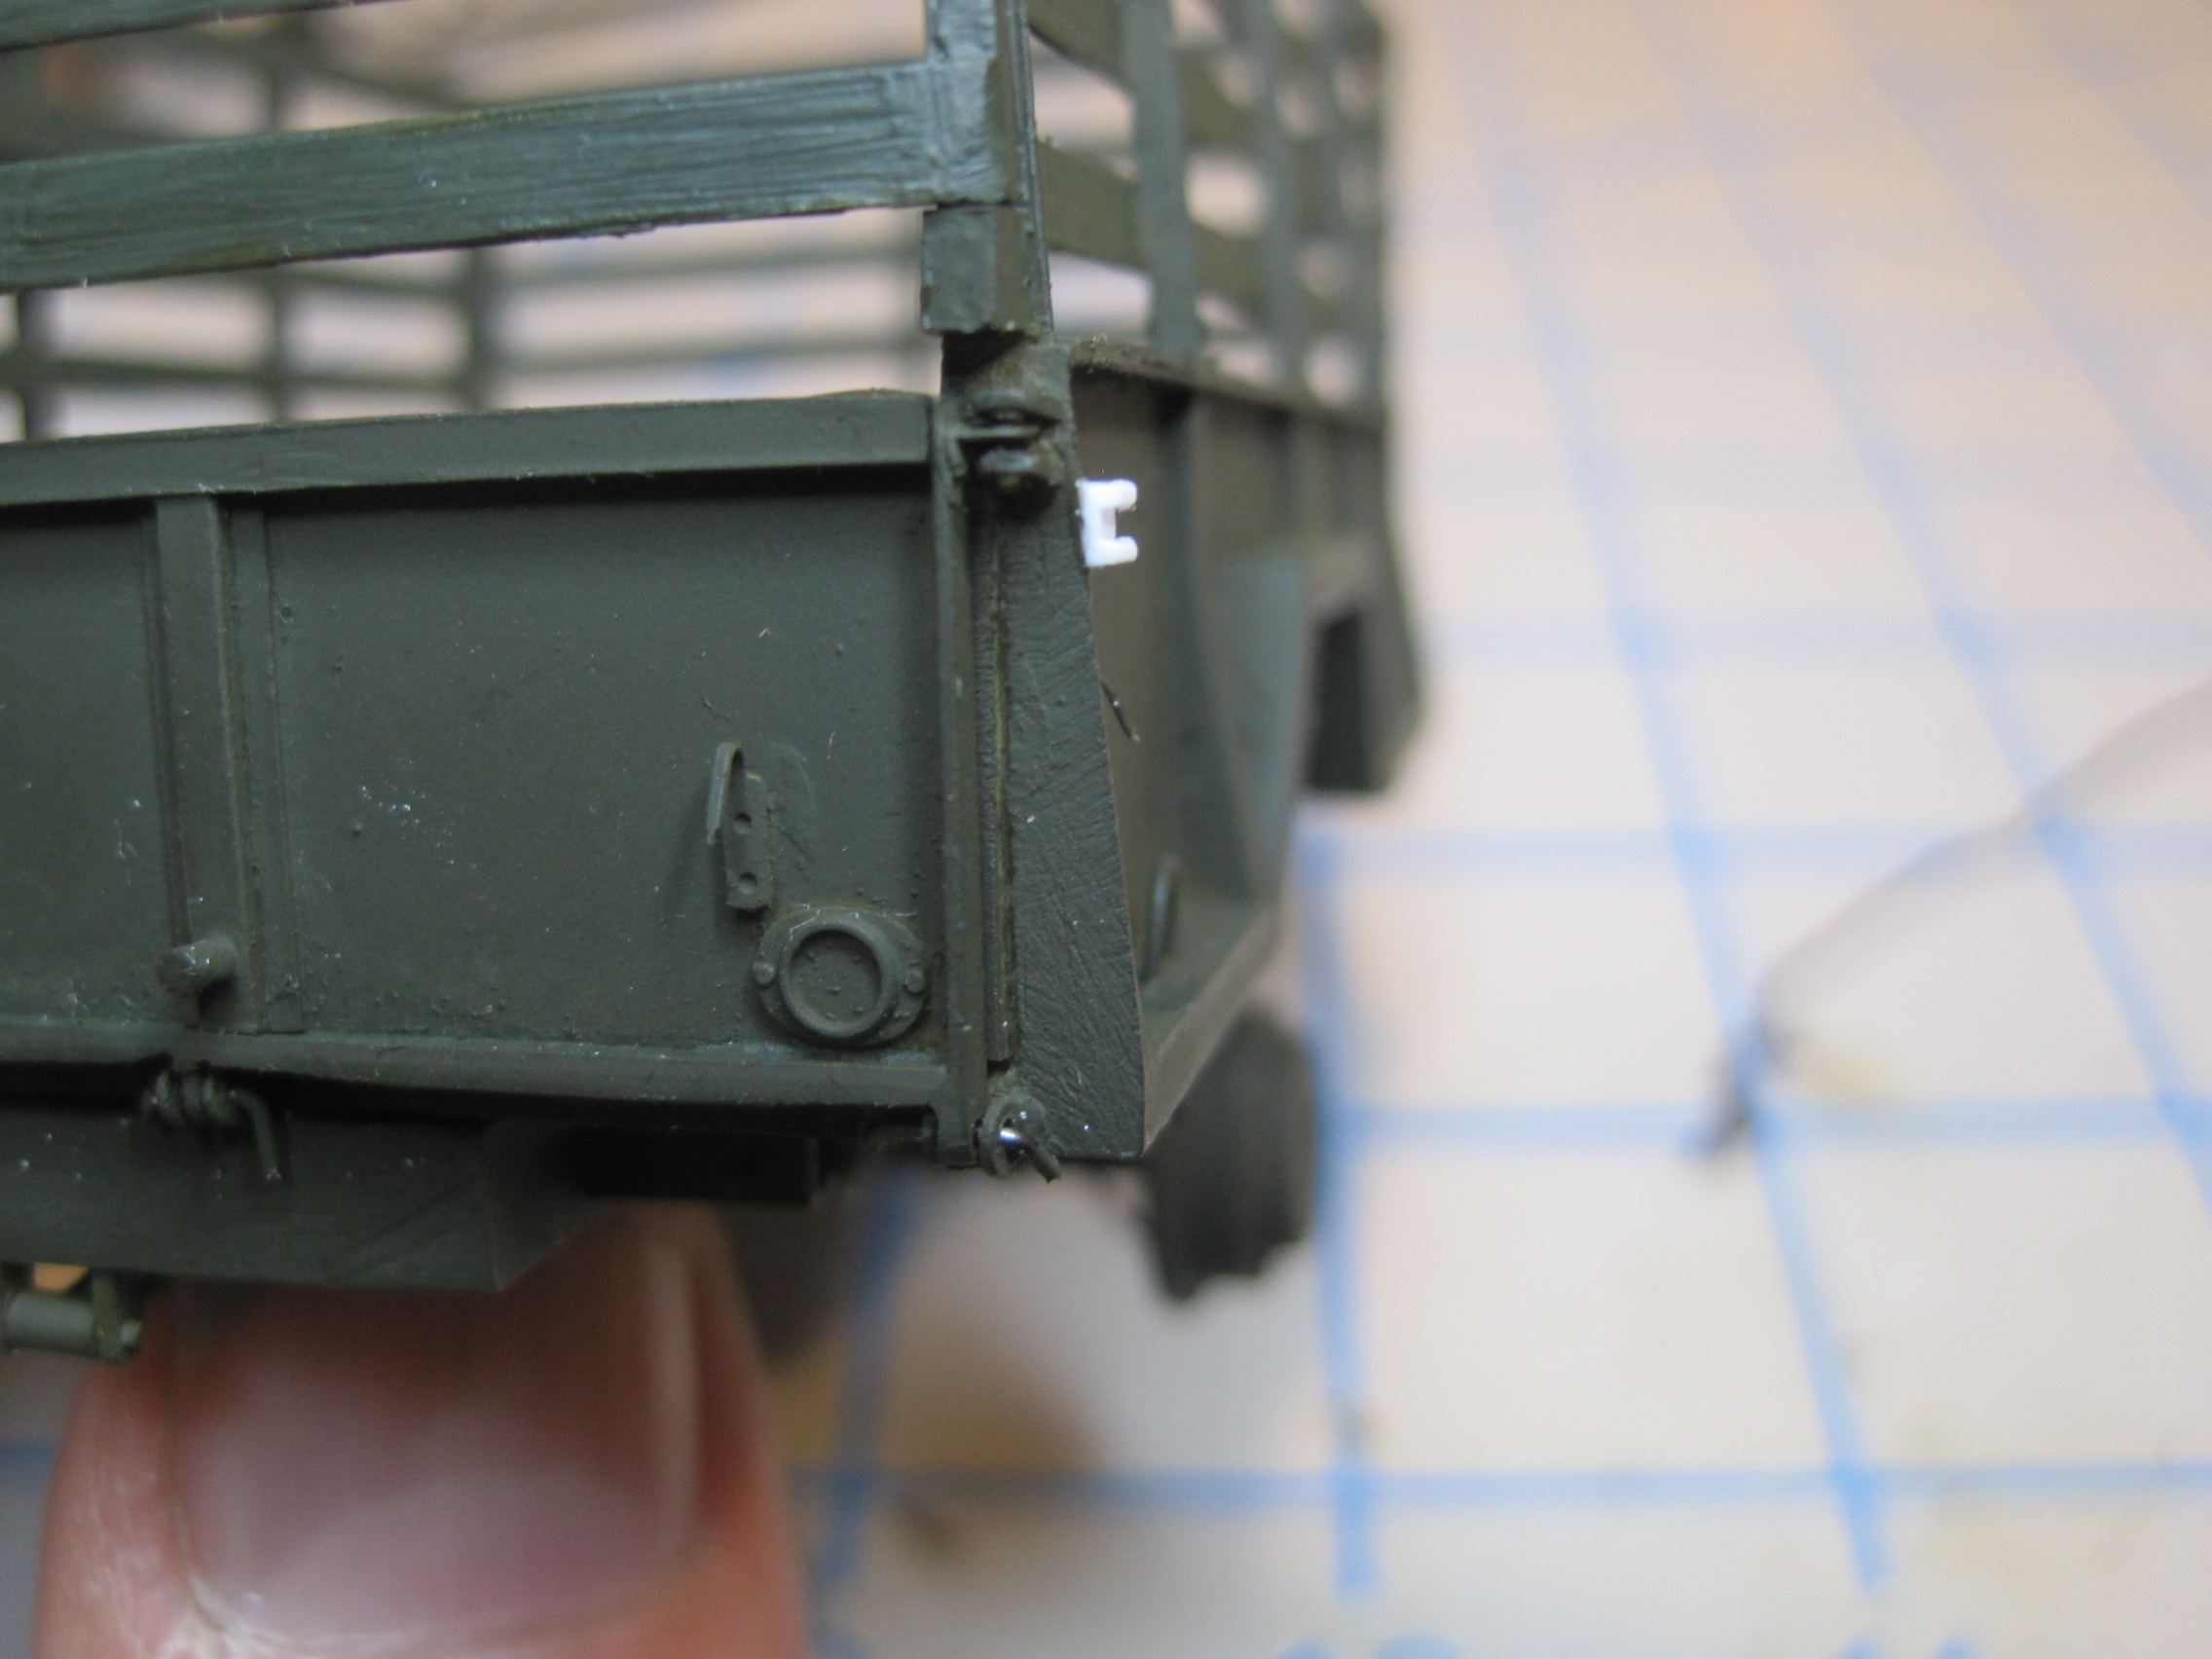
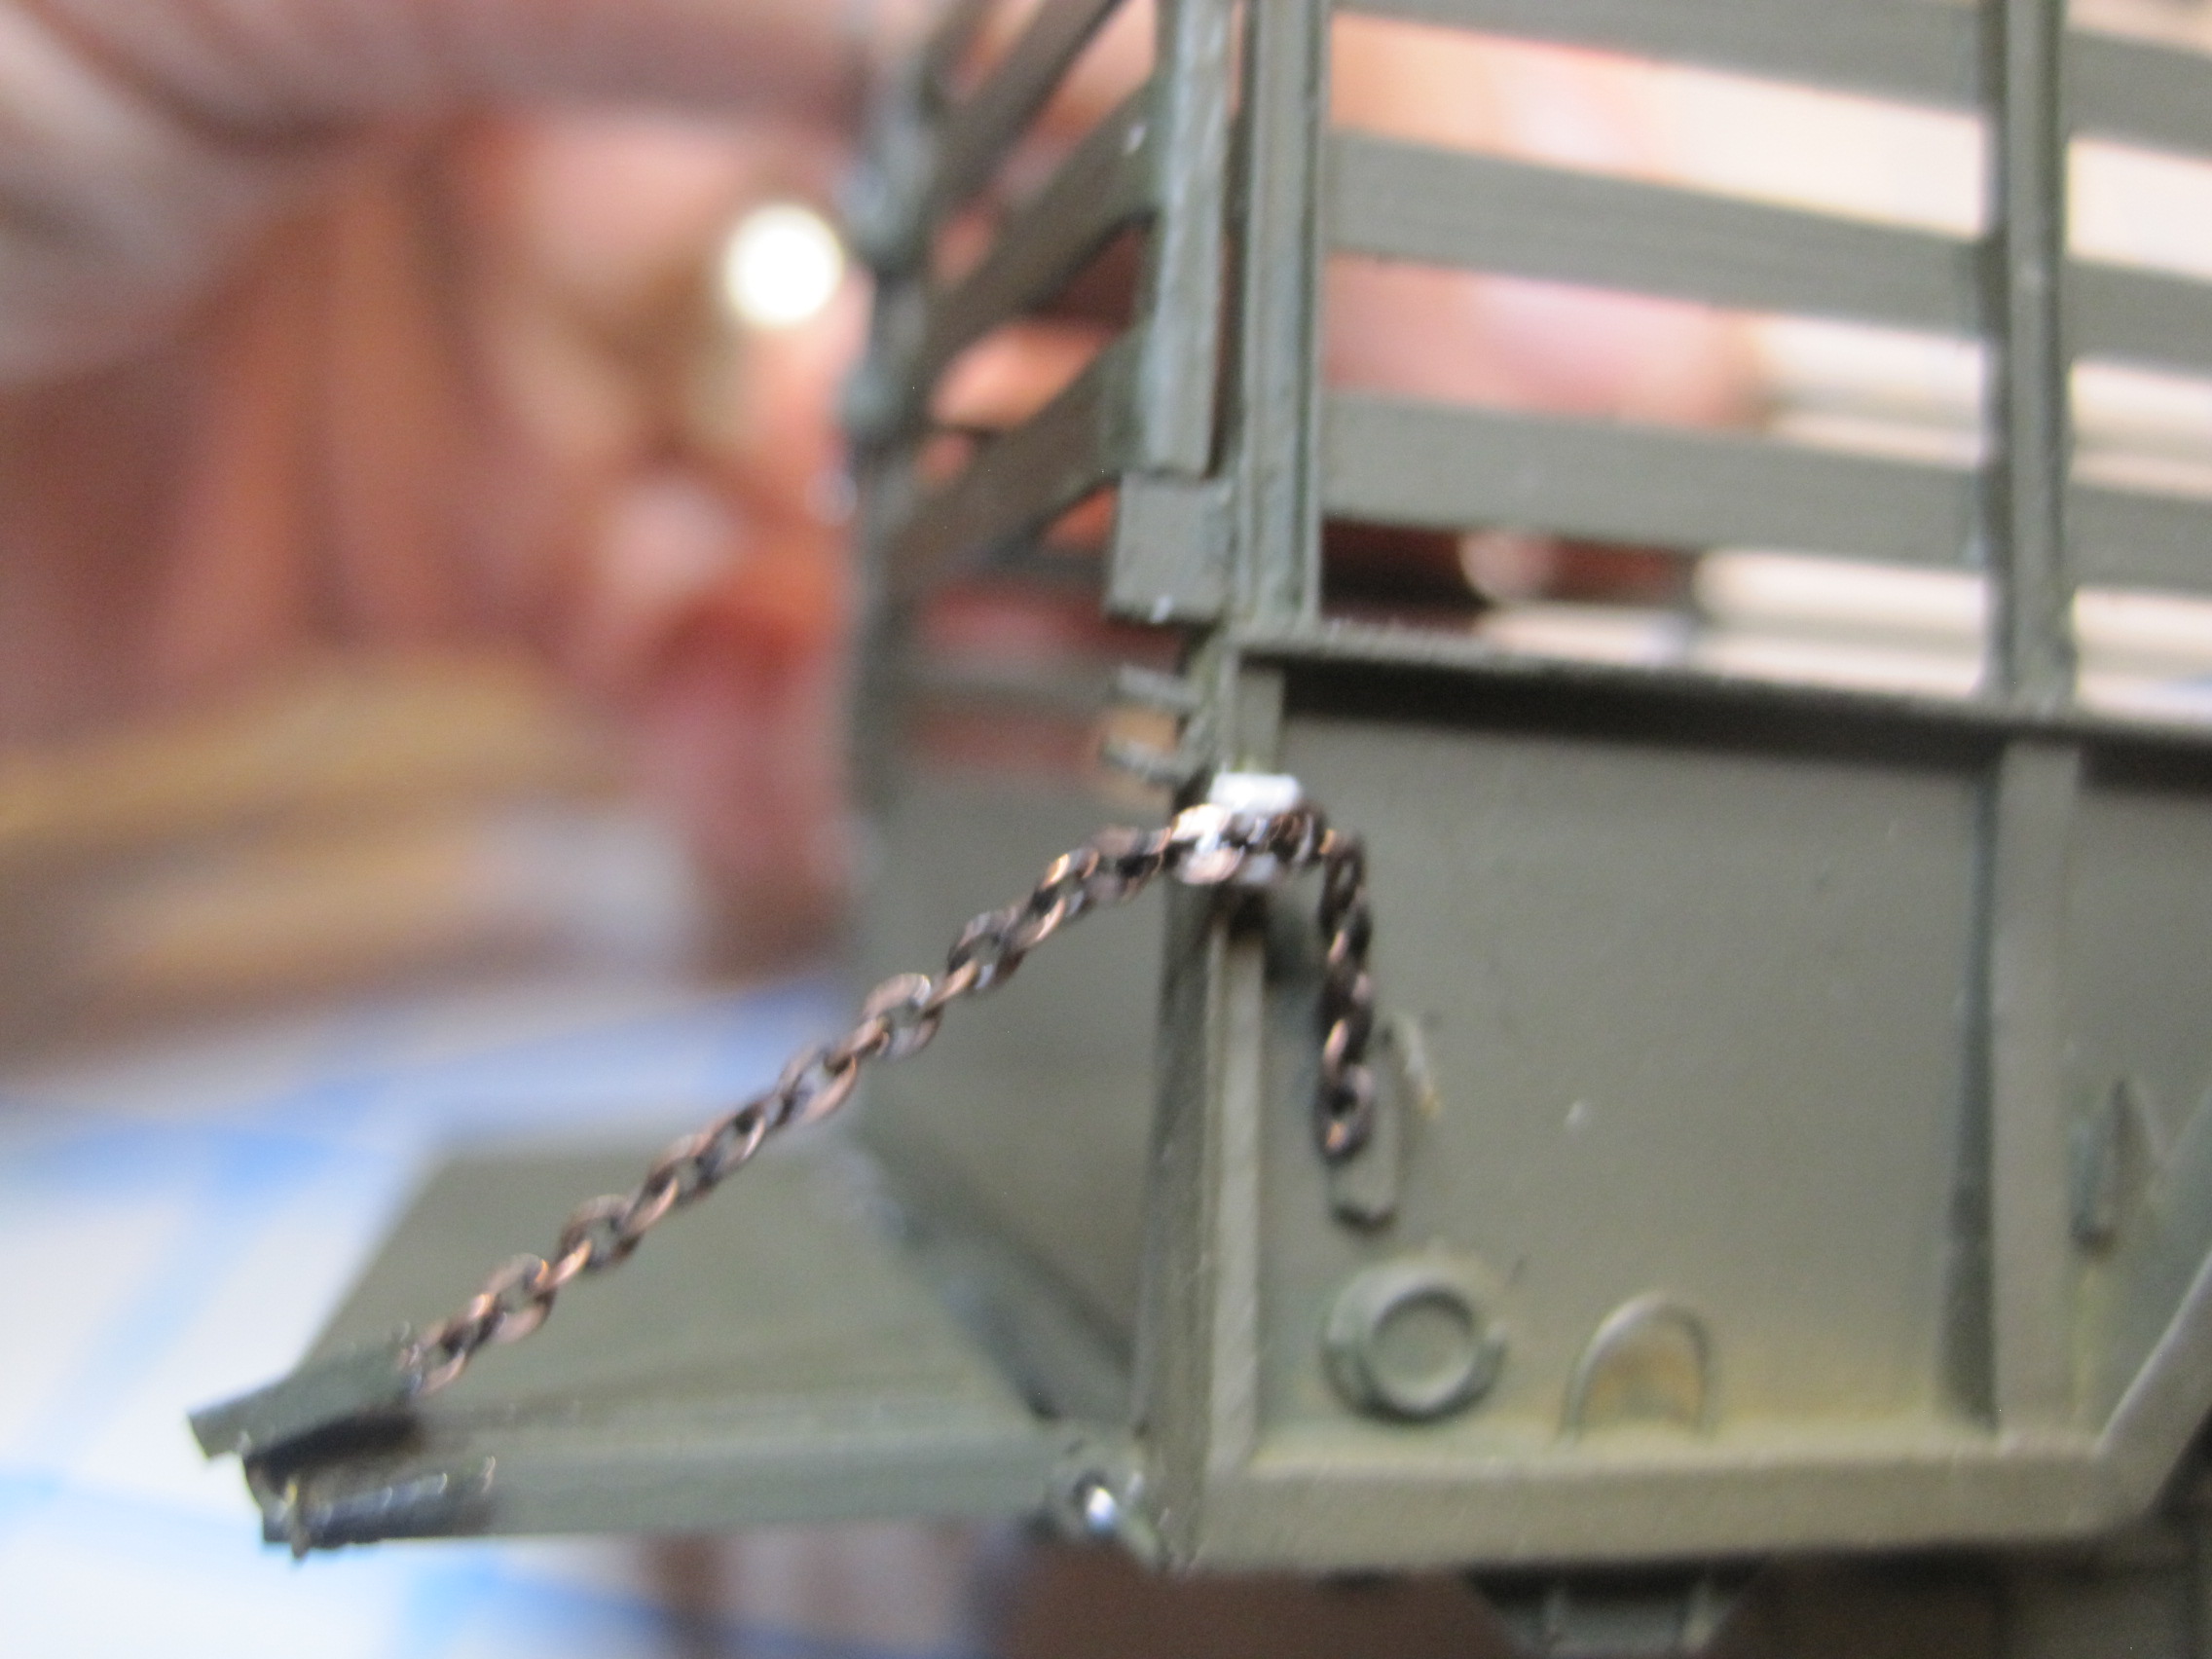
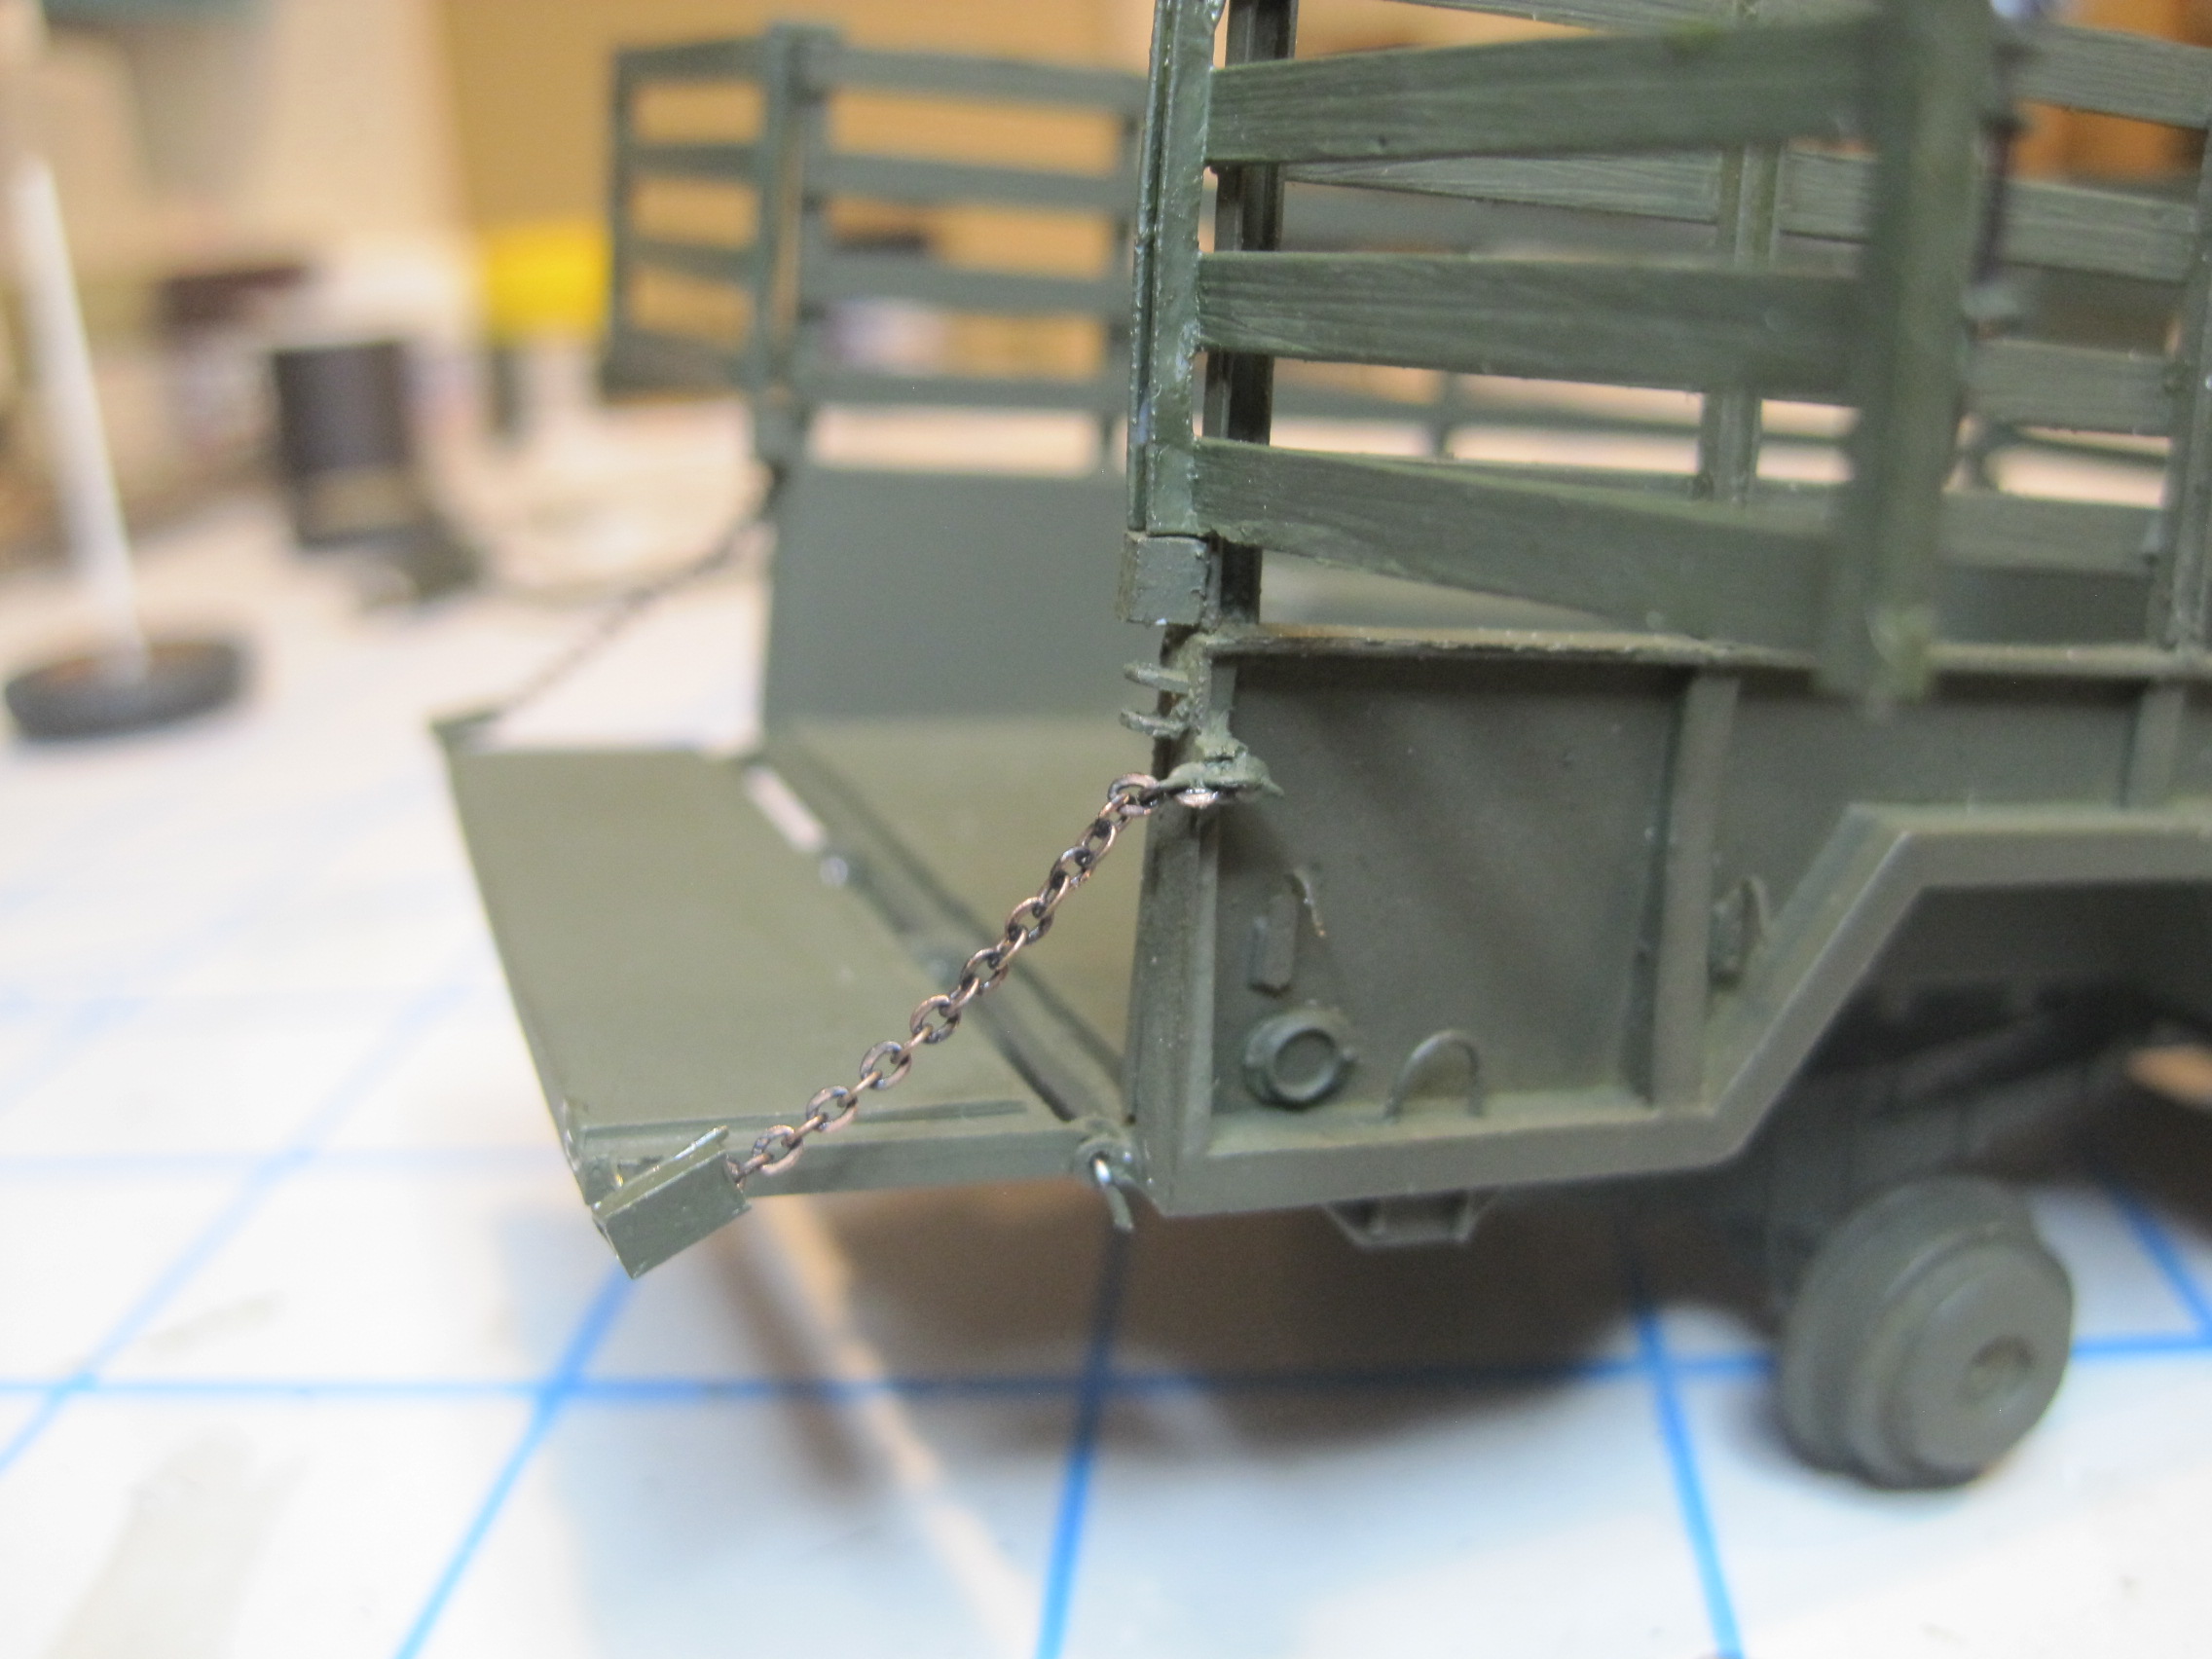
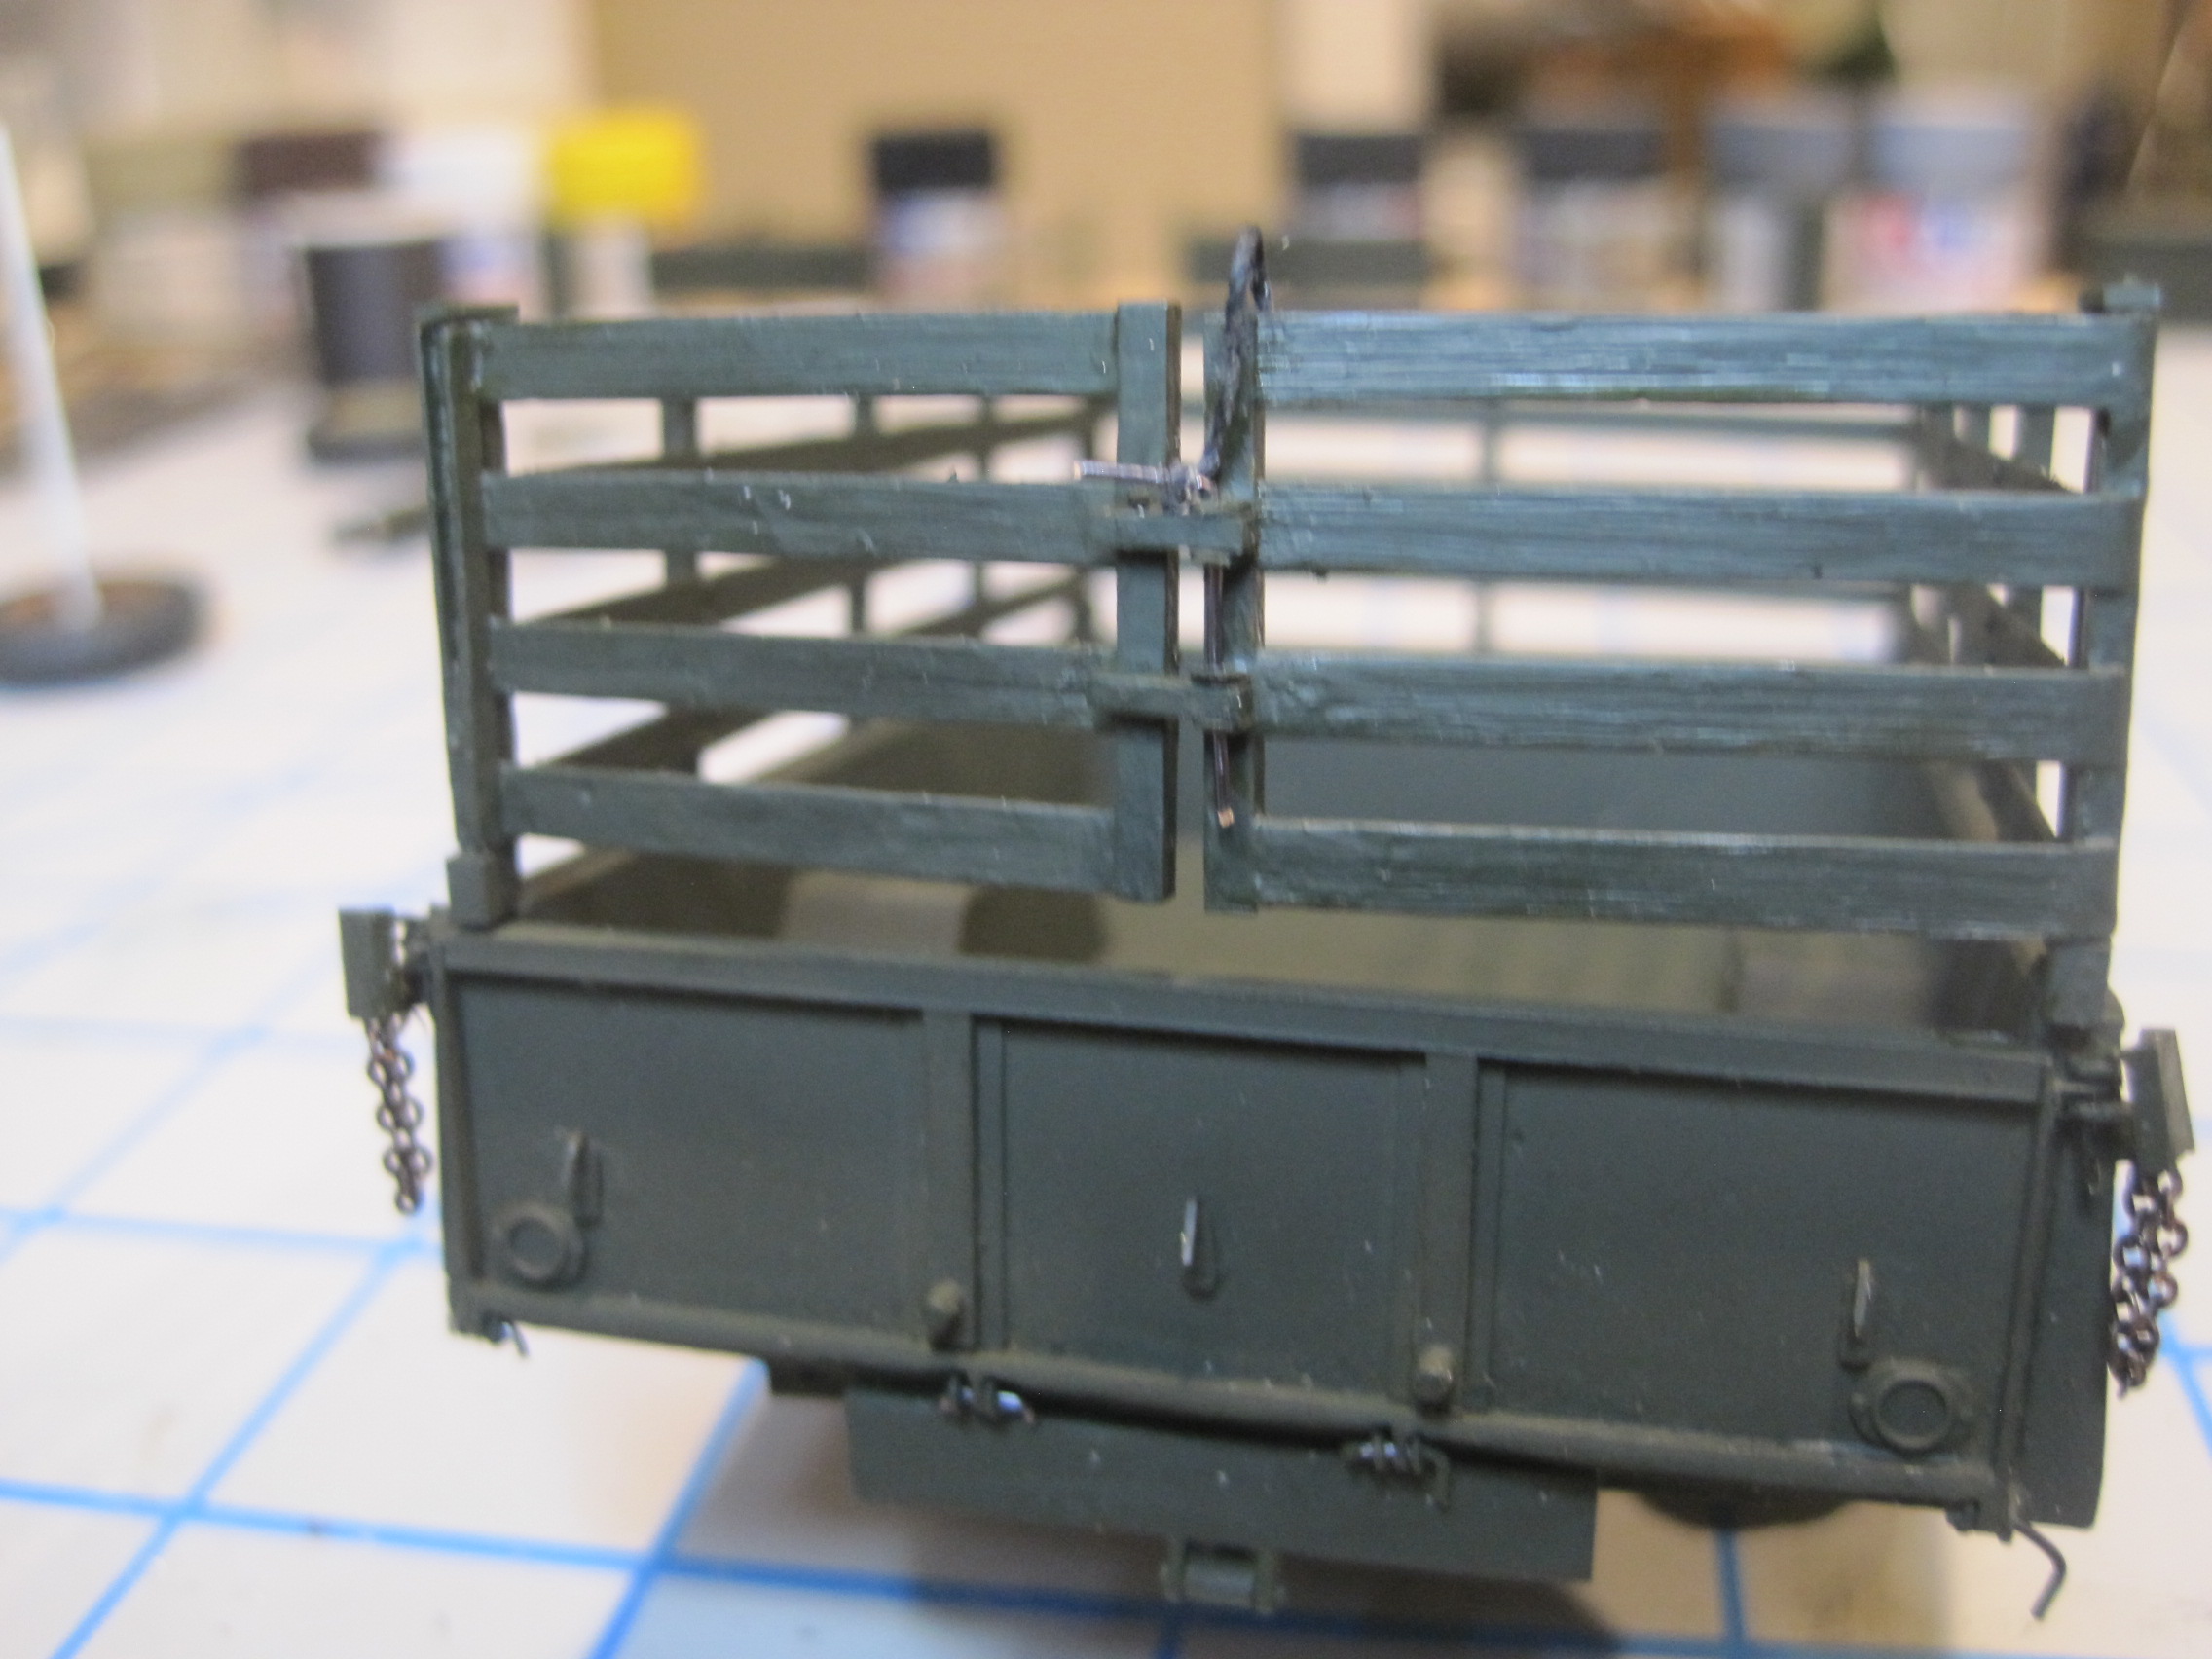
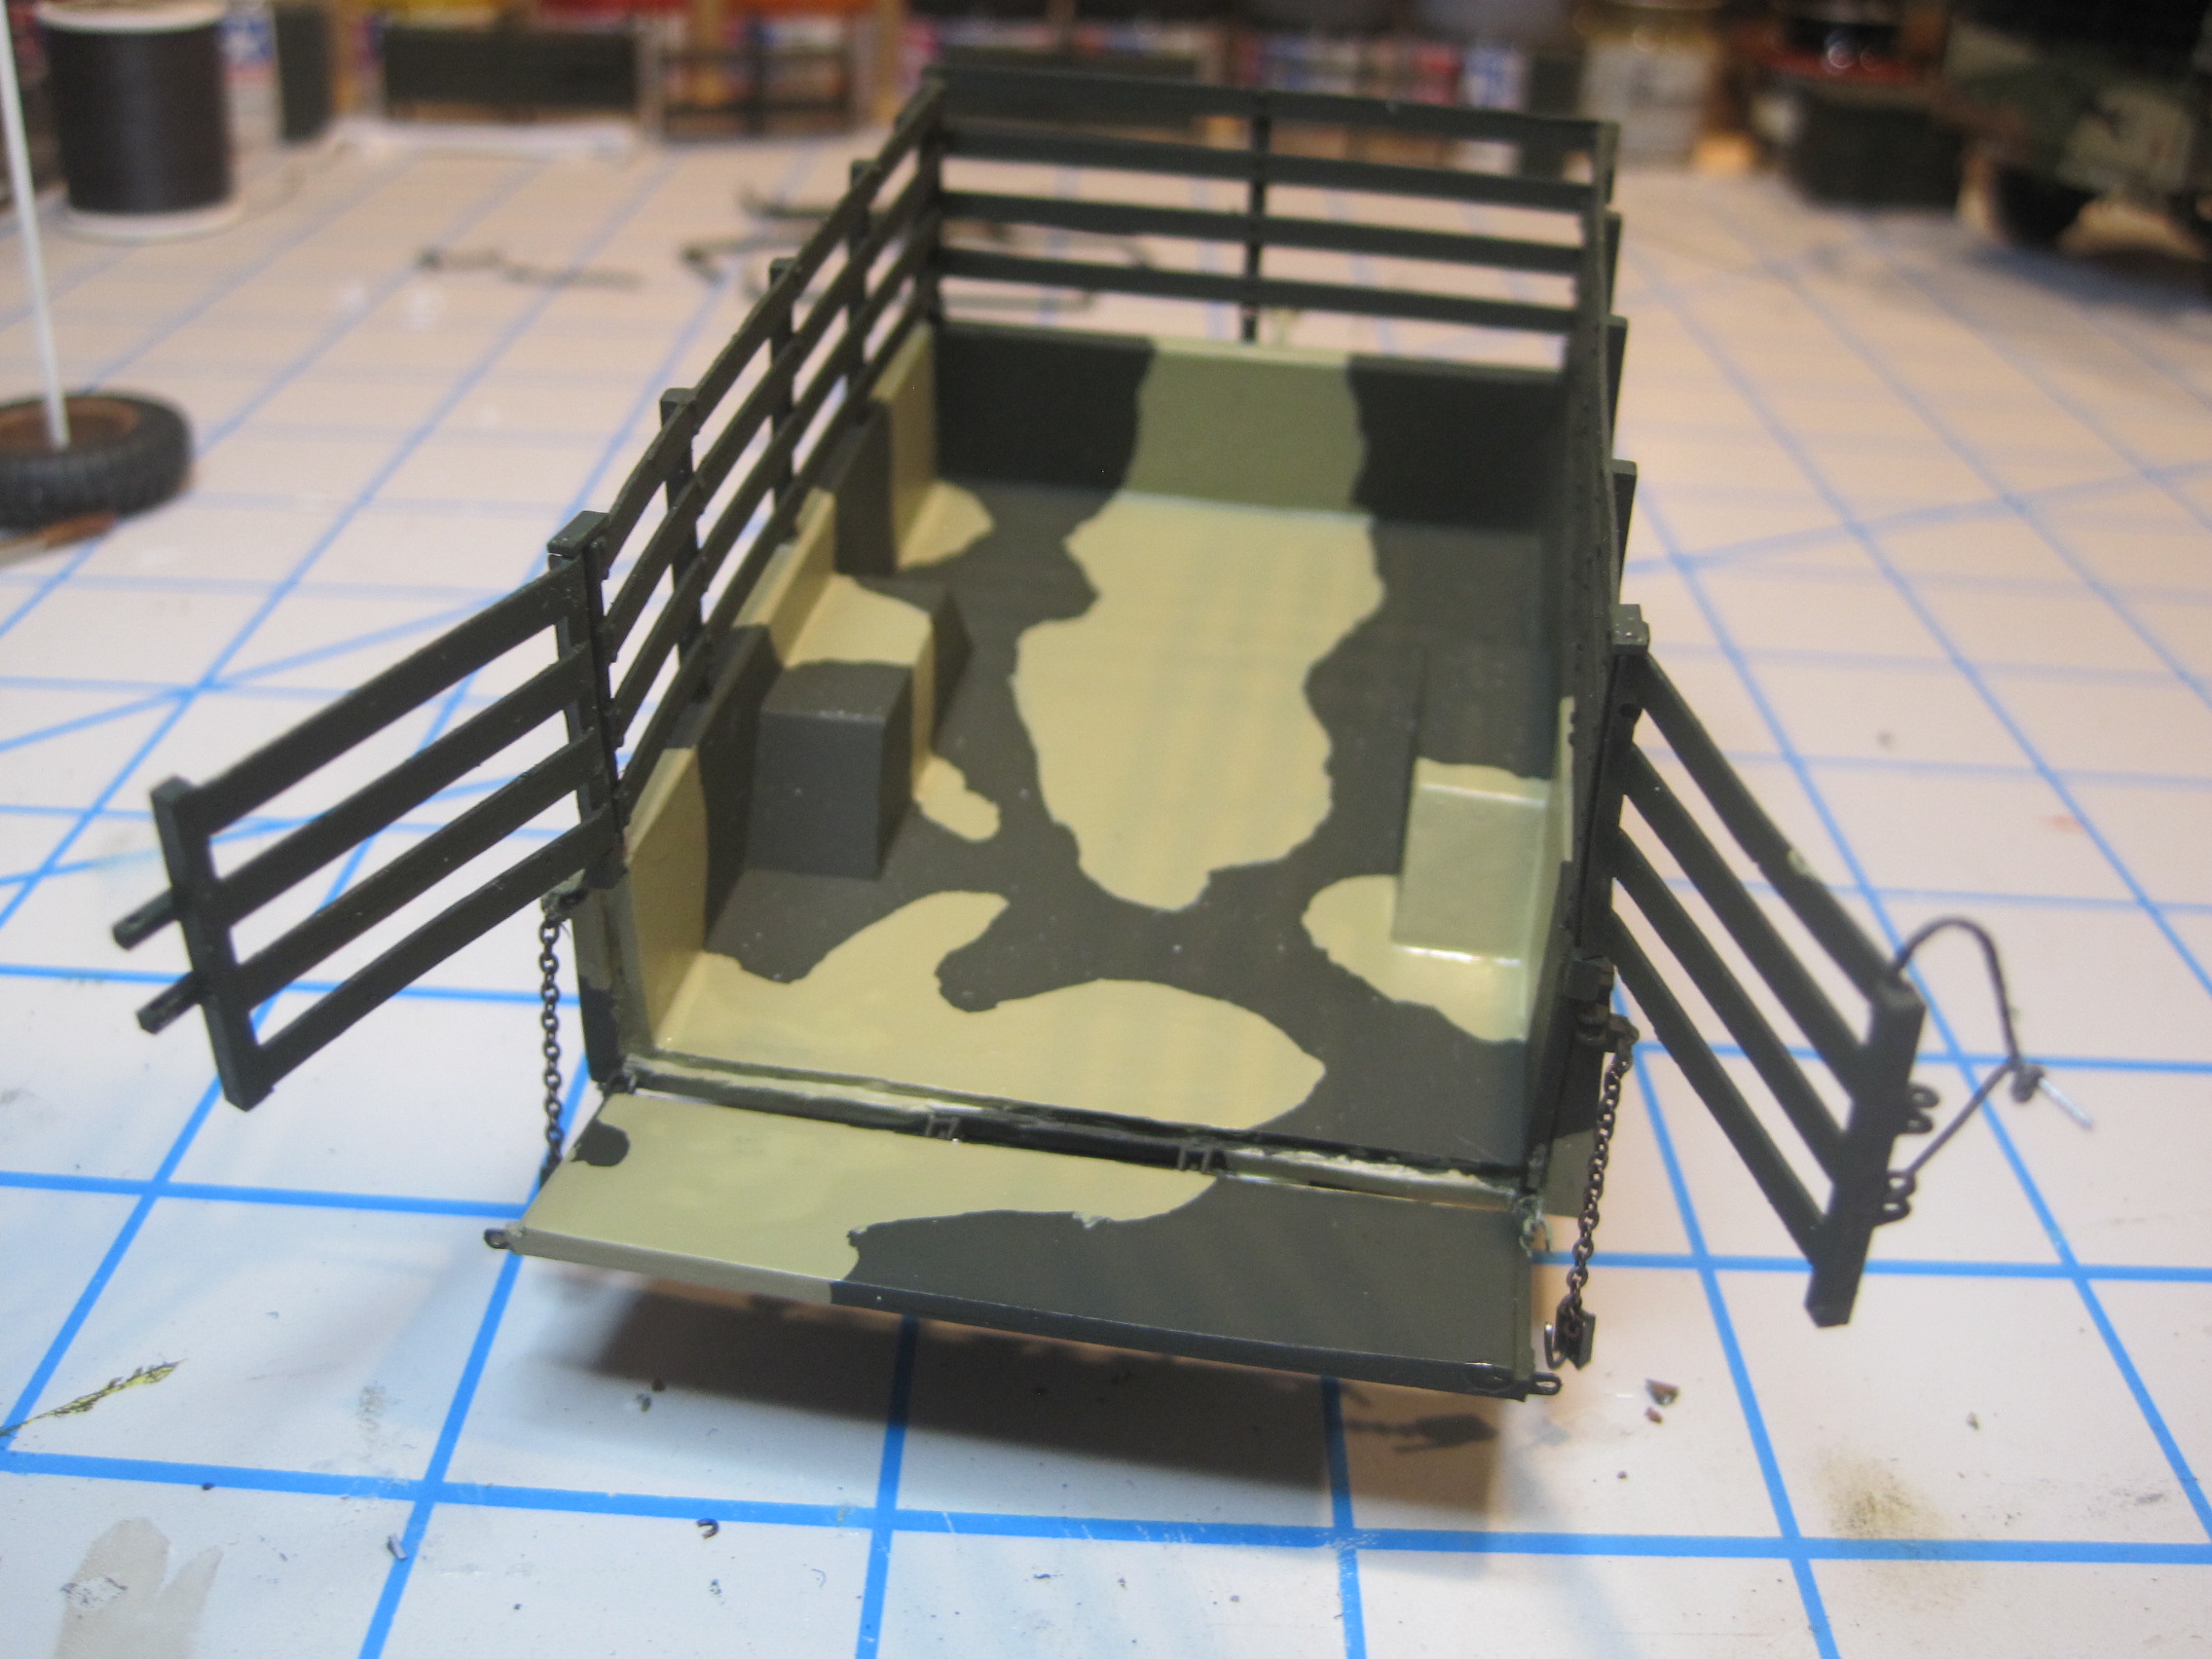
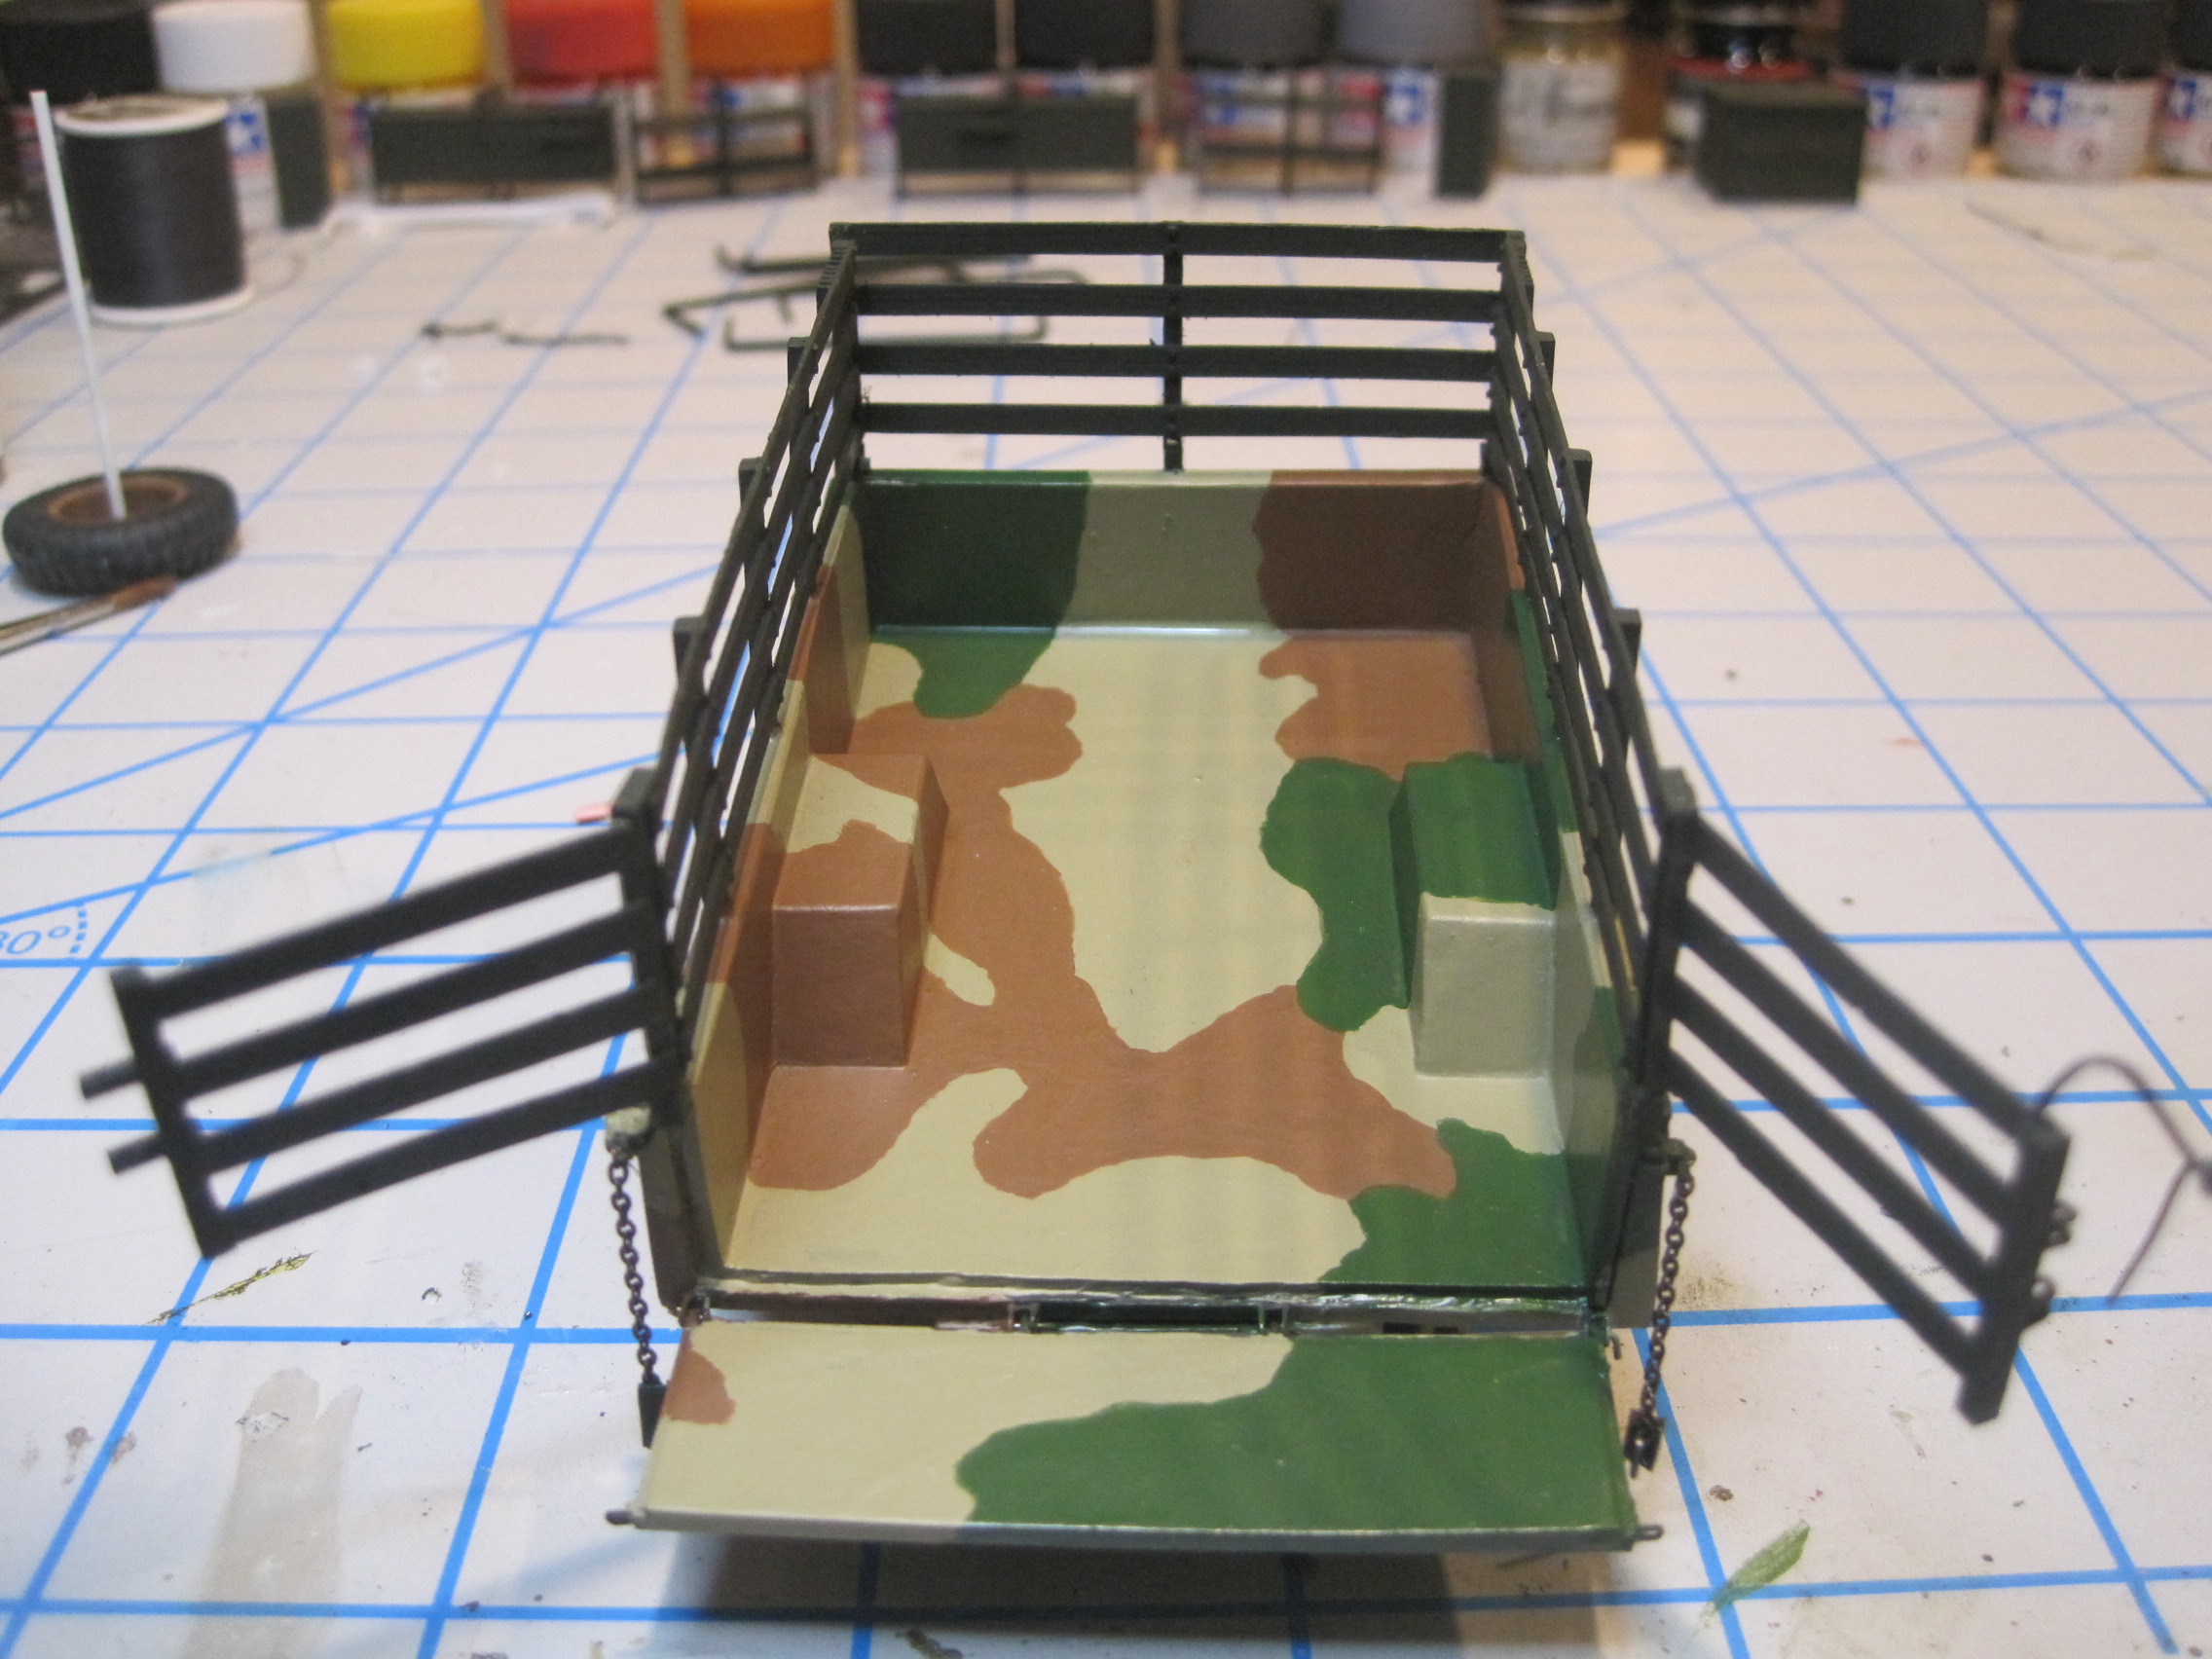
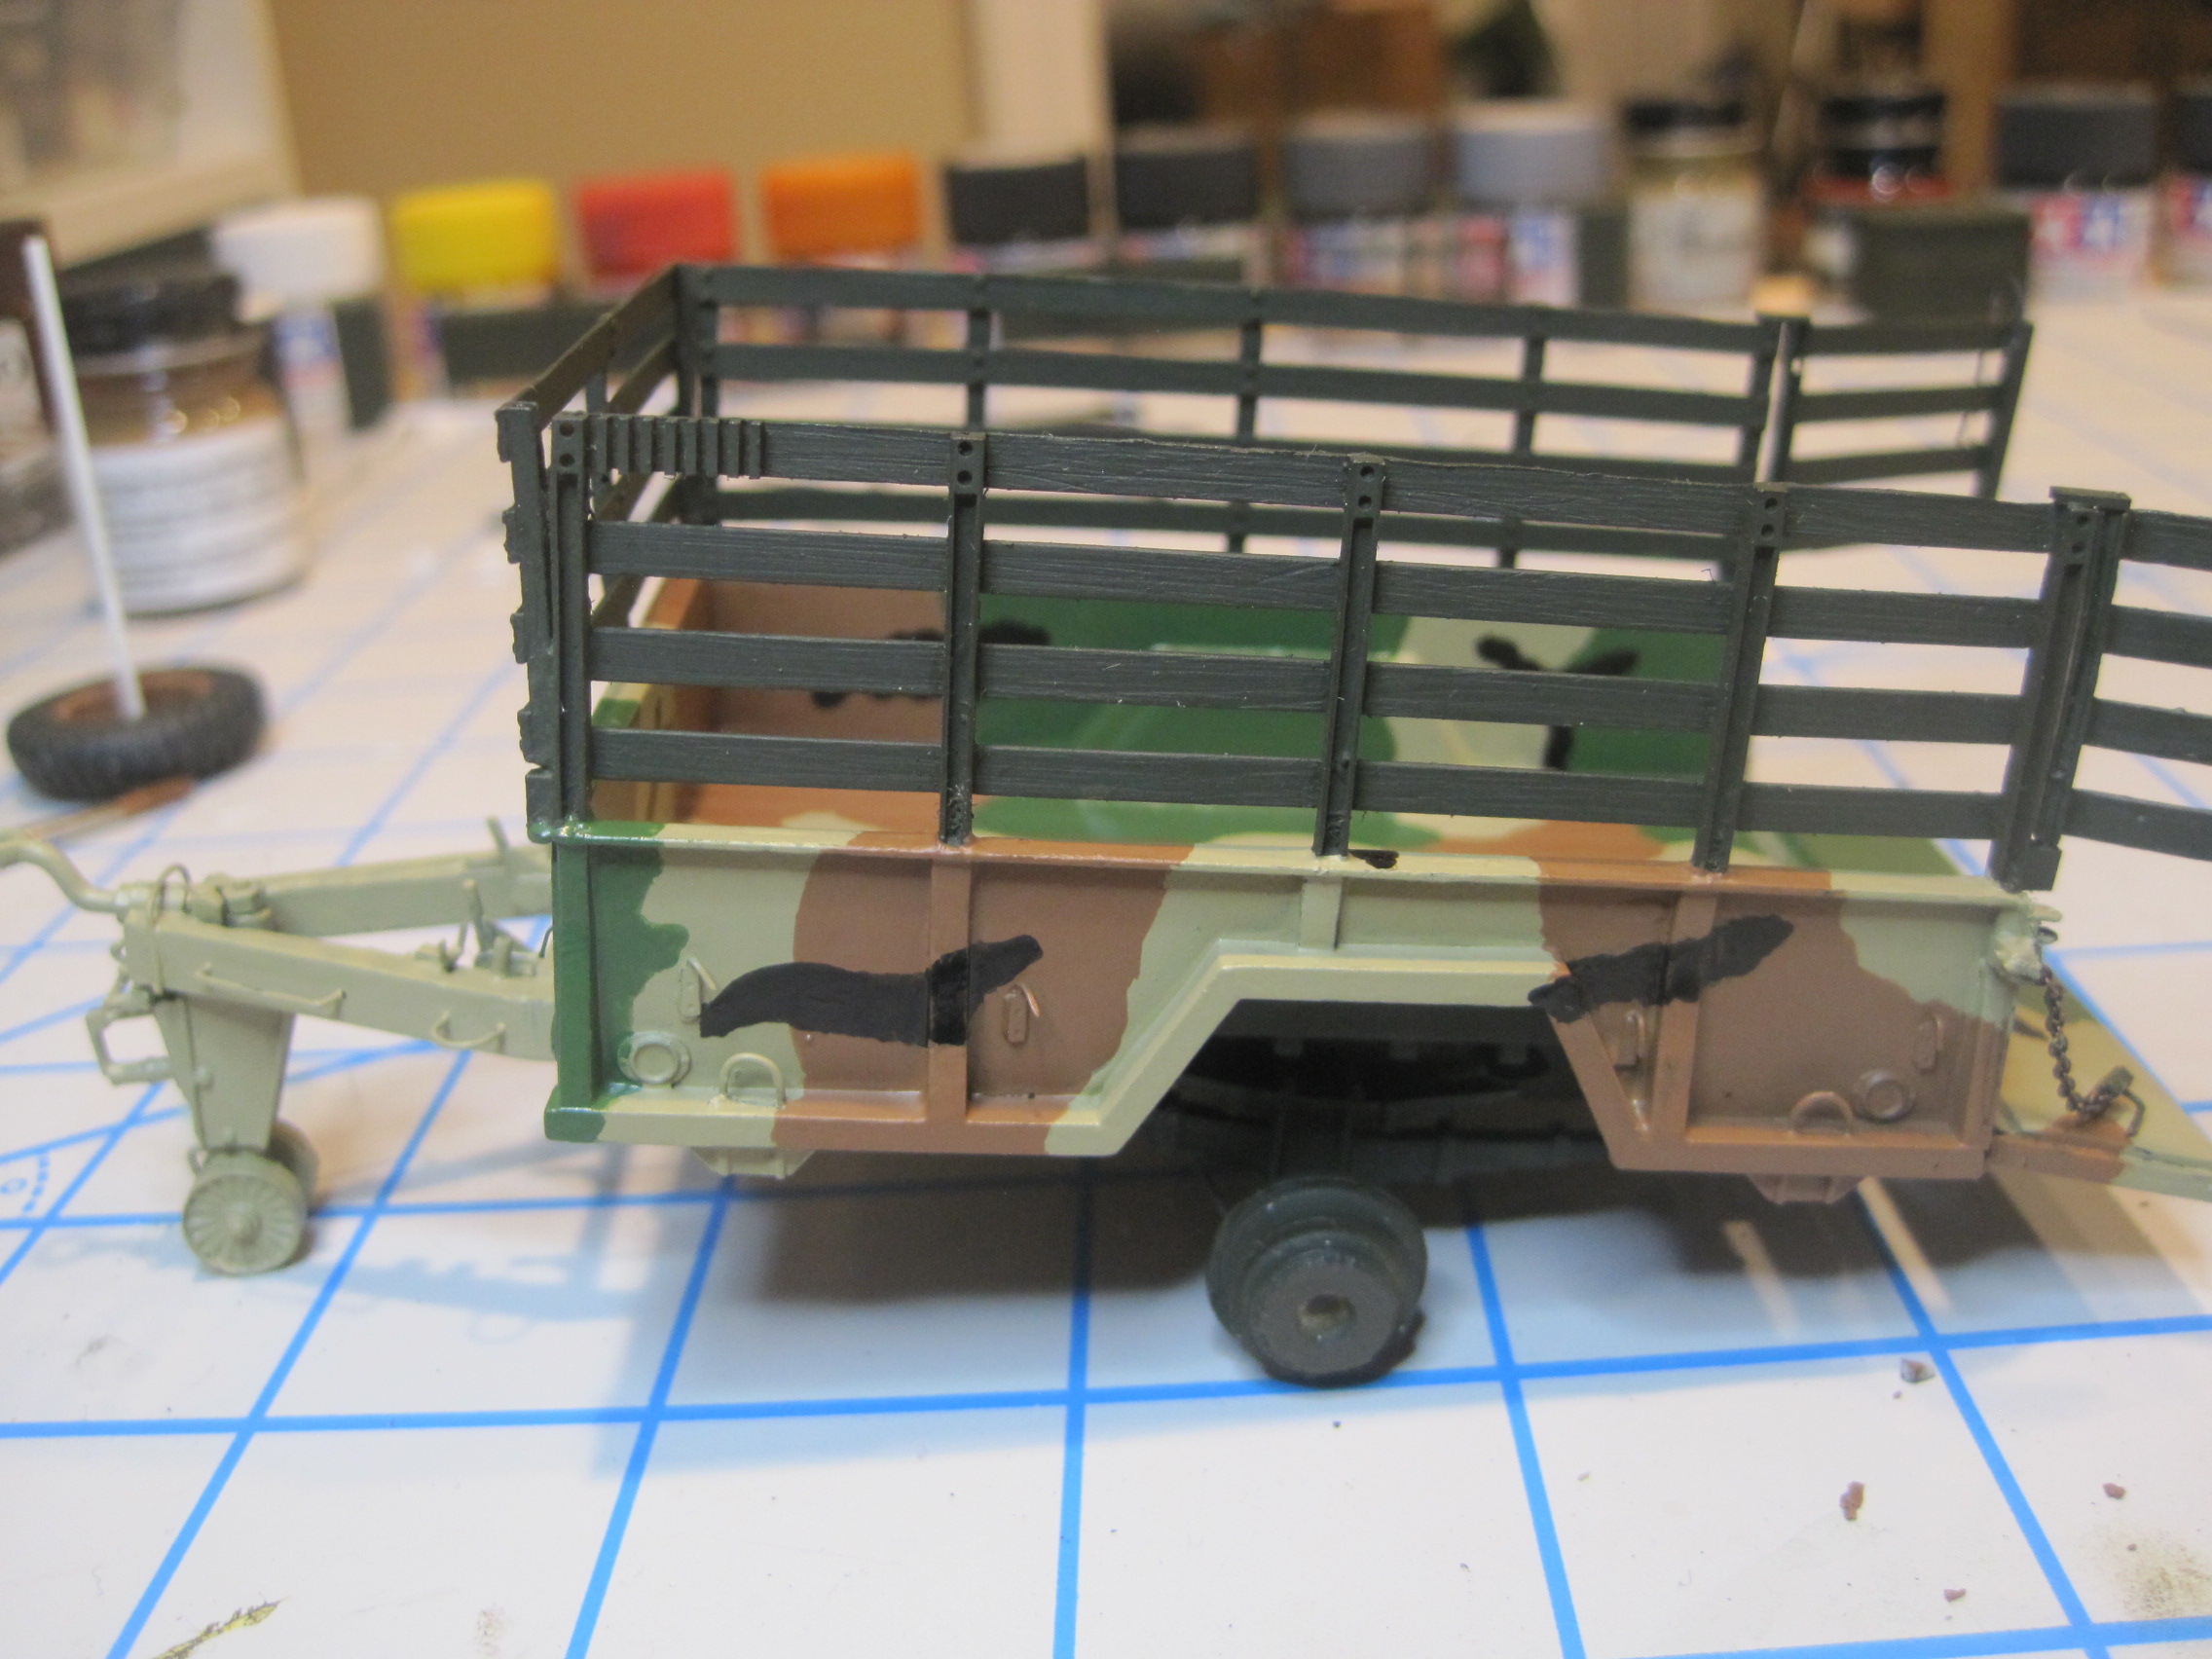
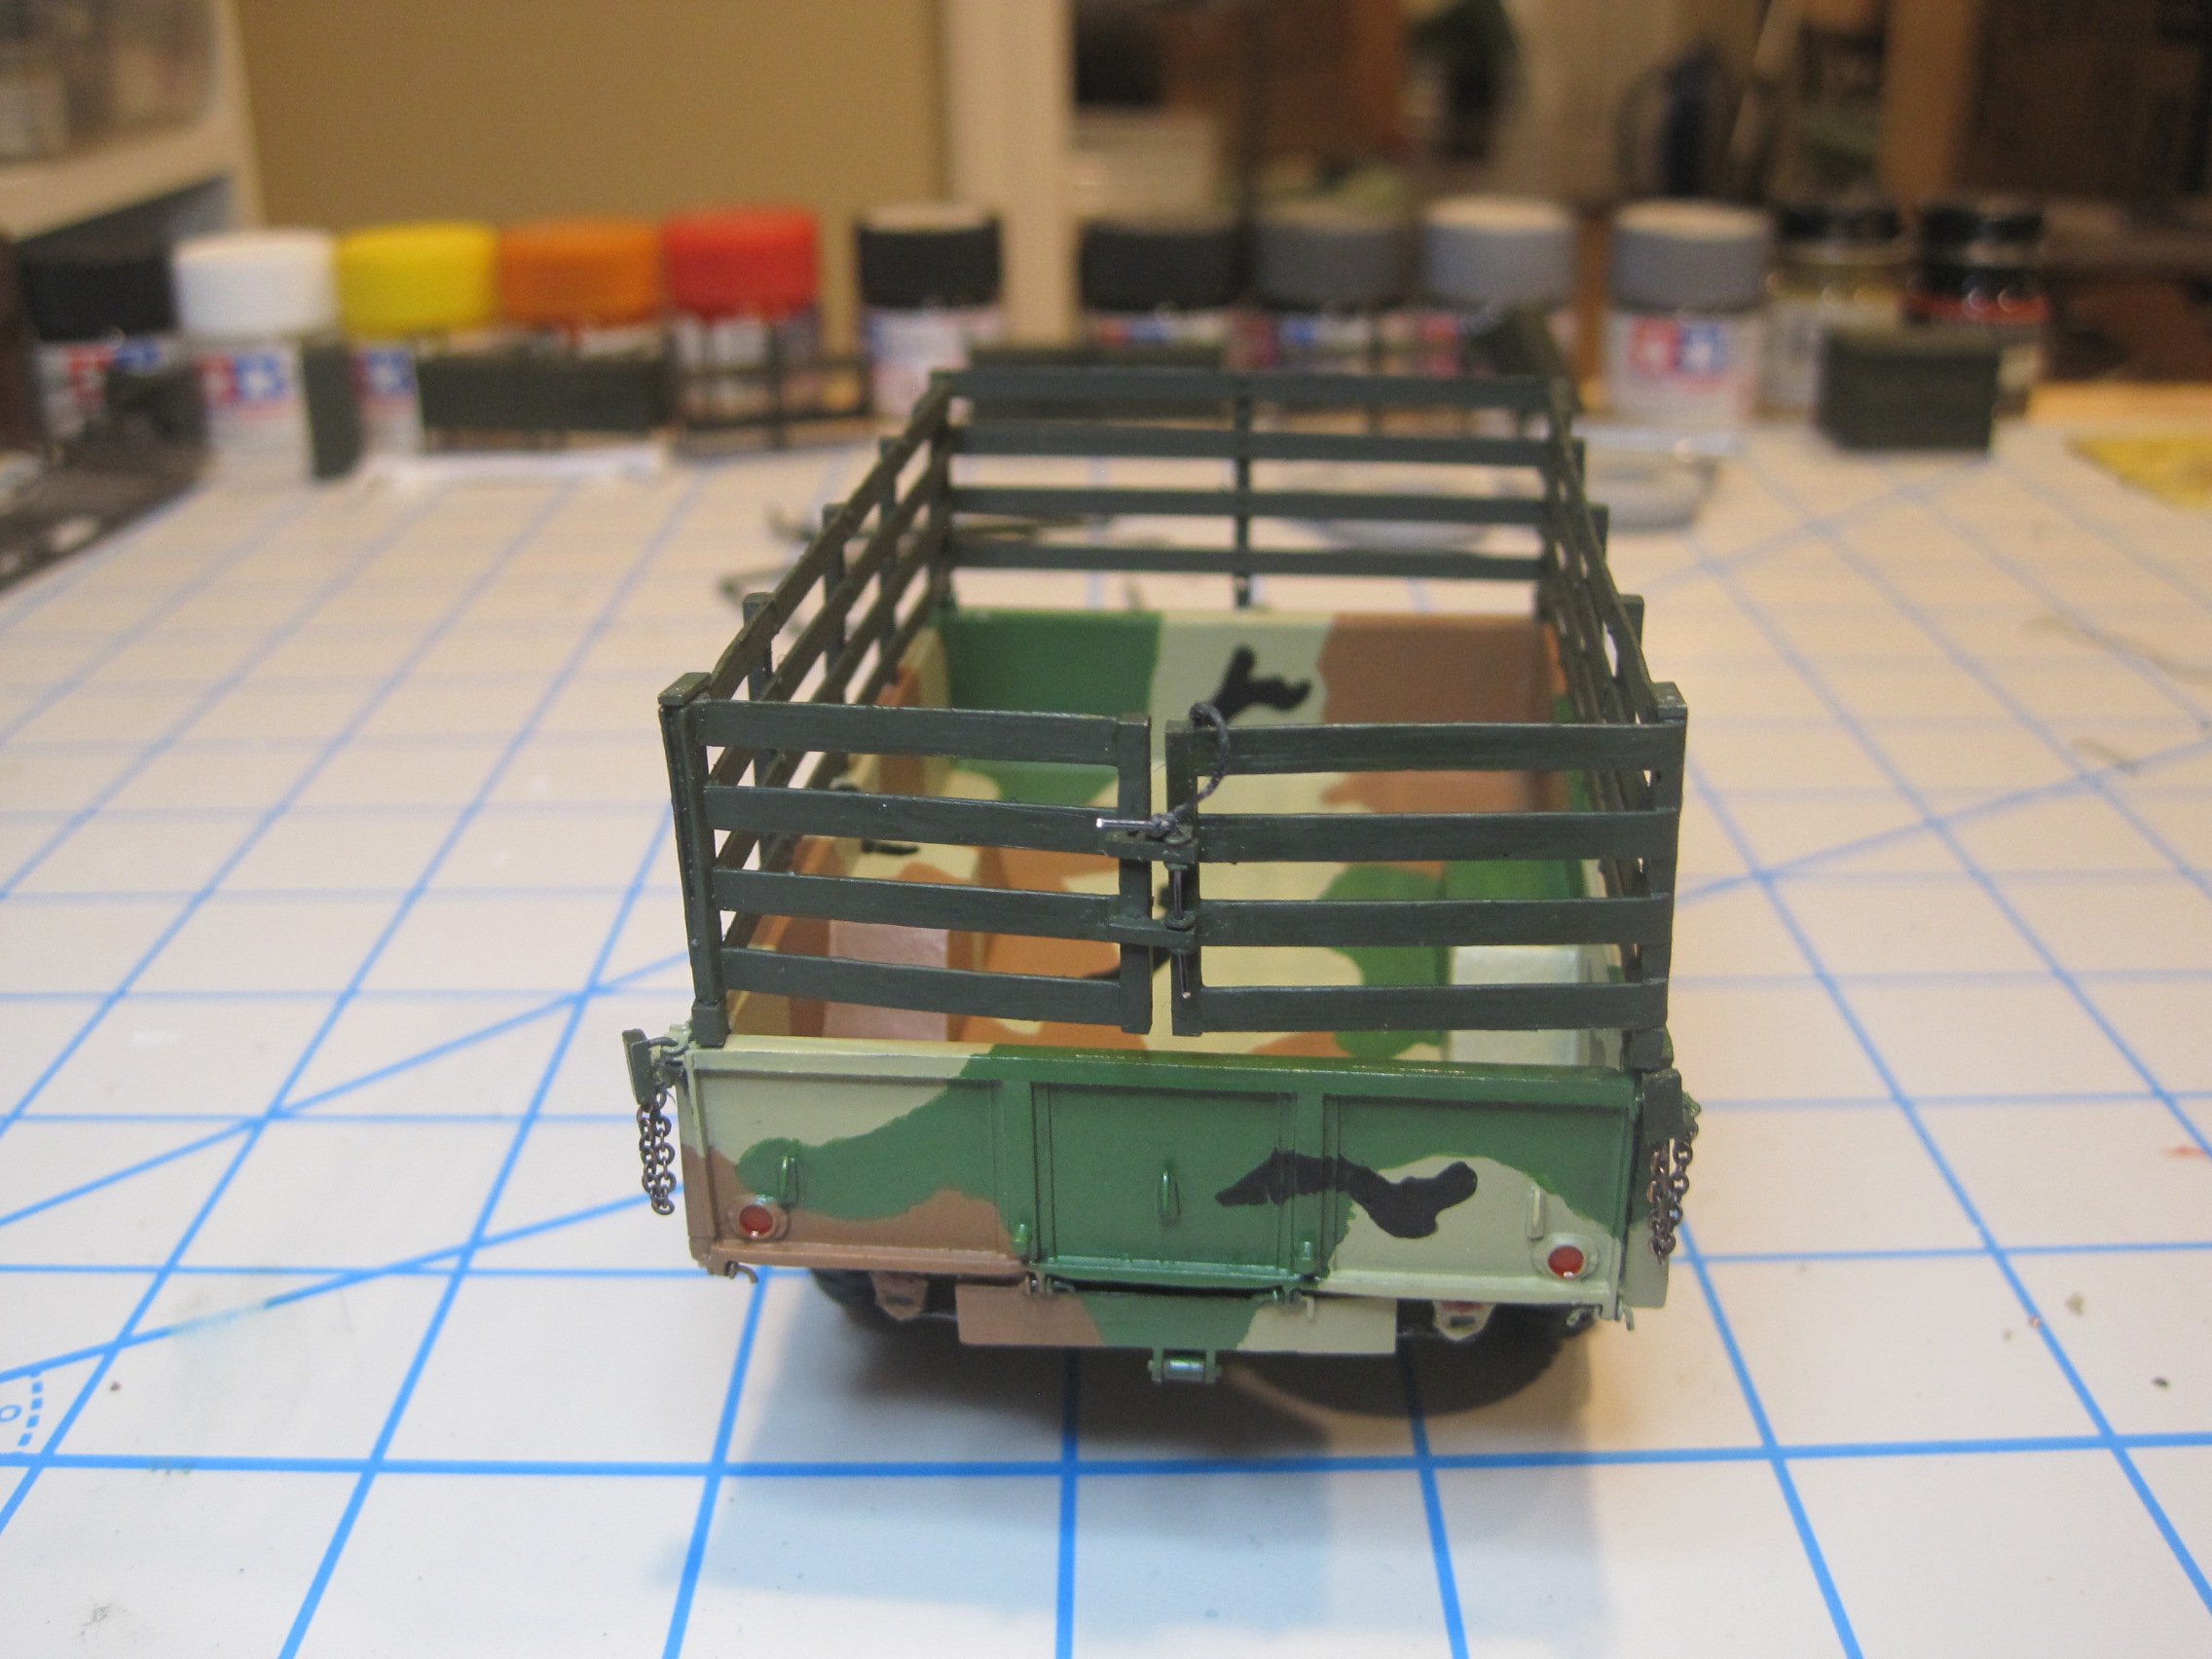
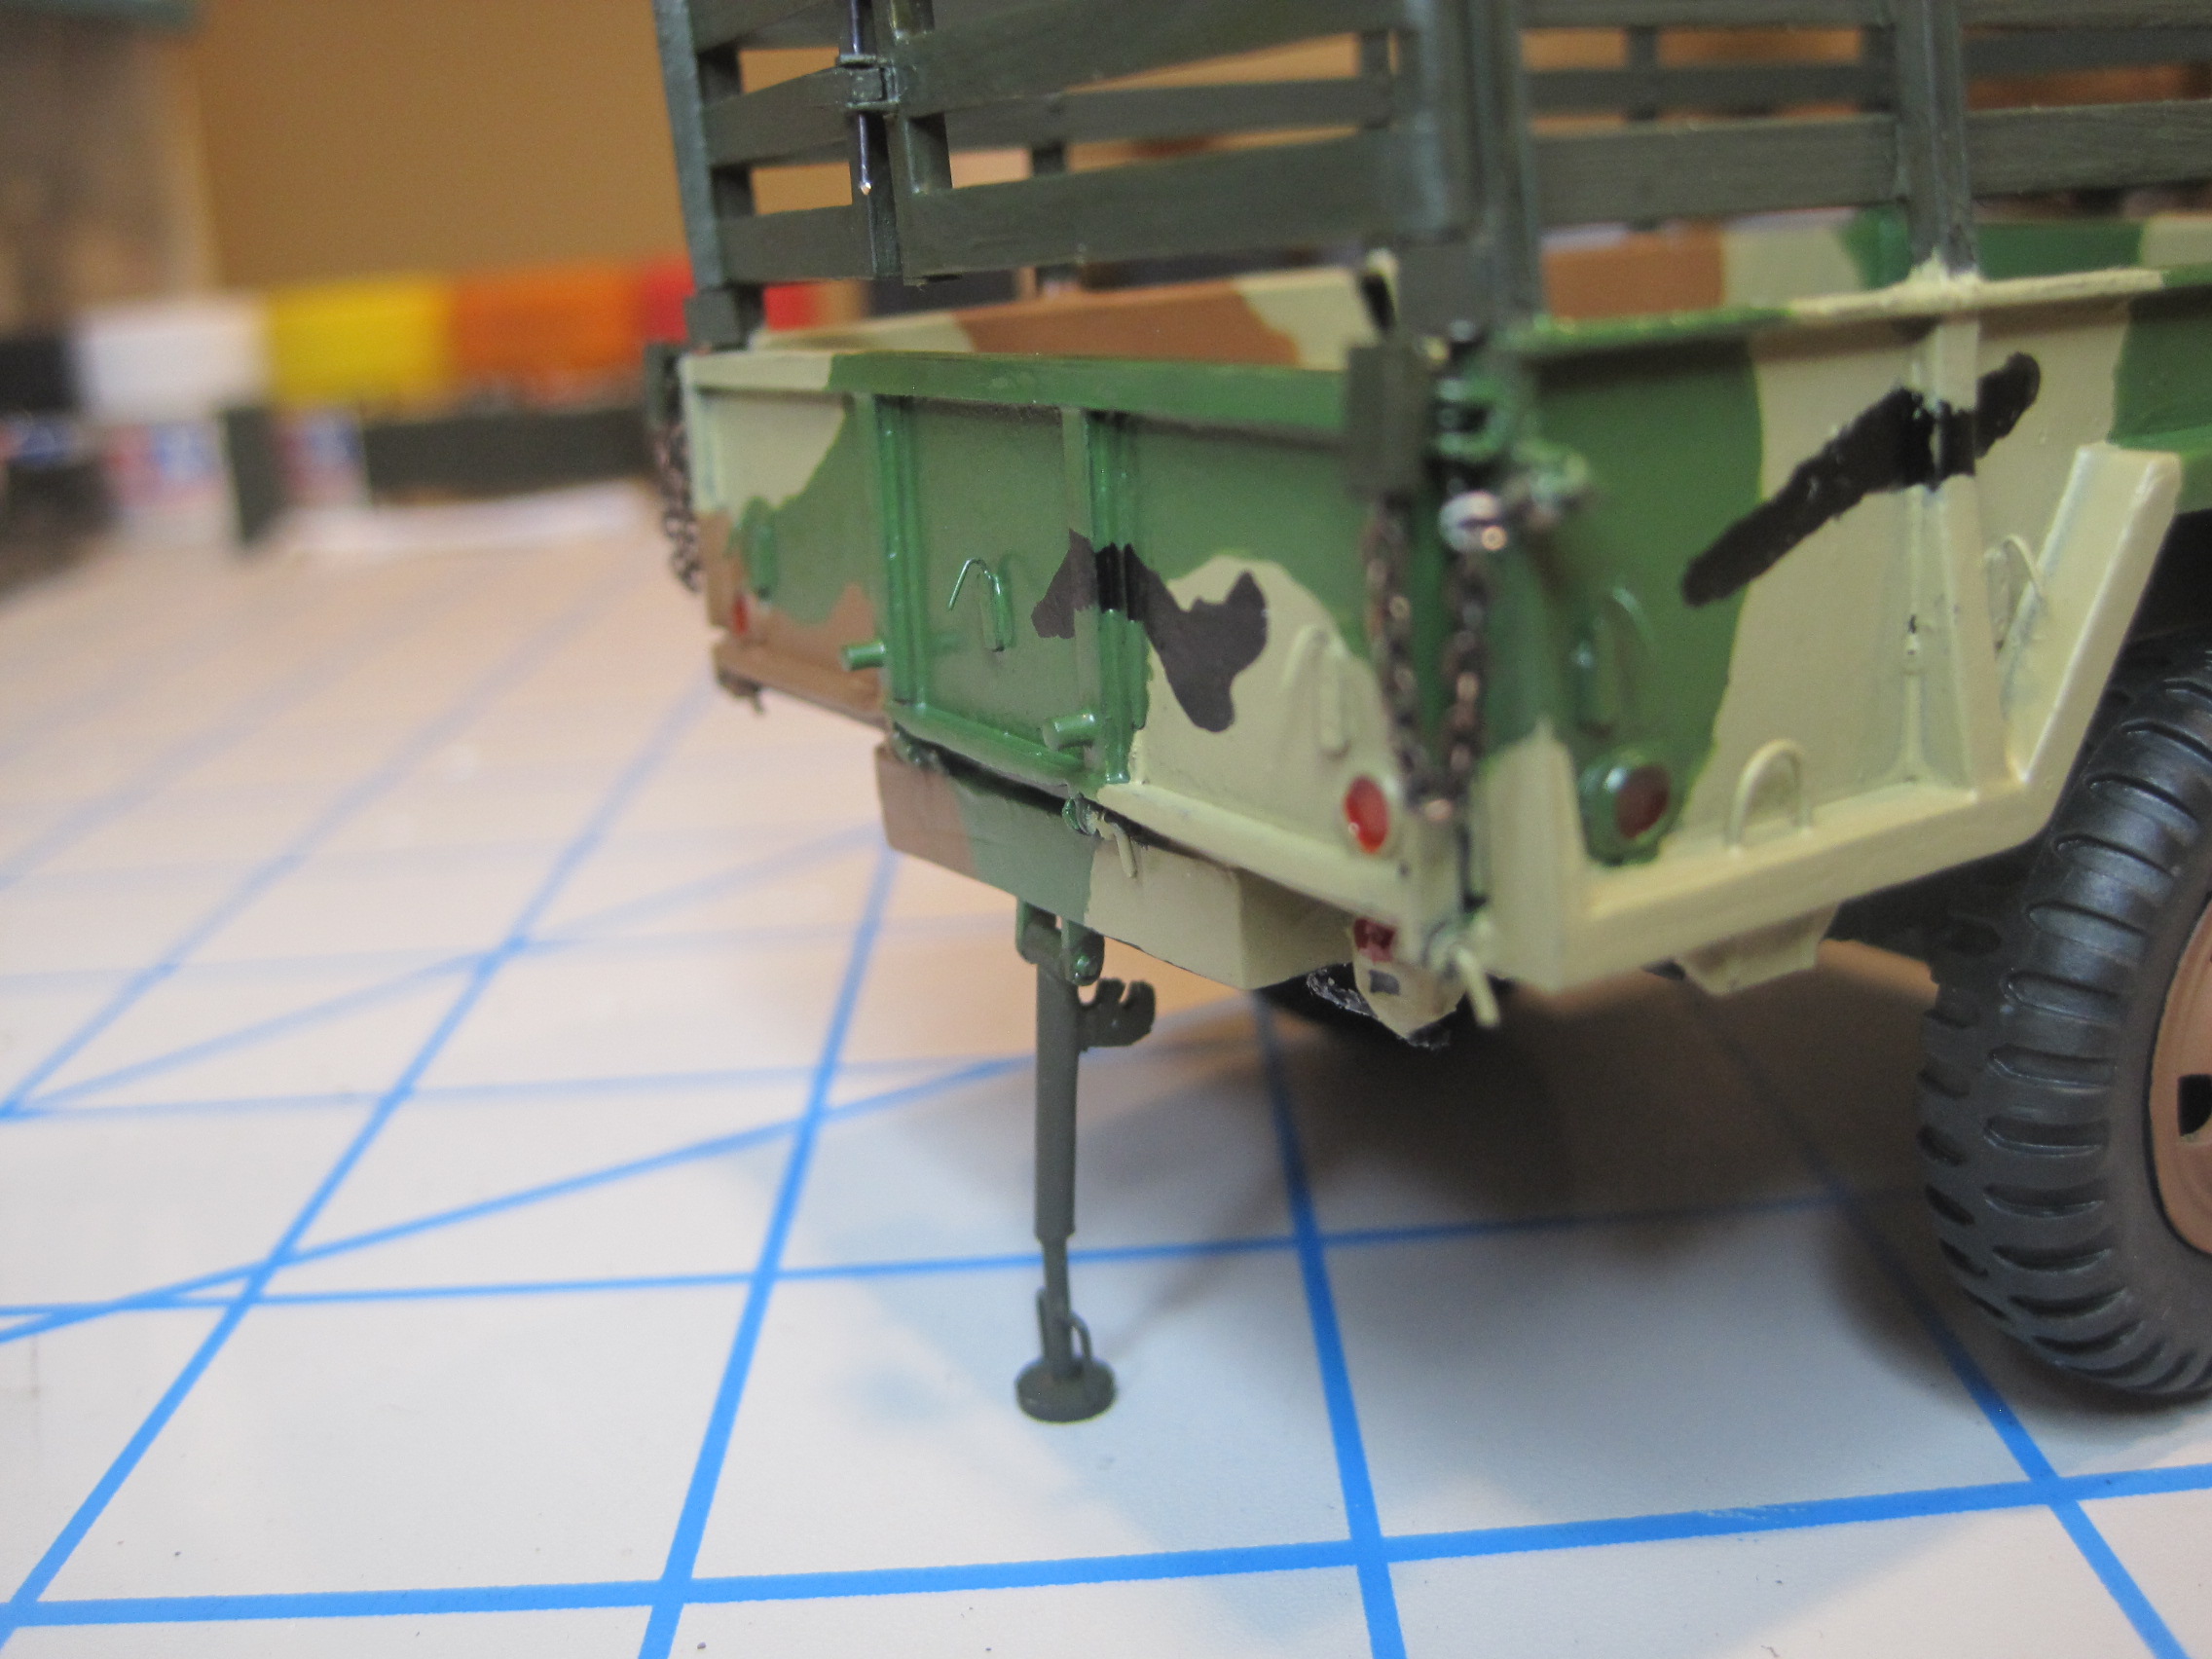
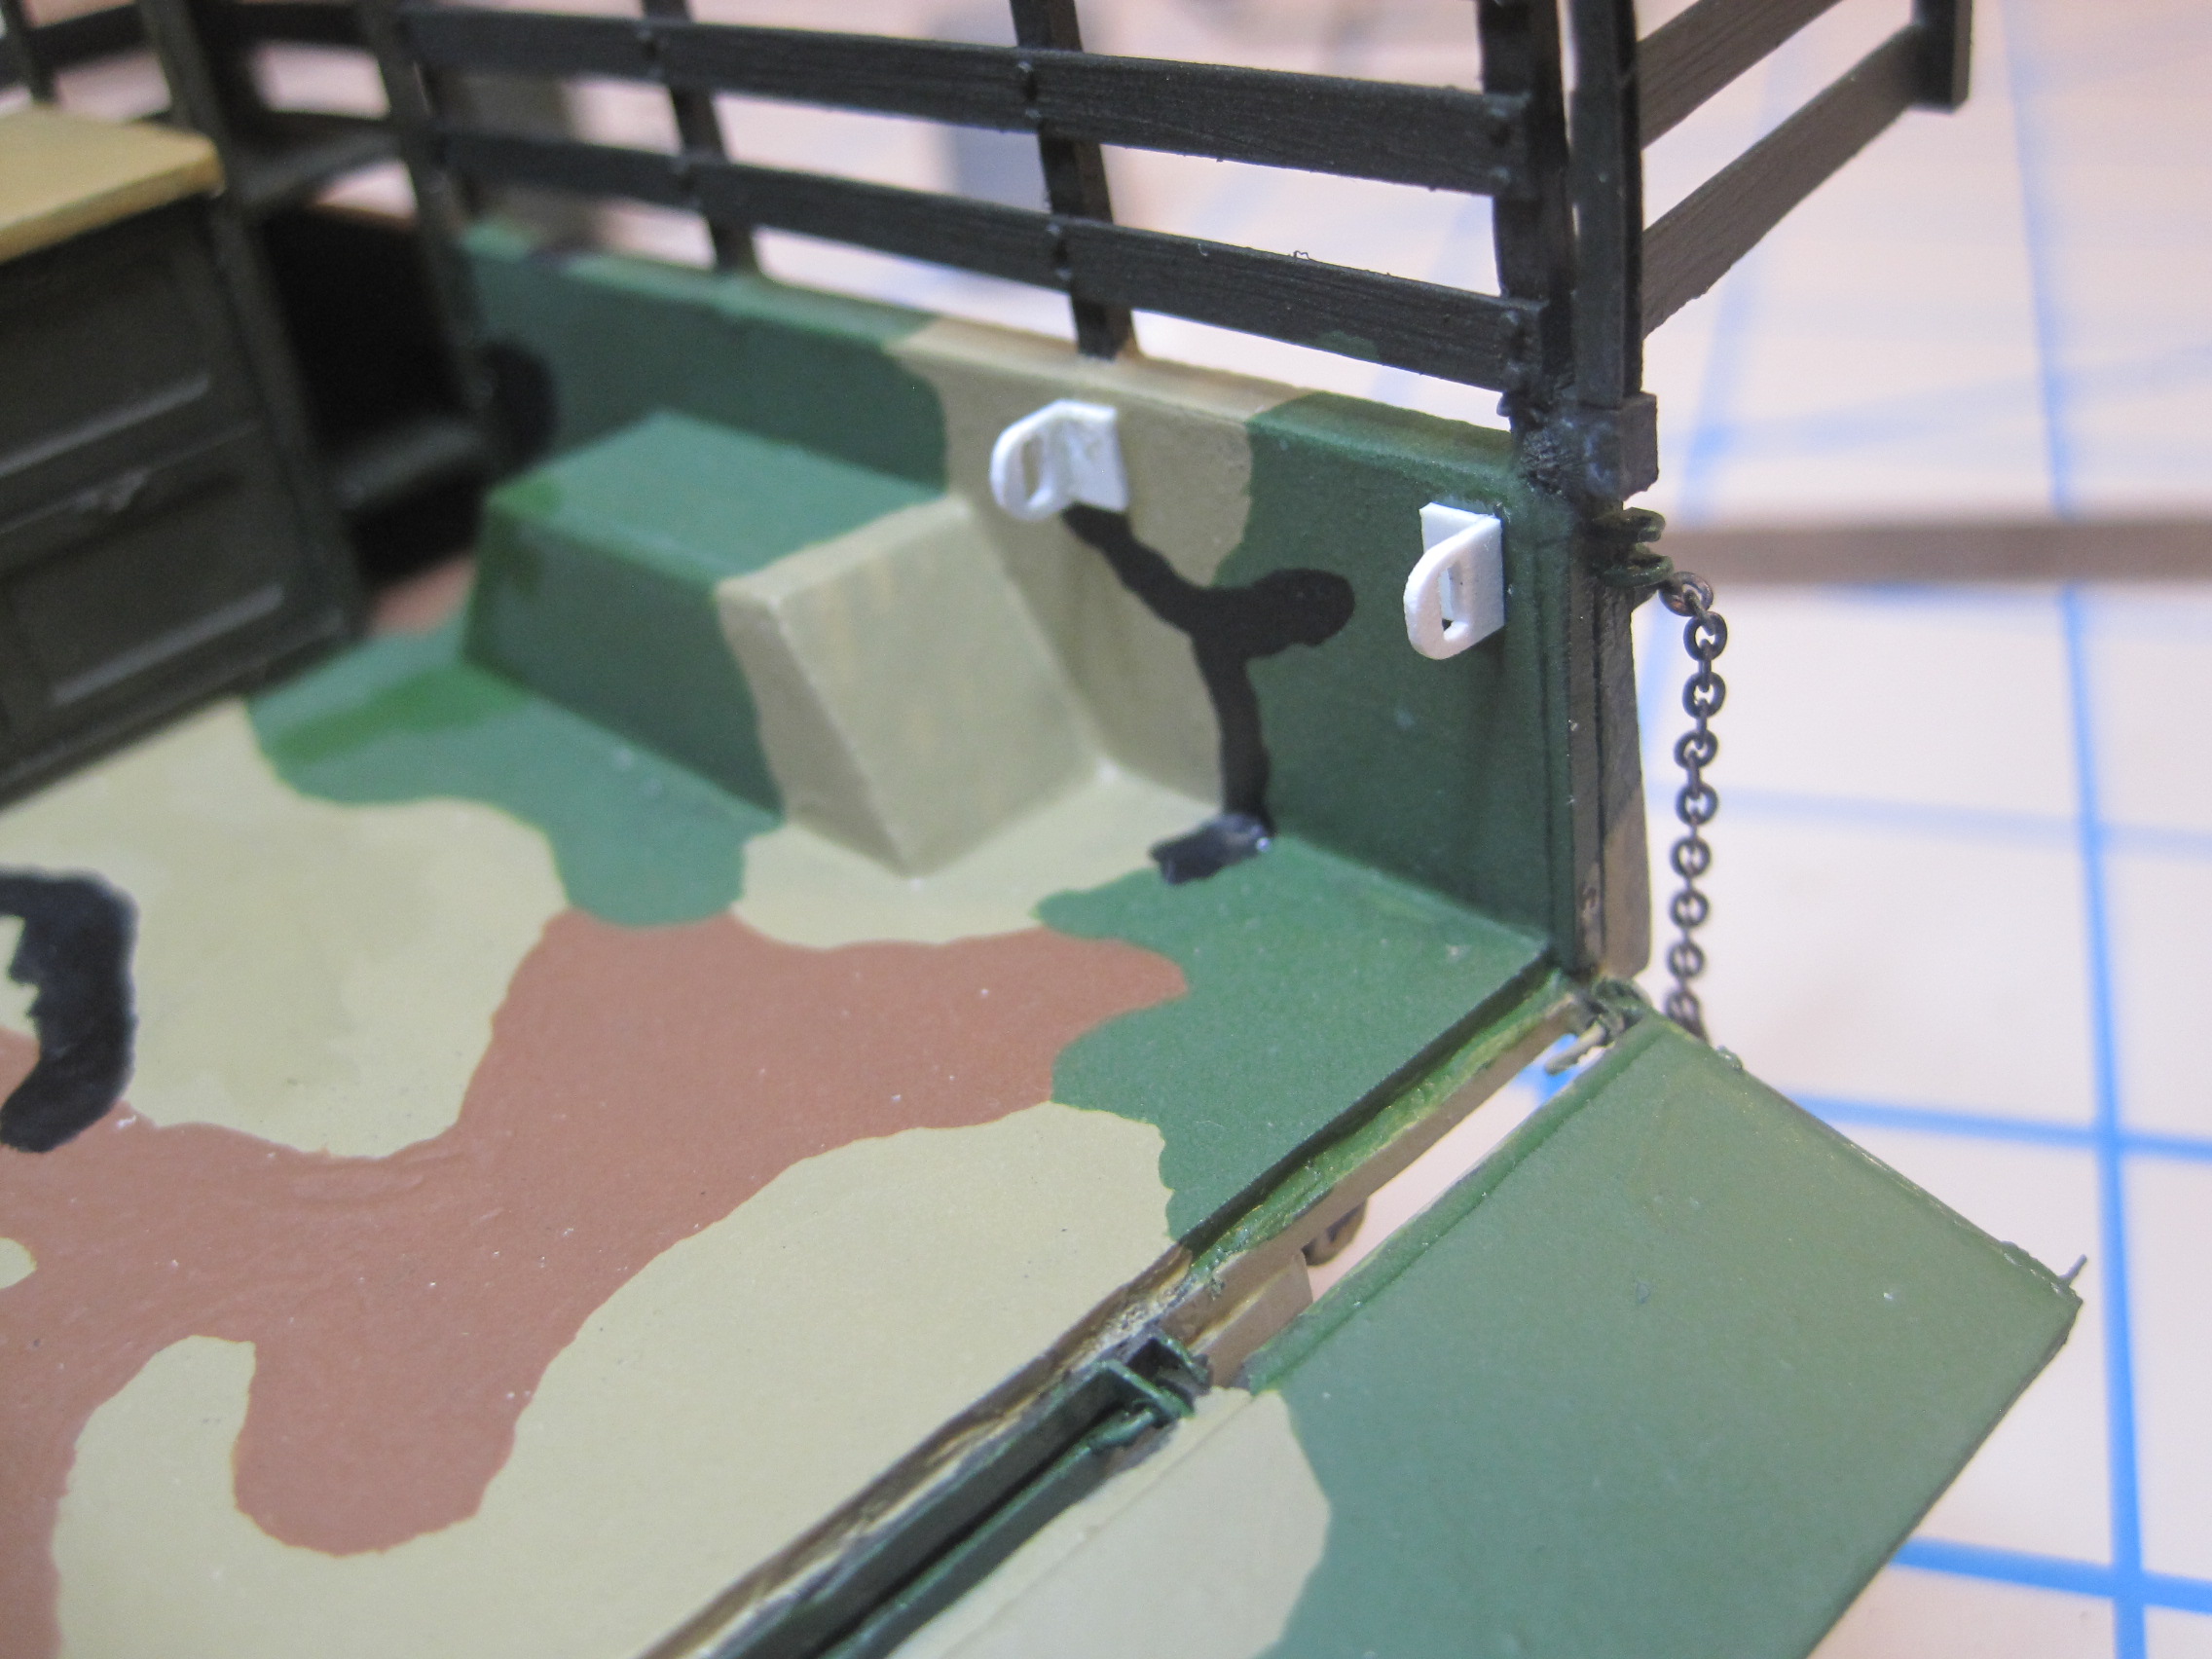
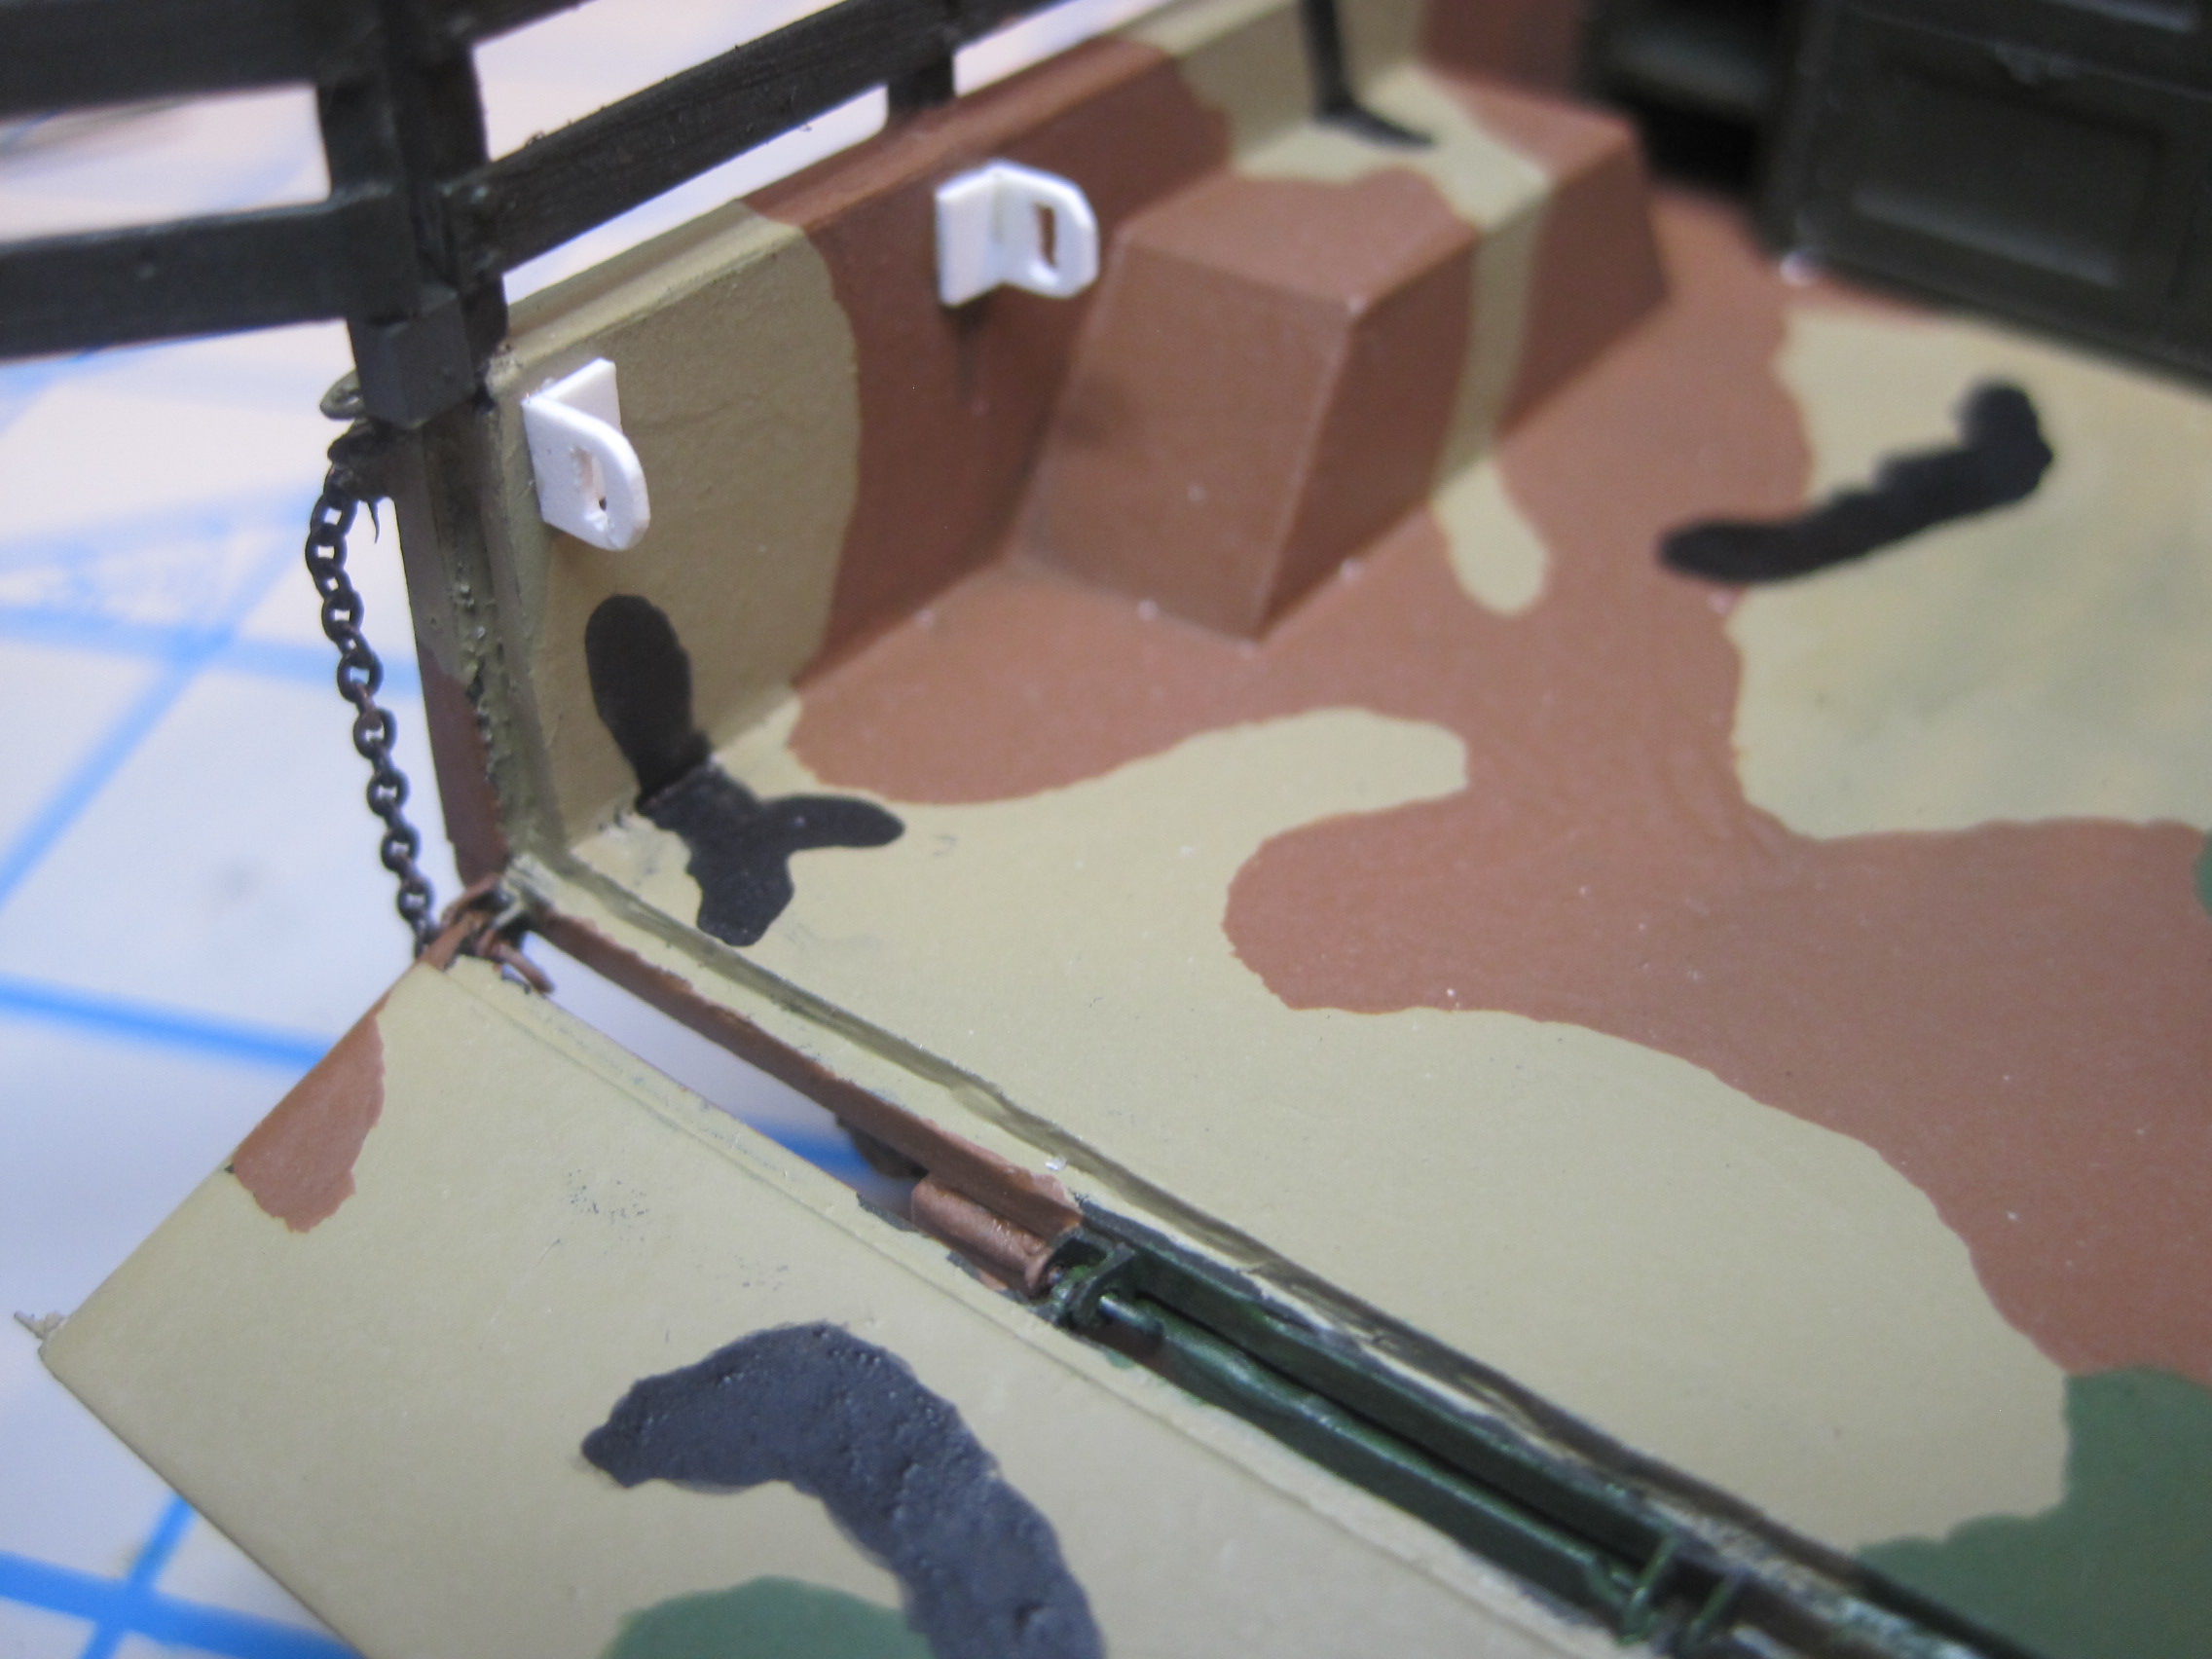
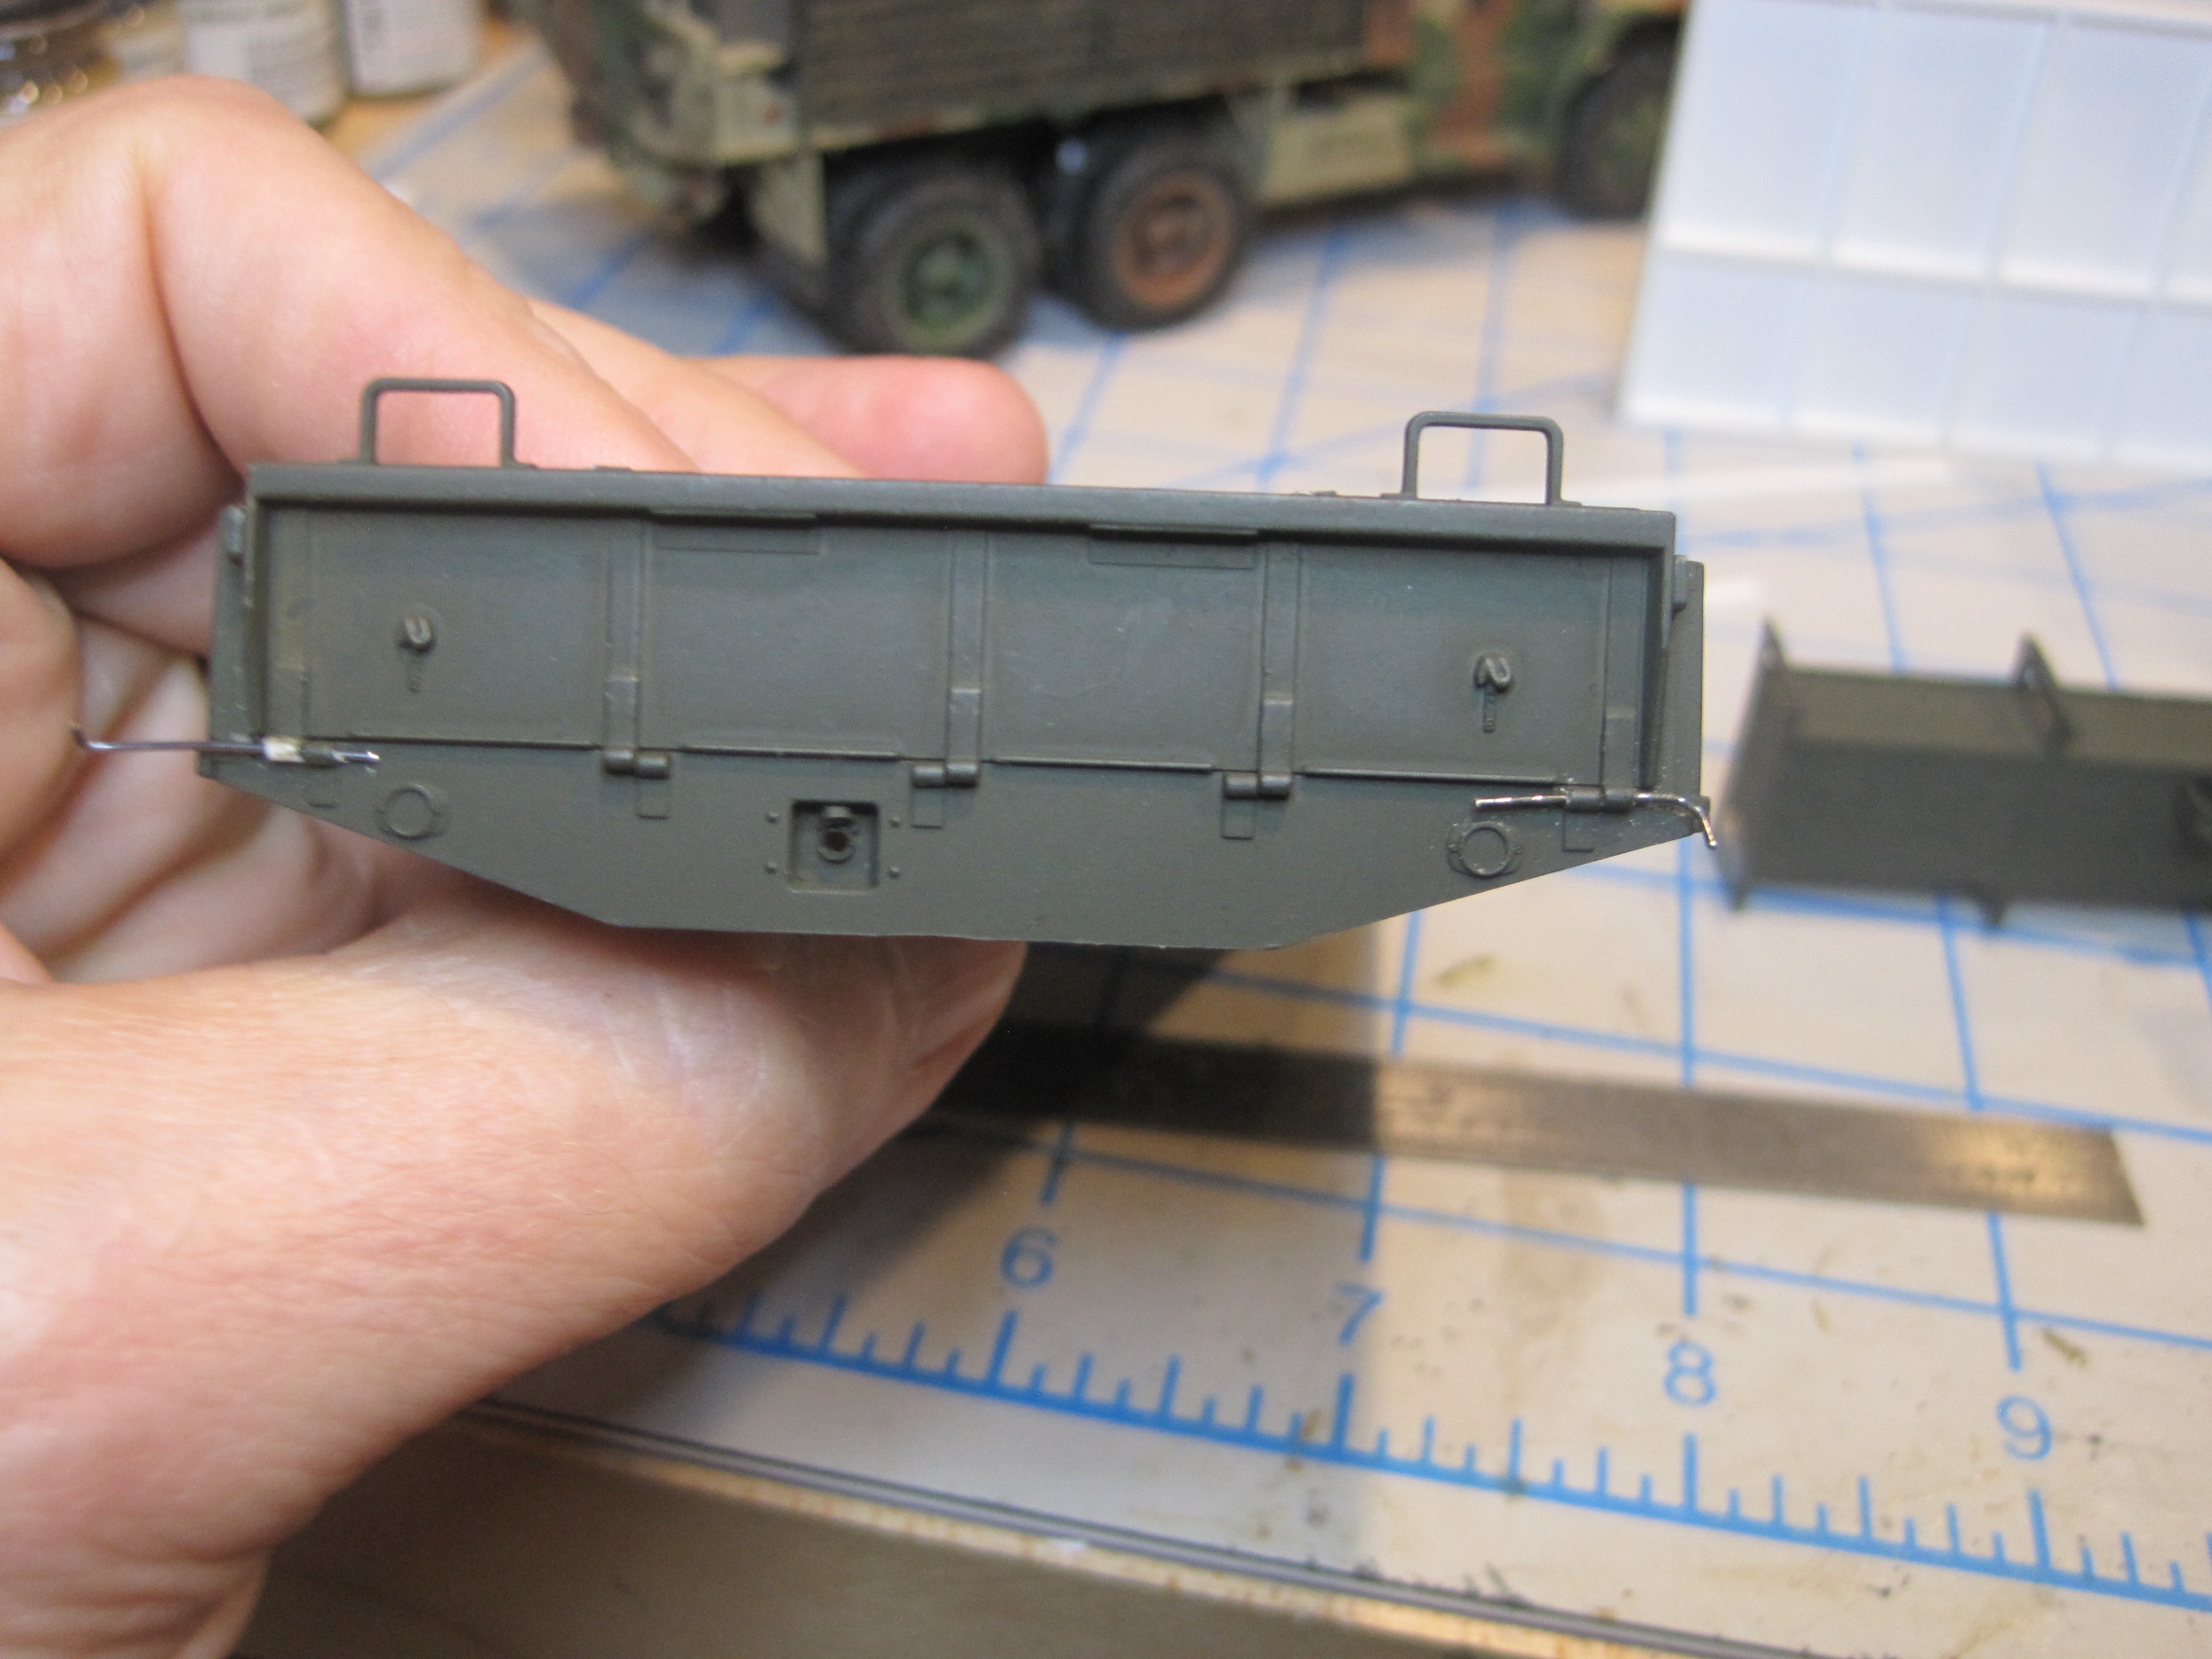
The chains for the tailgate will be attached to the body on this bracket which allows them to be set in place at the correct length, glued then trimmed. And how the tailgates look open and closed.
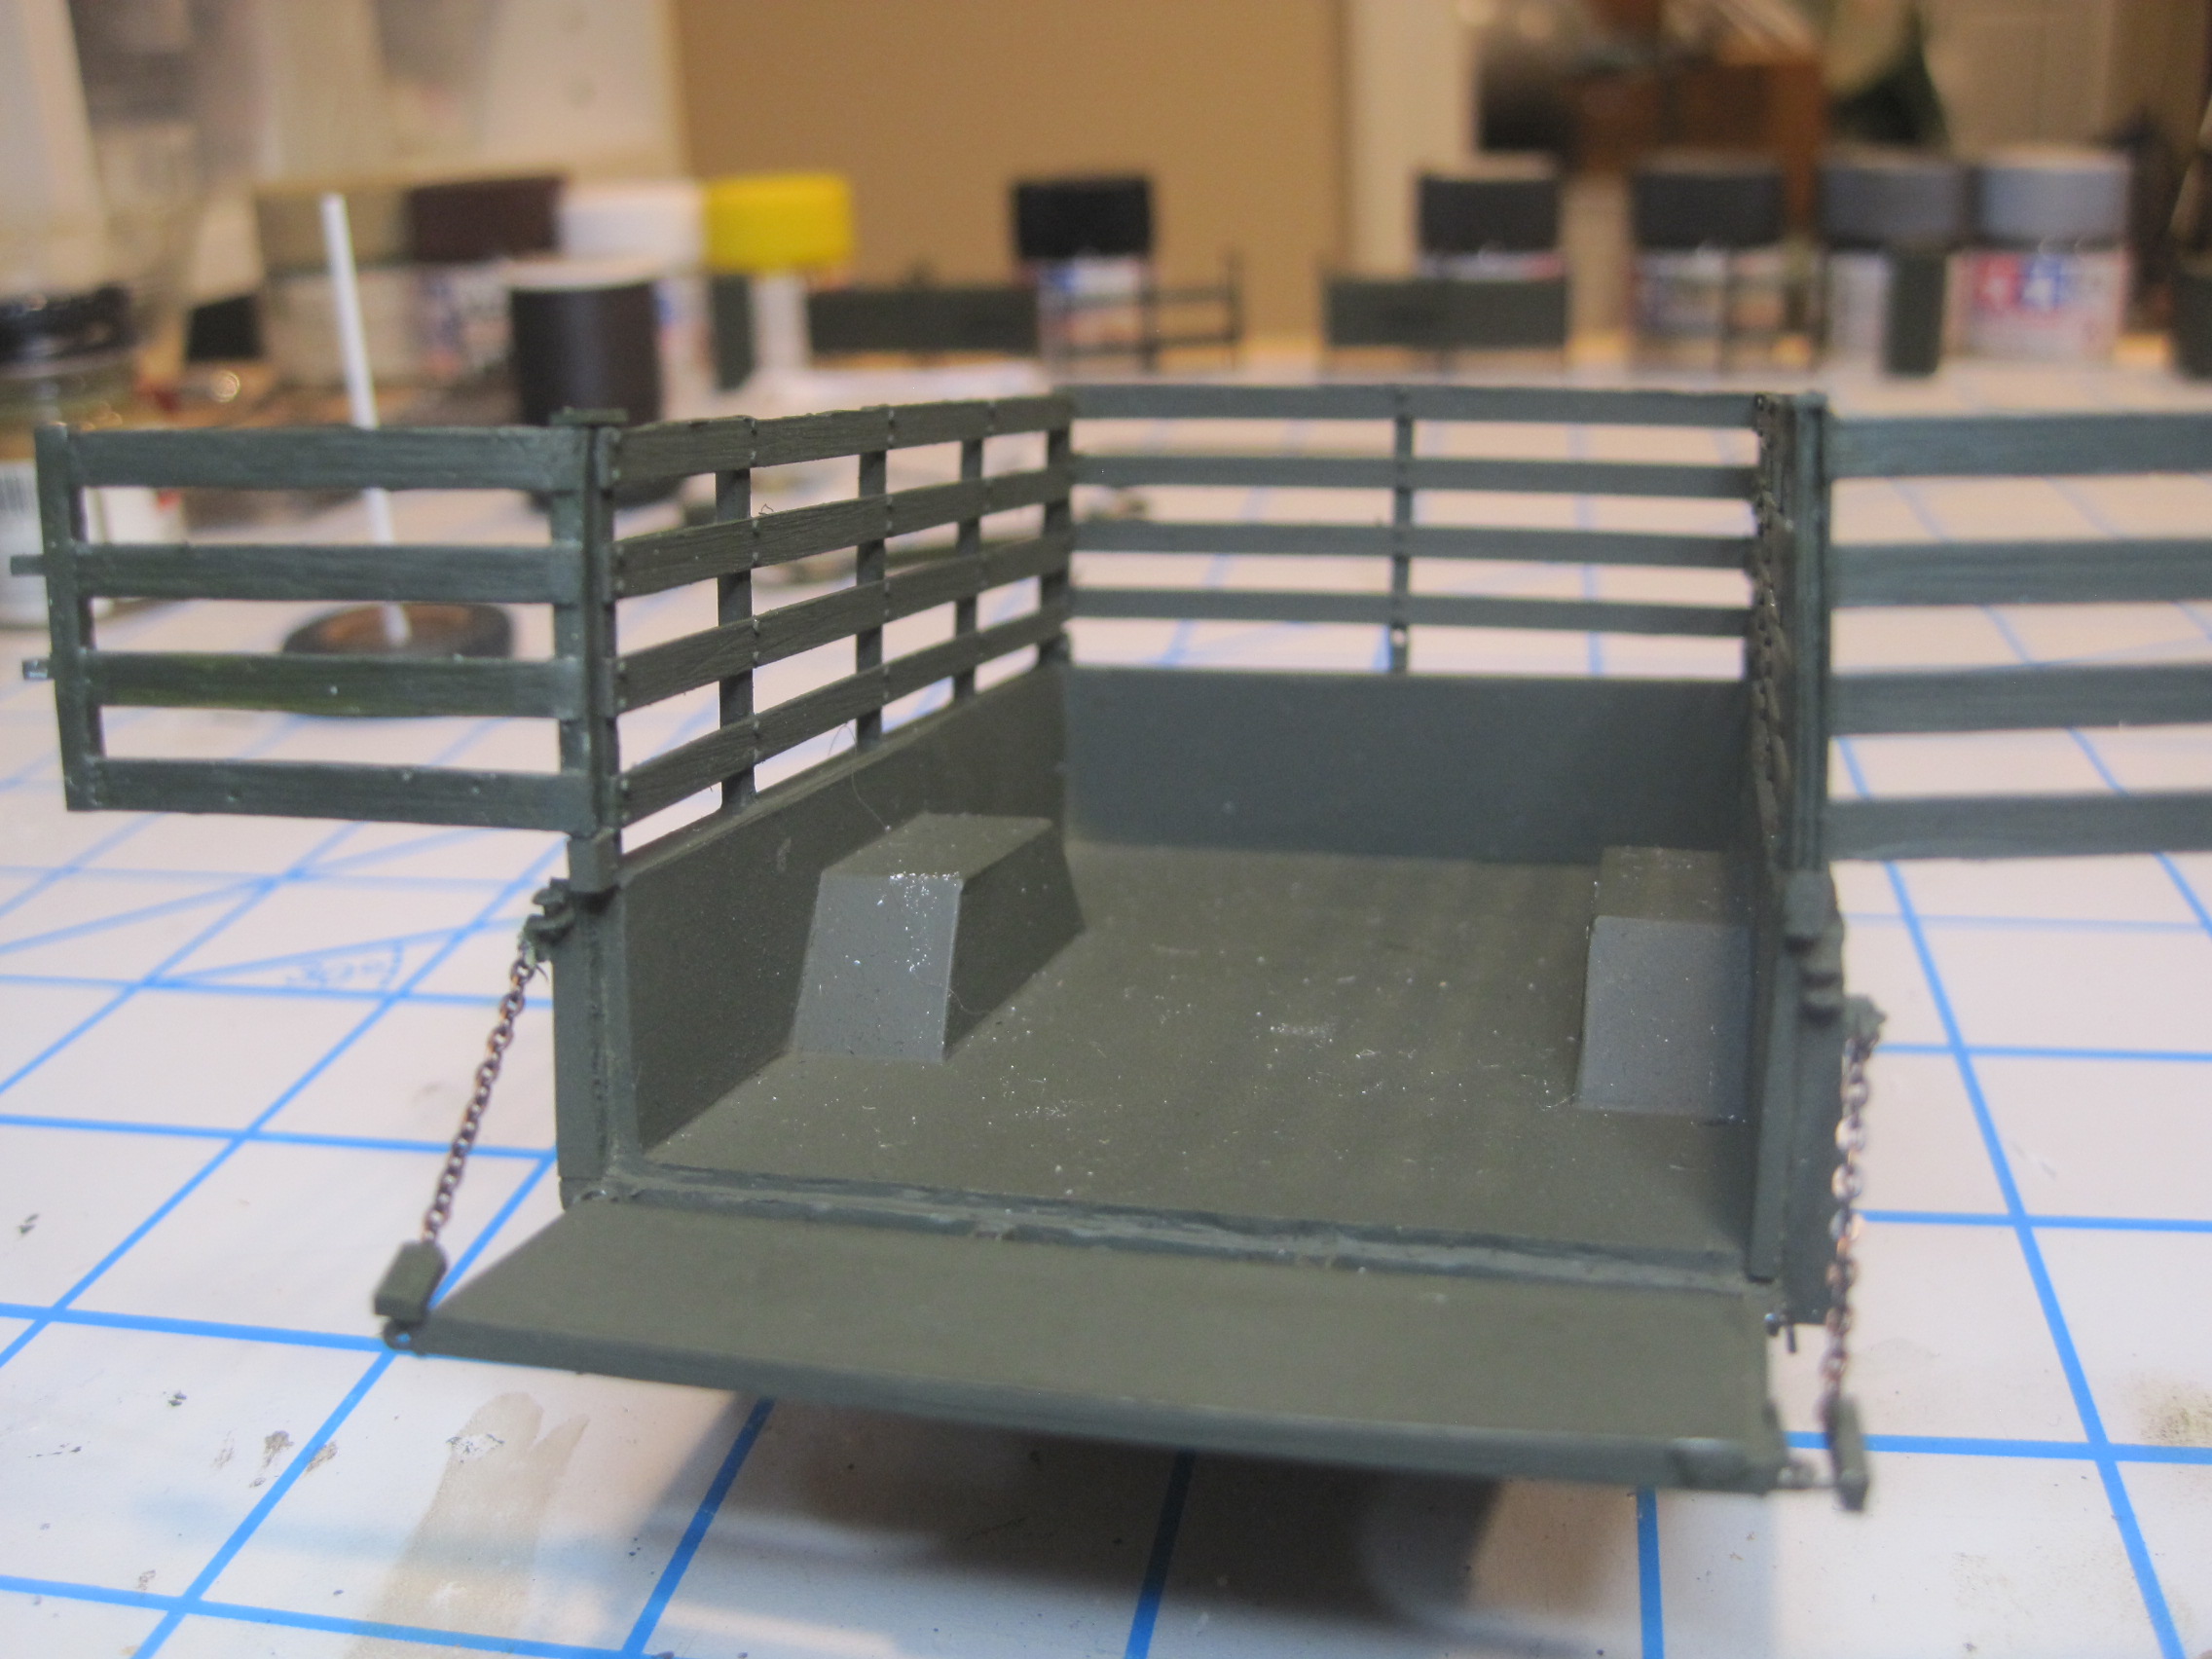
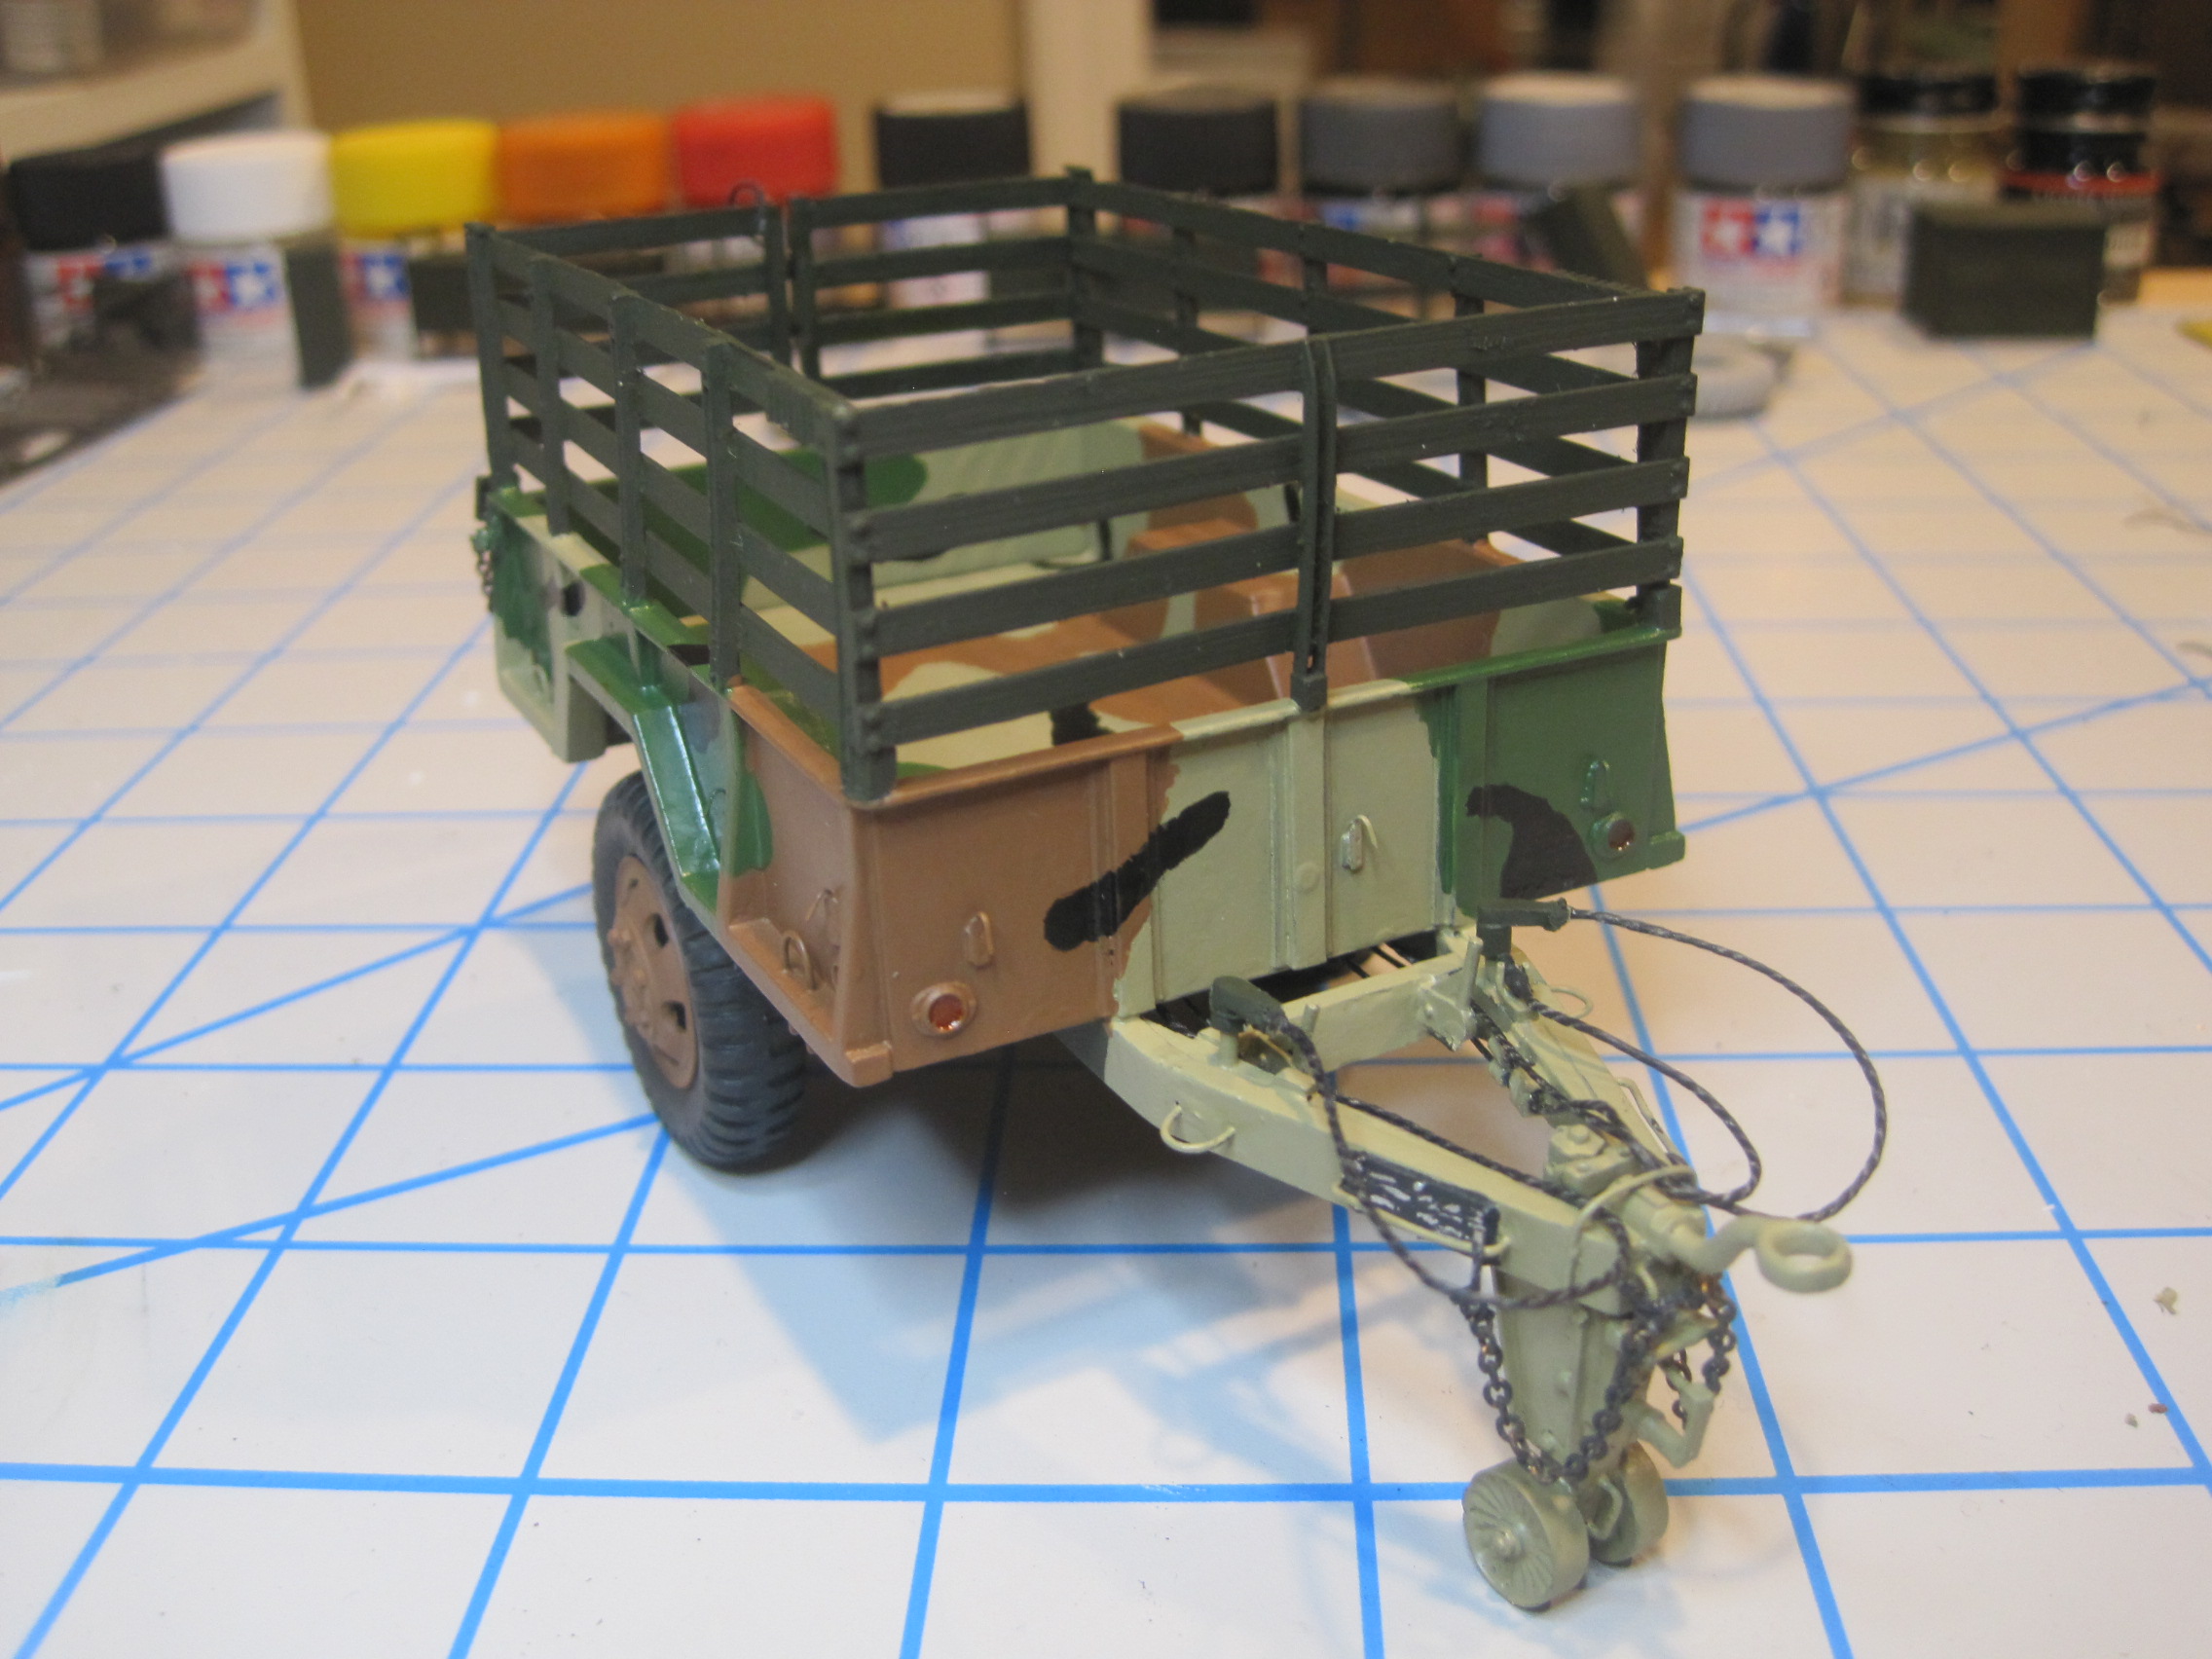
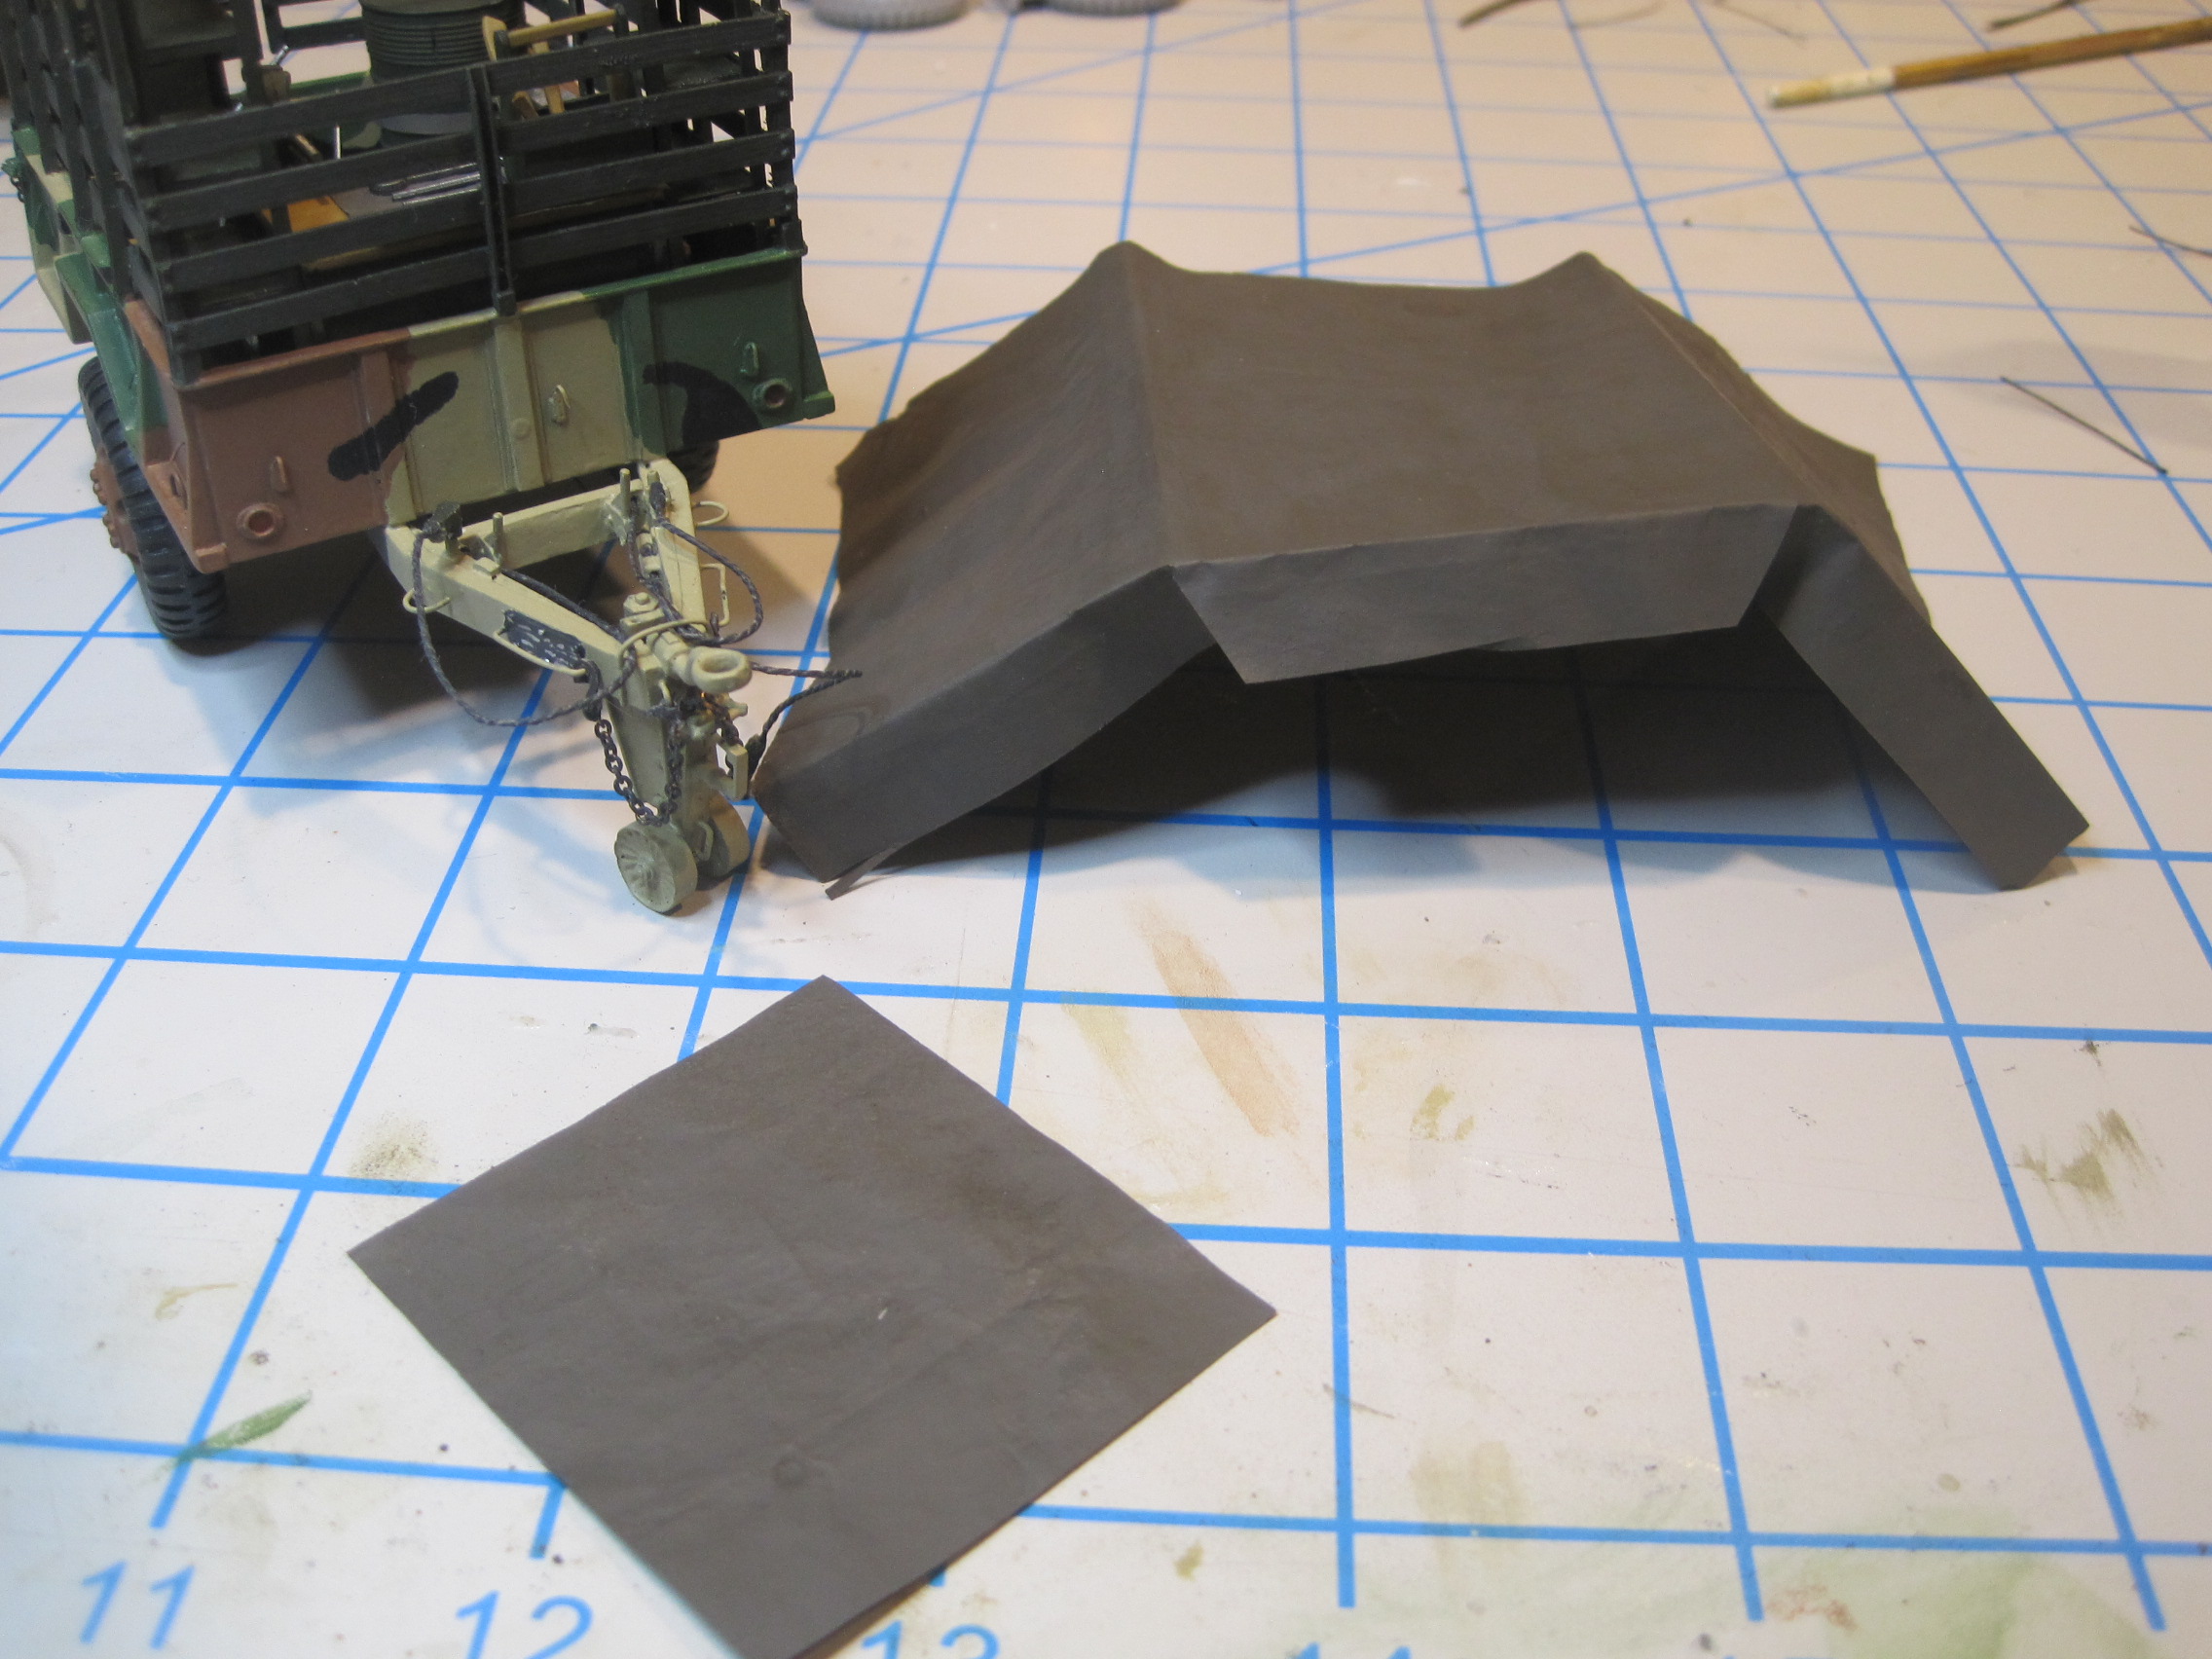
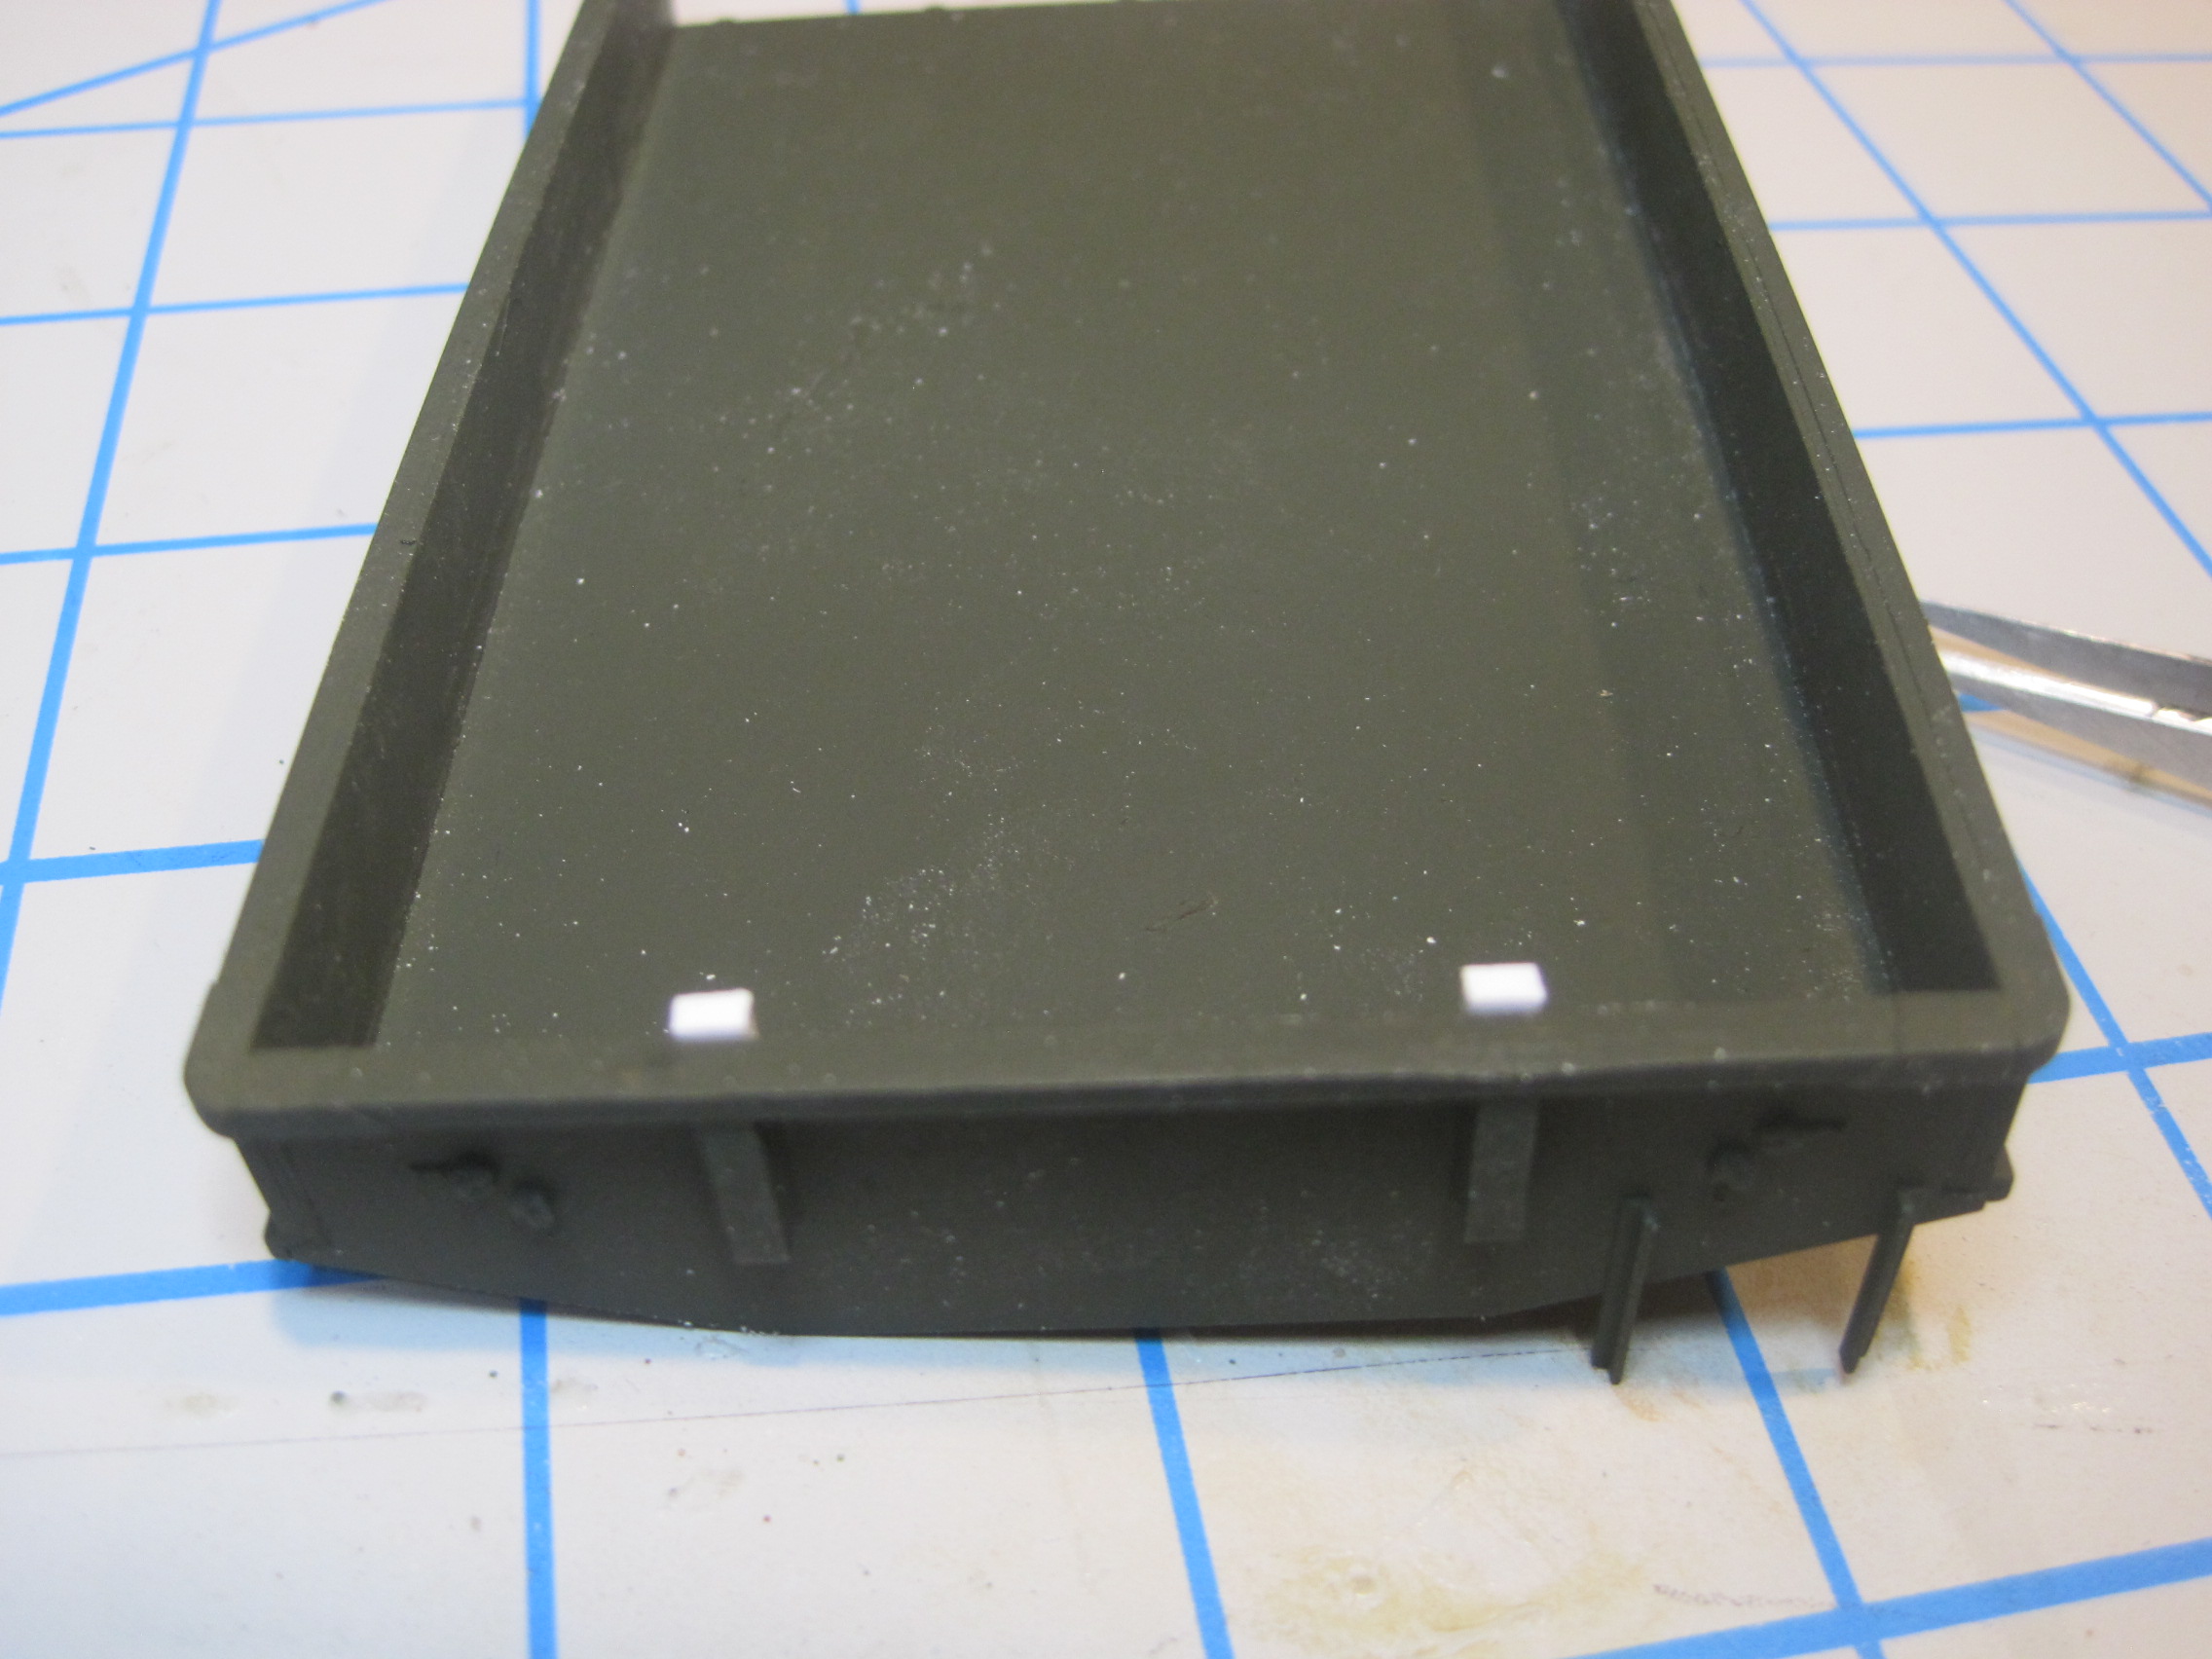
Finally I’ve added the front support leg, and temporarily set the trailer on its wheels. The next step will be to apply the MASSTER paint scheme.

5 Likes
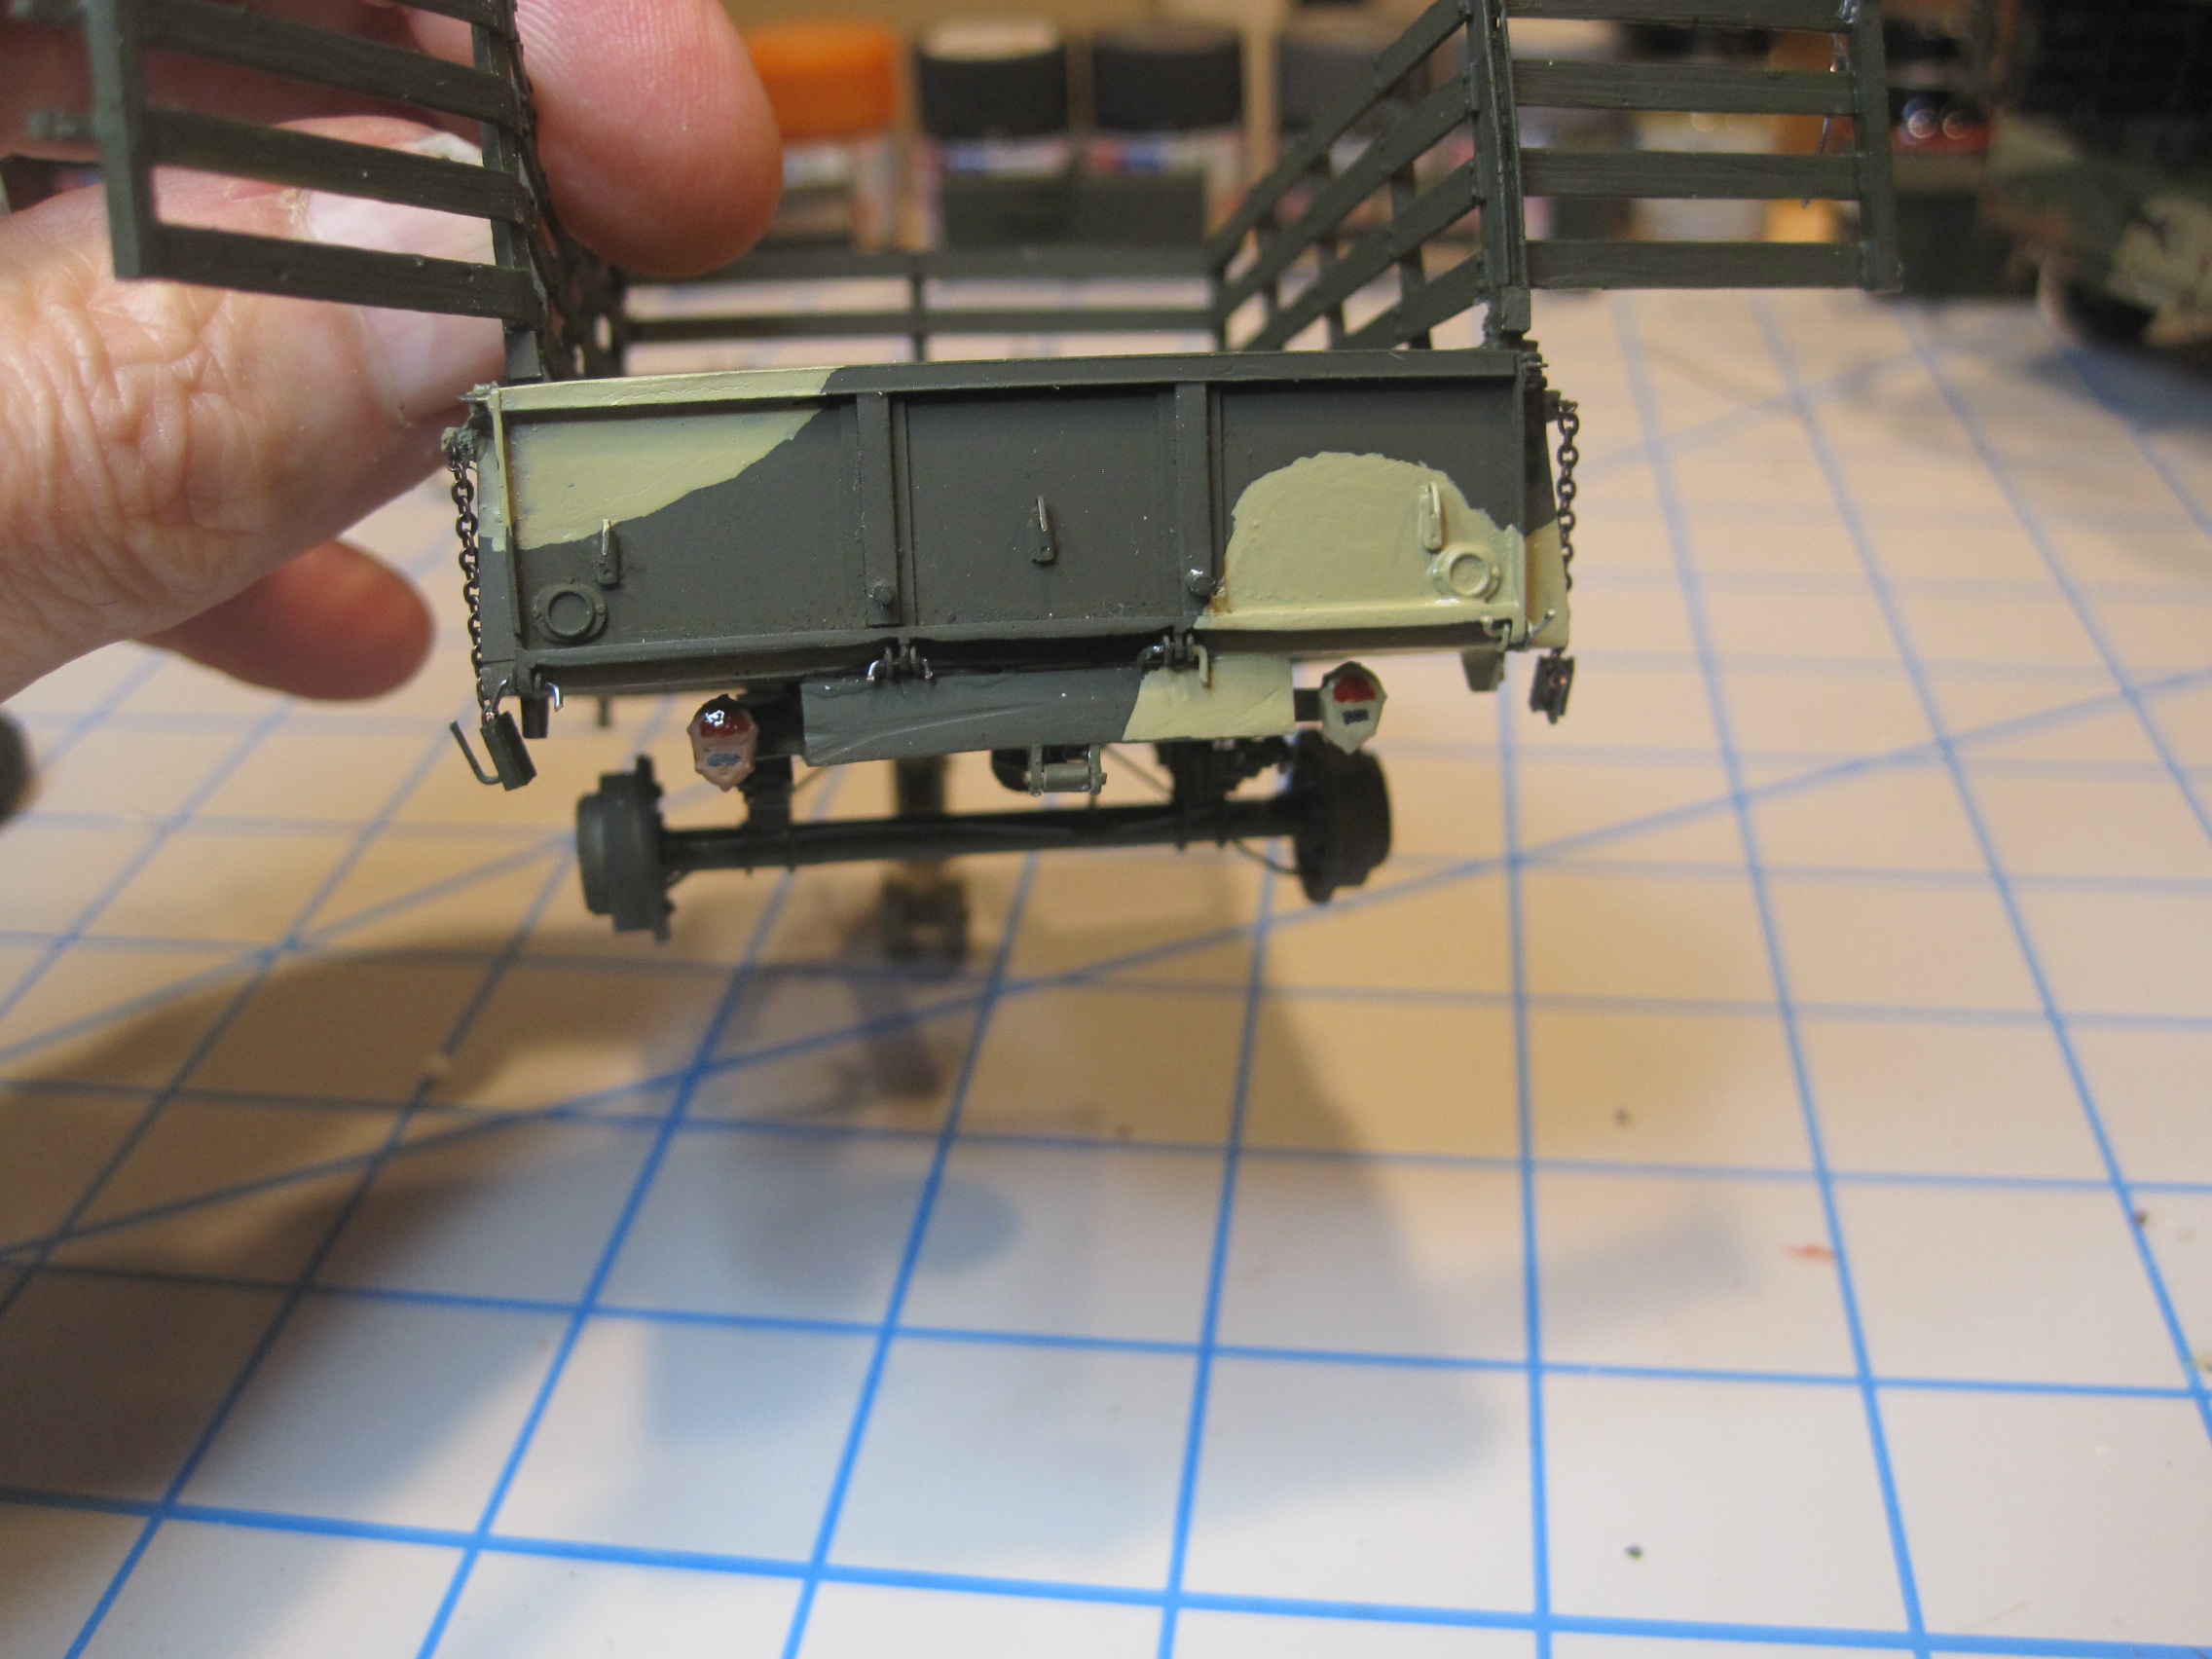
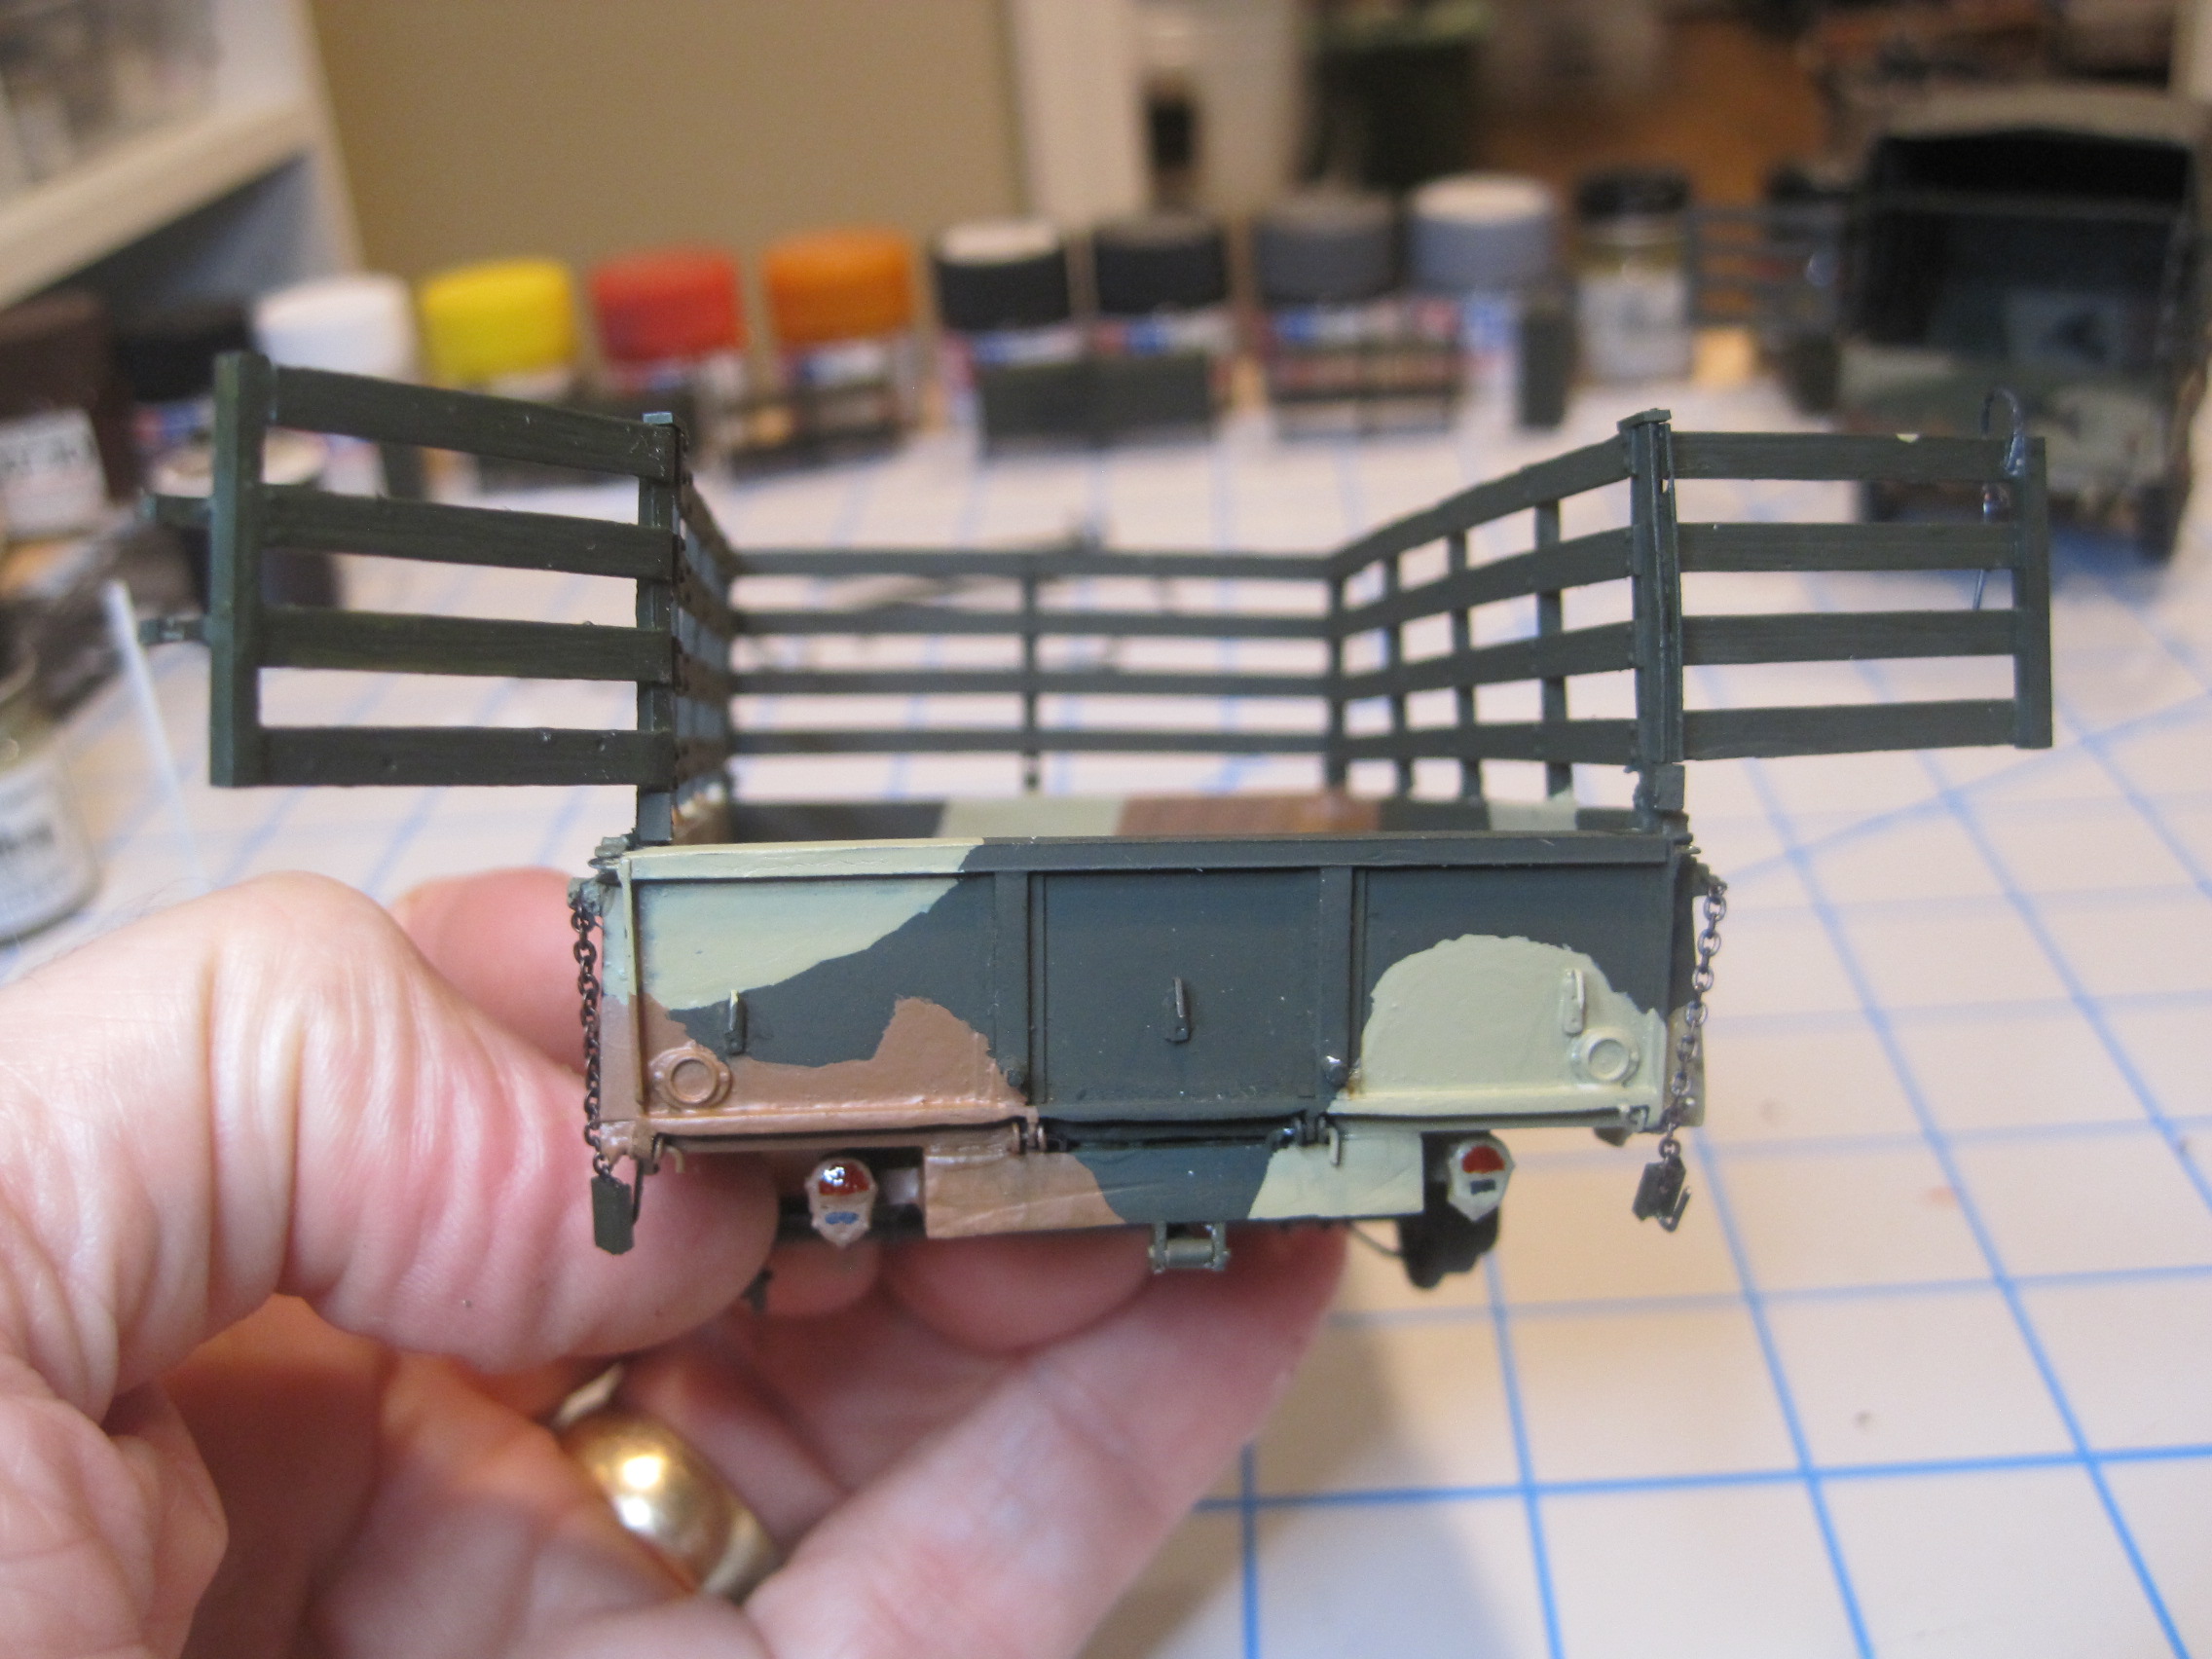
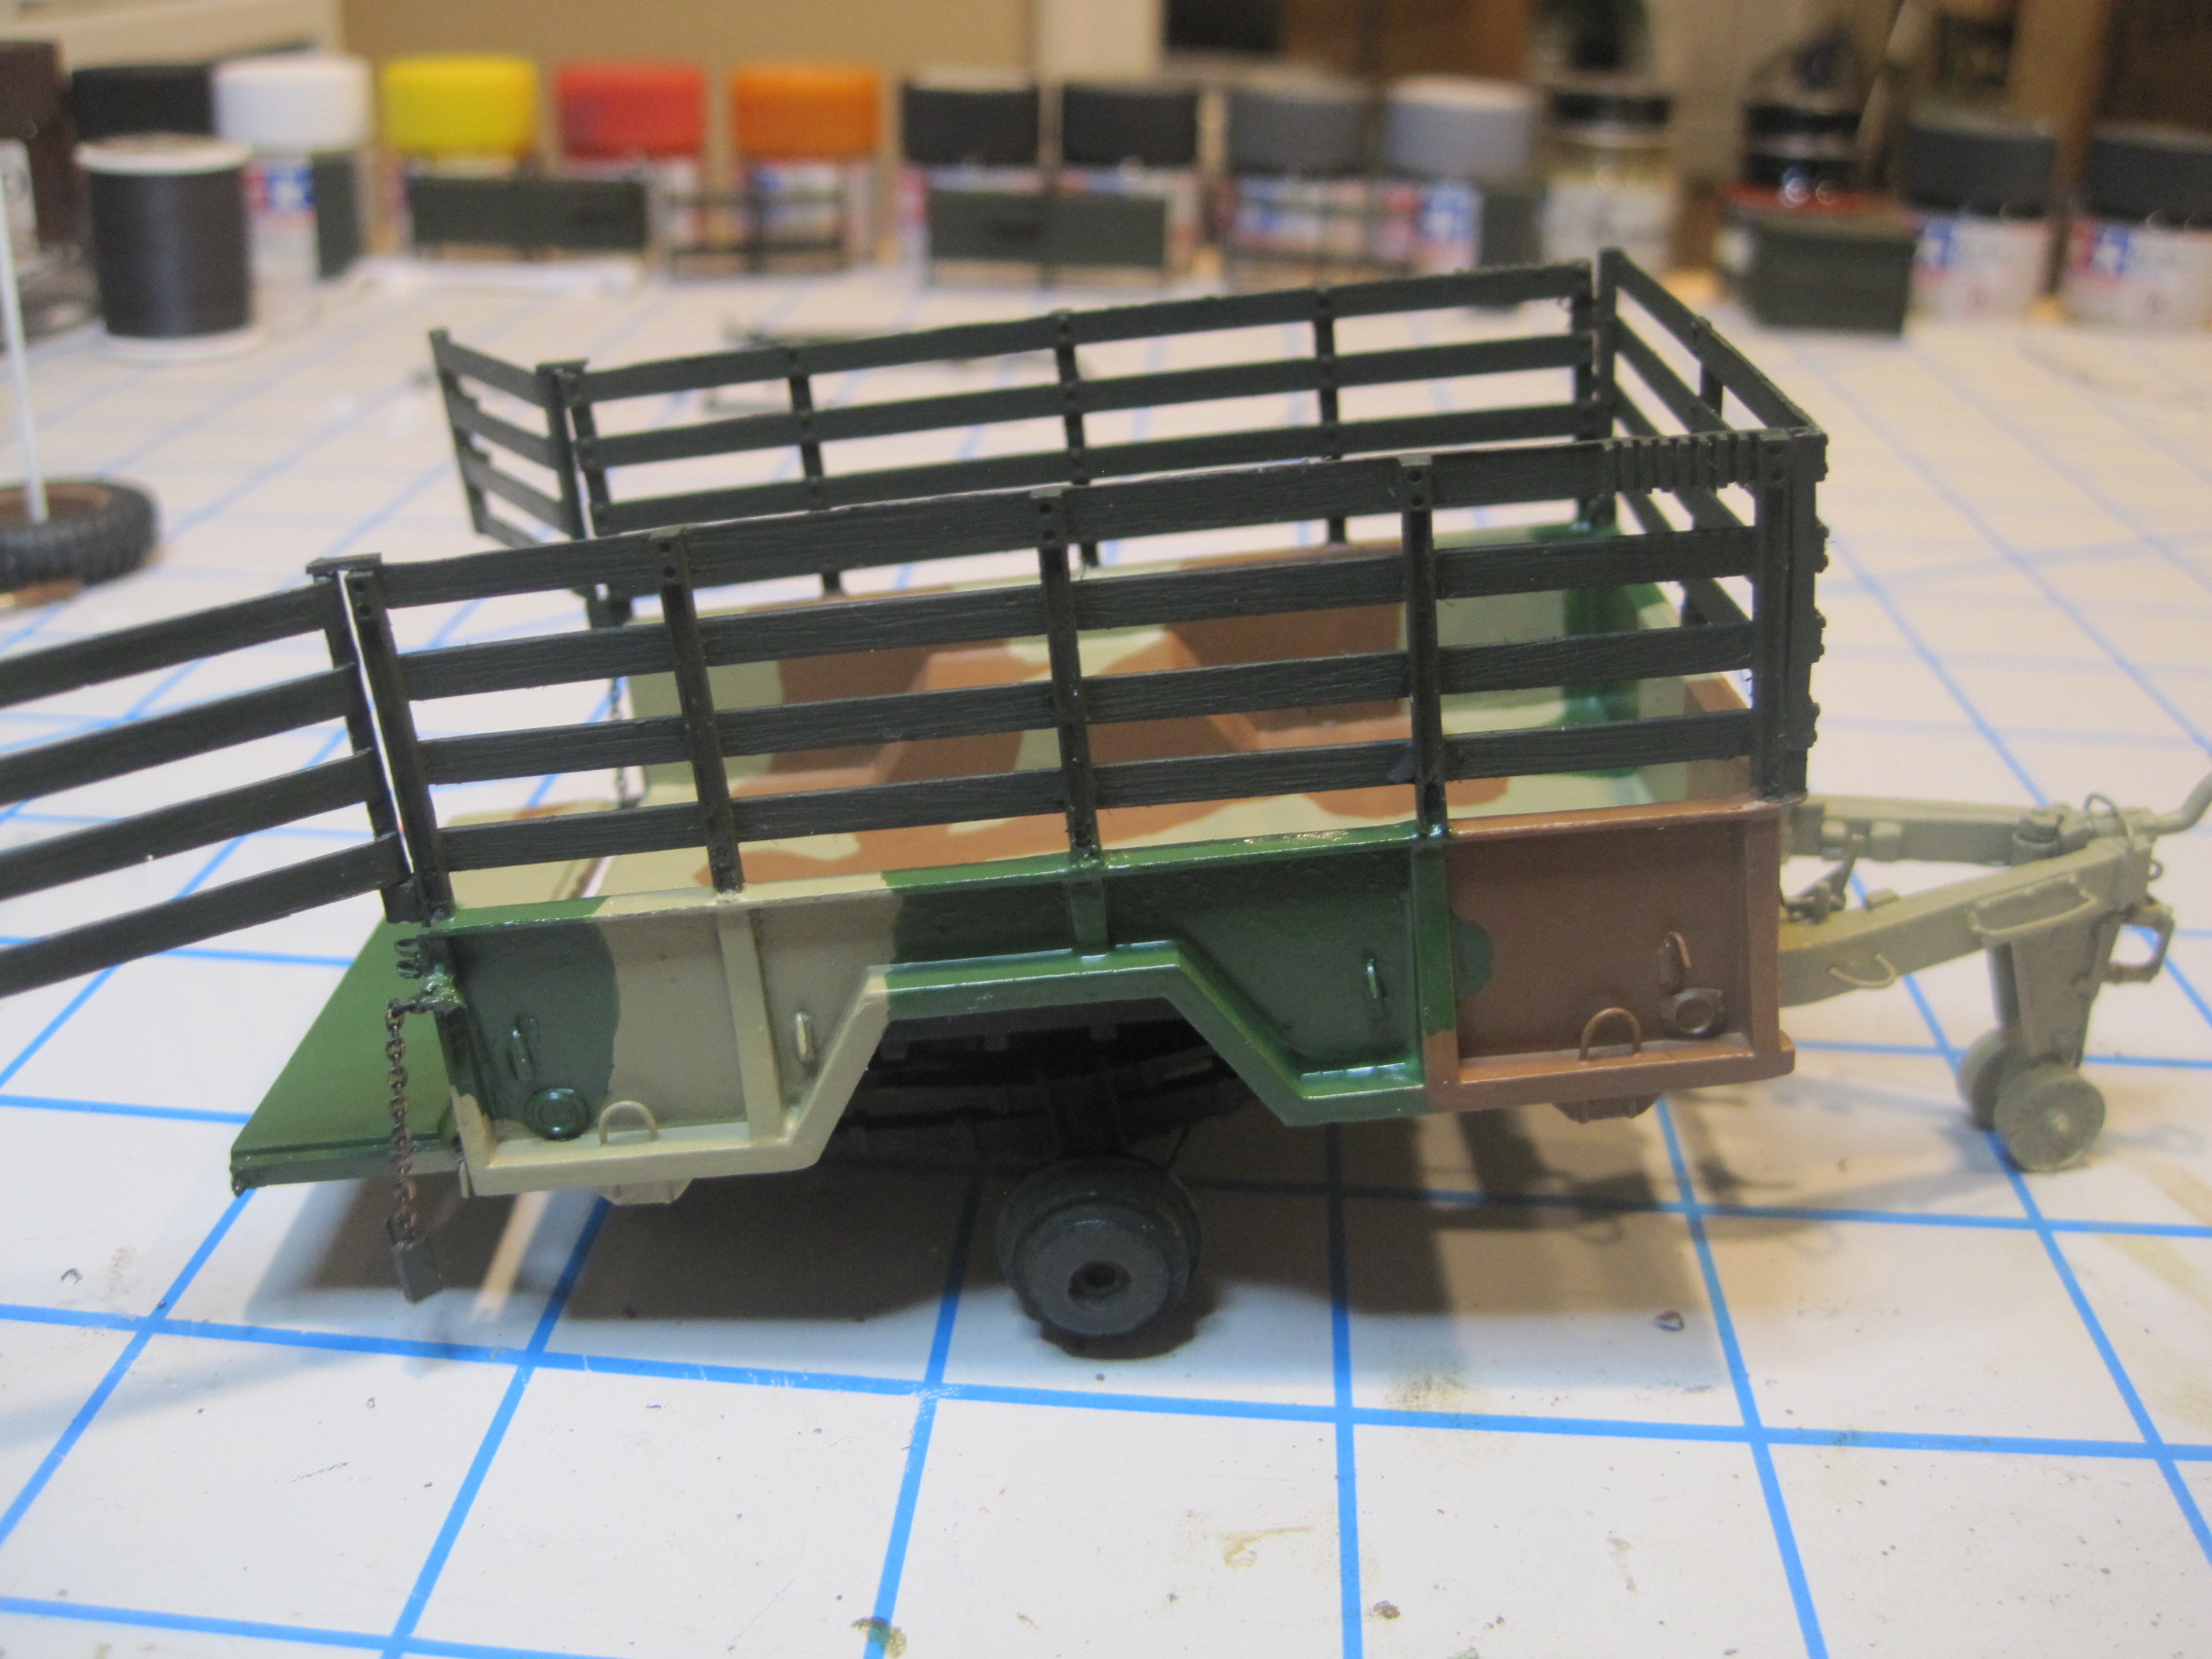
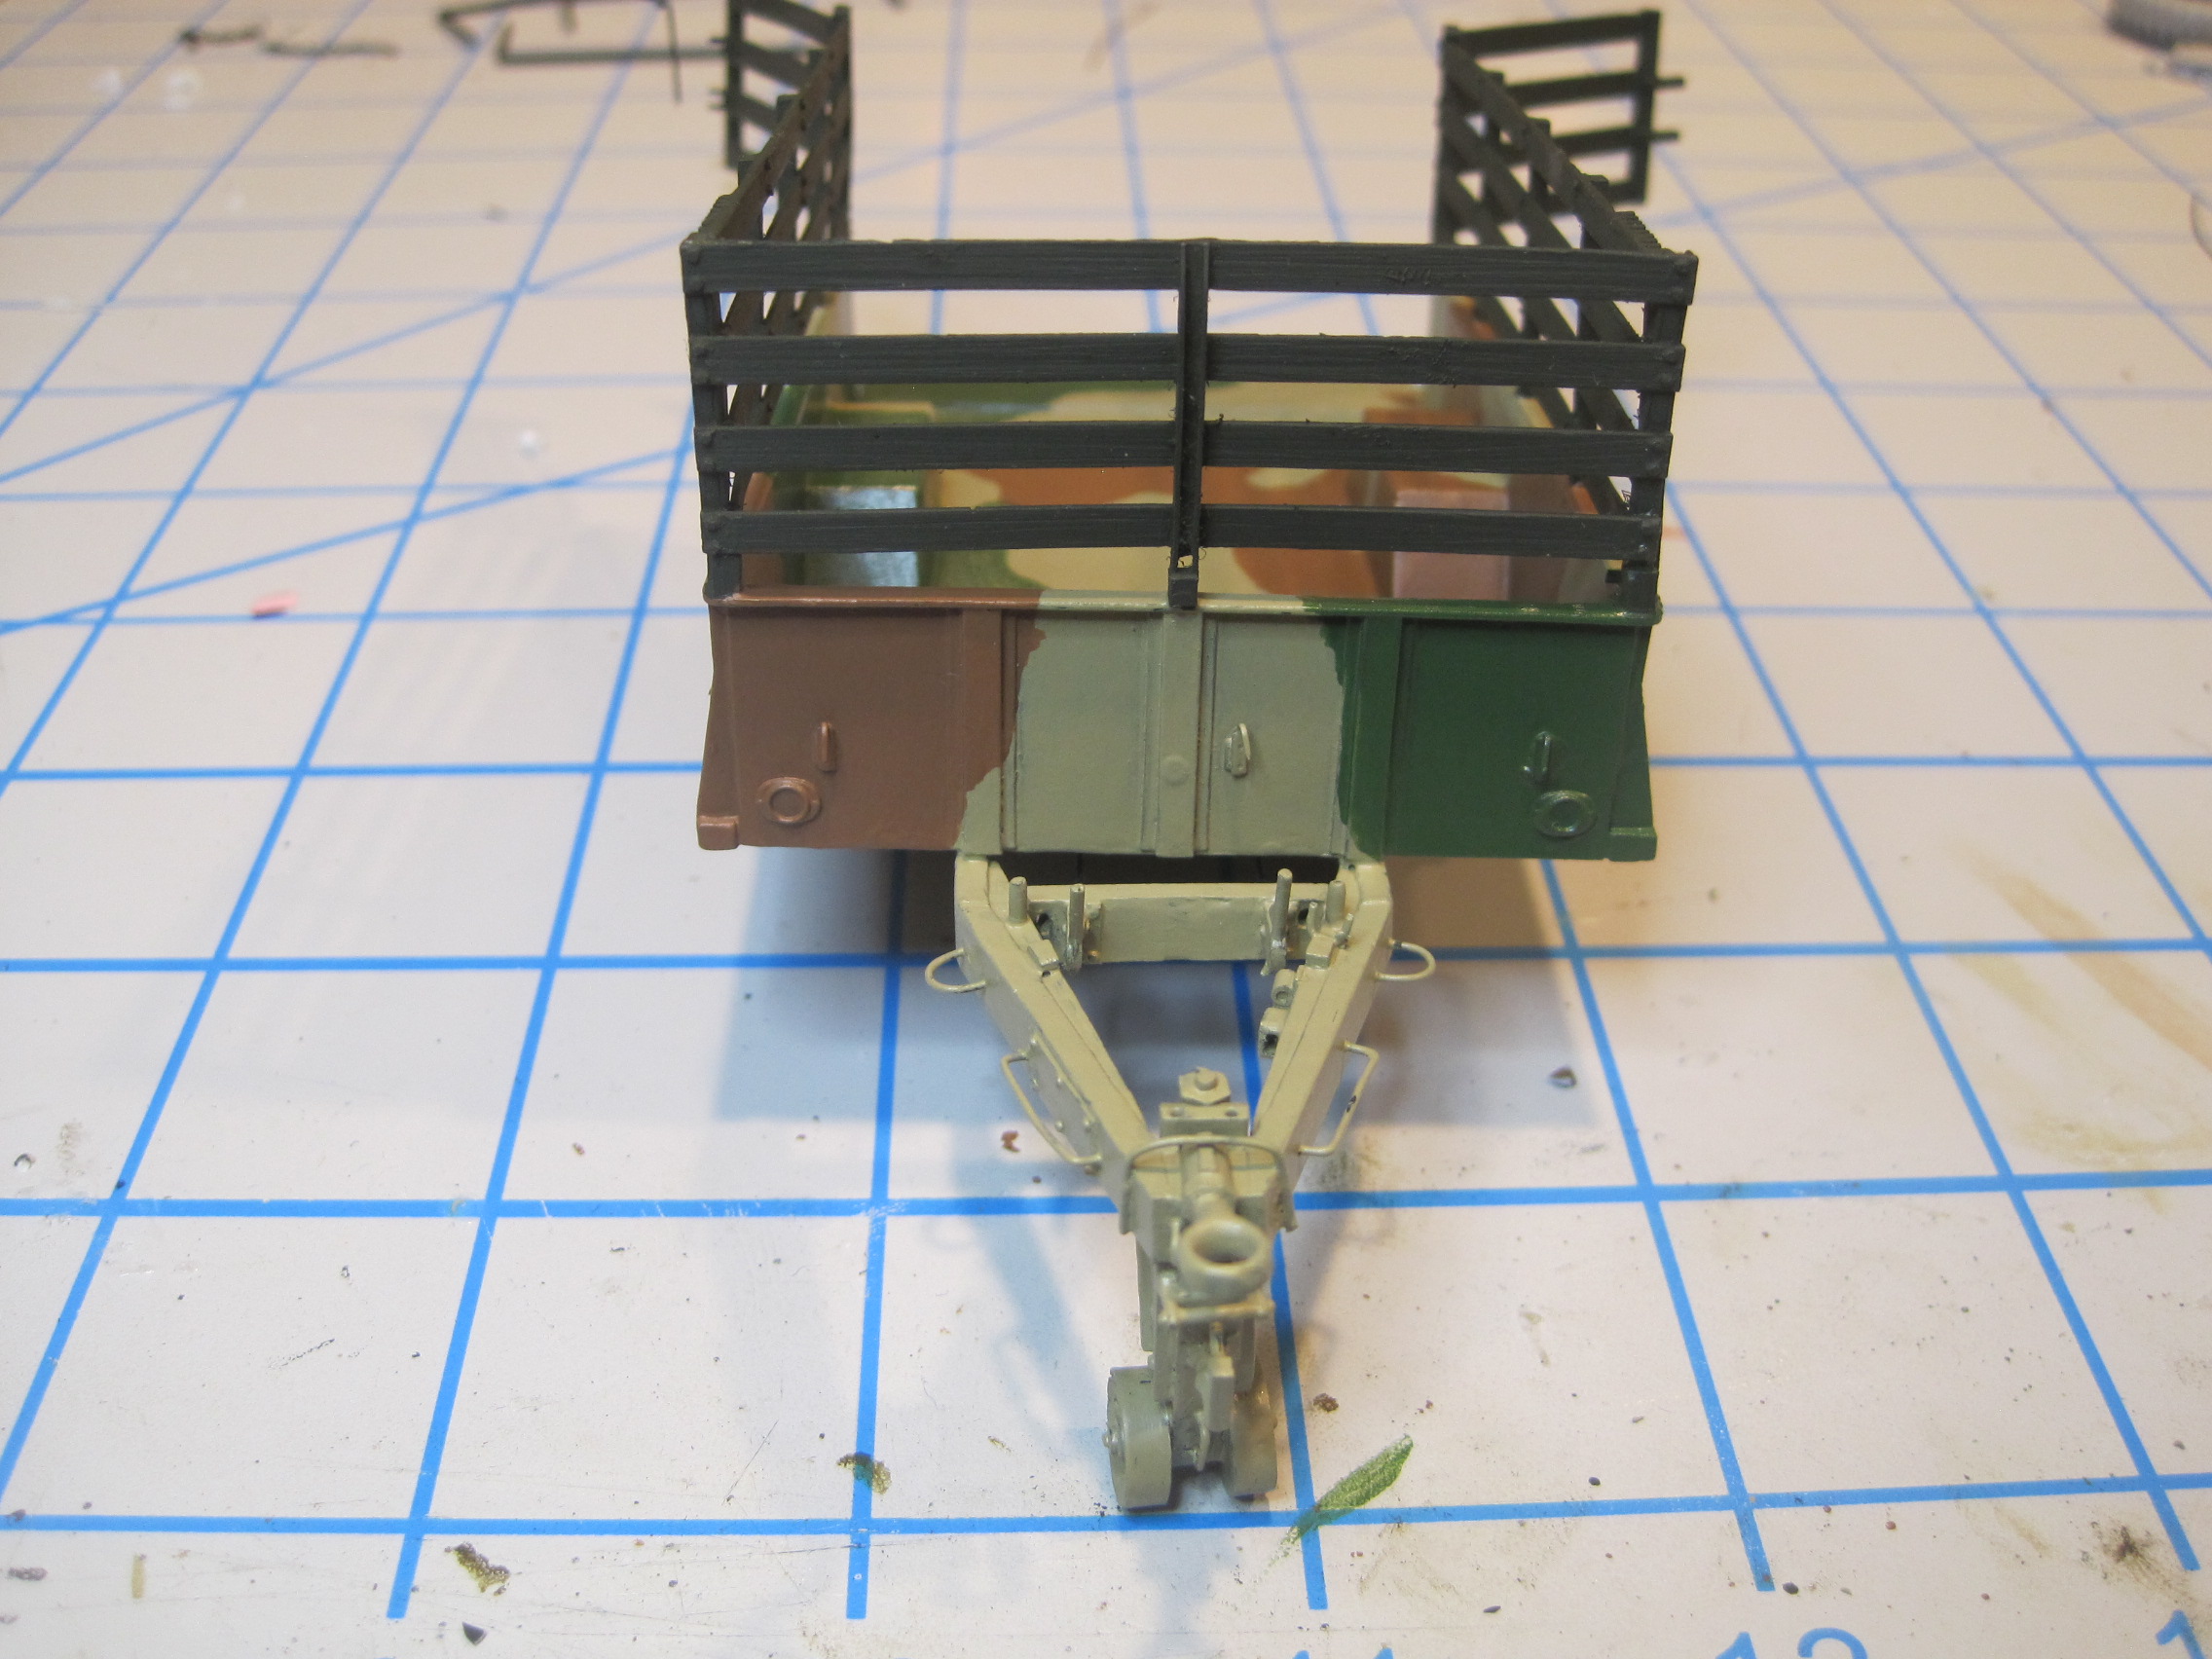
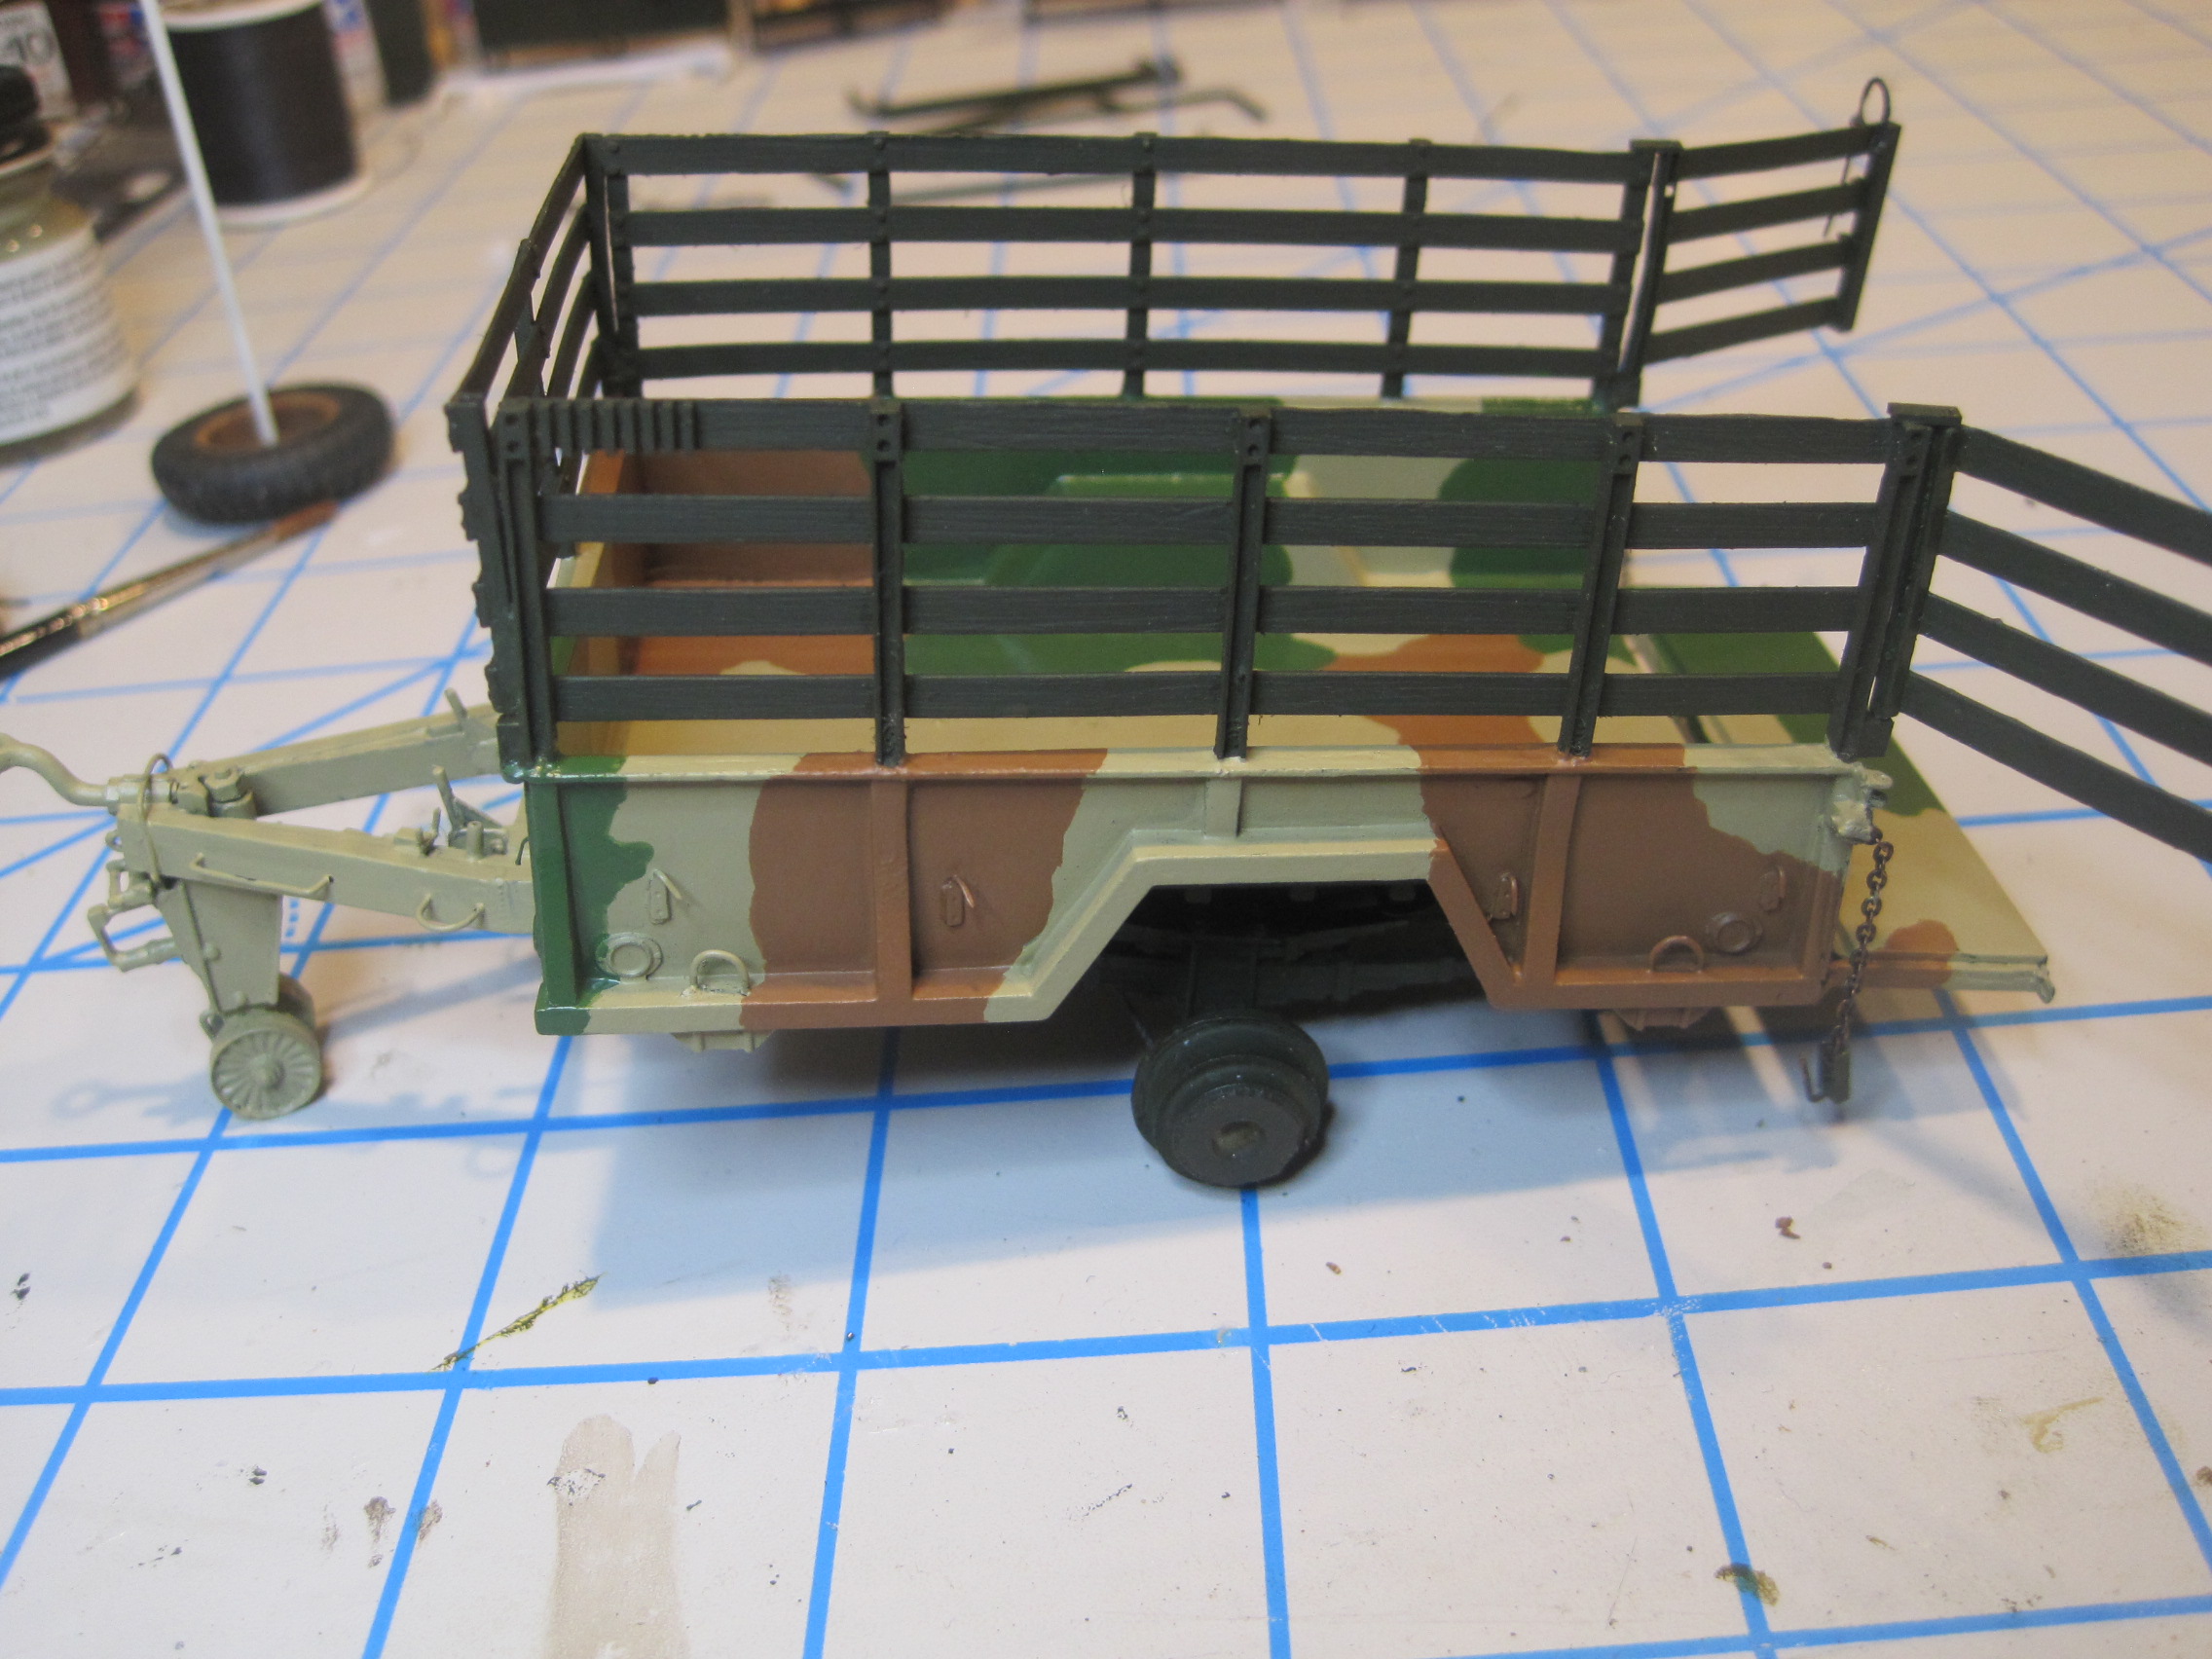
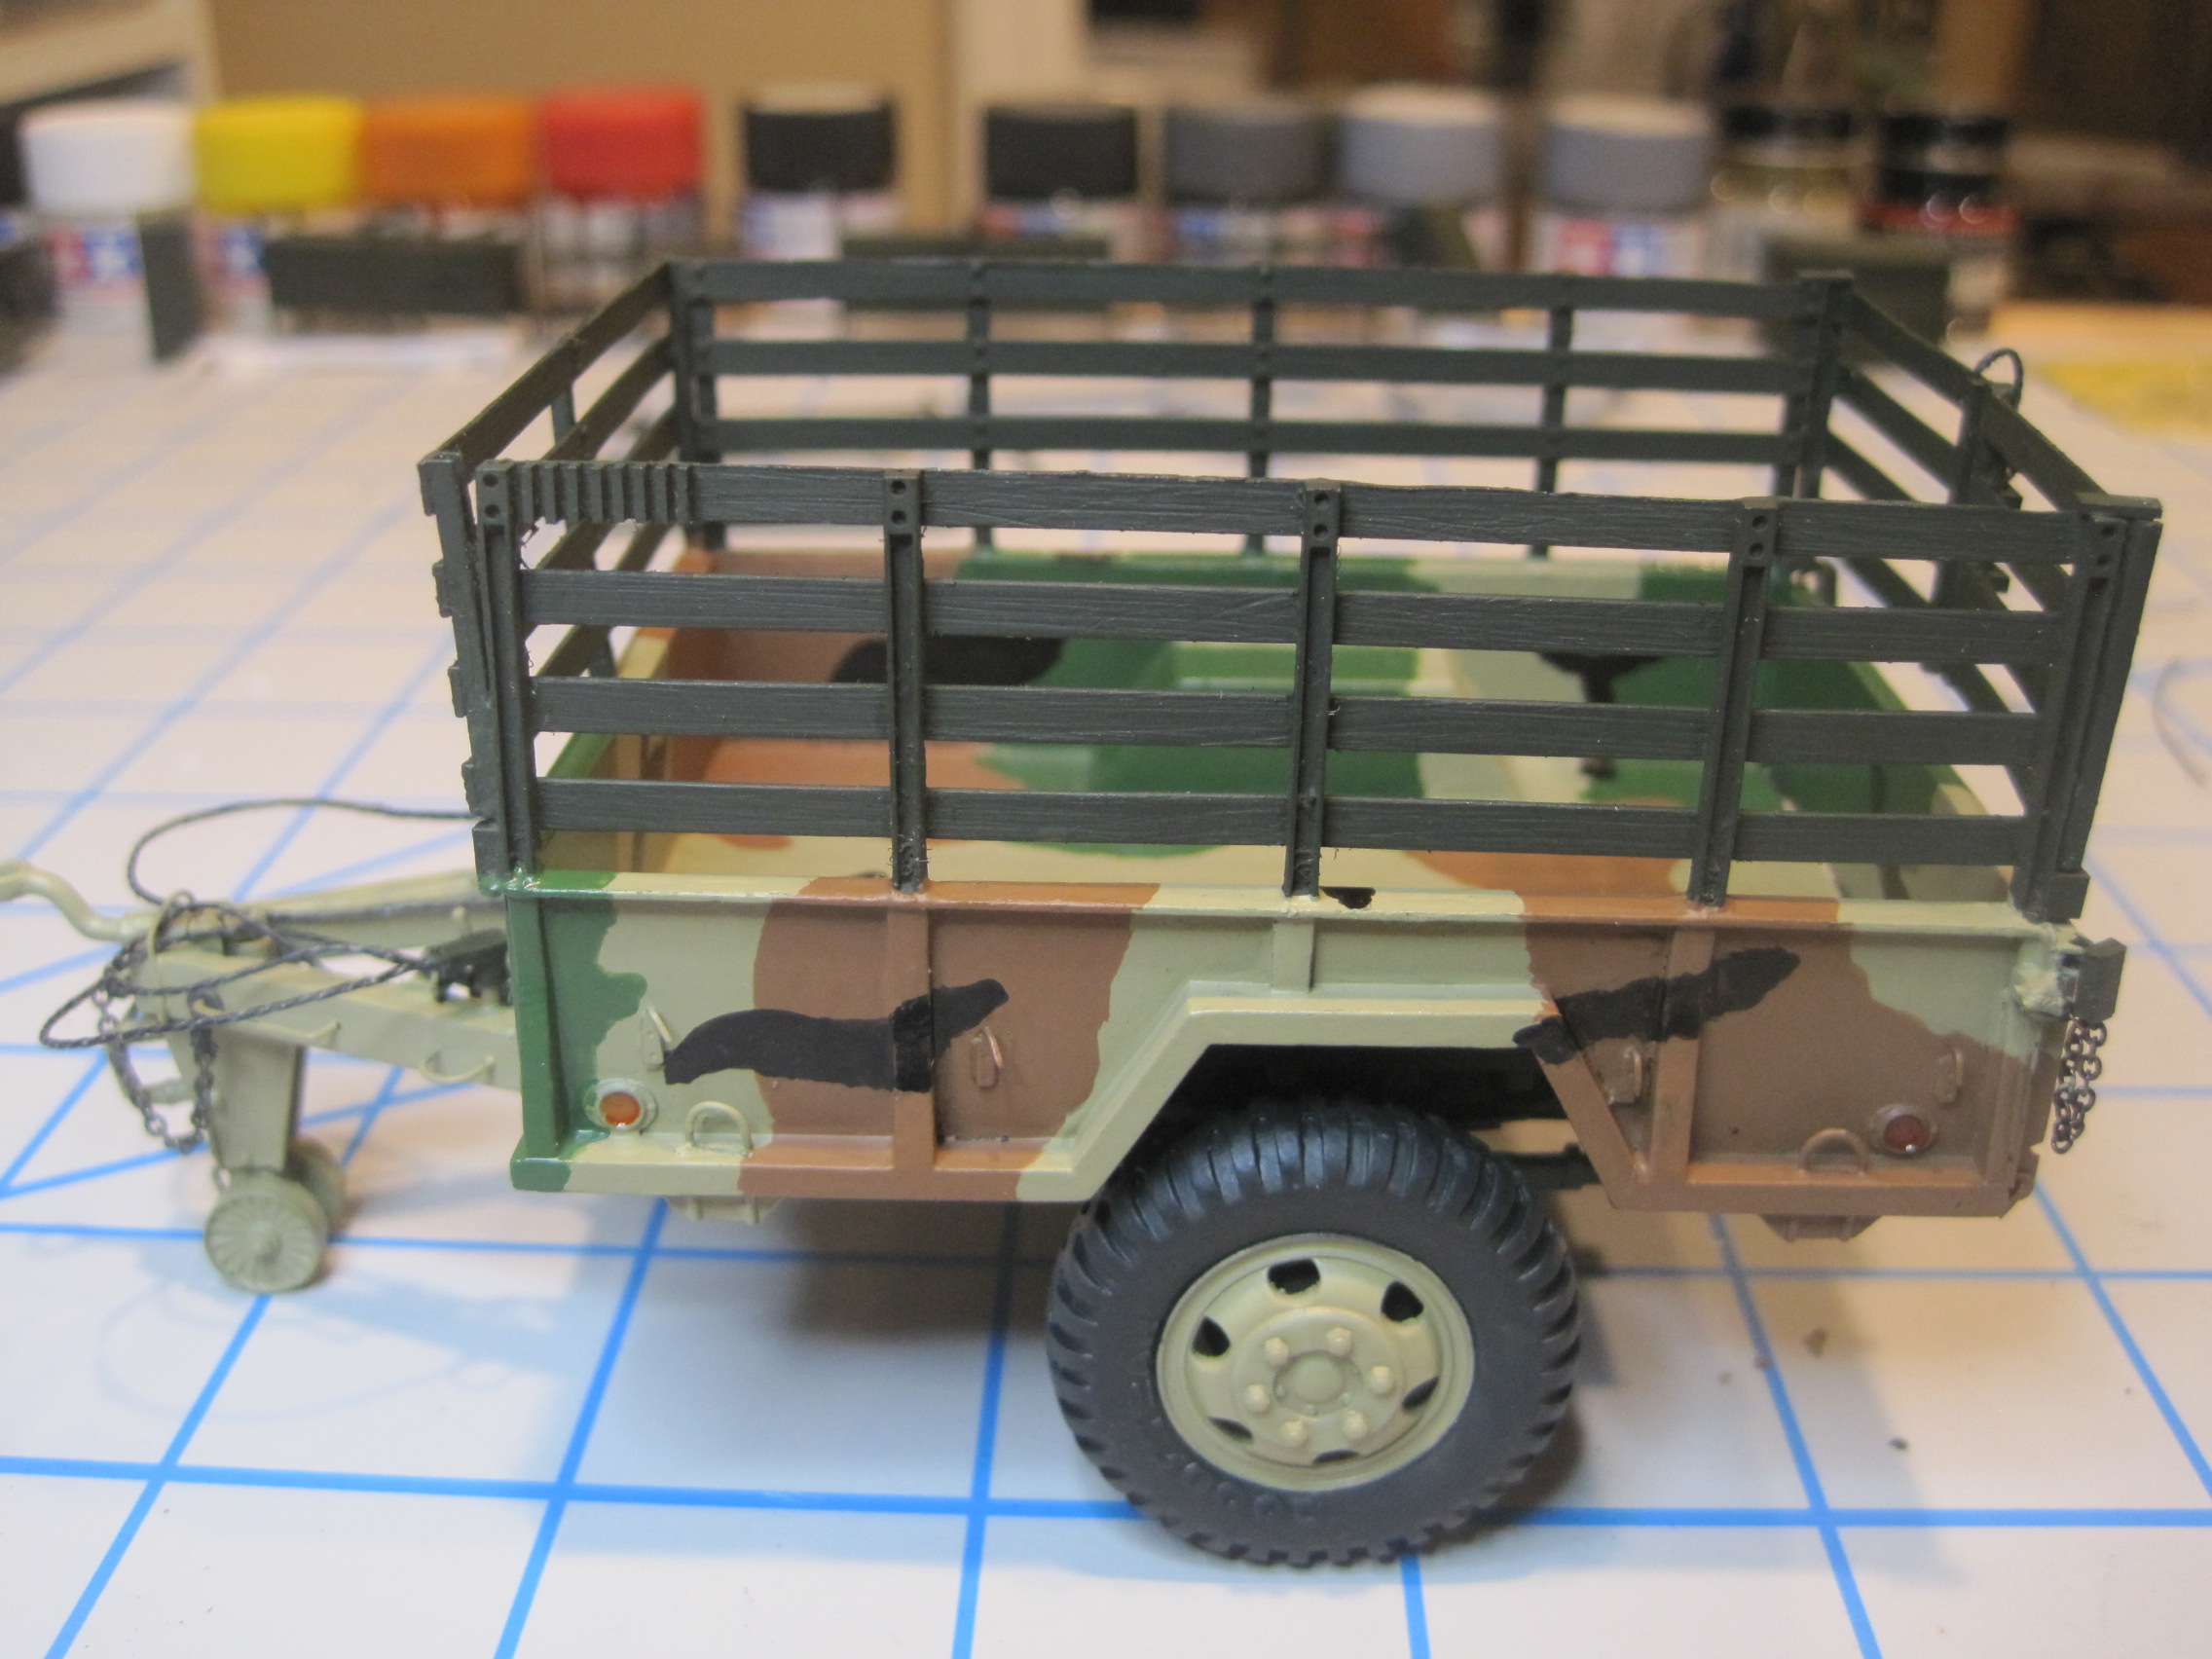
Today I applied the MASSTER paint scheme. I had already done an M105 earlier, and had the patterns on that one so I just copied them on this. The colors in the photo don’t seem to match how it actually looks, but I’m sure that’s the color temperature of the lighting. Once I’ve completed everything, I’ll give it a good wash to weather it and it should look a lot more true to life. One other color note, the reflectors on the FRONT corners are actually done with Tamiya Clear Orange, and the ones on the BACK corners in Red, but they sure don’t look that way in the photos!
First is the Sand Color:
Followed by the Earth Red:
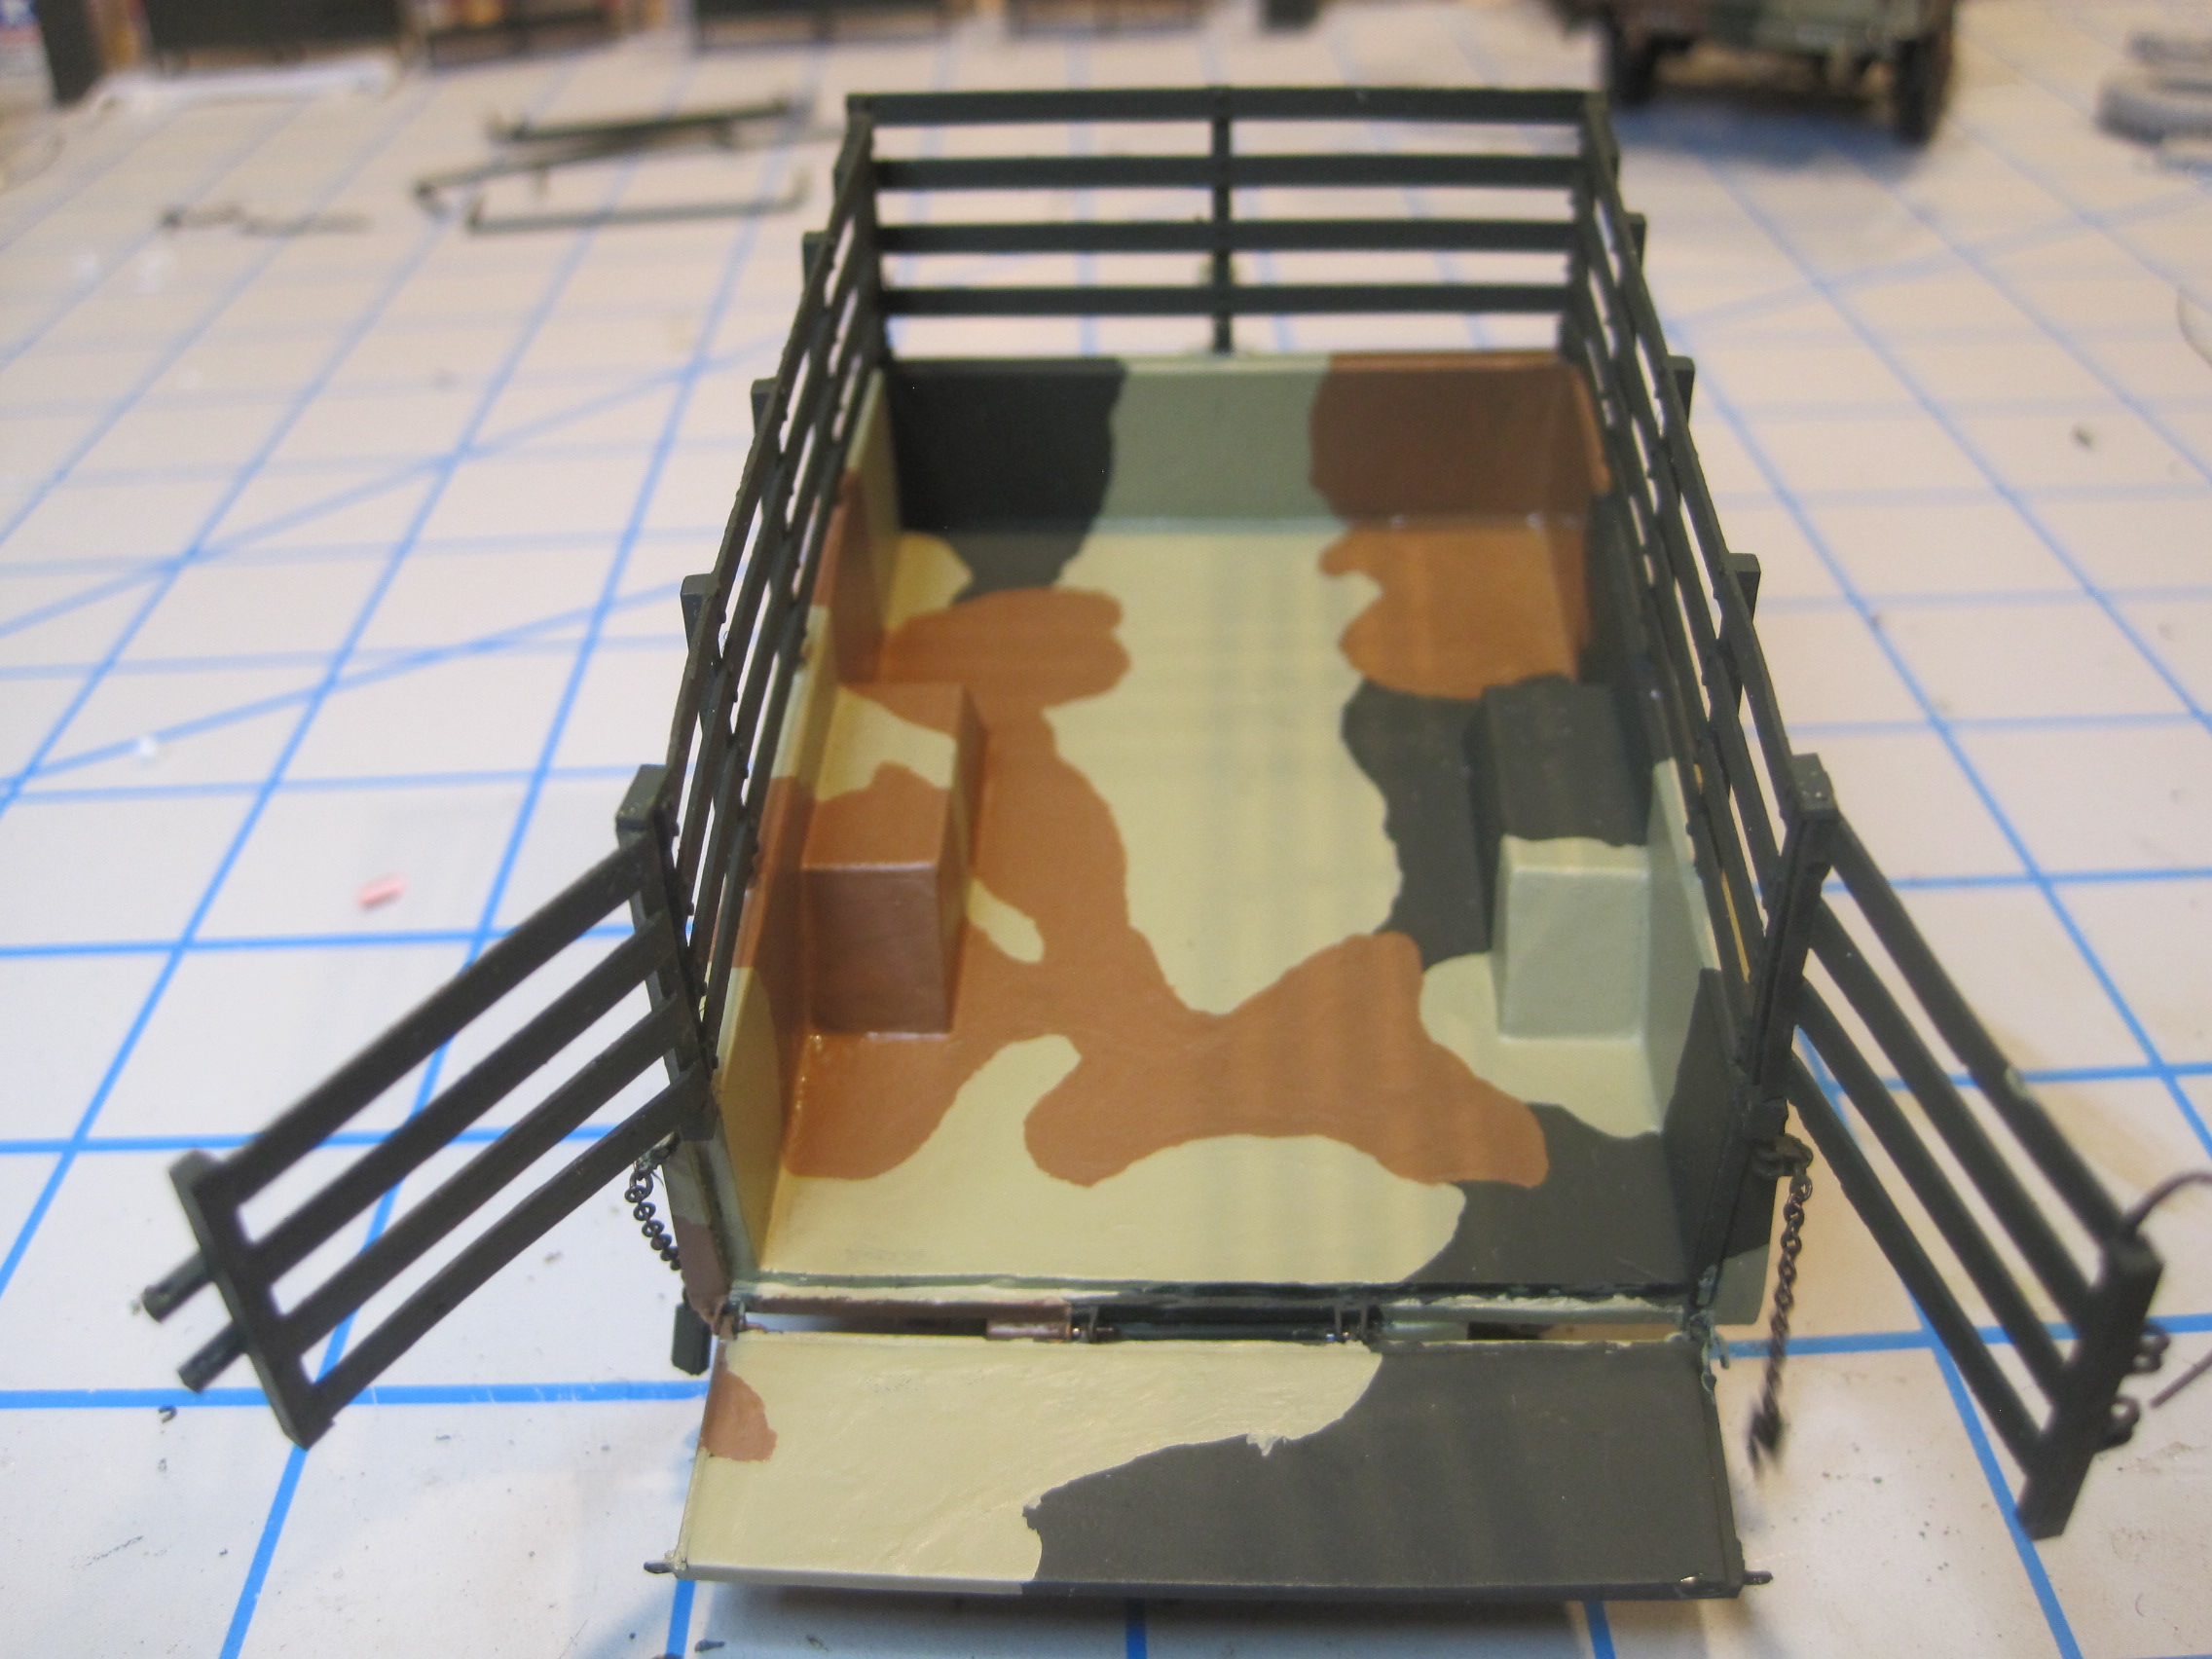
Then the Medium Green
And finally the Black disruptive areas.


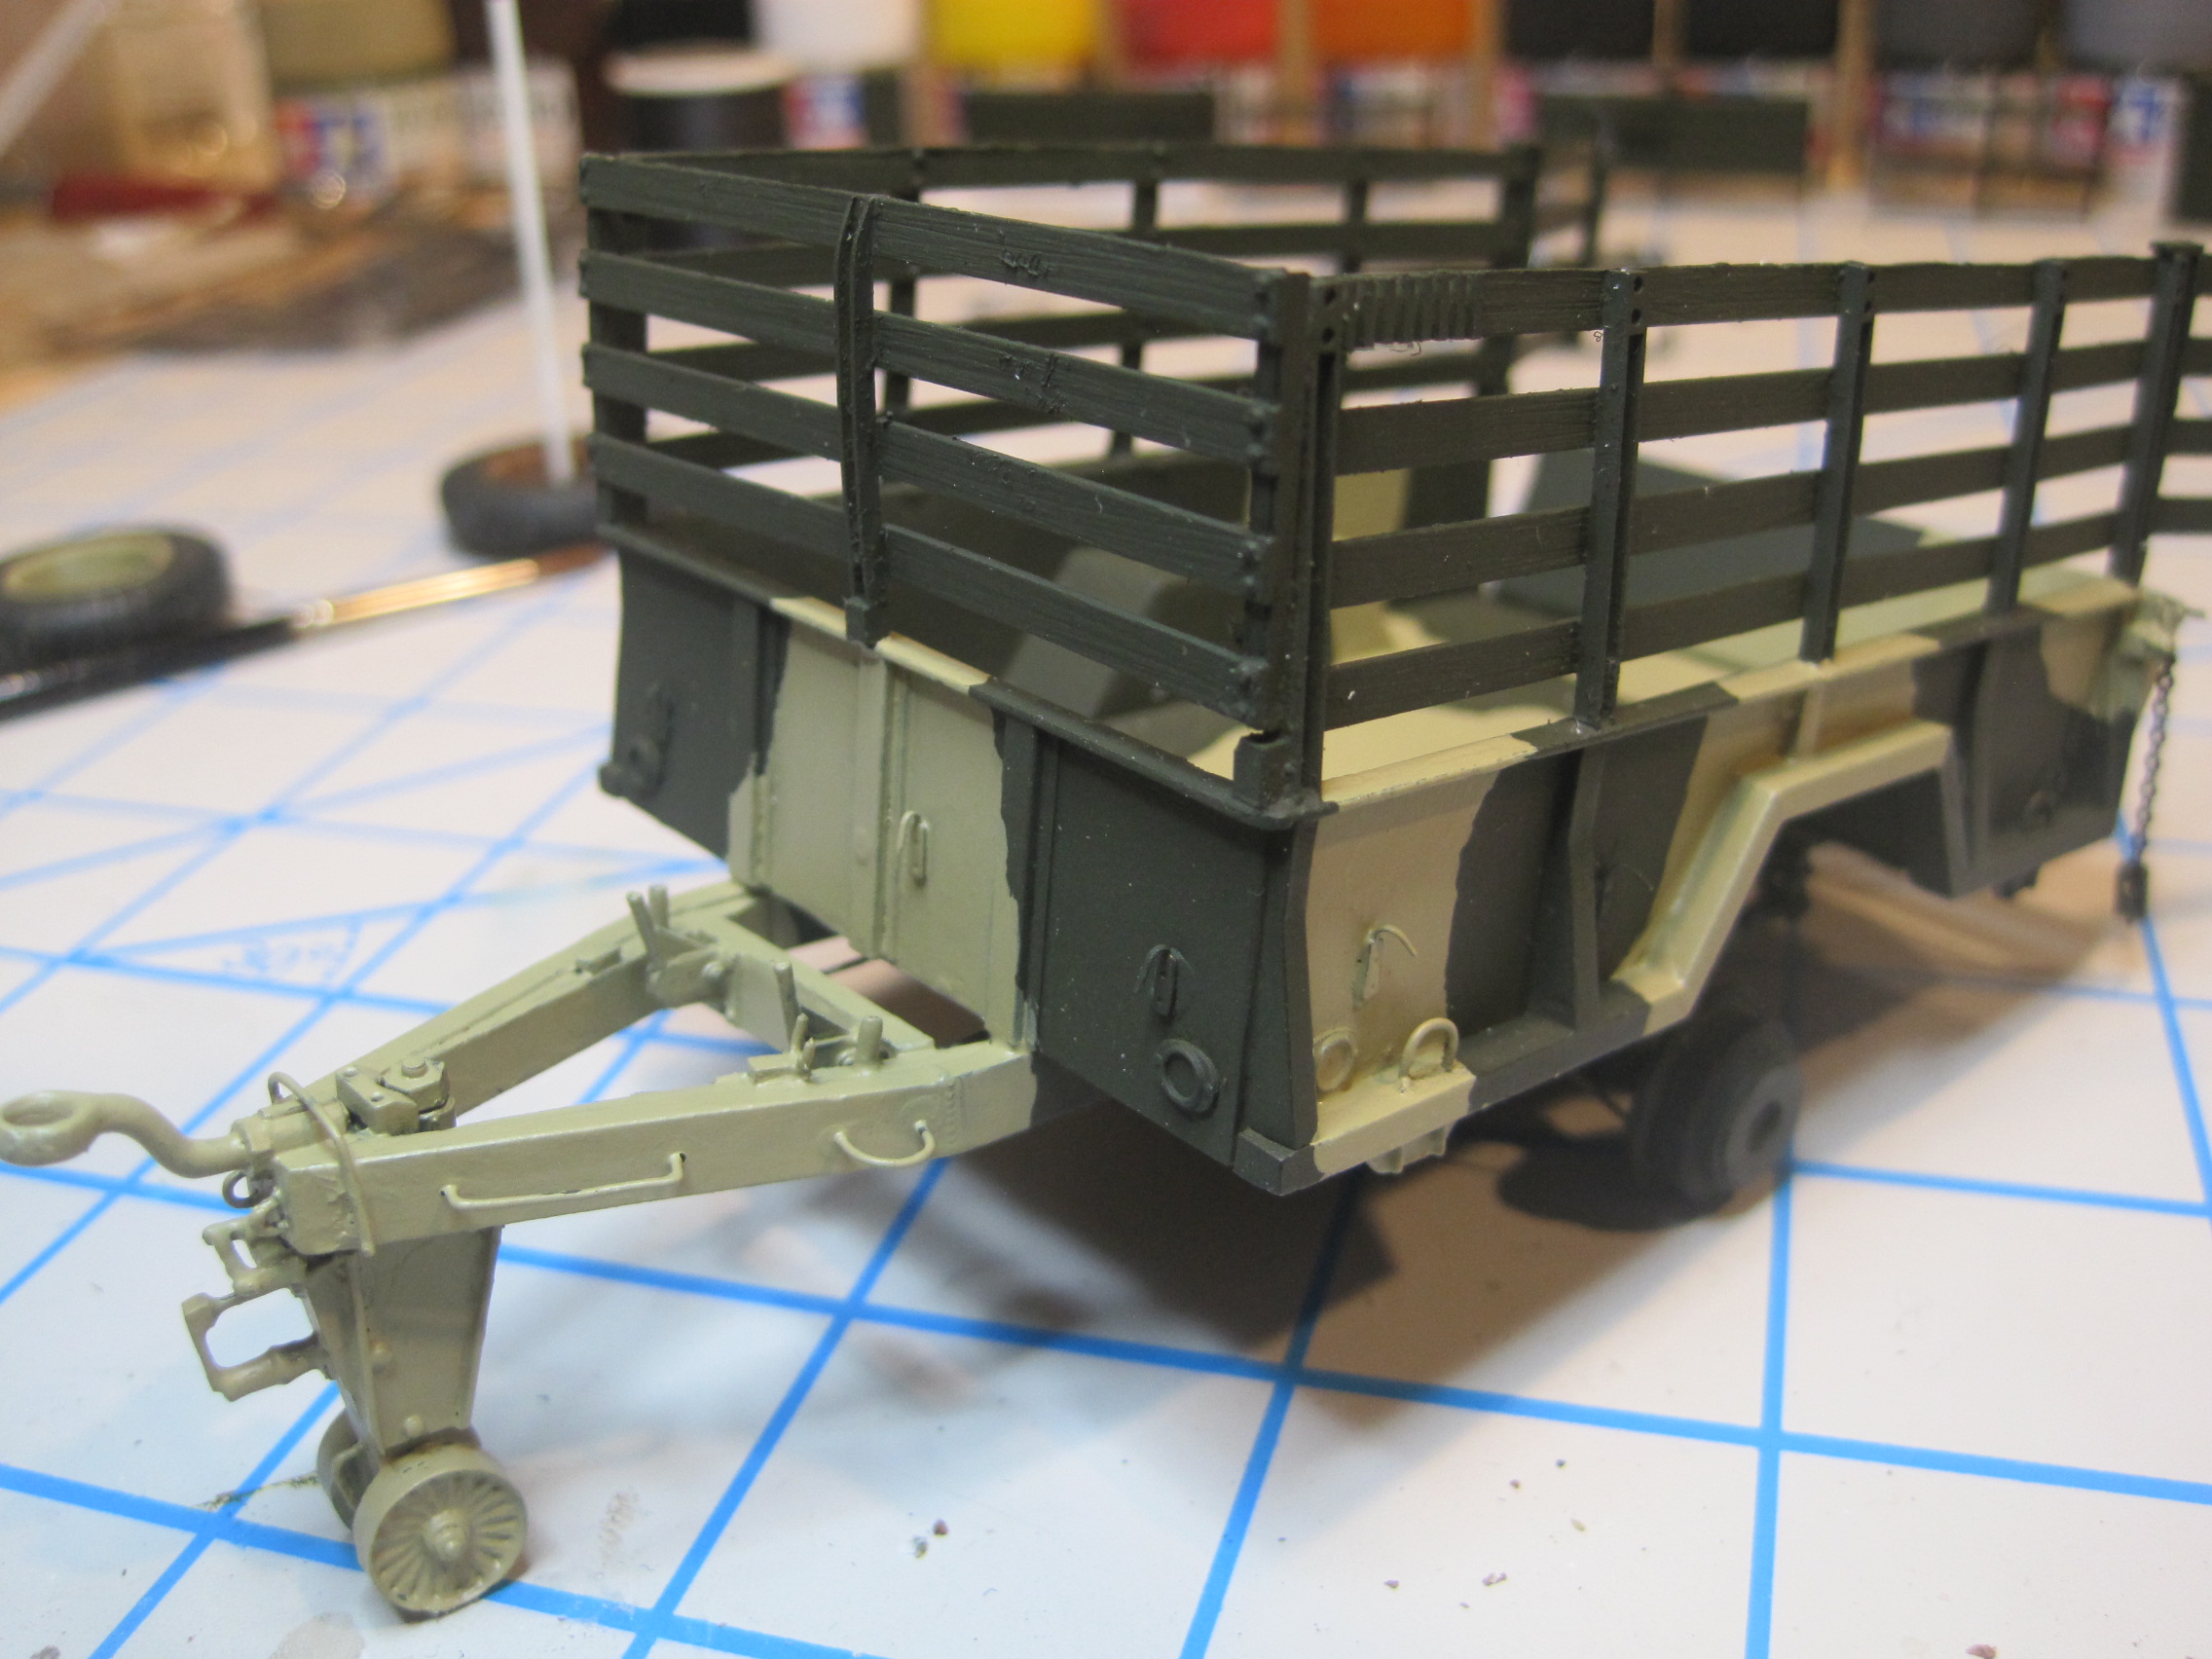
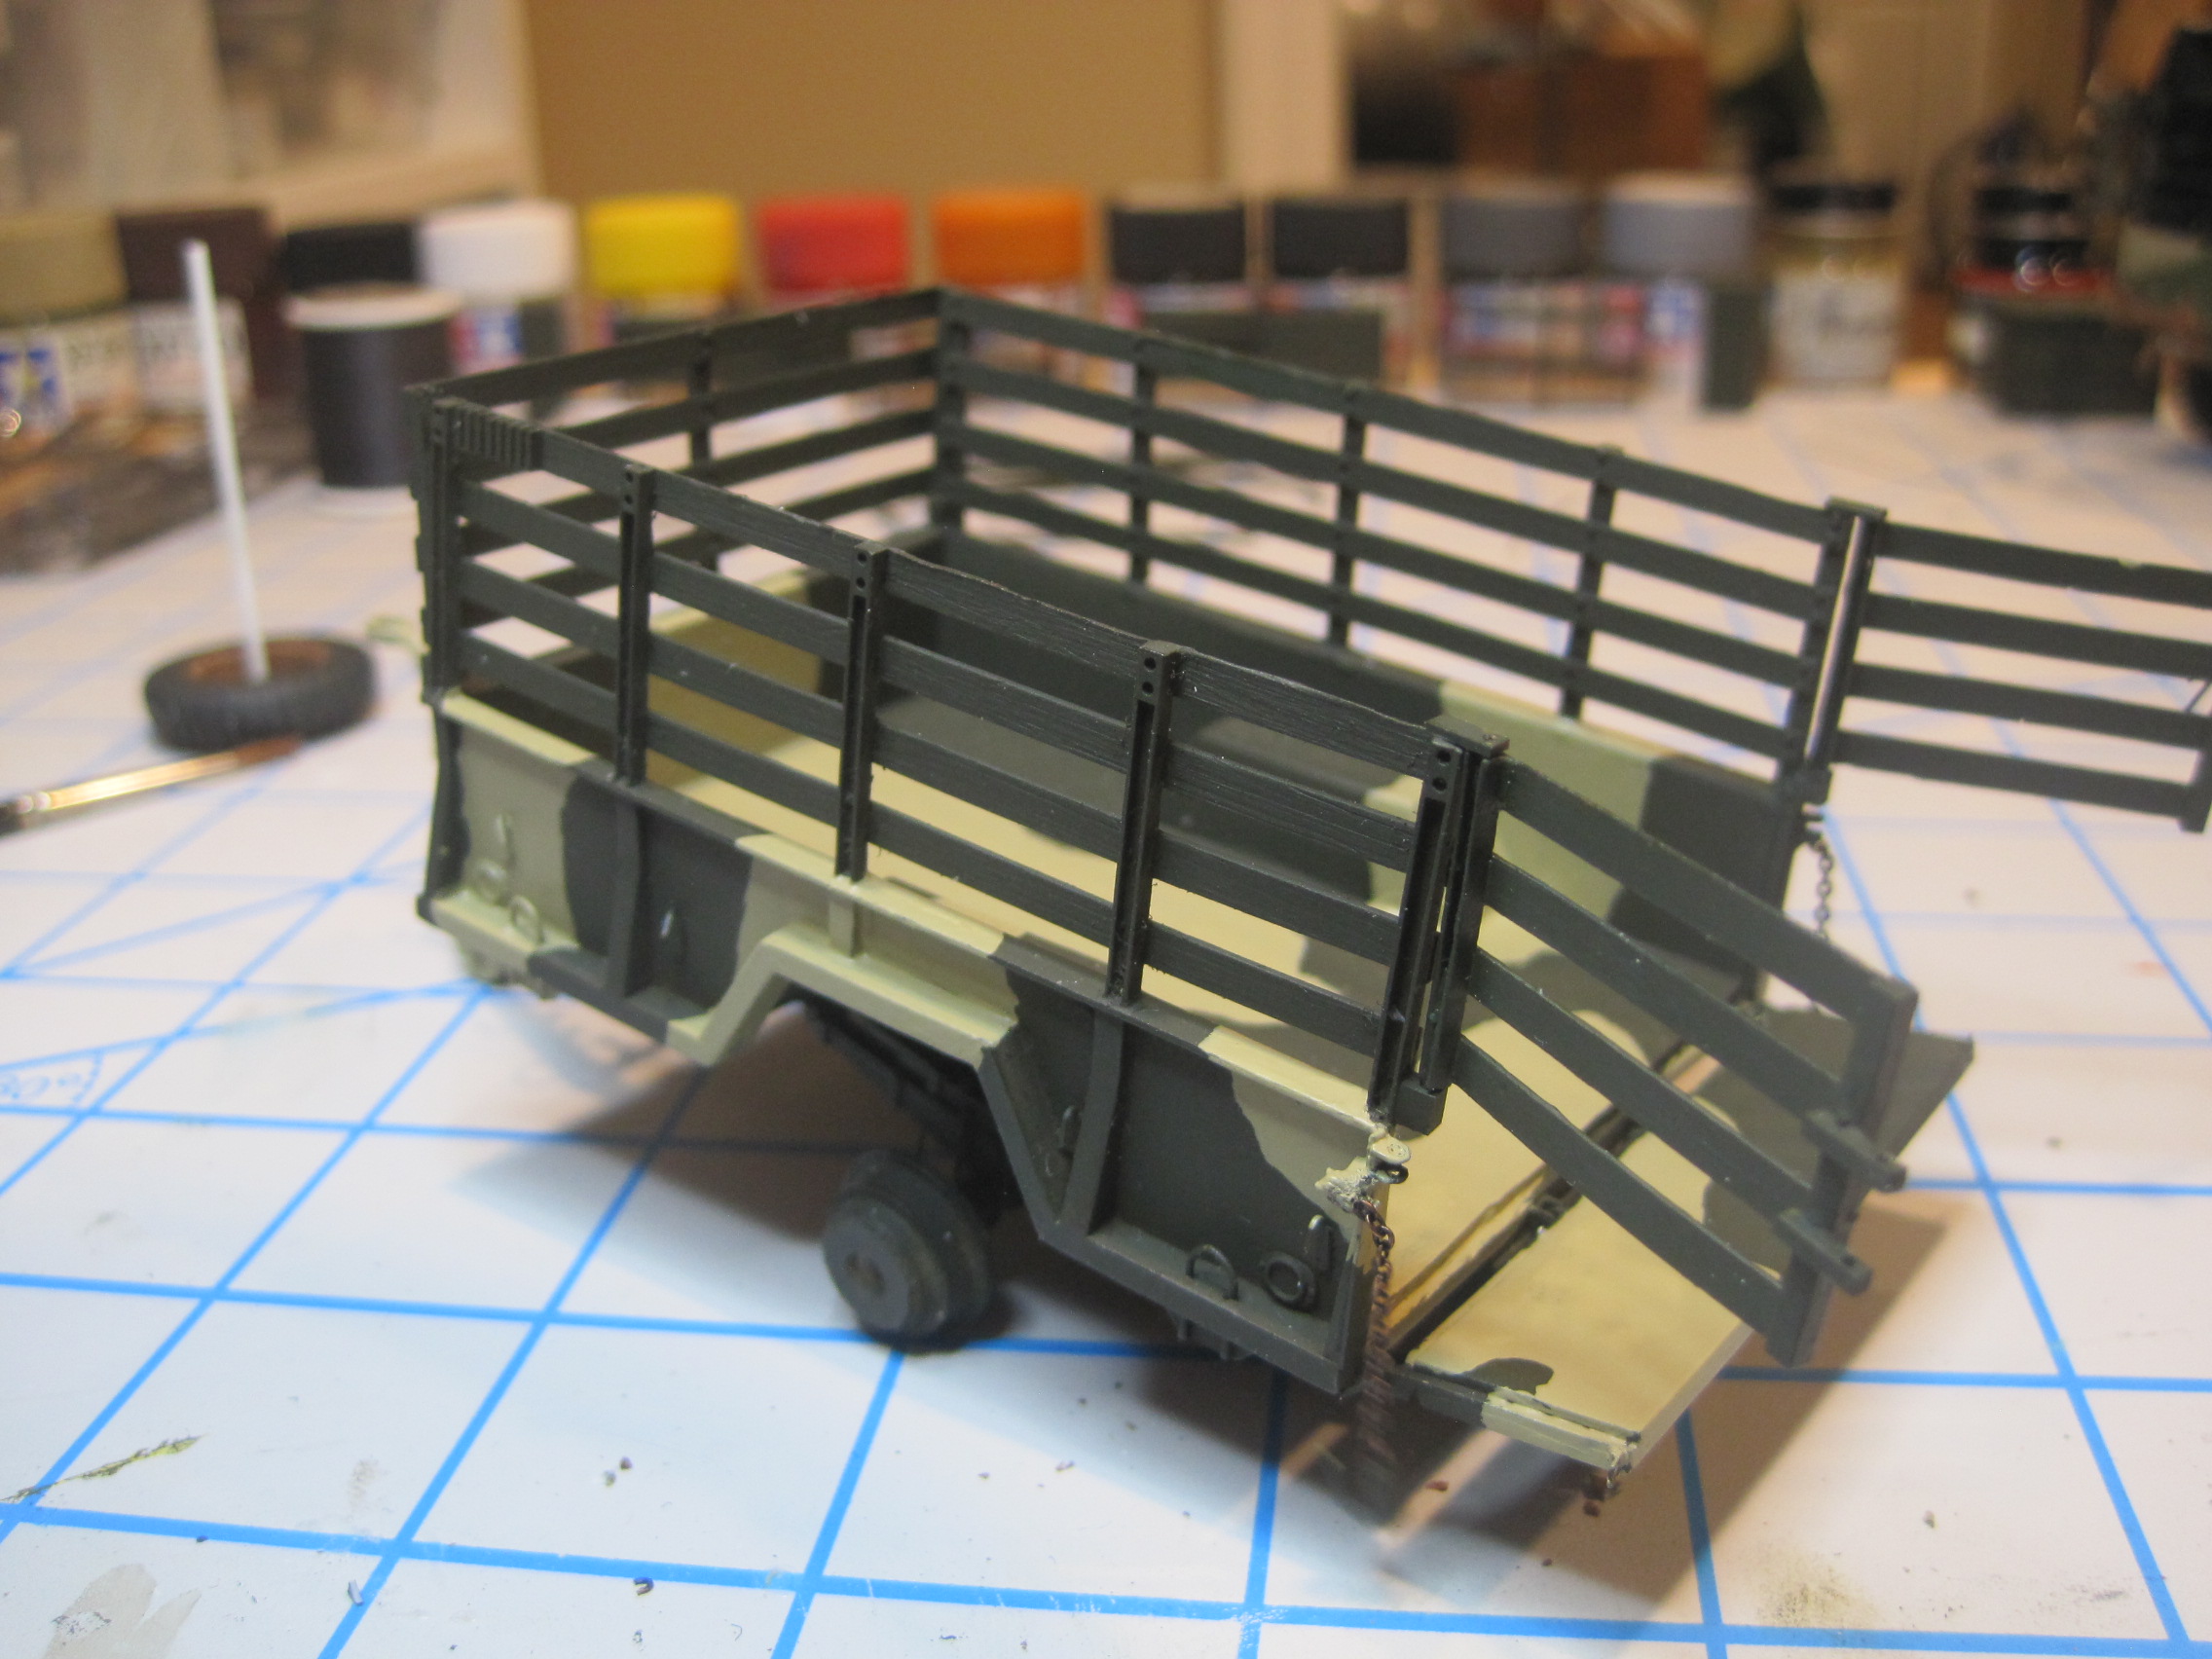
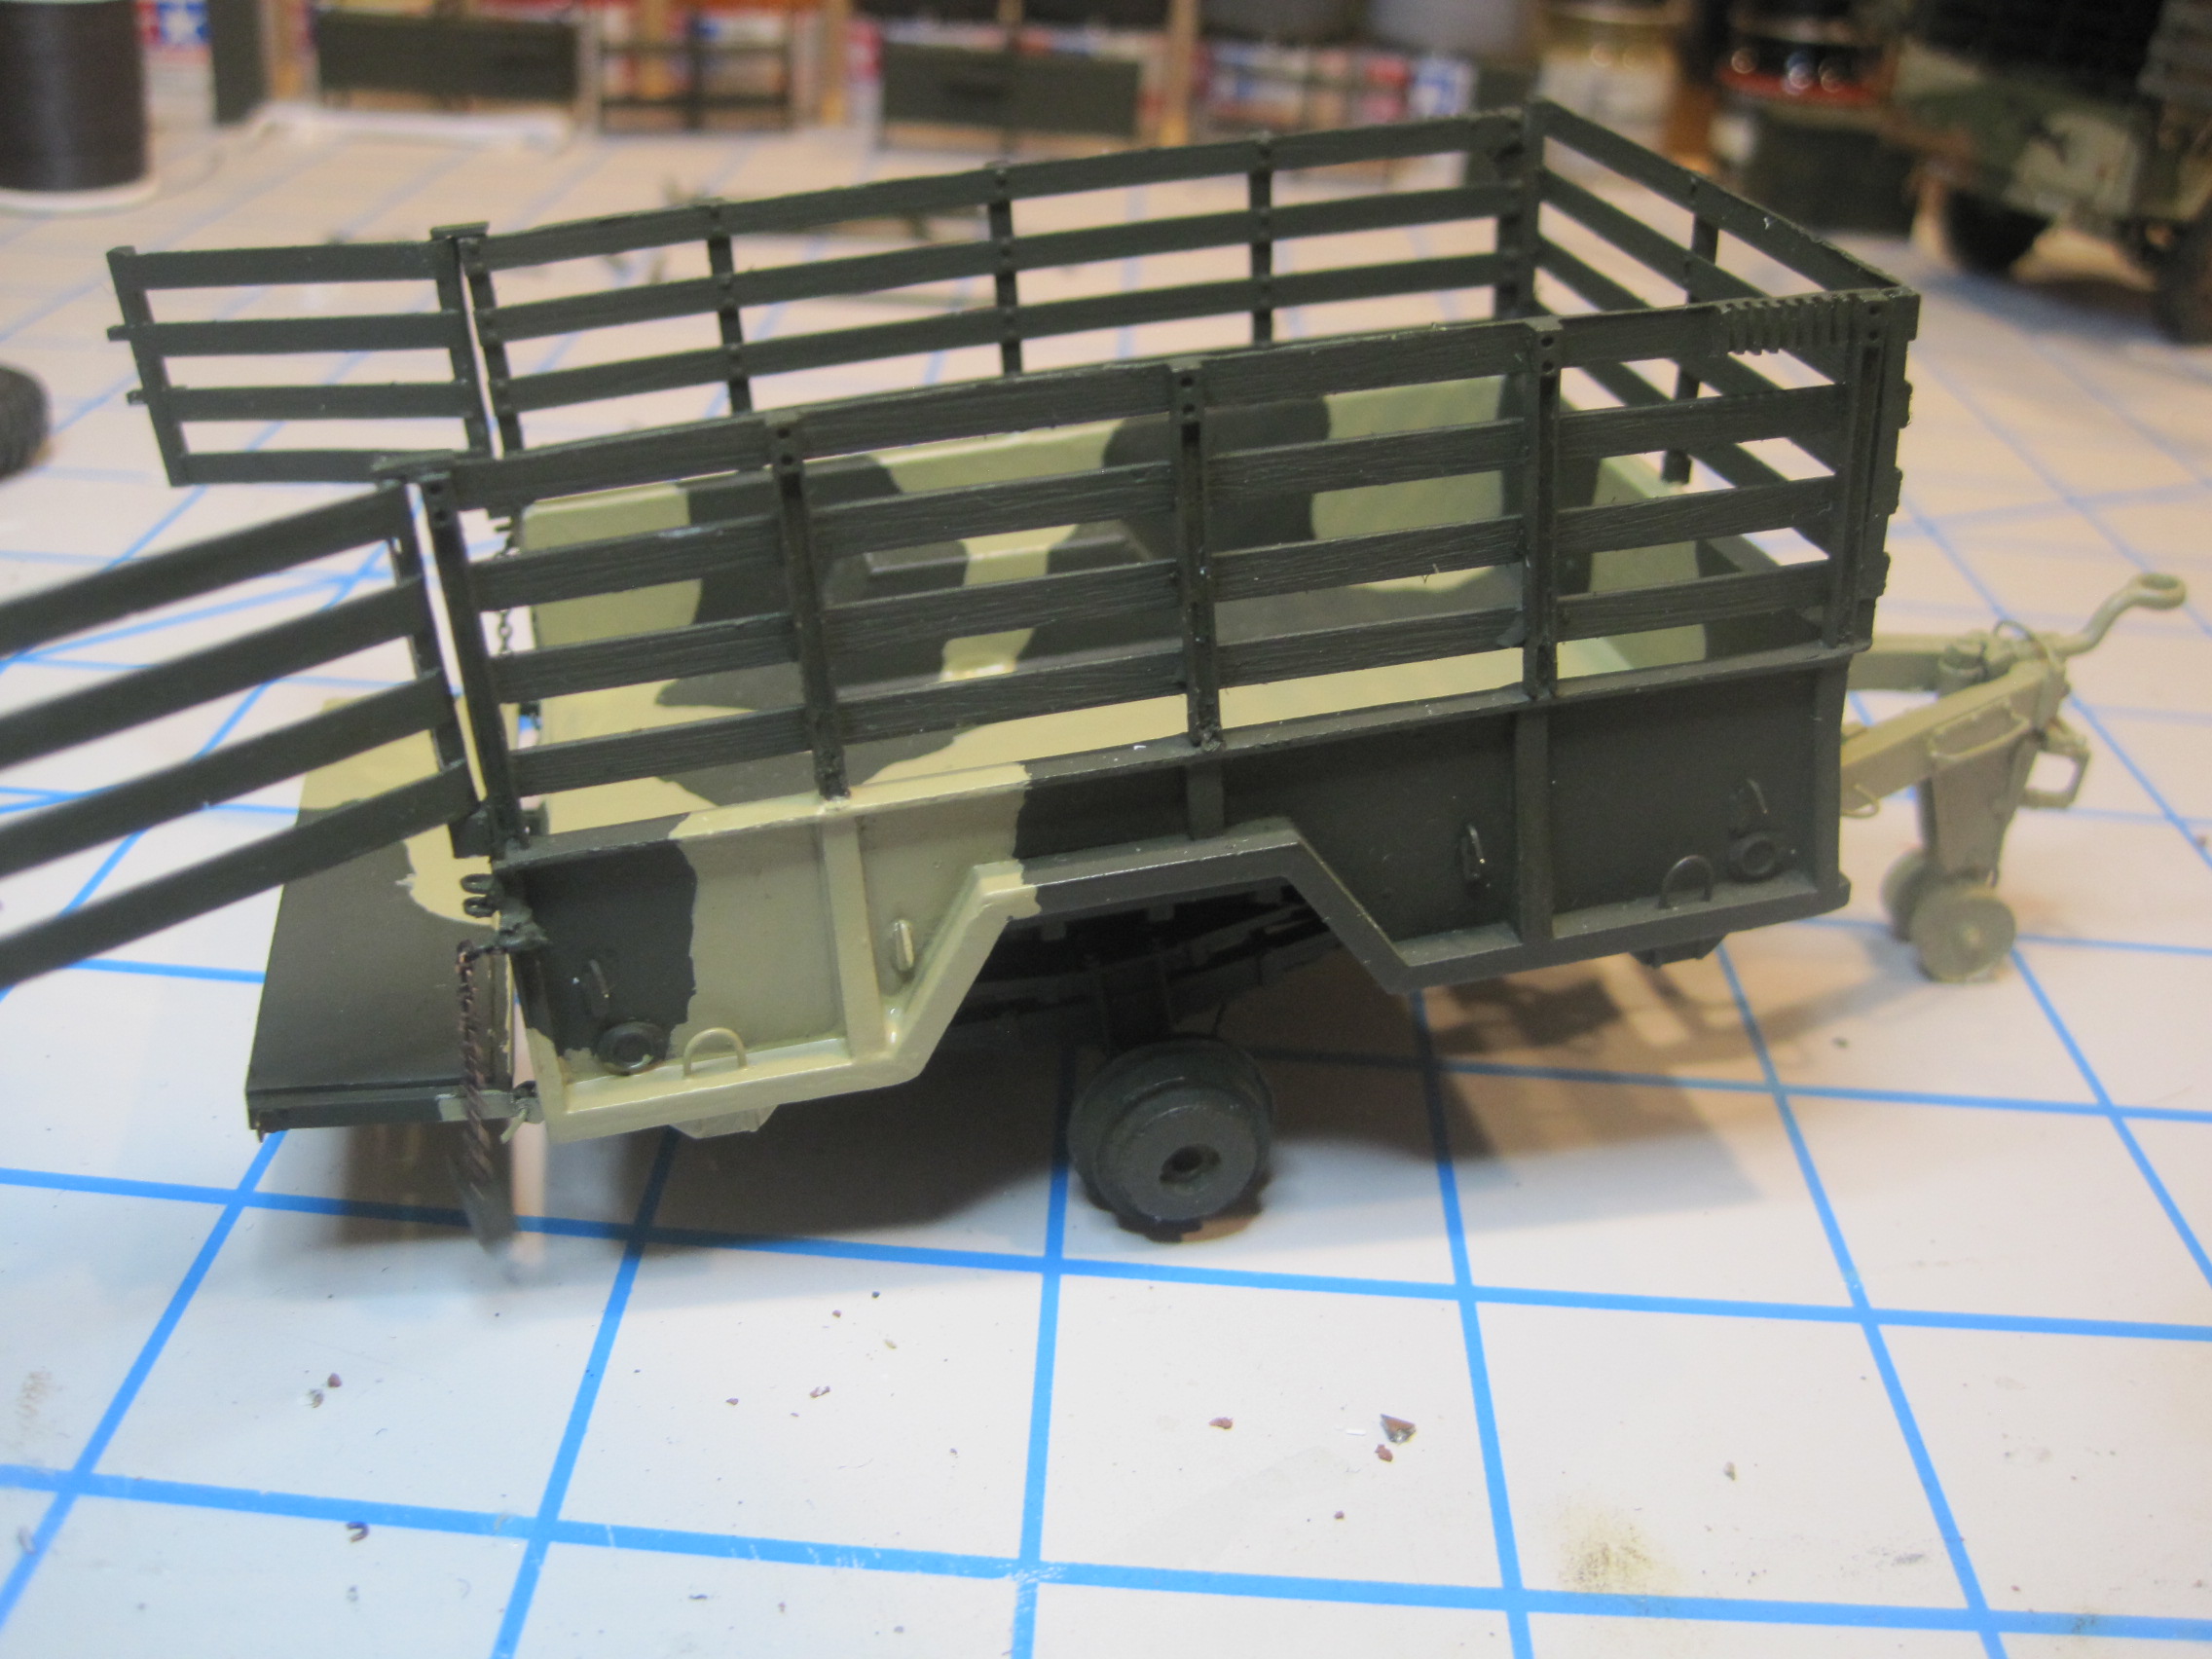
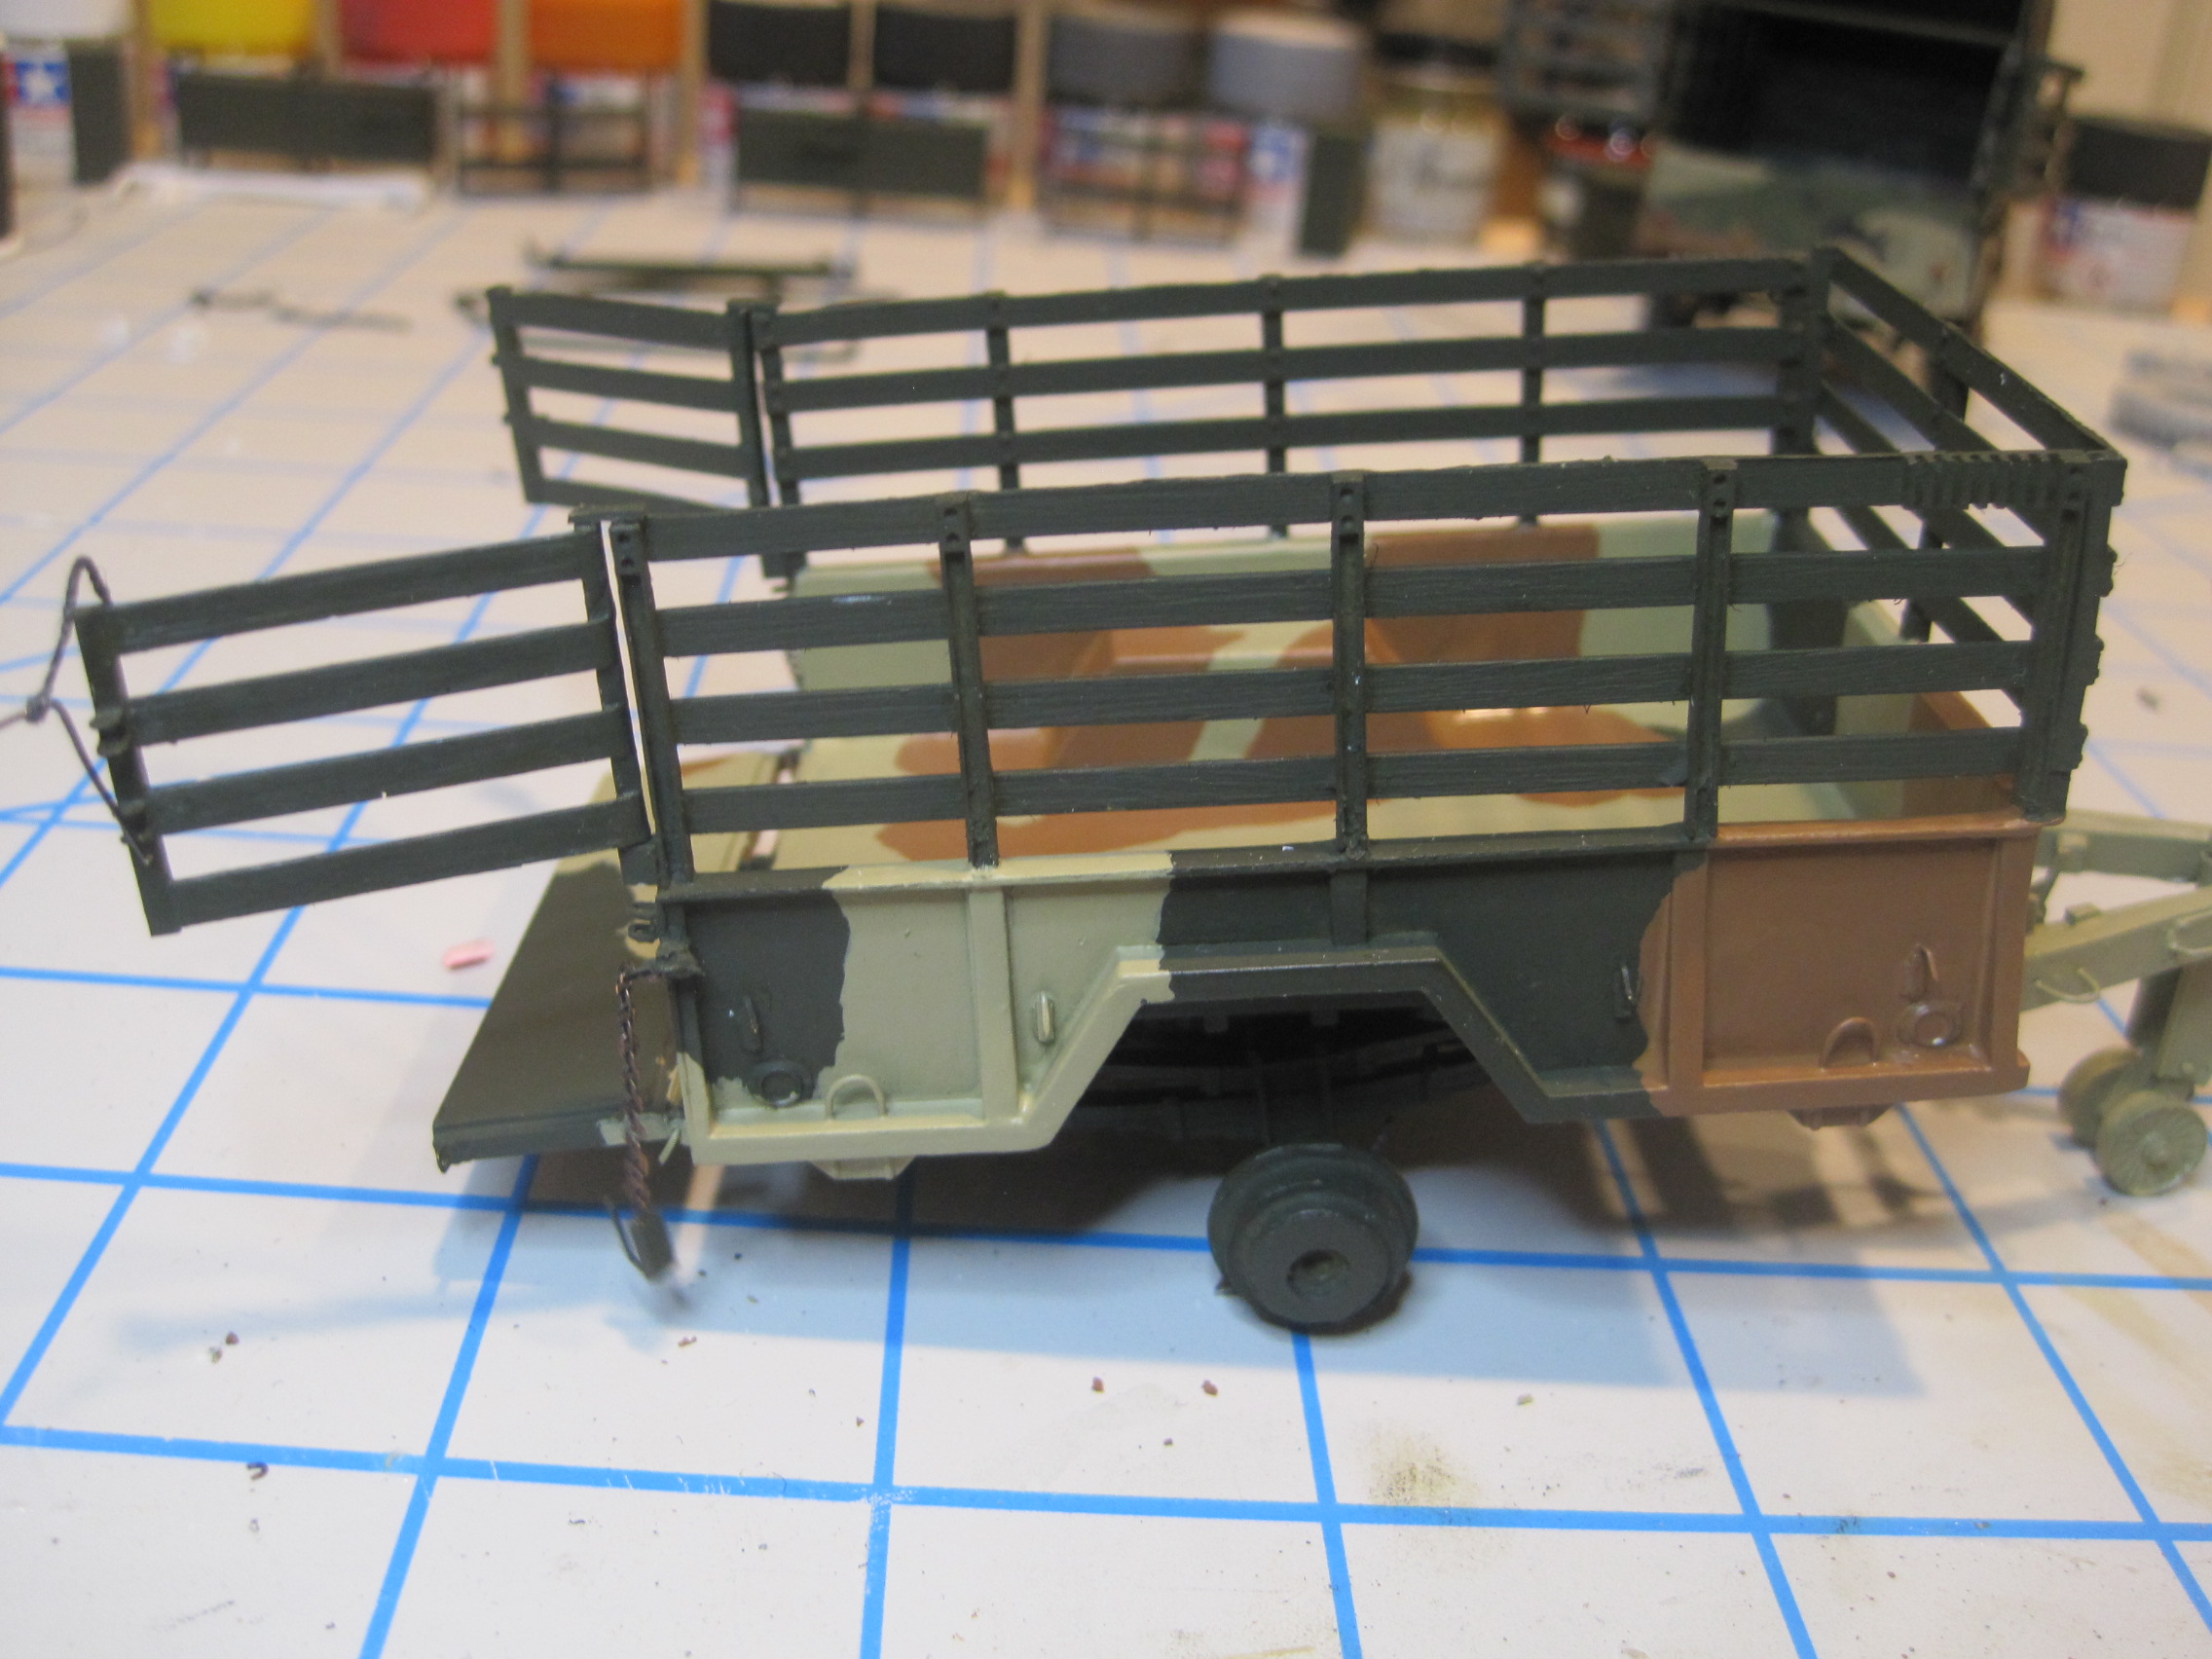
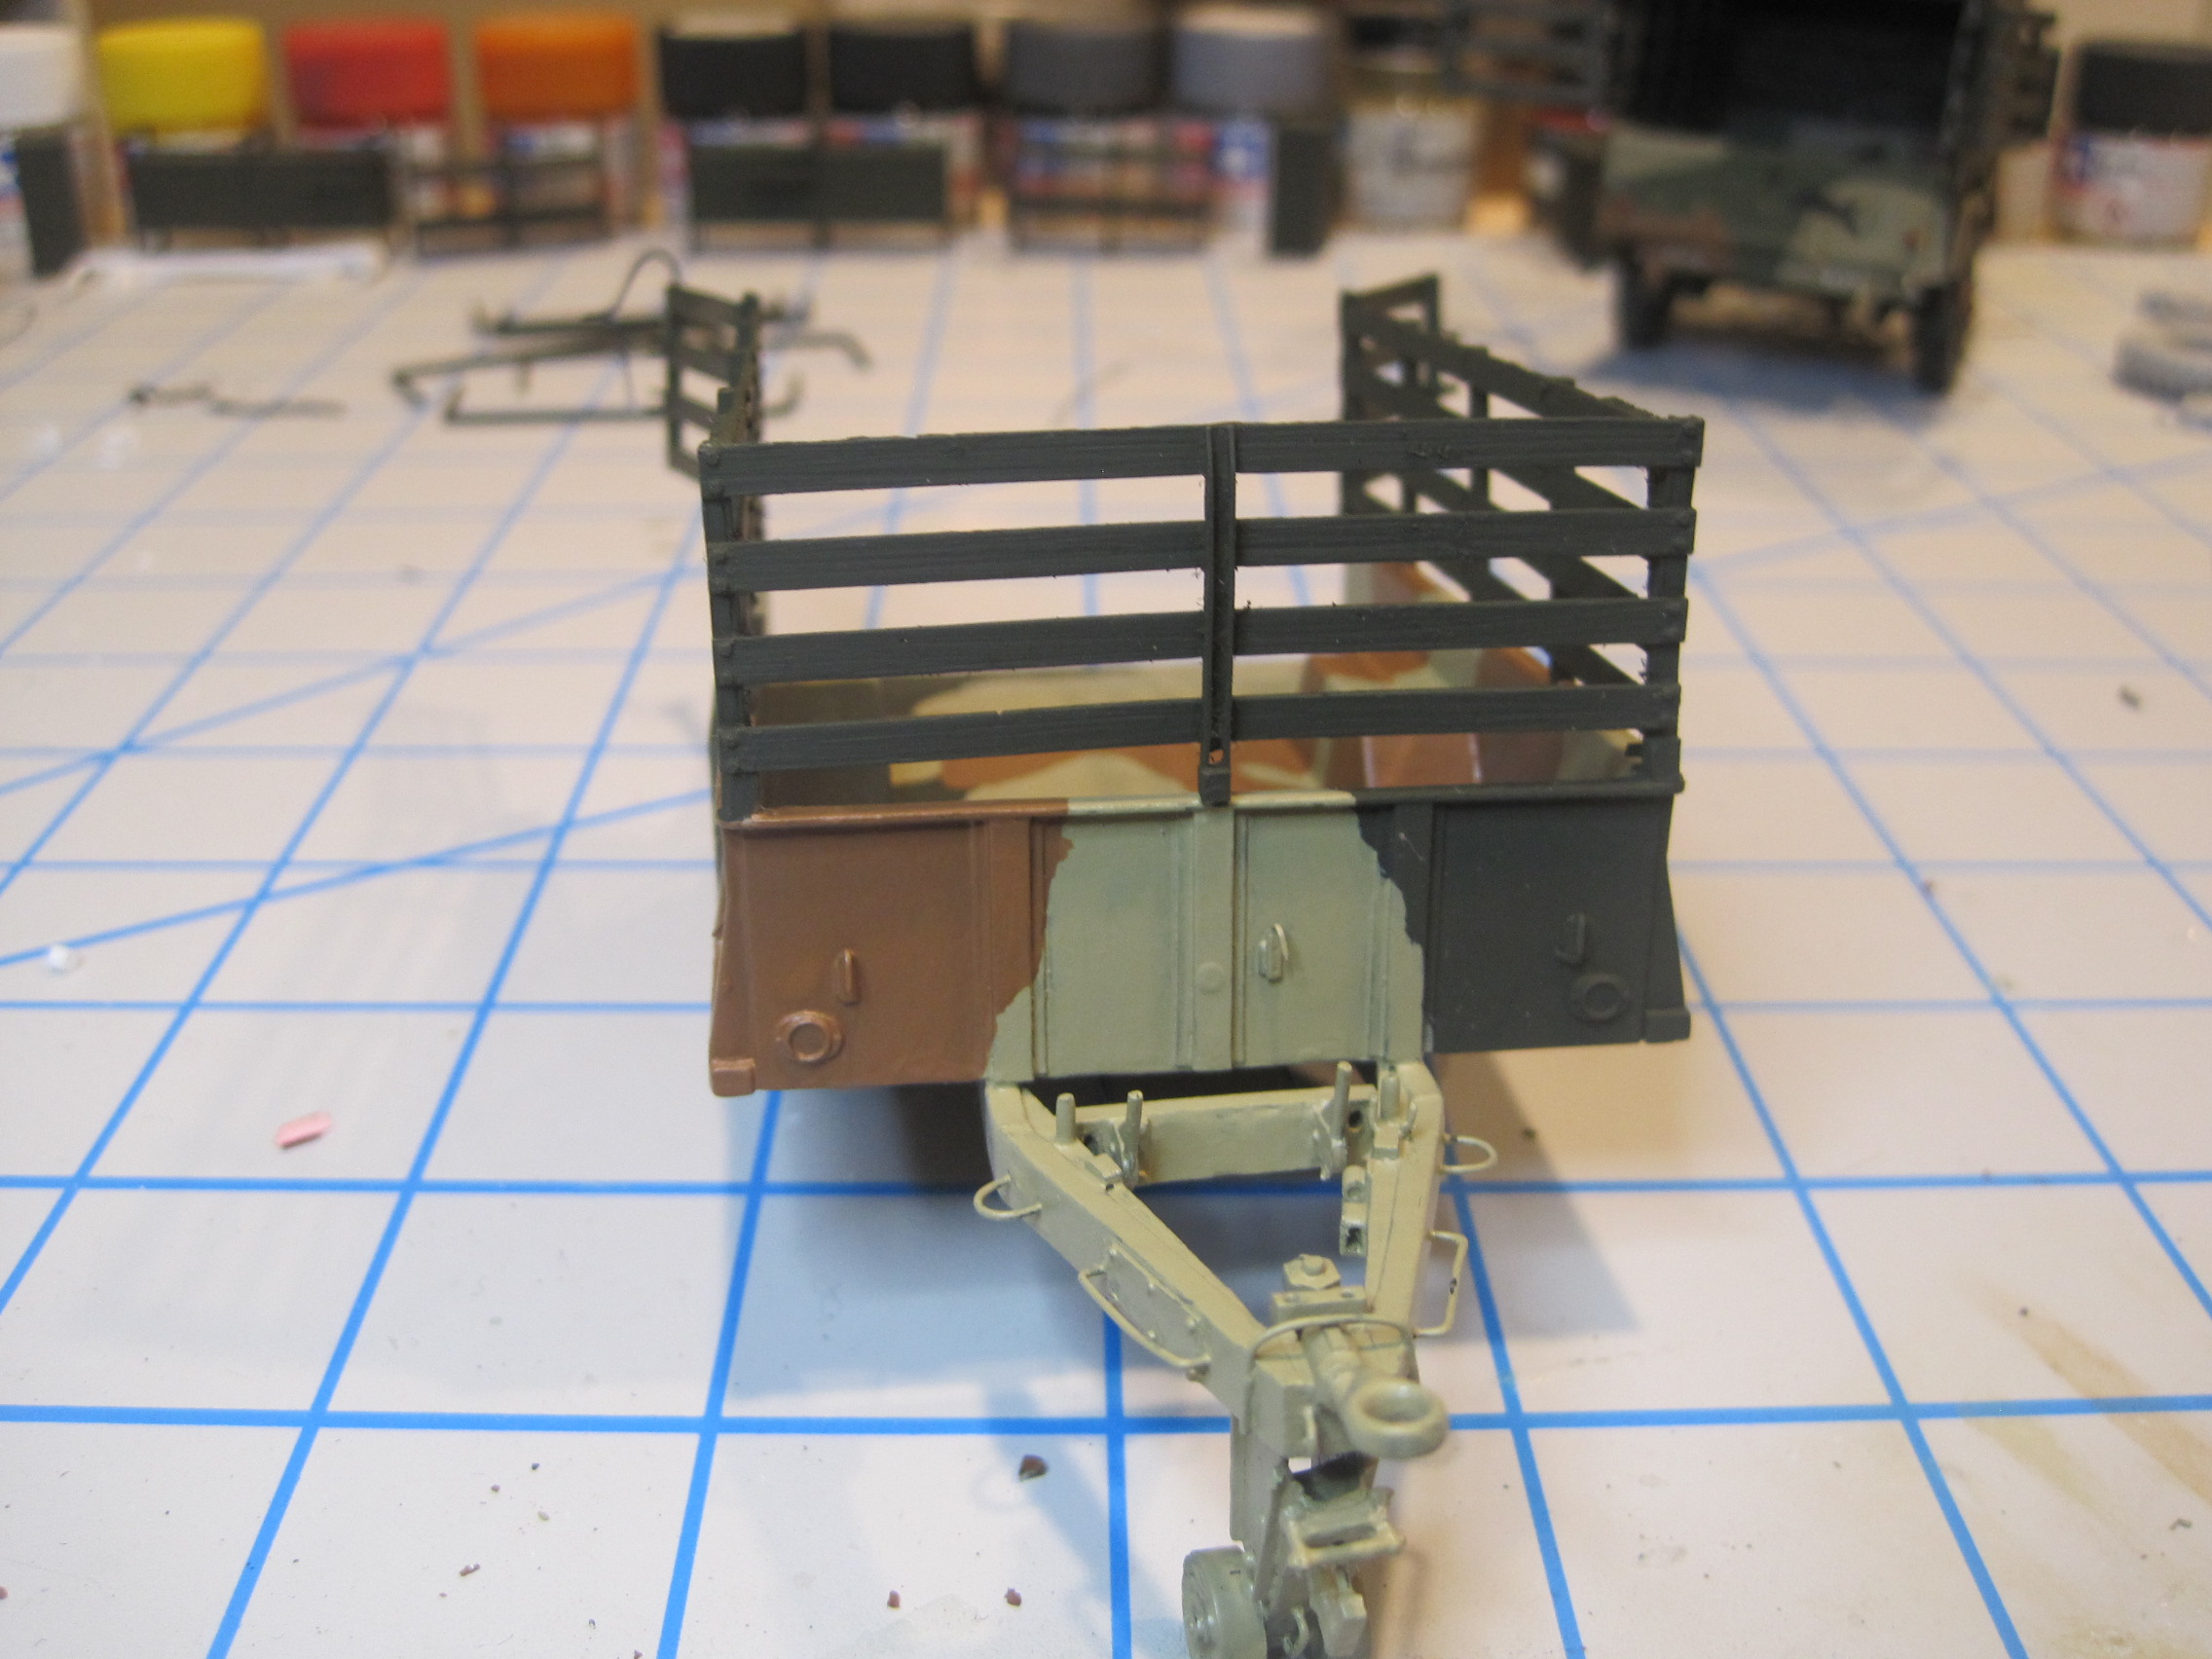
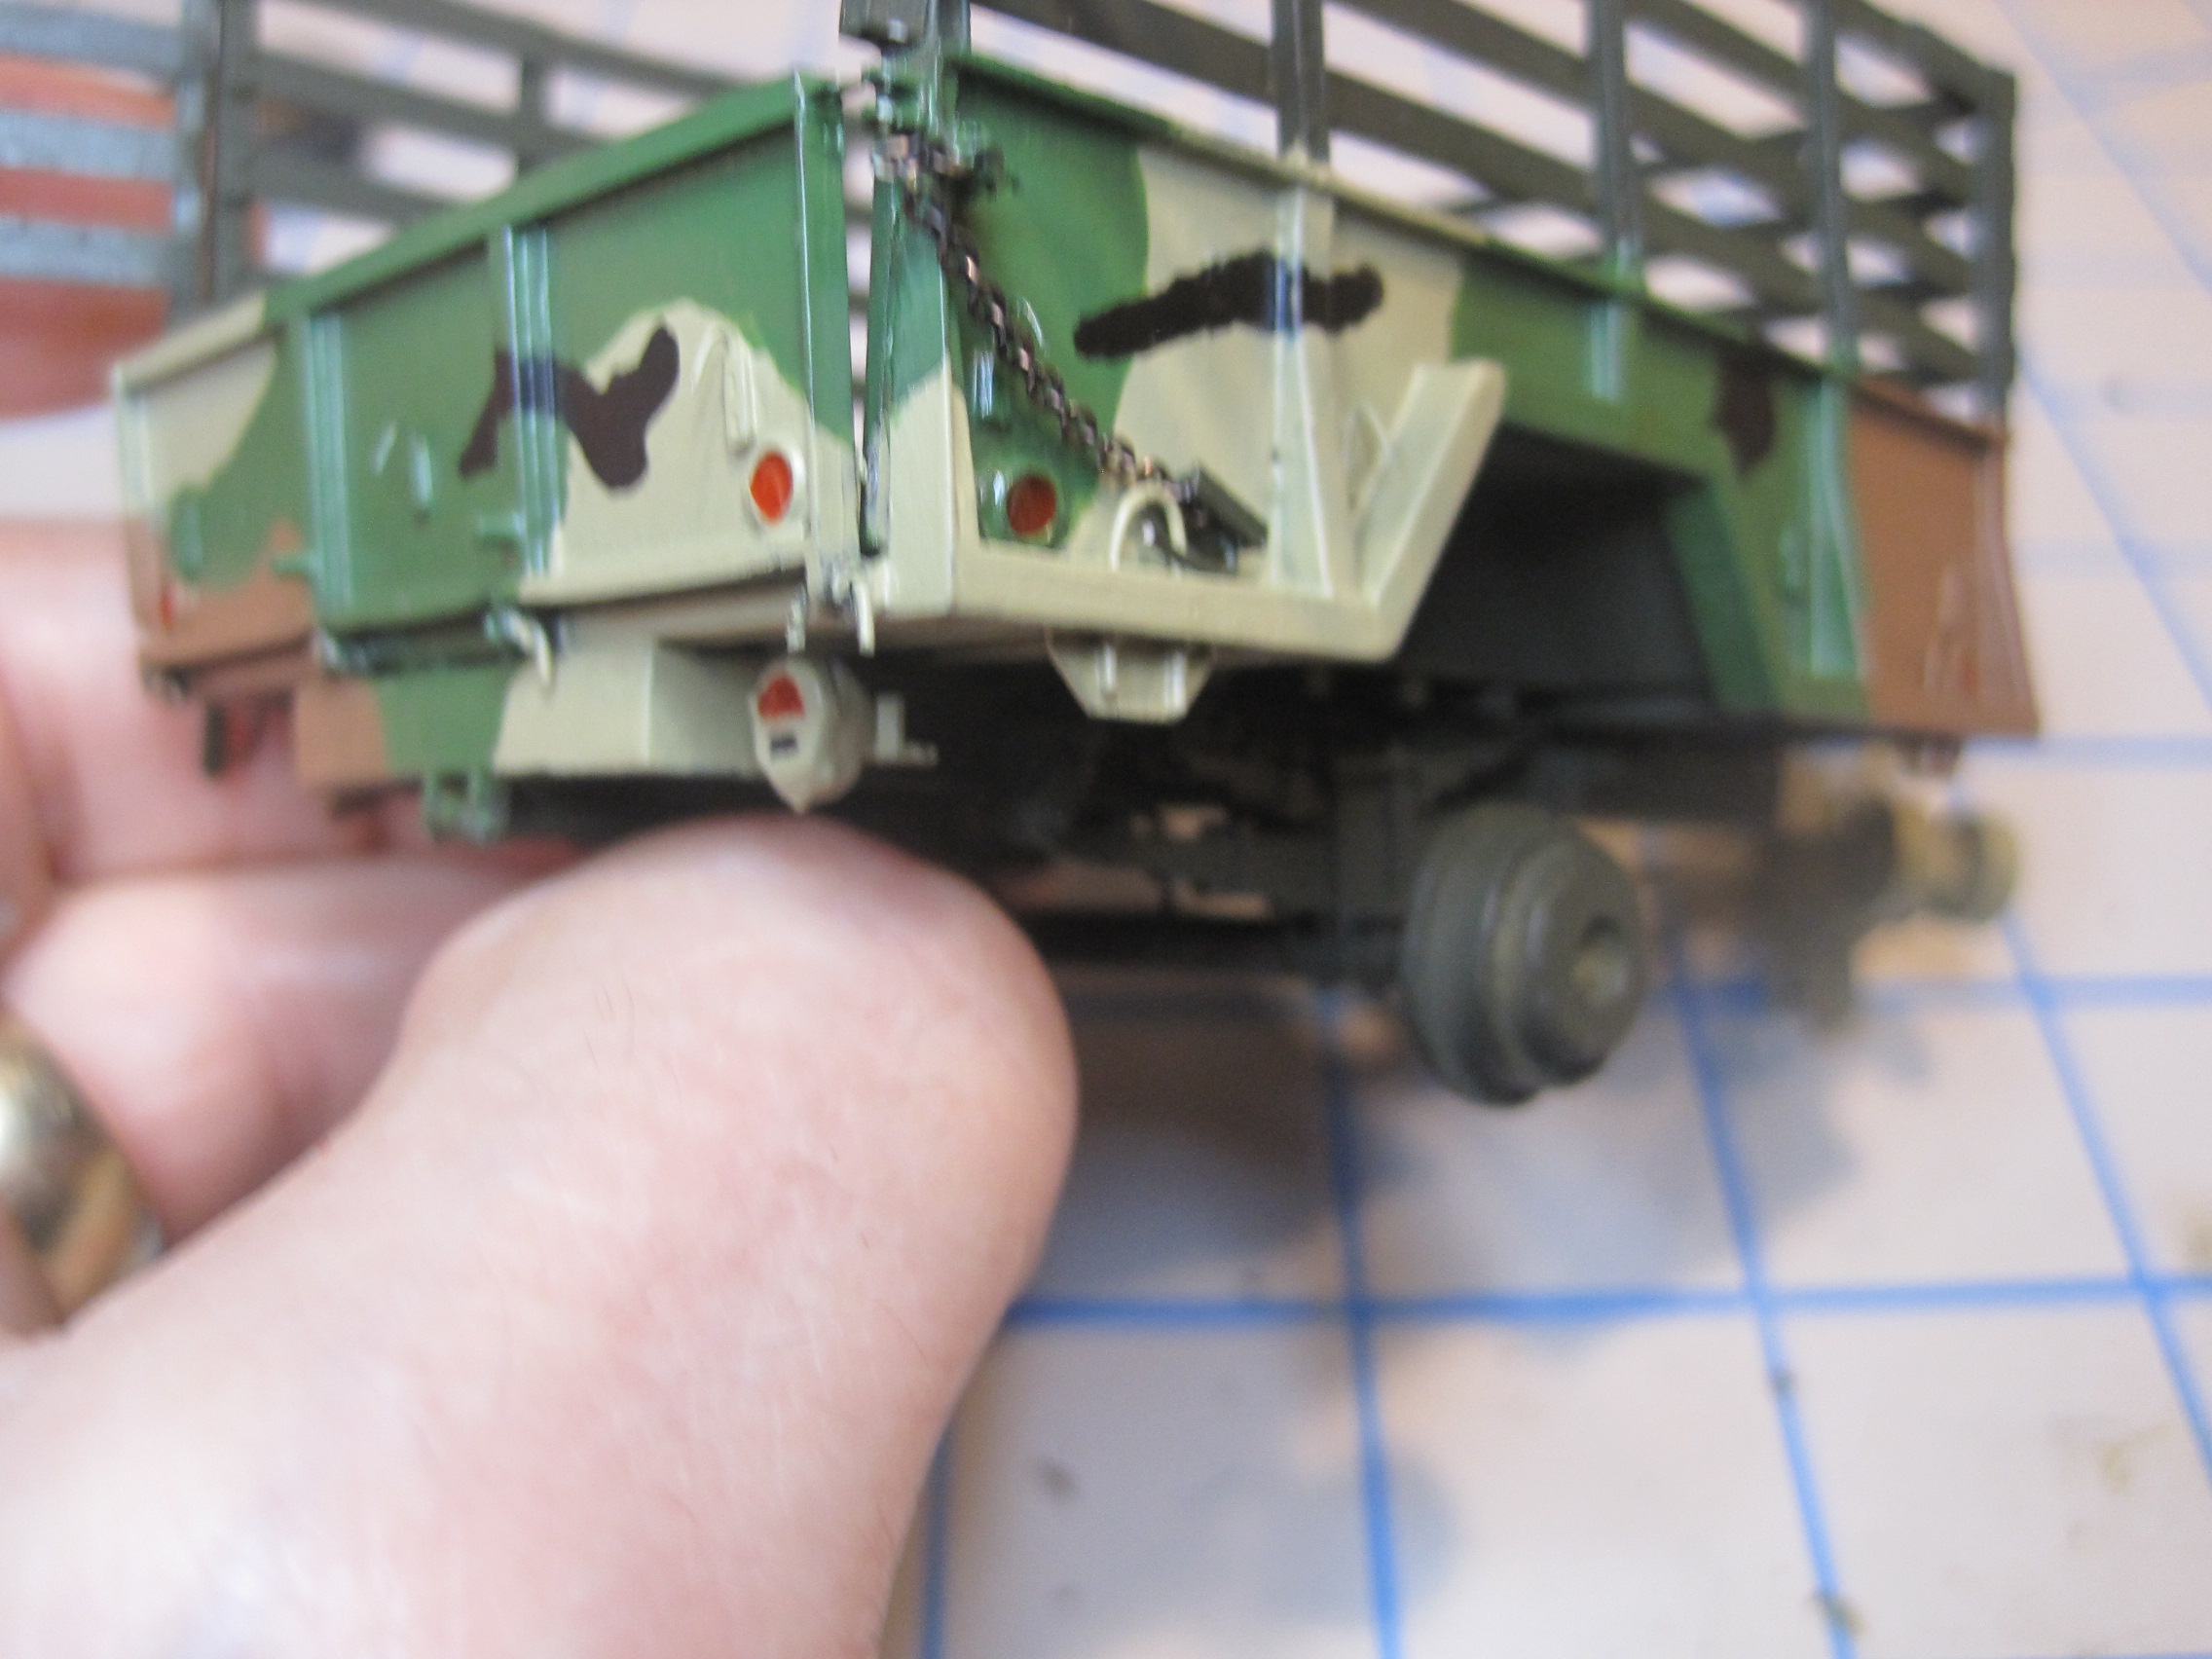
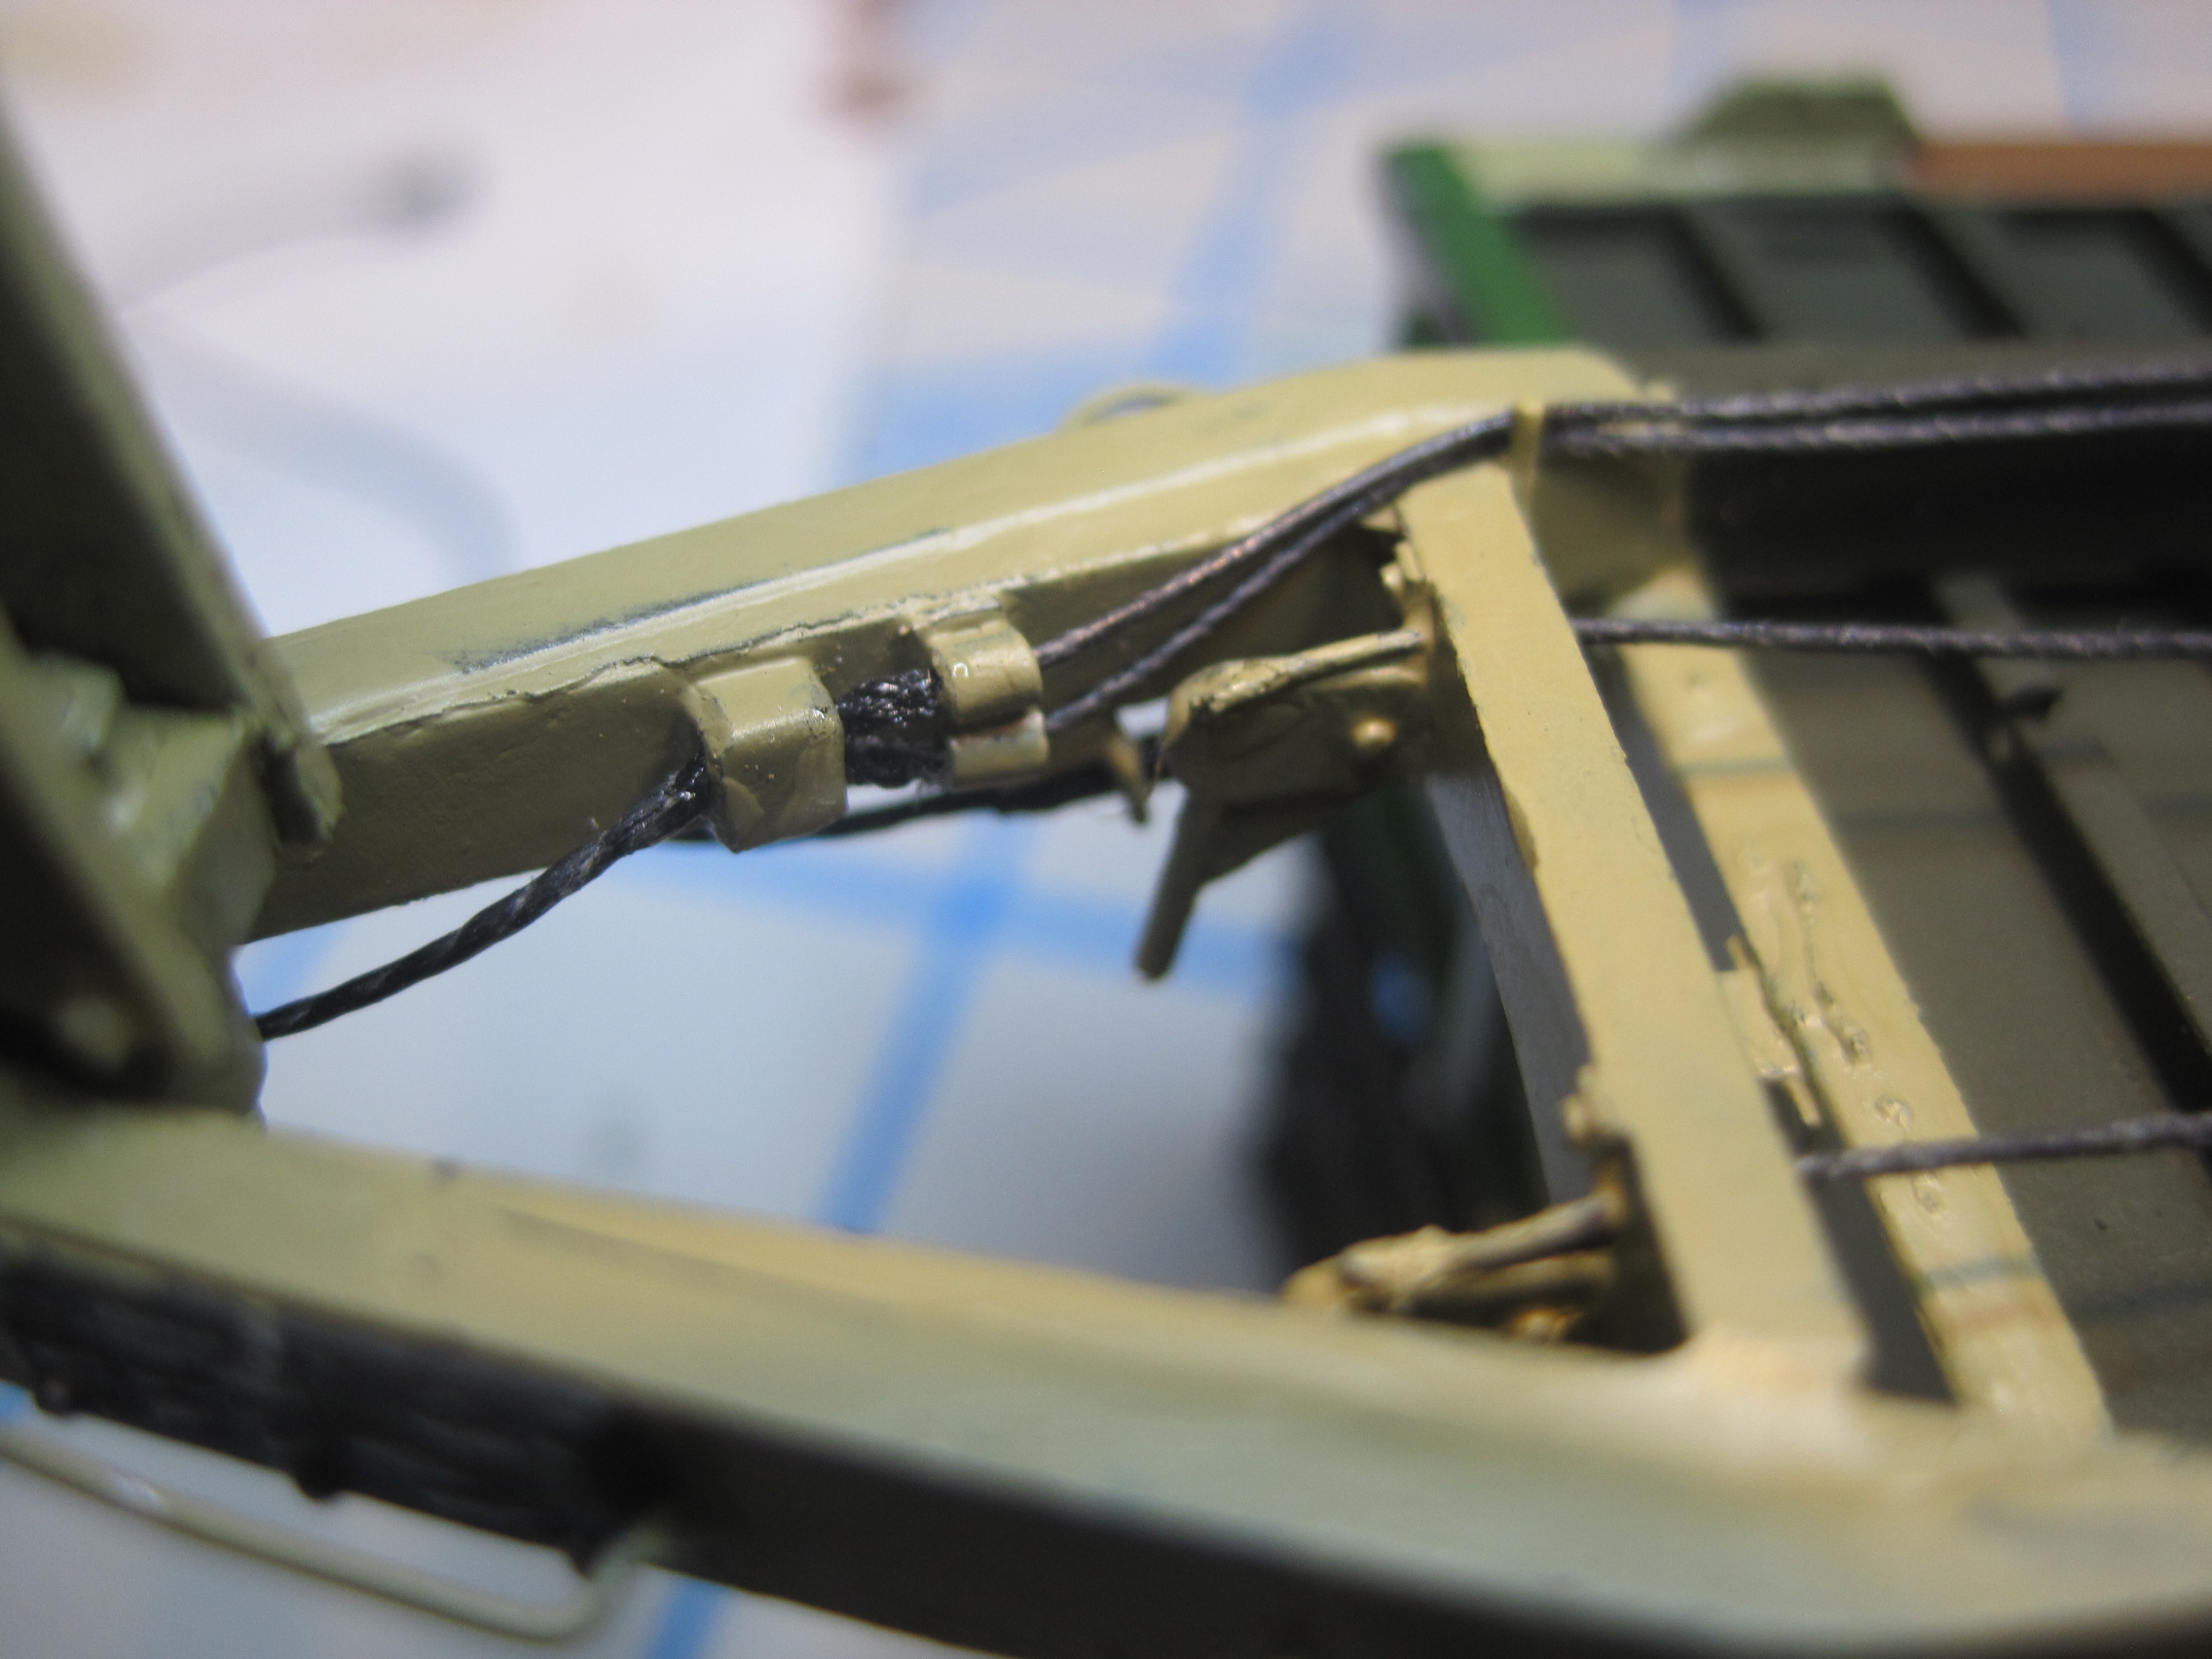
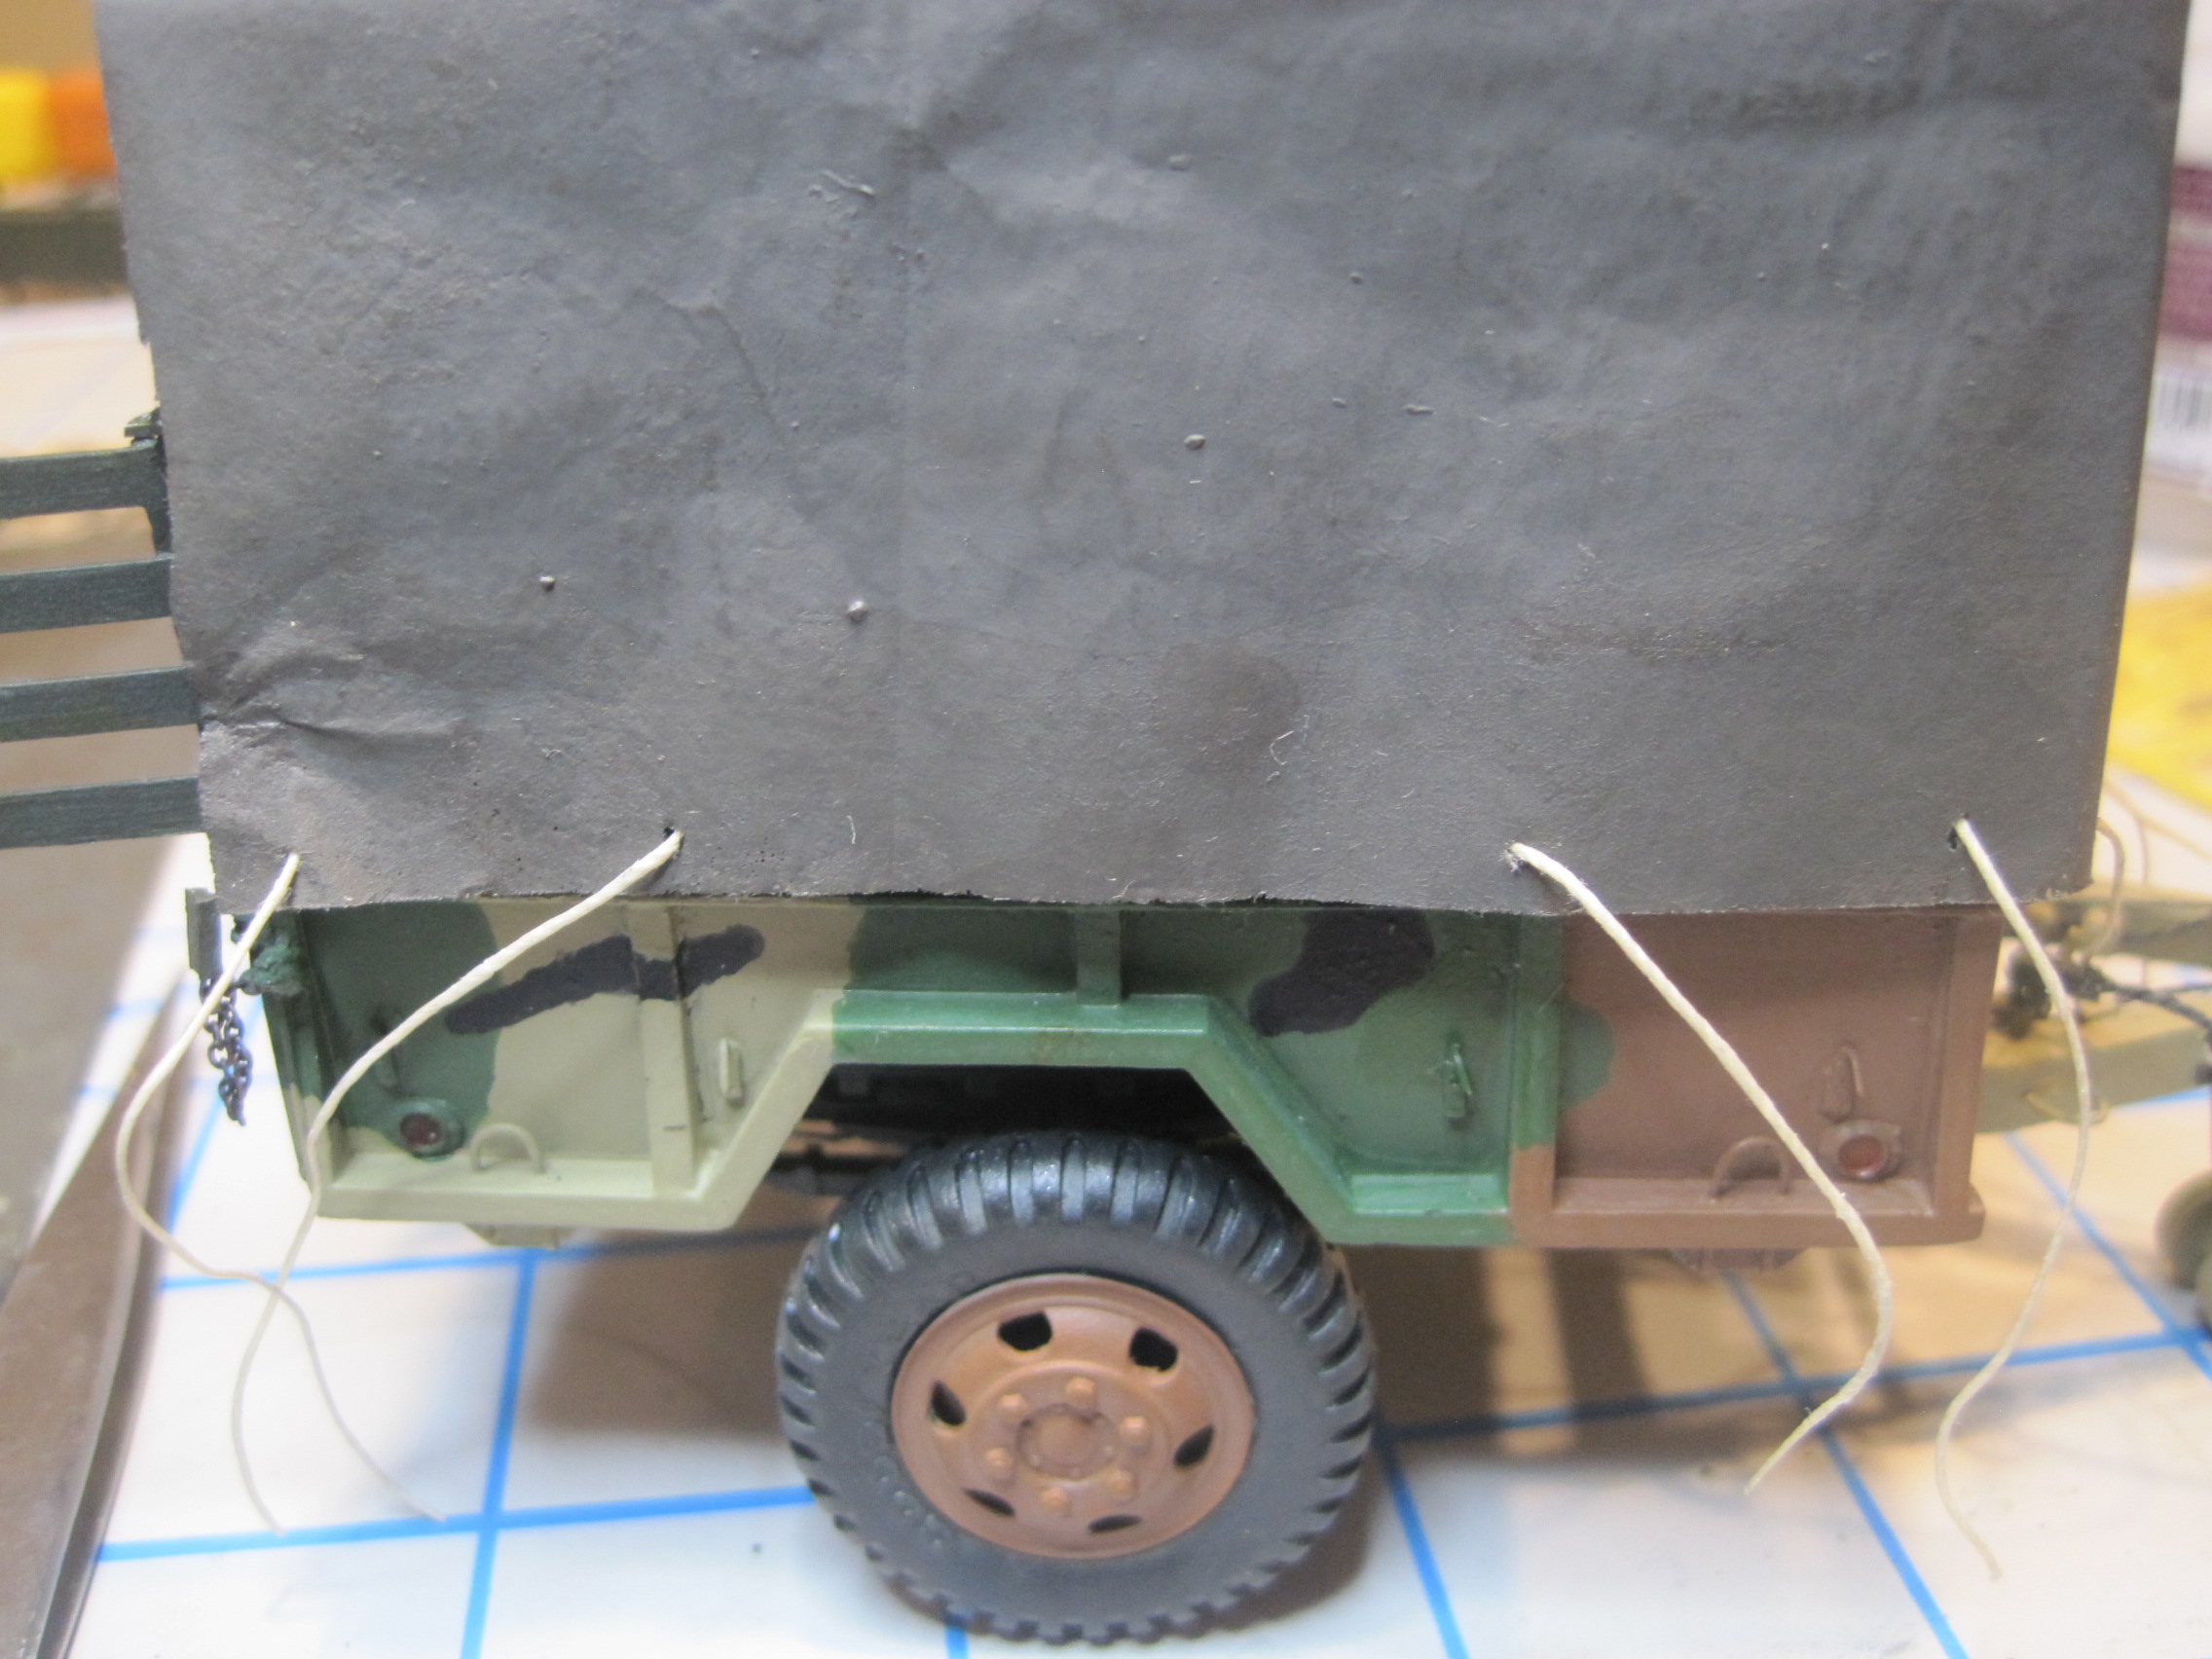
These are the corner reflective markers, and that’s followed by the routing of the wiring for the tail lights and the air brake lines.

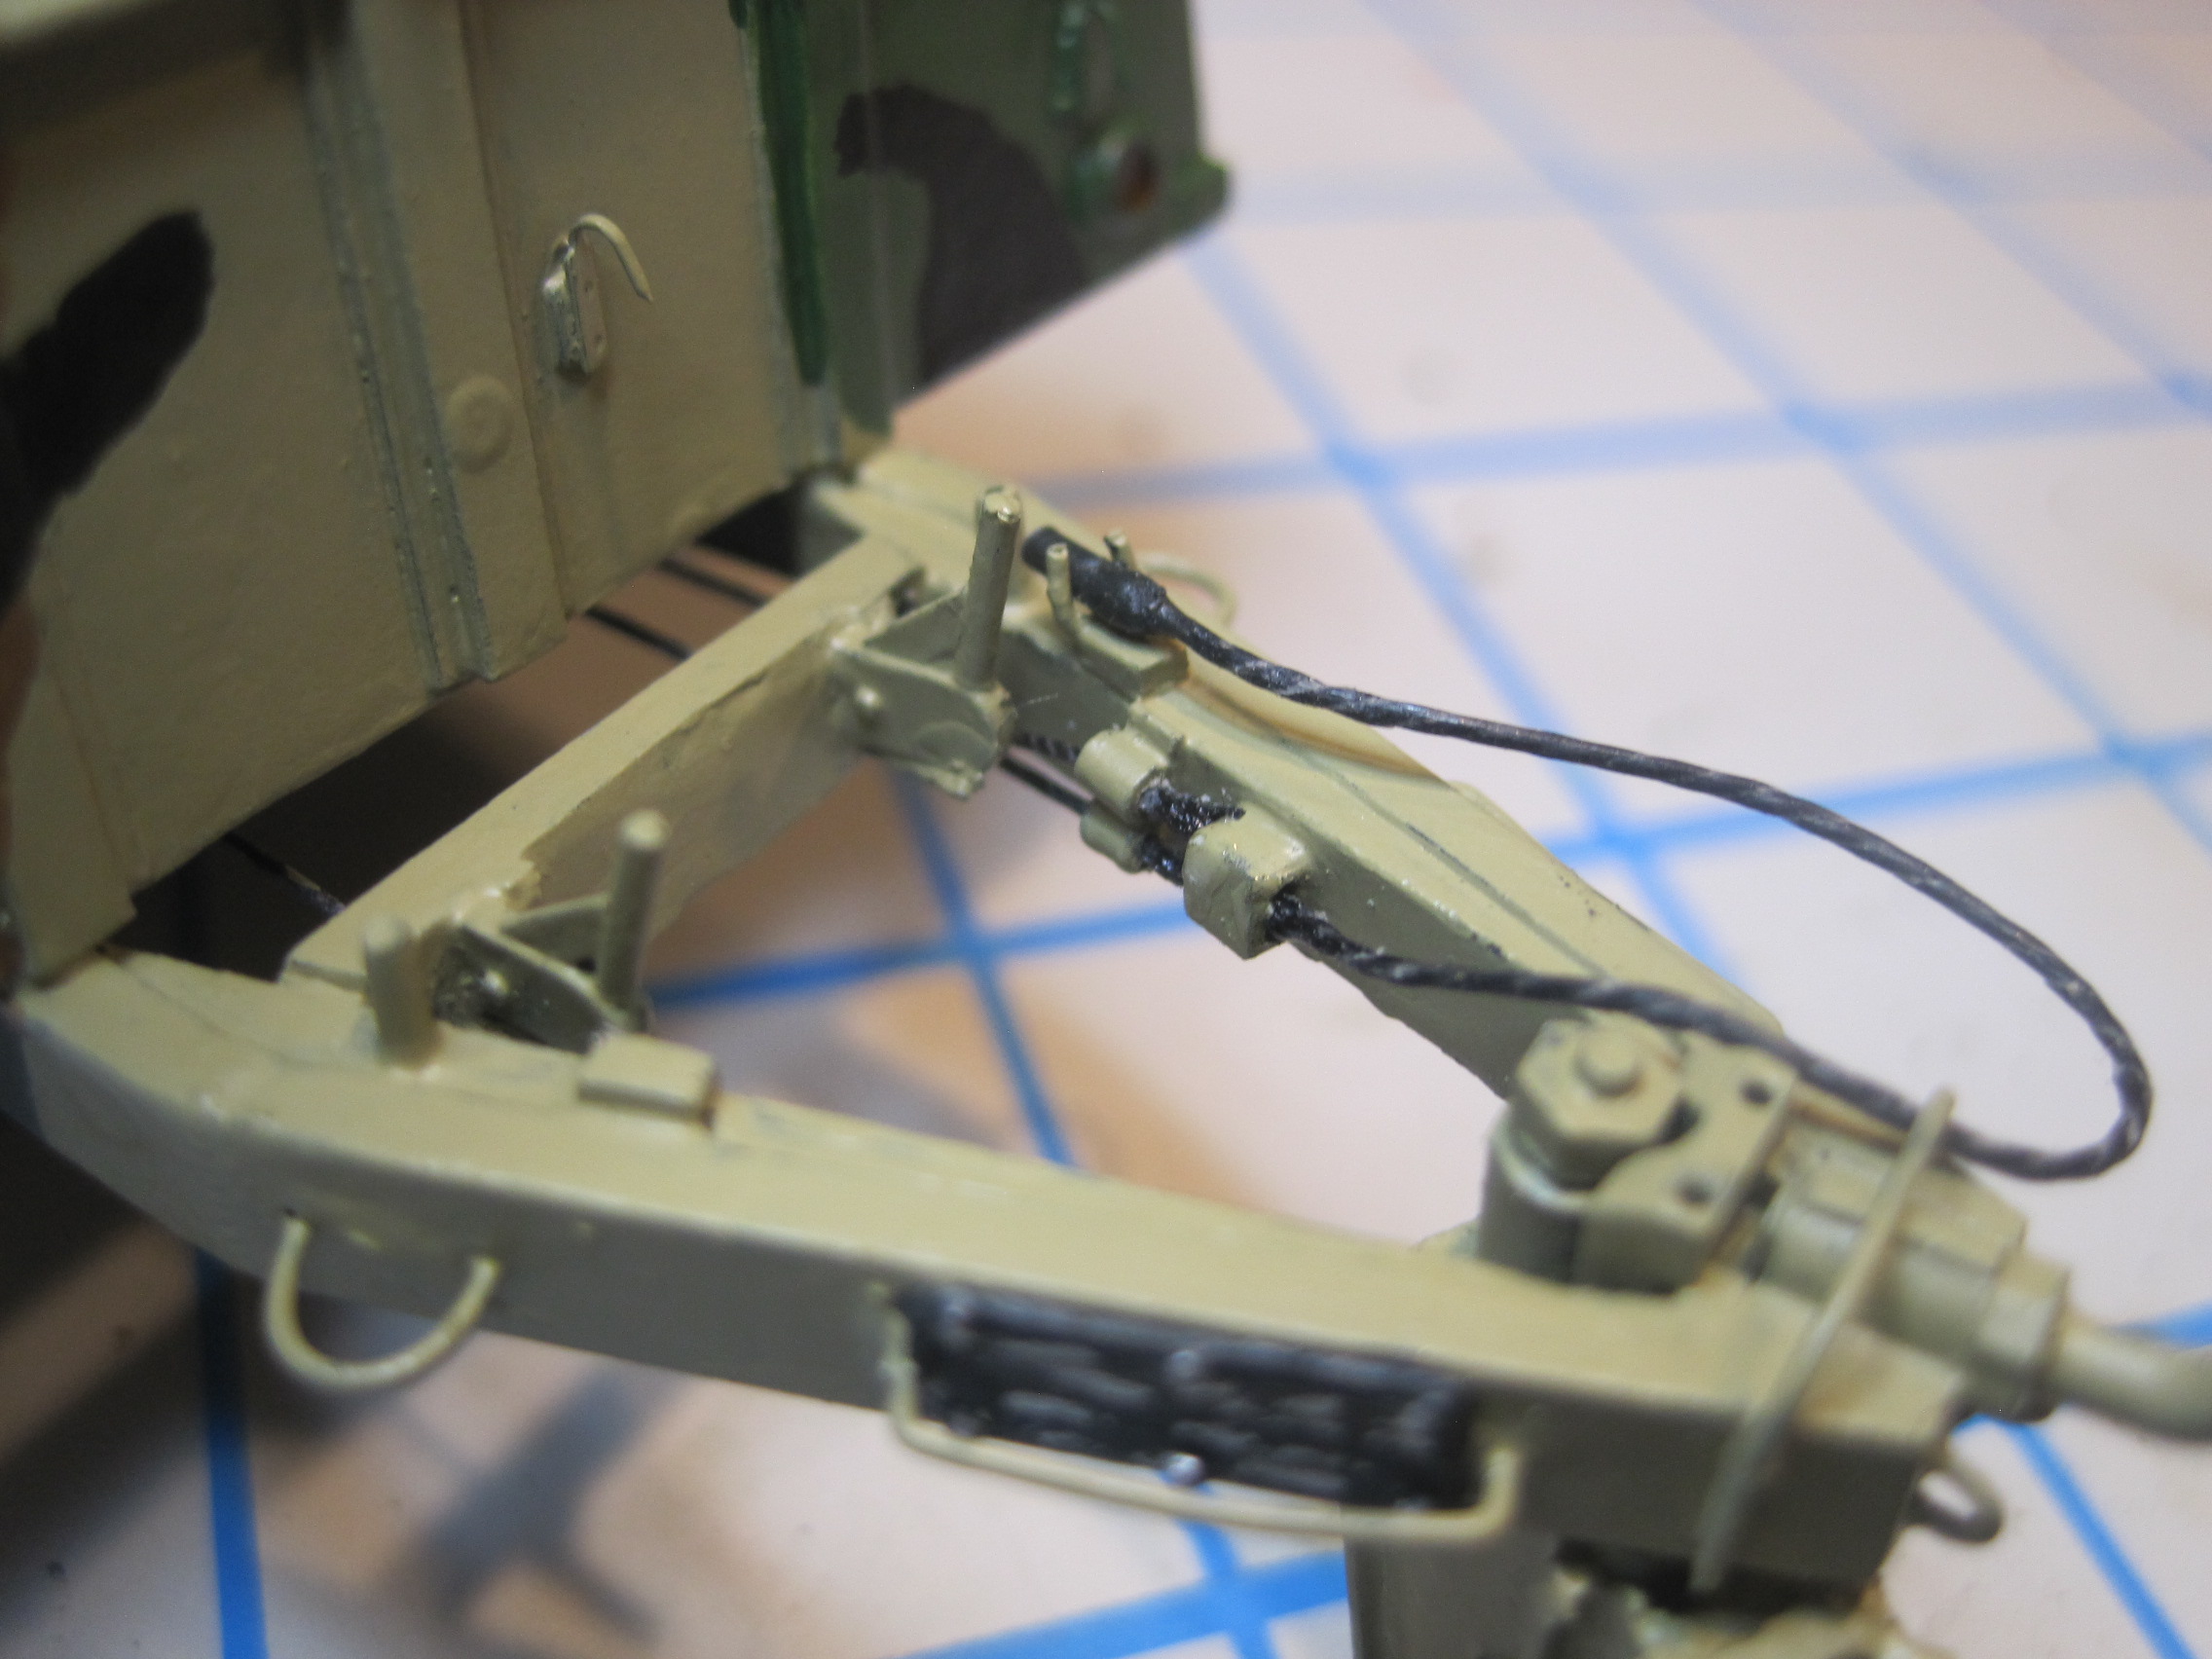

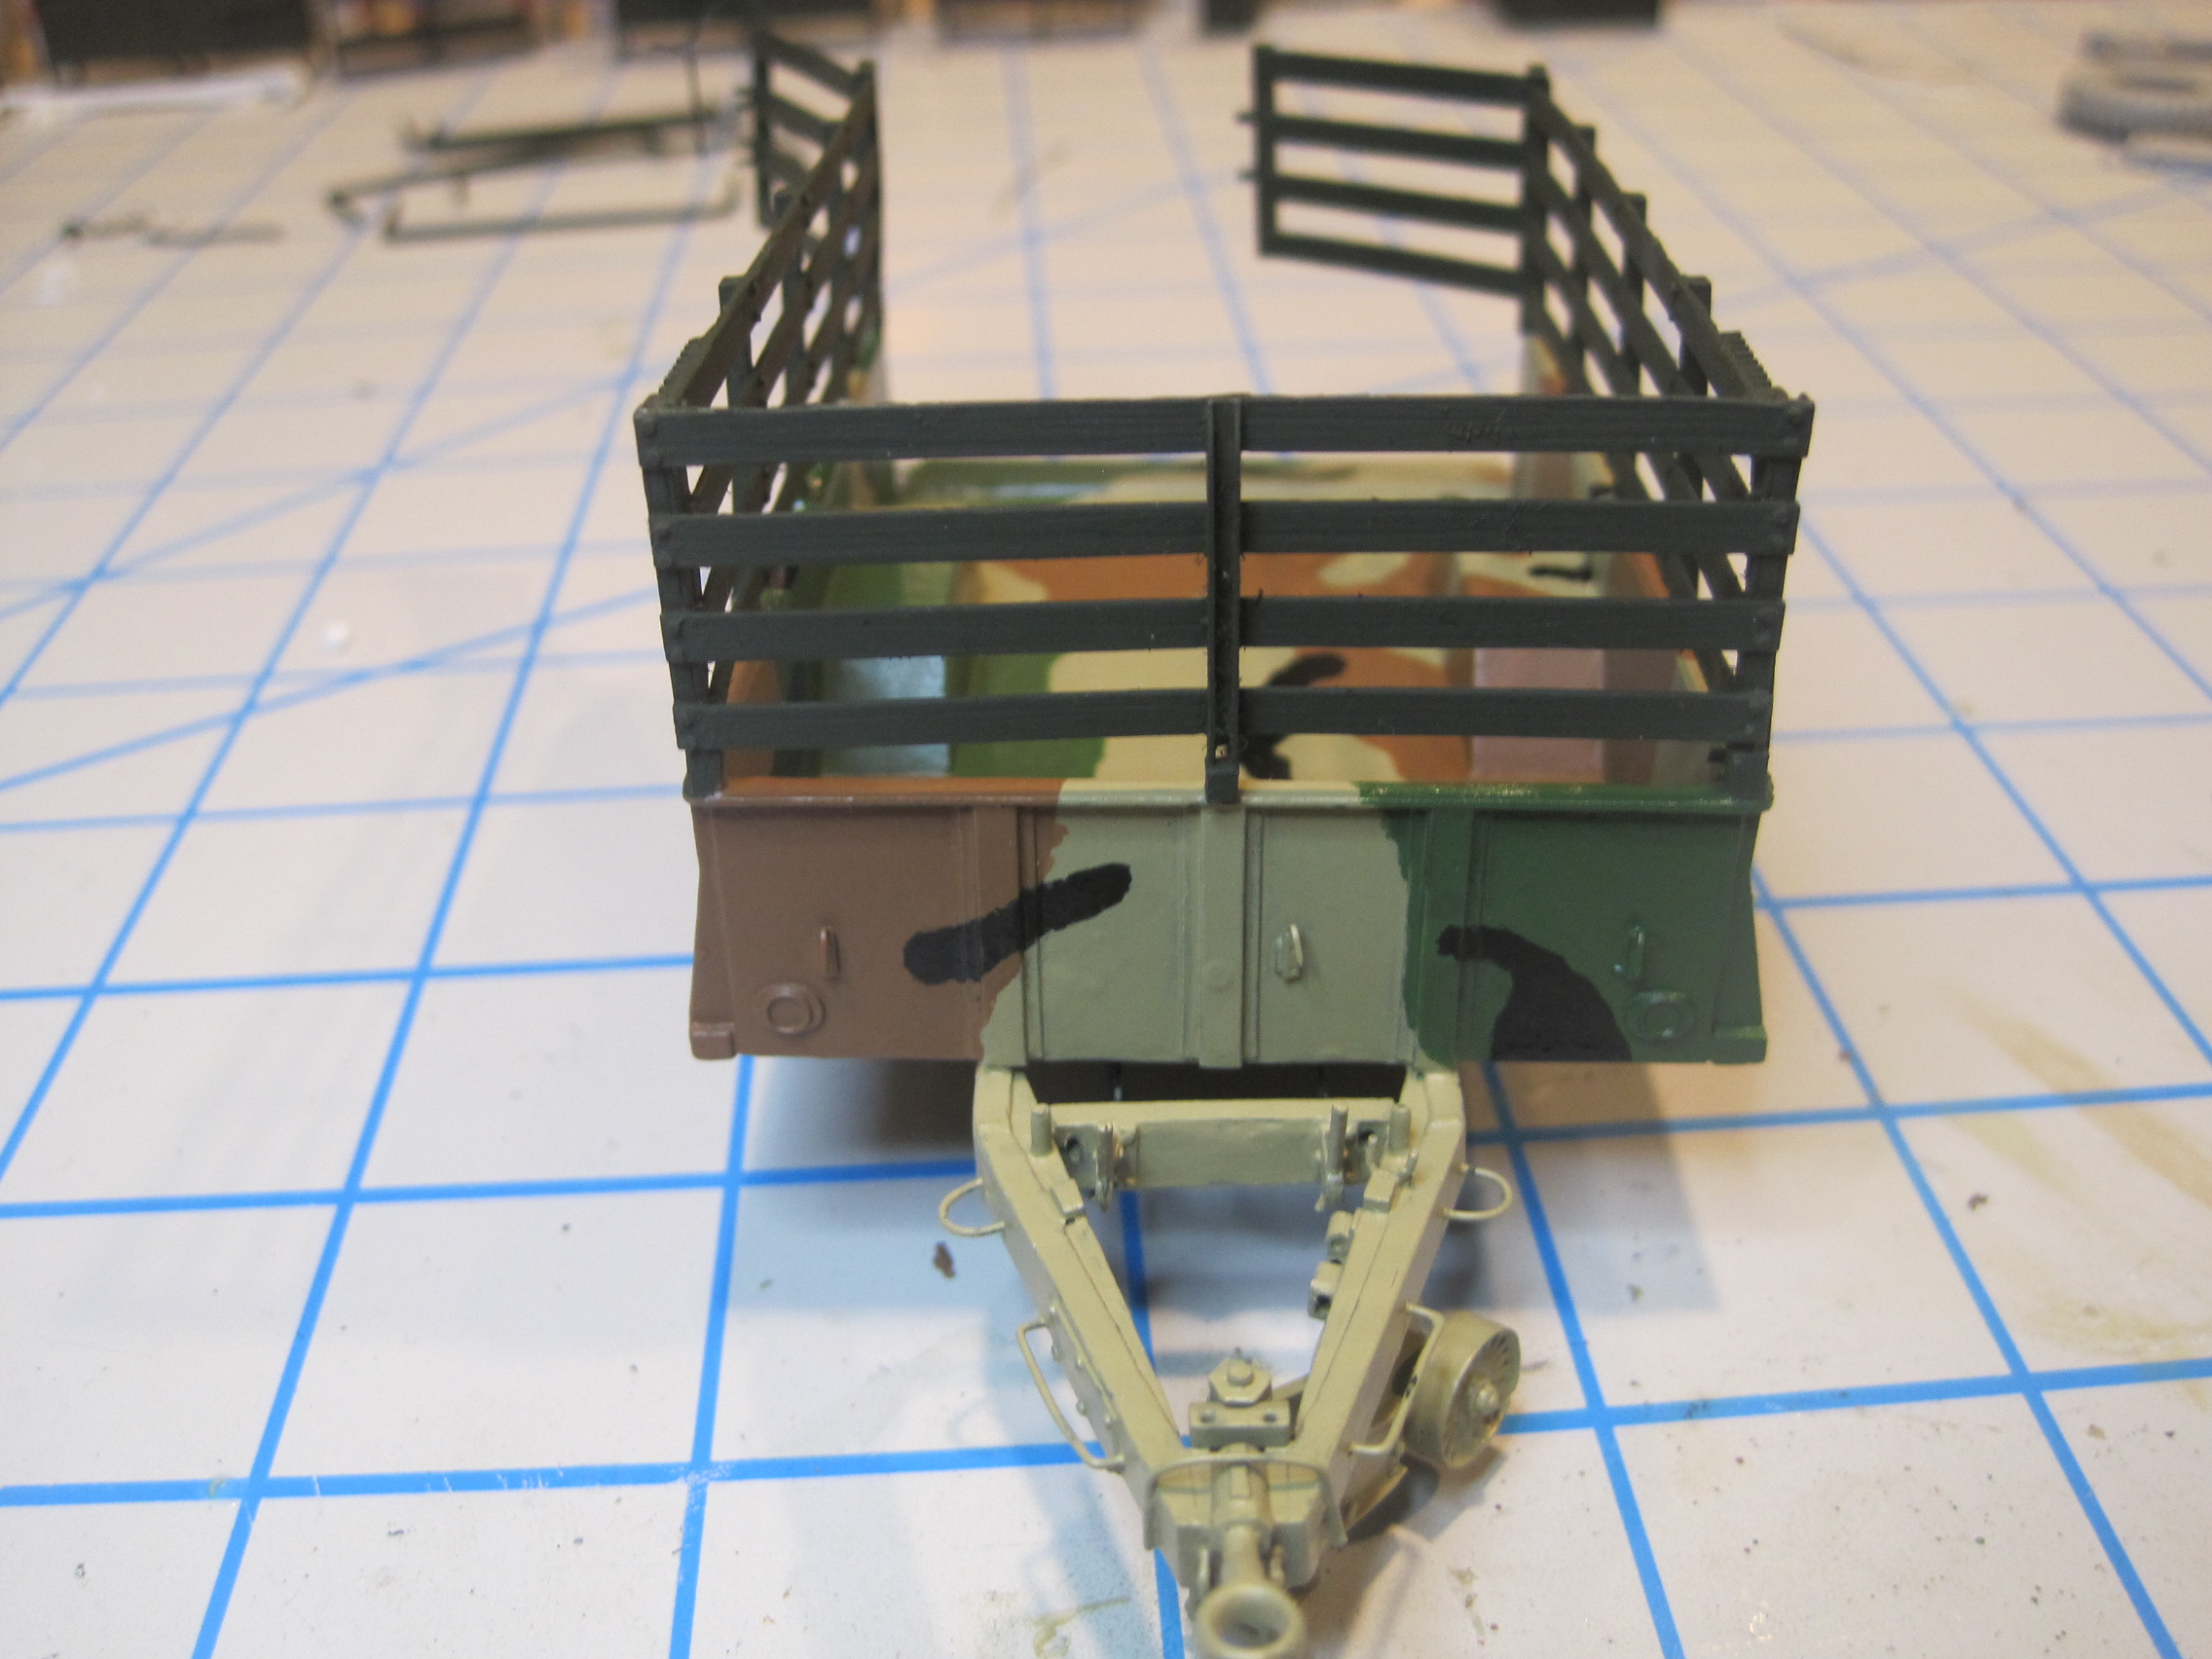
And finally the full trailer, including the addition of the safety chains to the front.

The last steps will be to add the permanent contents to the trailer from the MiniArt Garage Workshop set, and then install the bows and the canvas.
5 Likes
Looking pretty good Tom!
Thanks, Brian!
The more I scrolled down, the better this got! 
—mike
Very nice. The trailer looks great.
Other than finishing up some weathering and adding the decals for the bumper numbers which haven’t arrived yet, the trailer is now complete. With THAT, I will finally move on to building the actual TRUCK which this thread is about.
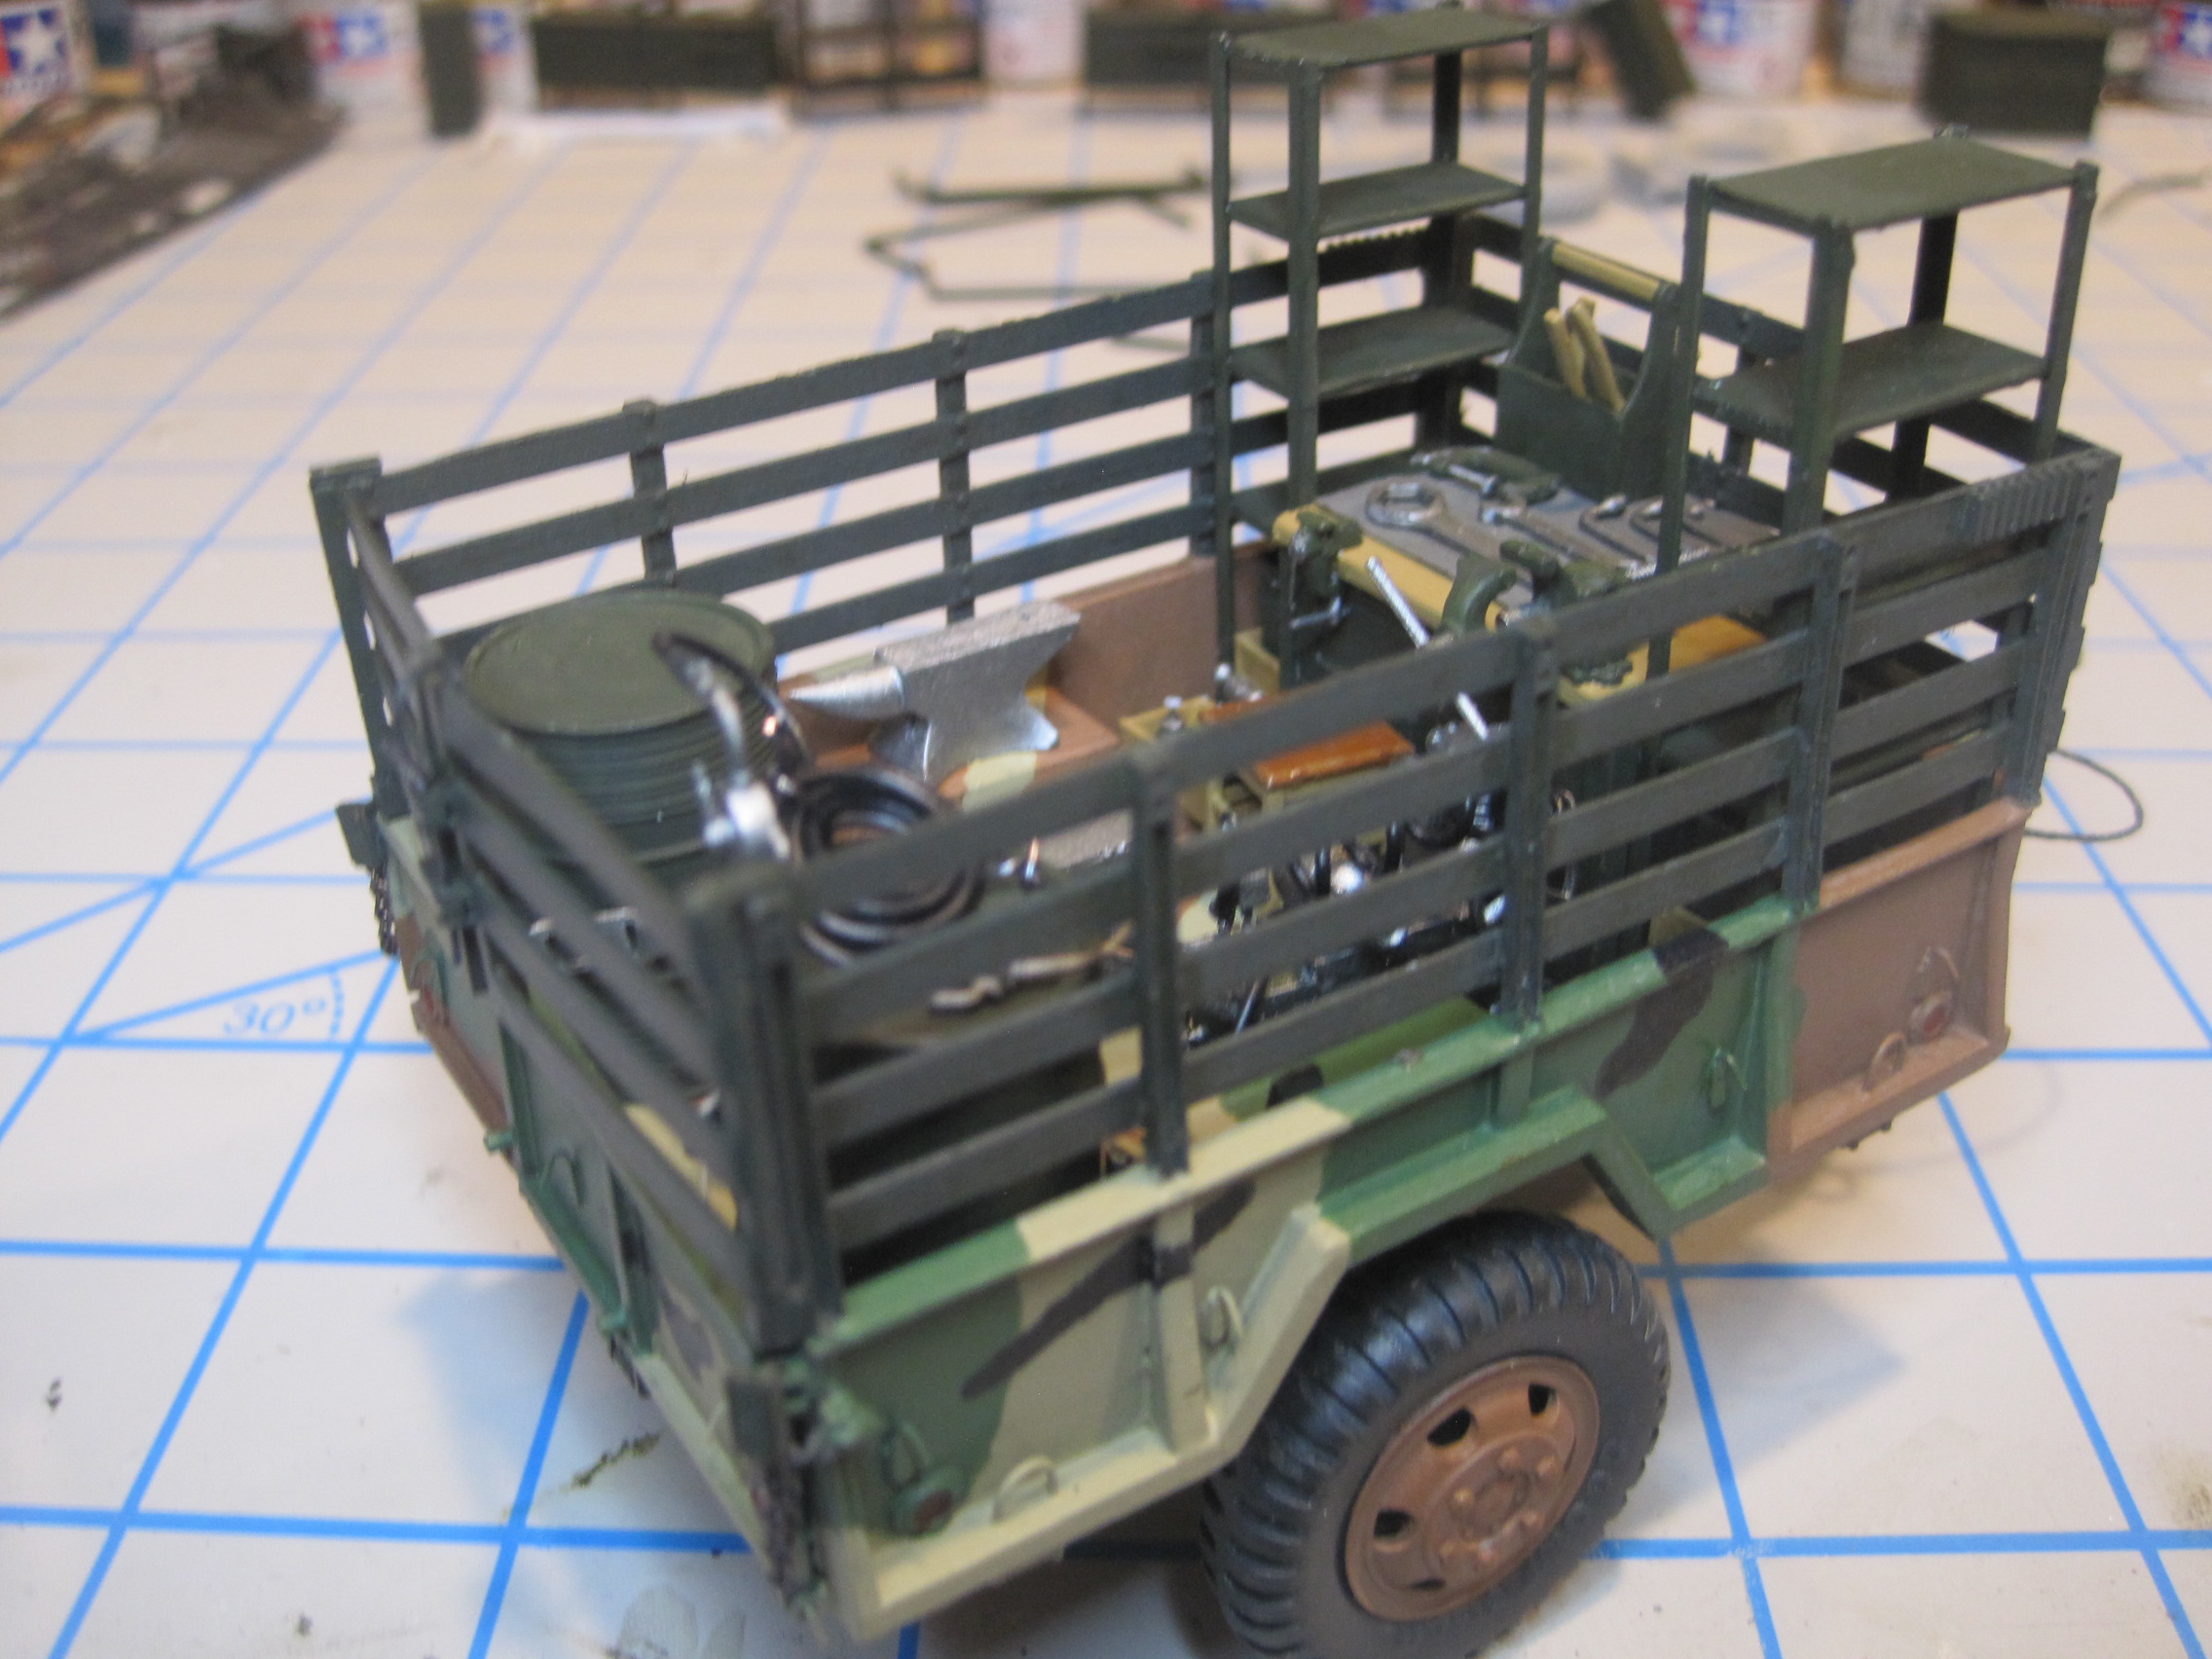
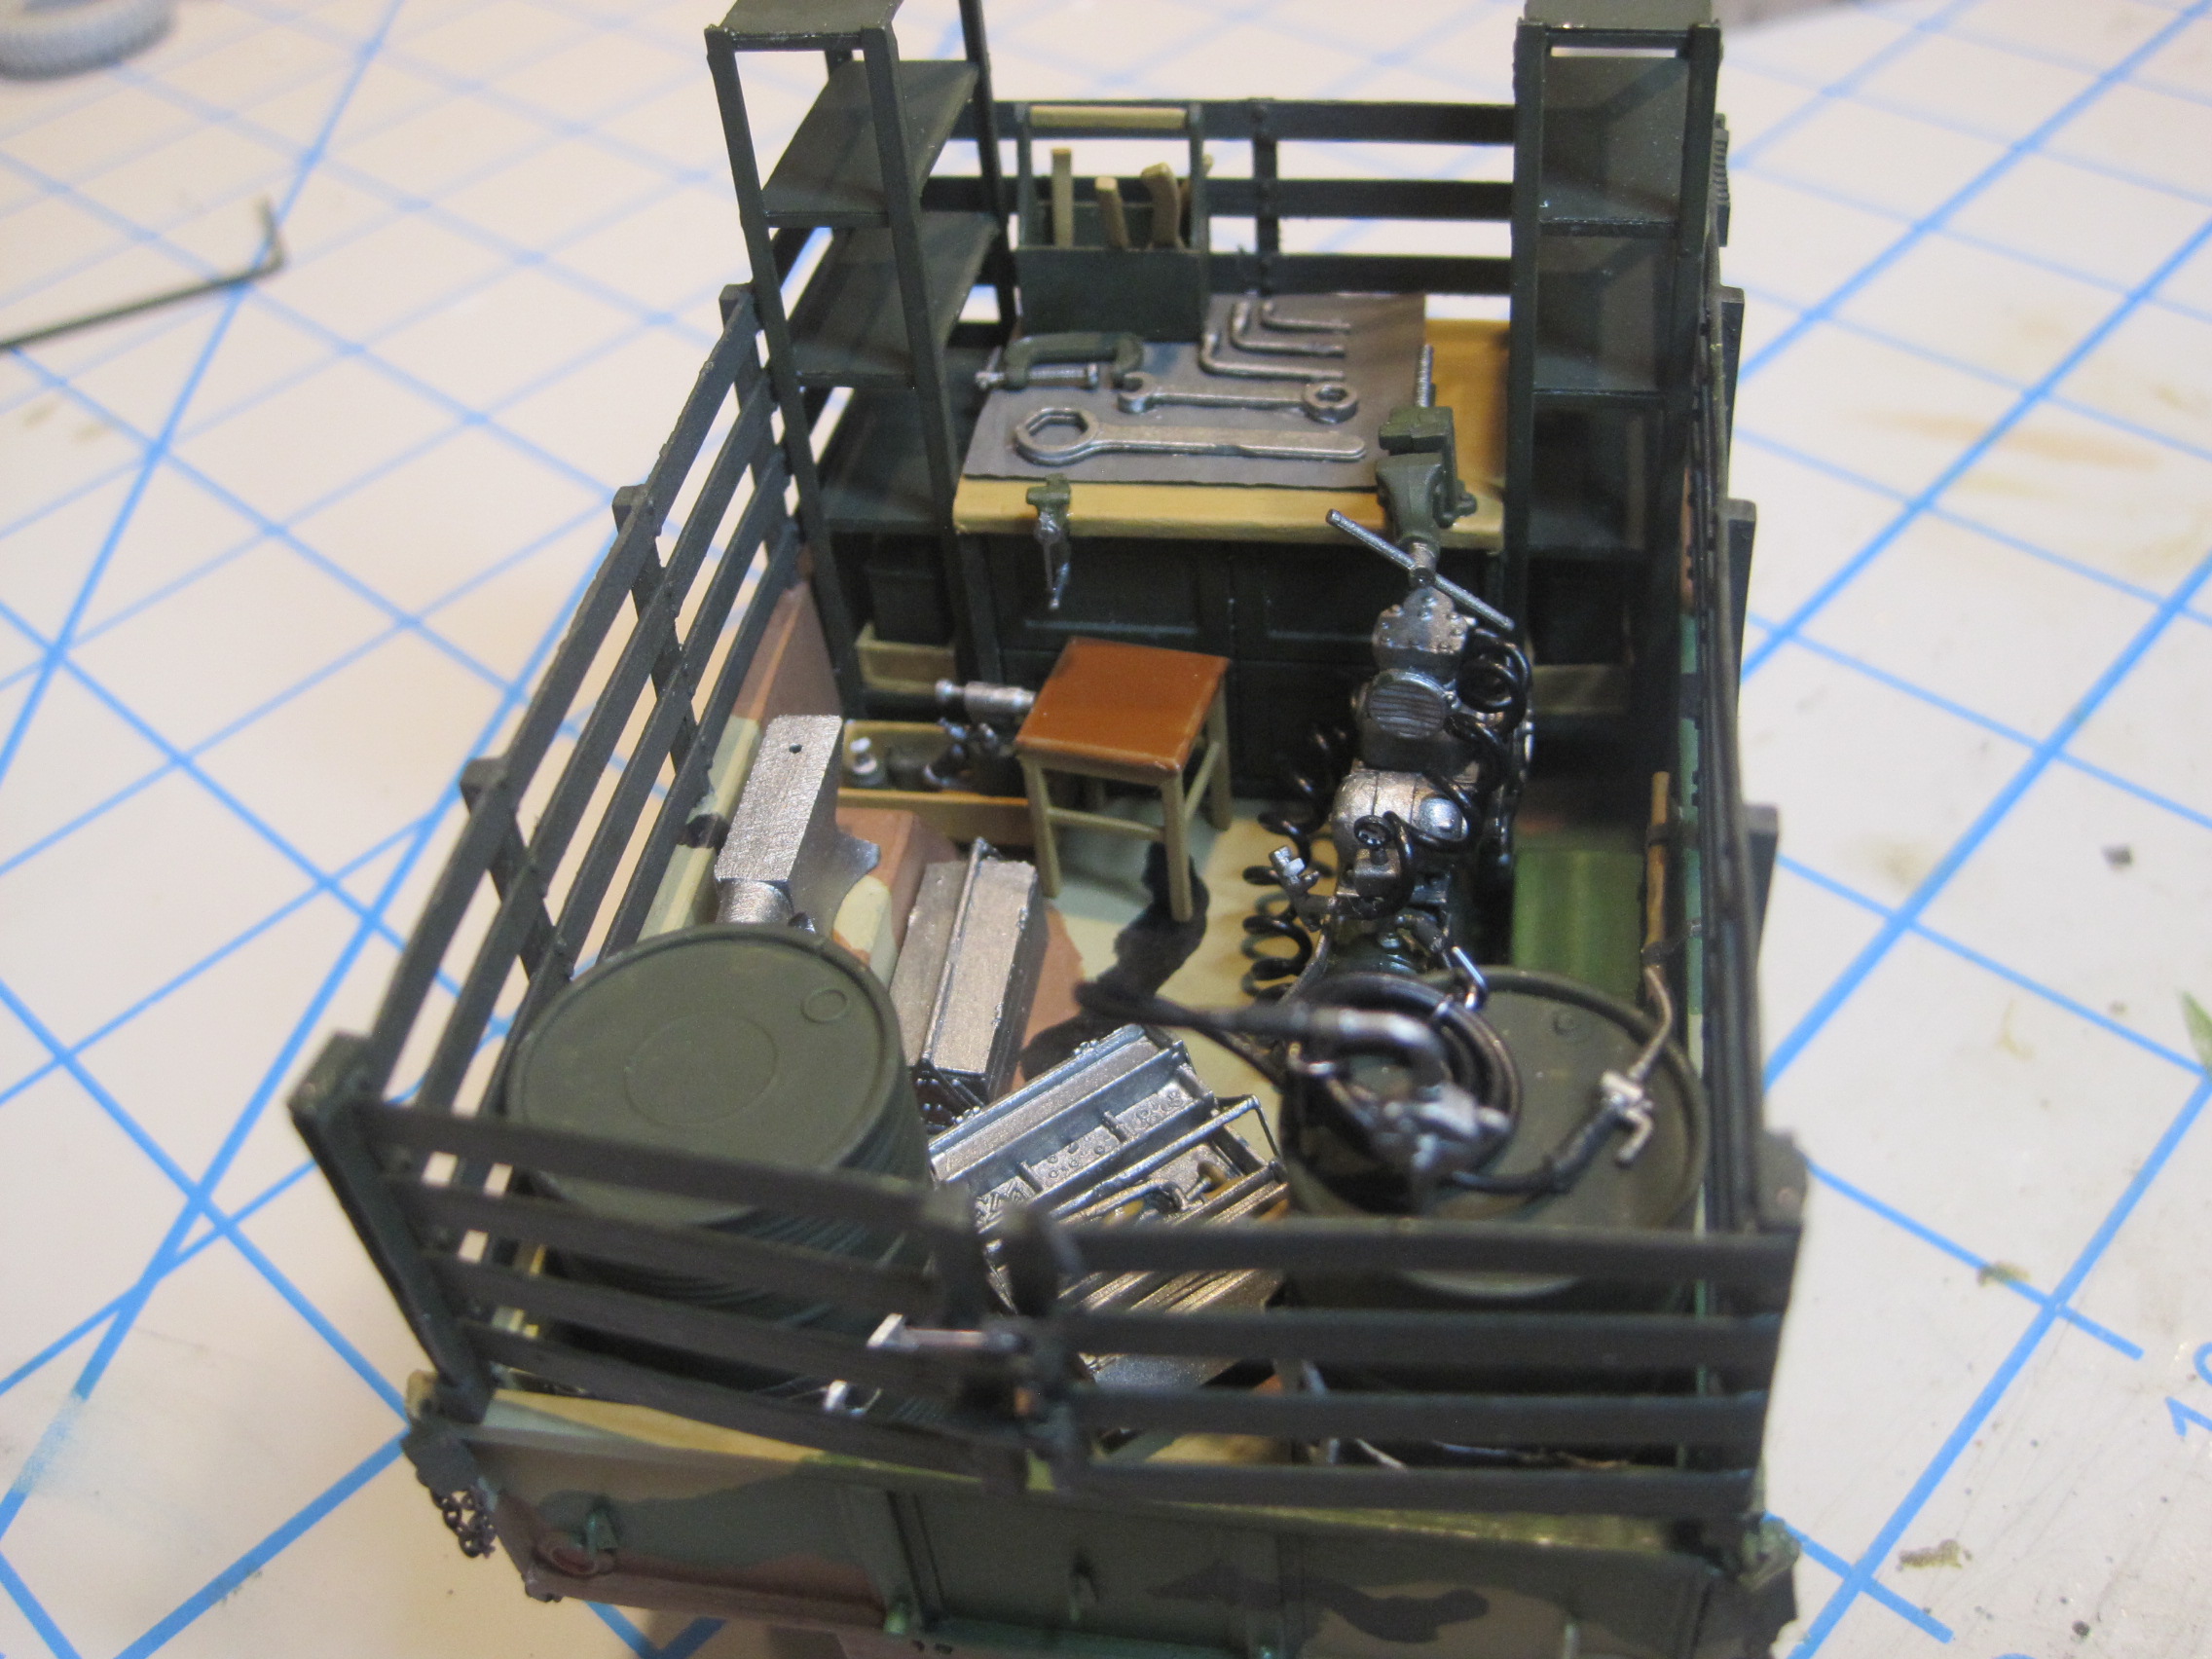
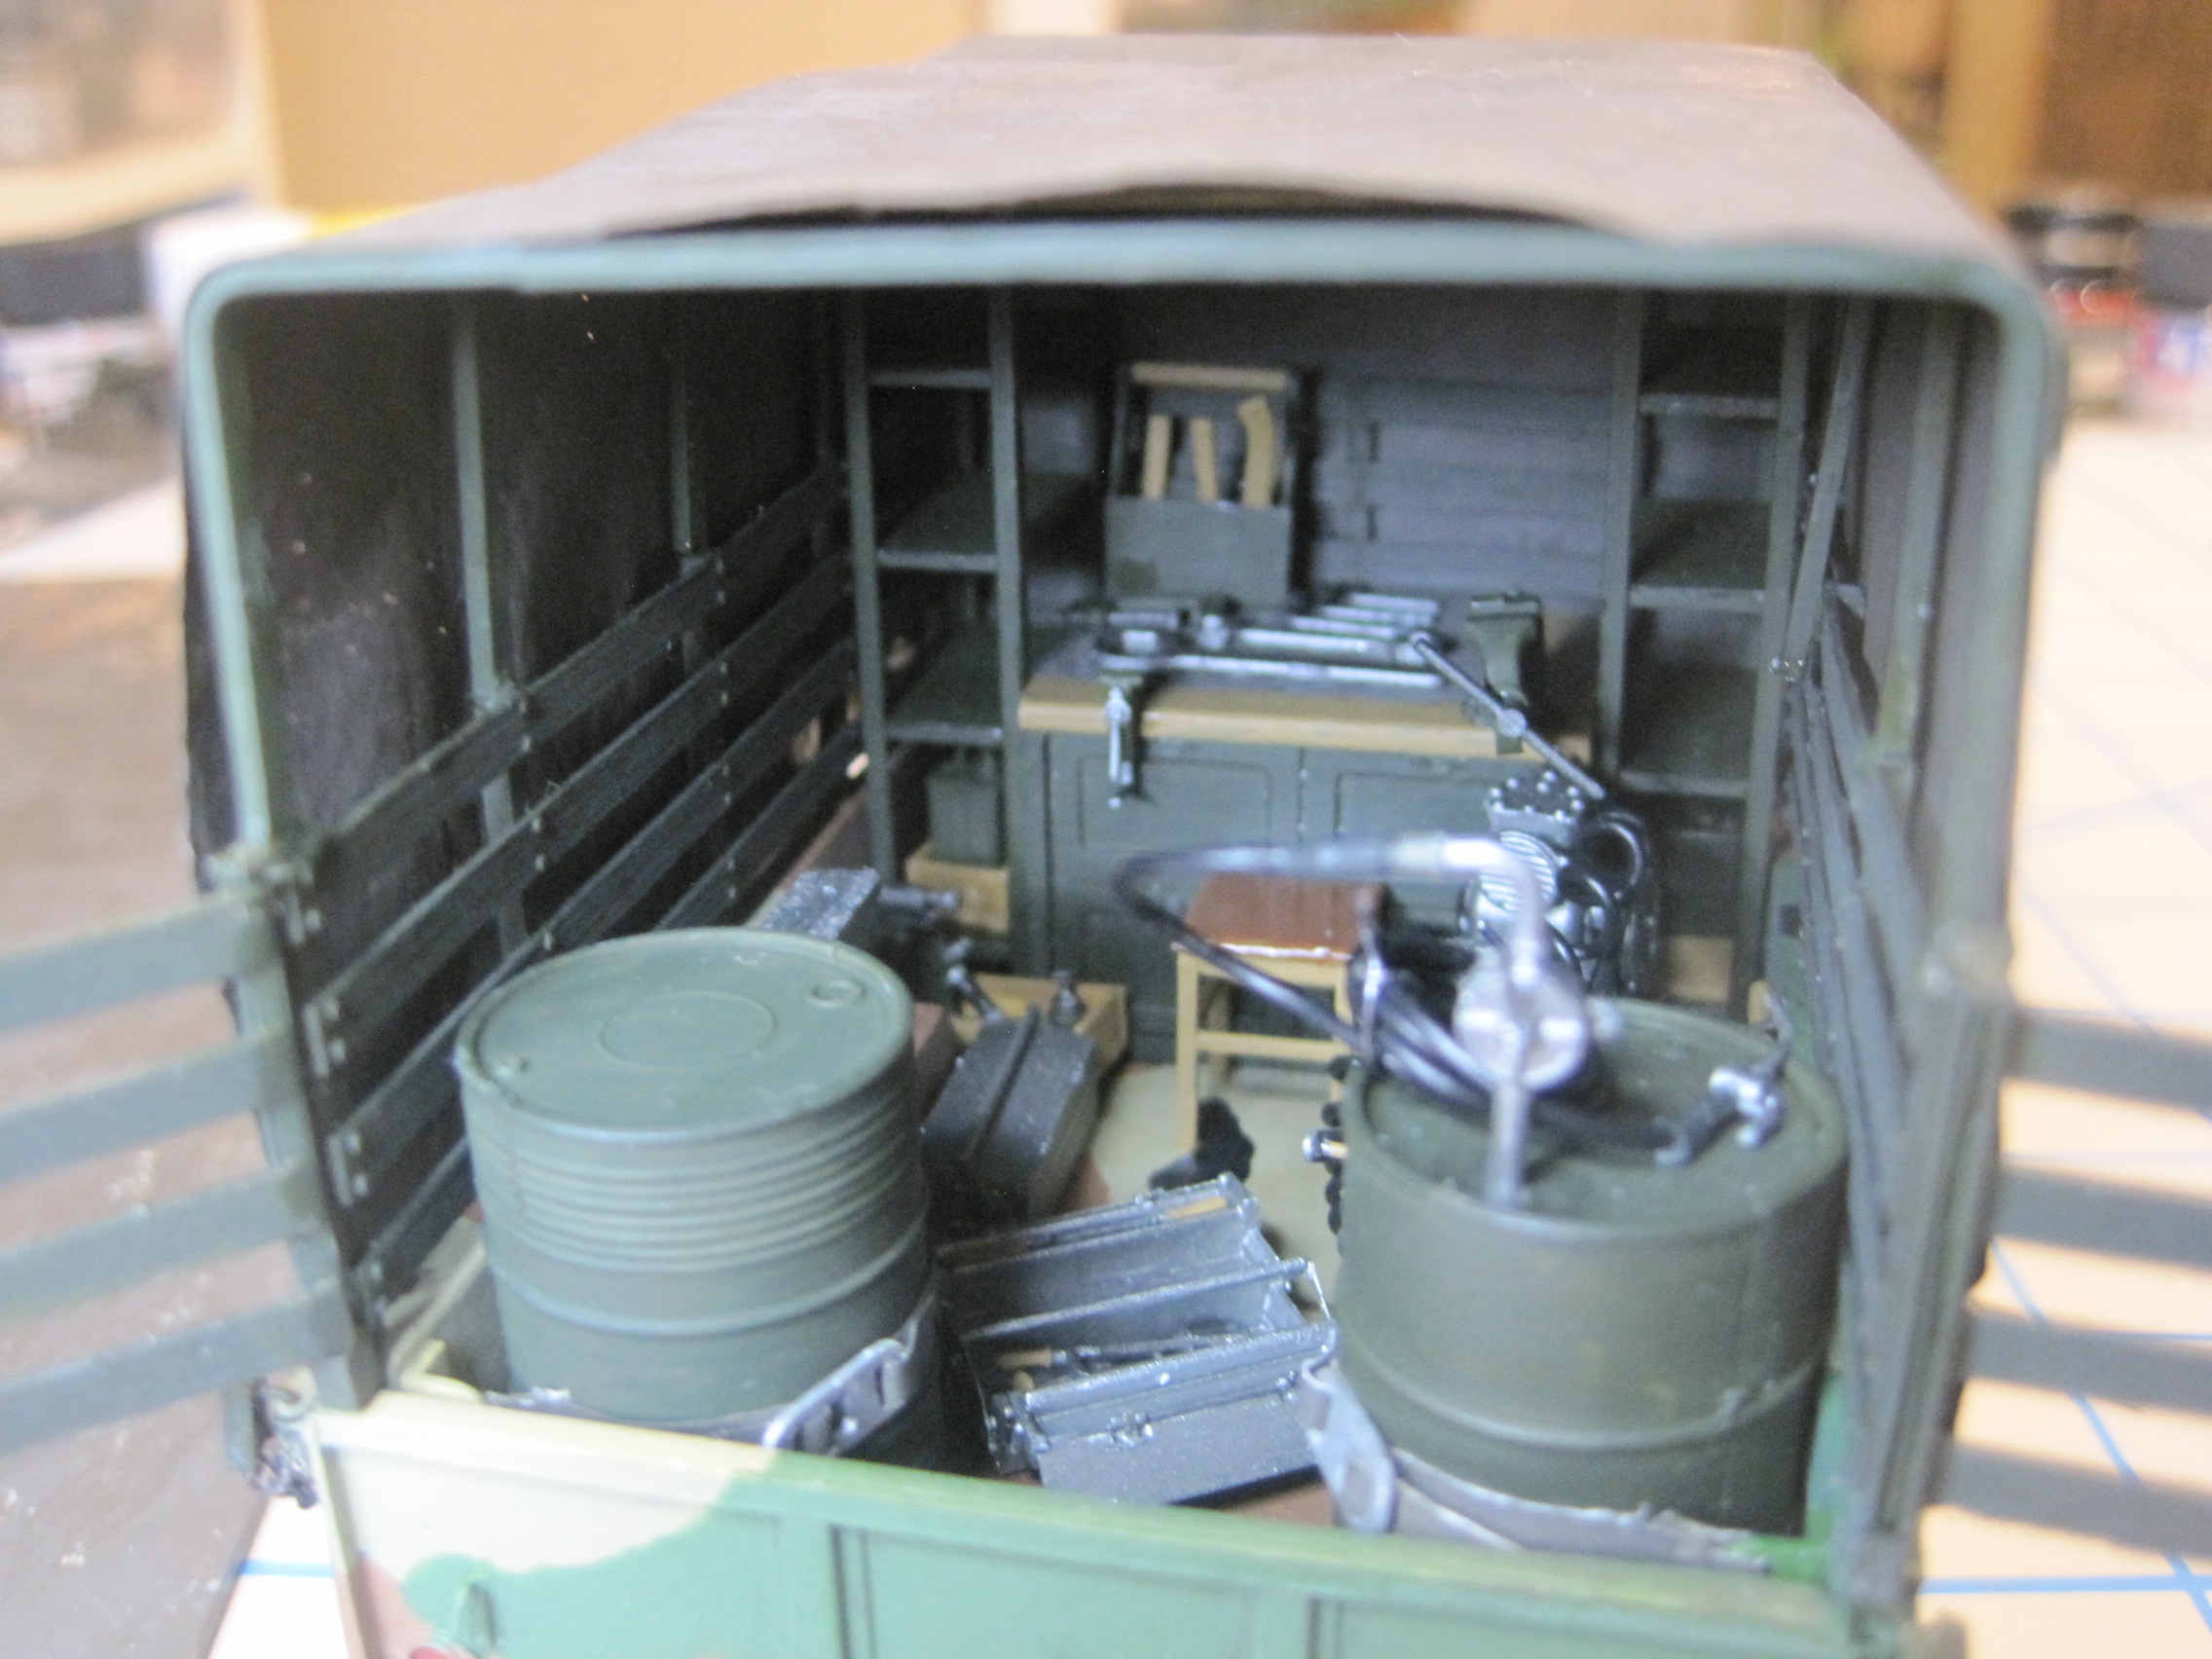
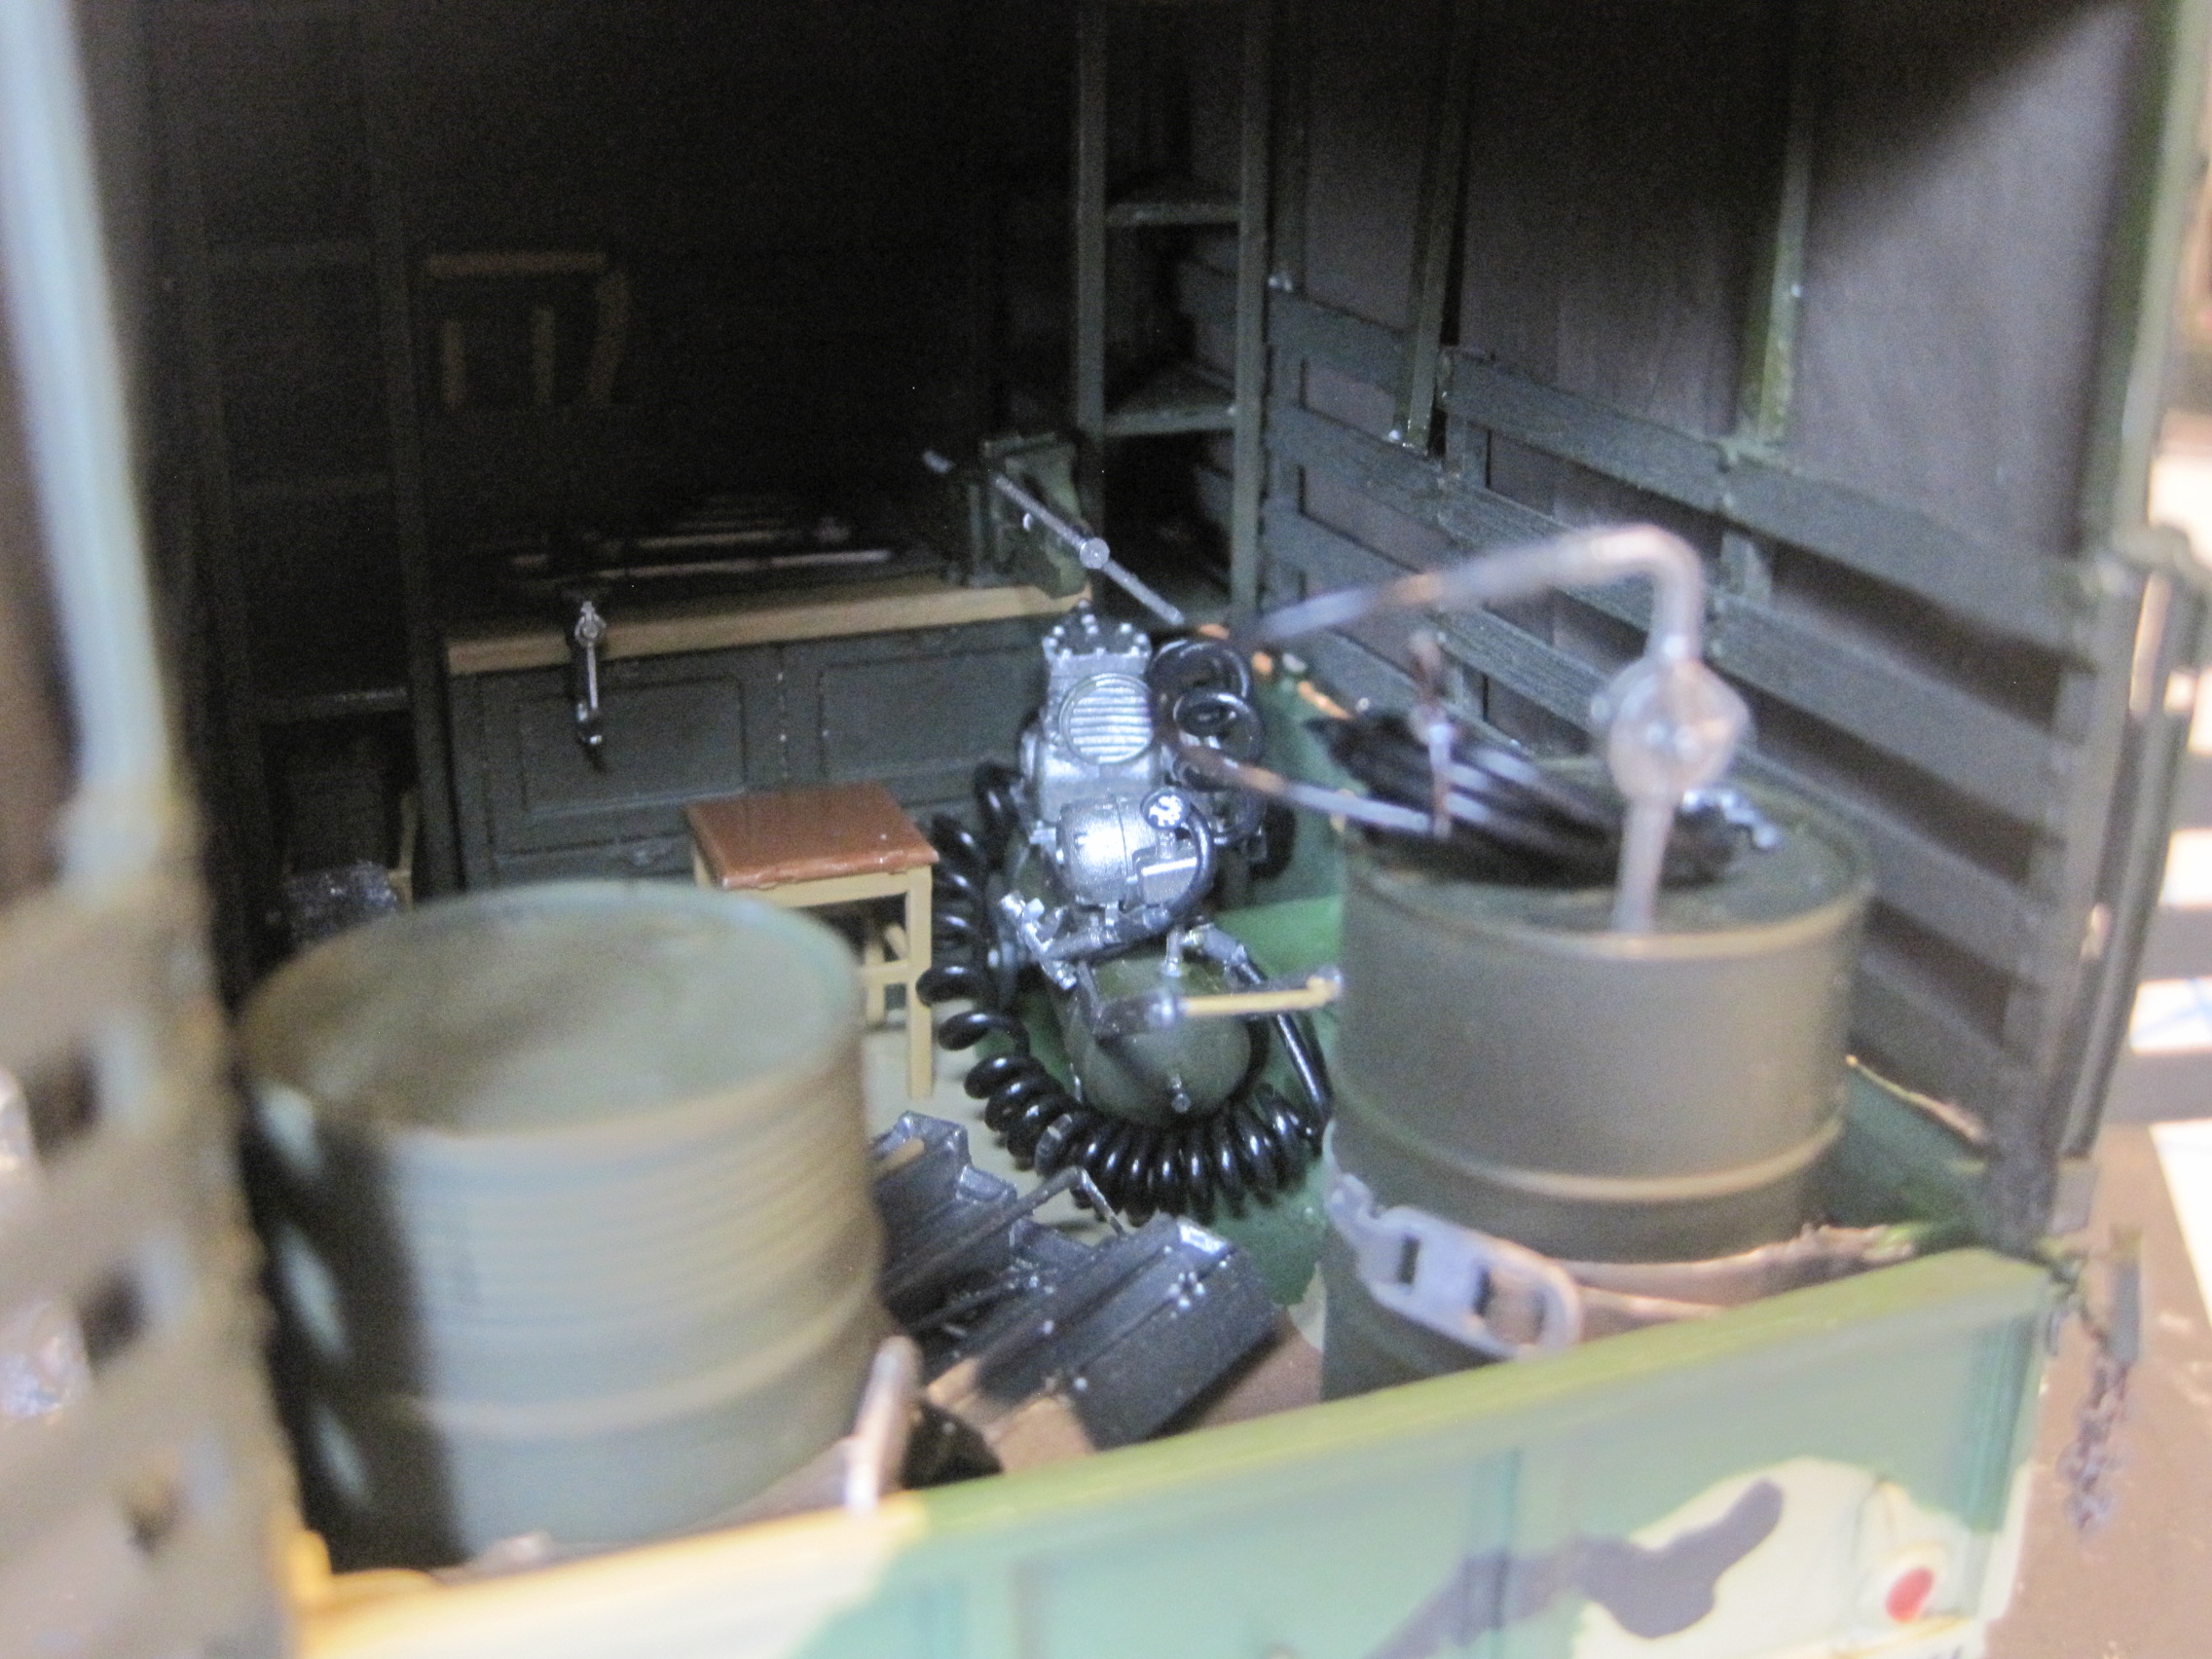
Today I’m starting with the completed trailer and adding in all of the MiniArt items. I am starting out with the work bench and shelves.
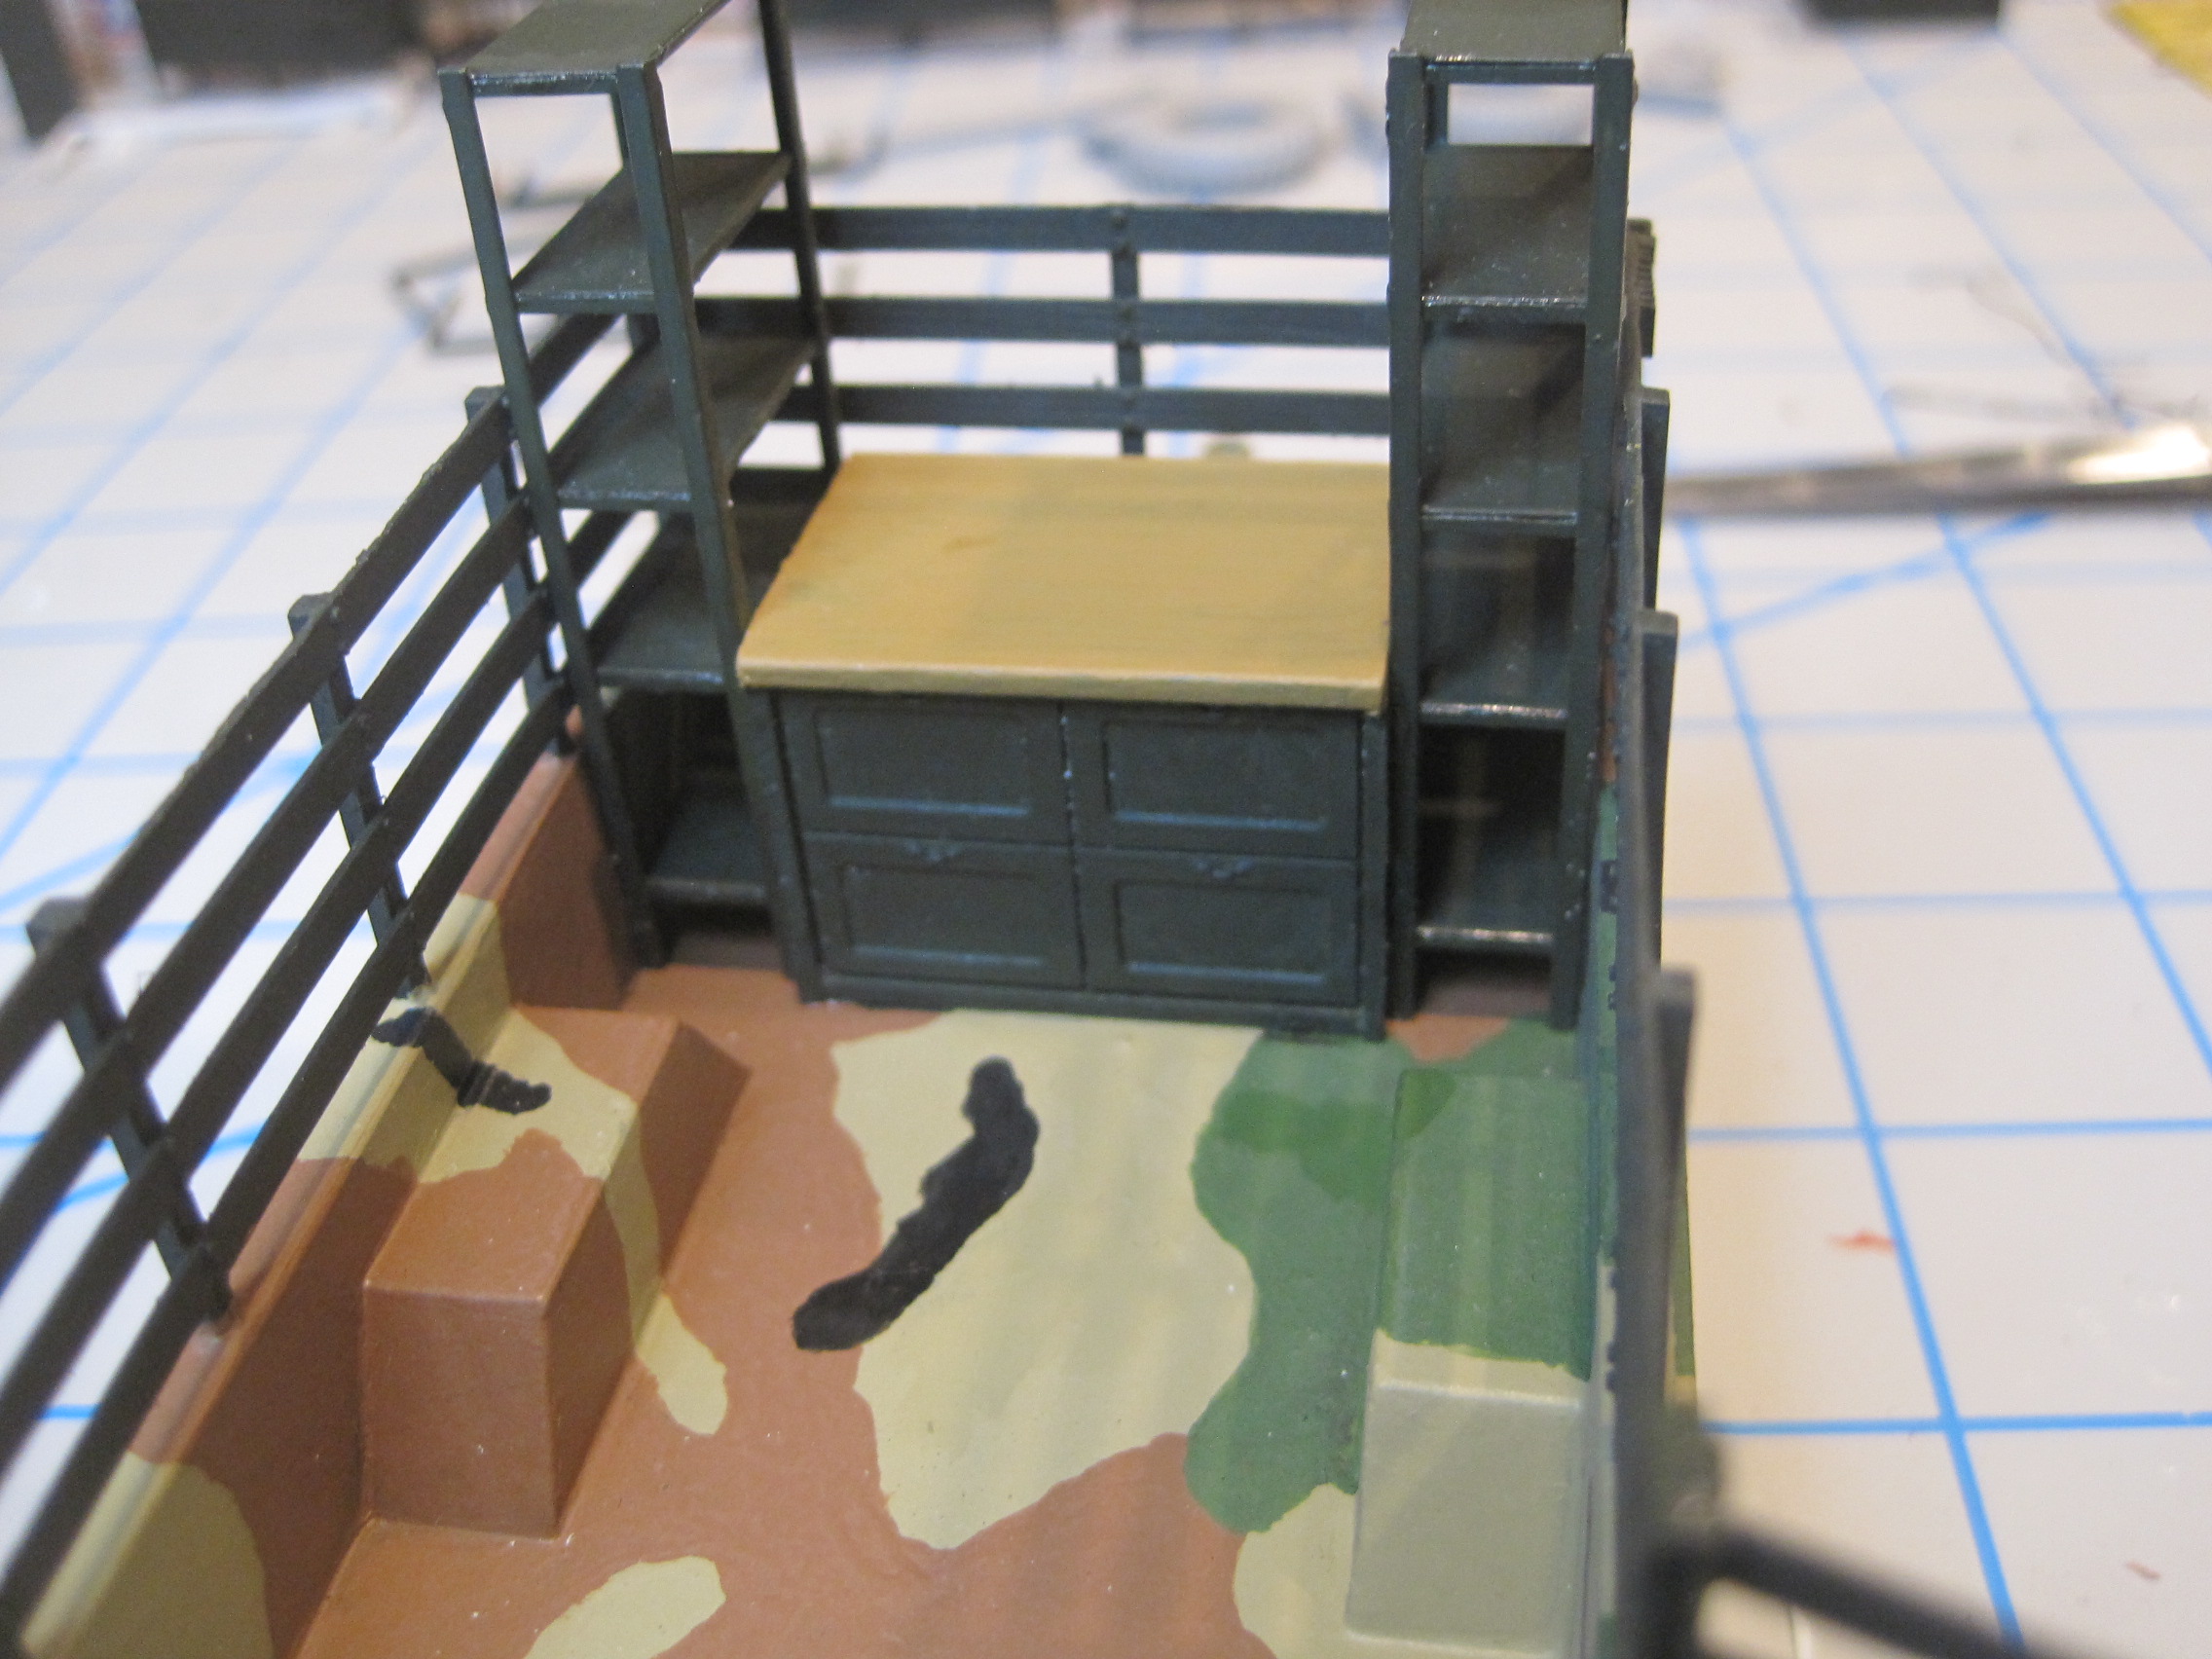
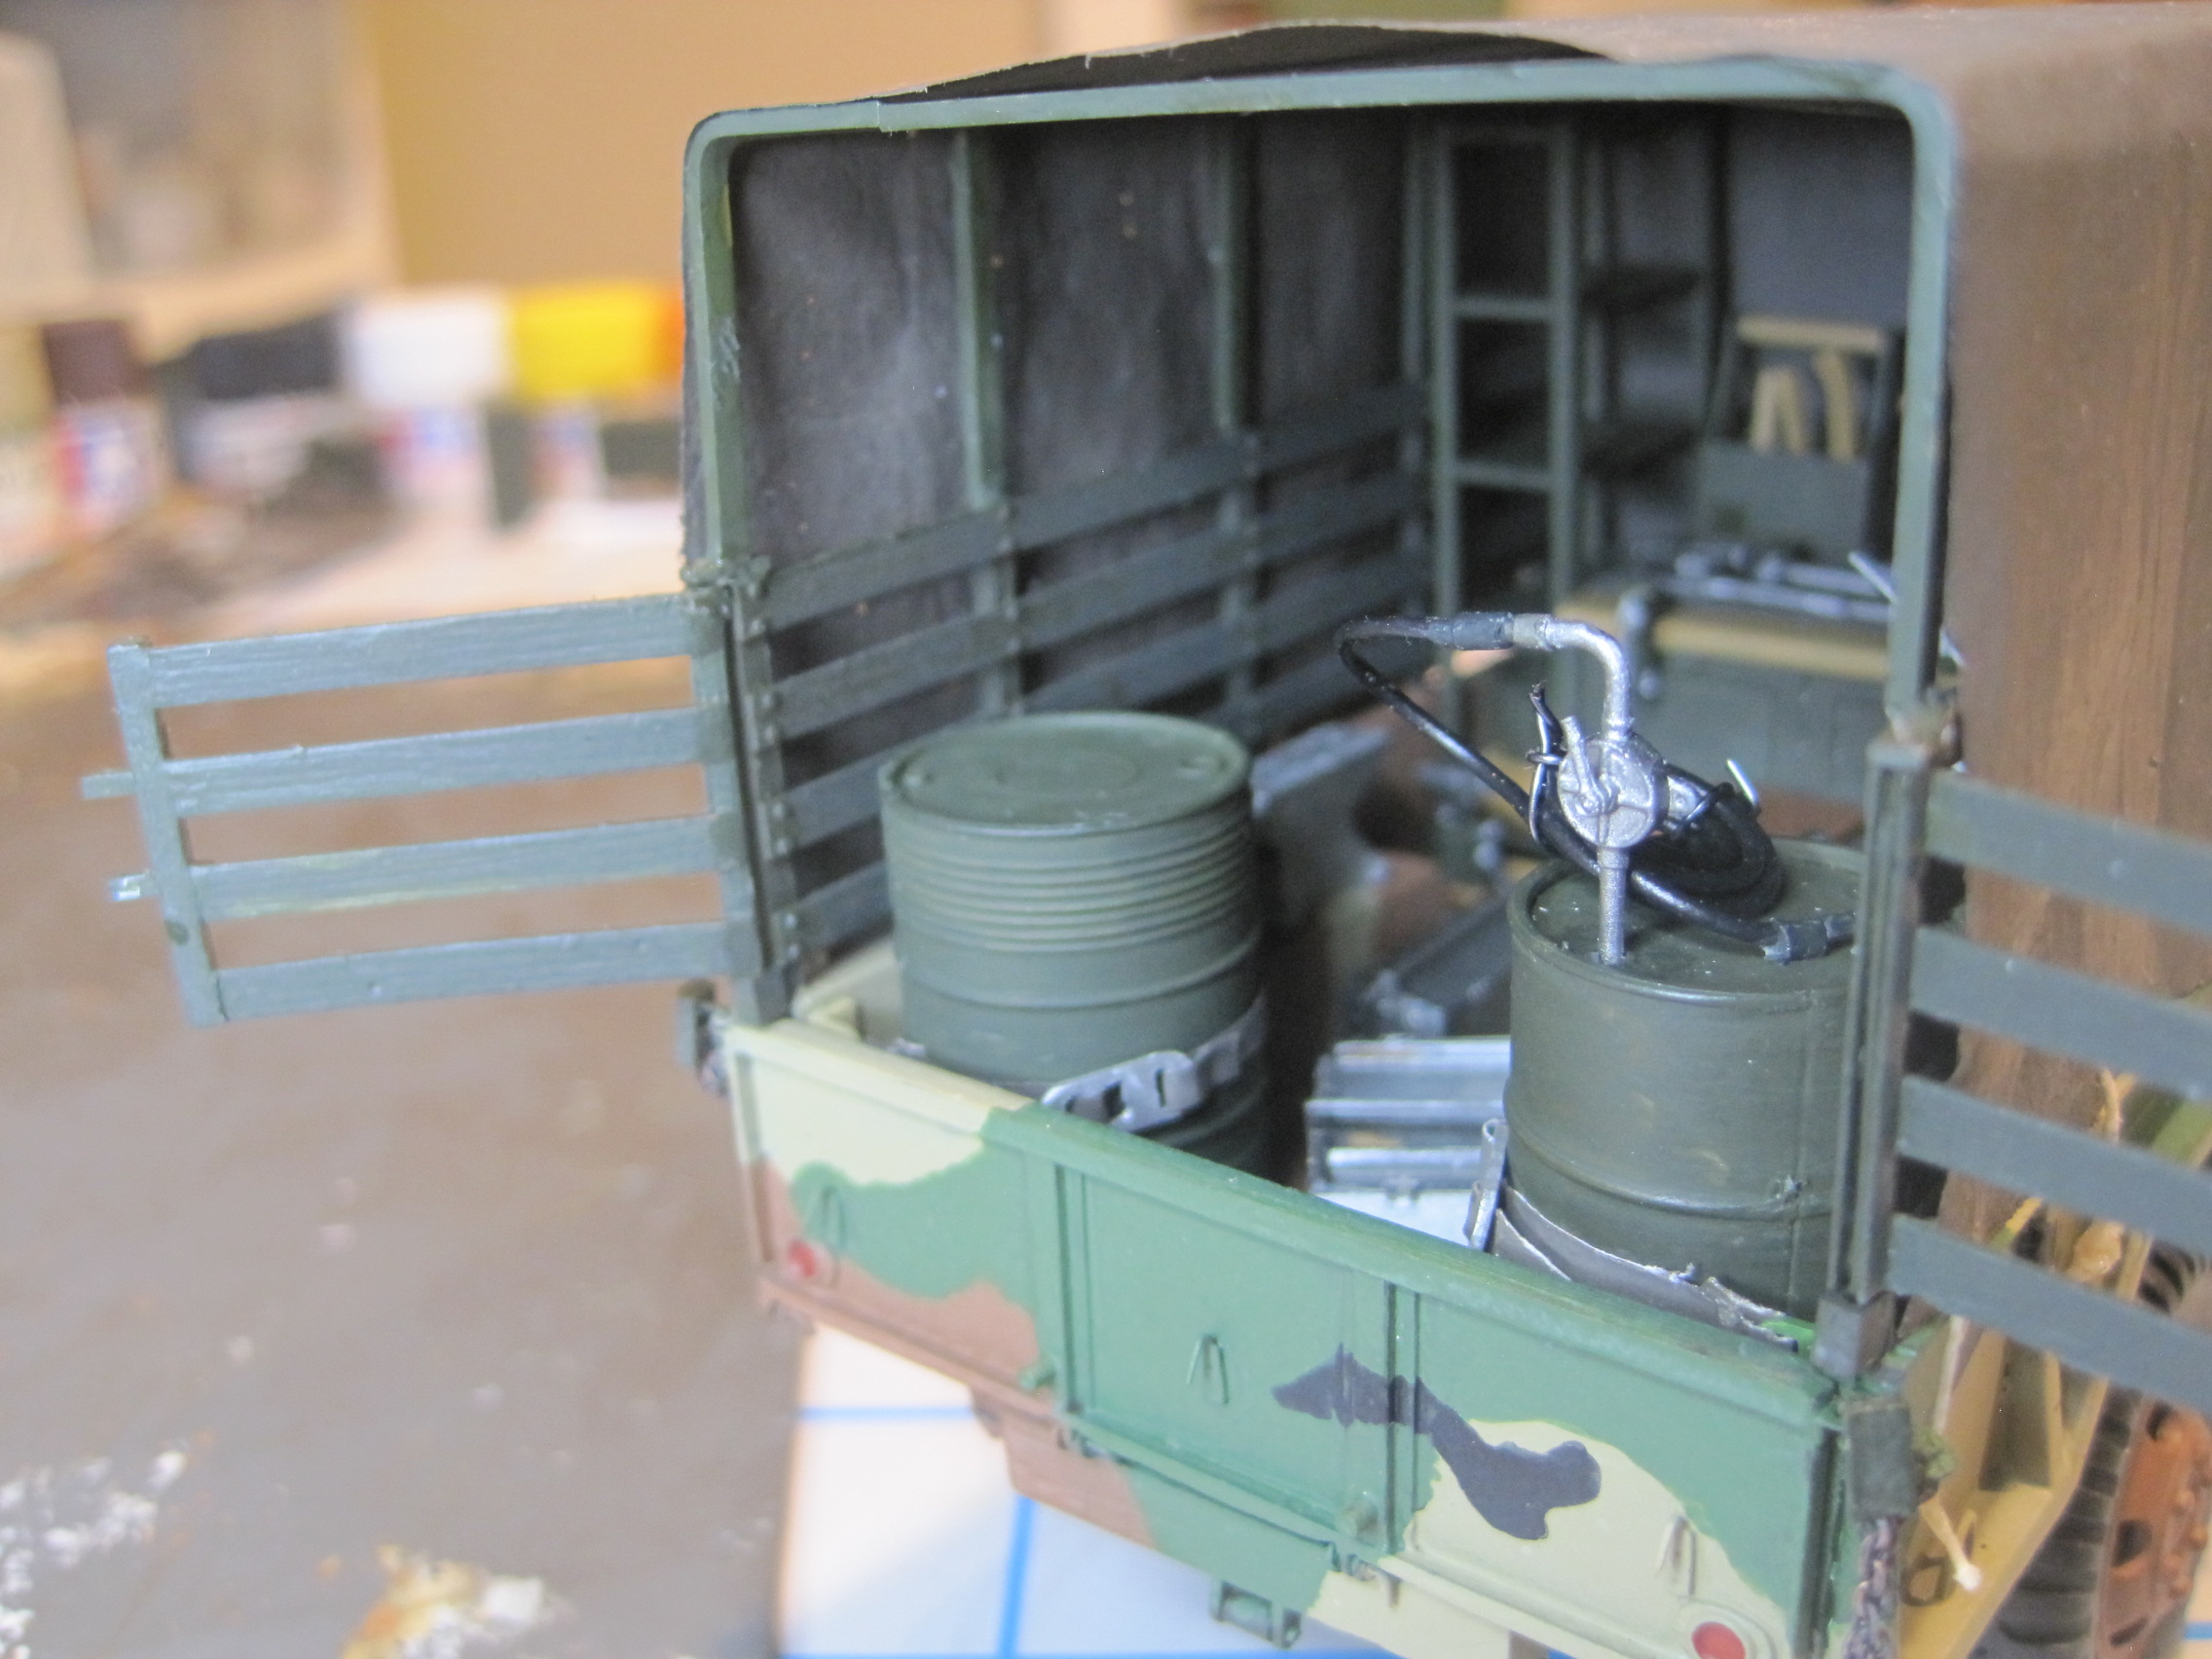
I had originally planned to only use one of the two drums included with the MiniArt set, but decided that to balance out the weight I’d use them both. And I needed to secure them so they wouldn’t bounce around, so I scratch build a strap system with some mounting brackets. The belt is made from painting Tamiya Khaki Drab on to regular paper and then cutting a 2mm strip.

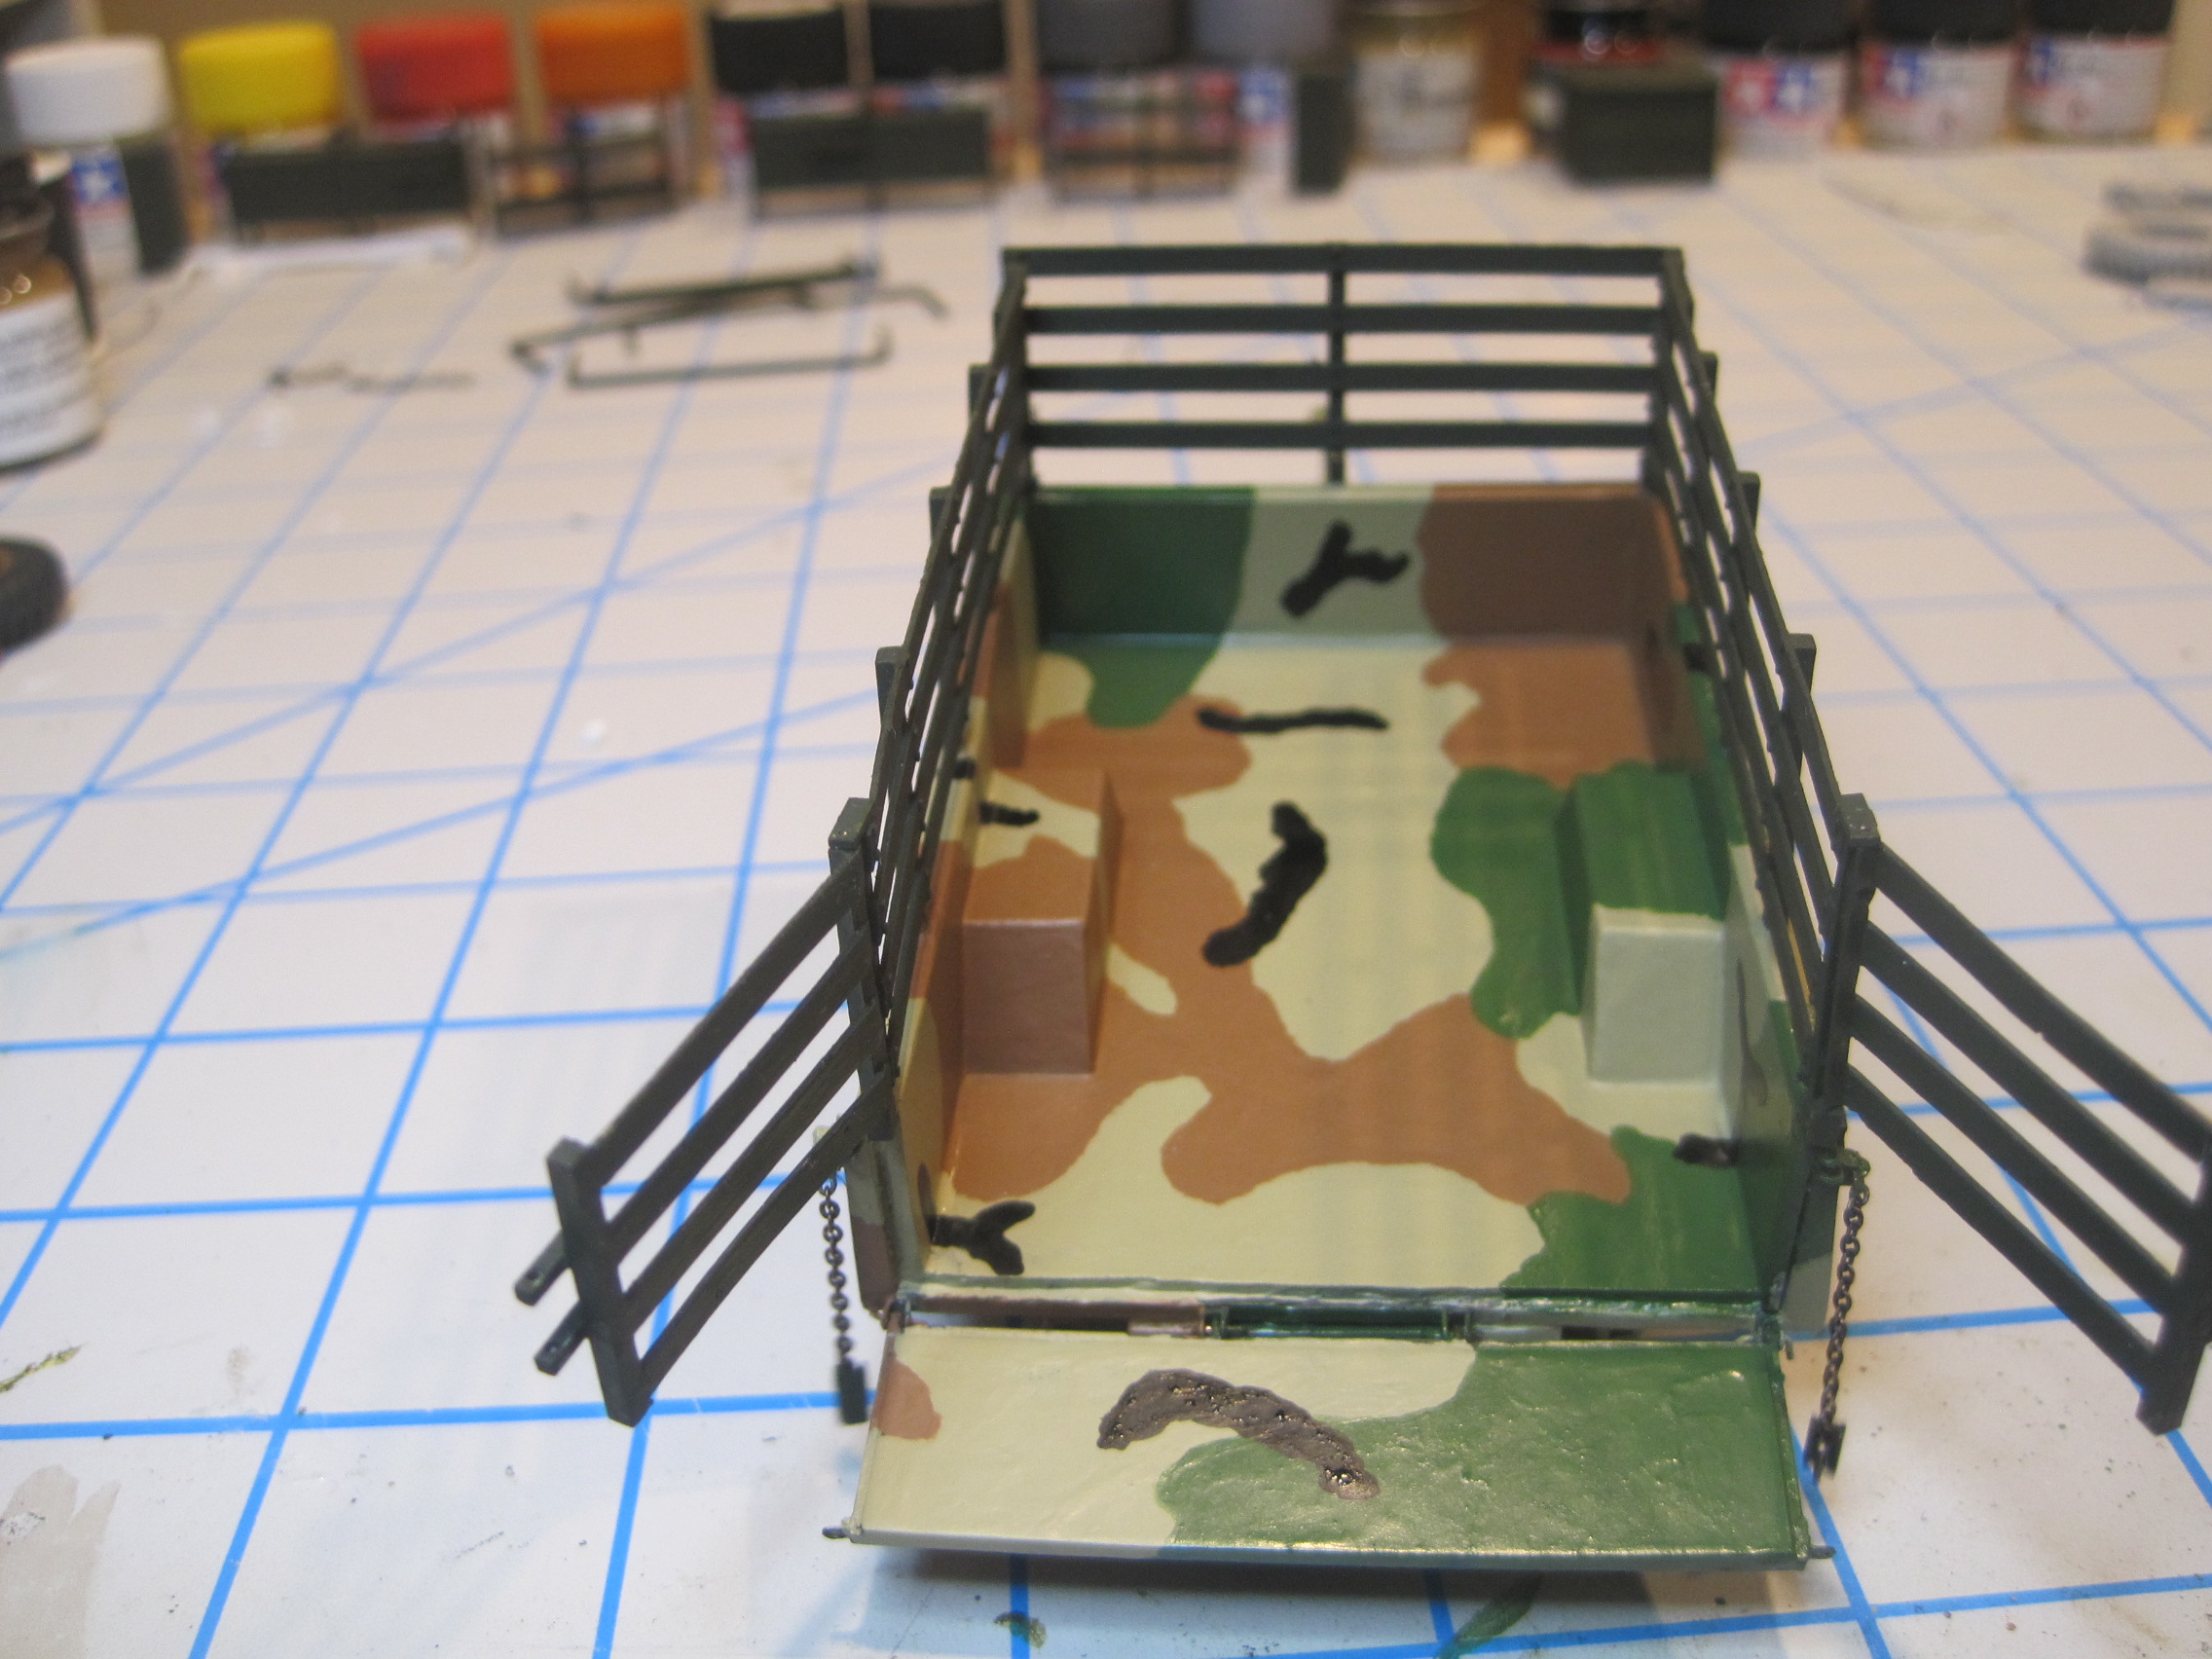
And here’s all the stuff which will be in the trailer. I decided to build a couple of “wooden boxes” which will hold all the loose cans of oil, etc and place them onto the shelves at the front of the trailer.
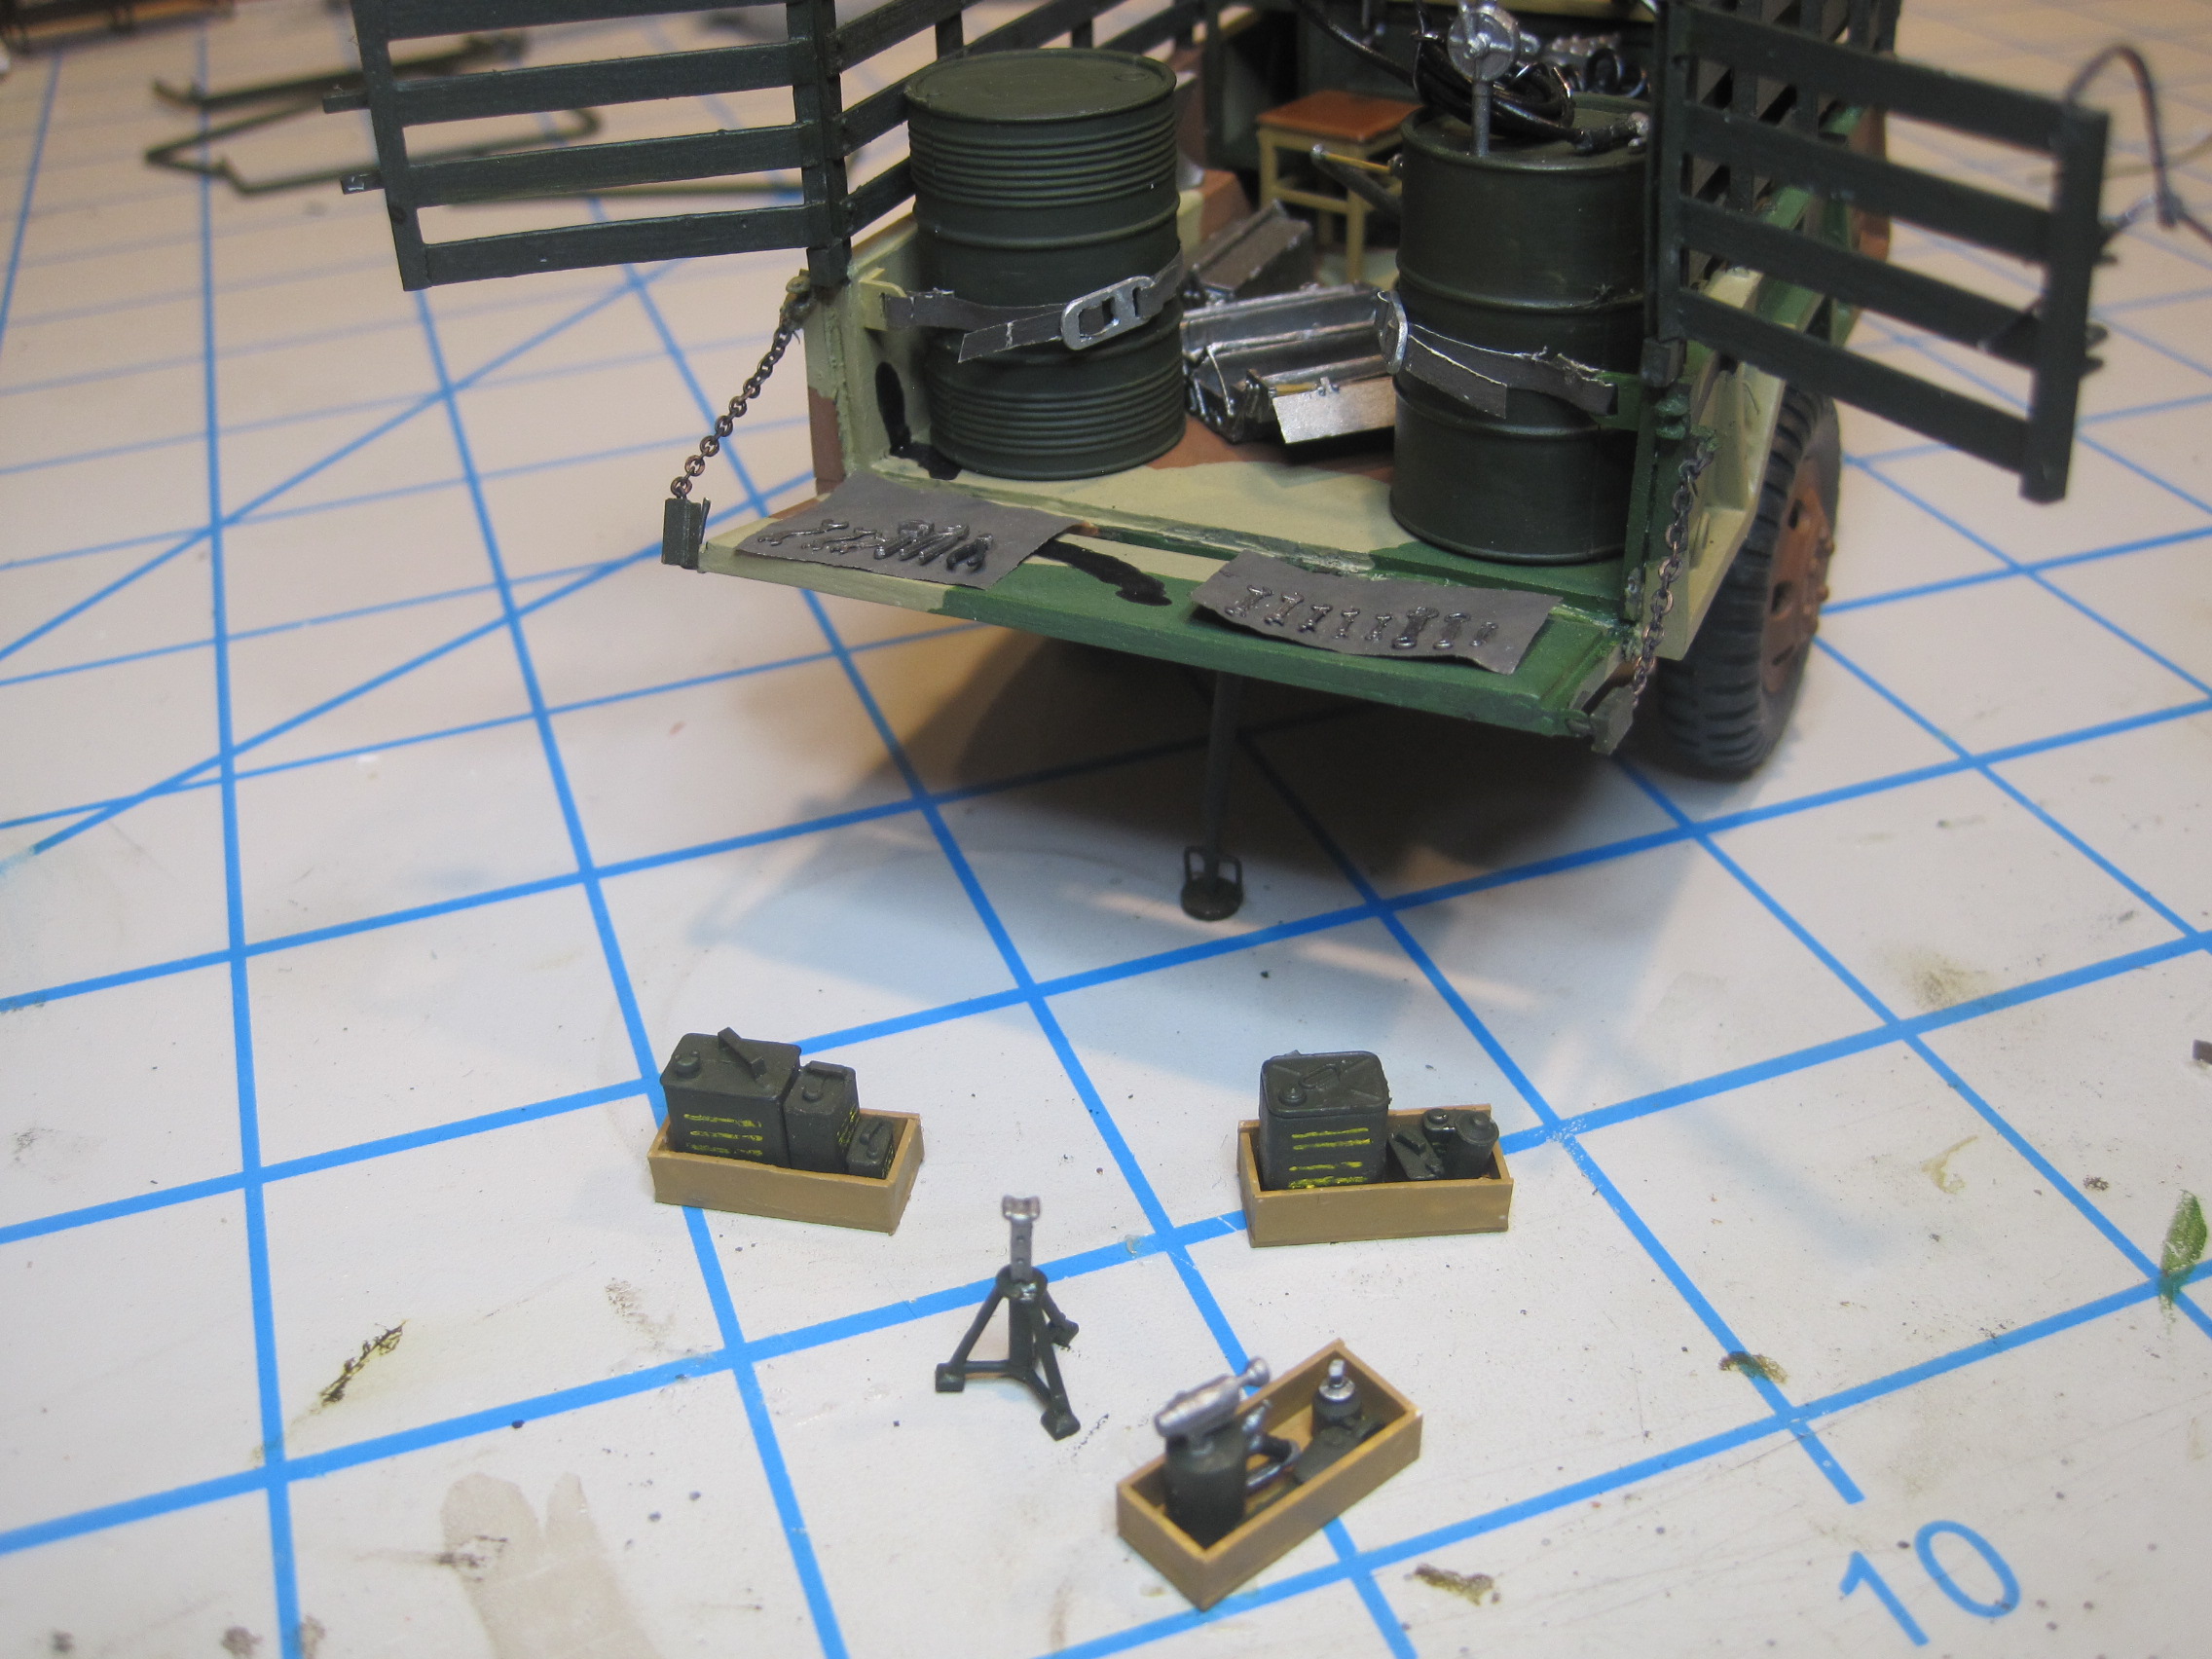
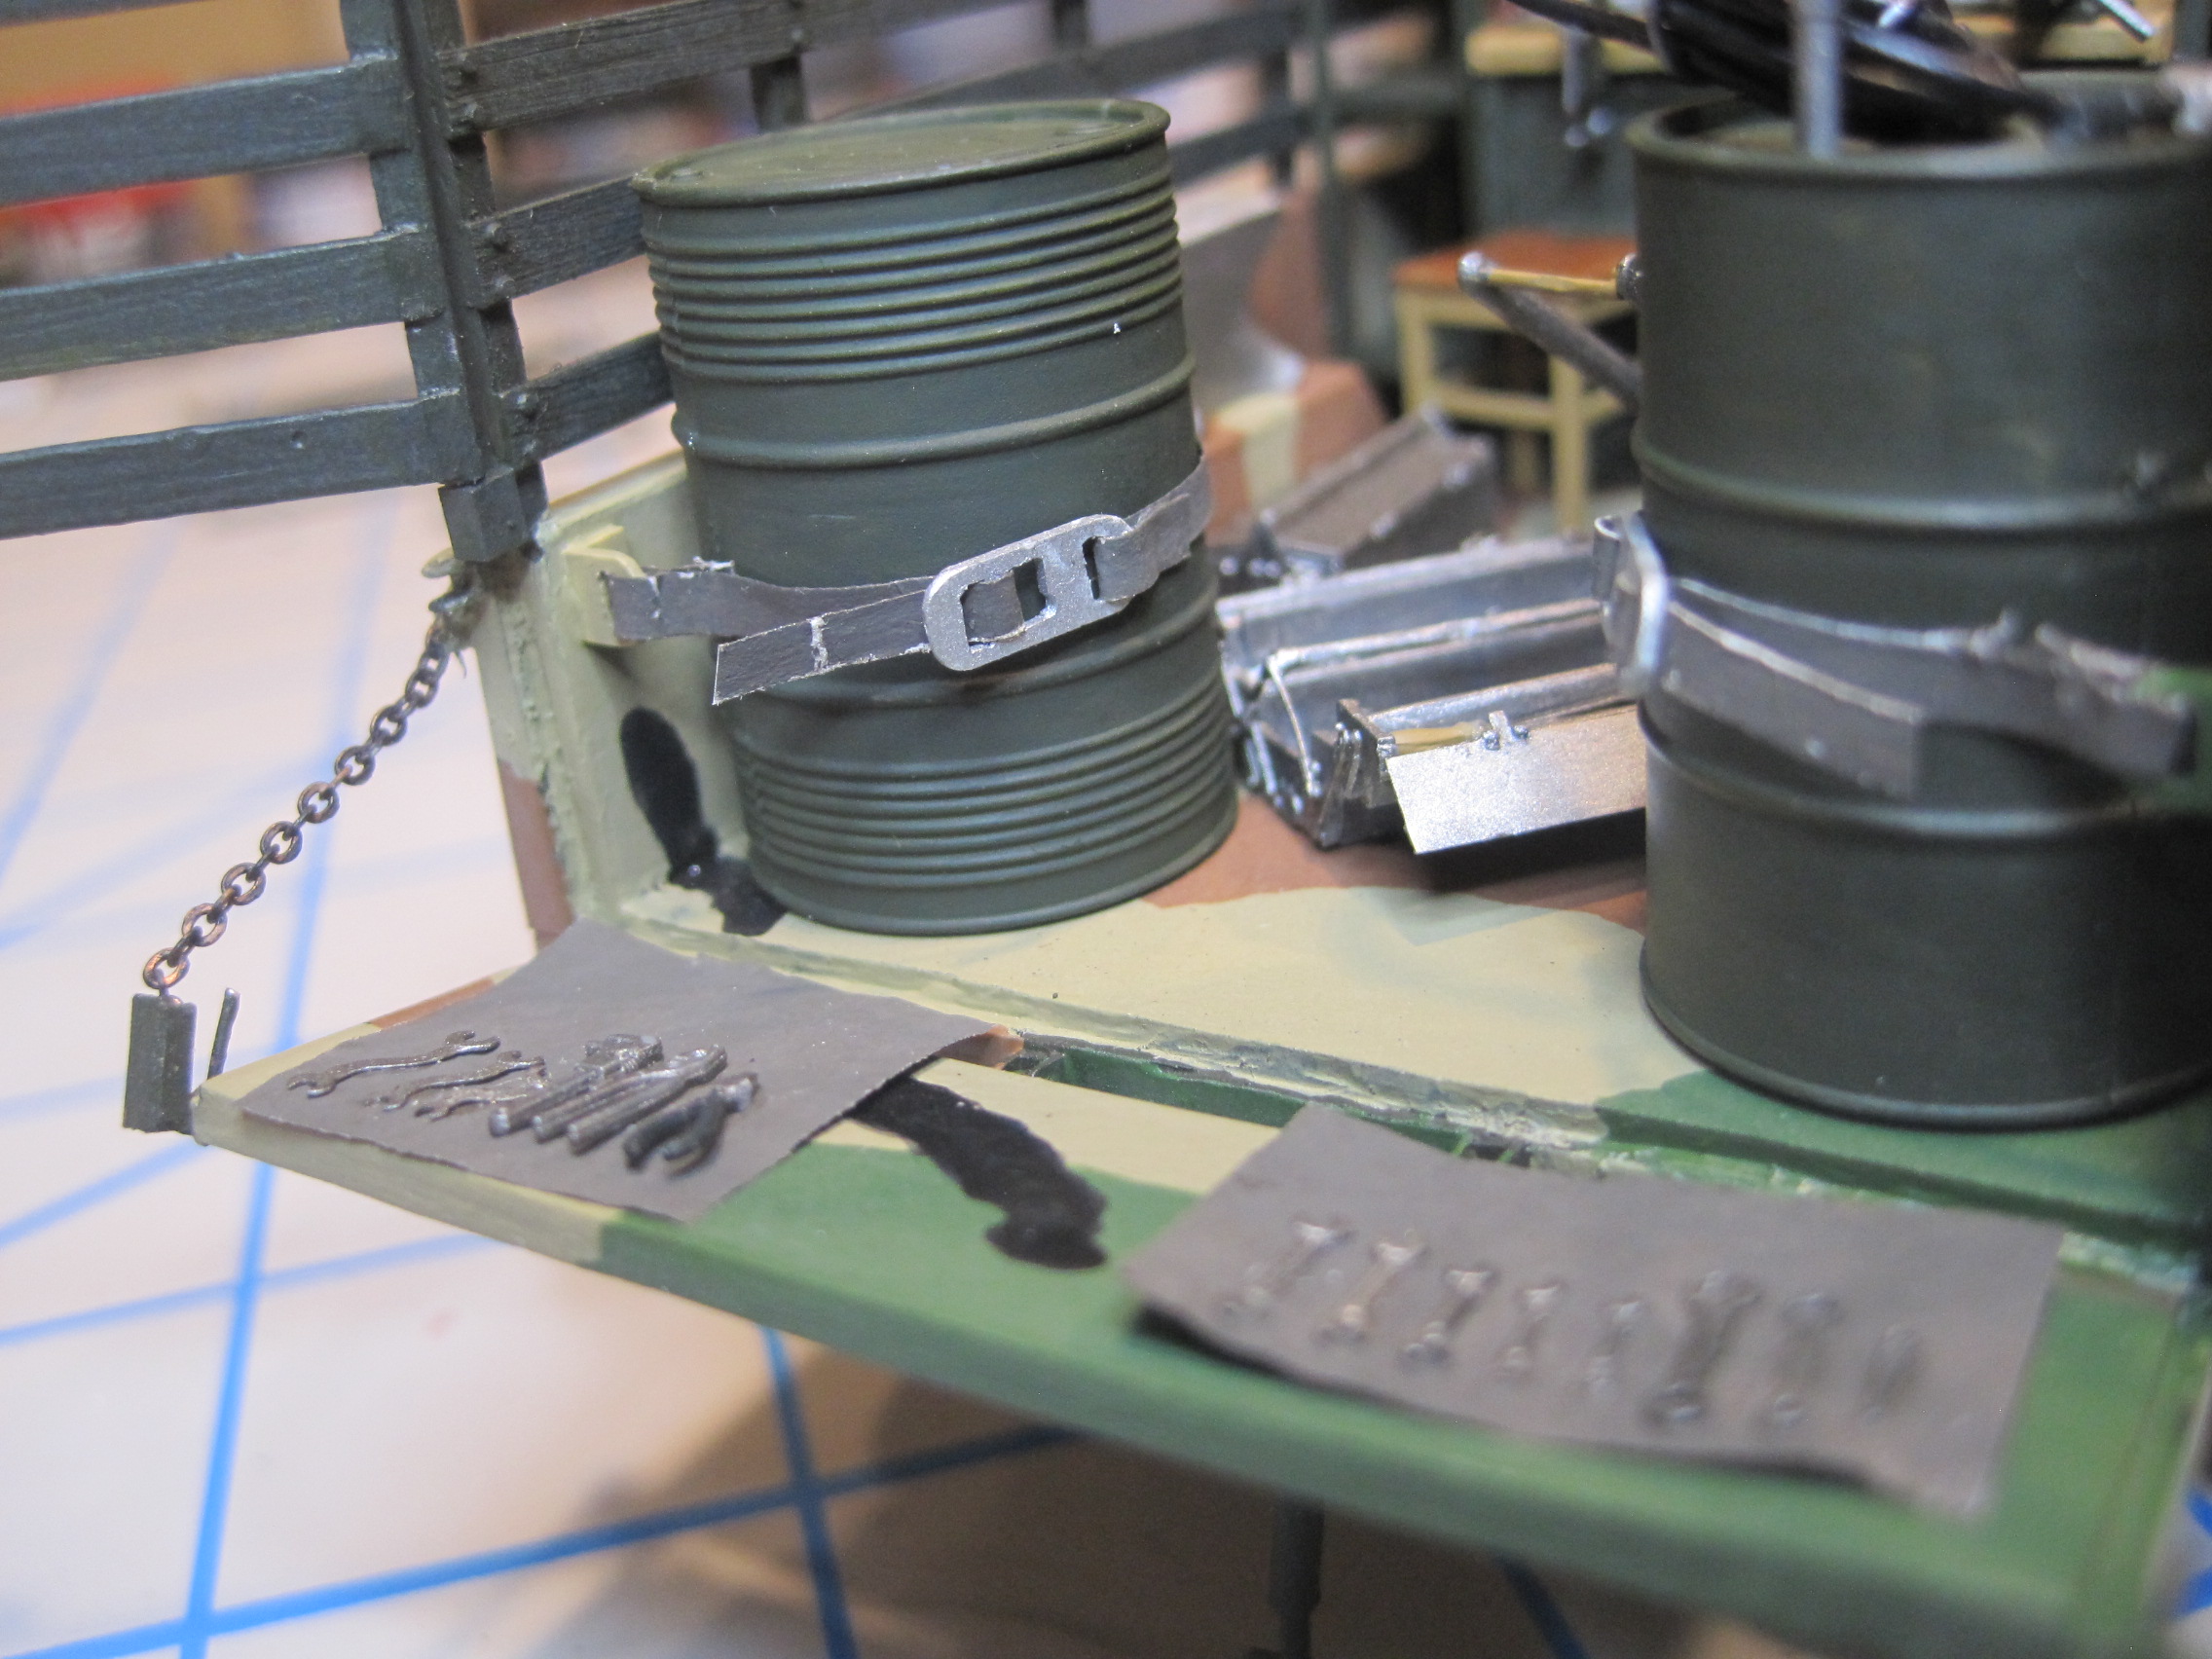
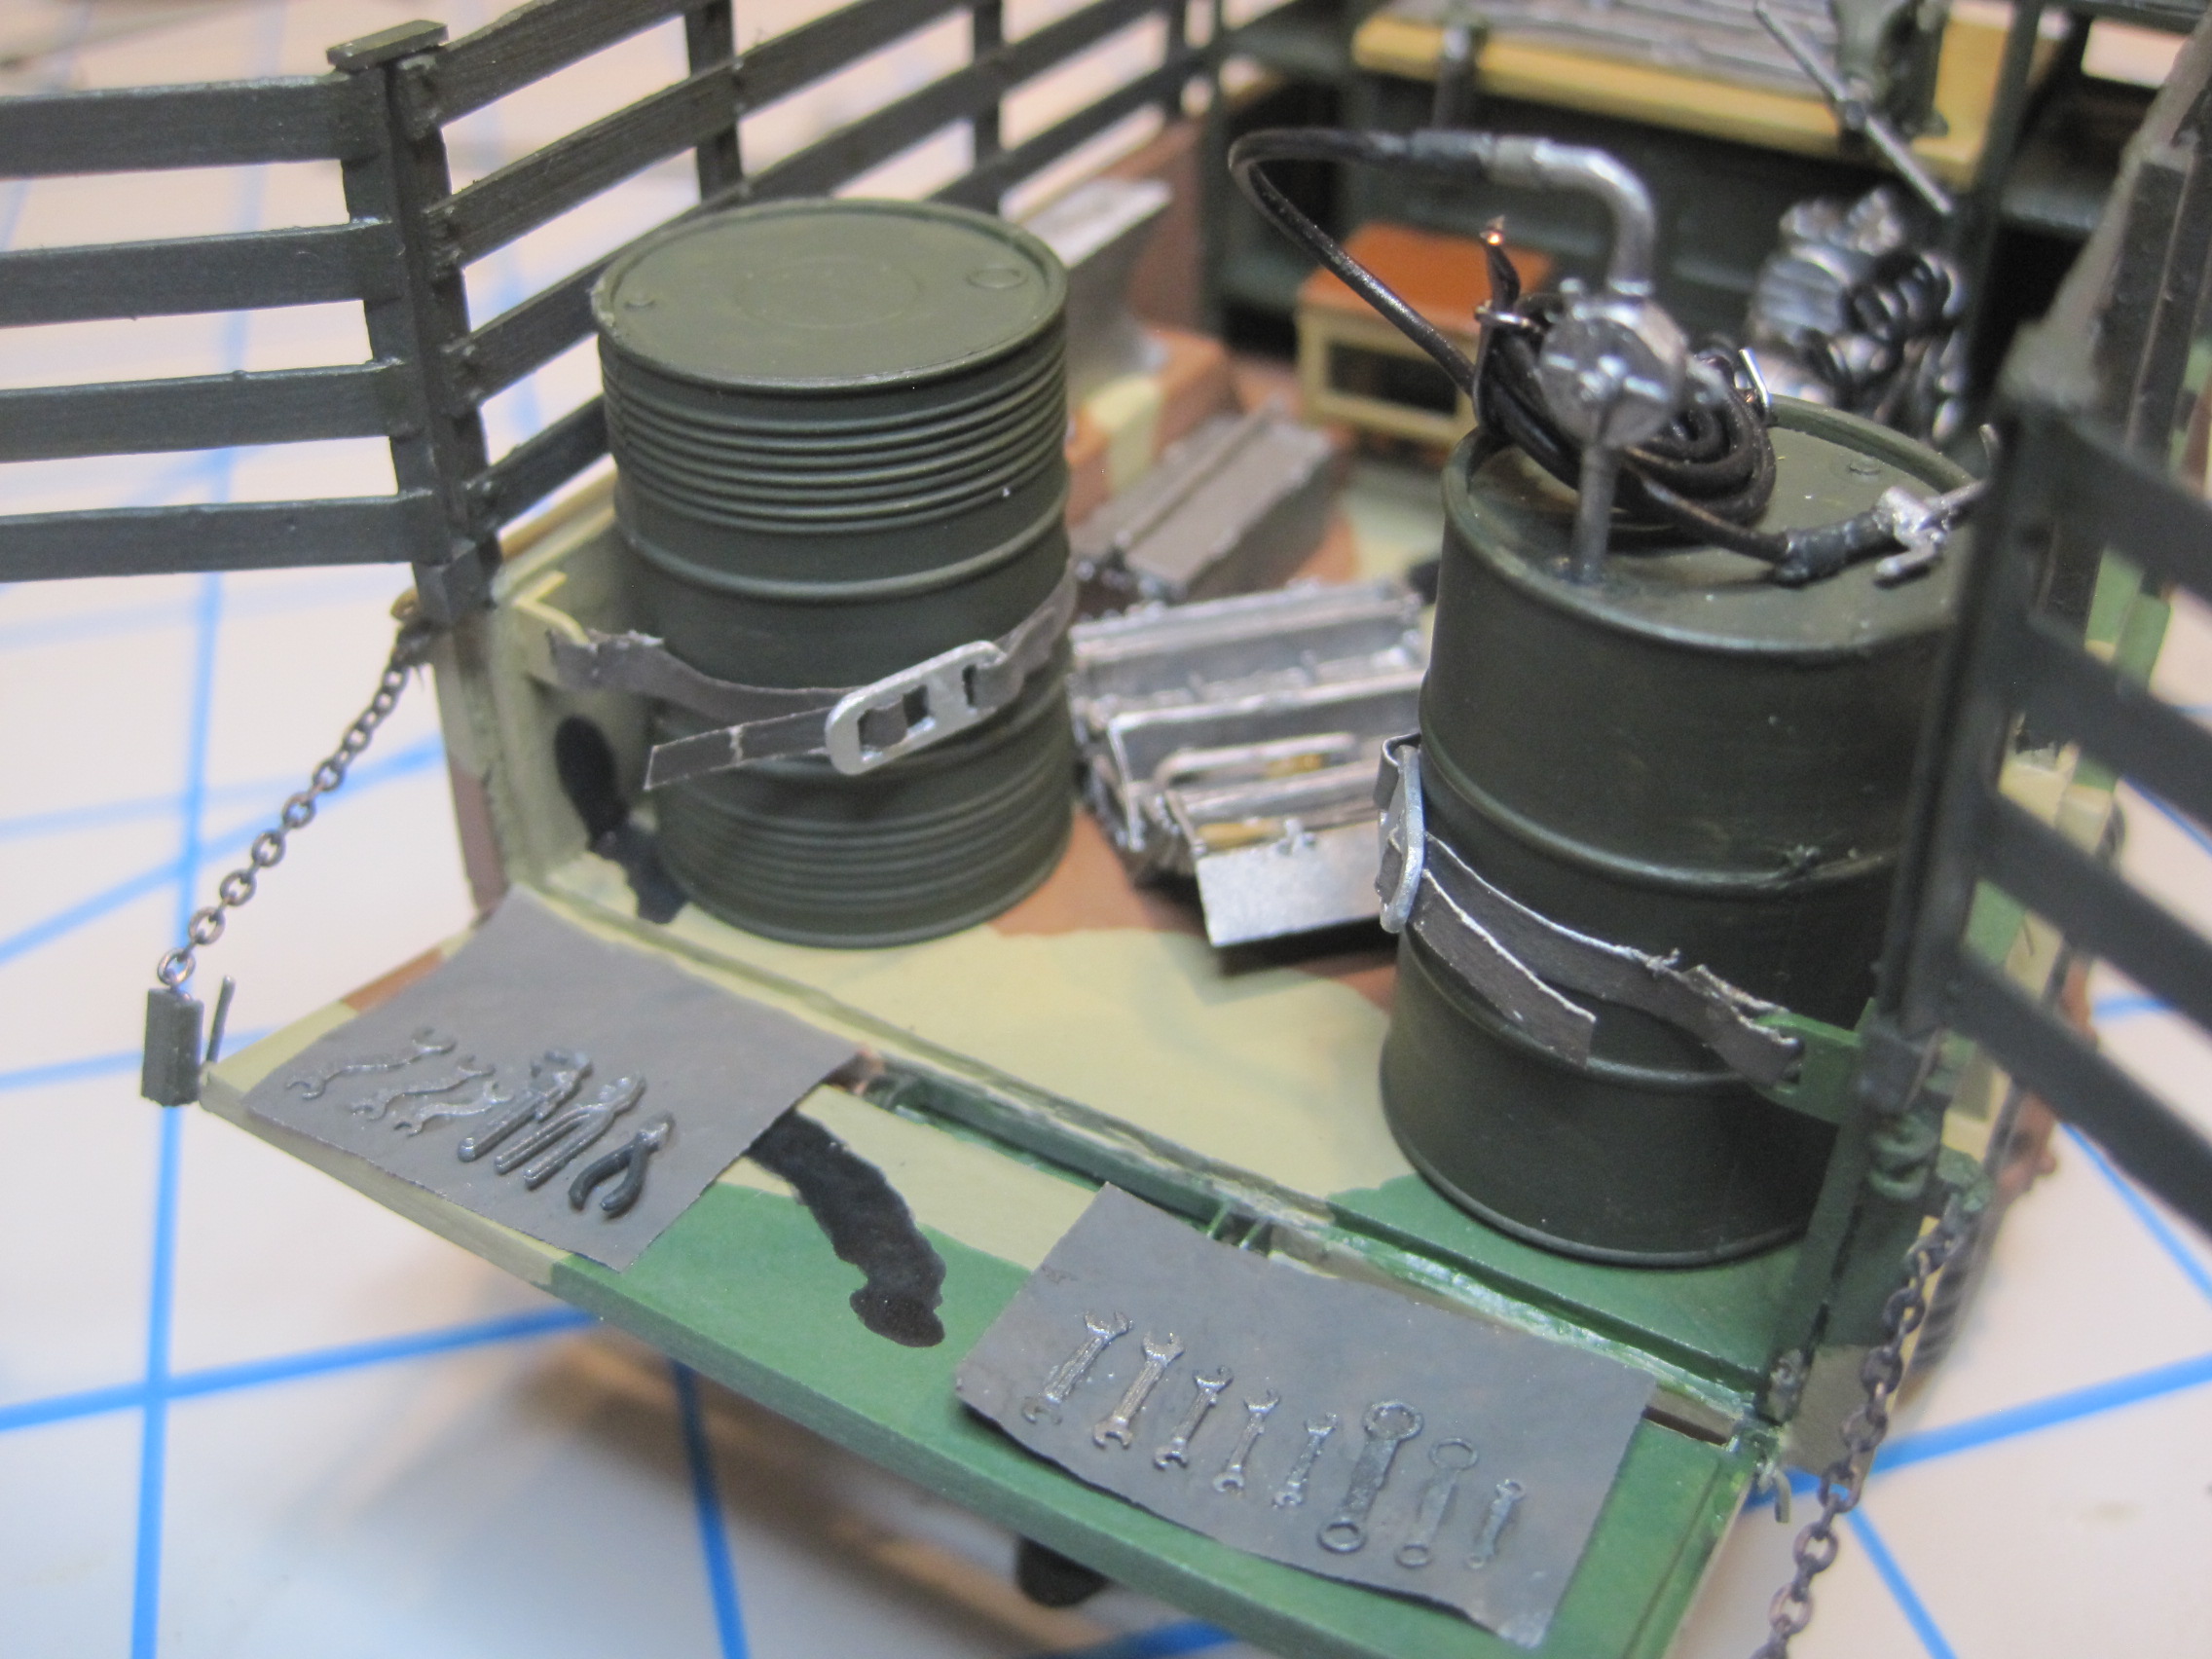
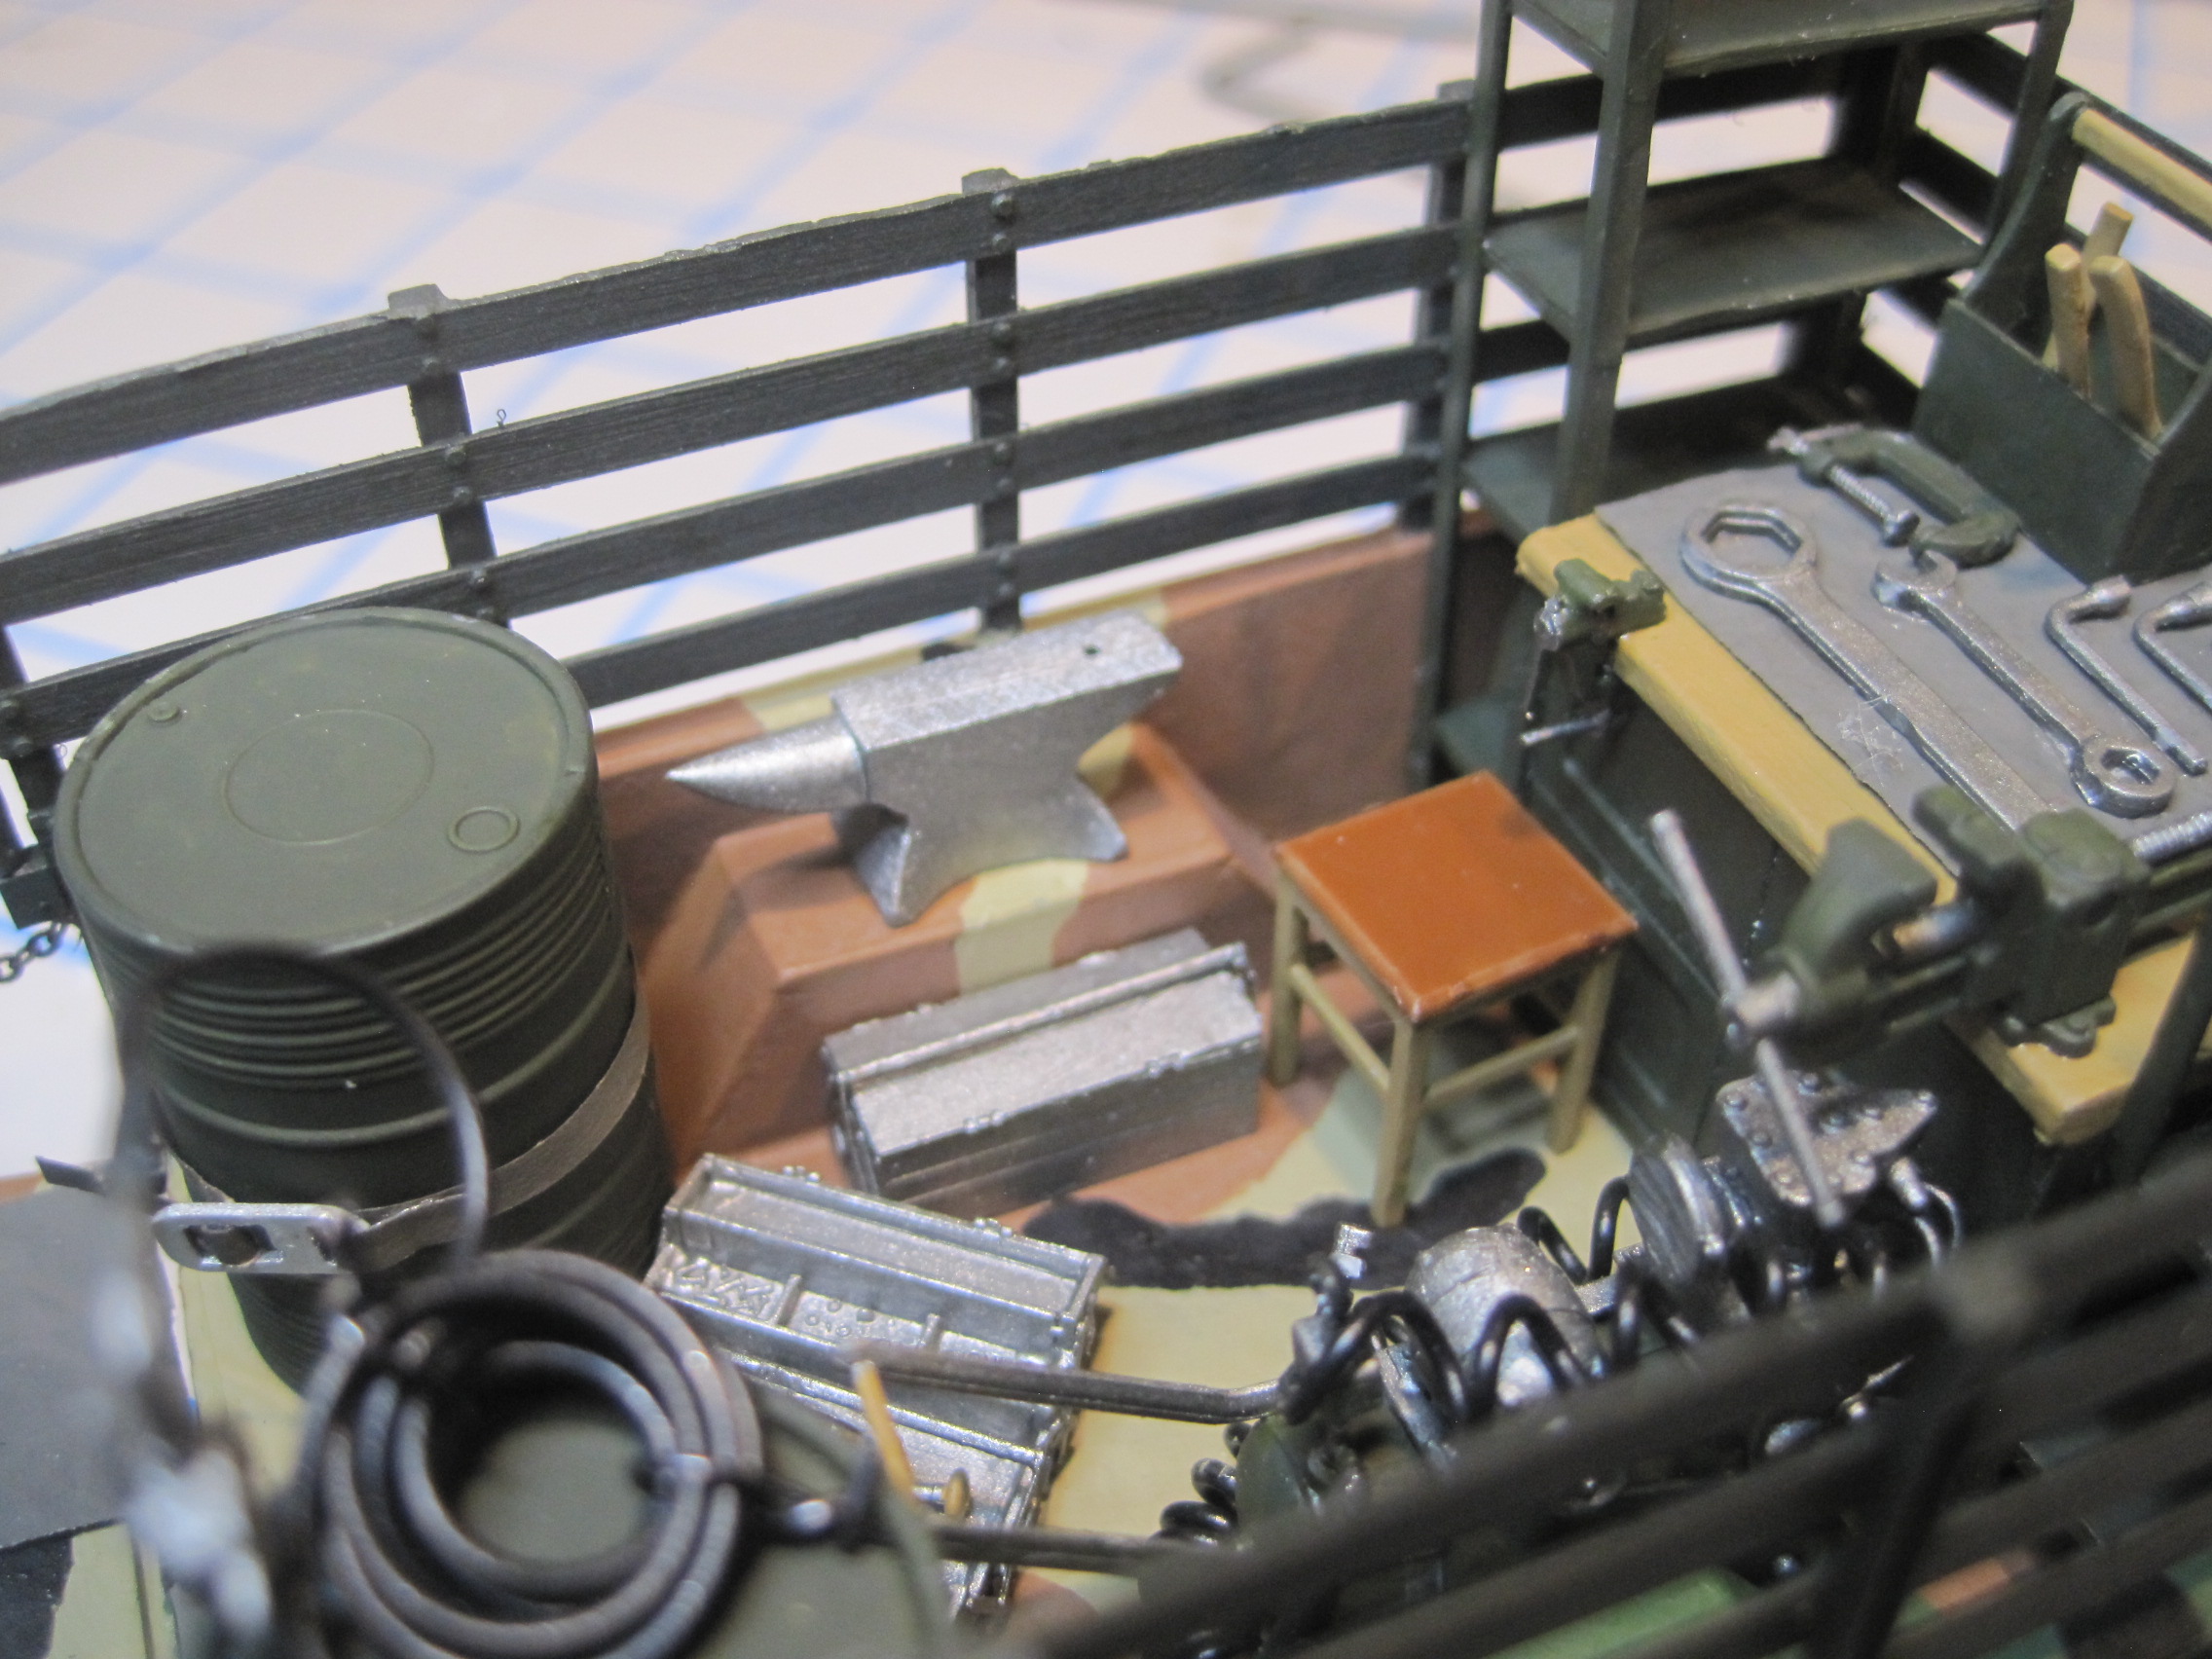
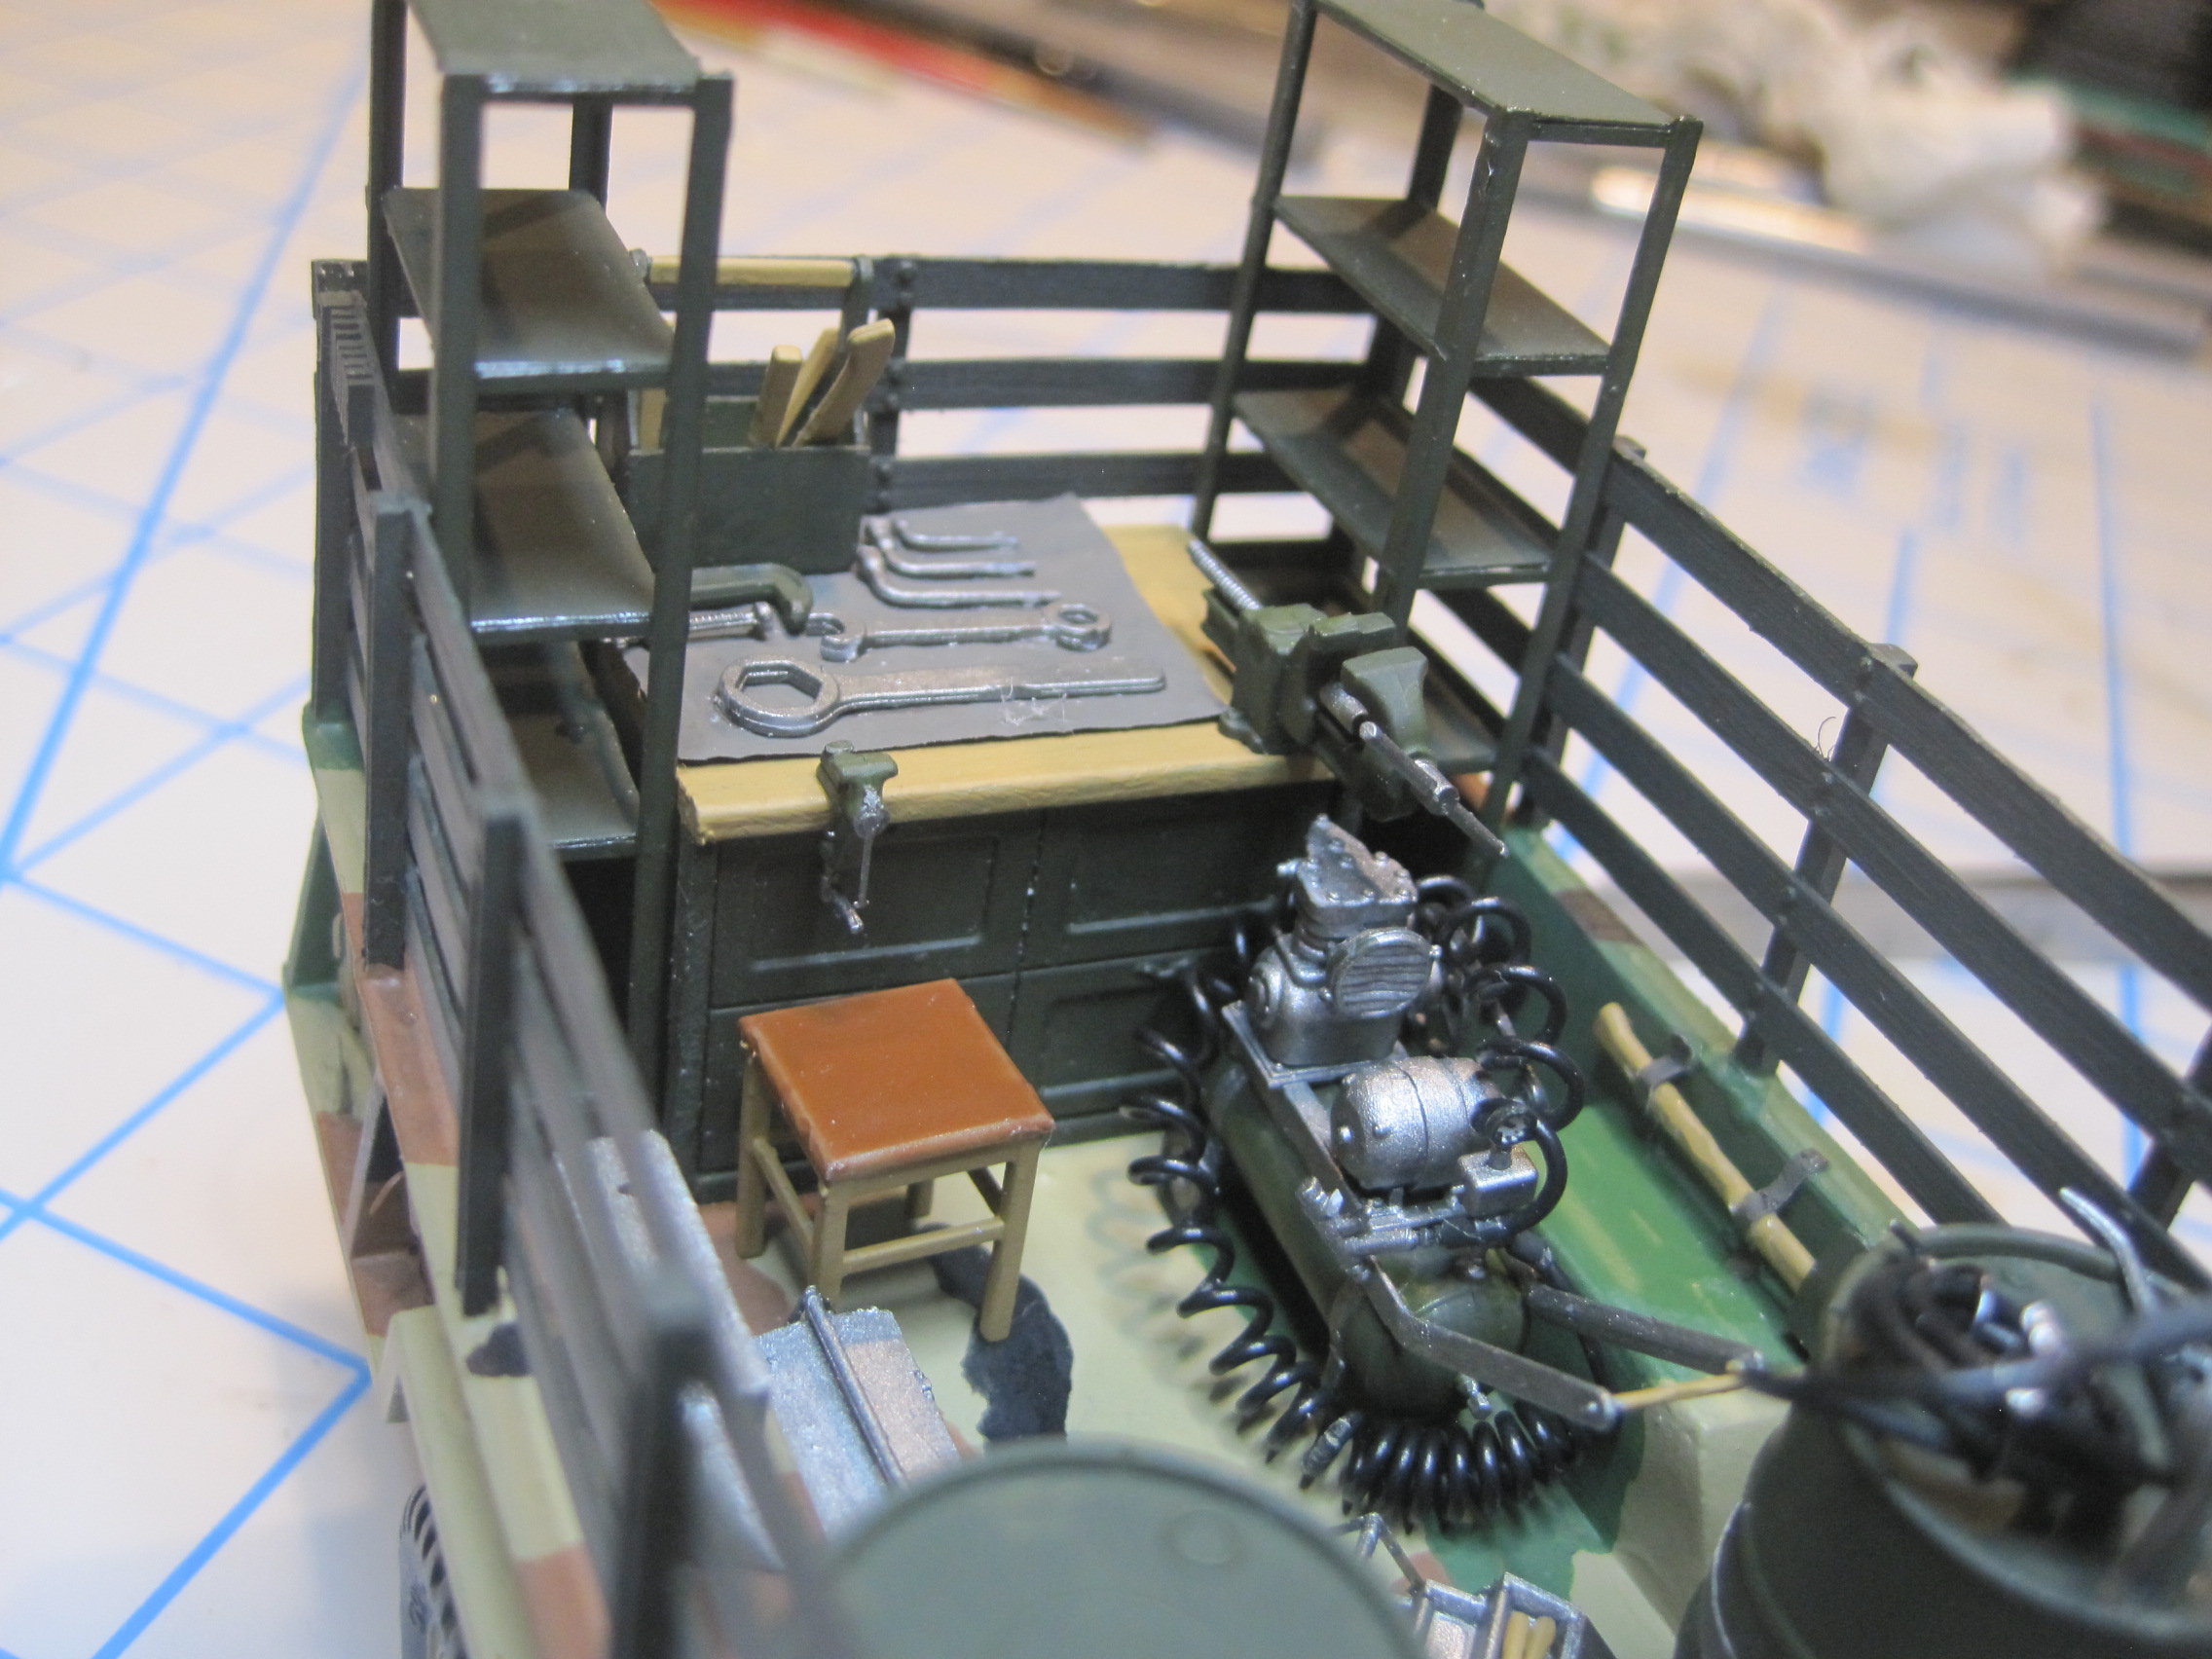

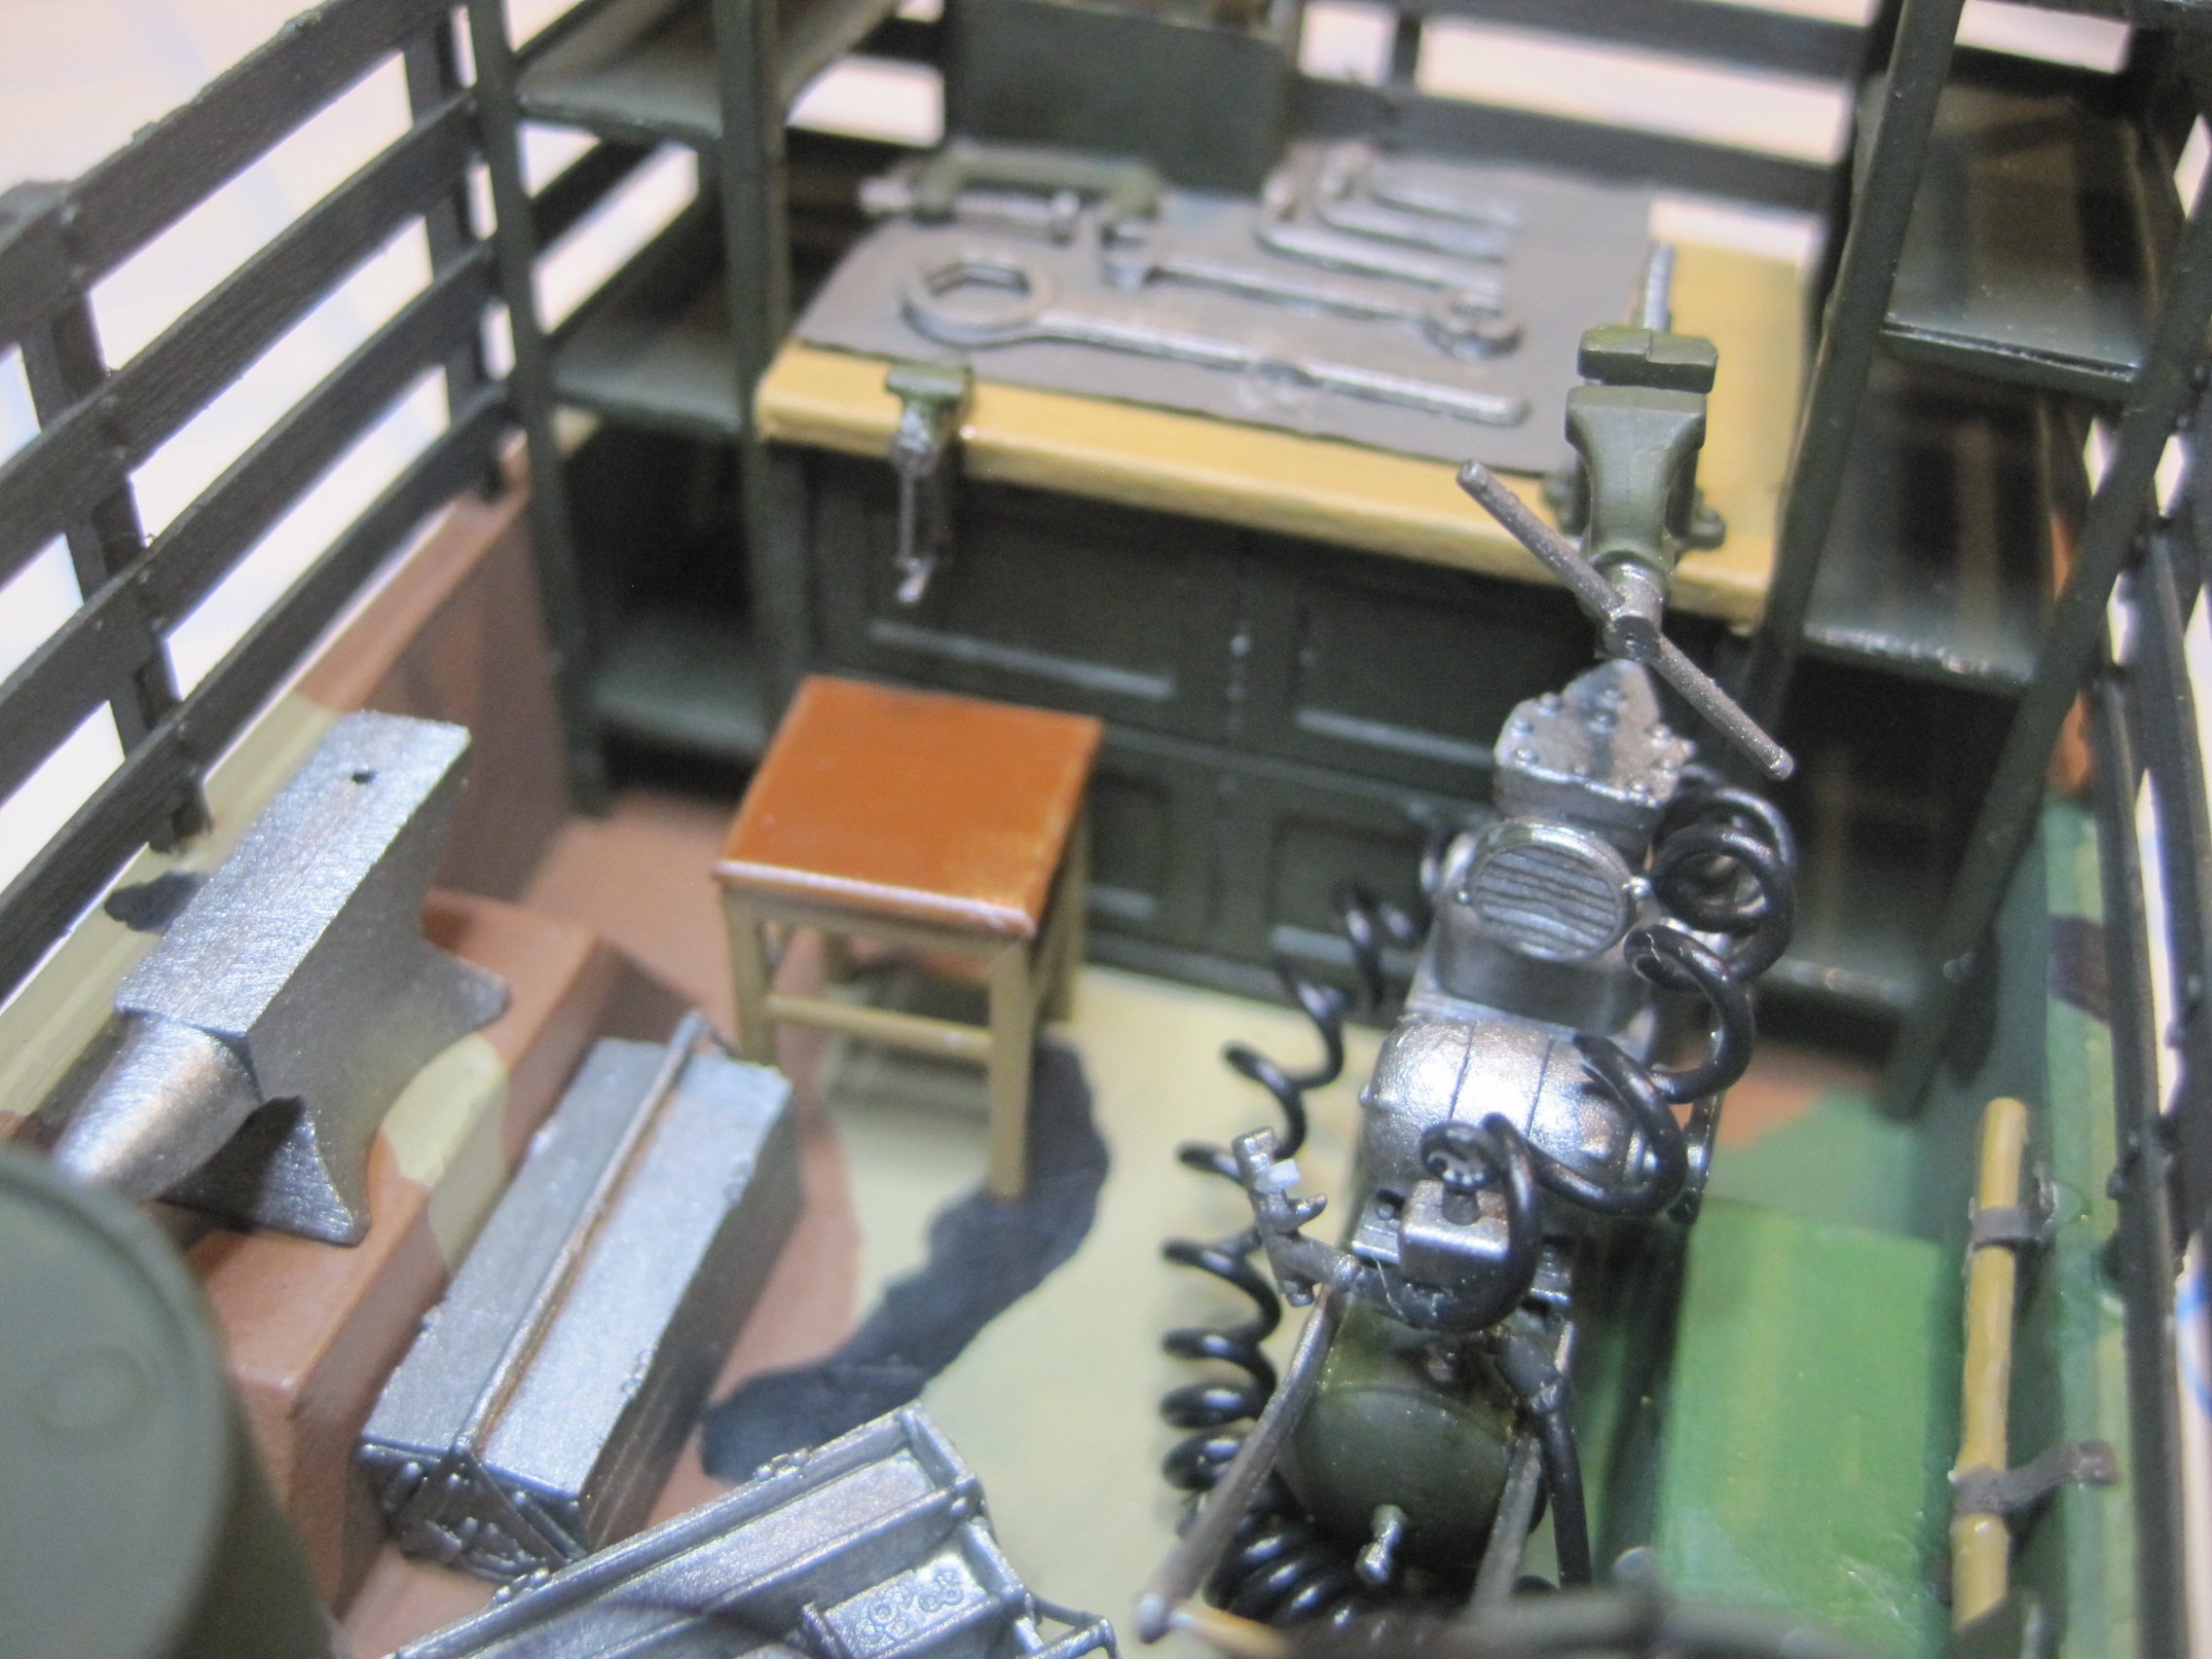
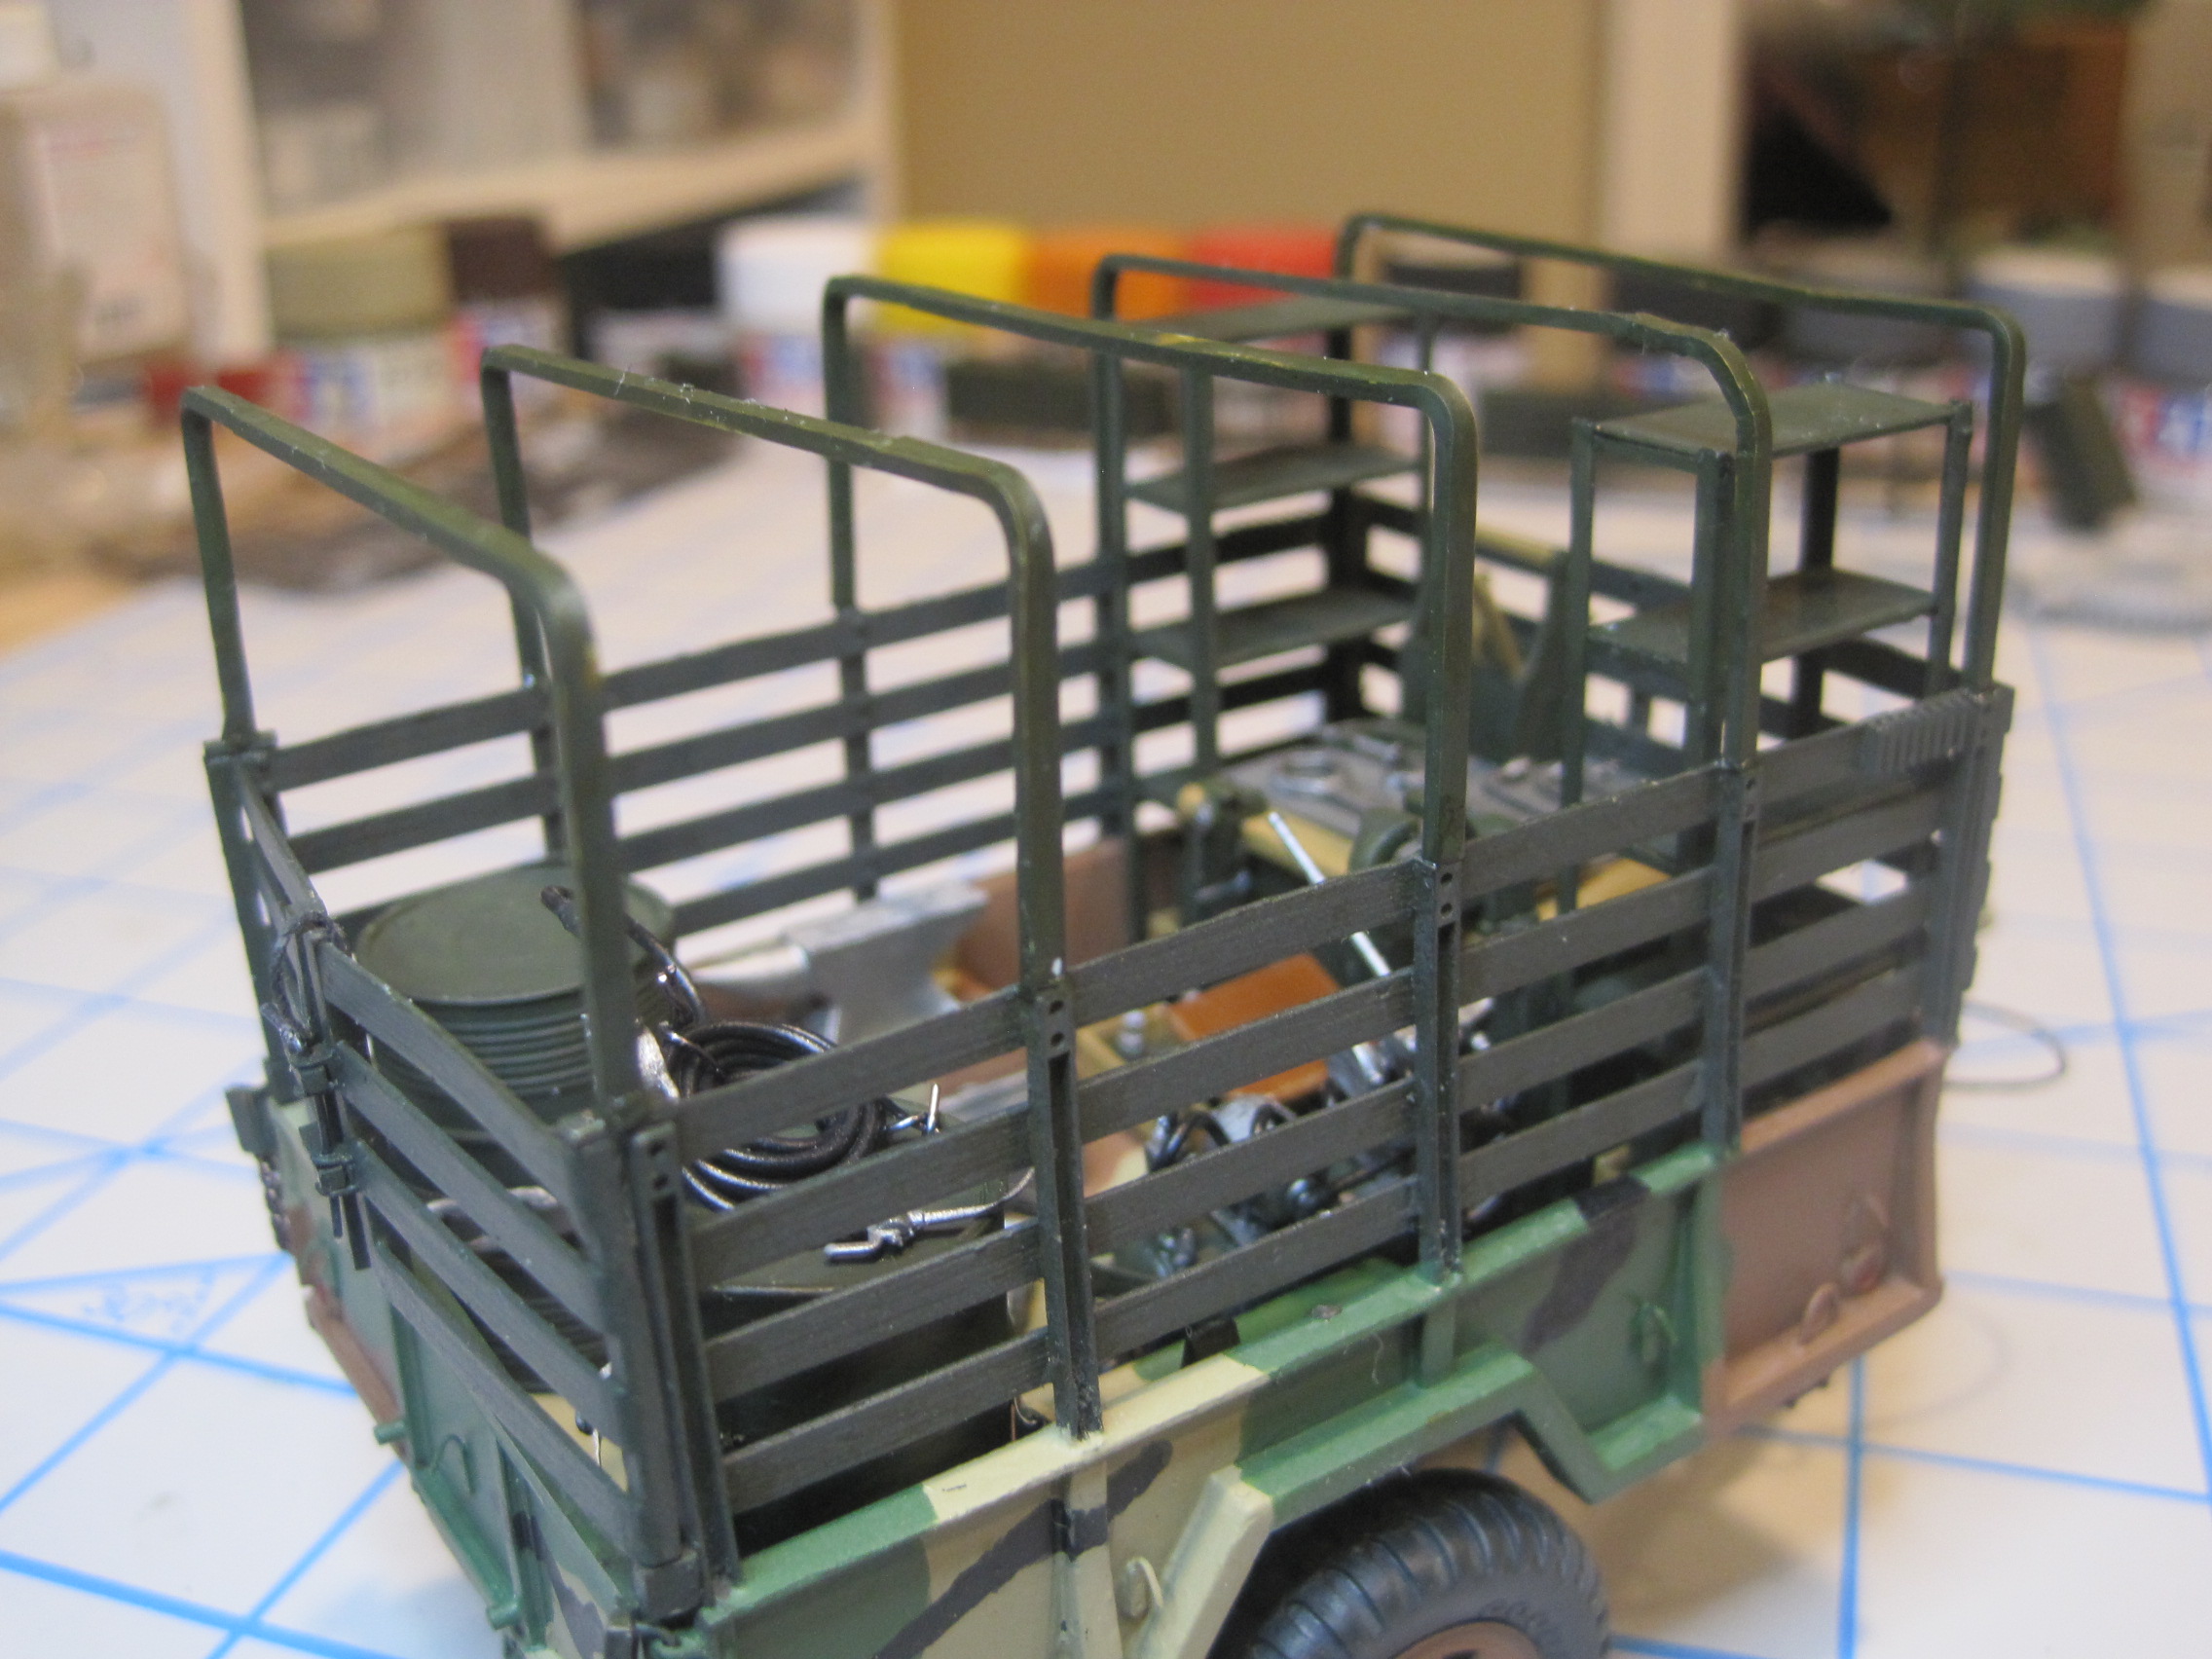
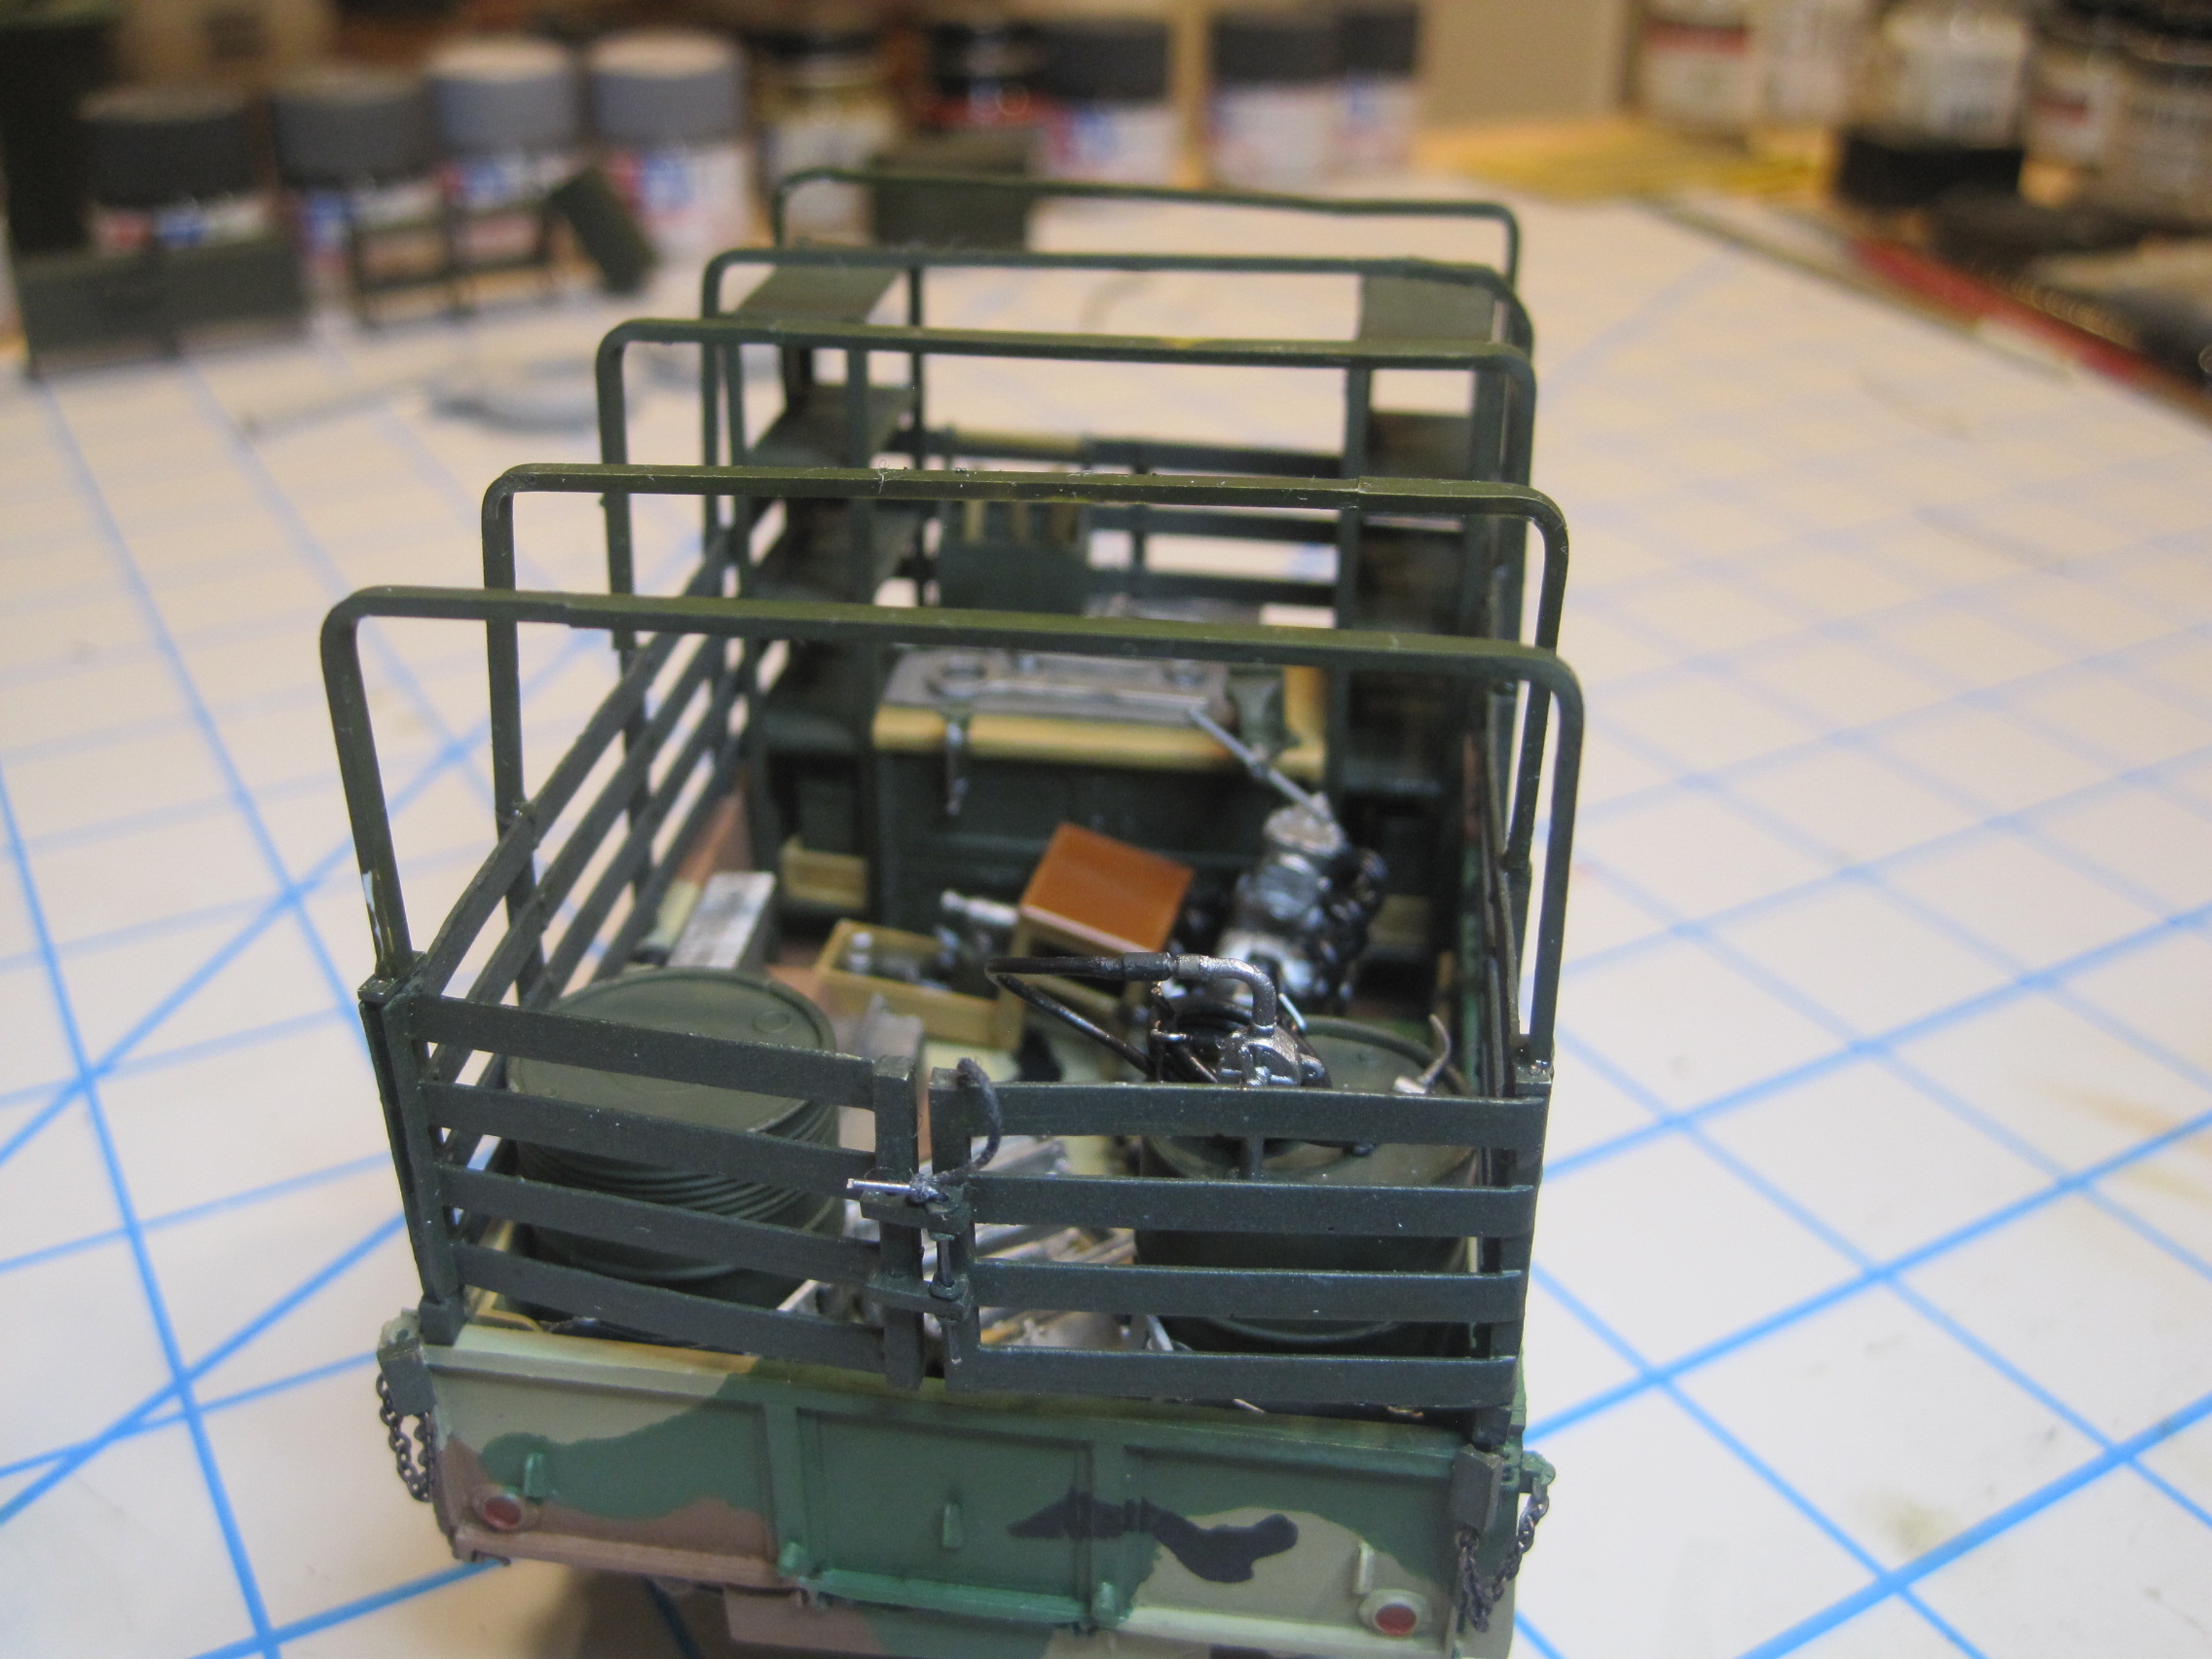
So here’s the loaded trailer.
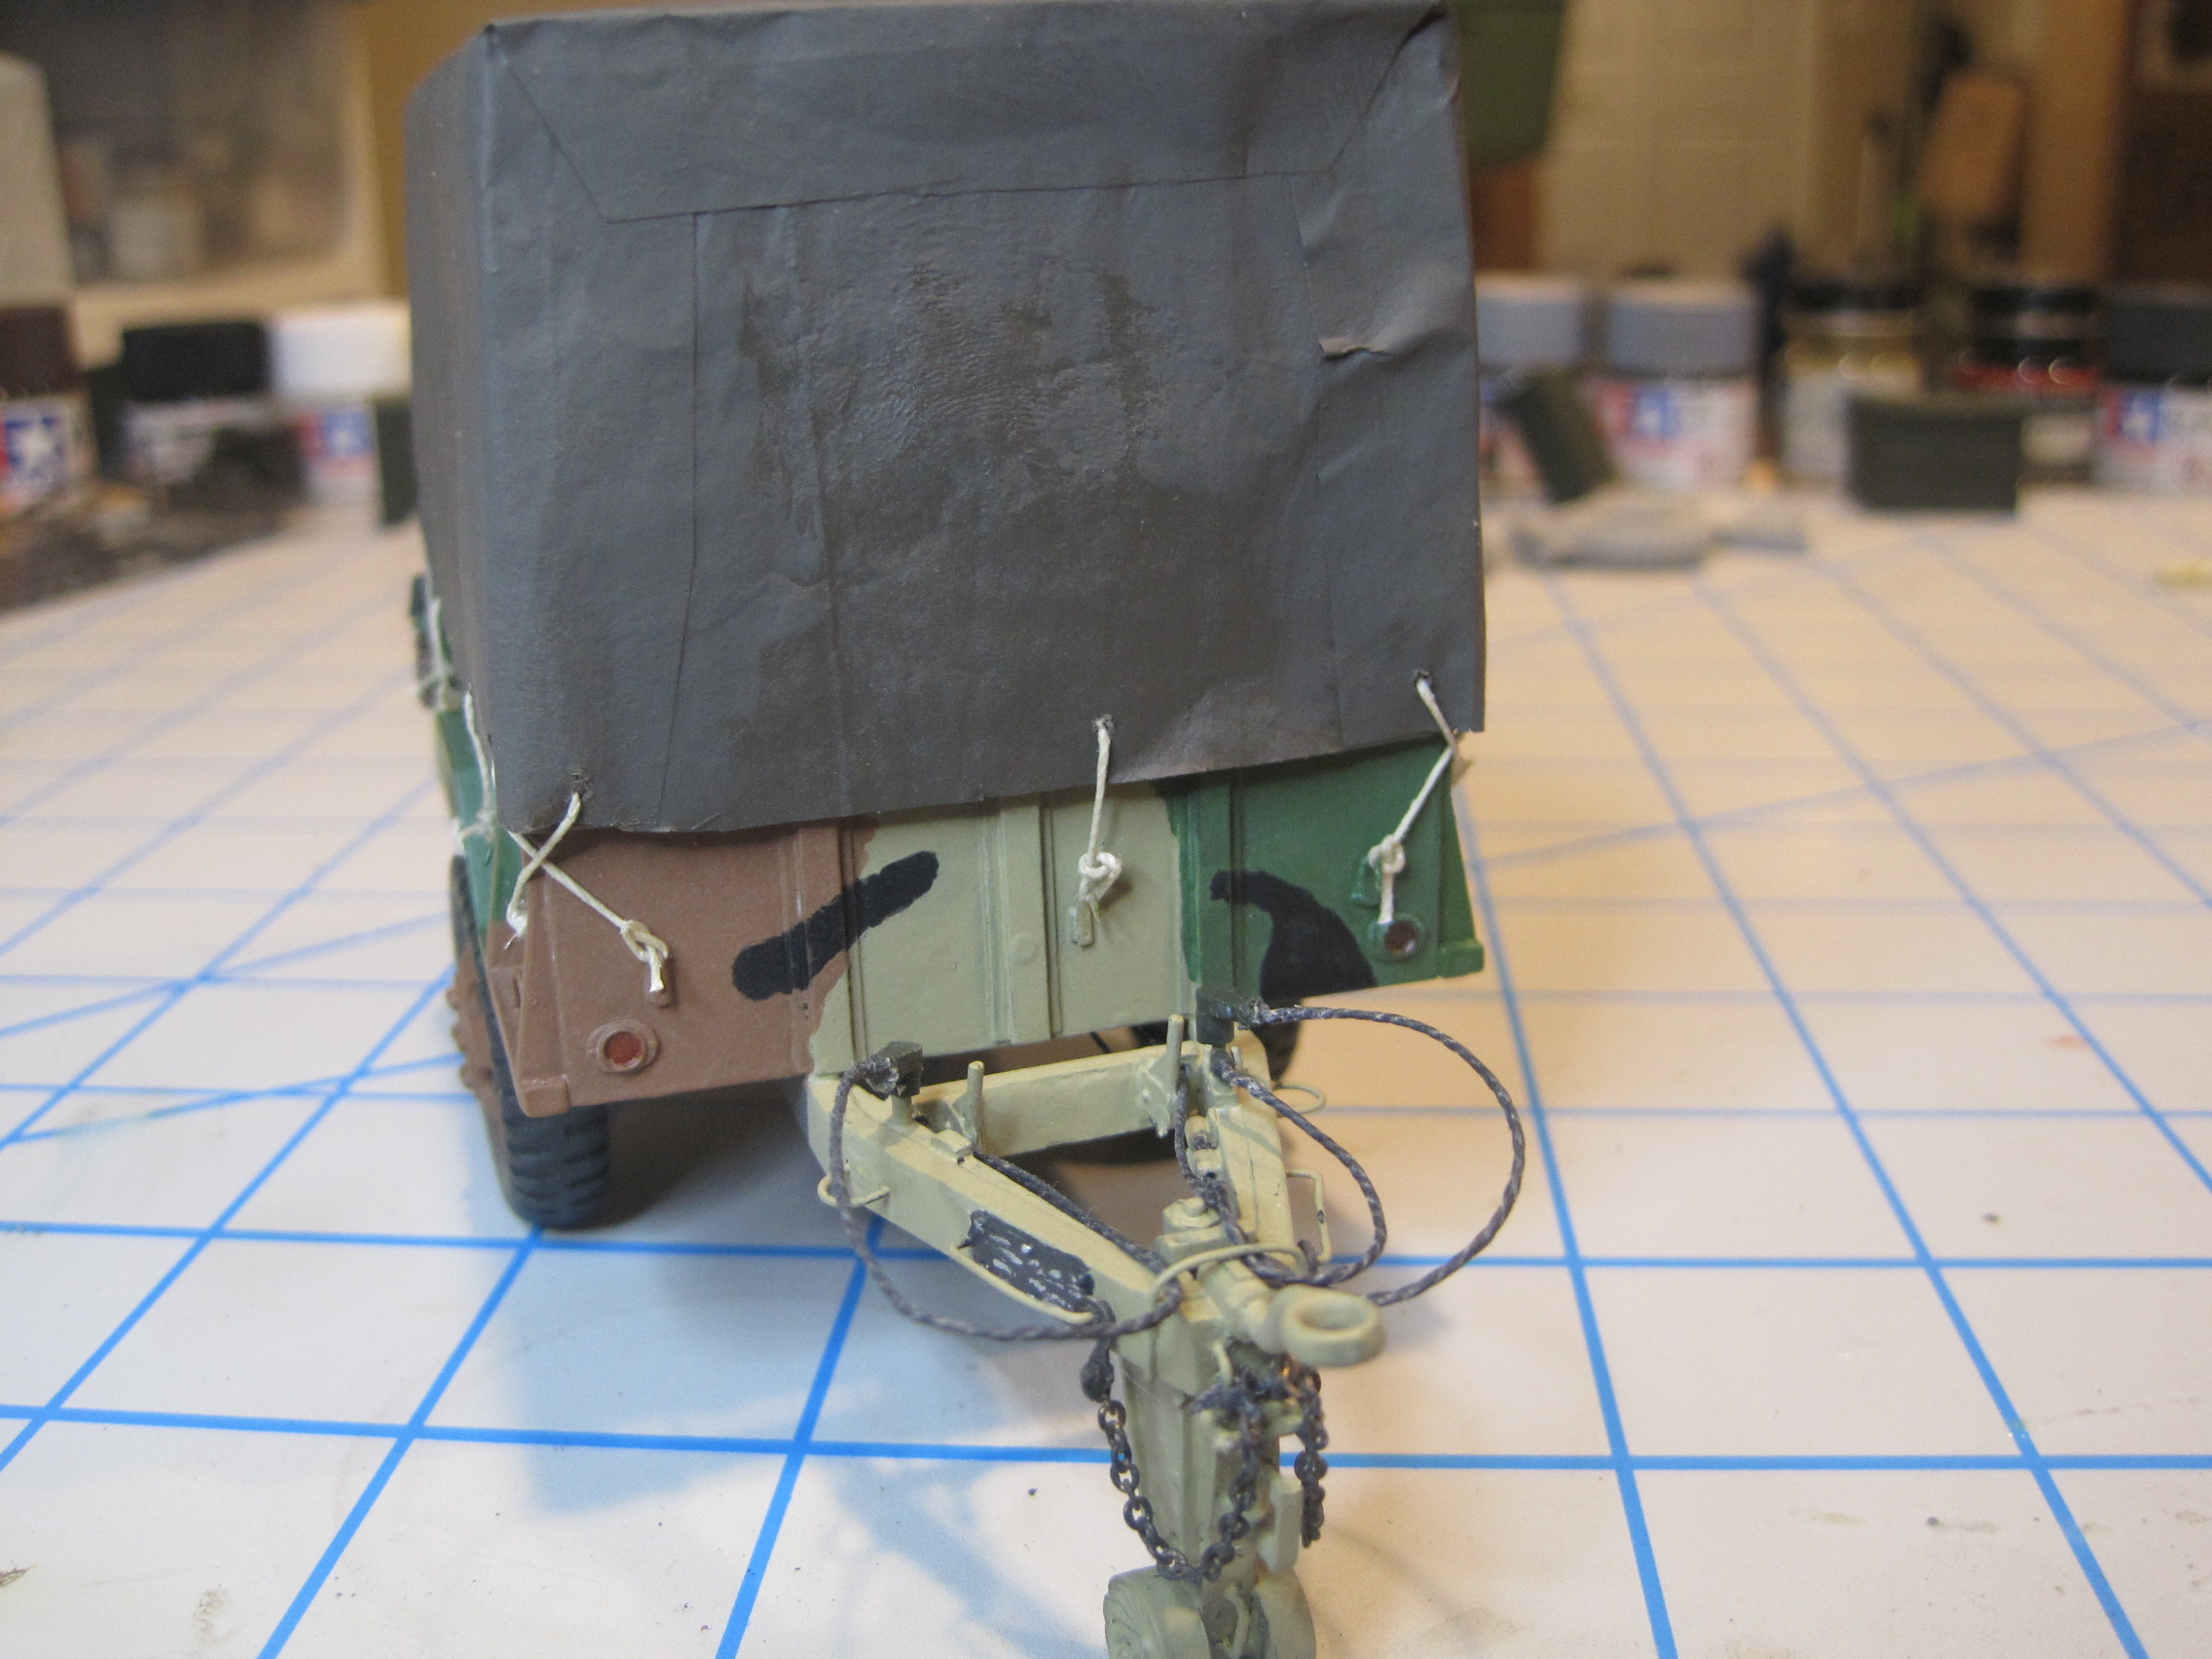
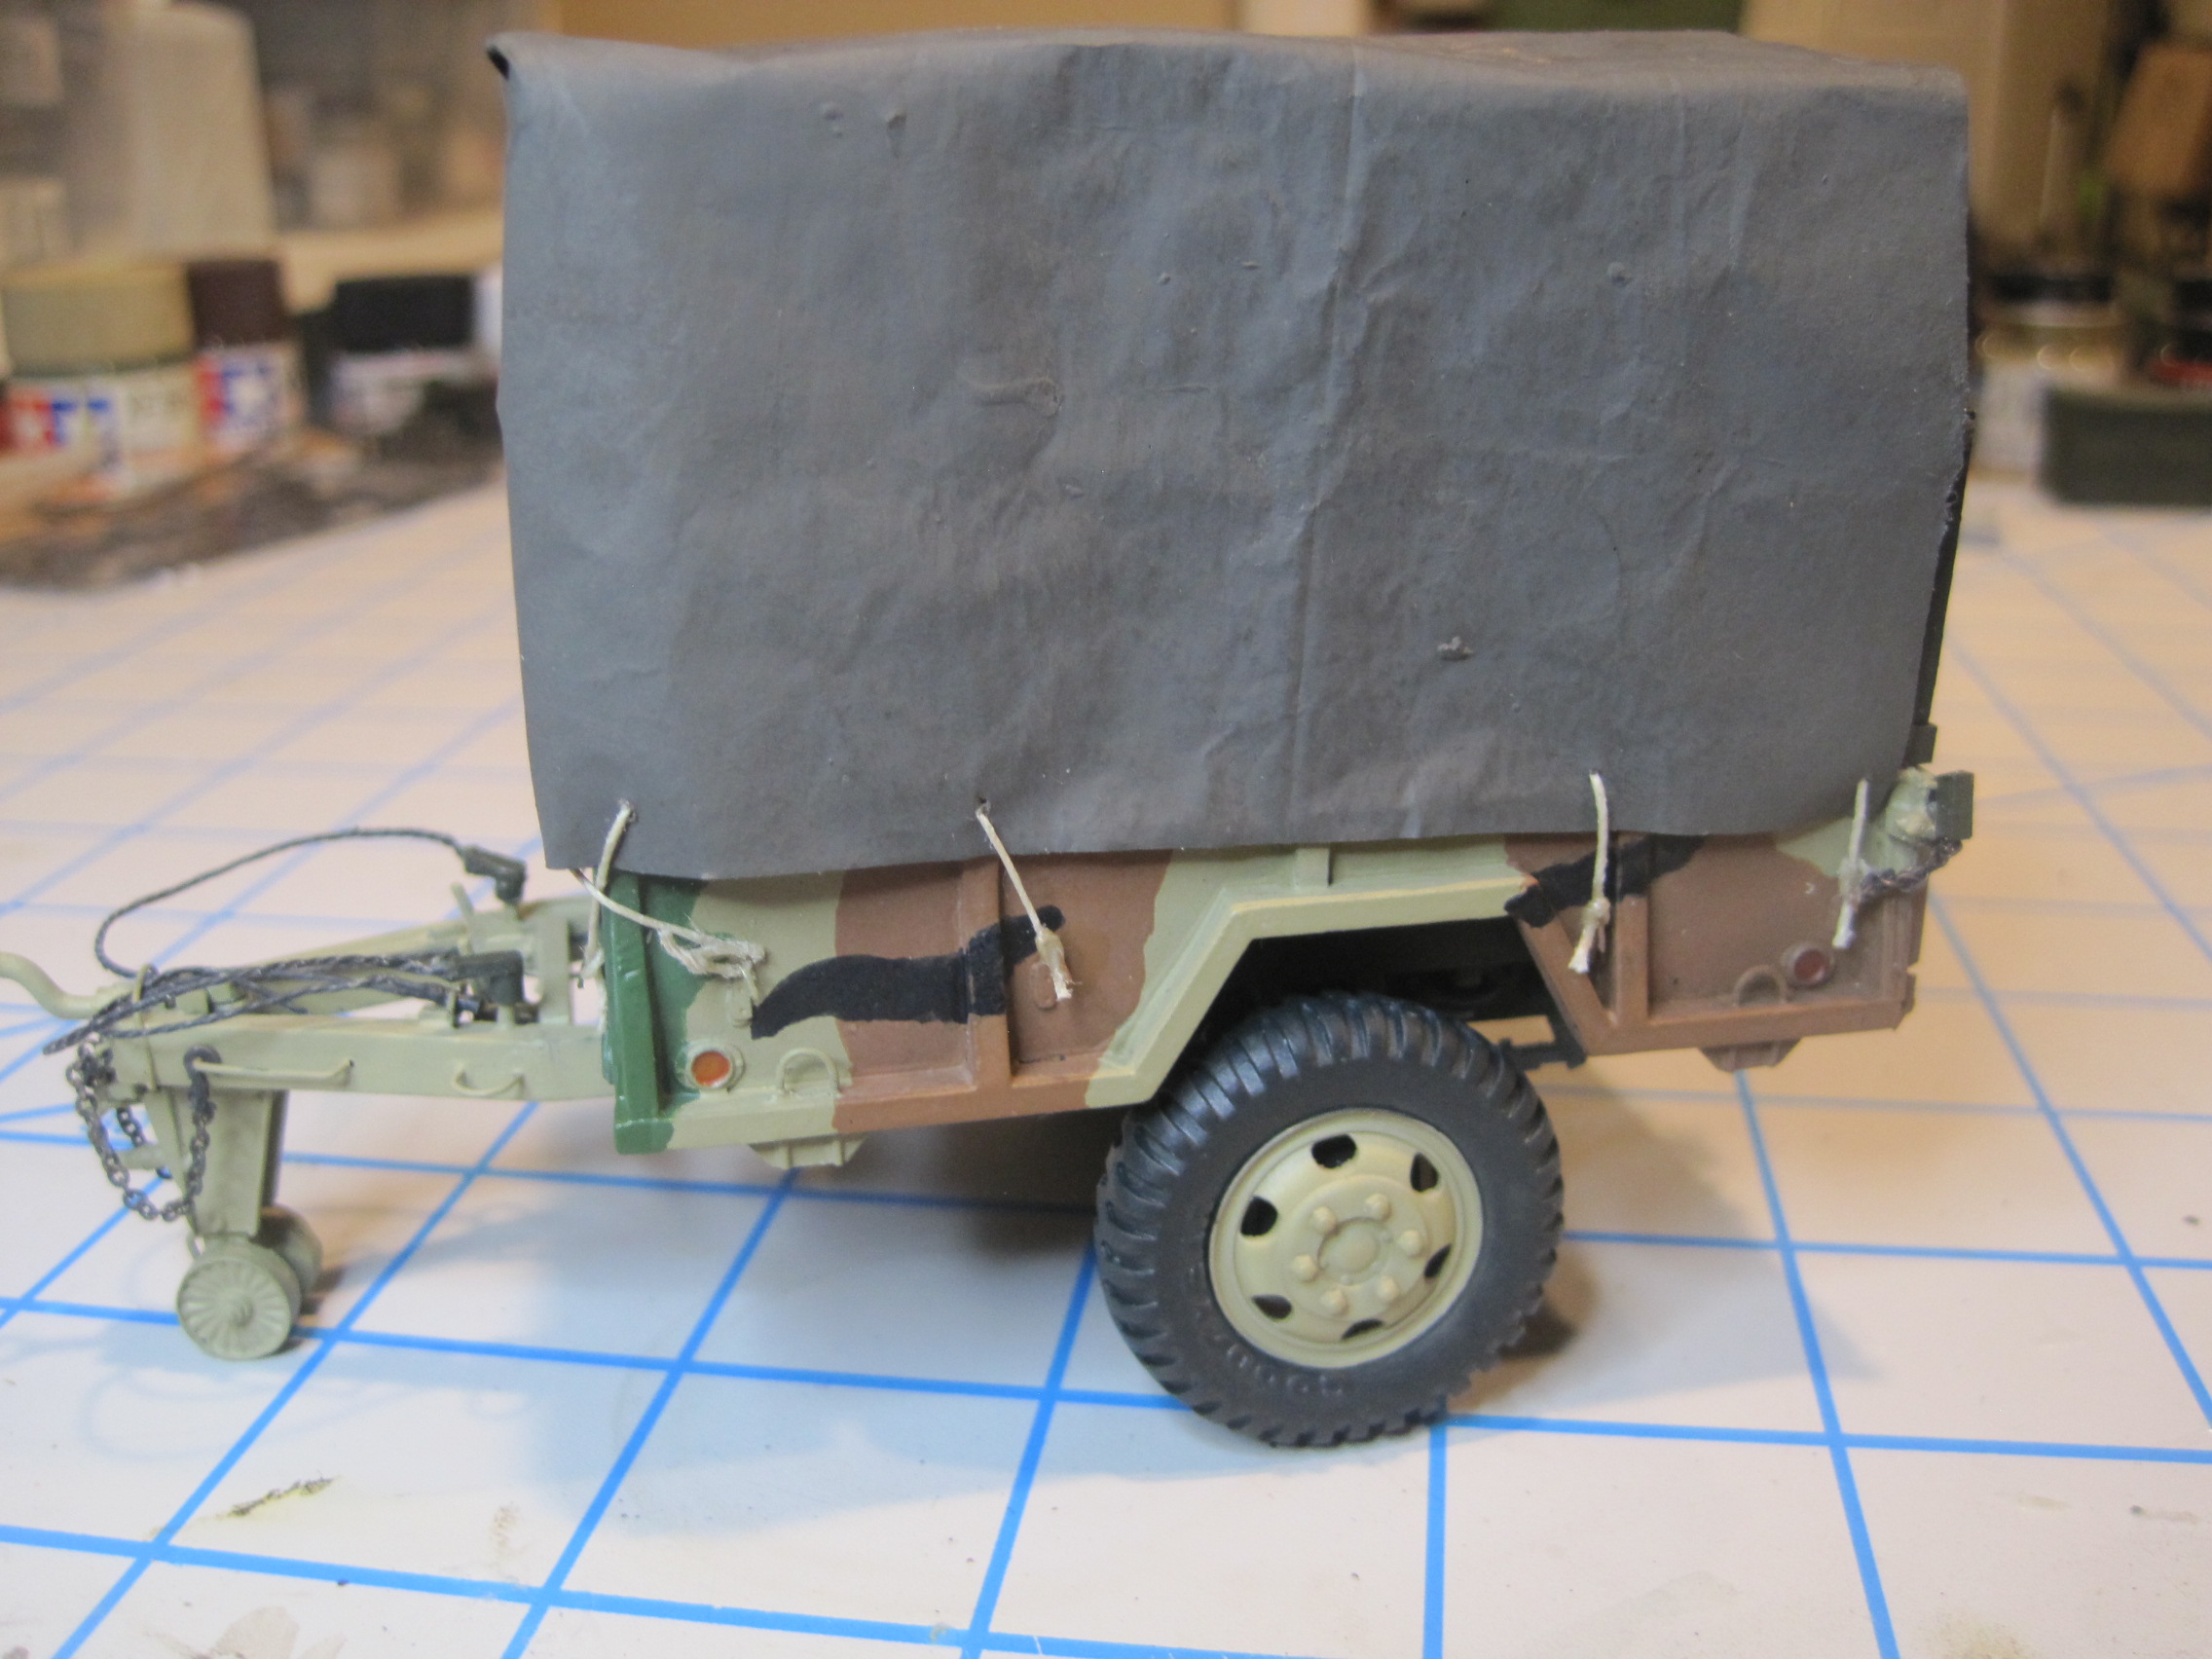
Next step is to cover all this stuff up. First go the bows.
Next comes the canvas. This time I’m using “aircraft fabric” which I got from a friend of mine. But over the years I’ve used regular tissue paper (not the best) as well as the paper which typically comes inside a new shirt which works pretty good. The paper is placed on a painting surface and just coated with Khaki Drab paint. Be careful as you apply it so that the painted material does not stick to your surface as it dries. As it is drying, you simply life up each area to keep it from sticking. I’ve found that not only does it require coating both sides, but it usually will require two separate coats on each side. But once you’re done, it doesn’t look too bad and it’s pretty easy to work with.
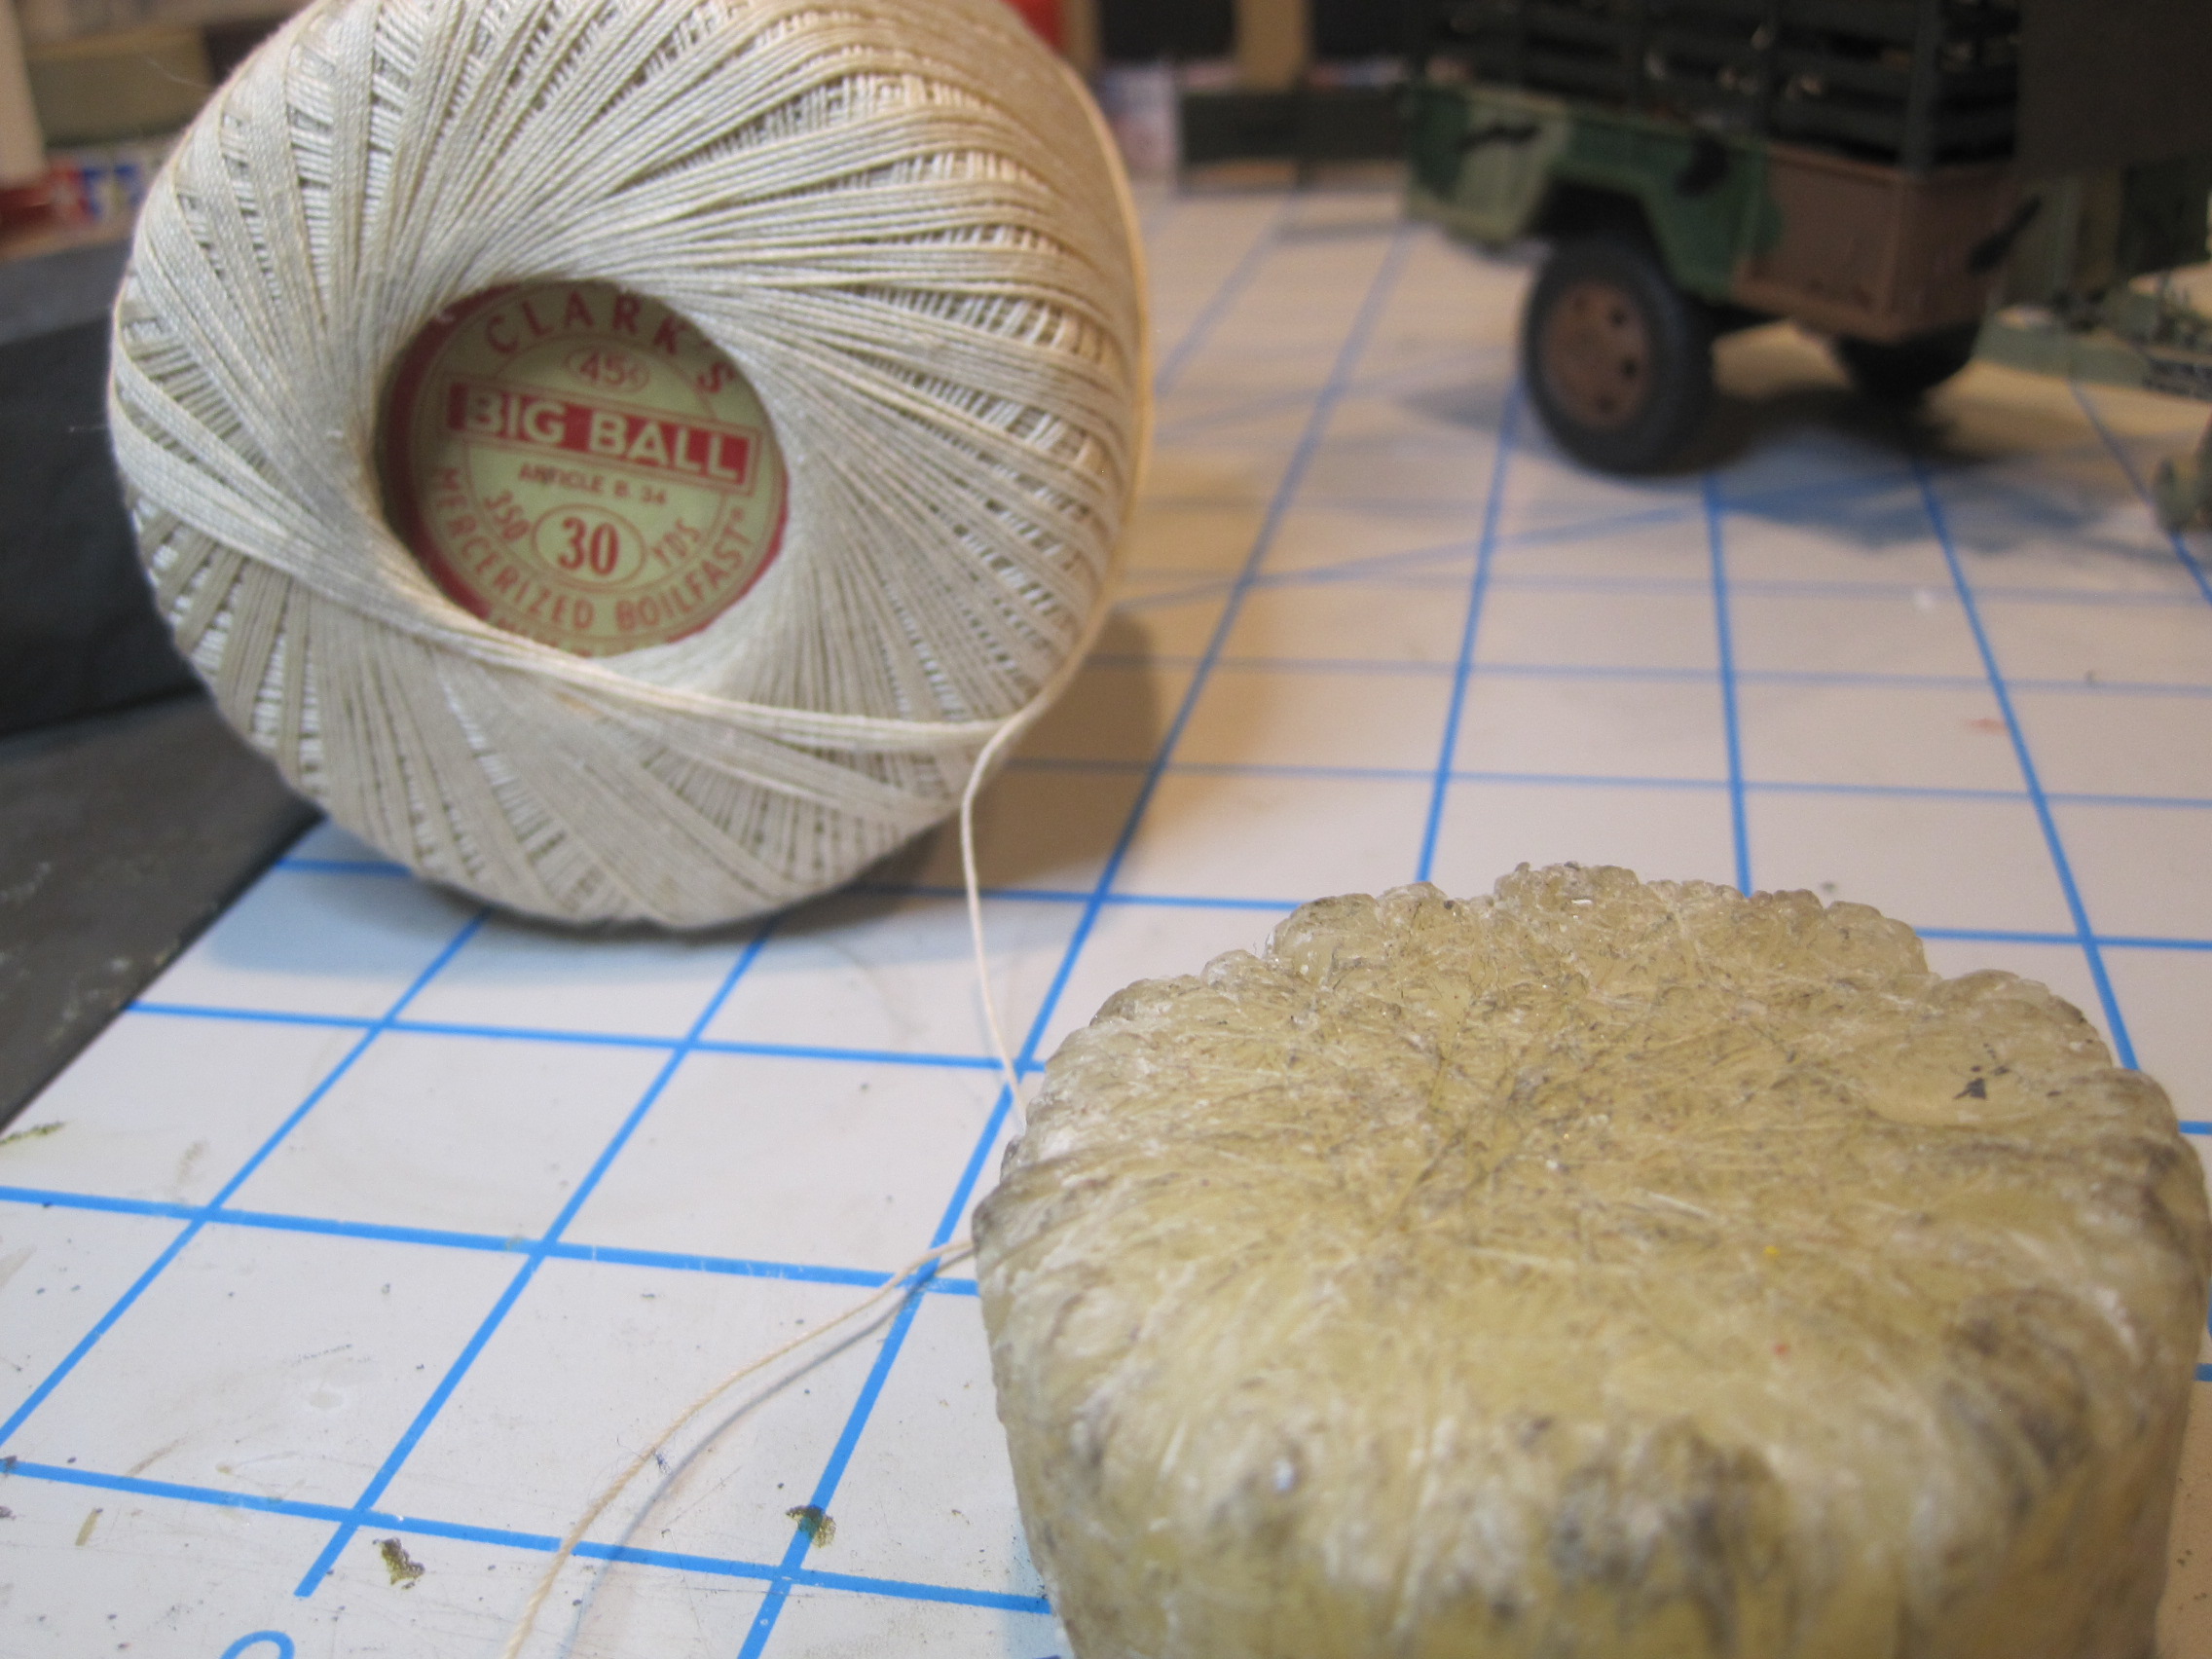
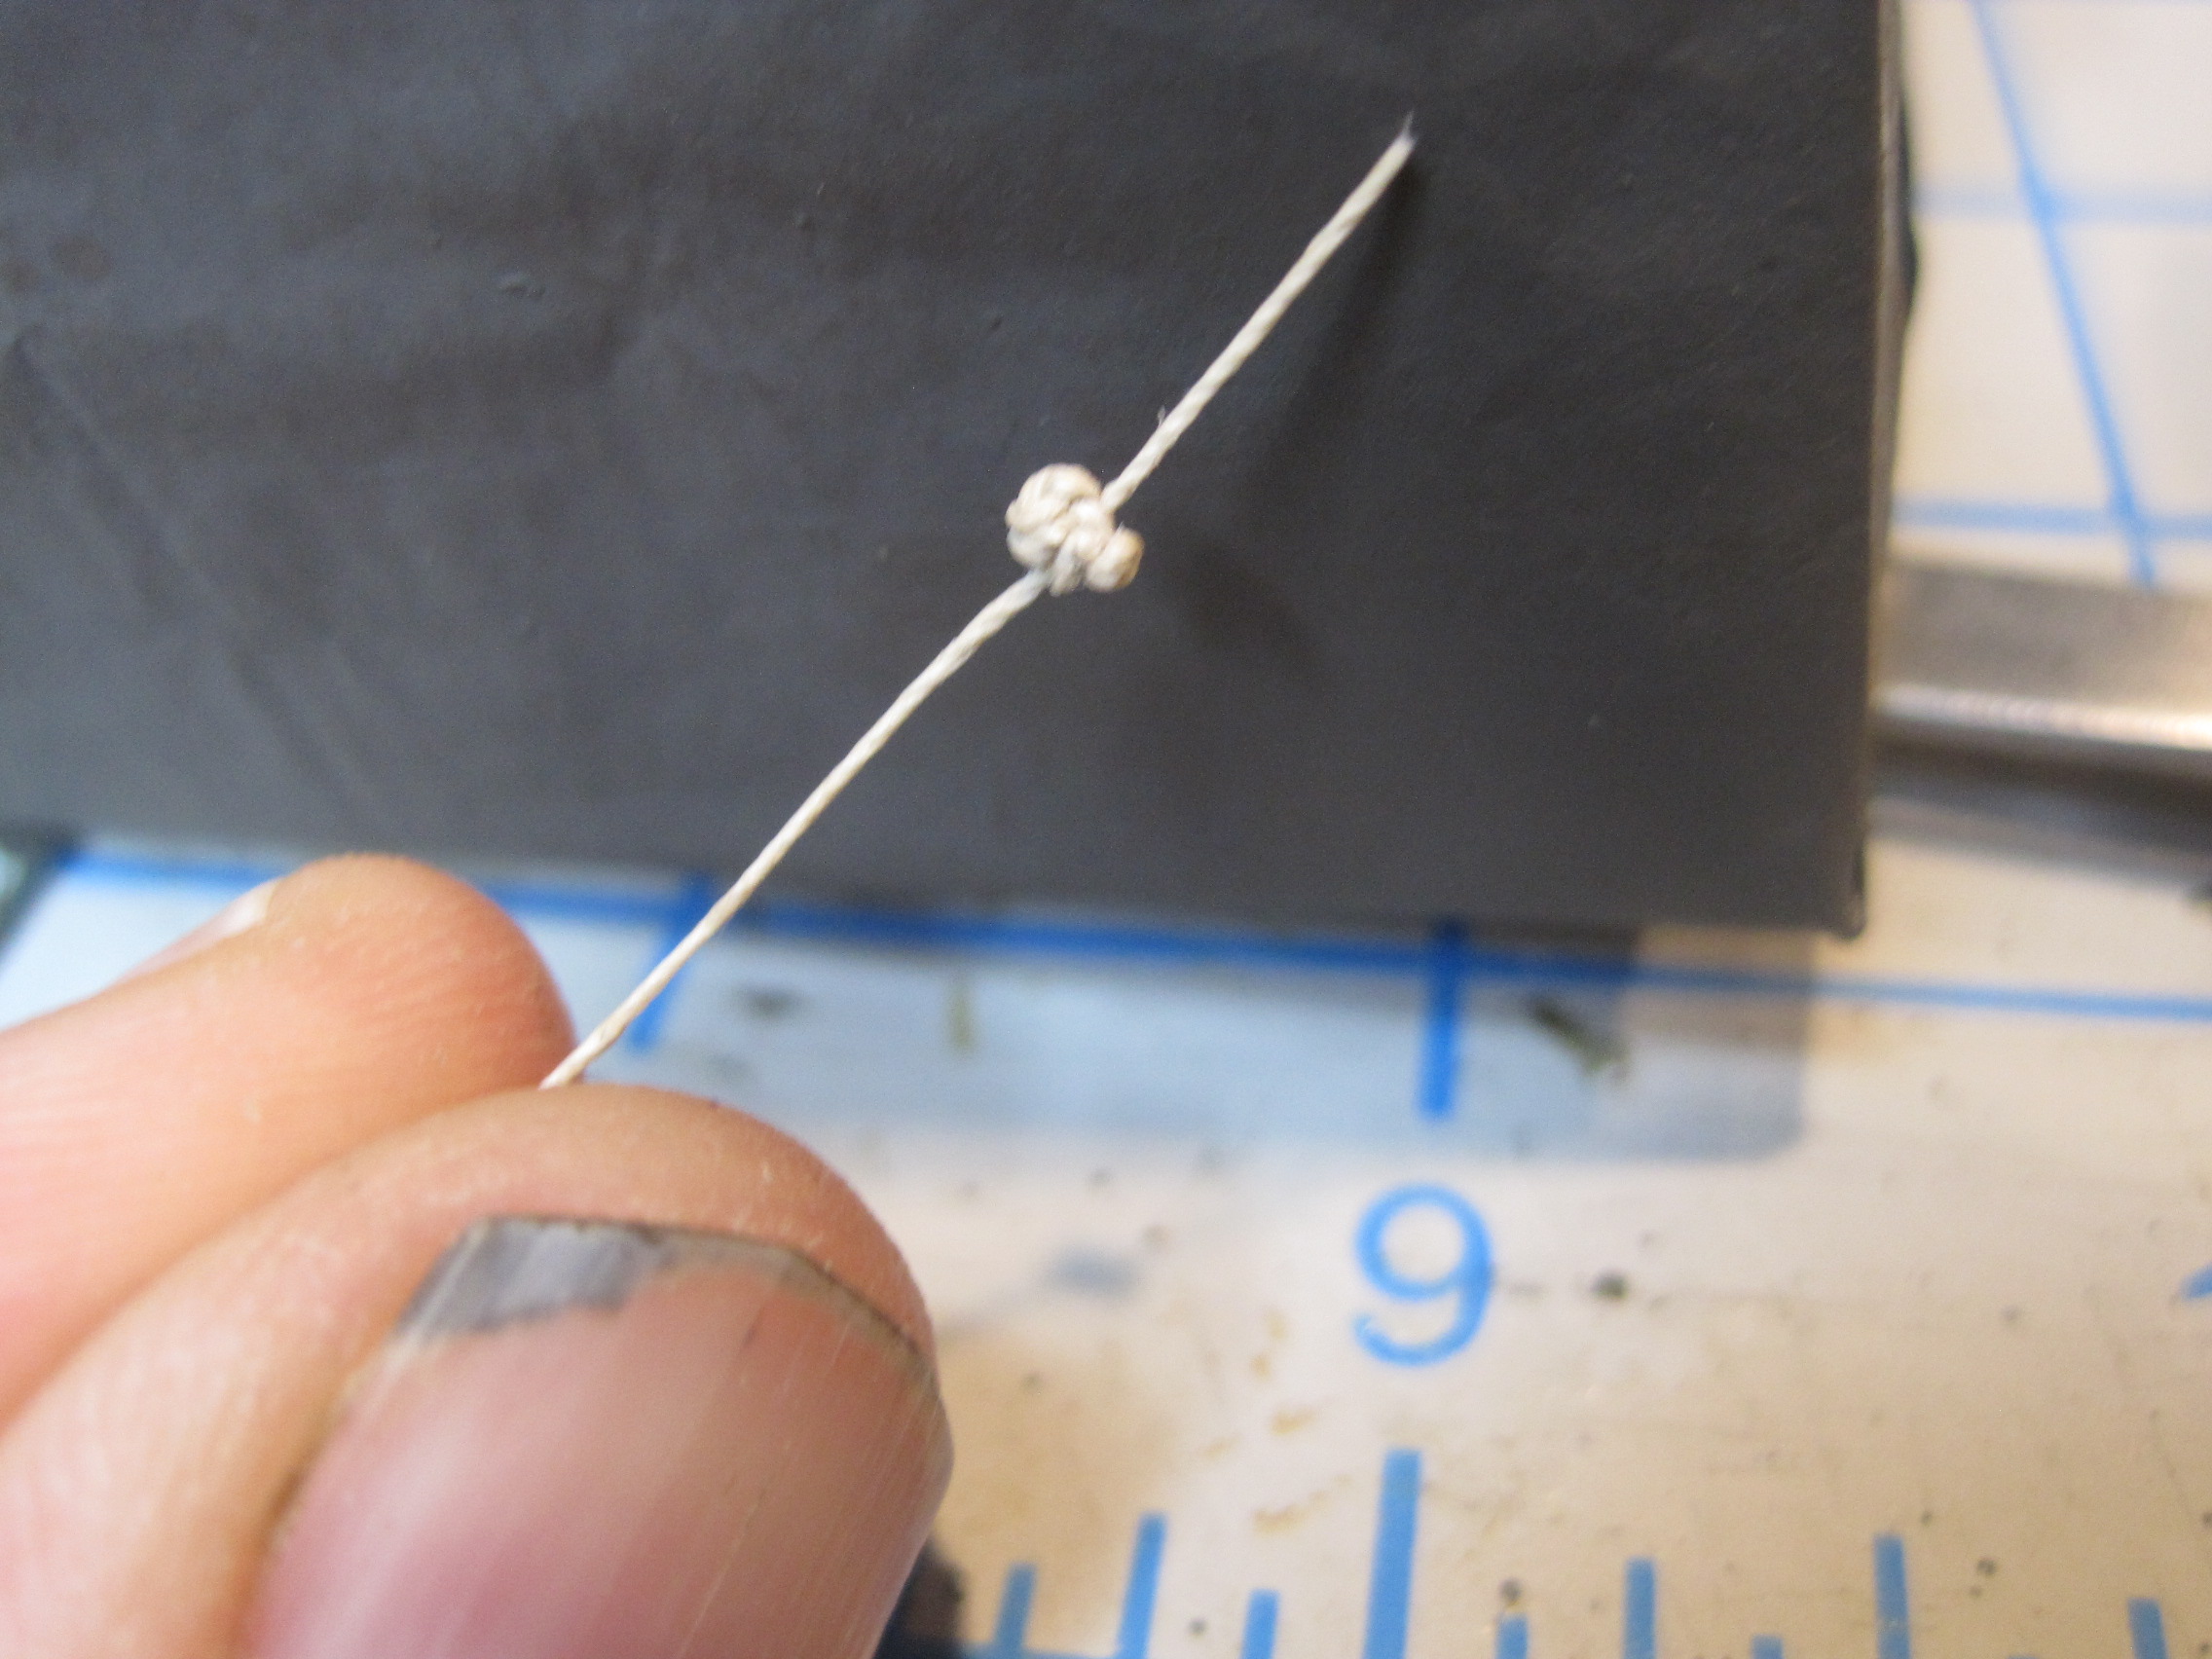
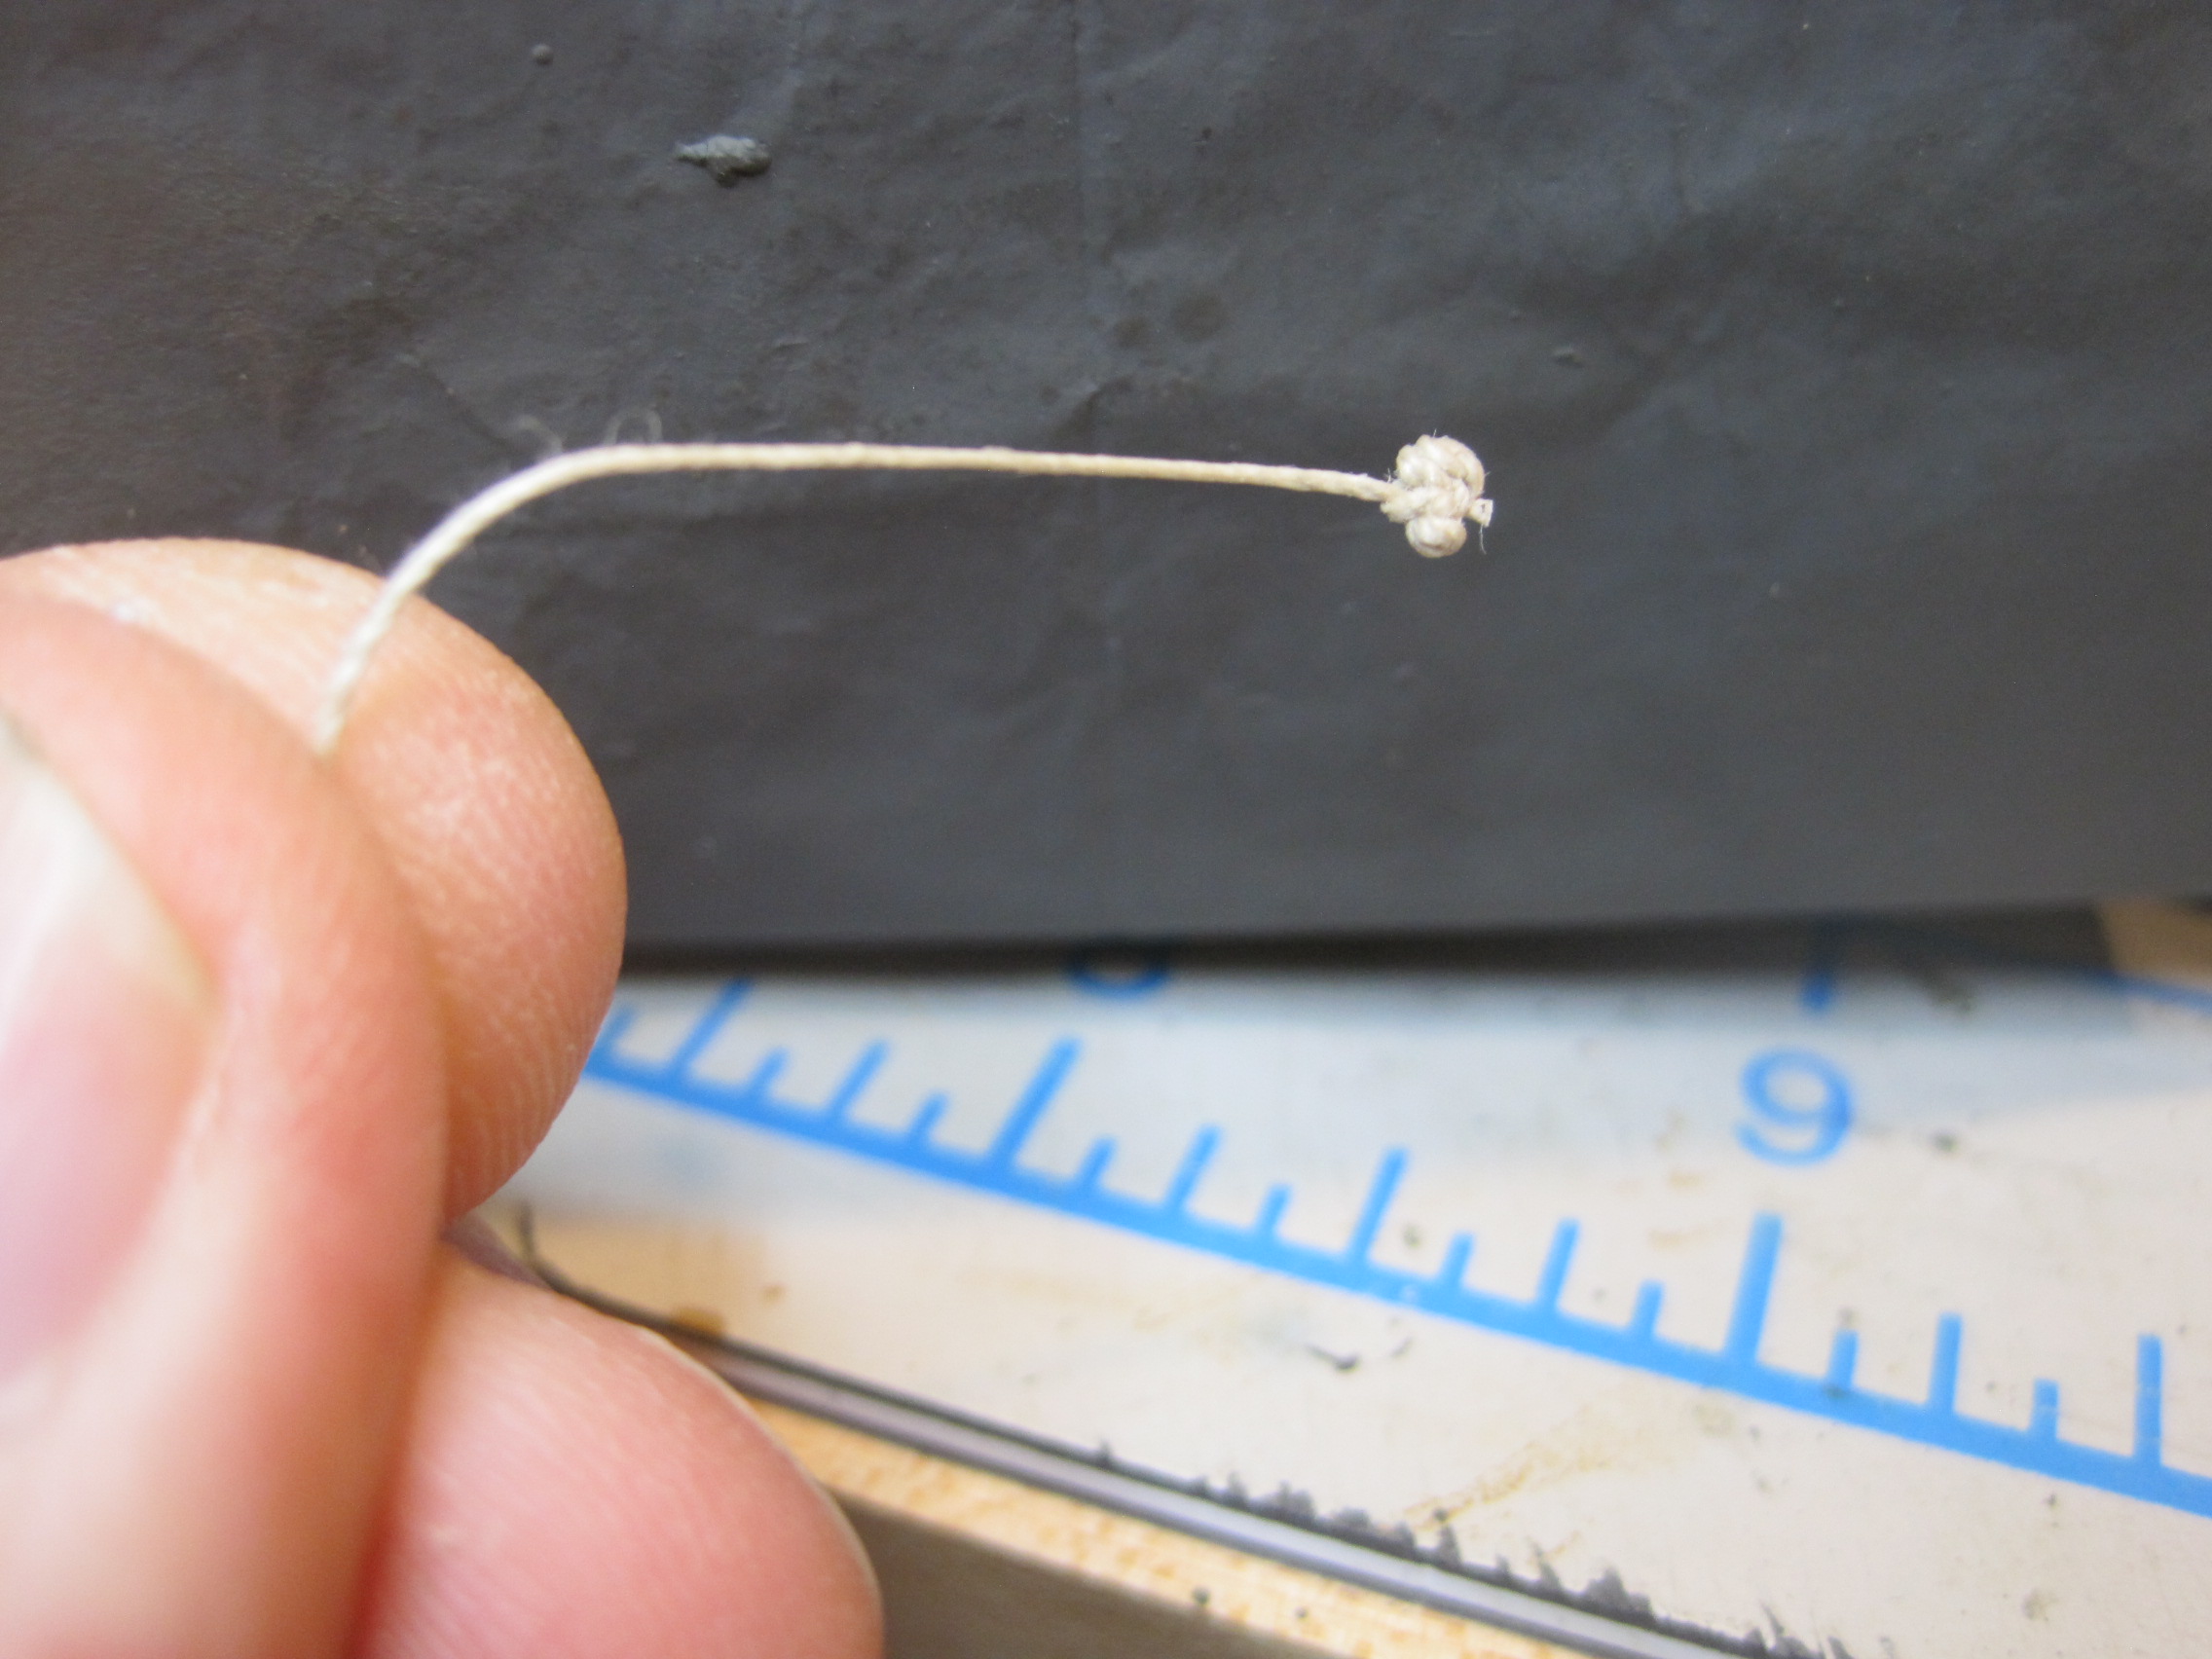
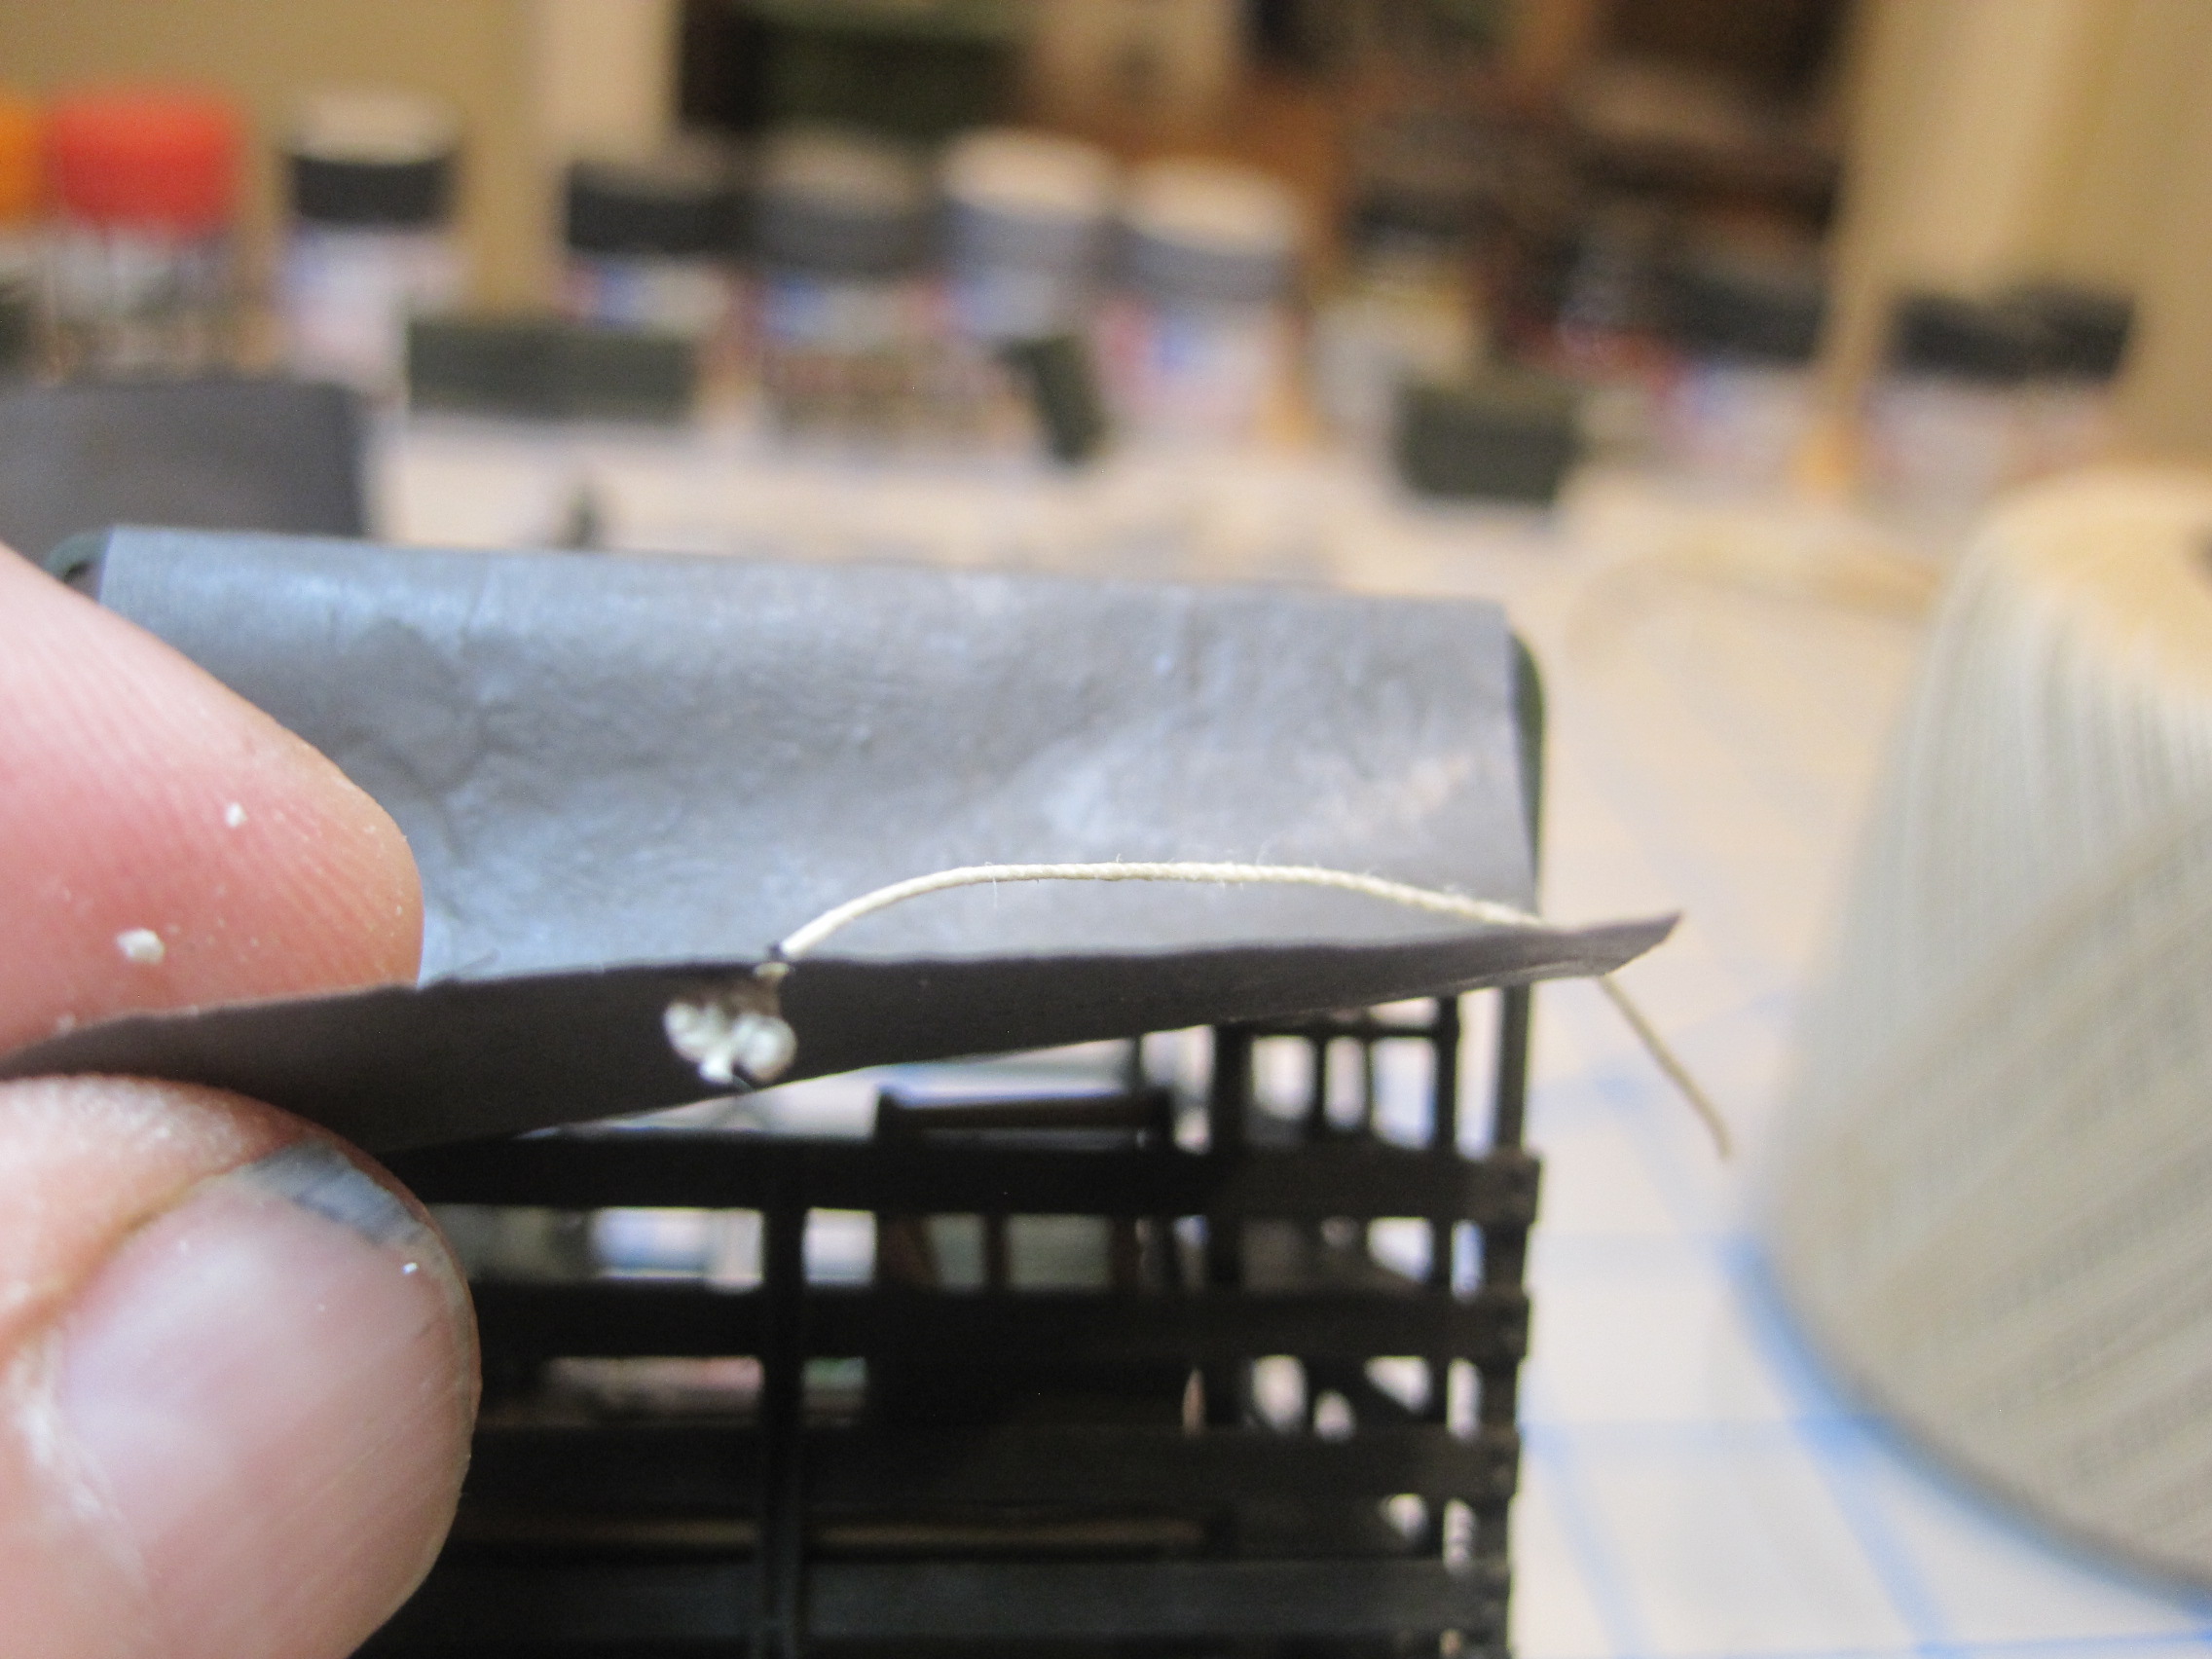
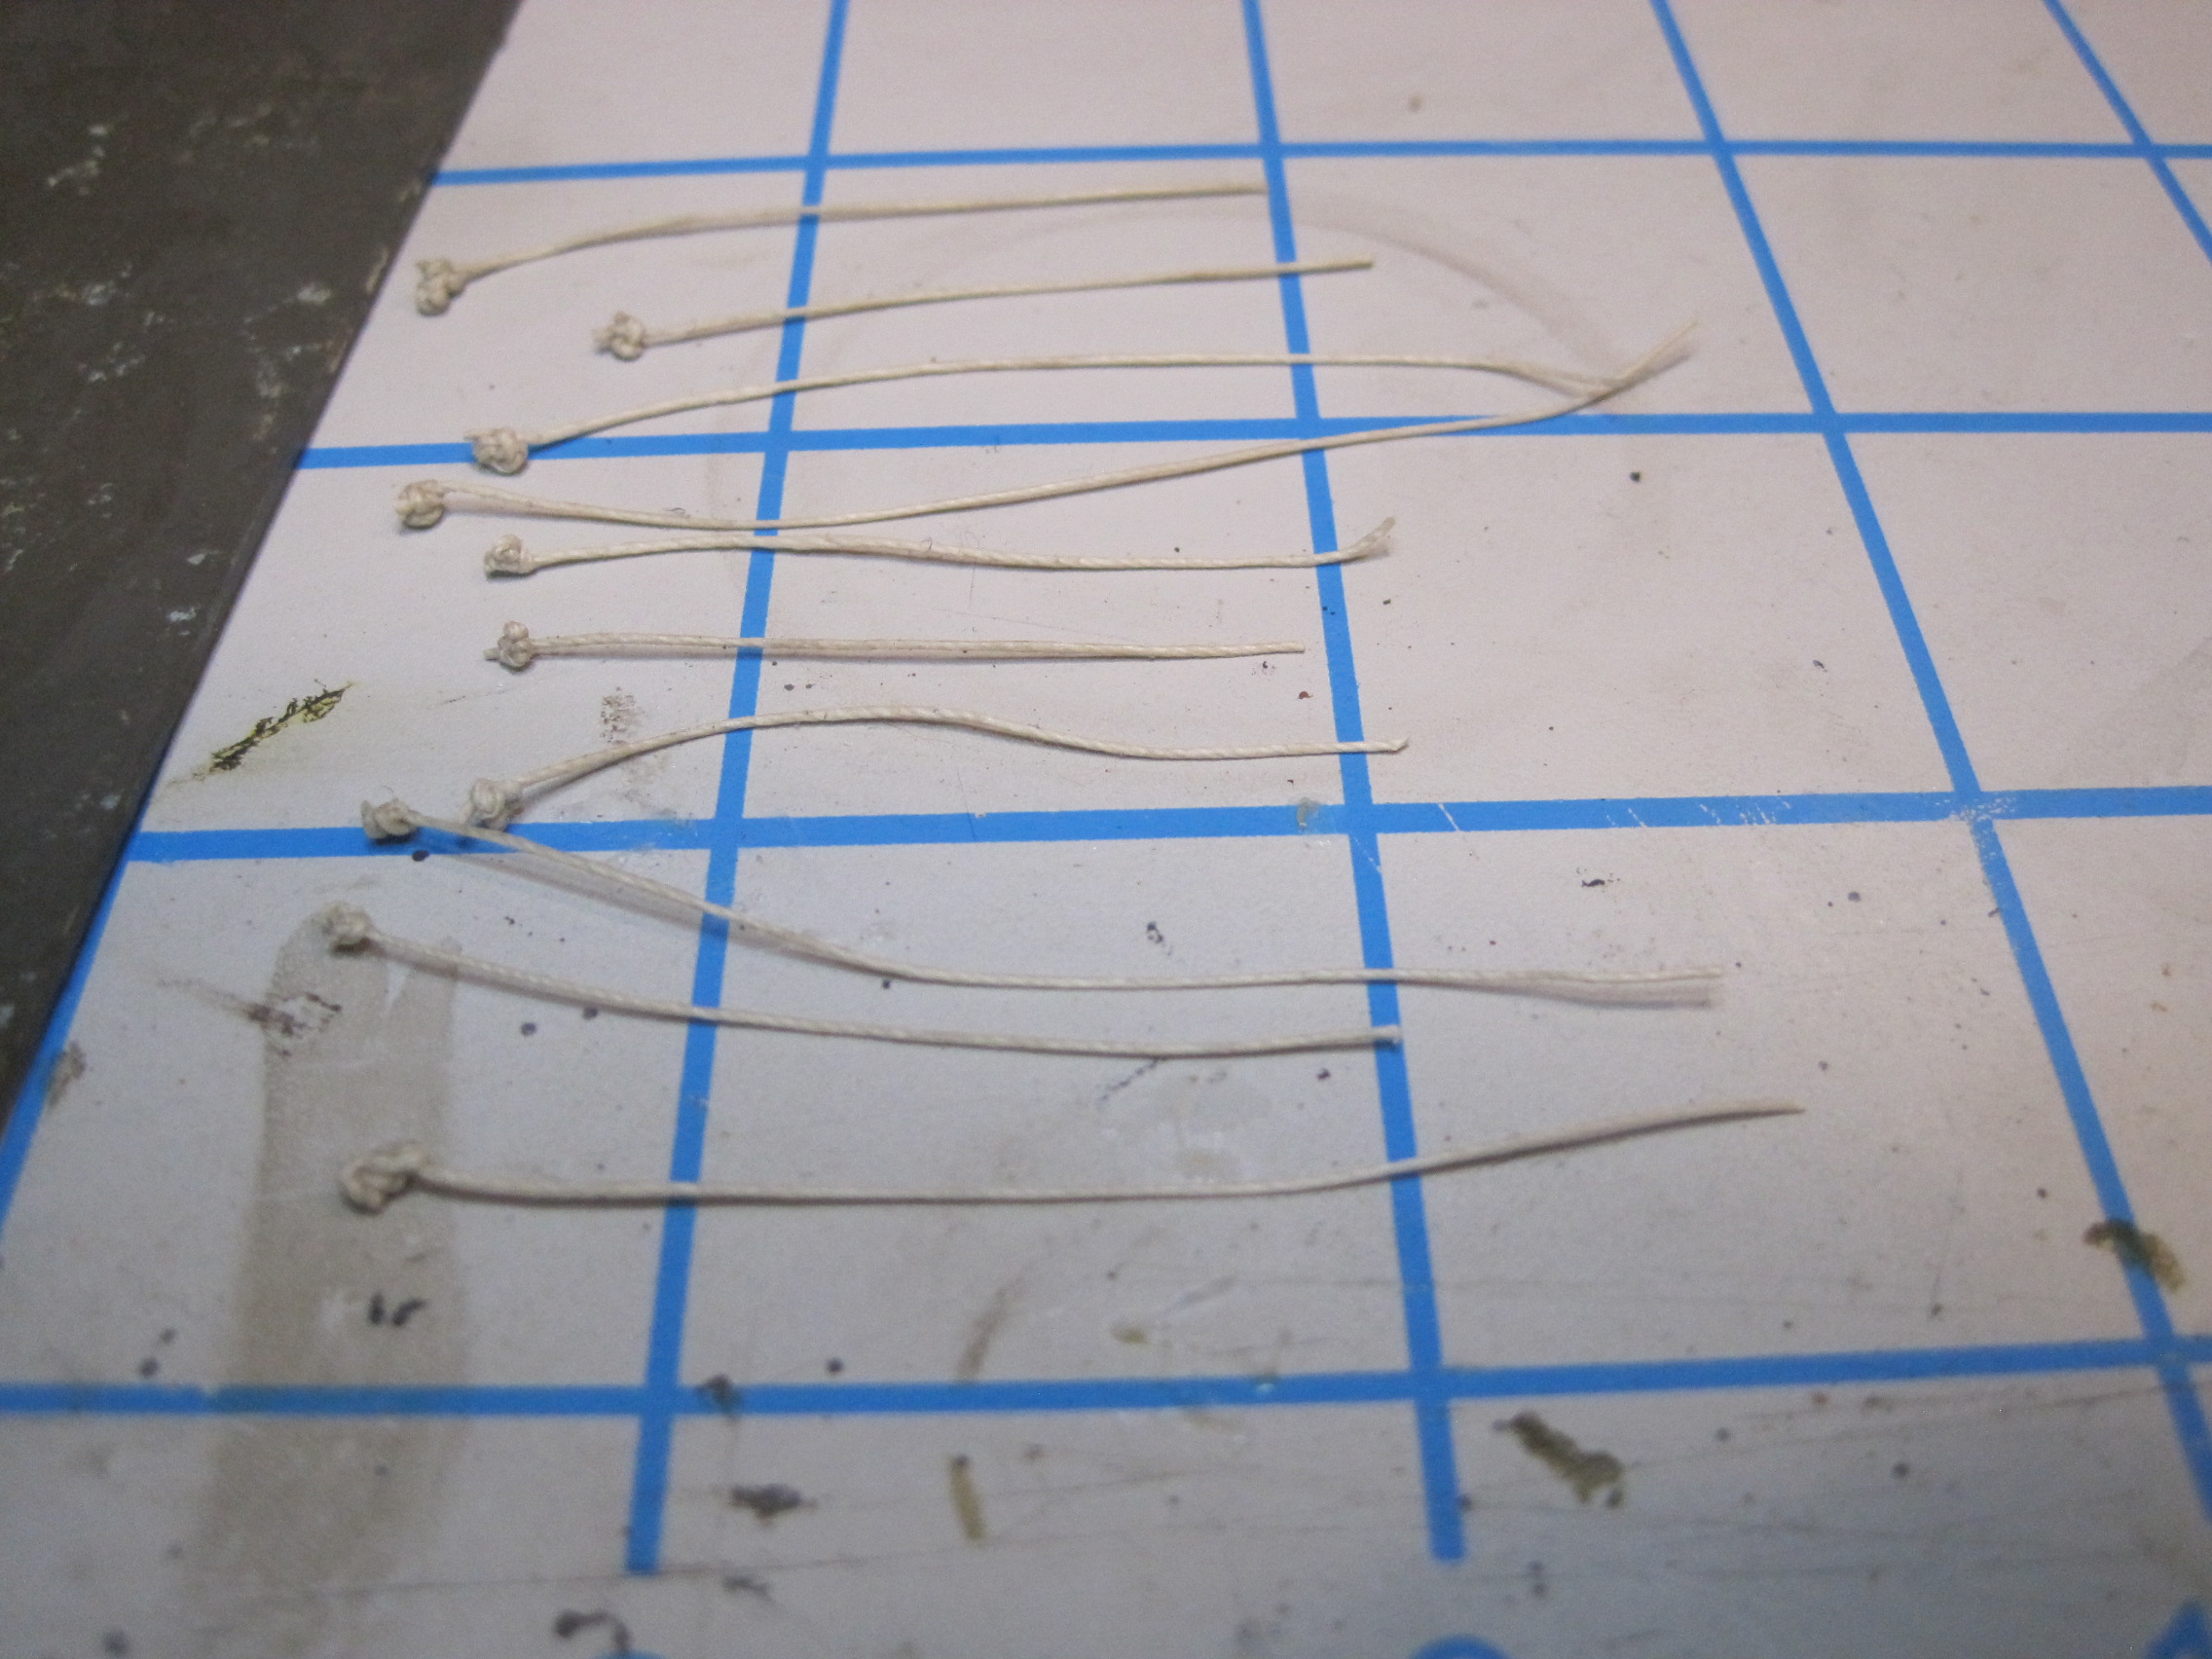
To secure the tarp to the trailer I use the same thread I’ve used in building sailing ships, and run it through this block of bees wax. That coats the string which eliminates any “fuzzies” and provides a much more realistic scale appearance. And it has the added benefit of stiffening the string which makes it easier to work with, plus it allows me to prove that my Statics professor was wrong. You can indeed push on a rope!
First step is to tie 4-5 knots to create a large block. Then one end is cut right at the knot and a length of thread left on the other end. Next a small hole is poked through the canvas and the thread passed through the back side leaving the large knot inside and the thread hanging out. This trailer is going to need 11. I’ve decided to NOT add a back flap which would have added three more tie downs. Adding those would not only keep everything inside from being seen, but would also make it just about impossible to open up the tailgate so I’m just leaving them off.

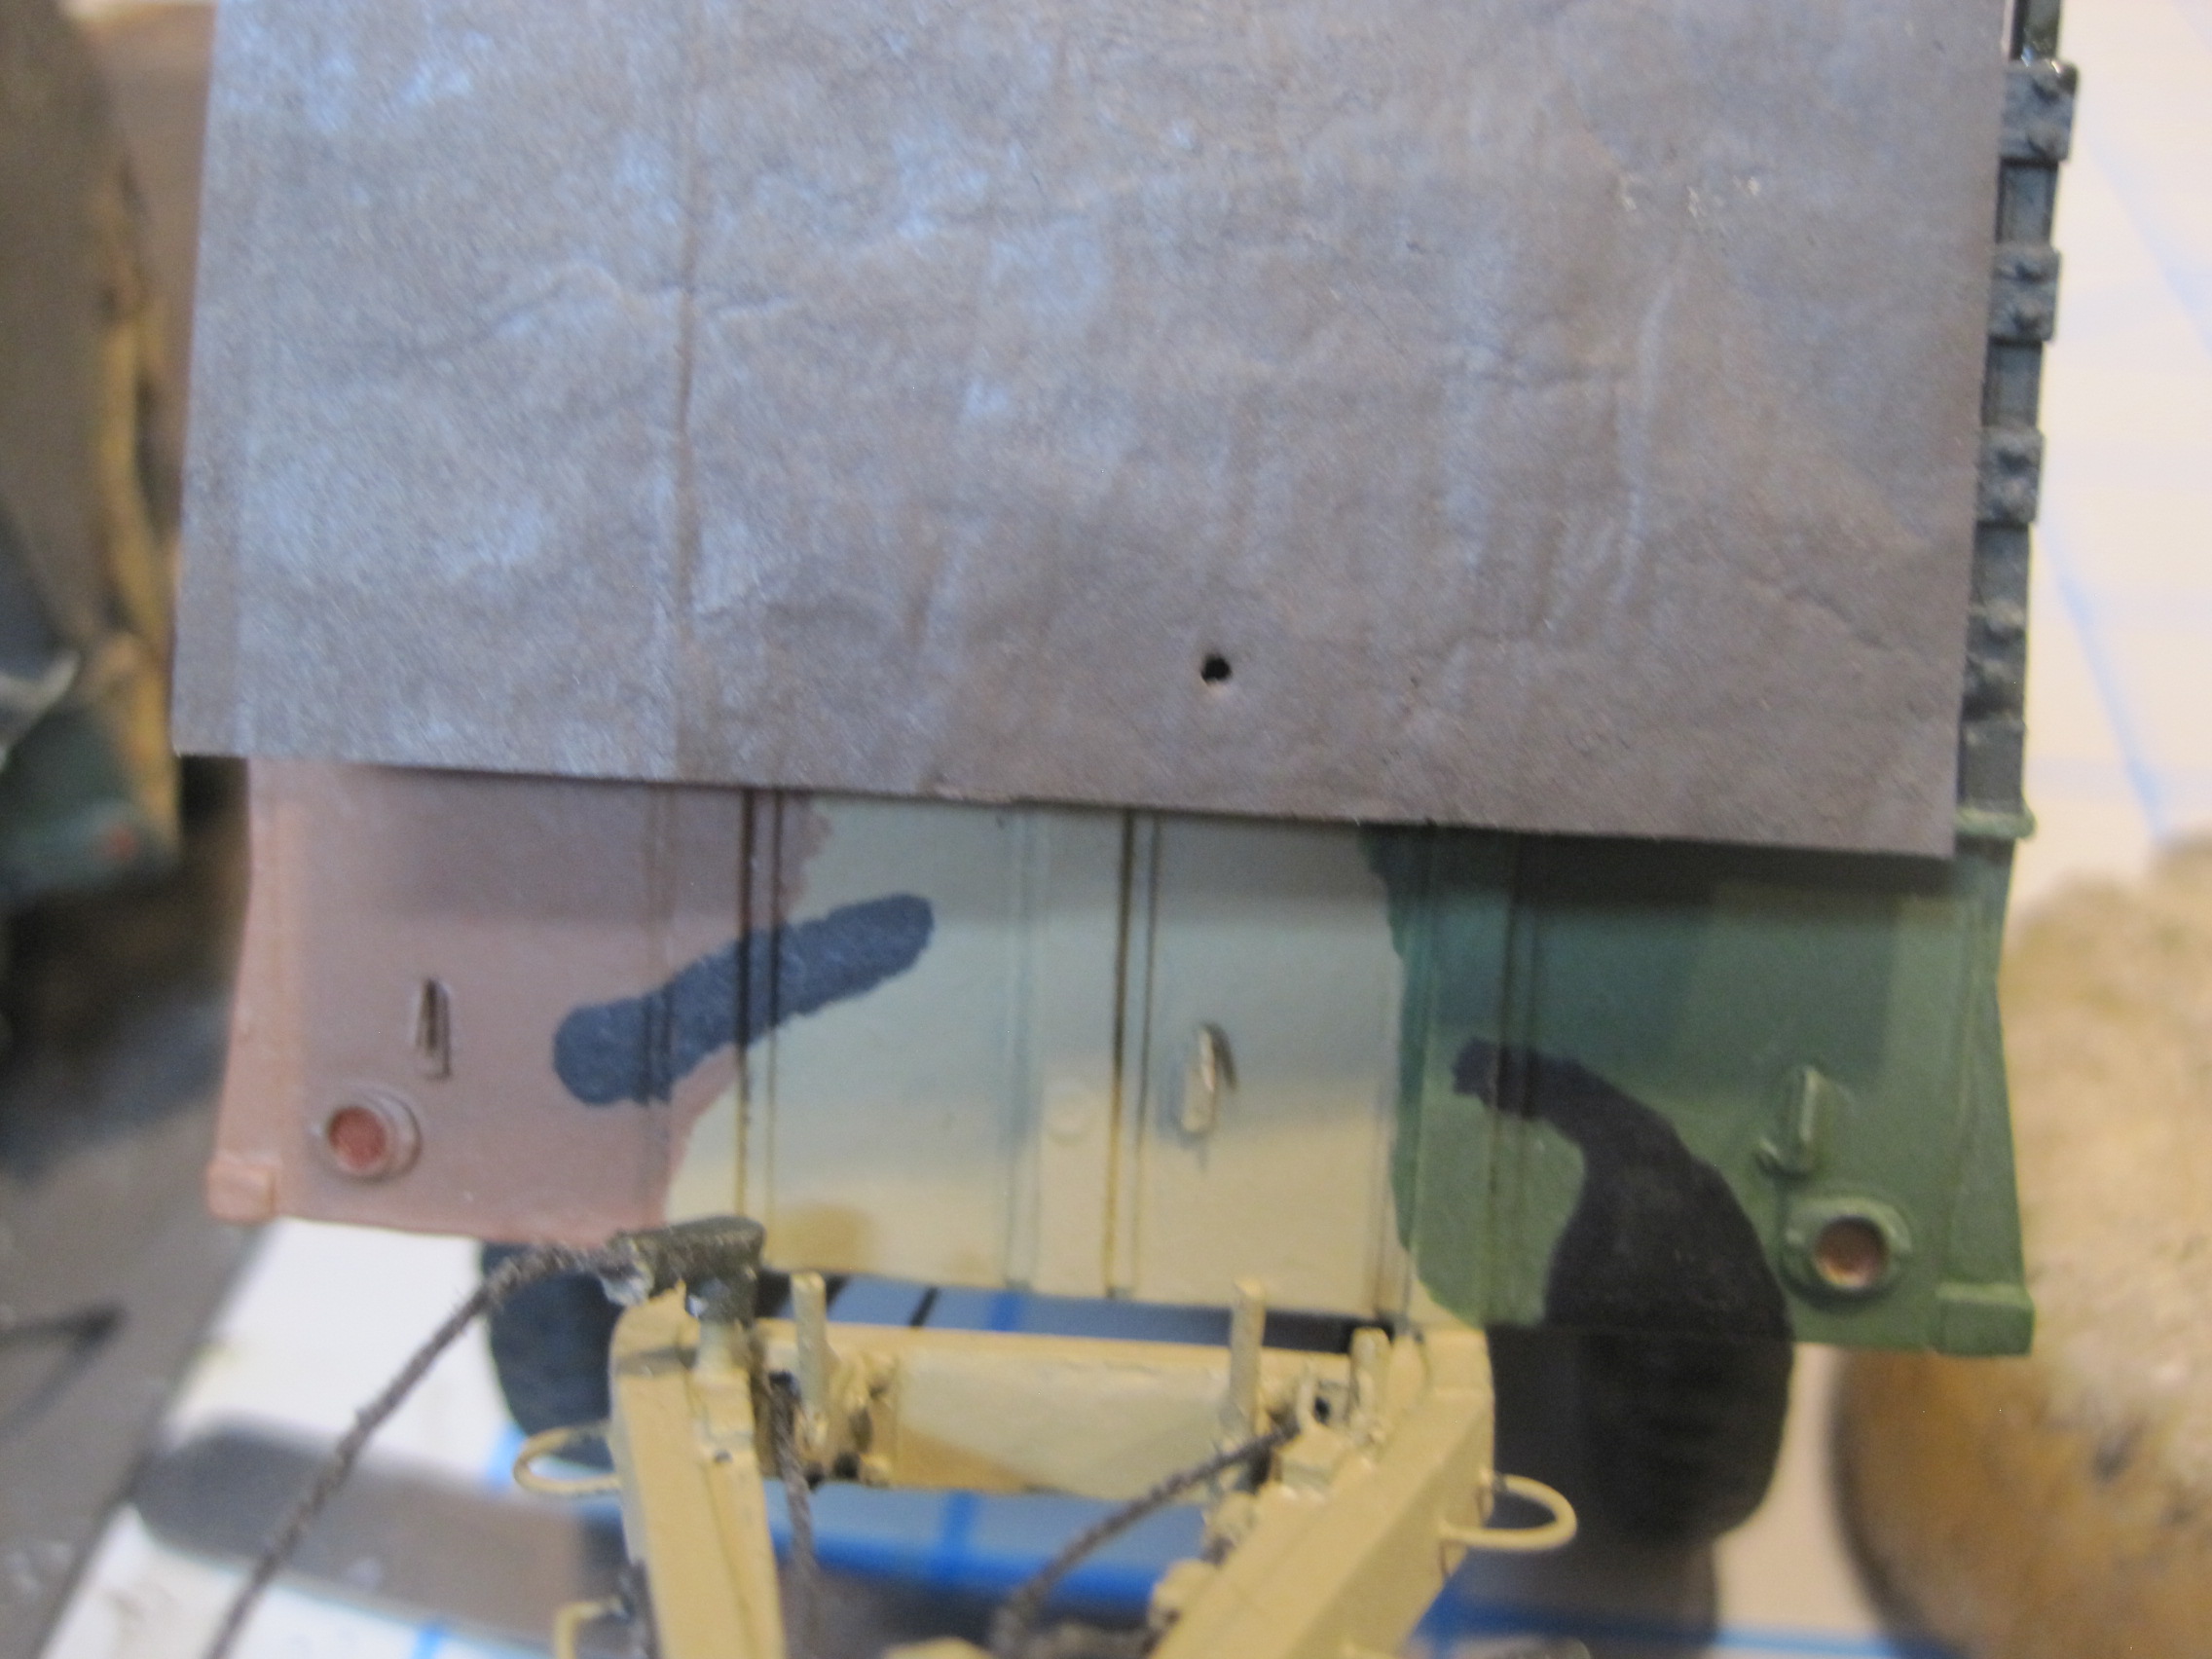


And here’s the finished product, less weathering and decals.

9 Likes
More good stuff. 
^^Ditto^^
It is looking great.
Now that the trailer is finished, I’m moving on to the truck. But before I start building the actual M35, I’m going to build the maintenance shelter that was unit built. I already built a shelter when I did the Mess Truck, so other than the cut out on the side which the food was served from, this shelter will be pretty much exactly the same.
For the interior I’ve decided to add the AFV set which I believe they include in their M109 Shop van kit. That will save a bunch of time not having to scratch build the interior. The only problem I’m going to run into is that the benches and file cabinet are made for the interior of the Shop van. Because this shelter needs a support mount in the front of the second unit body bed, and has to be short enough so that the tail gate closes, it’s not as “deep” as the shop van is, so the benches and file cabinet don’t quite fit. So, I’ll have to do a little bit of shortening work to finesse the fit.
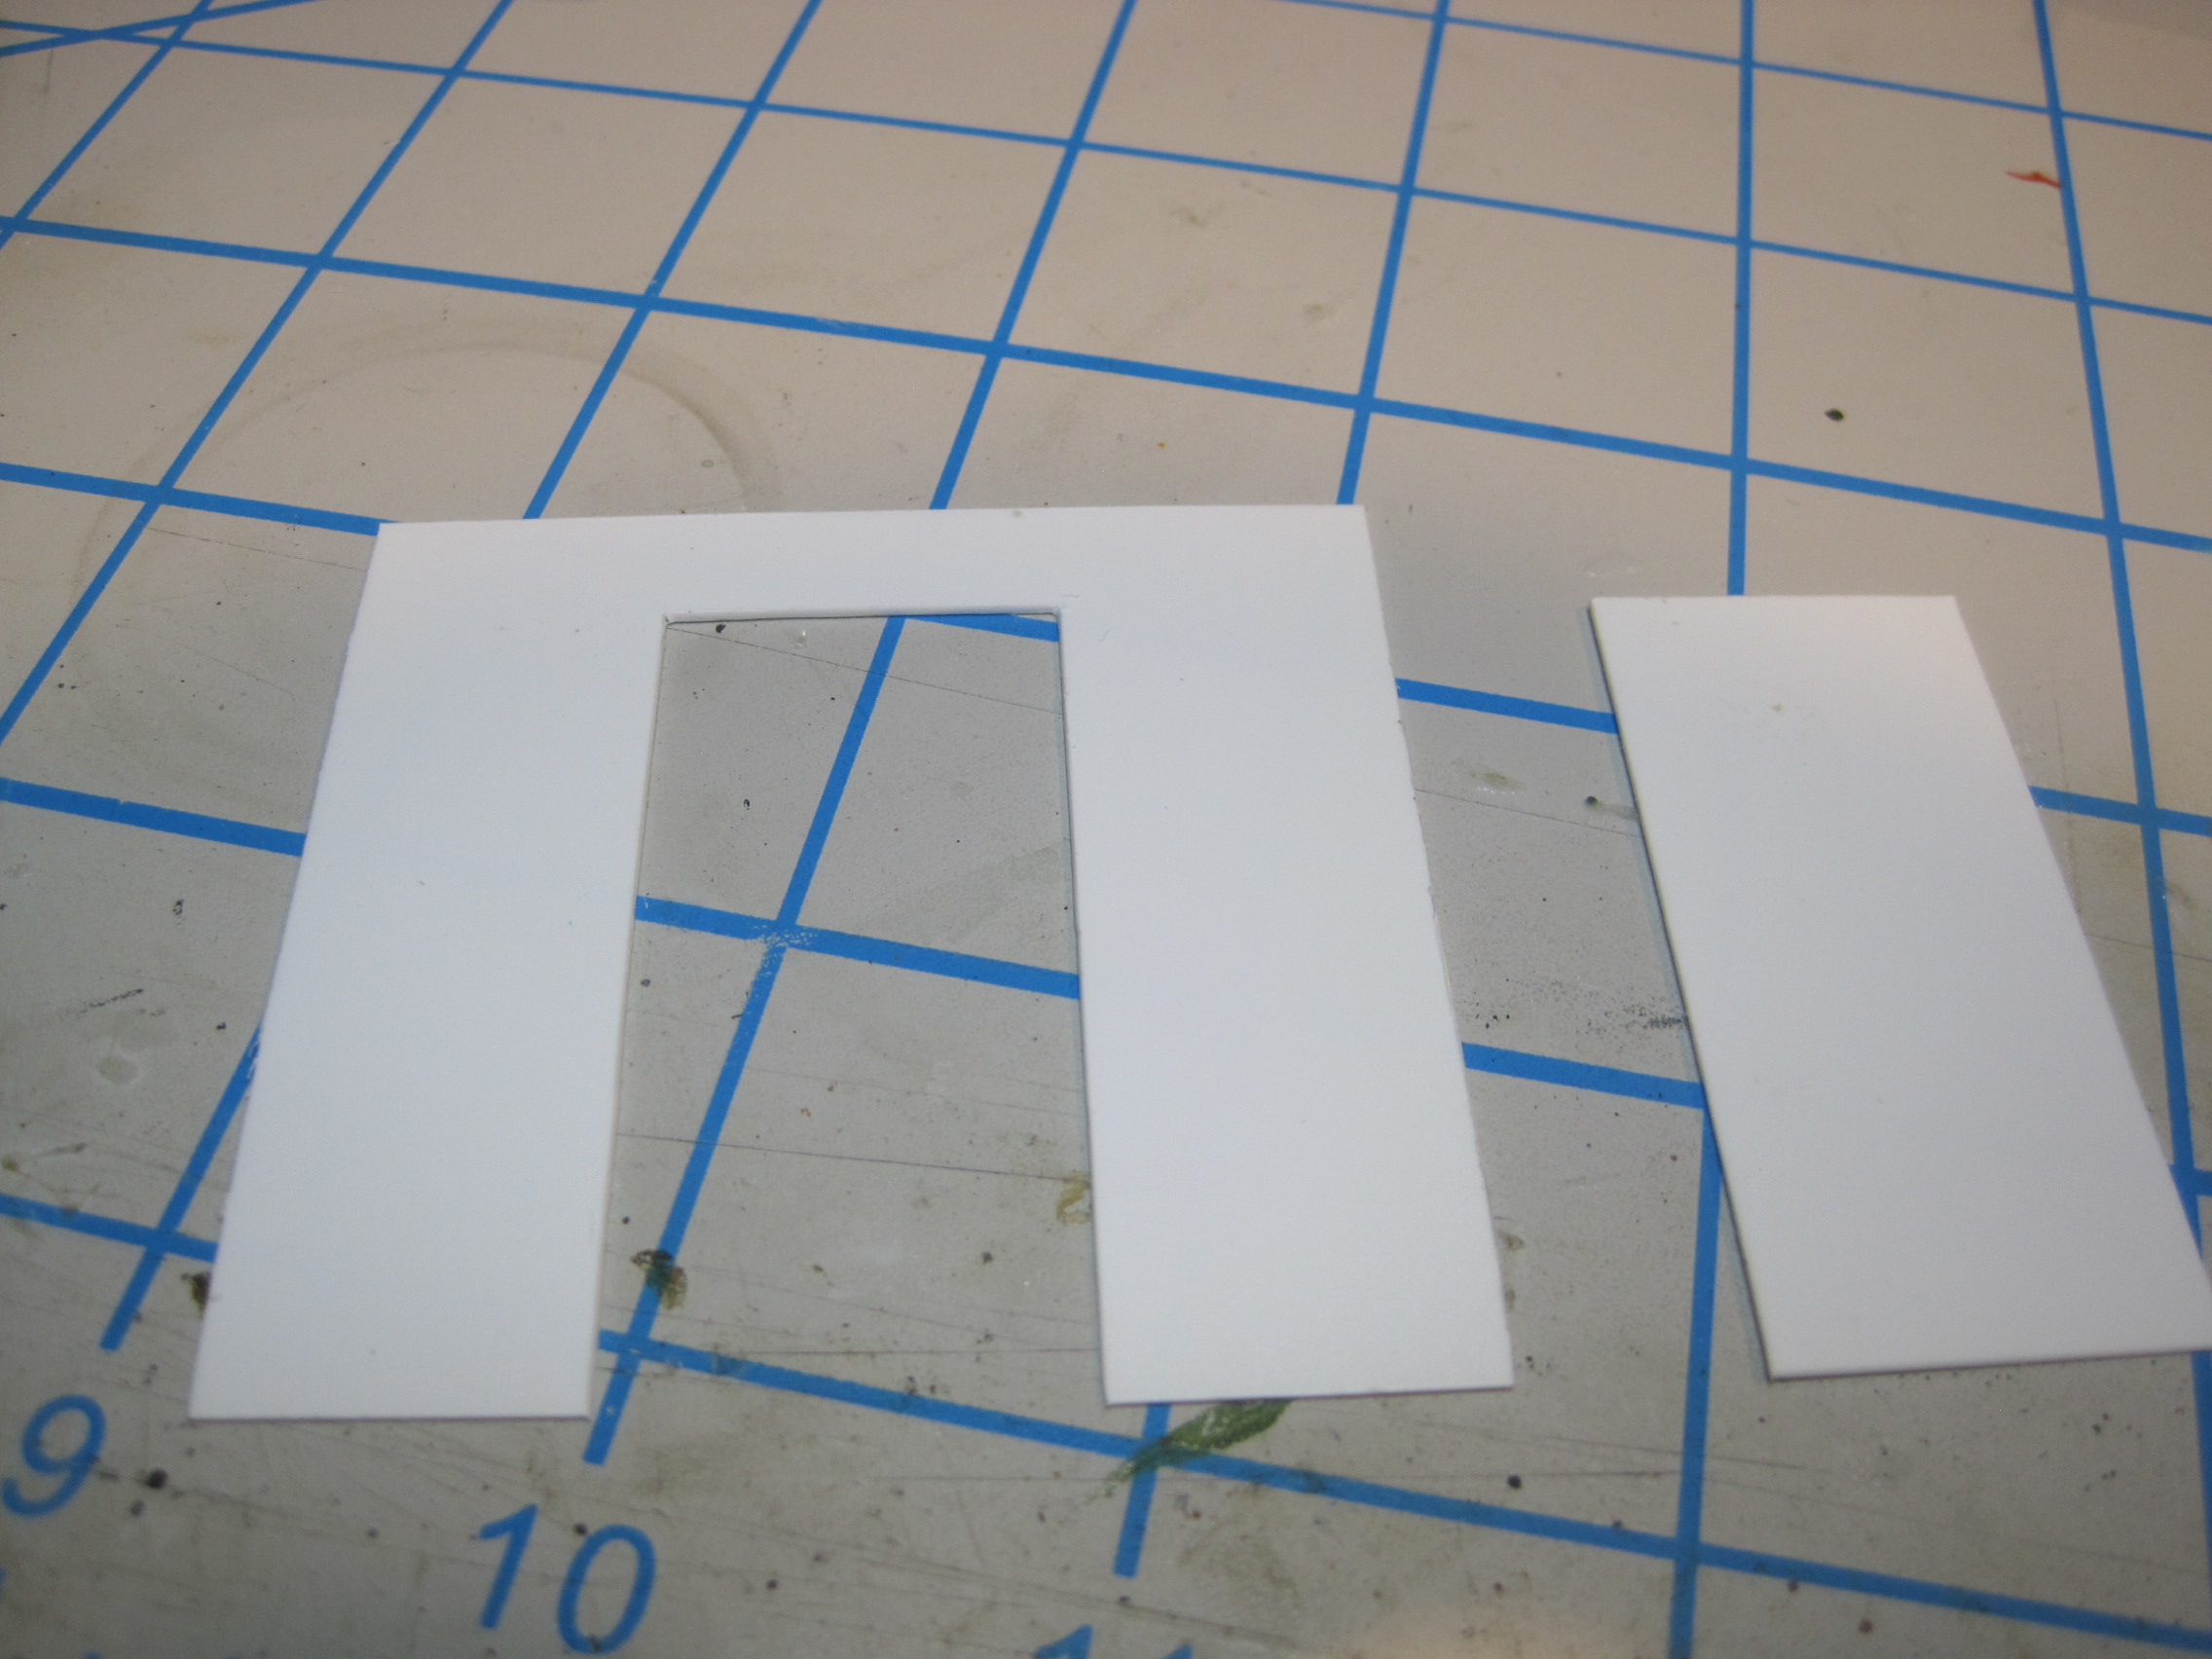
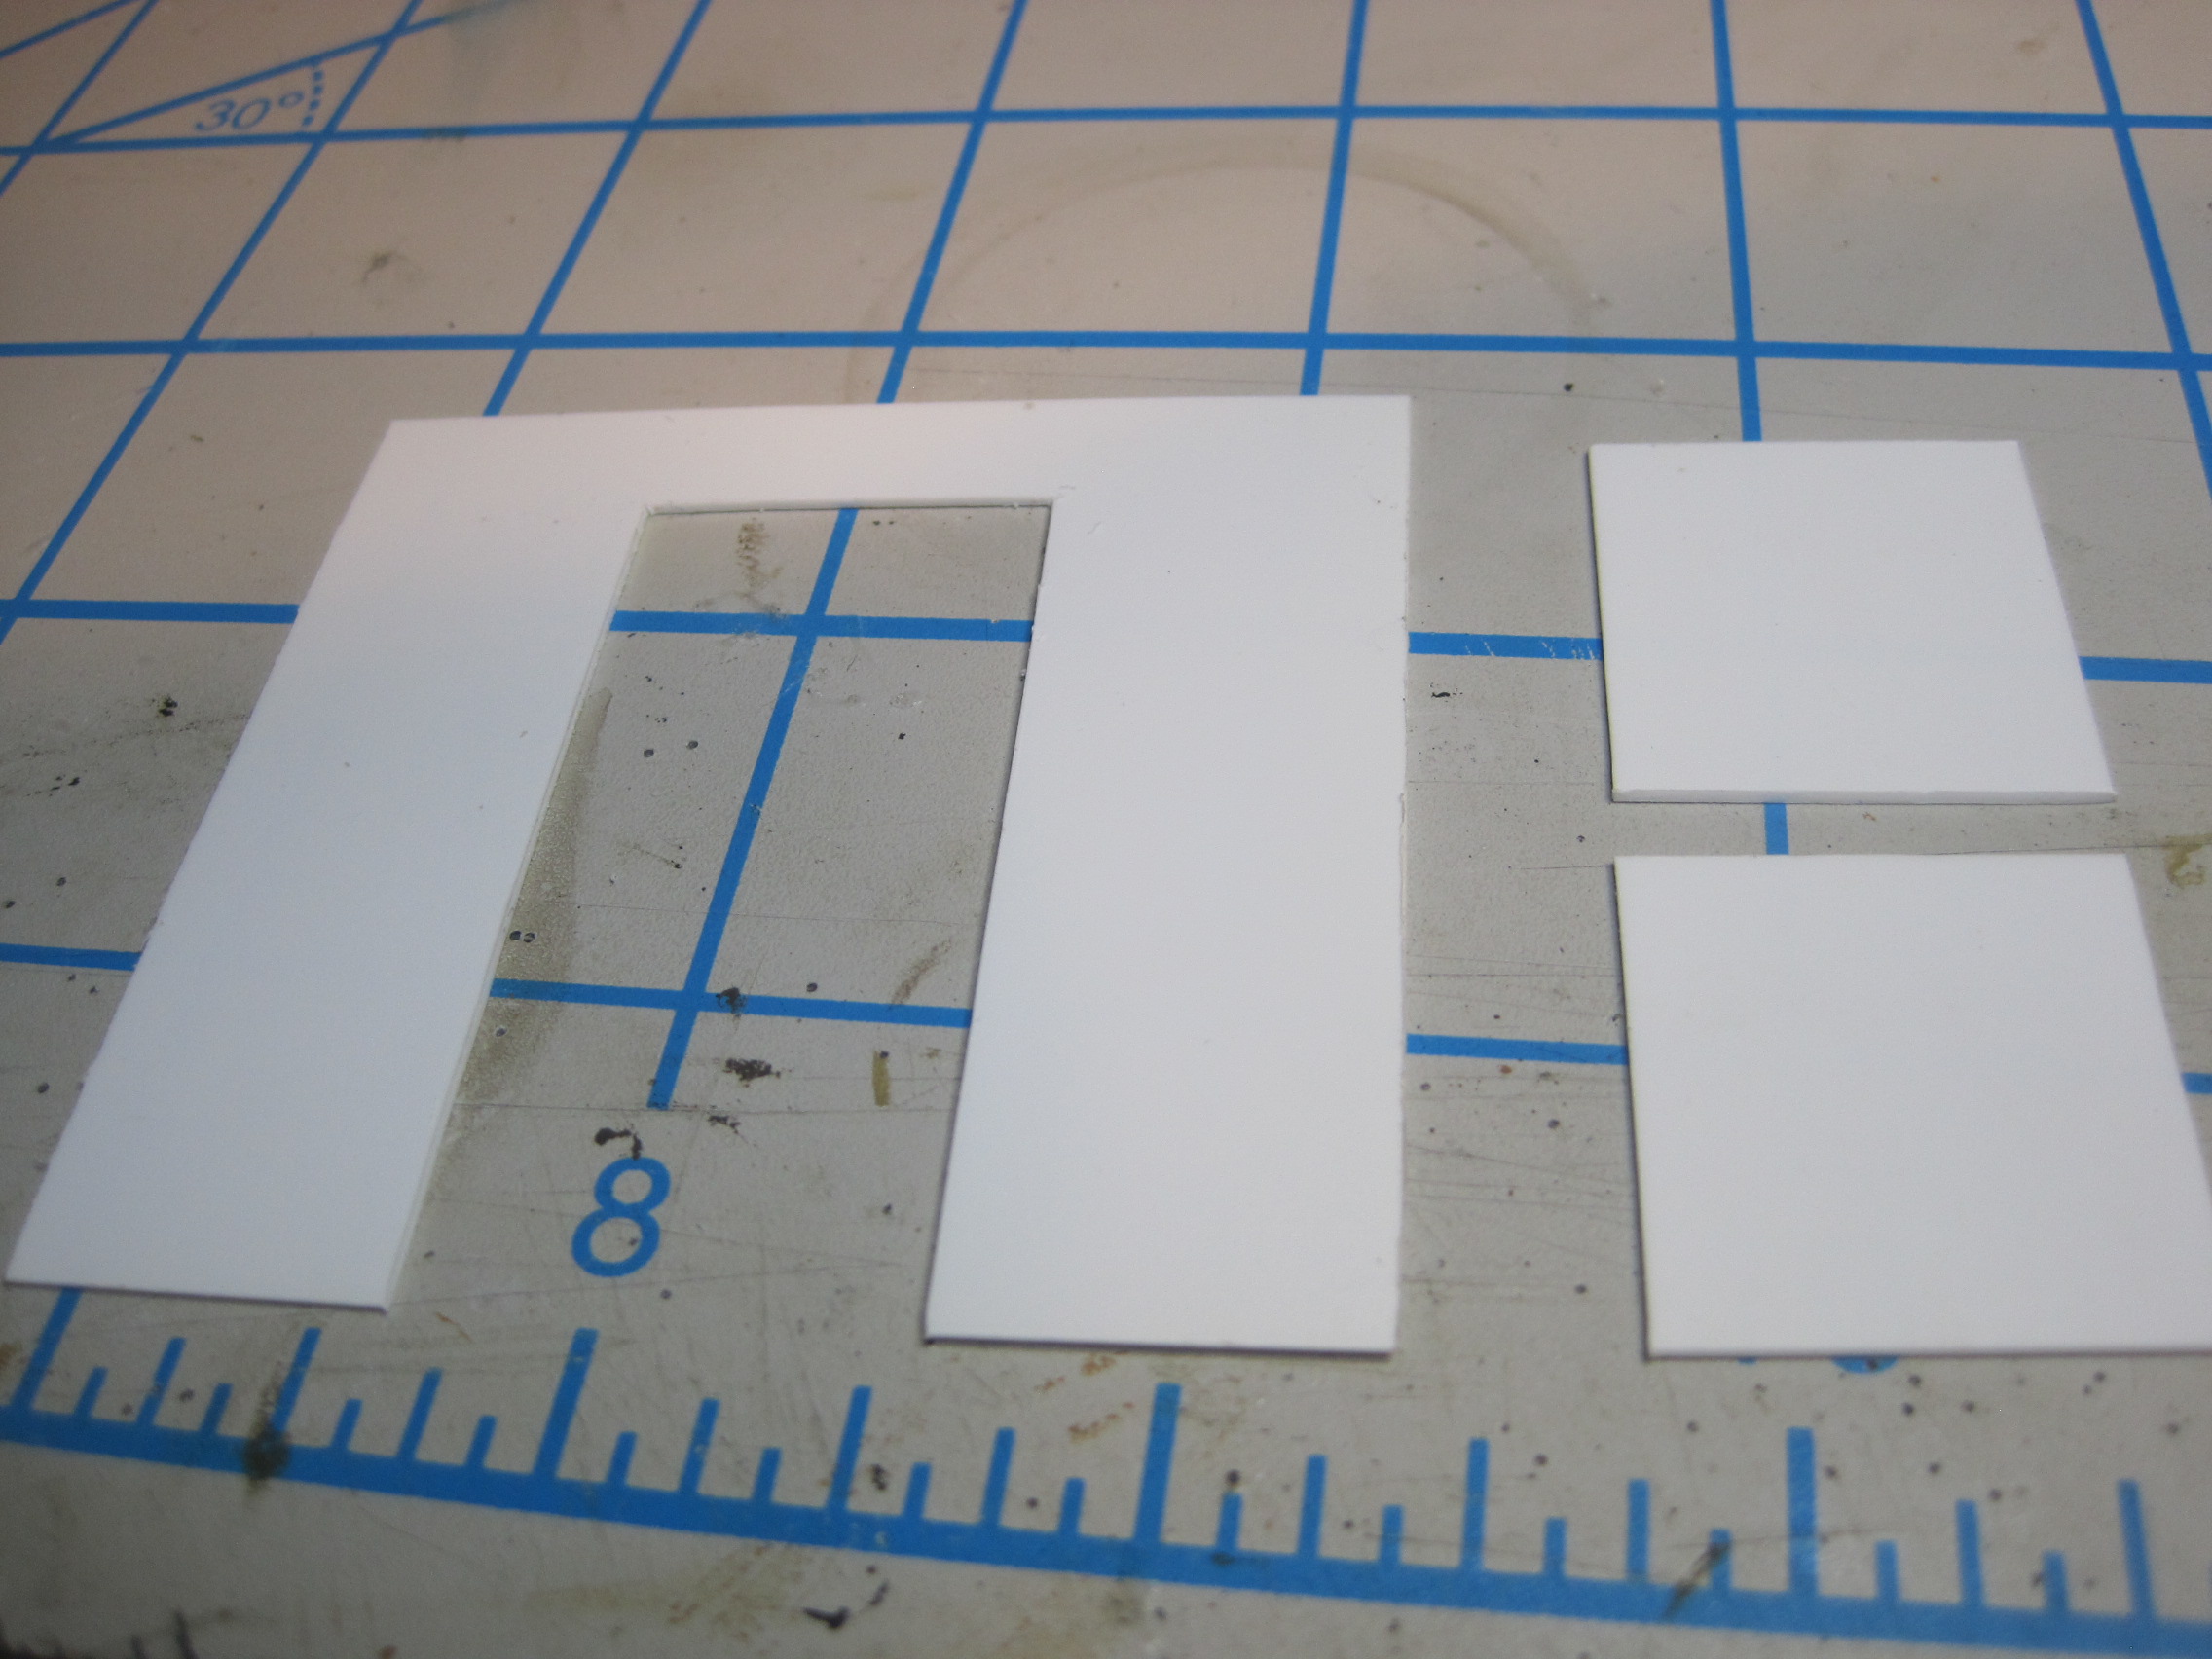
So first step is to cut a sheet of 0.05mm styrene just wide enough to slide into the bed. This will be used for the front and back walls.
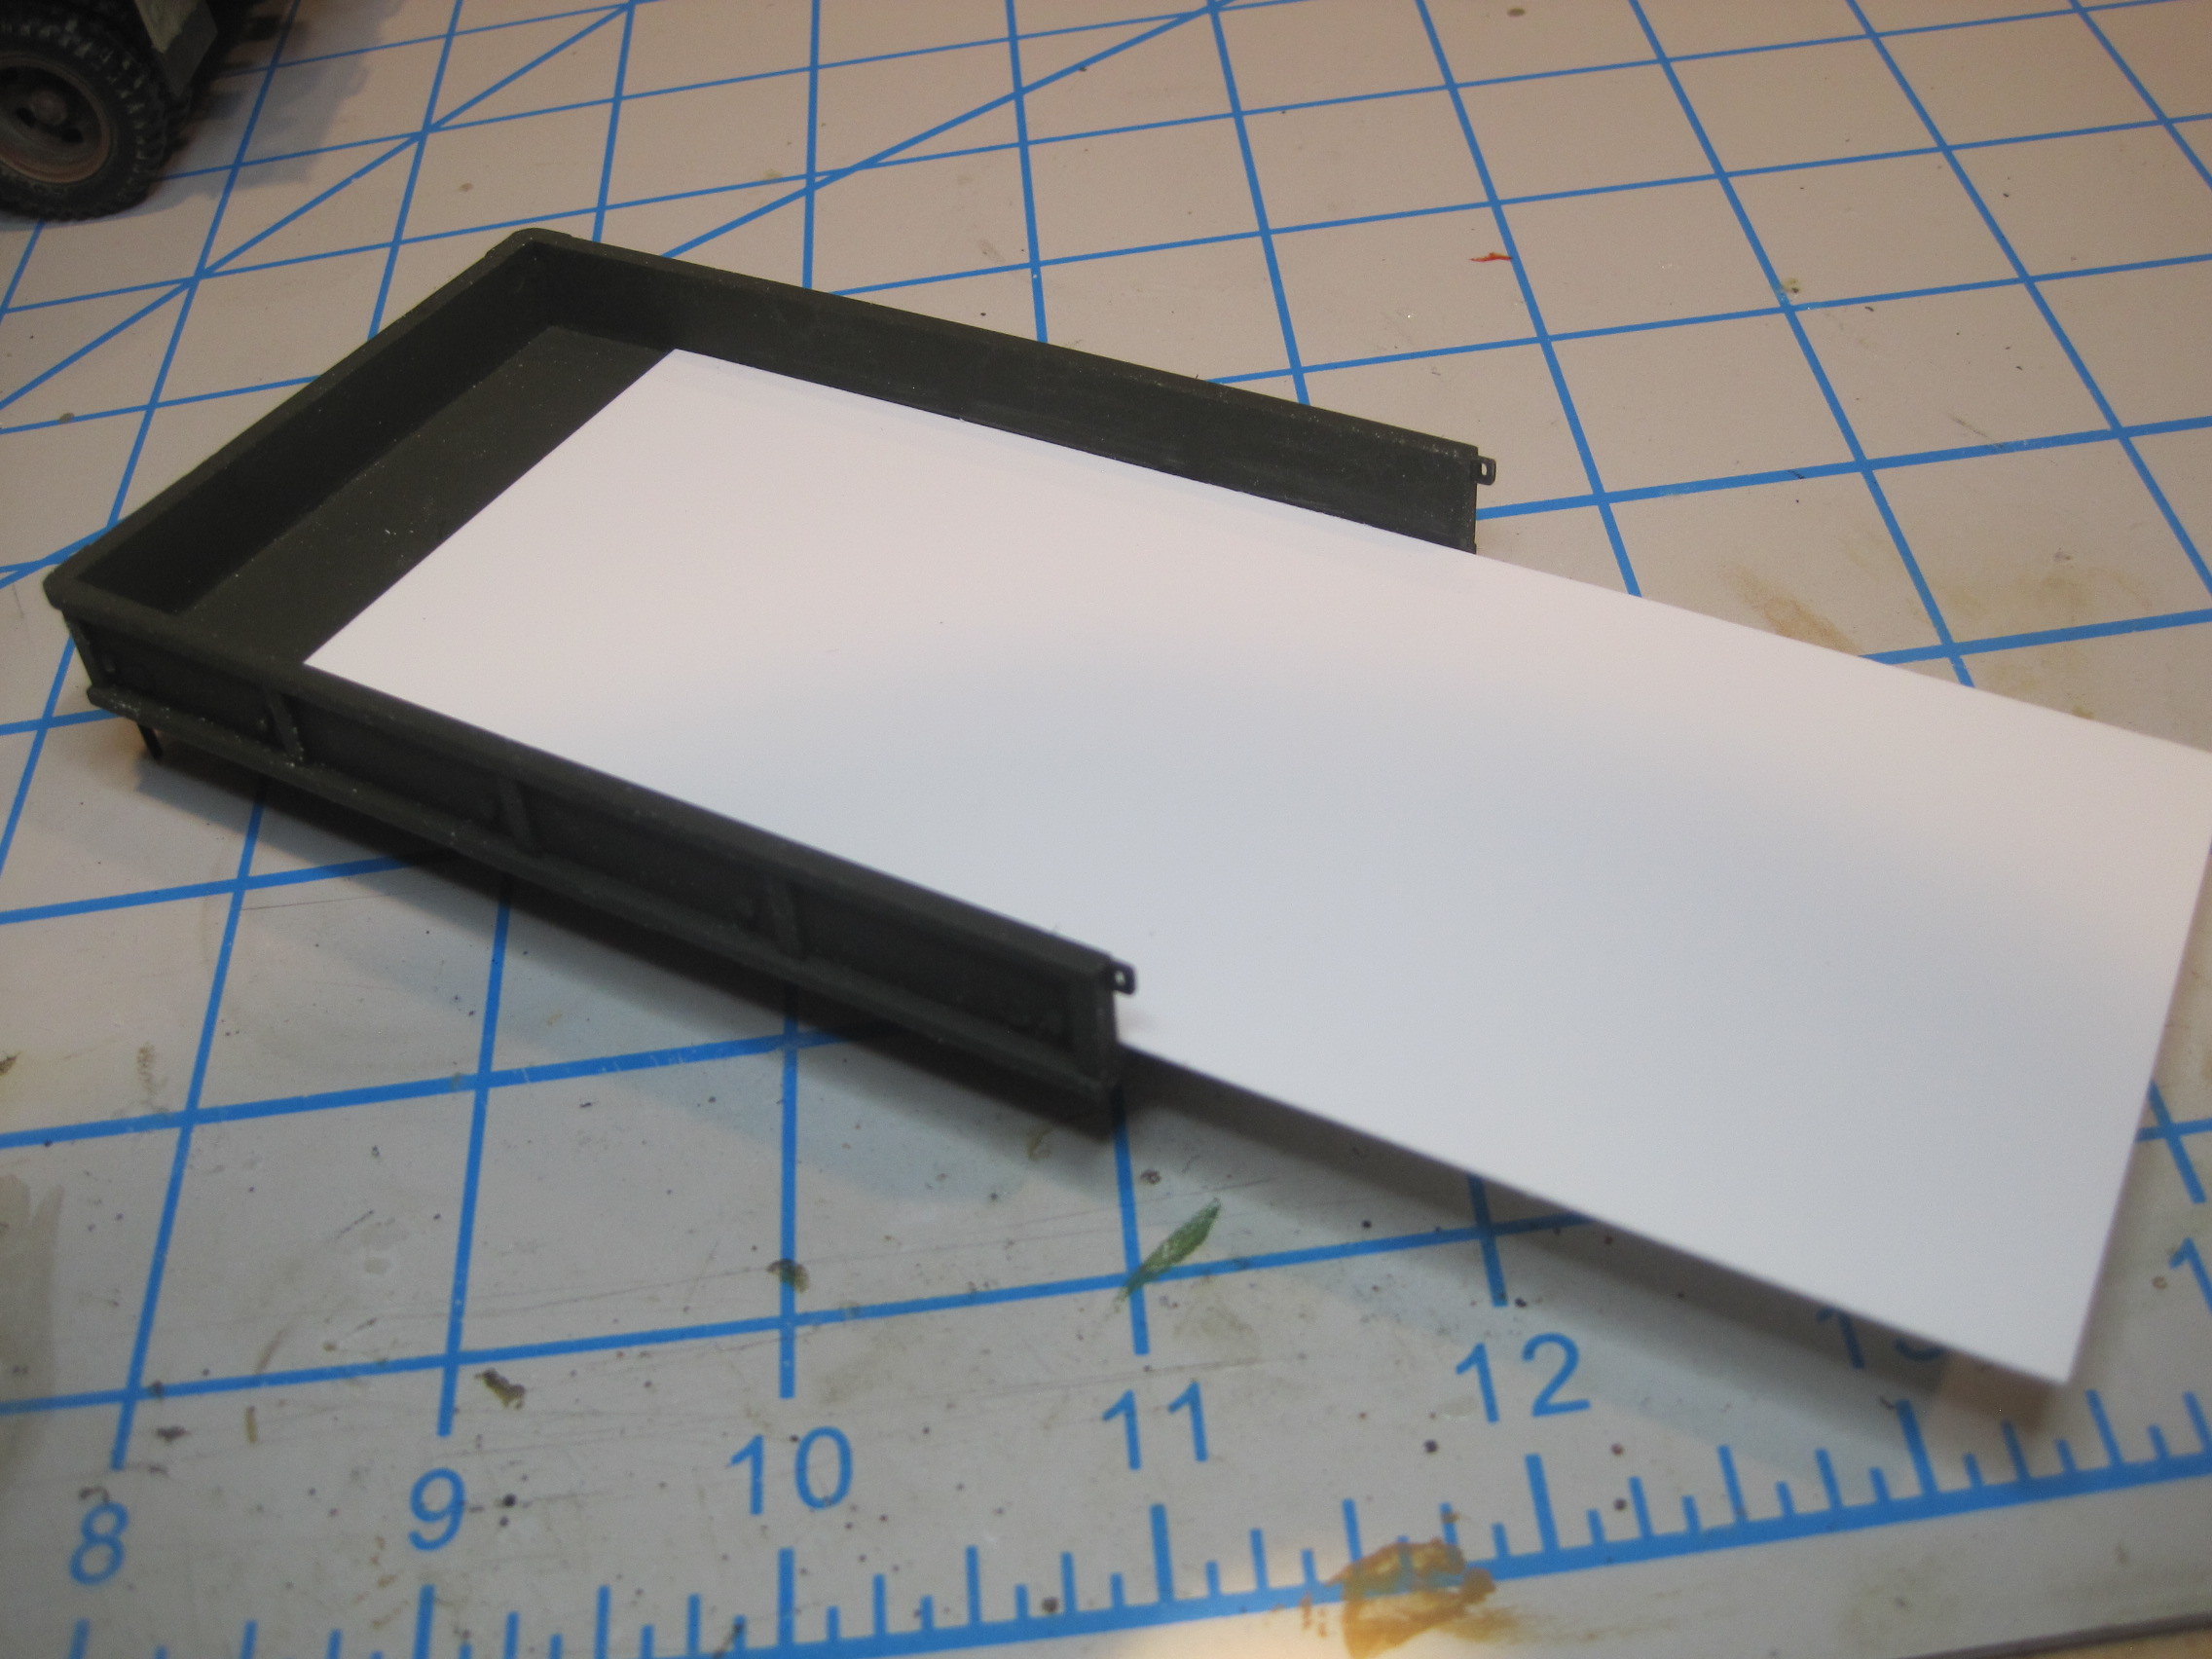
After that, goes the support frame in the front of the bed.

Next the previous cut piece of 0.05 is cut to the height for the back wall and a section cut out for the door.
Our vehicles had a “dutch door” which allowed for the top half of the door to still be opened even when the tail gate was closed, so the door section gets cut in half.
And then the door pieces and the wall are “framed in” with additional strips of styrene.
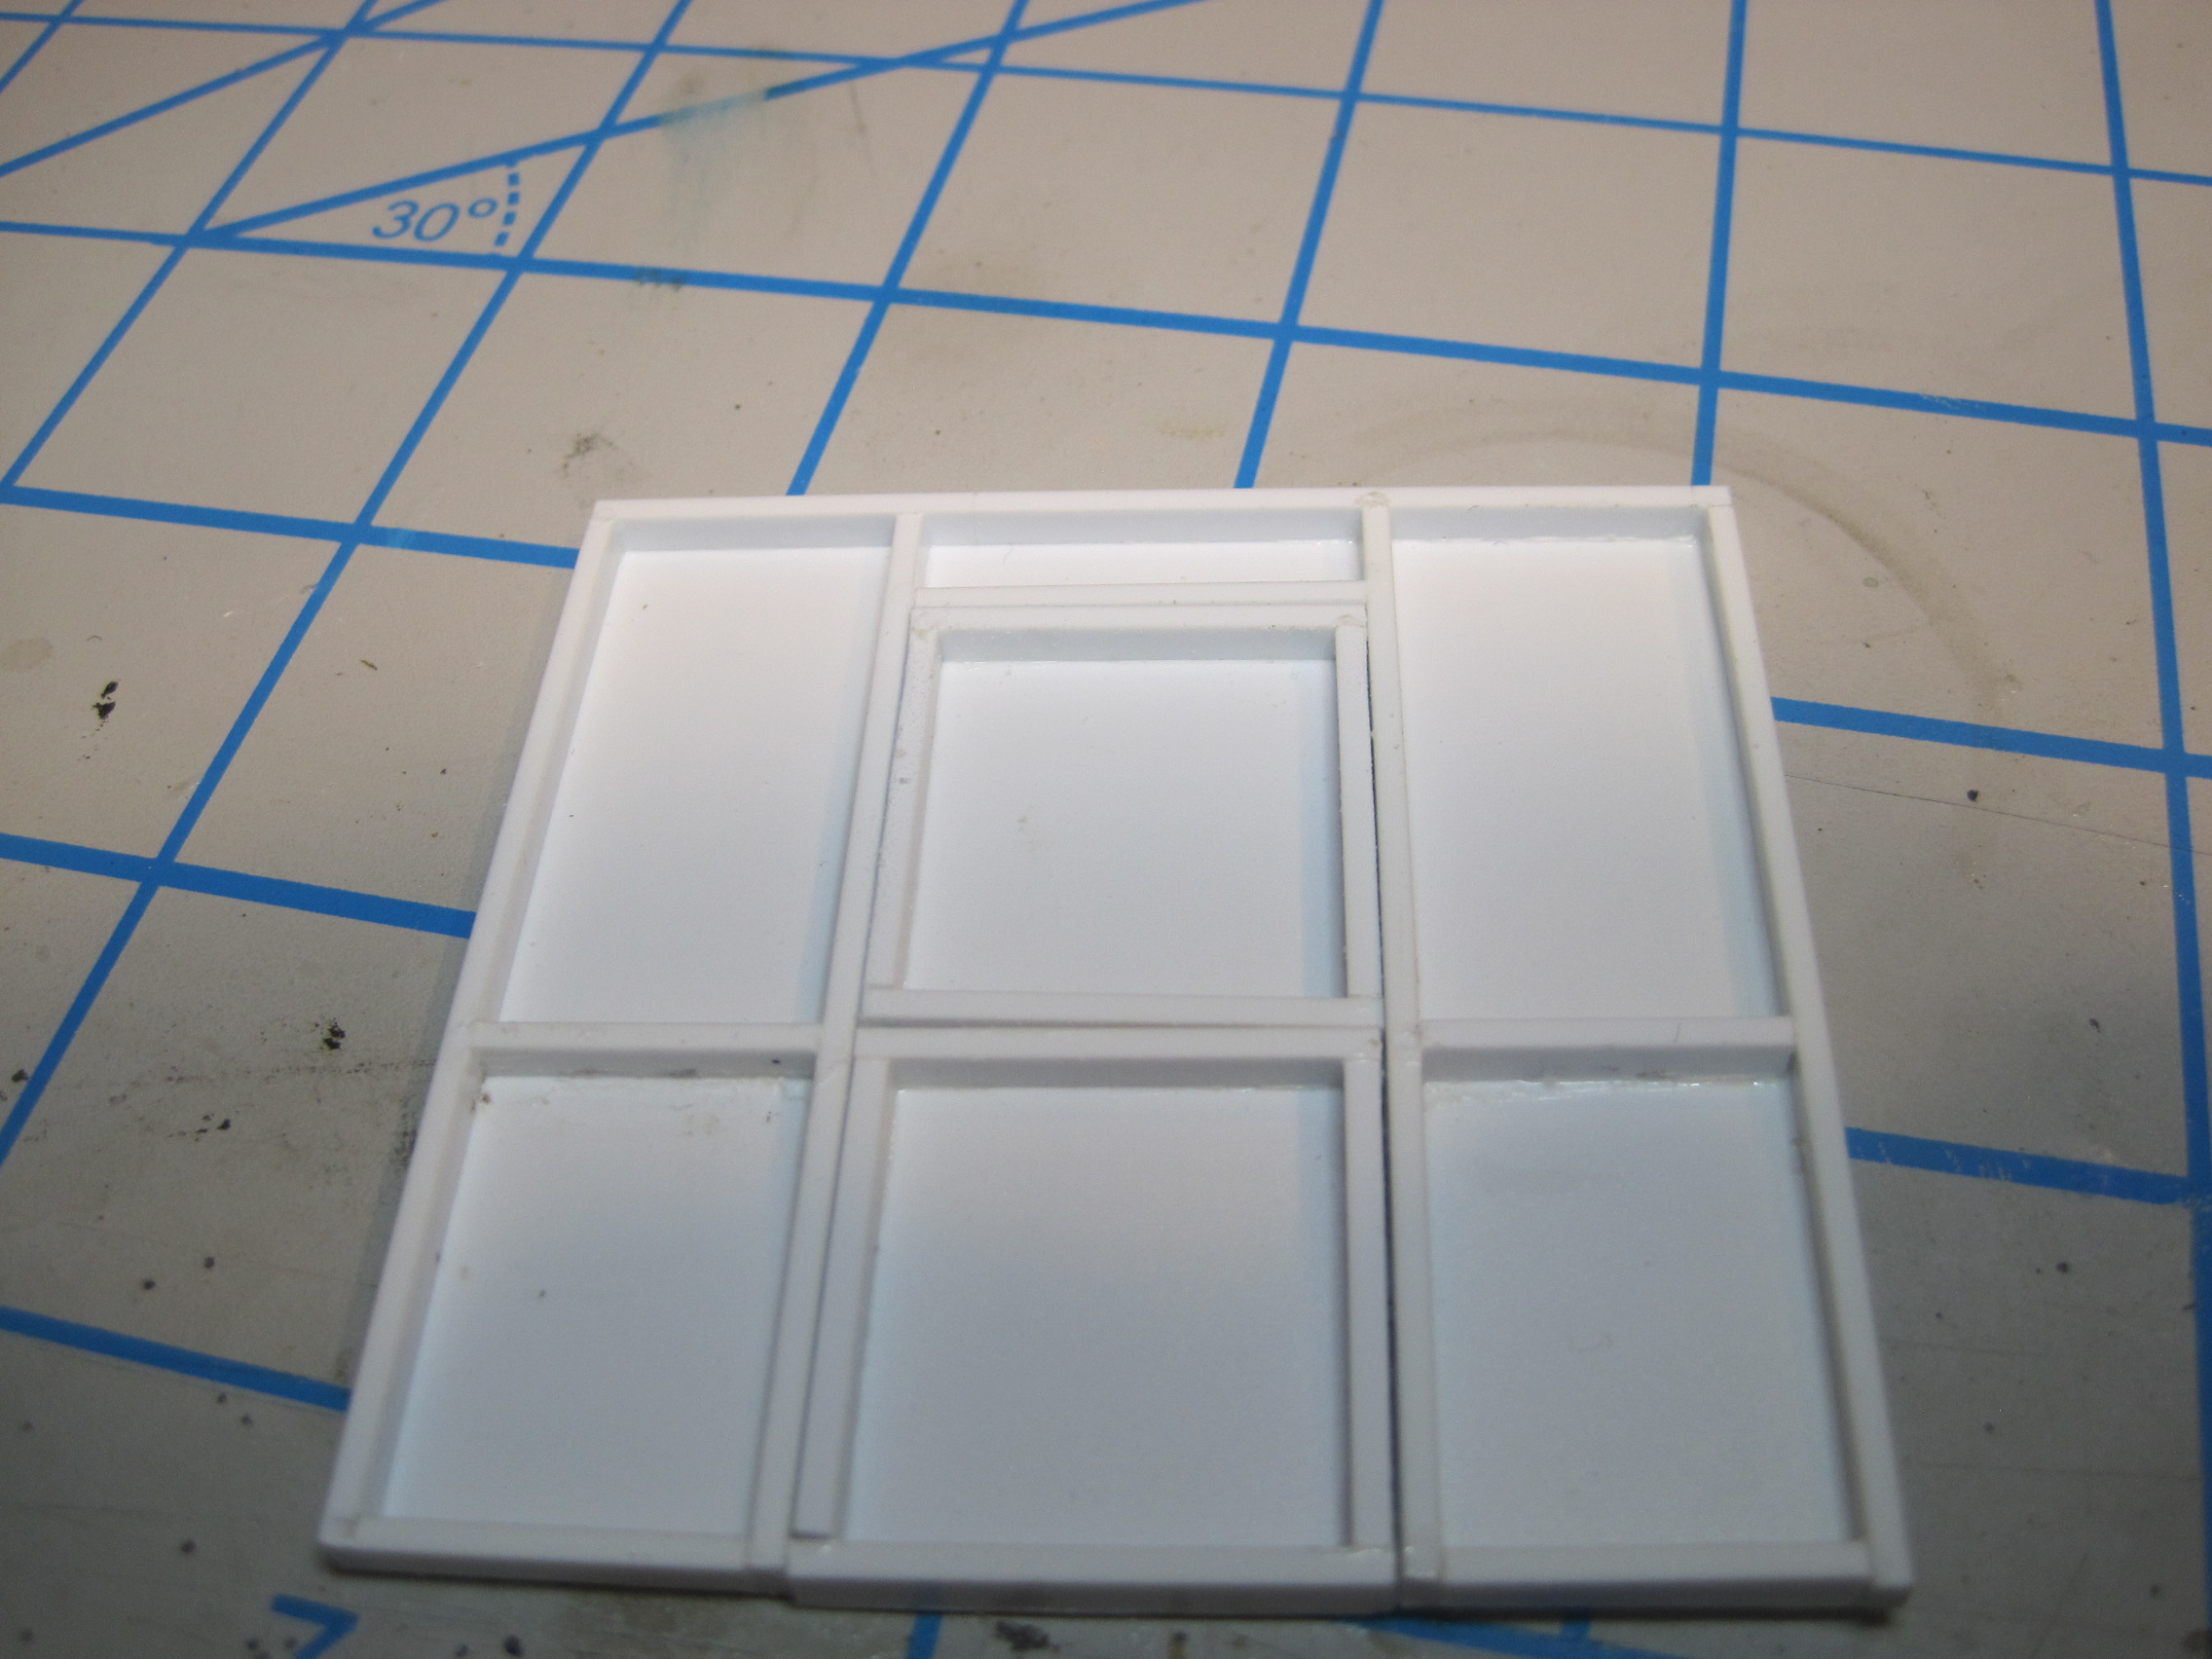
This is the EASY part. Next steps for this wall will be to build the hinges so the doors will open, and the latches (inside and out) so that they can be secured. Glad I have the example of the FIRST truck I did so all I have to do is copy what I did before and not have to design it all over again!
4 Likes
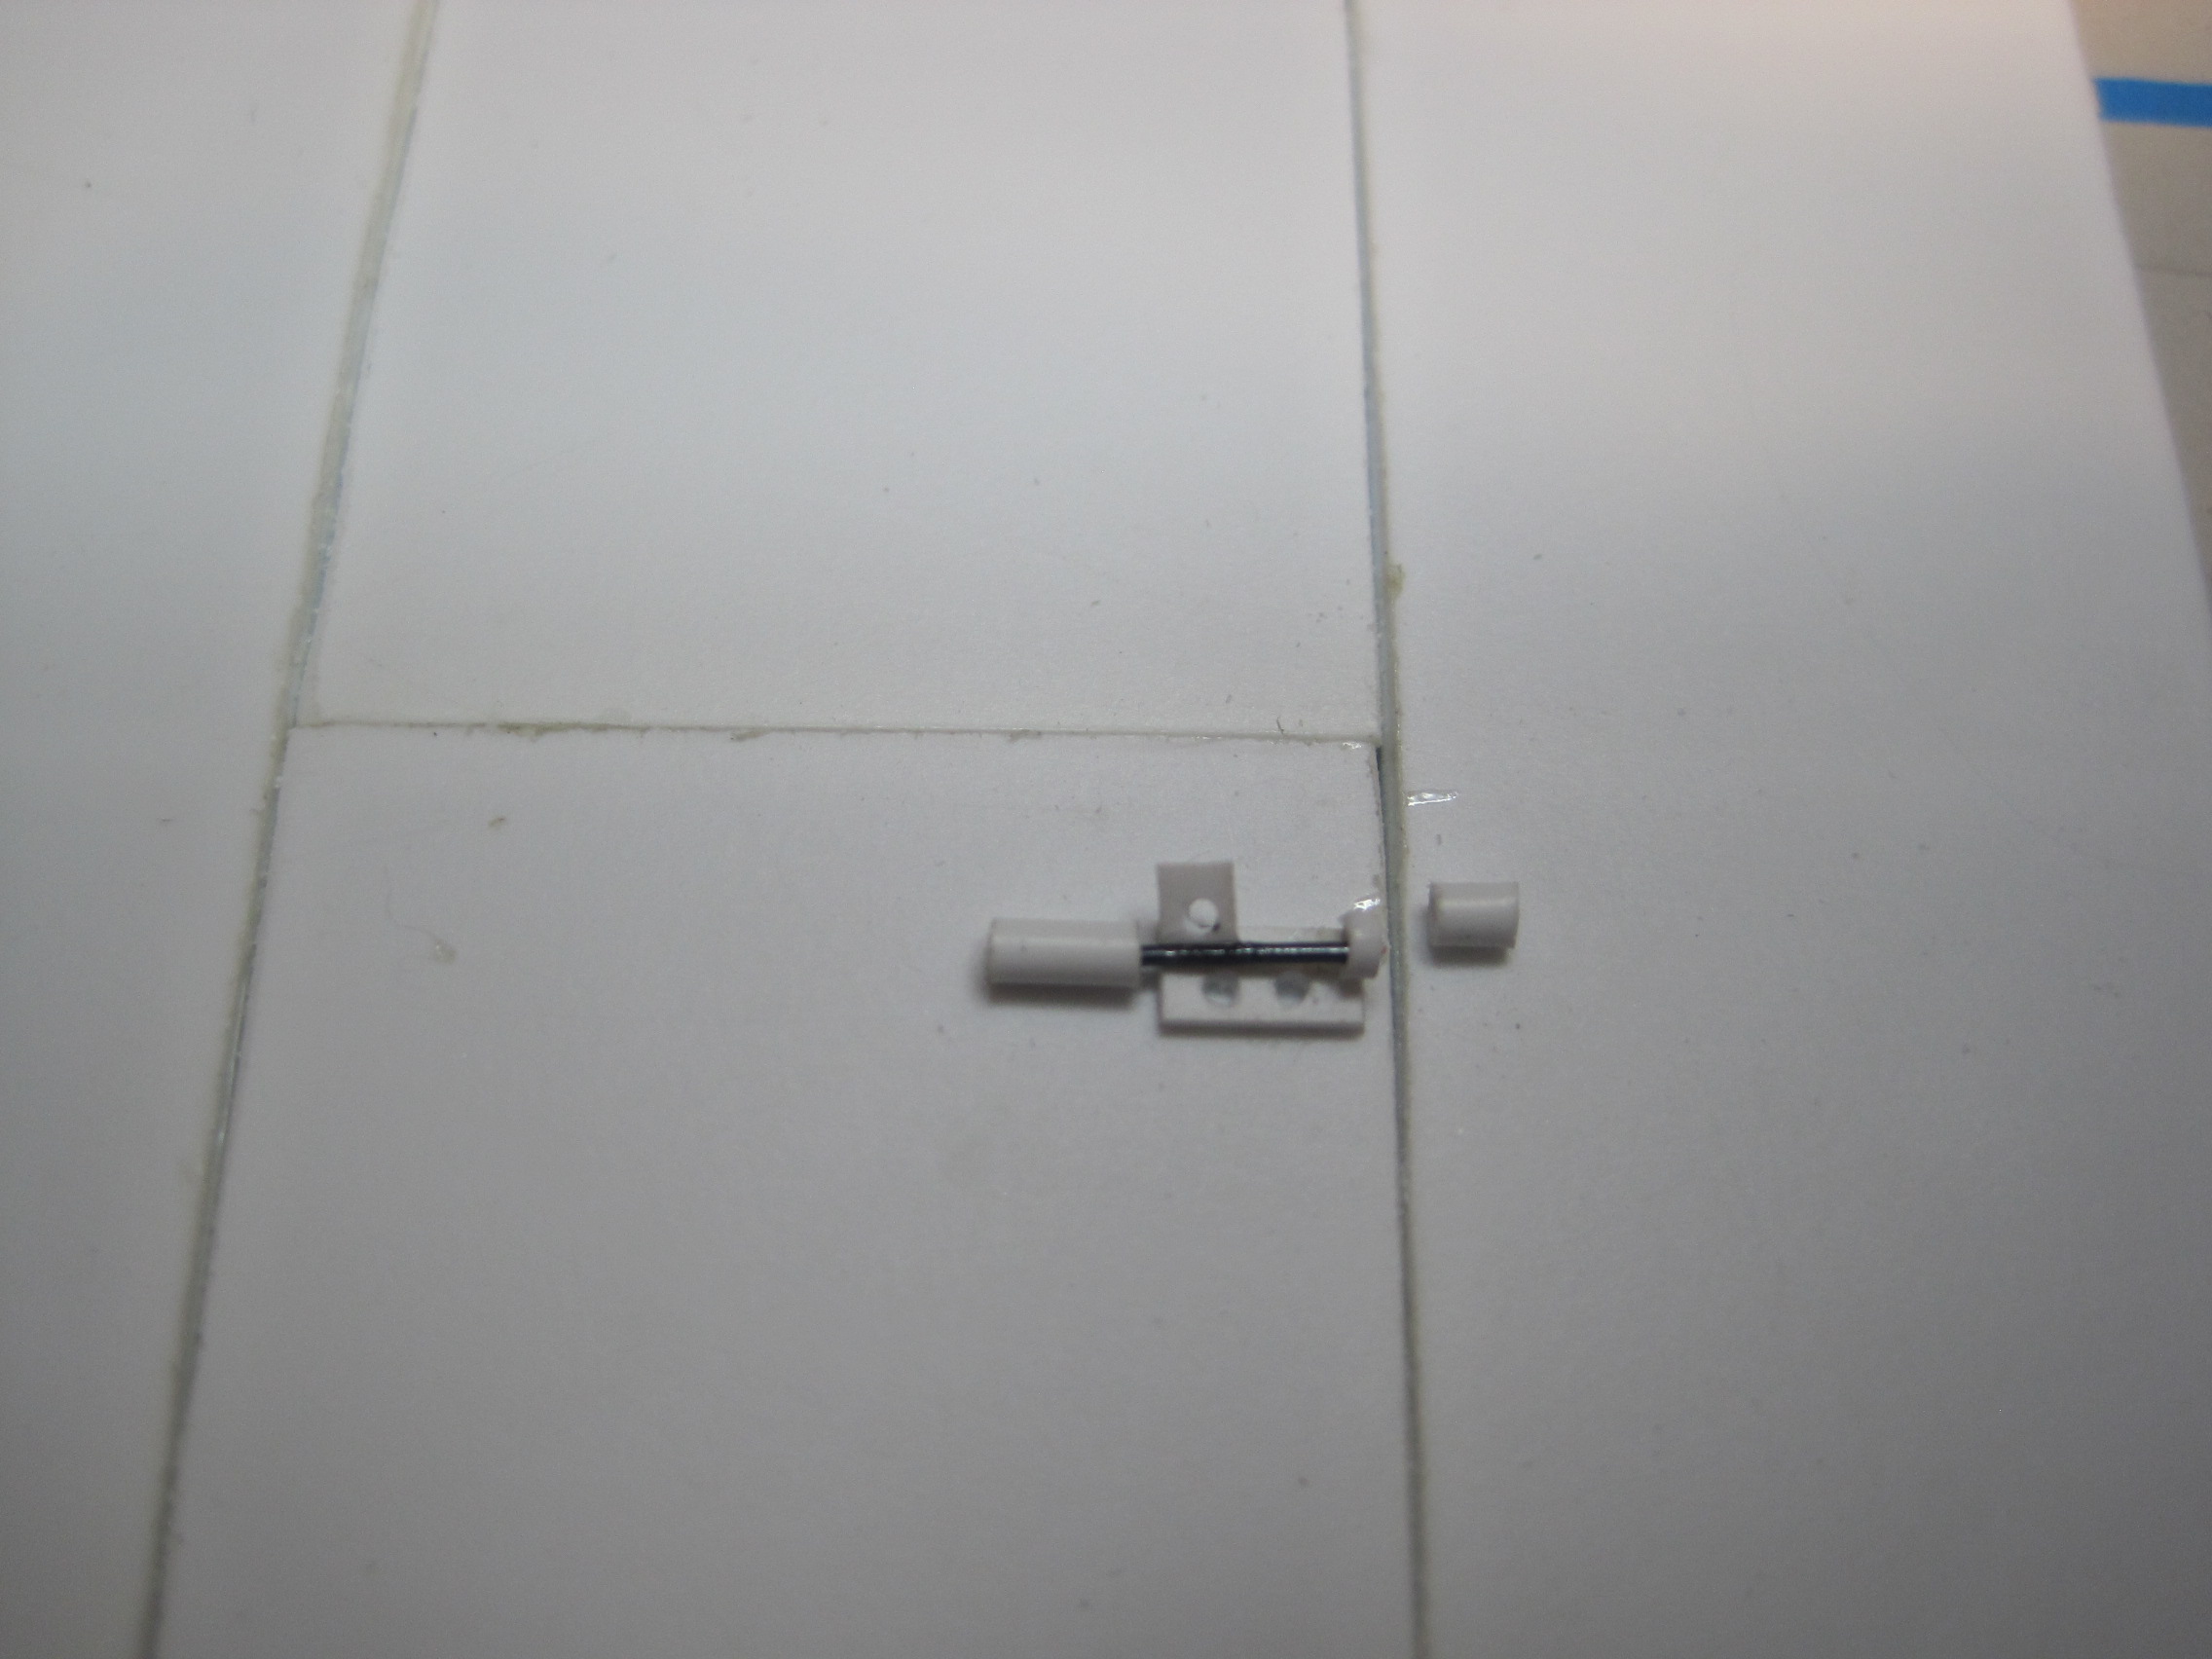
Next step is to make the hinges for the doors, the external latch, and the two internal latches.
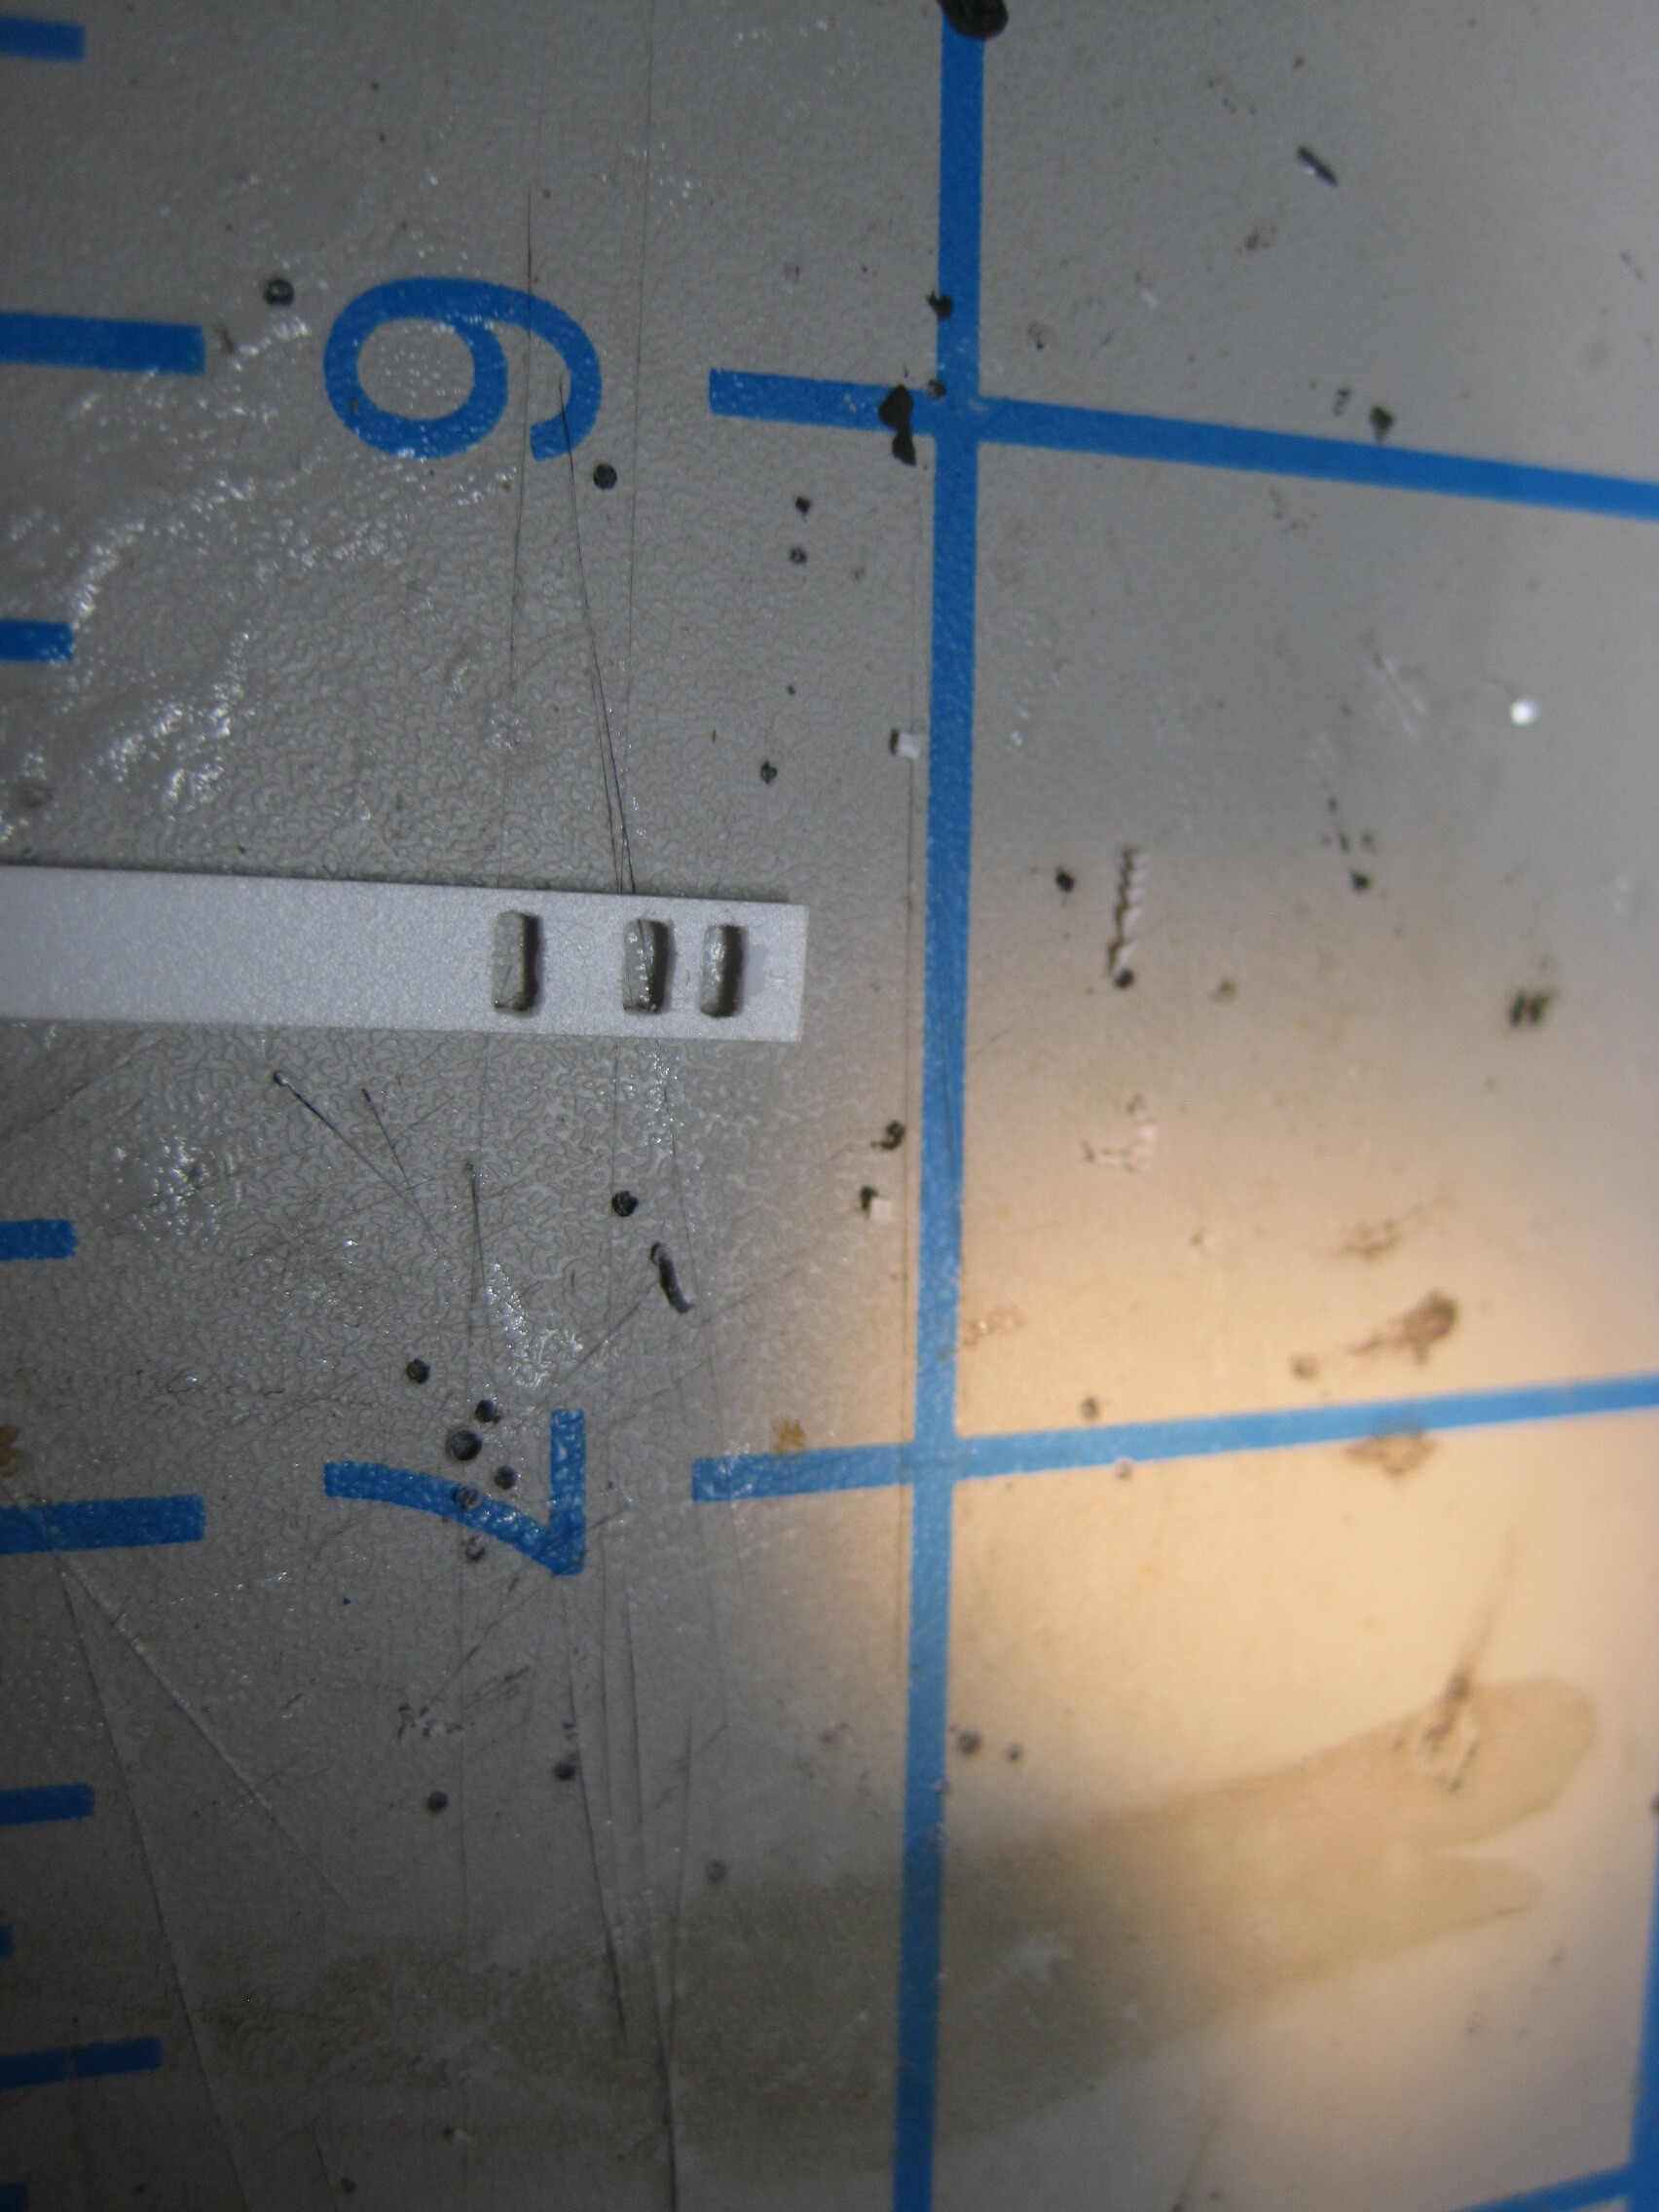
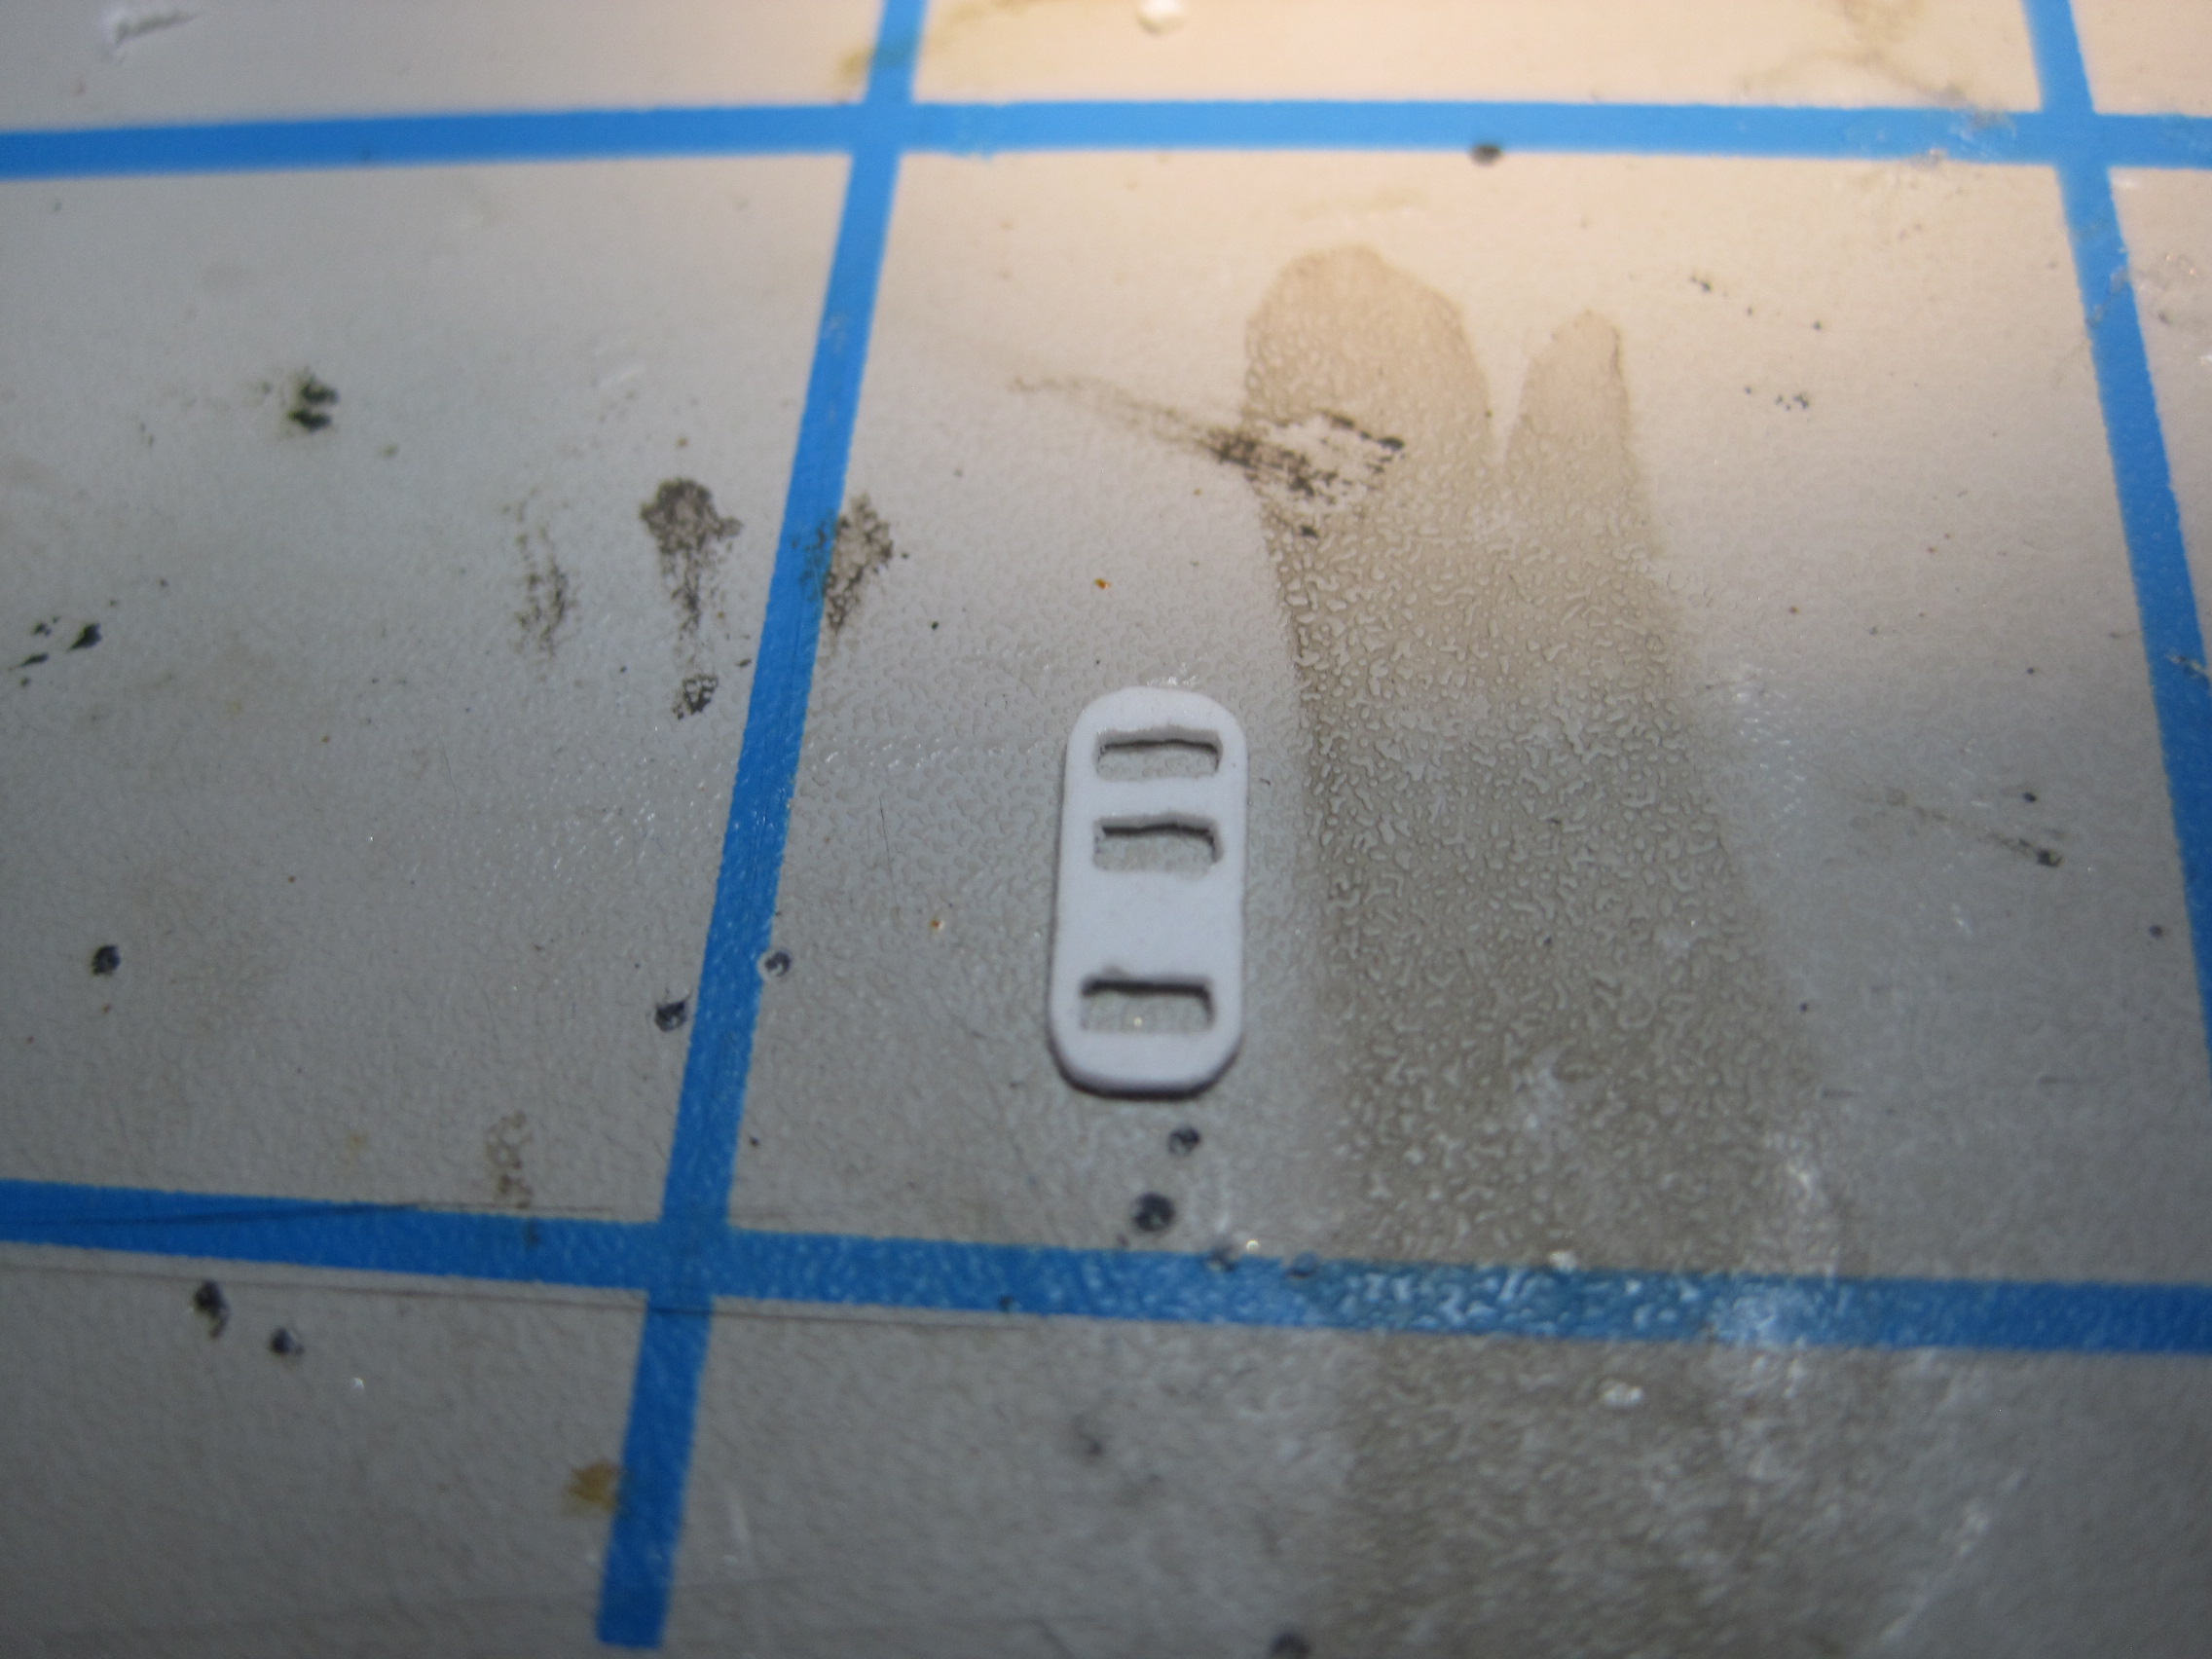
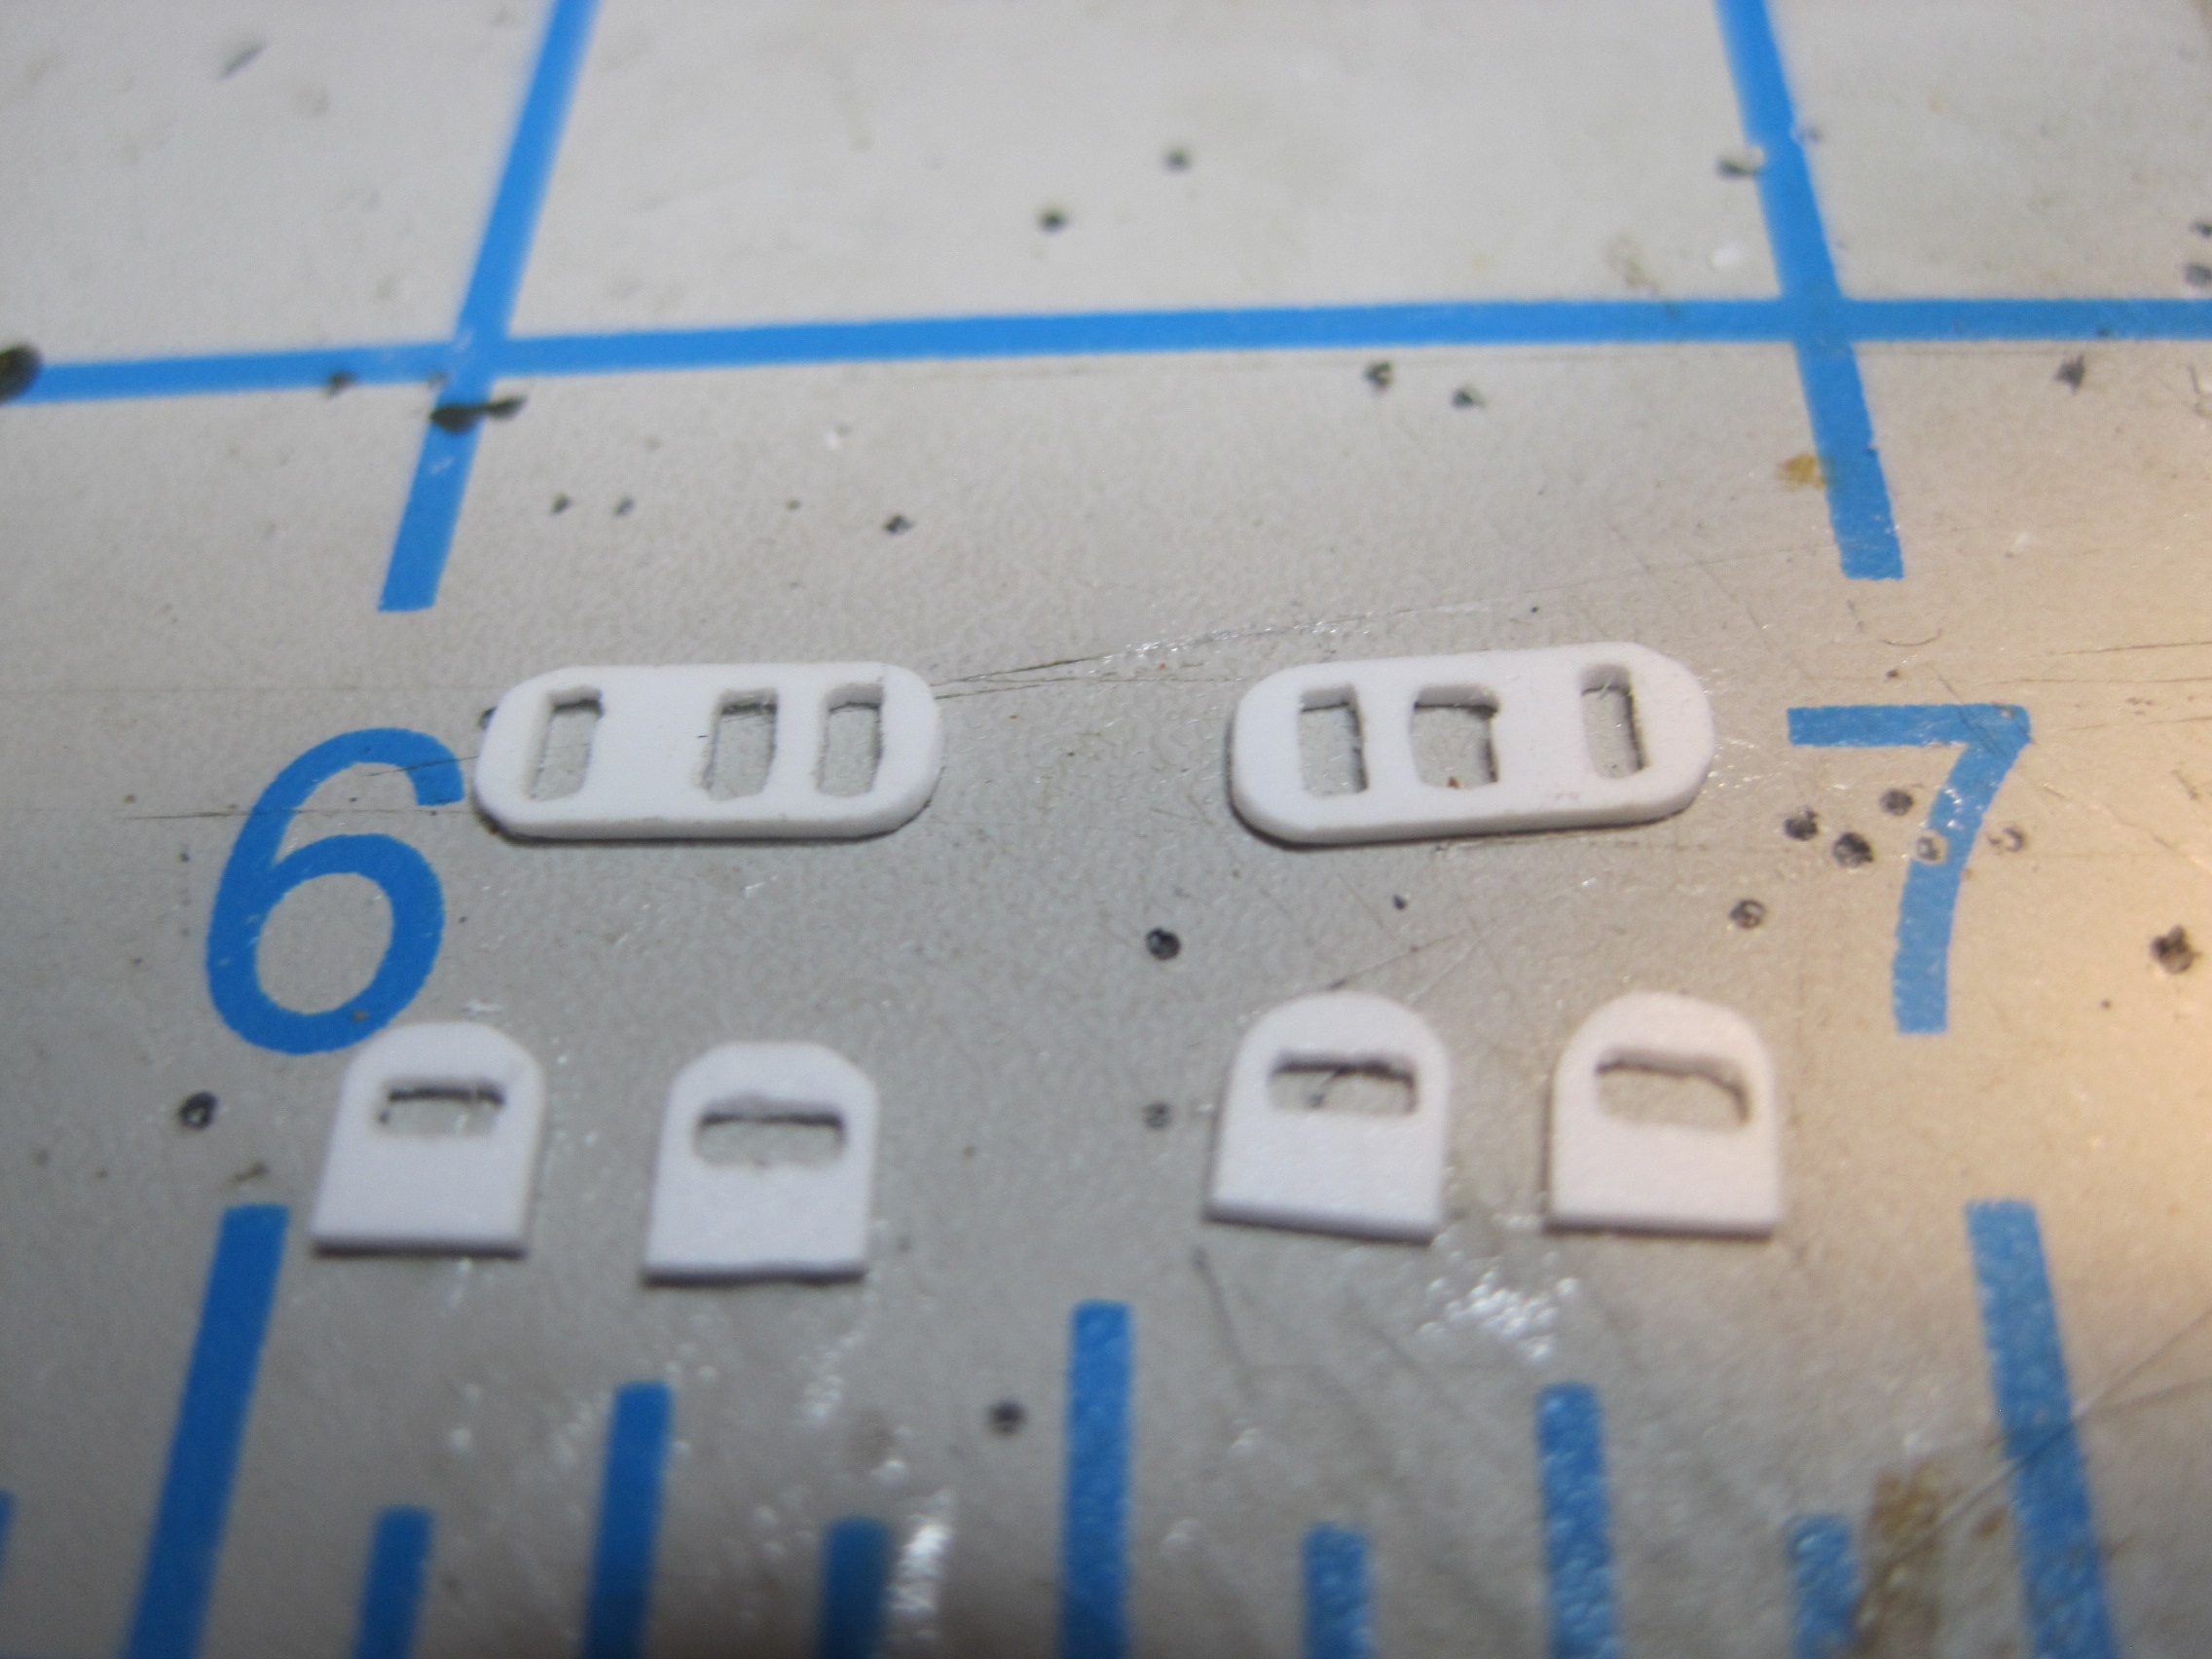
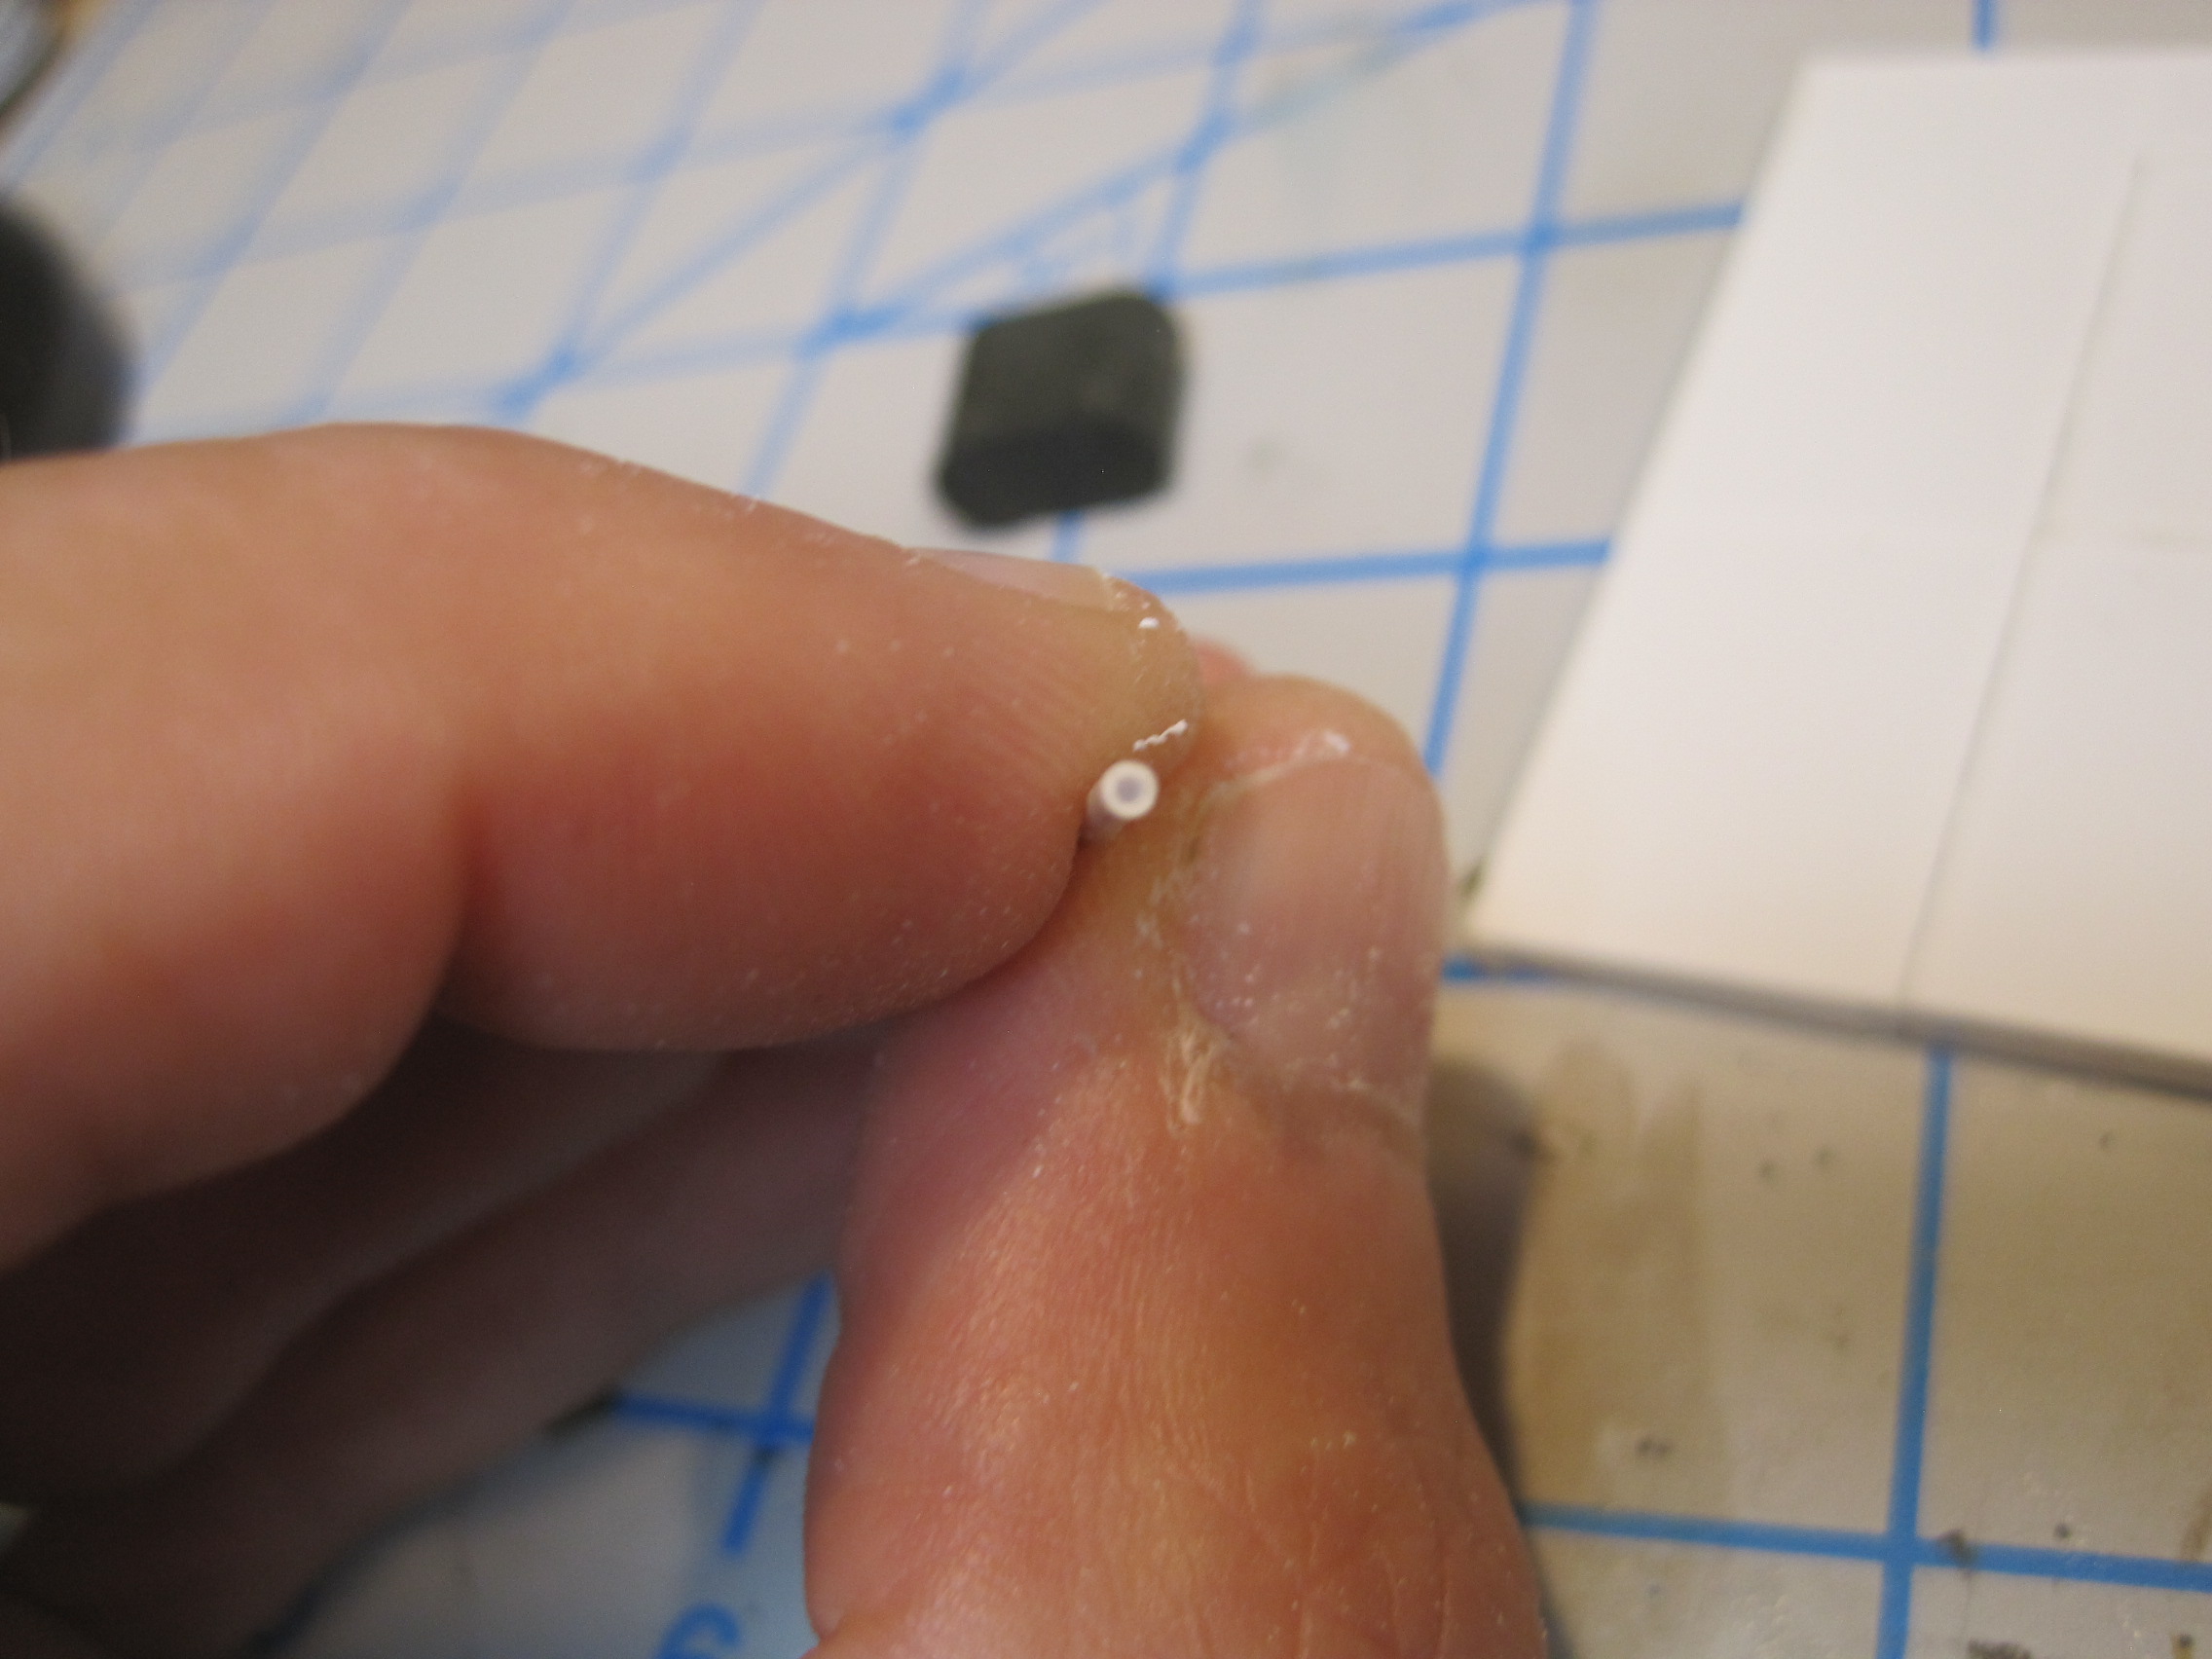
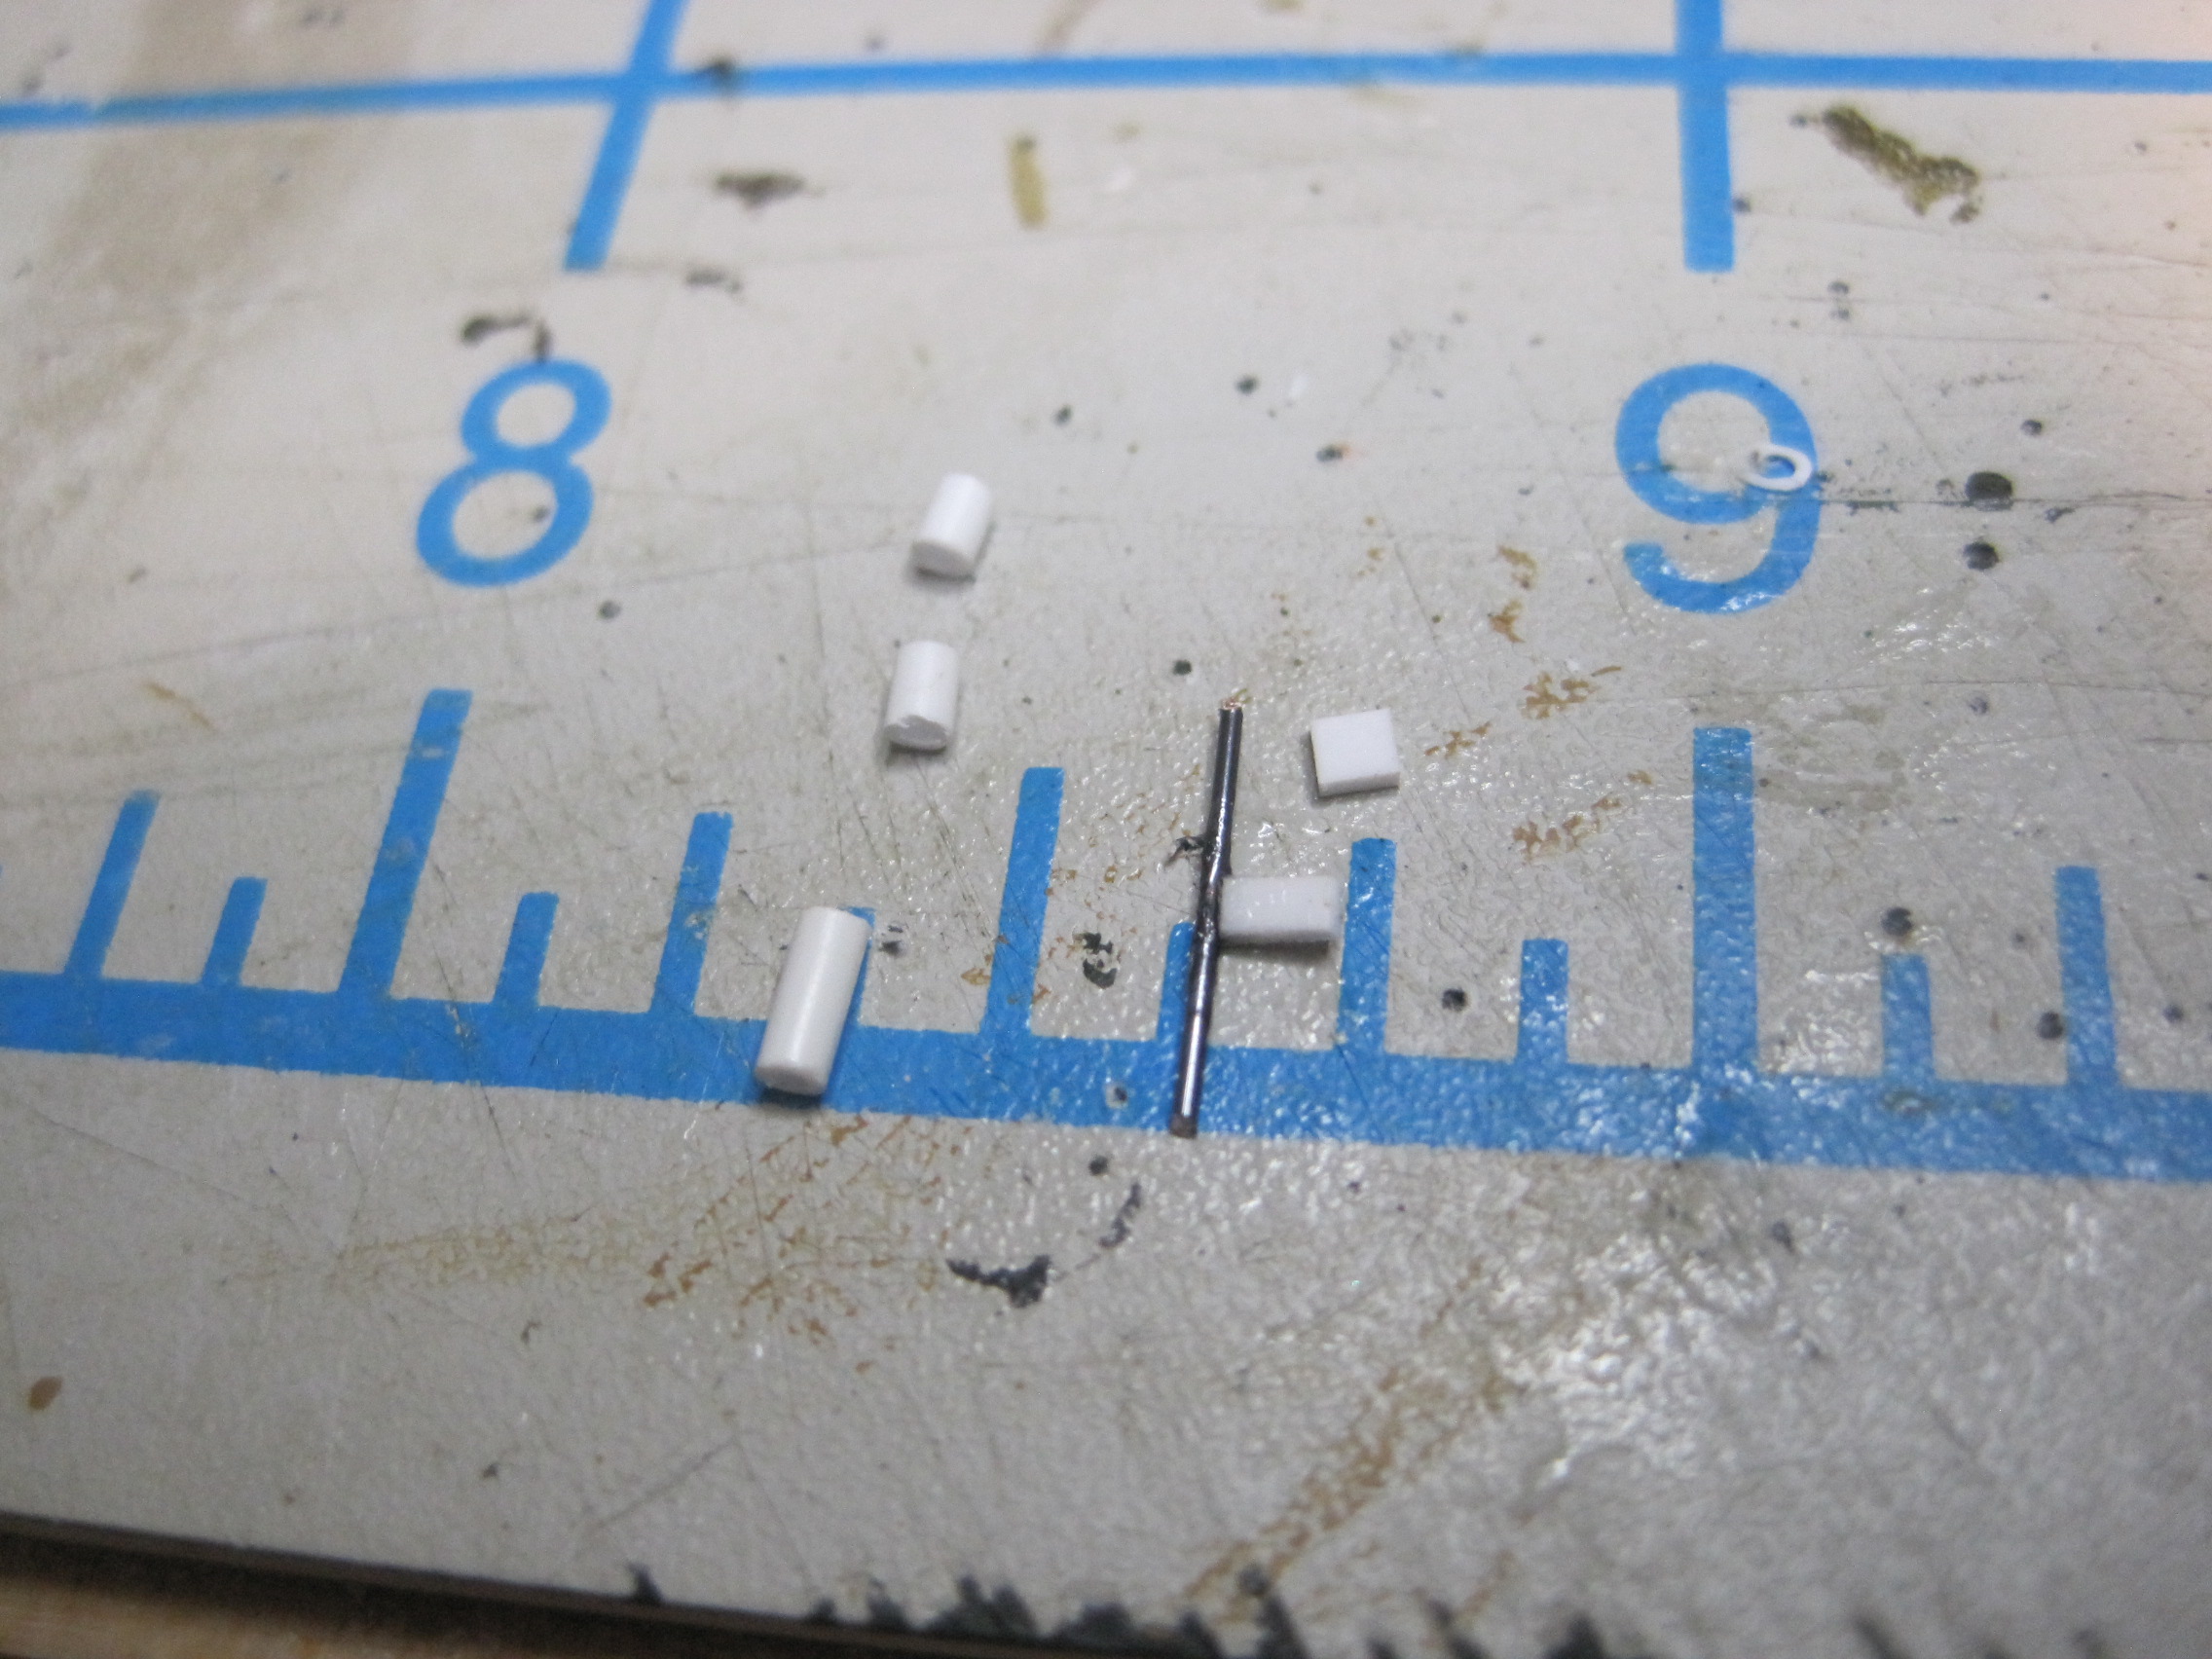
The hinges are made by drilling out a 0.020" hole in the center of a 0.050" styrene rod. Each door will have two 2 piece hinges so that’s eight sections, cut to about 1.5mm in length and then glued to a small section of flat strip.
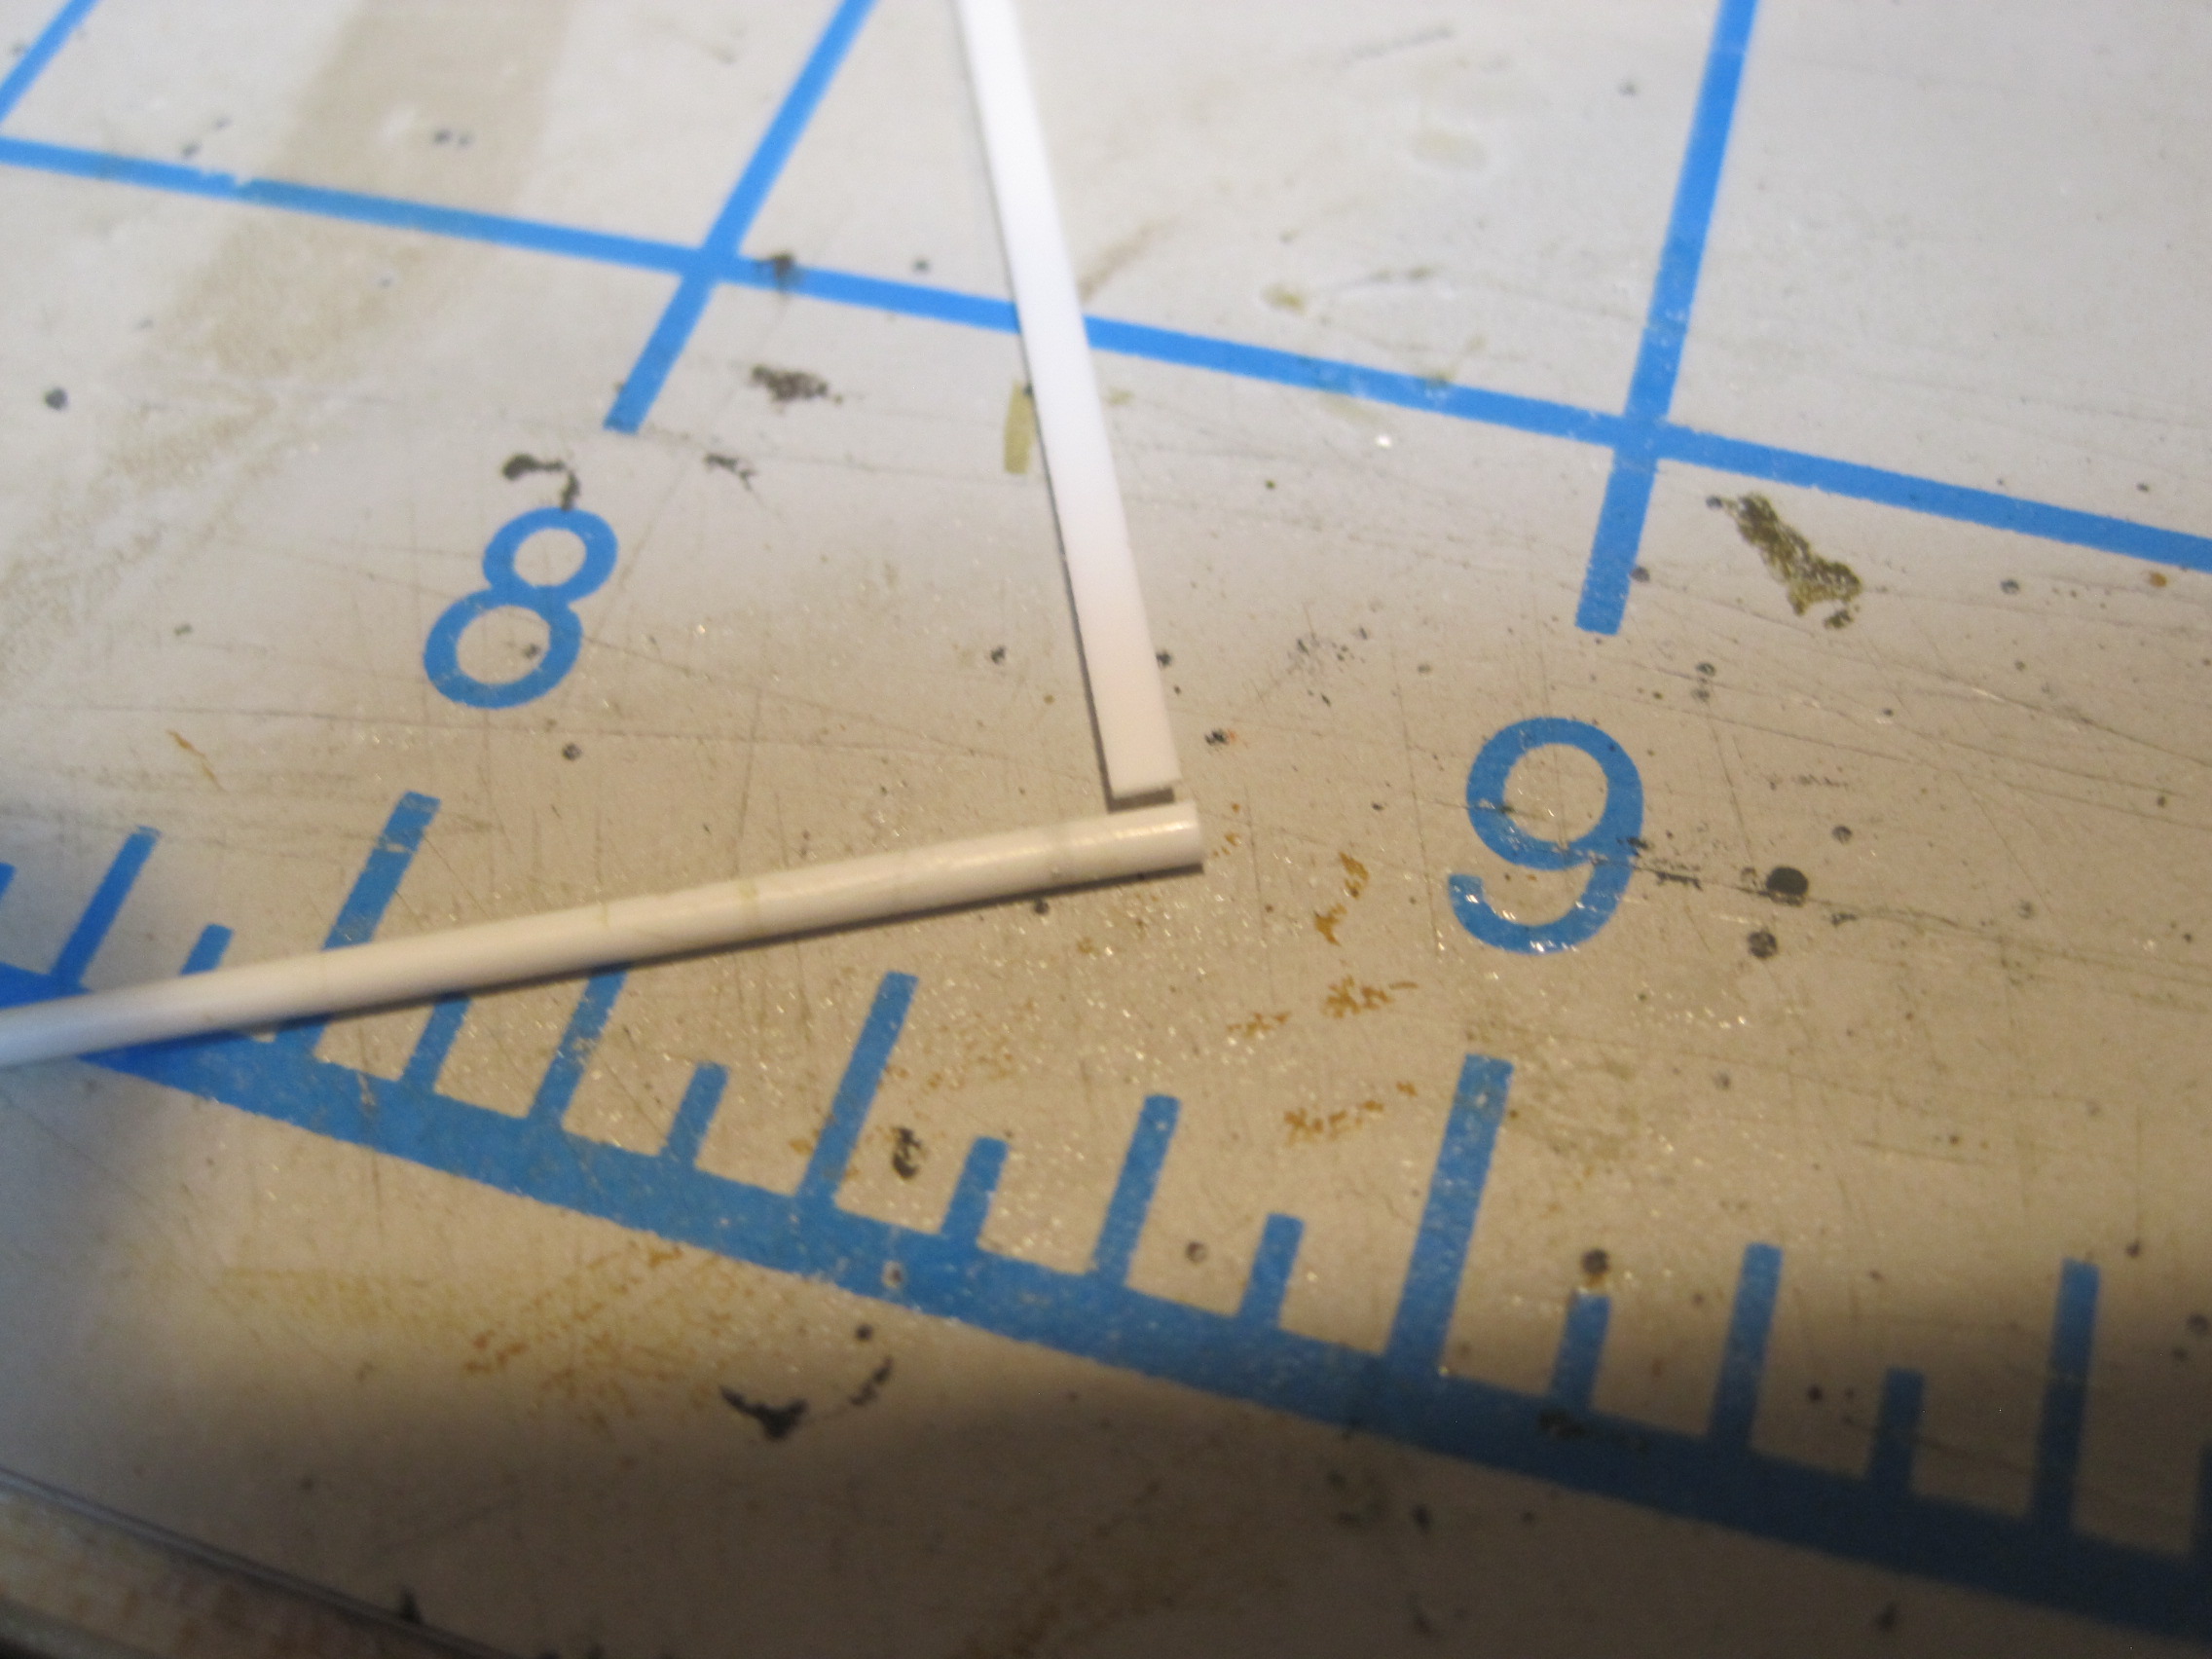

Next is the external latch. The small square with the single hole is super glued to a short section of wire. And the same 0.050" drilled out rod is cut in three sections. The small strip with the two holes will actually be mounted with the thin edge glued to the door. It’s just shown this way for clarity and I wasn’t ready to glue it on until I cover the exterior of the wall with the simulated canvas.
The rod slips into the section glued to the wall and the hole in the tab piece lines up with the right hand hole in the bracket. On the real vehicle a pad lock would then be inserted to secure the shelter.
If anybody knows where I can get a WORKING 1/35 scale padlock, let me know. Otherwise I’ll just leave this feature off. 
Then finally the inside latches. The TOP door has two latches, one on the top and one on the bottom. The lower one, when latched, makes the two separate pieces function as a single door, and if the TOP one is also secured, keeps the entire door closed. When both are in the “open” position, the top half of the door can operate independently from the bottom, very important if you’re INSIDE the shelter and the tailgate is closed, as that prevents the bottom door from opening.
The tab glued to the door frame keeps the bolt inserted into the tube on the door frame above the door so it remains latched, and then when you turn it, and lower it so it clears the top of the door, the longer tube on the bottom keeps the bolt from dropping any further.
And the process is repeated in reverse on the bottom. These are pretty much the same kind of latches you’d find on a real dutch door.


6 Likes
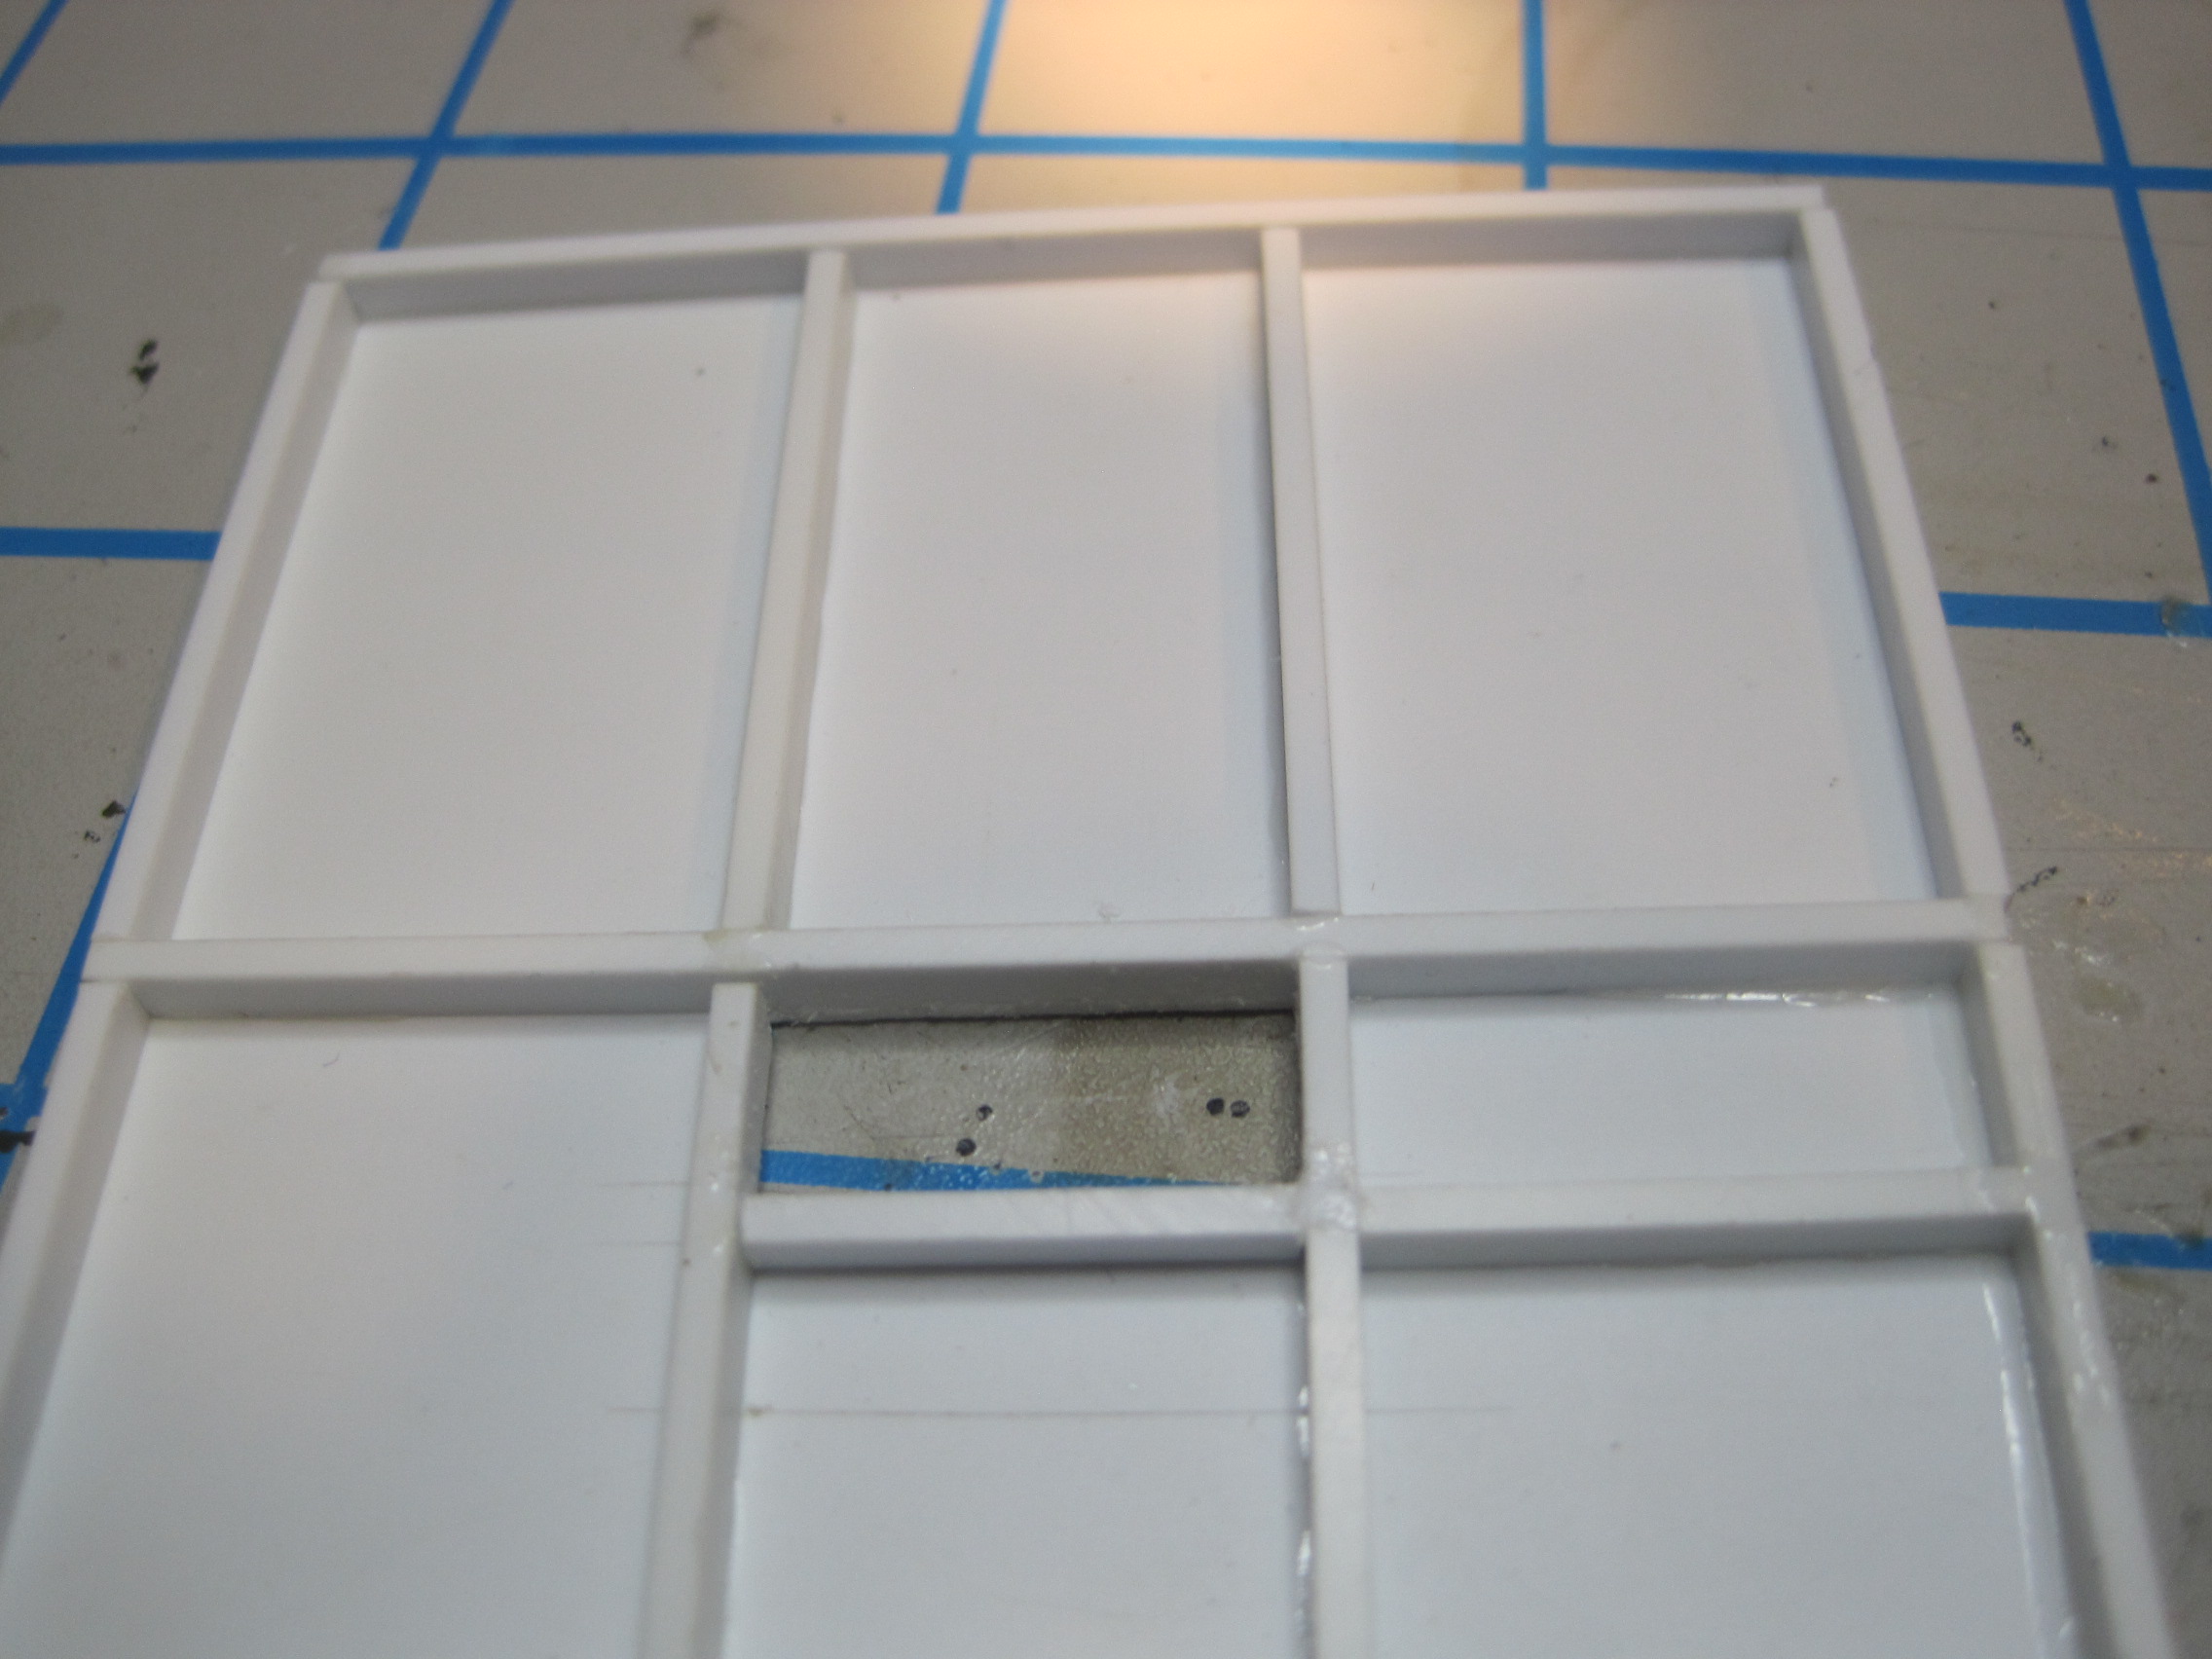
Next is the front wall. This will have an opening that allows communication between the shelter and the cab. First step is to cut out the opening.
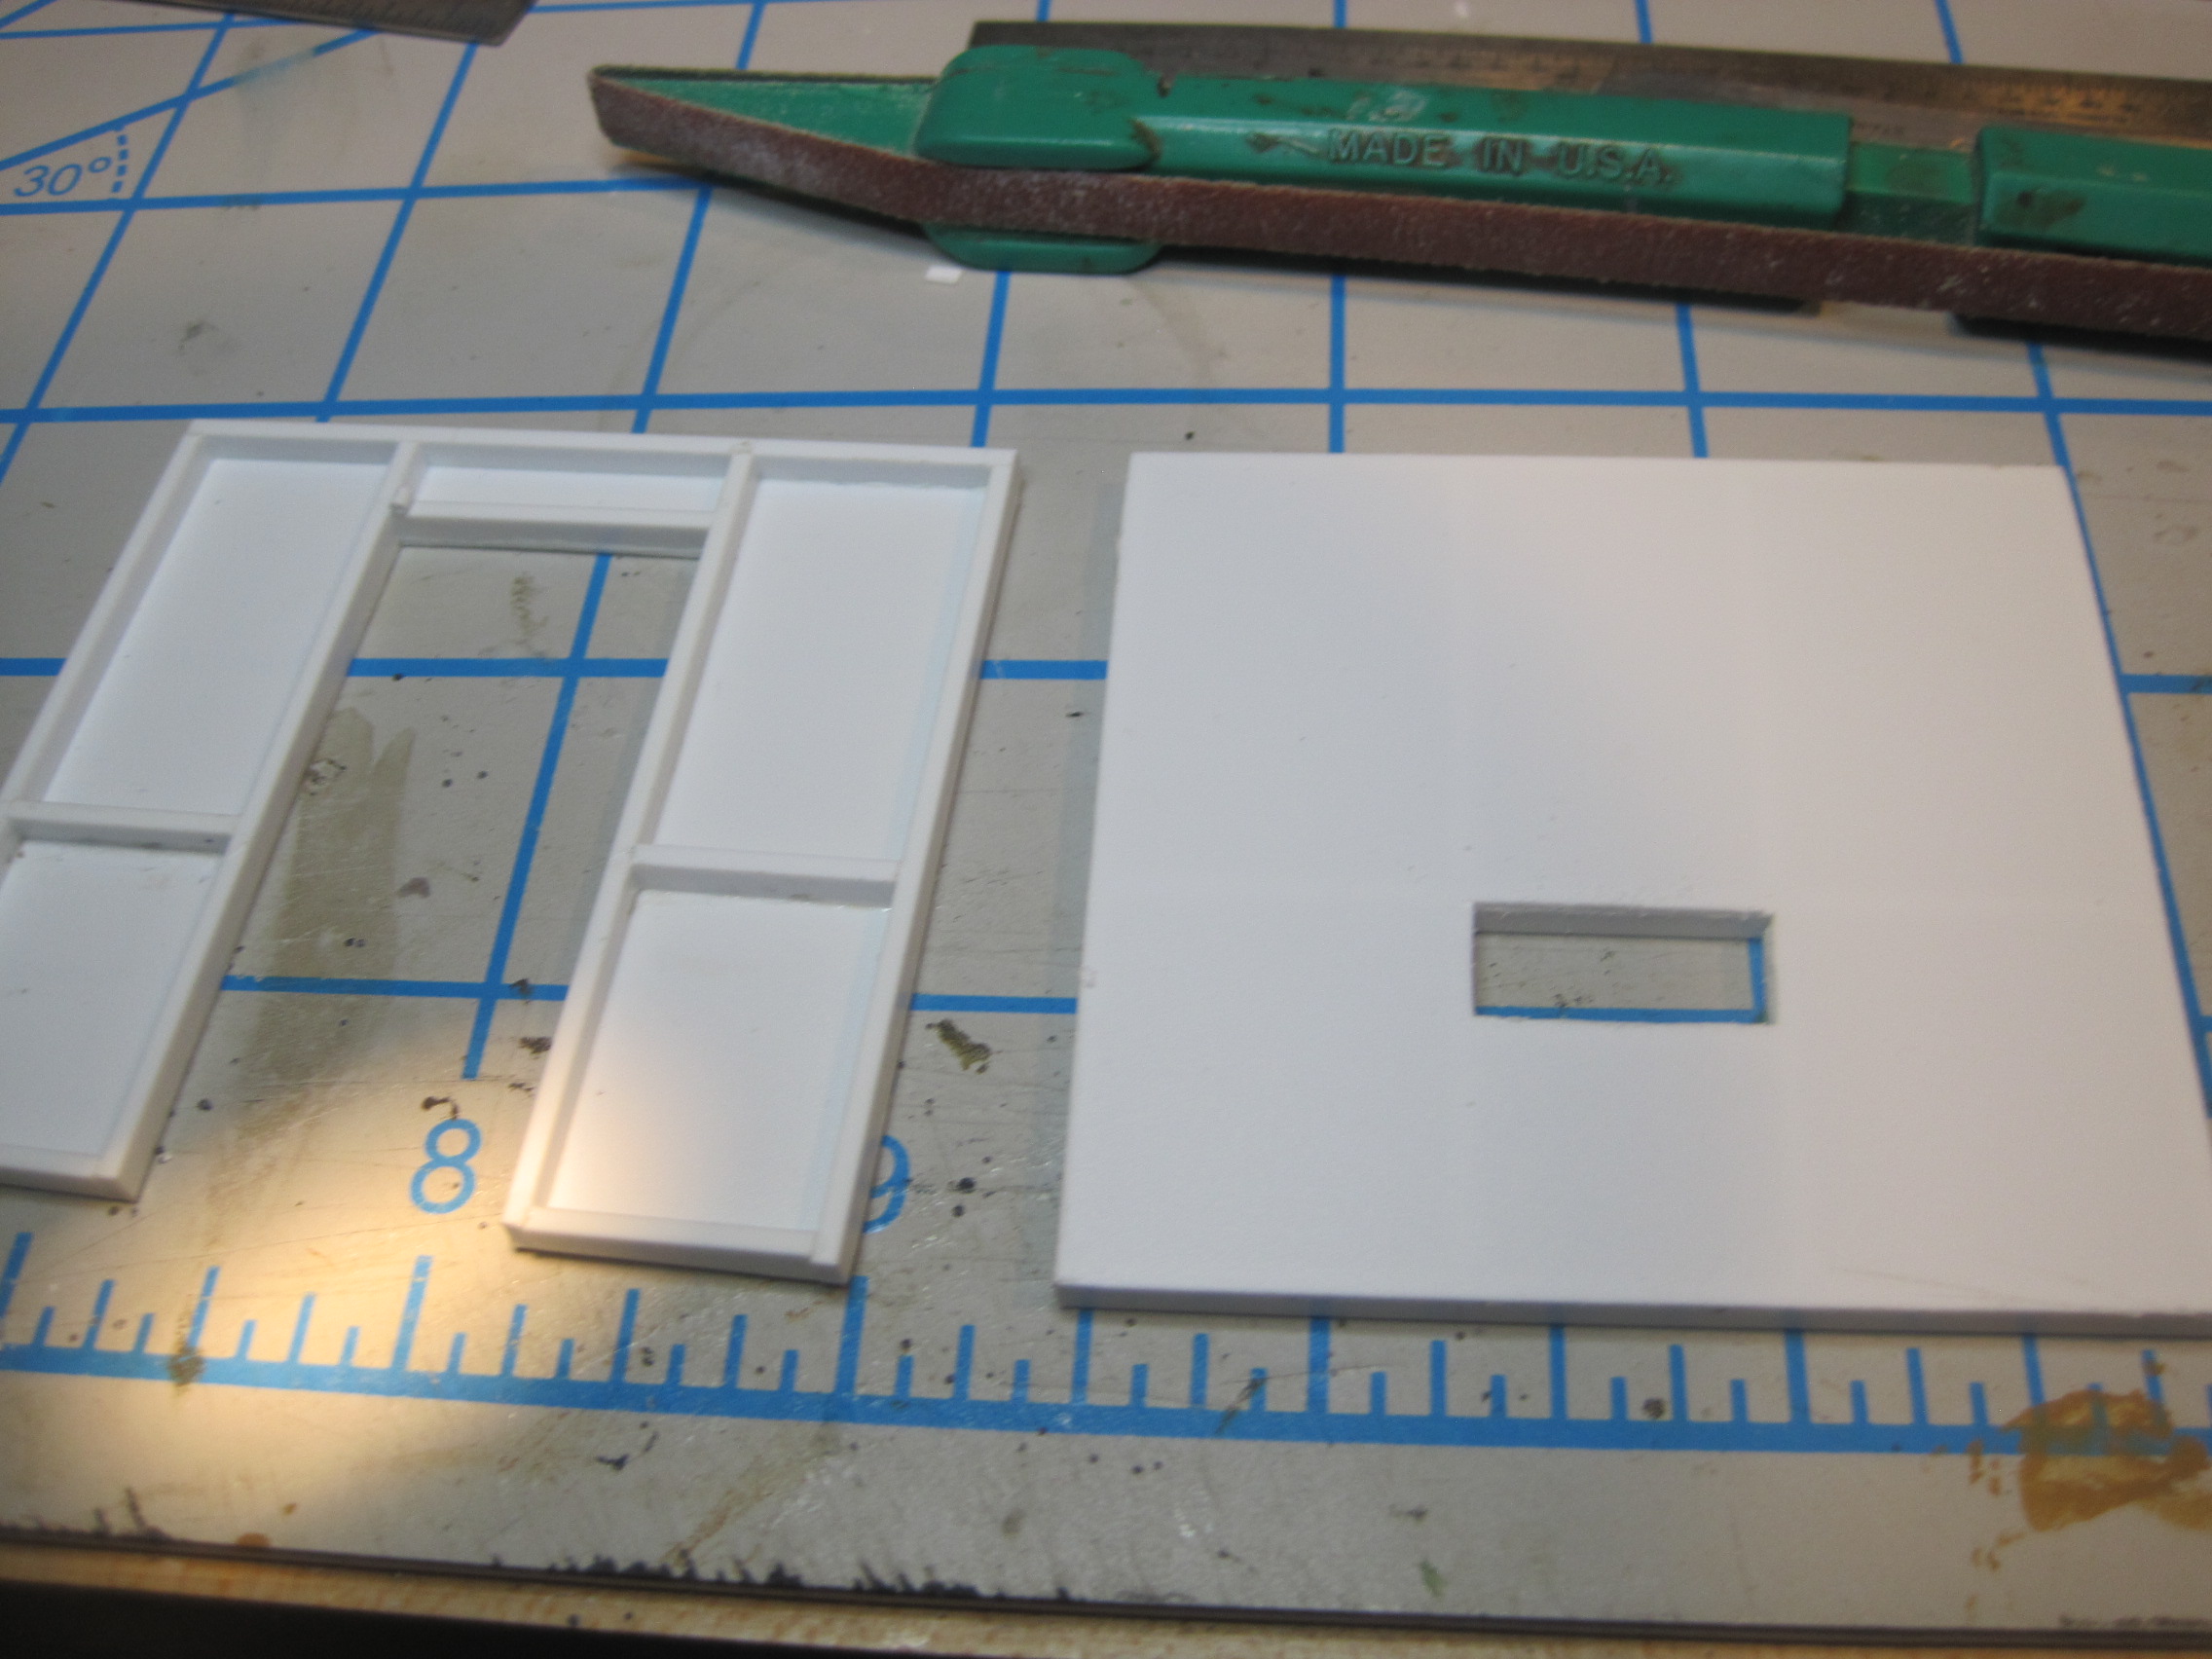
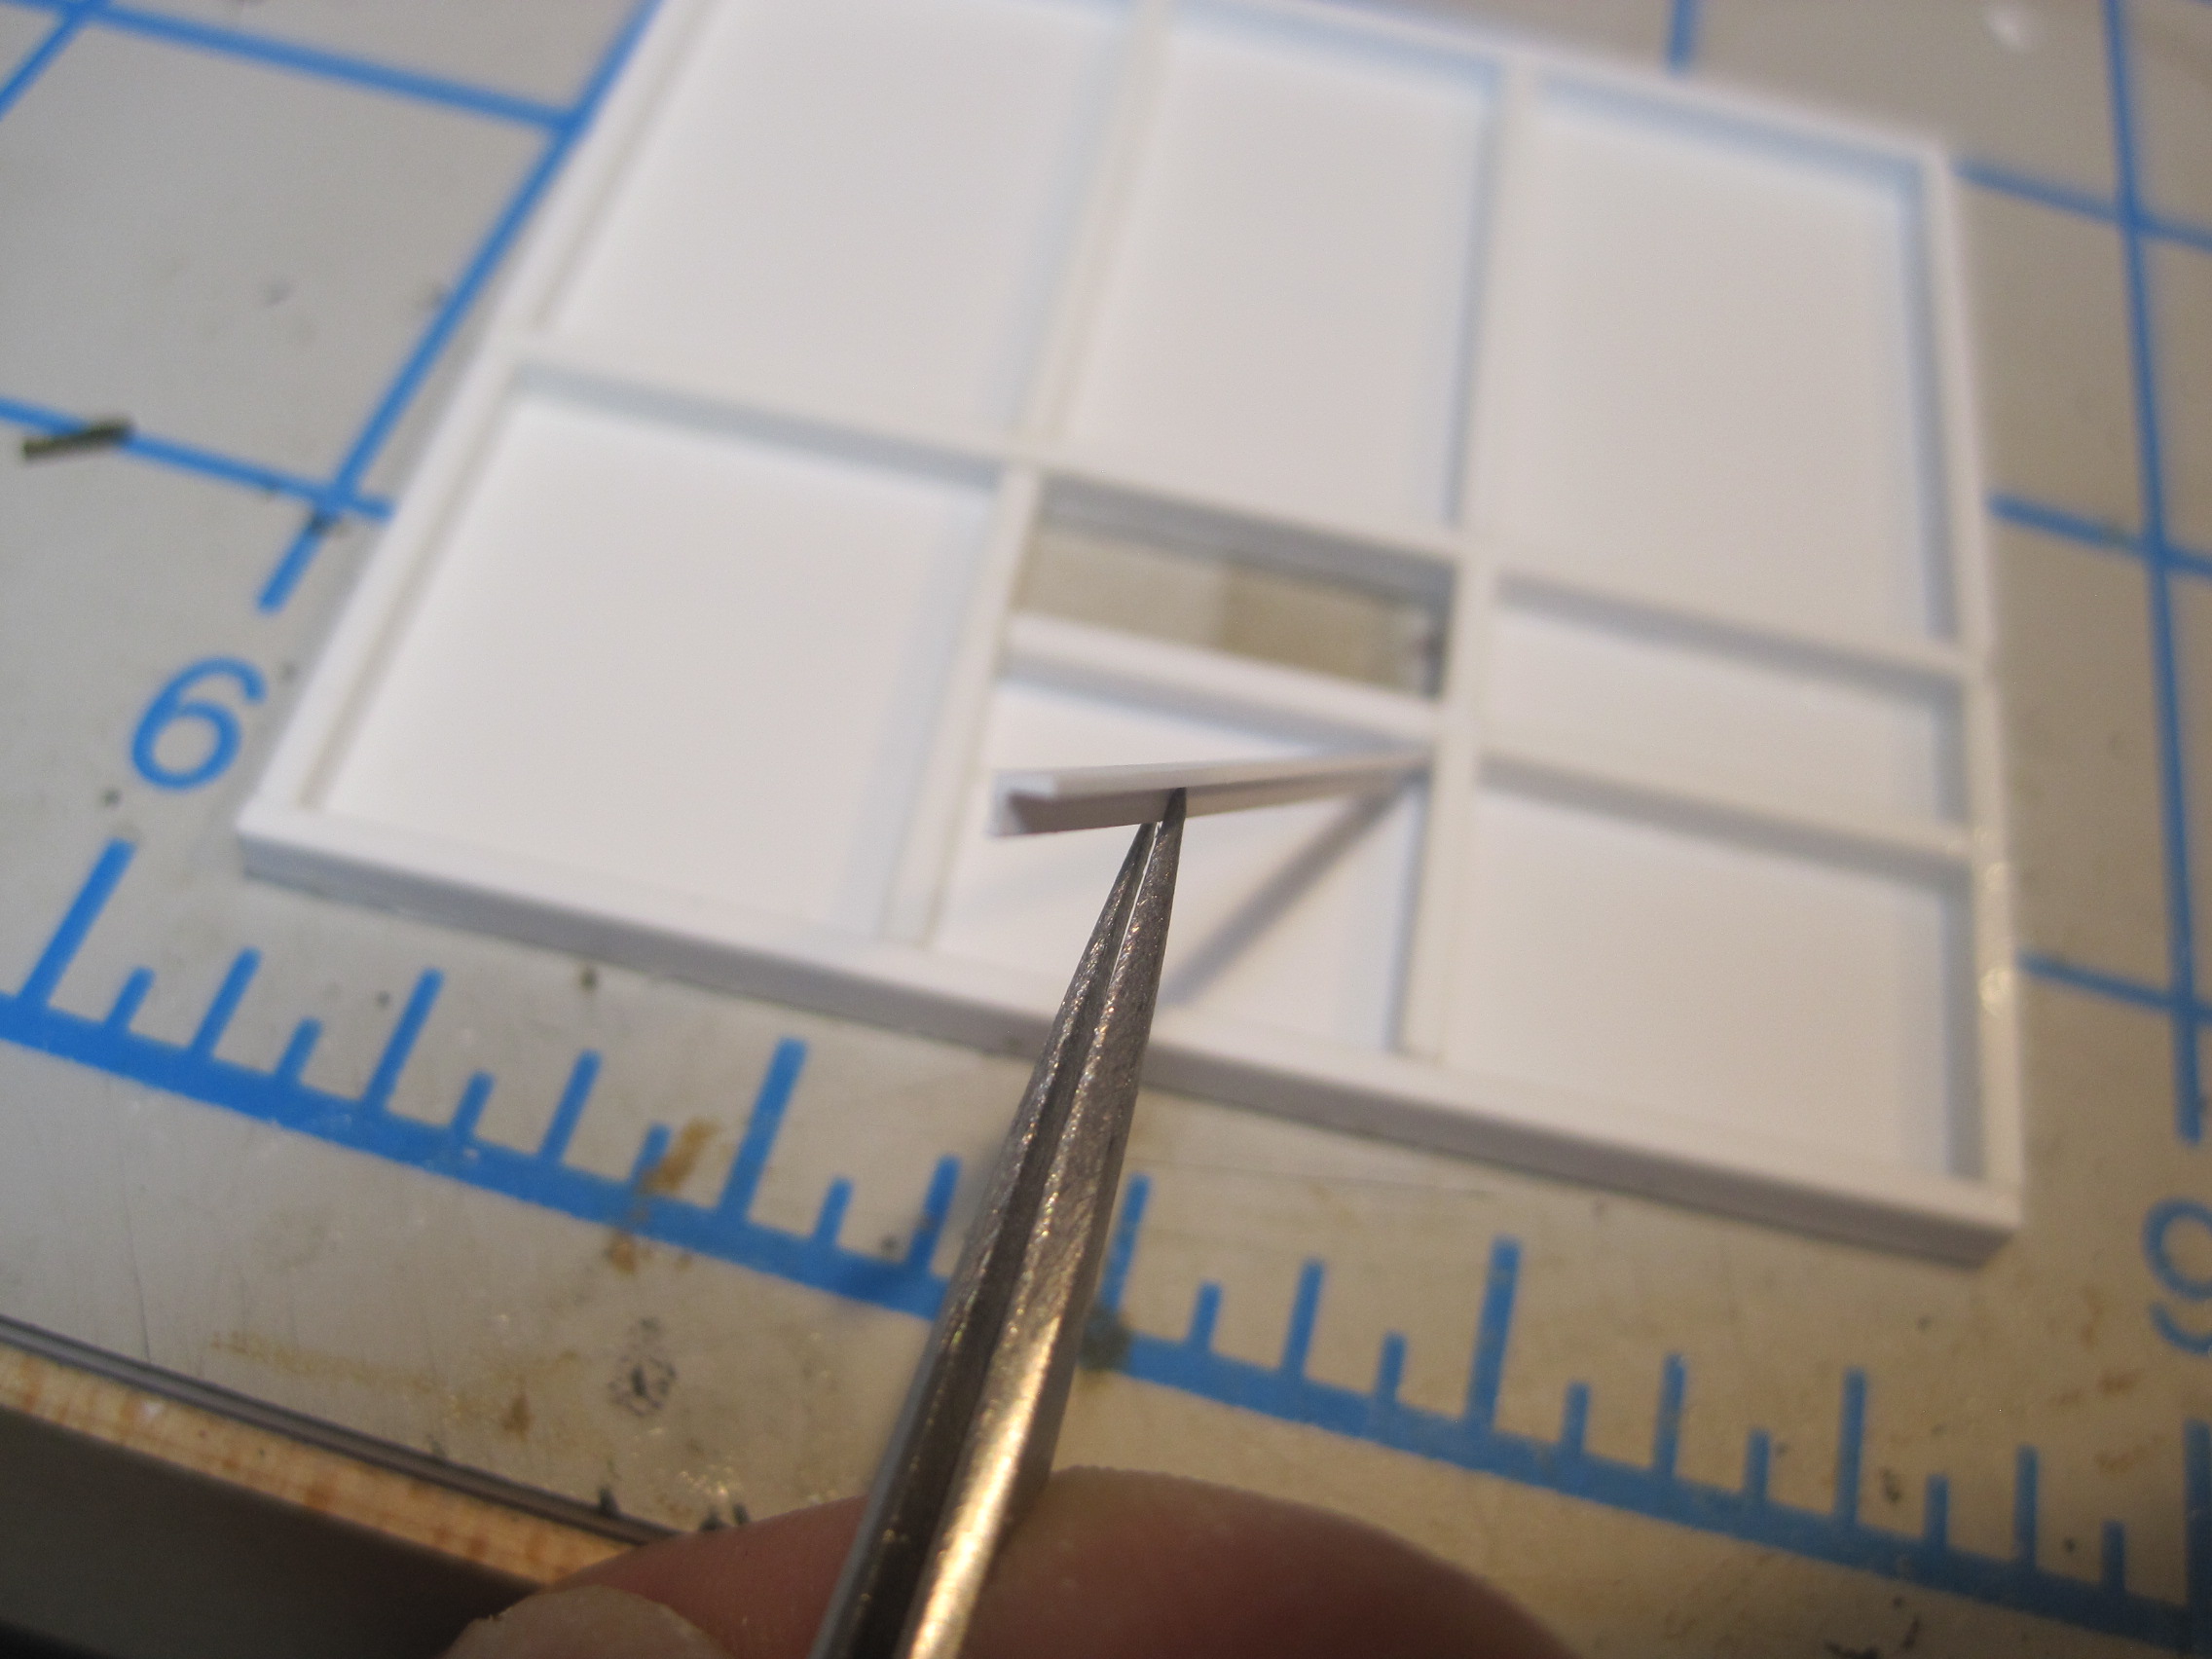
Next goes the framing with one extra stud to support the sliding window track:
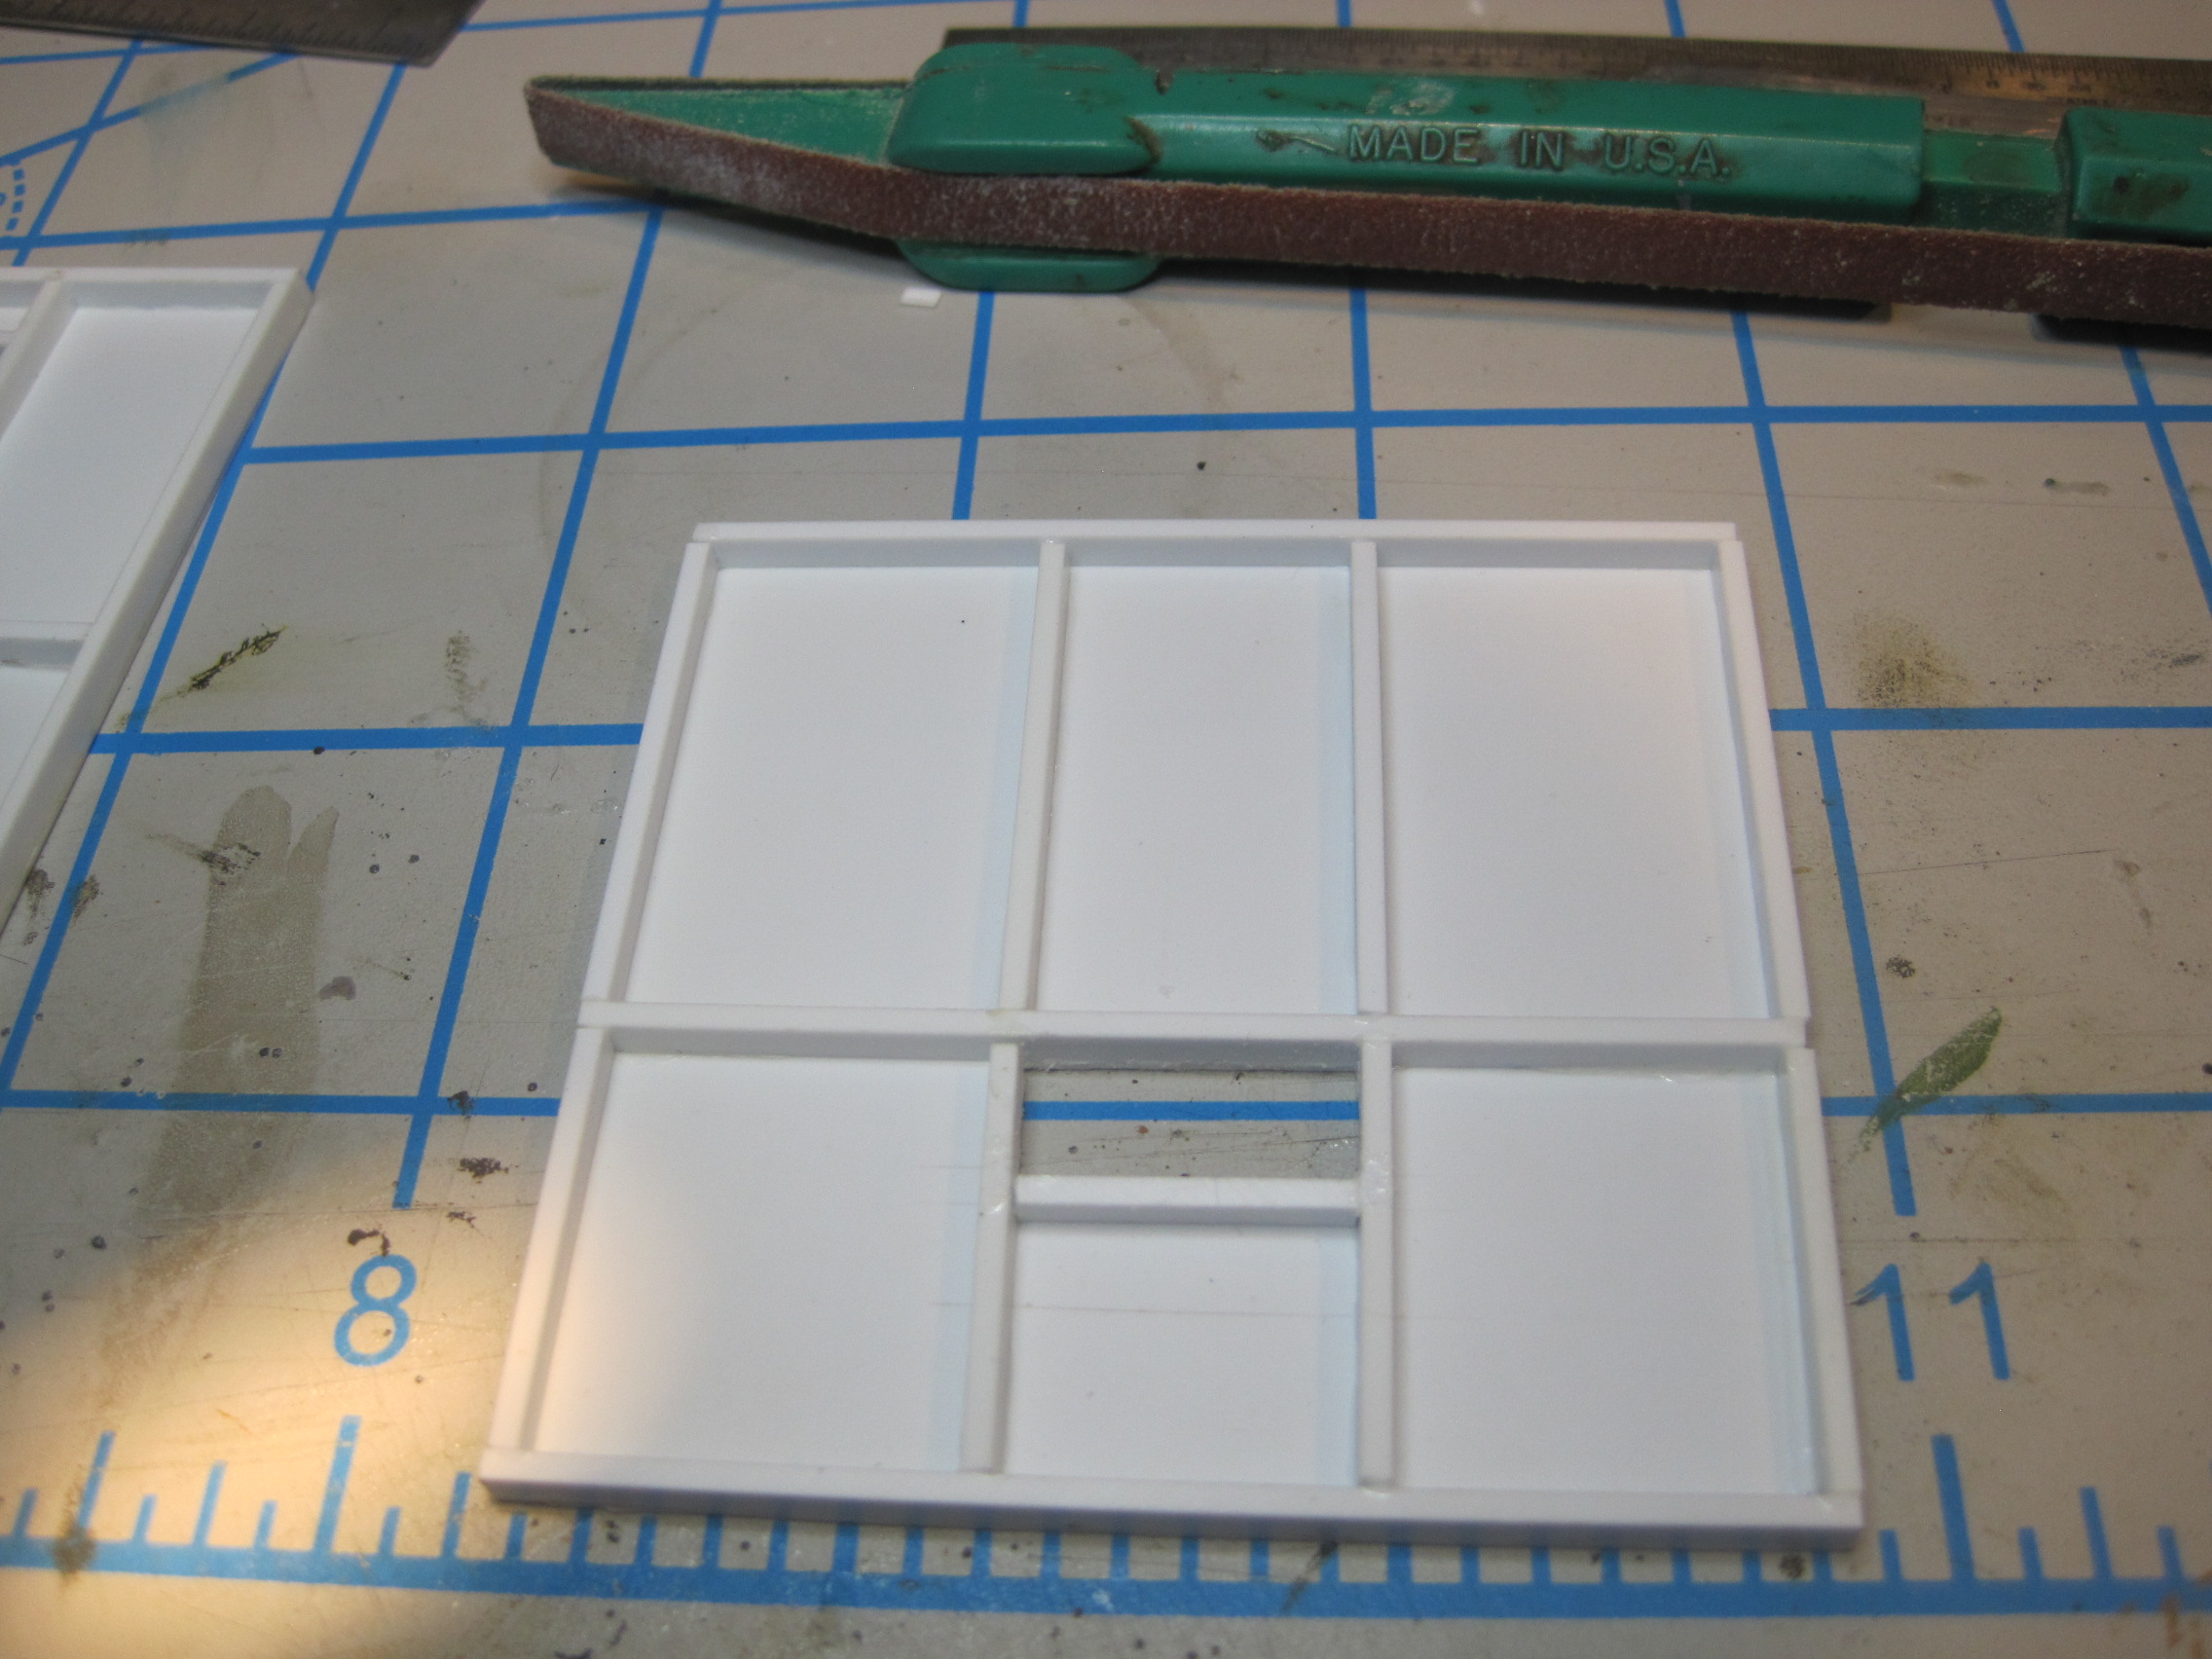
Next is to use two strips of angle to hold in the sliding door.

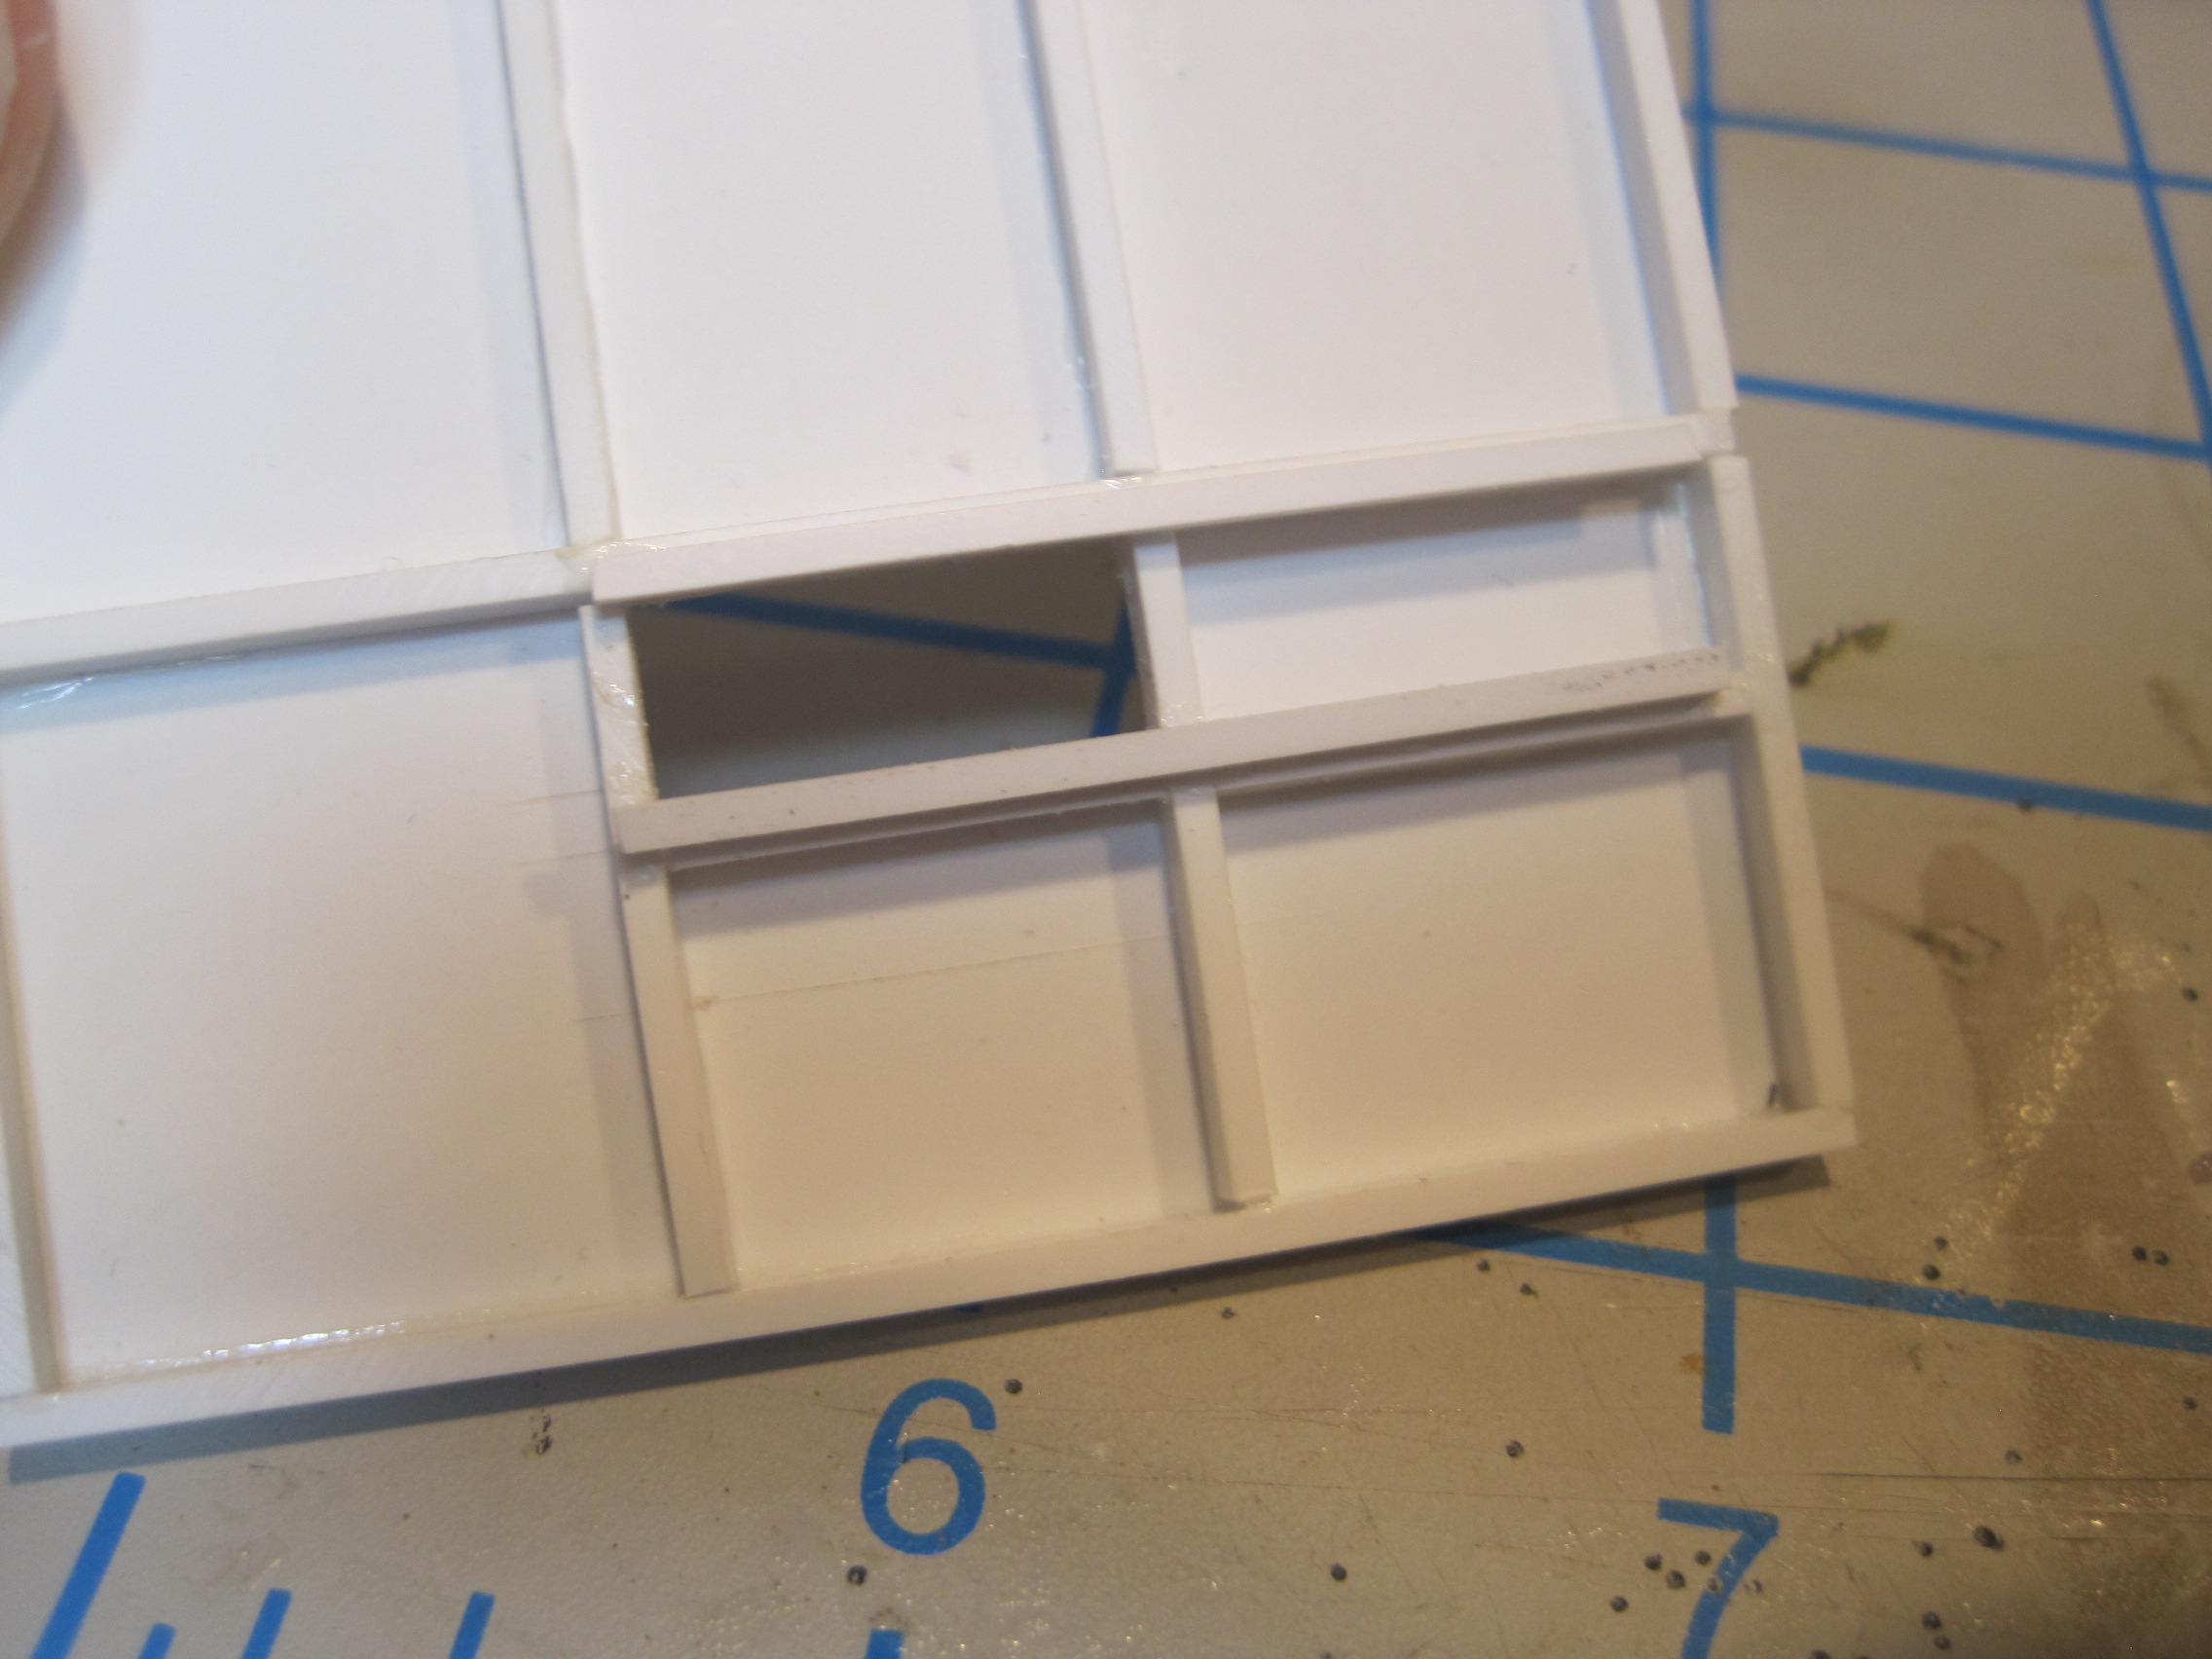
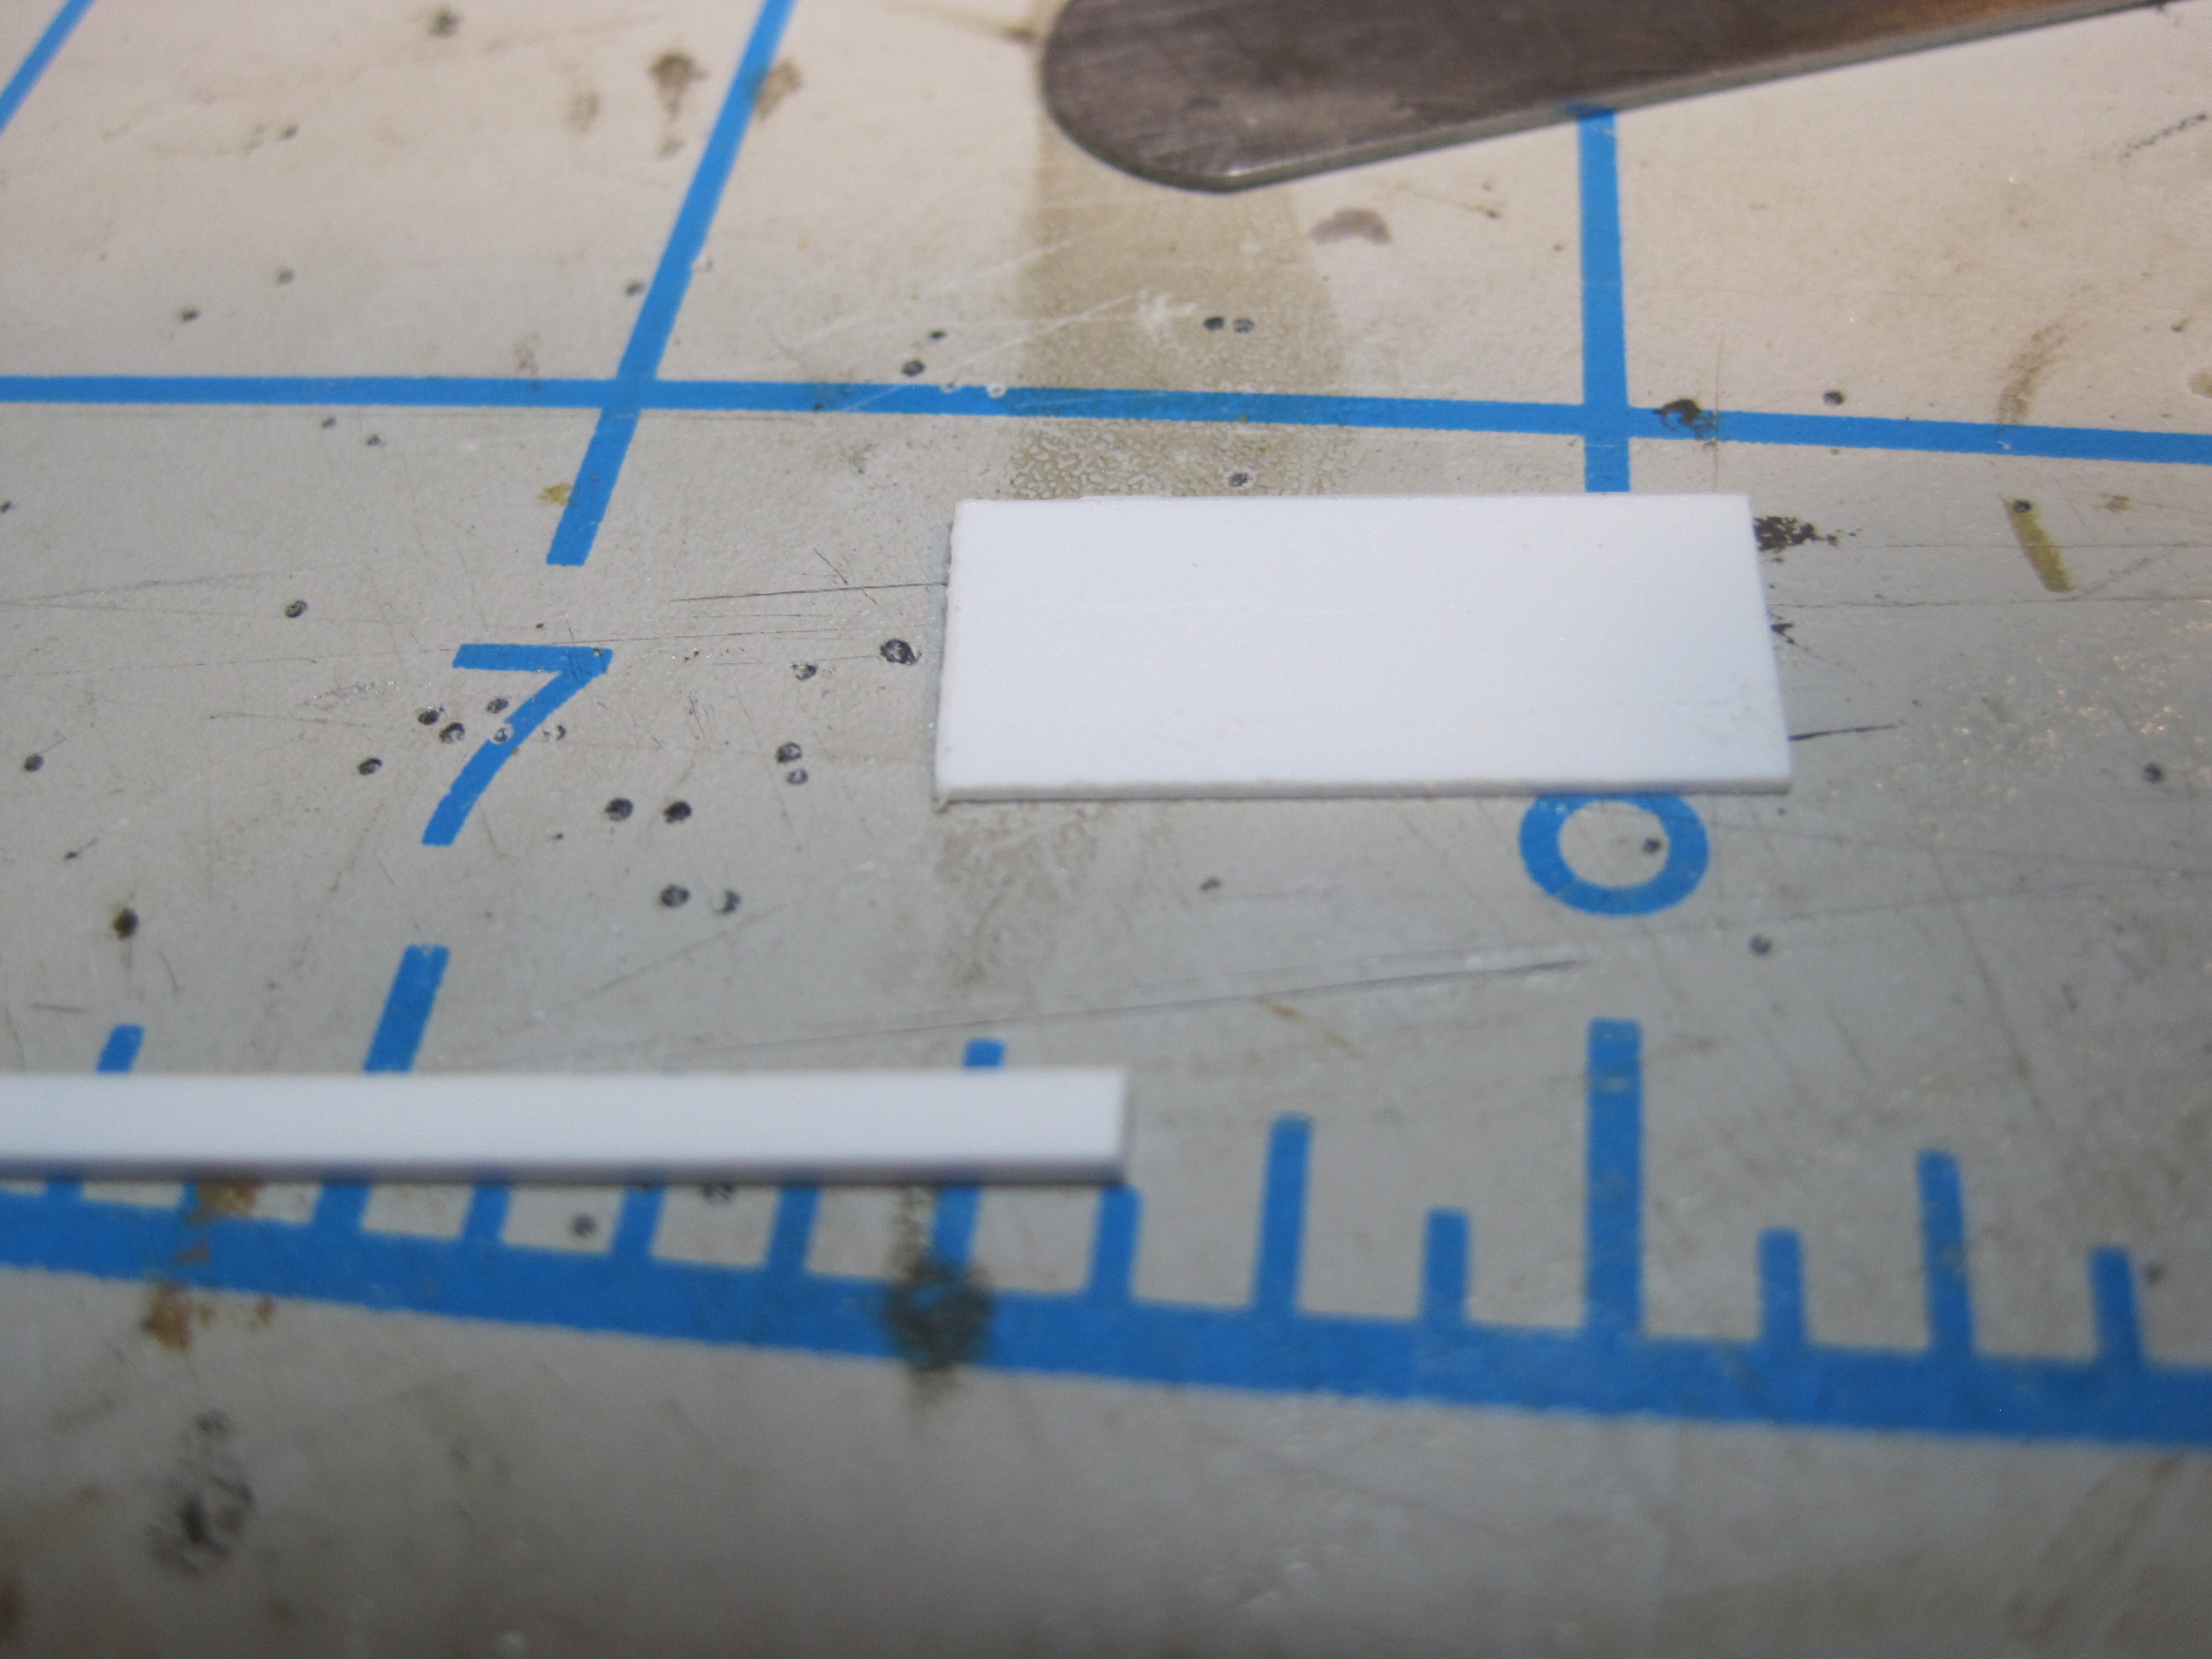
The door is cut to fit and a separate strip is used to make a handle:

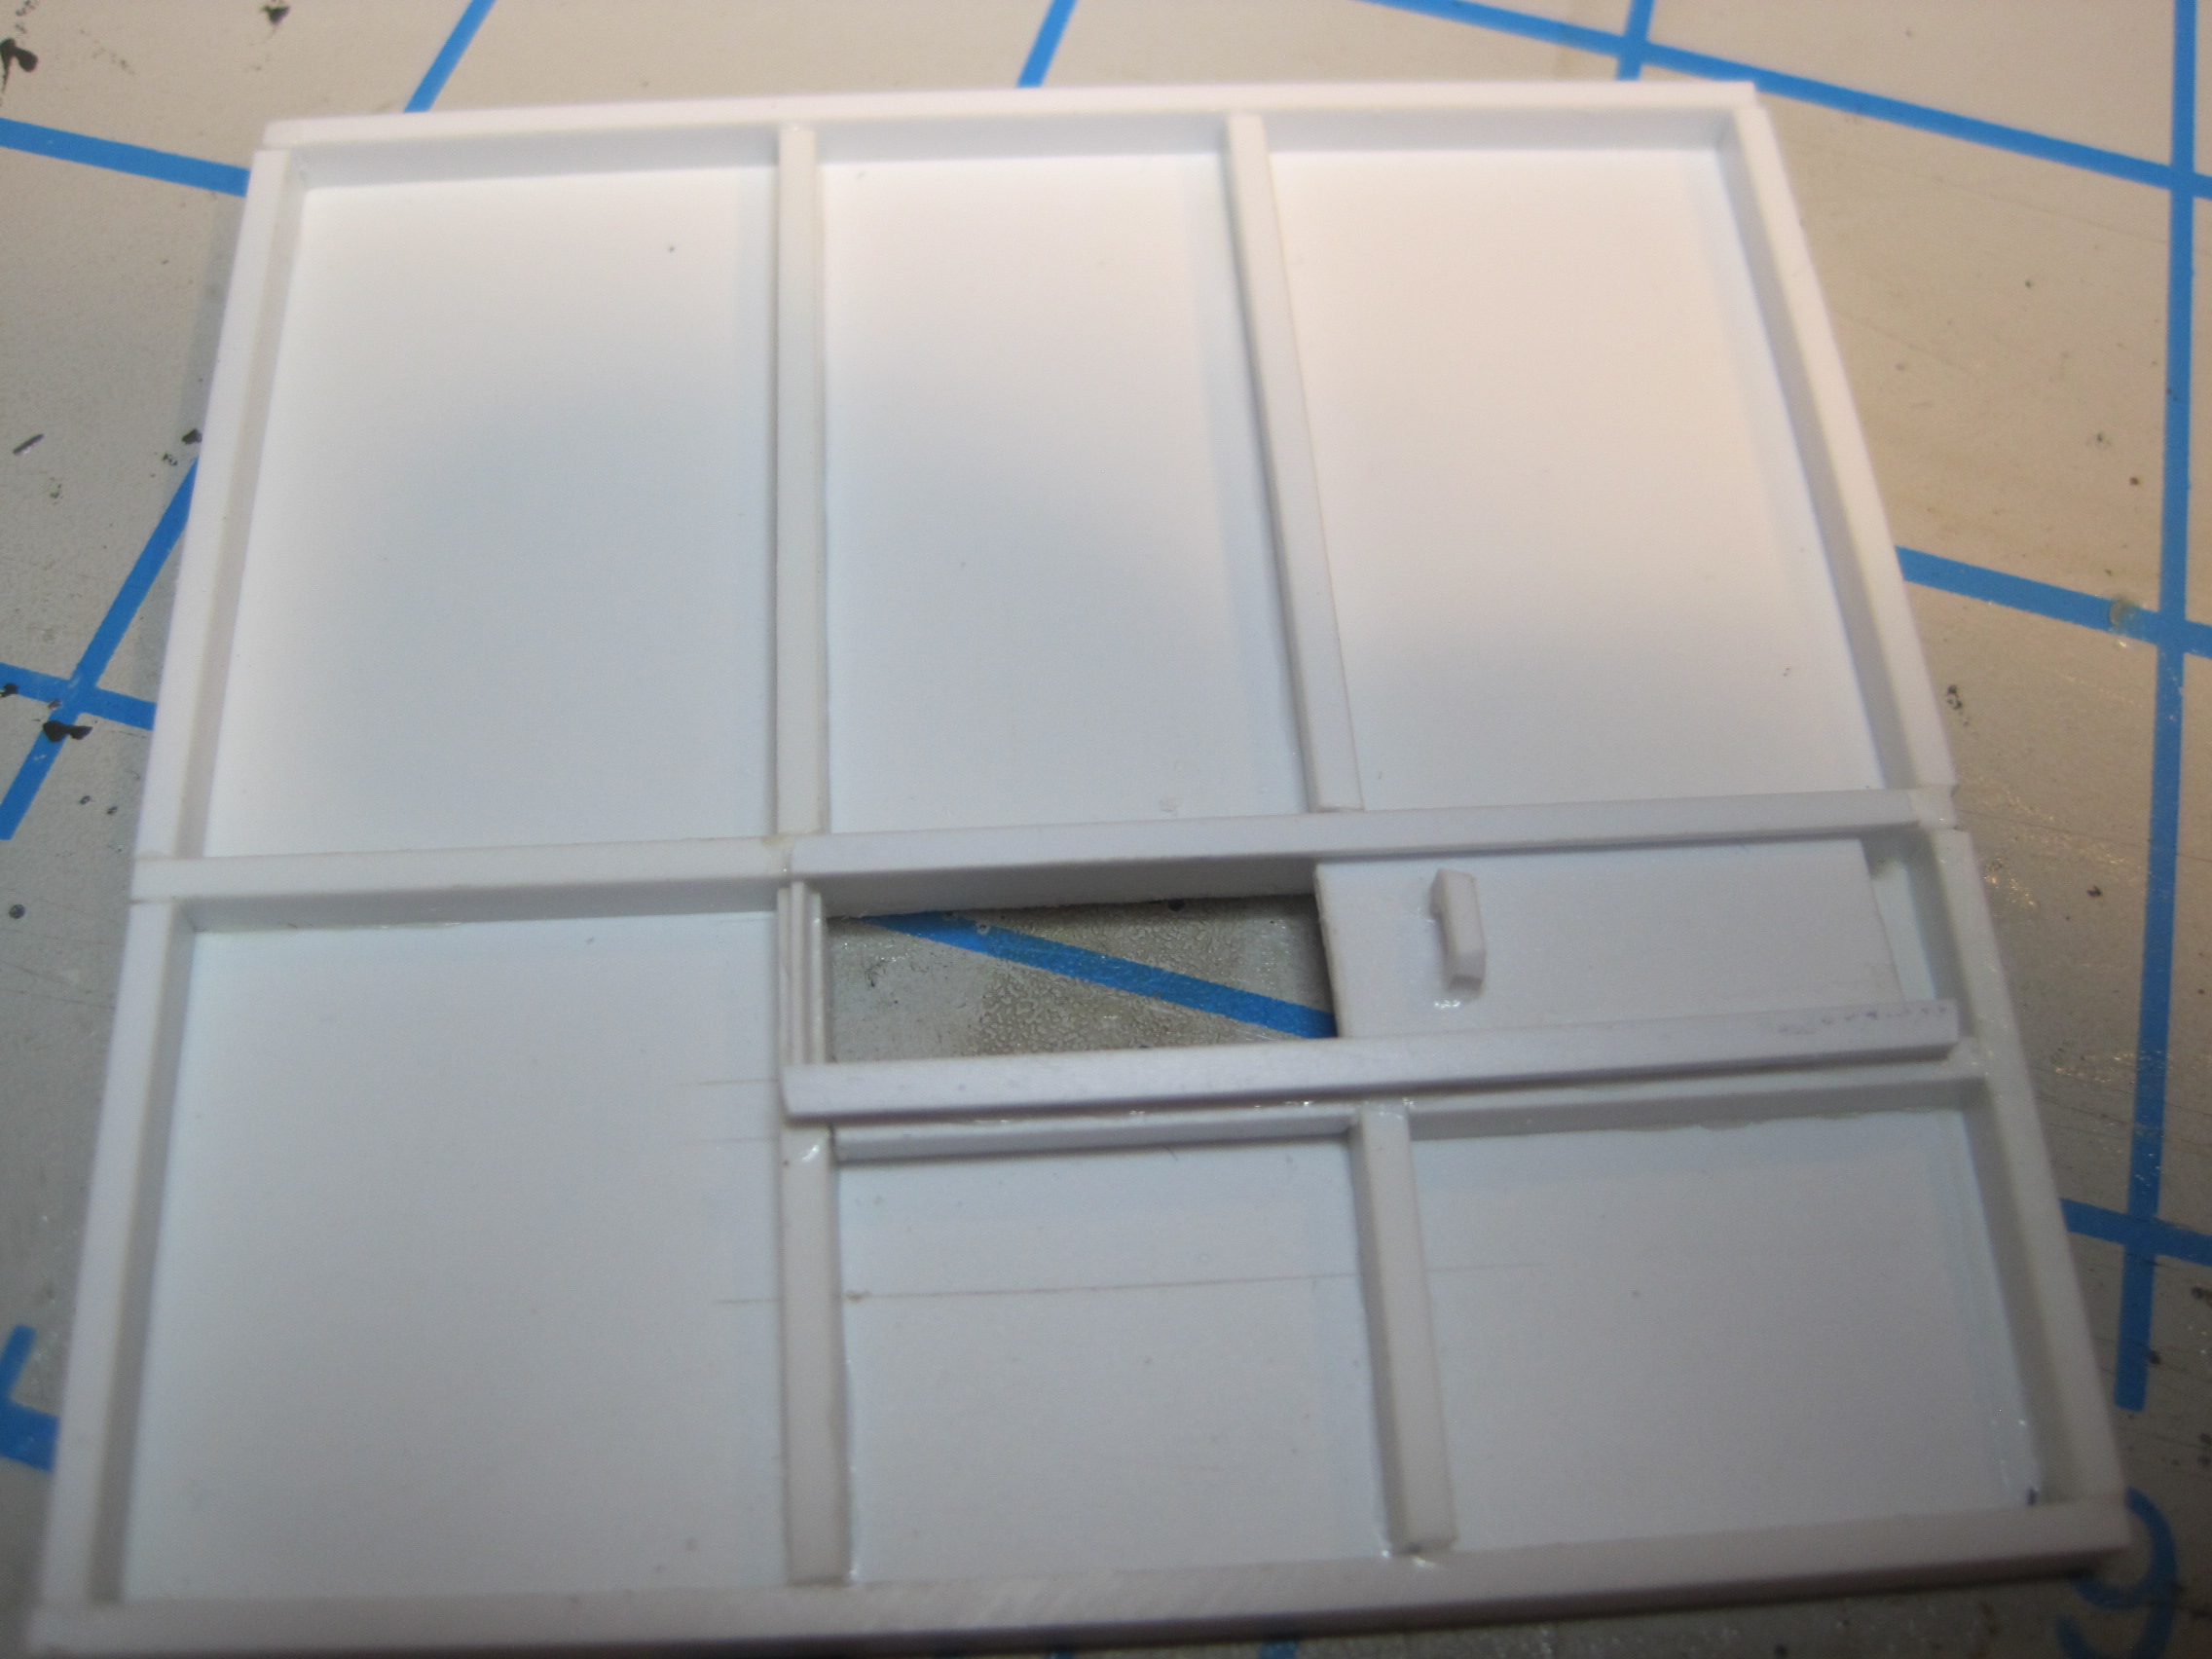
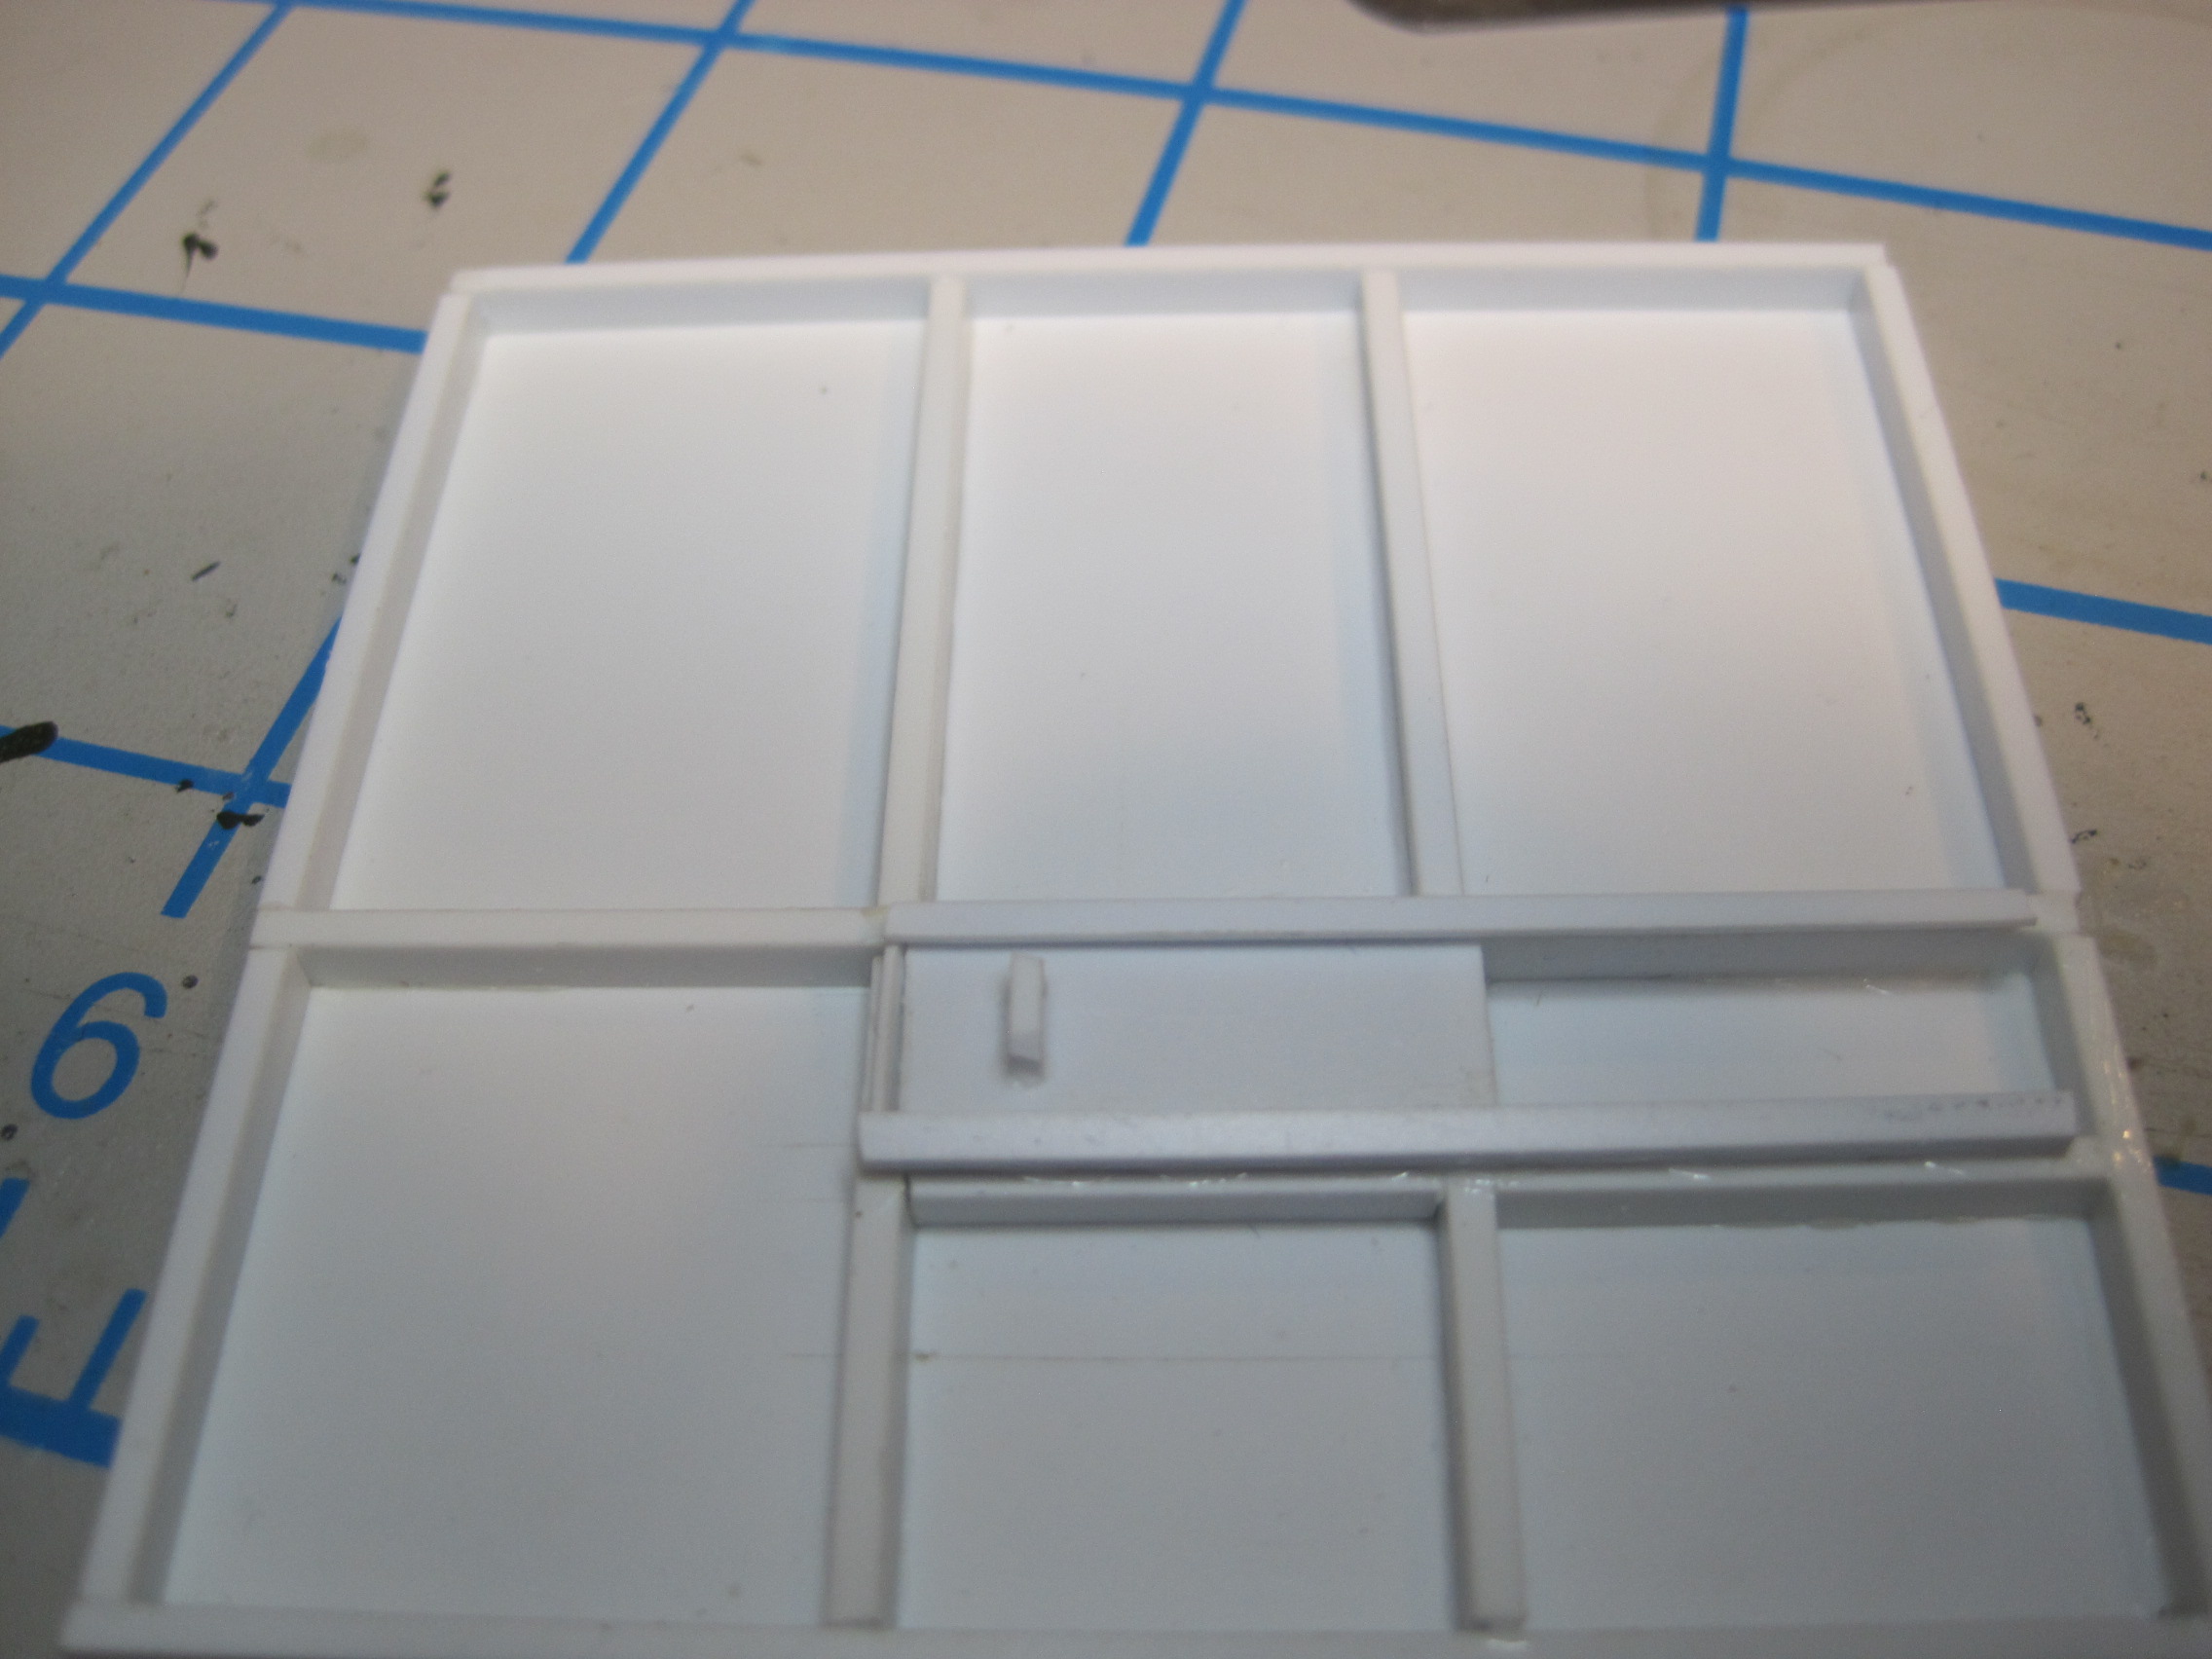
And here’s the sliding door in place. After the parts are painted, I’ll reinstall the door back in the track and place a small strip at the end of the track to keep the door from coming out, although the shelter wall would probable also suffice.
And now we have what the guys out west used to call a “Coors Window”. Wonder why…
6 Likes
That is awesome.
More nice scratch work.
A WORKING 1/35 scale padlock?!?! Tom, get treatment!
Excellent scratch building.
Rick
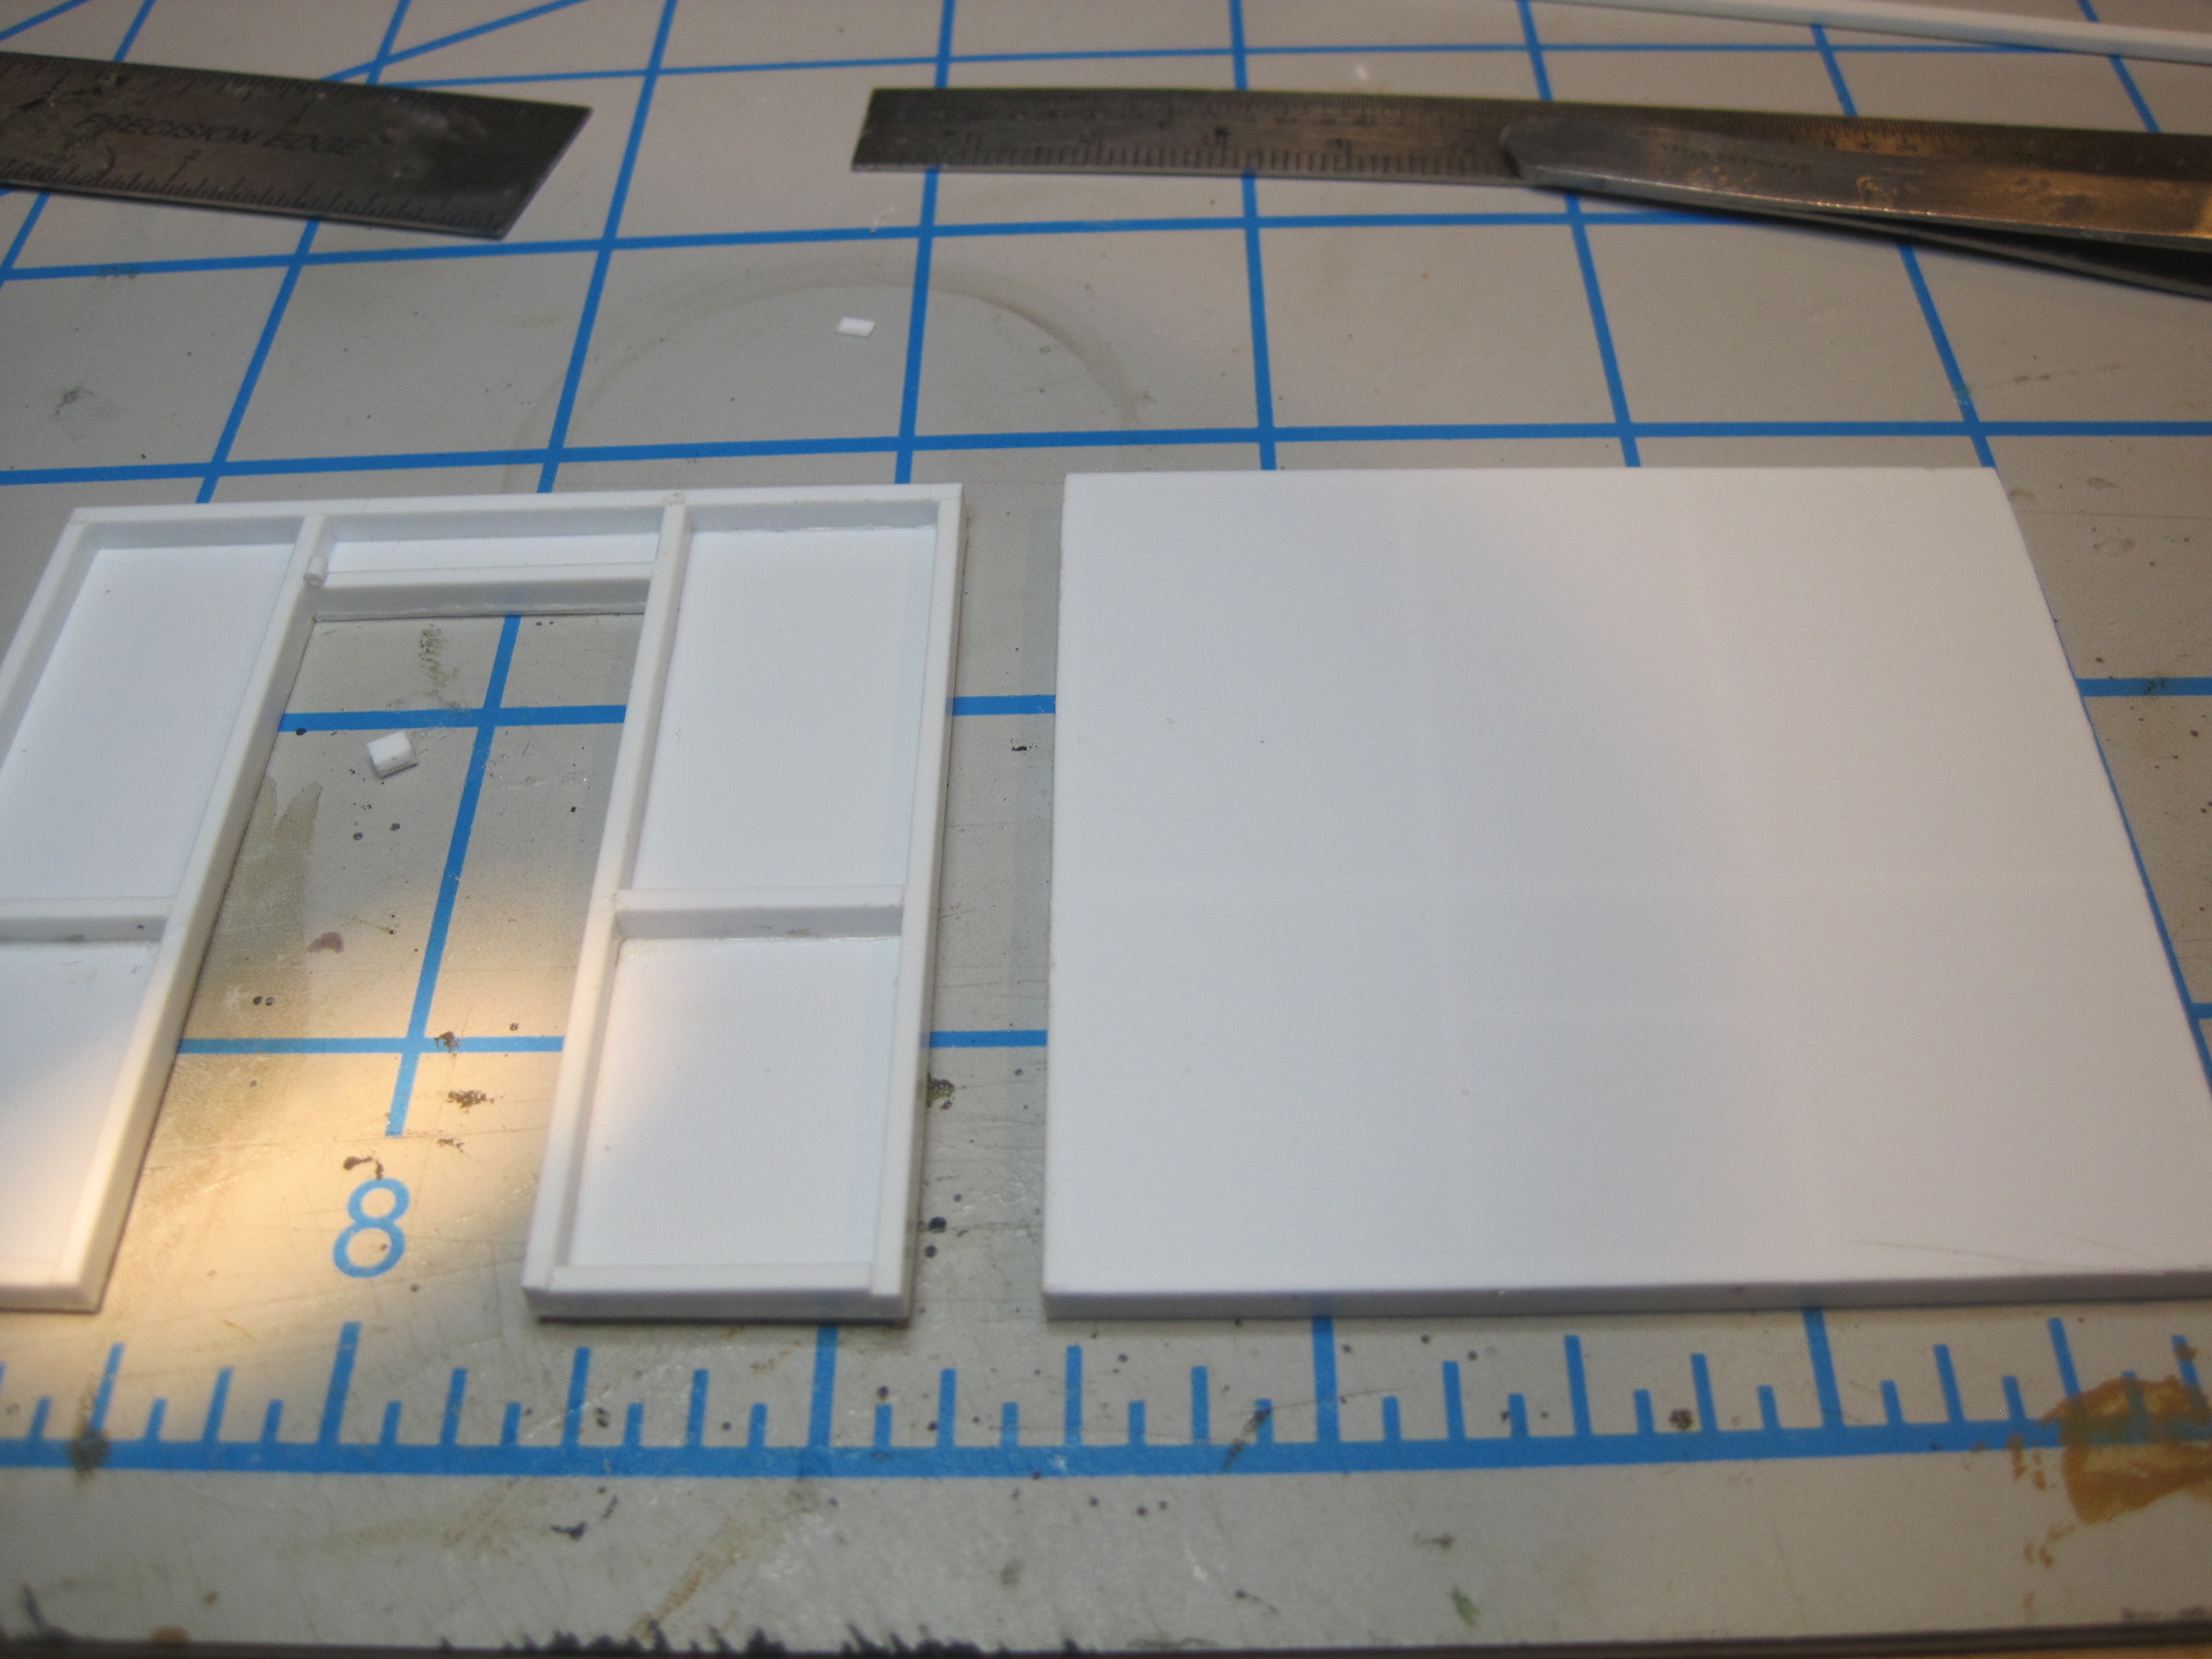
With the front and back walls done, next step is to complete the two side walls.
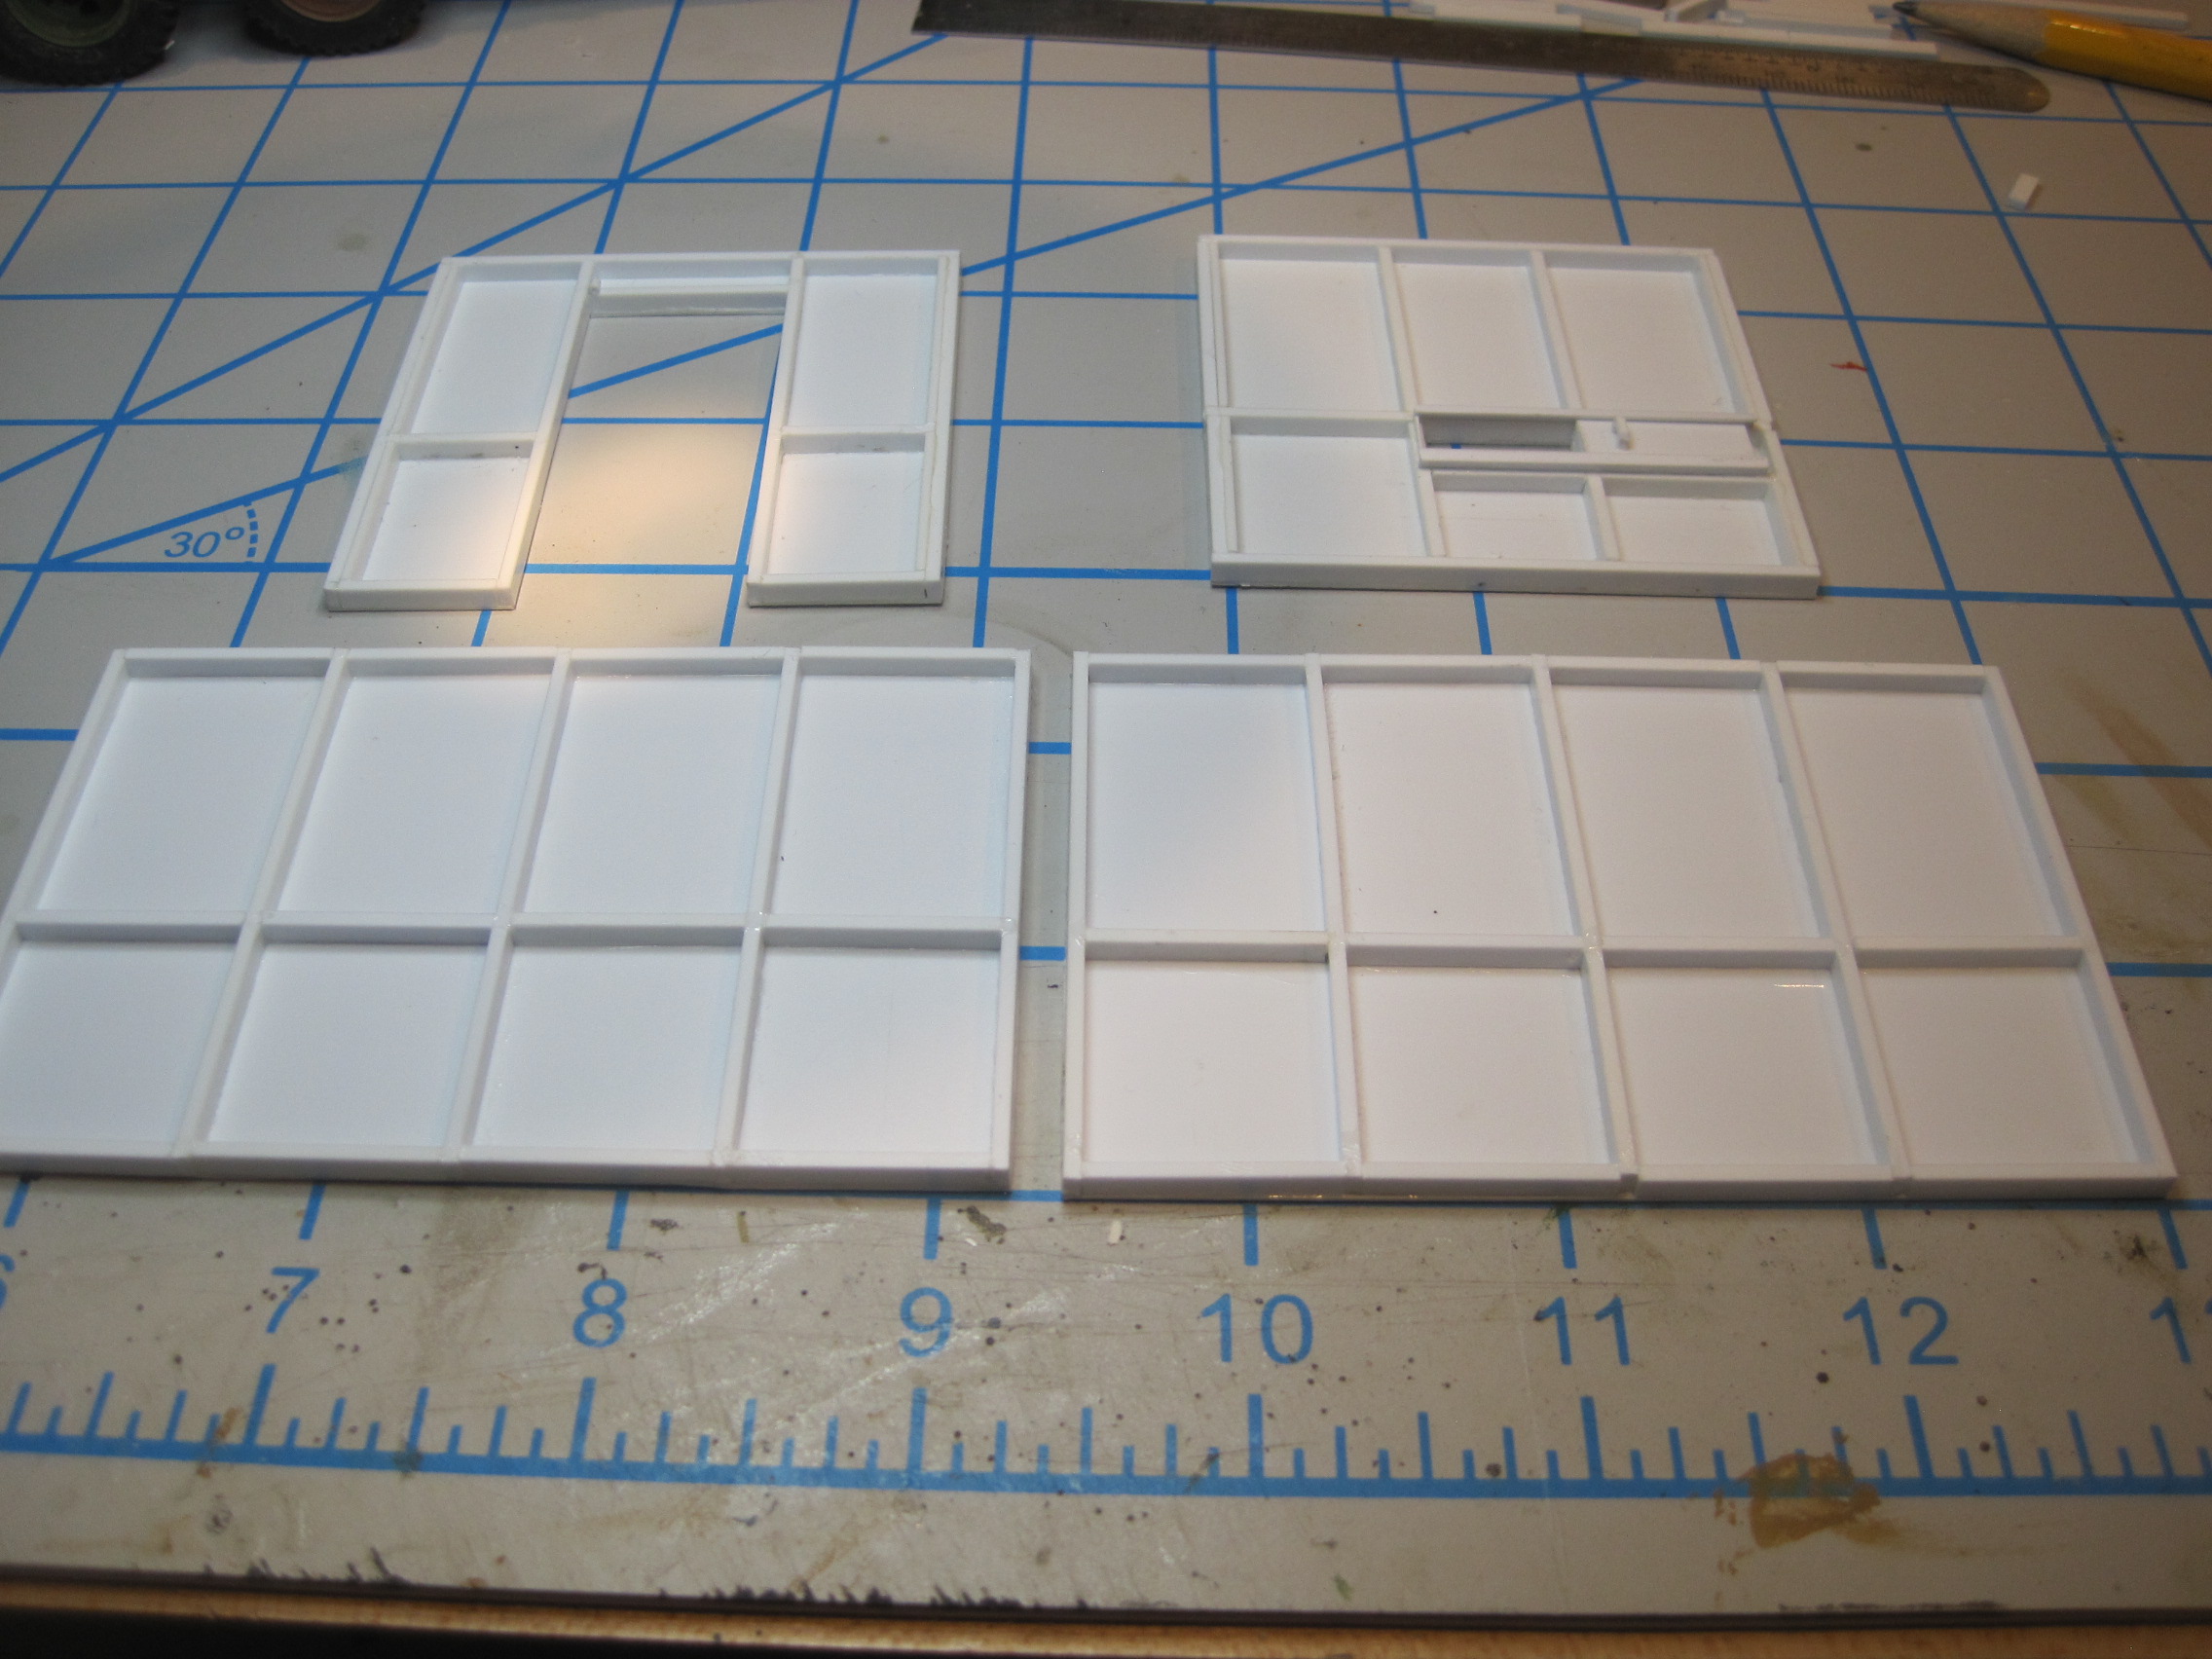
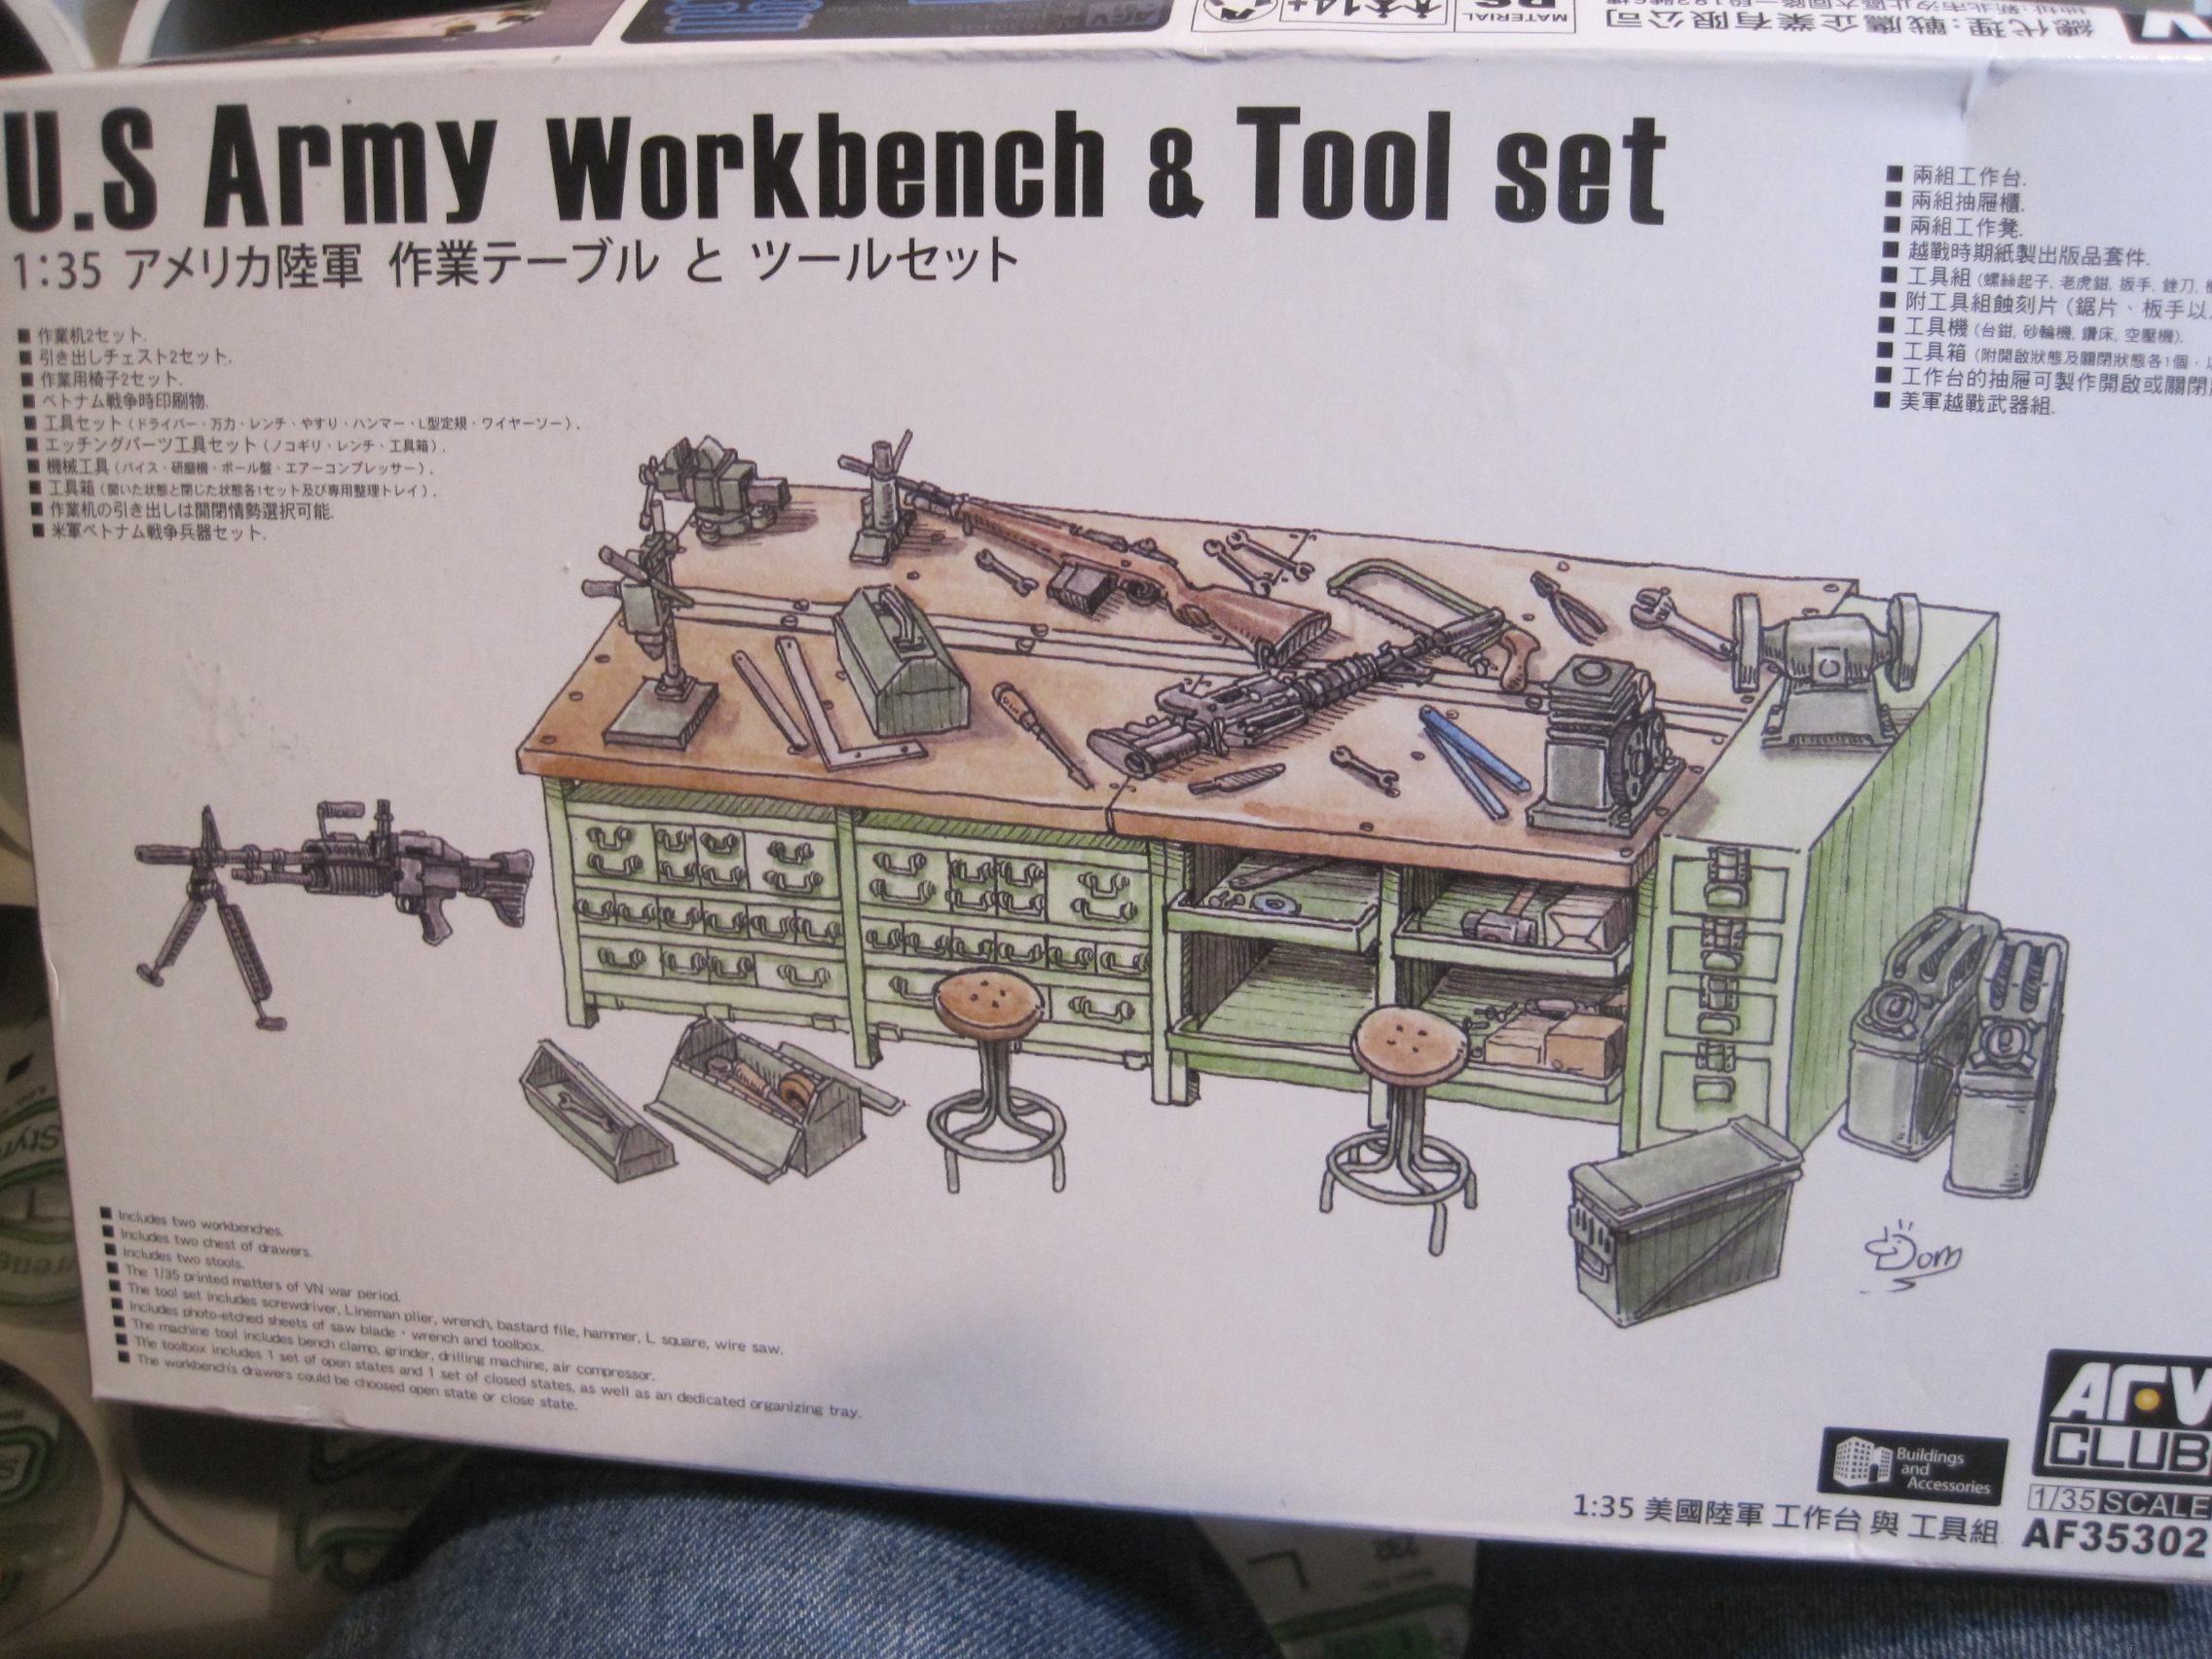
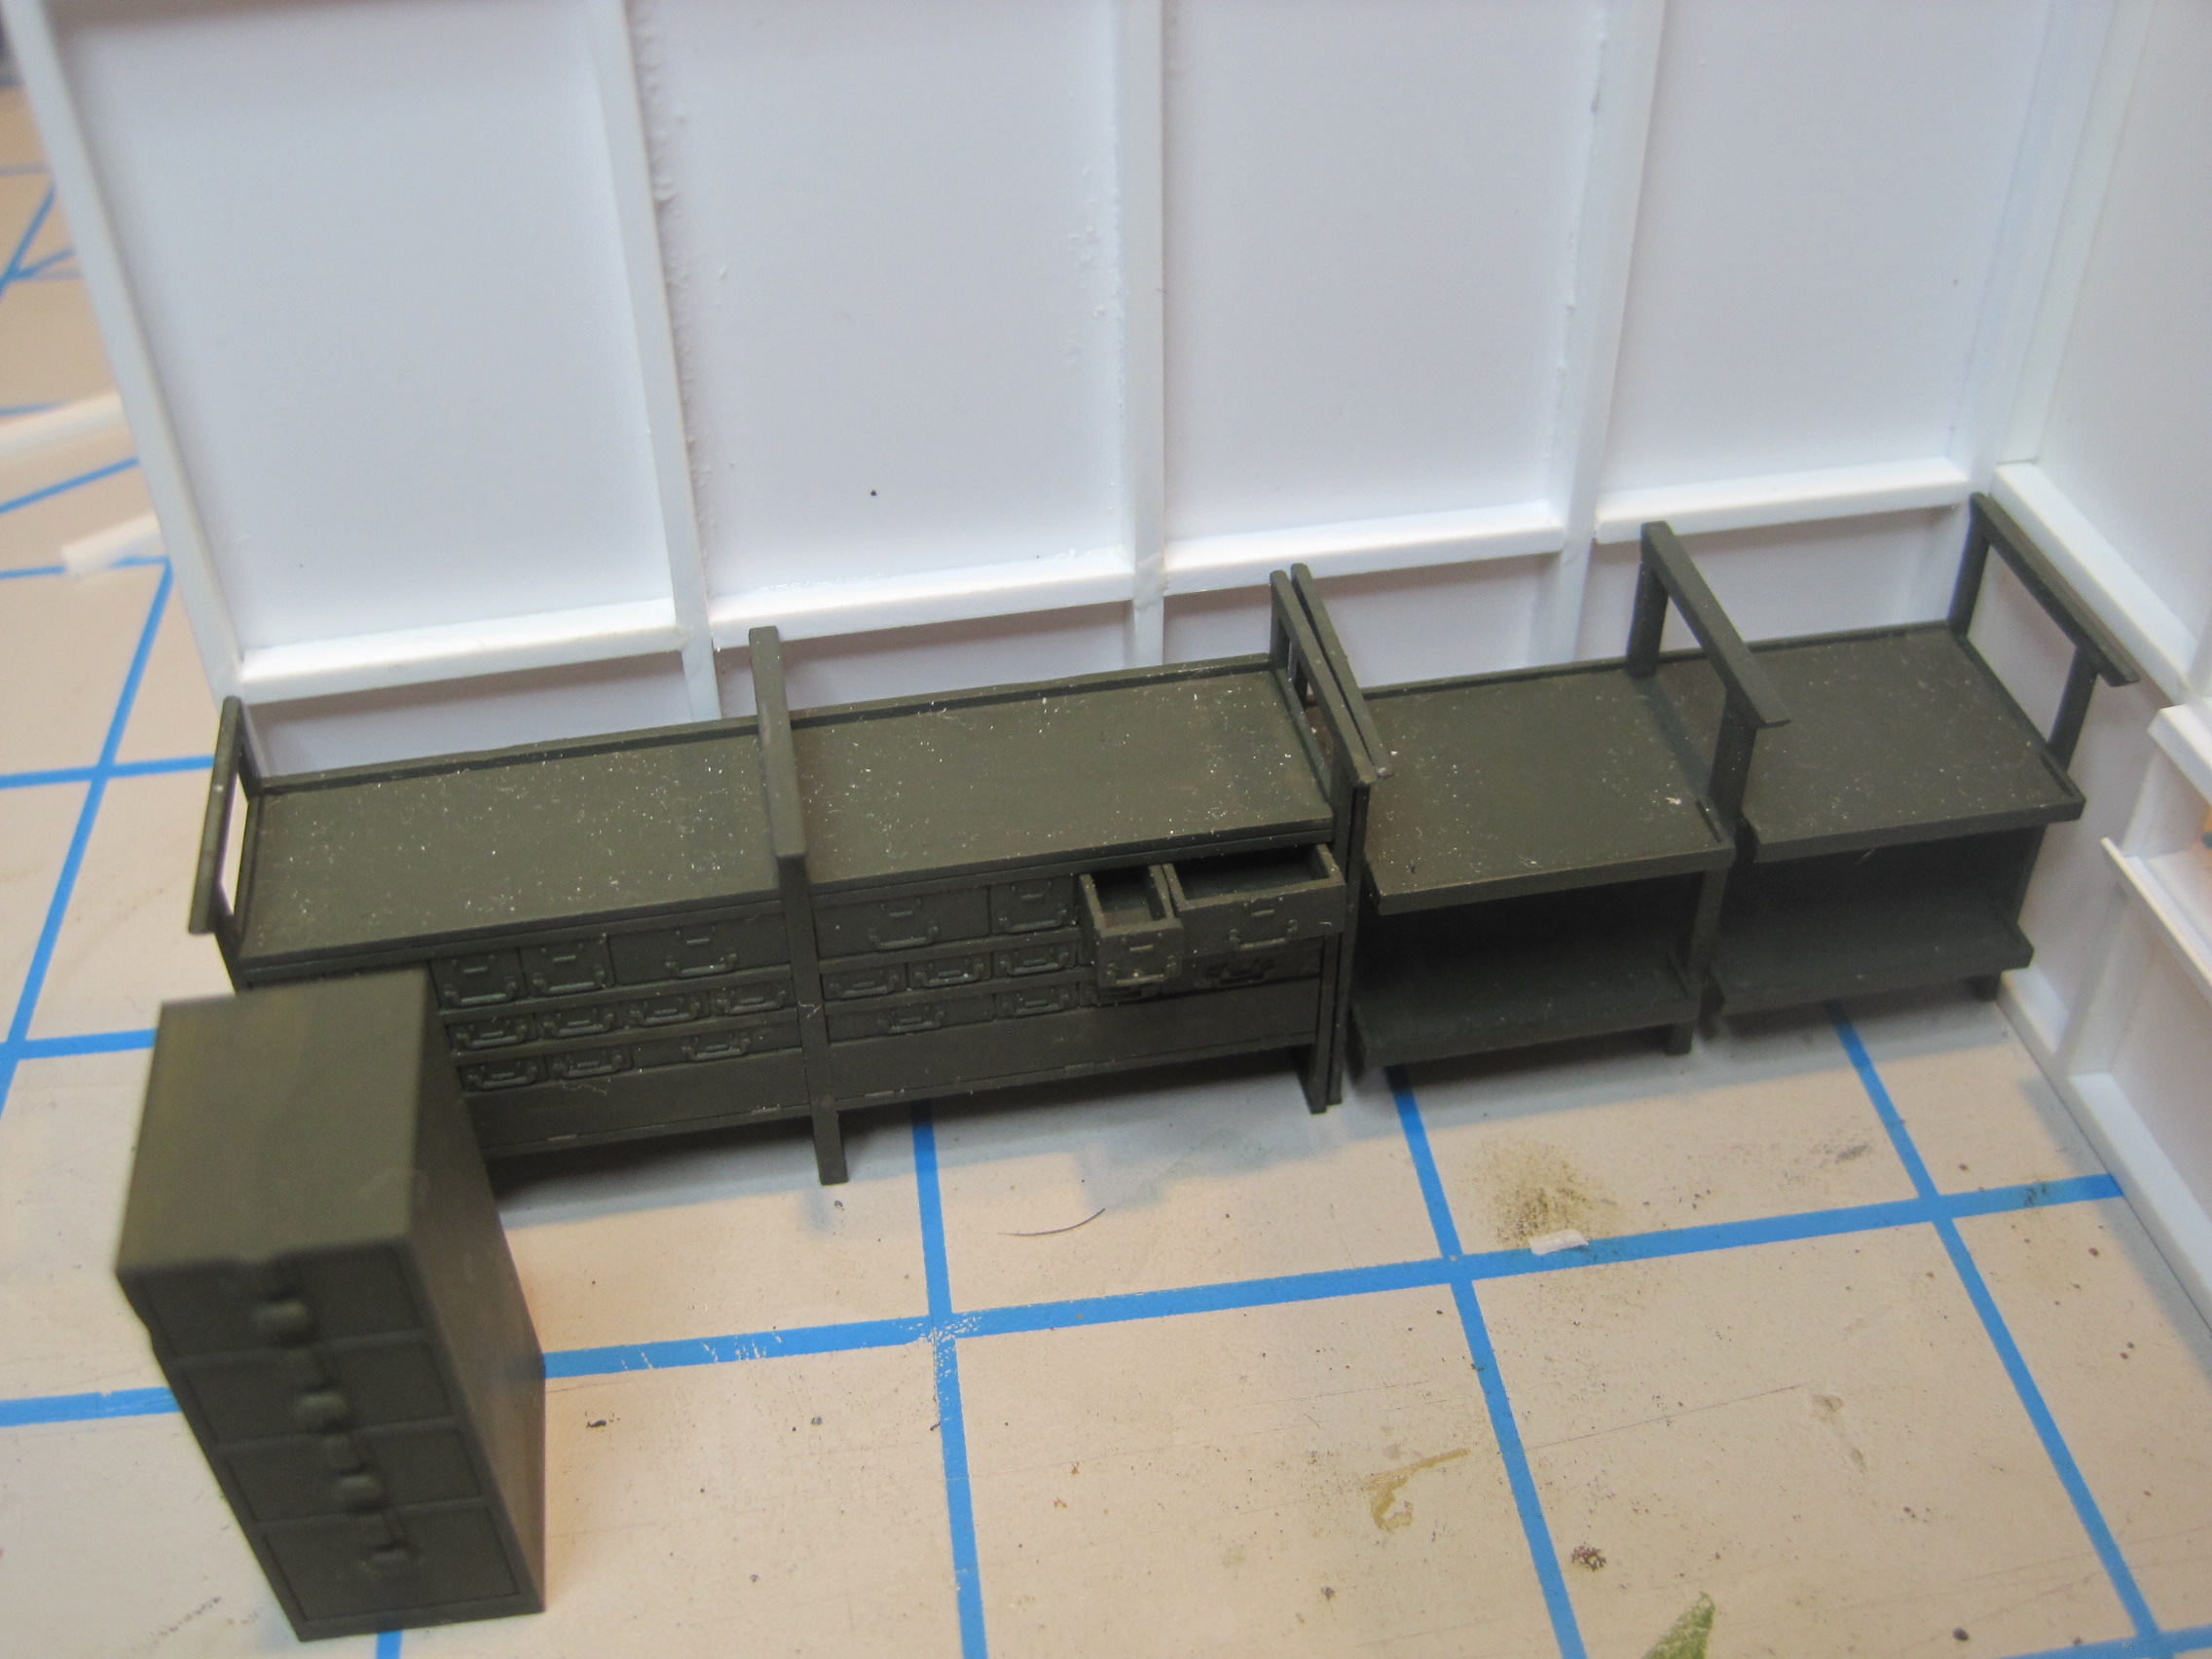
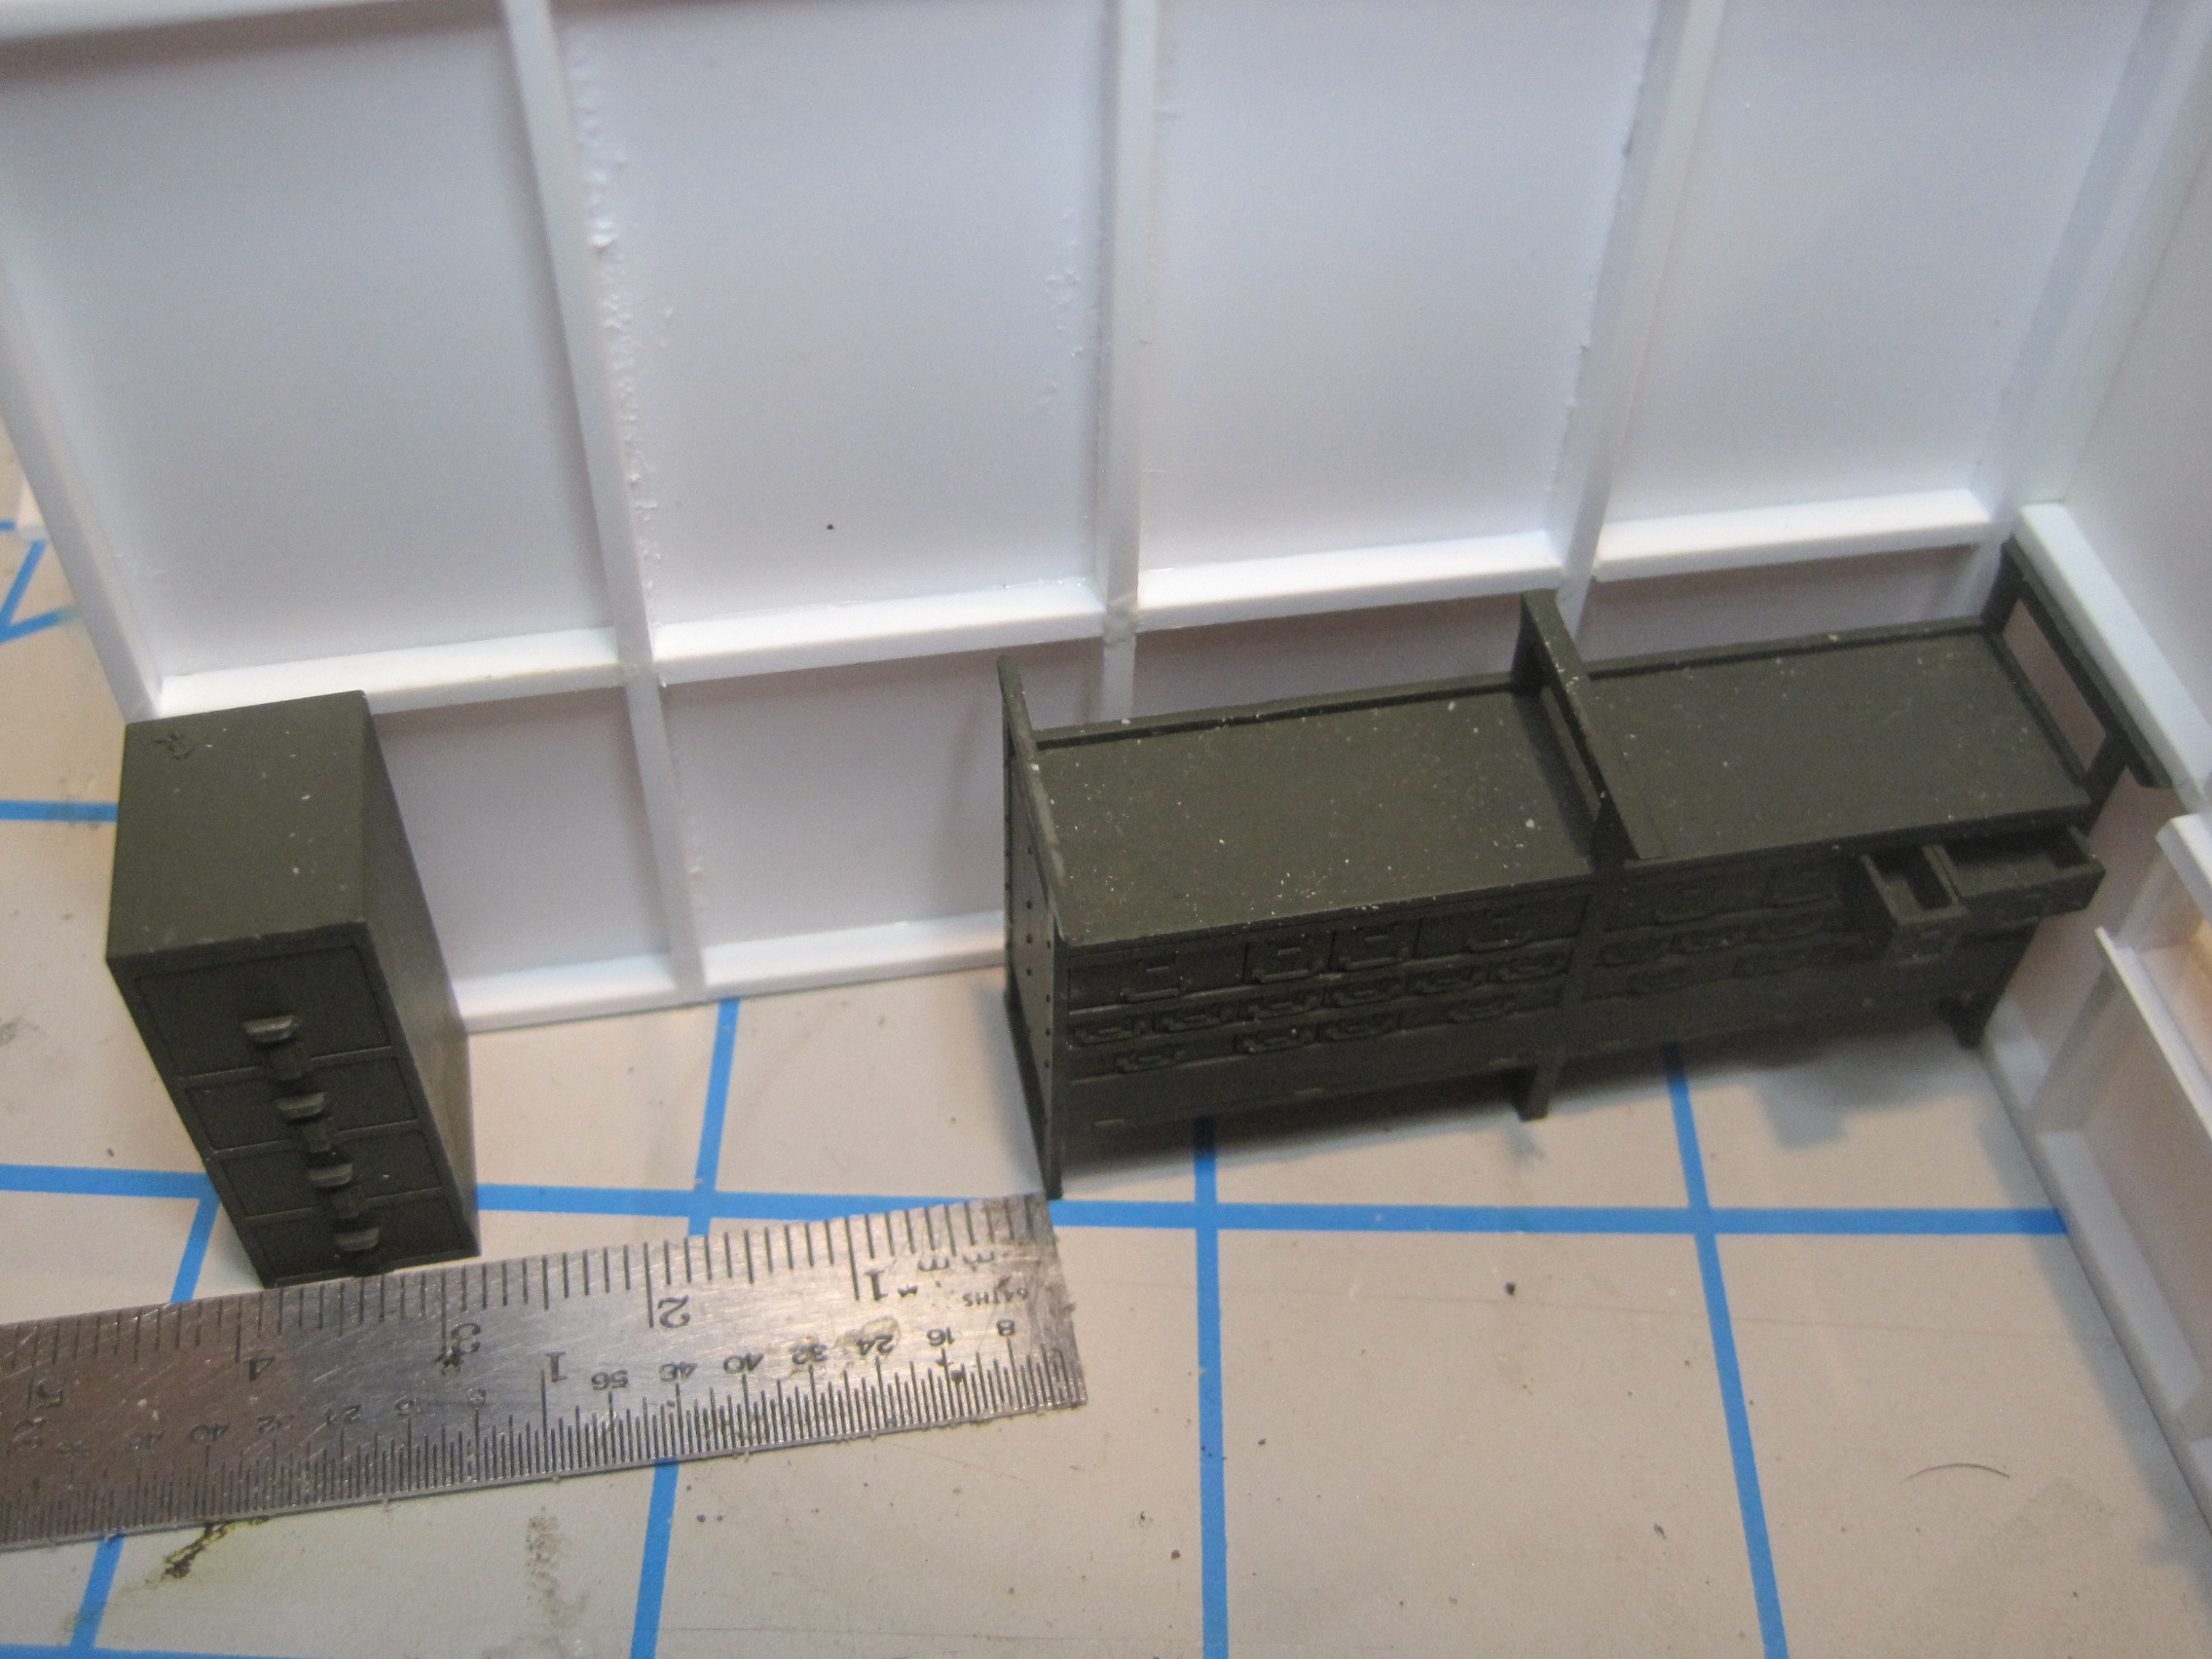
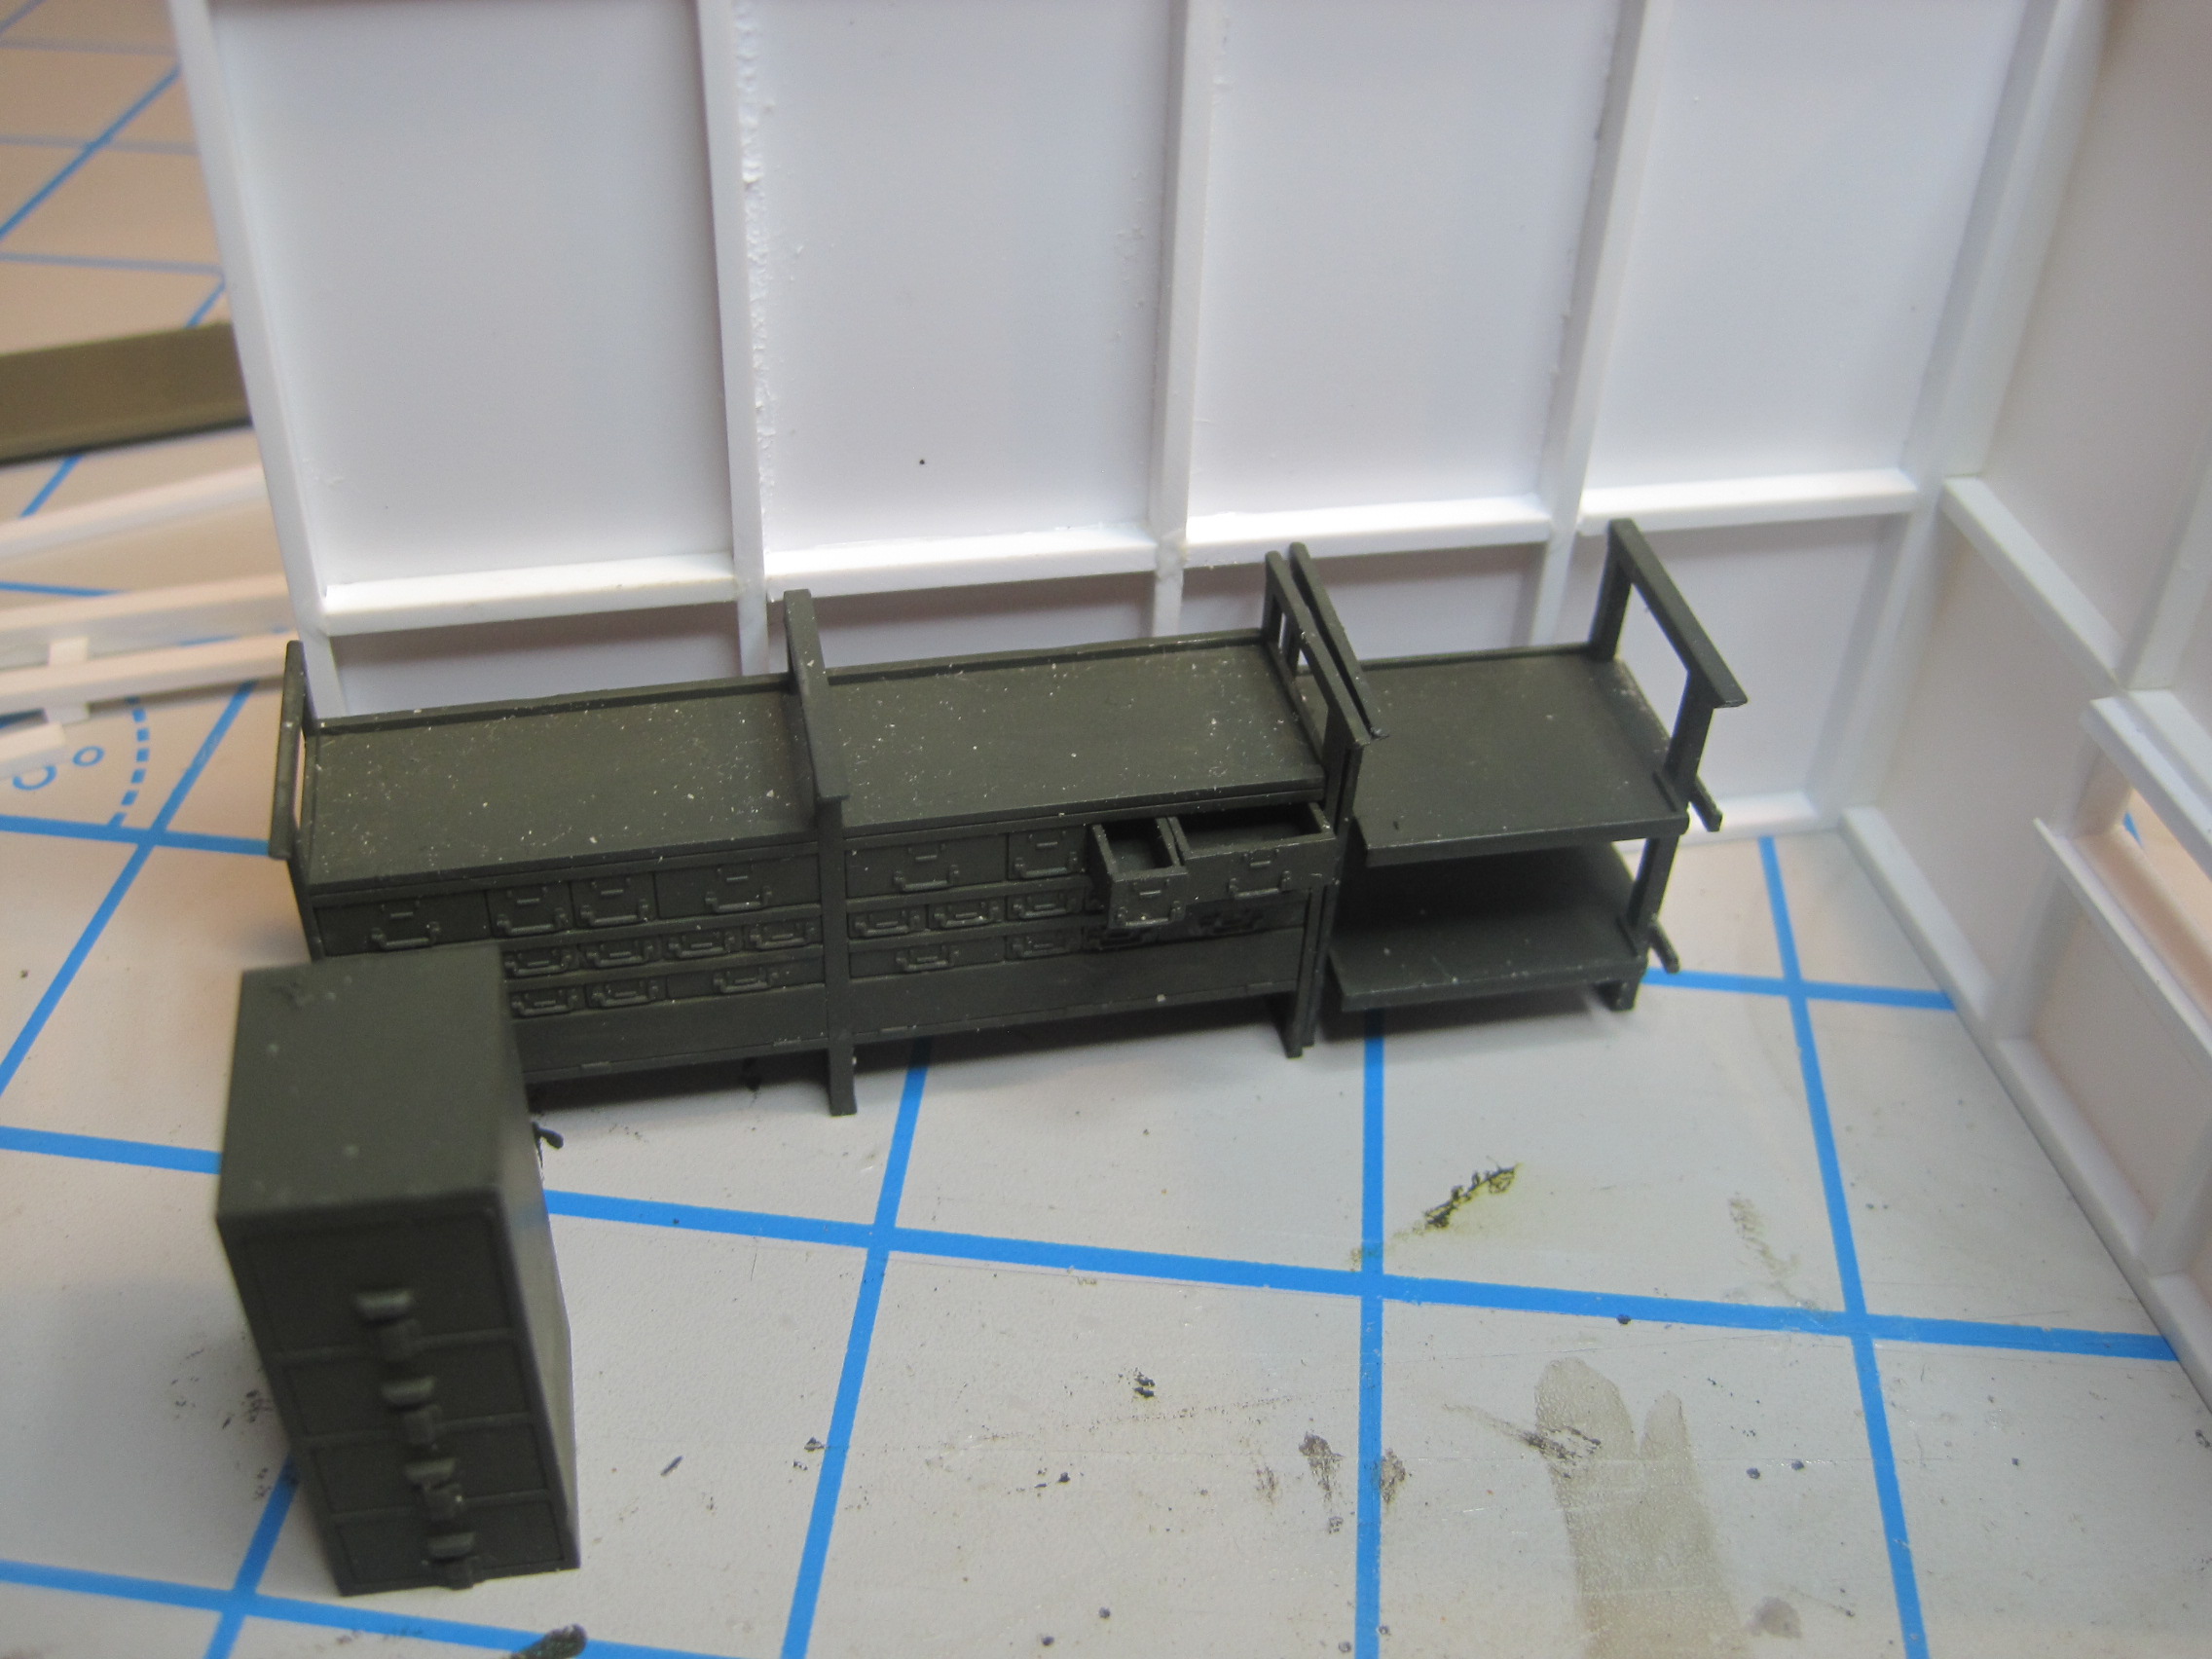
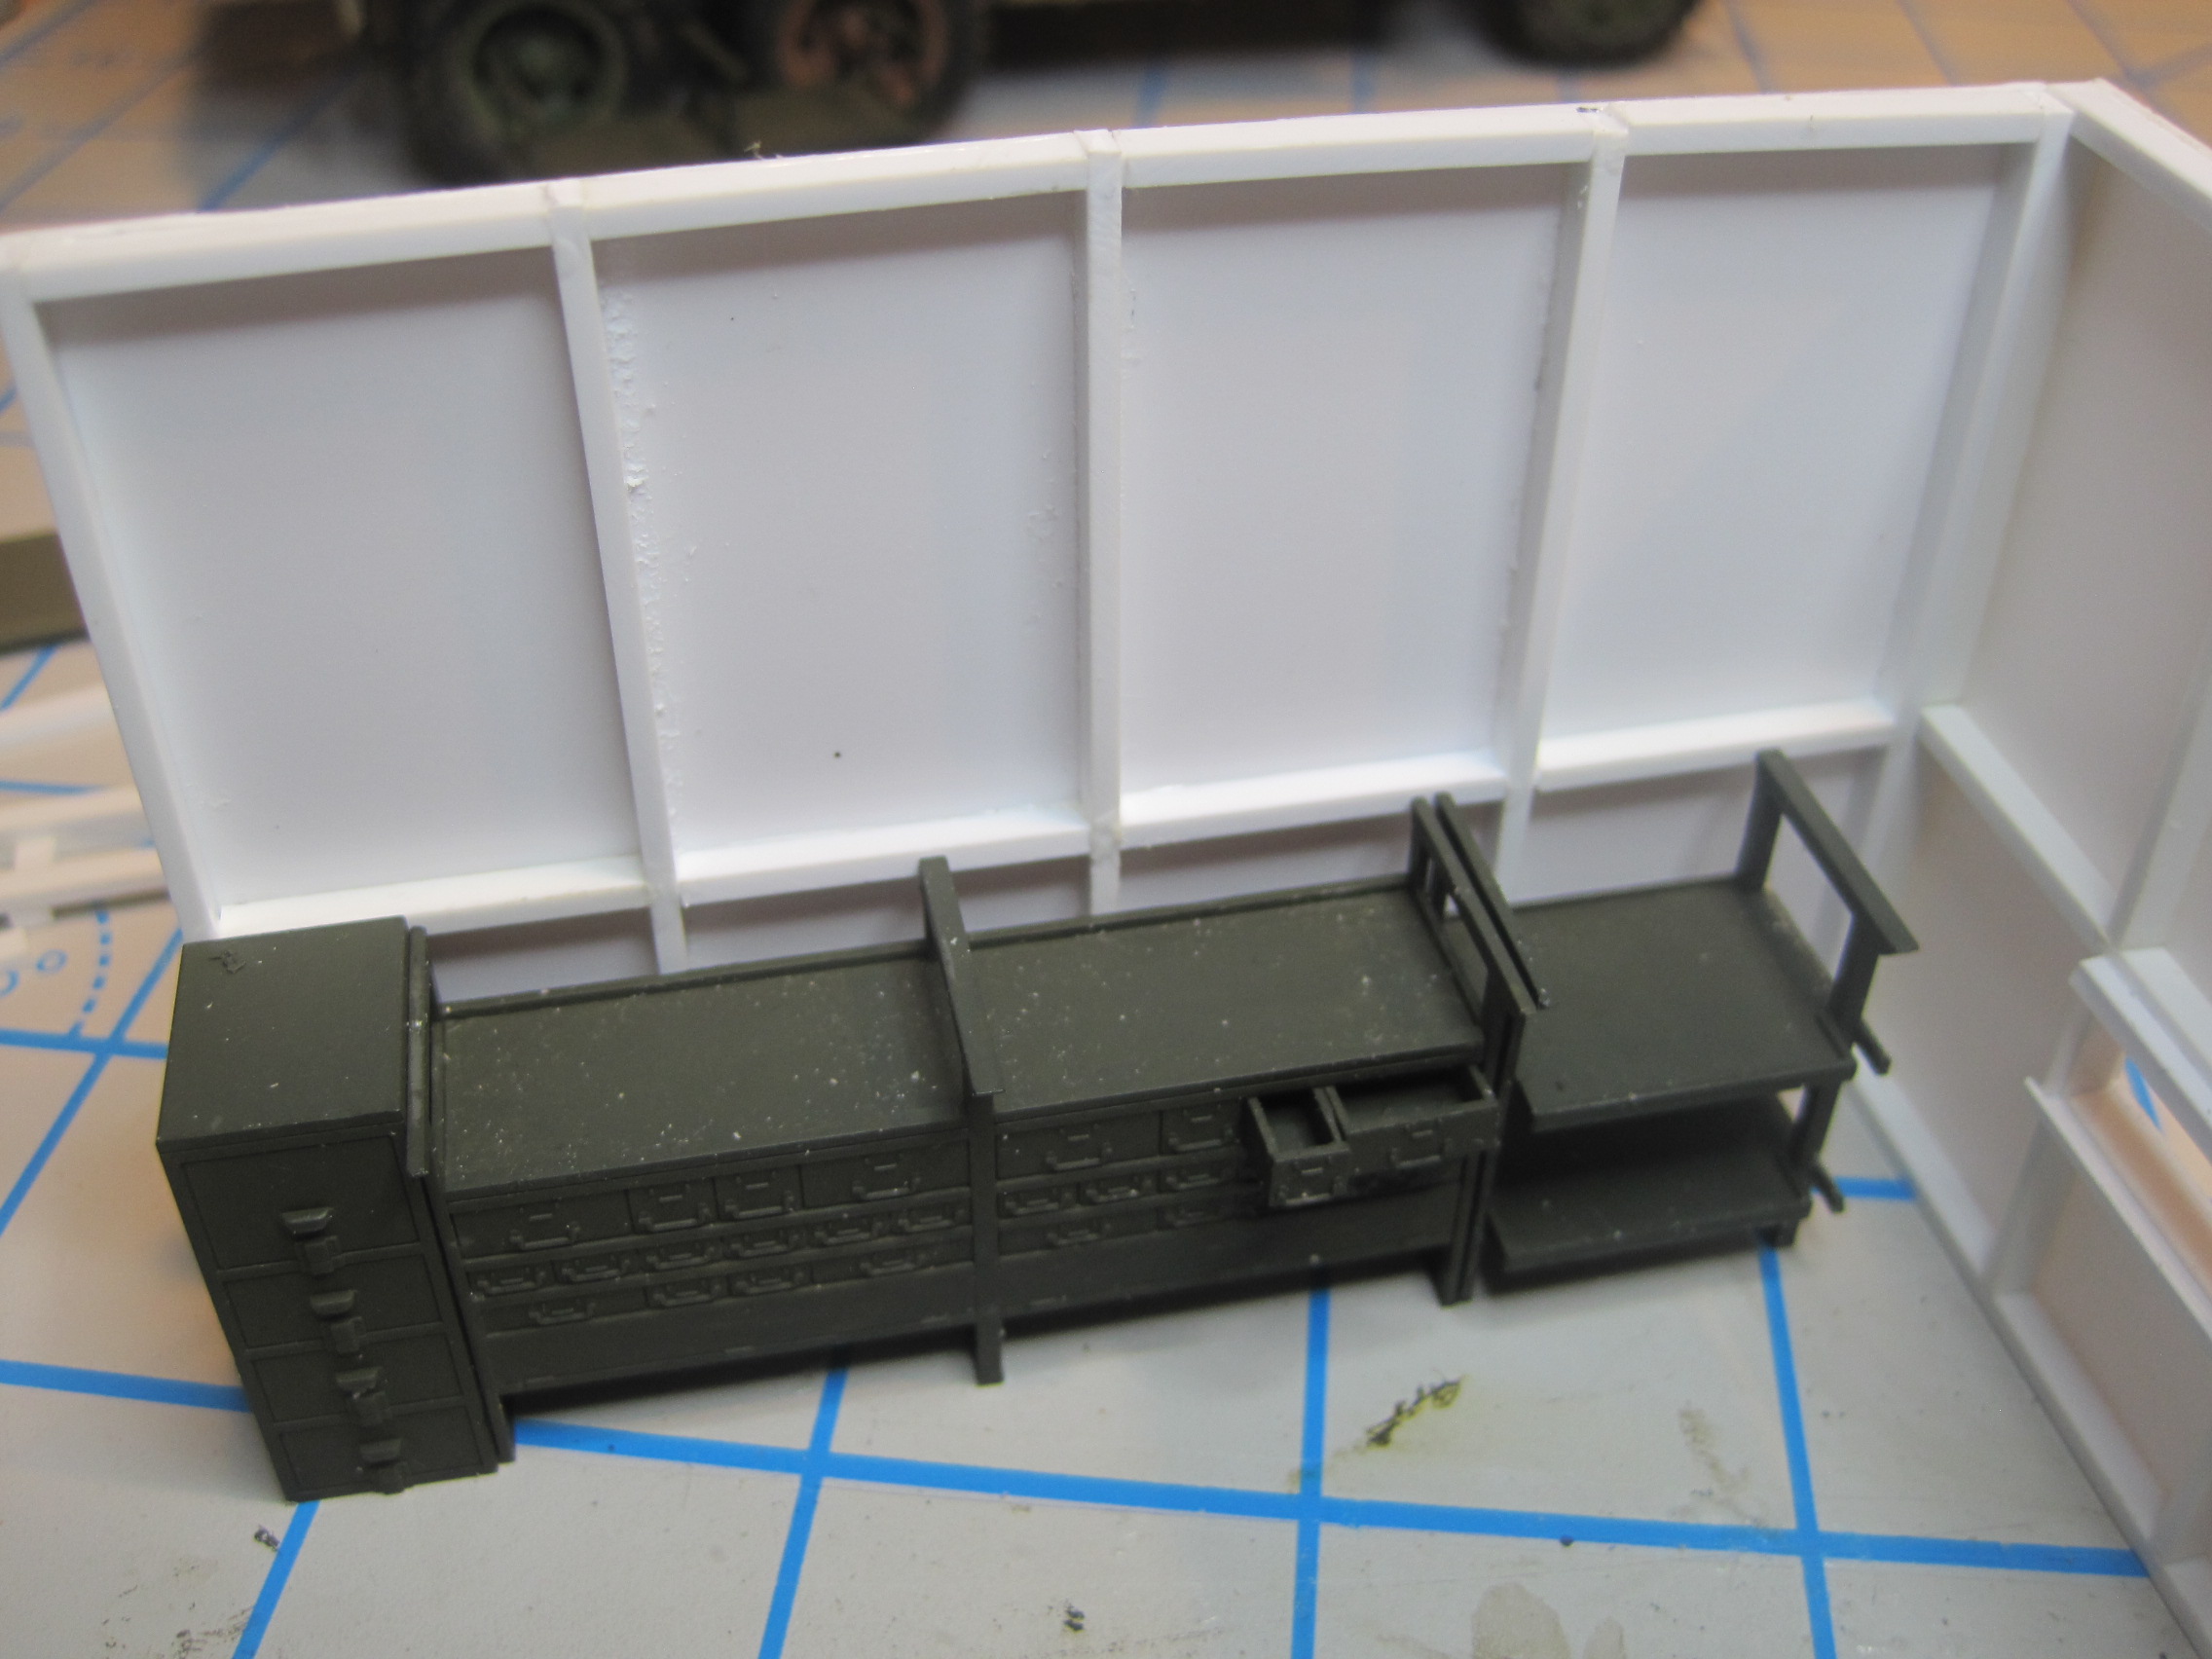
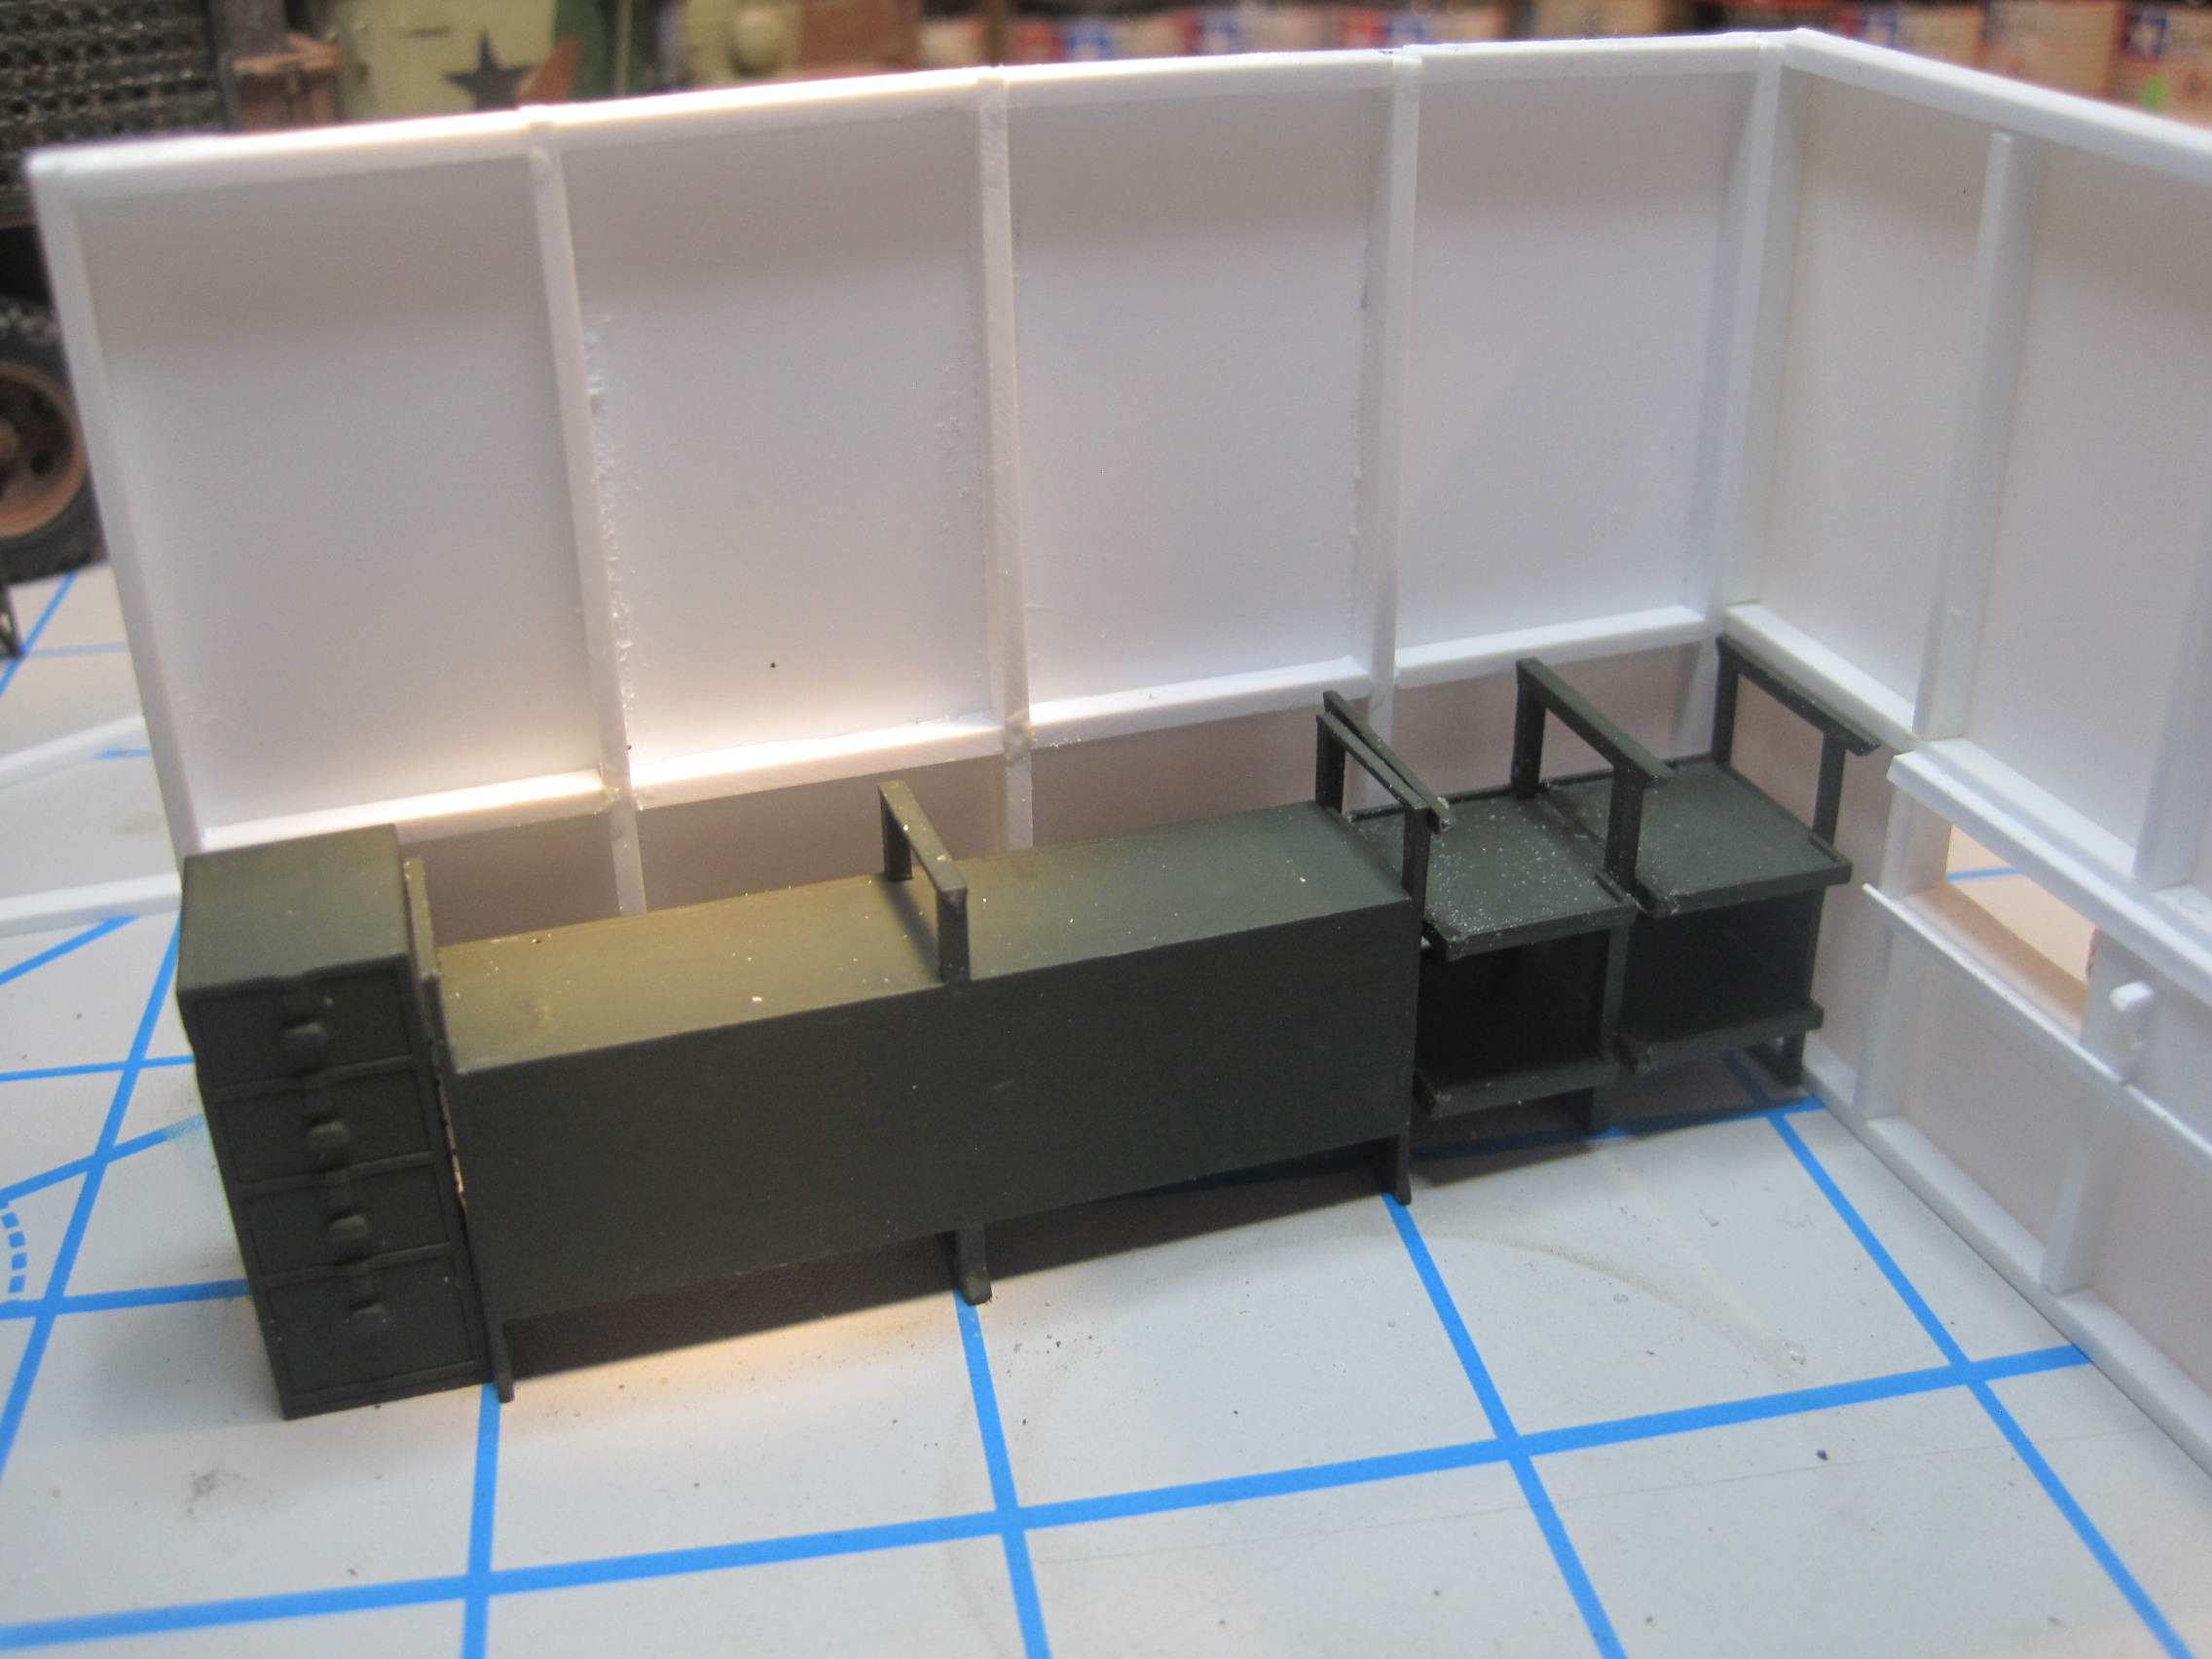
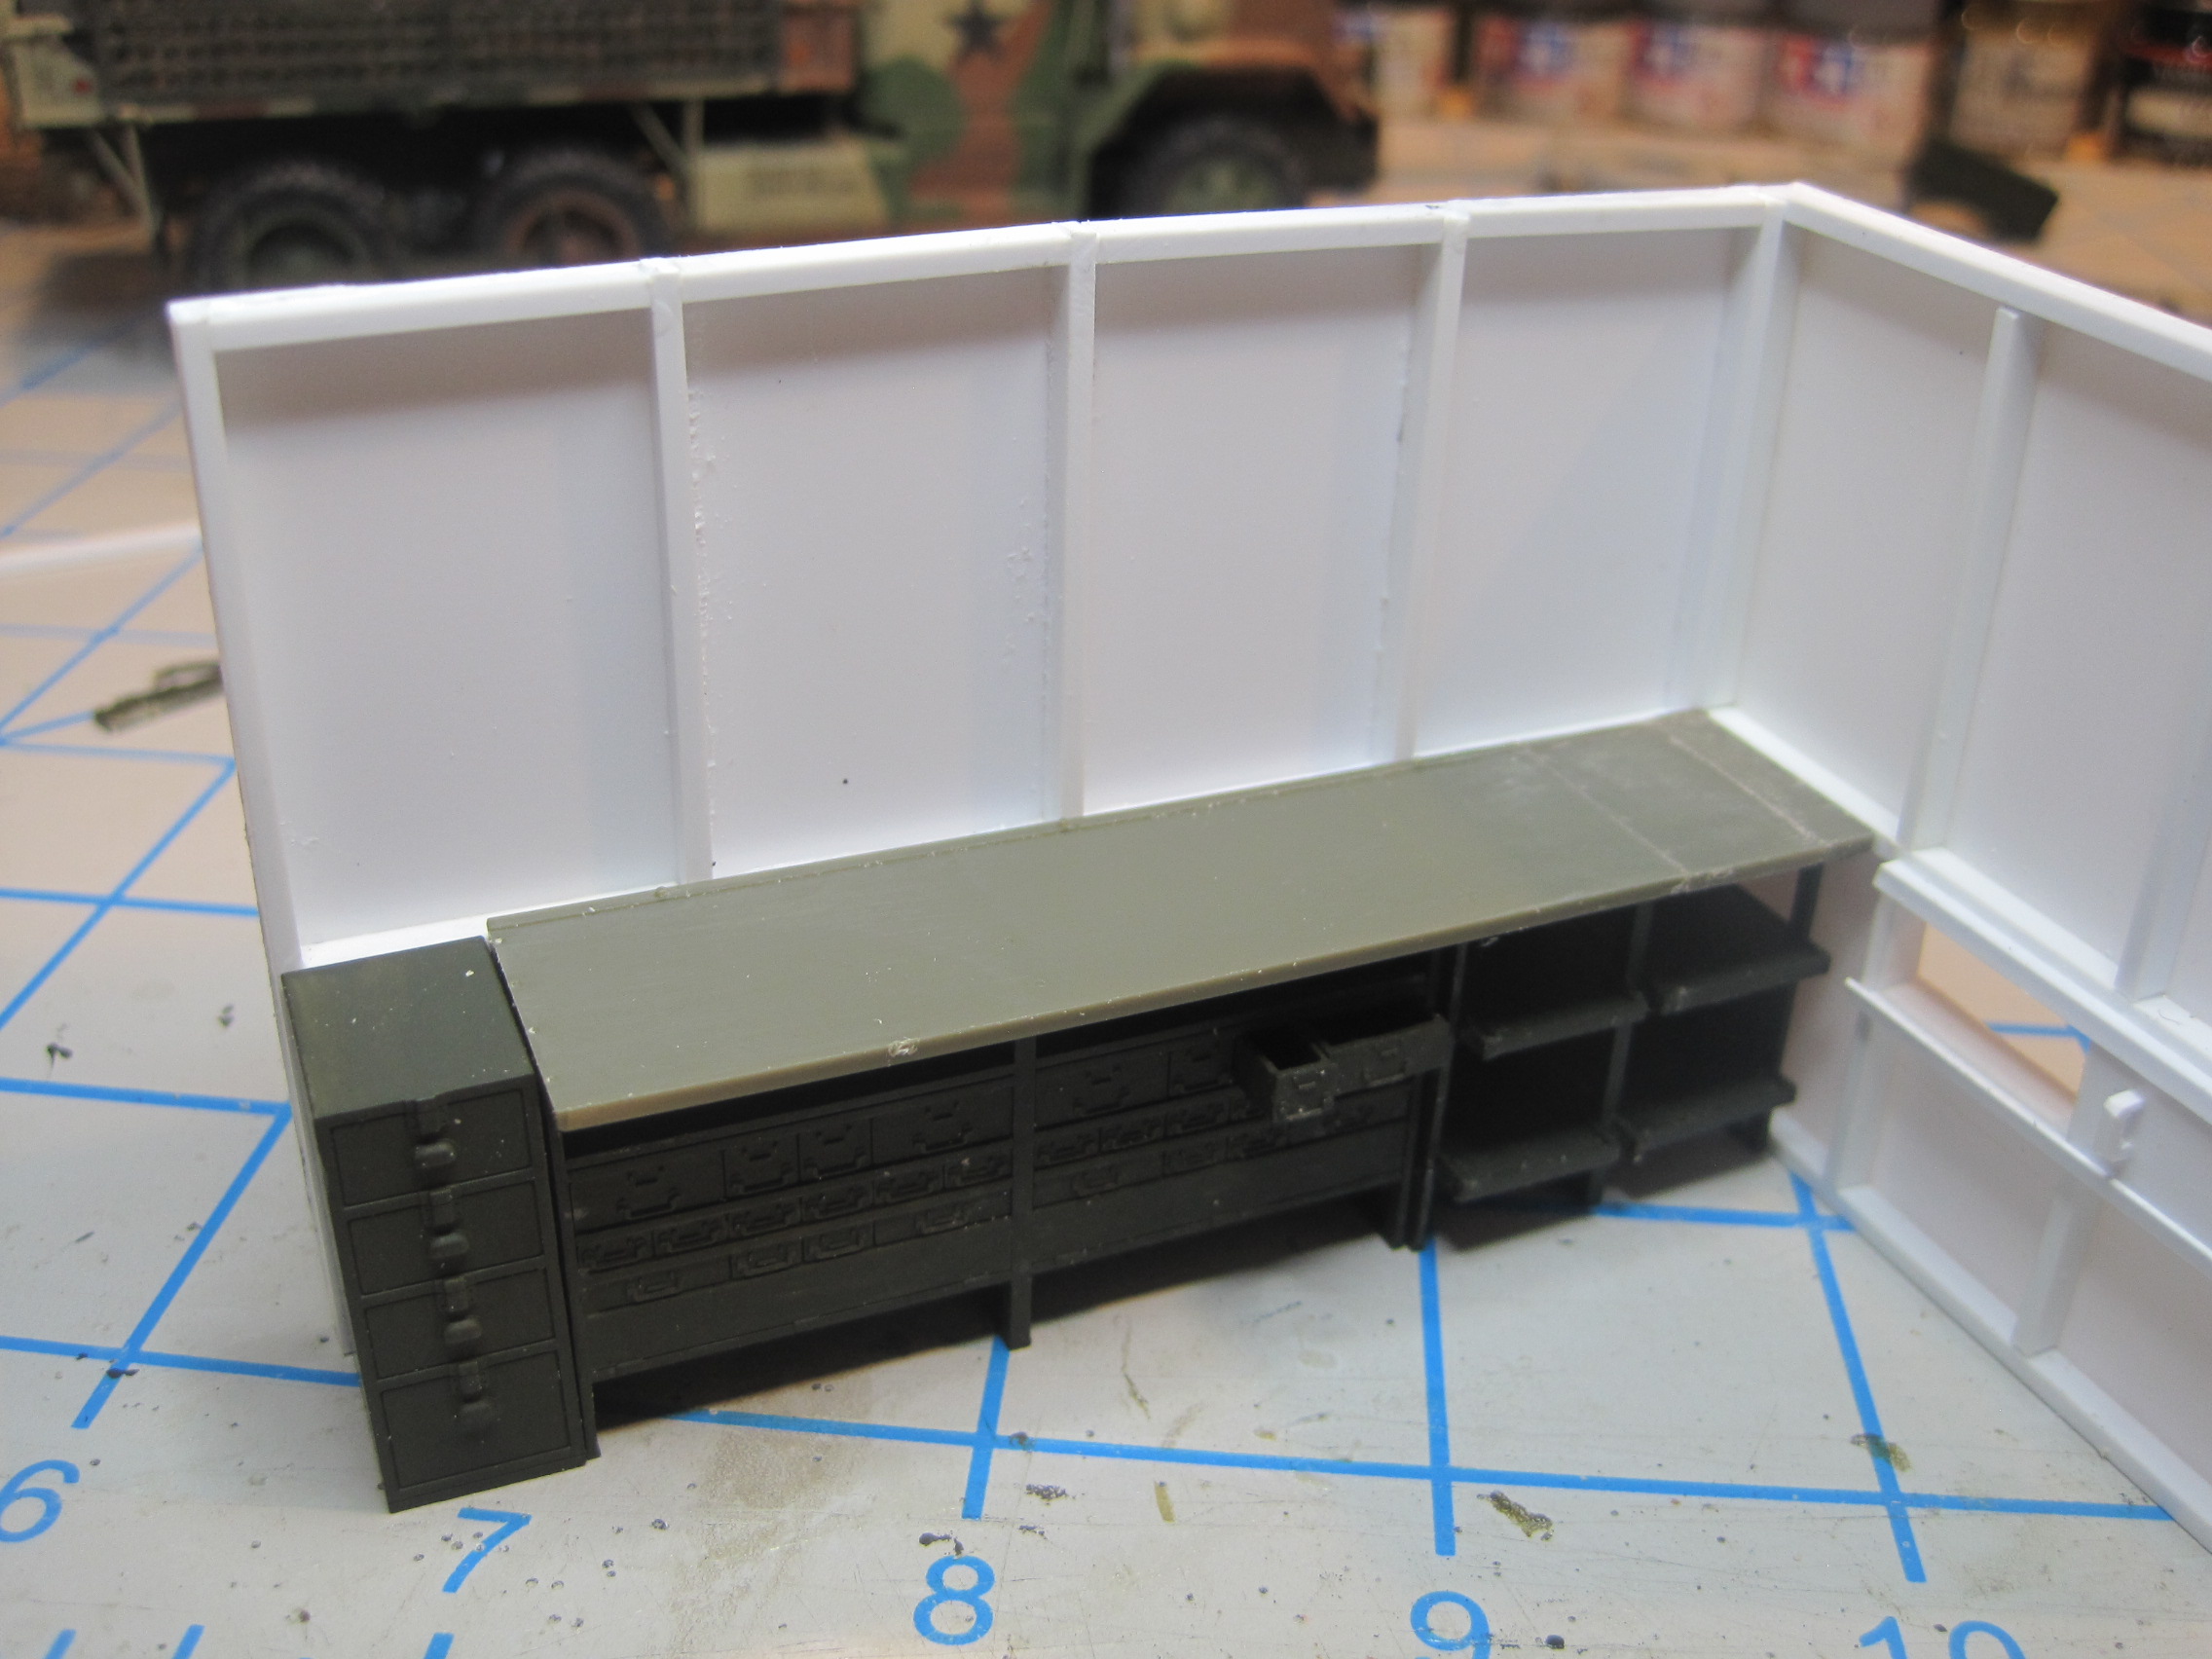
Since I had already used most of the items in the MiniArt Garage workshop set in the trailer, because the cabinets were really too large to use in the truck shelter to allow a walk way, I purchased the AFV Army Workbench & Tool Set to go inside the truck shelter. This appears to have been released as part of their M109 Shop Van kit, and I’m really thankful that somebody decided to release those sprues as a separate kit.
But since the M109 shop van is longer slightly than the cargo bed in the M35 because it has no tailgate, and the tailgate is essential for the M35 with a “unit built” shelter, I have to cut down the parts to fit. So the shelf units get shortened. I could have taken up all the length in just one shelf and saved a lot of work and time, but cutting each one down by the same amount looks a lot better and less noticeable.

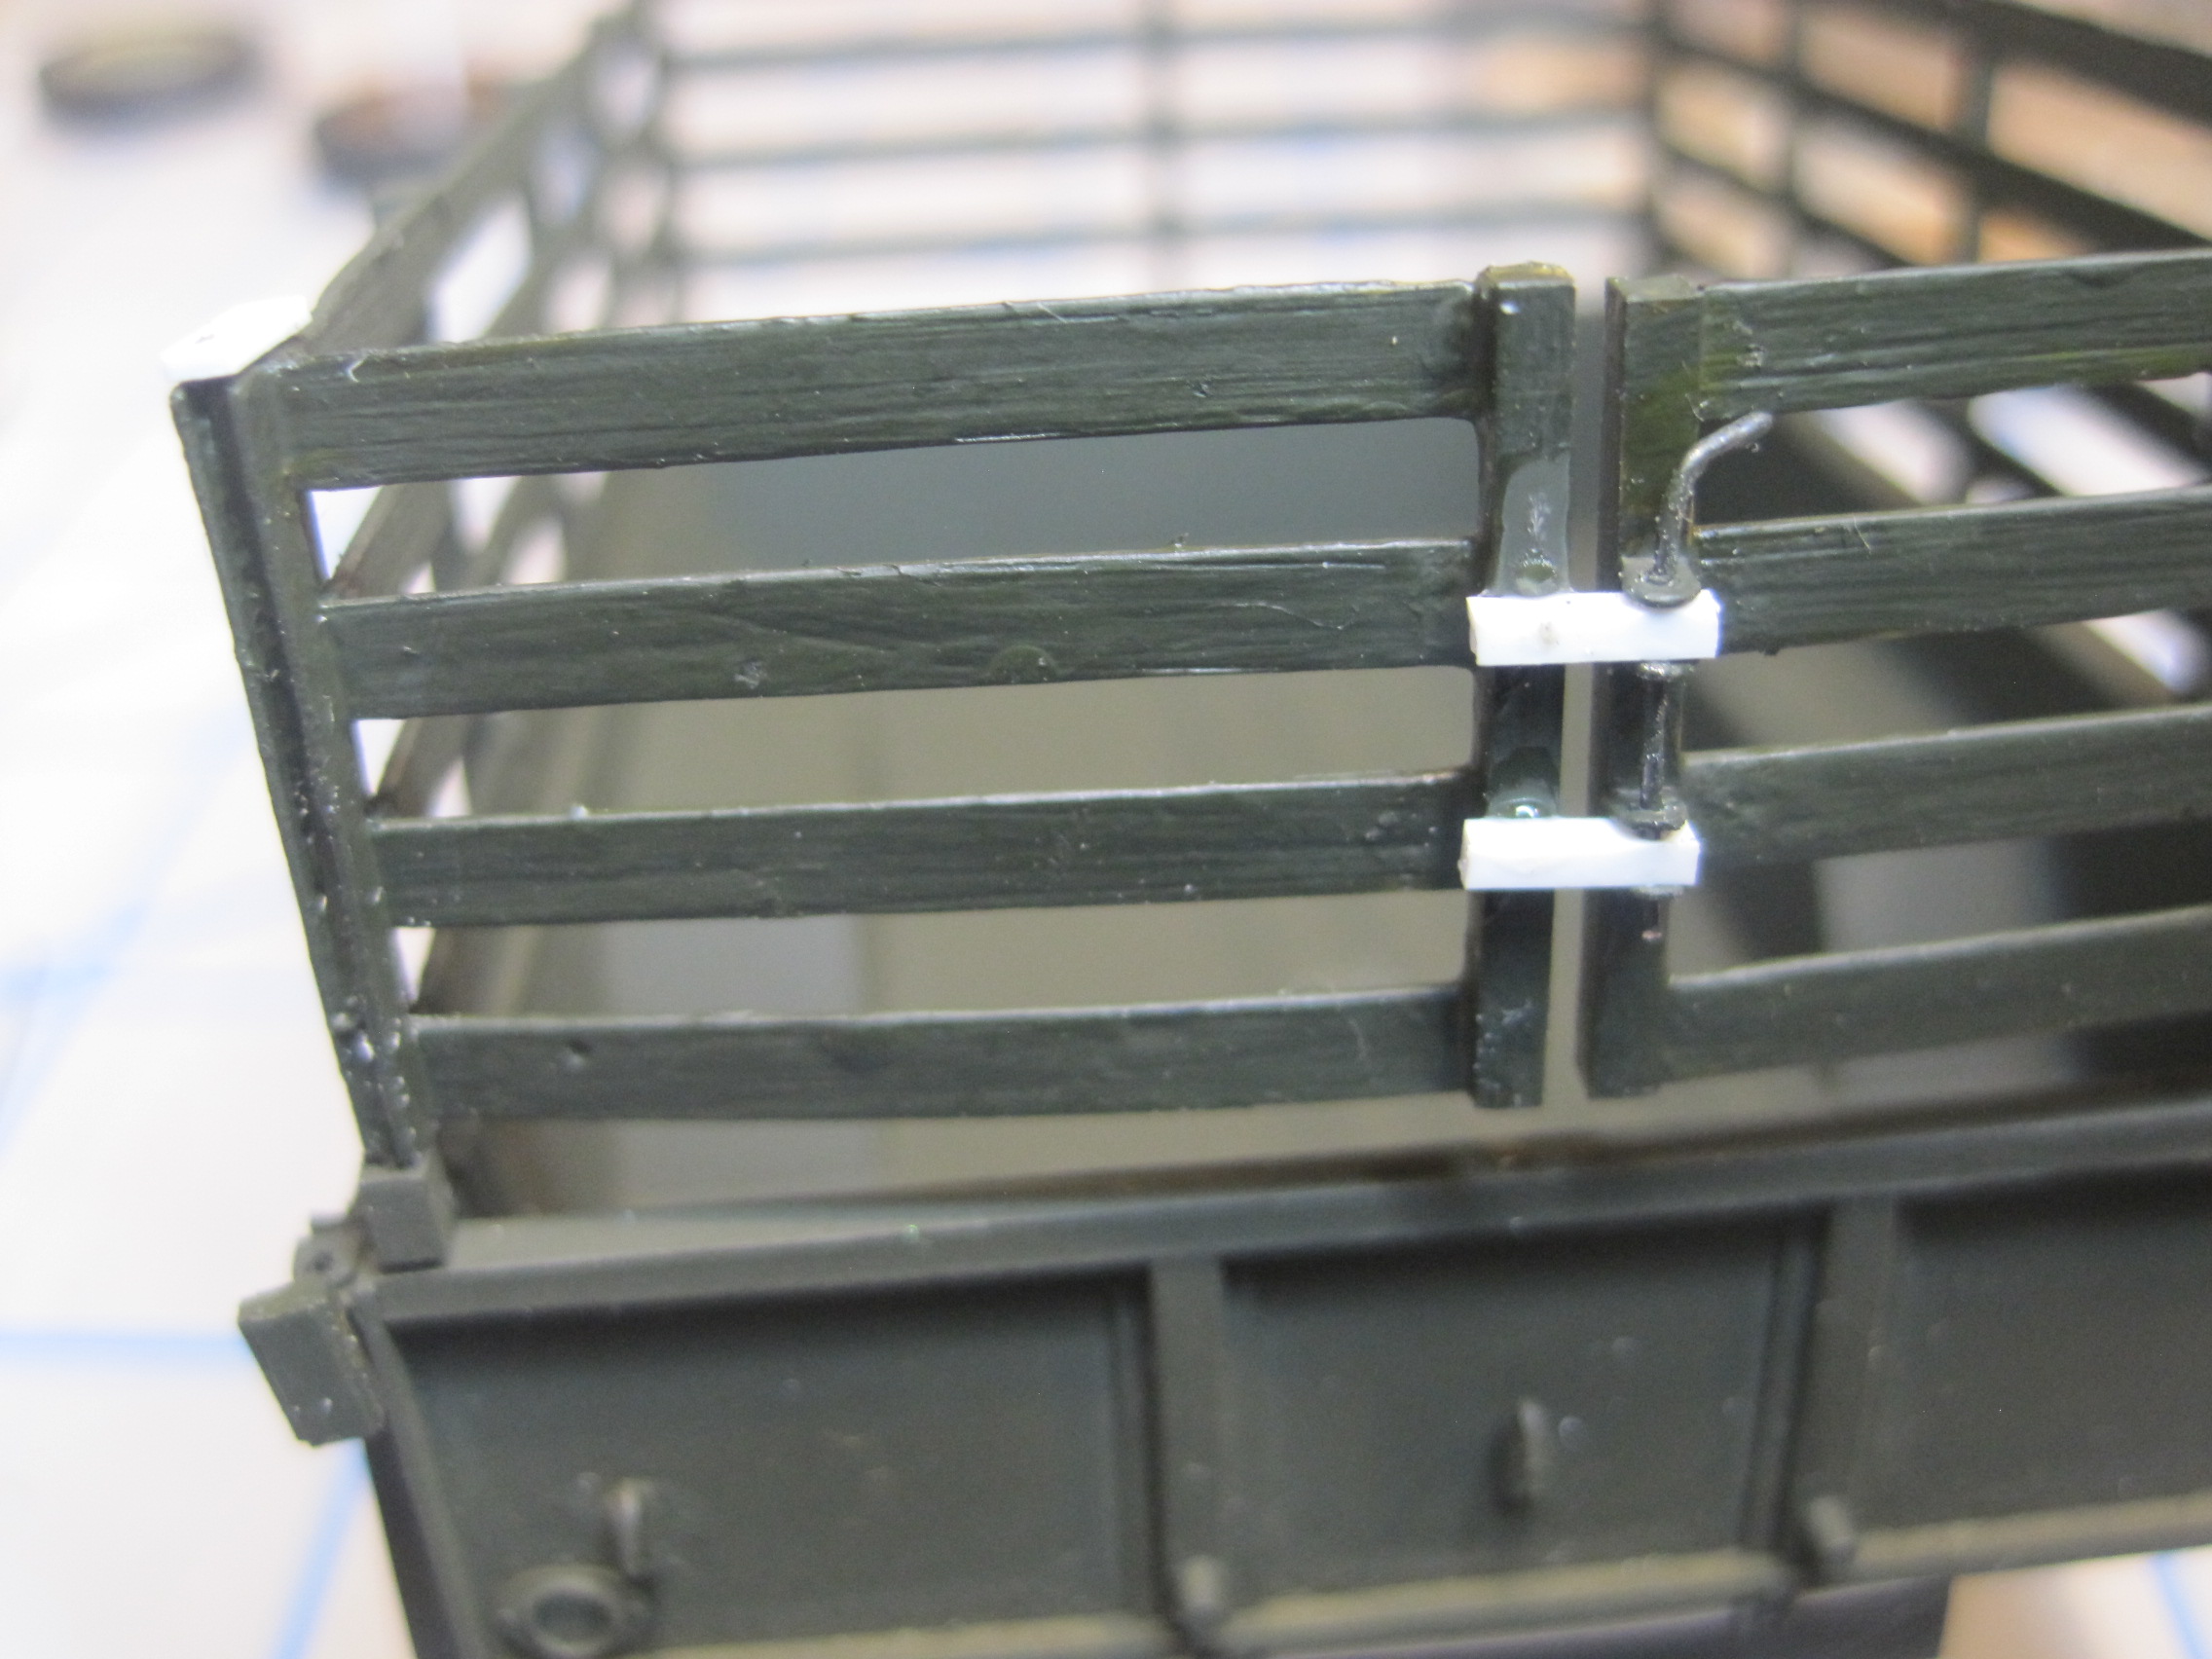
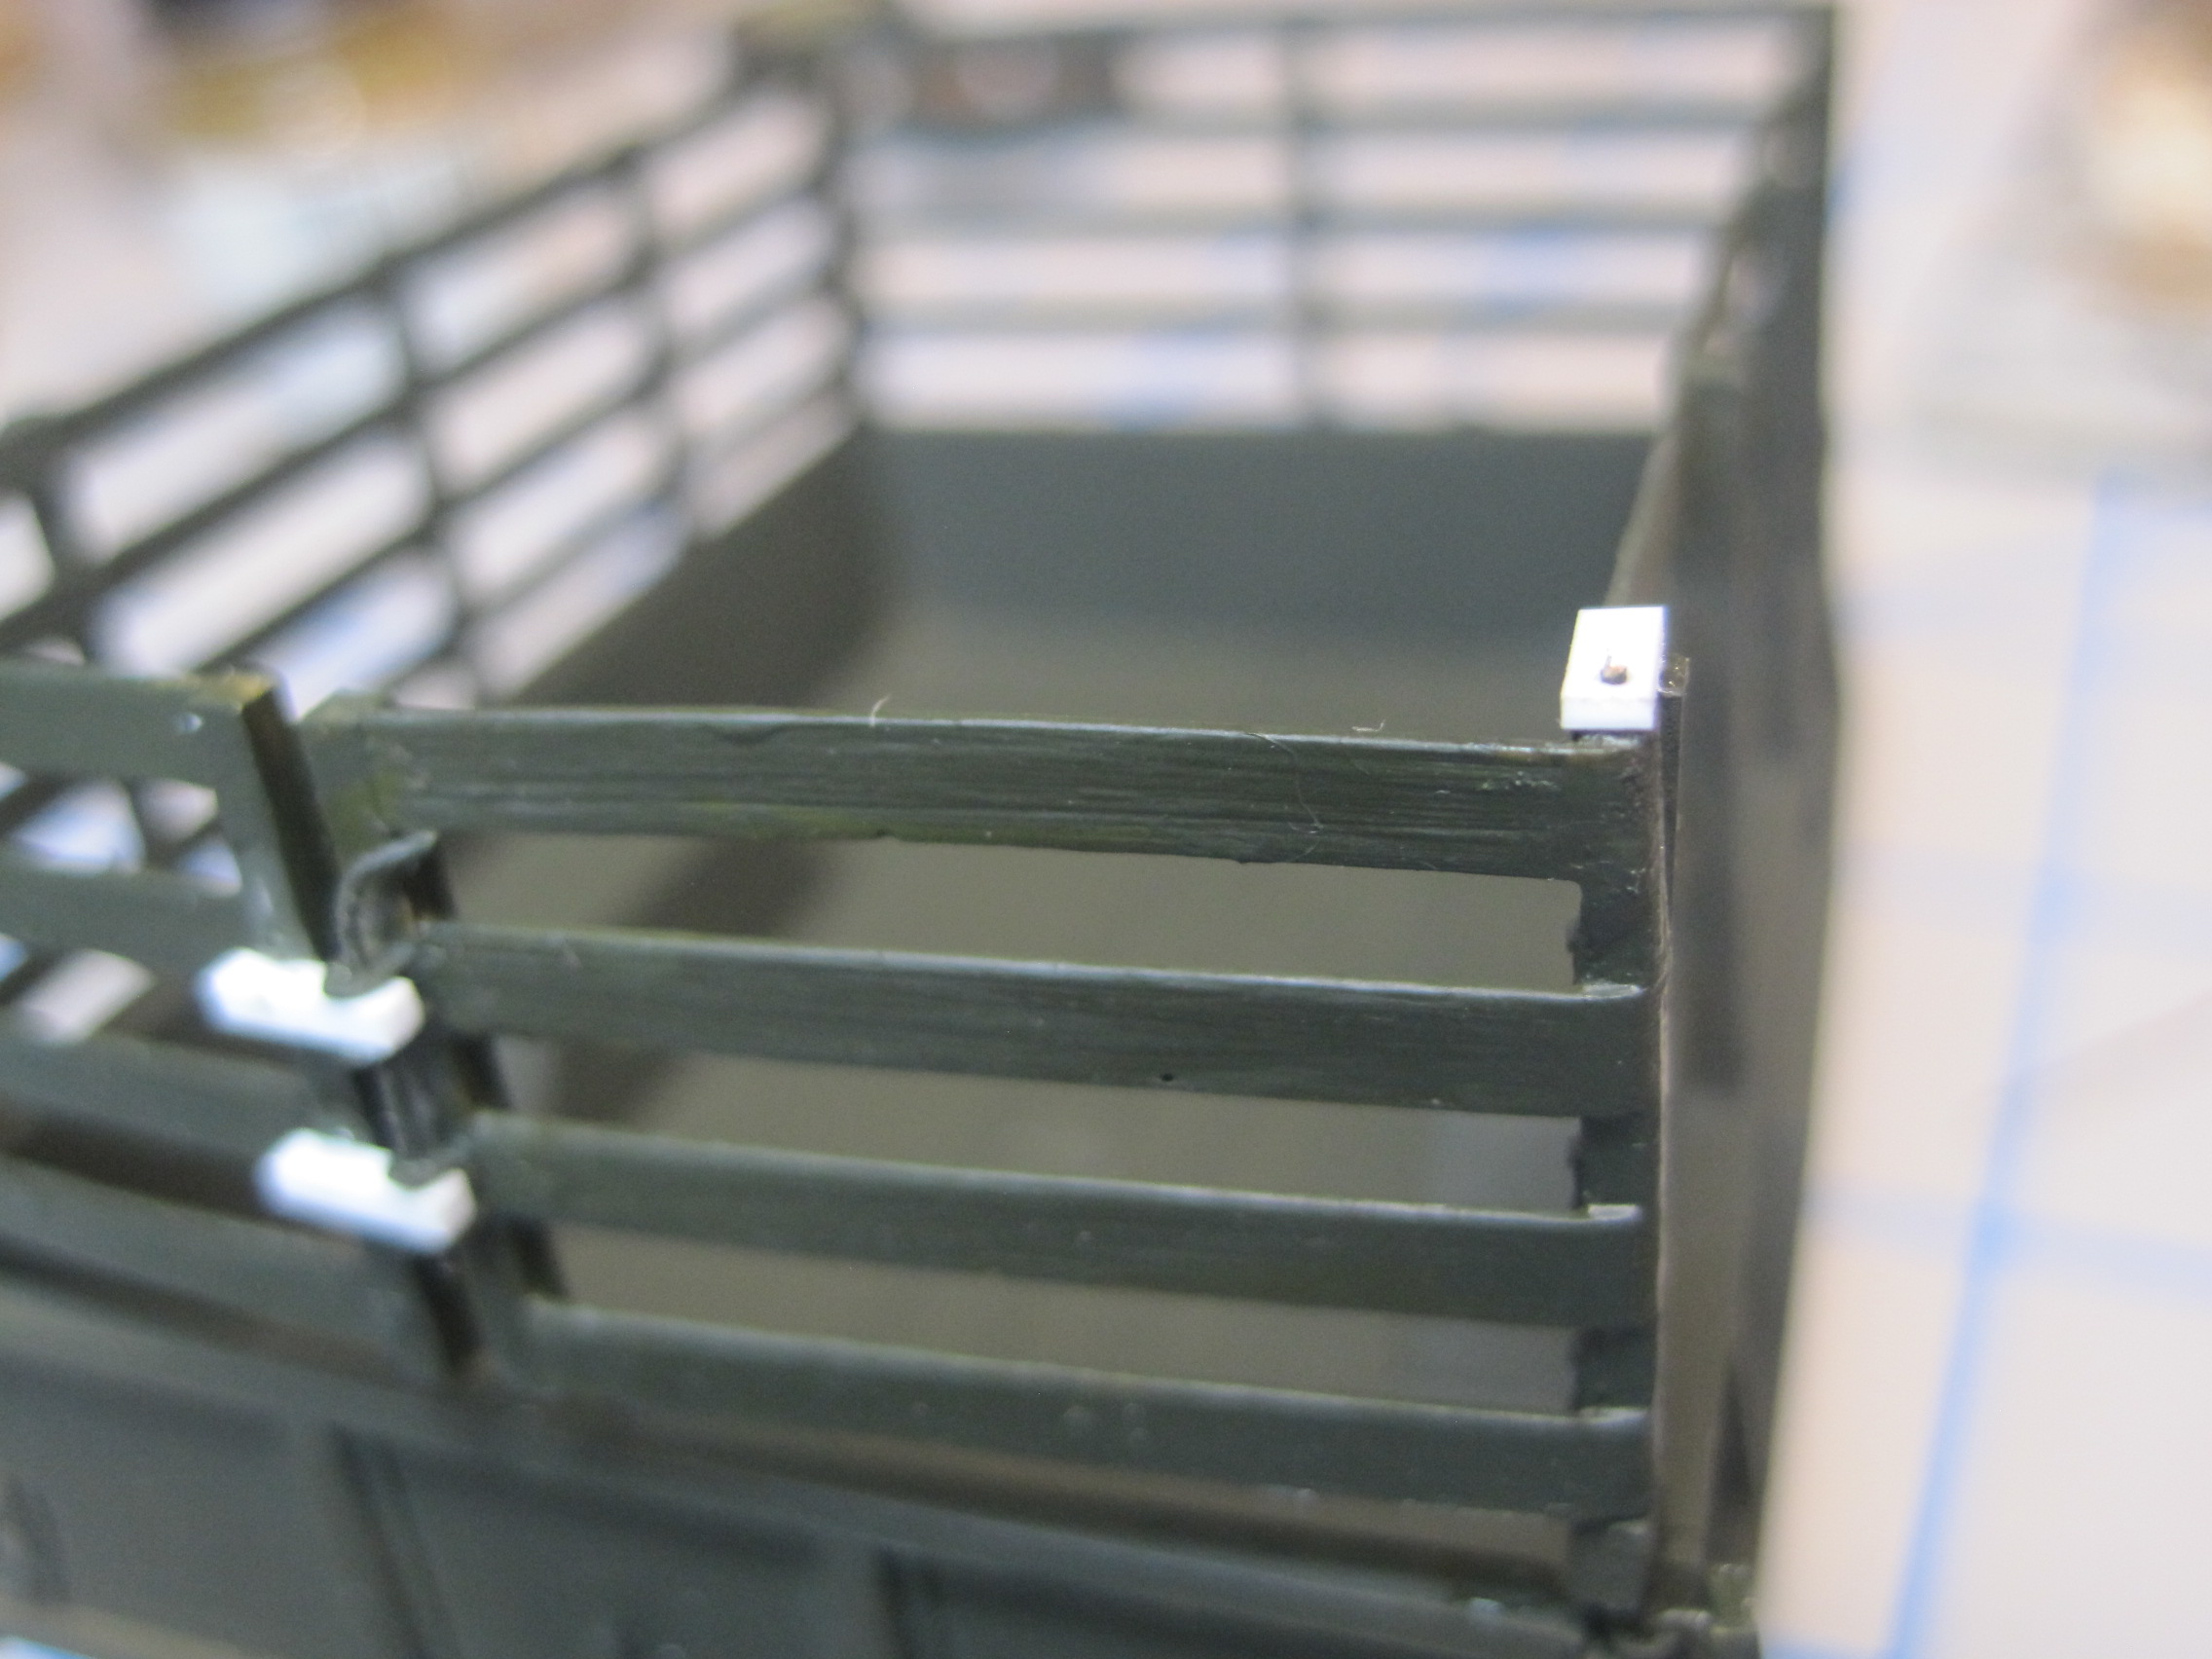
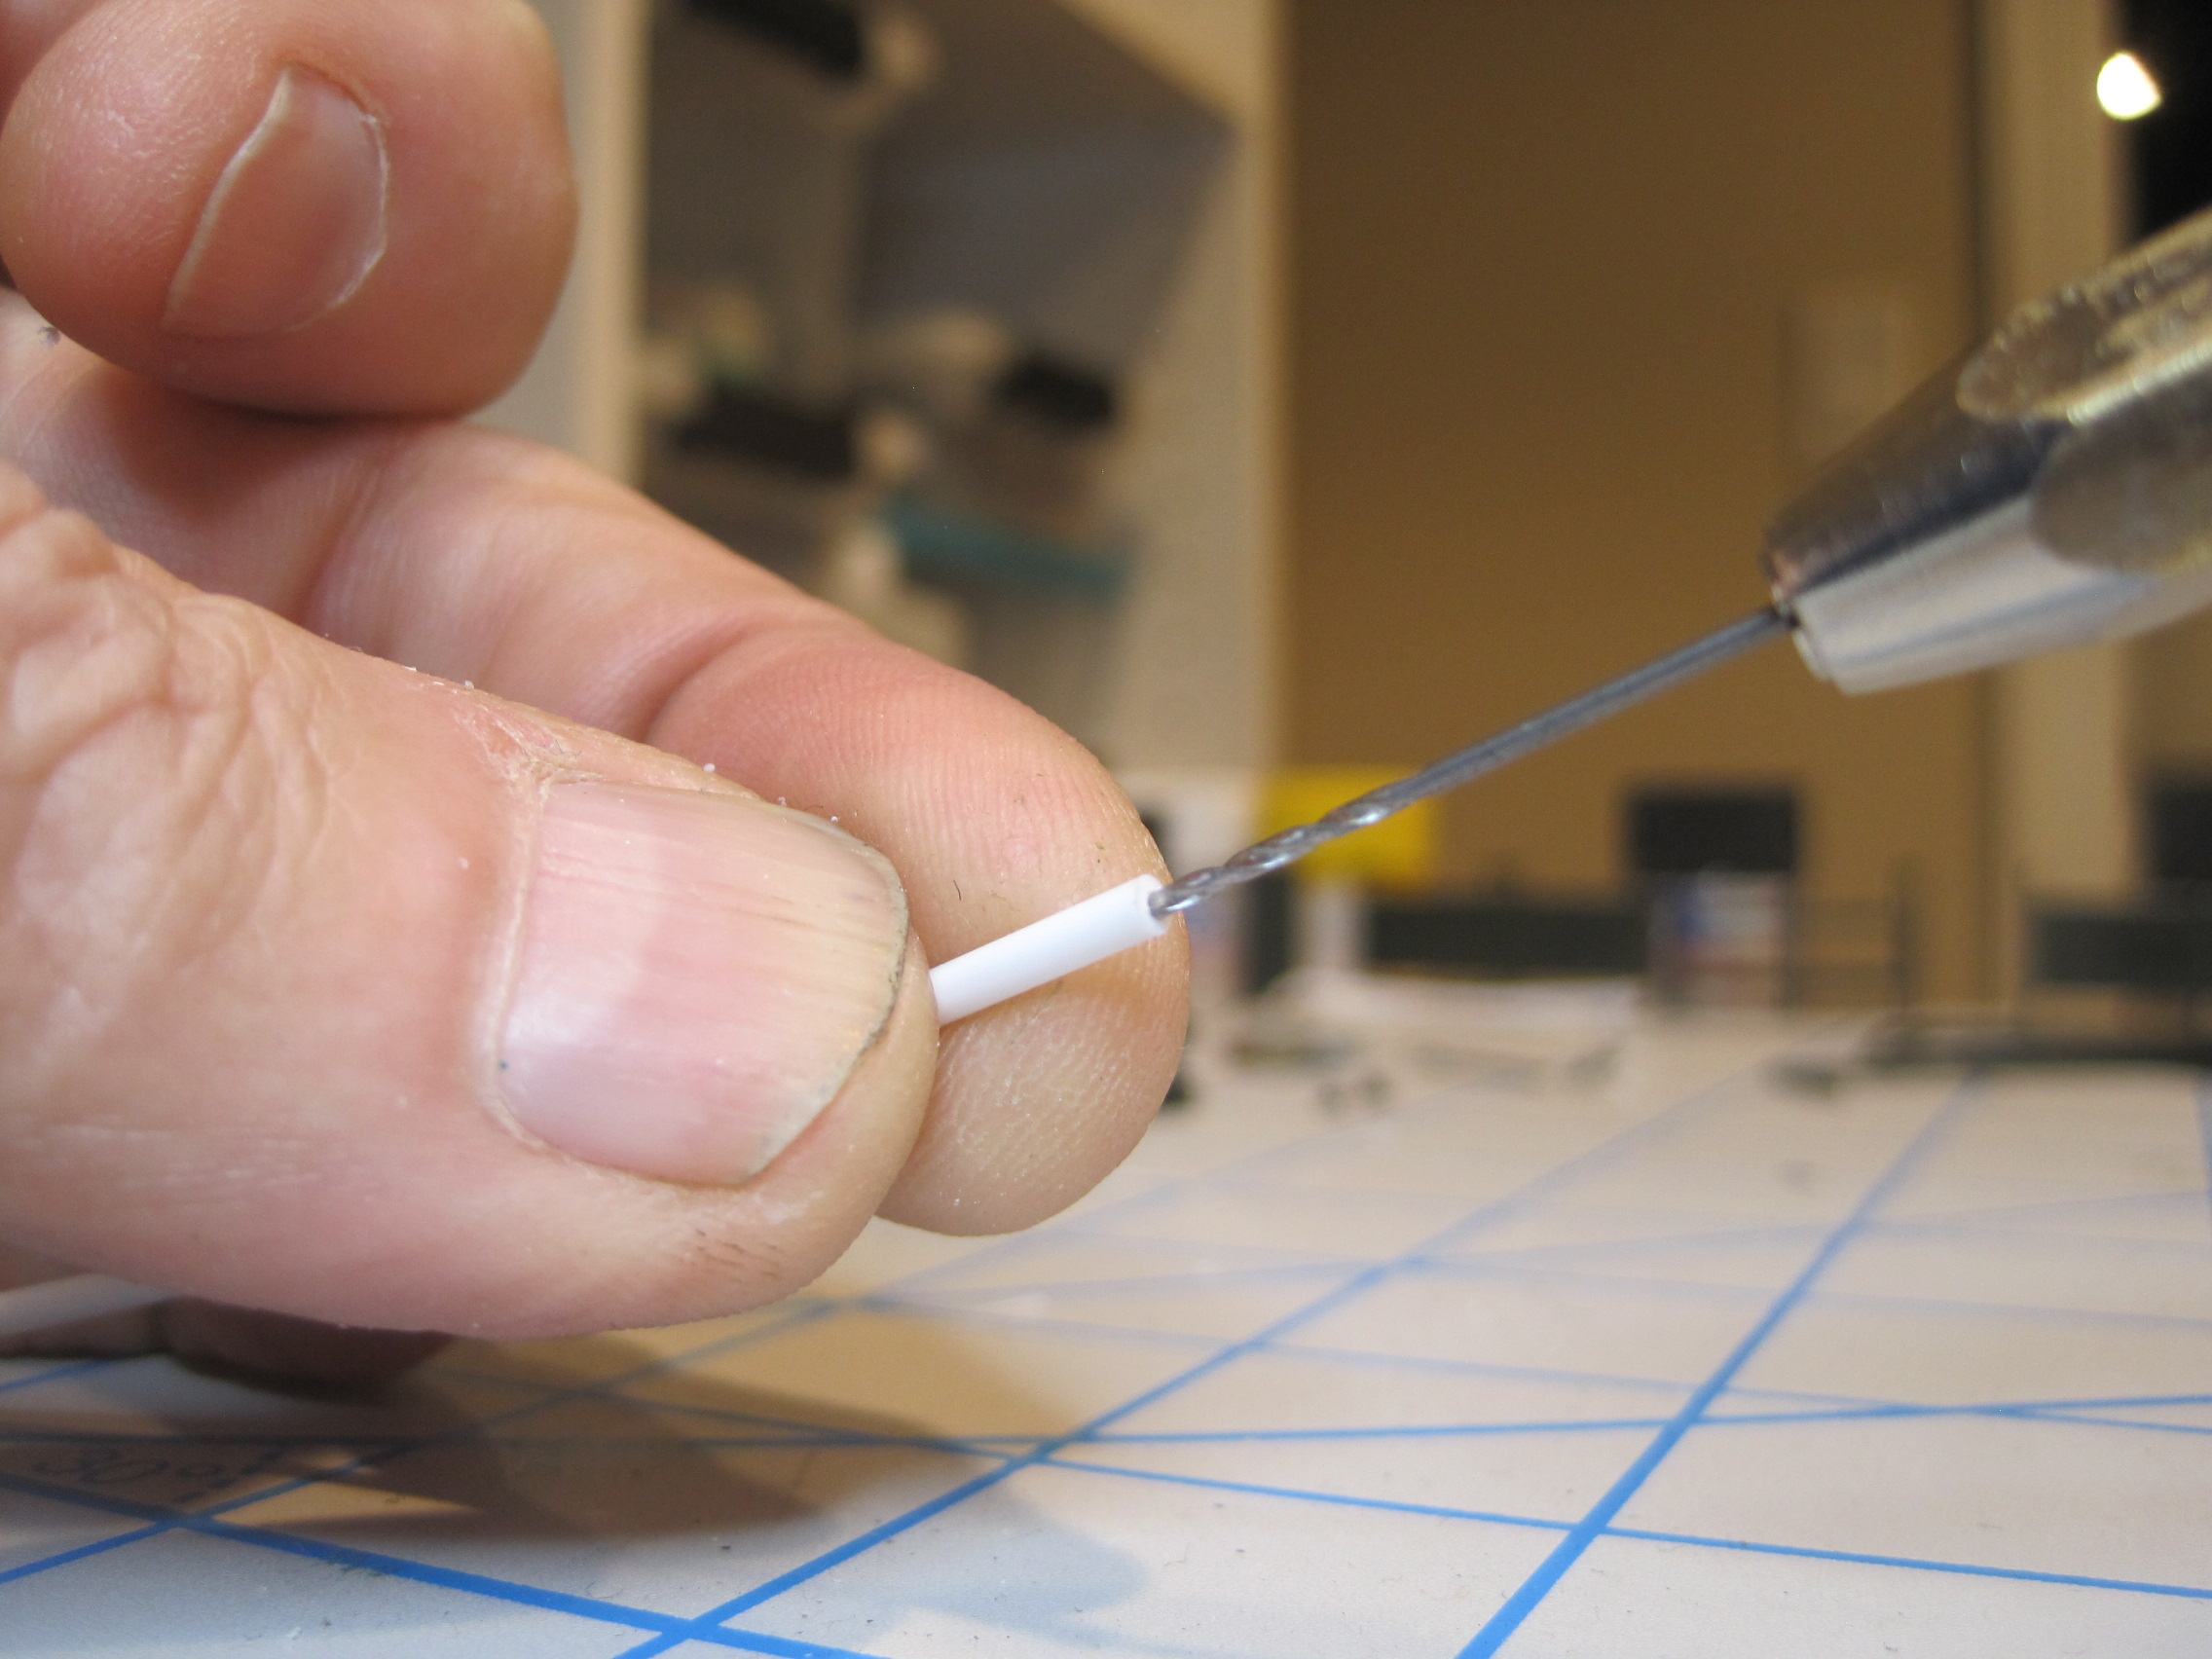
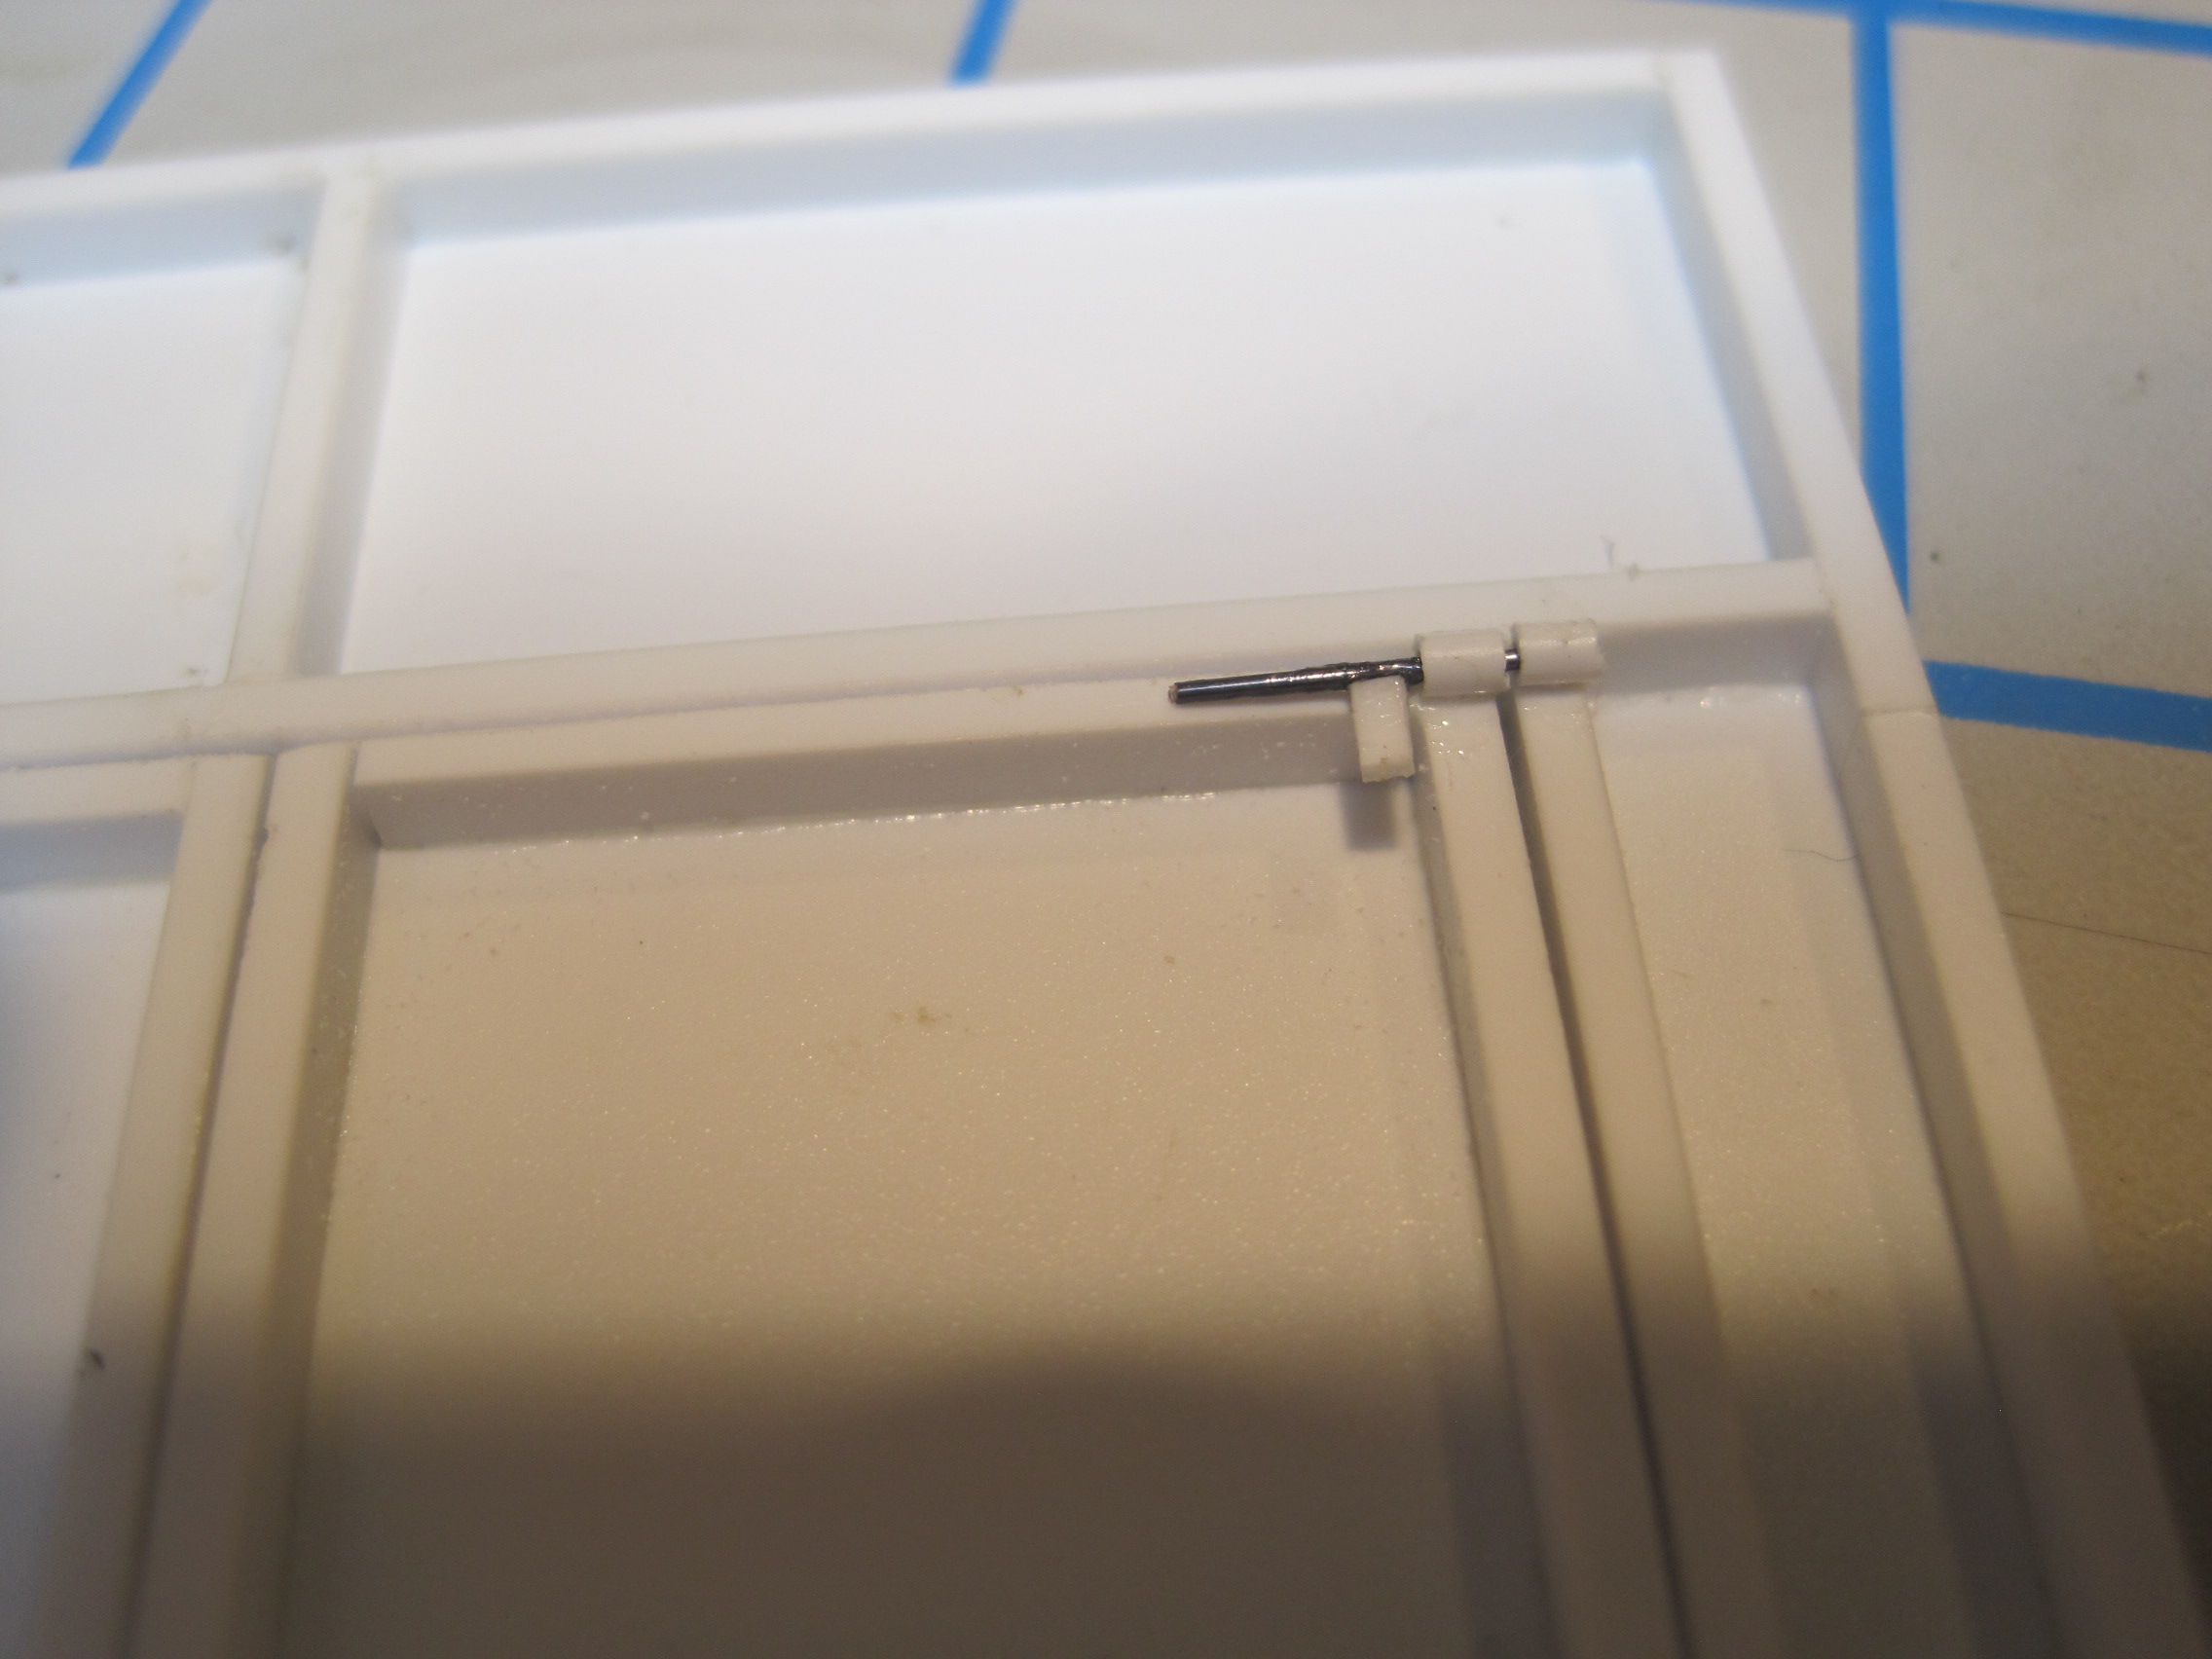
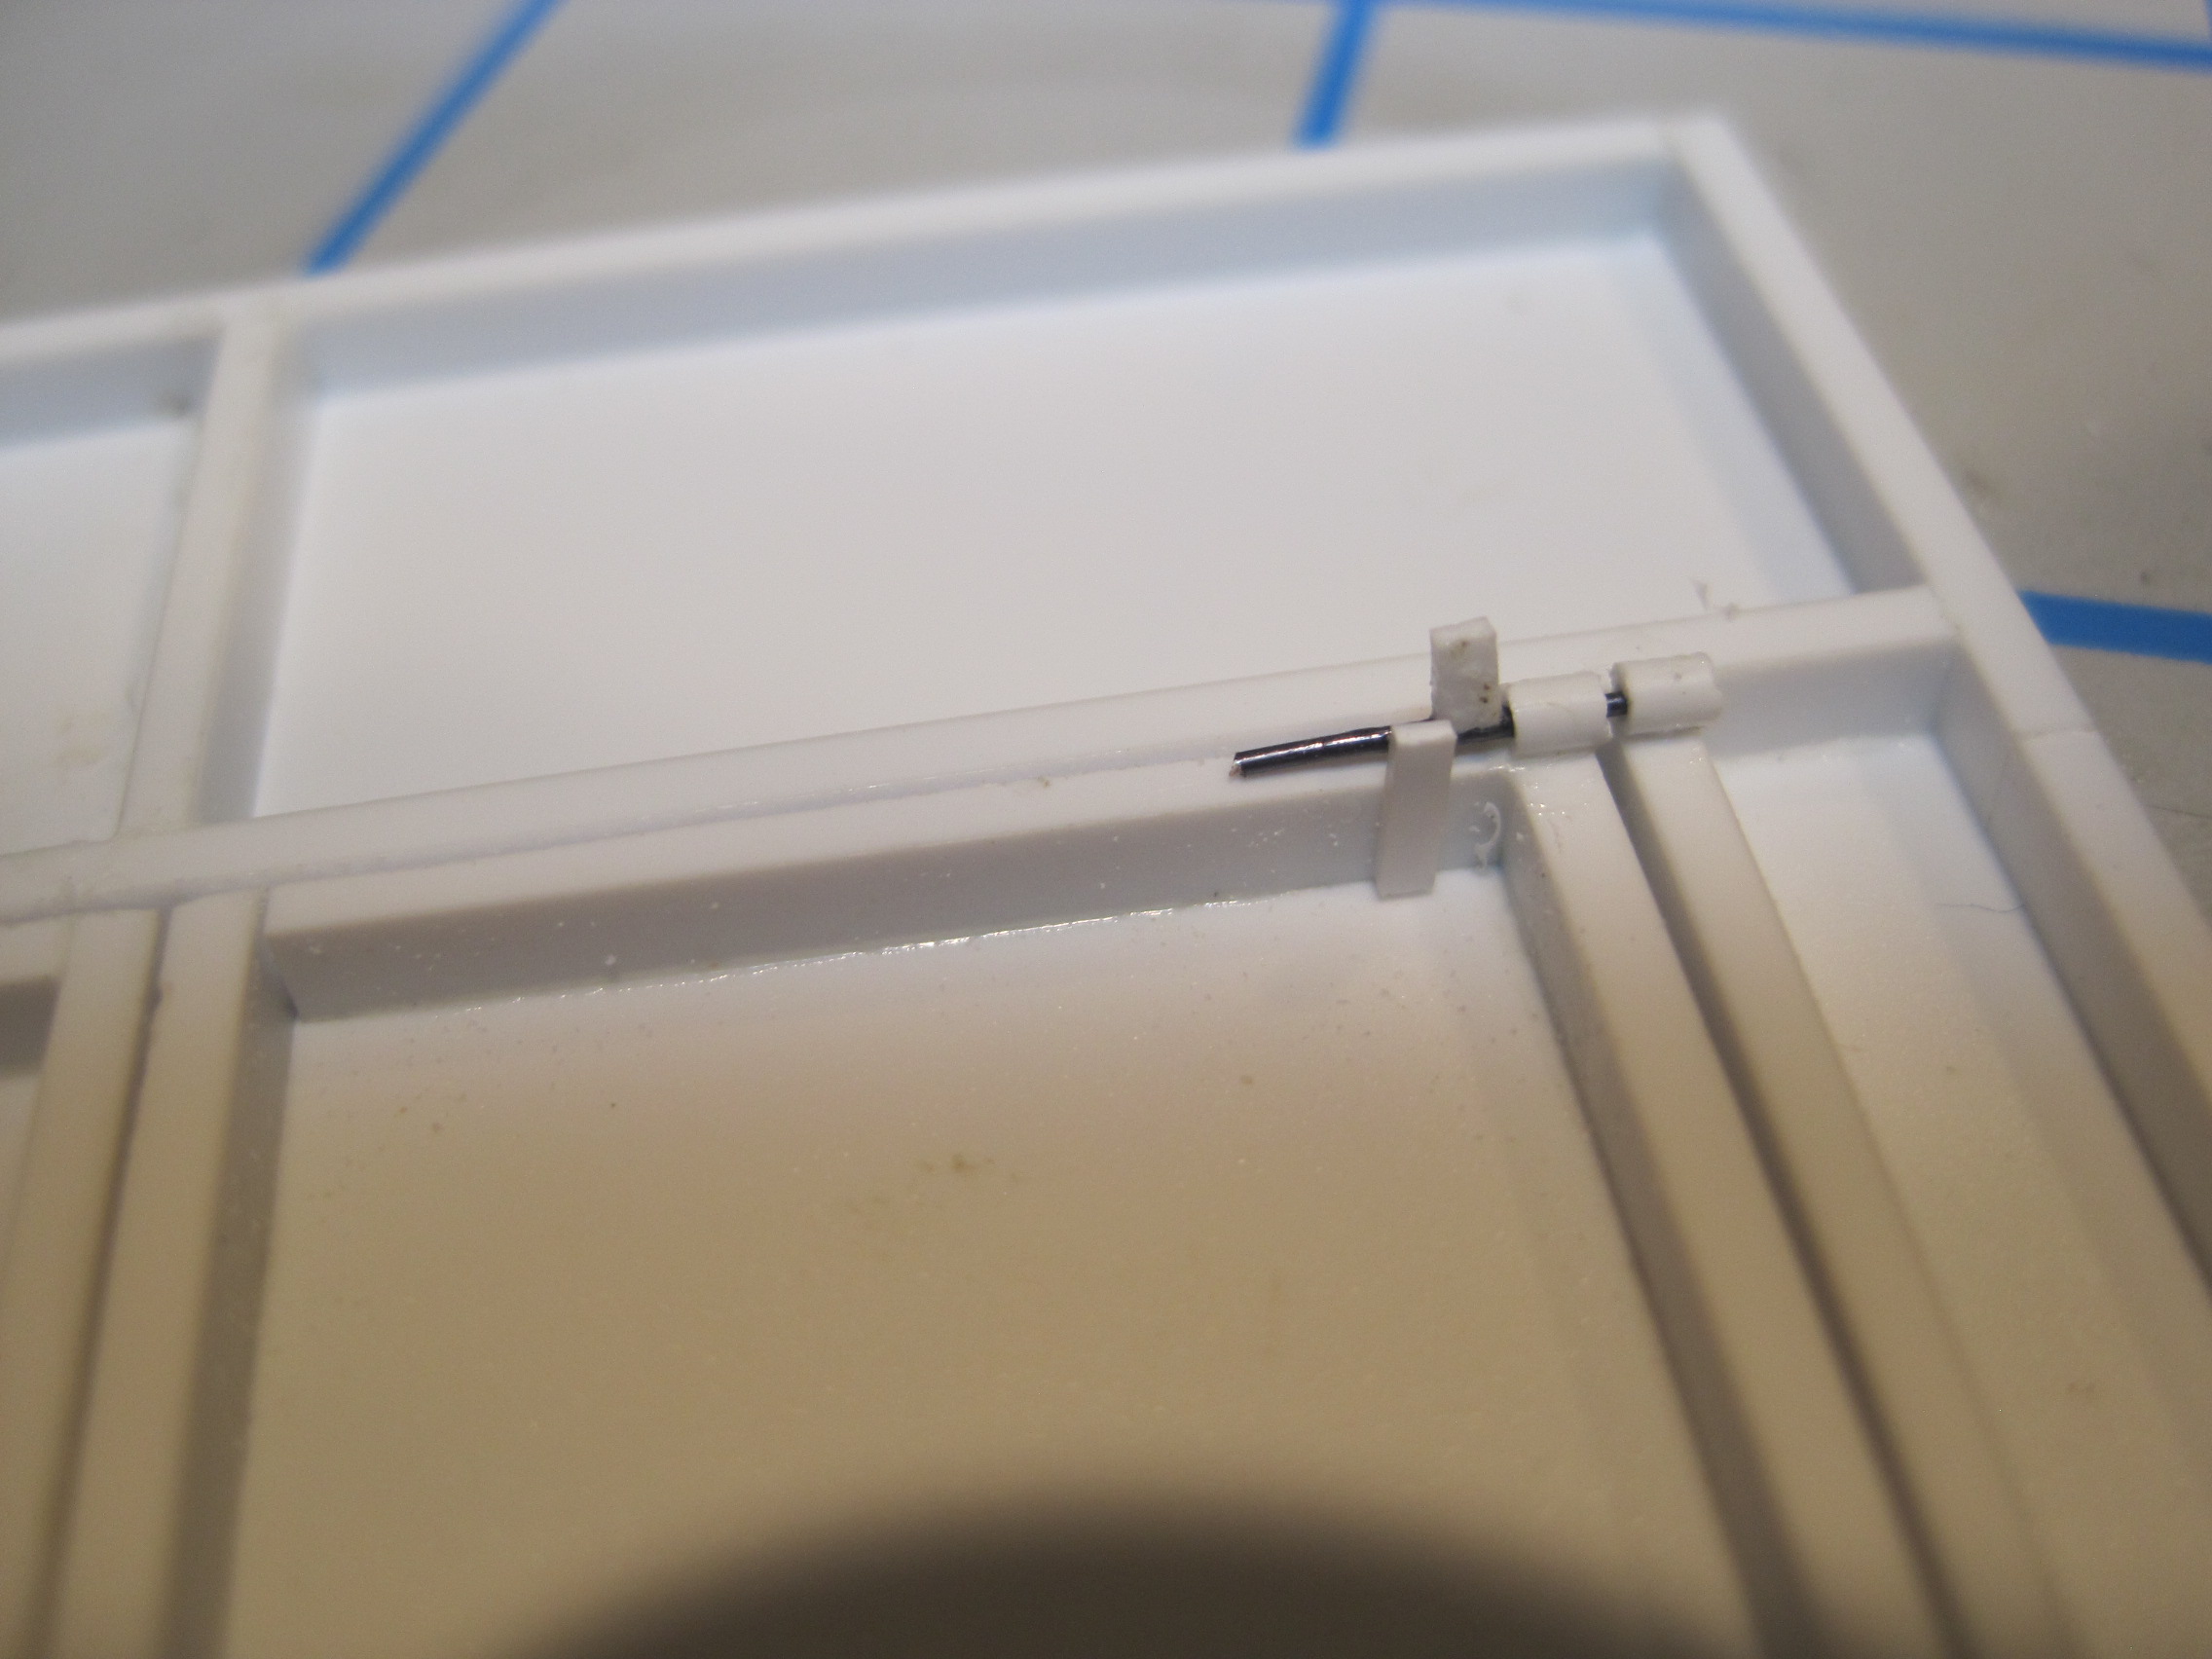
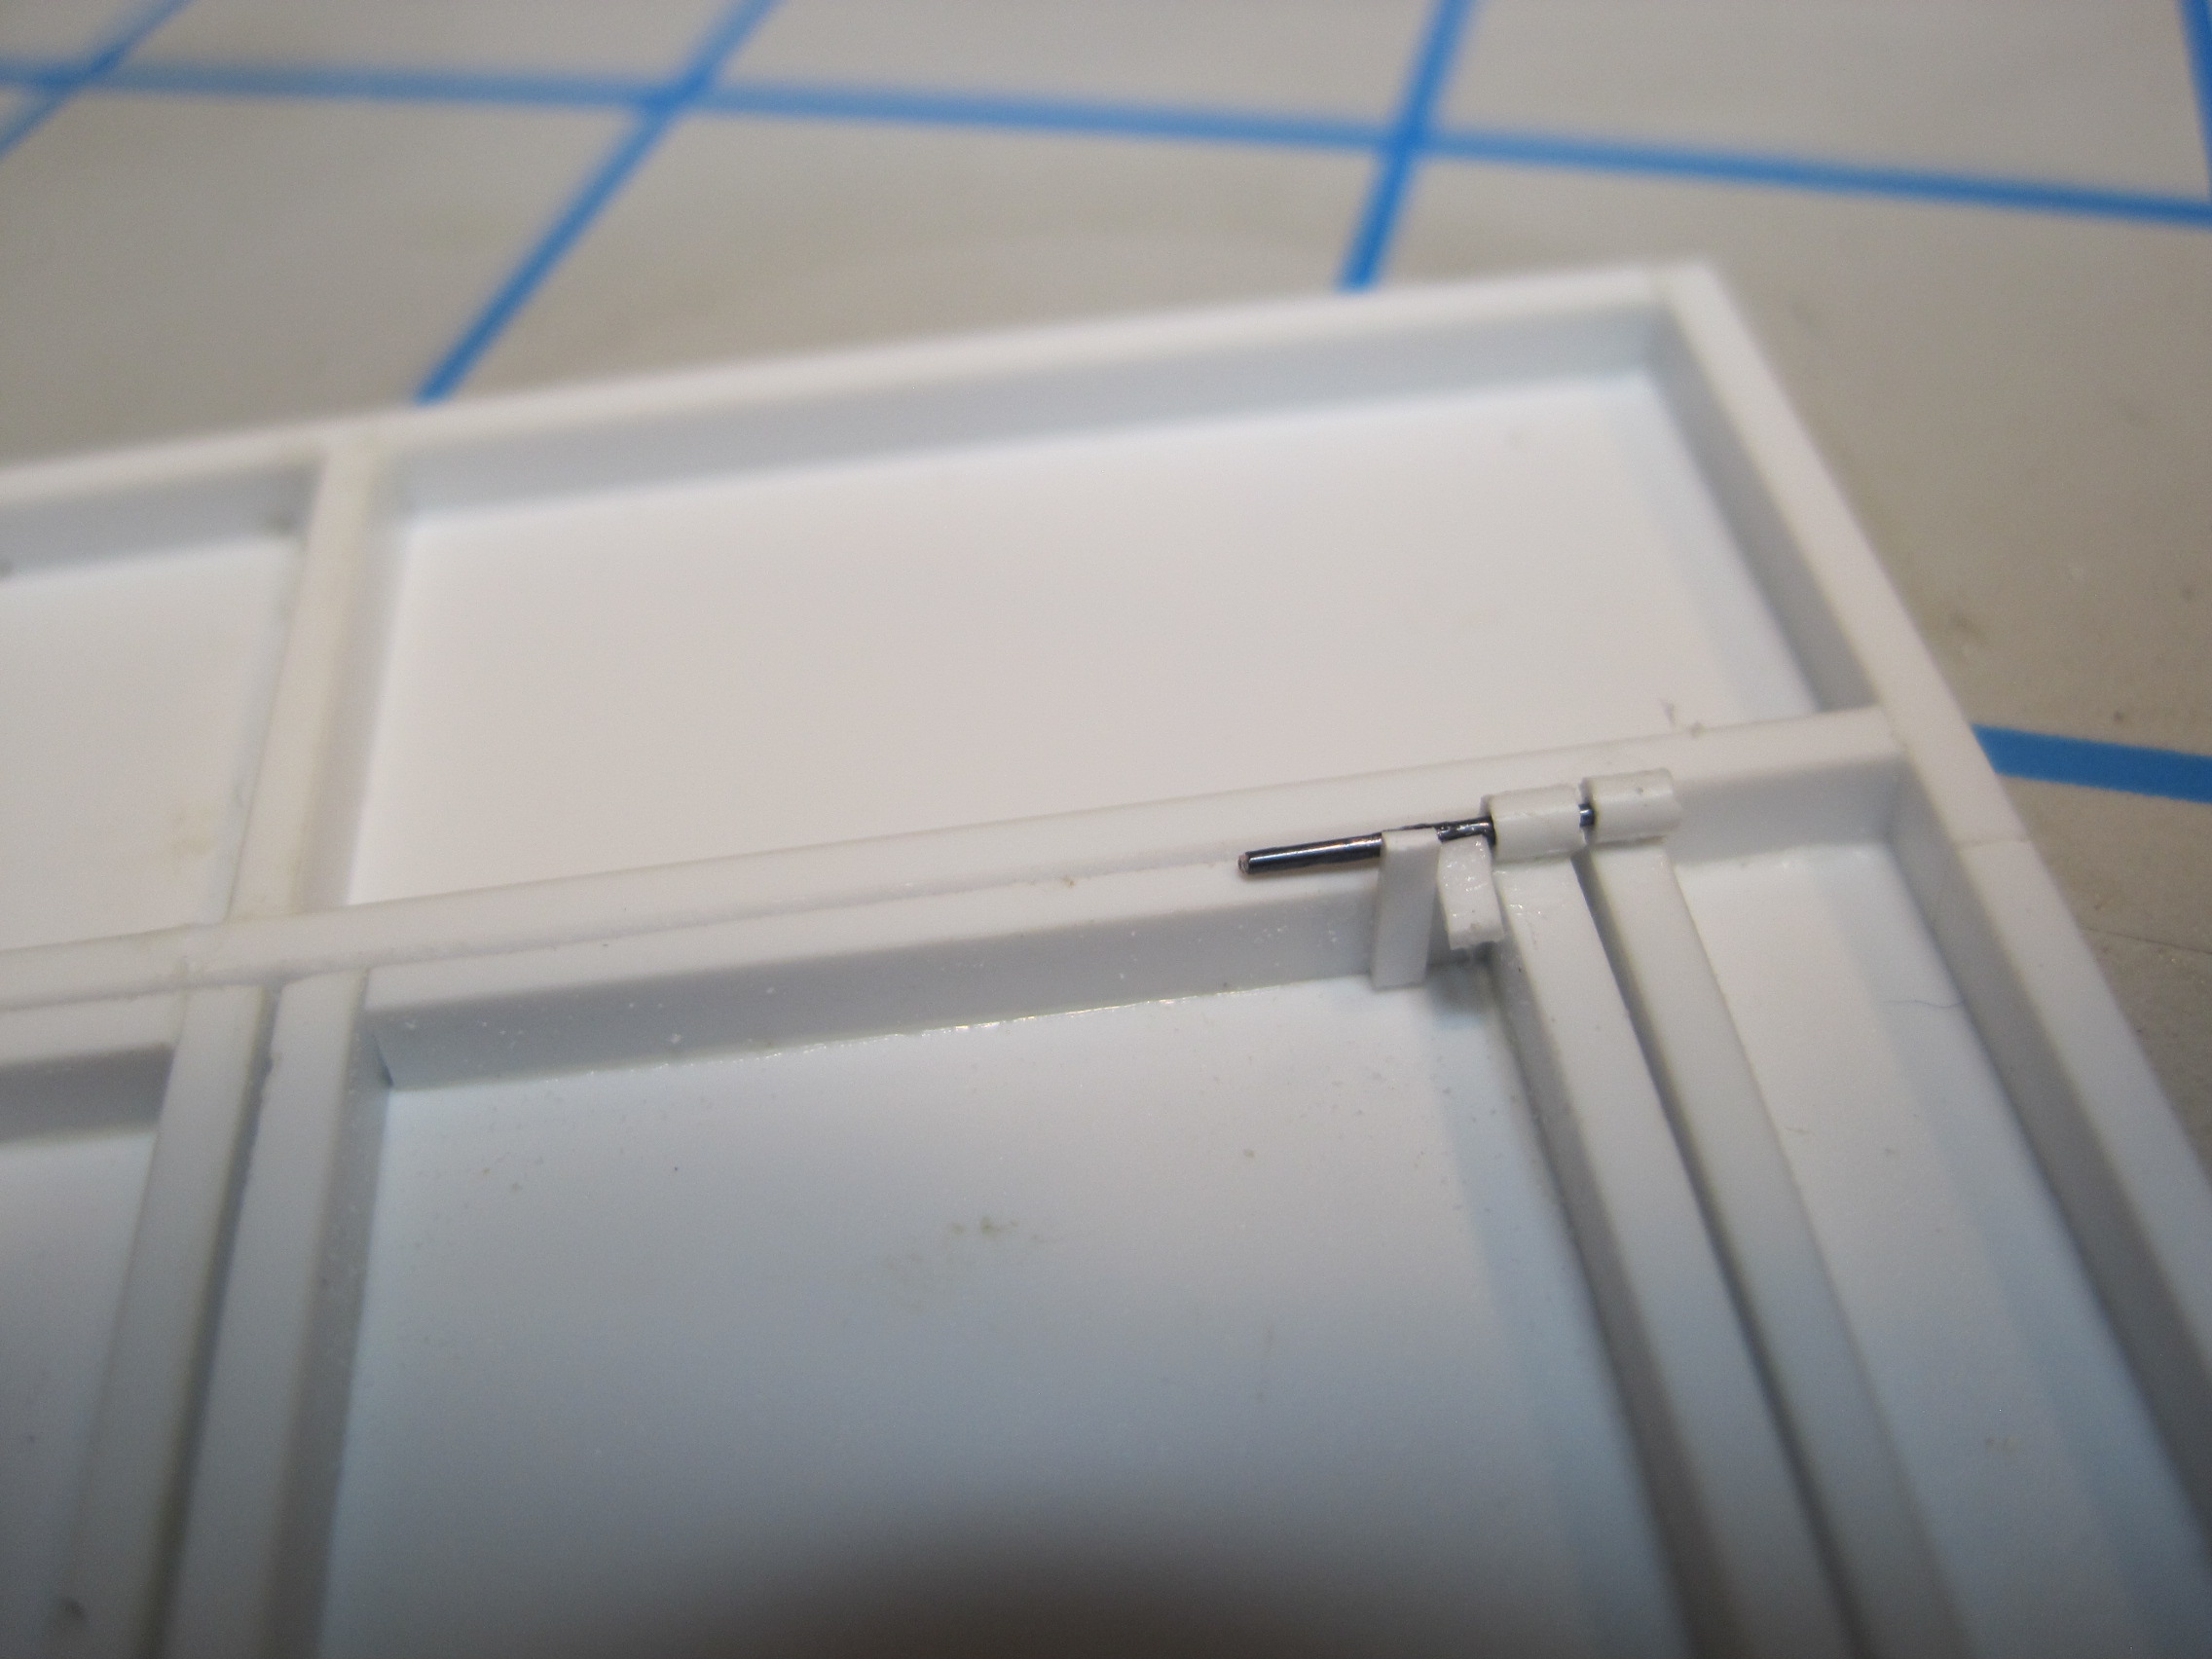
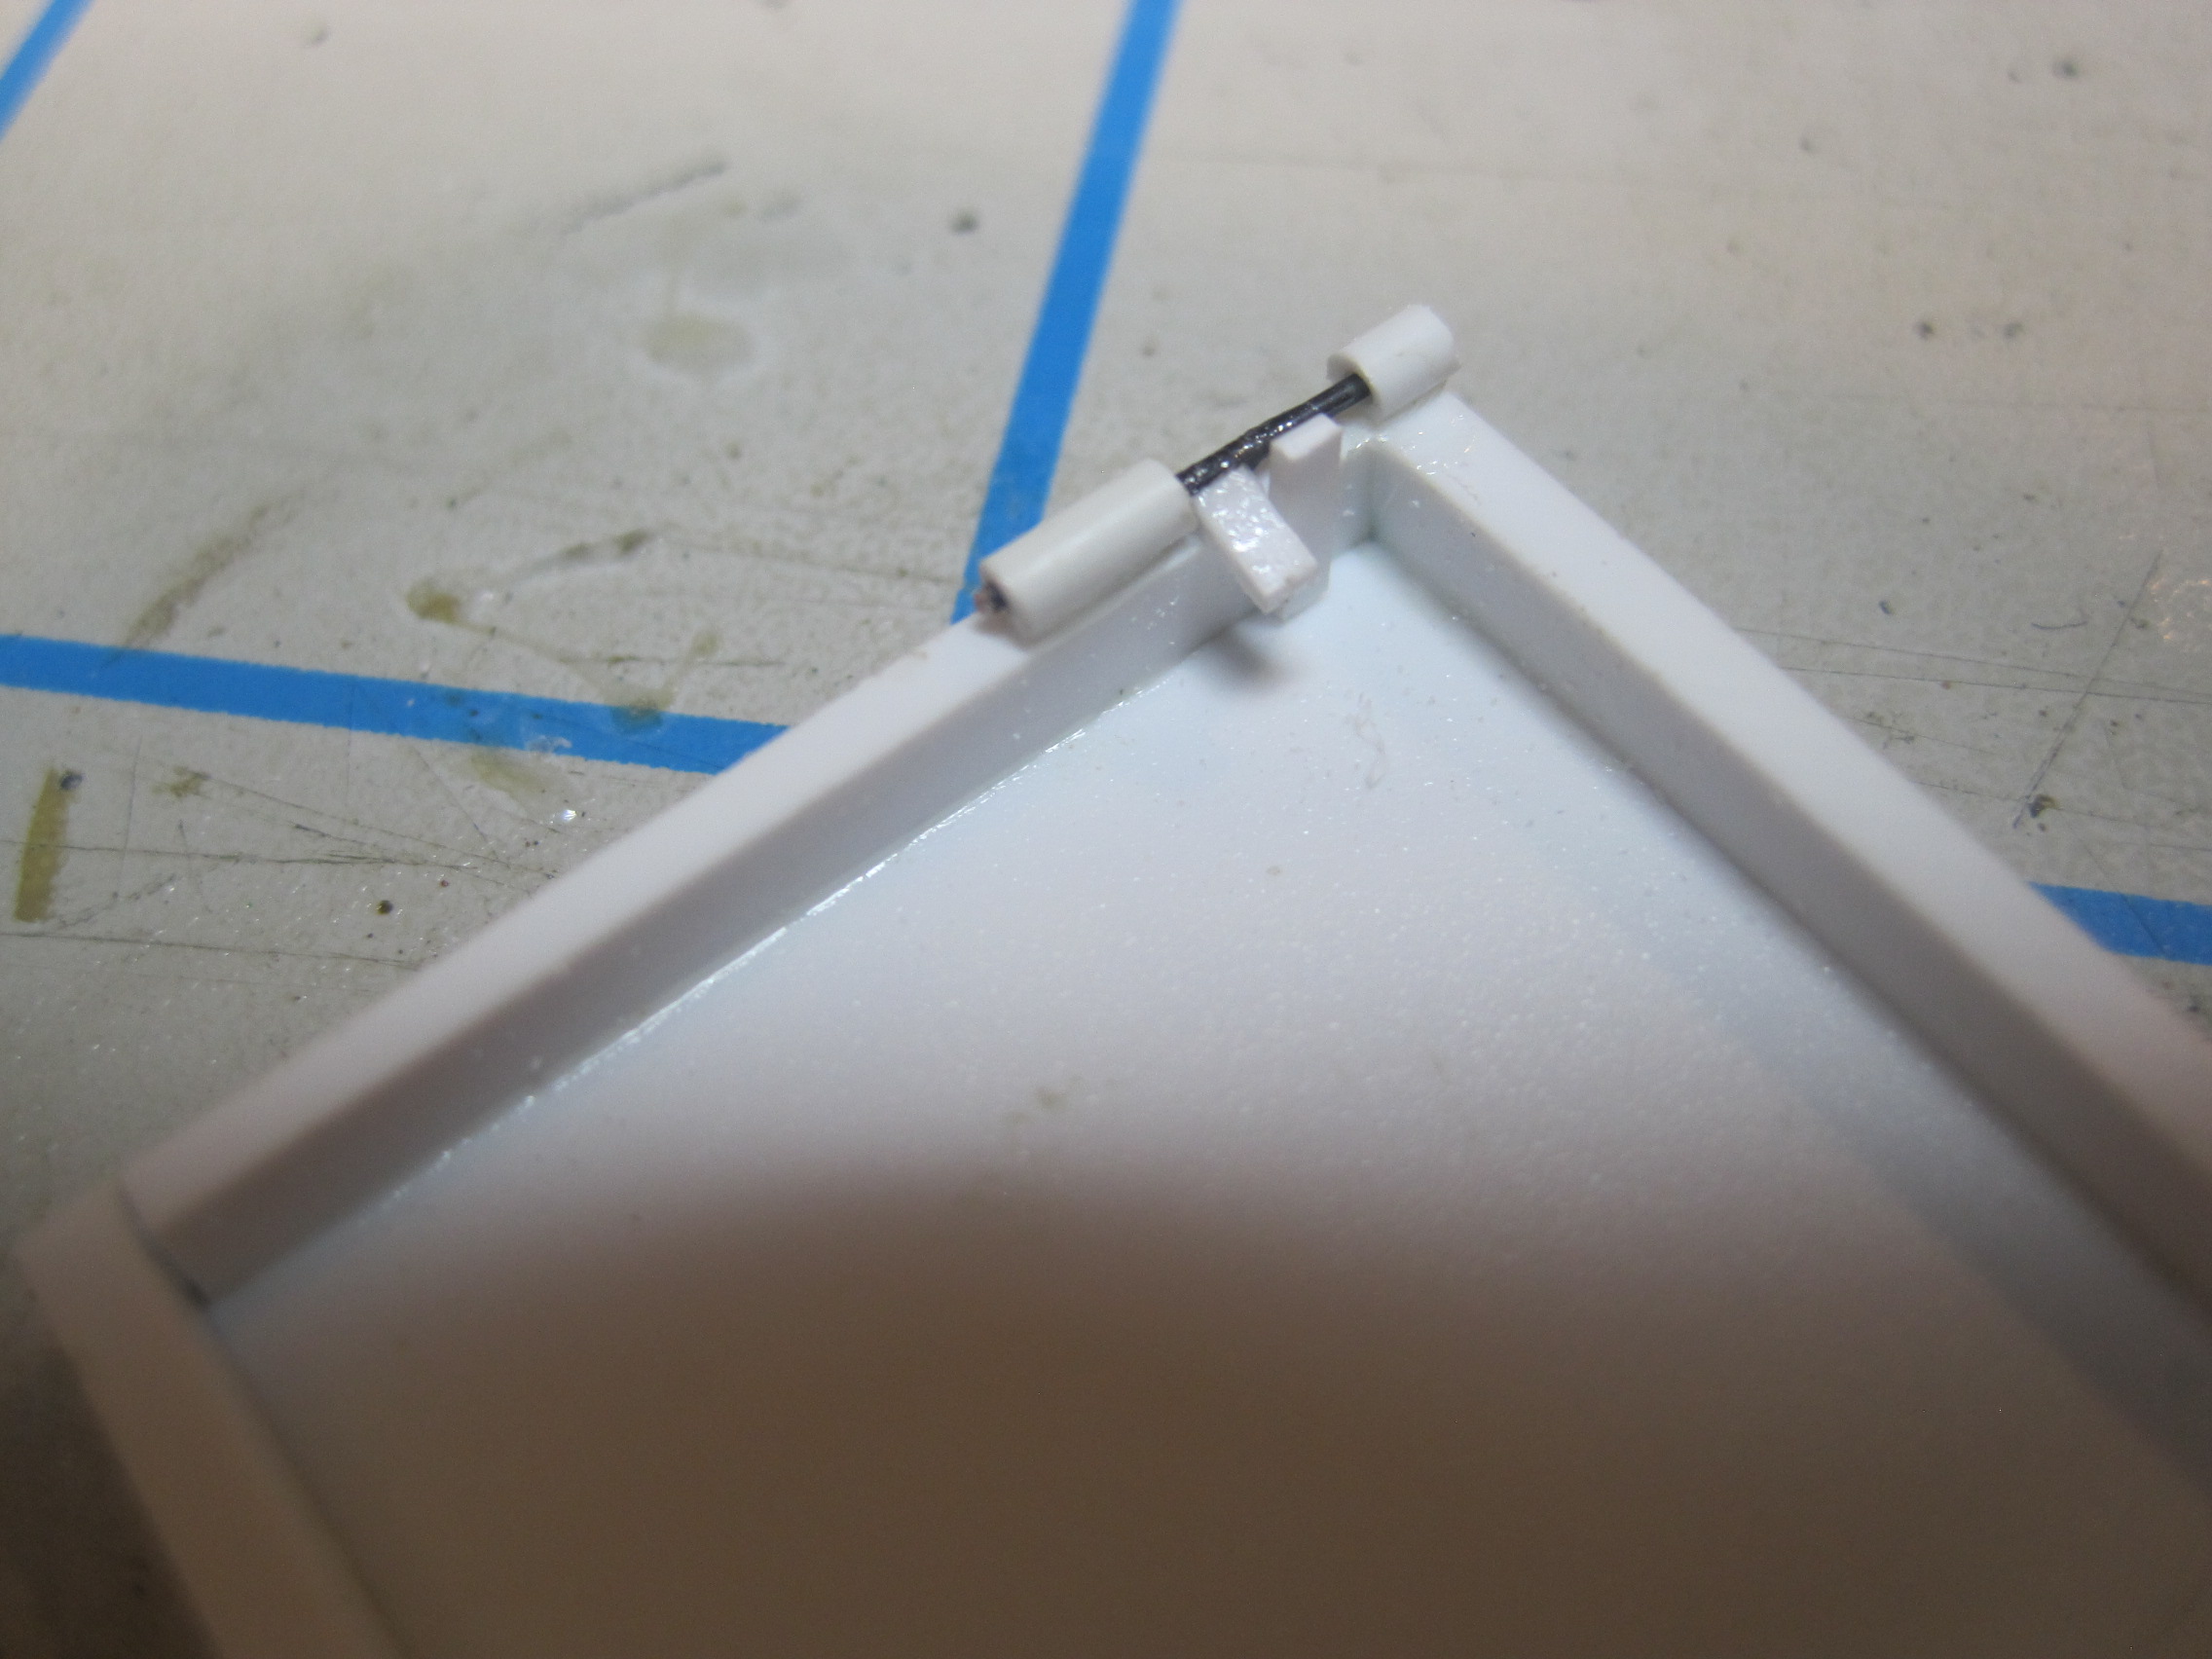
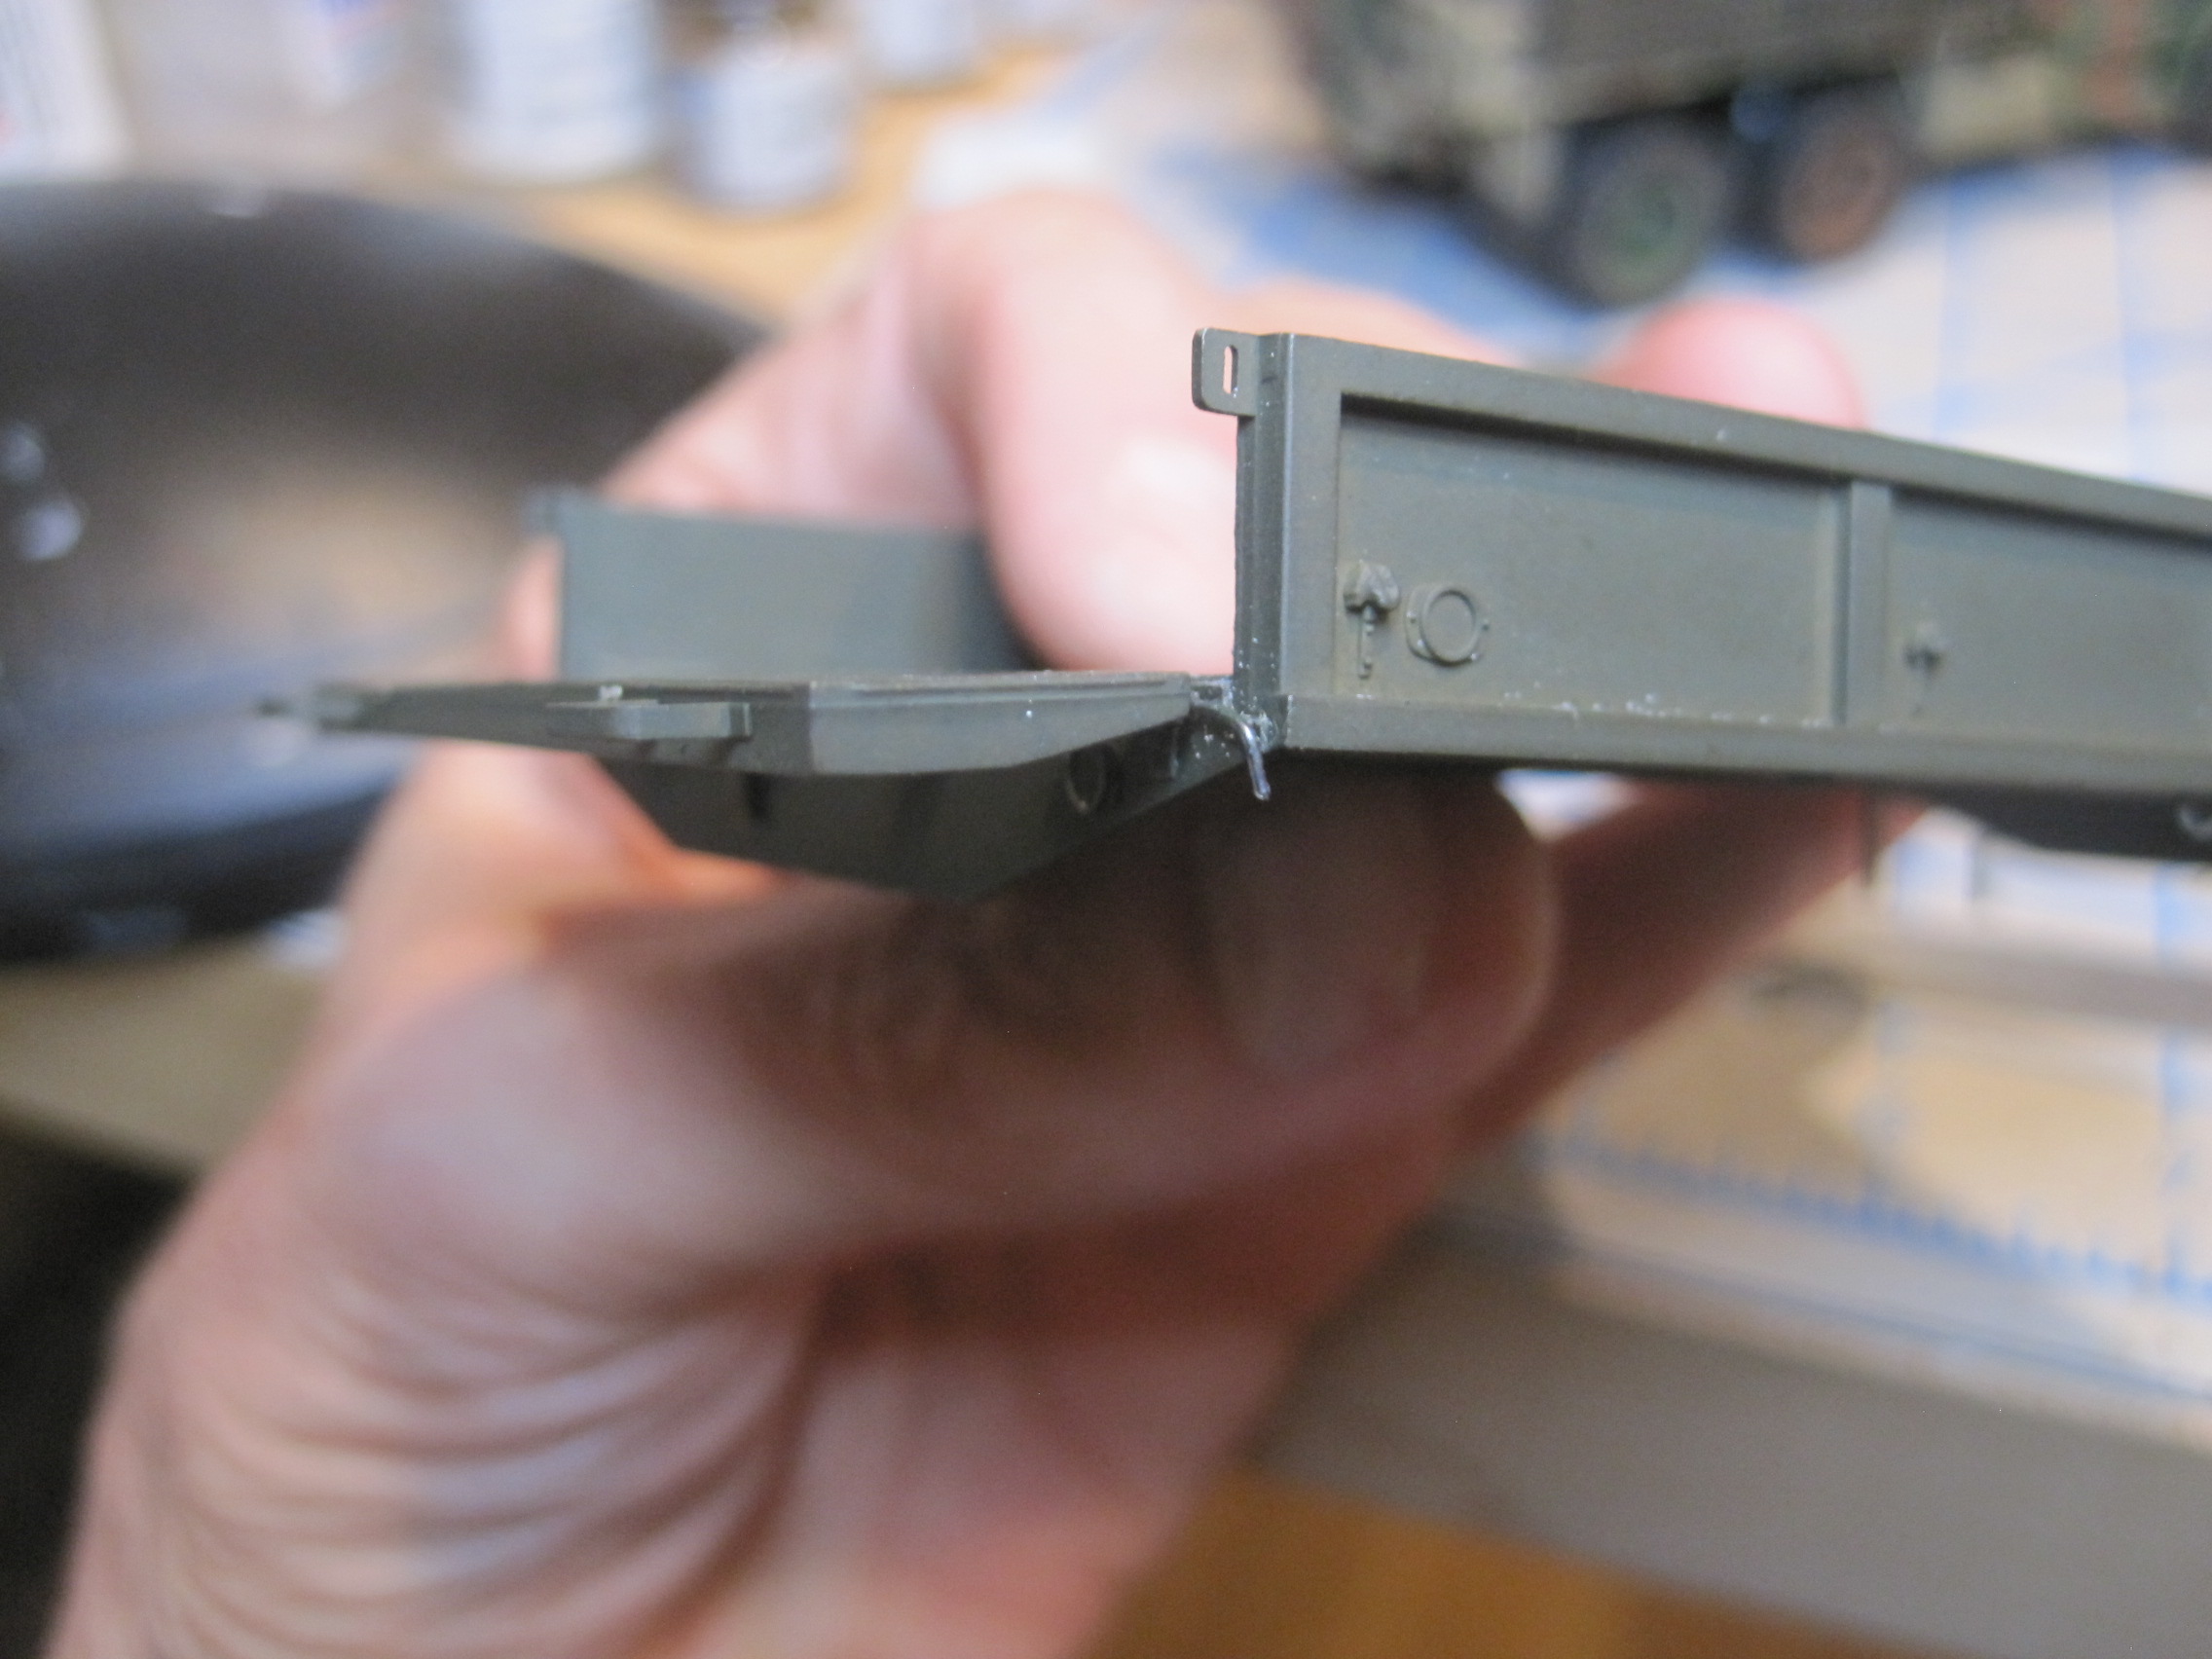
And finally the tailgate, which I want to operate which means drilling out the hinges. There are actually 5 hinges on the tailgate and to support the load, I’m sure they’re all required on the real truck, but because the angle required to drill for the center 3 is really difficult, only the outer 2 are need. The hinge itself is 0.040" and the wire used for the pin is 0.020" so that doesn’t leave much room for error. As you can tell by the white piece on the tail gate, one of the holes I drilled was off a bit and when I tried to work the gate the side gave way. So I simple removed it, scratch built a new piece and glued it to the gate. After drying in place overnight it works just fine.

4 Likes
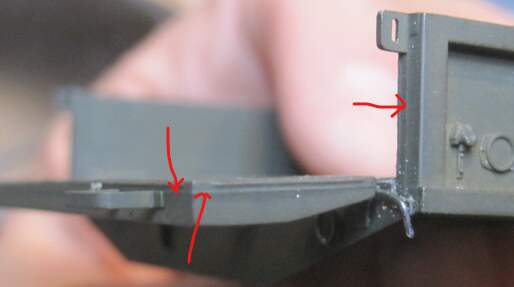
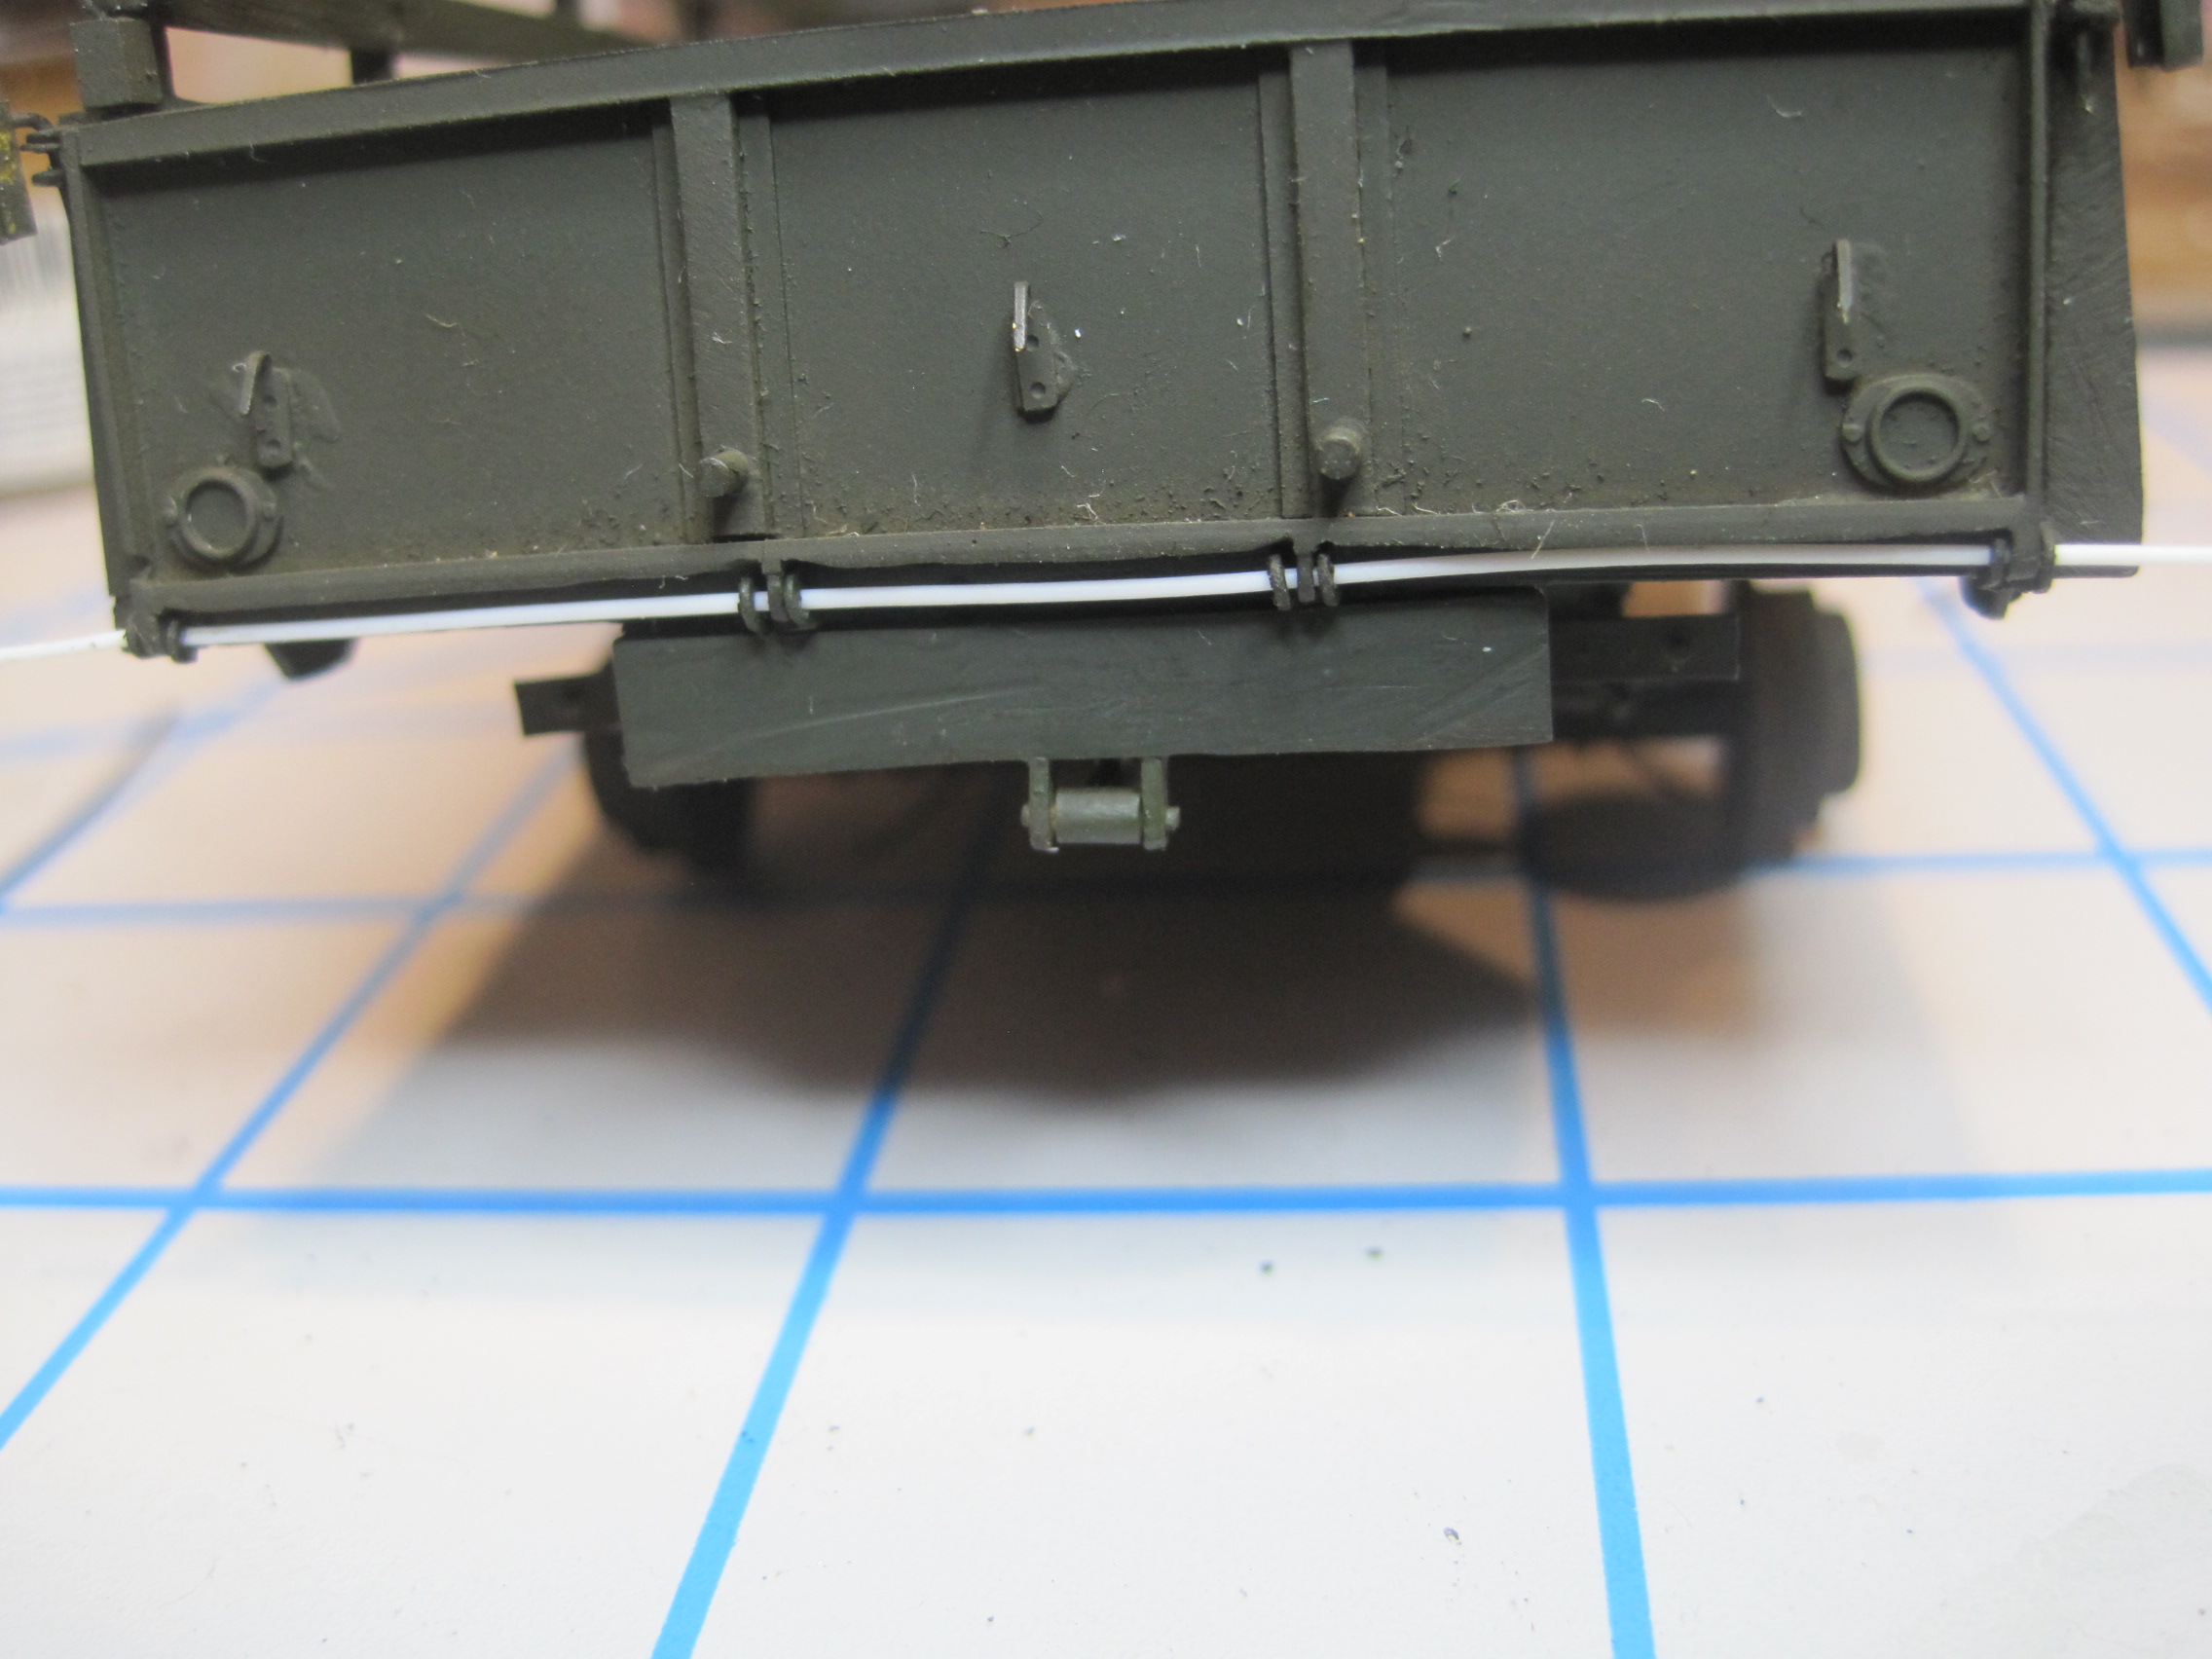
Yes they are. I’ll sand then down before I apply the final paint. The slotted bracket which is molded to the back of the bed will also be removed. I bought the Eduard PE set for the M35 and this piece as well as the two “step/handles” on the tailgate are supplied as PE parts and I’ll use those.
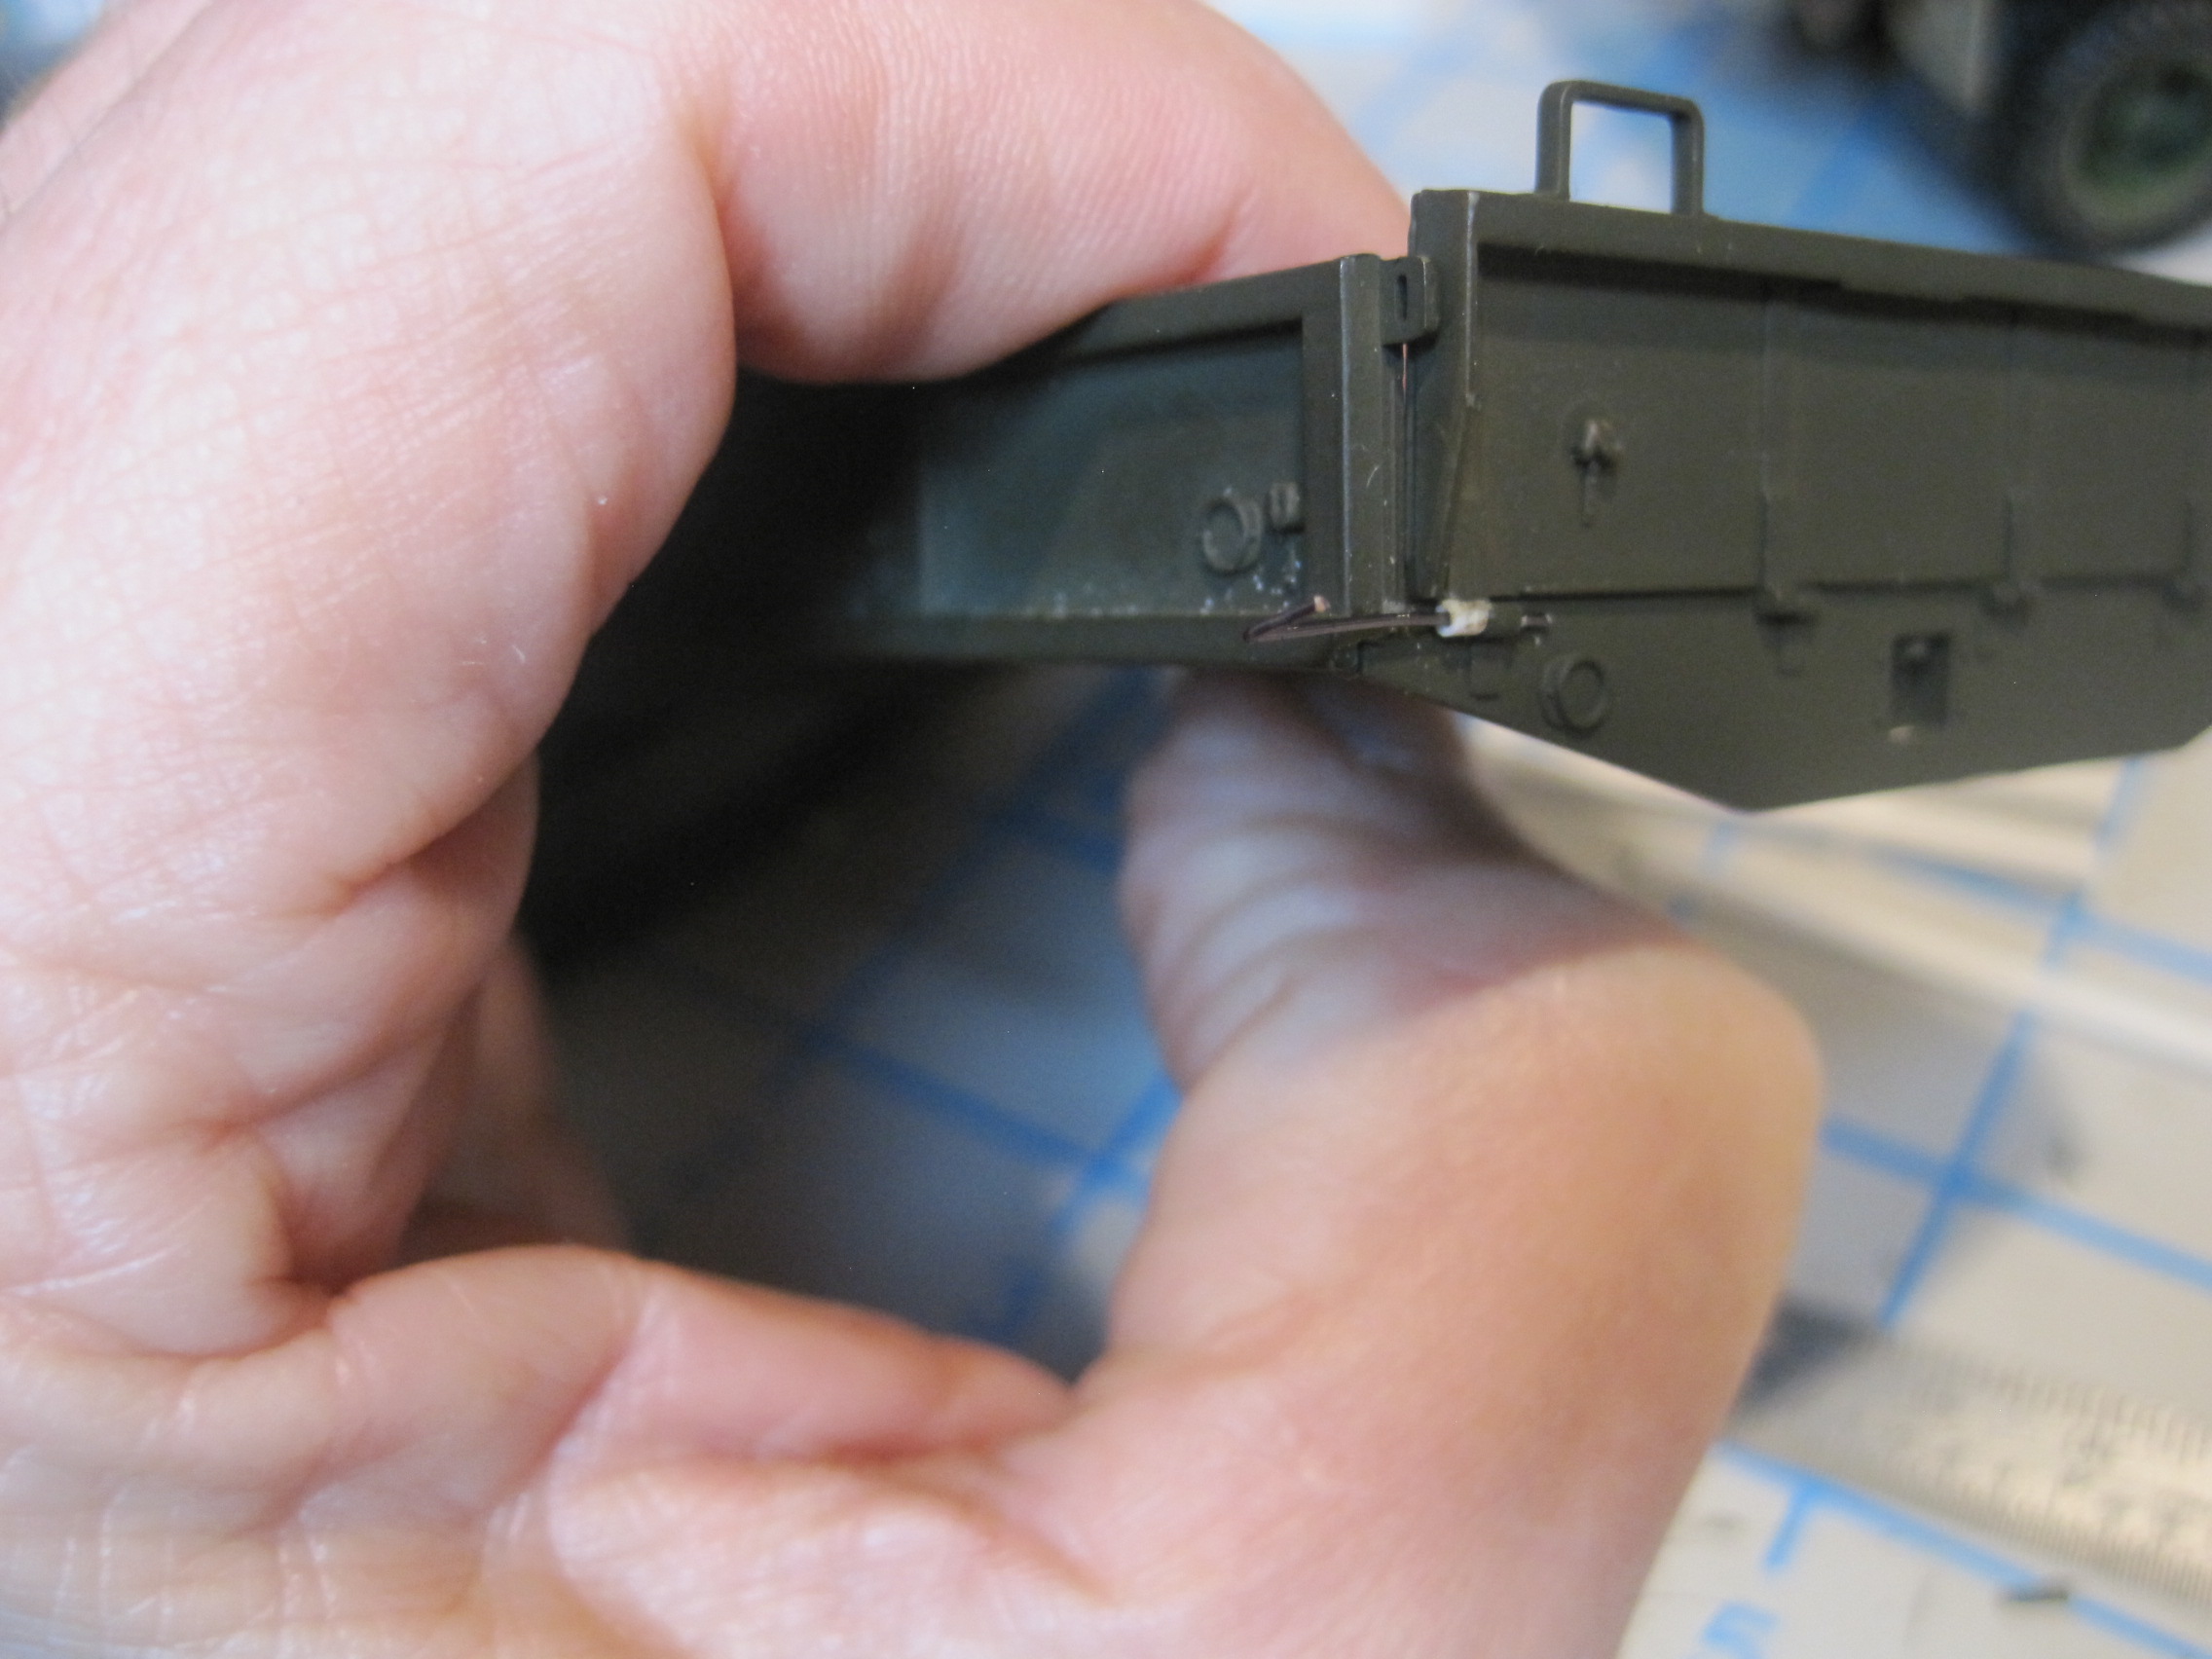
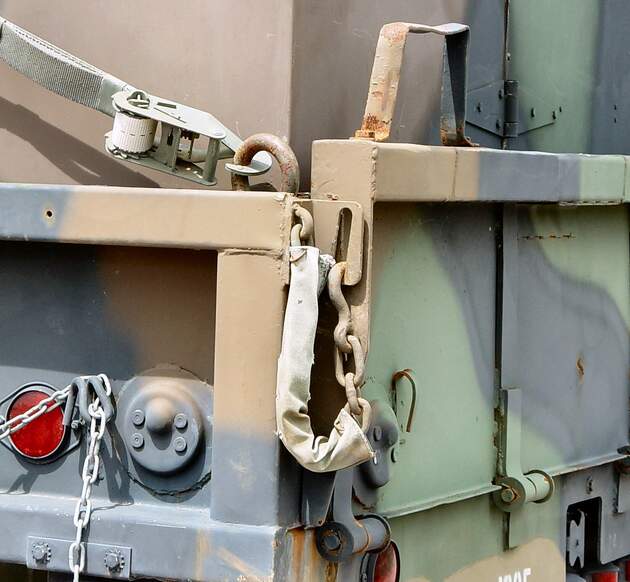
Also your photo shows how in the closed position, the hook in the chain goes through the slot and actually engages a similar slot which is in the edge of the tailgate. The Eduard PE set also supplies a very thin PE piece with a slot. I’ll dig out a small groove in the edge of the tailgate so that when I glue the PE part to the tailgate, there is also a slot behind the PE so that the hook in the chain has something to grab and help secure the gate when both closed and opened.