The interior work and painting is looking great.
Cheers,
Ralph
The interior work and painting is looking great.
Cheers,
Ralph
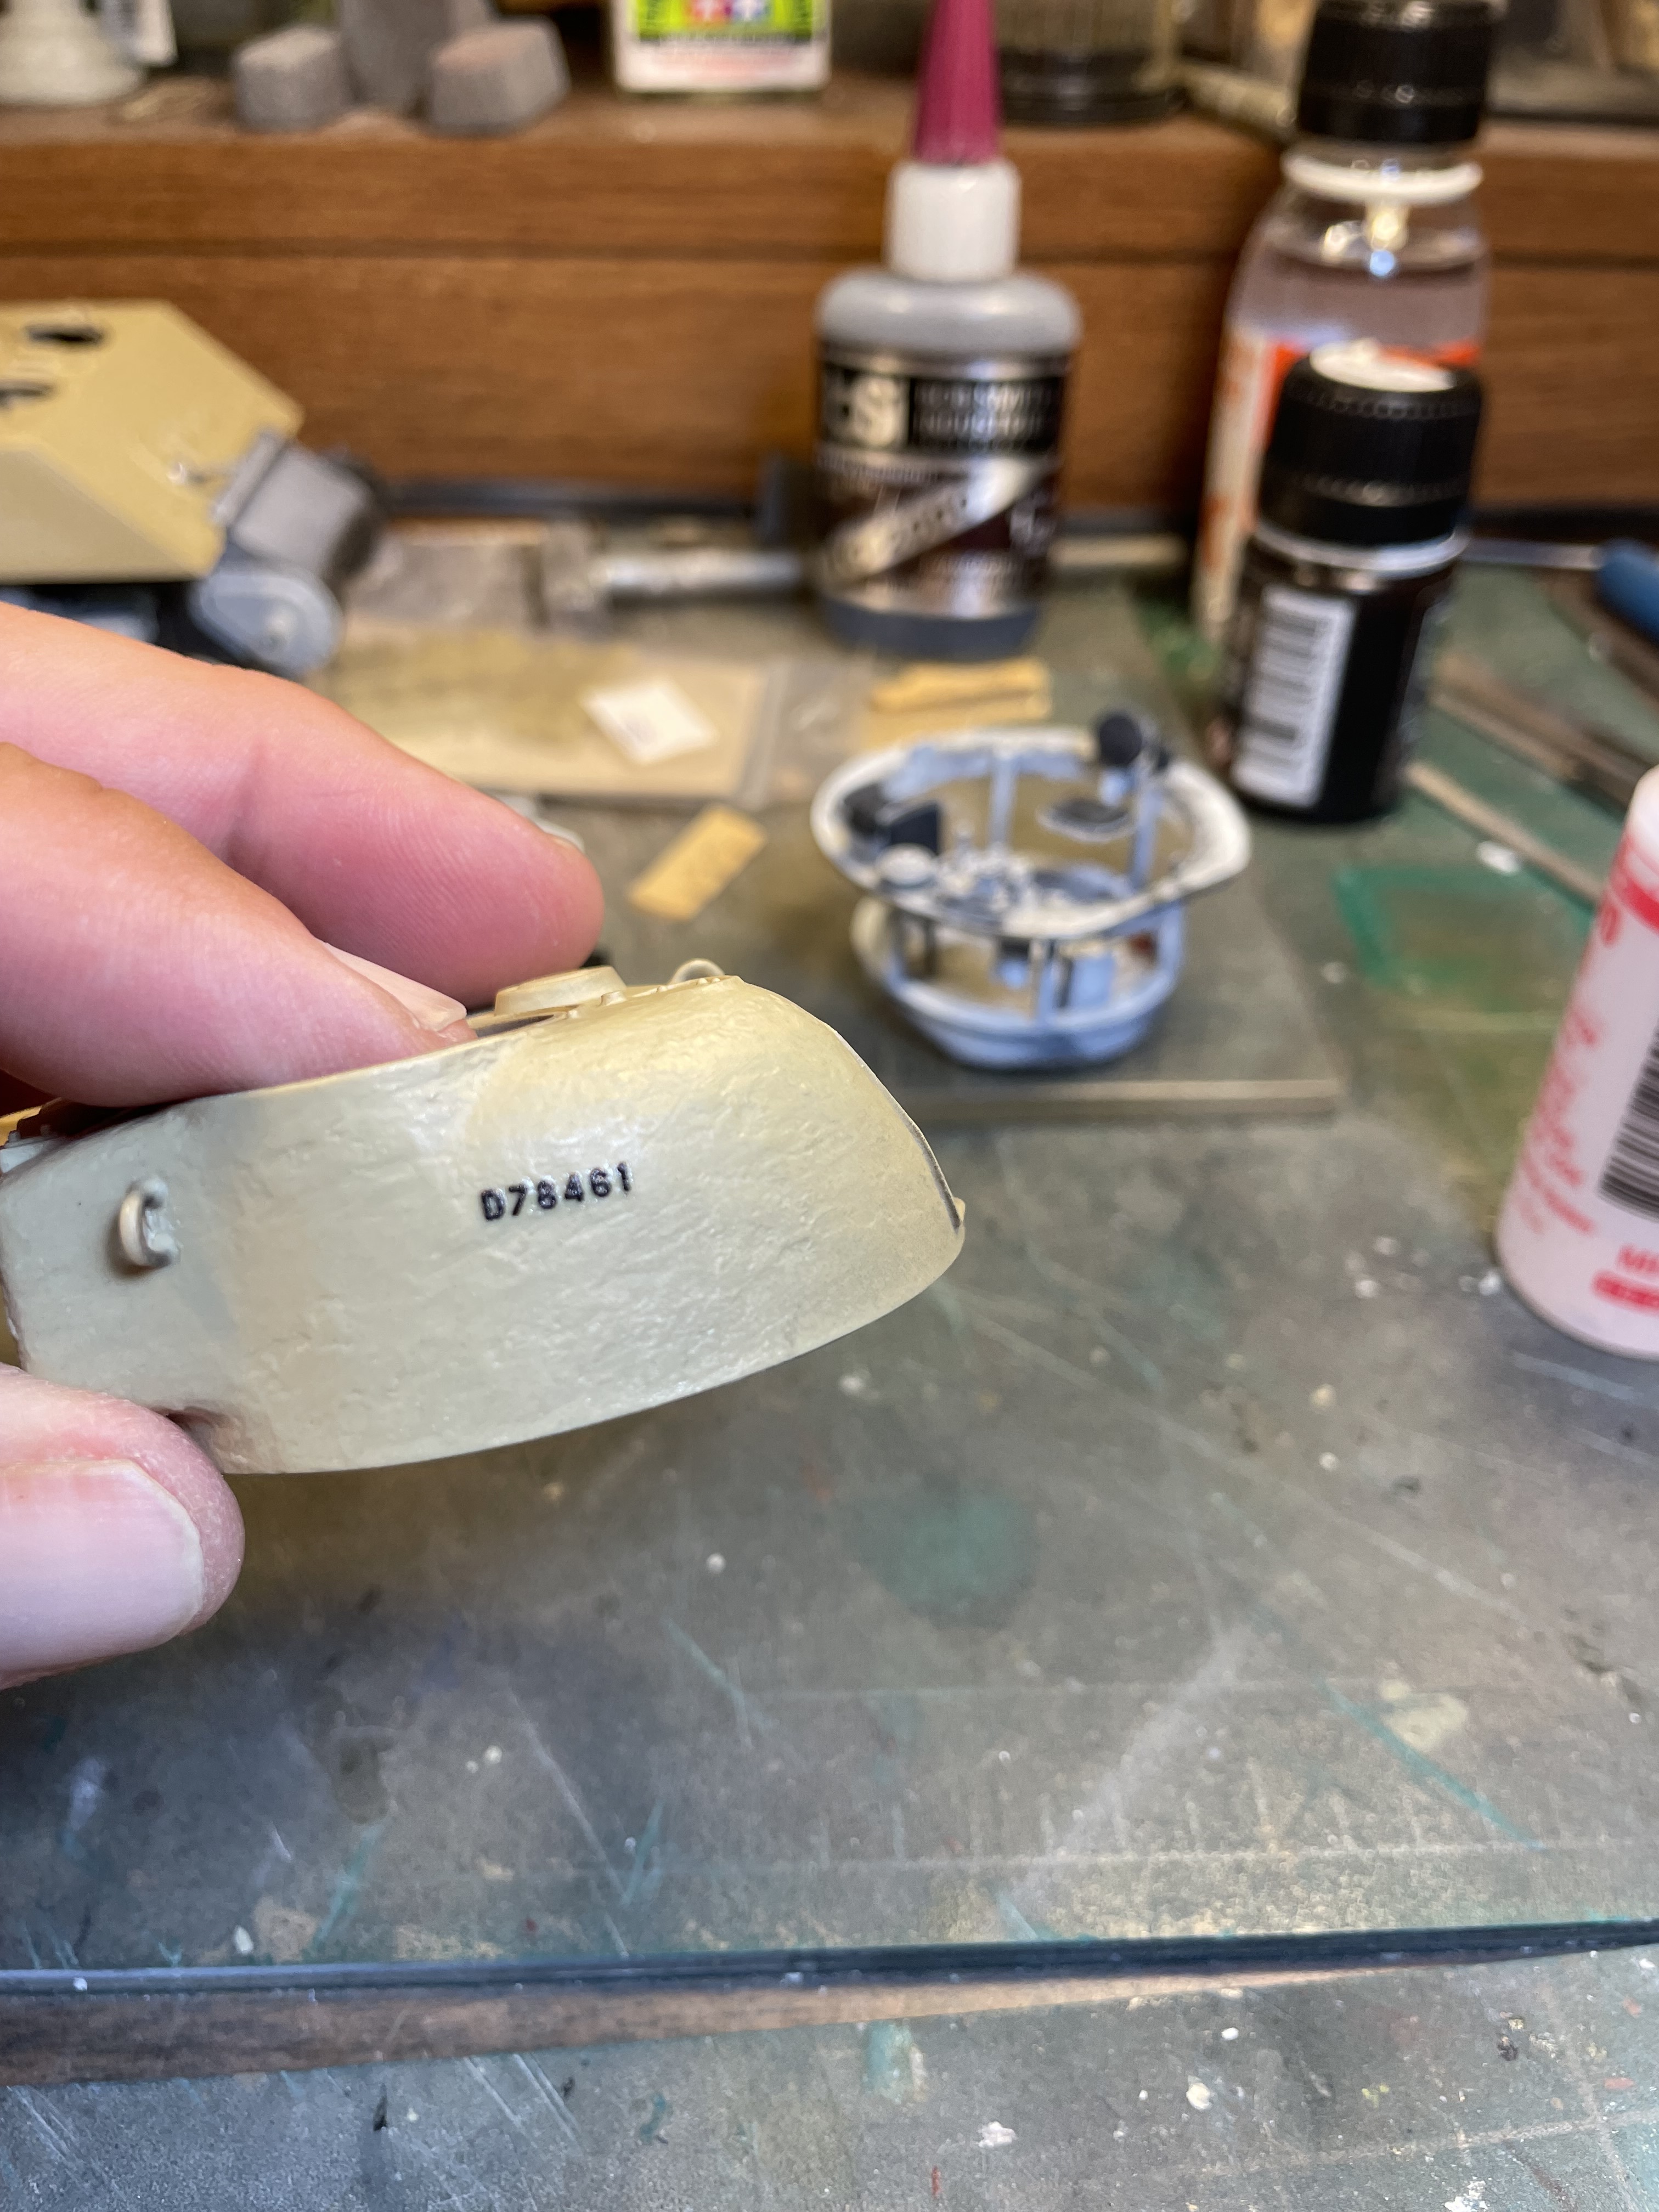
Thanks Ralph. I’ve been moving at a snails pace with this project and hope to pick it up this week and get the turret and hull details done. The turret interior is not that accurate and in some places crude but it will be mostly hidden. I will be leaving the hatches open to put figures in at some point as I plan on putting this thing in a diorama.
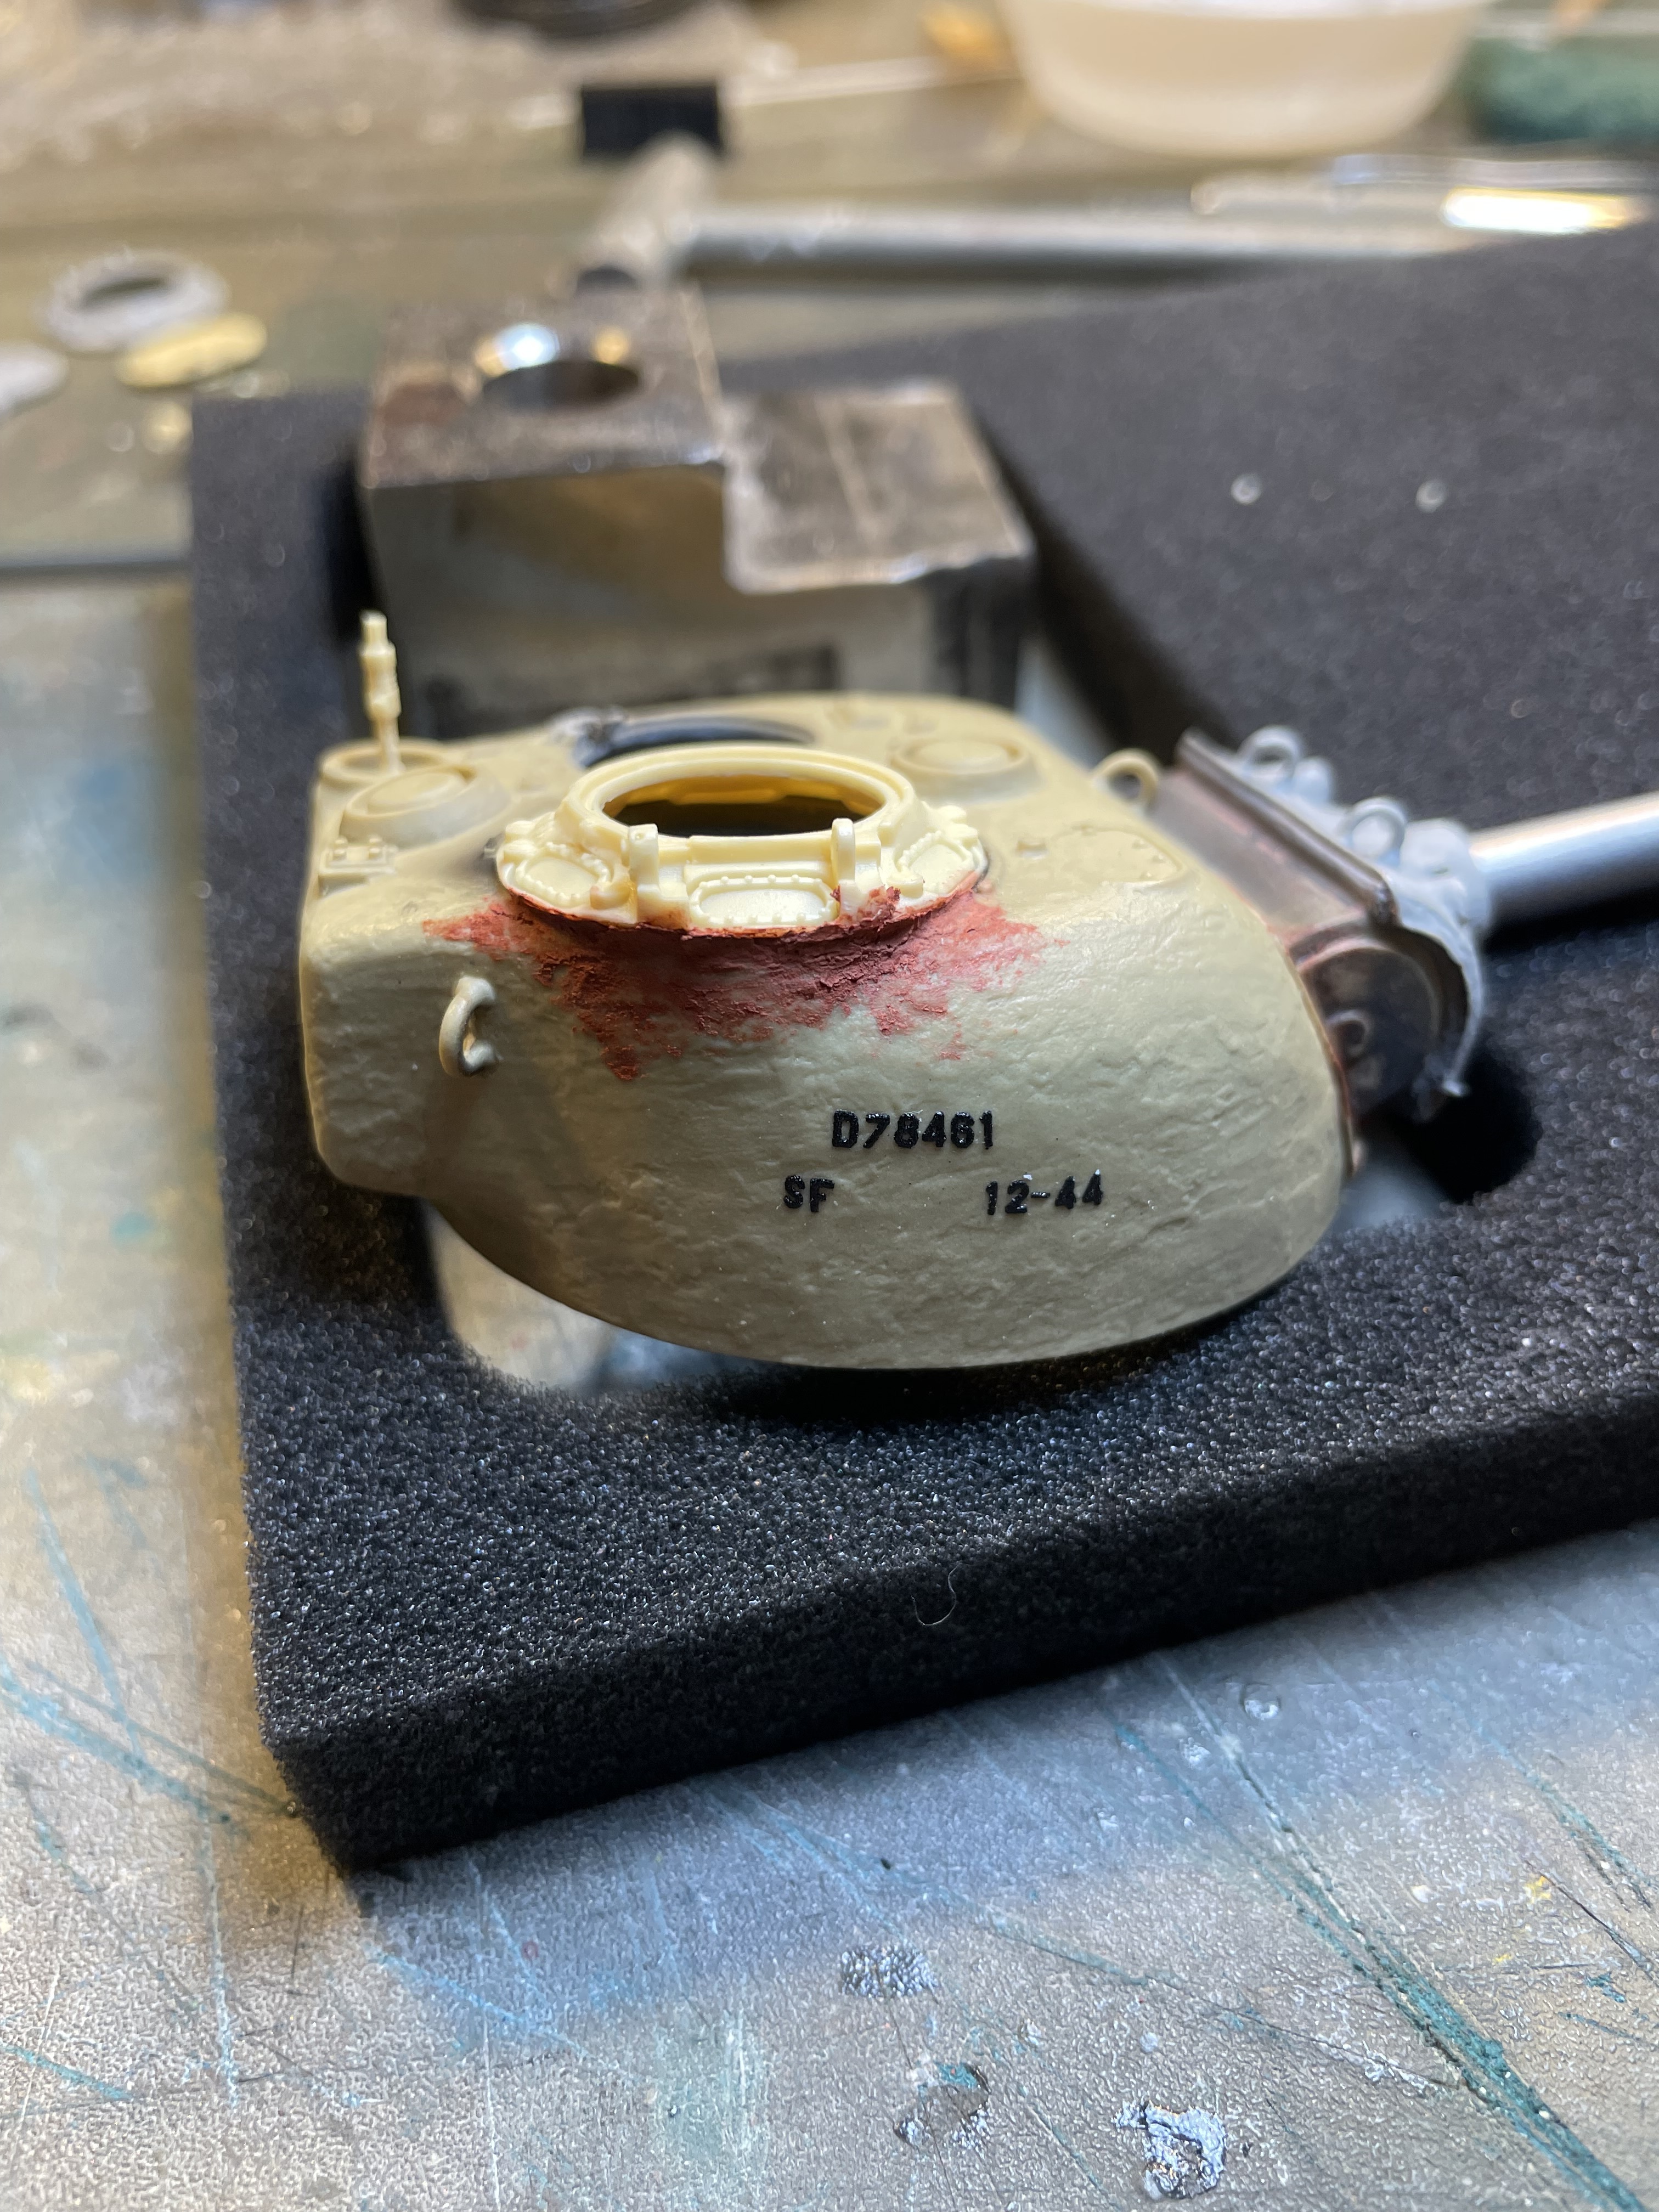
Today I’m gonna work on getting some casting and foundry markings on the turret. I have a set from Archer. I’ve never used them before but according to the instructions they recommend coating the model with a gloss coat then applying the decals. Maybe I misunderstood the instructions but I was gonna apply the decals before painting and it says you can apply them over plastic. I guess the gloss coat is for a painted model…. I’ll figure it out.
I brush on a splodge of MicroGloss where the decals will go and let it dry overnight before applying. I find the decals grip better on the gloss - there’s a weird static effect on bare plastic that can cause the edges to curl up. Once applied, hit’em with setting solution and then paint the tank when ready in the usual manner!
Tom thank you for the reply, I just checked out the tutorial on YouTube and it shows the decals going on bare plastic with no problem. It recommends micro sol which I’ll have to get.
Success! So far….these casting and foundry numbers have gone on perfect.
Now for the rest of the turret.
I’m copying a drawing of the 75mm turret chapter for 105mm gun out of the “Sherman, Design and Development “ book. Essentially the Sherman bible IMHO. The Archer set has some of the exact foundry numbers, some I’ll have to make up using individual numbers. Stay tuned
Ok I have some questions for the artillery guys:
Did the M4 105mm carry aiming stakes and how many?
Where would they be stored?
I presume they are red and white striped?
Also, how many pieces would there be to the gun cleaning brush?
Is it the same for the towed version?
This is the stuff I have to scratch build if I can’t find any in my spares box.
Thanks in advance guys!
I had to look that up to make sure of what I thought you meant ![]()
Most people call that book Son of Sherman, and yes, it’s very much worth owning if you’re into Shermans. The second edition is even better than the one shown above, but for both it’s important to realise you should not use the drawings as references for exactly where or how things fit! I found this out when building Zvezda’s M4A2, whose loader’s hatch orientation perfectly matches the turret drawings in the book — but it’s off by 19° compared to the real thing.
Yes.
In a bag held in a rack on the left rear of the hull deck, outboard of the rear lifting eye and just in front of the tail light. See the photo at the bottom pf page 169 of your Son of Sherman or page 638 of the second edition, which shows the empty rack for the stakes. The bag was only just big enough for the stakes, BTW.
I don’t know if it’s the same, but the cleaning rod was in three pieces and stowed on top of the aiming stakes. The brush itself, as well as a cup to remove a stuck round from the barrel, was not carried on the rods but stowed in an unknown location, probably inside the tank.
Jakko thank you so much for your reply. This simplifies things for me.
You could probably use a clear coat or future to help with sticking instead of microsol.
So far they’re on fine. I may give it a clear coat just to make sure but I would think the black pre shade coat I plan on doing would help seal them. I guess I’ll find out.
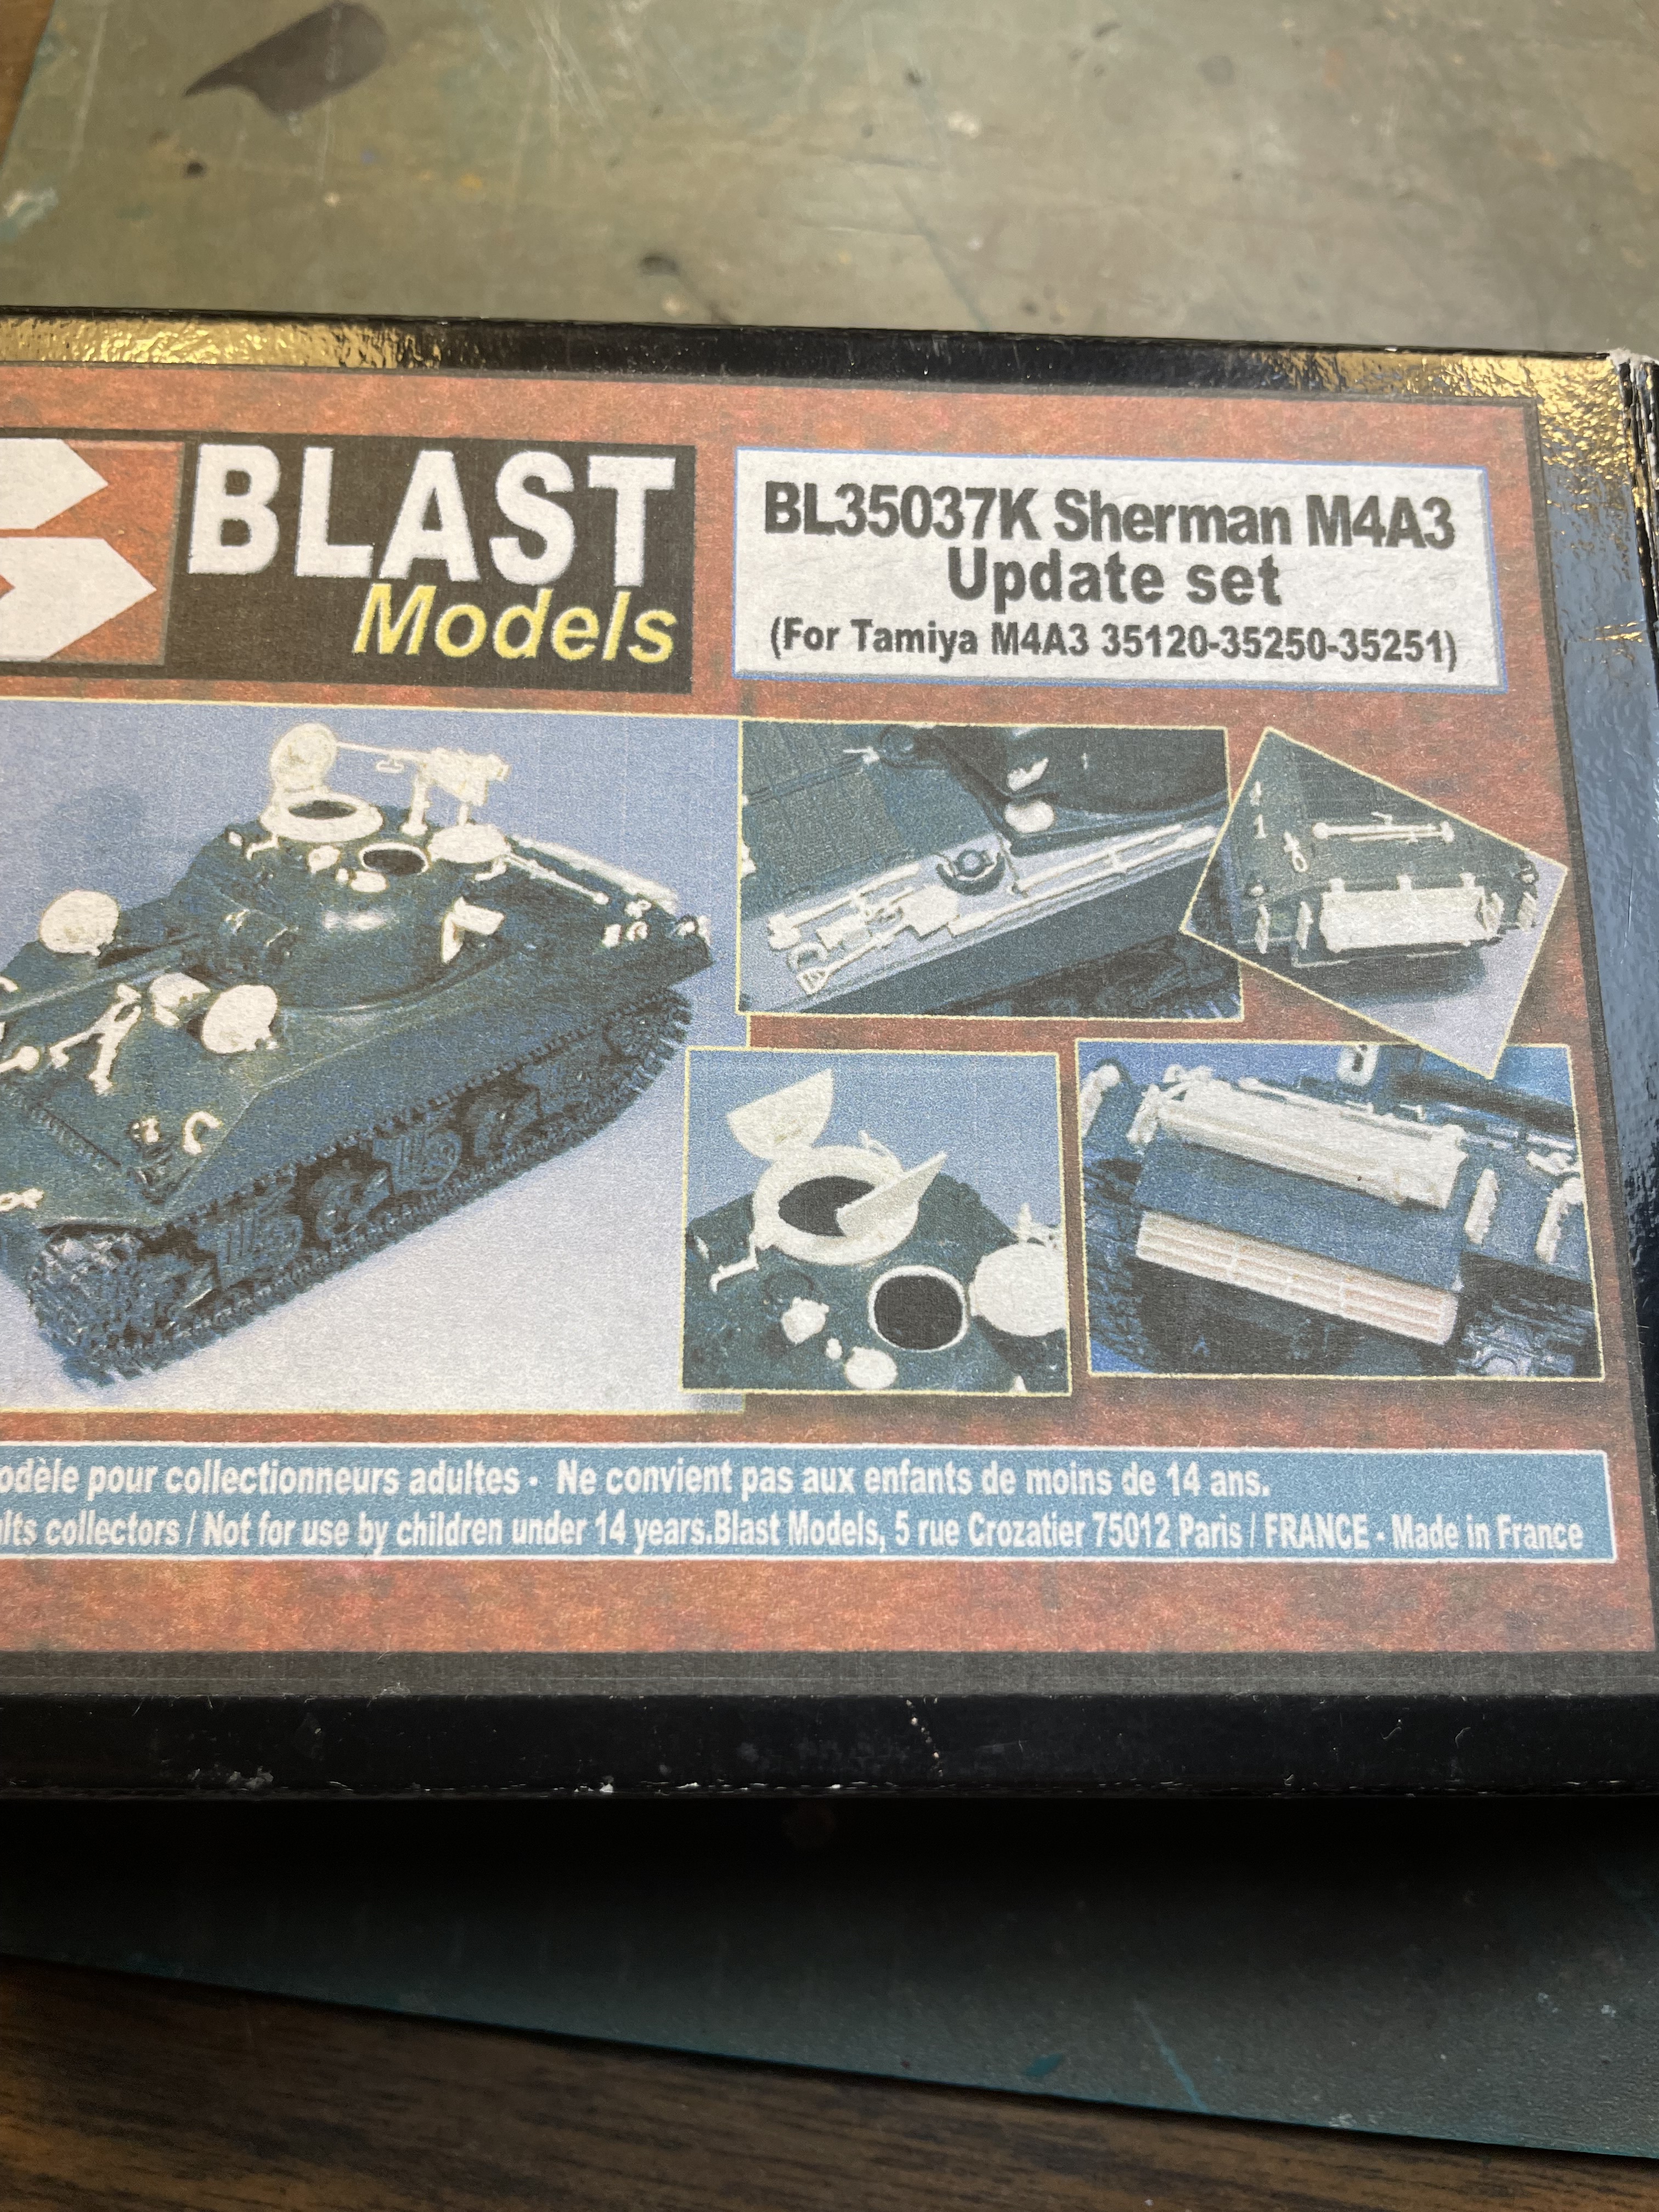
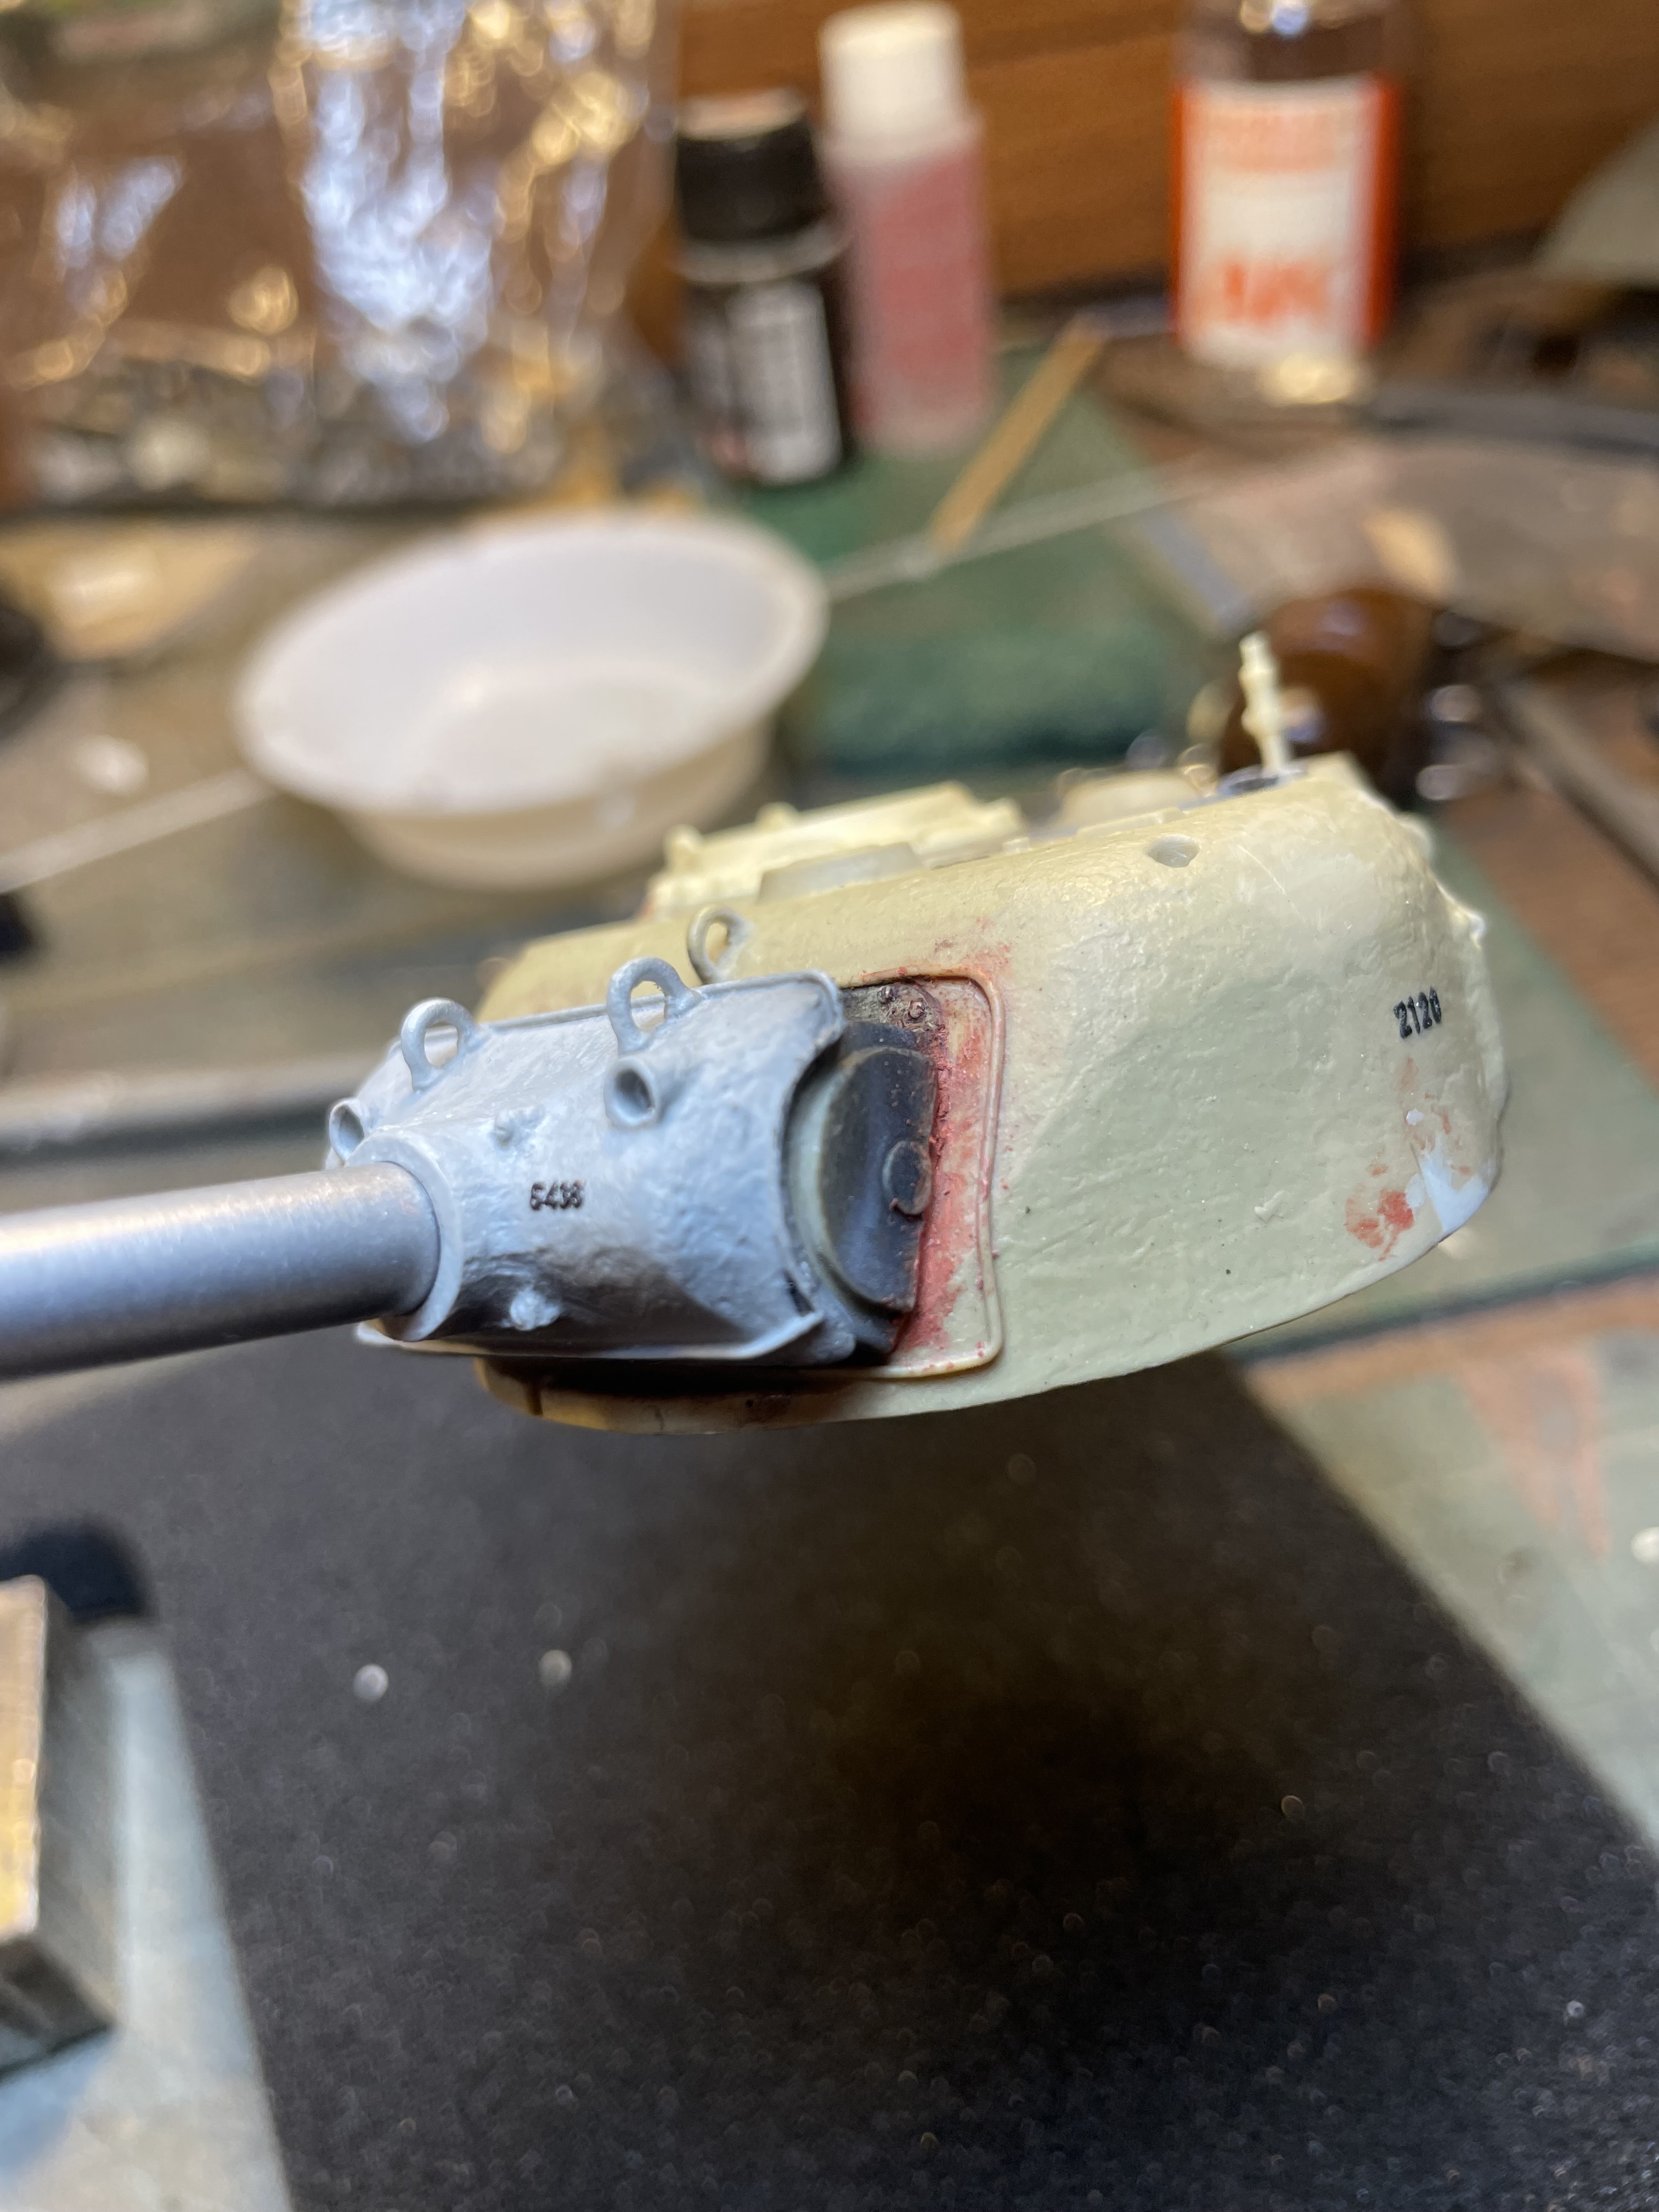
Another update.
Didn’t realize I had this set from Blast . Much better quality than some of the Dragon parts I scrounged together.
It has pretty much everything I need to finish this thing. The commanders, loaders, and driver/ bow gunners hatches will be used. Not sure if I’ll use the periscope guards, I have some PE ones just gotta see which are better.
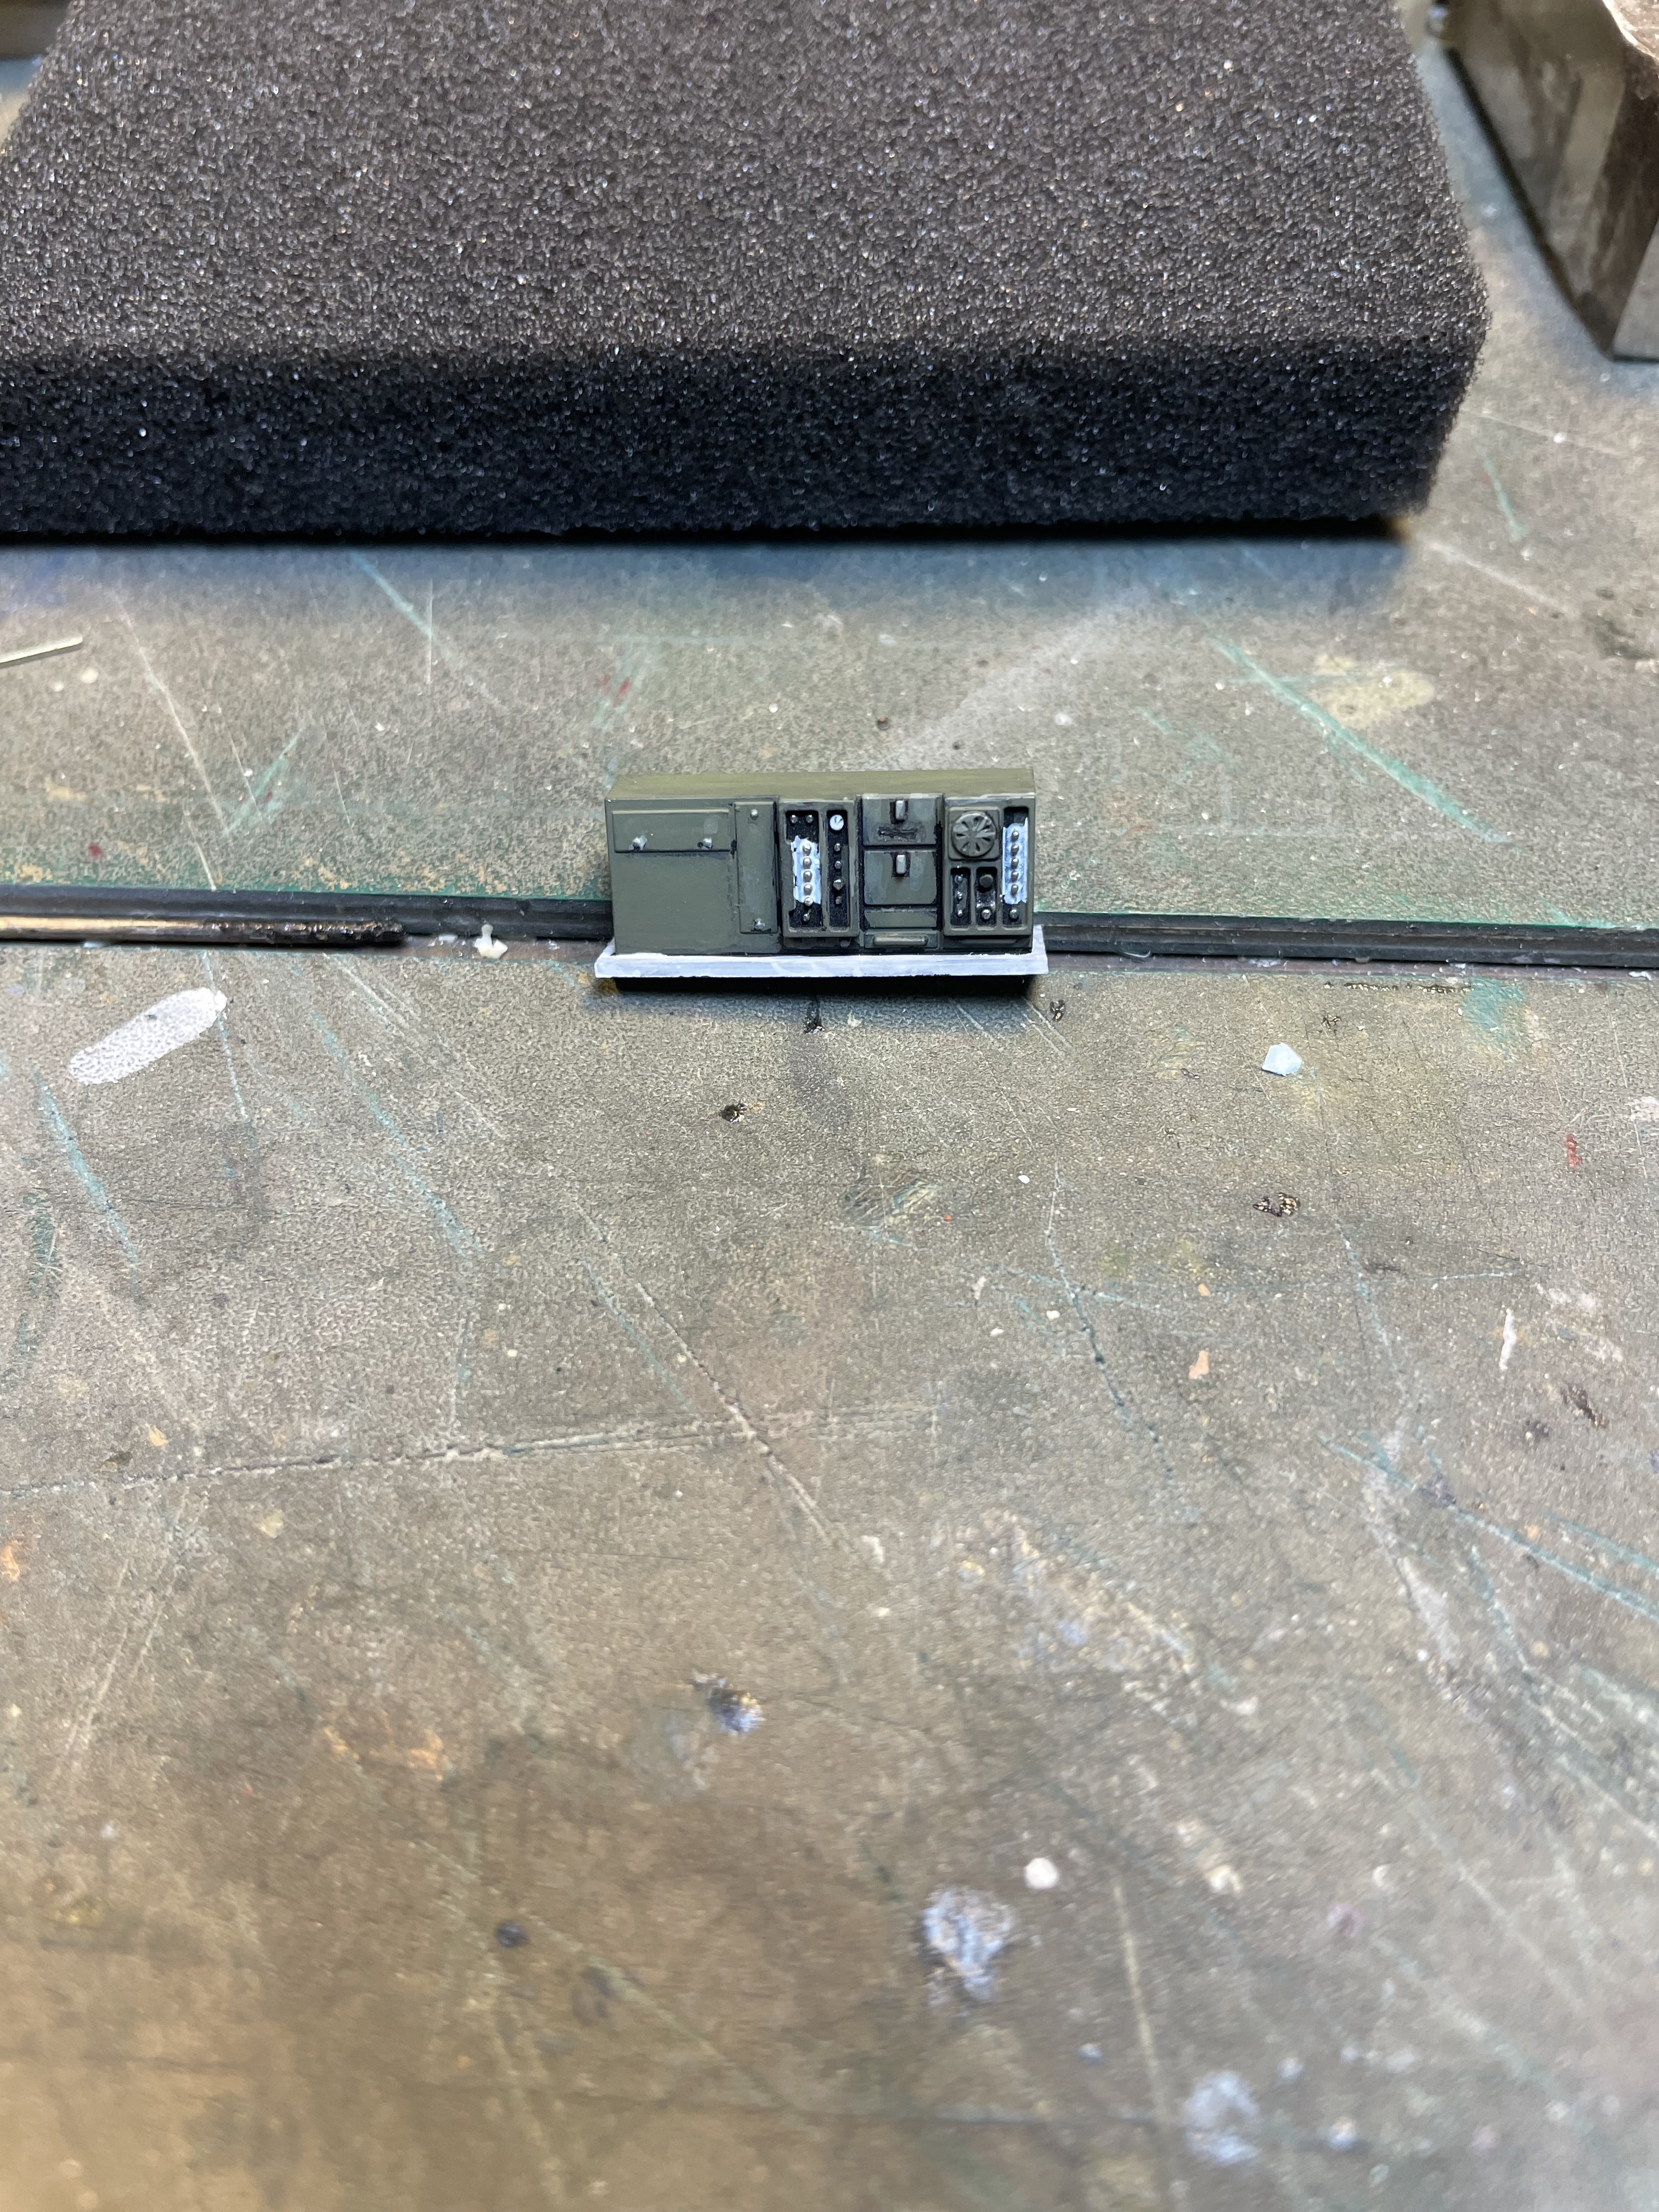
I filled in whatever areas I needed to with Bondo. Just gotta sand . Also finished painting the radio. I think it’s an SCR 508, it’s from the Tamiya kit. Doing some research I found the radios to be confusing and available in different configurations. It won’t be seen so here are the pics. Comments welcome
I also found cleaning rods and brush in the Blast set which means one less thing to scratch build because I haven’t found them in the parts box. I have to see if I can dig out the aiming stakes bag I know I had somewhere.
Richard that Blast set is fantastic. Just what you need to detail up your build and save you a lot of work. Those Blast parts are very crisp. I suggest you go with the resin periscope guards. They are noticeably round stock, even in 1/35, and the PE ones are too flat. You can see the difference and the round ones win out in appearance.
Absolutely correct Matt. I was looking at the PE set yesterday to start putting the rest of the details on the turret and I noticed that. I’ll just have to be careful getting the resin ones off the sprue block.
For older builds that already have PE brush guards on them, you can enhance the appearance somewhat by running a bead of thicker CA along them with a piece of armature wire. It’s not a perfect solution but it definitely looks better than flat PE.
I’ll have to try that. I have a few PE sets with flat pieces that need some filling out.
QFT ![]() I bought a couple of sets of Asuka periscope guards last year exactly because I don’t like the etched ones for being flat. ¥500 gets you enough for at least two tanks:
I bought a couple of sets of Asuka periscope guards last year exactly because I don’t like the etched ones for being flat. ¥500 gets you enough for at least two tanks:
Wow those look nice. They would come in handy on future Sherman projects.