Ah. A nice first post nonetheless. ![]()
Are you yourself a Kiwi? Based on your surname I’d think so.
2 Likes
Welcome aboard Peter! Thanks for your reply- those are great pics especially the second one. I’m afraid my scratch build of the floor is only a crude representation of the real thing the more I look at it but it really won’t be seen once the turret is attached to the hull.
Welcome again to kitmaker, it’s the best site with great people who are very knowledgeable and great modelers.
2 Likes
Welcome aboard Pete.
2 Likes
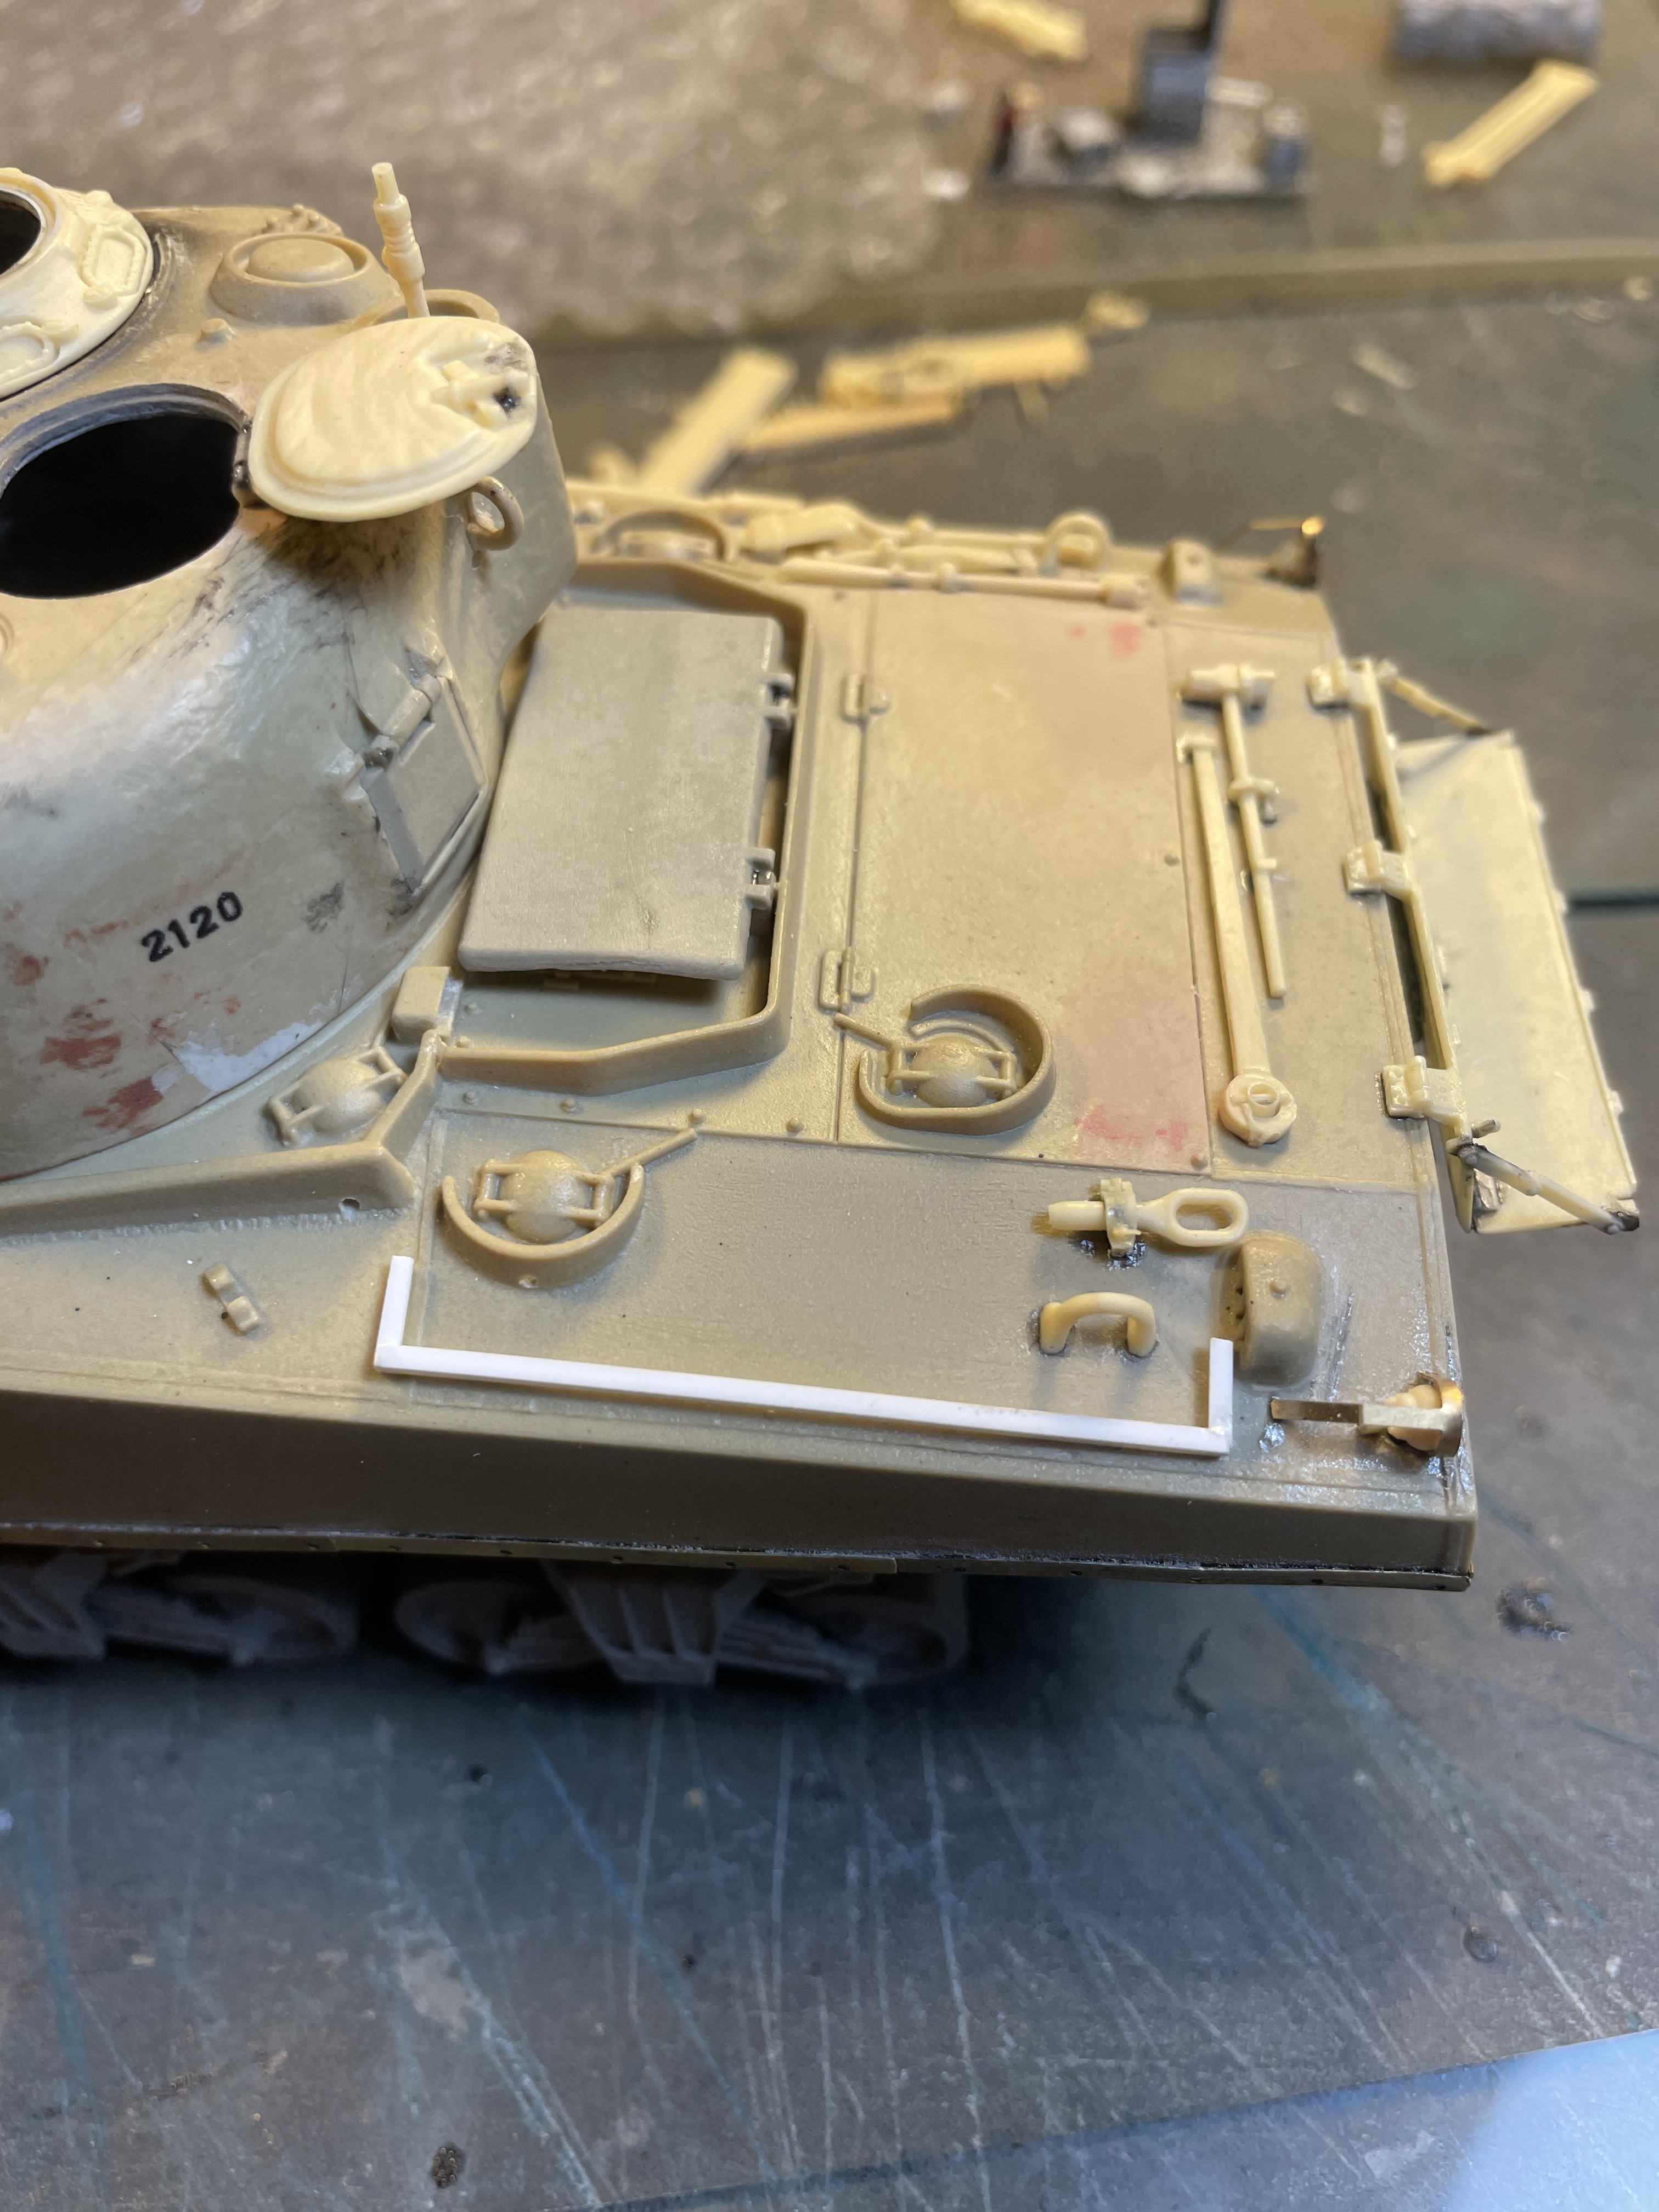
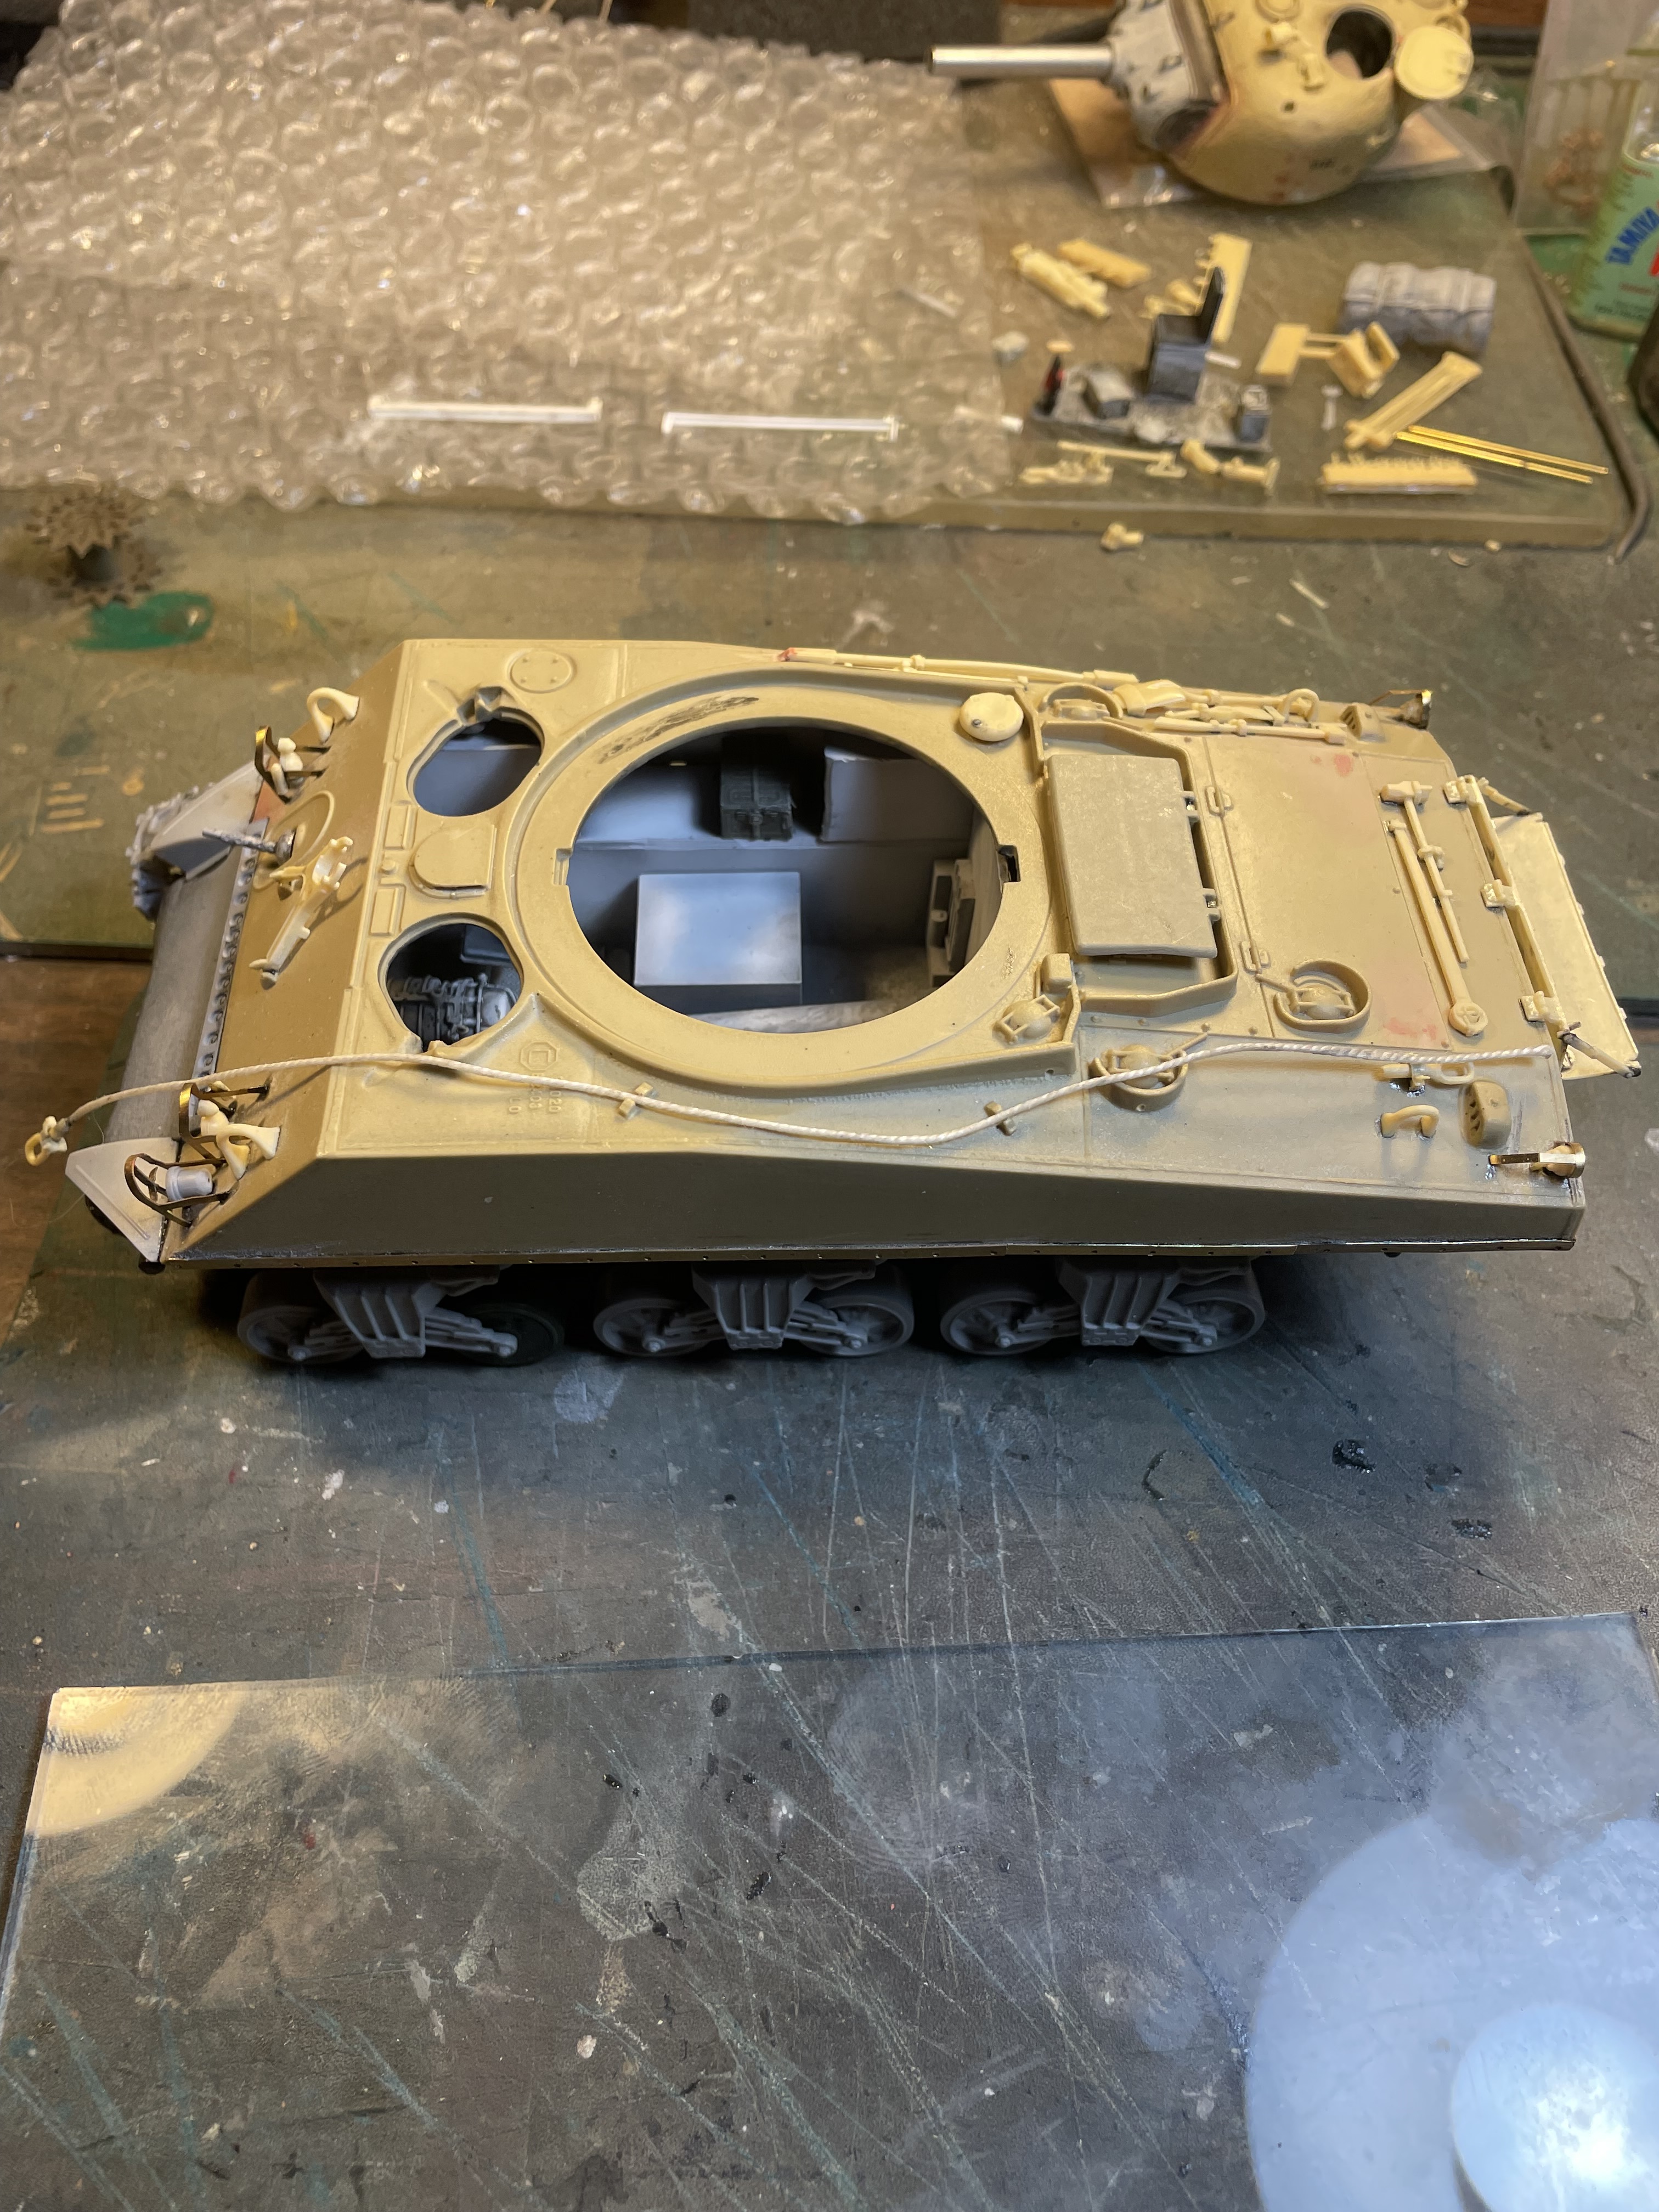
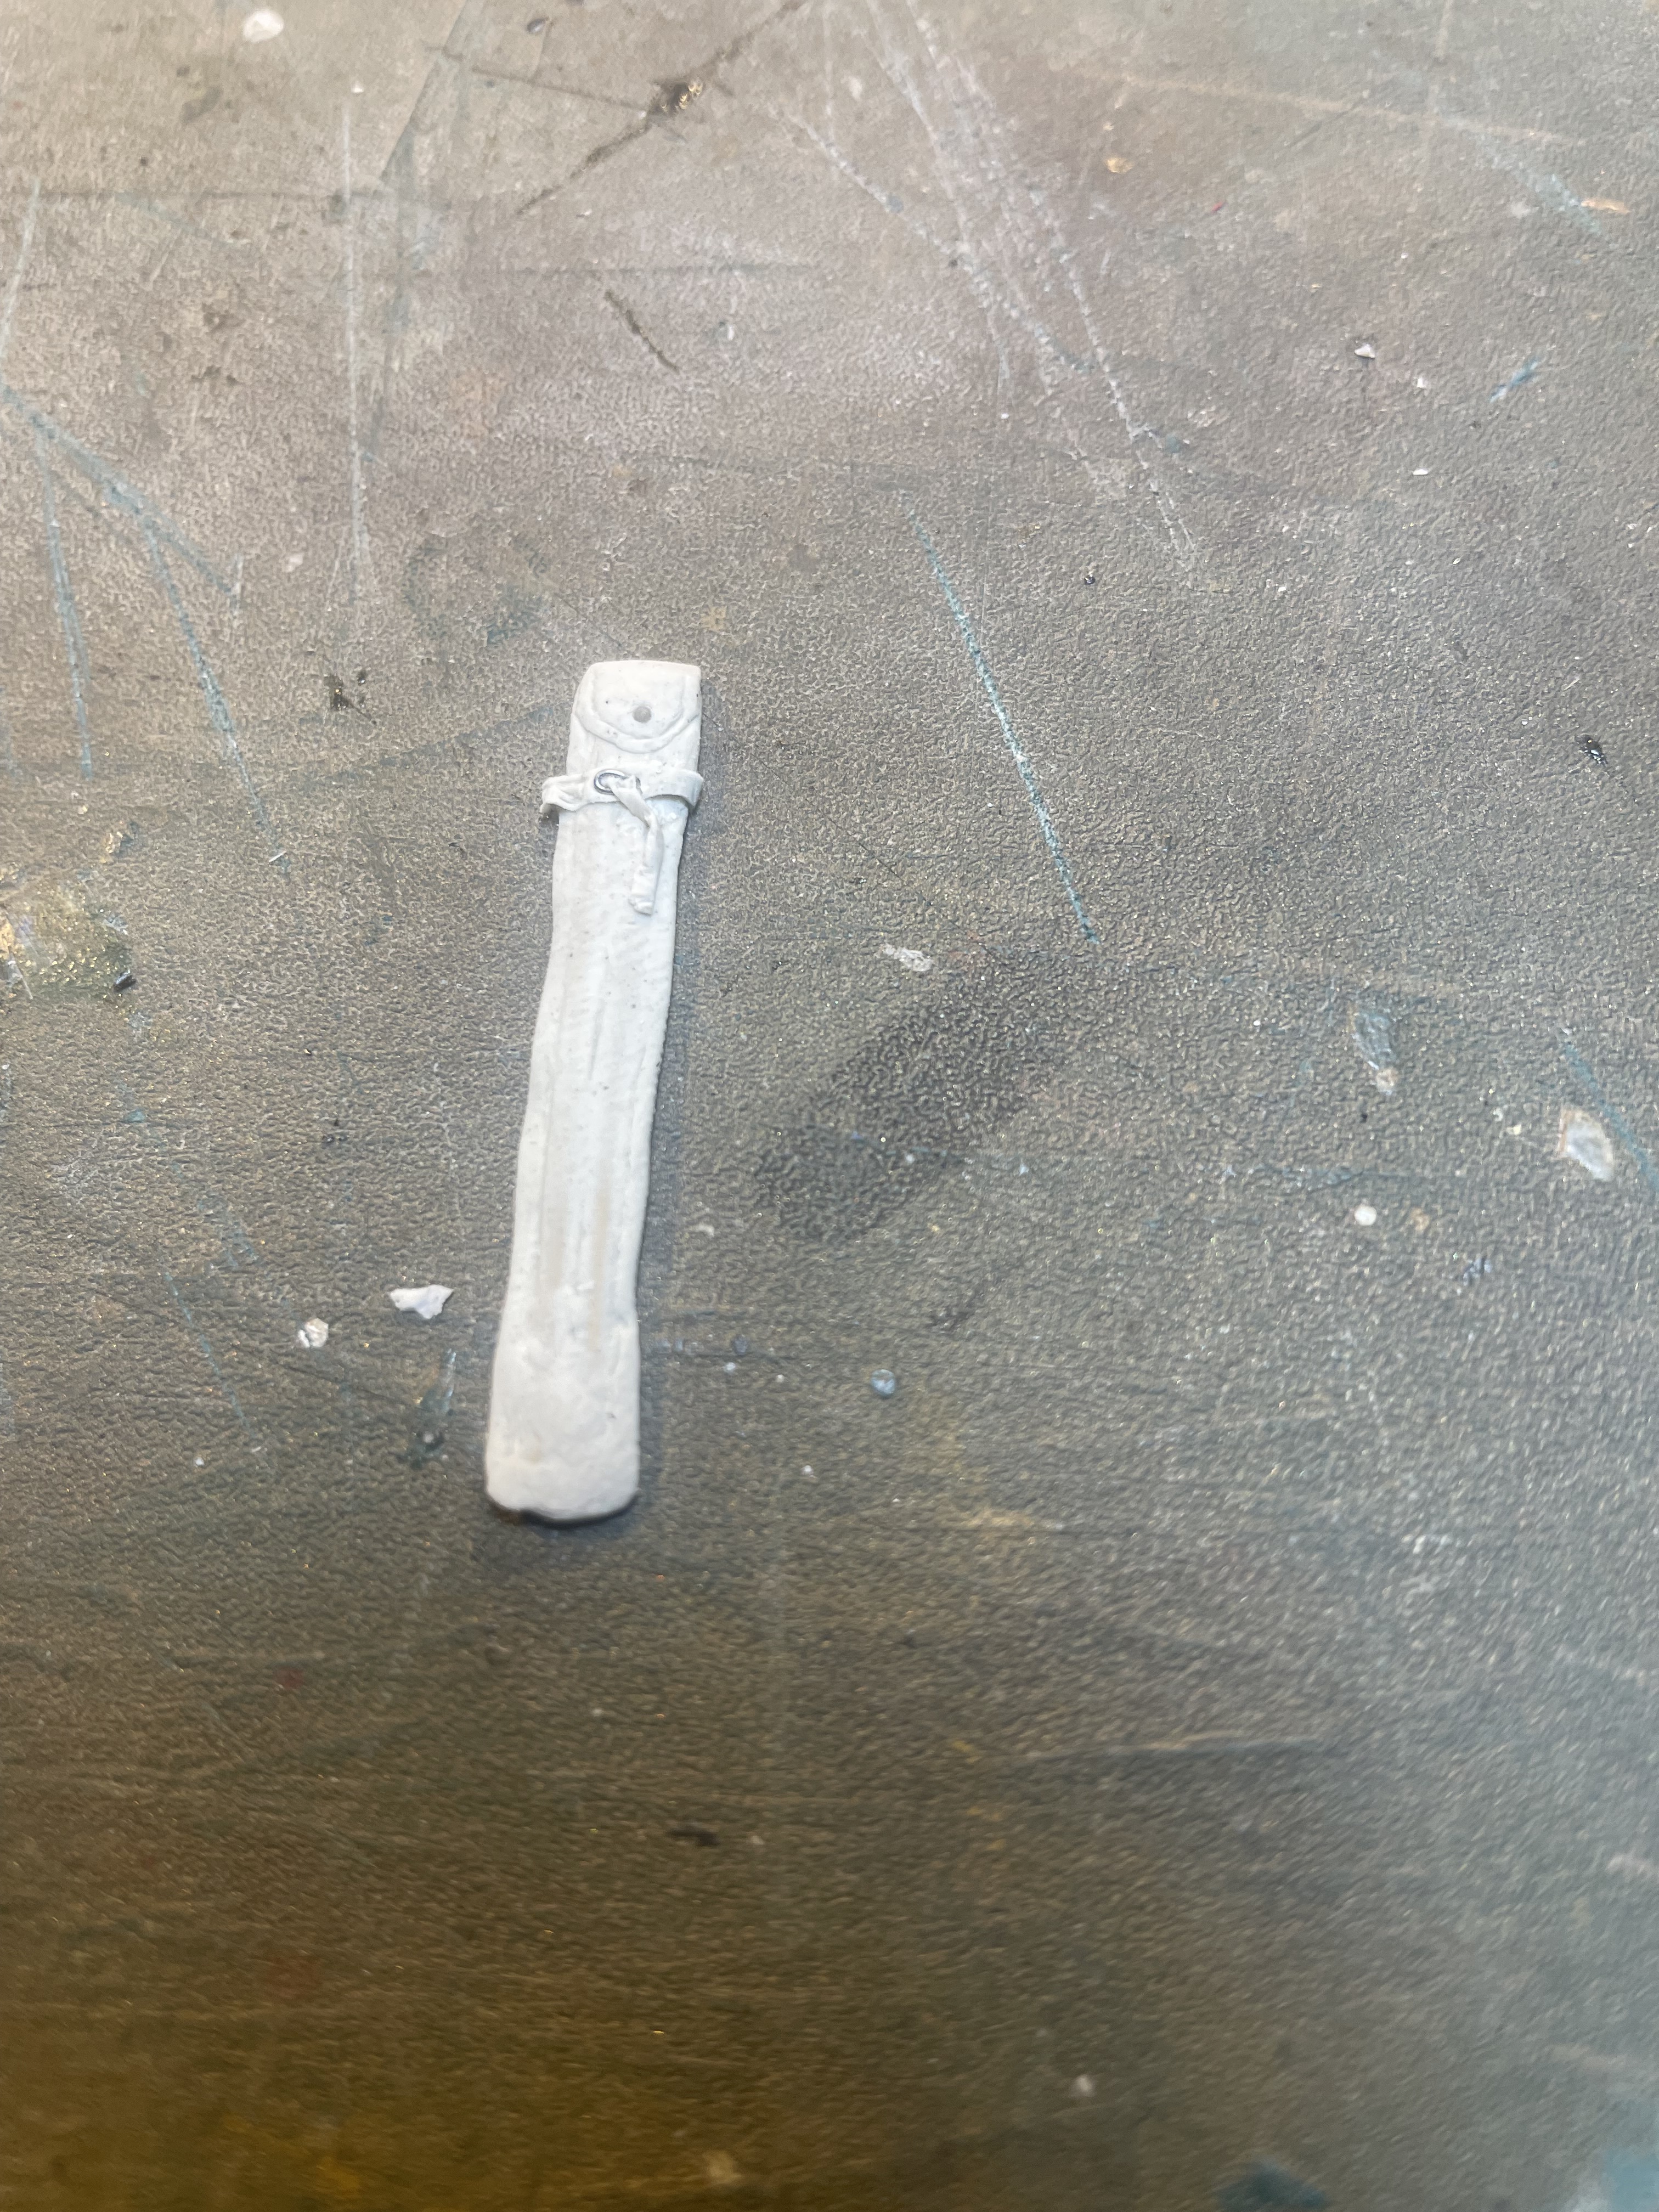
More progress. The hull is almost done as far as adding stuff to it. Just gotta position the recovery rope.
Does this recovery rope look to be proper scale? Or is it too thin? Comments welcome.


10 Likes
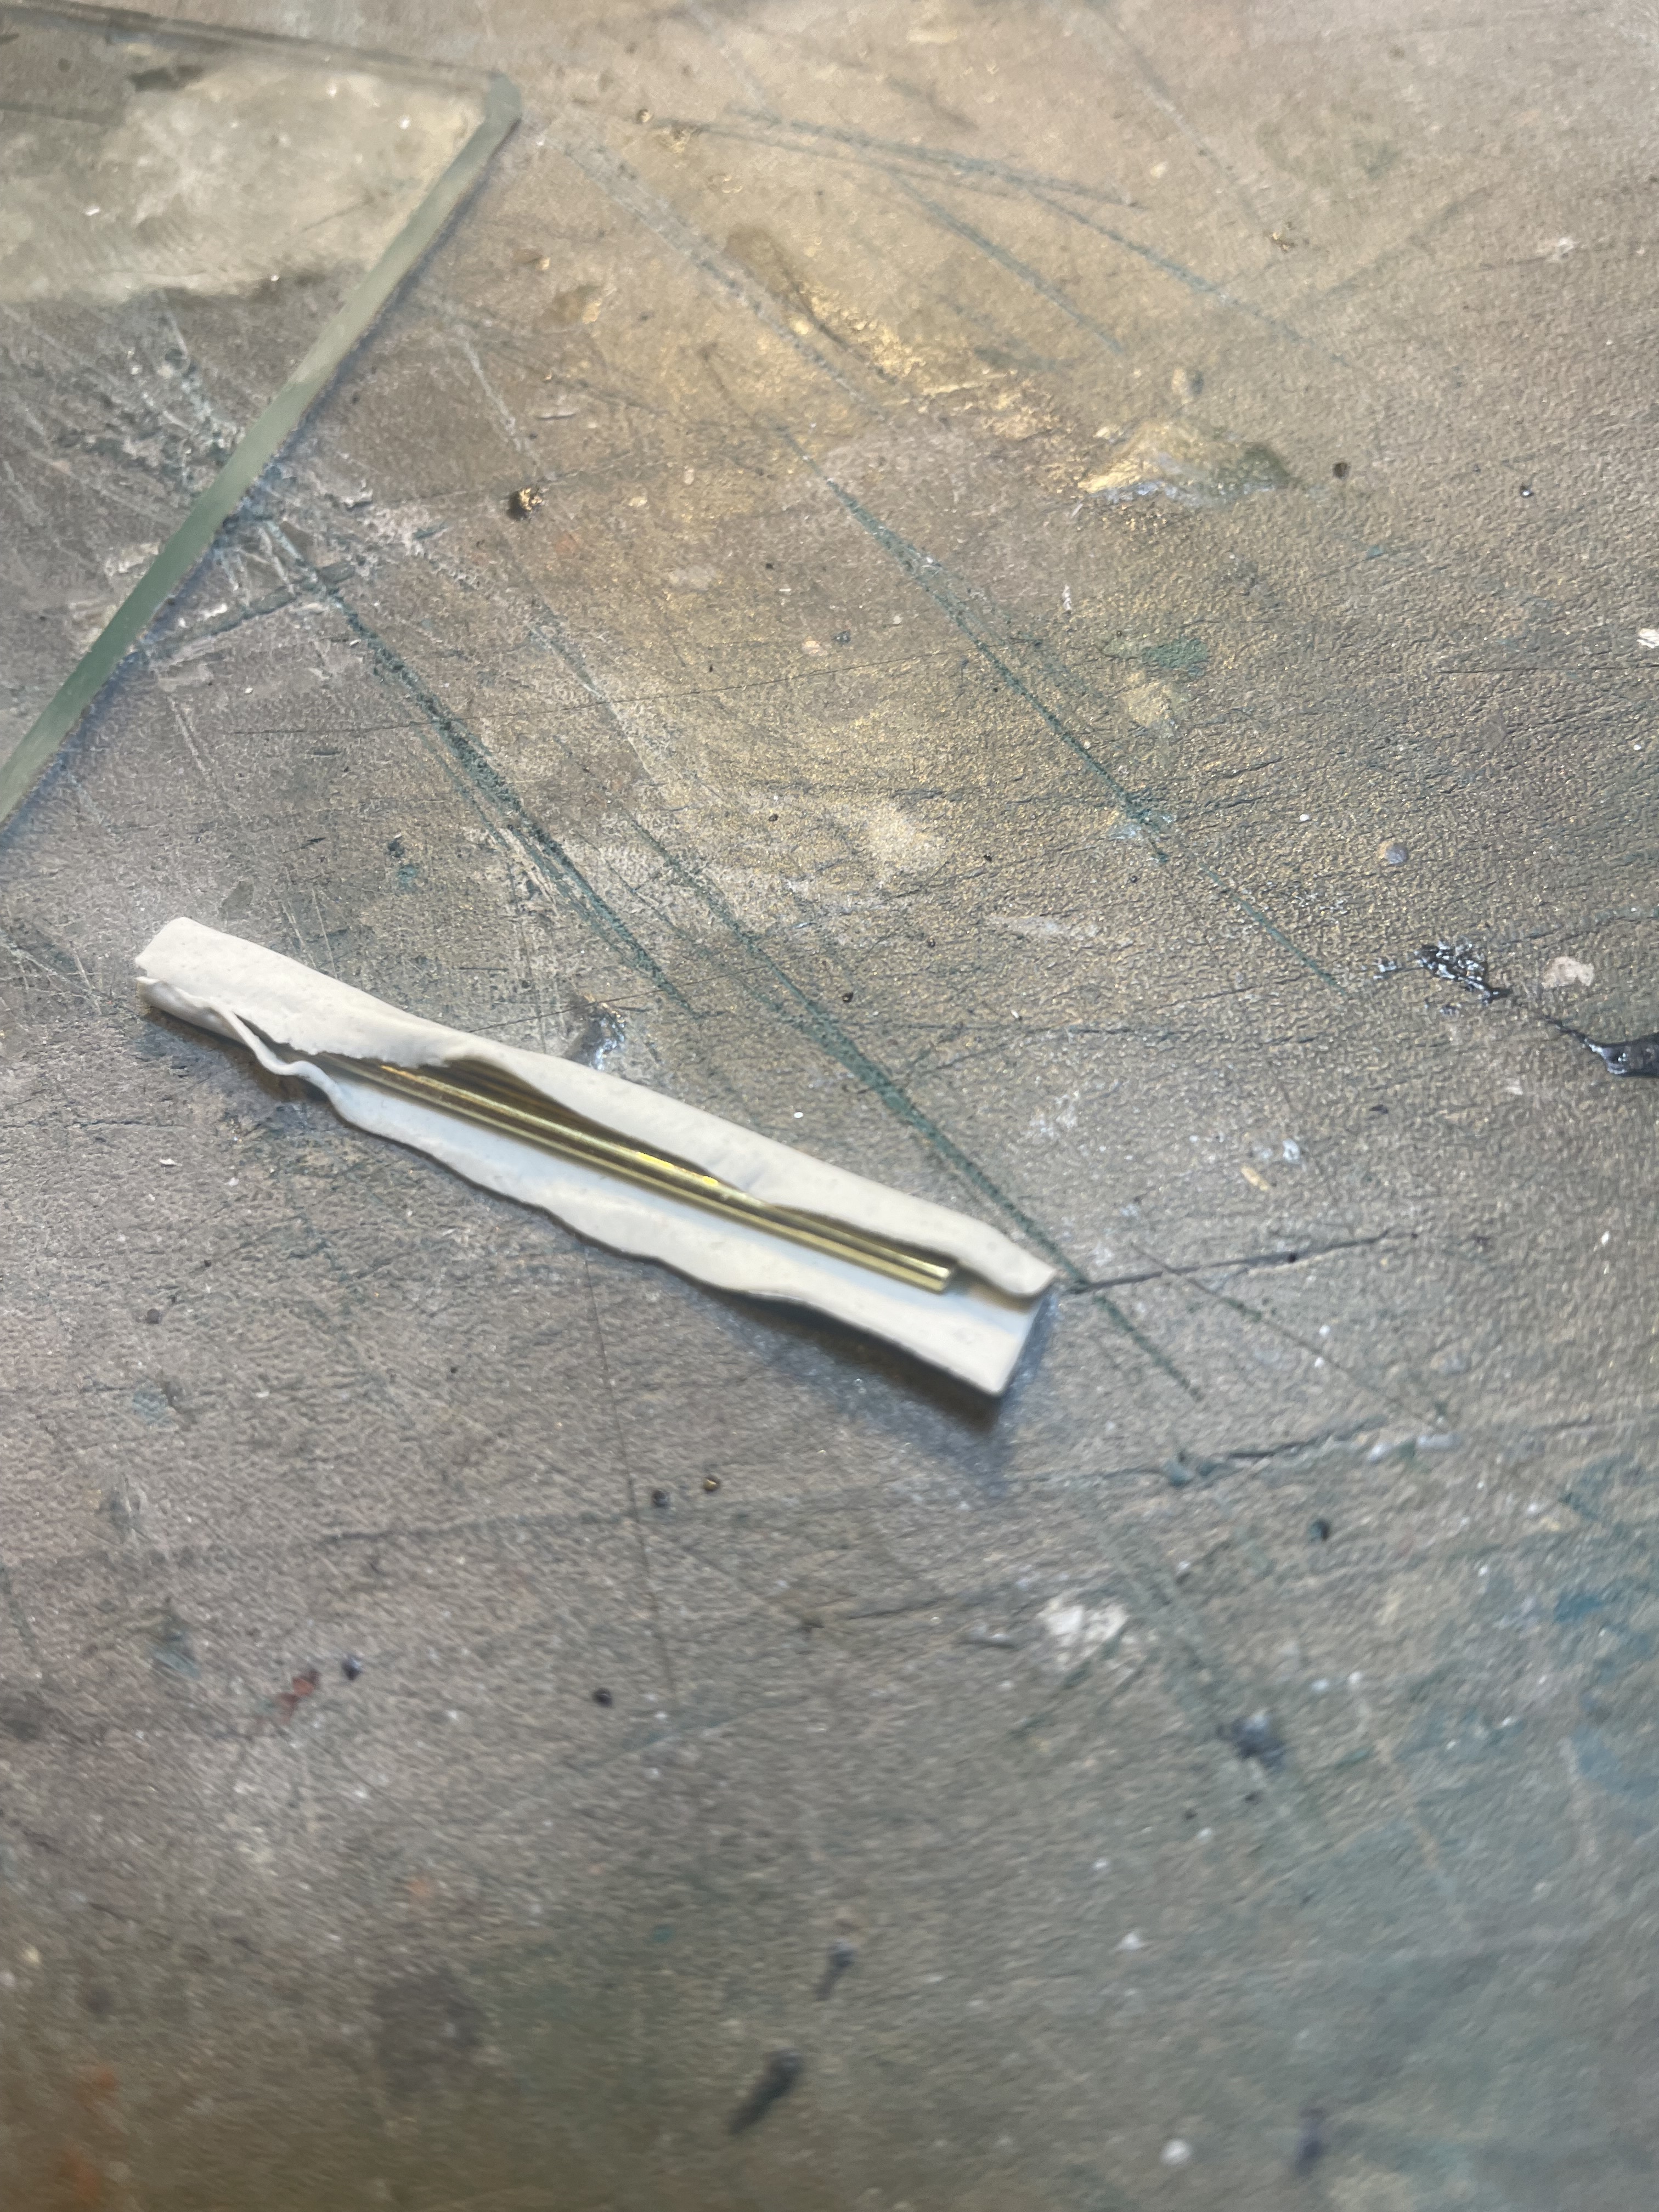
I made the storage rack for the aiming stakes/ cleaning brush from plastic. First attempt on the left, second one on the right. Second one is more to scale.

Also, I thought I had an exhaust deflector in my stash but couldn’t for the life of me find it. I’ll just leave it off; I’ve seen pics of them missing anyway.
4 Likes
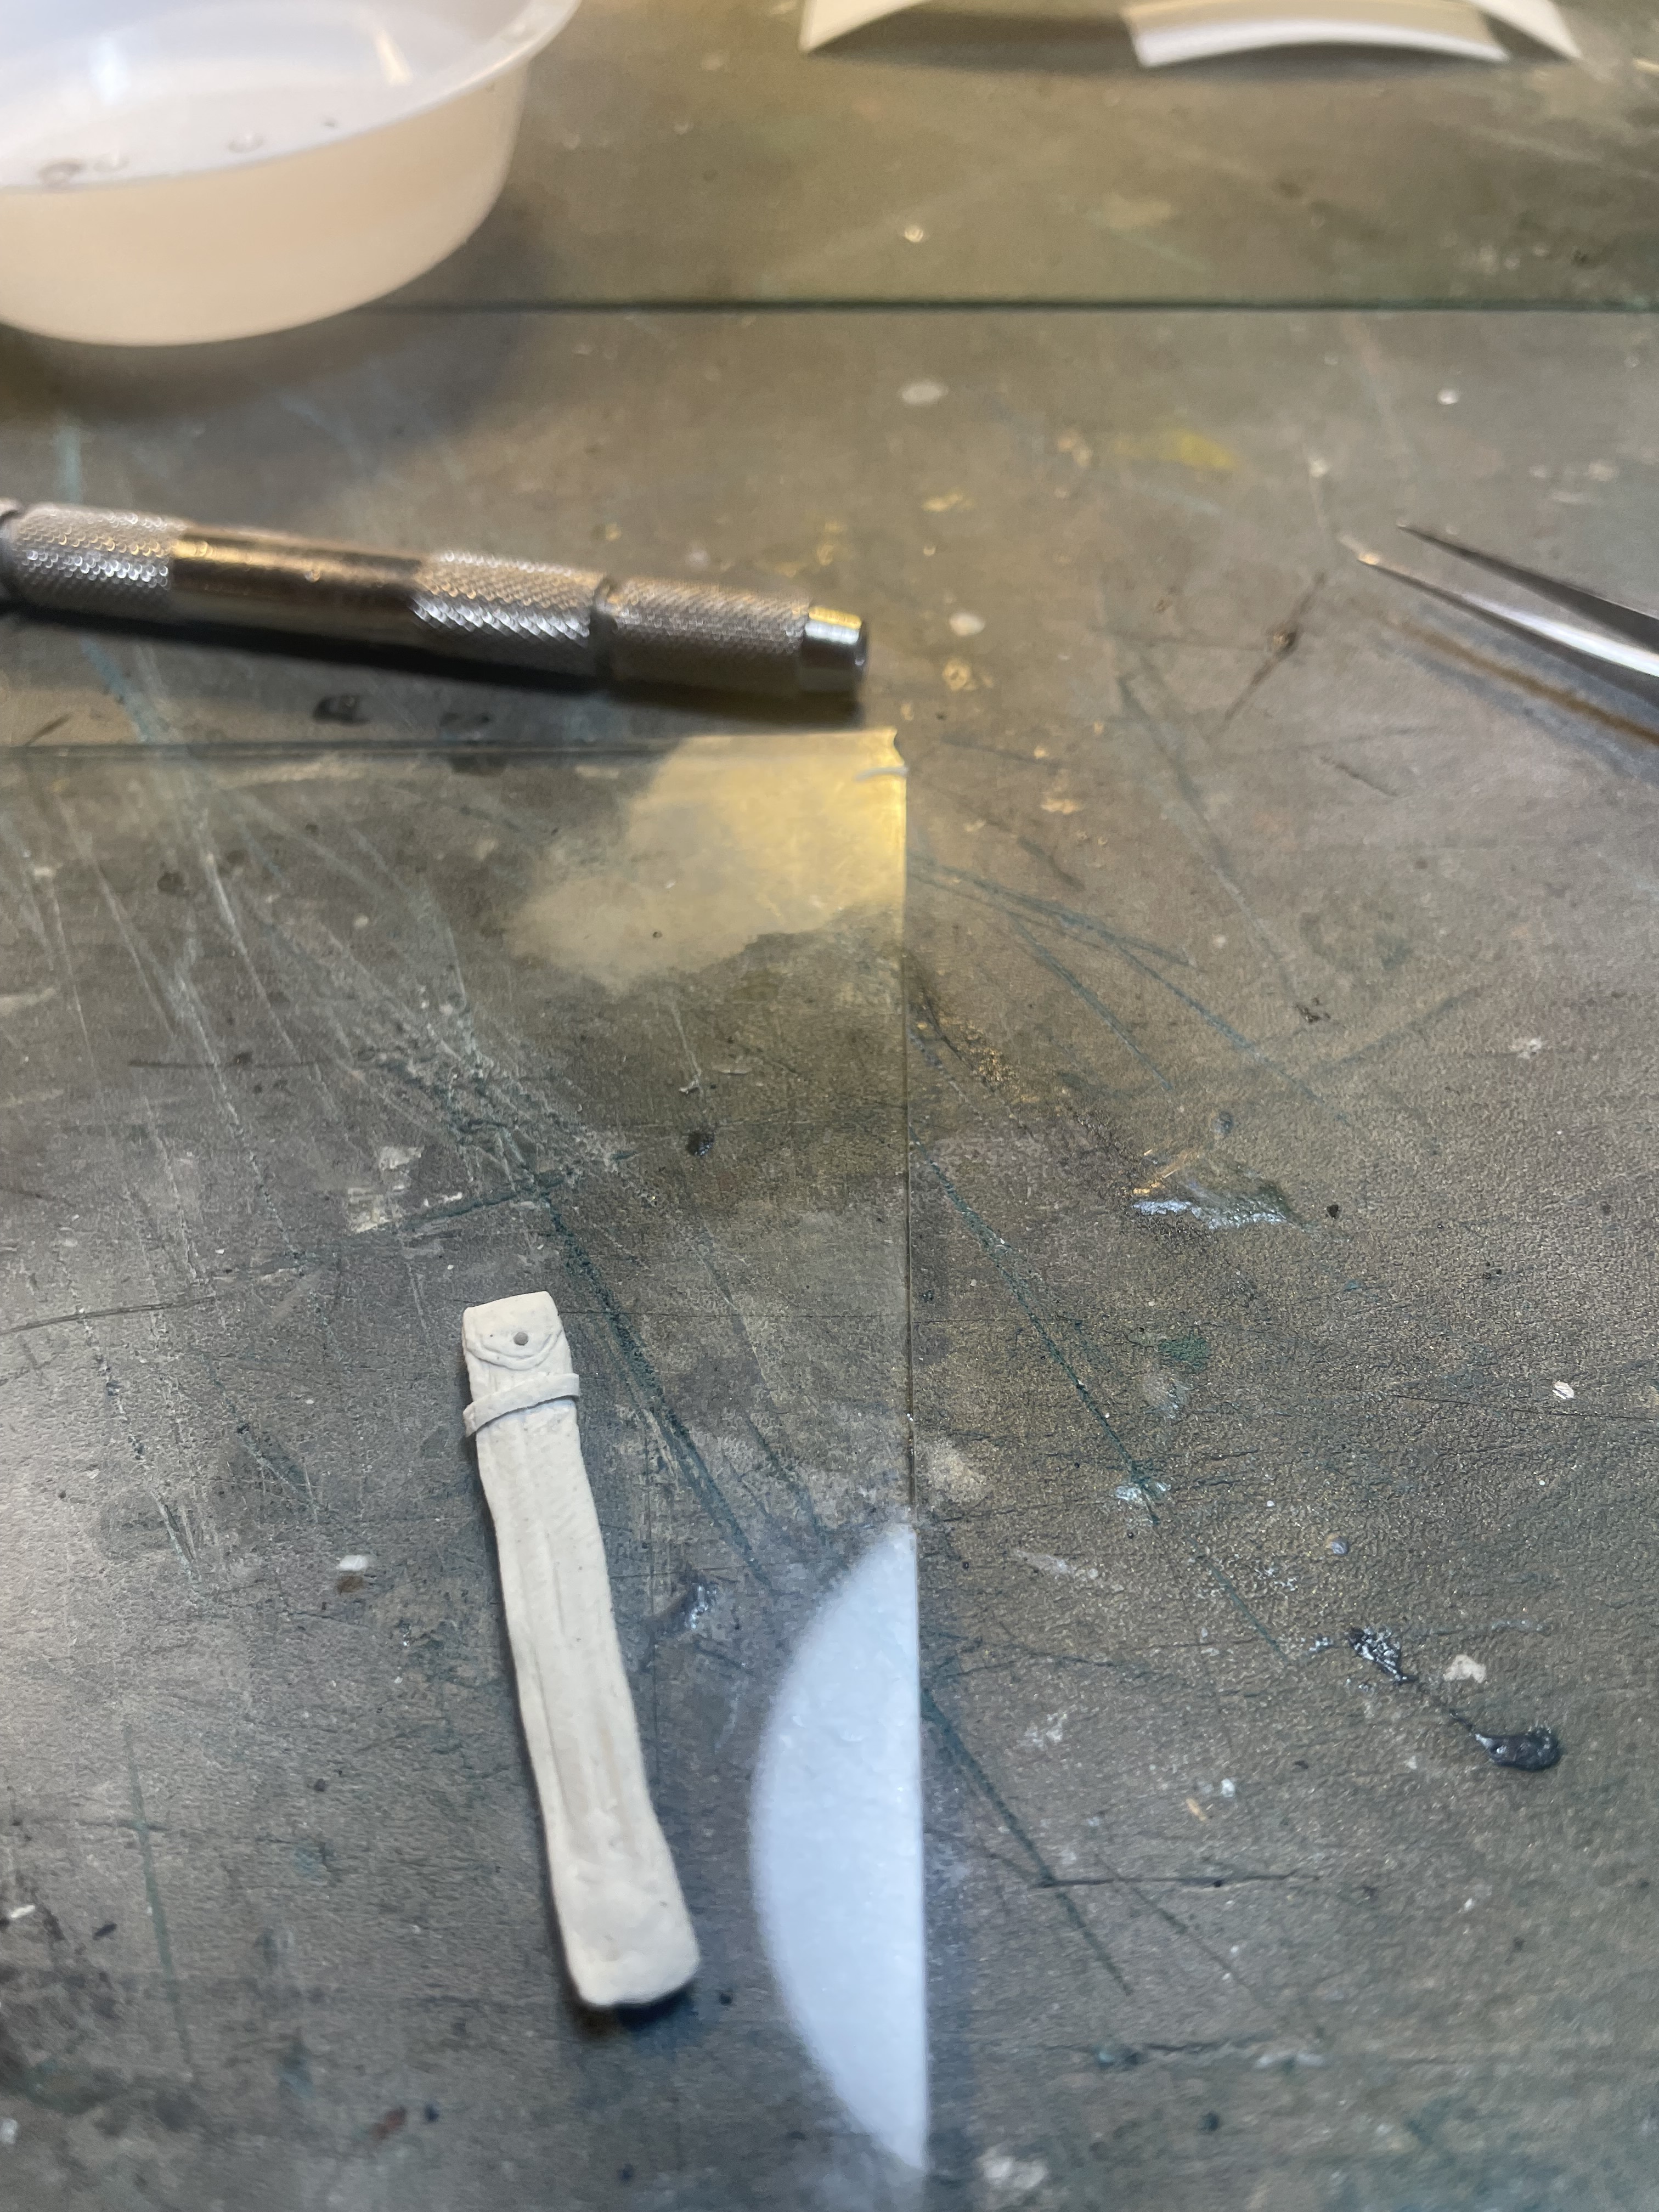
Here’s a test fit of the rack. I trimmed the end pieces a bit. I will have to sculpt a bag for the aiming stakes as I could not find anything in my stash resembling it. I will also have to add the tiny weld beads along the sides of the rack, I’ll be using Apoxy sculpt for those as well.
This is another thing slowing me down as I look for stuff. I’m a bit disorganized on this one but hey- I’m having a blast as it slowly comes together!
7 Likes
That tow cable looks good Rich.
Thanks Matt
1 Like
Yup that cable looks fine! As for having a blast, that the whole point - if it wasn’t fun it wouldn’t be a hobby! ![]()
3 Likes
Off the top of my head, the real tow cable was 25 mm or 29 mm thick, so in 1:35 you’d be looking at 0.7 or 0.8 mm.
2 Likes
That looks fantastic Rich!
Thanks so much Matt. We‘ll see how it looks with a little paint in it lol.
1 Like
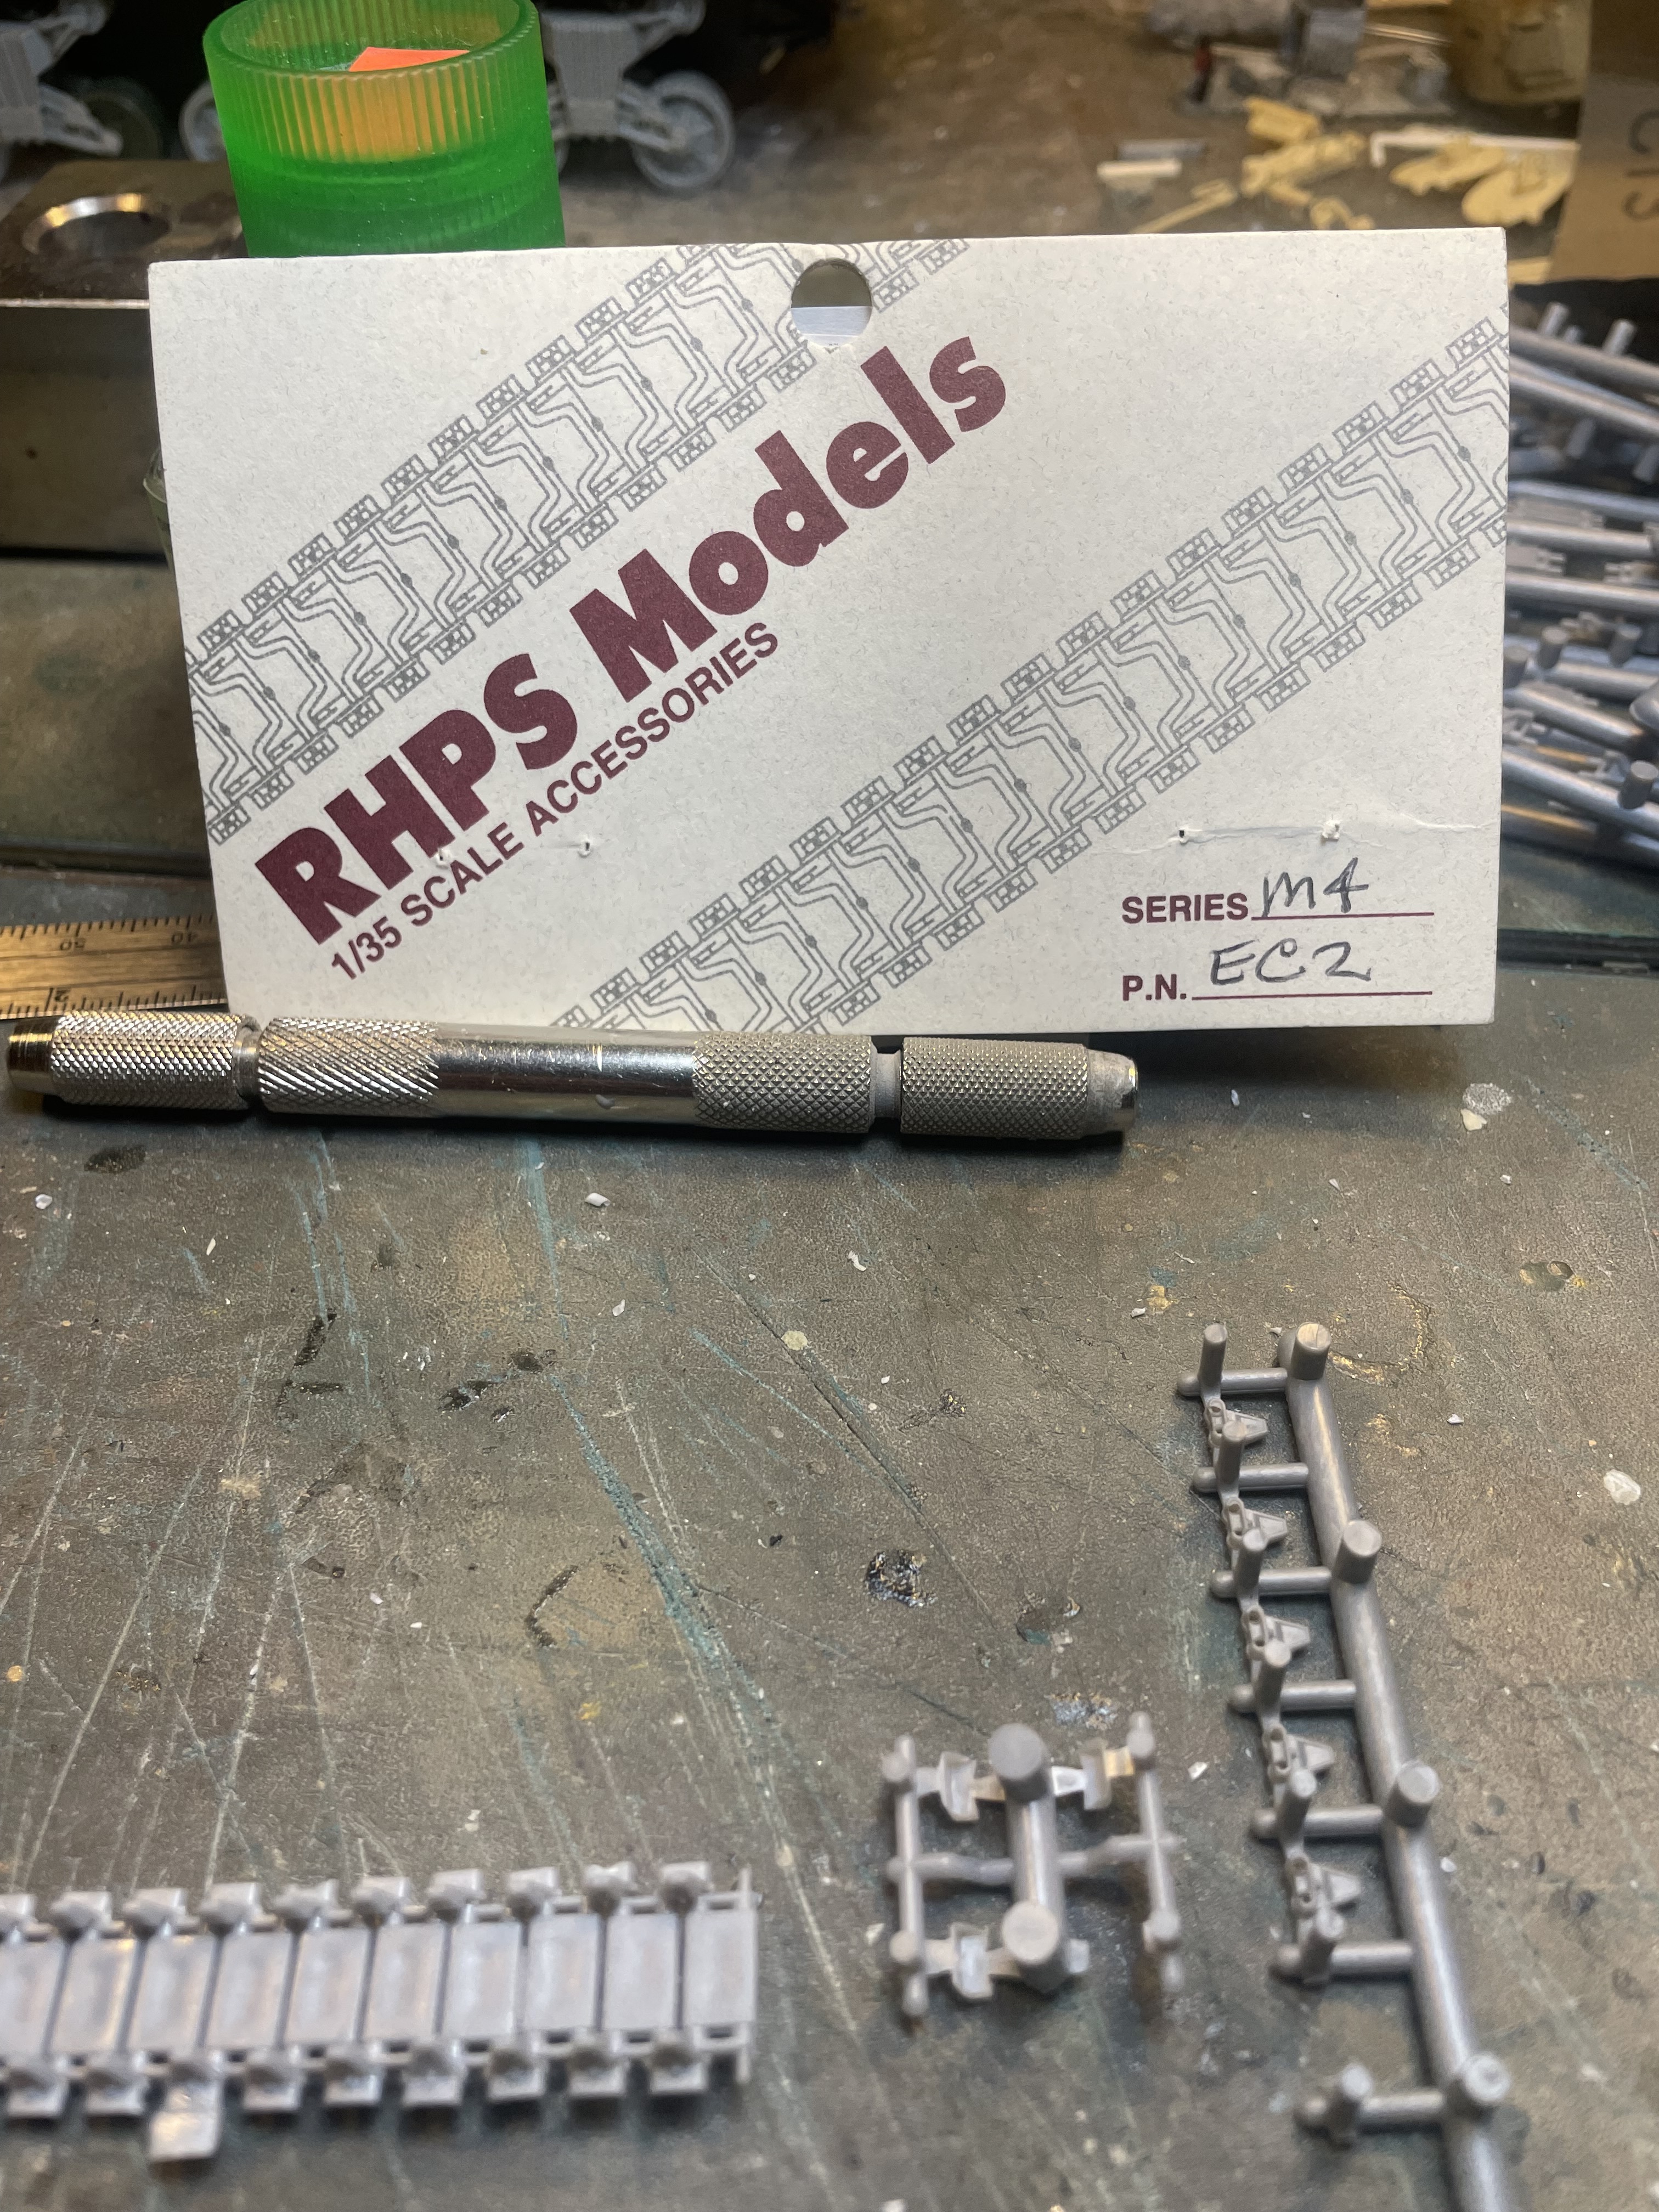
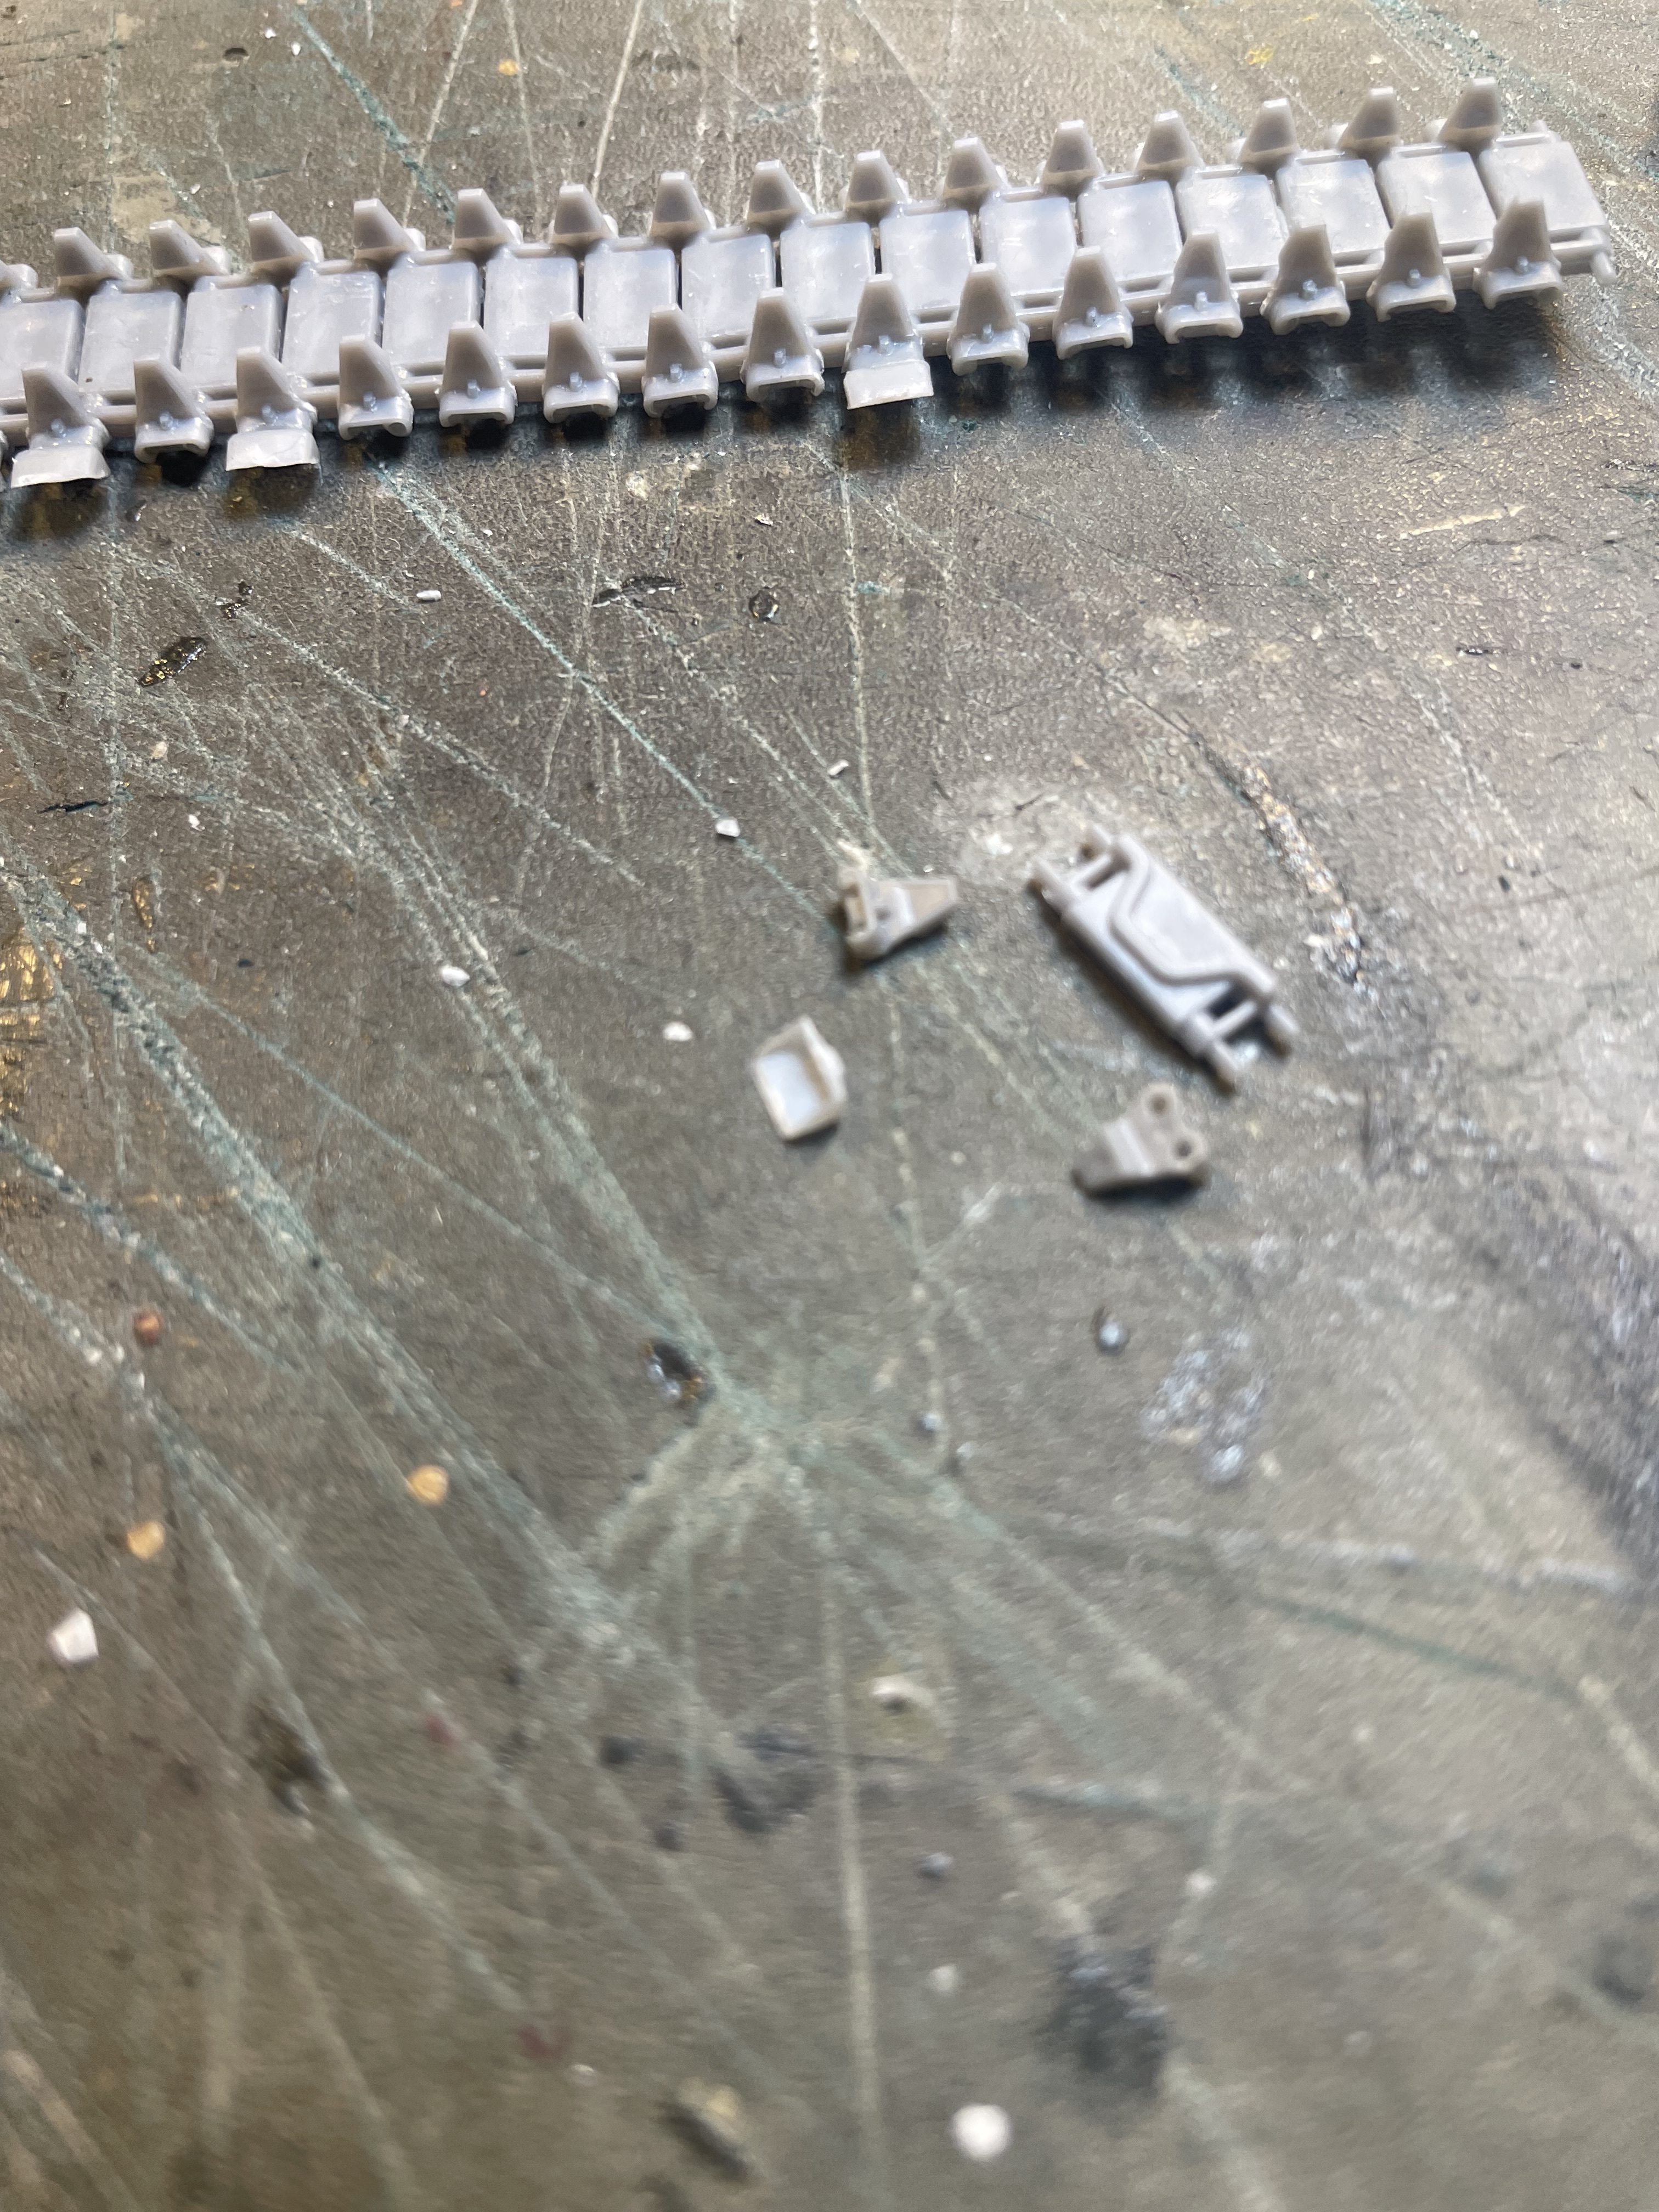
Now for the fun part……the tracks. I’m using RHPS tracks, T54E1 with the duck bills. A bit fiddly at times but that’s due to my sausage fingers. They look great though.


7 Likes
Ah Rich I love RHPS Tracks (AKA Panda Plastics)! I must have 20 pair in the stash. They are easy to clean up and so easy to assemble. Detail is so sharp. You can assemble them in sections, or link and length, or you can use the Testor’s cement in the black bottle with the needle applicator and assemble the whole run at one time and wrap it around the running gear, then let it dry overnight. And the price is right! I wish they hadn’t gone OOP.
4 Likes
Yes Matt, this is the first time I’m using them and after a slow start, I’m moving along just fine with them. I have about 3 or 4 different sets of tracks from them if I remember correctly and I’m glad I stocked up on them. There are other options out there of course but if I remember correctly they were very reasonably priced at the time.
So you recommend Testors cement for them? I’ve been using the trusted Tamiya extra thin with good results.
2 Likes
Yes Rich the Testors in the black bottle will grab immediately but give you an hour adjustment time to position the tracks on the running gear. As you’ve already found, Tamiya Extra Thin freezes them up right away.
Yes I’ve only done the bottom run which is obviously straight so that worked out fine.
Which Testors cement is it exactly? I’ll have to stop at the Hobby shop on my way home to see if he has it.
1 Like
It’s the Testor’s cement in the black plastic triangular bottle with the needle applicator. It’s normally sold on a red card.