Sure. My source was @KurtLaughlin posting this drawing on Missing-Lynx, in the thread where I was showing my corrections to the Zvezda kit:

3 Likes
I should note that the drawing is for a late, low bustle, D50878 turret casting. However, the initial high bustle turrets used this same part number. It is believed - and all evidence to date has borne this out - that the only changes made to the D50878 to become the D78461 were in the bustle. I don’t, however, know of anyone who has gone over a high bustle turret for conformance to this drawing.
The illustrations in the original SOS book are just that, illustrations. Those in the newer two-volume set were redrawn with a goal of being better representations in scale.
KL
5 Likes
That’s really a nice build.
2 Likes
Thanks. I just need to finish it … have I mentioned I’m not fond of using epoxy putty? ![]()
1 Like
Looking great Jakko , you’ll get there.
I’m still trying to see the light at the end of the tunnel with my project as well, it’s there but very faint ……
3 Likes
It will come closer if you keep at it ![]()
2 Likes
Going to have to look for those. I totally agree about etched ones looking wrong. ![]()
1 Like
Just click on the link in the message, it’ll take you to Asuka’s online shop where you can buy them (as well as more stuff you’ll probably find useful if you build Shermans ![]() ).
).
3 Likes
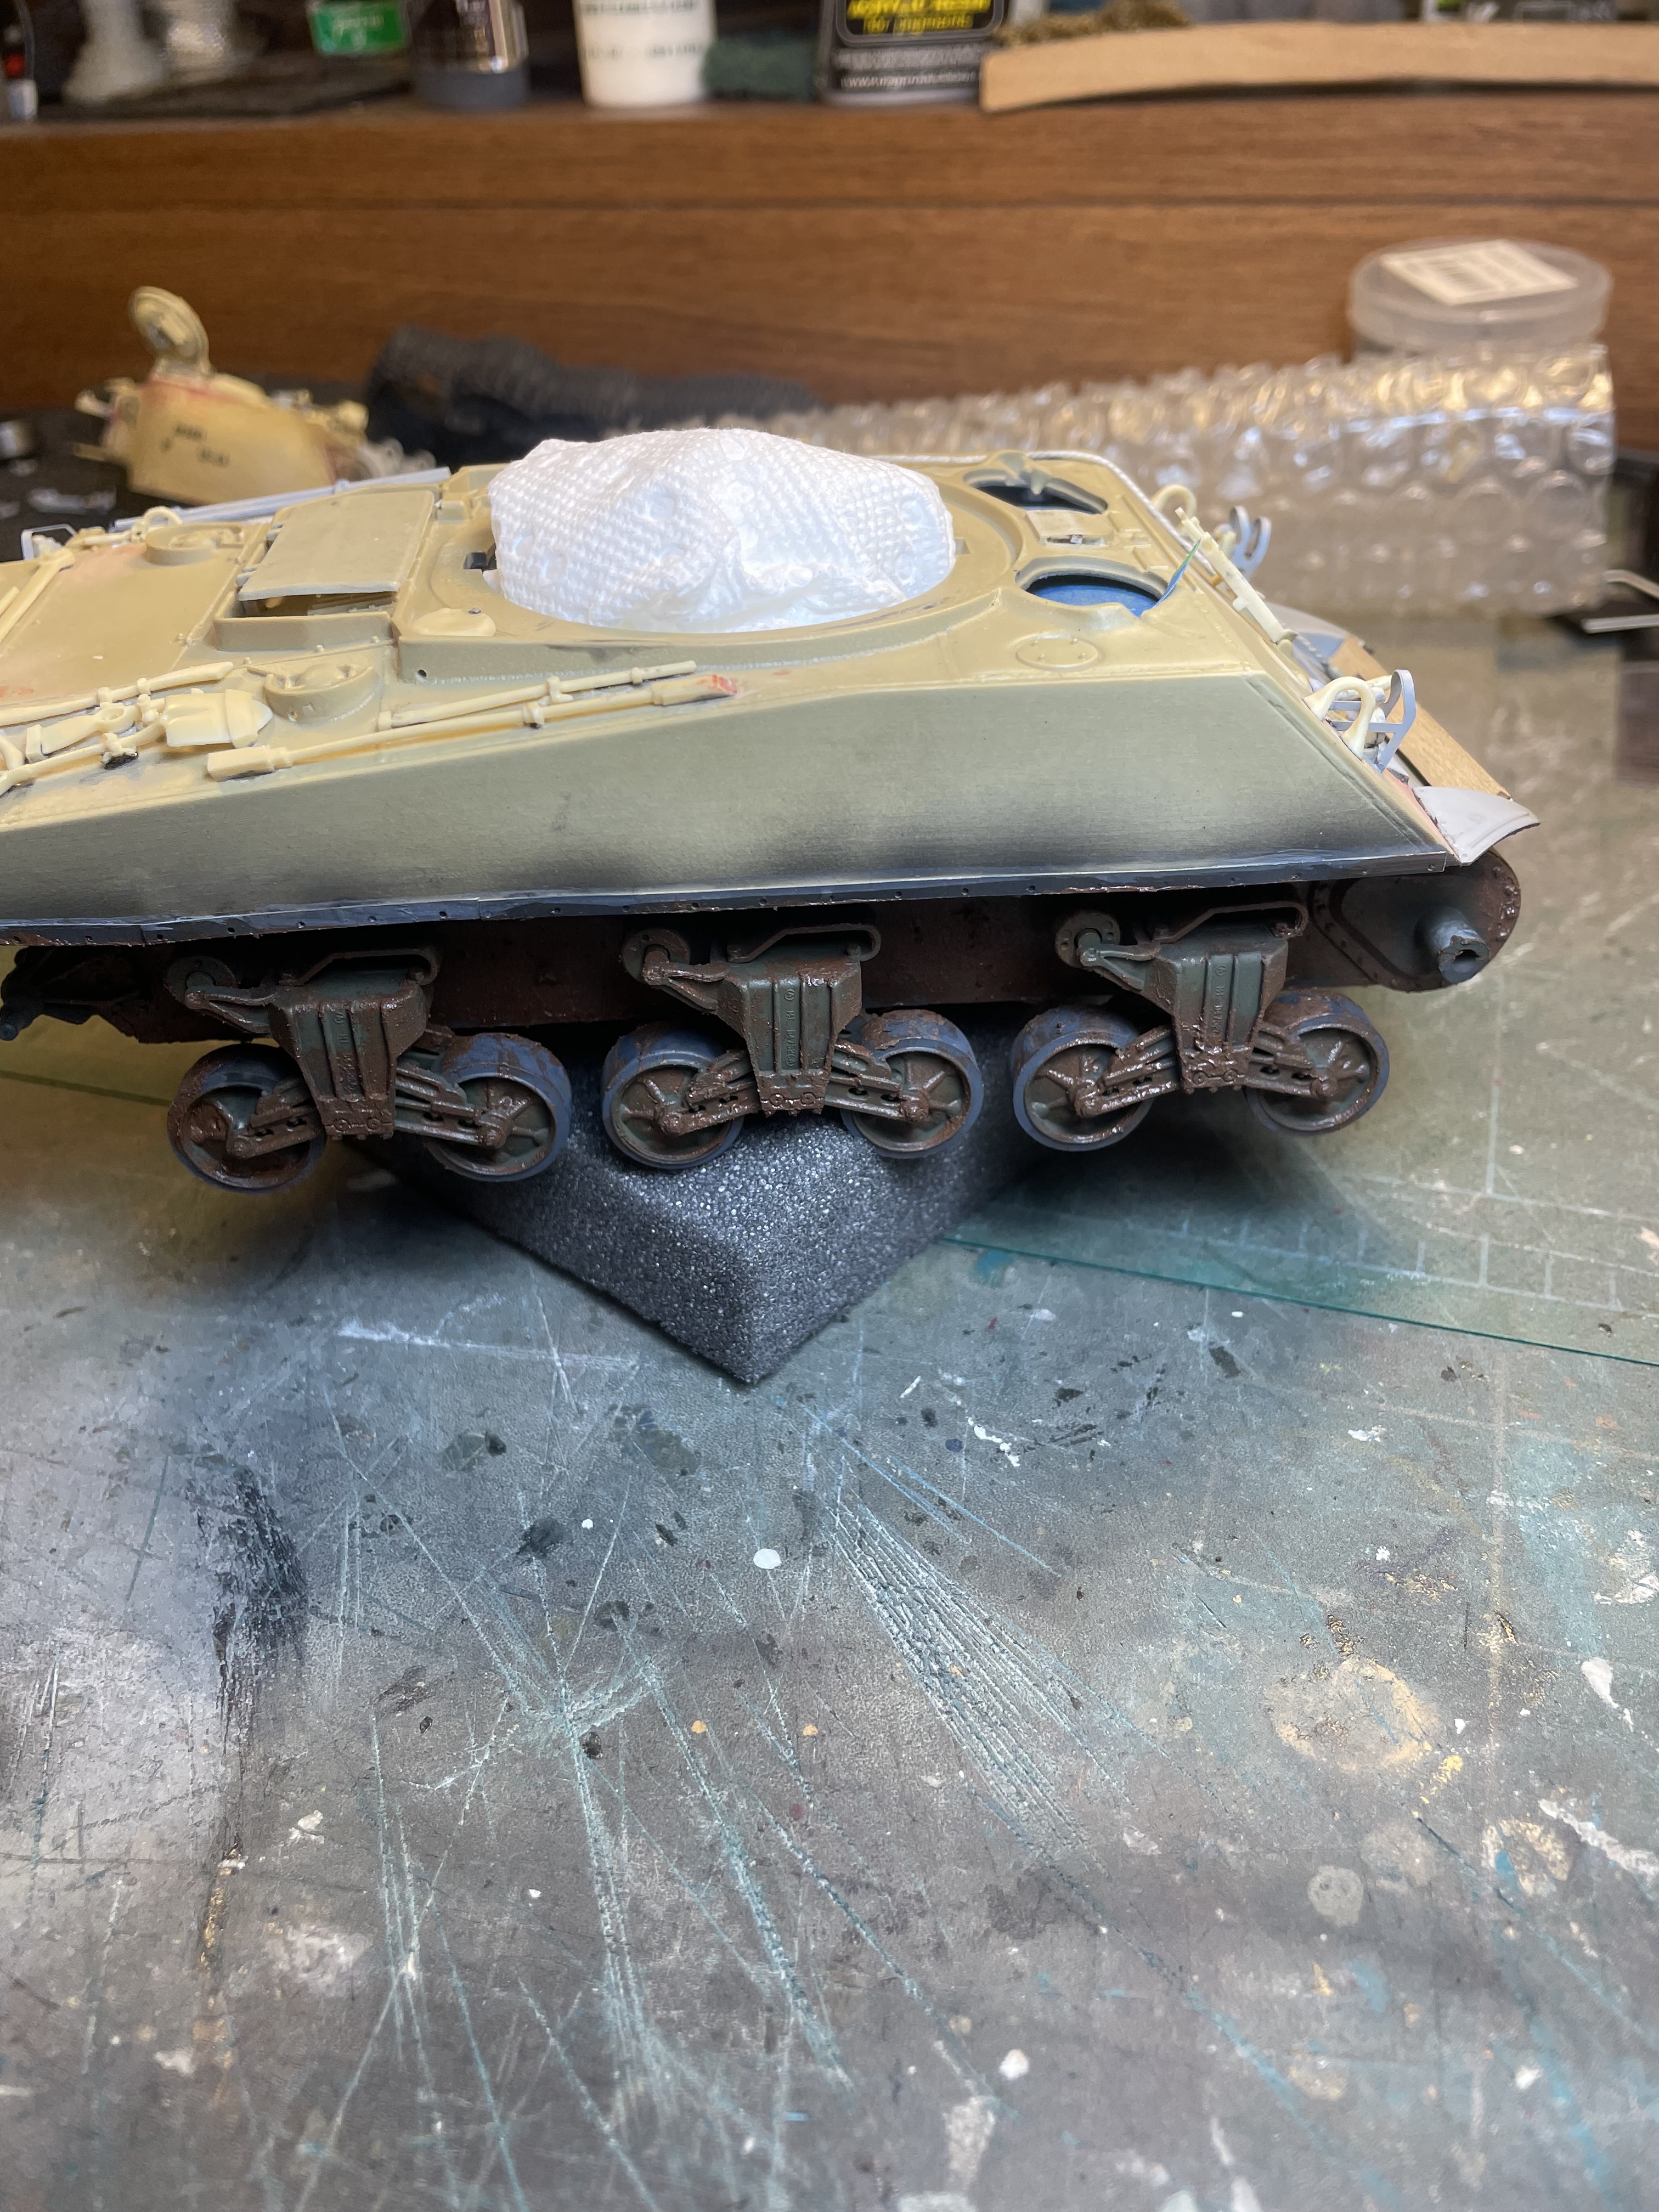
Finally got some paint on this thing. I airbrushed a coat Tamiya flat black then a coat of AK Real colors OD on the lower hull and running gear, then used my new AK RC paint markers in black rubber for the road wheels and dark aluminum for the idler wheels. They worked great. I then gave the rest of the hull and turret a flat black Tamiya base coat.
This is the first time I’m trying a heavy wet mud application on a model. So I mixed MiG acrylic resin with some Tamiya flat earth and Europe dark mud pigments and applied it on the lower hull and running gear. I’m not happy with the color; it looks too reddish for me so I’ll just go over it again with a darker chocolate brown. This mix started drying very fast and was difficult to get off the brush. Next time I’ll add a little water to keep it more workable.
Also, the AK OD looks too green to my eyes, I’ll add a little dark yellow to it as I do the rest of the tank. Comments welcome.


3 Likes
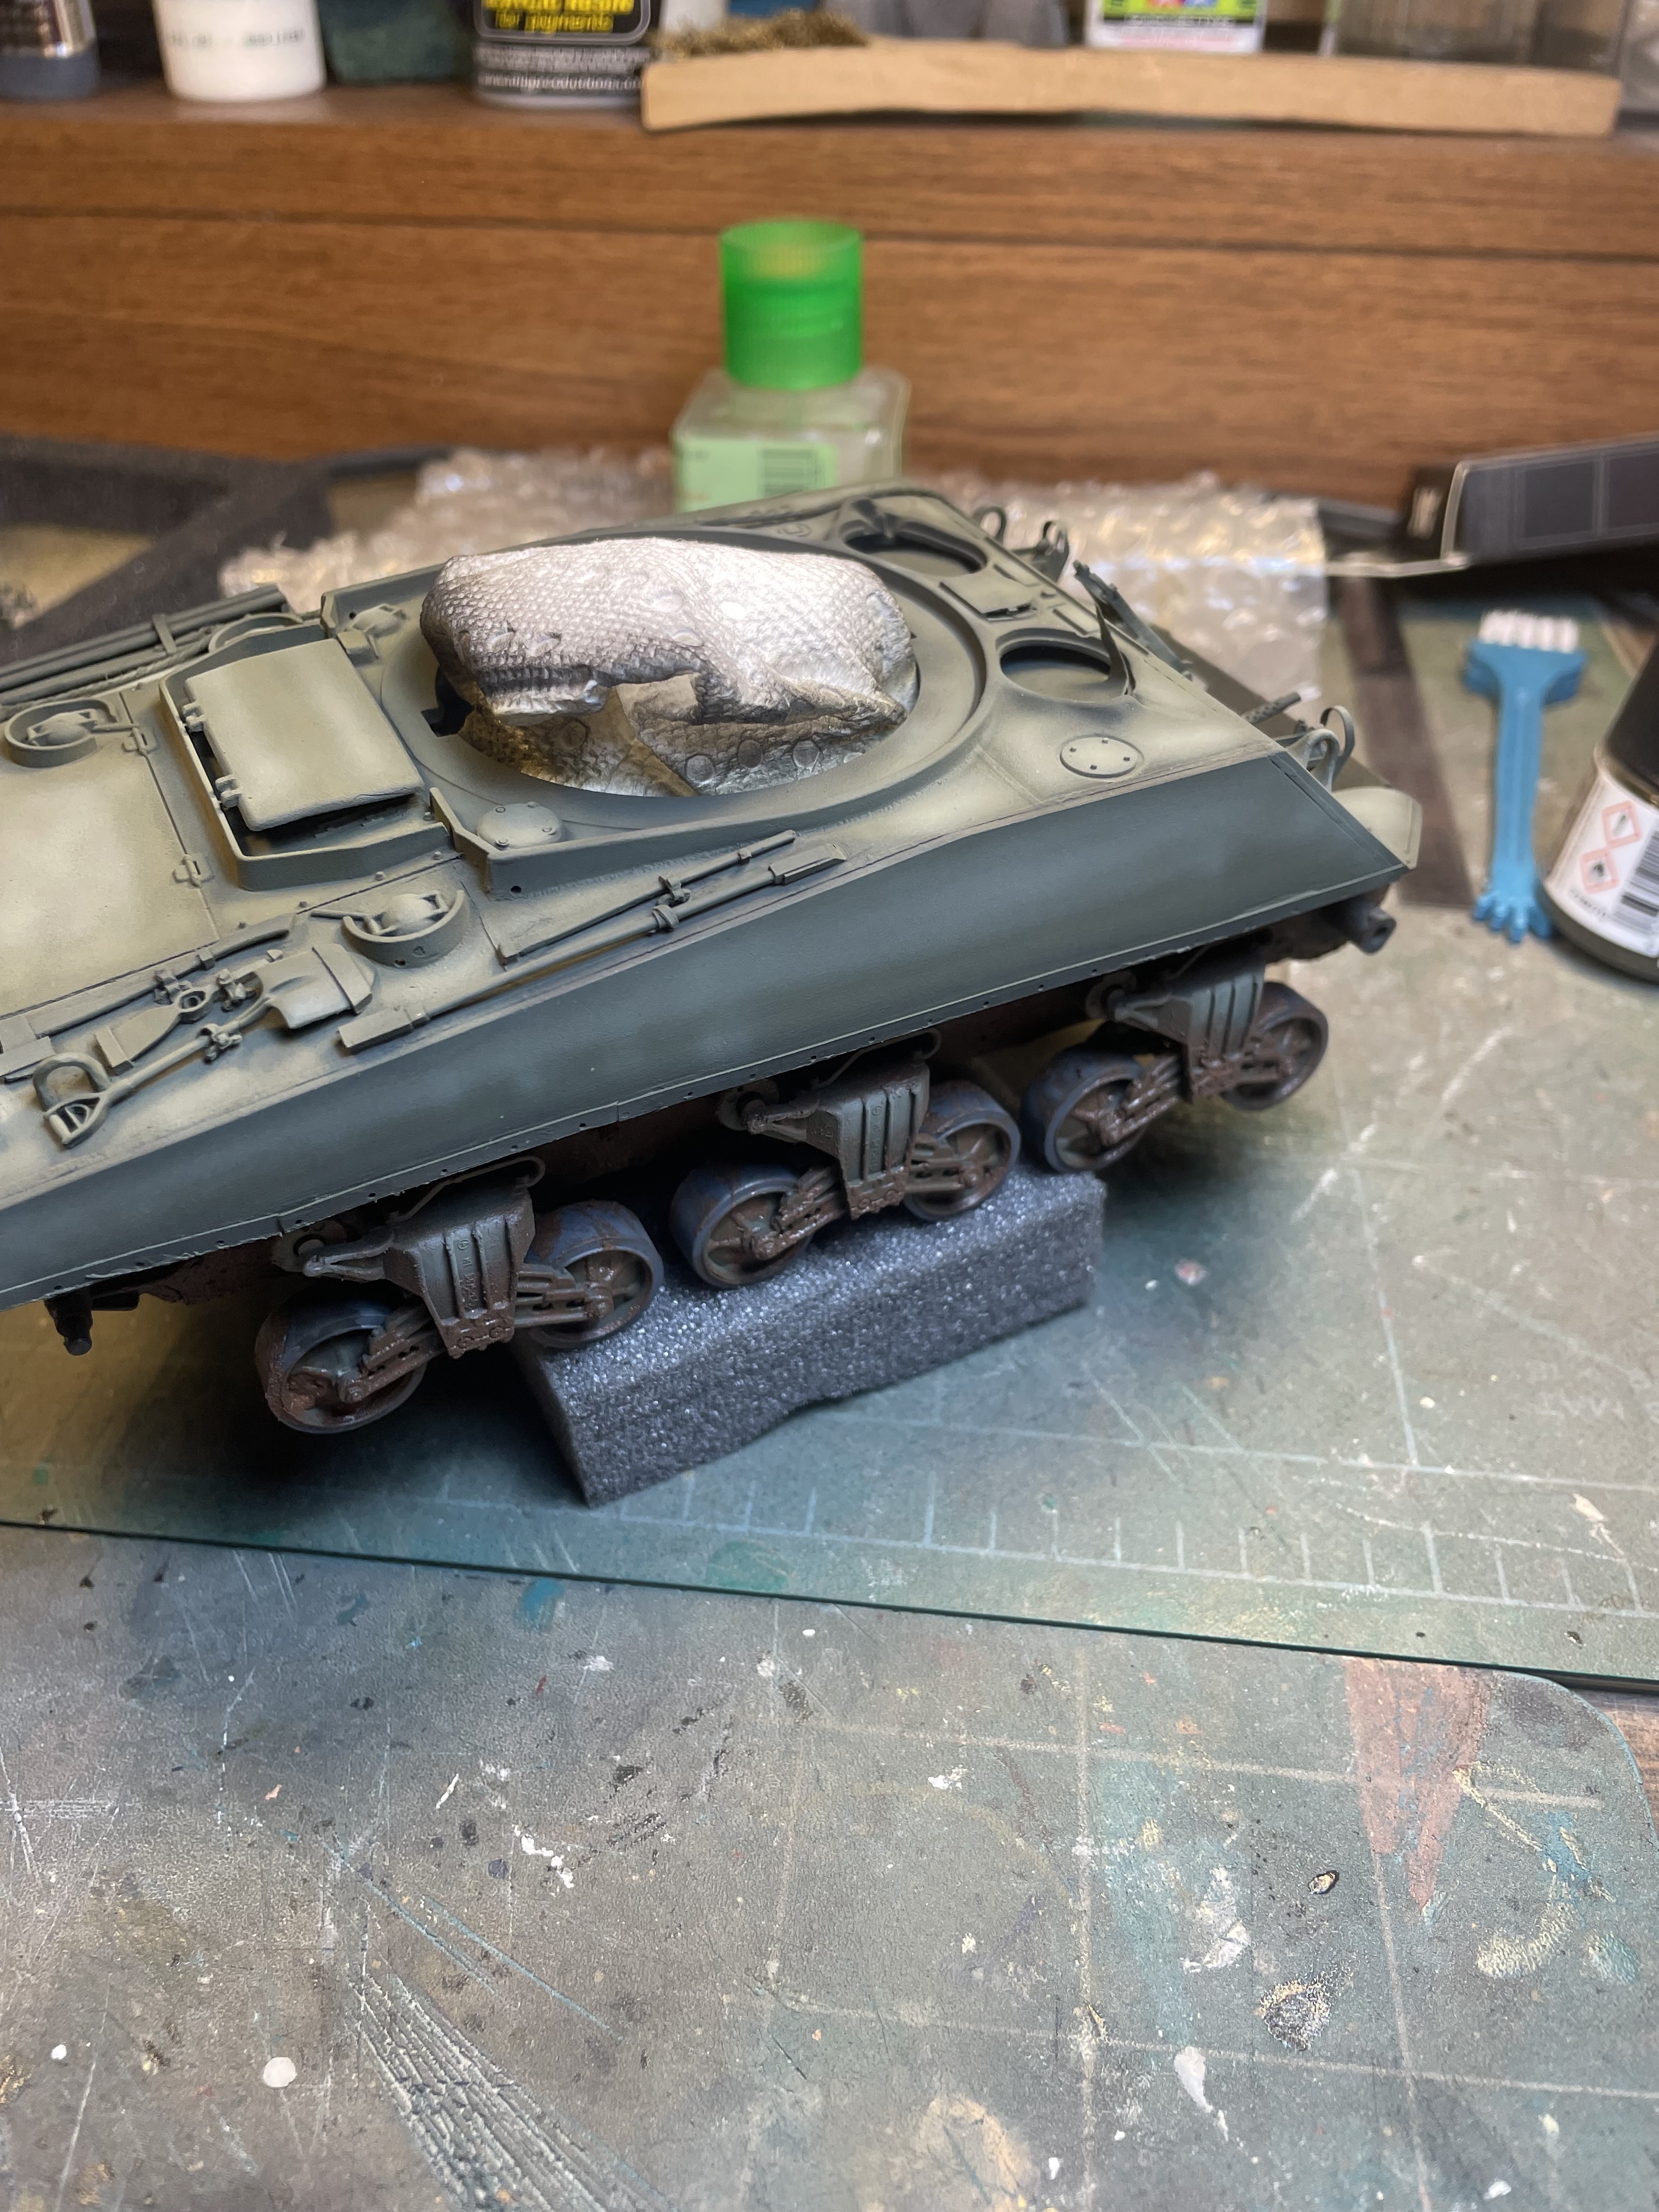
Today I started the AK RC base coat of OD (RC026). I then added some AK RC061 Dark Yellow to highlight some upper surfaces. I will be doing a winter white wash coat but not for a few days yet. Gotta let this dry while I paint the details and continue weathering the lower hull and tracks.


8 Likes
Ok , question guys: Has anyone had problems with STAR decals? I’m trying to apply them to my Sherman now and they’re breaking up as soon as I take them out of the water. Most of them are destroyed unfortunately, but I planned on heavy weathering with thick mud.
![IMG_1958|375x500]
(upload://fWKm900J1Z873KcqnKrajUL90om.jpeg)

3 Likes
Yes Rich I’ve had a couple of Star sets shatter on removal from water. Strange and Terrible. Archer makes a really nice decal set for the M4 105. That’s what i went with.
2 Likes
Actually I have used them before; on a British Para Jeep at Suez, another project on hold for now, and they worked fine. Strange. Anyway , I’m forging ahead with the winter white wash coat this afternoon and I’ll post pics when that’s done.
2 Likes
Btw yes I’ve seen some other decal sets for the 6th Armored Division M4 105s but decided not to buy anymore and just finish this thing.
2 Likes
Question guys:
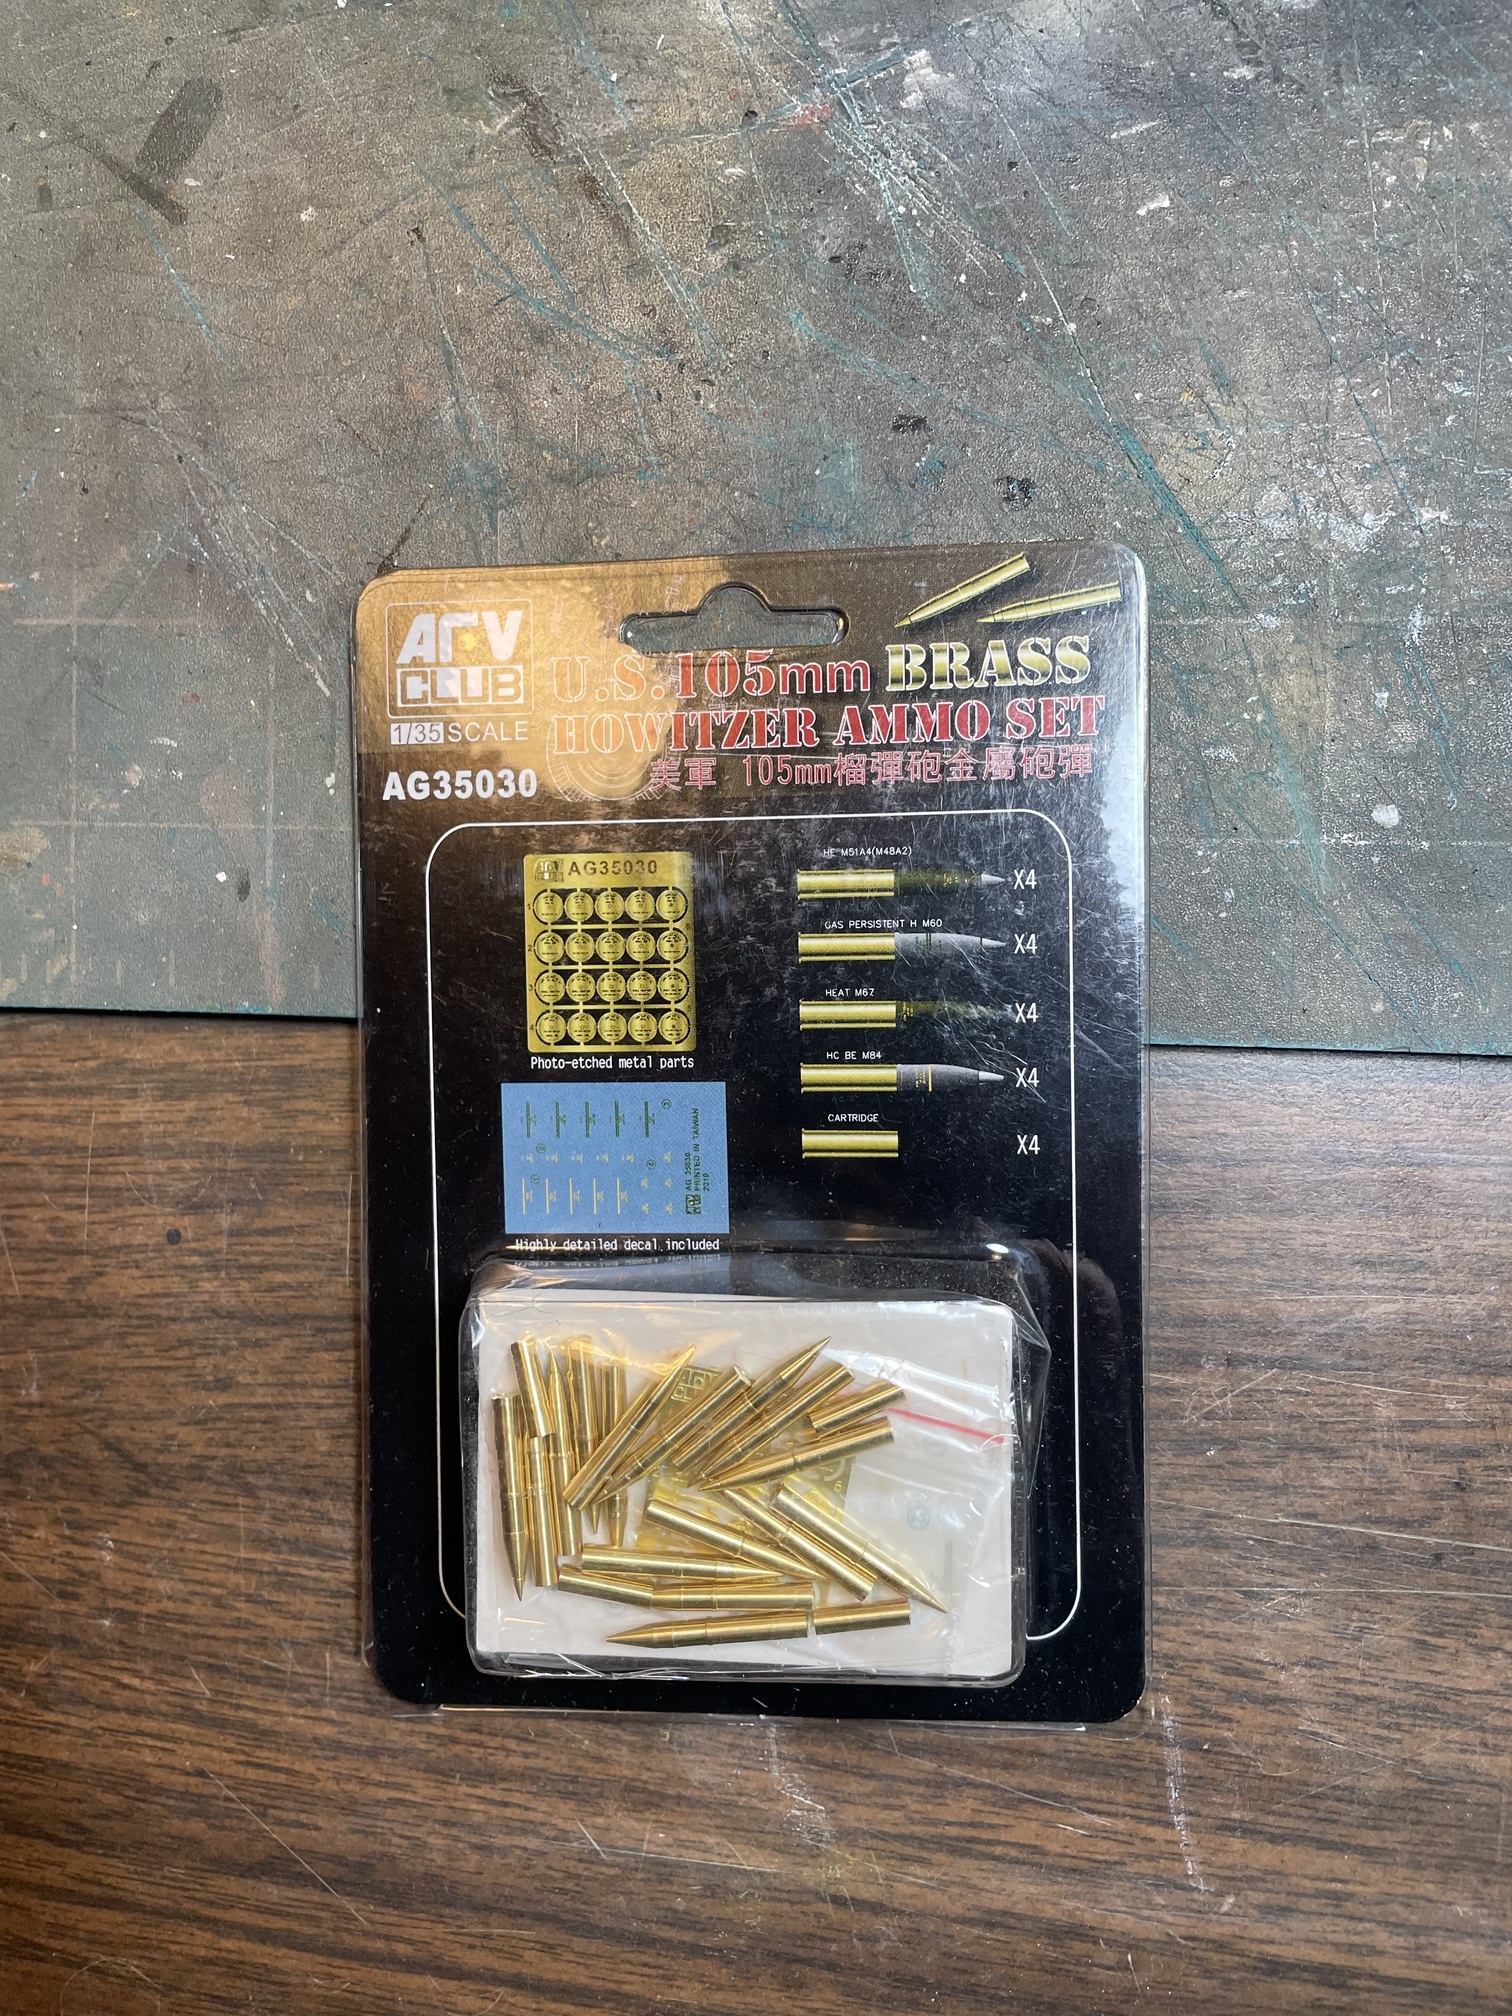
I bought this AFV Club 105mm ammo set for my M4 105; I have never used real brass ammo before, do you paint the brass or just leave it and paint the warhead only? Or maybe just darken the brass part? Thanks in advance.
2 Likes
Yes, because I had the same troubles I got 2 sets for my Swedish UN group, noticed one sheet had more of these problems than the other.
1 Like
When I use brass ammunition or empty cases, I paint the brass part with a clear brown or grey (Army Painter Soft Tone or Strong Tone, or Tamiya Smoke — but you could also make your own by mixing a drop of paint into some varnish). This makes it look more like unpolished brass and adds shading at the same time.
(Incidentally, for German cases in the later parts of the Second World War, brass is the wrong colour anyway, so those really need to be painted completely.)
2 Likes
Yes I was thinking the same thing Jakko. I’ll try airbrushing some Tamiya smoke and see how it goes. They just look too bright unpainted.
2 Likes
Some progress :
I still have a lot to do and haven’t started weathering yet , but I’m laying out the stowage and plan to make some tarps out of apoxie sculpt. I have the ammo set from AFV club and have this question:
The set comes with H M60 shell which I think is gas. Did the US use these rounds in WW2?


6 Likes