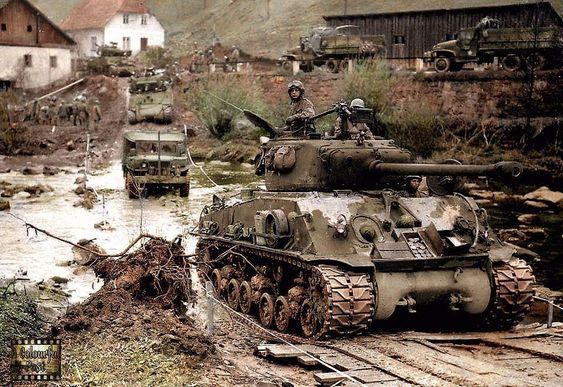
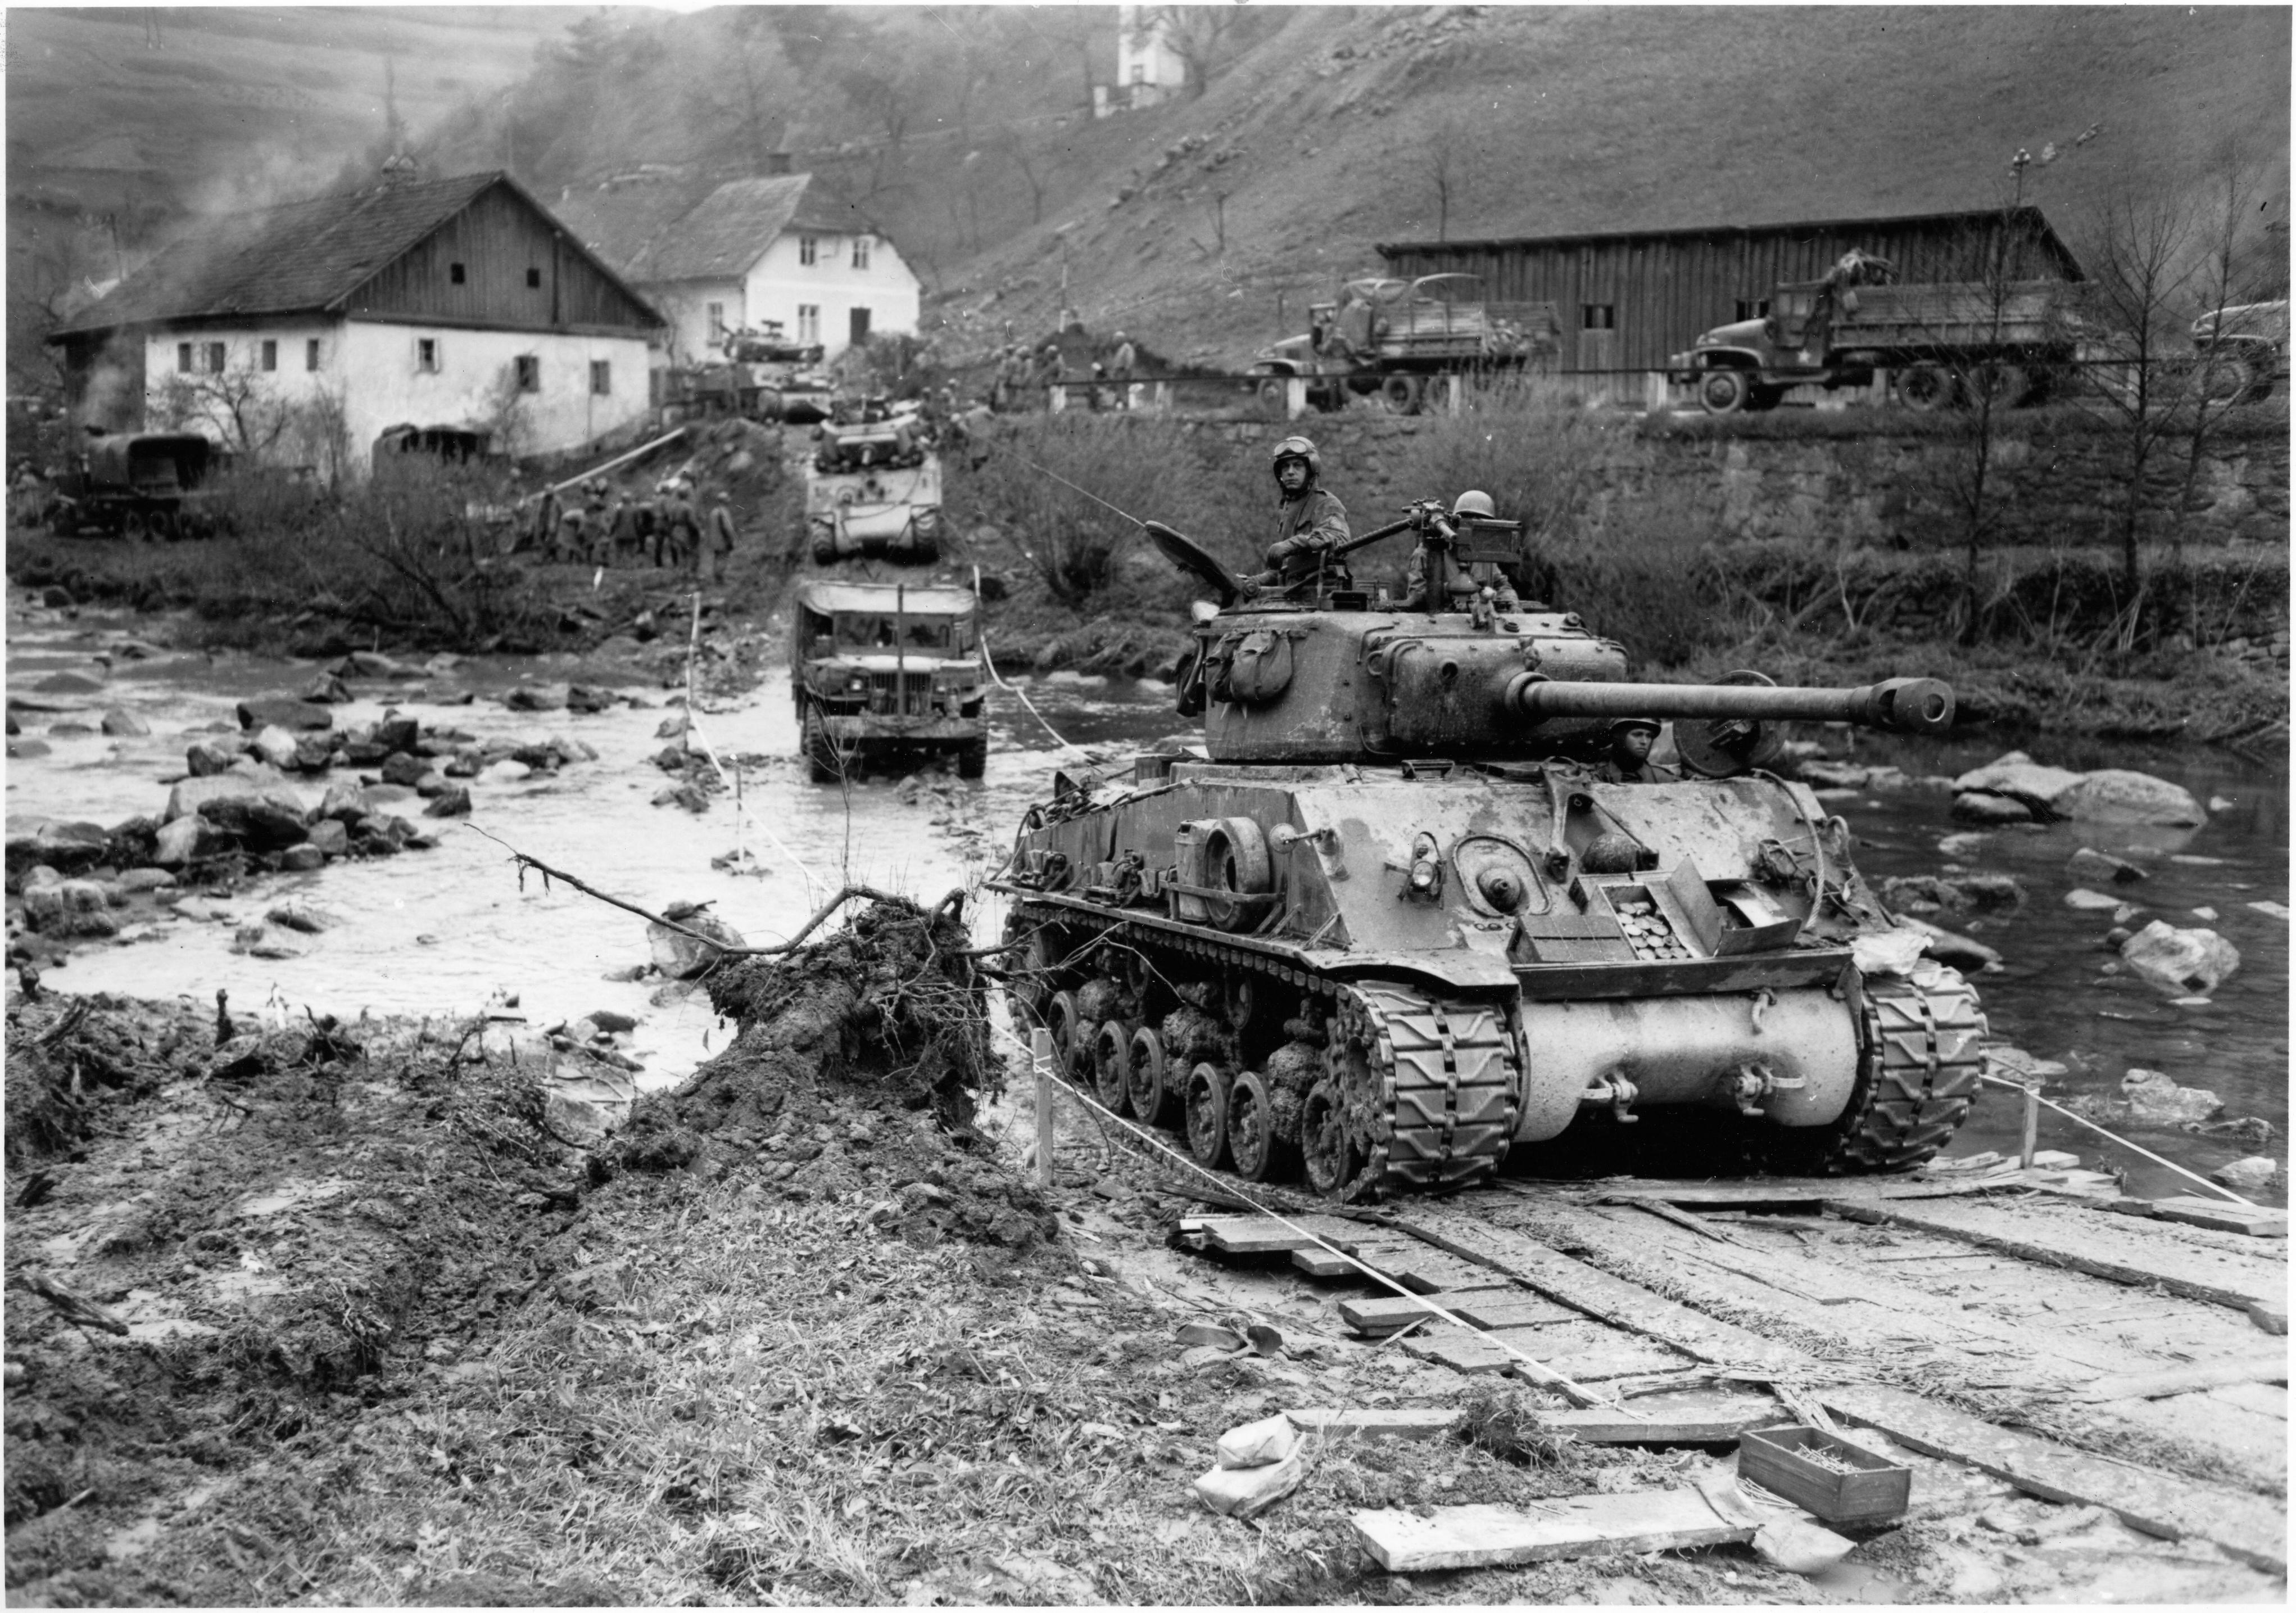
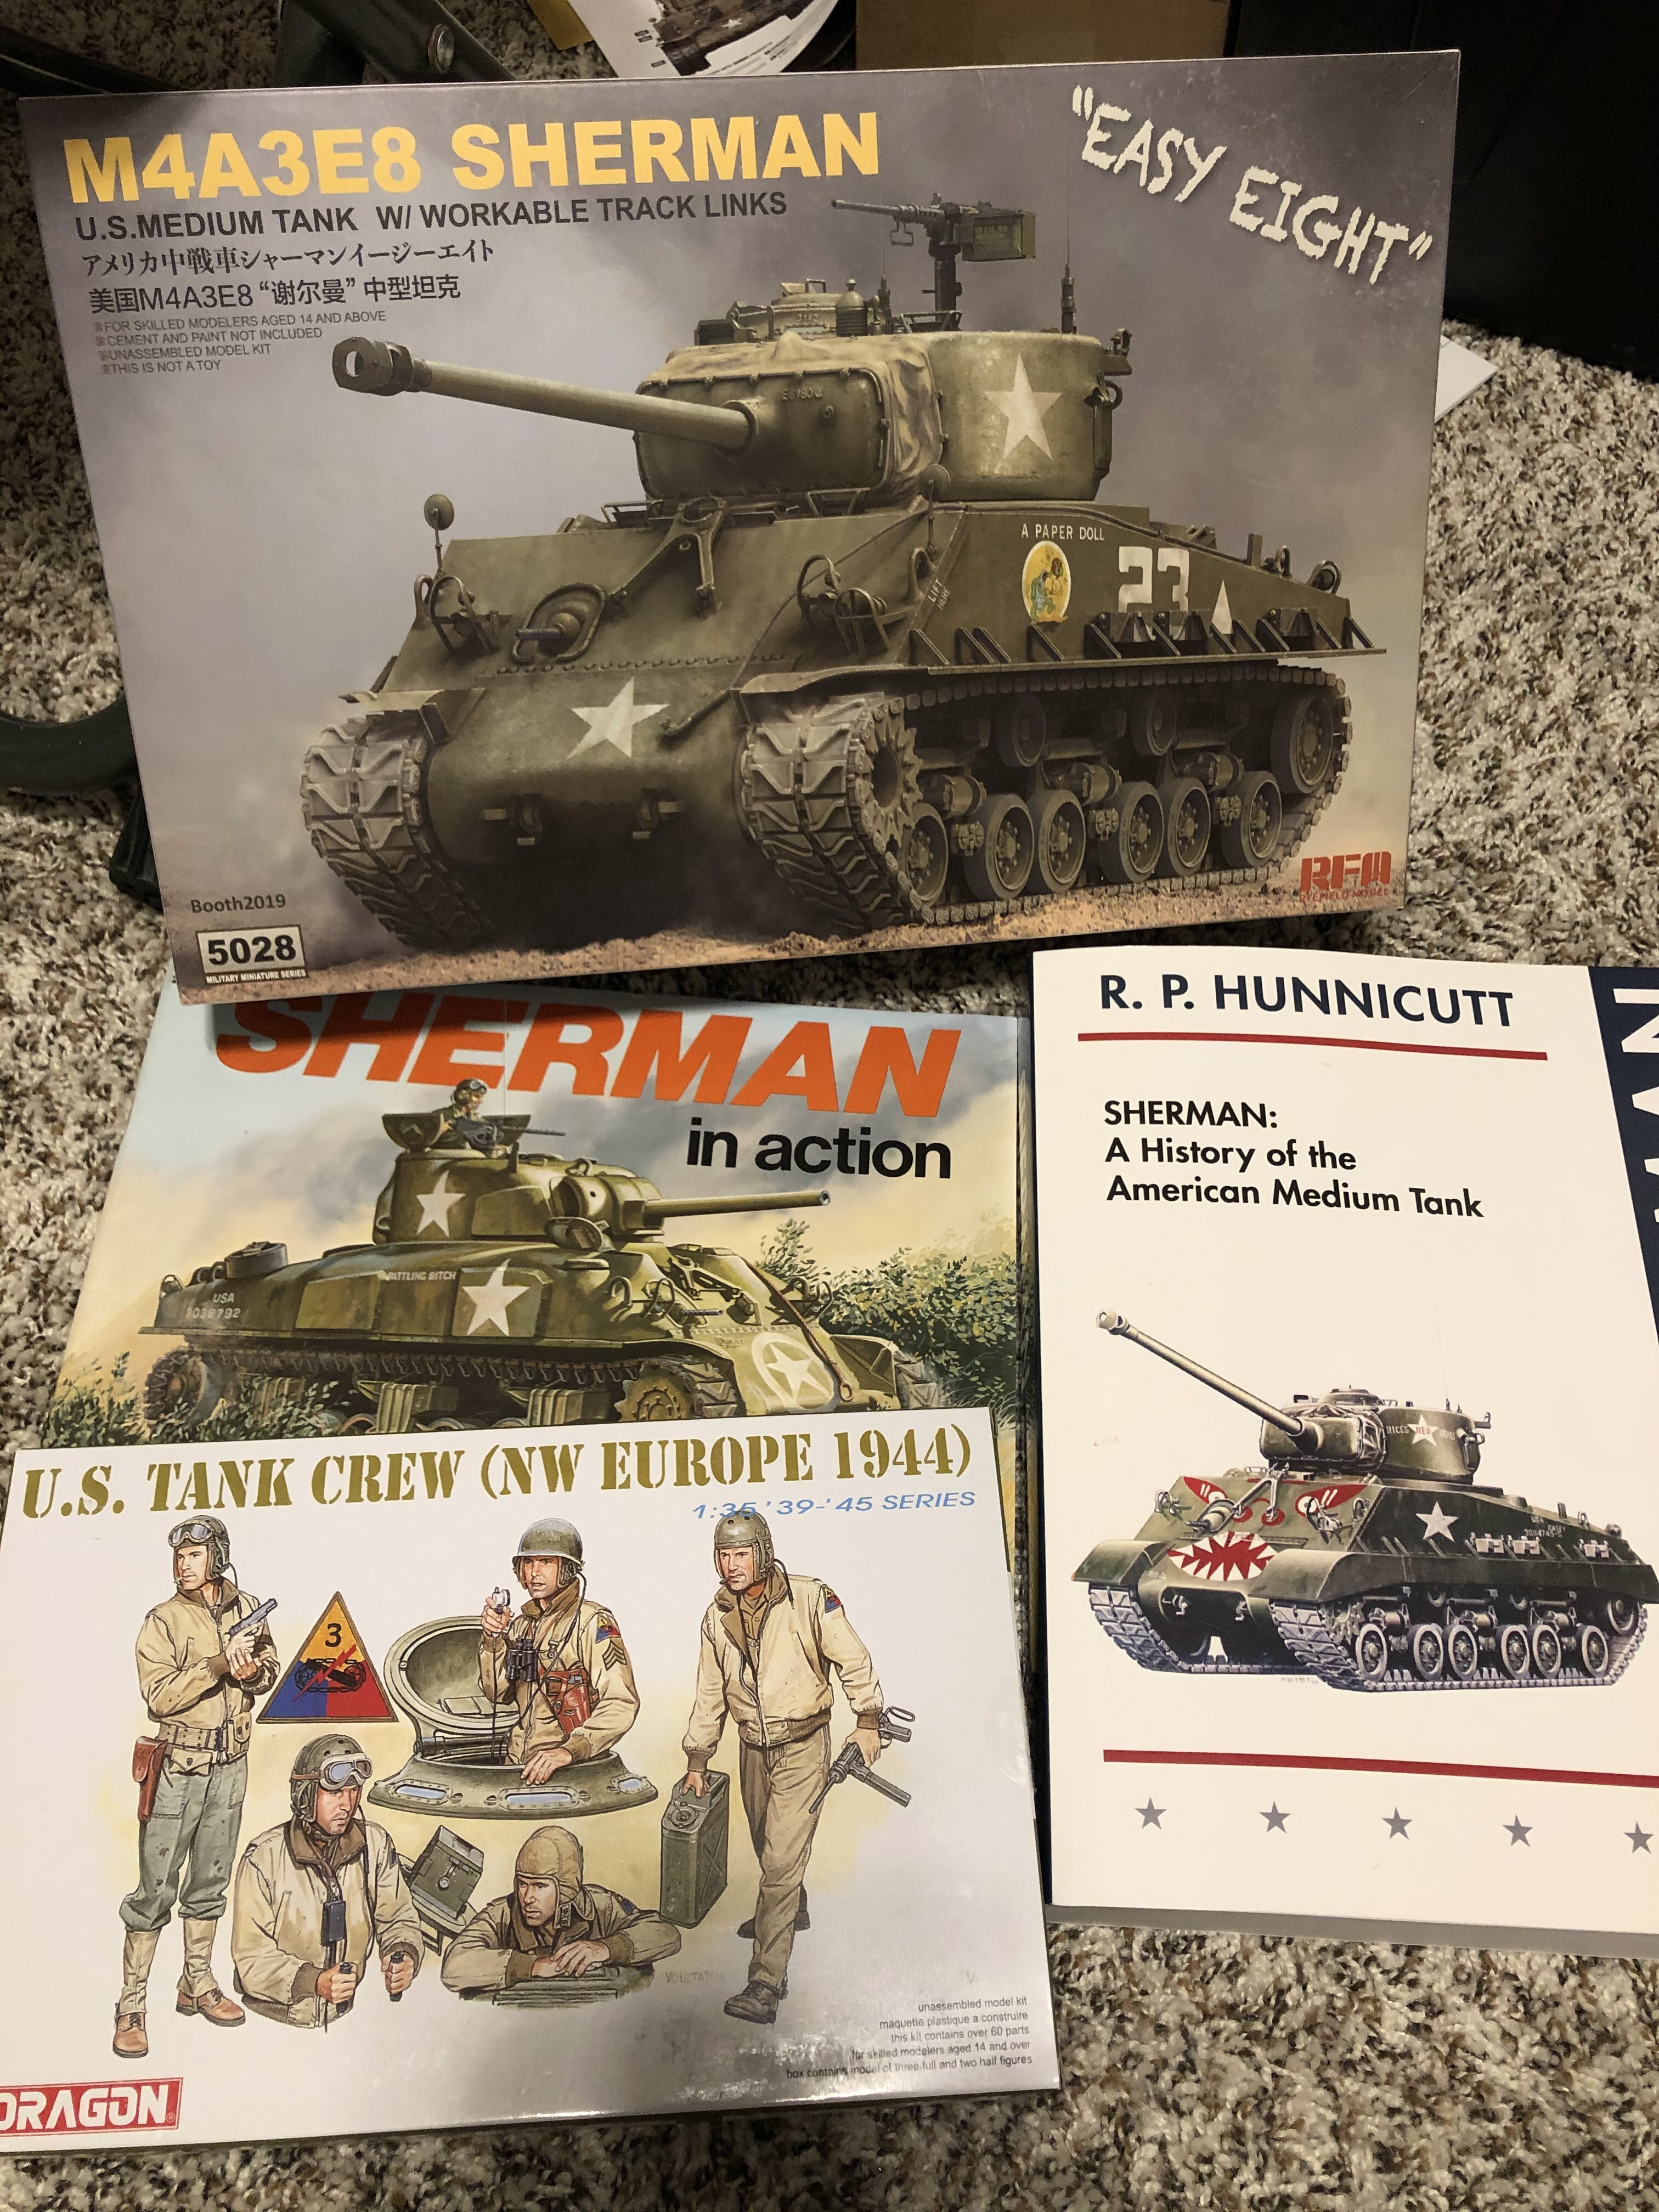
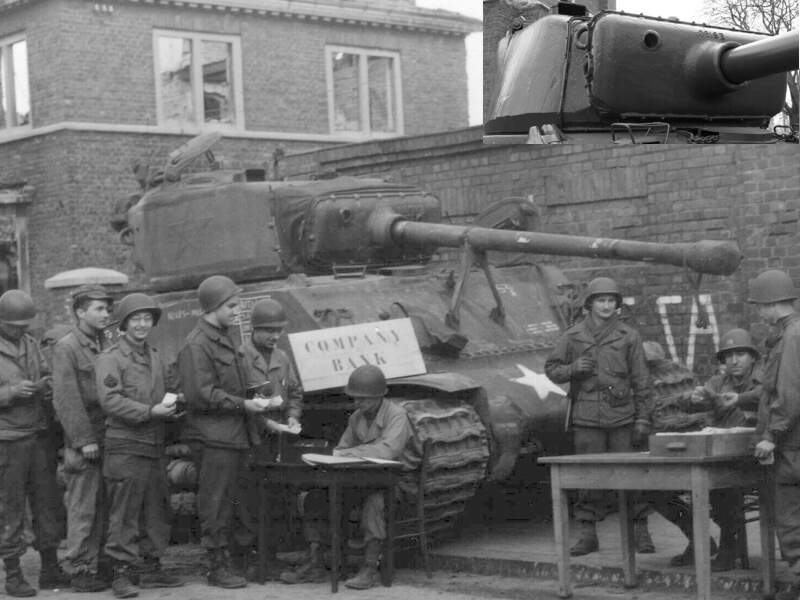
Hello all! I’m in the research phase of the M4A3E8. There are a few books in my amazon cart, particularly Hunnicut’s but favoring discussion; I came across a rather engaging photo of what is attributed to the 11th AD crossing the Muhl River near Neufelden here. In my initial research of the 11th, it contained the 22nd, 41st and 42nd Tank Battalion’s. I’ve come across written histories of these Battalions and in the 41st’s case, a representative from each company gave a history of their participation in the war.
In using that photo as a jump off point, I found a photo of Flat Footed Floogie as it reached Worms along with other photos that are likely of the same tank (a missing muzzle break, added storage bags, and additional armor on the front of the tank here. Now that tank has the split loaders hatch and both Tamiya’s kit and RFM’s E8 kit have the oval loaders hatch.
Research from here seems to indicate that this split hatch was indicative of an earlier T23 turret.
So ultimately my questions are: When did the 11th receive their E8’s? Which units received them? When did the oval hatch replace the split hatch on the turret?
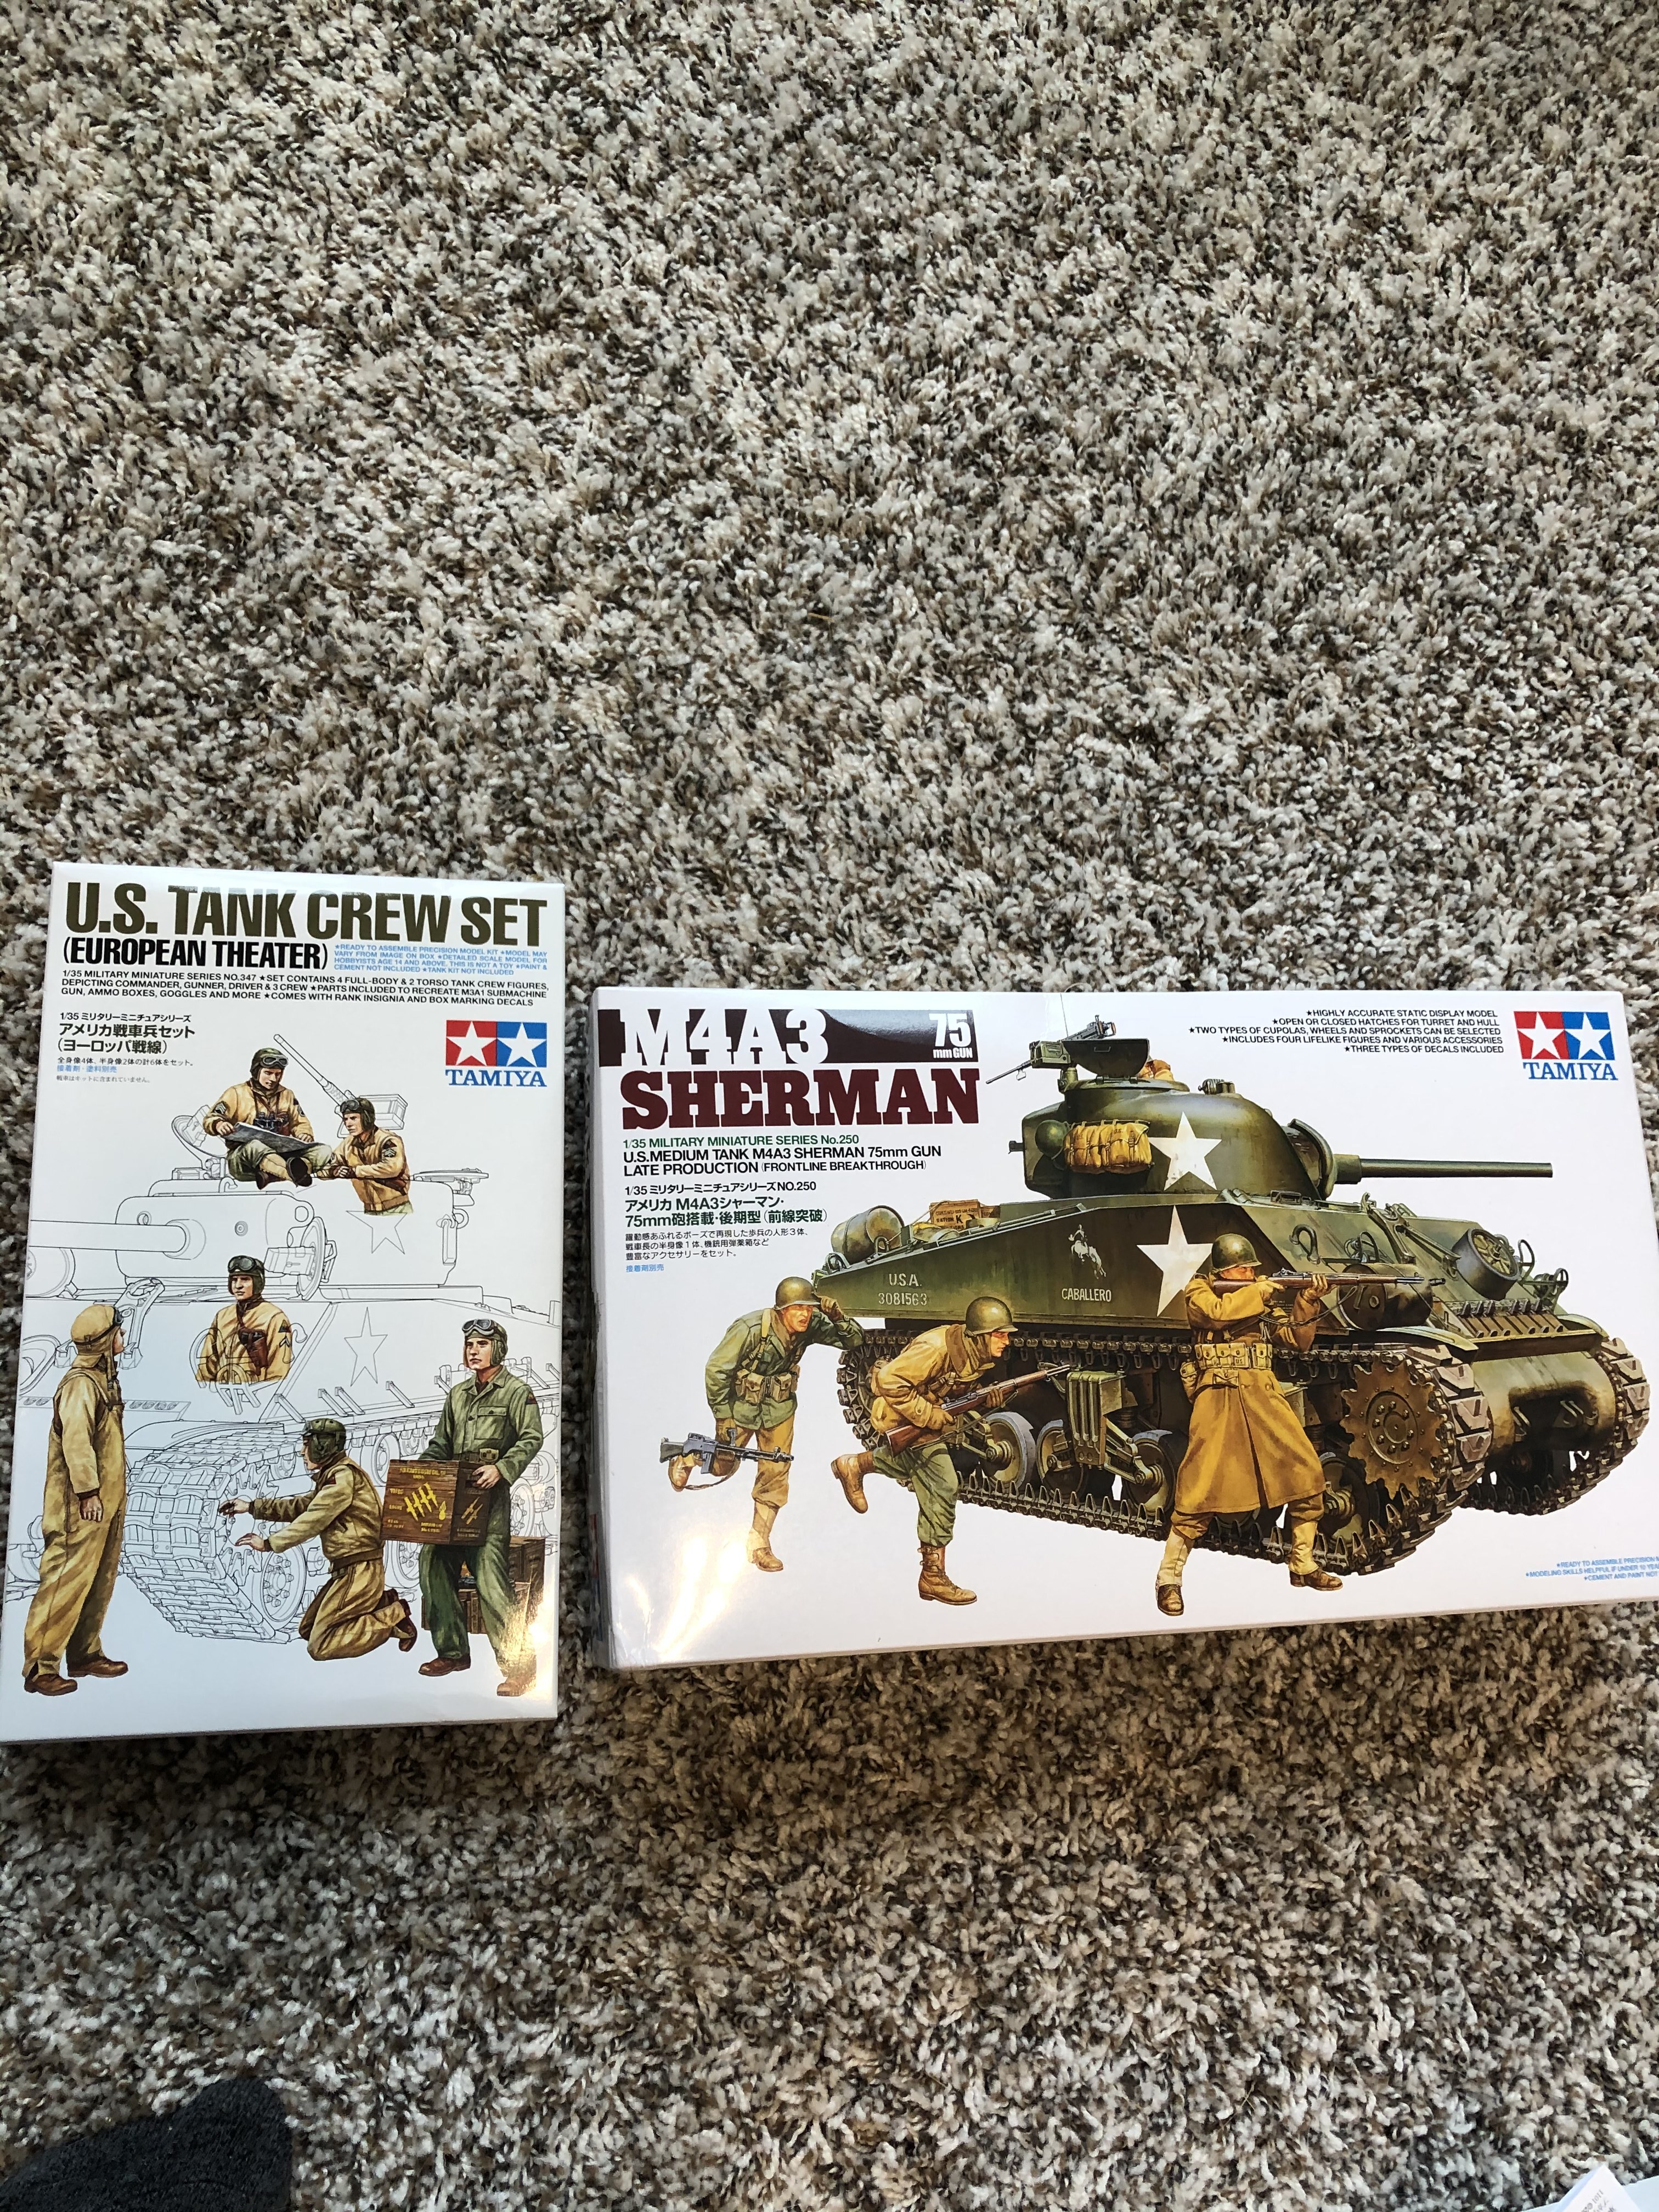
I’m also narrowing down which kit ultimately best represents the E8, and after reviewing the kit, I’m leaning more towards the RFM offering as I’ve build many Tamiya kits, it would be refreshing to see a different build and challenge. It seems there’s not much between the the two accuracy wise; Tamiya’s kit presents a few lifting hooks that I cannot find on photograph examples, perhaps they’re using the wrong turret?
I am planning a diorama based on the photo of the river crossing. It will include the M4A3E8 the WC and both the trailing tanks M4A3E2 and M4A3. And possibly the jeep sitting on the bank. None of the trucks.
From what i’ve gathered, these are elements of Combat Command A of the 11th Armored Division crossing the river Muhl. The river level was lowered by destroying a small damn further downstream by the units engineers that allowed the fording to take place. This was on 4 May as they maneuvered towards Neufelden, Austria.
A few things I’ve noted are the late model E8 with the oval loaders hatch, T80 or T80E5 tracks, this i’m not sure of. Also notice was looks to be some kind of stuffed animal above the mantlet. Speaking of, it doesn’t have the canvas cover.
The colorized photo highlights what i suspected to be whitewash still on the vehicle. I’m still unsure of the accuracy of that colorization. The tank behind the truck looks to be a Jumbo, someone can confirm that, followed by another Easy 8. After reviewing a few kits, Tasca/Asuka’s E8 has the T66 tracks which would not fit this particular vehicle. Granted, this is easily remedied with fruil tracks, which I’d likely go for anyway. Tamiya and RFM have the most applicable kit and after reading Tom’s review back on Armorama, I think i’ll spring for RFM’s offering.
I’ll keep my eye out for some fruil tracks and a few other goodies.
Any advice, tips, or instruction would be warmly welcomed!
No final tank is M4A3 VVS. No muzzle brake. I have even located the spot of the crossing on google earth. There is video of this as well. And the stuffed animal appears to be a dog from what I can tell. The bridge was blown by the retreating Germans. But I don’t think the dam was blown as the water level in the picture would be different than it is as it appears to be at its normal bank height. I also don’t think it’s white wash, I think it is just dried mud that hasn’t got wet again as the rest of the tank. Not sure but don’t think white wash as none of the other vehicles have any remnants of it.
I agree with your evaluation of the river. I’ve been through so many sites that I’ve forgotten exactly where I read about the engineers destroying a damn. I also agree with your estimation of the lack of whitewash. The tanks transmission casing is the same color as the lighter area that was colorized as whitewash, as such I can’t imagine that area would hold up well but the other areas would lose the wash first. Why the colorizer ignored this and gave the cover a ODG color, I don’t know.
Also, they are definitely T80 tracks. Seems like T80E5 tracks were an Israeli invention; decidedly post war.
Link to the video. After watching it many times the subject of the photo is in the film in the beginning and again towards the end. And you get a good view of the other vehicles in the picture as well. The whole video is pretty cool. I just wish it wasn’t colorized.
They are a beautiful tank, more the A3’s than the earlier versions. Of course the 76 allowed them to really pack a punch. I’m going to do an E8 or two, this one is going to be late war, circa May 45. I may look into a Jumbo next and then a Korean Sherman, and a second late war E8, perhaps Tamiya’s offering.
I’ve started the build. I’m still waiting for an Aber barrel to come in. I’m using the river crossing E8 as a guide but I won’t be modeling any particular tank. The E8 will also be set in a small dio similar to the river crossing.
I’m also using Hunnicutt’s Sherman in depth survey as a guide. Sherman in action provides lots of pictures as well for some reference but E8’s are limited to a single page at the end.
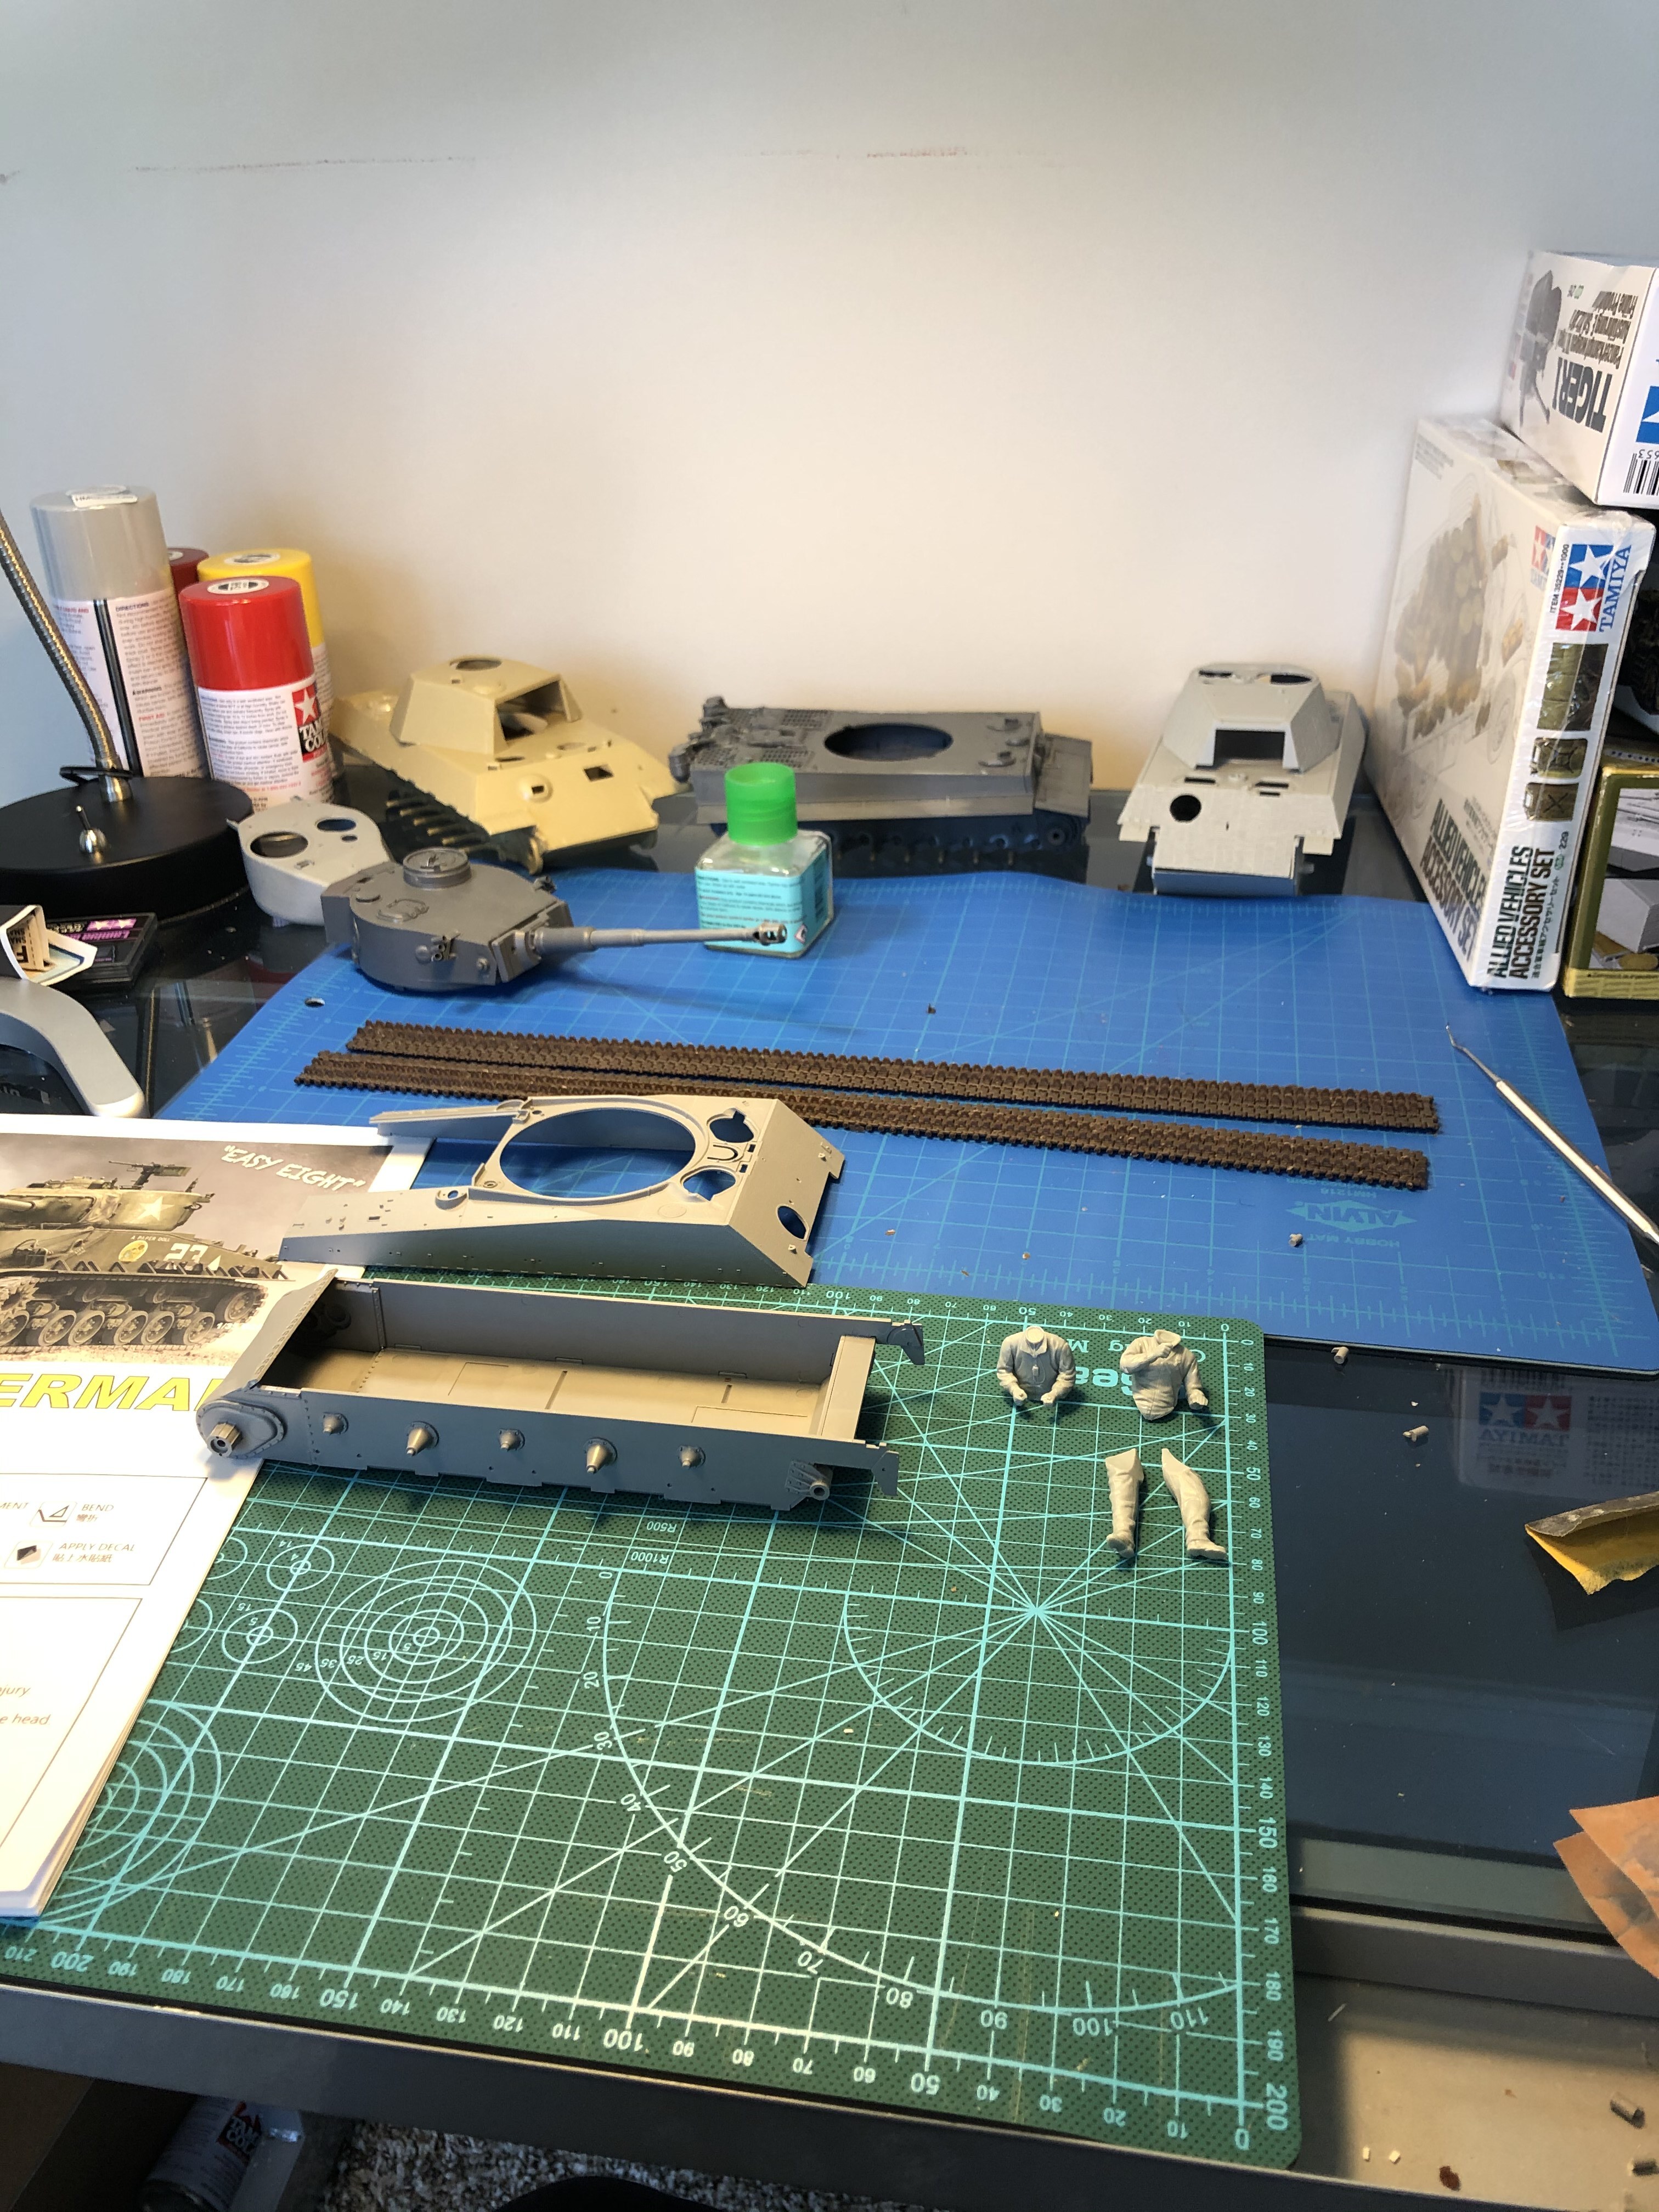
contrary to the directions, I started building up the lower hull. Mostly because I am still waiting for the Aber barrel.
I’m not overly impressed with RFM. Most of the parts have excess pins to nip off and then clean up. A few pieces had some flash to remove. Maybe I’m nit picking but I’m simultaneously building the Tiger I and don’t run into these issues with Tamiya. I also found it very curious that the lower hull consisted of at least 7 separate parts. I noticed that there are also no escape hatches on the lower hull for the driver/co-driver… I can’t find anything in my references about these being dropped. Also curious considering the level of detail so far. I am still excited to see if I might be able to land the full interior version released recently.
Hey all, made some progress on the E8 today after putting the Tiger down for a bit. Was in the mood for building rather than painting.
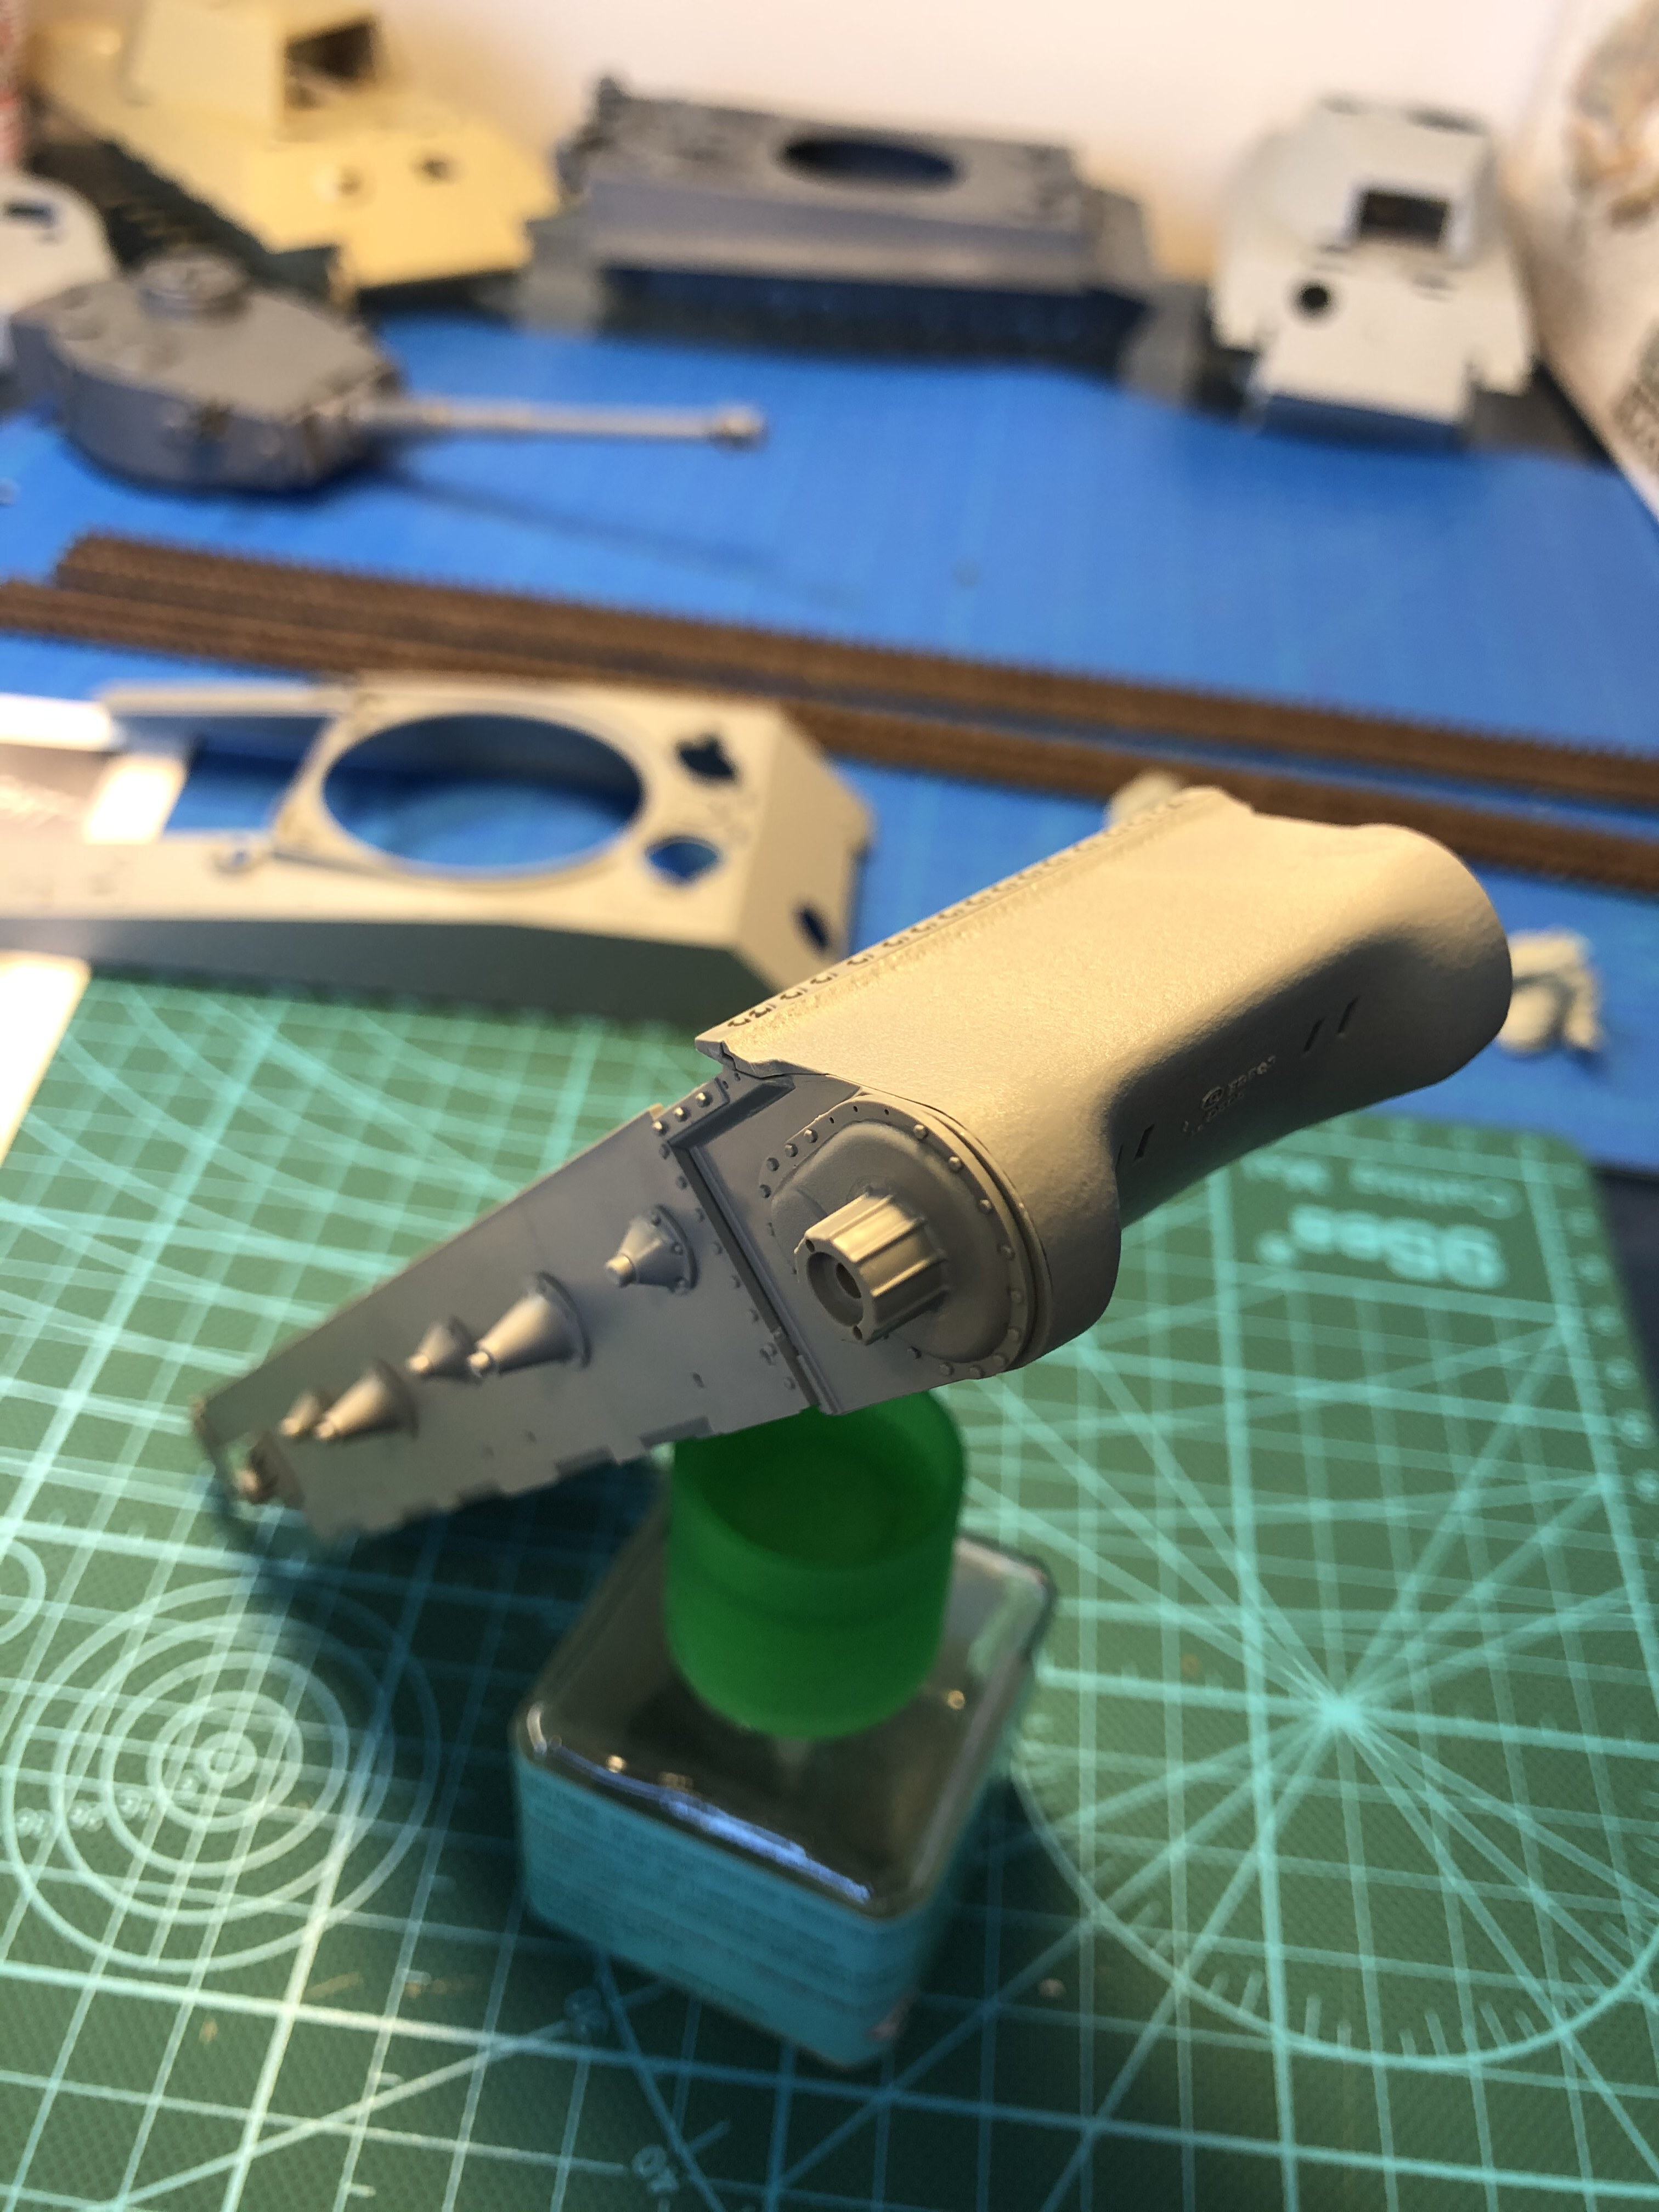
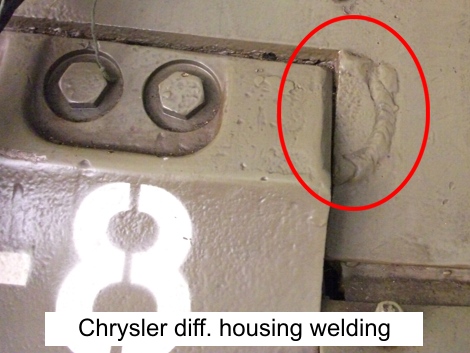
After consulting the Sherman Minutia website and Hunnicut’s volume, I decided to add a 2" mortar tube to the turret. These were discontinued in January of 45 but still rolled off the production lines for a bit longer. It’ll need more work around the opening for a weld seam. Originally I was planning on building a very late war E8, perhaps one that hit the ETO in time for the final drive into Austria with the 11th Armored as above, which does sport a tube and cover. RFM provides a gun mantlet without the canvas supports but it seems that all Chrysler built E8’s rolled out with the gun shield equipped to receive a canvas cover. I’m also thinking of using T66 tracks as there are many more photos of E8’s using T66’s than using T80’s. The Sherman minutia website also states that Chrysler built E8’s were often sent to theater without T80’s as they ran short. This obviously differs from my main source as the E8 crossing the river has T80 tracks.
You can see on this late E8, it’s equipped with a canvas gun shield cover and what looks to be a manufacturer supplied mortar cap, also notice the T66 tracks and a well painted out turret star.
I will be attempting to build a Chrysler built E8. I stopped at my somewhat local hobby shop and nabbed Tamiya’s 75mm M4A3. This will be, as it should, a Fisher Body A3. More on that another day…
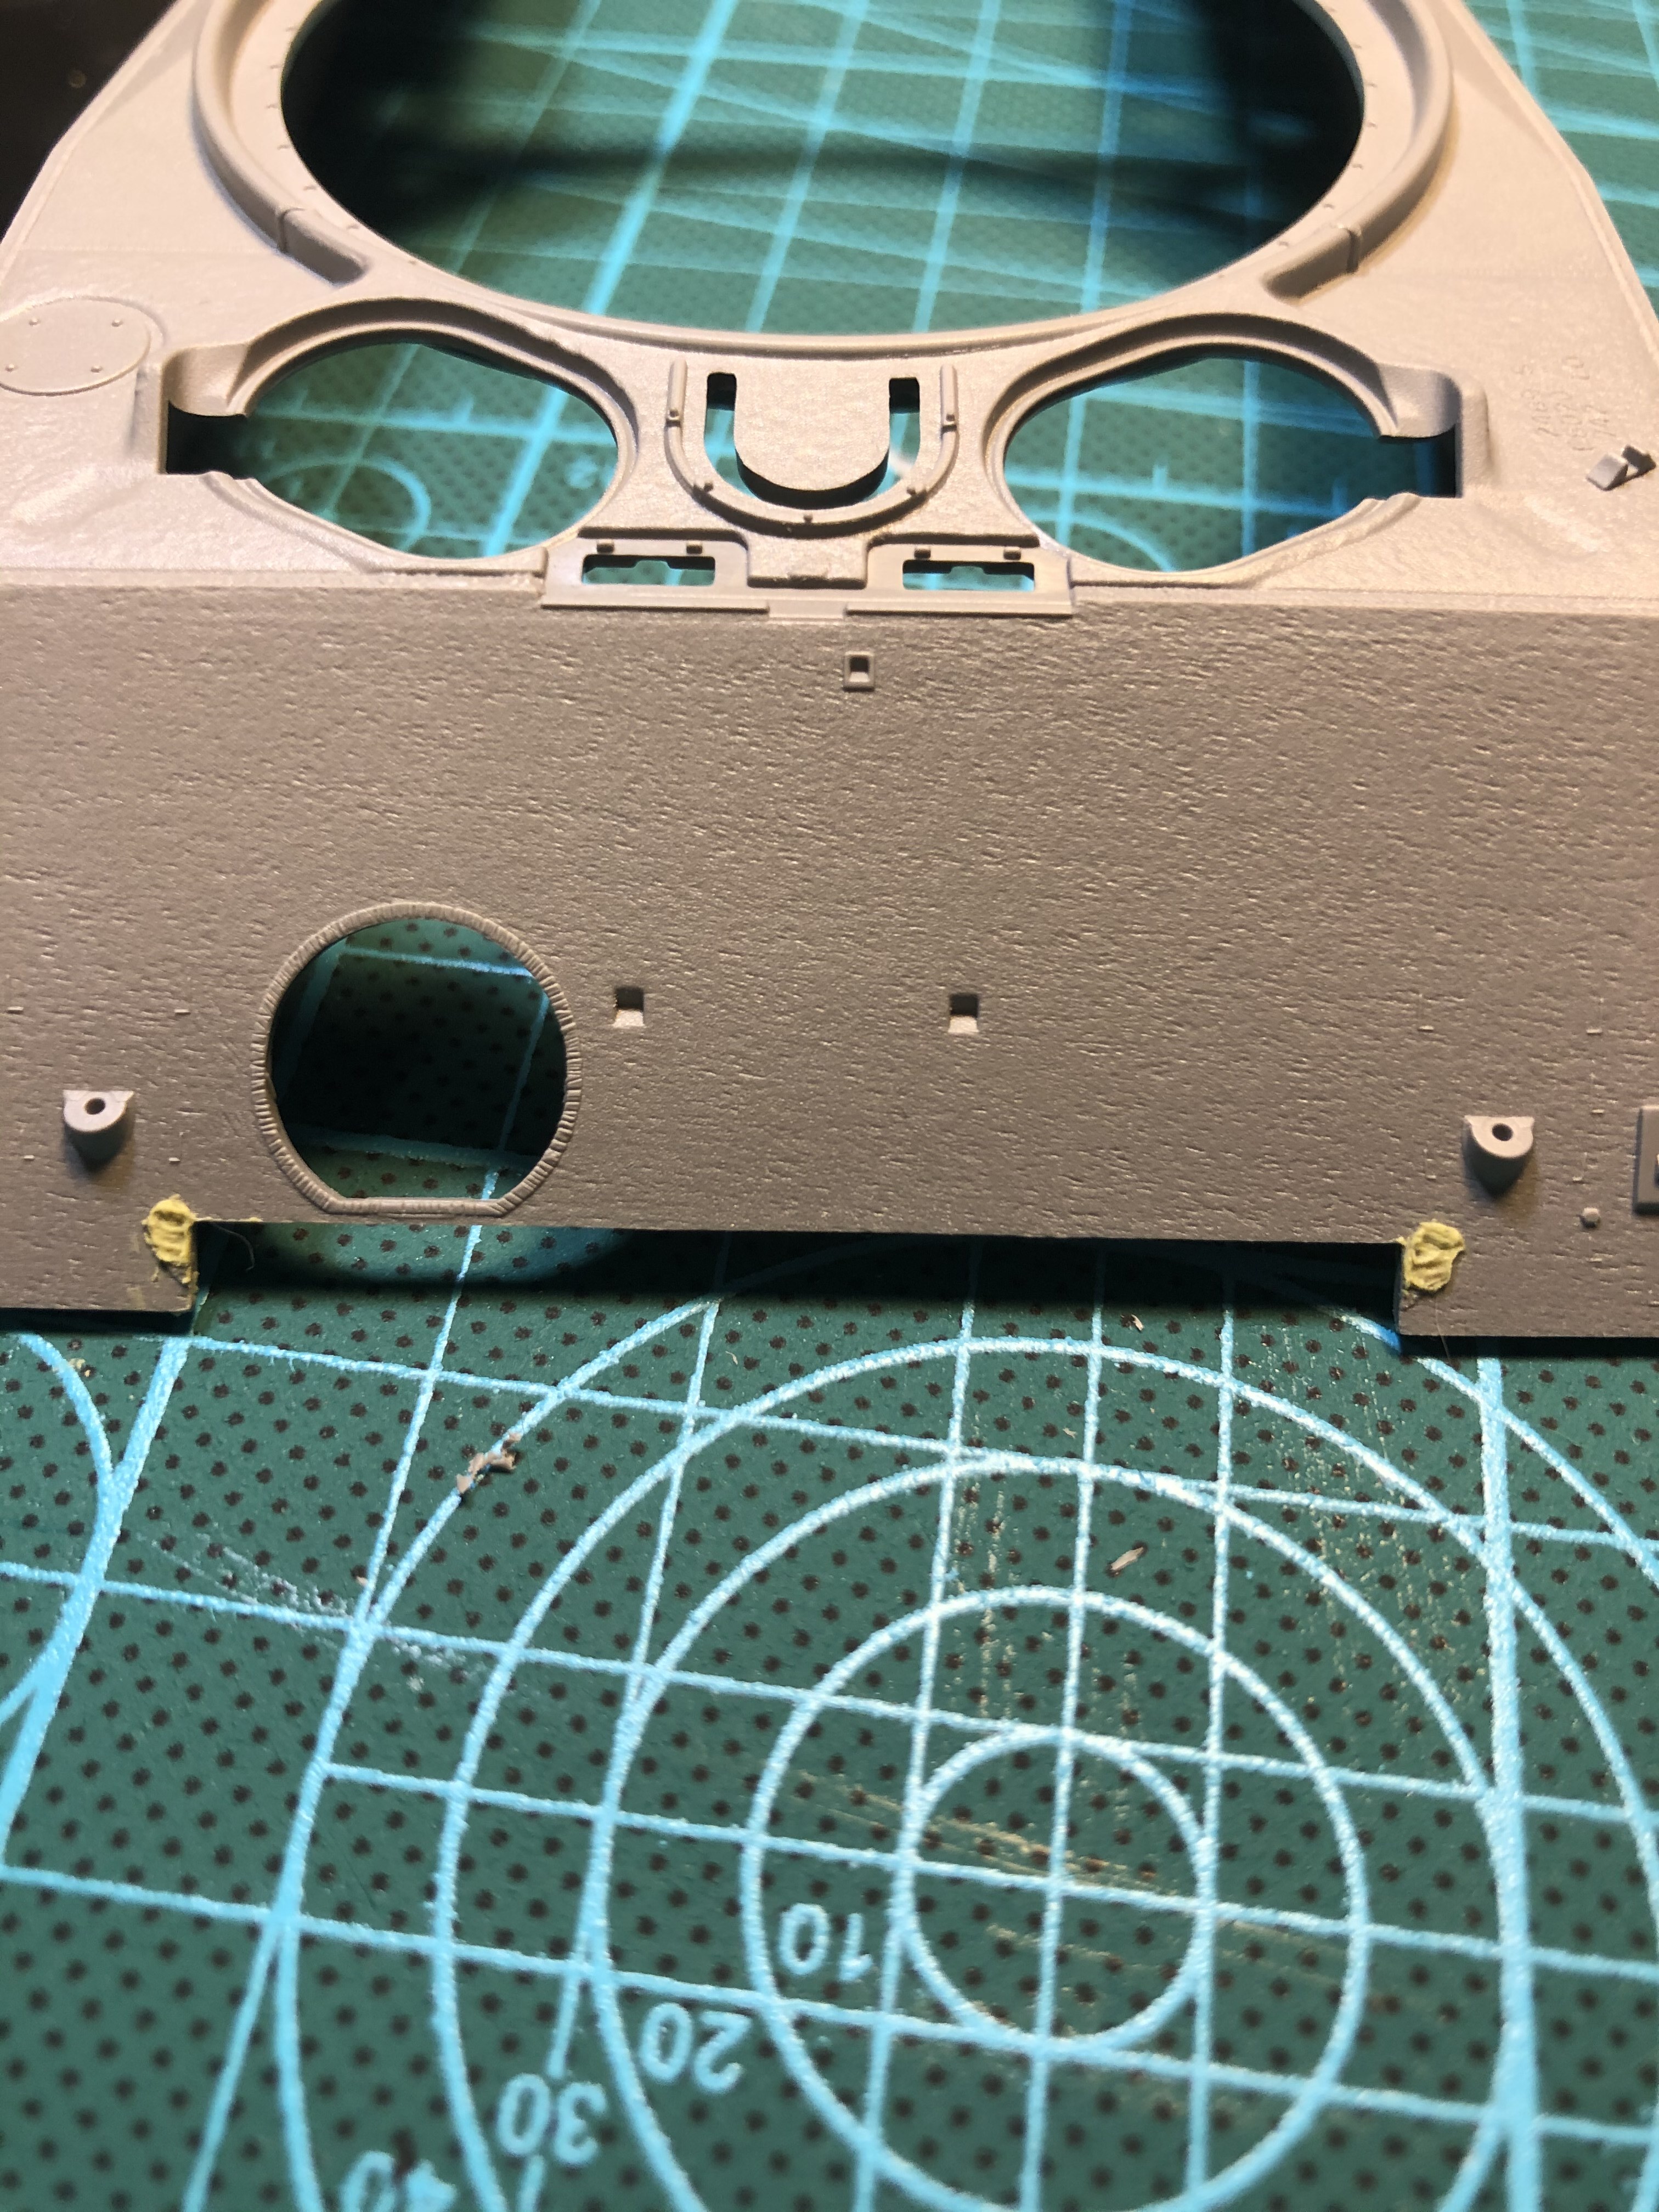
I also added the larger weep holes not present on the kit. They’re likely out of scale a bit but I’m ok with this. I can always “pack” them with milliput.
I have to say, Tamiya has spoiled me. Seems like every part I work with on this RFM has a big fat seam line on it. They also use quite a bit of plastic to join the part to the sprue which makes nipping it off the sprue a pain.
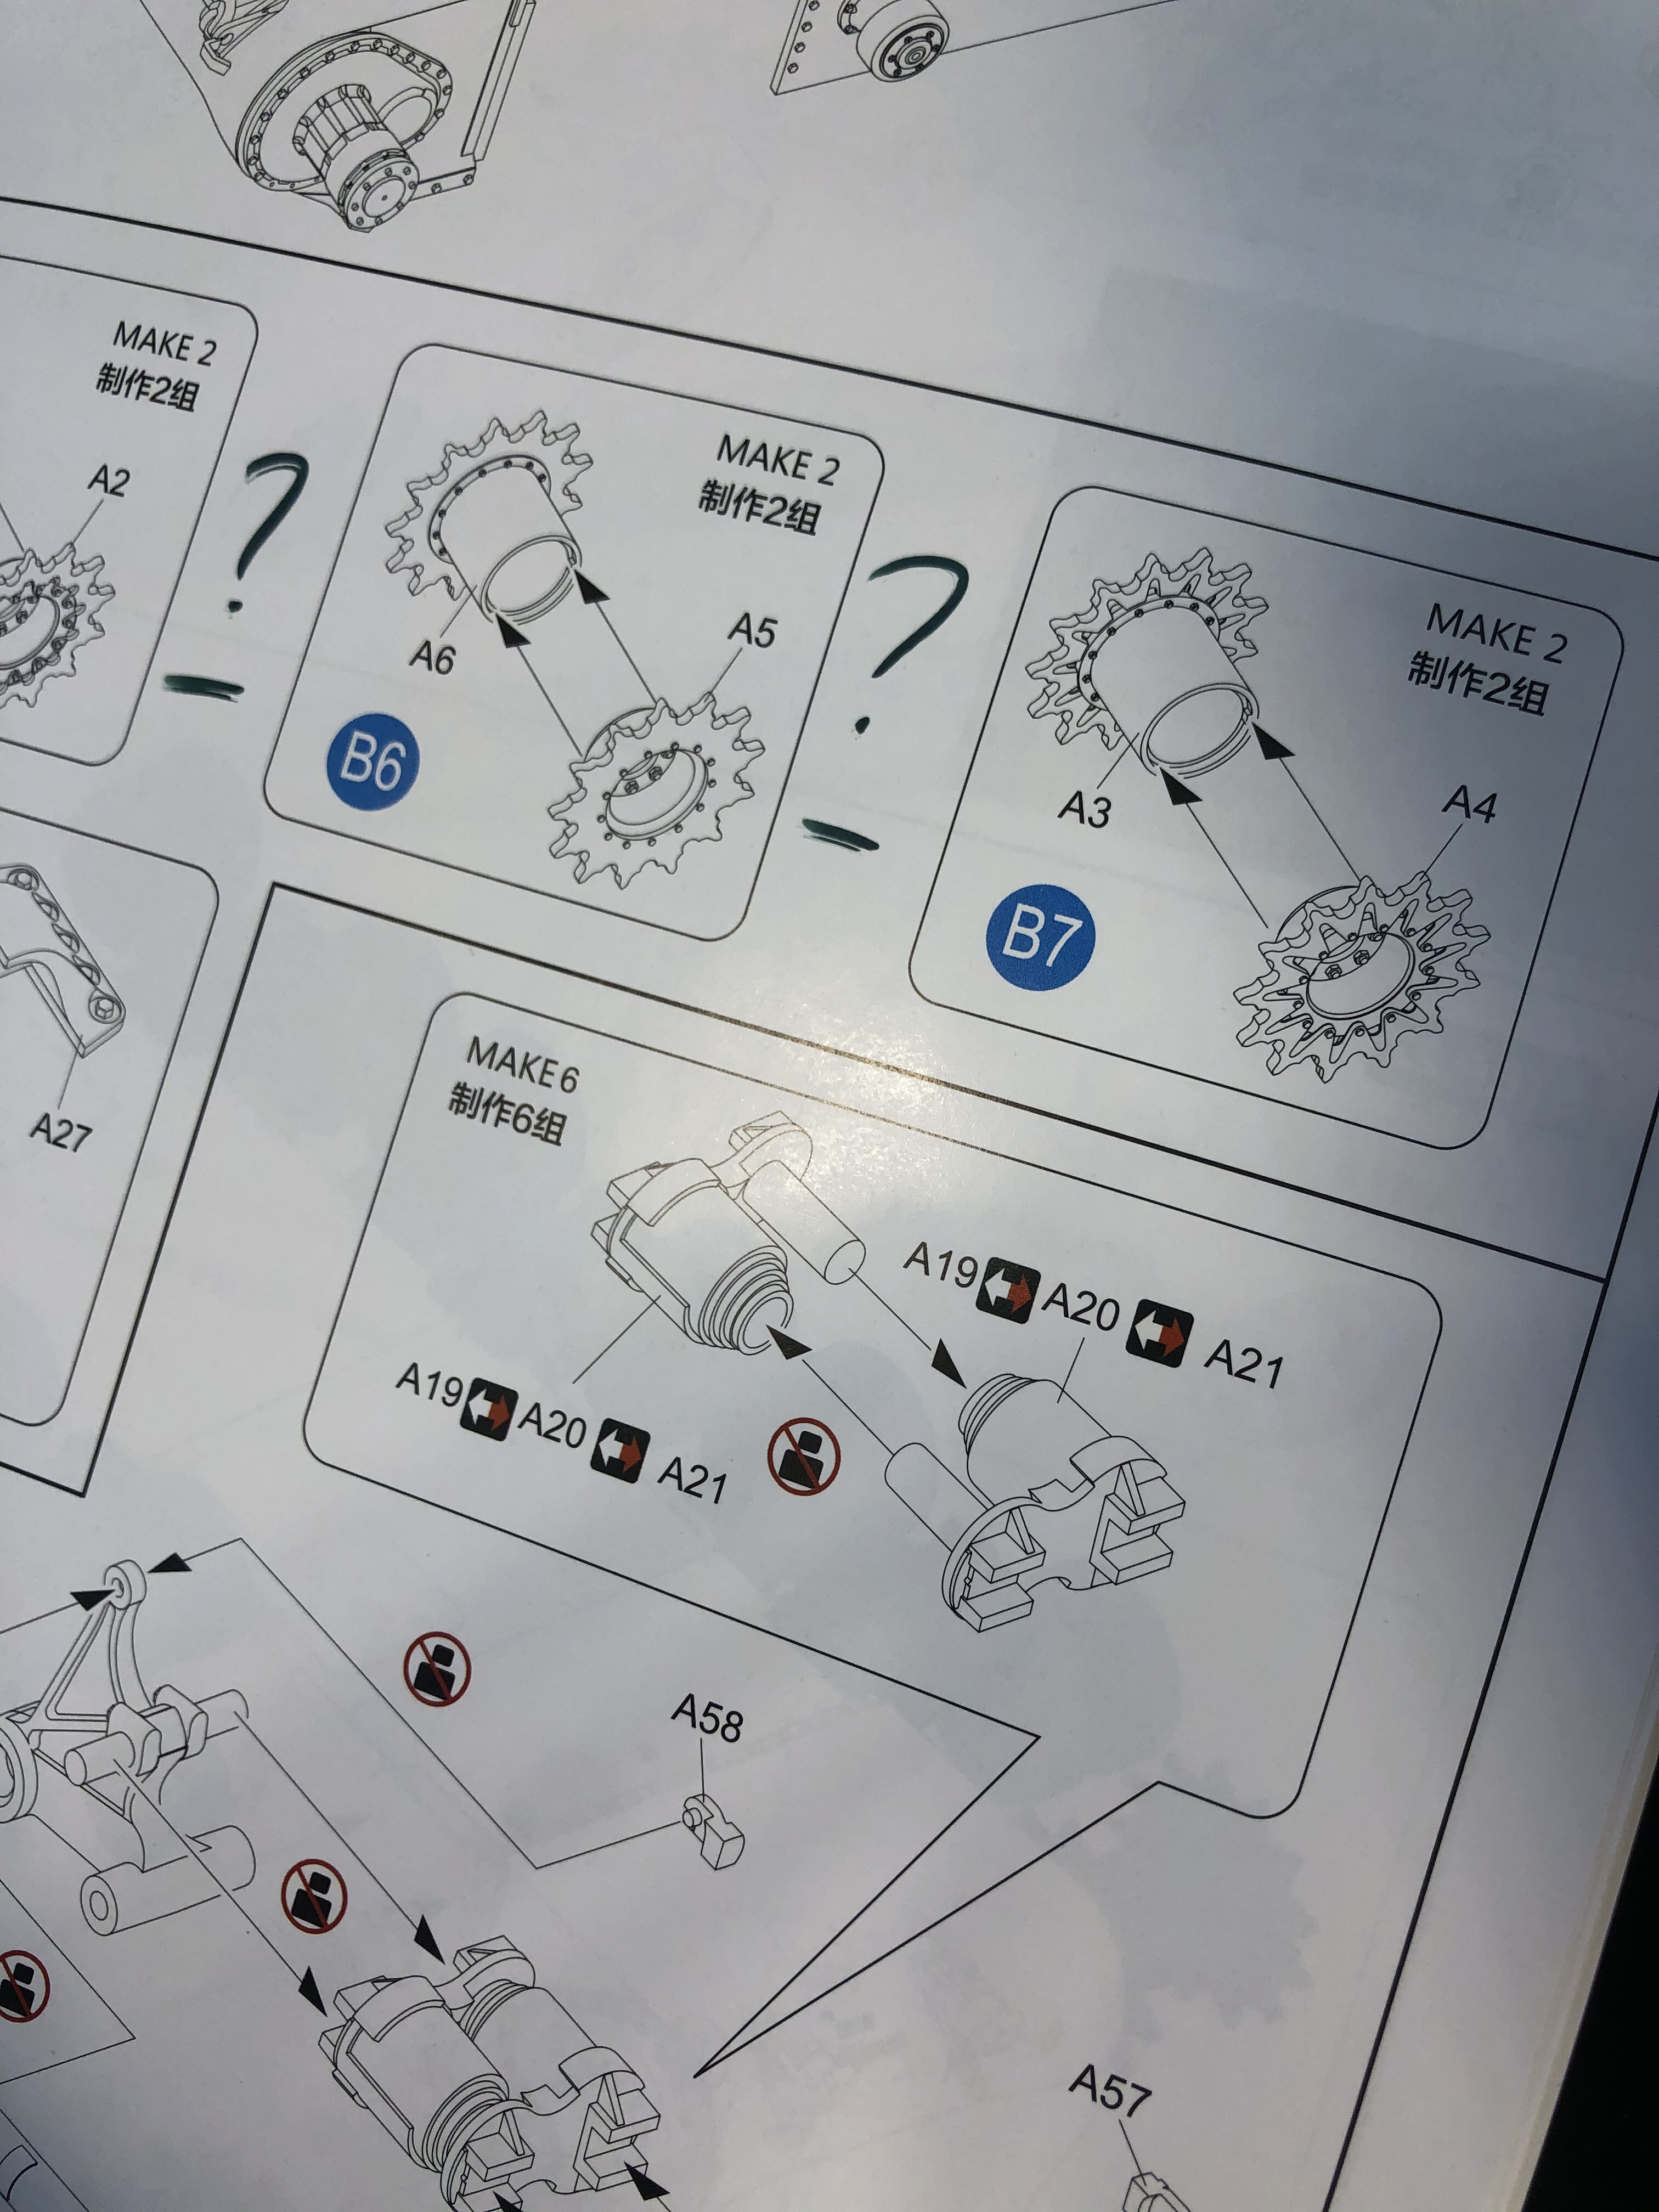
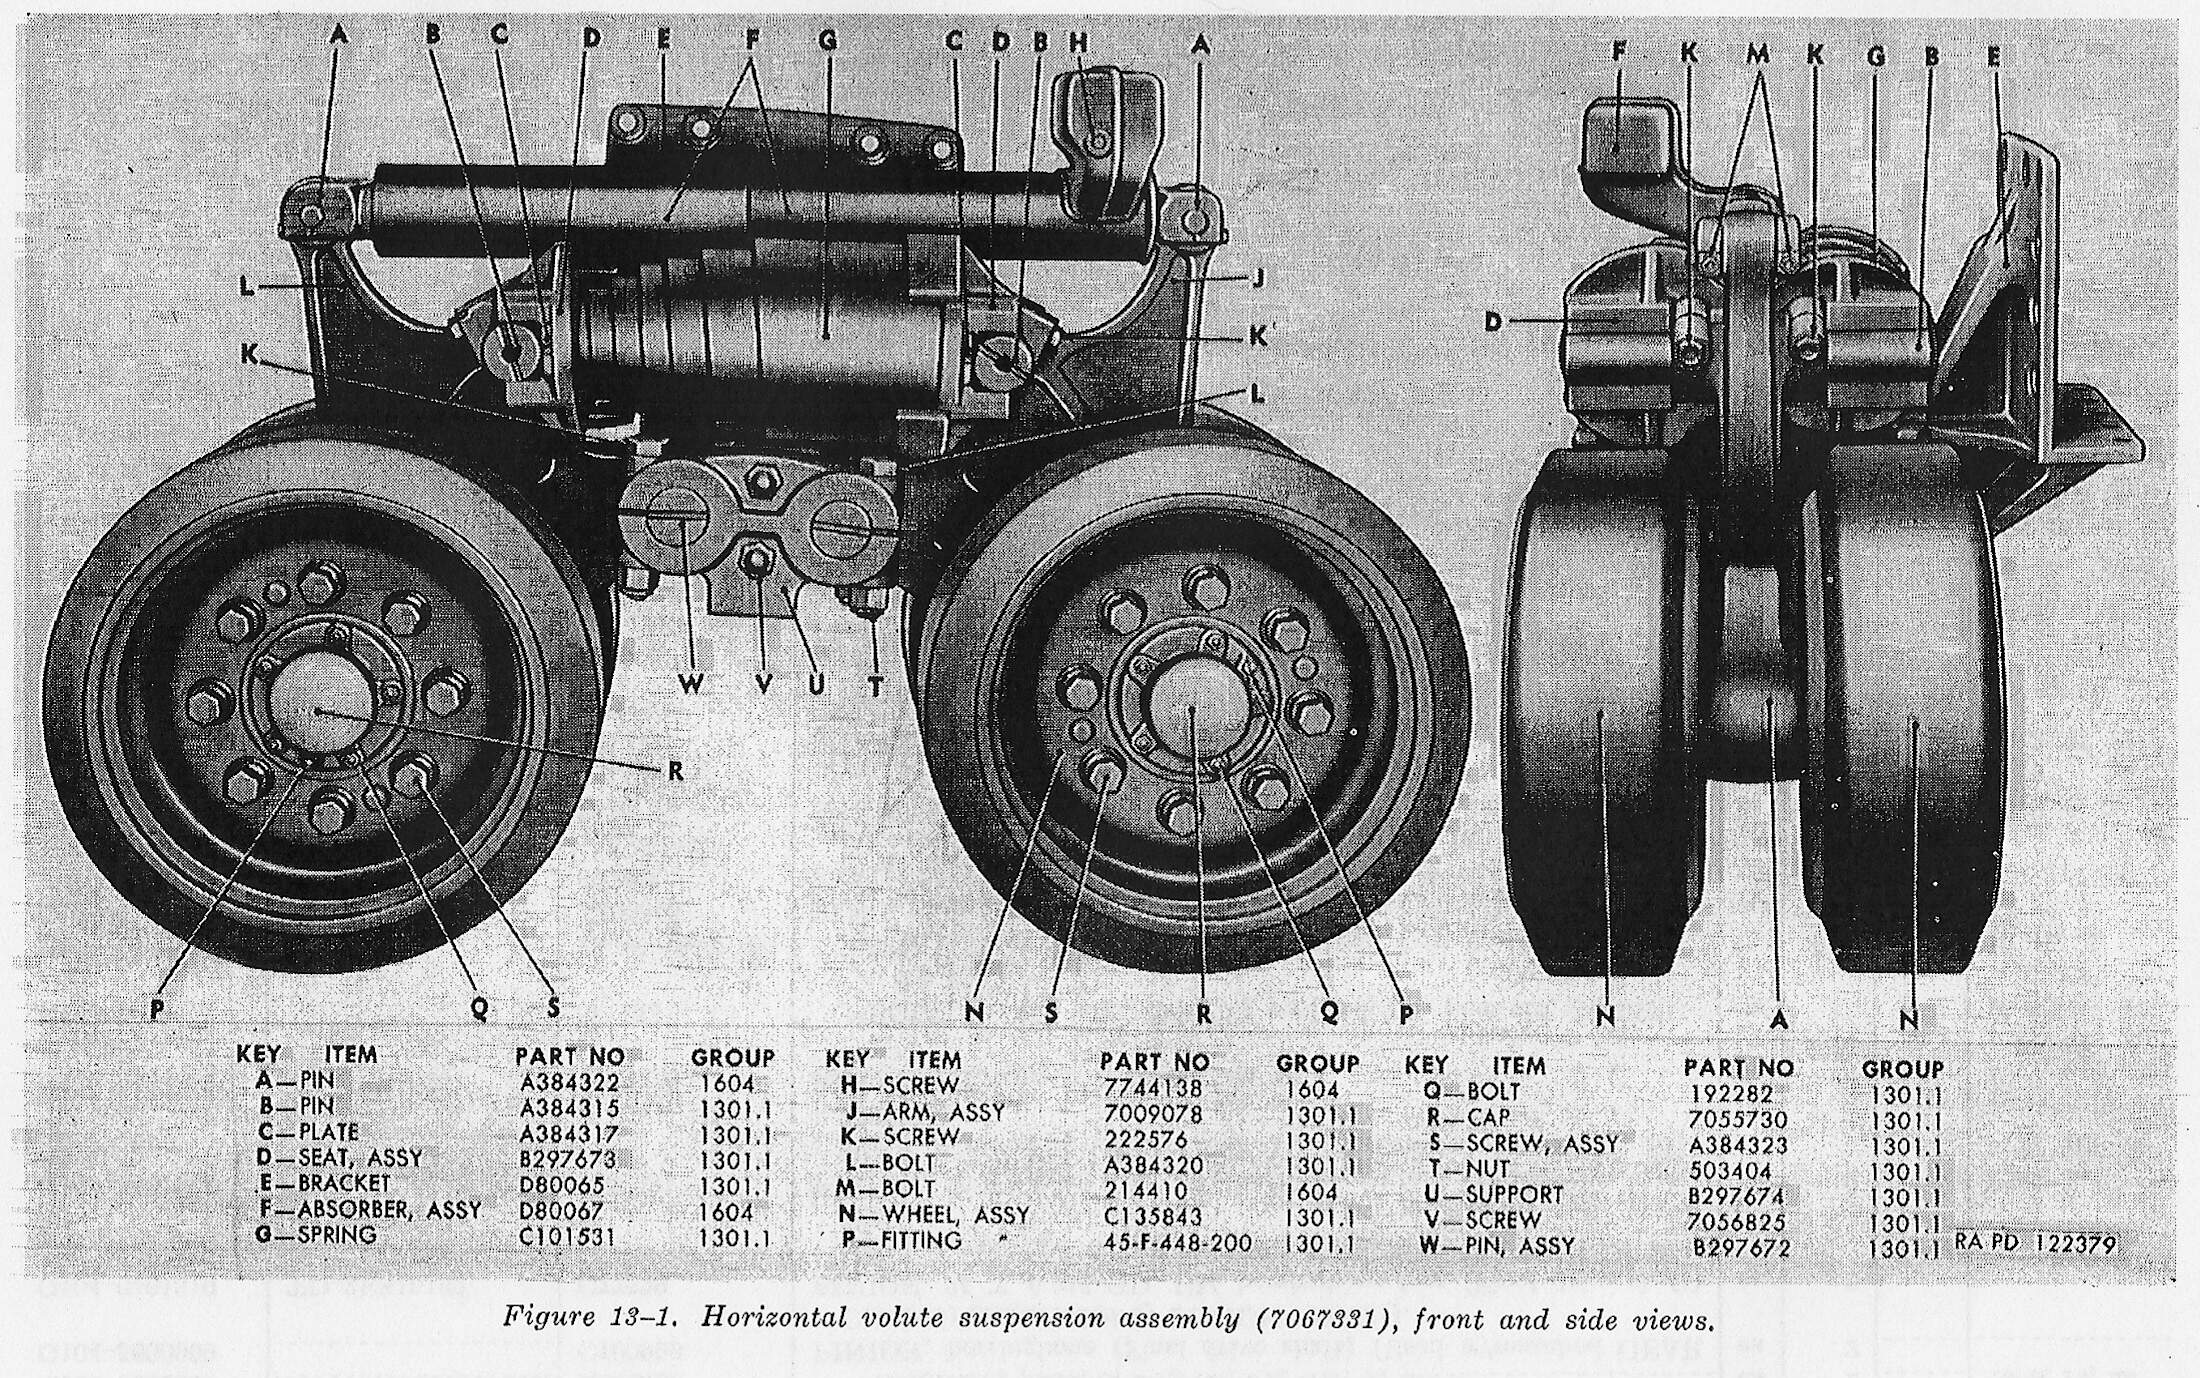
Their directions are also a tad confusing and here I need help. I am unsure exactly what they are getting at with the directions for the bogies… Clarification is needed here. The ? above the bogies was a note to myself to ensure I am using the correct drive sprocket.
Went back to the bench tonight and gave the mortar tube a weld bead, filled the weep holes with milliput and created properly sized holes, also added weld detail on the glacis.
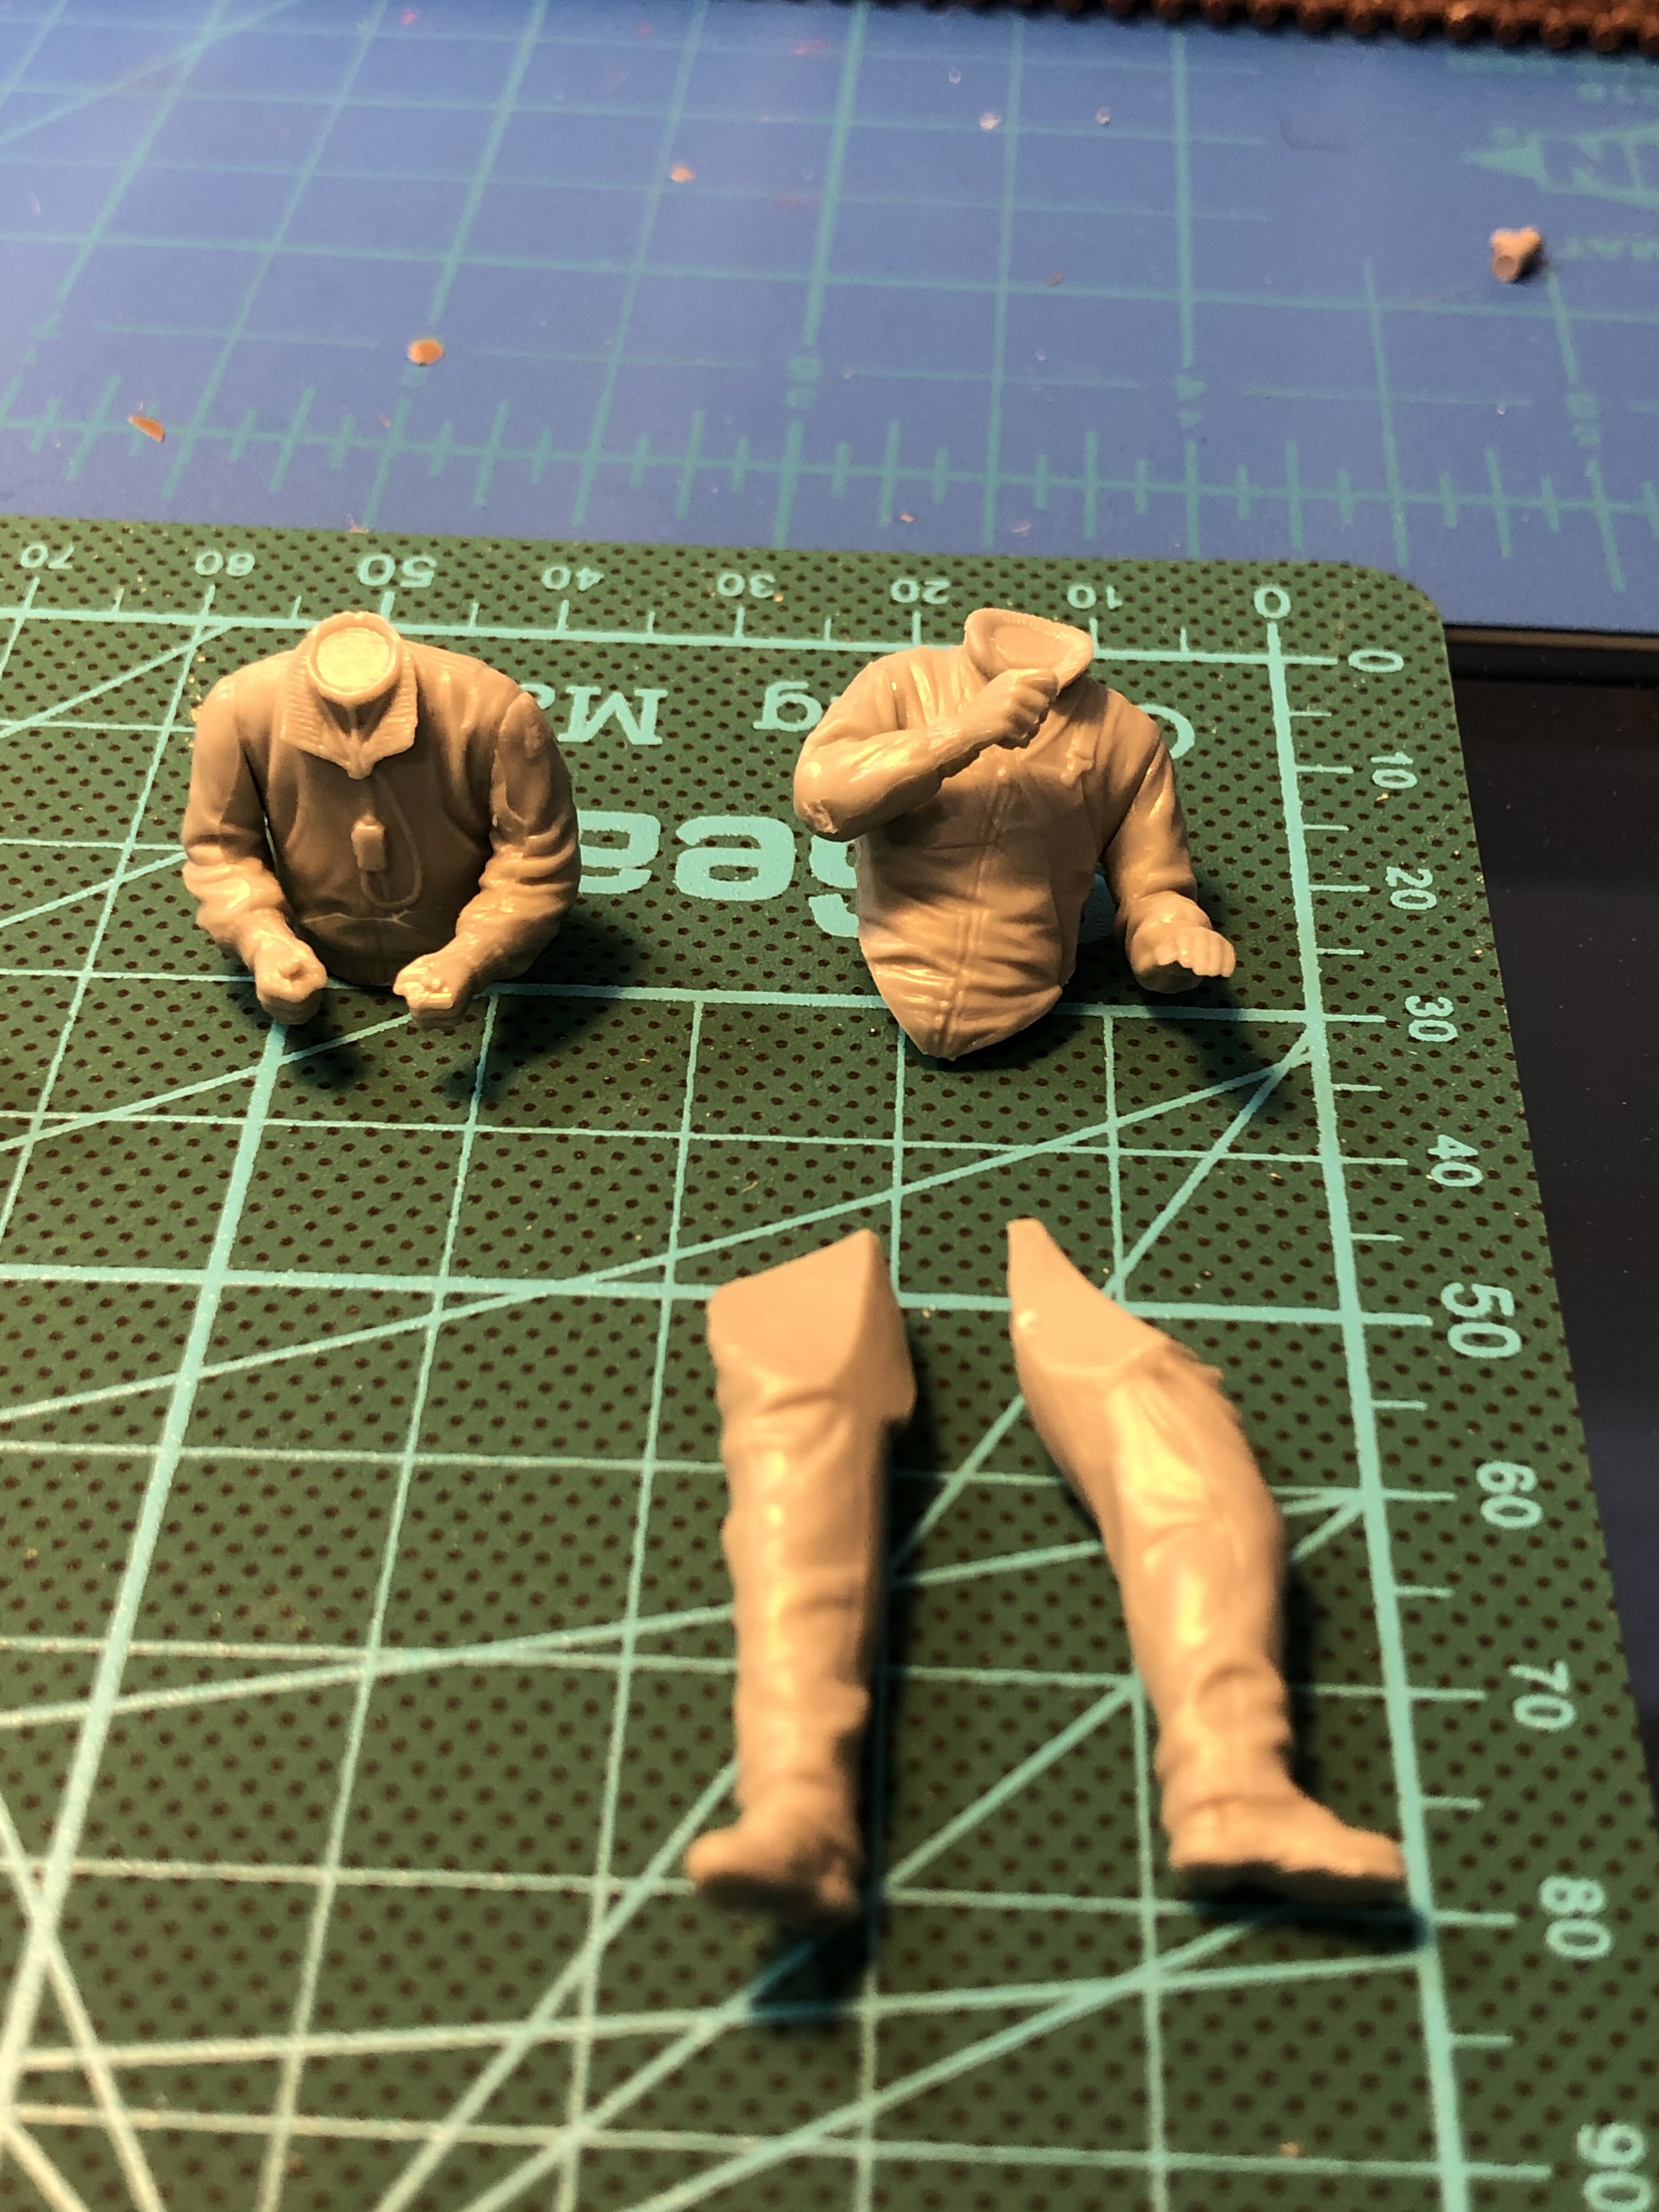
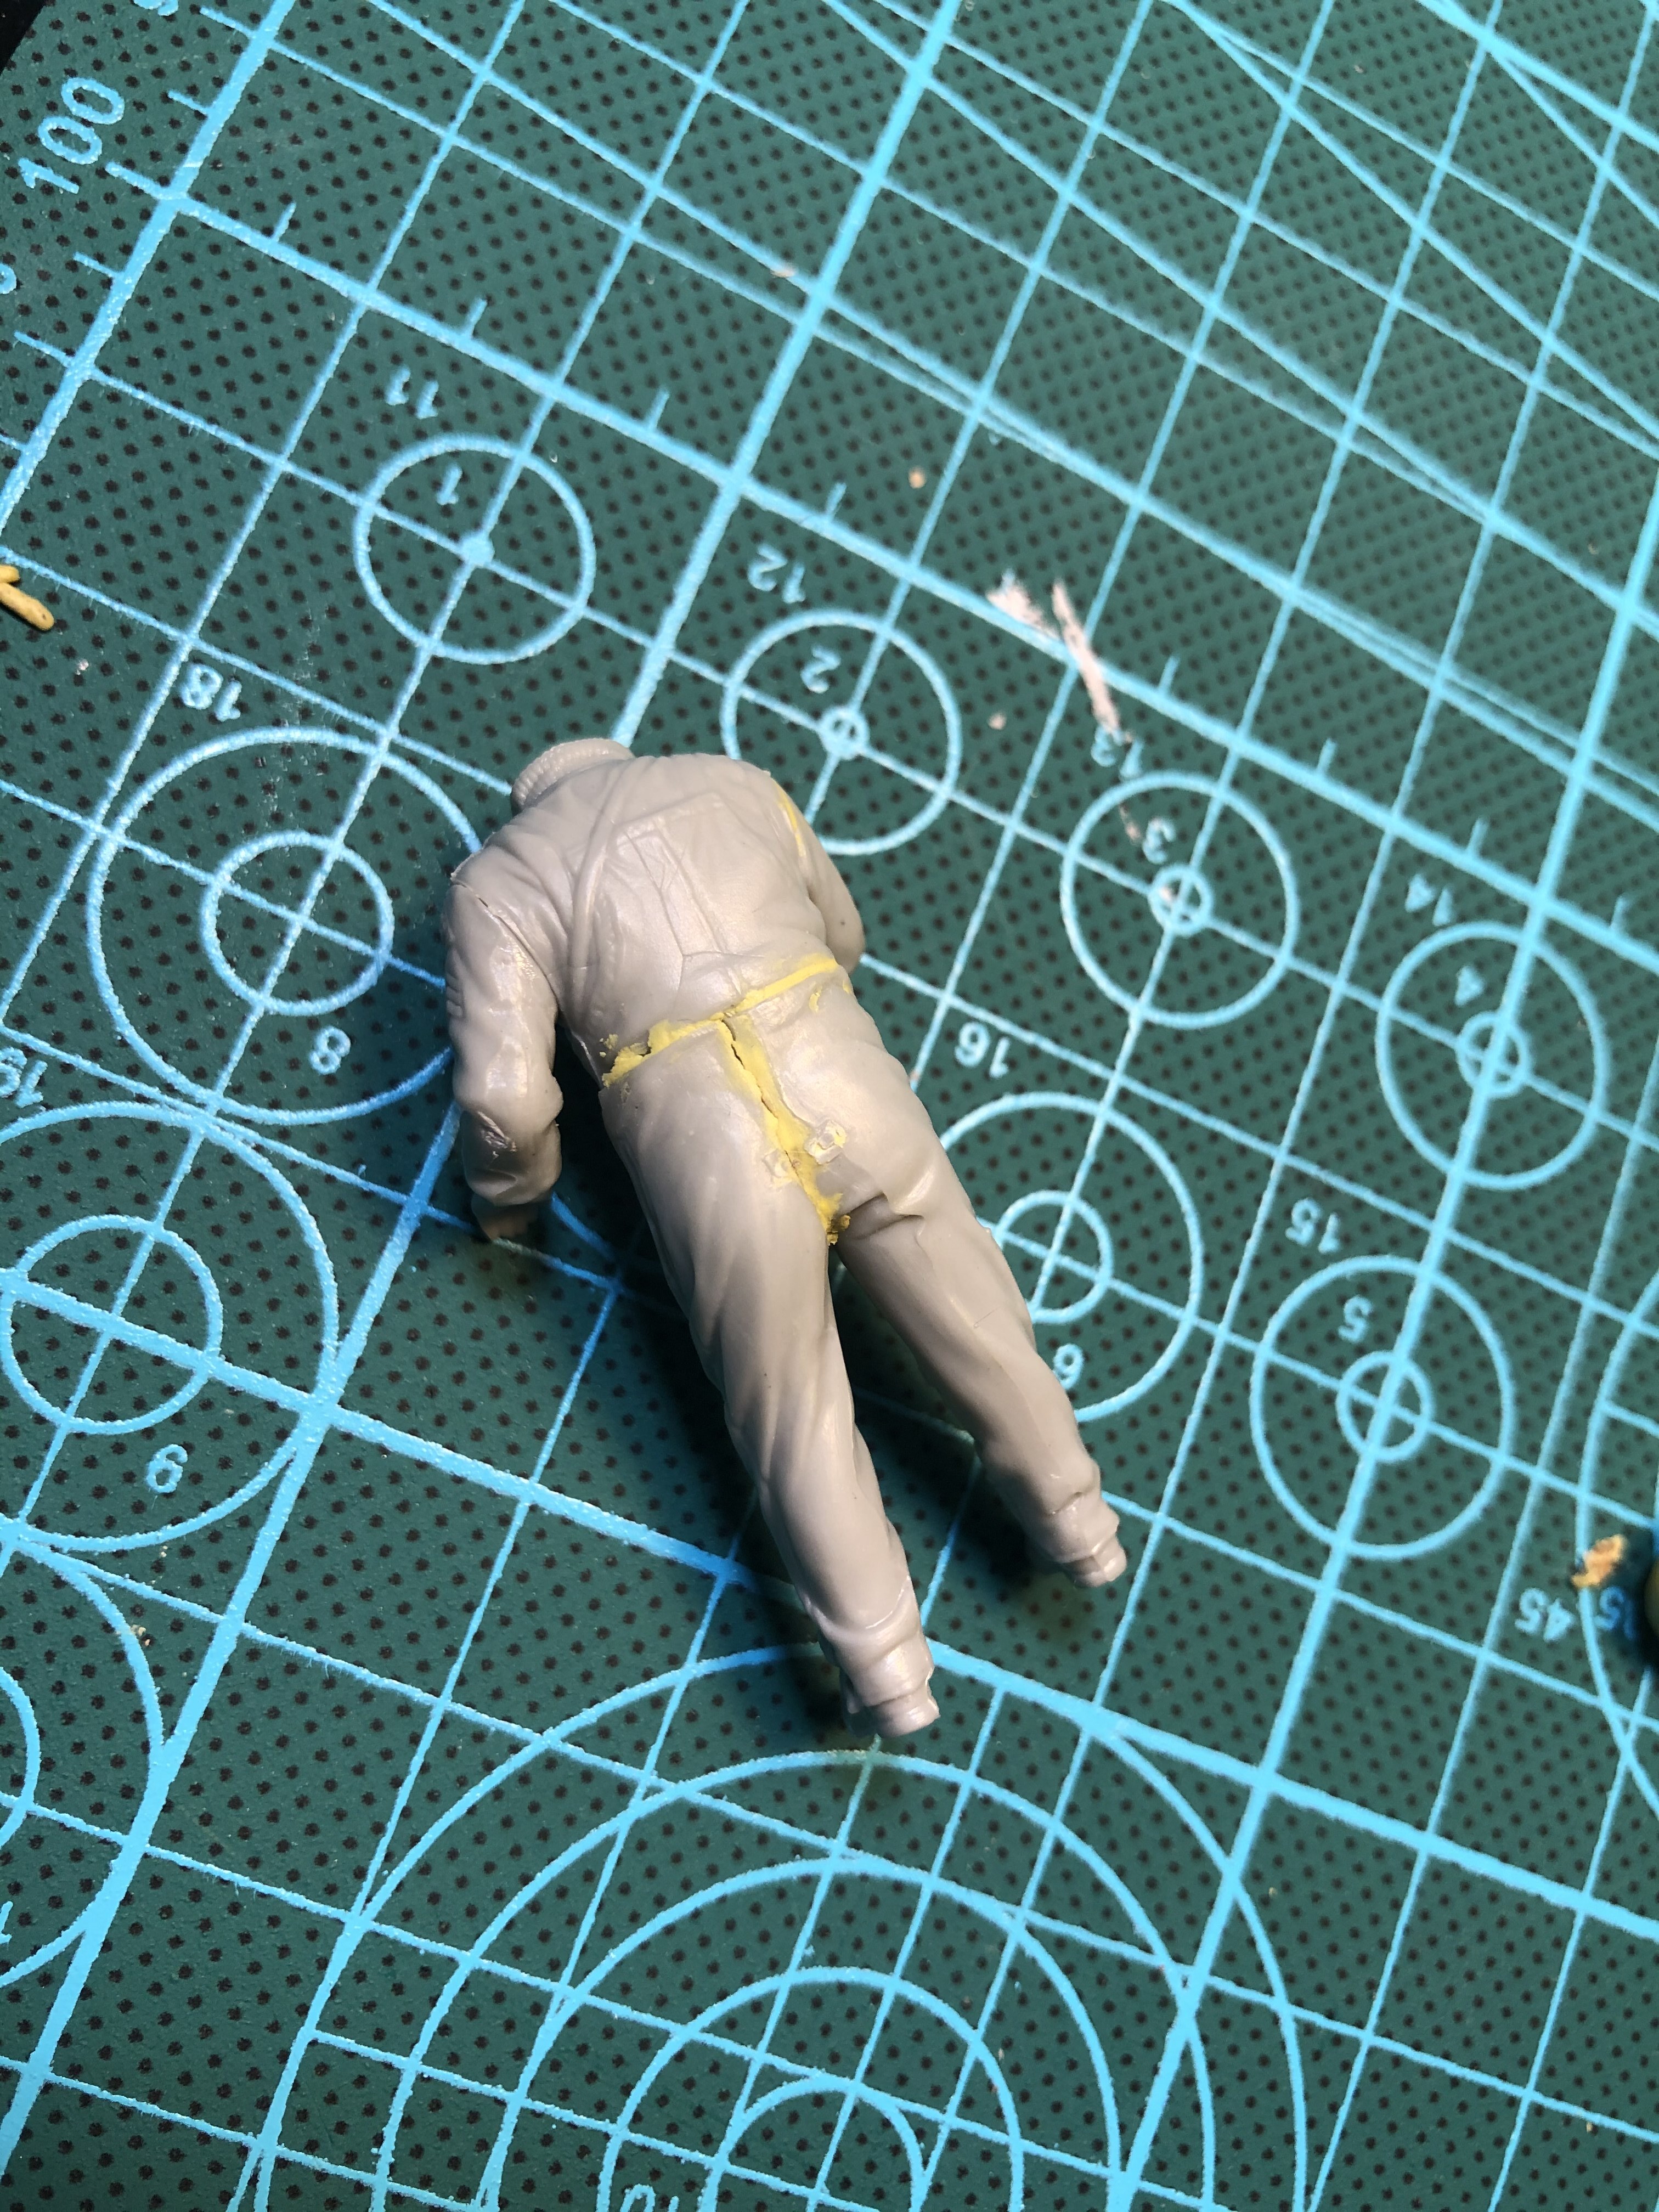
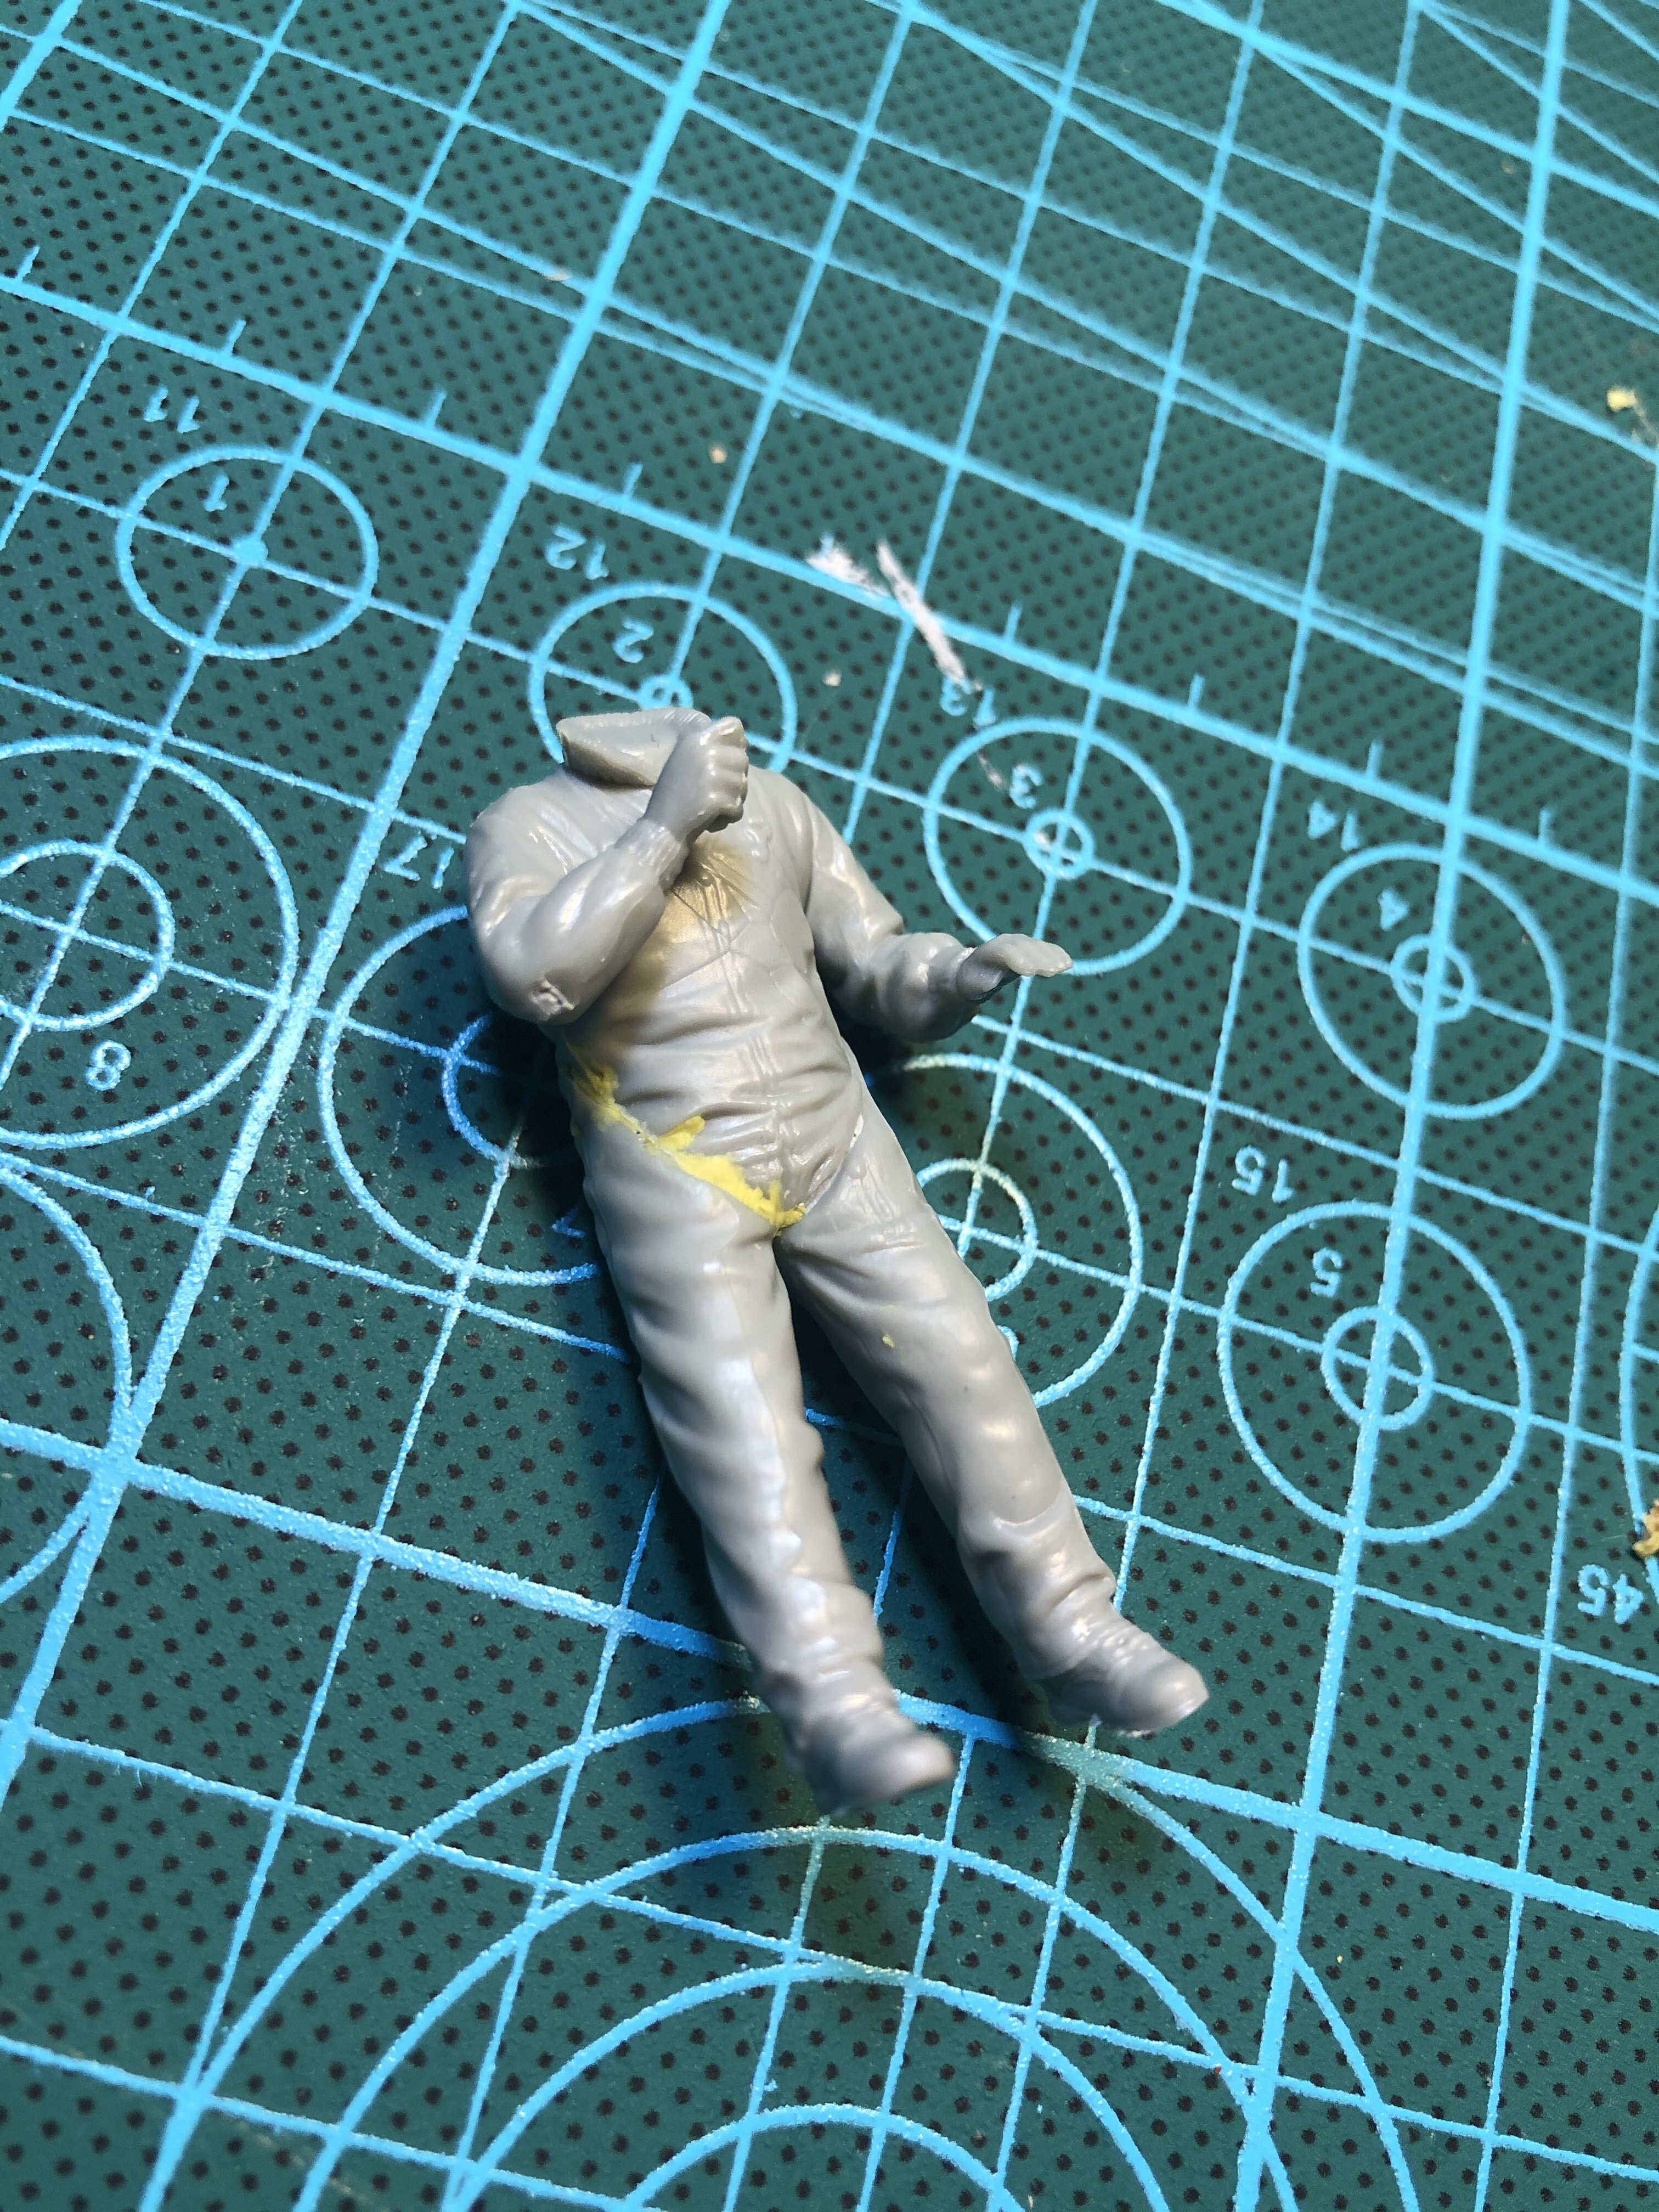
and since i mixed up some putty, I filled in the big gaps on the commander… The gap isn’t perfectly filled on his backside as he needs to remain slightly moveable to squeeze into the cupola.
@D1GG3r321@Ivanhoe6 Thank you guys for following along! I probably spend about 1 to 2 hours researching before I go to the bench and model. Each step is meticulously planned… except for the directions on the bogies. I cannot discern a difference and the instructions are really not very clear.
The Sherman minutia site and Hunnicut’s Sherman volume are my primary sources and are both excellent. I also use Sherman’s in Action although its very brief and isn’t reliable. For instance, A3’s with HVSS have all of one page at the end of the book.
I want to get ahold of Tamiya’s E8 for a slightly earlier version and perhaps Dragon’s for another late war E8.
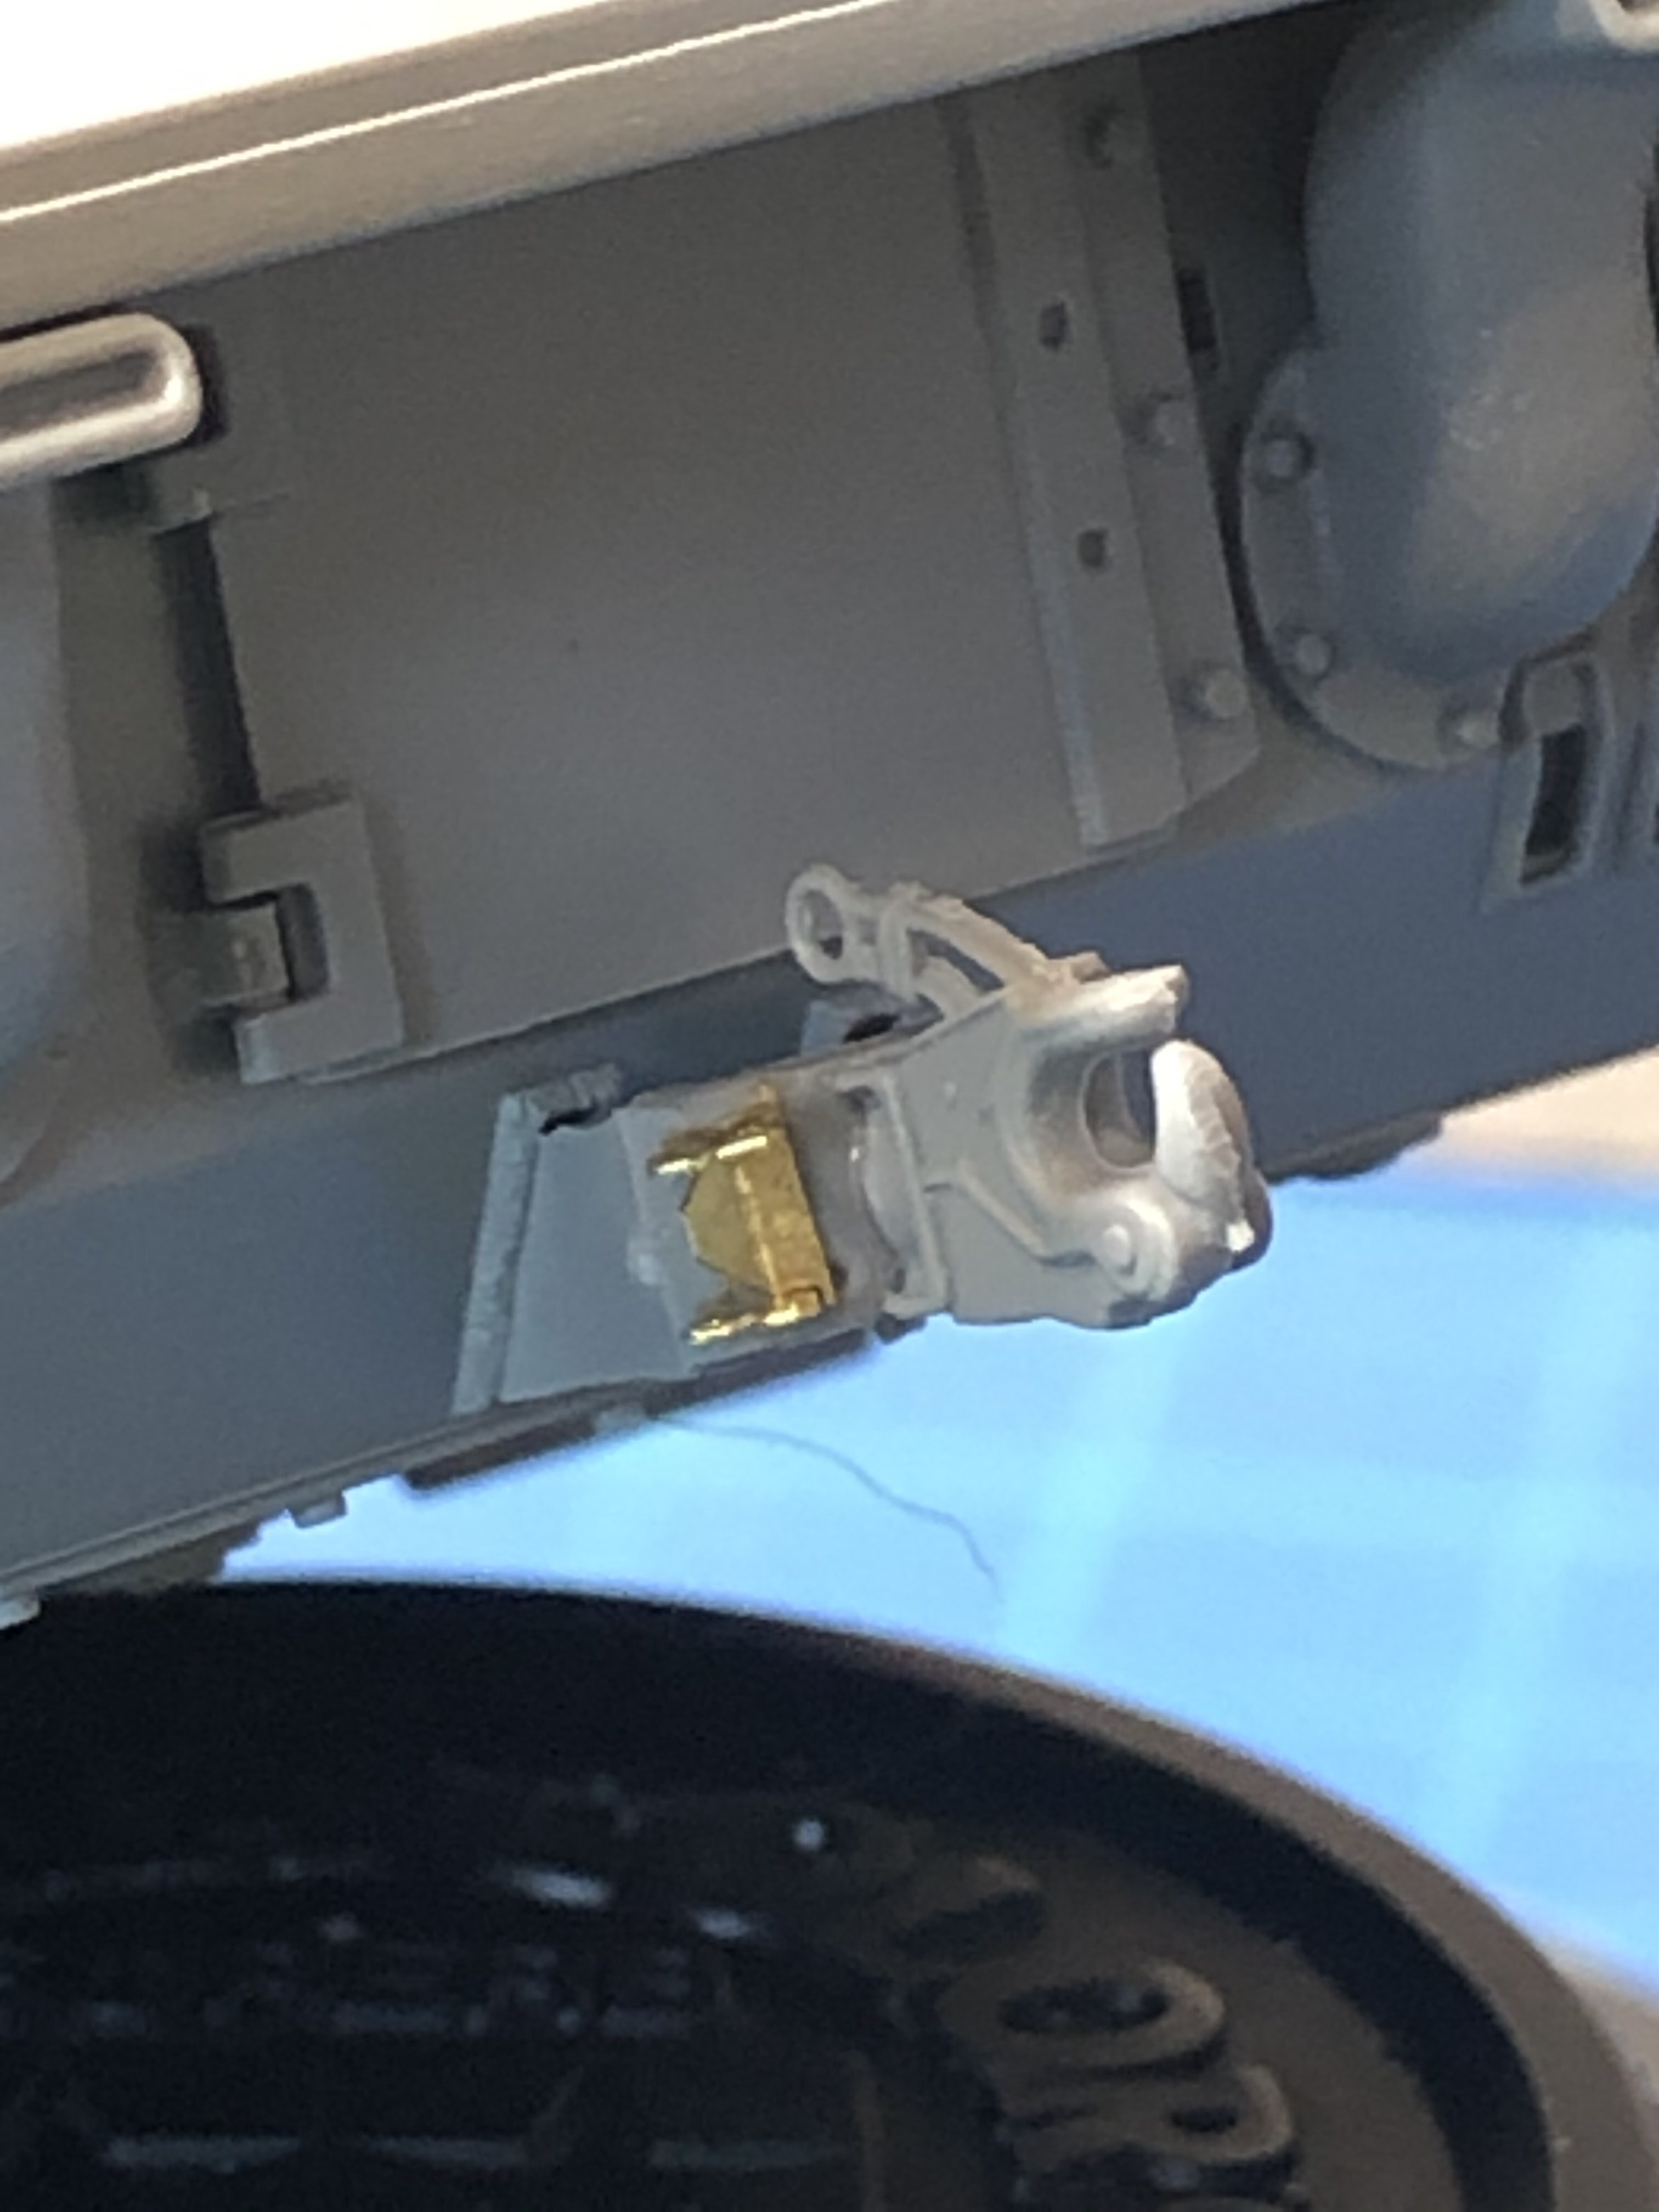
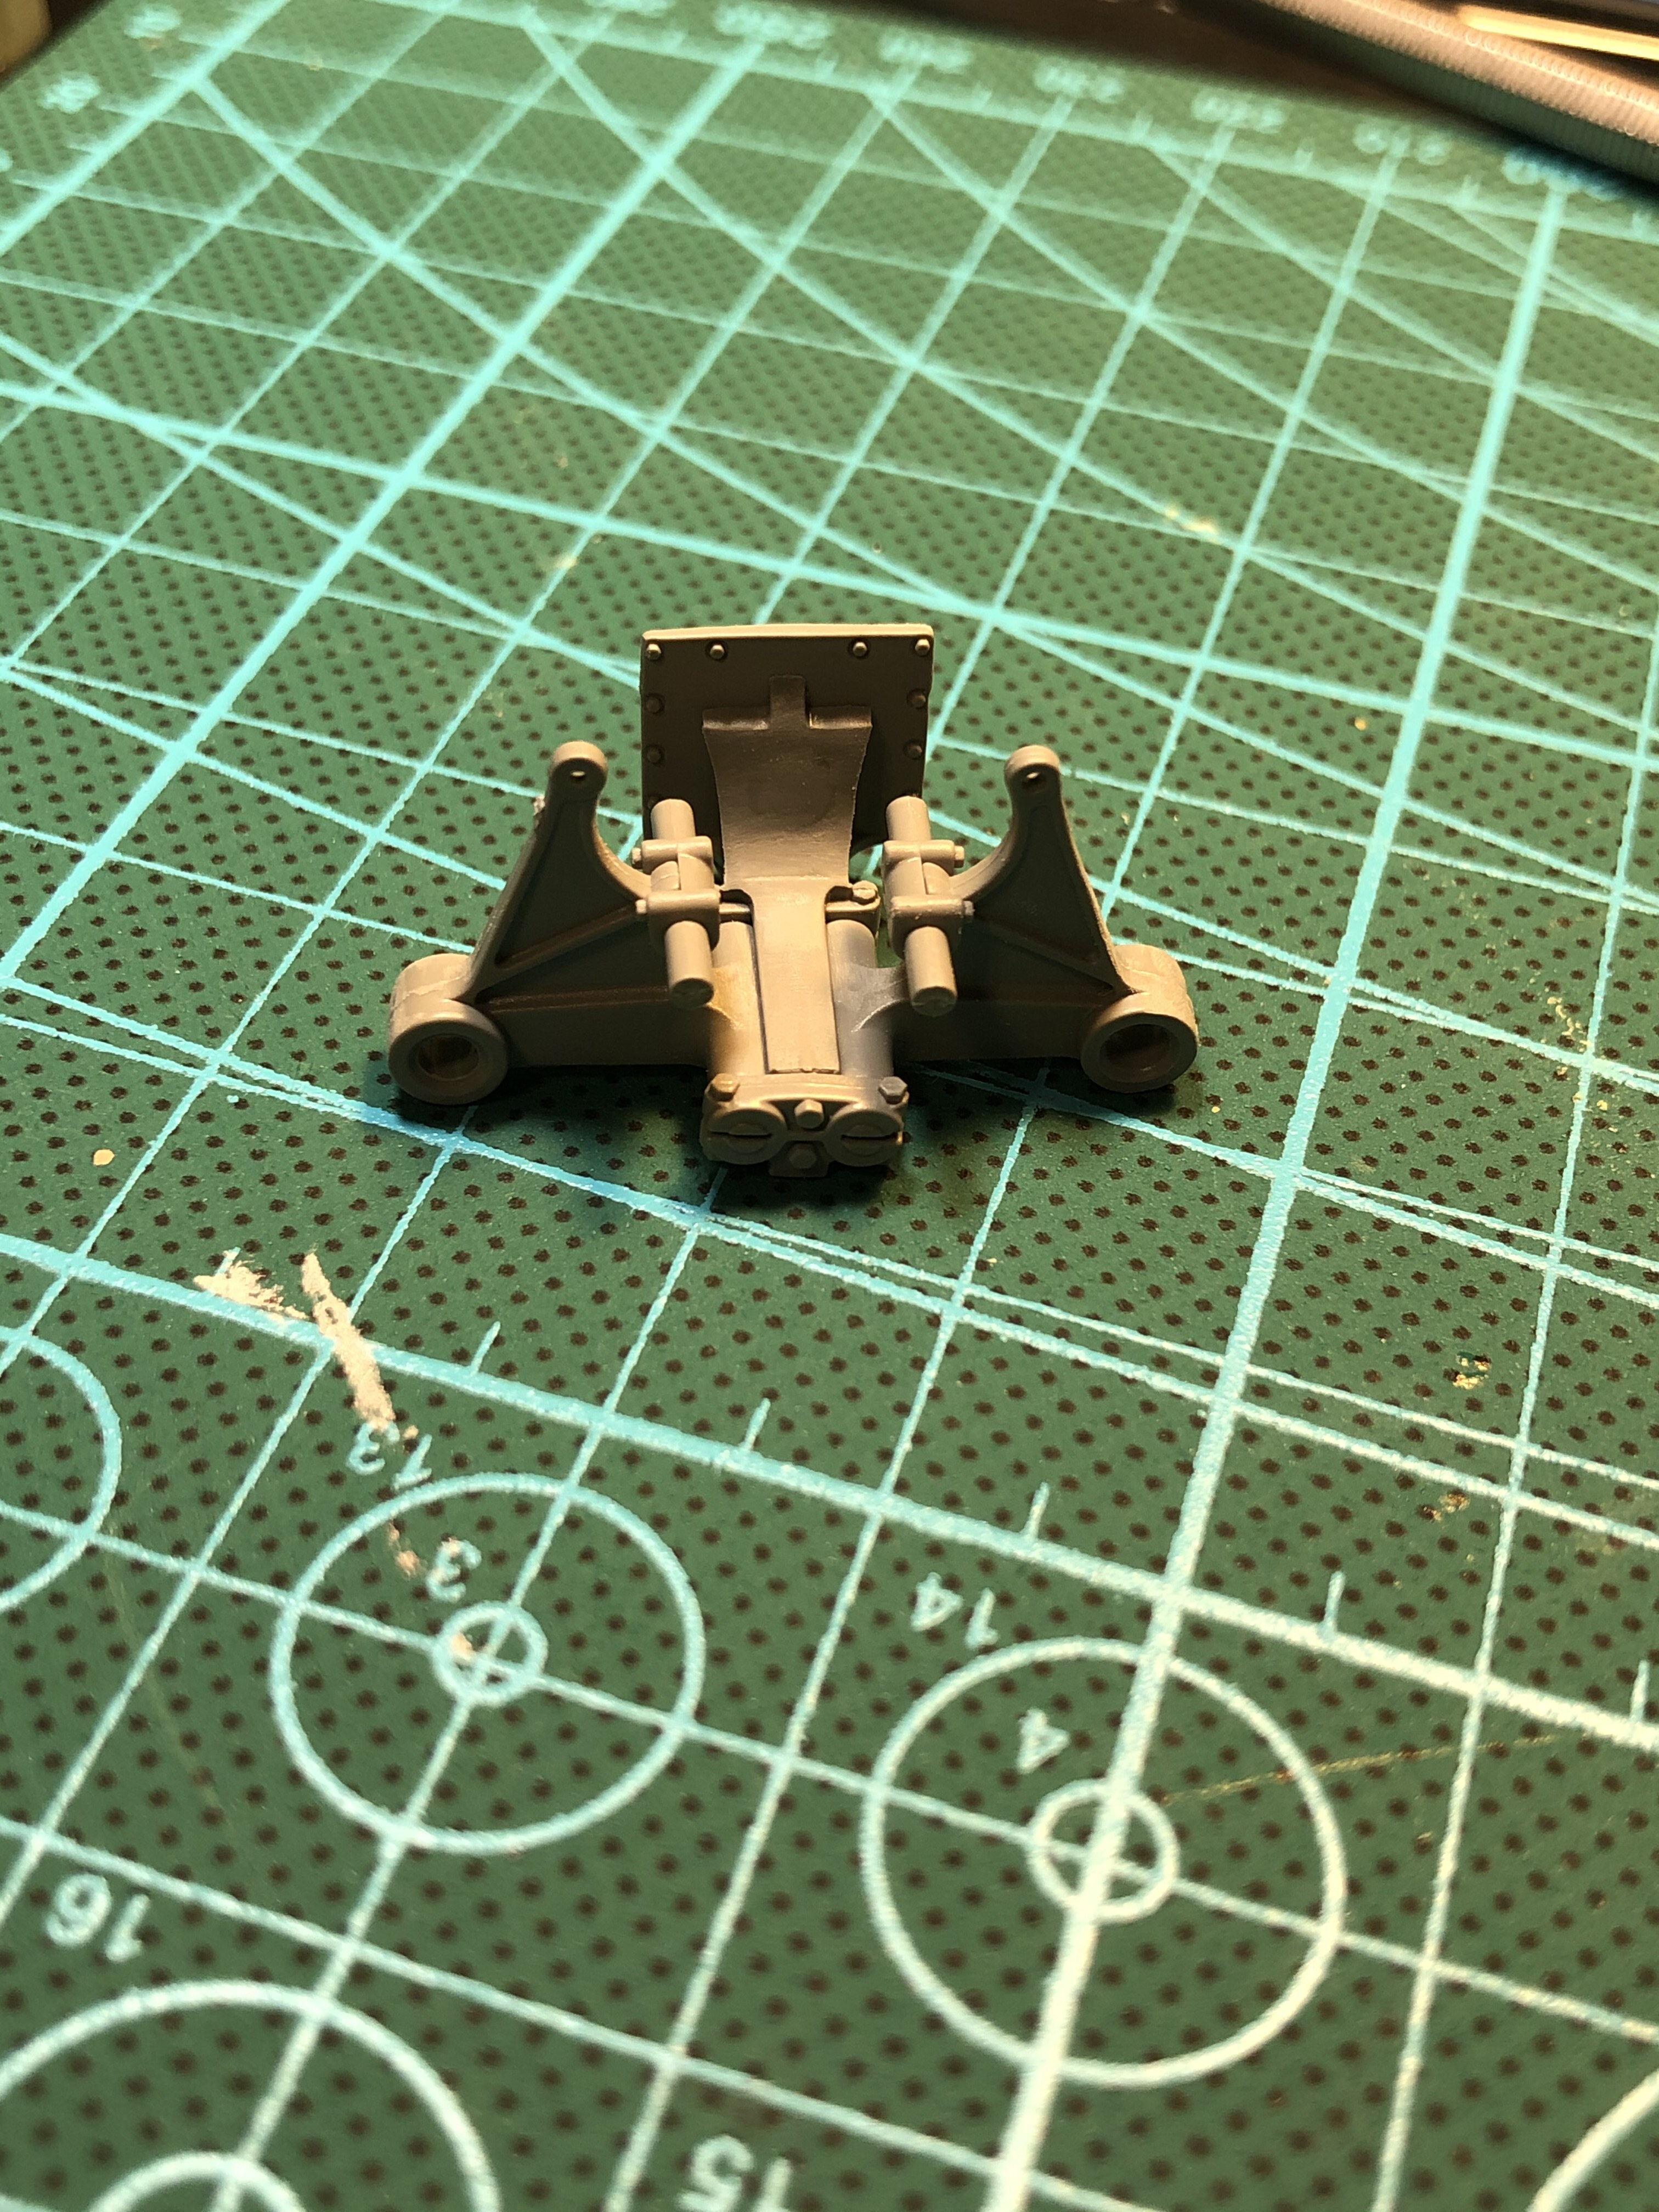
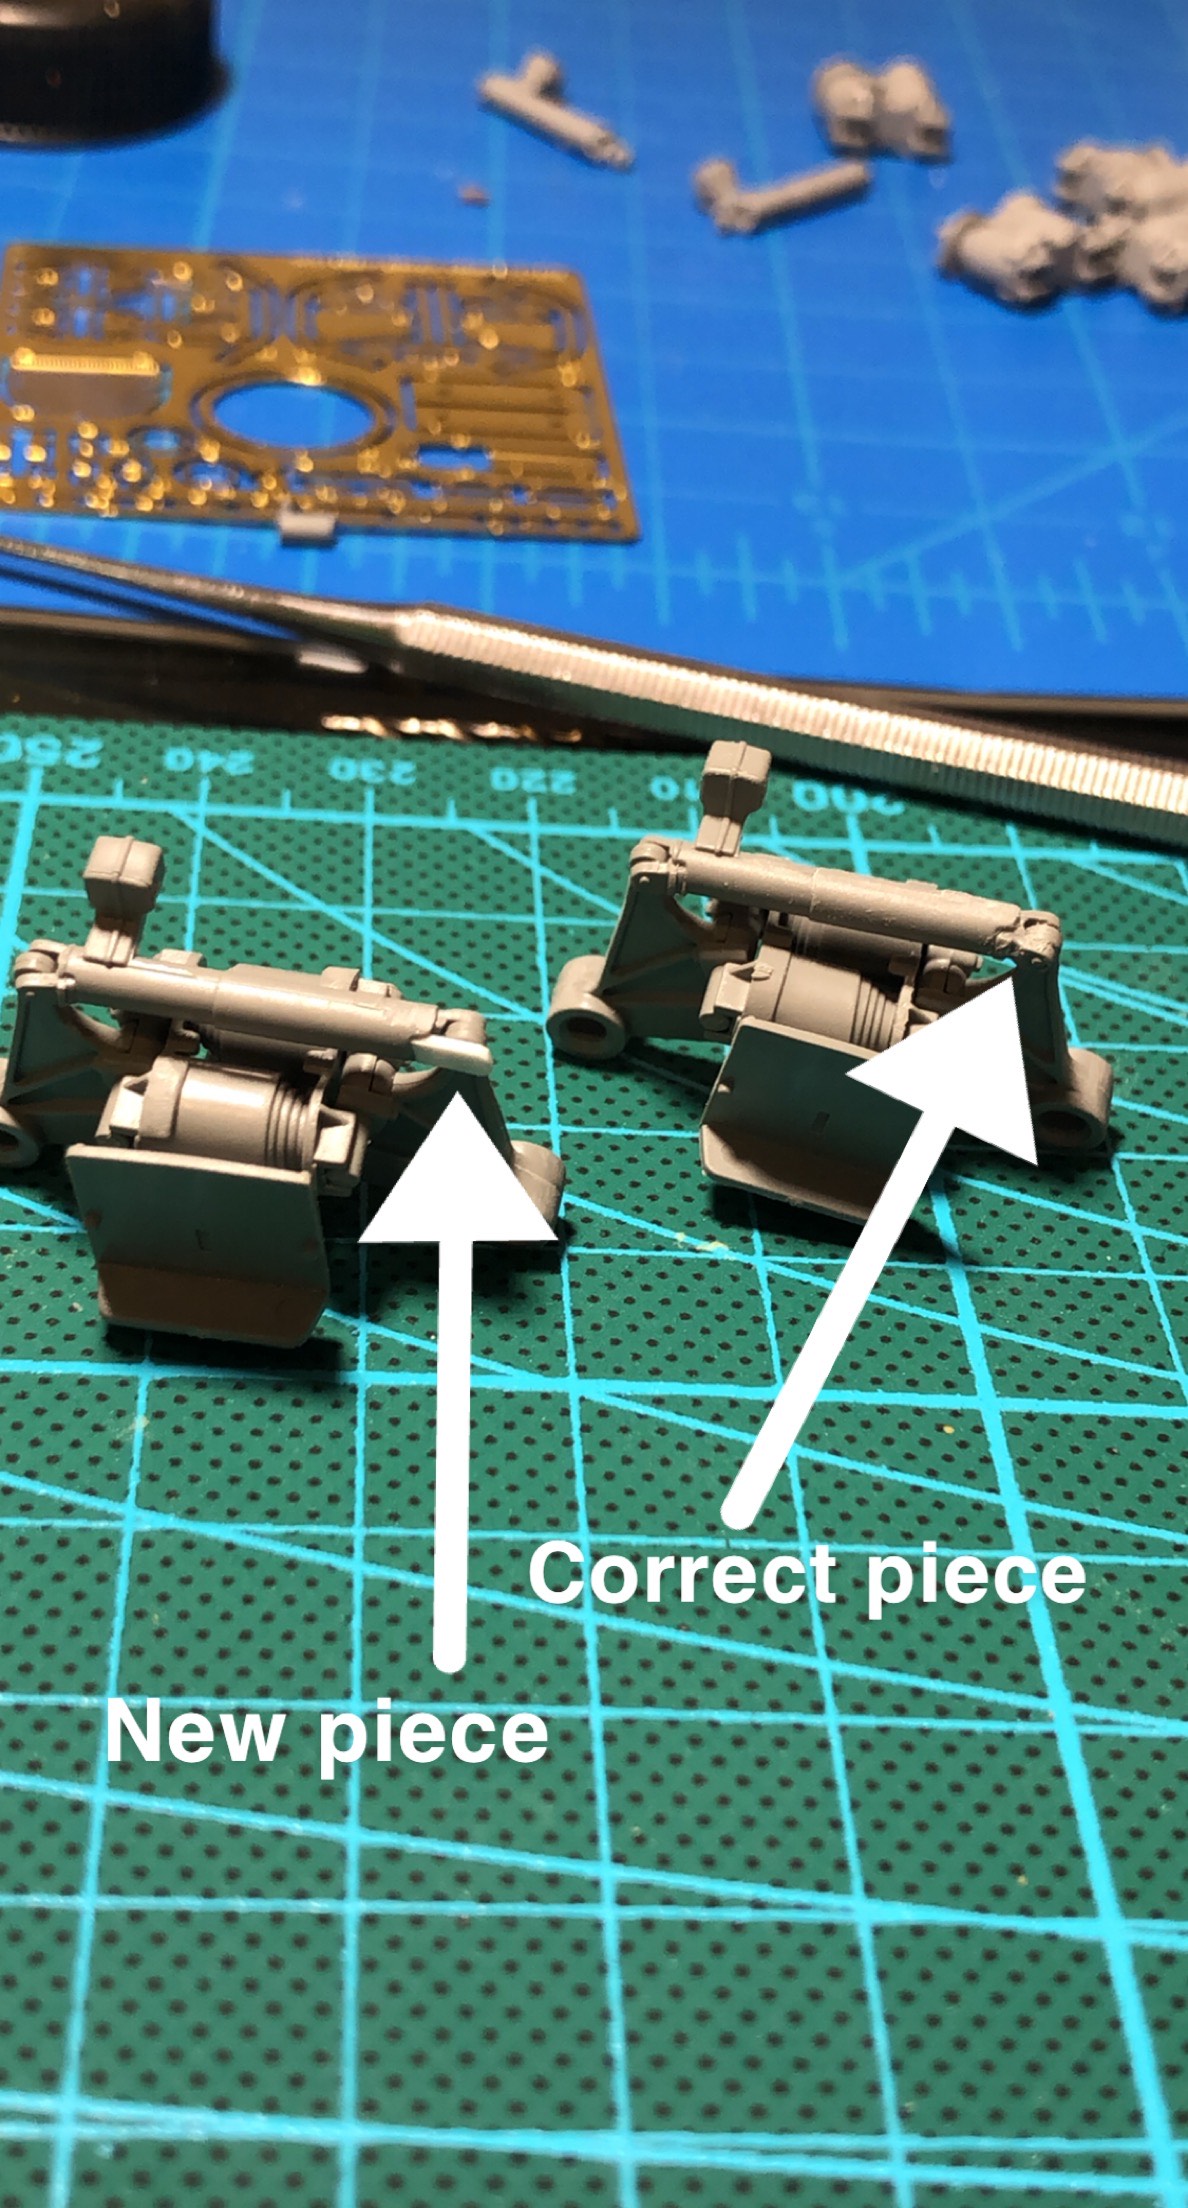
Here’s the progress that I’ve made from the weekend. I’ve built and attached the bogies. Again, lots of the little plastic nibs to be cut and sanded. Unfortunately a small piece pulled a disappearing act. I recreated this piece with a small bit of plastic sheeting. It’s not accurate but it should be hidden well enough. The bogies are a pain to put together but I got a handle on it quick enough by just ignoring the directions.
This was the best way to assemble the support arms… placing them on the bogie arm and sitting in on the mat, then glueing the circular piece to the end of the bogie arm. Then the upper strut could be attached after placing the volute springs on.
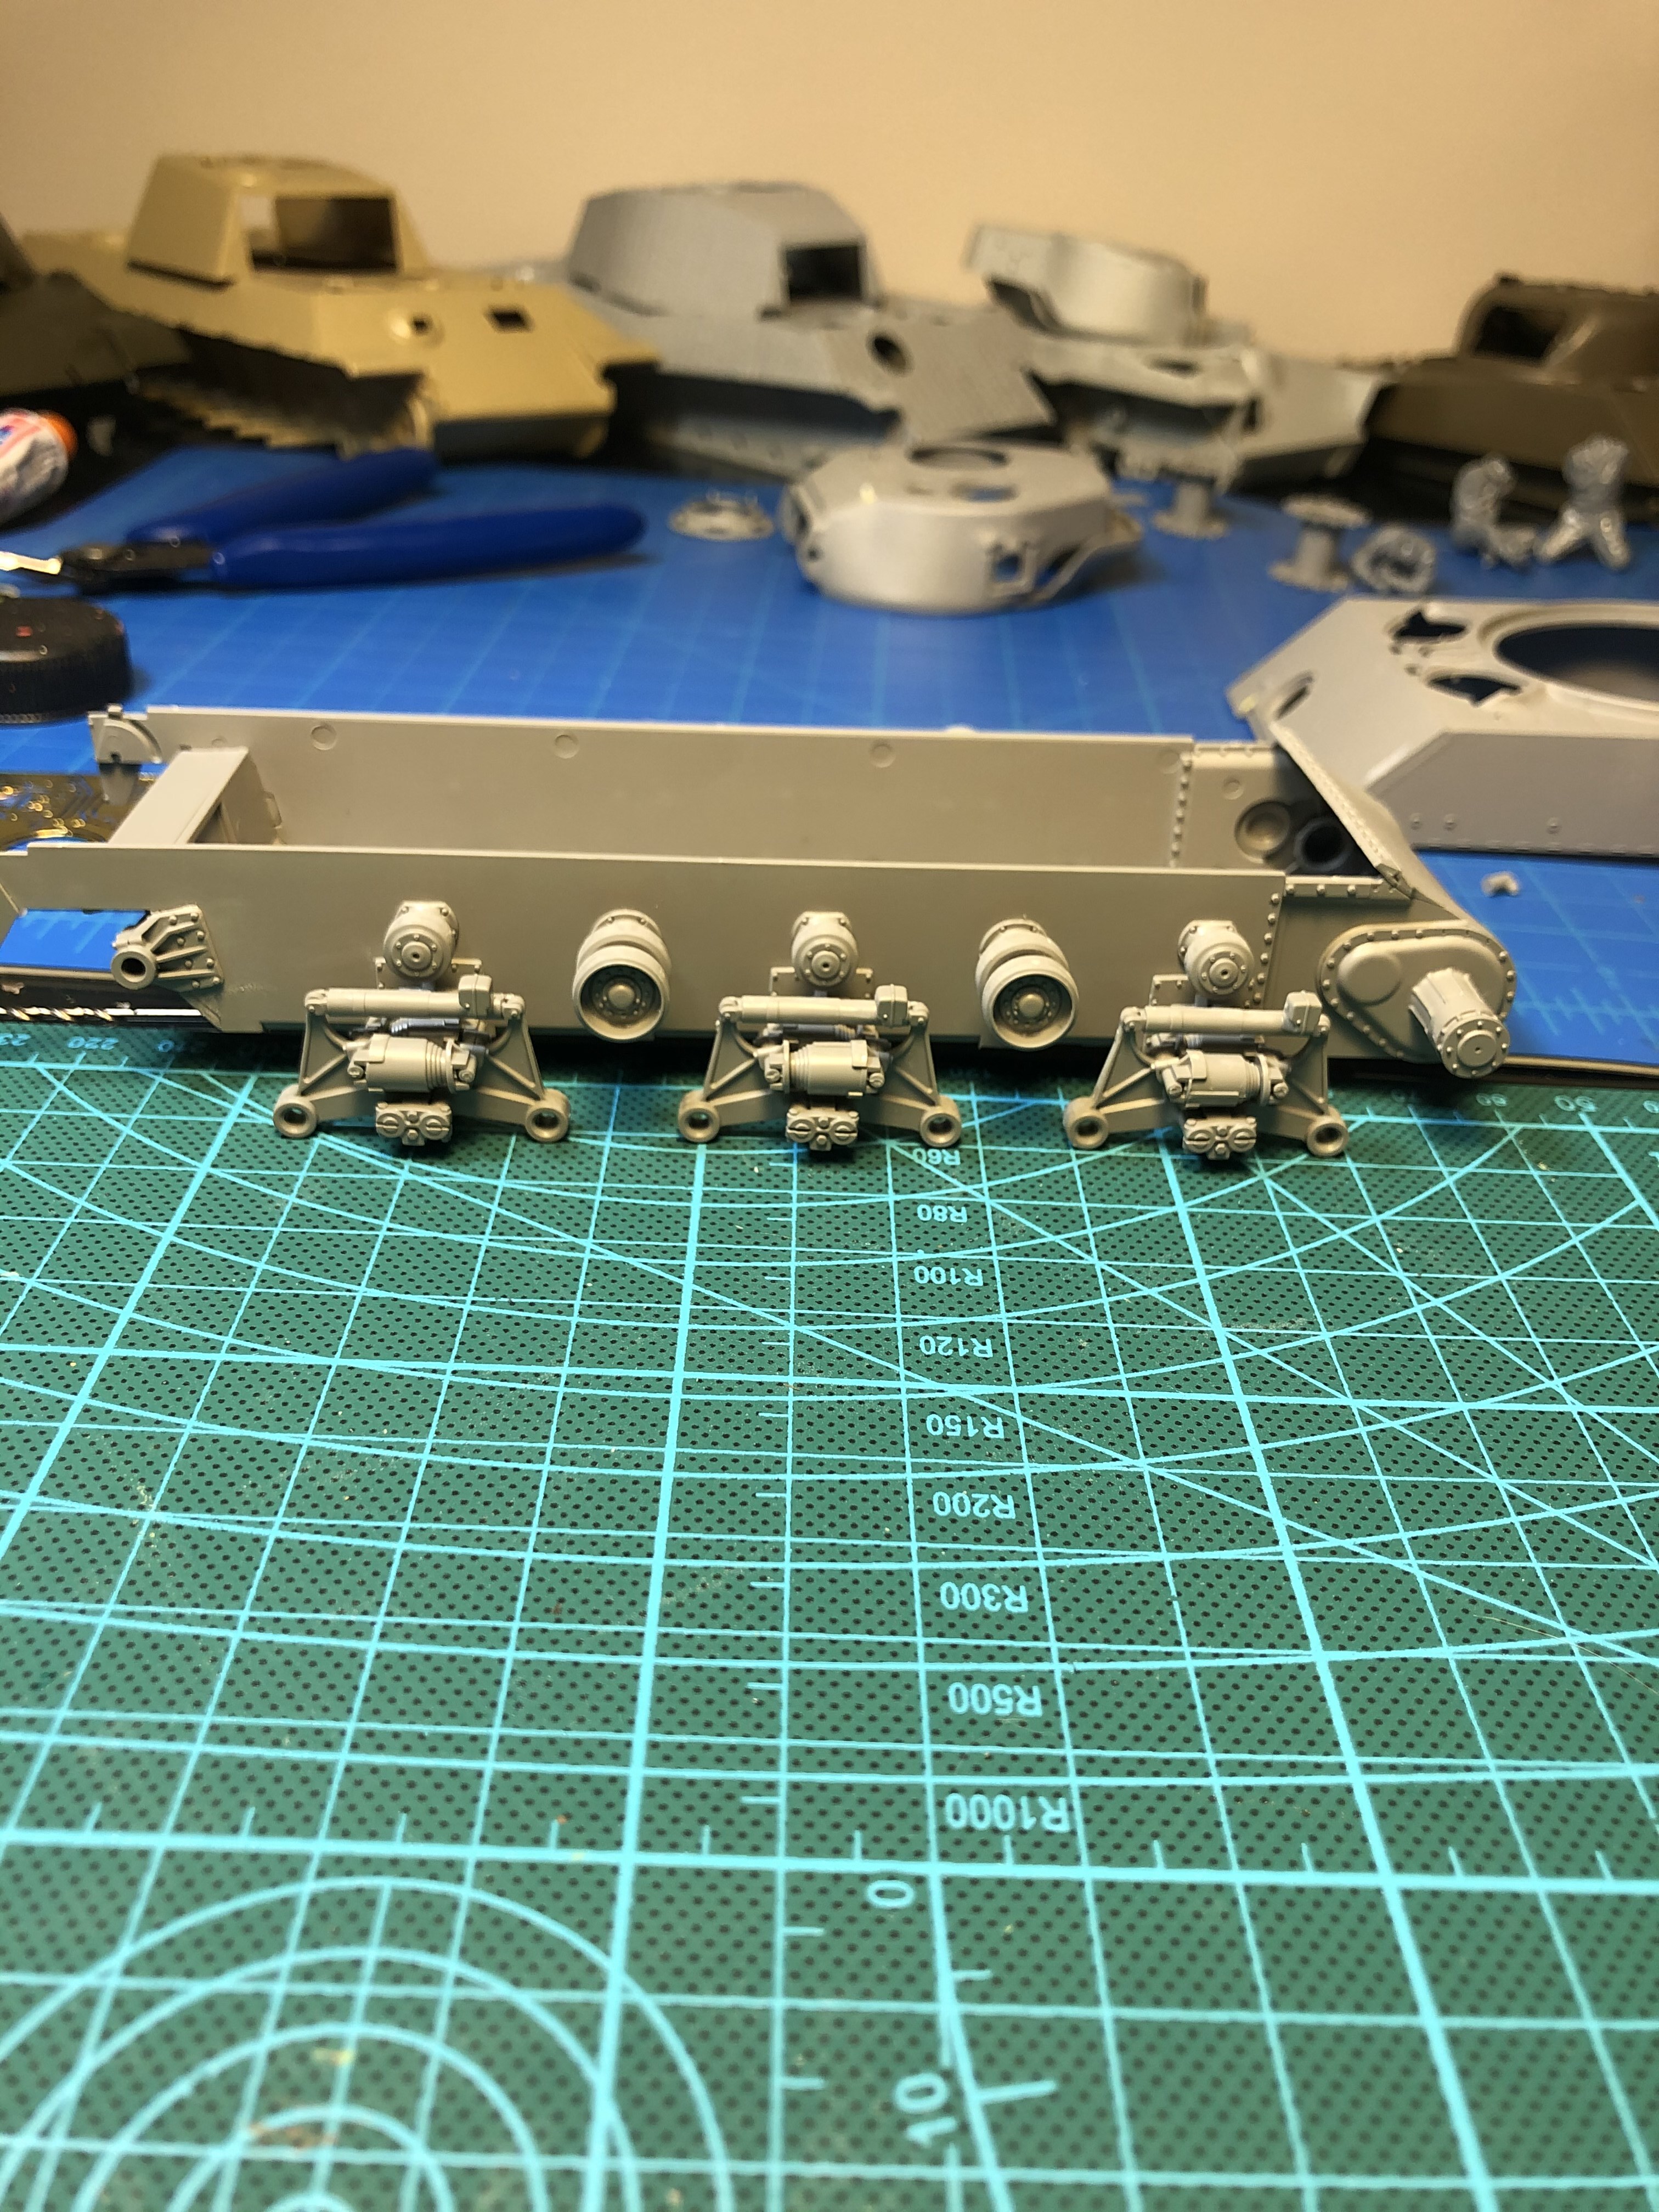
Here are the bogies and return rollers attached. The middle bogie clearly doesn’t want to be like the rest of the bogies and the volute spring is facing the wrong direction.
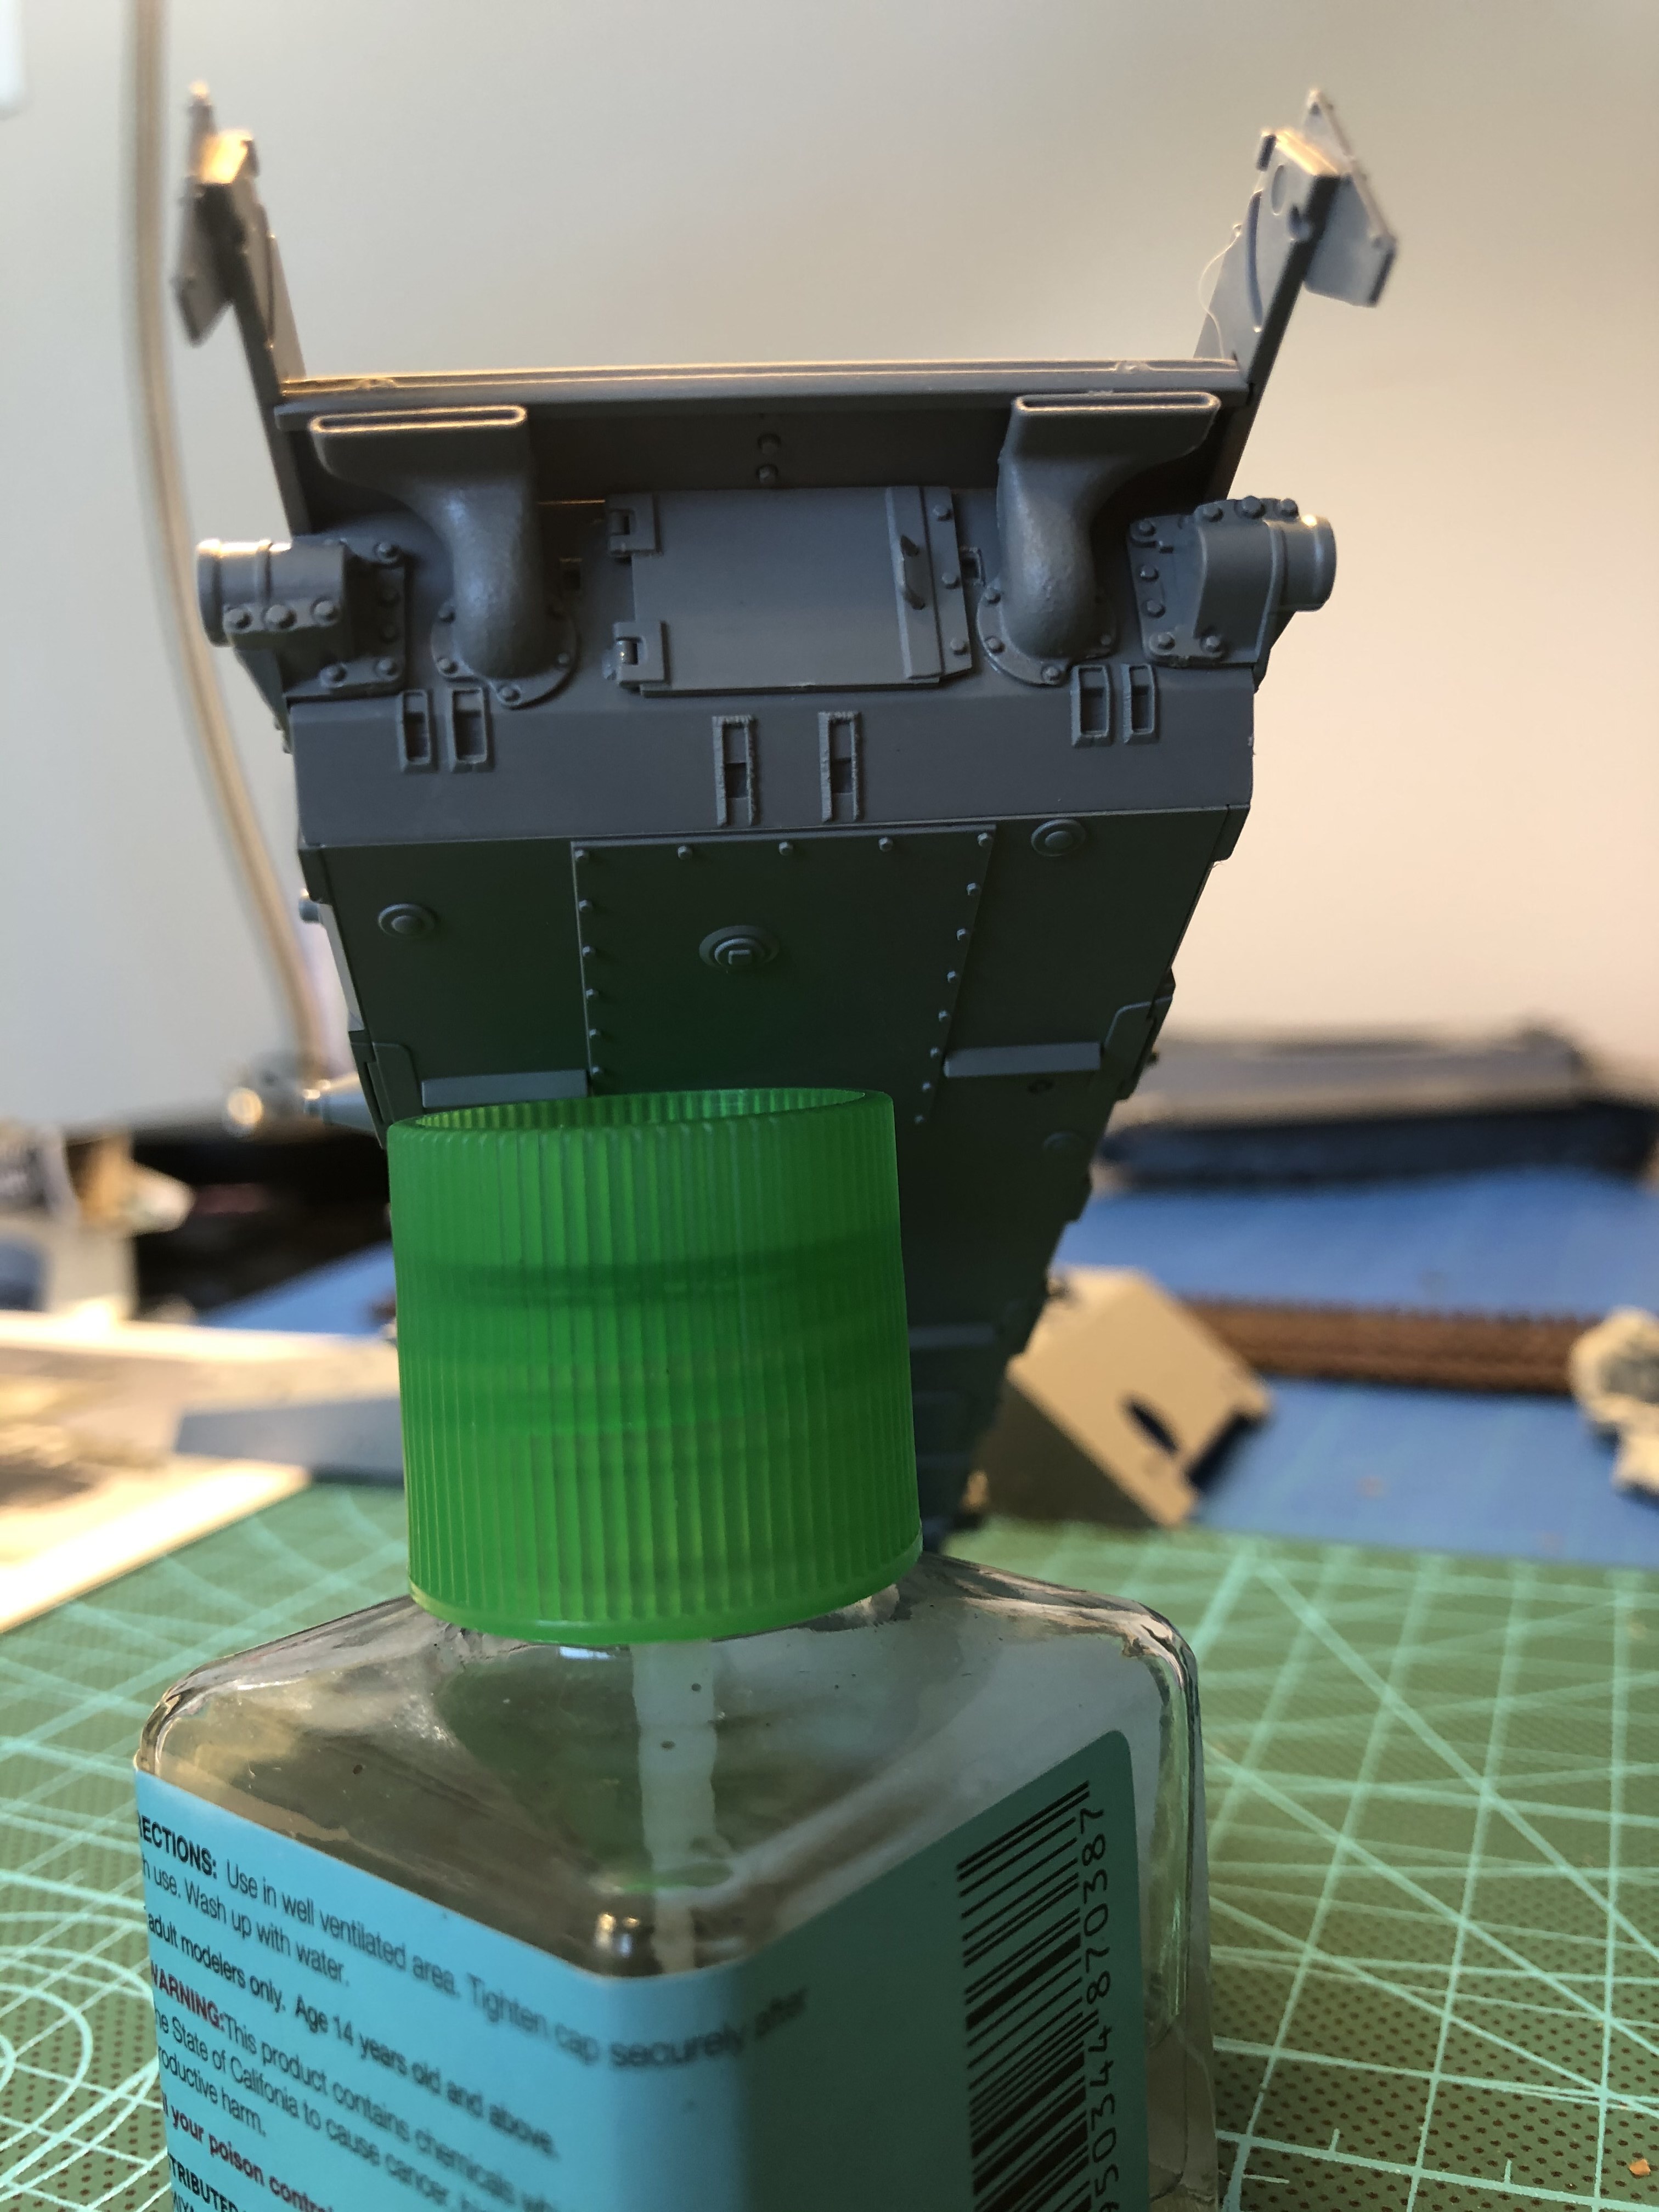
With the lower hull completed (not pictured are the front and rear tow hooks) I moved on to the upper hull and turret. This is one reason why I try to be thorough with reading directions but it seems I missed a step. I glued the back part of the front glacis on without drilling locating holes for the lifting hooks…I then tried to do it using what looked to be locating marks on the front of the glacis but they were too close together. I’ll now have to cut the nibs from the back of the lift hooks and glue them on using my best judgement and measuring skills. I filled the holes in with tamiya putty.
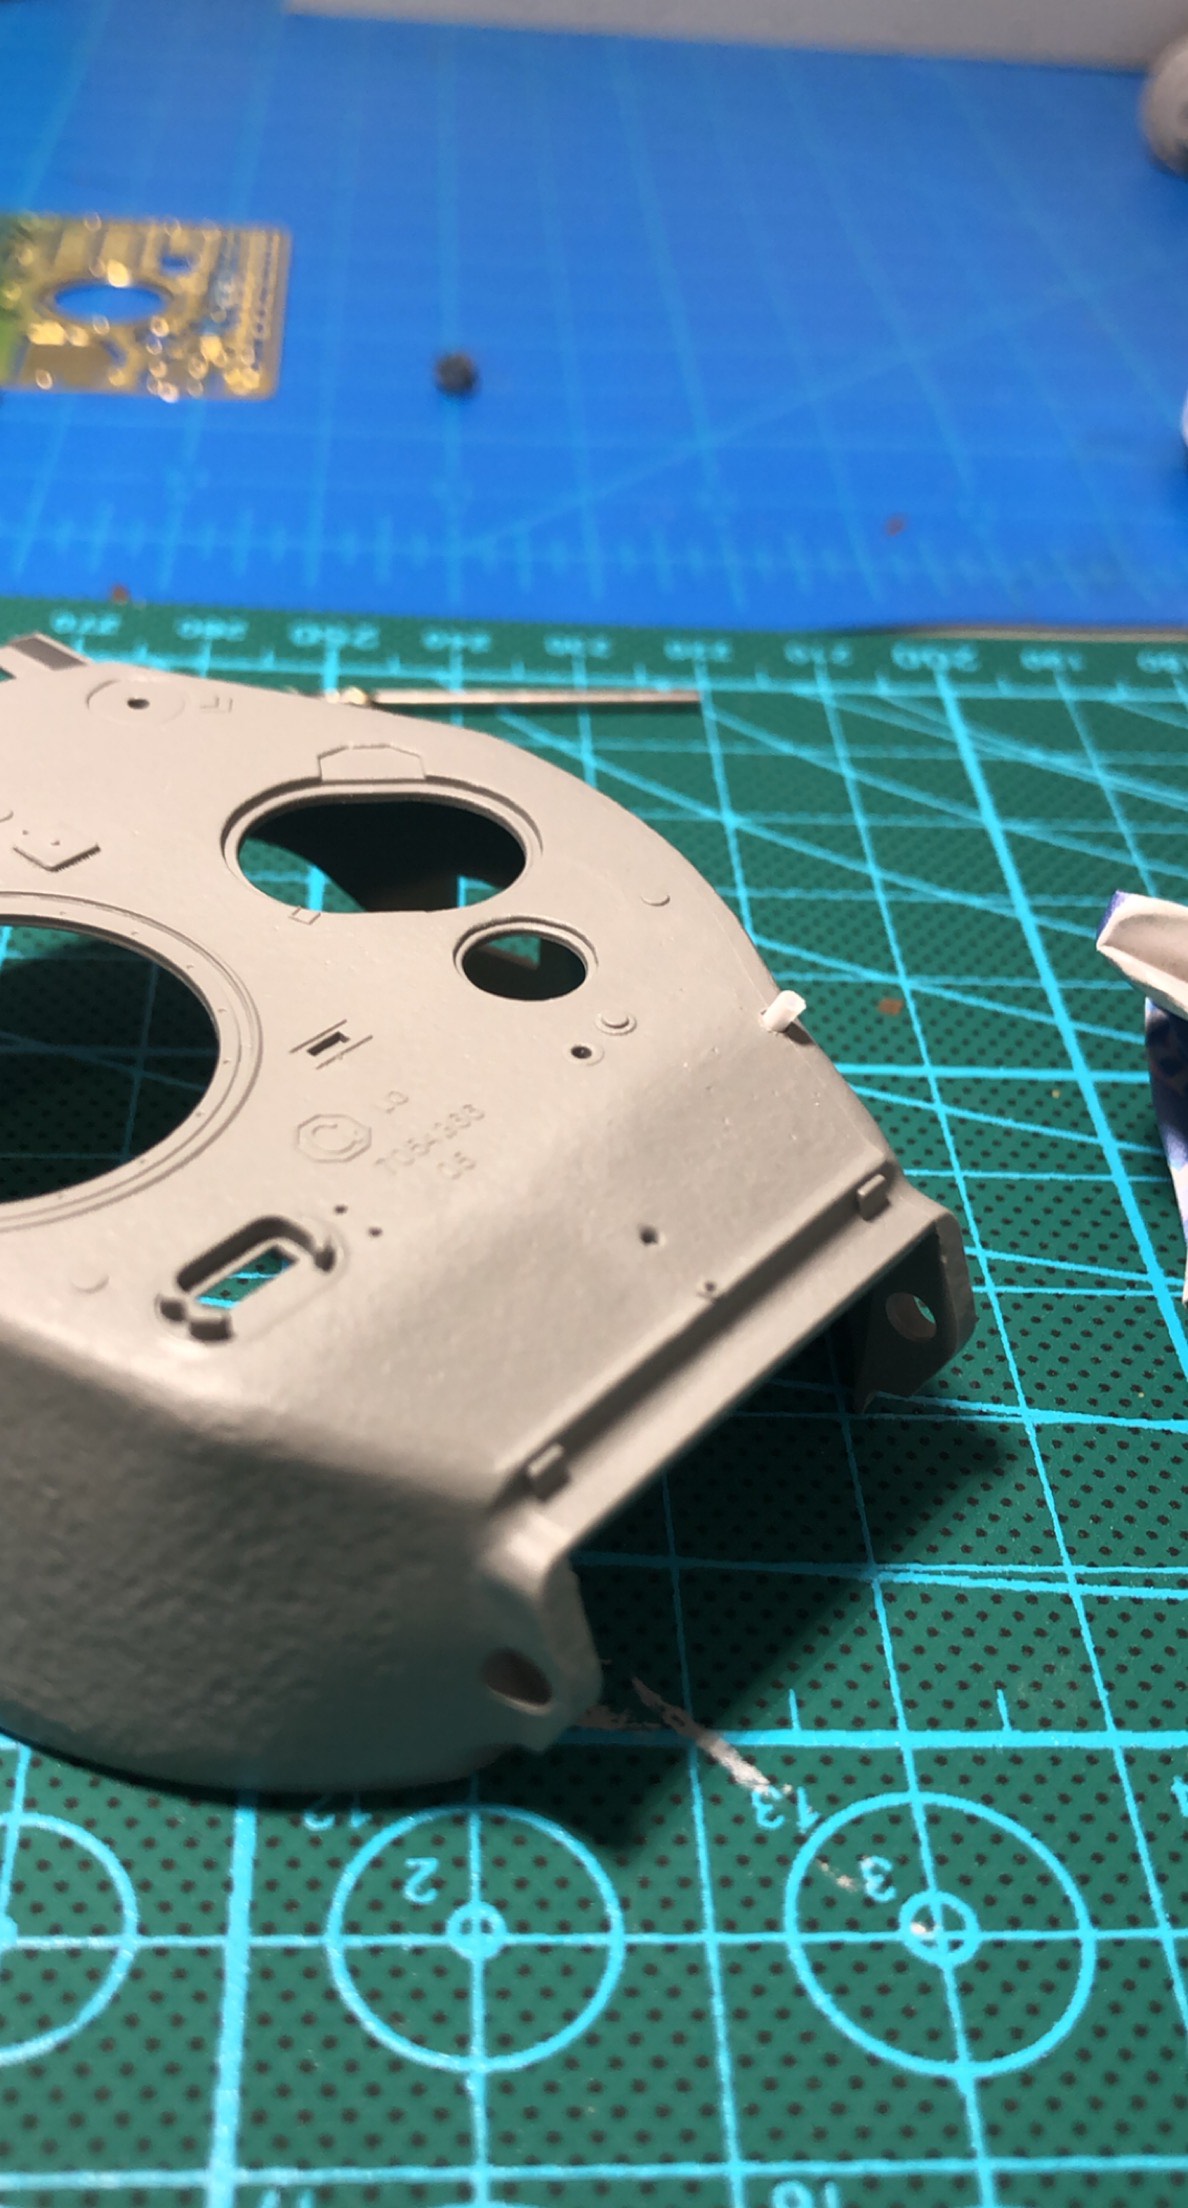
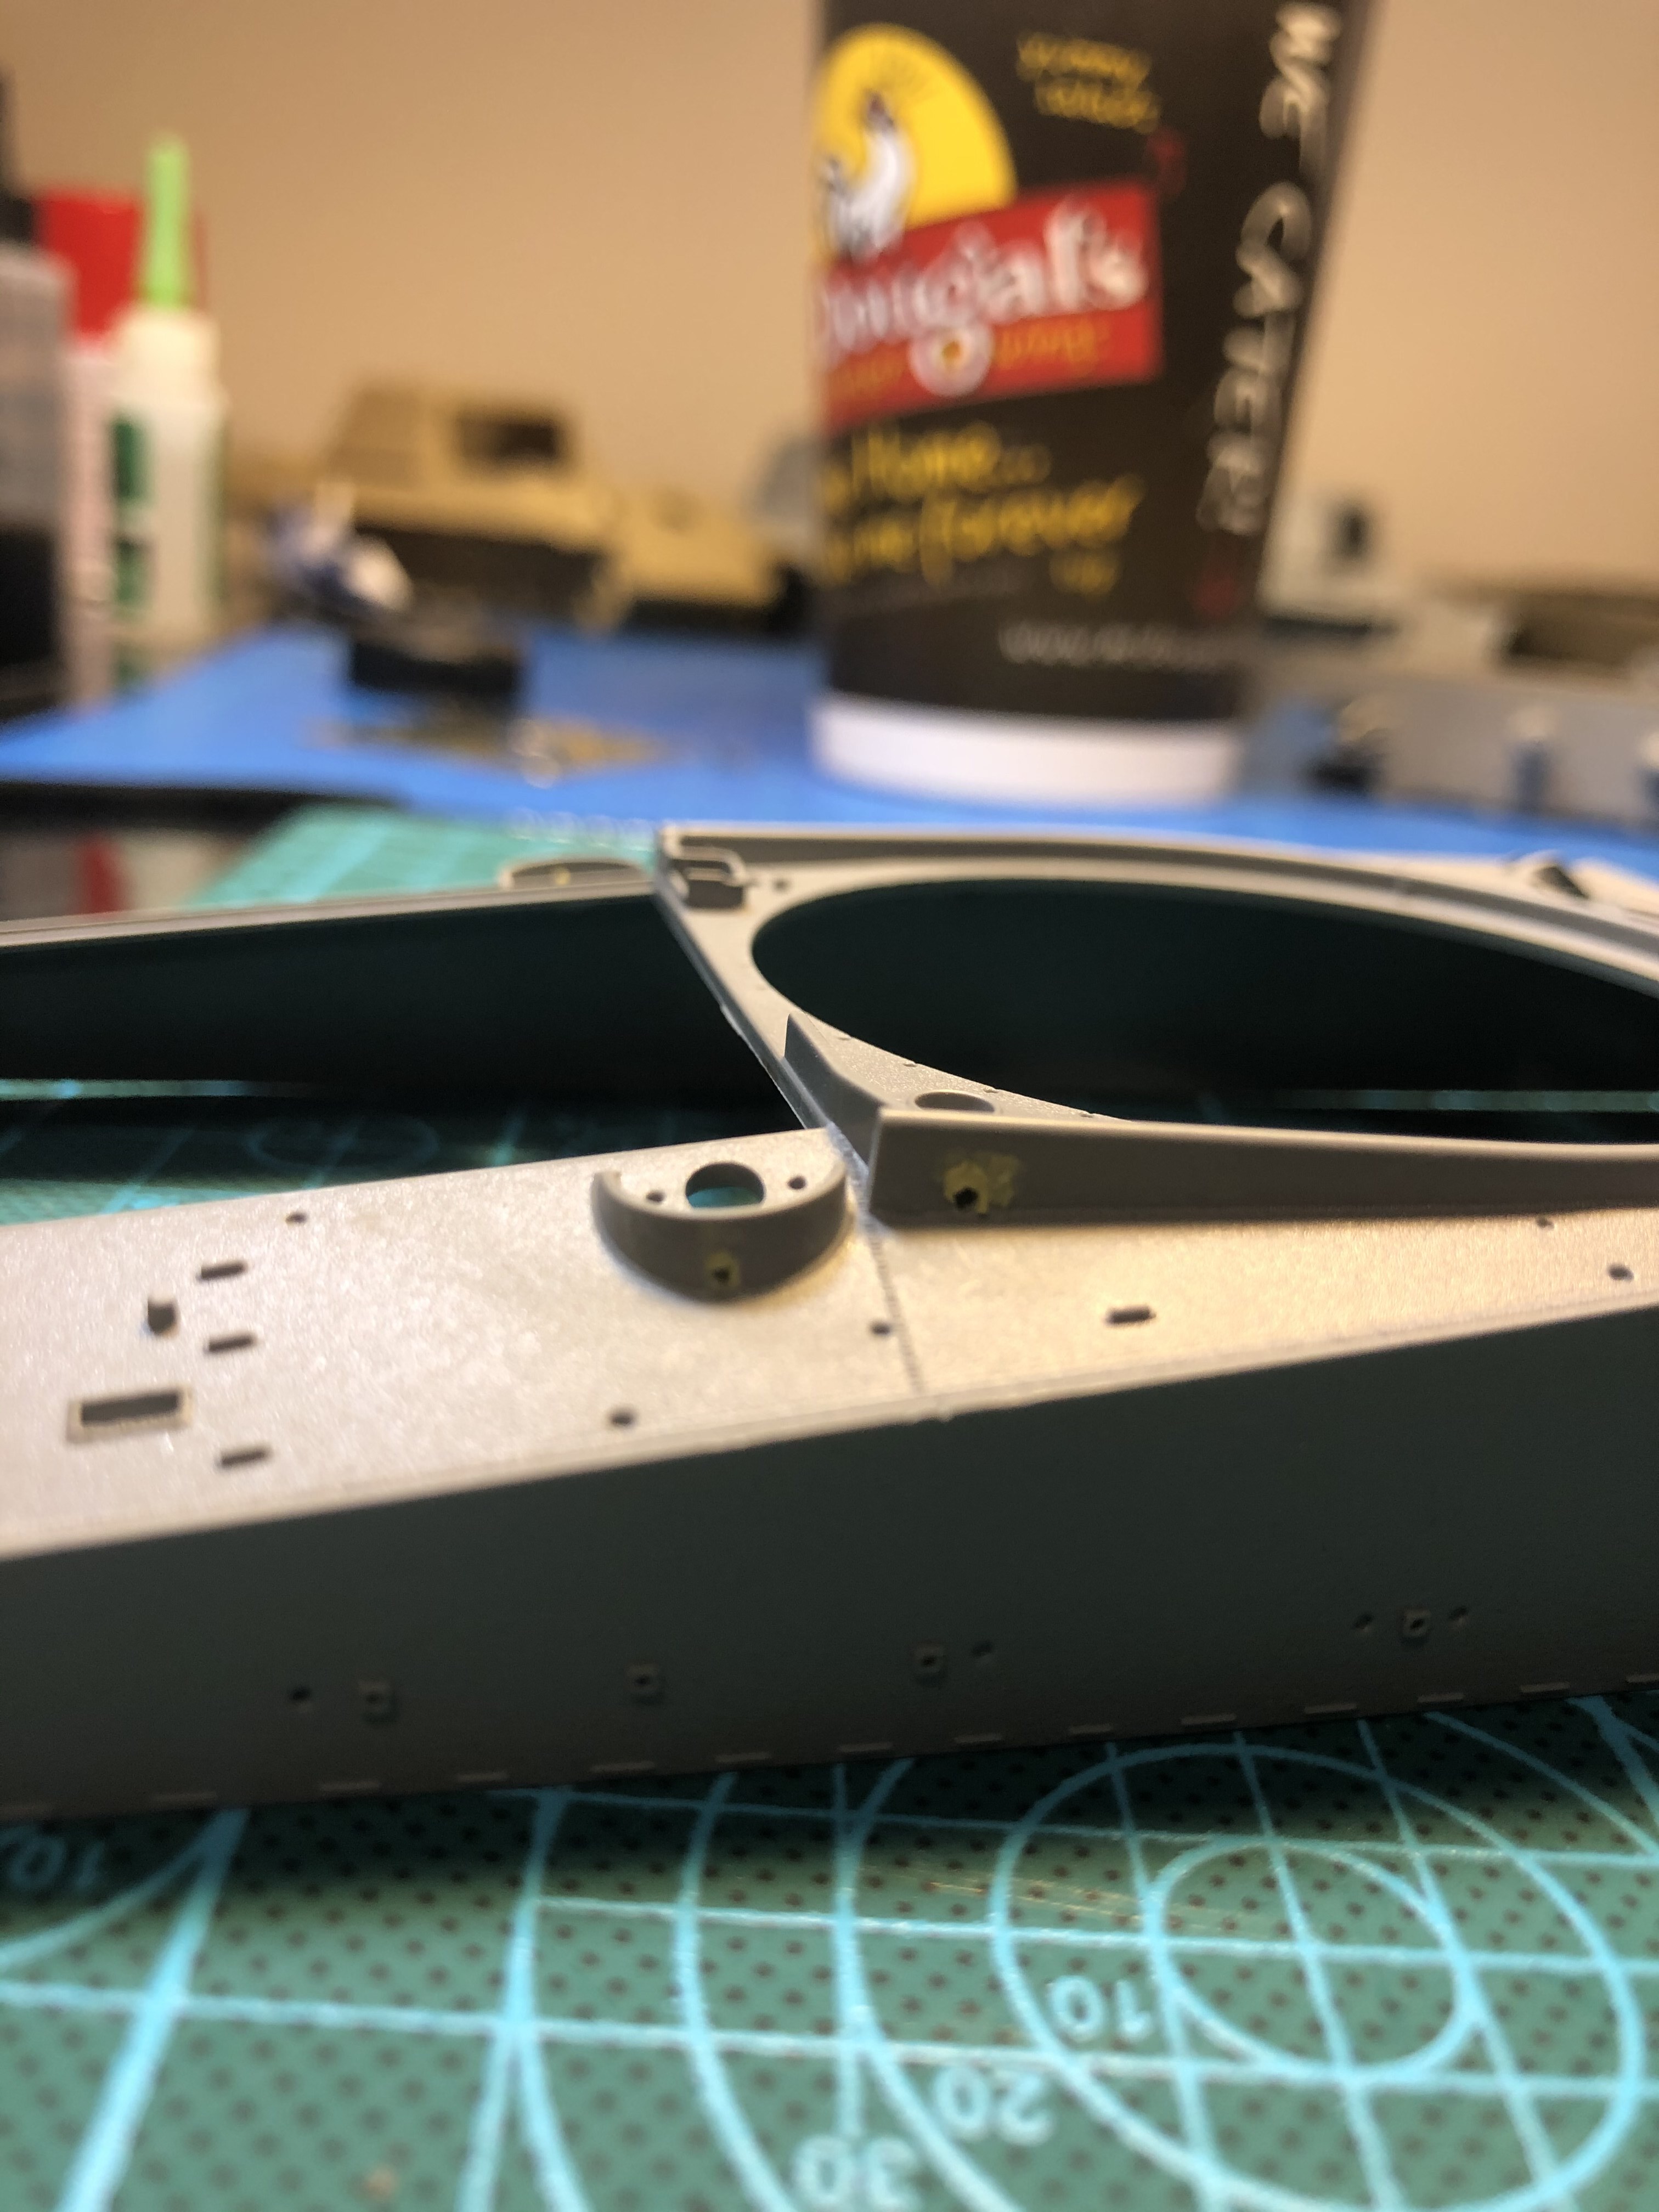
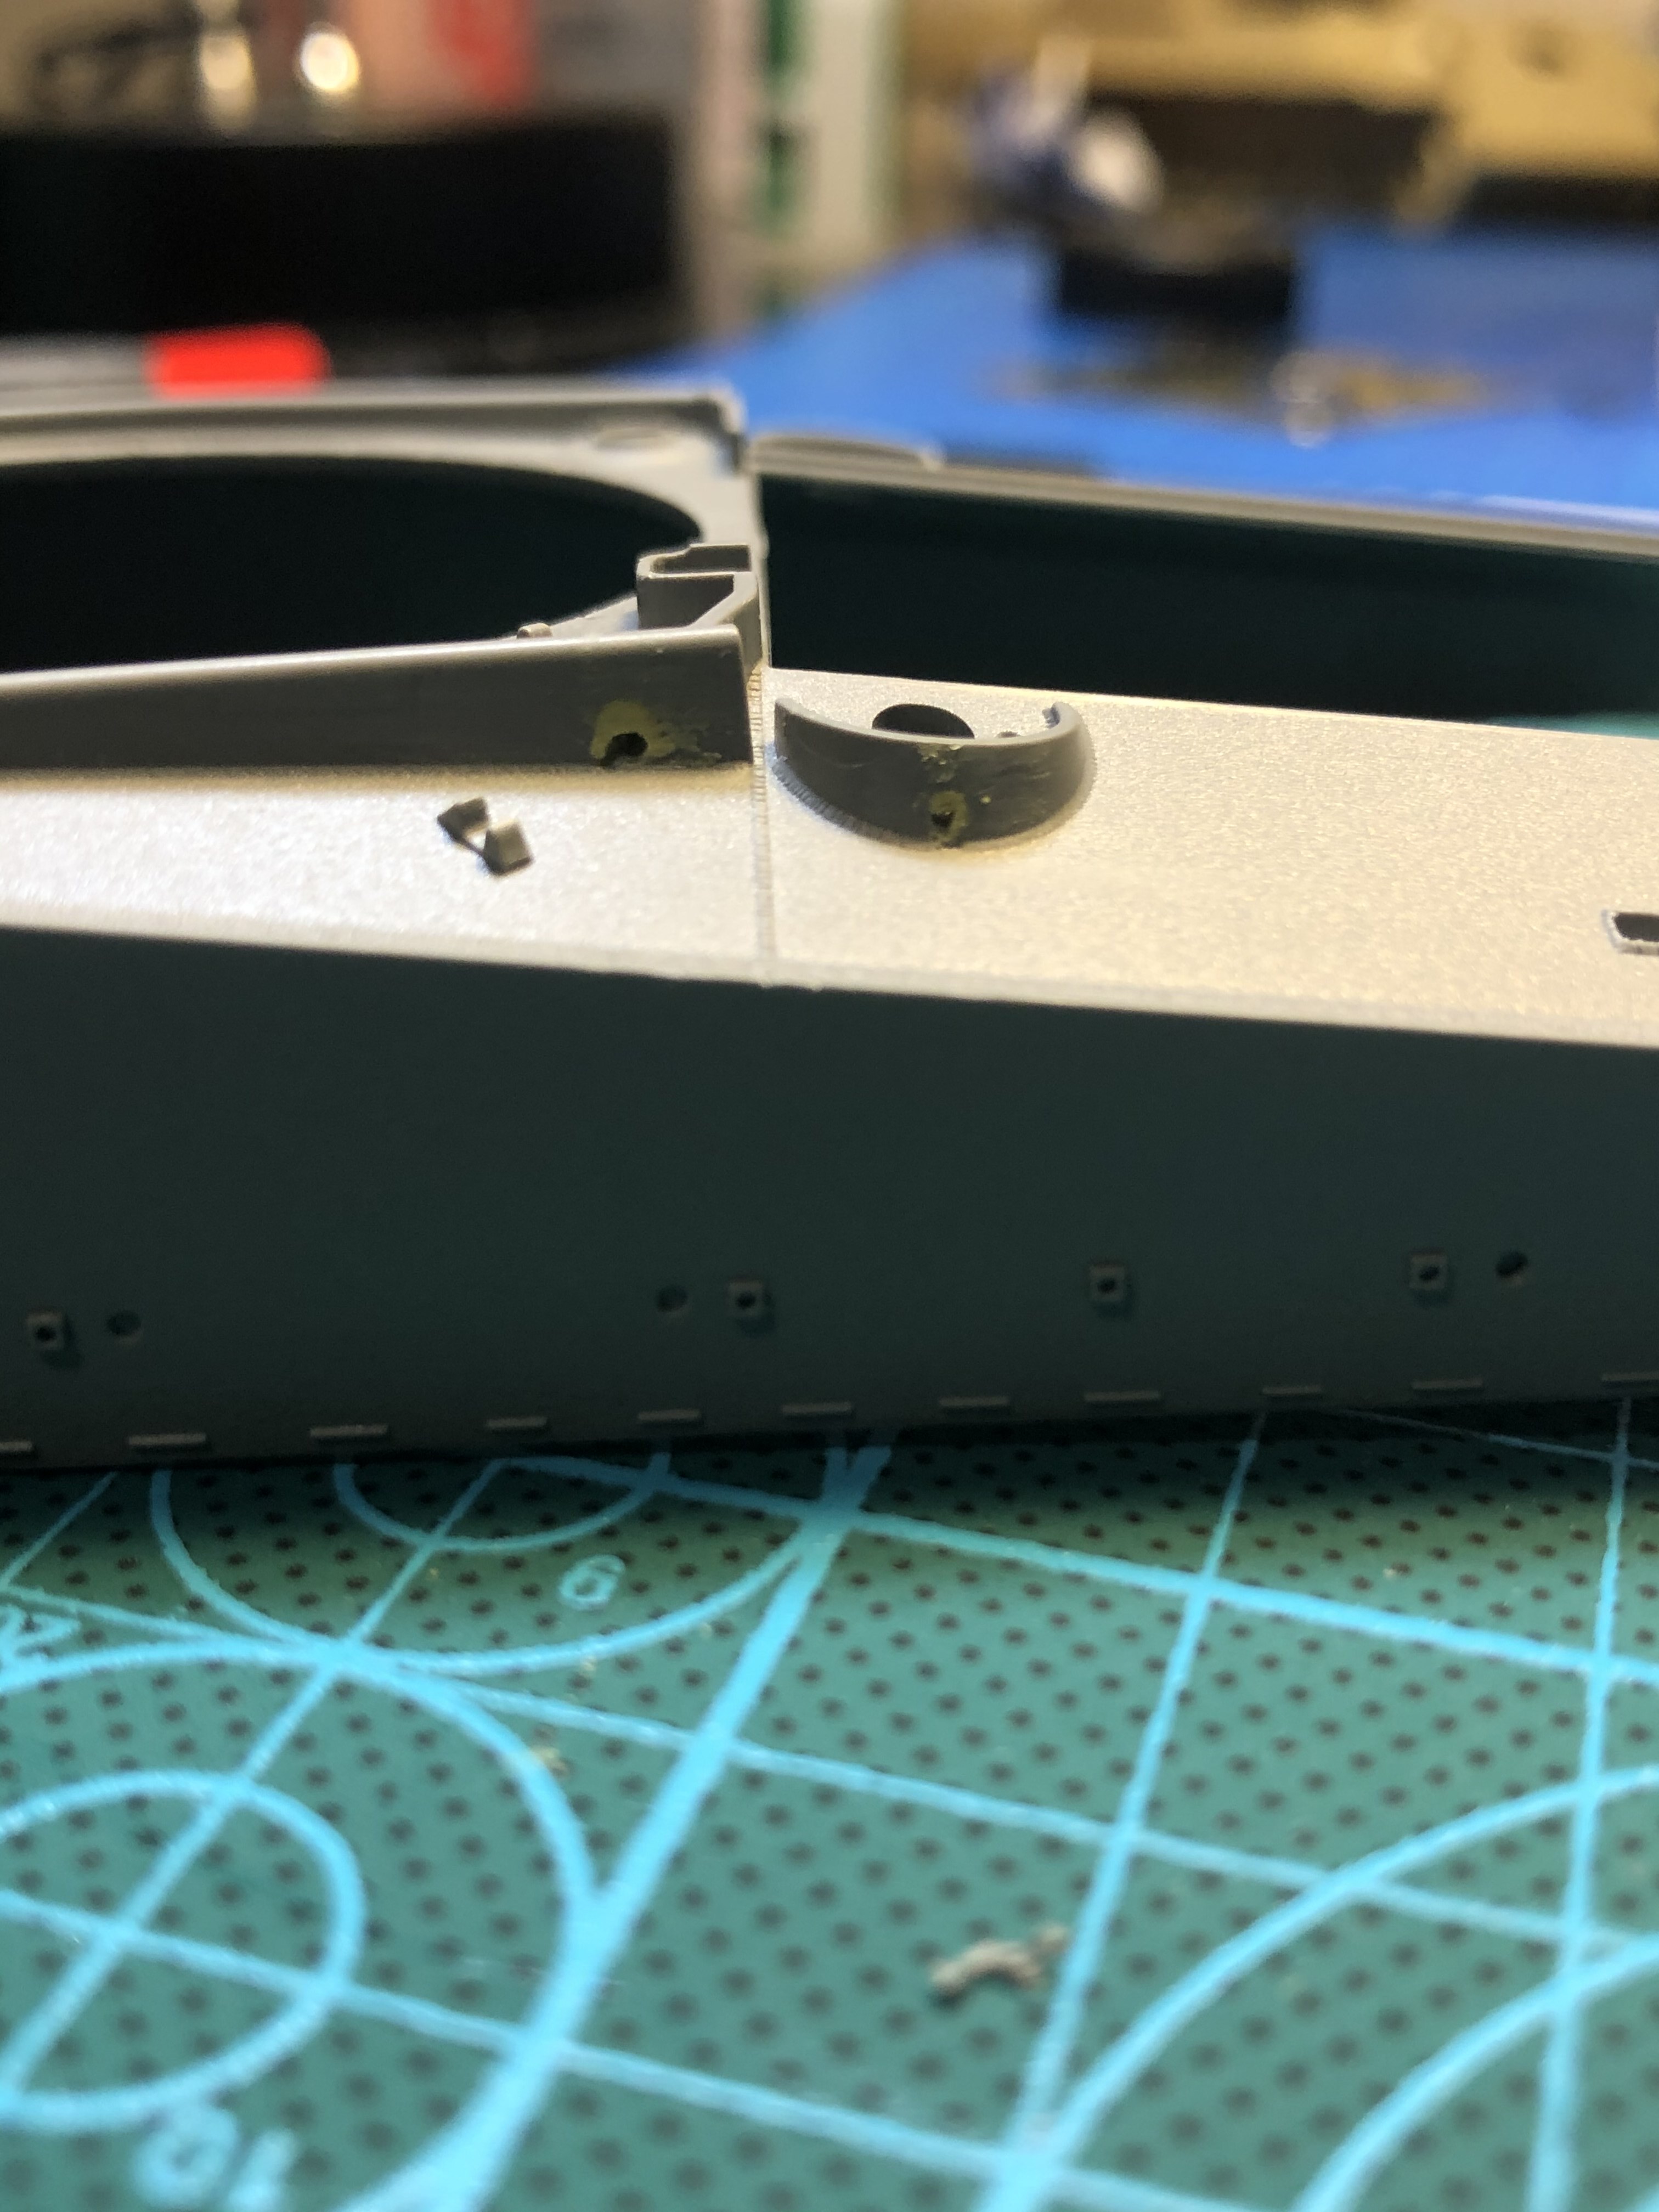
Finally, I hit the turret…
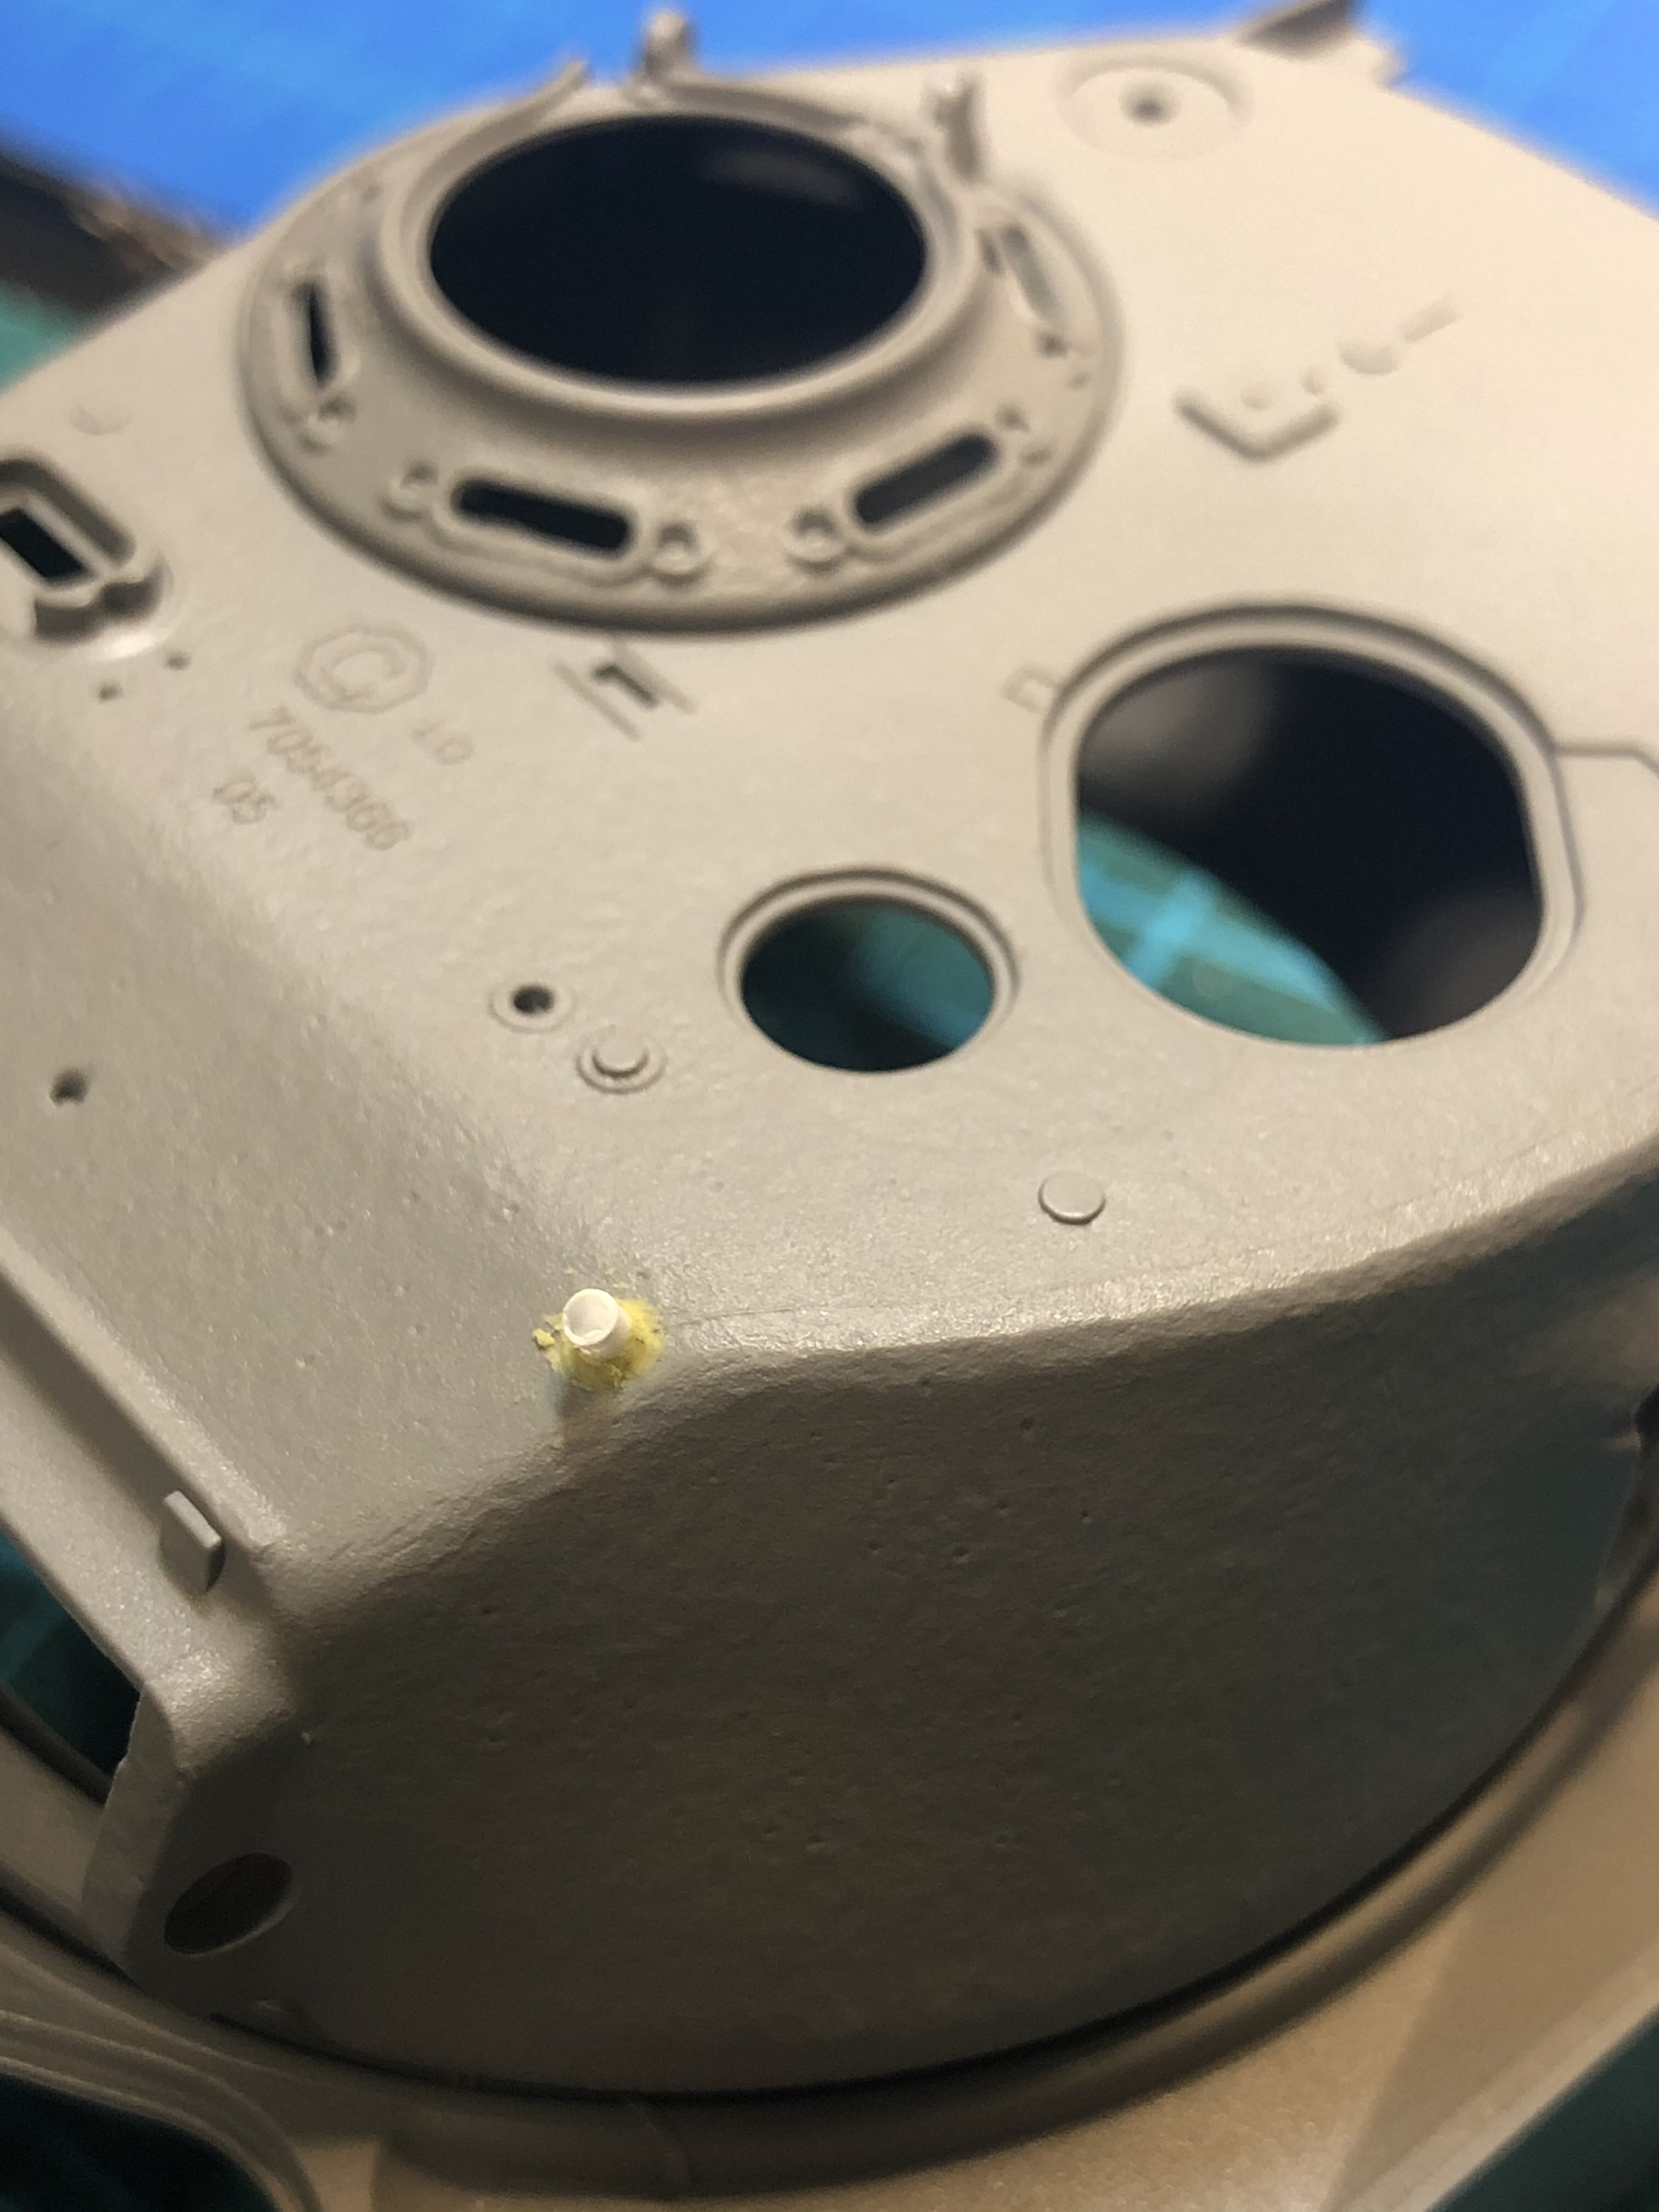
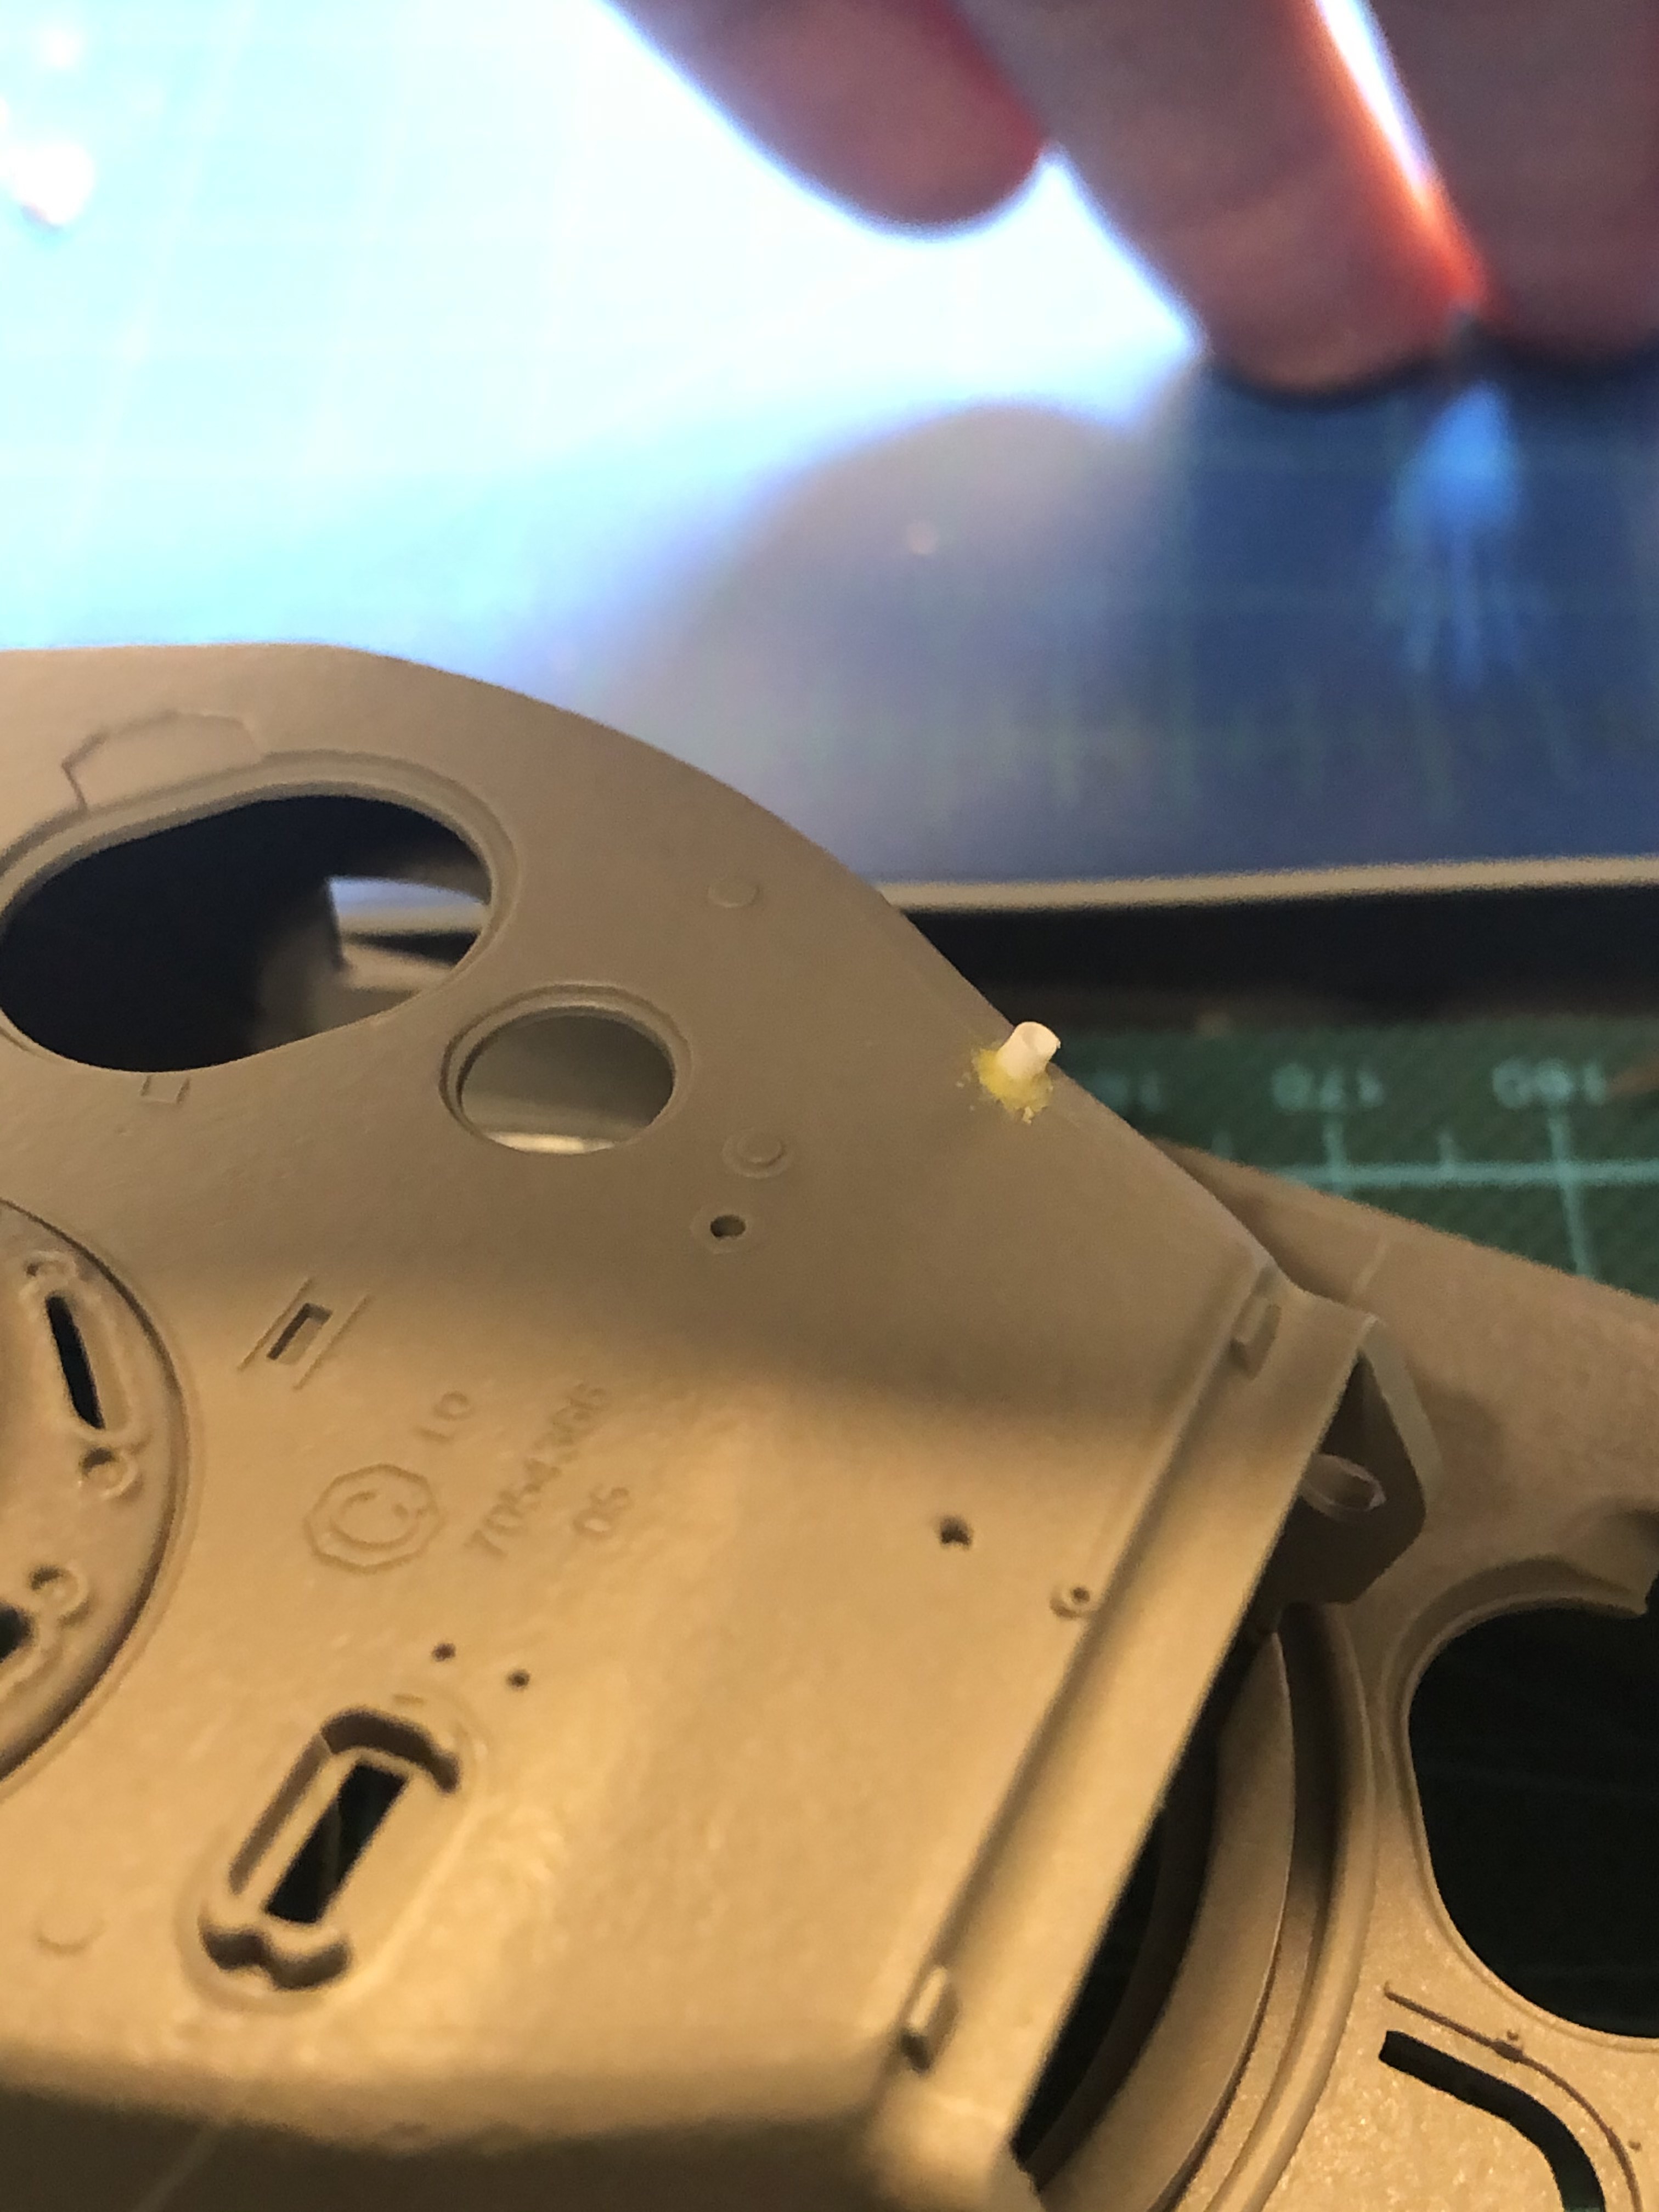
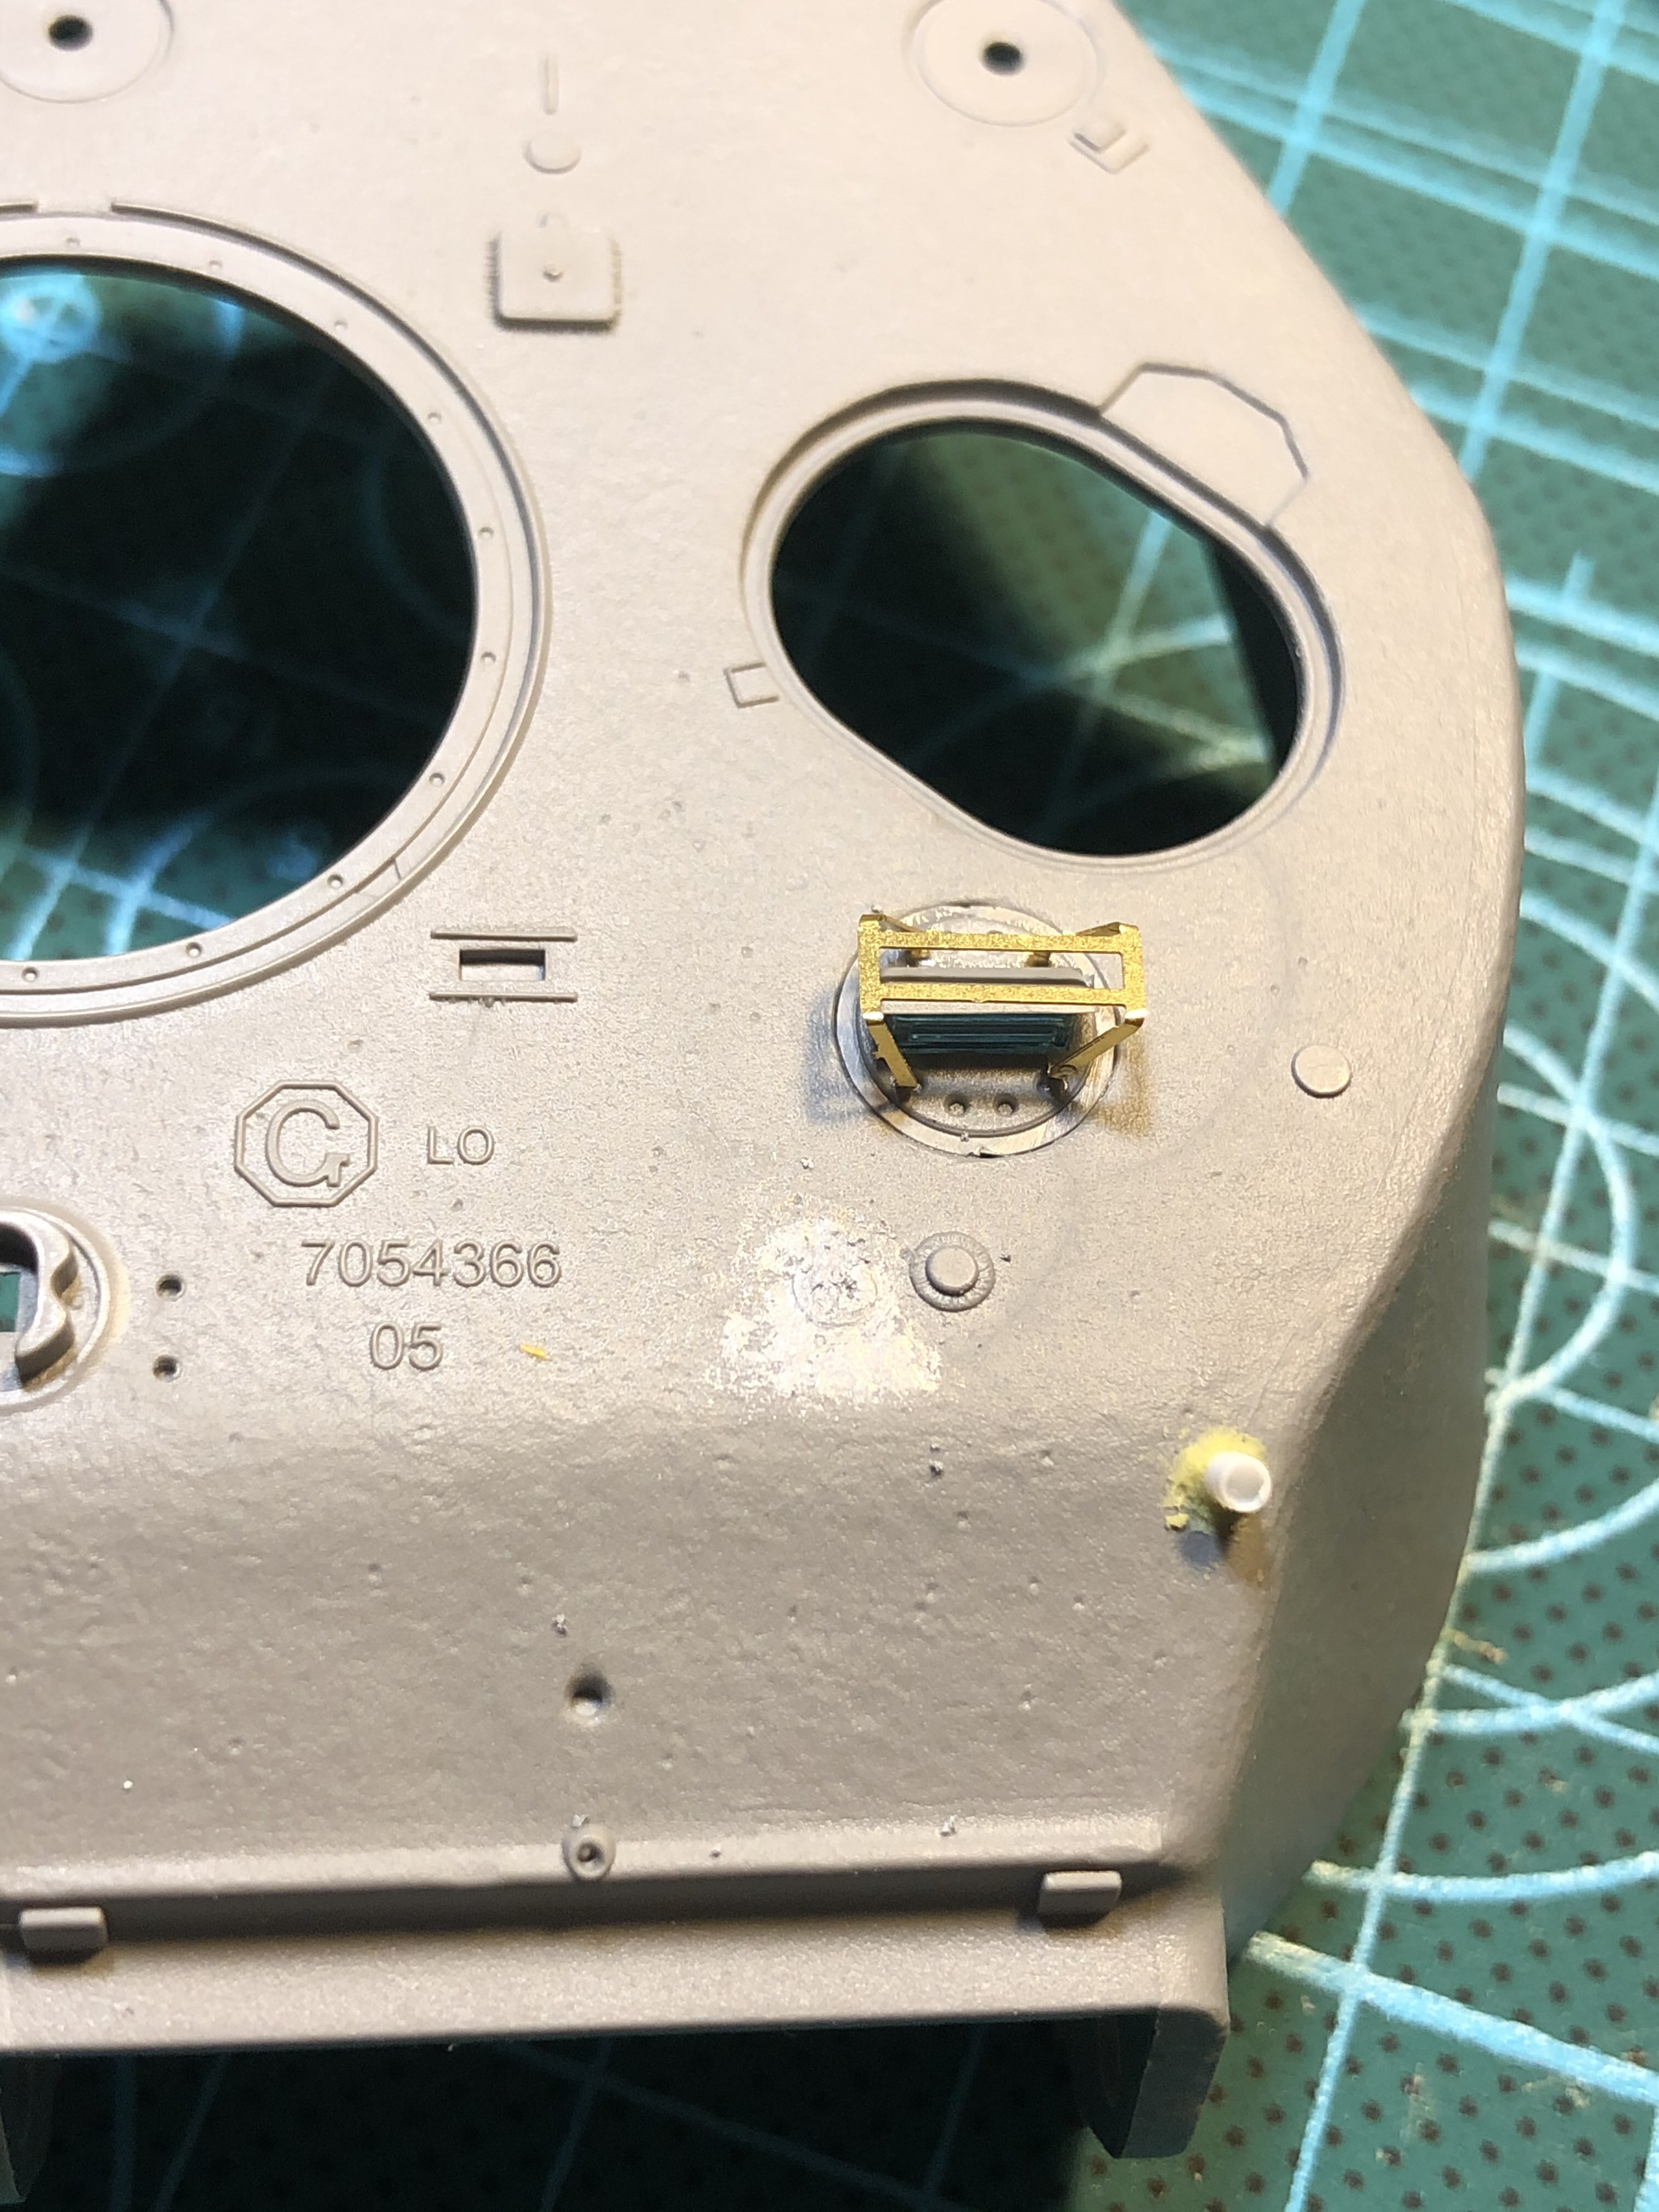
This locating hole was filled. I did what I could to find out when the heck this part was but to no avail. I can’t find any image that has it installed! So, since its just not on the tanks, it was filled in.
Finally in an effort to reinforce the cast turret texture, I used more putty to help bring the texture out ever so slightly as to avoid looking overdone. It also helps unify the covered hole for the unknown part.


